
Hair that sits right on the collarbone is the length I get the most nervous texts about before a wedding. It’s too long to ignore and too short for a proper updo, and it flips outward the second it touches a shoulder. A half-up style solves most of that. Pinning back the top section takes weight off the face, and the length underneath is short enough to hold a curl through a long day. The twenty styles below are all ones a guest can do at home with pins, small elastics and a curling iron, and I’ve noted where each one tends to fail so you can plan around it.
Why the Top Section Slides Out on Collarbone-Length Hair
Almost every half-up that fails on medium hair fails at the same spot: the anchor at the crown. The top section is short and light, so a single bobby pin pushed straight in has very little hair to grip, and by the second hour it walks out. Freshly washed hair makes it worse, because the cuticle is smooth and slippery.
Here’s how I set the anchor before any twist, braid or bubble goes in:
- Wash the day before if you can. Second-day hair holds pins noticeably better than hair washed that morning.
- Mist a dry texture spray through the top section only, from root to mid-length, and brush it through. It adds the grip that silky hair lacks.
- Secure the base with a small clear elastic first, even if the finished style looks pinned. Decorative pins and clips then sit on top of something solid.
- Use pins in pairs, crossed in an X, with the wavy side facing down against the scalp.
- Matte bobby pins in your own hair colour grip better than shiny ones and disappear in photos.
If you have very fine hair, a tiny backcomb right at the root where the pins go gives them something to bite into. Nobody sees it once the top layer is smoothed over.
1. Half-Up Twisted Crown
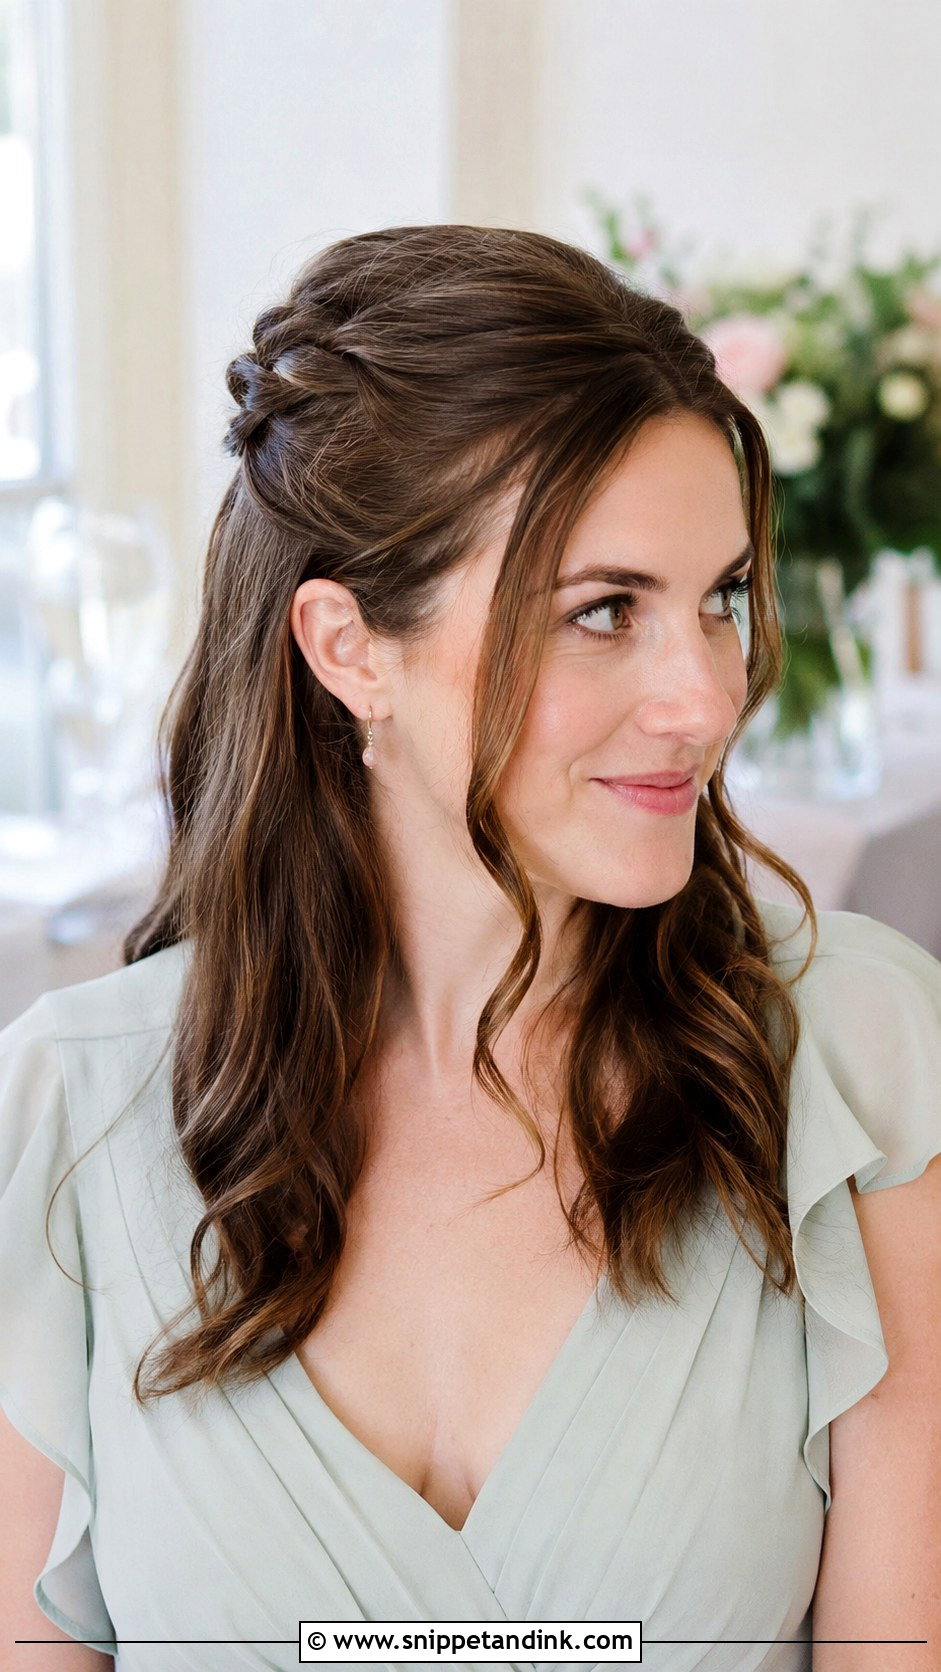
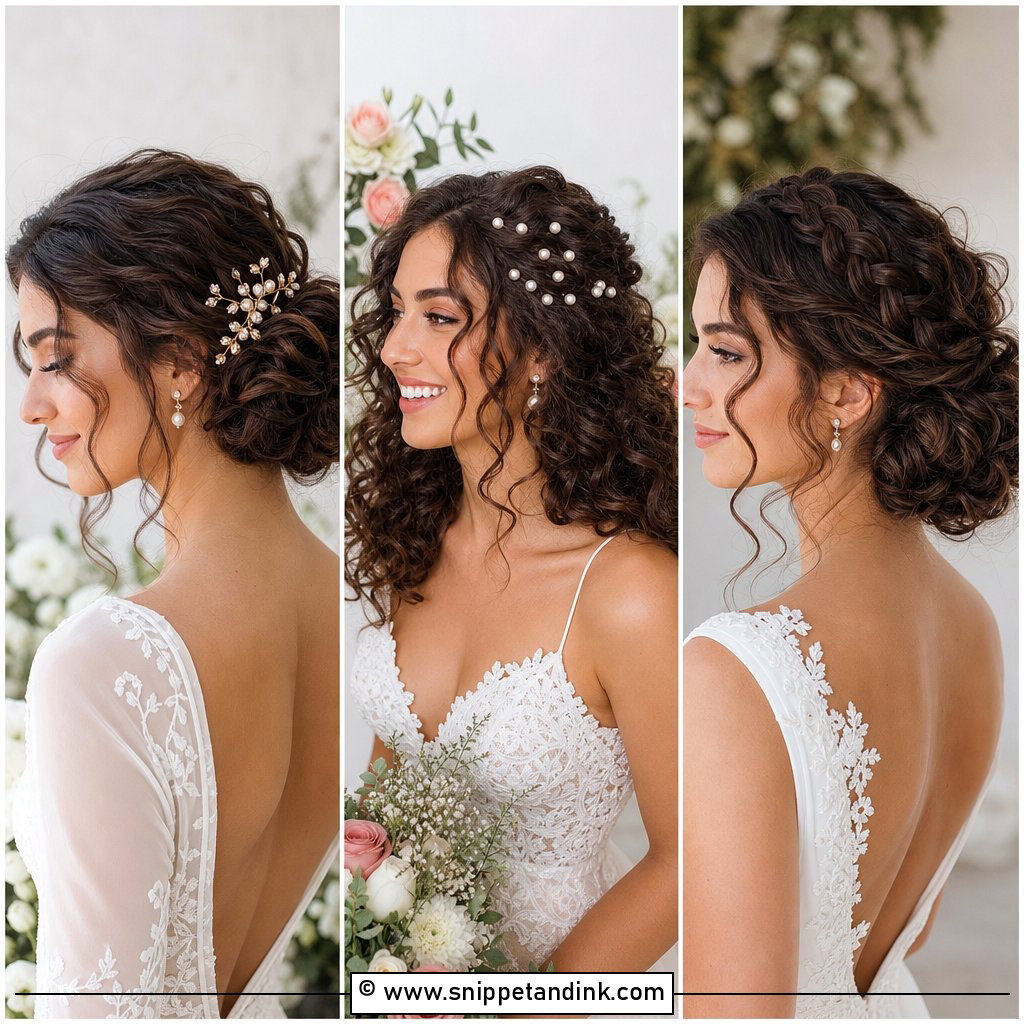
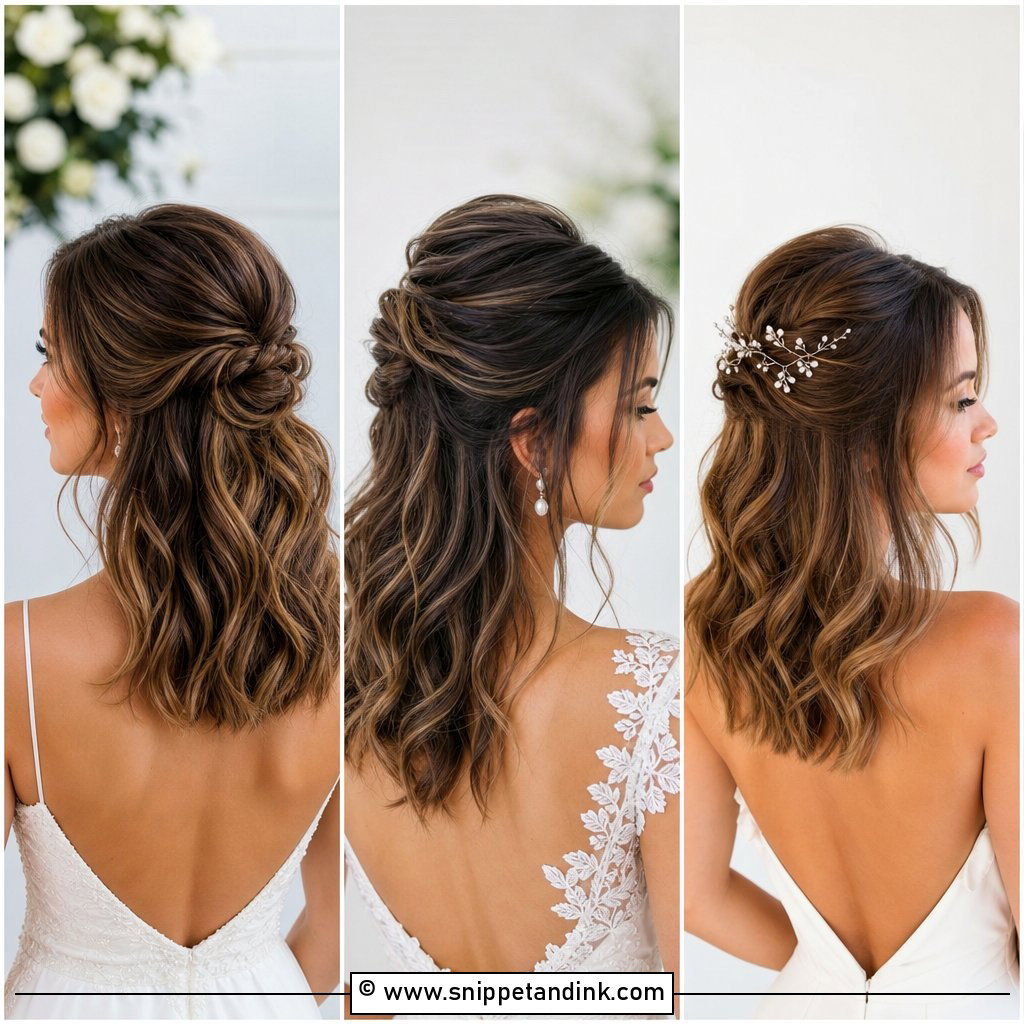
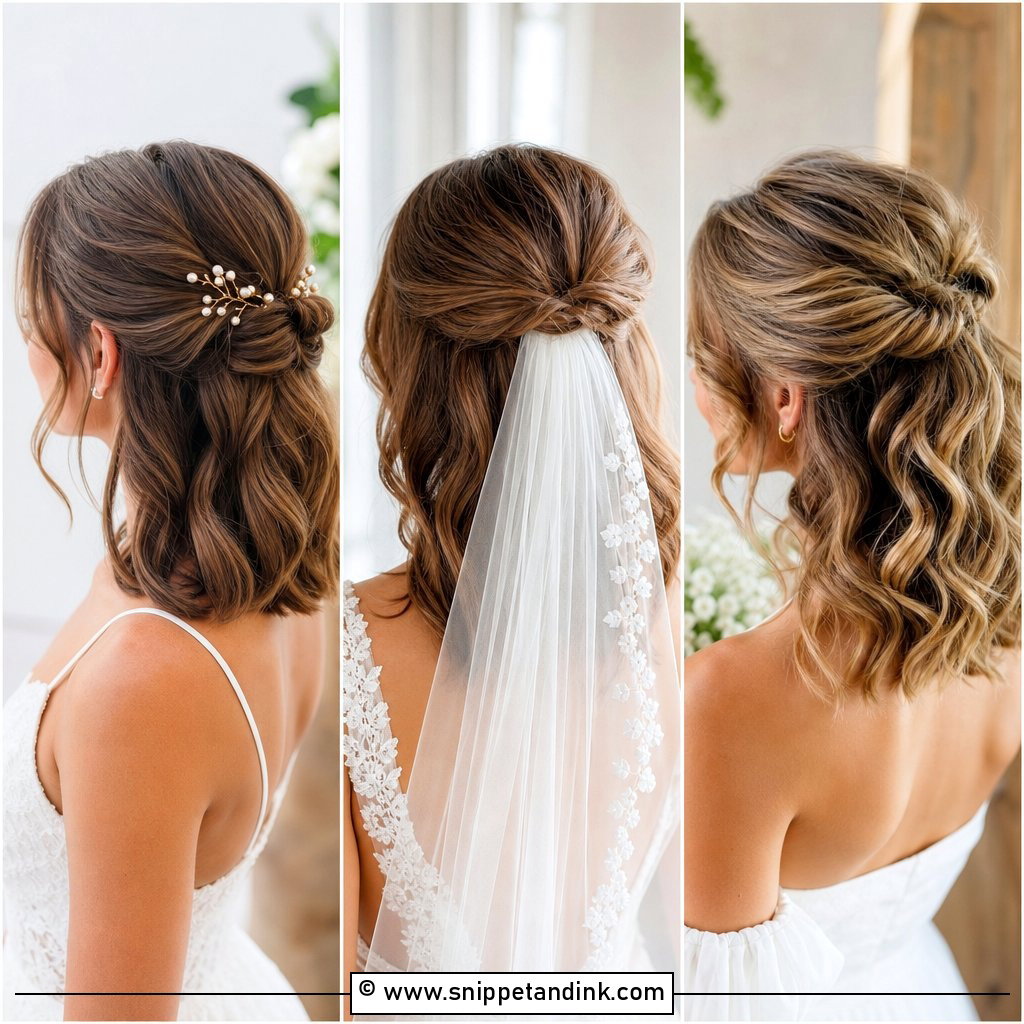
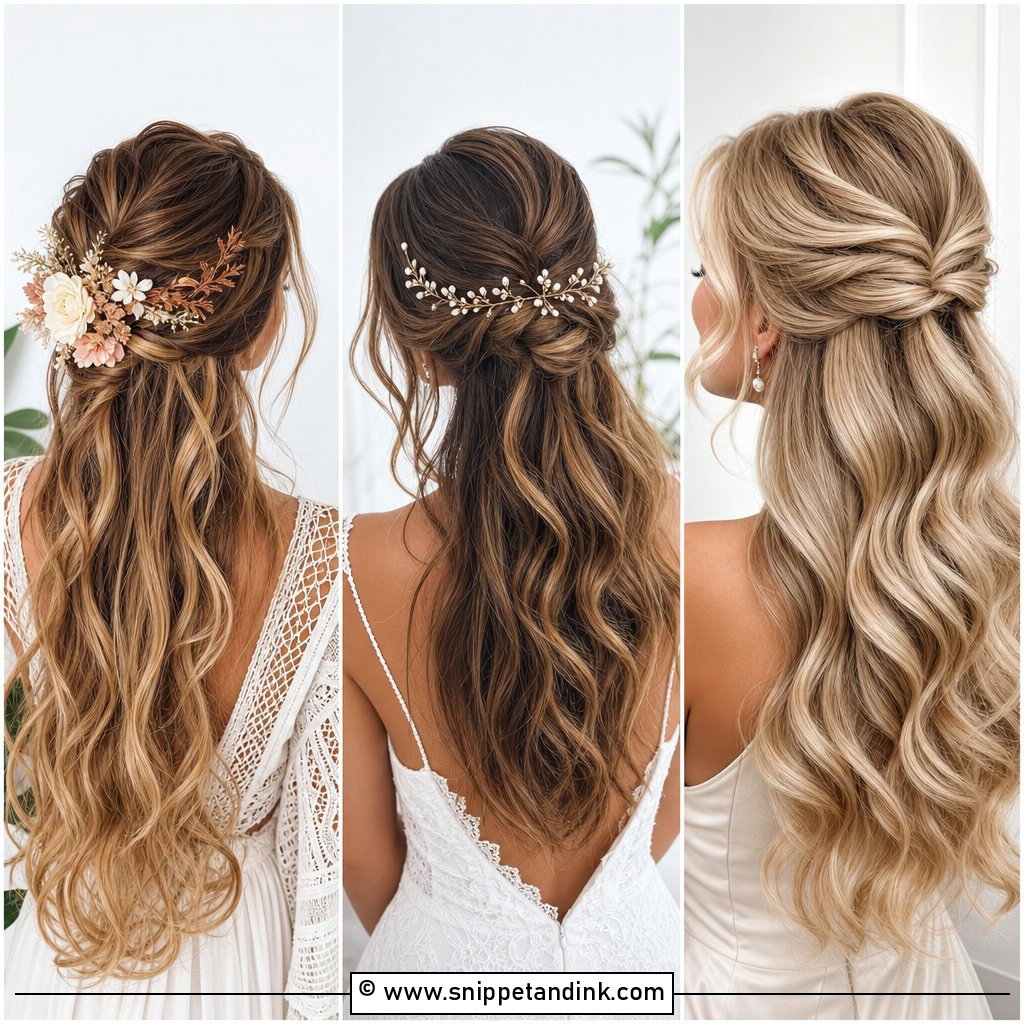
Two loose twists from the front, crossed and pinned at the crown, is the first thing I teach anyone who says they can’t do their own hair. The trick is twisting away from the face, because twisting toward it pulls the hairline flat. Pin each twist with two bobby pins in an X rather than one straight pin, which is what usually slides out by dinner on medium hair. Keep it a little slack and leave a couple of front pieces out. A single pearl pin over the join hides the hardware.
2. Half-Up Bubble Ponytail
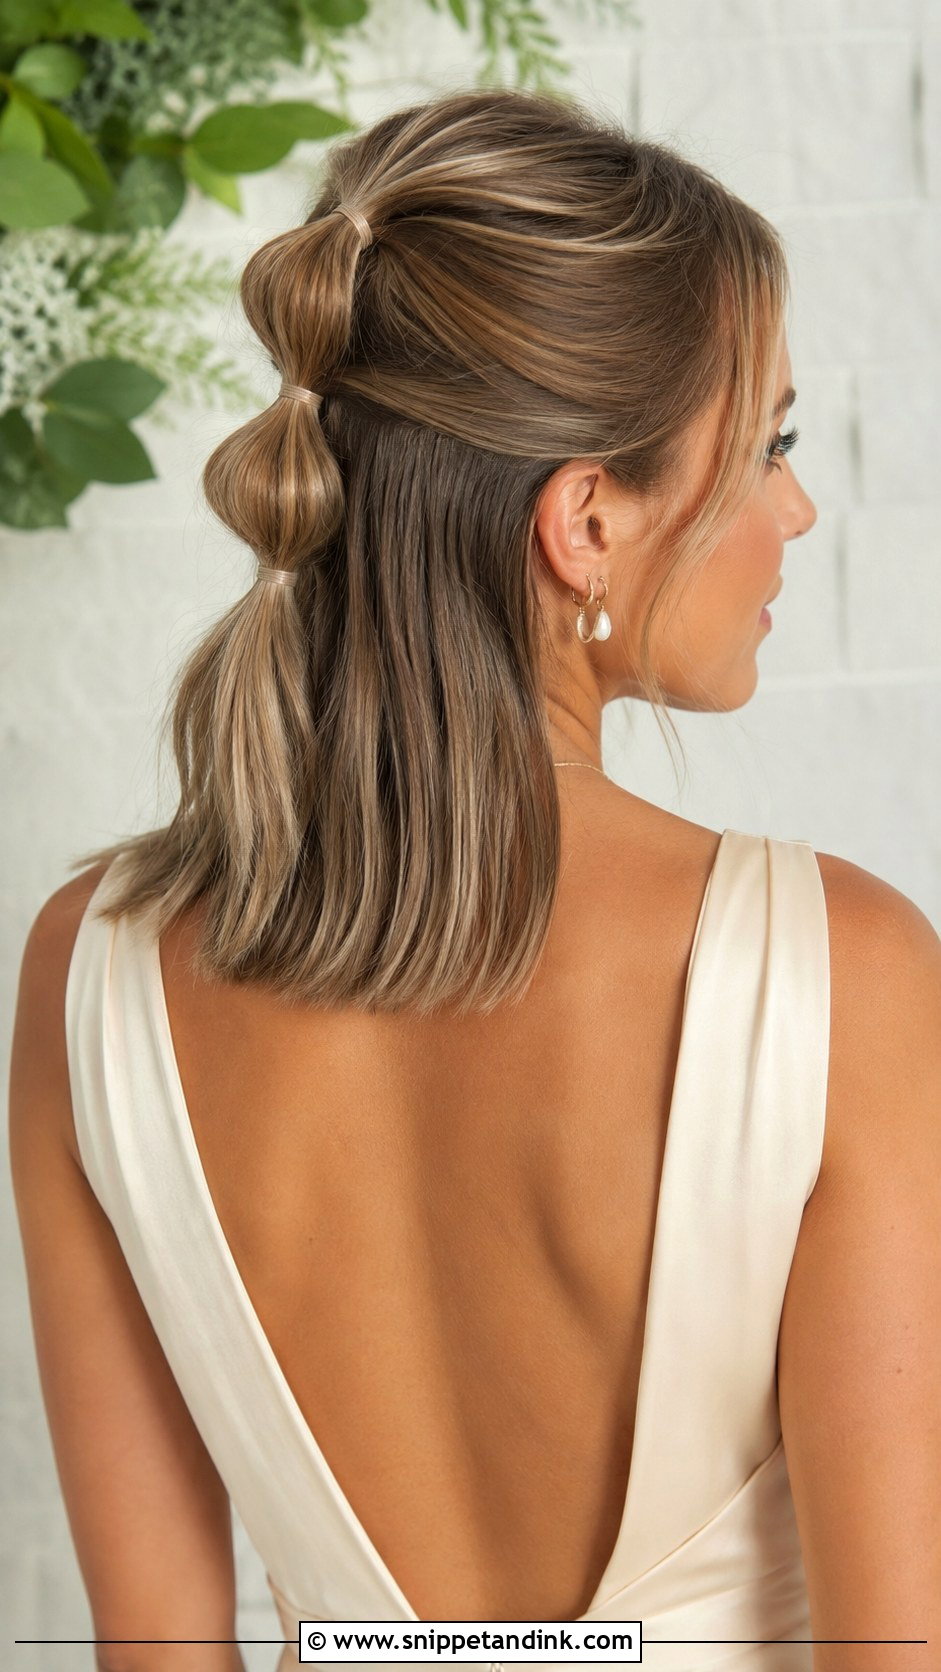
Bubbles are forgiving on shoulder-length hair because there isn’t enough length for them to look sparse at the ends. The half-up bubble ponytail starts with the top section in a small clear elastic, then two more elastics spaced a few inches apart, with the hair between them gently pulled wider. On this length you’ll usually fit two or three bubbles, not five. Use clear polyurethane bands rather than fabric ones; they grip without showing, and you can snip them out at the end of the night instead of tugging. It reads younger and more playful than most of the list, so I’d pair it with a fairly sleek top.
3. Half-Up With Soft Waves
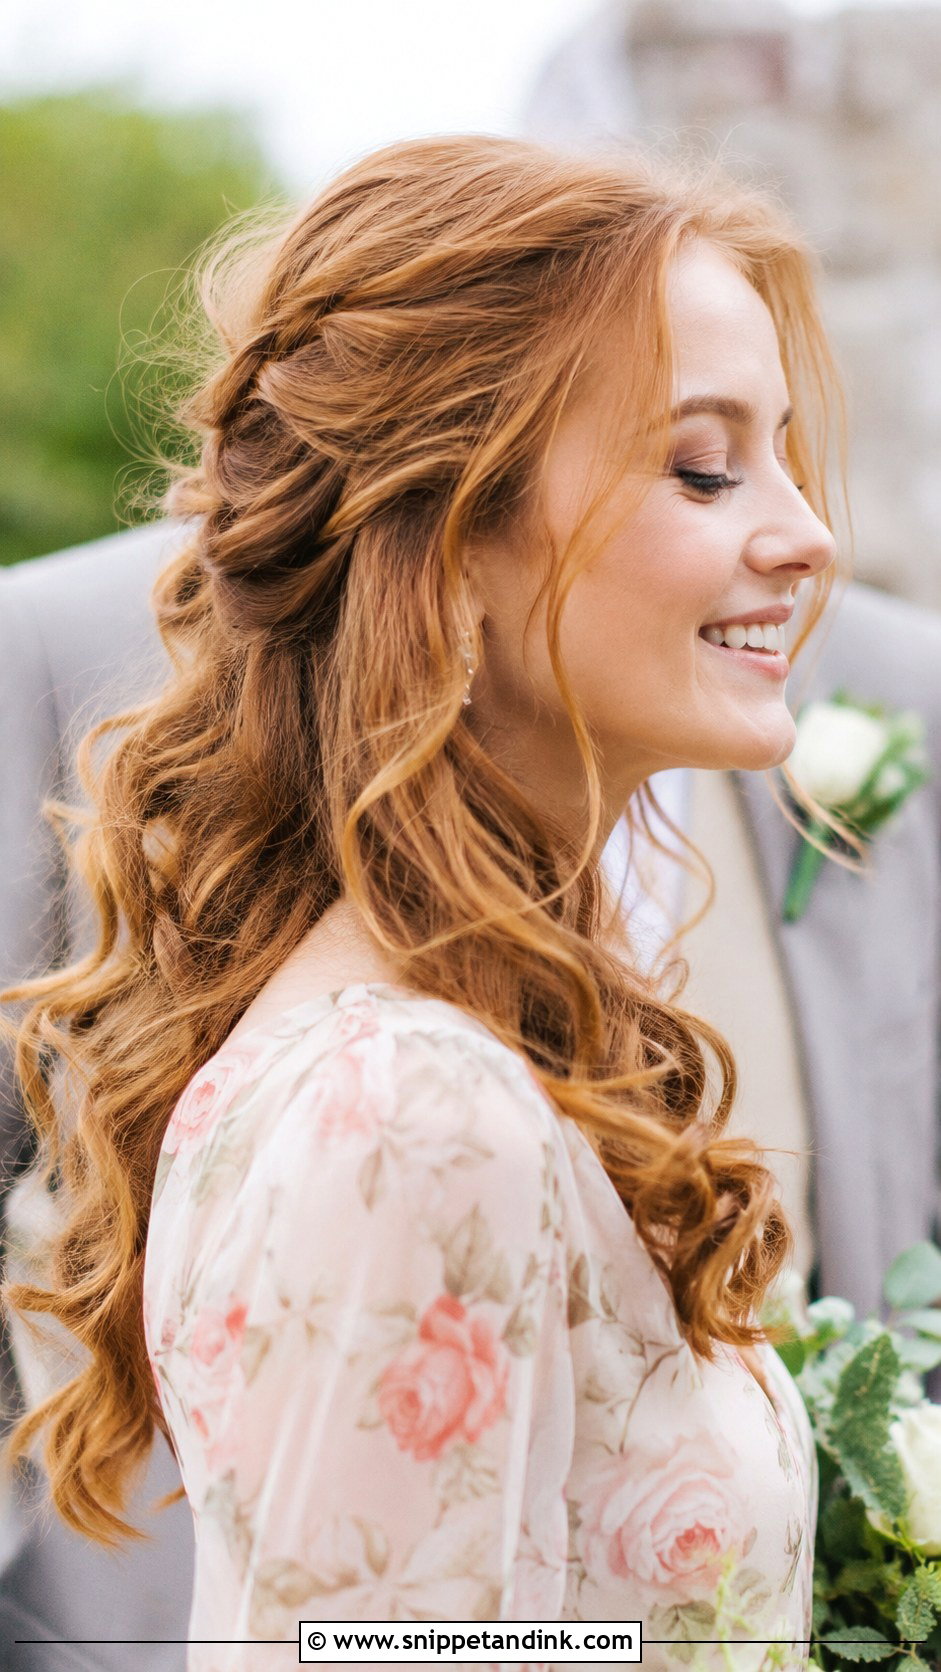
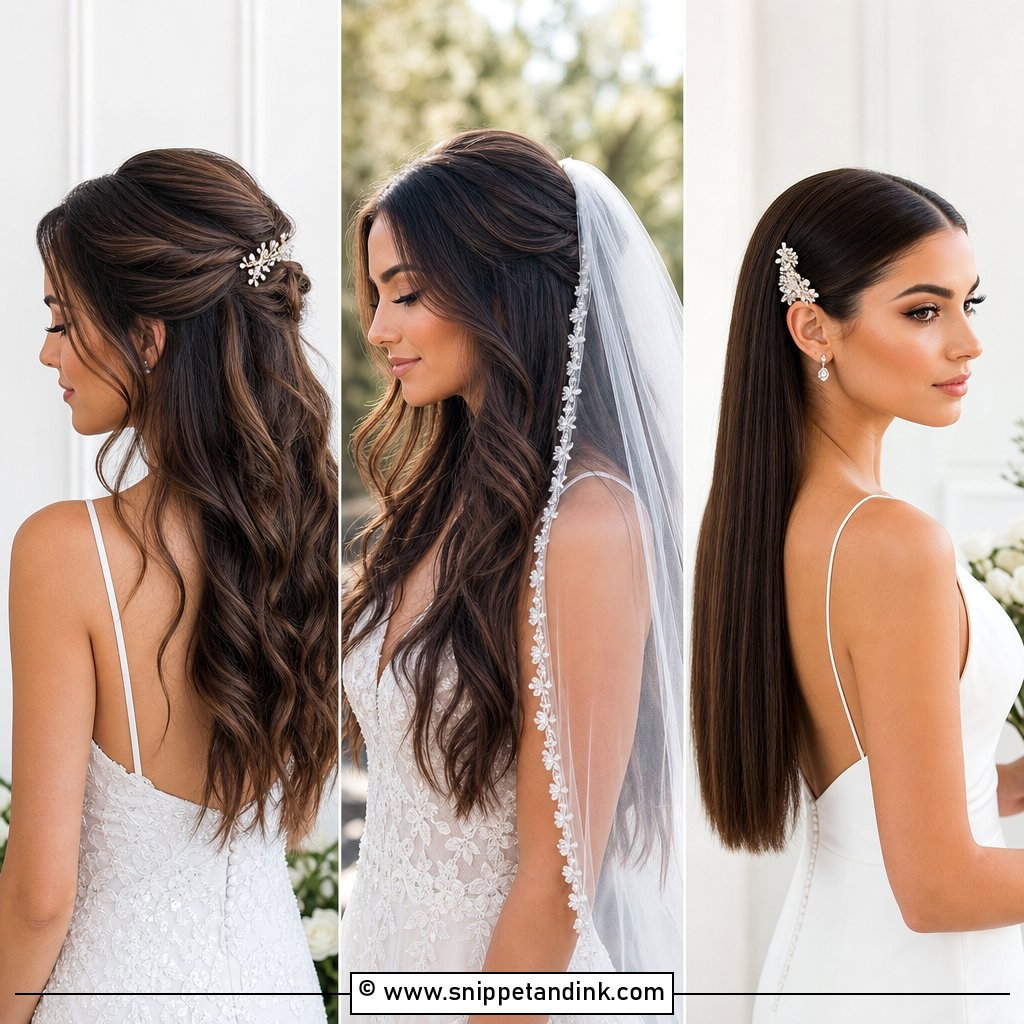
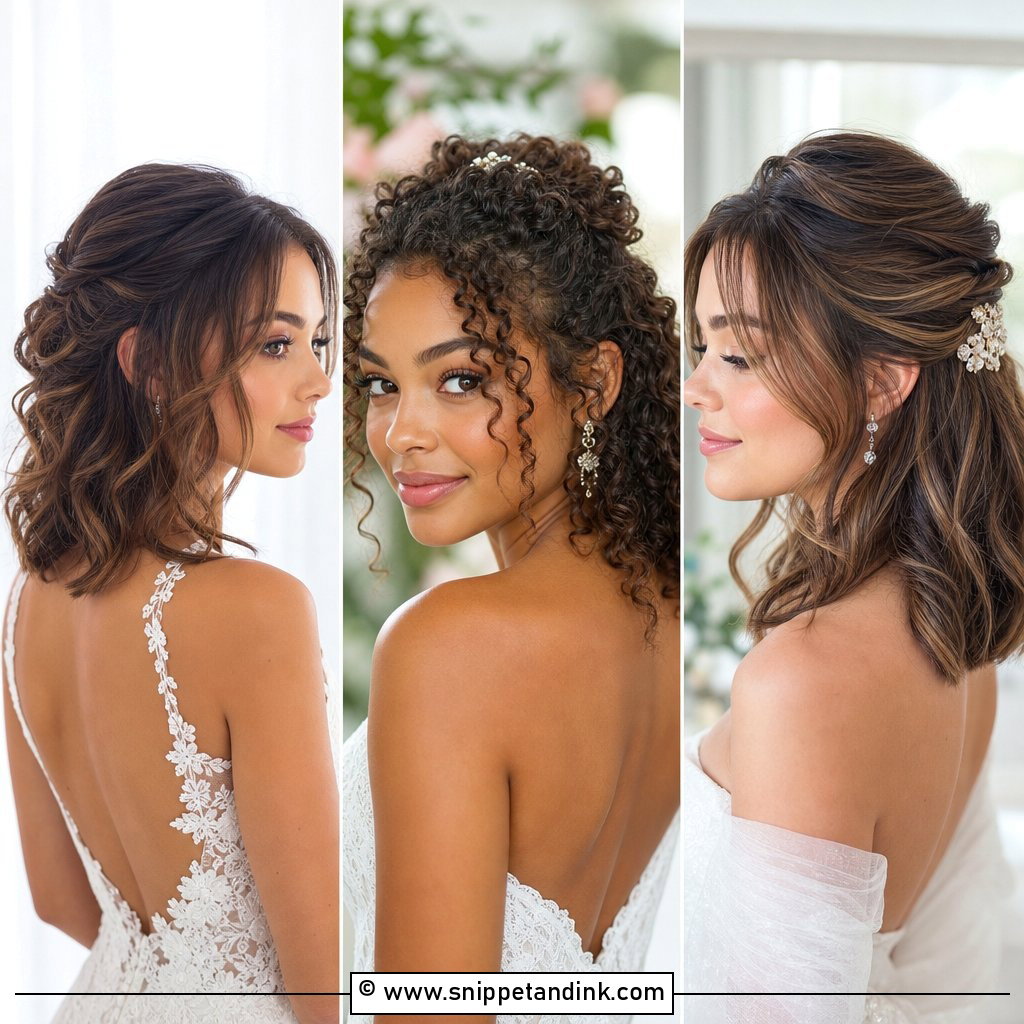
Plain waves with the top pulled back is the style I’d choose for someone short on time and patience. Curl in sections with a one-inch barrel, alternating direction so the waves don’t merge into one sausage roll, and let every curl cool before you touch it. That cooling step is what makes a wedding guest look still have shape at the reception. Then clip back the top. On hair that drops curl easily, a light hold spray on each section before the iron does more than a heavy spray at the end.
4. Half-Up Dutch Braid
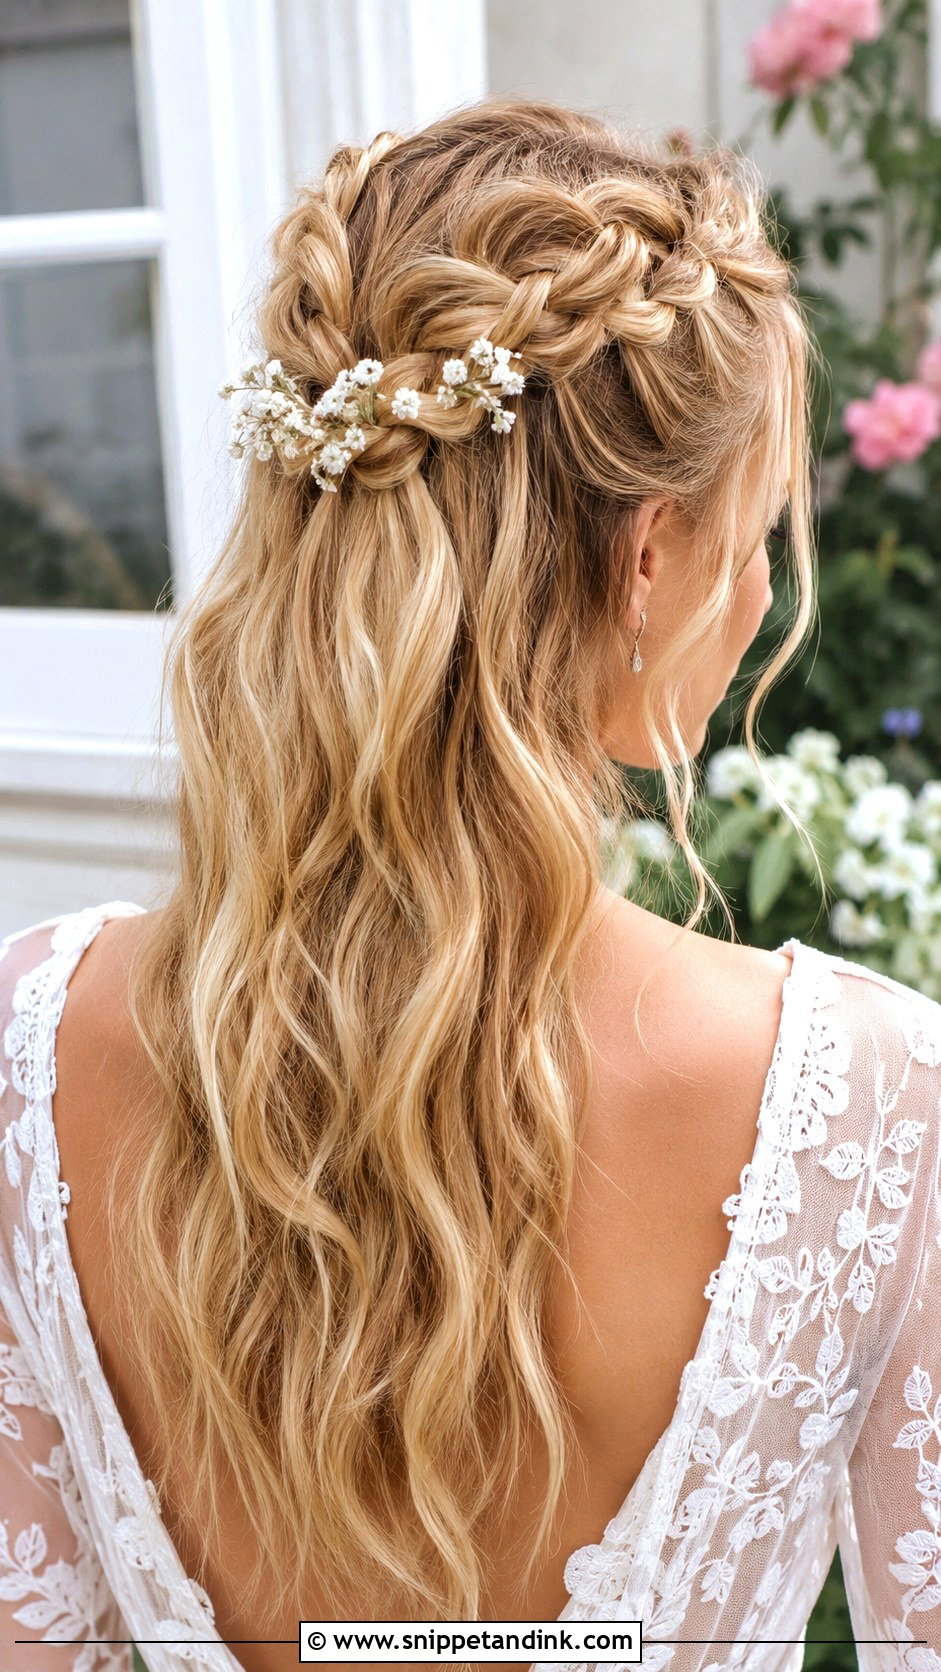
Dutch braids sit on top of the hair rather than lying flat, so they give the half-up real structure. Start one at each temple, braid back by crossing the strands under, and join them at the crown with a small elastic. With layered shoulder-length hair the short layers will poke out by the ears; a tiny amount of pomade on your fingers as you braid keeps them tucked. Once it’s secured, pull the outer loops gently to widen it. I like this one for outdoor weddings because a breeze can’t undo it.
5. Half-Up Messy Bun
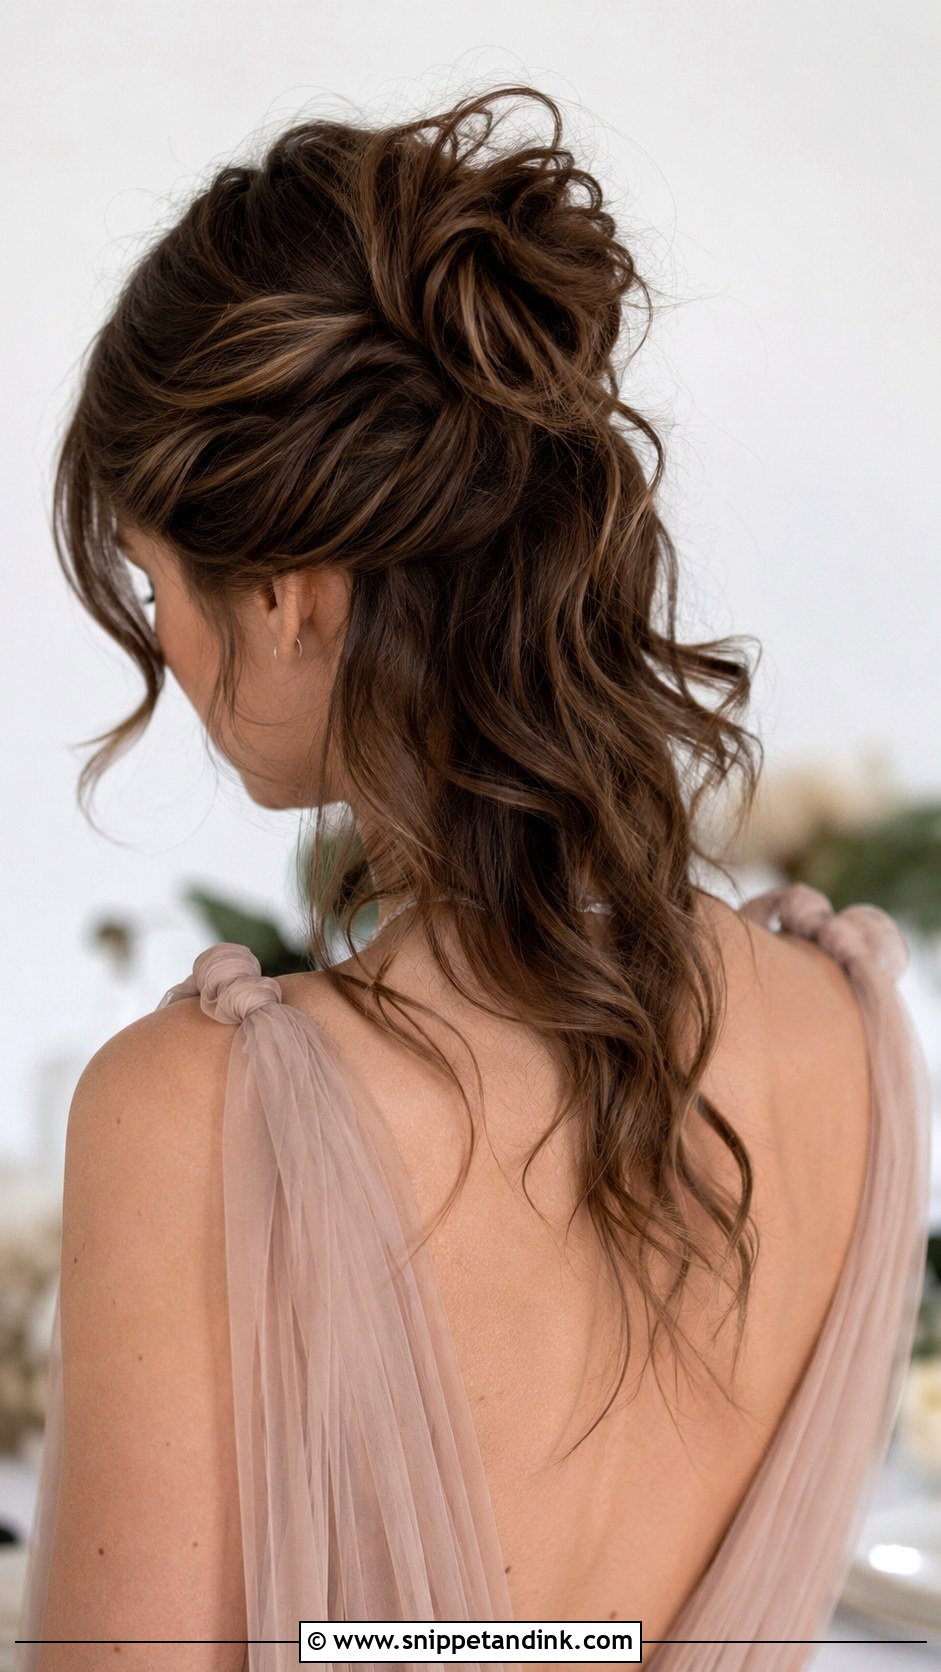
A small bun made from just the top section is quick, and the shorter length works in your favour here: there’s less hair to wrap, so the bun stays neat and doesn’t get heavy. Twist the section, coil it, and pin around the base with the pins pointing in toward the centre. Pull out a few pieces around the face afterward, not before, or they’ll get caught in the coil. Very fine hair may need a little dry shampoo at the root first so the pins have something to grip.
6. Half-Up Fishtail Braid
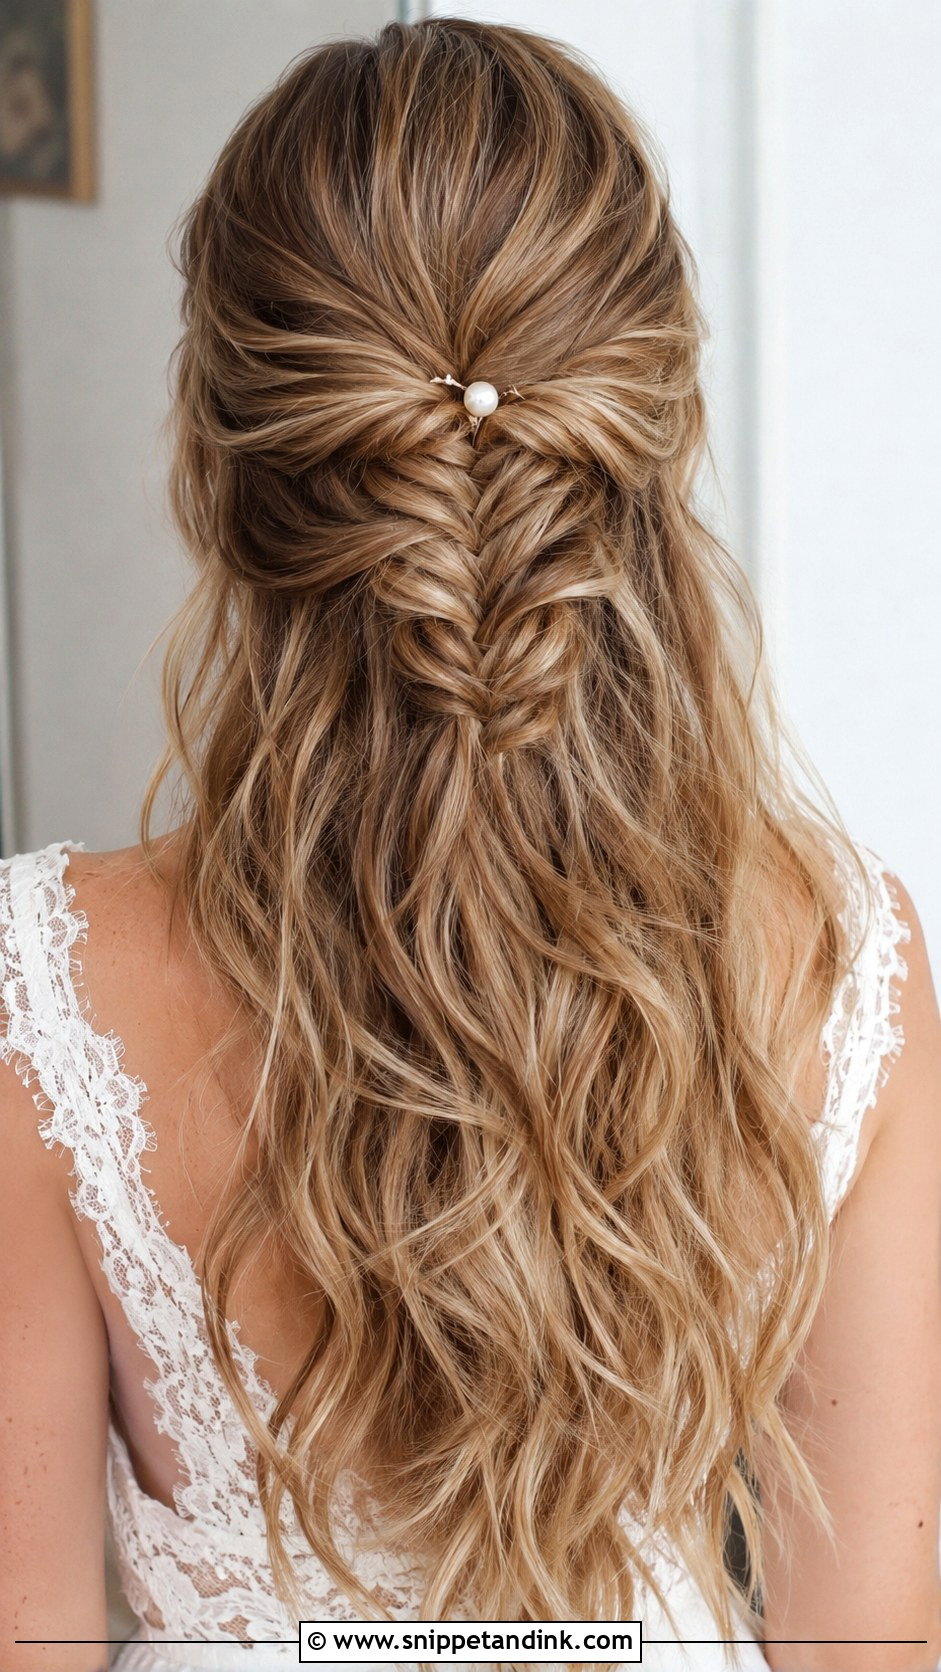
Fishtails look fiddly but only use two strands, which makes them easier than a three-strand braid once your hands find the rhythm. Pull back the top section and work the braid down the centre, taking very thin pieces from the outside edge each time; thick pieces make it look like a standard plait. Pancake it afterward by pulling the edges outward. A small pearl or floral pin at the base is enough decoration. My one caution: layered hair under about four inches at the top will poke out of a fishtail, so rough it up with texture spray first.
7. Half-Up Twisted Rope Braid
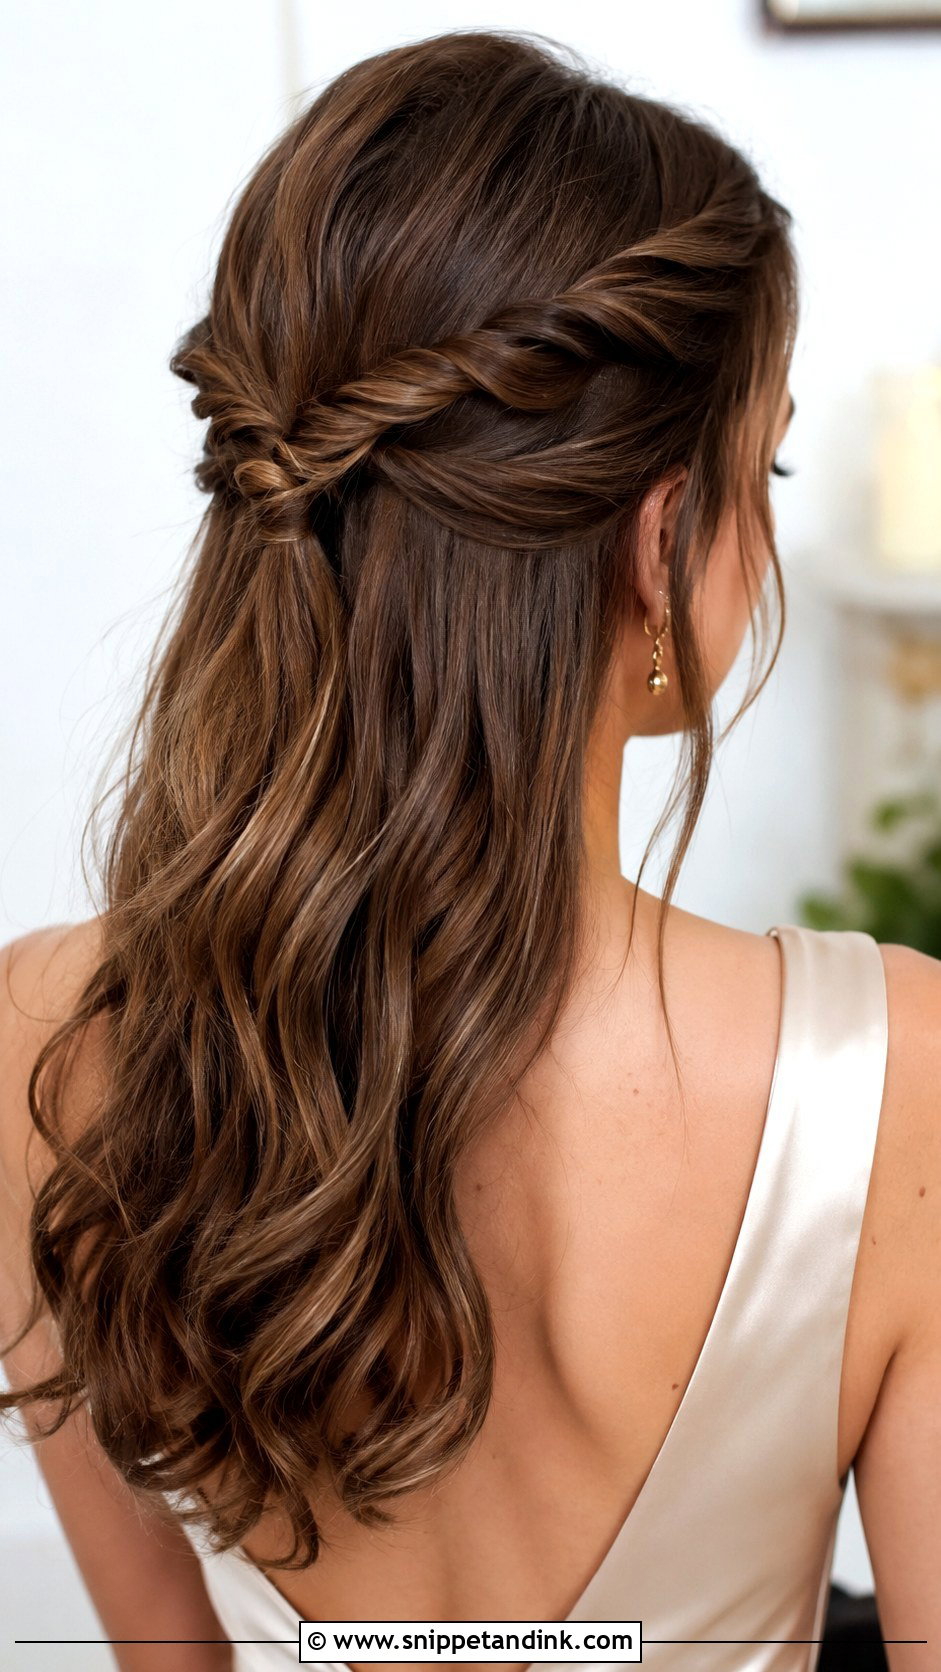
If braiding defeats you, start here. Twist two sections clockwise, then wrap them around each other counterclockwise, and the opposite directions lock the rope so it won’t unravel. Secure at the crown with a small elastic. The most common mistake I see is letting go of one strand mid-twist, which unwinds the whole thing. Hold both strands taut until the elastic is on.
8. Half-Up Half-Down With Curtain Bangs
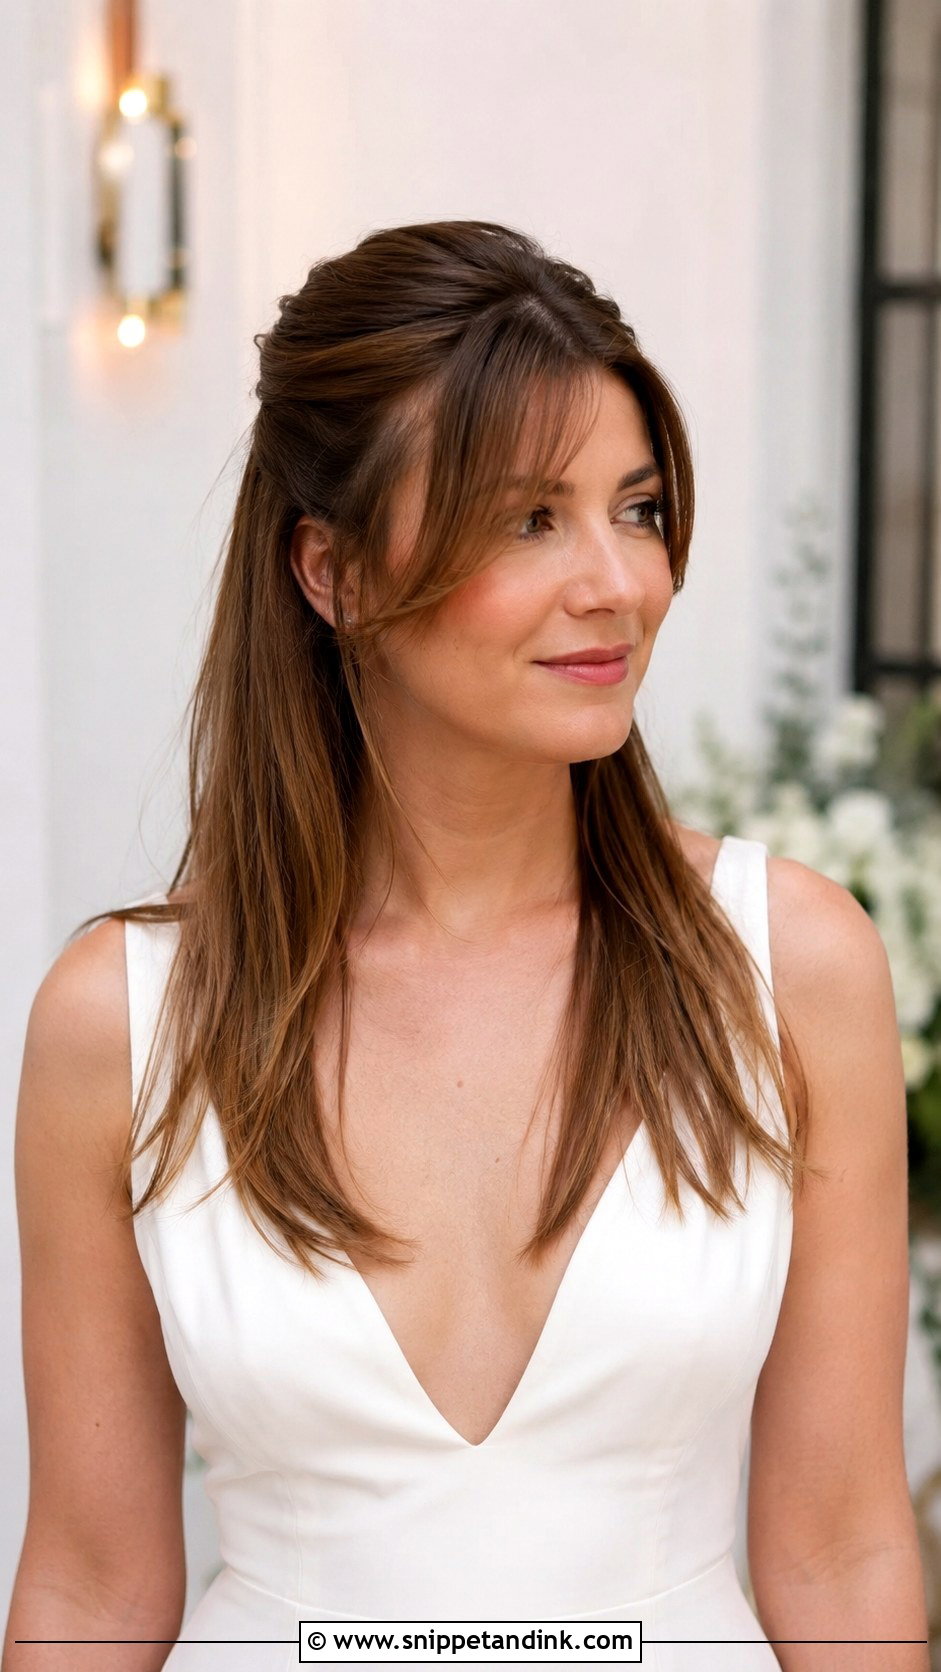
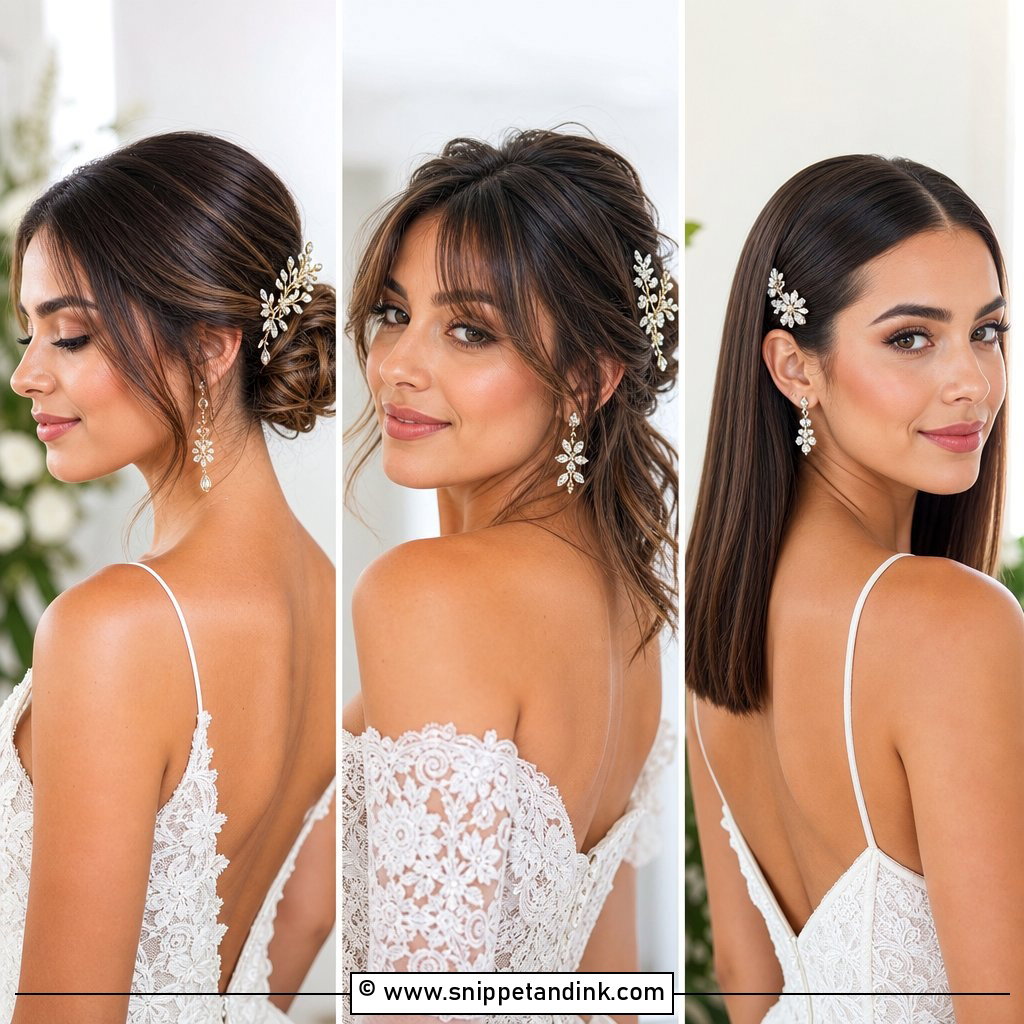
Curtain bangs do most of the face-framing work, so the half-up behind them can stay simple. Blow-dry the fringe over a round brush first, pulling it straight down then rolling it out to each side, or it will sit flat by noon. Pull the top section back loosely behind it; tight tension at the crown tugs the bangs out of place. On a humid day, set the bangs with a velcro roller while you do your makeup.
9. Half-Up Knotted Style
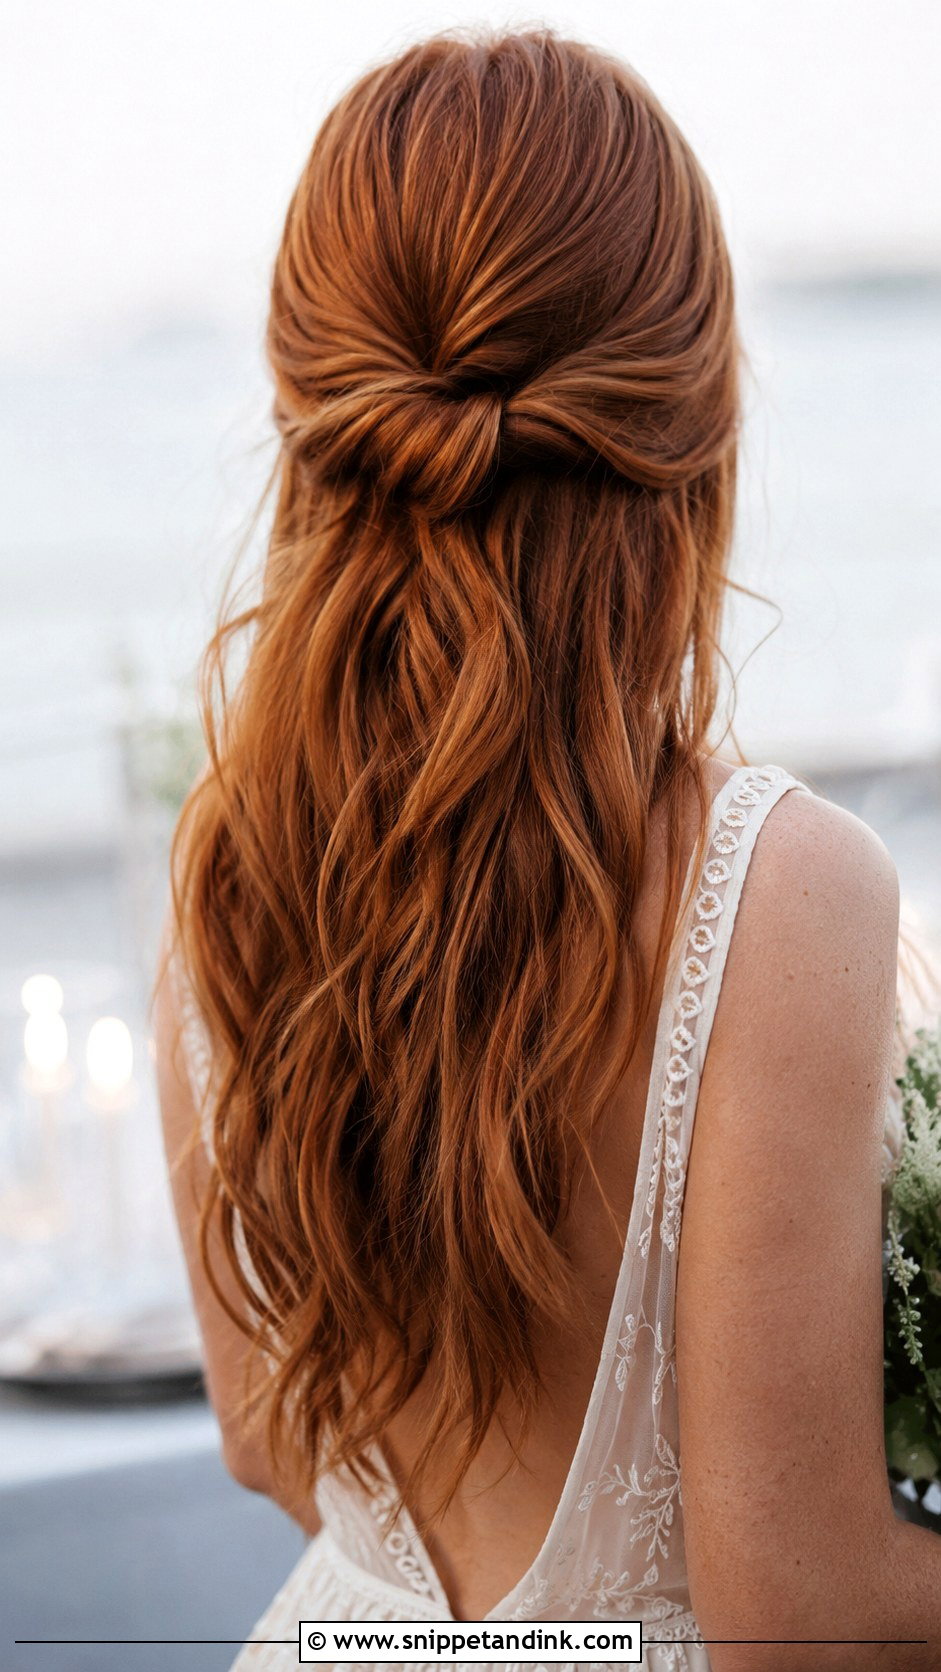
This is literally a knot: take a section from each side and tie them once at the back, then hide two pins underneath to anchor it. It needs hair with a bit of grip, so clean, silky hair should get a texture spray first or the knot will loosen on its own. Medium length is about the minimum for it to tie at all. I’d skip it on very blunt bobs, where the ends tend to stick straight out of the knot.
10. Half-Up Braided Crown
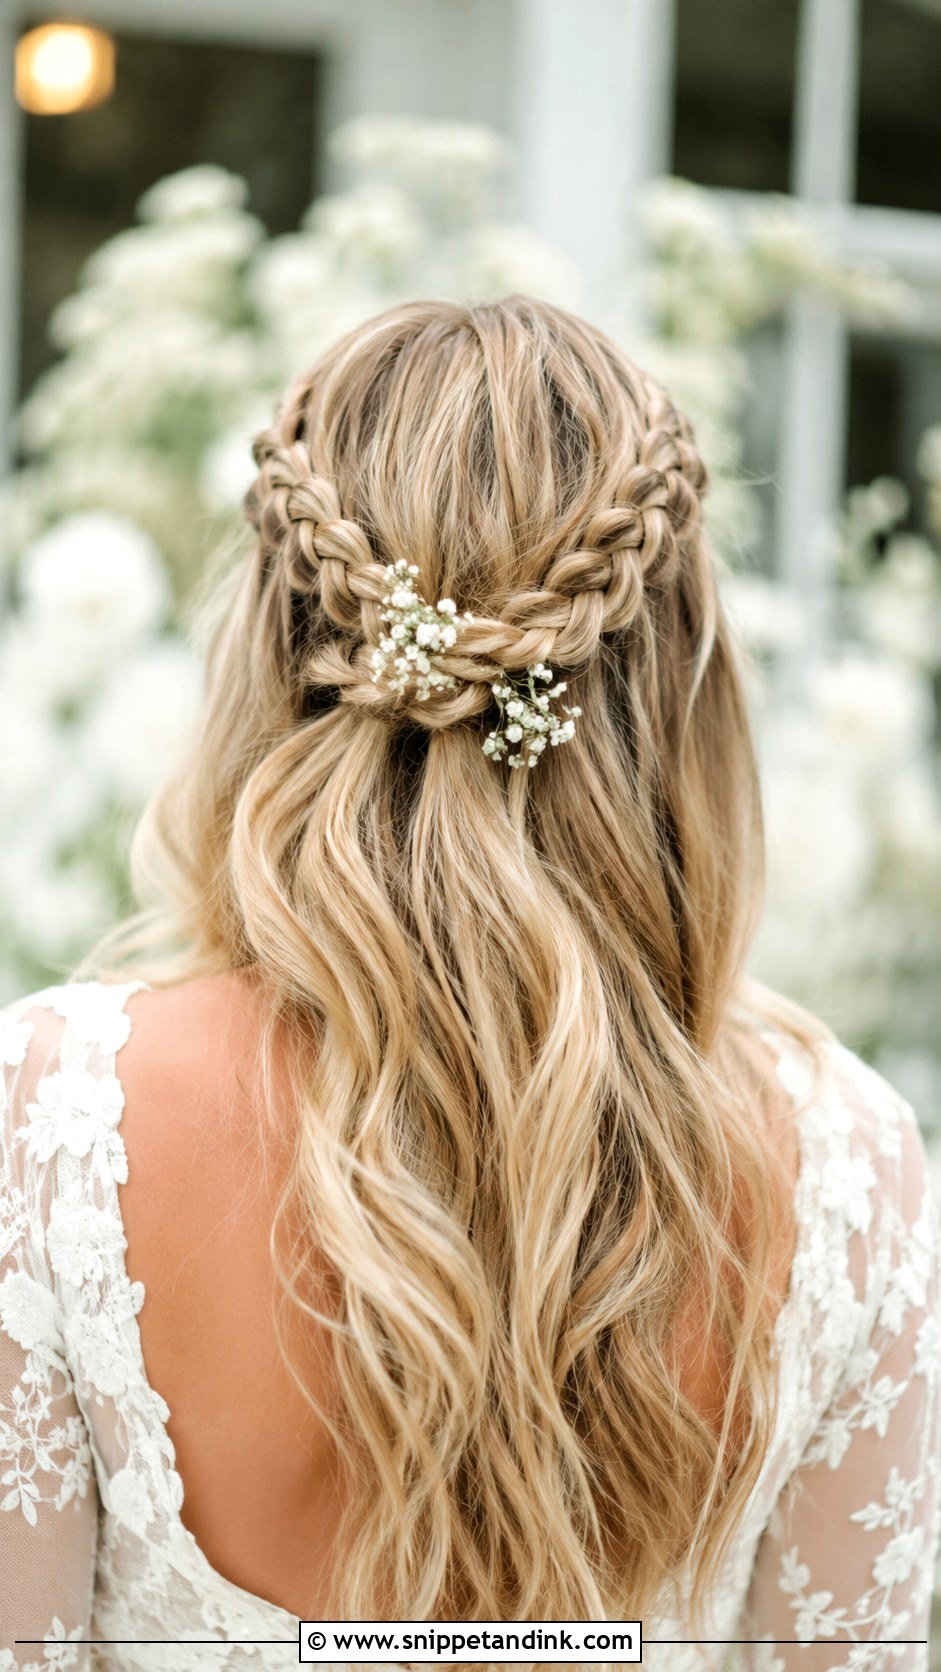
A braided crown here means two small side braids brought back and pinned across the back under the loose hair, not a full braid around the head. Braid each side loosely, cross them at the back, and pin each tail under the opposite braid so the ends disappear. Pinning underneath, where the pins are hidden by the braids themselves, is what holds it. A sprig of baby’s breath tucked into the join is the classic finish and stays fresh for hours.
11. Half-Up With Pearl Pins
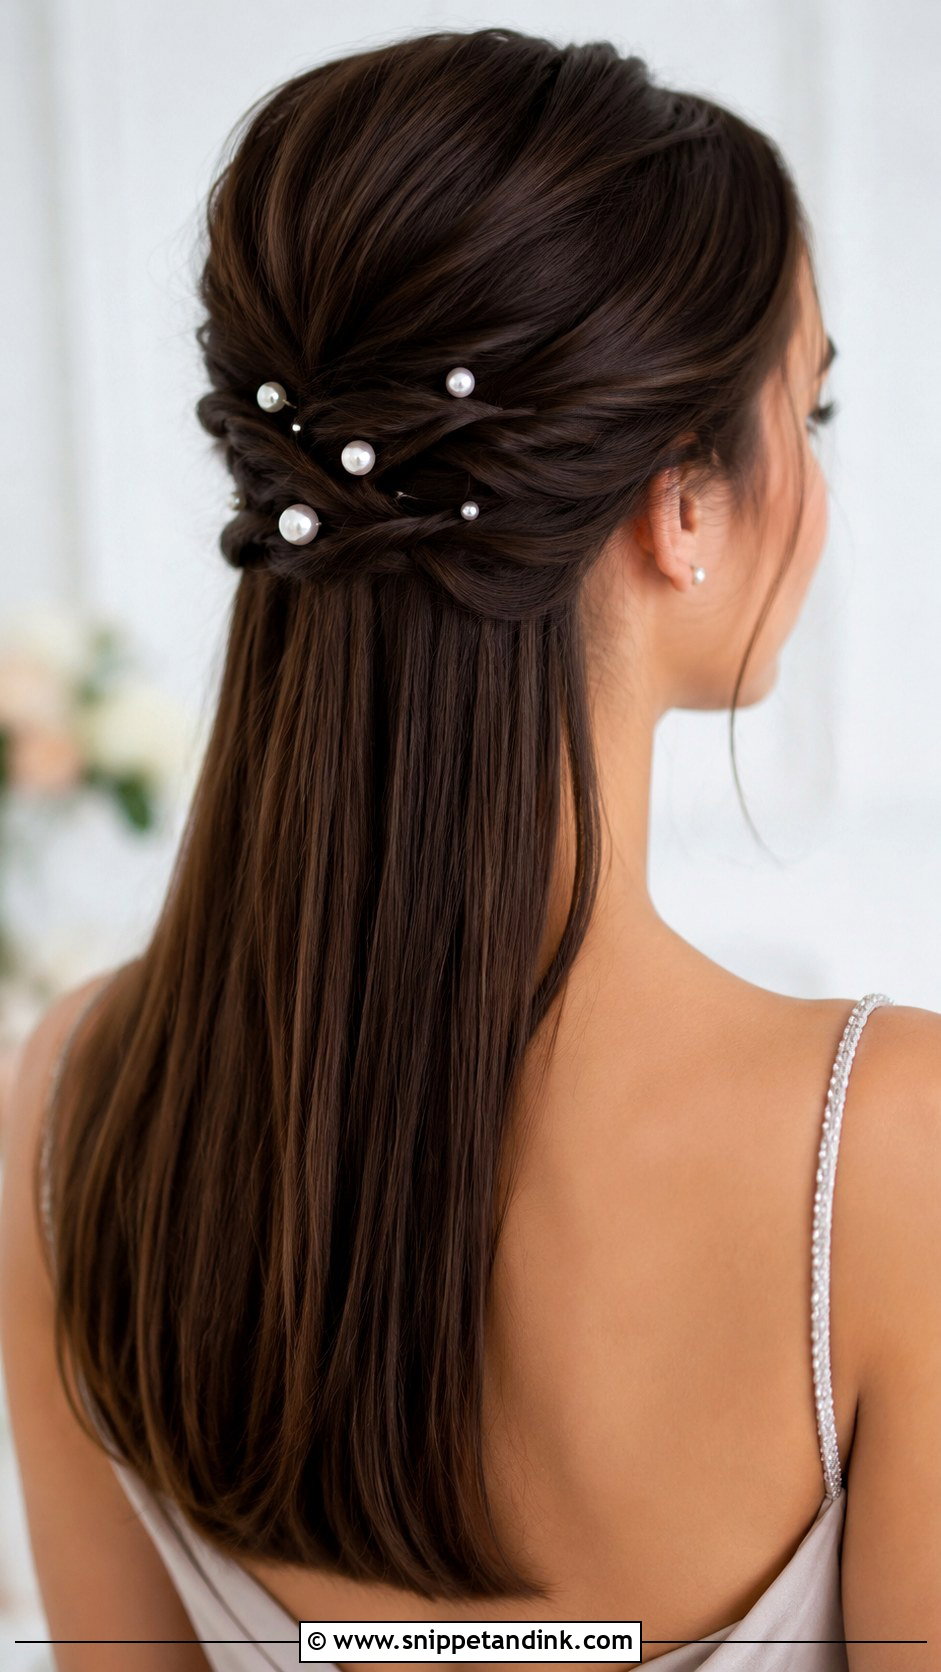
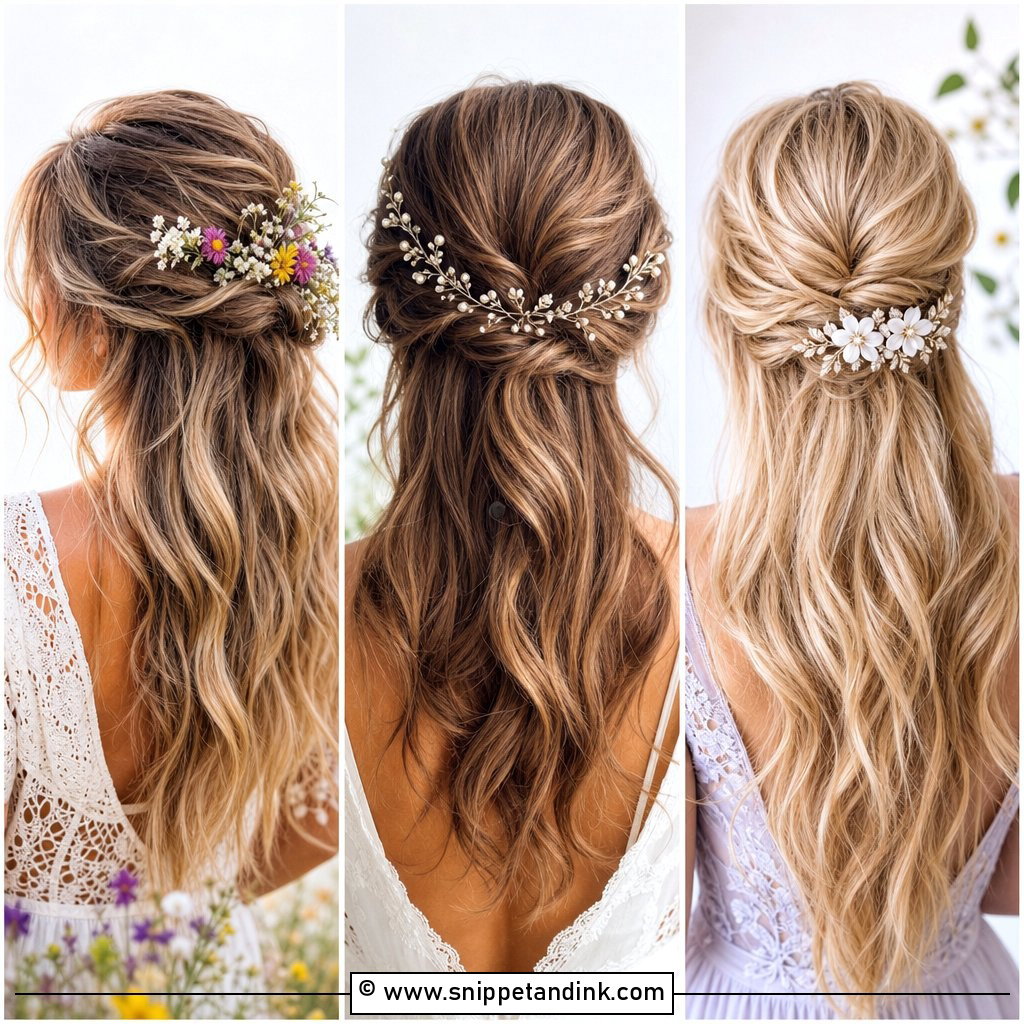
Pearl pins let you get away with a very basic base, which is useful when you’re doing your own hair in a hotel bathroom. Twist the top section back and clip it, then slide the pins in at slightly different angles in a loose cluster around the clip. Straight lines of pins look rigid in photos. Slide-in pins with a small grip ridge stay put far better than smooth decorative ones, which tend to work loose as you move your head.
12. Half-Up Voluminous Style
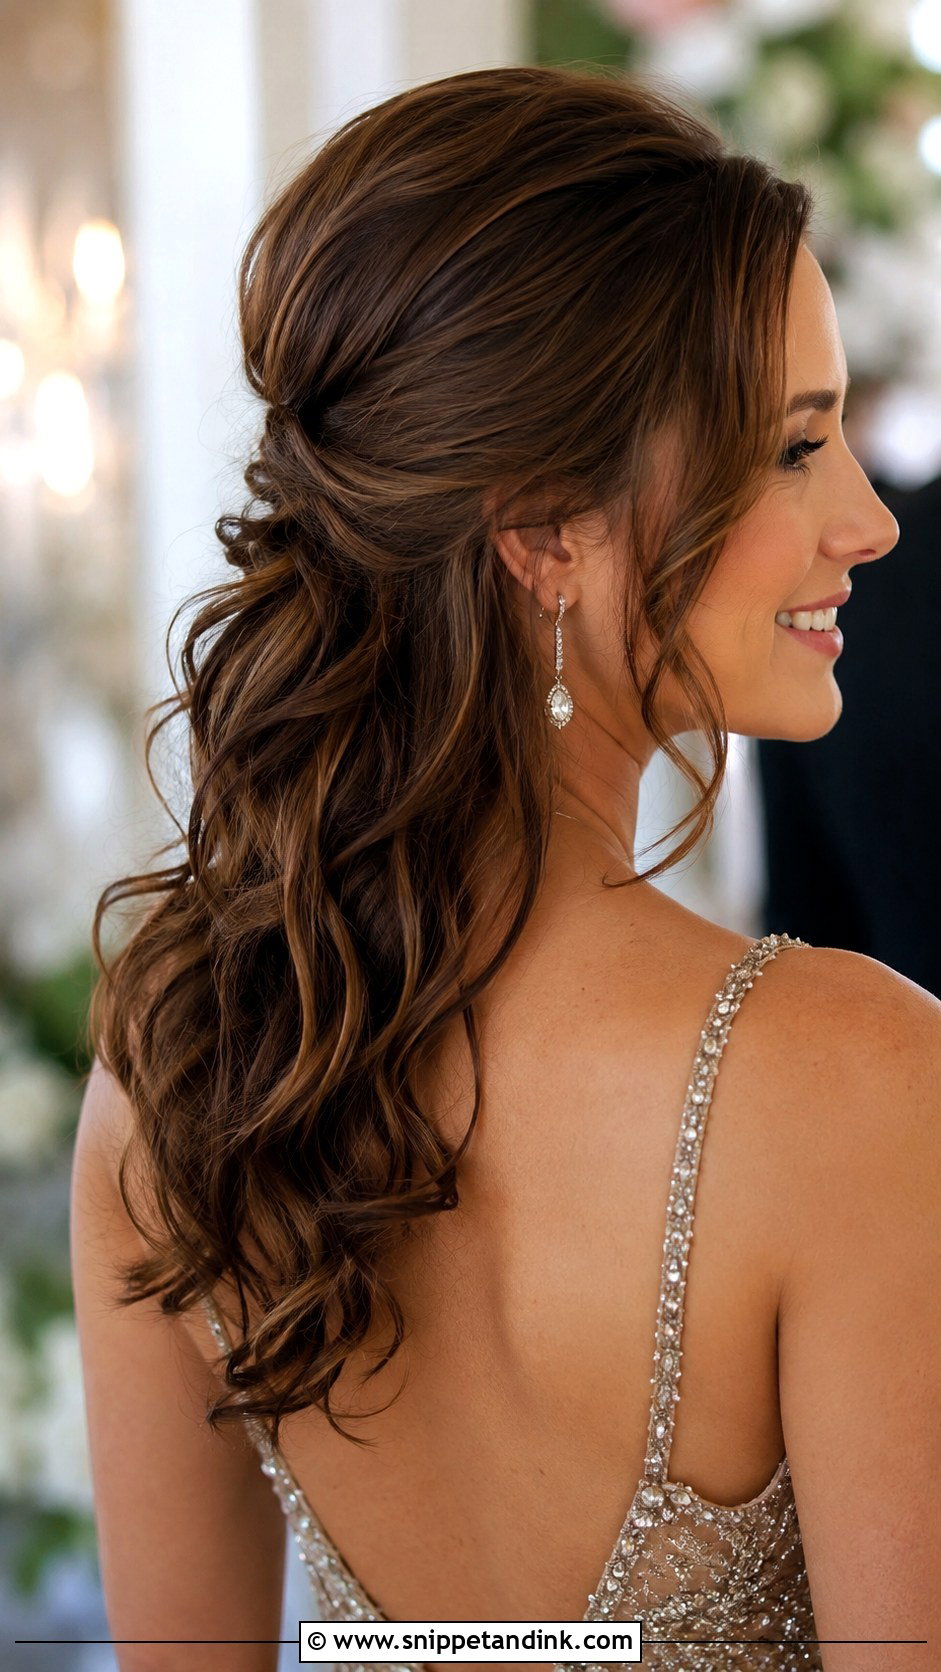
Height at the crown suits evening receptions and makes a round face look longer. Backcomb small sections at the root with a fine comb, smooth the top layer over them, and then pull back into the half-up. Don’t tease the very front strip of hair along the parting or the backcombing will show. A strong-hold spray at the root, not on the lengths, keeps the lift until the speeches without making the curls underneath crunchy.
13. Half-Up With Side Braid
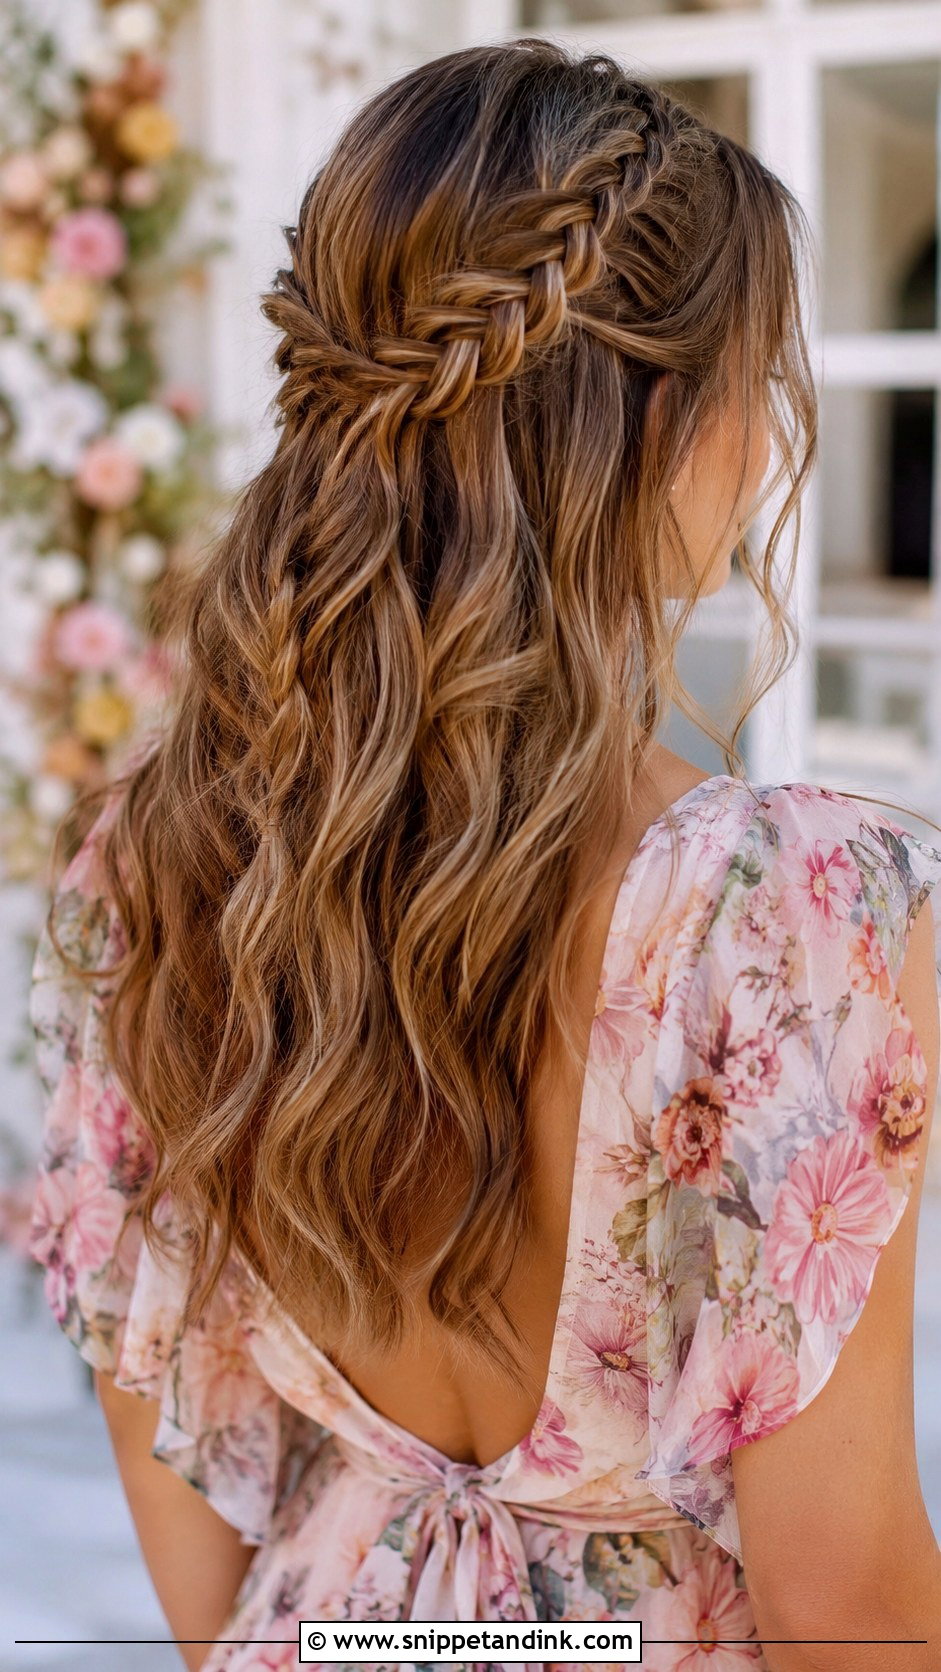
One braid on one side gives you asymmetry without much effort. Start a loose three-strand or Dutch braid at the temple on your heavier side of the part, work it back toward the crown, and pin it in with the rest of the top section. Leave a few face-framing pieces on the opposite side so the balance isn’t lost. A tiny flower at the base hides the elastic. It’s a good choice for glasses wearers, because a braid on the side stays clear of the arms.
14. Half-Up Twisted Half Ponytail
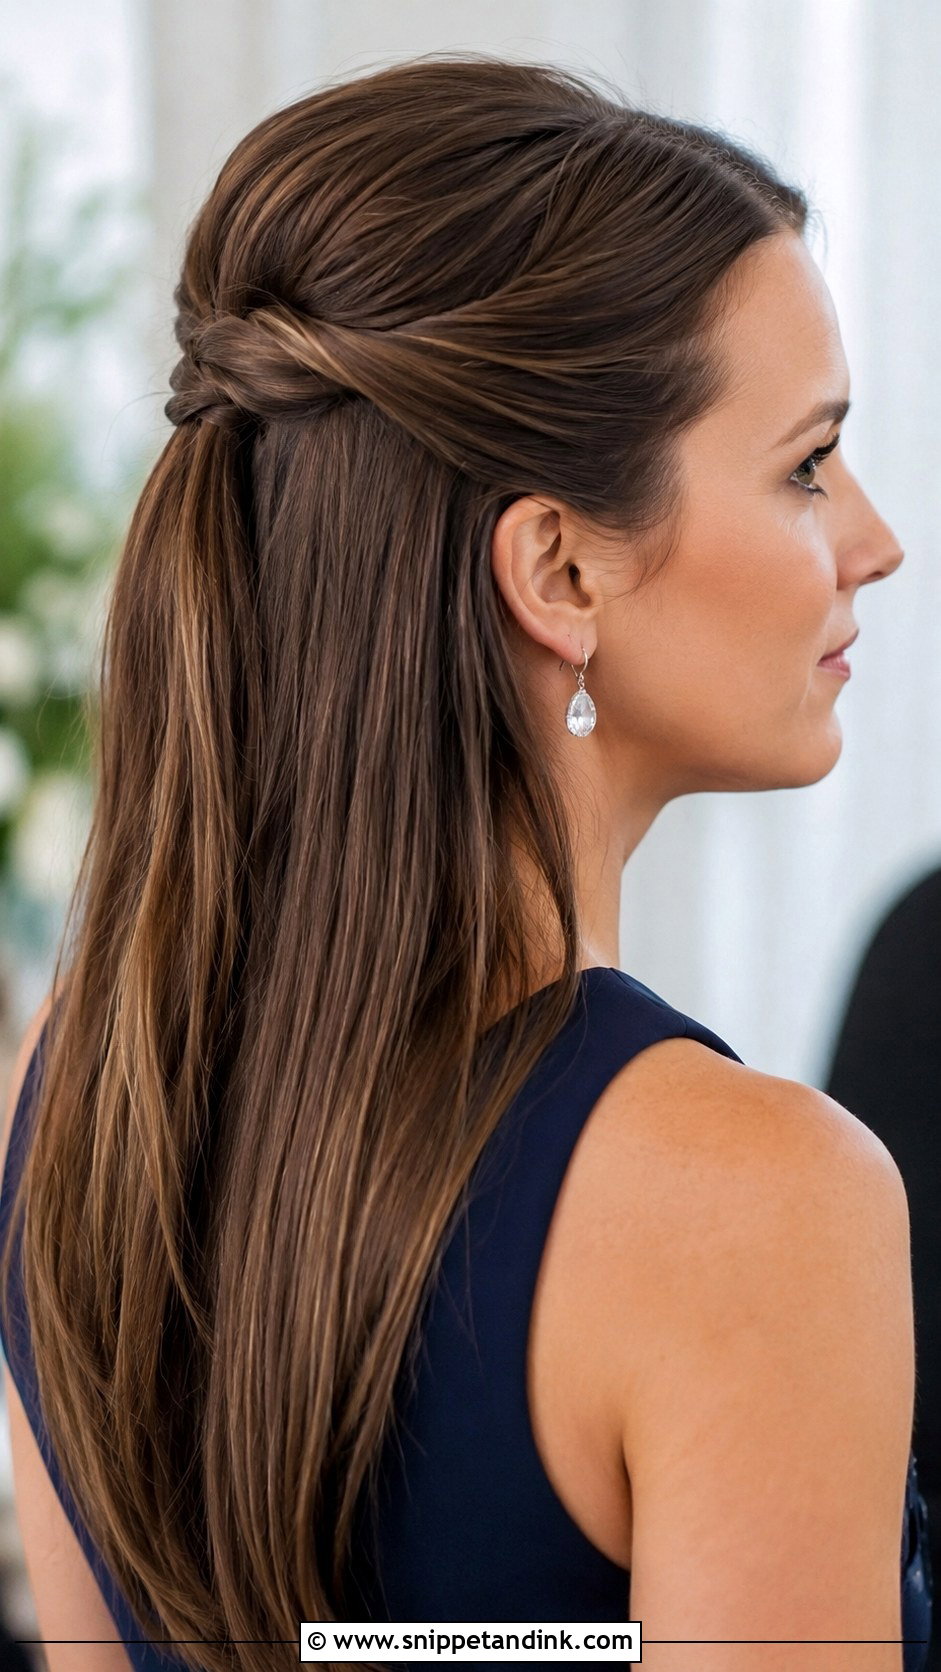
This is the most reliable style on the list, and the one I’d pick for a guest who’s also helping with errands on the morning. Gather the top section, twist it once or twice, and fasten it with an elastic at the crown. Then wrap a small piece of hair around the elastic and pin it underneath to hide it. It works on straight, wavy and curly hair and survives car journeys, hugs and a bit of dancing without much drama.
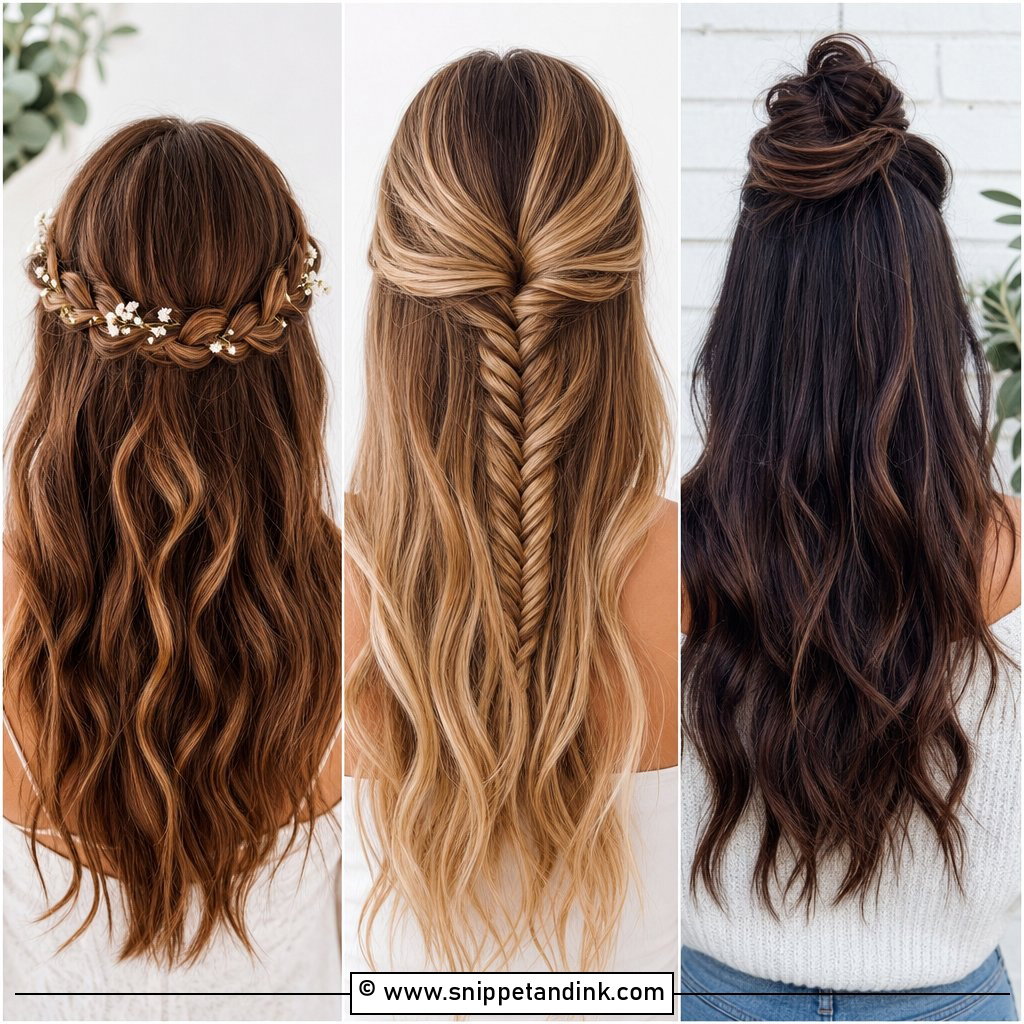
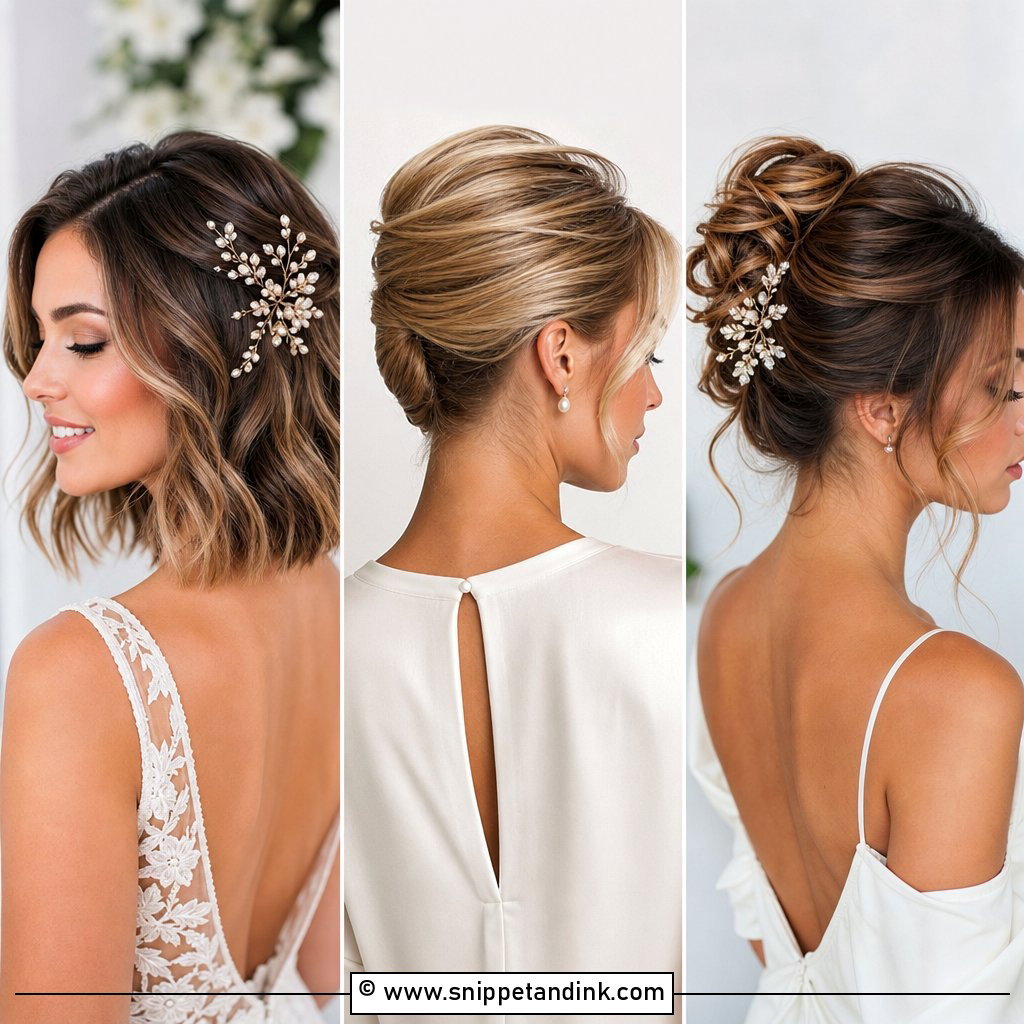
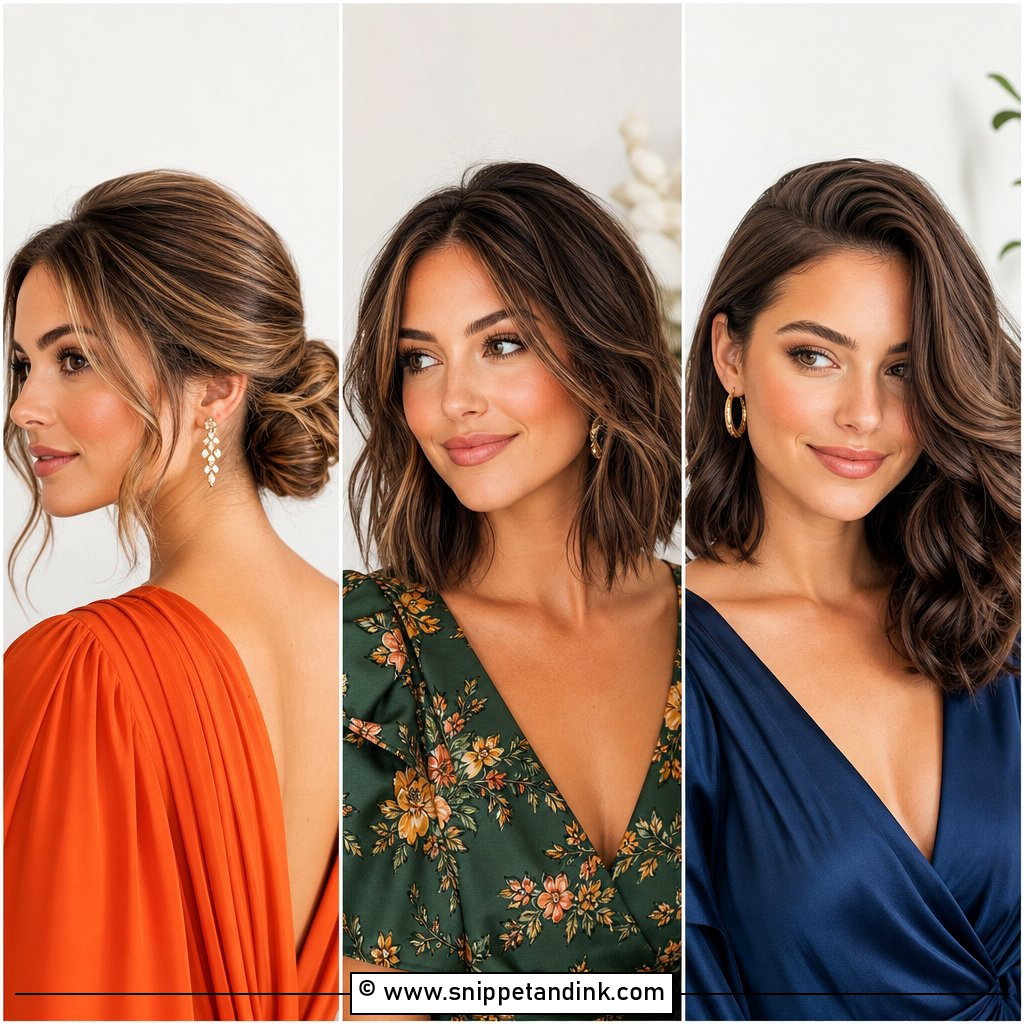
15. Half-Up With Loose Tendrils
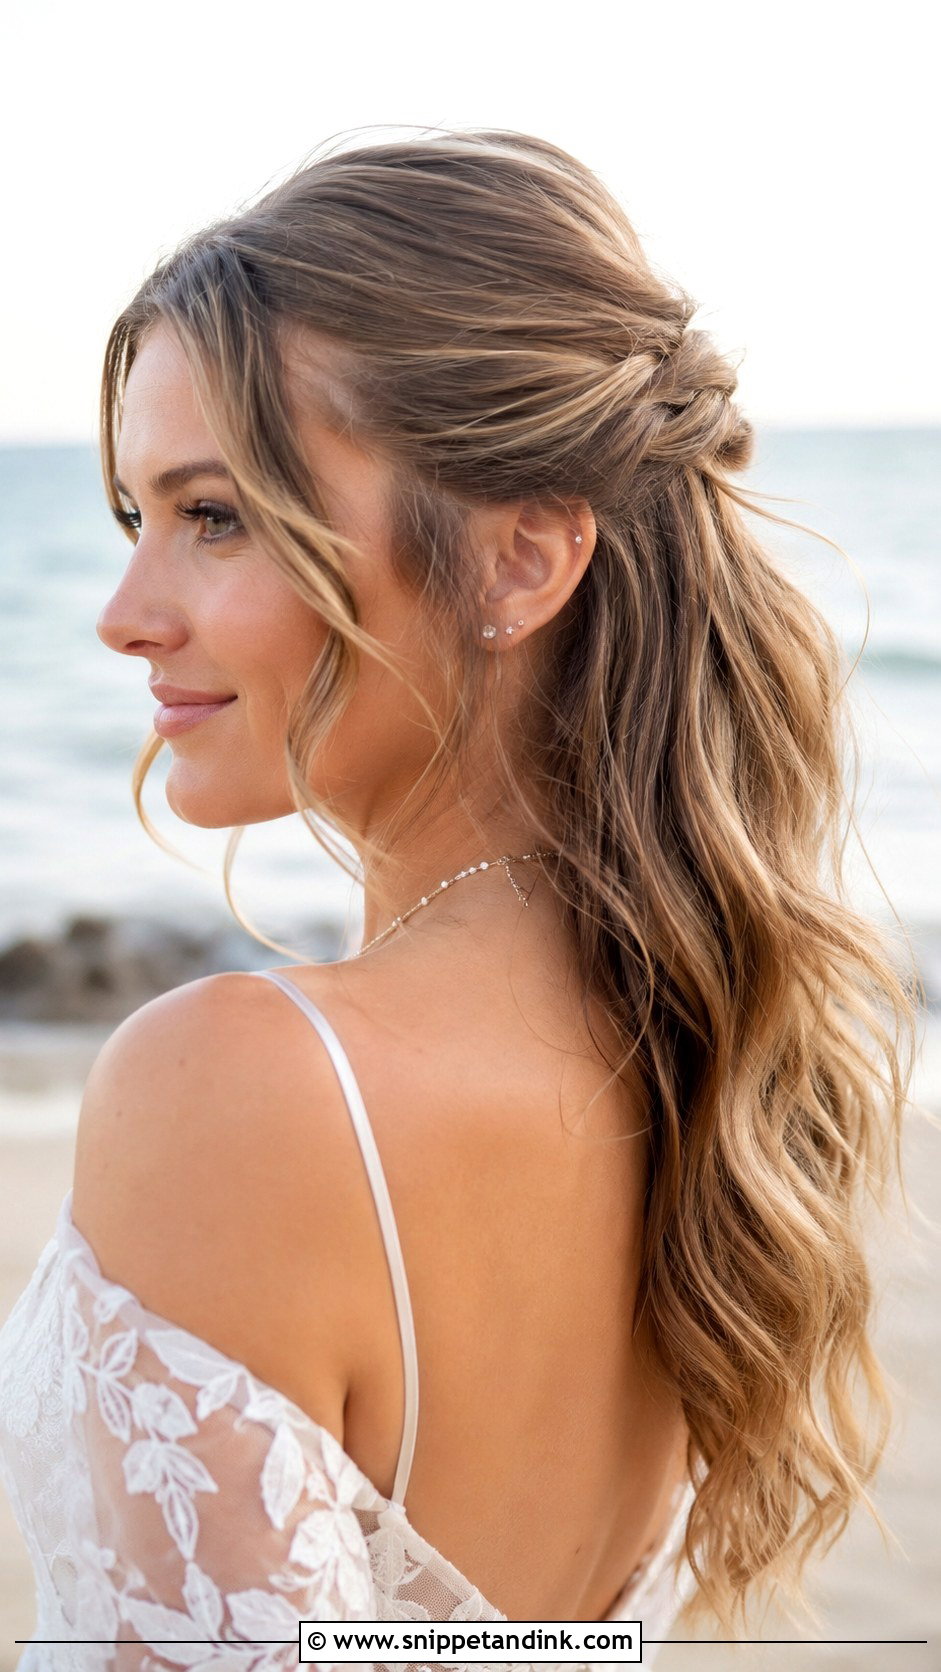
Tendrils are the detail people get wrong most often. Pull them out after the style is pinned, take them thinner than you think, and curl them away from the face with a small iron or the tip of a larger one. Thick pieces left out around the face just look like hair that escaped. A light mist of spray holds them, and two or three per side is plenty. This finish suits garden and beach weddings, where a tidy-but-loose result matches the setting.
16. Half-Up Boho Style
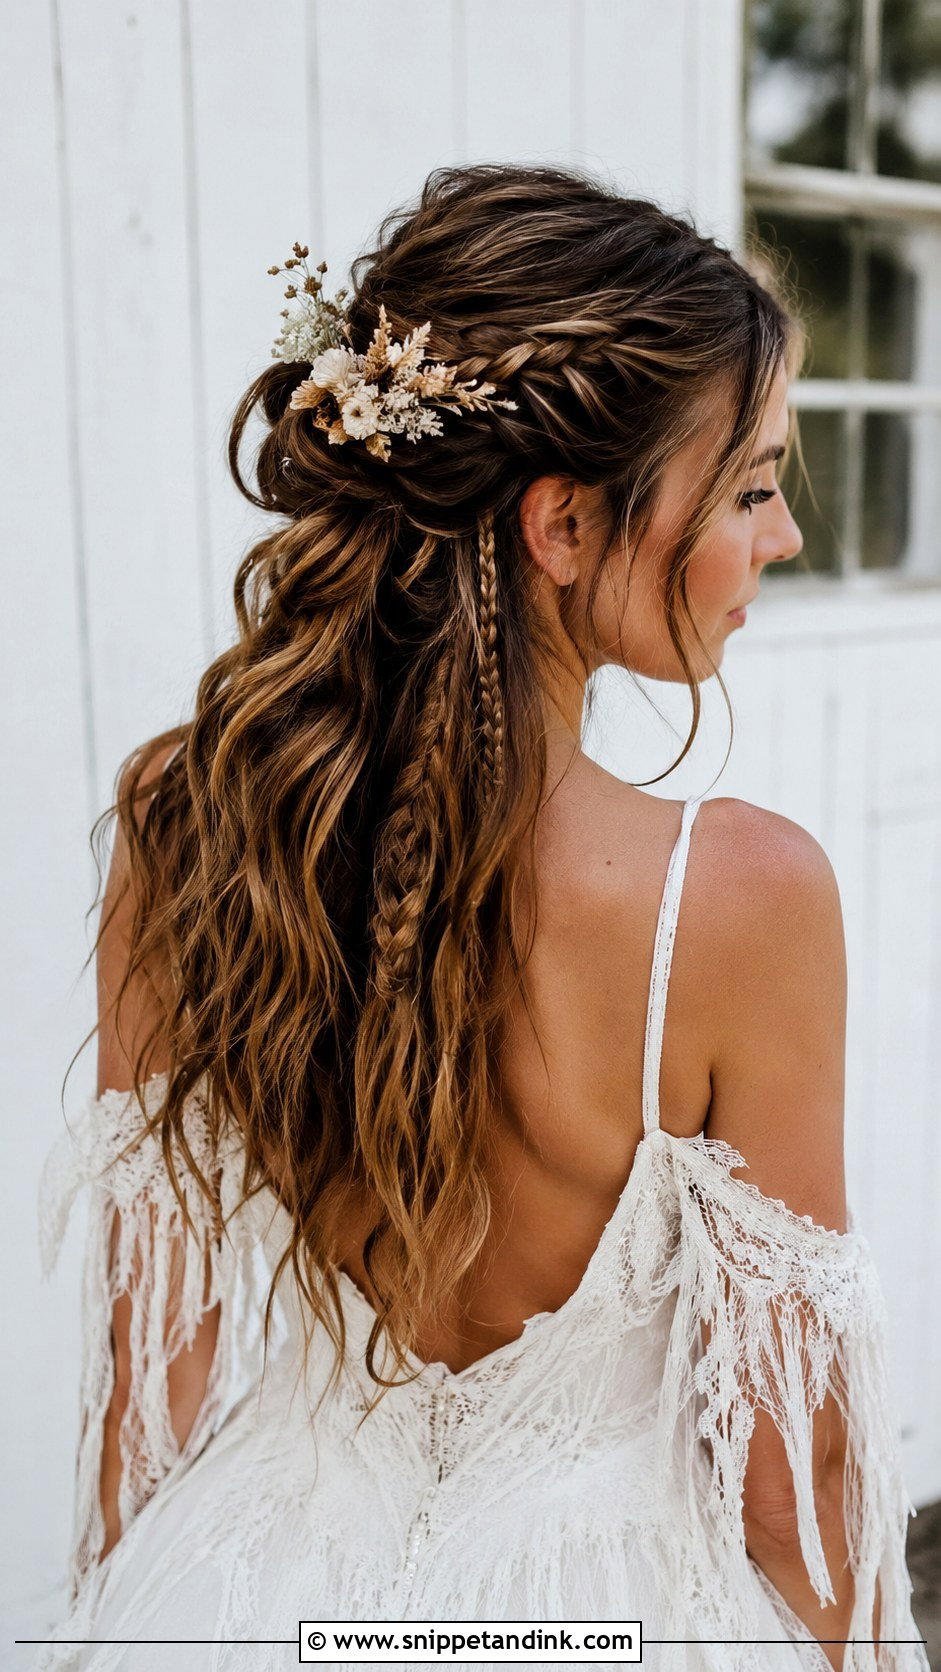
Boho half-up is really a mix of small braids, twists and waved lengths gathered loosely at the back and pinned. It’s forgiving, because uneven texture is part of the look, and shoulder-length hair keeps it in proportion rather than turning into a tangle. Dried flowers or a fine chain accessory finish it off. The risk is overdoing it: pick two techniques, say one braid and one twist, rather than five, or it reads as cluttered from a distance.
17. Half-Up Sleek Style
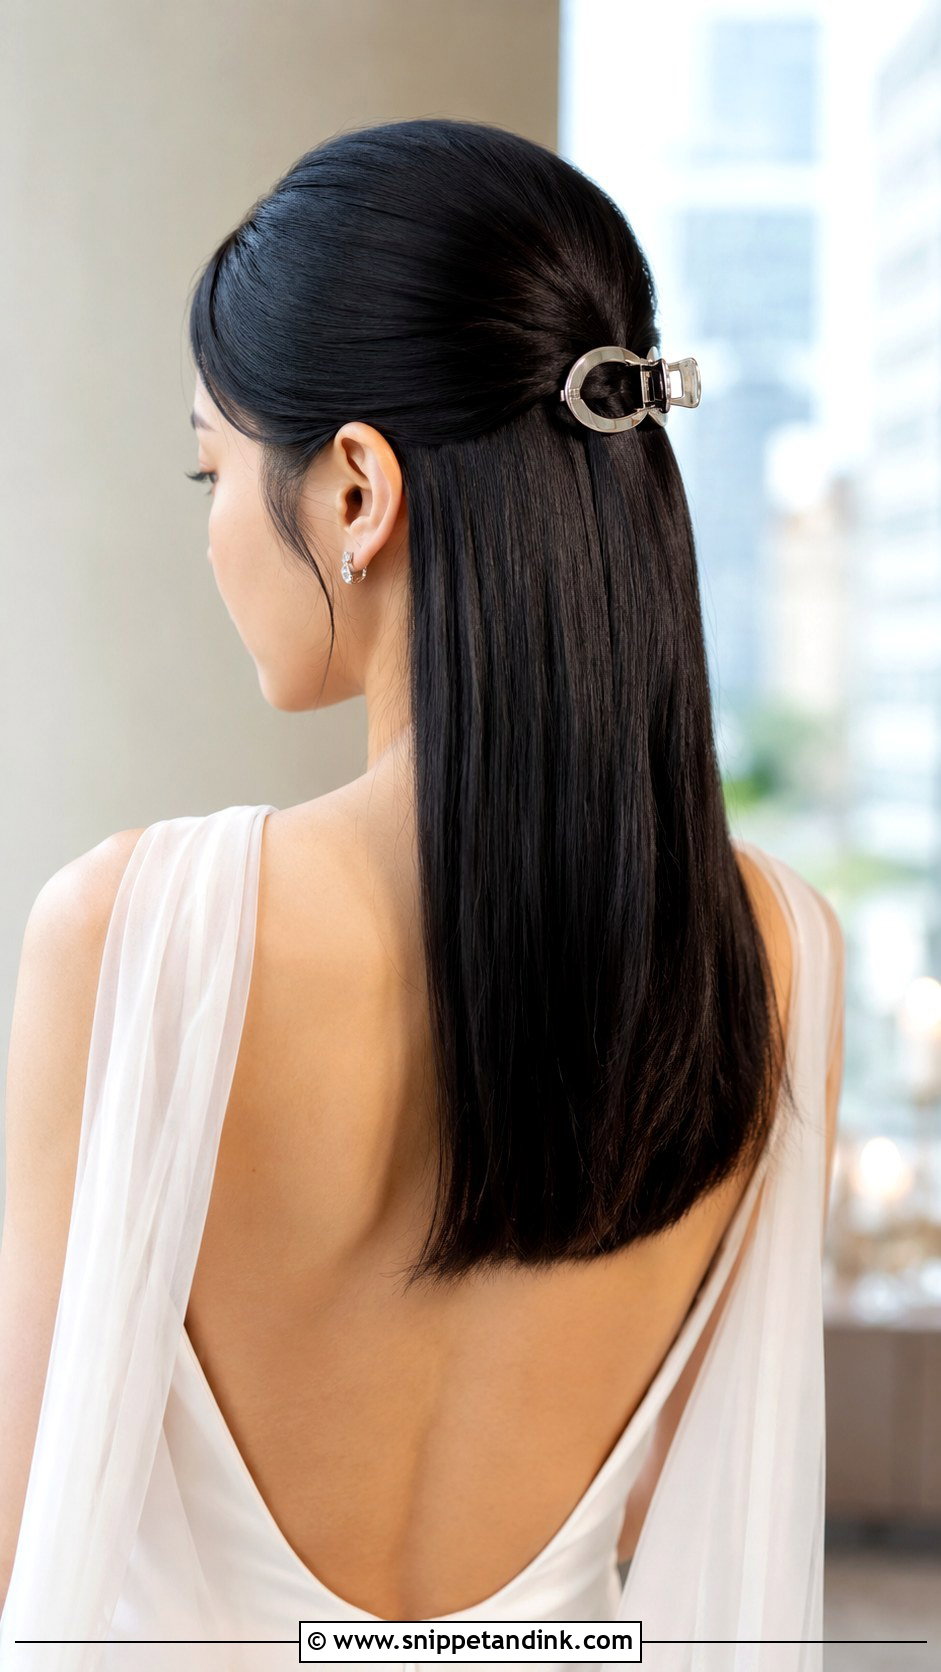
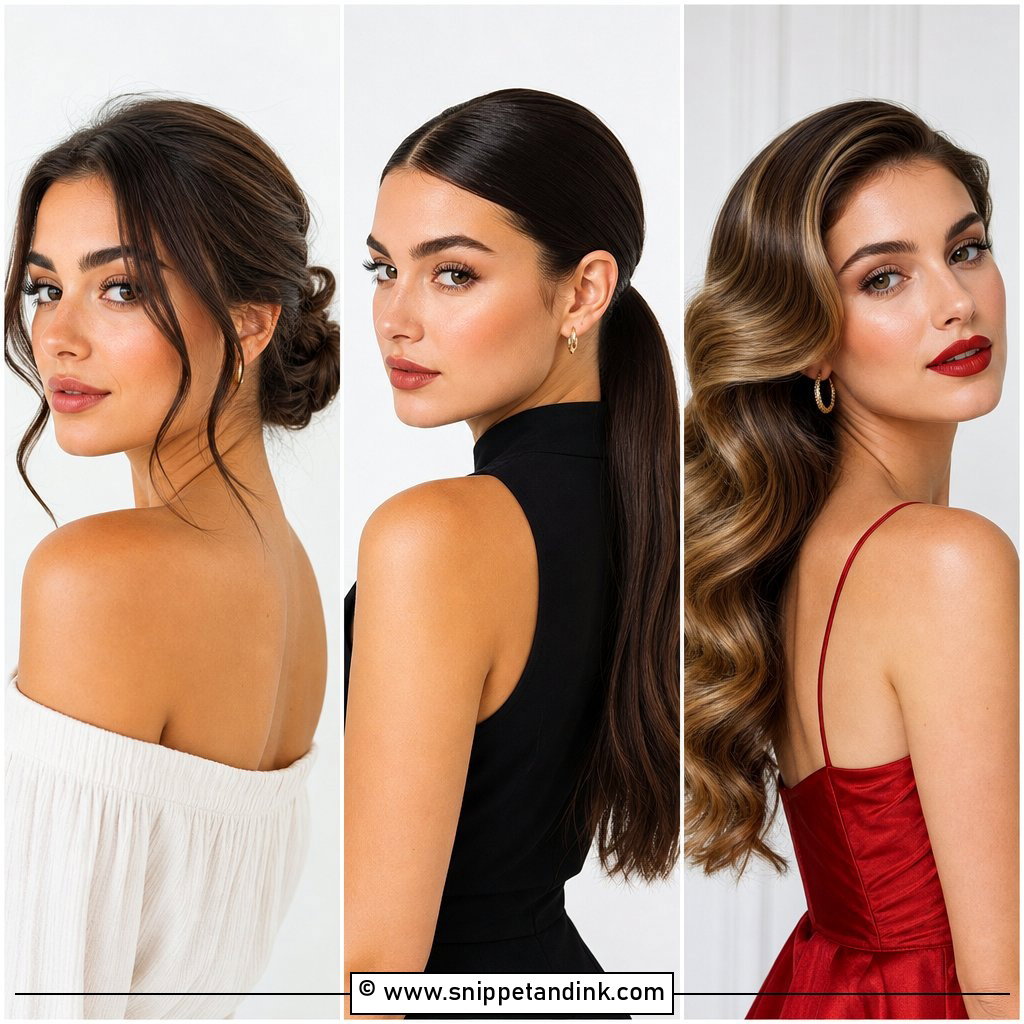
Sleek styles show every mistake, so this is the one to practise twice. Smooth the top section flat with a fine-tooth comb and a few drops of shine serum, then secure it tightly at the crown. Flat-iron the lengths below. Make sure the hair is completely dry before you smooth it; any dampness at the root frizzes up within an hour. A thin metallic clip over the elastic is all it needs. I’d steer naturally very curly hair away from this one unless you’re used to wearing it straight.
18. Half-Up Waterfall Braid
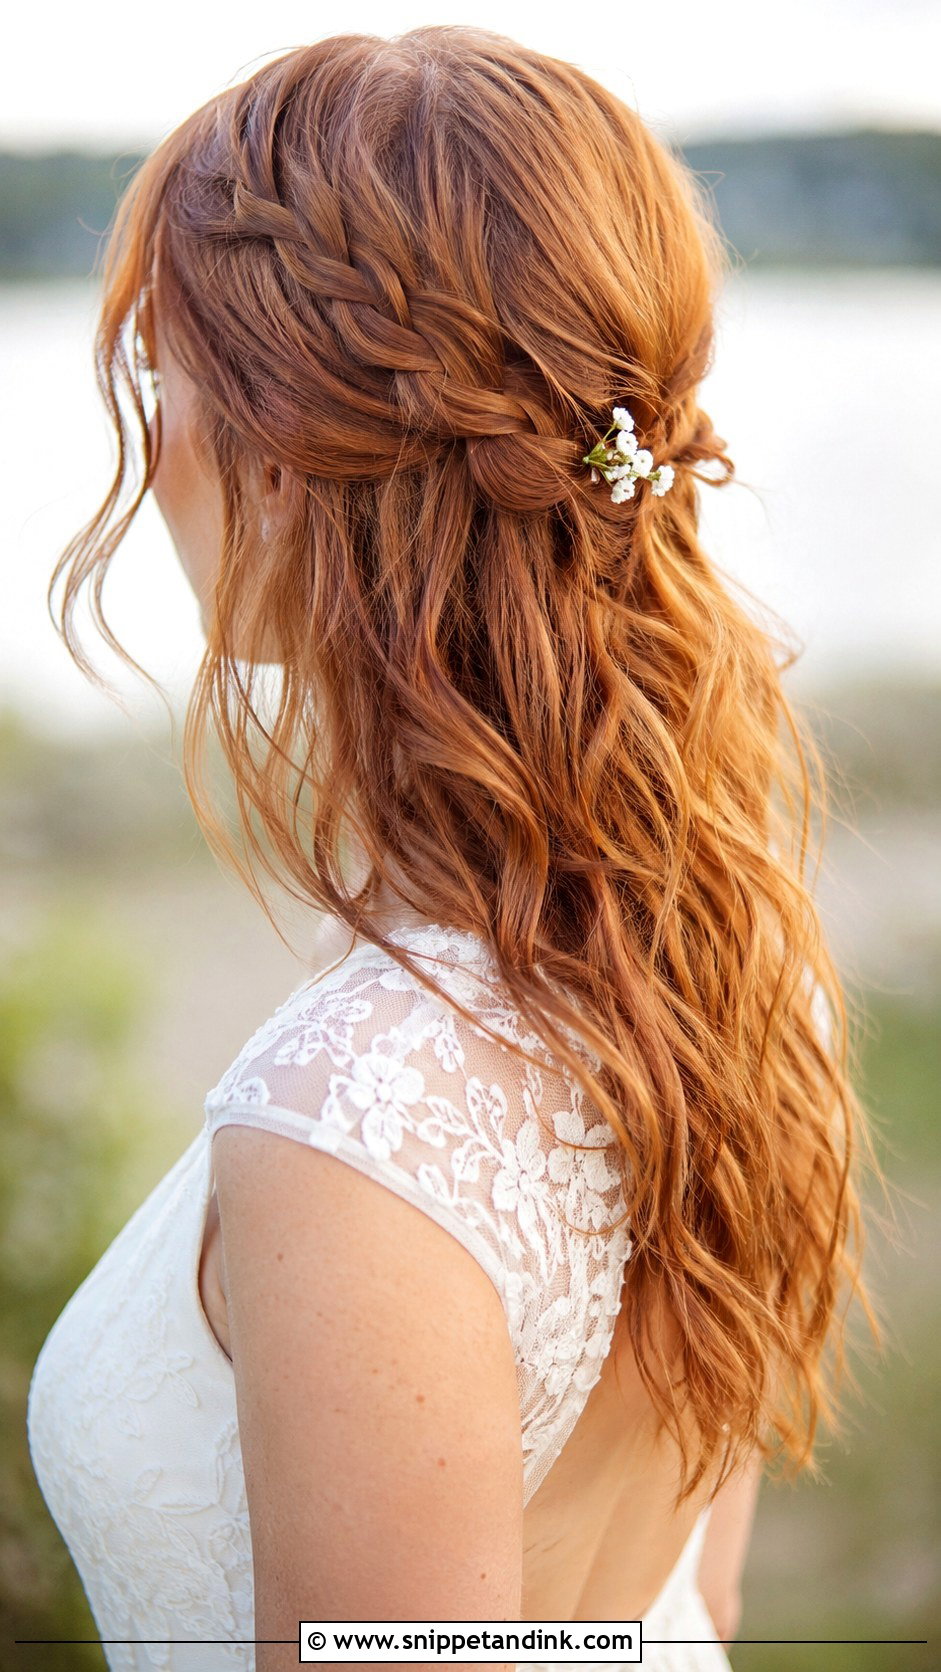
A waterfall braid drops a strand every time you cross over, so the loose pieces fall through into the hair below. Start at one temple and work across the back to the other side, then pin. It’s the hardest style here to do on yourself, mostly because your arms get tired, so do it seated with a mirror behind you. On shoulder-length hair keep the braid high, above the ears, or the dropped strands won’t have enough length left to fall nicely.
19. Half-Up With Headband
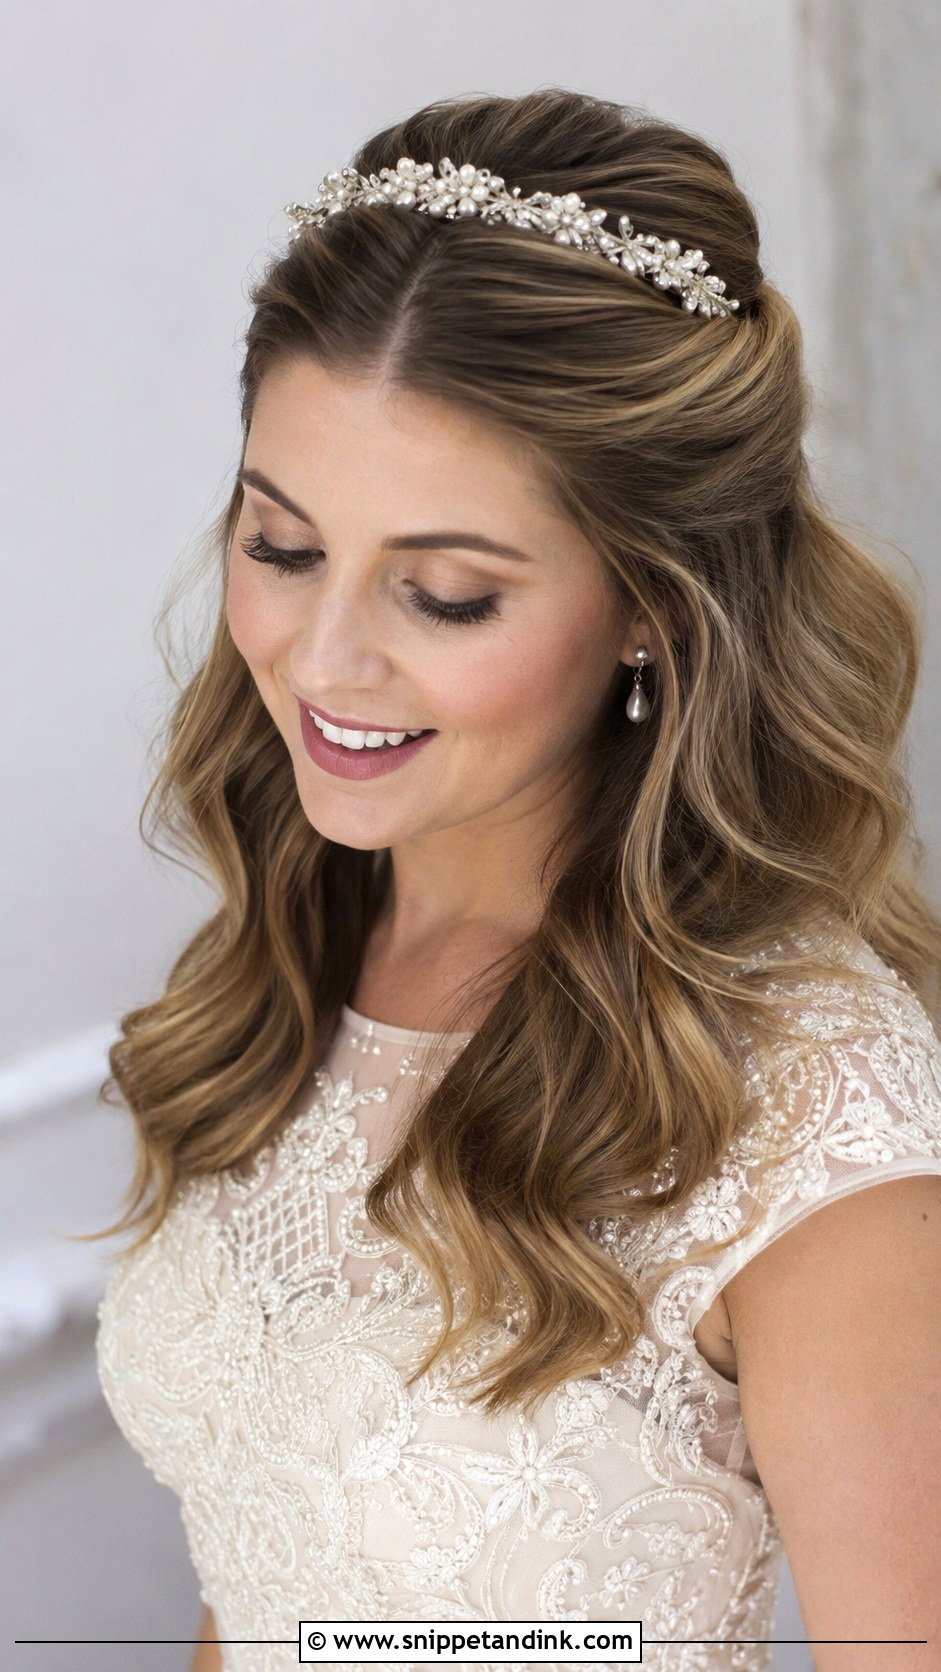
A pretty headband is the low-effort option, and it does most of the work for you. Put the band on first, then lift the top section and pull it back gently behind it so the band sits slightly forward. Rigid metal bands can press behind the ears after a few hours; a padded or wrapped band is kinder for a long day. Match the finish to your jewellery, pearl with pearl or gold with gold. Leave the bottom half waved so the outline isn’t too severe.
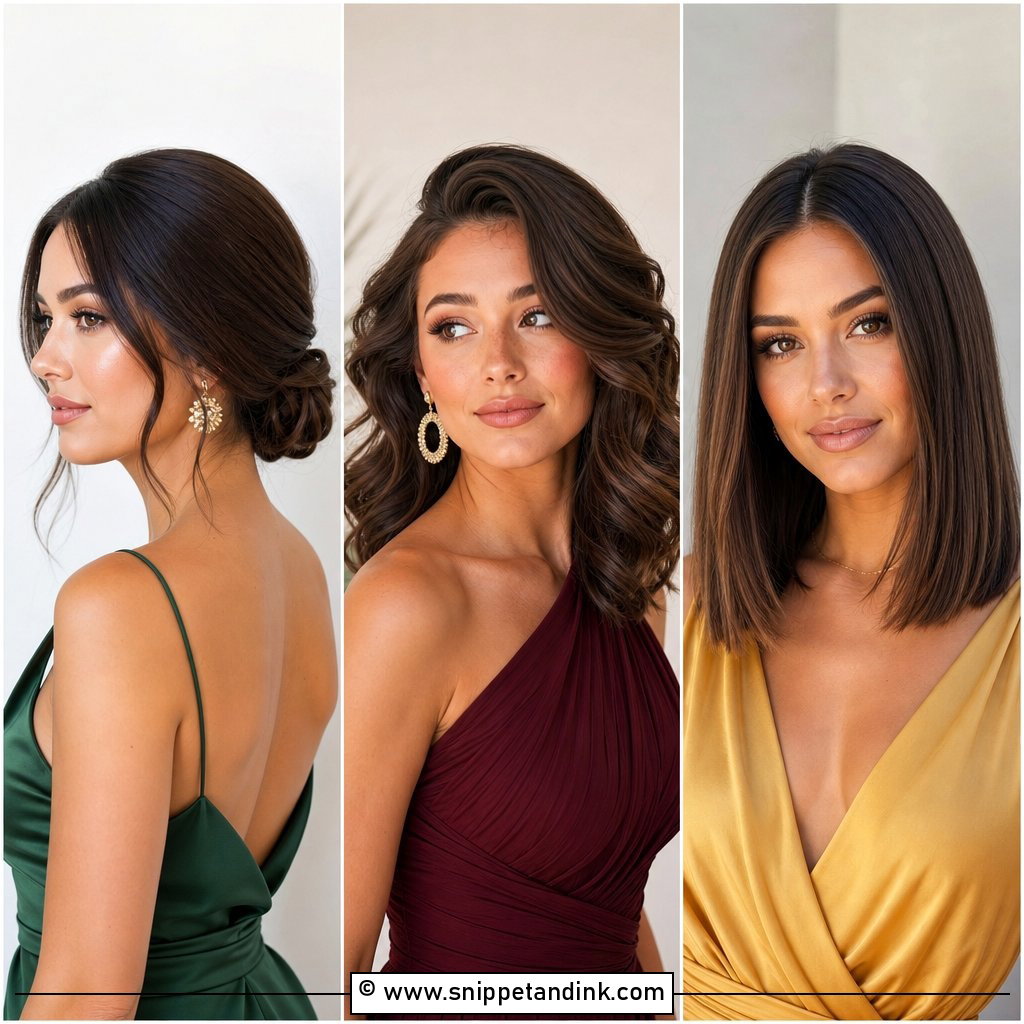
20. Half-Up Twisted Side Style
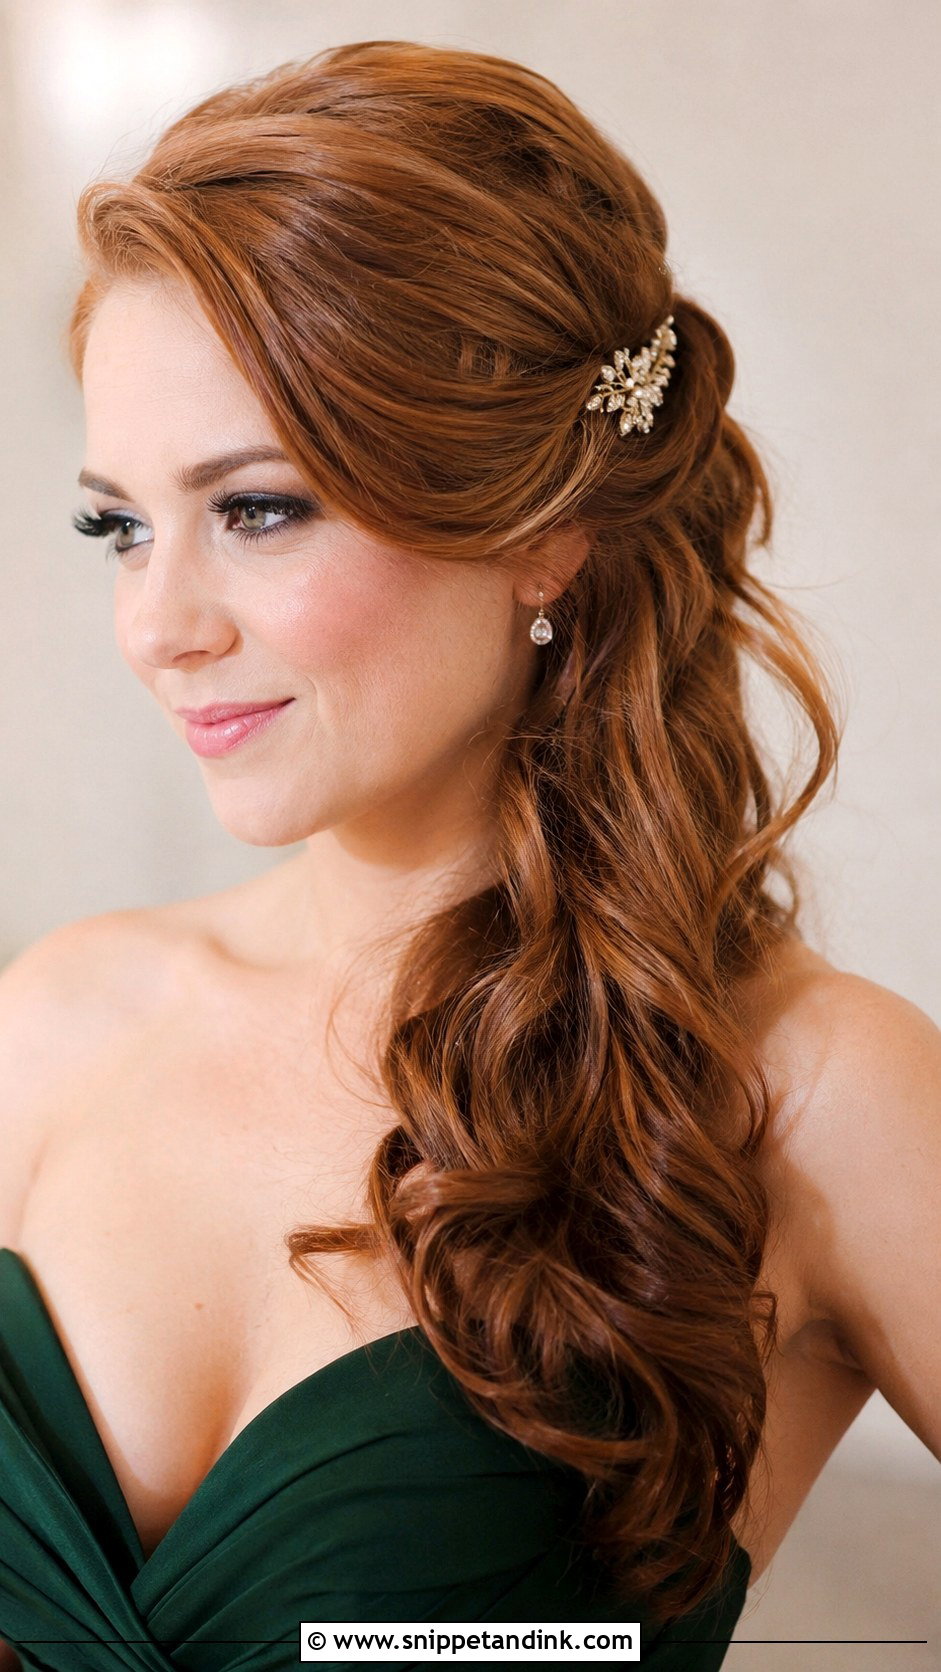
Shifting the half-up to one side shows off the neckline and jaw. Twist the top section toward one side and pin it just behind the ear, then let the lengths fall over the opposite shoulder. Put a decorative pin where the twist ends. On this length, the hair falling to one side will rest on your shoulder and flip outward, so curl those ends under rather than out. This swept-aside look holds better if you anchor the twist with two crossed pins under the decorative one.
Bobs, Lobs and Layers: Which of These Will Your Cut Allow
The haircut matters as much as the length. Two people with hair at the collarbone can have completely different options depending on how it was cut.
Blunt lobs
One-length cuts are the easiest for sleek styles, the bubble ponytail and the headband. Everything gathers cleanly. They struggle with the knot and the waterfall braid, because the blunt ends stick out rather than tapering.
Heavily layered cuts
Short layers around the face fall out of braids and fishtails. Choose the twisted crown, the rope braid, the tendrils or the boho style, where loose pieces look intentional. A small amount of pomade on your fingertips while you work keeps the shortest layers tucked.
Natural curls and coils
Curly hair holds half-up styles far better than straight hair because it grips itself. Style it on the day you’d normally refresh your curls, not right after a full wash, and skip the curling iron entirely. Twisted crowns, the twisted half ponytail and the voluminous crown suit curl texture especially well.
A Twenty-Minute Rehearsal That Saves the Morning
Try your chosen style once, a few days ahead, and time it. Most people take twice as long as they expect on the first go, and that is far better found out on a Tuesday than with a car waiting outside.
Wear the style for a couple of hours afterward. Check whether the pins ache, whether the curls dropped and whether your earrings catch on any loose sections. Take a photo from behind with your phone timer so you can see the back, which is where gaps and stray pins show up. Then pack a small kit for the day: six bobby pins, two spare elastics, a travel hairspray and a fine comb fit in any clutch.
Three Pins, One Elastic and a Practice Run
Collarbone-length hair is easier to style than most people expect. Once the top section is anchored properly, everything else is a matter of curl and finish. If you like a twisted crown, a bubble ponytail, romantic waterfall braids or something sleeker, pick one and try it on a normal day the week before, wearing the shoes and earrings you’ll have on. That one run-through tells you more than any photo can, and it means the wedding morning is a repeat rather than a gamble.
You'll Like These Ideas:


Leave a Reply