
A bob gives me less hair to work with and far fewer places to hide a pin, which is exactly why I like styling one for a wedding. There’s no weight dragging curls flat by the speeches, and the shape of the cut does half the work before I pick up a tool. What changes is the planning: the length of your bob decides which of the styles below are realistic, and accessories need a different anchor than they would in long hair. The twenty looks here run from sleek and glossy to fully pinned up, with notes on how each one actually behaves on the day.
Your Bob Length Narrows the List Before We Start
At a consultation, the first thing I do is pull the hair back into my hand at the nape. If it reaches and stays, buns and low twists are on the table. If the back pieces spring loose, we’re looking at half-up styles, side pins or a fully worn-down bob. That one test saves a lot of disappointment with inspiration photos.
- Chin length or shorter: sleek, curly, finger wave, blunt or choppy bangs, side-swept, pinned back with accessories.
- Jaw to just below the chin: everything above plus half-up, side braid and twisted updo.
- Collarbone length (a lob): all twenty, including the low bun.
Layers matter as much as length. A heavily layered bob looks full worn down but is harder to pin up, because each layer ends at a different point. A blunt bob does the opposite: easy to style sleek, but it can look heavy in an updo unless we add texture first.
When to trim it
I’d book the last cut one to two weeks before the wedding. That’s close enough to keep the line sharp and long enough for the ends to soften and for you to learn how the fresh shape sits. Fringes are the exception: a quick tidy a few days before. Don’t make a big change to length or shape in the final month.
1. Sleek Straight Bob for Wedding
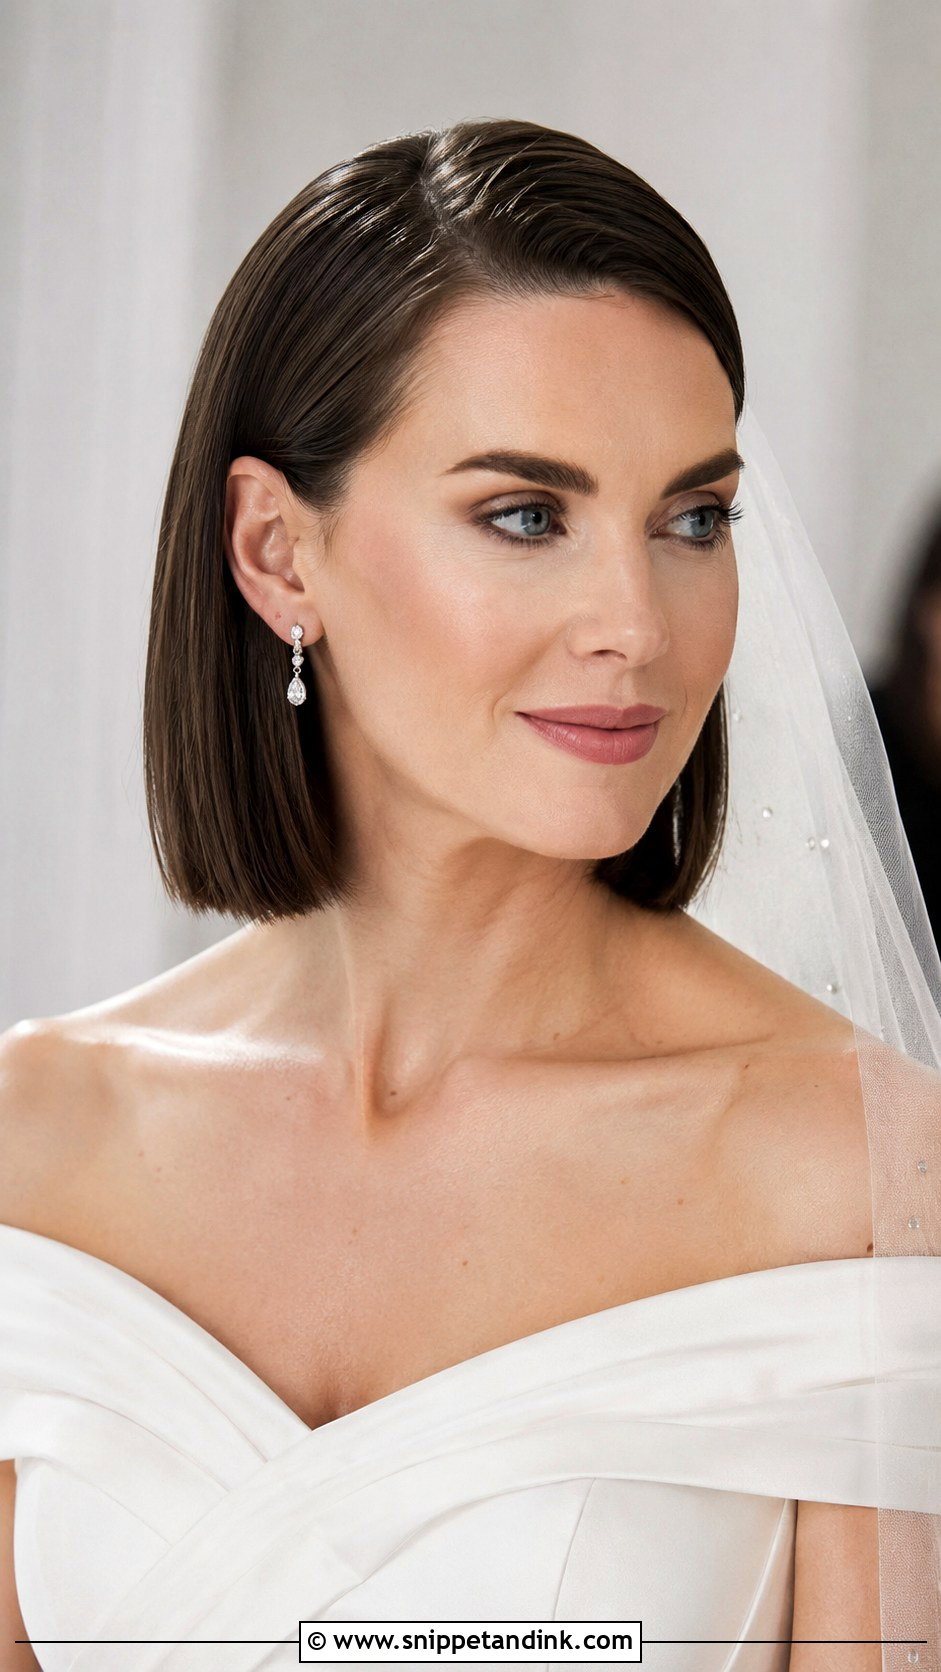
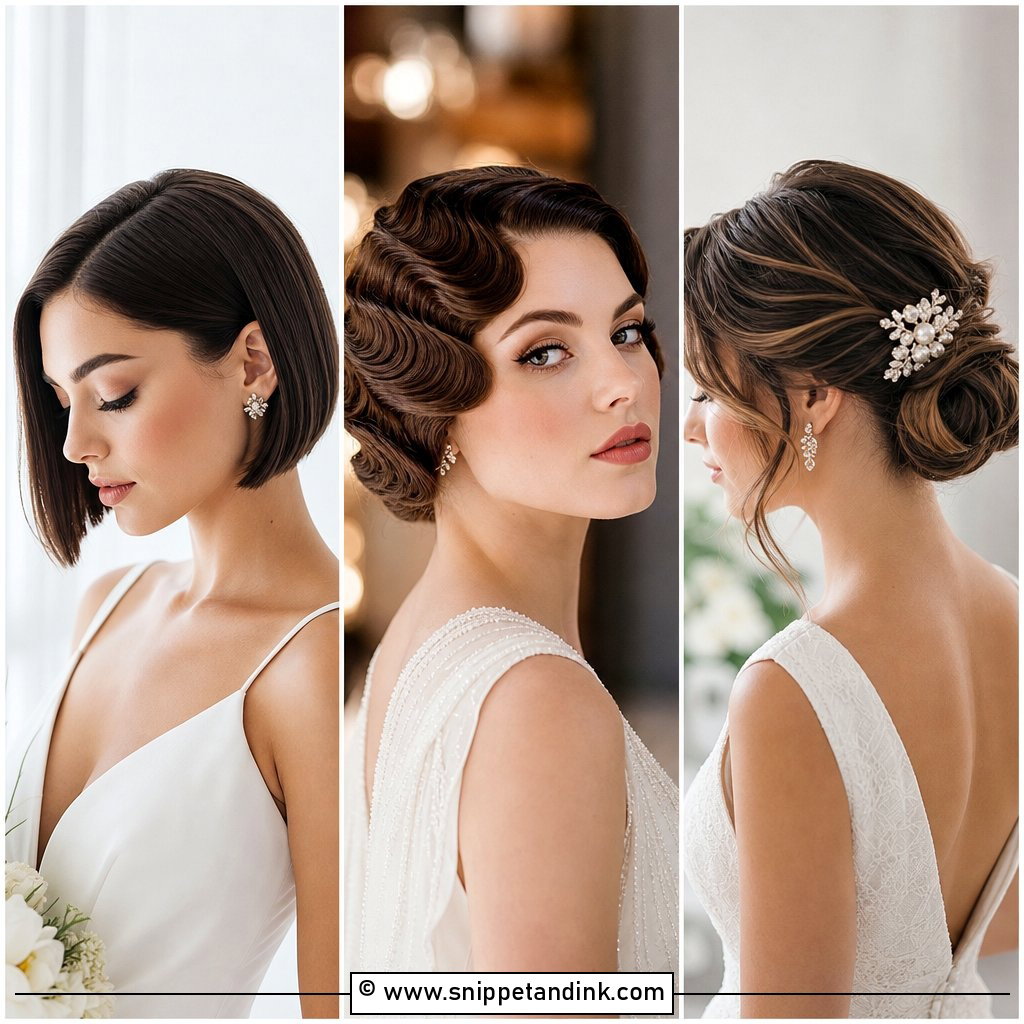
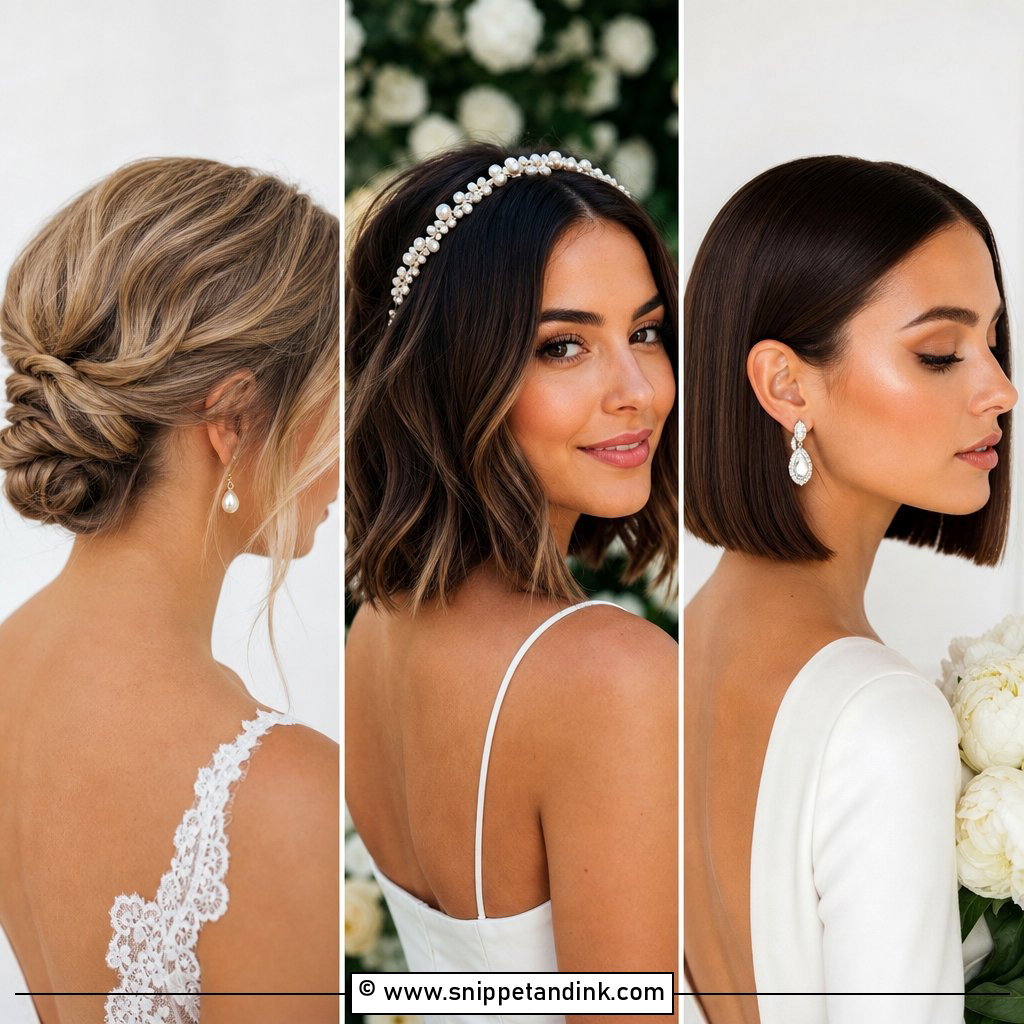
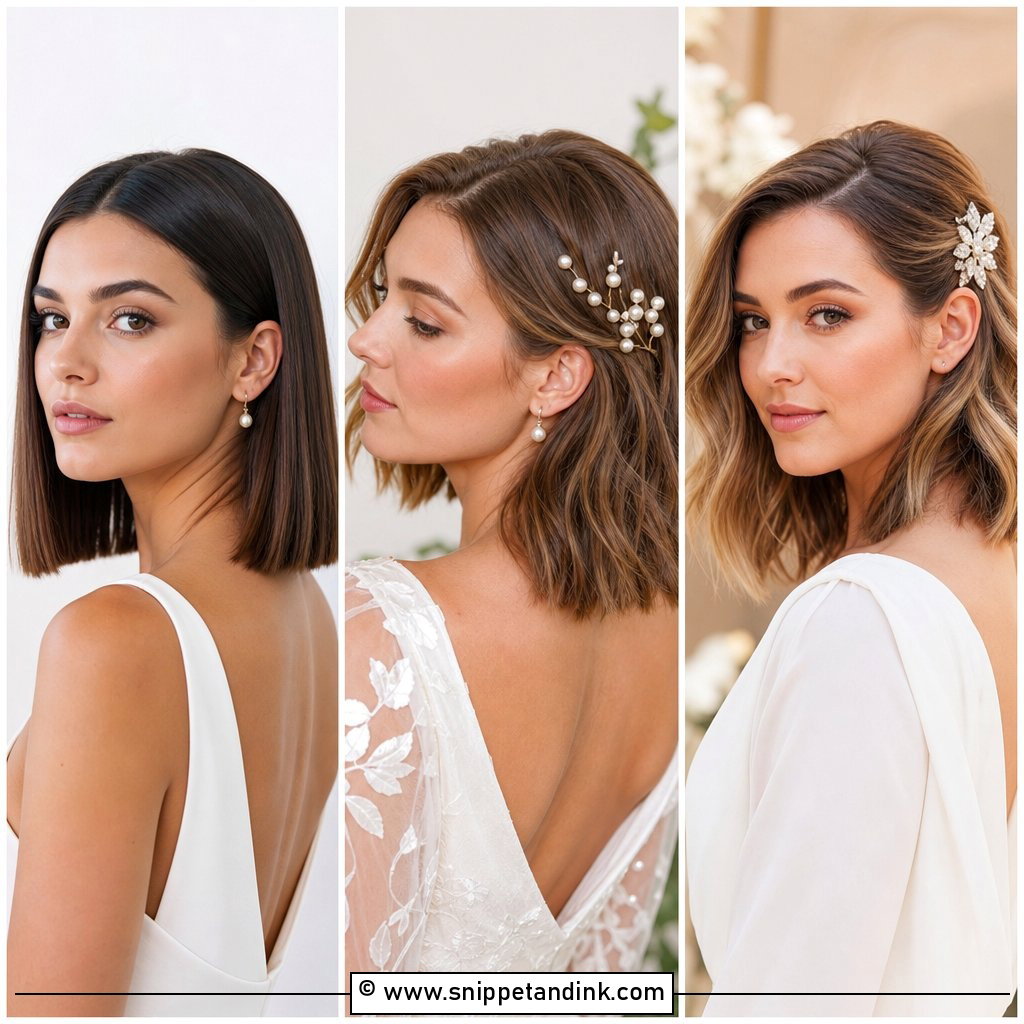
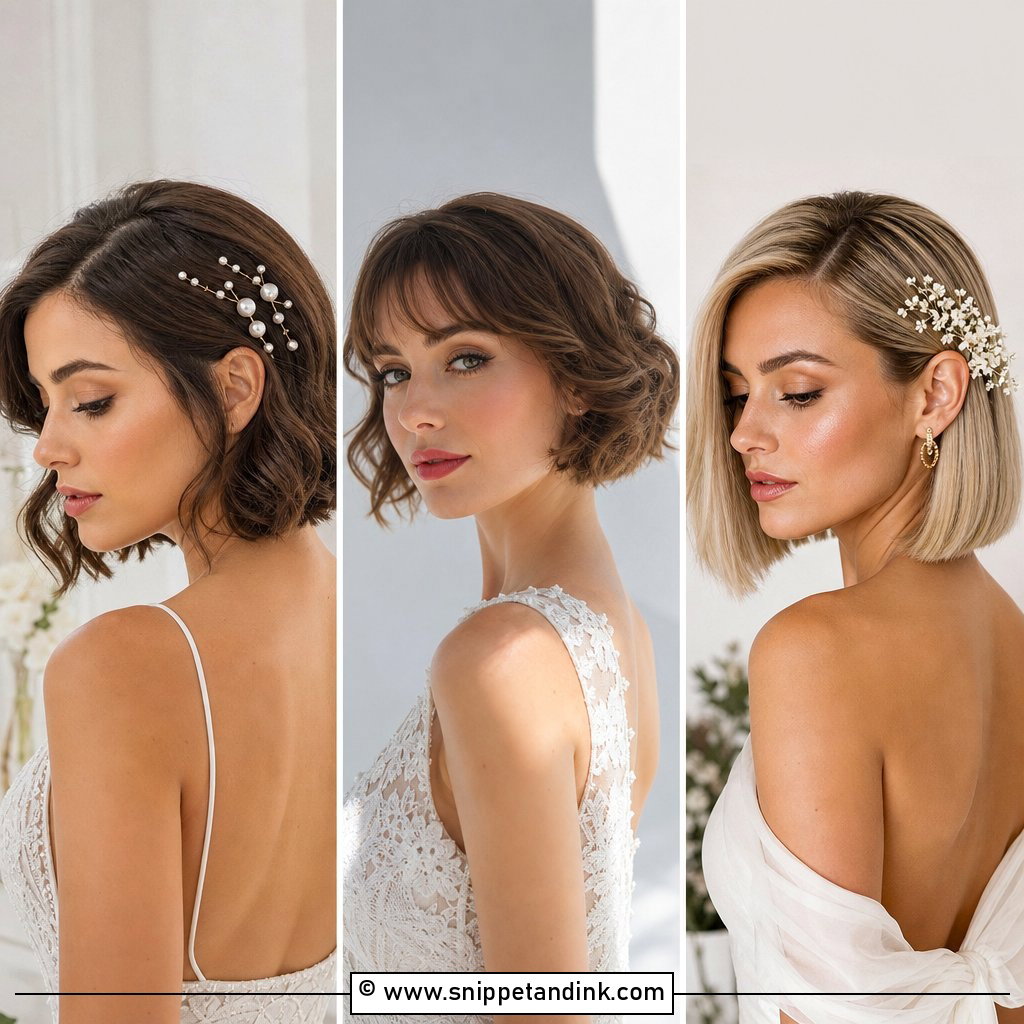
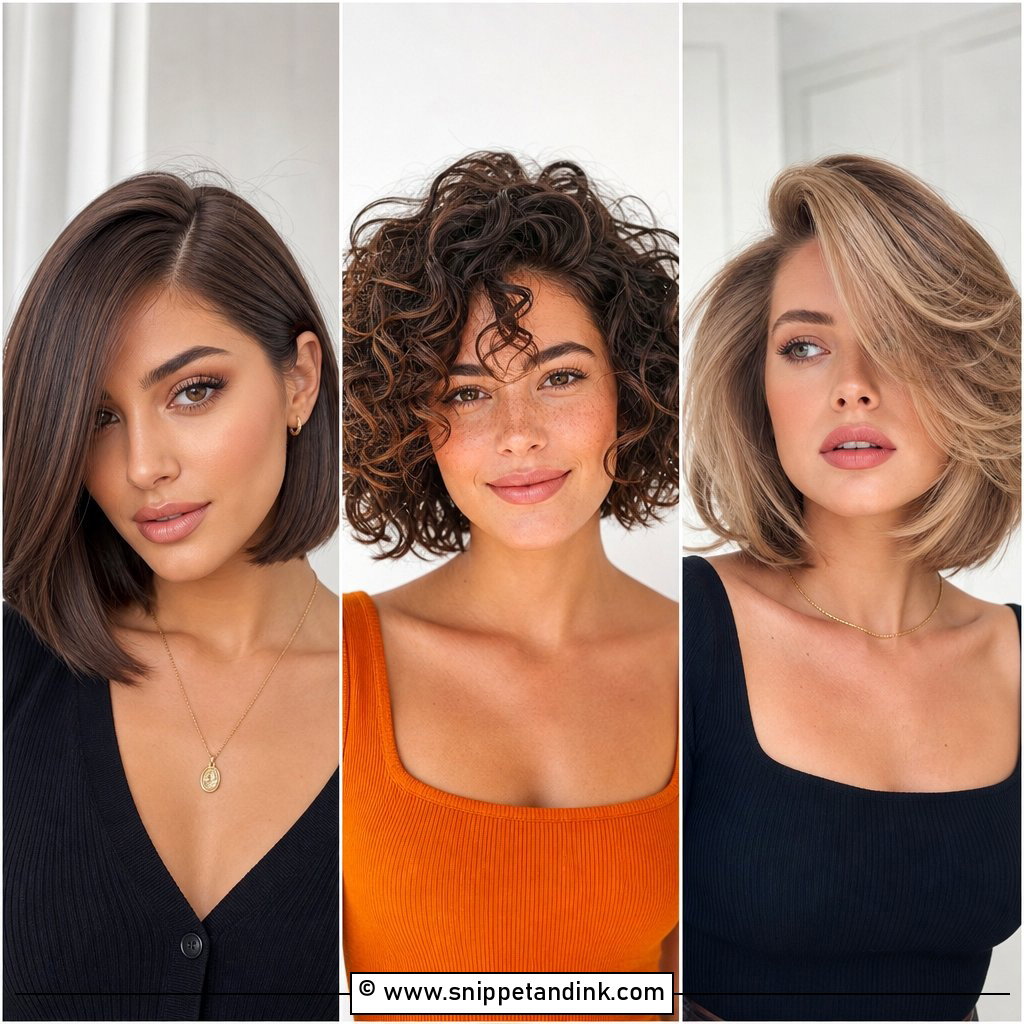
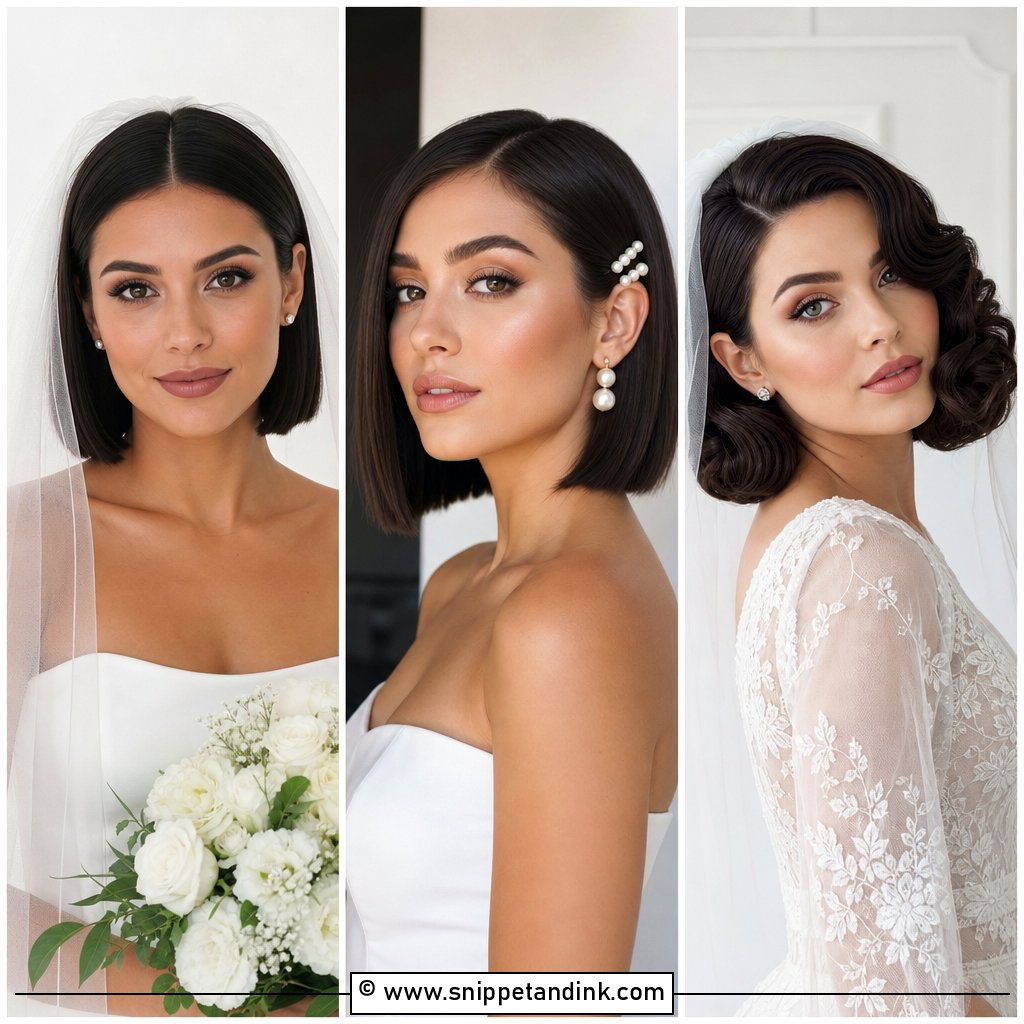
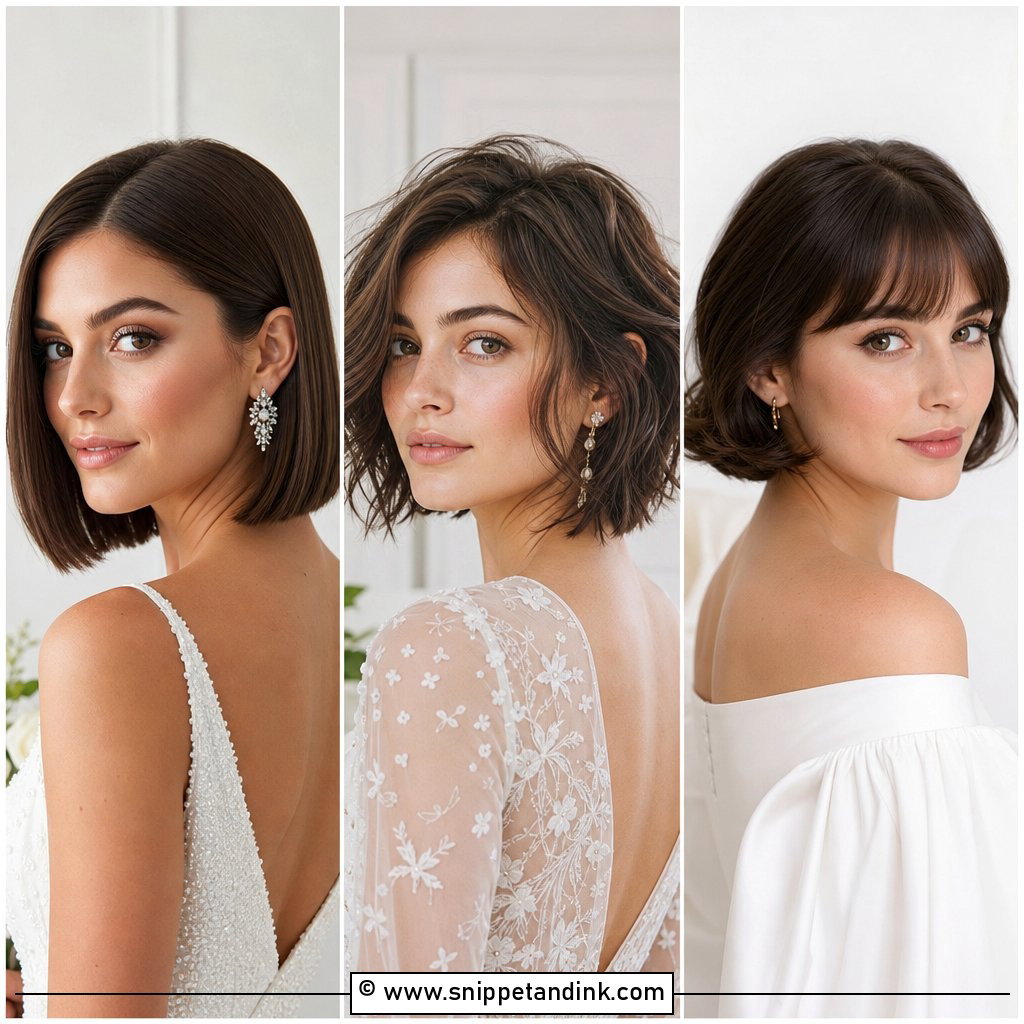
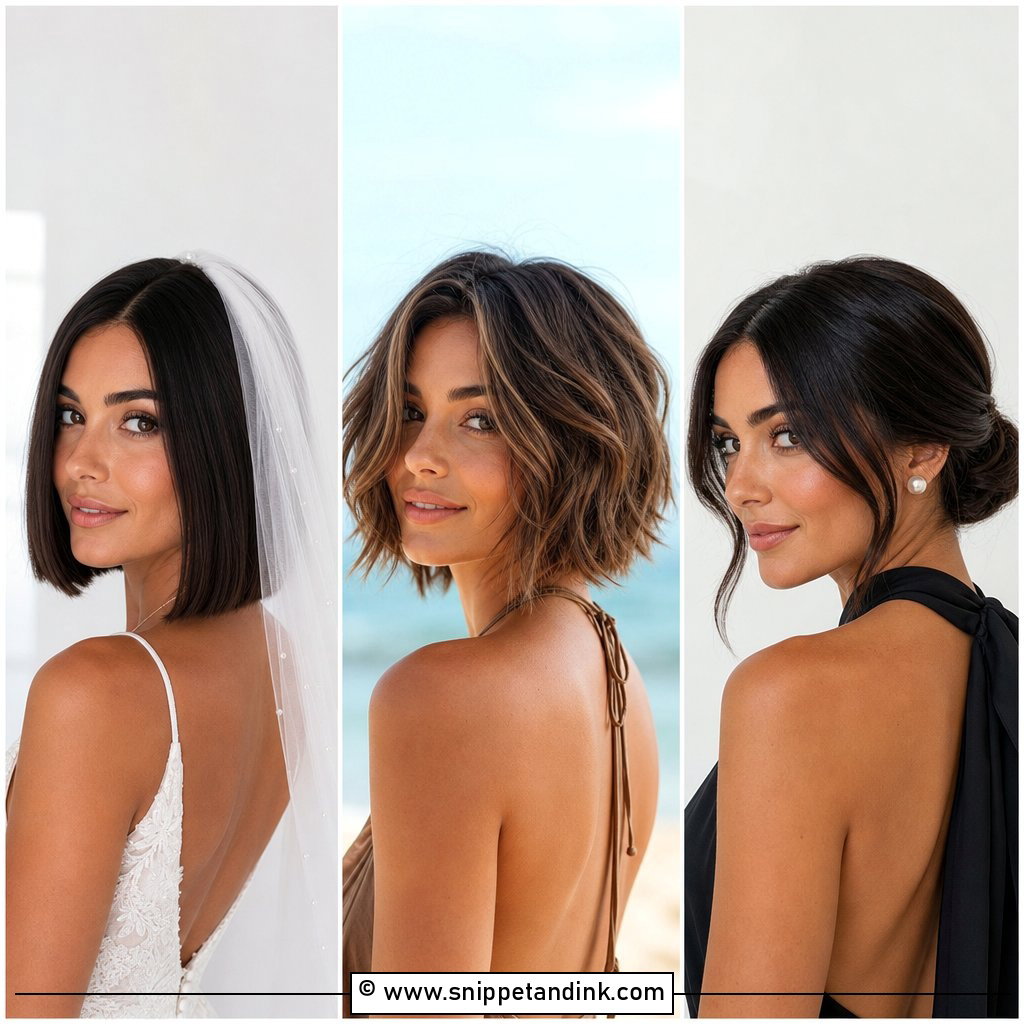
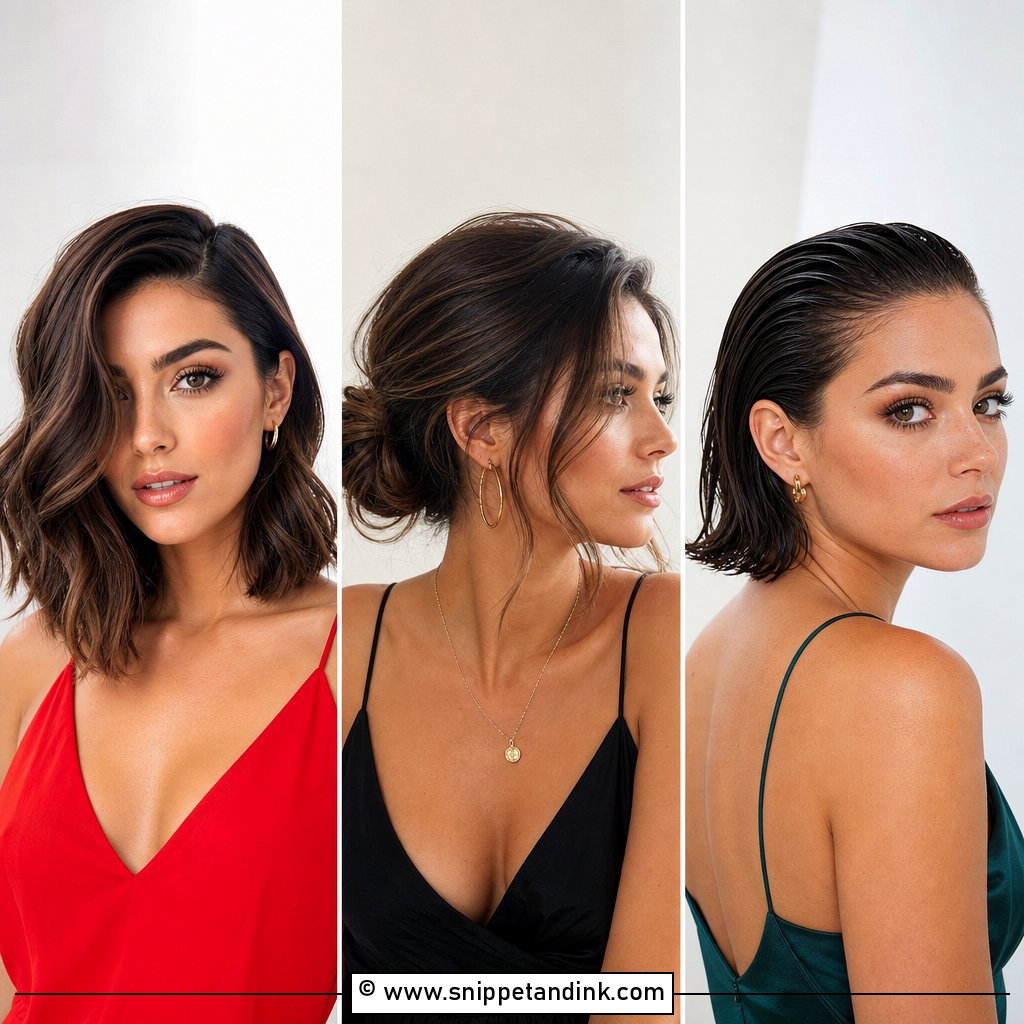
A sleek straight bob lives or dies on the blow-dry, not the flat iron. I dry it smooth with a paddle brush first so the iron only has to polish, which means less heat and less of that flat, fried look at the ends. A deep side part gives you some lift at the crown. On camera this style shows every flyaway, so I finish with a drop of serum warmed between my palms and pressed over the surface rather than raked through. It flatters most face shapes and gives a minimal veil a clean line to sit against.
2. Beachy Wavy Bob for Wedding
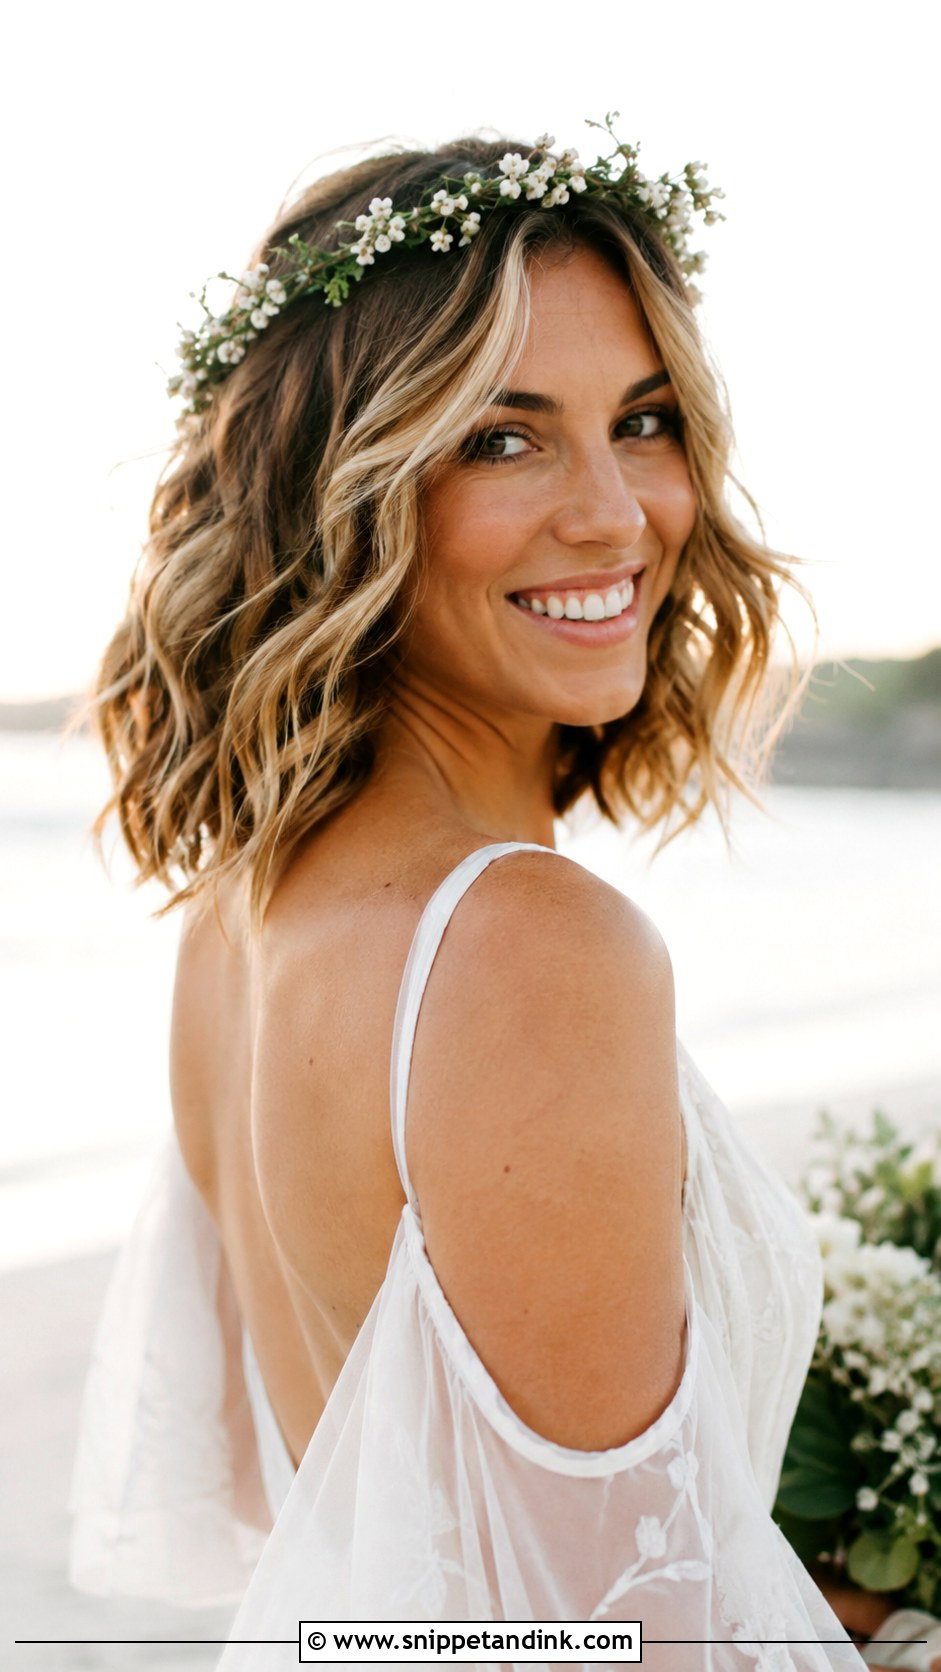
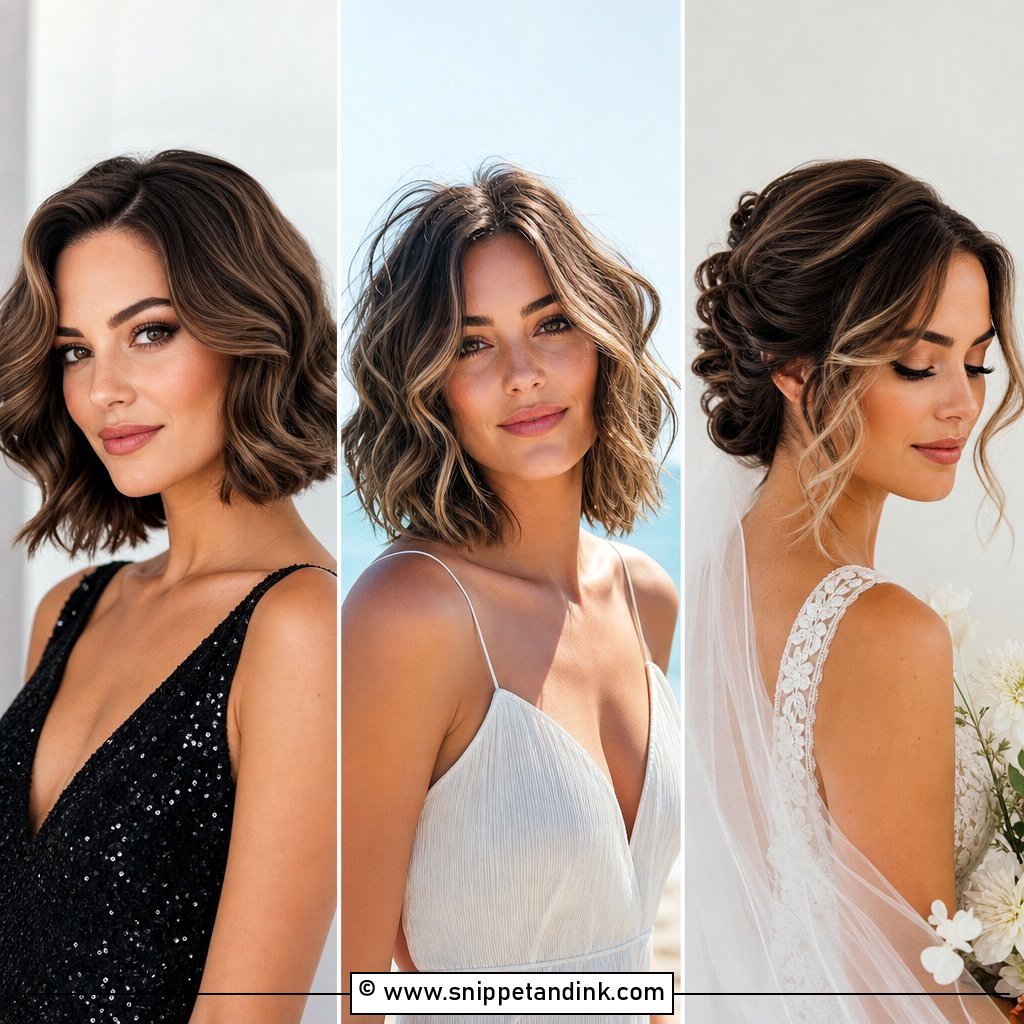
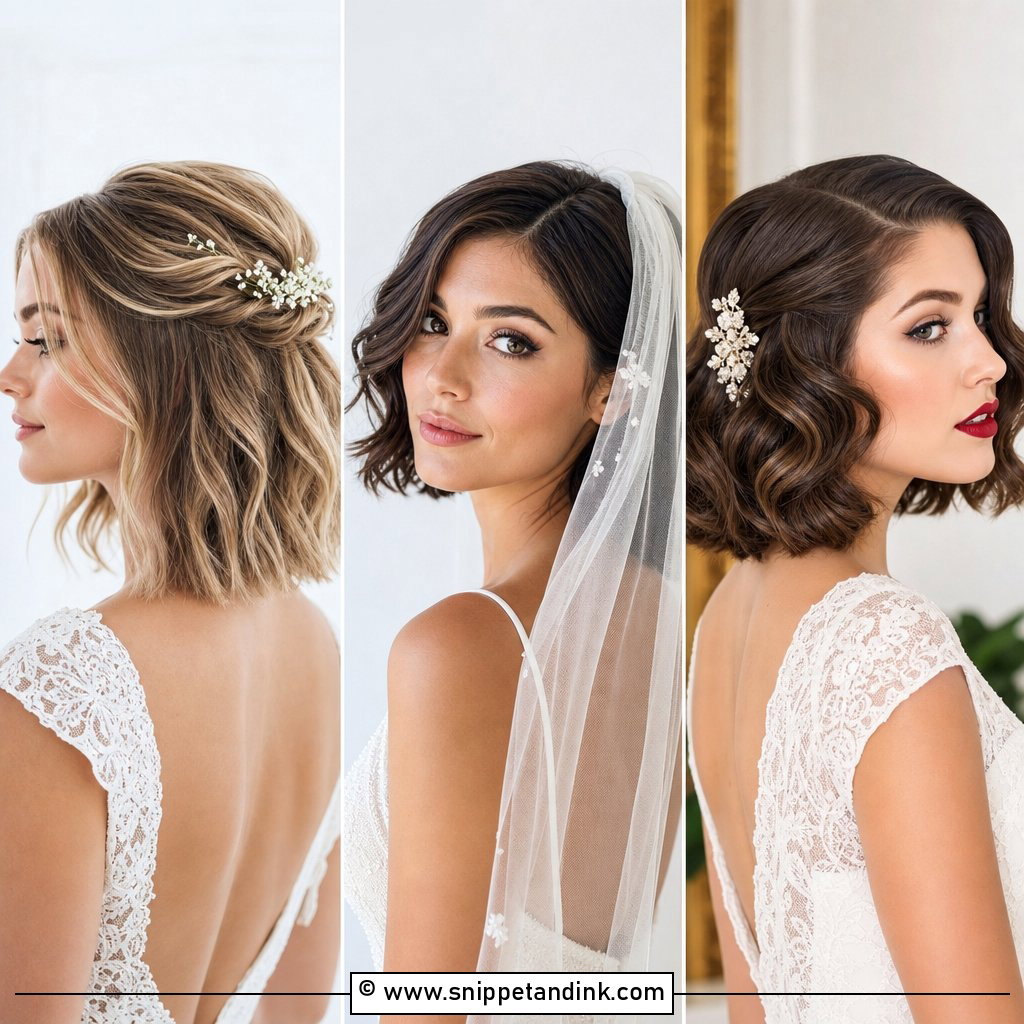
On a bob, waves need to be smaller than you’d think. A beachy wavy bob done with a big barrel just turns into a bend, so I use a medium tong and alternate direction every section, leaving the last inch of the ends straight so it reads as texture rather than ringlets. Brush through with fingers only, then a dry texture spray. Coastal wind is the real test here. Loose waves can take a breeze, but I’d keep any flower pins tucked behind the ear and gripped in a cross, because a single pin in short hair will slide out.
3. Half Up Half Down Bob for Wedding
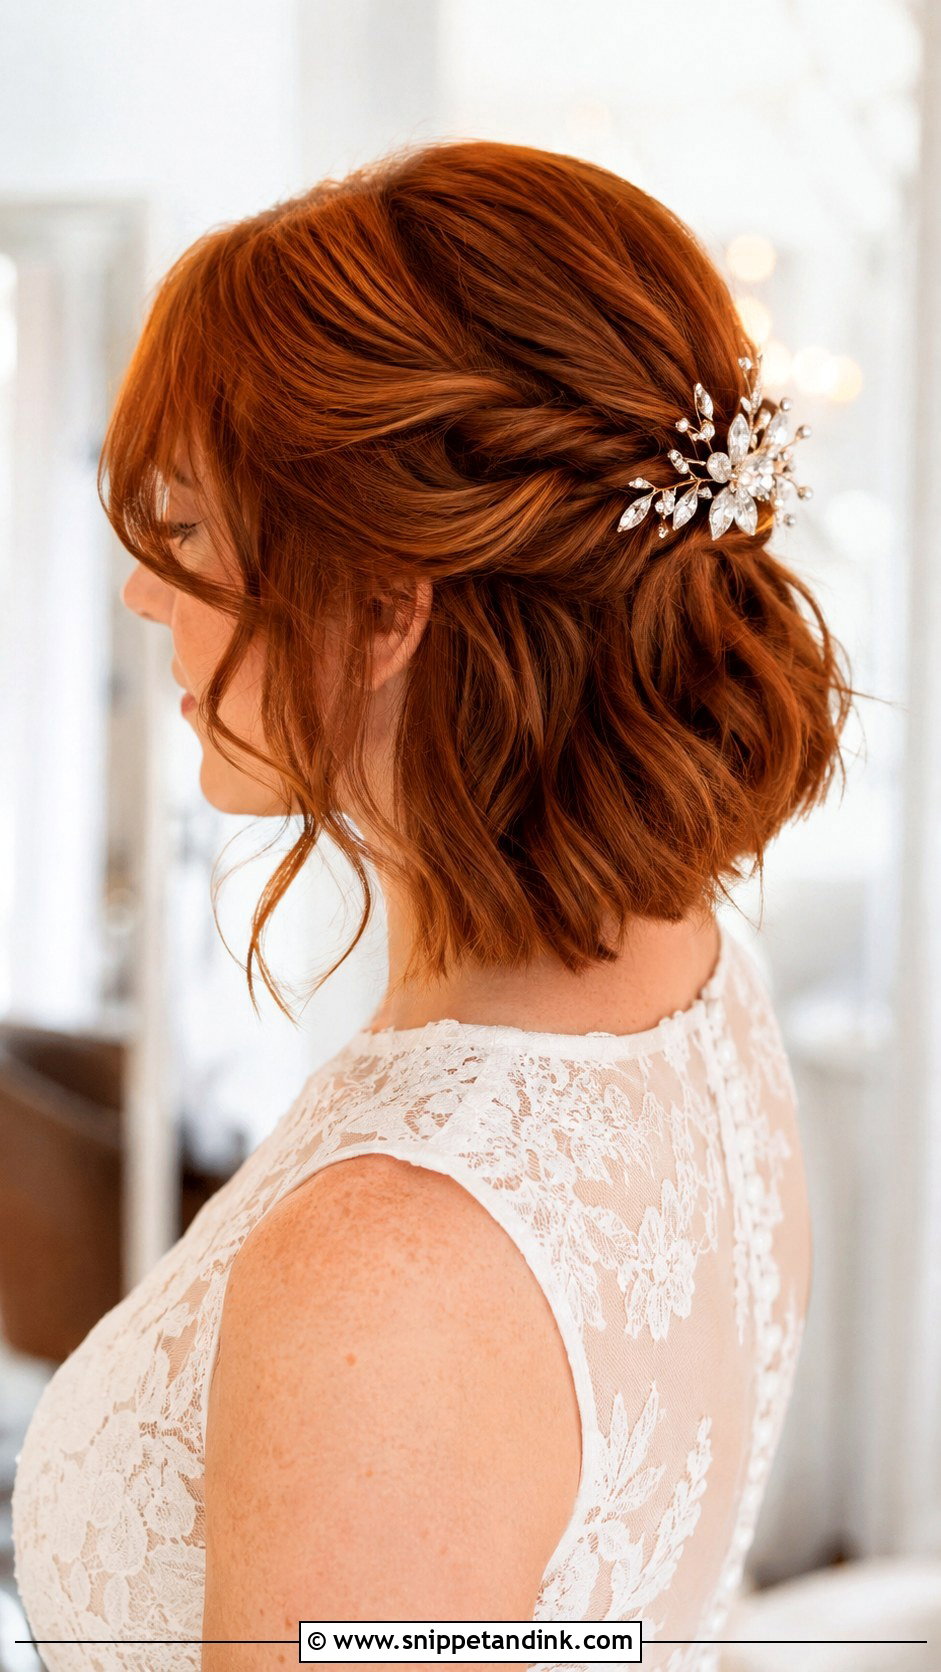
Half up only works on a bob if the top section is long enough to reach the back of the head without springing loose. I check that at the trial by pulling it back dry: if the shortest layers pop out around the temples, we twist rather than gather, because a twist catches shorter pieces that a ponytail elastic misses. Secure the twist with two crossed grips under a clip or jeweled slide. The lower half can stay sleek or waved, and keeping hair off your face means it won’t stick to lip gloss during the vows.
4. Curly Bob for Wedding
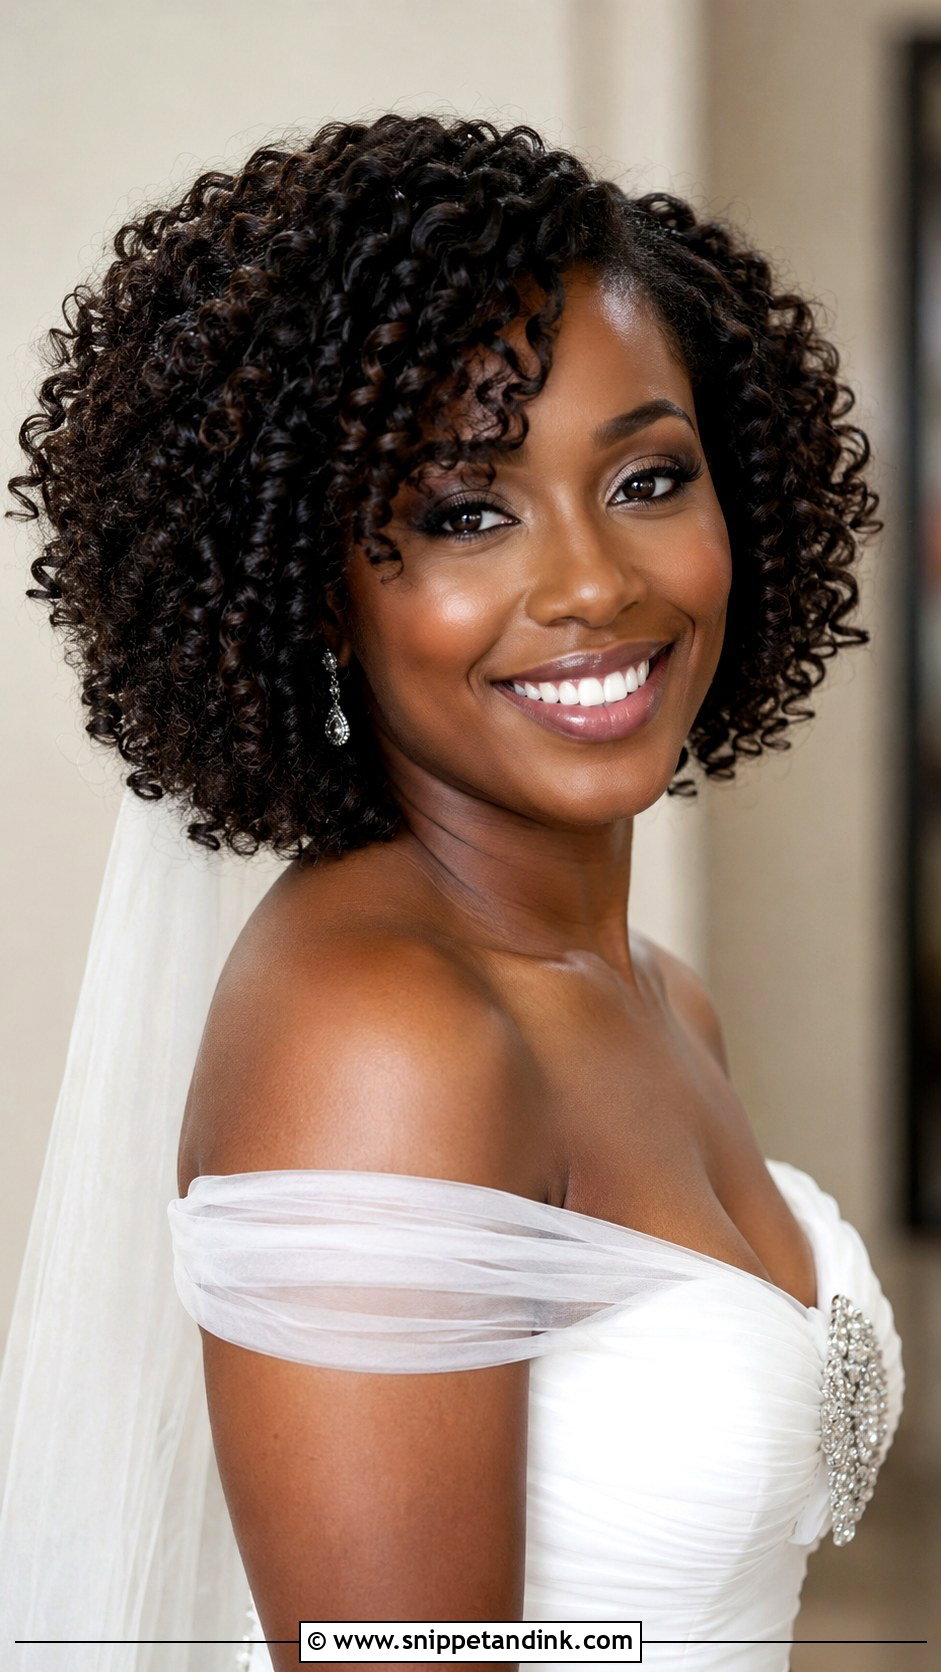
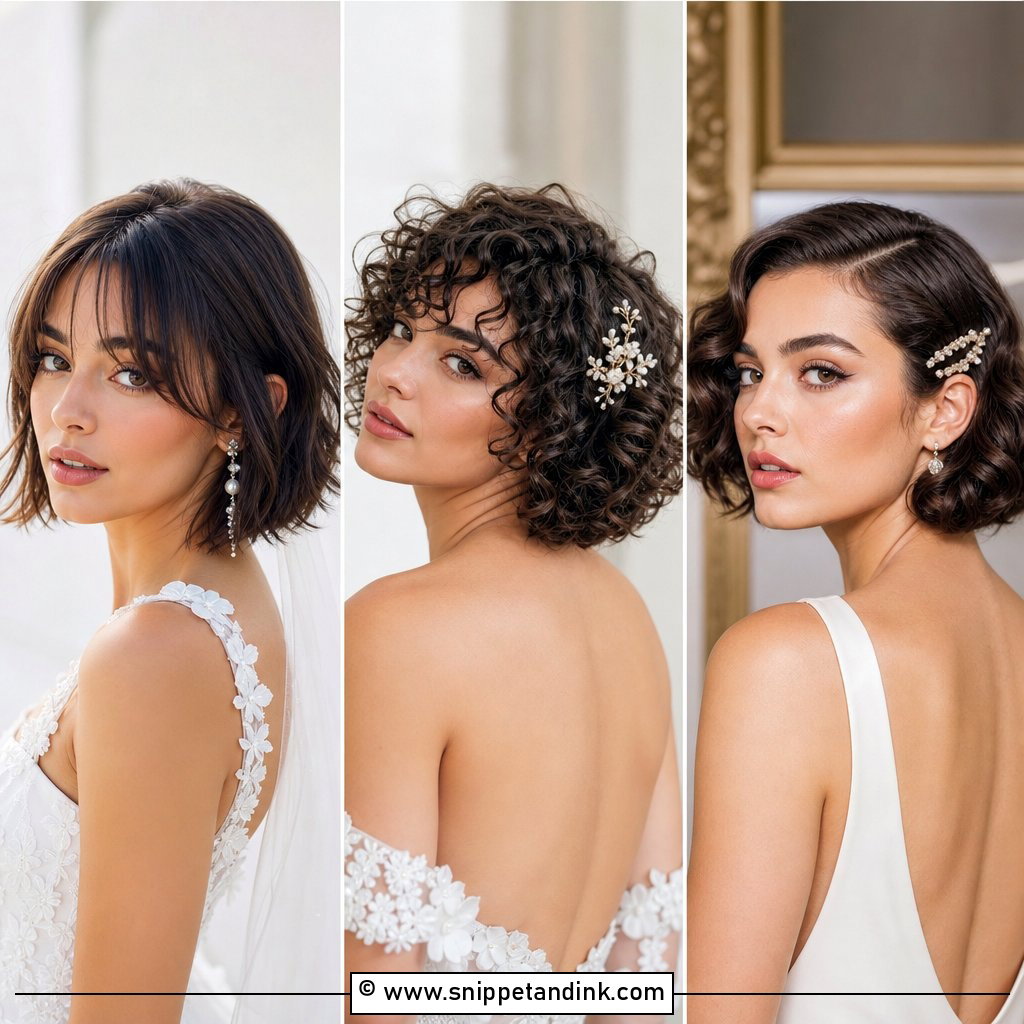
With a curly bob, the worst thing I can do is brush it. Curls get defined while wet with a cream, then diffused on low heat with the dryer cupped under the ends, and I don’t touch them again until they’re fully dry or they frizz. Curly hair shrinks, so a bob that hangs at the jaw wet may sit at the cheekbone once dry; plan the cut with that in mind. A single flower or jeweled pin goes in at the side where curls are densest, since that’s where it grips best.
5. Sleek Bridal Bun Bob
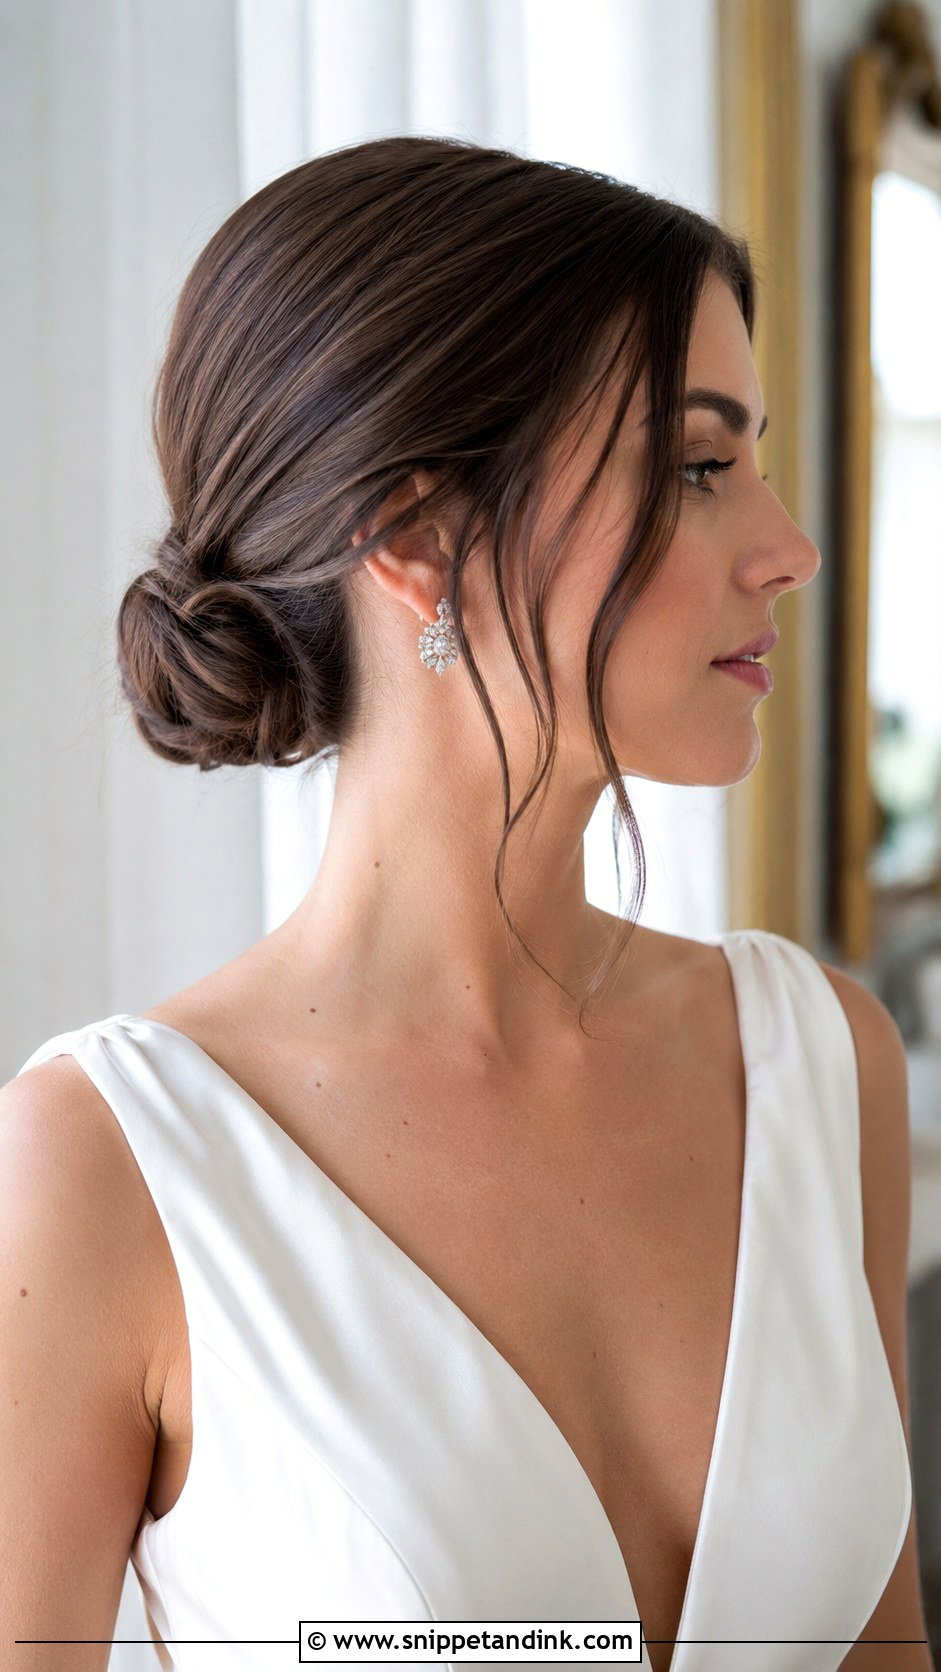
Yes, a bob can go into a bun, but only if it reaches the nape when pulled back. I gather it low, wrap it into a small knot and then spend most of the time on the short pieces behind the ears, pinning them up with grips sprayed first so they hold. A few face-framing strands soften it. Expect the bun to be small, about the size of a walnut, which is why it looks so neat with statement earrings and a bare neckline. If your nape layers are very short, I’d swap this for the twisted updo further down.
6. Bob with Curtain Bangs for Wedding
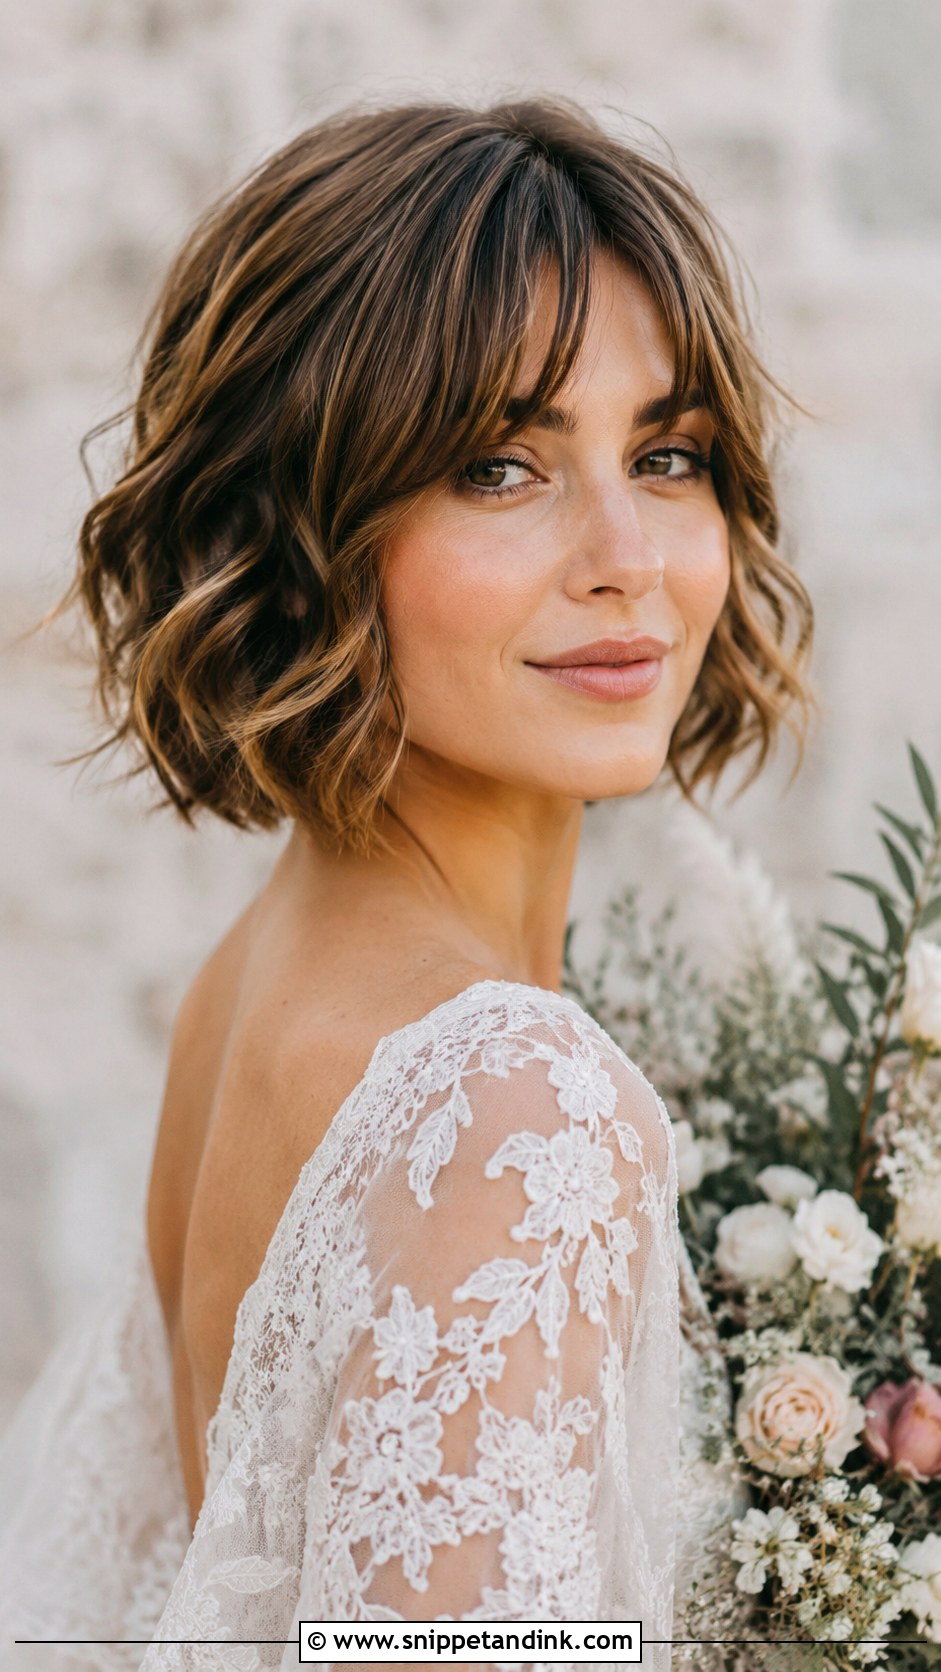
Curtain bangs are the part of this look I fuss over most. They need to be blow-dried over a round brush, split at the centre and pushed back toward the temples while warm, or they fall flat onto the brow by mid-afternoon. The rest of the bob gets loose waves. One honest warning: don’t cut curtain bangs for the first time in the month before the wedding. Fresh bangs have a mind of their own until they’ve been washed and dried a few dozen times, and I’d rather you know how yours behave.
7. Vintage Finger Wave Bob
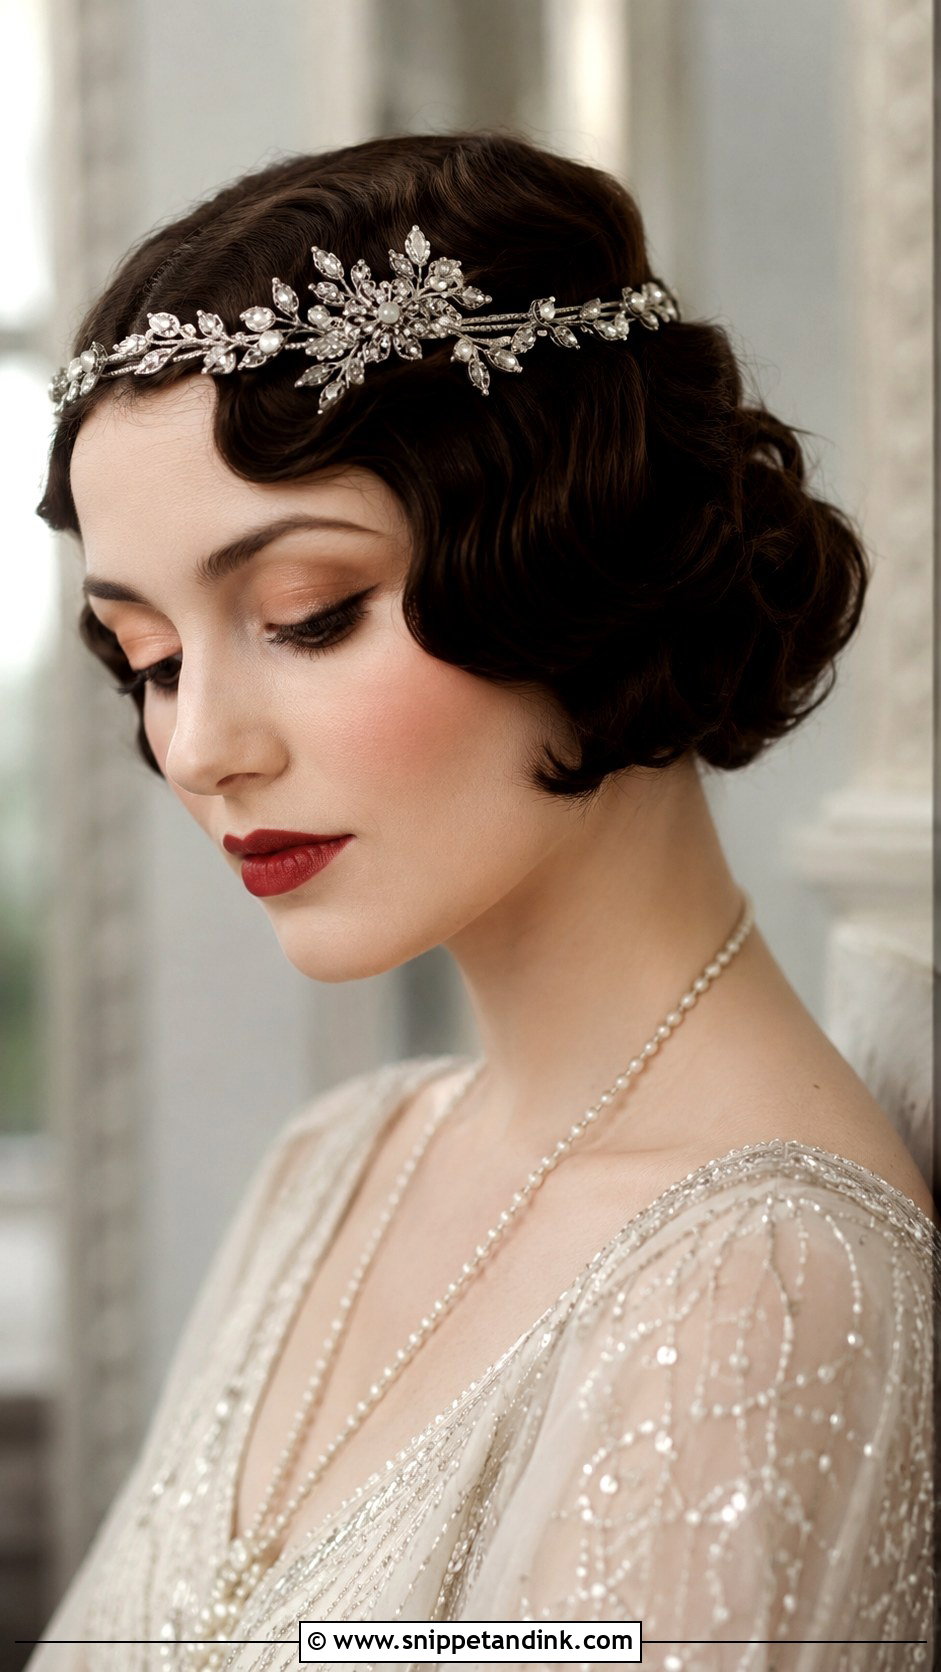
Real finger waves are set, not curled. I comb setting lotion through damp hair, push each ridge into an S with my fingers and a fine comb, and hold it with flat clips while it dries completely. That set takes patience, so allow extra time on the morning. A vintage finger wave bob sits close to the head, so an art deco comb or jeweled band fits flat against it without breaking the pattern. Very fine, slippery hair can lose the ridges in humid weather, and I’d test that at a trial before committing.
8. Bob with Blunt Bangs for Wedding
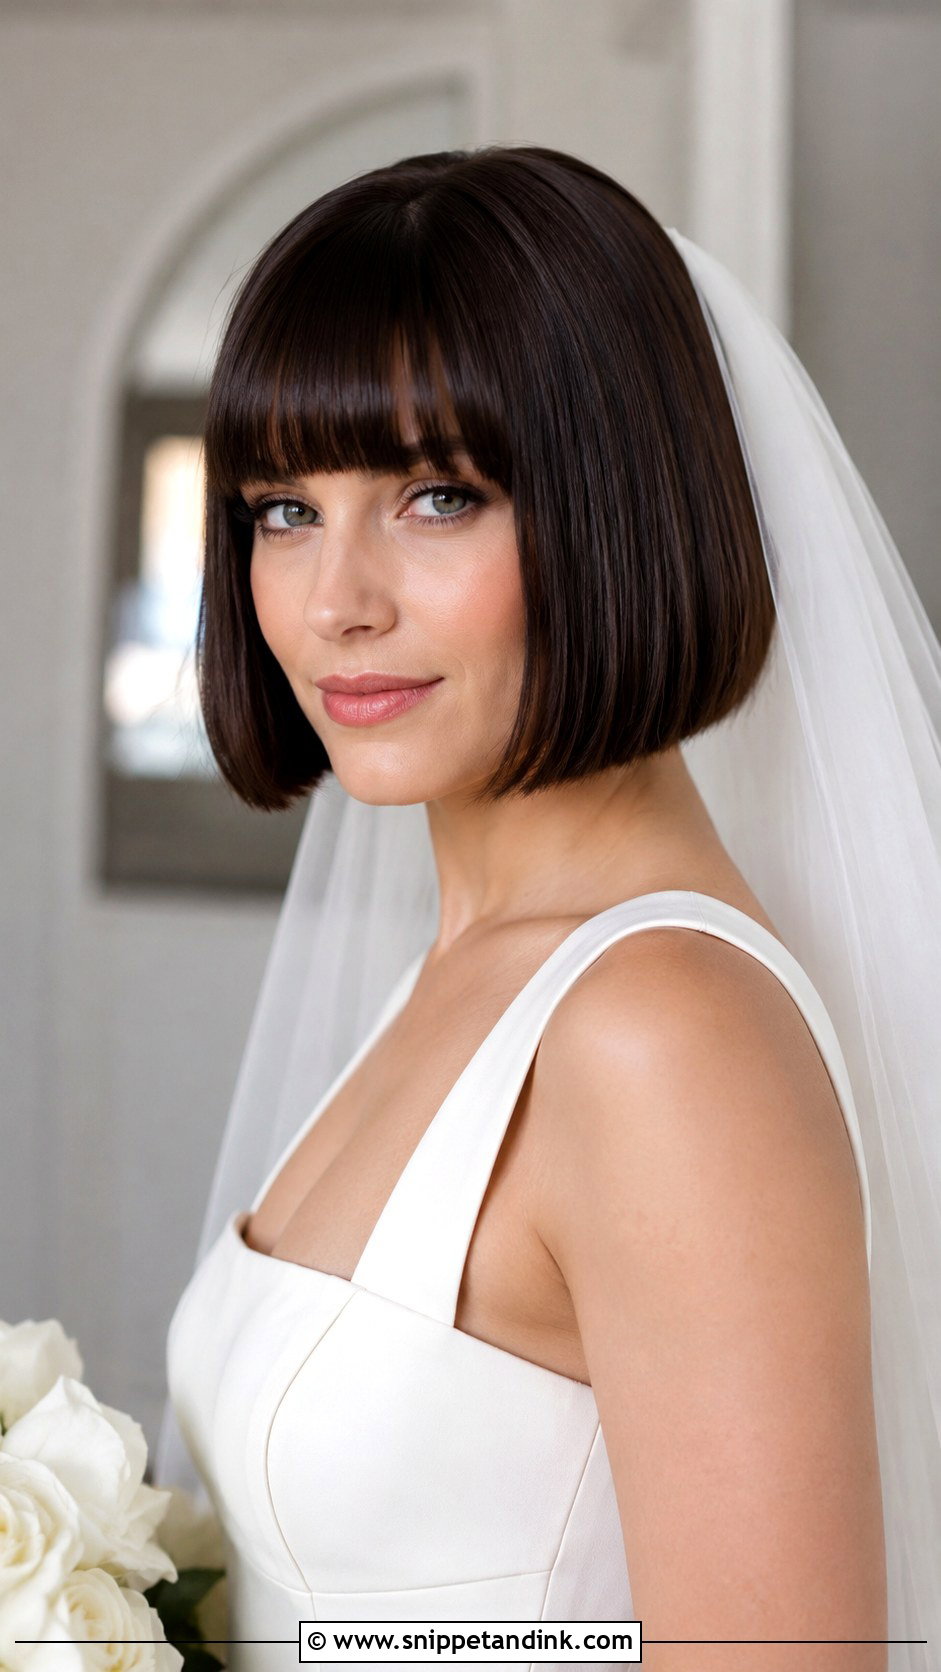
Blunt bangs are graphic and they stay that way: no bends, no sweep, just a straight line across the brow with a glossy bob underneath. Paired with a cathedral veil, the contrast is dramatic. The catch is maintenance. Blunt fringes show every millimetre of growth, so I trim them a few days before the wedding, never on the morning, and you’ll want a small flat iron to fix any kink from sleeping. A blunt bang bob suits oval and heart-shaped faces and confident brides who already wear a fringe day to day.
9. Textured Bob with Choppy Bangs
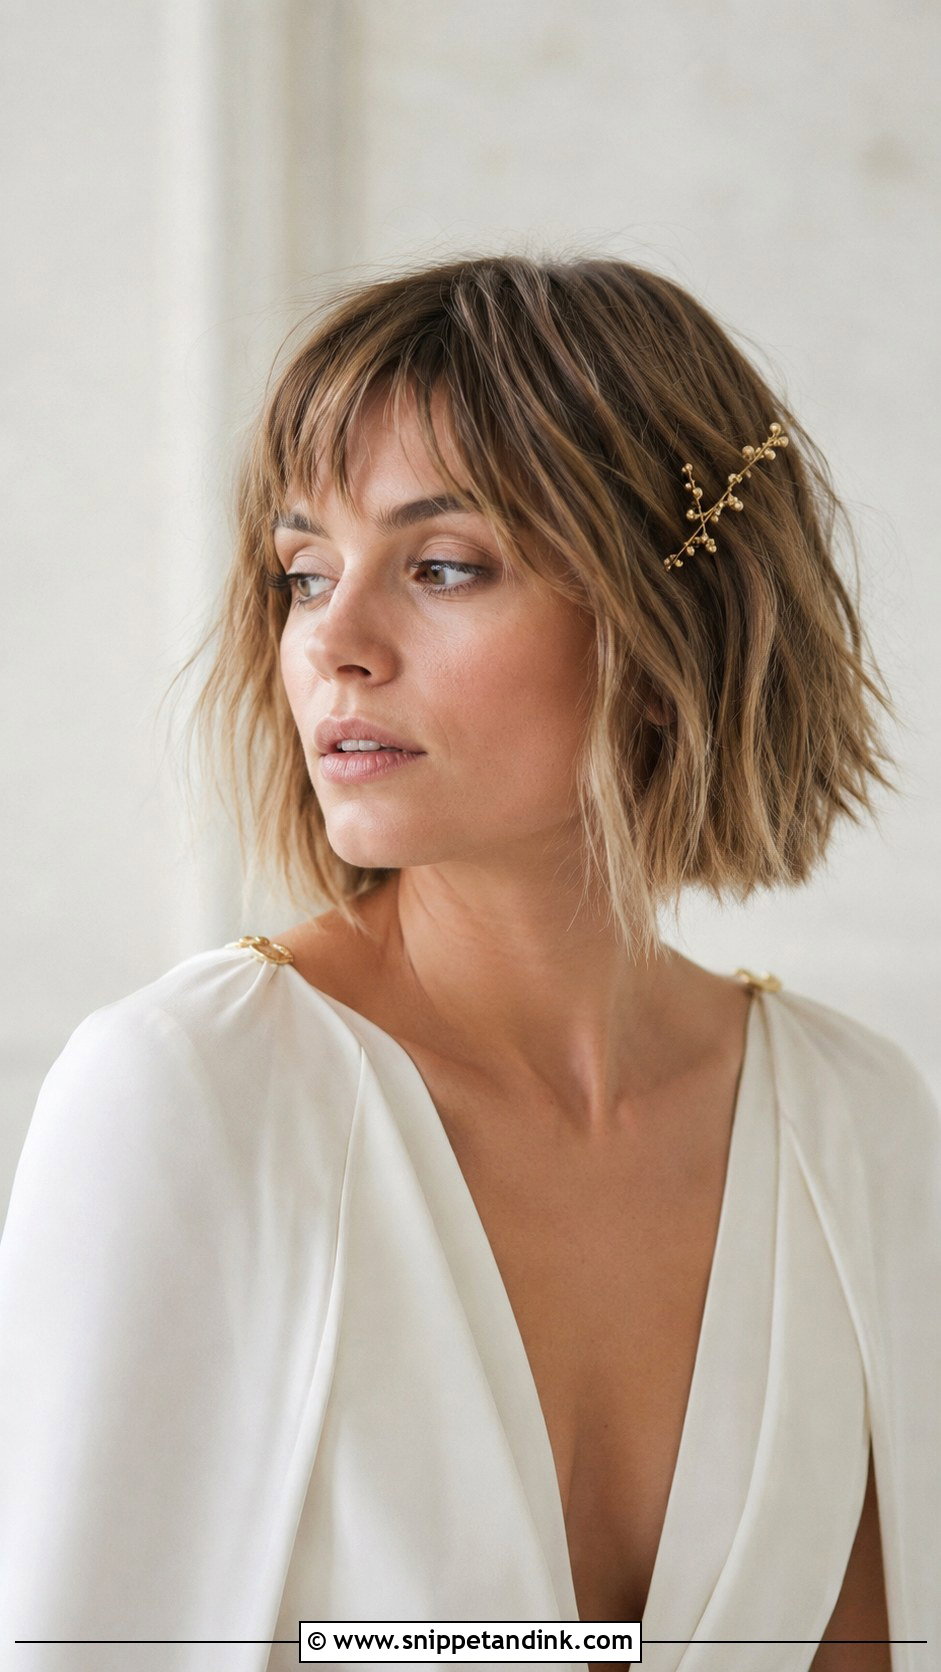
Choppy bangs forgive what blunt ones won’t. If they’re slightly uneven or a piece flips, it just looks intentional. I work a pea-sized amount of paste through the fringe with fingertips, then a texture spray through the lengths so the whole bob looks piecey rather than set. This is my pick for a city hall or small dinner wedding where a polished updo would feel too formal. Simple gold pins or a slim barrette suit it; anything ornate fights with the undone texture.
10. Angled Bob with Side Part
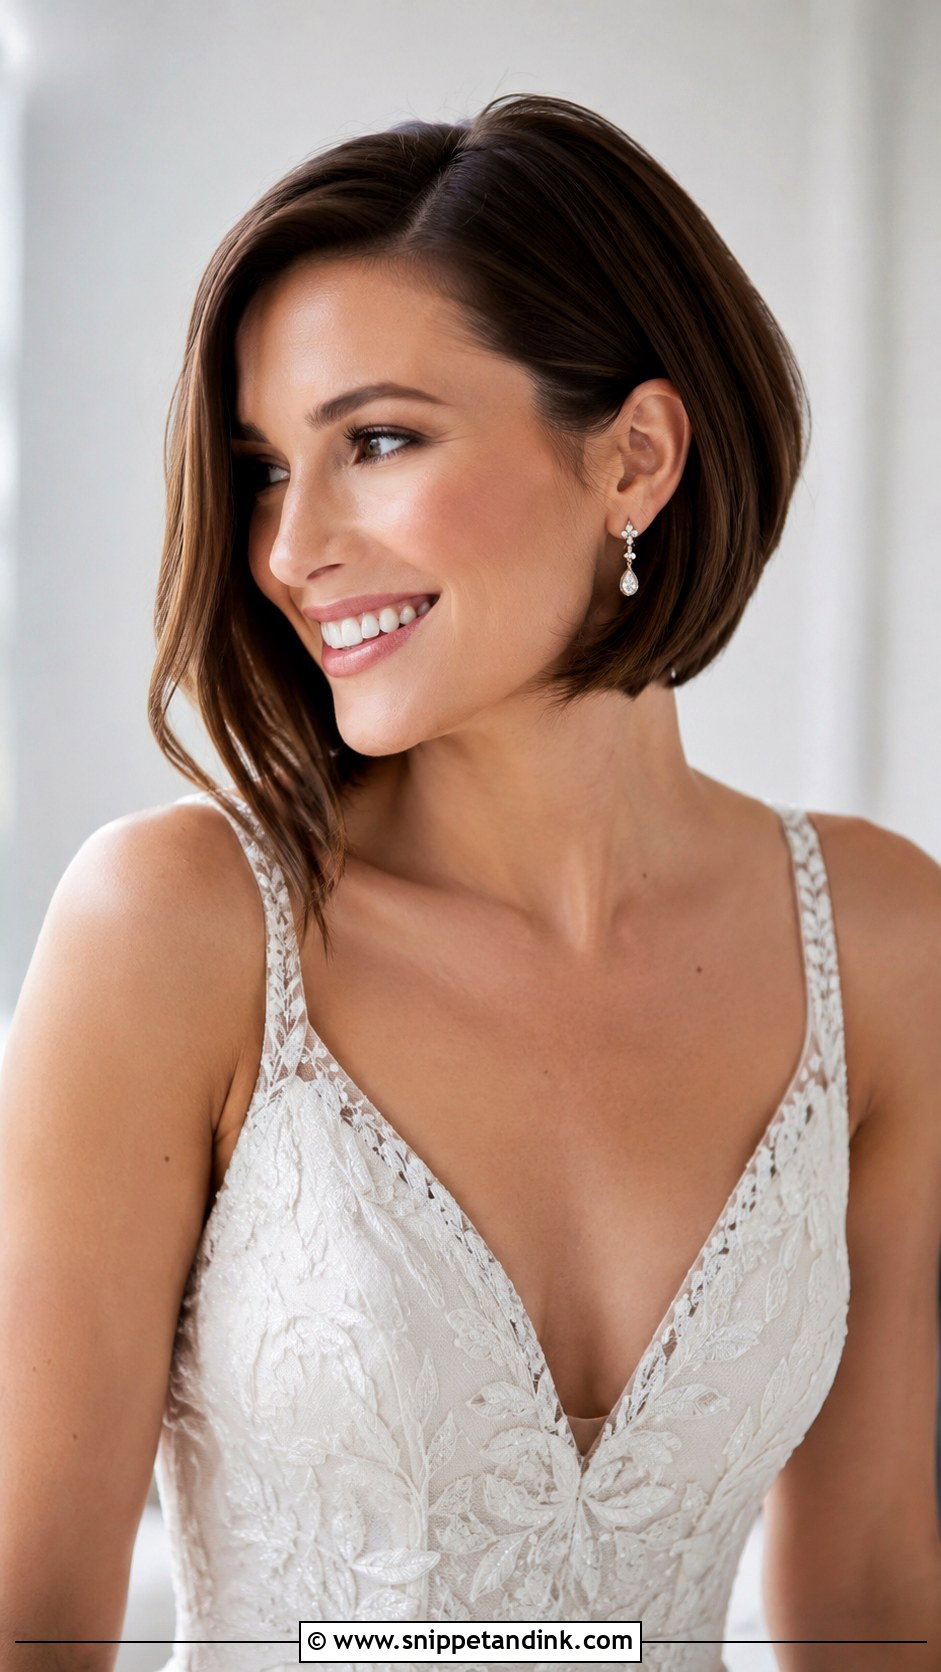
An angled bob is shorter at the back and longer at the front, and that front length is what makes it flatter round and square faces. I keep the lines sharp by smoothing the front pieces with a flat iron and letting them fall slightly forward toward the jaw. A deep side part adds volume. Keep the accessories minimal; the angle itself is the detail. If your front pieces sit below the chin, soft bends work too, but heavy curls shorten the angle and you lose the shape.
11. Boho Wavy Bob with Flower Crown
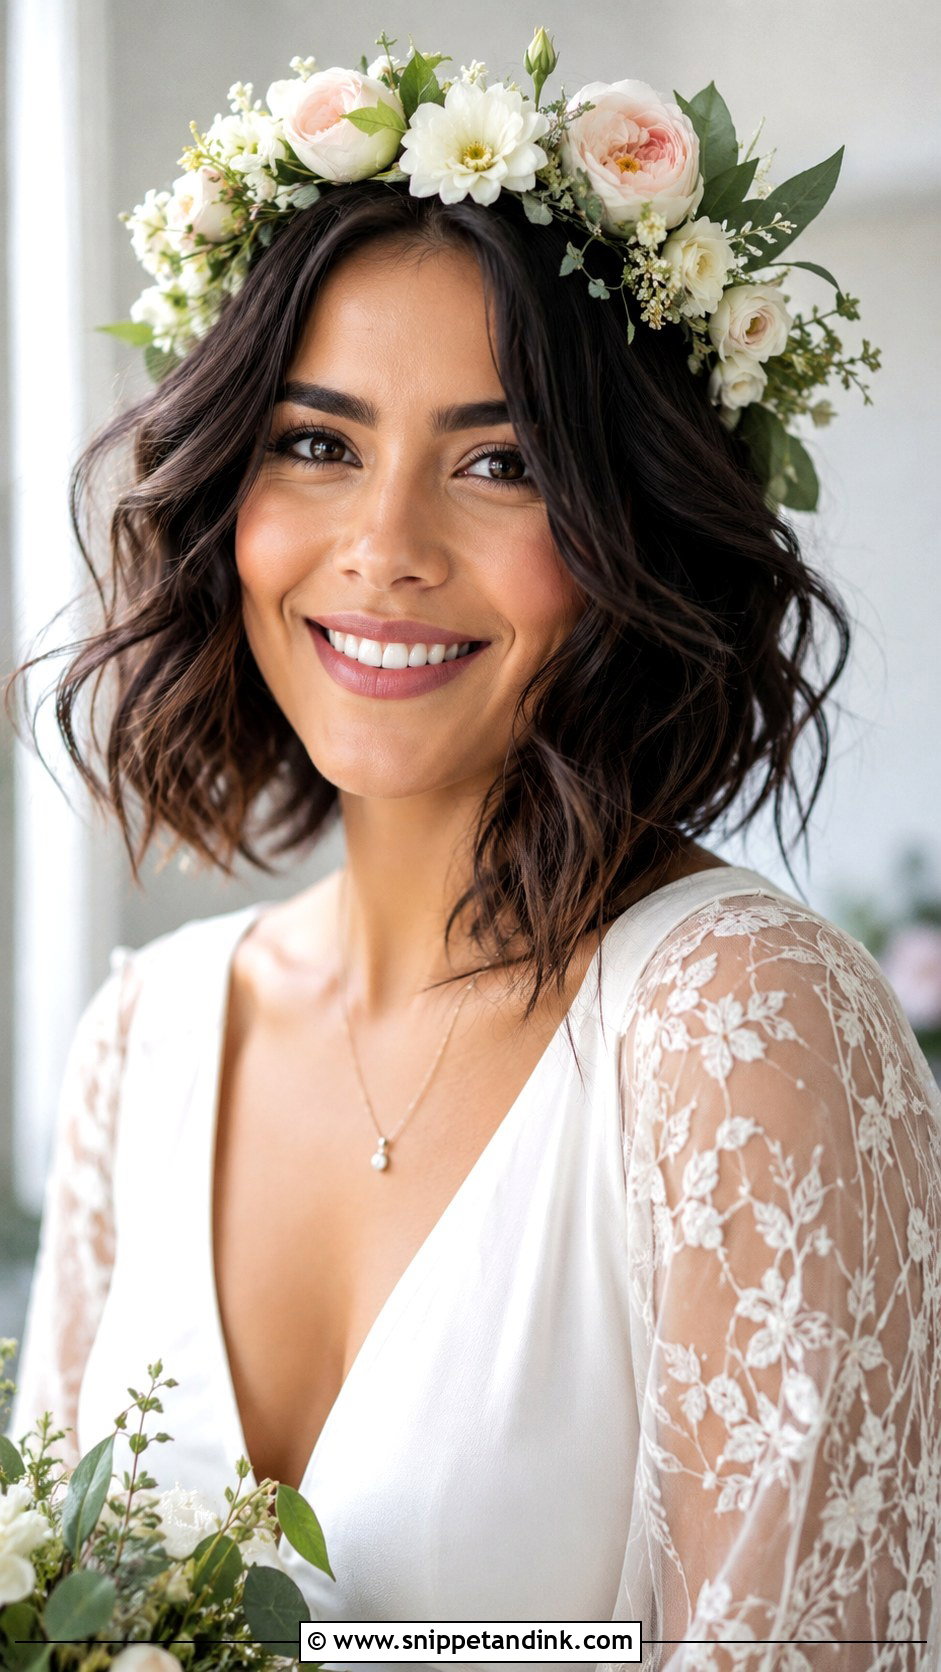
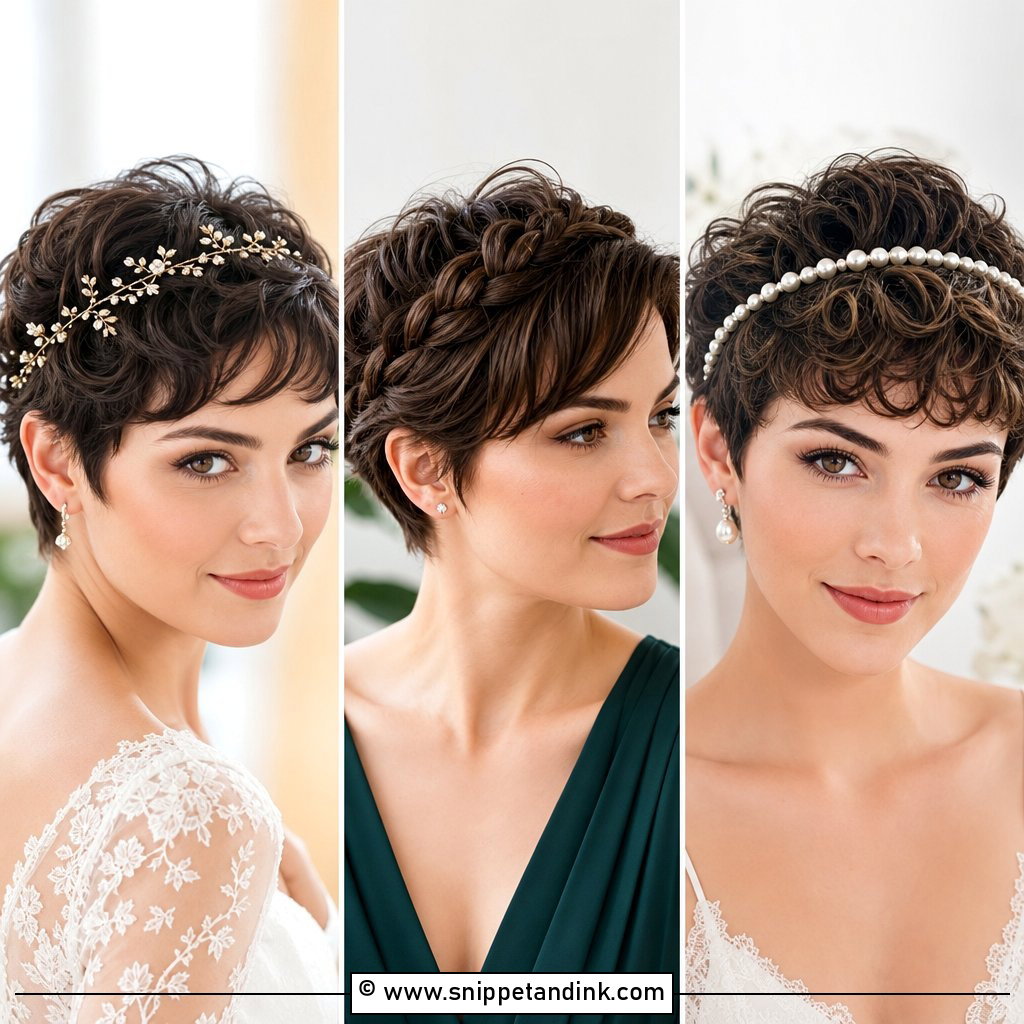
A flower crown on a bob sits differently than on long hair. There’s less hair to anchor it, so I wire the crown to a few grips placed underneath along the hairline rather than just perching it on top. Waves are made with tongs and loosened by hand. Ask your florist for a lightweight crown with small blooms; heavy roses tilt forward on short hair. This works well with flowing, ethereal gowns and outdoor ceremonies, and the crown can come off for dancing without wrecking anything underneath.
12. Center Part Sleek Bob
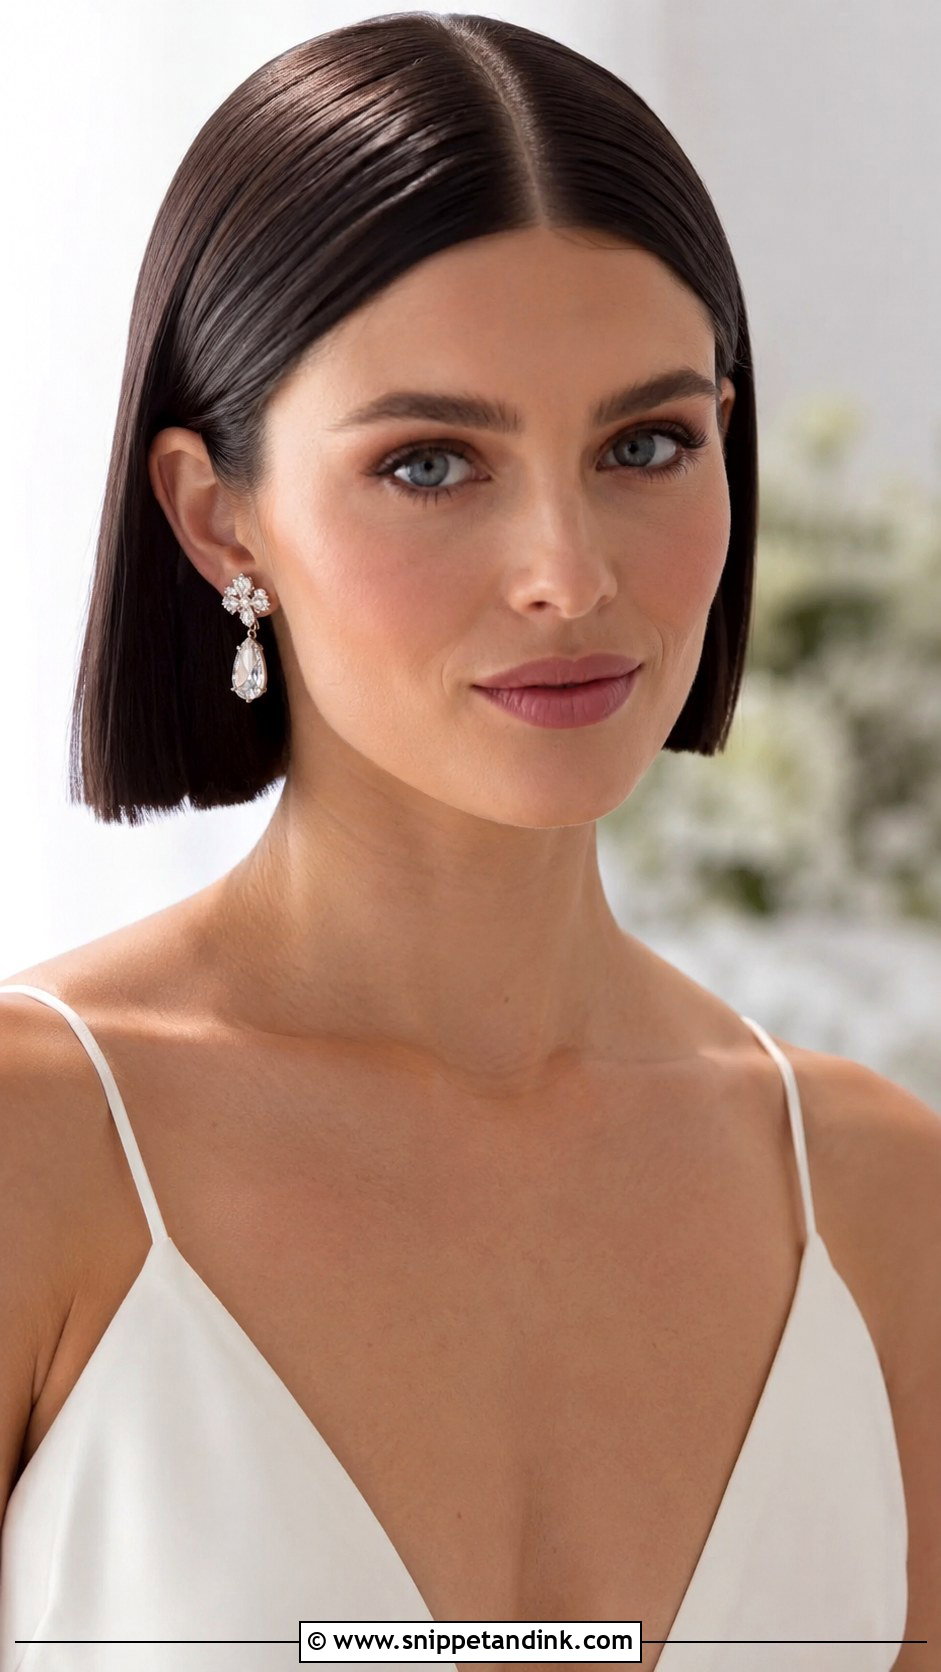
A centre part shows any asymmetry in the cut, so before styling I check that both sides fall to the same length. Then it’s careful straightening section by section, plus a light shine spray held well back so it doesn’t leave the surface wet. It suits oval and longer face shapes best. On a round face, I’d usually move the part a centimetre off centre, which still reads as minimal but softens the frame. Statement earrings sit right in the space the hair leaves.
13. Bob with Side Braid for Wedding
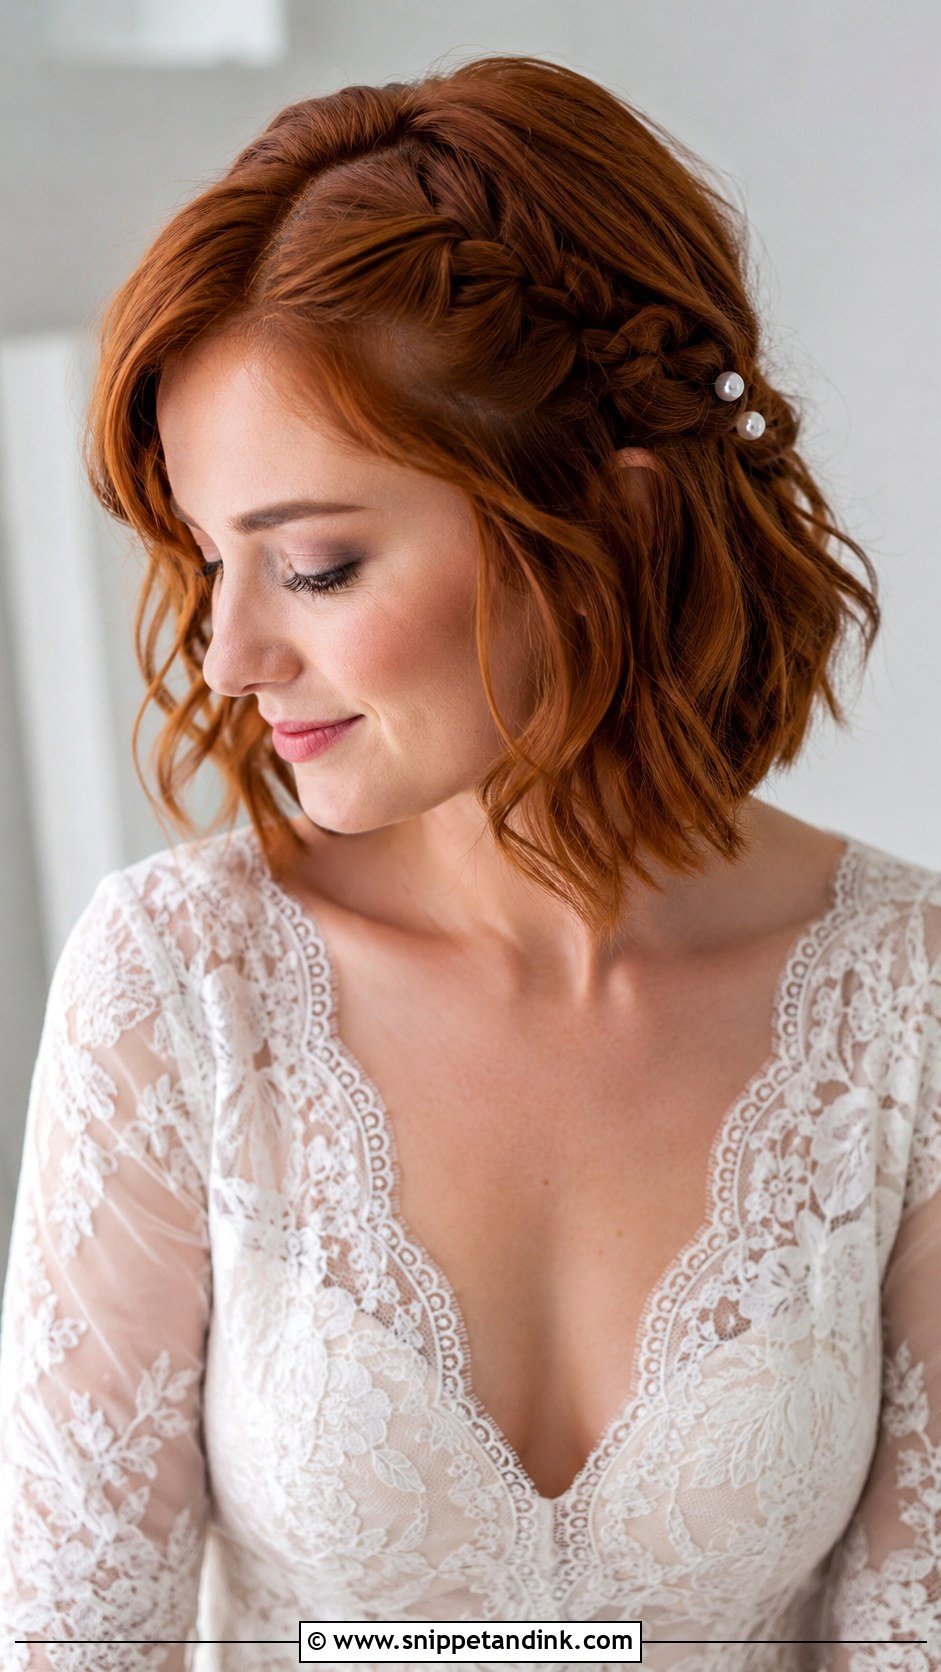
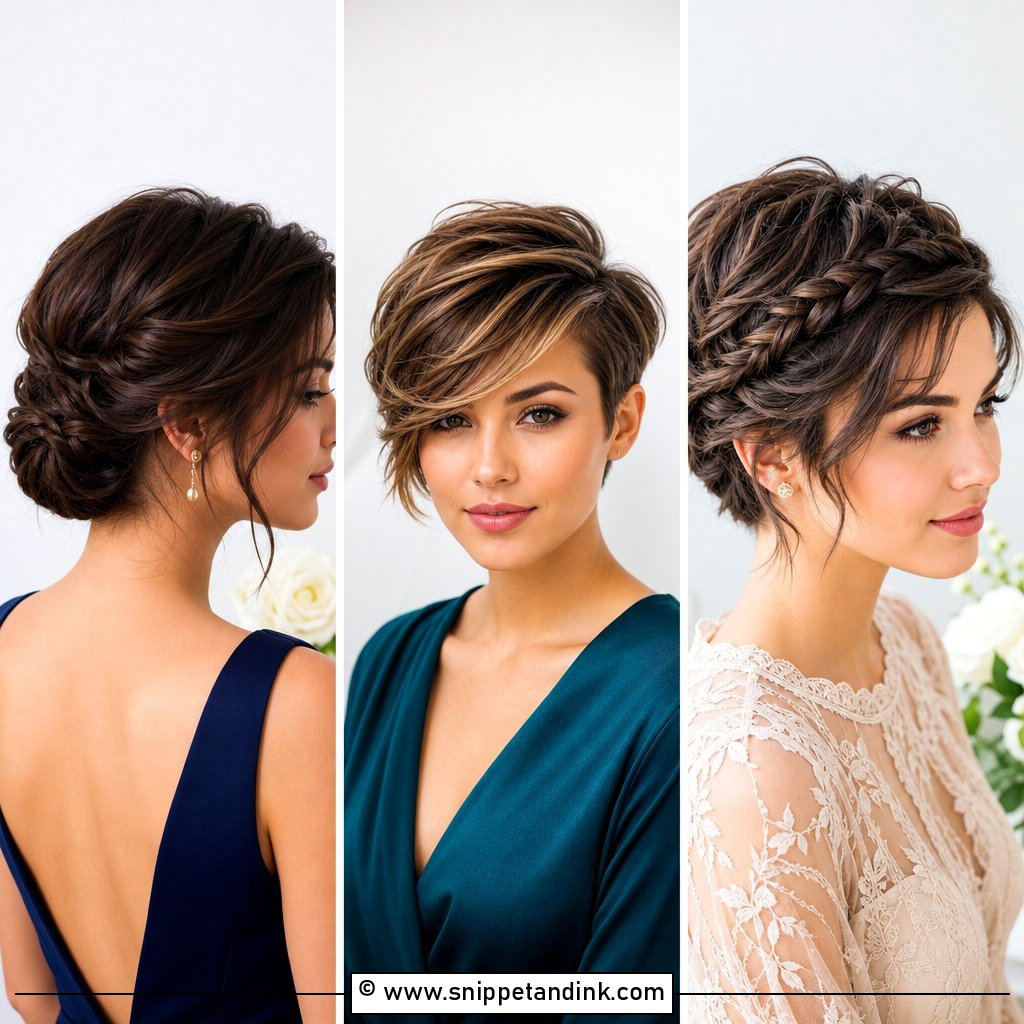
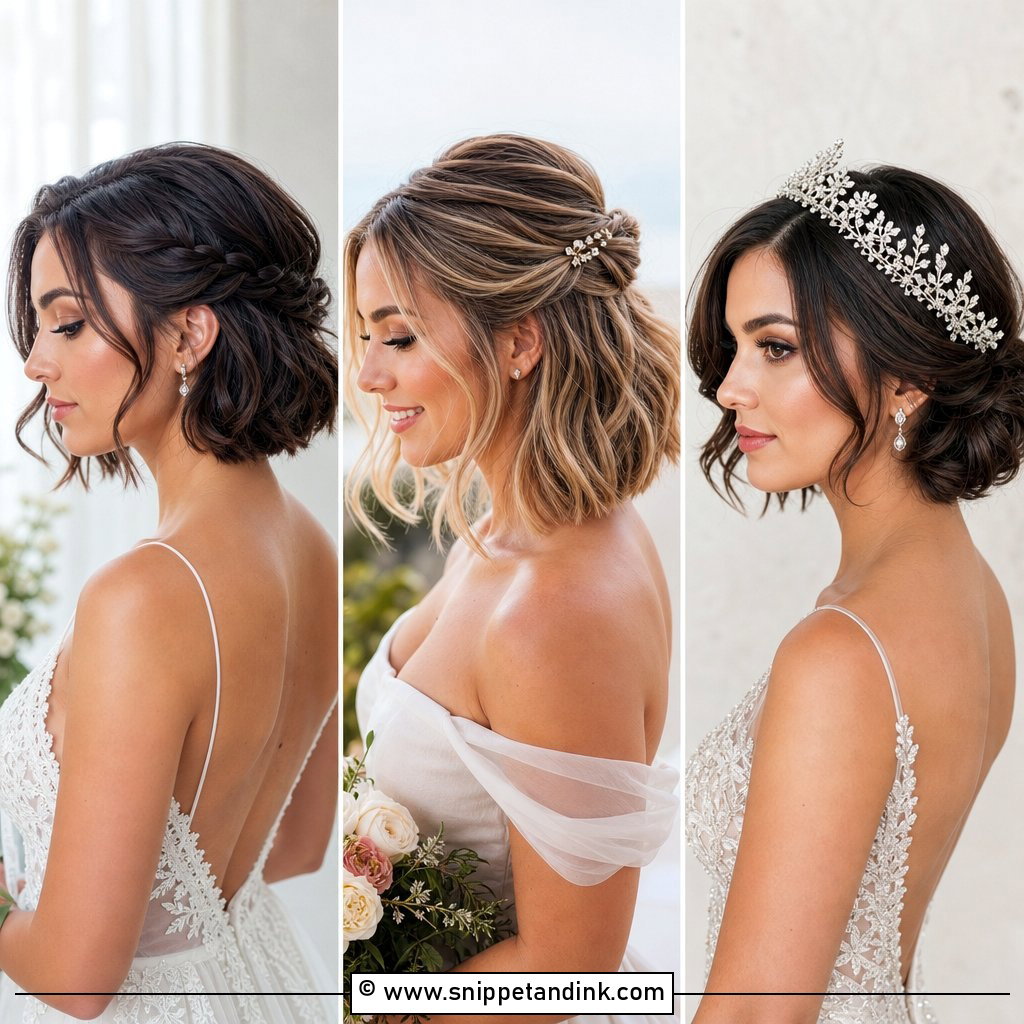
A side braid gives a bob a detail without needing length. I take a small section at the temple, braid it tightly back toward the ear and hide the end under the rest of the hair with two grips. A few pearl pins or tiny dried flowers can tuck into the plait. If you have very short layers at the front, a twist holds better than a three-strand braid, because the shorter pieces won’t fall out of every crossing.
14. Voluminous Bob for Thin Hair
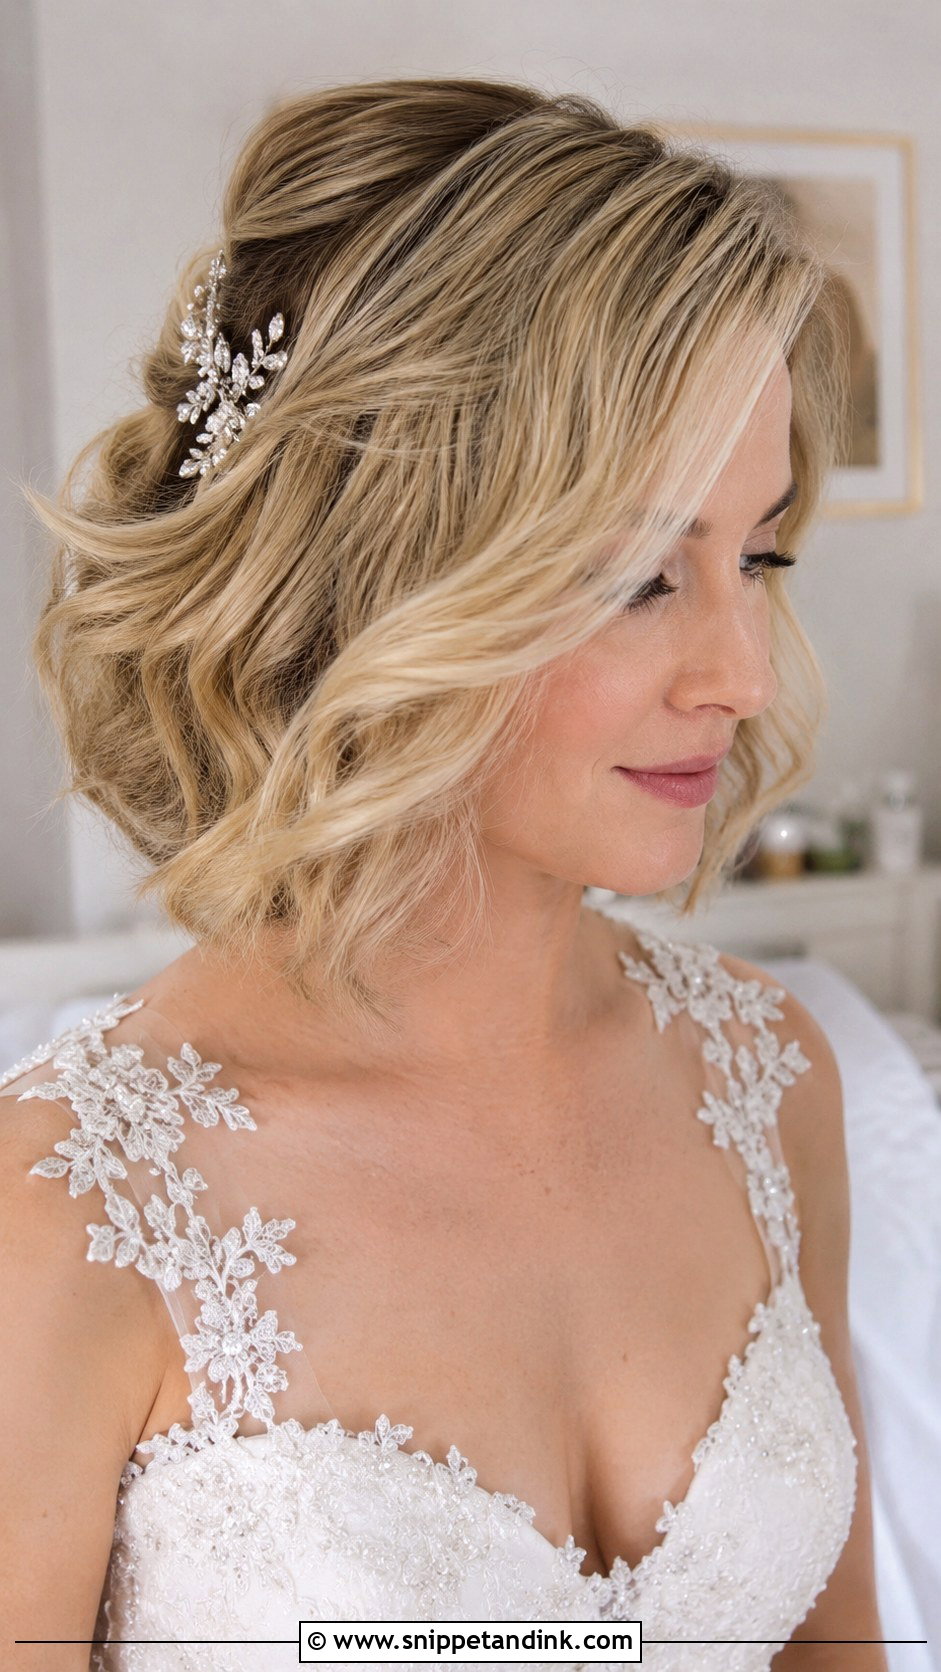
Fine hair needs volume built in at the root, not added at the end. For a voluminous bob I use a light mousse at the roots, then round-brush dry lifting each section straight up from the scalp. Soft bends through the lengths create dimension. Avoid heavy serums or oils, which flatten fine hair within hours. I finish with a texture spray and set the crown with a couple of hidden velcro rollers while makeup is done, then remove them just before the dress goes on.
15. Twisted Updo Bob for Wedding
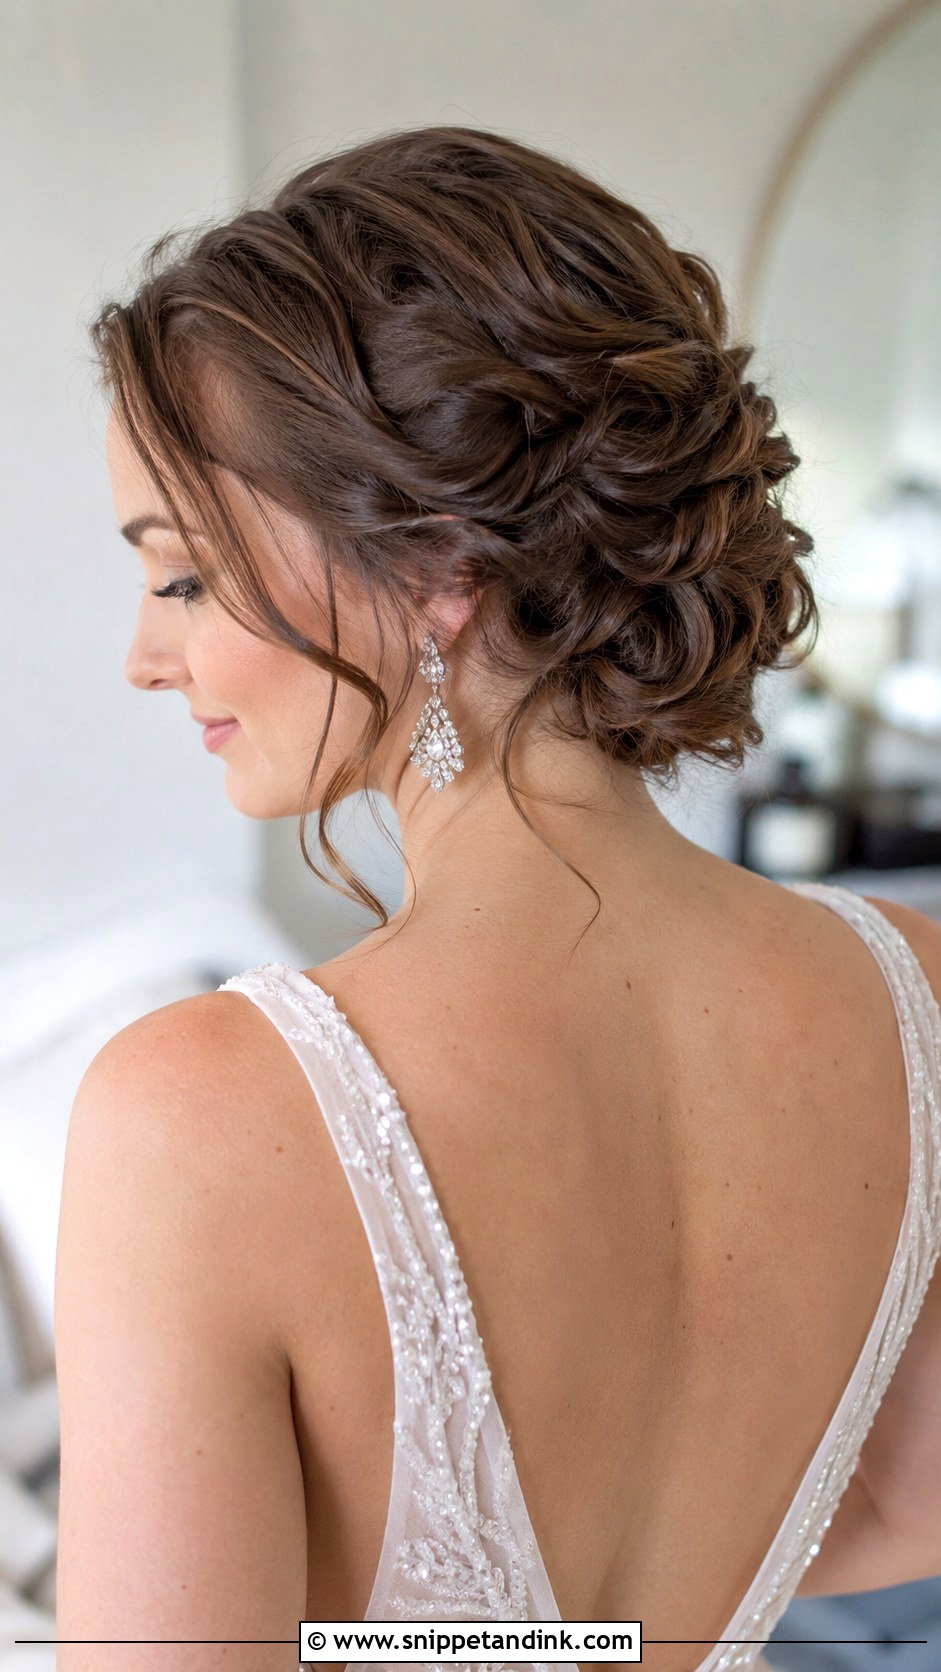
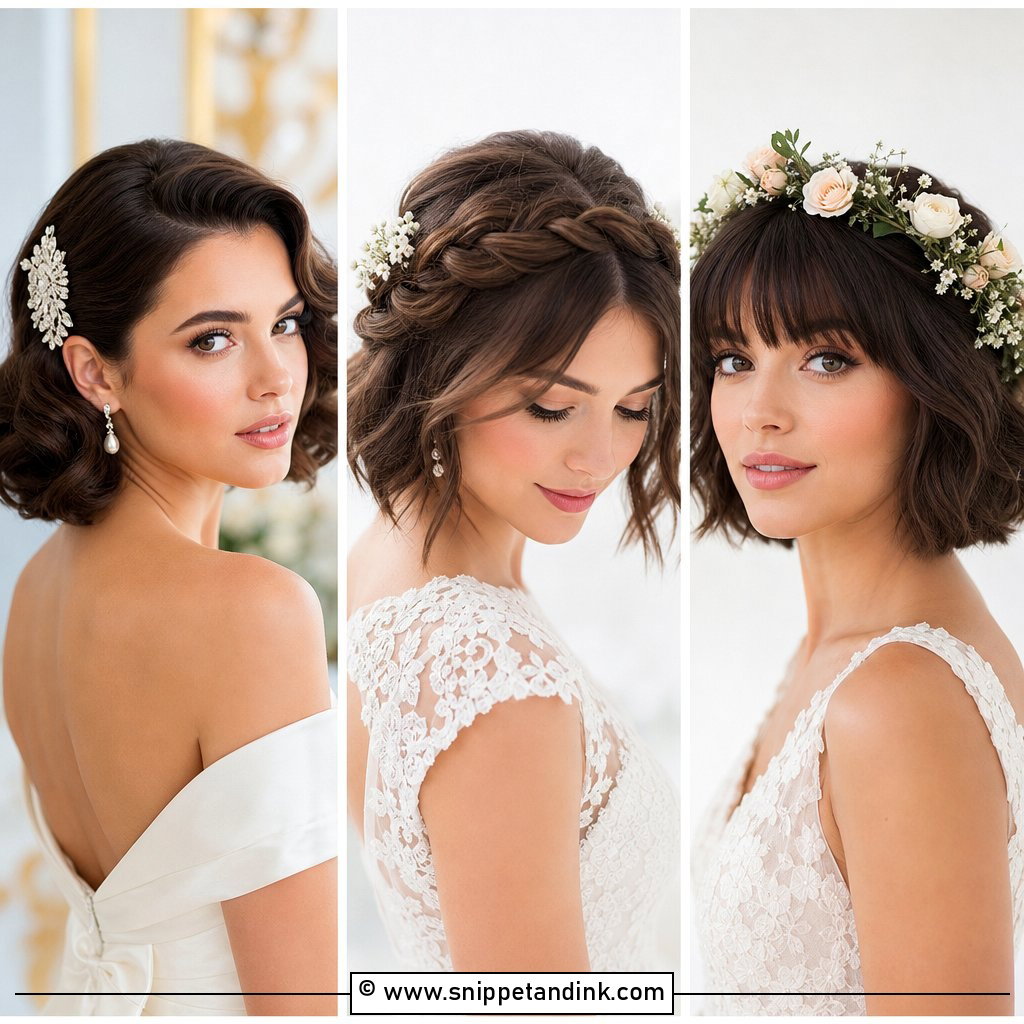
This is the updo I reach for when a bob is too short for a bun. Curling everything first is not optional, because textured hair grips; straight short hair slips out of pins within an hour. I then twist small sections toward the centre back and pin each twist individually, building the shape piece by piece. Leave a few tendrils loose near the face. It pairs well with a low back gown since it keeps the nape fully on show.
16. Glossy Side-Swept Bob
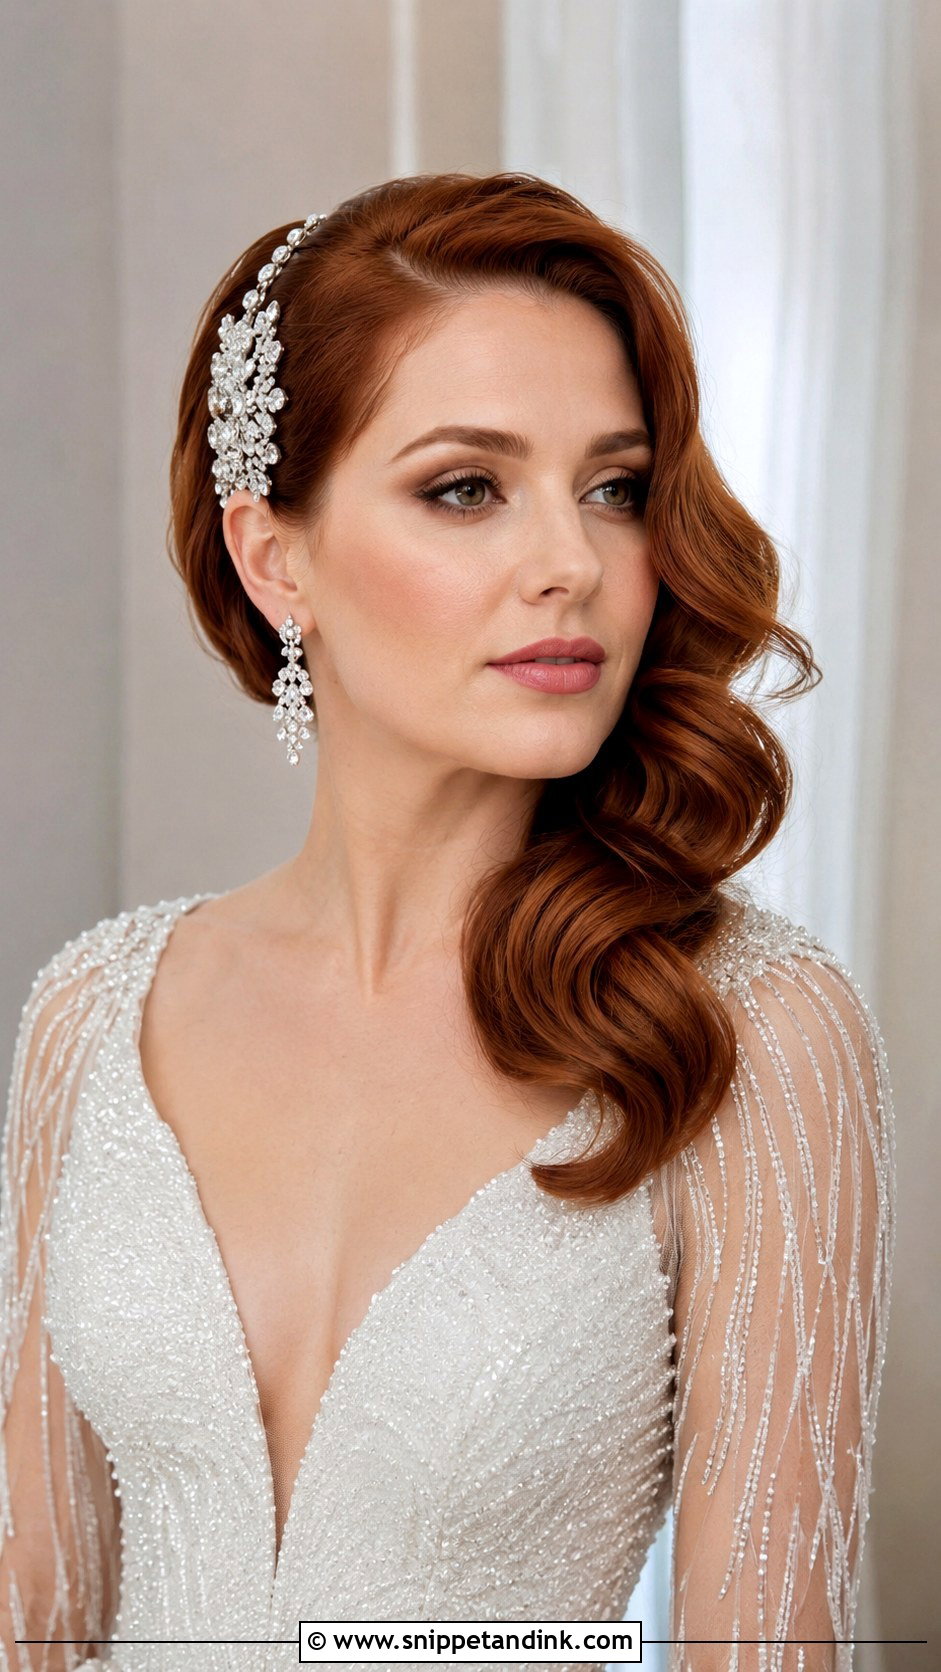
A side-swept bob borrows from old Hollywood. I curl the lengths and then brush the curls together into one sweeping wave that falls over one side. The opposite side is the tricky one: it needs to be pinned back flat behind the ear, hidden under a sparkling clip, or the sweep collapses as you move. A shine spray finishes it. Glamorous and quite formal, so I suggest this one for evening receptions.
17. Pinned-Back Bob with Accessories
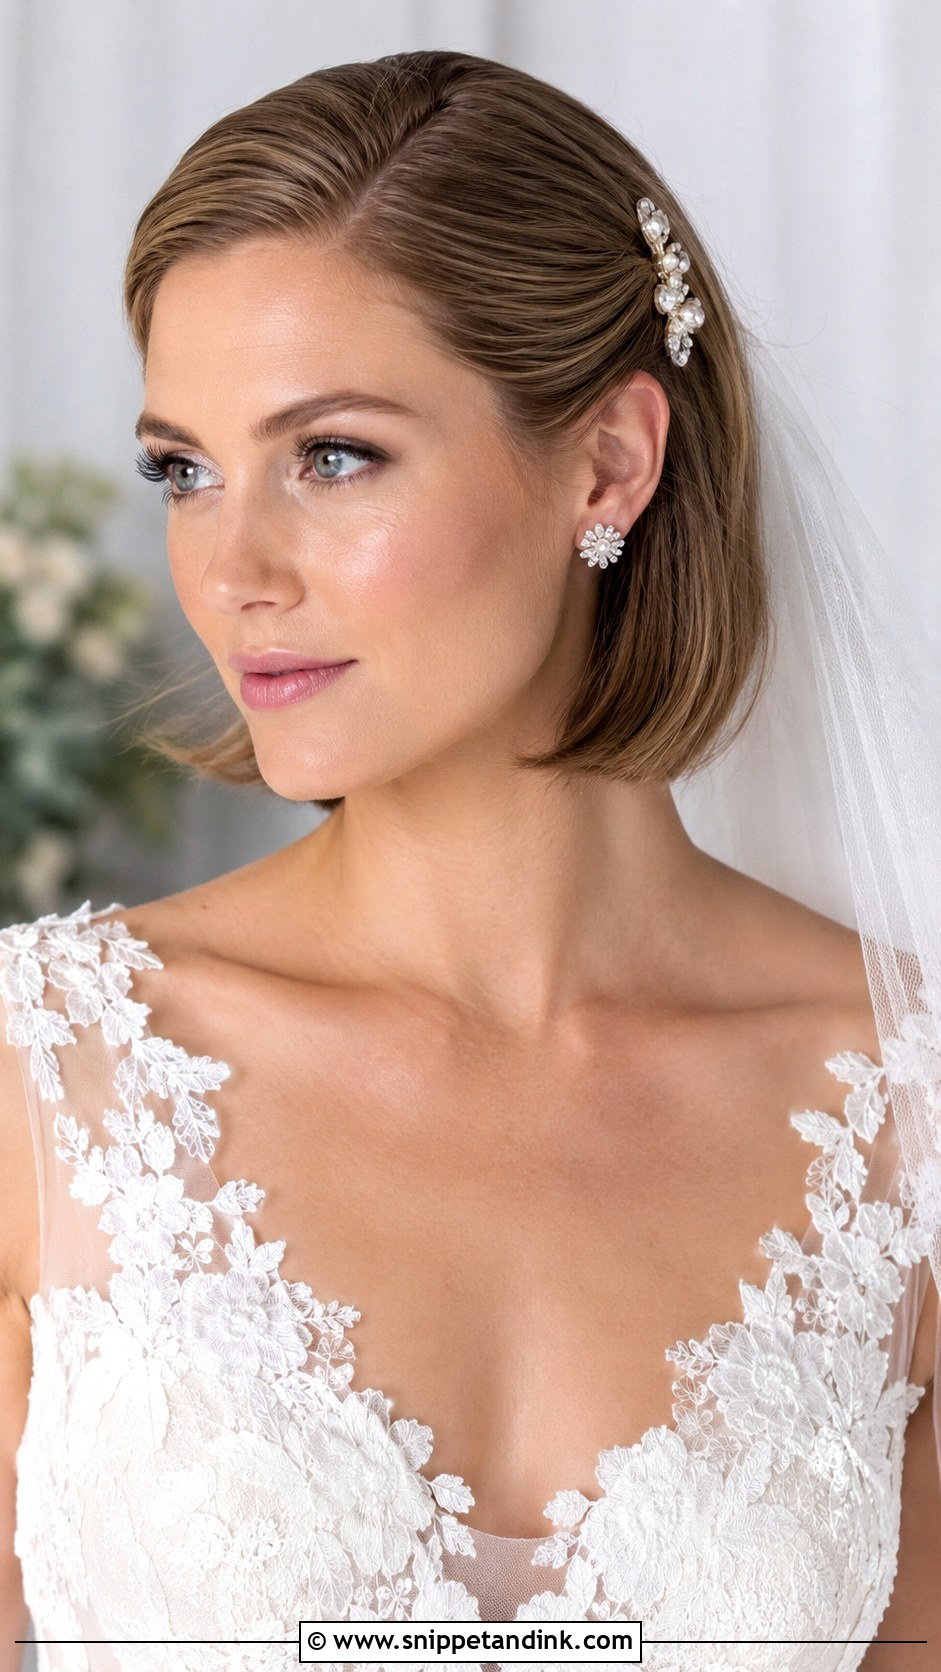
When the accessories are the focal point, the hair is mostly a base for them. I smooth the sides back behind the ears and pin them with grips in a cross, then place the jeweled combs or pearl barrettes over those grips so they have something to bite into. Without that base, combs slide straight out of a bob. Leave the back with light texture. This style adapts easily to your dress and theme, and the veil can attach underneath the accessories.
18. Wavy Side Part Bob
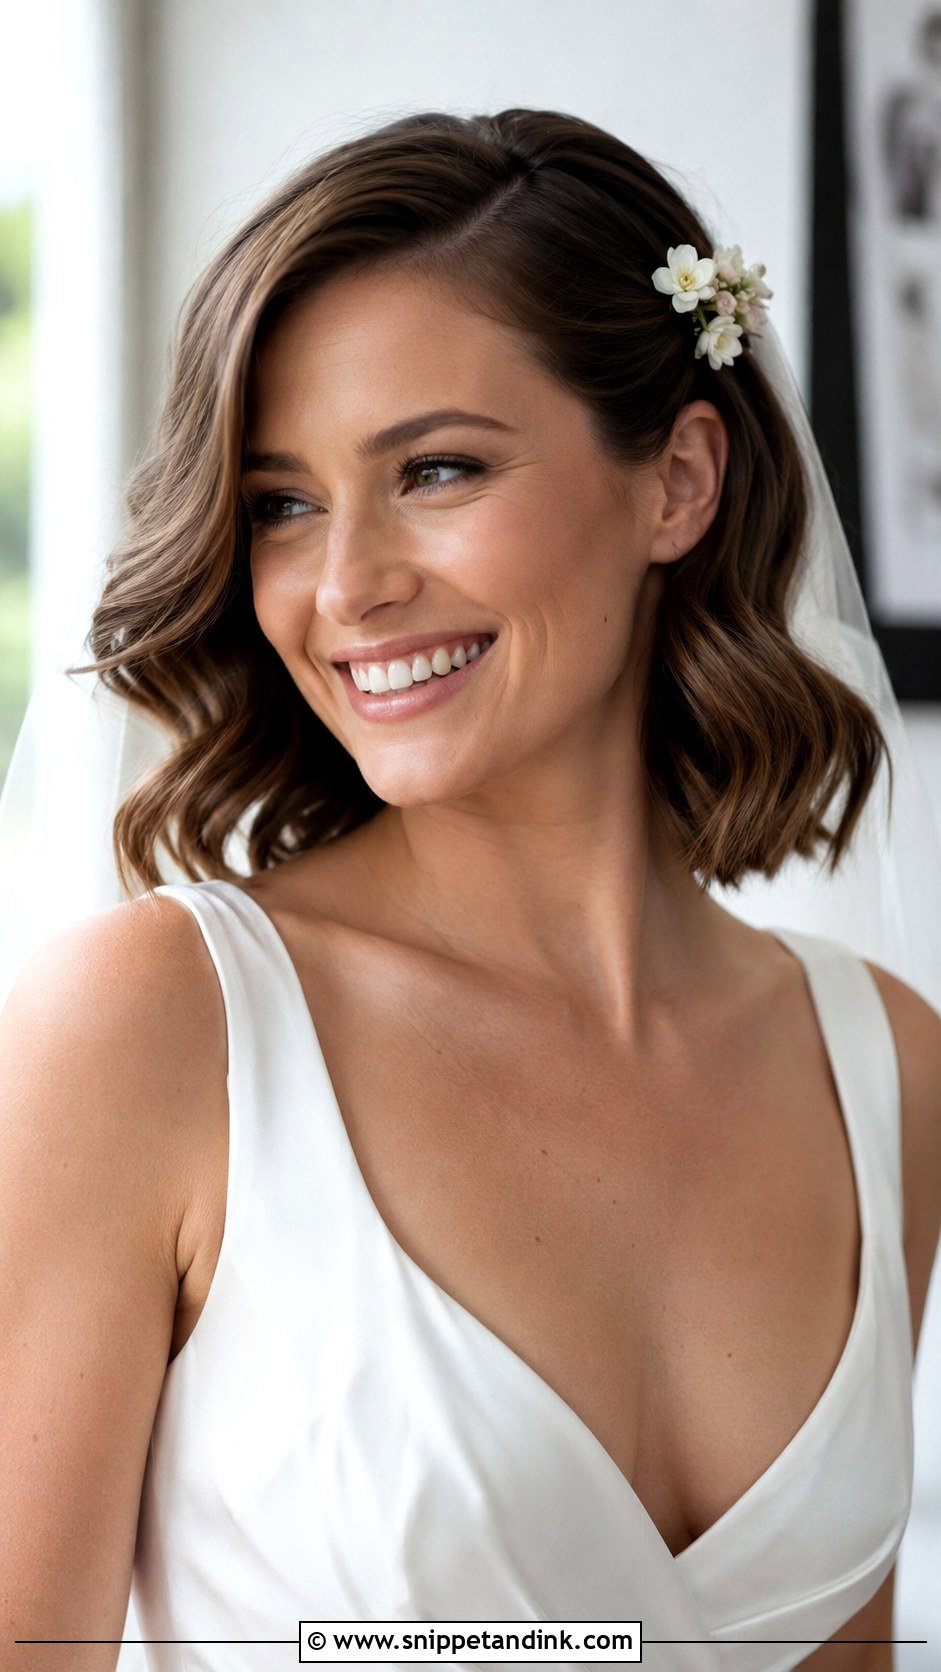
A deep side part and loose waves: the most forgiving style on this list. It works on almost any bob length and texture, and if a wave drops a little by evening, it still looks right. I curl in larger sections here than for the beachy version, so waves are smoother and more polished. Tuck a hairpin or a single flower at the part line. Ceremonies and receptions alike.
19. Inverted Bob for Wedding
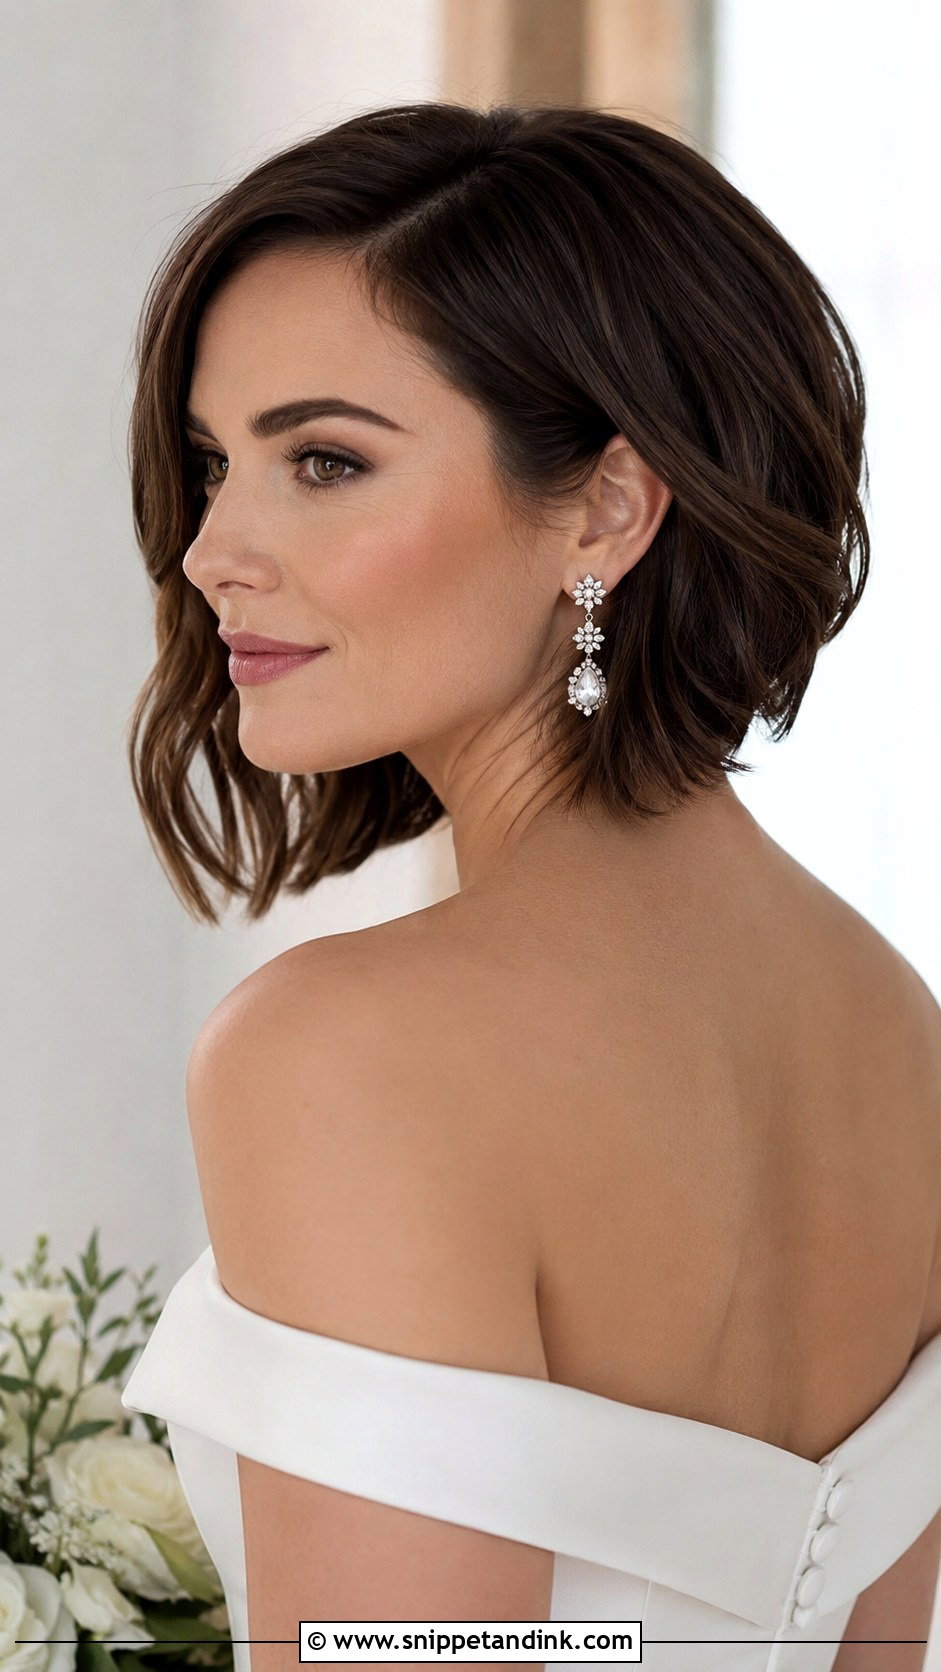
An inverted bob is graduated, with stacked layers at the back. That stacking creates natural volume at the crown, so I don’t need to tease it. I style the front sleek for a sharp line or with gentle waves for movement. The back is so short that pins and veils need a different plan: a veil usually goes in higher, at the crown, where there’s enough hair to anchor the comb. It flatters round and heart-shaped faces and suits a bride who likes a clean, graphic look.
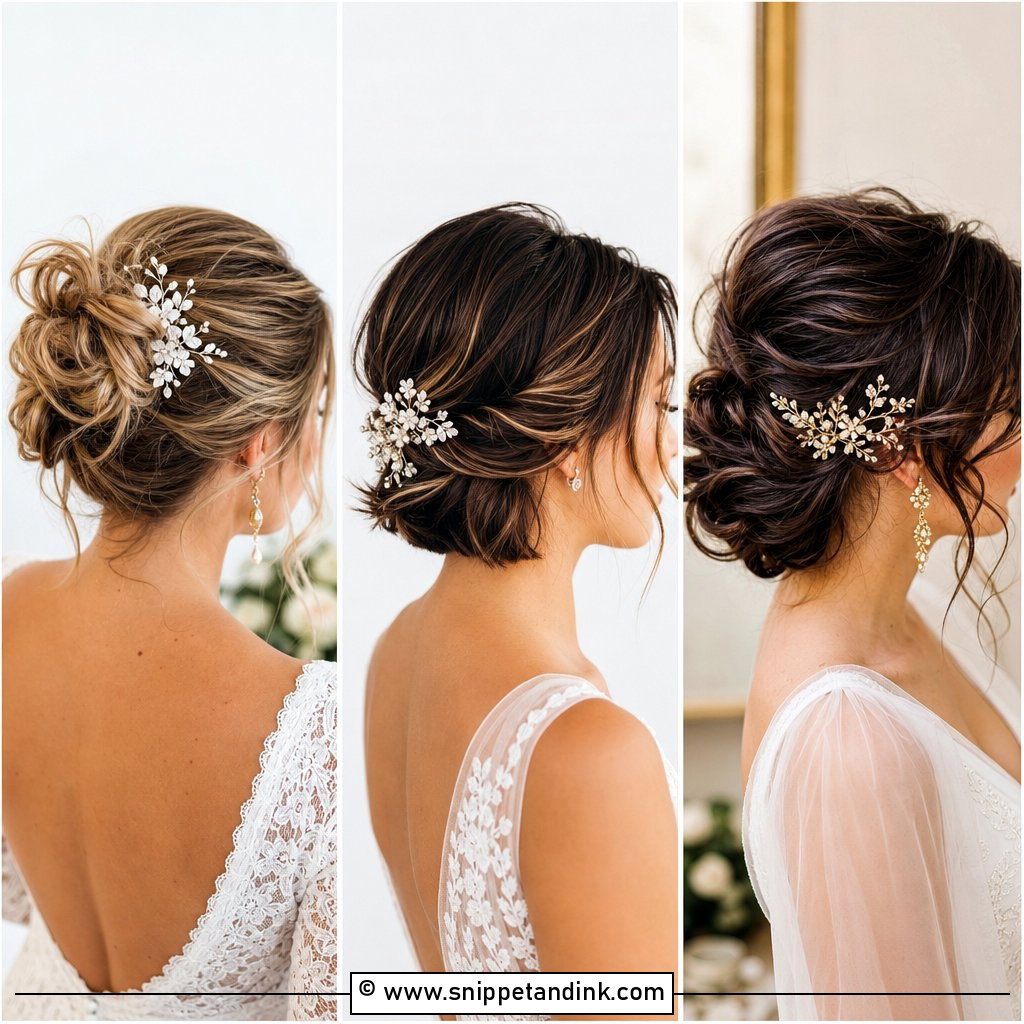
20. Romantic Curly Updo Bob
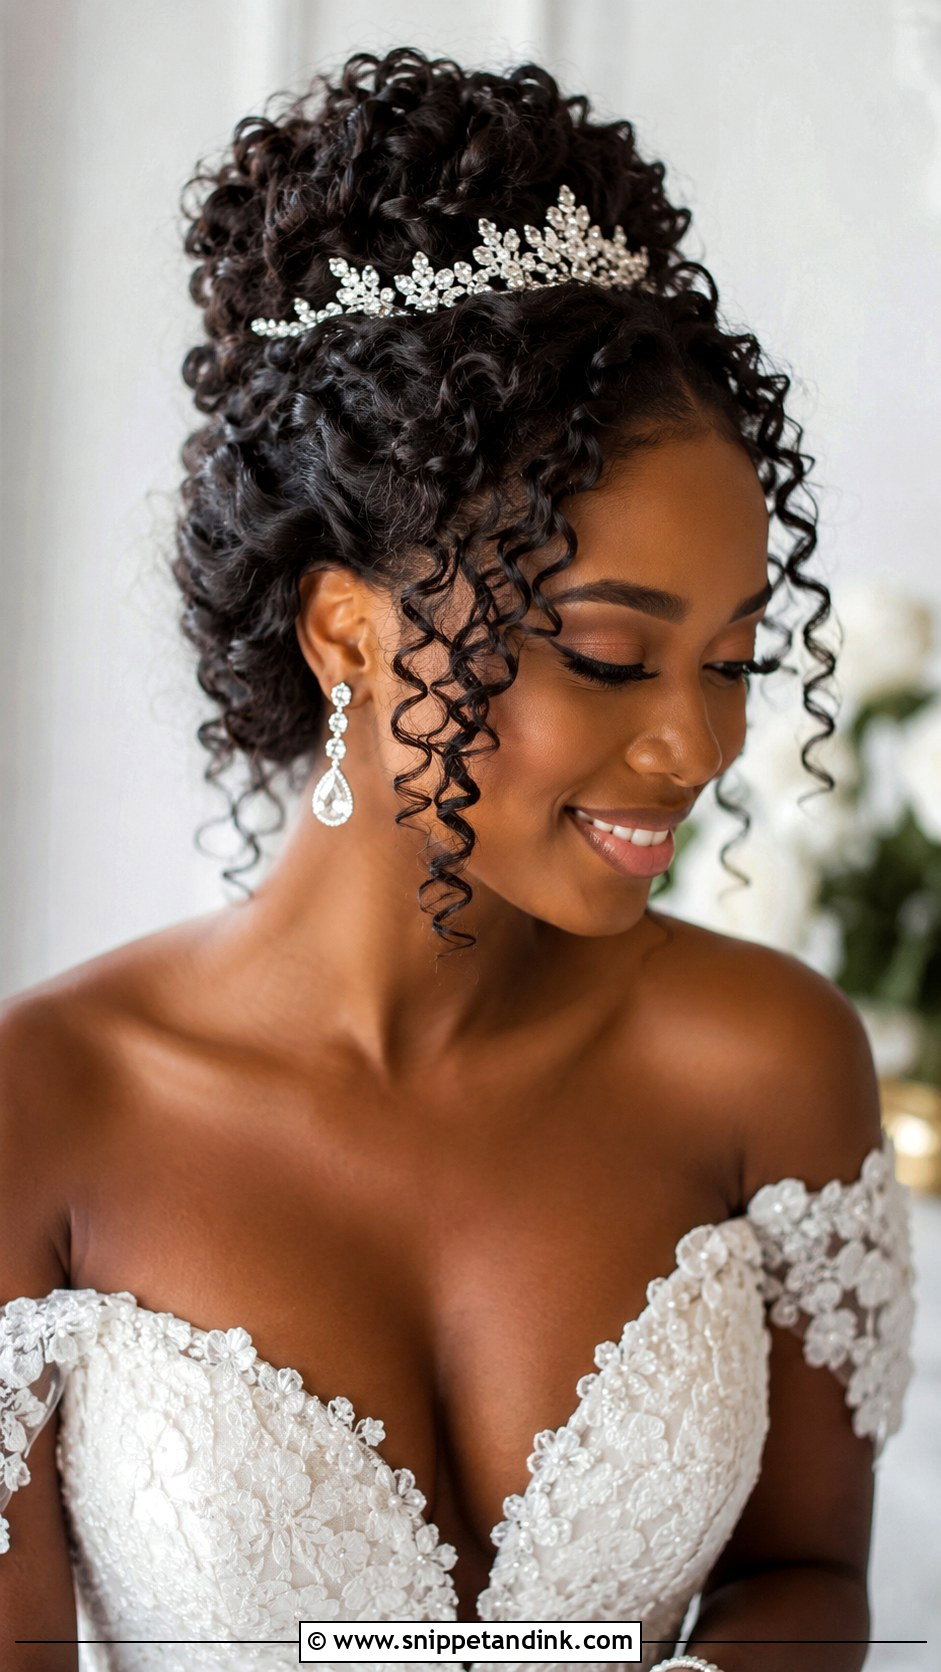
Curly hair holds pins far better than straight hair, which makes this the easiest updo for a bob to wear all day. I define curls first, then gather and pin them upward into a textured, voluminous updo, using U-pins rather than grips so the curls keep their shape. Loose curls stay at the face. Floral accents or a slim tiara sit nicely into the curls without needing much anchoring.
Veils, Combs and Pins on Hair That Barely Covers the Ears
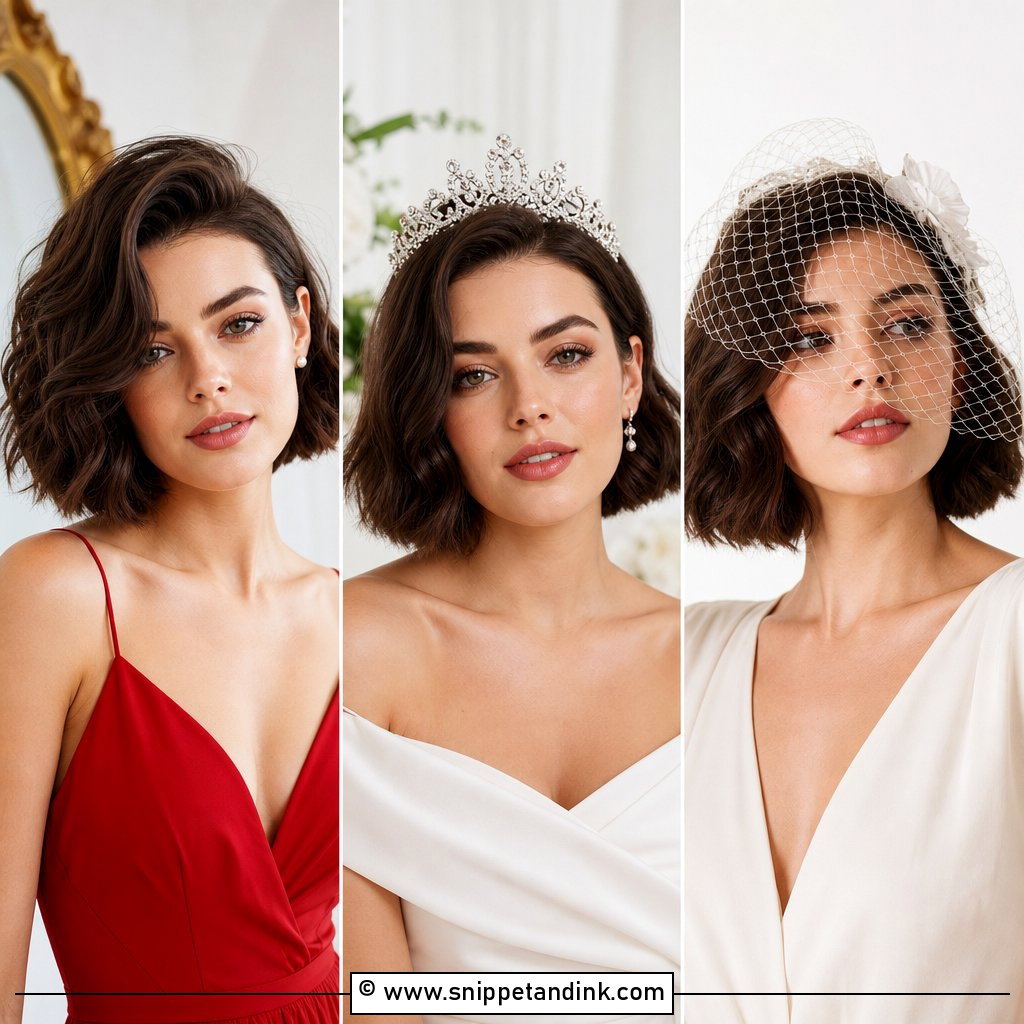
A veil comb in long hair grips into a bun. A bob doesn’t have one, so I build an anchor instead: two grips crossed in an X just below the crown, sprayed, with the comb pushed in over them. The veil sits on that hidden base rather than the loose hair. On very short or inverted cuts, I move the anchor higher, to the crown, where the hair is longest.
- Ask for a lightweight veil, or one on a small comb. A long cathedral veil drags short hair backward.
- Check the weight of jeweled combs at the trial. Something heavy needs two anchors, not one.
- Bring every accessory to the trial, including any replacement you plan to wear for the reception.
How a Short Style Wears Through Ten Hours
Bobs hold shape better than long hair over a long day, but they show disruption faster. A cheek pressed against someone’s shoulder in a hug can flatten one side completely. Keep a small comb, a few grips and a mini flat iron or travel straightener in your bag for evening. Curls and waves usually loosen gently, which still looks good; sleek styles tend to pick up frizz in humidity, so a little anti-humidity spray before you leave is worth it. If your bob is curly, skip the brush entirely and re-scrunch with damp fingers.
What a Bob Asks of You Before the Wedding
Short hair is not a limitation for a wedding. It just asks for a different plan: build the style from the cut you have, make sure every accessory has a base to grip, and book a trial so you see how your bob behaves after a few hours of wear. Bring your veil or headpiece to that trial. And talk to your stylist about the haircut timing before the day, so the shape is fresh but settled. Your bob will frame the whole celebration.
You'll Like These Ideas:


Leave a Reply