
A high bun is the updo I trust most for a bridesmaid who’ll be on her feet for twelve hours, carrying a train, hugging relatives and dancing. Lifting the hair off the neck shows earrings and necklines, and a bun pinned on a proper base barely moves all night. It also suits almost any fabric, from satin to velvet. The variations below range from sleek to braided to fully natural texture, and I’ve noted which hair lengths and types each one needs. Above the list, a word on placement, because “high” means something slightly different on every head.
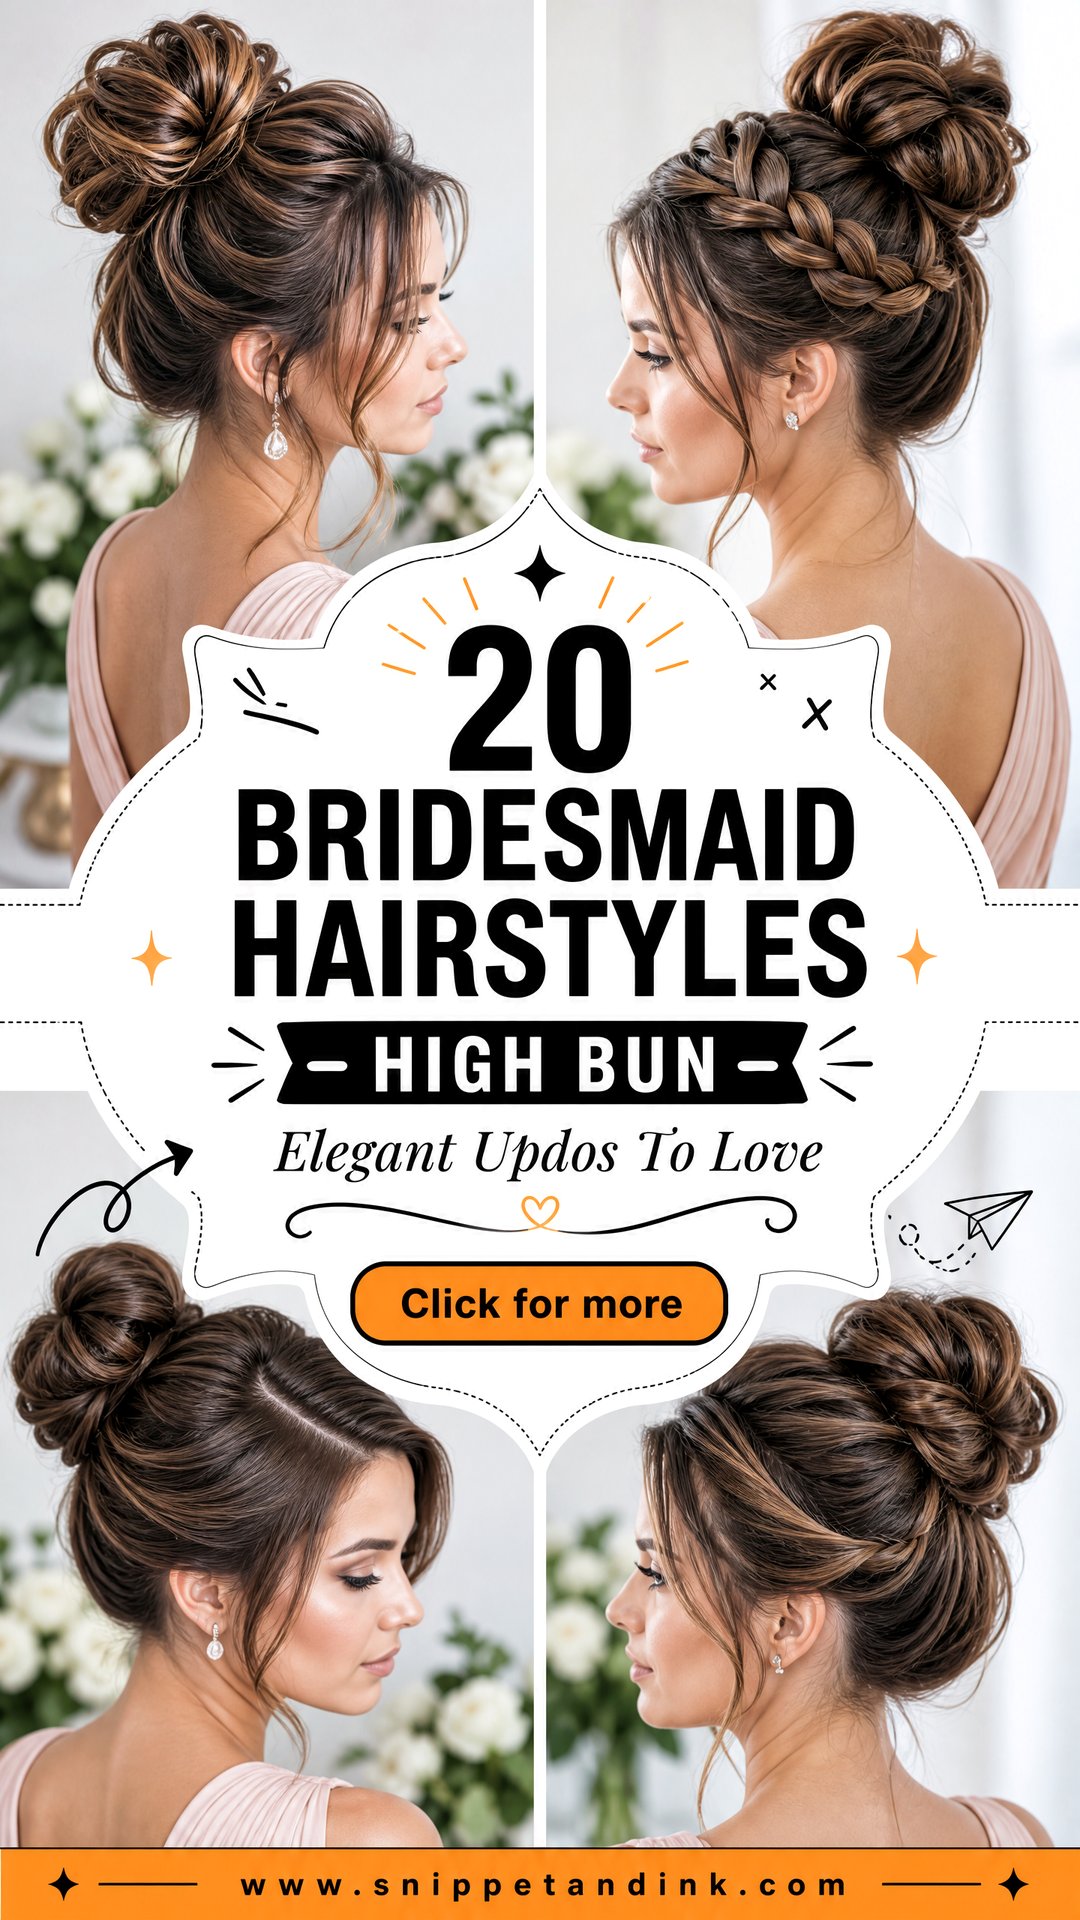
Where a High Bun Should Sit on Her Head
There’s no single correct height. I place every high bun by looking at the bridesmaid in profile, because what flatters one face can look like a gym ponytail on another. My method is simple:
- Imagine a line from the jaw angle up through the back of the ear. Extending it to the top of the head gives a natural, balanced crown position.
- Go higher than that for a dramatic, ballerina outline. It suits long necks and strapless dresses.
- Go slightly lower if the bridesmaid wears a high neckline or is self-conscious about a large forehead; it reads softer.
- Check from the front too. A bun that peeks over the crown when seen face-on looks taller in photos than you’d expect.
In a group, I don’t need every bun at the same spot on every head. I aim for them to look level when the bridesmaids stand in a row, which sometimes means pinning the shortest one’s bun a touch higher.
1. Sleek High Bun Bridesmaid Hairstyle
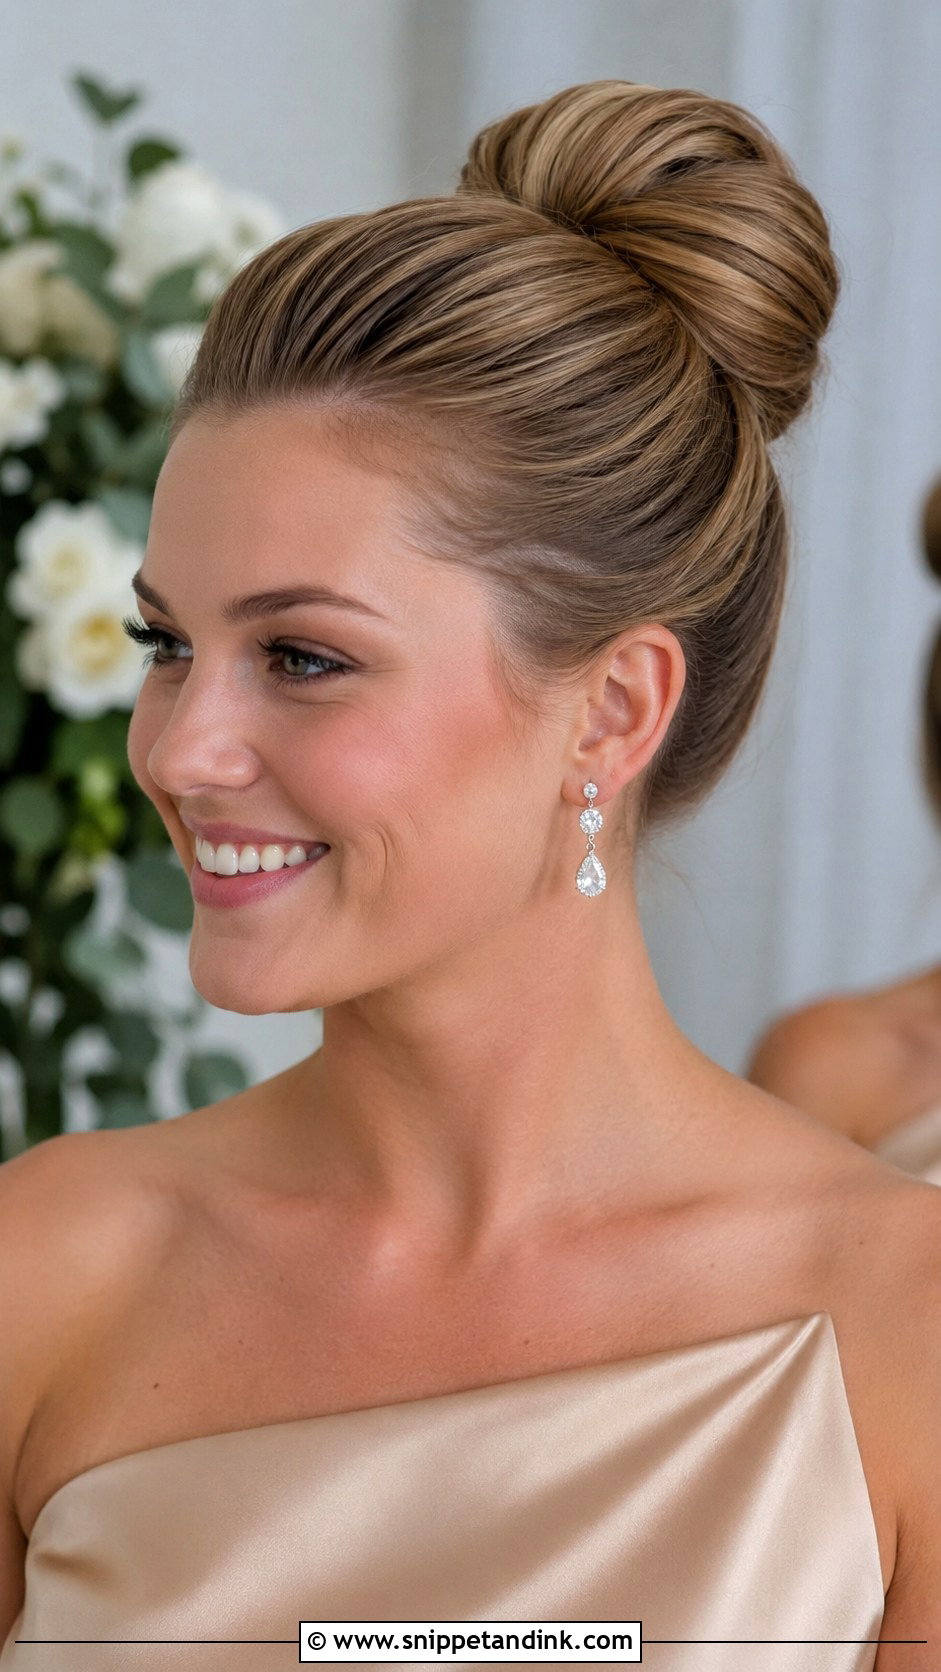
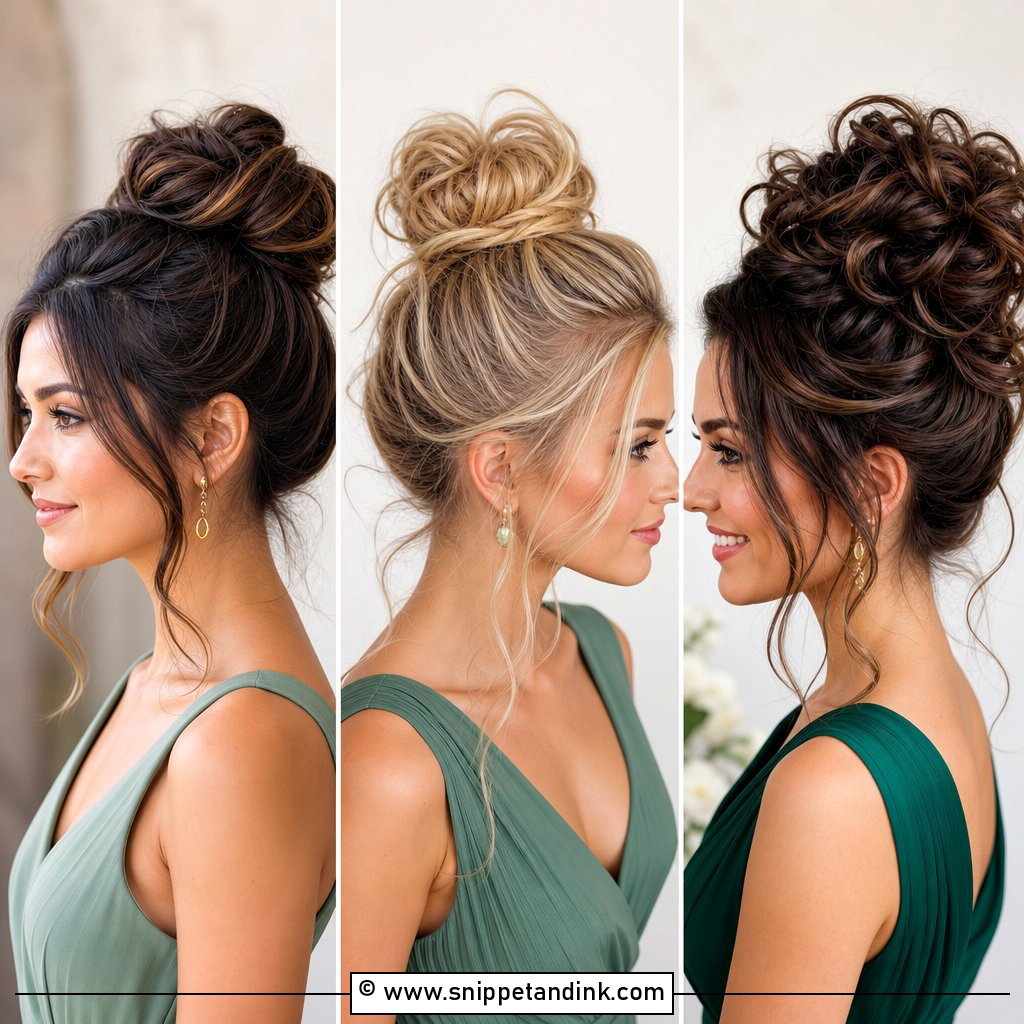
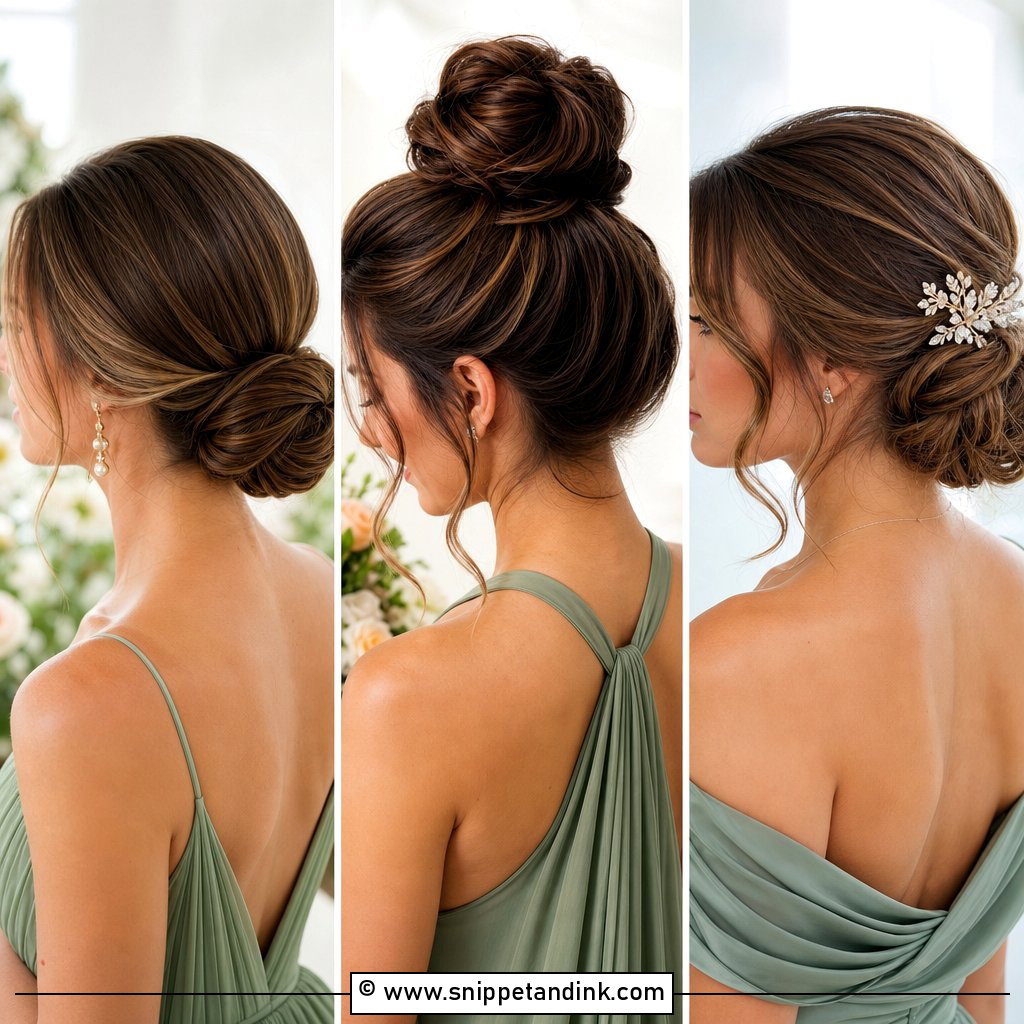
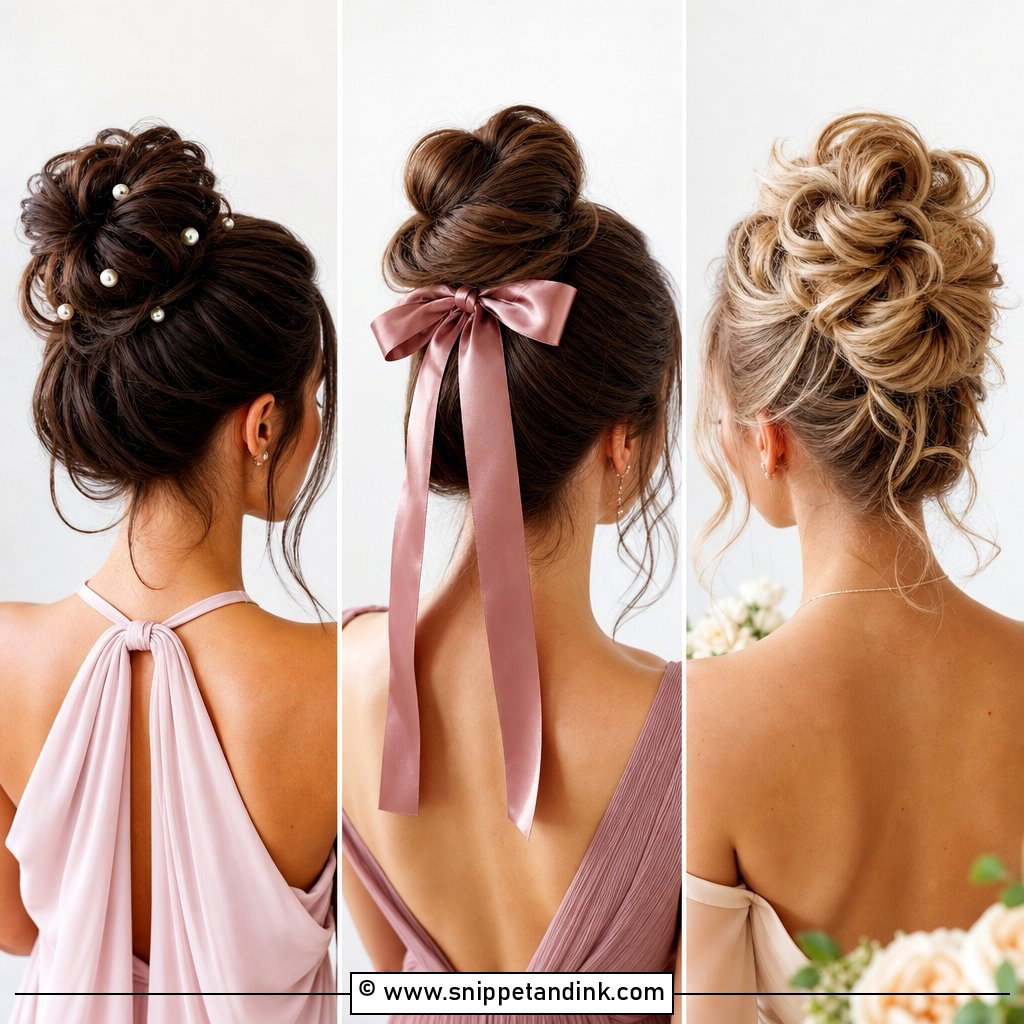
A sleek high bun is the most formal option and the least forgiving. I smooth the hair with a cream and a fine brush, secure a ponytail at the crown with a strong elastic, then wrap and pin the bun so it’s rounded, not flat. With halter necklines, one-shoulder and square necks it lengthens the neck nicely. Humidity is its enemy, so I finish with an anti-humidity spray and smooth stray hairs down with a clean toothbrush and a touch of shine spray. Flyaways show more on sleek hair than anywhere else.
2. Messy High Bun Bridesmaid Hairstyle
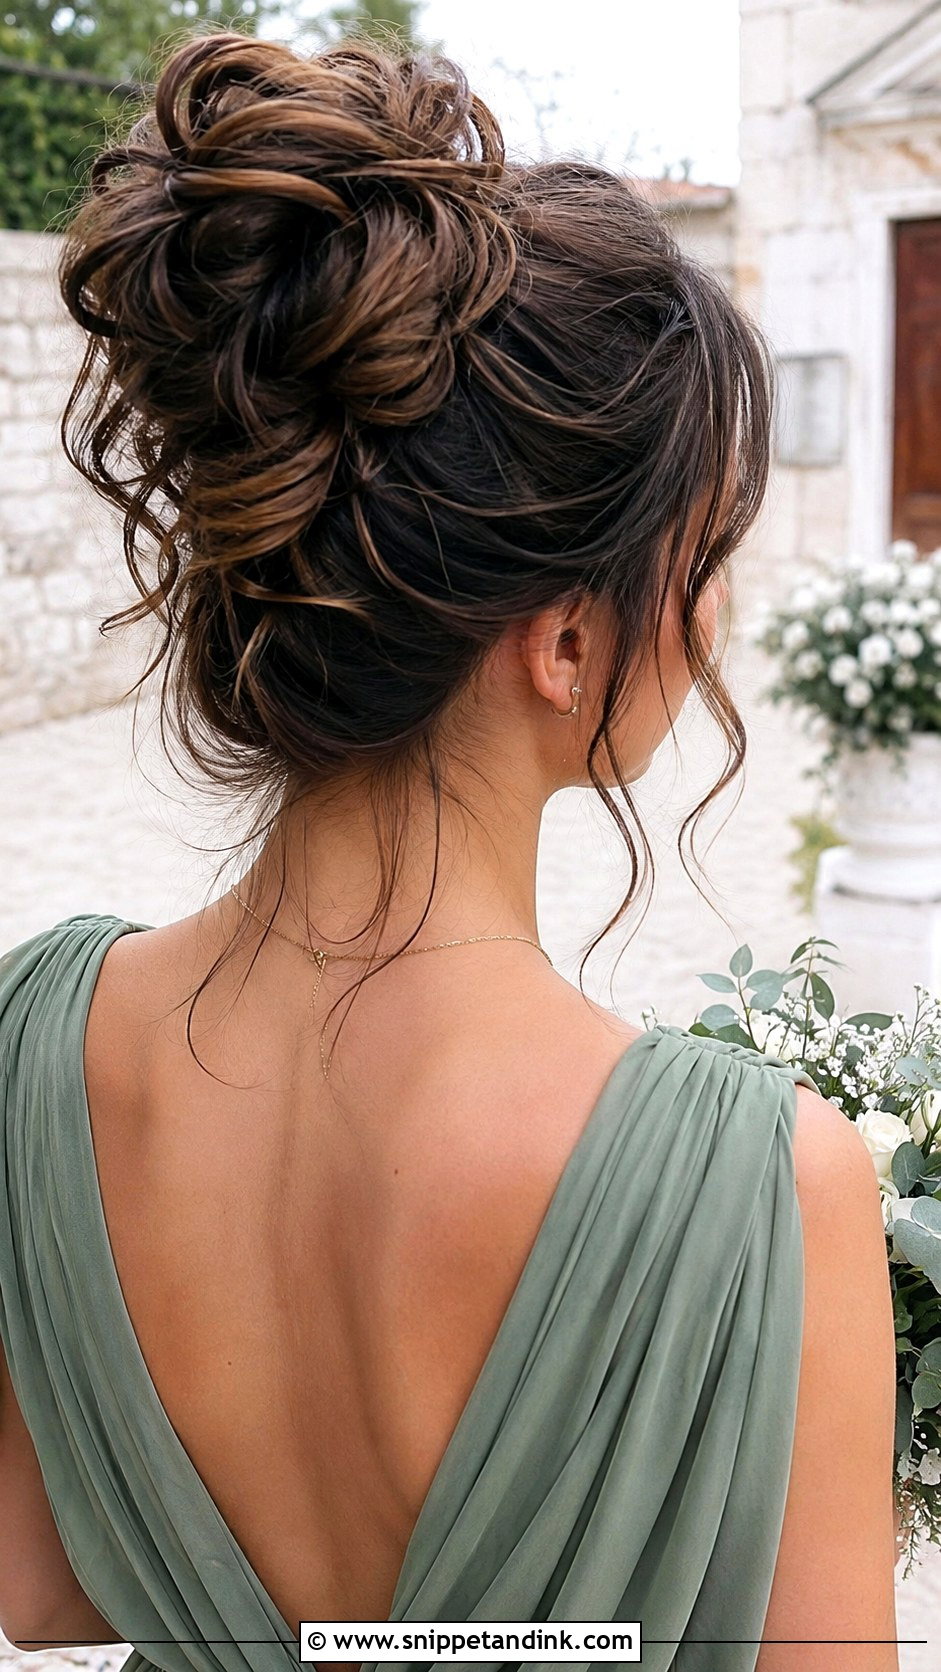
The messy version is still pinned piece by piece; it just doesn’t look it. I curl or texture the hair first, gather it high, then build the bun from loose loops pinned at different angles so it has air in it. Pieces at the face and nape are left out on purpose. Layered hair is easier here than in a sleek bun because short layers can poke out and look intended. Barns, beaches and gardens suit it better than a ballroom.
3. Curly High Bun Bridesmaid Hairstyle
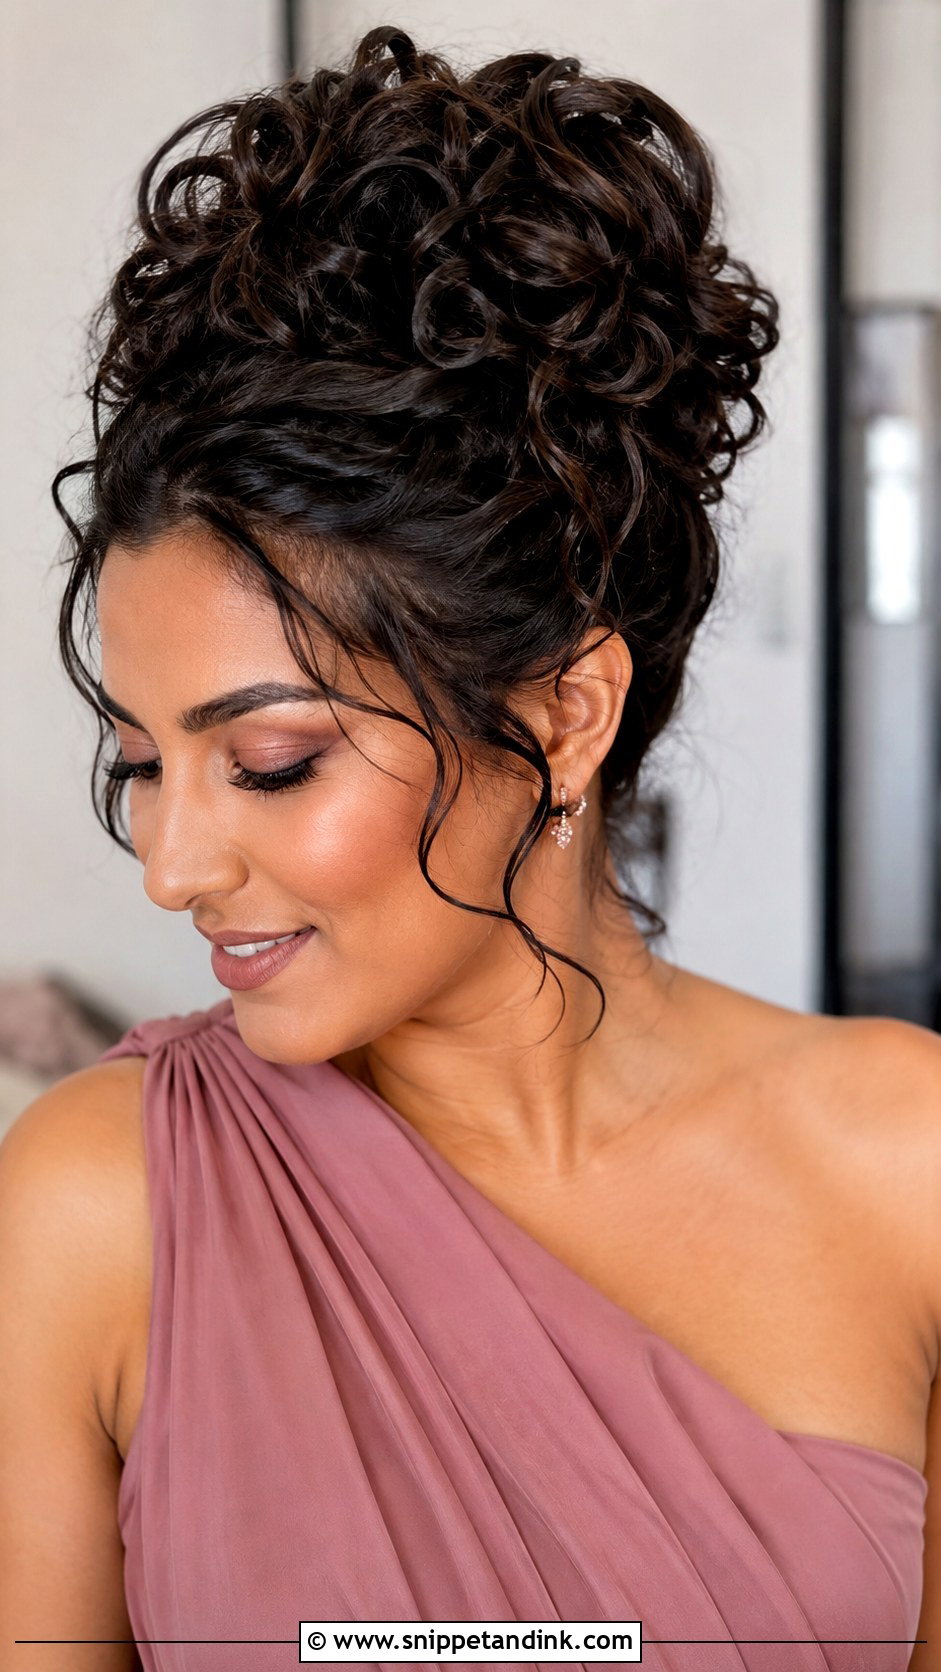
With curly hair I work with the curls, never against them. I define them with cream, gather them high with my hands rather than a brush, and pin the curls into a full, rounded shape, leaving a few at the temples and nape. Straight hair can do this too if it’s curled first and the curls are left to cool before pinning. Expect a curly bun to grow slightly through the day as the air warms it; I pin the base firmly so the extra volume goes outward, not downward.
4. Braided High Bun Bridesmaid Hairstyle
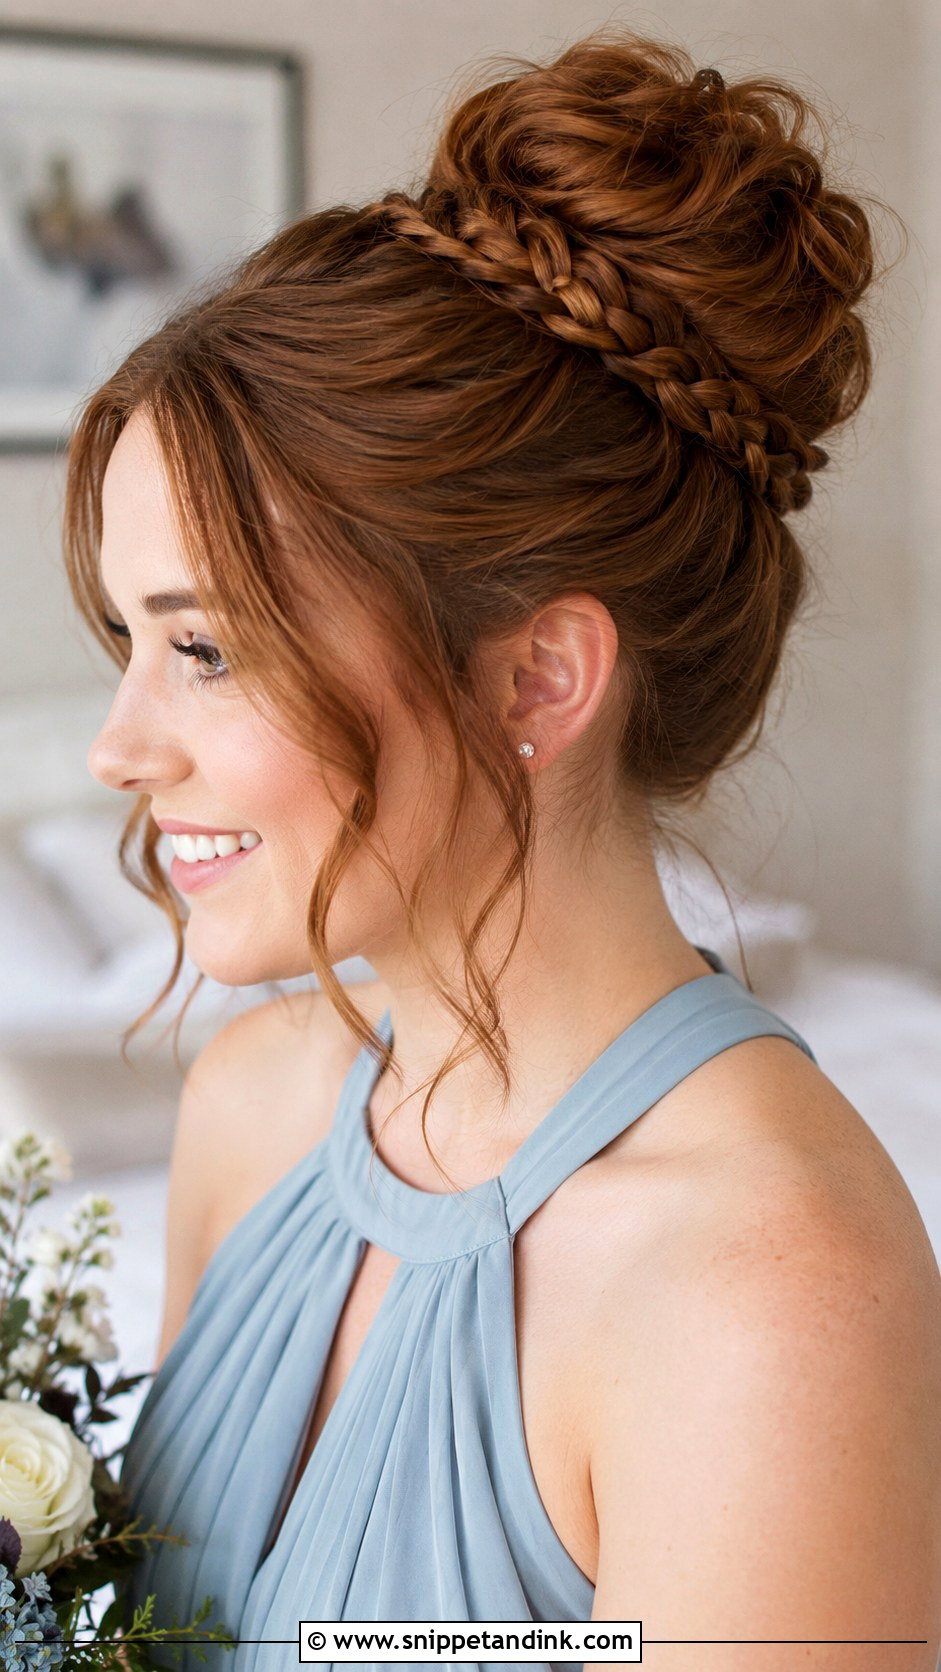
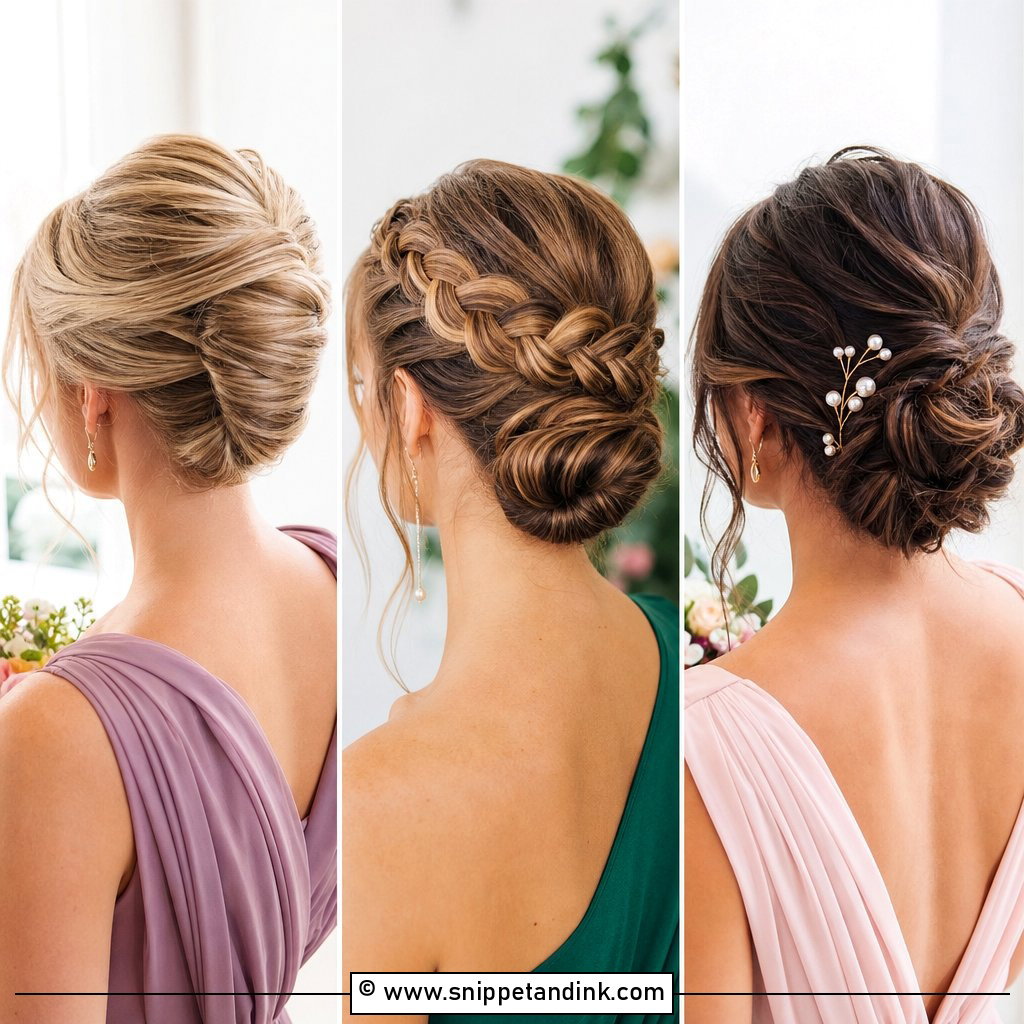
The braid can wrap the base of the bun, climb up the back of the head, or be coiled into the bun itself. For the back-climbing version I braid upside down from the nape, which needs the bridesmaid to lean forward for a few minutes. Plain dresses benefit, and ceremony photos from behind catch the detail. I loosen the braid gently before pinning it into place, not after, so it keeps its fullness.
5. High Bun With Face Framing Pieces
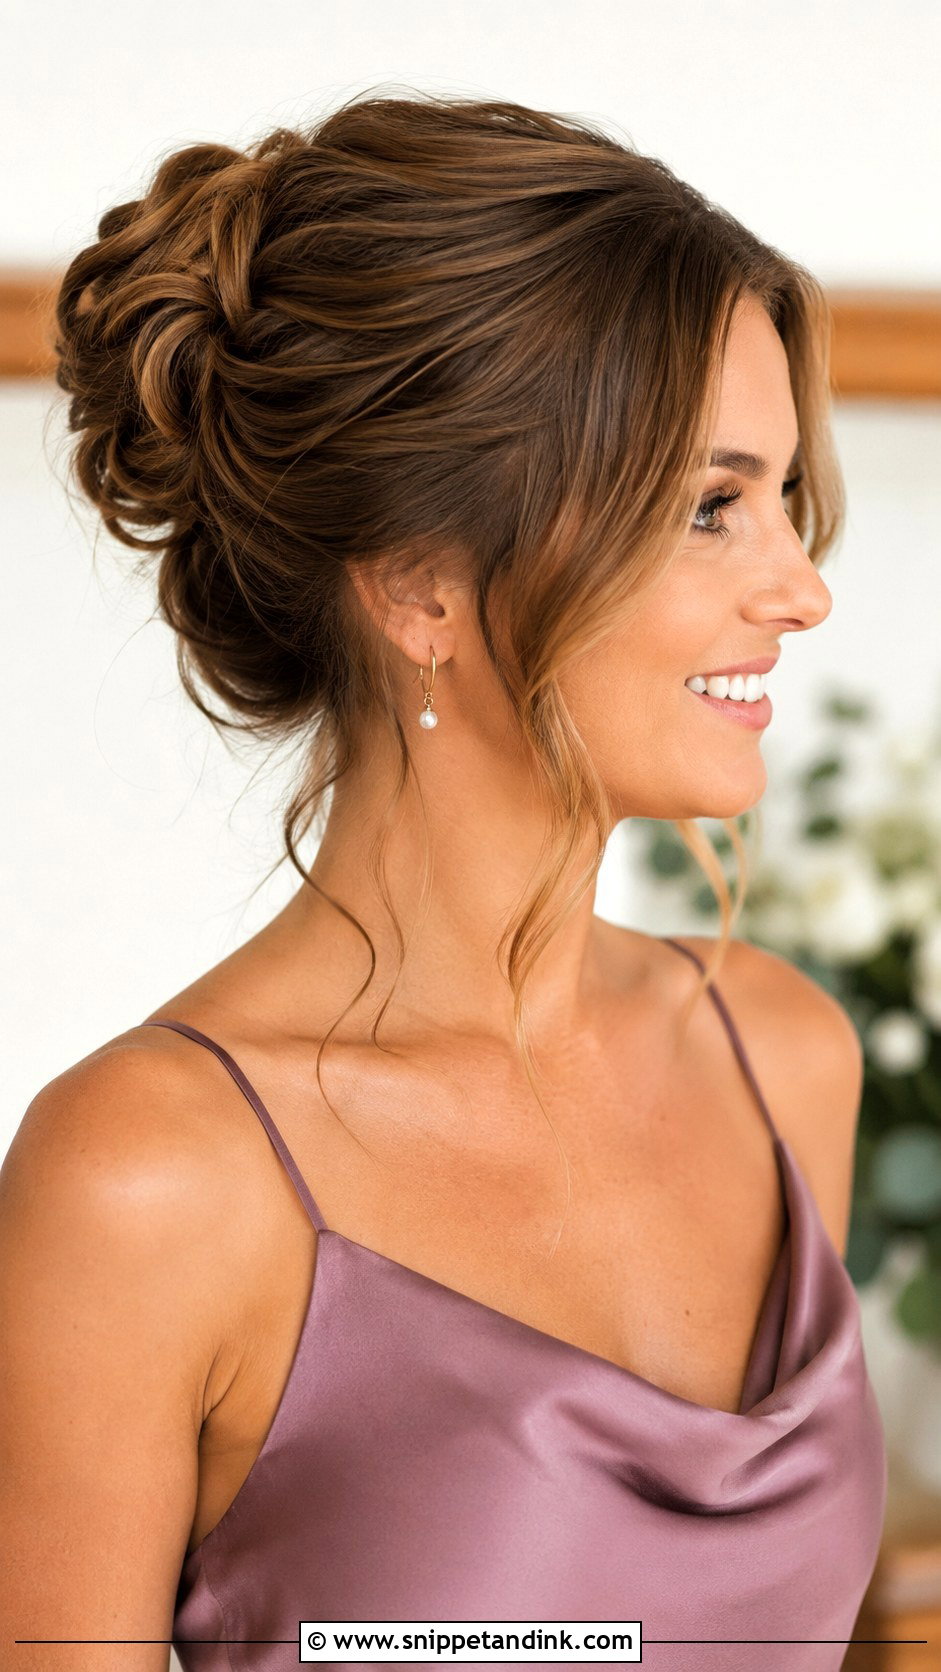
Some bridesmaids feel exposed with everything scraped up, and leaving face-framing pieces out solves that. The trick is choosing them before the ponytail goes in, otherwise you’re pulling strands out of a finished base and creating bumps. I keep them narrow, waved for a soft look or smooth for a cleaner one. Middle parts and curtain layers lend themselves to this.
6. High Bun With Side Part Bridesmaid Hairstyle
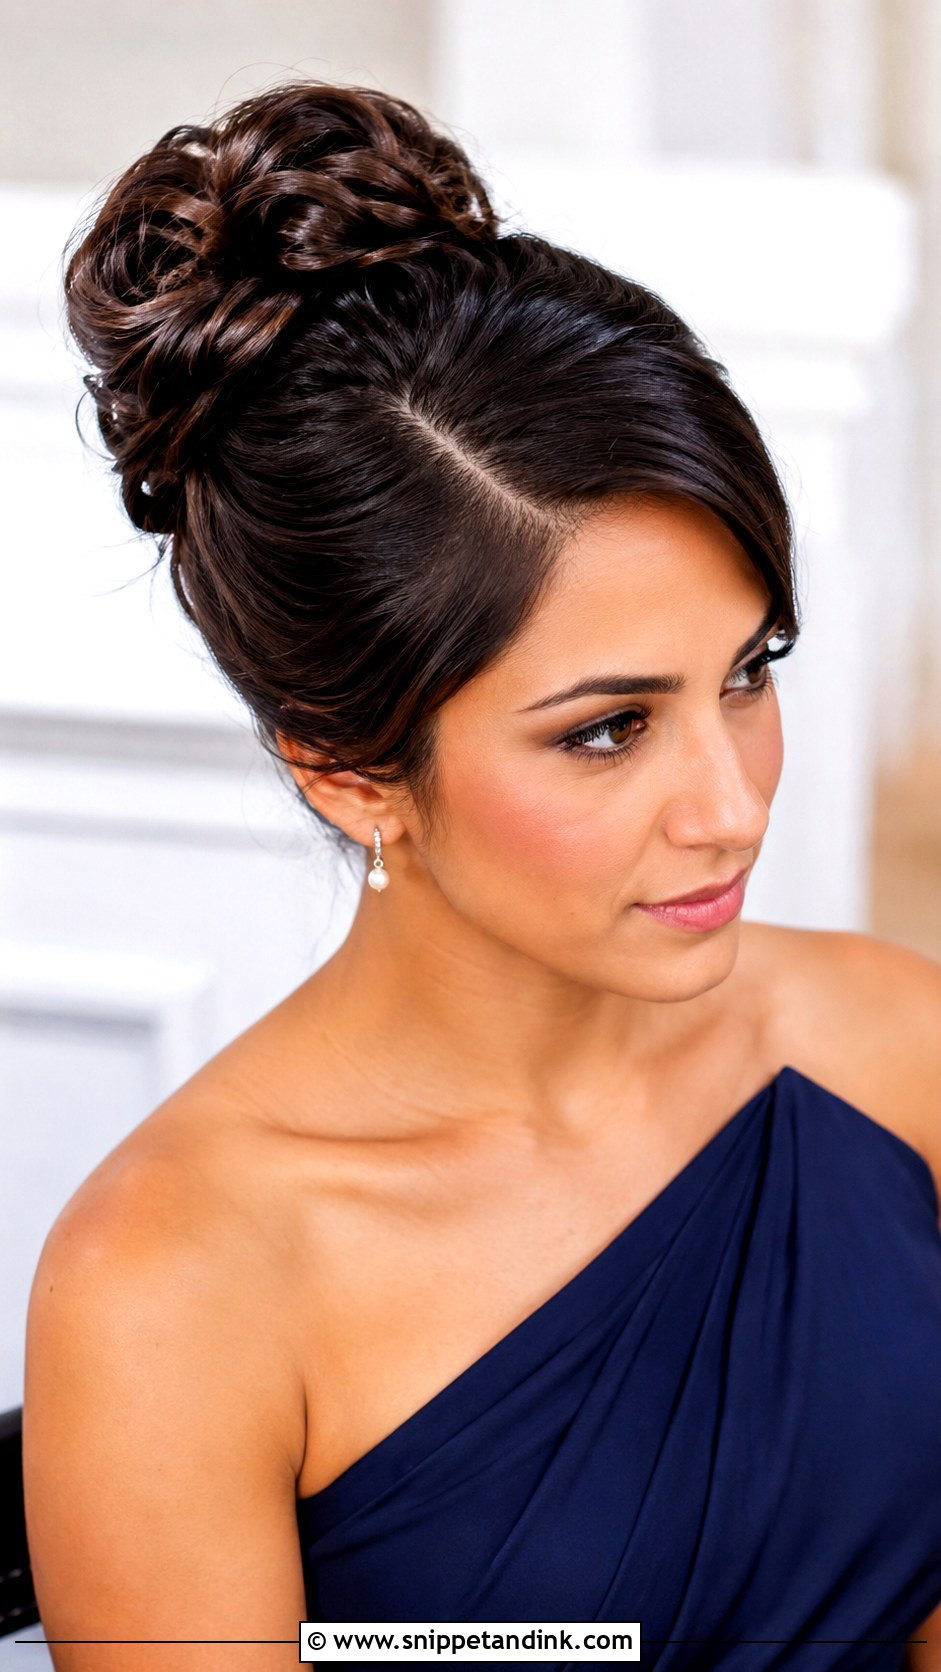
A side part takes the severity out of a high bun. The front sweeps across the forehead and curves along one side before joining the bun, which adds movement at the crown. I set the sweep with a large curl or roller while the rest is being pinned so it doesn’t fall flat. Soft waves, smooth roots or light texture all work under it. A small comb or a few pearl pins beside the bun finish it.
7. High Bun With Middle Part Bridesmaid Hairstyle
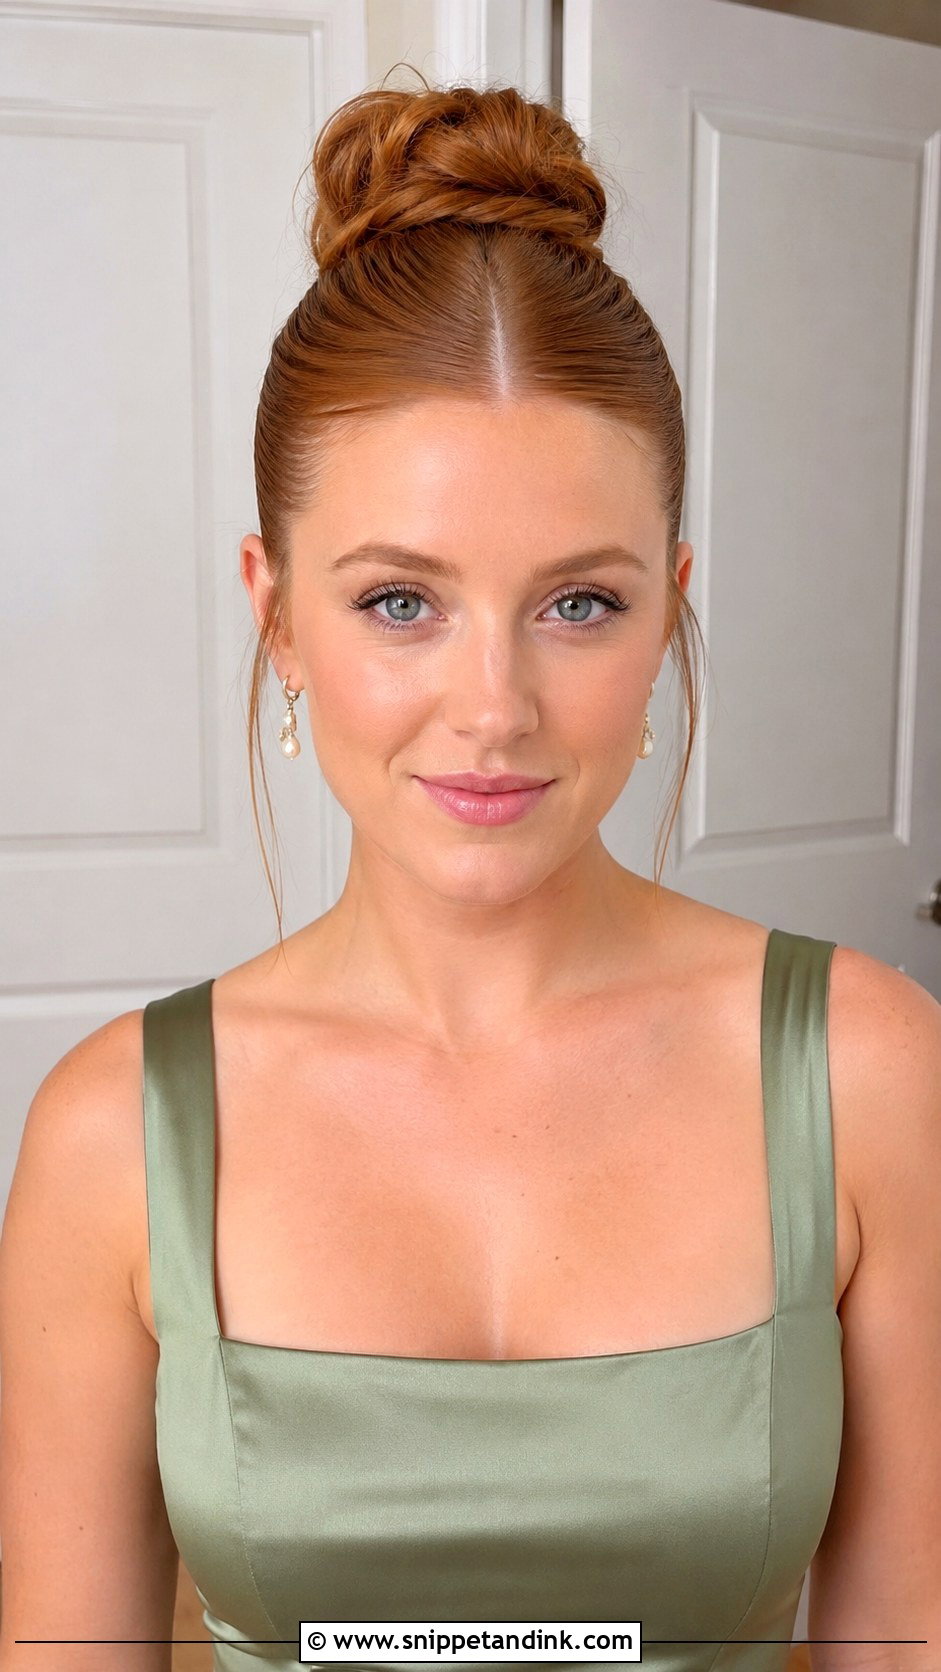
A middle part makes the high bun look modern and sharp, and it’s an easy look to repeat across a group of bridesmaid hair types. I use a smoothing cream and a fine-tooth comb to draw the part, then brush each side back evenly. It shows asymmetry in the face more than a side part does, so I check it straight on before pinning. Slip dresses, high necks and satin pair with it; softer front sections make it easier to wear.
8. Twisted High Bun Bridesmaid Hairstyle
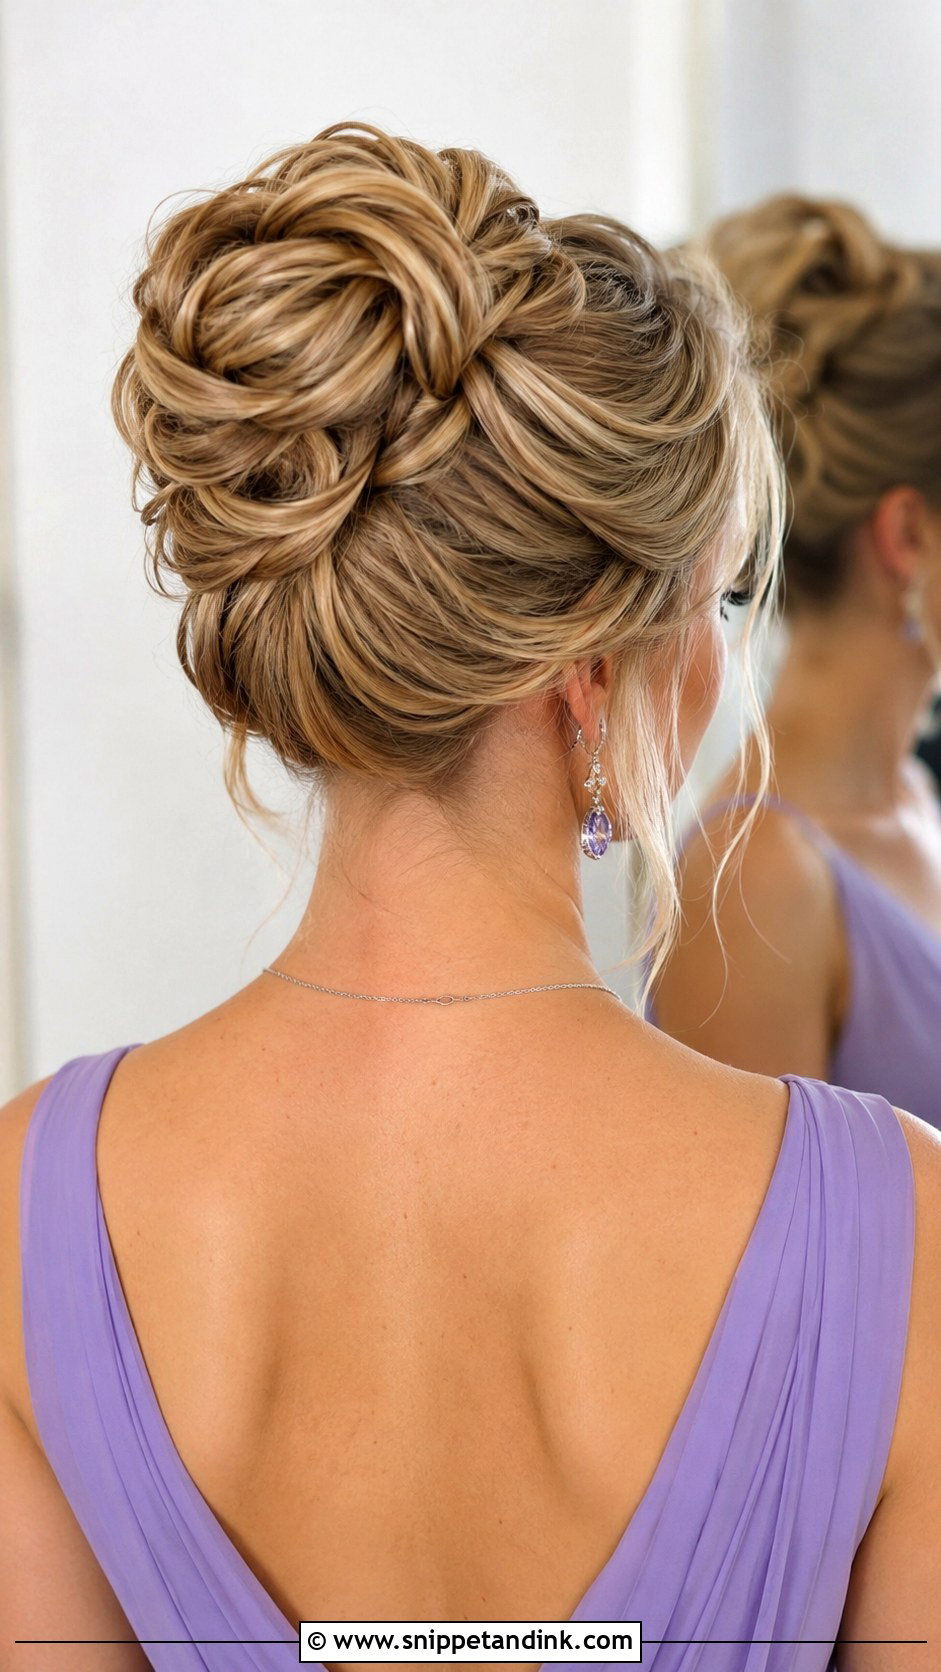
Twisting sections into the bun gives it a sculpted shape without a braid. I divide the ponytail into four or five sections, twist each one and pin it individually around the base. Because every twist has its own pins, this is one of the most secure buns I make, and if one section loosens it can be re-pinned without redoing the whole style. It needs medium to long hair; tight twists read formal, loosened ones read soft.
9. High Bun With Pearl Pins
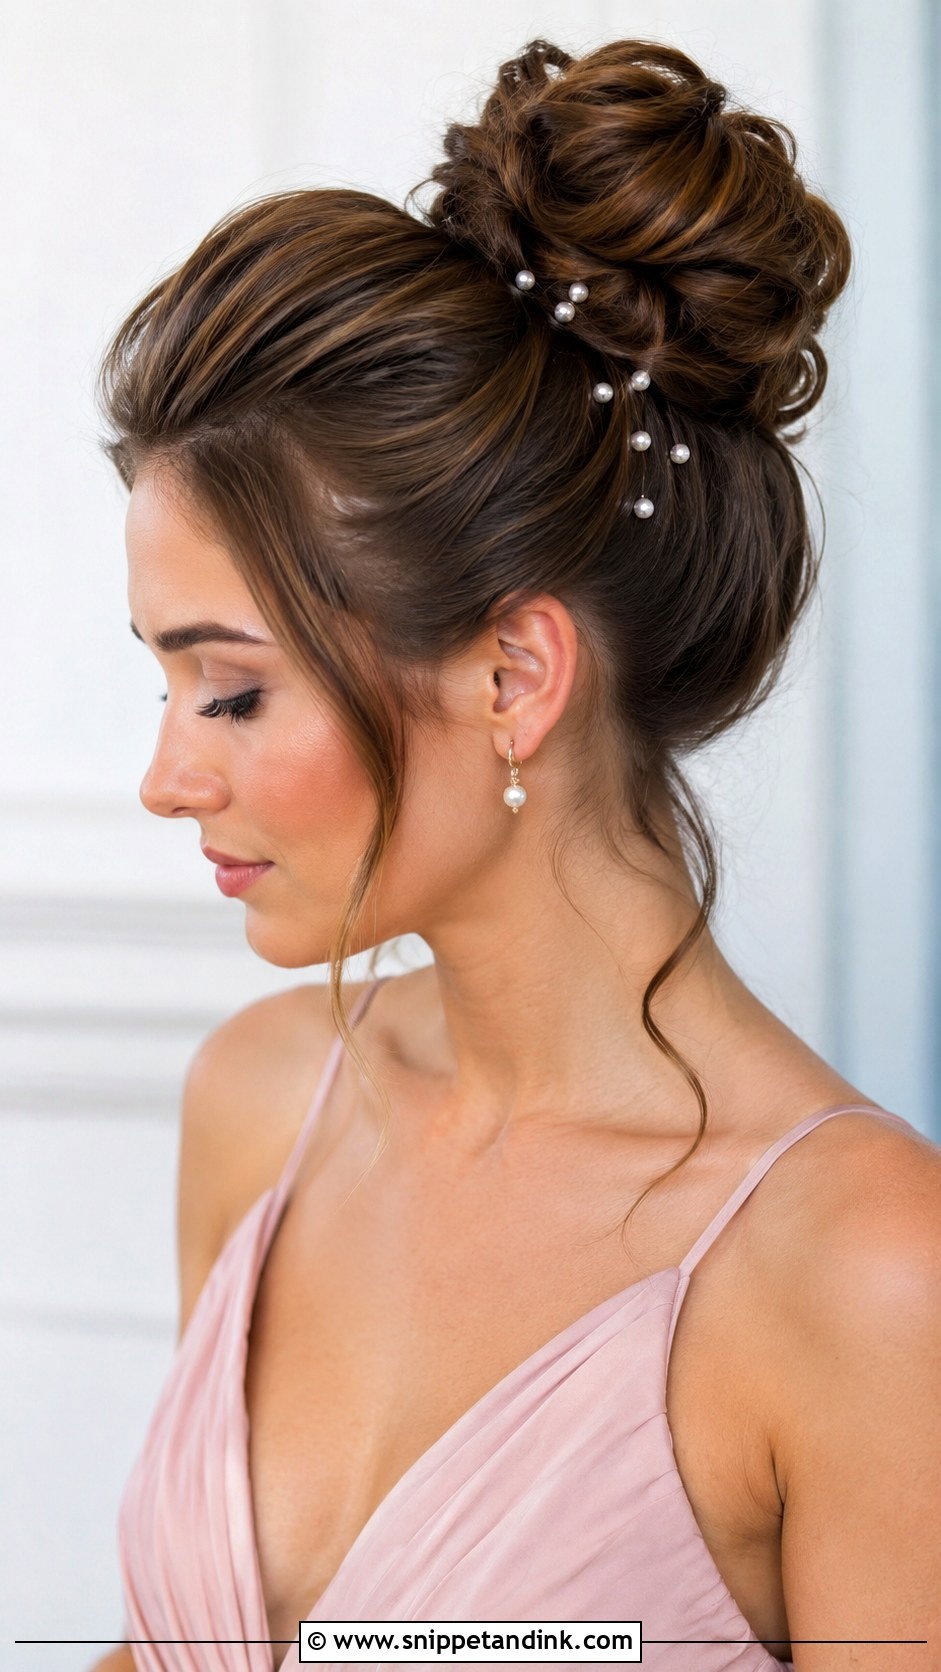
Pearl pins work on any bun shape. I place them where the bun meets the head, where they also help hide pins, and keep them to one side or a loose crescent rather than dotting them evenly all over. Matching pins across the group, each placed slightly differently, looks coordinated without being identical. Church ceremonies and ballrooms suit pearls well.
10. High Bun With Flower Pins
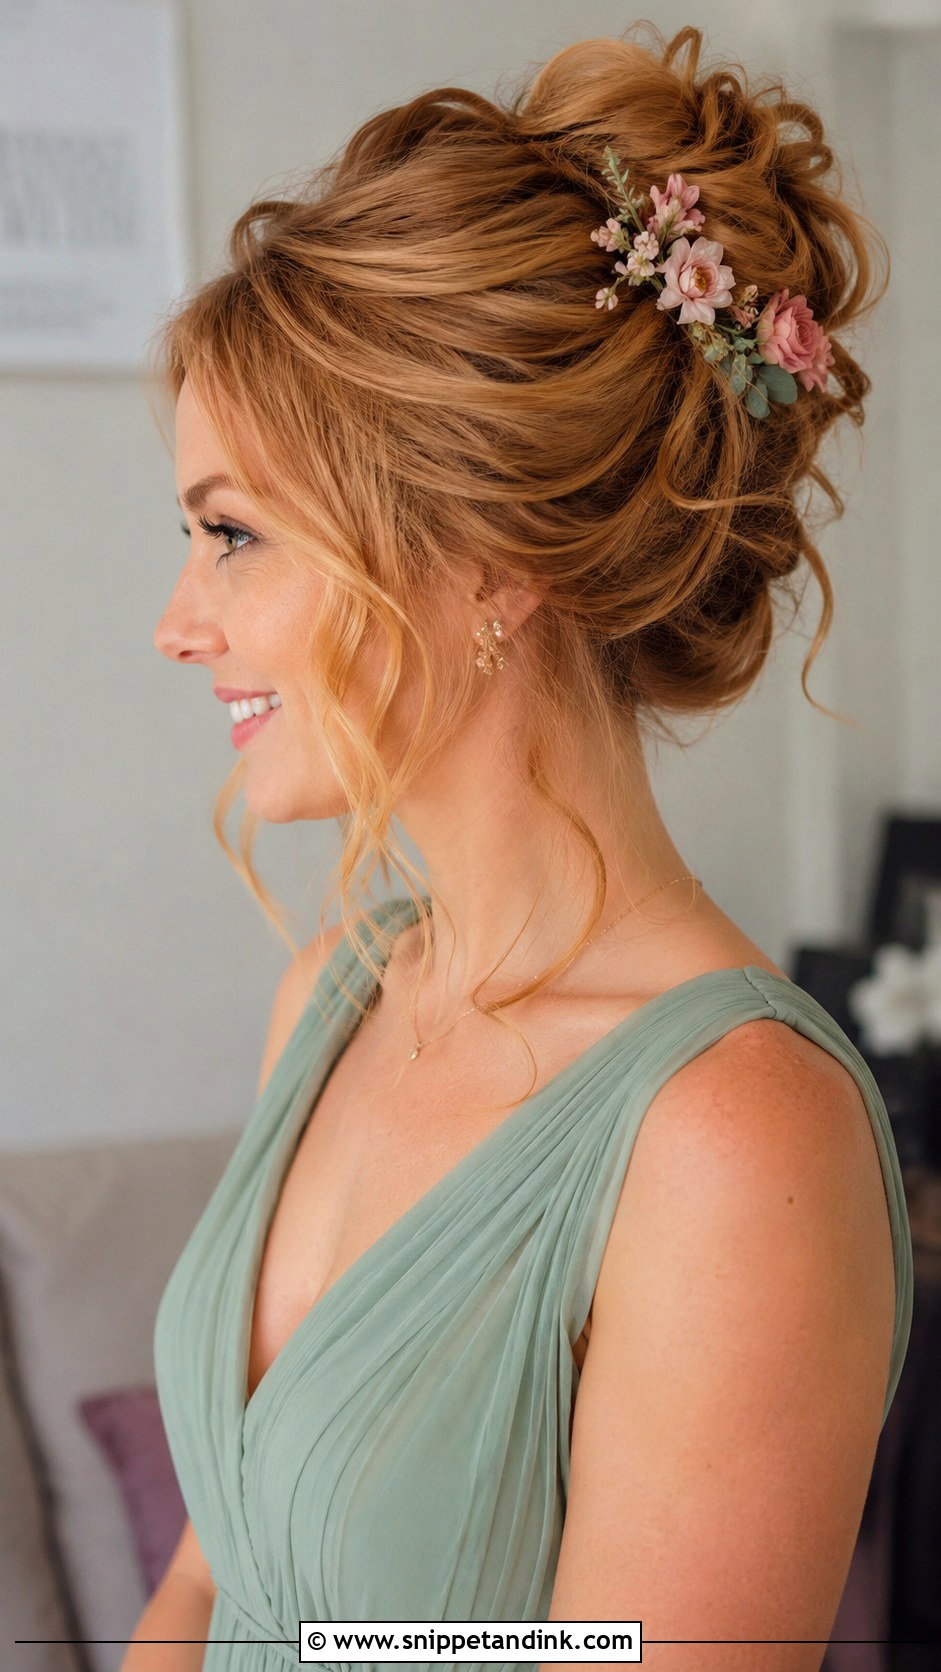
Flower pins need a softly textured bun to grip, so I texture the hair before building it. Tiny white blooms, pastel floral pins or small fresh flowers matched to the bouquet all work, but fresh ones should be sturdy varieties wired onto pins. I cluster them on one side of the bun or tuck them at its base; ringing the whole bun in flowers looks crowded. Sage, blush, lavender and pale blue dresses carry them well at spring and summer weddings.
11. High Bun For Long Hair Bridesmaid Hairstyle
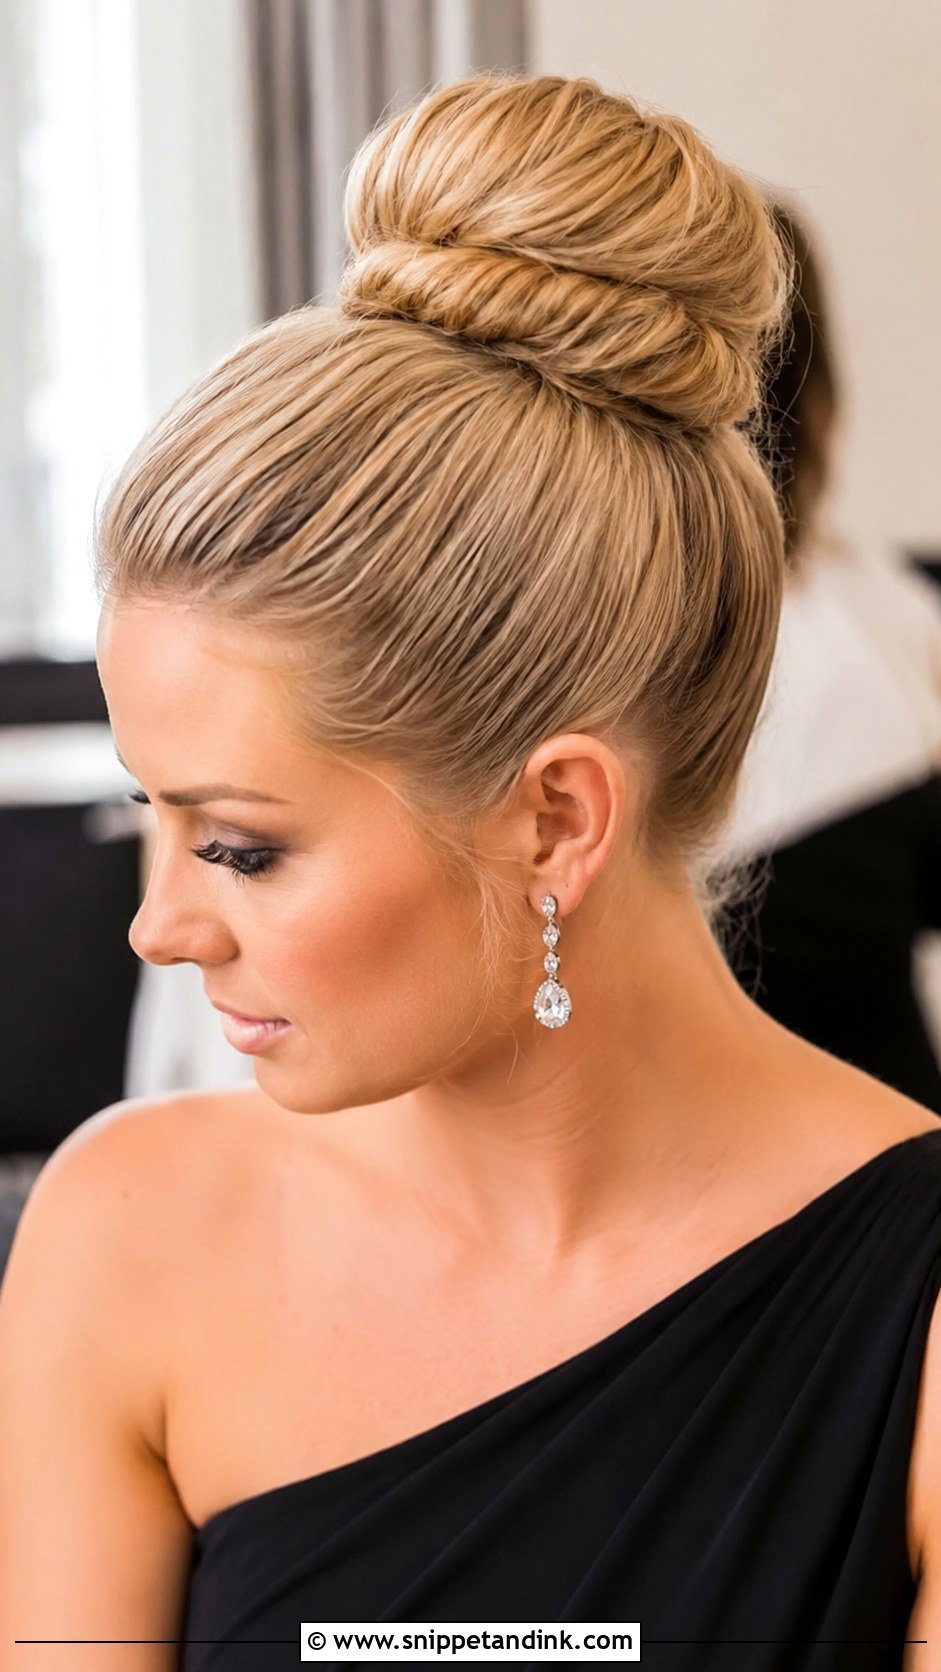
Long hair gives me the most material and the most weight to manage. I usually split the ponytail into sections and wrap or fold them so the weight sits close to the head, rather than one long coil that pulls backward. Light backcombing inside the bun gives the pins something to grip. Done well, it has real presence with a simple dress; done carelessly, it gives the wearer a headache by the first dance.
12. High Bun For Medium Hair Bridesmaid Hairstyle
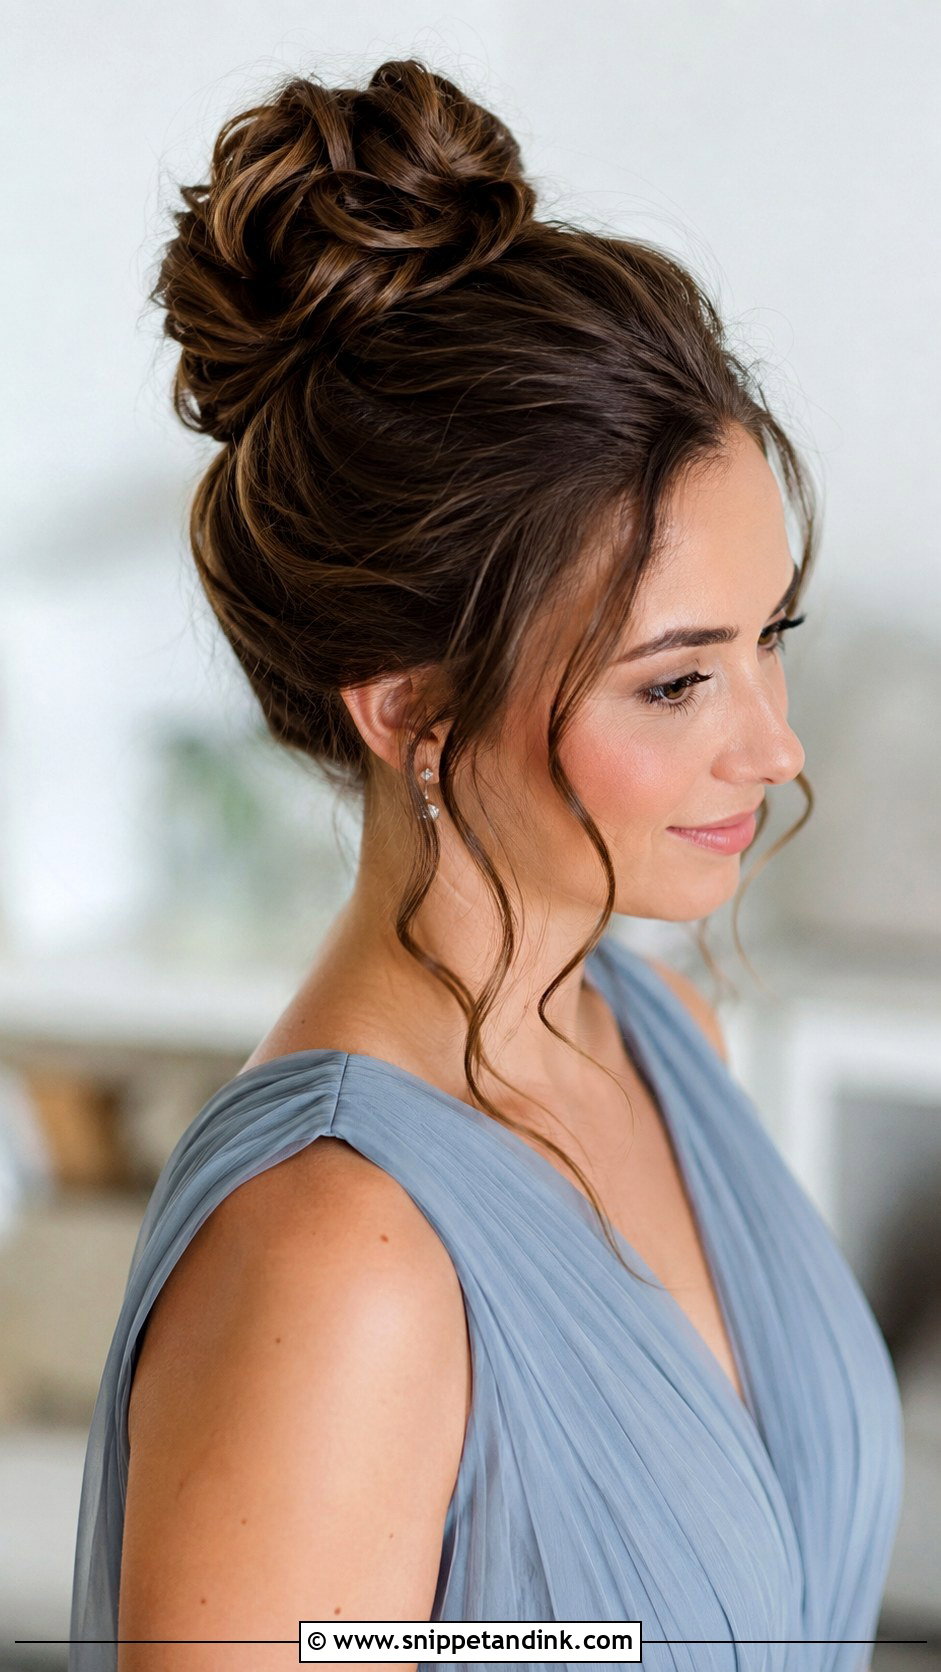
Medium hair often makes a small bun unless it’s padded. Texture spray, a little backcombing at the ponytail and a bun form in the bridesmaid’s hair colour make it look rounded and full. Sleek, soft or slightly messy all work. A clean crown reads formal; a couple of face-framing pieces soften it. It’s the most practical length for this updo.
13. High Bun For Short Hair Bridesmaid Hairstyle
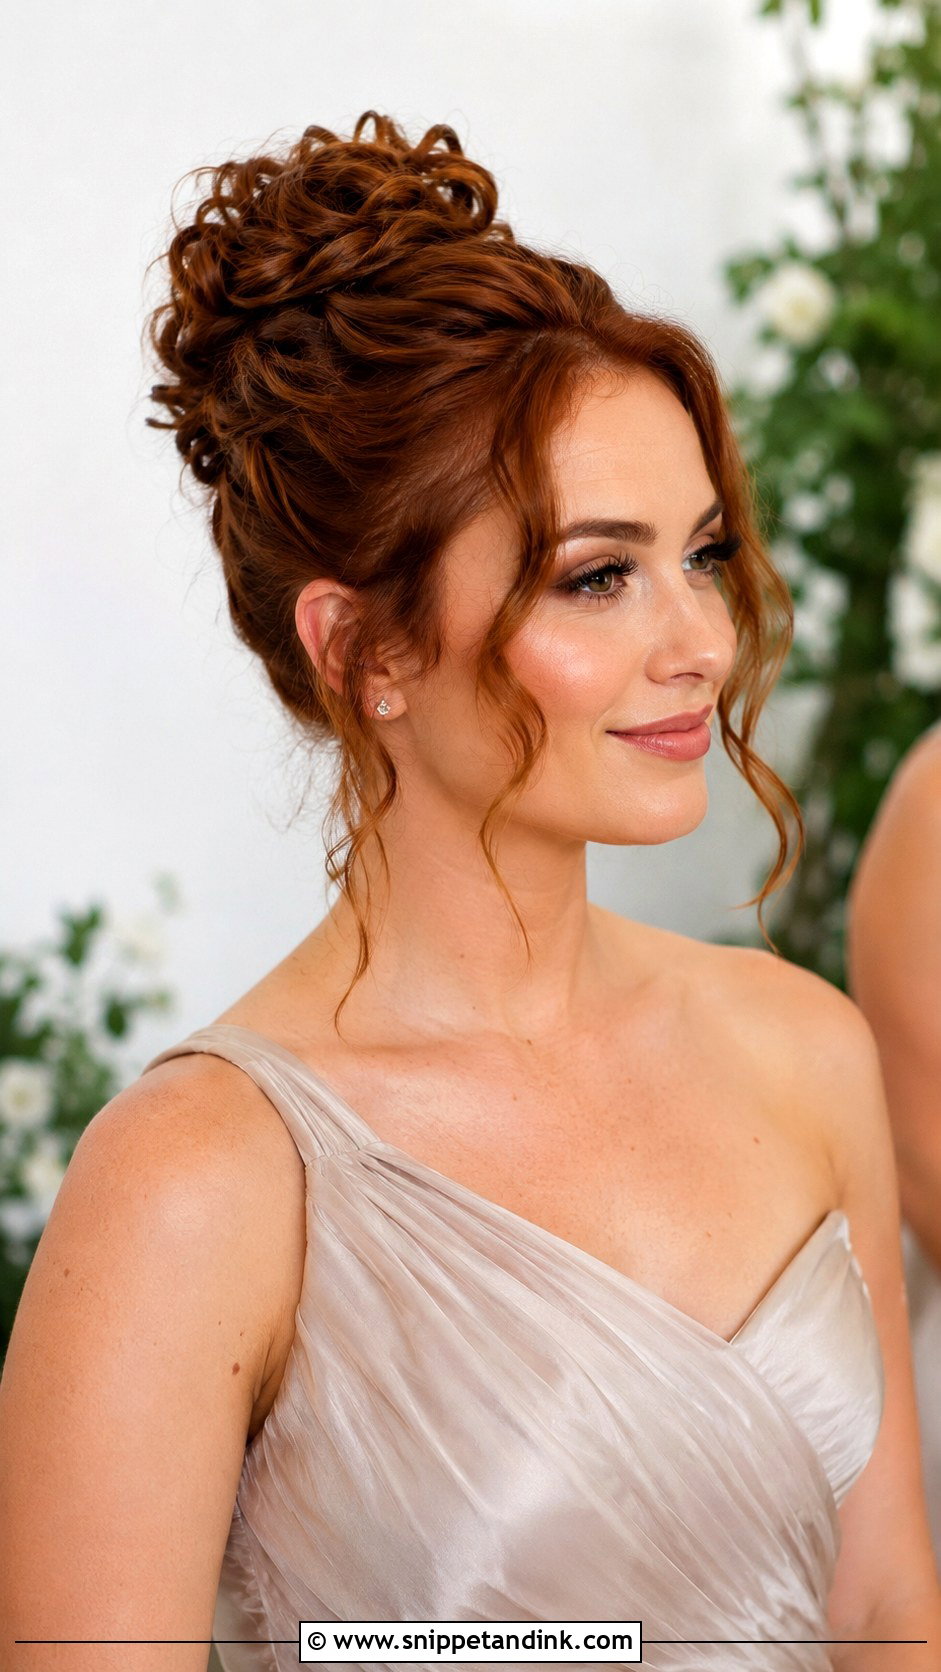
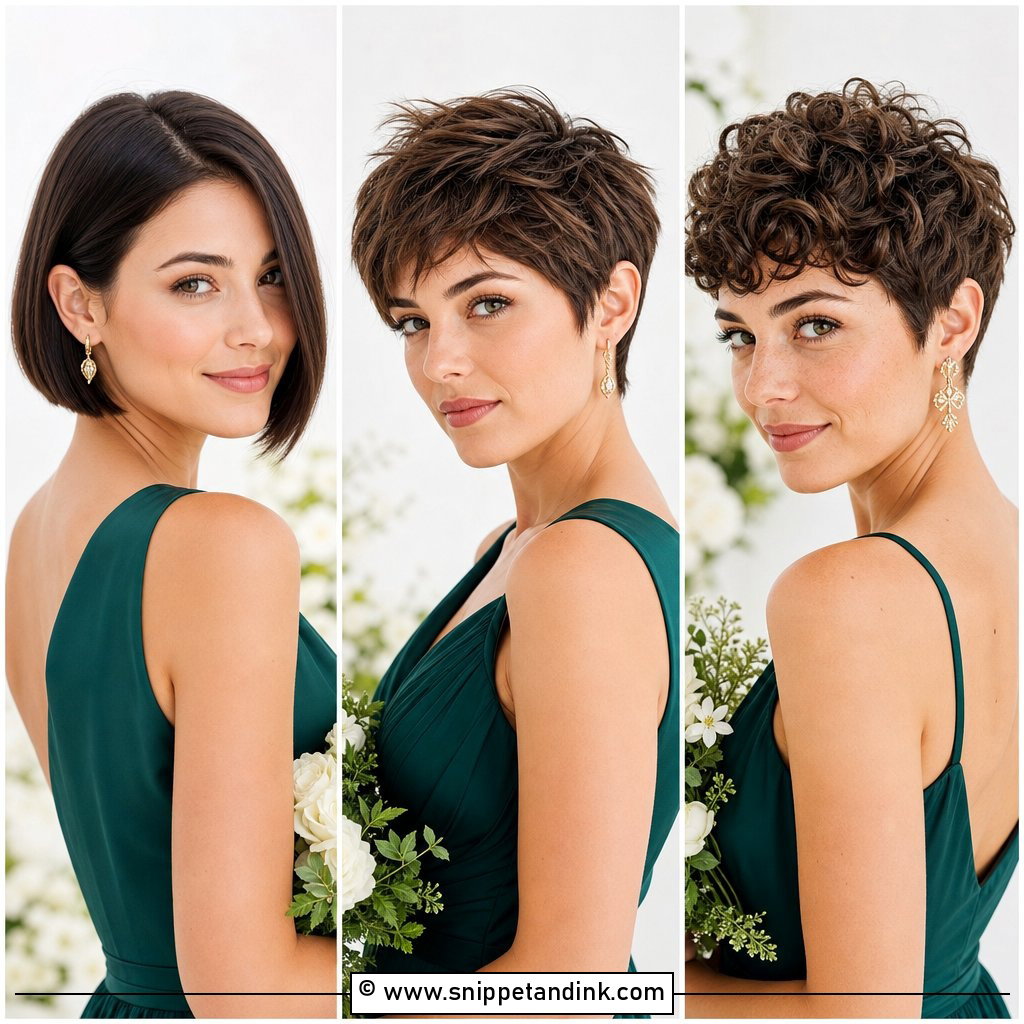
Short hair can reach a high bun if it’ll gather at the crown, even if the nape pieces won’t. I curl and texture everything first so short layers blend, then pin the stragglers up individually. Small padding or a few clip-in pieces can build a fuller bun. Lobs and grown-out bobs are realistic; very short nape hair usually means a slightly lower placement or a few pieces left down deliberately.
14. High Bun For Thin Hair Bridesmaid Hairstyle
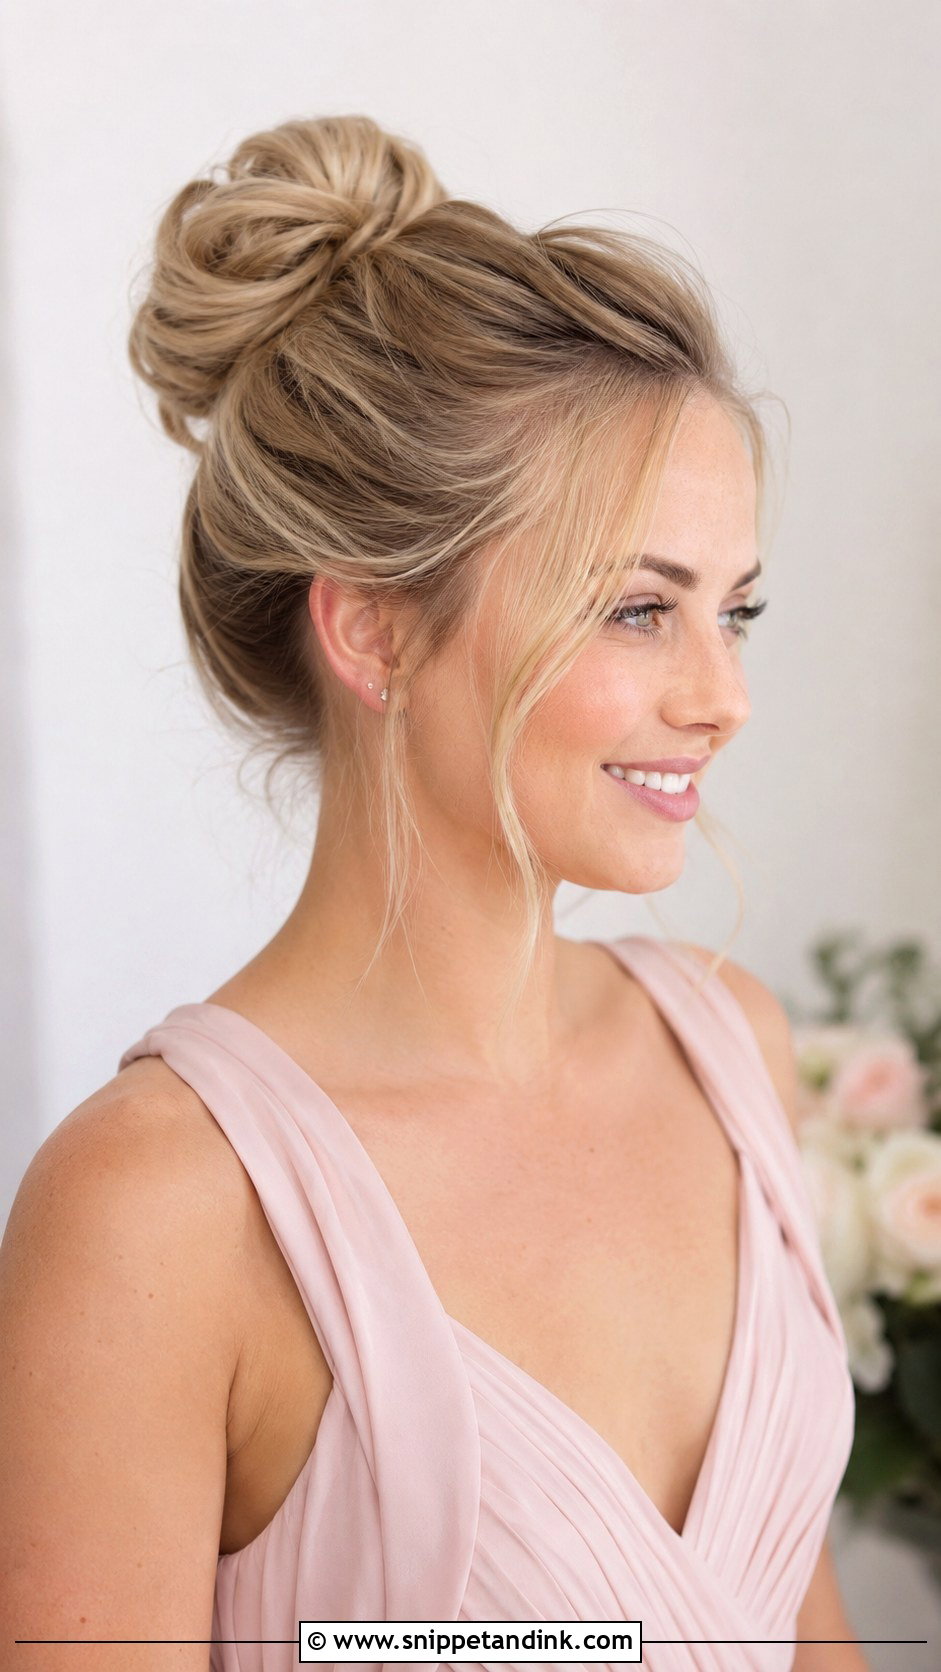
Thin hair looks thinner when it’s pulled tight, so I keep the tension low. Volume powder at the root, dry texture spray through the lengths and a light bun form give shape without weight. A textured finish hides the scalp better than a sleek one. Leaving a few face-framing pieces out also helps, since it draws attention to the face instead of the crown. It holds well for a long day.
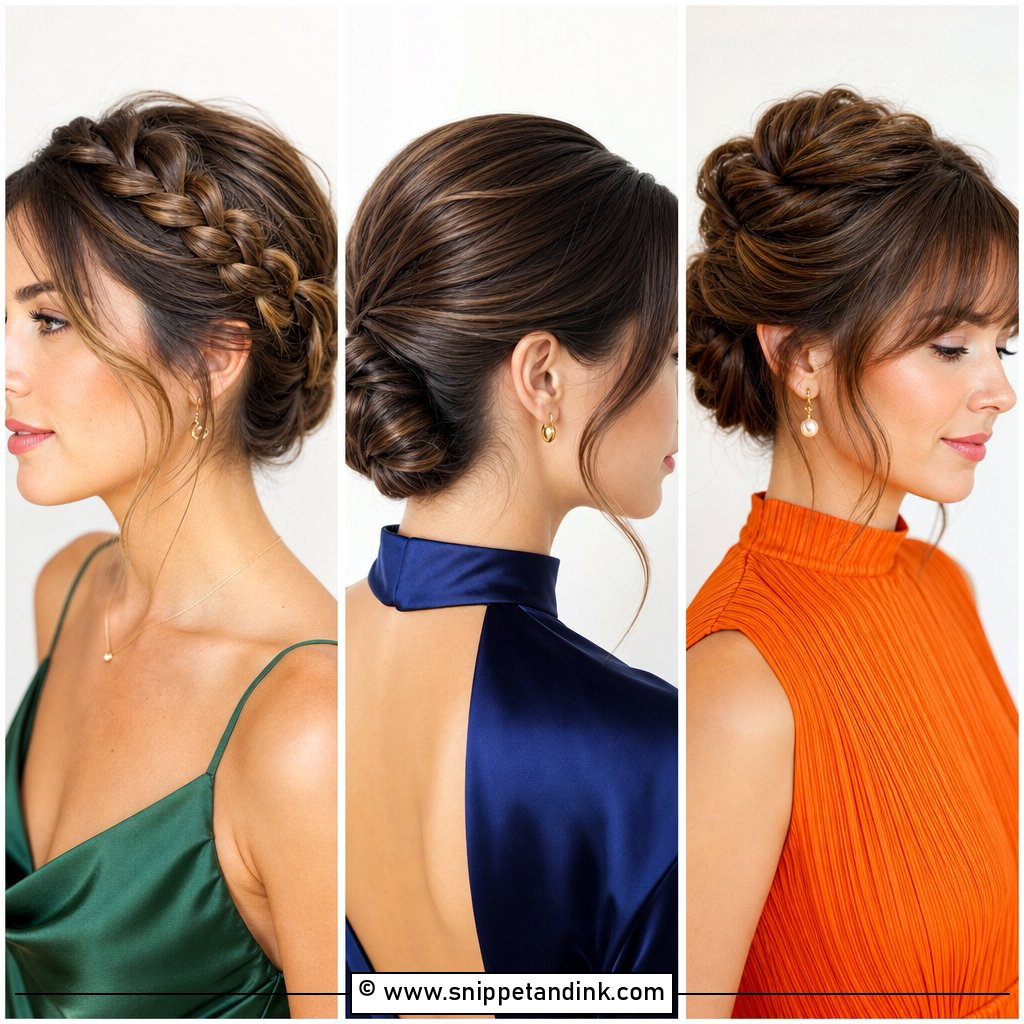
15. High Bun For Thick Hair Bridesmaid Hairstyle
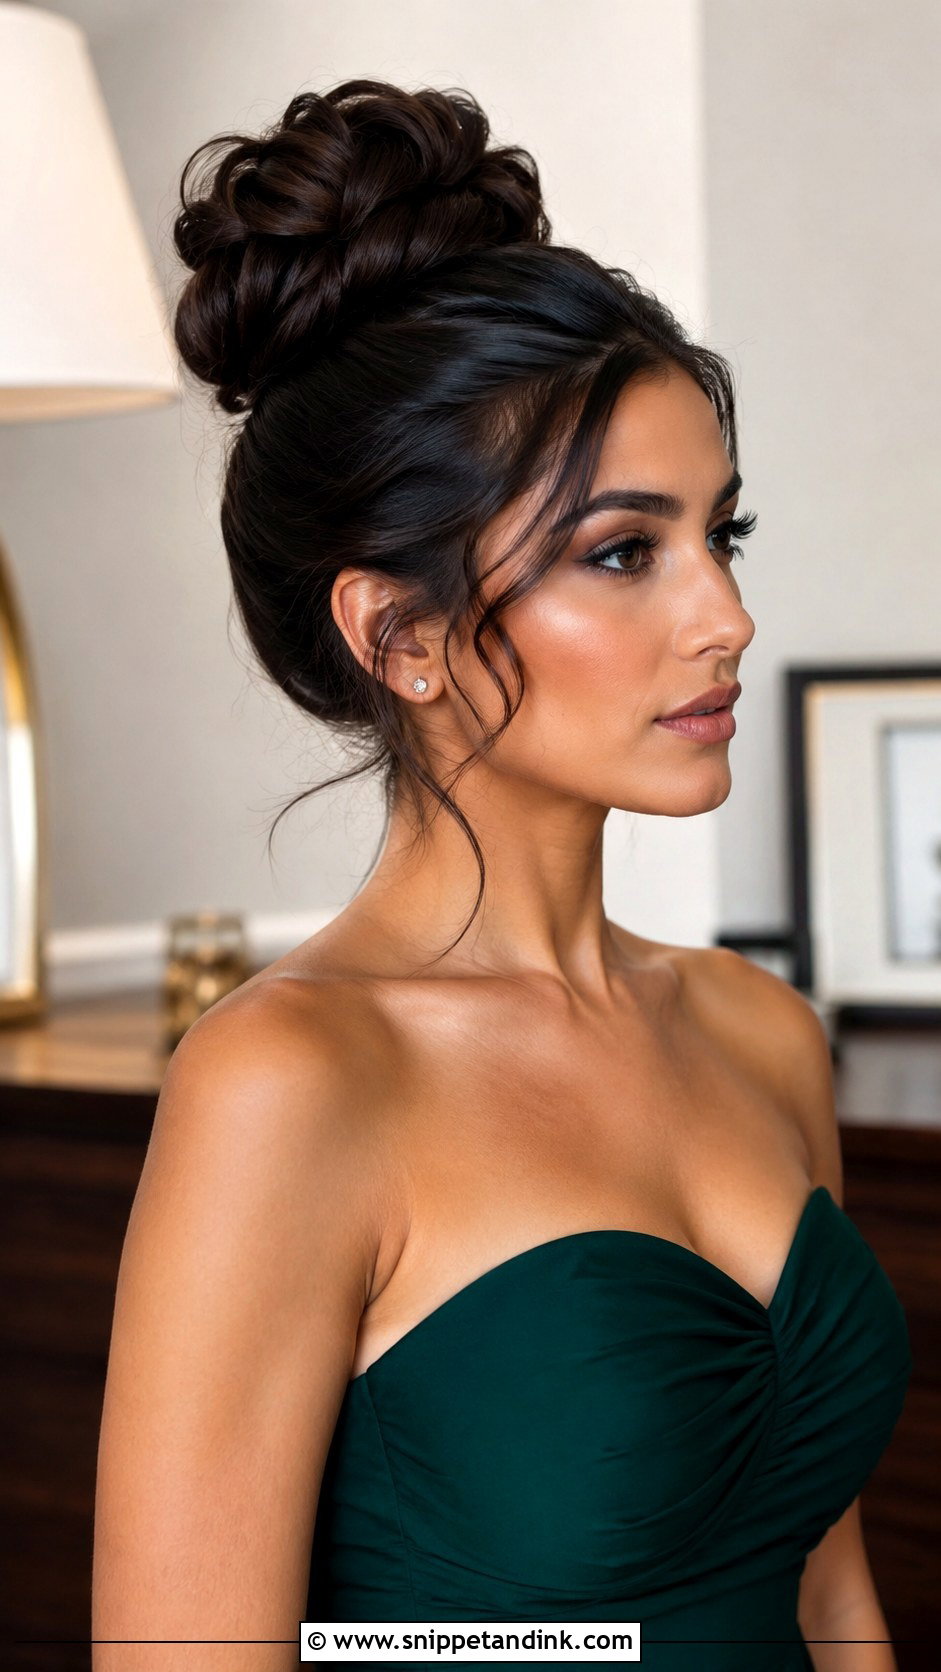
Thick hair makes a gorgeous bun but can be genuinely heavy piled high. I divide it into sections and pin each one to a strong base, sometimes braiding part of it first to compress the volume. Smoothing the crown while keeping texture inside the bun stops it looking bulky. If a bridesmaid tells me her scalp already aches at the trial, I lower the bun a little. Strapless dresses and bold earrings balance its size.
16. High Bun For Natural Hair Bridesmaid Hairstyle
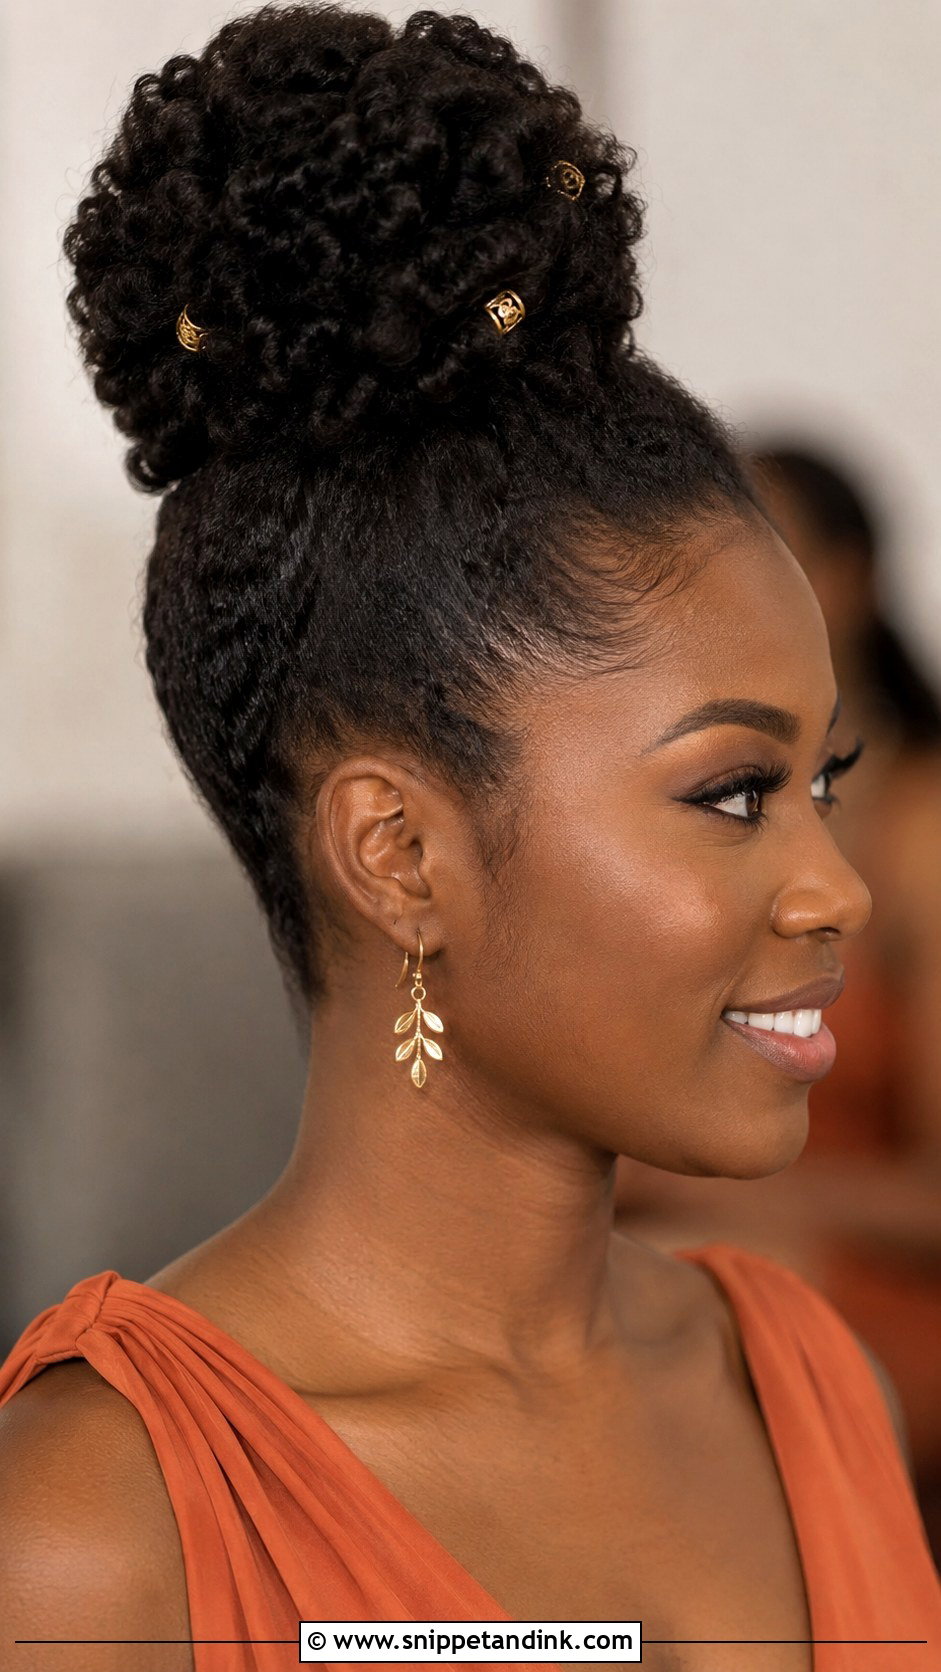
On natural hair, a high bun can be built from stretched curls, twists, braids or a puff-style base, depending on the texture and the finish she wants. Edges can be laid or left natural; that’s her choice, not mine. I keep tension gentle, especially at the hairline, and moisturise before styling so the hair doesn’t feel brittle by evening. It handles humid weddings well because the hair is gathered and protected. Gold cuffs, decorative pins or small florals dress it up.
17. High Bun With Curtain Bangs Bridesmaid Hairstyle
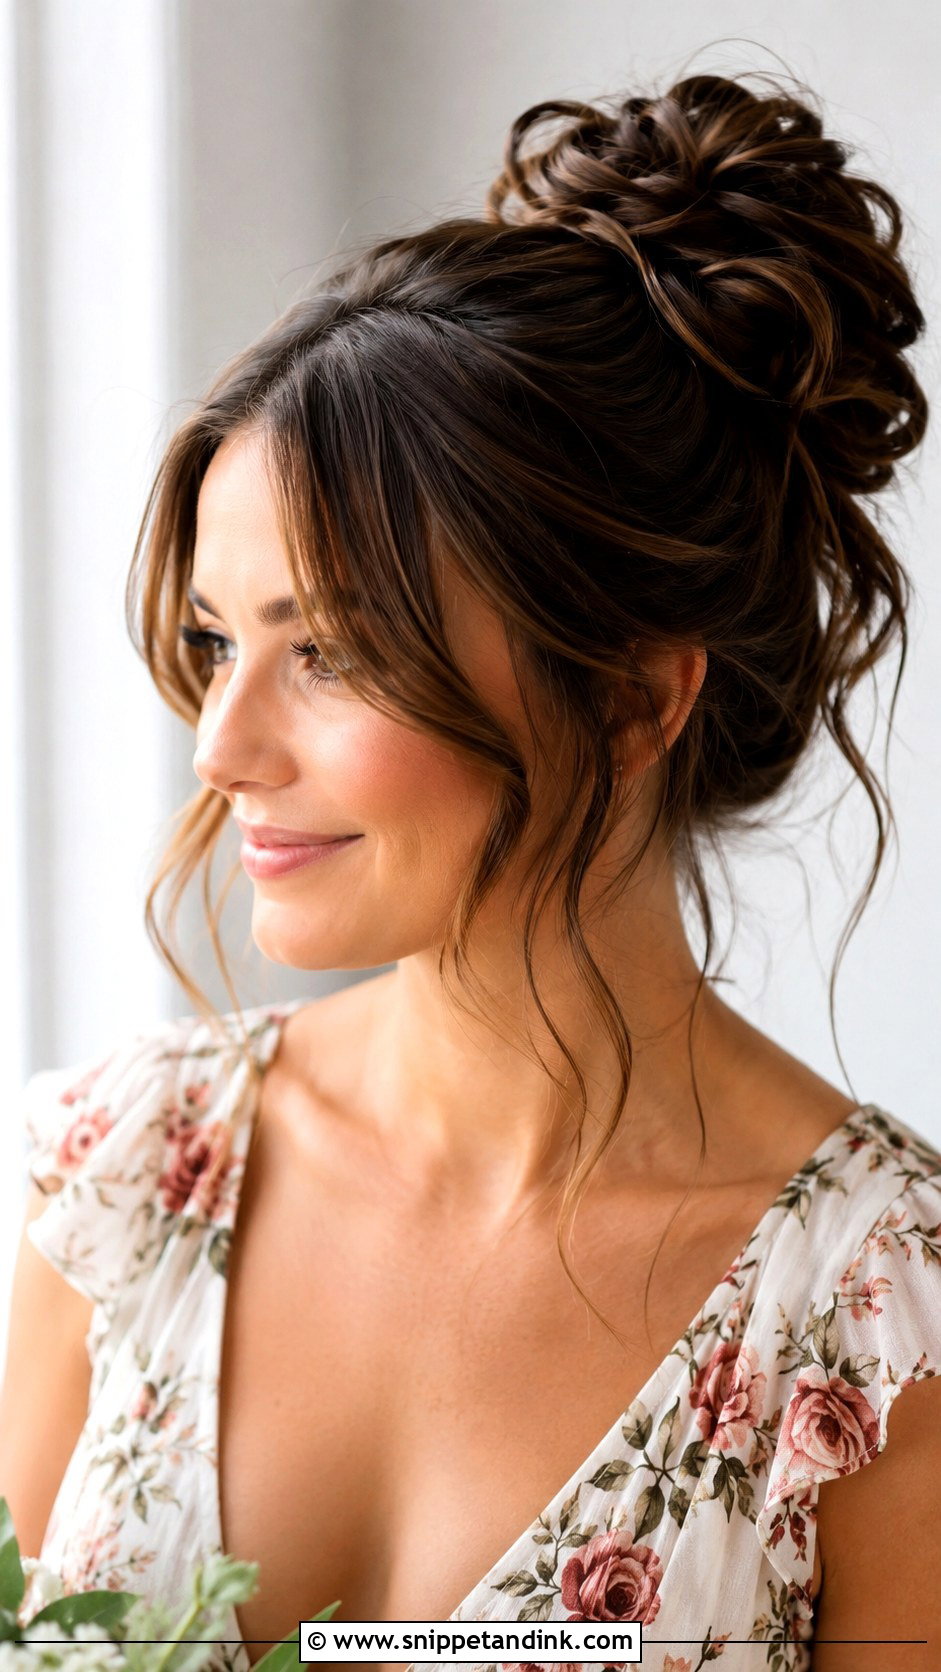
A high bun with curtain bangs softens the whole face. The bangs need to be blow-dried properly, rolled away from the centre with a round brush, or they flop forward into the eyes by mid-afternoon. Layered hair helps because the front already has shape. The bun can be sleek or textured; the front should look light and airy. Sweetheart necklines and soft glam makeup pair with it.
18. High Bun With Loose Curls Bridesmaid Hairstyle
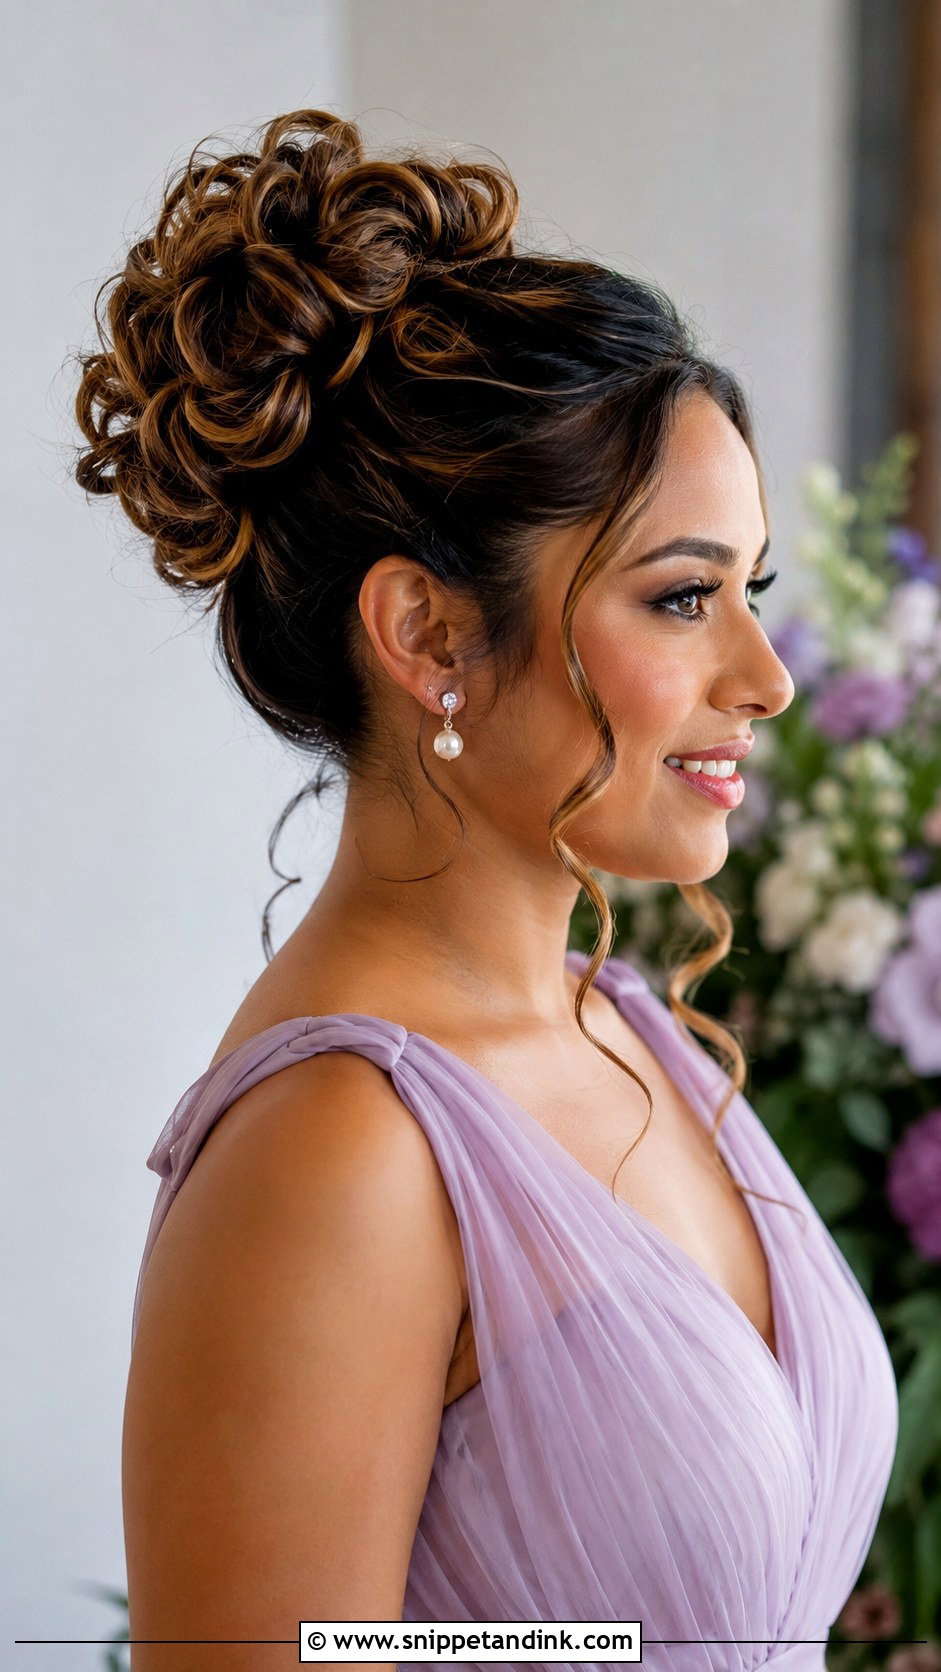
Here the bun is made of curls rather than smooth hair. I curl everything first, let it cool, then pin the curls loosely on top so each one keeps some shape. A few curls dropped at the face or neck keep it relaxed. Flexible spray only; crunchy hold kills the softness. Chiffon dresses, florals and outdoor settings suit it well.
19. High Bun With Hair Vine Bridesmaid Hairstyle
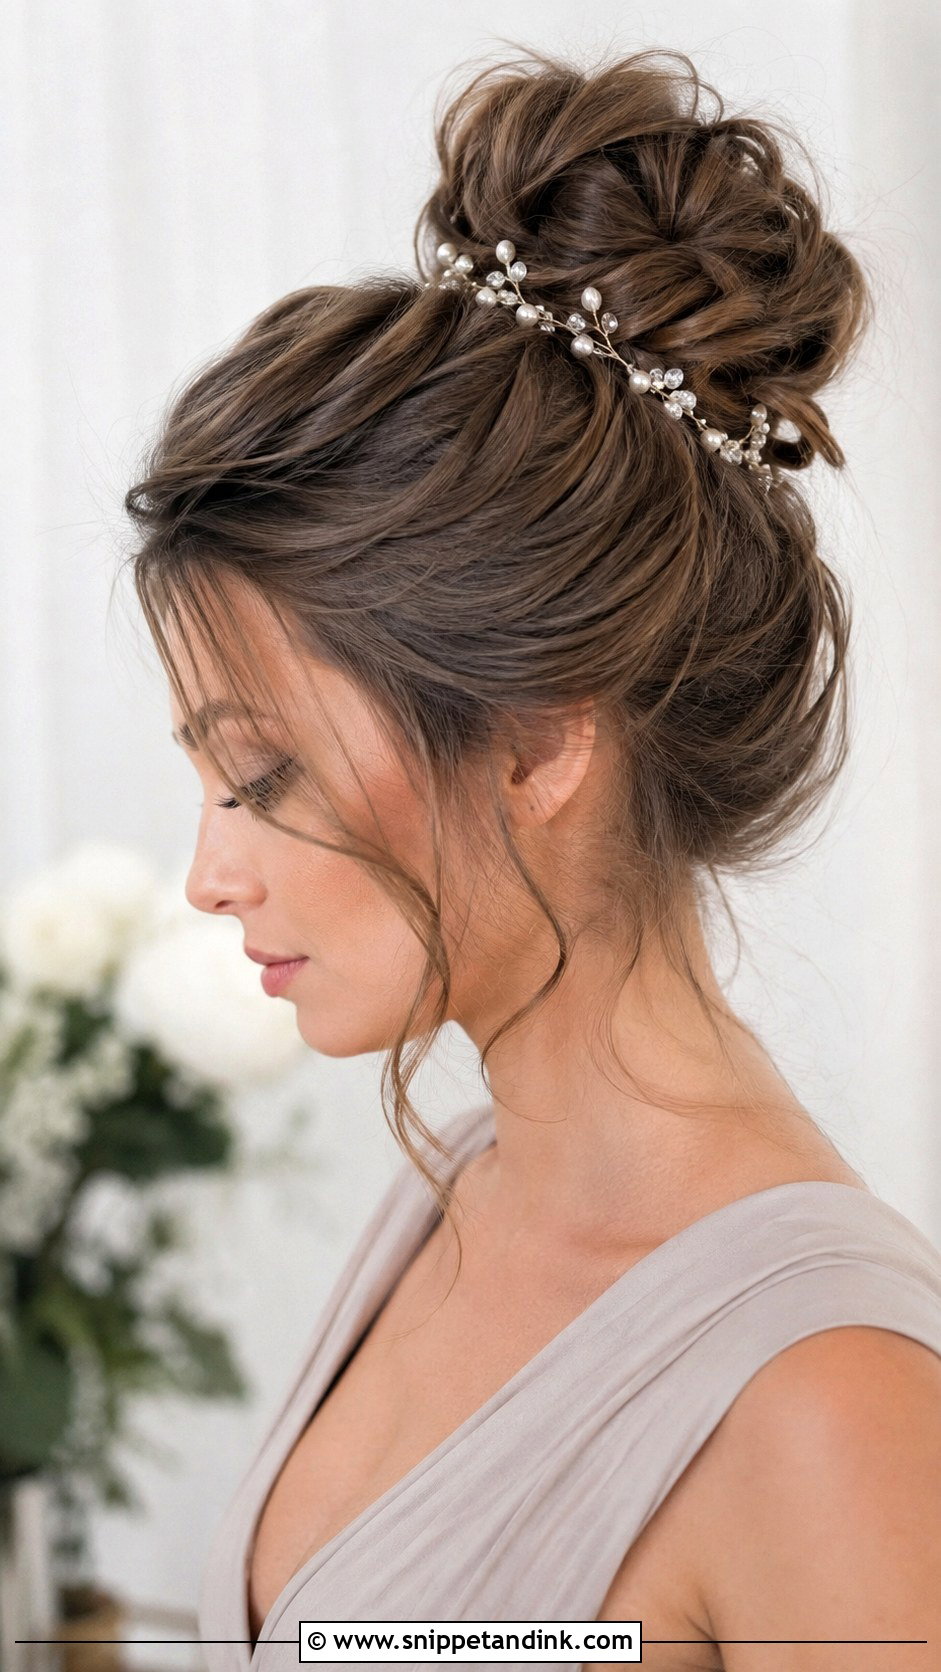
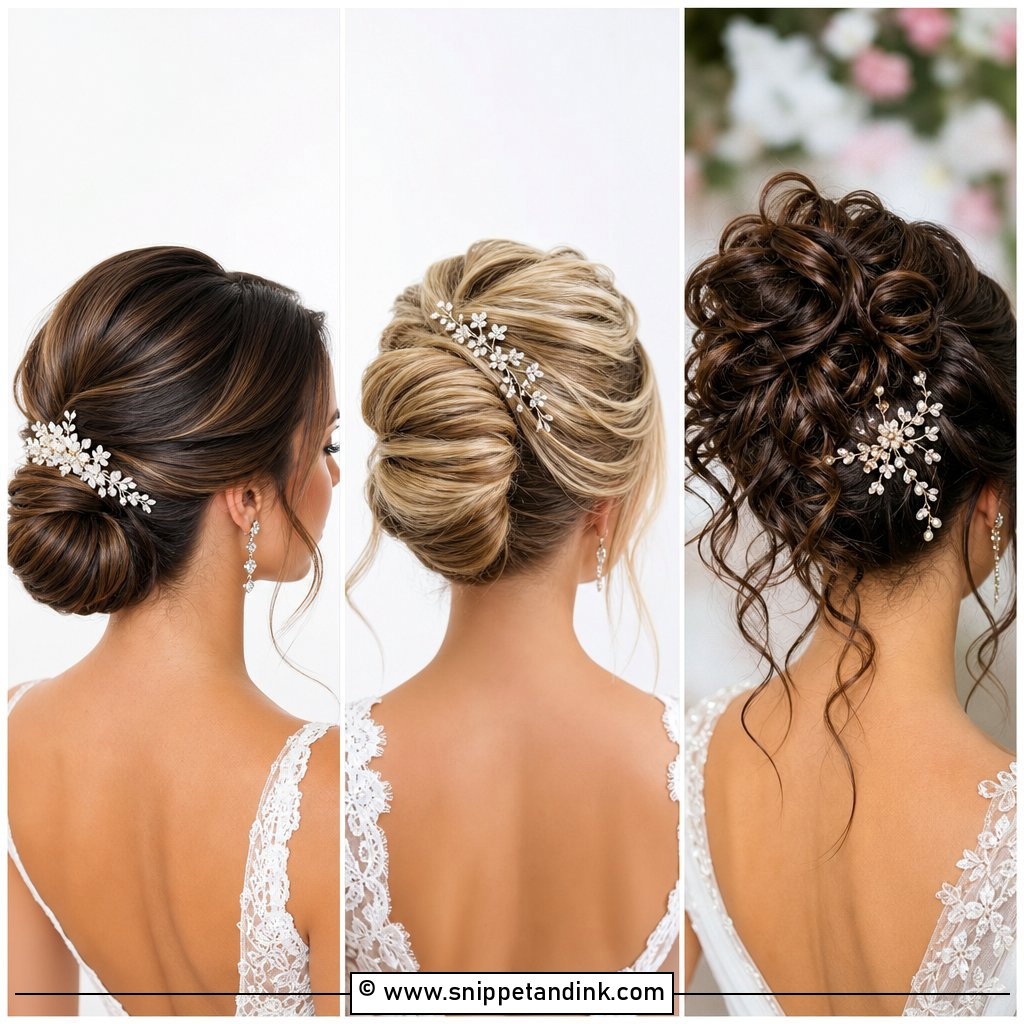
A high bun with a hair vine needs a textured or twisted bun so the vine can sink into it. I bend the vine to the shape of the bun before attaching it and stitch it in with bobby pins every few centimetres, so it doesn’t spring loose. It can wrap the bun, curve down one side or sit just above. Pearl, crystal or floral vines suit simple dresses, where the hair carries the detail.
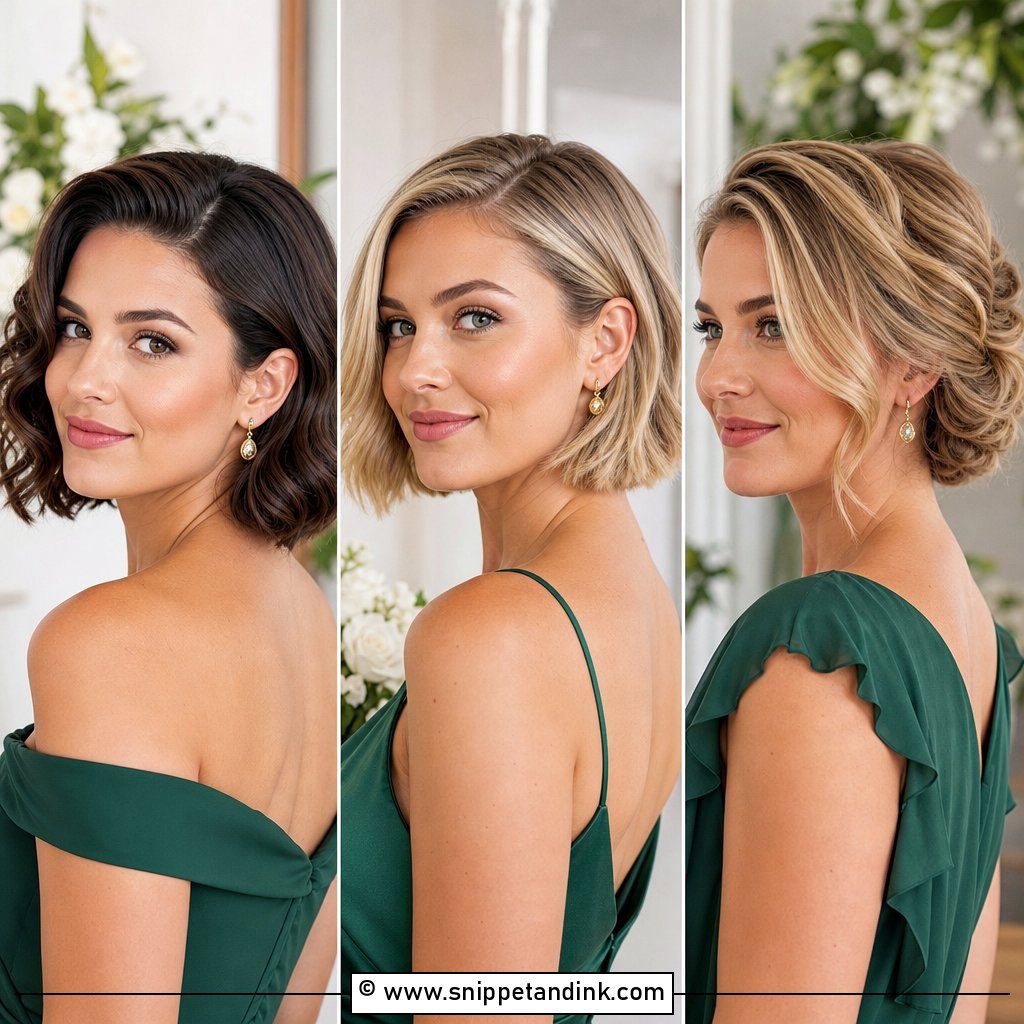
20. High Bun With Veil Bridesmaid Hairstyle
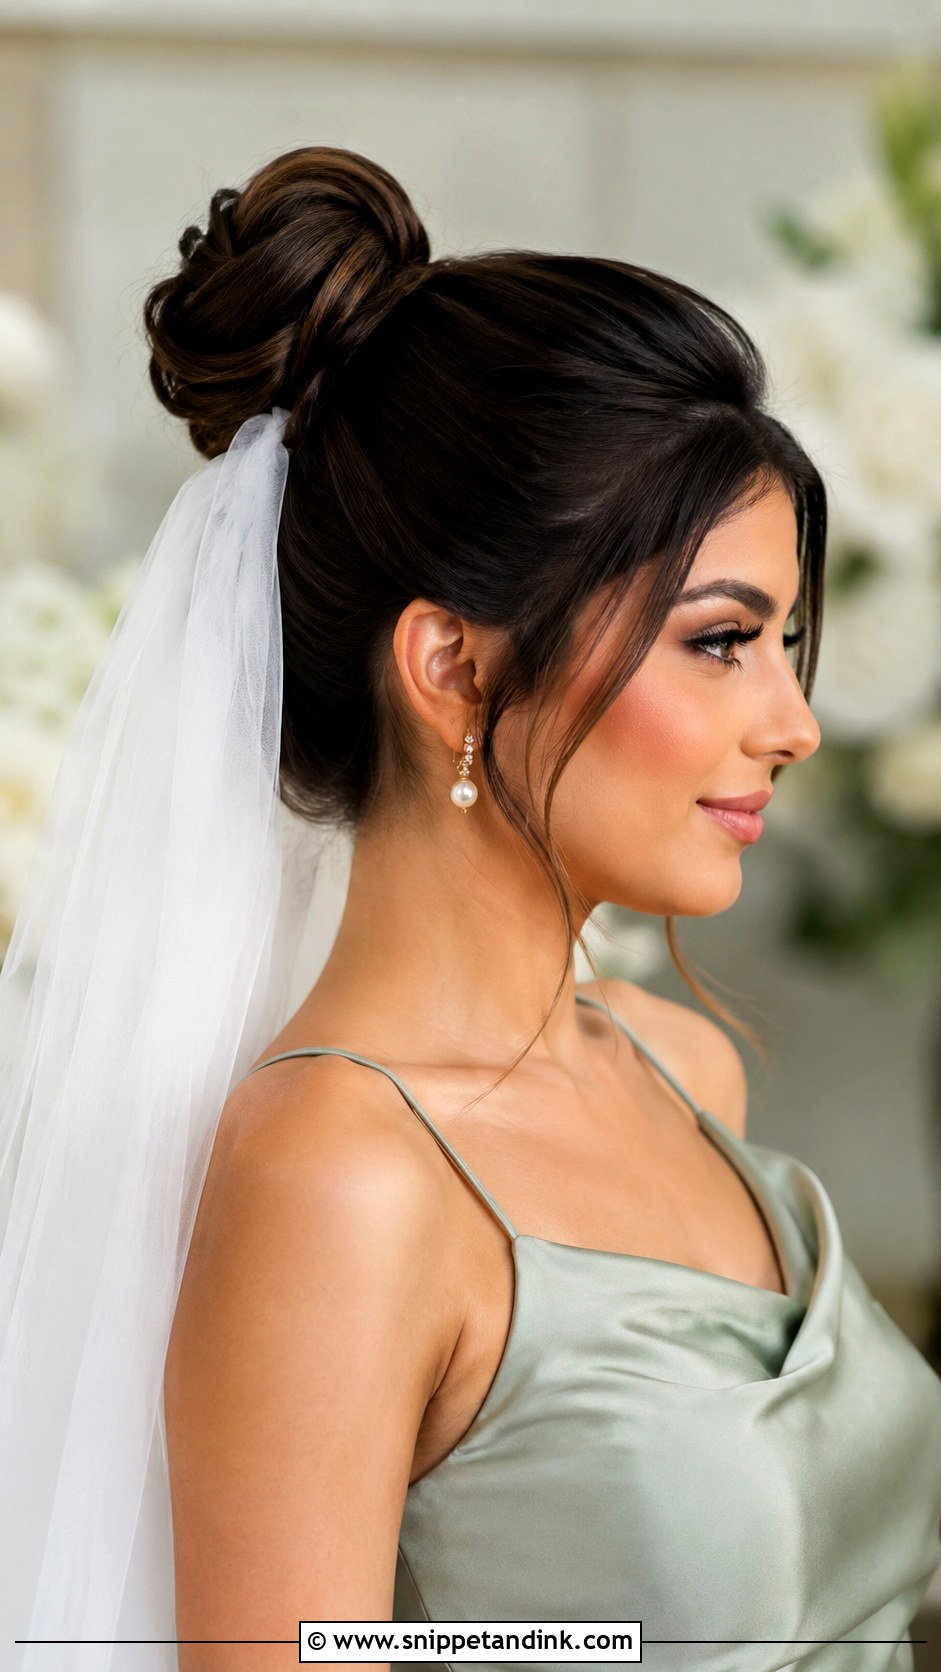
Bridesmaids sometimes wear veils or coordinated headpieces in cultural or traditional ceremonies, and a high bun gives them a solid base. Pinned under the bun, the veil drapes softly; pinned above it, it adds height. Either way, the comb has to grip the bun itself, not the hair around it, or the weight drags the style backward. A neat, balanced bun matters more here than texture. Classic gowns and modest necklines pair well.
Why the Crown Aches by the Reception, and How to Avoid It
A high bun hangs its whole weight from a small patch of scalp. If the ponytail is pulled too tight, or the bun is built with dozens of pins jabbed straight in, you feel it within a few hours. Most of the fix happens at the base.
What I do in the chair
I secure the ponytail with a snag-free elastic, firm but not tight enough to lift the skin. I slide pins in flat, along the scalp, instead of pressing them straight down. And I spread a heavy bun across a wider base so no single point takes all of it. If the bridesmaid winces during pinning, that’s the moment to fix it, not later.
At the end of the night
Take the pins out before the elastic, one at a time, feeling for them rather than pulling. Cutting the elastic is safer than dragging it over a matted bun. Then brush from the ends upward with a little conditioner or oil. The hairspray will brush out much more easily after a wash, so don’t fight it at two in the morning.
A High Bun Holds Up When the Base Does
High buns solve most wedding-day hair problems: hair stays off the shoulders, survives long hours, and lets the neckline and jewelry show. Sleek or textured, braided or curly, the shape is decoration. What actually decides how the bun feels at midnight is the placement, the base underneath it and how much weight it’s carrying. Fit those to the hair length, texture and comfort of each bridesmaid, then choose the finish to suit the dress and the weather.
You'll Like These Ideas:


Leave a Reply