
I put more bridesmaids in low buns than in any other style, and the reason is practical. A bun pinned at the nape carries its weight close to the neck, where it pulls least, so it’s still comfortable after the ceremony, the portraits, dinner and a few hours of dancing. It also leaves the shoulders, earrings and back of the dress on show. Bridesmaid low bun hairstyles are not one style, though. A sleek center-part knot and an airy textured bun need completely different prep, and a bun that suits thick straight hair can look thin and stretched on fine hair. Below are twenty versions, with what each one needs from the hair and from me.
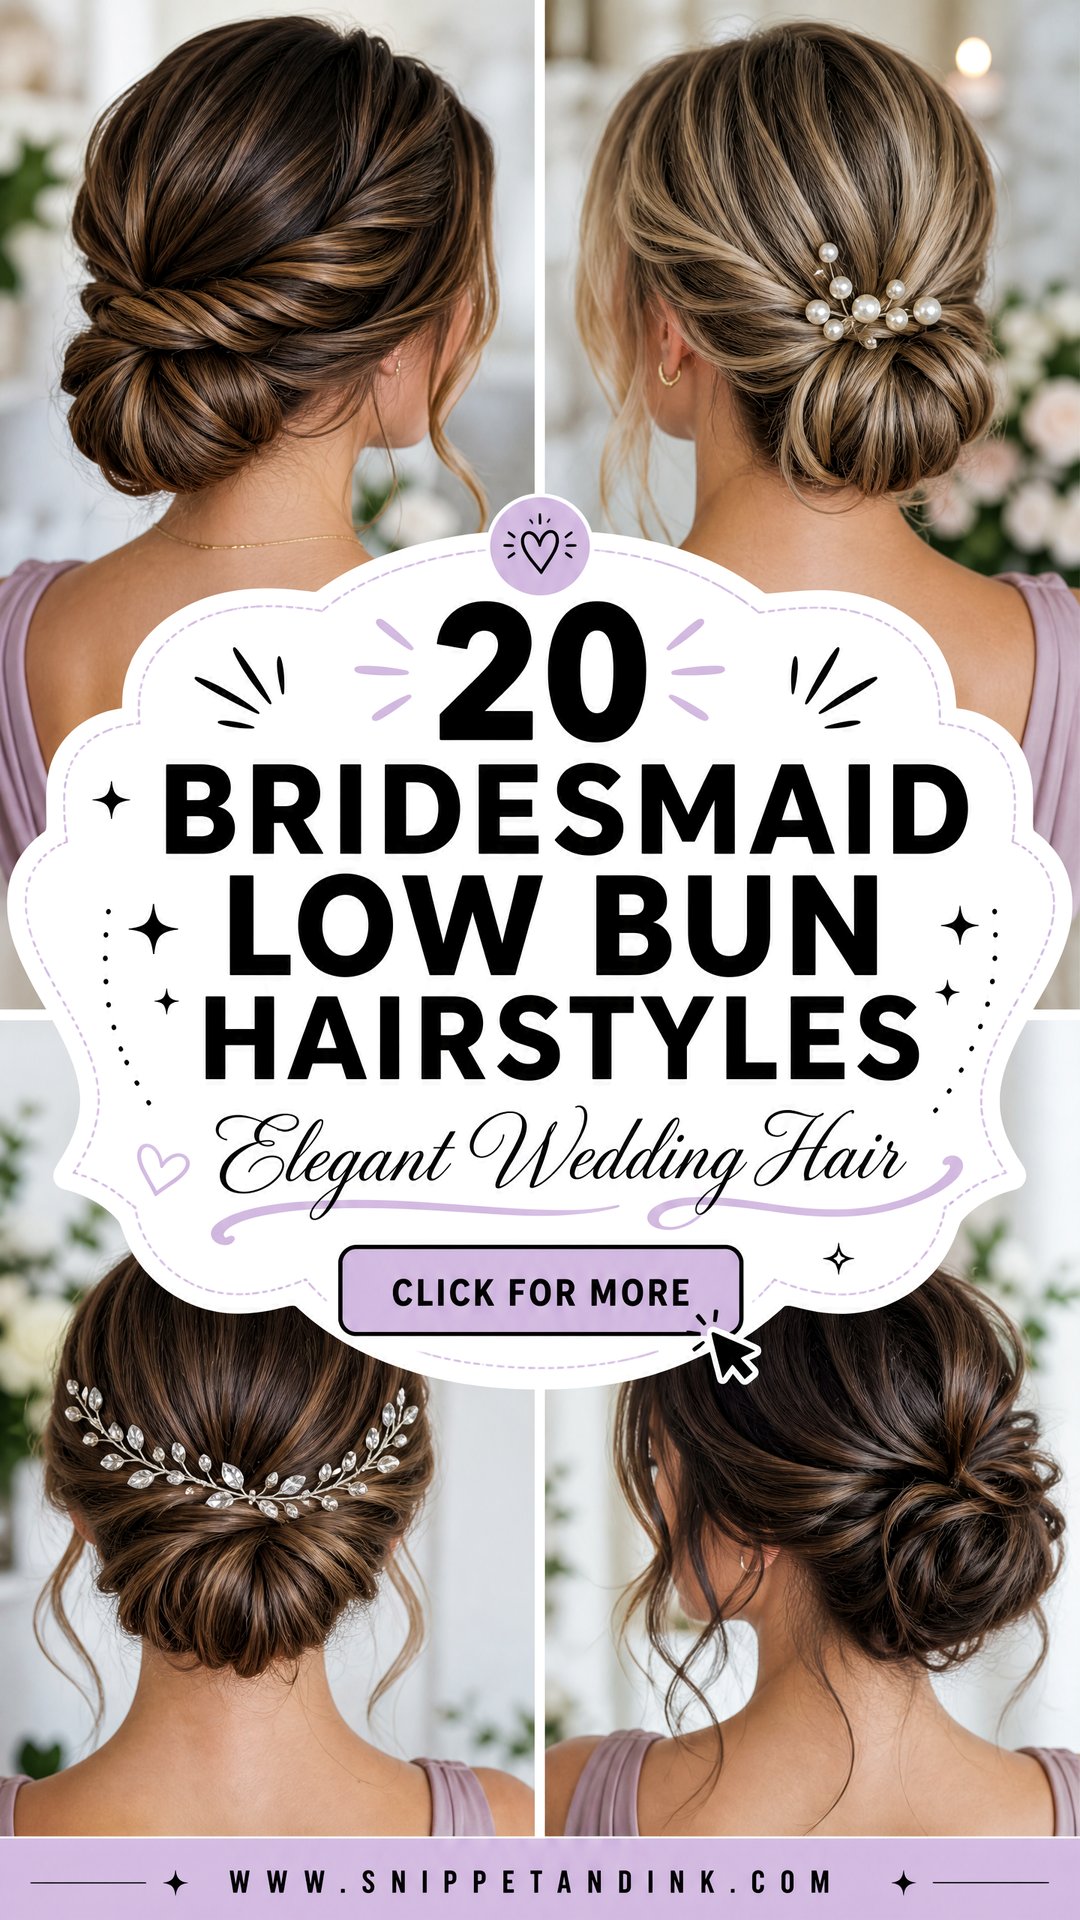
Nape Height Changes Everything About a Low Bun
Low can mean three different places, and each one changes how the bun looks with the dress. Before I start pinning, I look at the neckline and the back of the gown with the bridesmaid standing up, not seated.
- Right at the nape, touching the top of the neck: the classic chignon spot. It suits strapless and open-back dresses but can rub against a high collar or a halter tie.
- Slightly higher, around the base of the skull: better for high necks, halters and dresses with a bow or tie at the back, because the bun sits clear of the fabric.
- Off-center, below one ear: softer and less formal. Good for one-shoulder gowns, with the bun placed on the side opposite the strap so the two don’t compete.
Ask each bridesmaid to bring the dress, or at least a photo of the back, to her trial. A bun that sits fine in a T-shirt can catch on a collar the moment she puts the gown on.
1. Classic Low Chignon For Bridesmaids
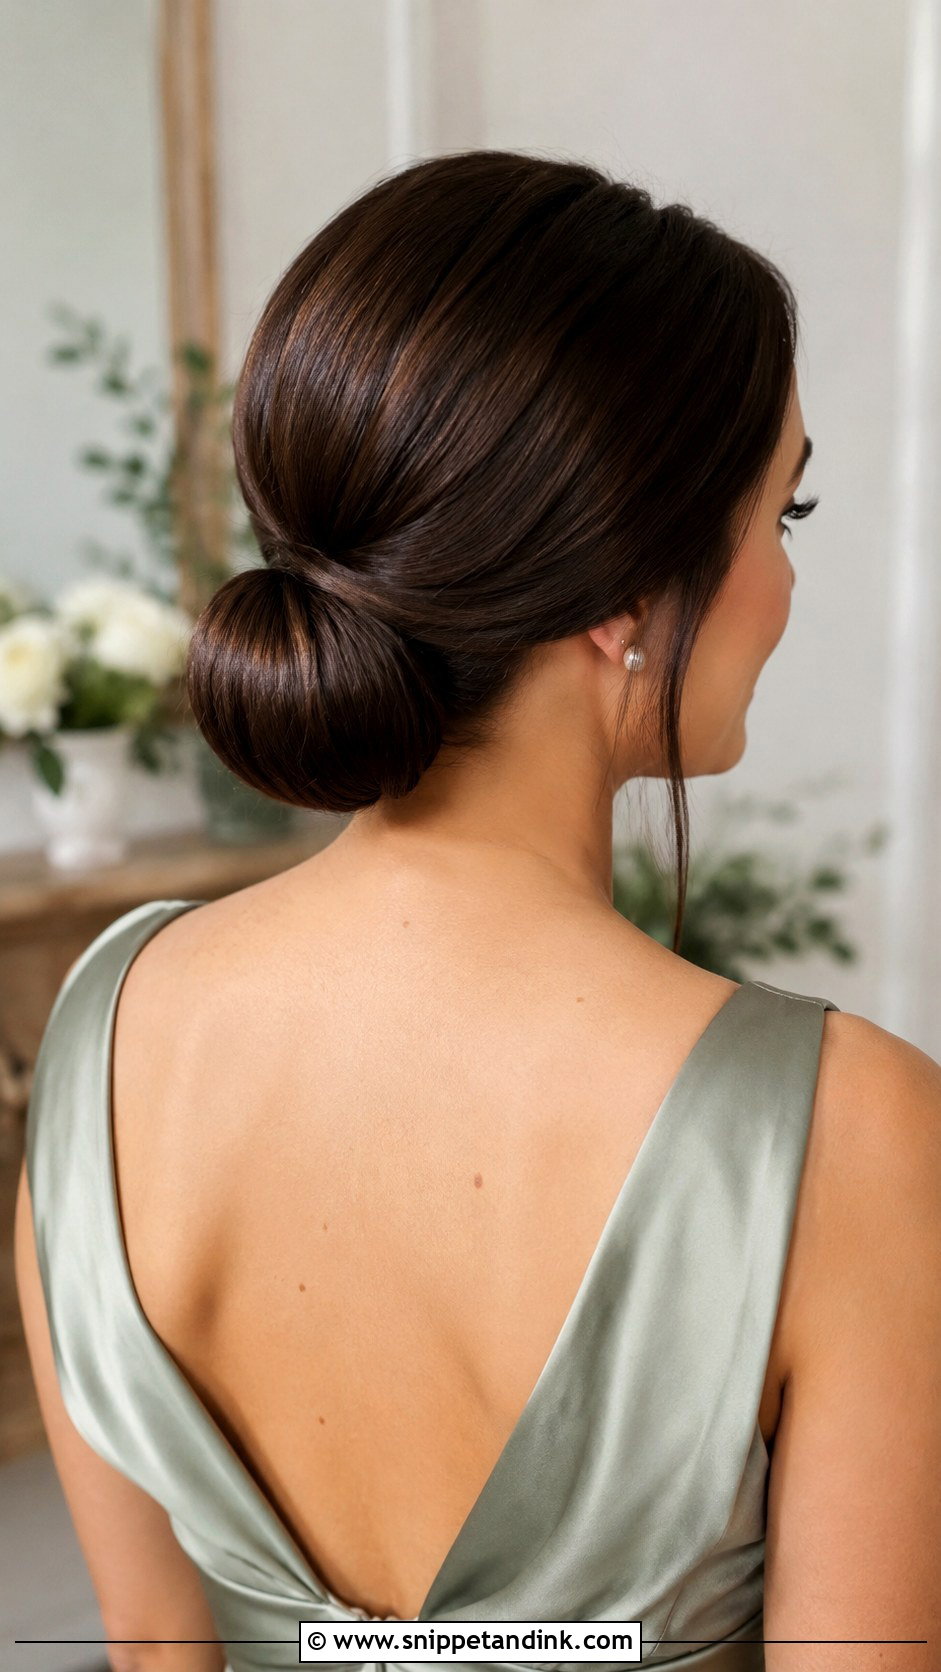
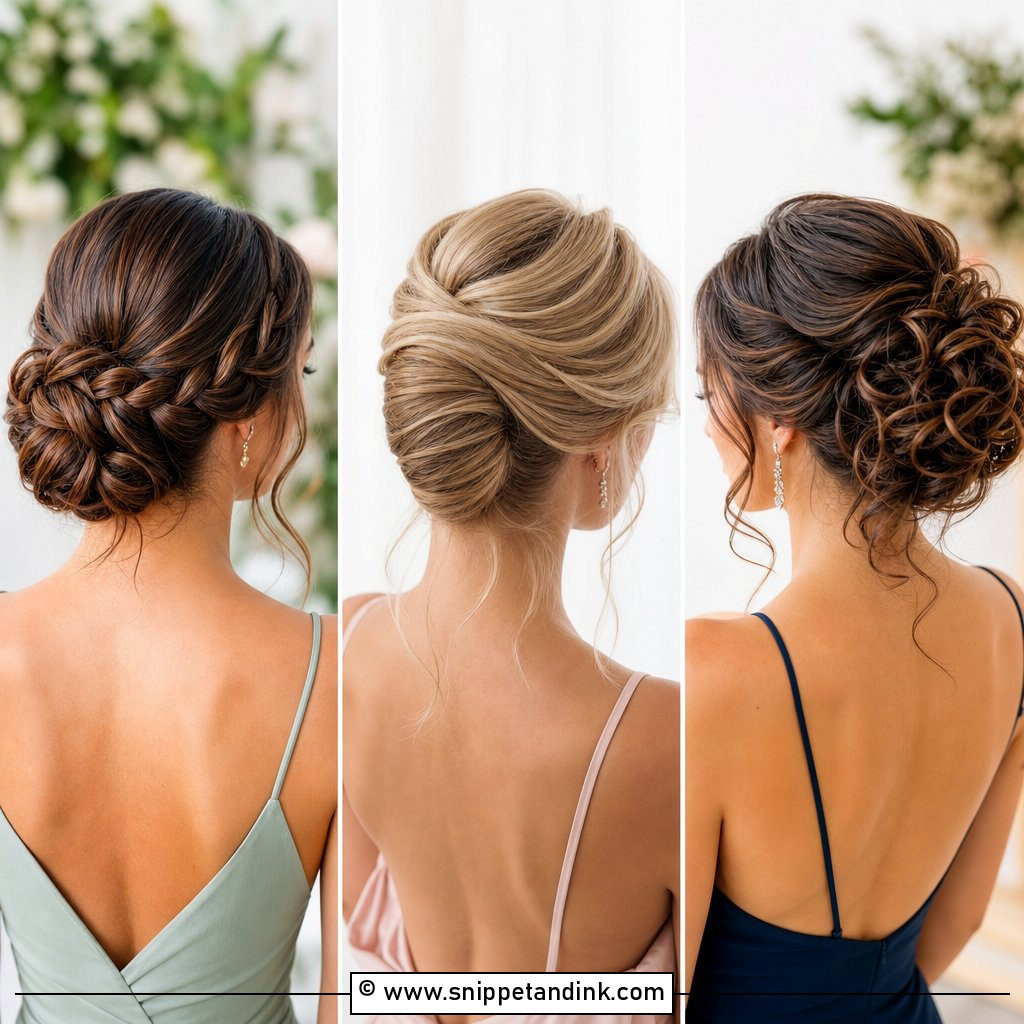
The classic chignon is the safest bun on this list. It sits neatly at the nape and looks right with satin gowns, formal rooms and simple jewelry. I smooth the hair back from a center or slightly offset part and roll it into a rounded knot. Fine hair needs a little backcombing at the base or a small pad hidden inside; thick hair needs more pins and fewer products. A flexible spray keeps it secure while still letting the bun move slightly, which is what makes it look like hair rather than plastic.
2. Sleek Center Part Low Bun
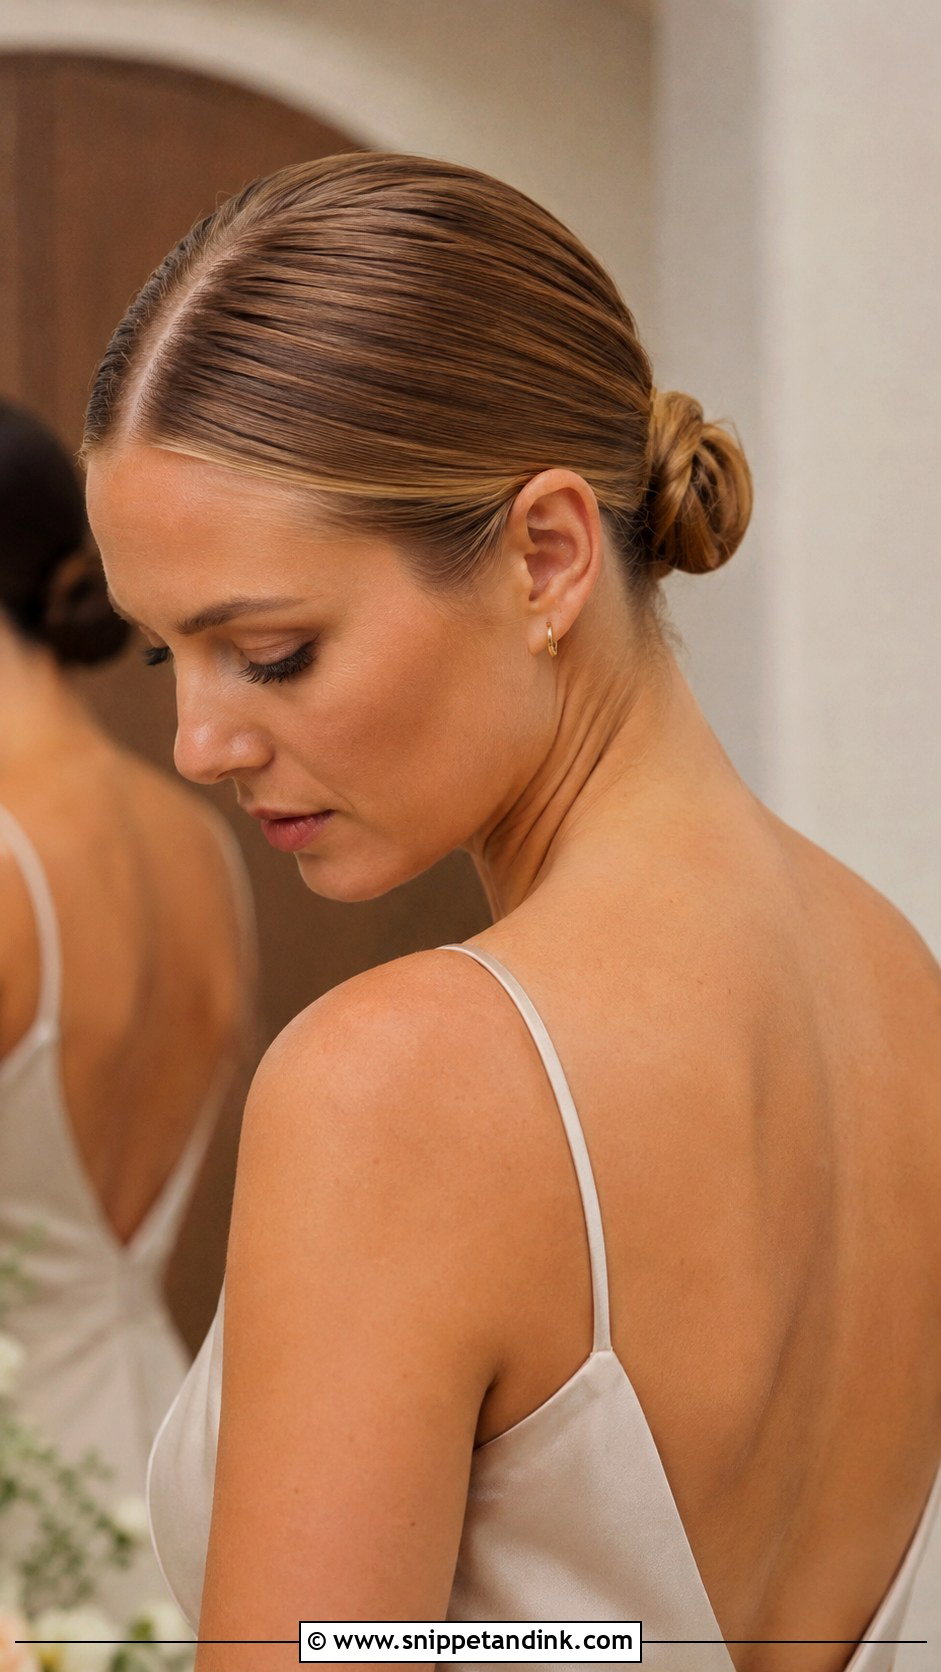
Nothing hides on a sleek center part. If the part drifts even slightly, the camera finds it. I blow the hair out straight first, then smooth with a small amount of cream applied on the palms, never poured onto the hair, so it stays glossy instead of wet-looking. It suits square necklines and clean-lined dresses. I’d steer bridesmaids with a strong cowlick at the front away from it, because the hair will fight the part all day.
3. Soft Textured Low Bun
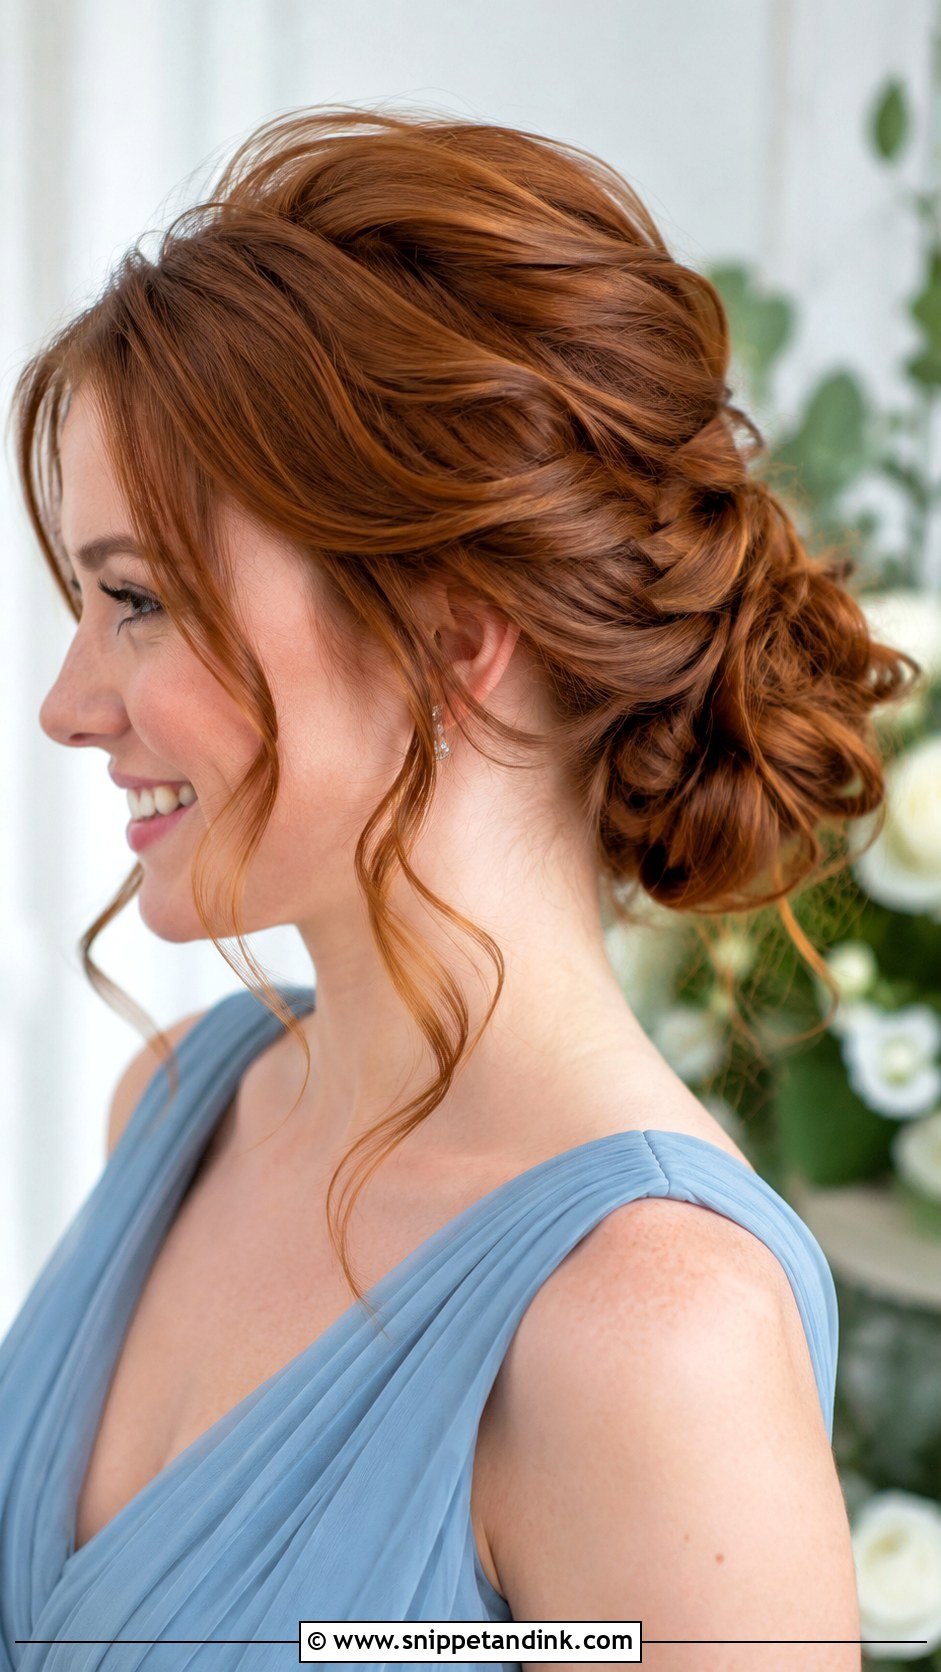
Romantic but not polished, and that balance is harder than it looks. I wave the hair first, then gather it loosely and pin it low, pulling a little volume at the crown. Garden ceremonies and flowing chiffon suit it. Loose pieces near the cheeks soften round and heart-shaped faces. What I’m after is controlled softness. A light texture spray before pinning gives the bun grip, so it can look airy and still hold.
4. Braided Low Bun For Bridesmaids
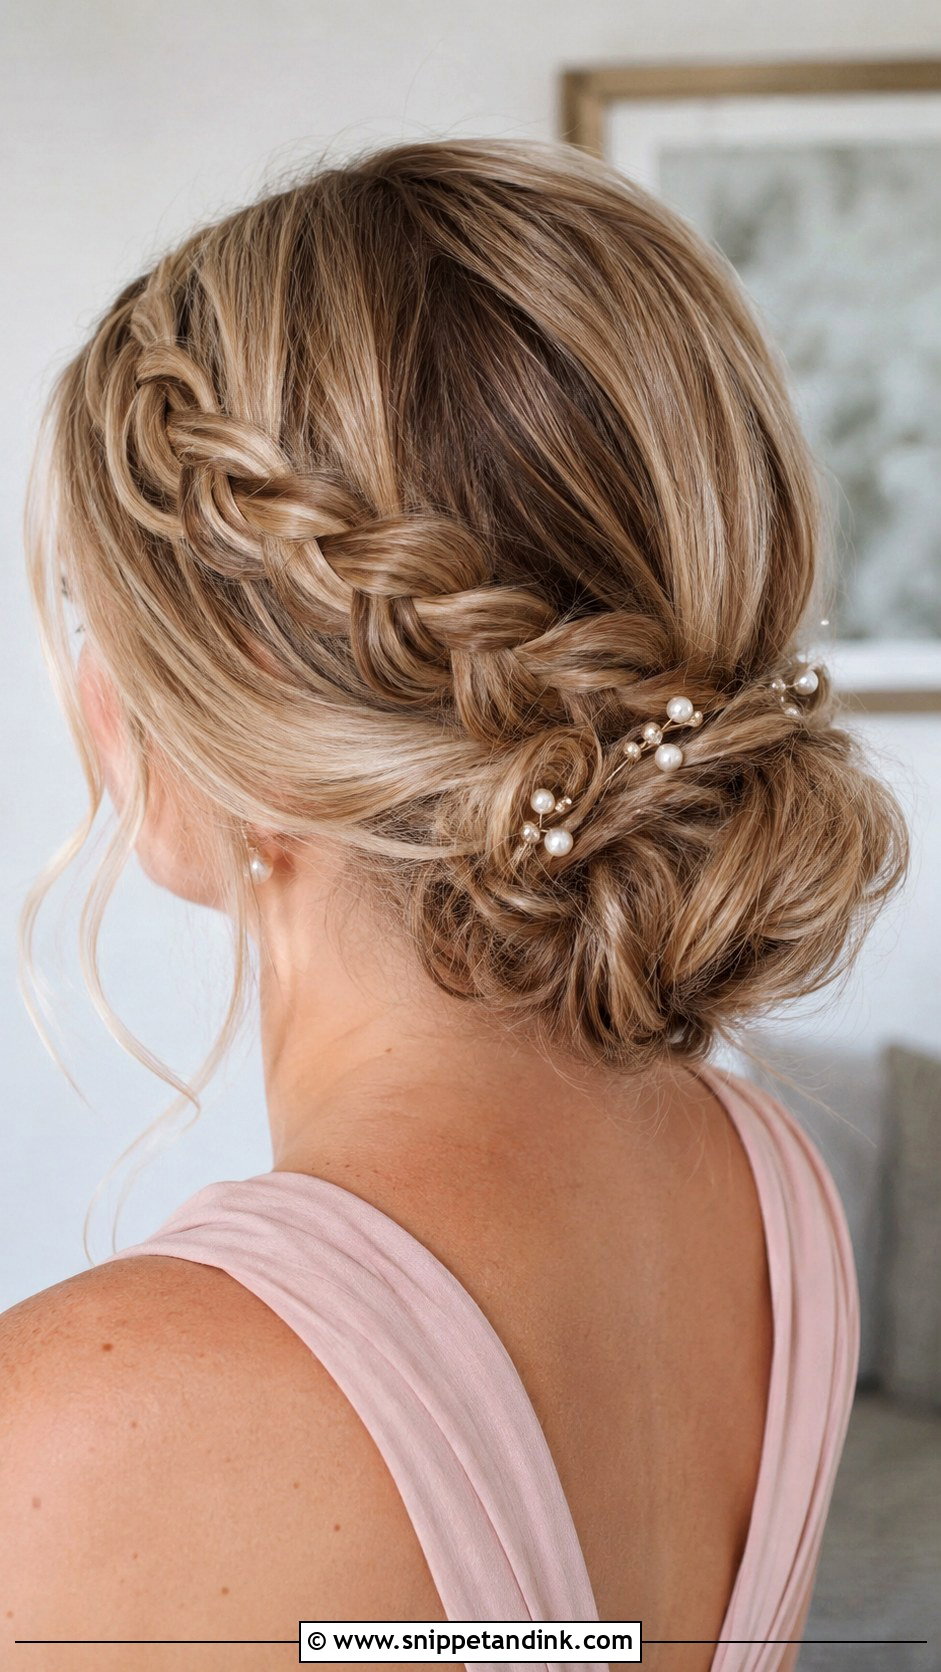
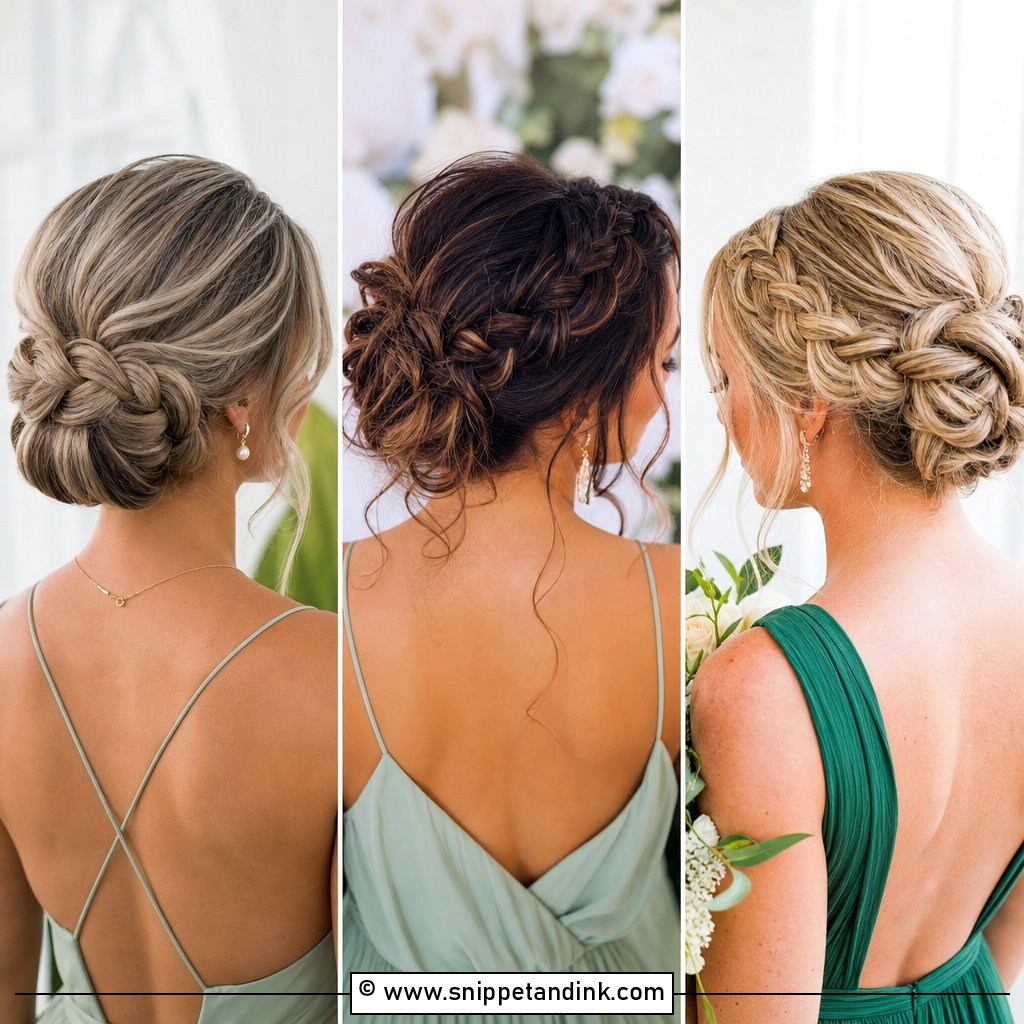
Braids work as structure here, not just decoration. A braid wrapped around the bun or running from one side into the nape holds shorter layers that would otherwise fall out of a plain knot. On thick hair I braid part of the length to reduce bulk; on fine hair I pancake the braid to make it look fuller. It has a handmade quality that suits rustic and outdoor weddings. Pearl pins or small flowers tucked along the braid sit securely because the braid gives them something to grip.
5. Side Part Low Bun
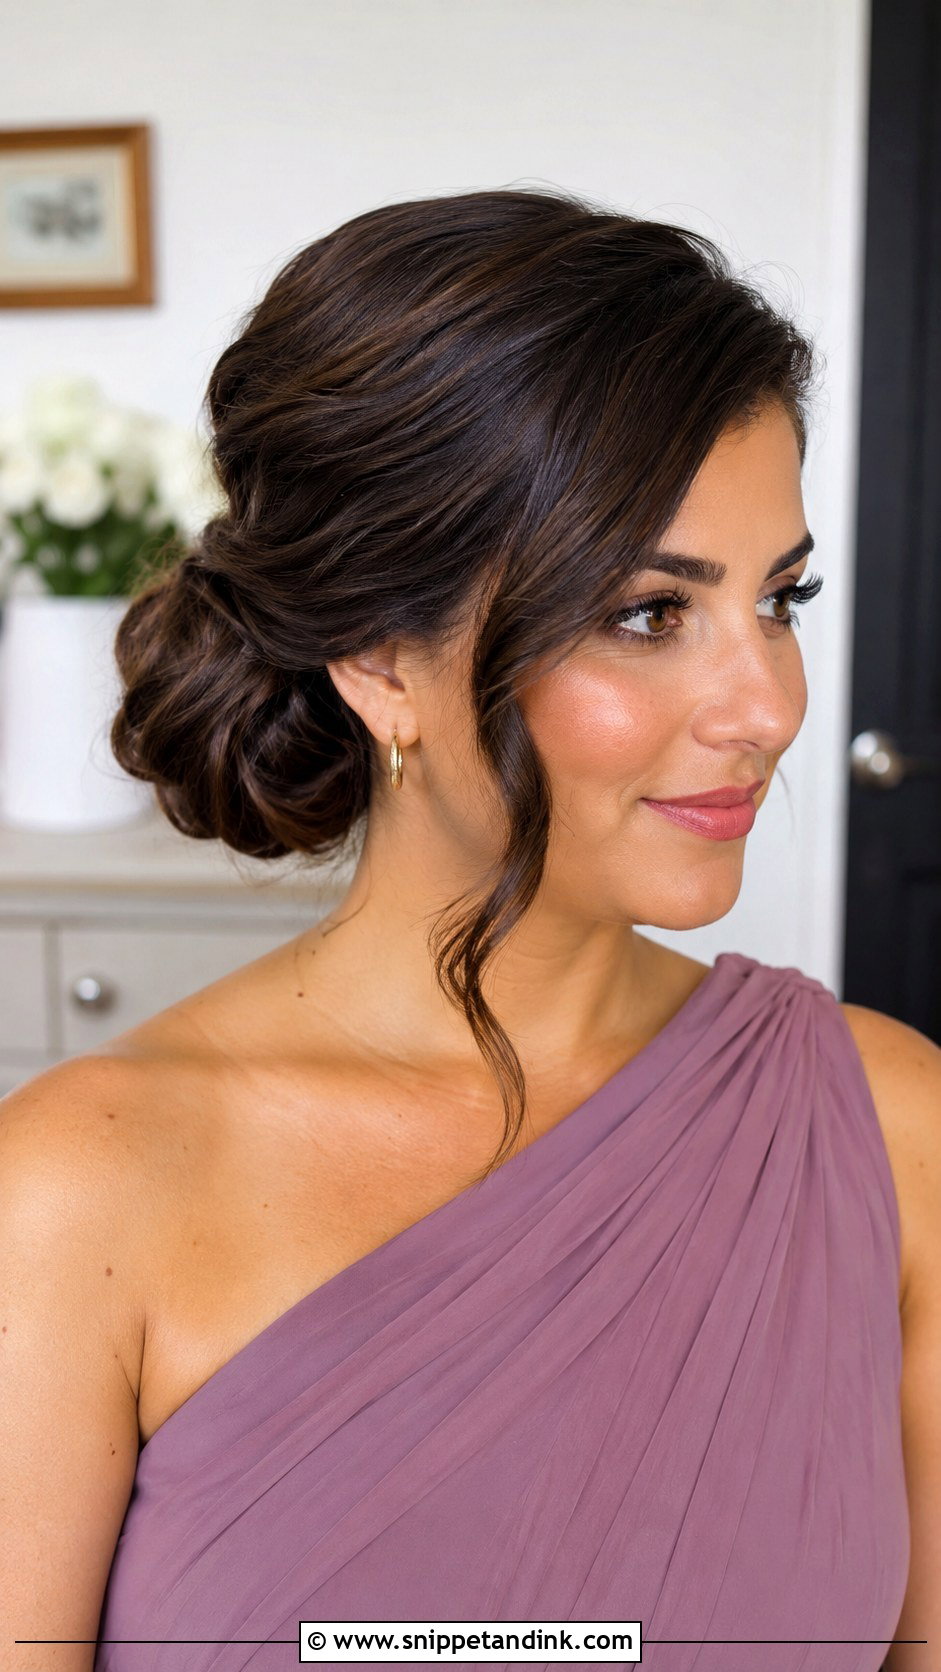
A side part softens the whole shape and gives a bit of height at the crown without teasing. It pairs well with one-shoulder and off-the-shoulder gowns, and with curls left around the face on the heavier side of the part. The bun can be compact for a formal room or loose for a relaxed ceremony. Watch the swept side: it tends to drop forward into the eye by evening, so I pin it discreetly behind the ear.
6. Low Bun With Face Framing Pieces
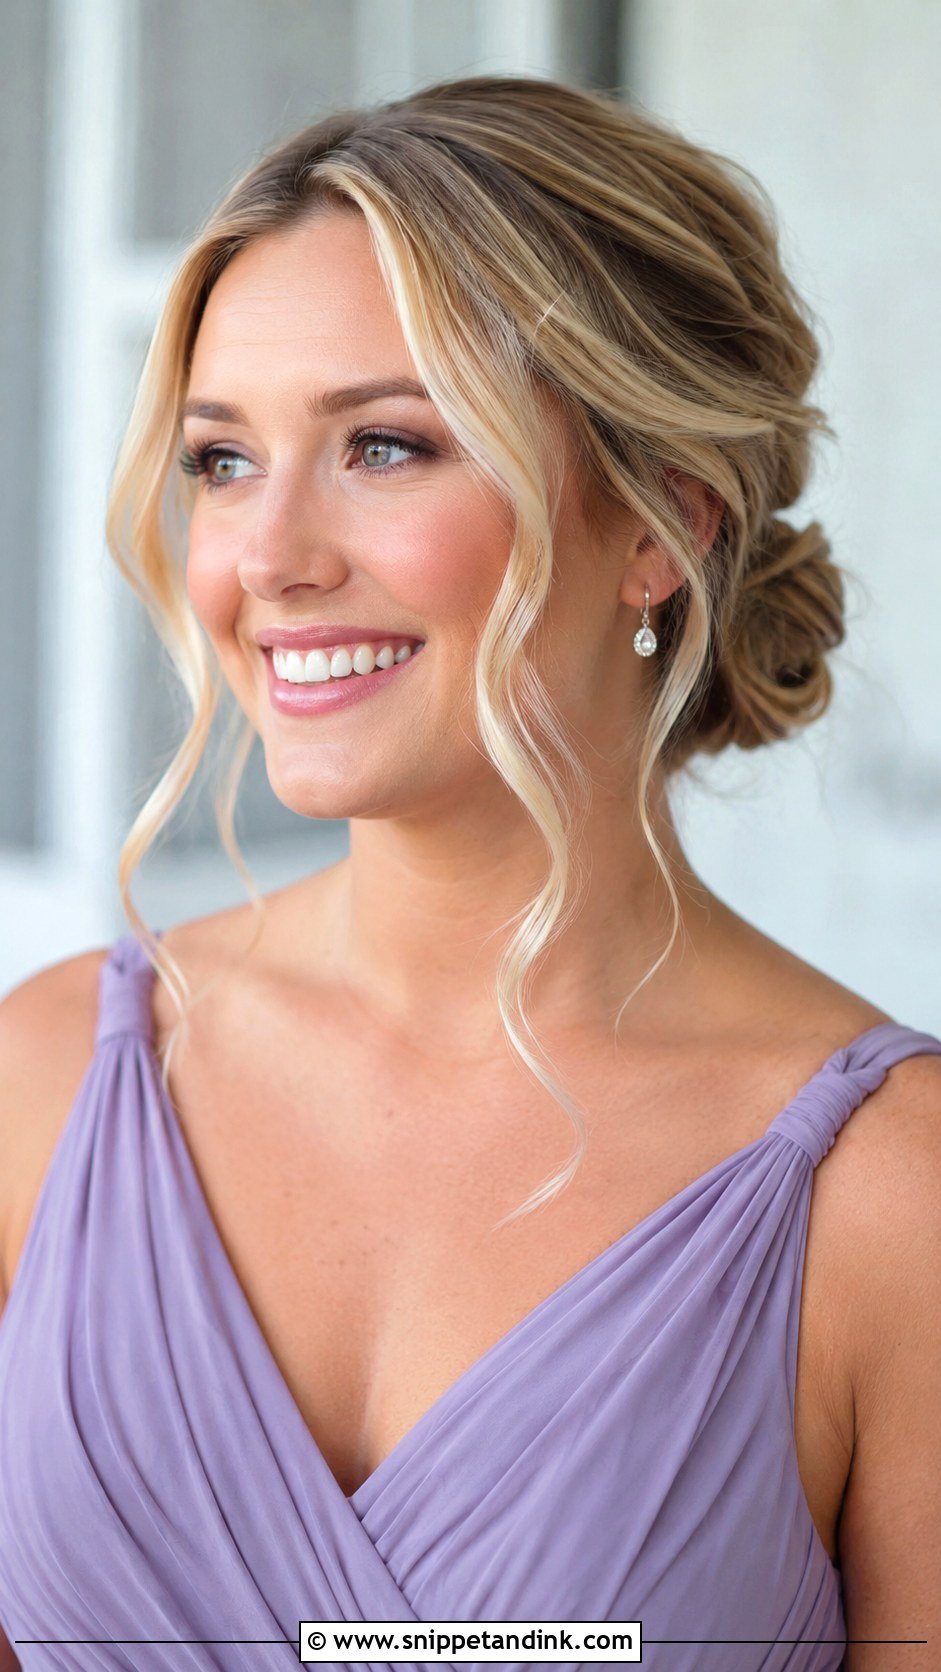
Face-framing pieces are the most requested detail I get, and the one most often done badly. They should be chosen, not left over. I take them from the hairline before I tie the bun, usually one fine section at each temple, and bend them with a flat iron so they curve away from the face. This is the version for bridesmaids who feel exposed with everything pulled back. Too many pieces and the bun looks like it’s falling apart.
7. Curly Low Bun Bridesmaid Hair
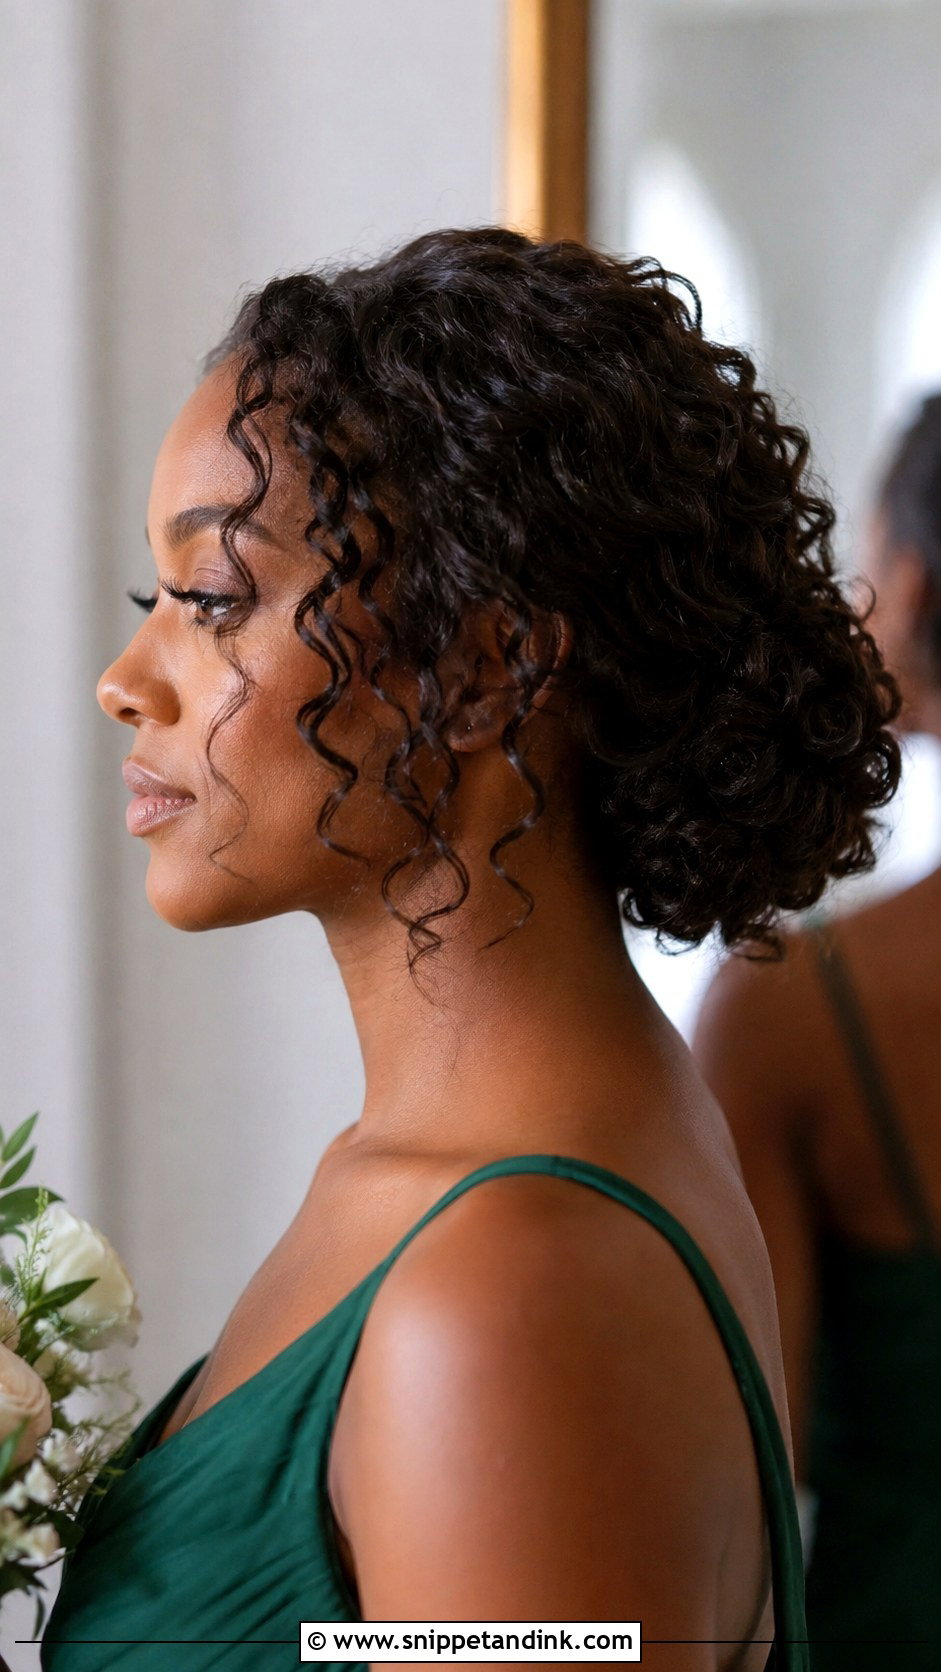
Curly and coily hair makes a fuller, rounder bun than any straight texture can, and I want to keep that pattern intact. I don’t brush it. I gather the curls with my hands, shape them into a low bun and use curl cream or a light gel to control frizz while keeping the bounce. The bun usually sits wider than a sleek one, which is part of its charm. Small pins, fresh flowers or a slim comb dress it up without flattening the curls.
8. Messy Low Bun For Bridesmaids
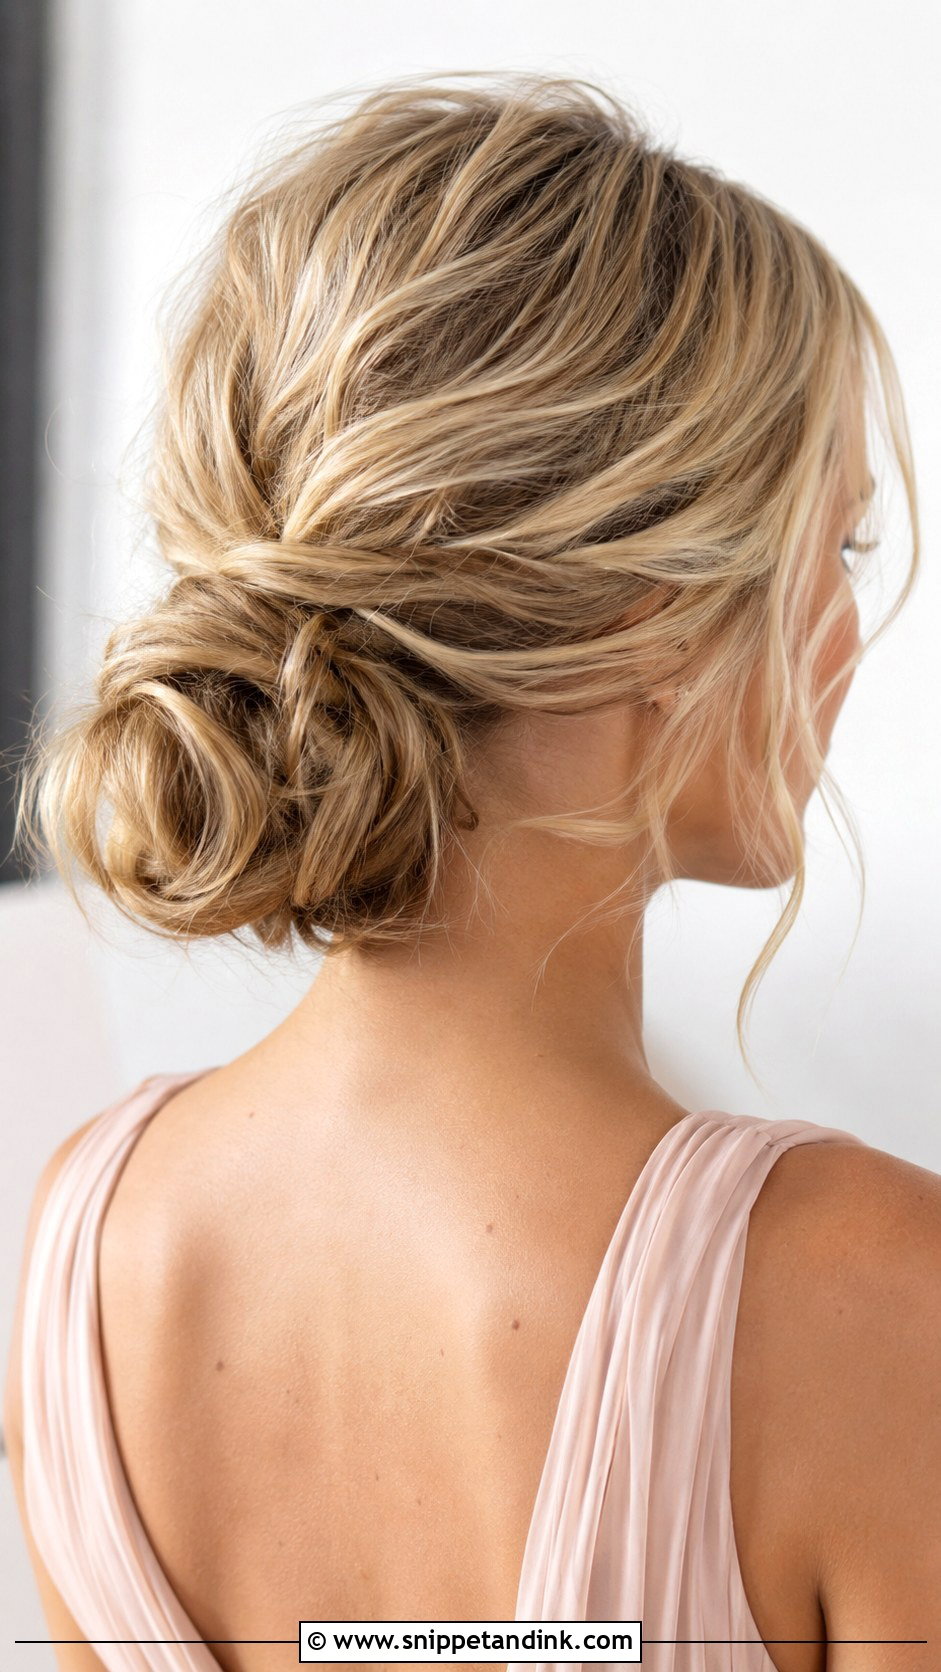
Messy has to look like a decision. I wave the hair, tease it lightly at the root and pin it into a loose bun with sections pulled out around the crown, but the bun underneath is anchored as firmly as a formal one. It suits beach weddings, barn venues and flowing fabrics. A few tendrils soften it; too many and it reads unfinished in close-ups. If the wedding has wind, I hold back on the tendrils, because they whip across the face in every outdoor shot.
9. Twisted Low Bun Bridesmaid Hair
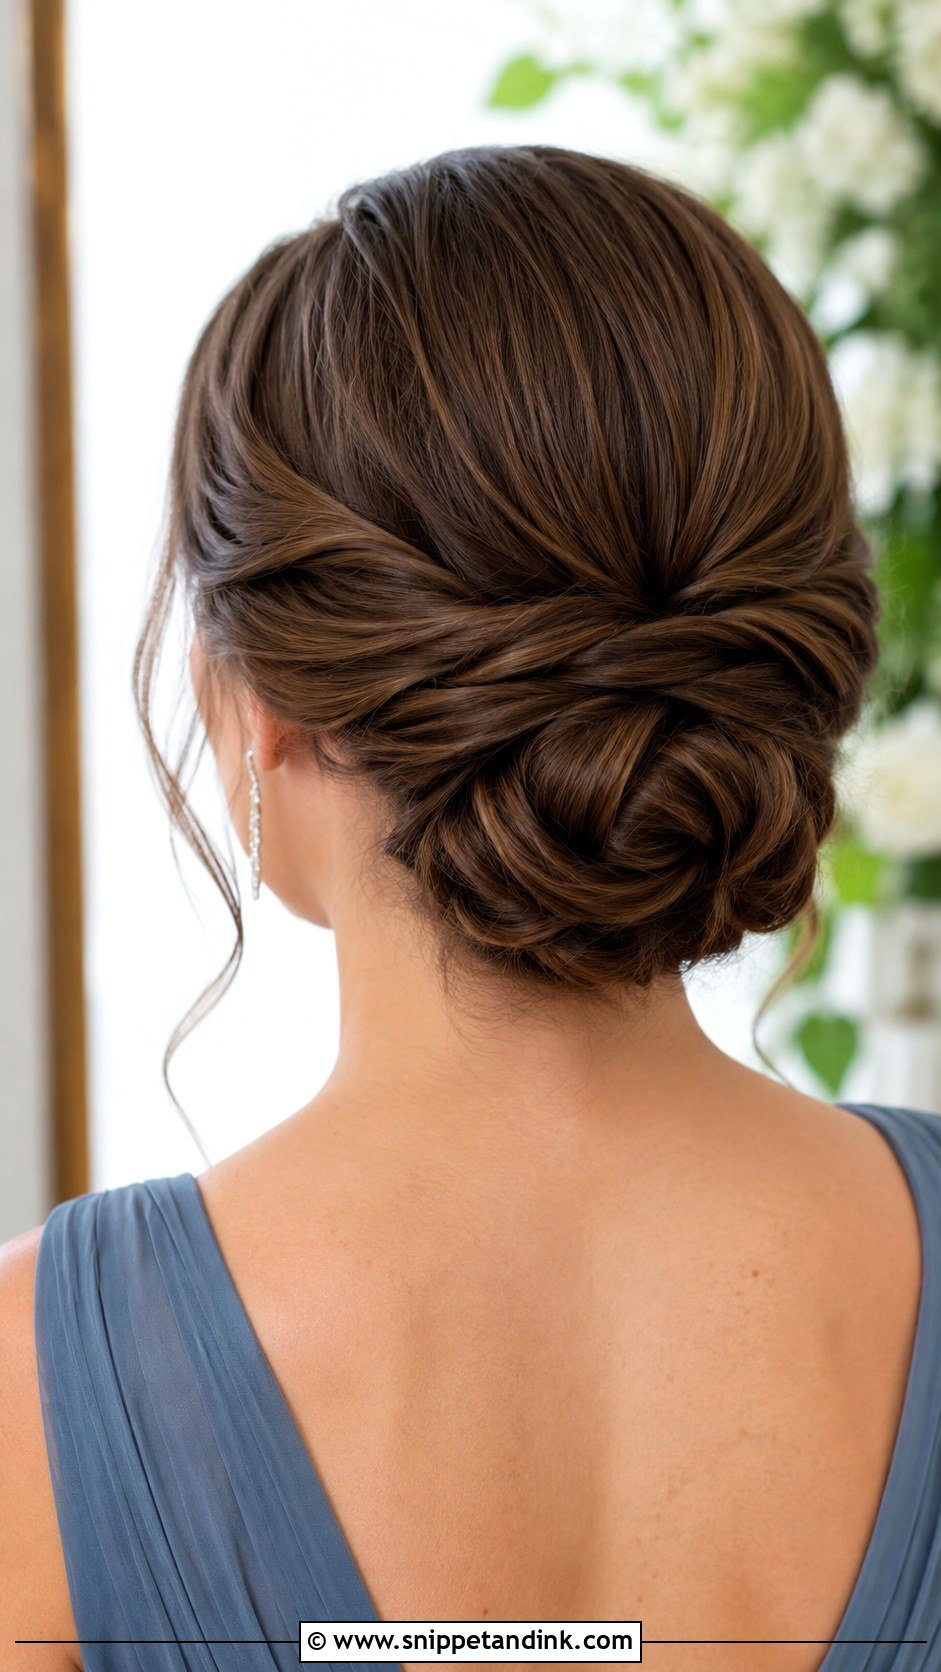
Sections twist back from each side and wrap into a knot at the nape, so you get soft lines without braiding. Those lines show best in side and back photos, which is where guests see bridesmaids during the ceremony. I use it a lot for layered hair, since the twists hold the short pieces. It also suits medium-length hair that doesn’t have enough length for a big bun. Pearl pins and small combs sit well in the grooves of the twists.
10. Low Bun With Pearl Pins
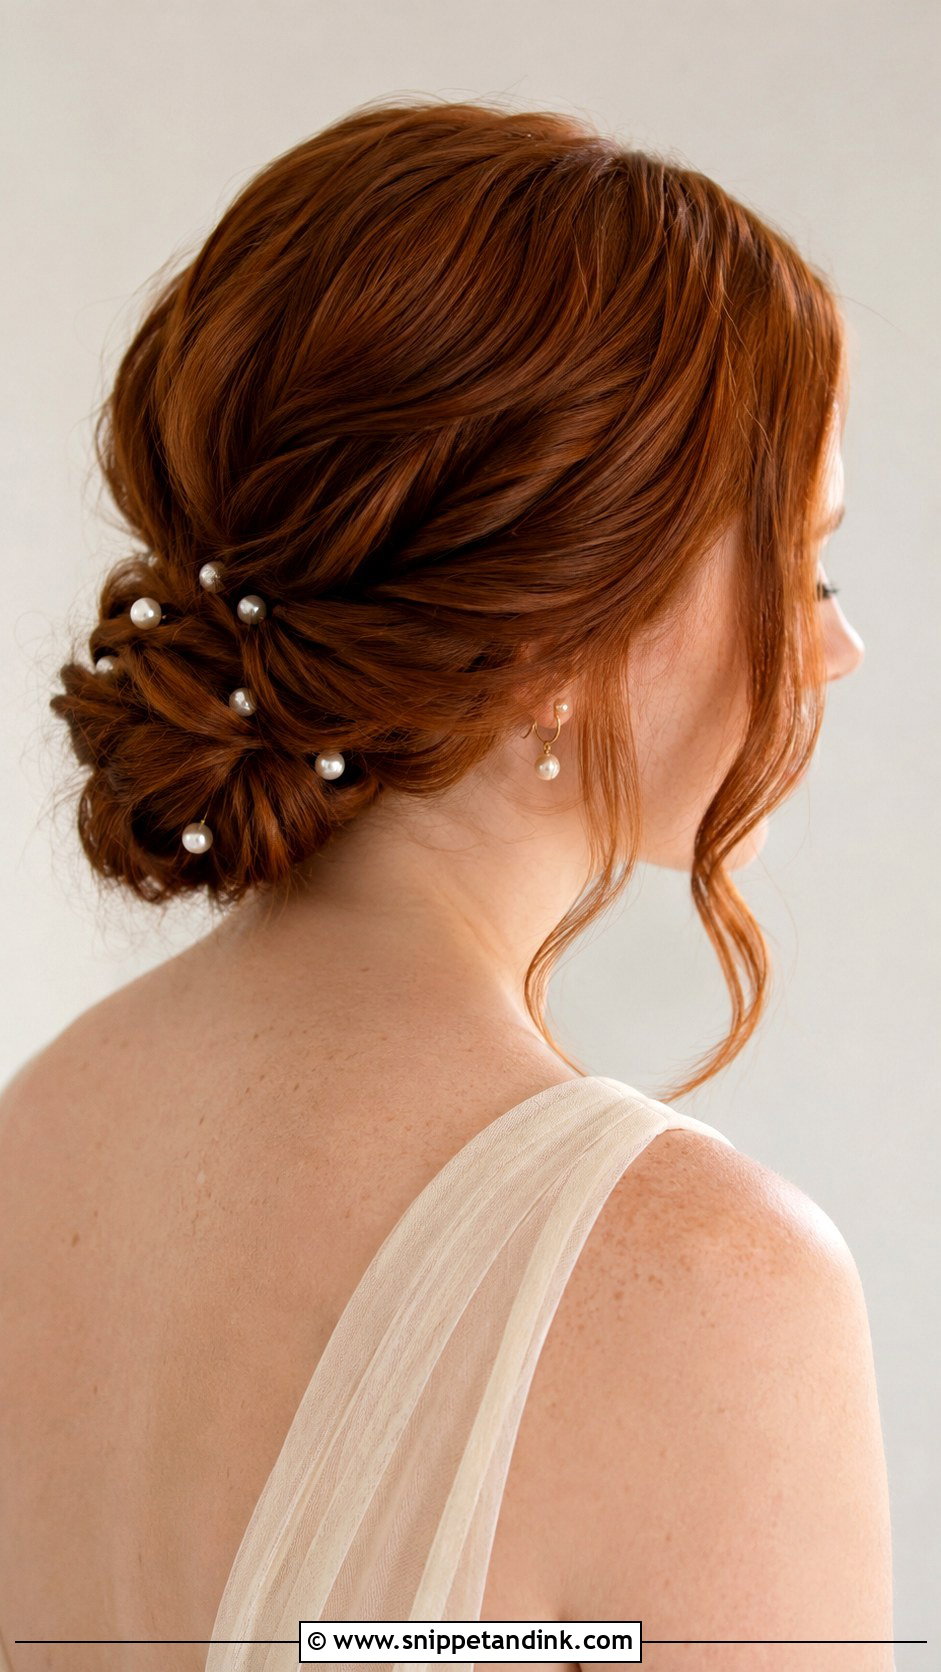
Pearls add a classic detail to any base: sleek, twisted, braided or textured. Scatter them around the bun or line them up along one side. On dark hair they stand out strongly; on blonde they’re more of a soft glow, so blondes may want slightly larger pearls. I place them last and push each one into the bun’s structure. Balance matters more than number; five well-placed pins look better than fifteen.
11. Low Bun With Fresh Flowers
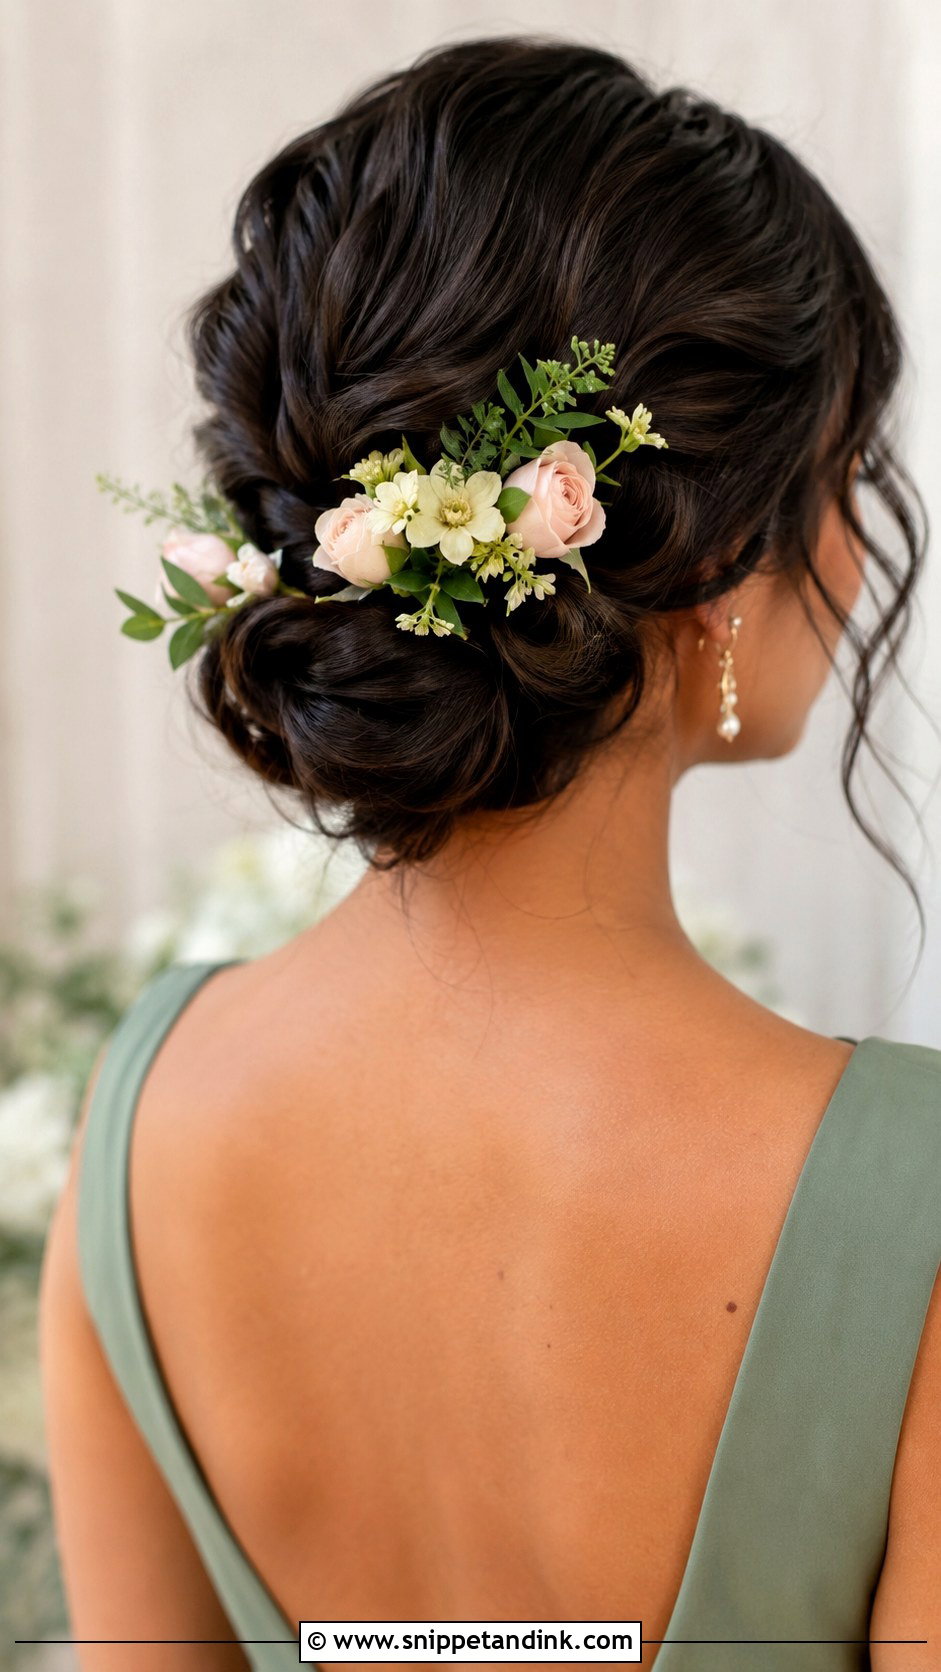
Fresh flowers suit spring, summer and garden weddings, and they can repeat the bouquet so the party ties together. Small blooms, such as mini roses, spray roses or baby’s breath, sit neatly around a bun without dragging it down. They do need care: I ask the florist to deliver hair flowers wired or on picks and kept chilled, then add them at the very end, because petals bruise and wilt quickly against a warm head. Soft waves or twists hold them better than a sleek finish does.
12. Low Bun With Hair Vine
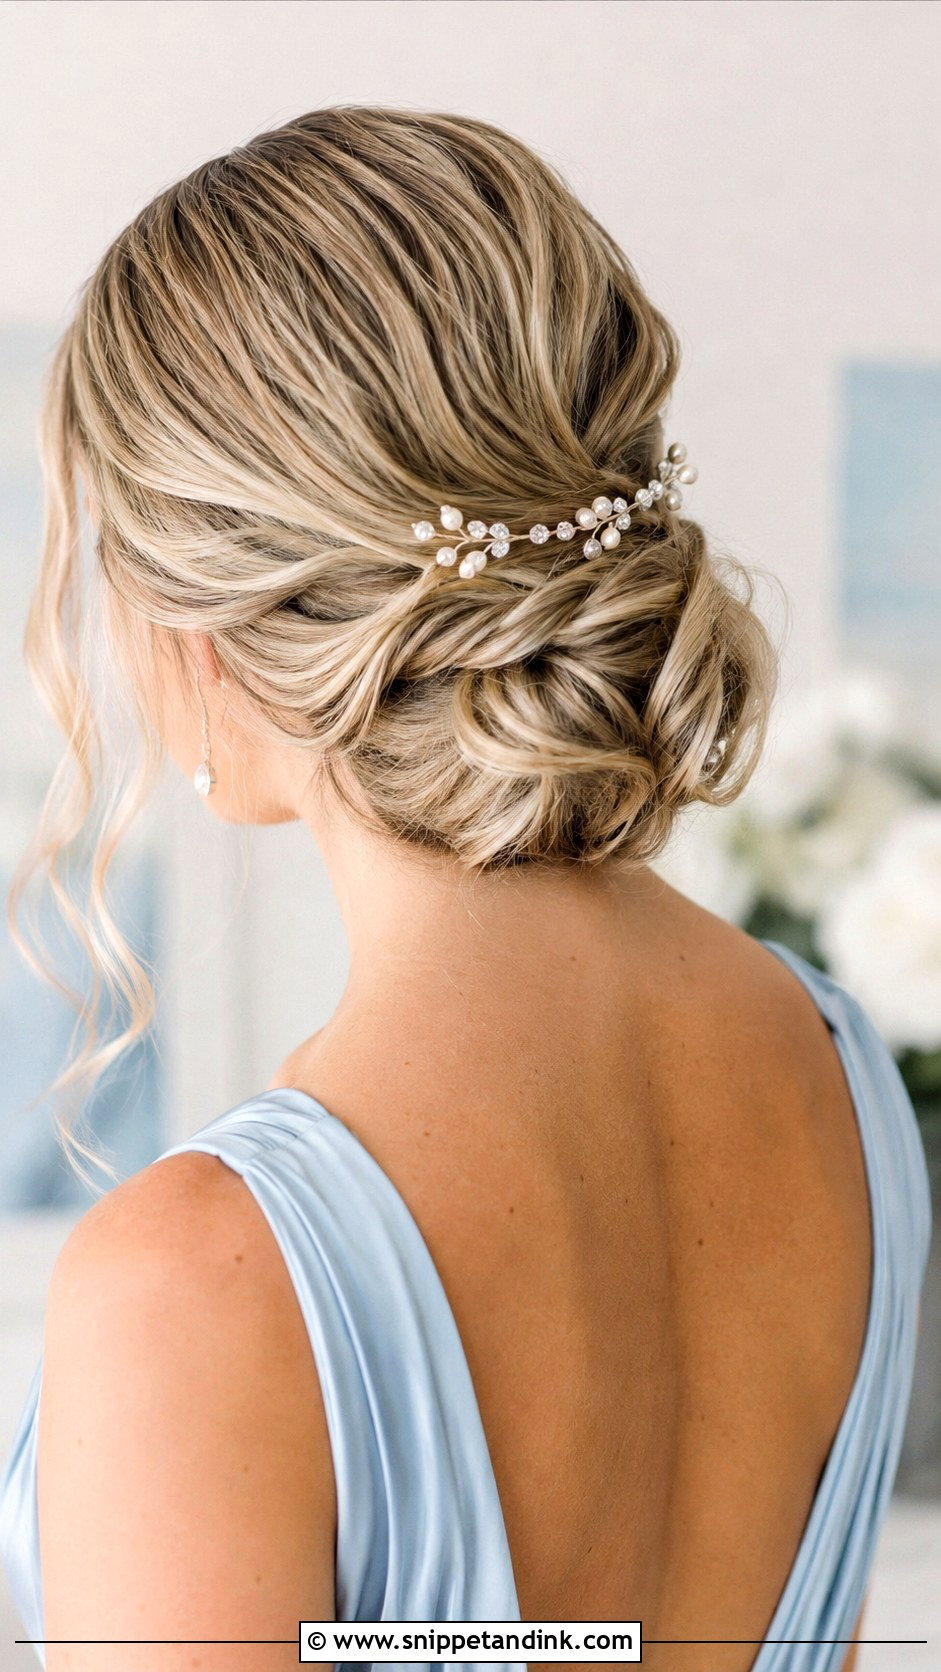
A hair vine is a flexible wire with pearls, crystals or tiny flowers, and it adds detail from the back without any bulk. It can curve around the bun, sit above it or weave through twists. I sew it in with pins every inch or so, so the wire doesn’t lift away from the hair when the bridesmaid turns her head. Keep the bun underneath plain so the vine stays the detail.
13. Low Bun For Thin Hair
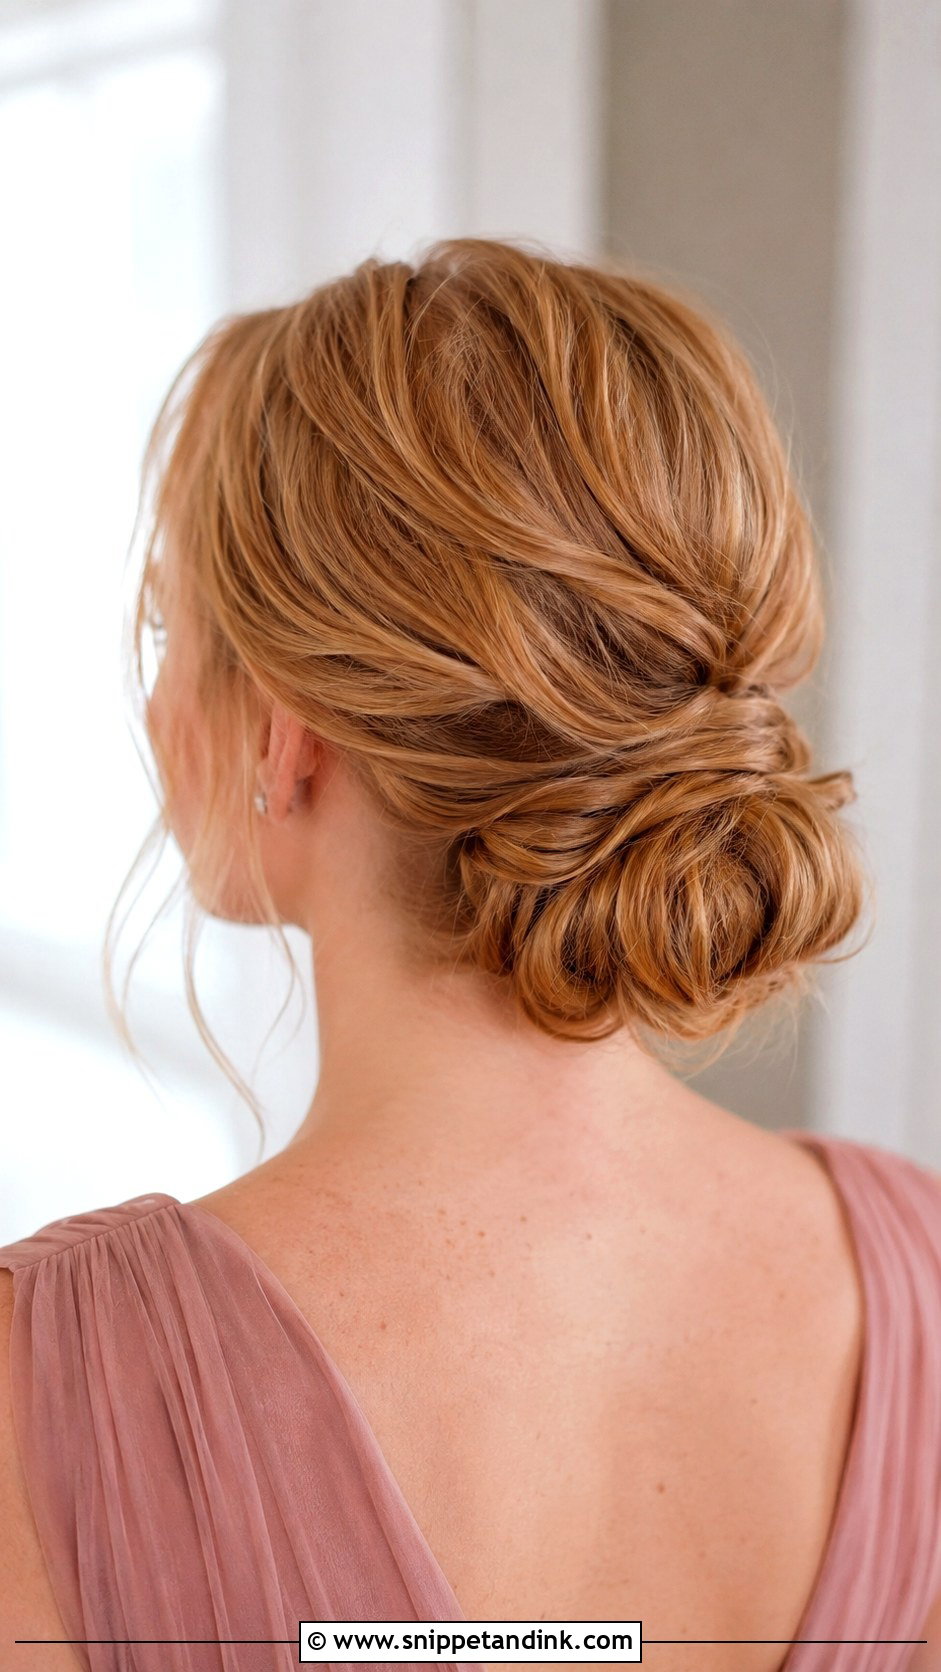
Fine hair needs volume that’s built in, not piled on. I start with texture spray and soft waves, tease gently at the root and only then gather the bun, sometimes over a small pad that matches the hair color. A twisted or loosely wrapped bun creates the look of more hair than a tight round knot does. Skip oils and heavy creams on the day; they make fine hair slip and the bun collapse before the reception.
14. Low Bun For Thick Hair
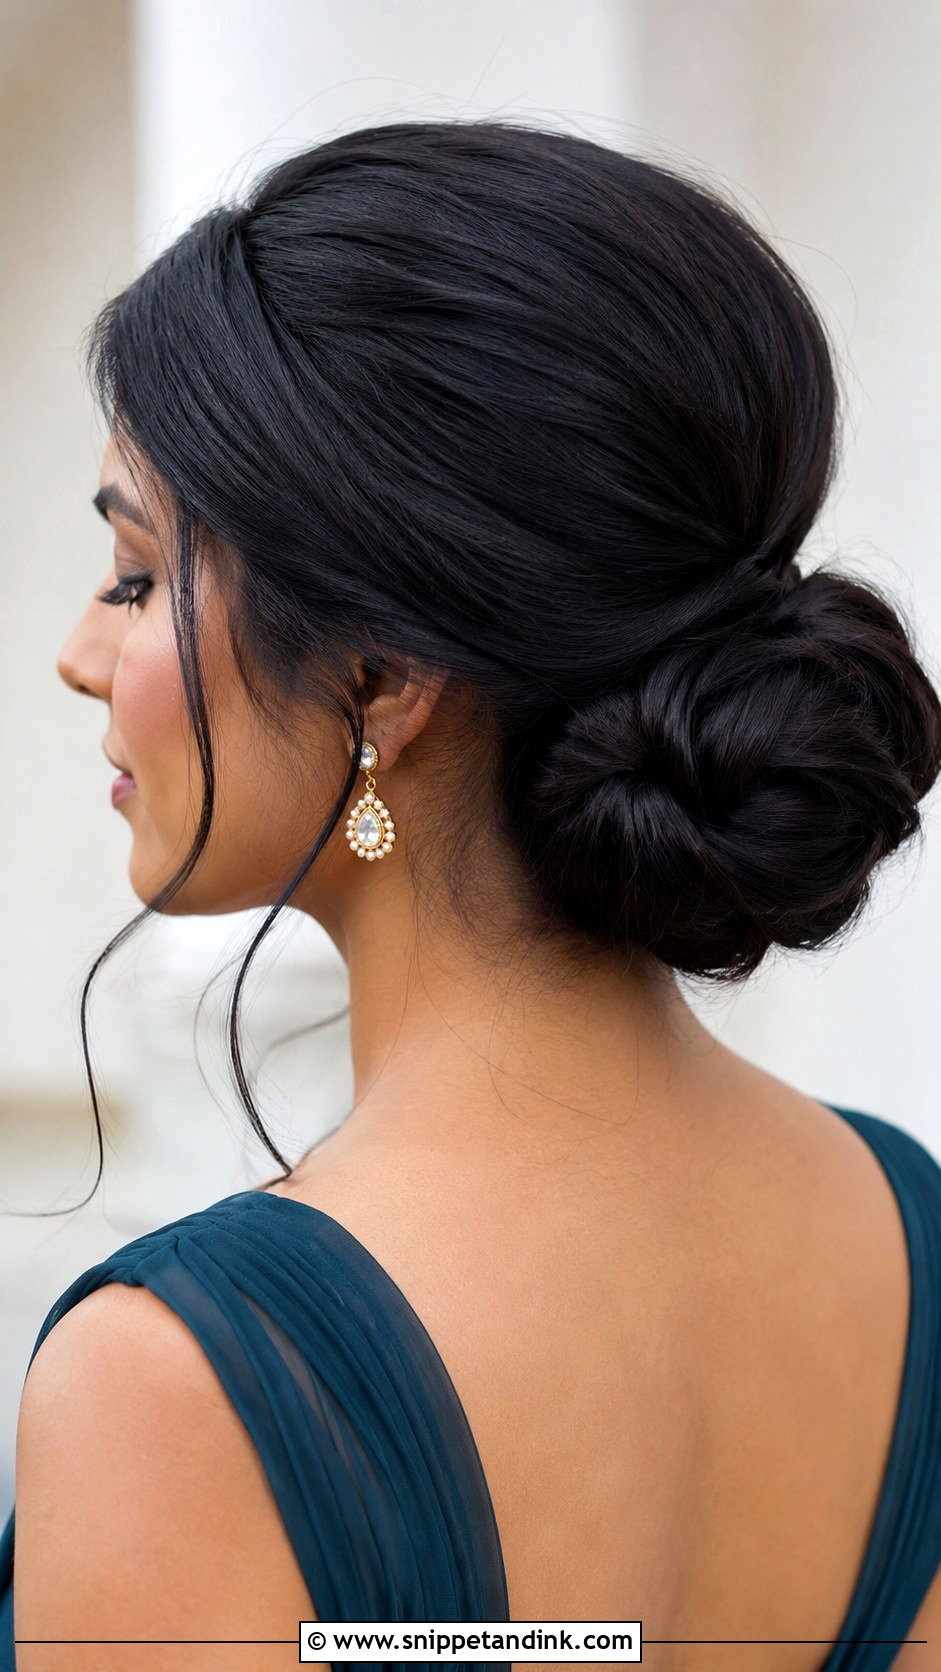
Thick hair makes a full bun easily. Comfort is the problem. A single heavy knot drags on the nape and gives a headache by the speeches. I split the hair into several smaller sections, twist each into place and anchor each with its own pins, so the weight is spread across the back of the head. A smooth bun suits thick straight hair; textured shows off waves and layers. From the side it should look full but not swollen.
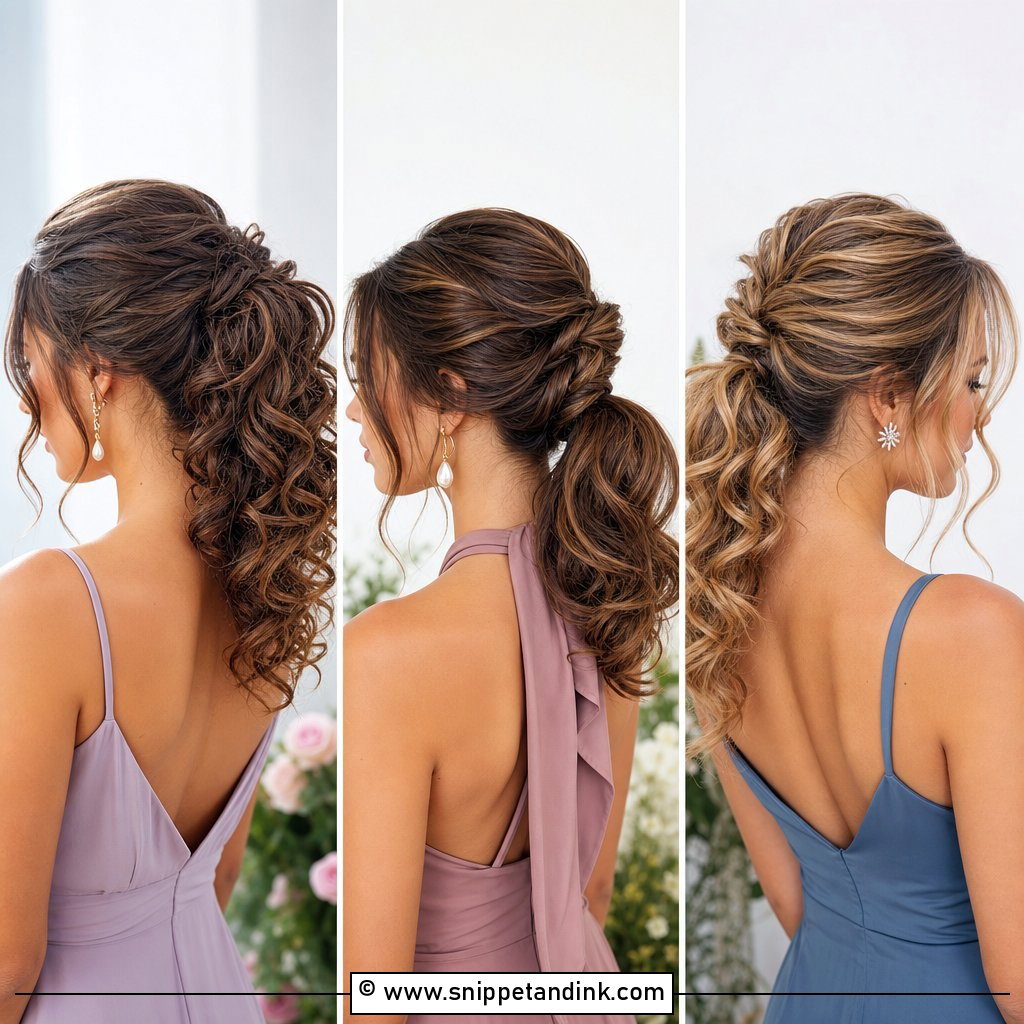
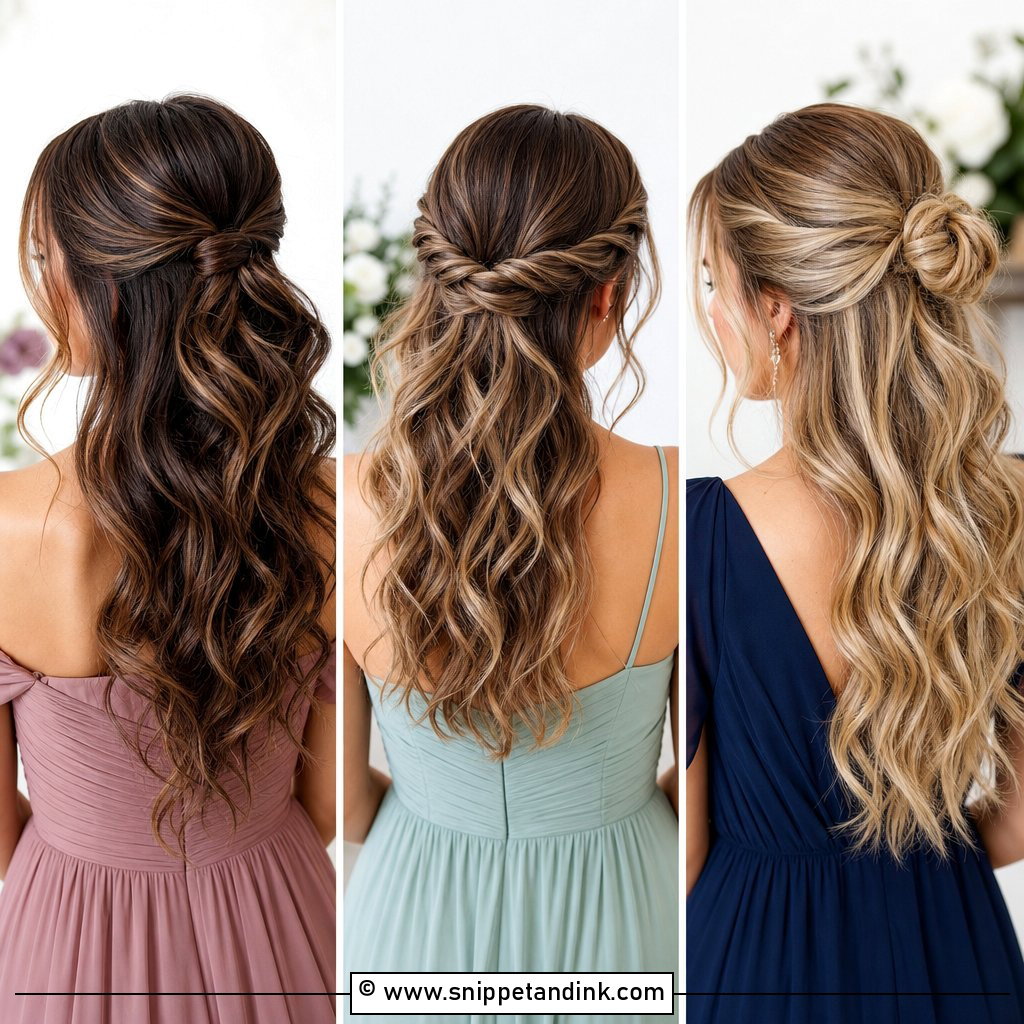
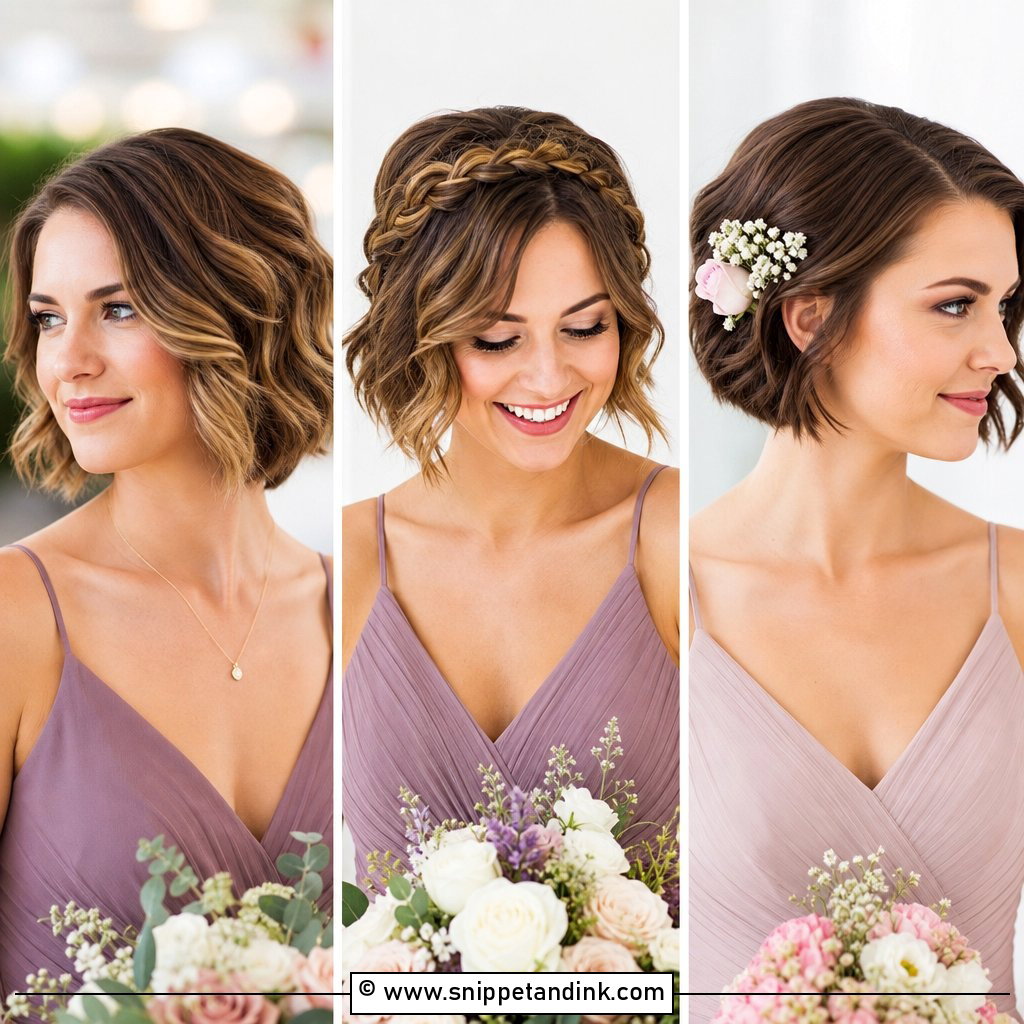
15. Low Bun For Short Hair
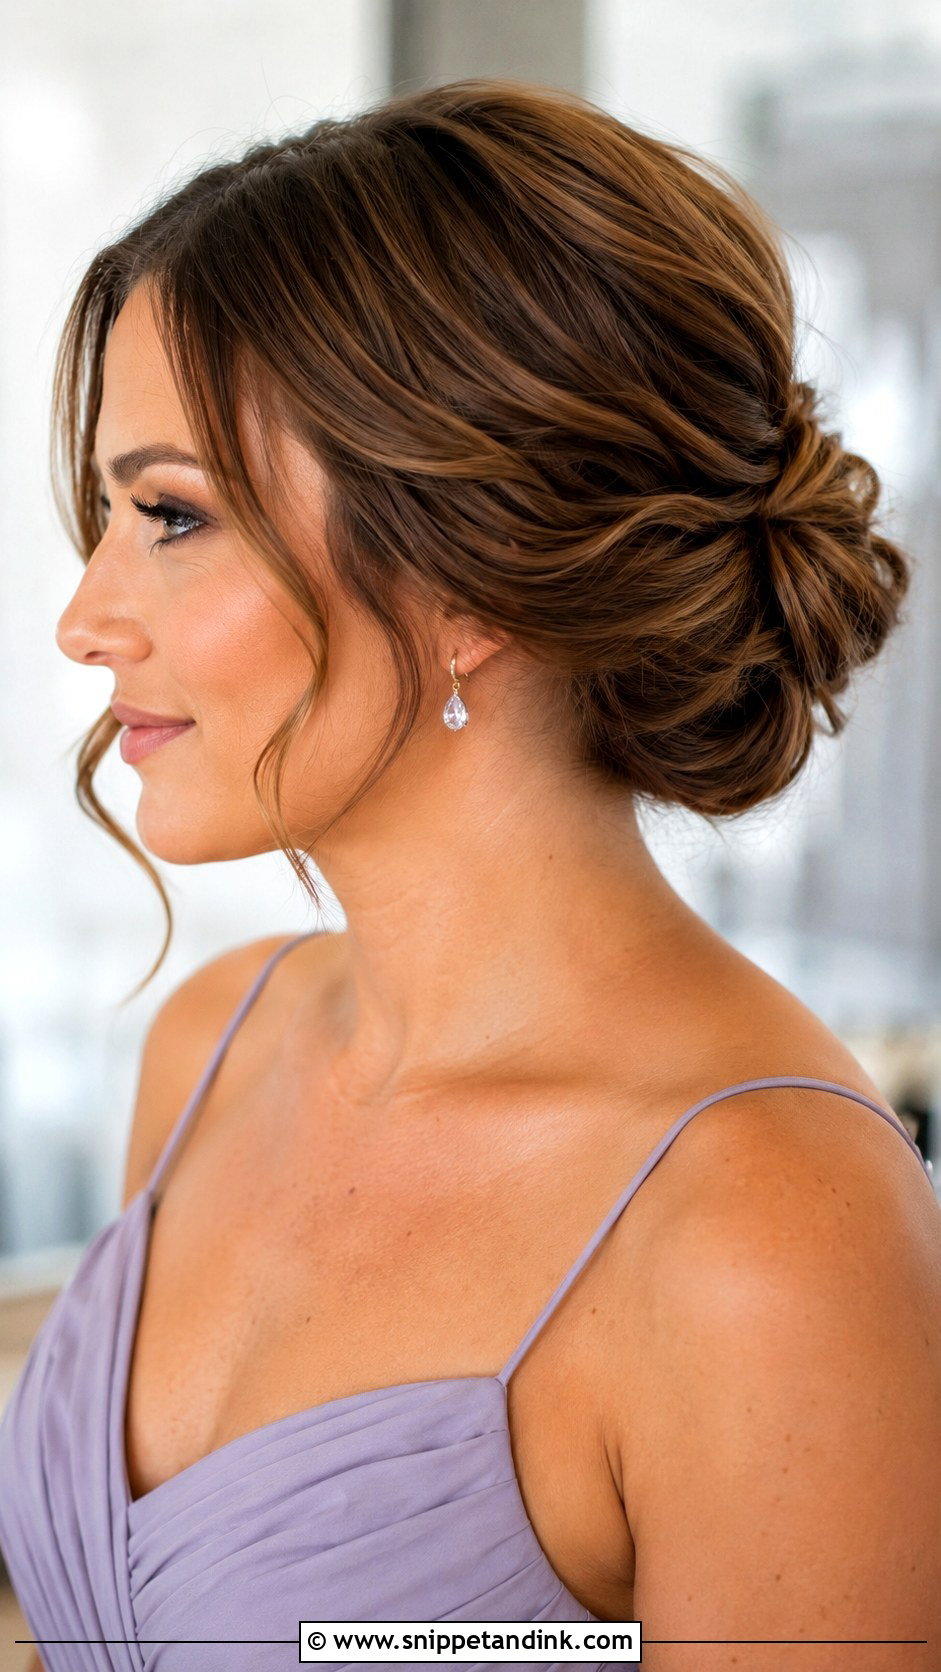
If the hair reaches the nape when gathered, I can usually make a low bun work. Shoulder-length cuts and long bobs suit this. I curl it first for grip, then twist and tuck small sections with hidden pins so the short ends don’t escape. Very fine short hair may need a small pad or a couple of clip-in wefts to give the bun shape. Keep it low and compact; a short-hair bun pushed too large looks like a hairpiece.
16. Low Bun For Long Hair
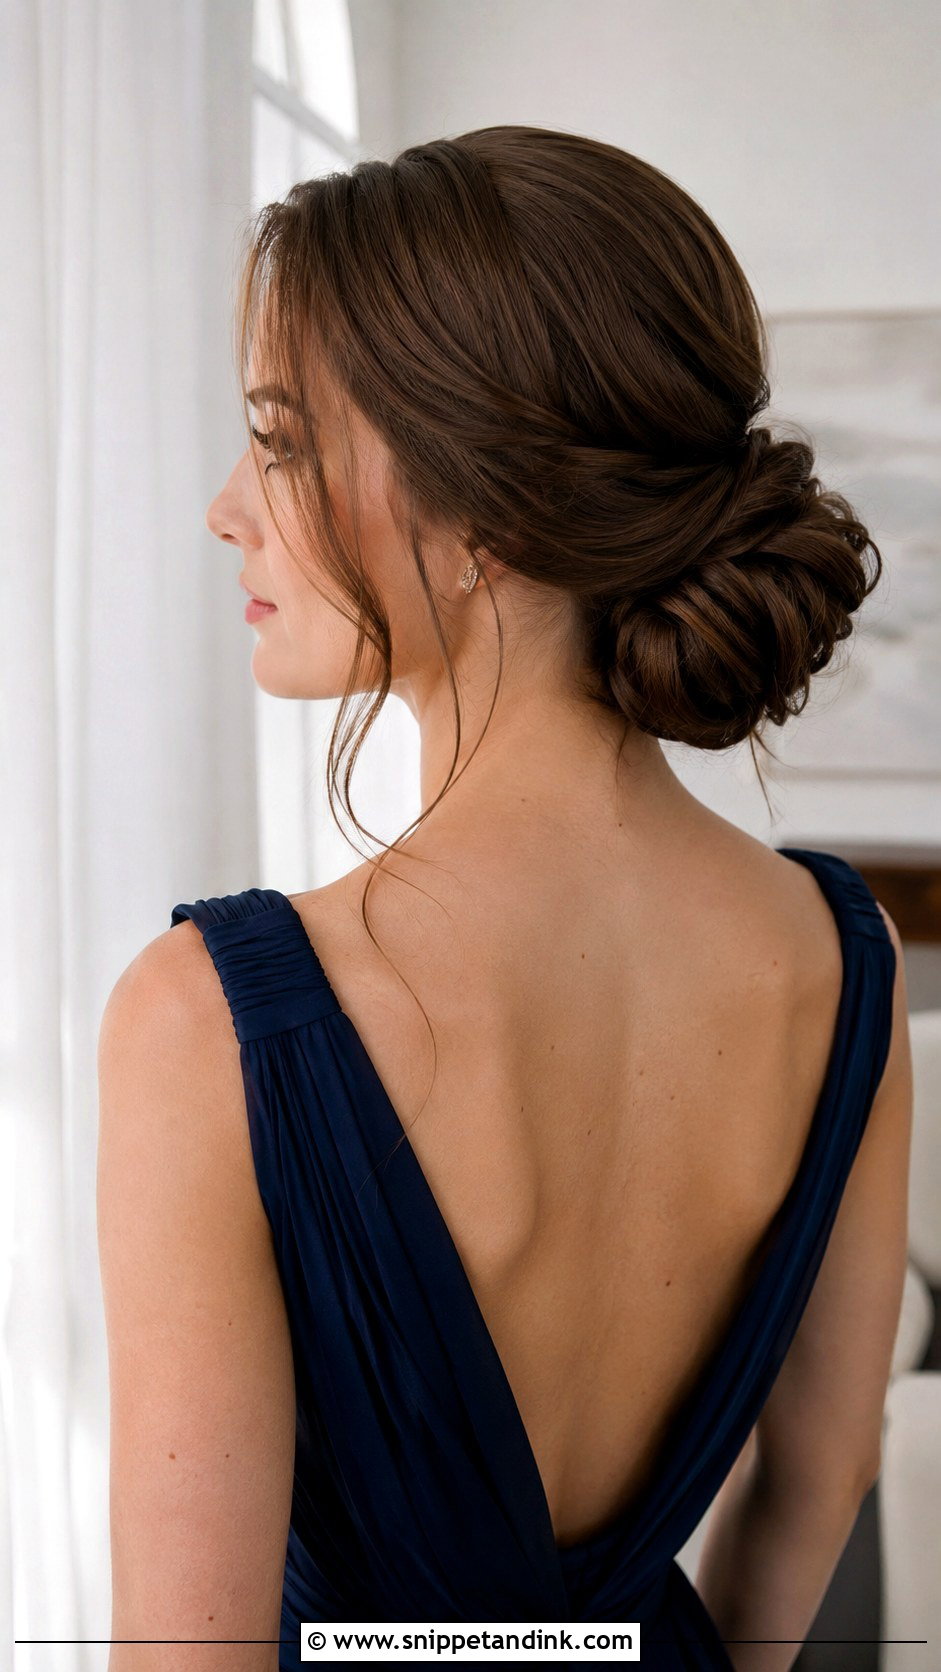
Long hair can do wrapped, knotted, braided or twisted buns with plenty of detail, but it can also make a bun the size of a grapefruit. I thin the bun out by braiding or twisting some of the length into a flatter shape. Sitting it low balances the weight. It’s lovely with open backs, halter necks and gowns with detailed straps, because the hair stays off the shoulders. A few soft front pieces stop it looking tight.
17. Low Bun With Curtain Bangs
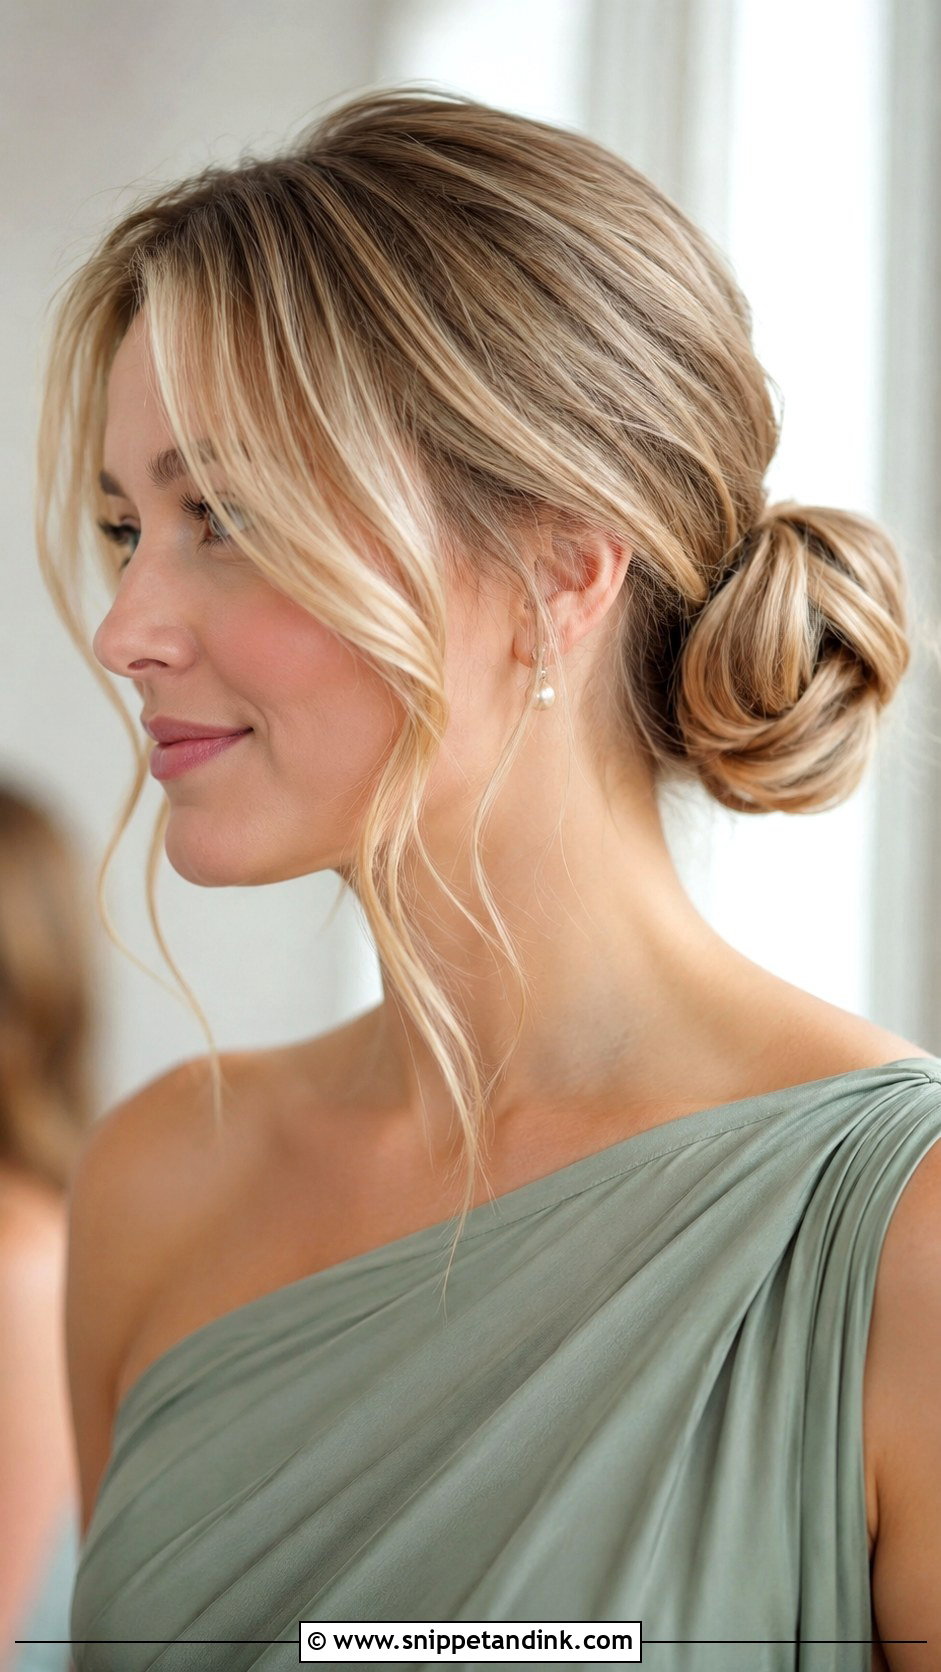
A low bun with curtain bangs is the version I’d suggest for bridesmaids who already wear the fringe day to day. I style the bangs with a small round brush so they lift off the forehead and curve outward toward the cheekbones, which blends them into the rest of the style. The bun can be sleek, textured or twisted. Use only a light spray on the bangs; stiff bangs separate into strands that look greasy by evening.
18. Low Bun With Side Braid
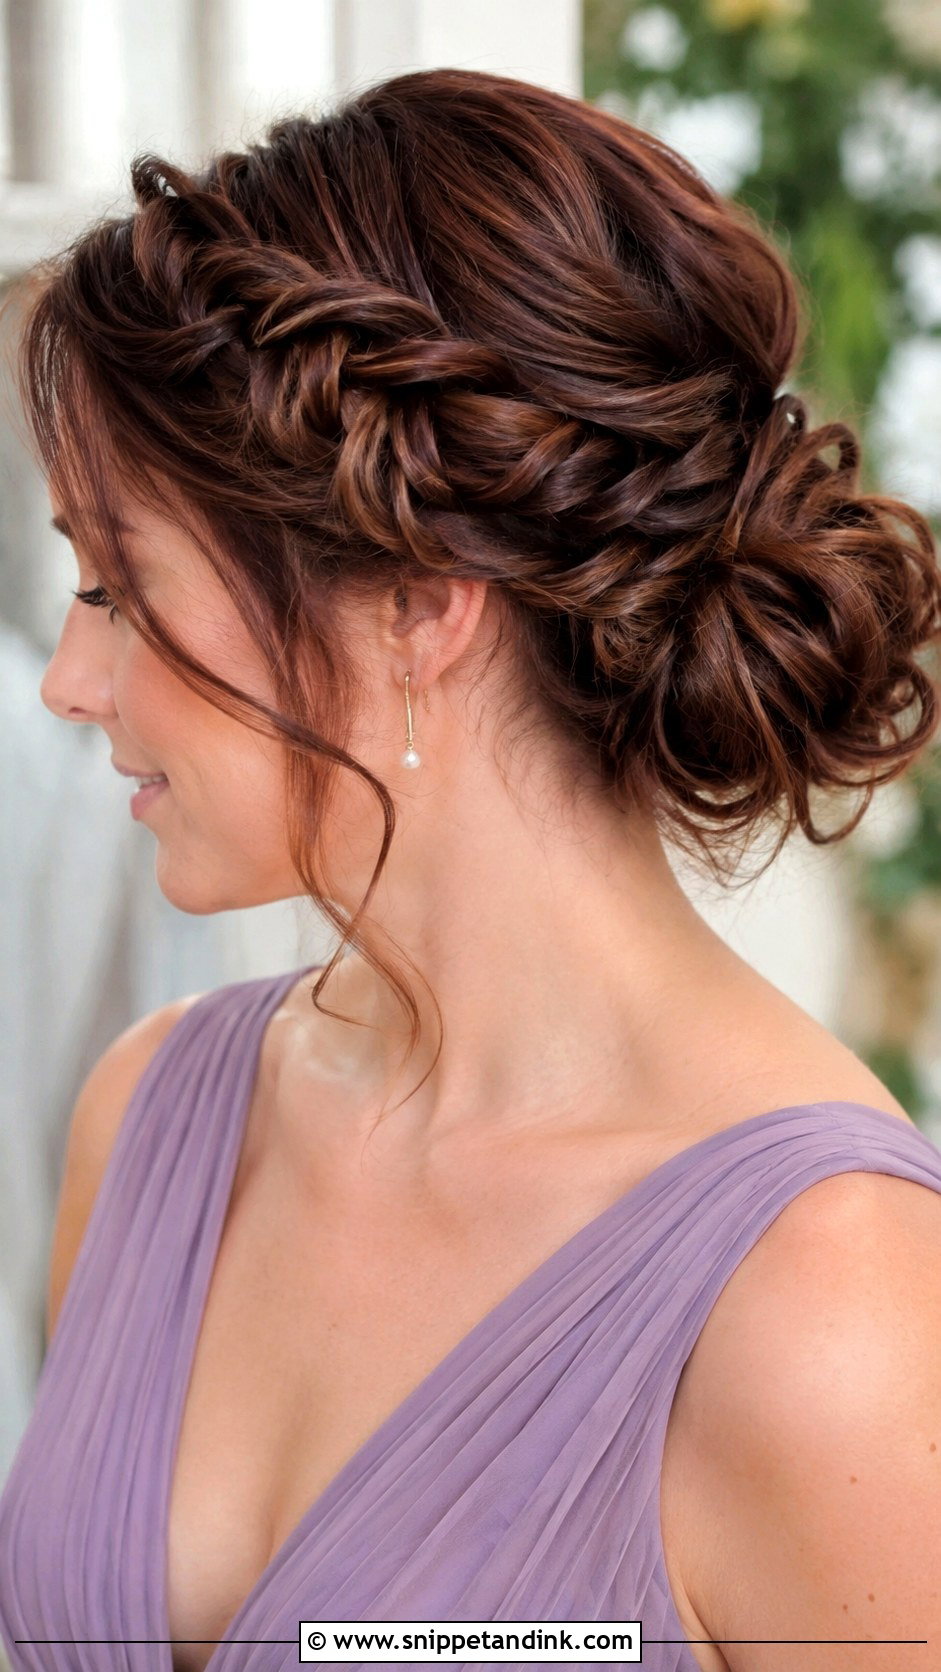
The braid starts near the part, travels along one side and connects into the bun at the nape. It’s my fix for grown-out bangs and layers that can’t decide where to sit, because the braid pins them down. Braid it tight and polished for formal weddings, or pull it apart for softness. If the dress already has heavy lace or beading at the neckline, skip extra accessories and let the braid be the detail.
19. Low Bun With Loose Waves
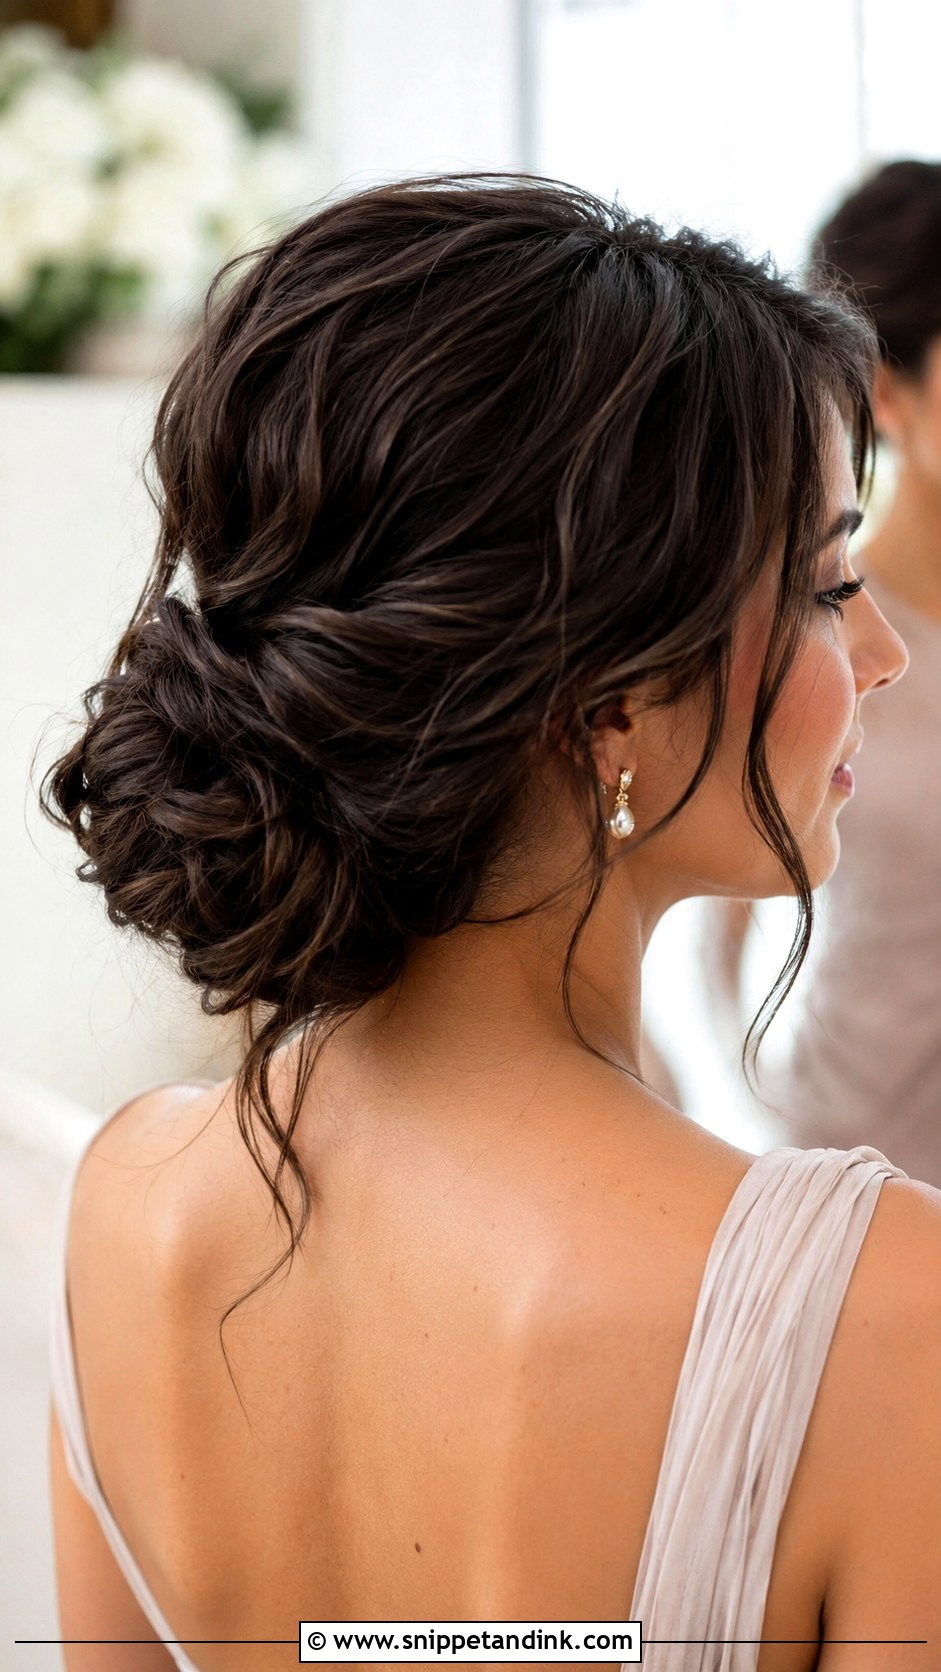
I wave the hair first and gather it low while keeping some of the pattern visible through the crown, sides and bun. That texture helps in two directions: fine hair looks fuller and thick hair becomes easier to shape. It pairs with soft makeup and flowing dresses at outdoor weddings. Leave a few face-framing sections out for movement. It holds the photographs well and still feels relaxed.
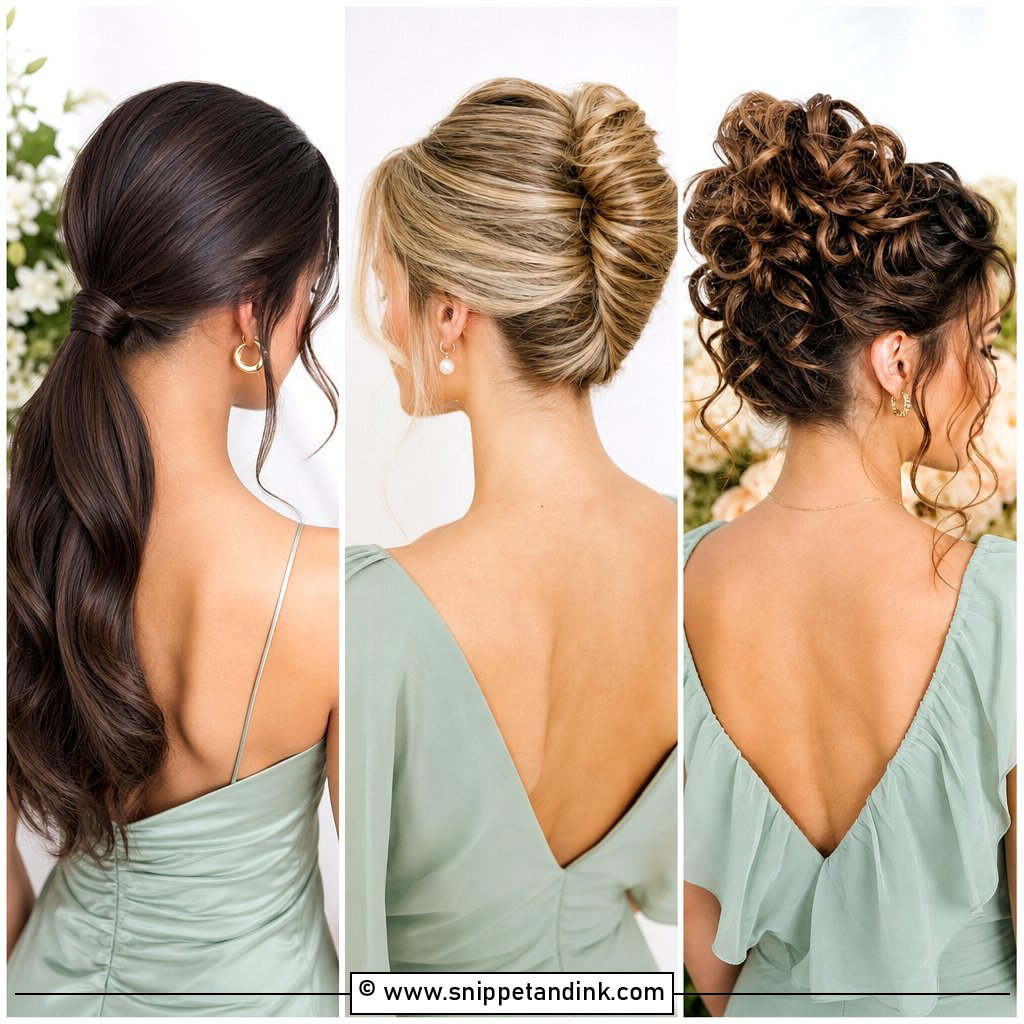
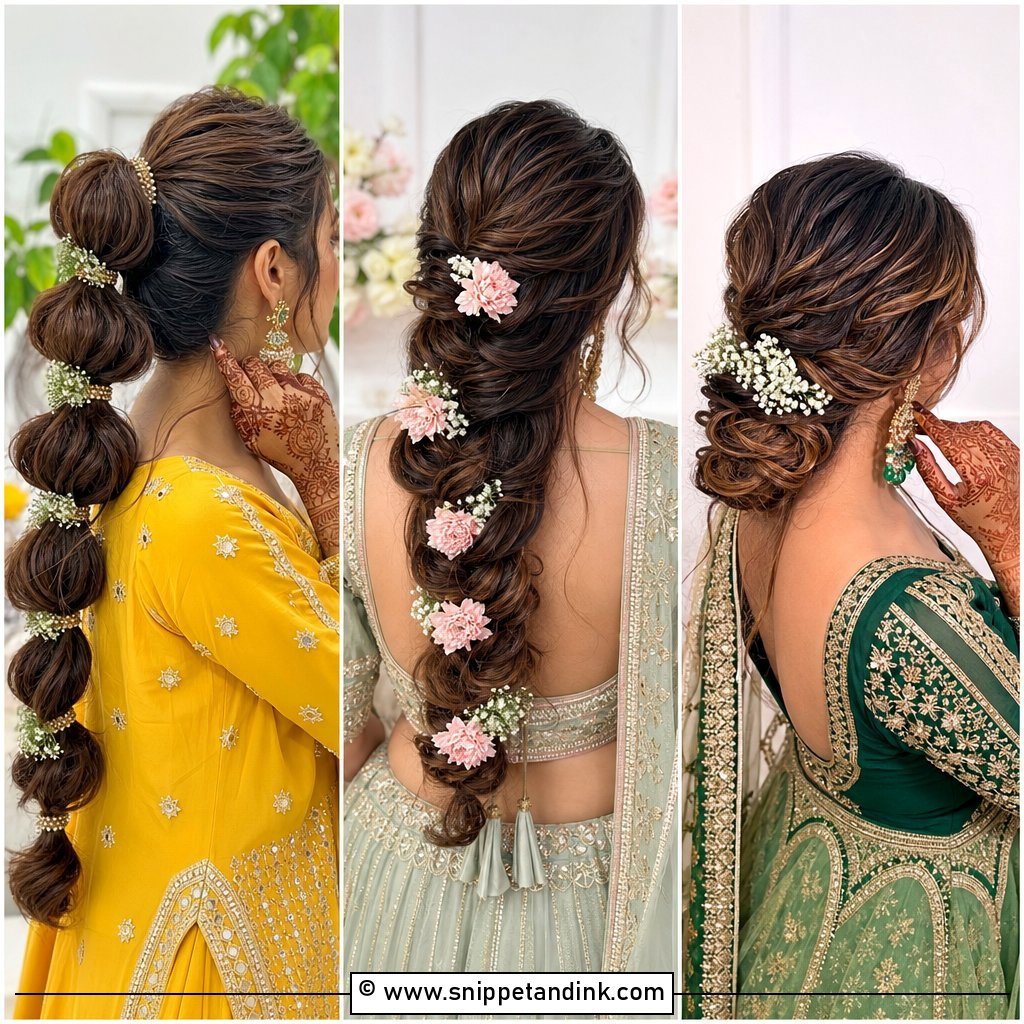
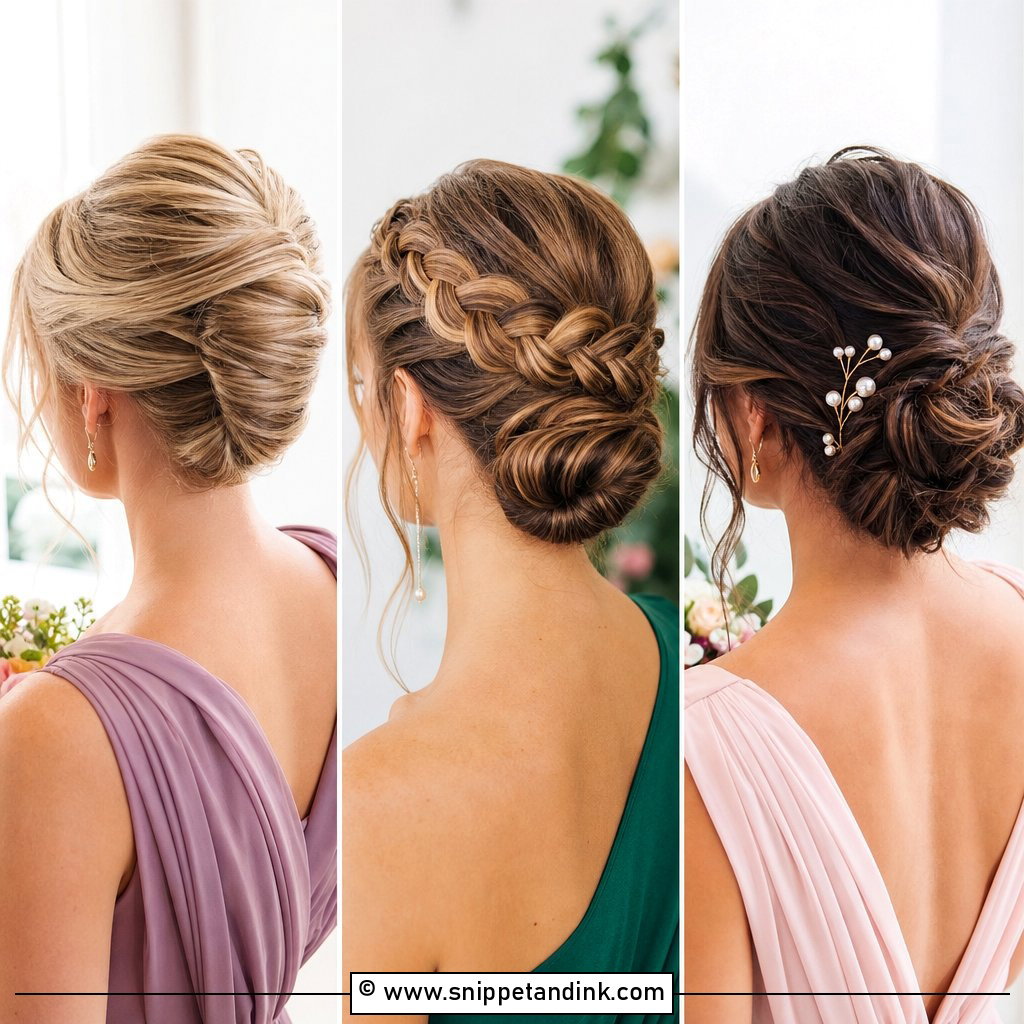
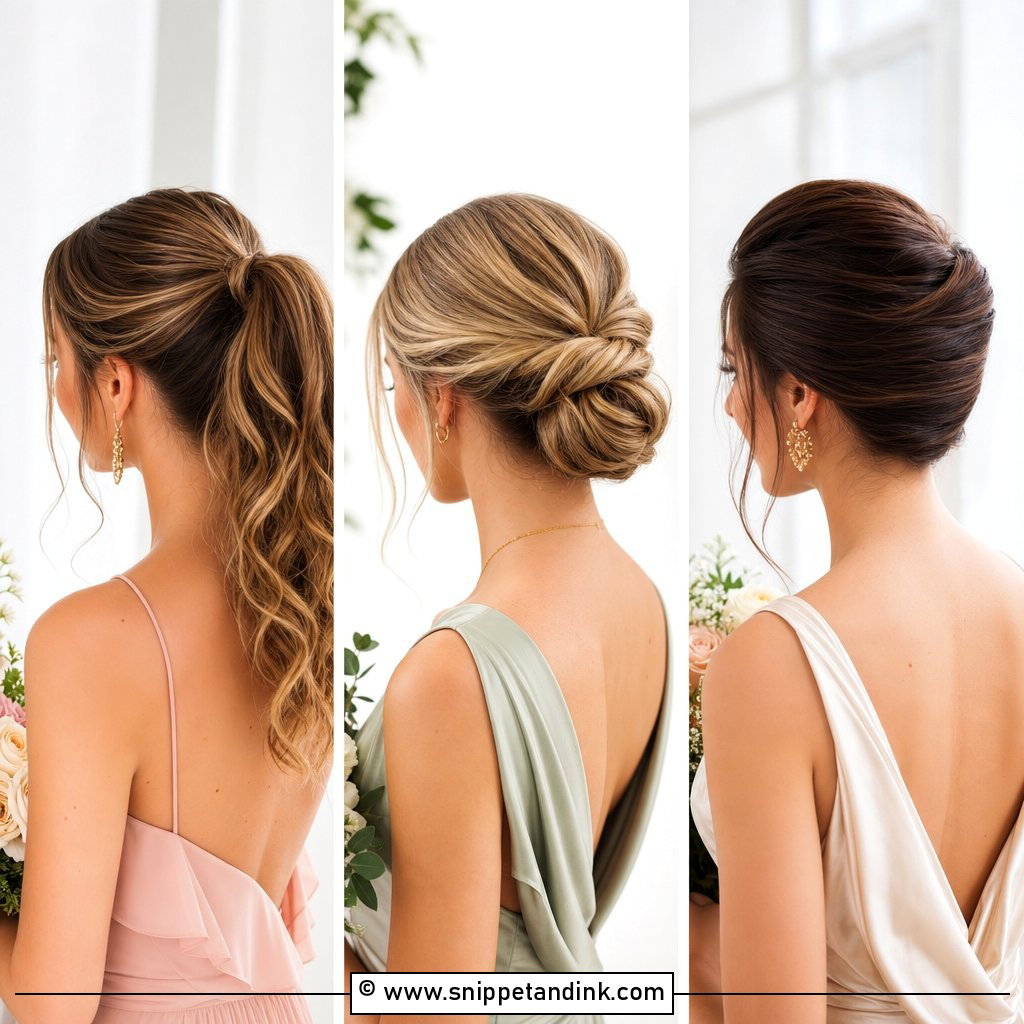
20. Elegant Low Bun With Hair Comb
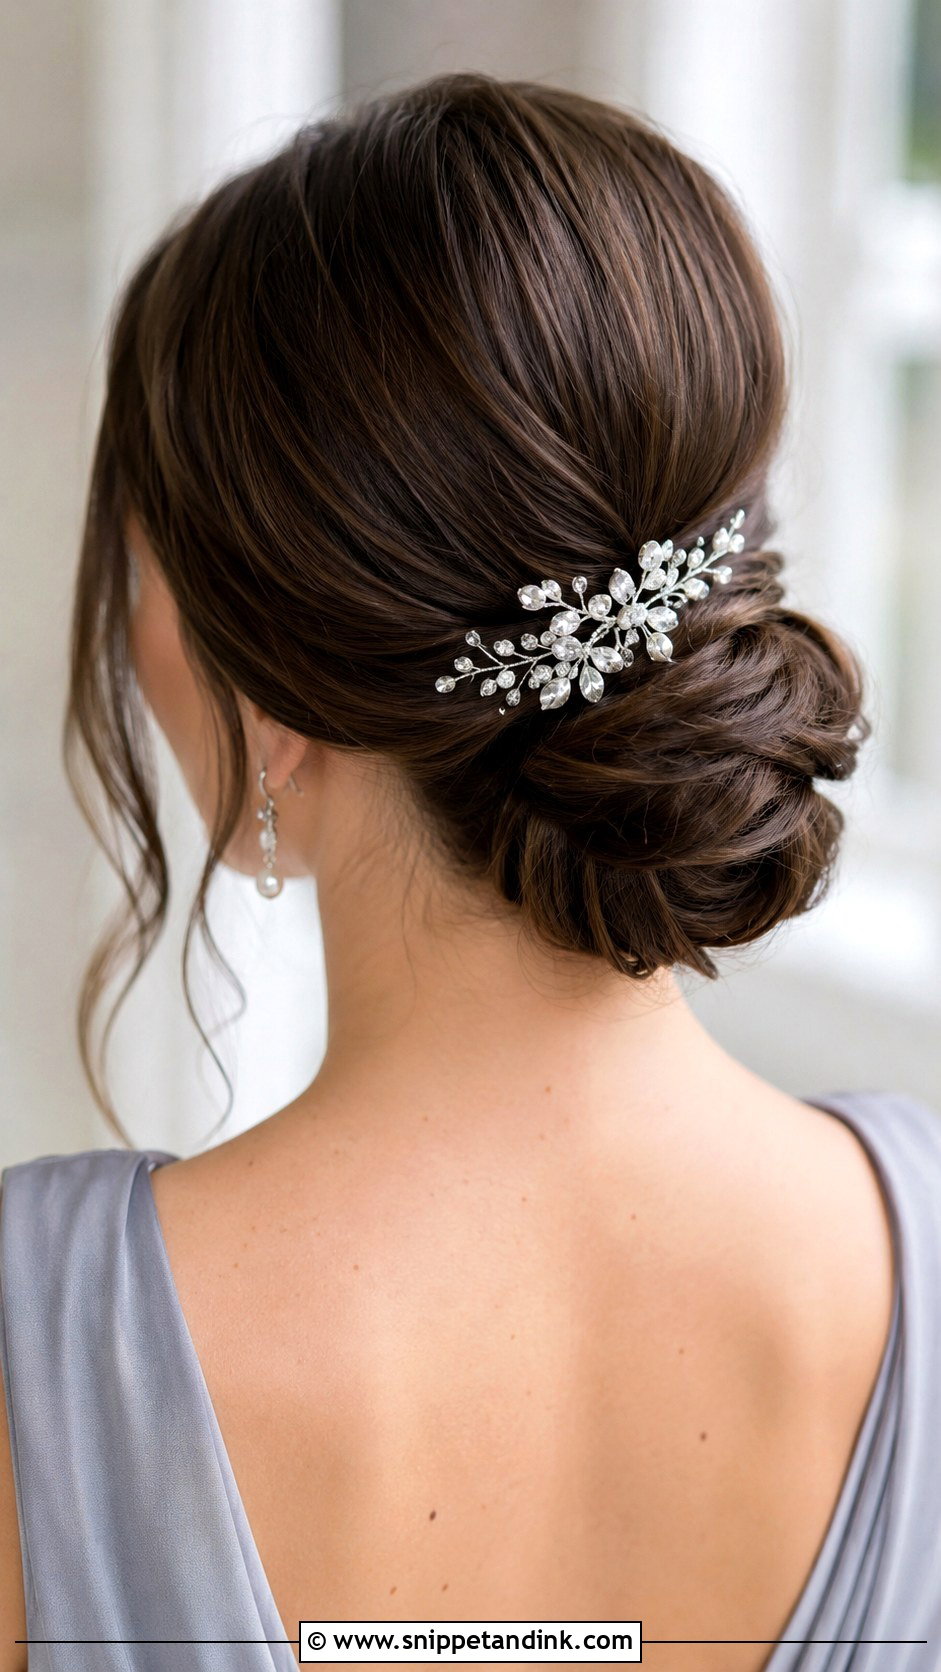
One good comb can carry the whole look. It can sit above the bun, to one side or tucked into the curve of the knot, and it works on sleek chignons, twisted buns and textured updos. Pearls lean classic; crystals lean formal. The rule I stick to: the bun is fully secure before the comb goes in. A comb should decorate a style, not hold it together, because combs are heavy and will slide out of hair that depends on them.
A Bun Slipping by the Speeches Is Fixable in Two Minutes
Most bun problems on the day come from one of two things: a ponytail base that loosened, or pins that were sitting in loose hair instead of anchoring into the base. Both can be fixed in a restroom with a mirror.
If the bun drops or wobbles
Push two bobby pins in from opposite sides, each one catching a little of the bun and a little of the hair underneath it, and cross them. That X-shape holds far better than a single pin pushed straight in.
If the face-framing pieces go flat
Twist each piece loosely around a finger, hold for a few seconds and release. It won’t bring back a full curl, but it restores enough movement for evening photos.
What goes in the clutch
Six or eight bobby pins in the right color, two U-shaped pins for the bun, and a travel-size spray. That covers nearly every repair a low bun will need.
Pins, Prep and a Bun That Lasts Until the Last Song
A low bun suits almost every wedding theme and dress. Sleek reads modern, textured reads romantic, and braids, twists, pearls, flowers, vines and combs make the same basic shape look completely different. The step that matters most is matching the bun to each bridesmaid’s hair length, texture and comfort. A practice run helps avoid last-minute stress. With good prep, firm pins and a flexible spray, a low bun will look as good in the getting-ready photos as it does on the dance floor.
You'll Like These Ideas:


Leave a Reply