
If I could only do one style for every bridesmaid on a wedding morning, it would be a bun. Bridesmaid bun hairstyles survive heat, hugging and ten hours of wear better than anything left down, and the same basic shape can go sleek, loose, braided or curly. What changes the look is where the bun sits, how the front is handled and what’s pinned into it. I’ve grouped notes on each style below: how I build it, which hair it suits and what usually goes wrong, so you can pick the version that fits each person in the party.
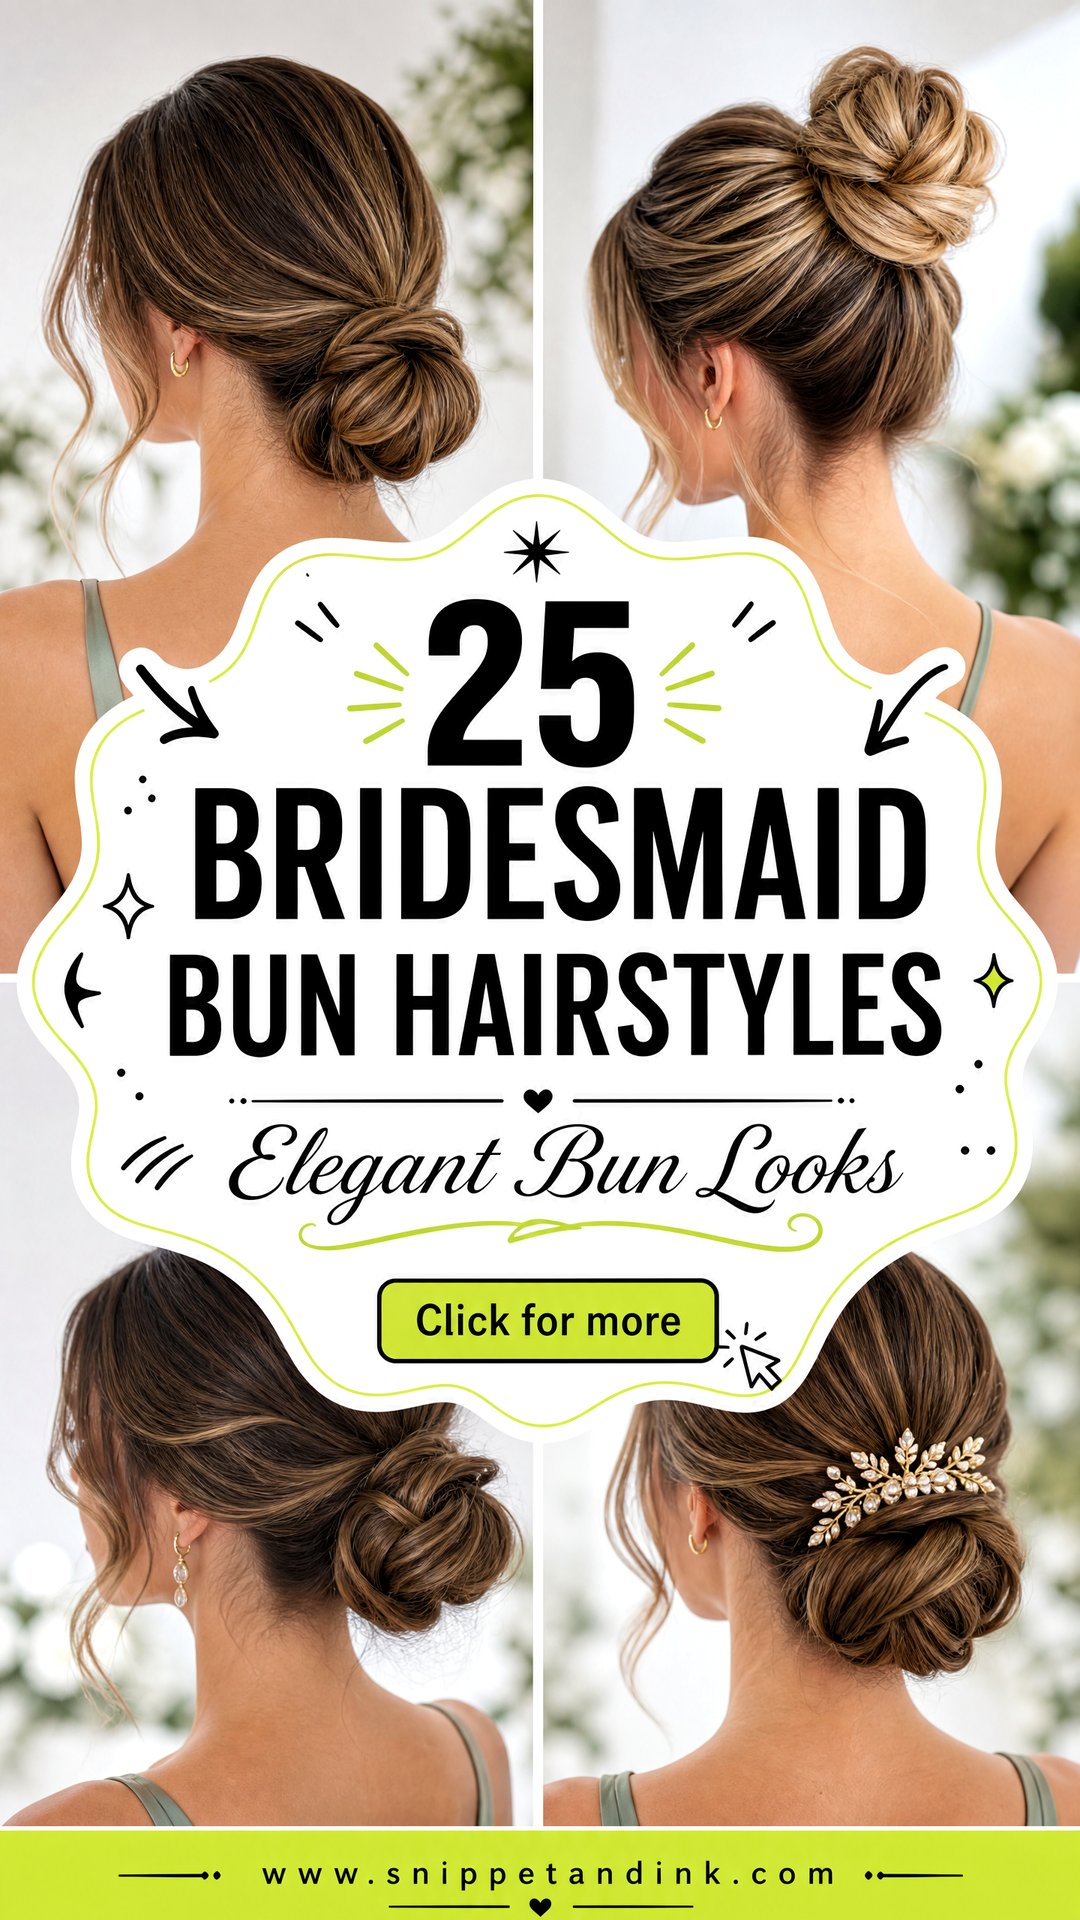
Setting Bun Height by Neckline, Earrings and Height
Before I pick a bun style, I look at the dress and the person wearing it. Height on the head changes how the neckline and the face read far more than the finish does.
Low at the nape
Best for off-the-shoulder, halter and high necklines, and for drop earrings, which a low bun leaves room for. It’s also the most comfortable for long wear.
Mid-height
A good middle ground for V-necks and sweetheart dresses. It shows the back of the dress without the drama of a high bun.
High on the crown
Lengthens the neck and suits strapless and backless dresses, but adds height. I check the line-up before committing, because a high bun on the tallest bridesmaid makes her tower over the group in photos.
Most bridal parties look best with buns at roughly the same height, even if the finishes differ. It keeps the back of the line neat during the ceremony.
1. Low Bridesmaid Bun
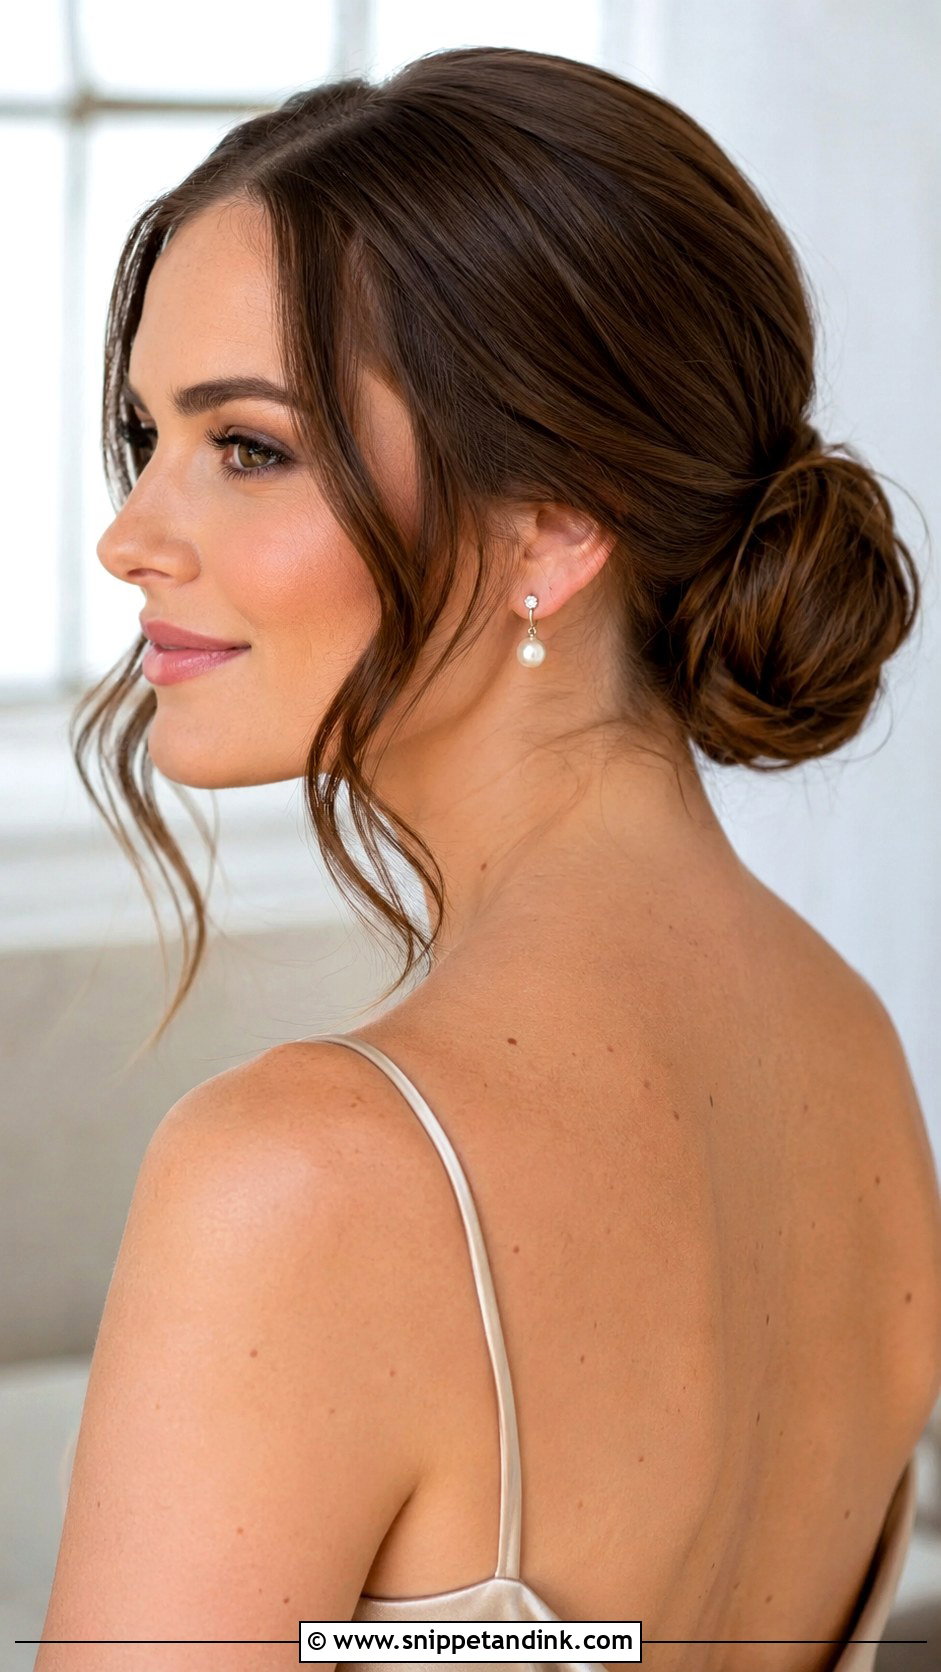
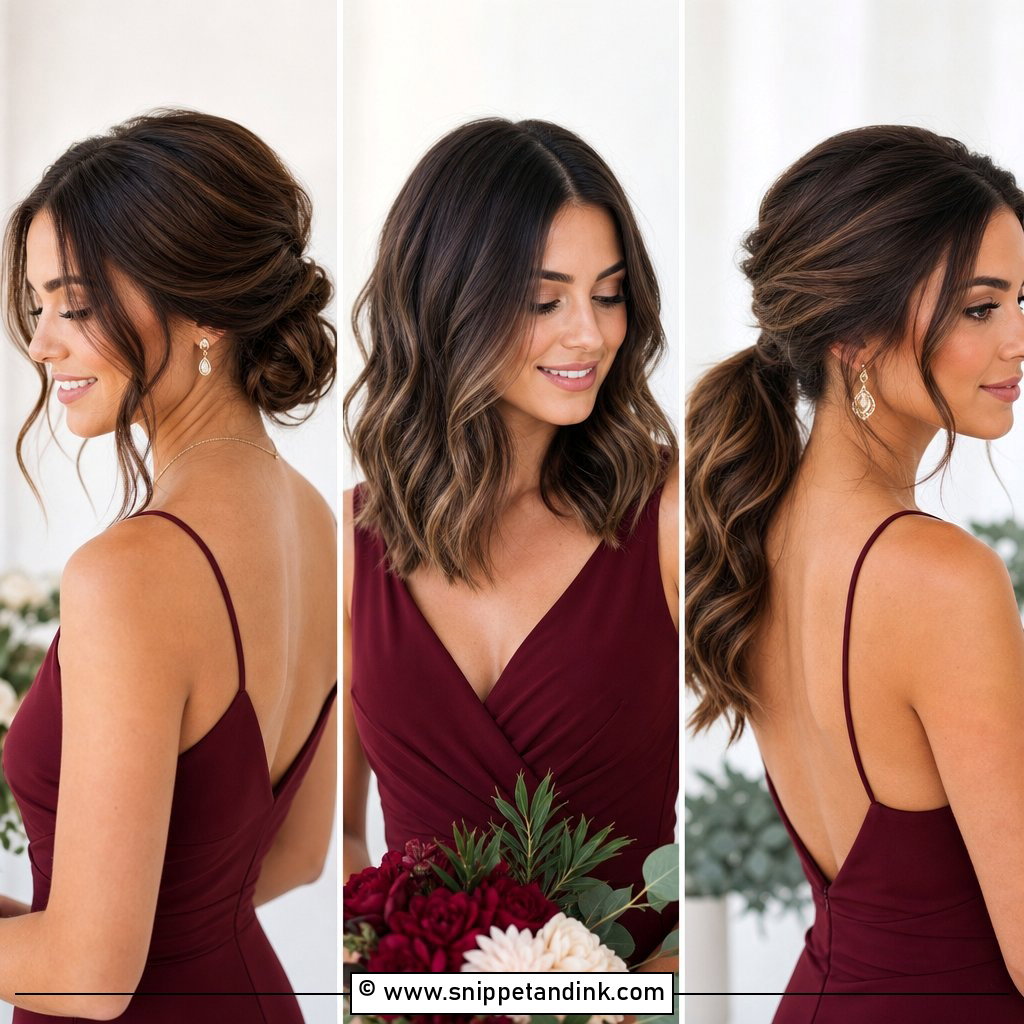
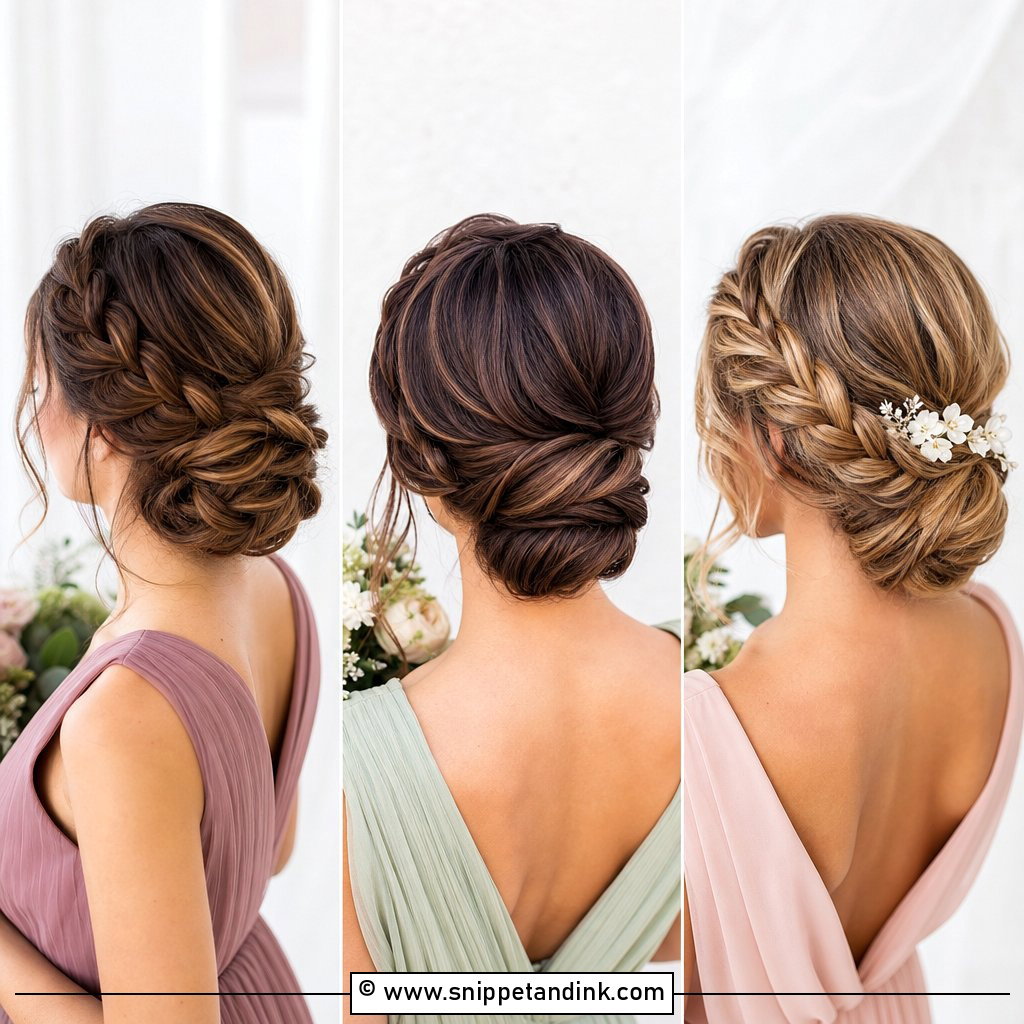
The low bridesmaid bun is the one I trust most. Sitting at the nape, it stays clear of off-the-shoulder and halter necklines and leaves room for earrings. I anchor it on a small ponytail first, then wrap and pin around that base, because a bun pinned straight to loose hair slides down within hours. Smooth it with shine spray for a cleaner version, or leave the front lightly waved with a couple of loose pieces. Outdoors in wind, it’s the one I’d choose.
2. Messy Bridesmaid Bun
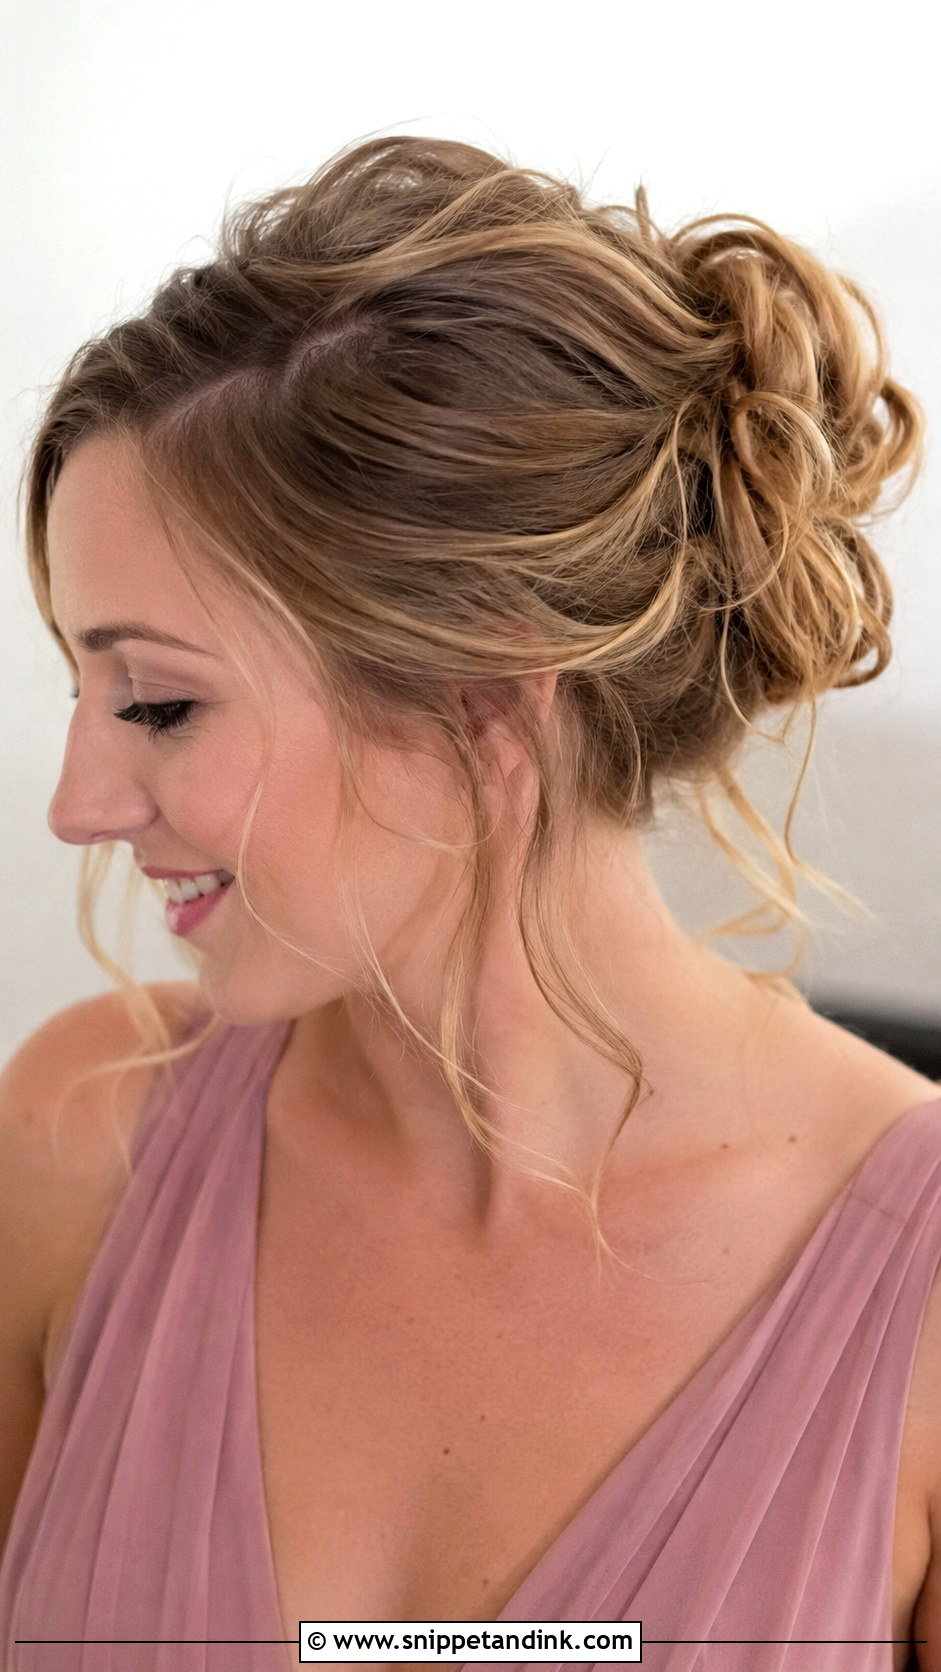
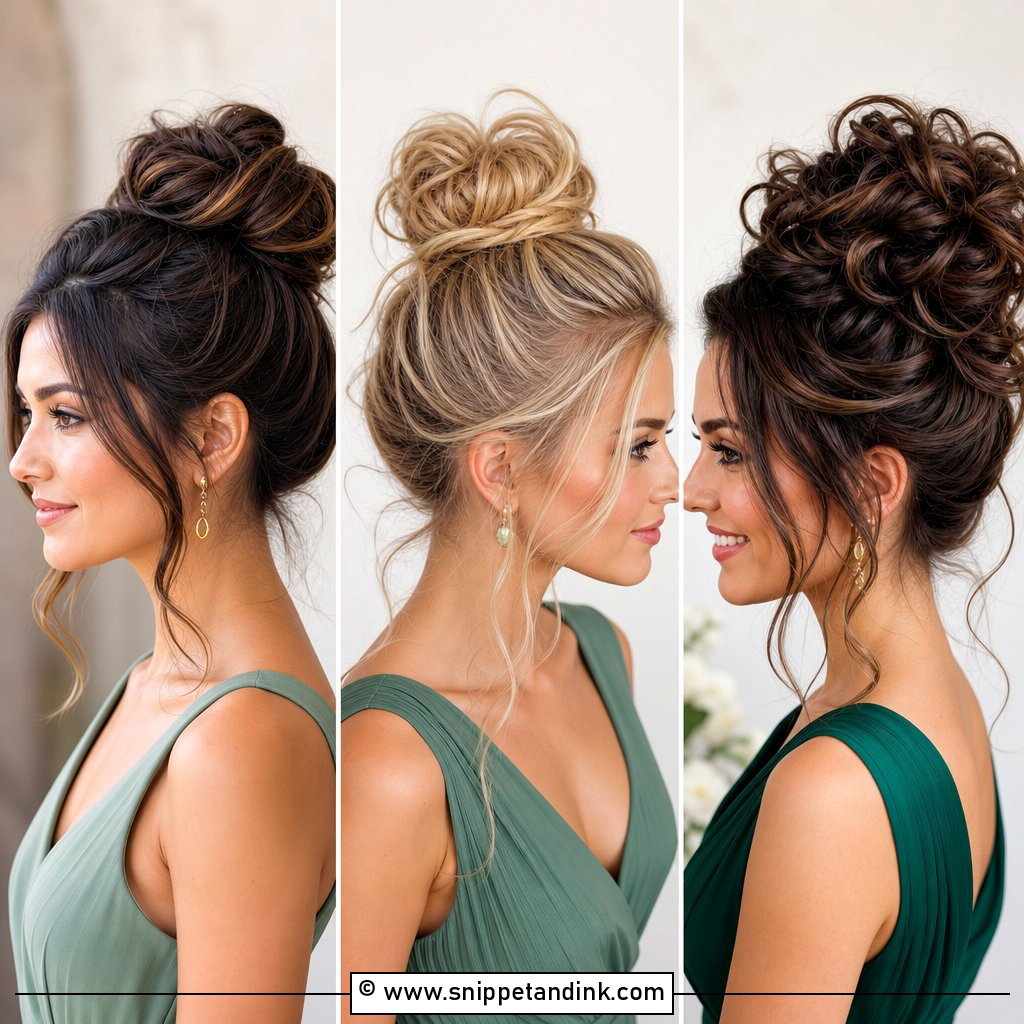
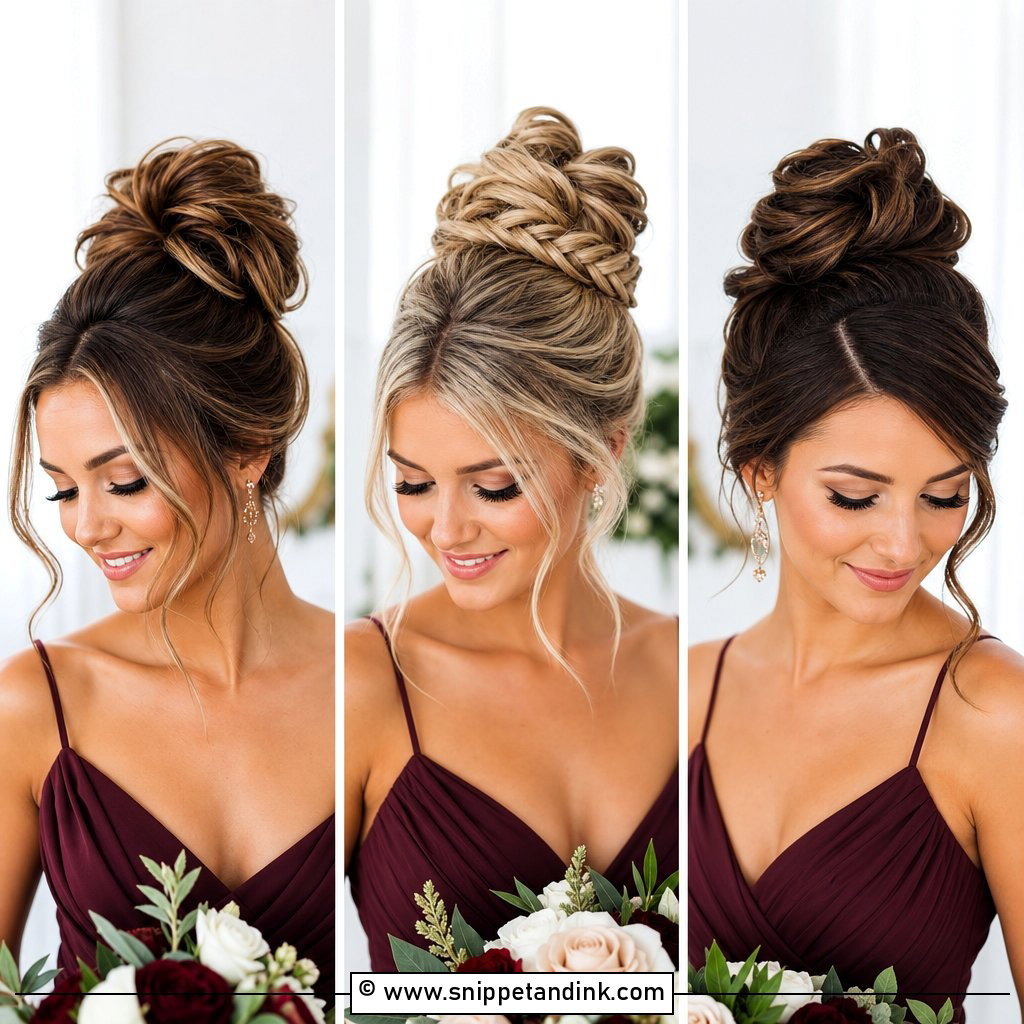
A messy bun is the style people underestimate. It looks thrown together, but each loop has to be curled, placed and pinned on purpose, or it just looks like bed hair. I curl everything first, build a little height at the crown, then pin sections loosely and pull a few out around the face. Garden, beach and rustic weddings suit it. Flexible spray is the right finish; firm spray makes the loose pieces go crispy.
3. Sleek Bridesmaid Bun
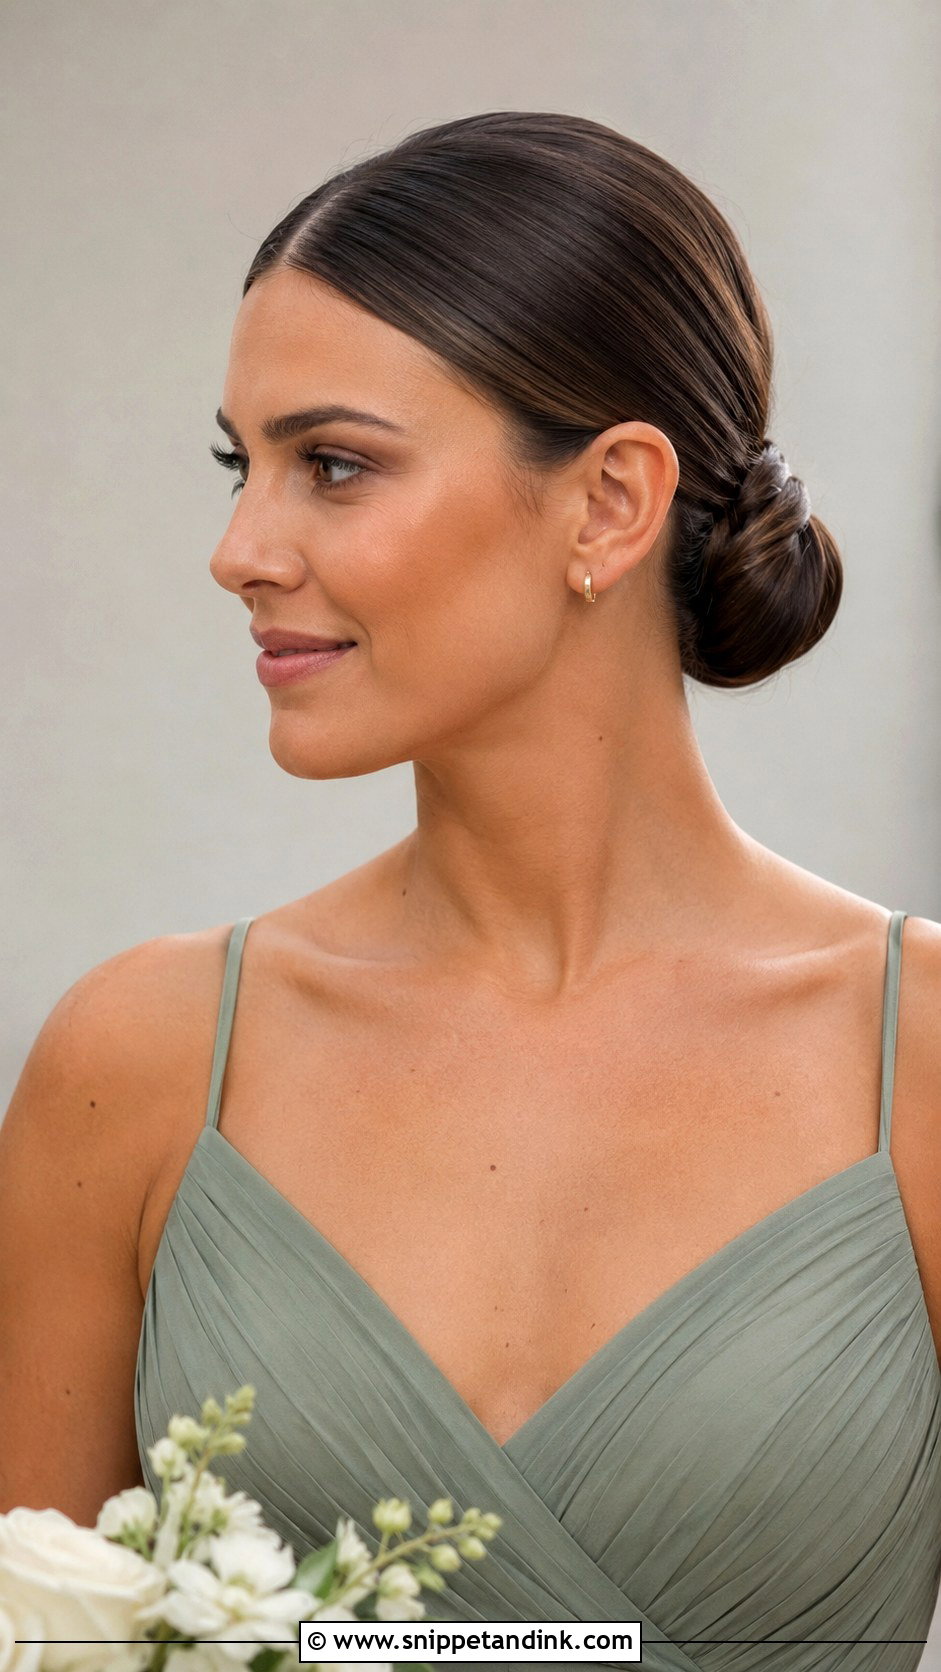
Sleek buns are unforgiving, and I tell bridesmaids that at the start. The hair is smoothed flat to the head with a centre or deep side part and wrapped into a tight bun at the nape or a little higher. Any bump or flyaway shows, so I work with a boar-bristle brush and a little gel or wax section by section. It’s the best bun for humidity, since the product locks the surface down. Satin and structured dresses suit it, and the bun should look even from both sides.
4. Braided Bridesmaid Bun
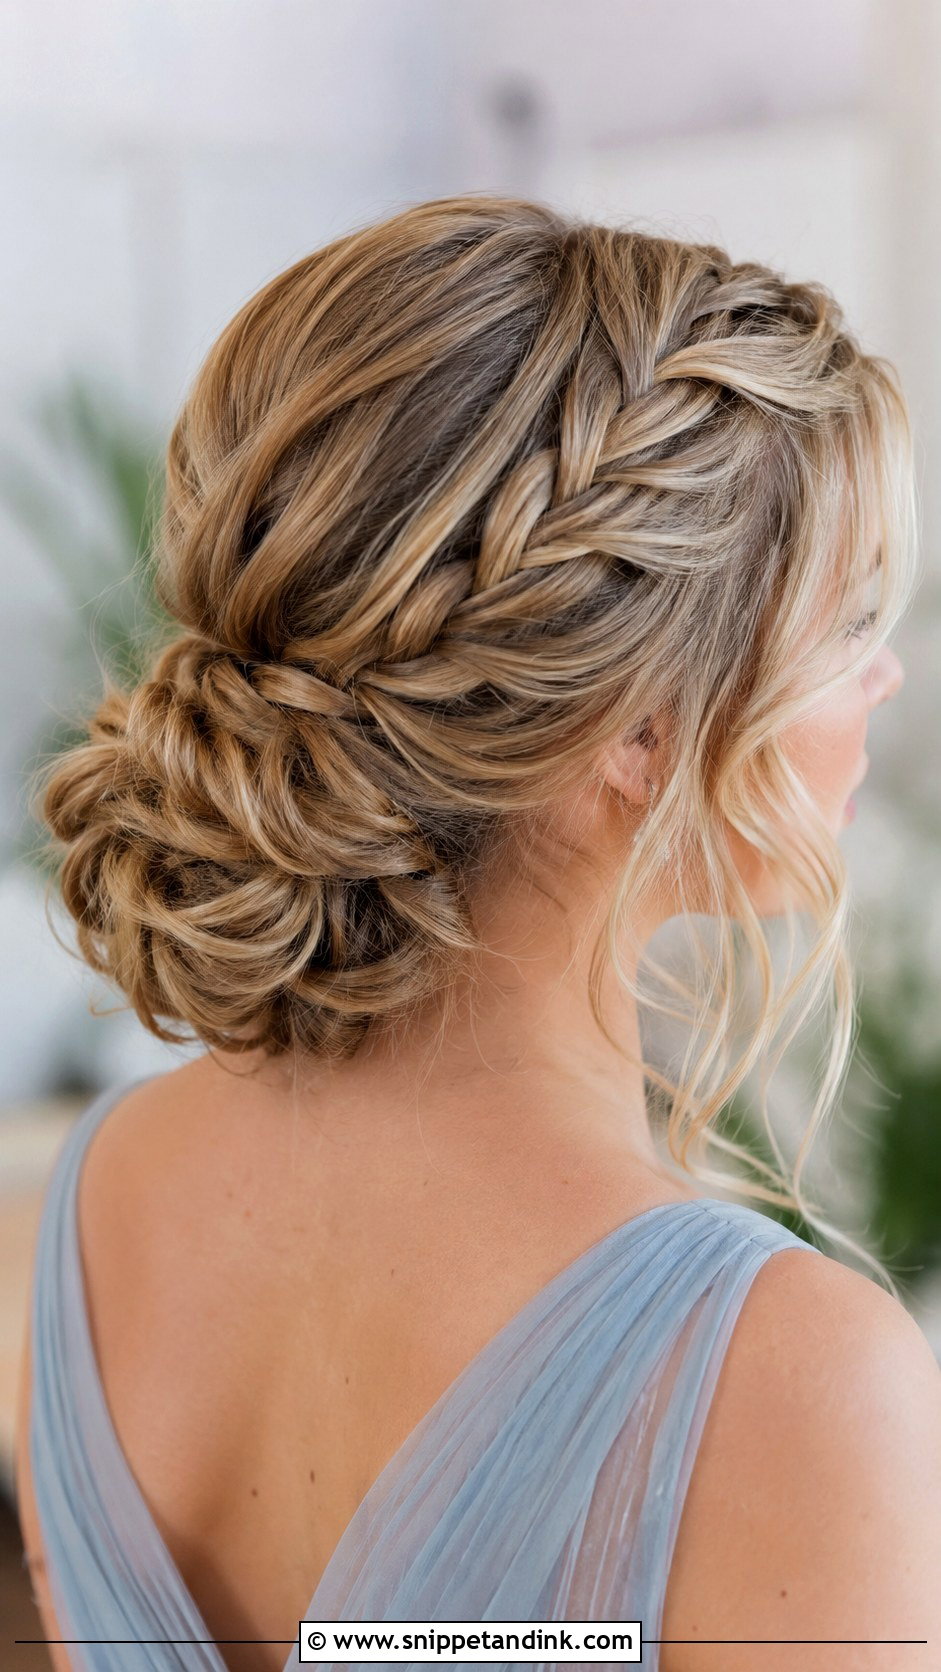
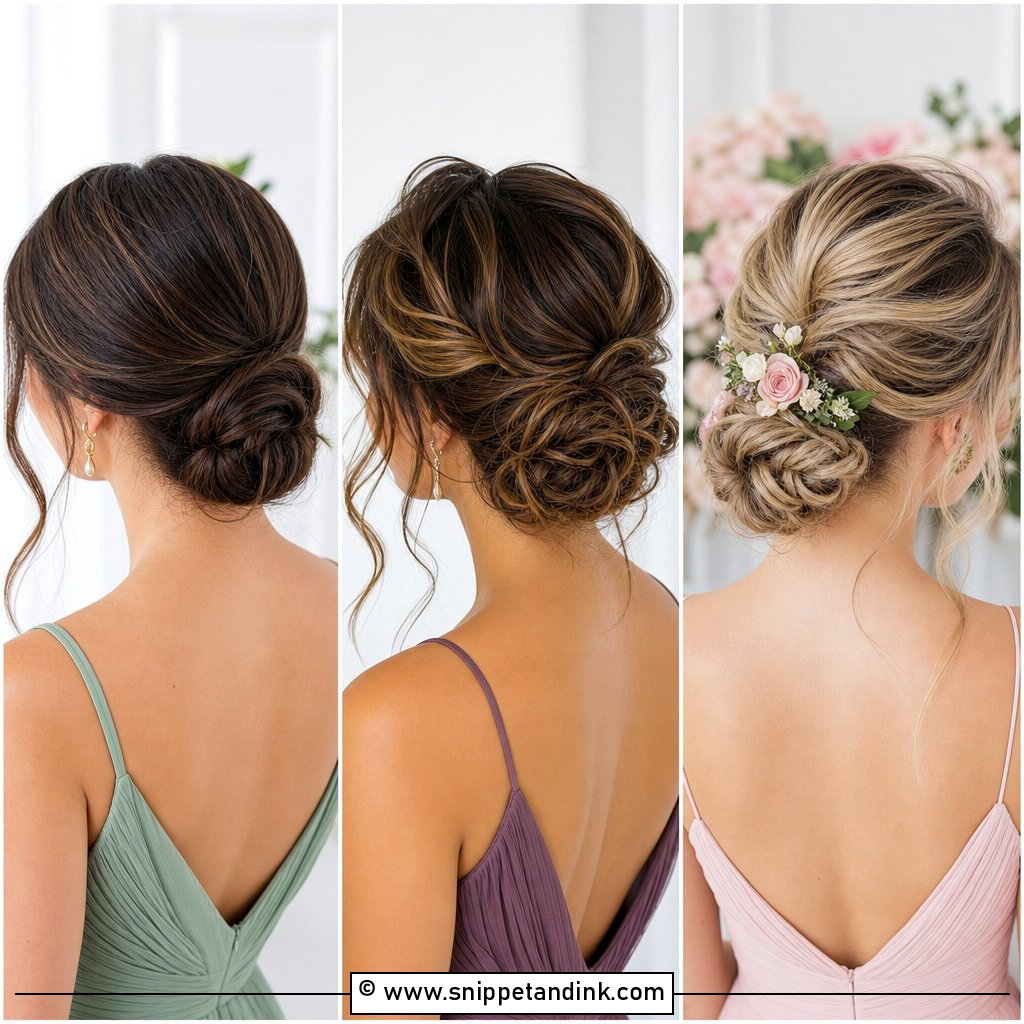
In a braided bun, the braid starts at the side, crown or hairline and feeds into a low bun. When dresses are plain, it gives the hair something to look at. On thick hair the braid takes up bulk that would otherwise make the bun oversized. Pearl, floral or small crystal pins can be tucked along the braid, but I keep them to the braid itself so the bun’s outline stays clean.
5. Twisted Bridesmaid Bun
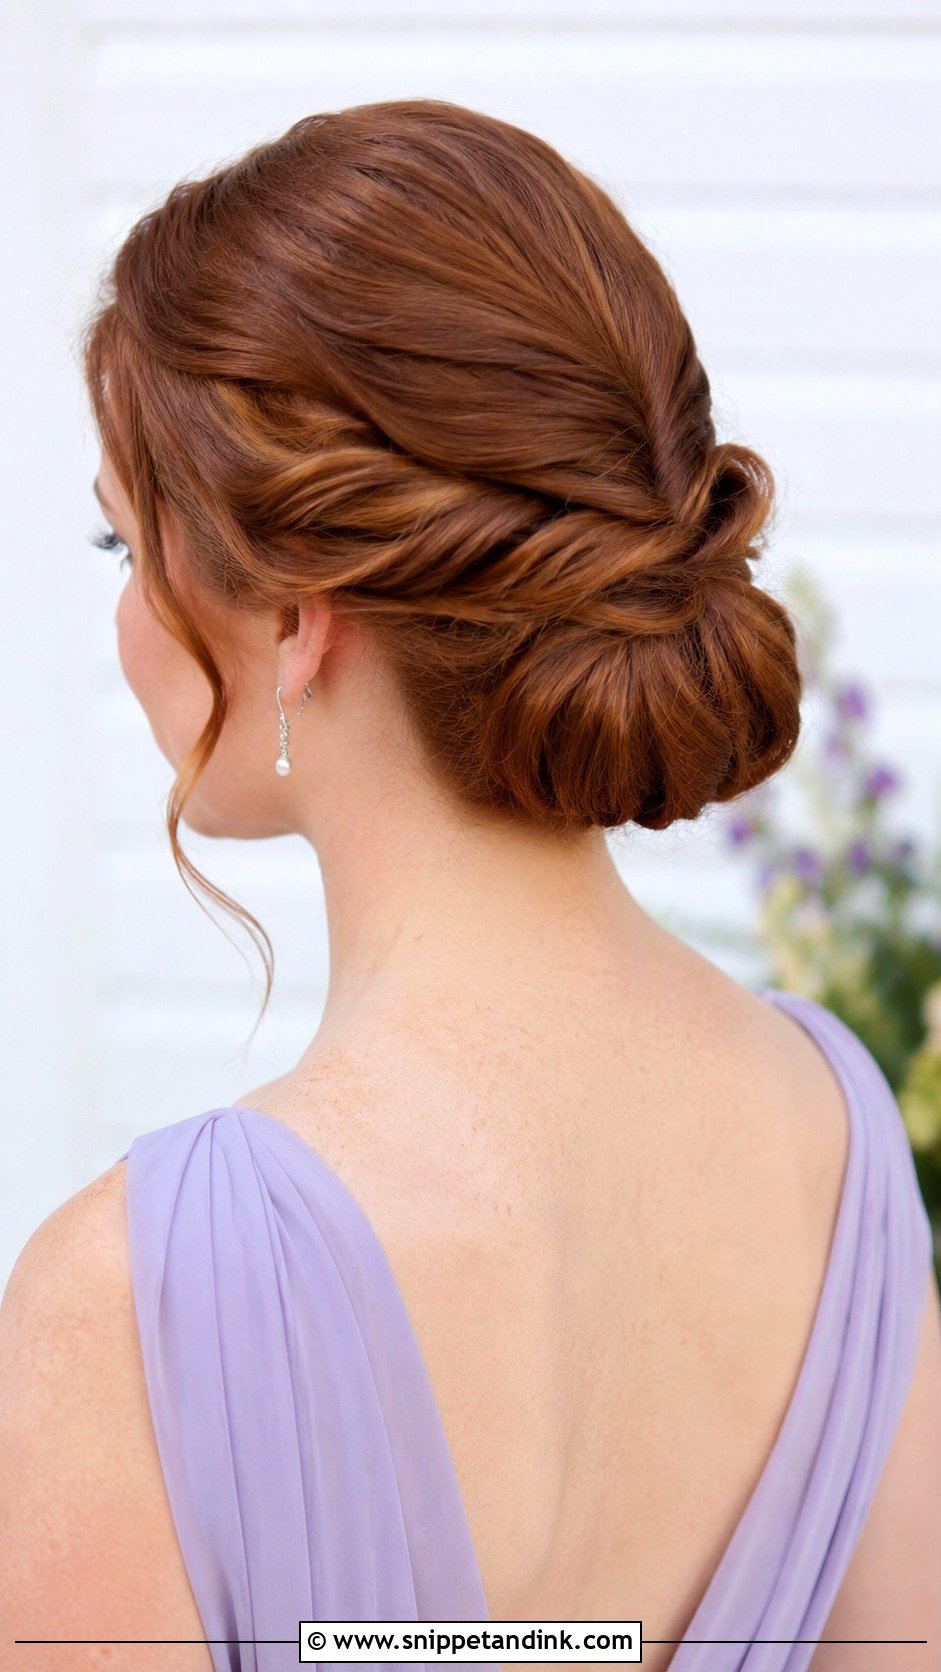
Twists do what a braid does with less bulk. I twist sections back from the face and sides and pin each one into the bun as I go, which adds movement through the sides without weight. Medium to long hair gets the most fullness from it. On fine hair, I mist with texture spray and lightly backcomb each section first or the twists look thin. It sits naturally with chiffon dresses and delicate pins.
6. Side Bridesmaid Bun
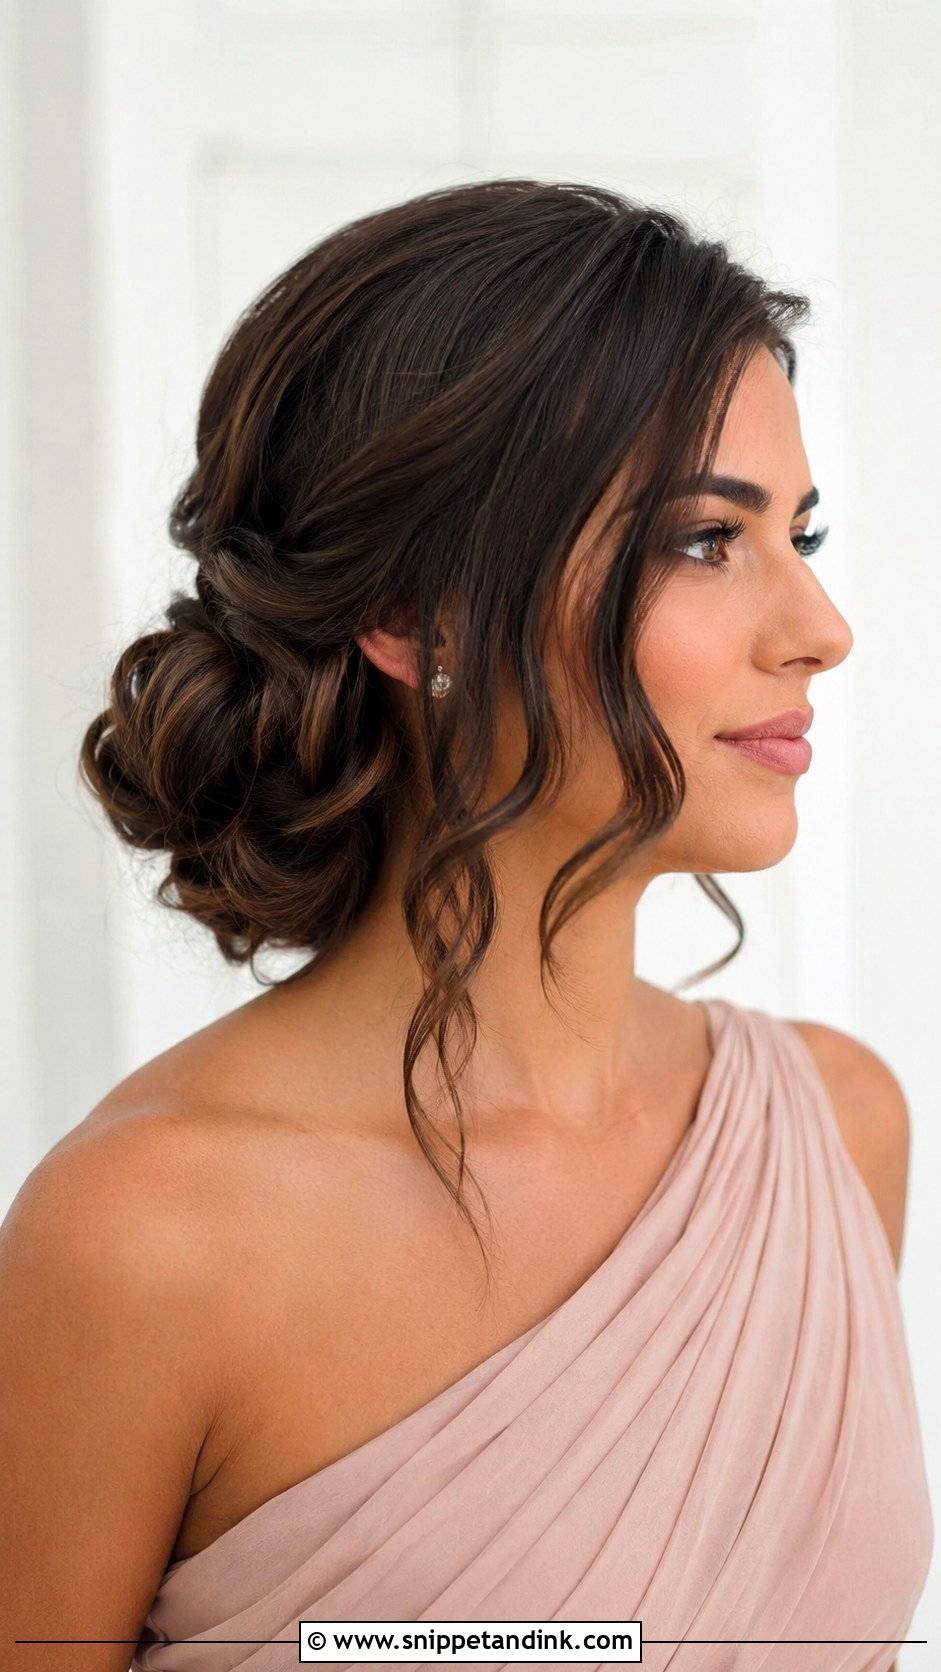
A side bun sits low beside one ear, usually with a soft side part. It balances a one-shoulder dress by putting the hair on the opposite side to the strap, so plan that before you start pinning. The open side shows off a statement earring. Side buns move more than centred ones because the weight isn’t balanced, so I secure them with U-pins driven back toward the centre of the head. Smooth for formal, textured for softer weddings.
7. High Bridesmaid Bun
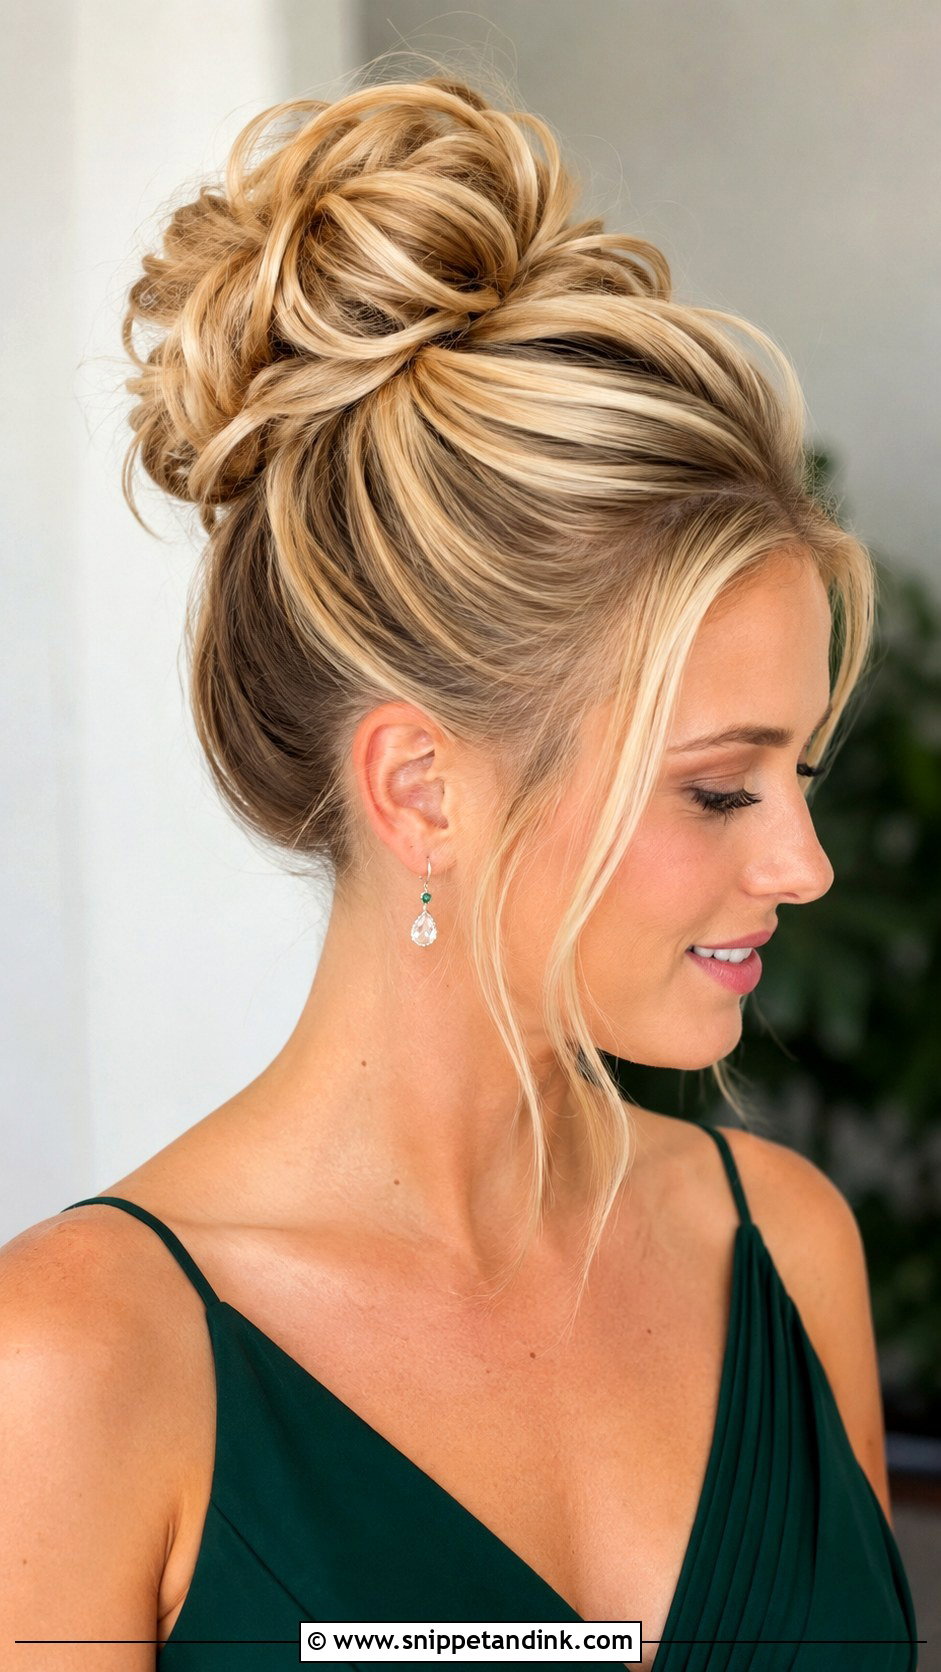
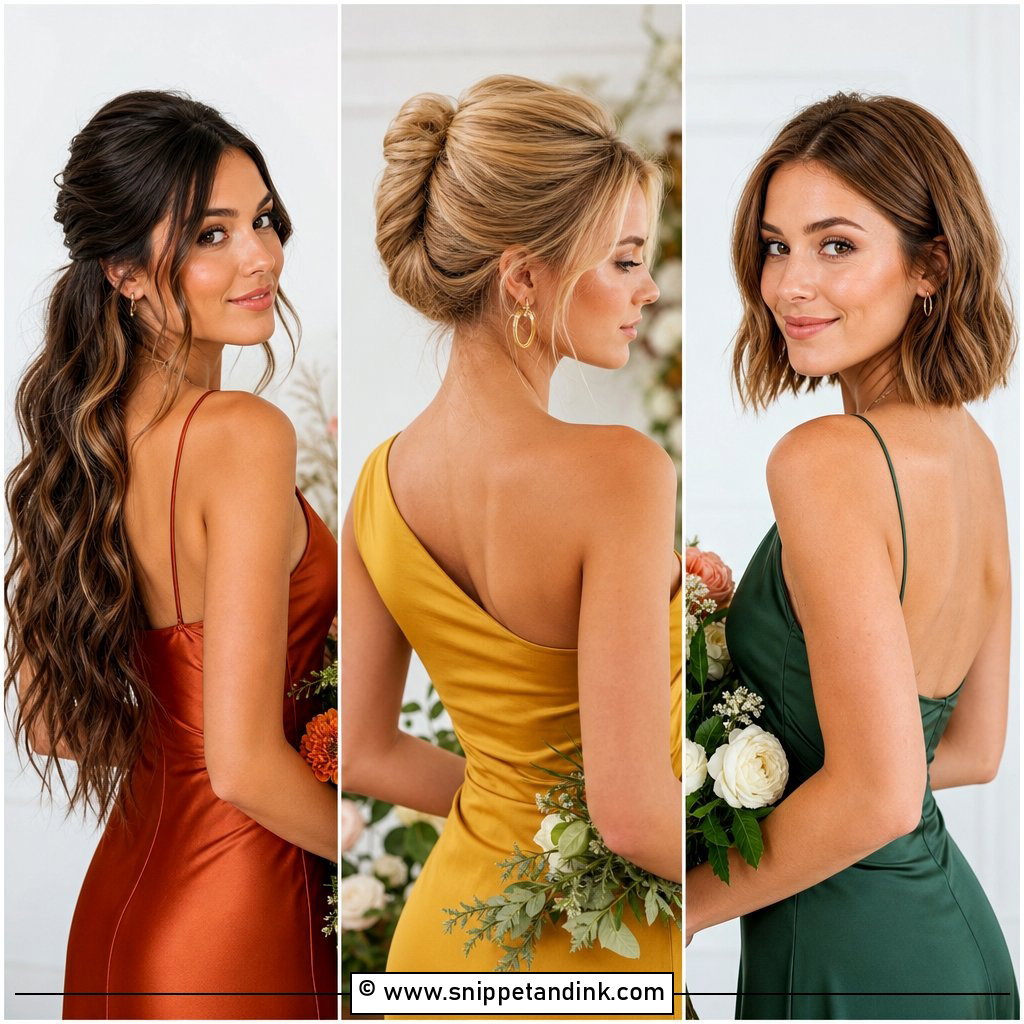
A high bun at or just below the crown lengthens the neck and gets every strand off the shoulders, which is welcome in summer heat. It’s also the bun most likely to look dated if the volume is wrong. Long or thick hair makes a full bun on its own; fine hair usually needs a small bun form or donut underneath. Keep the front smooth. And check the bridesmaid’s height against the rest of the party, since a high bun on the tallest person can make group photos uneven.
8. Curly Bridesmaid Bun
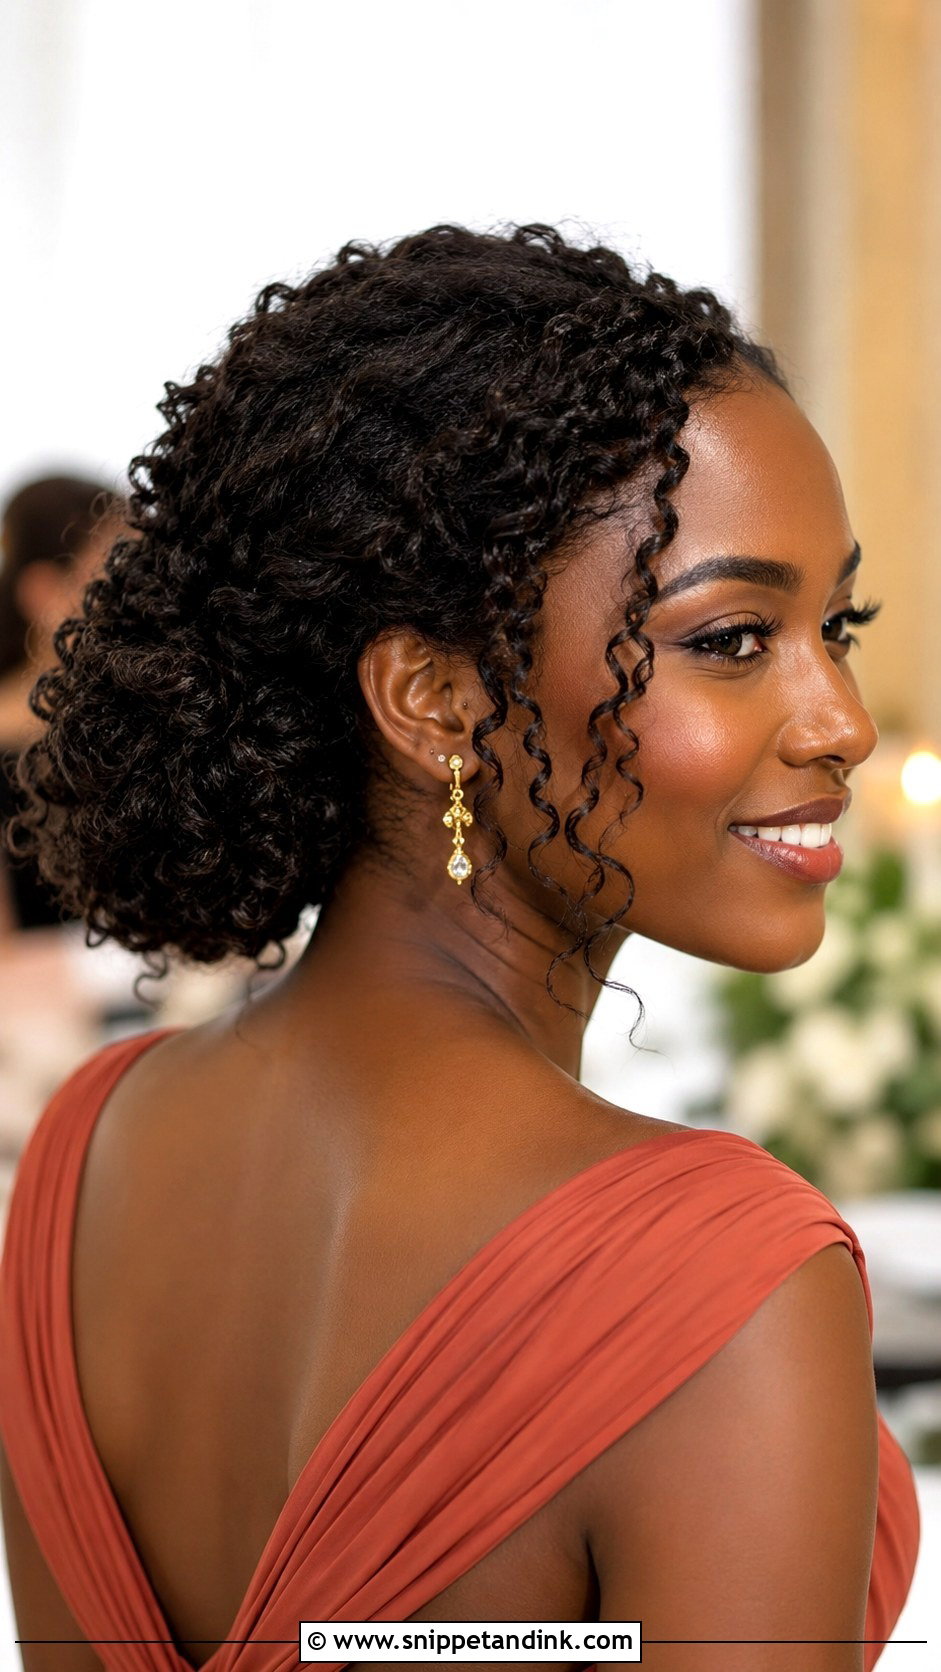
Curly hair should be pinned with its curl pattern intact, not brushed flat. I define the curls first with a cream, then gather and pin them into a soft bun that keeps their shape, leaving a few curls loose at the hairline. Wavy, curly and coily hair all suit it. Moisture is the priority, because dry curls frizz once the day warms up. A light-hold spray keeps them soft rather than crunchy.
9. Chignon Bridesmaid Bun
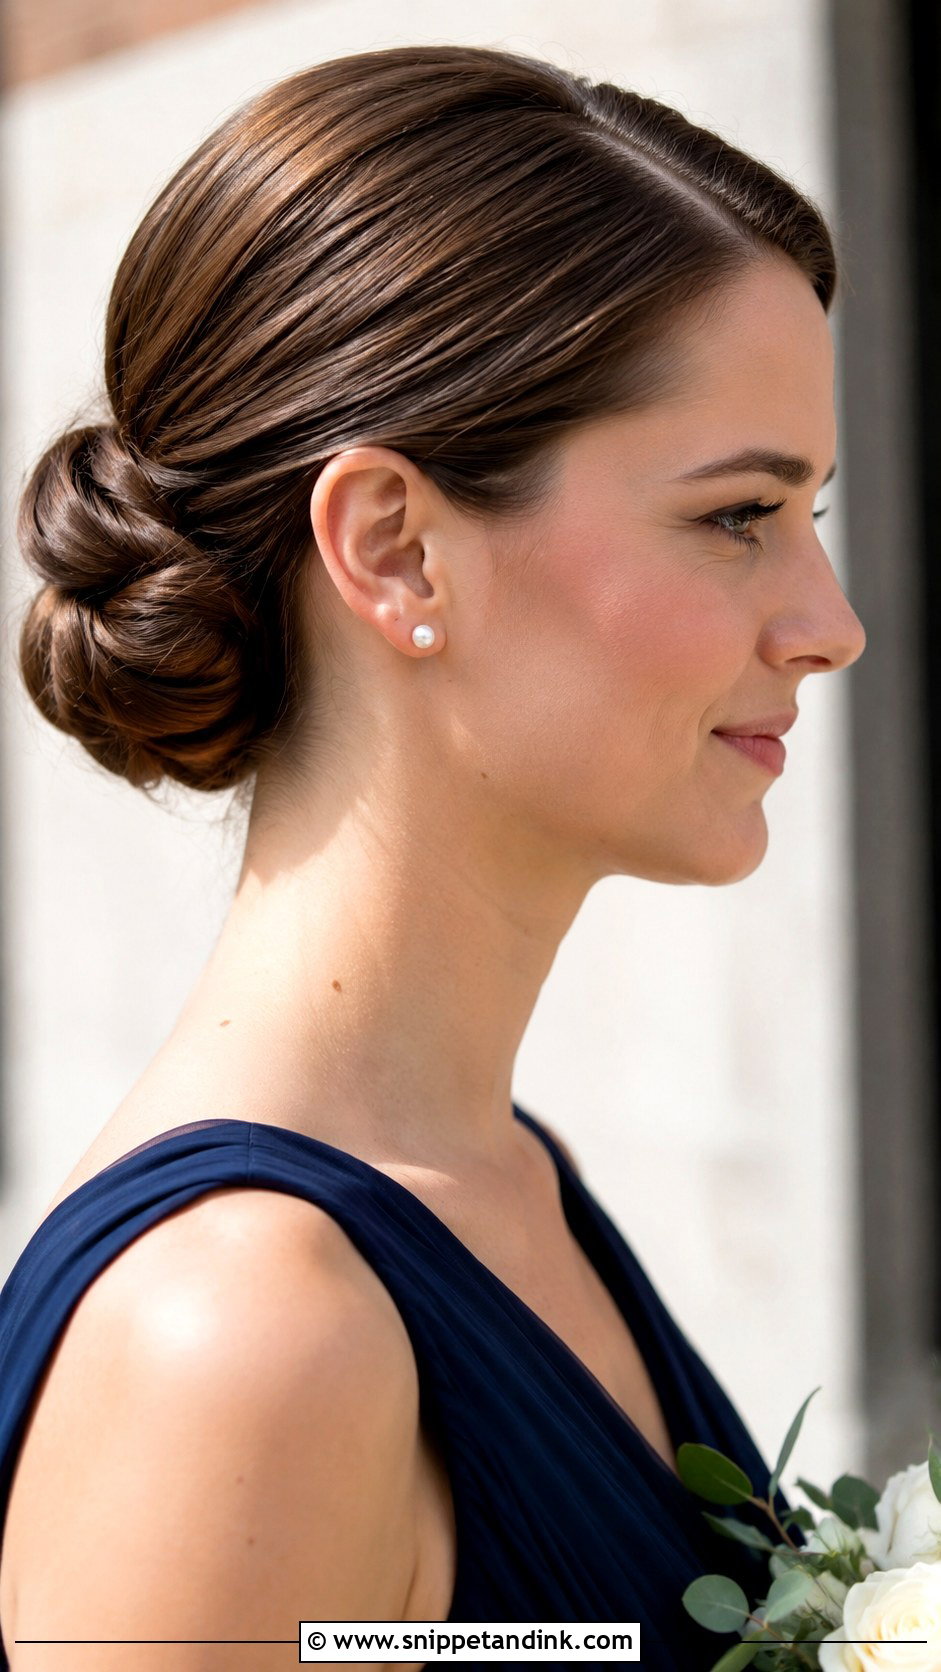
A chignon is the classic low, tucked knot at the nape, and the version I suggest for black-tie, chapel ceremonies and formal receptions. It can be tight and sculpted or slightly loosened. The back is what guests see during the ceremony, so I spend most of the time on its shape from behind. Pearl pins, small combs or delicate barrettes sit well alongside it.
10. Textured Bridesmaid Bun
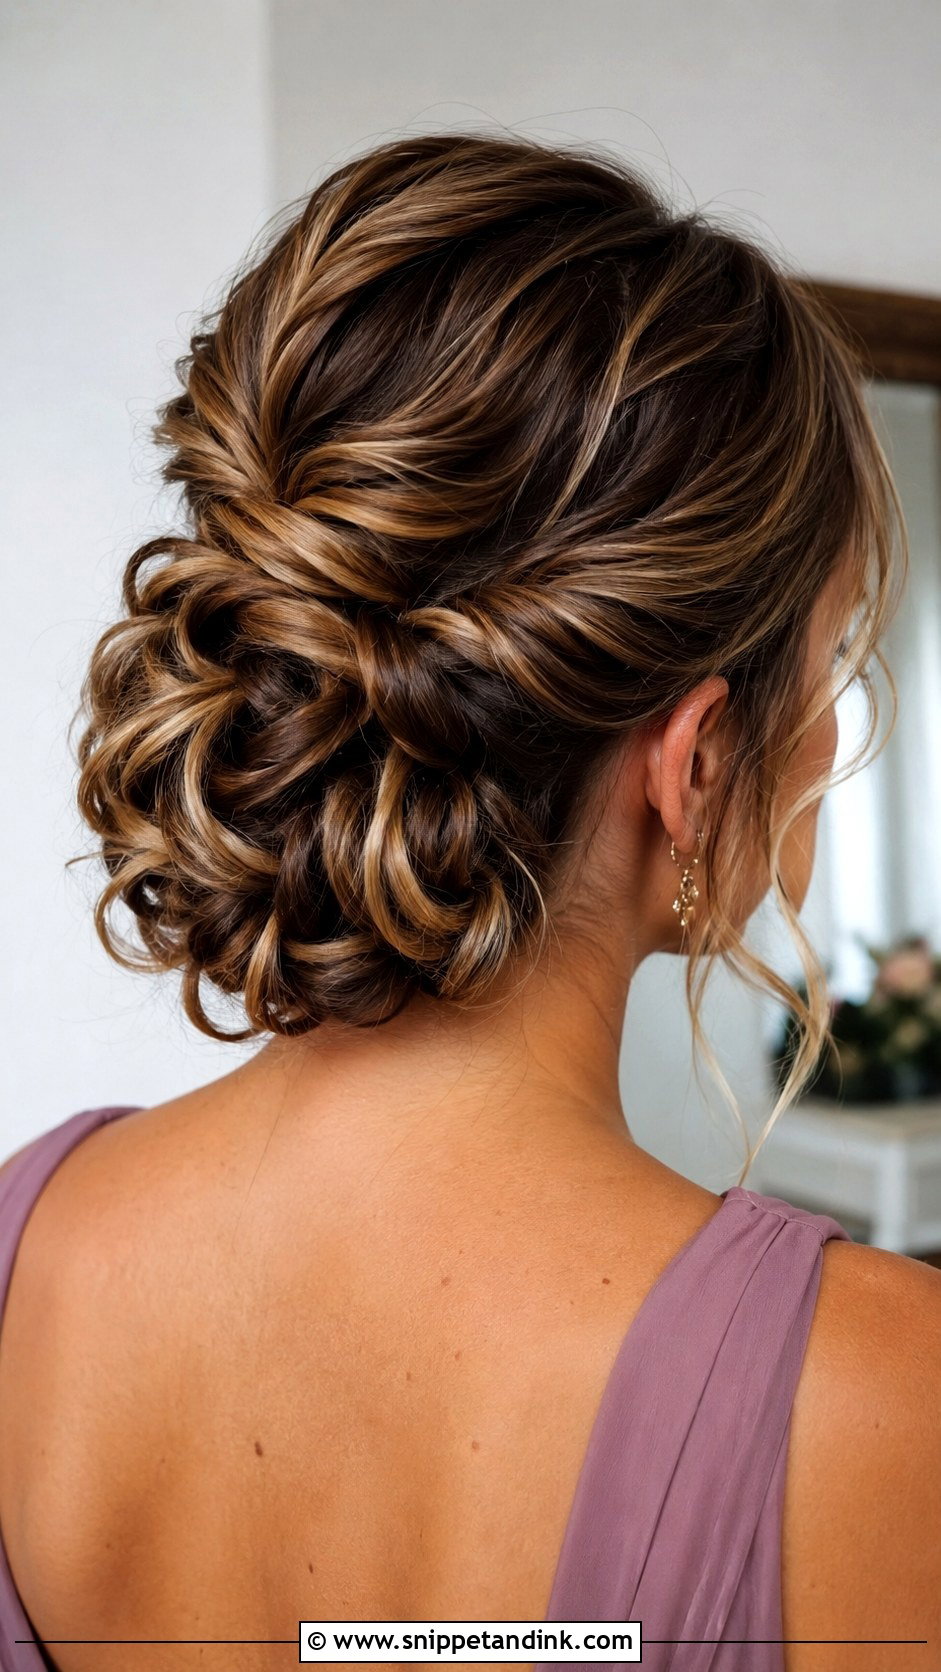
A textured bun is curled and texture-sprayed, then pinned in loose sections into a low or mid bun so you can see the movement. On highlighted or balayage hair it shows off the colour because each twist catches a different tone. The risk is too much volume, which can tip into messy. I keep the shape controlled at the back and soft at the front. It holds through dancing if the base is pinned properly.
11. Middle Part Bridesmaid Bun
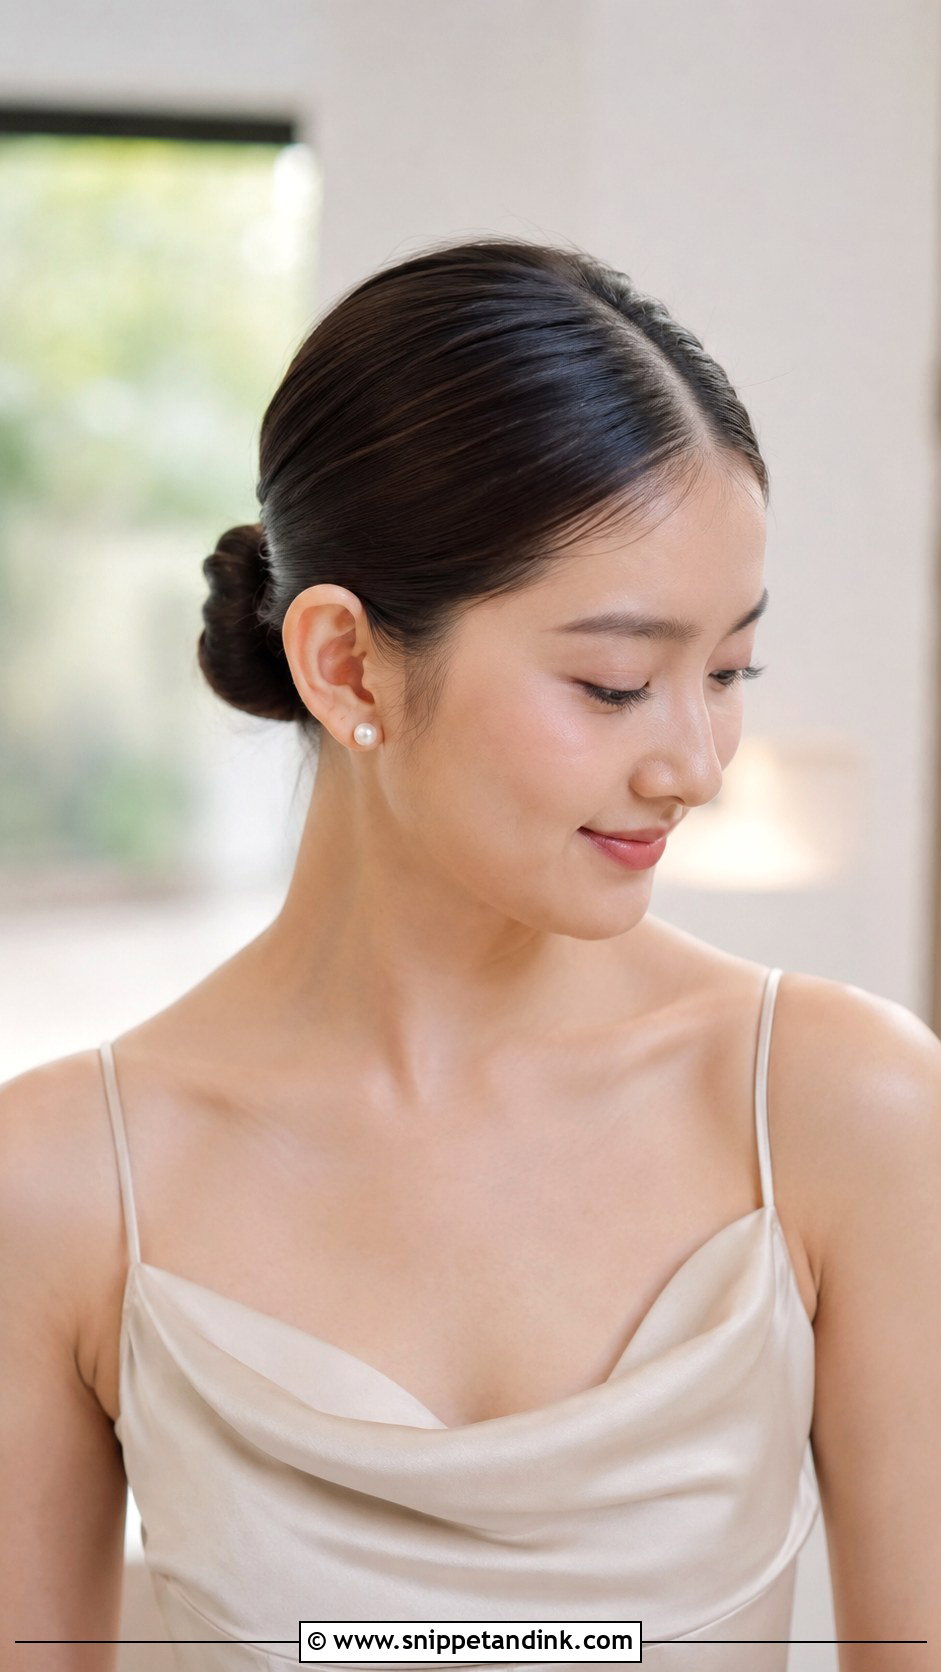
Middle parts are symmetrical, so they make group photos look tidy when the bridesmaids wear similar dresses. The hair is guided from a crisp centre part into a low or mid bun. Super smooth reads modern; softly waved reads romantic. The part has to be dead straight, so I set it with a tail comb and smooth both sides with the same tension. Not every face loves it, though, and a centre part can make a long face look longer.
12. Side Part Bridesmaid Bun
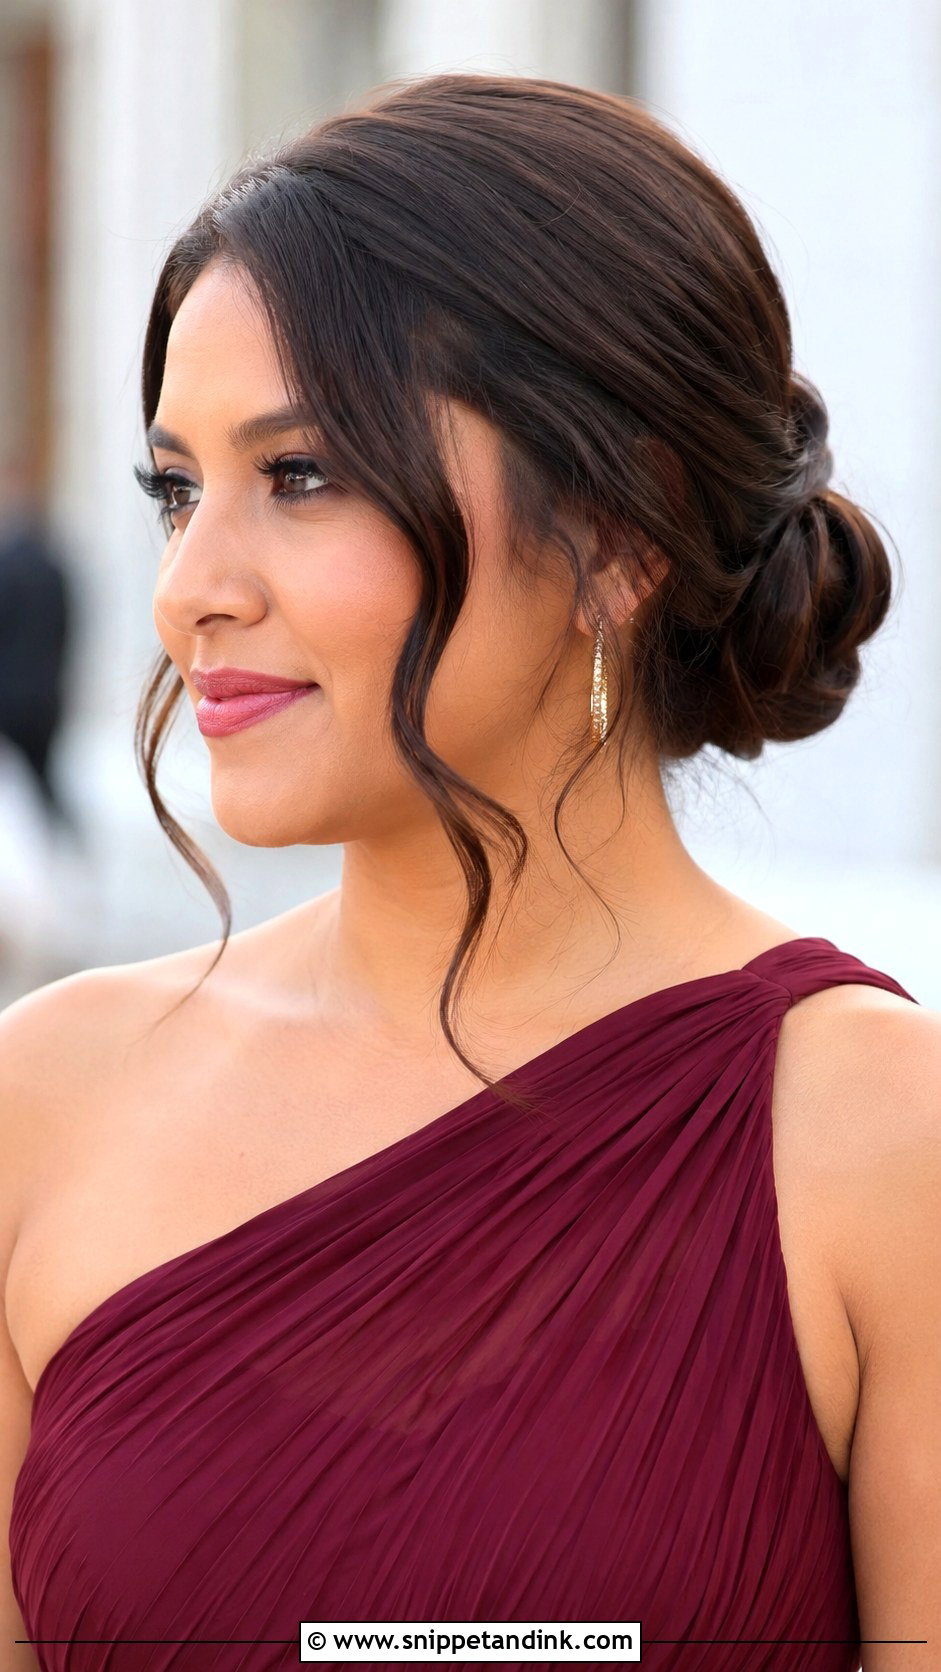
A side part softens the face and suits more face shapes than a centre part, which is why I suggest it to bridesmaids who feel exposed in a tight updo. It adds a little coverage at the forehead. The bun can sit low at the nape or slightly to one side. Wave the front pieces and pin the sweep behind the ear so it doesn’t fall into the eyes. It fits vintage dresses and lace well.
13. Bridesmaid Bun With Face Framing Pieces
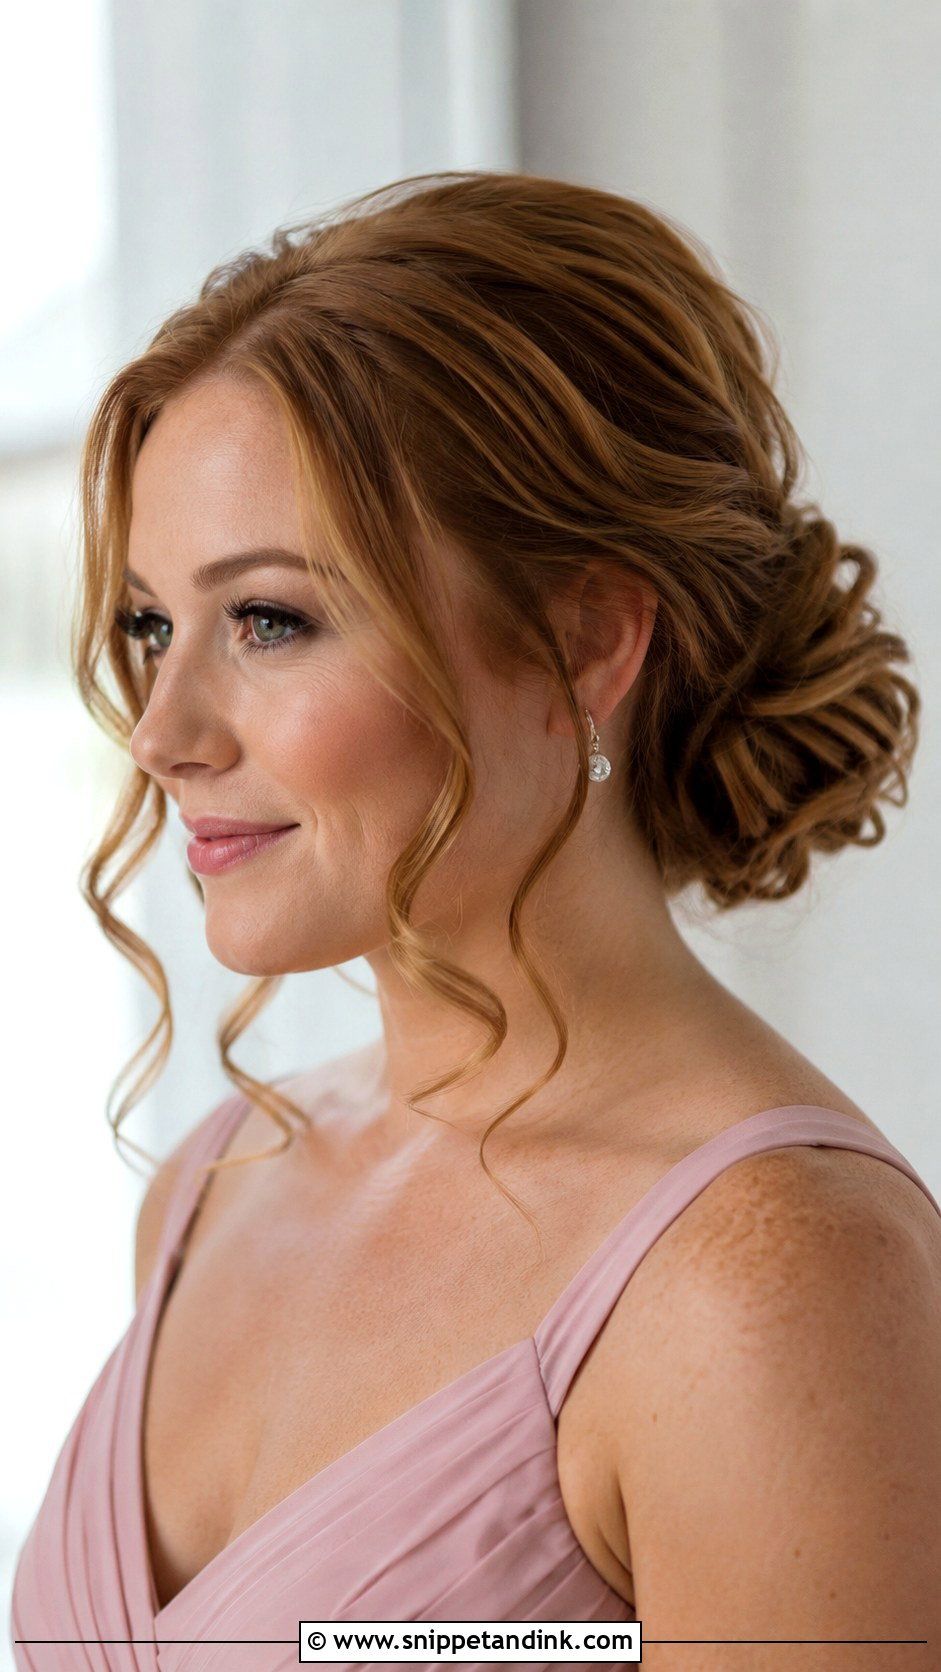
Face-framing pieces stop an updo from looking severe, and in close-up photos they soften the jaw and cheekbones. The pieces need to be thin. Thick sections hang heavily and get in the eyes. I cut them from just in front of the ears and the hairline, curl them lightly or leave them natural, and keep them out of the bun. Low, messy and twisted buns all pair well with them.
14. Bridesmaid Bun With Pearl Pins
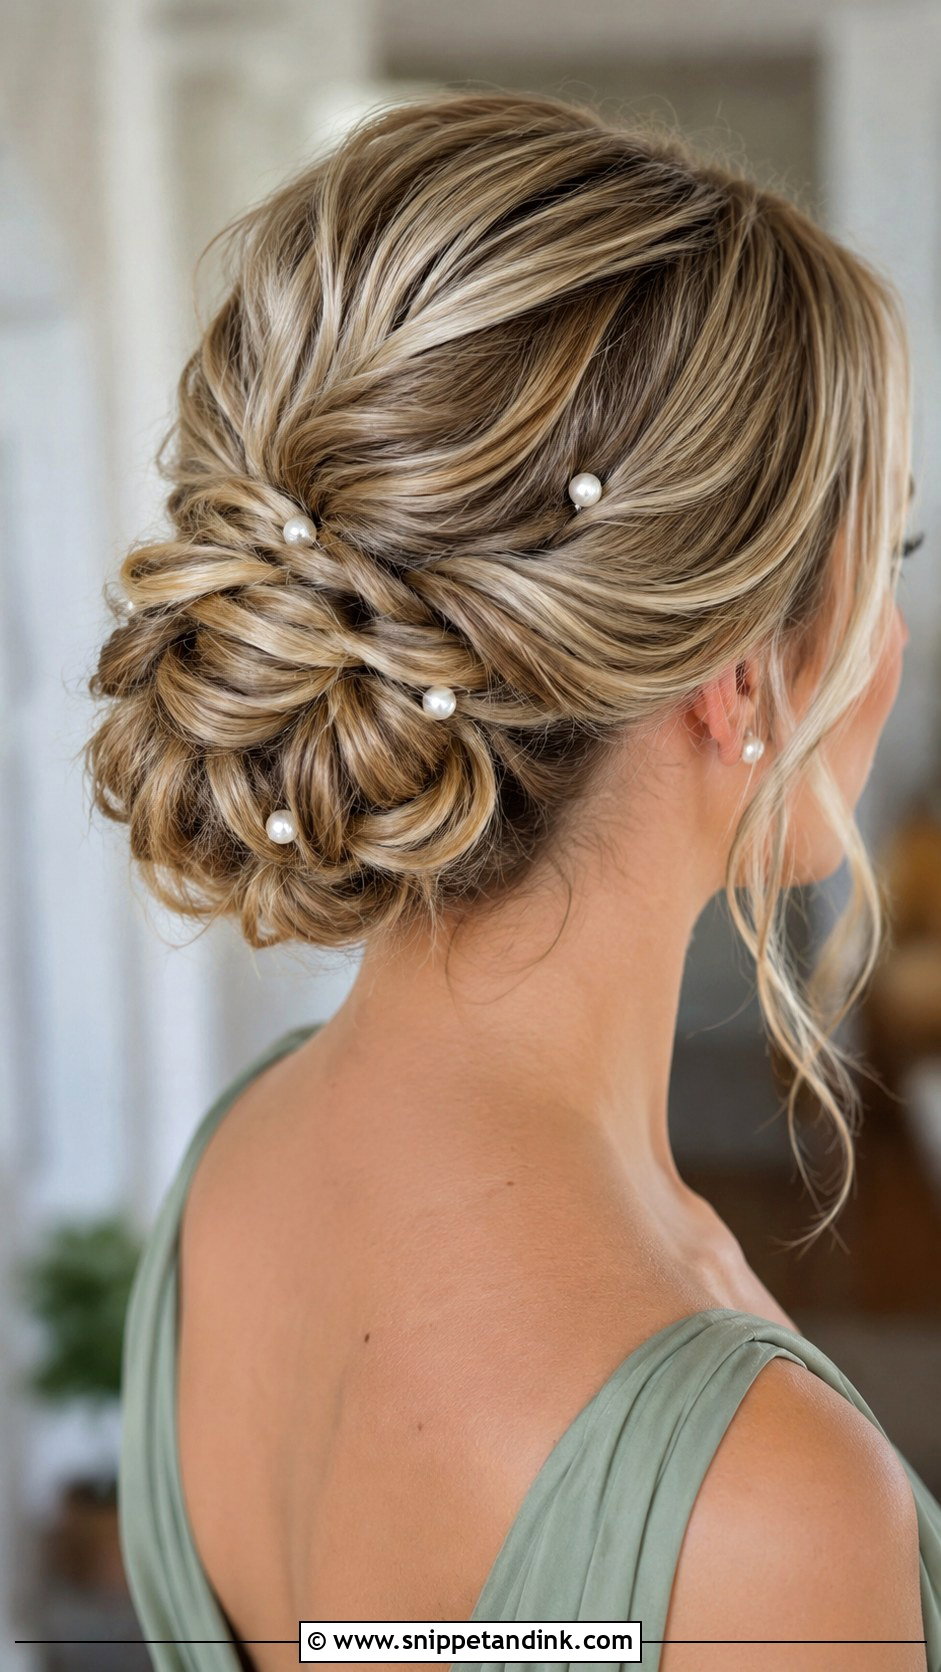
Pearl pins add a soft shine without the glare of crystals. They can circle a low bun, scatter through a textured one or tuck into a braided bun. I space them unevenly, in odd numbers, because evenly spaced pearls look like a row of buttons. Ivory, champagne, blush, sage or navy dresses all suit them. Push each pin into a pinned section, not loose hair, or it’ll be on the dance floor by the end of the night.
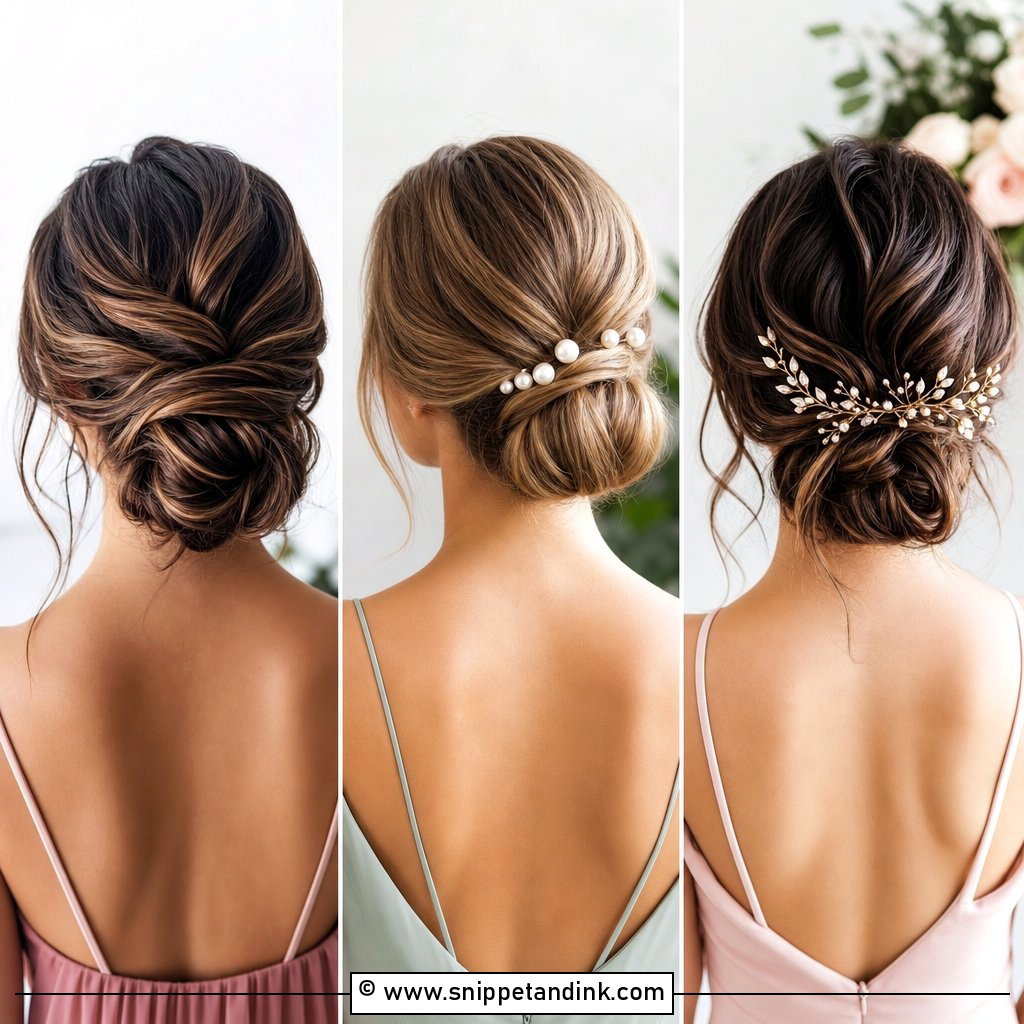
15. Bridesmaid Bun With Flowers
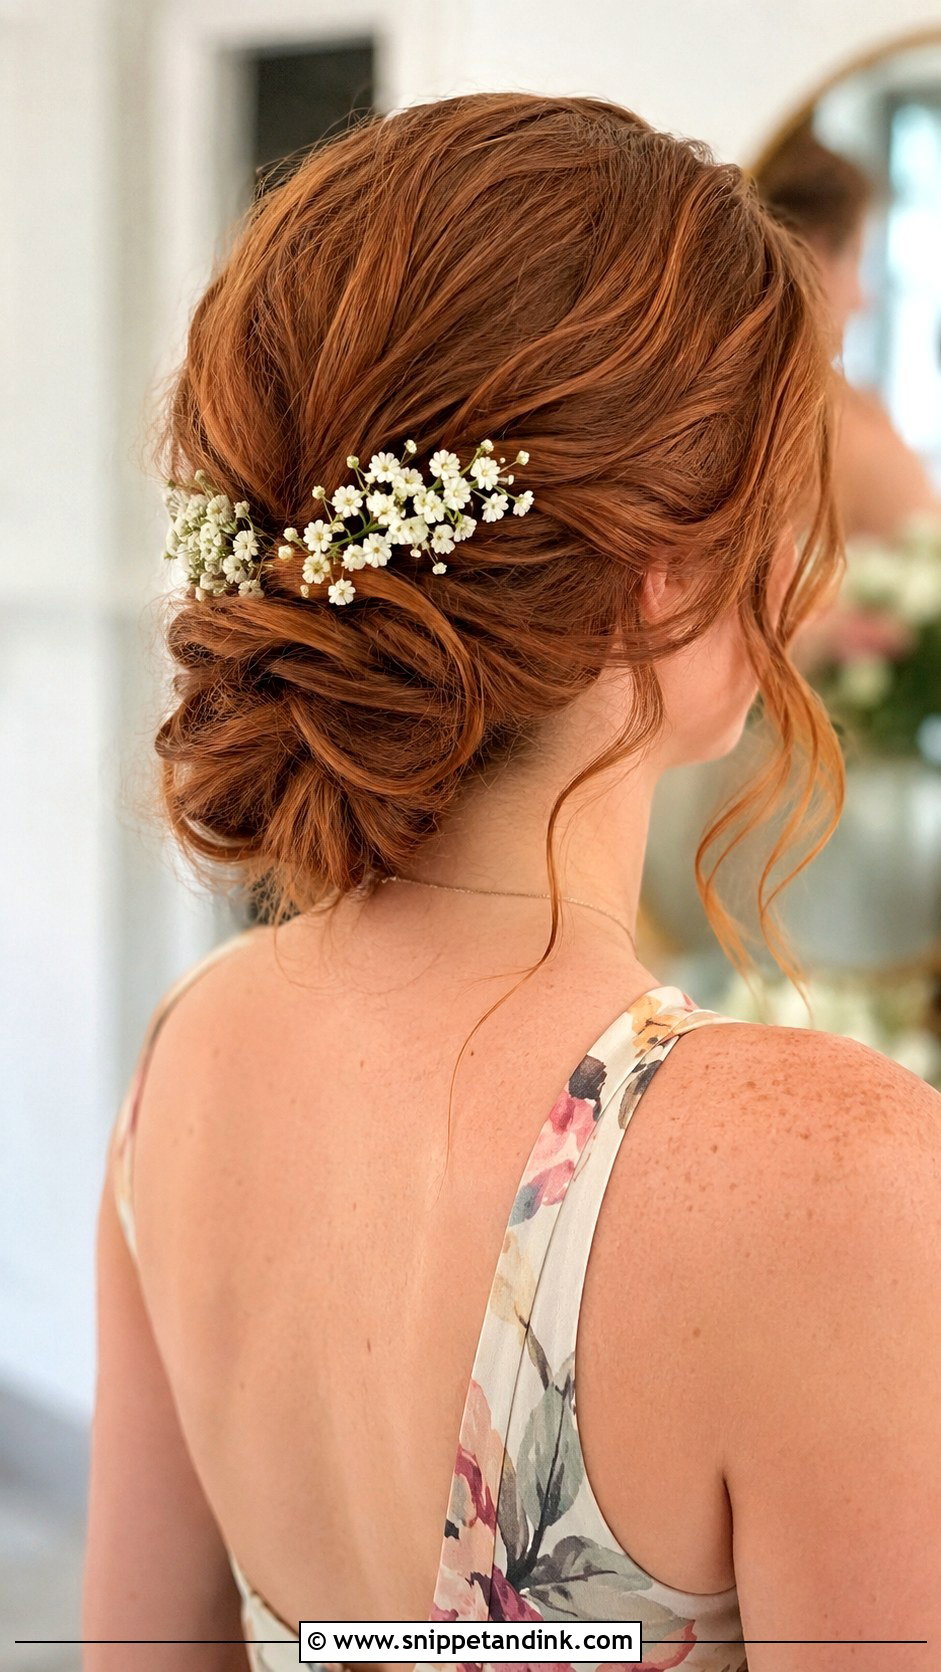
Flowers in a bun look romantic, but fresh ones wilt faster than you’d expect away from water. Small blooms can be tucked into a low bun, placed along a braid or grouped on one side. Baby’s breath, tiny roses, wax flowers and dried florals are common because they’re light and hardy. I ask the florist to wire and tape them so the stems go into the bun cleanly. Messy, twisted or braided buns all suit it.
16. Bridesmaid Bun With Hair Comb
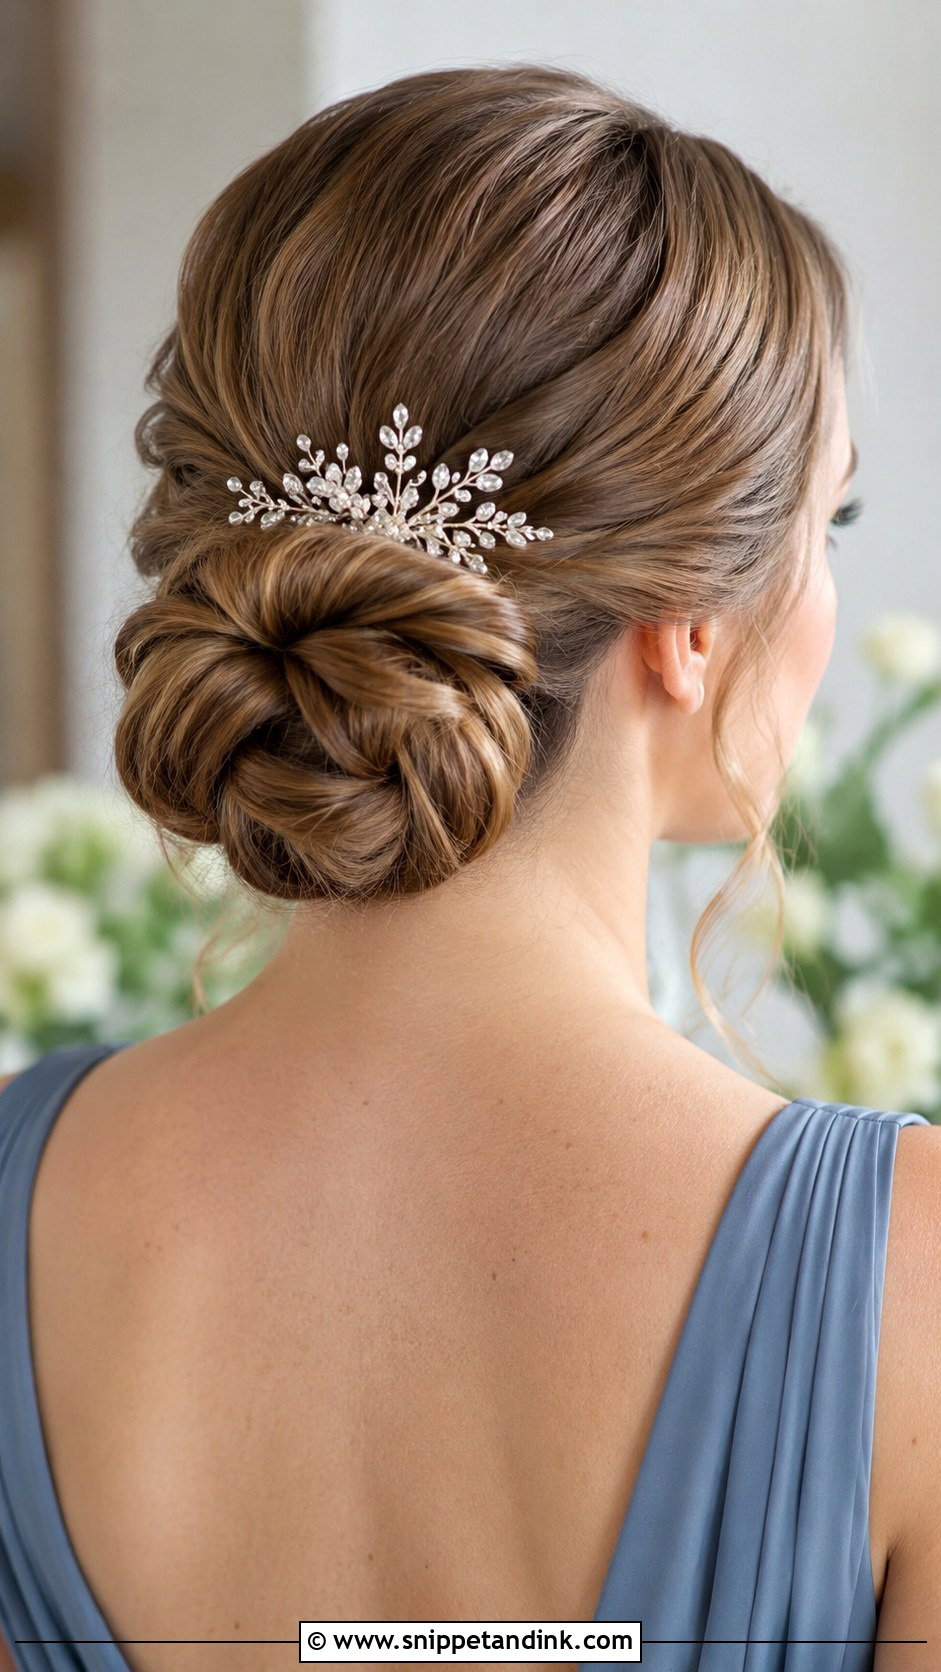
A hair comb gives a bridal party matching accessories without matching hair. It can sit above the bun, to one side or in the curve of a chignon. Crystal reads formal; pearl or floral reads softer. The bun must be fully pinned before the comb goes in. The comb is decoration, not structure, and if it’s holding the bun up, it will slide out by the reception.
17. Bridesmaid Bun For Long Hair
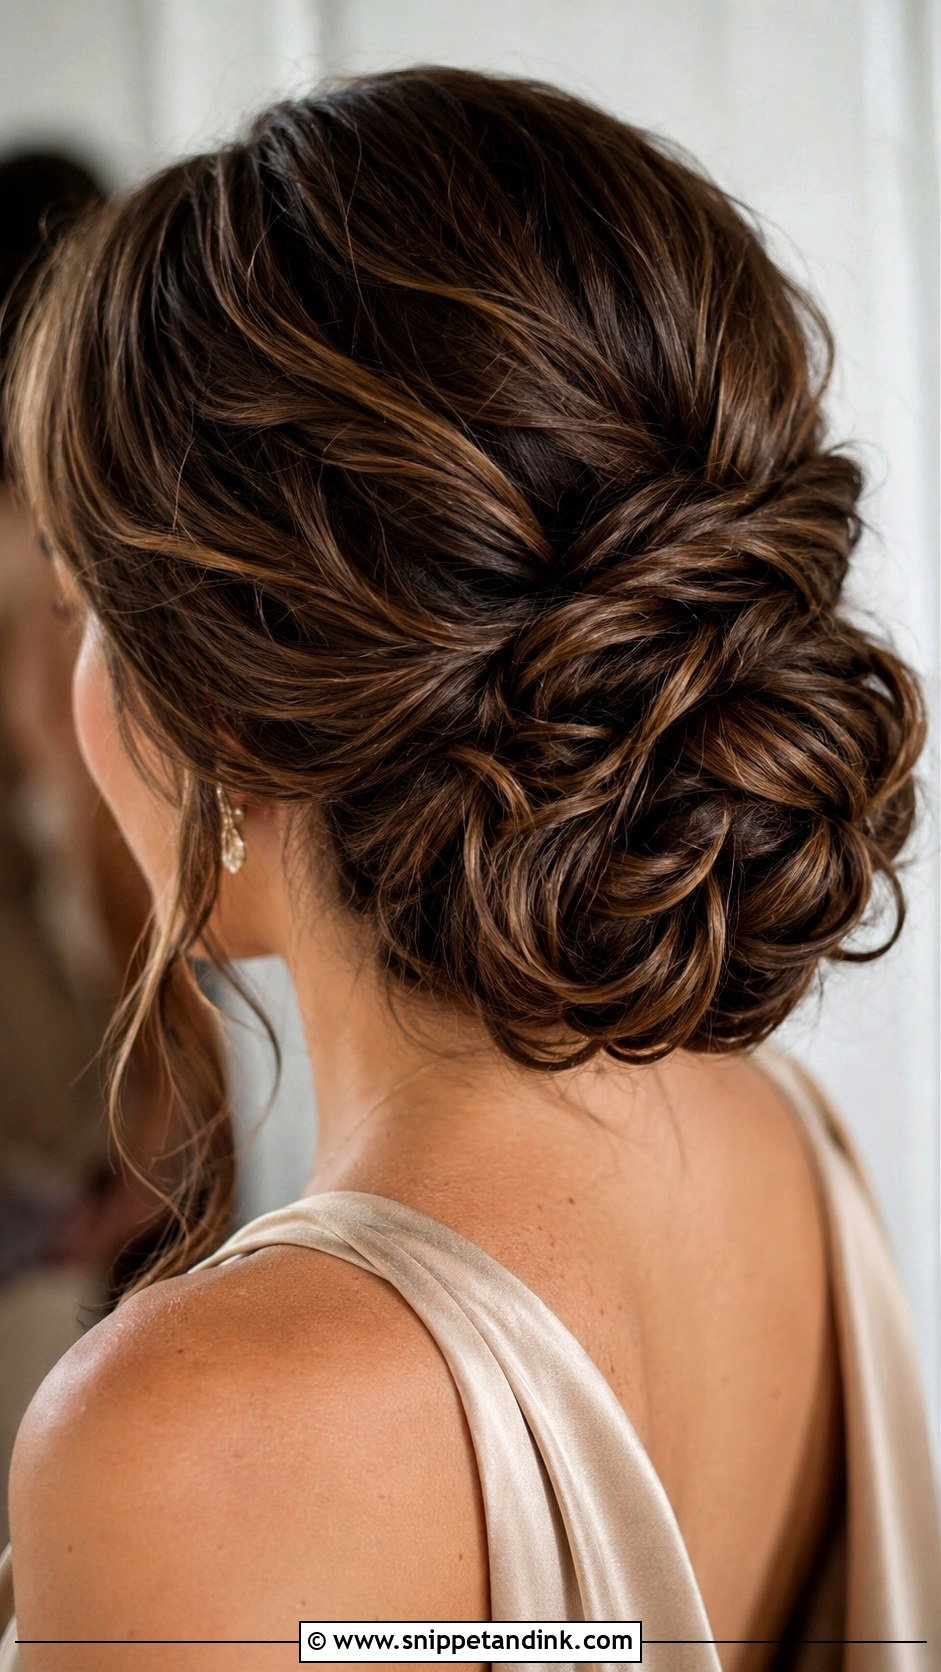
Long hair gives room for twists, loops or braids and a big bun without extensions. Weight is the problem. A lot of length pinned high drags on the scalp and can cause a headache by mid-afternoon, so I usually place it low and build it in sections over a secure ponytail base. Curl long layers first so the pinned sections look soft. It’s a dramatic updo that can last the night if the base is right.
18. Bridesmaid Bun For Medium Hair
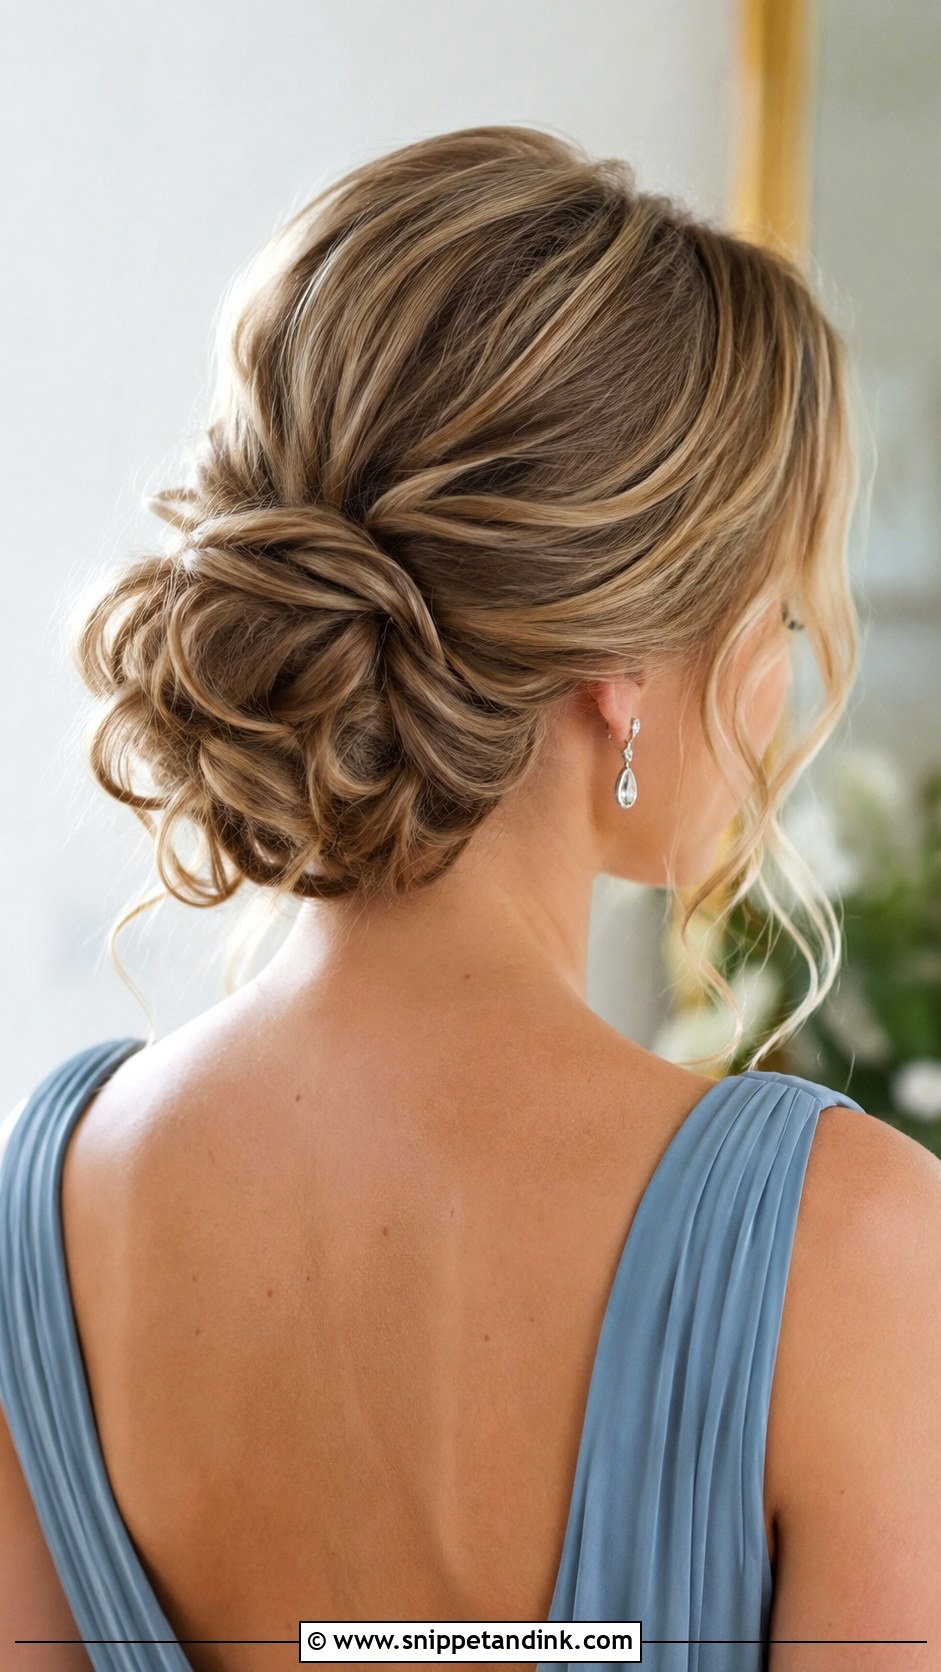
Medium hair is the easiest length to pin; it’s light enough to stay put and long enough to wrap. Low, twisted and textured buns all suit it. With shoulder-length hair, I curl it first and use smaller sections to build fullness, since there isn’t enough length for one big wrap. A few face-framing pieces help it look deliberate. It’s a pretty updo without adding extensions, and it fits formal and relaxed weddings.
19. Bridesmaid Bun For Short Hair
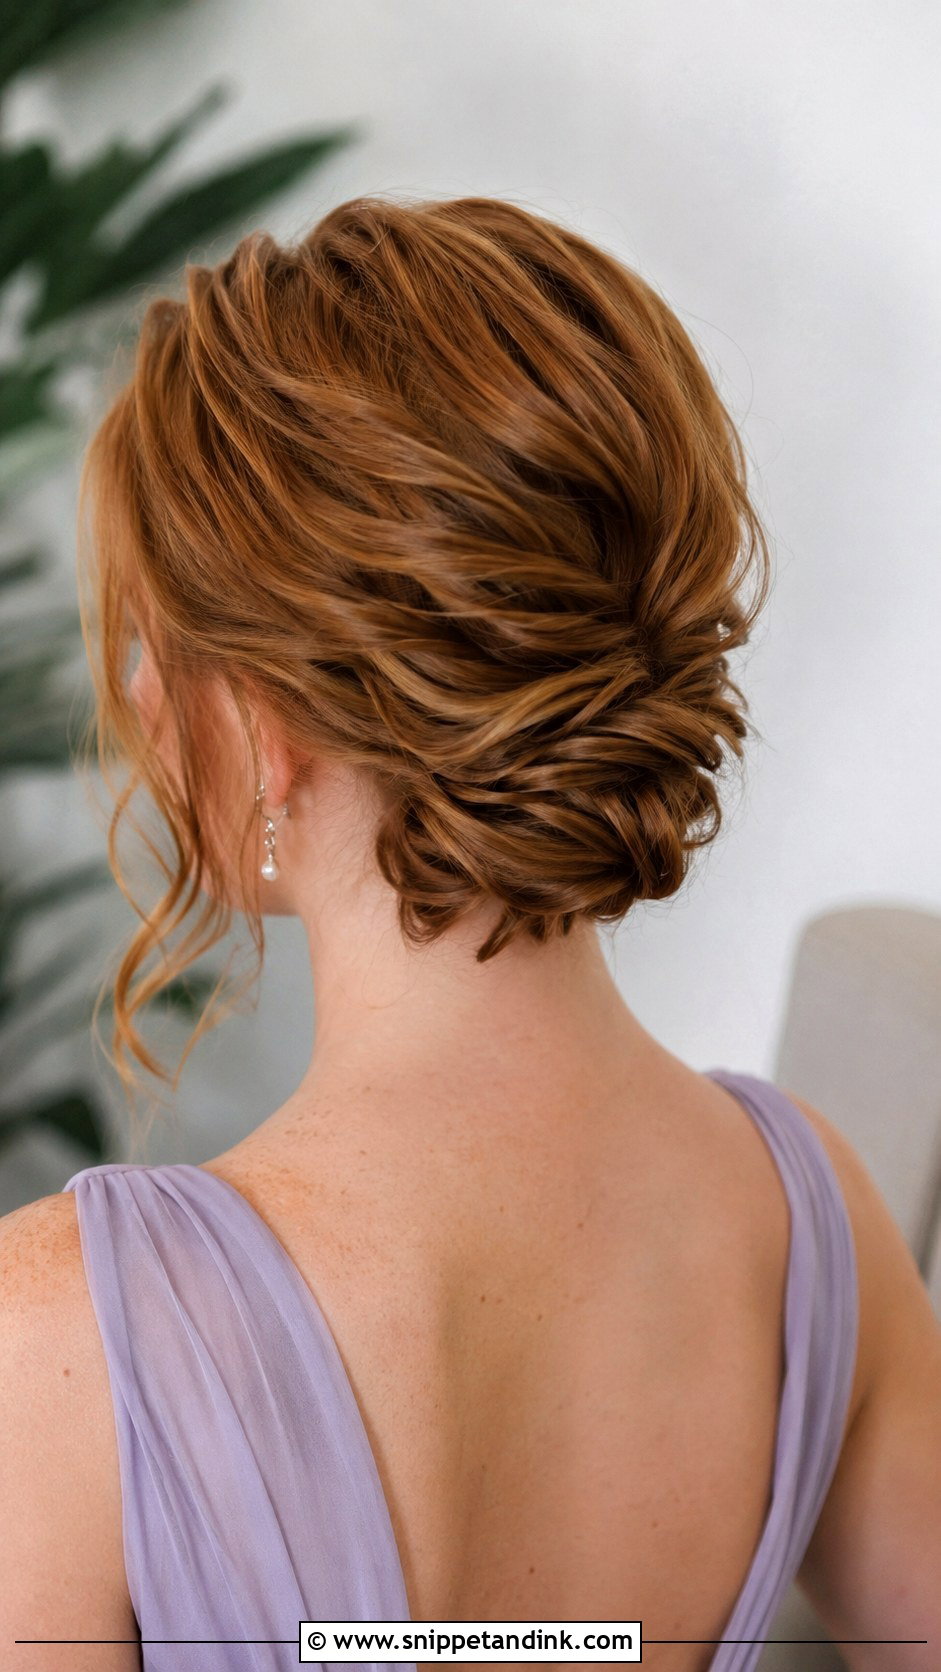
A bridesmaid bun for short hair works if the hair reaches the nape. With bob-length or slightly longer hair, I make a small low bun or tucked updo and pin the shorter layers in as curls. Pieces that won’t reach get pinned flat underneath. A comb, pearl pins or flowers can fill gaps. Strong-hold products matter here more than on longer hair, because short ends spring out as the day goes on.
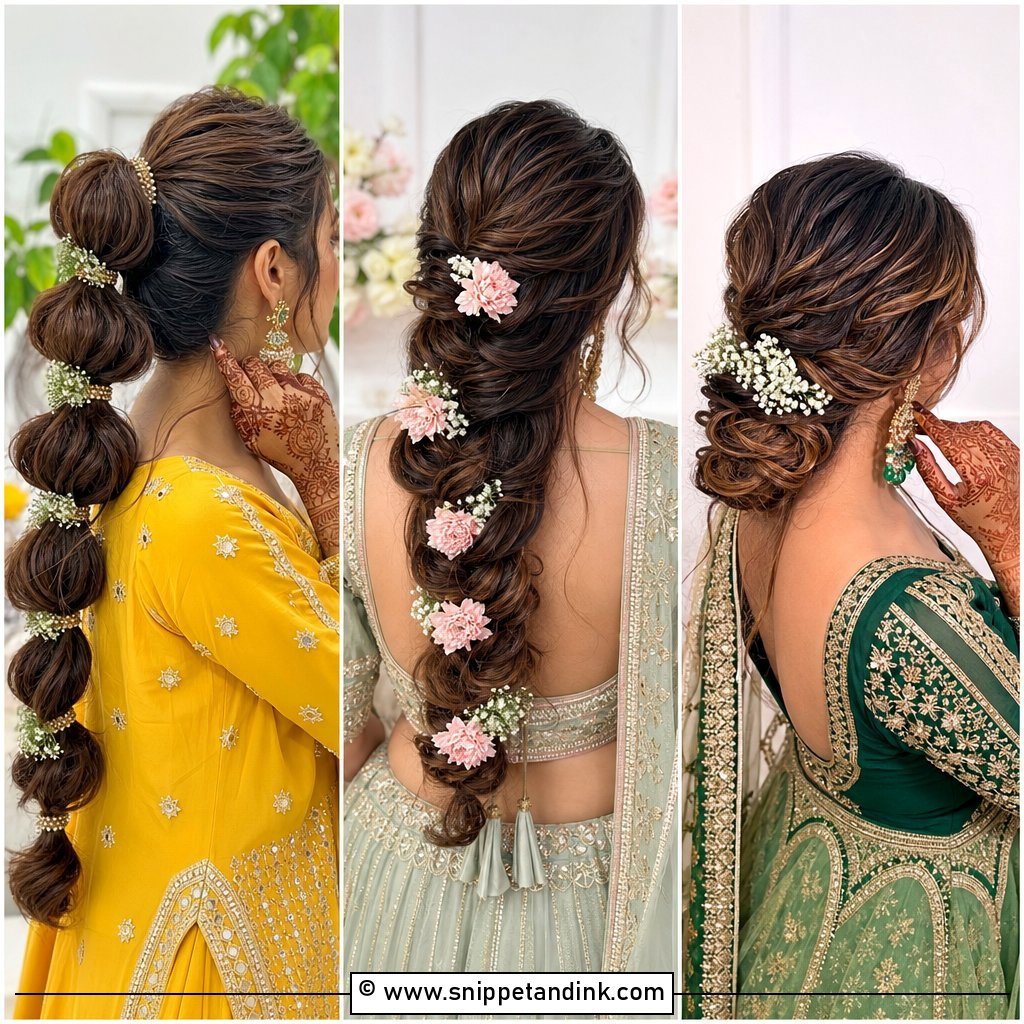
20. Bridesmaid Bun For Thin Hair
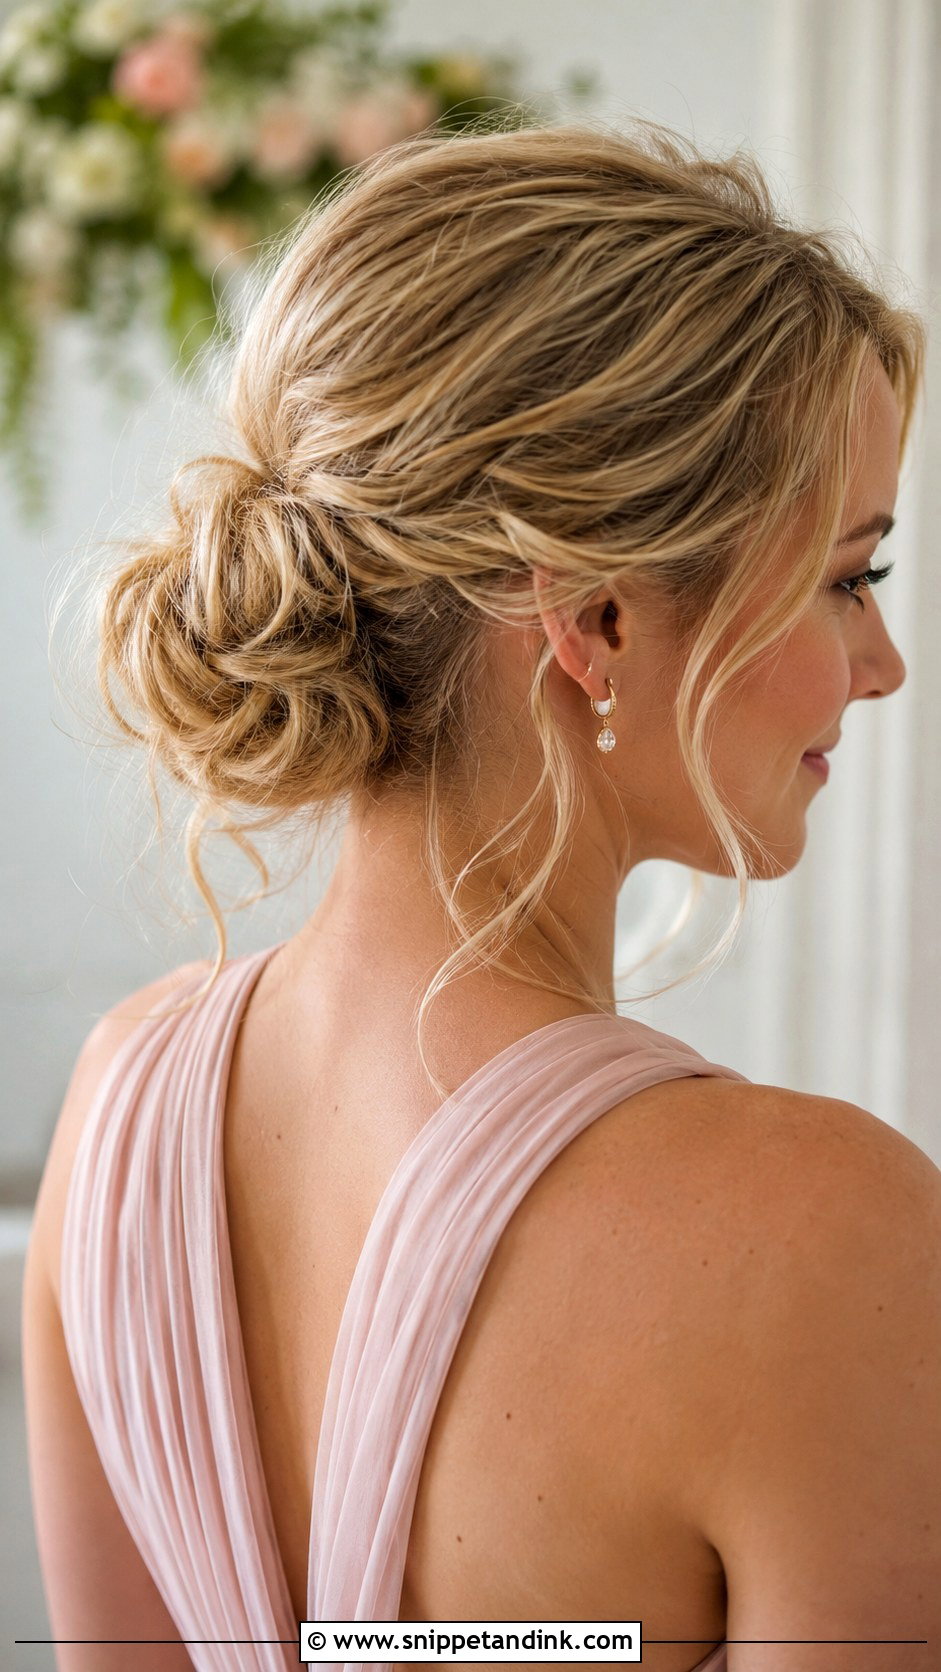
Thin hair needs volume built in rather than squeezed out. I curl it first, use texture spray so the pins can grip, and backcomb lightly at the crown. A low, loose textured bun looks fuller than a tight one because it covers more space. A small mesh donut underneath can help. Accessories fill in thin spots. It should look airy and soft with a firm structure under it.
21. Bridesmaid Bun For Thick Hair
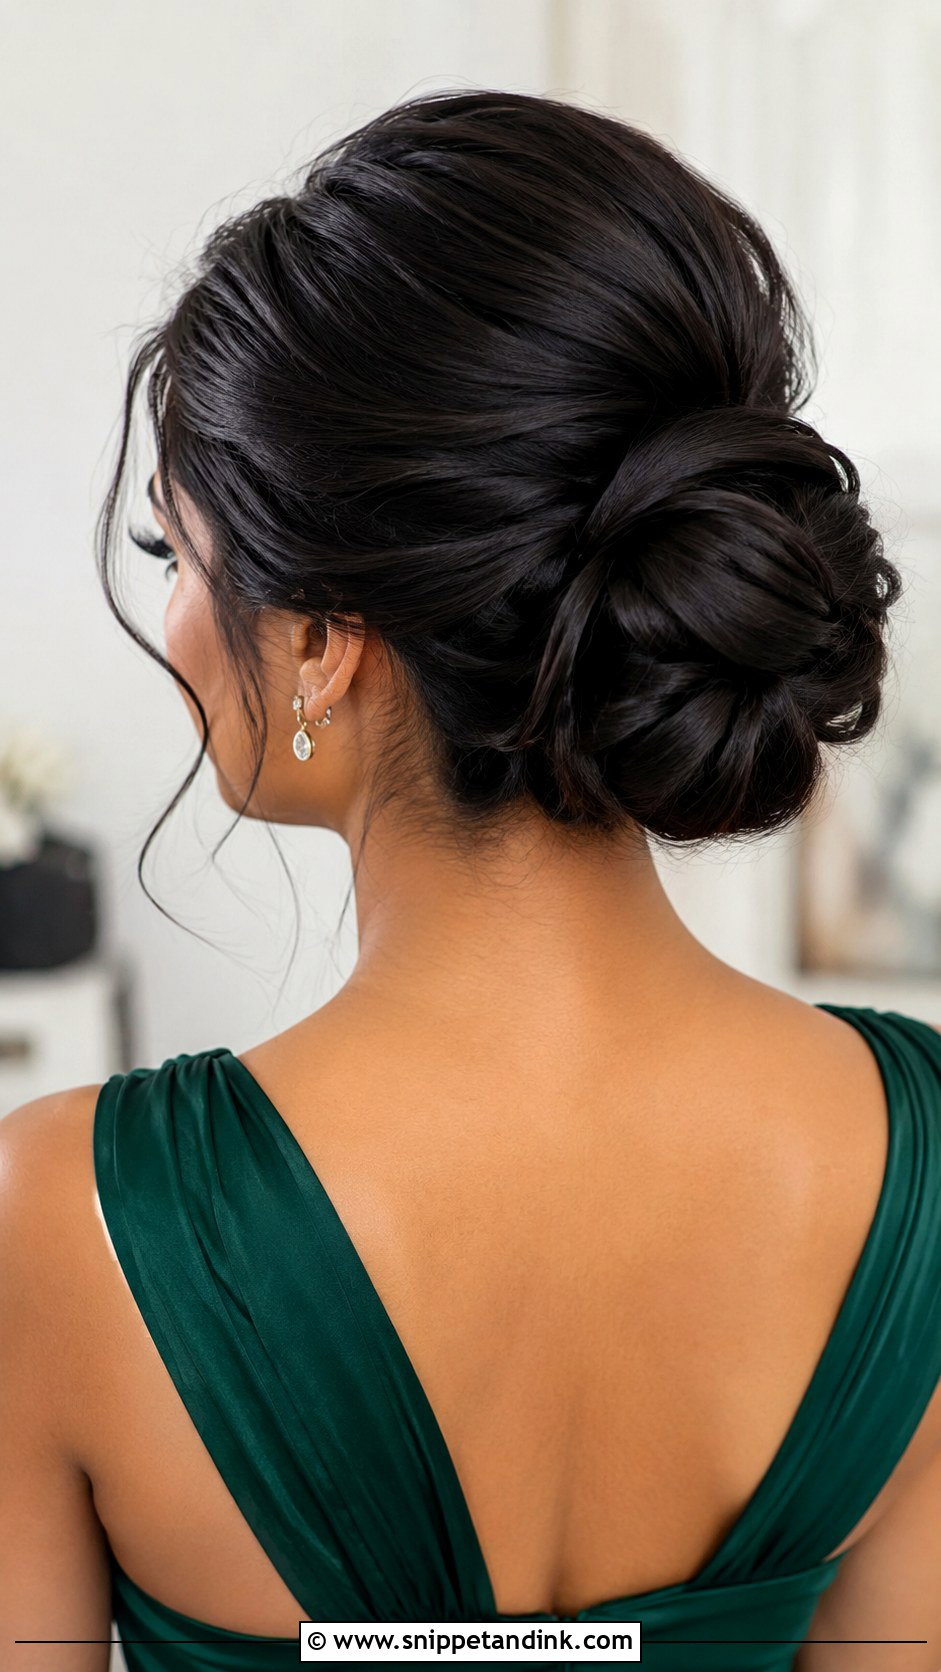
Thick hair makes a full bun easily, but it gets heavy if the pins aren’t placed well. A low, braided or twisted bun distributes the weight best. I section the hair and pin it gradually rather than wrapping everything at once, which keeps the bun from pulling at the scalp. I also use more pins than on other hair types, often two dozen or more. Waves and highlights show beautifully in it.
22. Boho Bridesmaid Bun
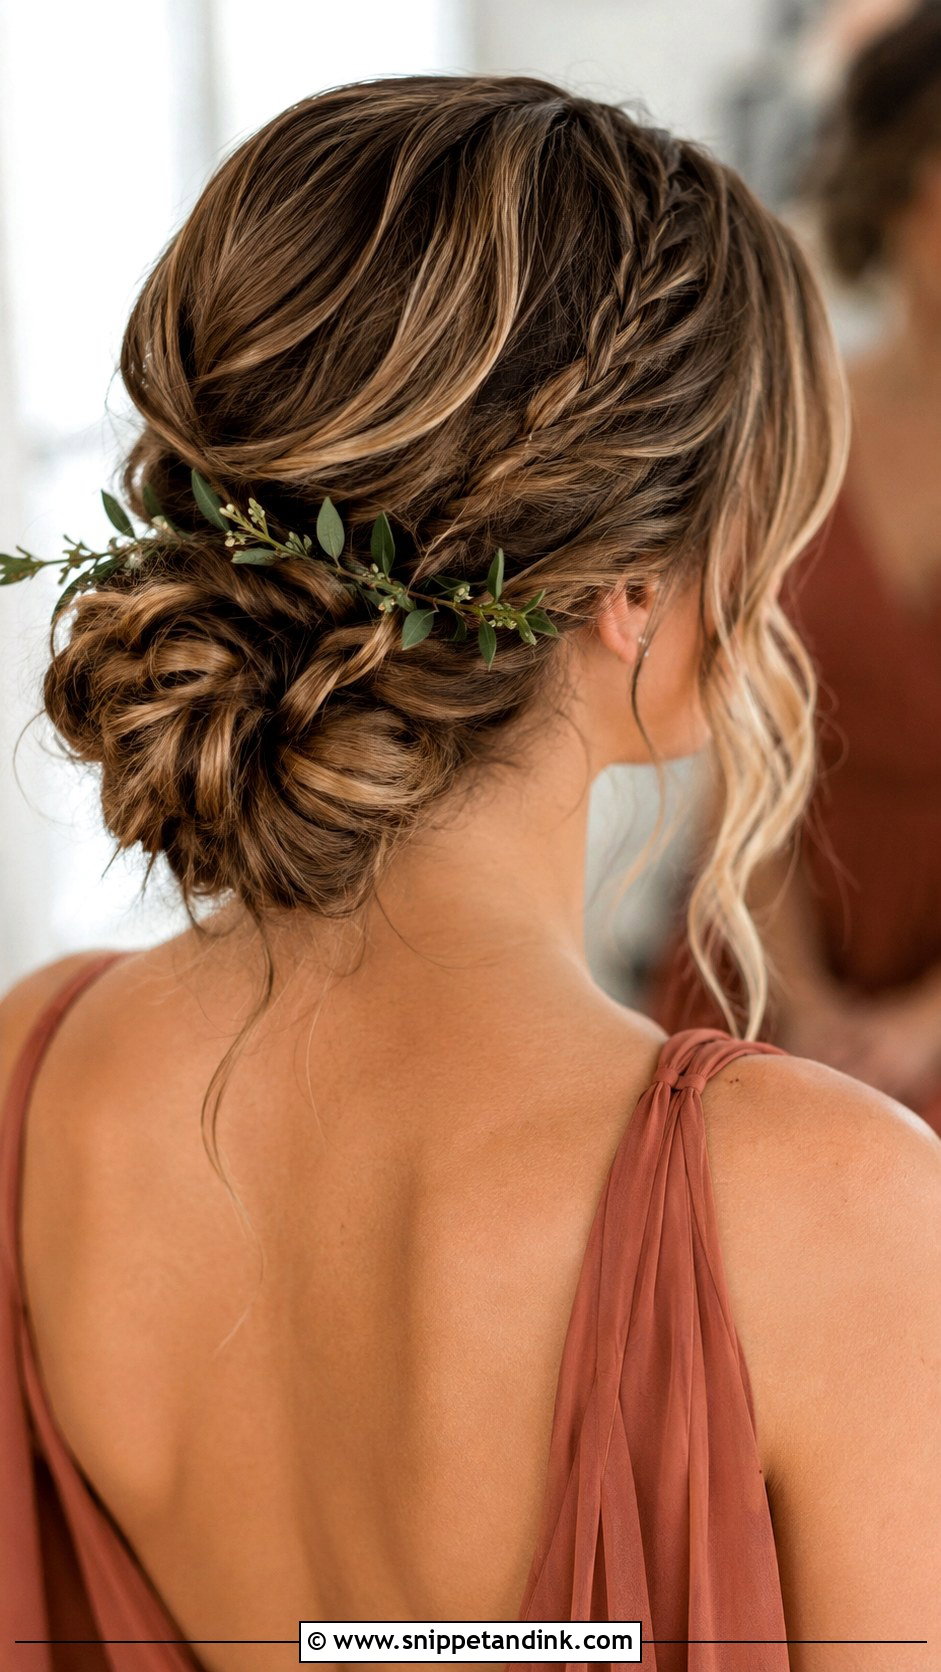
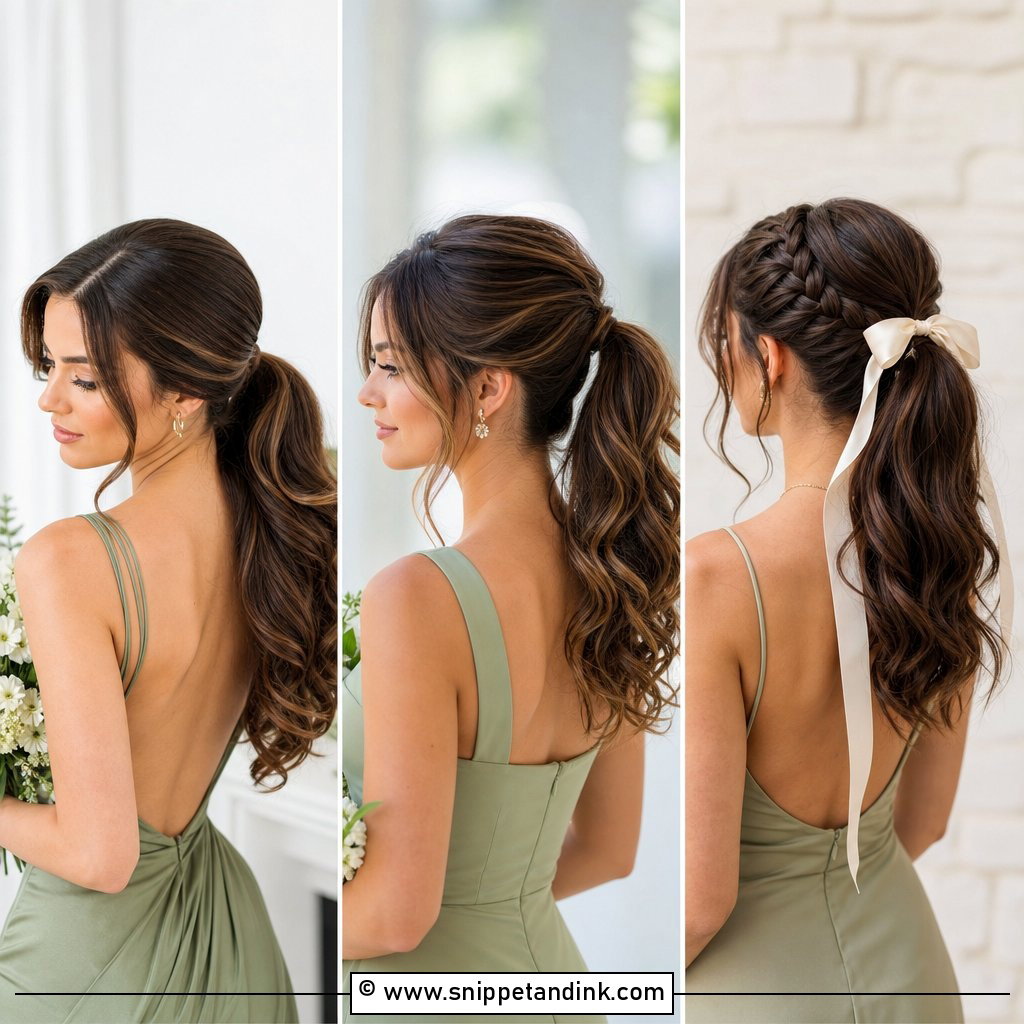
A boho bun is low and slightly undone, with loose waves, small braids, face-framing pieces and natural texture. Pin it securely even though it looks loose; relaxed styles drop faster than they look like they should. Tiny flowers, greenery or pearl pins can be added. It suits flowy dresses, soft makeup and earthy colours, at outdoor weddings, garden ceremonies and rustic venues.
23. Formal Bridesmaid Bun
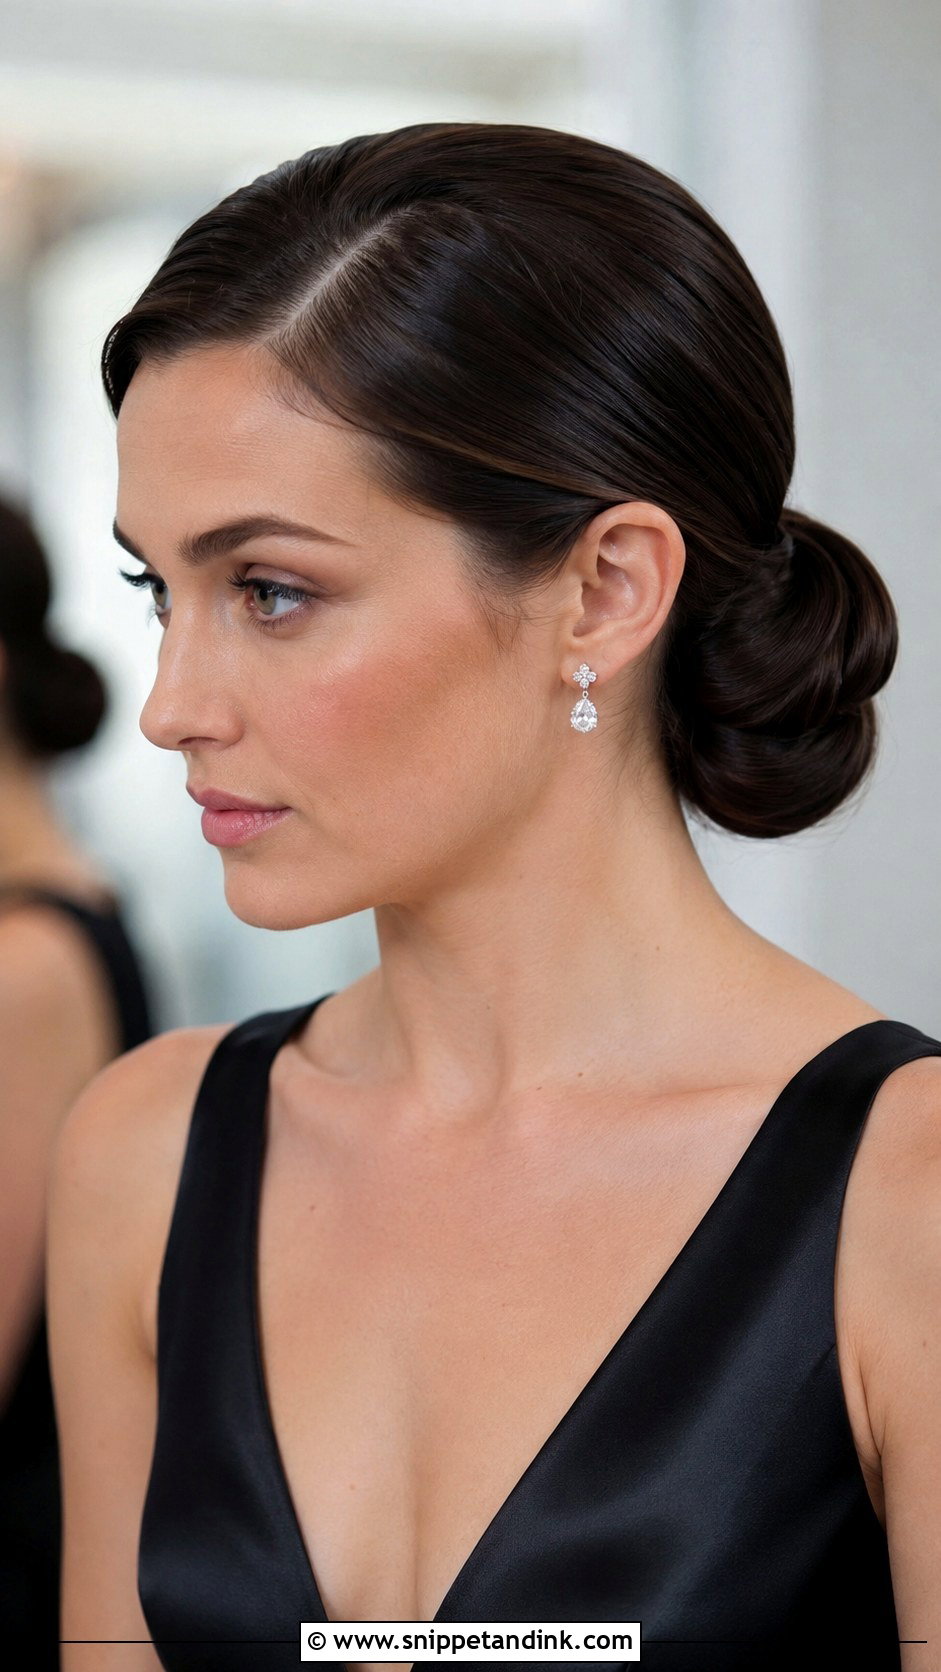
What makes a bun formal is its finish: a smooth surface, a controlled shape and a crisp part. A sleek chignon, a polished low bun or a sculpted twisted bun all qualify. Shine spray, strong pins and a precise part do the work. It suits ballrooms, evening ceremonies and black-tie dress codes, and it keeps attention on the face and neckline when the dress has detail.
24. Simple Bridesmaid Bun
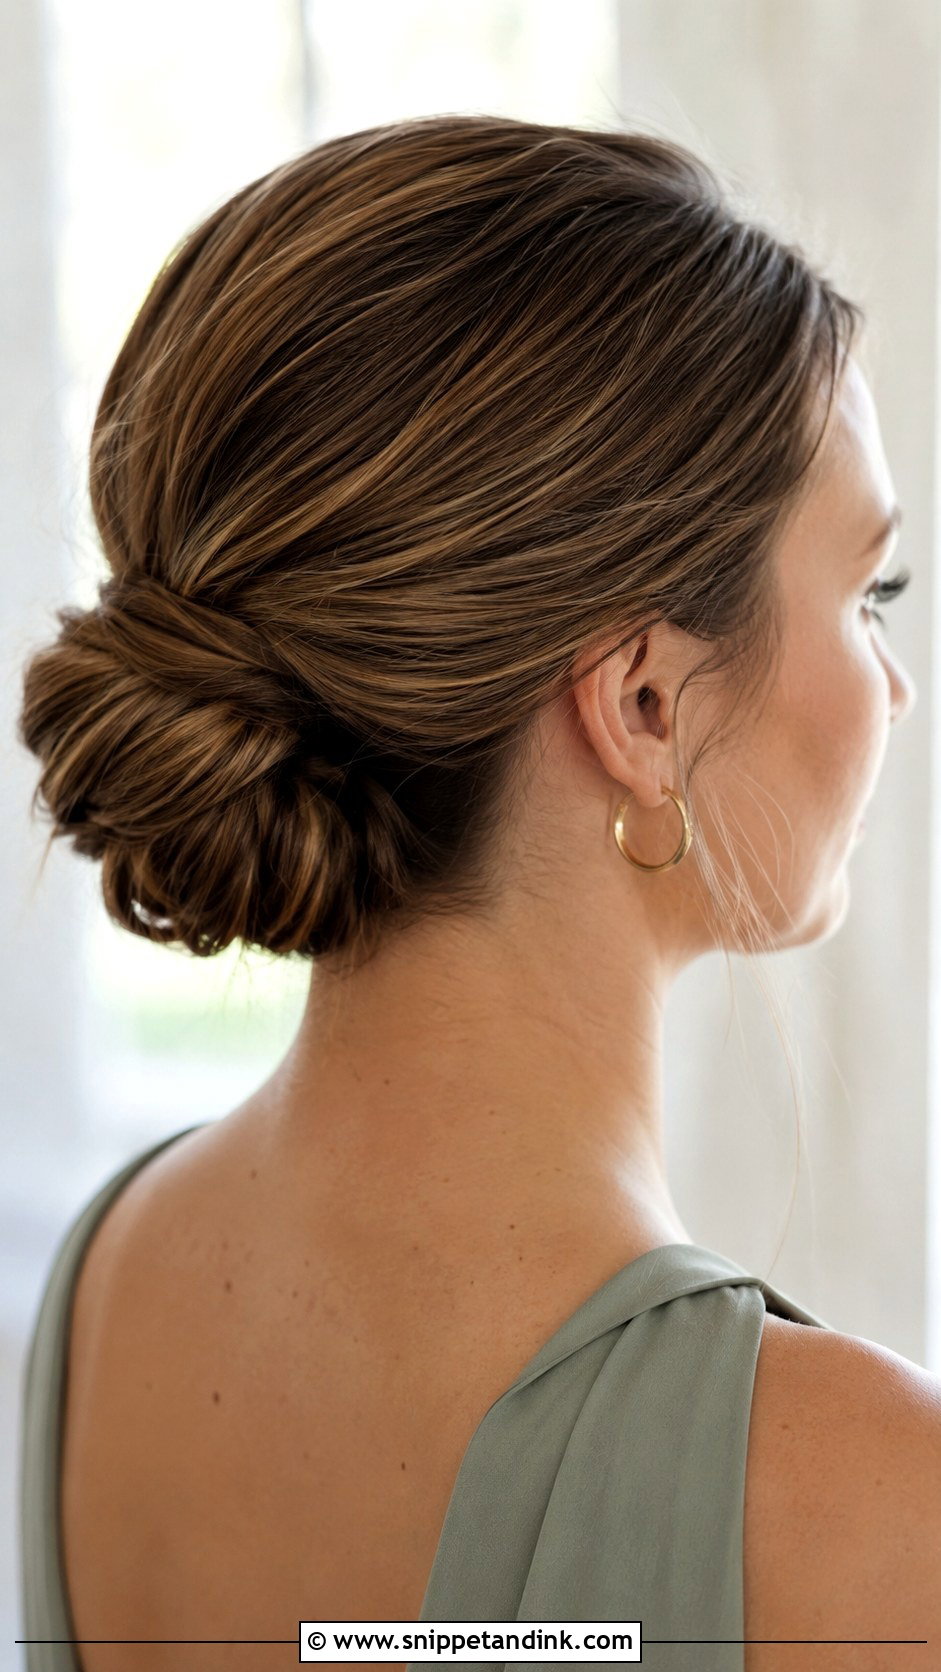
Sometimes the right answer is a plain, neat bun. If the dresses, bouquets or jewellery are busy, a simple low bun with a smooth front or slight texture is what keeps the whole picture calm. It also suits bridesmaids who don’t want anything fussy. Simple still takes care: healthy shine and tidy pinning are what stop it looking plain.
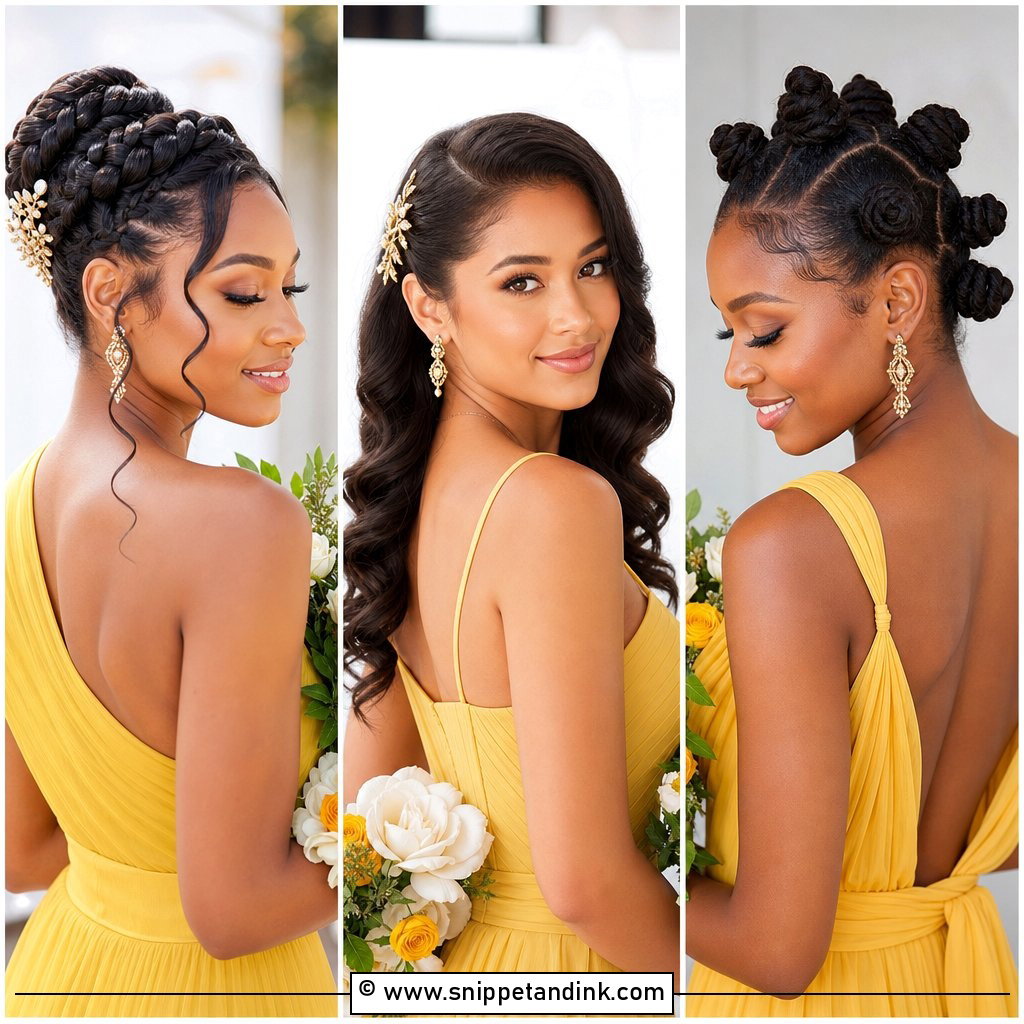
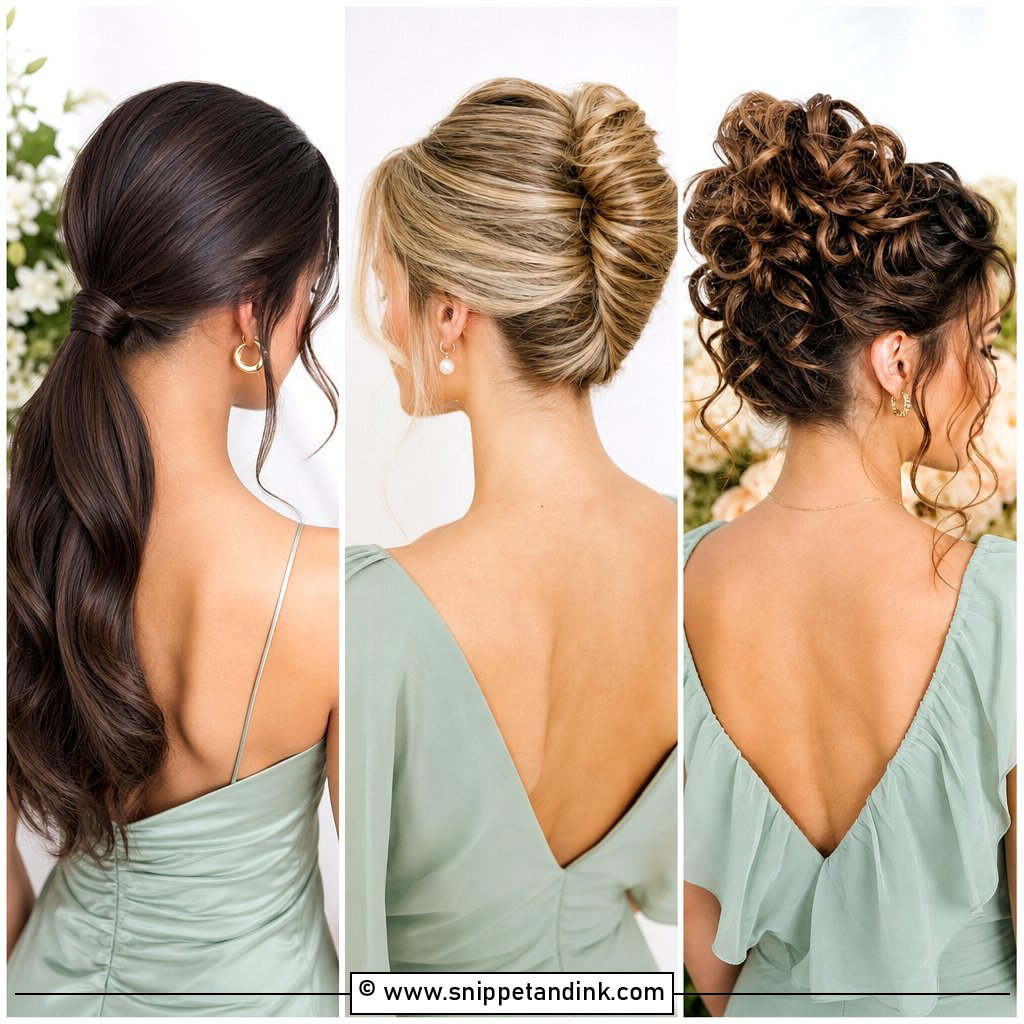
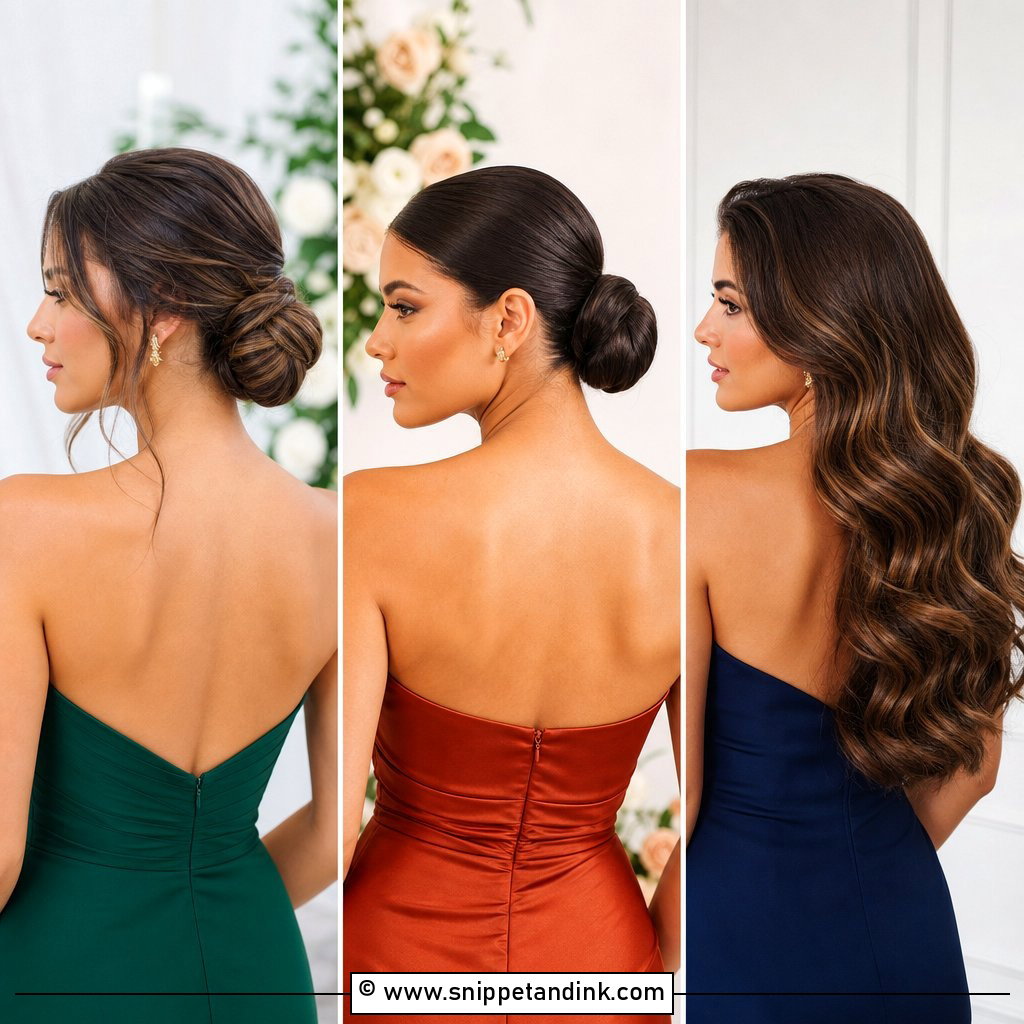
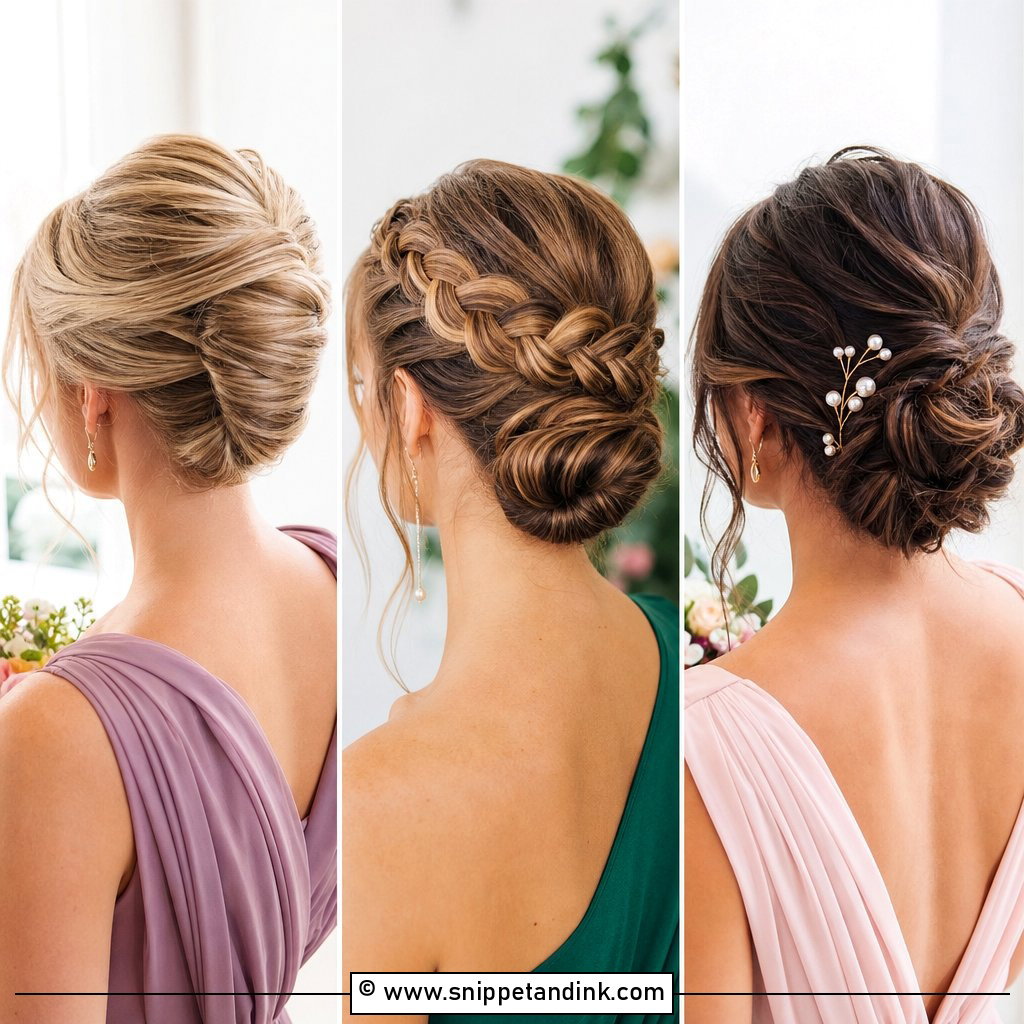
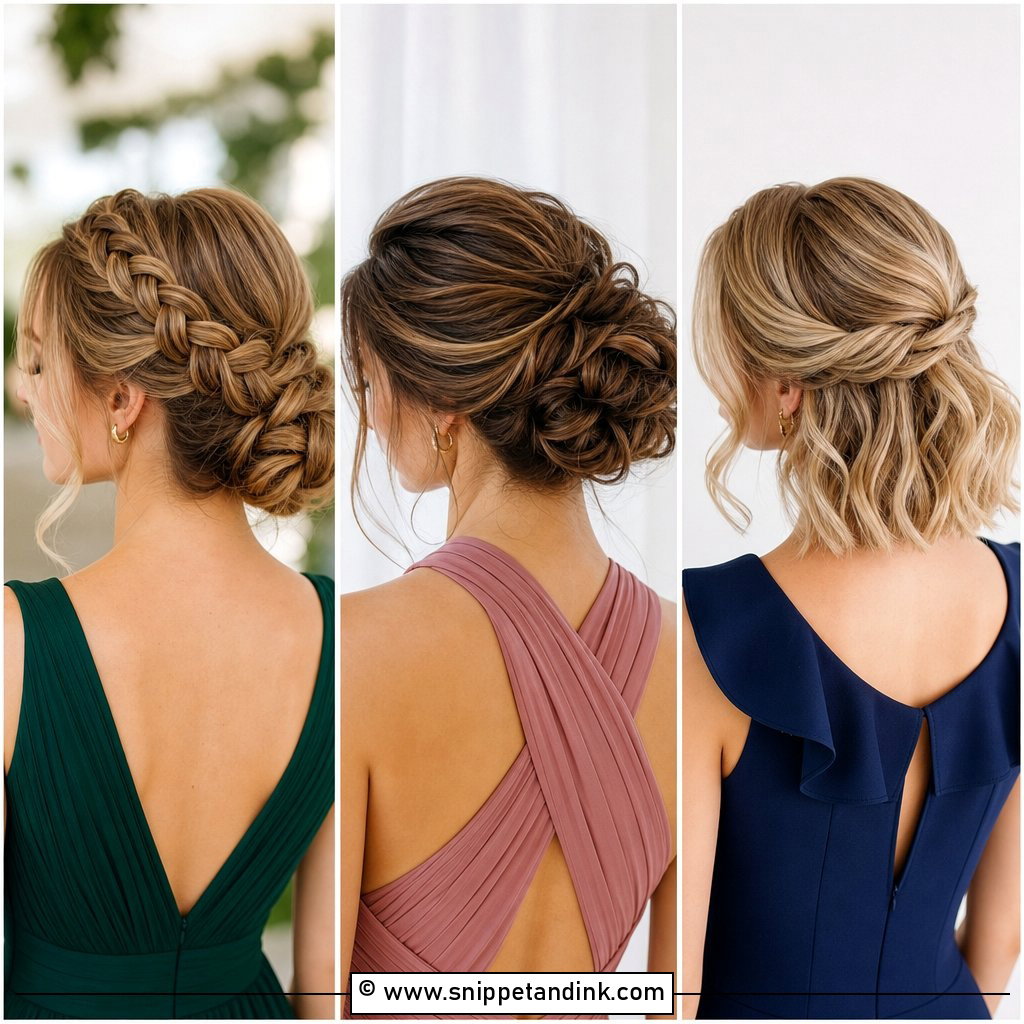
25. Romantic Bridesmaid Bun
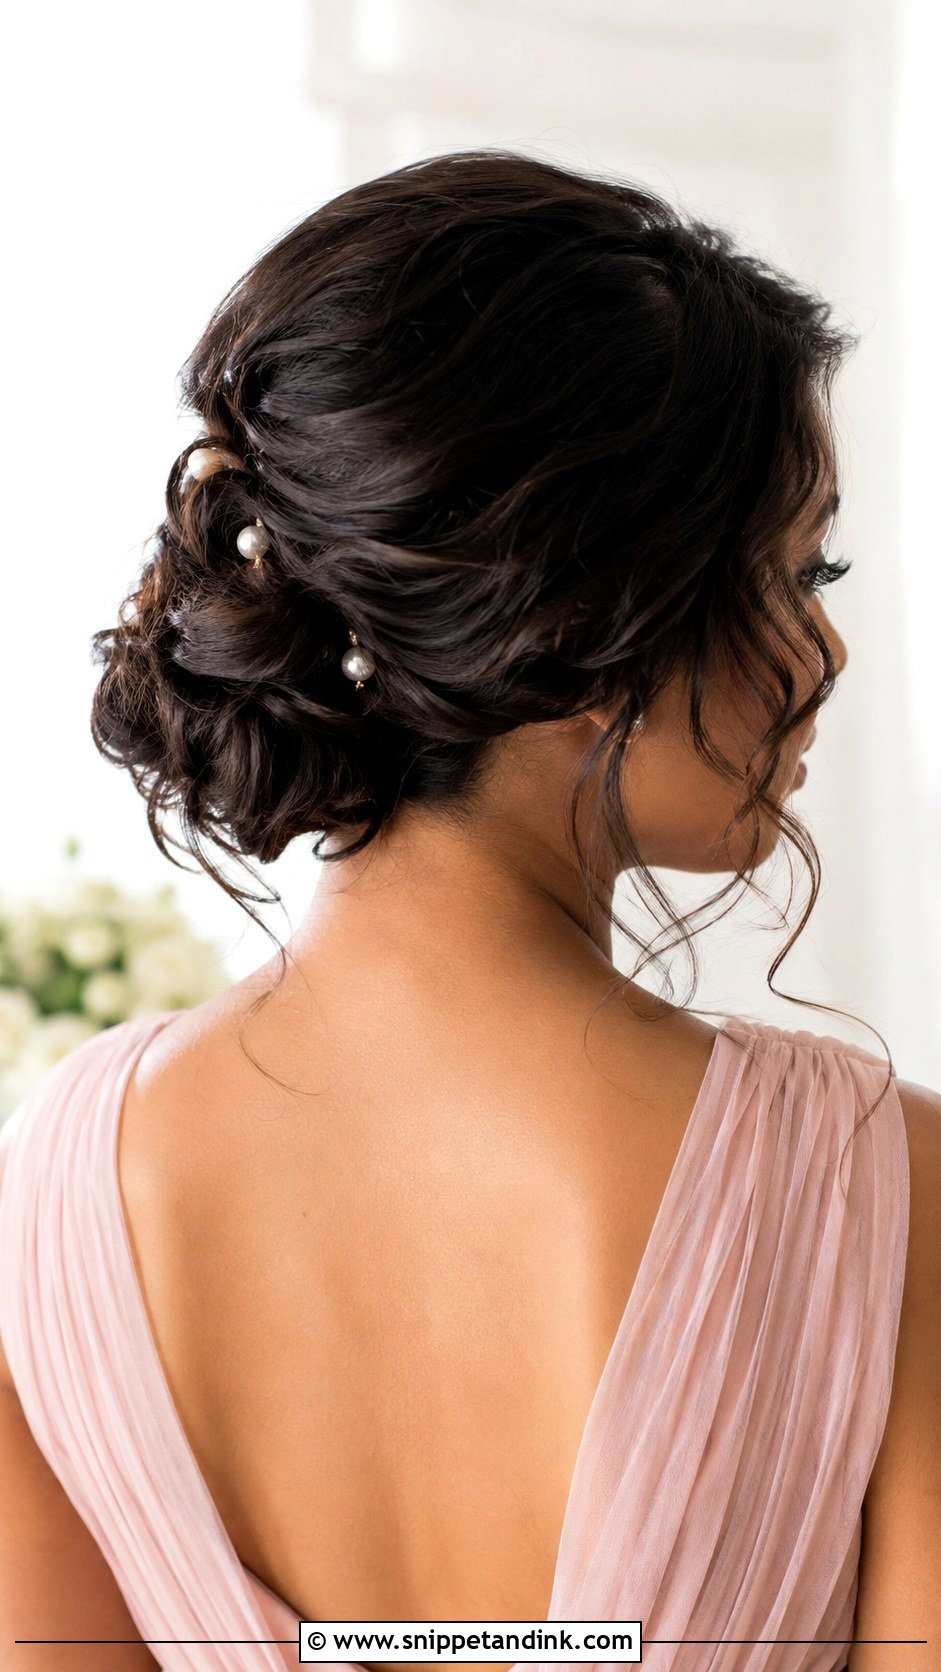
A romantic bun mixes loose curls, airy texture and soft face-framing pieces. It may be low, twisted or slightly undone. It suits pastel dresses, floral bouquets and soft makeup, and it avoids harsh lines. Small pearls, flowers or a fine hair vine can be added. I weave a vine through the pinned sections rather than laying it on top, so it doesn’t shift. It should still look touchable at the reception.
When a Bun Starts Drooping Around Hour Six
Buns rarely fall apart; they sag. The weight slowly pulls the base down and pins work loose. When I hand over a finished party, I give a small fix-it kit to one reliable person.
- Six to eight bobby pins and a few U-pins in the right hair colour.
- A travel-size flexible hairspray.
- A small tail comb for re-smoothing the sides.
- Two clear elastics in case a base ponytail gives way.
To fix a sagging bun, push it back up into place and drive two bobby pins in an X through the bun into the base underneath. It holds better than adding pins in a line. Mist and smooth the sides afterwards.
Keeping Hair Flowers Fresh Until the Reception
Hardy blooms like spray roses, wax flower and baby’s breath hold up best. Ask the florist to deliver them wired and taped, then keep them cool and lightly misted until the last moment. I add them after the final spray of hairspray, since spray can mark petals. On a hot day, dried flowers are the safer option.
Avoid soft-petalled blooms like peonies or gardenias in hair; they bruise where pins touch them and brown at the edges within a few hours. If the bride wants them in the bouquet, I’ll match the colour with a sturdier flower in the bridesmaids’ buns instead.
A Solid Base Is What Keeps Any Bun Up Until the Last Song
Buns can be adjusted for every hair type, dress and venue. Sleek ones read modern and formal; messy and textured ones feel relaxed. Braids, twists, flowers, pearl pins and face-framing pieces personalise them without pulling focus from the bride. Think about the neckline, the weather, hair length and how much movement each bridesmaid is comfortable with. With good prep and a solid base, a bun will hold through photos, hugs, dinner and dancing.
You'll Like These Ideas:


Leave a Reply