
On a wedding morning I’m busy with the bride and her party, which means most guests do their own hair, often in a hotel bathroom with bad light. That’s fine. Plenty of good guest styles need nothing more than a curling iron, a brush and a handful of pins. What I’ve done below is go through 20 cute wedding guest hairstyles the way I’d coach a friend: how to actually do each one at home, what trips people up, and which ones need a practice run before the day.
A Hotel Mirror, One Iron and Forty Minutes
Doing your own hair away from home is mostly about planning. I’d do this the day before and the morning of.
- Wash the night before, not the morning of. Slightly lived-in hair grips pins and holds curl far better than freshly washed hair.
- Pack a curling iron with a dual-voltage plug if you’re traveling abroad, a brush, a comb, two dozen bobby pins in your shade, clear elastics, texture spray and hairspray.
- Bring a hand mirror. Hotel bathrooms rarely let you see the back of your head, and that’s where bumps and stray pins hide.
- Start with your hair before makeup, so hairspray doesn’t settle on your face, and leave forty minutes even for a simple style.
Easy on yourself: low bun, pinned back curls, twisted half updo, top knot, sleek ponytail. Practice first: Hollywood waves, waterfall braid, braided crown, bouffant.
1. Low Bun Wedding Guest Hairstyle
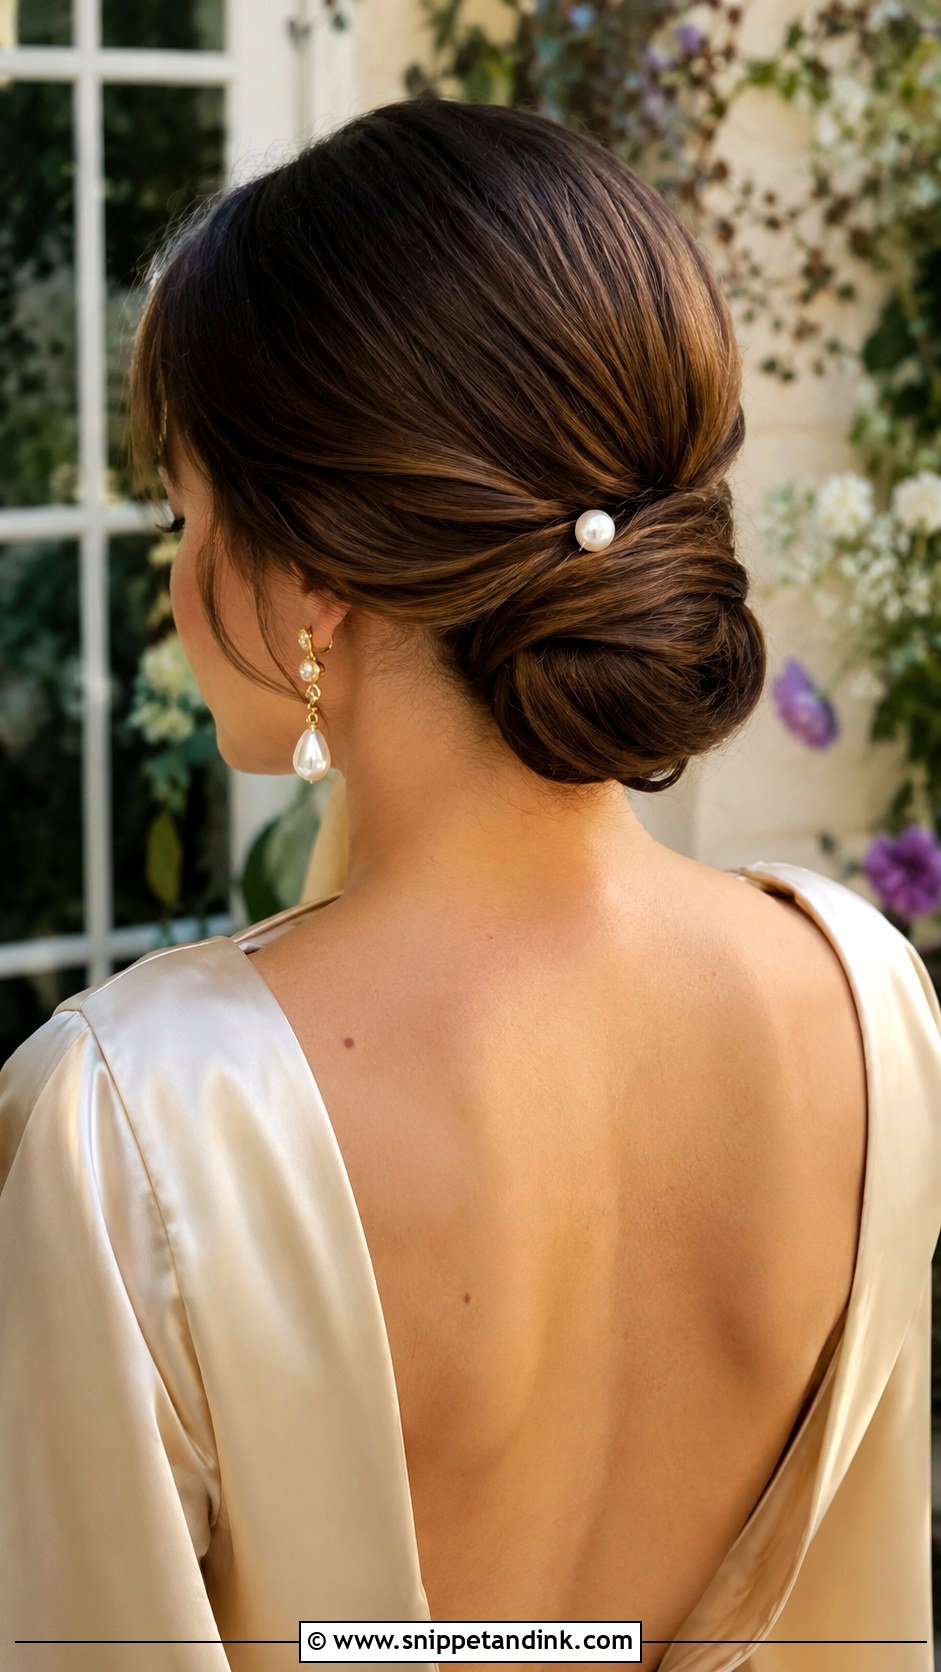
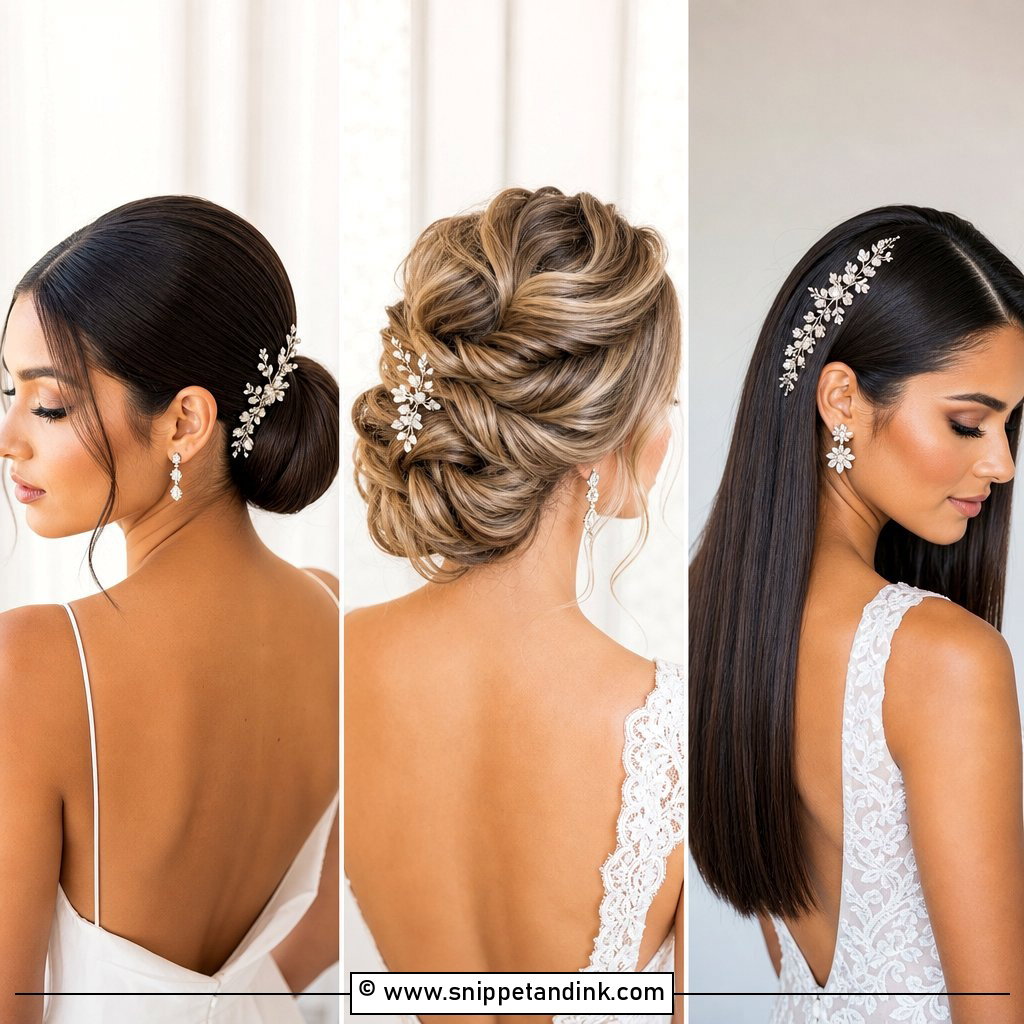
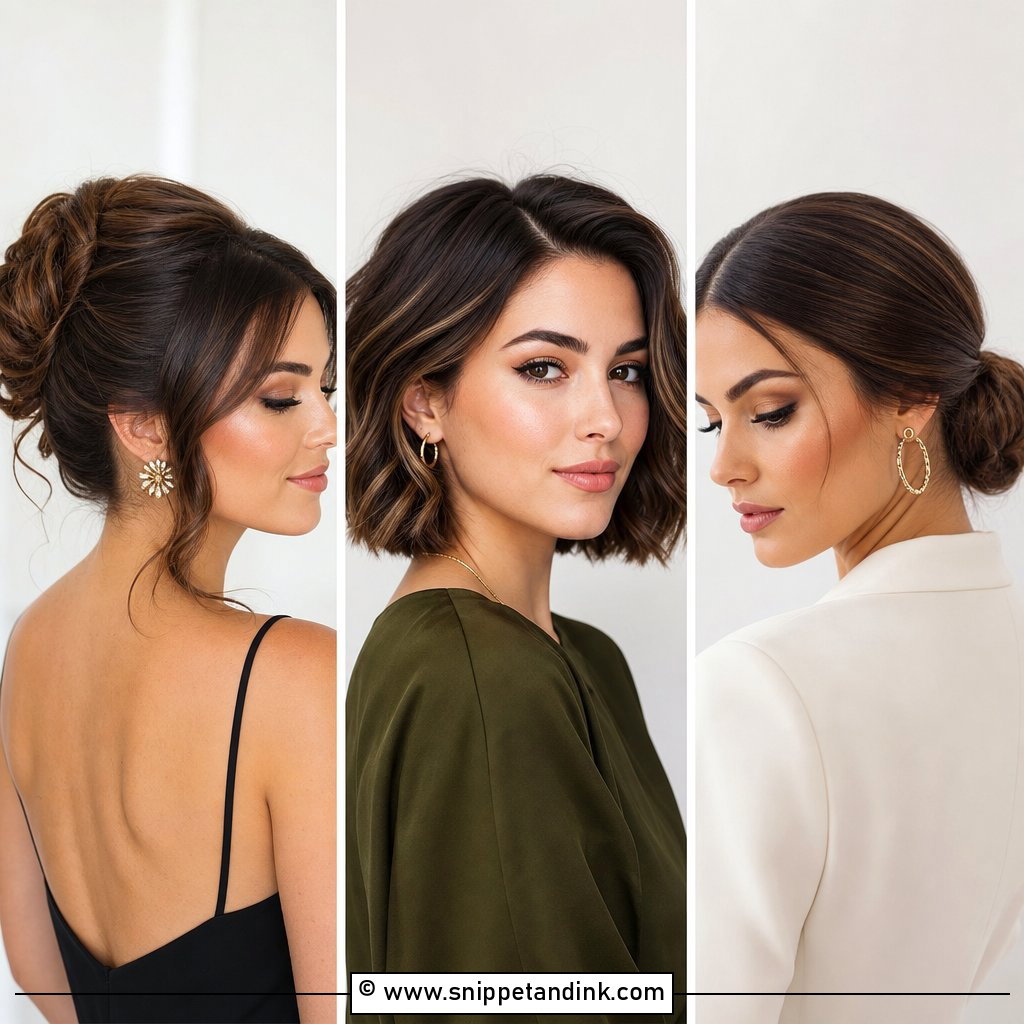
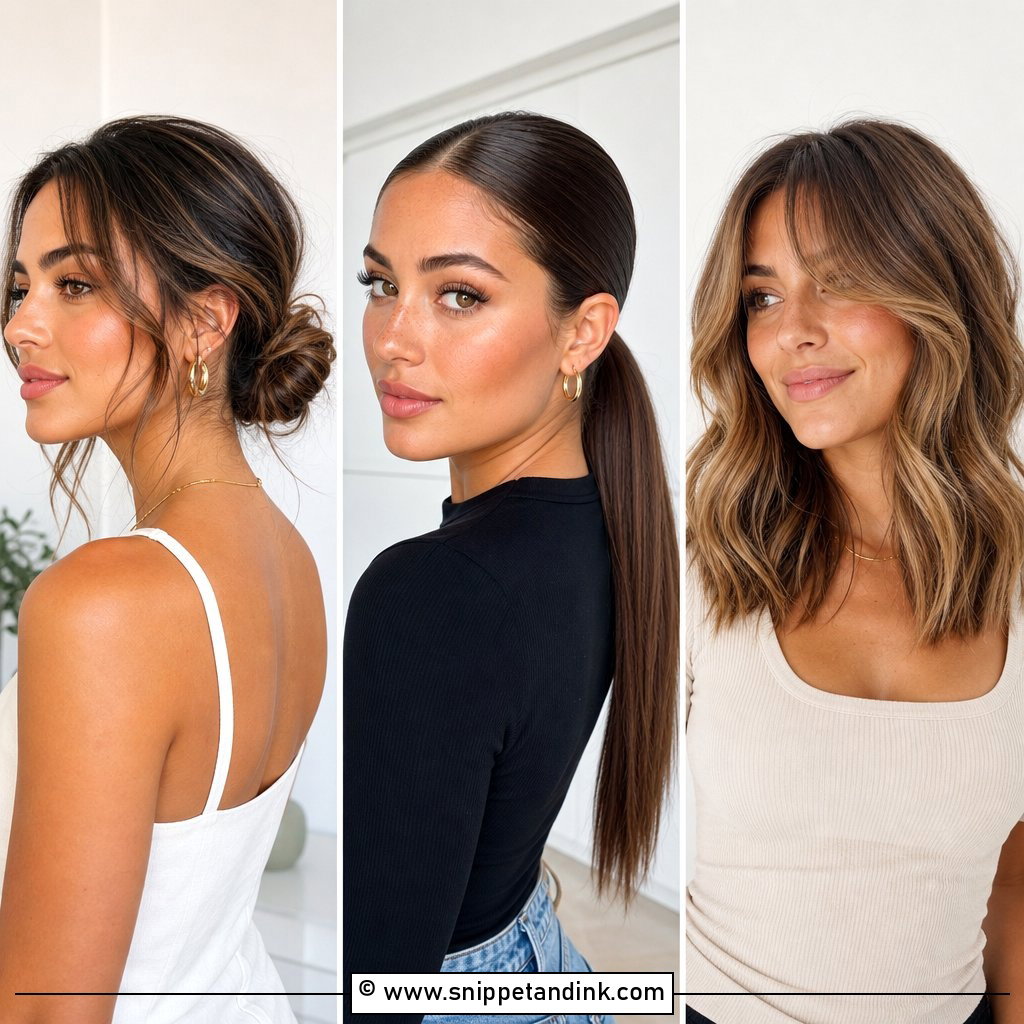
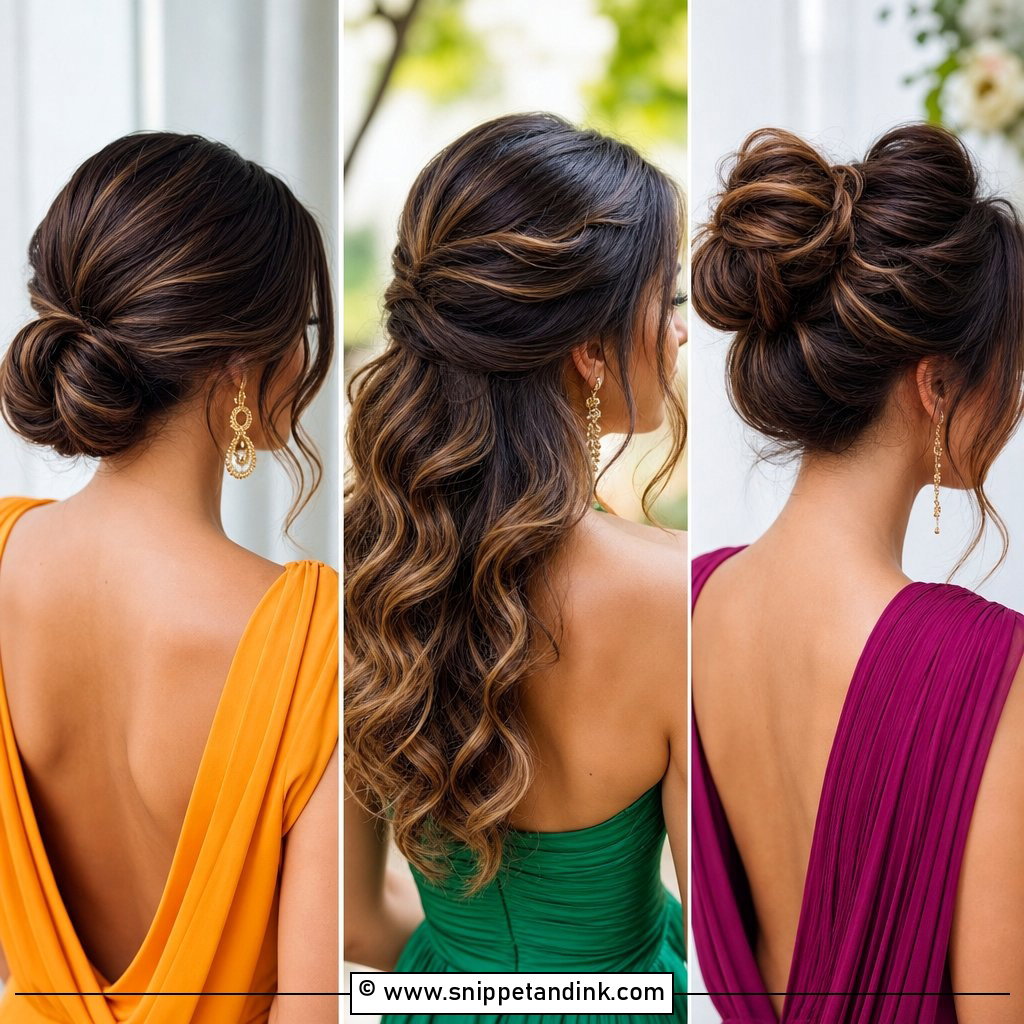
A low bun is the safest style to do on yourself because you don’t need to see the back. Brush everything to the nape, tie a ponytail first (people skip this, and the bun slides), then twist and wrap it around the base and pin through the outer edge into the elastic. Keep it smooth for a formal dress code, or loosen a few pieces for a softer look. A pearl pin finishes it. It sits nicely with open-back and halter dresses and won’t need touching up all night.
2. Half Up Half Down With Curls
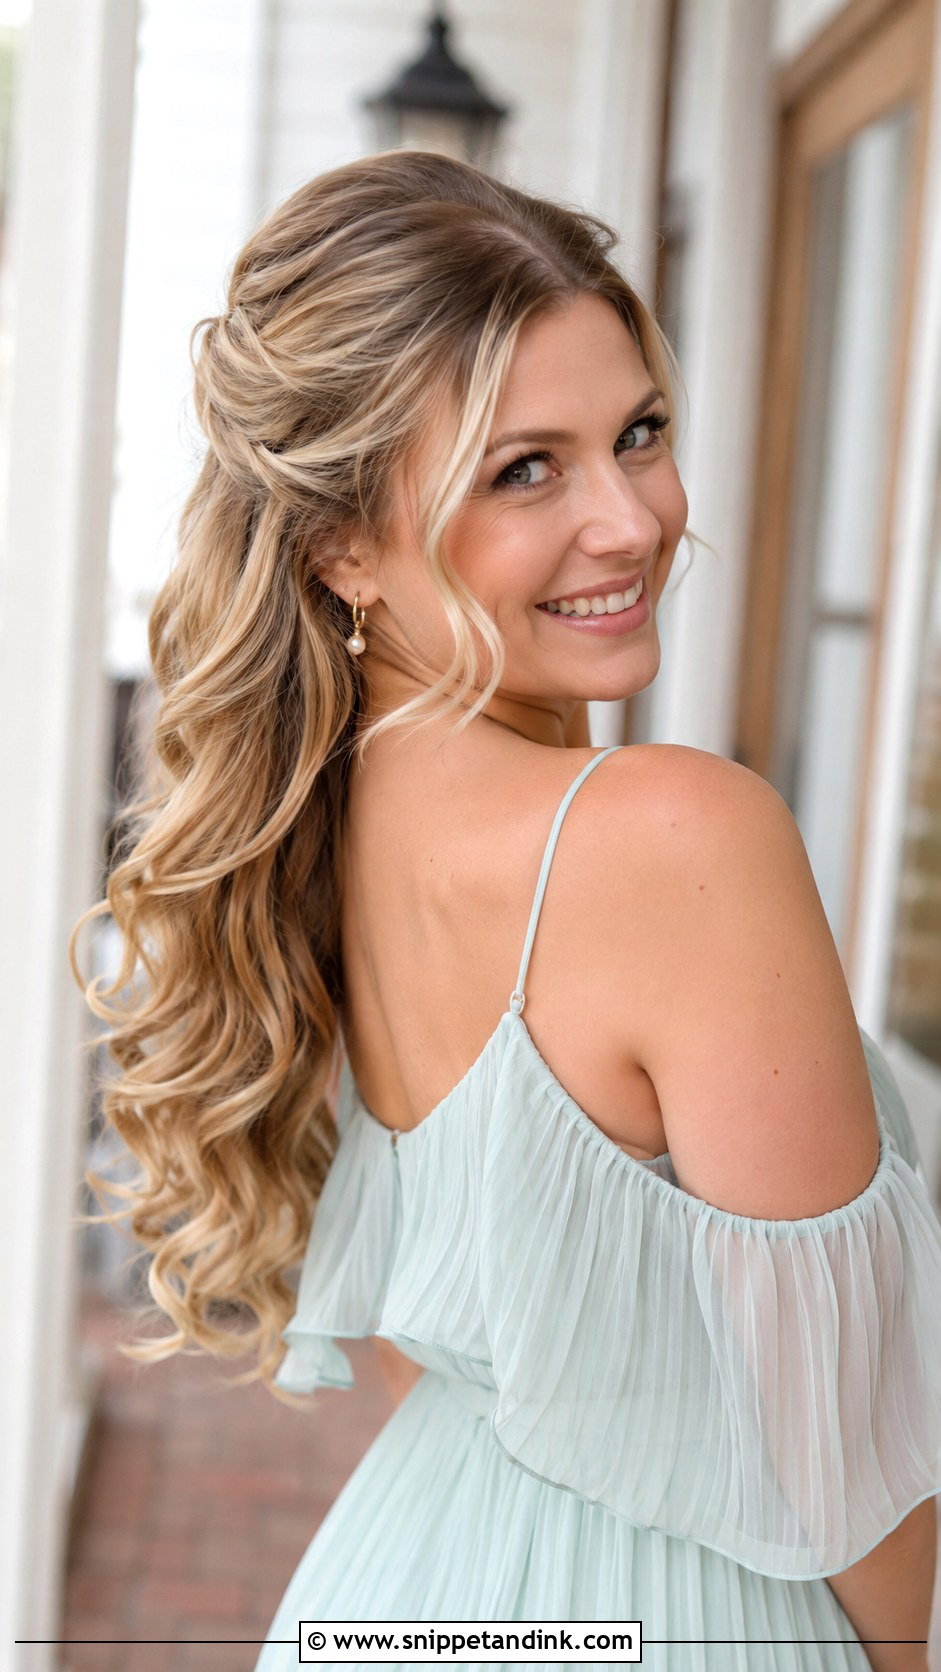
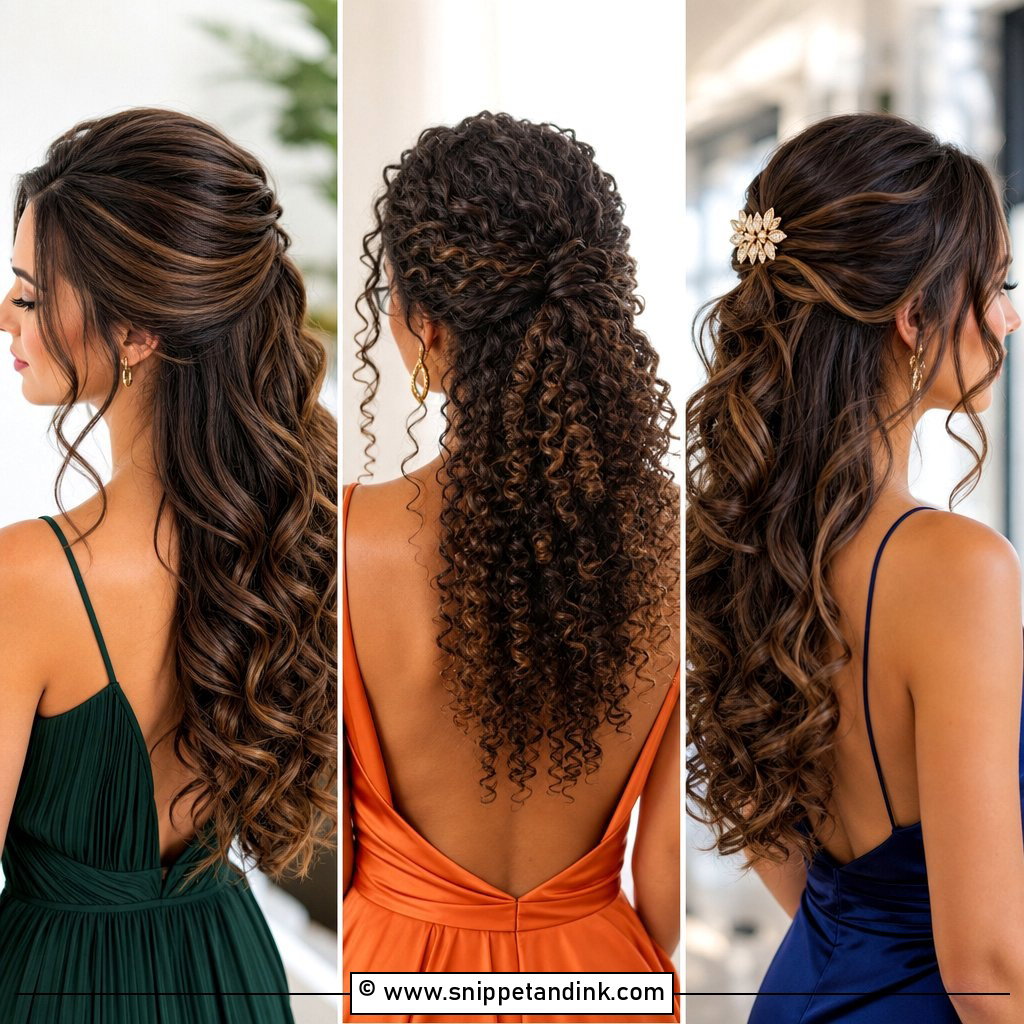
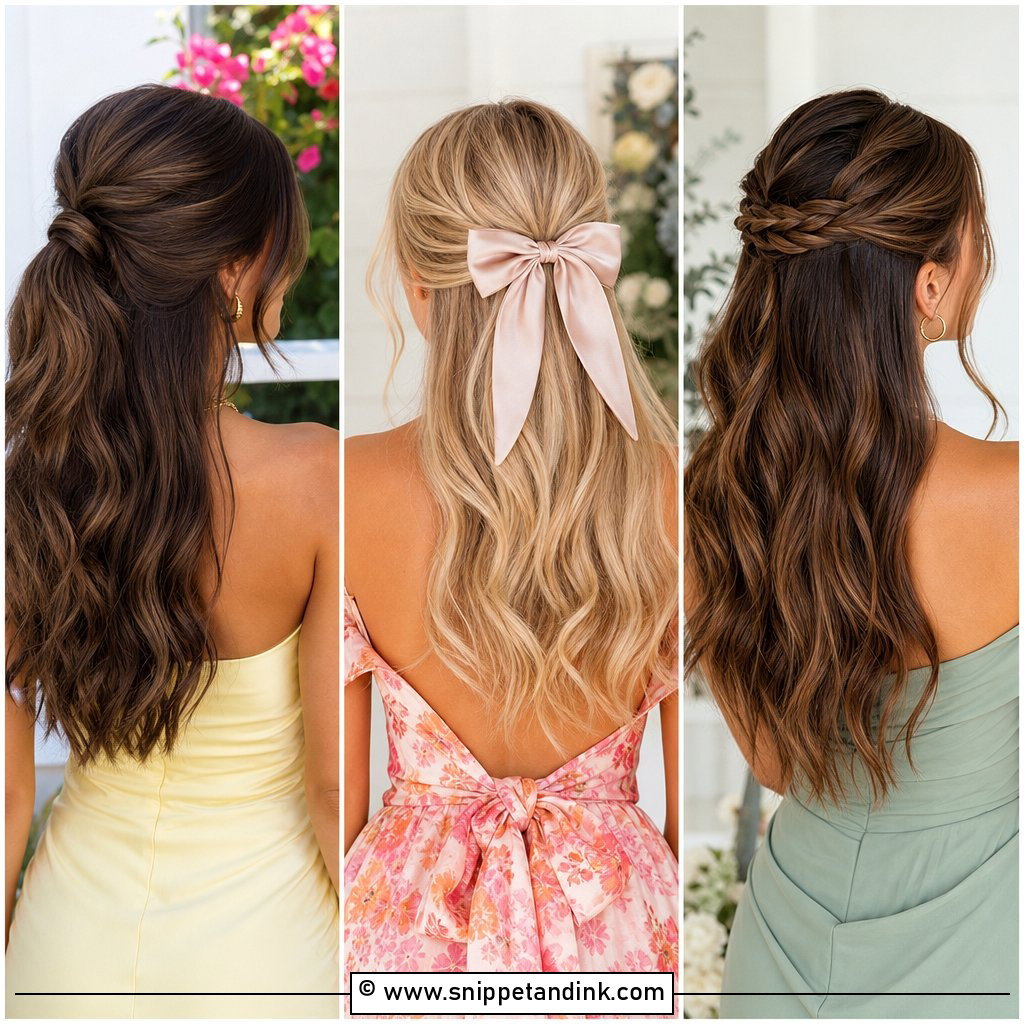
Curl everything first with a medium iron, around an inch, and let it cool before you touch it. Then take the top section from temple to temple and pin it at the back with two bobby pins crossed in an X under a small clip, because a clip alone tends to slide down fine hair within a couple of hours. For height, add a slight bouffant at the crown by teasing the underside of that top section. It suits medium to long hair, and it works for both daytime and evening dress codes.
3. Sleek Low Ponytail
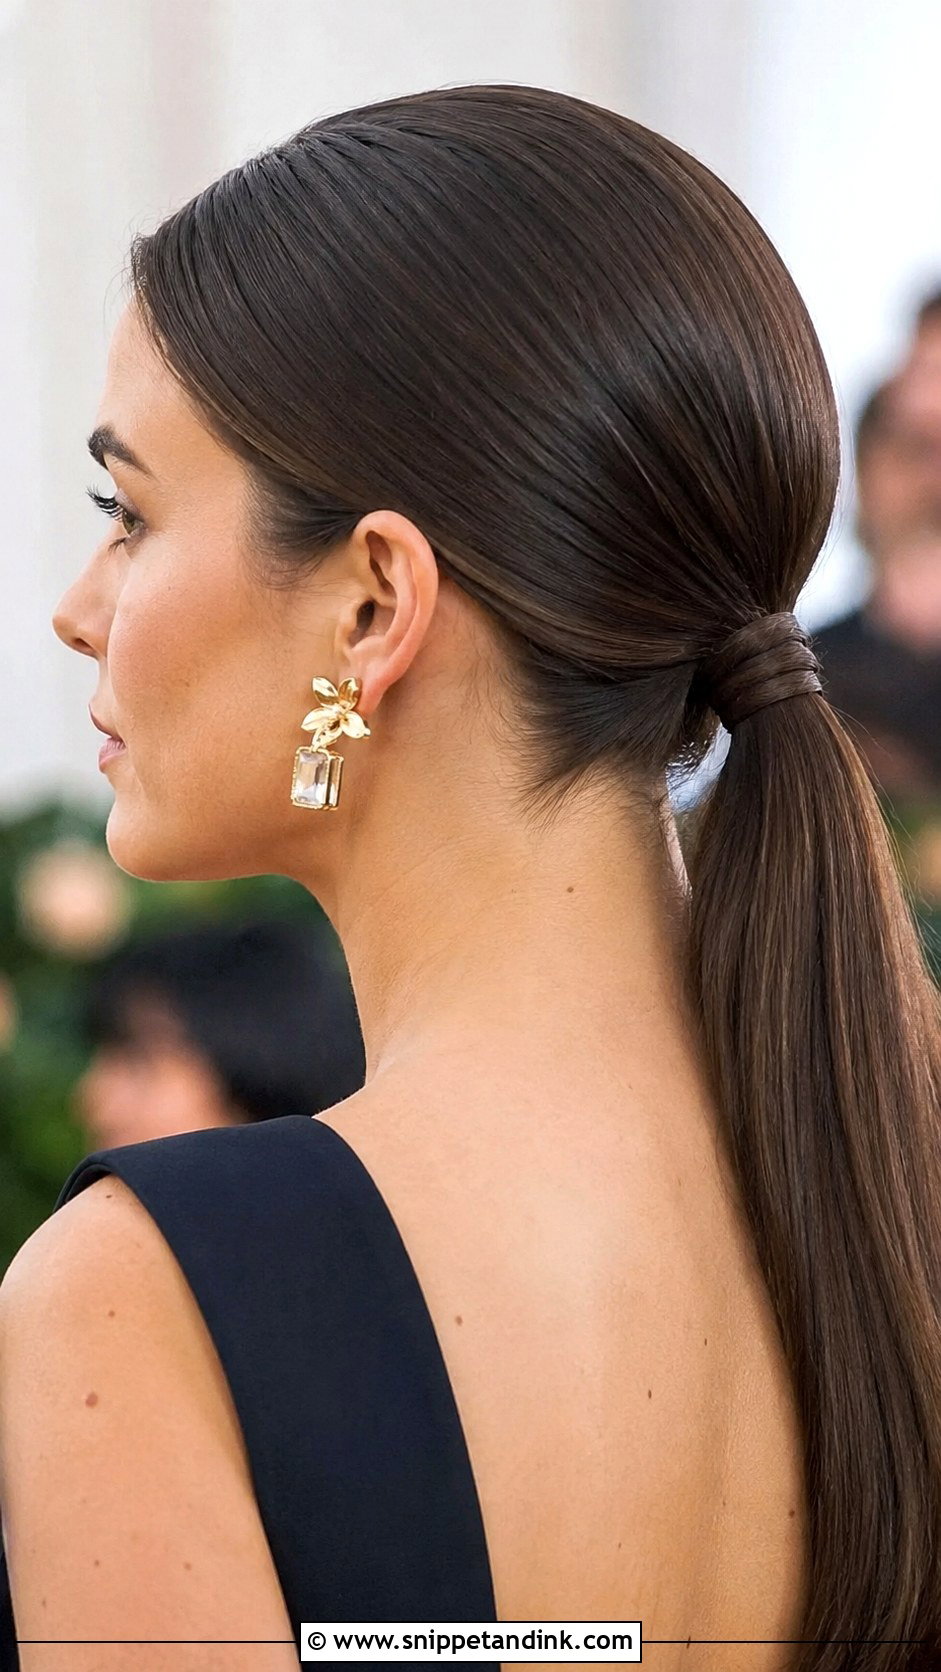
A sleek ponytail is all prep. Blow-dry smooth, brush back with a little serum or a smoothing cream, tie it at the nape, and wrap a thin strand around the elastic, pinning the end underneath. Check the back with a hand mirror for bumps; a bump on a sleek pony is the one thing everyone notices. It keeps hair off your neck in summer and lets statement earrings and structured dresses do the talking. Straight or slightly wavy hair both work.
4. Hollywood Waves
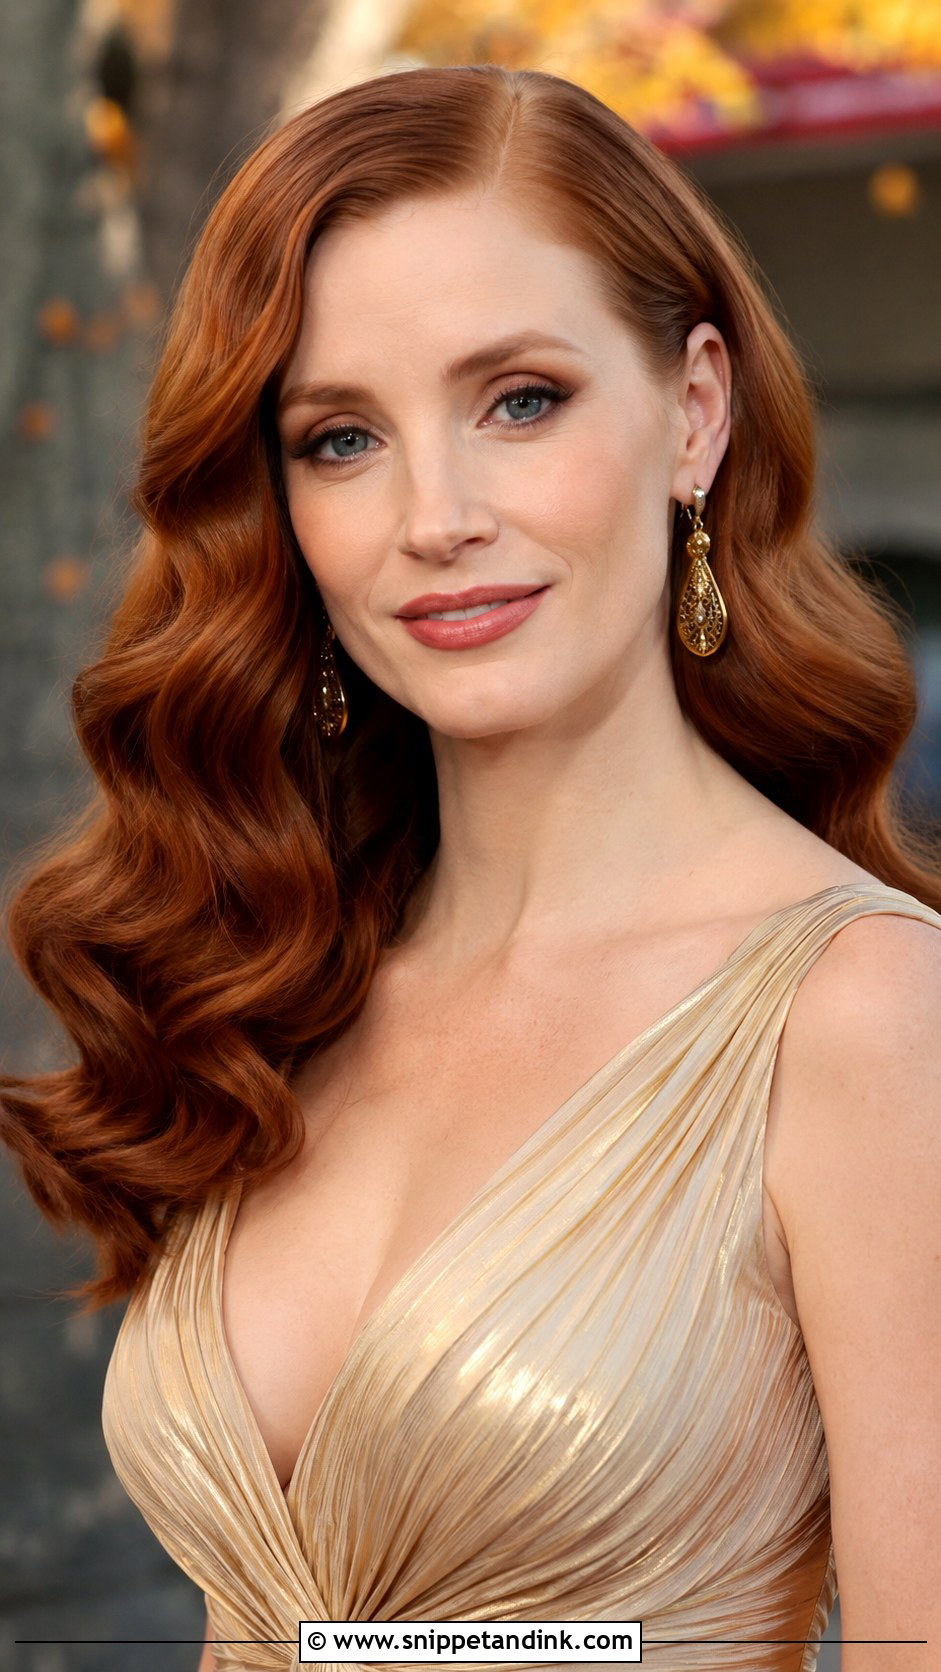
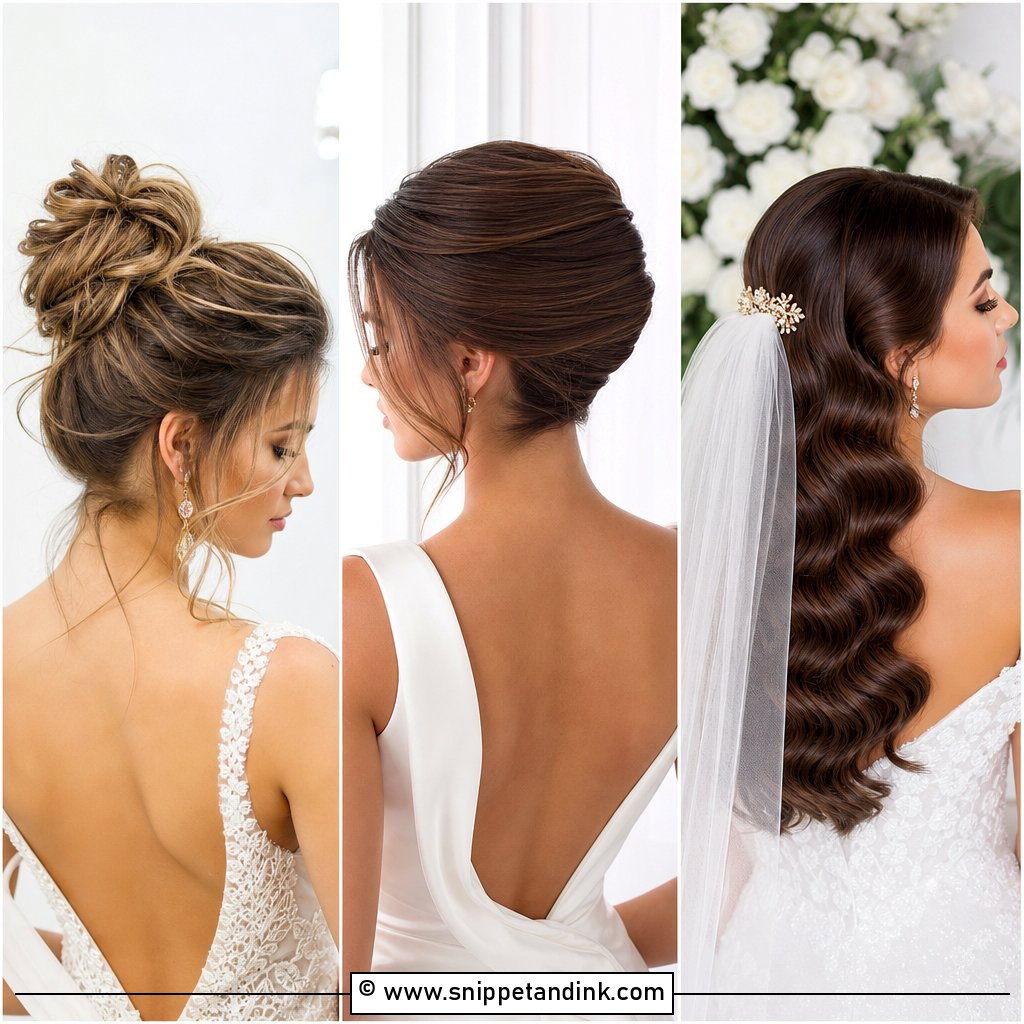
These are harder to do on yourself than they look. Curl every section in the same direction with a medium iron, let the curls cool fully, then brush out the whole head with a paddle brush so the curls join into waves. If they won’t join, your curls were too small or not cooled enough. Medium to long hair suits it, and a shine spray finishes it. I’d save this one for a formal or vintage-inspired outfit, and only after you’ve tried it once at home.
5. Twisted Half Updo
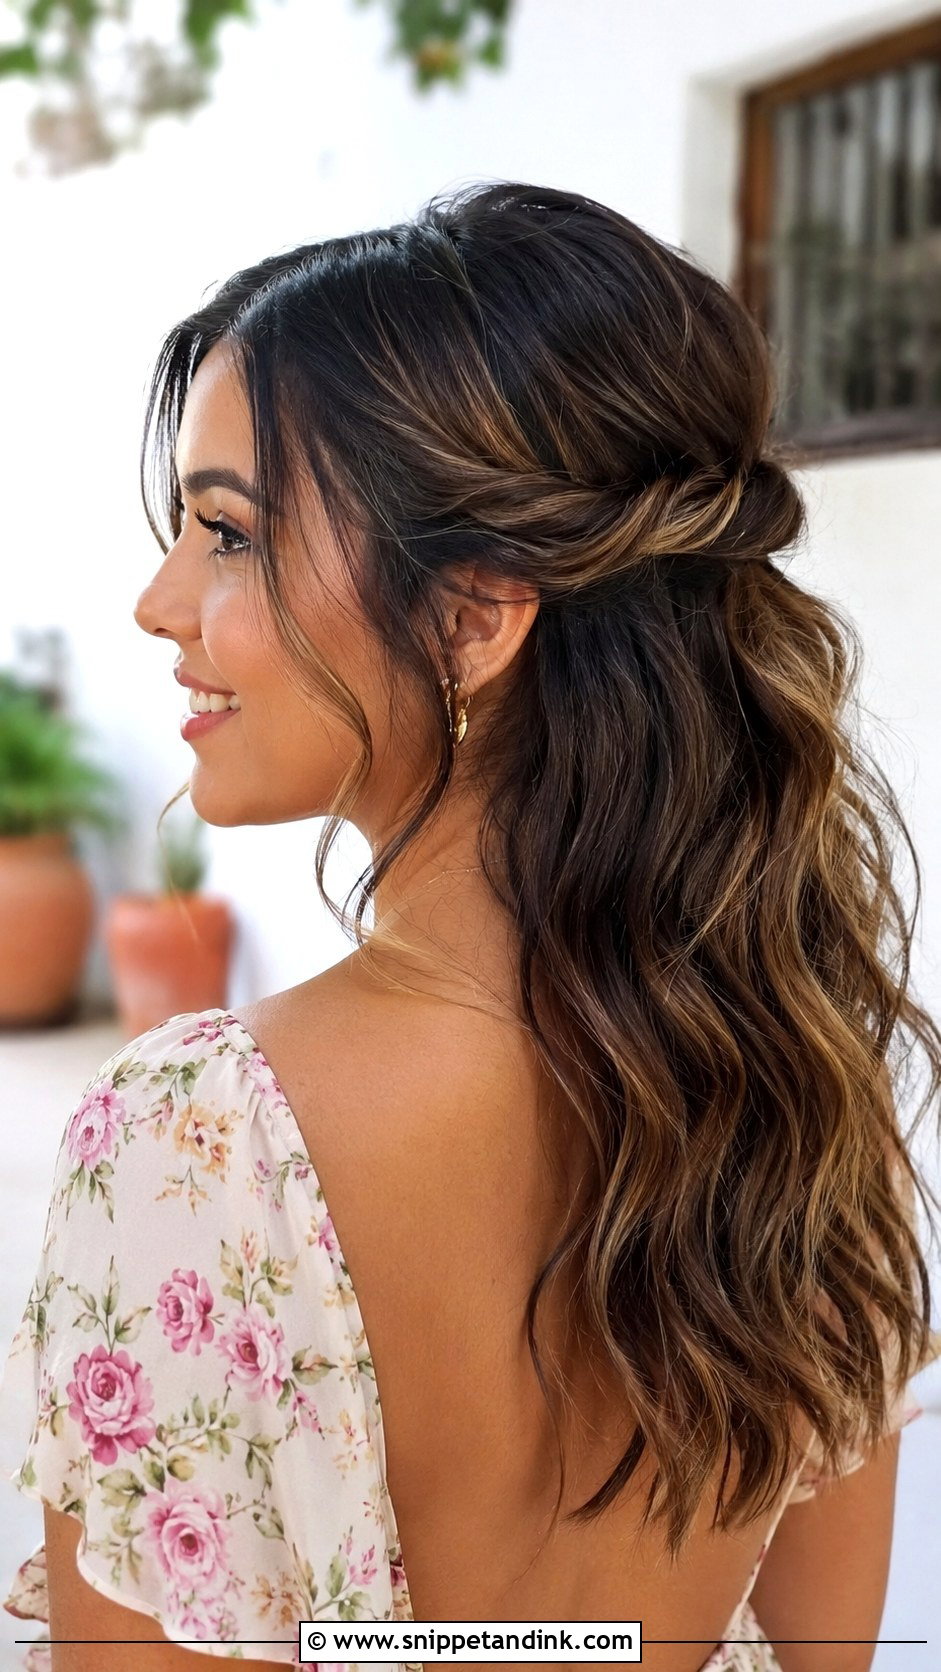
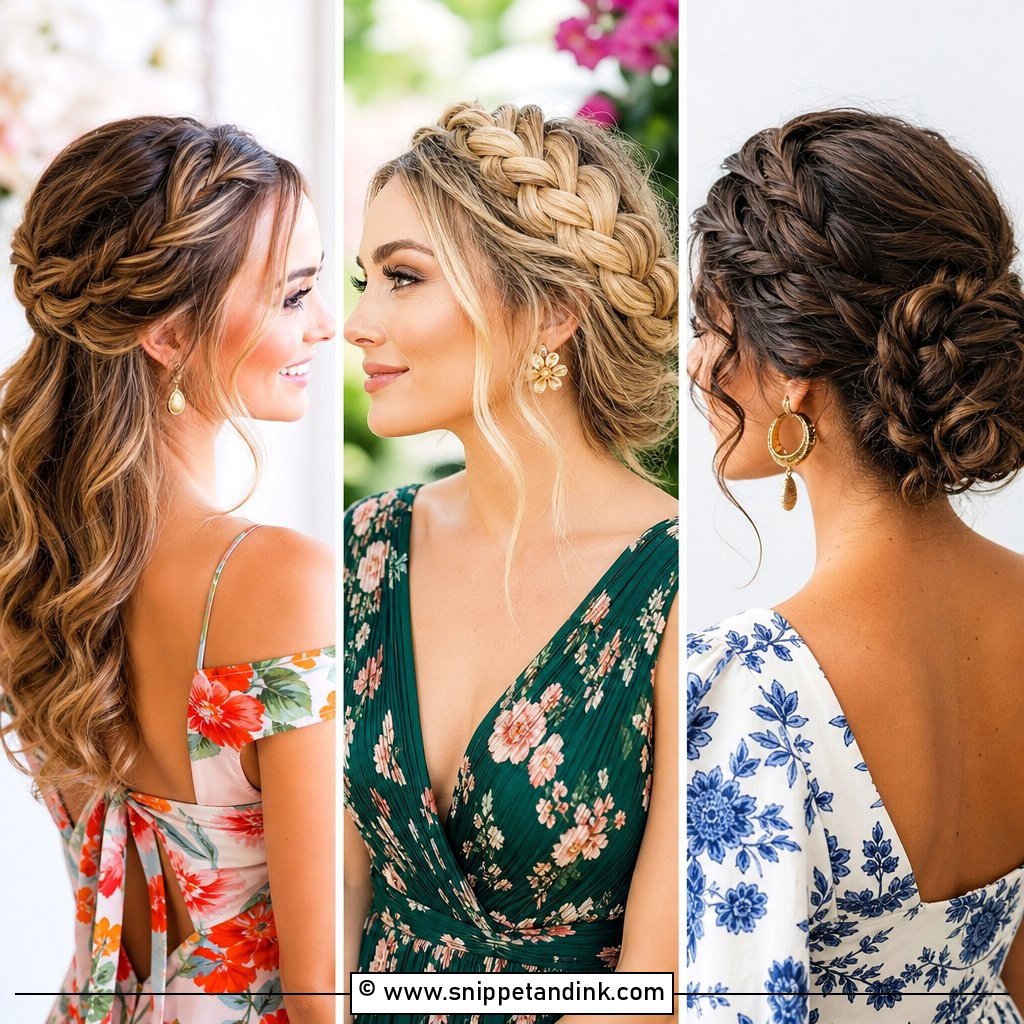
Take a two-inch section from each side above the ear, twist each one back toward the center, and pin them together where they meet. That’s it. Twisting away from your face is the trick most people get backward. It works on straight and curly hair alike, and a few loose tendrils by the ears soften it. Add a small floral pin if you like. It suits a boho garden wedding as easily as a hotel ballroom.
6. Messy Bun Updo
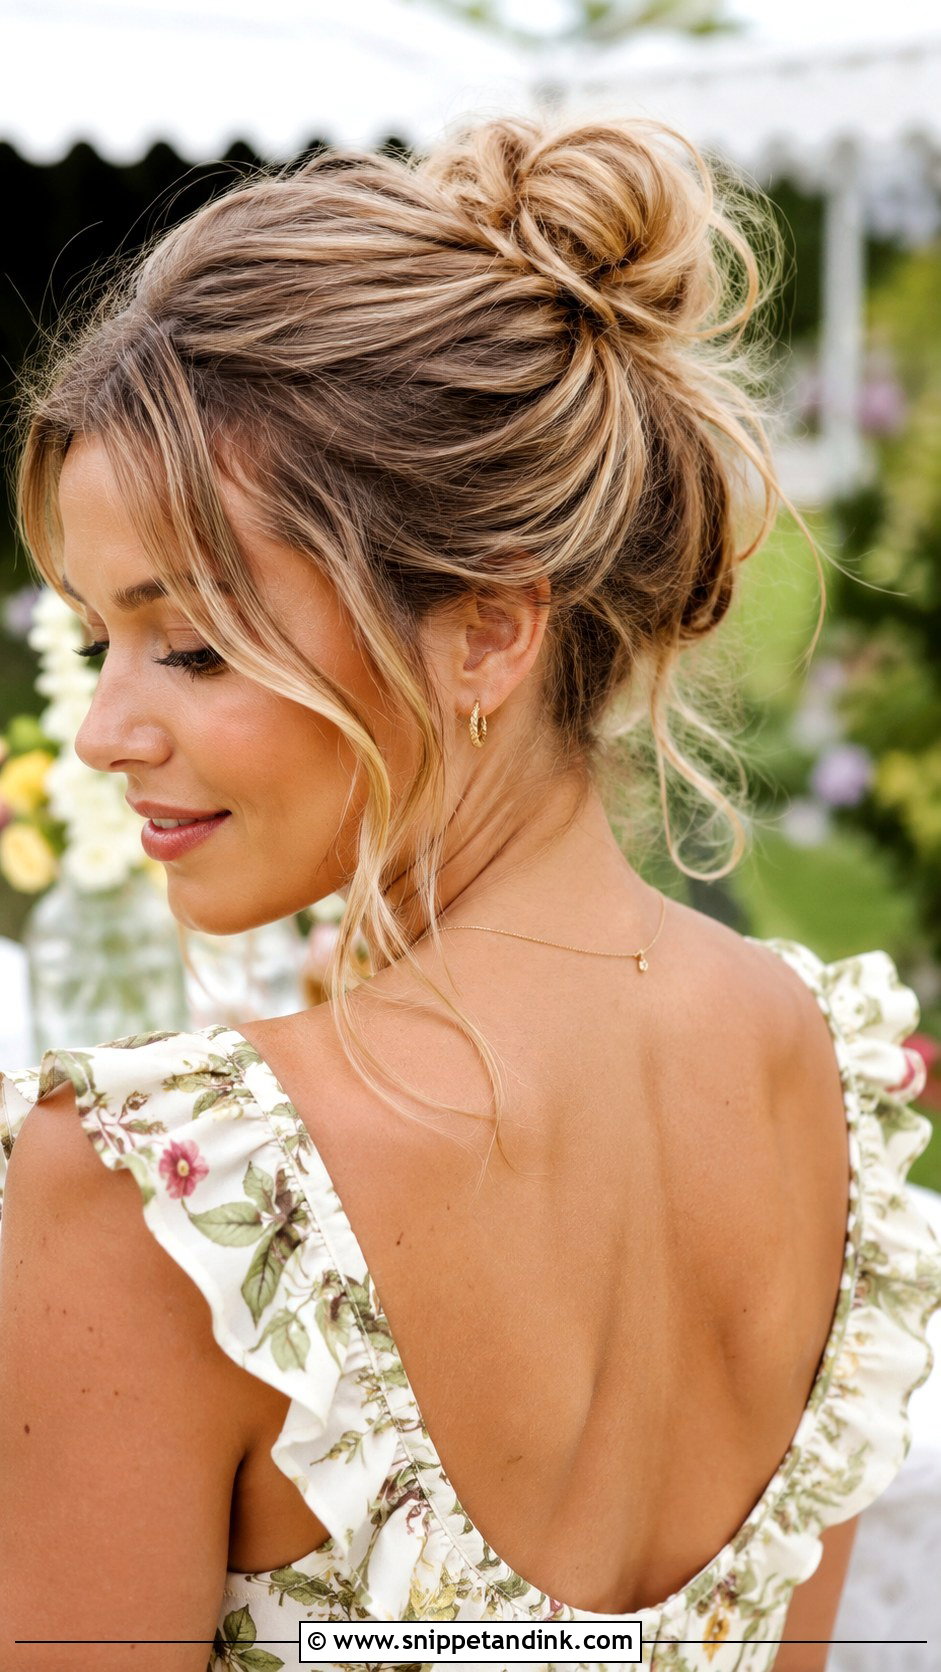
Day-old hair is ideal here, because clean, silky hair slides straight out of a messy bun. If you’ve just washed, add a texture spray or dry shampoo first for grip. Gather it loosely, twist into a bun without brushing, and pin through the bun into the base. Pull a few pieces down around your face with your fingers. Finish with a light hairspray so the shape stays. It’s comfortable and casual, best kept for garden or daytime weddings rather than black-tie.
7. Fishtail Braid Half-Up
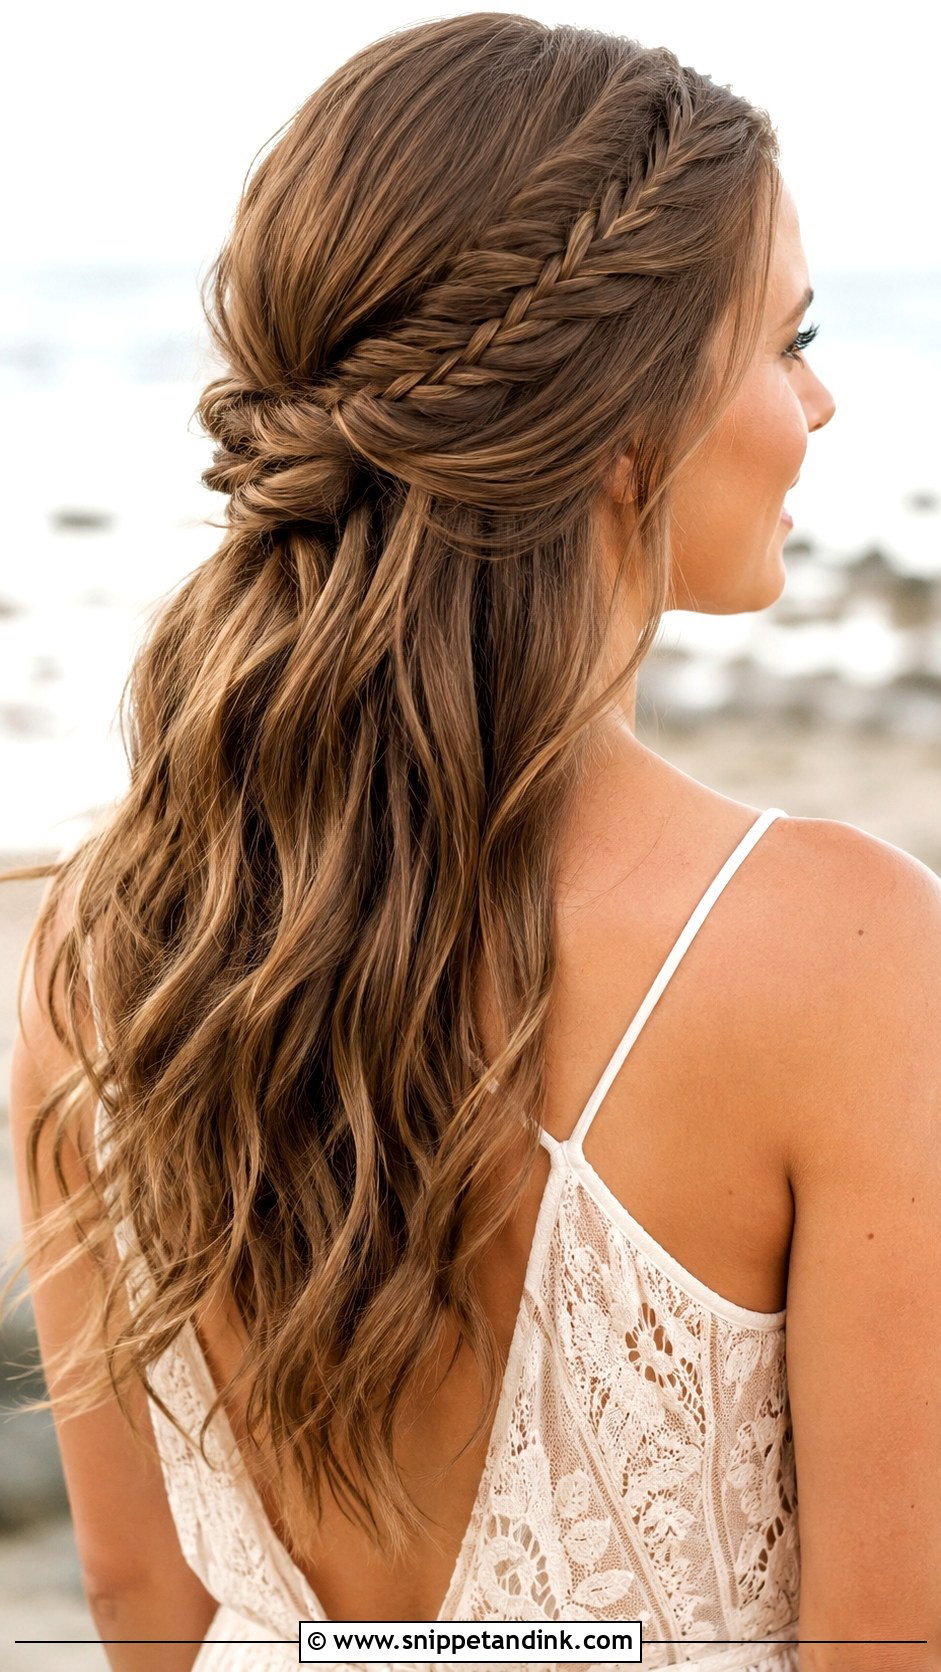
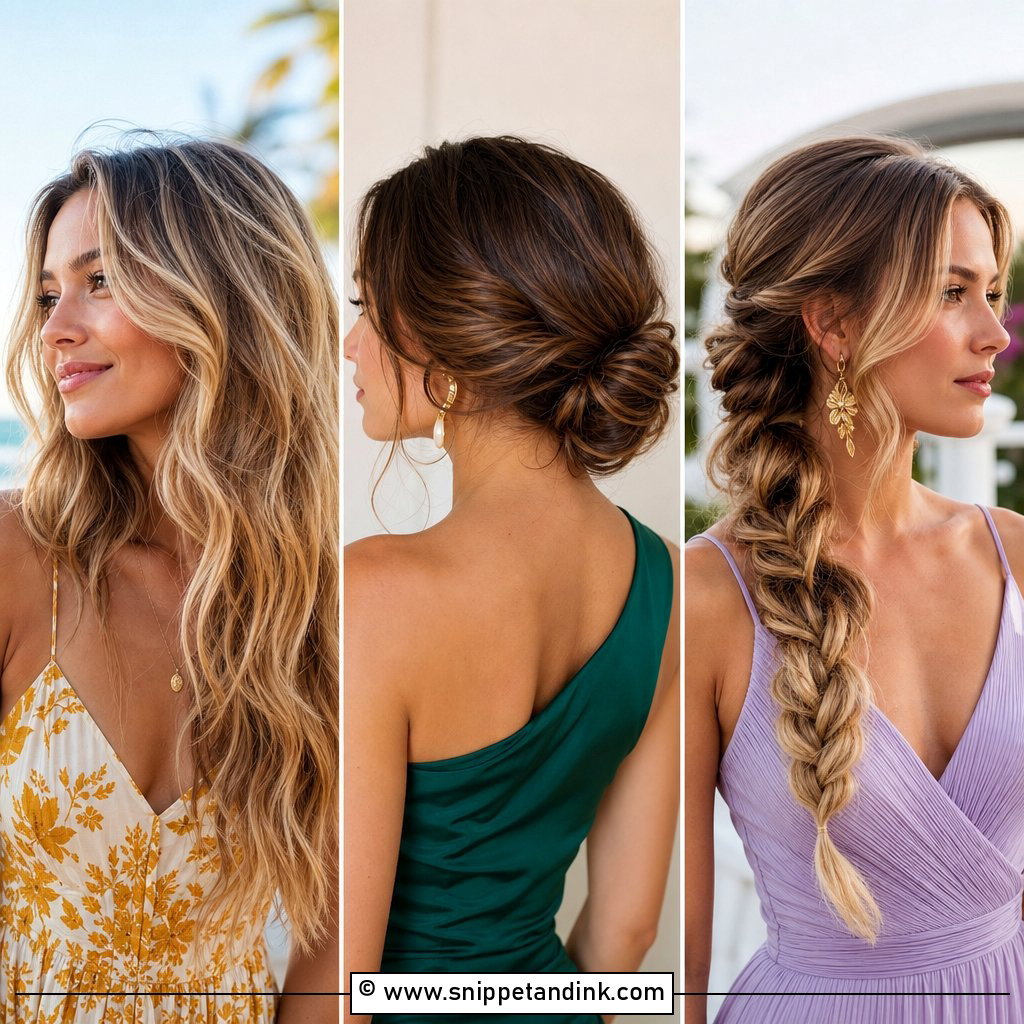
Fishtails are quick once you’ve practiced: split a side section in two and keep crossing a small strand from the outside of one half to the other. Tie it with a clear elastic, bring it to the back and pin it, leaving the rest down. Pulling the edges gently afterward makes it look fuller, which helps if your hair is fine. Long hair works best. It goes well with flowing dresses and suits an outdoor or beach wedding.
8. Waterfall Braid
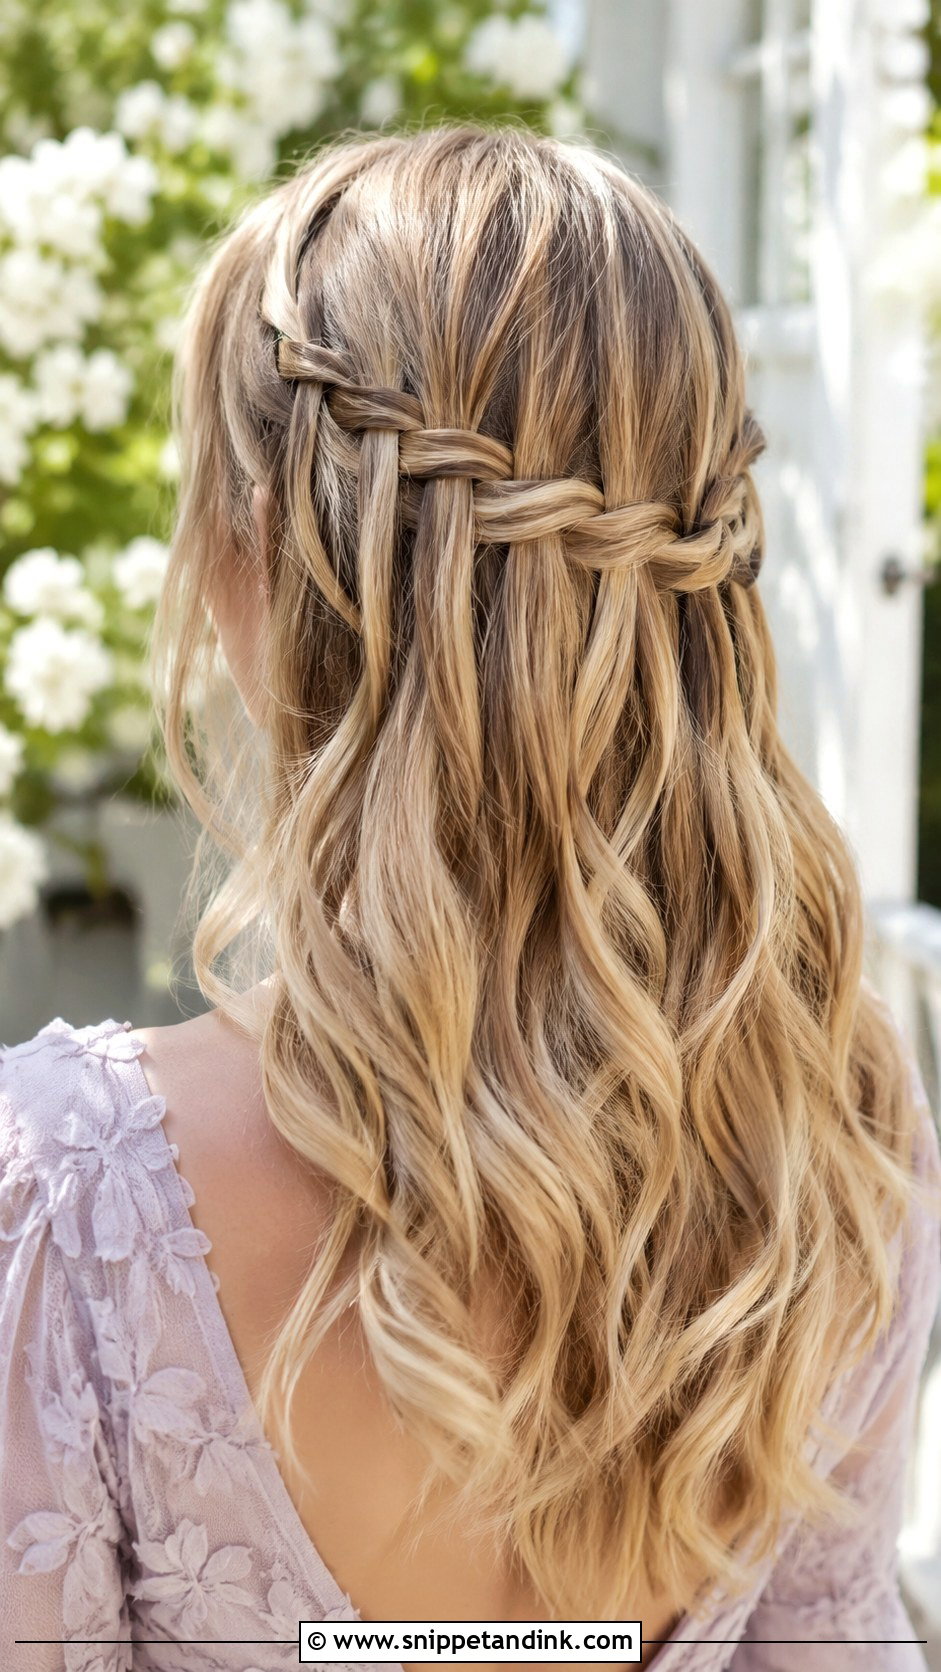
A waterfall braid takes most people two or three attempts to get right, so practice before the wedding week. Start a normal braid at the temple, but each time the top strand crosses, drop it and pick up a new one; the dropped pieces fall like water. Continue across the back and pin it. It works even on shorter bob-length hair, which is why I like it for guests with layered cuts. Loose waves underneath soften it nicely for spring and summer weddings.
9. Classic Blowout
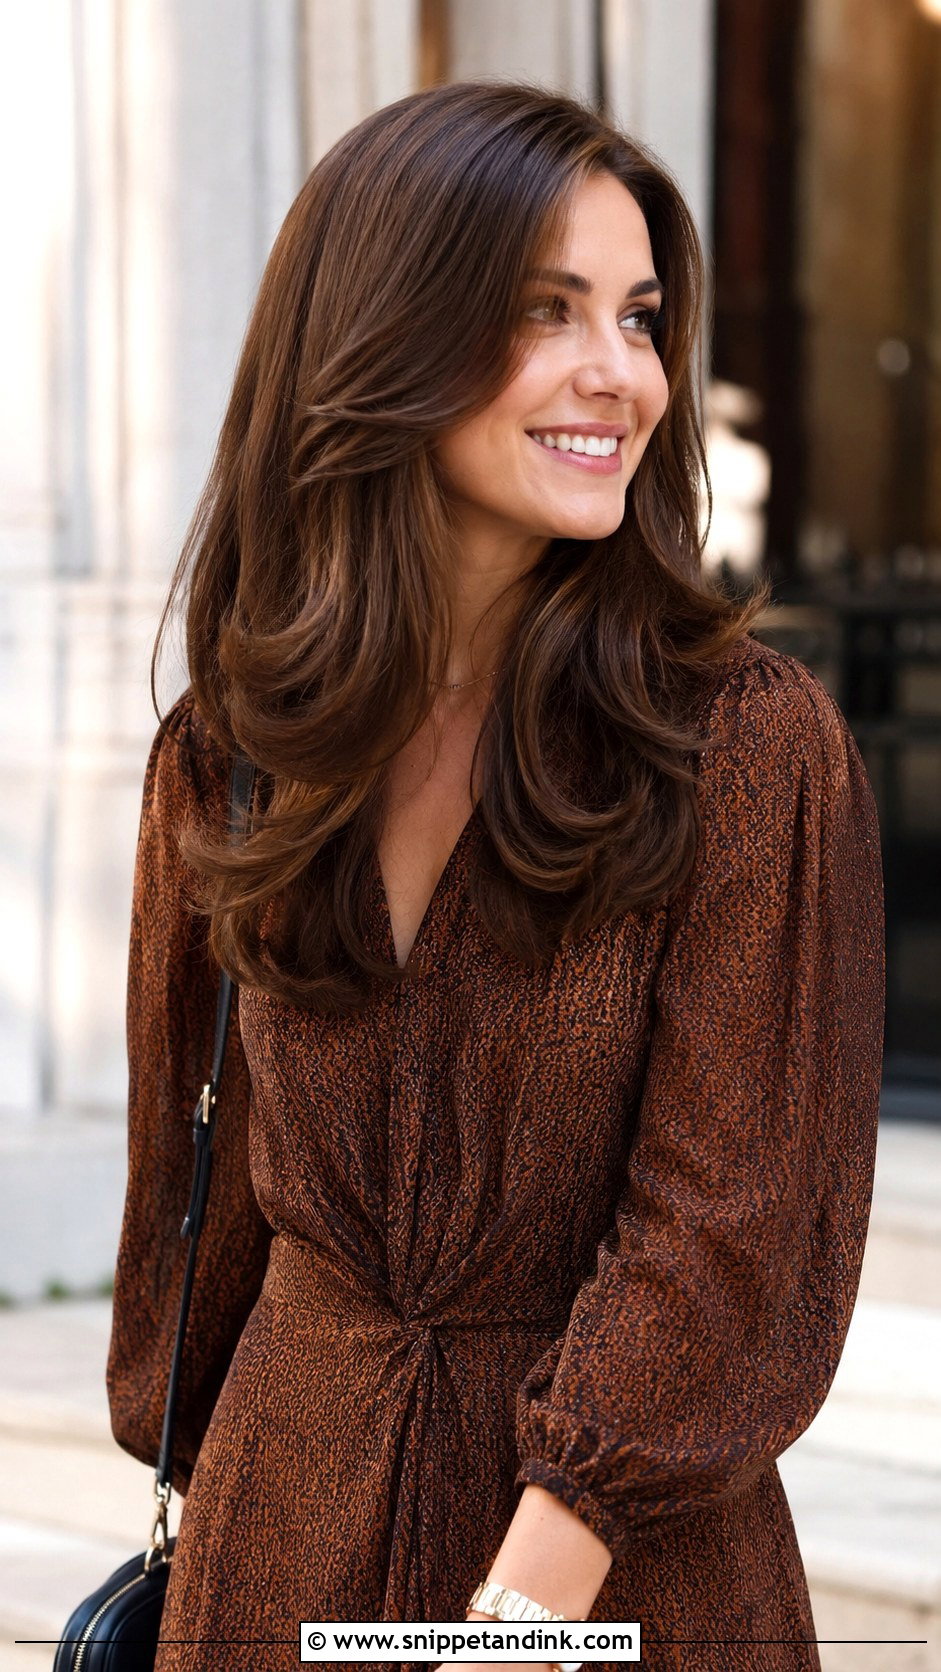
A polished blowout is worth booking at a salon the morning of the wedding if you can, because volume at the roots is hard to do on the back of your own head. At home, rough-dry to about eighty percent, then use a large round brush section by section, pointing the dryer’s nozzle down the hair shaft to keep it smooth. Finish with a light hairspray. It suits almost any length and any dress code, and healthy hair worn loose rarely looks underdressed.
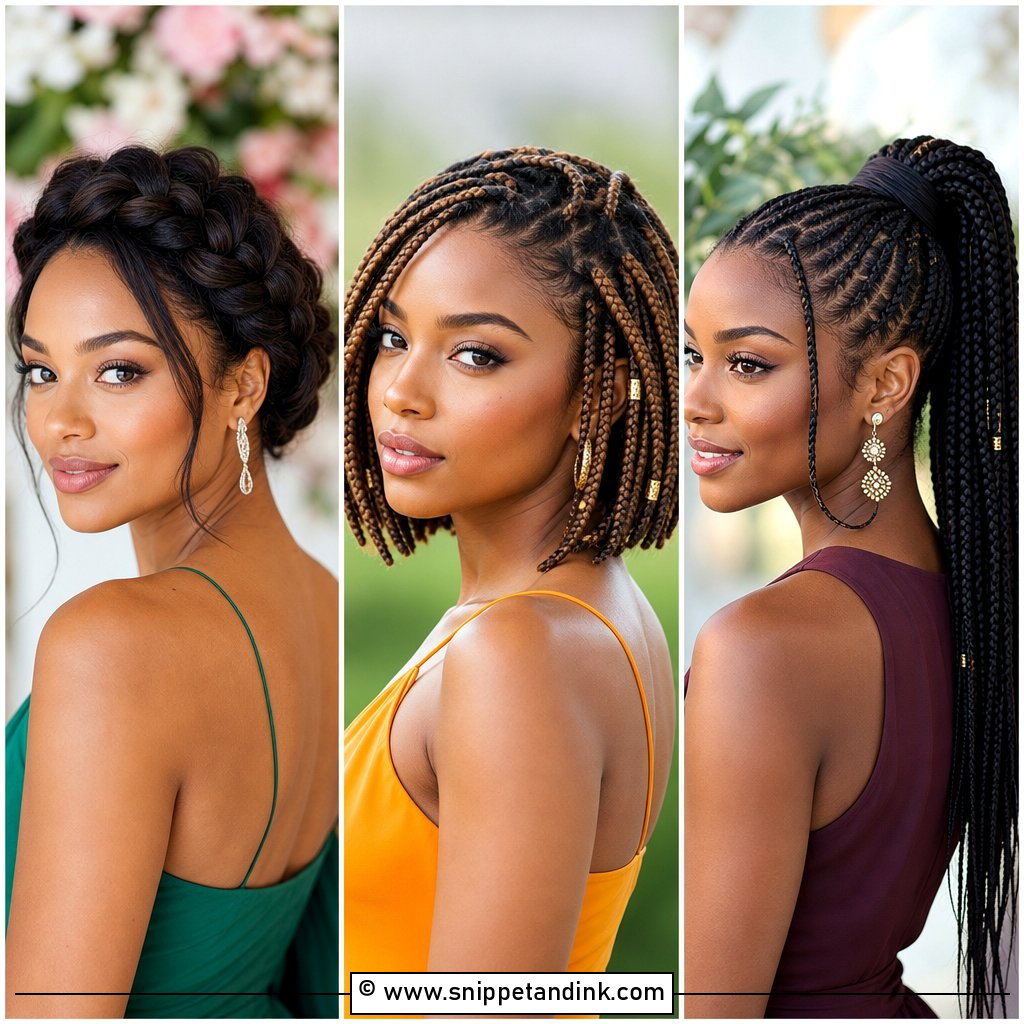
10. Braided Crown Updo
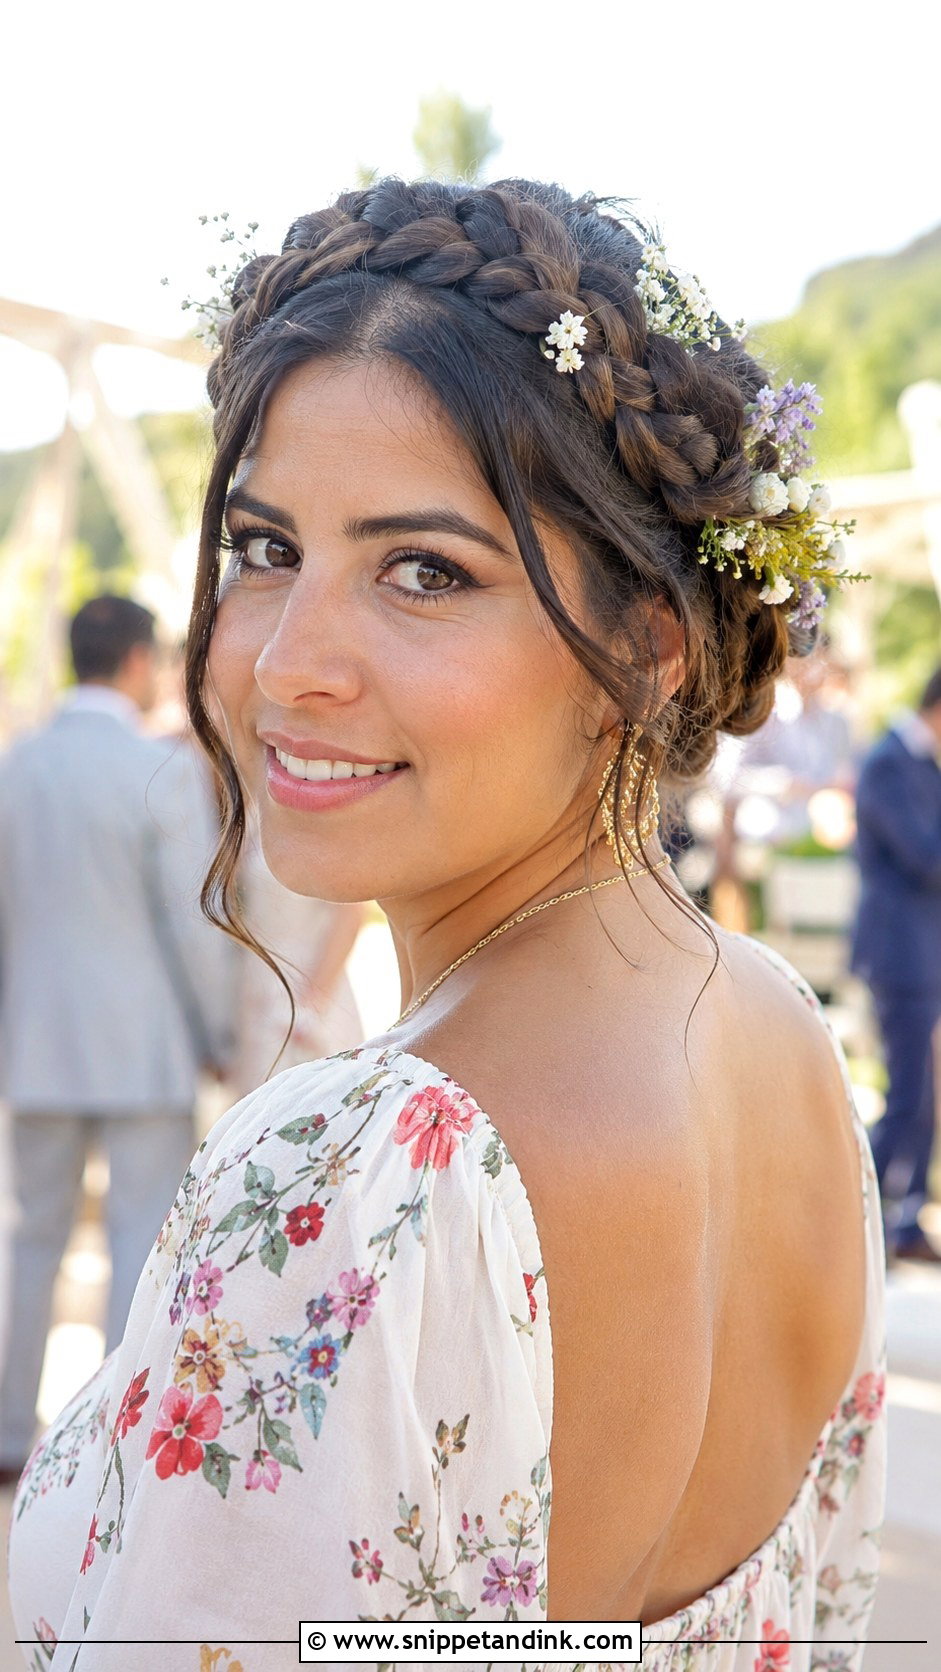
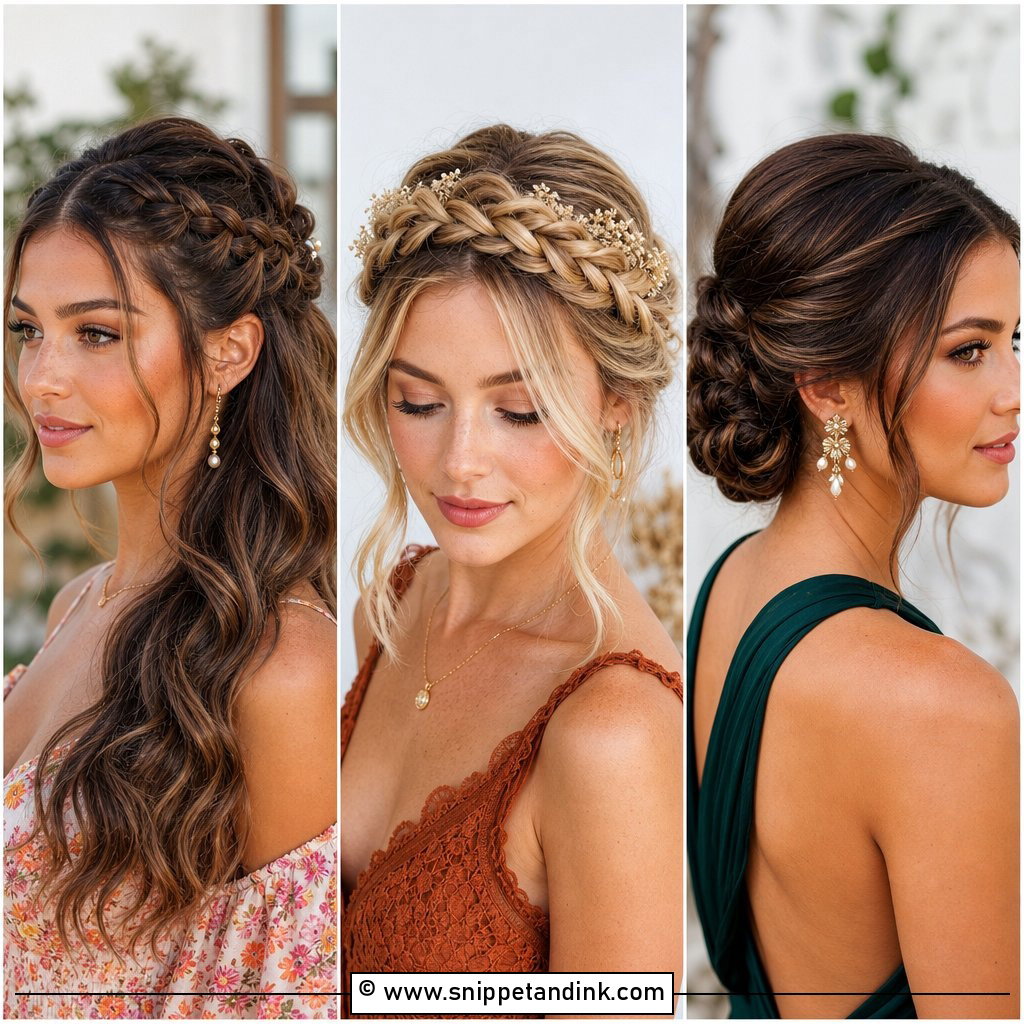
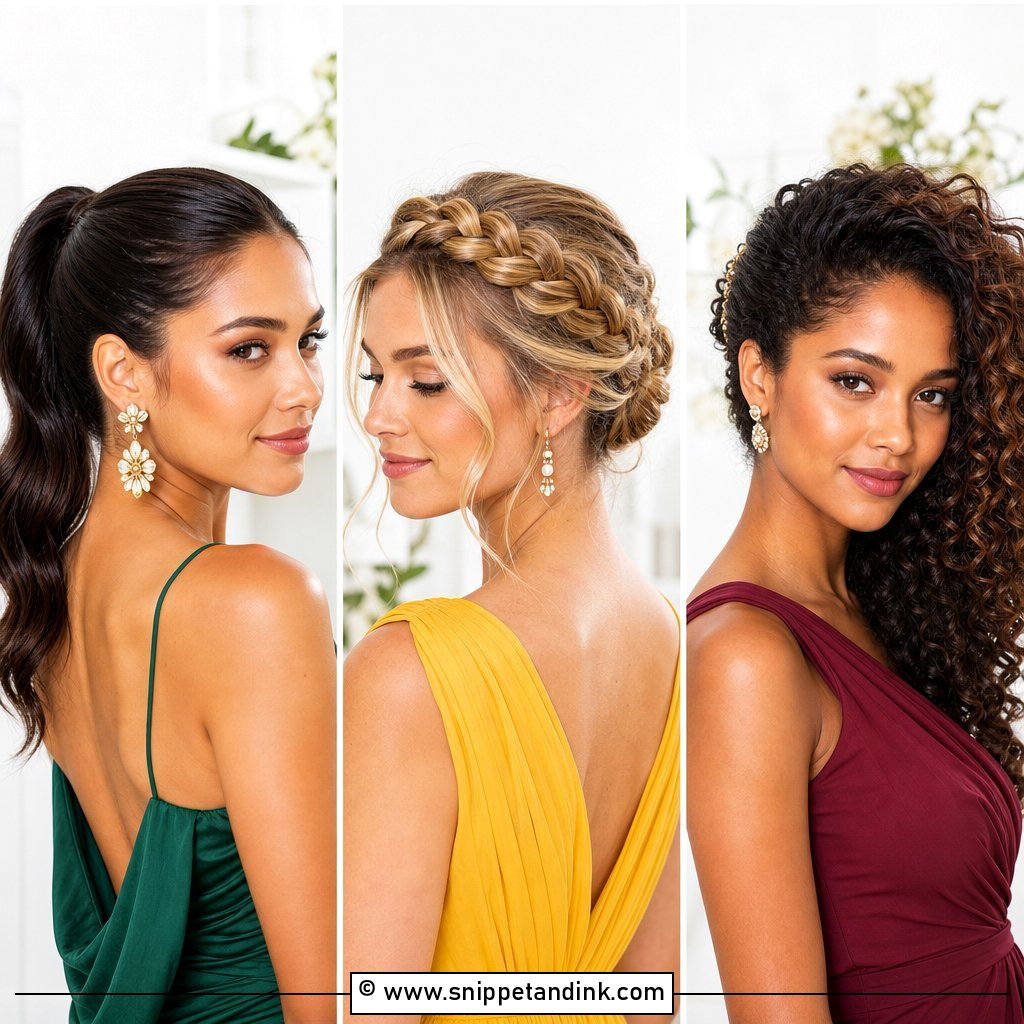
Two braids, one from each side, pinned up and over the crown, give the halo shape without needing to braid around your whole head, which is far harder to do on yourself. I’d use plenty of pins, placed along the inside edge of each braid so they hide. It keeps hair completely off your face and neck in warm weather. Medium to long hair works best. A few small flowers tucked in suit a boho or vintage theme.
11. Curled Half-Up With Bouffant
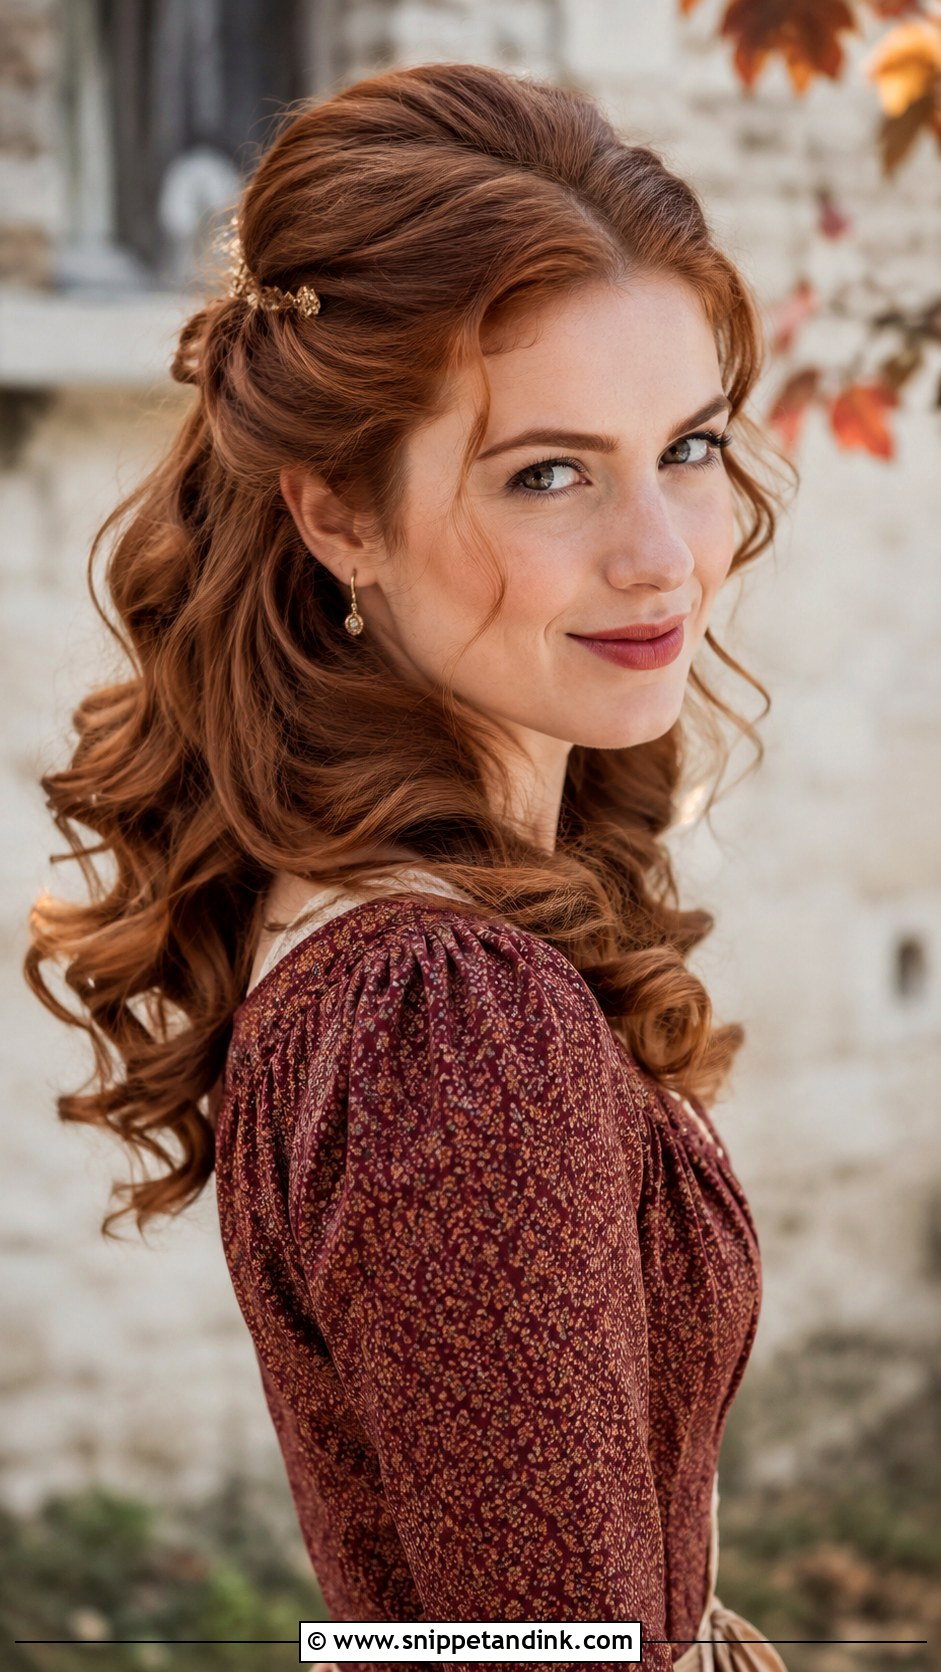
The secret to a bouffant that lasts is teasing the underside of the section, not the top. Curl first, then take the crown section, backcomb its underneath at the root in small strokes, and smooth the top layer over it before pinning back with a barrette or decorative clip. The lift balances a round face and adds a vintage touch. It needs some natural body to hold; on very fine, slippery hair it flattens within a few hours unless you spray each layer.
12. Sleek High Ponytail
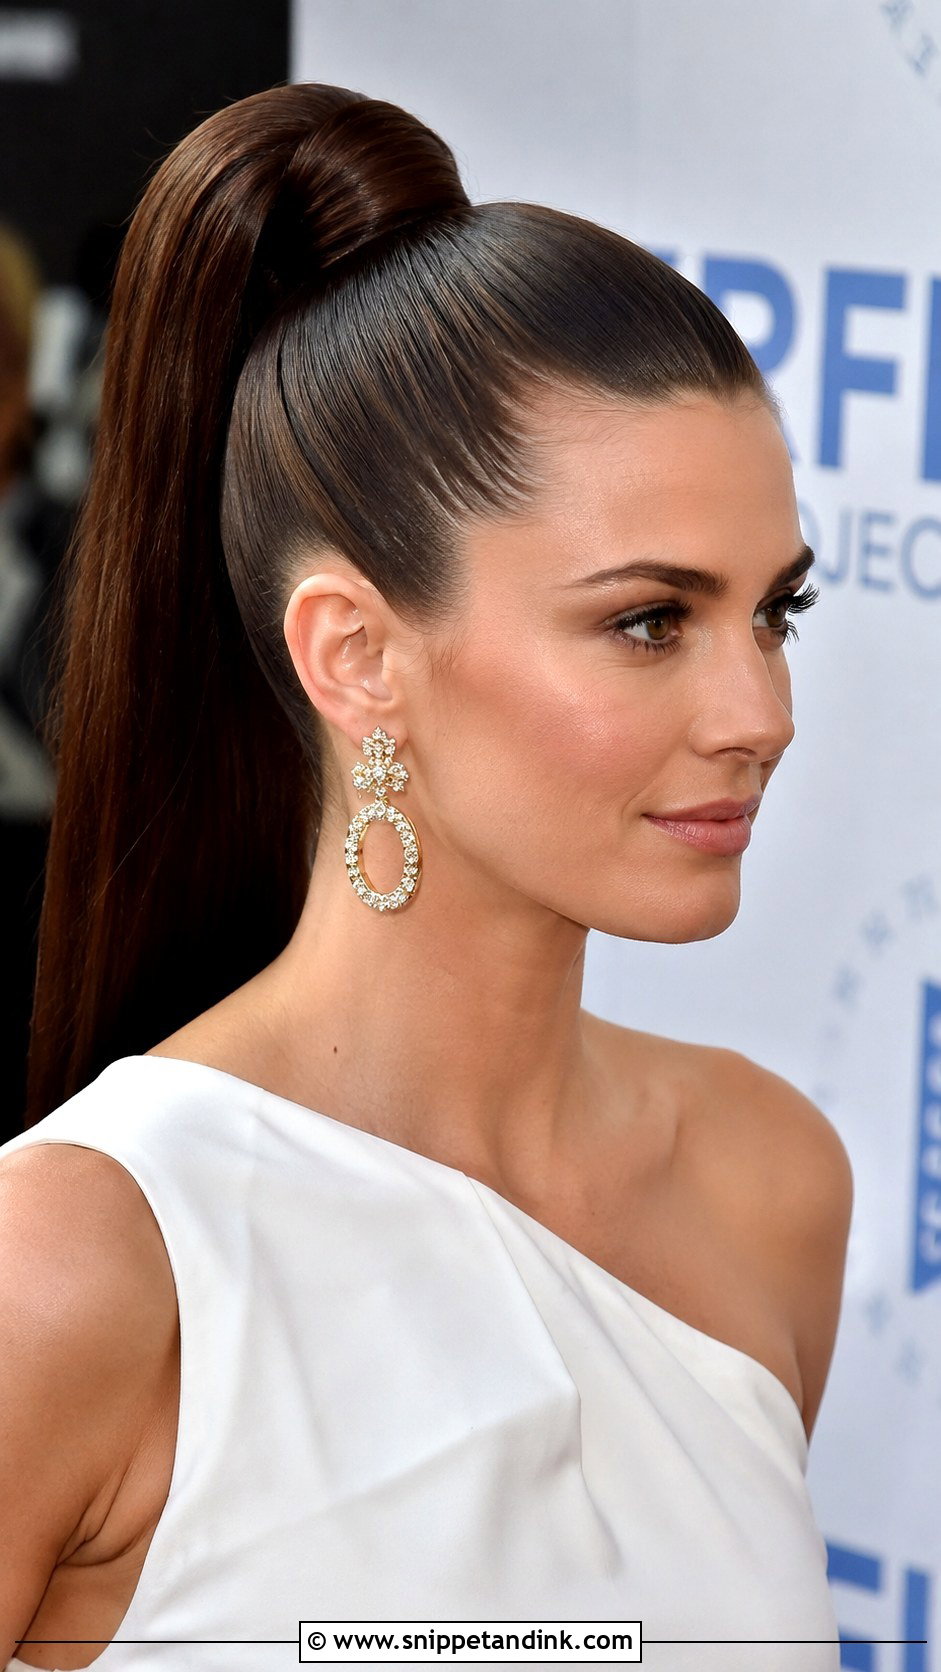
High ponytails pull on the scalp more than any other style, so don’t tie it painfully tight; it will give you a headache by the reception. Gather it at the crown, smooth with a brush and serum, and wrap a strand round the base. If you want it to stand up rather than droop, slip two bobby pins under the ponytail at the base, pushing up into the elastic. It shows off bold earrings and a bare neckline, on straight or curled hair.
13. Soft Side-Swept Waves
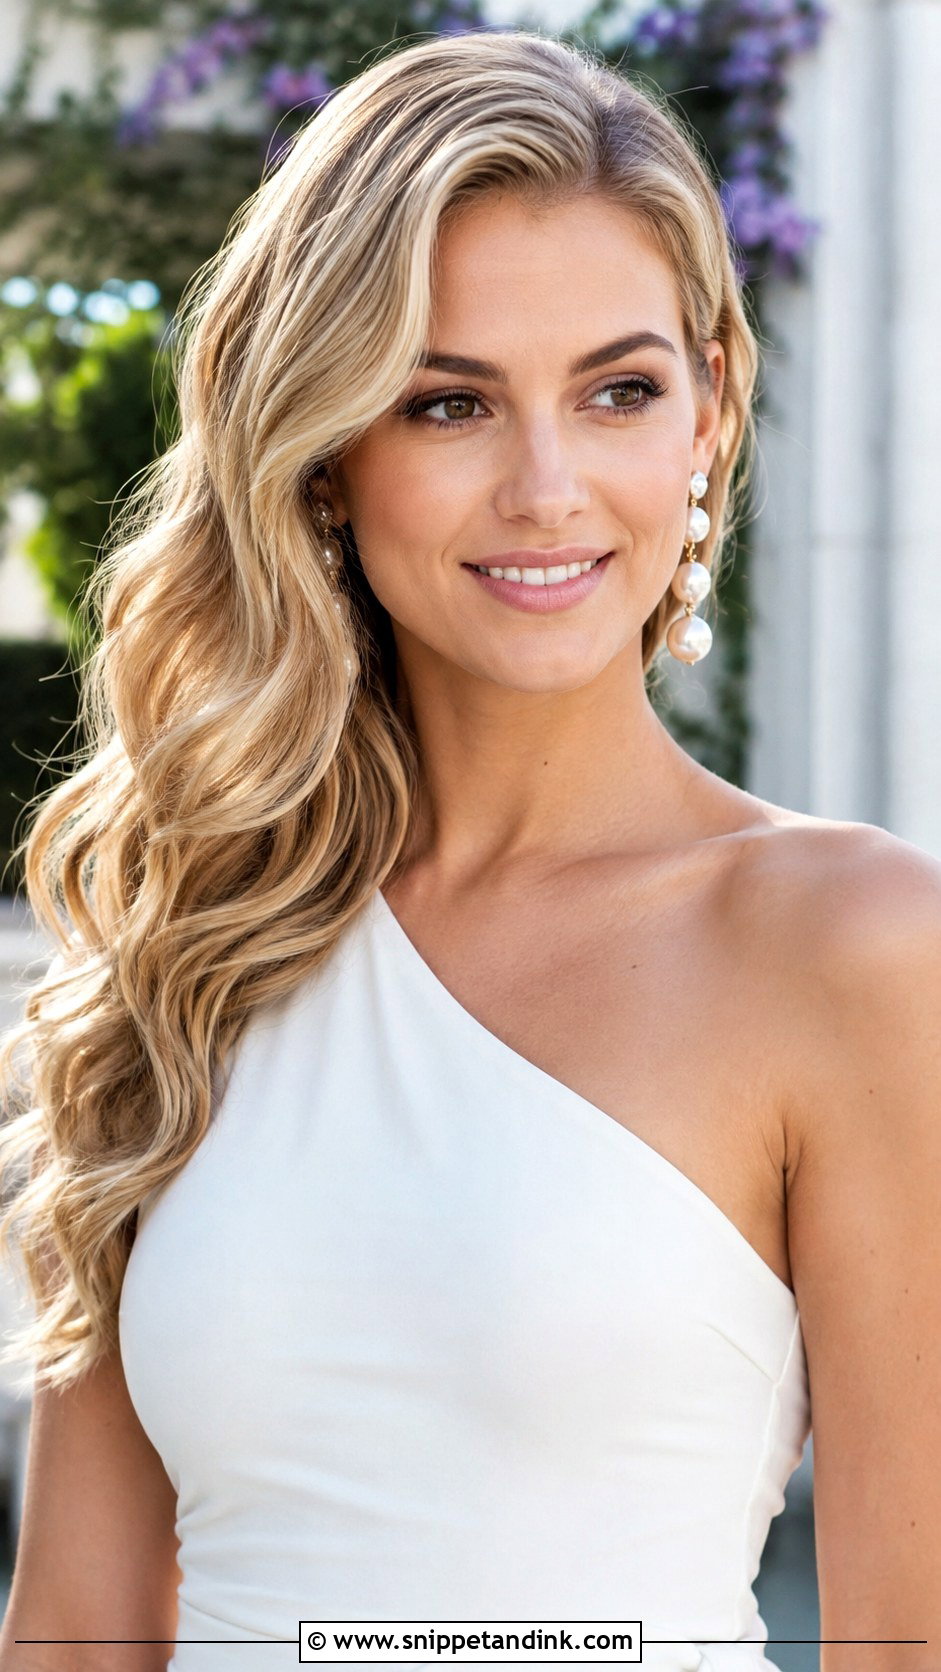
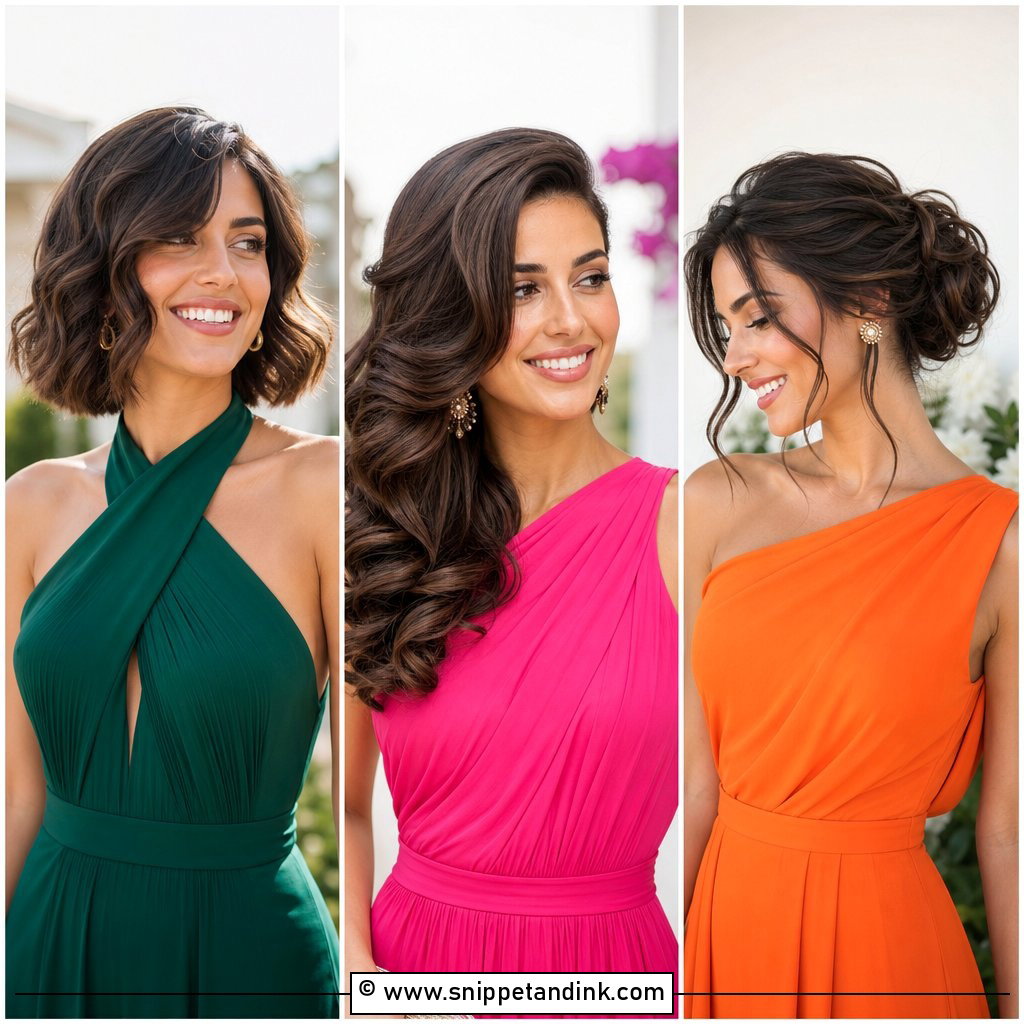
Loose curls swept over one shoulder need an anchor, or they slide back within the hour. Pin a hidden line of crossed bobby pins behind the opposite ear first, then sweep the curls over and spray lightly. It balances one-shoulder and off-shoulder dresses and puts the earring on the bare side on show. Use a light-hold spray so the waves stay touchable. Any length that reaches the shoulder can carry it, day or evening.
14. Twisted Low Bun With Accents
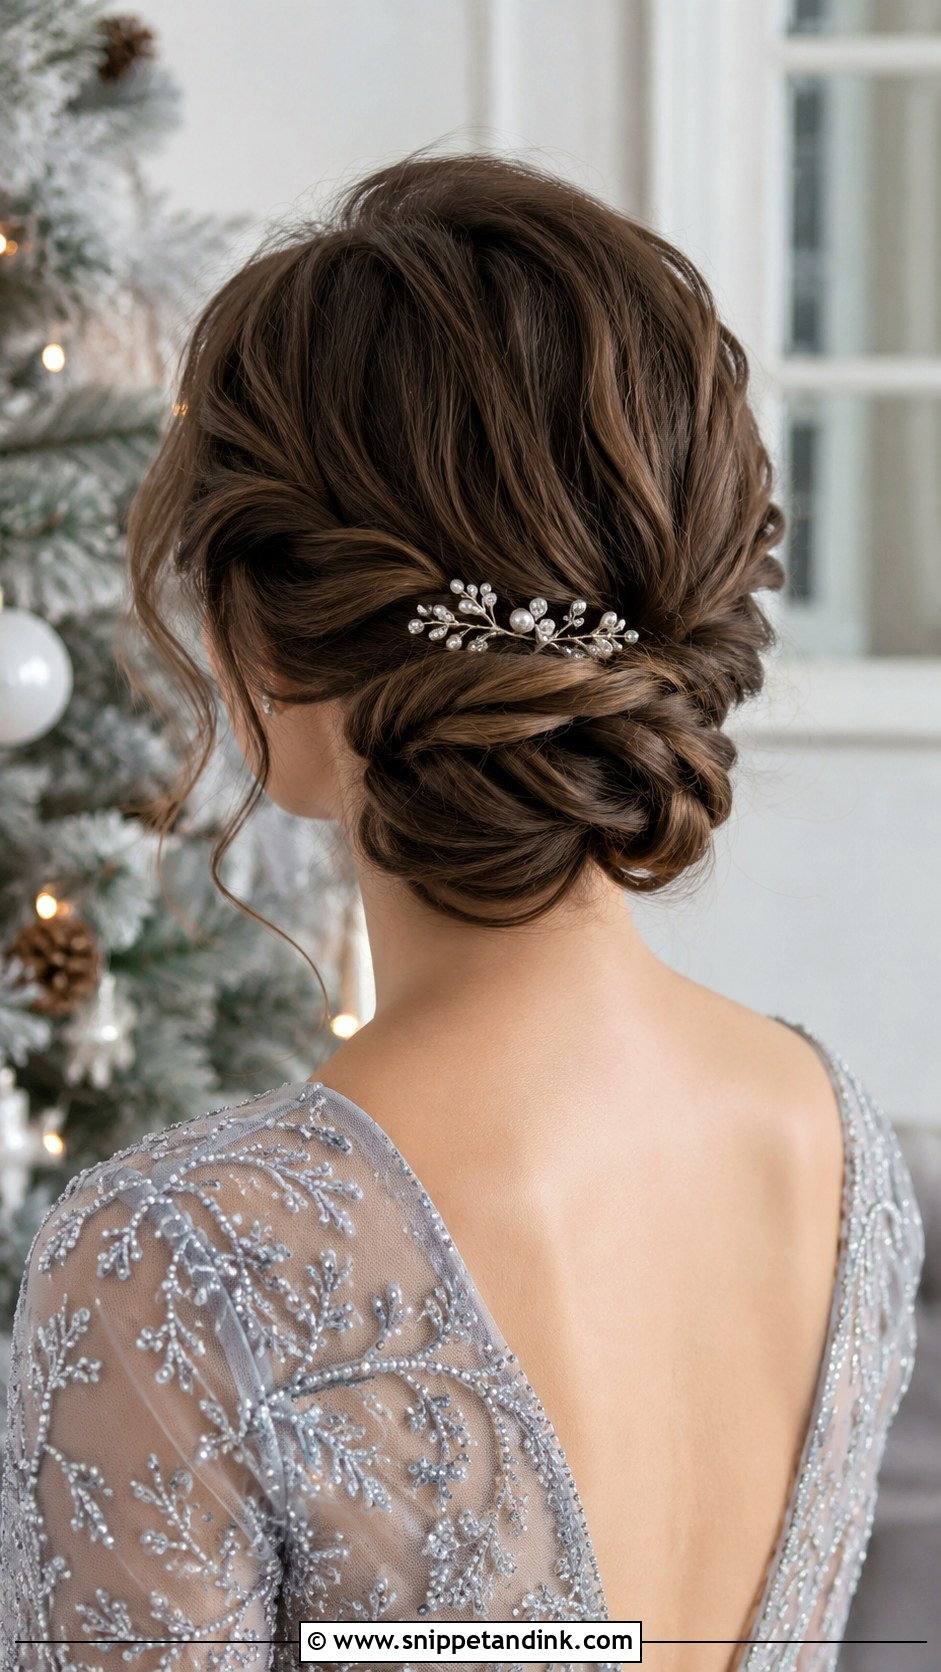
Adding twists to a classic low bun makes it look more elaborate with very little extra work. Curl loosely first so the twists have texture, then twist small sections as you gather them toward the nape and pin each one into the bun. Finish with a few crystal or pearl pins. Medium to long hair suits it, and it holds up through a full evening reception. If you’re new to updos, this is a forgiving one, because uneven twists just look intentional.
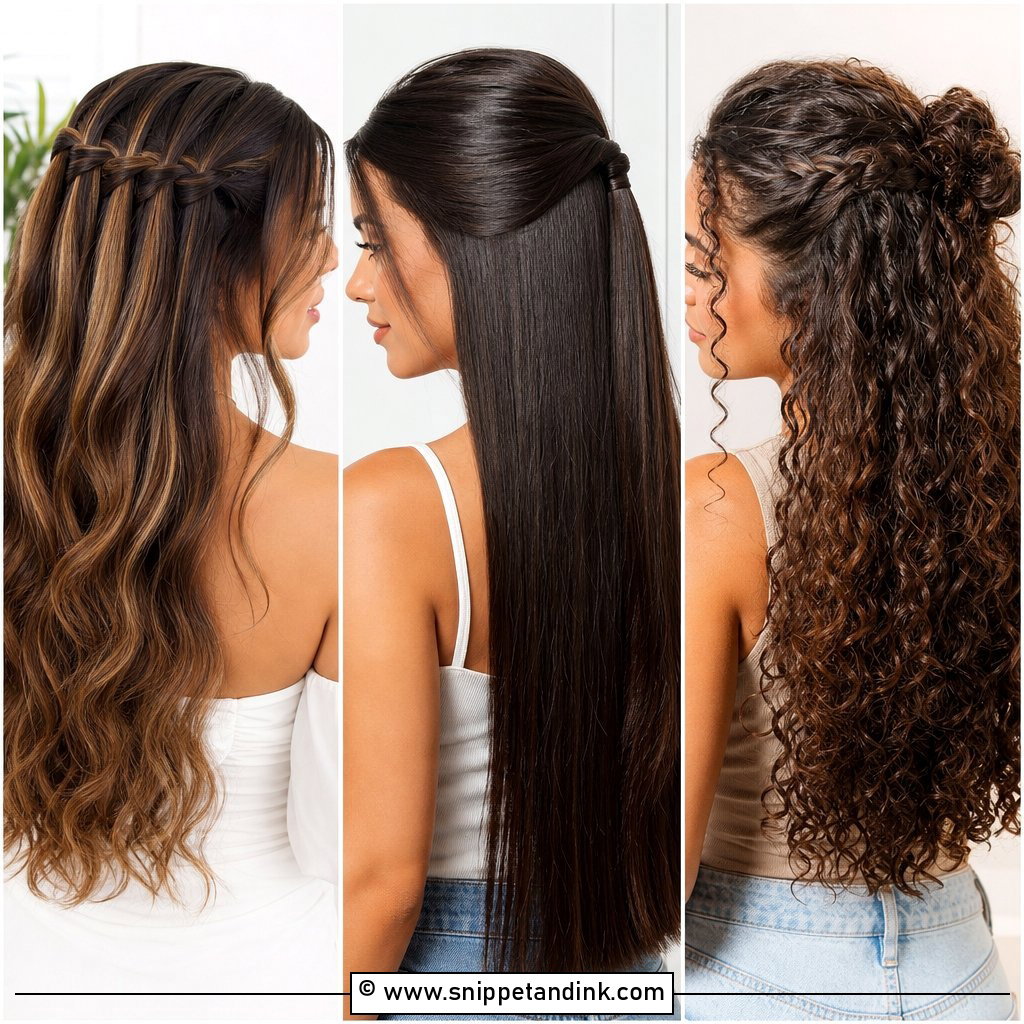
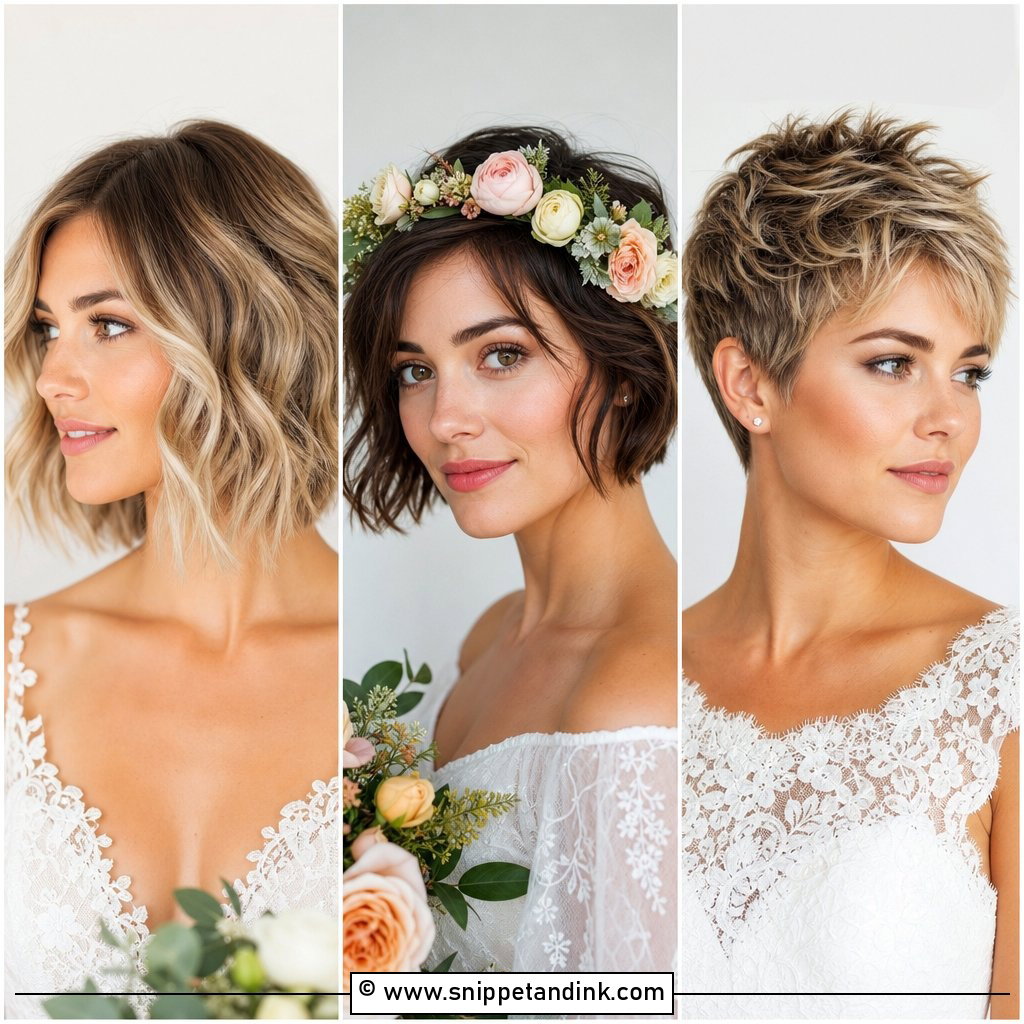
15. Boho Braided Half-Up
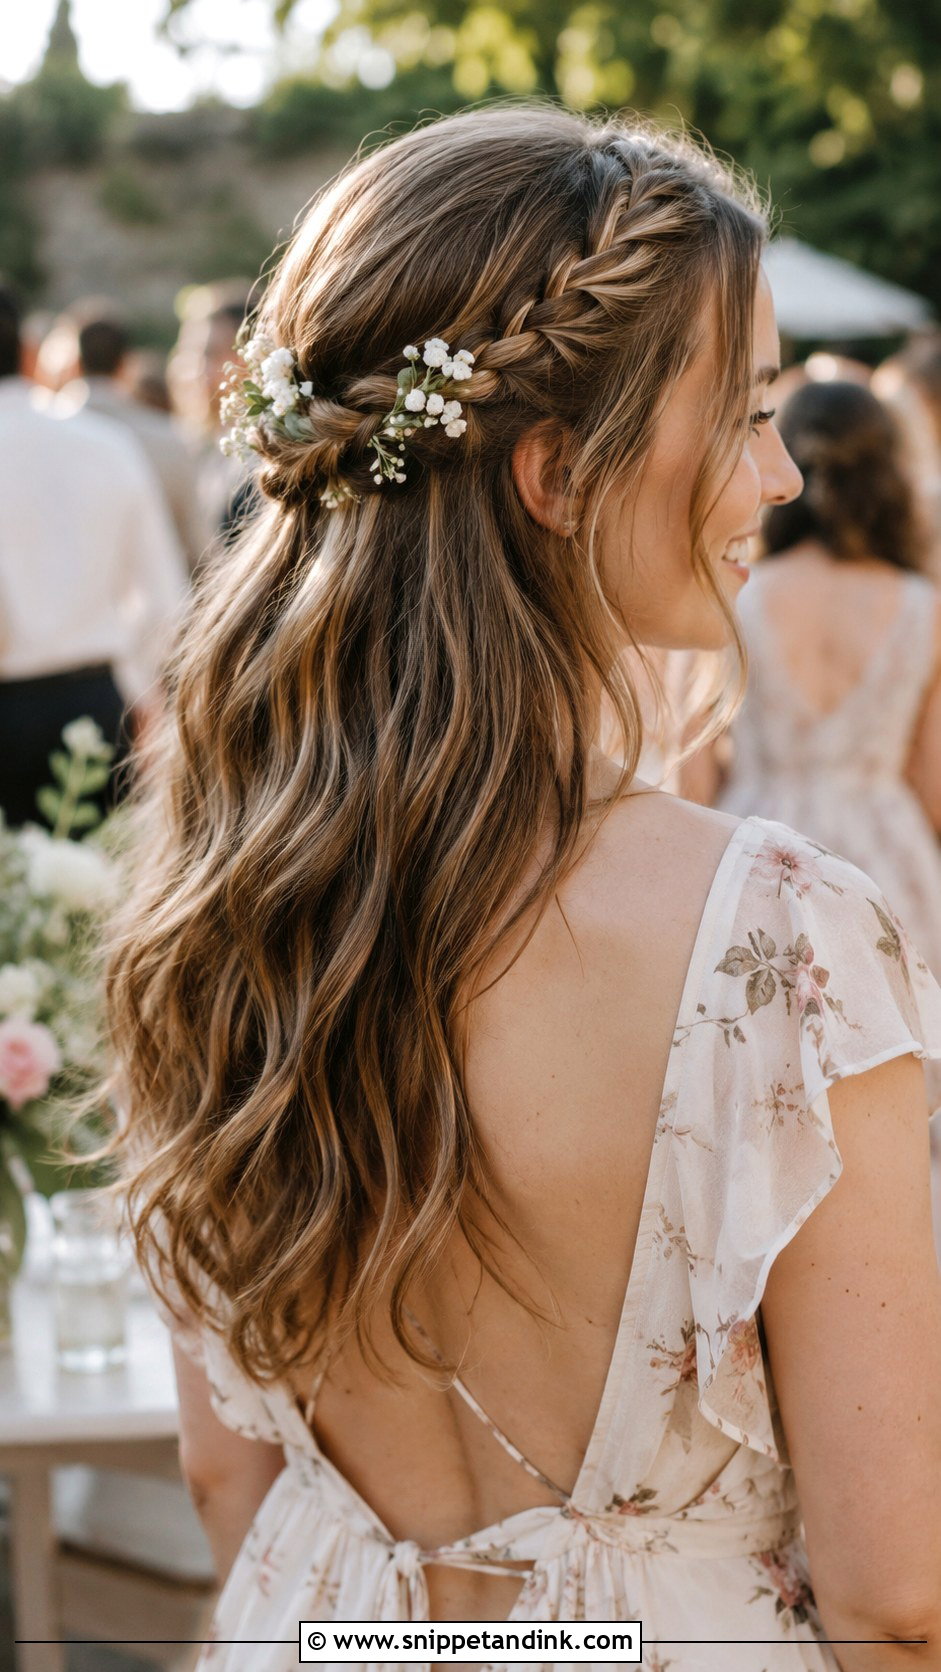
Braid small sections from each side loosely and pin them together at the back, leaving the rest wavy and flowing. Tug the edges of the braids gently to soften them. Hair with natural texture holds this best; very straight hair benefits from a texture spray. A ribbon or tiny flowers can be tucked in for outdoor, garden and beach weddings. Keep the braids small, because big ones overpower the face.
16. Pinned Back Curls
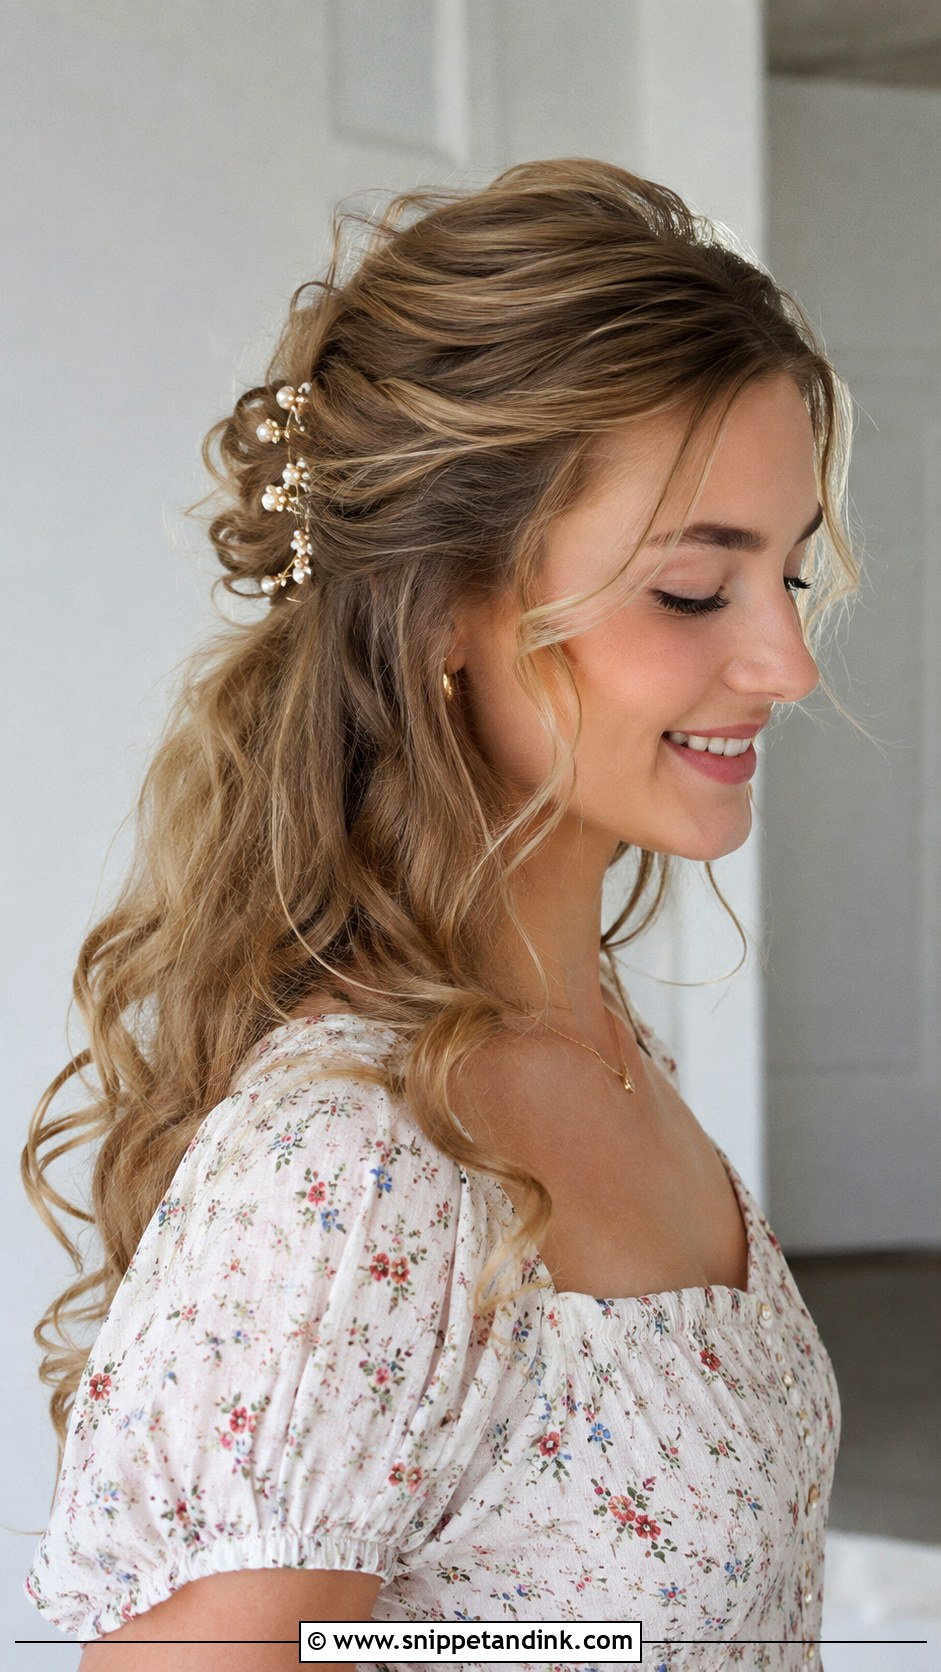
Short on time? Curl, then pin back two or three sections around your face. I’d always use bobby pins with the ridged side down, since that’s the side that grips. Decorative pins can go on top. It works on every length, including bobs and lobs, and it’s one of the quickest styles here. Casual and daytime weddings suit it best.
17. Low Chignon
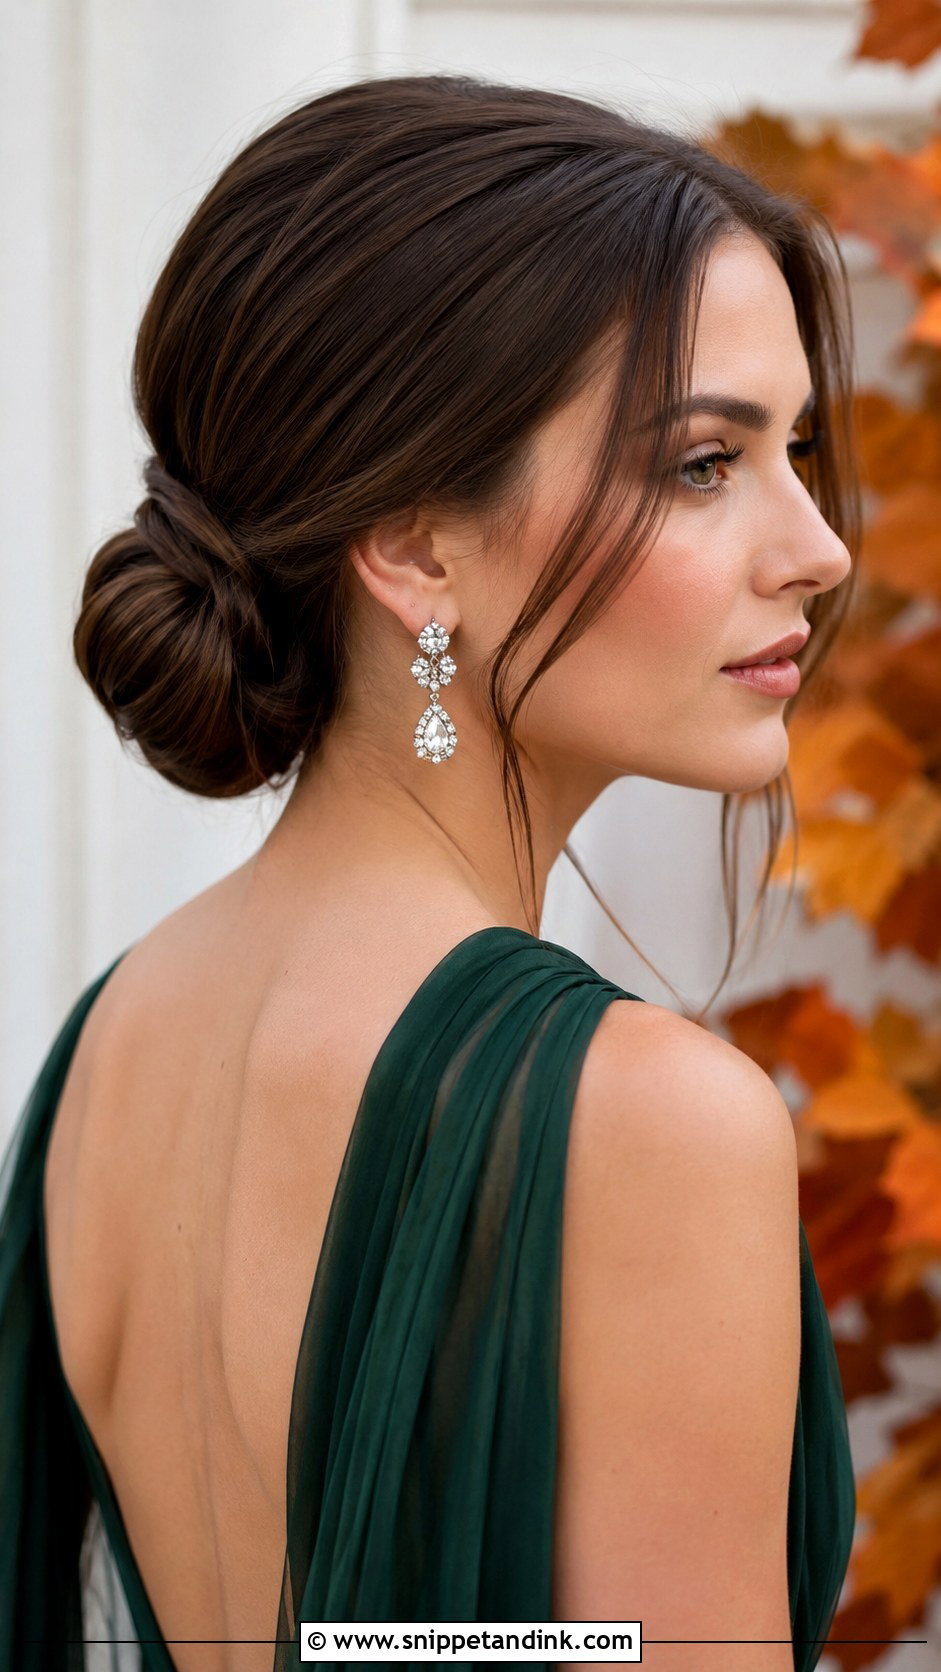
A chignon is rolled rather than knotted, which makes it neat and very secure. Tie a low ponytail, then roll the length under itself toward the nape and pin along the roll. Pins pushed horizontally across the base hold better than vertical ones. It suits formal weddings, open necklines and statement earrings. Keep it smooth, or let a few face-framing strands loose. If you’re worried about the back, it’s one style even a friend with no hair experience can help pin.
18. Curtain Bangs With Loose Waves
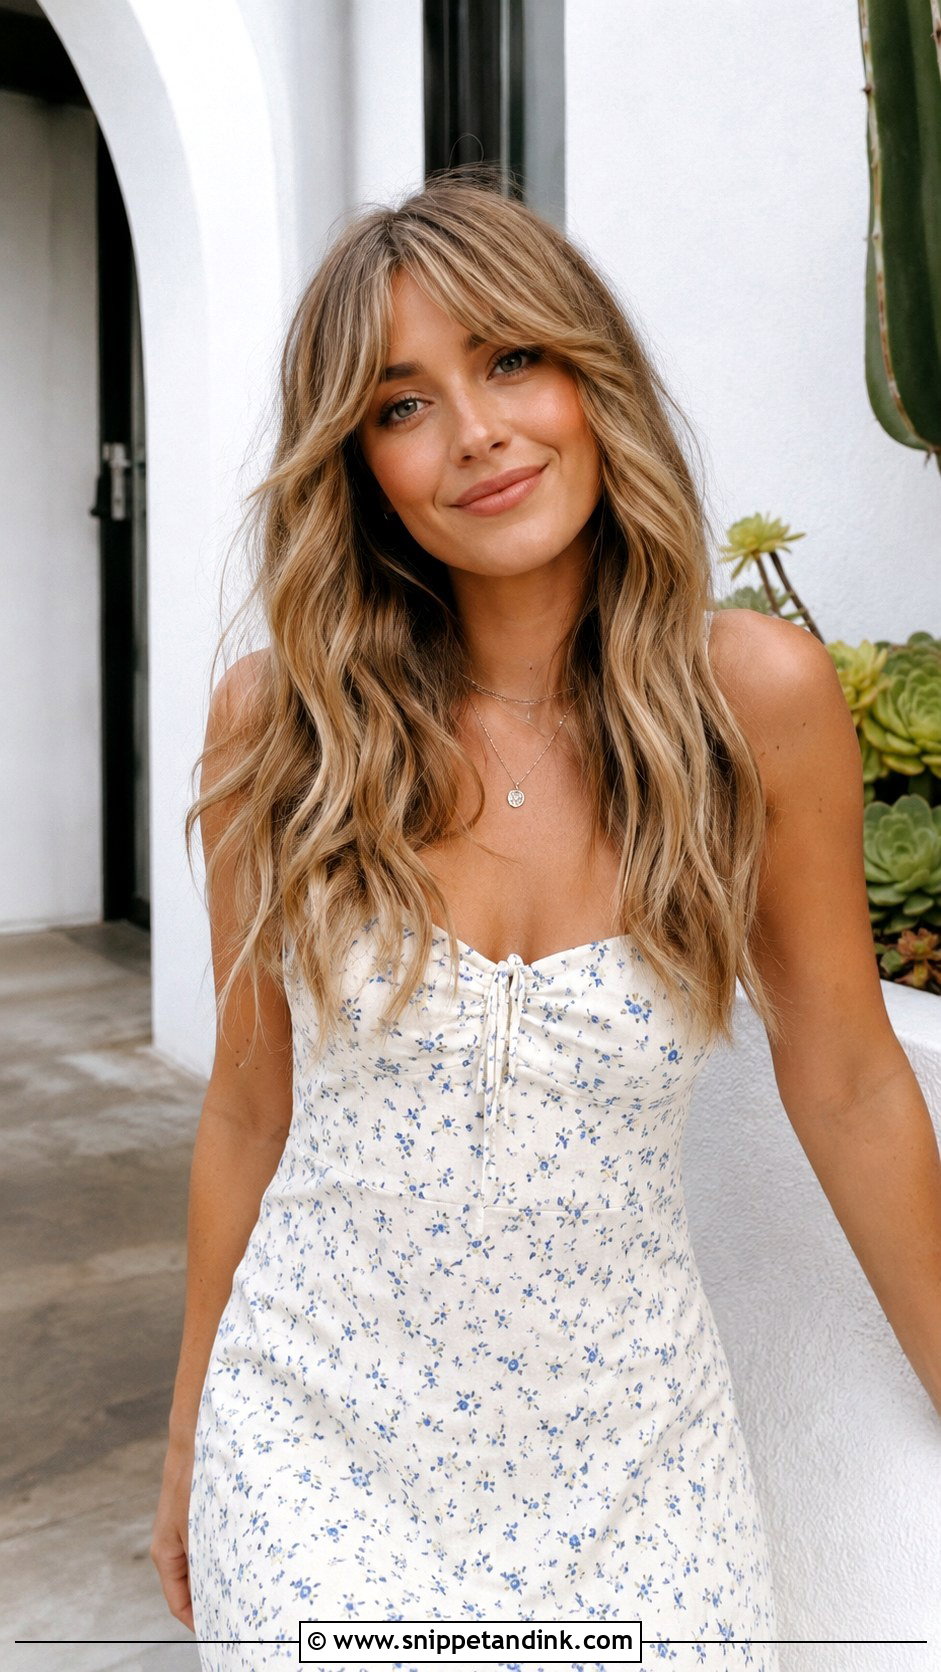
Curtain bangs are styled first, not last. Blow-dry them with a round brush away from the center part, then wave the rest of the hair, so the bangs blend into the waves instead of sitting flat. A light texture spray gives that lived-in finish. It suits medium to long hair and most dress codes. On a humid day, bangs separate and stick to the forehead, so pack a little dry shampoo or blotting paper.
19. Top Knot With Loose Tendrils
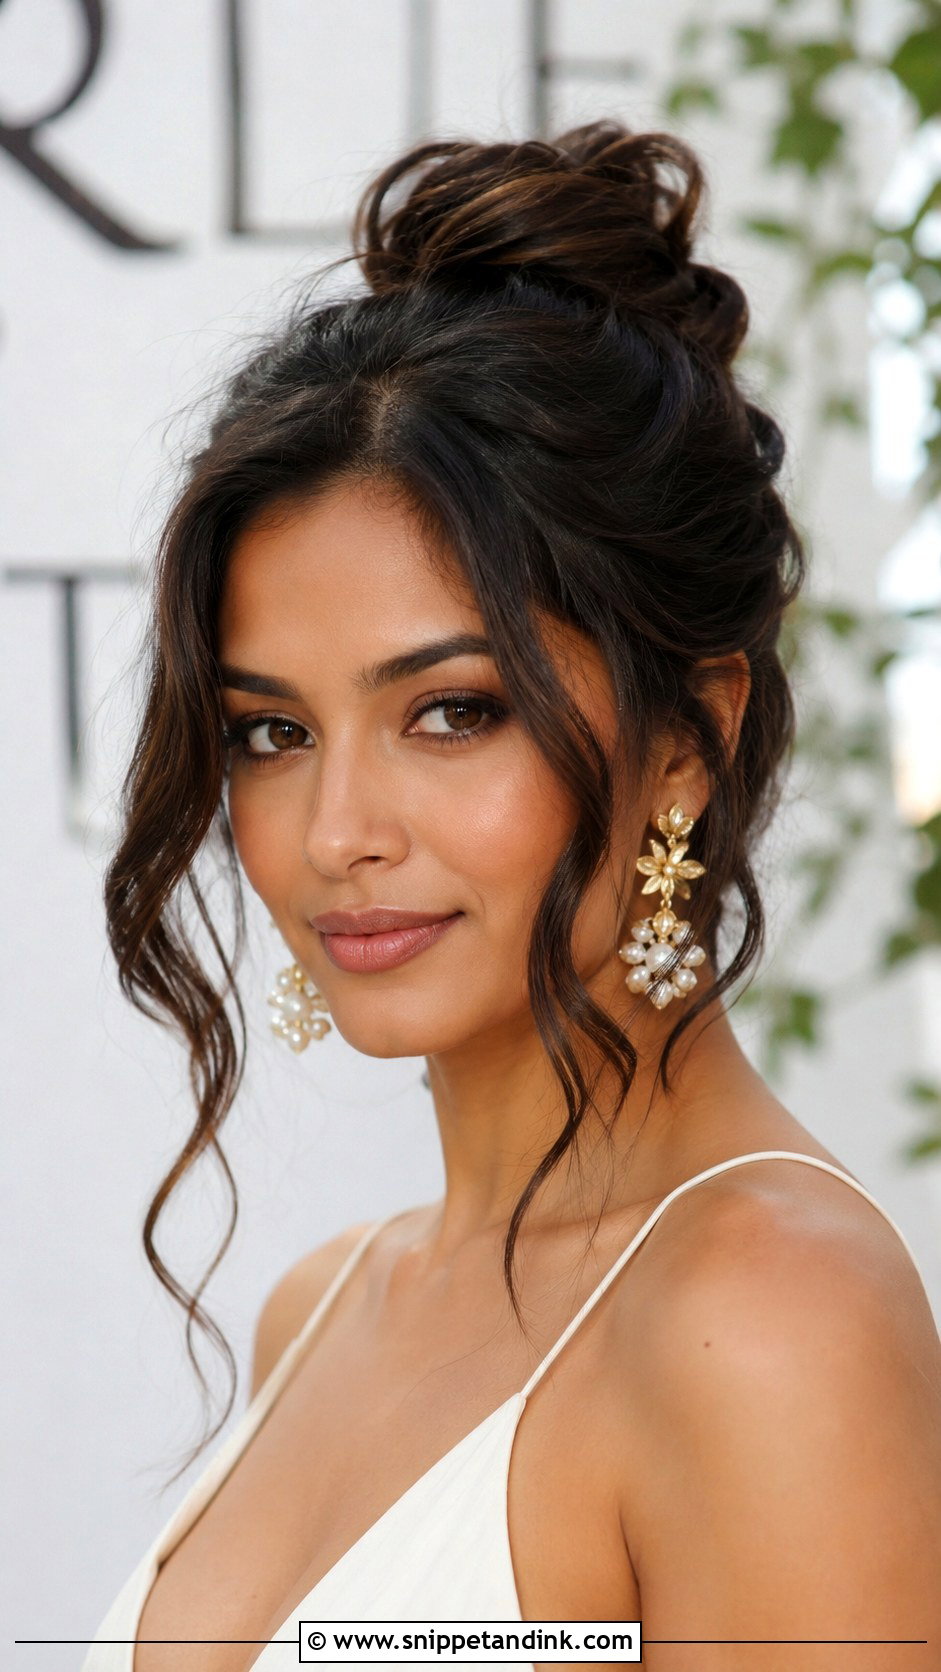
A top knot reads elegant when it’s smooth at the base and has some volume in the knot. Gather your hair high, twist and wrap, and pin into the elastic, leaving a few tendrils down around the face. It keeps your neck completely bare for a hot summer wedding, and statement earrings look sharp with it. The top knot needs medium to long hair, and done neatly it stays put together all day.
20. Accessorized Updo With Hair Pins
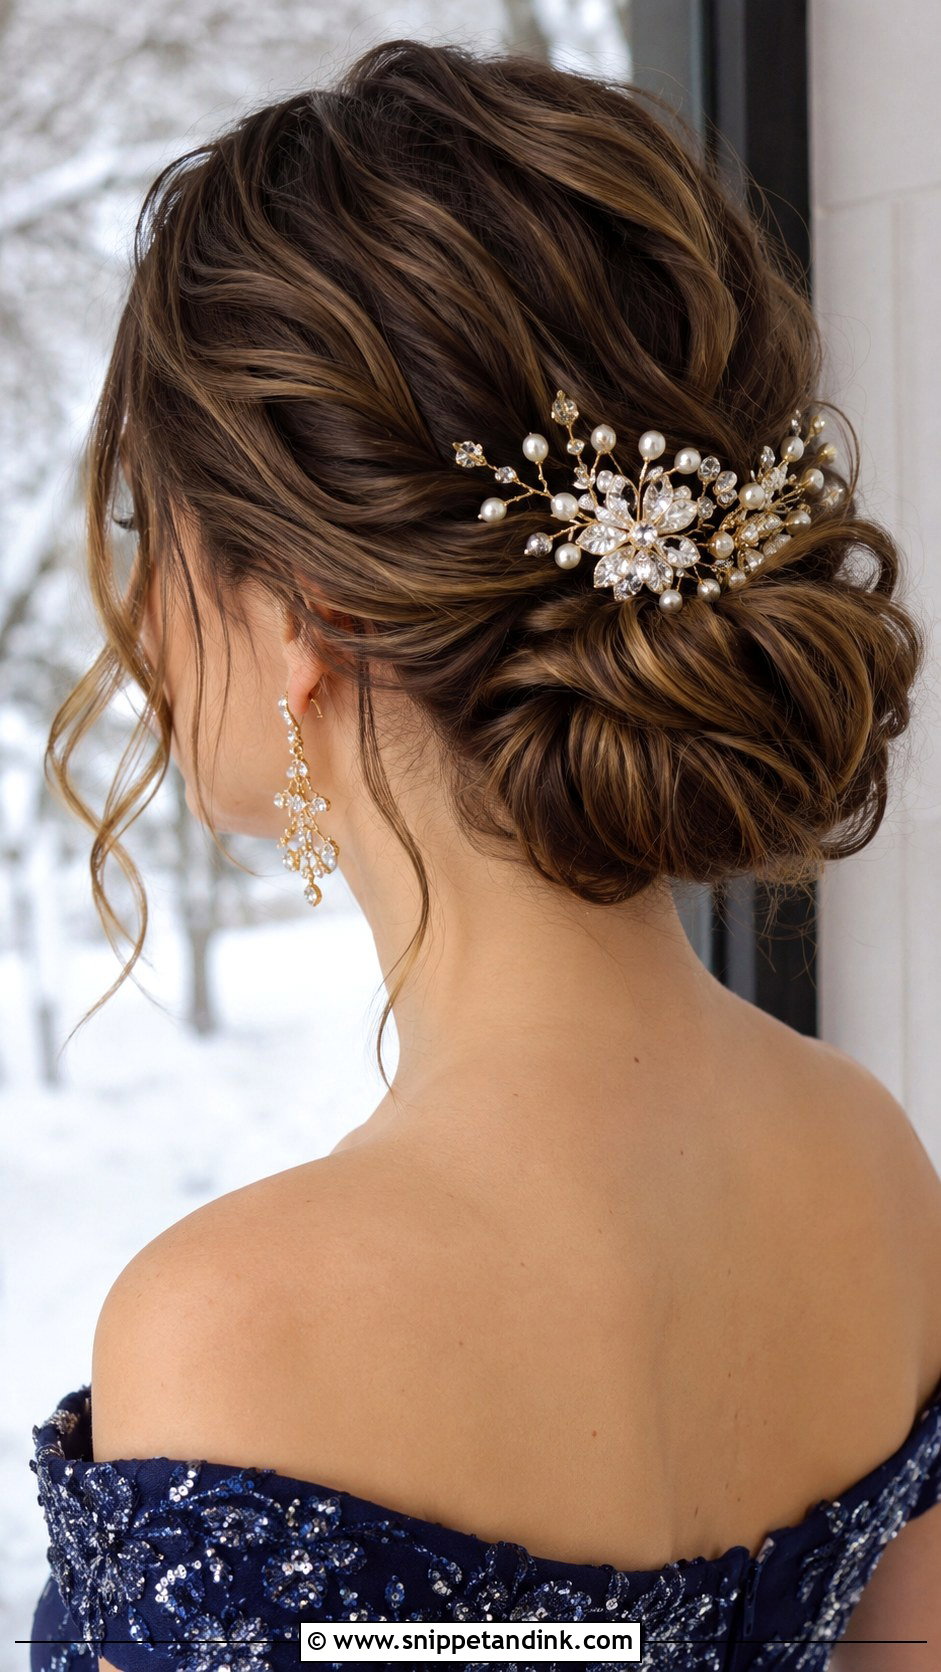
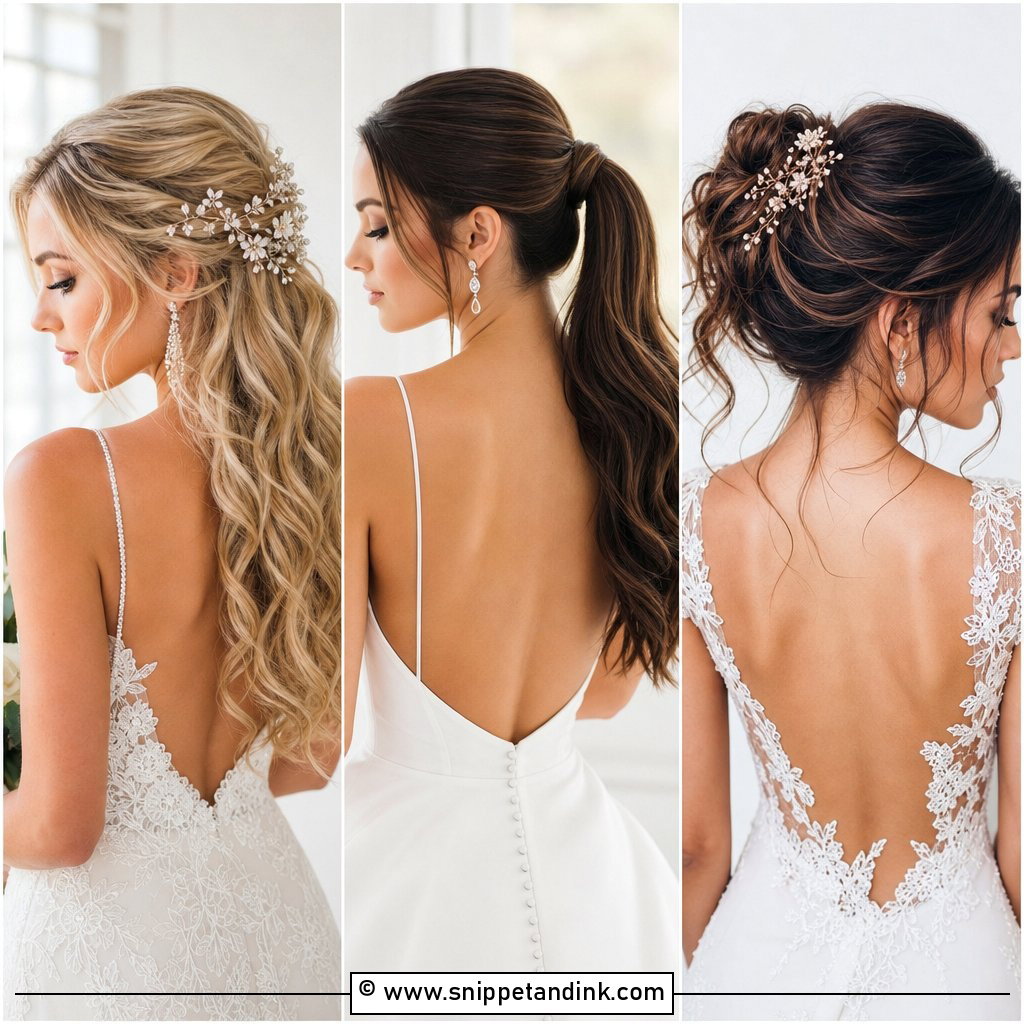
Decorative pins are the cheapest way to turn a plain bun or chignon into an evening look. Cluster three to five along one side, or scatter pearls and small crystals through the back. Push each pin in at an angle, through the hair and back into the bun, so it can’t slip out while you dance. Match the metal to your jewelry and you’re done. Formal and evening weddings suit this best, and it keeps the base style simple and secure.
Guest Hair Etiquette Nobody Says Out Loud
The bride is the one with the veil, the tiara and the big floral crown, so as a guest I’d skip anything that could read as bridal: a full white flower crown, a long hair ribbon that trails like a veil, or a heavy crystal headpiece. A few small pins or one comb is plenty.
Check the ceremony setting too. For a temple, gurdwara, mosque or some church services, you may be asked to cover your hair, so pick a low bun or a sleek ponytail that sits neatly under a scarf, and leave out tall knots and bouffants. If you’re unsure, ask the couple or a family member; they’ll appreciate it.
Finally, think about the hugs. A guest gets hugged by a lot of people. Styles pinned close to the head, like a chignon or a low twisted bun, come through a receiving line far better than loose waves or a delicate braid.
Rain, Wind and a Hot Dance Floor
Weather decides which of these styles makes it to the end of the night. If rain or high humidity is forecast, I’d choose a pinned style over loose curls, because curls relax and smooth hair frizzes once the air turns damp. On a windy outdoor day, half-up styles keep hair out of your mouth during the vows, and a bun beats anything worn down.
For the dancing, carry four bobby pins, a mini hairspray and a clear elastic in your clutch. If your waves have dropped by ten o’clock, twisting them into a low bun takes two minutes in the restroom and looks deliberate, not like a rescue.
Practice Once Before the Wedding Morning
A good guest hairstyle is one you can do with confidence in limited time and then forget about until the last song. Updos, waves and half-up styles all work; pick one that suits your hair’s habits and the dress code, and add a personal touch like a few pins or soft tendrils. Do a full practice run the week before, at the same time of day if you can, and photograph the back. That one rehearsal is what gets you out of the door on time and feeling good.
You'll Like These Ideas:


Leave a Reply