
You want hair that looks finished for a wedding, and you don’t want to spend the morning on it. A half-up style is usually where I’d point you. It gives some lift and shape on top, keeps the hair out of your food and your eyes, and still shows off your length. It also adapts: braids, twists, buns and clips all sit on the same basic structure. The twenty below are all things you can do on your own head, and I’ve added the detail that tends to make or break each one.
Styling the Back of Your Own Head Without a Helper
The hardest part of any half-up isn’t the technique. It’s that the important part happens behind you, where you can’t see. A few habits from doing hair in a salon translate well to a bathroom mirror.
- Use two mirrors: stand with your back to the bathroom mirror and hold a hand mirror in front of you to see the join.
- Prop your phone on the counter and record a short video of the back, then watch it to check whether the section is centered.
- Clip the lower half out of the way with a large claw clip before you start, so it doesn’t get caught in the braid or twist.
- Do curls before the half-up, not after. Getting an iron under a finished section without disturbing it is hard.
Arm fatigue is real. Braiding with your hands above your head for ten minutes is tiring, and tired hands make looser braids. I tell guests to rest their elbows on the counter, or to choose a twist or knot instead of a braid if they know their arms give out.
Try the style at least once in the week before, while wearing the top or dress you plan to wear. Sleeves and straps change how far you can lift your arms.
1. Half-Up Bun With Loose Waves
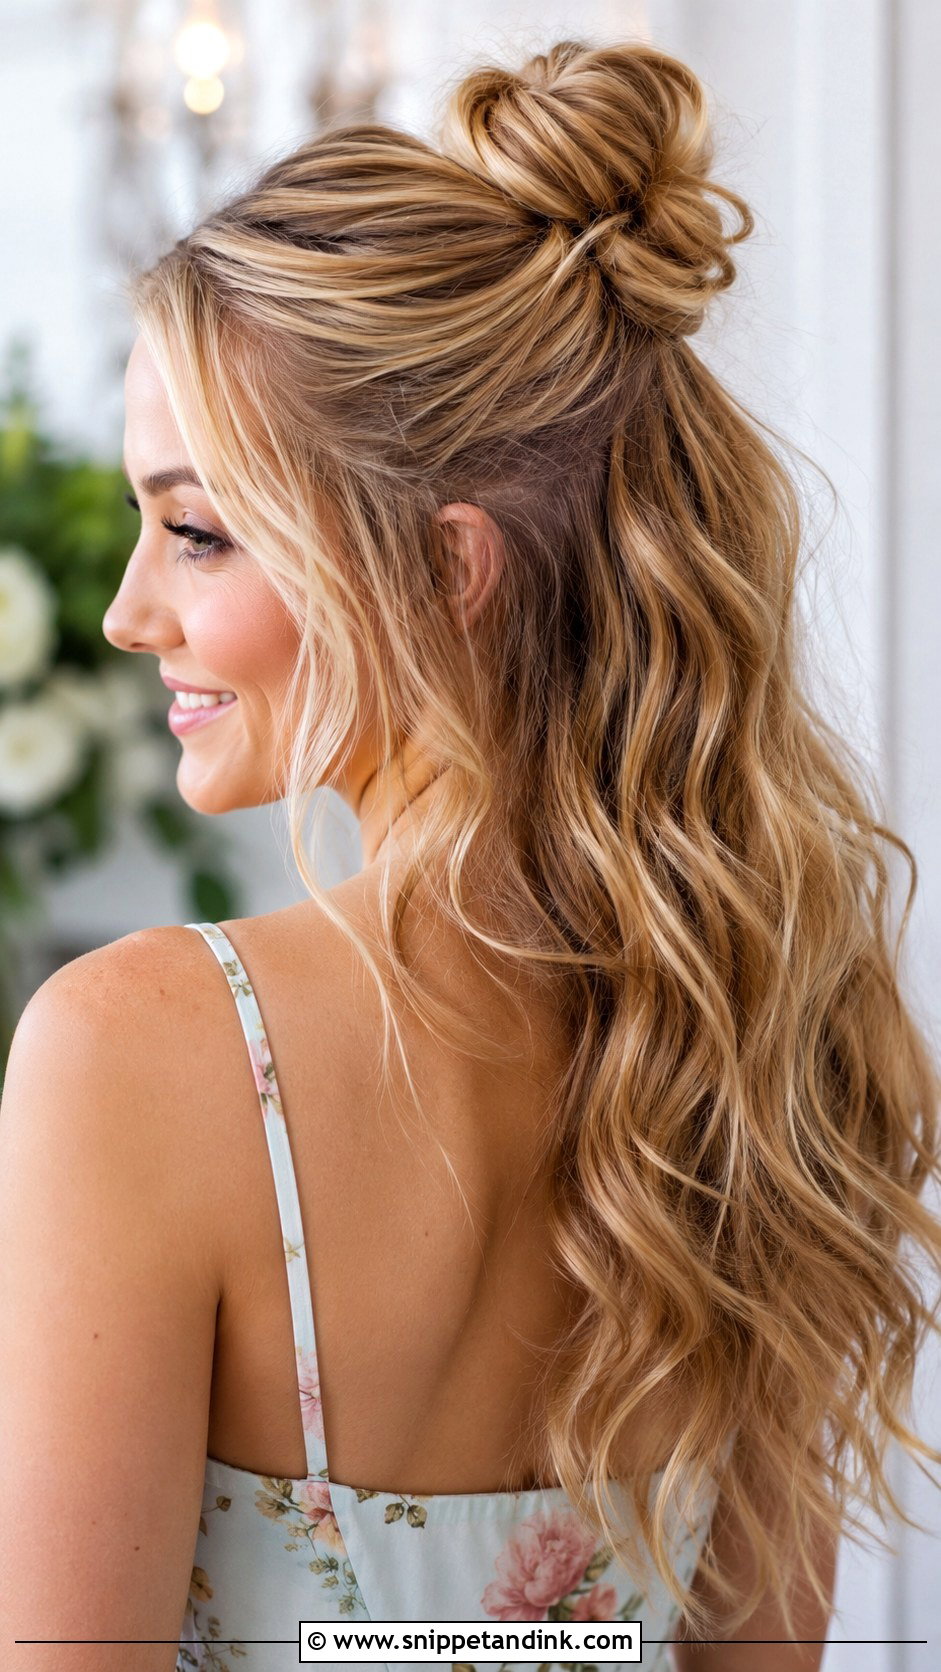
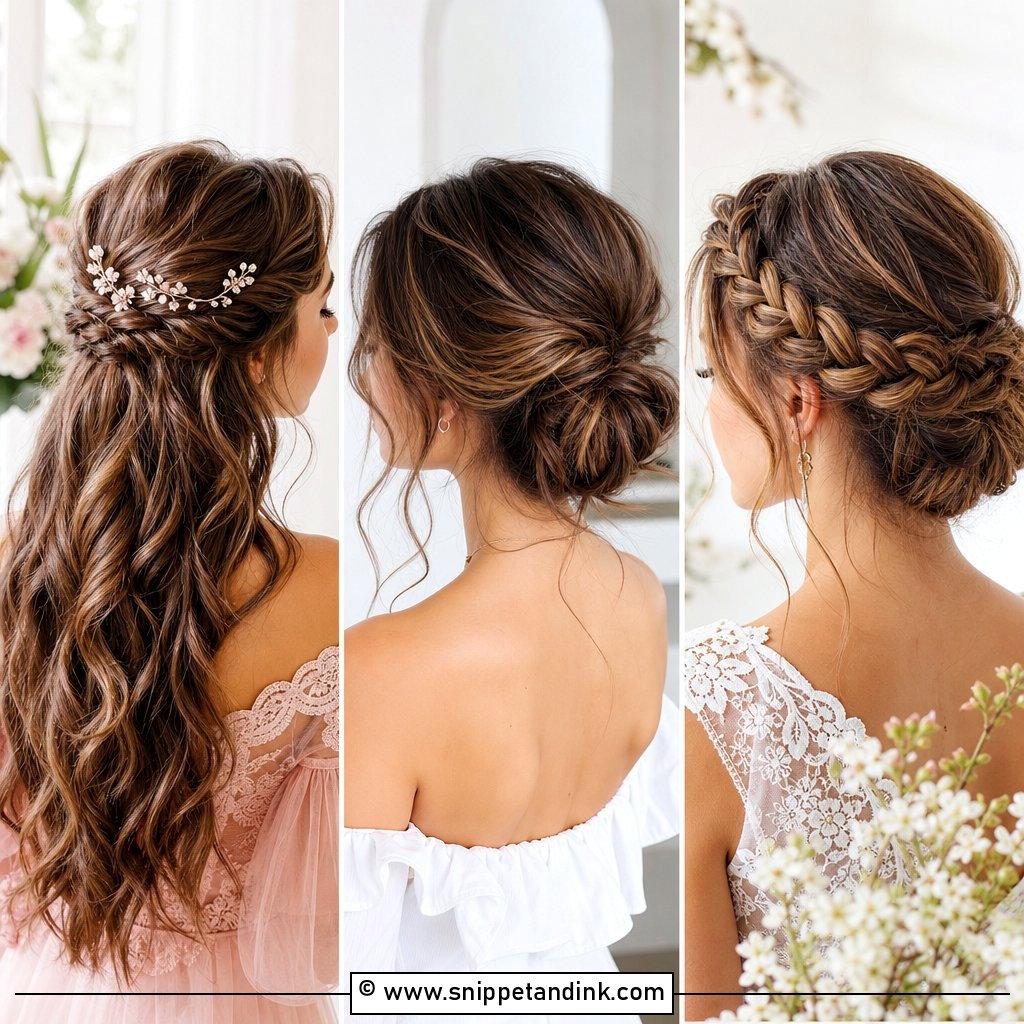
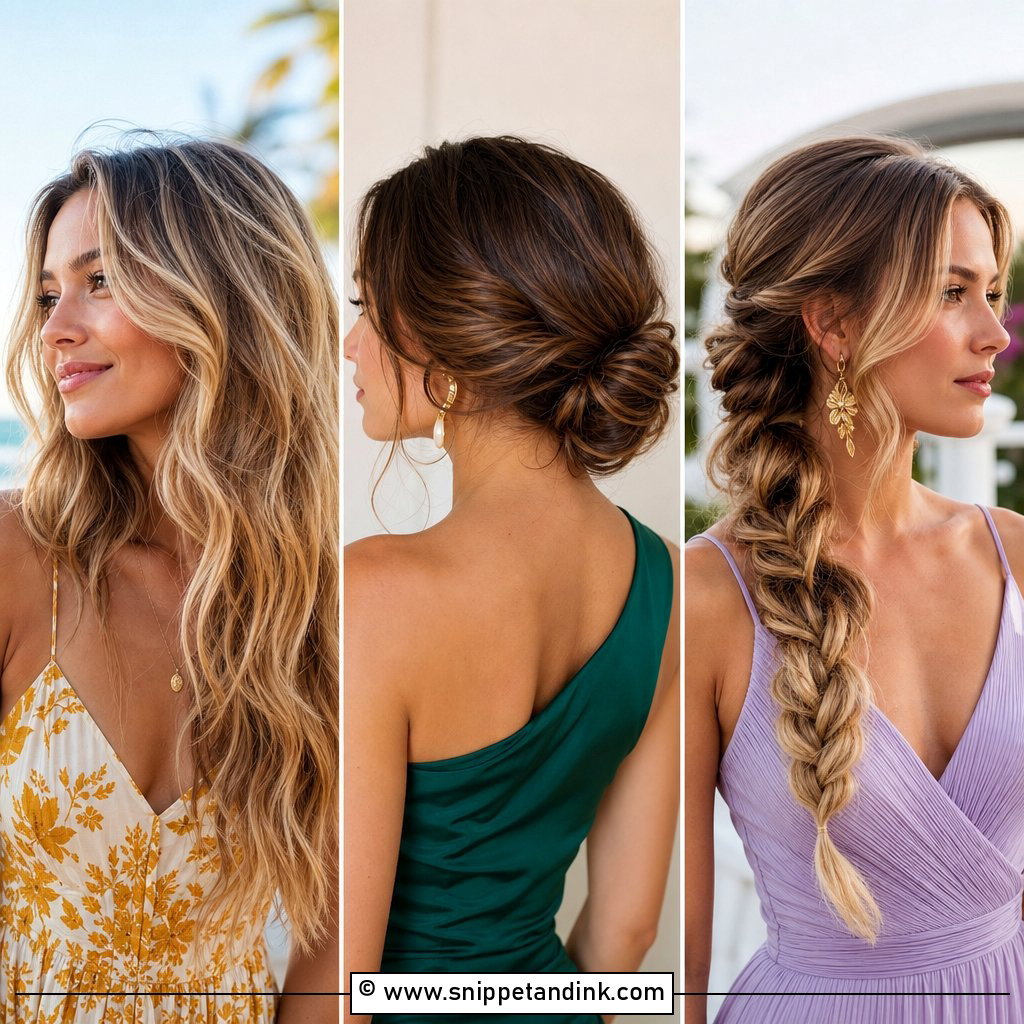
A small, loose bun on top with waves underneath. Gather the top section, twist it loosely and pin it into a small bun, then brush out the waves below with your fingers. I always make the waves first; curling around a bun is awkward and you’ll miss the hair right underneath it. Pull a few face-framing pieces loose. Medium to long hair carries it, and a small pearl clip beside the bun is enough decoration.
2. Half-Up French Braid
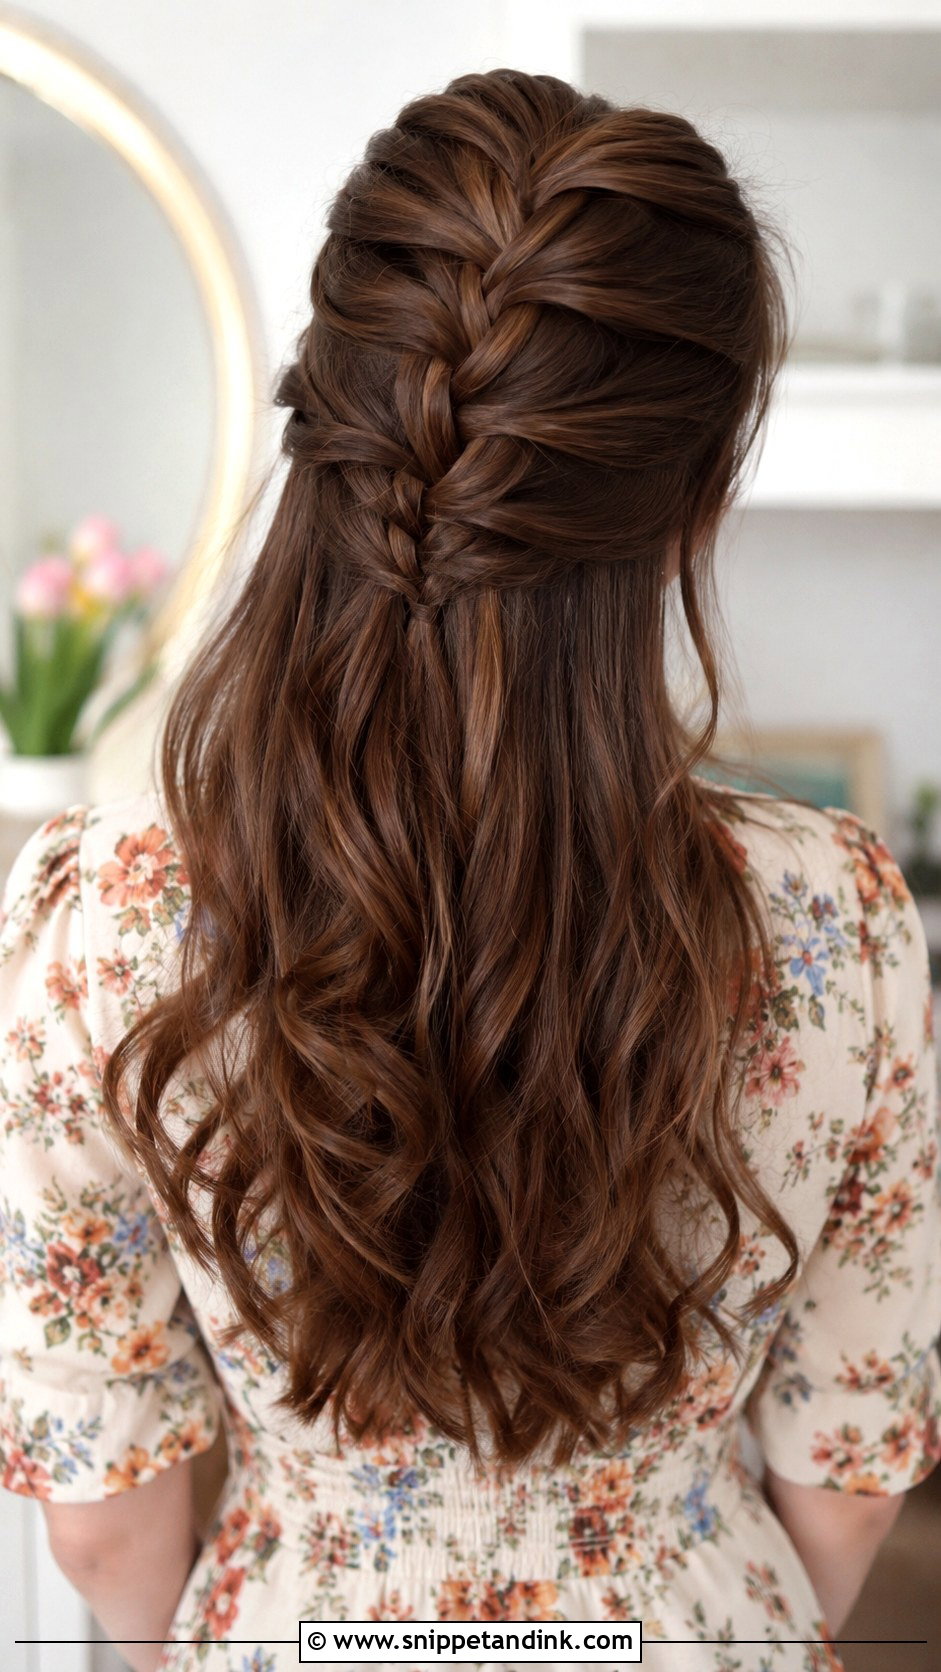
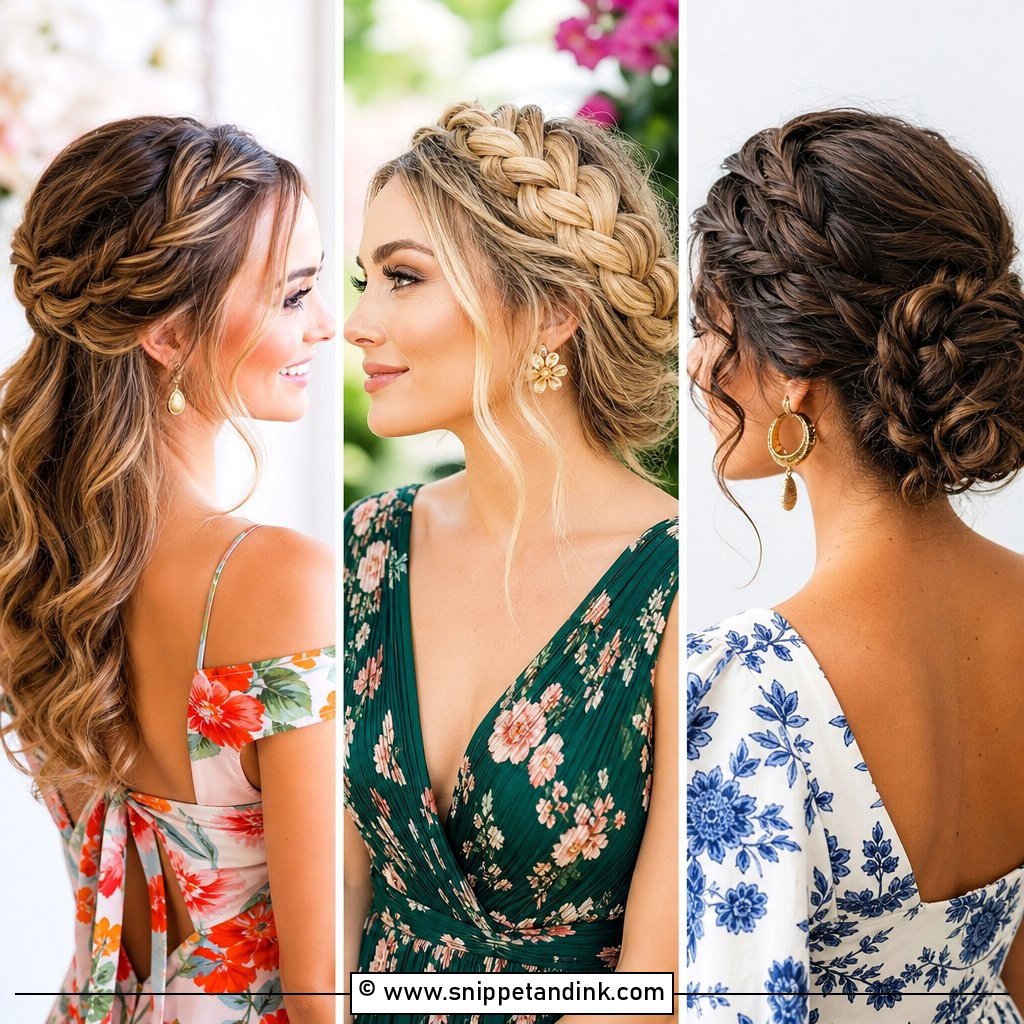
Start the French braid at the crown, adding small sections as you work back, and stop about halfway down the back of the head. Secure it with a clear elastic. Arms tire quickly when you braid your own head. If they do, I’d pinch the braid with one hand while the other rests, rather than letting go; dropping it is what loosens the plait. Curl the loose layers underneath. It’s one of the better choices for windy outdoor weddings because the braid locks the top hair down. Tug the edges a little for fullness.
3. Twisted Half-Up Crown
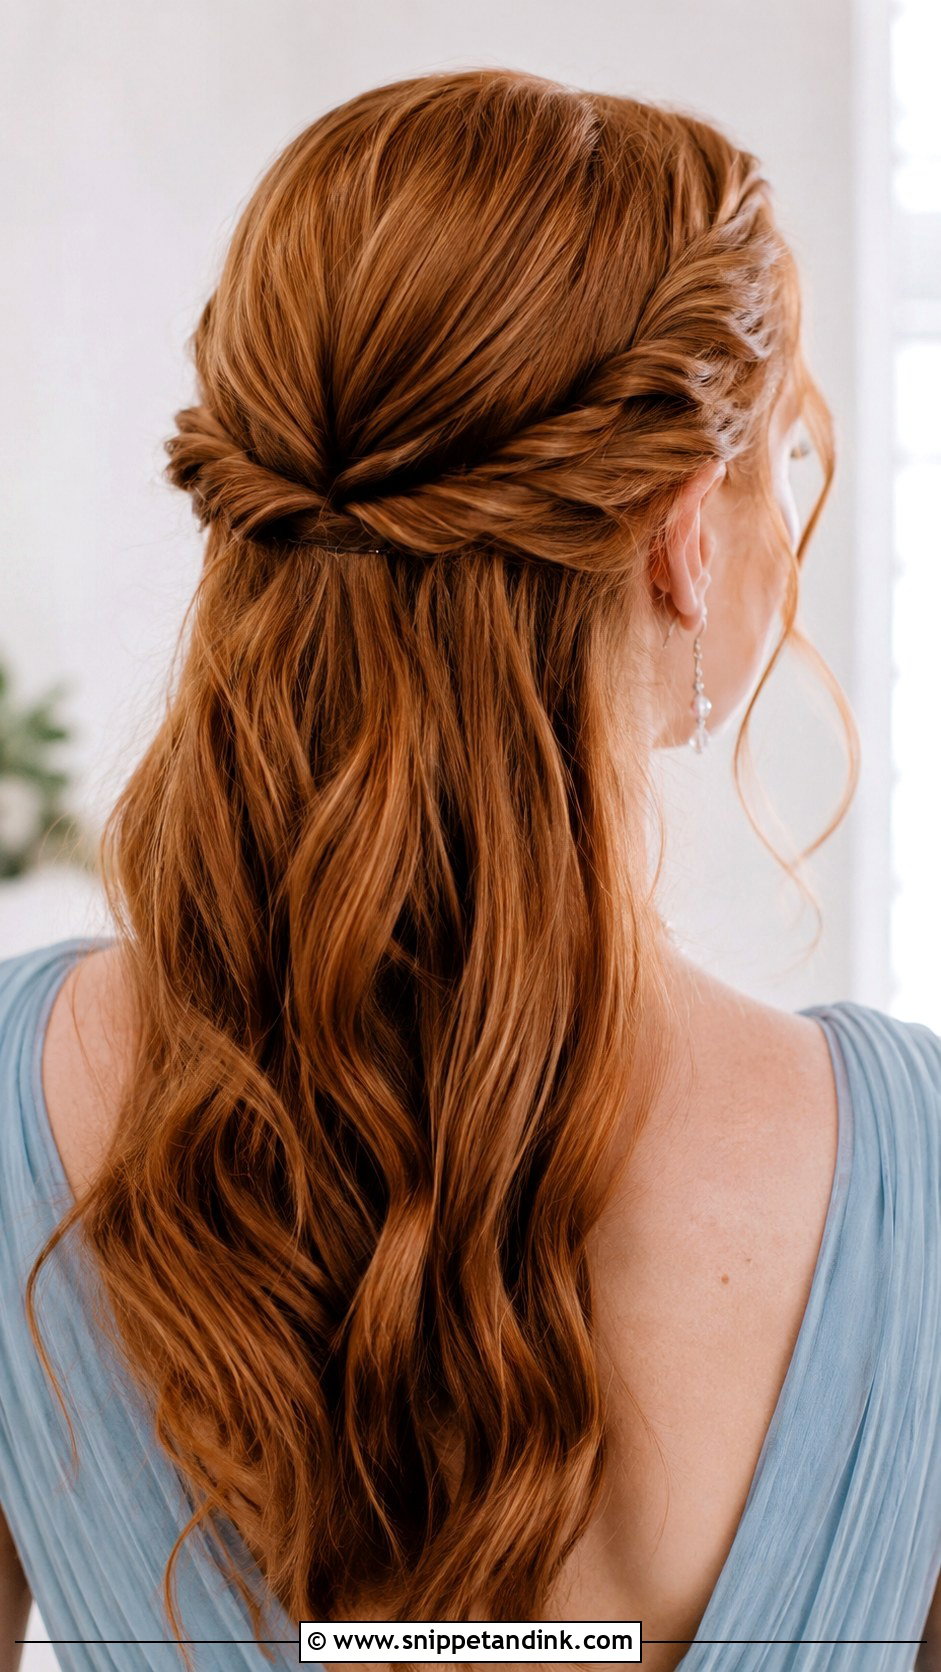
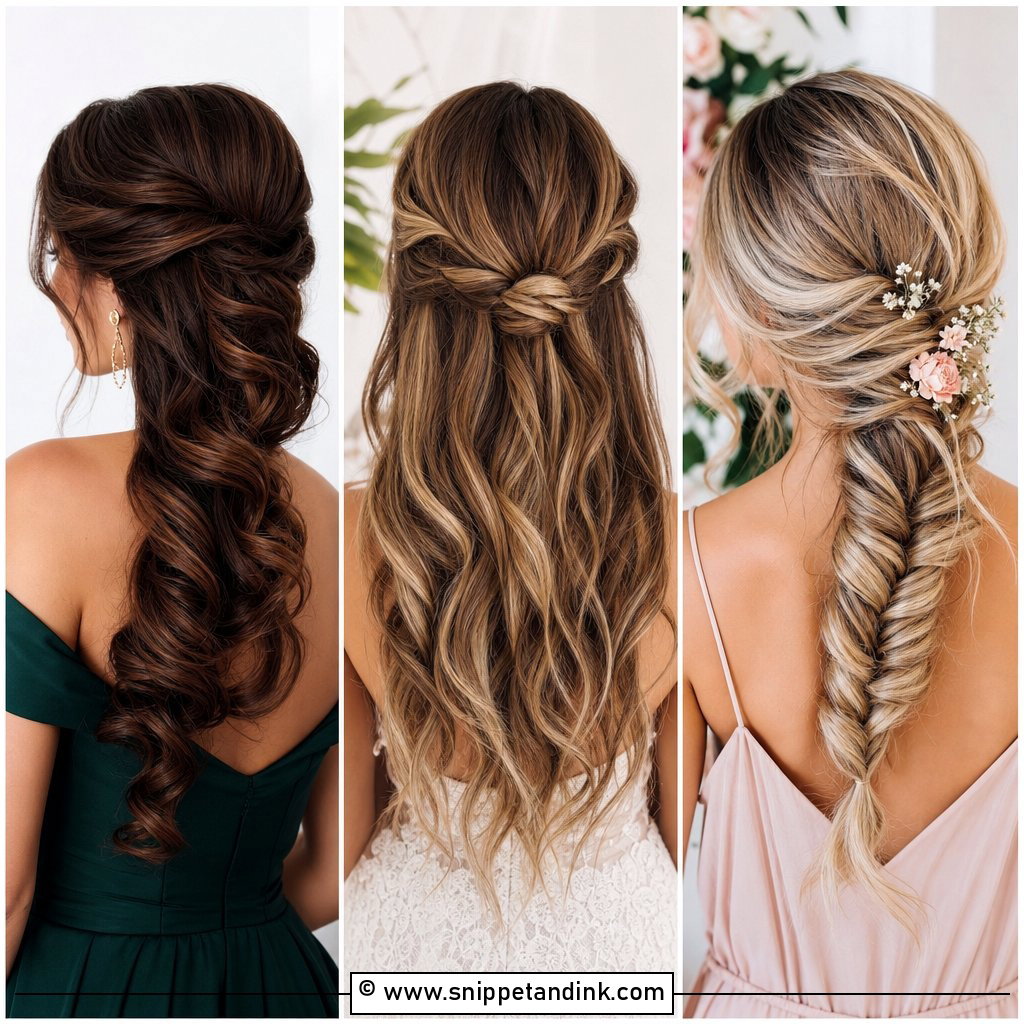
Two side twists brought back and pinned in the center give a soft halo around the head. Take a piece from each side, twist backward and pin them together. Keep the crown itself smooth so the twists stand out against it. Straight and wavy hair both hold twists well; very curly hair can do it too, but finger-twist rather than combing so the curl stays defined. Mist with spray at the end.
4. Half-Up Ponytail With Volume
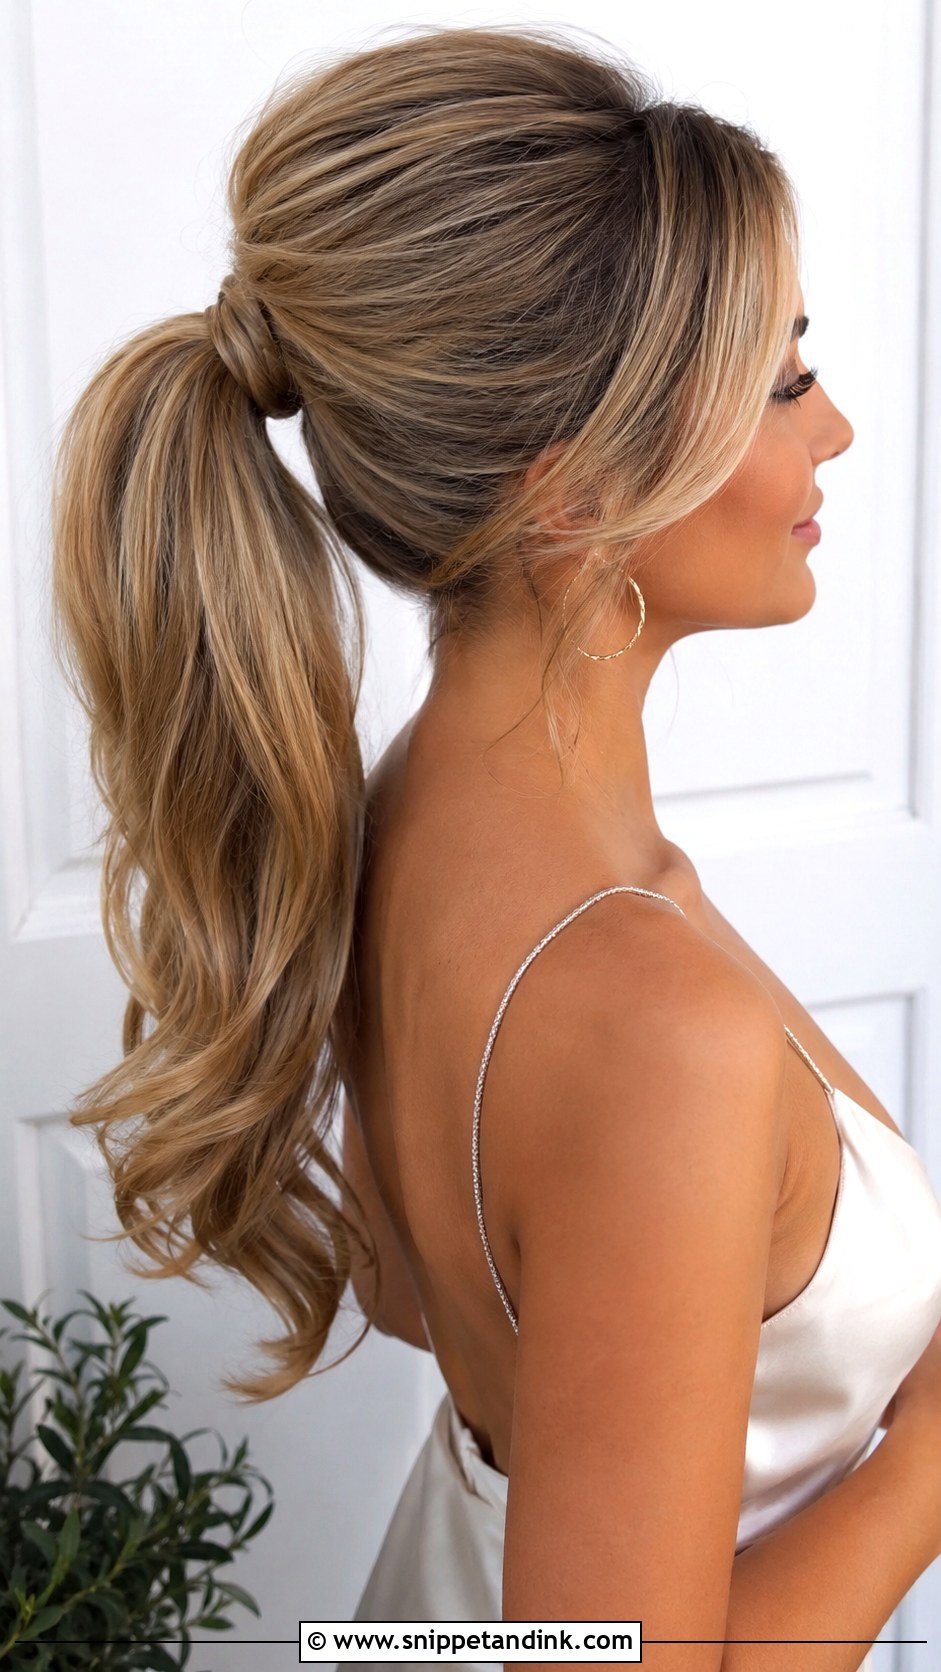
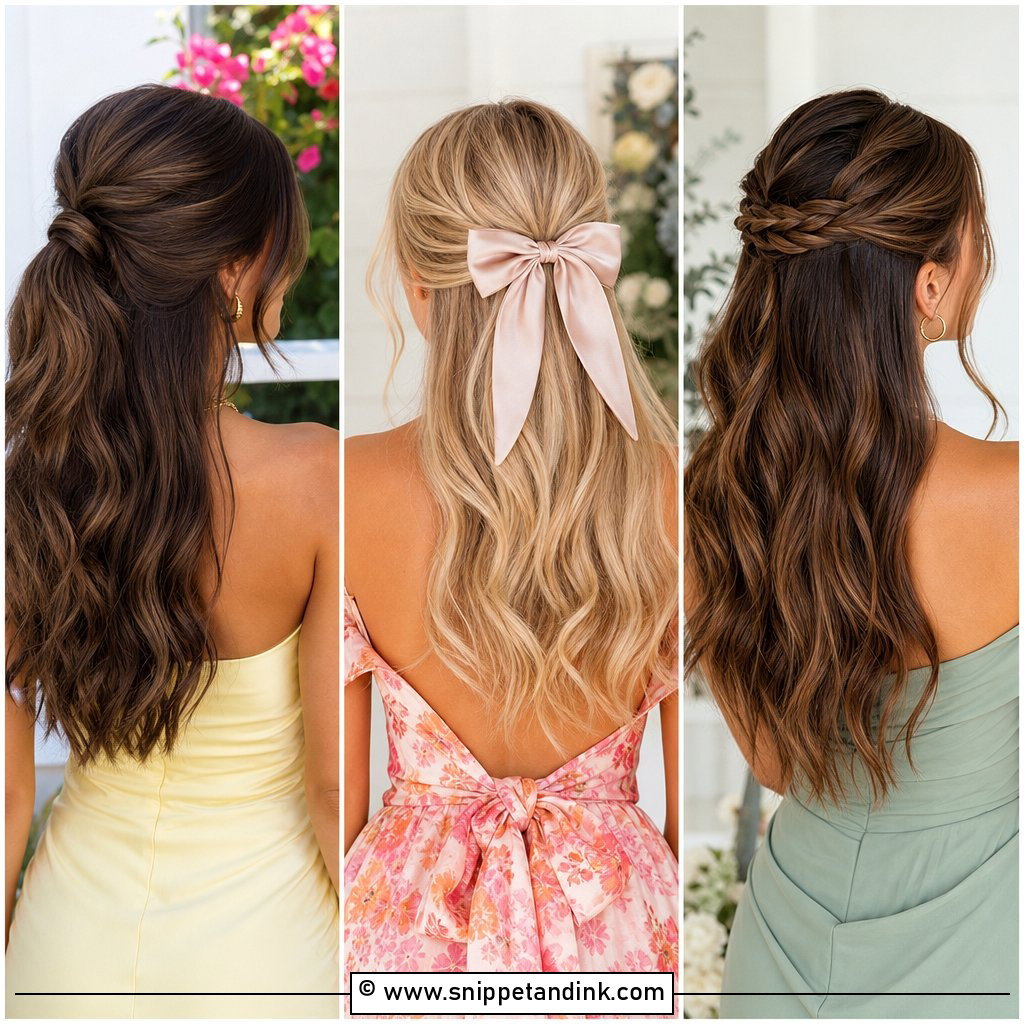
Teasing before you tie is what keeps a half-up ponytail from looking flat. Backcomb the crown gently at the root, smooth the top layer over it, then pull the top half back and secure it with an elastic. Wrap a strand around the elastic to hide it. Leave the lower section curled or straight. On thick hair, the weight of the pony can pull the tease flat by evening, so I add two pins under the elastic, pointing up toward the crown.
5. Half-Up With Bubble Braid
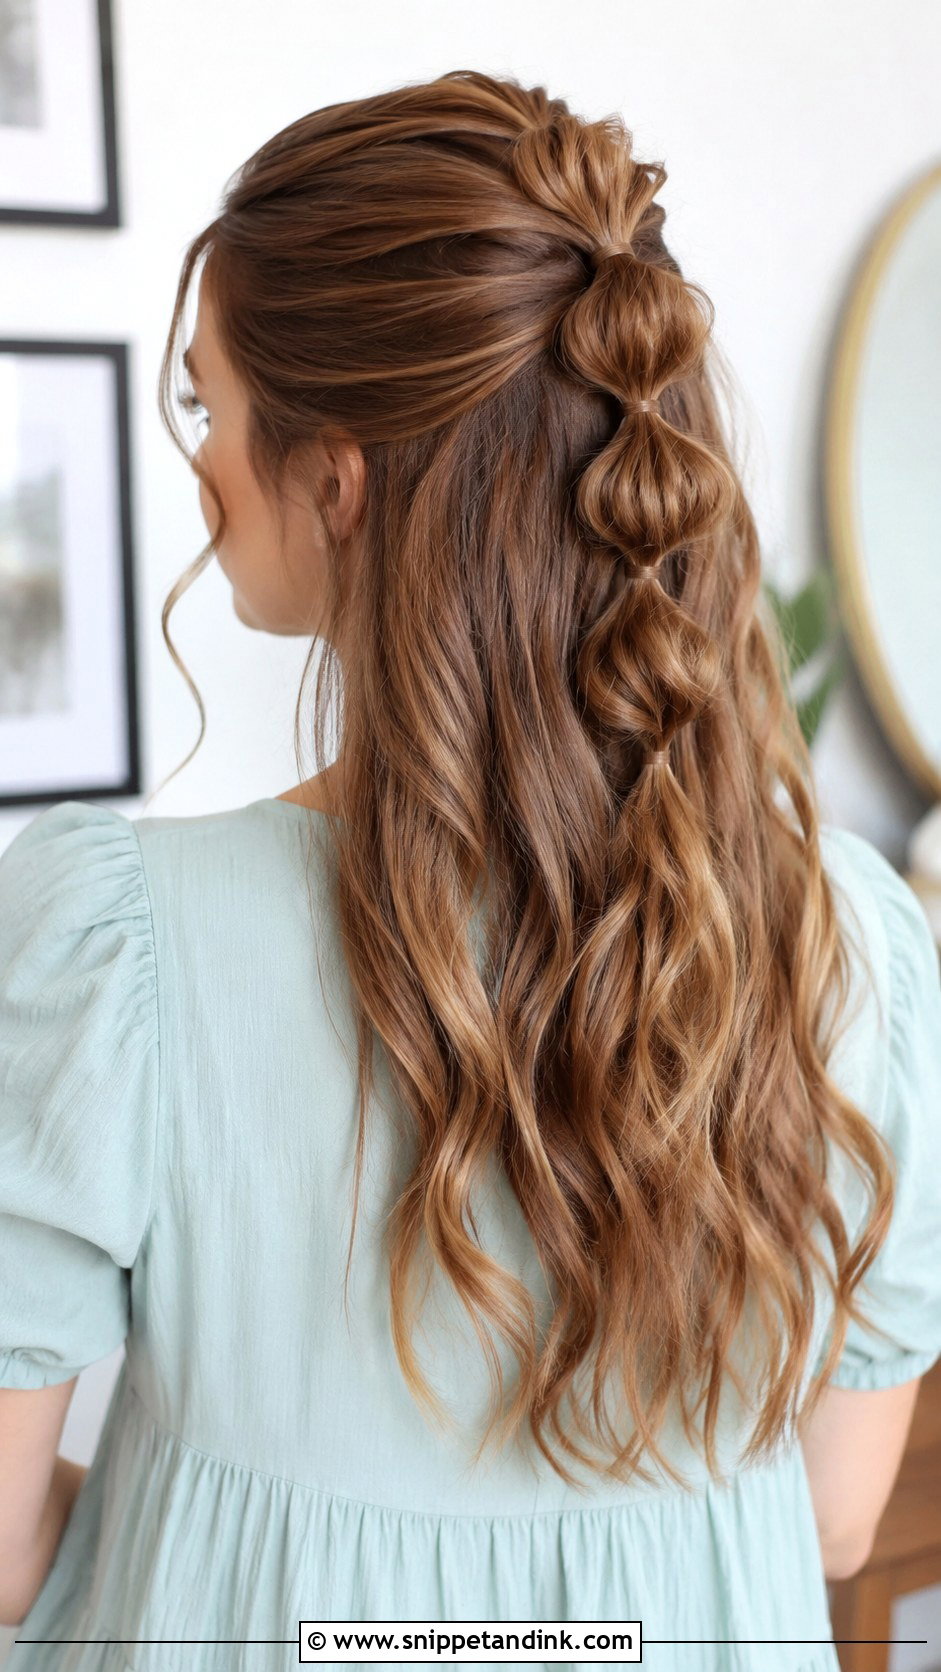
Bubble braids are fun, and they’re more forgiving than real braids. Gather the top half into a ponytail, add clear elastics down the length every couple of inches, and pull each section outward into a bubble. Pull gently and evenly, or the bubbles end up lopsided. They bring personality to wedding guest hair and suit younger guests and modern celebrations. They hold well, too, since every elastic acts as an anchor.
6. Half-Up Knot
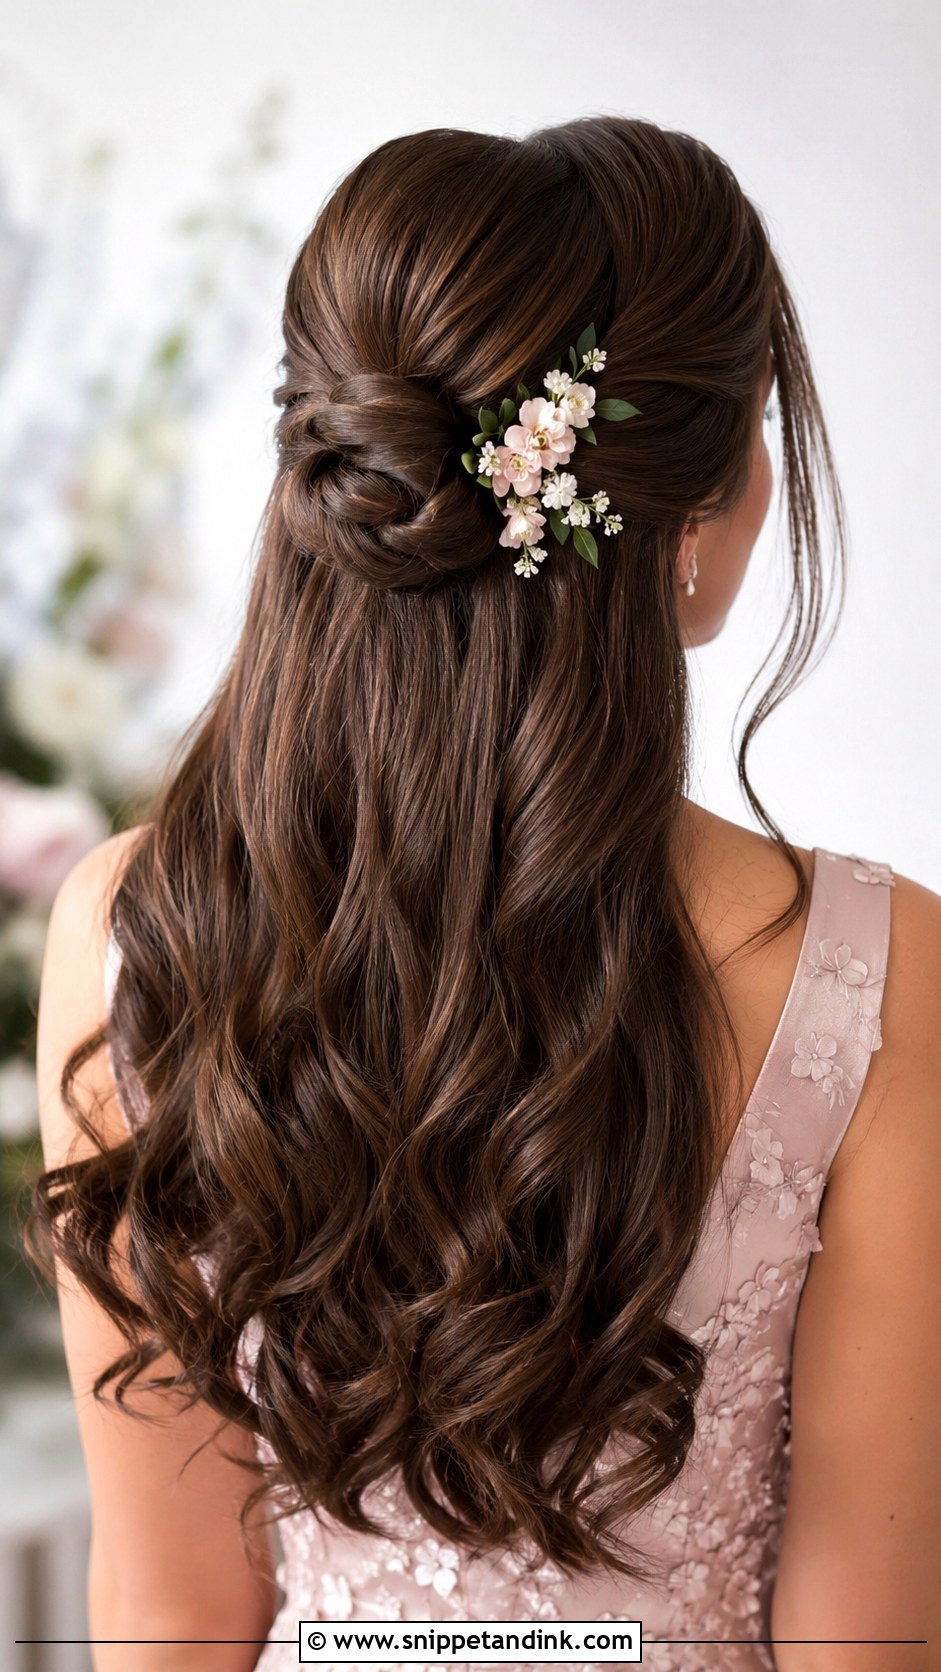
Take a section from either side and tie them into one knot at the back, then pin the ends underneath. That’s it. The knot sits best on smooth hair with a slight curl; on very slippery hair, spray a little texture into the sections first so the knot doesn’t slide open. You need the hair to reach past your shoulders for the sections to meet comfortably. A tiny floral pin near the knot finishes it.
7. Half-Up With Curtain Bangs
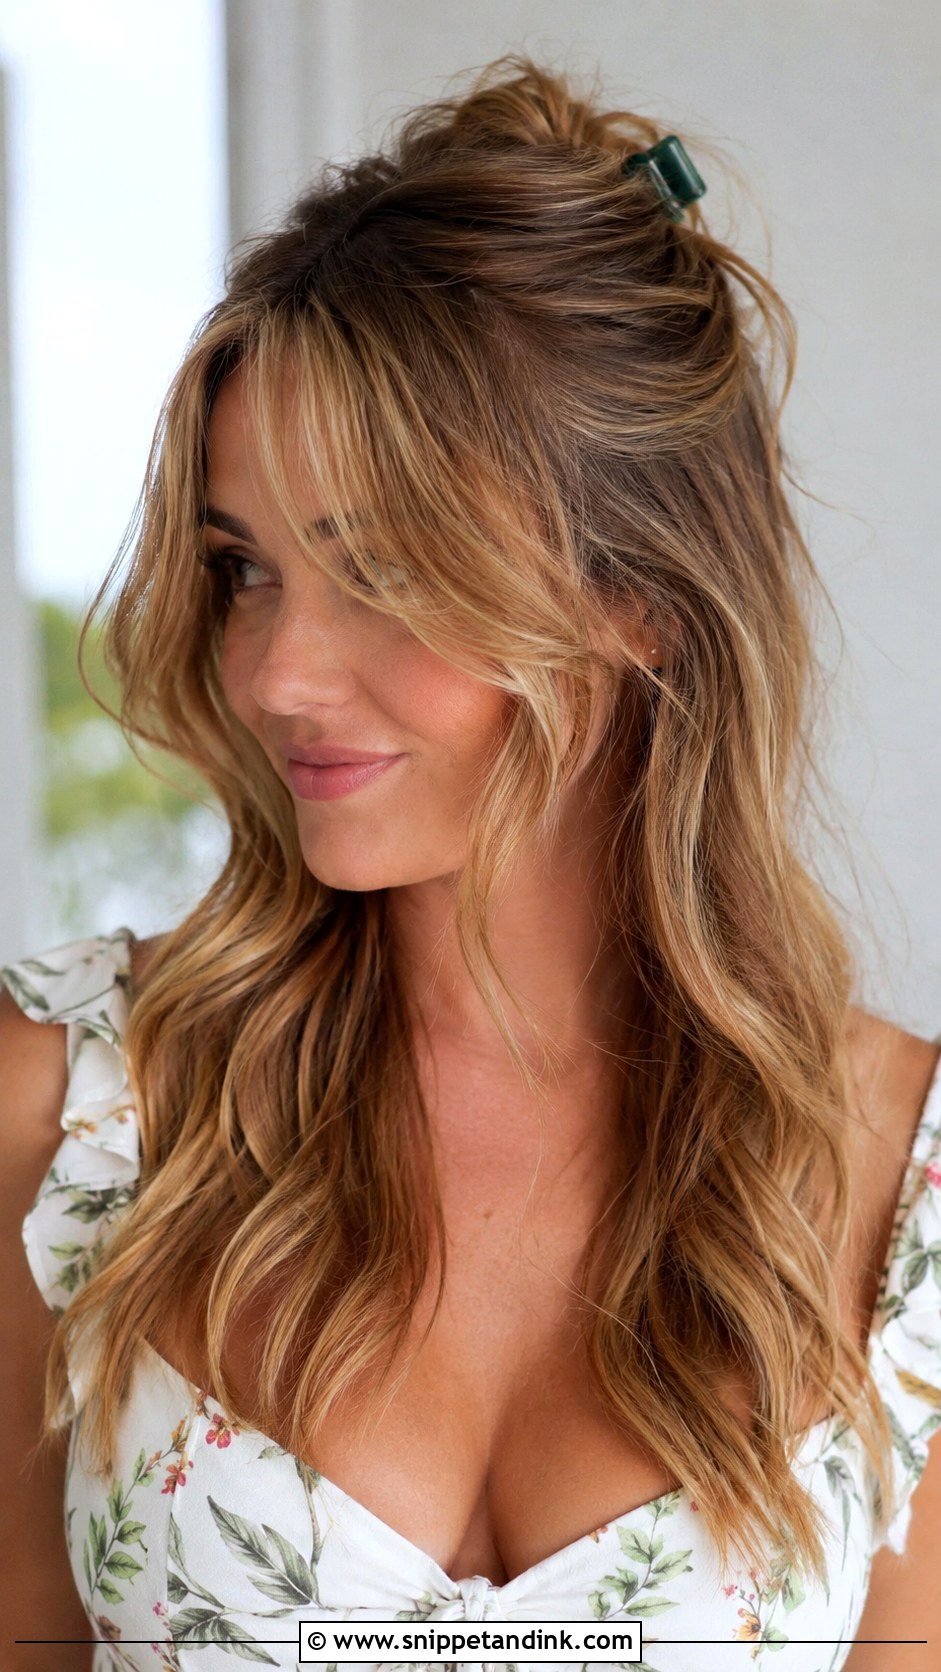
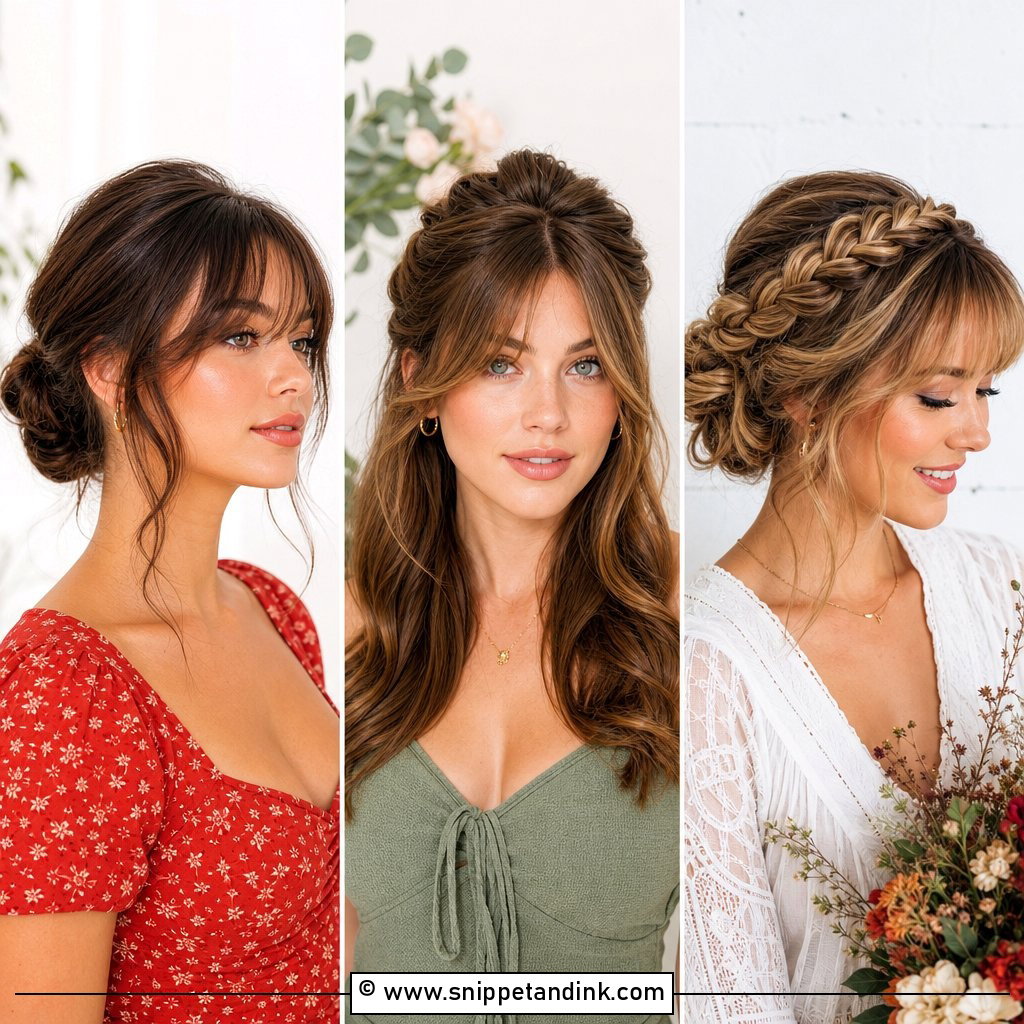
Curtain bangs already frame the face, so the half-up behind them only needs to be soft. Sweep the top back into a loose bun or clip, letting the bangs fall either side. Blow-dry or curl the bangs outward with a round brush; a curling iron tends to flip the ends up. Waves below. Oval and round faces suit it well. If the wedding is outdoors in heat, a little dry shampoo at the bang roots keeps them from separating.
8. Half-Up Fishtail Braid
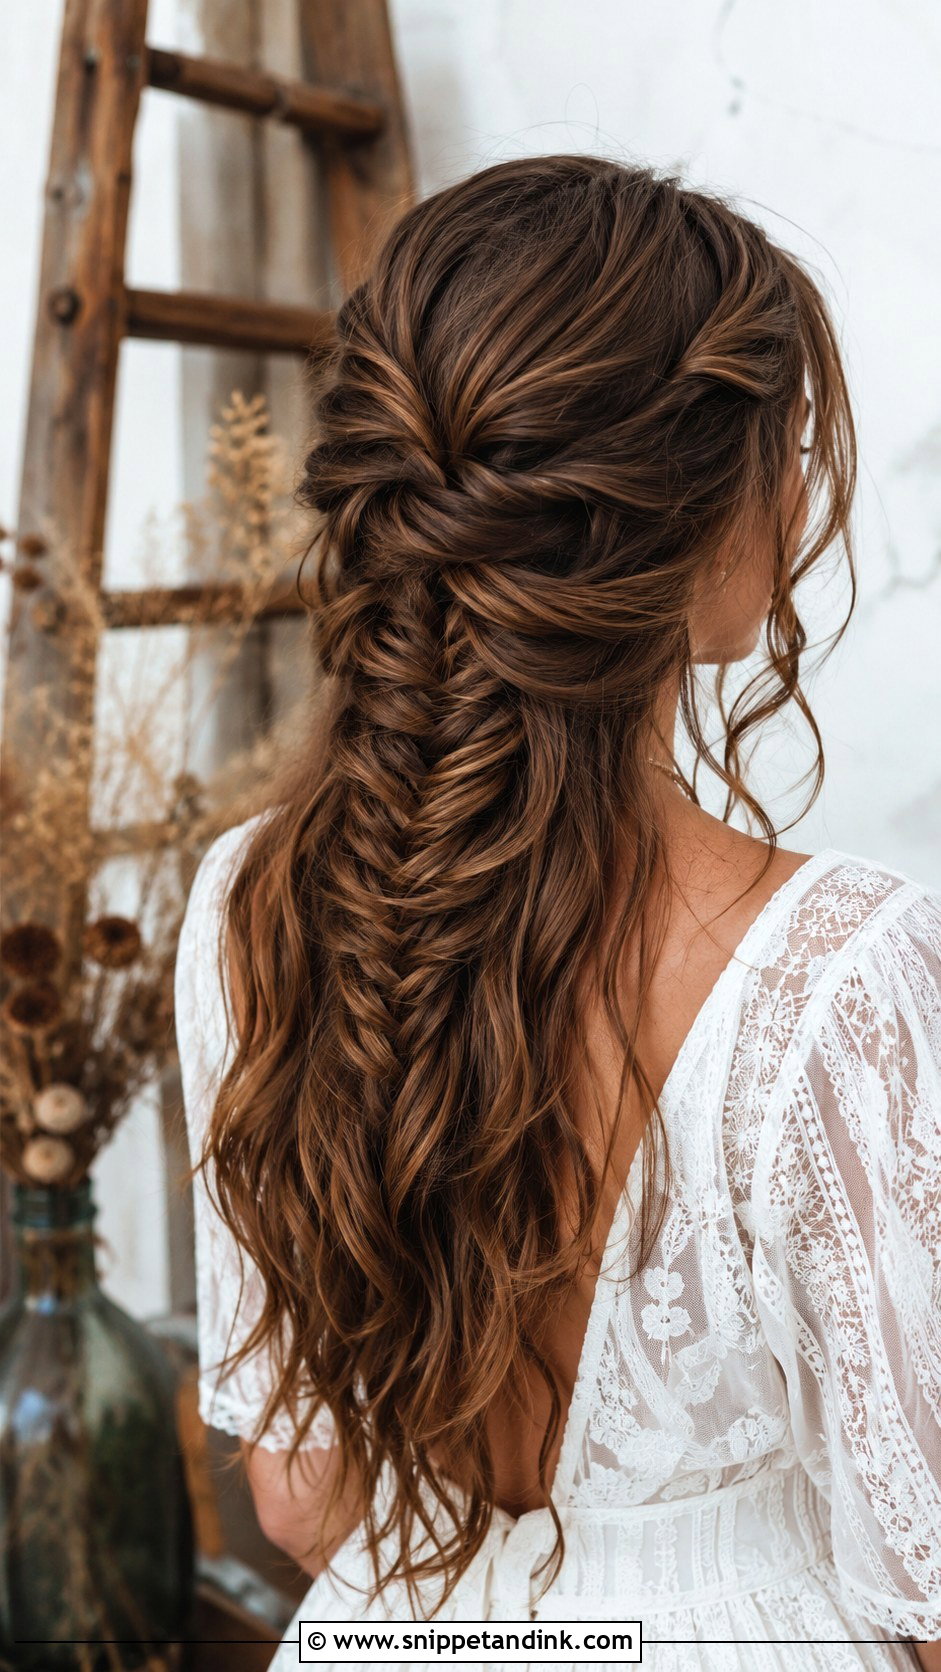
A fishtail looks complicated but only uses two strands. Split the top half into two sections, pass a small piece from the outside of one into the other, and alternate. Small pieces make a tighter, finer braid; larger ones read more relaxed. Stop halfway, secure with a clear elastic and loosen gently. It’s the braid I reach for for anyone with slippery hair because the crossings are close together. It suits outdoor and rustic weddings and needs long hair to show.
9. Half-Up With Pearl Clips
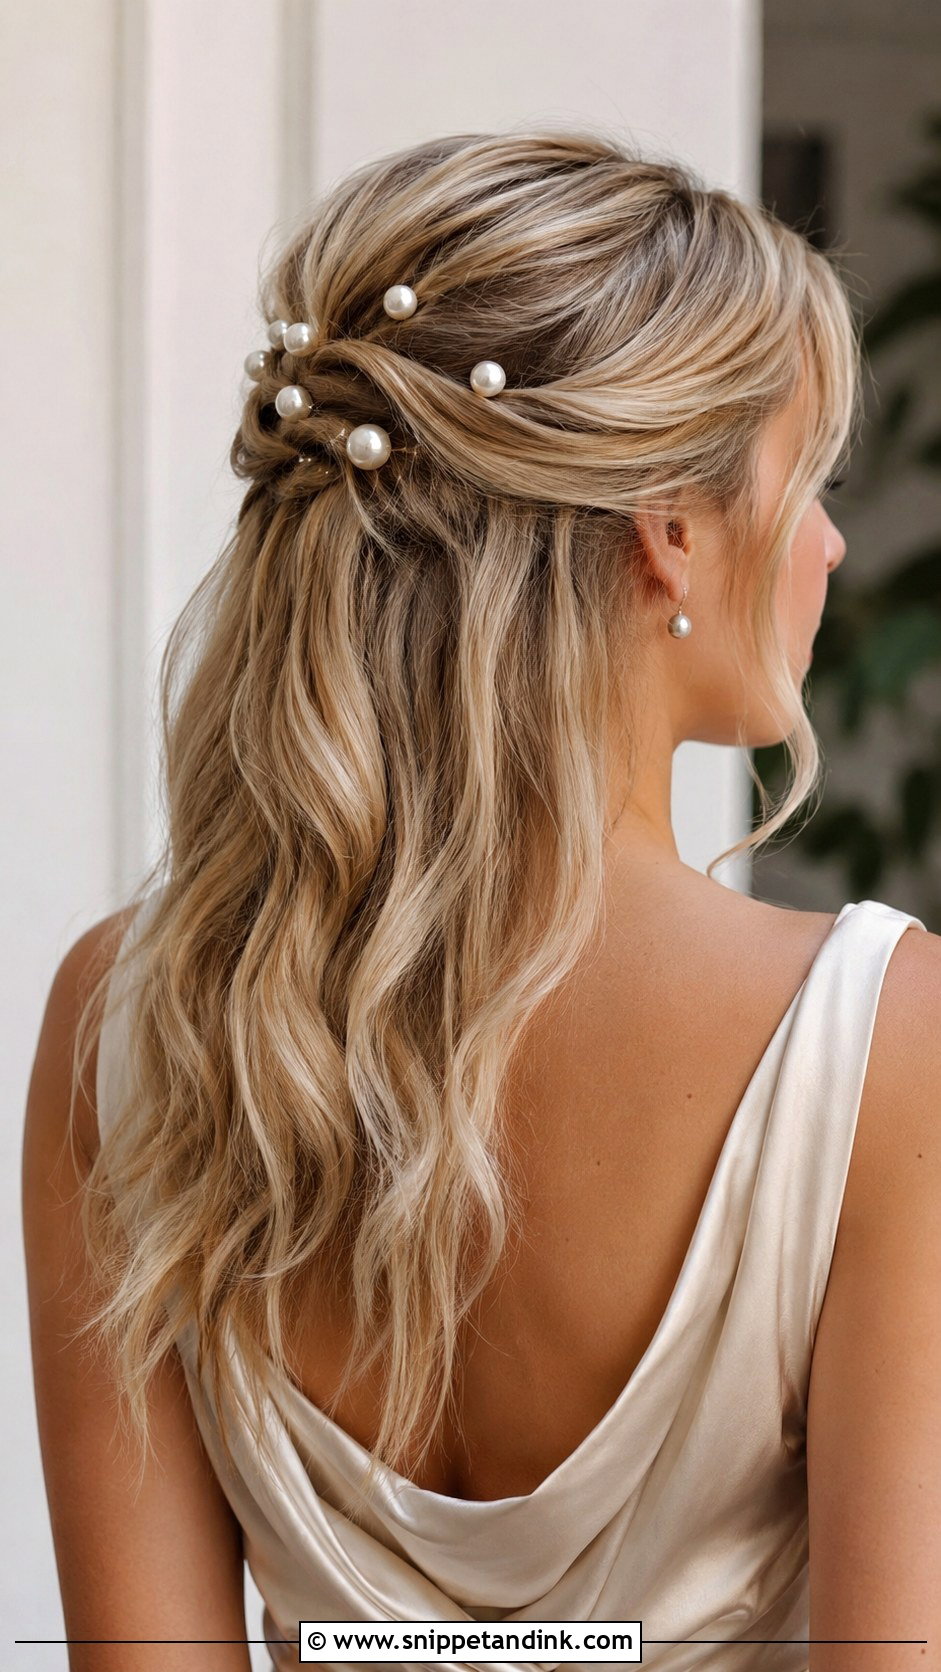
Accessories can make a basic half-up look wedding-ready. Pull the top section back, secure it loosely and place pearl clips along the part or near the crown. Clips grip best in hair with a little texture, so spray dry shampoo where they’ll sit. The lower half can be waved or sleek. Pearls are fine for guests; I’d avoid an all-white pearl headpiece that reads bridal from behind.
10. Half-Up Space Buns
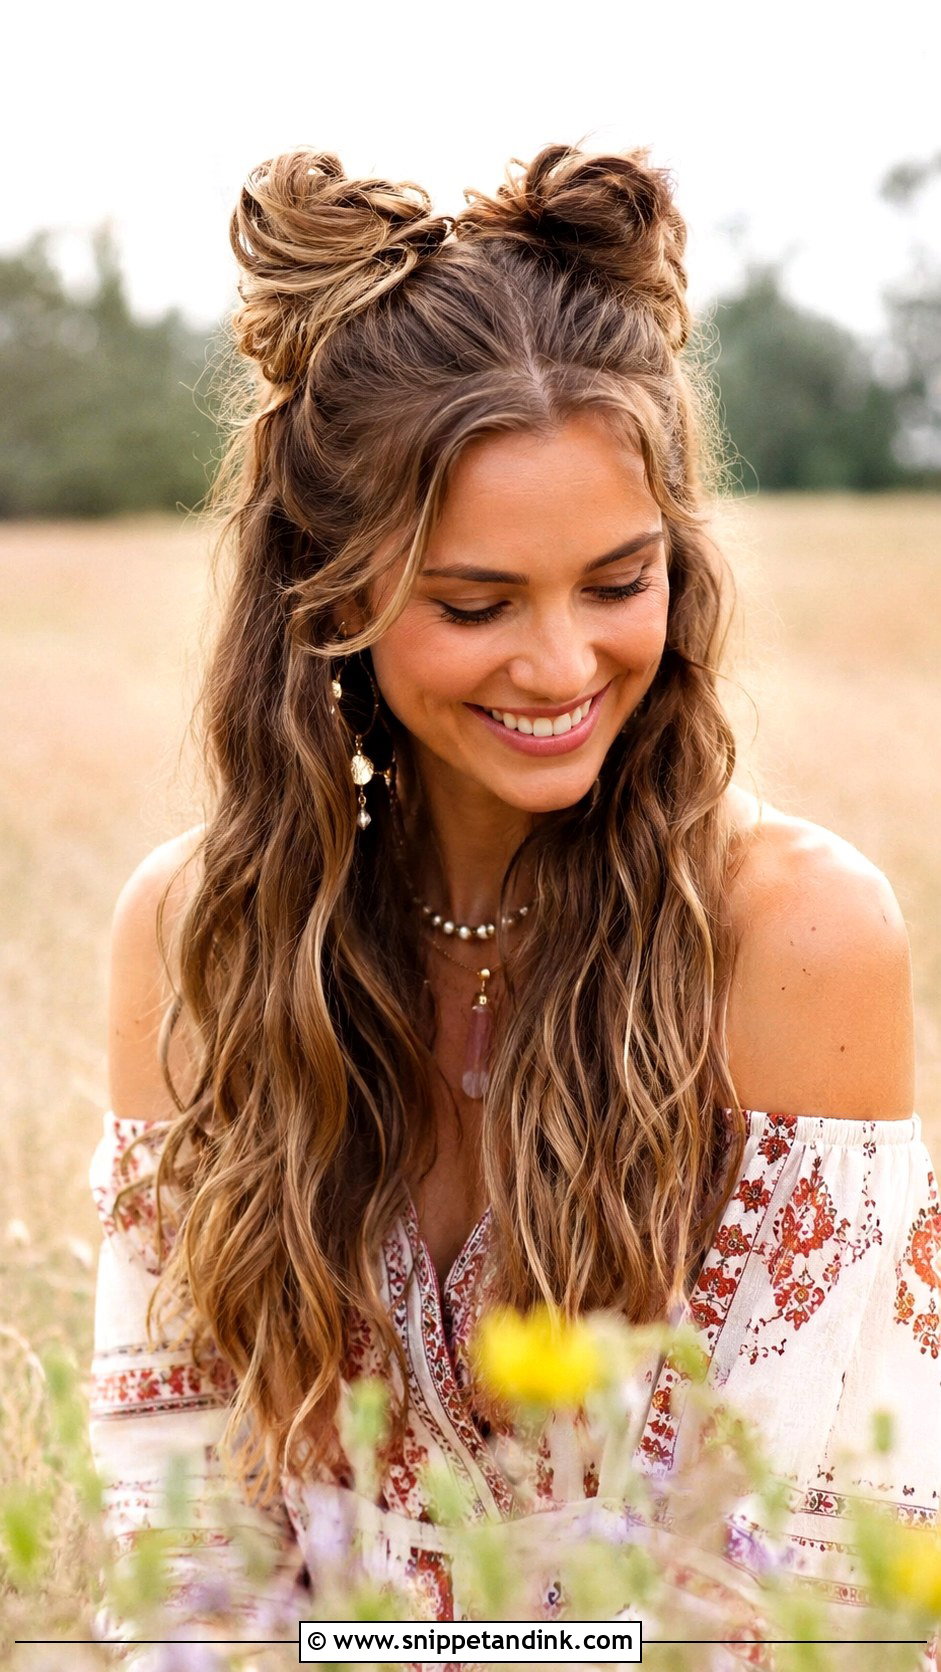
Space buns are the most playful style on the list, so think about the wedding before choosing them. Split the top half into two equal sections, twist each into a small bun on either side of the crown, and keep them loose. I always use the tail of a comb to make the center part straight; a wobbly part shows. Leave the rest in waves. They fit casual and boho weddings outdoors, but at a formal evening wedding they can look out of place.
11. Half-Up With Side Braid
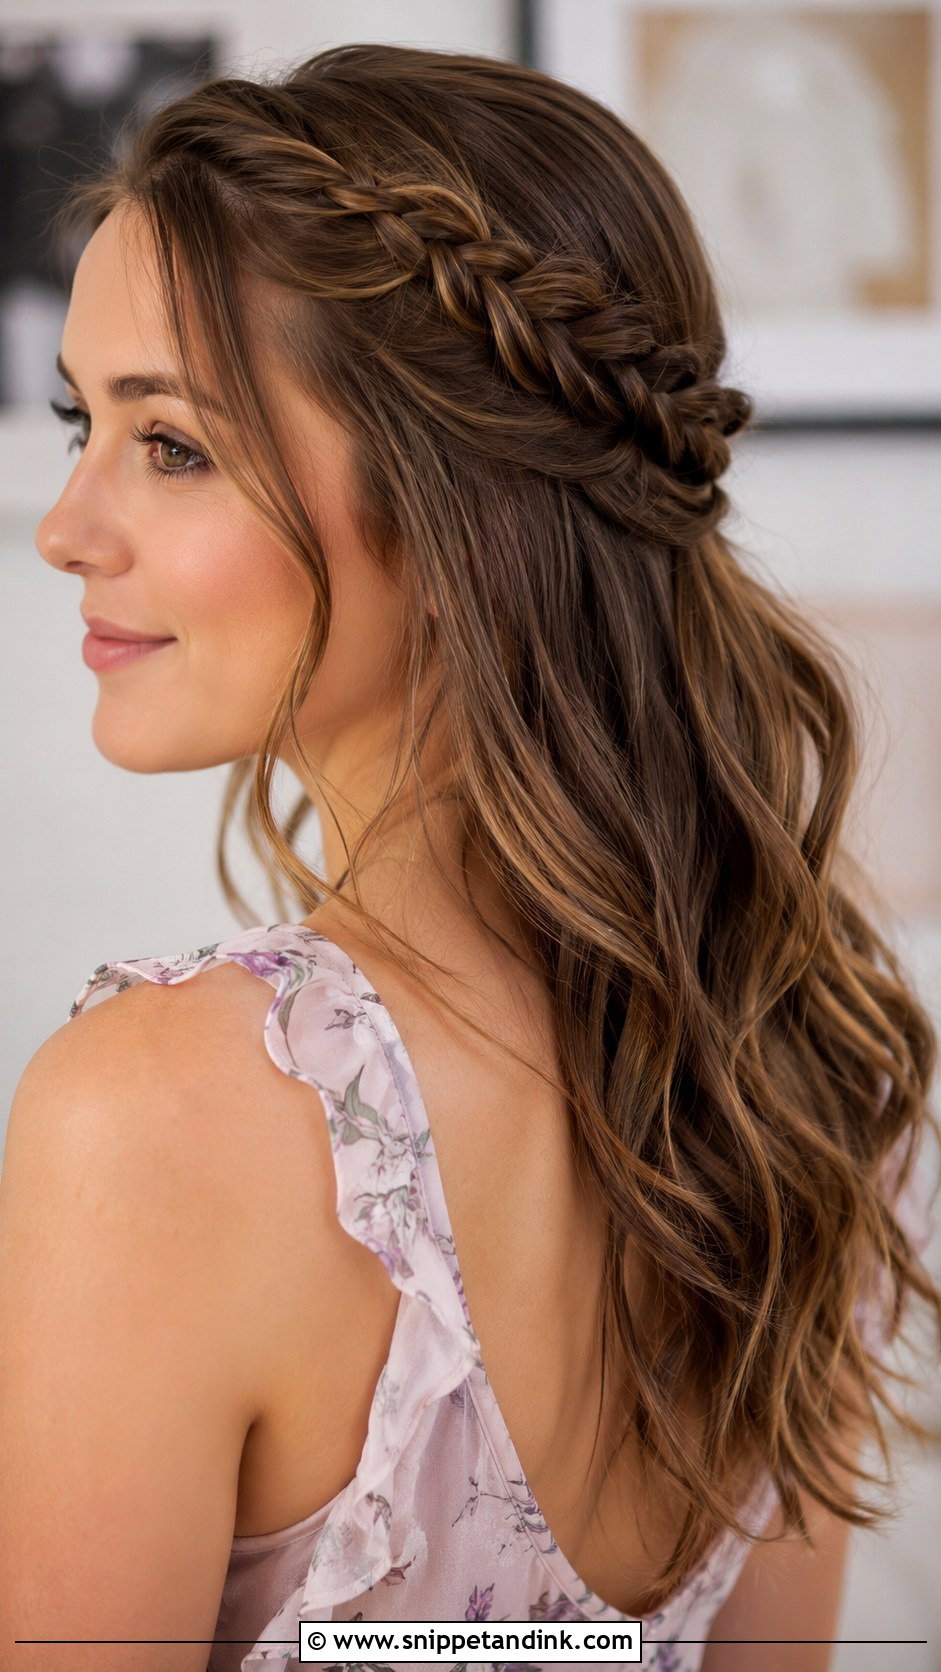
One small braid near the temple adds detail without much work. Braid a small section loosely, pull it back and pin it into the half-up section, then gather the rest of the top half and secure it. The lower layers stay in waves. Keep the braid thin, around the width of a pencil, so it sits flat against the head and doesn’t look bulky. Most textures and lengths can manage it.
12. Half-Up Twisted Ponytail
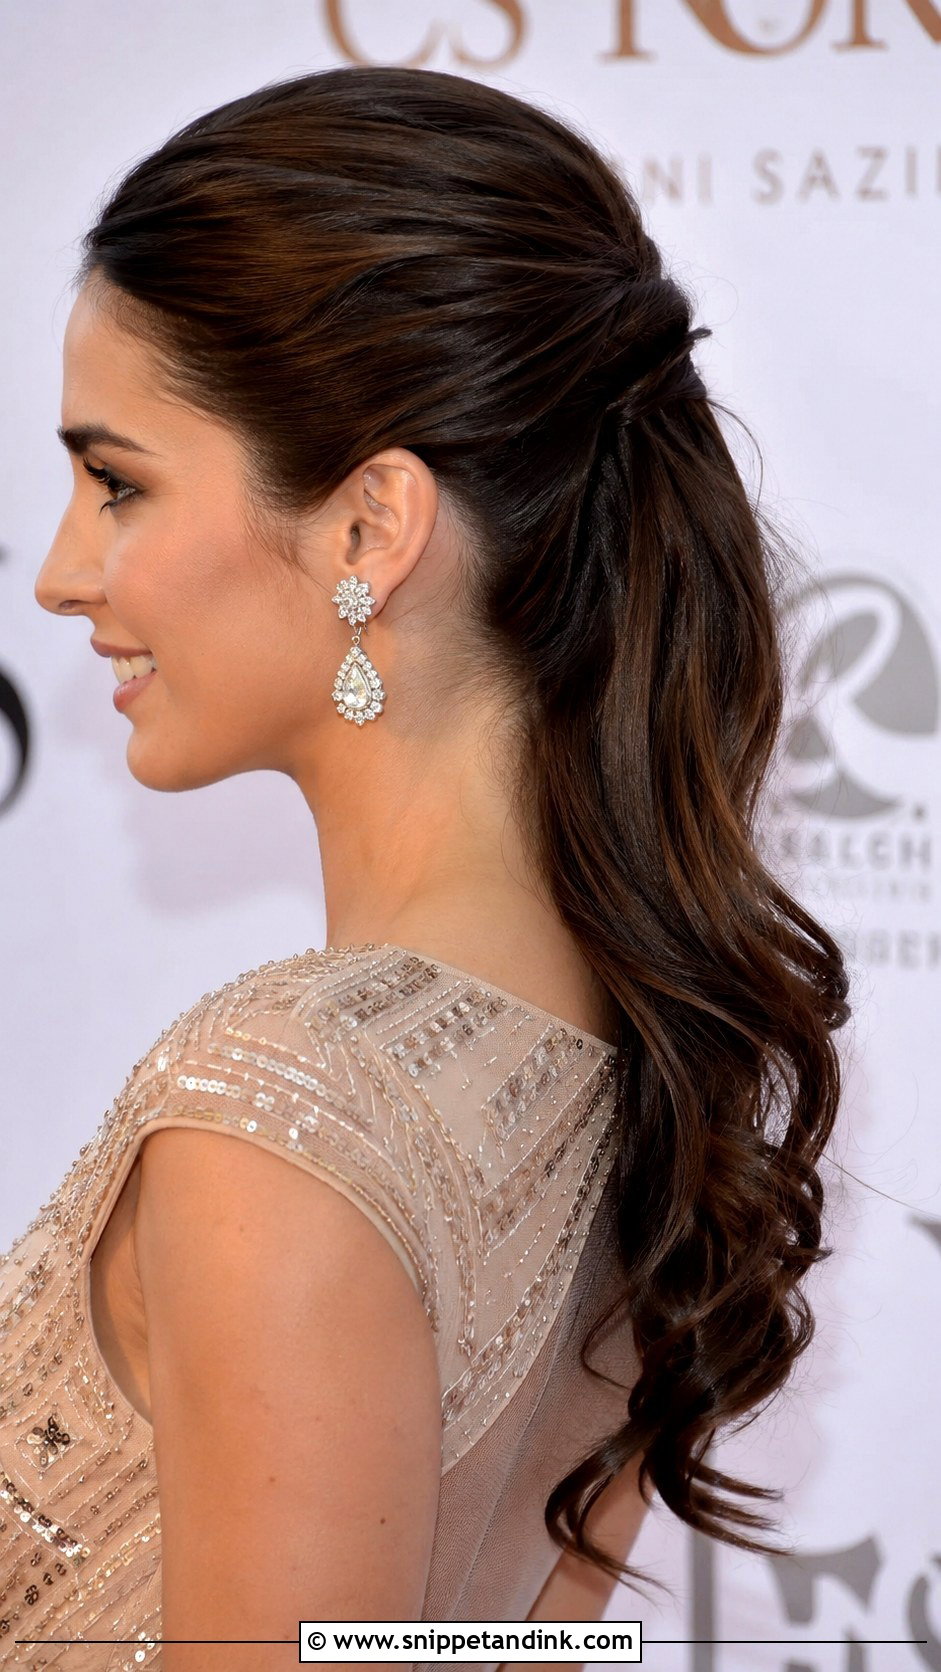
Twists feeding into a ponytail make a sleek look slightly more detailed. Take two sections from the front, twist them back and join them into a half-up ponytail at the crown. Twist them tight before tying, then tug gently once secure; twisting loose first means they collapse. Straight or curled hair underneath. It suits formal weddings and statement earrings.
13. Half-Up With Loose Curls
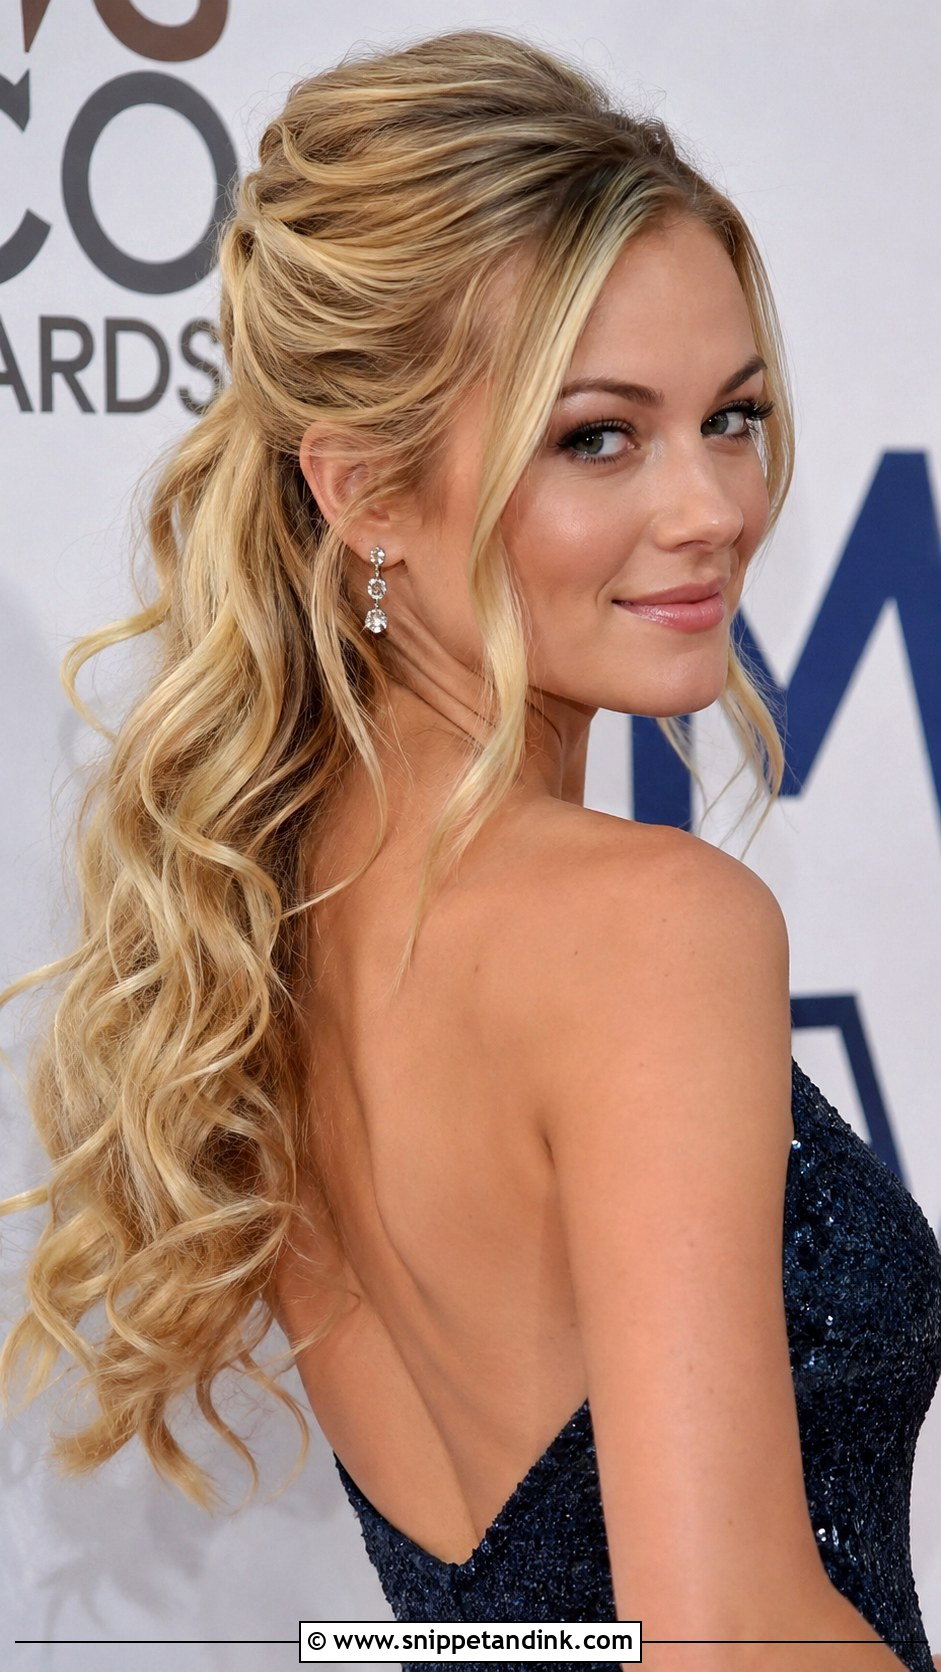
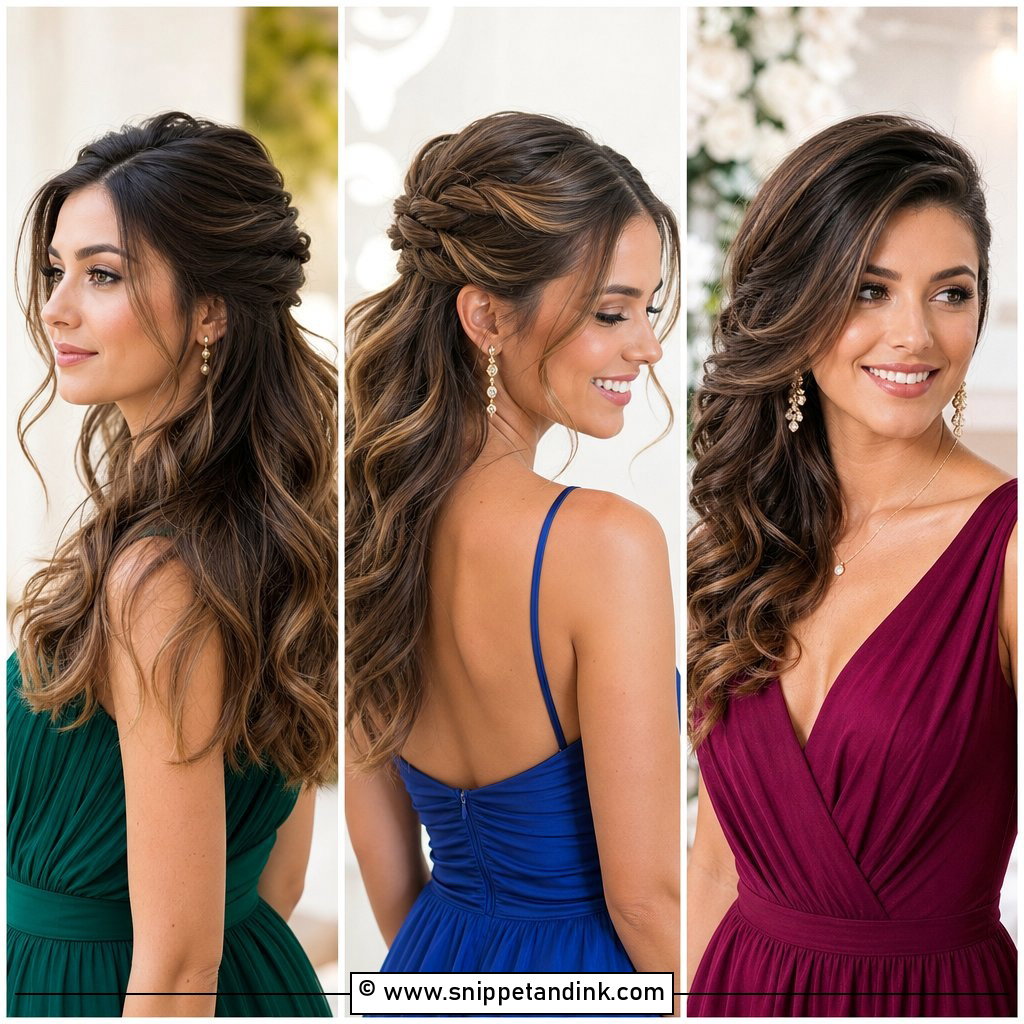
Curls first, then the half-up. Use a wide-barrel iron, let the curls cool, then pull the top half back into a loose clip or bun. I finger the curls apart for texture rather than brushing, which can turn them to frizz. Medium to long hair suits it. Volume on top and curls below make a balanced shape, and a sparkly pin adds a touch of shine for evening.
14. Half-Up Halo Braid
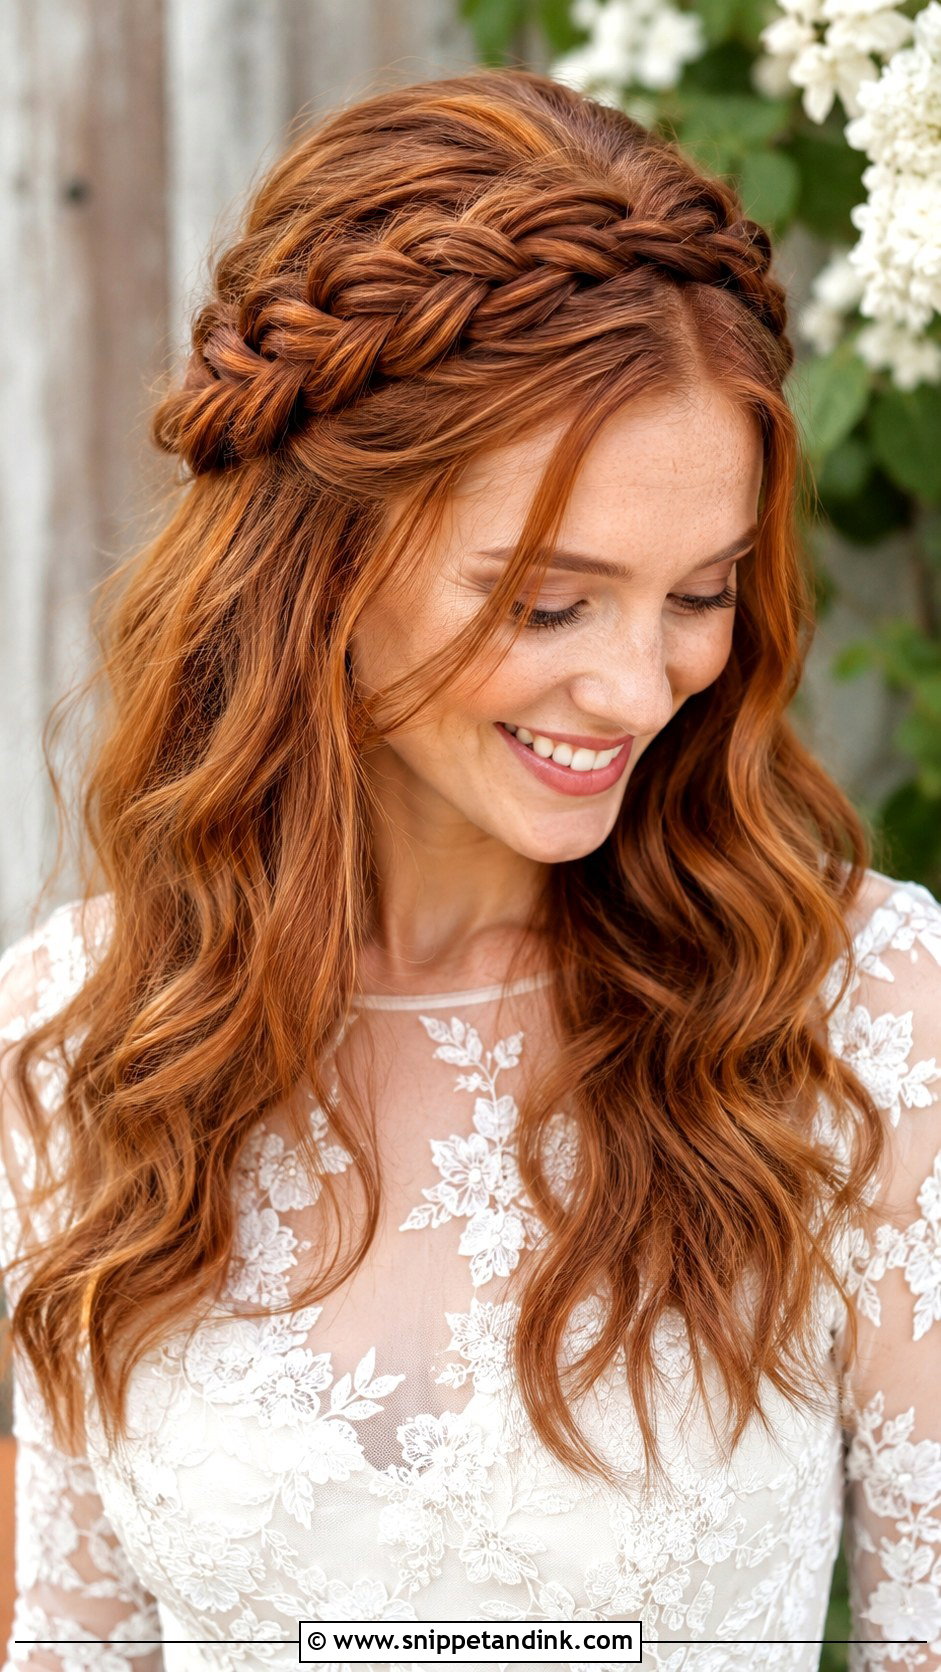
A halo braid crosses the head like a headband. Braid a section from one side, bring it over the top just behind the hairline and pin it on the opposite side, then pull the rest of the top half back behind it. Pin the braid end under the hair on the far side so it’s hidden. It suits garden and outdoor weddings. On short layers, the braid end may not reach; a small clip-in piece solves that.
15. Half-Up With Headband
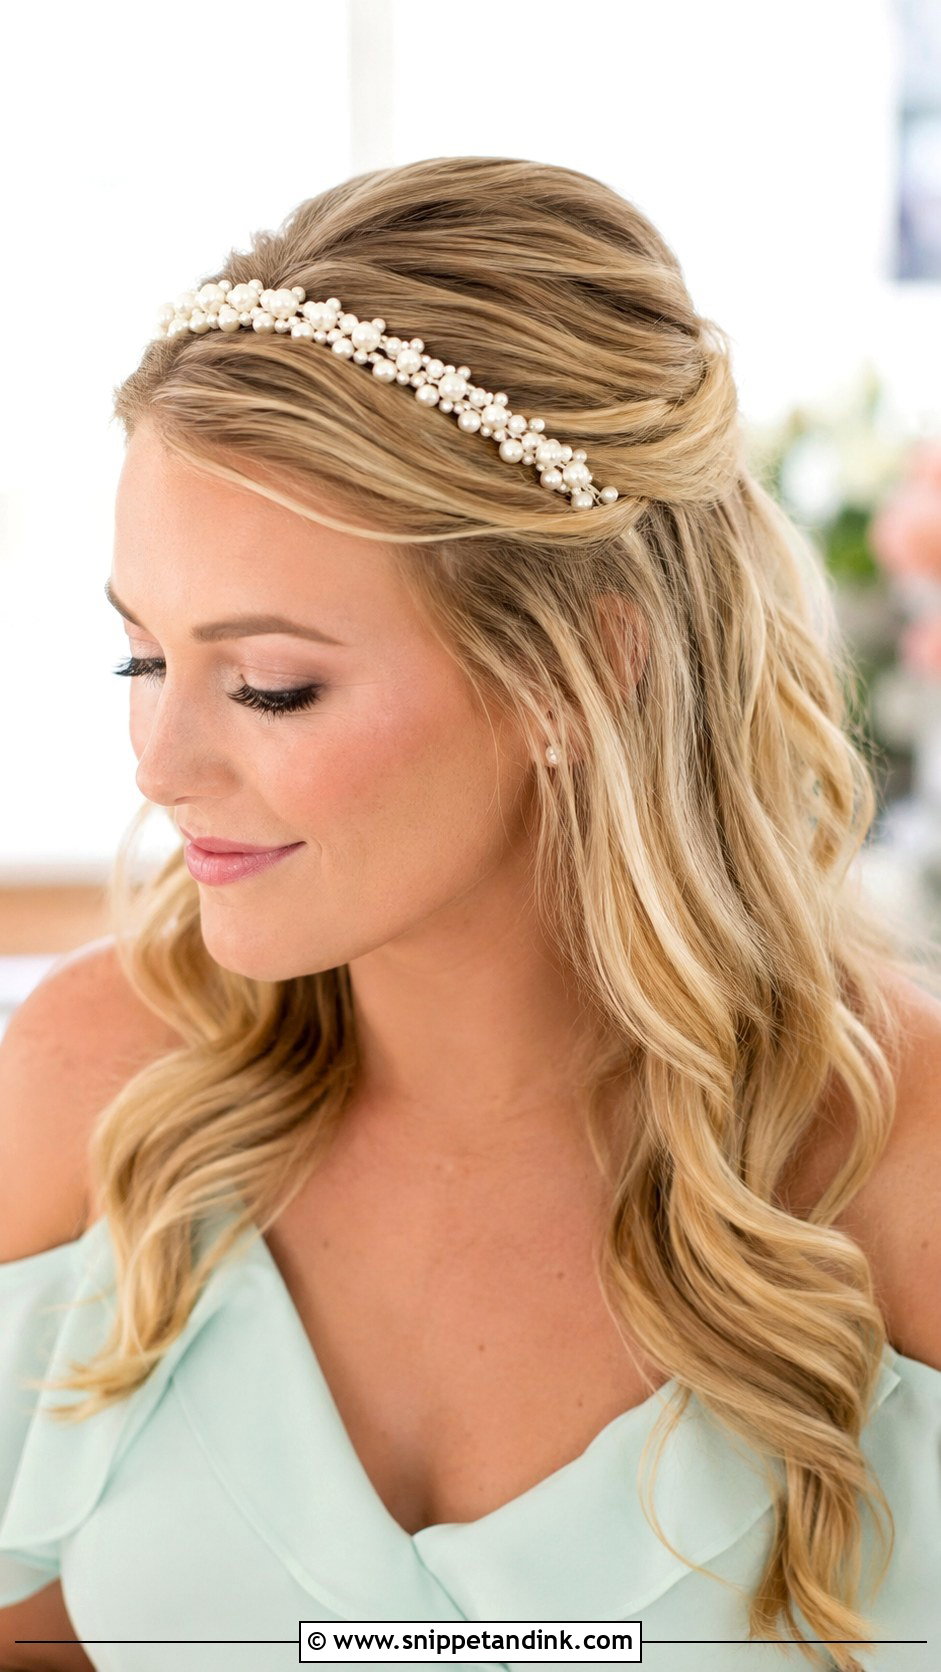
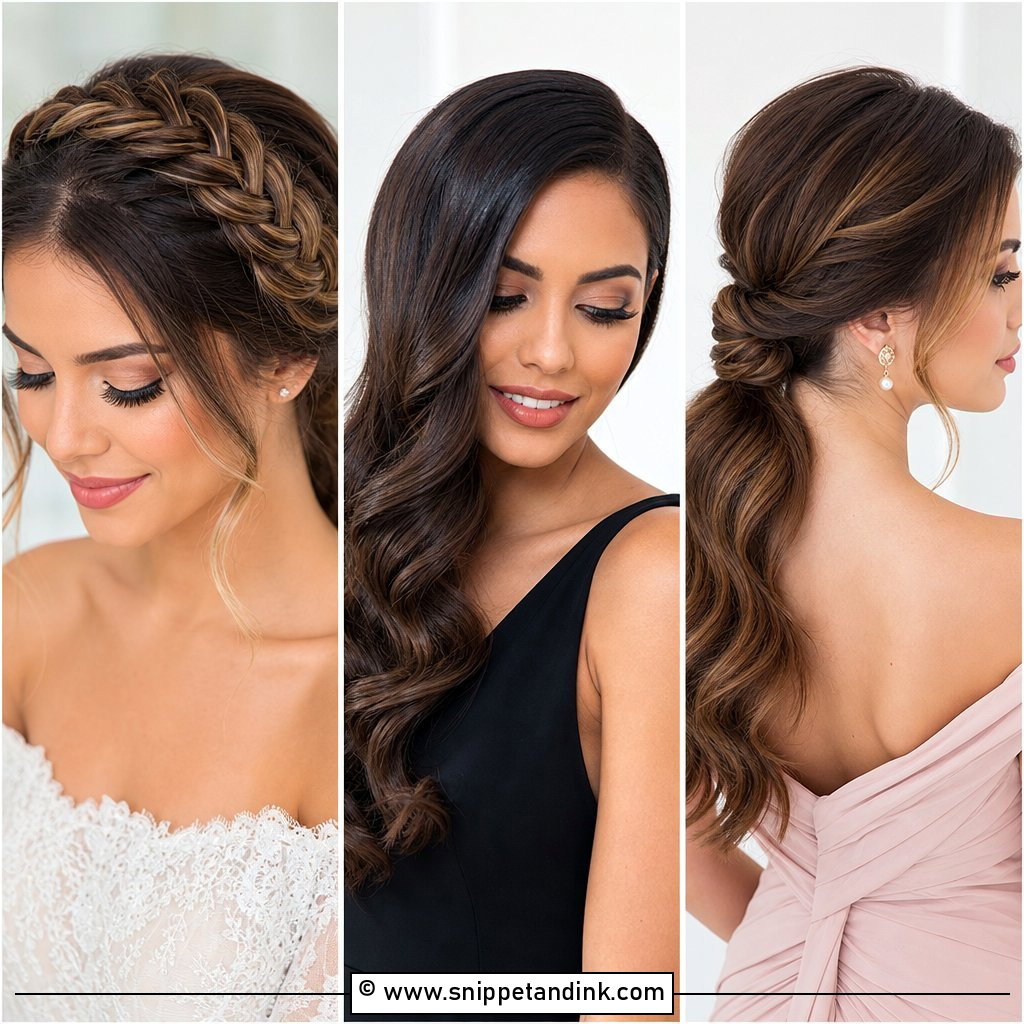
A headband is the quickest shortcut on the list. Slide an embellished or pearl band on, pull the top section back beneath it and secure it. That pinned section is what stops the band creeping forward as you move. Waves or curls below. I’d choose a padded band over a thin metal one for a long day; metal bands press behind the ears after a few hours.
16. Half-Up Messy Bun
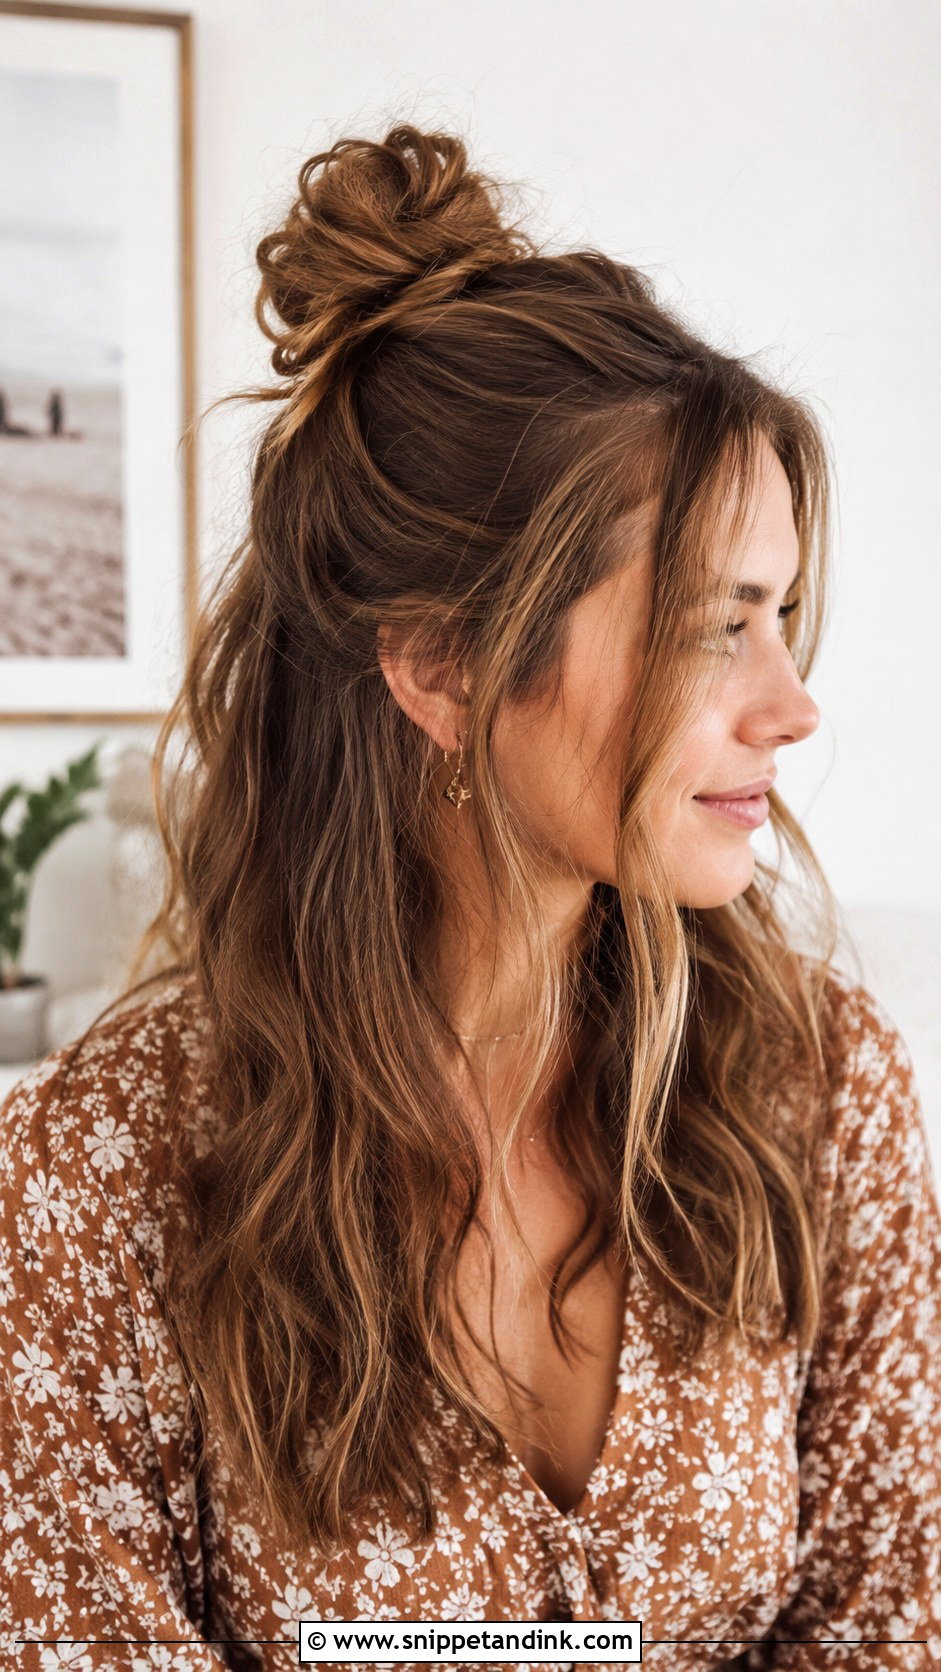
Second-day hair suits the messy bun better than fresh hair. Gather the top half and twist it into a loose bun at the crown, then pull a few pieces free around the face and from the bun itself. The rest stays down in natural waves. If you’ve just washed, add texture spray first. It suits casual and boho weddings and takes a few minutes.
17. Half-Up With Rope Braid
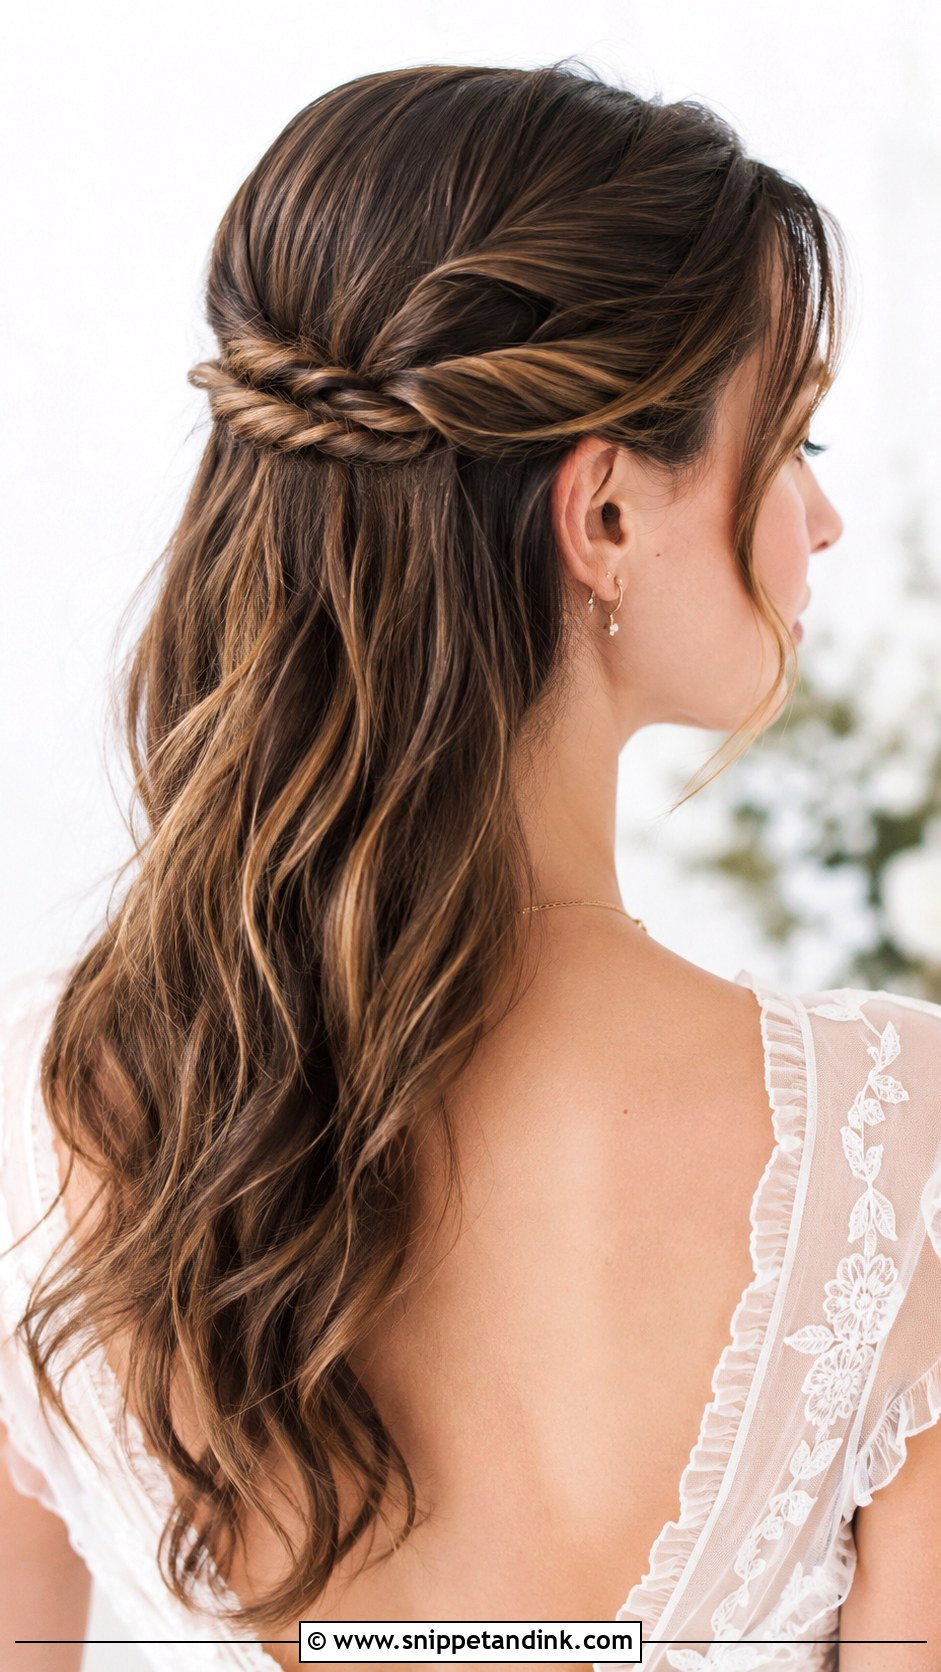
The rope braid is easier than a traditional braid for anyone who struggles with three strands. Take two sections from the top, twist each in the same direction, then wrap them around each other in the opposite direction; the opposite wrap is what holds it. Secure it into a half-up at the back. Soft waves below. It holds well through a long day, and delicate jewelry suits it.
18. Half-Up Slicked Back
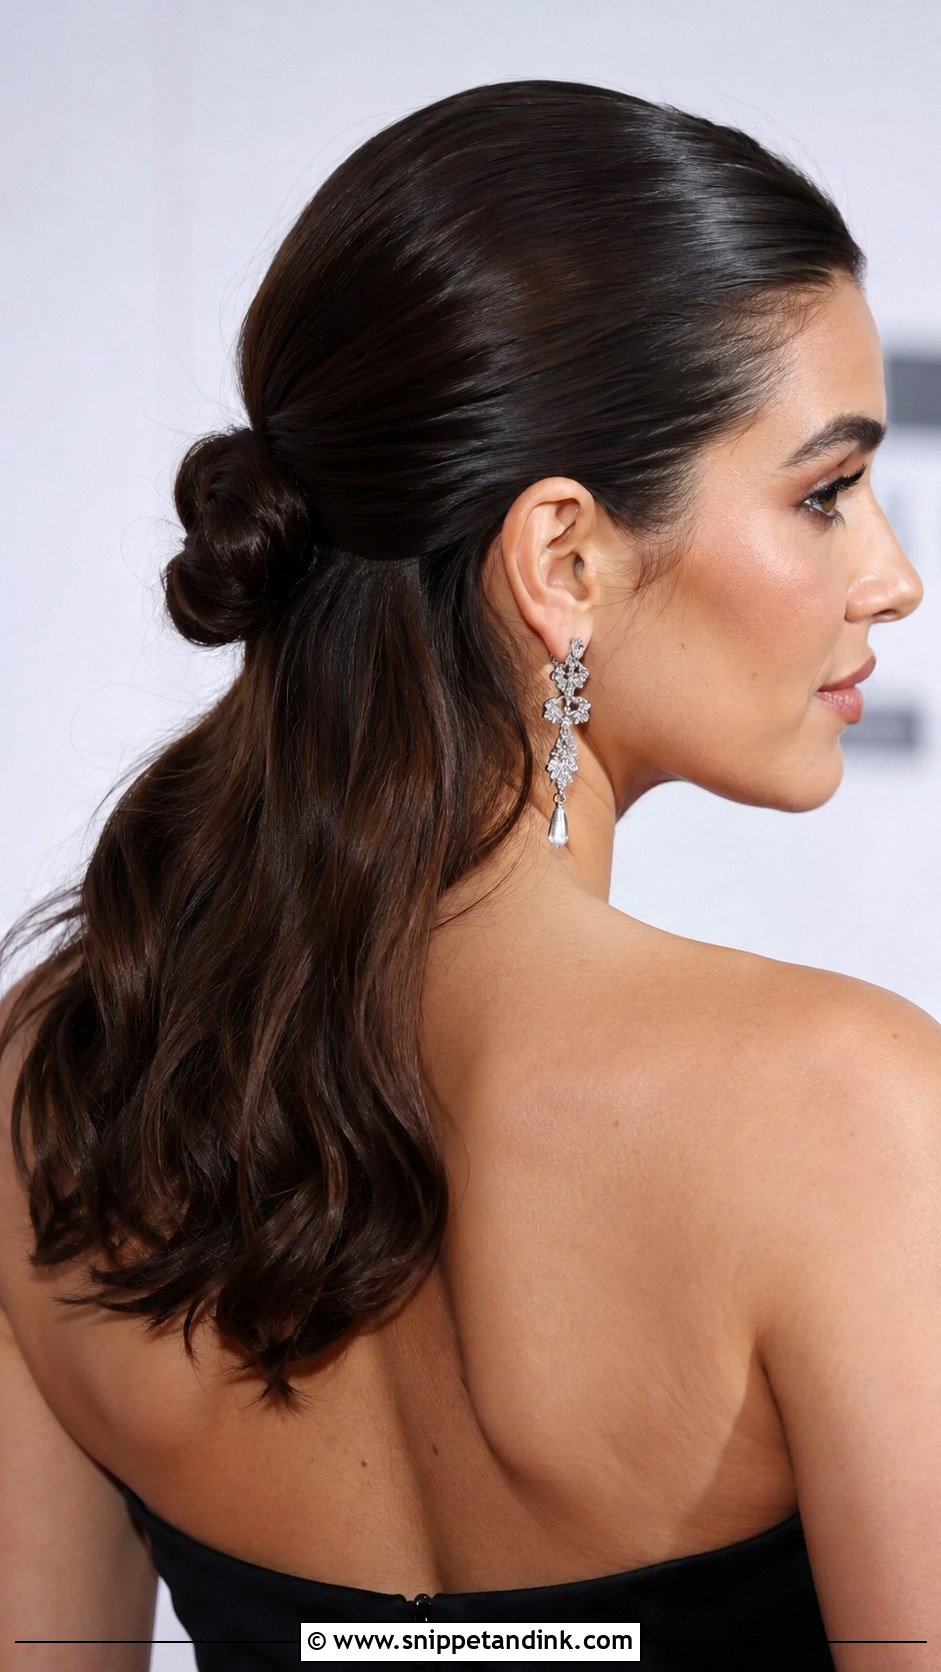
Slicked back is the most modern half-up here. Apply a smoothing gel or pomade to the top section, comb it straight back and tie it into a low half-up bun or ponytail. Comb gel through again once it’s tied to remove any ridges. The rest stays straight or softly waved. It flatters strong features and looks sharp with statement earrings at a city wedding. It shows every flaw in a hairline, so the first thing I check is the short regrowth pieces at the temples; a little extra gel keeps them down.
19. Half-Up With Flowers
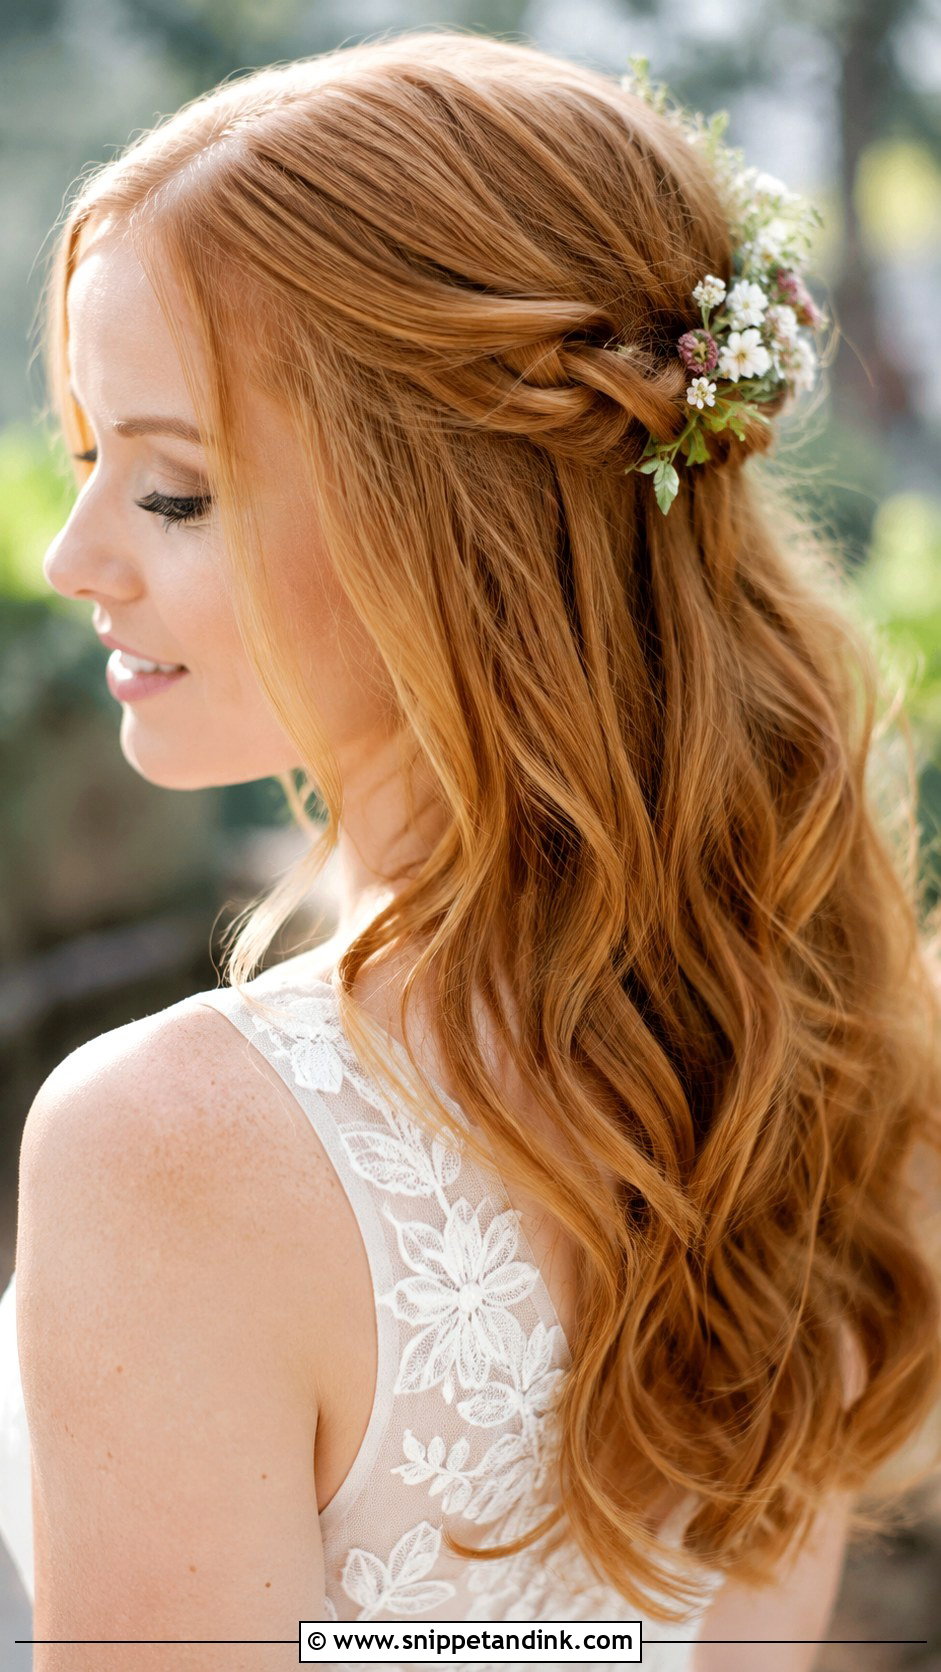
Flowers bring a garden feel to the simplest half-up. Secure the top half into a loose bun or twist, then tuck small blooms or sprigs around the base or along the part. Baby’s breath, small roses and sturdy wildflowers all hold out of water for a few hours; anything with thin, soft petals wilts quickly against the warmth of your head. It suits spring and summer weddings outdoors. Choose colors that work with your outfit.
20. Half-Up With Tousled Texture
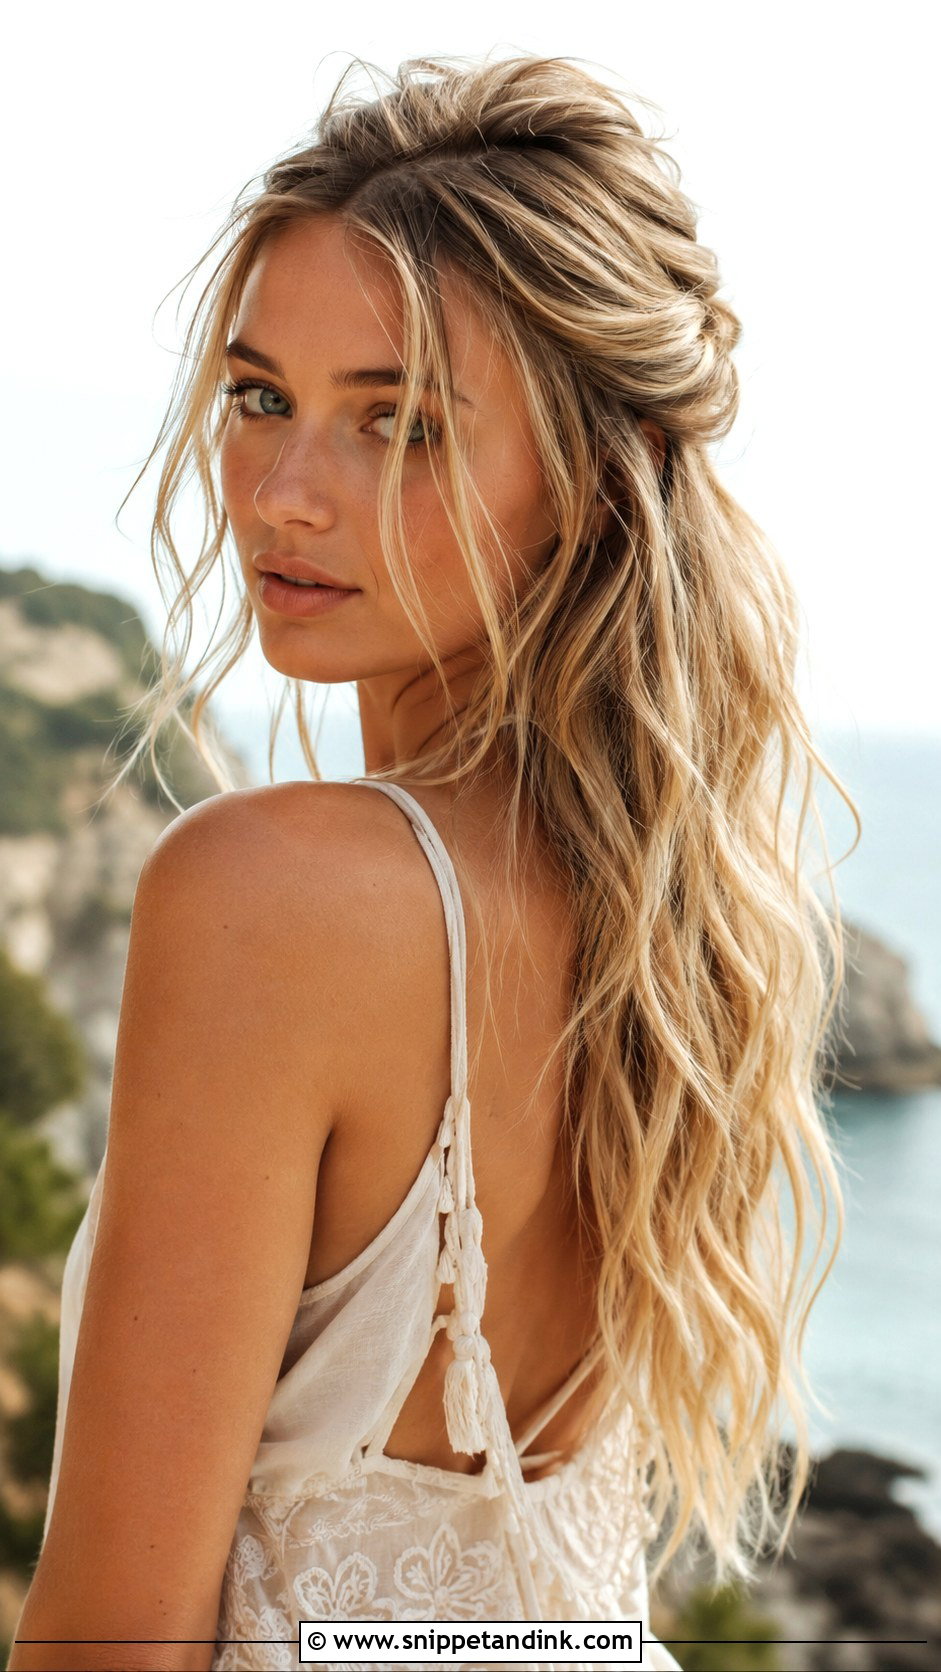
Texture spray does most of the work here. Spray through the lengths and roots for volume, gather the top half loosely and pin it back, and leave piecey strands around the face. The rest goes into undone, beachy waves. Naturally wavy hair suits it, and fine hair that needs body benefits from the spray. It fits laid-back and boho weddings and is very low maintenance.
Letting the Neckline Decide Where the Loose Lengths Fall
Half-up leaves hair on your shoulders and back, so it interacts with the dress in a way an updo doesn’t.
A strapless or sweetheart neckline looks good with longer loose waves, since there’s nothing for the hair to catch on. A high neck or a collar can make long hair bunch up at the nape; pin the half-up lower and keep the lengths smoother so they lie flat over the fabric.
An open or low back is worth showing. With long hair, sweep the loose lengths over one shoulder for at least part of the day, or choose a style that gathers more hair into the top section. Lace, beading and sequins catch loose curls and pull at them, especially at the shoulder, so I put a few drops of serum on the ends to help them slide.
Statement earrings and a half-up are a natural match. Tuck the hair behind one ear and pin it, or let curtain pieces sit in front of the ear and the earrings behind them, so the two aren’t tangled together all evening.
Pulled Back on Top, Loose Underneath, Comfortable All Day
Half-up works for most weddings because it combines lift on top with length left down. Braids, curls, sleek twists or florals can all go on the same base. Pick one that suits your outfit and the setting, practice it once beforehand, and you’ll be comfortable all day.
You'll Like These Ideas:


Leave a Reply