
I’ve always thought of the French twist as the most honest updo there is. There’s nowhere to hide a weak foundation: if the pins underneath are wrong, the roll opens up by the first dance. Built properly, though, it holds for hours, clears the neckline completely, and can be dressed up or down by changing almost nothing but the finish. Sleek for black tie, loose and textured for a garden, with pearls or a ribbon or nothing at all. The twenty versions below cover different lengths, textures and dresses, so a bridal party can share the same shape without every bridesmaid looking cloned.
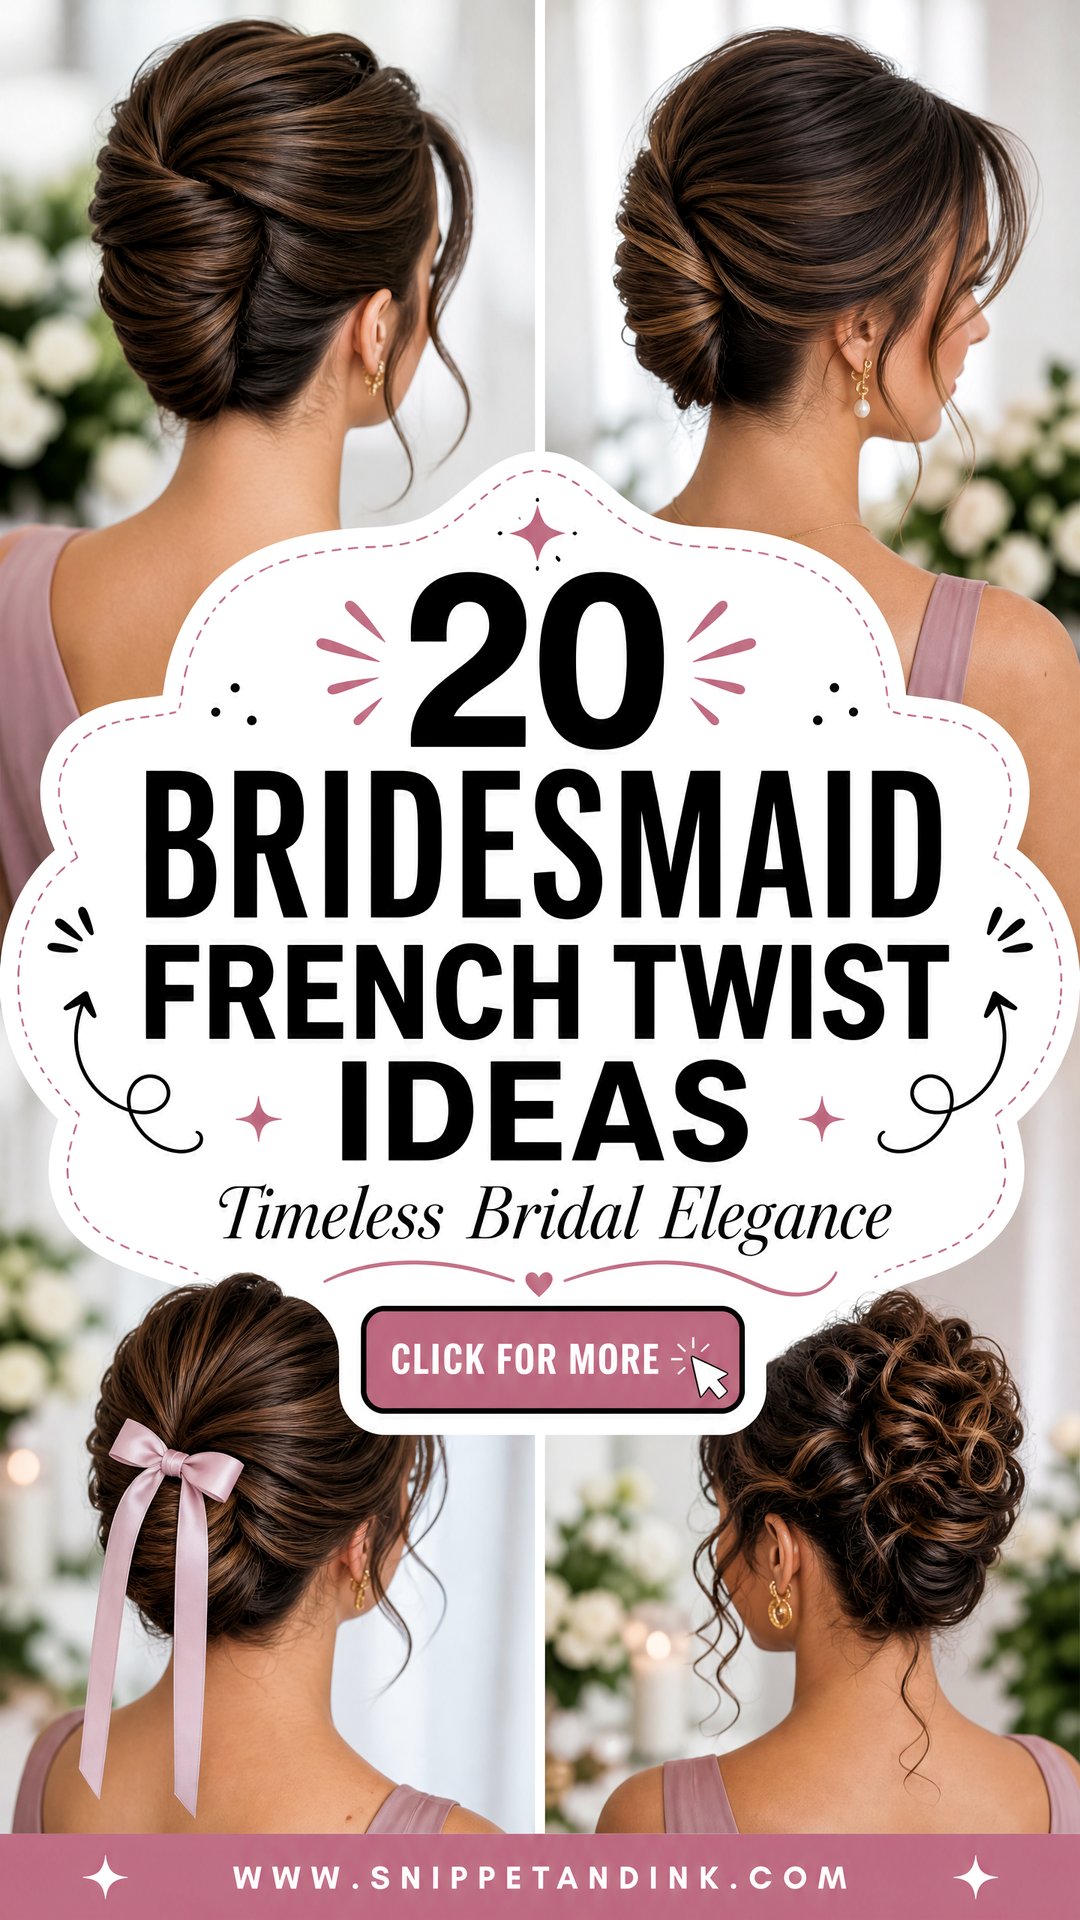
The Anchor Row Under Every French Twist
Every twist below depends on a part nobody sees in the photos. Here’s how I build it, so a bridesmaid knows what she’s watching in the chair and why it holds.
- Prep for grip. Hair washed the day before holds better than freshly washed hair. I add mousse at the root and a texture spray through the lengths.
- Sweep and anchor. All the hair goes to one side, and I pin a vertical row of crossed bobby pins just off center, from the nape upward. This row is the anchor.
- Fold and roll. The hair folds back over the anchor row, and I roll the ends inward to form the seam.
- Sew it closed. Long pins go into the fold, catch the anchor row underneath, and turn back in. Pins that only grab the surface will slide out by evening.
- Finish. A light spray, then I check the roll from both sides in a hand mirror and add pins wherever it gives.
If a twist starts loosening, it’s nearly always because the anchor row was skipped or too short. I’d rather spend an extra five minutes on that row than redo the whole style later.
1. Classic Bridesmaid French Twist
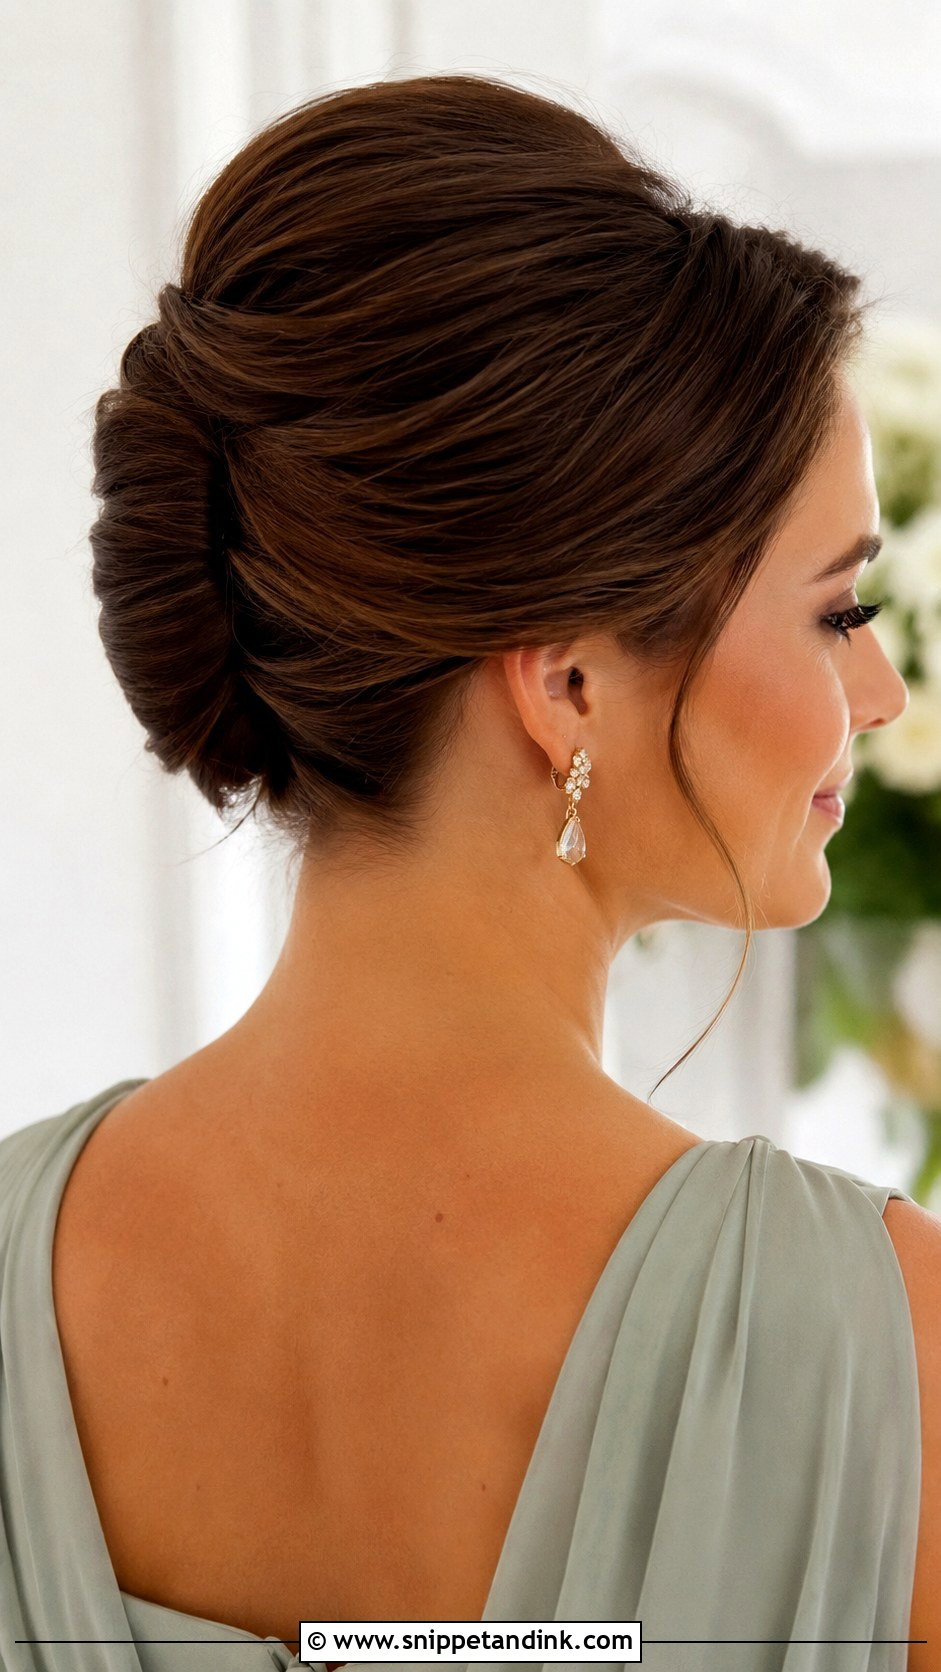
This is the shape all the others are built from. The hair is swept to one side, pinned in a vertical row up the center of the head, then folded back over that row and tucked so the seam runs top to bottom. Clean hair is the enemy here, so I prep with mousse or a texture spray to give it grip; medium and long lengths roll most easily. It sits quietly beside satin, crepe, chiffon and structured gowns. I lift the front slightly at the crown so it doesn’t sit flat against the head, which is what makes a classic twist look dated.
2. Sleek Bridesmaid French Twist
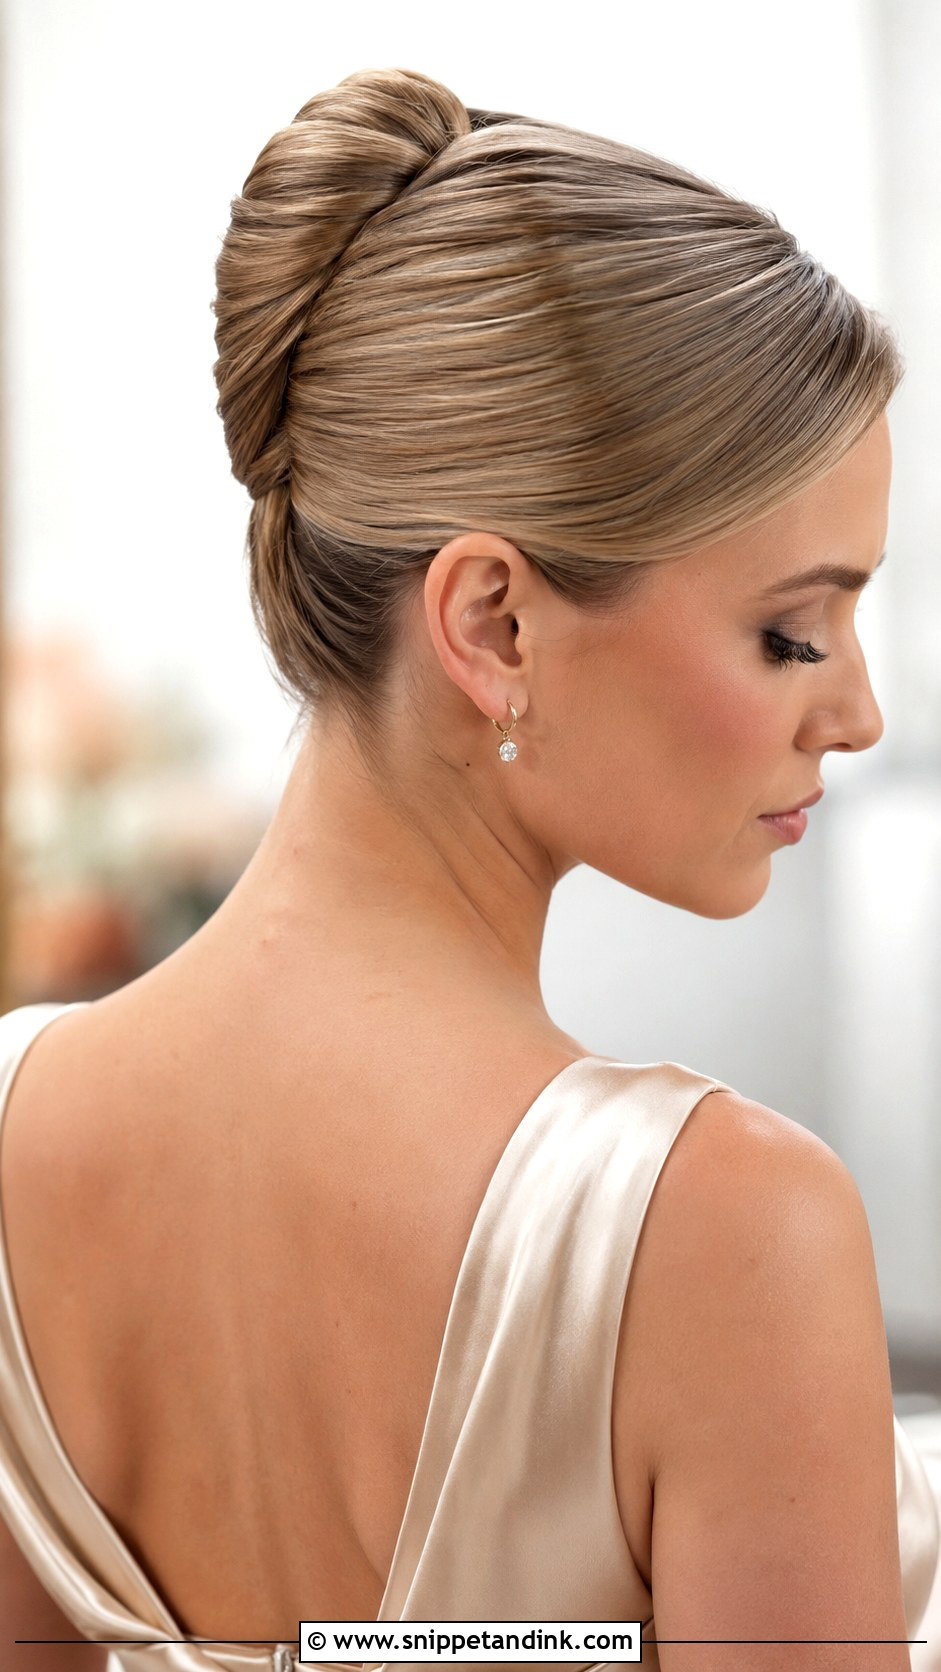
Sleek is harder than it looks. Every bump shows, so I blow-dry the hair smooth first, brush it with a boar-bristle brush as I gather it, and use a little smoothing cream on the surface only, never at the root where the pins need grip. The result is glossy and very modern next to square necklines, halters and clean makeup. My worry with this one is severity: pulled completely flat, it can look harsh on a soft face. A side part or a little height at the crown fixes that, and simple drop earrings are all it needs.
3. Messy Bridesmaid French Twist
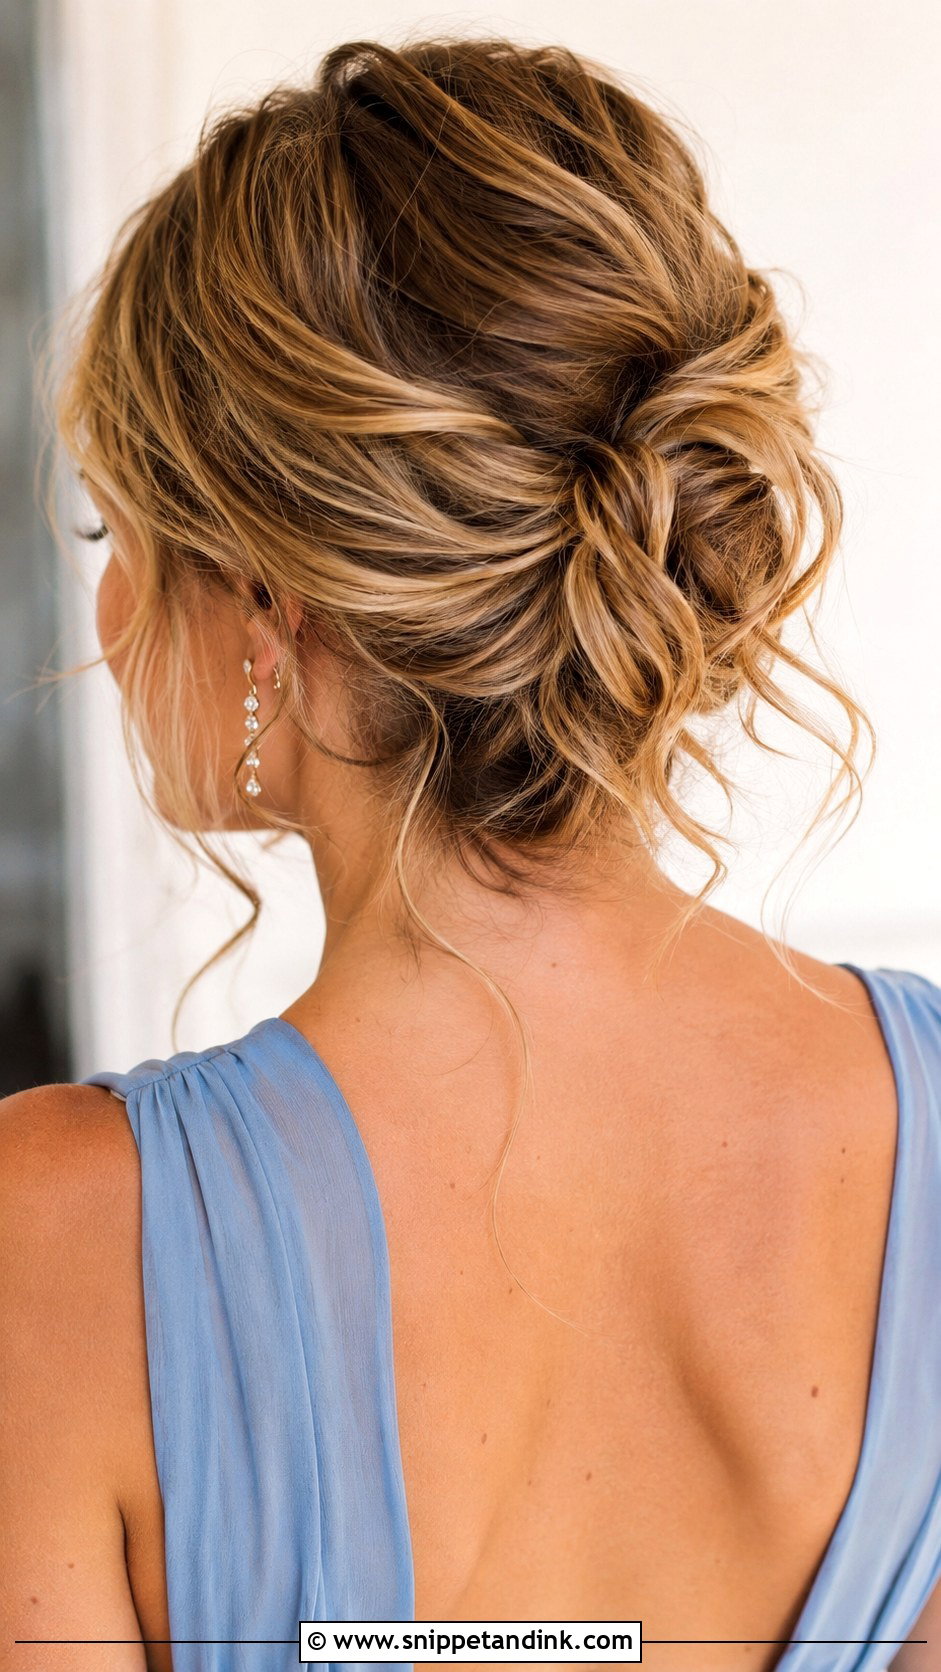
A messy twist still needs a tidy foundation. The undone part is only the surface. I wave the hair with a large barrel, tease lightly at the crown, build the twist on a solid pin row, and only then loosen the surface with my fingertips and pull a few tendrils at the face. Random flyaways read as a style that fell apart; chosen pieces read as soft. It belongs at outdoor, rustic and coastal weddings, and I finish with a flexible spray so the roll can move a little without opening.
4. Low Bridesmaid French Twist
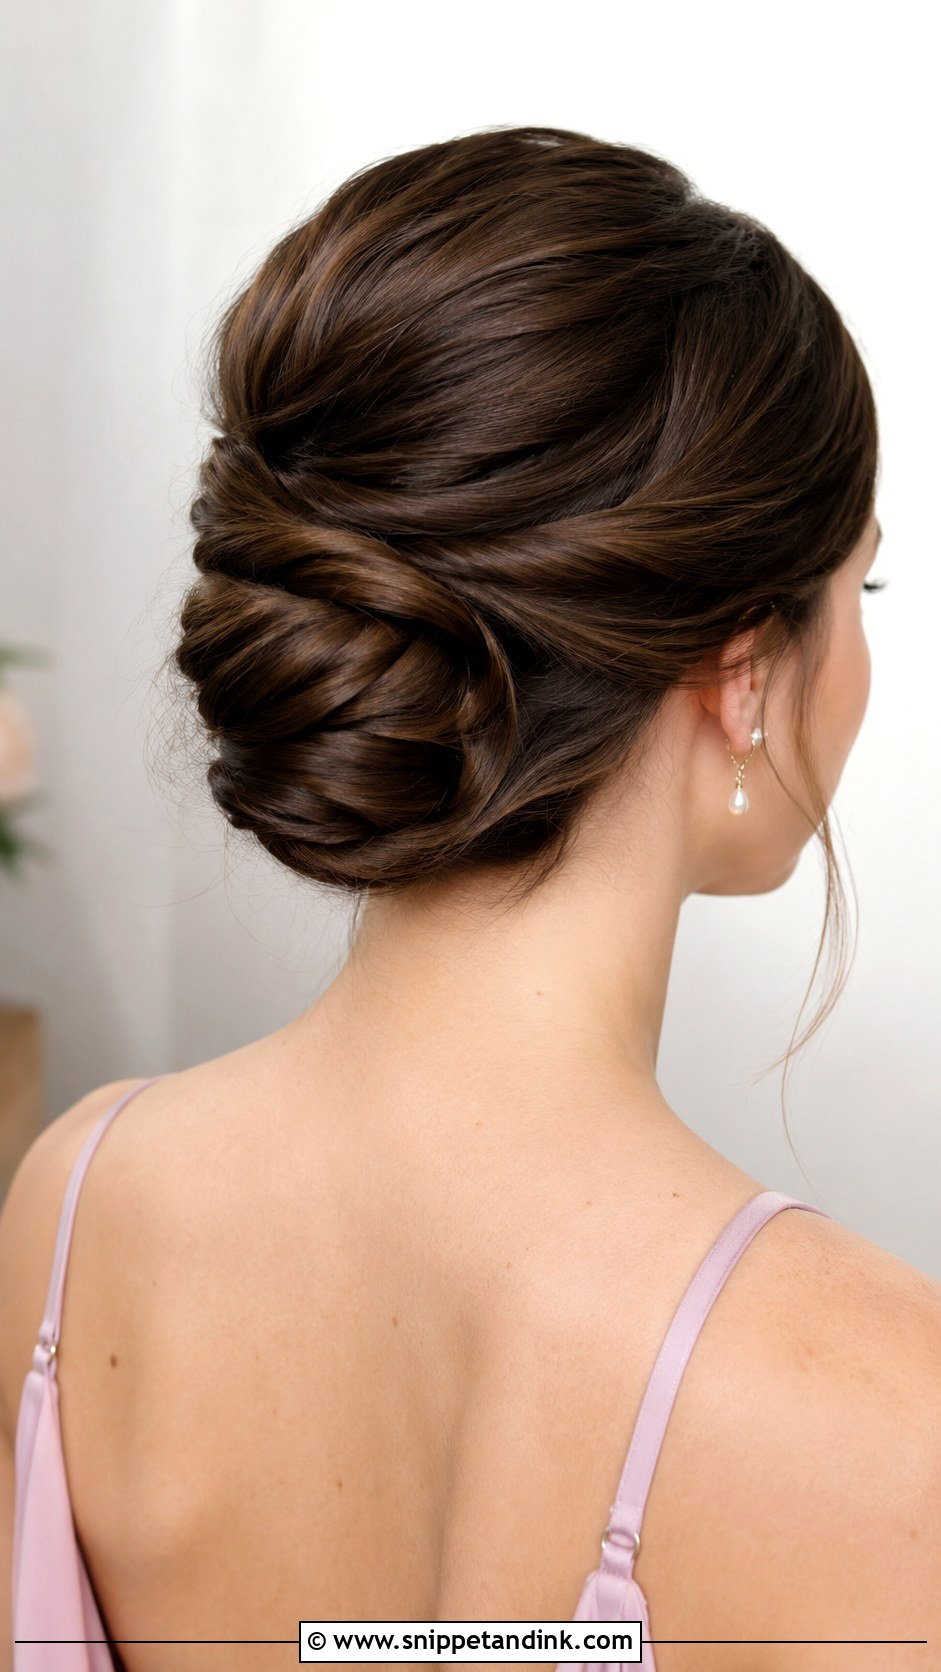
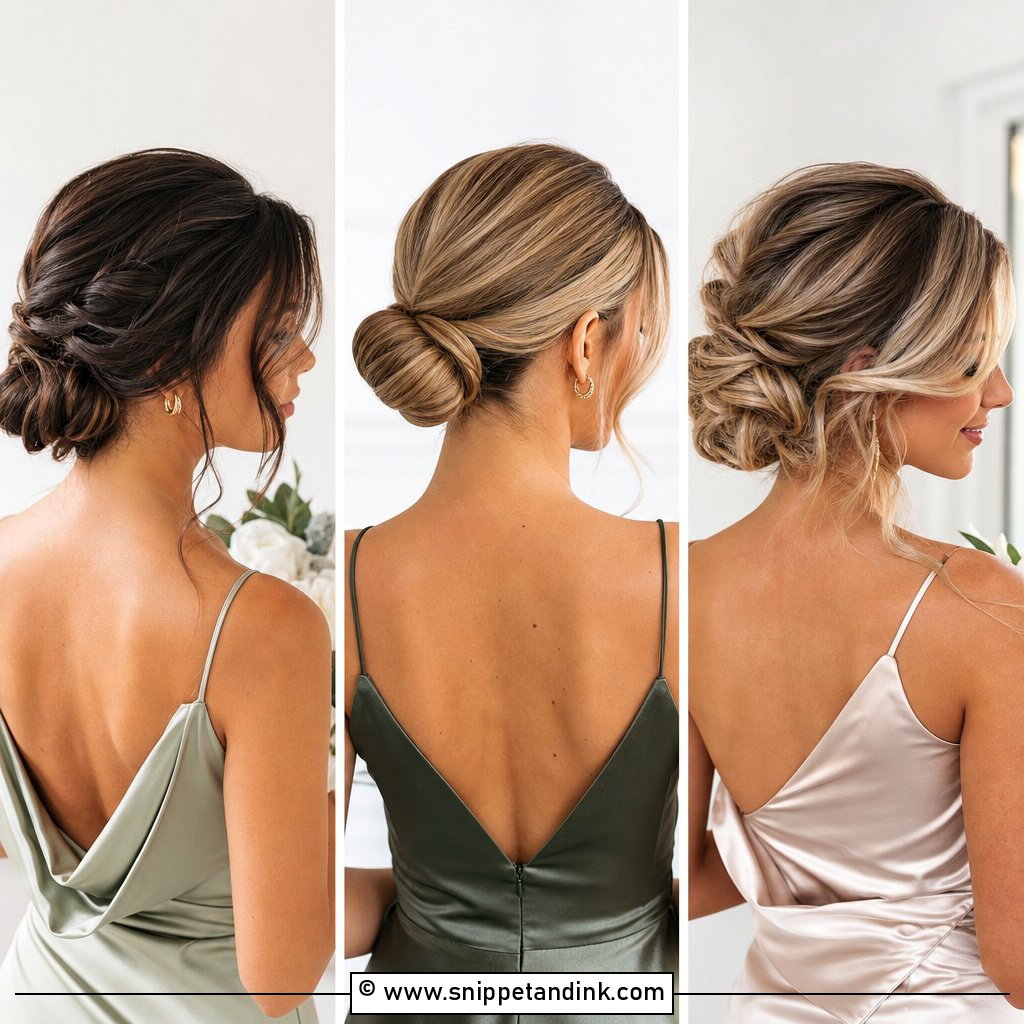
Dropping the twist down toward the nape changes the whole mood. It feels quieter, and it’s comfortable for a long day because no pins sit against the crown when she leans back. I reach for this placement with backless dresses, open necklines and thin straps, since it shows the shoulders without adding height. It can be smooth or textured. A slim comb or a few tiny pearl pins along the seam are enough.
5. Textured Bridesmaid French Twist
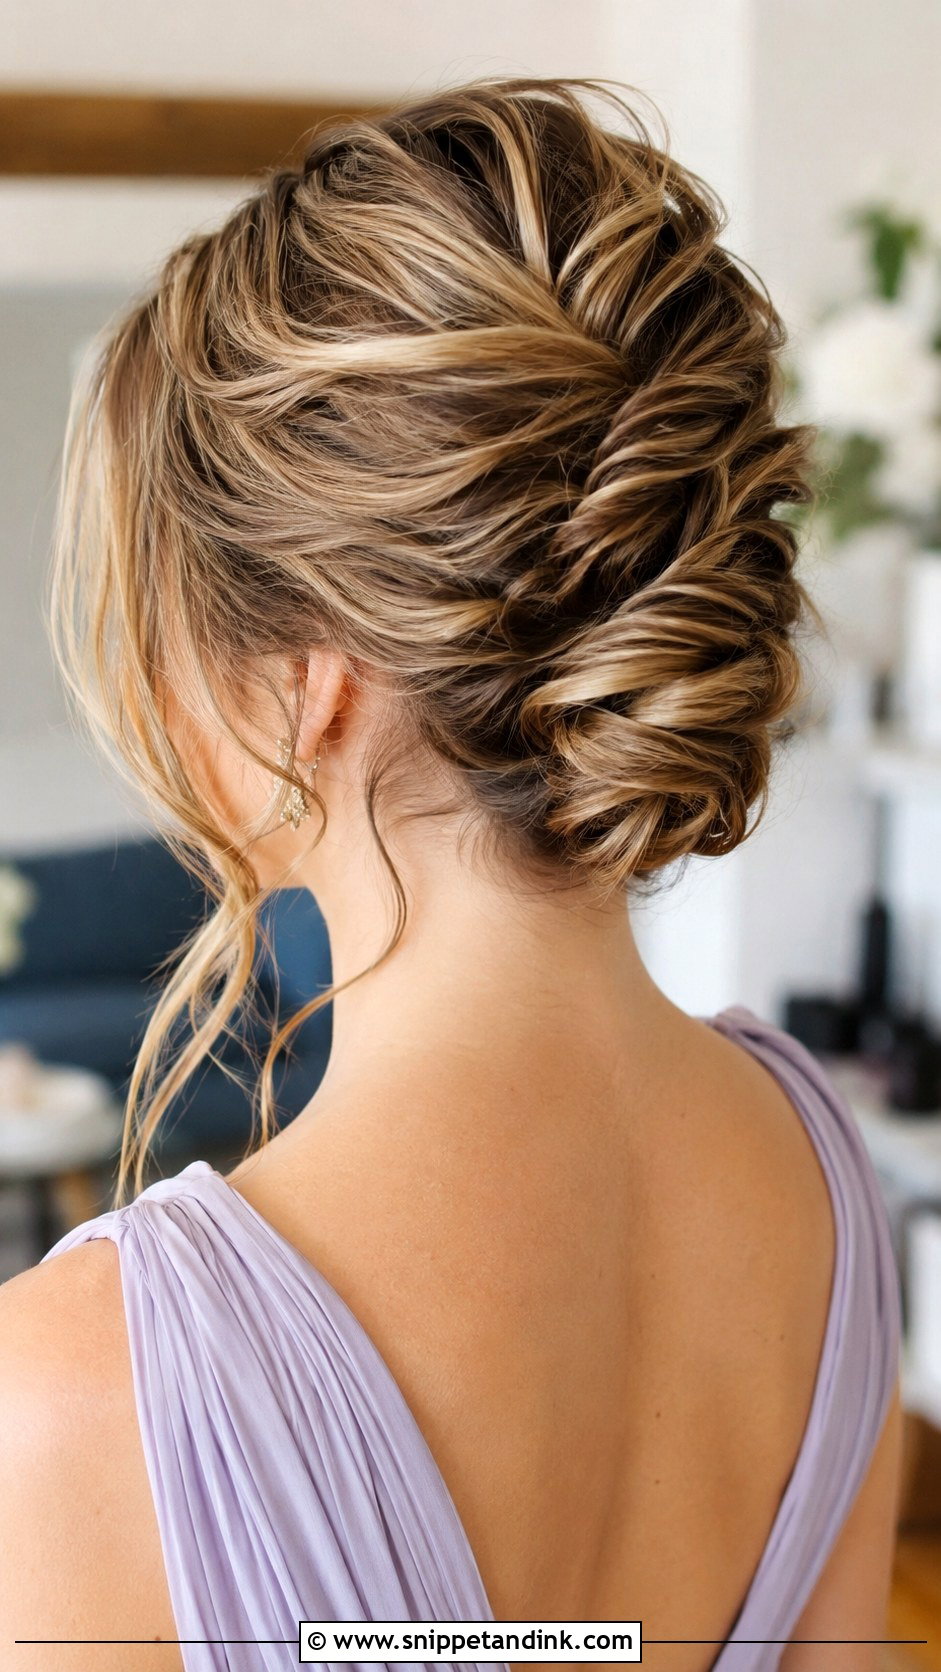
Texture is how I make a twist look full on hair that isn’t. A loose wave set before pinning breaks up the surface, and that separation creates shadows that read as depth. Highlighted, balayage and dimensional color look best this way because the bends show off every tone. I keep the roll slightly relaxed and avoid shine spray, which would flatten the texture I just built. It sits naturally with floral dresses and garden venues, and it still holds its own at a formal ceremony.
6. Side Part Bridesmaid French Twist
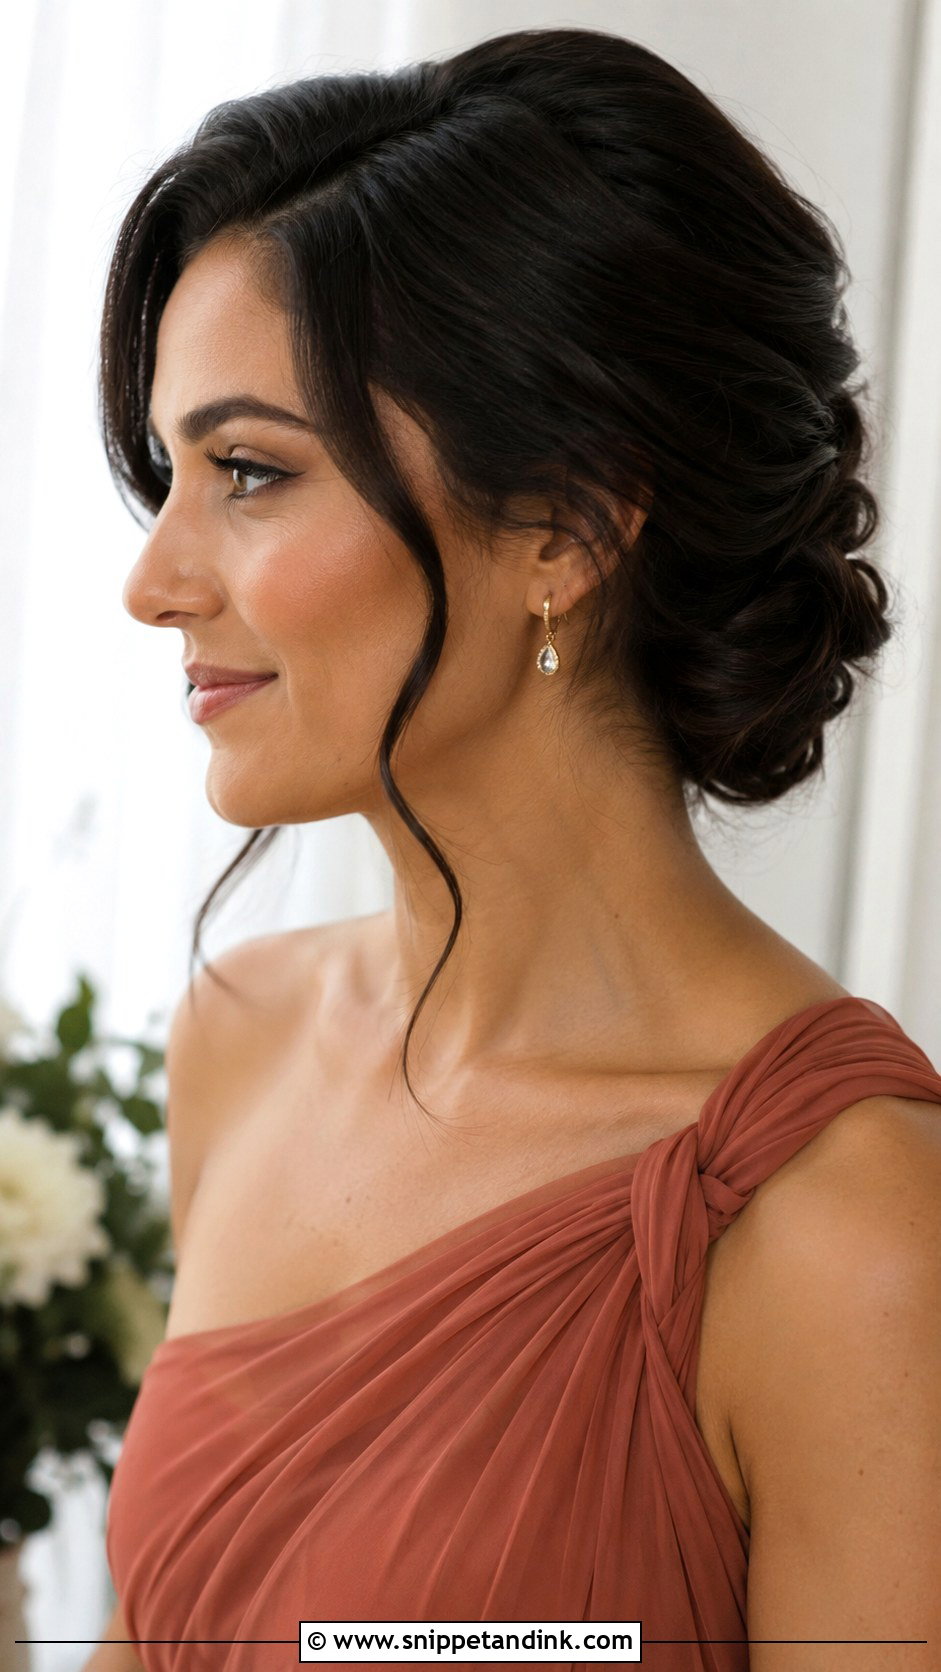
A deep side part puts a soft sweep across the forehead and gives the bridesmaid a bit of face-framing without wearing her hair down. I part on the side where her hair naturally falls, which I check by letting it dry loose before I start; fighting a cowlick for ten hours is a losing game. It suits straight, wavy, and softly curled hair. The front section can be tucked smoothly or left with a gentle bend at the cheekbone, then a couple of small pins on the twist, or none.
7. Middle Part Bridesmaid French Twist
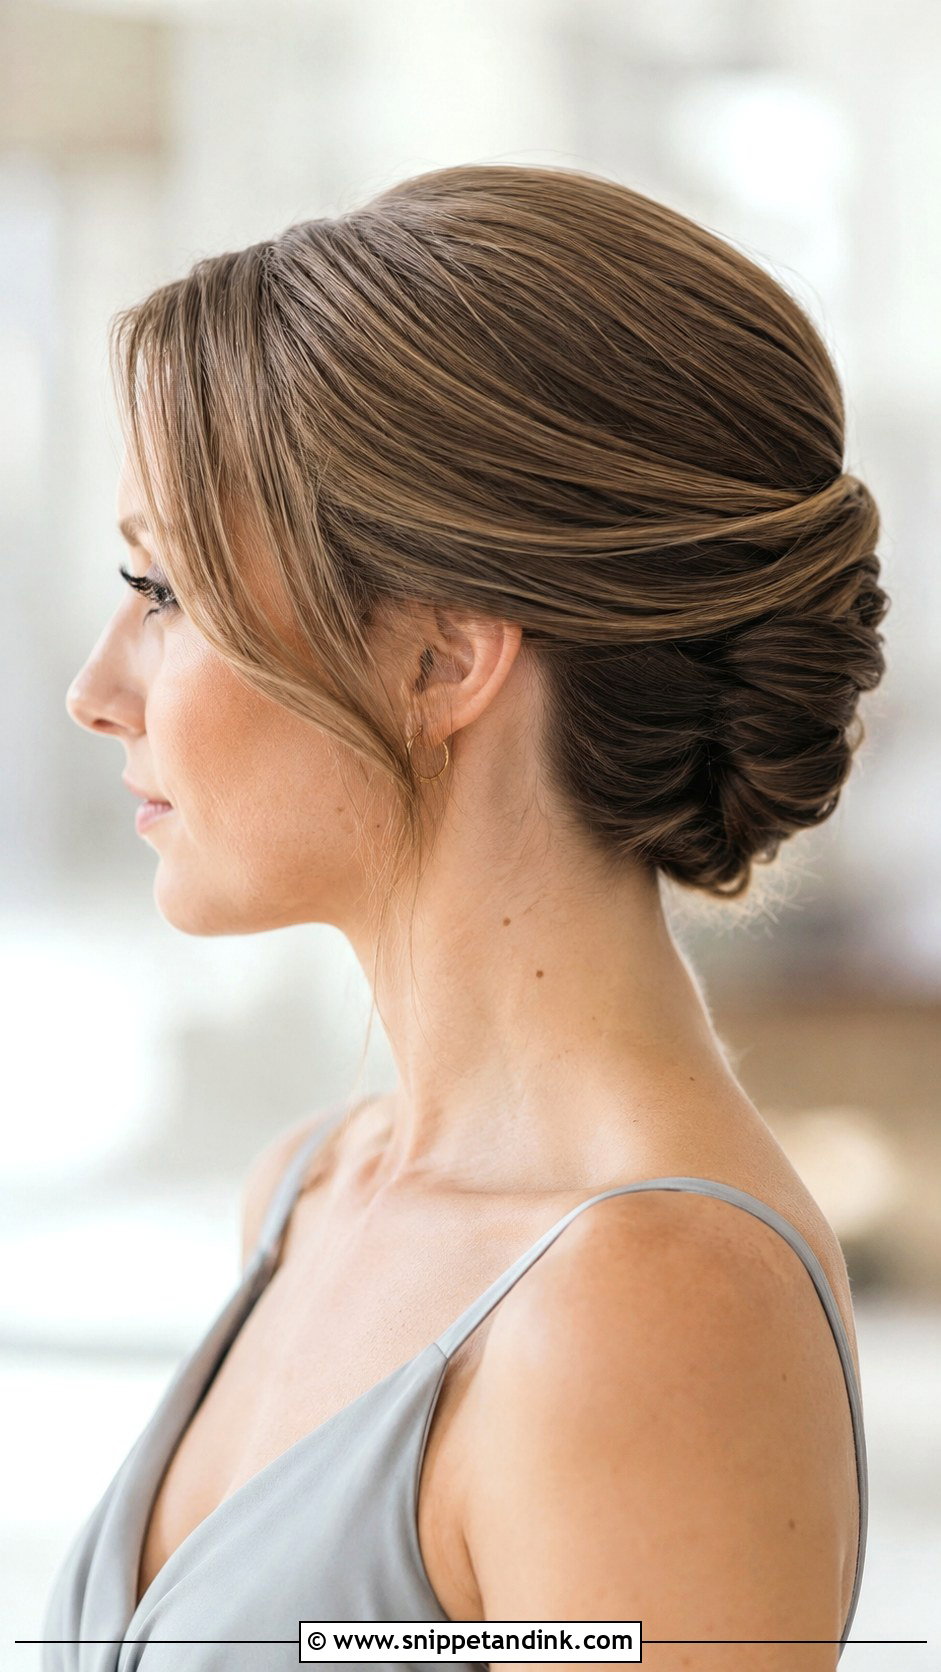
A center part makes the most traditional updo look current. It’s balanced, and it photographs evenly from both sides, which helps when bridesmaids stand on alternating sides of the bride. Paired with simple dresses, slip-style gowns or minimal jewelry, it looks clean and deliberate. The detail I watch most is the part line itself: it has to be straight, and the hair on both sides needs a little root lift or the front looks plastered down. Tucked behind the ears or softened with two fine pieces, either works.
8. Bridesmaid French Twist With Face Framing
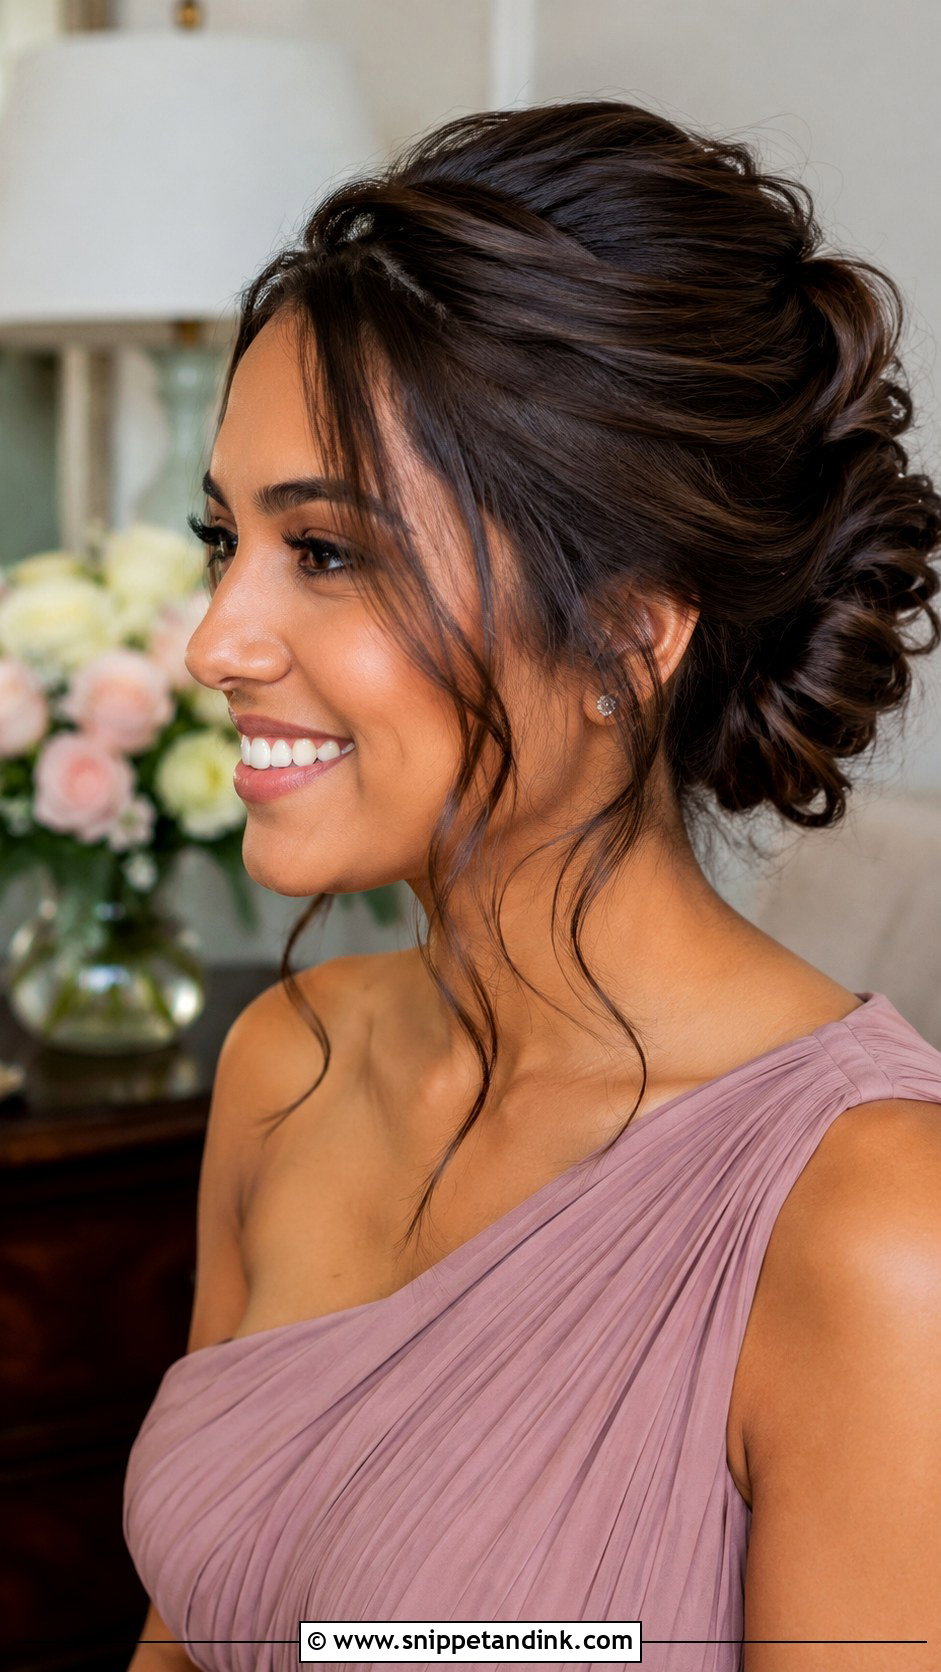
Face-framing pieces soften an updo for anyone who feels too exposed with everything pinned back. The tendrils add length and movement near round, heart and square faces. I take them from the hairline before I build the twist, curl them, and set them aside, so they’re cut from the right place rather than pulled out at the end. Two or three per side is plenty. Too many and the style starts to look unfinished.
9. Bridesmaid French Twist With Curtain Bangs
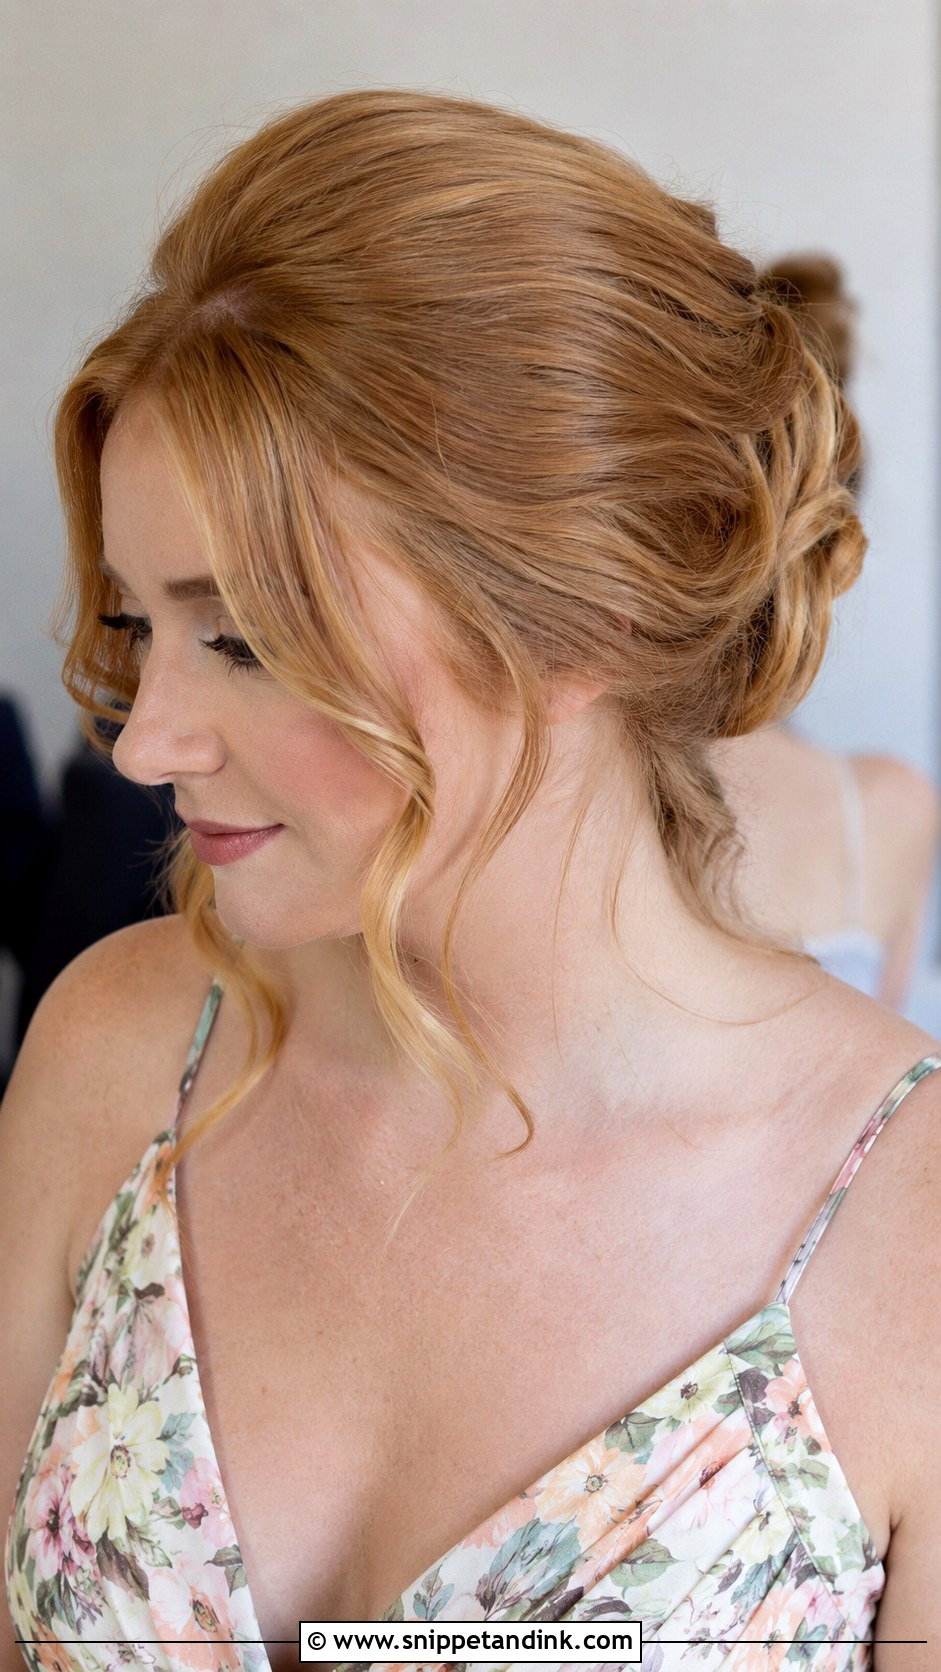
Curtain bangs are one of the nicest ways to personalize a twist, especially for someone who wears them every day and wants to look like herself in the photos. I blow-dry them with a round brush, then bend them away from the face so they open at the center. The back should be slightly relaxed to connect with the softness at the front; a tight sleek roll behind soft bangs looks like two different hairstyles. Vintage-inspired and floral dresses suit it.
10. Bridesmaid French Twist With Pearl Pins
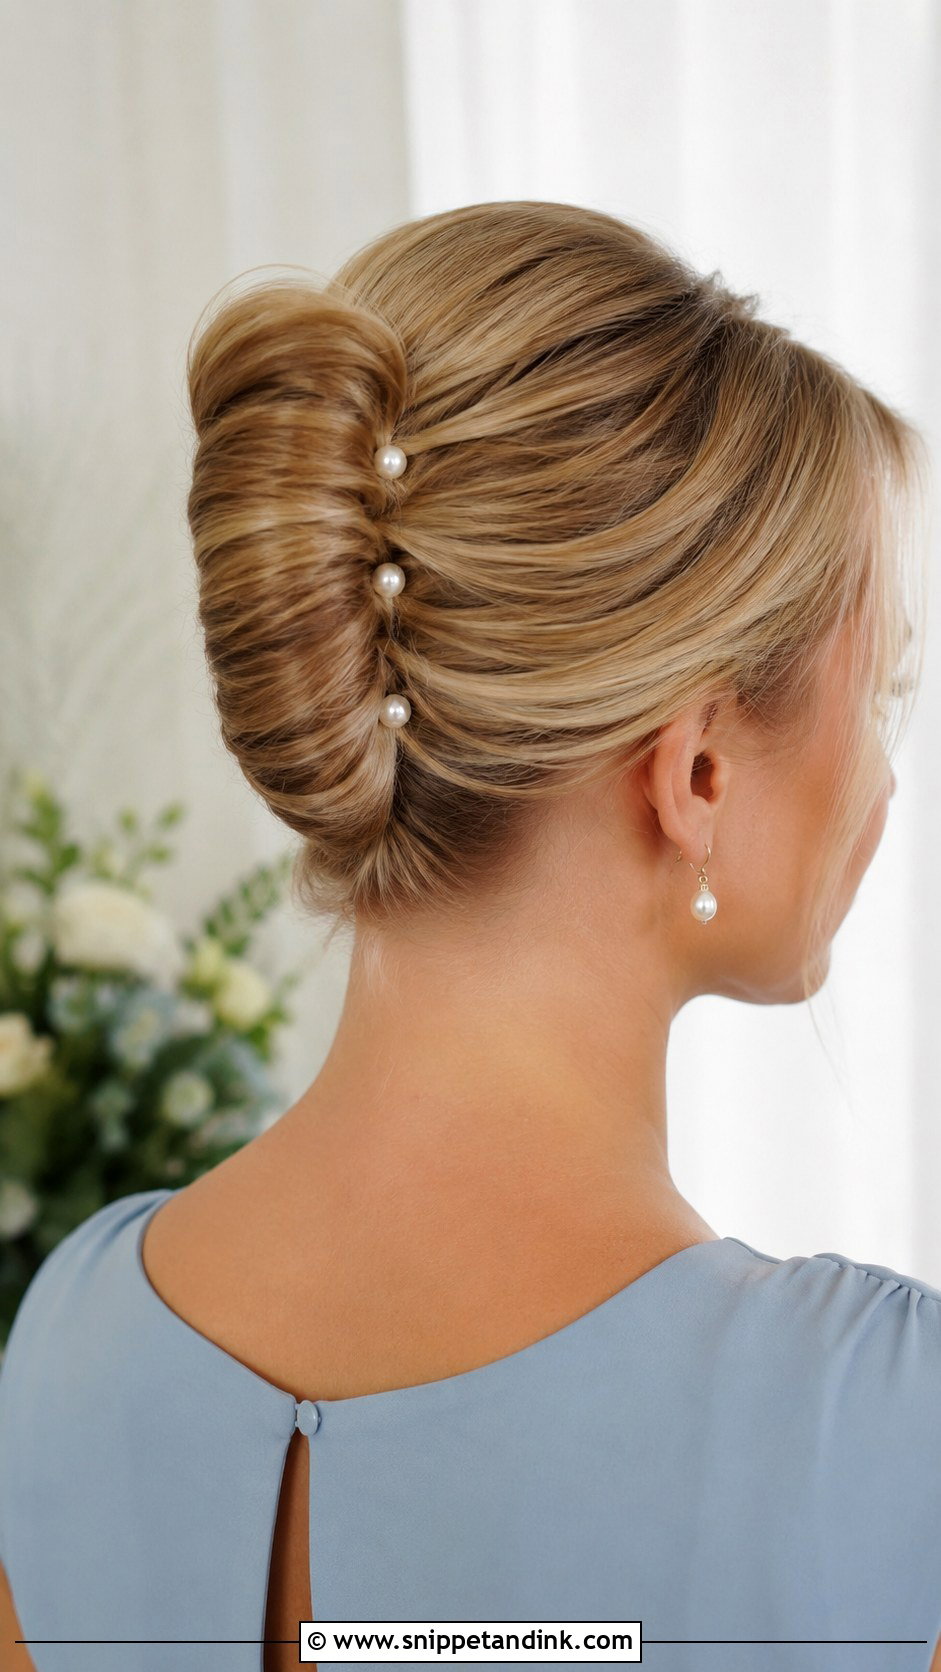
Pearls look best when they follow something. I line them along the seam of the twist or curve them around the lower roll, rather than scattering them randomly. Spacing matters more than number; a handful of well-spaced pins looks refined, and too many make the back look busy. They show best on a smooth surface, because textured hair swallows small pearls. Keep the earrings simple so the two don’t compete.
11. Bridesmaid French Twist With Hair Comb
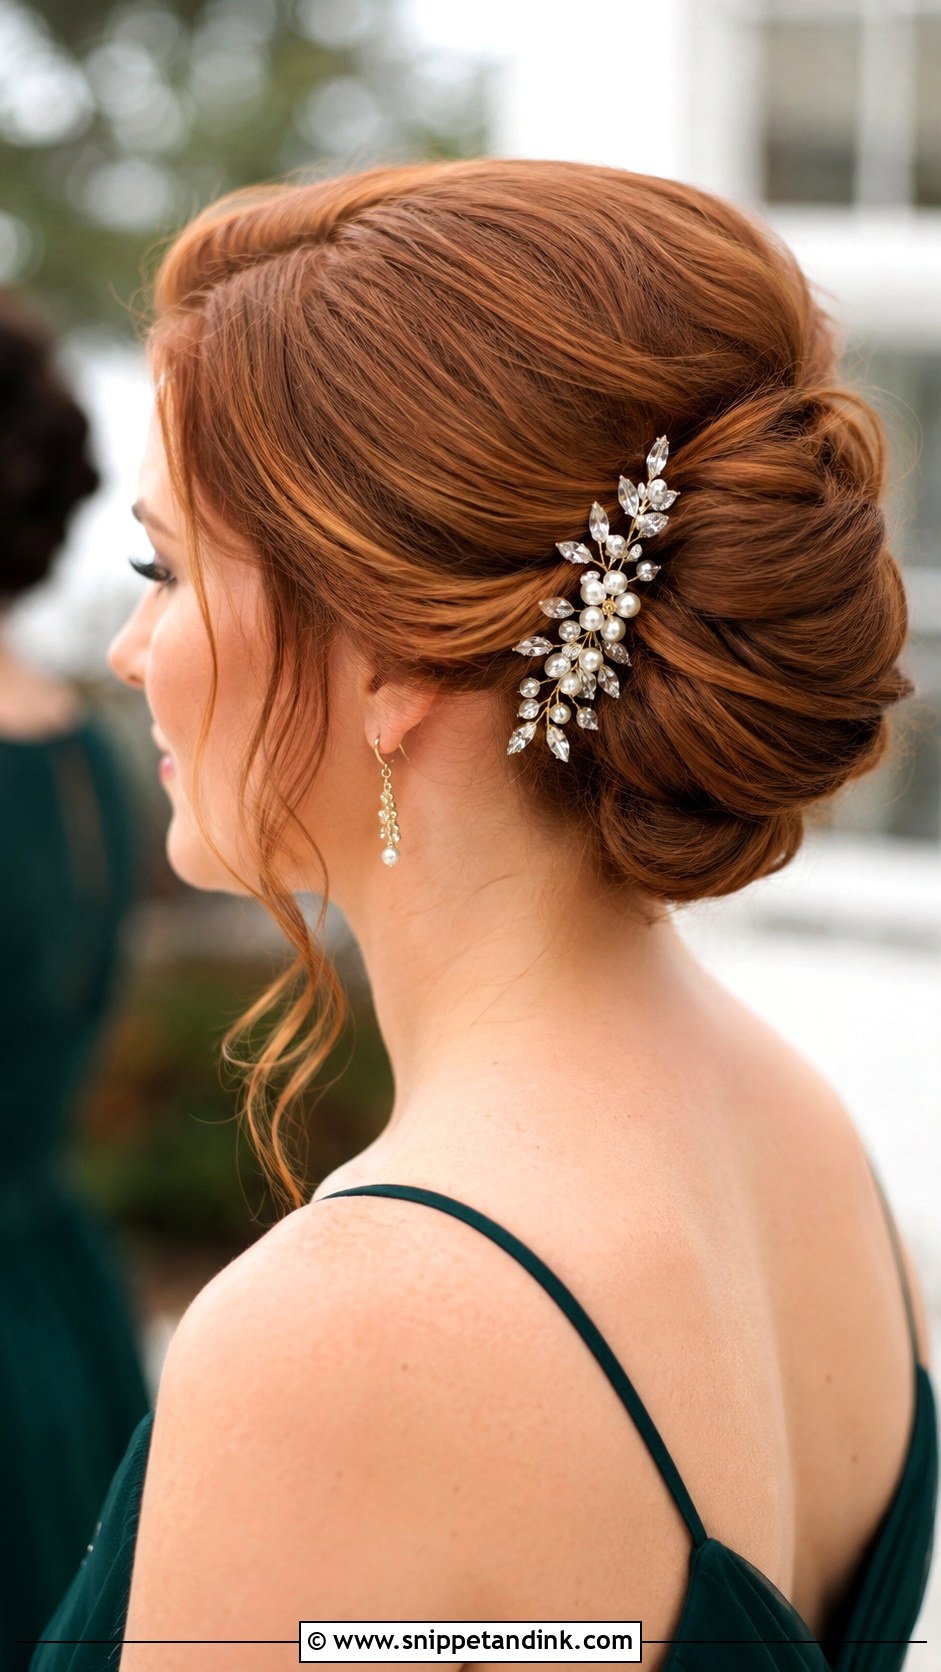
A comb gives the twist a focal point, and I set it at the side of the roll, tucked into the seam, or just above the nape. My firm rule: the twist must already be secure before the comb goes in. A decorative comb is not designed to carry the weight of the updo, and if it’s doing the holding, the whole style drops when it slips. Pearl combs suit a classic ceremony, crystal a formal venue, small florals an outdoor one. It’s a good way to add detail to a very plain dress.
12. Bridesmaid French Twist With Fresh Flowers
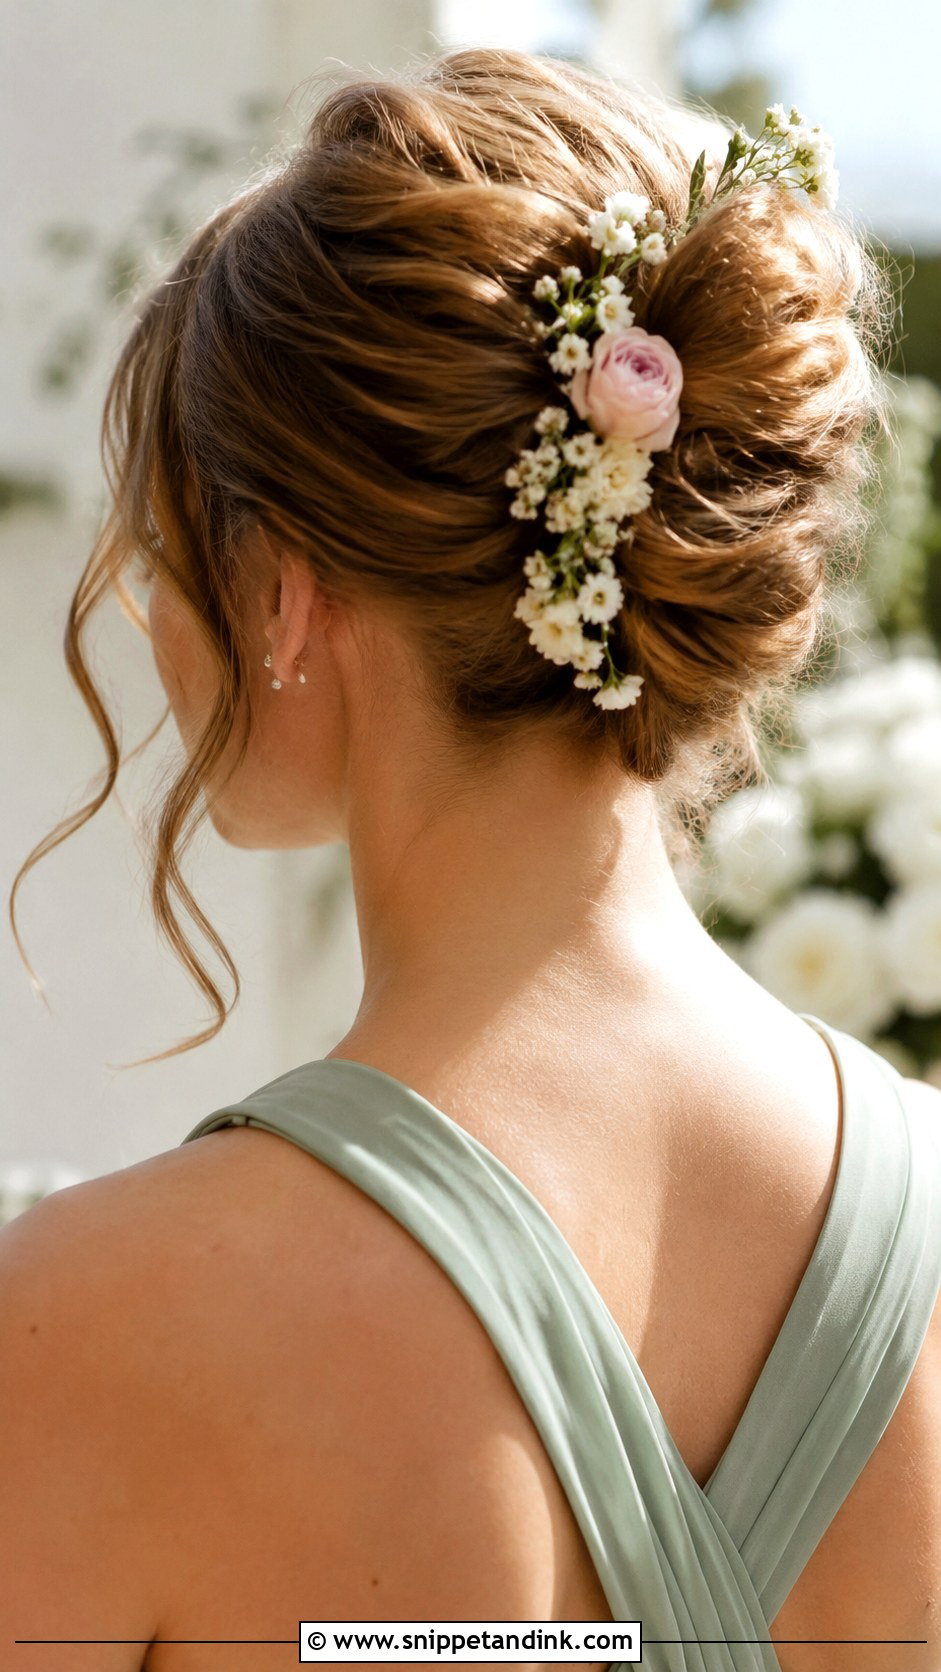
Small blooms work better than large ones in a twist because they sit tight to the roll and don’t hide the shape. Baby’s breath, tiny roses, wax flower and small orchids all tuck in well along the seam or near the nape. Wax flower and orchids handle a warm day better than delicate petals, which bruise and brown quickly out of water. I ask the florist for lightweight stems, wired if possible, and keep a few spares in the kit because one always gets knocked by a hug. Textured hair hides the stems best.
13. Bridesmaid French Twist With Ribbon
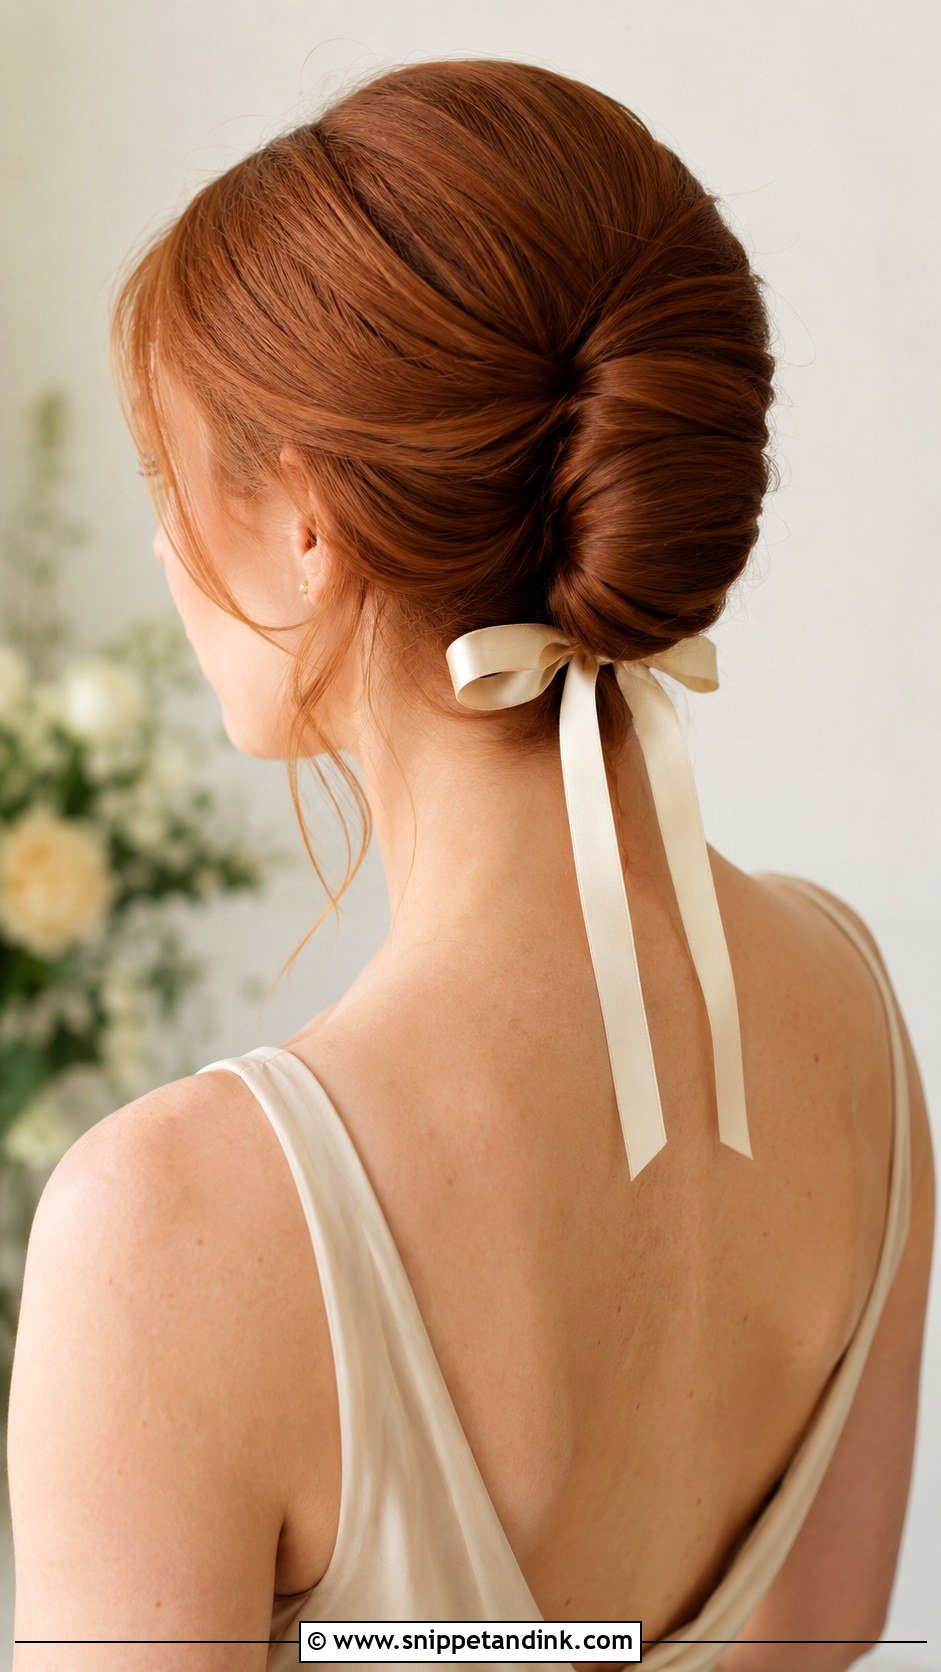
Ribbon brings a slightly vintage feel to a twist and is an easy way to carry the wedding colors into the hair. I tie it at the base, wind it along the roll, or finish it as a neat bow near the nape. Velvet suits autumn and winter; satin and silk sit better against summer fabrics. Width matters: a thin ribbon looks delicate, while a wide one looks heavy in photos. Low and textured twists carry ribbon most naturally, and the twist itself should stay plain so the ribbon is the detail.
14. Braided Bridesmaid French Twist
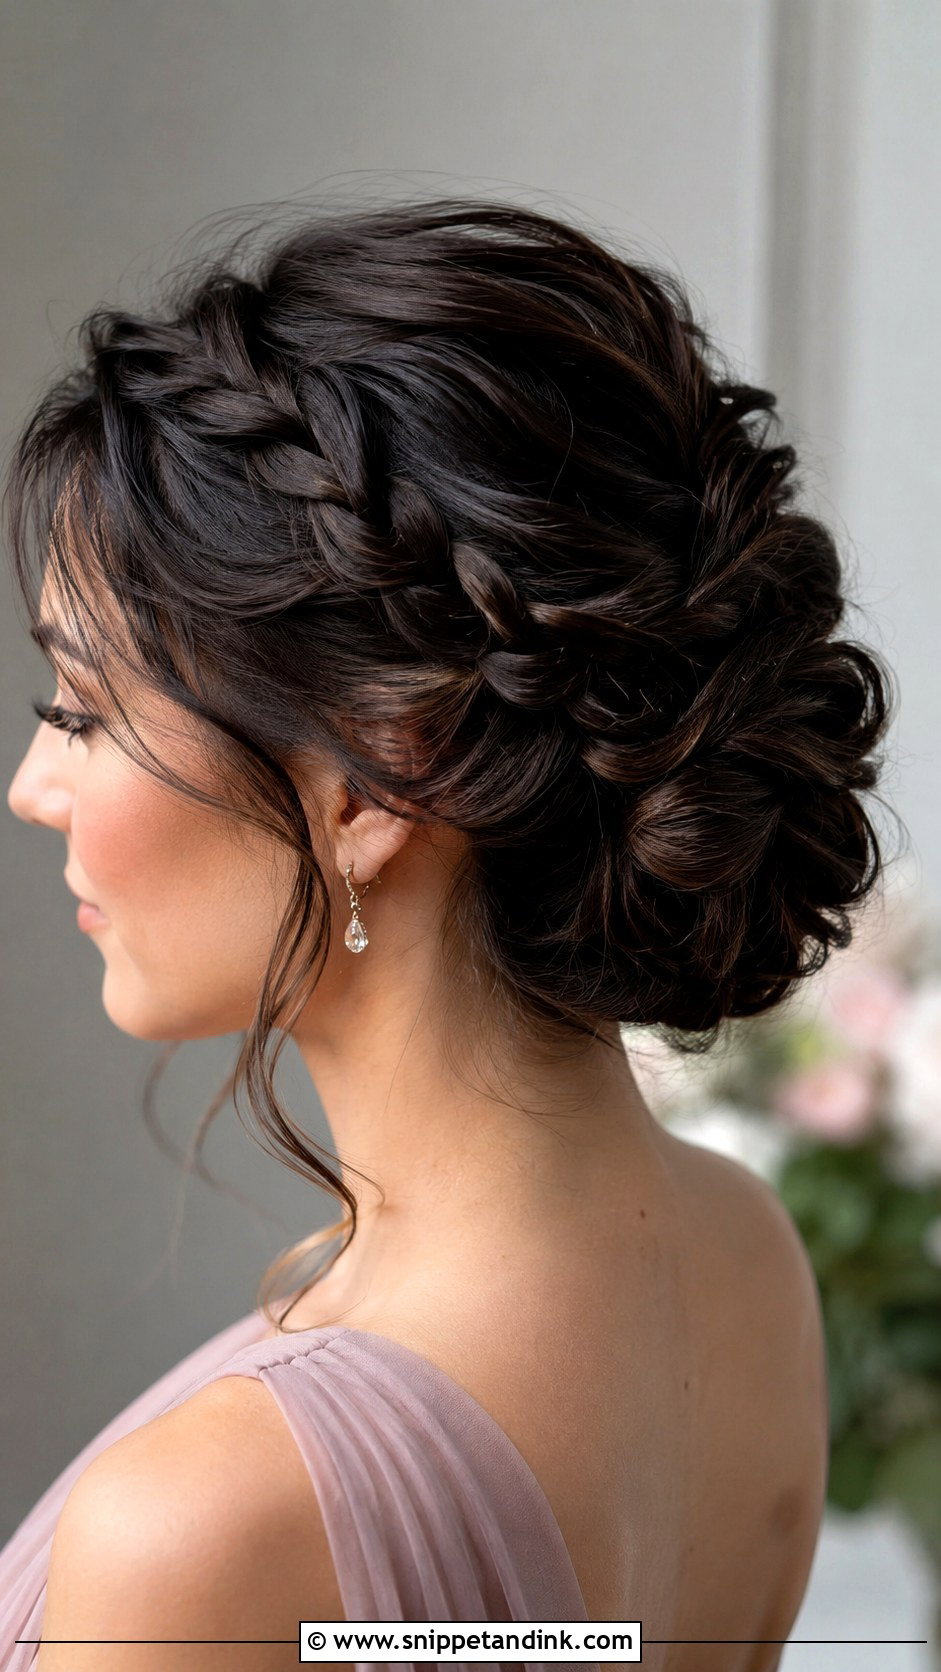
A braid along one side, sweeping back into the twist, is my favorite fix for long layered hair, because it catches the shorter pieces that would otherwise escape the roll. It can also sit as a single accent across the crown. Outdoors, that extra structure keeps the front in place in the wind. I braid loosely and pull the edges out a little so the braid looks soft; a tight braid next to a soft twist looks stiff. A couple of tiny pins or flowers can sit along it.
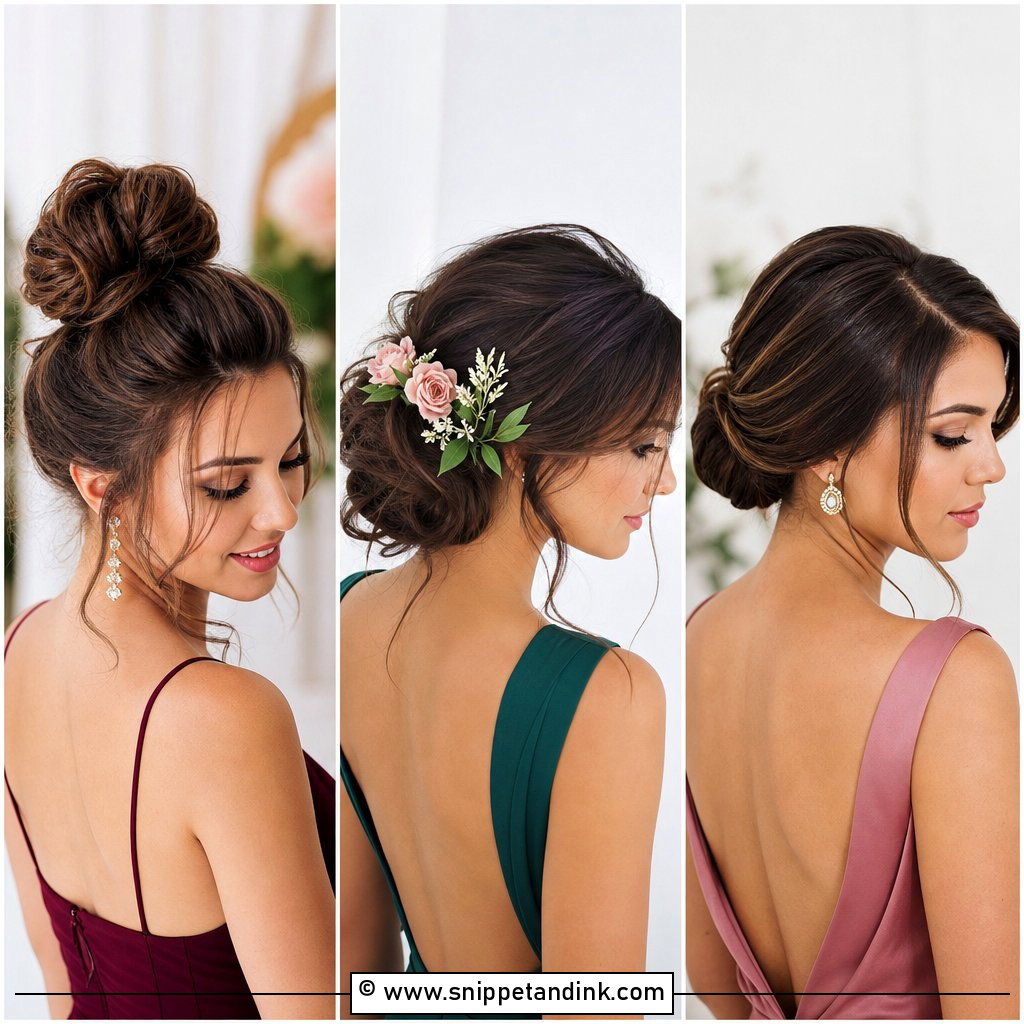
15. Curly Bridesmaid French Twist
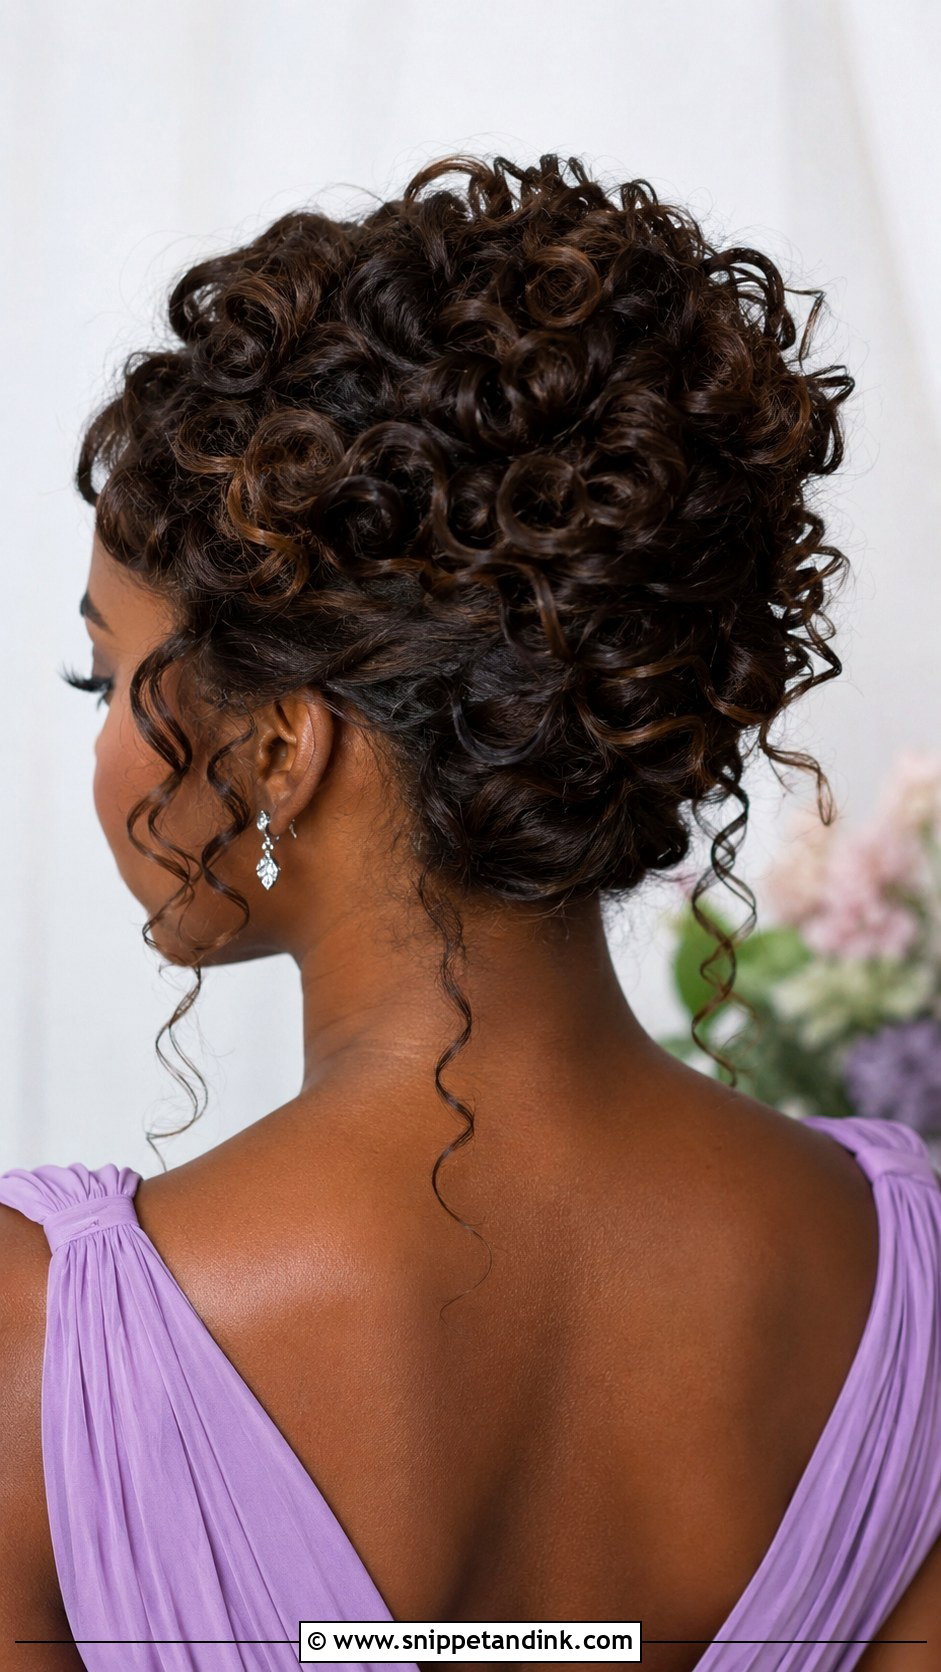
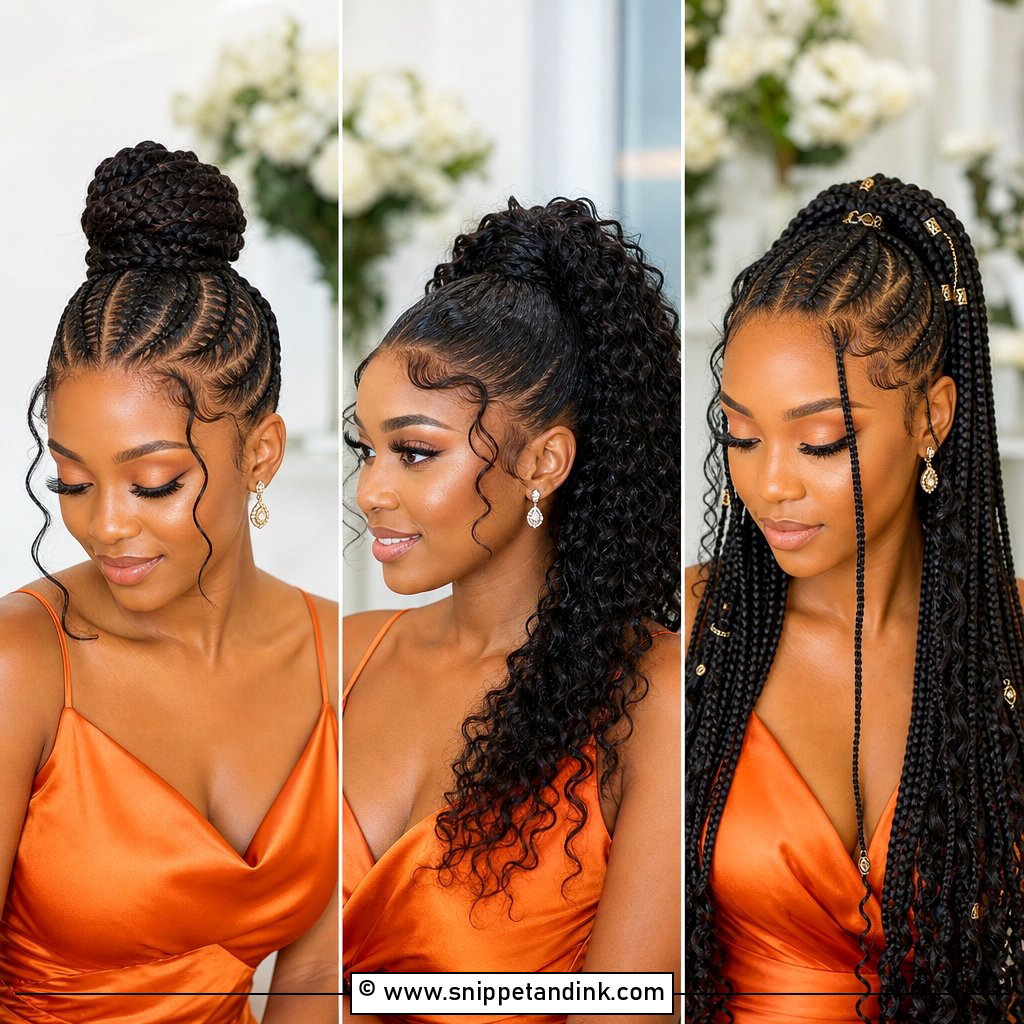
Curls don’t need to be flattened to fit a French twist. I gather them into a soft vertical roll and keep the texture visible throughout, so the shape is still a twist but reads as curly. Natural curls, heat-set curls and defined waves all work. Hydrating curl cream helps the curls clump rather than frizz under handling, and I use strong pins with a flexible spray. Some bridesmaids want curled tendrils at the front; others prefer everything pinned back. Both suit this shape.
16. Short Hair Bridesmaid French Twist
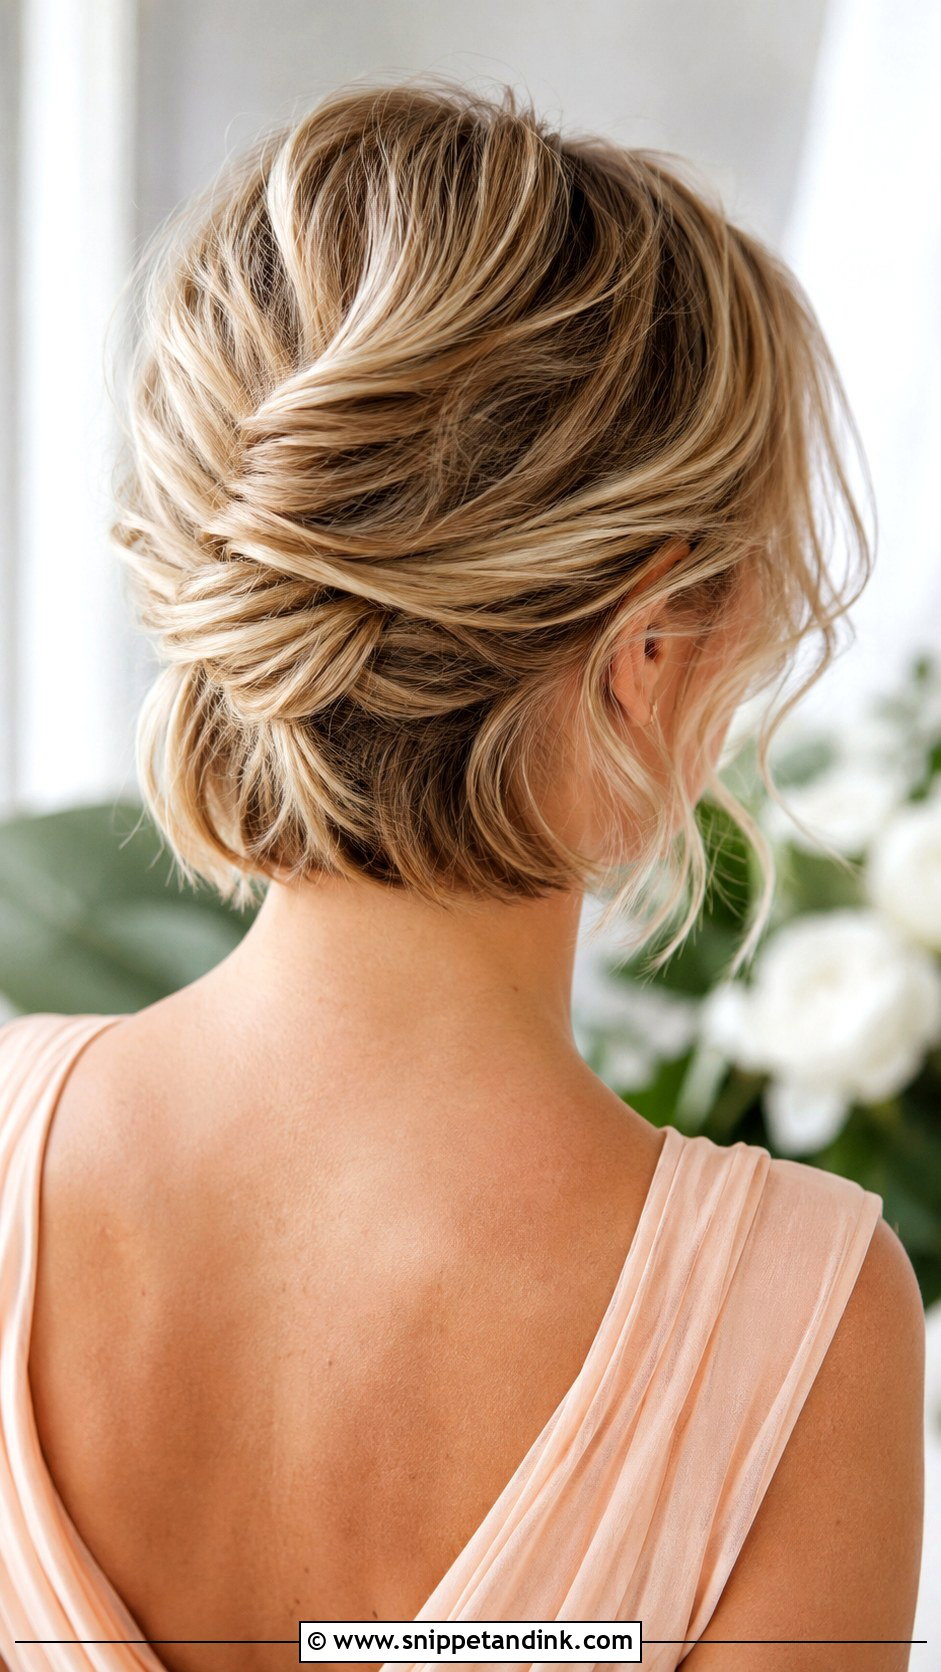
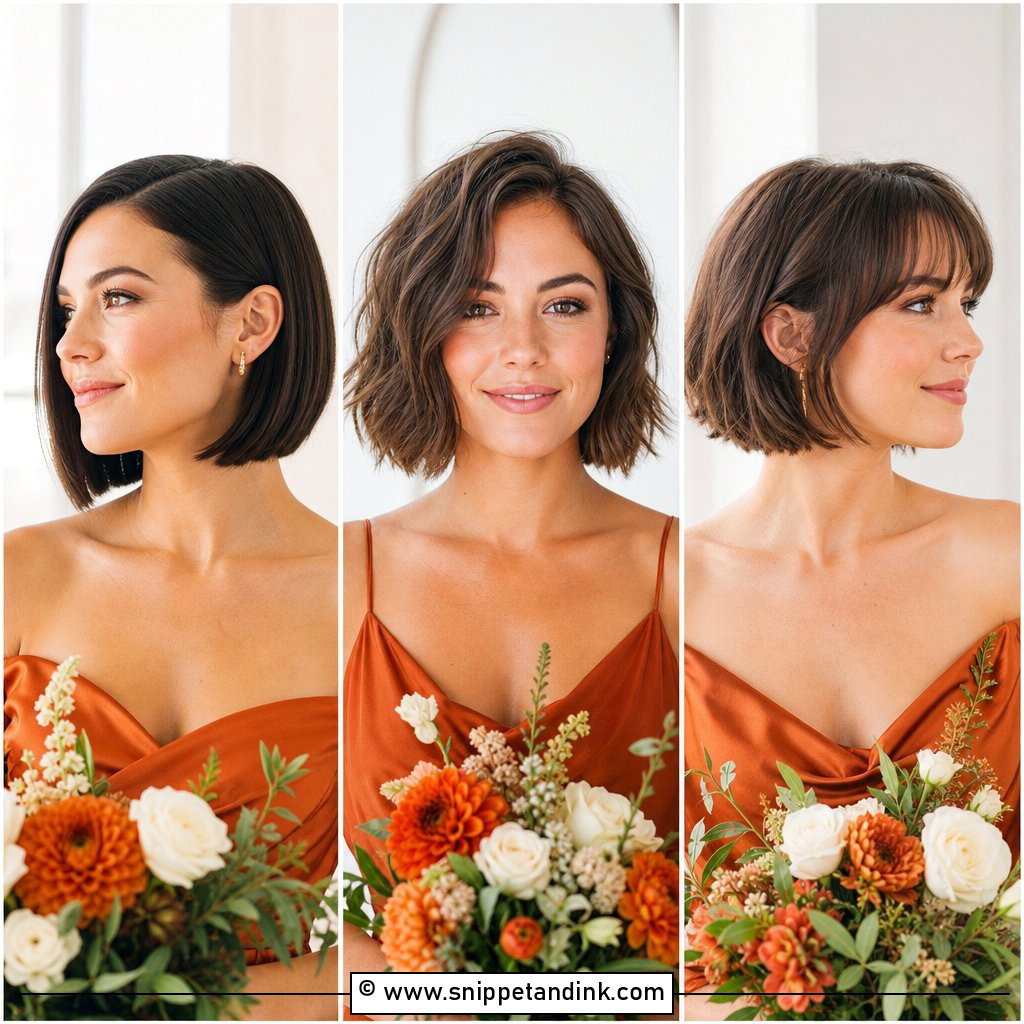
Yes, short hair can wear a twist, with some honest limits. On bob-length or shoulder-length hair, I build a smaller tucked twist at the back and pin shorter layers in place one by one. The hair needs texture or waves to hold pins; very fine, straight short hair usually slips out by midday. If her hair barely reaches the collar, I’d suggest a clip-in piece instead of forcing it. A small comb or pearl pins finish the shorter version.
17. Long Hair Bridesmaid French Twist
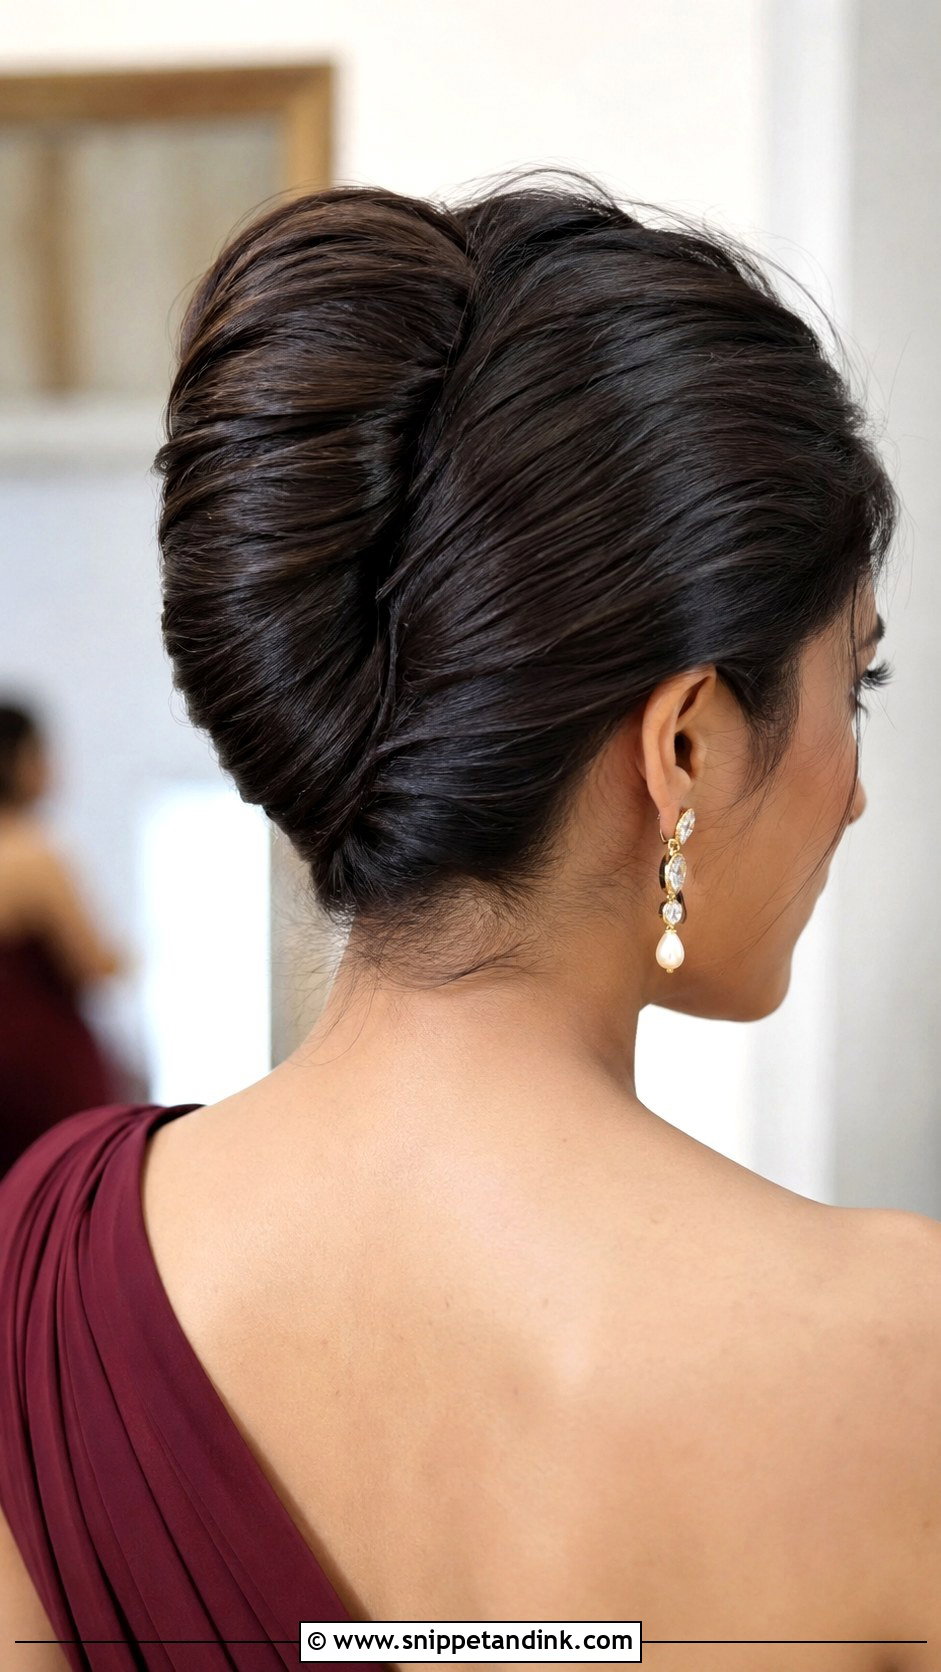
Long hair gives the twist a fuller, more dramatic shape, but the extra length is also a weight problem. Rolled in one go, it becomes bulky and heavy and drags downward through the day. I divide it into two or three sections and pin each one before the next, so no single row of pins carries the whole length. Long layers add movement through the roll. Strong pins, texture spray, and a balanced shape are what keep it from drooping, and it suits open-back dresses and statement earrings.
18. Fine Hair Bridesmaid French Twist
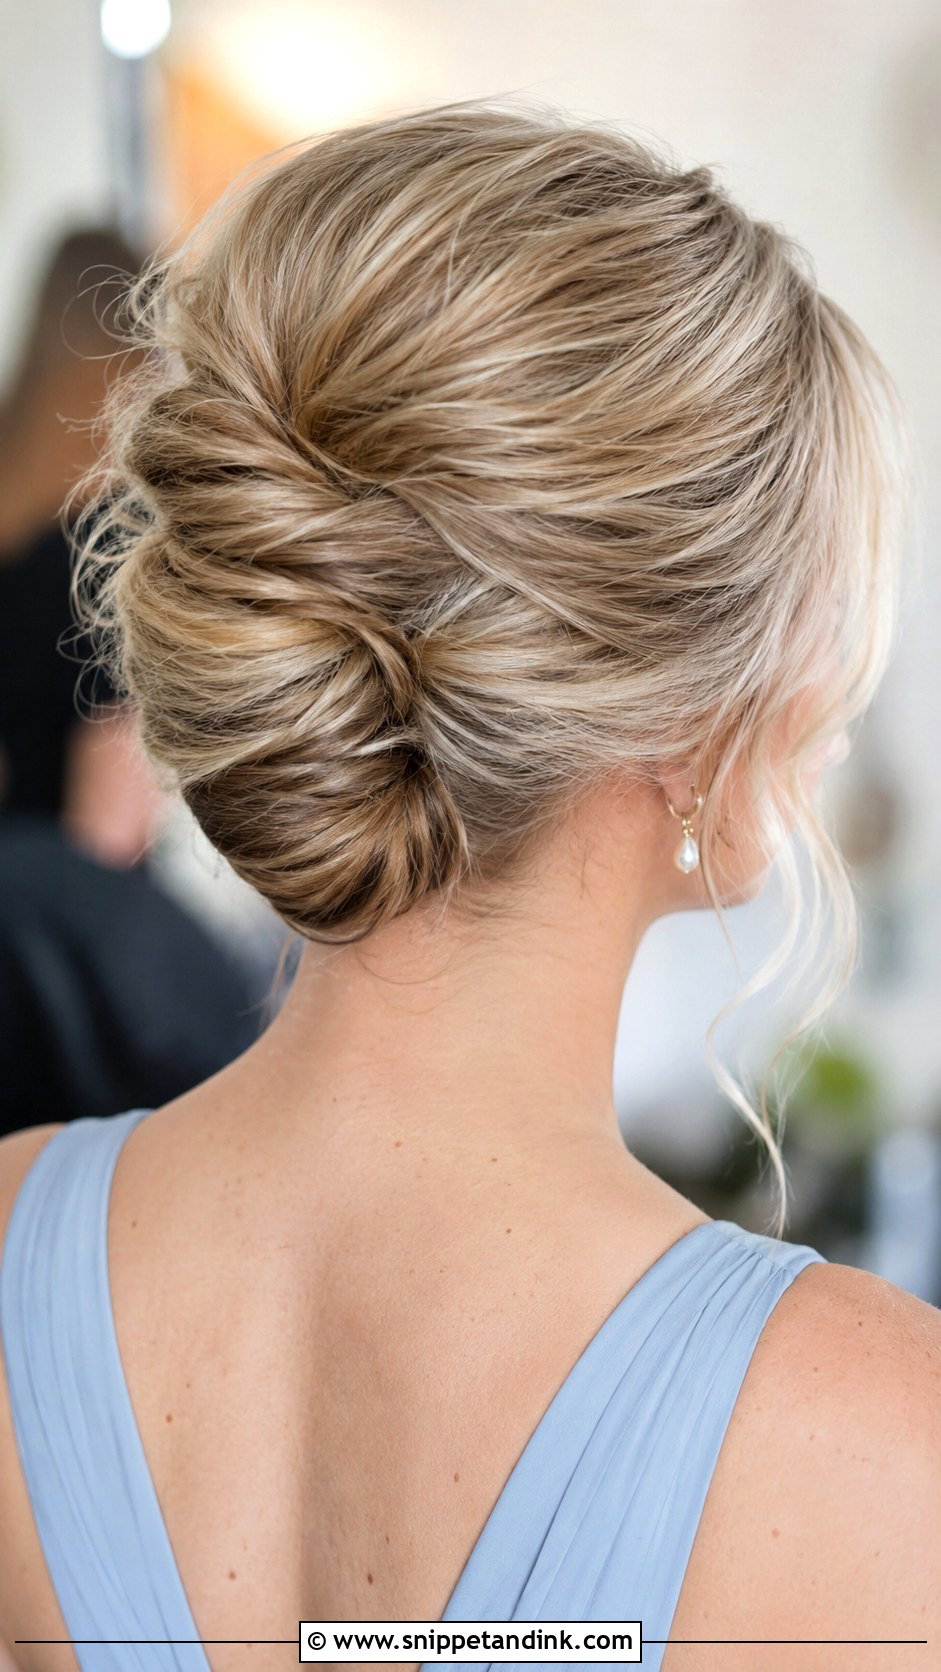
Fine hair can wear a full-looking twist; it just needs the volume built before the roll. I use volumizing mousse, blow-dry lift at the root, then light backcombing through the crown and mid-lengths so the roll has something to wrap around. Texture spray is essential, because fine hair is slippery and pins slide out of it. A slightly loose finish is more flattering on fine hair than ultra-sleek, which only shows how little hair there is. I pad with backcombing rather than a hair piece wherever possible.
19. Thick Hair Bridesmaid French Twist
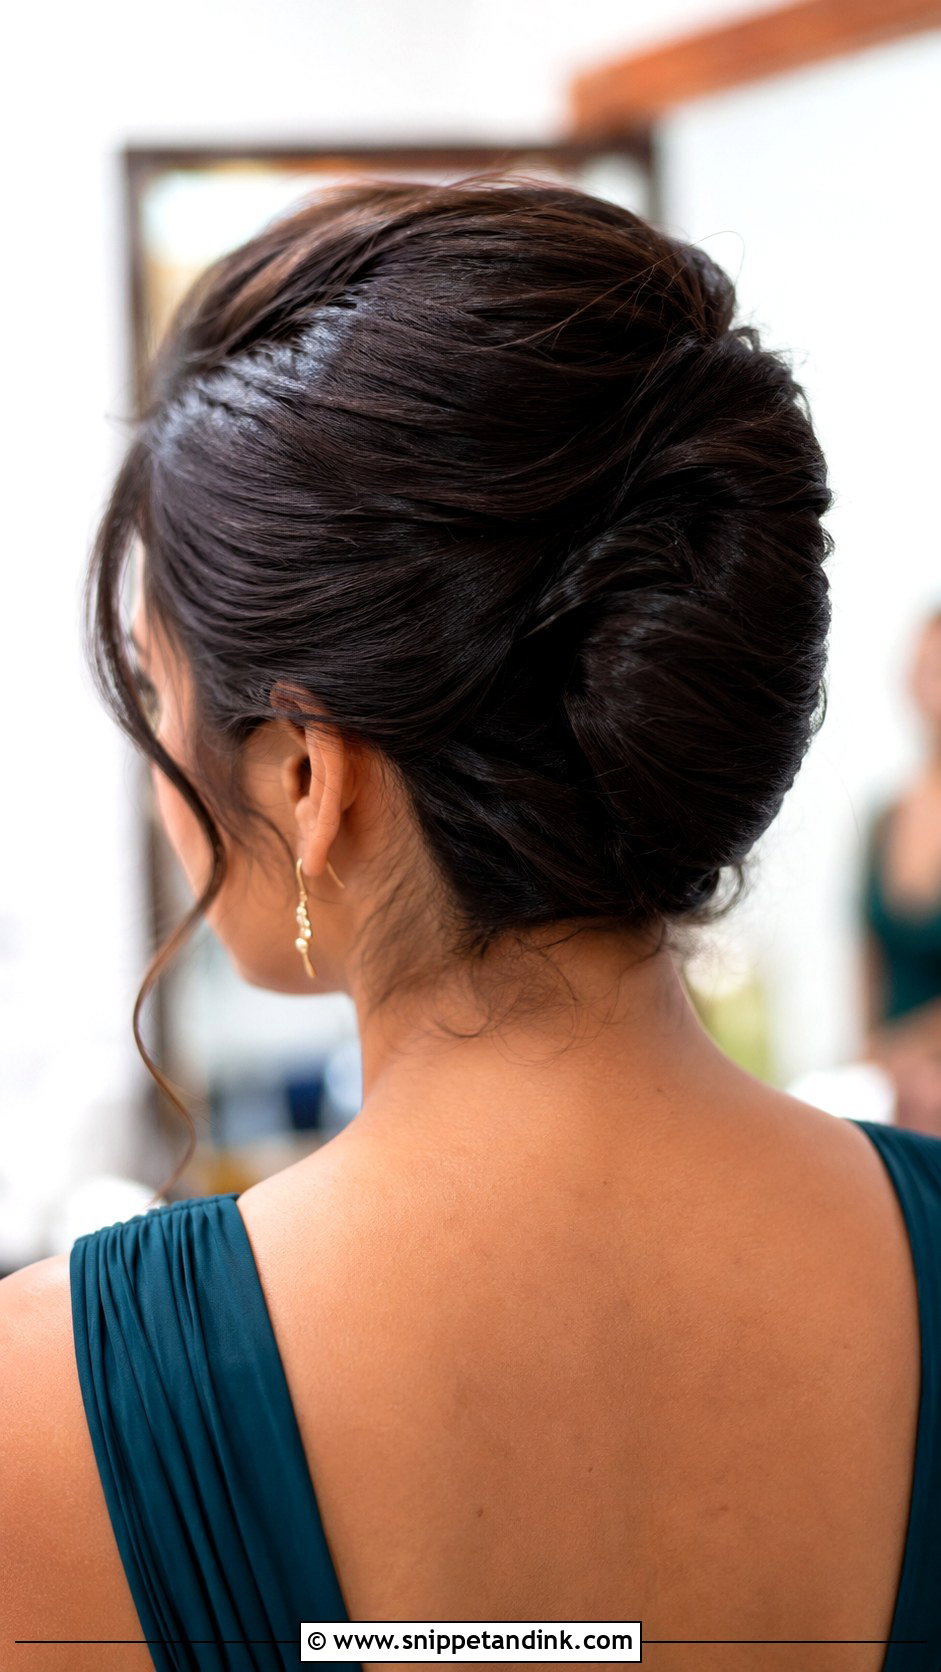
Thick hair makes a rich-looking twist, but it can feel heavy by evening. The solution is layering: I smooth, section and pin the hair in two or three layers rather than twisting it all at once, and I make the roll slightly lower and wider so the volume sits balanced. Dense straight, wavy and curly hair all suit this method. Strong pins and firm spray do most of the work, though I leave a little movement at the front so it doesn’t look clamped.
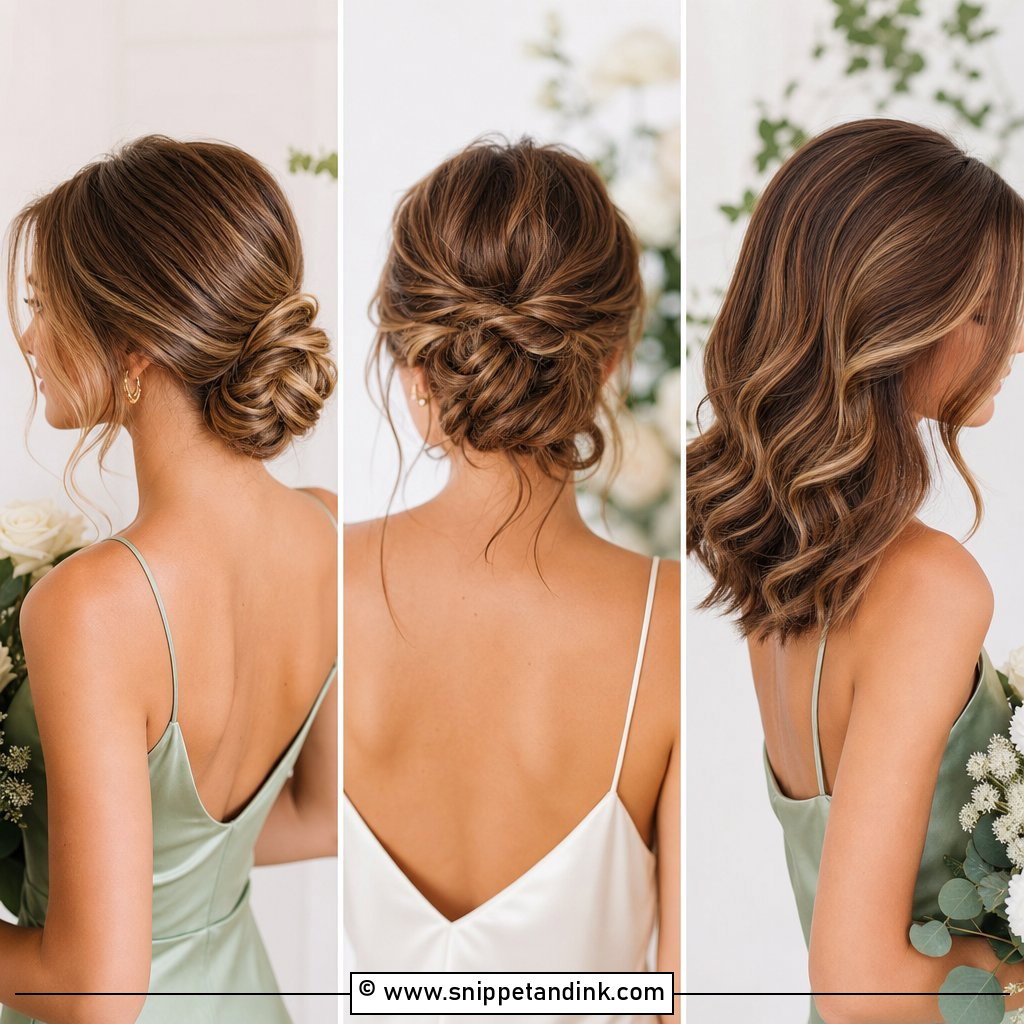
20. Modern Bridesmaid French Twist
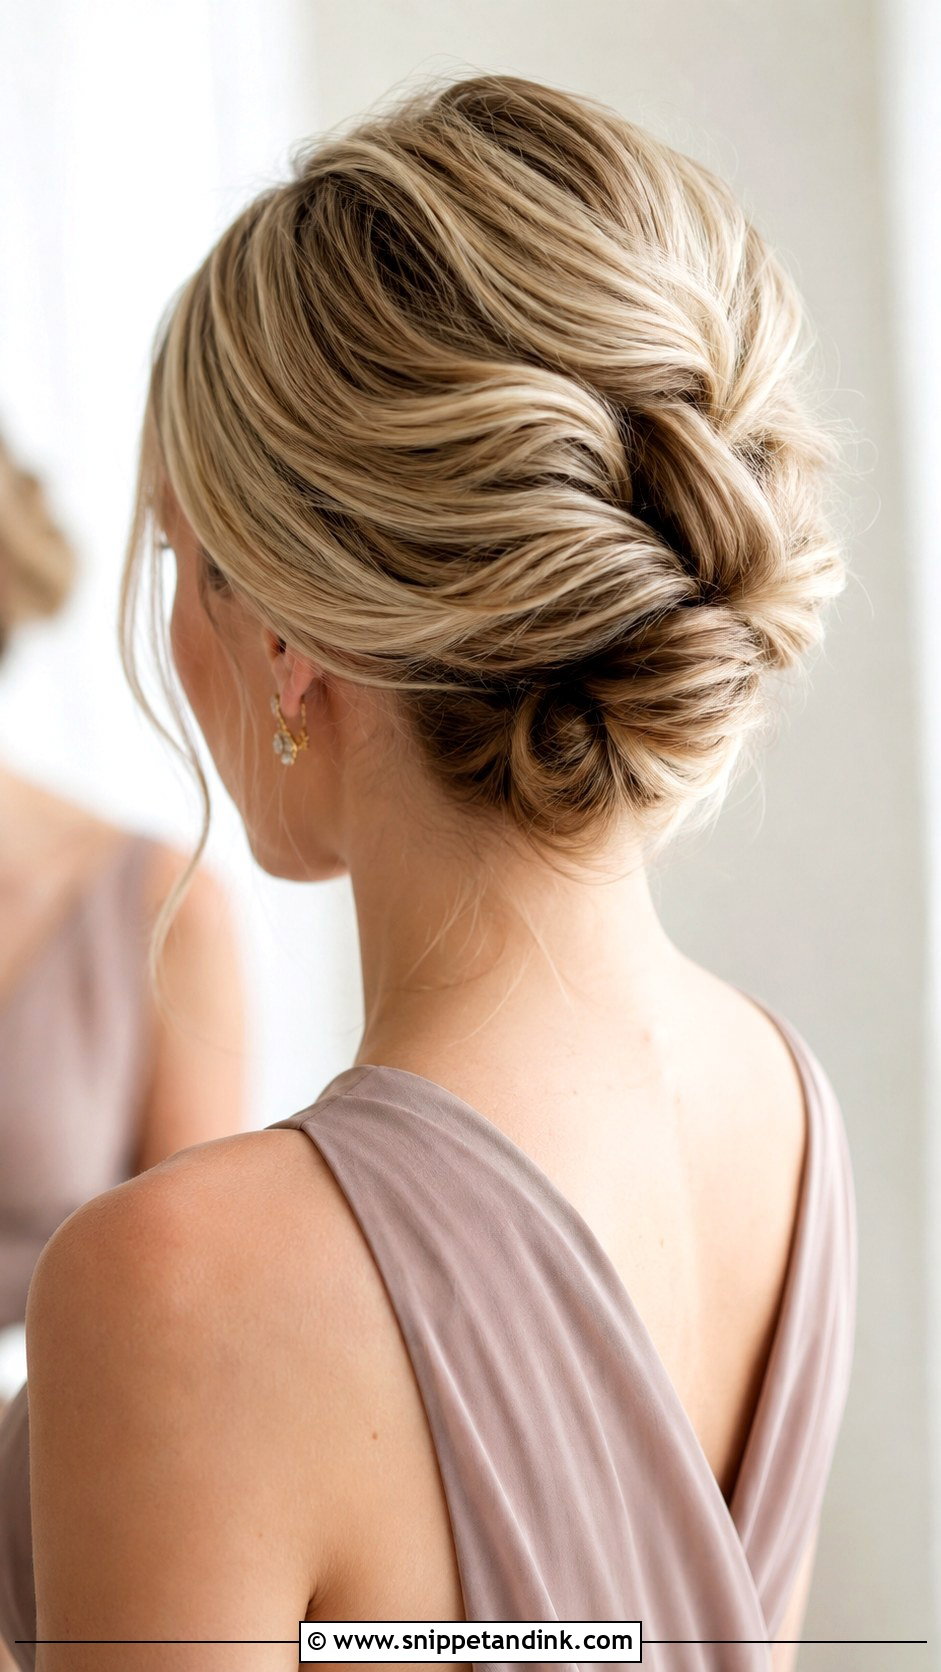
The modern twist keeps the classic shape and loosens everything else: relaxed volume, a slightly off-center roll, soft face-framing and natural texture instead of a hard shell. It’s the version I suggest for mixed bridal parties, because each bridesmaid can adjust the finish to her hair. One wears it sleek, another adds waves or tendrils, and the shared shape keeps the group cohesive in photos. Pearls, a comb, or just a little shine finish it.
Car Seats, Chair Backs and Other Twist Flatteners
A French twist sits exactly where people rest their heads. The car ride to the ceremony, a high-backed chair at dinner and a pose leaning against a wall all press on the roll and slowly flatten it. I tell bridesmaids to sit forward in the car rather than lean back into the headrest, and to perch slightly forward at the table. A twist that has been squashed for an hour rarely springs back on its own; it needs a few pins re-set from the side.
Hugs are the other risk. A quick touch-up kit with matching pins, a small comb and travel spray fixes almost anything in two minutes.
Unpinning at Midnight Without a Tangle
The end of the night is where a twist can cause damage. Pins come out first, all of them, before any brushing; a hidden pin caught in a brush can snap hair. Then, before tackling the backcombing, I suggest working conditioner through the teased sections and combing from the ends up toward the root with a wide-tooth comb. Pulling from the top down drags the knots into one tight mat. It takes ten patient minutes and saves a lot of breakage.
One Roll, Many Ways to Wear It
What makes the French twist last is how adjustable it is. Change the part, the placement, the texture or the accessory, and the same roll suits a garden party or a black-tie ballroom, short bobs or waist-length hair. If you can, book a trial and wear it for a few hours afterward so you know it’s secure without being tight. Bring photos and a picture of the neckline. Done well, it keeps a bridal party polished in photos and comfortable enough to enjoy the evening.
You'll Like These Ideas:


Leave a Reply