
Short hair has a reputation for being hard to dress up for a wedding, and I think that’s backwards. A bob or pixie already has a shape, so most of the work is adding grip, shine or one well-placed accessory rather than building a style from nothing. The catch is that short layers slip out of pins faster than long hair does, so the prep matters more than the style itself. Below are 20 looks I’d happily send a guest out the door in, with notes on which cuts each one suits and where it tends to fail.
Giving Short Layers Something to Hold Onto
Freshly washed short hair is slippery. Pins slide out, curls drop, and the ends that are only a couple of inches long refuse to stay tucked. When I style a guest with a bob or pixie, the first ten minutes go into grip, and that’s the step most people skip at home.
- Wash the night before if your hair is fine or straight. A day of natural oil makes pins hold far better than squeaky-clean strands.
- Spray dry shampoo or texture spray at the roots before you style, not after. It works as a primer that gives pins and curls something to bite into.
- Use bobby pins in your hair color with the wavy side facing down against the scalp, and cross two of them in an X wherever something needs to stay put.
- Curl or wave short hair and let each section cool in your hand or a clip. Hot hair that’s released straight away loses half its shape before you’ve finished the rest.
If your hair is very thick or coarse, it’s the opposite problem. It holds a shape well but resists pins, so I’d use U-pins for anything twisted and lean on a stronger hairspray only where weight pulls the style down.
1. Half-Up Half-Down for Short Hair
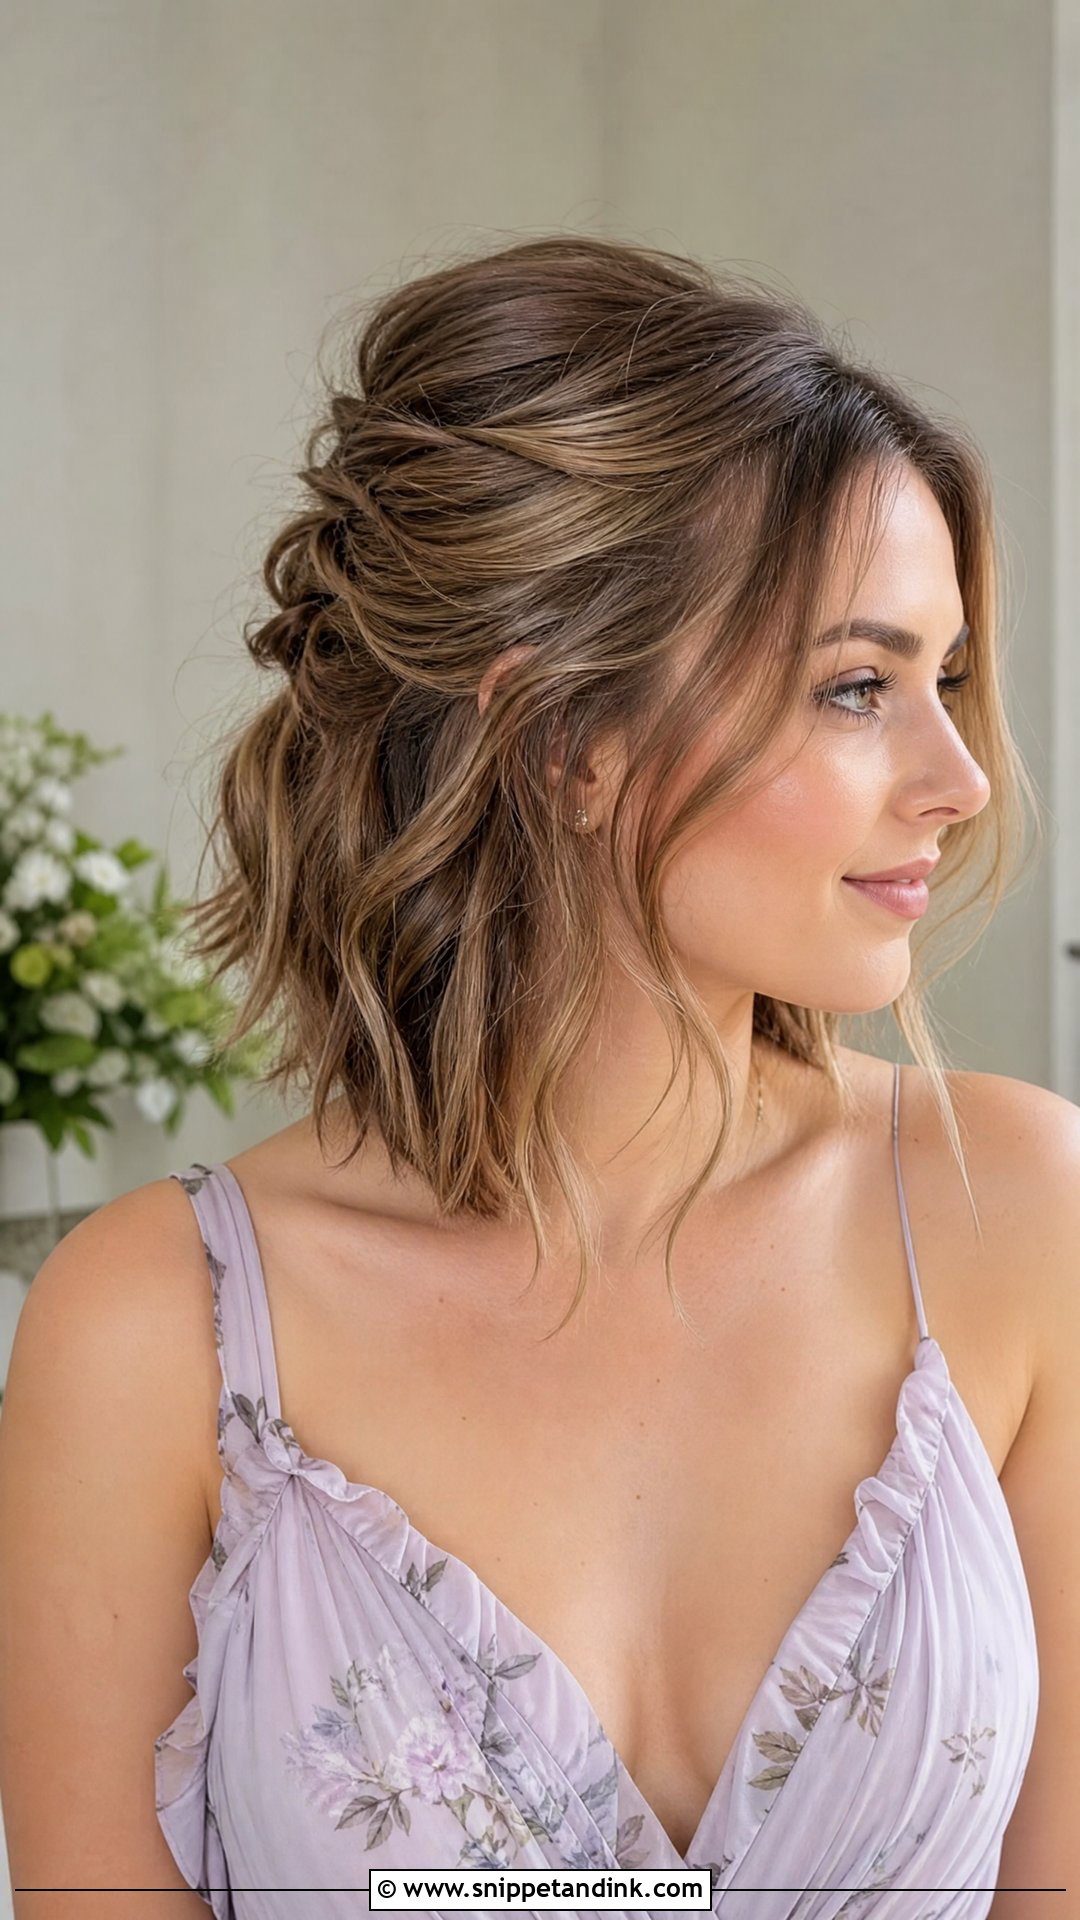
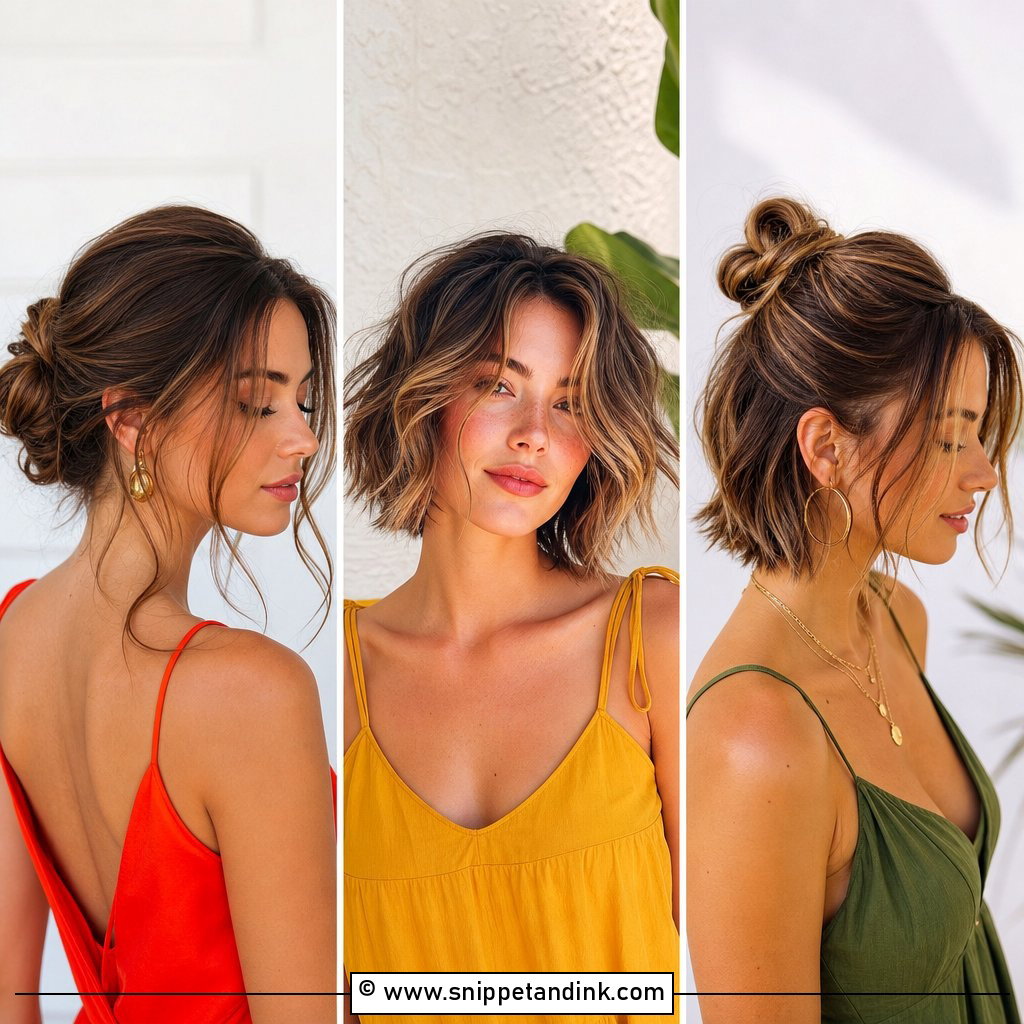
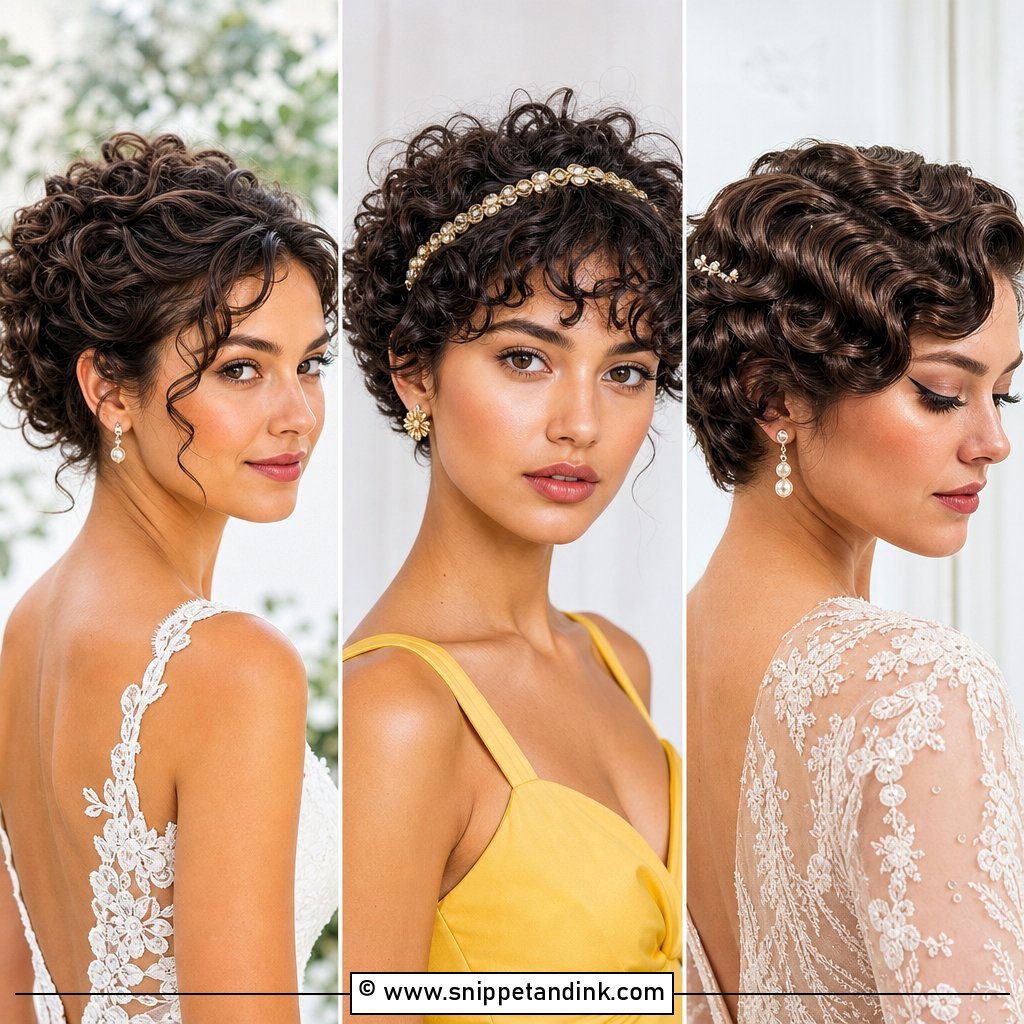
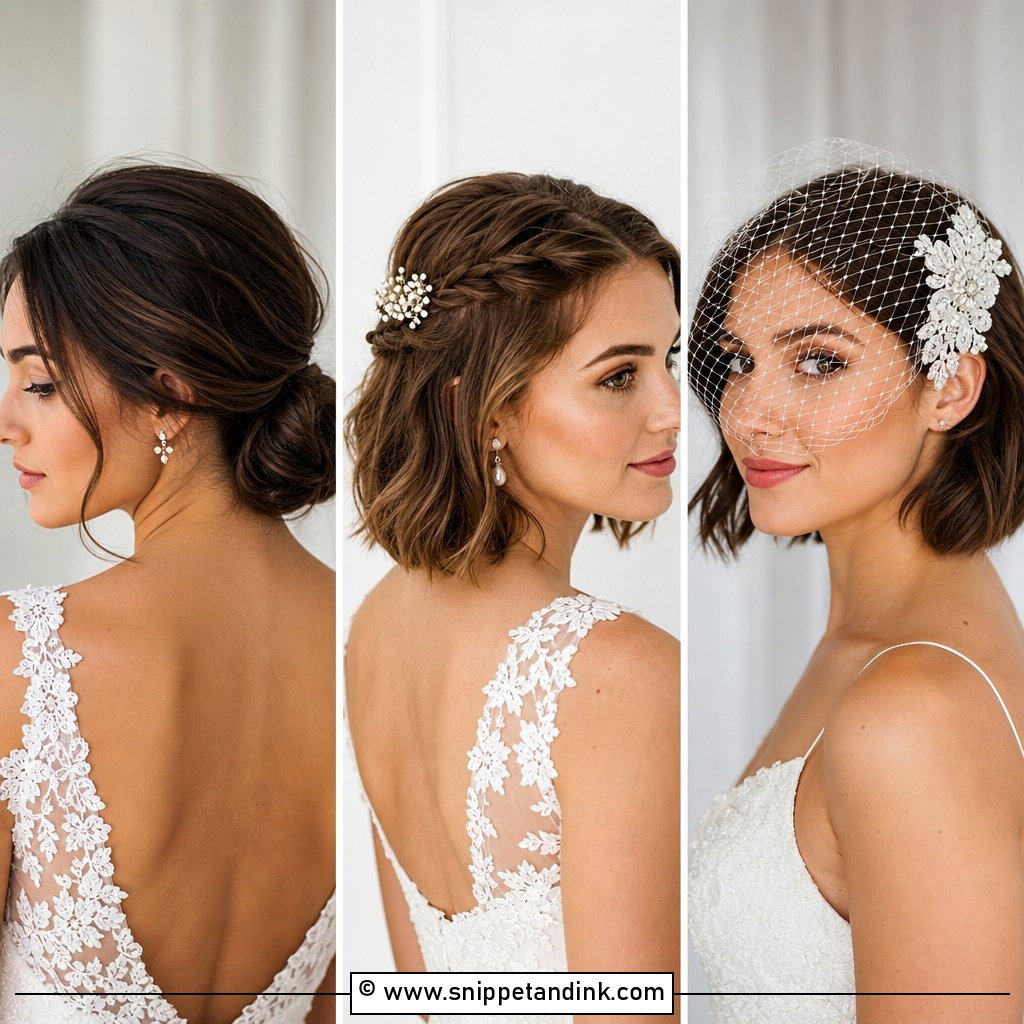
Half-up is the style I suggest first to guests with a bob, because it needs very little length to work. Take a section from temple to temple, back-comb the roots at the crown lightly, then pin it flat with two bobby pins crossed in an X so it can’t swivel. On chin-length hair the section will be small, and that’s fine; the lift at the crown does the dressing up. A plain clip over the pins hides them and suits almost any wedding celebration you attend.
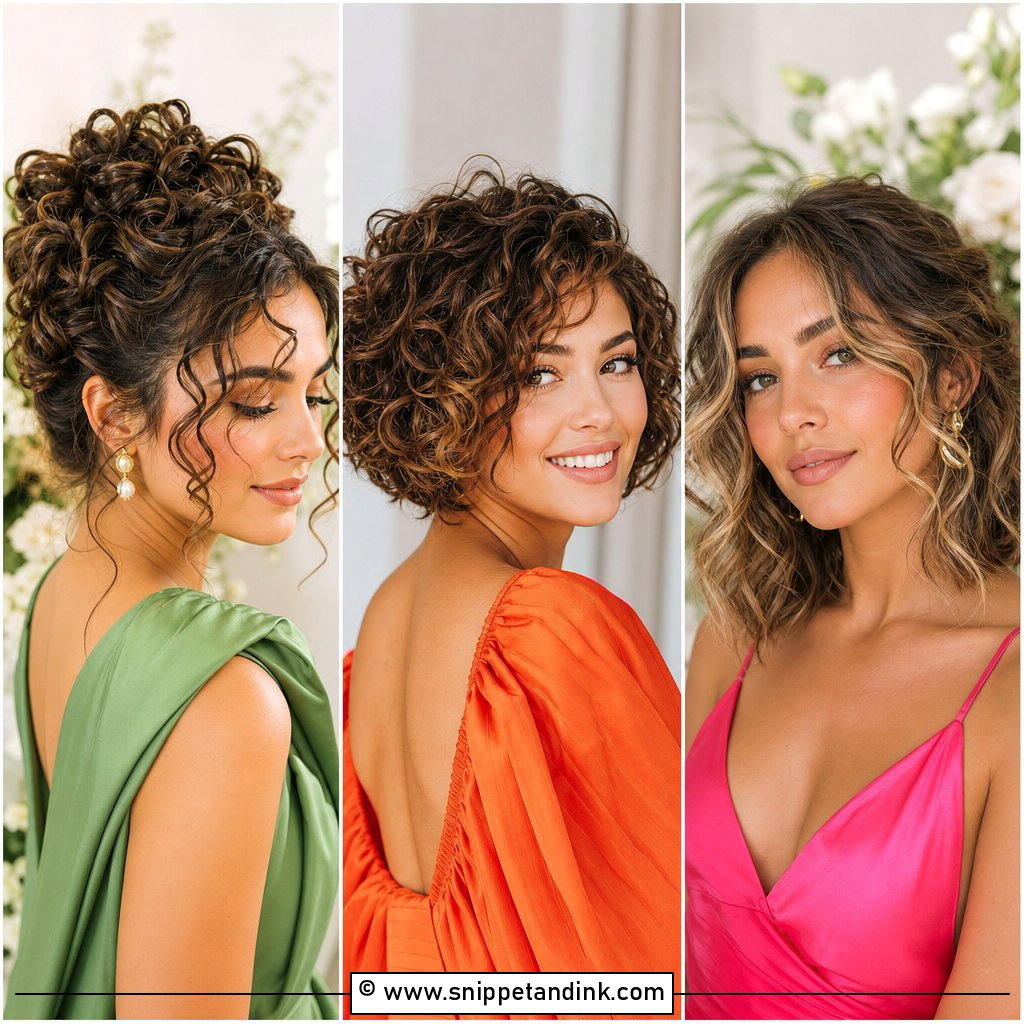
2. Messy Bun for Chin-Length Hair
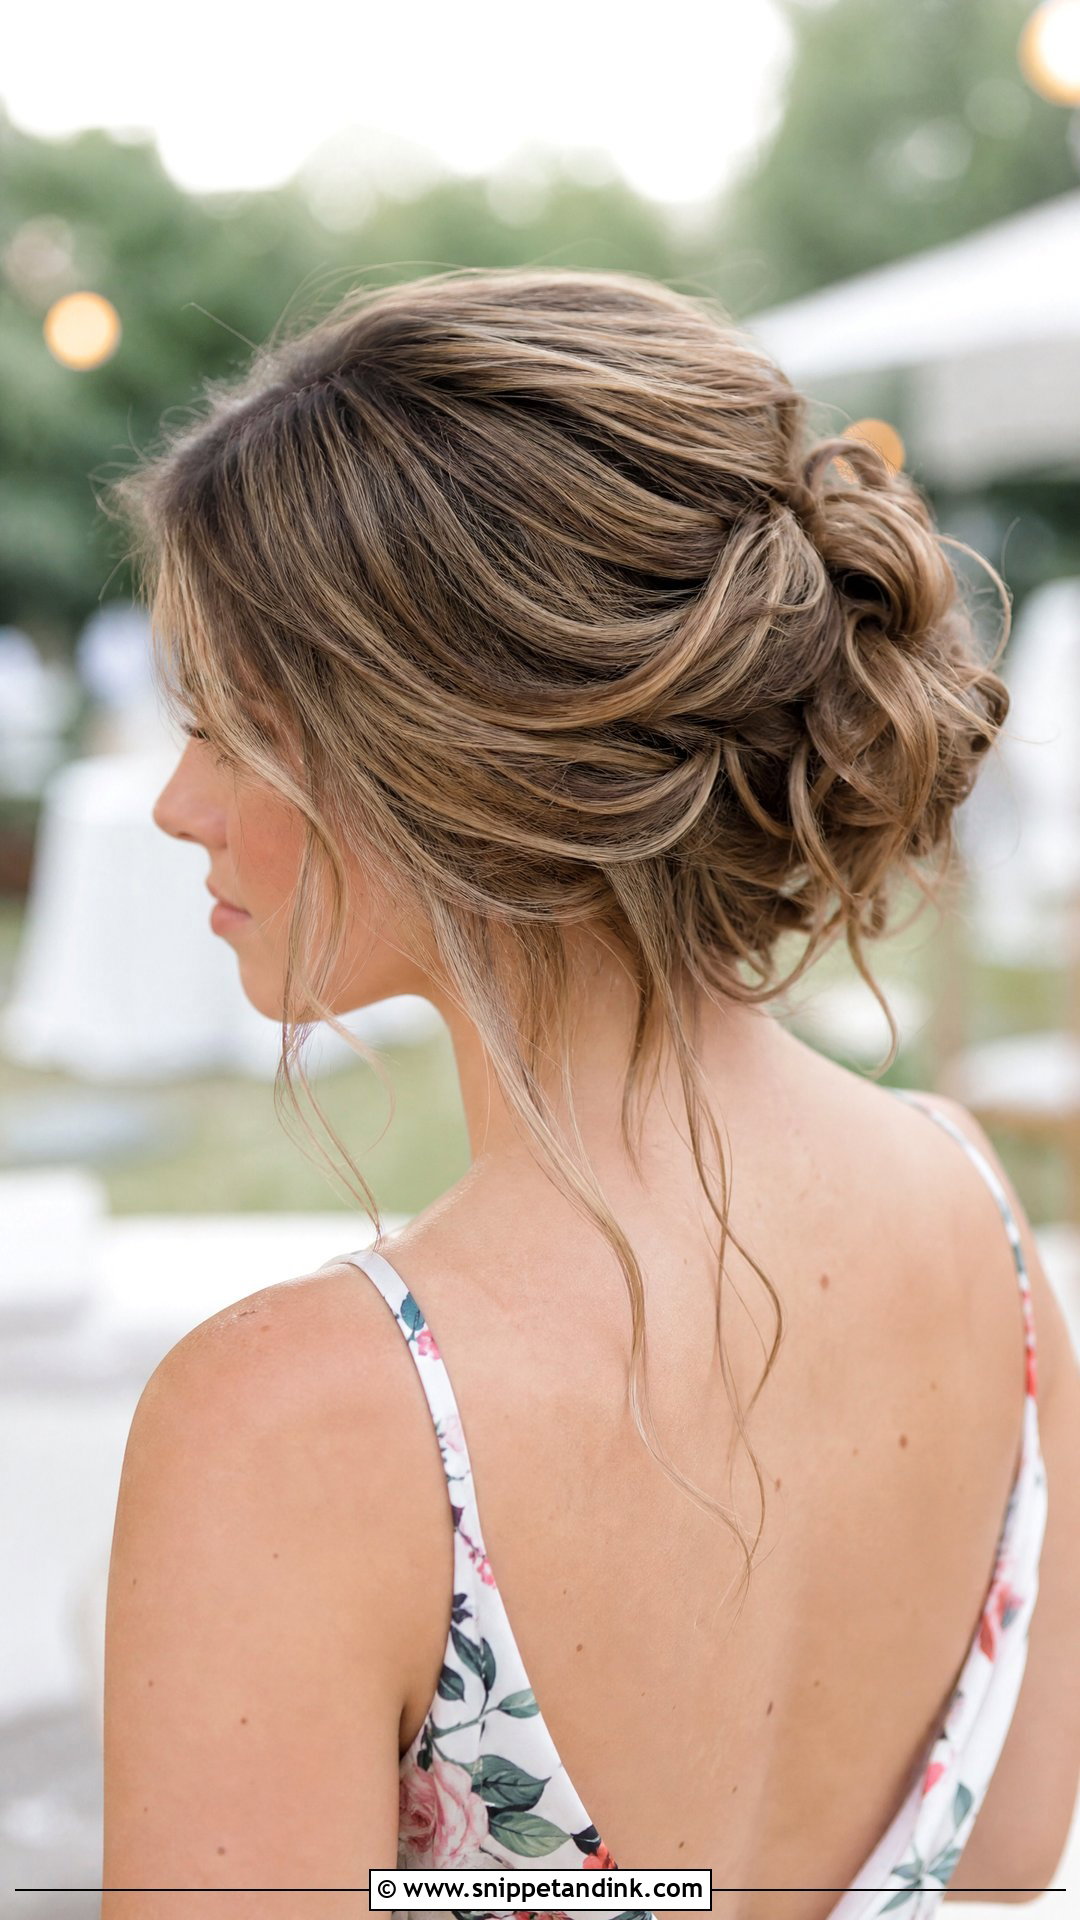
Chin-length hair can make a bun, just not a neat one. I gather what reaches into a low ponytail, twist it, and pin the twist down with U-pins rather than bobby pins, since U-pins hold a loose shape without flattening it. The shorter pieces at the nape will escape. Rather than fight them, spray them with texture spray and let them sit there on purpose. Skip this one if your back layers are much shorter than the front; there won’t be enough to anchor.
3. Tousled Pixie Cut
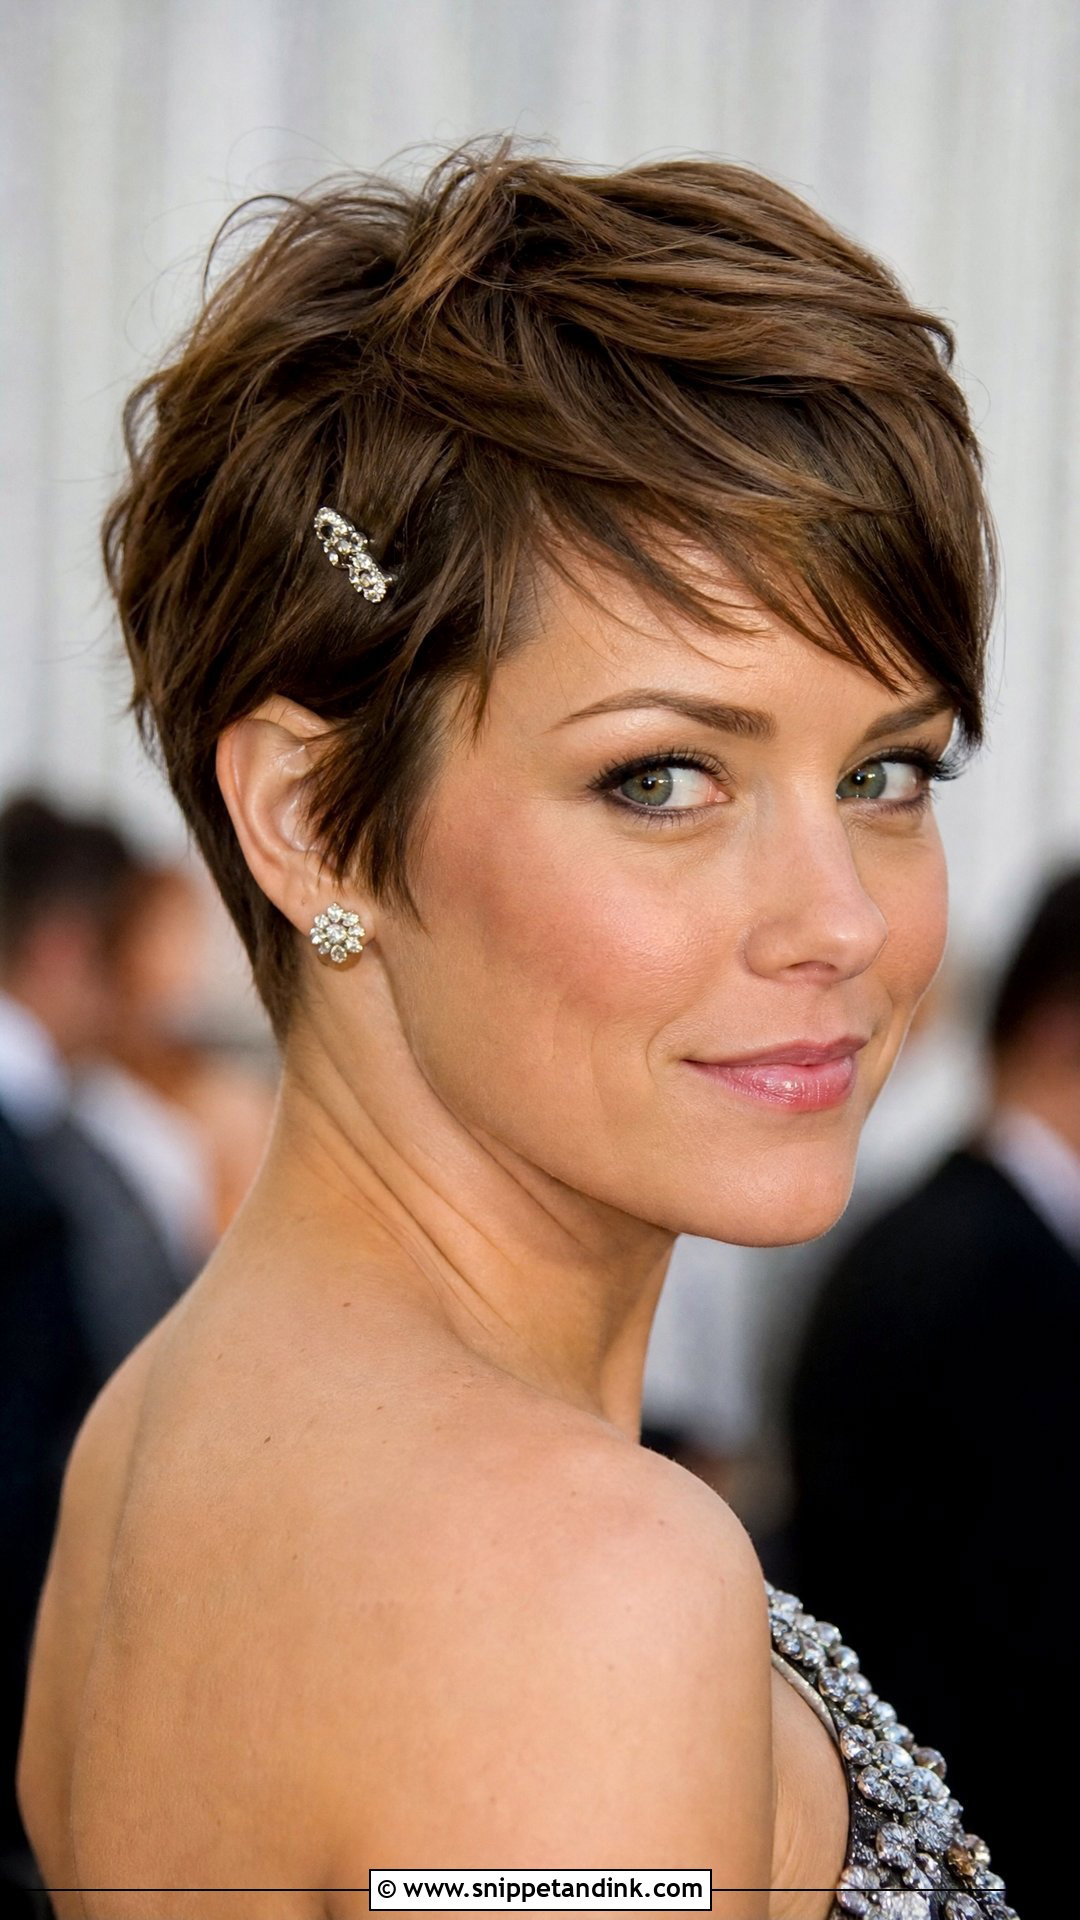
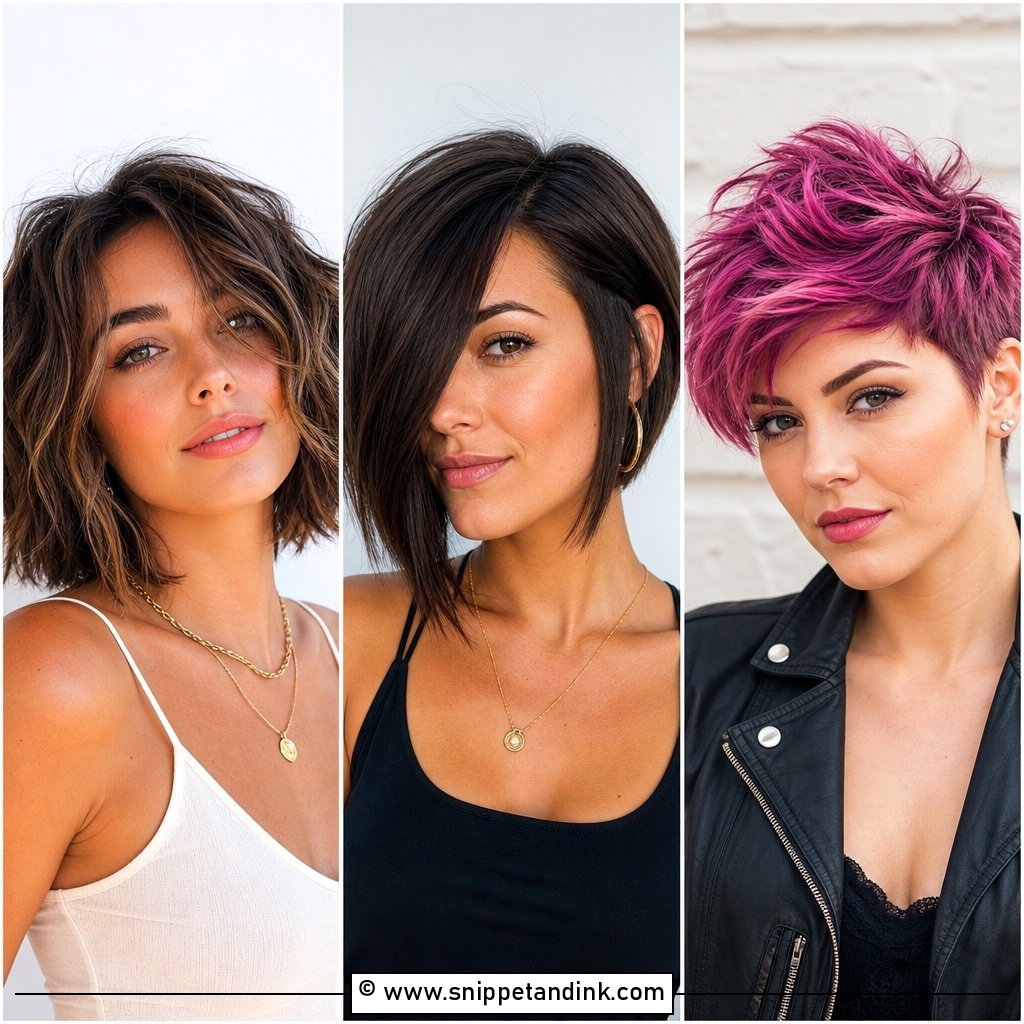
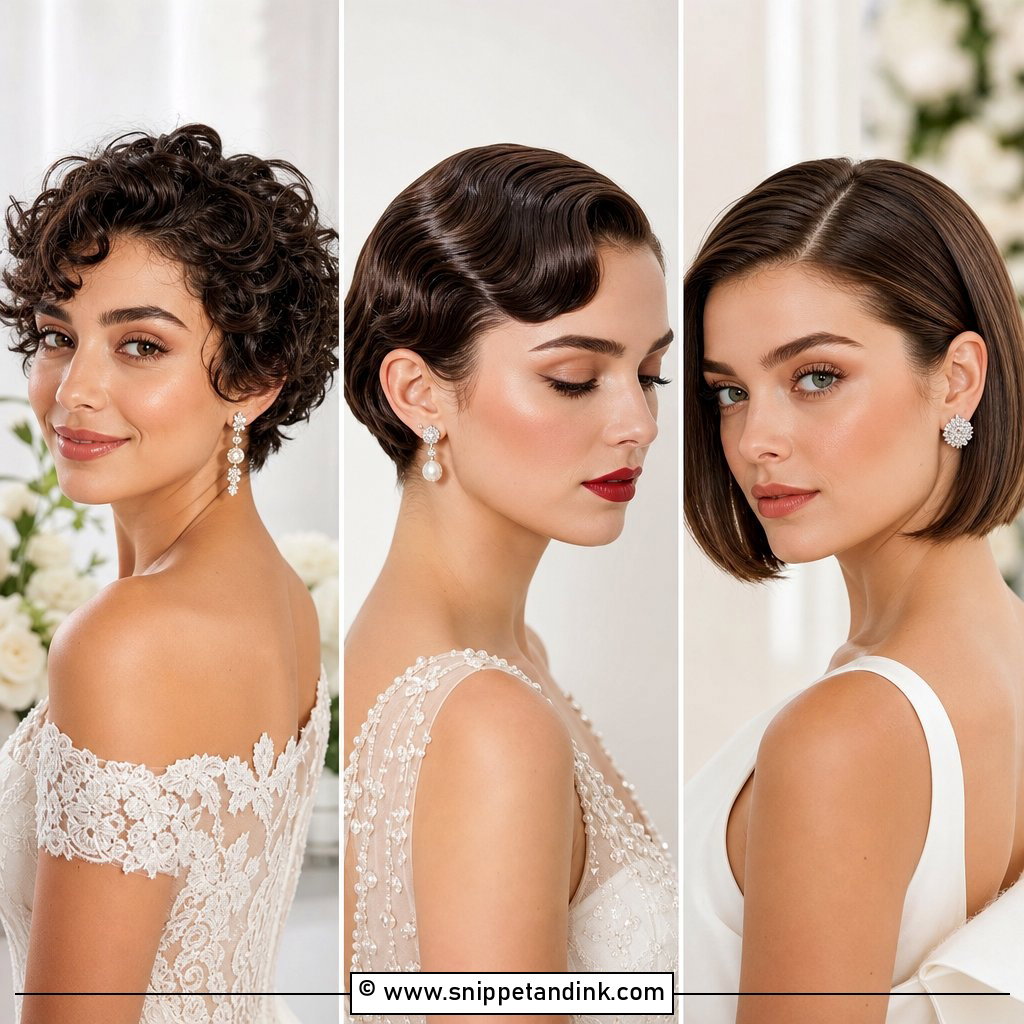
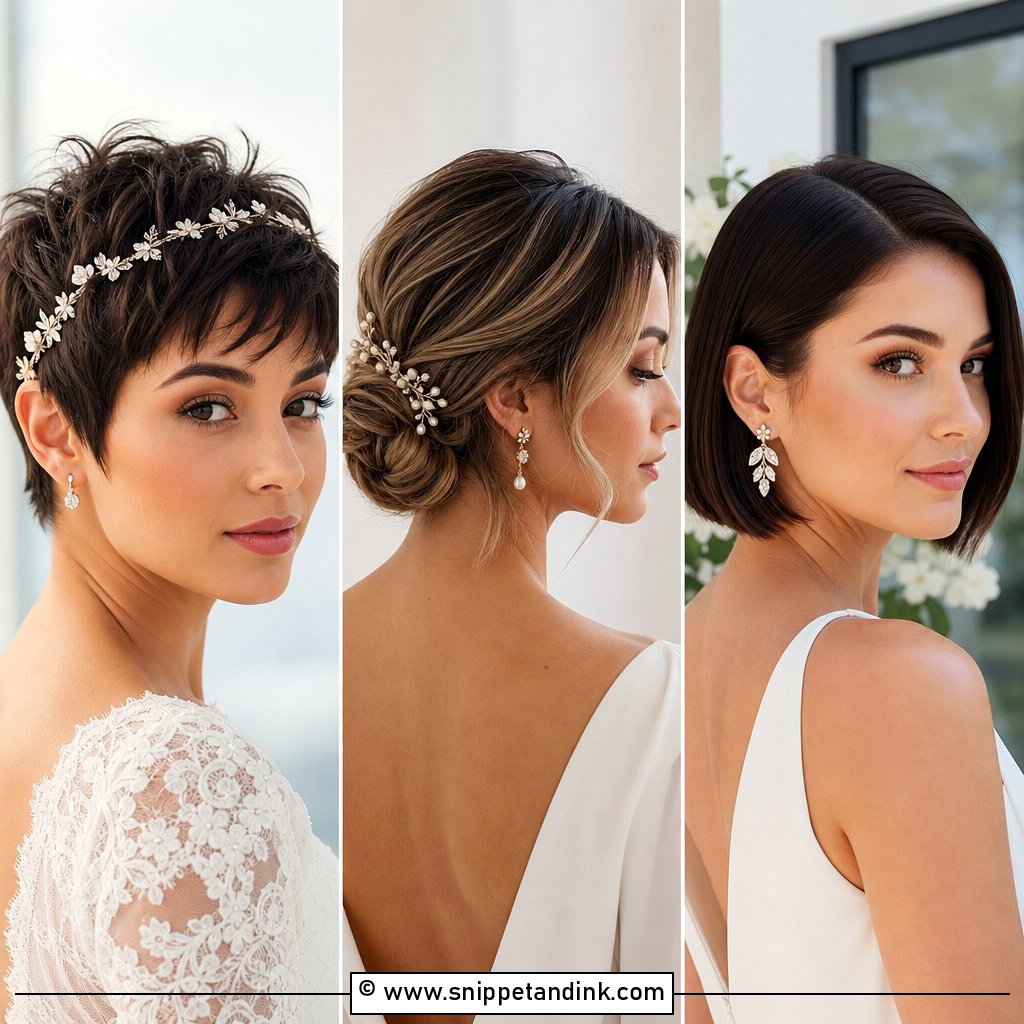
A pixie doesn’t need restyling for a wedding, only more definition than you’d give it on a workday. I warm a pea-sized amount of pomade between my palms first, because cold product goes on in clumps, then work it from the back forward and pinch the ends into separate pieces. Too much product is the usual mistake: the hair goes flat and greasy by the reception. One jeweled pin above the ear is enough to make the tousled pixie read as dressed for the occasion.
4. Sleek Side Part Bob
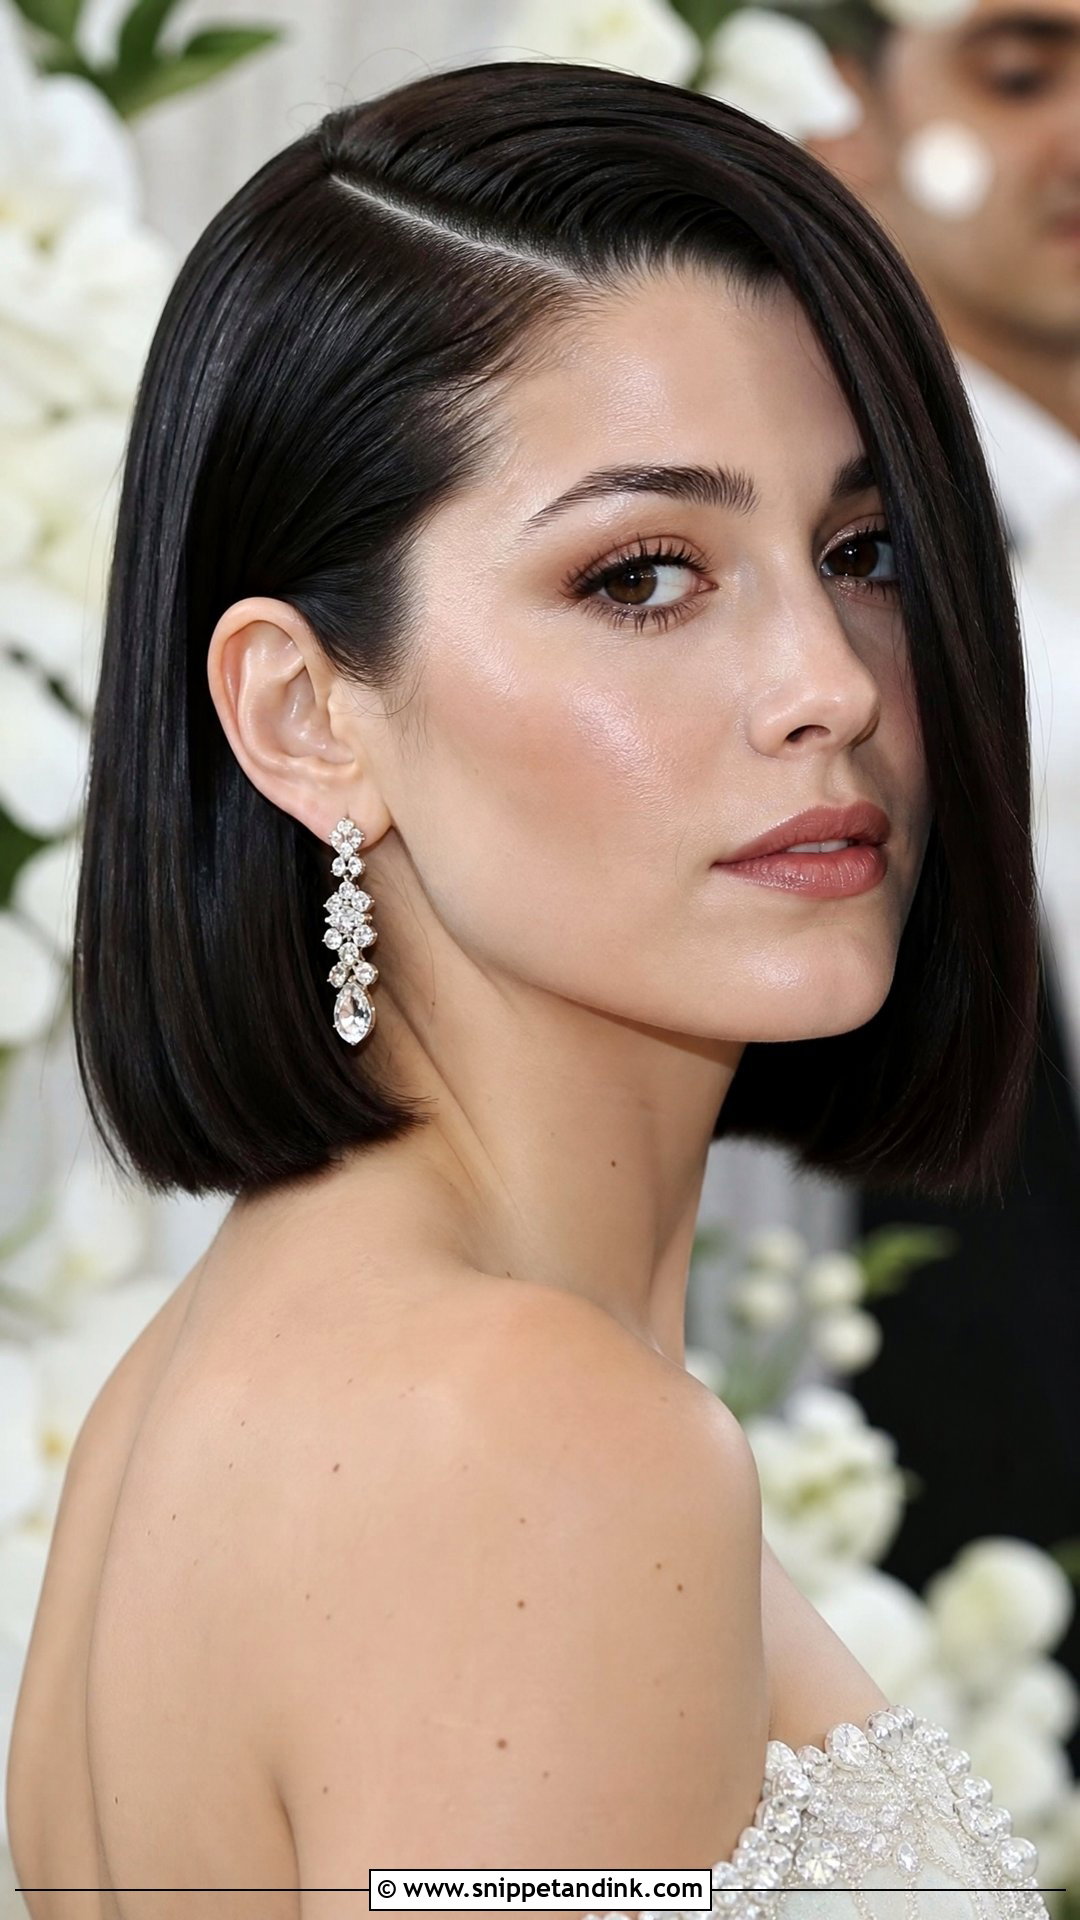
A sleek bob looks simple, but it’s the least forgiving style here. Every kink from sleeping on it shows, so I’d do this one on hair washed that morning. Make the side part with the tail of a comb while the hair is still damp, flat iron in thin sections with the ends turned slightly under, then finish with one drop of serum on the lengths only. Keep serum off the roots or the part separates by evening. Long earrings sit well with it since nothing covers the ears.
5. Loose Waves on a Lob
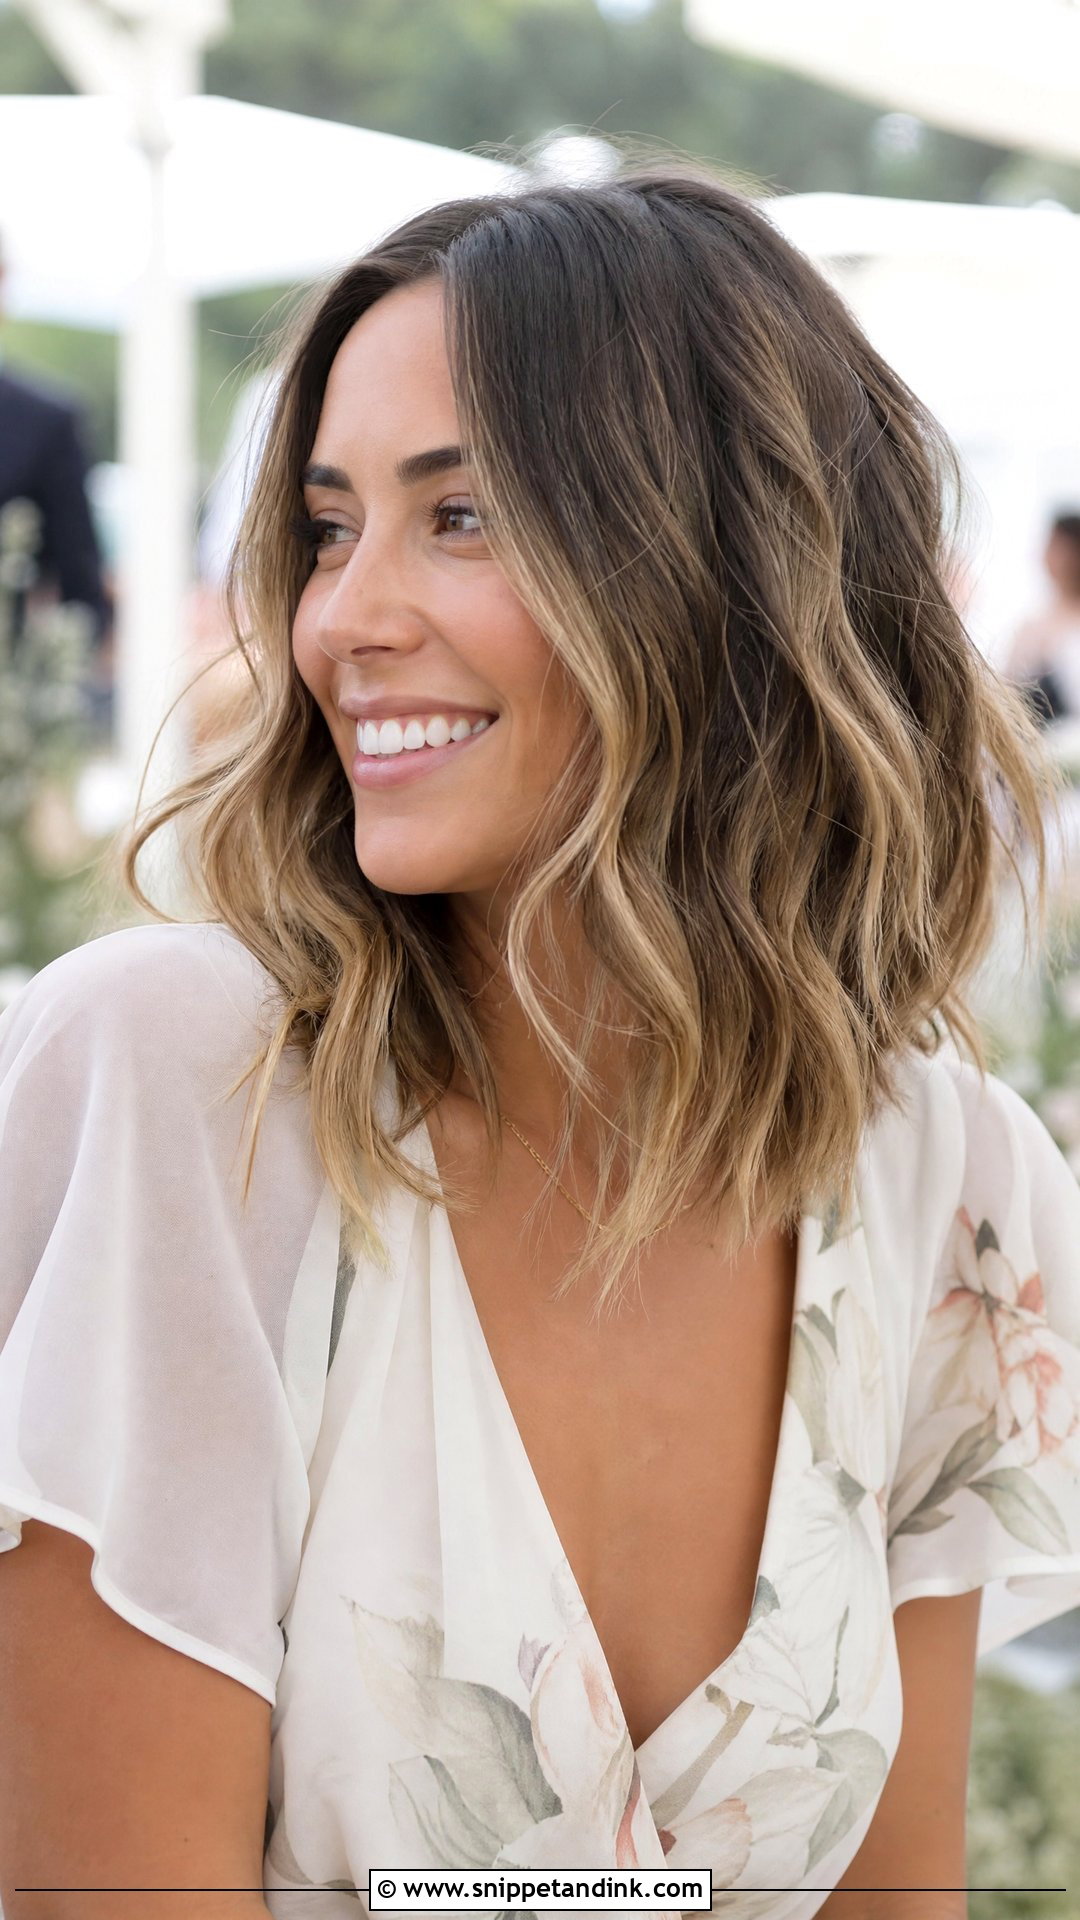
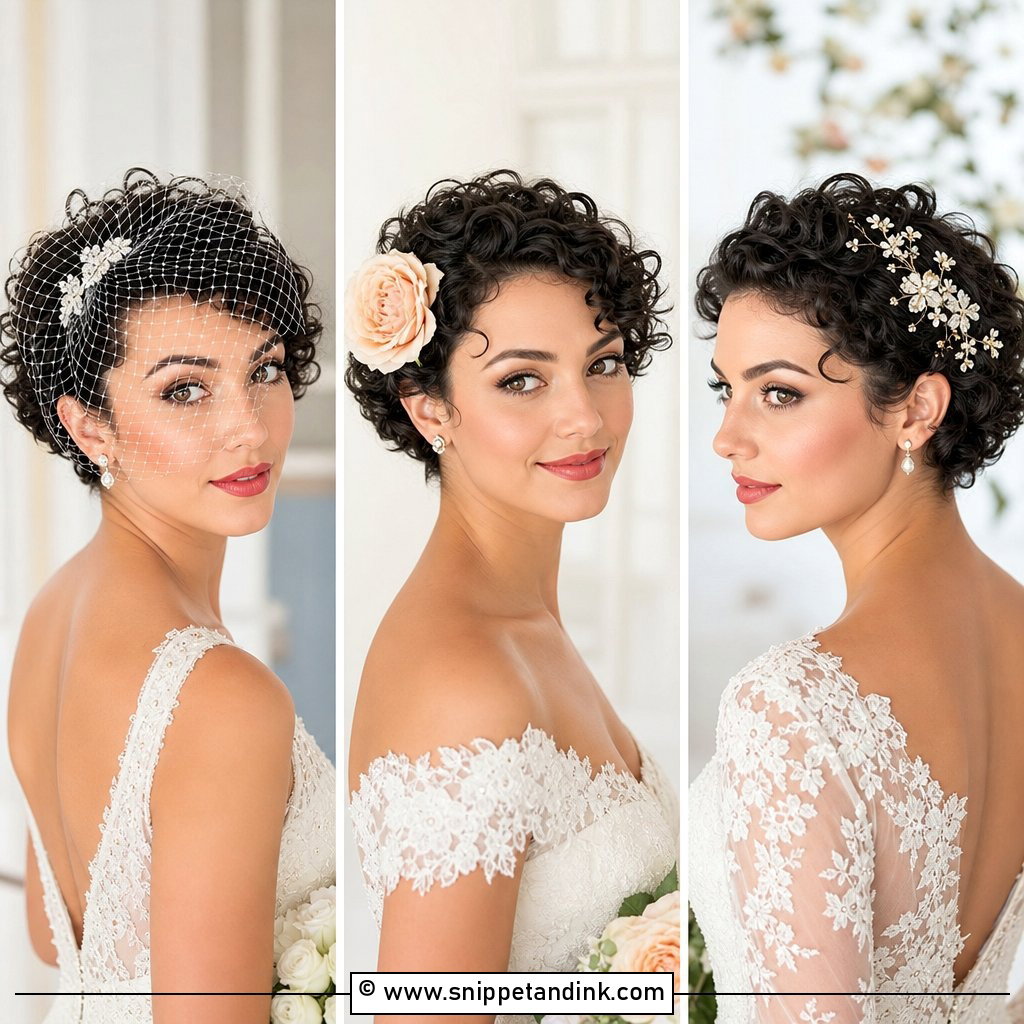
Waves on a lob go wrong when every section is curled the same way, because the curls lock together into one ripple. I alternate direction on each section with a one-inch wand and leave the last inch straight, so the ends look relaxed instead of ringletted. Let the curls cool fully before you touch them. Then rake through with your fingers, not a brush, and use a light hairspray; a strong hold turns waves crunchy on lob length.
6. Braided Crown for Short Hair
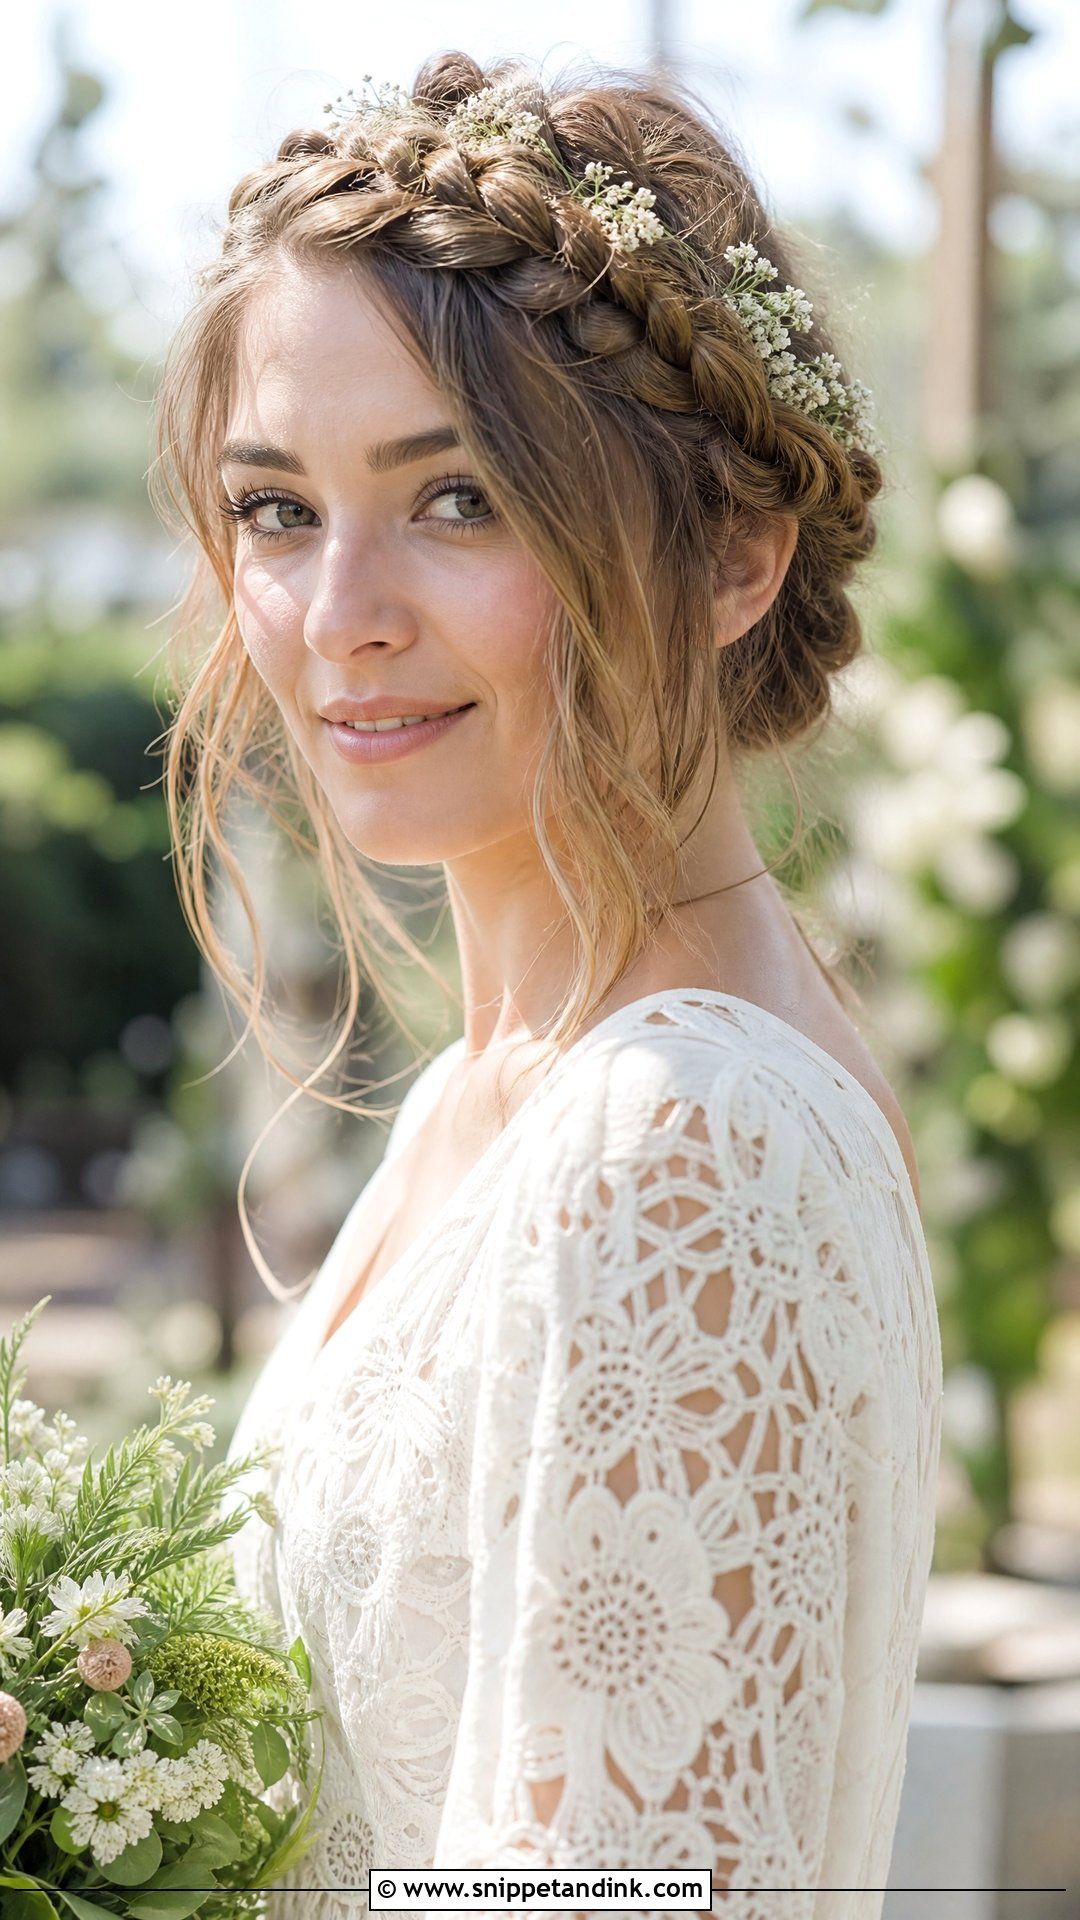
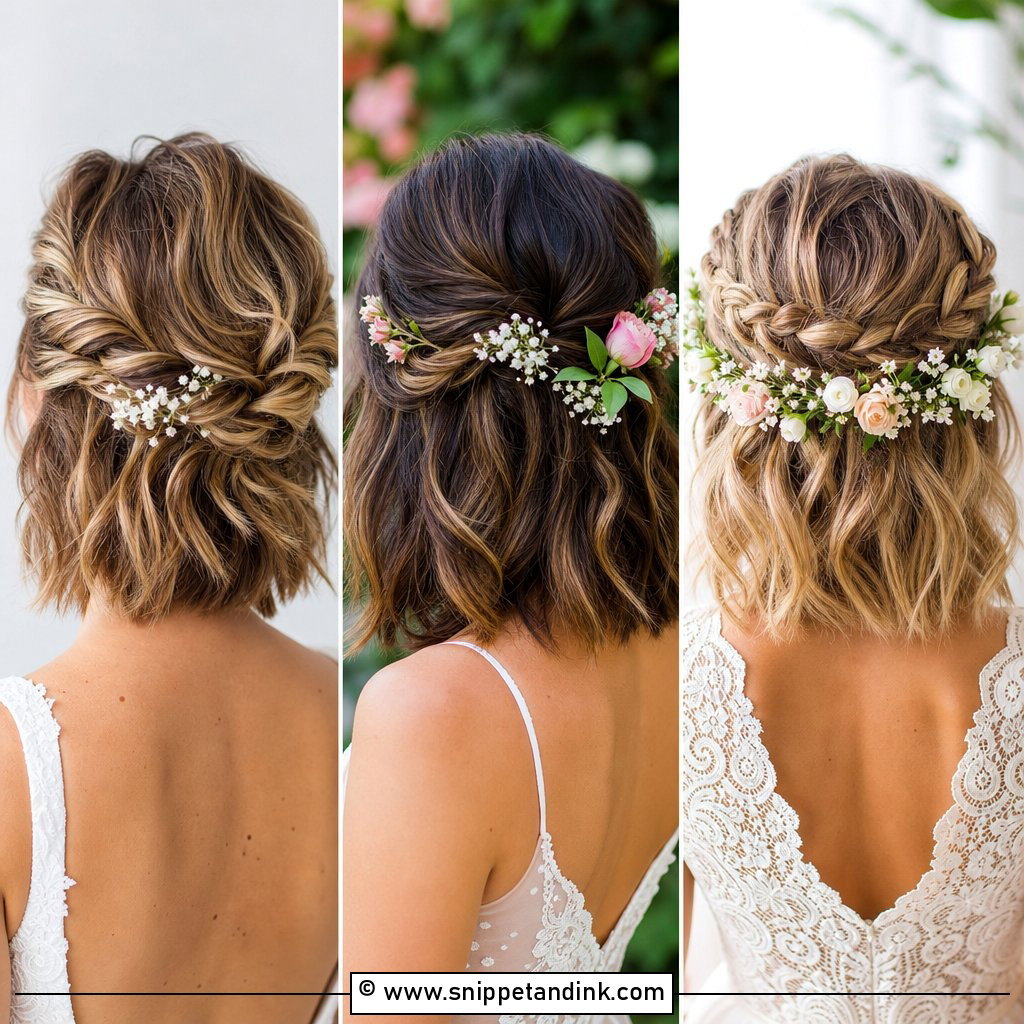
A full crown braid is hard on short hair, and I’d be honest about that. What works is two small Dutch braids from each temple, braided only as far as the hair allows, then pinned across the back where the ends meet. Braiding toward the face rather than away keeps the short ends hidden under the next section. Tuck baby’s breath into the gaps if you like flowers; the braid gives the stems something to hold.
7. Slicked-Back Wet Look
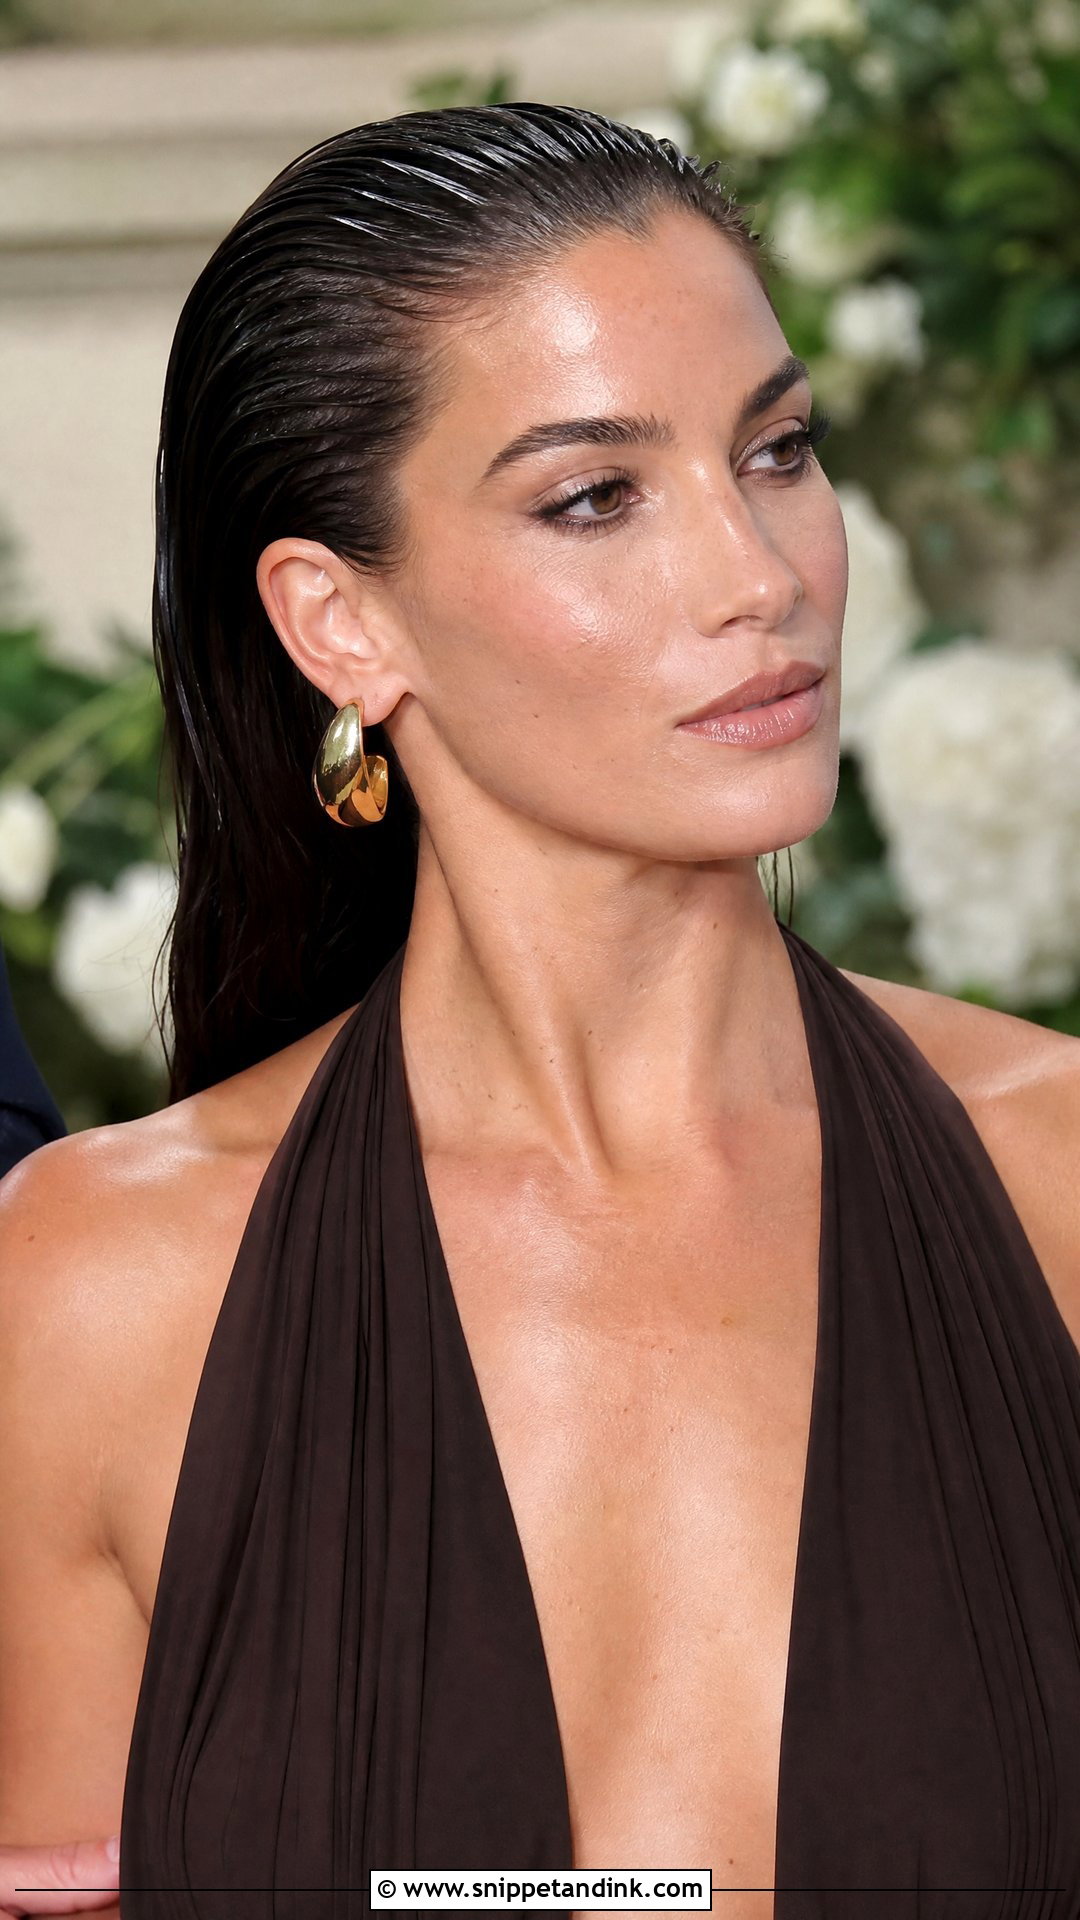
The wet look is the style most likely to last all night, because gel dries hard. Apply it to damp hair, comb it straight back with a fine-tooth comb, then press the surface down with your palms so the comb lines soften. On a pixie it holds without help; on a lob I’d add two pins behind the ears where the weight pulls forward. It does show everything about your face and jewelry, so it suits guests who are comfortable with a bold lip or big earrings.
8. Vintage Finger Waves
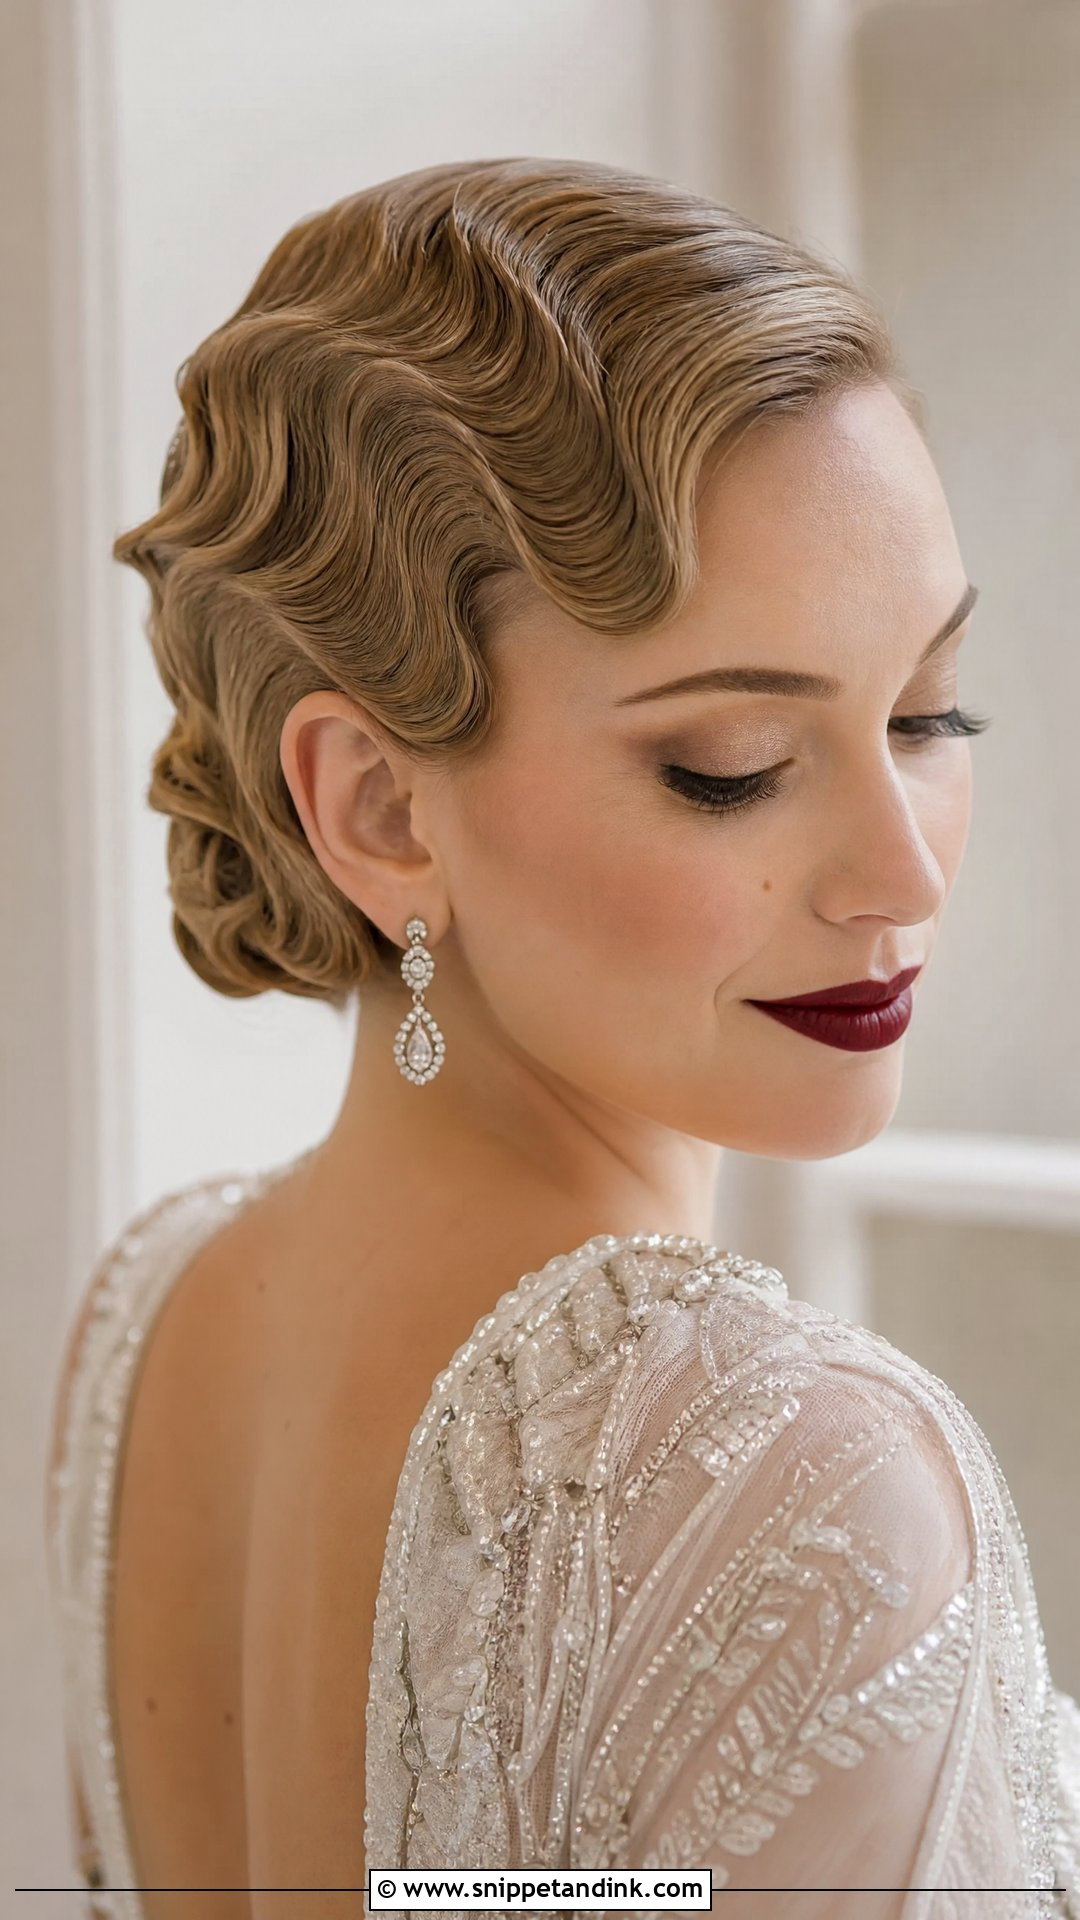
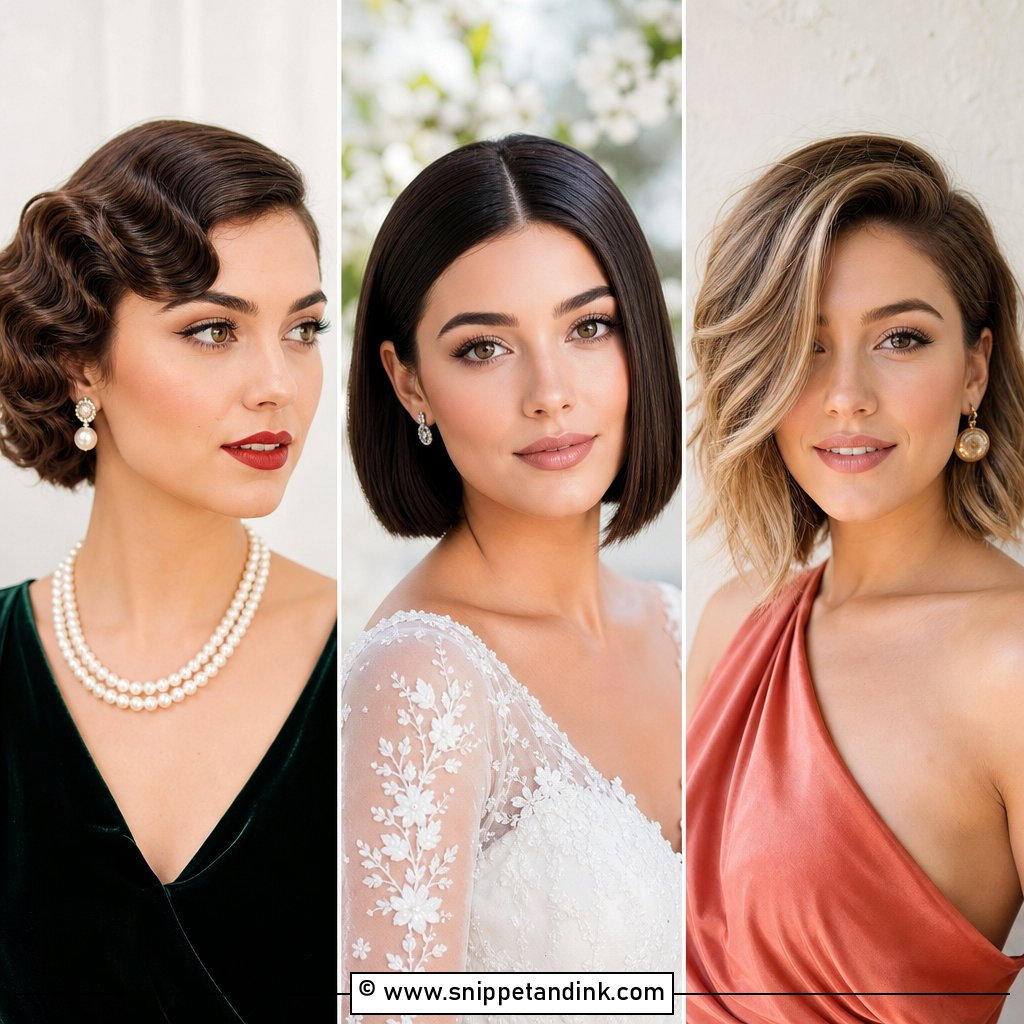
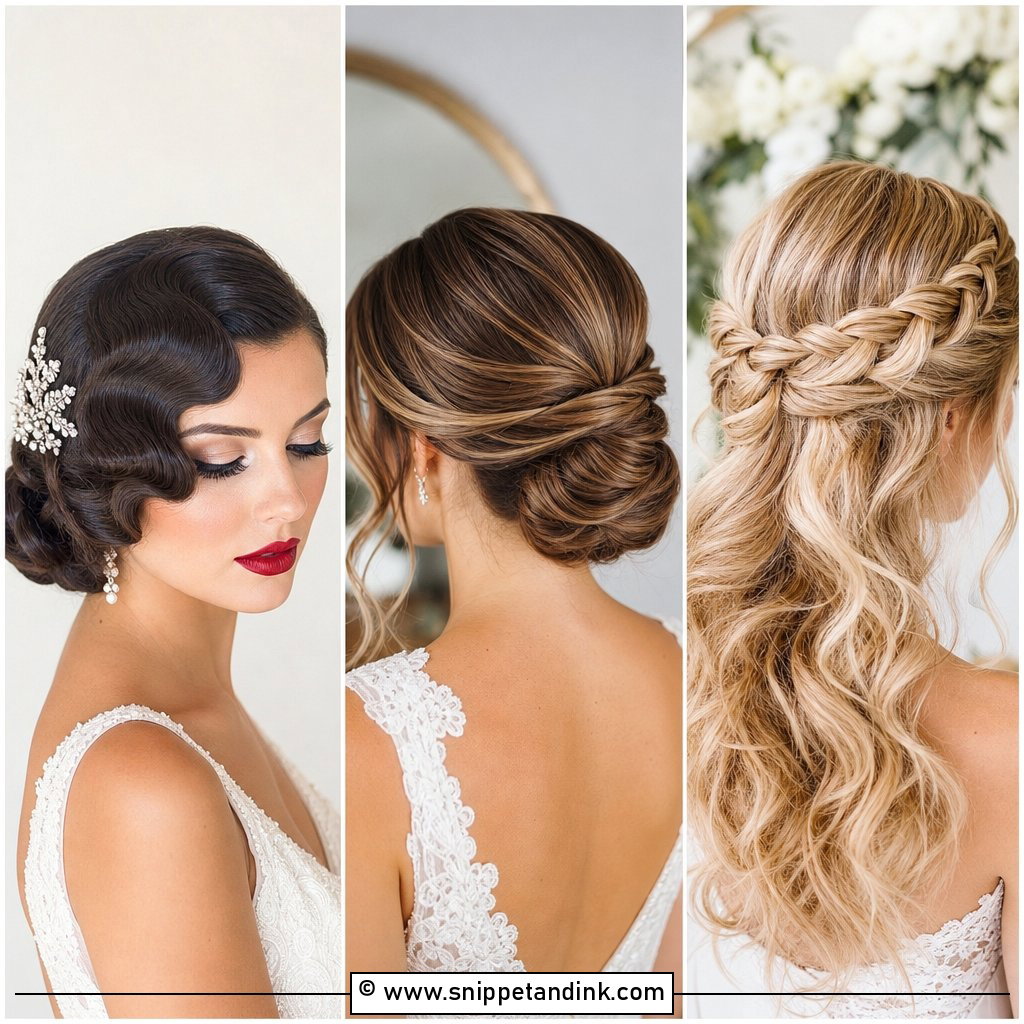
classic finger waves are the one style on this list I’d practice at least twice before the wedding. The S-shape is pressed into wet, gel-soaked hair with your finger and a comb, then held with flat clips at each ridge until it’s completely dry. That drying takes longer than people expect, often an hour without a hood dryer. They hold best on a bob or a long pixie; hair longer than the jaw is too heavy and the ridges relax. A dramatic lip pairs naturally with this one.
9. Half-Up Twist with Accessories
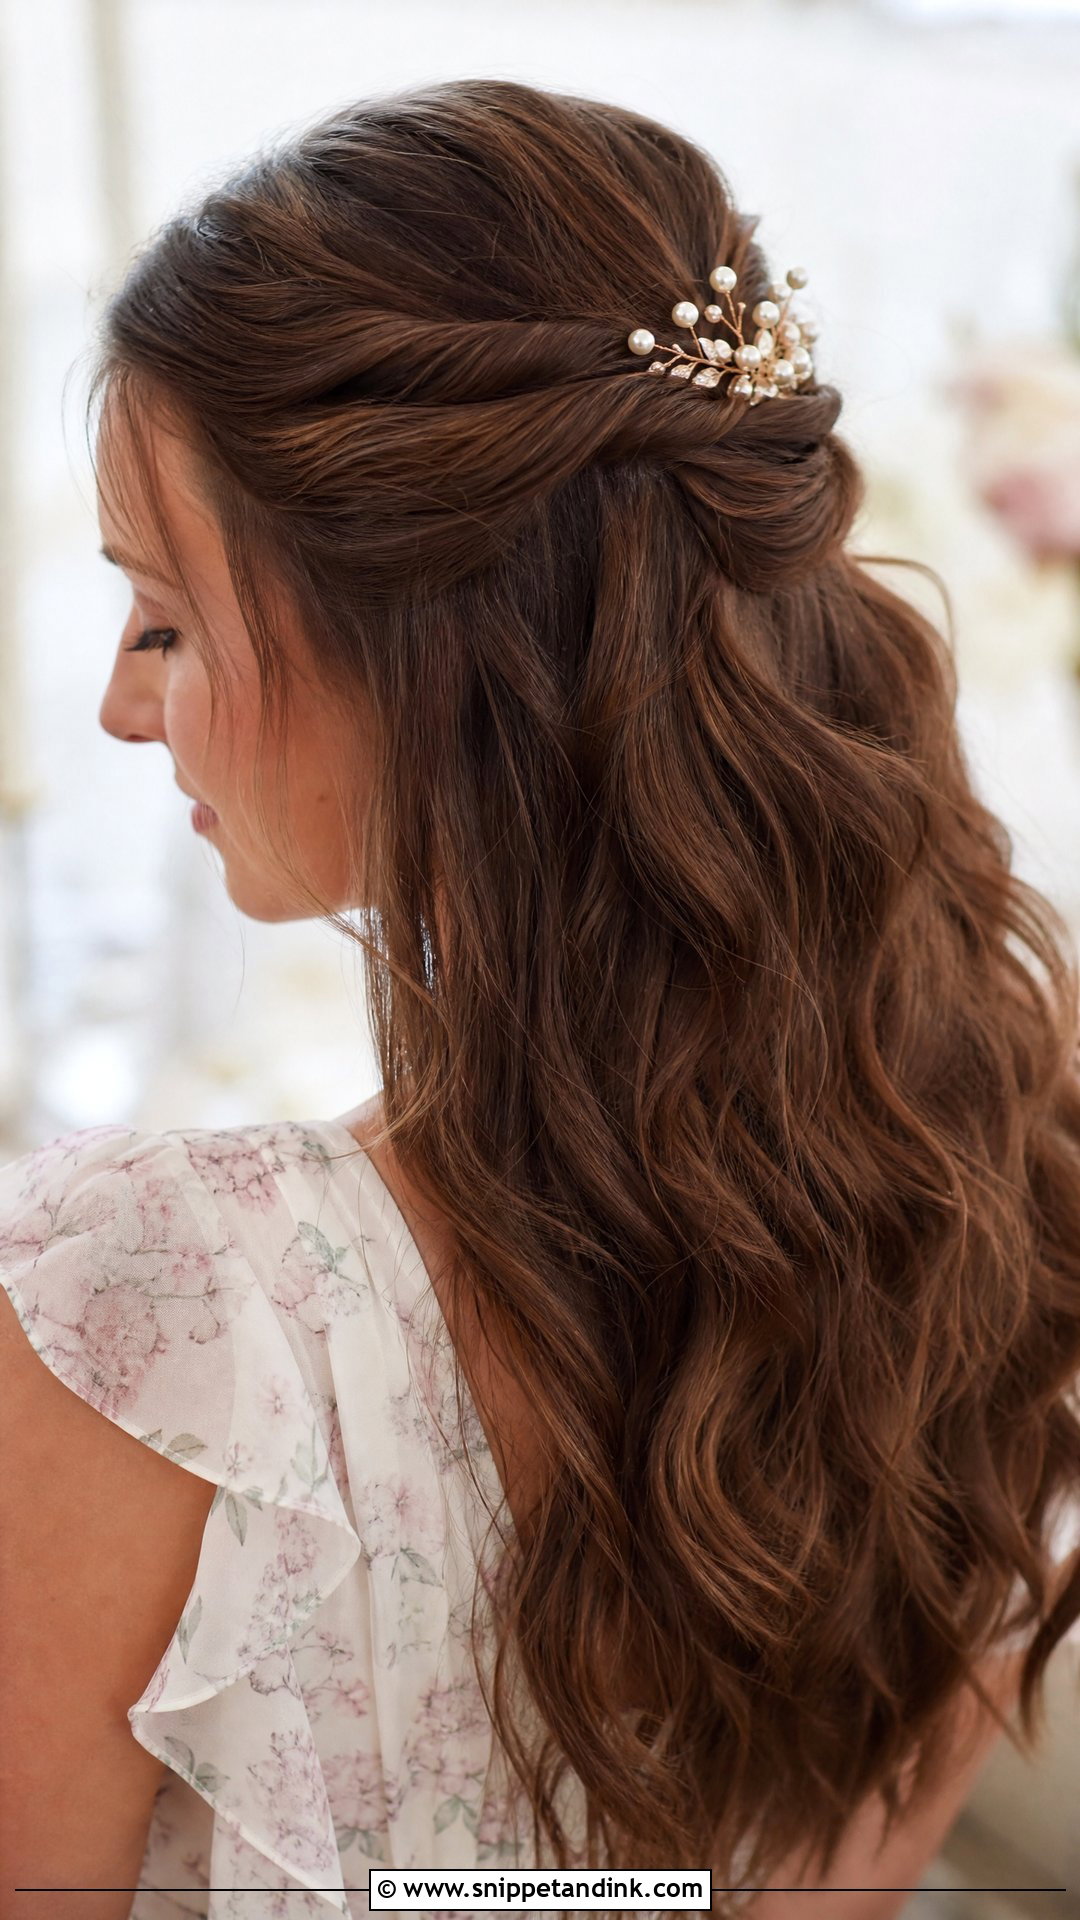
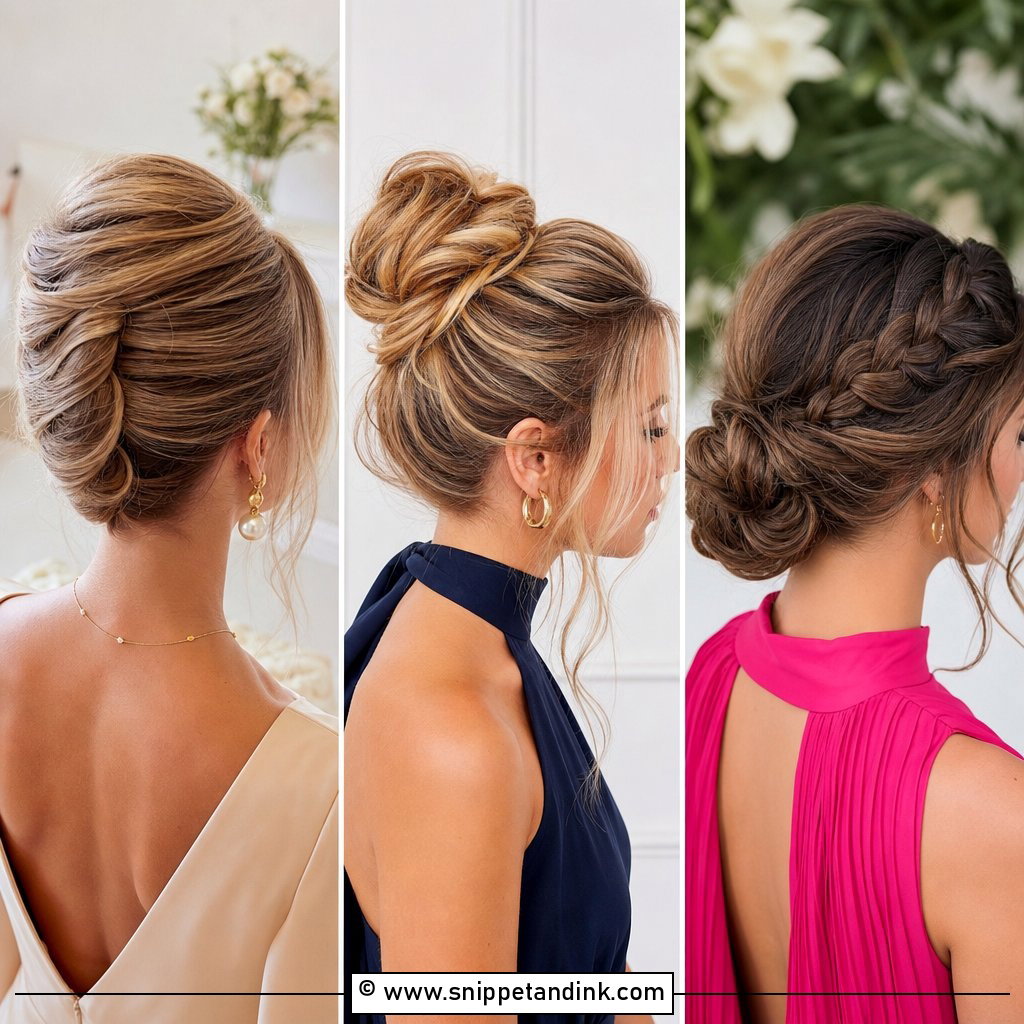
This twist is a smaller version of the half-up, and it’s my fix for bobs that are too short to gather into one section. Twist a piece from each side toward the back, crossing each twist over the other, and pin them with crossed bobby pins before the accessory goes on. The clip should sit over the pins, not hold the twist, since barrettes slide on fine hair. Pick a pearl clip or a rhinestone barrette in the same metal as your jewelry.
10. Curly Bob with Volume
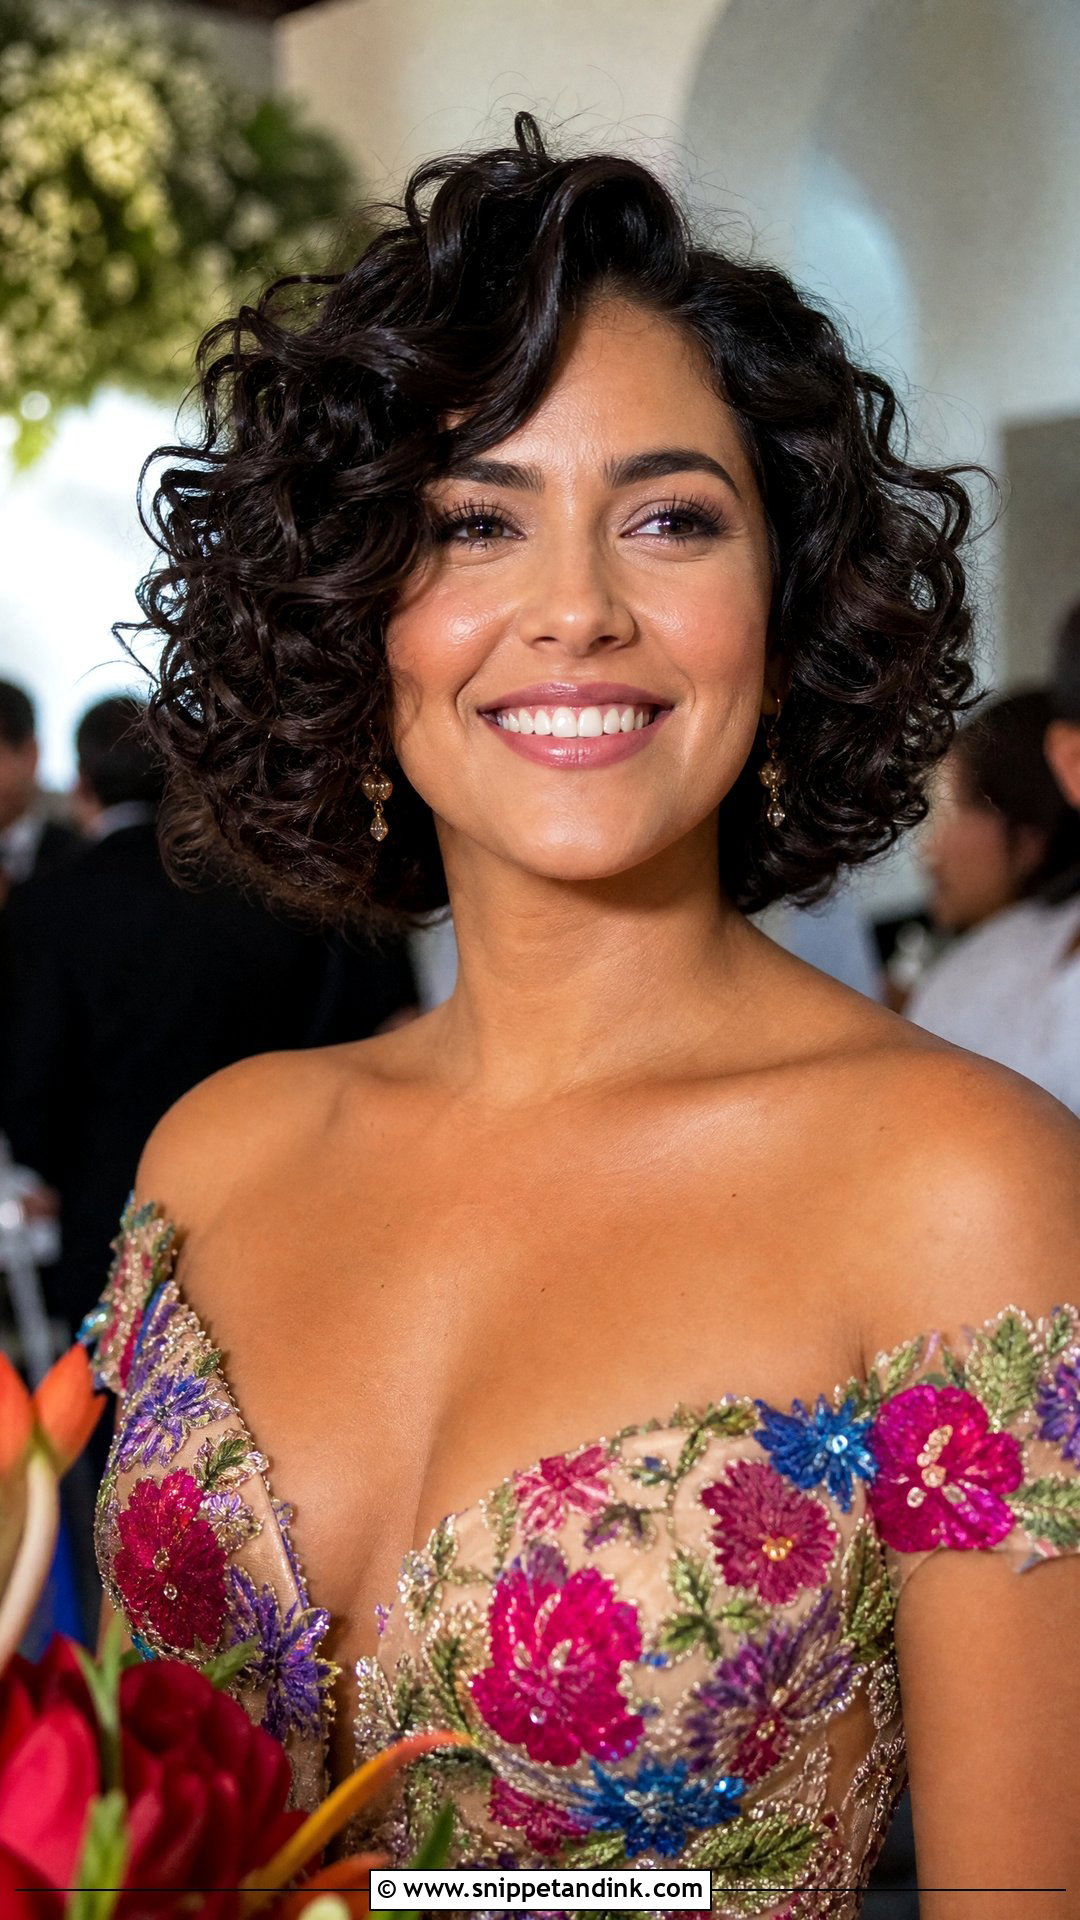
Natural curls need less handling, not more. I apply curl cream while the hair is soaking wet, scrunch it, and diffuse on low heat without touching the curls until they’re about 80 percent dry. Raking through damp curls is what causes frizz, especially in a humid venue. A curly bob gets most of its shape from the crown, so lifting at the roots with a pick once dry adds height without breaking the ringlets. A flexible spray keeps them springy through dancing.
11. Low Bun with Side Bangs
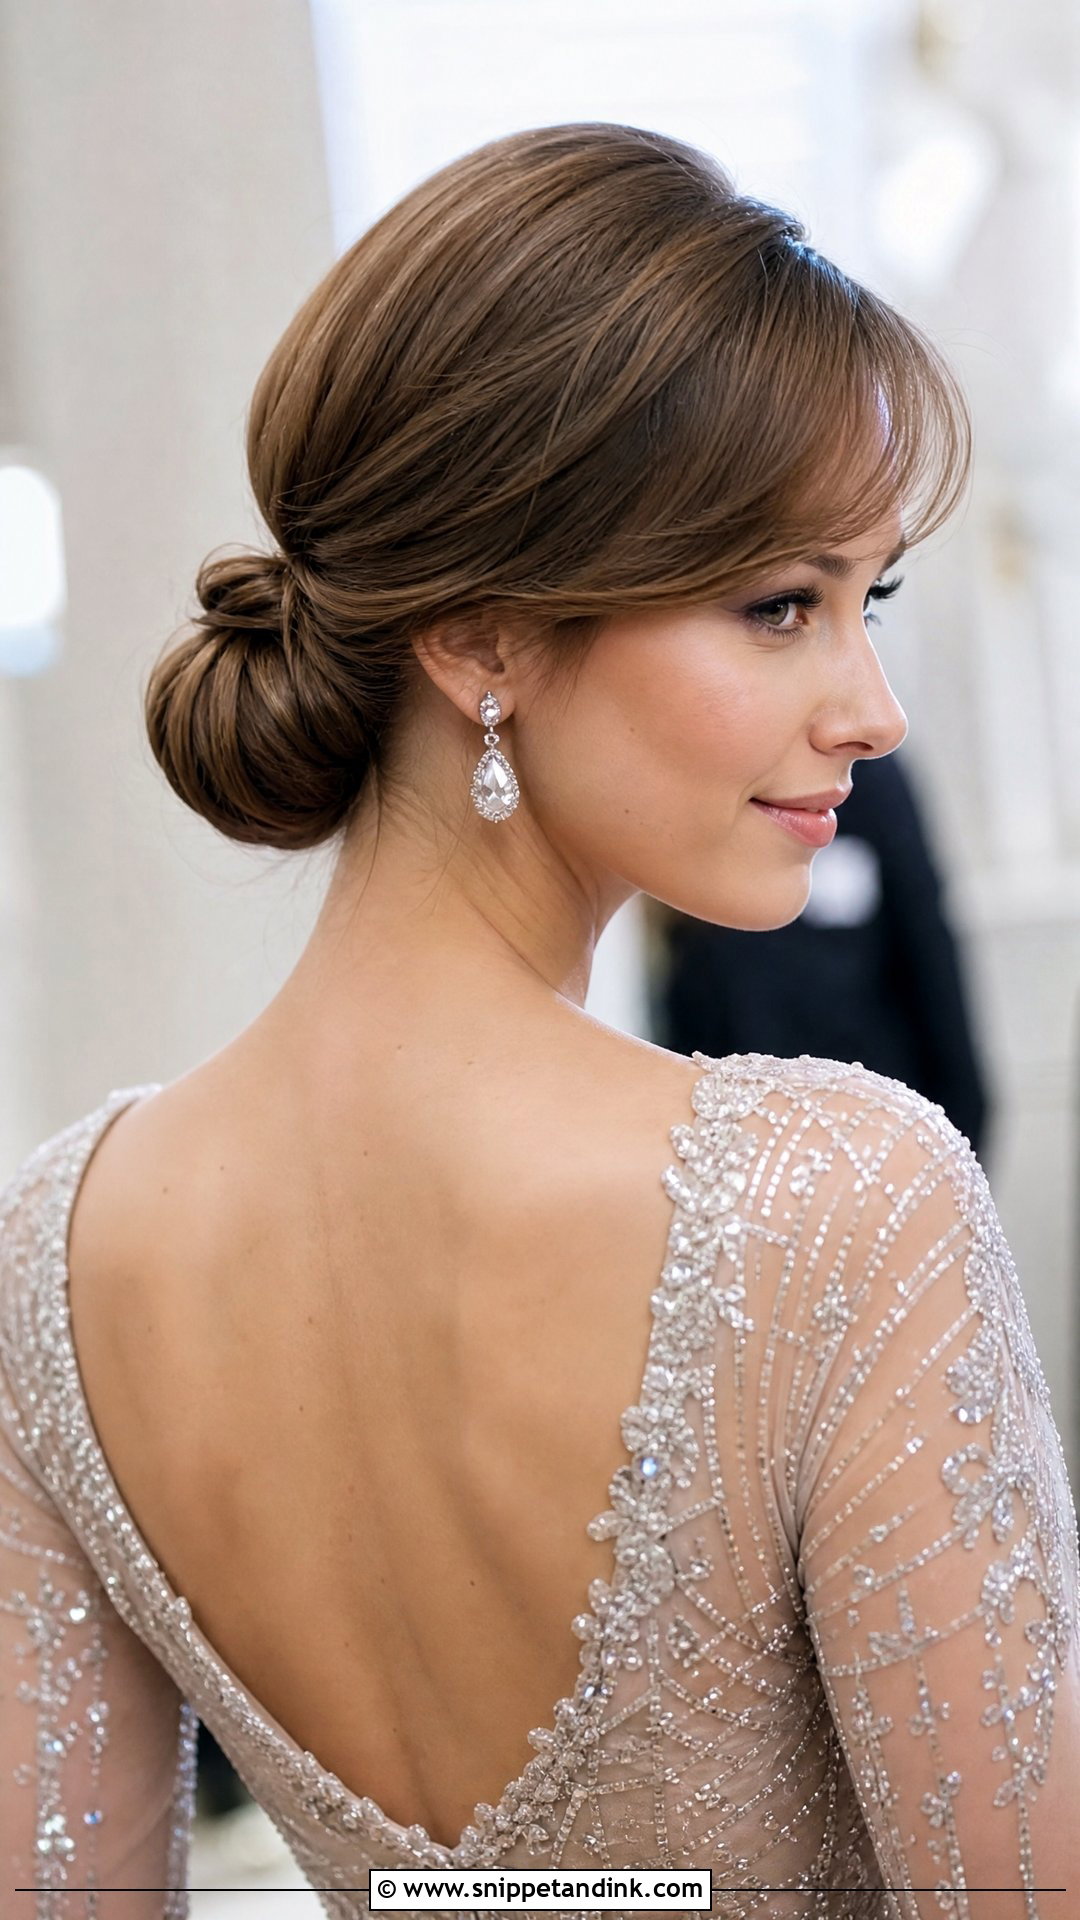
A low bun on short hair is really a small tuck at the nape. I twist the hair into itself and secure it with U-pins pushed in toward the center of the head, which holds better than pins pointed downward. Side bangs help here because they keep the front from looking scraped back. It’s a practical choice for a guest who’ll be dancing, but it won’t work if the hair at your nape is clipper-short.
12. Textured Crop with Volume
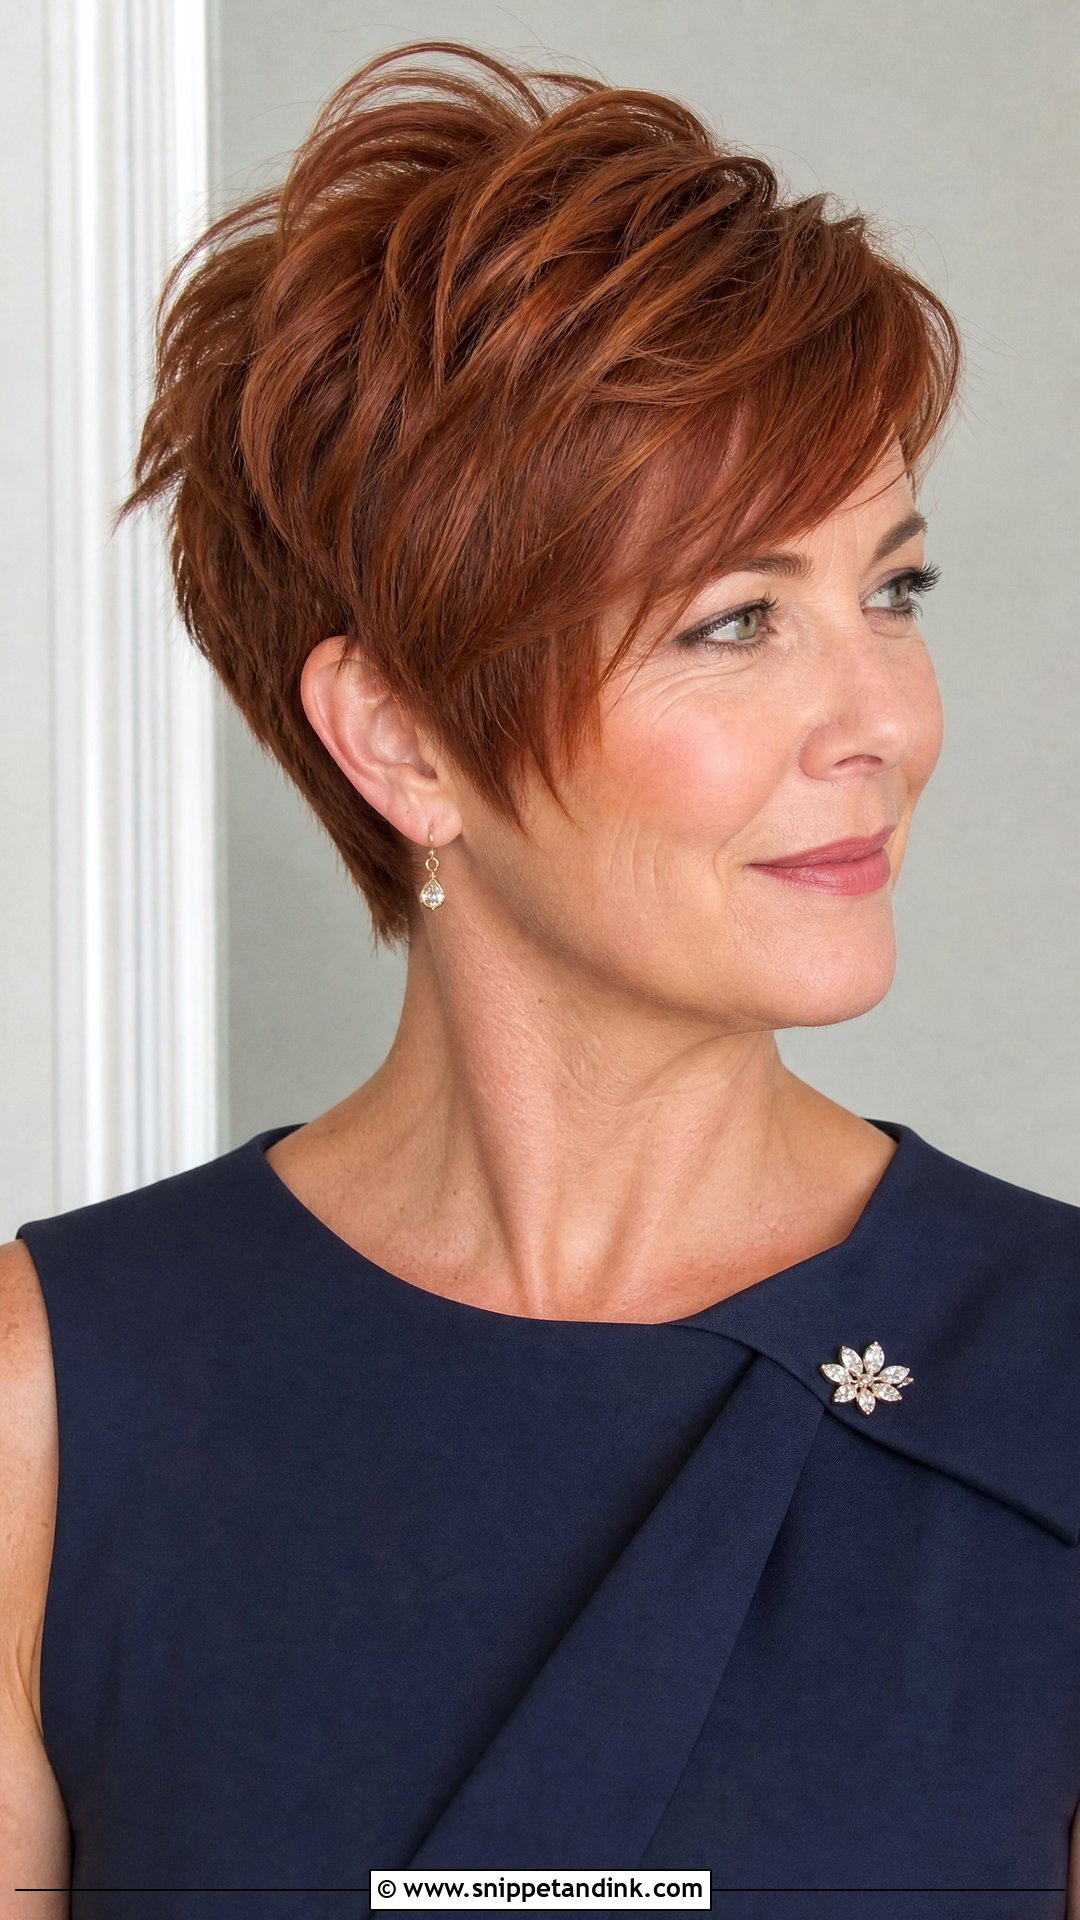
A textured crop gets its height from matte paste worked into dry hair, never wet. Rub it in with your fingertips at the roots, then push sections up and in slightly different directions. Shiny products drag this cut down and make it look greasy under reception lights. It’s a quick option for guests who don’t want to spend long getting ready, and a tiny jeweled pin is all it needs for the evening.
13. Side-Swept Curls
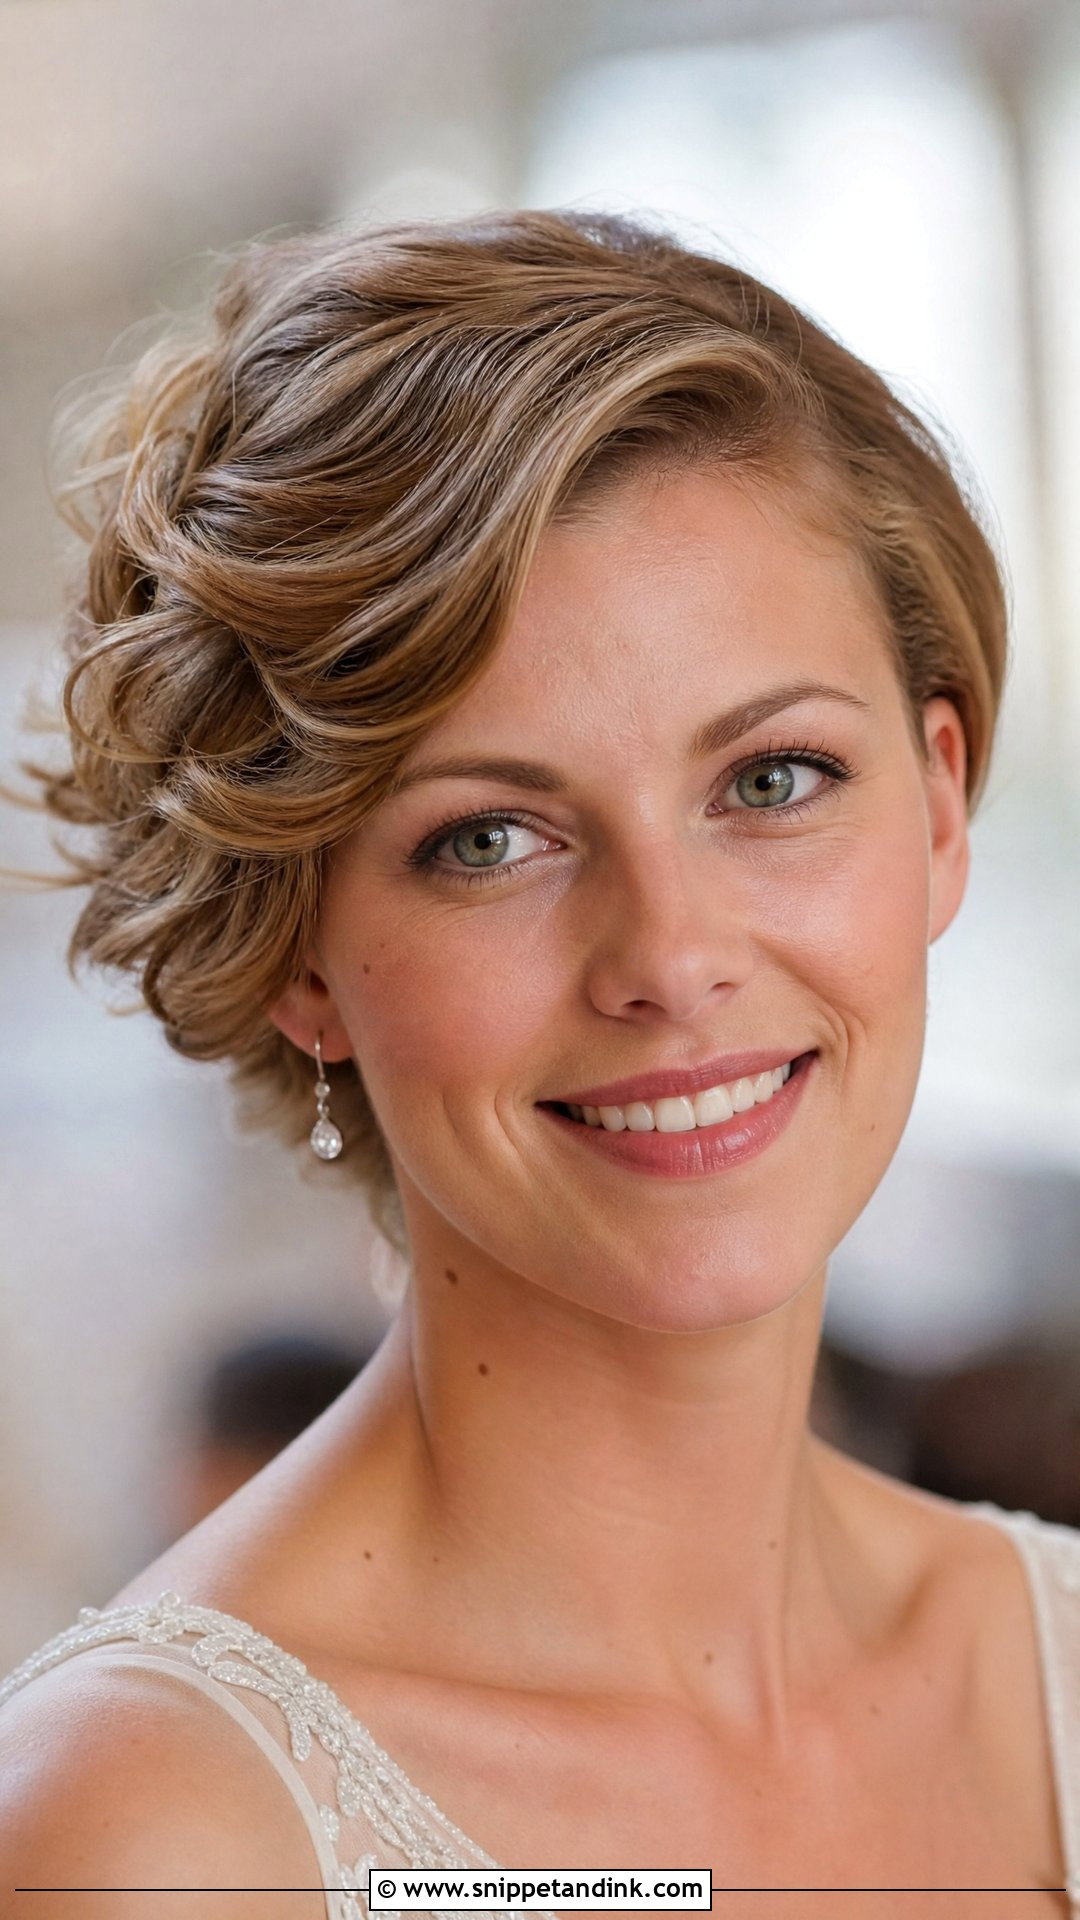
Side-swept curls rely on a hidden anchor. Before curling, I set a row of crossed bobby pins behind one ear, then curl everything away from the face and push the curls toward that side so they land over the pins. Without that row the curls drift back to center within an hour. It shows off a drop earring on the open side, and the uneven shape gives the camera something to catch from the front and the side. Finish with a light spray.
14. Sleek Bob with Headband
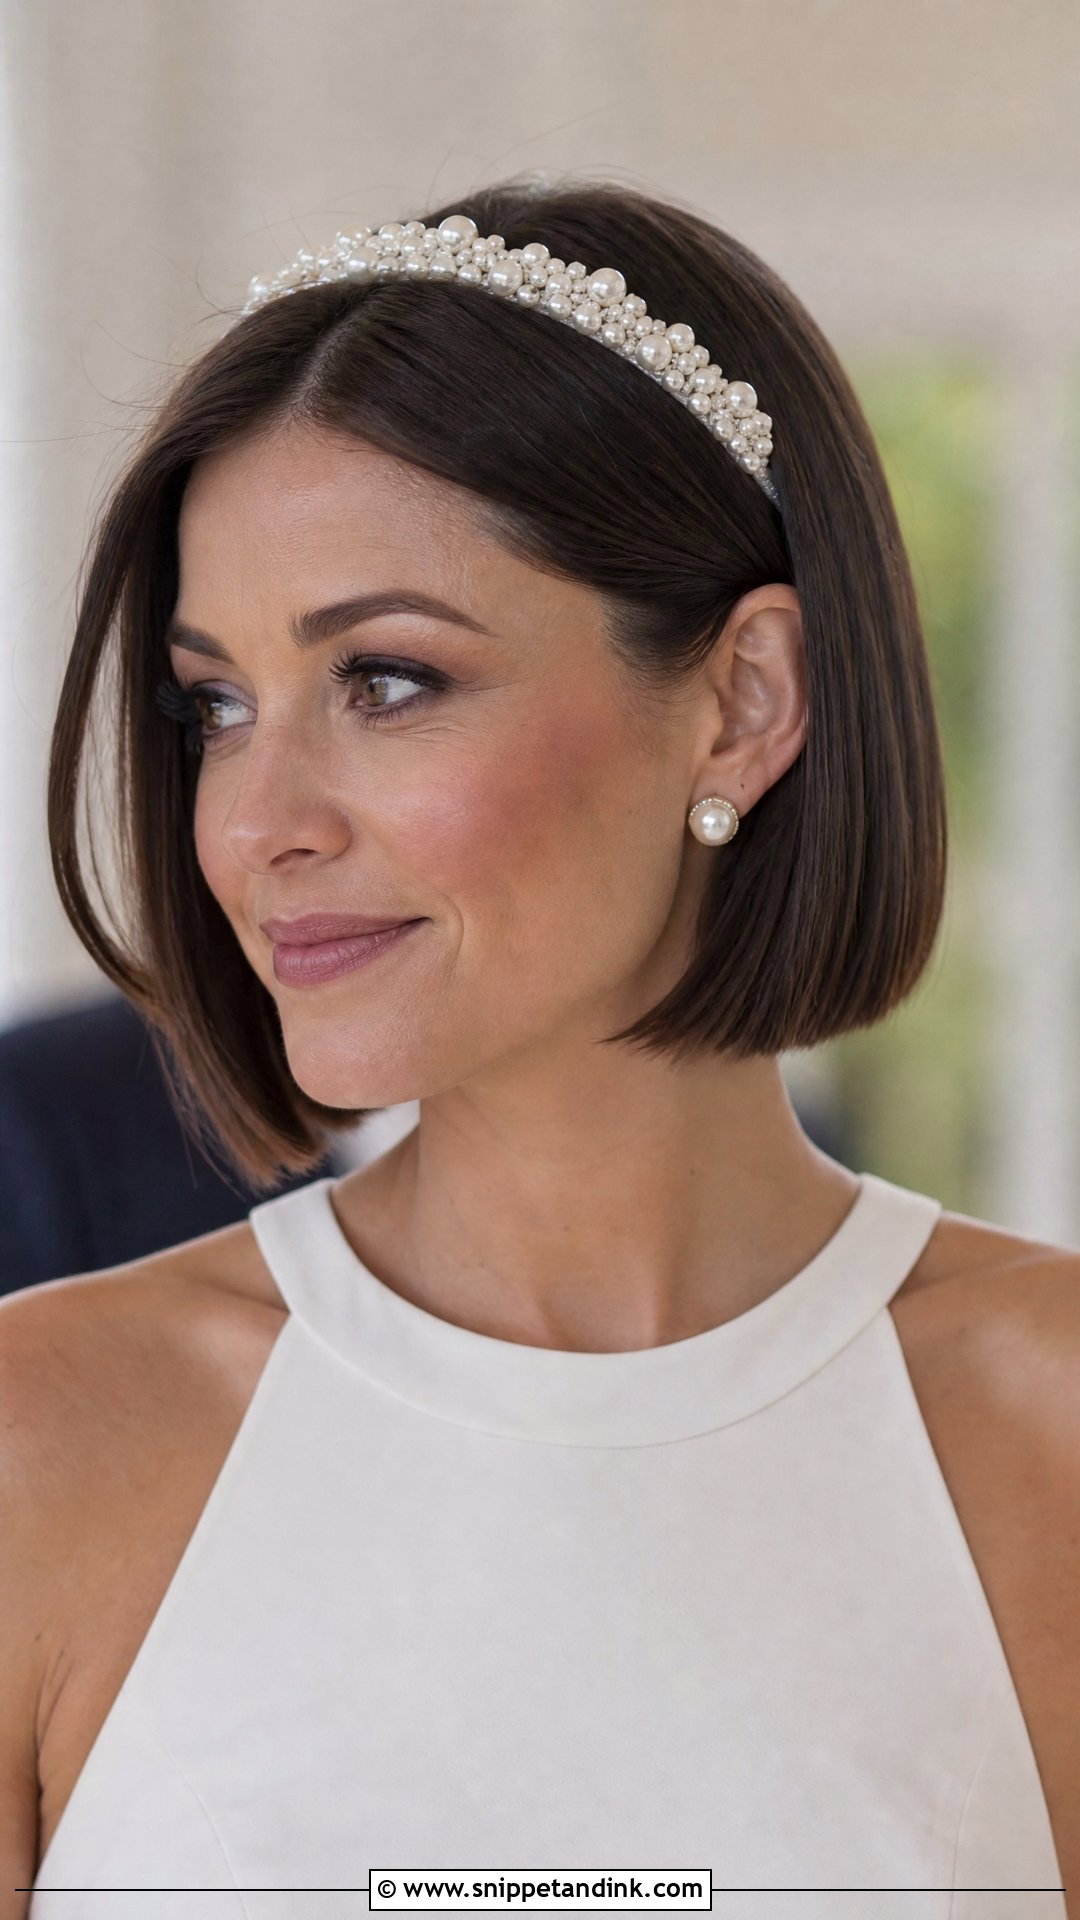
A headband is my quickest answer when someone has twenty minutes. Flat iron the bob smooth, then slide the band on from behind the ears forward, so it pushes the hair back rather than flattening the crown. Bands with teeth on the underside grip short hair far better than plain ones; padded bands can slip on silky hair by mid-afternoon. Choose one with pearls or stones that echo your outfit, and you’re done.
15. Pinned-Back Pixie
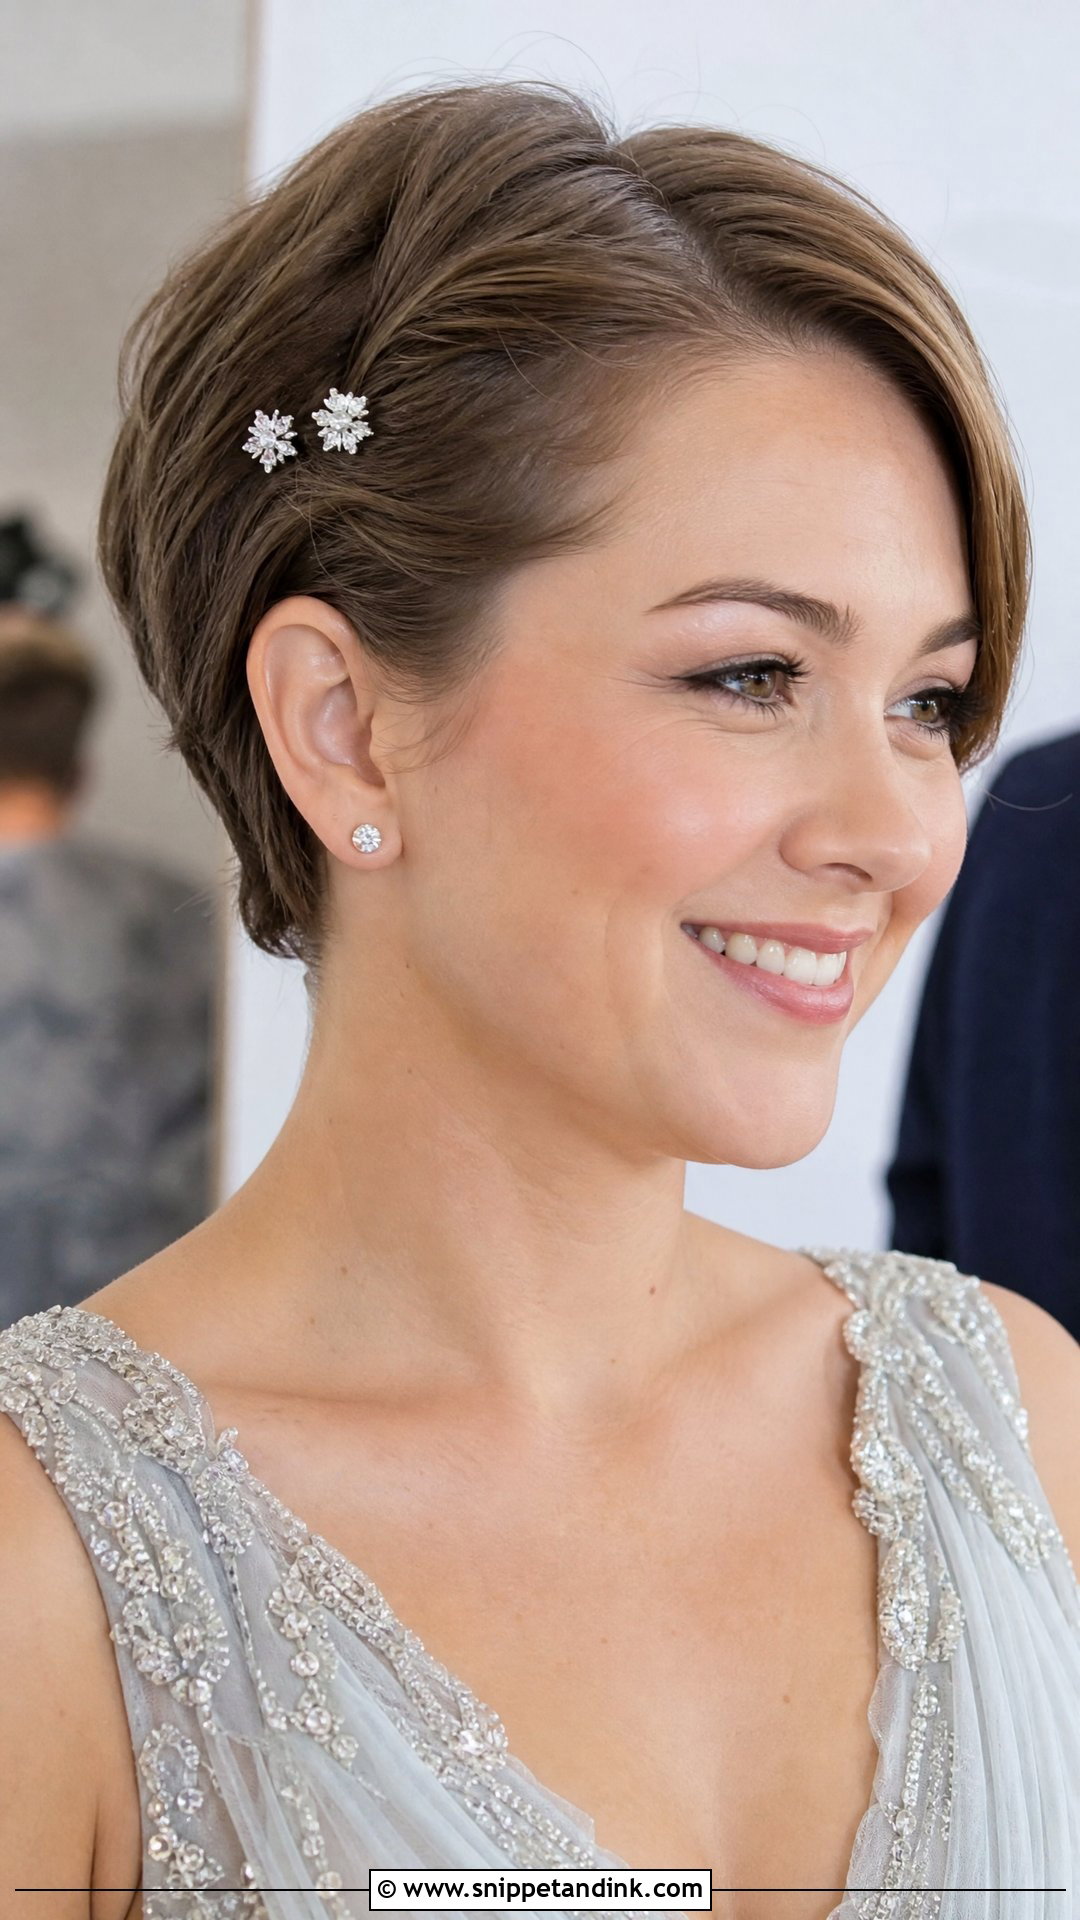
Pinning back a pixie works when the front is long enough to sweep. Push the fringe to one side, then slide two or three decorative bobby pins in at a slight angle, pointing toward the crown so they follow the direction of the hair. On very fine pixies I spray the pins with a little dry shampoo first to give them traction. It opens the face and still looks like you, just dressed up. Pearl pins suit daytime; crystal ones catch candlelight in the evening.
16. Voluminous Blowout Bob
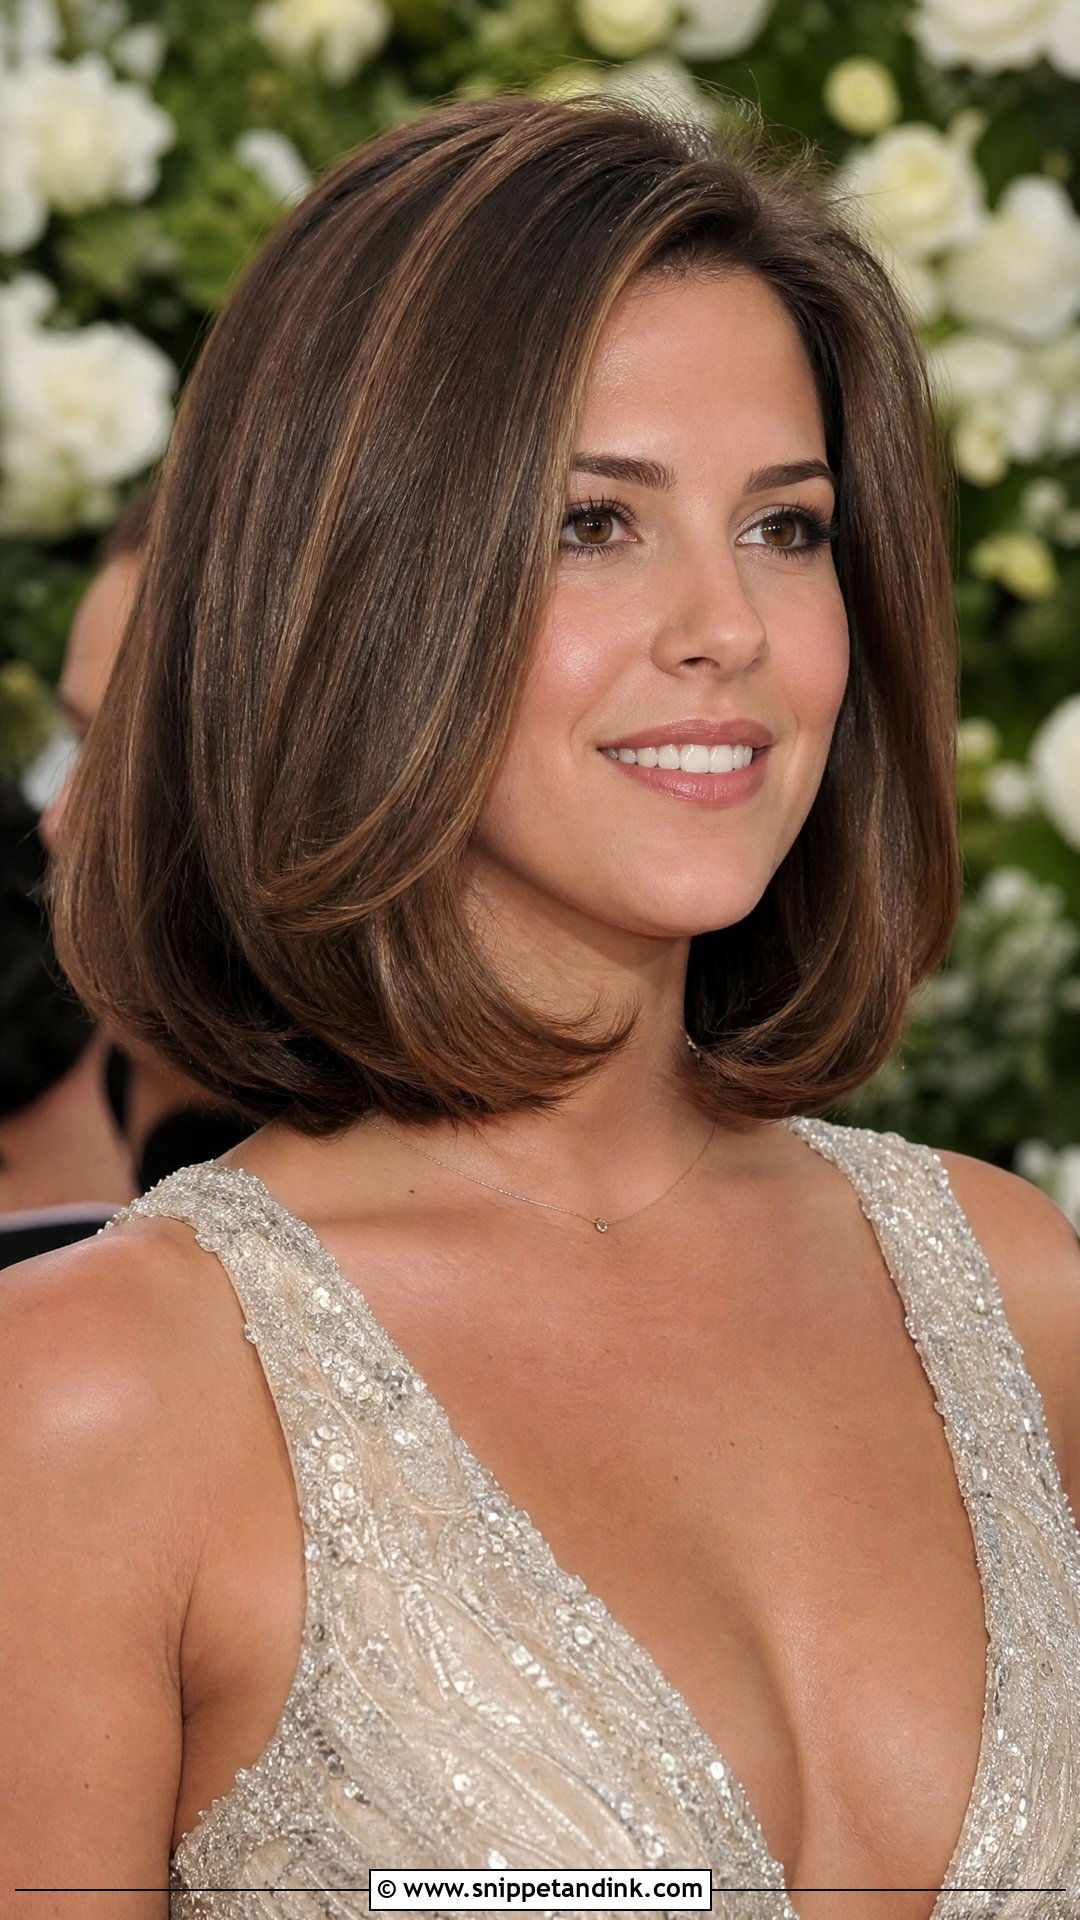
A voluminous blowout on a bob depends on drying the roots first. I lift each section straight up from the scalp with a round brush and aim the dryer nozzle down the shaft, then roll the ends under only at the very end. Lifting the roots last is where most home blowouts lose their volume. A brush around an inch and a half in diameter suits most bob lengths. Shine spray finishes it, but keep it light so the volume doesn’t drop.
17. Flower-Accented Updo
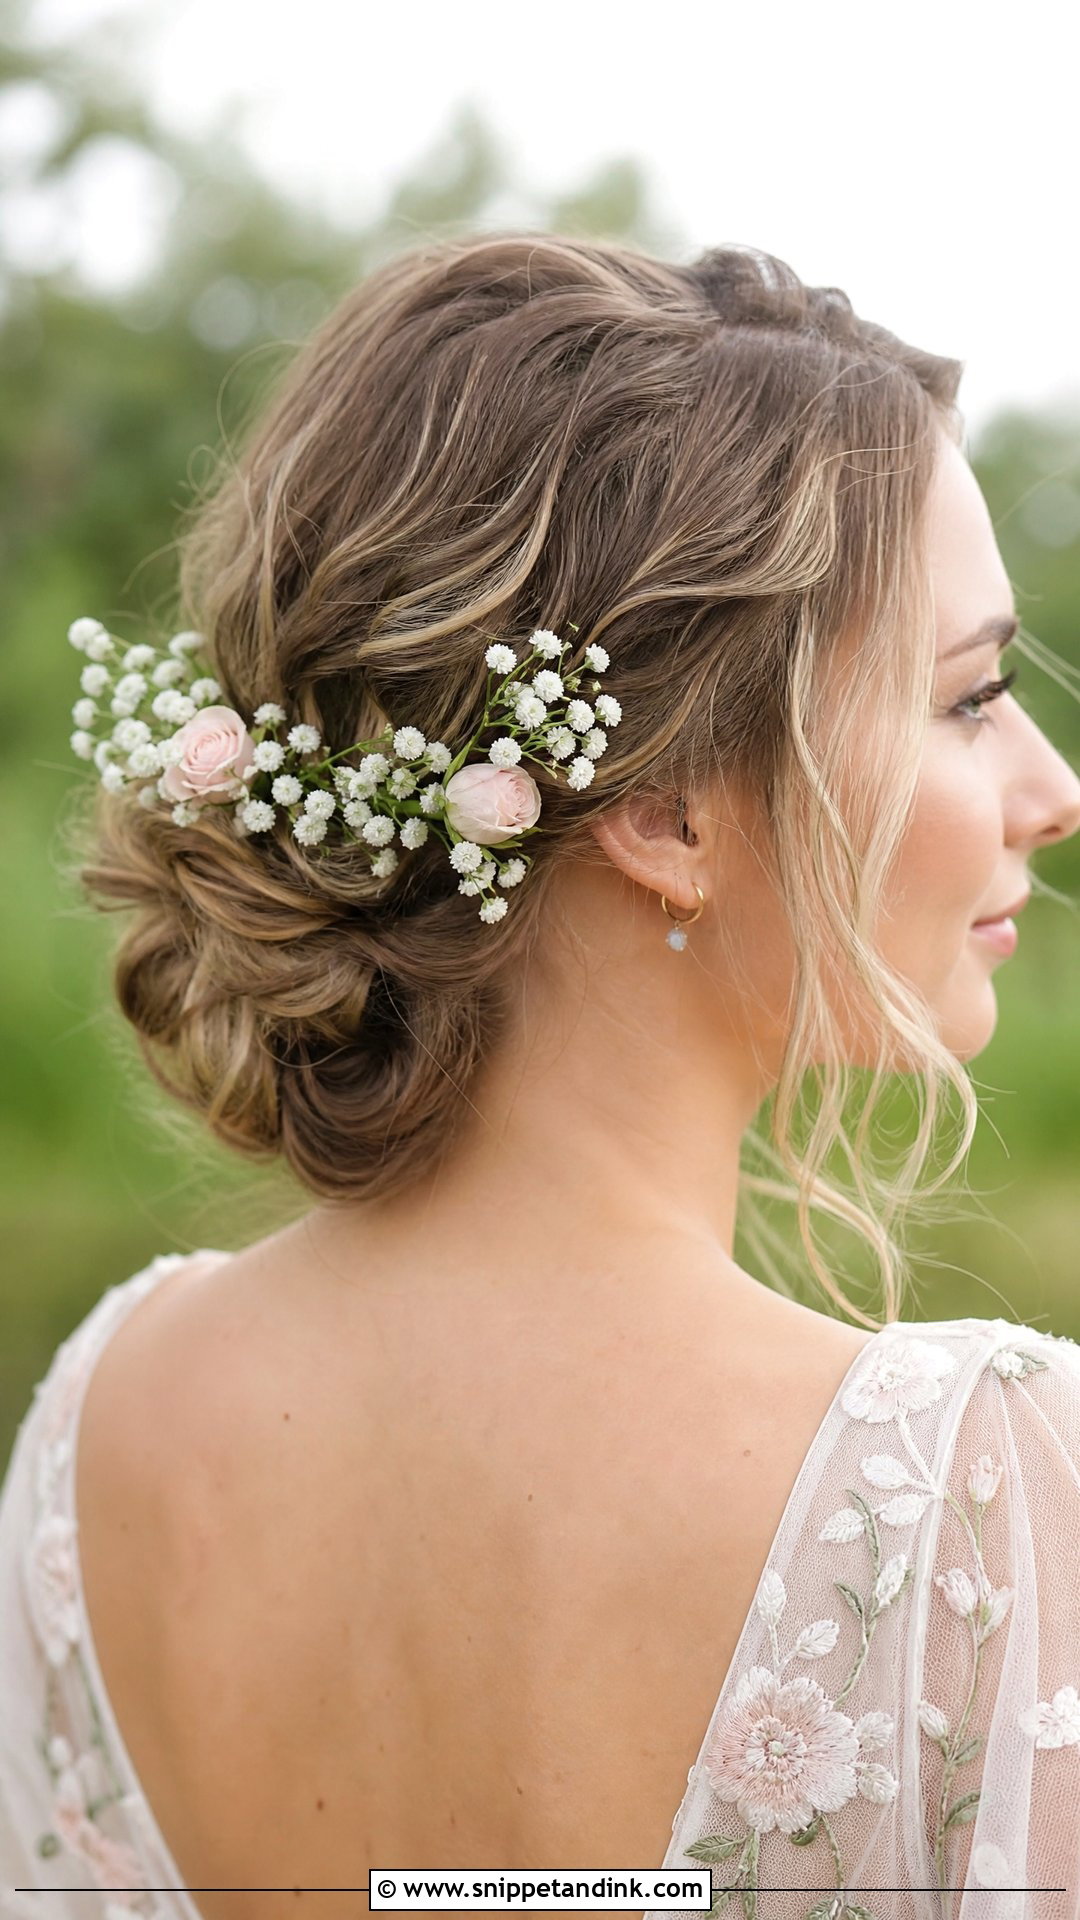
Flowers give a short updo some size it doesn’t have on its own. Twist the hair into a loose bun or roll at the back first, then add the blooms. I wire small stems or slide them in alongside a bobby pin so the pin holds the stem. Baby’s breath and spray roses handle a warm afternoon well; delicate wildflowers wilt within a couple of hours without water, so I’d use faux ones outdoors in summer.
18. Deep Side Part with Waves
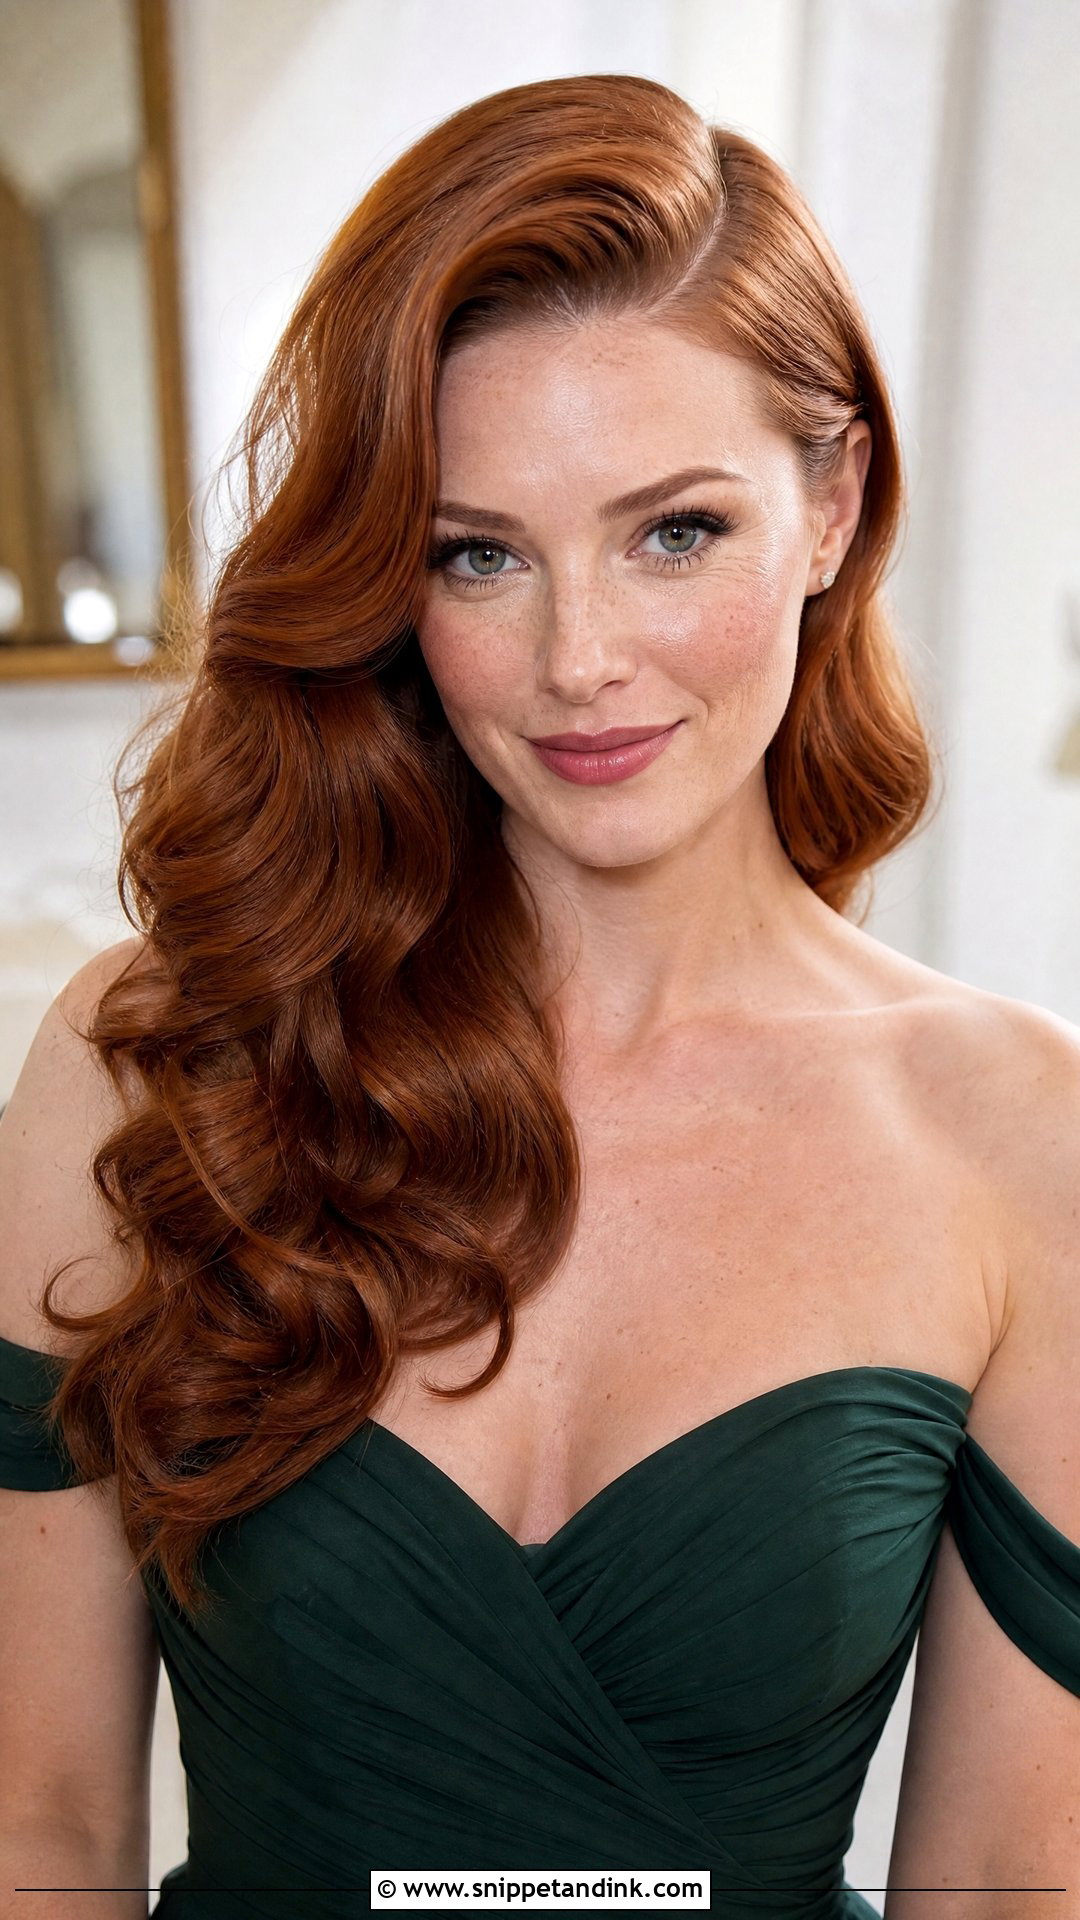
A deep side part shifts a lot of hair to one side, so the waves need to be set before you move it. I curl the hair first, let it cool, then flip the part and pin the heavy side behind the ear with a single bobby pin you won’t see. It flatters a round face particularly well because the sweep breaks up the width. Old Hollywood is the reference here, so a little shine spray suits it better than texture spray.
19. Twisted Side Updo
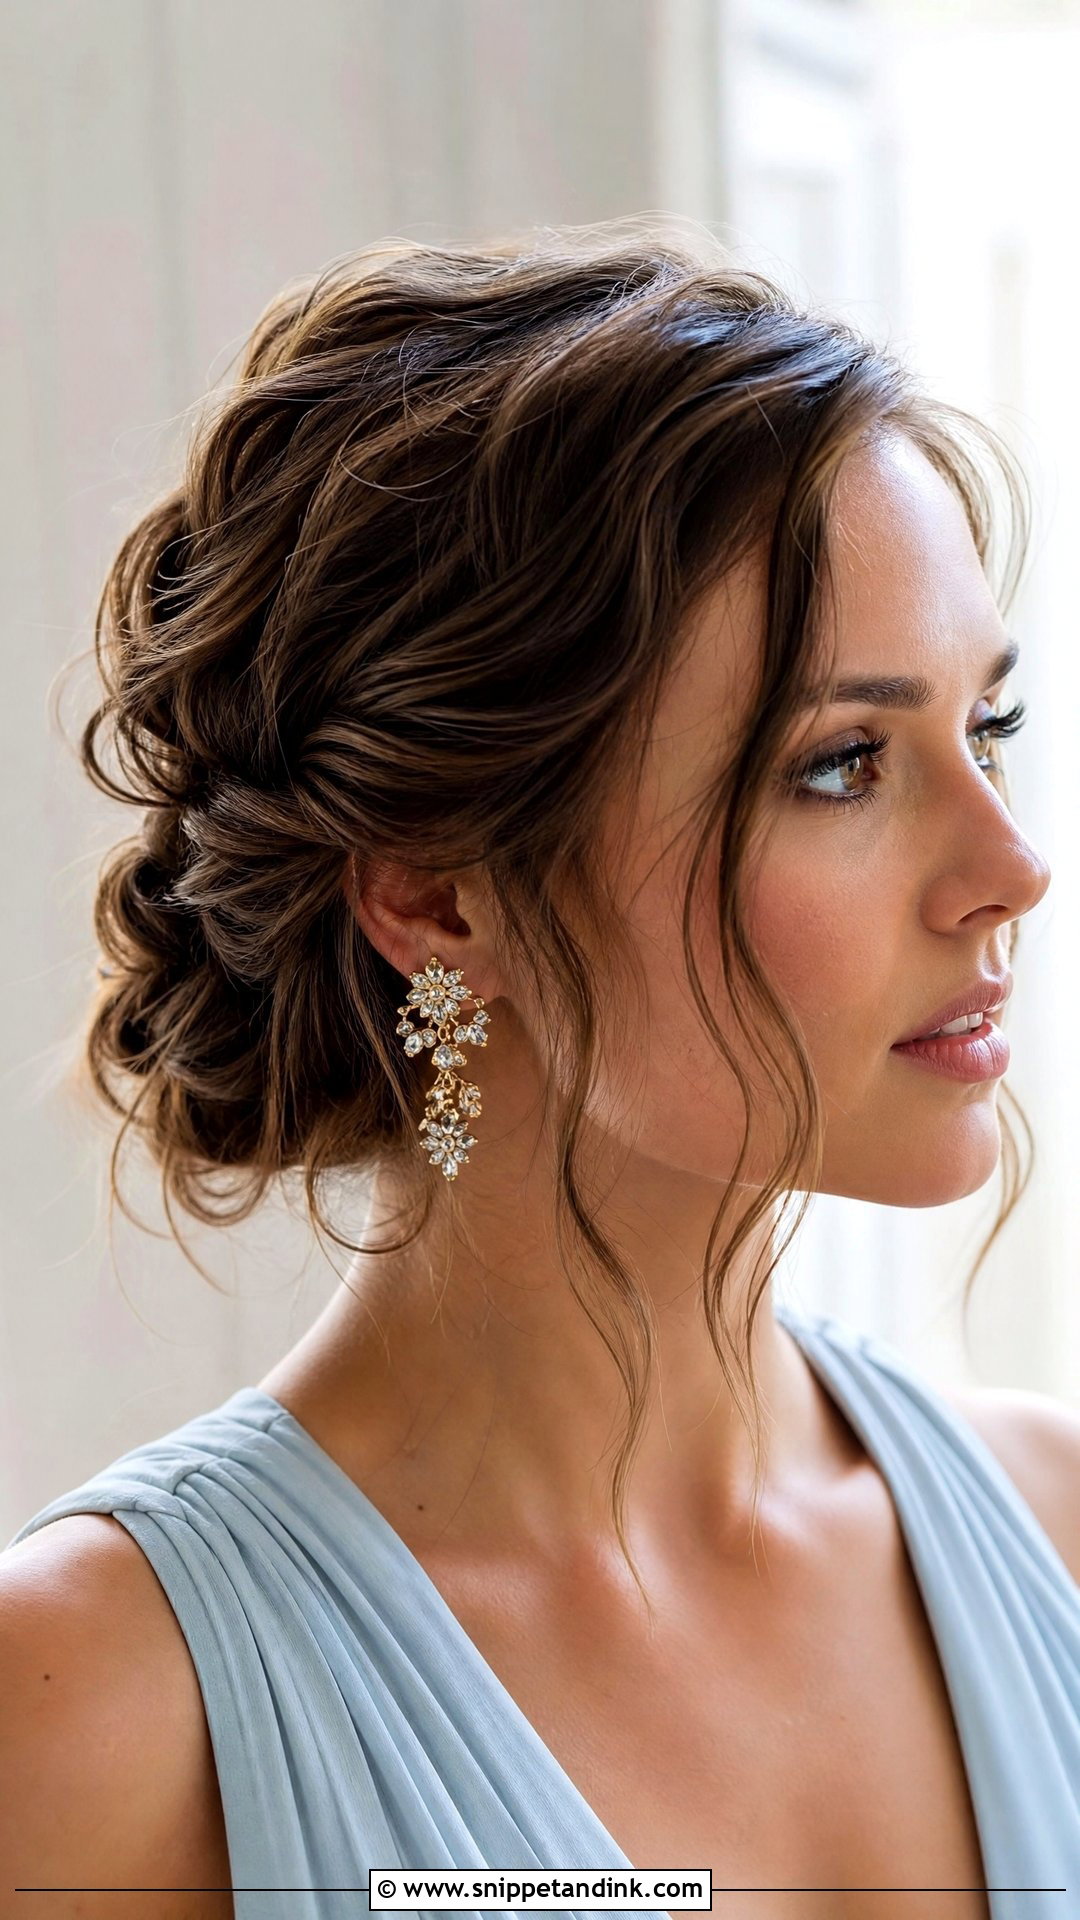
A twisted side updo works on short hair because the twists don’t need length, only grip. Sweep everything to one side, twist small sections back toward the ear, and pin each twist as you go instead of waiting until the end. On layered bobs, a few ends will poke out of the twists; I tuck those with a single pin or simply let them be. Statement earrings belong on the opposite side to the twists so the two don’t compete.
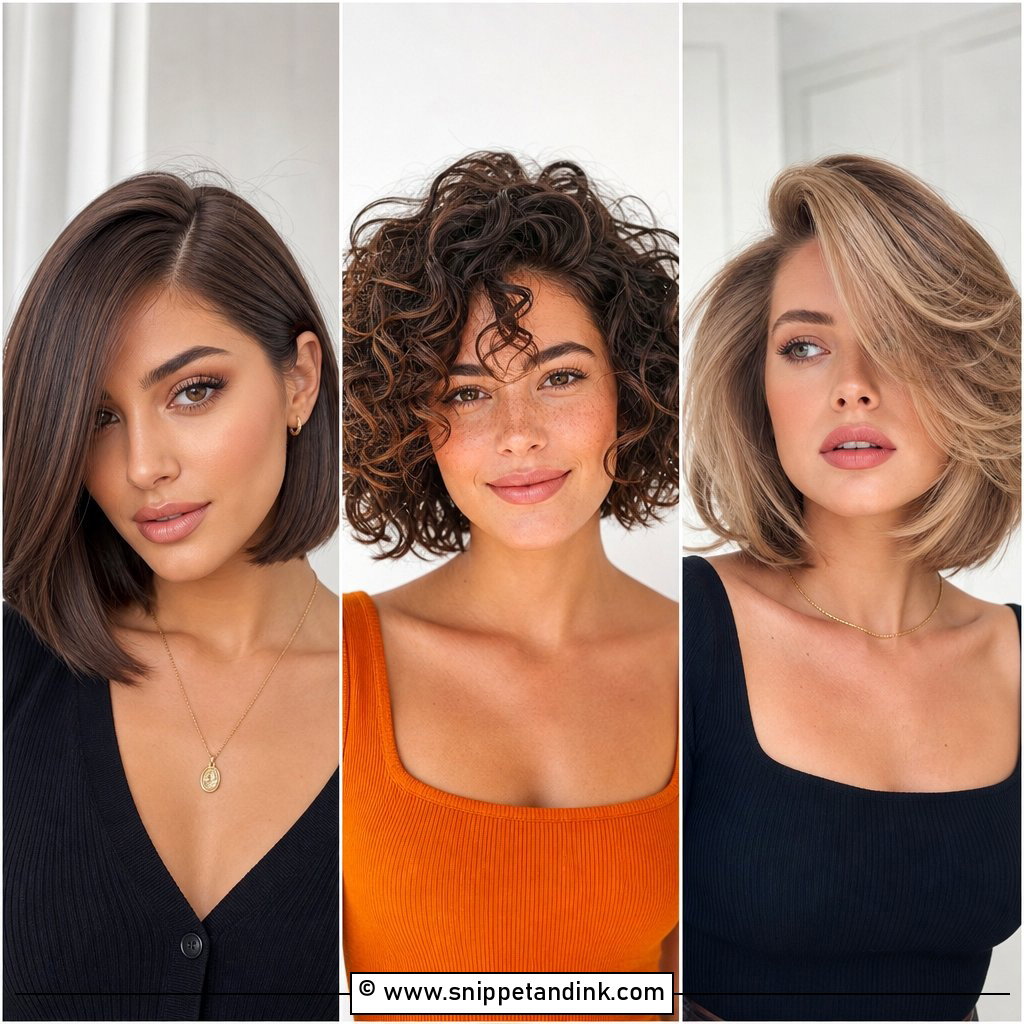
20. Accessorized Half-Up Bun
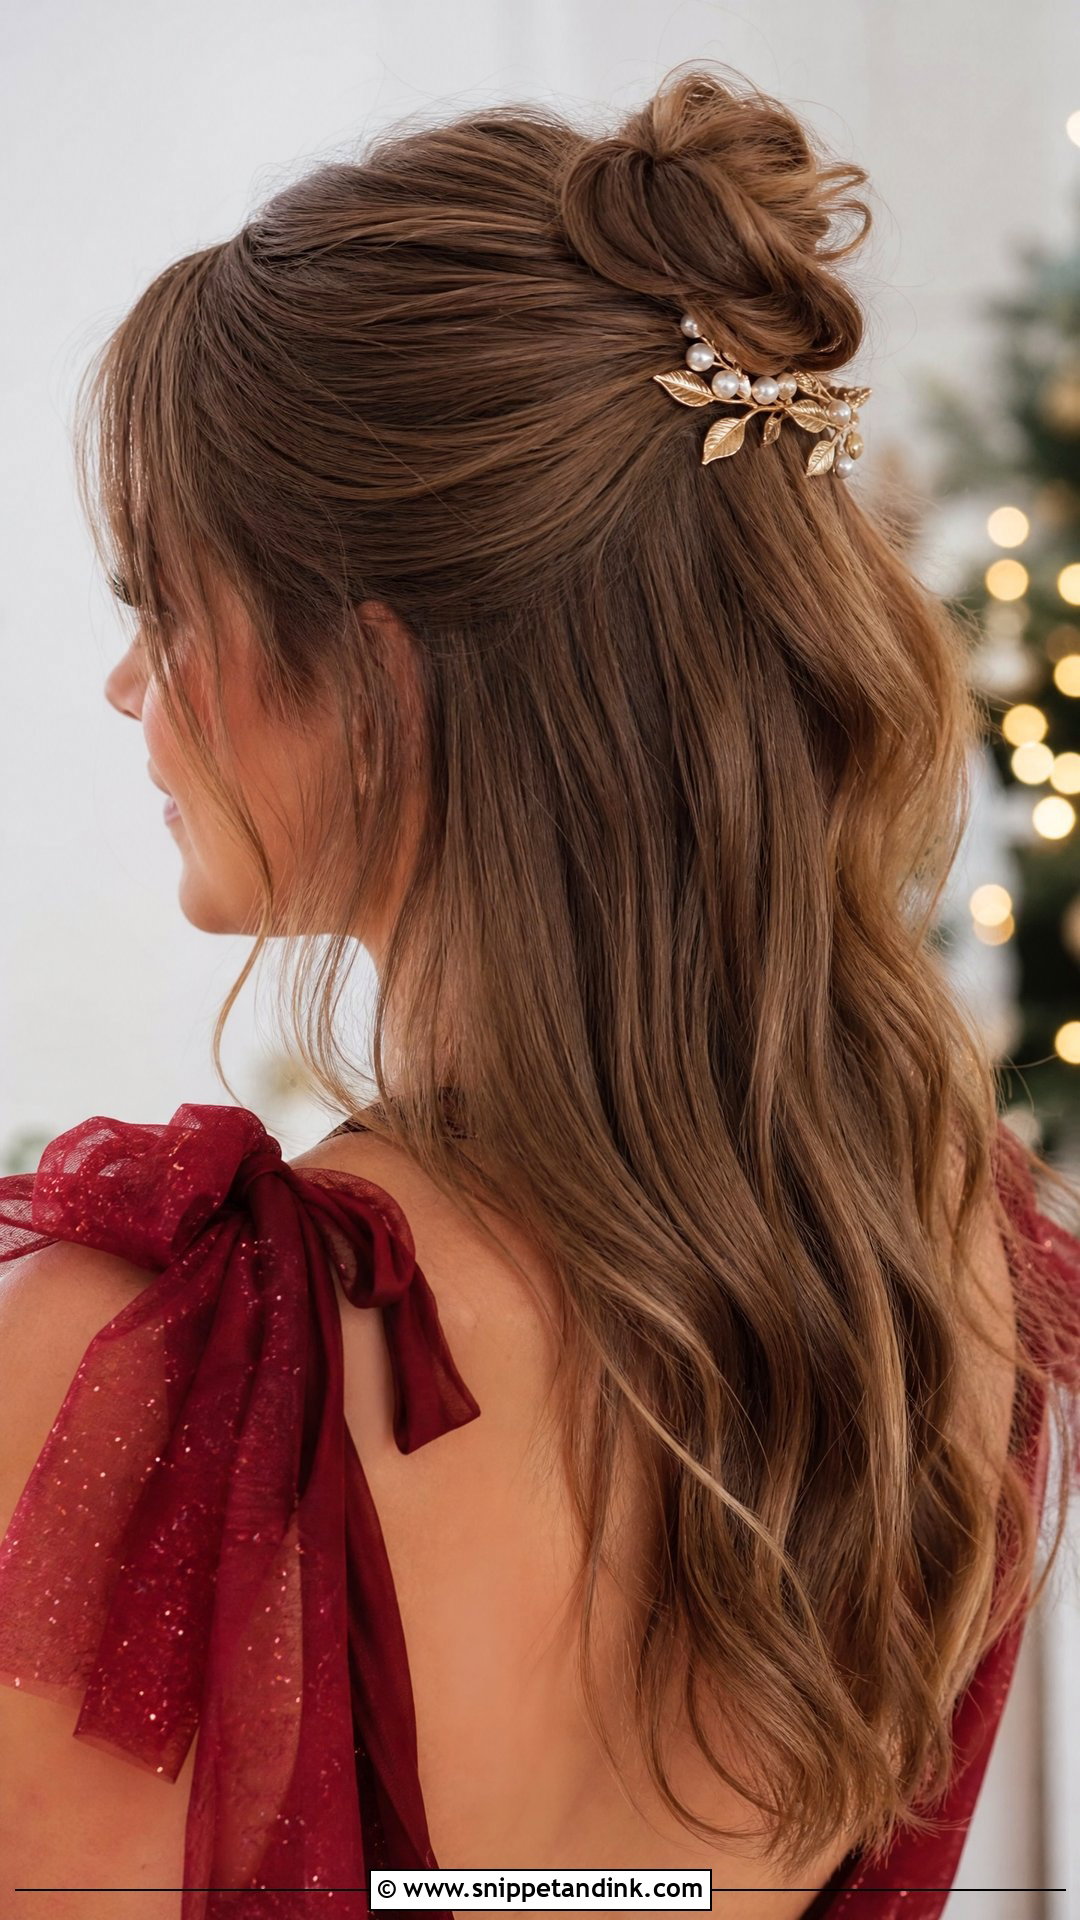
An accessorized half-up bun needs only a small amount of hair at the crown. I secure that section with a clear elastic first, wrap it, and pin the wrap down before the decoration goes on. A ribbon tied over the elastic hides it better than a clip on very short bobs. It keeps hair out of your face at dinner, and the look reads younger than most of the styles here, which suits daytime weddings.
Sorting the Twenty by Pixie, Bob and Lob Length
Not every style suits every short cut, and I’d rather you know that before trying one on the morning of the wedding. Here’s how I’d sort them by length.
Pixies and Crops
Stick with texture and shine: the tousled pixie, textured crop, slicked-back wet look, finger waves and the pinned-back pixie. Anything that needs gathering, like a bun or a braid, won’t have enough length to anchor.
Chin-Length Bobs
You get the widest choice. Half-up styles, the twist, the headband, finger waves, the sleek bob and side-swept curls all work. A messy bun is possible if your back layers are not much shorter than your front.
Lobs Near the Shoulder
Waves, the blowout, the low bun and the flower updo suit this length best because there’s enough hair to twist. Finger waves get harder here; the extra weight relaxes the ridges.
A Clutch Kit for the Late Part of the Reception
Short styles usually fail in small ways: a pin slides, a curl flattens, the fringe separates. I’d tuck four or five spare bobby pins, a travel-sized hairspray, a small blotting paper for an oily fringe and a mini comb into your bag. If the curls have dropped by the evening, twist a piece around your finger, spray it, and hold it for a few seconds. On a humid day, smoothing a tiny dab of hand cream over flyaways works in a pinch.
Your Cut Is Already Halfway There
Most of these styles take less time than people think, but they don’t take less preparation. If you practice one of them once before the day, with the products you’ll actually use, you’ll know how your cut behaves and where the pins need to go. Start with the shape your hair already falls into, add texture before anything else, and keep the accessory to one. A cut that suits you is already halfway to a wedding look.
You'll Like These Ideas:


Leave a Reply