
Short hair gives a bride more to work with than most people expect. A pixie, a soft bob or a chin-length lob can be waved, twisted, pinned into a small knot or slicked back, and each of those reads differently under a veil and in photos. When a short-haired bride sits in my chair, the first thing I do is pull her hair back with my hands and see how much actually stays caught. That tells me which of the twenty looks below are realistic for her cut and which need a few more weeks of growth or a hidden clip-in. I’ve noted the length each style needs as we go, so you can sort them quickly against your own hair.
Matching Each Style to How Much Length You Have
Most of the frustration I see with short wedding hair comes from choosing a photo taken on a longer cut. Before you save anything, measure roughly where your hair falls and sort the styles that way.
Pixies and cropped cuts
Anything that relies on texture or shine will work: the tousled pixie, the wet look, slicked back, finger waves and a headband or flower crown. Updos, buns and braids won’t, unless you add a clip-in piece. A pixie can carry quite a lot of decoration because there’s no volume competing with it.
Chin-length bobs
This is the most flexible length. Twists, half-up, side-swept waves, a faux updo and a small low bun are all realistic. A graduated bob that’s very short at the nape is harder to pin up, so tell your stylist how your cut is shaped at the back.
Lobs near the shoulder
At this length you can do nearly everything on the list, including the top knot and crown braid. The challenge is the opposite one: lobs can look heavy when worn down, so a bit of lift at the root helps.
1. Short Hair Messy Bun for Wedding
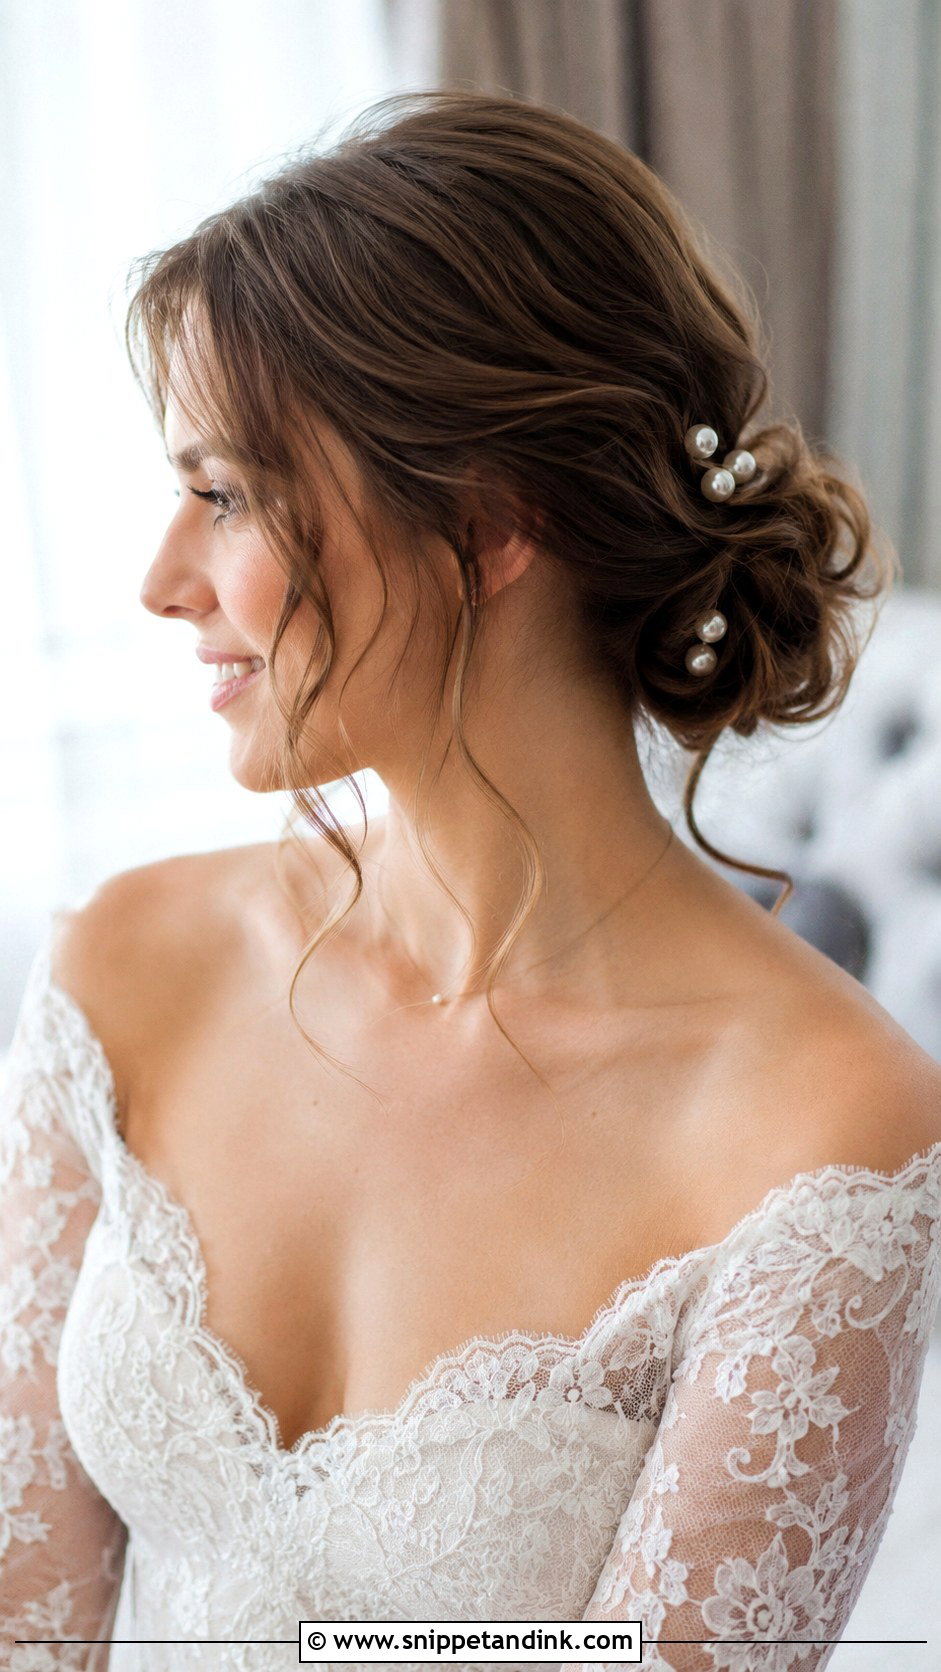
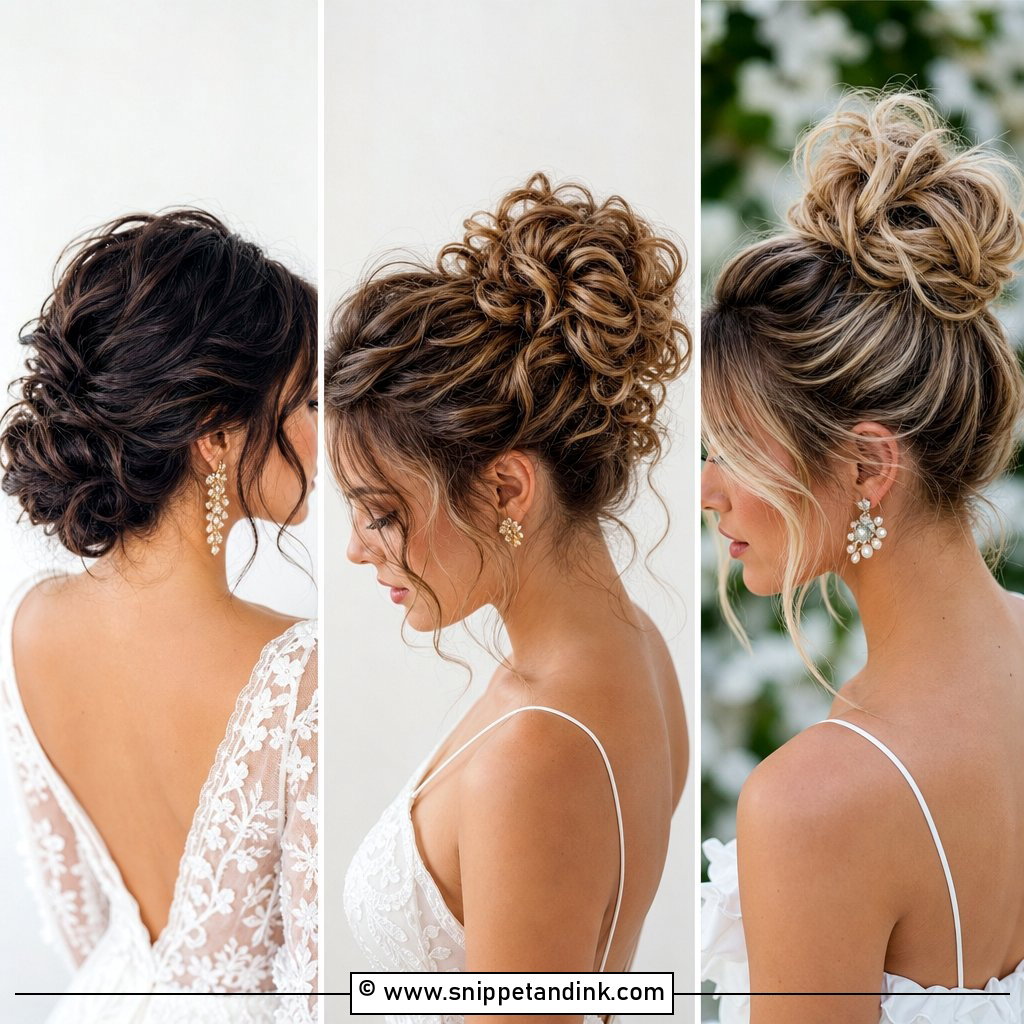
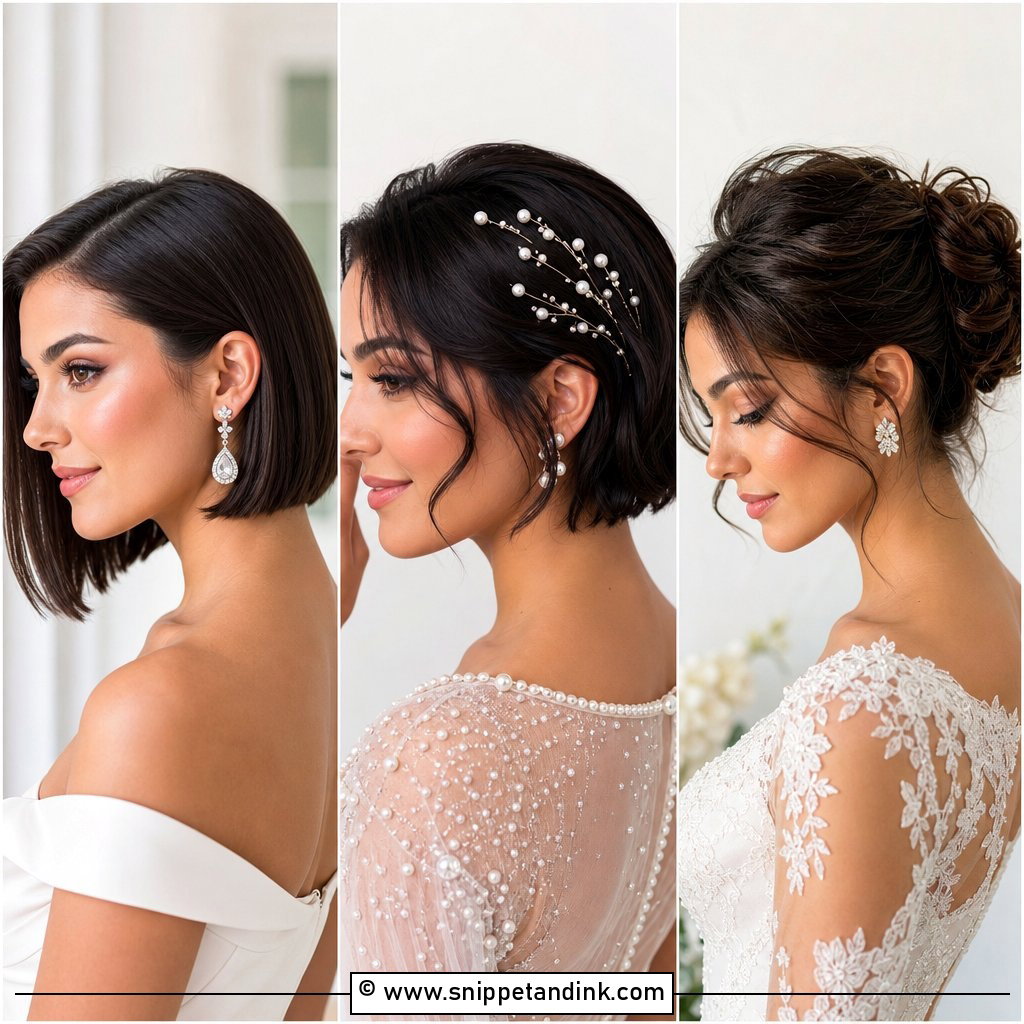
I like a messy bun on short hair because it forgives the pieces that won’t reach. I gather what I can into a low knot at the nape, pin it in small sections rather than one elastic, and let the shorter strands fall where they want around the face. A little volume at the crown balances the small size of the bun. Pearl pins or a sprig of greenery hide the anchor points. Bobs that touch the jaw manage this fine; a true pixie usually can’t gather enough at the back.
2. Twisted Chignon for Short Hair Bride
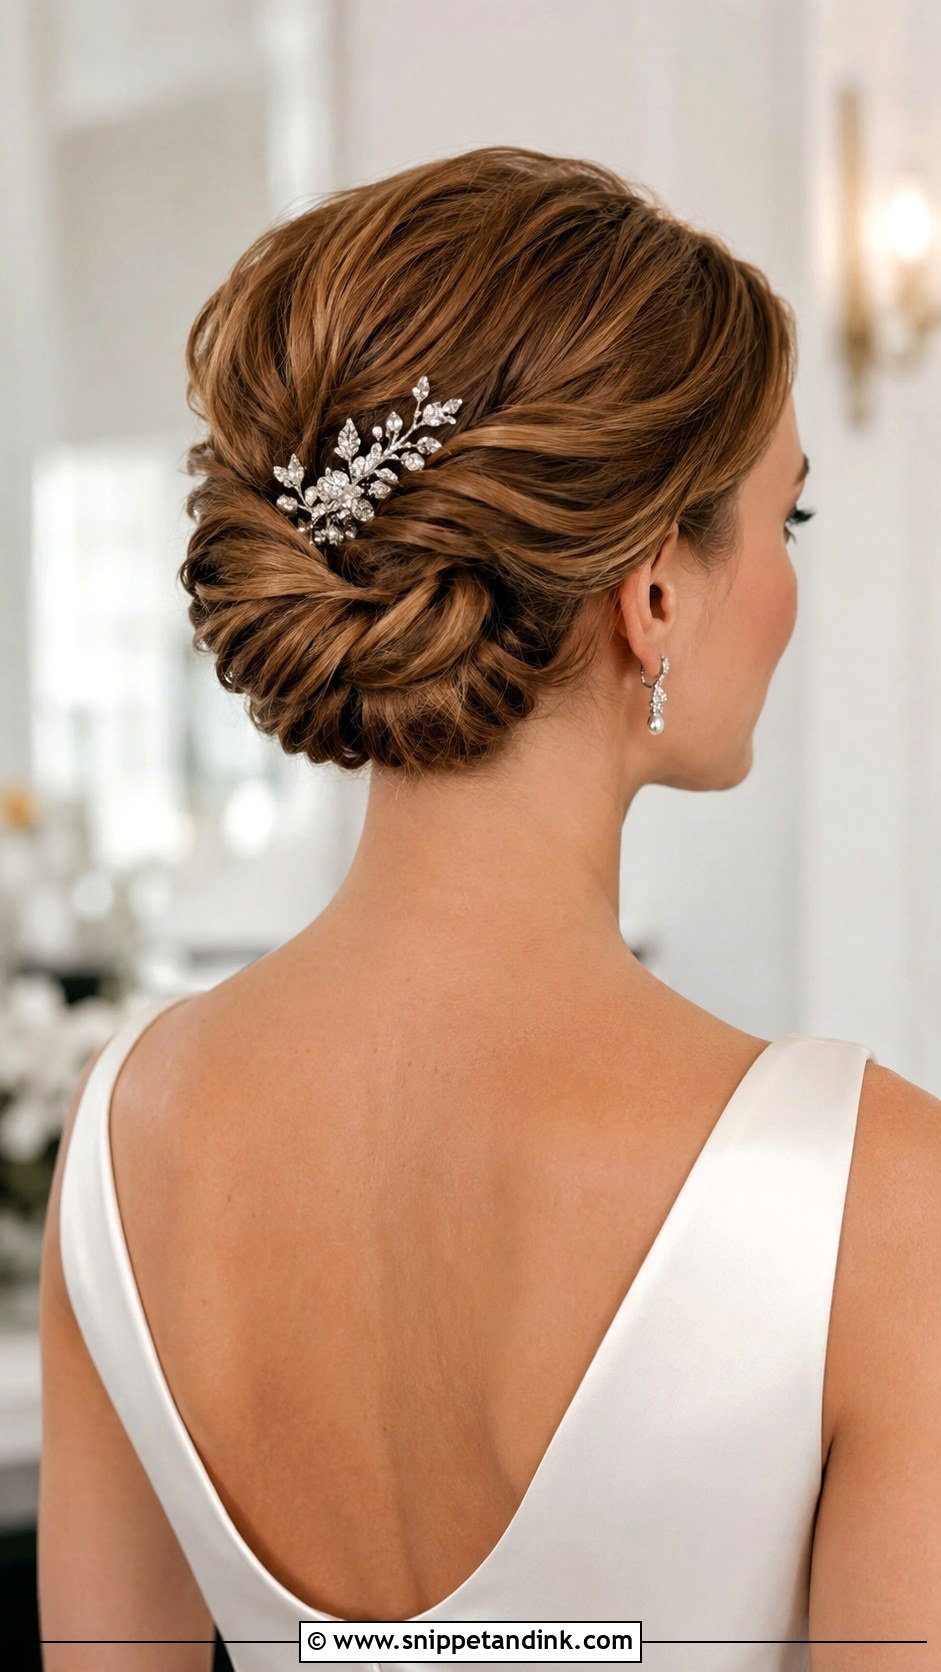
A chignon on short hair is really a series of small twists rolled toward the center and pinned flat, not one big coil. I tease the underside of each section lightly so the pins have something to grip, then smooth the top layer over it. On a chin-length bob the result is compact, which suits a formal church or ballroom setting. A comb or a slim veil slides in underneath the roll and actually helps hold it. Expect your trial to take longer than for a long-hair chignon, because the pinning is fiddly.
3. Short Hair Half-Up Half-Down Wedding Style
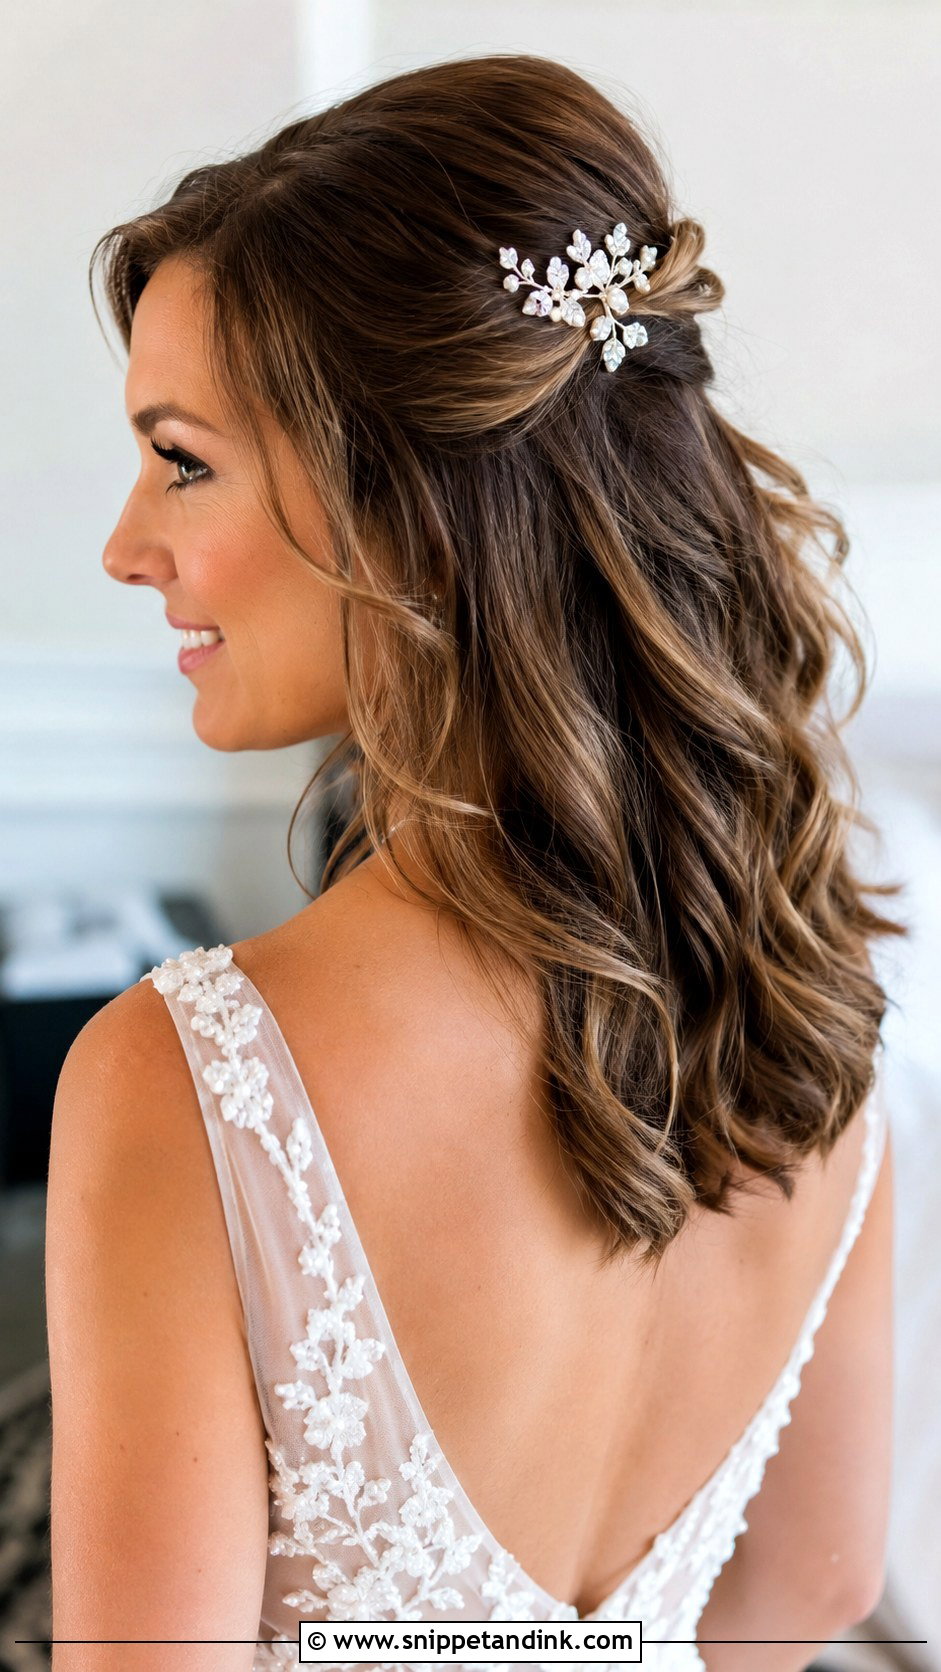
Half-up suits bobs and lobs best, since the top section needs enough length to meet at the back. I take a smaller section than I would on long hair, otherwise the loose half looks thin. Curling the lower part with a larger barrel gives it movement without shrinking it too much, which matters when you only have a few inches to start with. A barrette or a single flower covers where the two sides meet. If your hair is very fine, I’d add a little root texture spray first so the clip doesn’t slide out by the speeches.
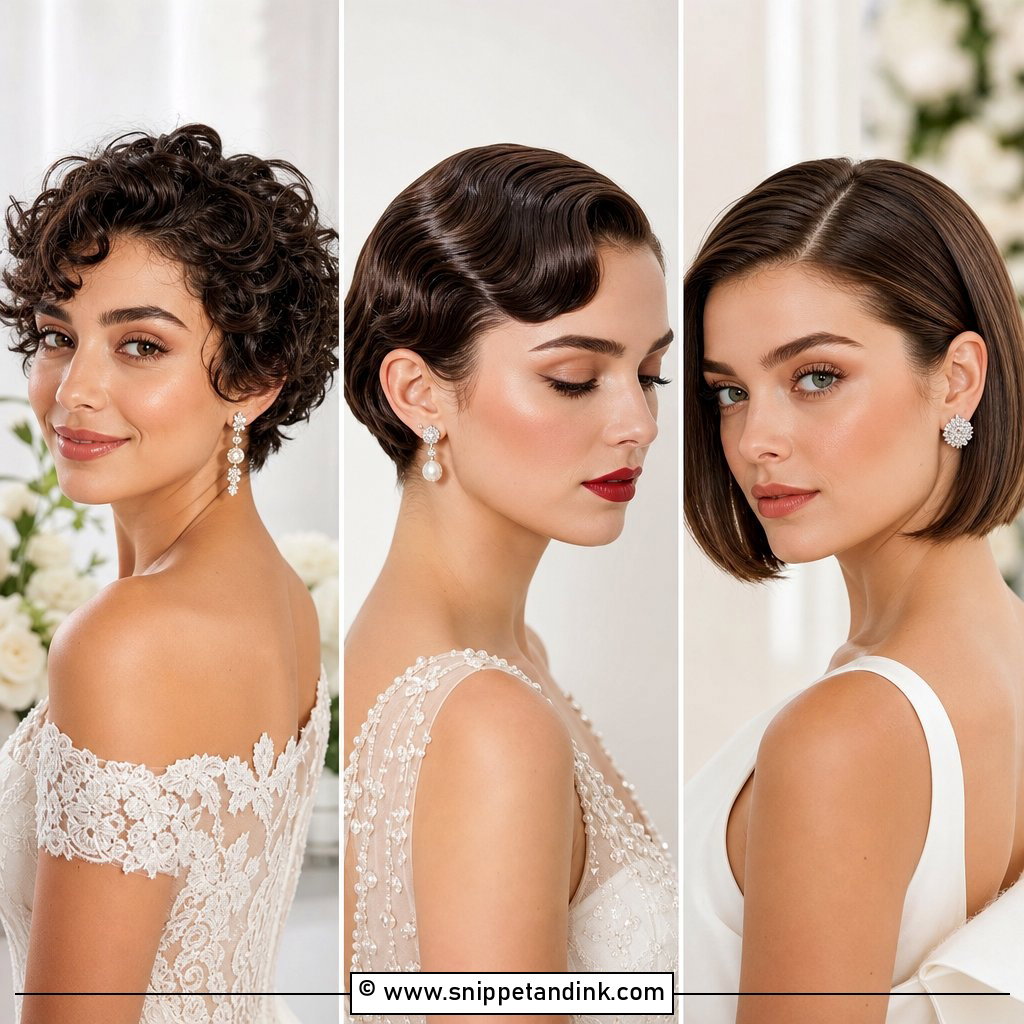
4. Vintage Finger Waves for Short Hair Wedding
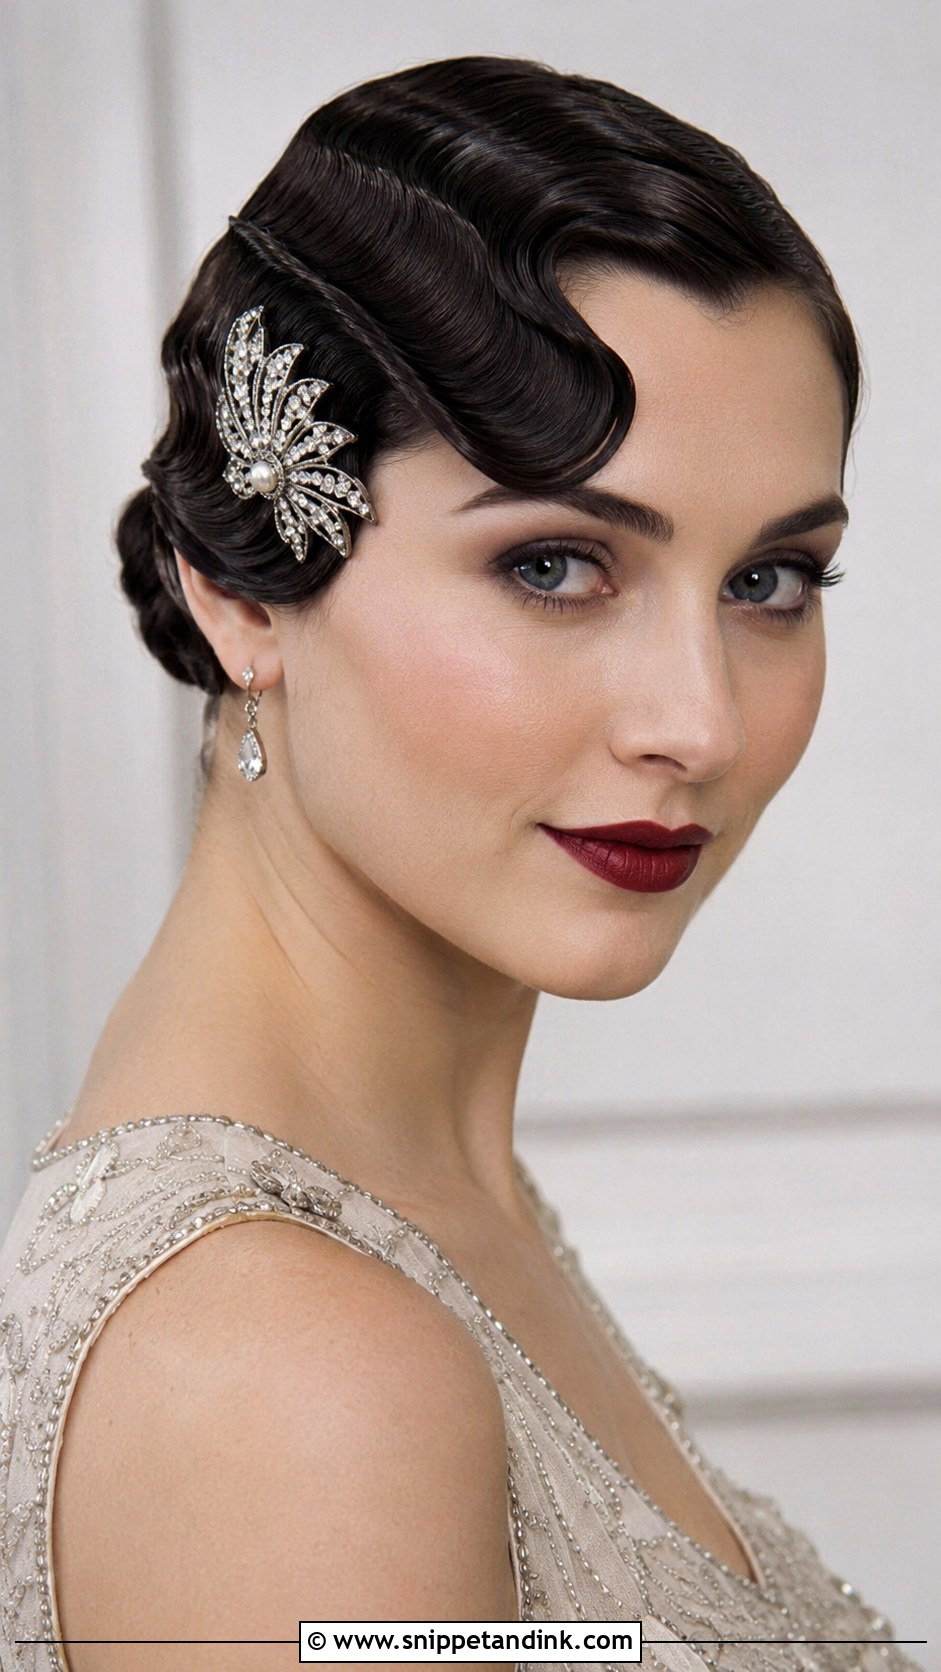
Finger waves are a setting job, not a curling-iron job. On short hair I comb a firm gel through damp hair, push each ridge into place with my fingers and a fine comb, clip it, and let it dry completely before the clips come out. That set is why this retro-inspired hairdo holds so well, and also why it needs more chair time than anything else here. It sits closest on pixies and short bobs, where the waves can follow the head shape. A red lip and a jeweled clip on one side are the classic pairing for an art deco theme. Very curly or coarse hair resists the set, so test it before committing.
5. Short Hair Braided Crown for Bride
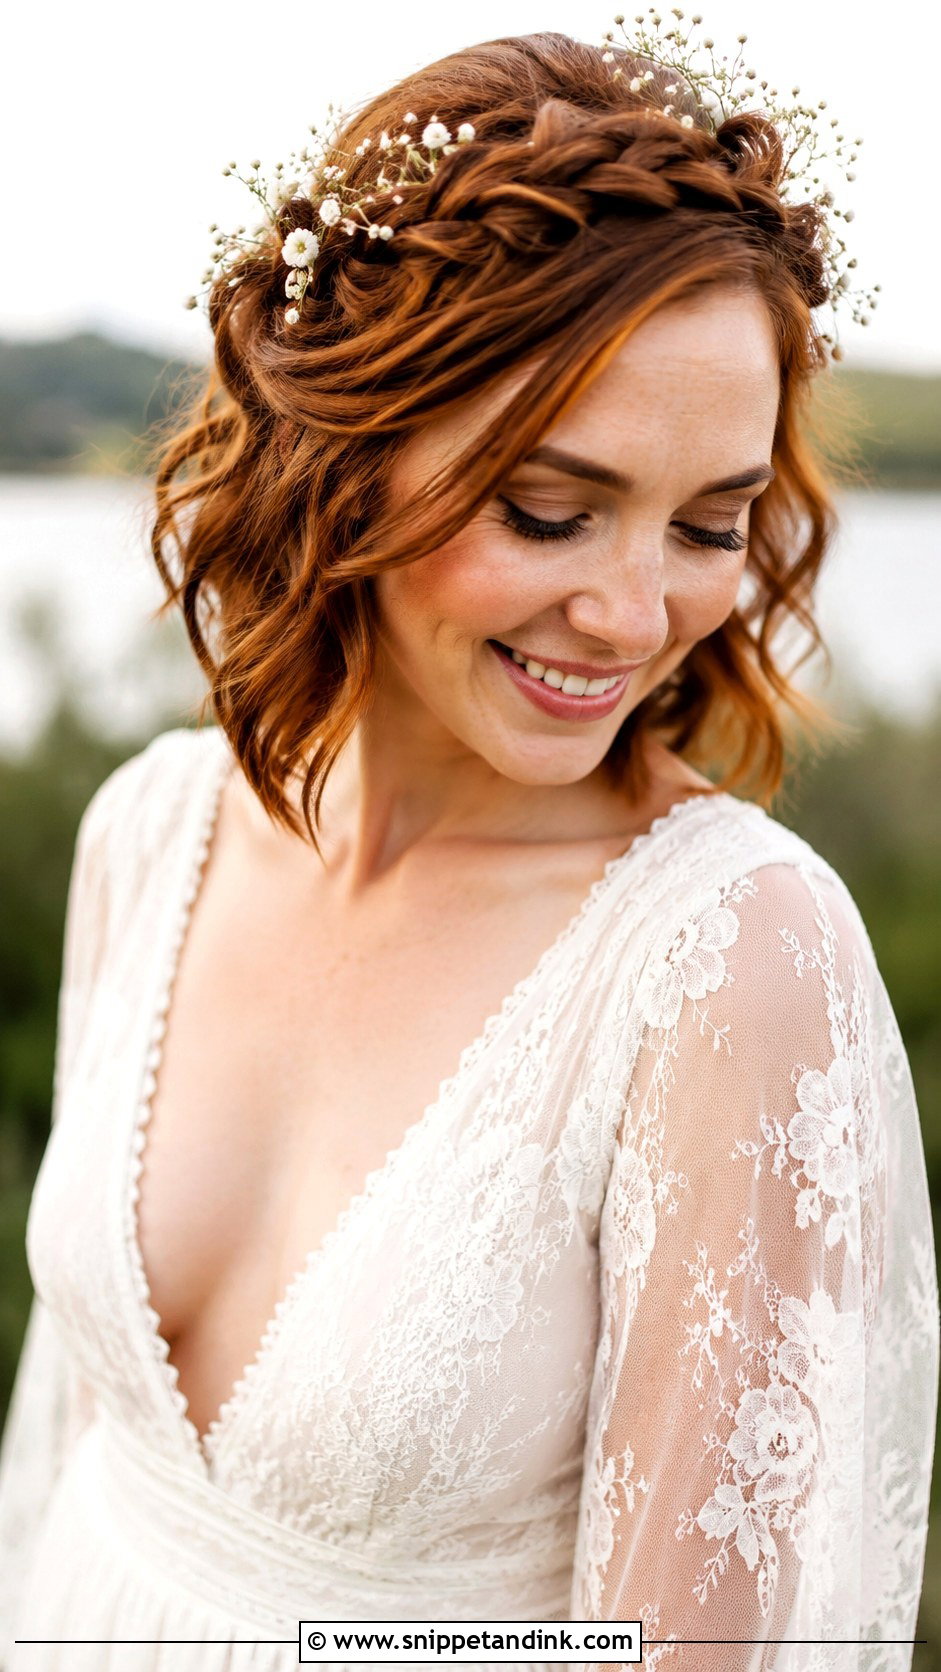
A braided crown needs more length than people assume, roughly enough for a section from the hairline to reach behind the ear. Below that, I braid along the hairline only on the front half and pin the ends under the hair at the back so nothing pokes out. The halo shape gives that ethereal and bohemian feel that goes with flowing dresses and woodland or beach settings. Baby’s breath tucks into the braid easily and dries without wilting badly. Layered cuts are trickier, because short layers pop out of the braid; a little pomade on the fingers keeps them in.
6. Sleek Bob with Side Part for Wedding
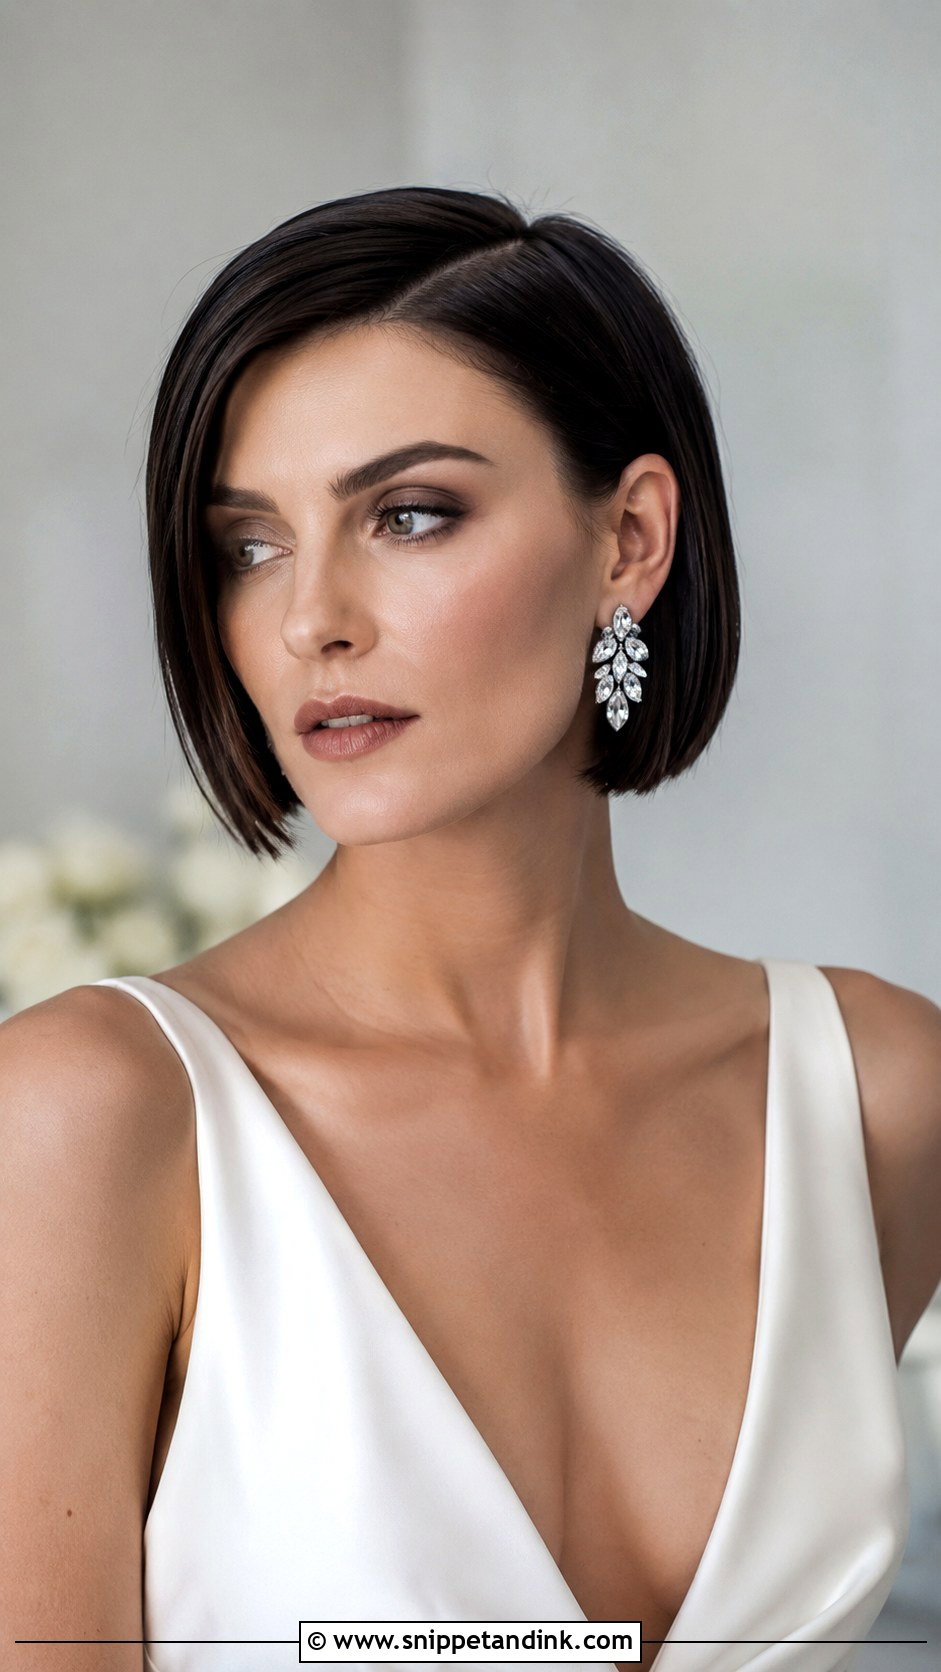
Simple, but it’s the least forgiving style on this list. A sleek bob with a deep side part shows every flyaway and every kink from sleeping on it, so I blow-dry with a paddle brush, flat iron in thin sections and finish with a drop of smoothing serum on the ends only. The deep part frames one side of the face and gives you somewhere to put a statement earring. Humidity is the real enemy here; if your venue is outdoors in summer, plan on an anti-frizz spray and a quick touch-up after the ceremony.
7. Short Hair Updo with Headband for Bride
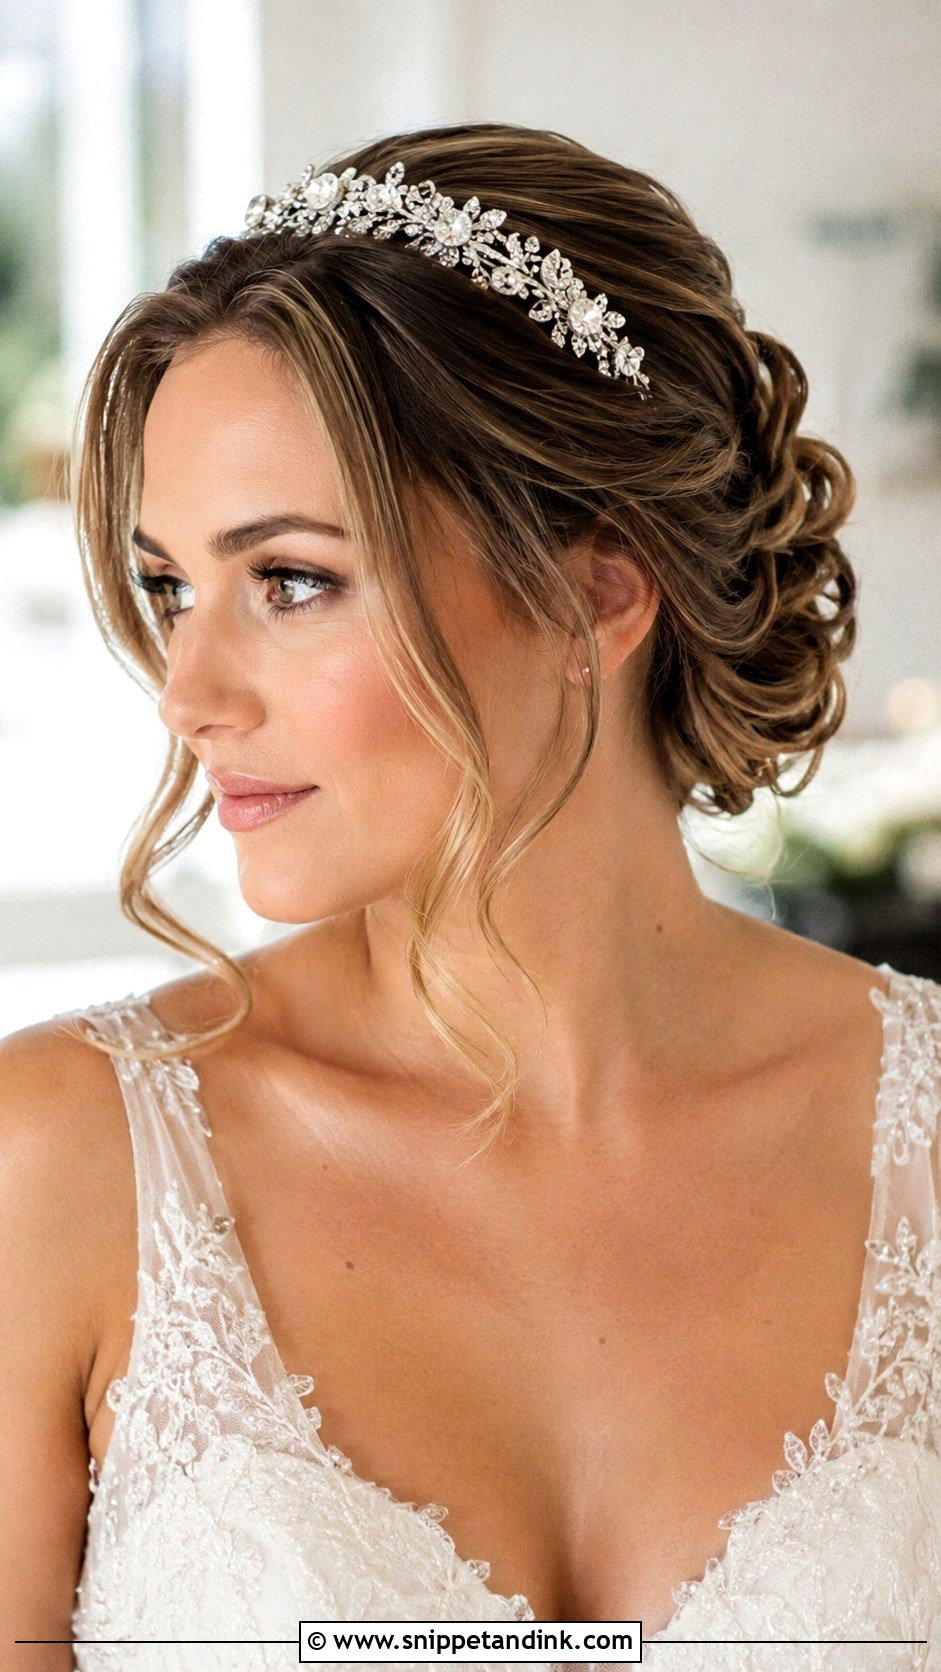
A jeweled headband does two jobs on a short updo: it decorates and it holds. I sweep the hair back and up, pin it, then slide the band over the pins so it covers them and keeps the front from drifting forward. That makes it a good alternative for a bride who doesn’t want a full veil. Pixies and bobs both work. Check the band’s fit at the trial, because a tight band starts pressing behind the ears after a few hours; I sew small pieces of elastic or felt inside the ends when one pinches. A couple of loose pieces at the temples stop the look from going severe.
8. Tousled Pixie Cut for Wedding Day
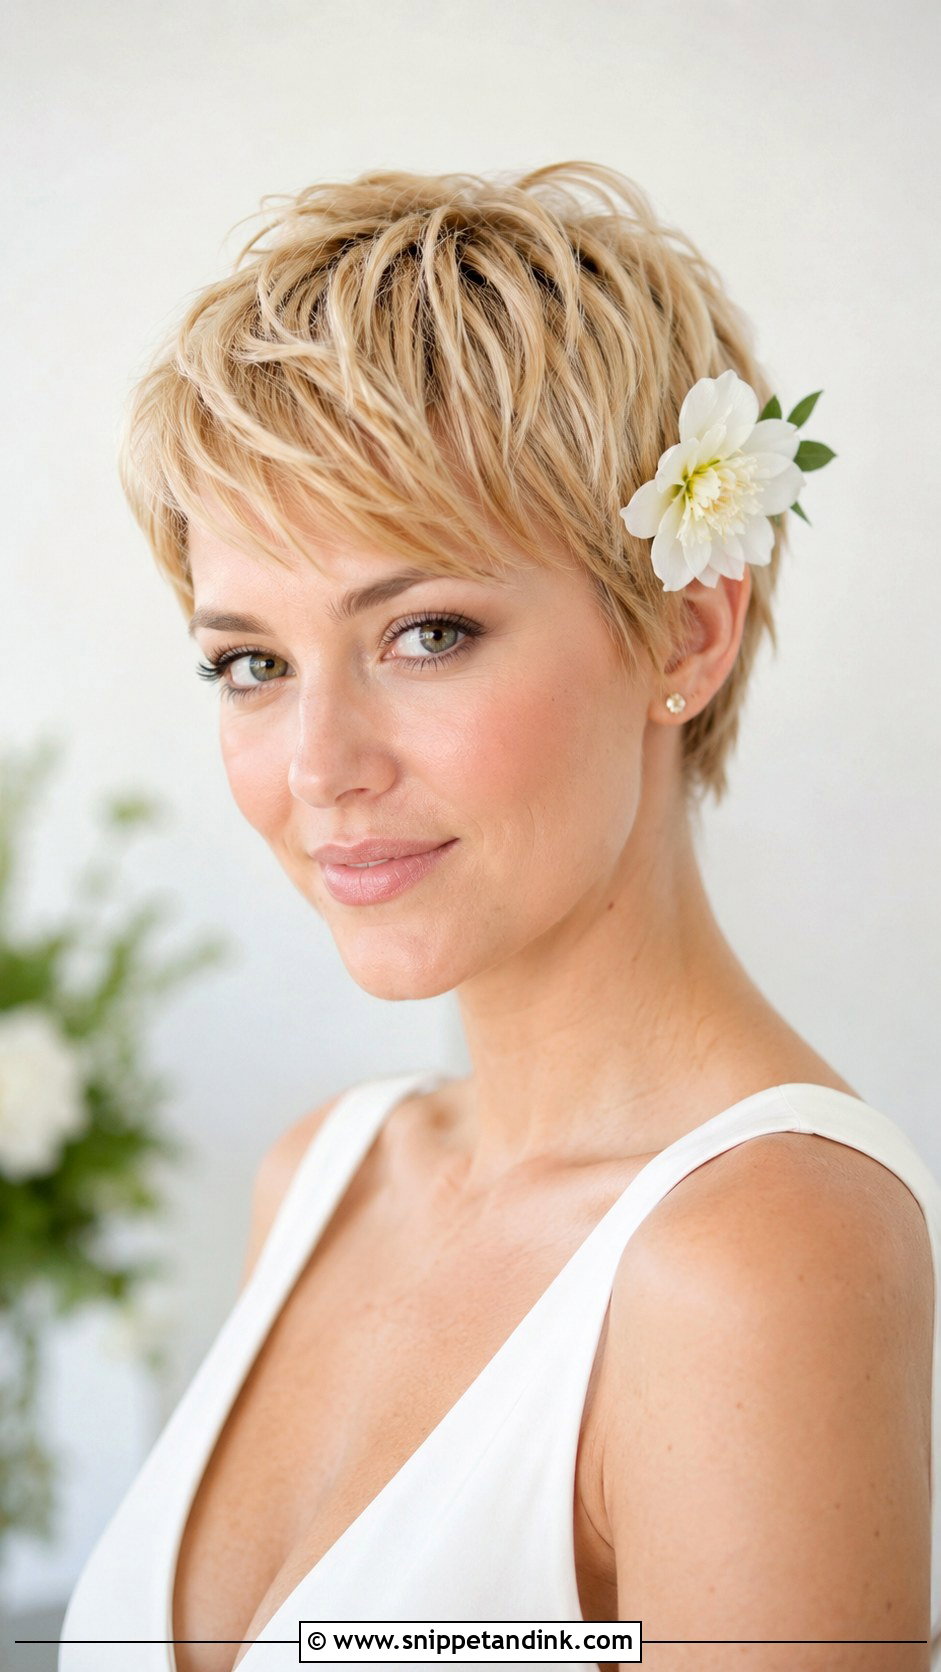
Who says brides need long hair? A tousled pixie cut is about texture, and the product does most of the work. I rough-dry, then work a small amount of texturizing paste through with my fingertips and pinch the ends so the layers separate. Too much paste and it goes stiff and dark in photos, so I build it up slowly. A sparkling clip or a flower behind one ear makes it bridal. This is the easiest style on the list to maintain through the night, since there’s nothing to fall down.
9. Short Hair Faux Updo for Bride
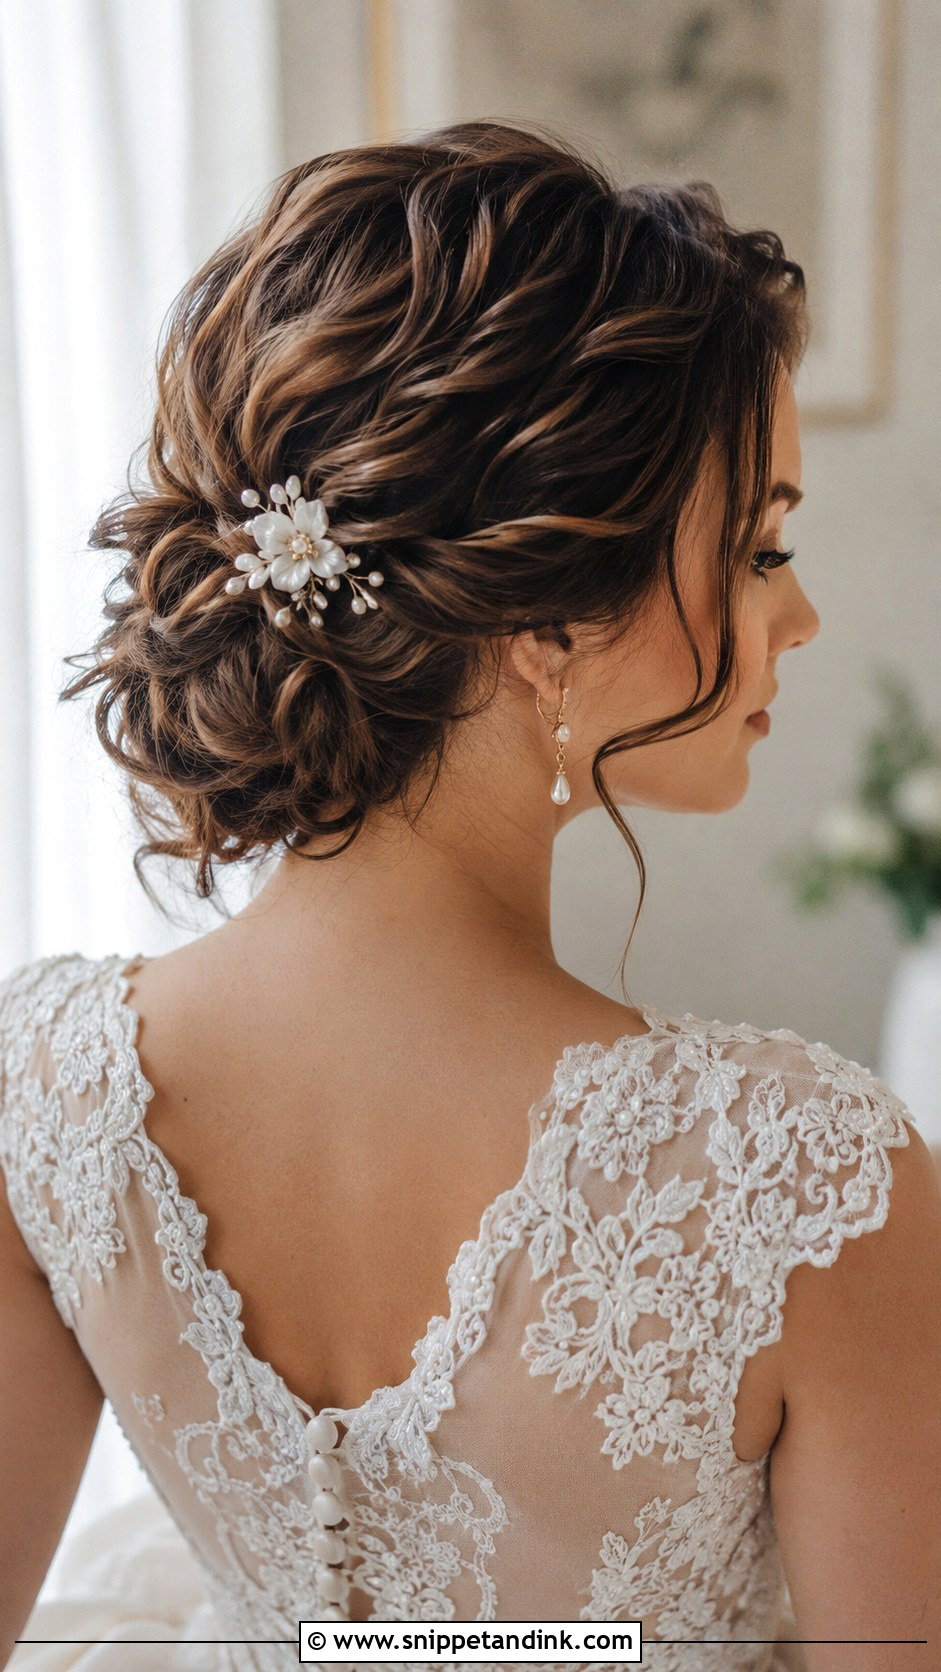
A faux updo is the trick I use most for bobs that want to look pinned up. I roll the ends under and toward the nape in sections, pin each one flat against the head, and tease the crown so the shape looks fuller than the hair really is. From the front it reads like a chignon or a low bun. The weak spot is the nape: if your bob is graduated very short at the back, those hairs won’t tuck, and a small comb or a band of pins across them is the fix. Decorative pins hide the seams.
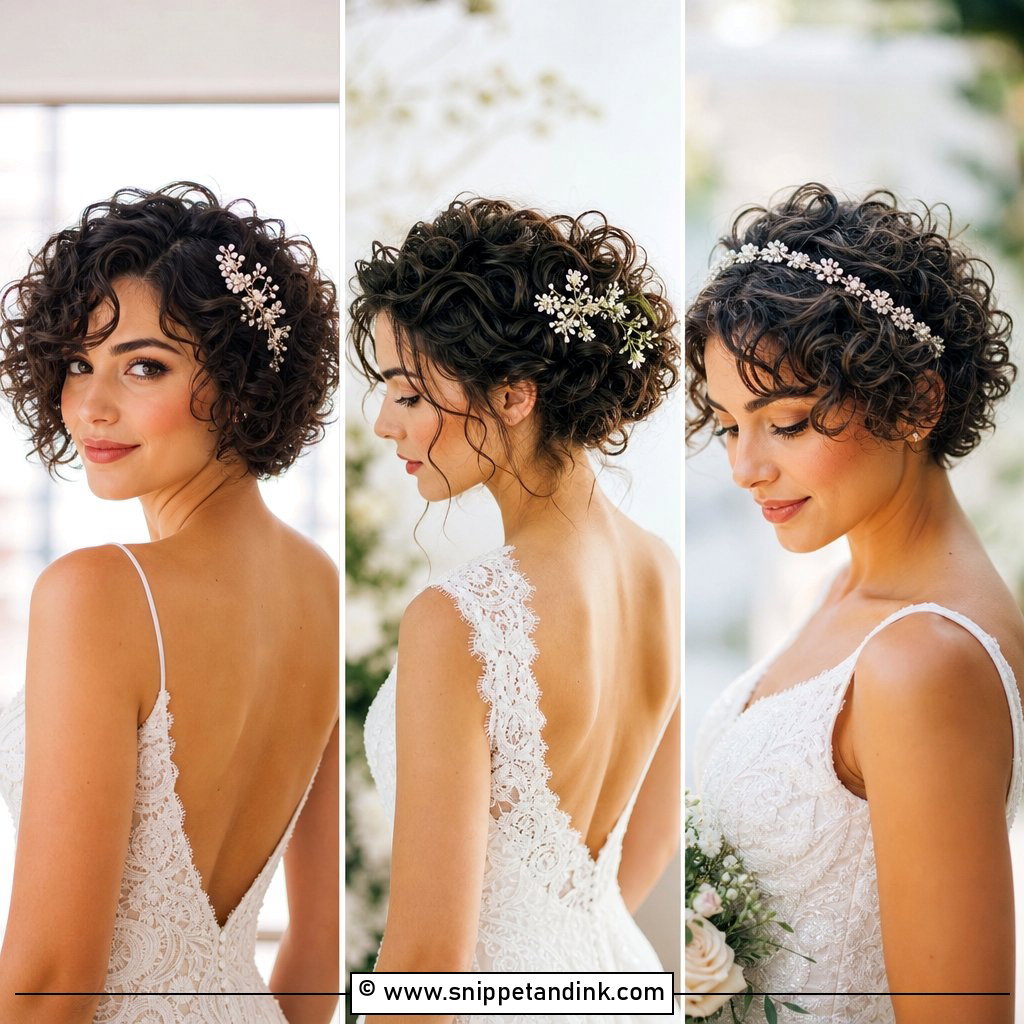
10. Curly Bob Wedding Hairstyle
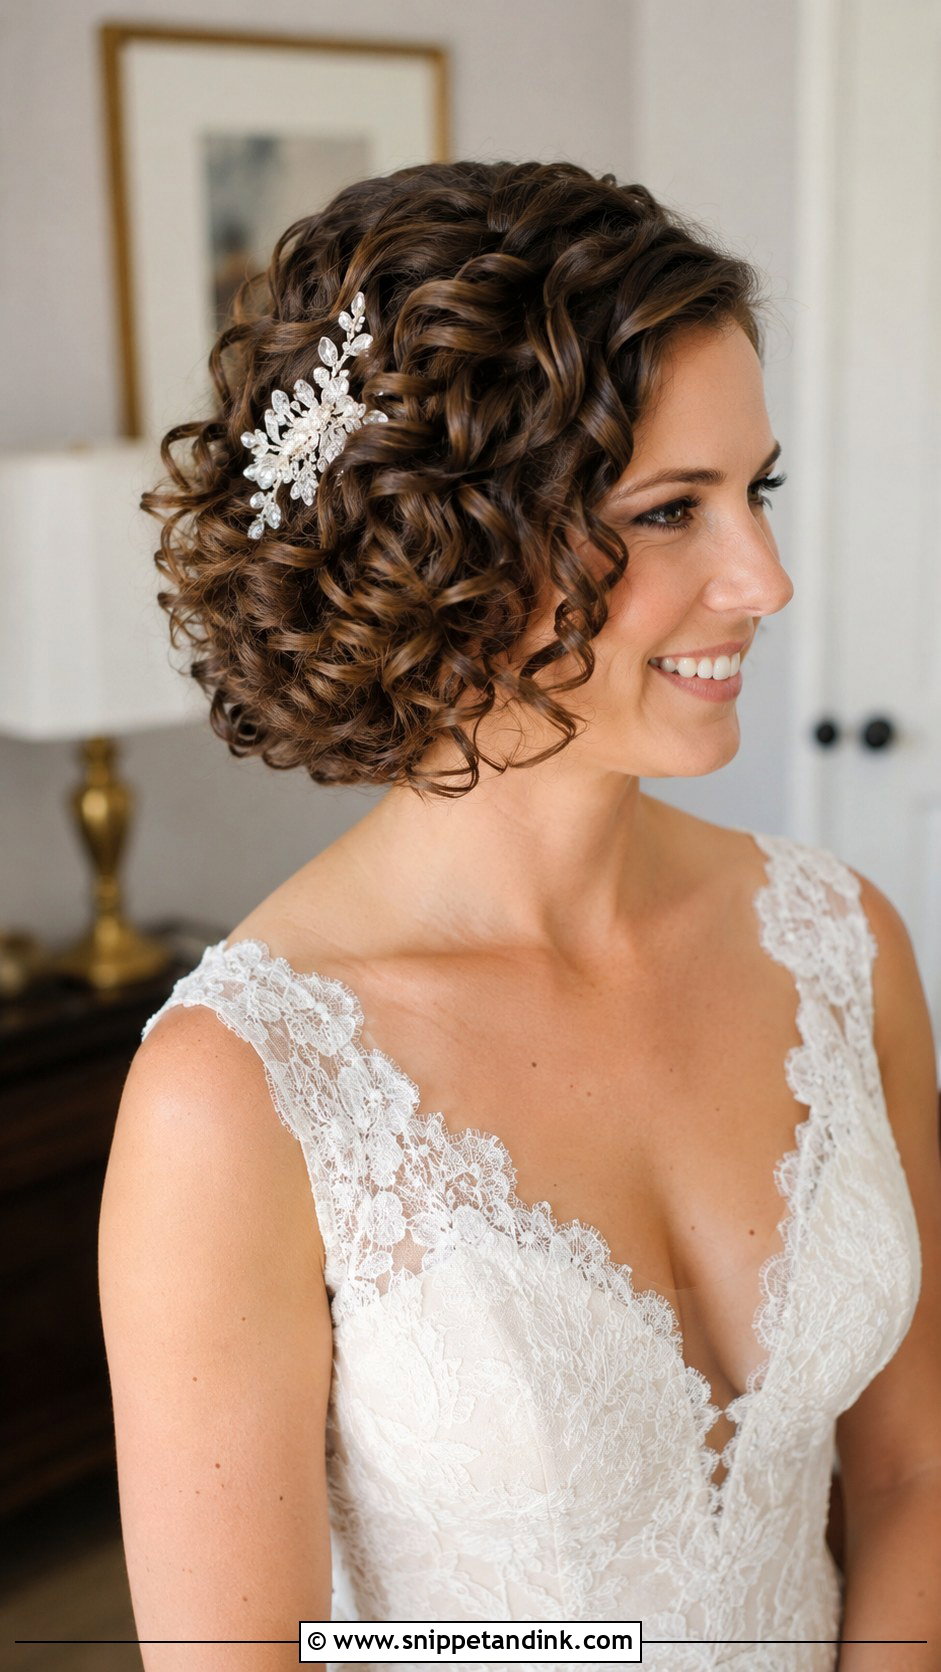
For a curly bob I start with what your curls already do rather than resetting them with an iron. Wash day timing matters; most curly hair looks best a day after washing, once the curl pattern has settled. A light cream scrunched in defines the shape without weighing it down, and I only touch individual curls that have frizzed or gone flat. One side pinned back with a sparkling clip gives a bridal note. Avoid brushing curly hair dry on the day, which turns definition into fluff.
11. Short Hair with Side Swept Waves for Wedding
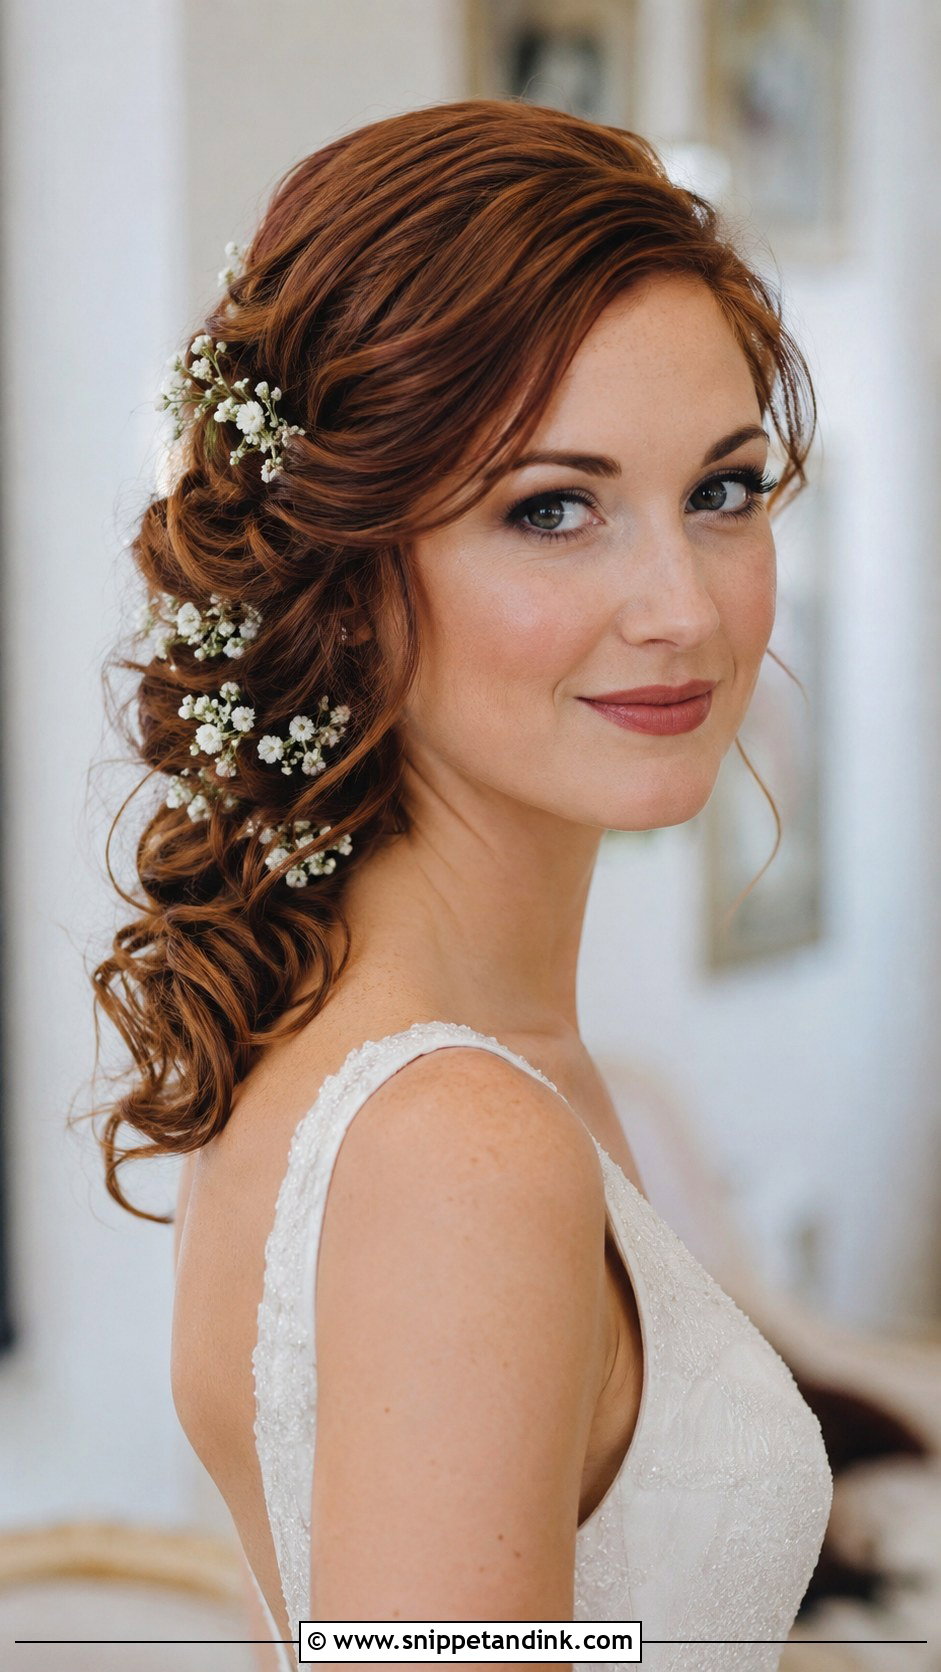
Side-swept waves sit well on bobs and lobs because the weight shifts to one side and adds fullness there. I curl in one direction away from the face, brush the waves out lightly, and pin the swept side behind the ear with a jeweled clip so the asymmetry stays where I put it. Without that hidden anchor, the sweep drifts back to center within an hour. This one adapts to most themes, from a classic hall to a relaxed garden. Keep a small comb in your bag to reset the wave after hugs.
12. Short Hair Low Bun for Bride
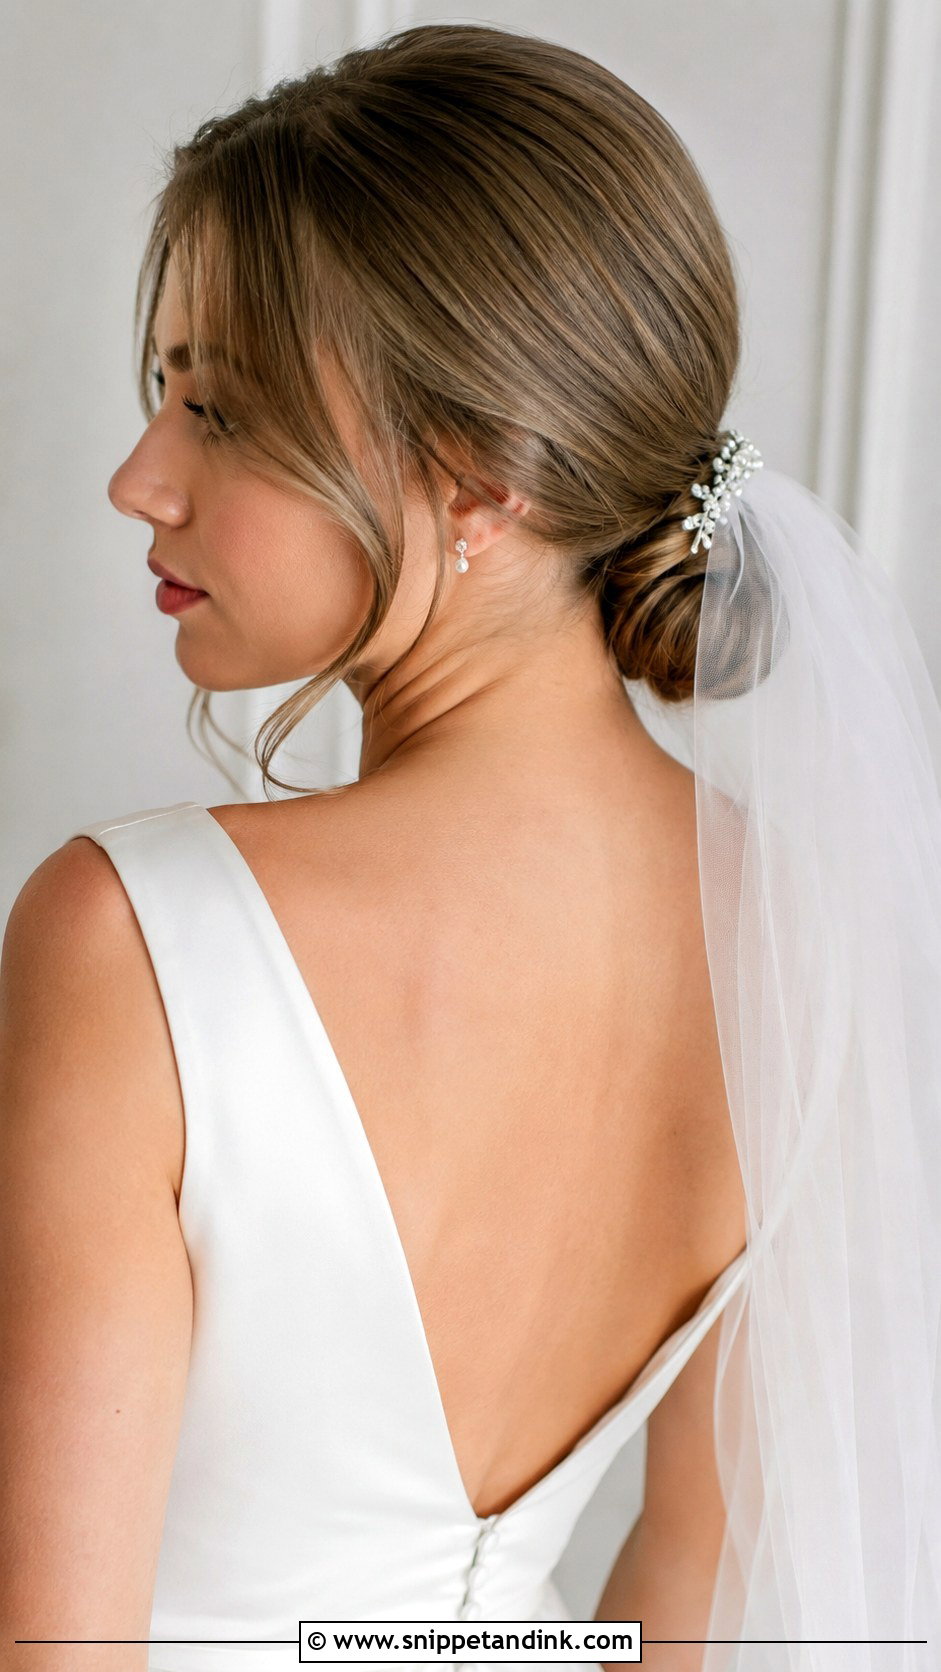
Getting a low bun from a short bob depends on pinning, not length. I split the hair into a top and bottom section, twist each toward the nape, and pin them over each other so the bun is built from two small pieces rather than one. Smooth on top suits a formal ceremony; a little texture suits a softer dress. A veil comb sits just above the bun and actually anchors well there. A few loose tendrils at the face keep it from looking severe.
13. Short Hair Pinned Back Twists for Wedding
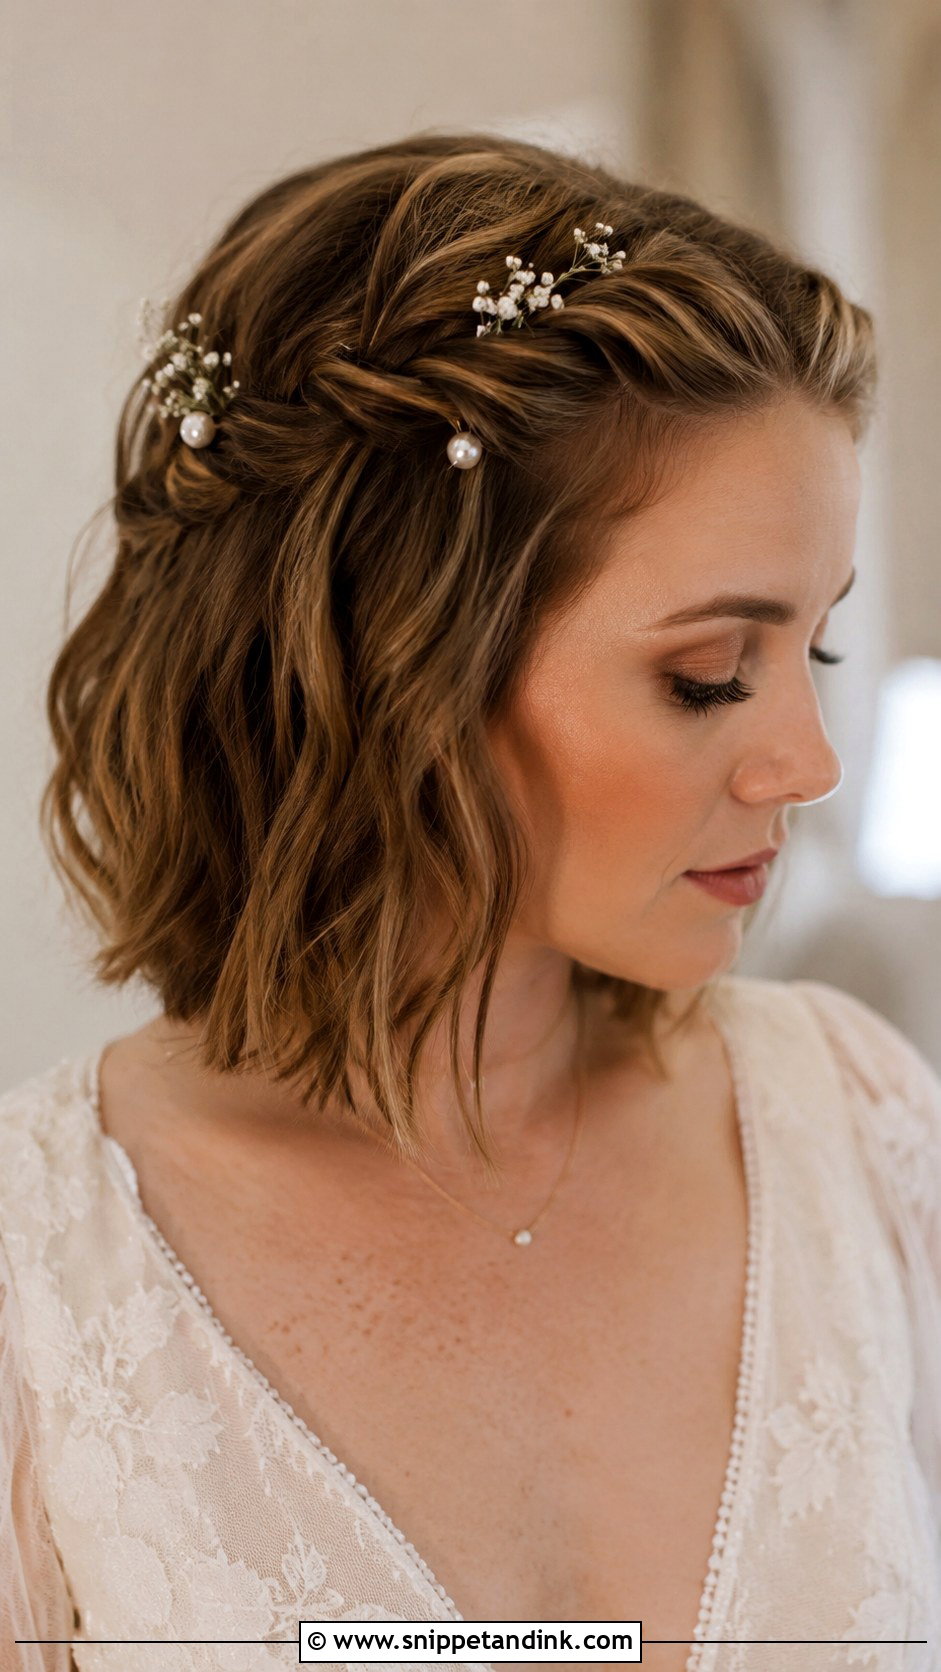
Pinned-back twists are one of the most practical options for bobs and longer pixies, because each twist only needs a few inches to reach a pin. I twist small sections from the temples back and secure them where they meet, crossing the pins in an X so they lock. The bottom layers can stay loose or tuck under for a neater back. Pearl pins at the meeting point hide the hardware. It’s detailed enough for a formal wedding and soft enough for a boho one.
14. Wet Look Short Hair Wedding Style
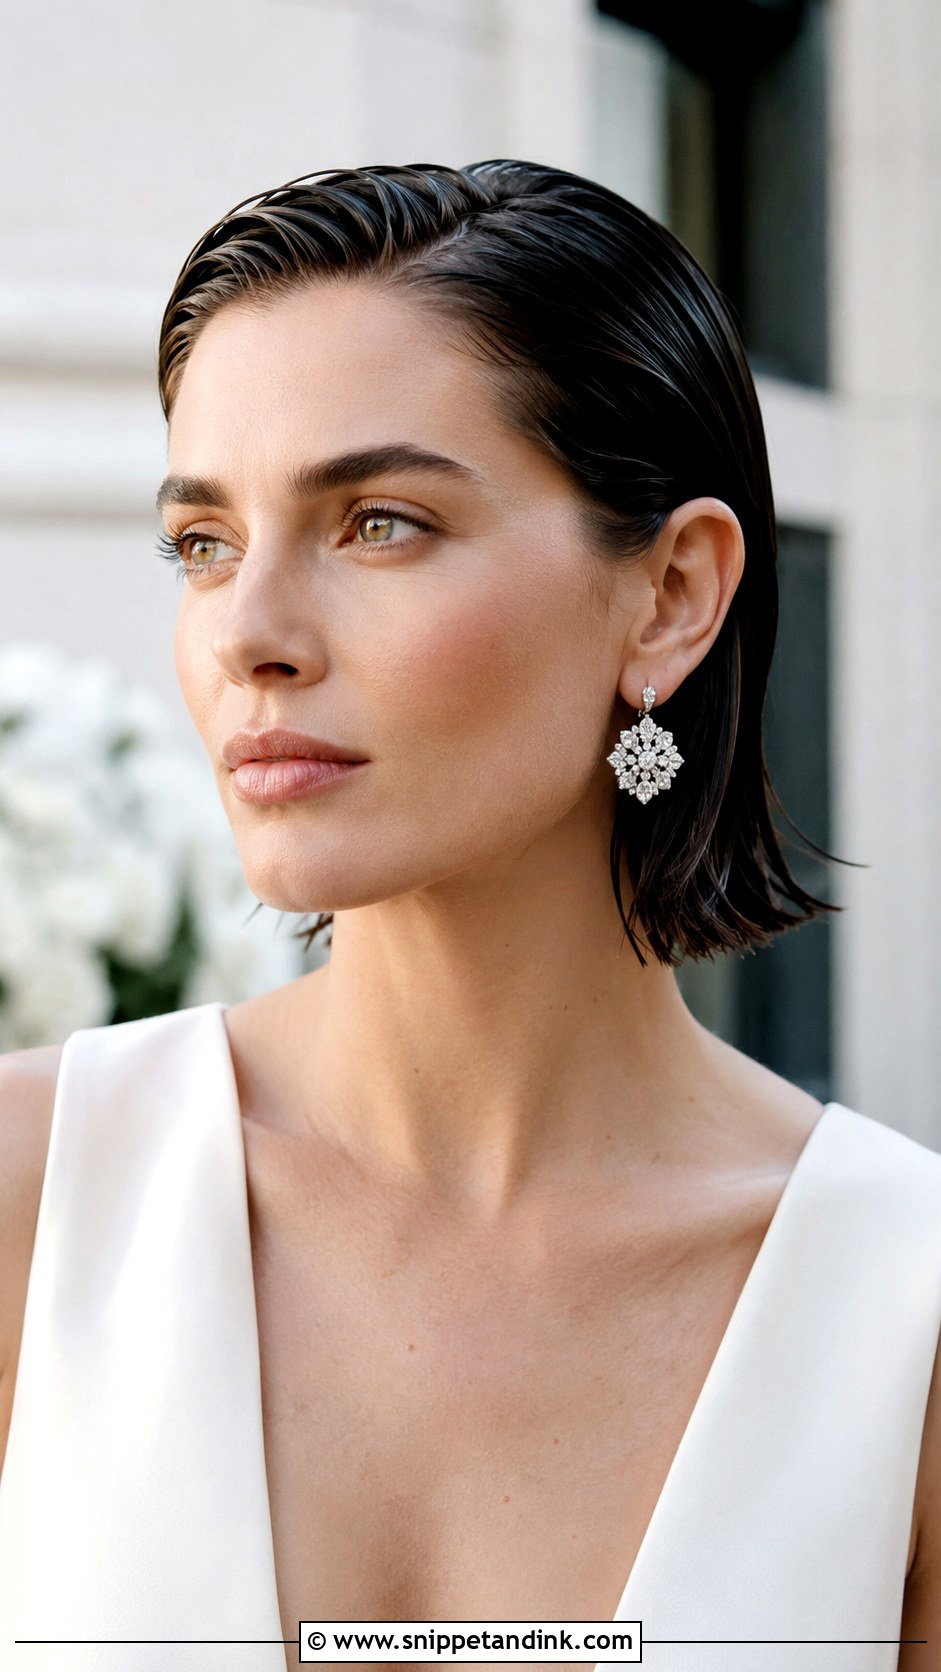
The wet look is a bold choice and it’s easier to wear than it seems. I comb a shine gel or a gel-and-oil mix through damp hair, set the direction back from the face and leave it to dry without touching it. Once set, it doesn’t move, which is a relief on a windy day. Pixies and short bobs suit it best, and it shows off the jaw and cheekbones. Statement earrings and a sleek dress keep it modern. One honest caution: veils slide off gelled hair, so pin the comb into a small dry section underneath before applying product on top.
15. Short Hair Updo with Birdcage Veil
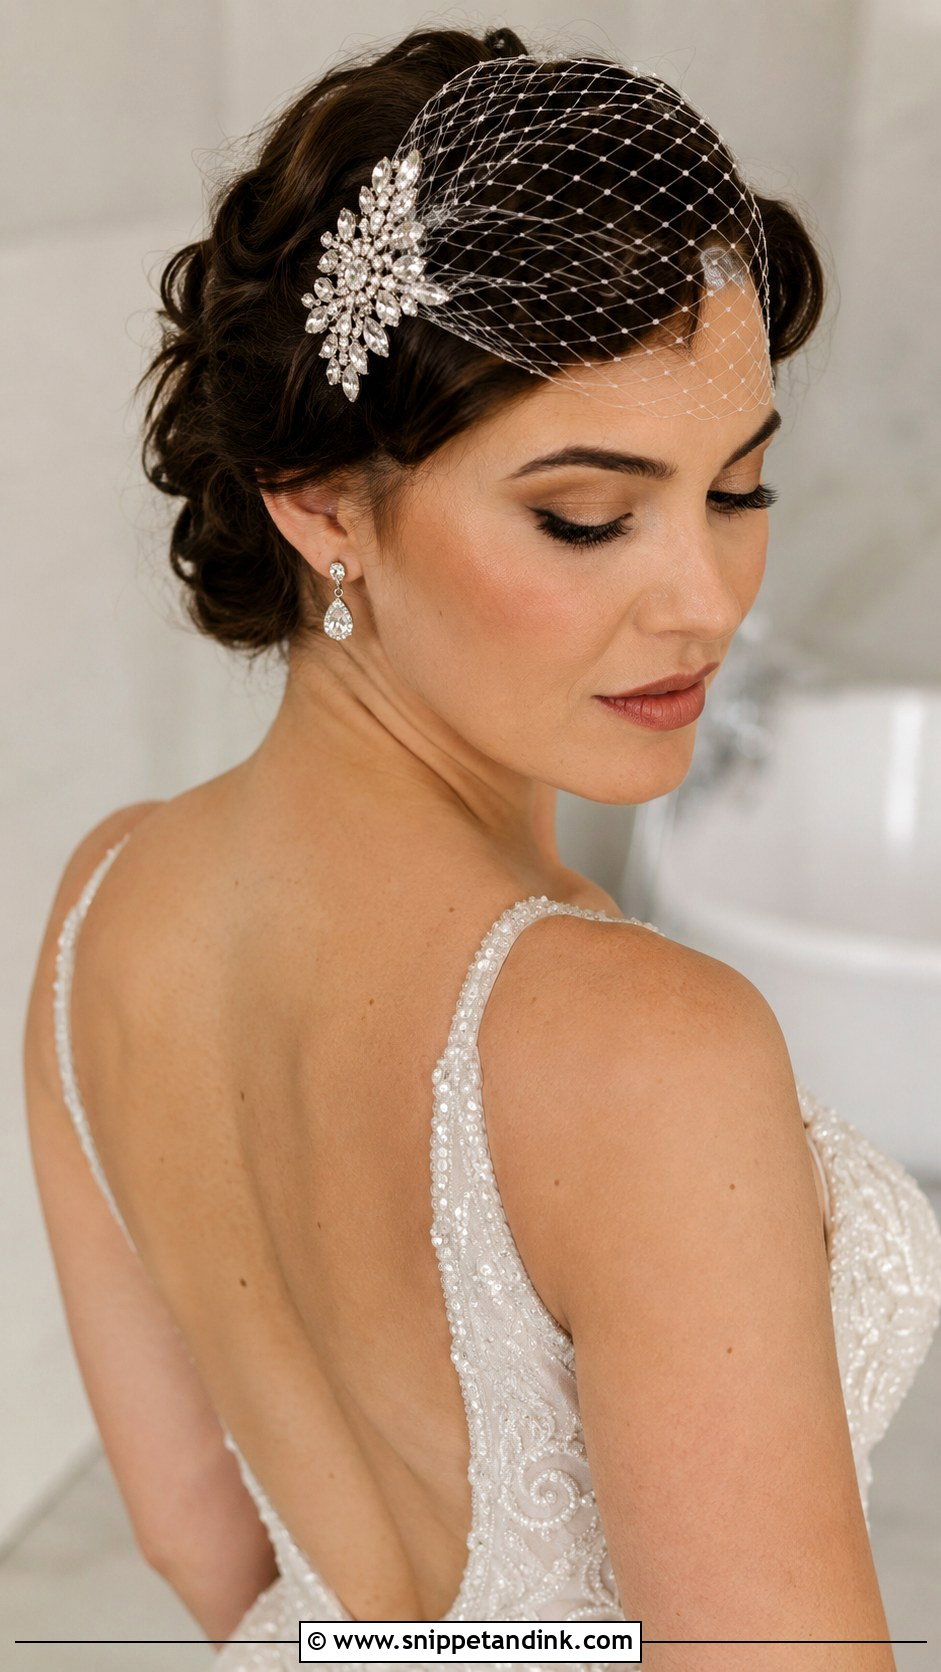
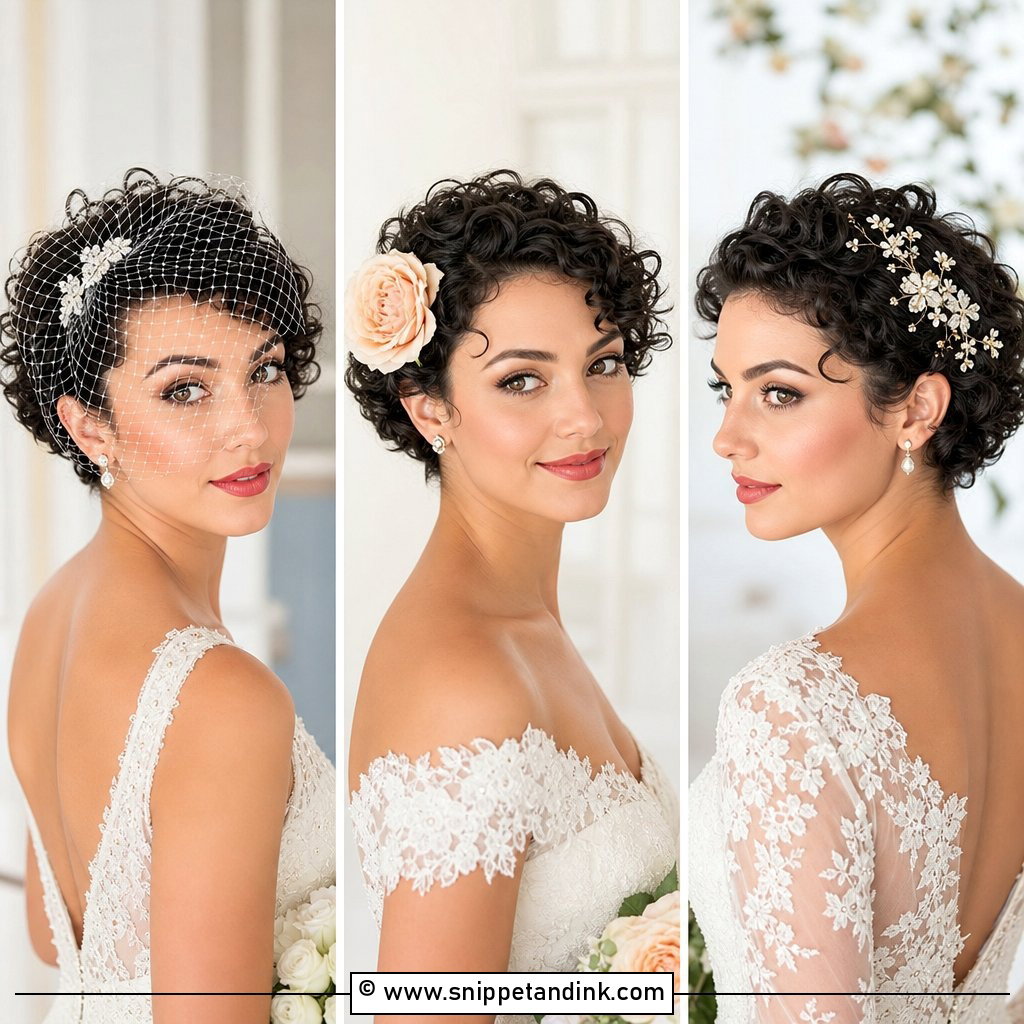
A birdcage veil needs a firm base to clip into, which is why I pair it with a short updo rather than loose hair. I pin the hair up and back first, then anchor the veil’s combs into those pins at an angle so the netting sits across one eye or the brow line. The look is very much 1950s. Bobs and pixies both work. A sparkling brooch at the attachment point covers the comb and adds a little shine. It’s also light to wear compared with a cathedral veil, so you won’t feel it pulling at the reception.
16. Short Hair Crown Braid Updo for Bride
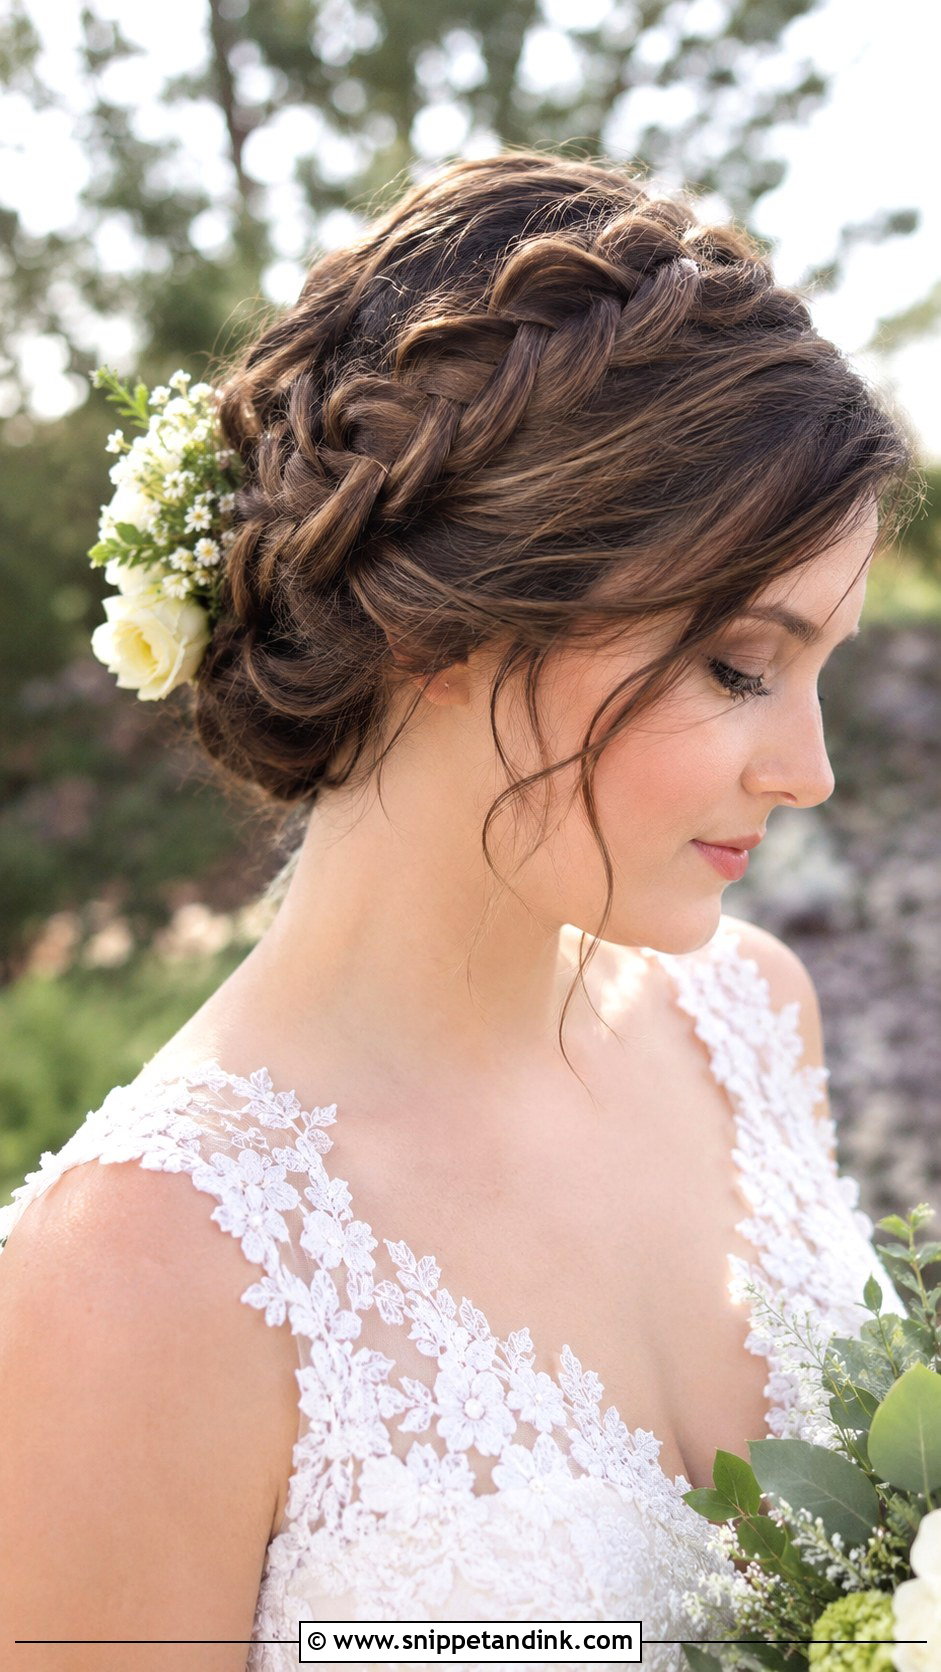
The crown braid updo mixes two techniques: braid the front, then tuck and pin the remaining length into a small shape at the back. On short hair I usually braid only to the ear on each side and hide the ends inside the tucked section. Flowers or pearl pins along the braid add detail. Because everything is off the neck, this is a sensible pick for a hot outdoor or garden ceremony. It needs at least bob length; a pixie can’t braid.
17. Short Hair Slicked Back Style for Wedding
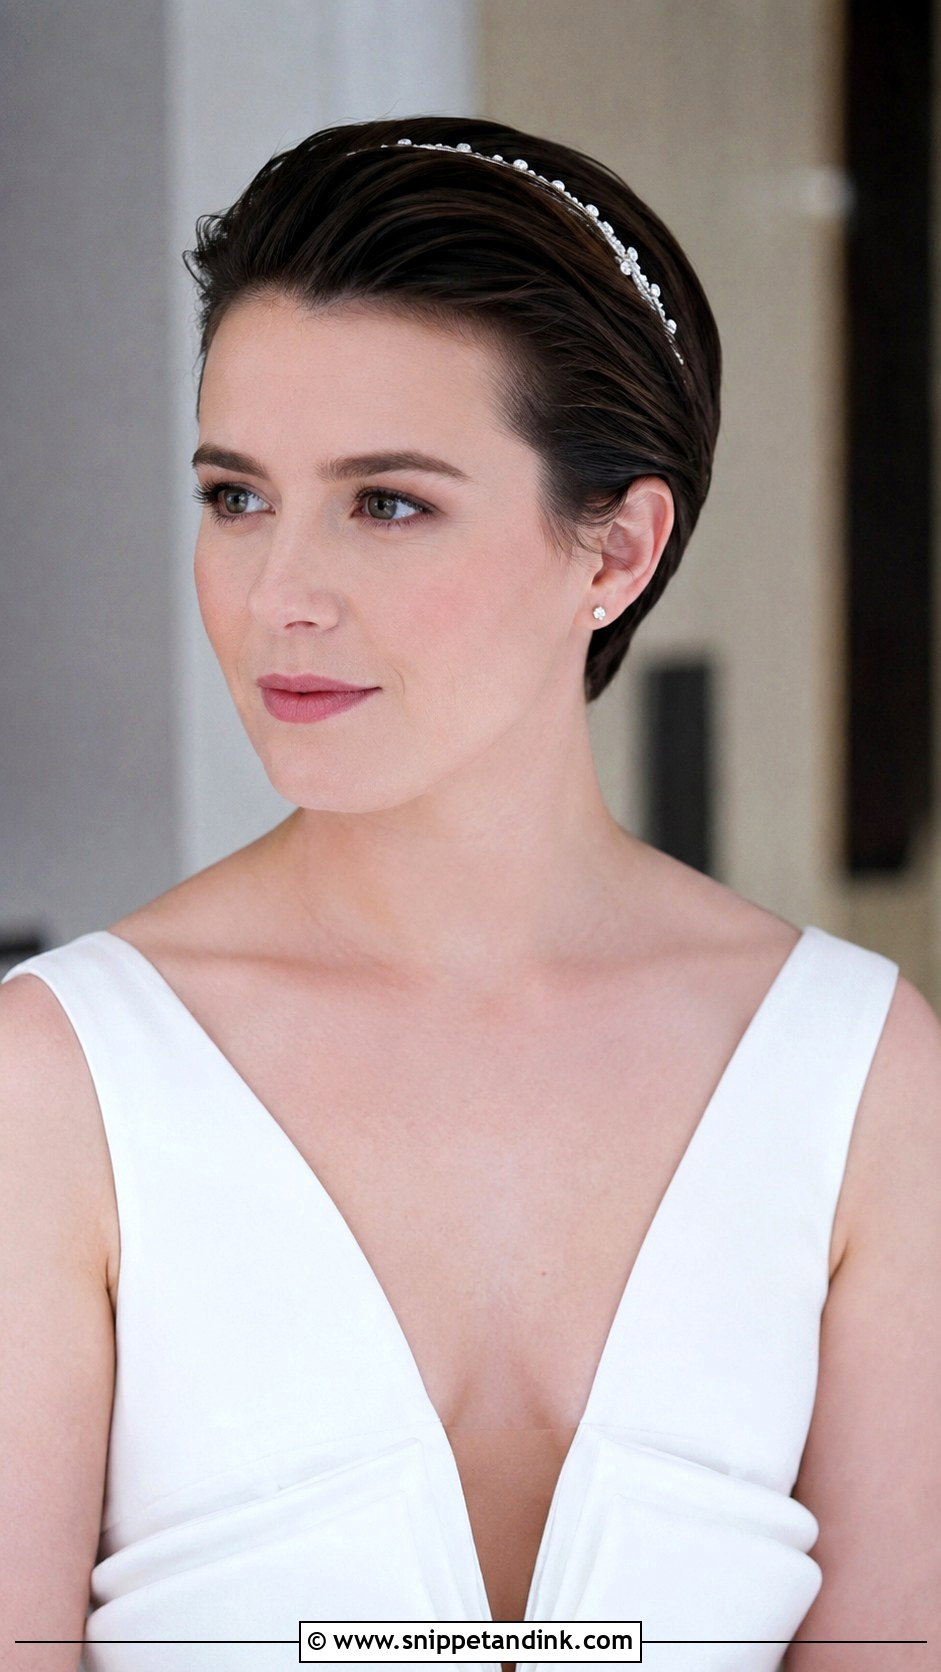
Confident and clean, the slicked back look differs from the wet look in finish: I use a pomade or cream for a softer satin shine rather than a high gloss. I comb it straight back from the face, smooth with a boar-bristle brush and press the sides flat. Strong makeup and statement jewelry balance the plain shape. A thin jeweled headband or a few pins add a bridal touch. Thick, springy hair can lift at the crown by evening, so I’d keep a little extra product on hand.
18. Short Hair with Flower Crown for Wedding
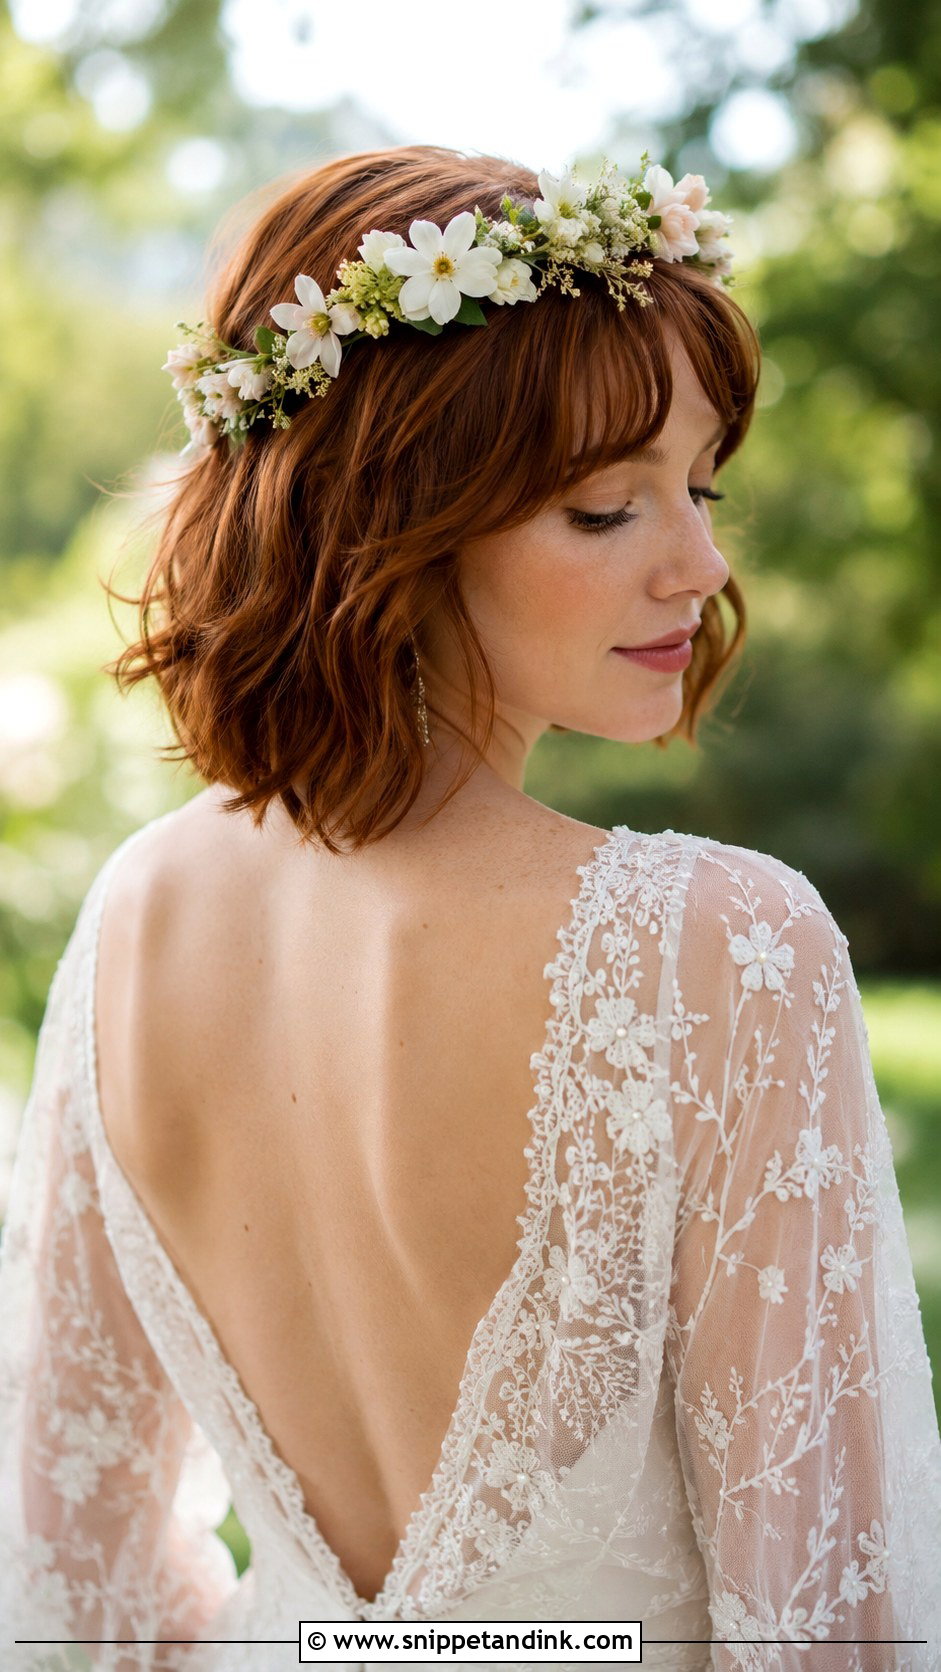
A flower crown makes short hair look softer in a single step. On bobs, lobs and pixies I pin the crown through its base into small sections of hair so it doesn’t ride up, which is the common problem on short cuts with less to grip. Hair can stay down in waves, go half-up or tuck under the crown. Ask your florist to wire blooms that match your bouquet and to choose sturdy flowers that won’t wilt by evening. It suits garden, beach and outdoor ceremonies.
19. Short Hair Top Knot for Bride
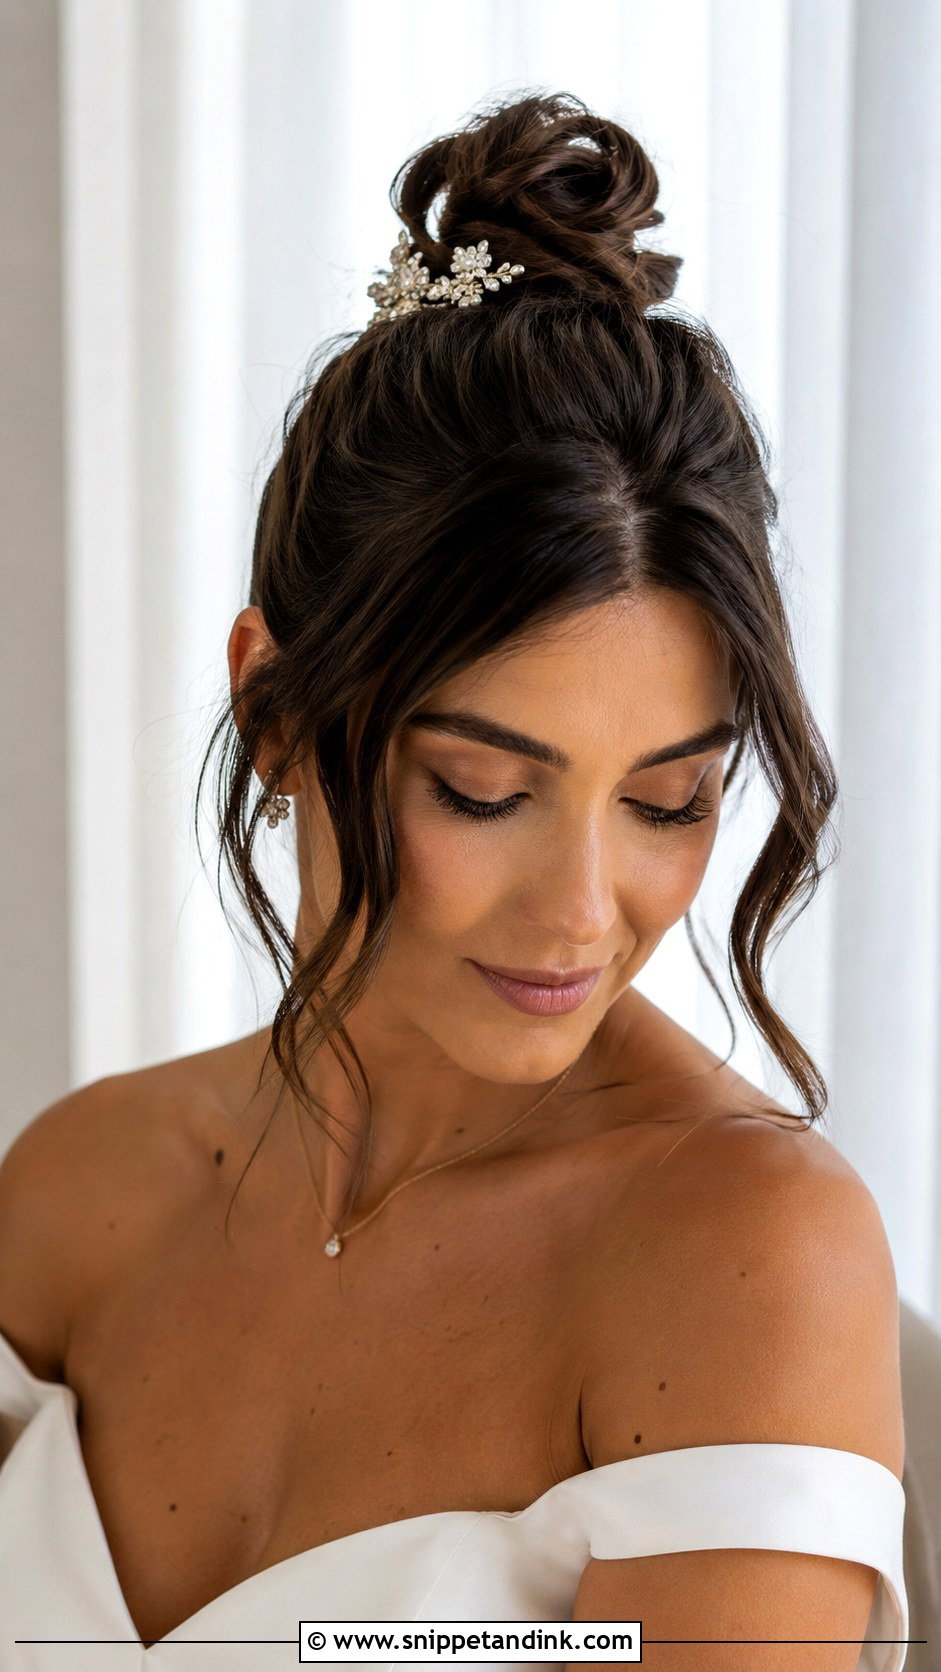
A top knot needs the most length of any updo here, so I’d save it for longer bobs and lobs. I gather the hair high on the crown, secure it with a small elastic, then twist and pin the ends around it into a neat or slightly loose knot. Shorter layers at the nape will fall out, and that’s fine; I curl them so the fall looks intended. A sparkling pin or small flower adds the bridal note. With everything lifted, your neckline and earrings get attention.
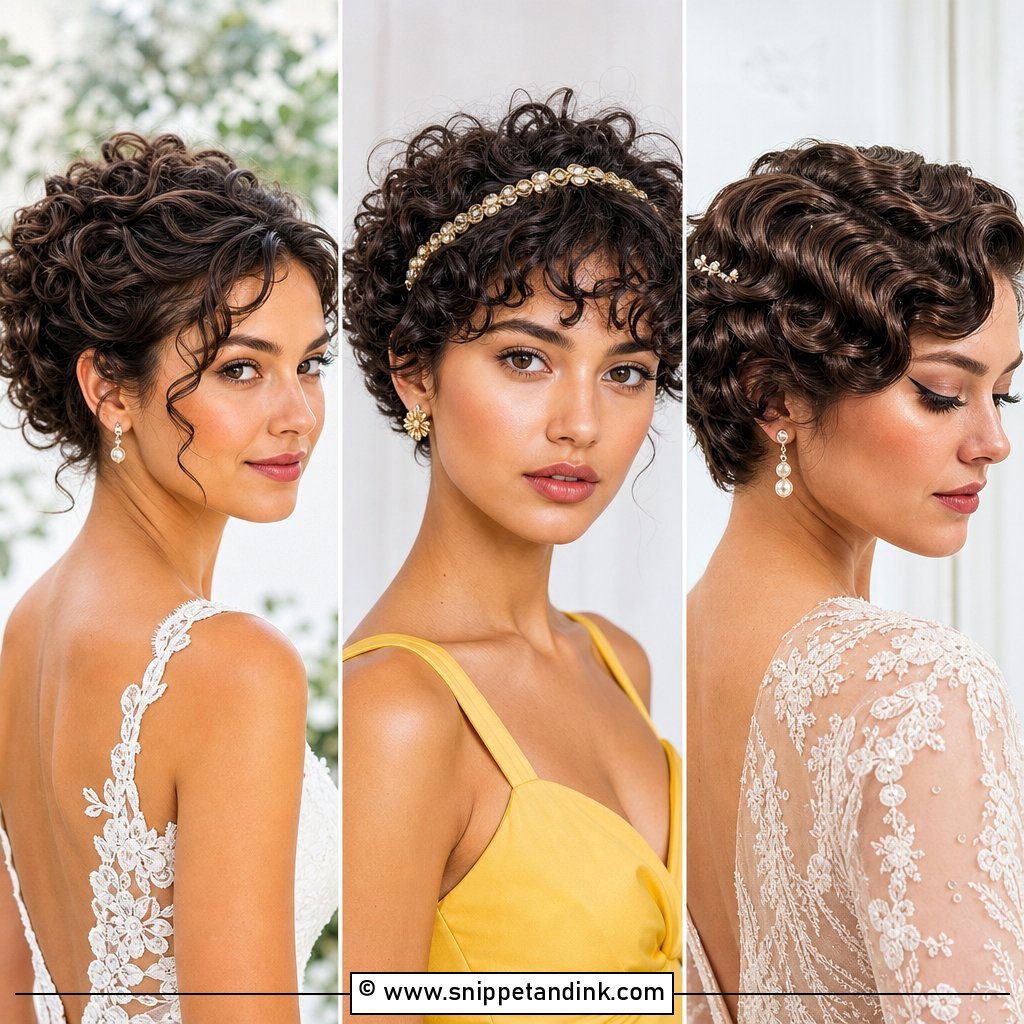
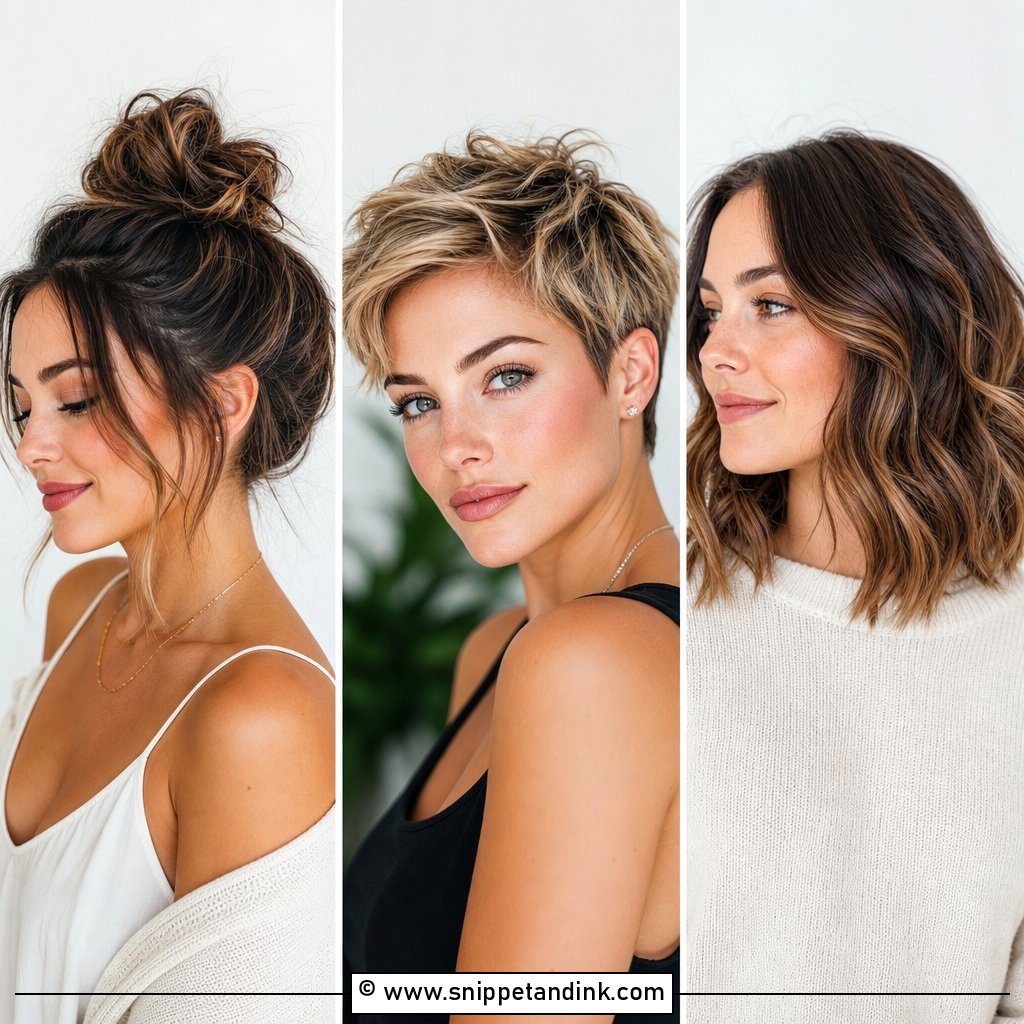
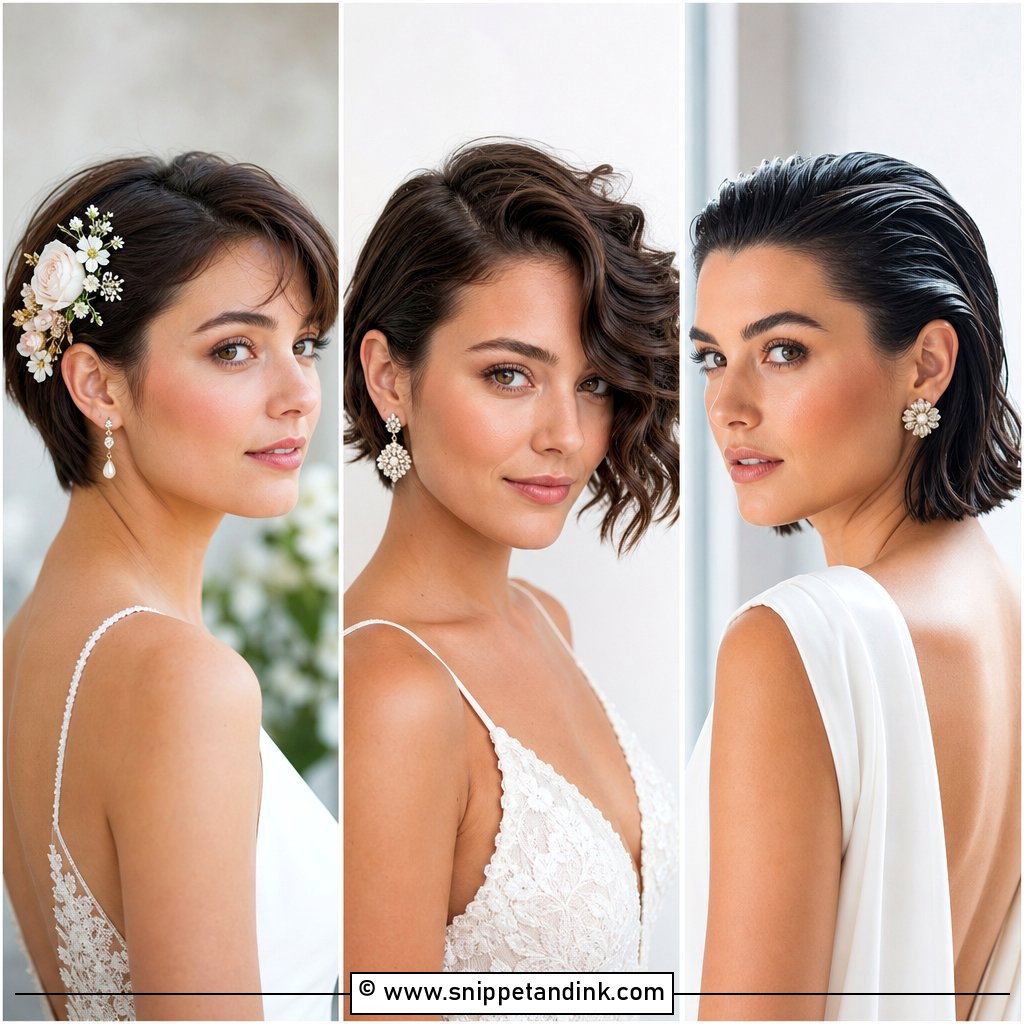
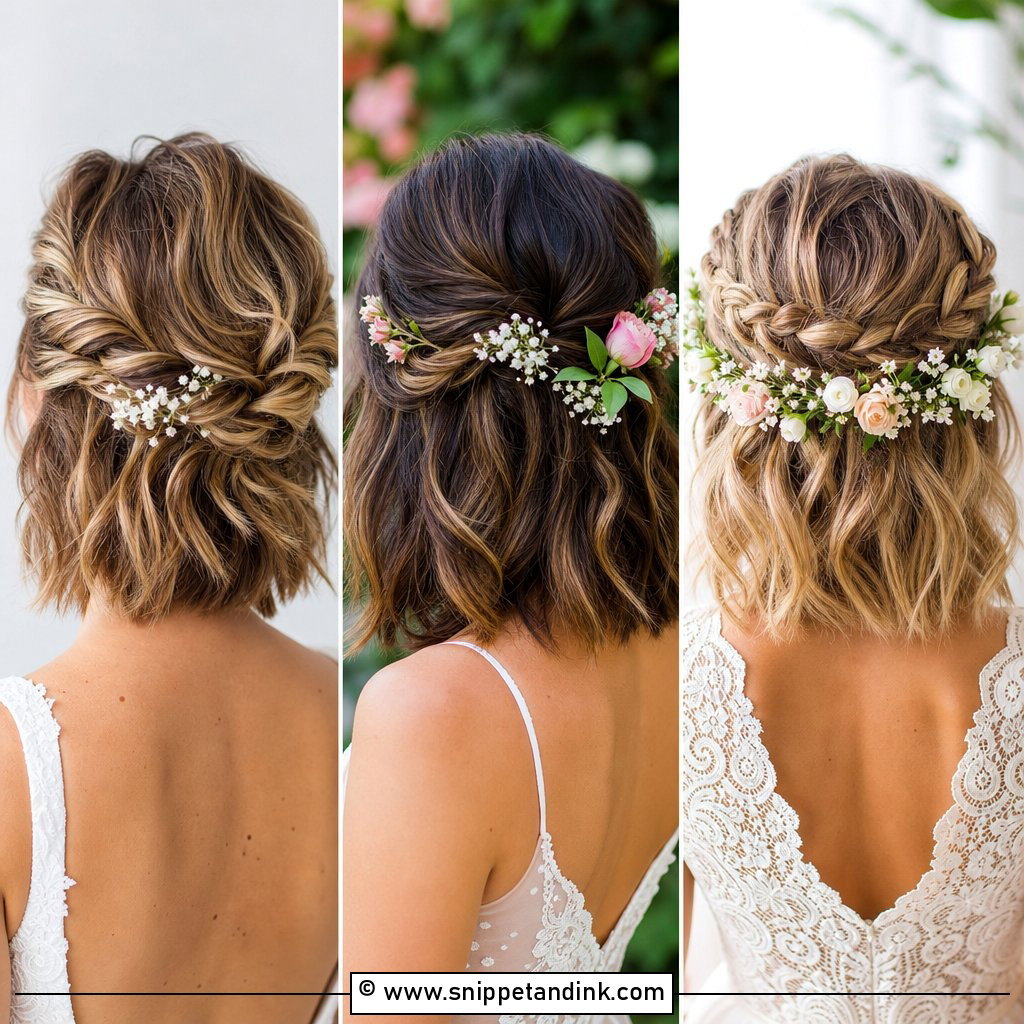
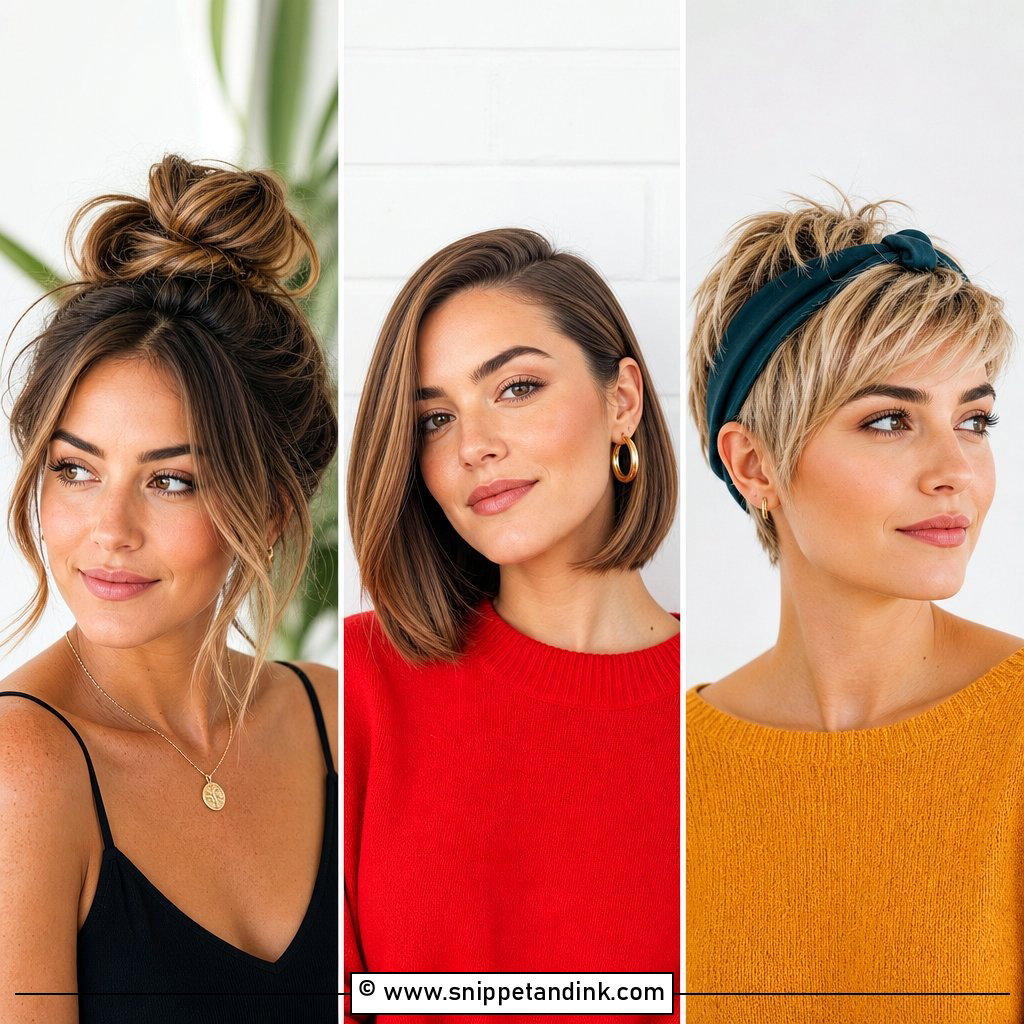
20. Short Hair Textured Bob with Accessories for Wedding
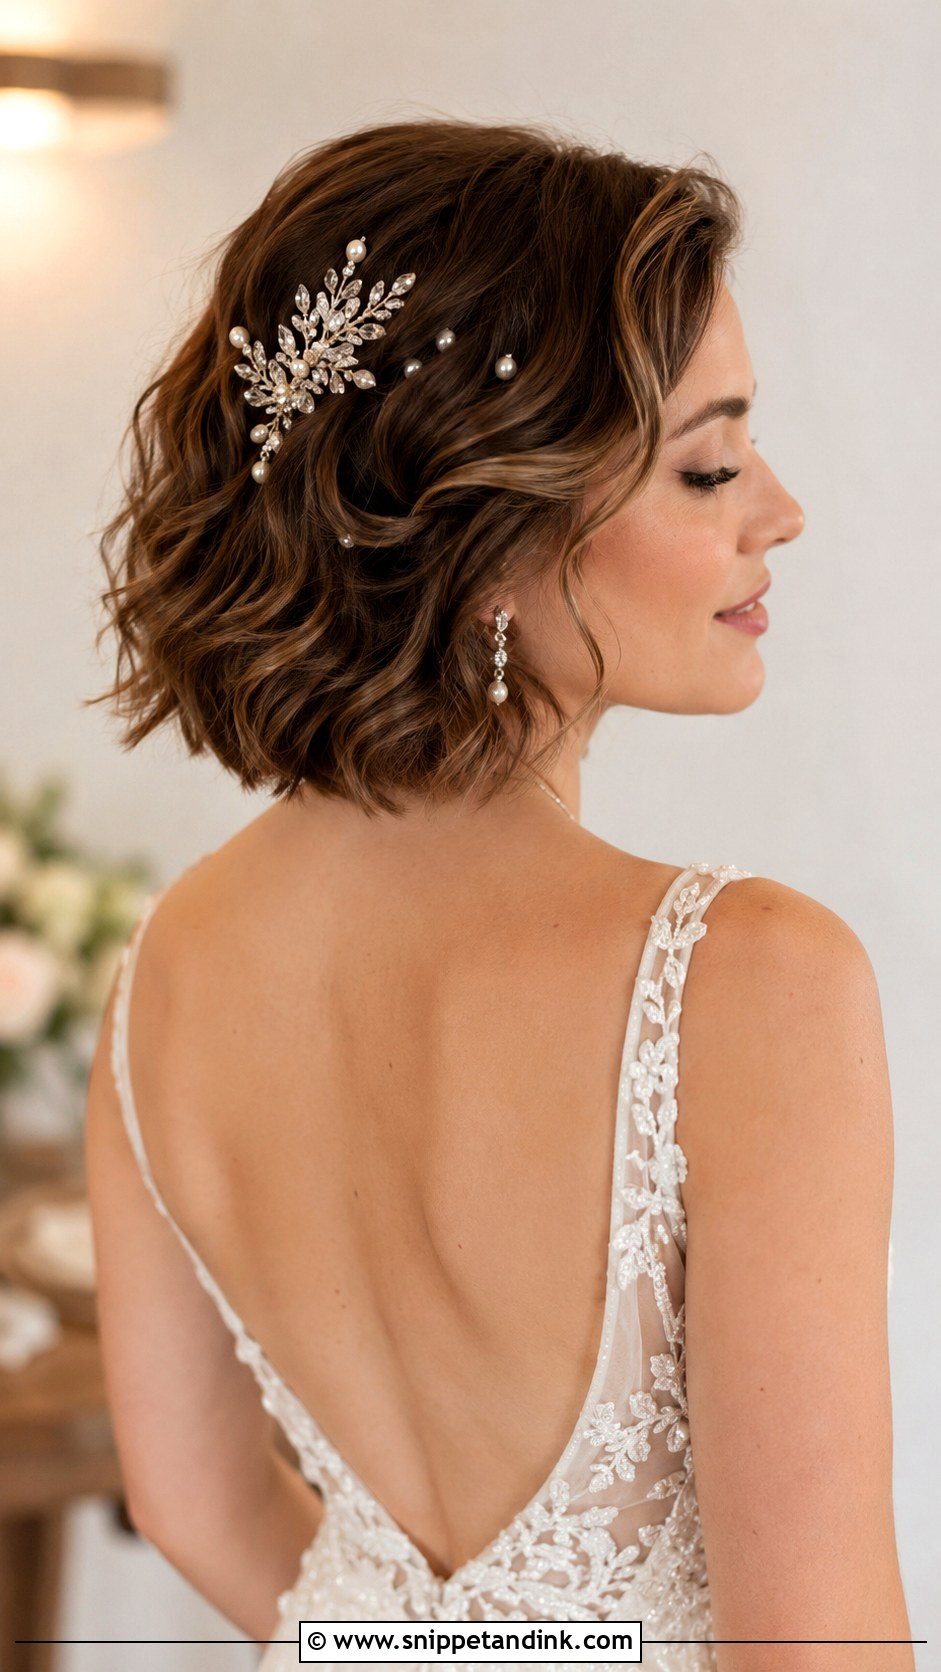
A textured bob with accessories is the most adaptable look here. I add soft waves or piecey texture, then place pearl pins, crystal combs or a single clip where they echo something on the dress, such as beading at the neckline. The texture gives the pins something to hold, which a freshly washed, smooth bob doesn’t. Keep the accessories to one area of the head, or the look starts to feel busy. It works from a formal ballroom to a backyard.
Your Last Haircut Should Land About Two Weeks Out
With long hair, a trim a few days before the wedding barely shows. With short hair, the shape is the style, so timing matters more. A pixie looks crisp for a week or two after a cut and then starts to lose its edges; a bob settles over the first week as the blunt line softens. I usually suggest a final cut around ten days to two weeks before the wedding, so the lines are fresh but no longer harsh.
Have your trial after a cut that’s close to the one you’ll have on the day, not before a big chop. A trial on a longer cut doesn’t tell either of us much. And skip any dramatic color change within the last month, since a new shade can change how the texture looks and how product sits on it.
What Keeps Pinned Short Hair in Place Until the Last Dance
Short hair often comes down not because it’s short but because it’s too smooth to grip. These are the habits I rely on:
- Wash the day before, not the morning of. Second-day hair holds pins far better than freshly conditioned hair.
- Use small bobby pins sized for short hair. Long pins stick out of a compact updo and are hard to hide.
- Cross pins in an X over each other at every anchor point; one pin alone slides.
- Anchor a veil or comb into an existing pinned section, never into loose hair.
- Carry a small kit: a travel hairspray, a few pins and a fine comb. Short styles need only a minute to reset after the first dance.
If you’re doing your own hair, practice the full style at least twice in the weeks before, timing yourself, so the morning doesn’t hold any surprises.
Your Cut Is the Starting Point, Not the Limit
Short hair gives you a wide range of wedding looks, from sleek bobs and twisted pins to flower crowns and a wet finish. The practical question is always the same: what can your current length hold, and how long does the style need to stay put? Bring photos of two or three looks from this list to your trial, wear something with a similar neckline to your dress, and judge the result after a few hours rather than straight out of the chair. Then add the accessory that feels most like you and leave the rest at home.
You'll Like These Ideas:


Leave a Reply