
Shoulder-length hair is the length I find easiest to style for a wedding guest, and the easiest to get slightly wrong. It’s long enough to curl, braid and pin, but the layers at the nape are often too short to reach a bun, and that’s where most home updos start to unravel around the speeches. Below are 20 shoulder-length wedding guest hair ideas, each with a note on how it’s actually built, which hair holds it and where I’d add a pin or skip a step. Keep the venue and the length of the day in mind as you read.
Why This Length Slips Out of Pins, and How to Stop It
Shoulder-length hair sits in an awkward spot for pinning. There’s enough weight to pull a style down over a few hours, but not enough length to wrap around a pin and lock it. The shortest layers, usually at the nape and around the ears, are the first to escape. Nearly every fix I use comes down to giving the hair grip before it goes up.
- Fine or freshly washed hair: dry shampoo or texture spray through the lengths, and a little backcombing at the base of any section you pin into.
- Thick hair: smaller sections and more pins. One big twist is too heavy for a few bobby pins to hold.
- Curly or coily hair: work with your natural texture rather than against it. Twists and buns hold well, and the sleek styles need a full blow-dry first.
- Heavily layered cuts: choose half-up and textured styles over smooth buns, so stray ends read as part of the look.
Pins matter too. I put bobby pins in with the ridged side down against the scalp and use U-shaped pins for buns, since they hold a coil without flattening it. If a pin keeps sliding, cross a second one over it in an X.
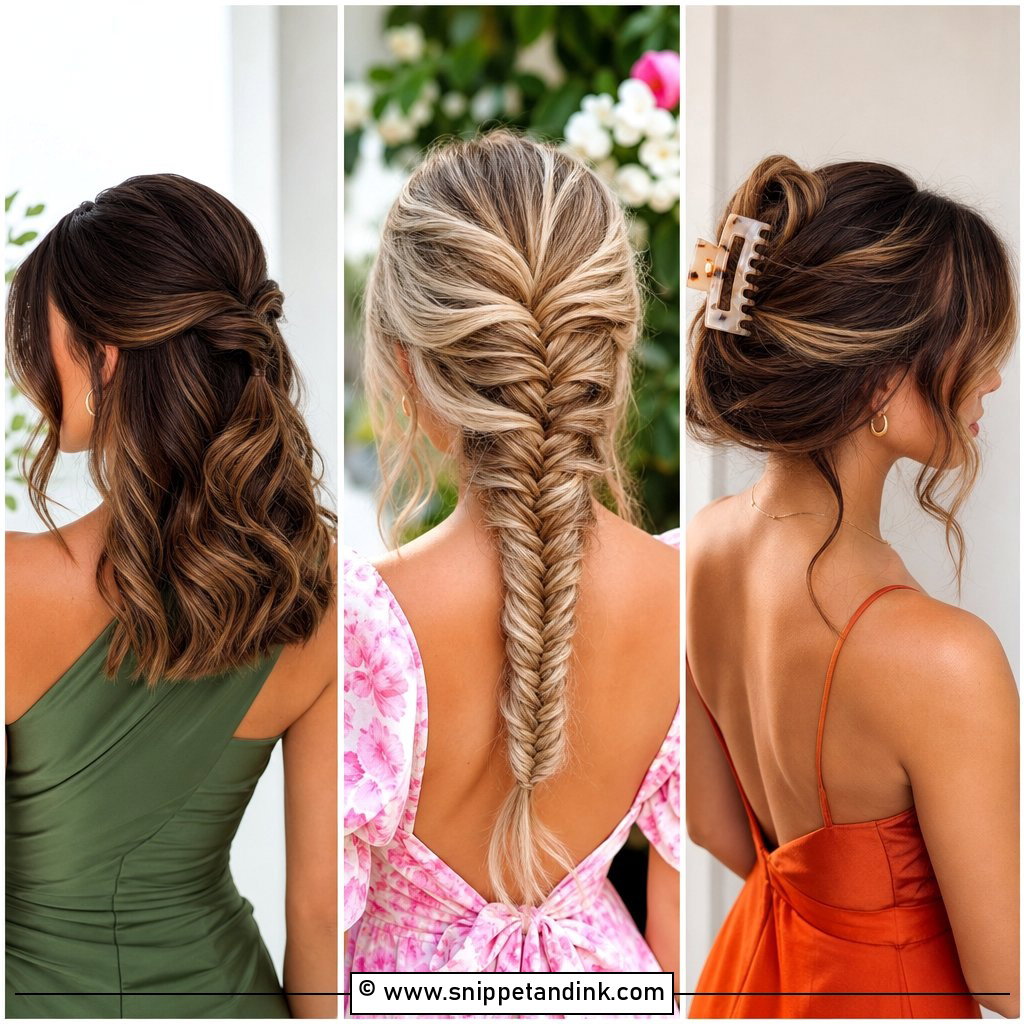
1. Half Up Half Down With Loose Waves
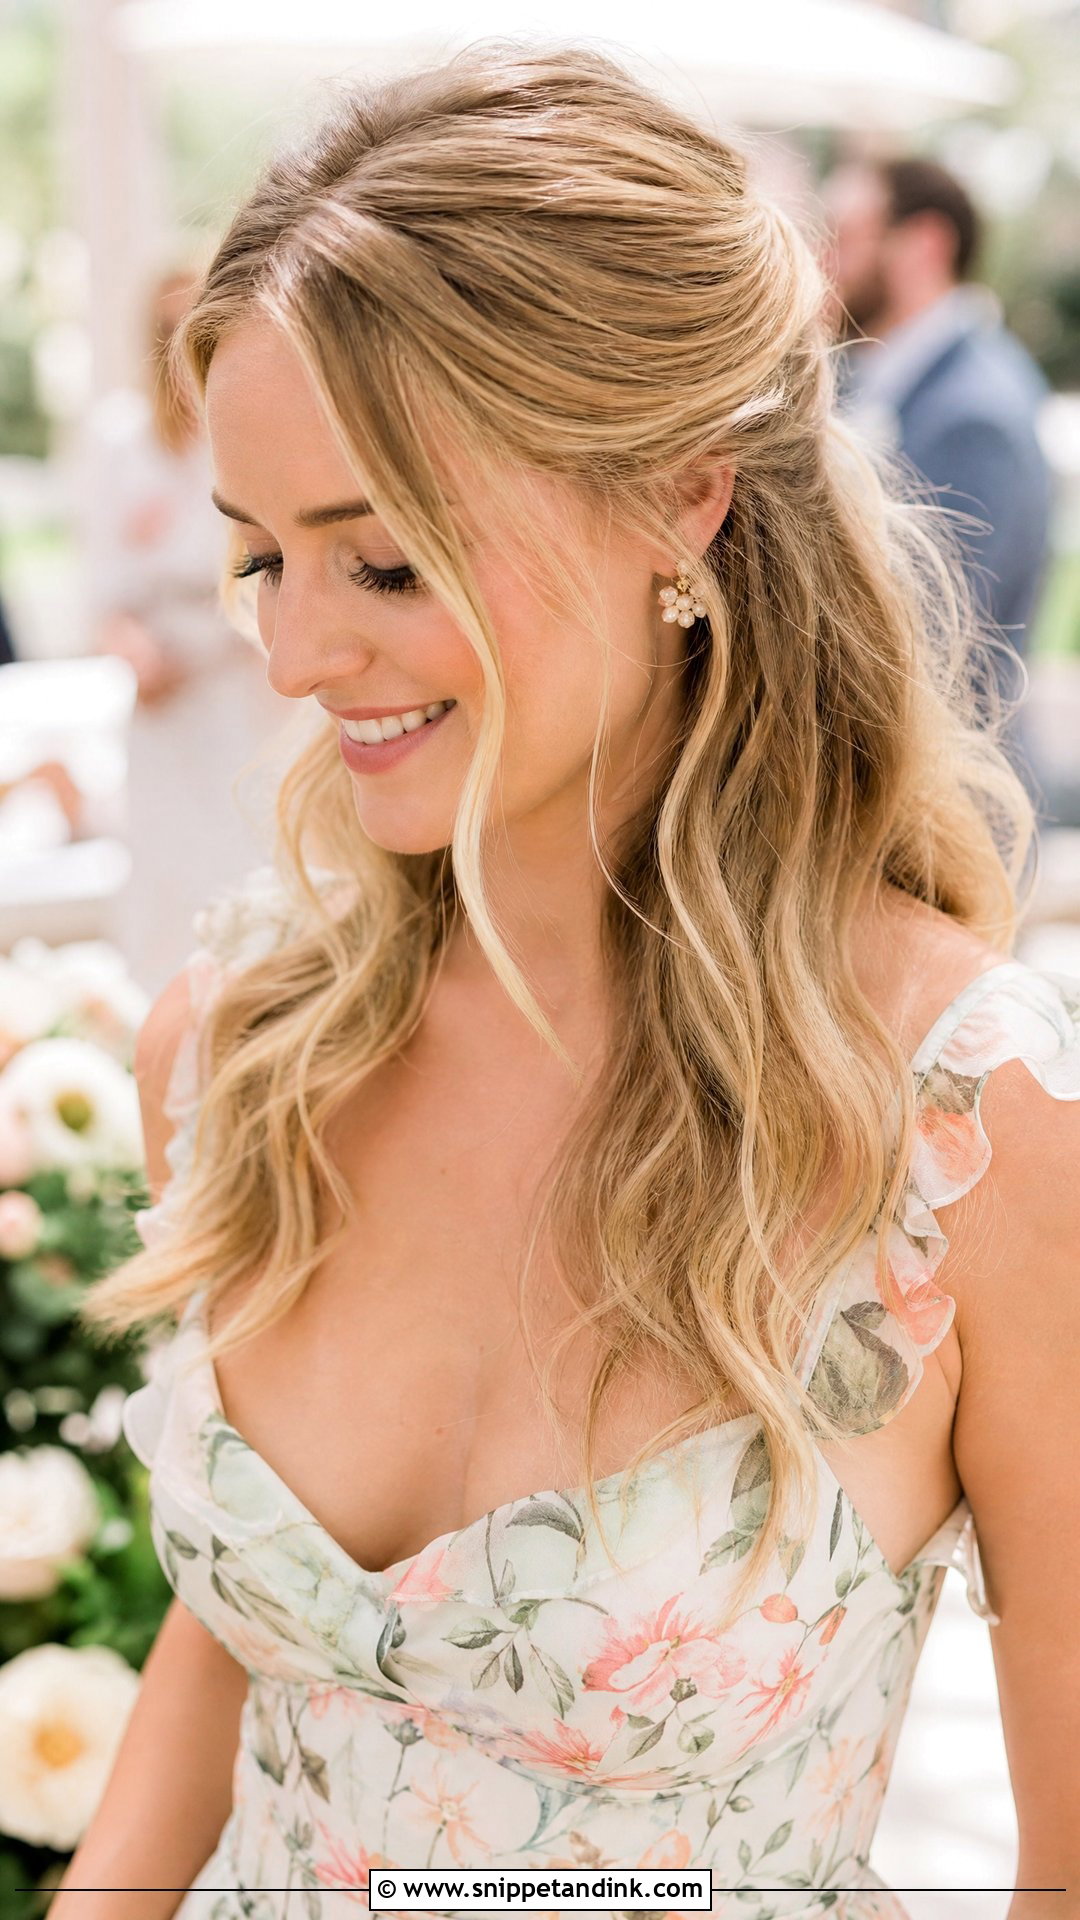
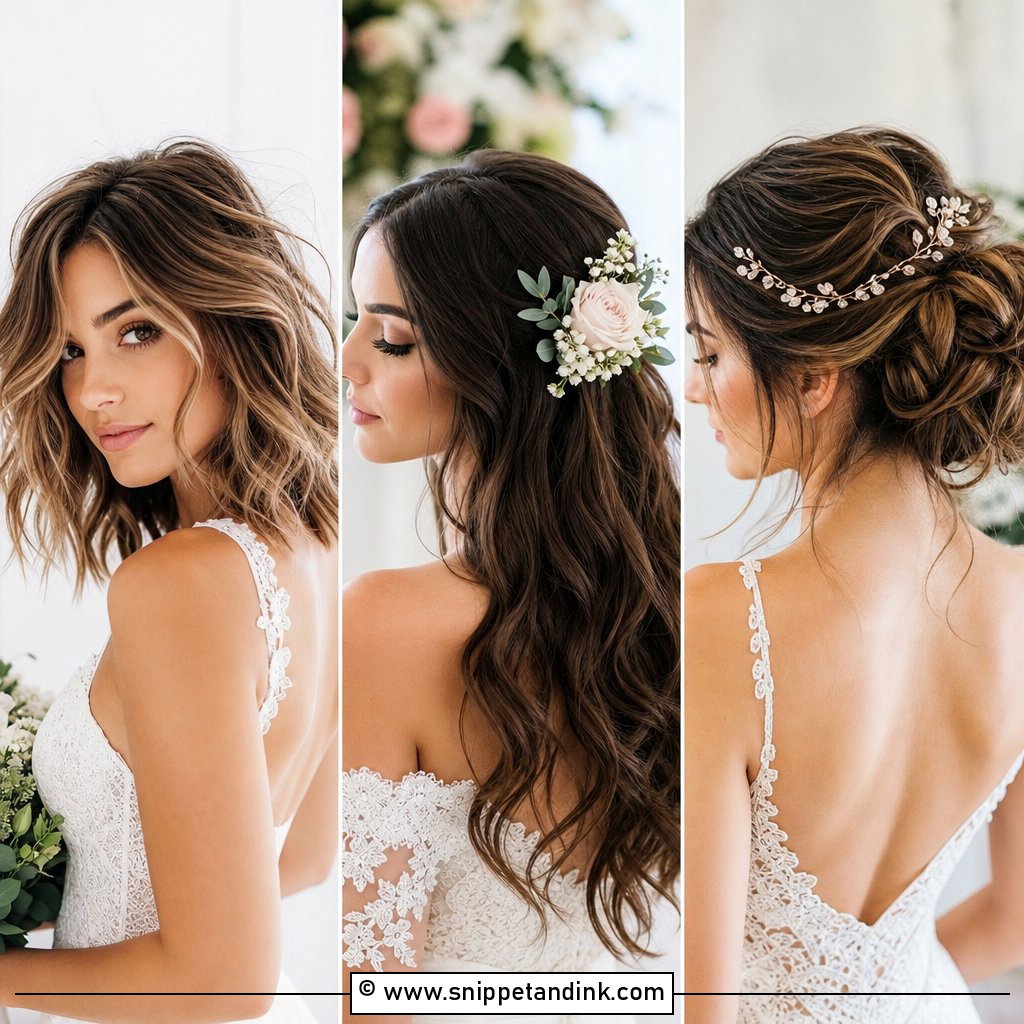
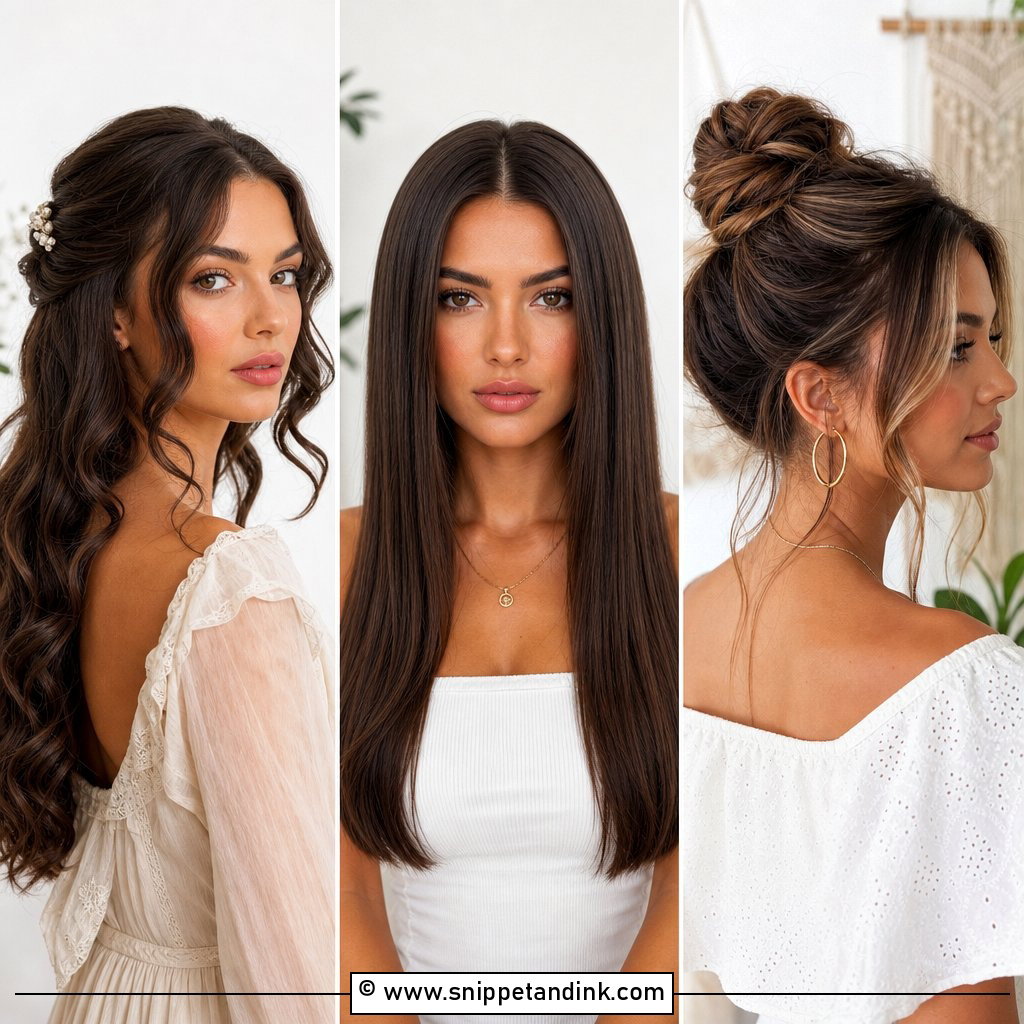
The top section is the anchor here, so I take it from just behind the temples back to the crown and no wider, or the half-up part starts to look like a ponytail. Curl with a wide barrel and let each curl cool in your hand before you let it drop; warm curls brushed out too soon go flat within the hour. Two bobby pins crossed in an X under the clip stop it sliding down fine hair. A little texture spray at the end keeps the waves separated instead of clumping into ropes.
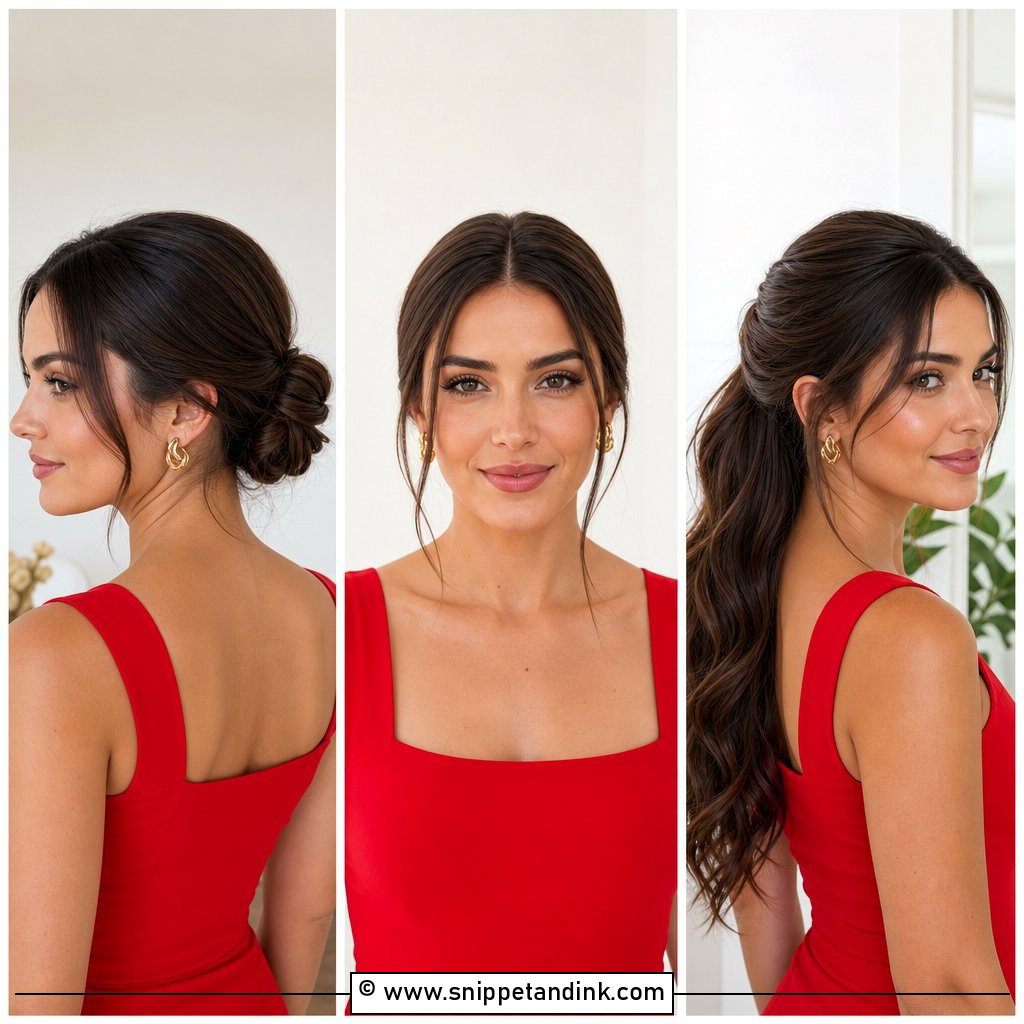
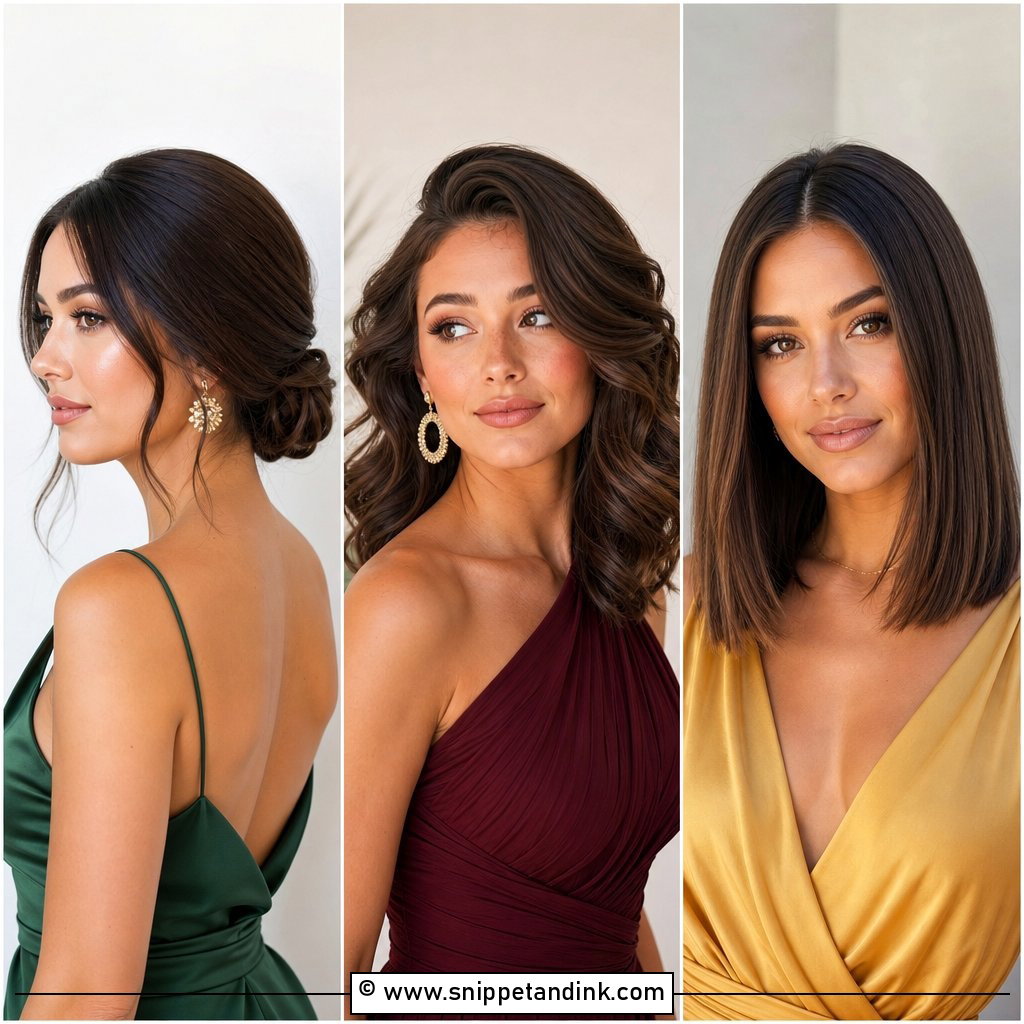
2. Low Twisted Bun
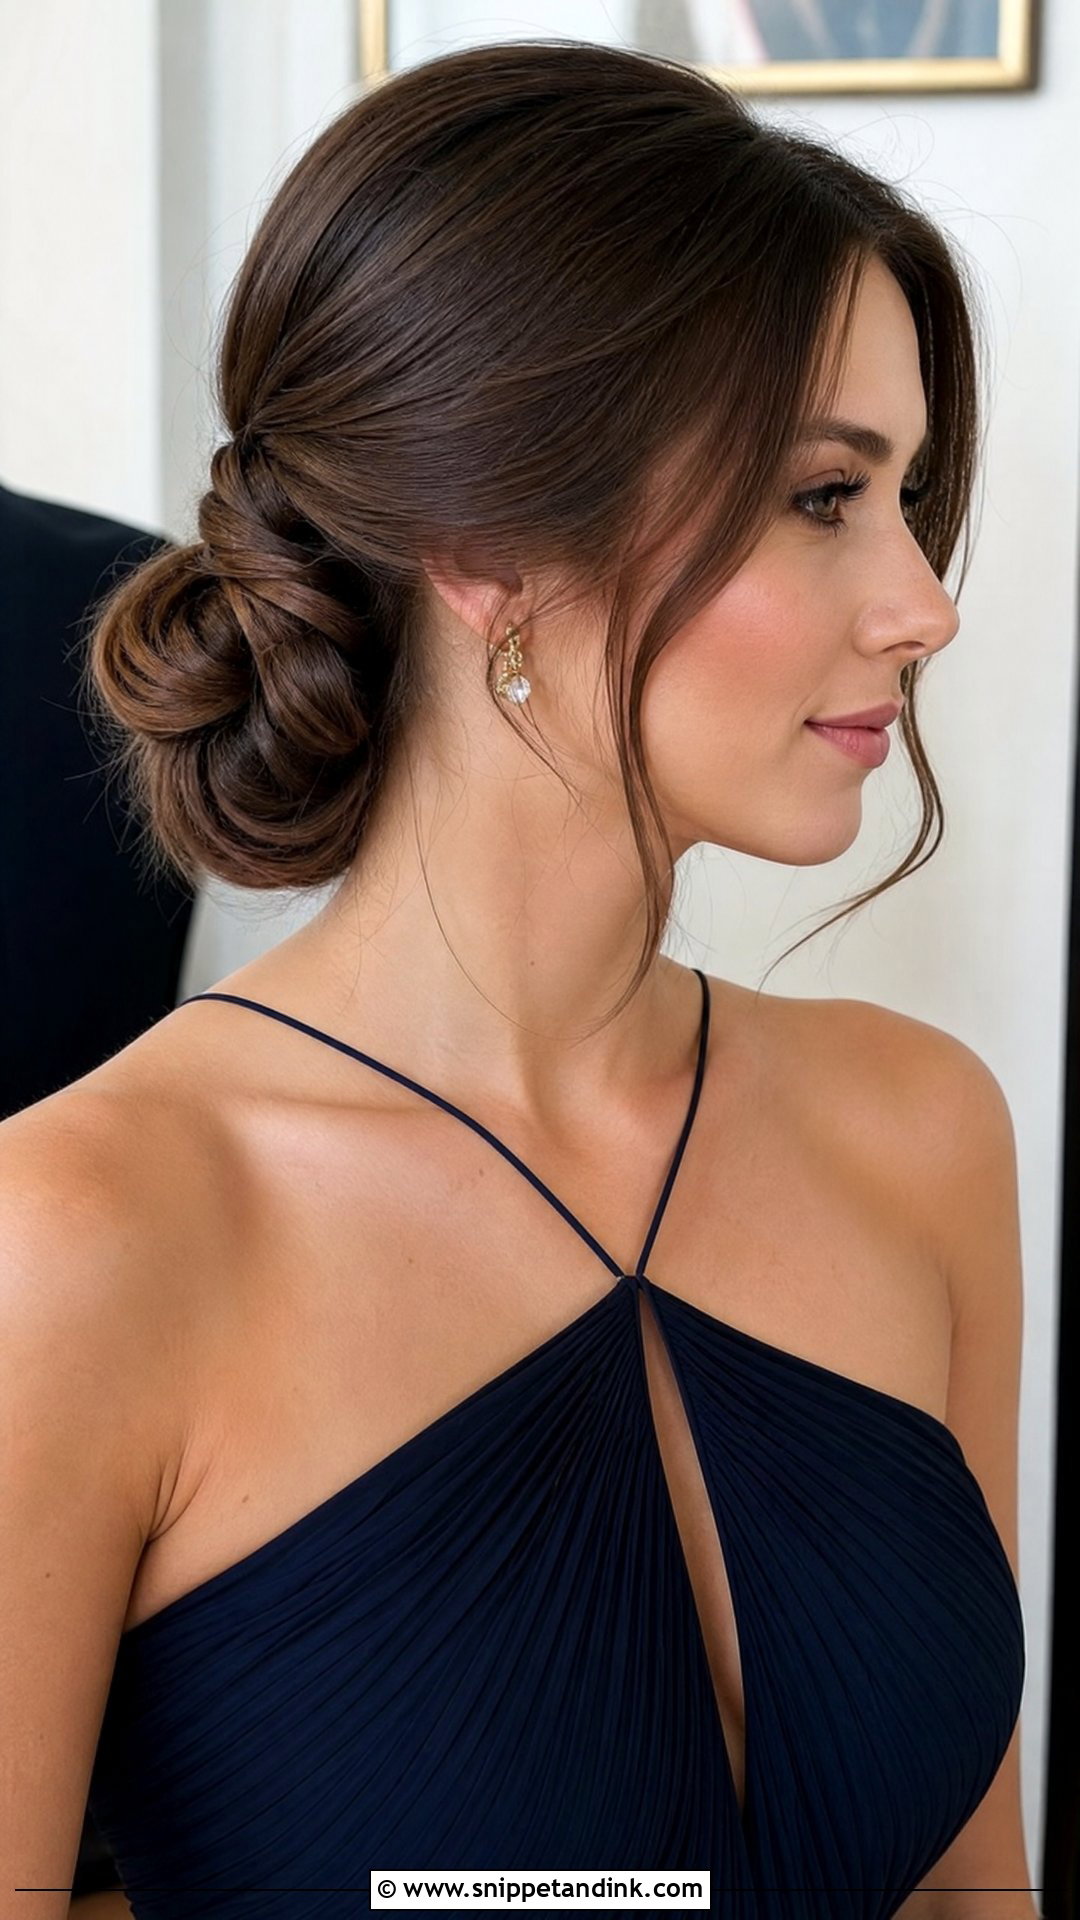
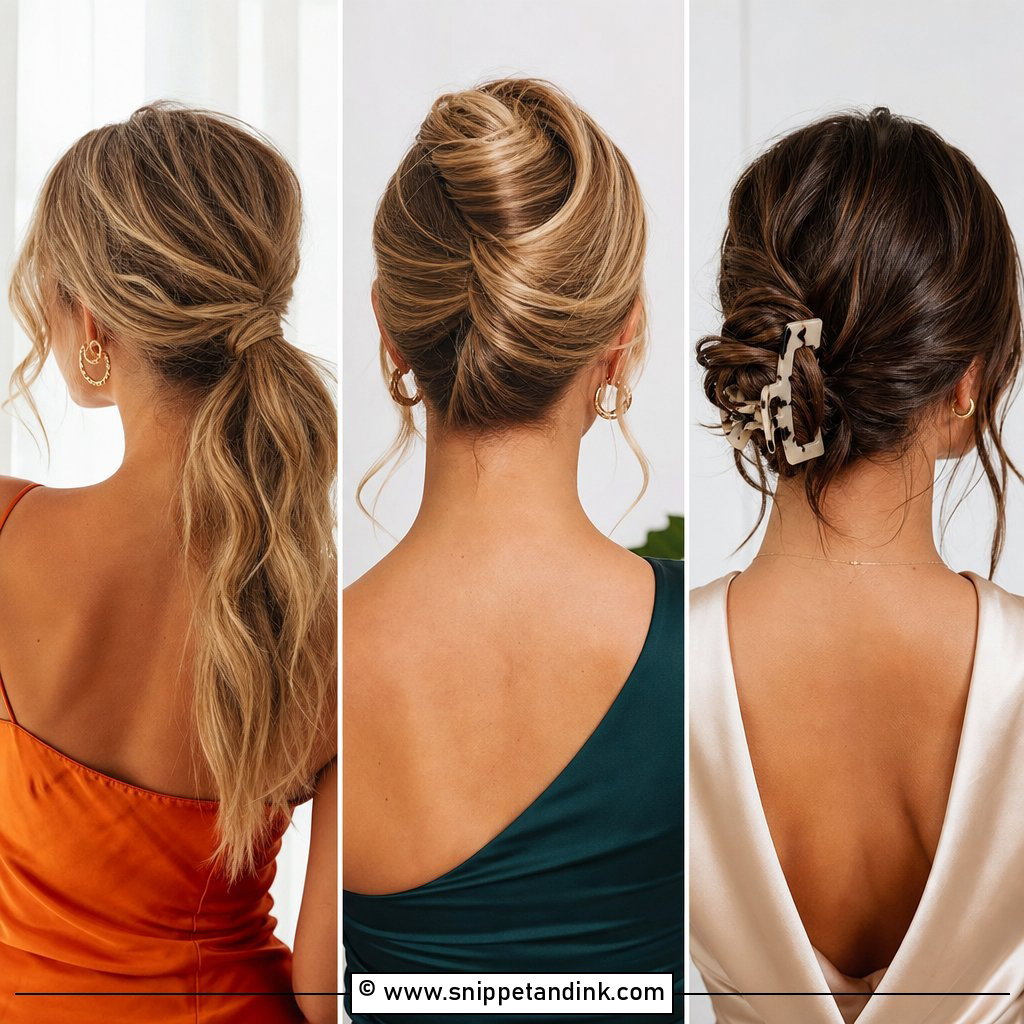
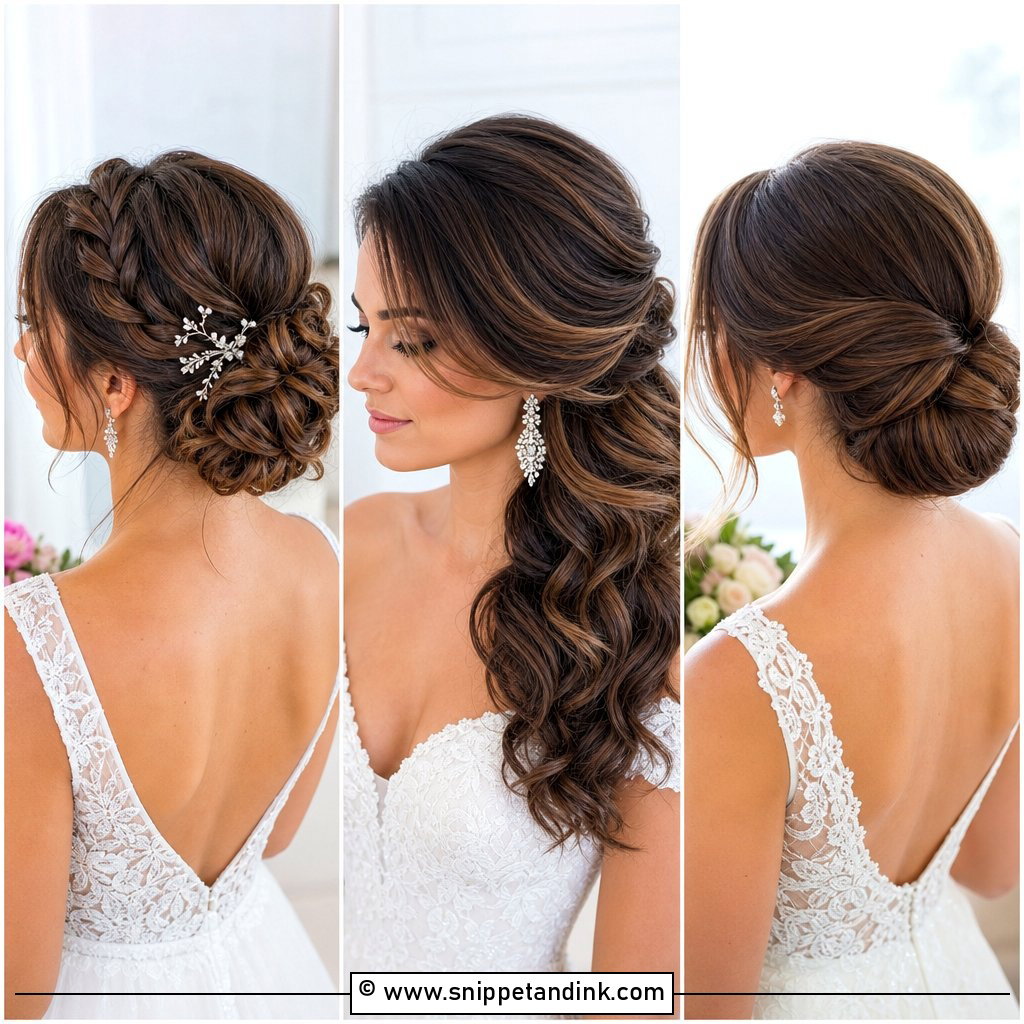
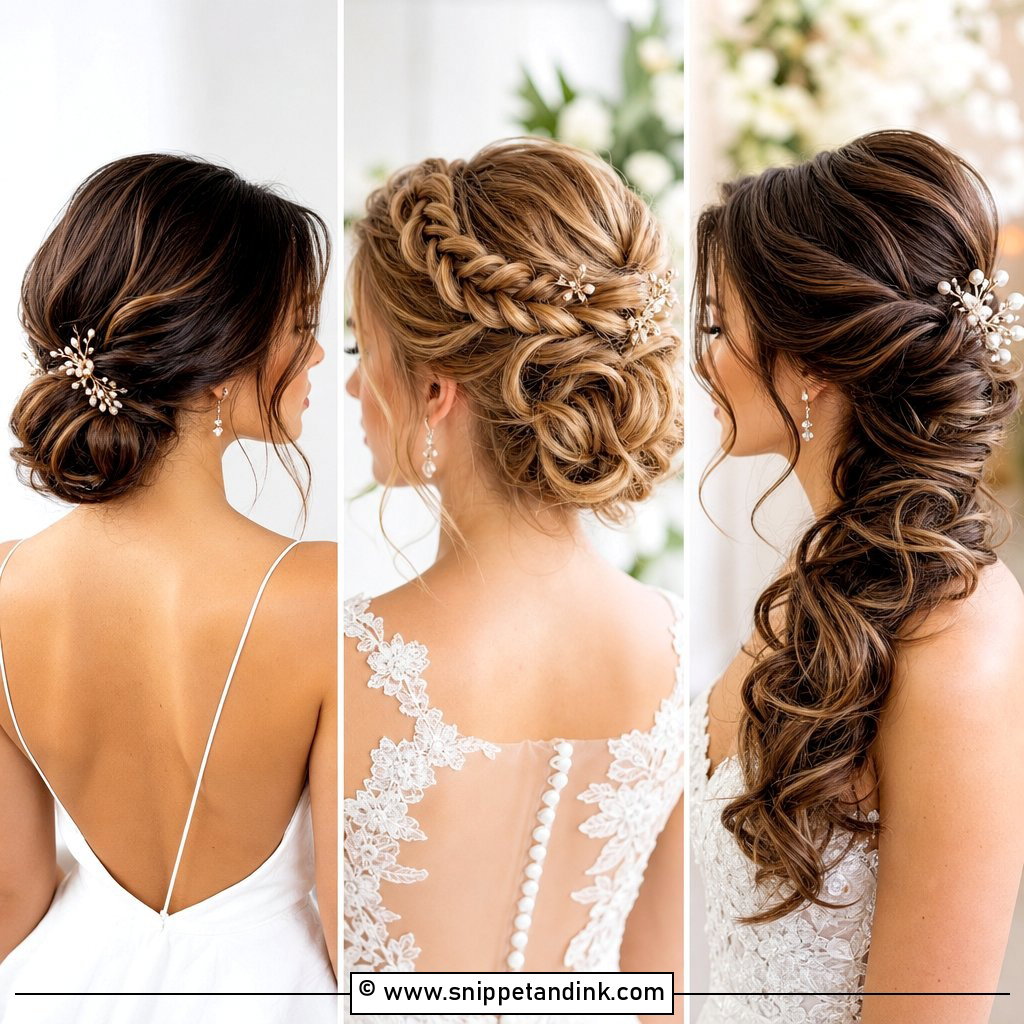
On shoulder-length hair a low bun comes out smaller than people expect, and that’s fine; it suits church ceremonies and seated dinners precisely because it stays out of the way. Twist the ponytail before you wrap it, then pin through the bun into the elastic base, not just into the outer hair. The short pieces at the nape are the weak point. I spray them, smooth them upward with a clean toothbrush and tuck them under before wrapping, then leave two front pieces out on purpose so any loose bits look chosen.
3. Soft Vintage Hollywood Waves
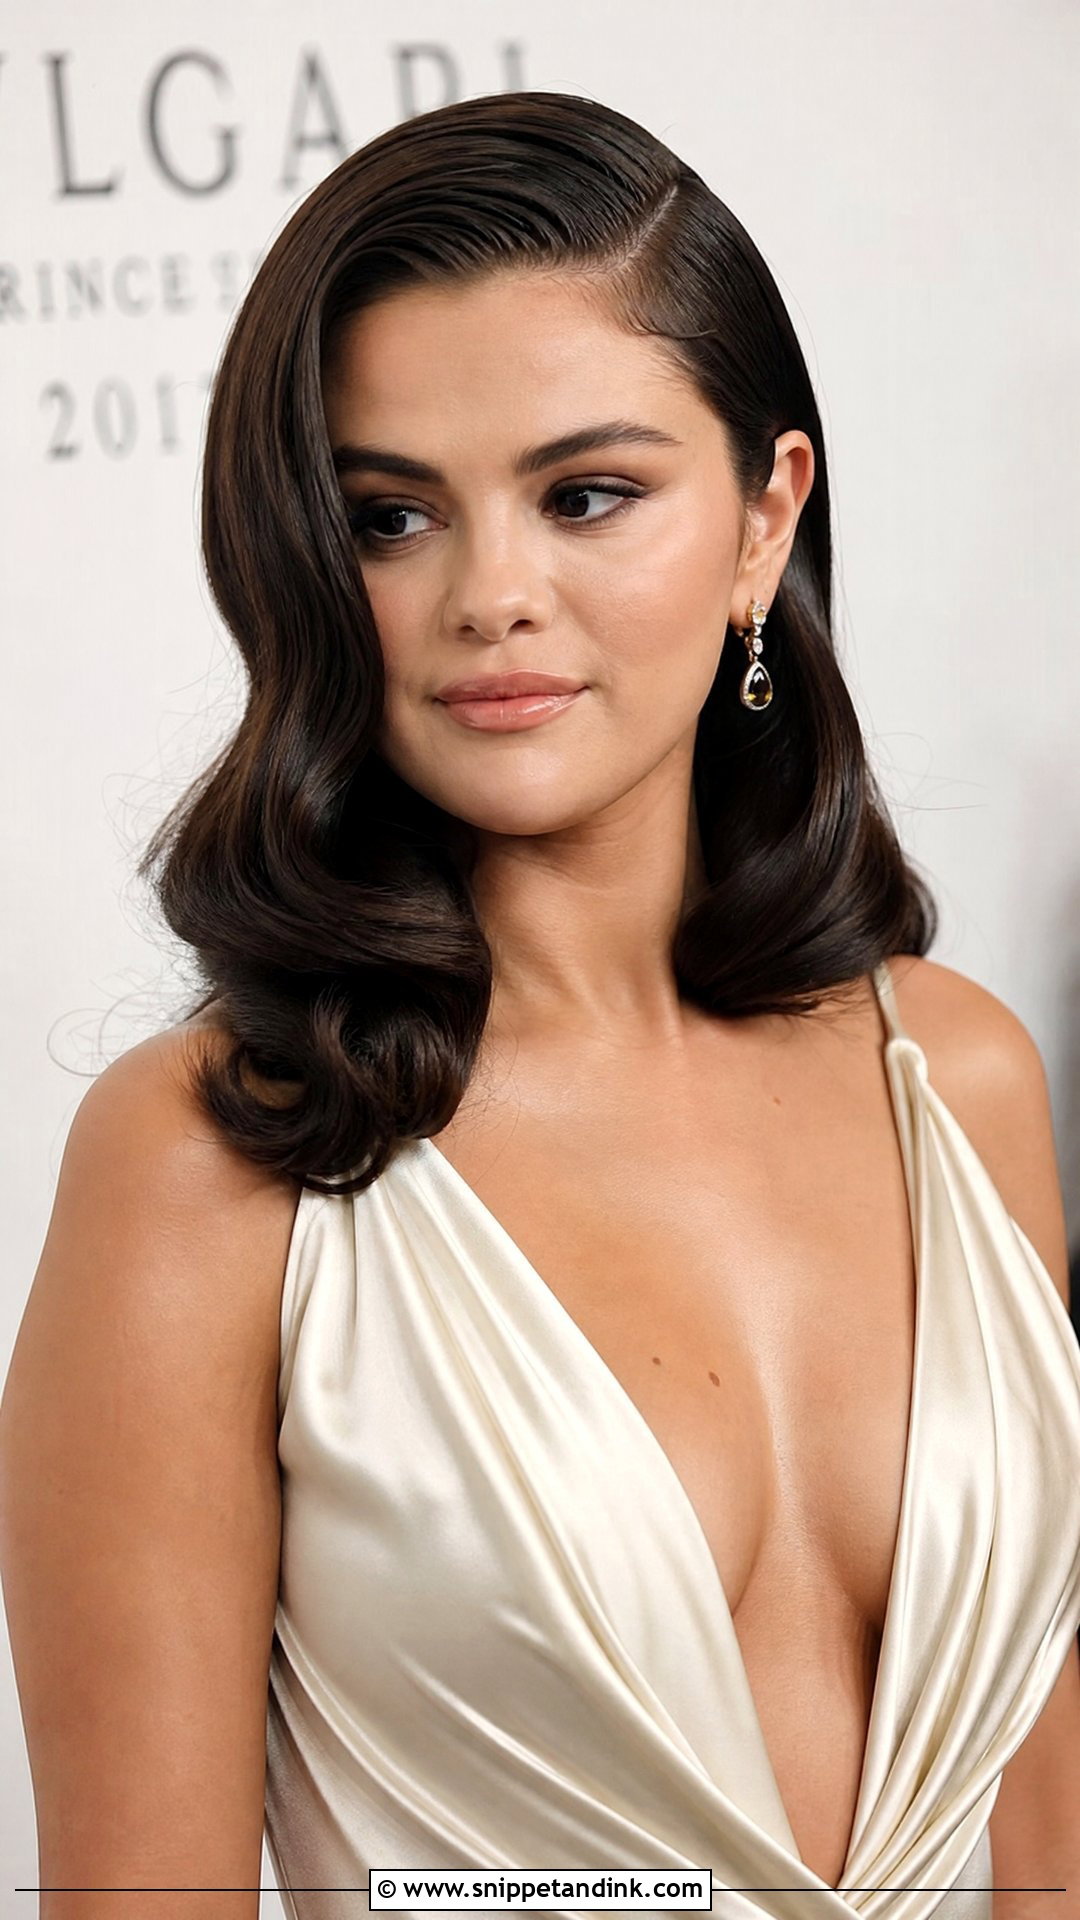
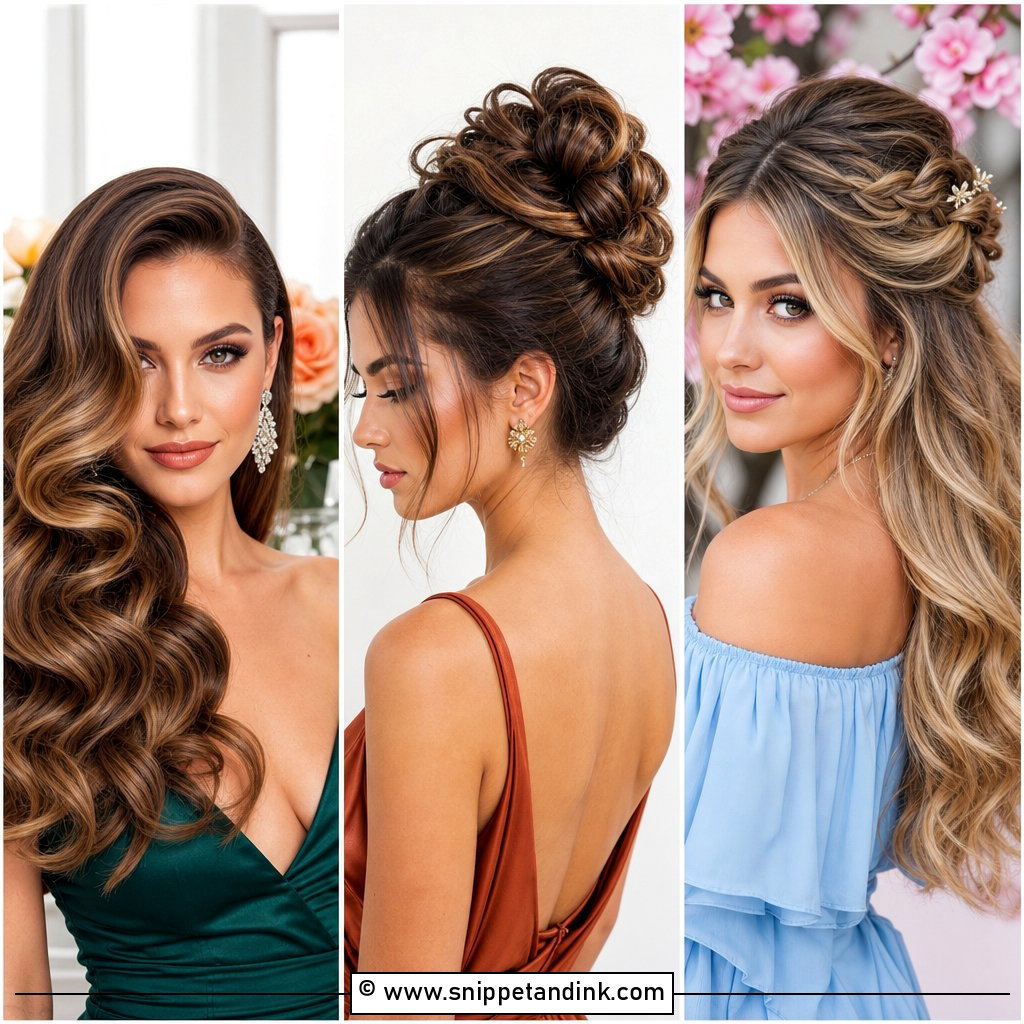
Sculpted waves need a smooth start, so I’d skip this one on very curly or frizz-prone hair unless you blow it straight first. Set every curl in the same direction, pin each one flat to cool, then brush through with a boar bristle brush until the curls join into one continuous S. A deep side part gives the wave somewhere to fall. Go easy on shine serum, because too much splits shoulder-length hair back into strands. Save it for black-tie and evening weddings, worn with a clean neckline.
4. Braided Crown Half Up
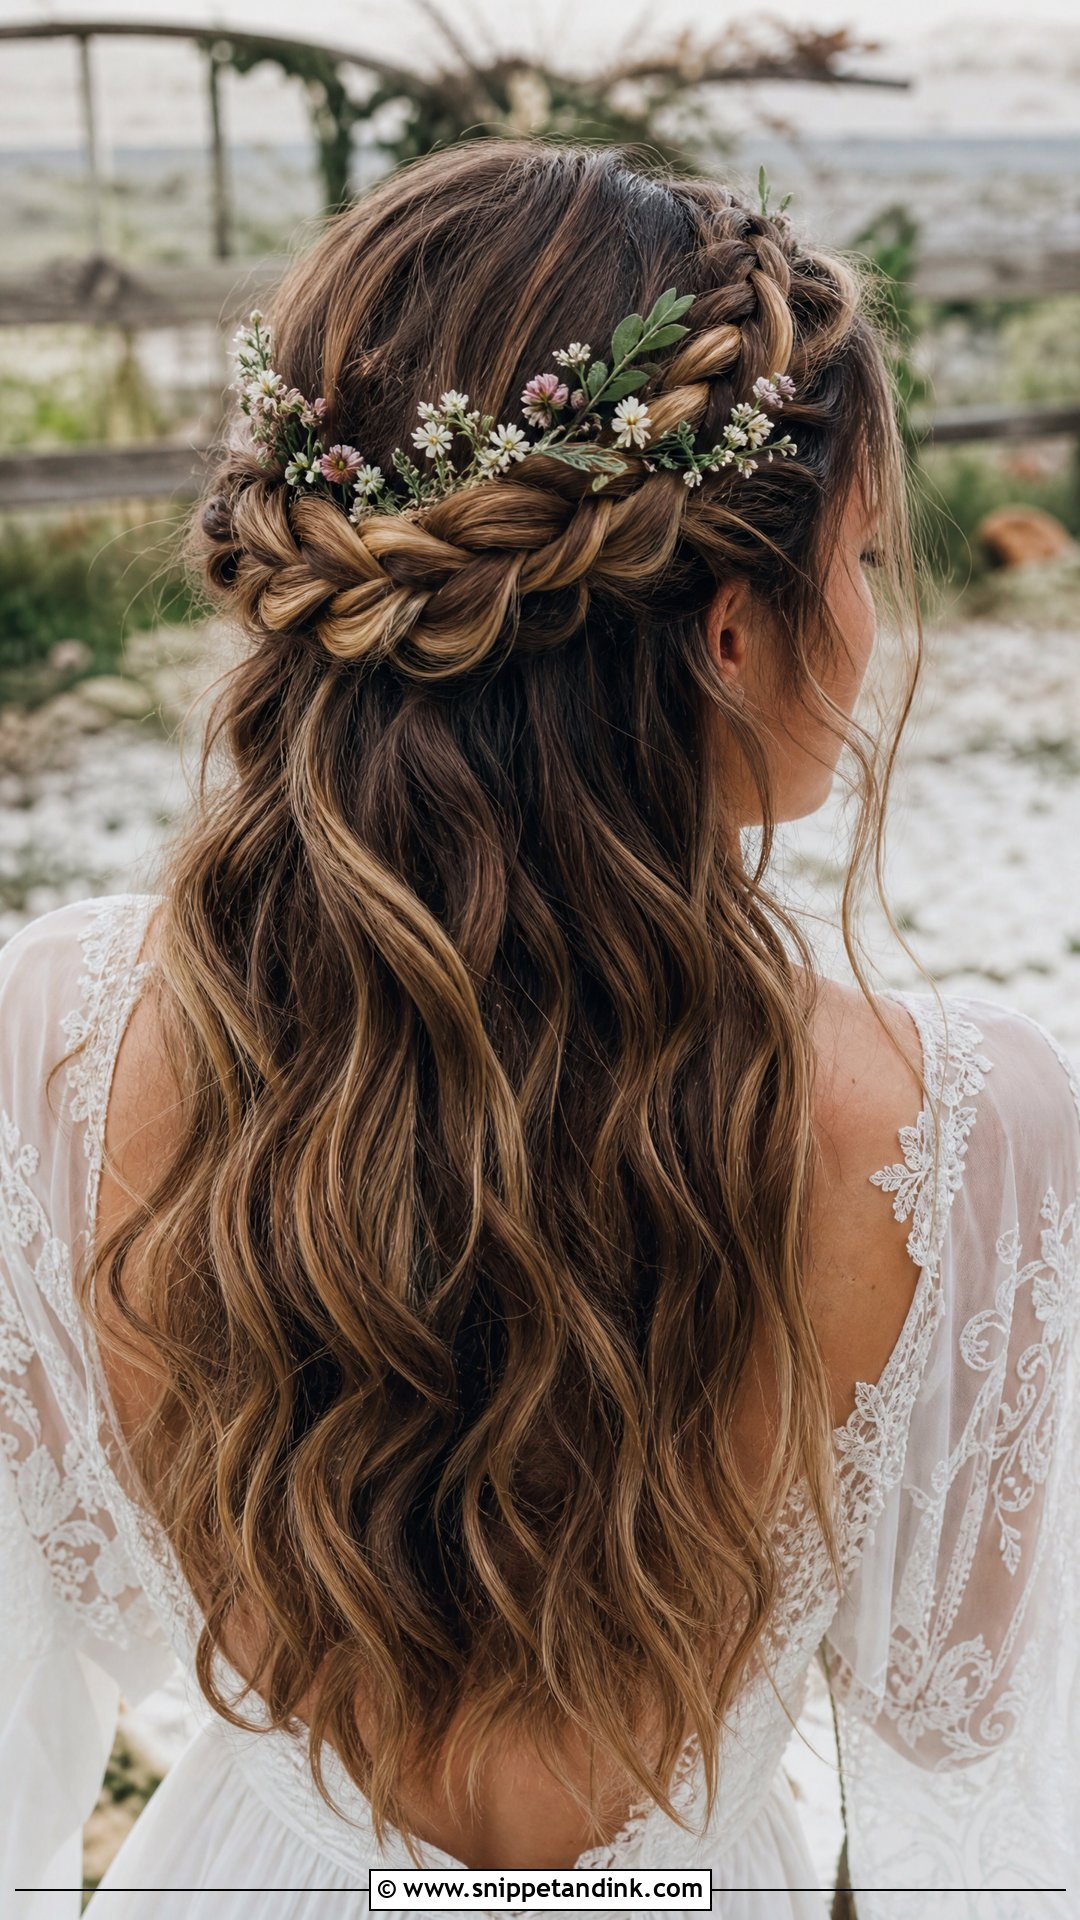
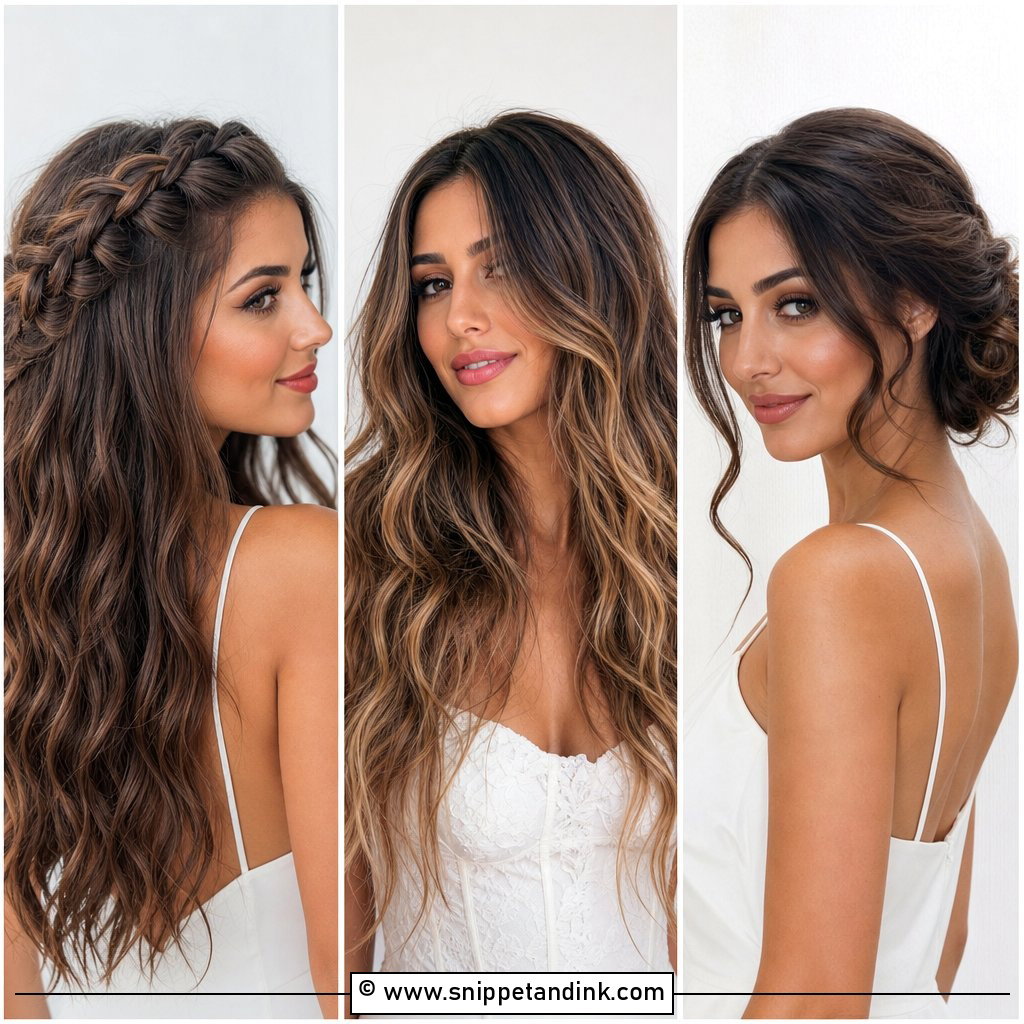
This length can just about make a crown braid if you start each braid low, near the ear, and take small sections so there’s enough hair left to meet at the back. Layered cuts will poke out along the plait. At a garden or rustic wedding that reads as relaxed, but by evening it can look frayed, so I mist the braids with hairspray and smooth the ends in with a fingertip. Pancake each braid gently by pulling the outer loops wider, then pin where the two meet with the pins hidden under the plait. Small flowers or pearl pins go in last, pushed into the braid so they grip.
5. Sleek Low Ponytail
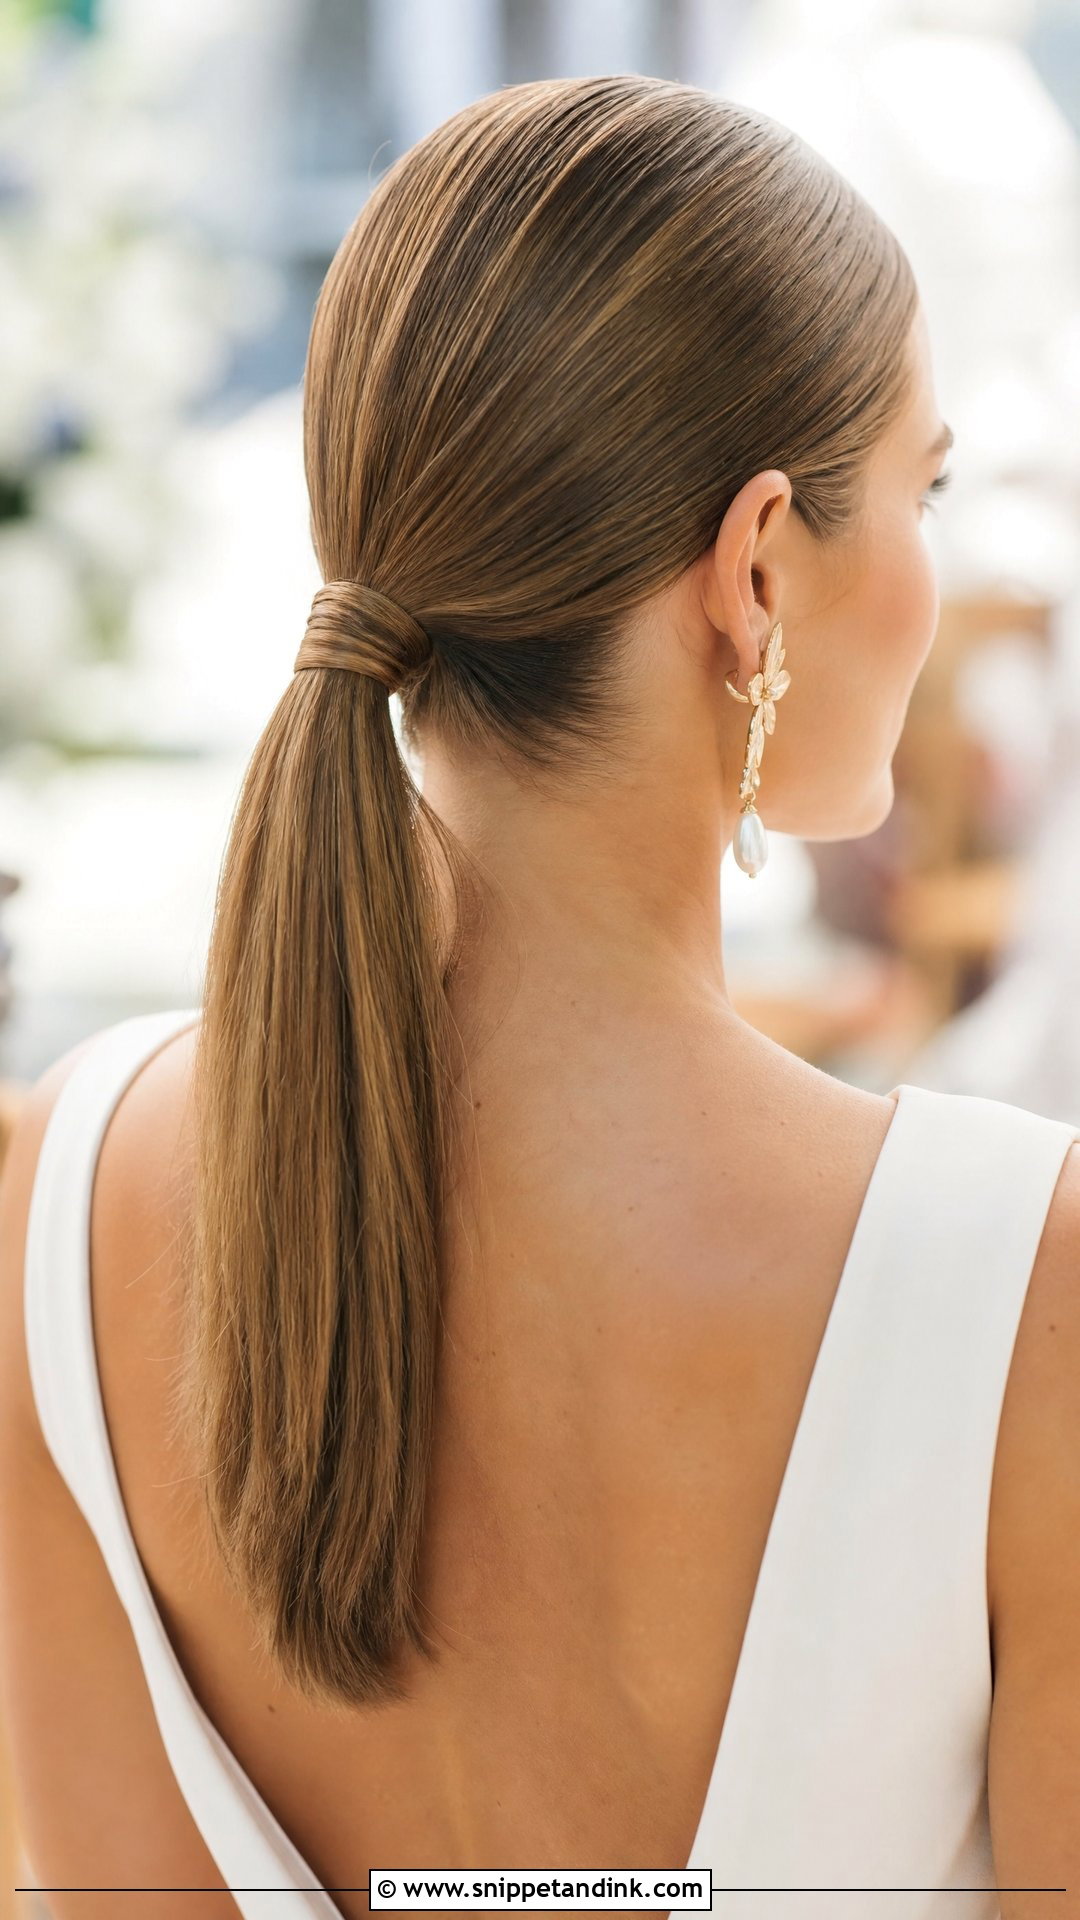
It looks simple and it’s the least forgiving style here, because every bump shows. Smooth the hair back with a fine-tooth comb and a styling cream, then secure it at the nape with a clear elastic. Wrapping a small piece of hair around the band hides it, and one pin pushed up through the wrap stops it unwinding. On shoulder-length hair the tail is short, so I straighten it to make the length look deliberate. Formal venues and city weddings suit it, and it leaves room for bold earrings.
6. Tousled Textured Updo
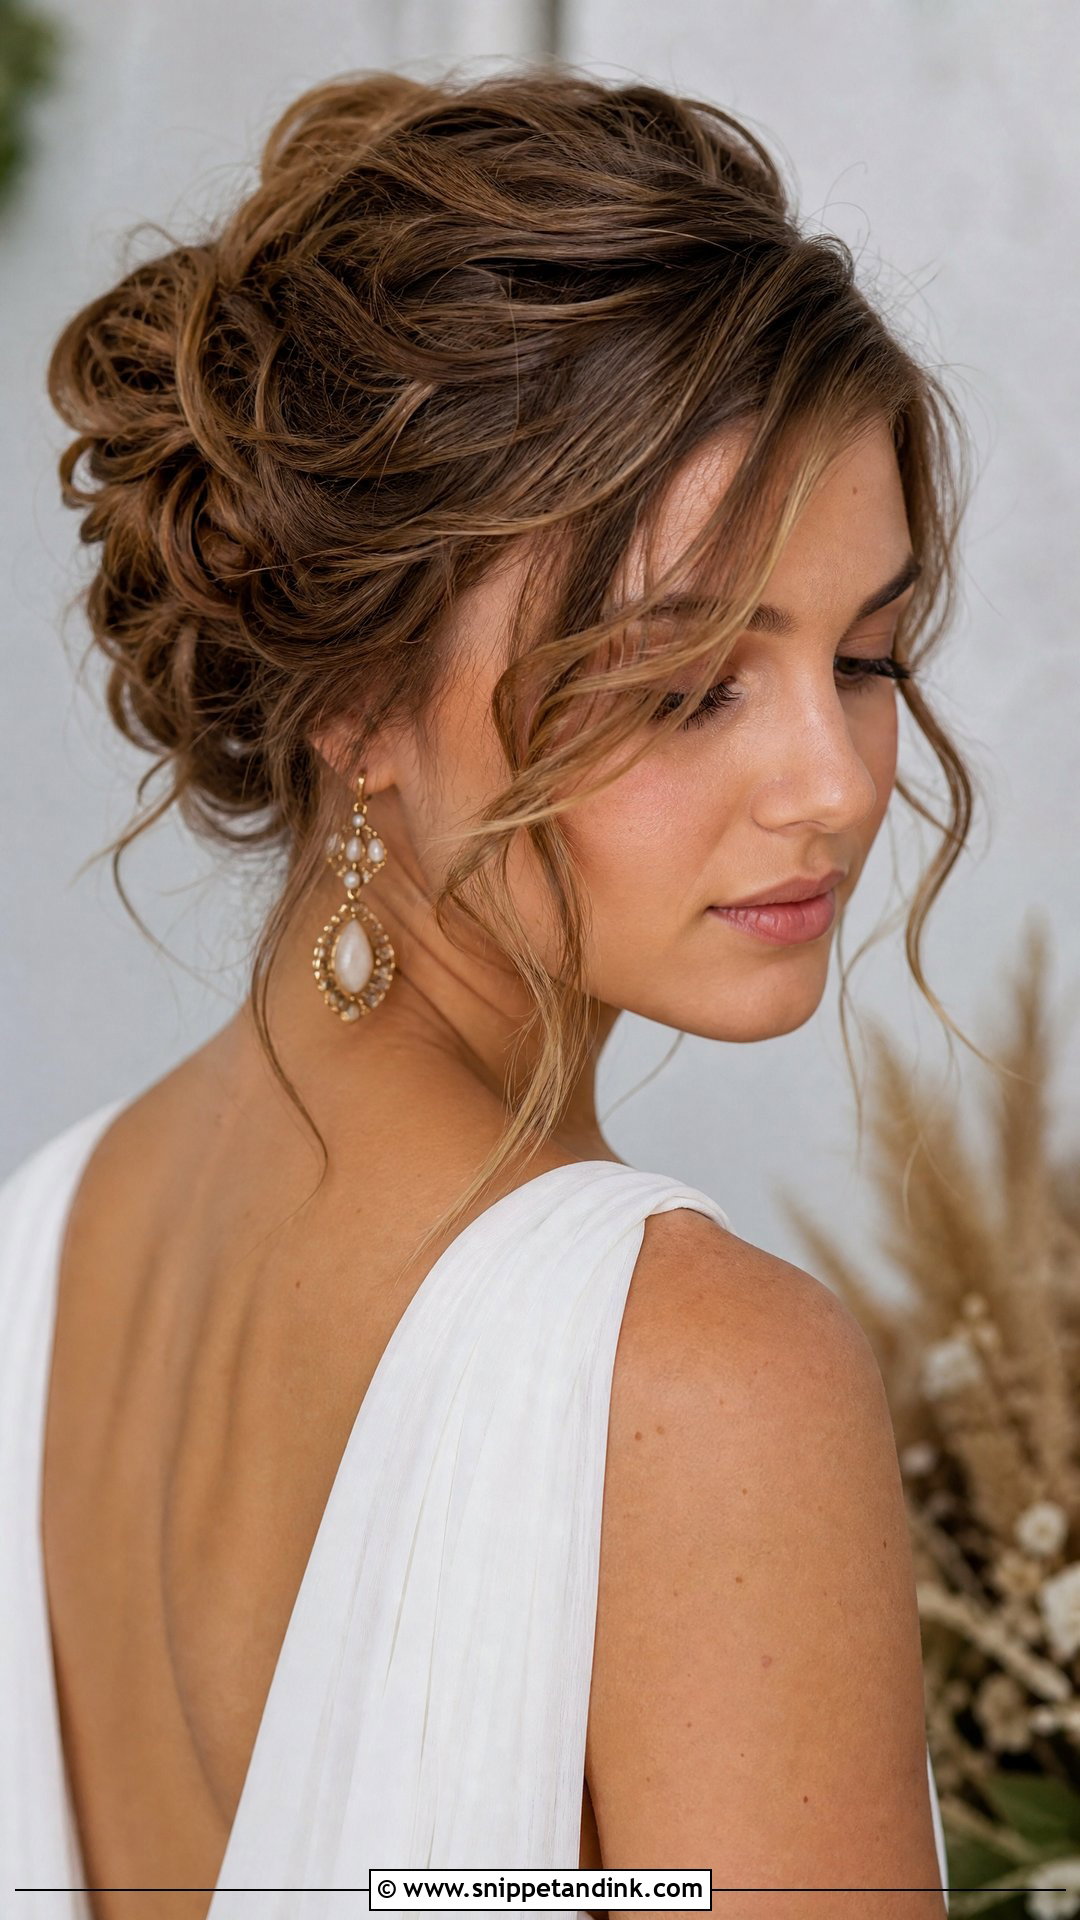
A piecey updo hides a lot, which is why I suggest it when layers are uneven. It needs grip before anything else: dry shampoo or texture spray through the lengths, then loose twists pinned up in sections rather than gathered all at once. Slide each pin in against the direction of the twist so it locks. The pieces you pull out around your face should be curled separately; left straight, they look like they fell out by accident.
7. Side Swept Curls
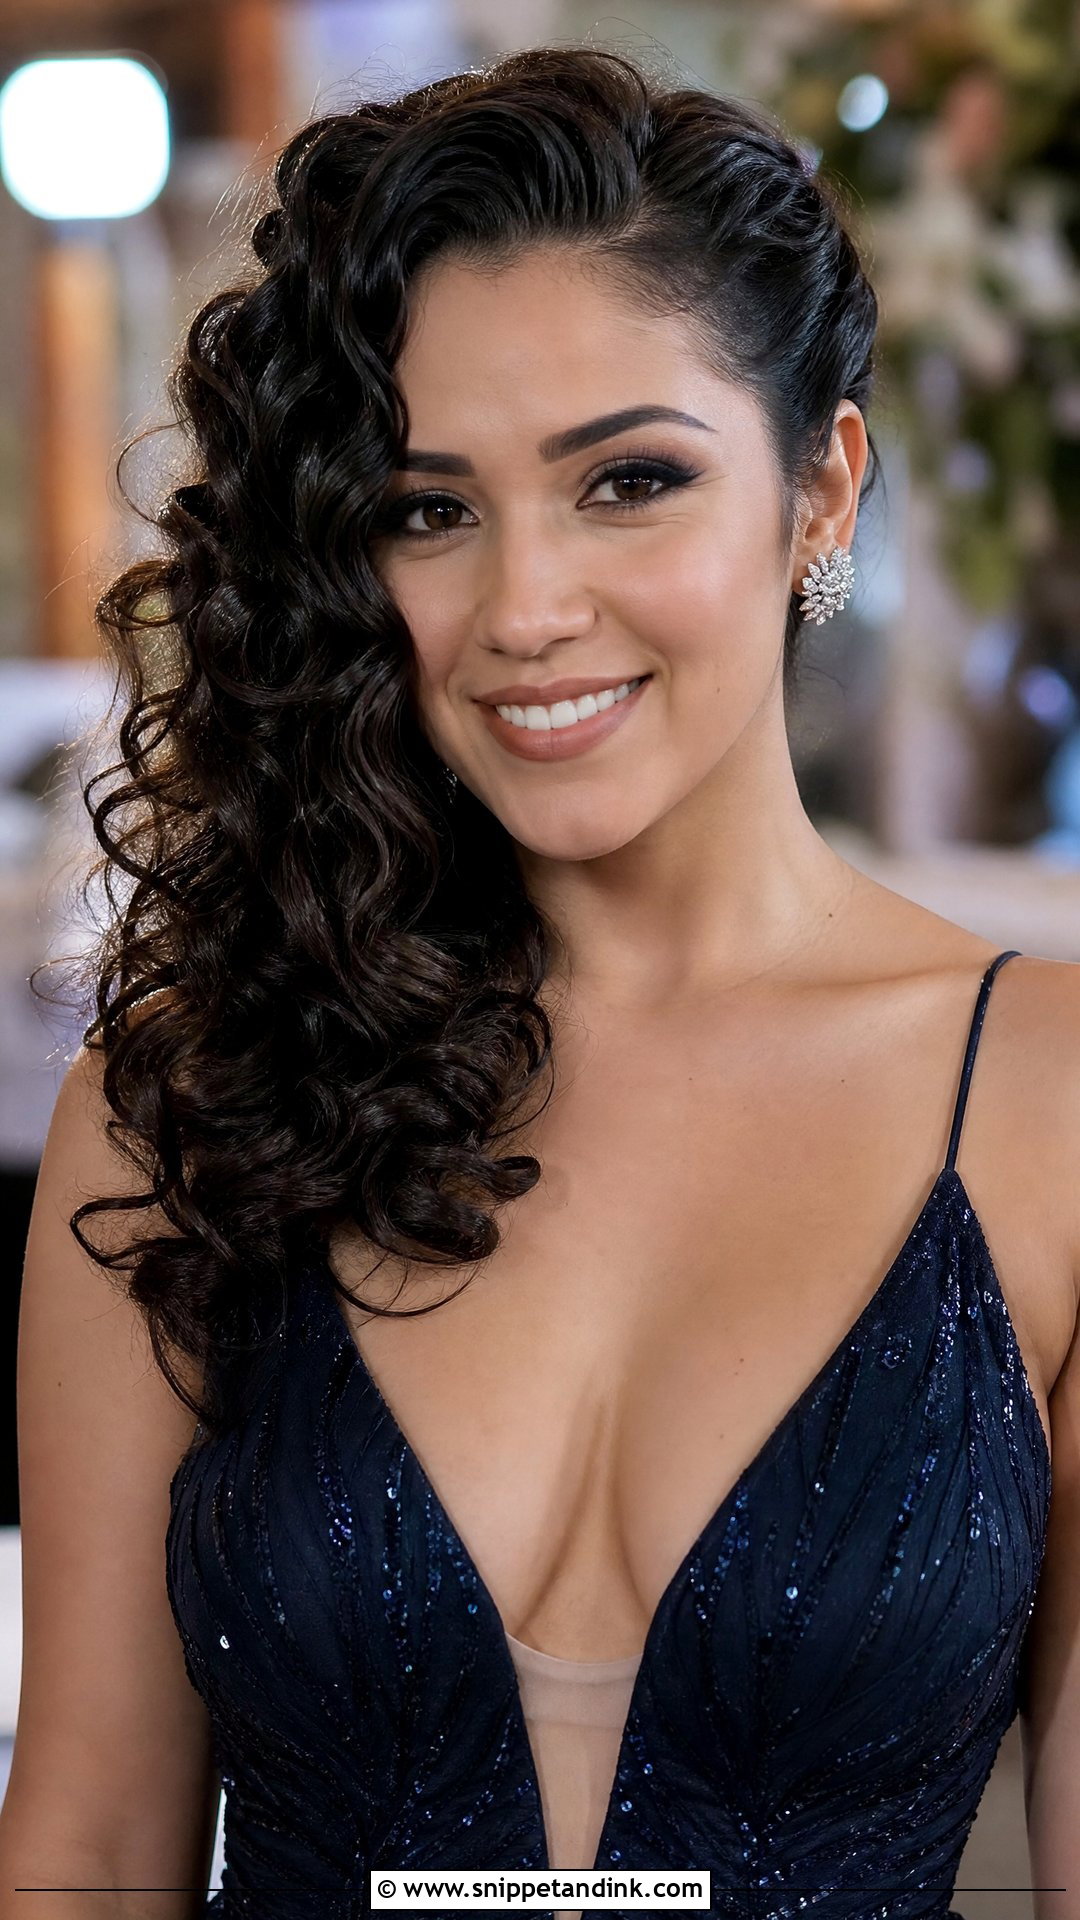
Curl everything toward the side you’re sweeping to, so the curls stack instead of fighting each other. The back of the head is where this fails. I pin the opposite side flat with two or three pins slid in vertically behind the ear, then drop a curl over them. Because the pile on one side is lighter than it would be on long hair, it actually holds better than you’d think. Sweep toward whichever side has the dress detail or your best earring, since the hair will be framing it all evening.
8. Twisted Half Up With Pearls
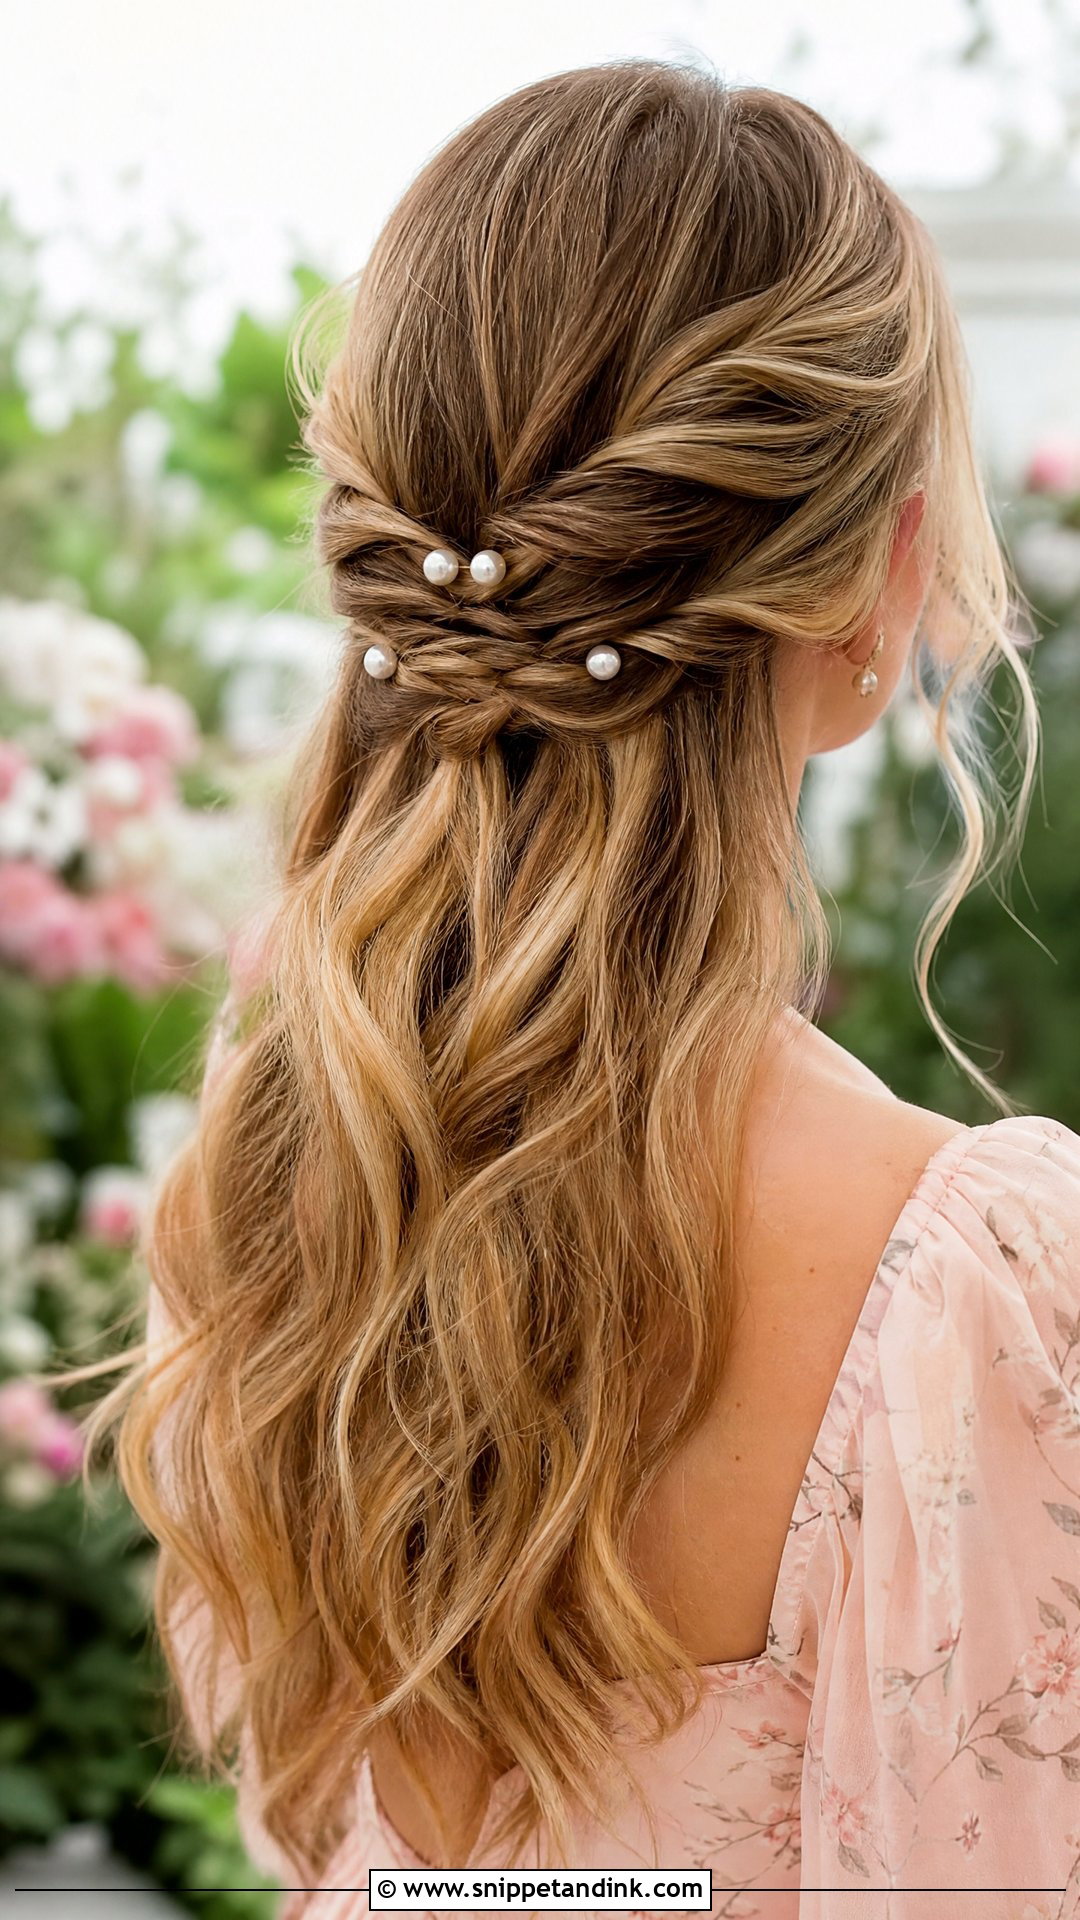
Pearl pins are everywhere at weddings at the moment, and on a twisted half-up they sit inside the twists rather than on top, which keeps them from sliding out. Twist a section from each side back toward the crown, cross them, and pin the join with an X of bobby pins. I add the pearls only once that base is secure, pushed in at an angle with the open end hidden. Space them a little unevenly; a perfectly straight row looks stuck on. No salon visit needed, and it suits garden parties as well as indoor receptions.
9. Messy Low Bun
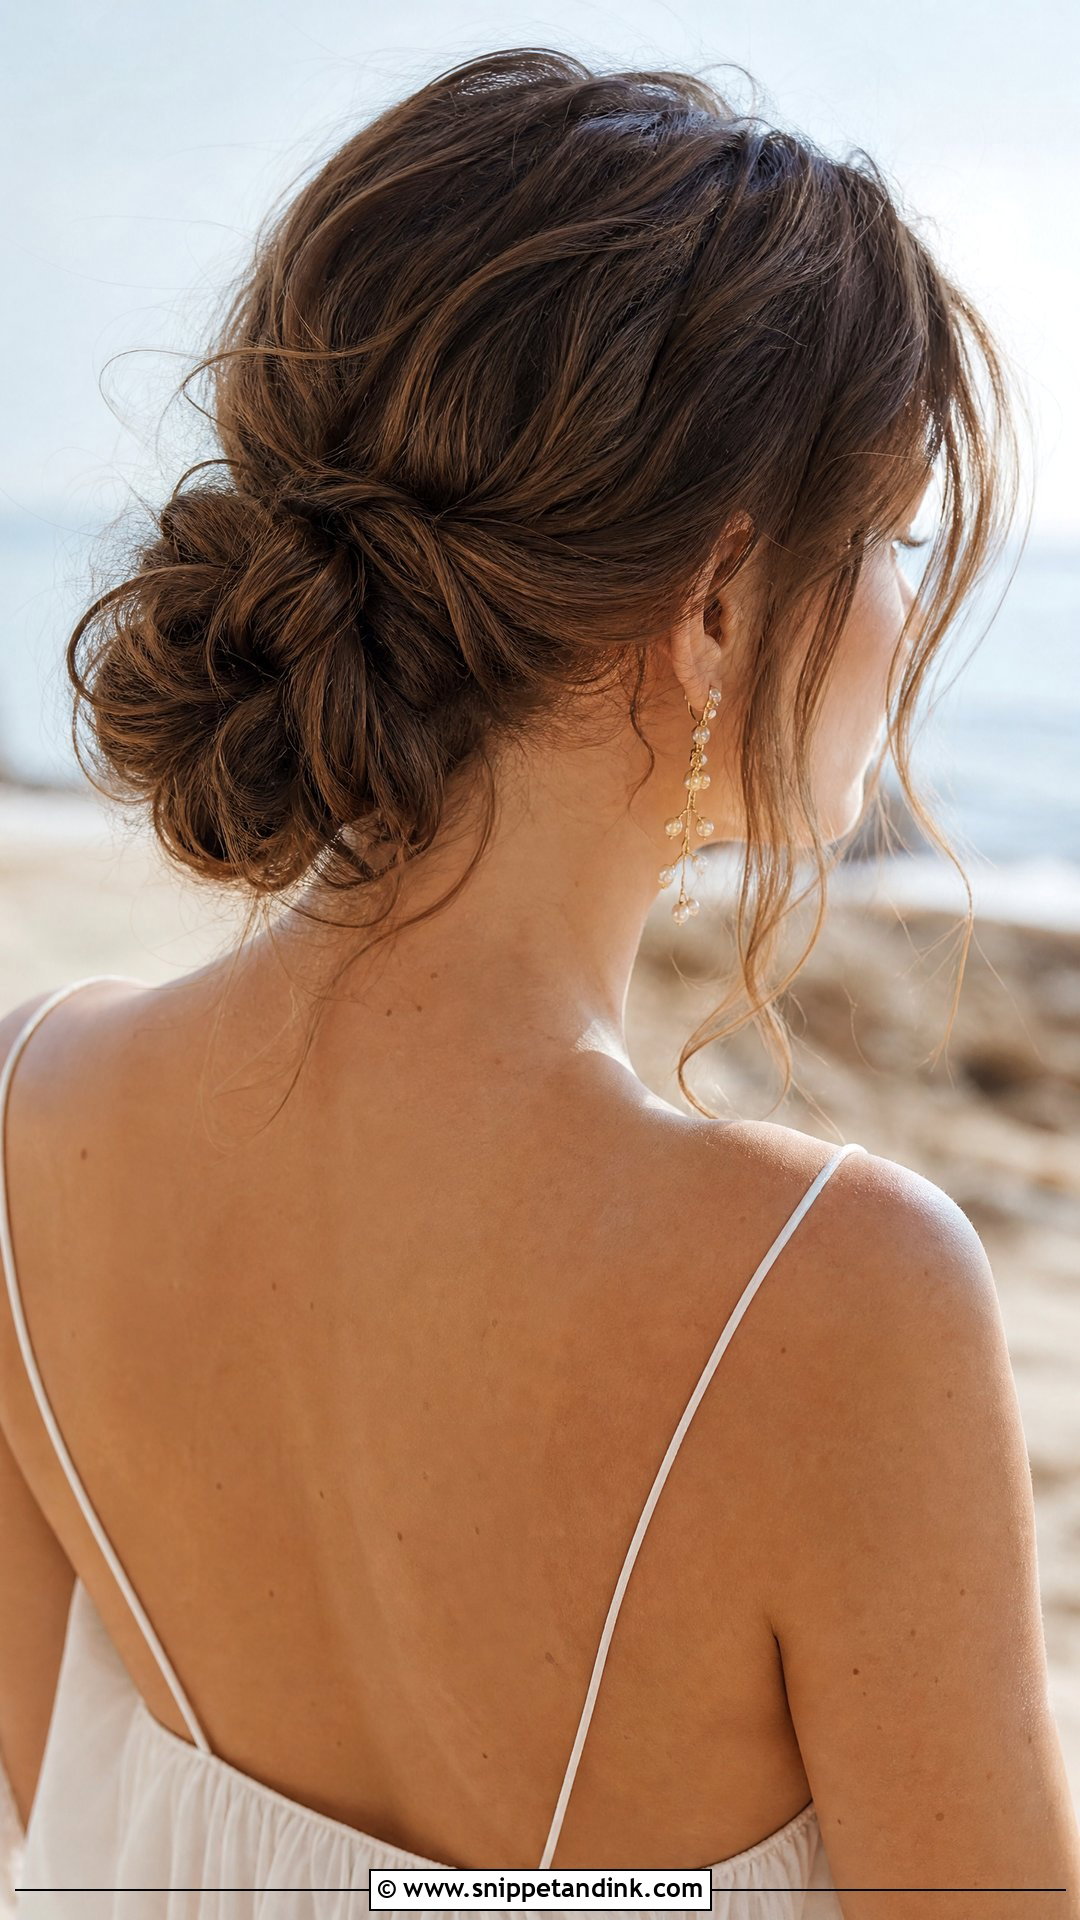
Day-two hair is your friend here, because a messy bun on shoulder-length hair holds best when there’s some grit in it. Gather it low, wrap loosely and pin into the base. Once it’s secure, tug small pieces of the bun outward with your fingertips to widen it. The face pieces matter more than the bun itself, so leave them uneven instead of as two matching curtains. At a beach wedding the wind will undo some of it, and honestly that suits this one.
10. Curtain Bangs With Loose Waves
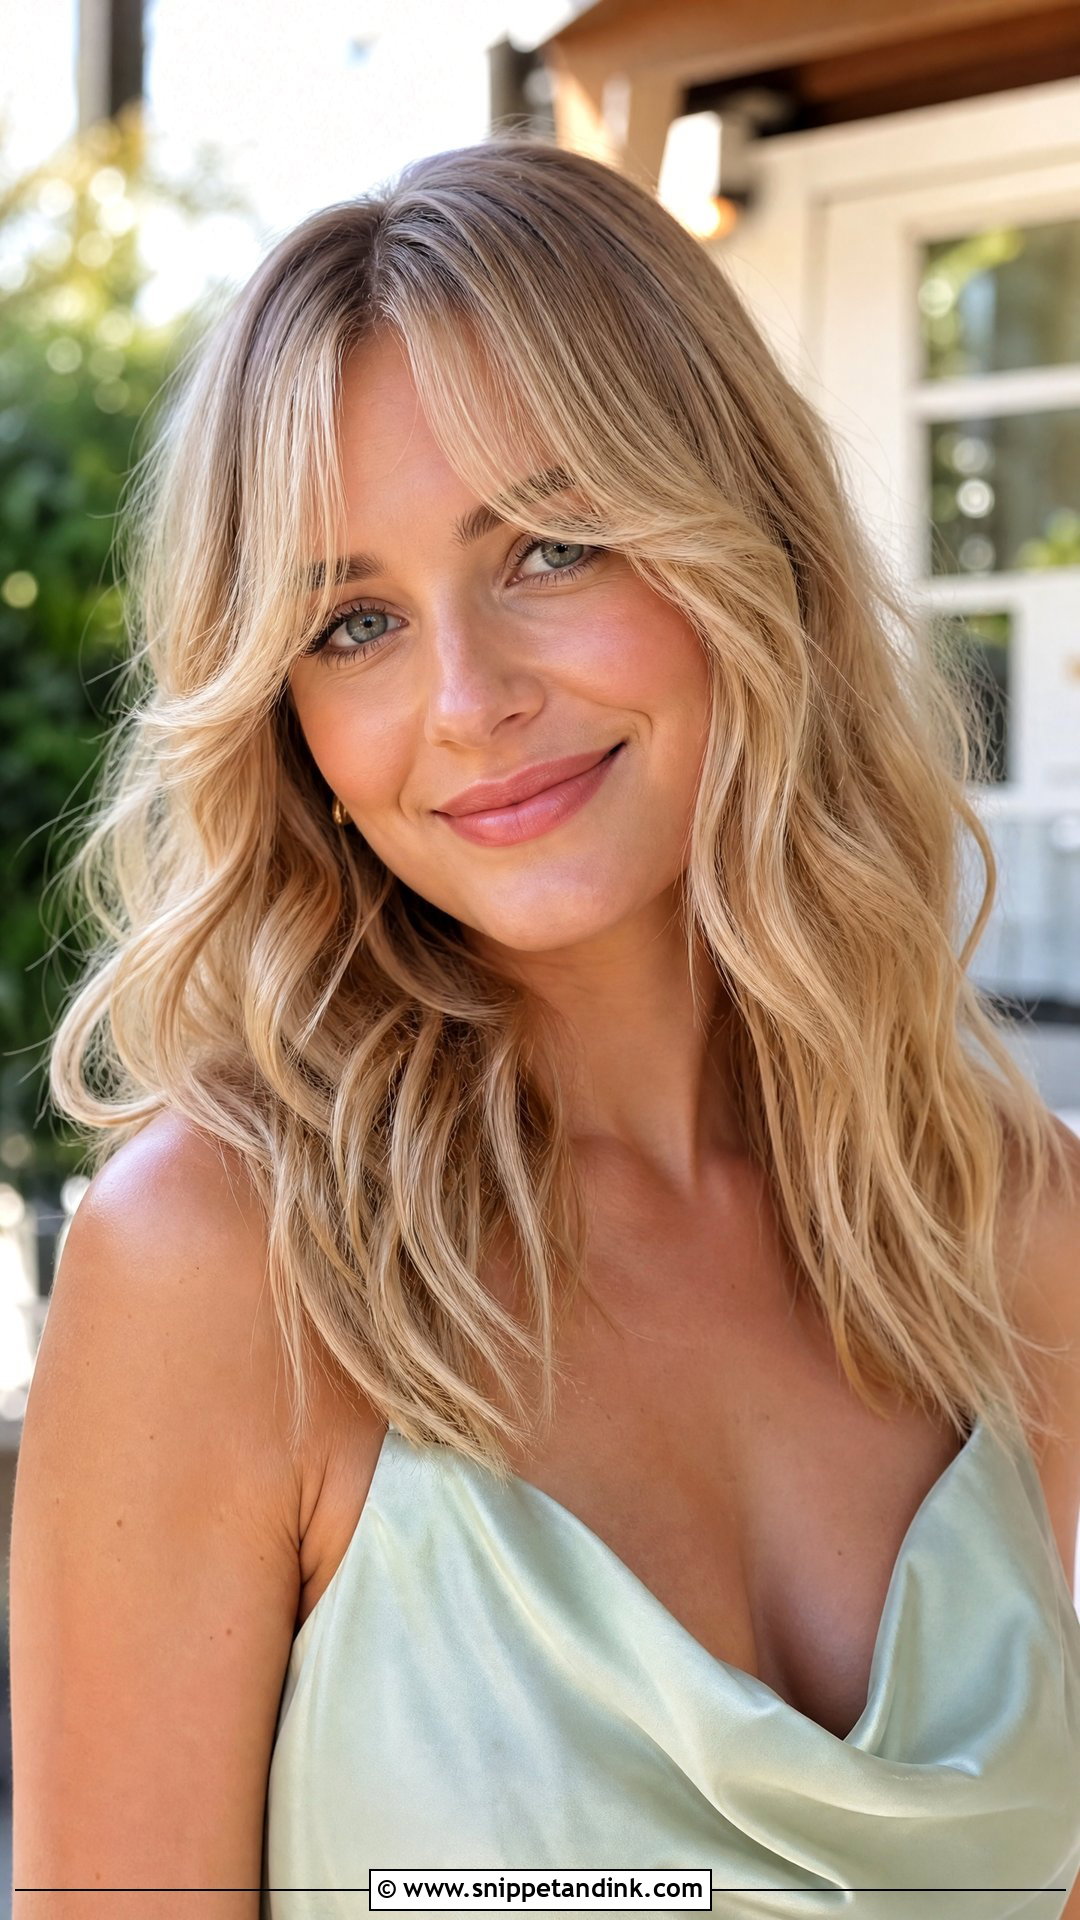
Most of the work in this look is the fringe, not the waves. Curtain bangs need to be blow-dried first with a round brush, rolled away from the face and split at the centre, because a fringe that has dried flat won’t bend later with an iron. I wouldn’t try this if you don’t already have bangs or long face-framing layers; cutting a fringe the week of a wedding is a gamble. Curl the rest into loose waves and leave the ends straight. Casual and semi-formal weddings are its natural home.
11. Braided Side Bun
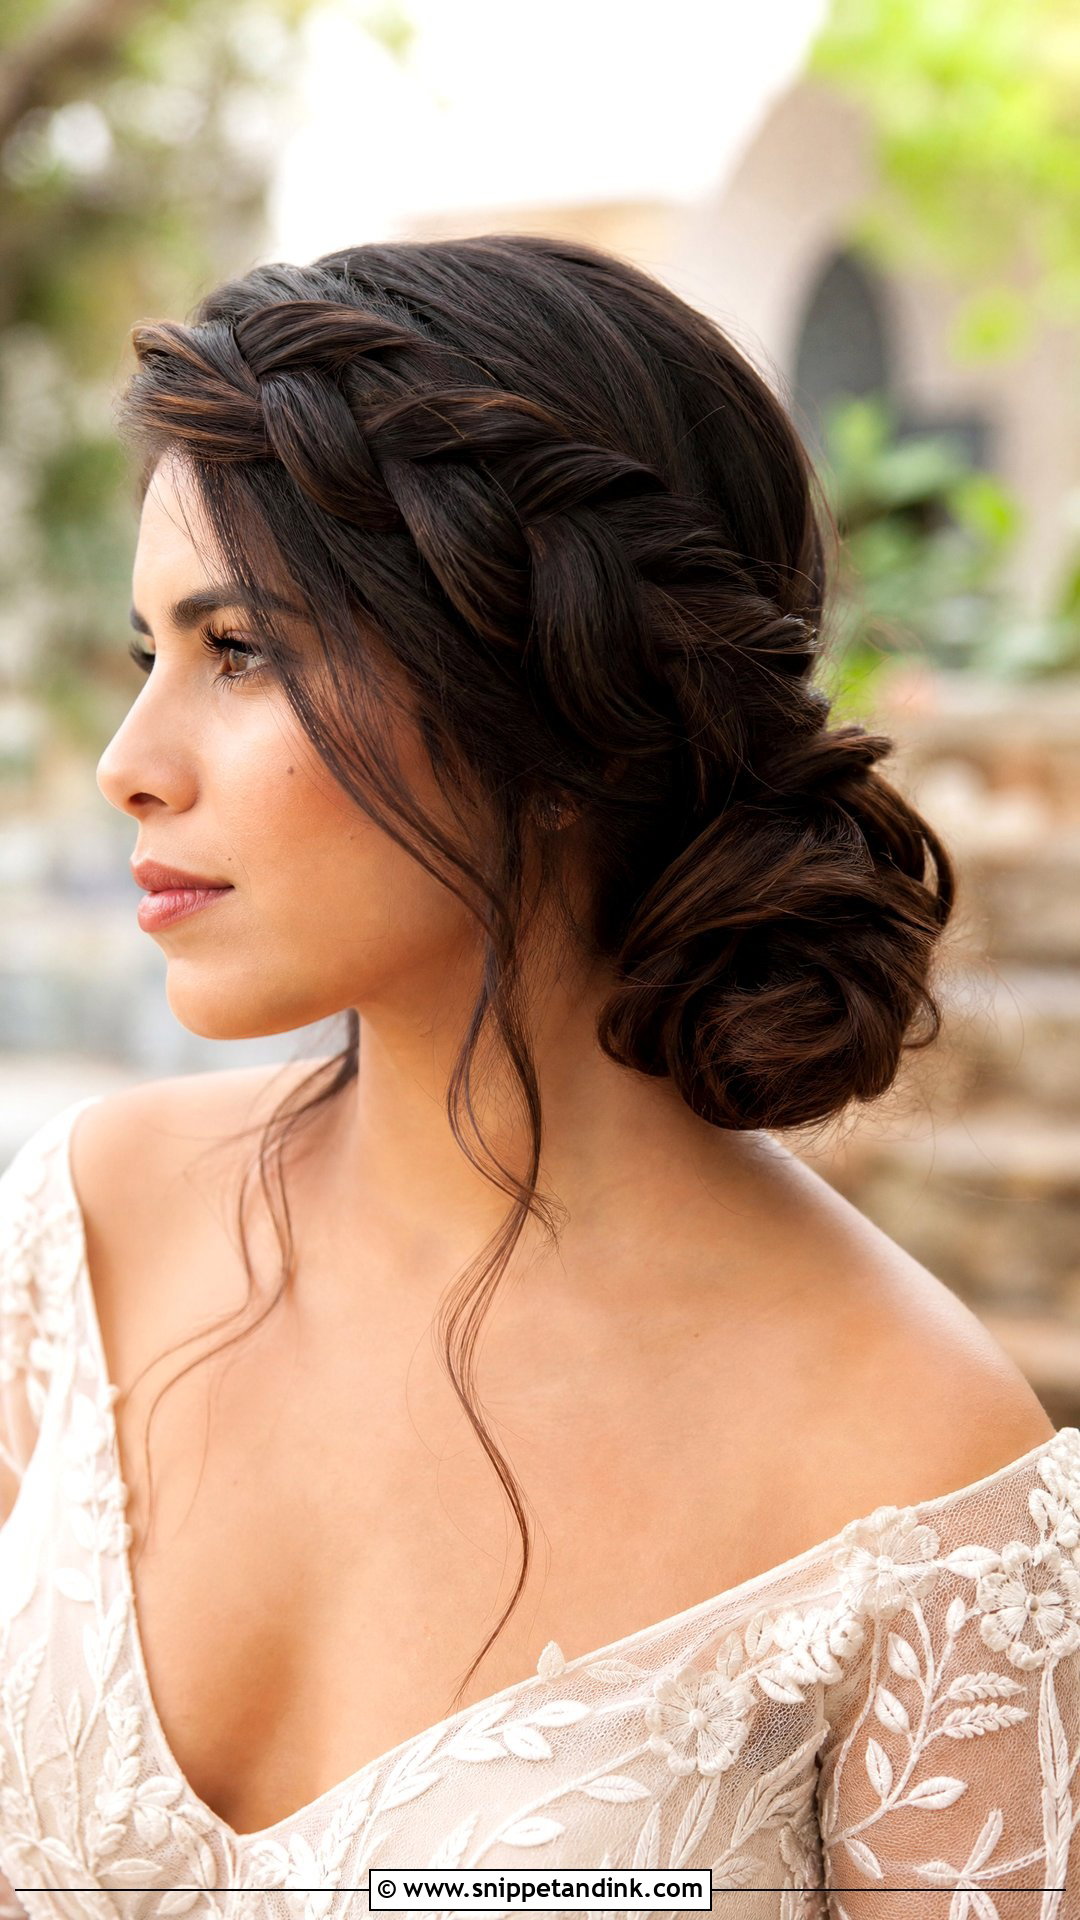
Here the braid goes in first and the bun is built around it. I braid a section from the opposite side so it crosses the back of the head, then gather everything low over one shoulder and wrap the bun, tucking the braid’s tail inside. A shoulder-length bun is small, so the braid adds the bulk it would otherwise lack. Pin it into the base from underneath, where pins disappear. It keeps hair off your neck on a hot afternoon, which makes it a sensible pick for outdoor and boho weddings.
12. Slicked Back Wet Look
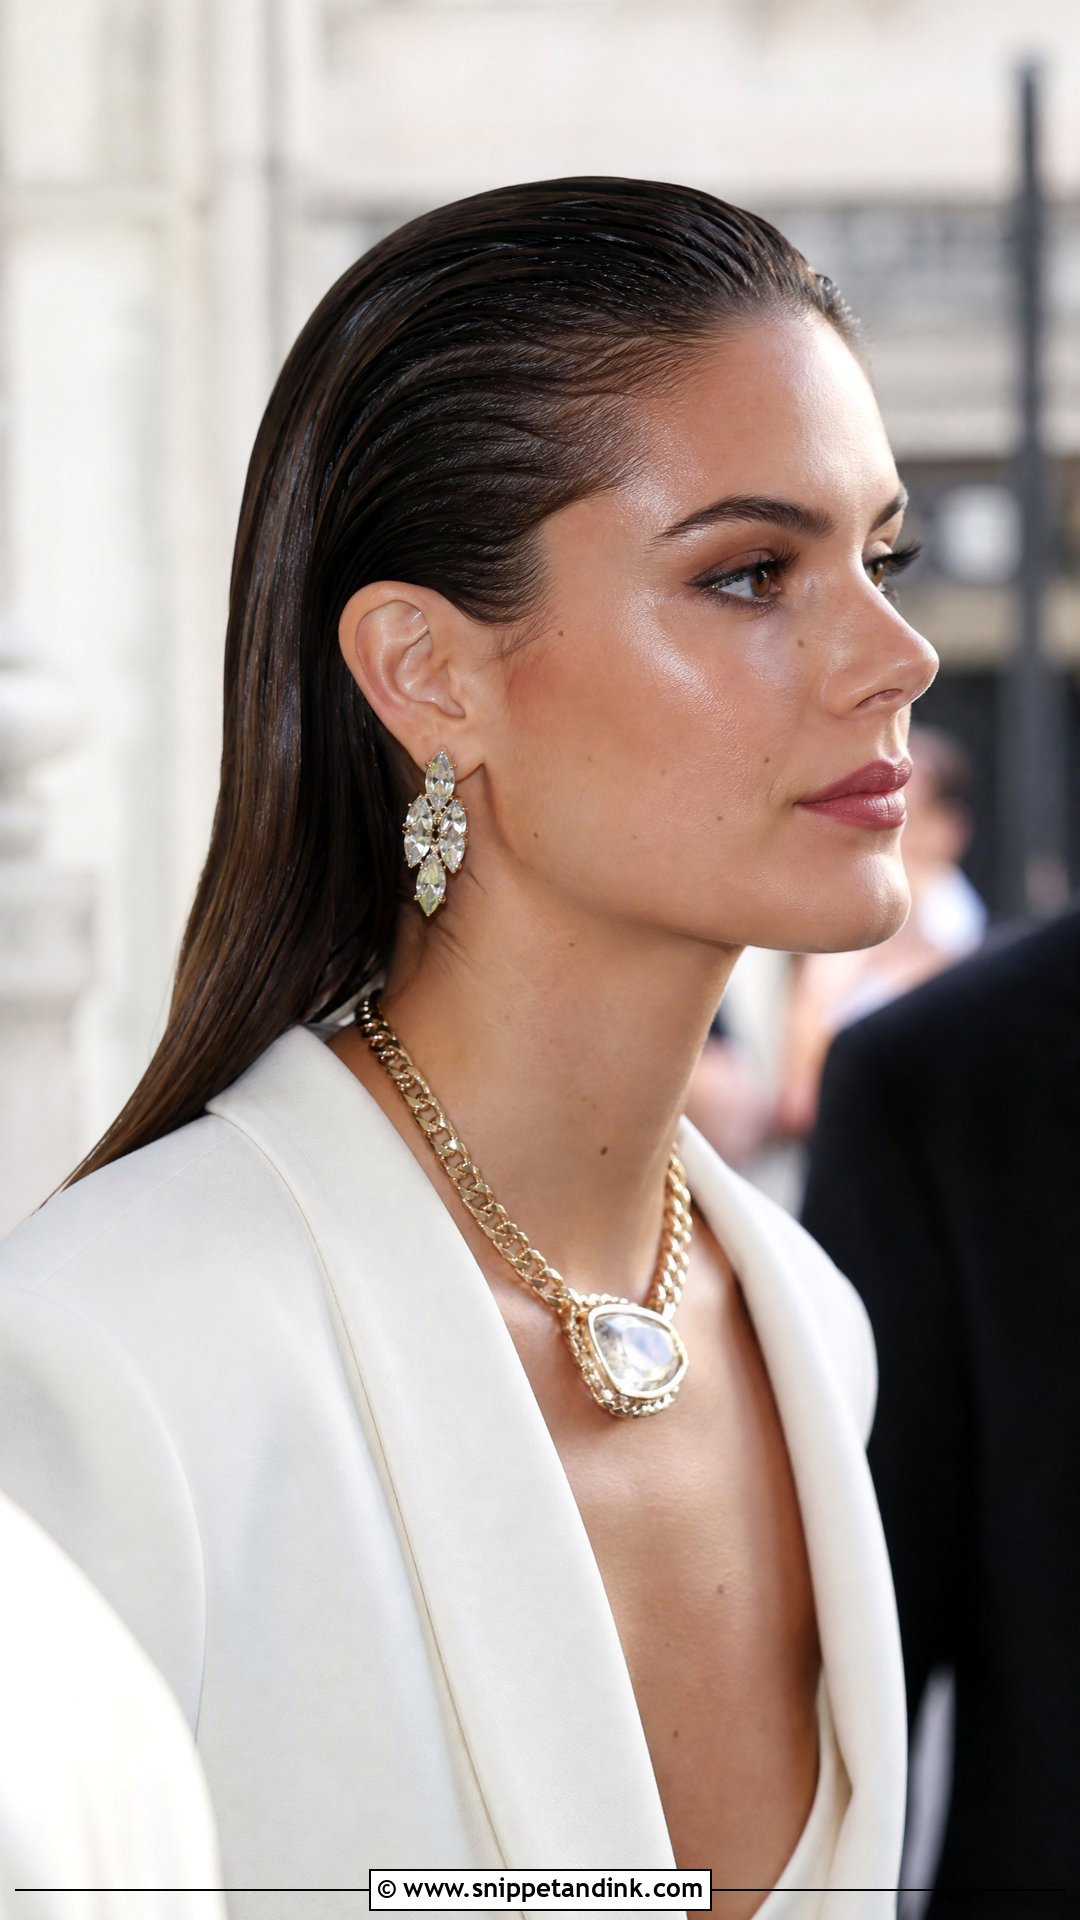
The slicked-back wet look is all product. Comb a strong-hold gel through damp hair from root to end, then comb it straight back in sections with a fine comb. I finish with a drop of oil smoothed over the top, so it sets firm but doesn’t look crunchy. It’s honest about your face: great with strong brows and bold earrings, harsh if you prefer softness. Once set it won’t move all night, which is why it turns up at city and black-tie weddings. Wash it out the same night, since gel left in overnight dries the hair.
13. Half Up Twisted Top Knot
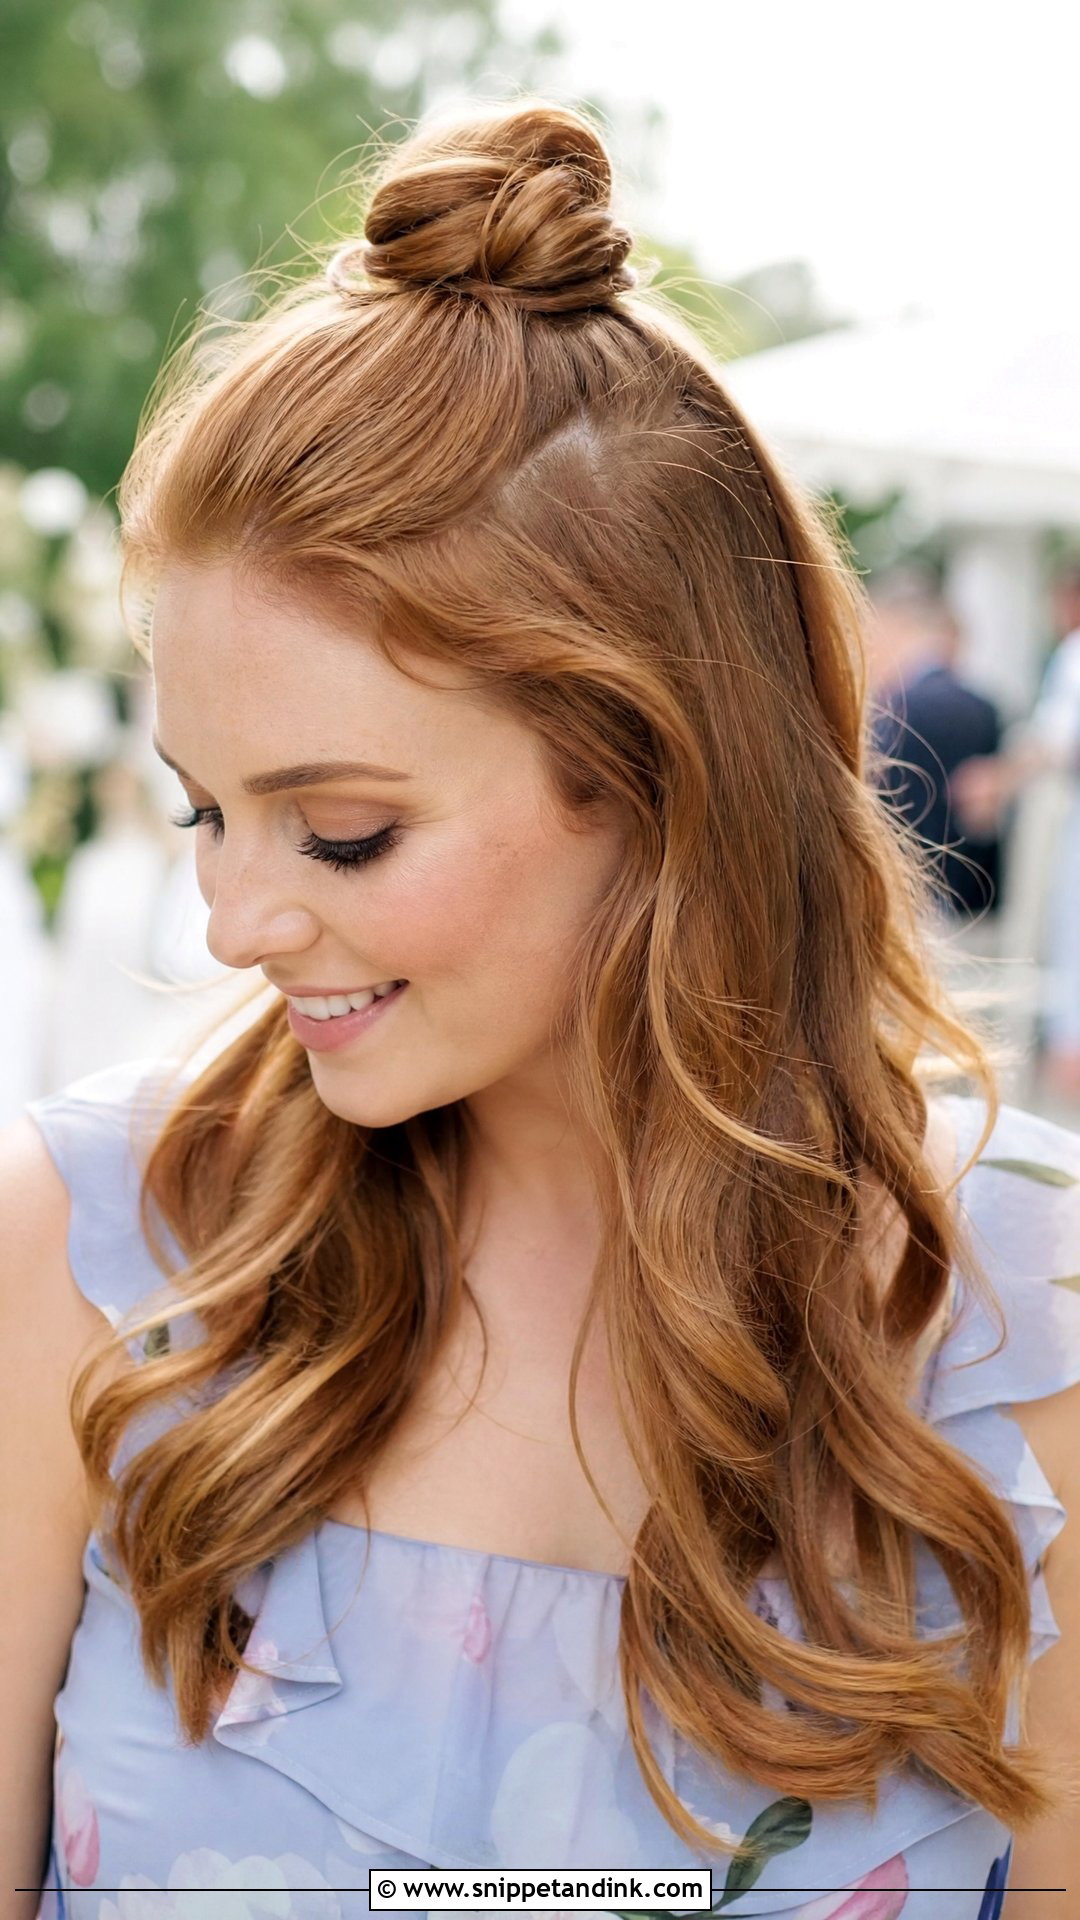
A small knot at the crown adds height, which helps round and heart-shaped faces look a touch longer. Take a smaller section than you would for a half-up ponytail, roughly the hair above your temples, or the knot ends up too big for the length below it. Twist it tight, wrap, pin, then loosen the knot slightly with your fingers. It’s quick and it survives dancing, so I’d keep it for casual and semi-formal days.
14. Romantic Loose Updo With Tendrils
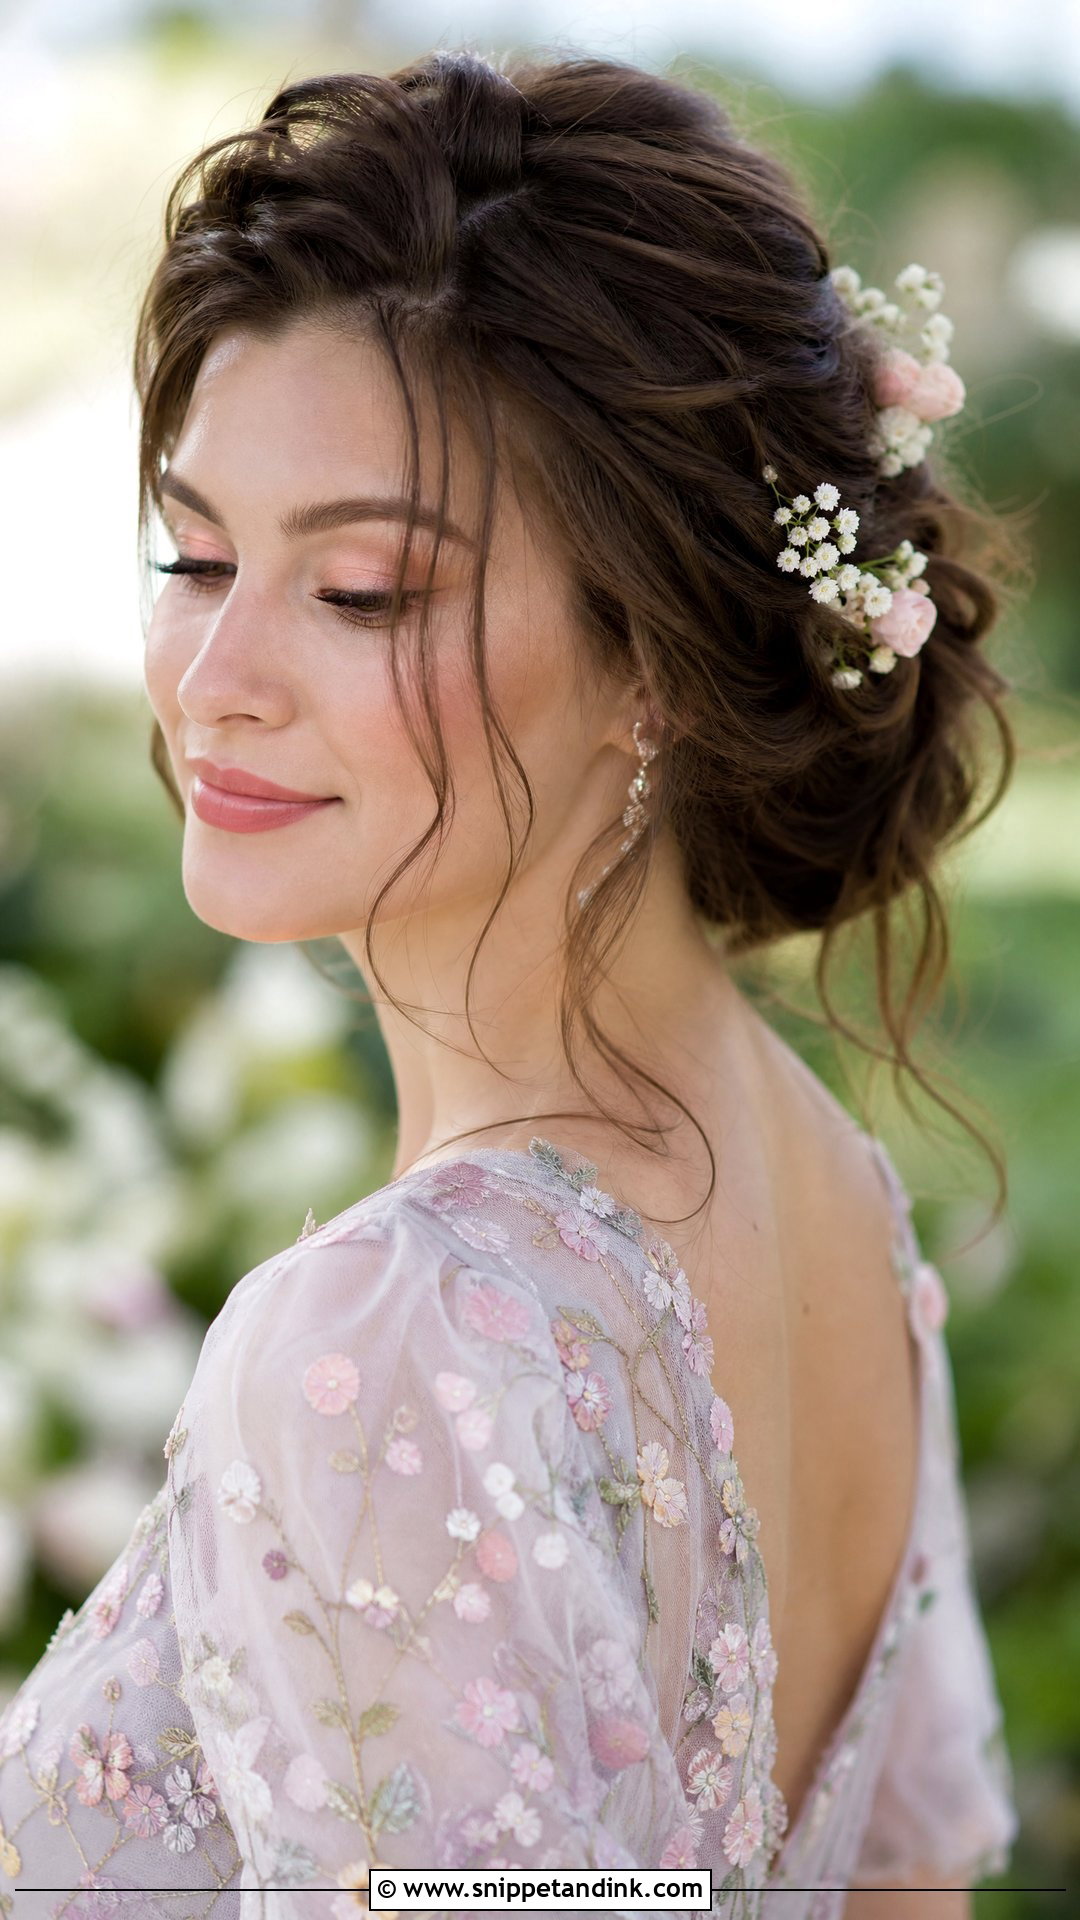
A loose updo has to be secure underneath and soft on top. I pin the base tightly first and only then loosen the outer layer with my fingertips. Tendrils around the face, ears and neck should be curled separately with a small iron and sprayed, because straight tendrils on shoulder-length hair look like hair that escaped. In spring humidity those curls drop first, so put a few pins and a mini spray in your bag. Small flowers or sparkly pins finish it for a garden ceremony.
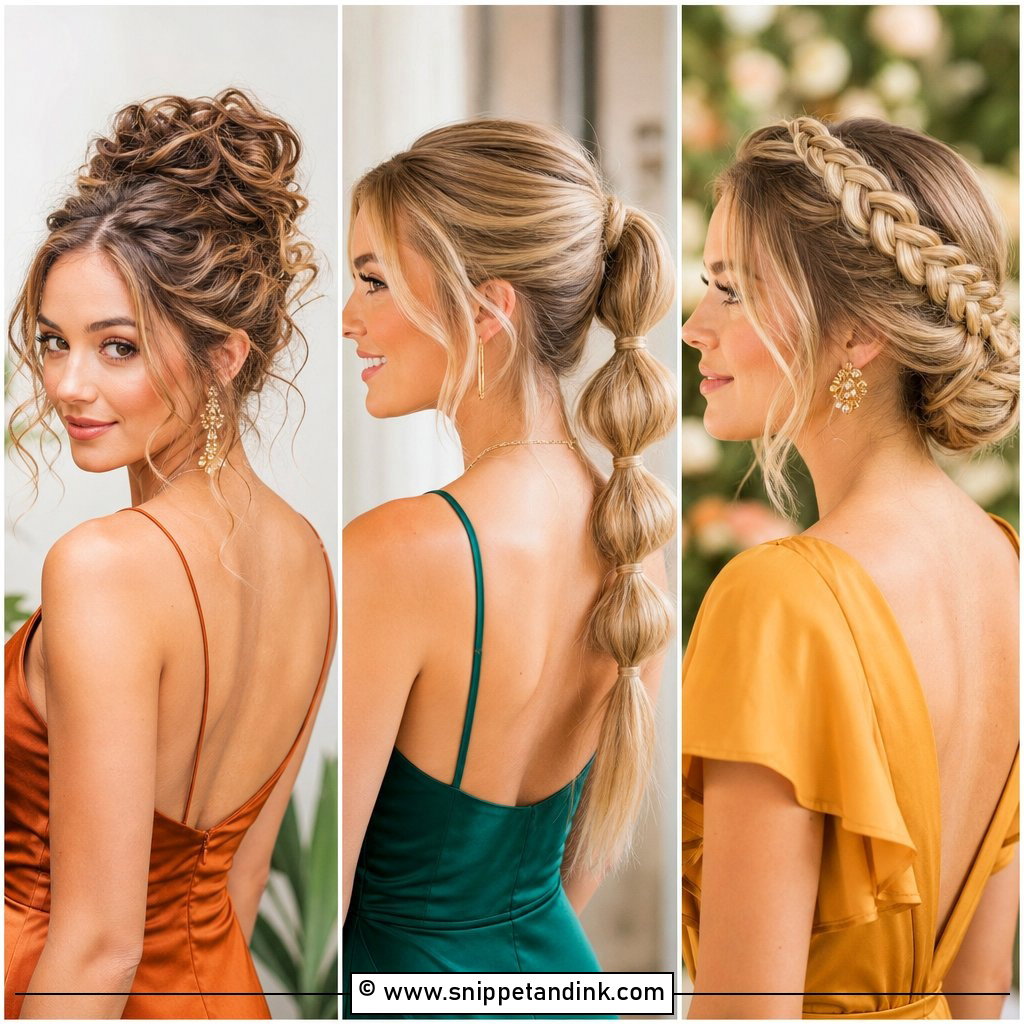
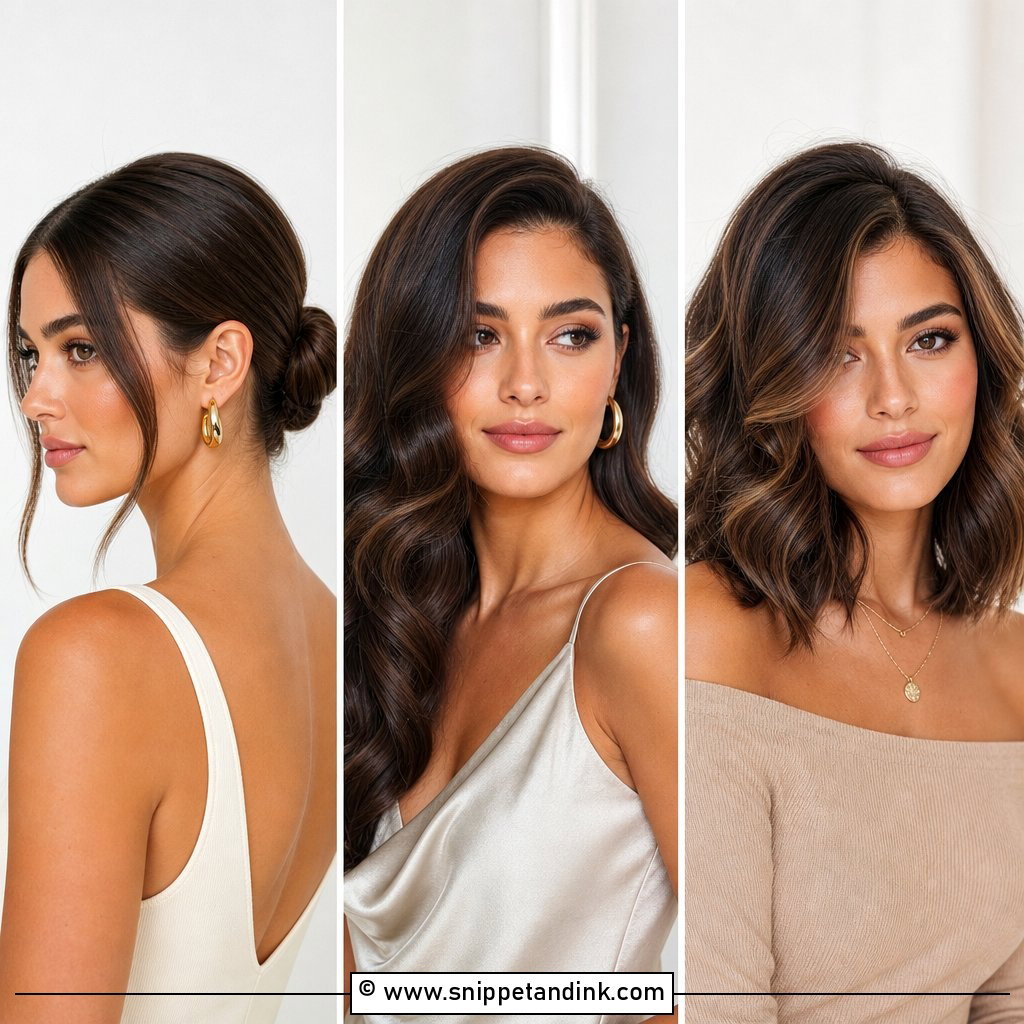
15. Deep Side Part With Sleek Waves
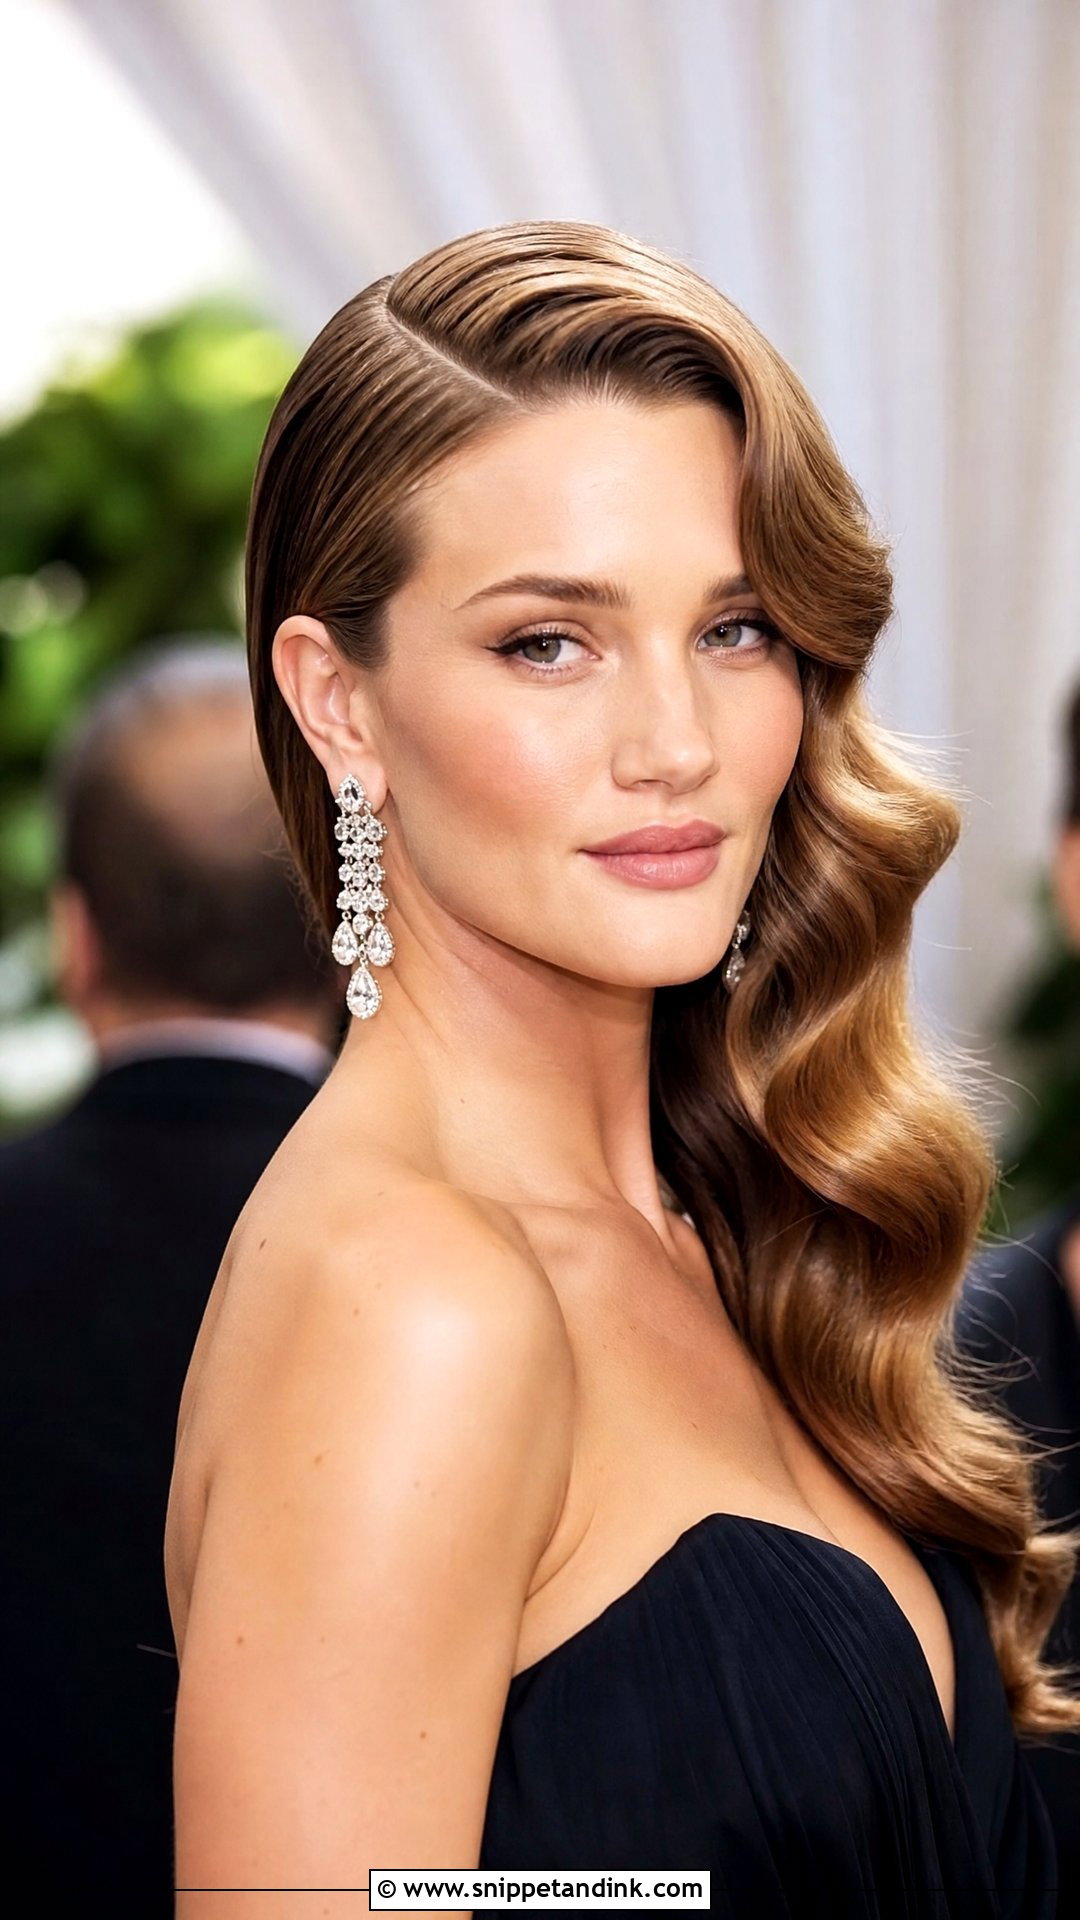
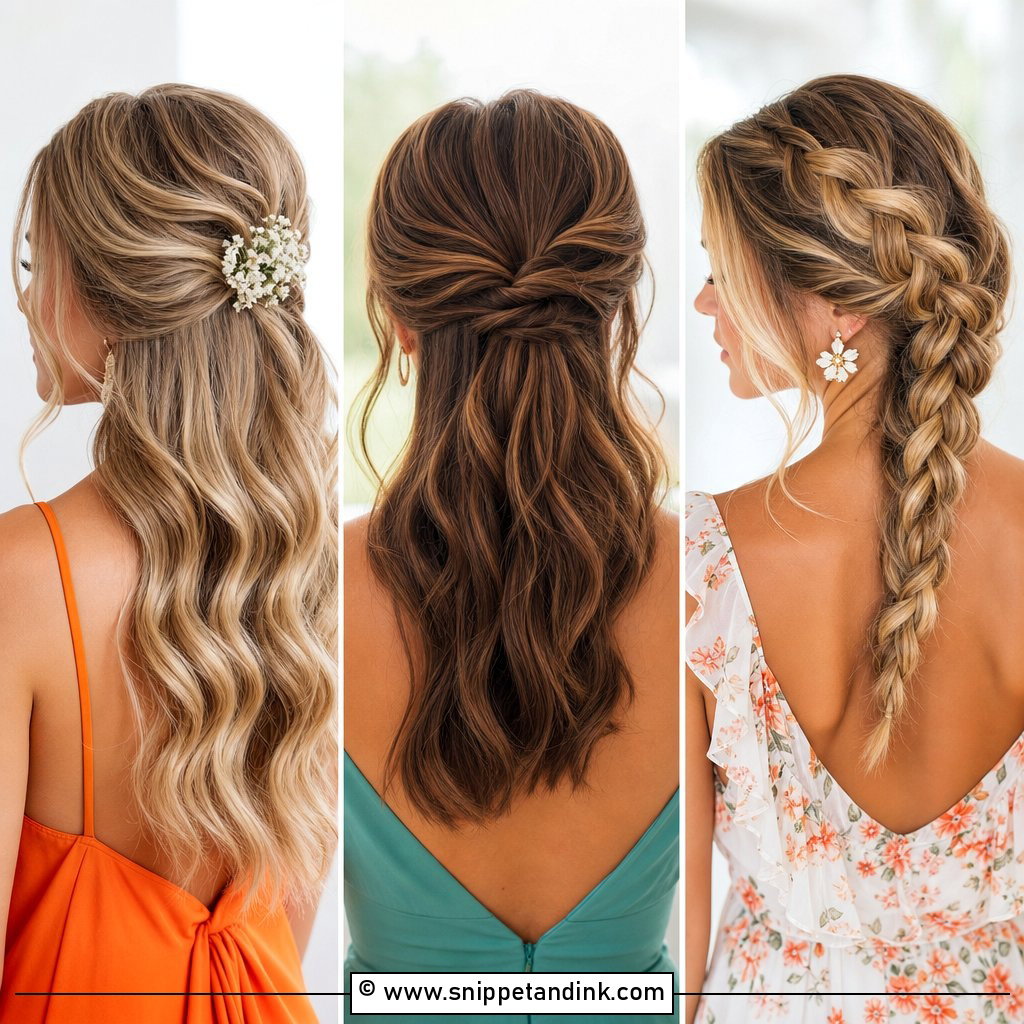
A deep side part shifts the volume to one side, so I place the part in line with the arch of your brow. Smooth the hair with a flat iron, then make the waves by twisting the same iron as you glide down; that gives a flatter, glossier wave than a curling iron does. Serum goes on the mid-lengths and ends only. Fine hair tends to collapse at the root on the heavy side, so a little root lift spray before drying keeps it up. Formal and evening weddings suit it best.
16. Fishtail Braid Half Up
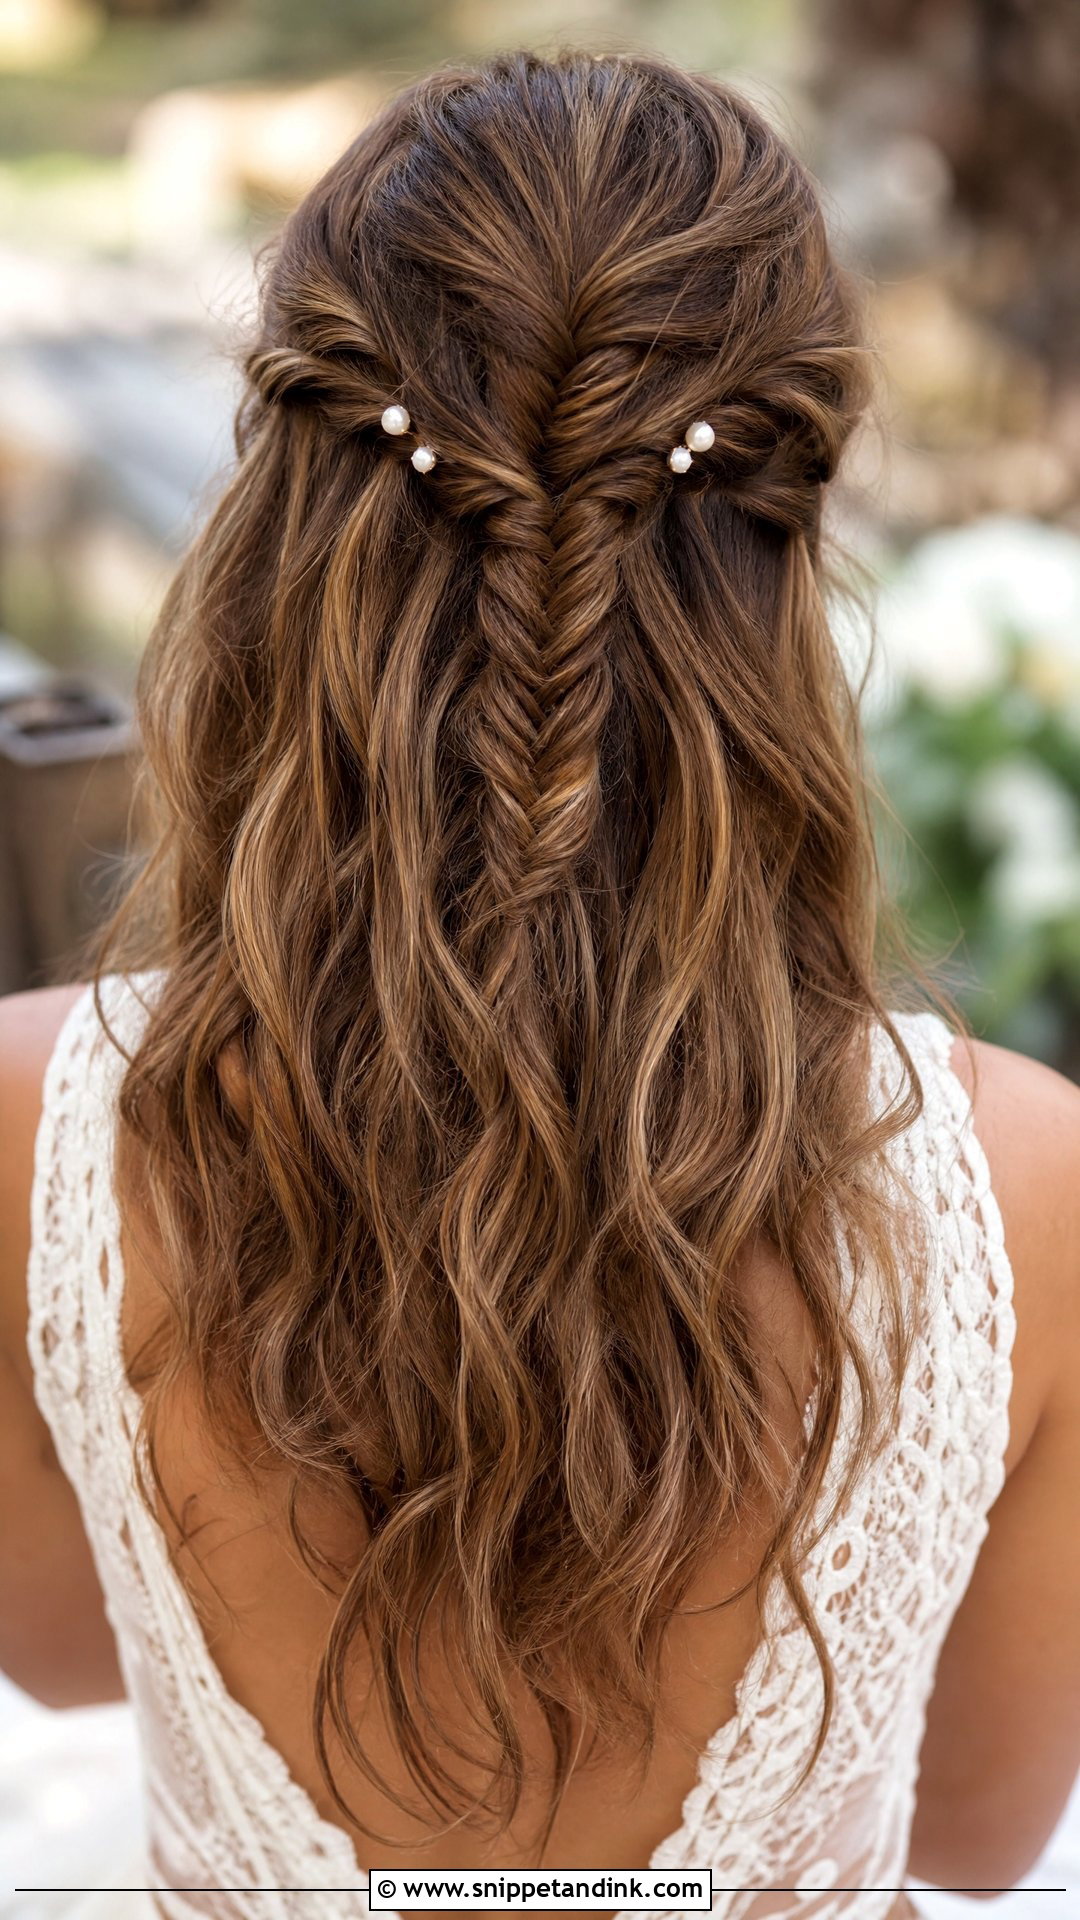
A fishtail uses more length per inch than a three-strand braid, so on shoulder-length hair I keep it to the top section only. Take thin strands from the outer edge each time; thick strands make it look like an ordinary plait. Once it’s tied with a small elastic, pull the edges gently to widen it, holding the end so the braid doesn’t slide. Tucked flowers or pearl pins along the braid suit outdoor and rustic weddings.
17. Voluminous Blowout
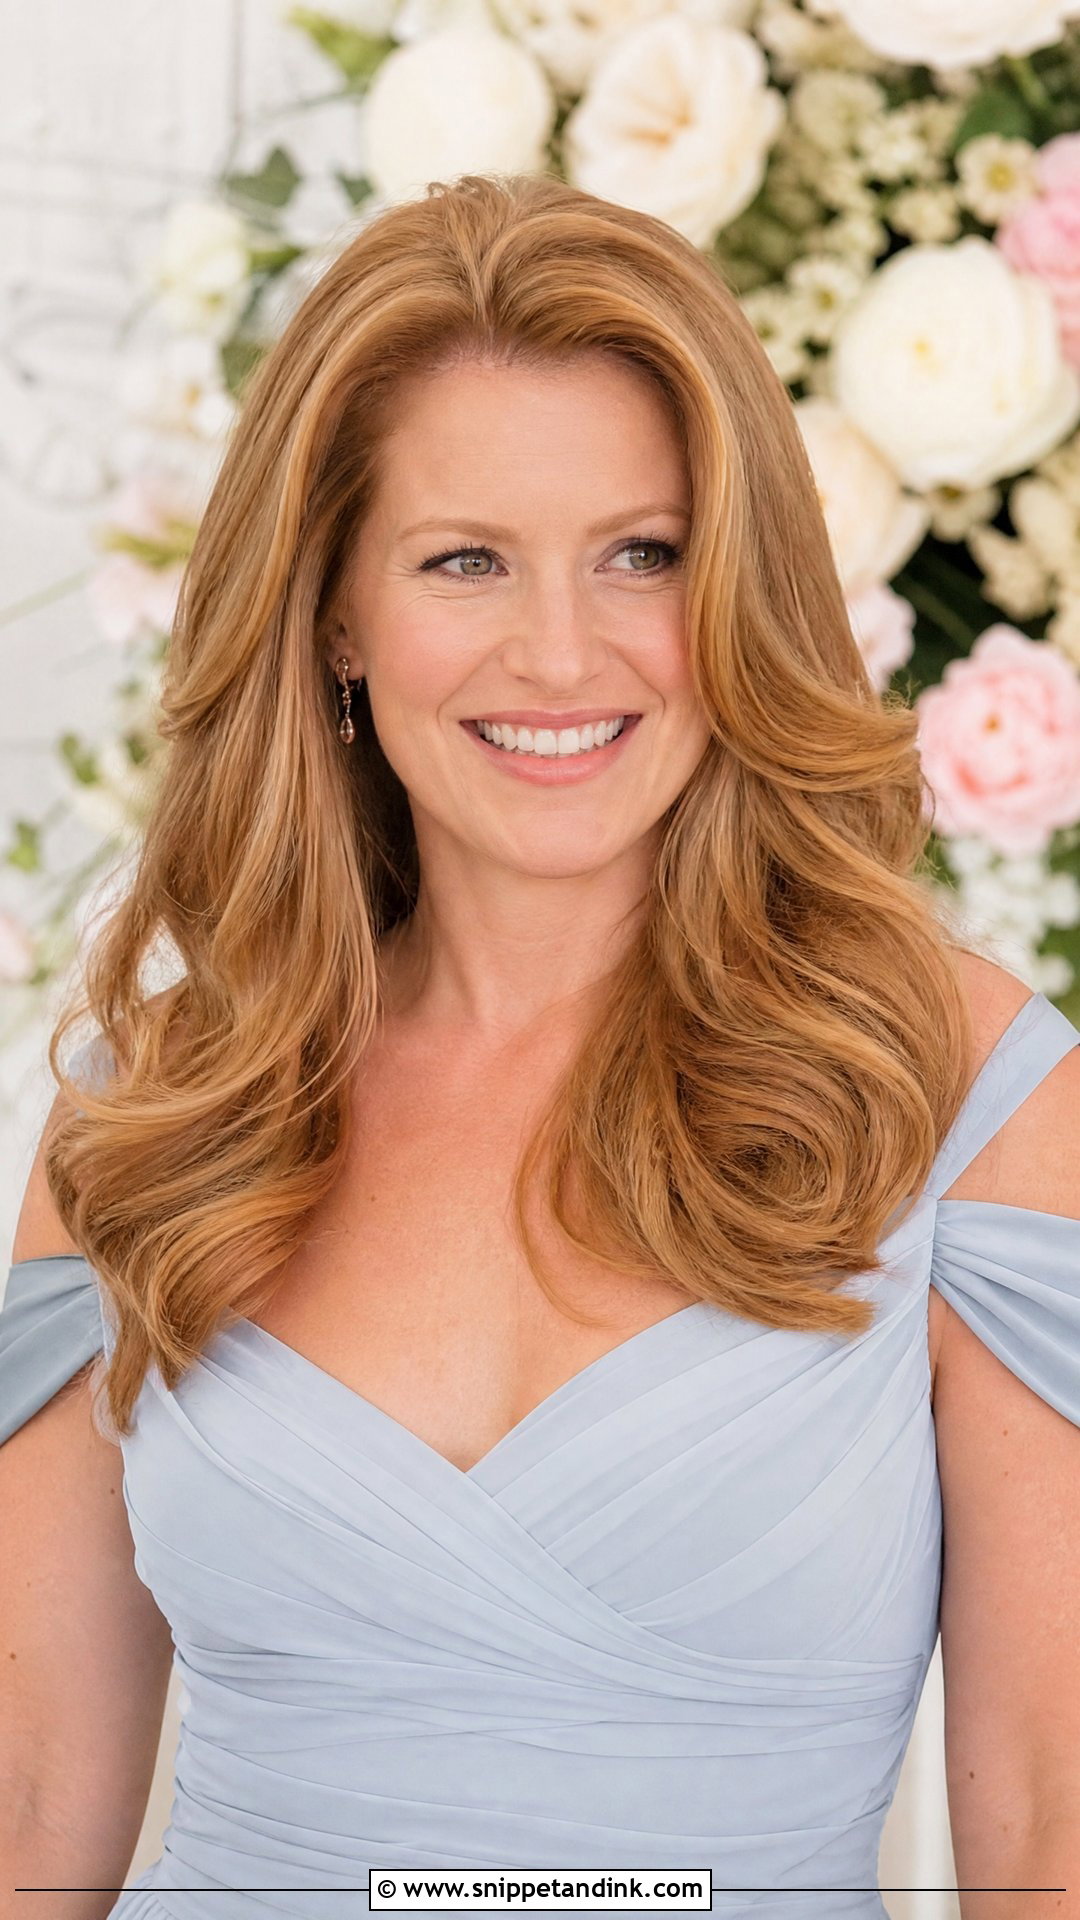
A voluminous blowout is the one style on this list with no pins at all, which makes it the fastest to wear and the fastest to fall if your hair is fine. I put a volumizing mousse at the roots, rough-dry until the hair is mostly dry, then work in sections with a round brush, lifting at the roots and turning the ends under or out. Let each section cool on the brush, or in a velcro roller, before releasing it. A light hairspray holds the body without stiffness. It suits almost any wedding, formal or casual.
18. Twisted Updo With Side Braid
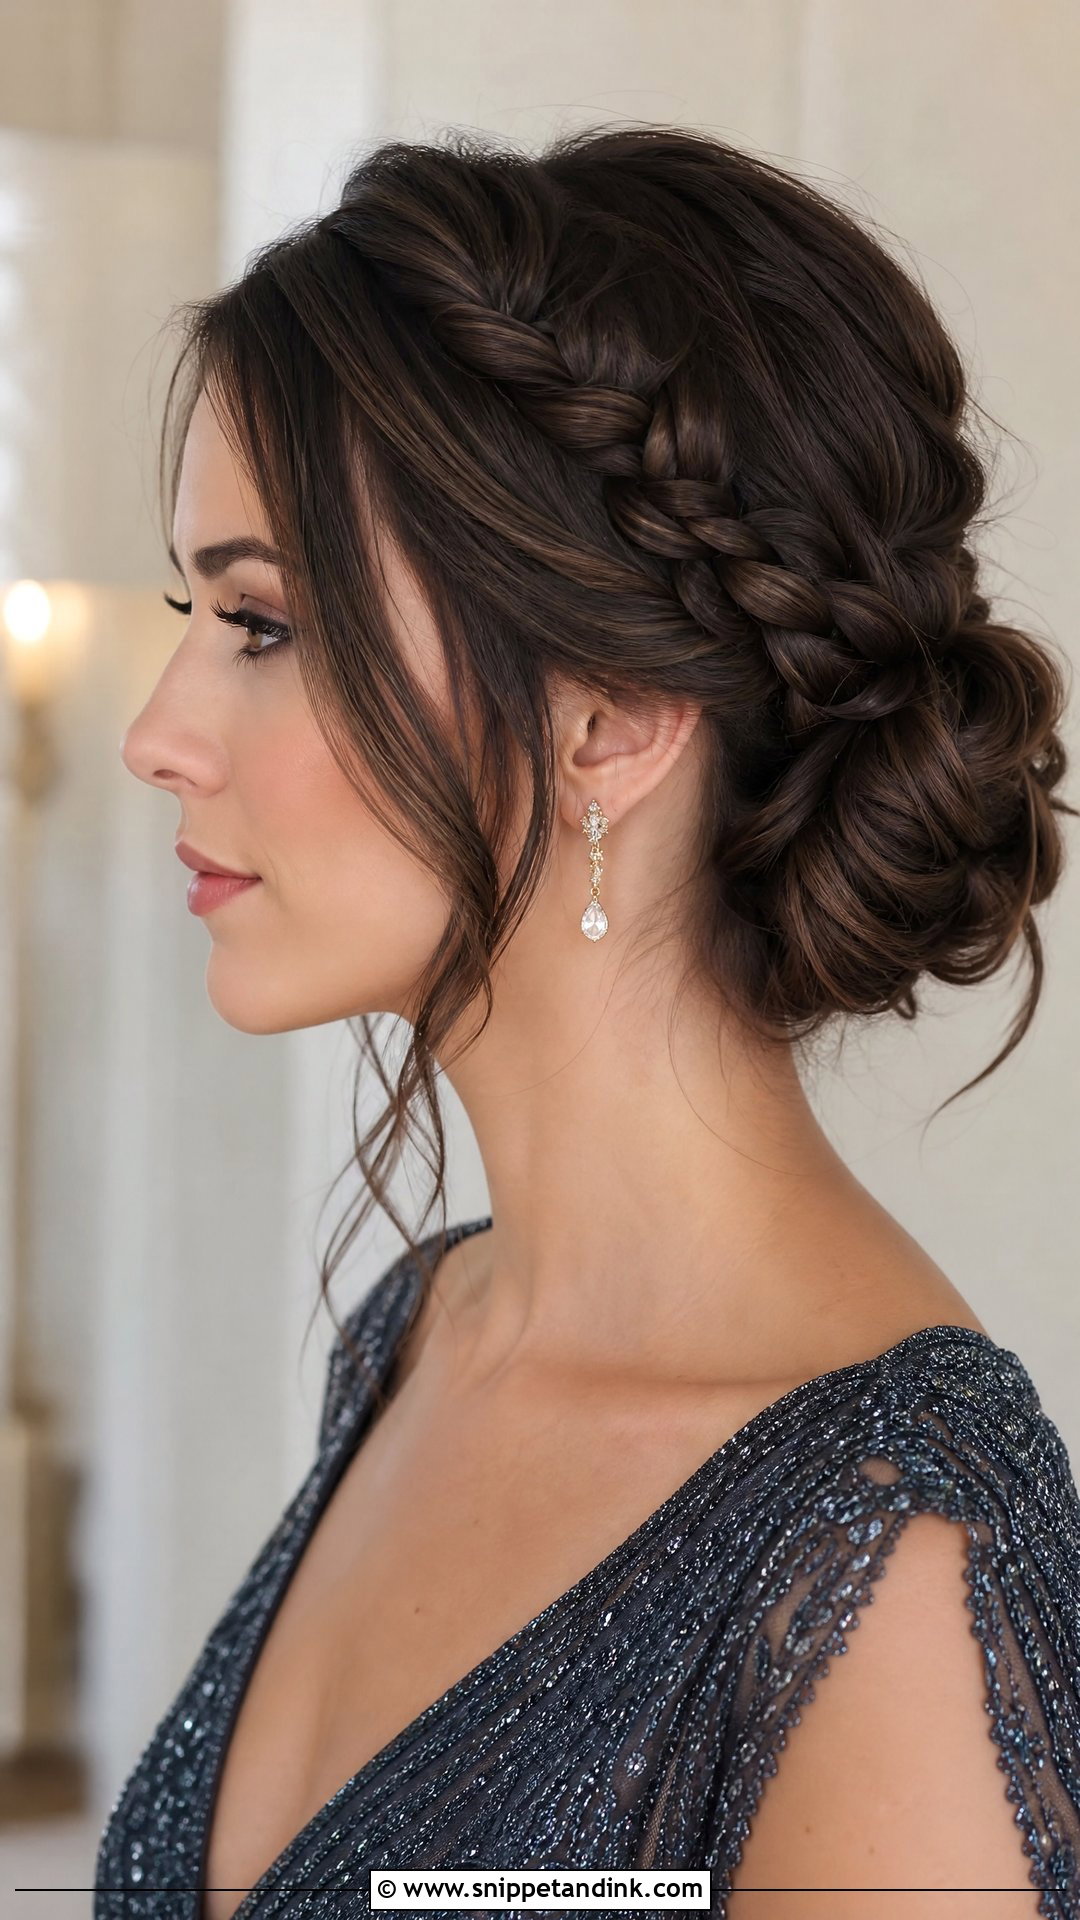
Do the side braid first, from the part down toward the ear, and keep it fairly tight so it doesn’t loosen when you twist the rest up. Then twist the remaining hair into a low updo and fold the braid’s end into it, pinning where they meet. That join is where I check twice, because it carries the weight of both. Leave a few face-framing pieces out to soften it for a formal or evening wedding.
19. Beachy Waves With Center Part
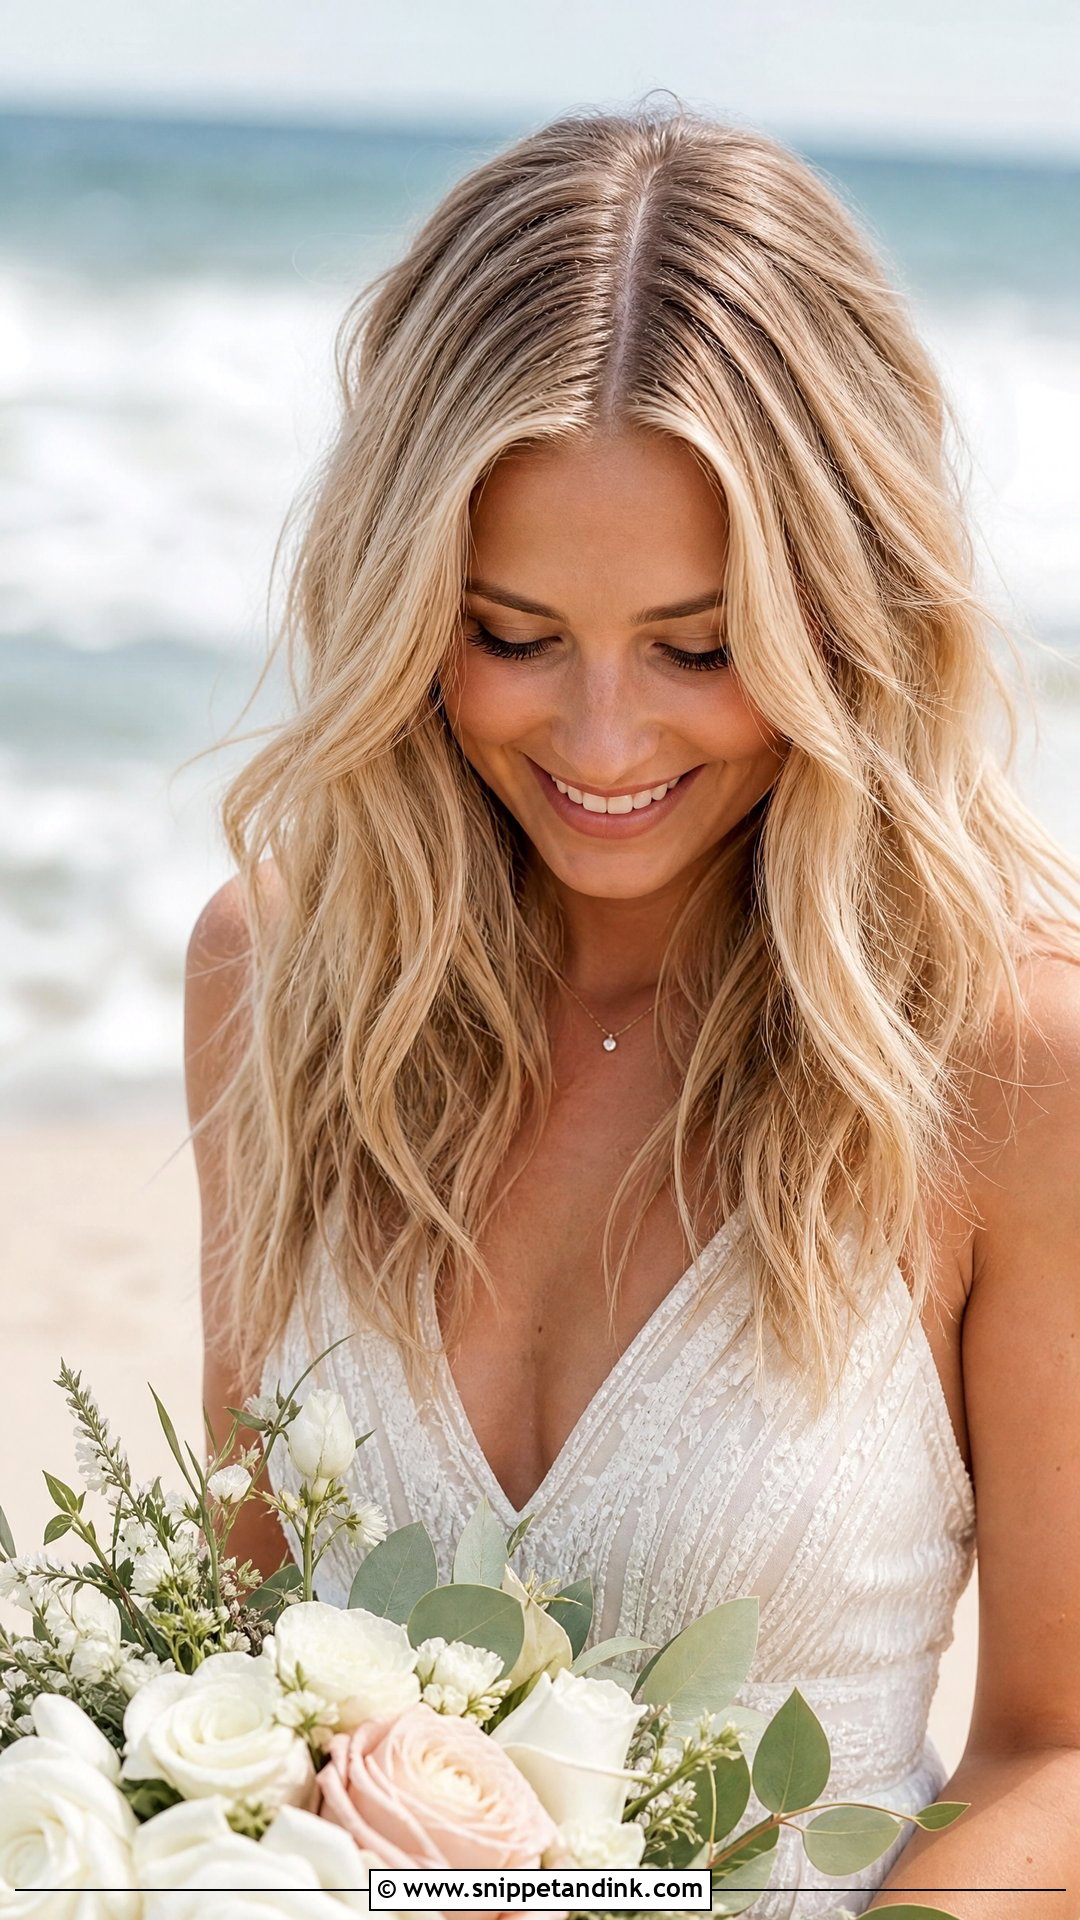
Sea salt spray goes in first, scrunched through for grit. Effortless beachy waves then come from a curling wand: wrap vertical sections and leave the last inch or two out so the ends don’t spring into ringlets. Alternate the direction of each section around your face, and keep a centre part to make it look current. I’d avoid this on hair that frizzes easily, since salt spray roughs up the cuticle and by evening the waves can turn fuzzy. Beach and relaxed outdoor weddings are where it belongs.
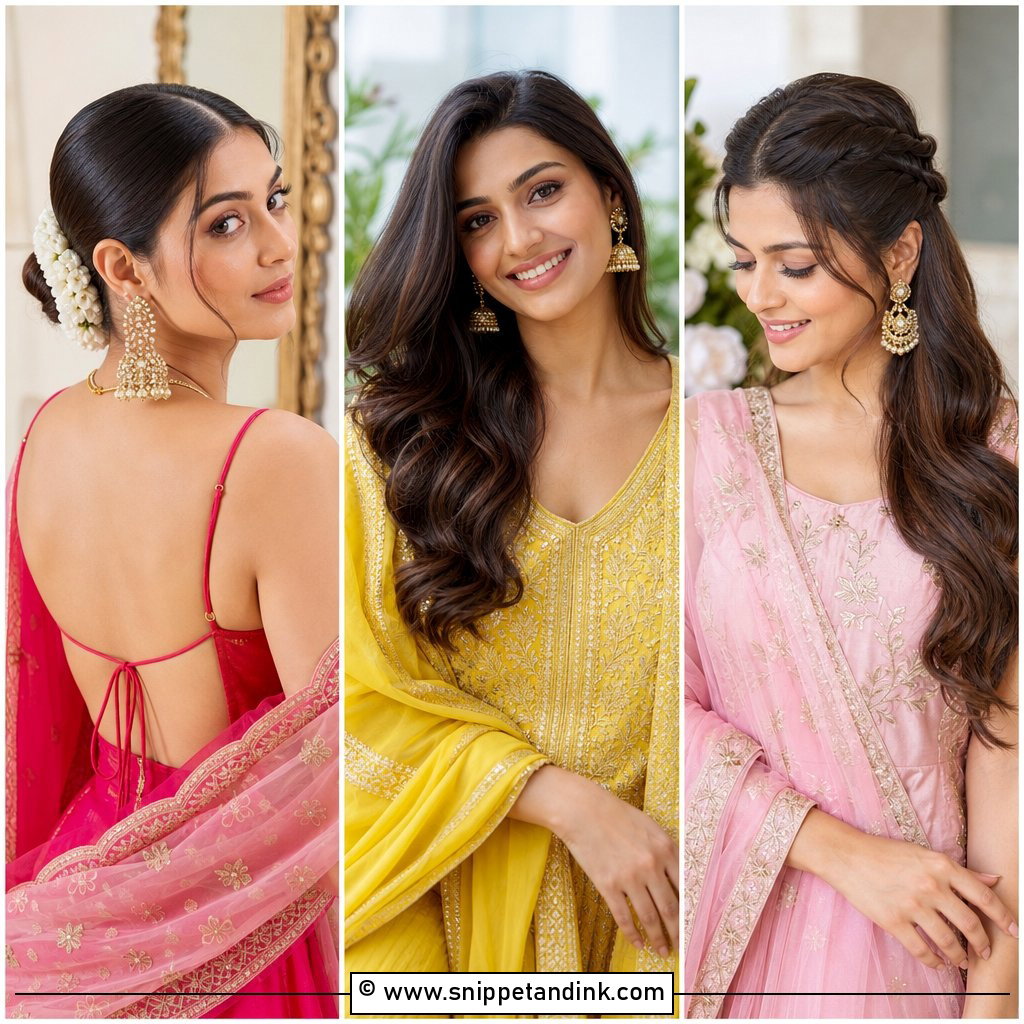
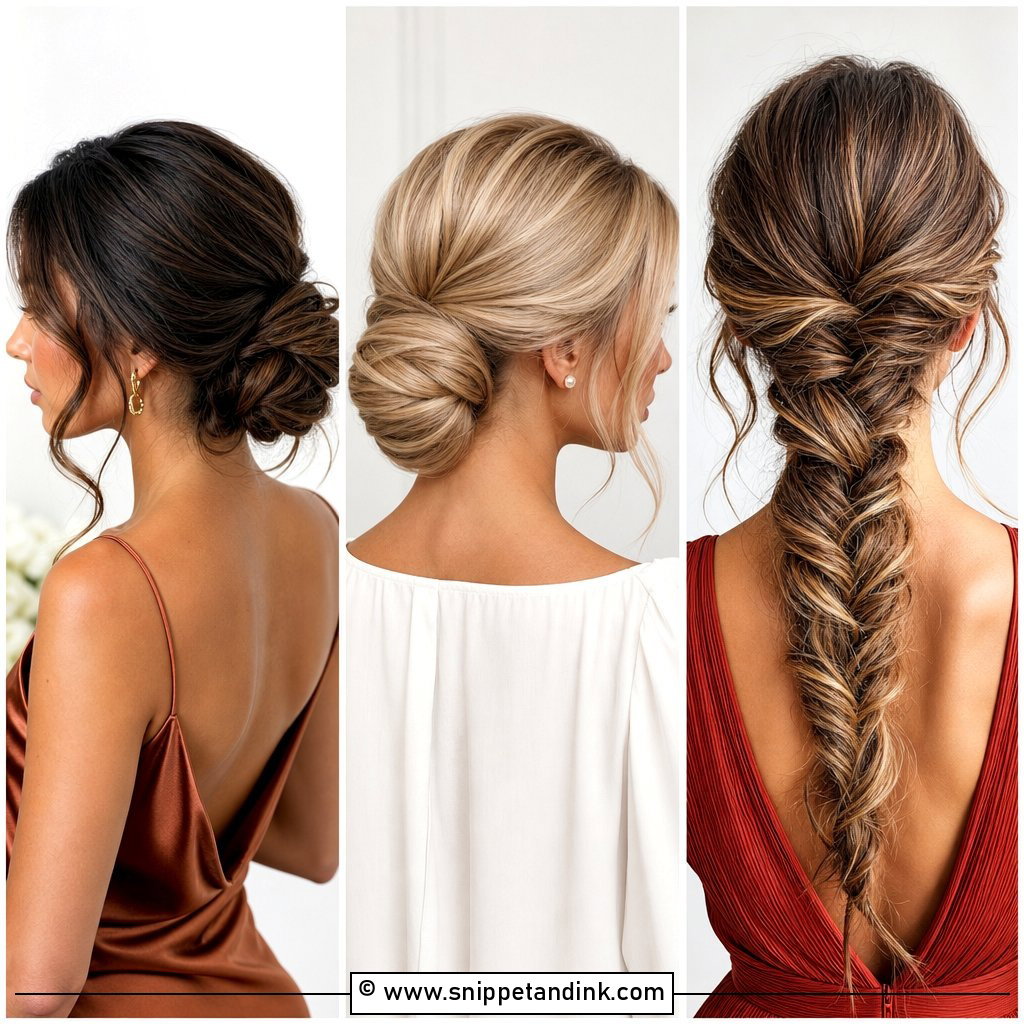
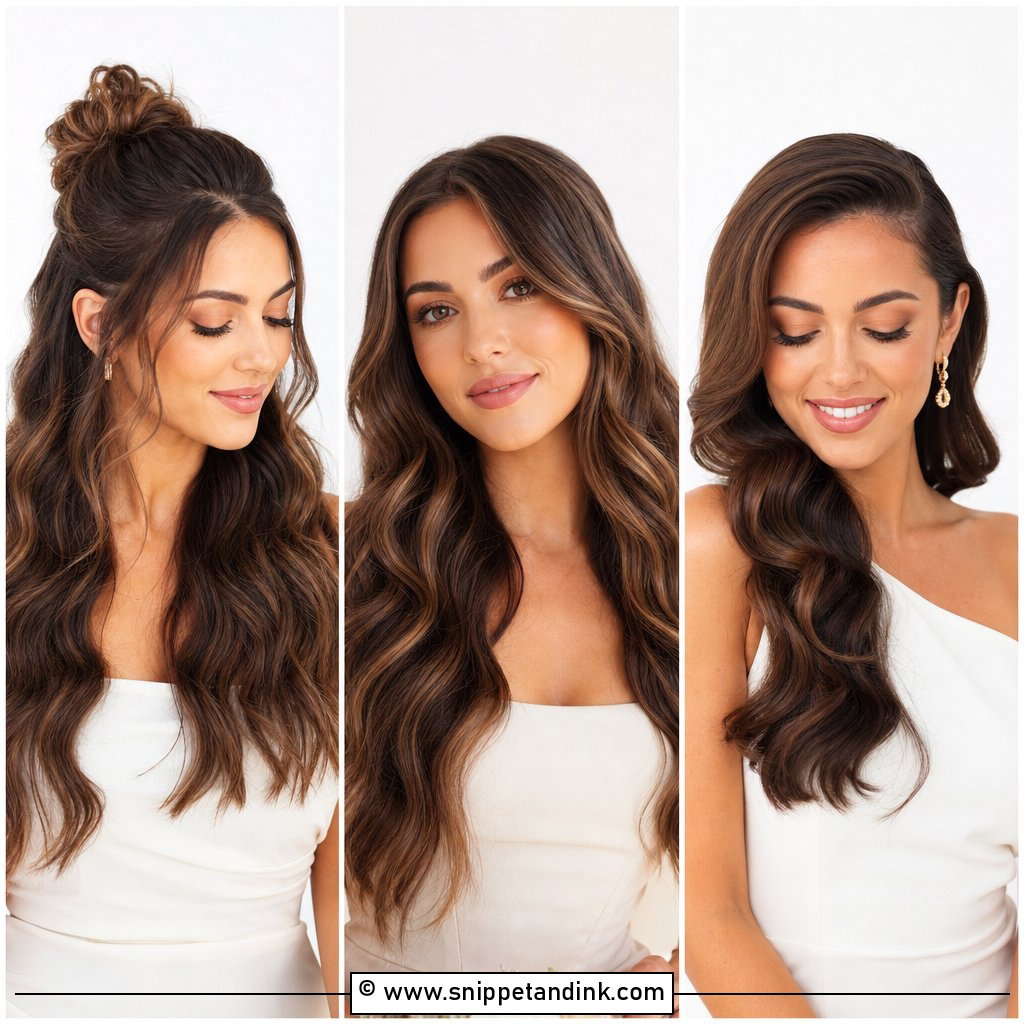
20. Accessorized Half Up With Hair Clip
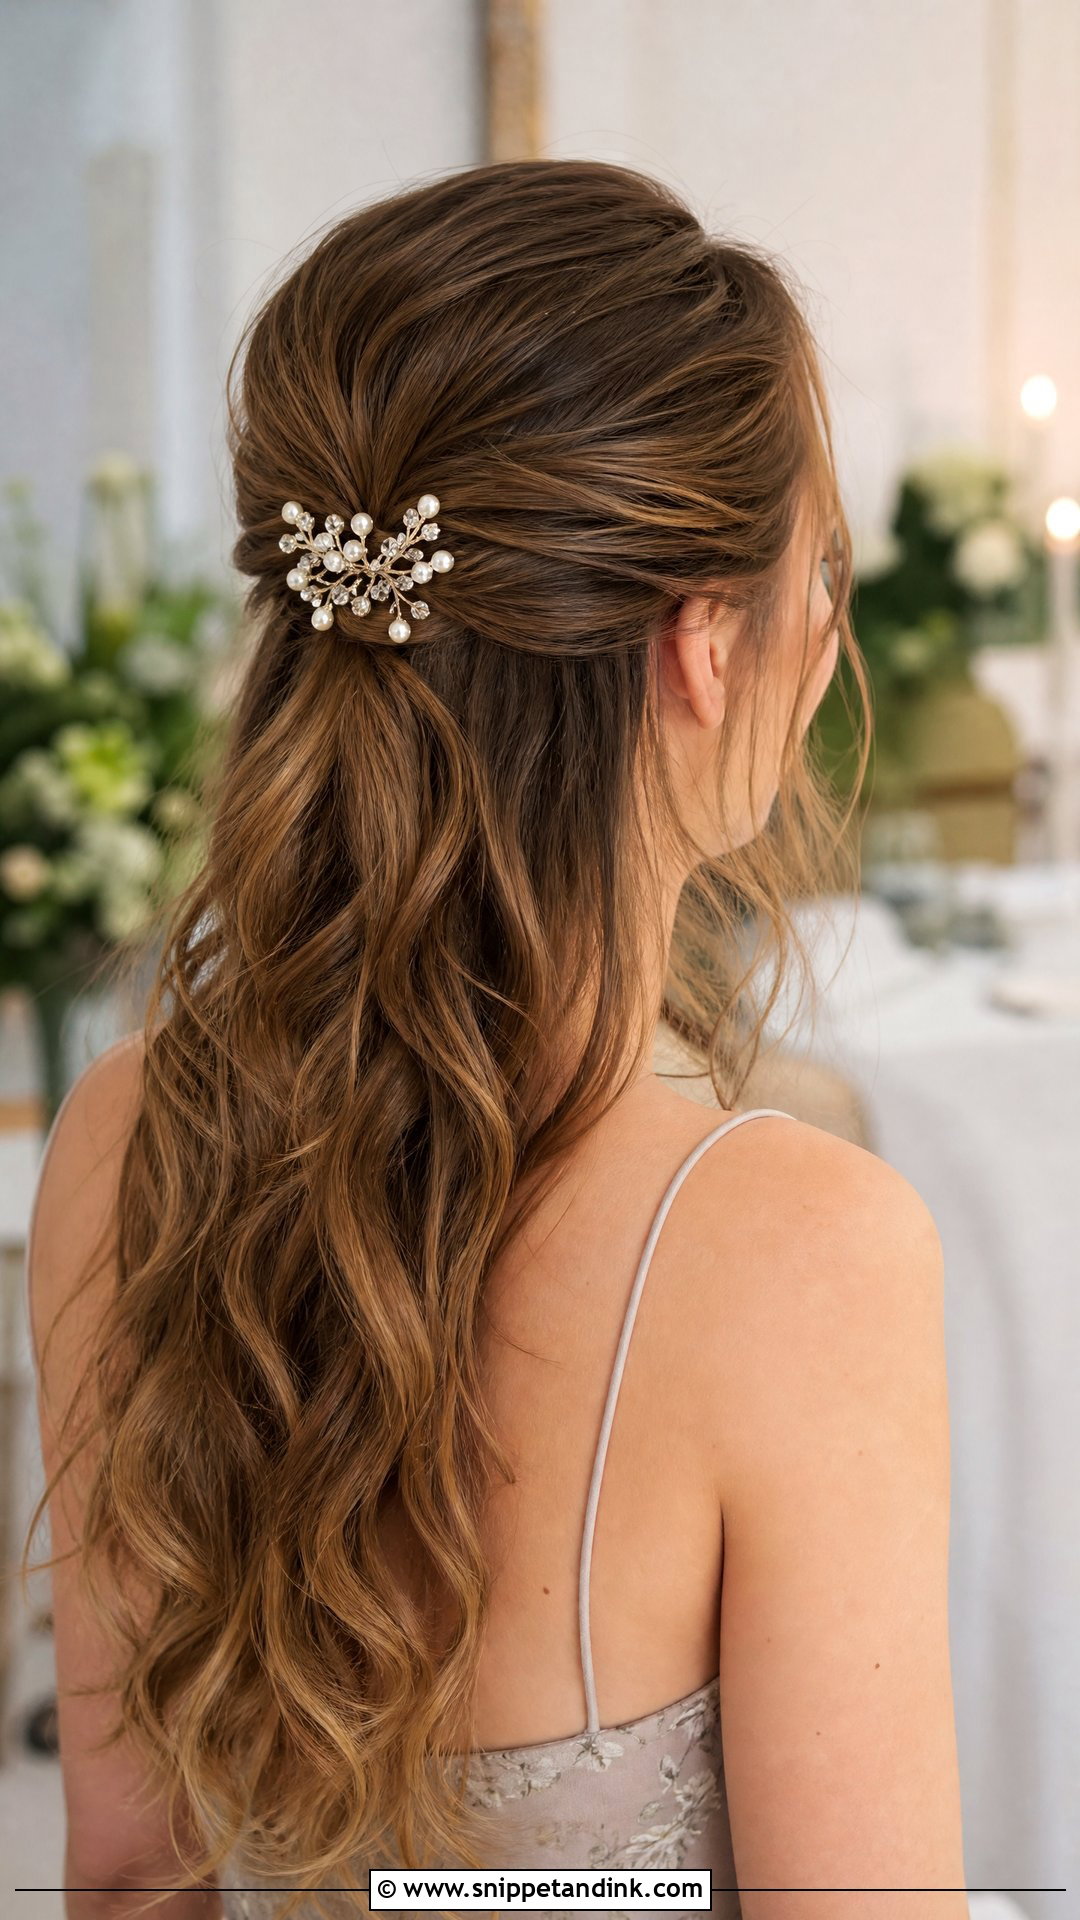
A clip turns a plain half-up into something dressier with very little skill. The catch is grip: decorative barrettes slide out of silky hair, so I pin the section with two crossed bobby pins first and set the clip over them. Match its metal and stones to your earrings or the trim on your outfit. Size matters more than style; a large clip on fine shoulder-length hair drags the section down by evening. It’s also the easiest look to change if you swap outfits for the reception.
Starting Early Enough That Curls Are Still There at the First Dance
Curls need time to set. If you’re styling at home, I’d finish the hair before makeup touch-ups and getting dressed, not as the last thing before the car arrives. A curl that cools for half an hour in a pin curl or a roller lasts far longer than one brushed out straight off the iron. For an afternoon ceremony, give yourself a calm hour for hair alone.
Humidity is the other thing to check the day before. Fine hair drops curl quickly in damp air, so on a humid forecast I’d pick an updo or a braid from this list over a loose wave.
What I’d Put in Your Clutch
- Six bobby pins and two U-pins, in your hair colour
- A travel-size flexible hairspray
- A small clear elastic for a quick low ponytail if the style gives up
- A folding comb for the face-framing pieces
Reading the Dress Code Before You Heat the Iron
Start with the dress code and the venue, then look honestly at your hair. Fine hair usually holds a pinned style longer than loose curls, while thick hair holds curl well but can make a small bun feel heavy. If you’re torn between something polished and something relaxed and bohemian, weigh how many hours you’ll be out and what the weather is likely to do. Then try your choice once a few days before, so the pinning on the morning isn’t a first attempt.
You'll Like These Ideas:


Leave a Reply