
A wedding invitation usually brings me two questions from friends: what to wear, and what to do with their hair. The second one is easier than people expect, as long as you plan around the venue and how long the day runs instead of around a single photo. A noon garden ceremony and a ballroom reception that ends at midnight ask very different things of a hairstyle. Below are 25 guest looks I’d happily send someone out the door in, from sleek buns to bubble ponytails, with notes on which hair each one actually holds up on.
Reading the Invitation Before You Pick a Style
The invitation tells me more about which hairstyle will work than any mood board. Three details on it matter: the start time, the venue and the dress code. A ceremony at four with a reception until midnight means your hair has to last eight hours or more, through hugs, a seated dinner and a dance floor. That favors pinned styles over loose curls.
Wind, Humidity and Air Conditioning
Outdoor and coastal weddings bring wind and damp air. Loose curls and pressed straight hair are the first to give up, so I steer guests toward braids, low buns or a ponytail there. In an air-conditioned ballroom you can wear hair down with far less risk.
Matching the Style to Your Texture
- Fine, straight hair: use texture spray or dry shampoo before pinning, or the pins slide out within an hour.
- Thick or coarse hair: choose styles that use the weight, like a chignon or French twist, rather than a high ponytail that drags.
- Curly or coily hair: work with your pattern. A defined twist-out, a high puff or a low bun from stretched hair holds far longer than heat-straightened styles.
- Short hair: pinned-back sides and textured curls give you the most options.
Last, think about what sits on your head or around your neck. A high collar wants hair up, and a fascinator or hat needs a low style it can pin into.
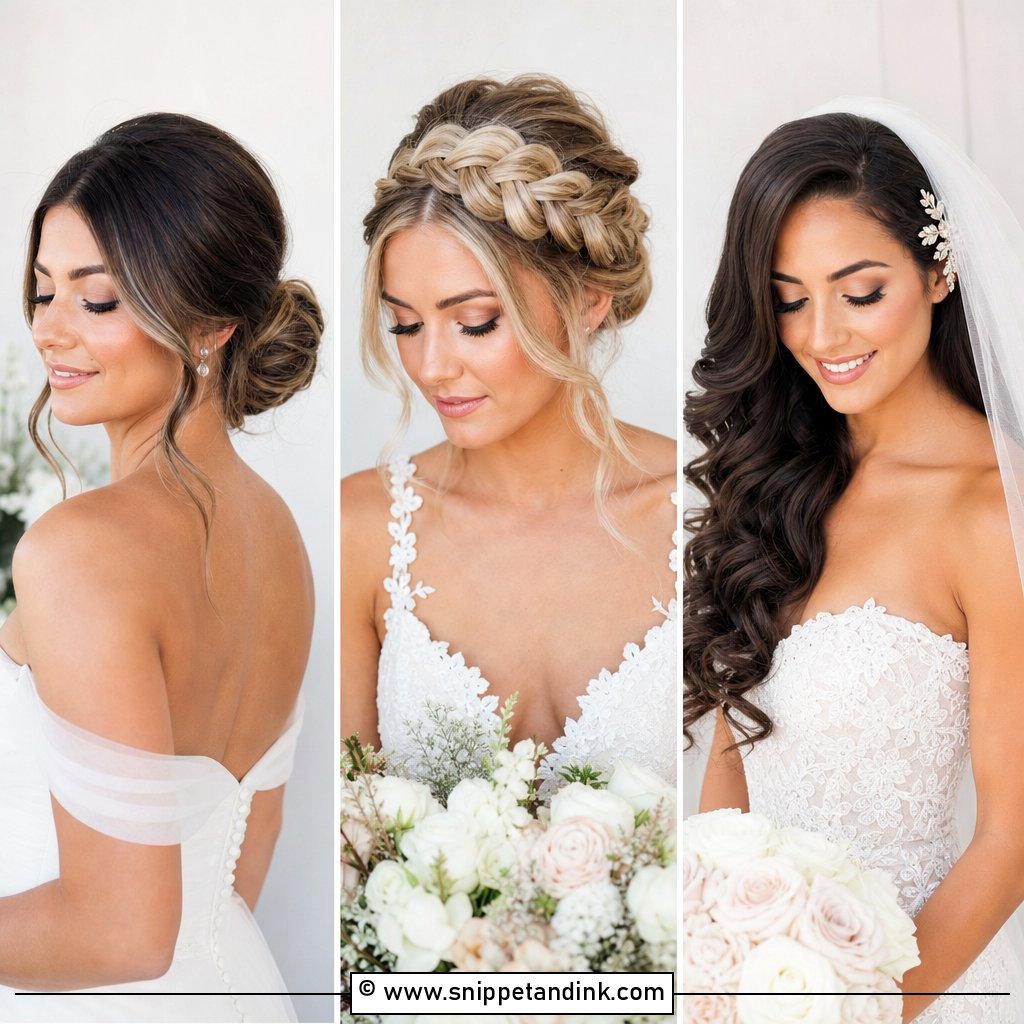
1. Sleek Low Bun
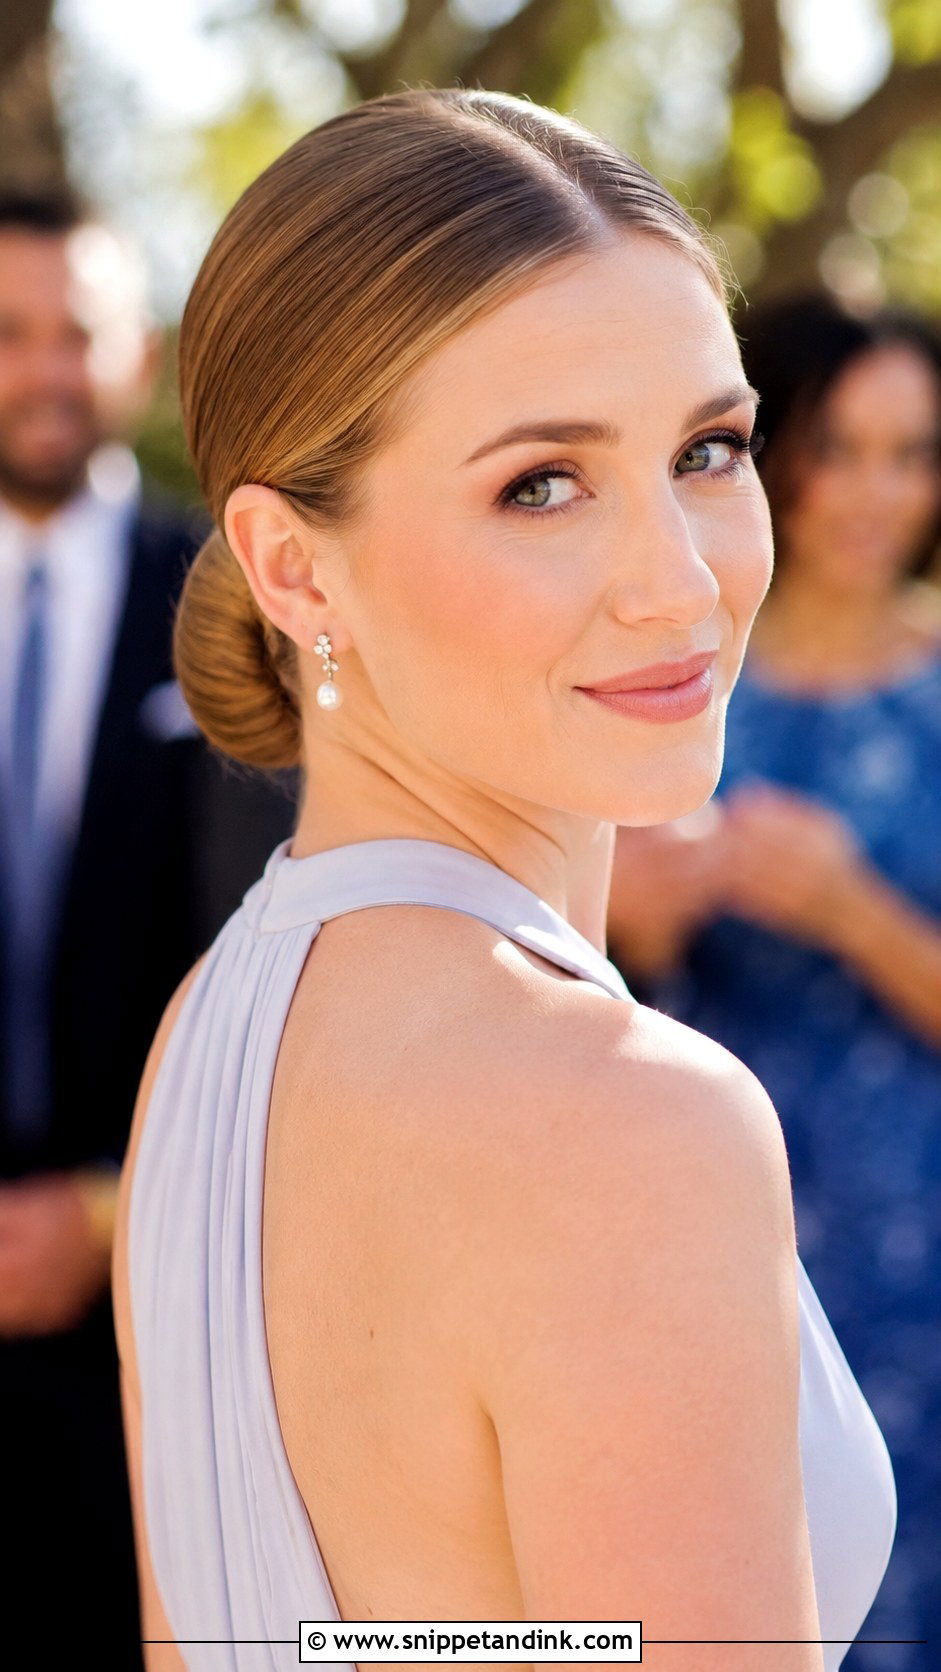
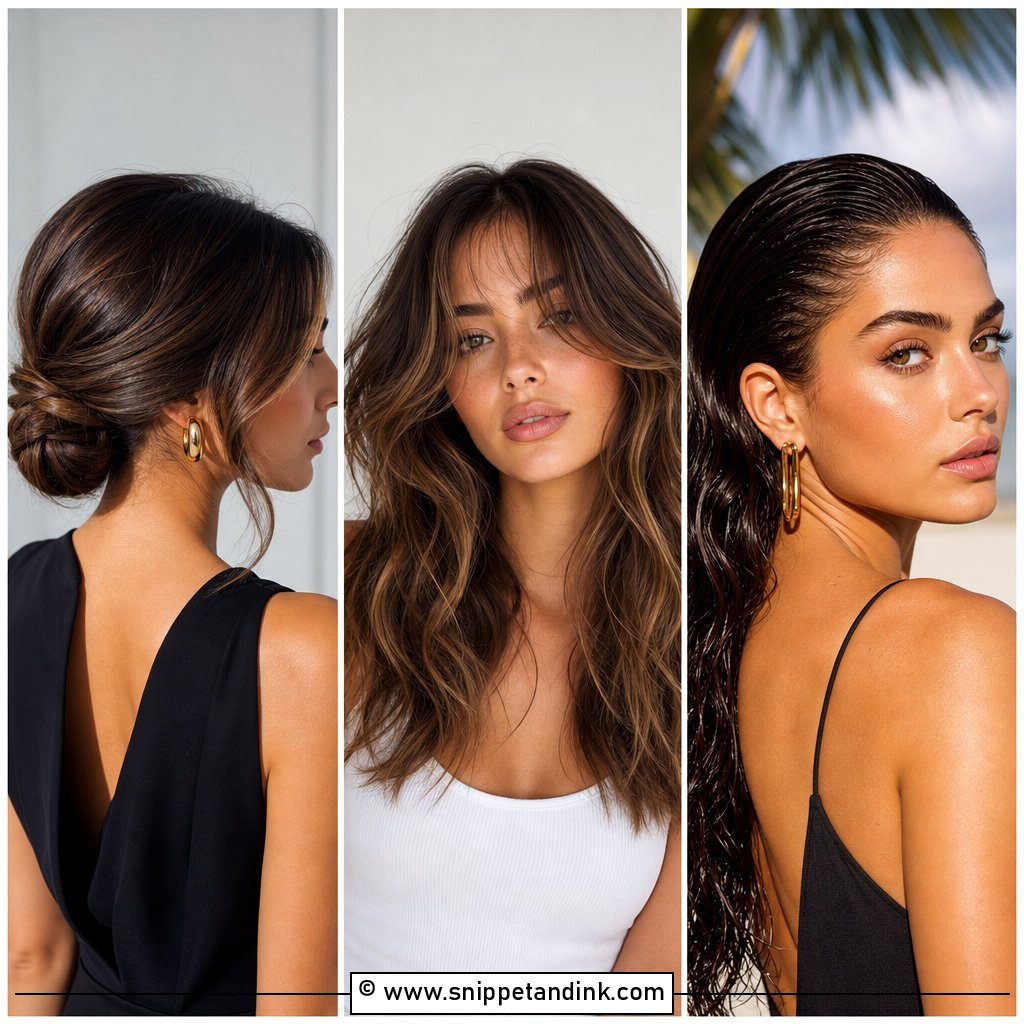
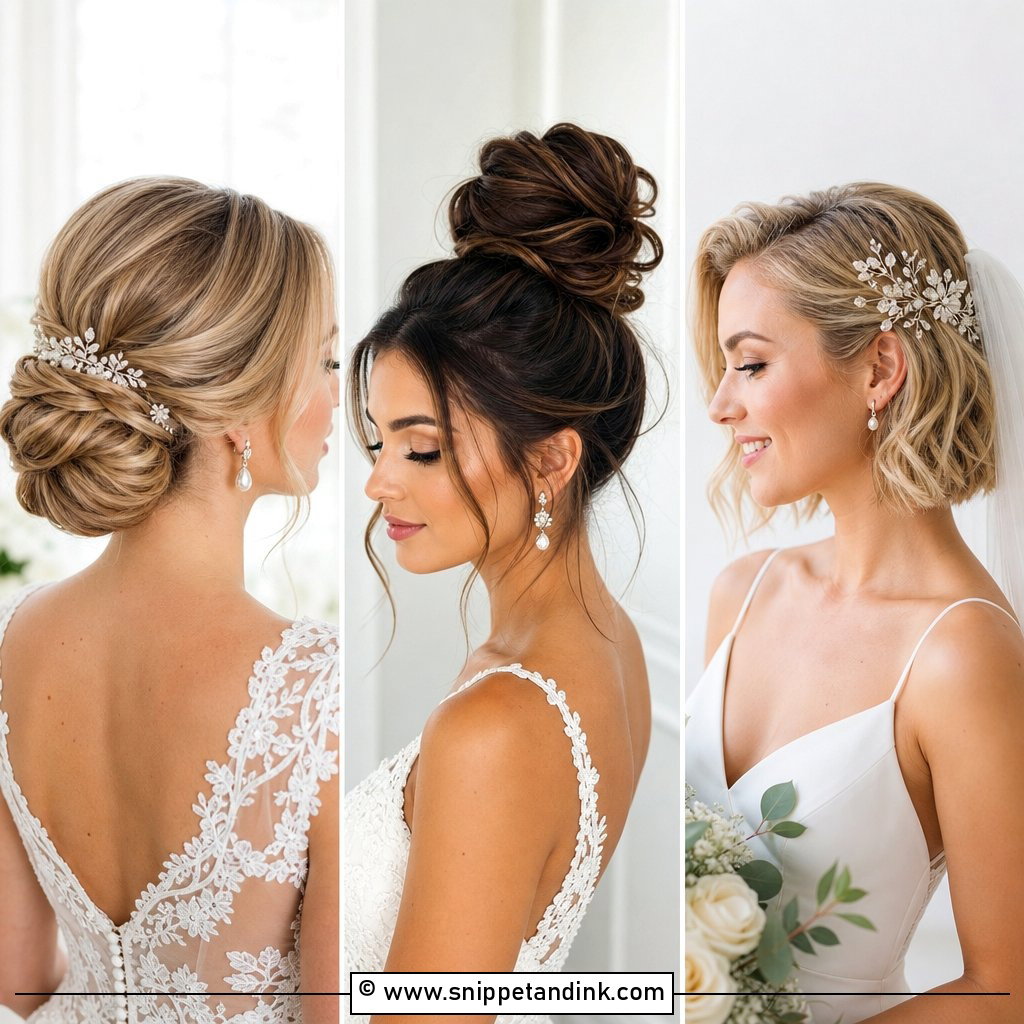
Almost any neckline works with this one, which is why I reach for it when a guest hasn’t settled on her outfit yet. I smooth the hair back with a small amount of gel on damp roots, then brush it into the band while it’s still slightly tacky, so the shine sets evenly instead of drying patchy. Sitting the bun right at the nape keeps it comfortable against a chair back through a long dinner. A center part reads more current; a side part is kinder to a high forehead. Very fine hair can look thin pulled this tight, so I lightly tease the length before wrapping to give the bun some size.
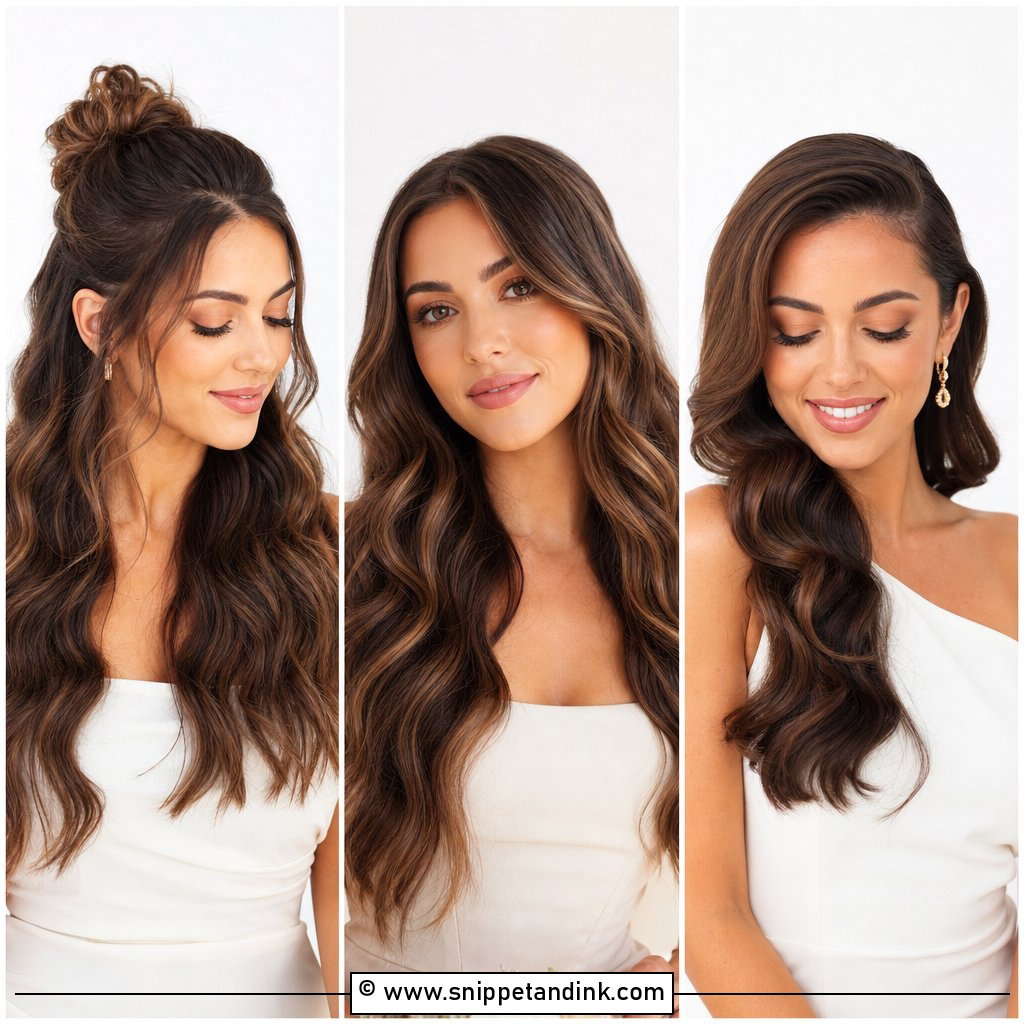
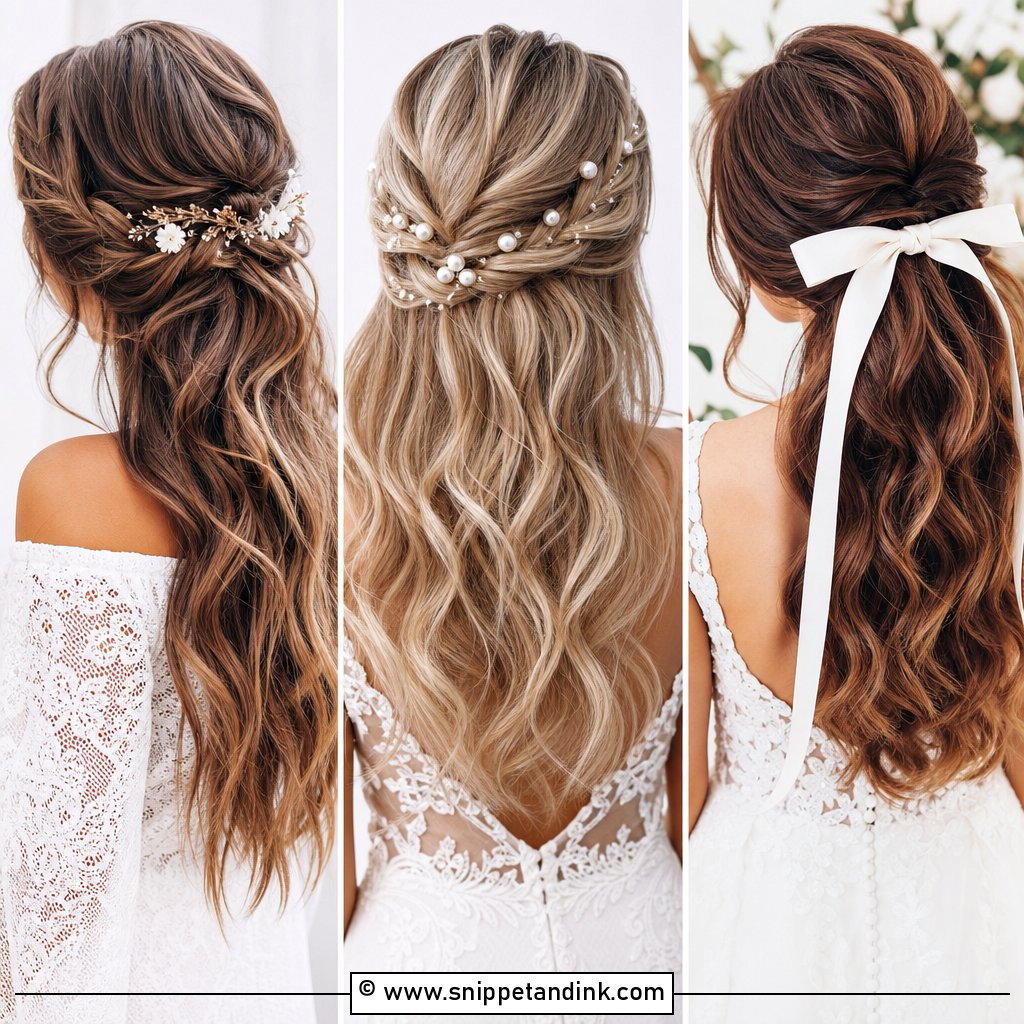
2. Half Up Half Down With Waves
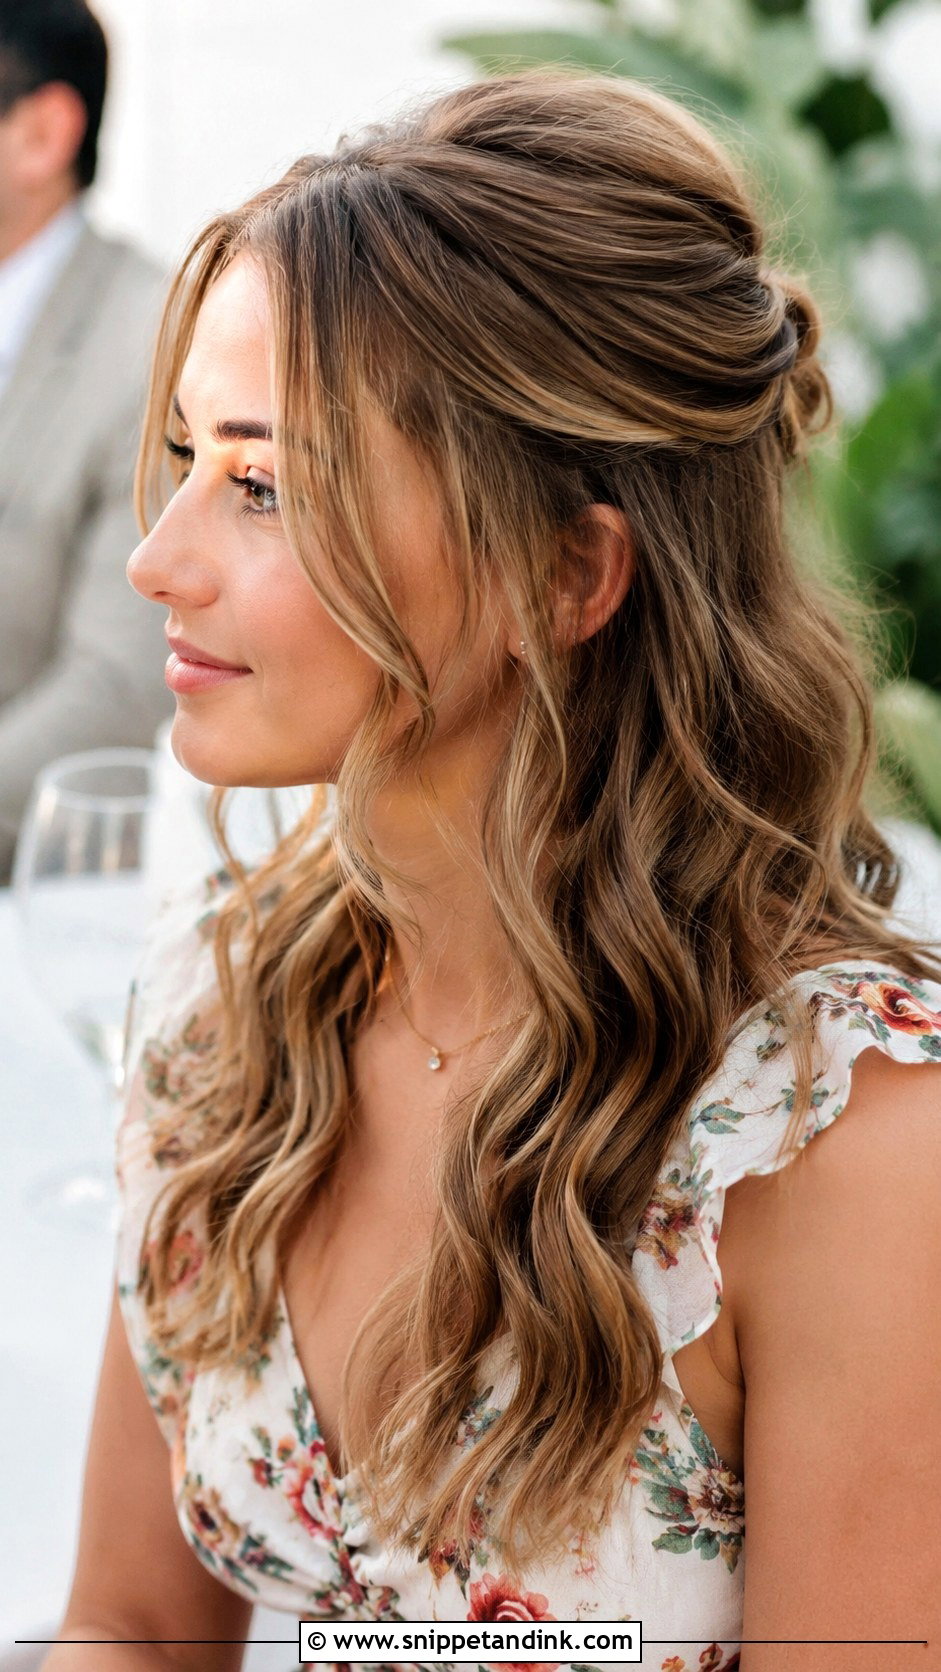
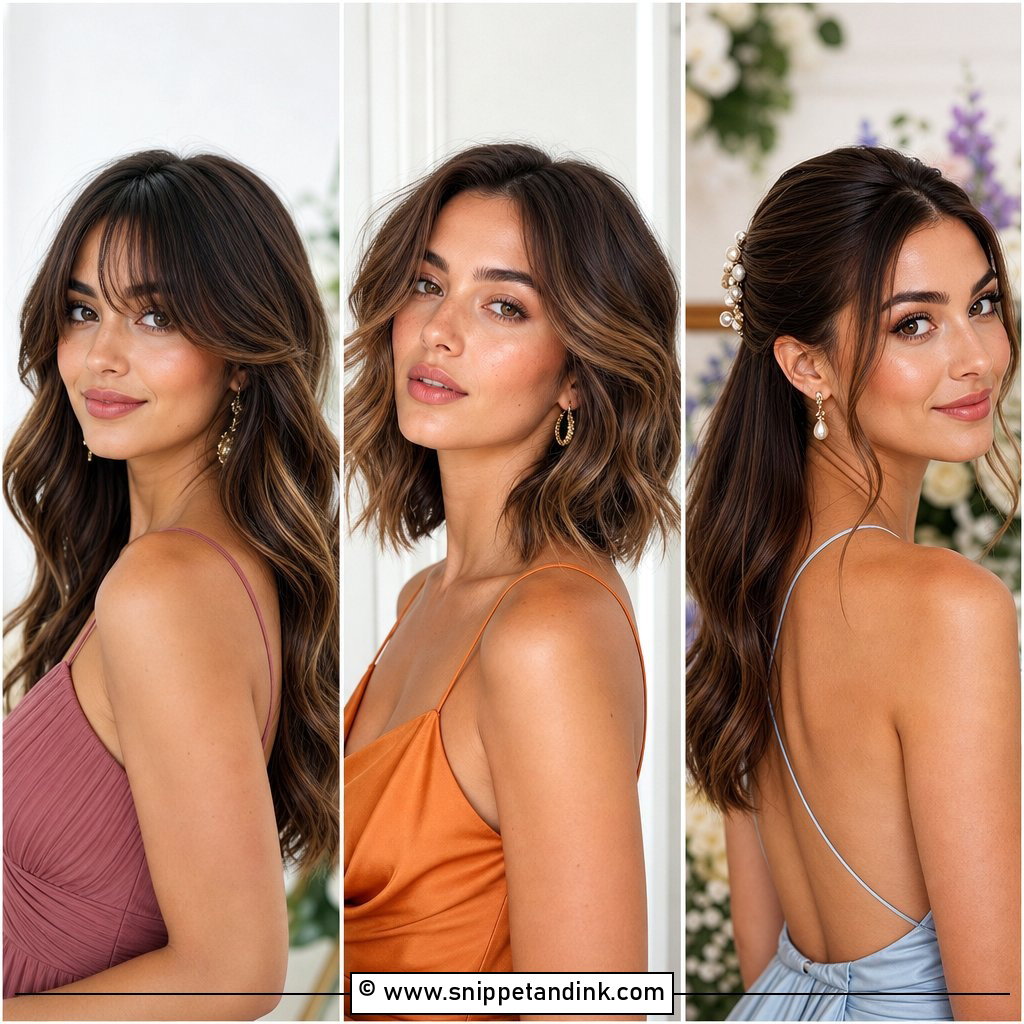
Can’t commit to an updo but don’t want hair in your food? Take the top section from temple to temple, secure it with a small clear elastic, then cross two bobby pins over the band so it doesn’t slide down by evening. For the loose length, a wand gives defined bends, while sea-salt spray gives looser texture but won’t hold on very straight hair. Leave out a couple of face-framing pieces, and keep them shorter than your chin if you’ll be eating outdoors in a breeze.
3. High Ponytail
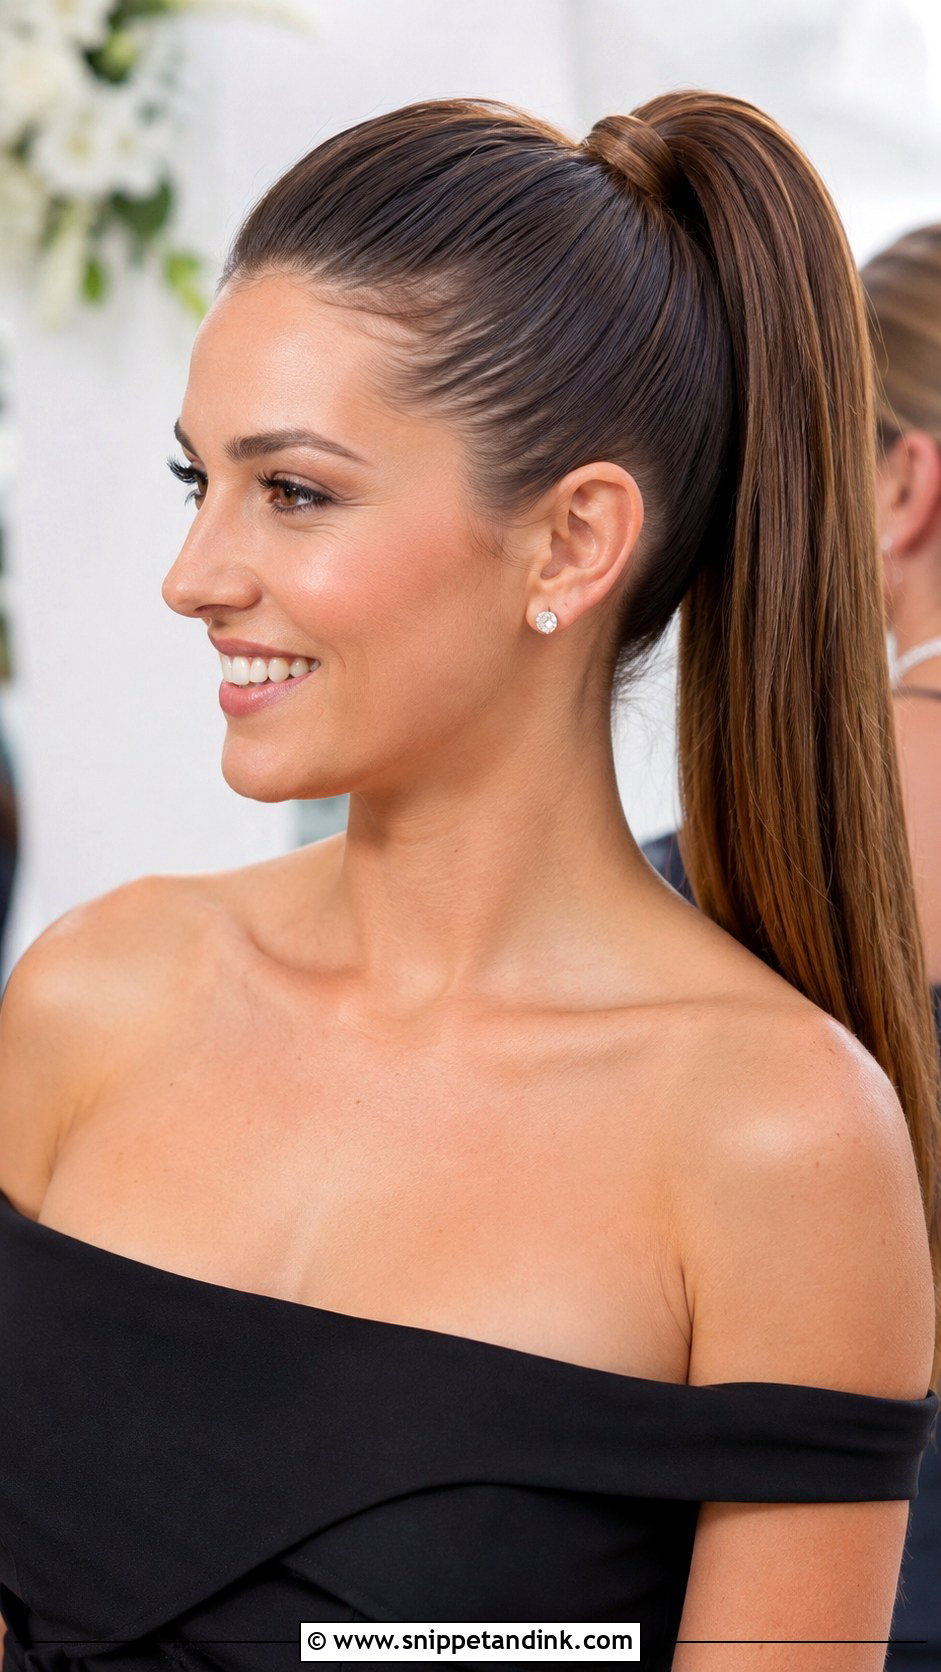
Pulling everything up lifts the whole face and leaves the neck and shoulders bare, so this pairs well with strapless and off-the-shoulder dresses. Placement is the trick: I line the ponytail up along the angle from the cheekbone to the crown, which looks lifted from the front without dragging on the scalp all night. Wrap a strand around the band and pin it underneath to hide the elastic. Heavy, long hair can give some guests a headache after a few hours this high, so if that’s you, drop it an inch.
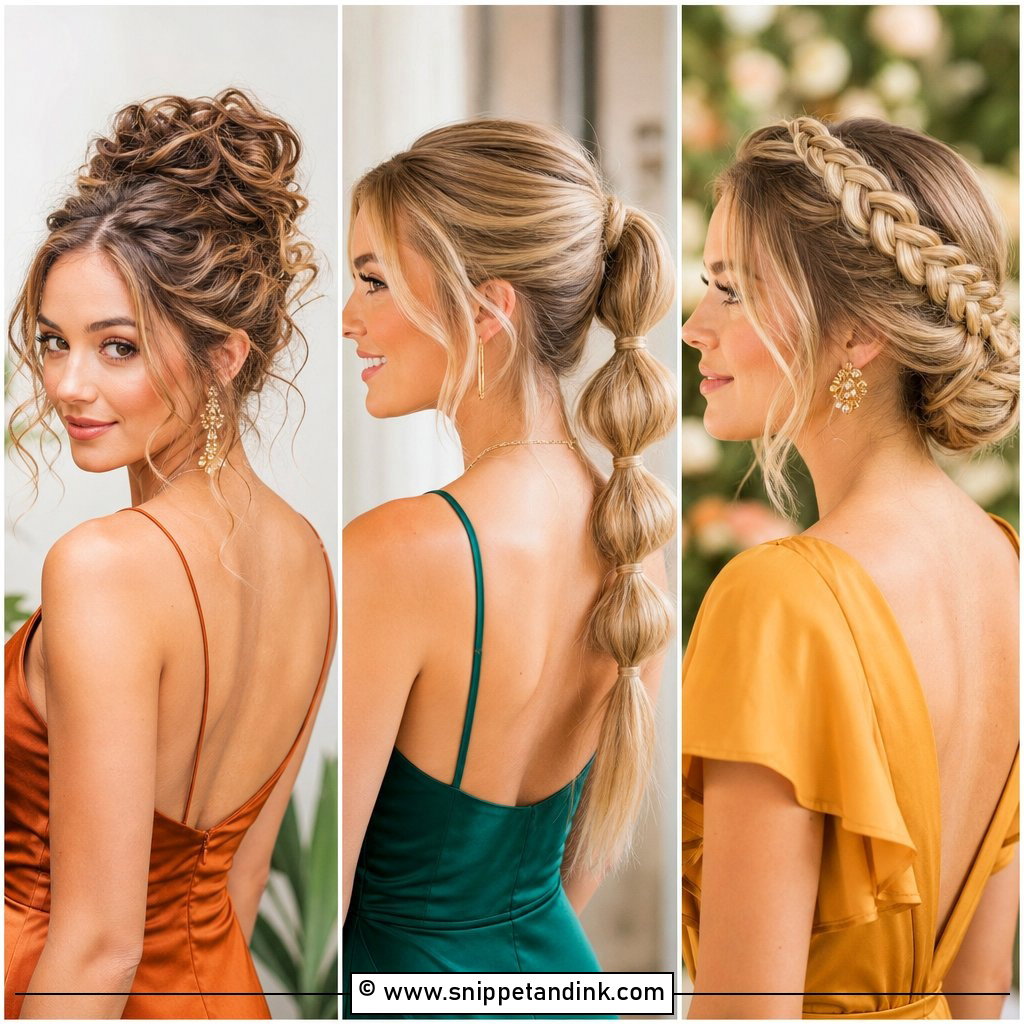
4. Romantic Loose Curls
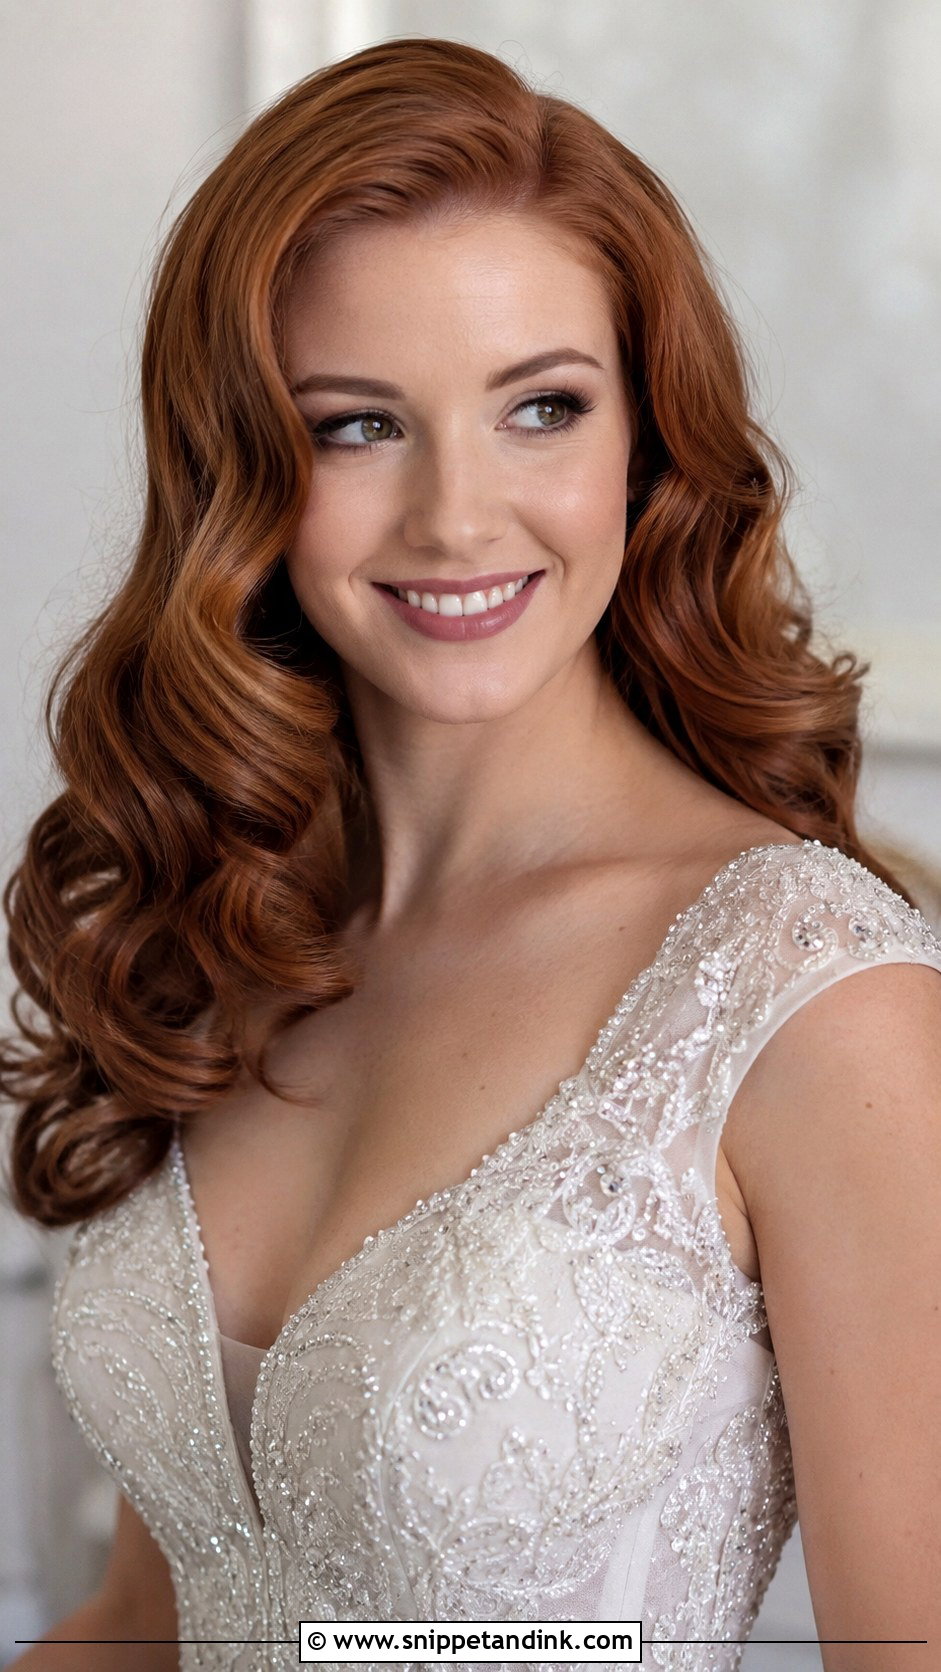
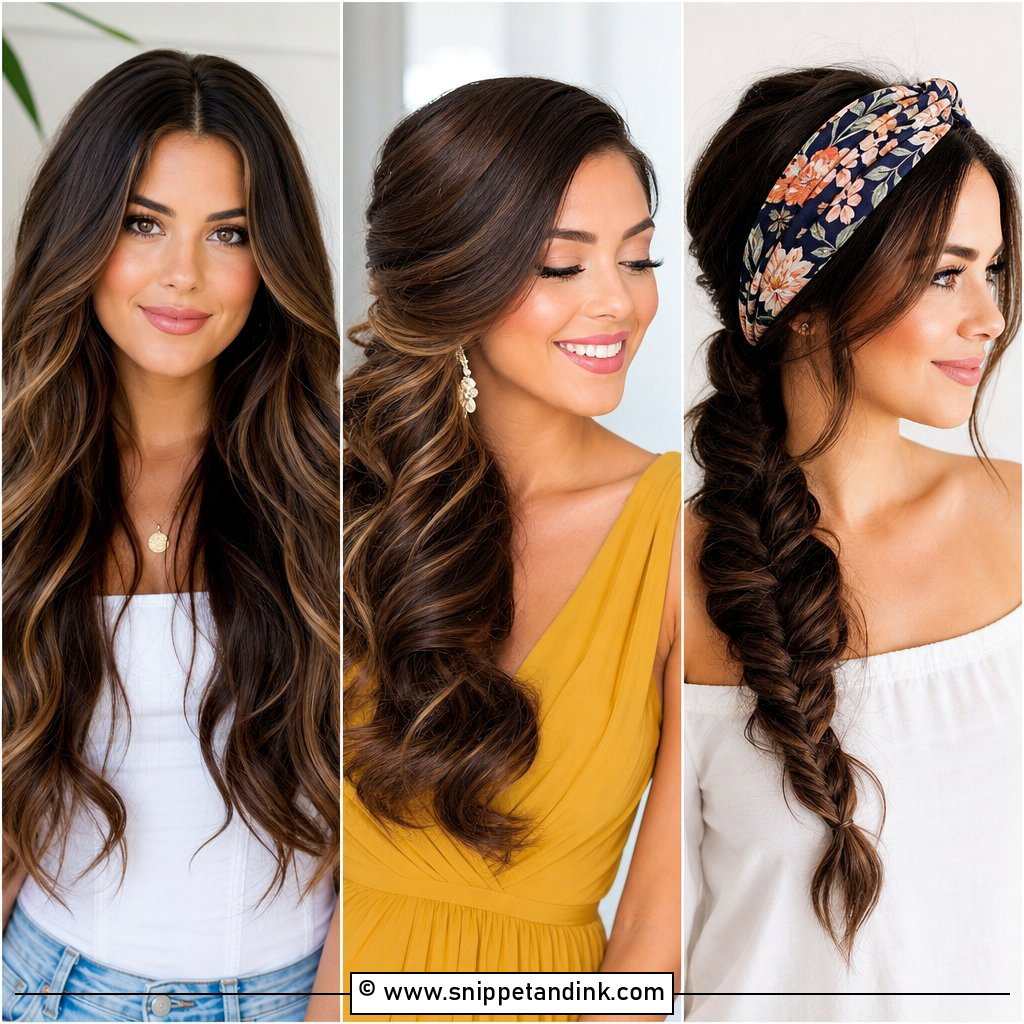
A large-barrel iron gives movement and shine without the structure of an updo. I curl in sections no wider than the barrel, let each one cool pinned in a loop, and only brush out once the whole head is cold. Brushing warm curls is the most common reason they’re flat by the time the vows start. Wear them fully down or pin one side back to show an earring, and finish with a light hairspray so the curls stay soft to the touch.
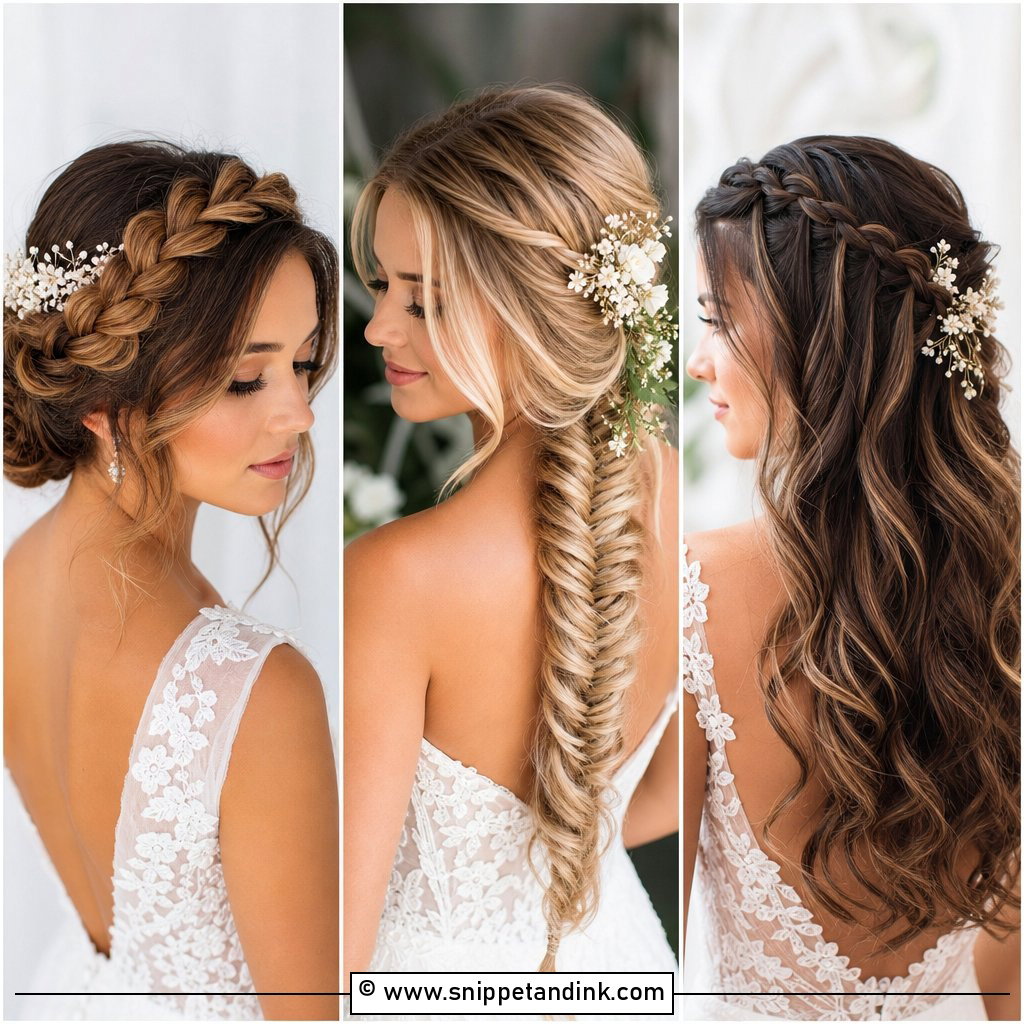
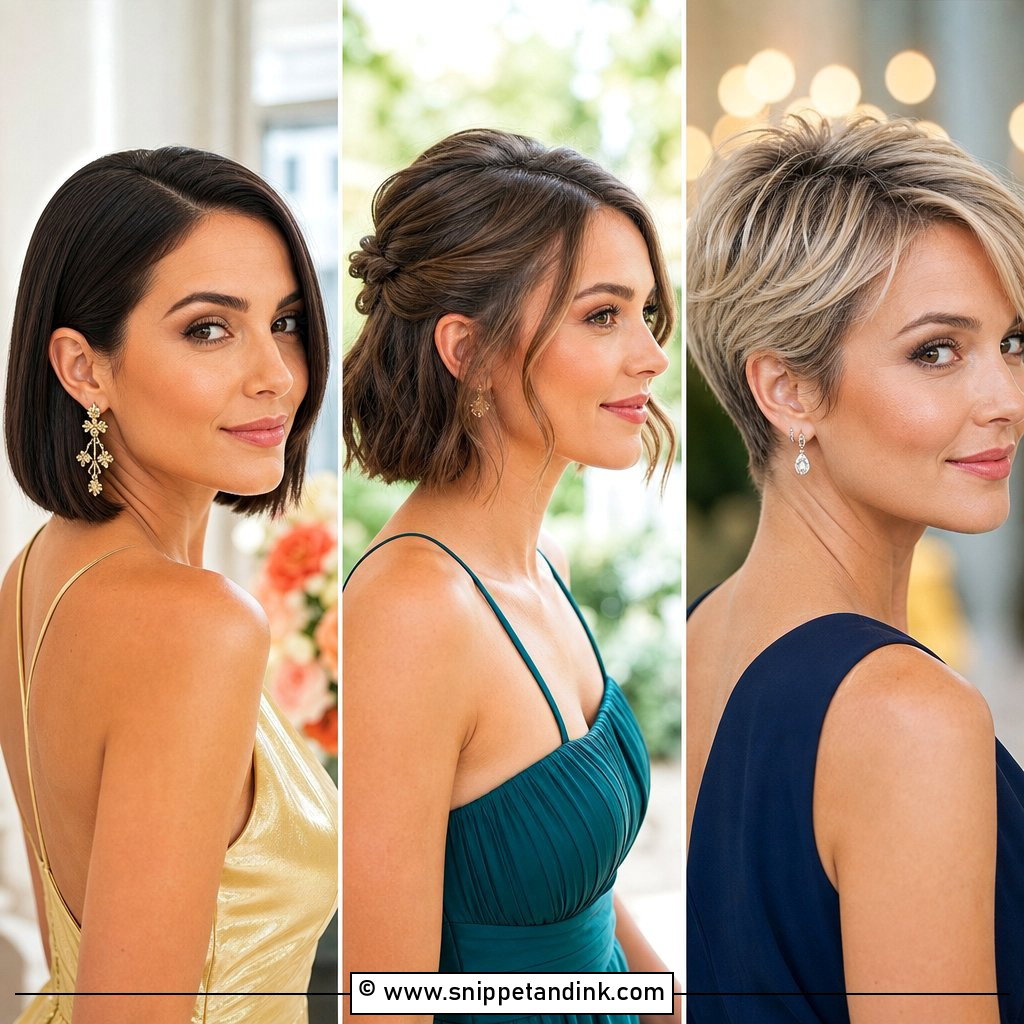
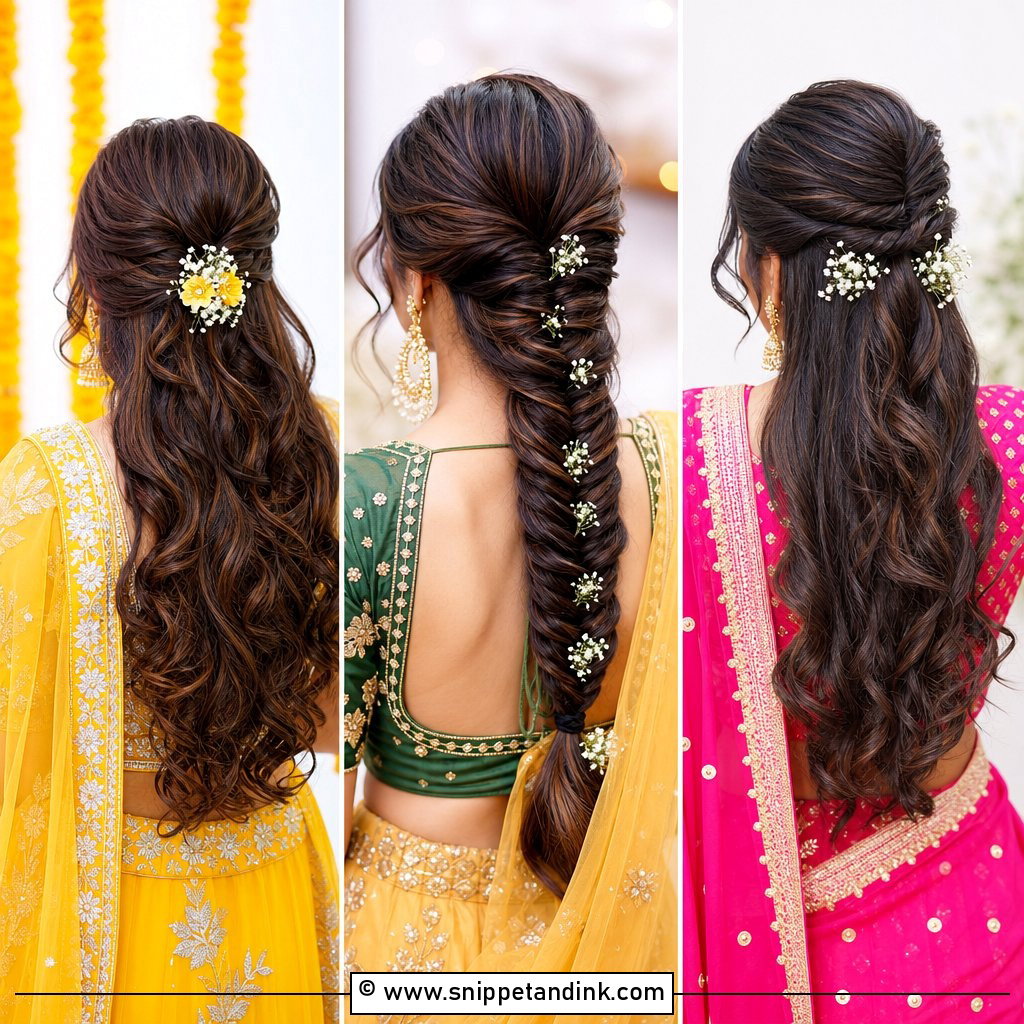
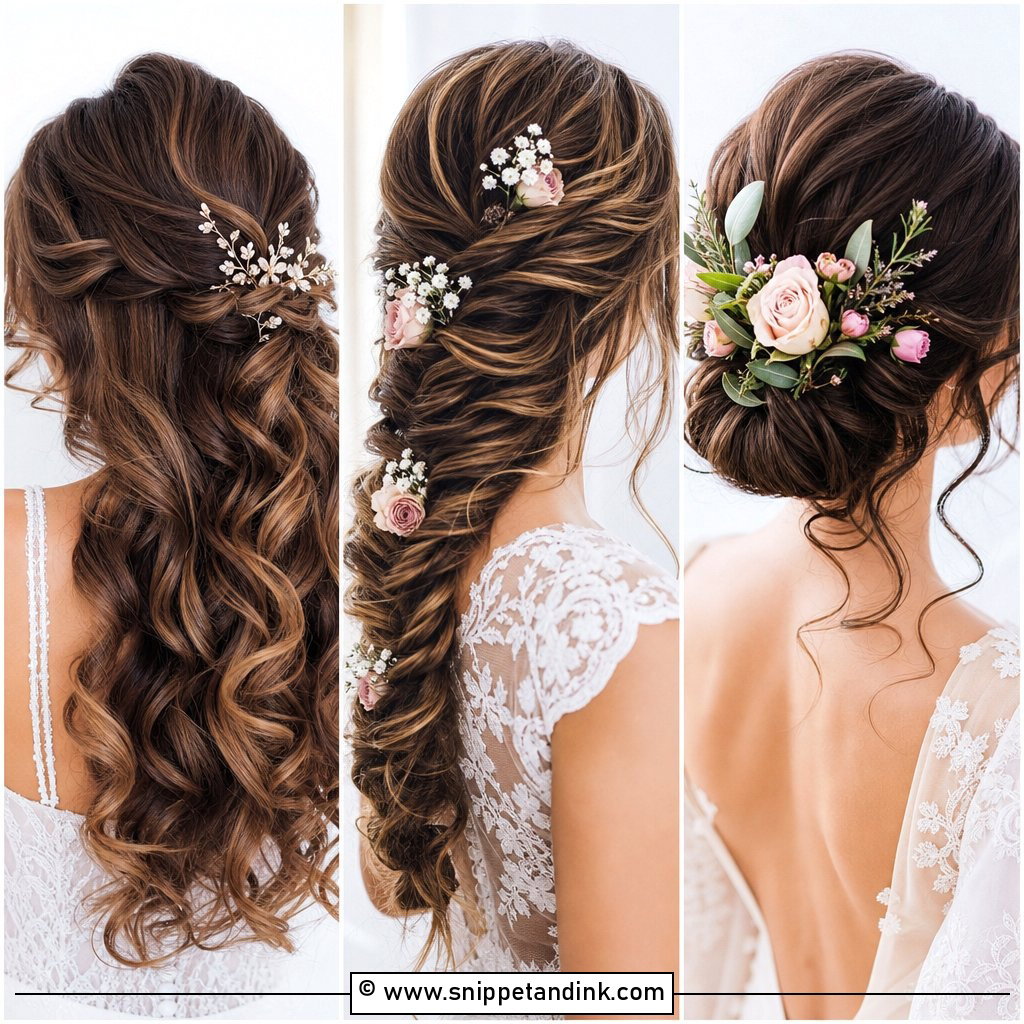
5. Braided Half Updo
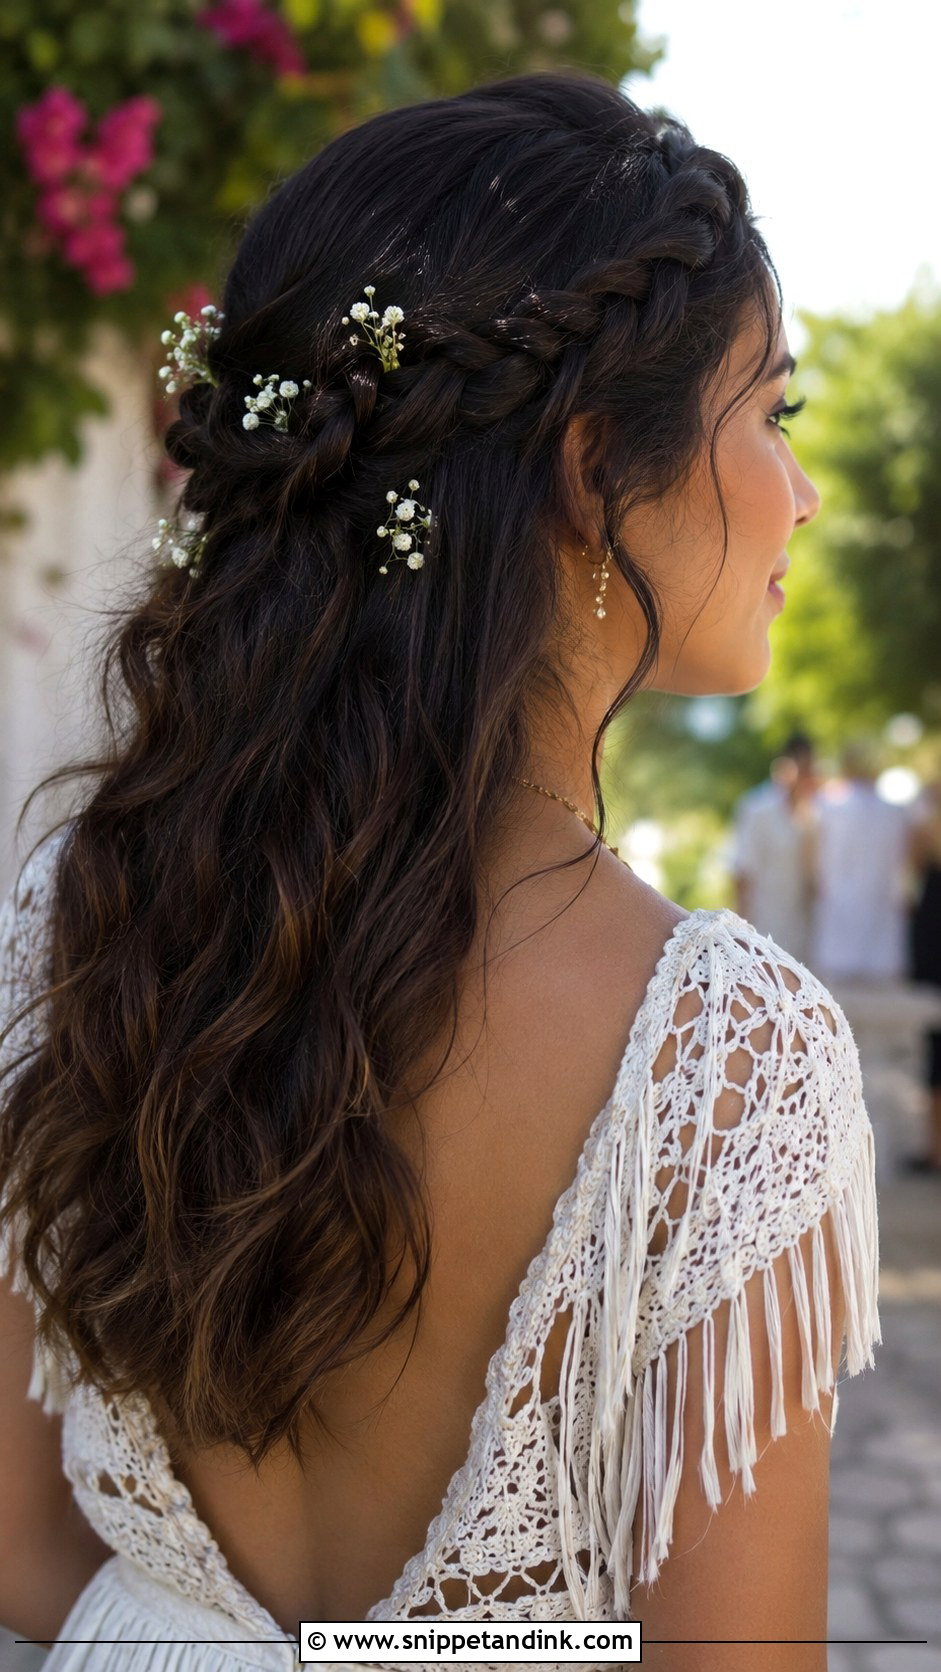
Braiding the front sections and joining them at the back gives a relaxed, rustic look that suits barn and garden weddings. A three-strand braid is quick; a fishtail takes longer but hides layers better because each strand is thinner. I gently pull the outer loops of the braids wider before pinning so they read from across a room in photos. This needs at least shoulder-length hair, since shorter layers poke out within an hour. Tuck small flowers in where the braid is tightest so they don’t slip.
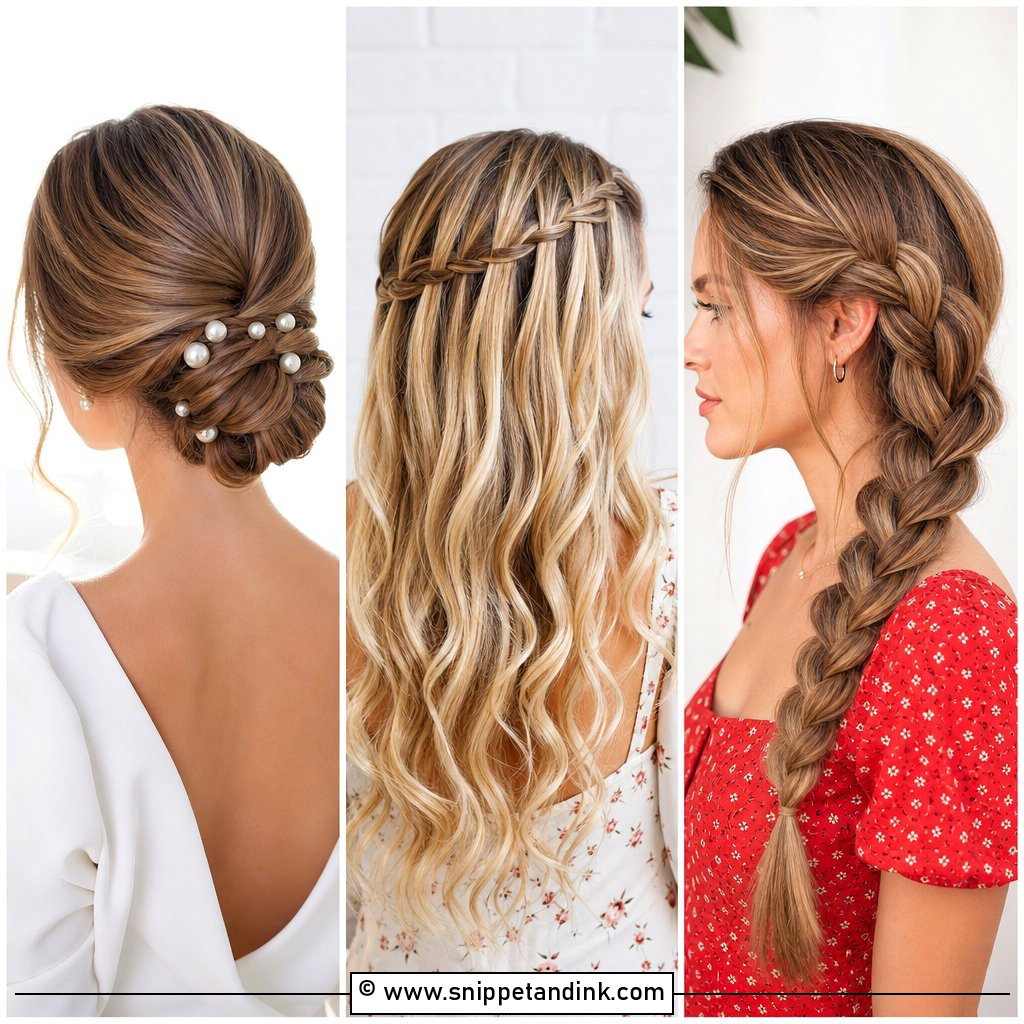
6. Classic Chignon
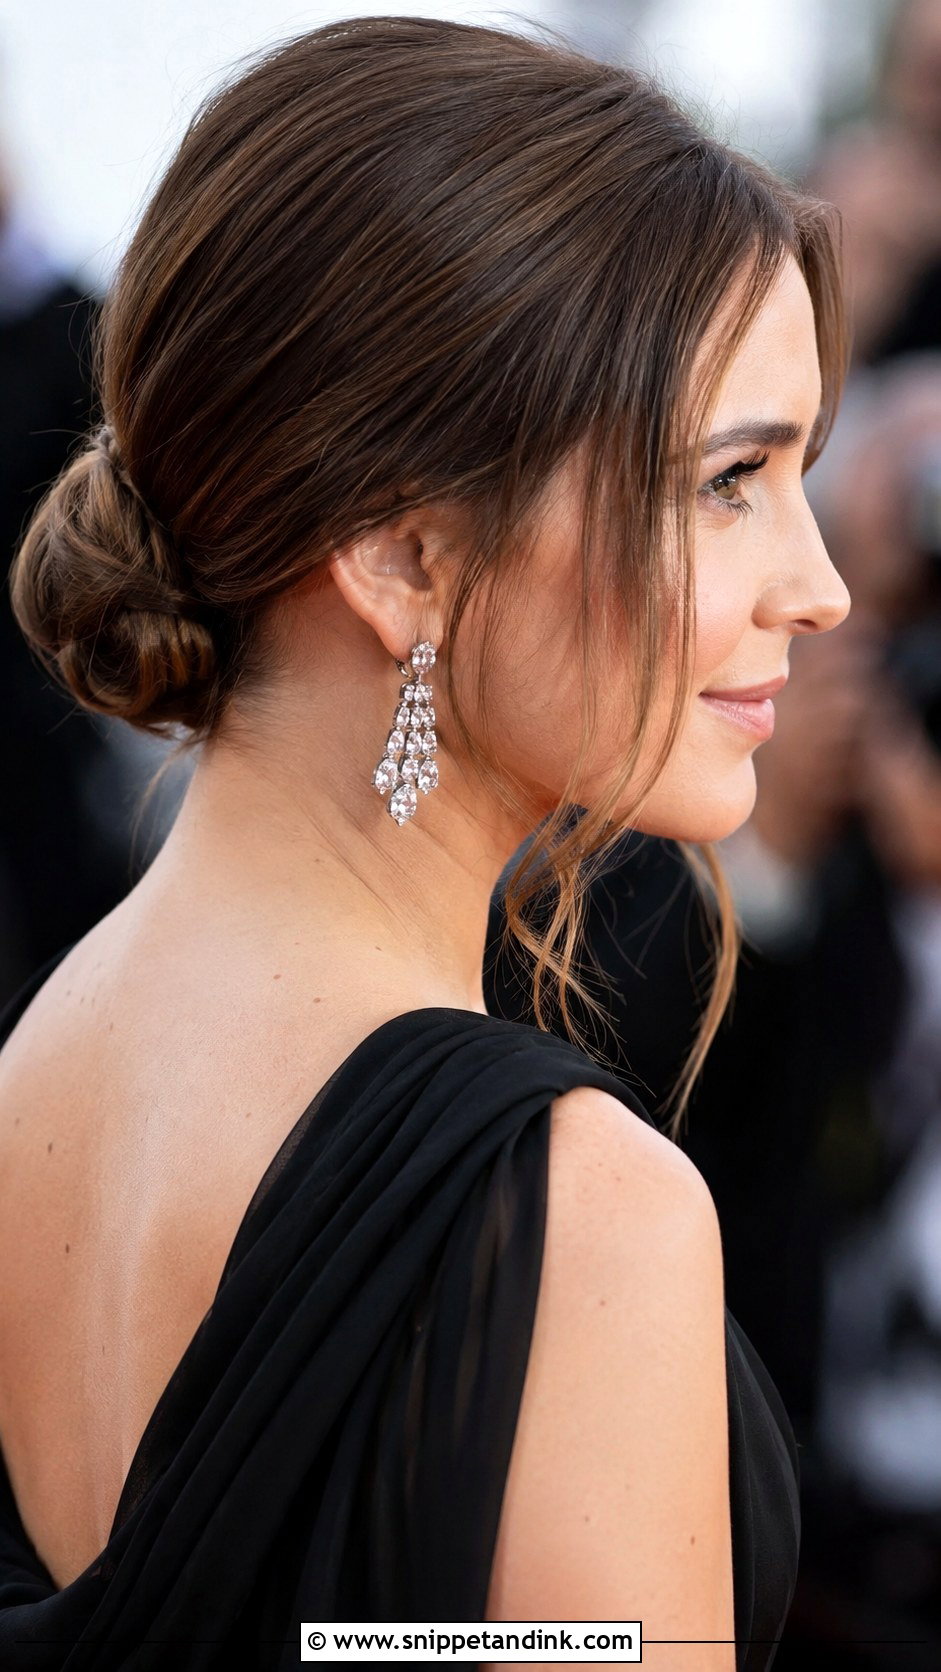
This low coiled knot at the nape is my default for black-tie guests who want something quick and tidy. I mist the hair with texture spray first, because a chignon on freshly washed silky hair tends to unroll by dessert. Twist it into a soft roll, then pin with U-pins pushed into the coil and turned back against the scalp instead of straight in. It shows off statement earrings and high necklines, and it outlasts almost every other style here on a dance floor.
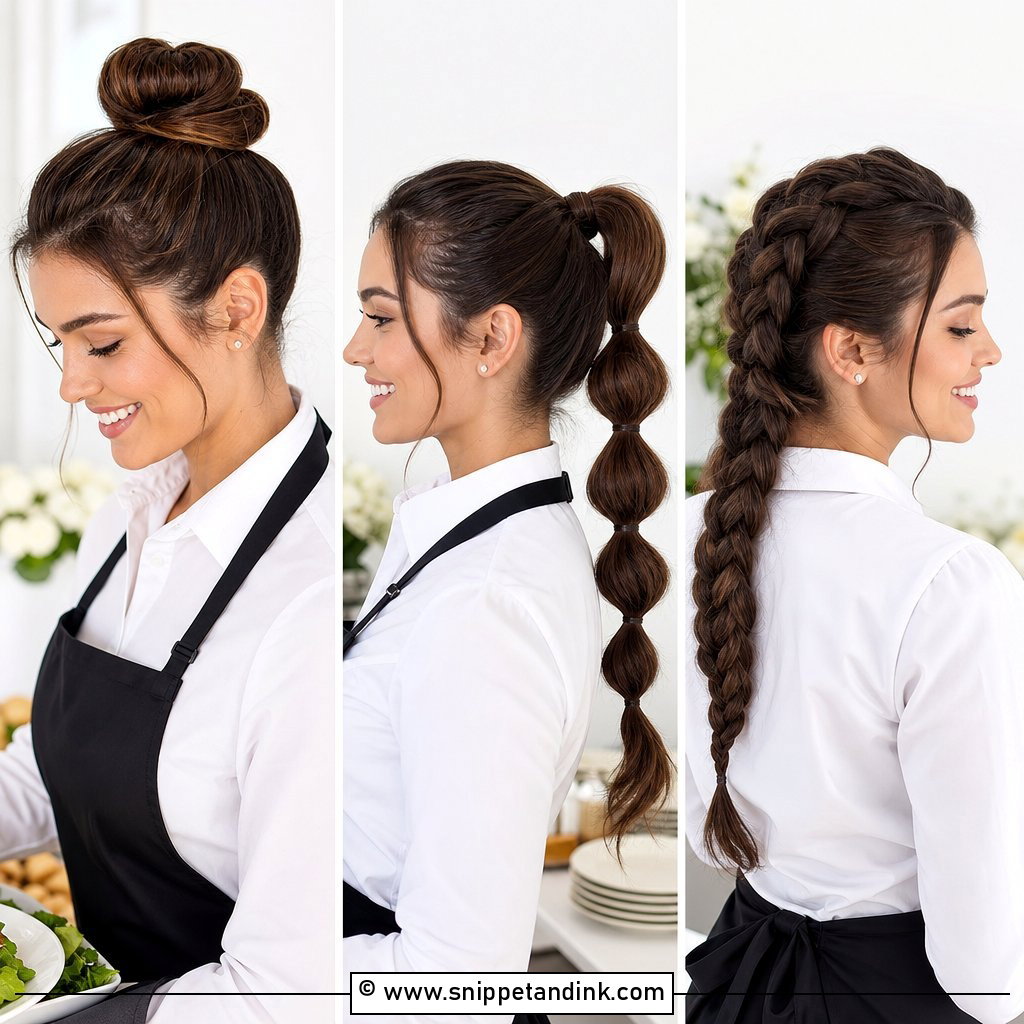
7. Bubble Ponytail
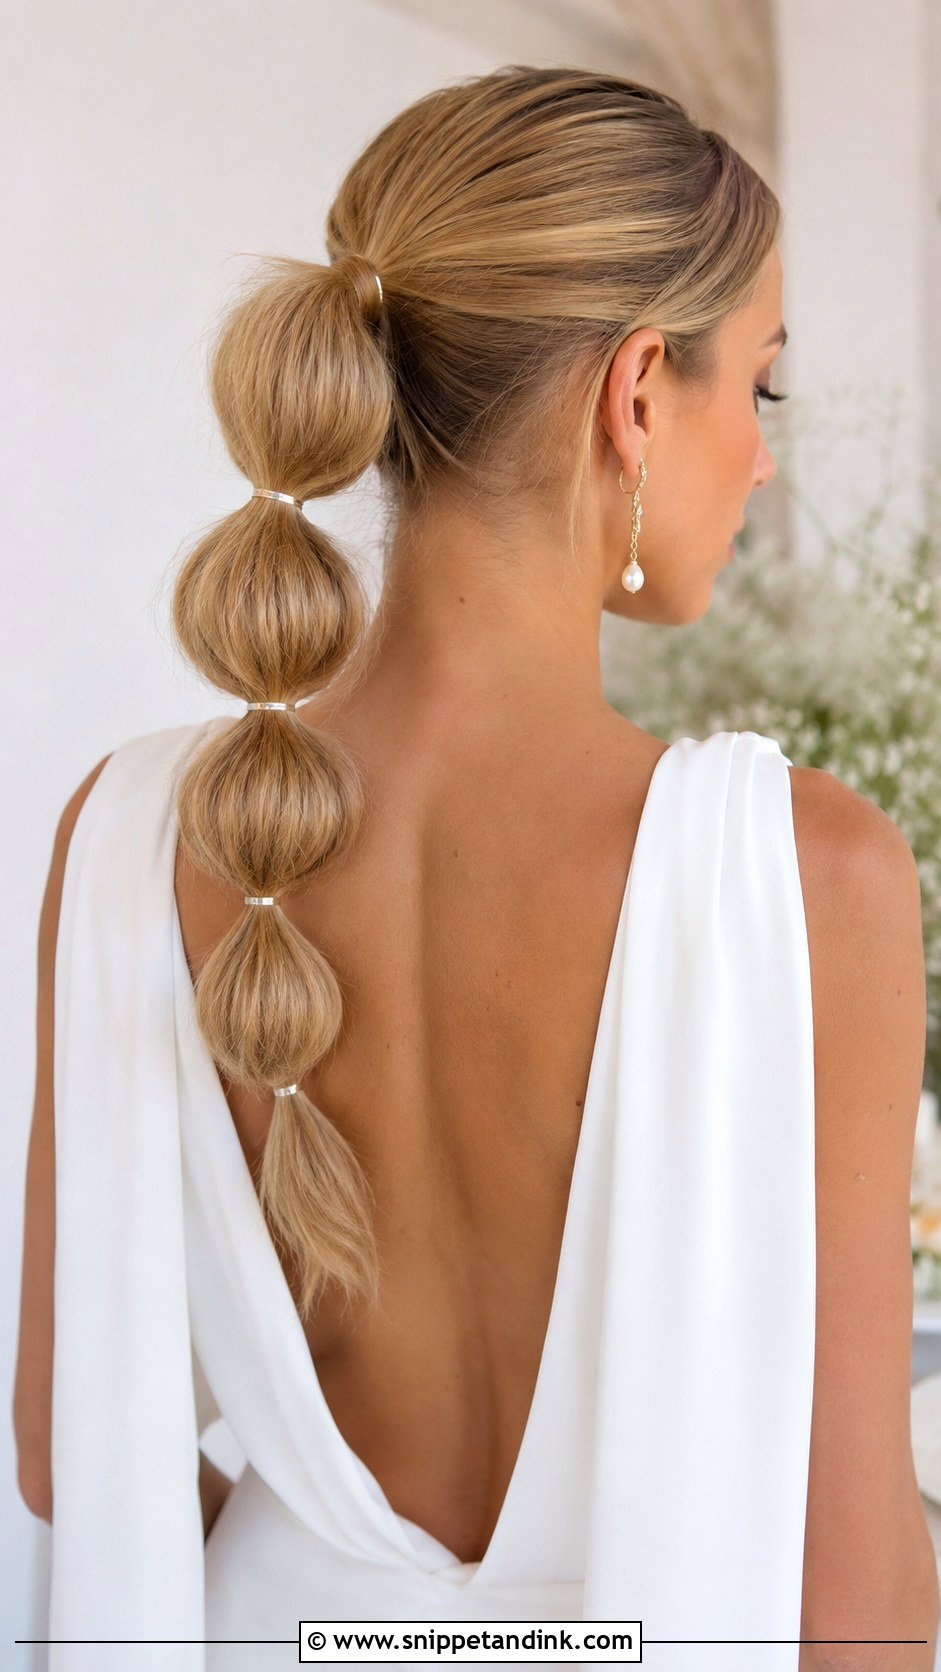
Of everything here, the bubble ponytail is the playful one, and it’s easier than it looks. Start with a smooth ponytail, add clear elastics every two or three inches down the length, and gently tug each section wider. I use snag-free bands and check the spacing in a mirror, since uneven bubbles stand out more in photos than you’d expect. It’s very secure for dancing. Thin hair makes small bubbles, so a bit of texture spray before pulling them out helps. Keep earrings simple so the hair stays the focus.
8. Sleek Low Ponytail
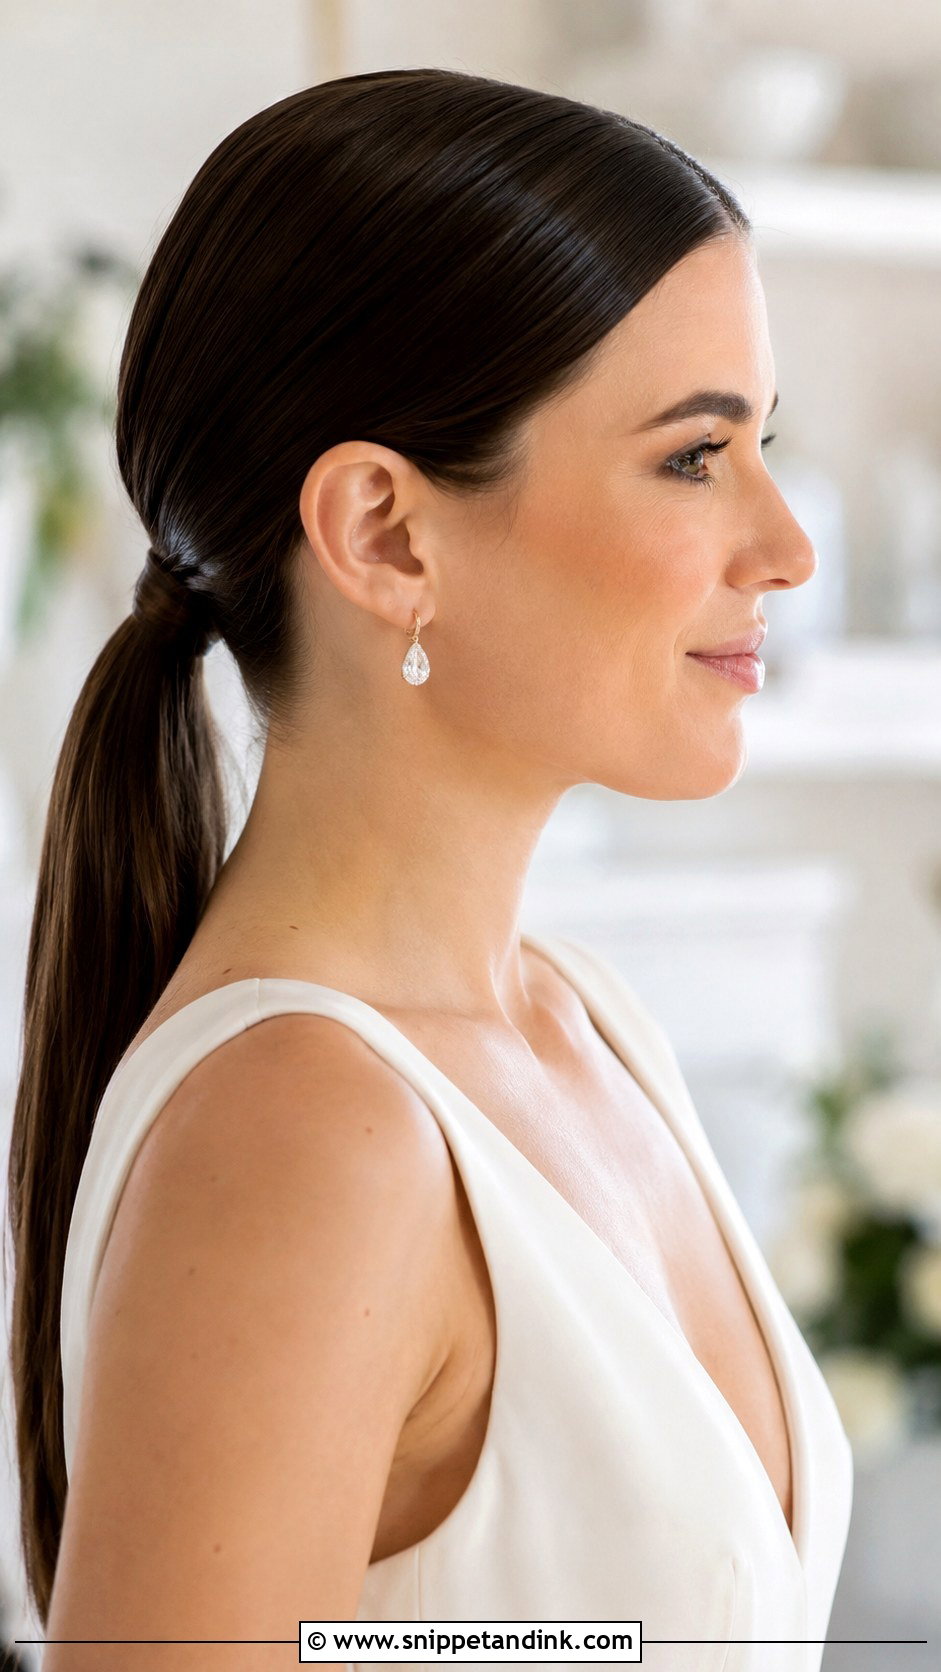
Simple can still look expensive. A low ponytail works at a casual lunch or a formal evening, depending on how much shine you put into it. I flat-iron the length first, then smooth the top with serum applied to the brush, not the hands, so it doesn’t clump into stripes. Wrap a piece around the band to hide it. The one thing that ruins this look is a bump at the crown, so brush toward the nape with your head level, not tipped forward.
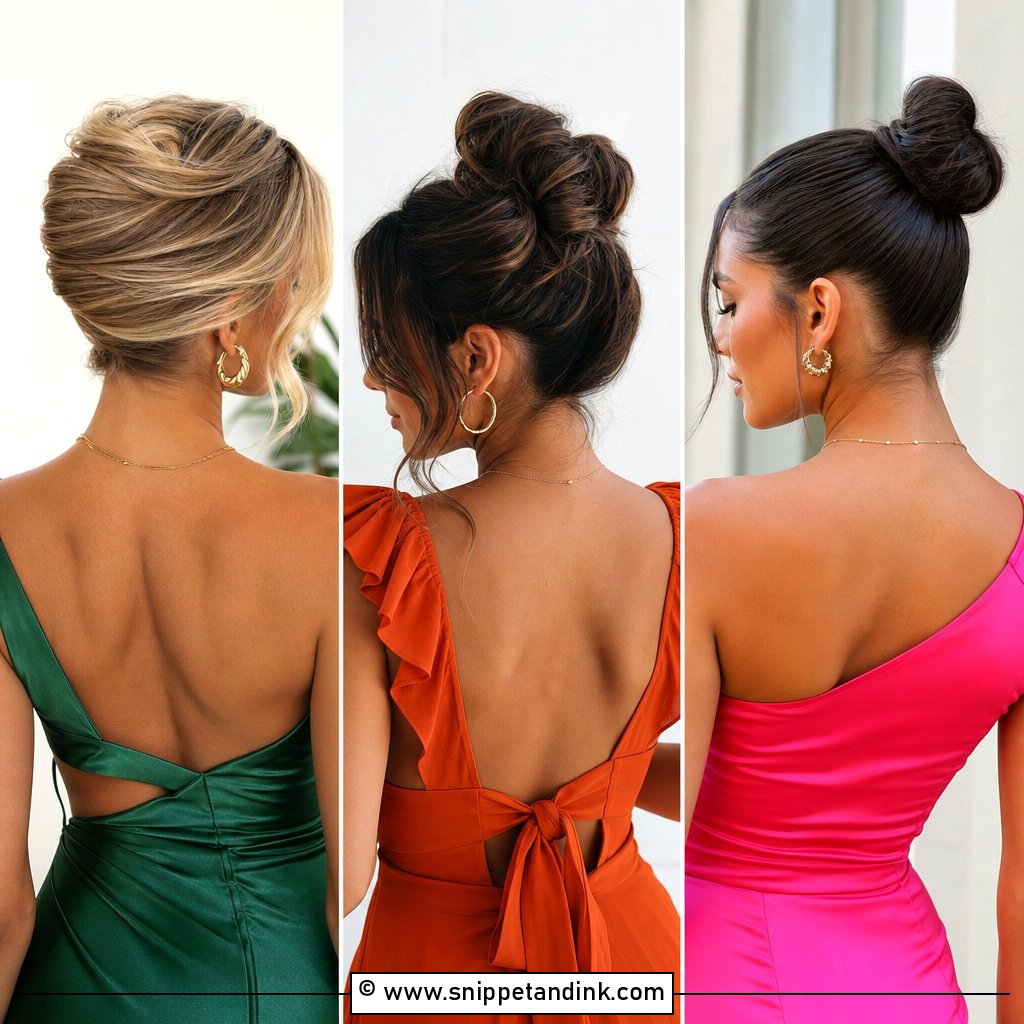
9. Messy Bun With Face-Framing Strands
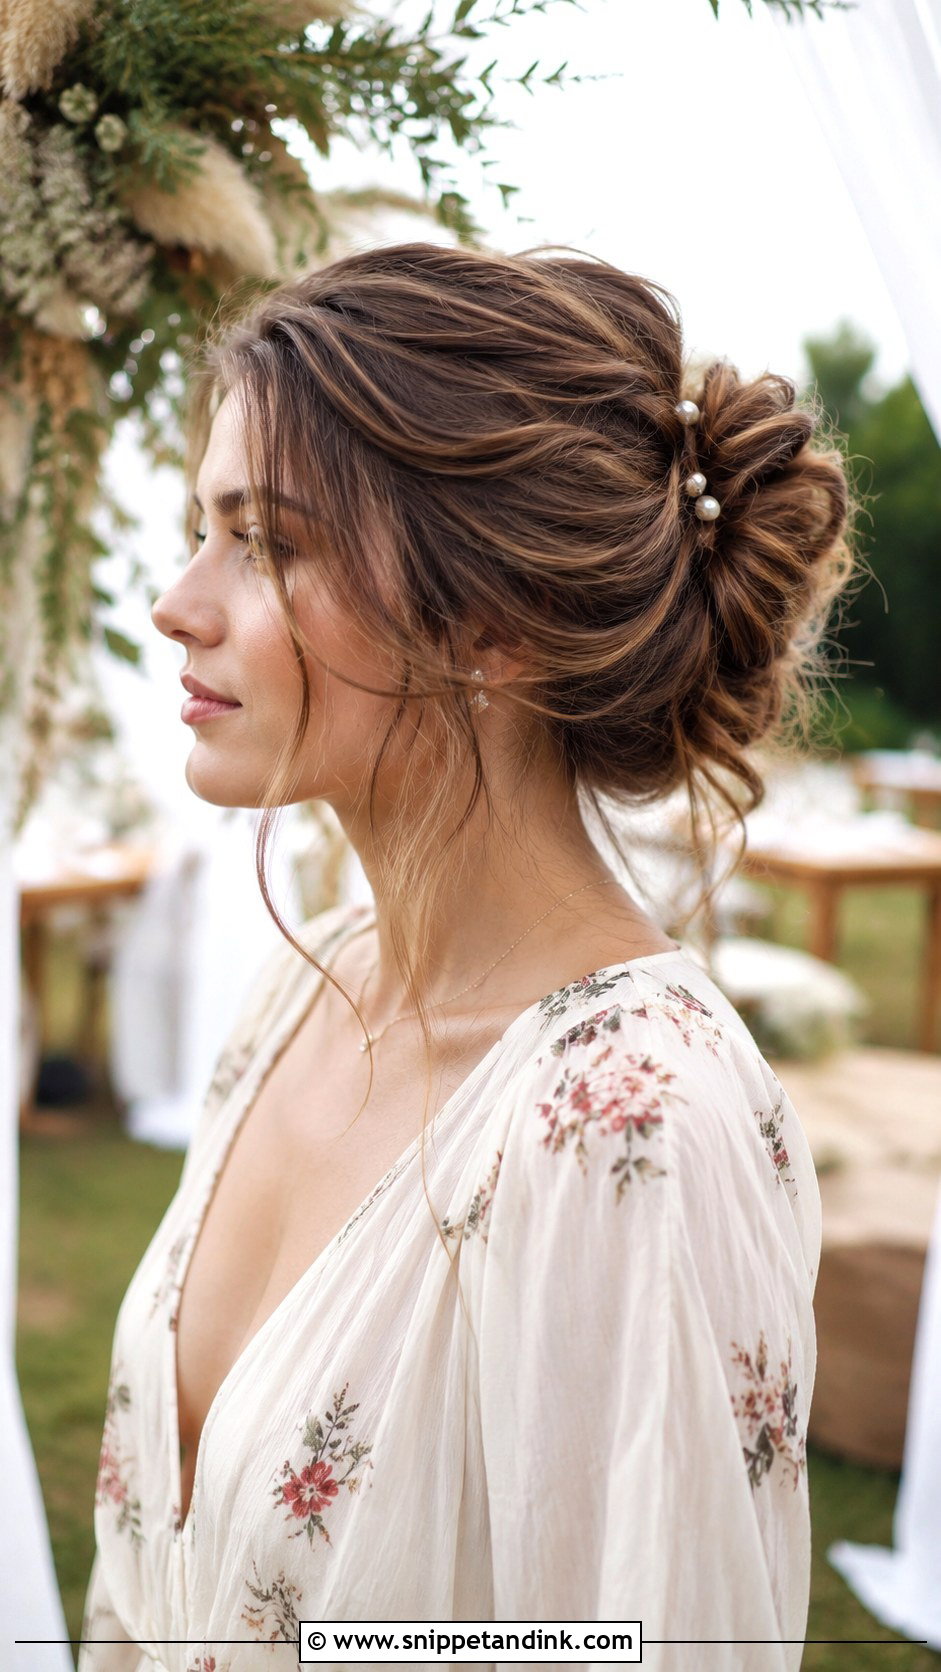
Of all 25, this is the most forgiving, which is exactly why I suggest it to guests doing their own hair. Gather the hair loosely, secure it with an elastic, then pull a few pieces out of the bun and around the hairline. The mess should be planned: I pull pieces from the top and sides, never the nape, or it looks like it’s coming apart. Day-old hair holds this far better than freshly washed hair. A small pearl pin adds a bit of finish.
10. Old Hollywood Waves
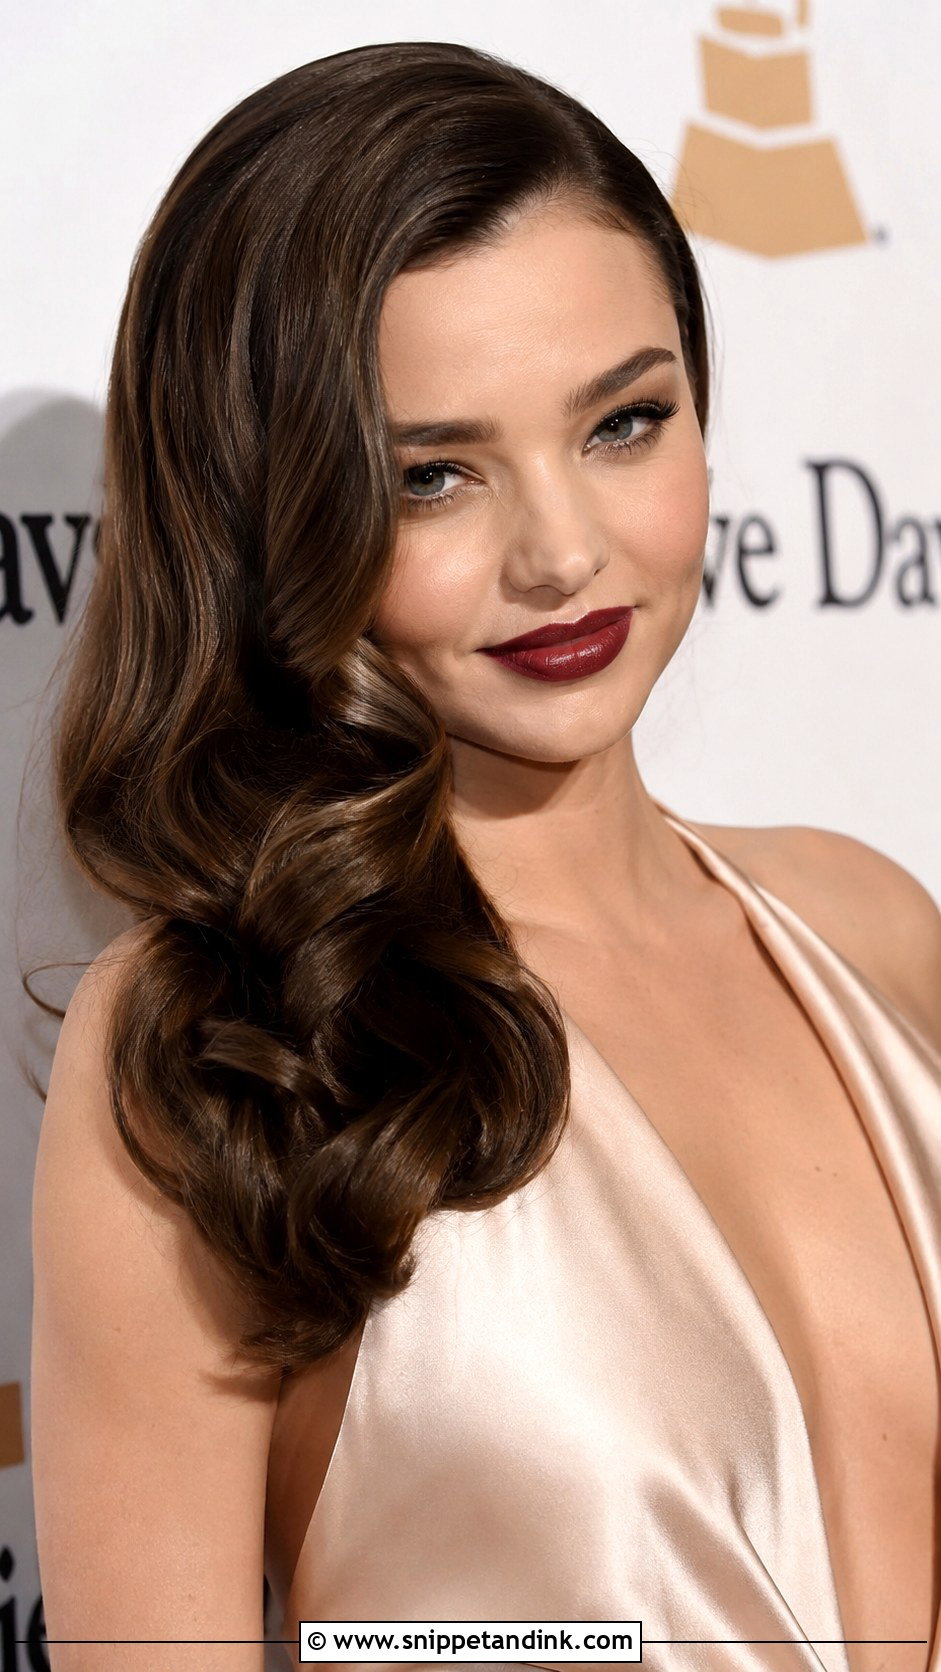
These are deep, glossy S-bends that sit close to the head and fall to one side, and they take patience. I curl every section in the same direction, pin each curl to set, then brush the whole thing out with a boar bristle brush and press the ridges into shape with a fine-tooth comb and flat clips. Skip the brush-out and you get ringlets, not waves. A deep side part and a bold lip finish the retro look for a formal evening. On hair shorter than the jaw, the wave pattern is hard to see.
11. Twisted Half Updo
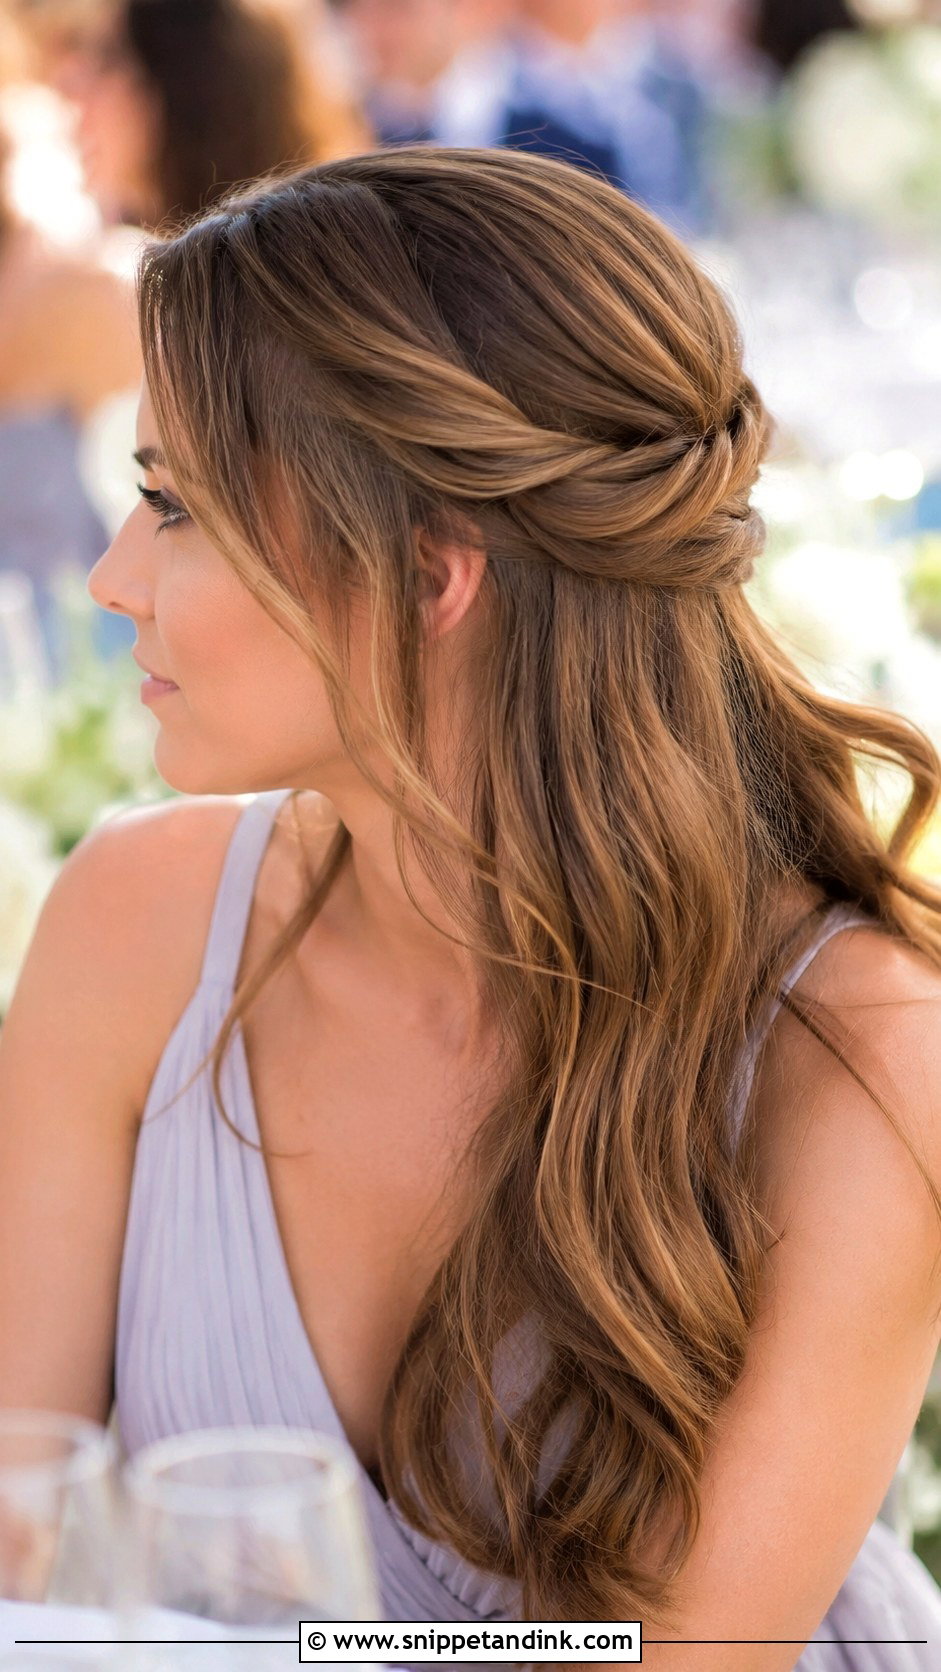
Twisting two front sections back and pinning them at the crown is the half updo I suggest when someone wants her hair off her face with very little fuss. It works on most lengths and textures. Twist each section away from the face, then cross the pins in an X where they meet; a single pin pointing down slips on silky hair. The loose length can stay straight or be curled. Its weak spot is heavily layered hair, where short pieces escape the twist, so I spray each section lightly before twisting.
12. Side-Swept Curls
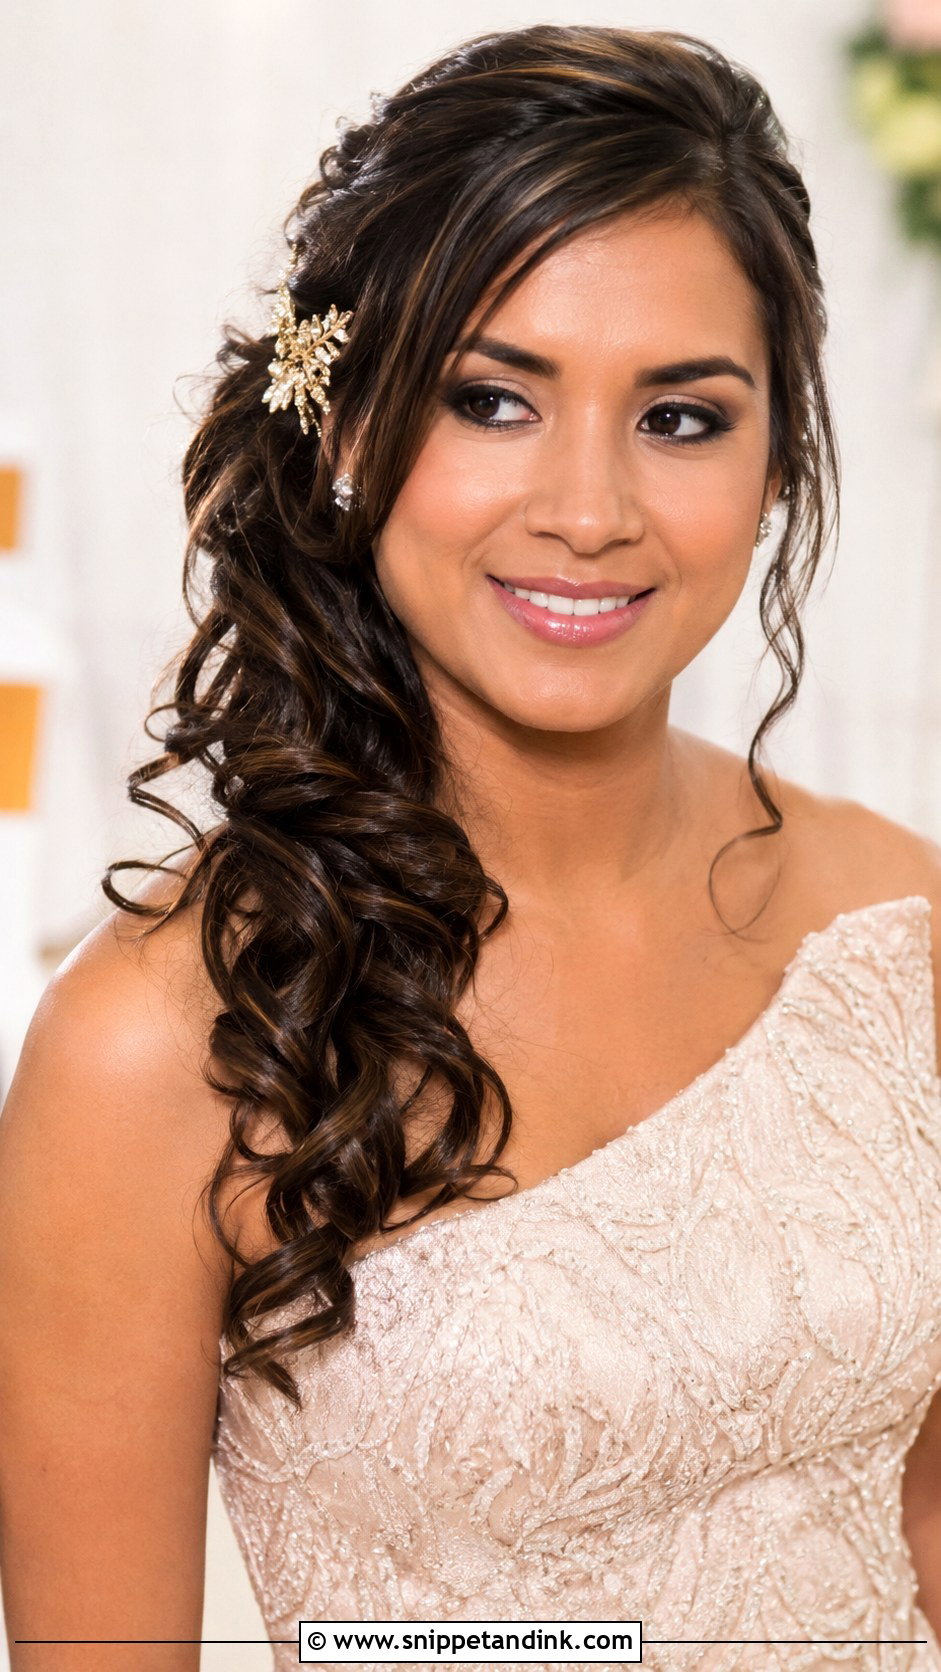
Sweeping curls over one shoulder bares the other side of the neck and one earring, so it suits one-shoulder and asymmetric necklines. I curl first, then pin the hair behind the ear on the bare side with two crossed bobby pins hidden under a top layer. If that’s your thinner side, the pins will show, so sweep toward your thinner side and pin on the thicker one. Hair needs to reach at least the collarbone to drape properly. A decorative pin can sit right where the hair turns.
13. Braided Crown
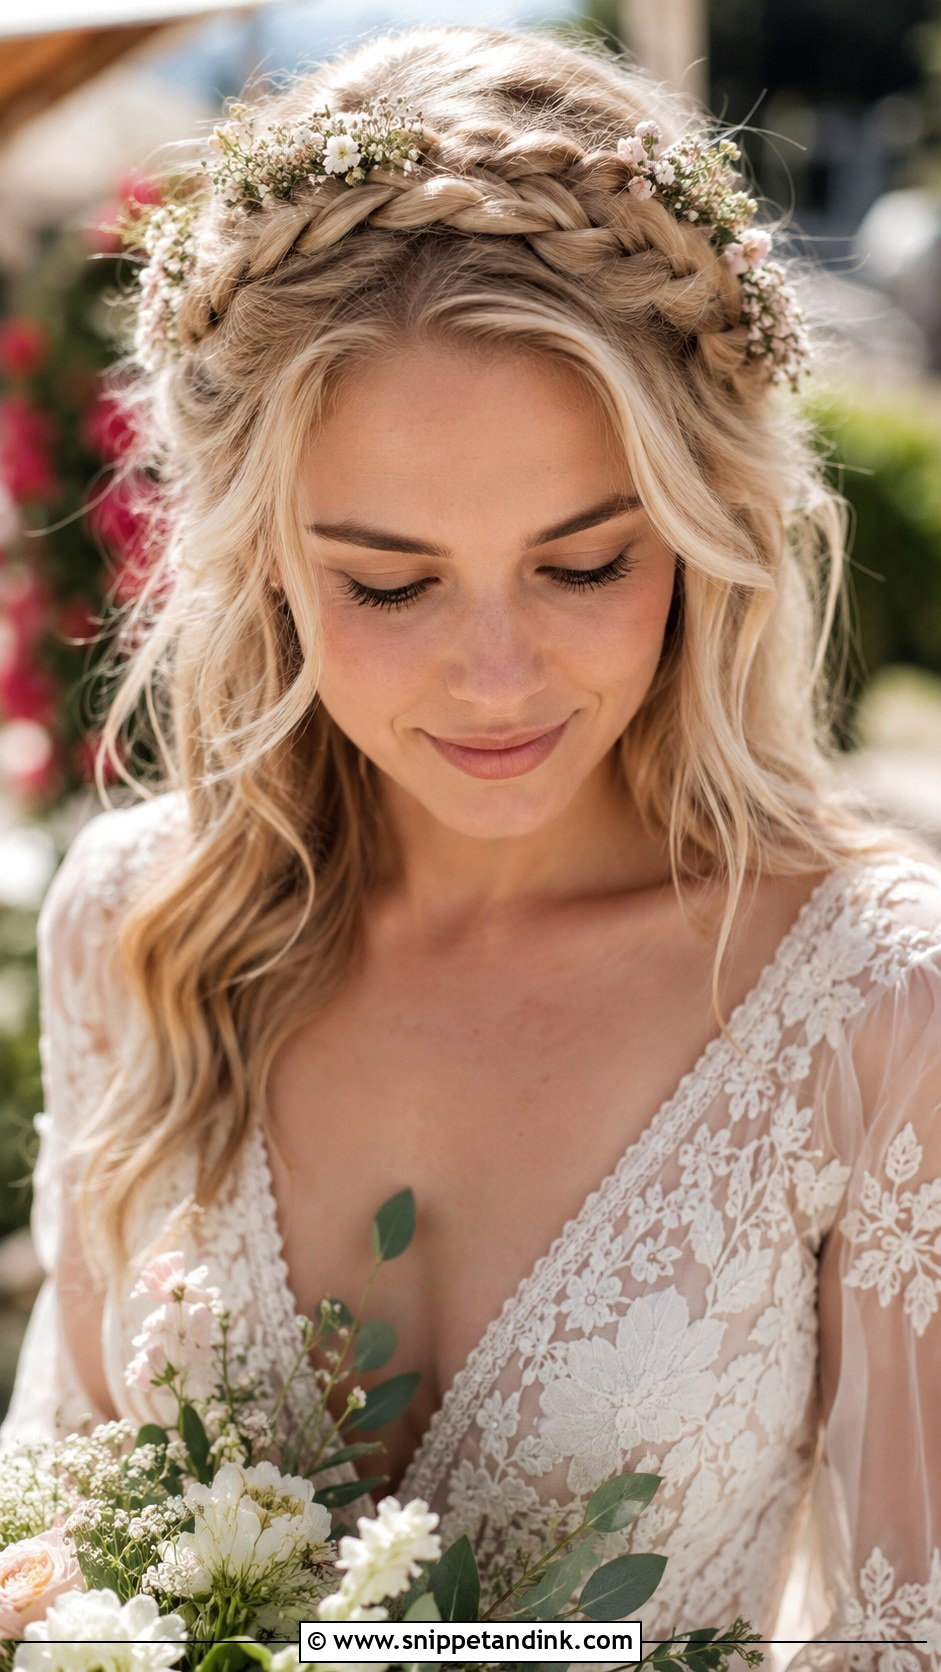
Wrapping braids around the head like a halo gives off serene, ethereal vibes at boho and garden weddings. I braid two sections behind the ears, bring them up over the top and pin each end under the opposite braid. It keeps hair off the face and stays put all day. Length is the catch: the hair has to reach well past the shoulders to cross the top, otherwise you’ll need extra braids or a clip-in piece. Baby’s breath tucked into the braid holds up better than larger blooms, which tend to droop by evening.
14. Sleek Straight Hair
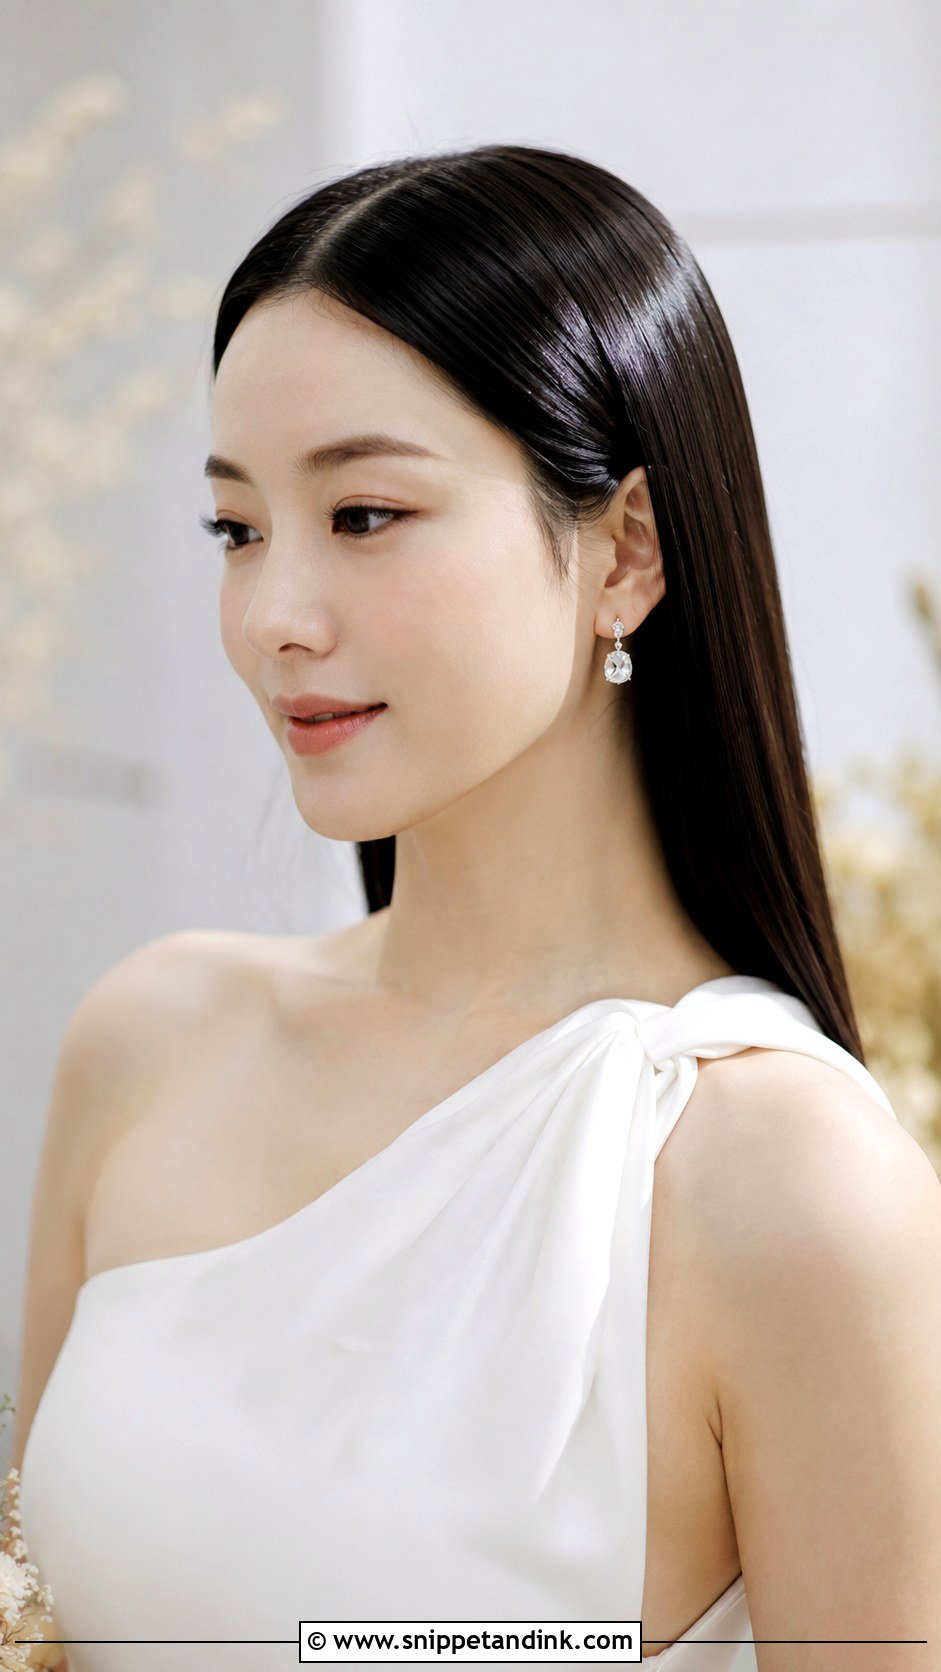
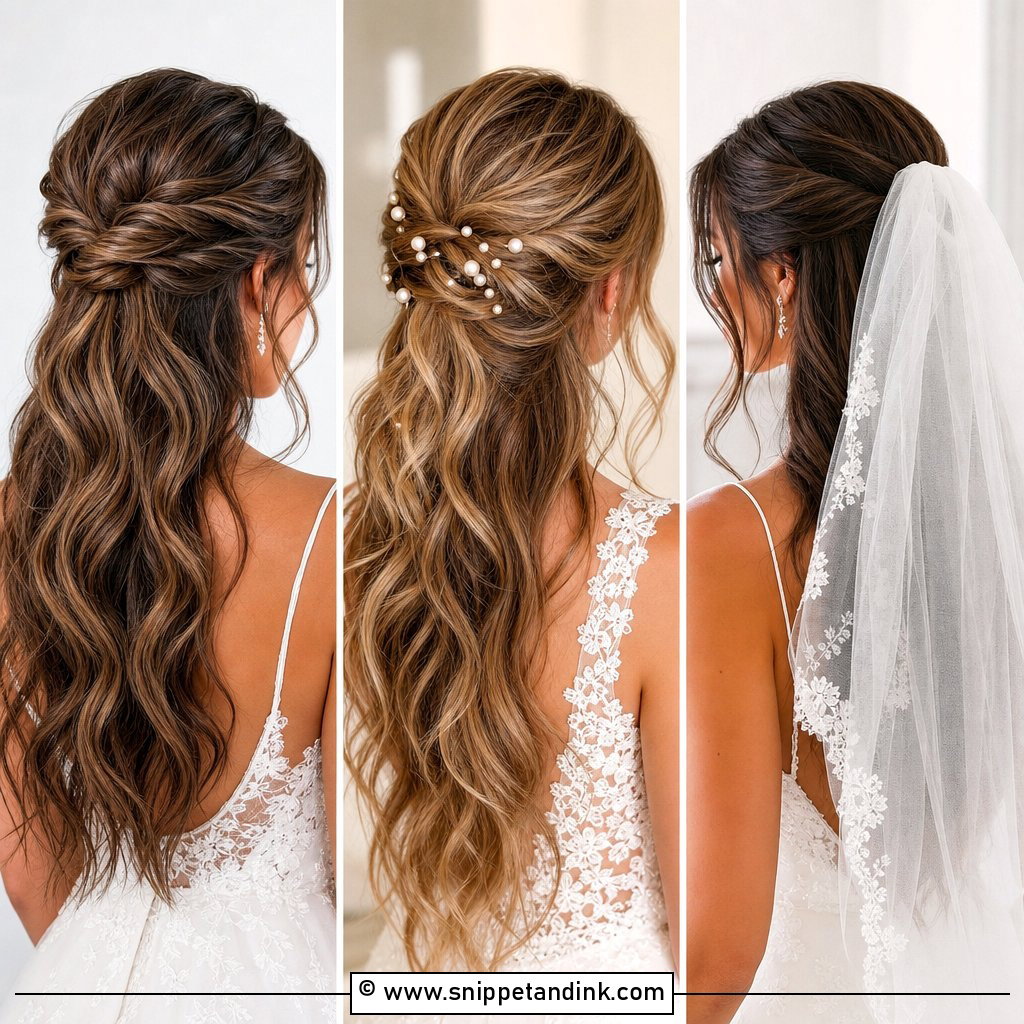
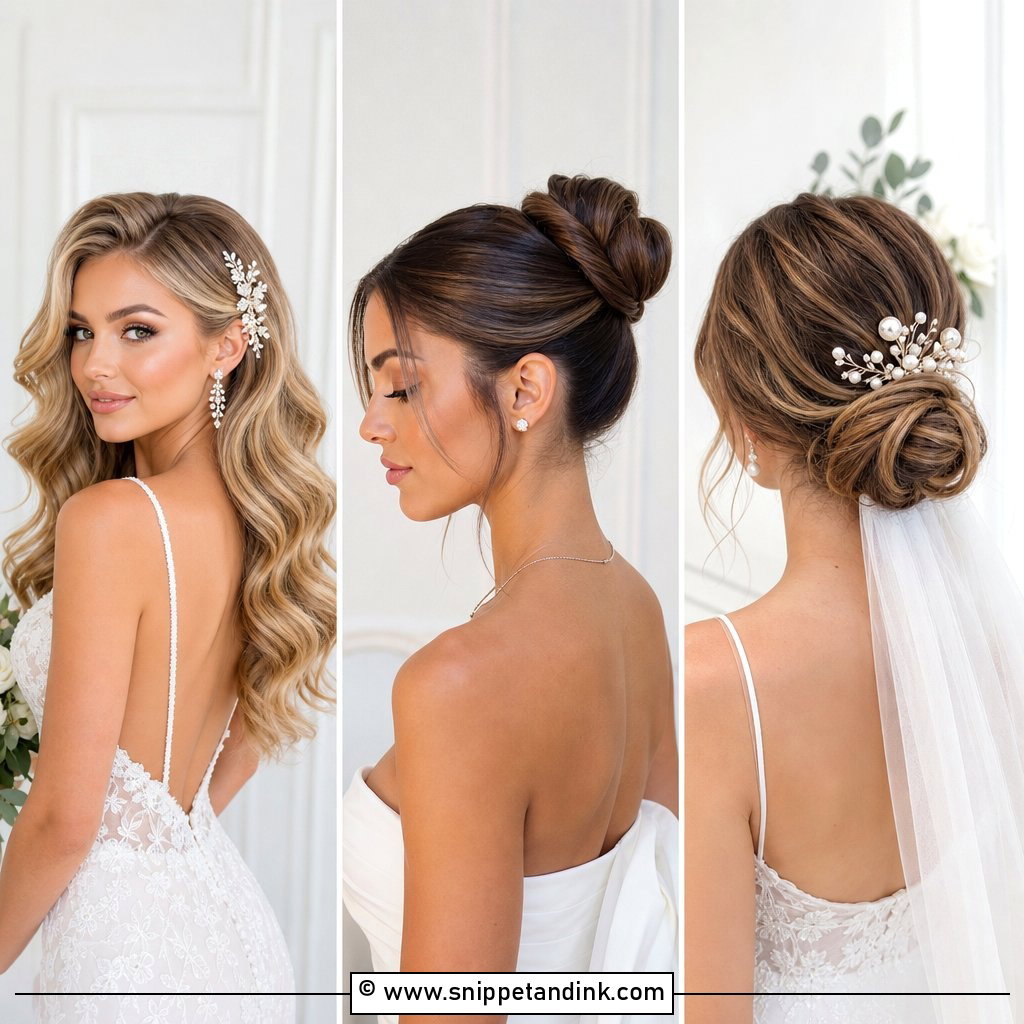
Long hair pressed smooth with real shine reads modern at almost any wedding. I flat-iron in thin sections over a heat protectant, then work two drops of serum through the ends only. Humidity is the enemy here: hair with a natural wave will puff within an hour at an outdoor summer wedding, so on those days I’d pick a ponytail instead. A center or side part both work, and accessories are best kept minimal.
15. Low Bun With Bow
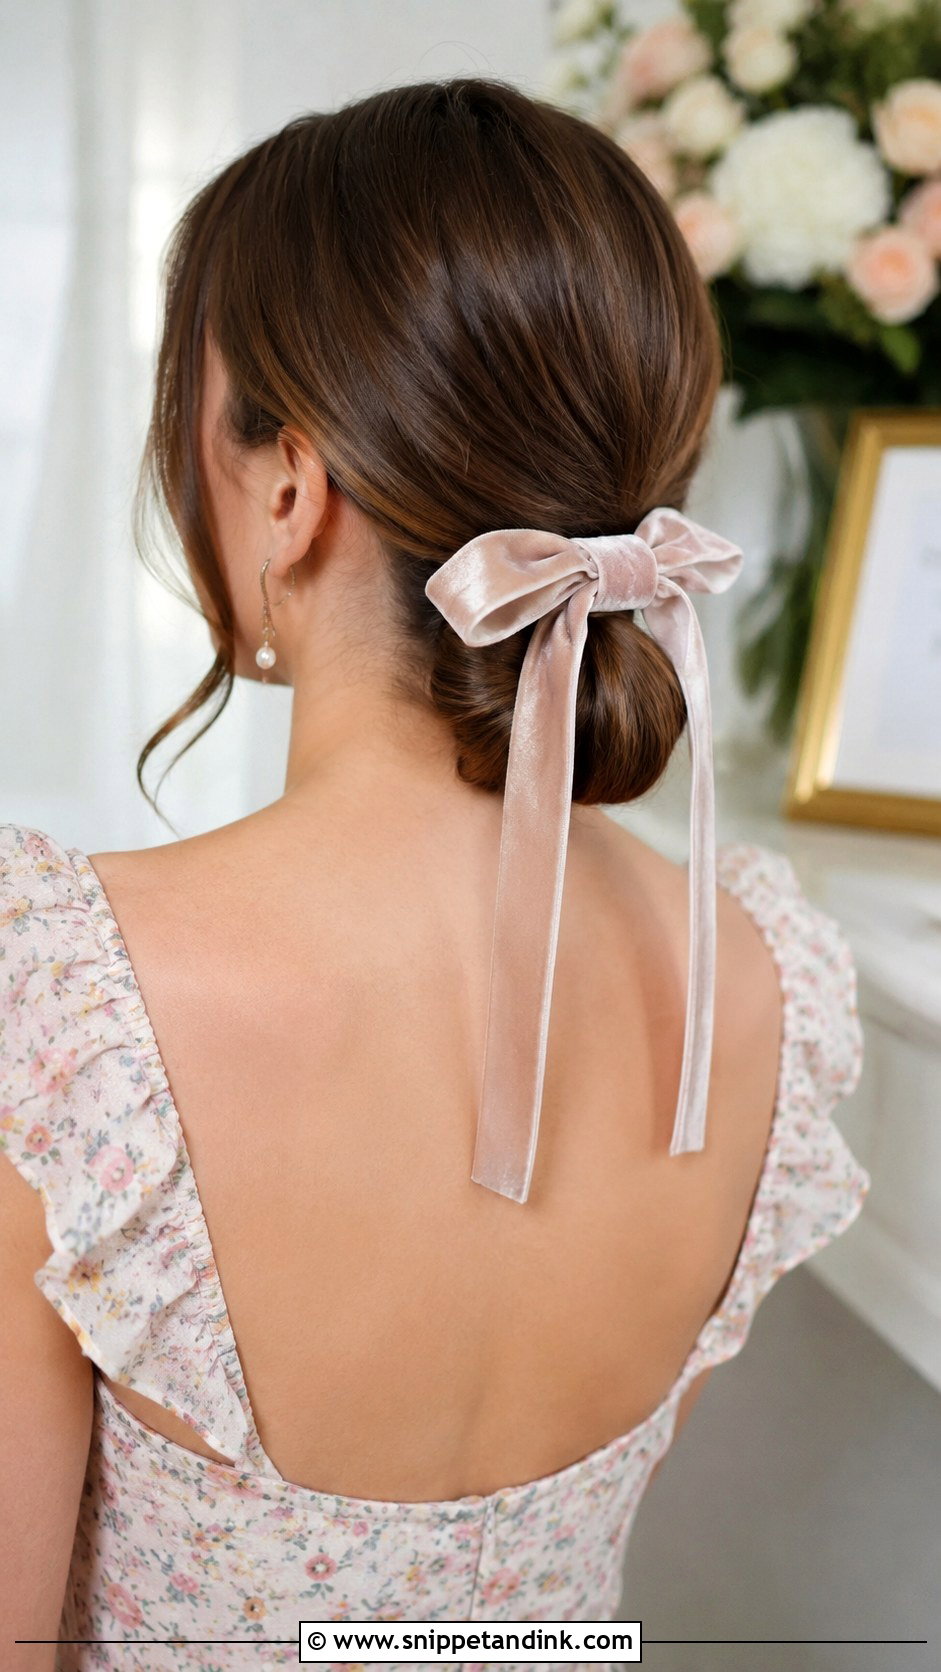
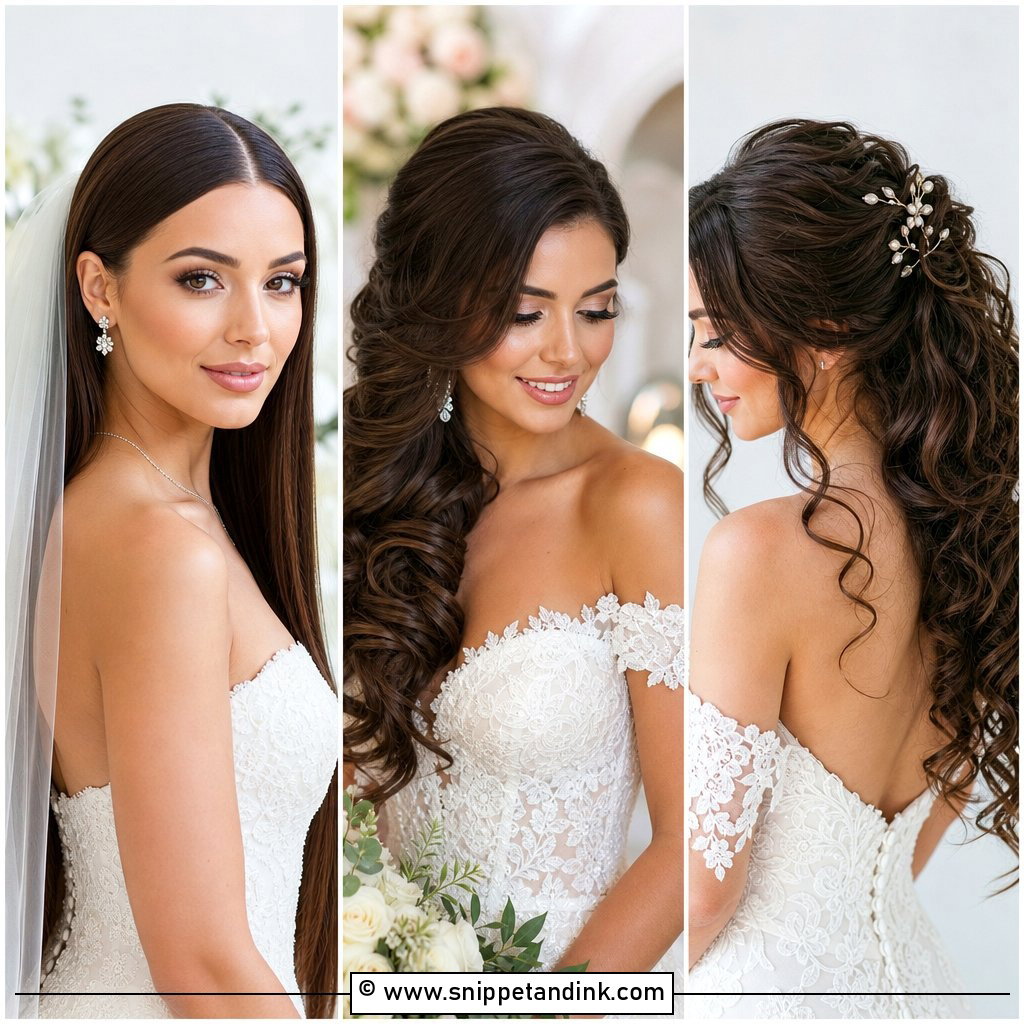
Bows are everywhere right now, and they make a plain low bun feel finished. Velvet sits heavier and suits winter; a thin silk ribbon feels lighter in spring and summer. I fix the bow on its own clip or with two bobby pins through the knot rather than tying it around the bun, which loosens the bun every time you turn your head. Place it just above the bun for a vintage feel or below it for something softer. Match the bow to an accent in your outfit, not the main dress color.
16. Loose Beachy Waves
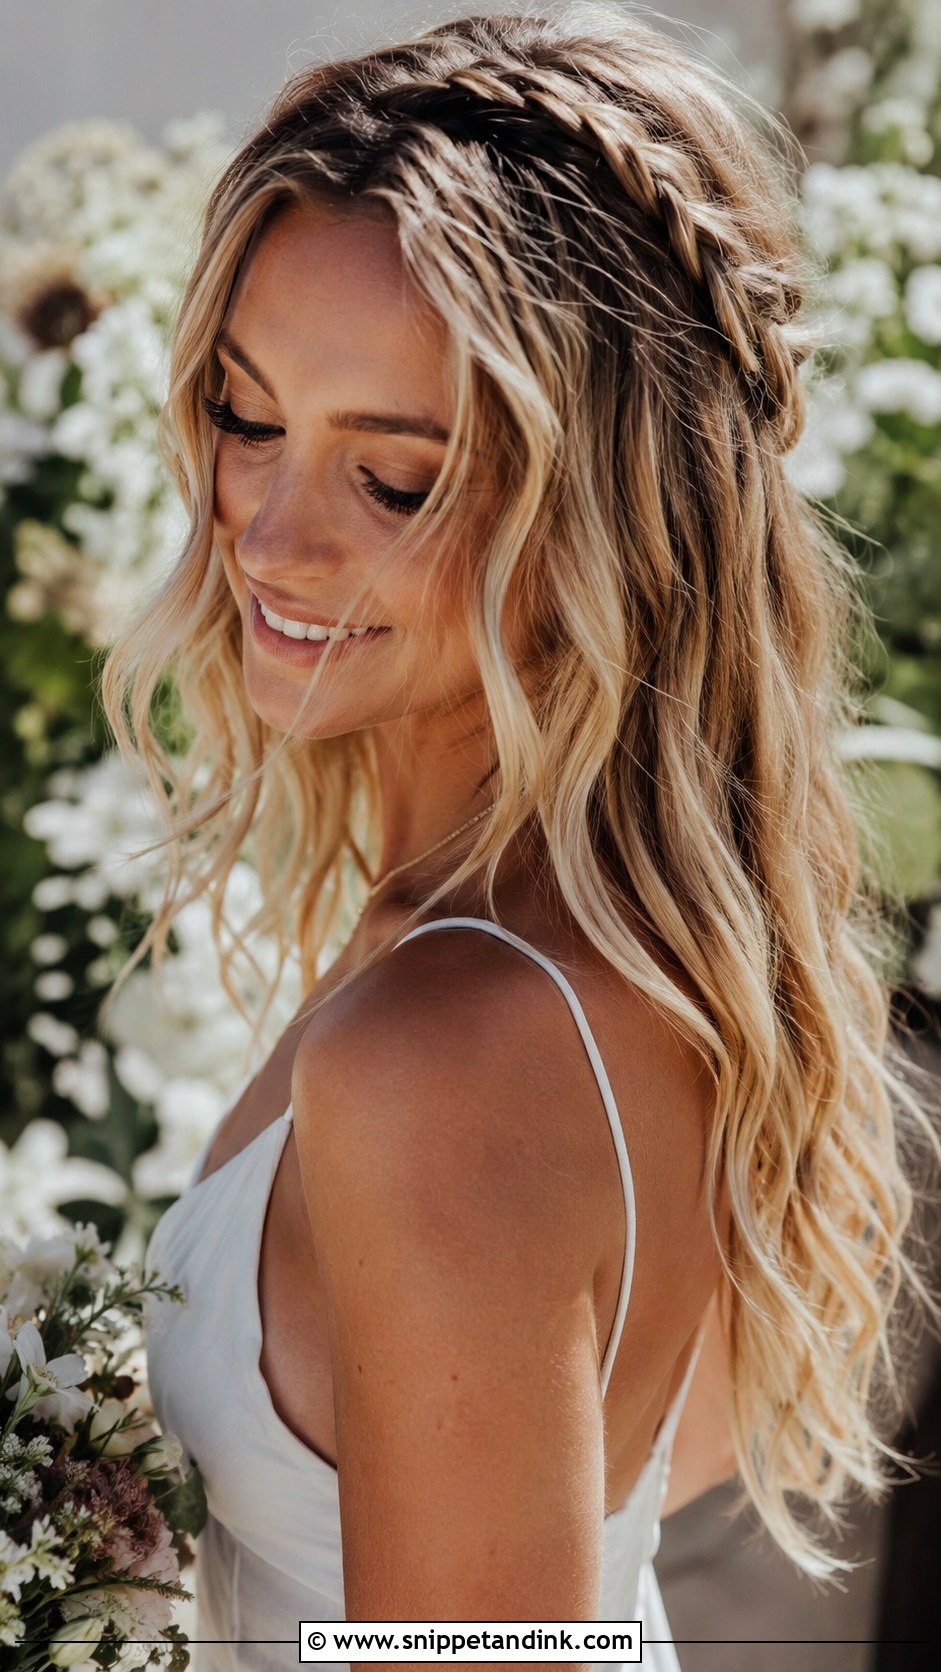
Relaxed beachy waves belong at coastal and outdoor weddings, where tighter styles fight the wind anyway. Scrunch sea-salt spray into damp hair and air-dry, or use a wand and then rake the waves out with your fingers. I leave the last inch of each section straight, which keeps the wave looking lived-in rather than set. Salt spray dries some hair out, so go light on color-treated or coarse hair. A thin braid or two adds a little detail.
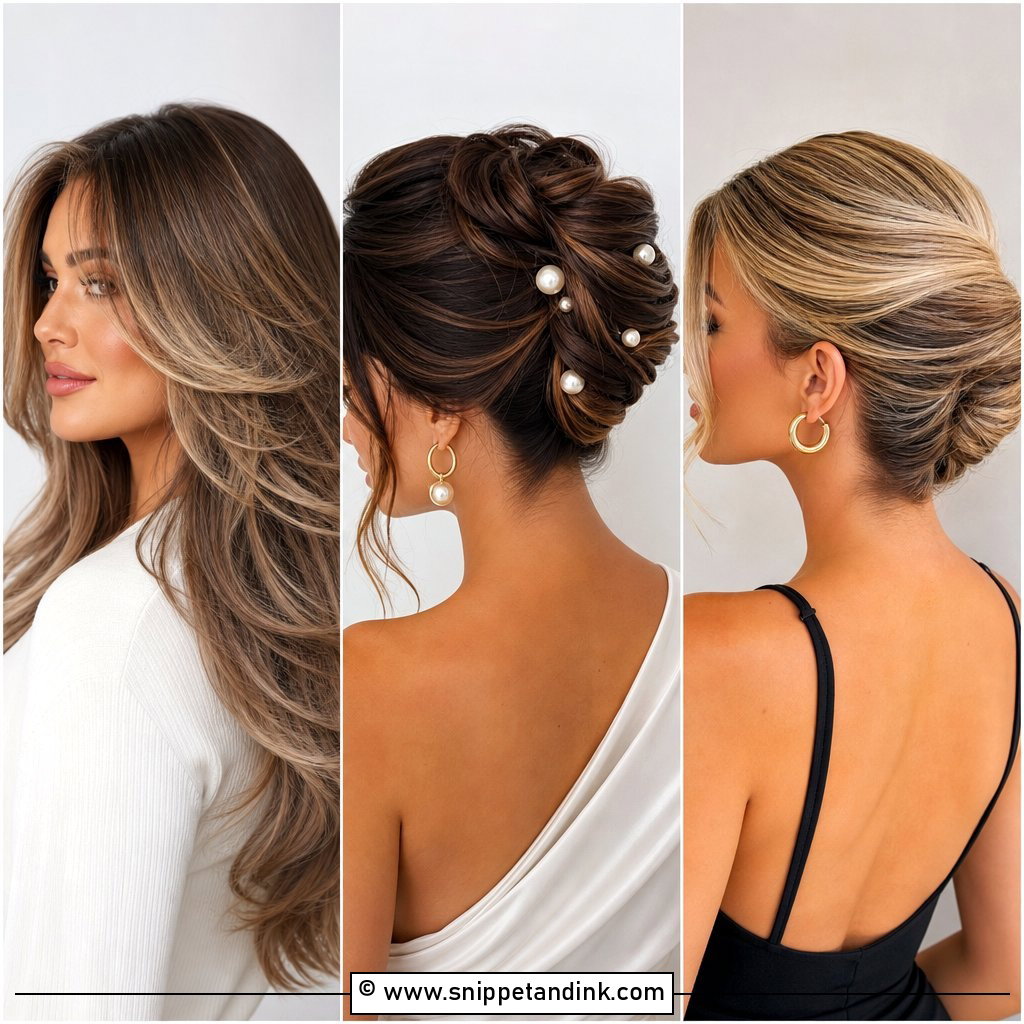
17. French Twist
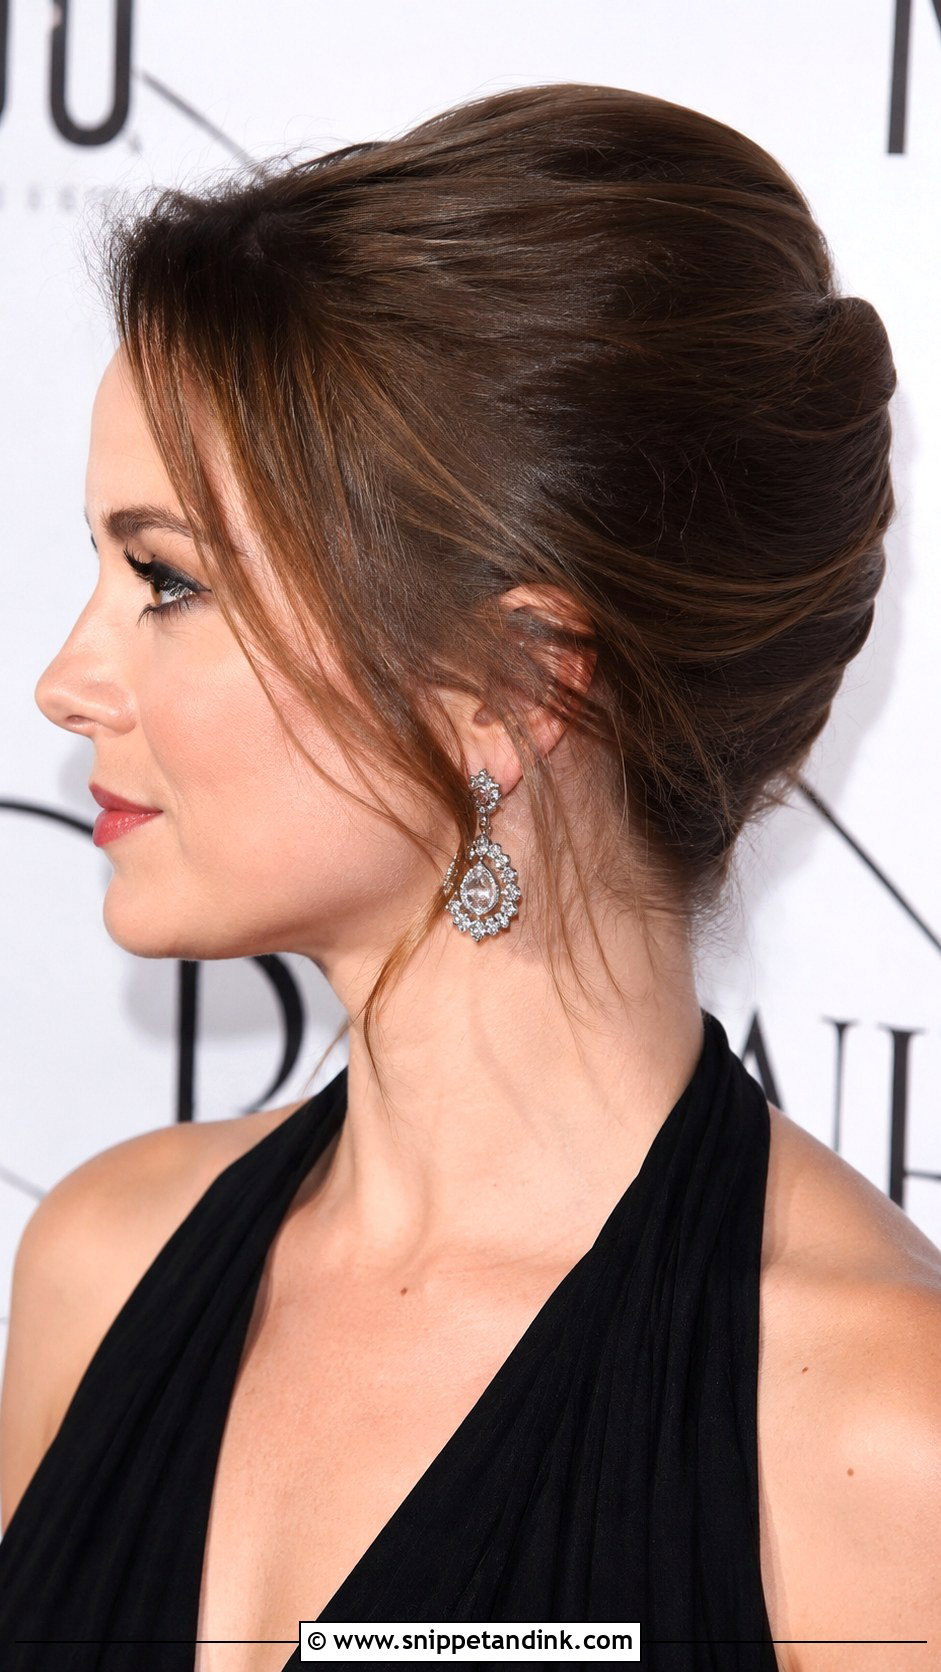
Rolling the hair vertically up the back of the head and tucking the ends inside gives the cleanest lines of any updo here. It’s my pick for formal and black-tie guests with medium to long hair. I backcomb the underside lightly first so the pins have something to grip, then twist and secure with U-pins and finish with a few bobby pins along the seam. Leave a couple of soft pieces near the face so it doesn’t look severe. Once it’s in, it handles heat and a long dinner well.
18. Half Up Top Knot
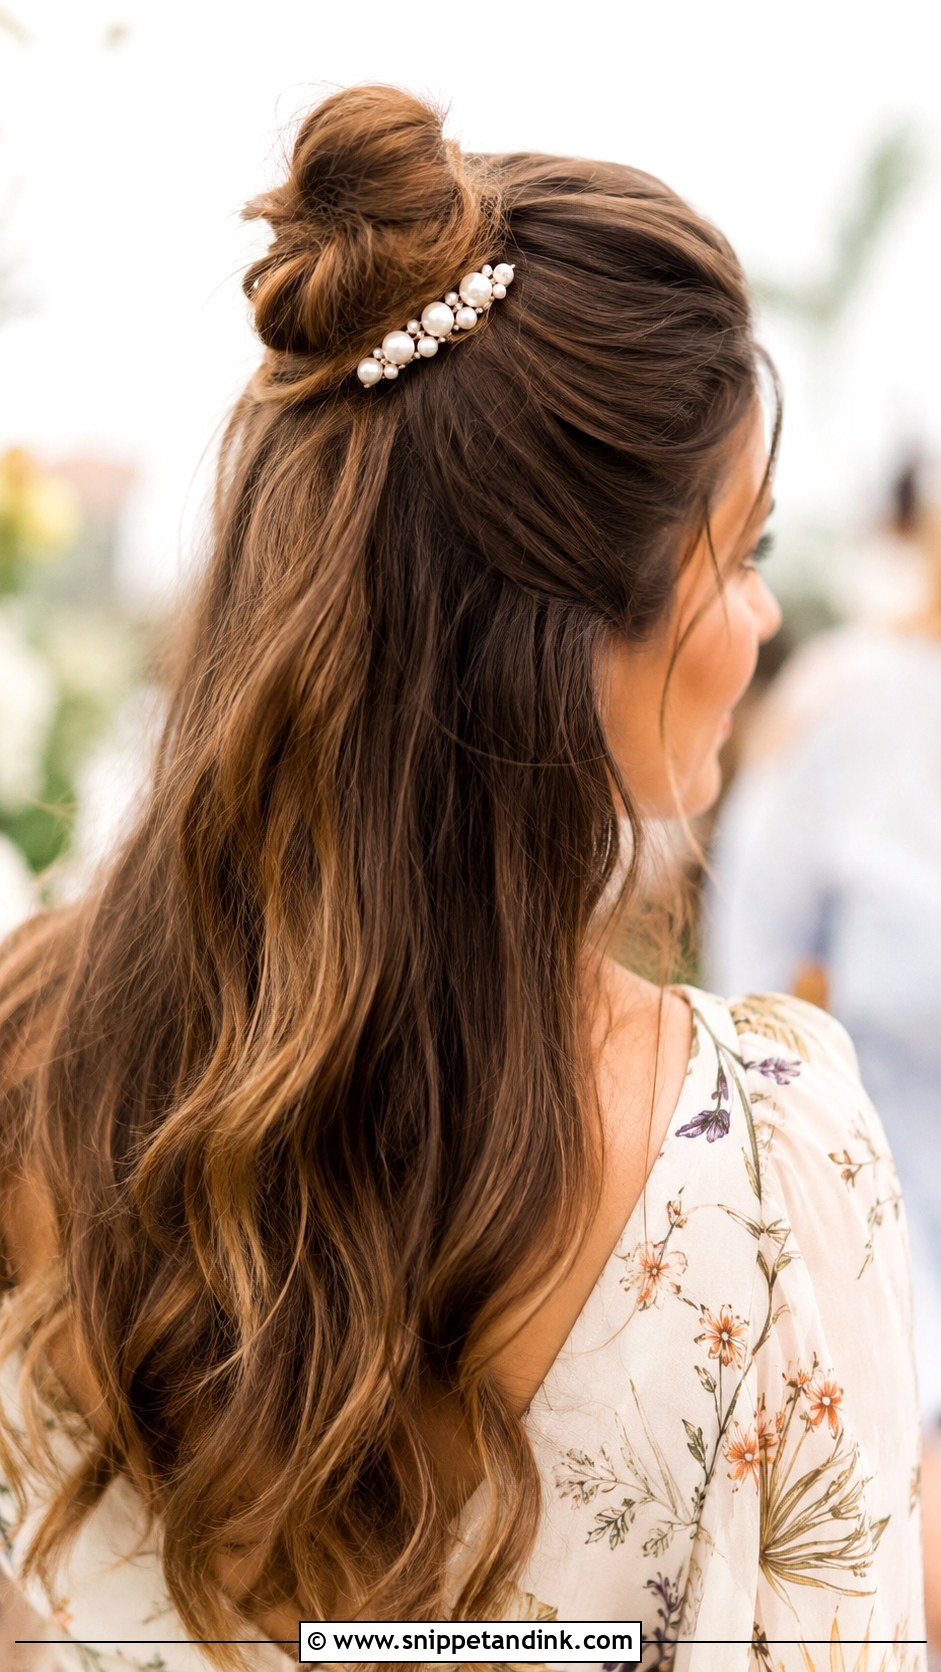
Quick and youthful: gather the top section into a small bun at the crown, leave the rest down, and loosen a few pieces around the face. It adds a little height, which helps if you’re wearing flats. I keep the knot no bigger than a golf ball, because anything larger starts to look like gym hair. Straight hair needs texture spray or the knot slides. A small pearl clip next to it dresses it up enough for most weddings.
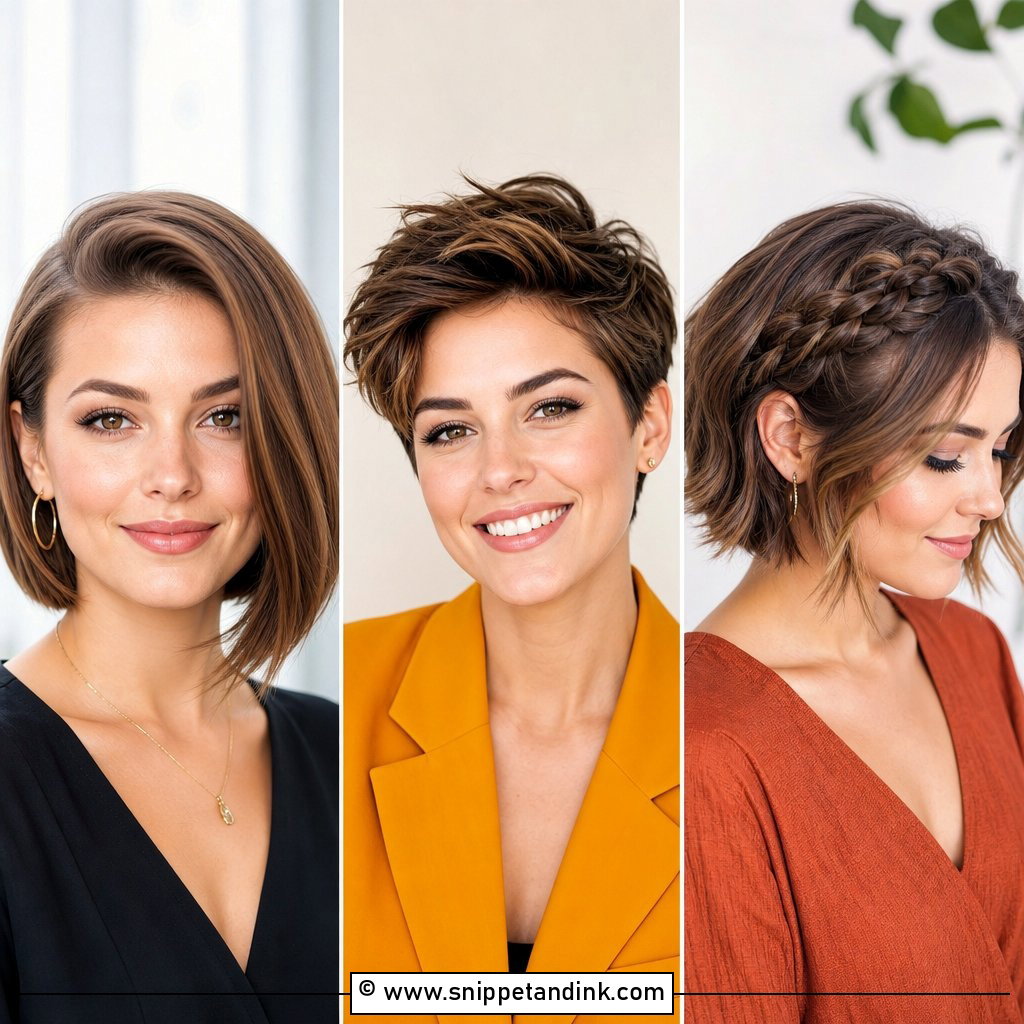
19. Curled Lob
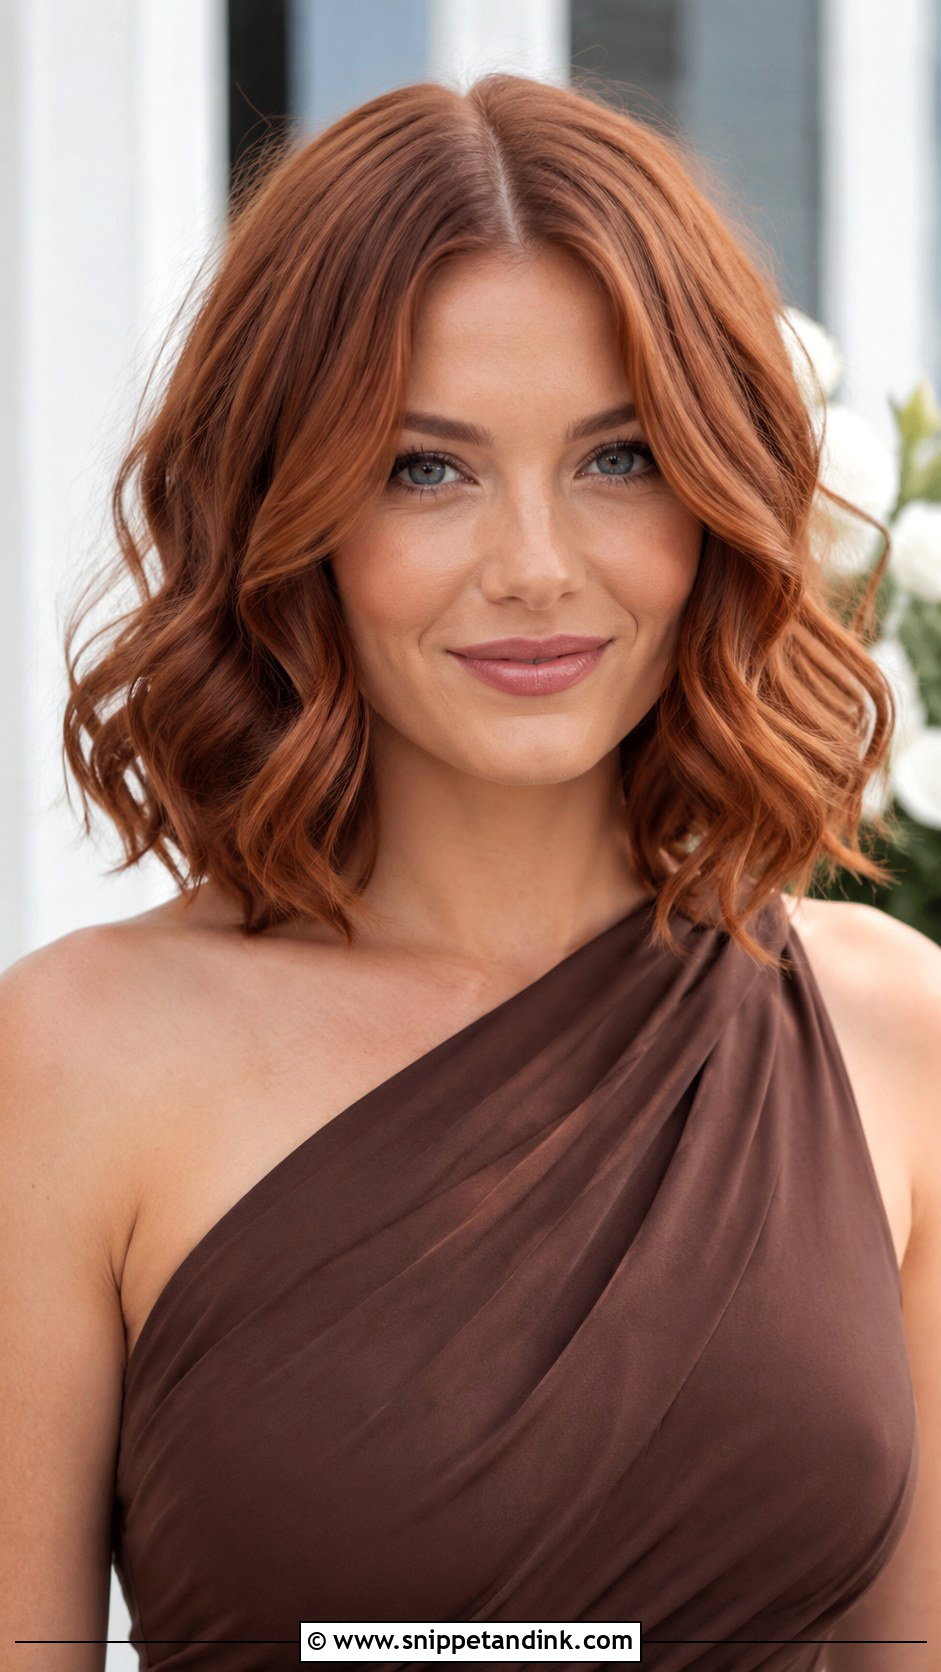
The lob, or long bob, is easy to make wedding-ready with soft curls. On this length I curl the middle of each section and leave the ends straight, because full curls on a lob shrink it right up to the chin. Tousle with your fingers once they’ve cooled. It needs nothing more than a quick finger comb after dinner. Part it in the center for a current look or to the side for softness.
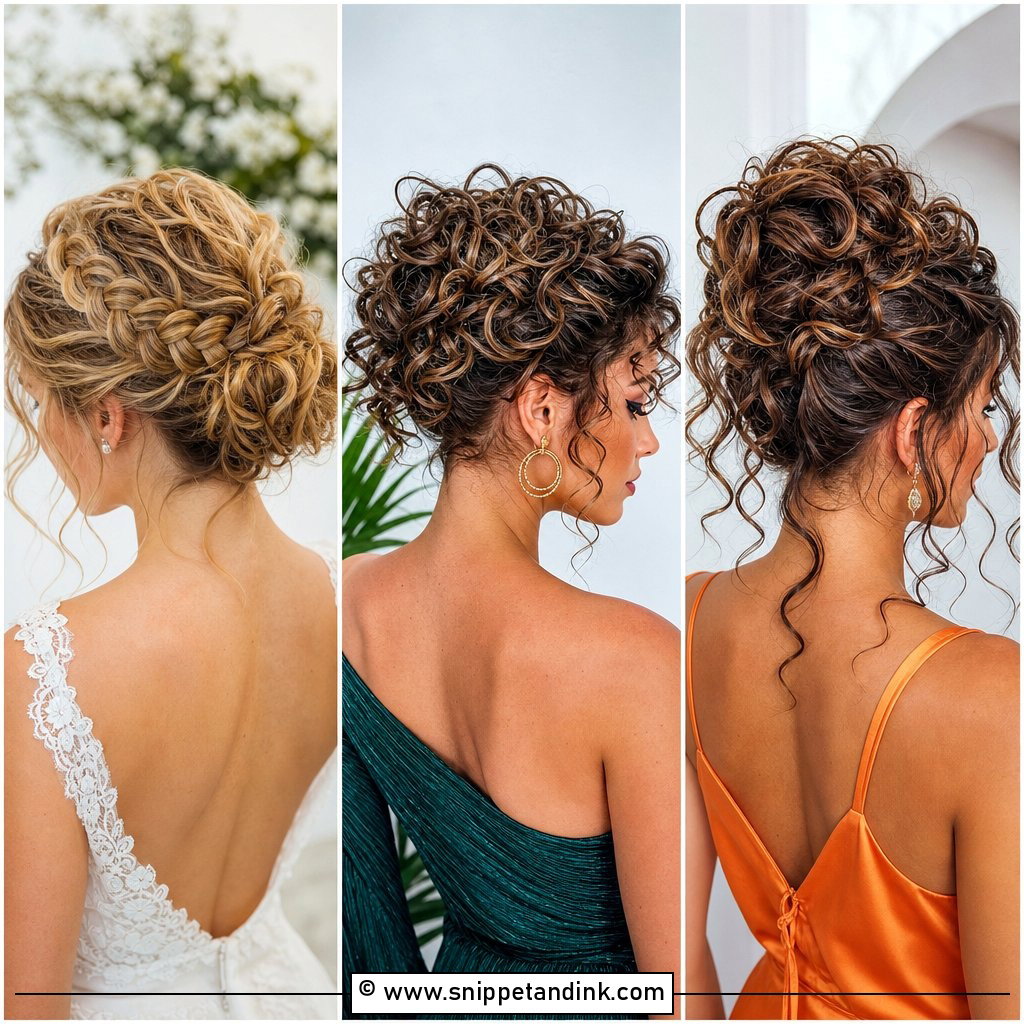
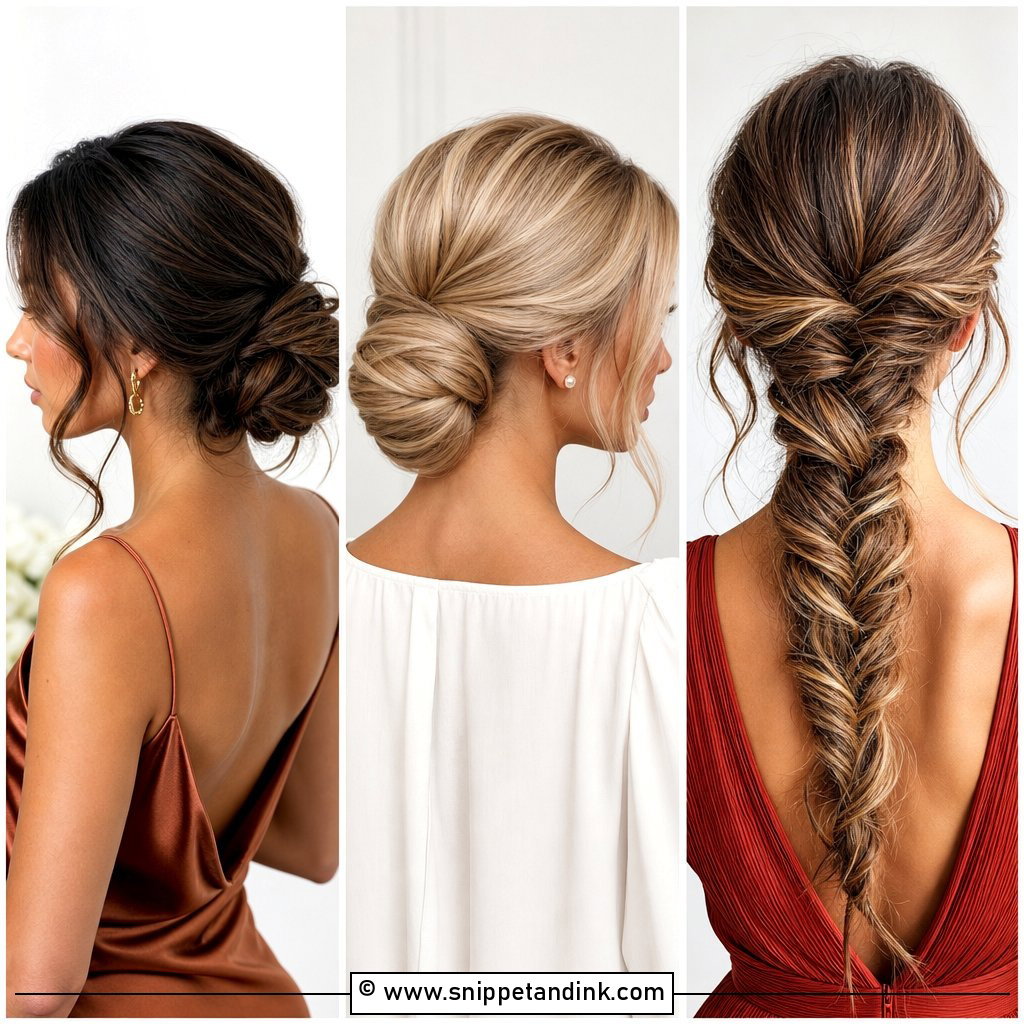
20. Fishtail Braid
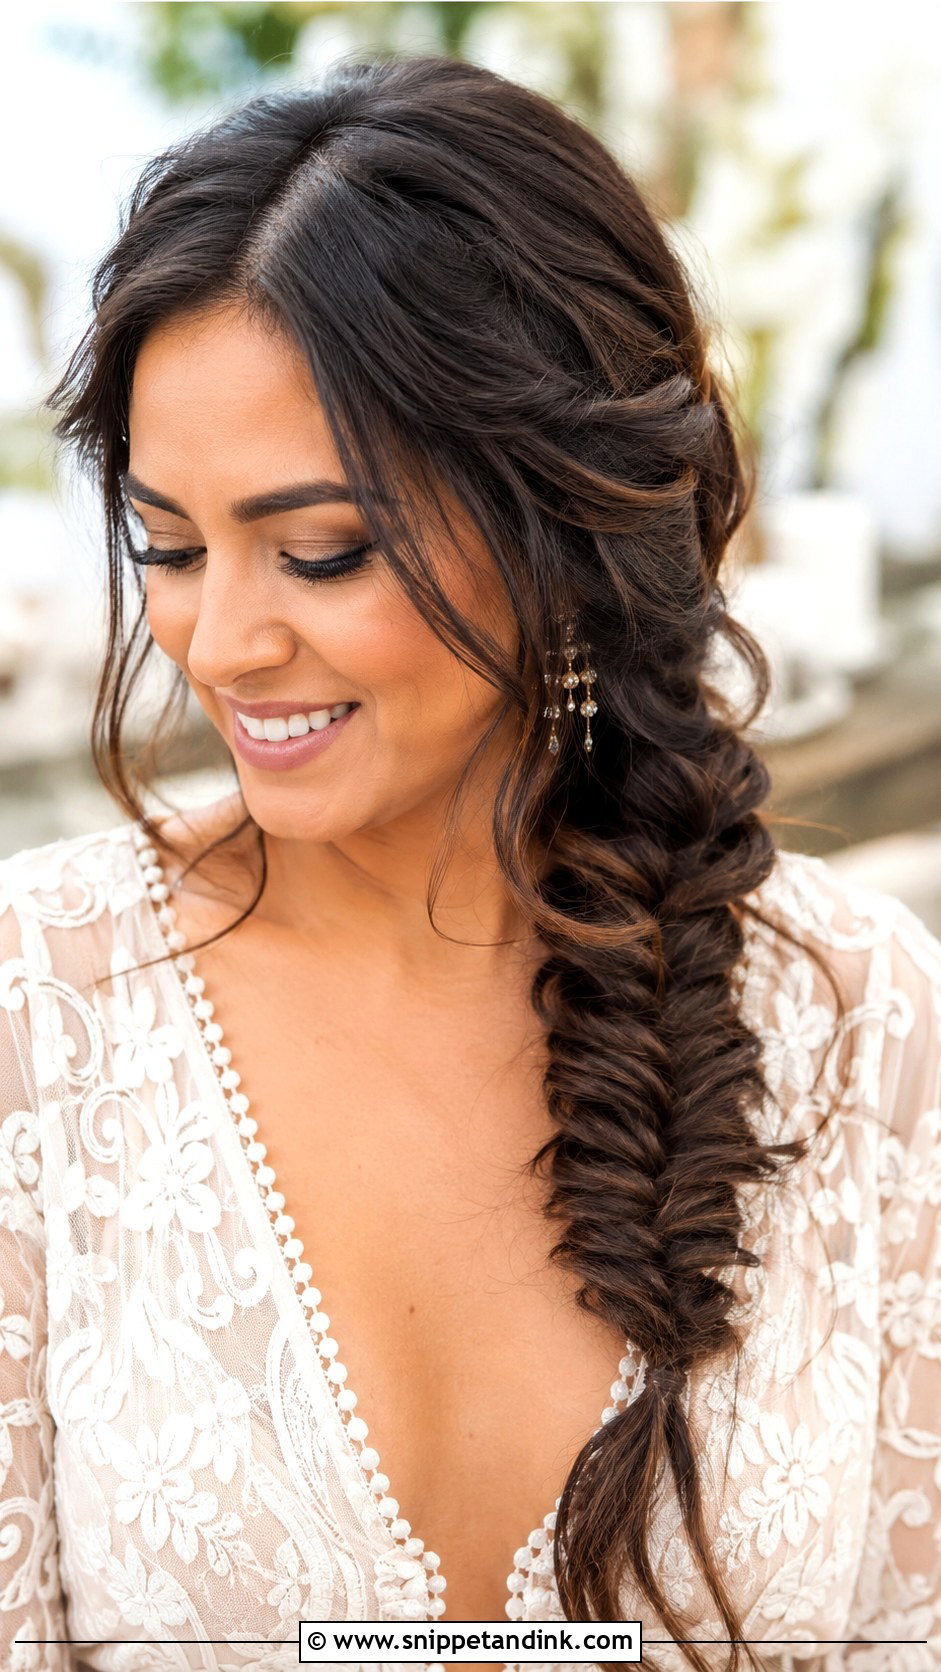
It looks complicated, but once you get the rhythm of crossing small pieces from the outside edge, it goes quickly. Worn over one shoulder, it suits garden and rustic weddings and keeps hair contained in wind. I take pieces about the width of a pencil, which makes the pattern clear, then gently pull the edges to widen it. Layered hair needs a little cream or spray first, otherwise ends poke out along the sides. Small flowers sit best in the top third.
21. Pinned Back Curls For Short Hair
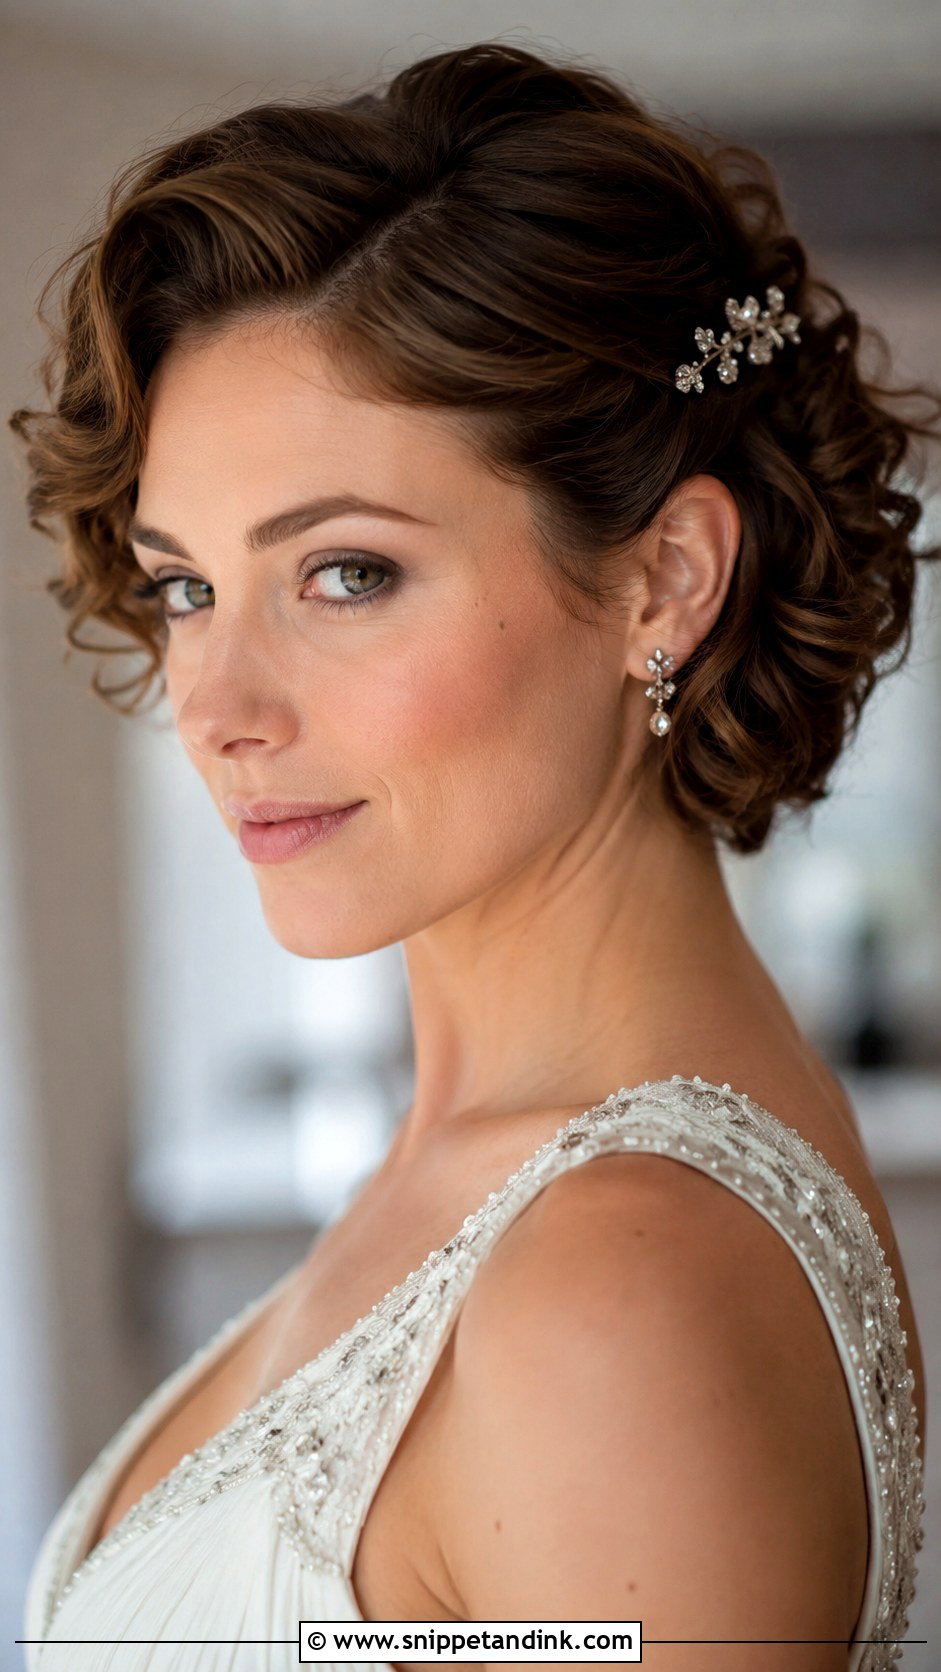
Short hair dresses up well for a wedding. I curl it with a small barrel for texture, then pin one or both sides back above the ear with decorative pins. On pixie cuts the pins have little to grip, so I spray the section first and slide each pin in against the direction of growth. It keeps hair off the face and shows your earrings. You don’t need length to look finished; you need the right pins.
22. Voluminous Blowout
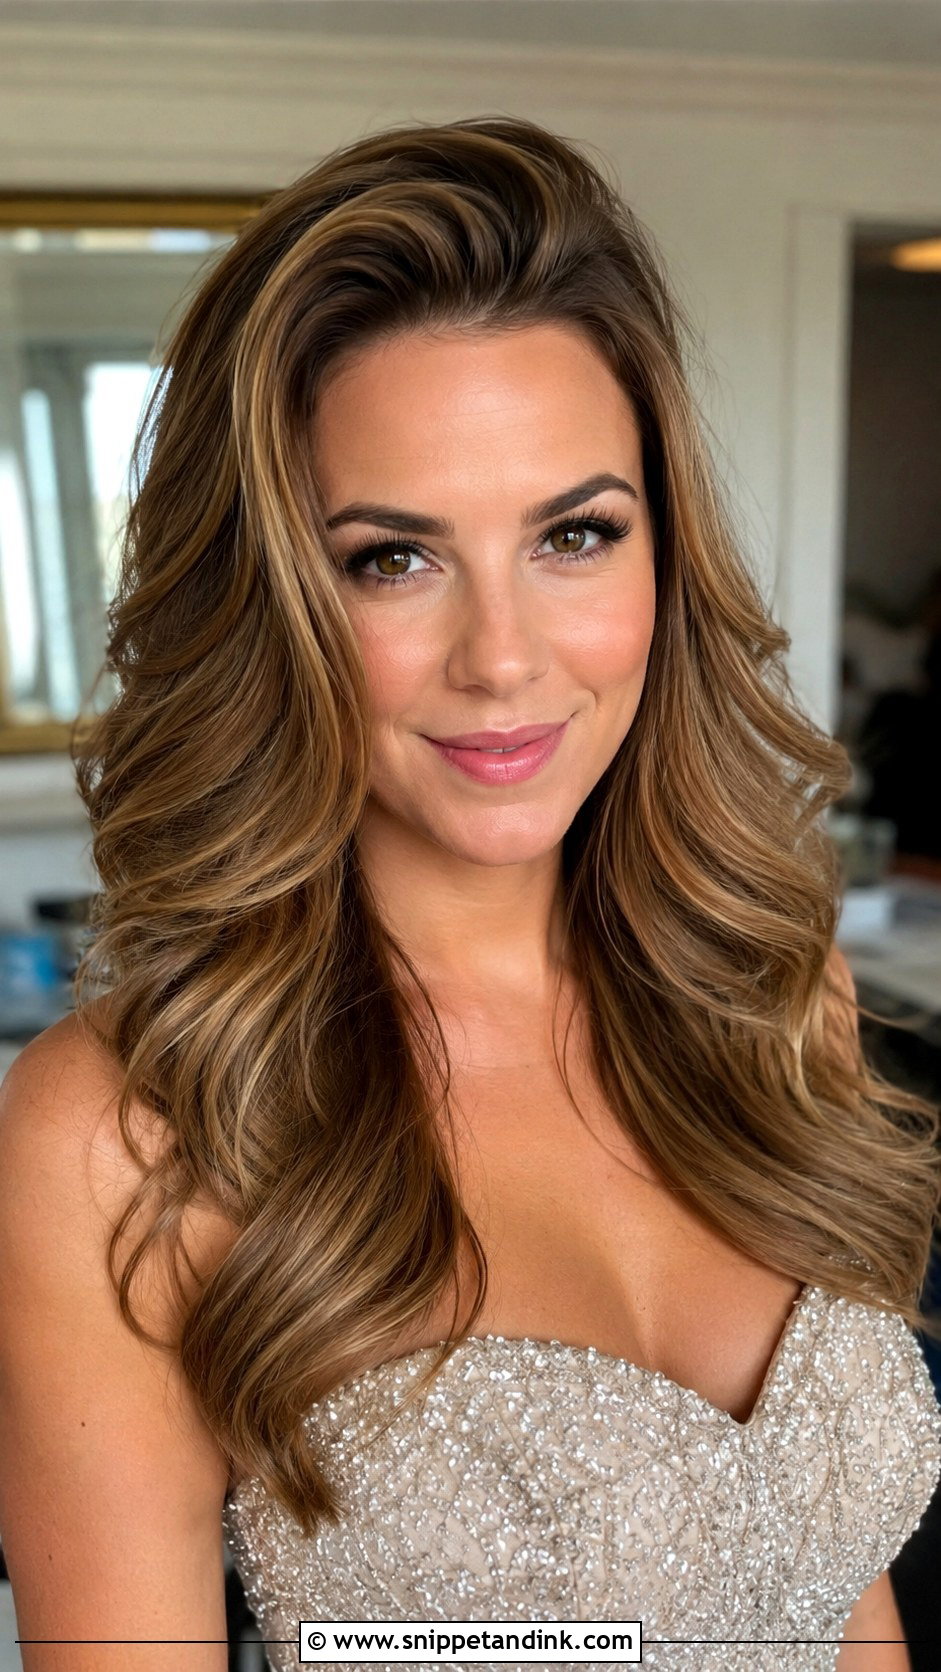
A glamorous blowout gives bouncy, smooth volume without braids or pins. I dry the roots first by lifting each section straight up with a round brush, then roll the ends under and let the brush cool in the hair before releasing it. That cooling step is what keeps the bend. Blowouts drop quickly in humidity, so for an outdoor summer wedding I’d set velcro rollers for twenty minutes after drying. A shine spray at the end keeps it glossy.
23. Floral Crown Updo
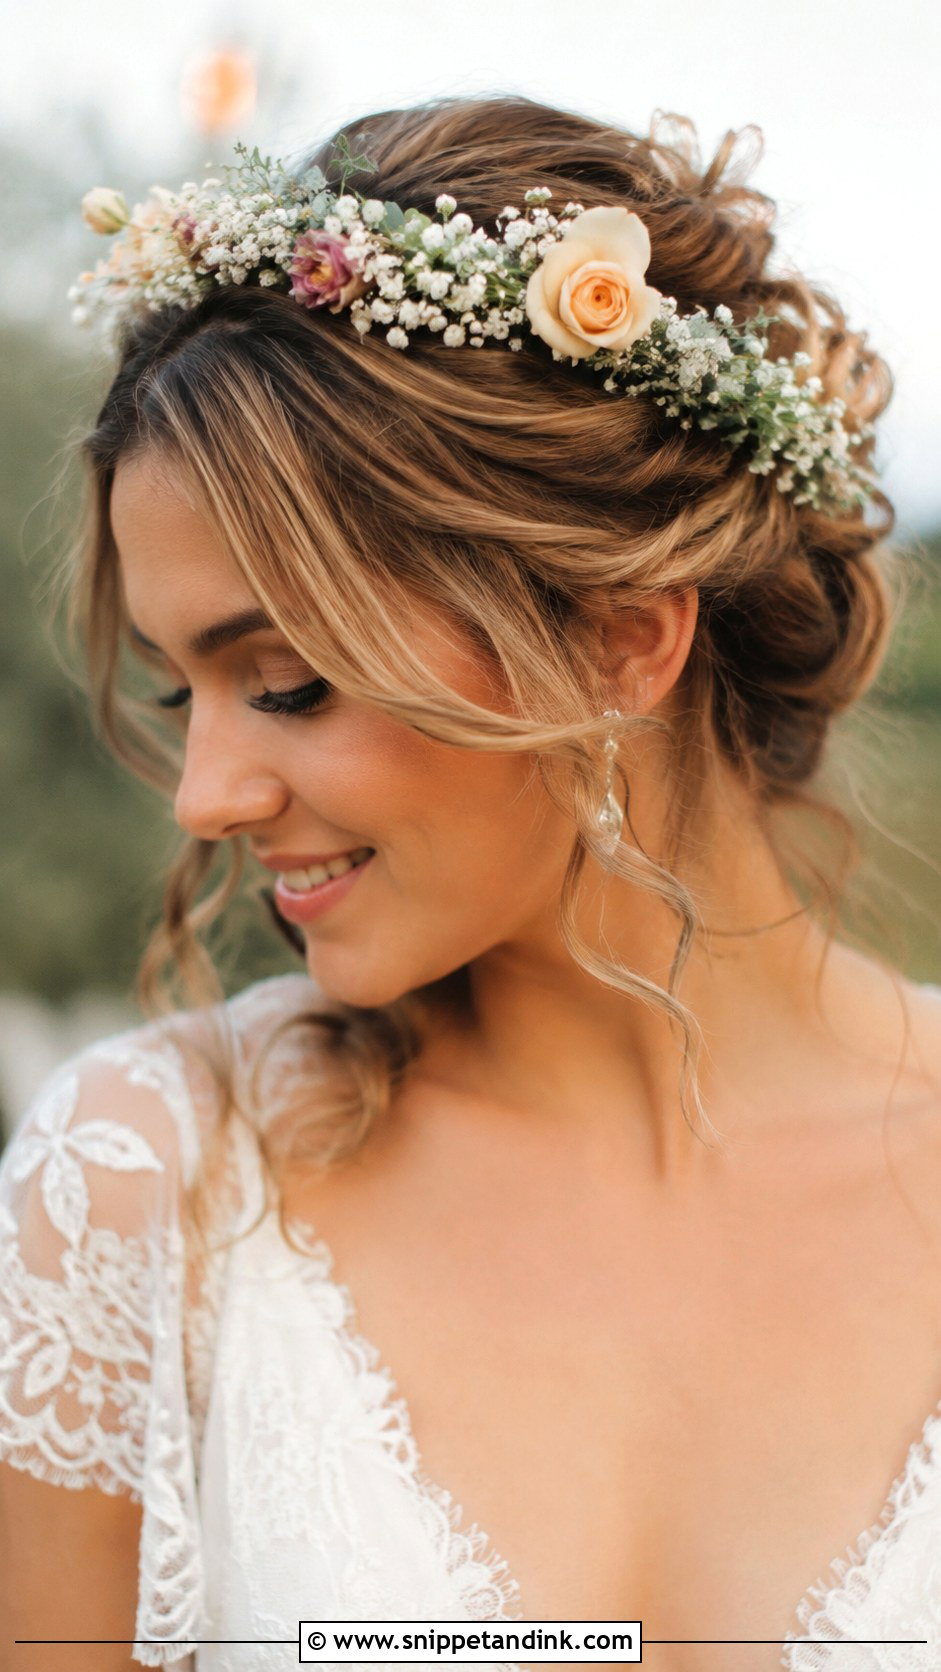
Flowers on a soft updo feel festive at boho and garden weddings, but check with the couple before you plan it; if the bride or her bridesmaids are wearing flowers, a guest crown can look like you’re trying to match. I build the updo first, then pin the crown through at the back with bobby pins hidden under it. Hardy stems like spray roses and waxflower last longer out of water than delicate ones, and dried flowers are the safe choice in summer heat.
24. Slicked Back Bun
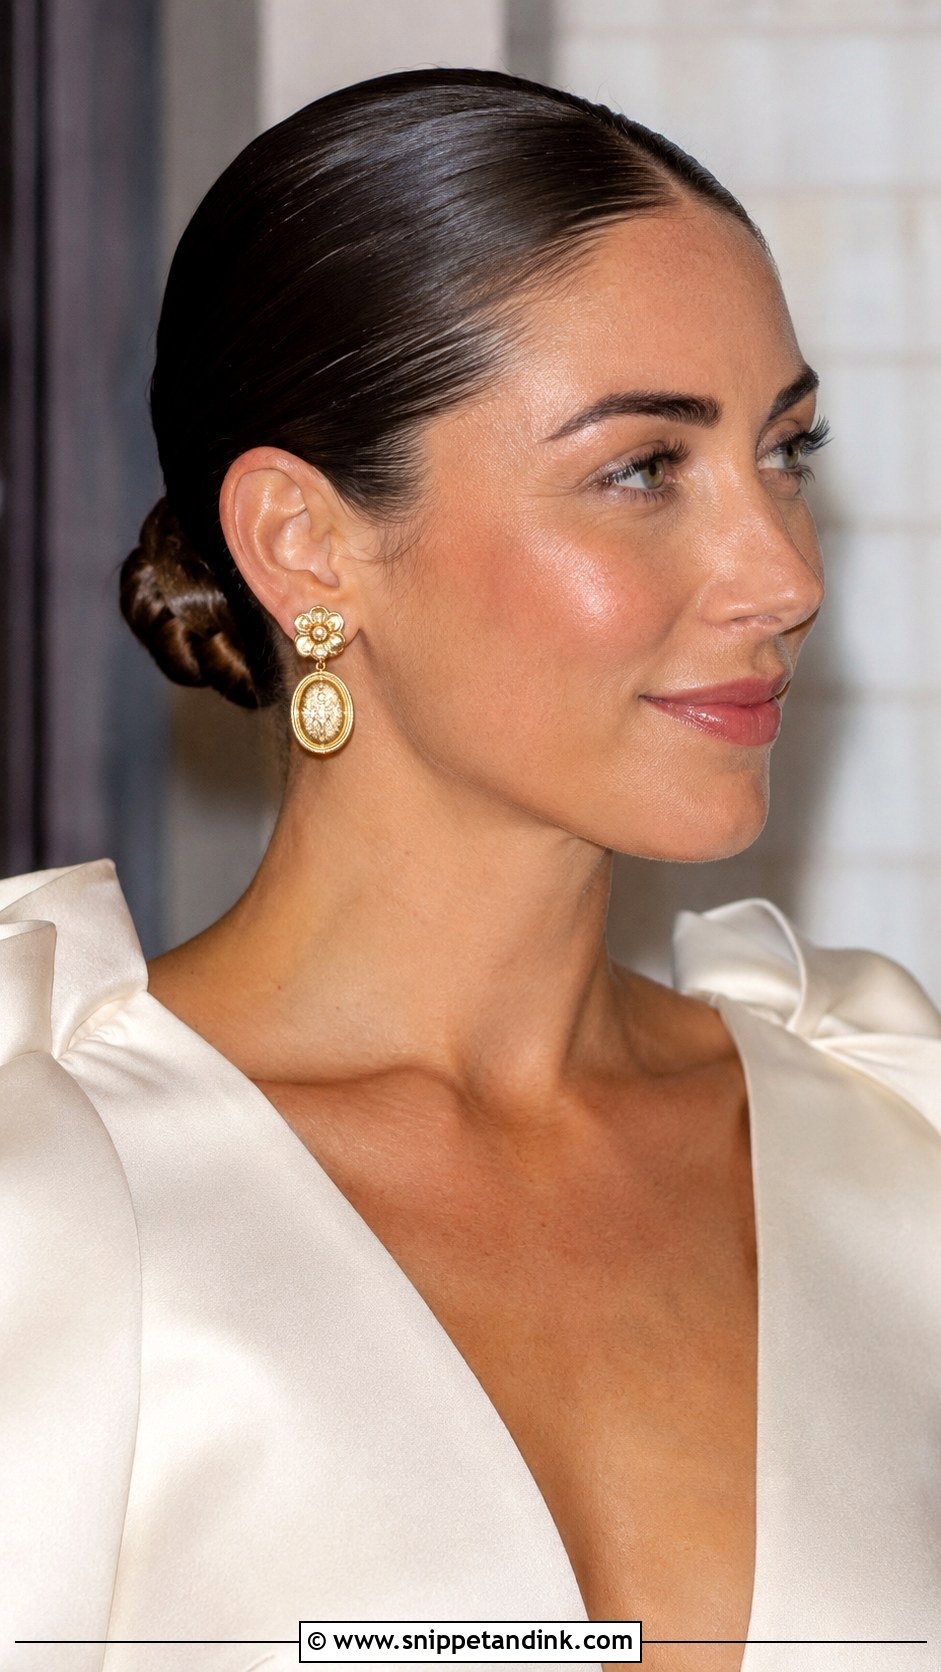
The slicked-back bun is the editorial choice: everything pulled straight back into a low bun with no flyaways. I apply gel or pomade to damp hair, comb it through with a fine-tooth comb, and tie the band while the product is still wet for that glossy finish. It shows the whole face, neckline and earrings, and it stays put all night. If your hairline is fragile or thinning, skip it; tight pulling stresses the edges.
25. Twisted Updo With Accessories
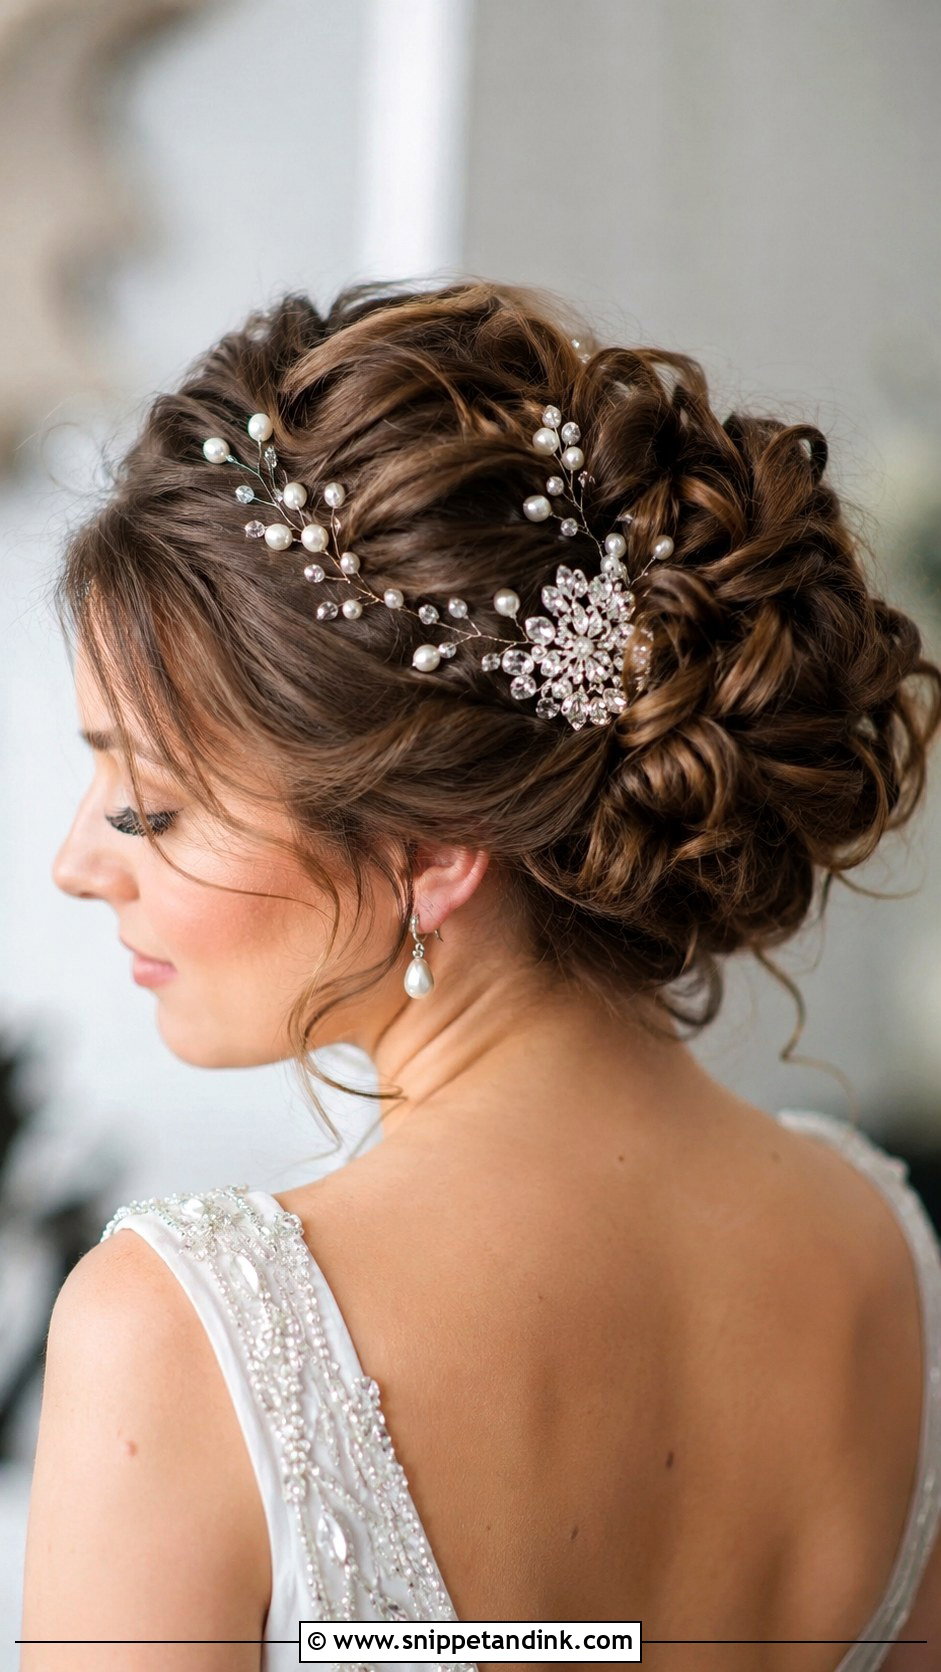
Twisting sections and pinning them into a soft updo gives you a base to dress with pearls, decorative pins or a comb. I put accessories where the twists meet, since that’s where the pins already hold the most hair. A comb needs a small braid or backcombed section underneath to grip, or it works loose. This updo stays secure through dinner and dancing, and guests of any age wear it comfortably.
What Gives Way First, and Fixing It in a Restroom Mirror
After a few hours, guest styles fail in predictable places. Curls drop from the top first, because that’s where the weight pulls. A bun loosens wherever it was pinned straight in instead of anchored. Face-framing pieces frizz from being touched. Knowing that, you can fix most problems in two minutes.
- Flat curls: wind each fallen section around a finger, pin it flat against your head for five minutes while you sit, then release.
- A slipping bun: pull out the loose pins and reinsert them at an angle, catching the bun first and then pushing back toward the scalp.
- Frizzy face pieces: a dab of hair balm, or even lip balm, rubbed between your fingers calms them; water makes them worse.
- A sagging ponytail: push the band back up and wrap a fresh strand around it.
Six Things That Fit in a Clutch
I’d carry six bobby pins, two clear elastics, a travel hairspray, a small comb, a hair balm and a spare claw clip. They fit in an evening bag and cover nearly every hair problem I see at the end of a reception.
Do a Practice Run the Weekend Before
Pick two of these and try both the weekend before, at the same time of day you’ll be getting ready. You’ll learn quickly which one your hair agrees with and how long it really takes. Factor in the venue, the forecast and how much you plan to dance, then pack a few pins and a travel hairspray. Pearls, a ribbon or a few flowers make any of them your own, and you’ll spend the evening celebrating the couple instead of fixing your hair.
You'll Like These Ideas:


Leave a Reply