
Updos are what I’m asked for most by wedding guests, and for good reason: hair off the neck copes with heat, wind and a long evening better than anything worn down. The word “easy” matters here, though. Many guests do their own hair, and a style that needs a second pair of hands or an hour of curling isn’t easy in a hotel bathroom. So for each idea below, from sleek ballet buns to braided chignons, I’ve noted what makes it hold, which hair it suits and where people usually go wrong.
Doing an Updo on Your Own Head With Two Mirrors and Tired Arms
Most guests style their own hair, and pinning the back of your own head is genuinely hard. Your arms tire, you can’t see what you’re doing, and every pin goes in at a slightly wrong angle. A little preparation makes it much easier.
Set up before you start
Use a hand mirror facing the bathroom mirror so you can see the back. Lay out pins open on the counter so you can grab them one-handed. Sit down if you can; resting your elbows on the counter saves your shoulders.
Work by feel
Tie a ponytail first, because you can do that without seeing. Then build the bun around it, feeling for the elastic with your fingertips as you push each pin through the hair and into the base. Check the mirror only between pins.
Practise once
Try the style a few days before the wedding and wear it for an afternoon. You’ll know how long it takes, how many pins you need and where it loosens first.
1. Sleek Ballet Bun
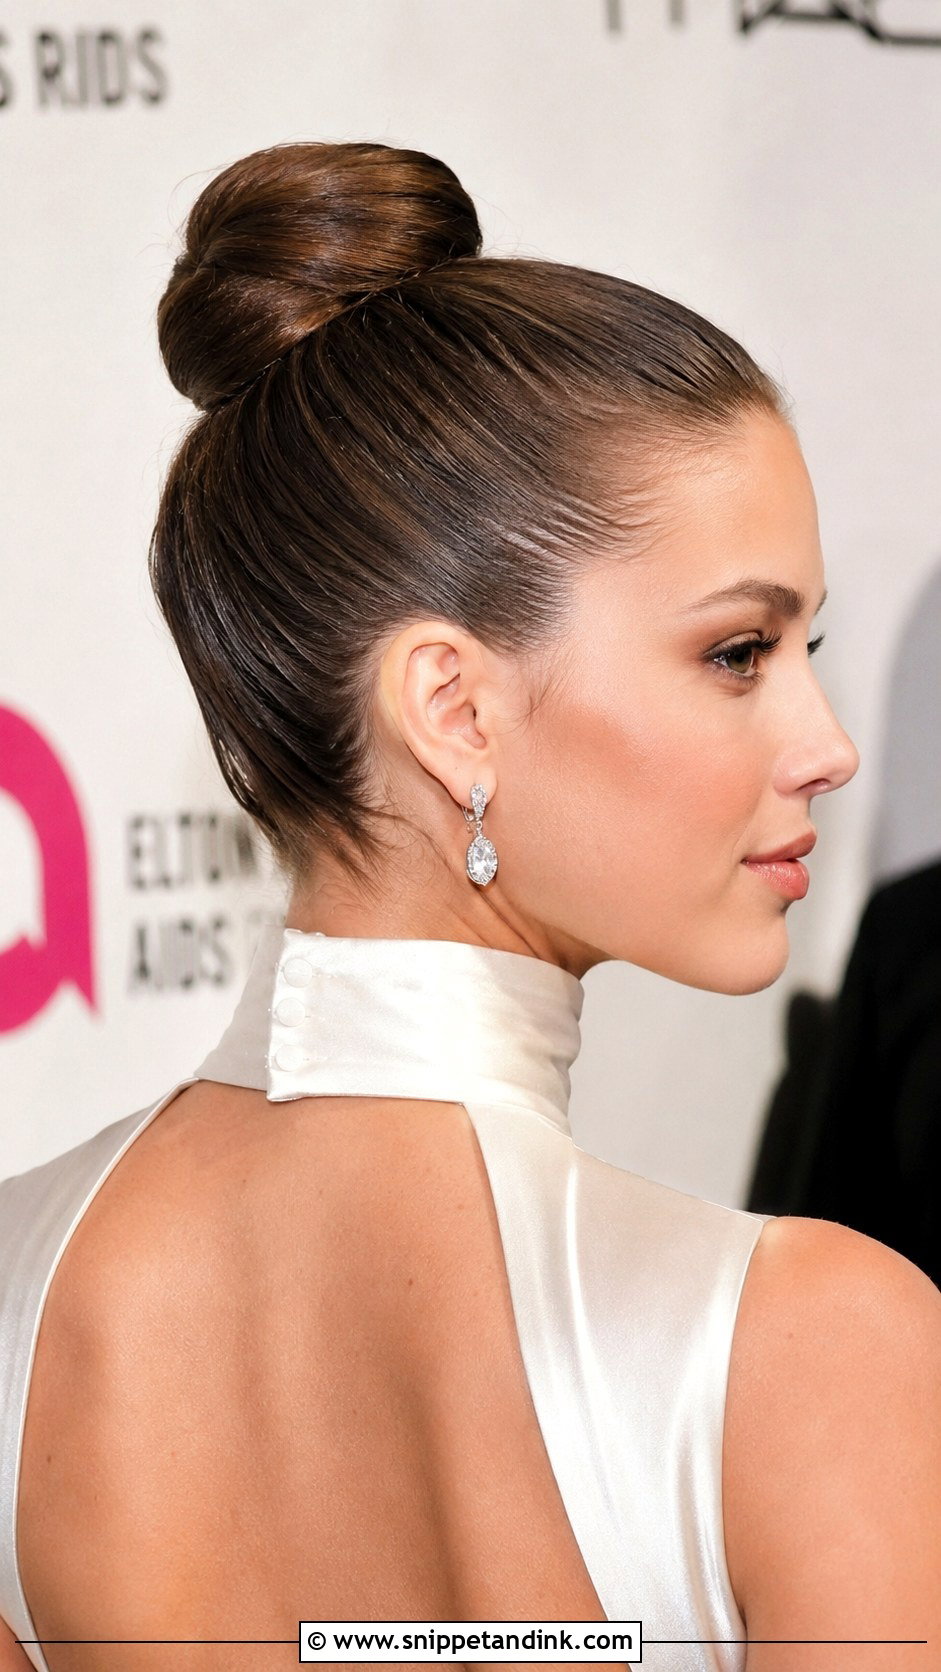
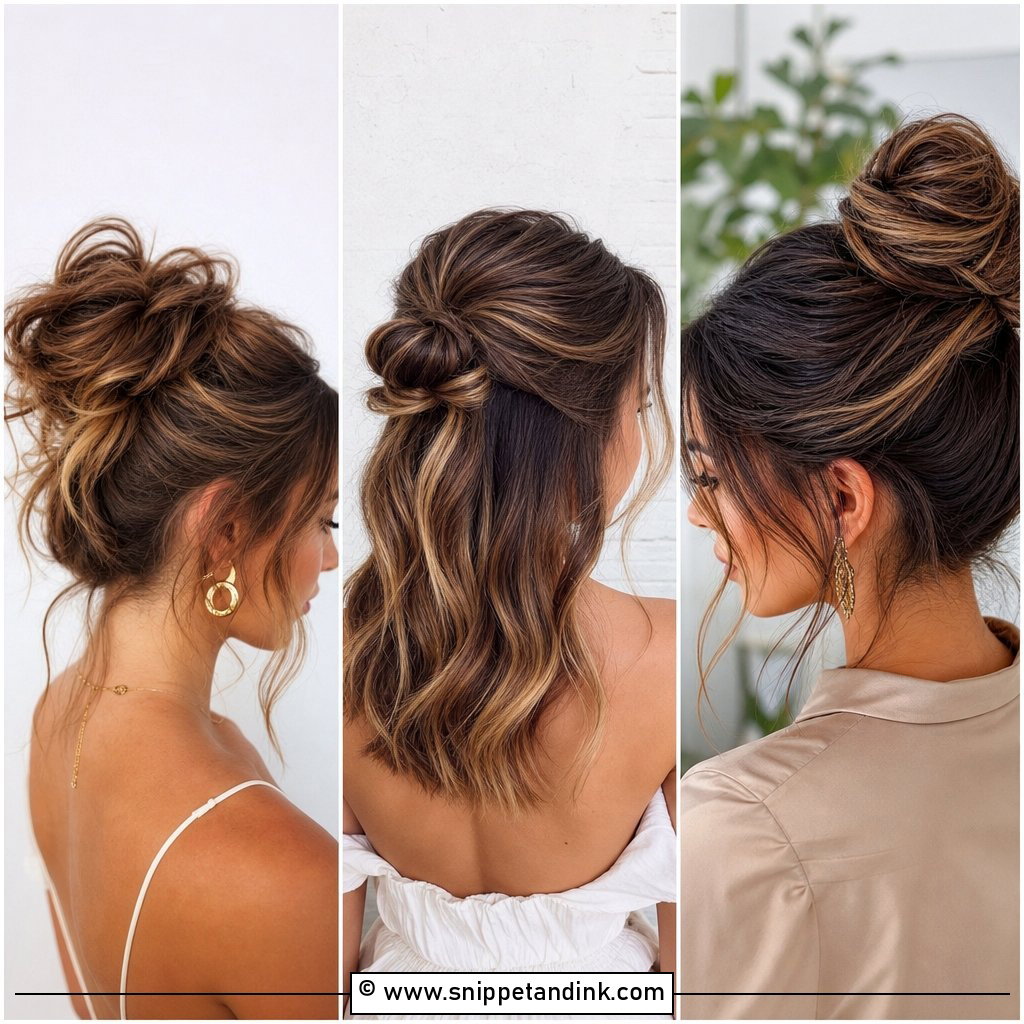
A ballet bun sits high and smooth at the crown. Brush the hair up with a little smoothing cream, tie a tight ponytail, then twist the length and wrap it flat around the base, pinning with U-pins around the edge. A drop of shine serum on the surface at the end. It’s secure because the tight tie does the work, which also means it can ache after a few hours on heavy hair. It suits a high neck or an open back and holds through a long night of dancing at a formal evening wedding.
2. Low Twisted Chignon
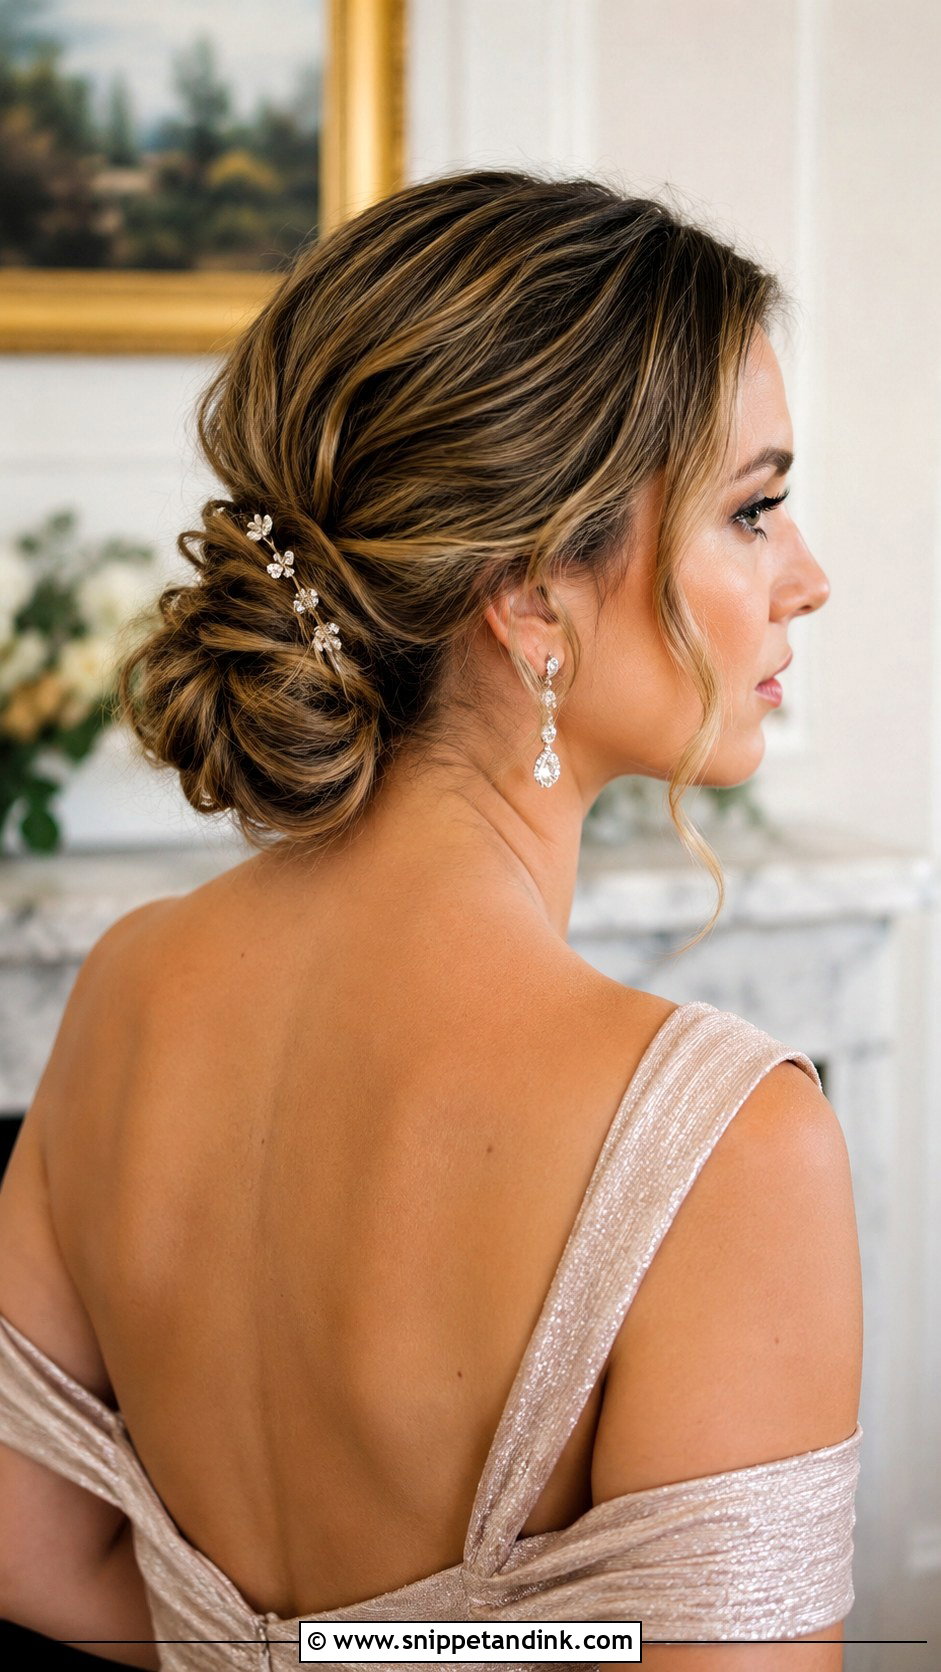
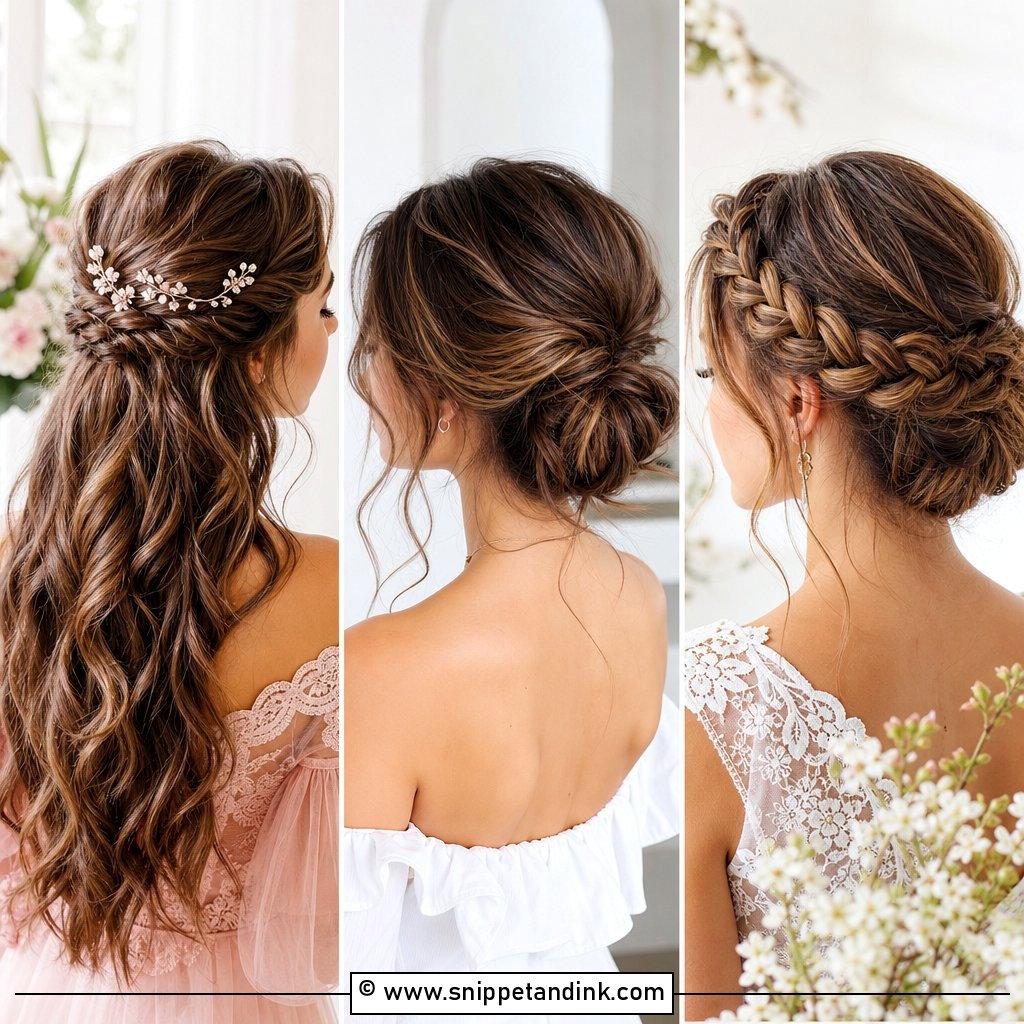
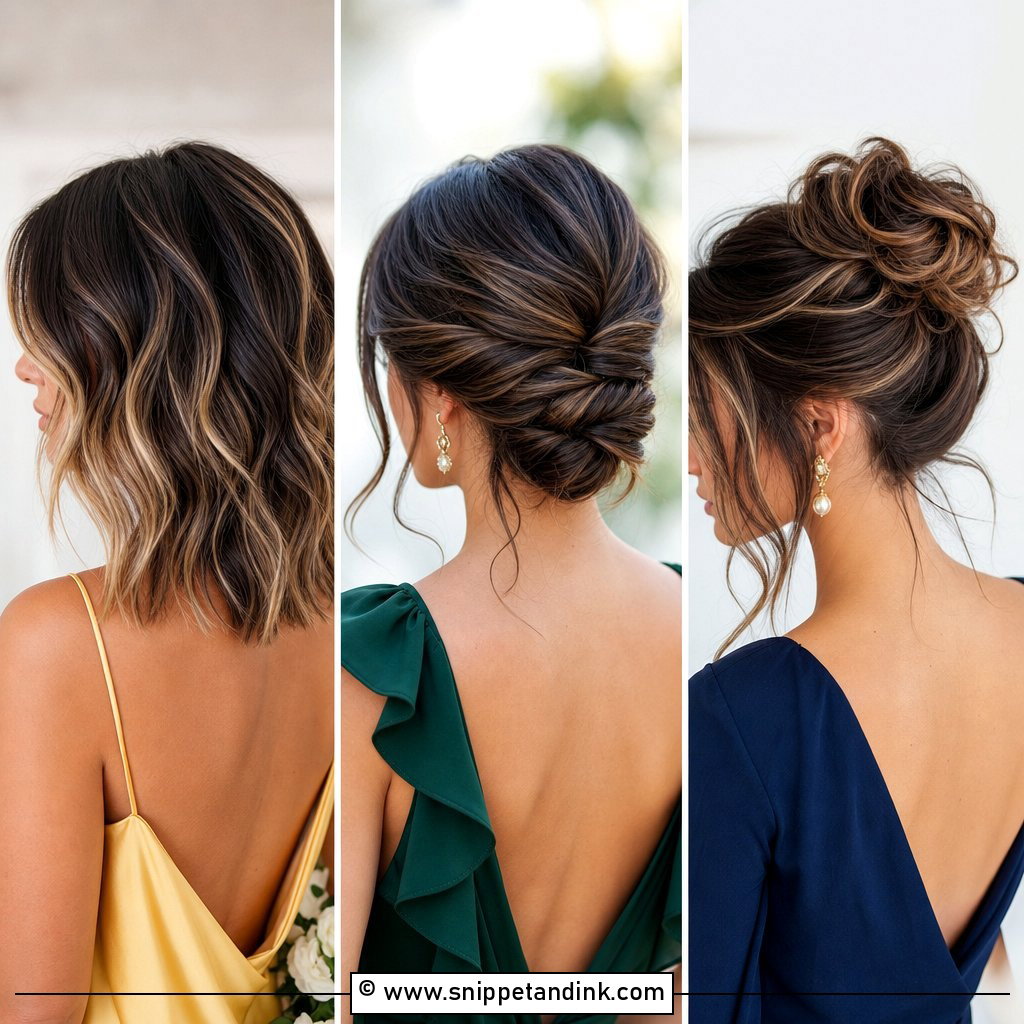
A chignon rolled low at the nape is the updo I’d recommend most to guests who’ve never pinned their own hair. This soft, rolled bun starts with a low ponytail: twist the length, wrap it around the elastic and pin. Keep it smooth or loosen a few pieces. The mistake I see is pinning the roll only to itself, so it shifts; push each pin through the roll and into the ponytail base. It suits a ballroom or a vineyard, and a small comb or a few pins finish it.
3. Braided Bun
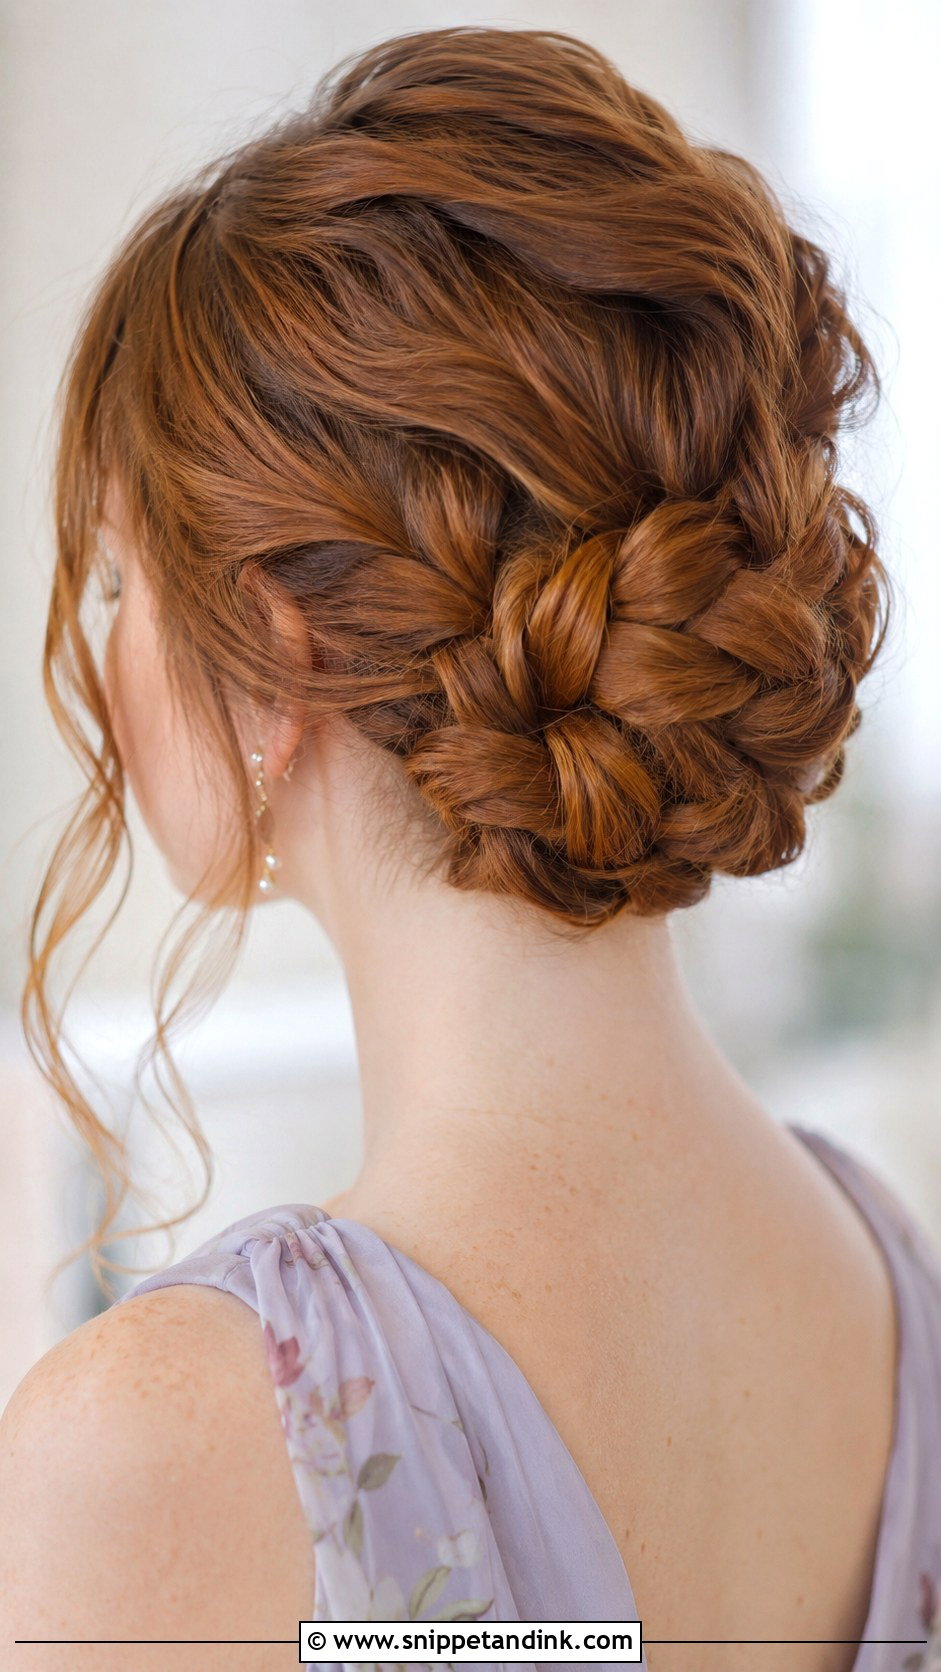
Braid the ponytail first, then coil the braid into a bun. That’s all a braided bun really is, and the braid makes the bun look more detailed with no extra skill. Pancake the braid before coiling so it looks fuller, then pin it with U-pins through the braid loops, which grip better than pins pushed into smooth hair. It works for most hair types from shoulder length down. Pair it with a flowy dress for a boho feel or with a structured gown for contrast.
4. Messy Textured Updo
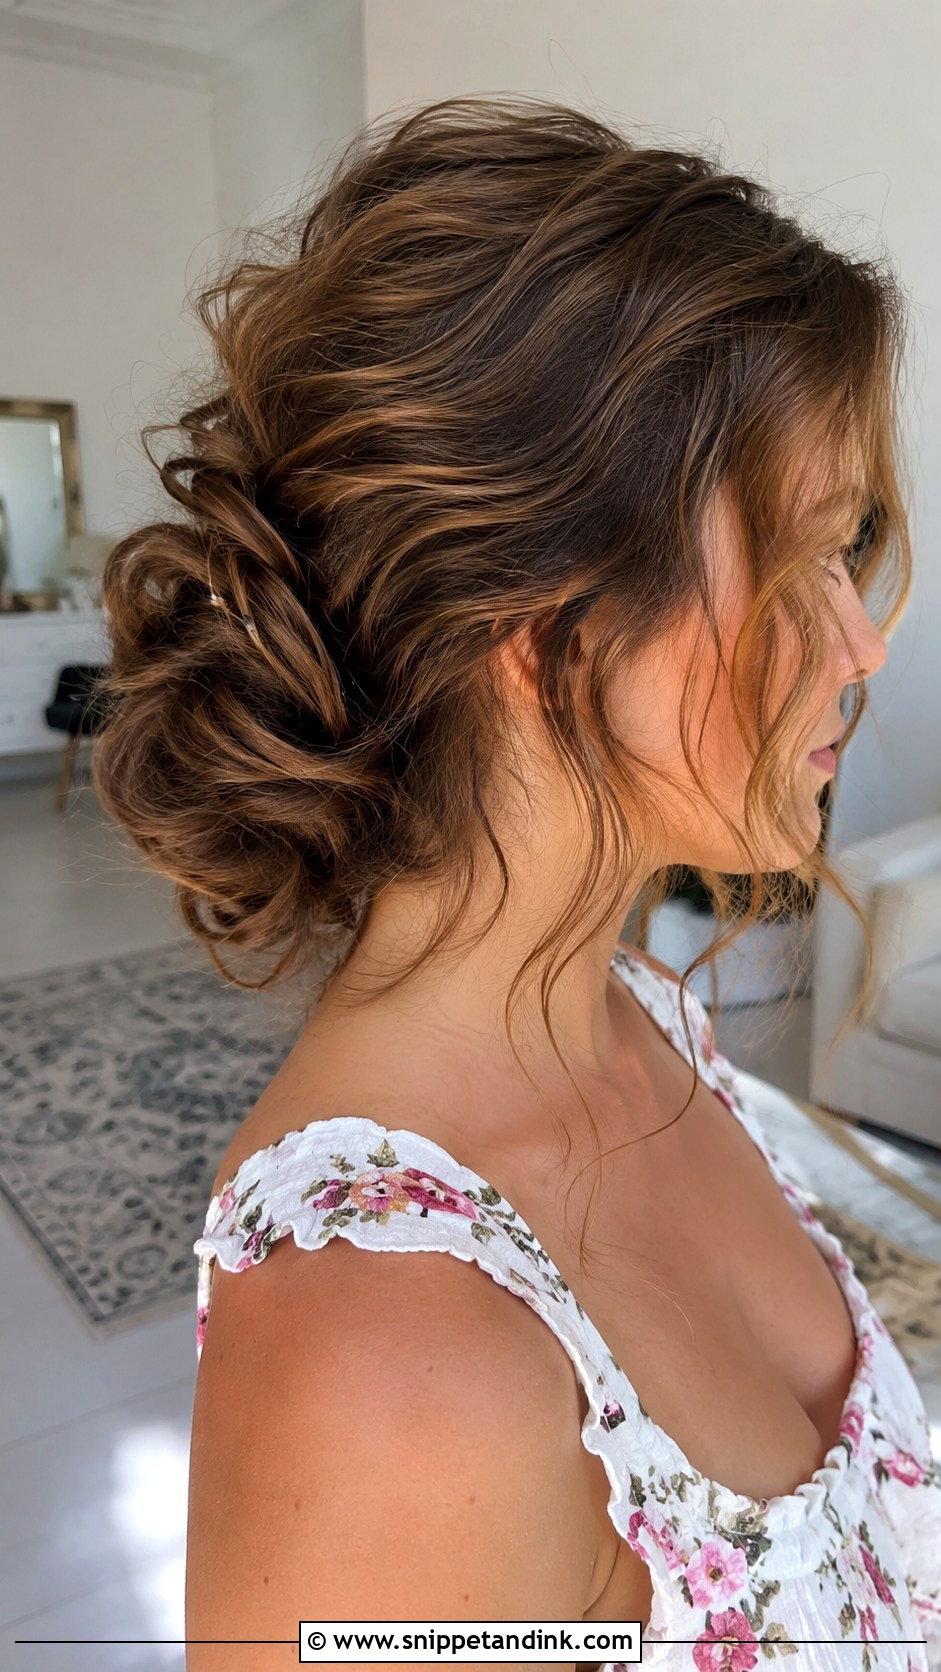
This is the forgiving one. Spray texture through dry hair, gather it loosely at the back, twist it up and pin it, then pull out some tendrils. Fine or layered hair suits it well because the texture adds bulk and shorter layers that poke out look intended. What makes it look like an updo rather than hair you slept in is the front: keep the hairline area neat and let the messiness happen at the back. It suits an outdoor or daytime wedding.
5. Side Bun
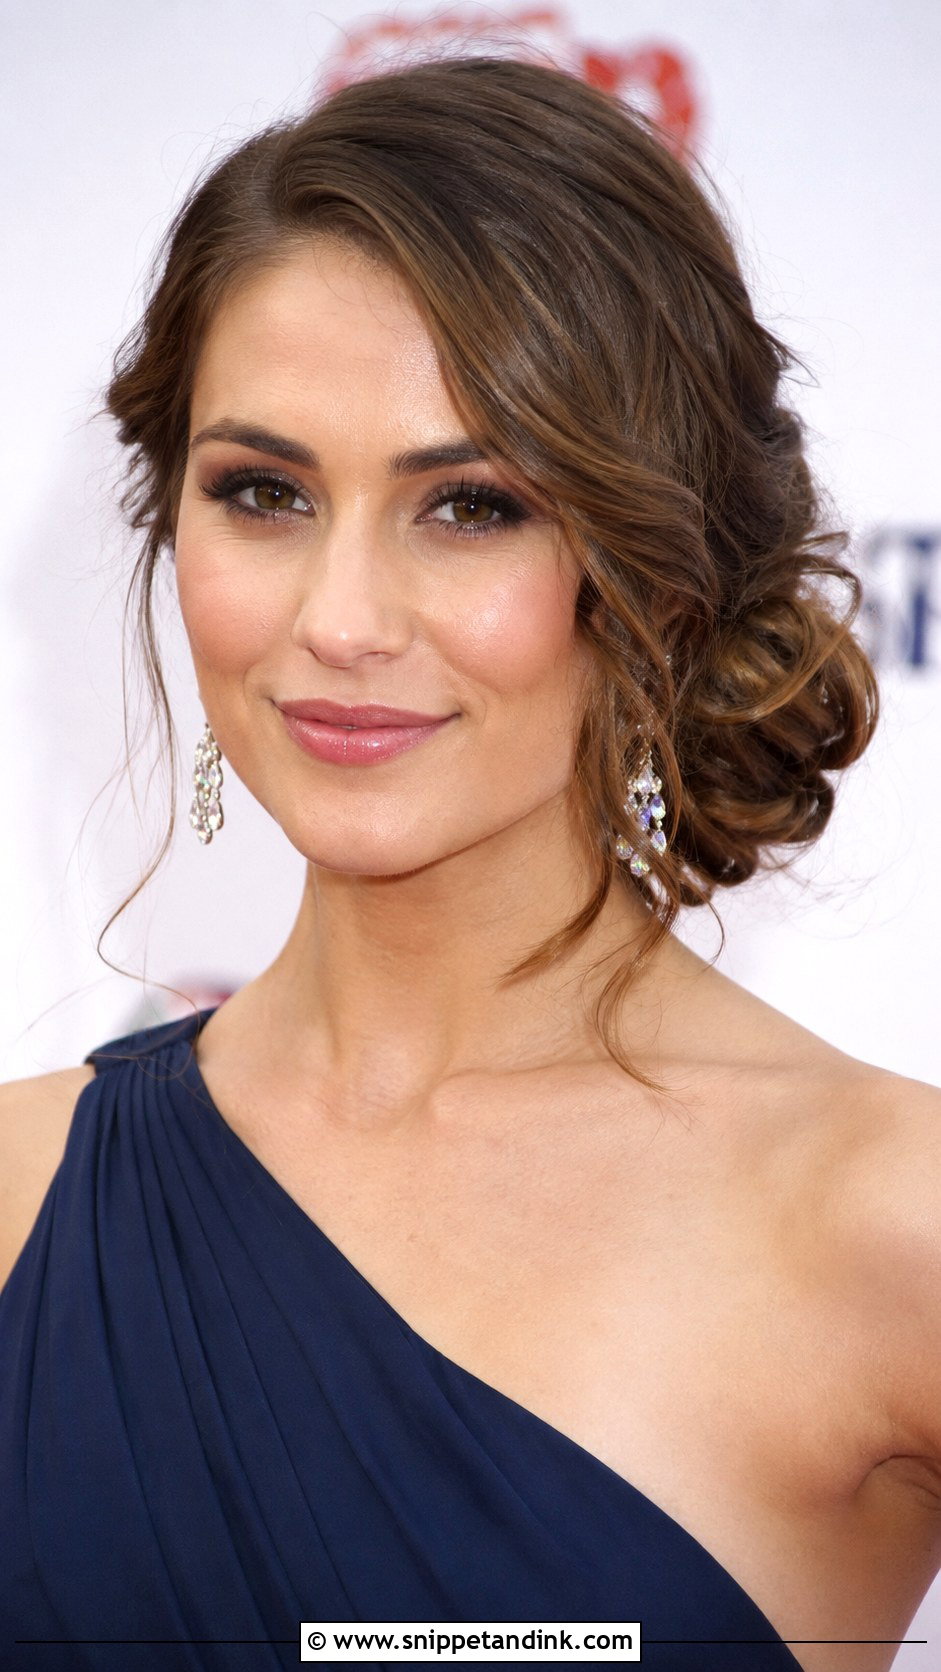
Gathering the hair to one side, behind the ear, makes a side bun. It shows off the neck and earrings, so it pairs well with off-shoulder and one-shoulder dresses. I anchor it with a small ponytail tied in the same spot first; a side bun pinned only into loose hair always slides toward the shoulder. Keep it sleek for evening or soft and textured for a daytime garden party. It suits medium to long hair, and curls give it more volume.
6. Braided Crown
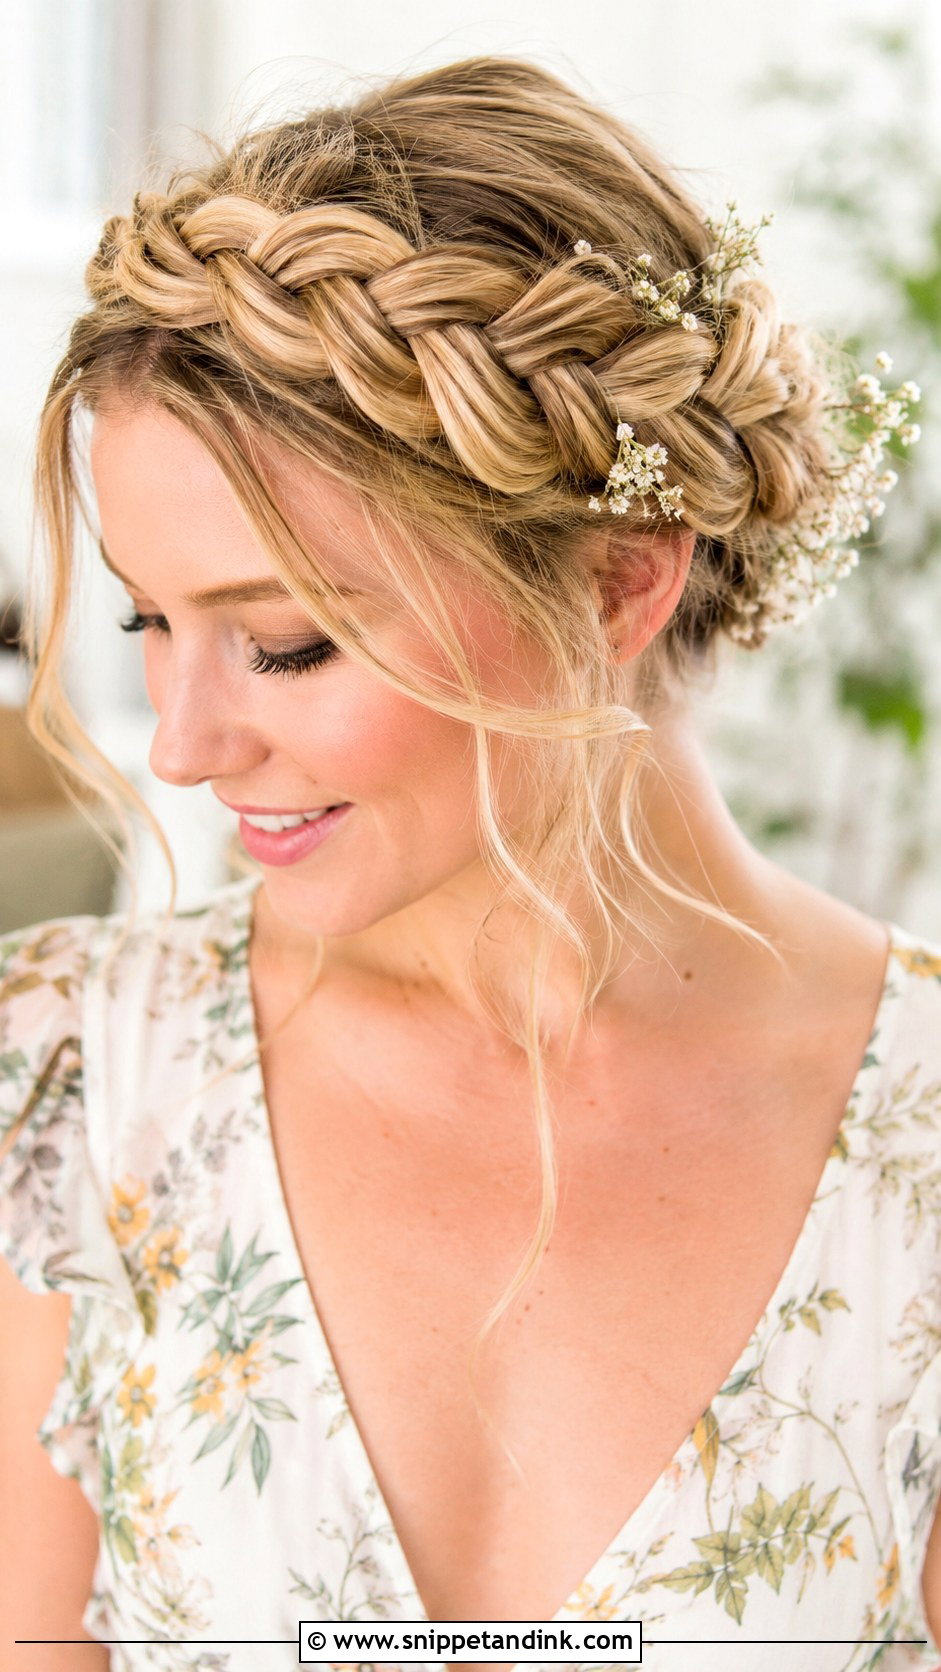
A braid wrapped around the head like a halo. Braid from one side all the way around, pinning as you go, then tuck the end under the start. It keeps hair off the neck on a hot day and holds well. You’ll need hair at least past the shoulders for a full crown; on thinner hair, two braids, one from each side, pinned at the top are easier. It suits a boho or garden wedding with small flowers or pins tucked in. Loose waves at the back keep it soft.
7. Old Hollywood Pinned Waves
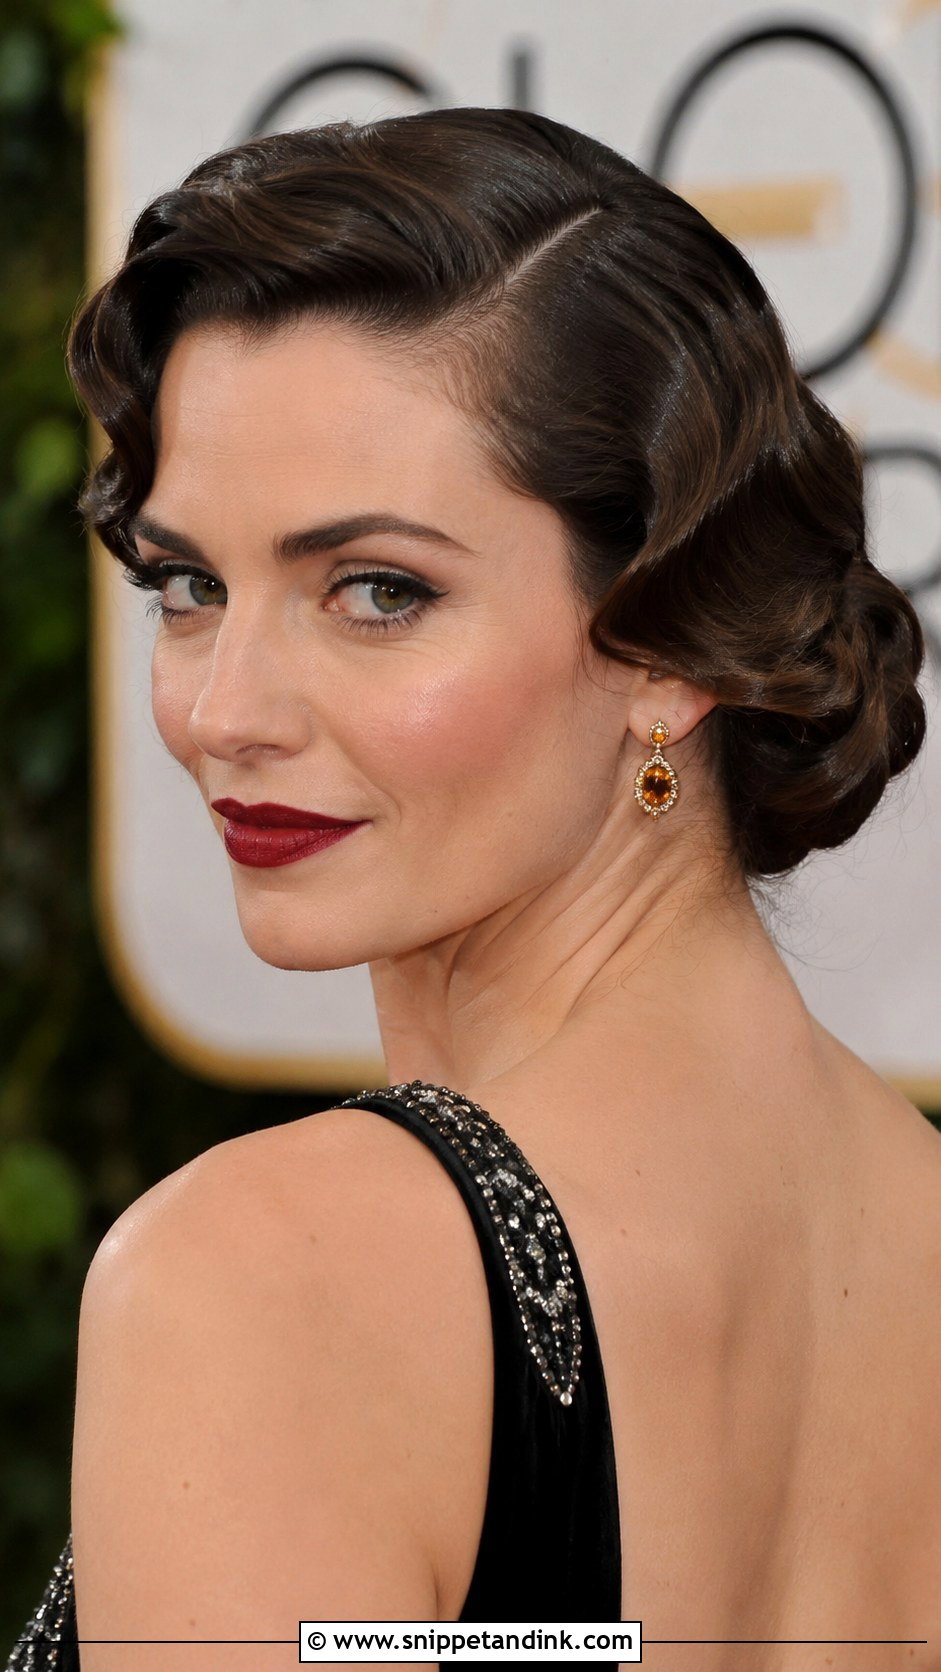
Pinned waves sweep glossy, set waves to one side and pin them into a vintage updo. They take effort: I set the hair in rollers or pin curls first, brush them into waves, then pin the waves in place along one side. Clips held in the deep dips while the hair sets sharpen the shape. A deep side part is non-negotiable. It suits a black-tie wedding with bold lipstick and statement jewellery. I’d only suggest it for DIY if you’ve practised setting waves before.
8. Half-Up Half-Down Braided Style
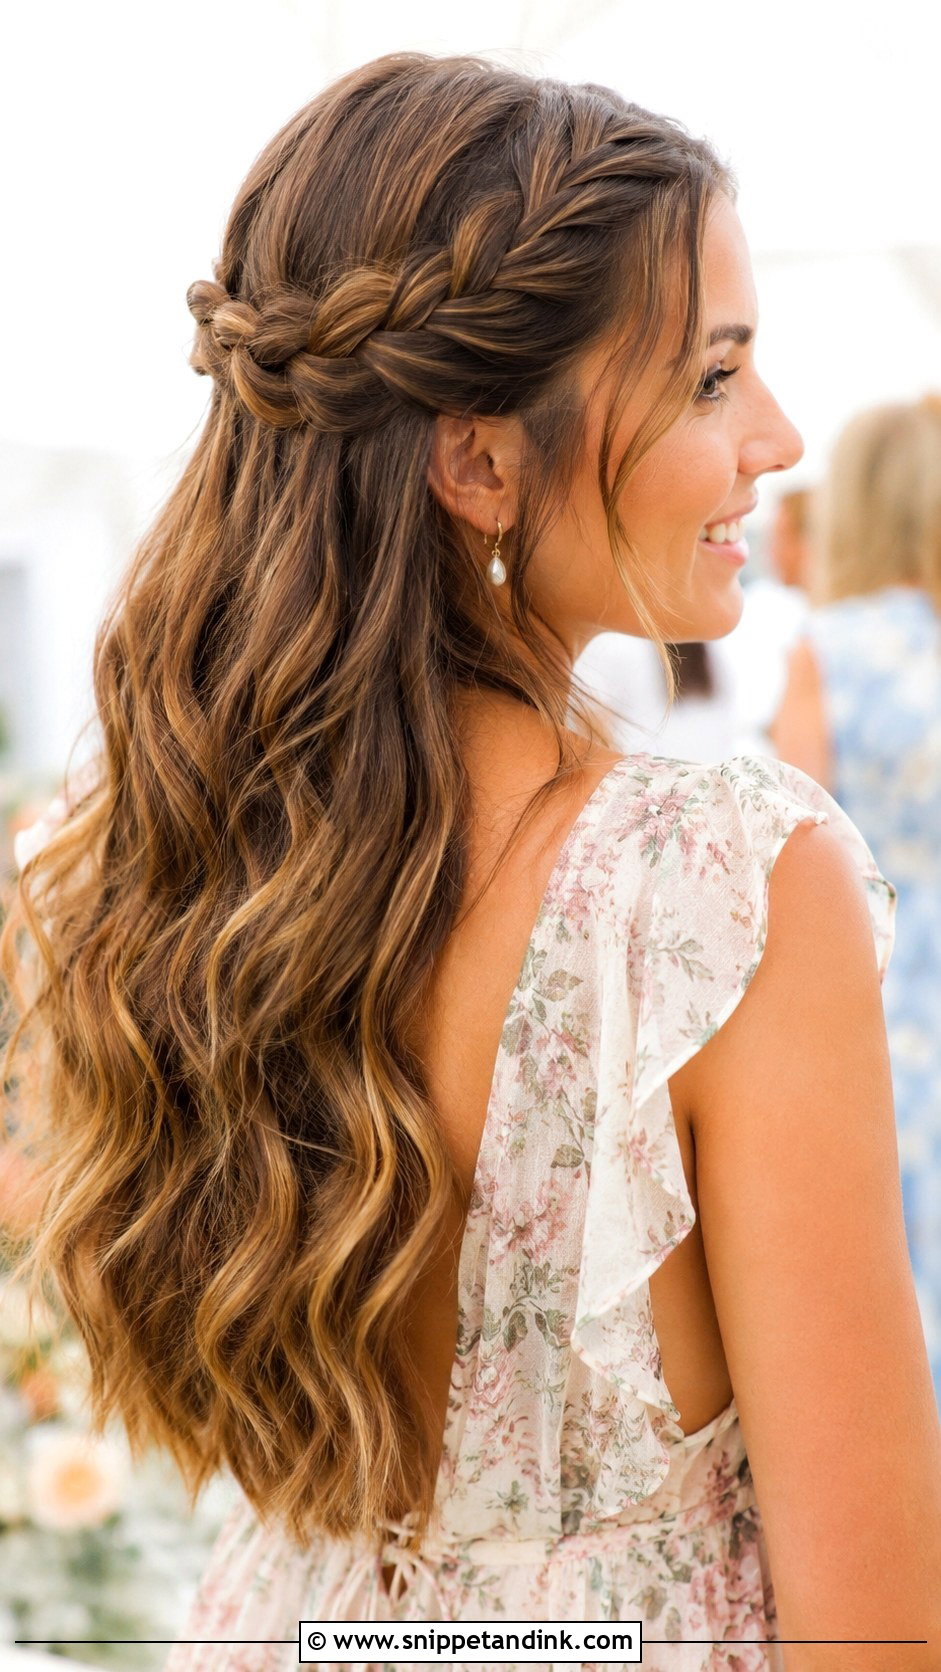
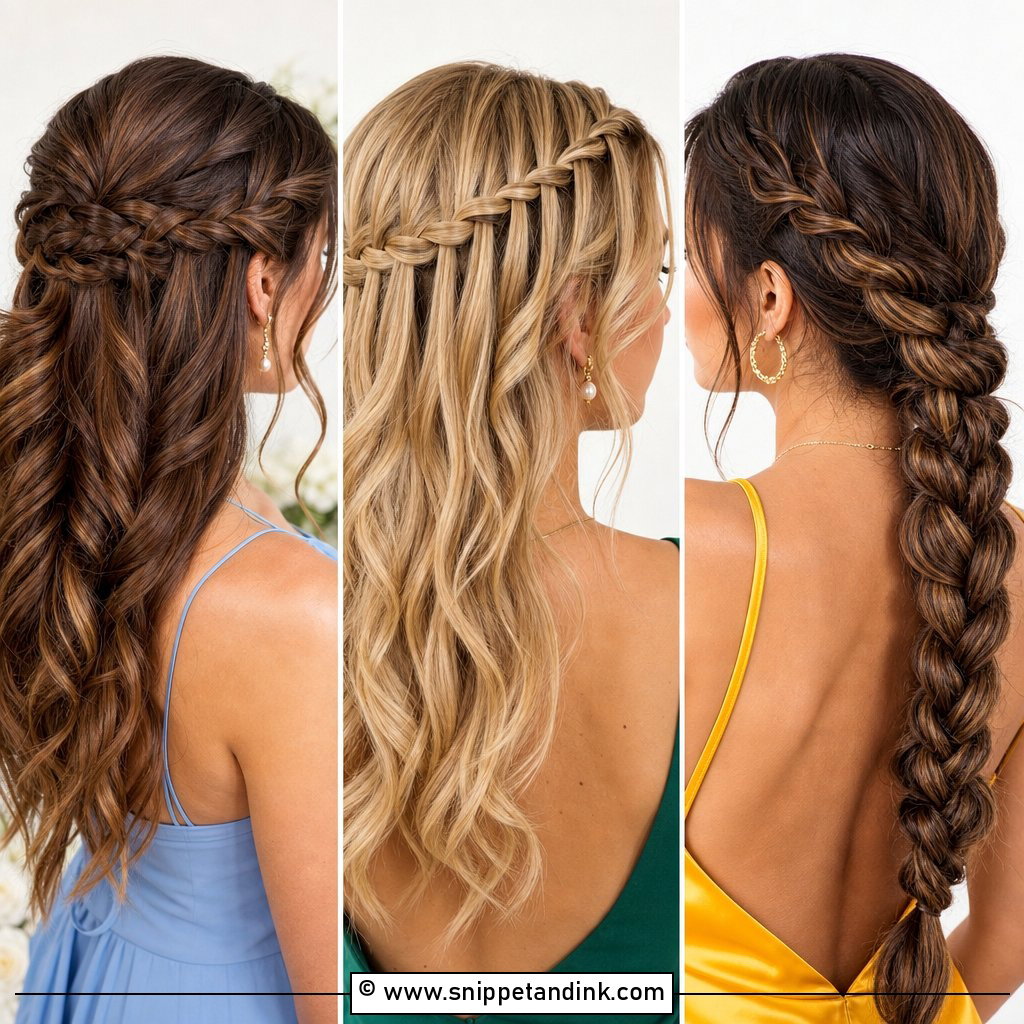
Braid the front sections on each side and pin them at the back, leaving waves loose below. It’s not a full updo, but it gives the neatness of one at the face with length on show. It’s quick to do yourself if you can braid. On fine hair I braid with texture spray on my fingers so the braids grip. It suits an outdoor or garden wedding, with medium to long hair.
9. Twisted Low Bun
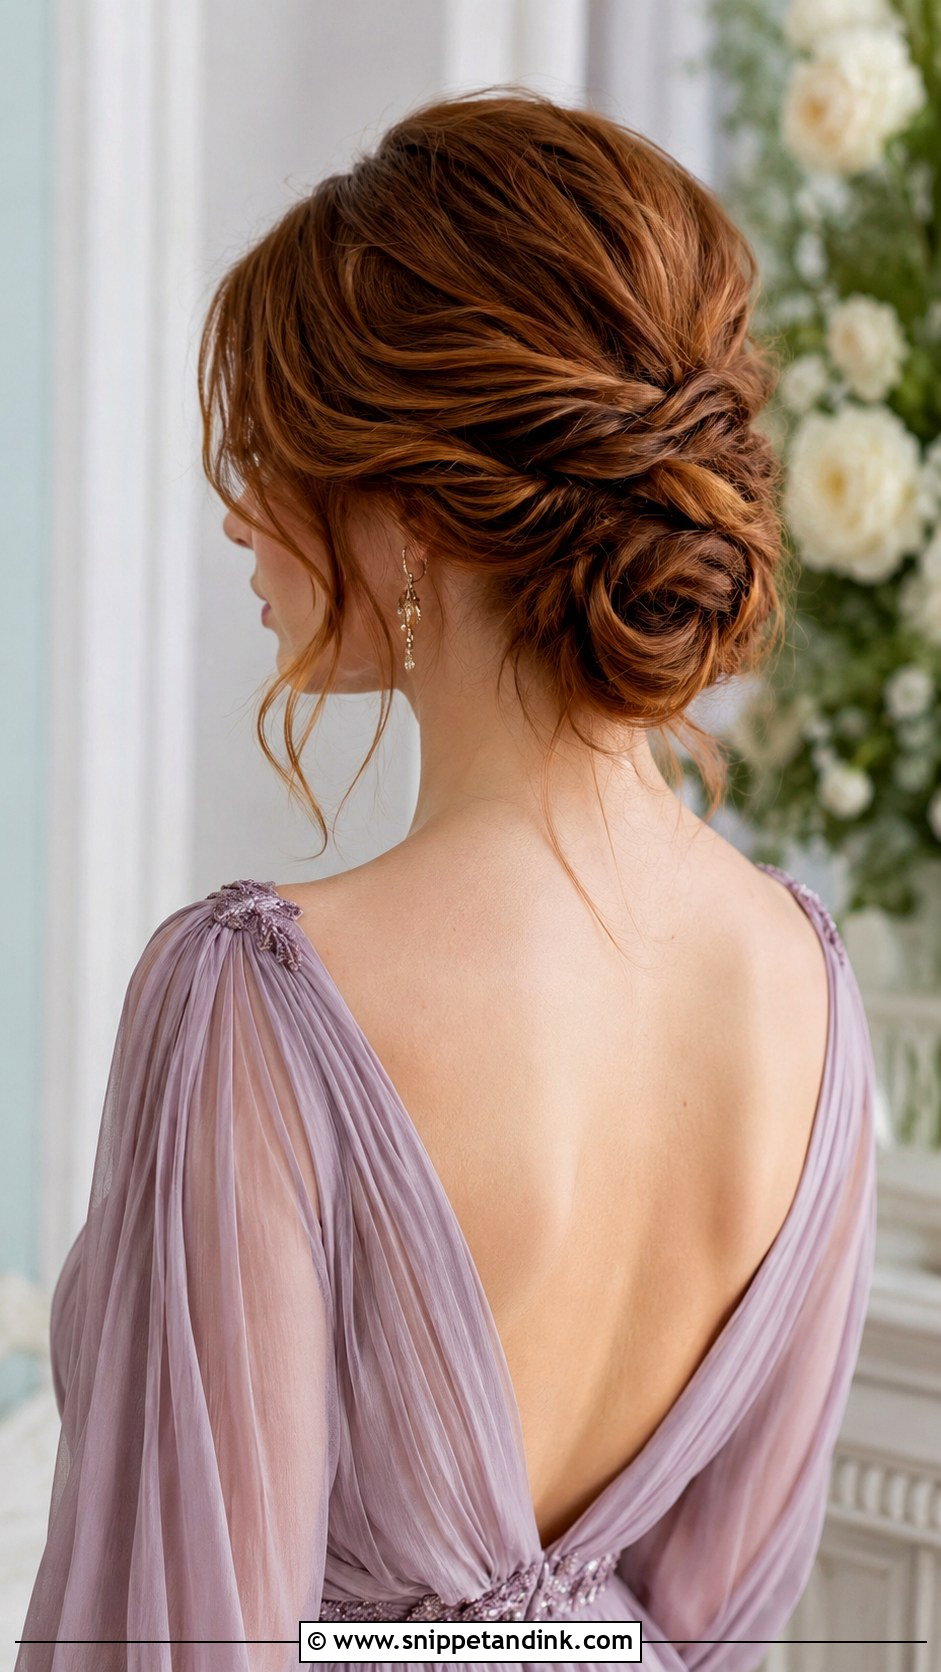
Instead of one coil, this low bun is made of several soft twists gathered at the nape. Split the hair into three sections, twist each one and pin them together in a loose shape. The twists add dimension, and because each one is pinned separately, it’s more secure than a single coil. Loose face-framing pieces soften it. It works for daytime and evening weddings and pairs well with flowing gowns.
10. Glossy Low Ponytail
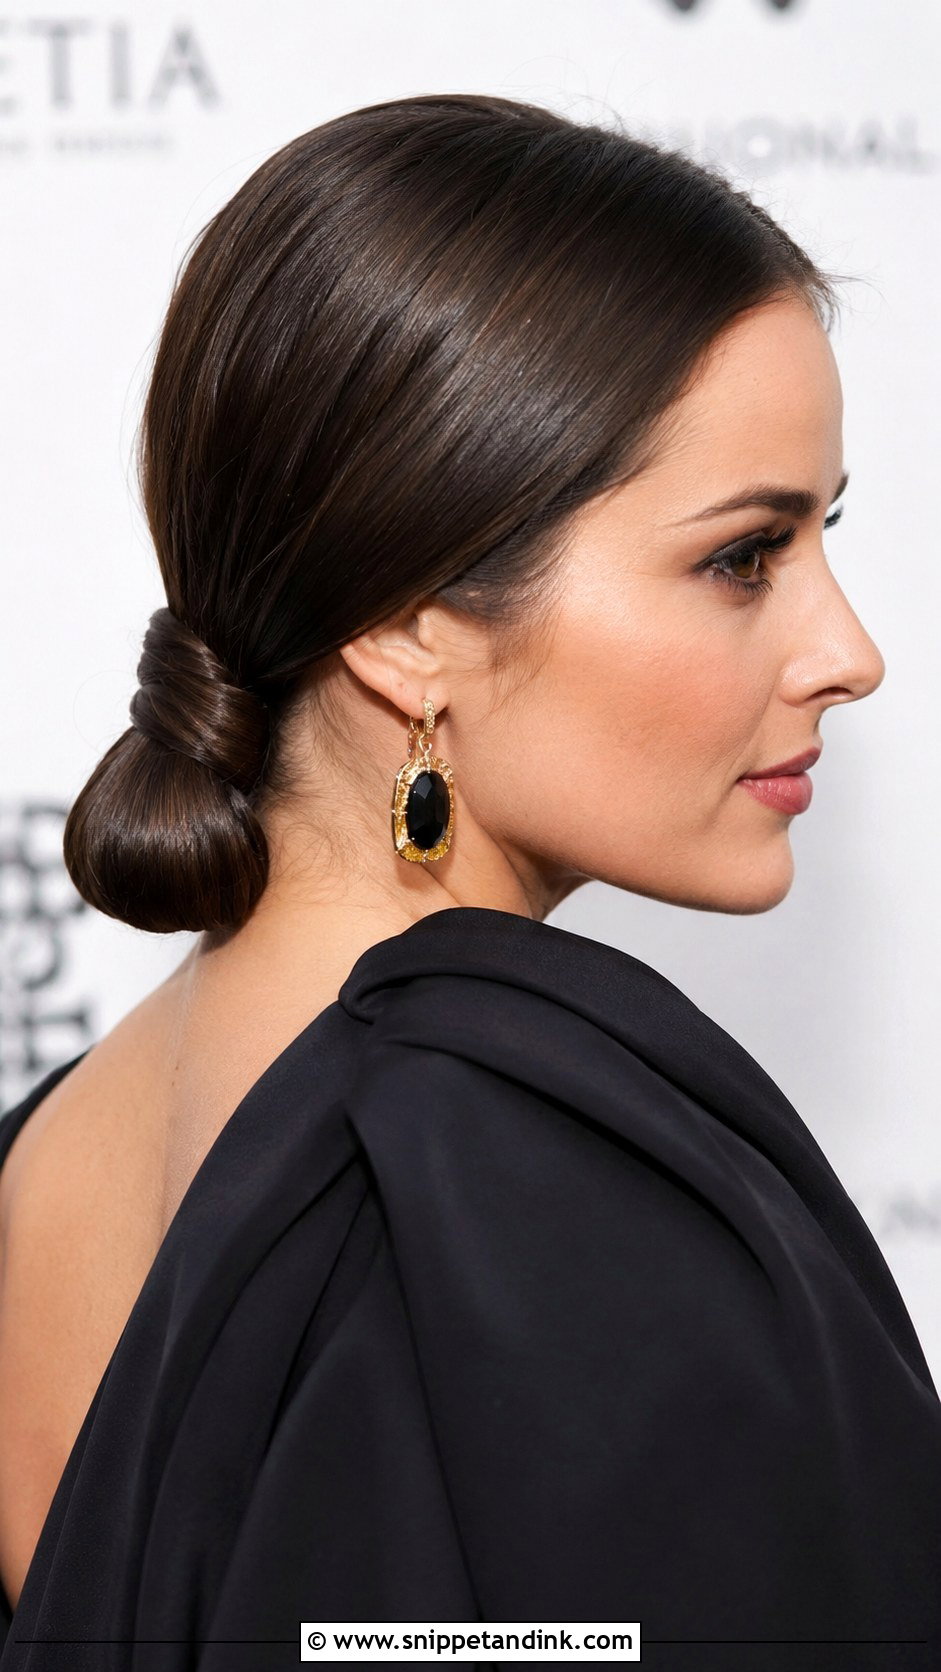
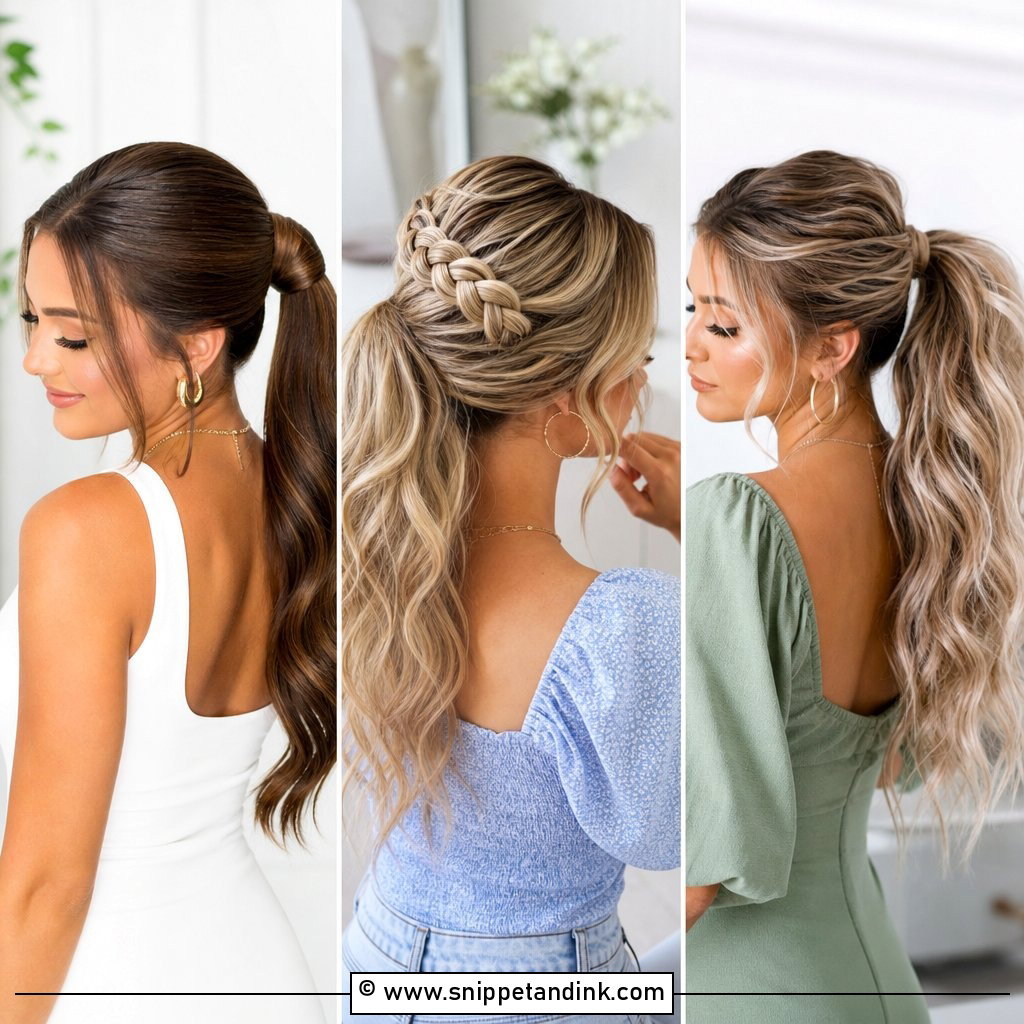
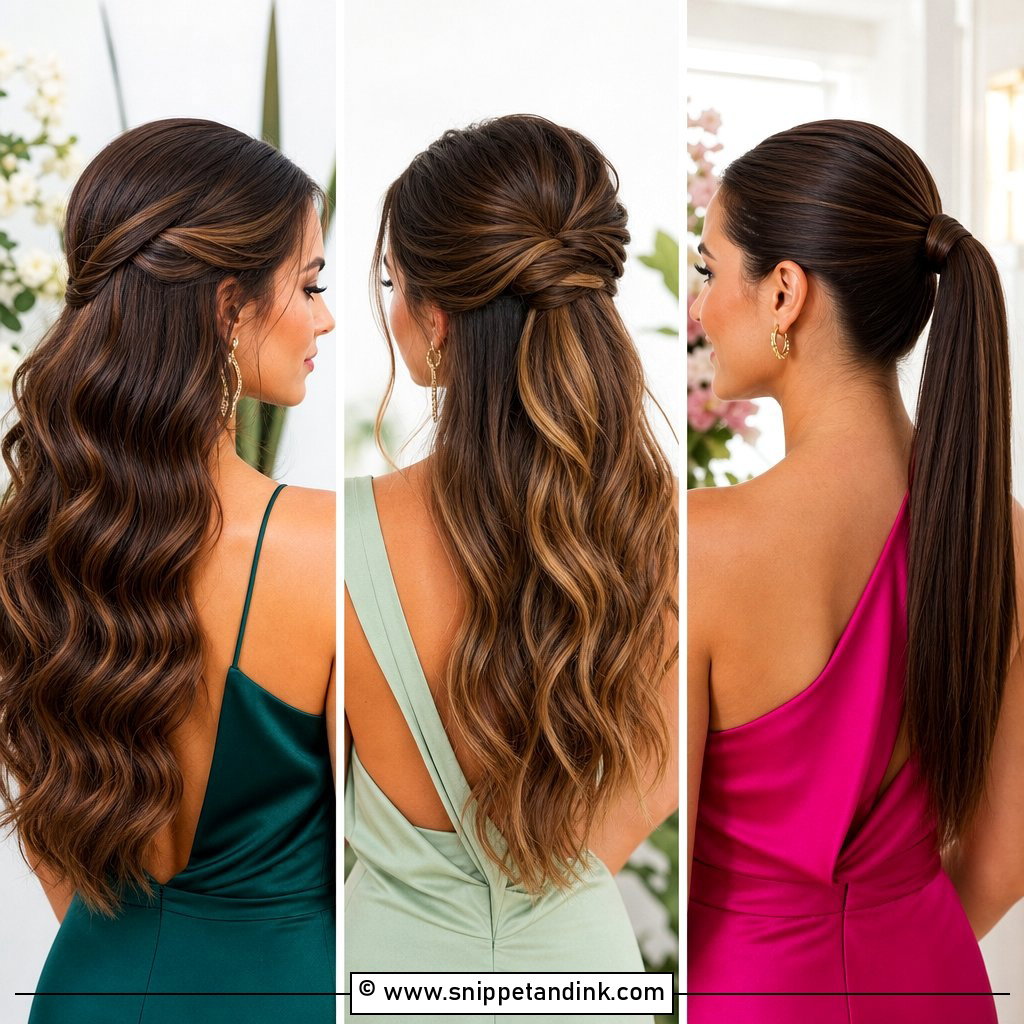
A glossy low ponytail isn’t strictly an updo, but it gives the same neatness in a fraction of the time. Smooth the hair back with serum and a boar bristle brush, tie it at the nape, and wrap a strand around the base. The gloss is what makes it look dressy, so finish with a light shine spray from a distance. It’s quick to create and keeps you cool. It suits an evening wedding with structured dresses and bold earrings.
11. Bohemian Braided Updo
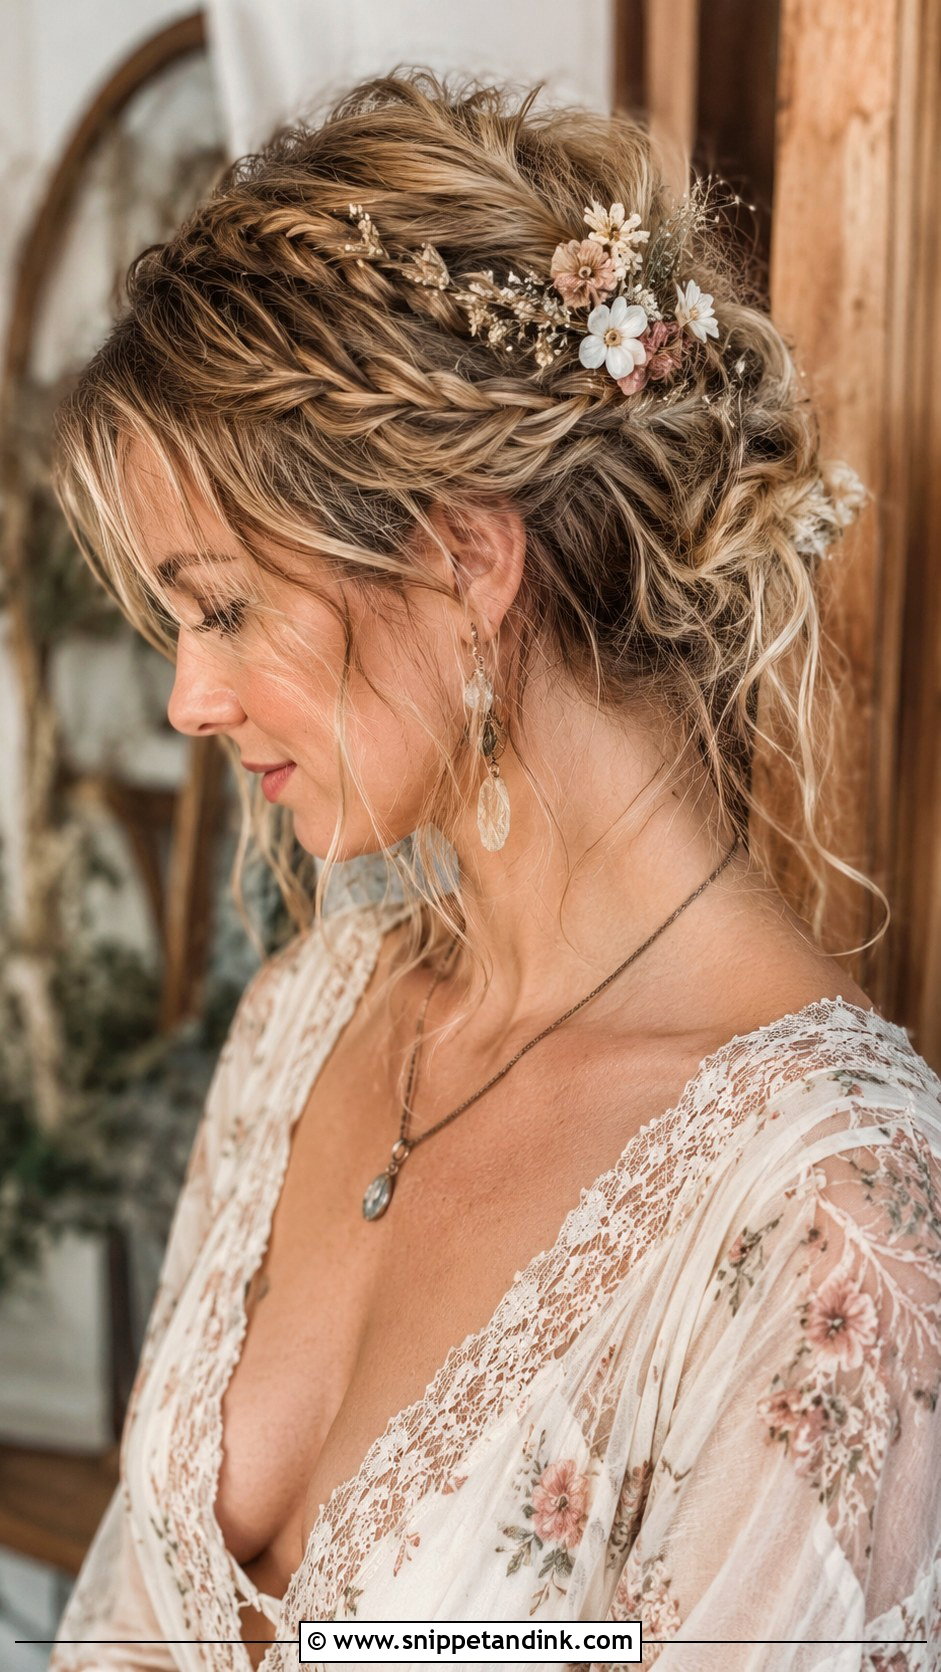
Thin braids, twists and loose tendrils layered into one updo. It looks complicated, but it’s forgiving, because unevenness reads as part of the style. I braid two or three thin pieces at random, twist the rest, and pin everything loosely at the back, then tuck in small flowers or pins. It works best with wavy or textured hair, which holds the shape without much product. It suits a garden, beach or rustic wedding.
12. French Twist
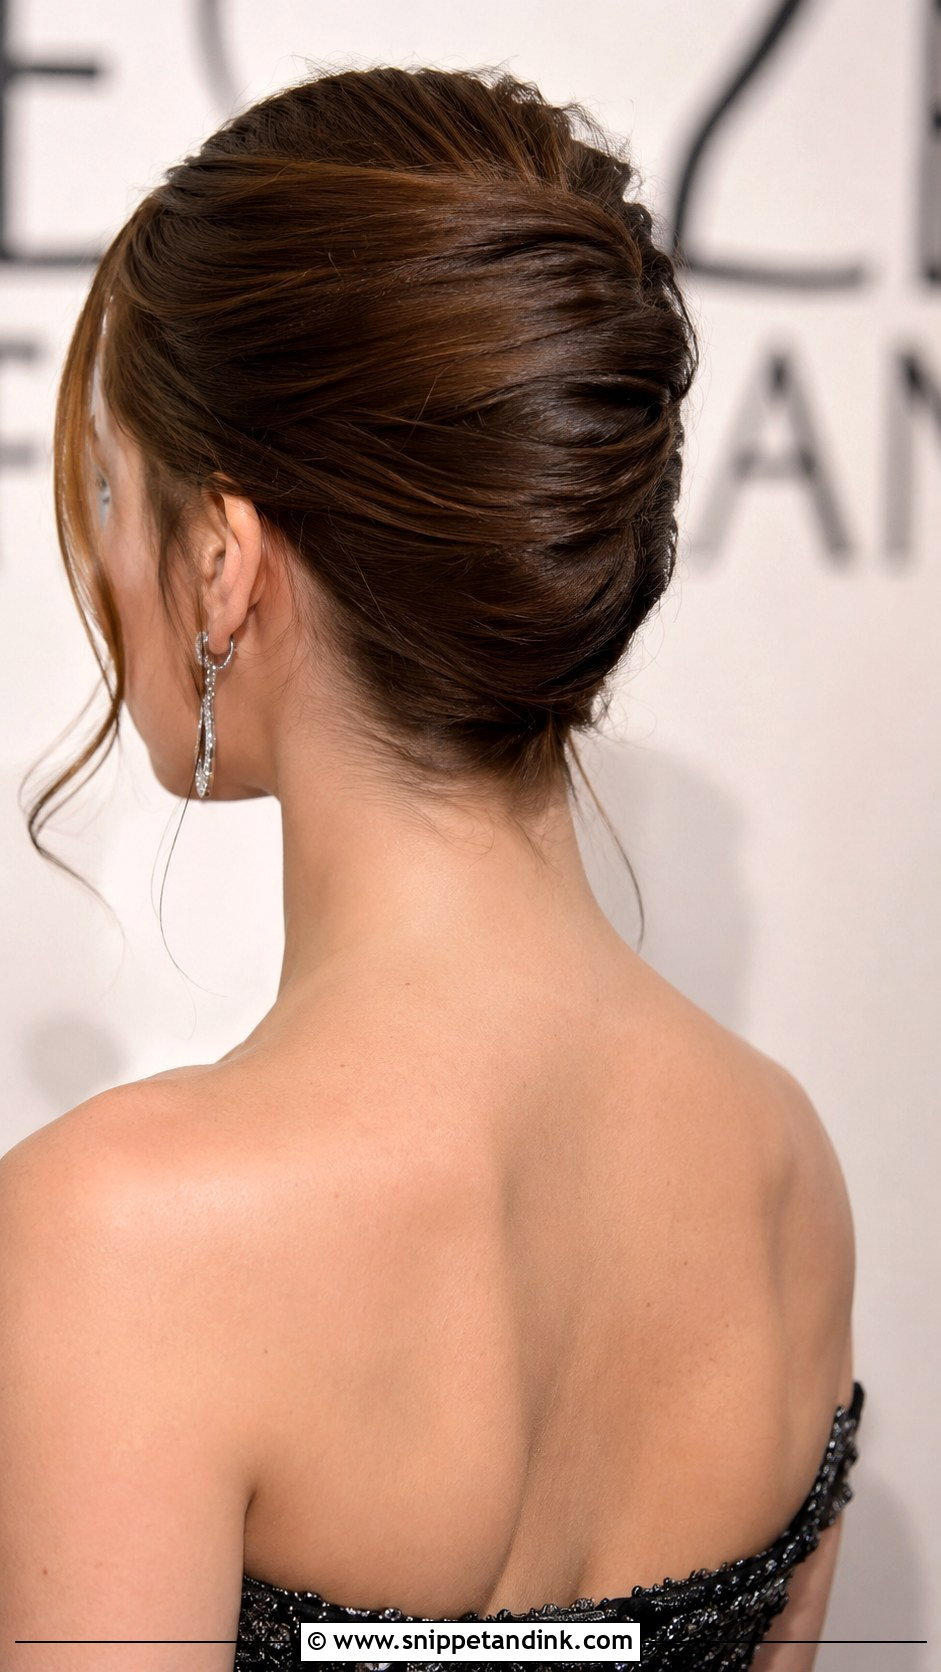
A French twist is a vertical roll up the back of the head. Backcomb the mid-lengths lightly, gather the hair to one side, then twist it up and tuck the ends inside, pinning along the seam. The pins should go in sideways along the roll, catching both the twist and the hair underneath. It flatters the neck and suits strapless or open-back dresses at a formal wedding. It’s harder on very fine or very short hair, which slips out of the roll.
13. Floral Accented Bun
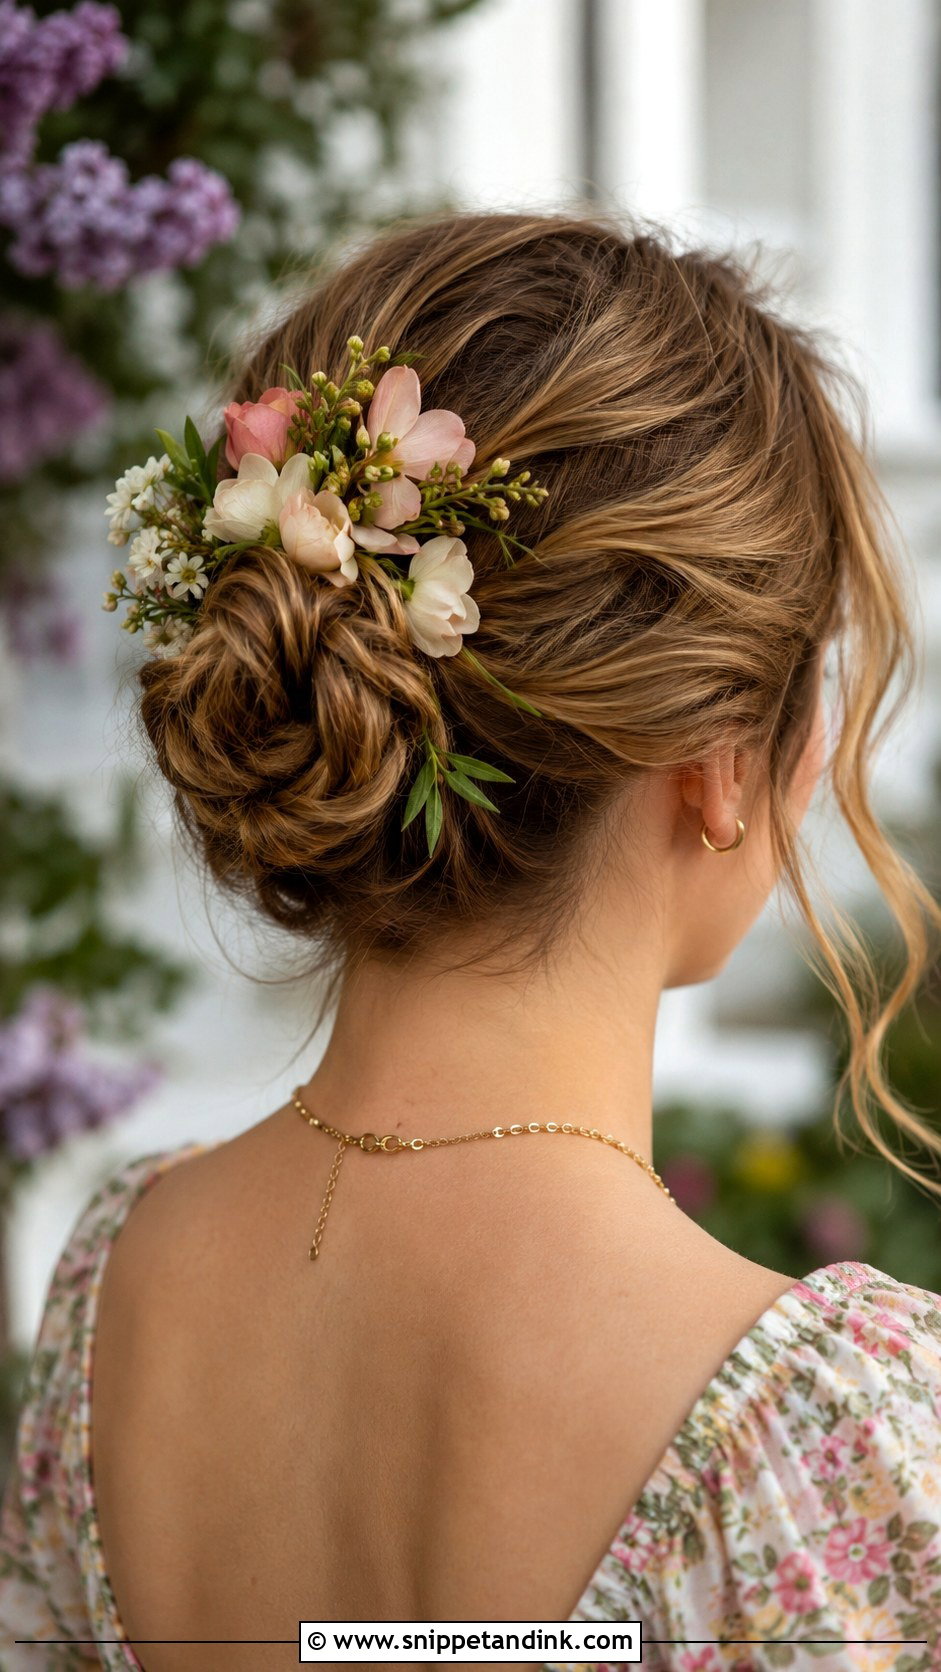
Take a classic bun and tuck fresh or faux flowers into it. Faux or dried flowers suit a long, hot day best. With fresh flowers, choose ones that last out of water, like spray roses or wax flower, and wire each stem to a pin. Delicate blooms wilt against warm hair within a couple of hours. It works with low and high buns and suits spring and summer weddings or outdoor celebrations.
14. Sleek Top Knot
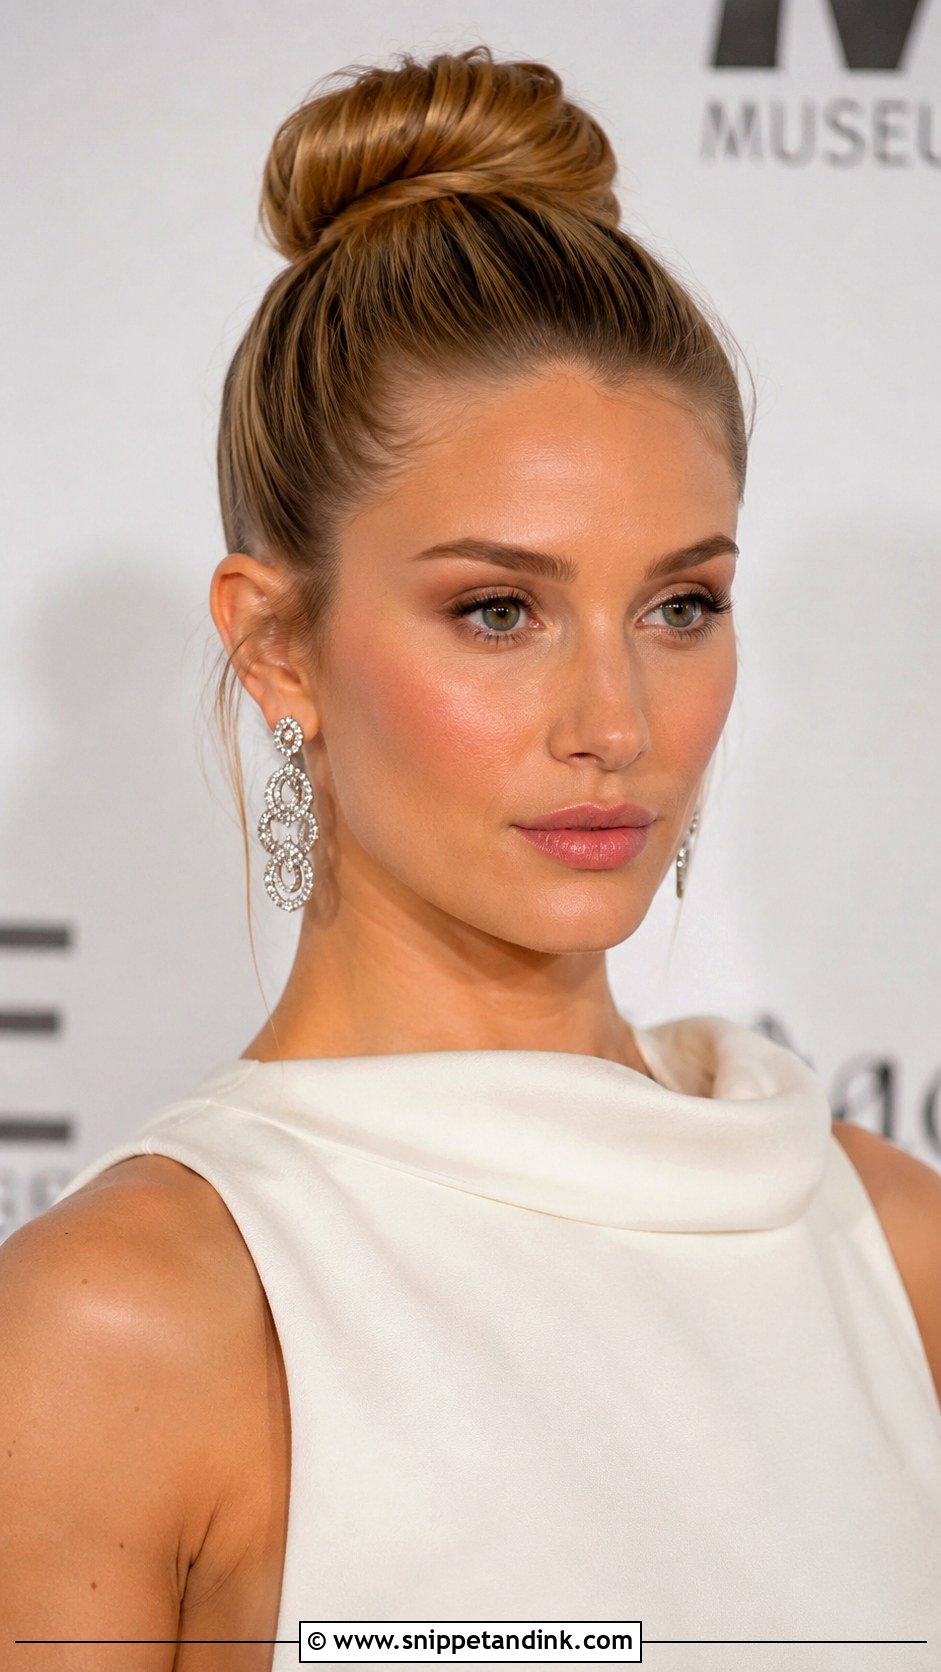
A top knot sits at the very top of the head. Brush the hair up, tie it tightly, twist the length and wrap it into a compact bun. Smooth any bumps at the nape by tilting your head back as you brush. It shows off the face and statement earrings and keeps hair off the neck in the heat. It’s quick to do yourself. Shine spray finishes it. It suits a city wedding, but if your hairline is sparse at the nape, the tight pull shows it.
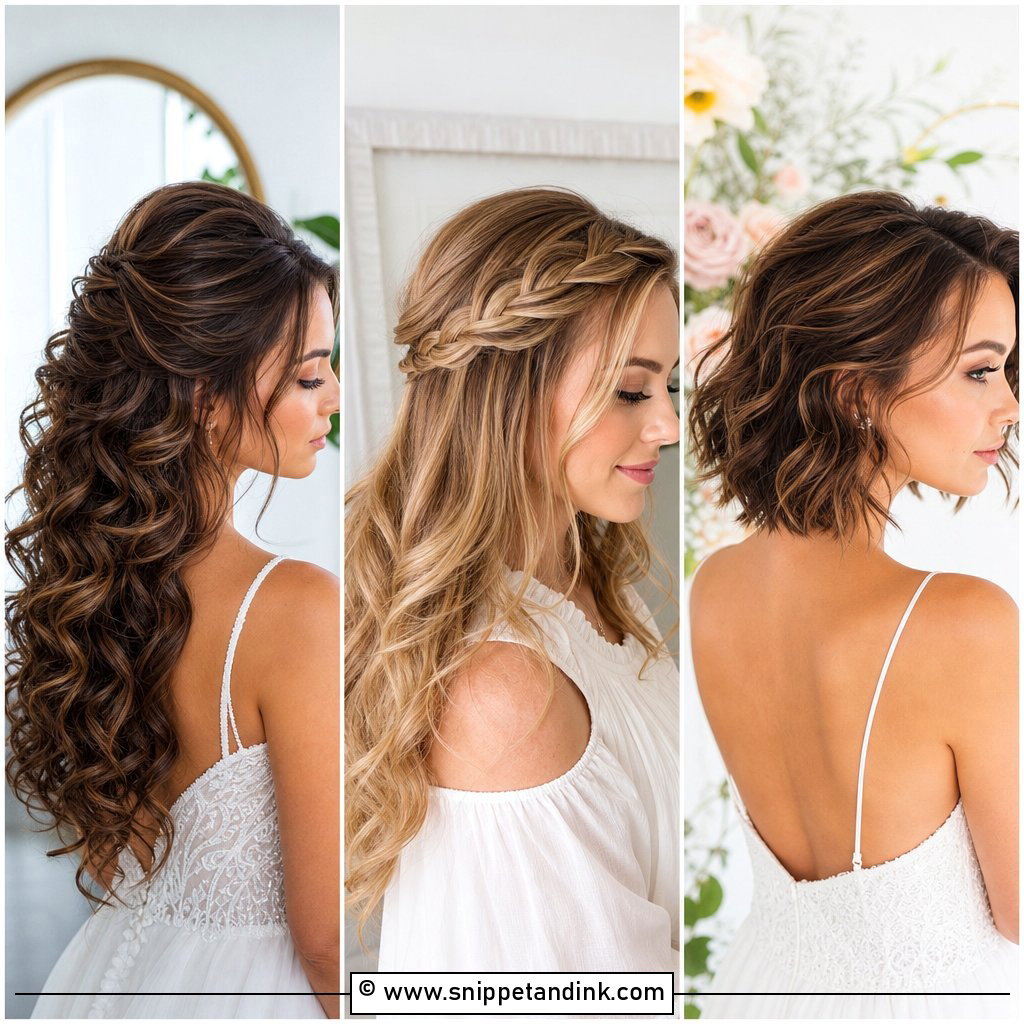
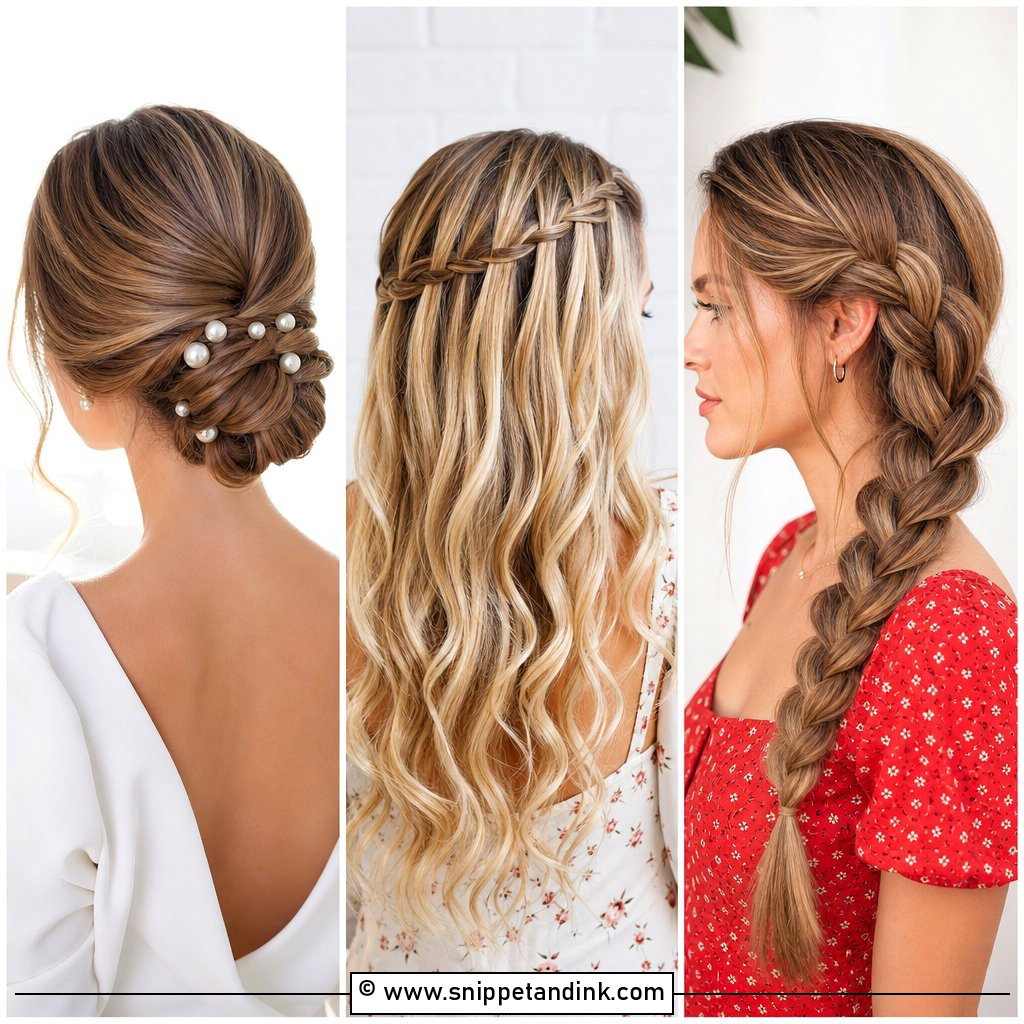
15. Twisted Updo With Headband
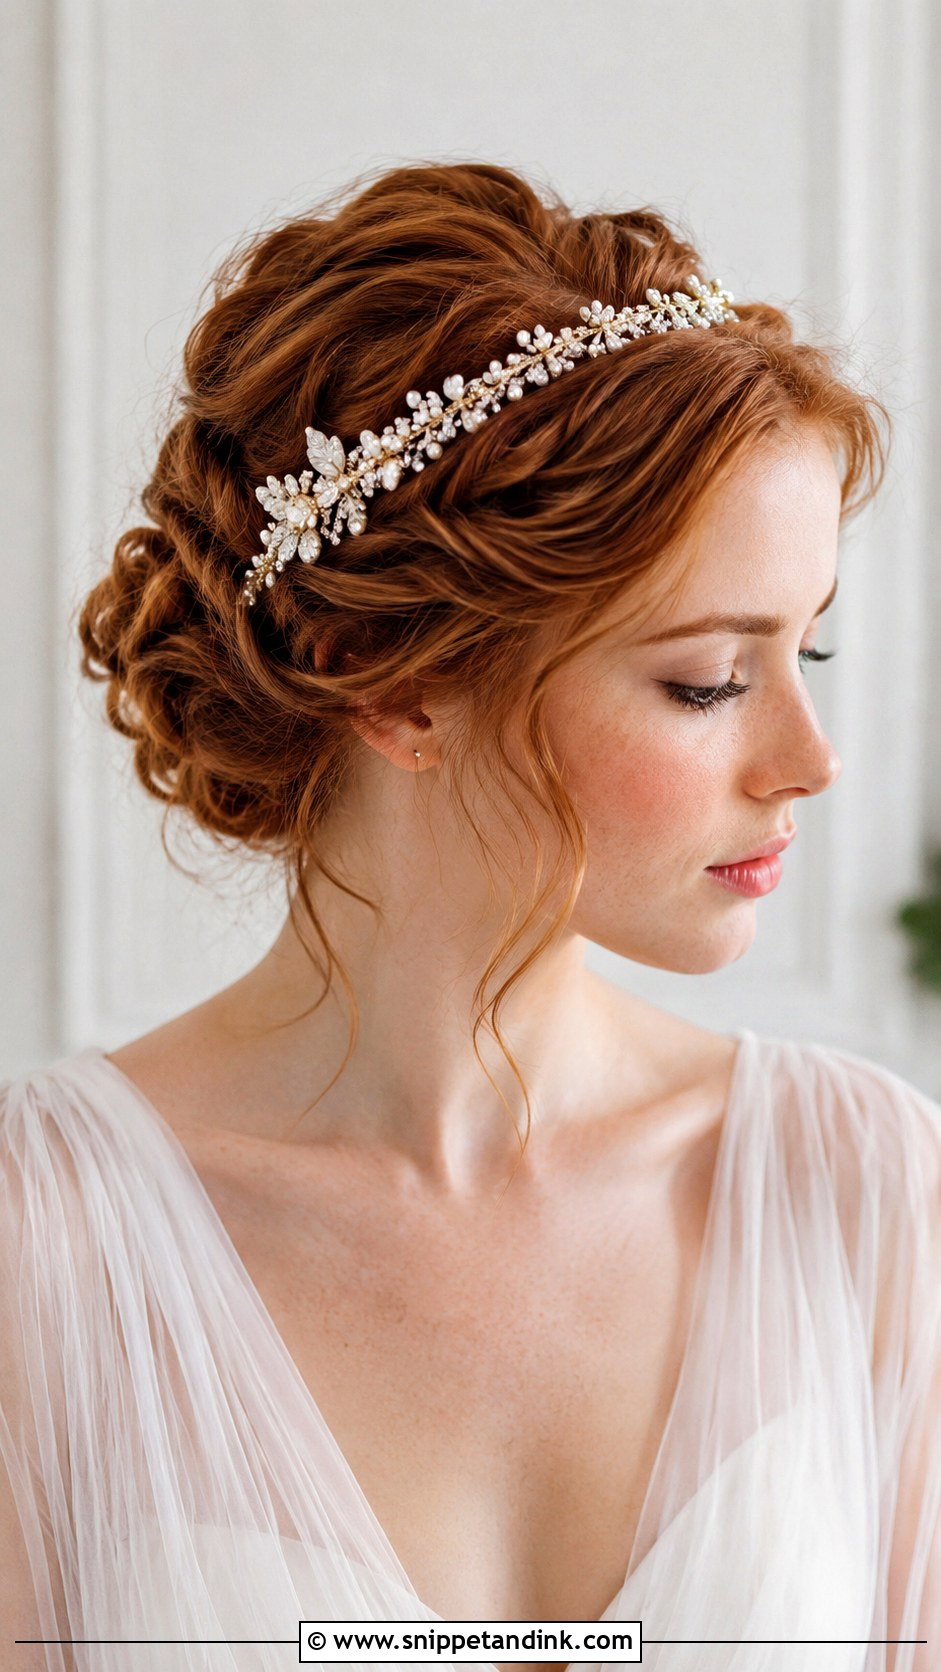
Put on a stretchy headband, then tuck sections of hair up and over it, all the way around the back. It’s one of the easiest updos to do yourself because the band does the holding. Medium to long hair works best. Twist each section once before tucking so it stays put, and pin the ends inside. The headband can be embellished or plain. It suits daytime and evening weddings and pairs with flowing dresses. For a guest who wants a neat updo with almost no pinning skill, the headband twist is my first suggestion.
16. Curly Pinned Updo
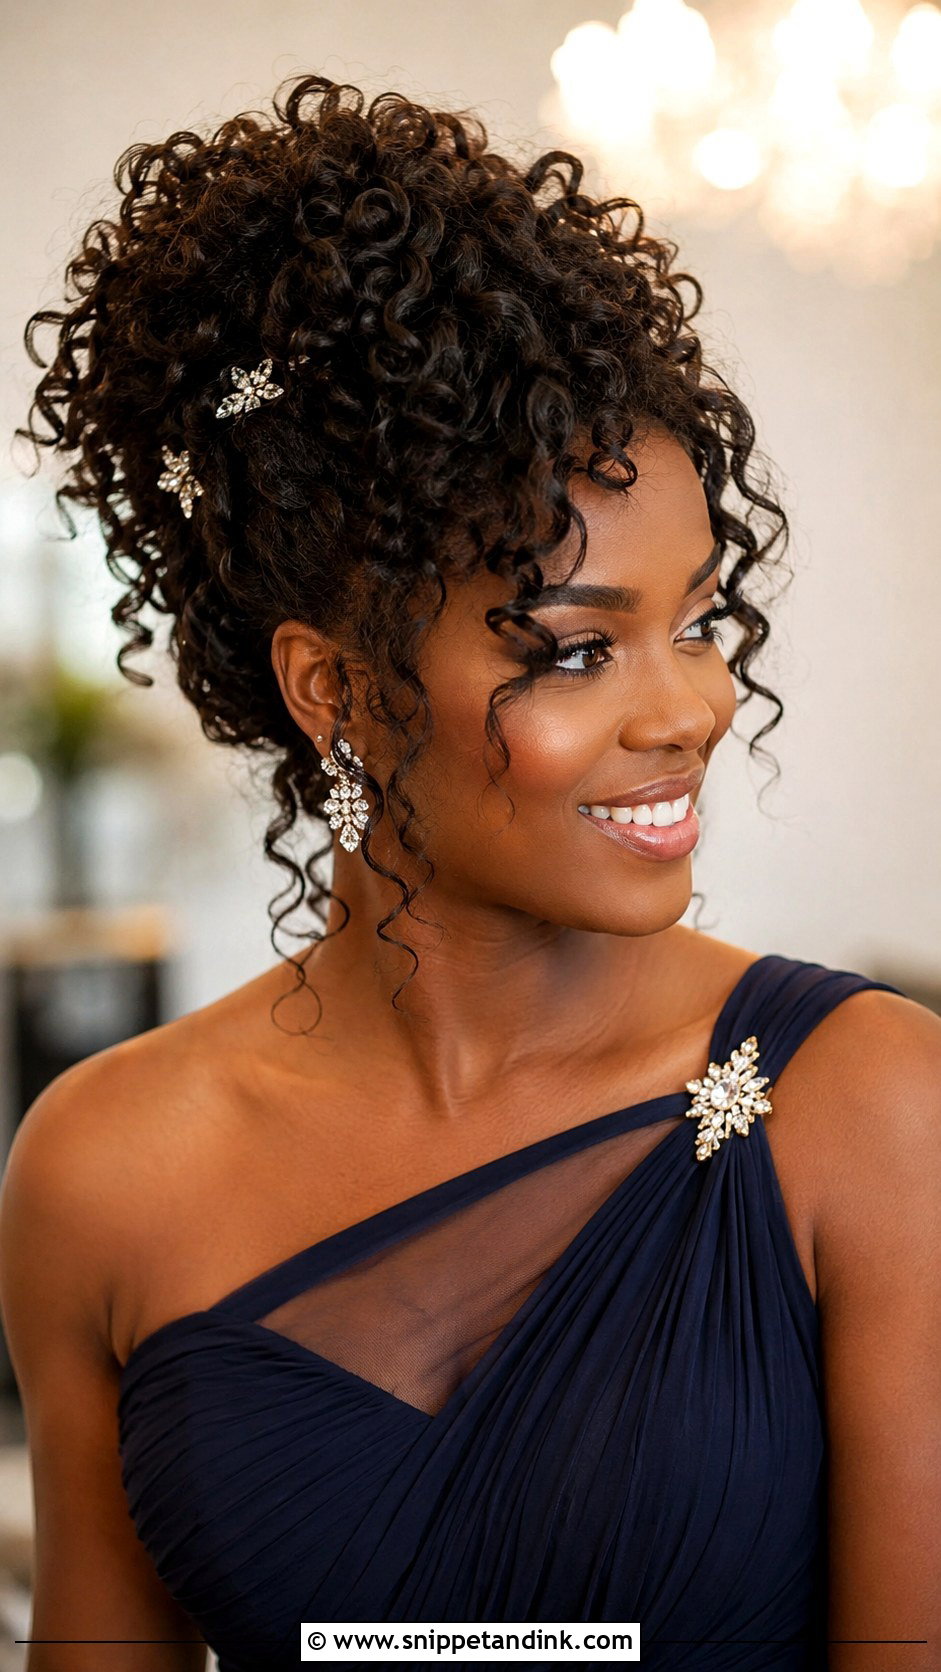
Curly hair can be pinned up as it is, without straightening. Gather the curls loosely with your fingers and pin them up with U-pins pushed into the base of each clump, which keeps the curl shape. Bobby pins clamped across curls flatten them. Leave a few curls loose around the face. It suits formal and relaxed weddings, with a sparkly pin or two for more polish. Refresh the curls with water and a little cream before pinning, never brush them.
17. Low Bun With Face Framing Pieces
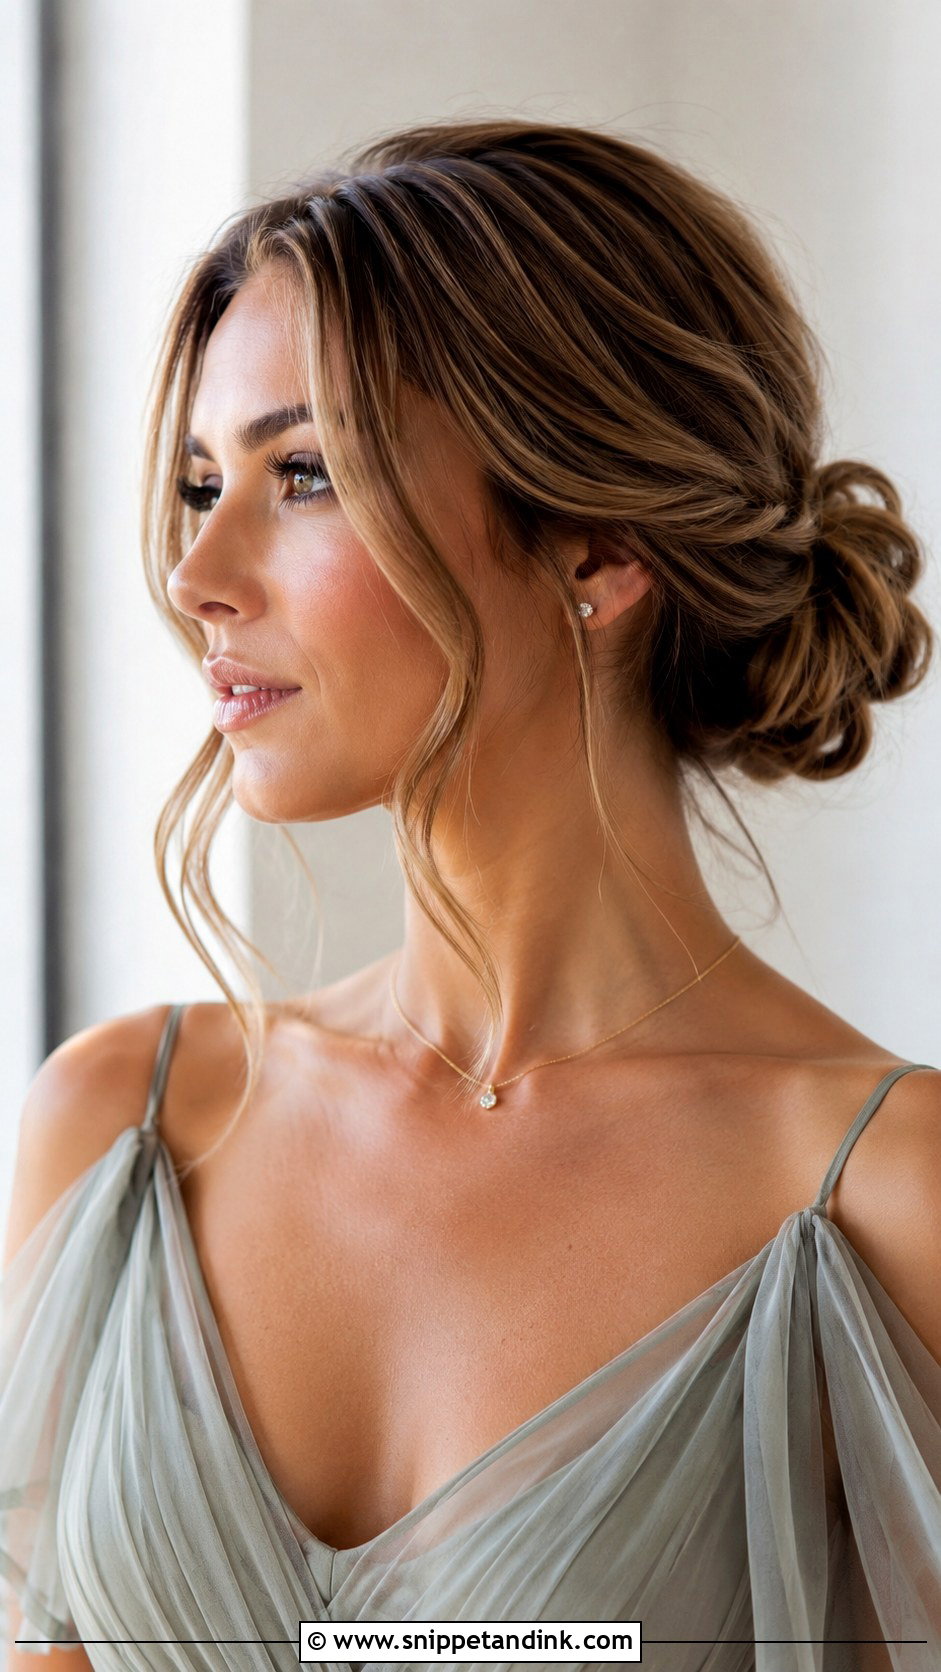
A low bun with a few tendrils loose at the face. It’s one of the most flattering styles for guests because the tendrils soften the face. I take the tendrils from the temple and in front of the ear, and curl them away from the face with a small wand. The bun itself is a simple low coil. It suits a garden ceremony or a ballroom and pairs with delicate jewellery. Comfortable and easy, it’s the style I’d suggest to anyone unsure what to choose.
18. Rolled Vintage Updo
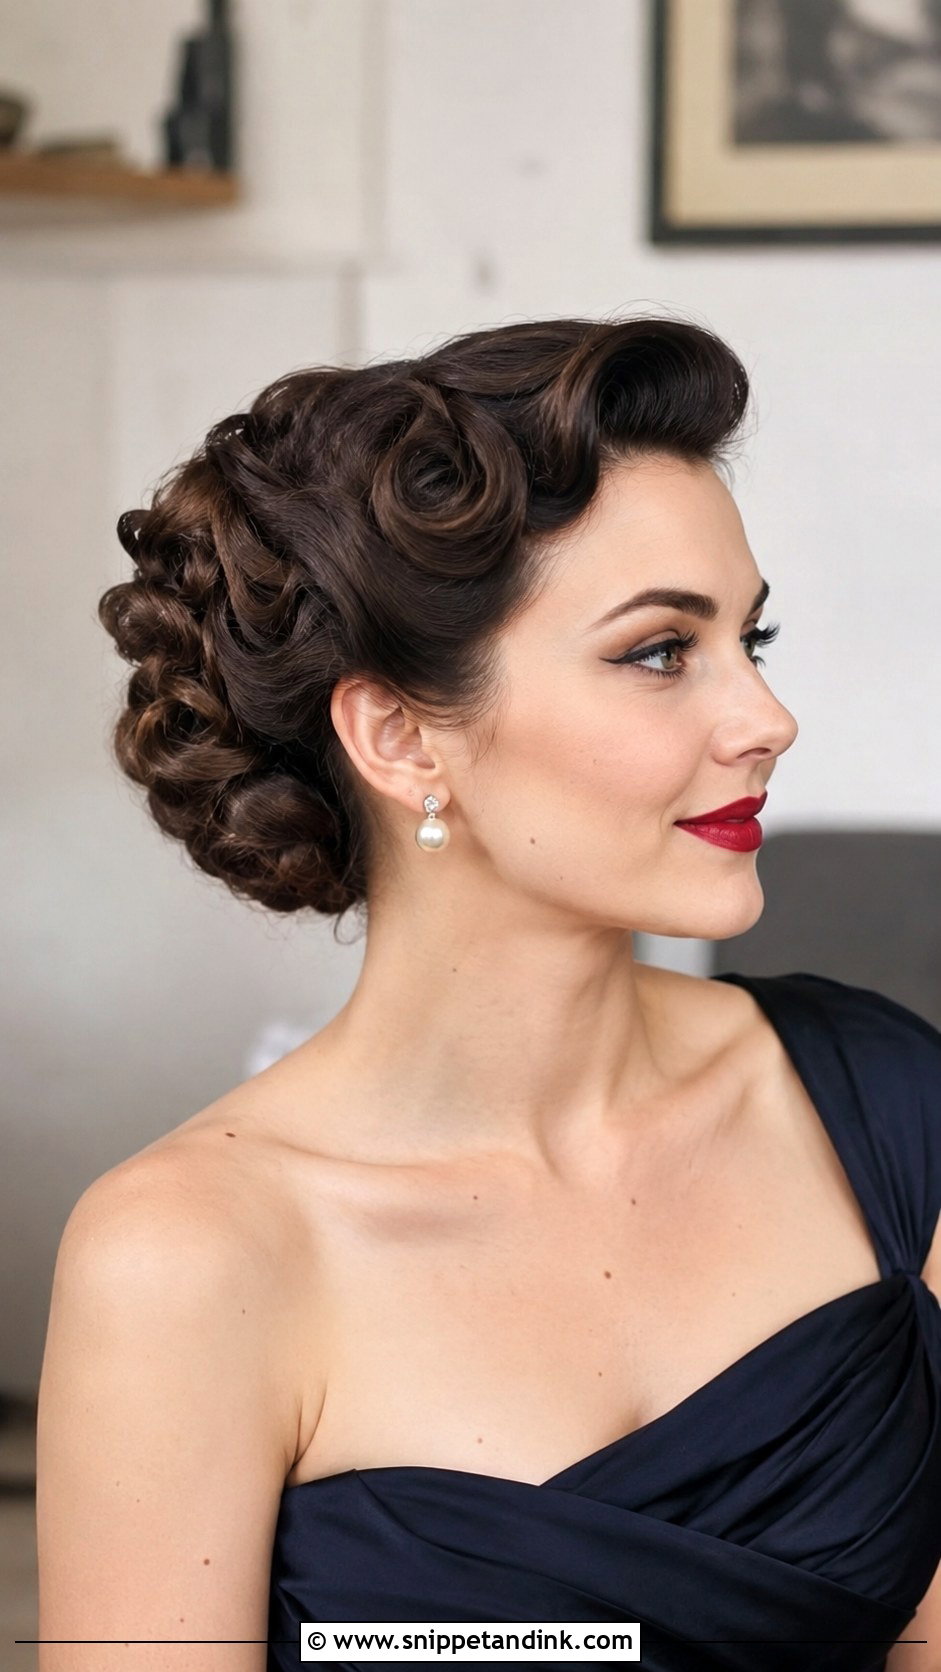
A rolled vintage updo uses sculpted rolls and pinned sections for a retro look. The rolls are made by curling a section around two fingers and pinning it flat against the head. It’s structured, so it holds securely. It needs medium to long hair and some practice. Pair it with red lipstick and pearl earrings for a themed wedding. Set the hair in rollers first, or the rolls won’t hold their shape.
19. Knotted Updo
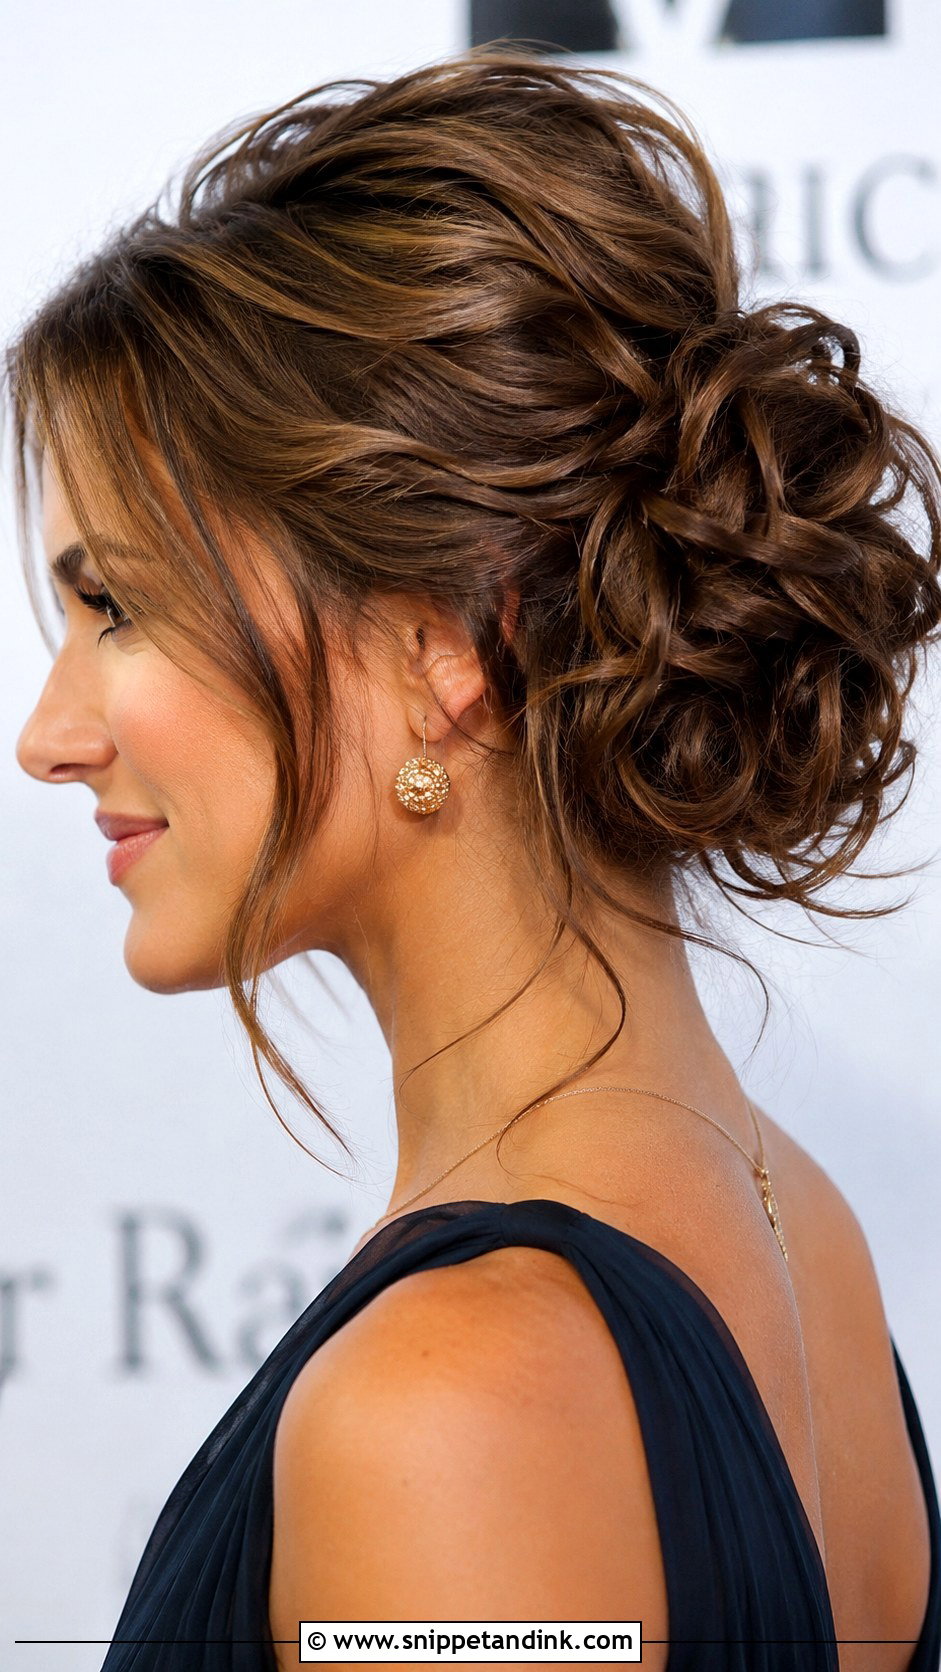
Knotted updos tie sections of hair into soft knots, layered at the back. Split the hair into two sections, tie them together in a simple knot, and repeat with the ends, pinning each knot as you go. Texture spray first stops the knots slipping. It looks more artistic than a bun but not complicated. It suits medium to long hair at a casual or formal wedding. Pull out a few face-framing pieces.
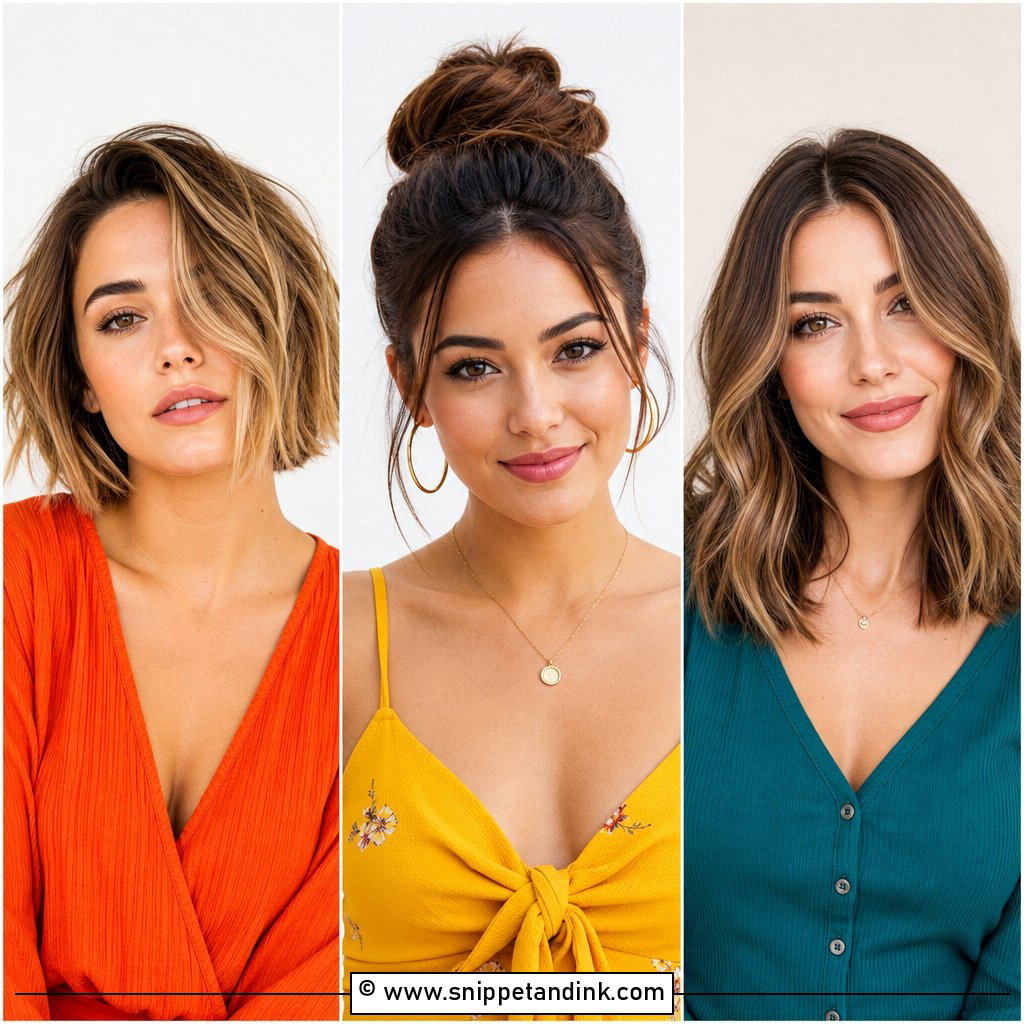
20. Accessorized Pinned Updo
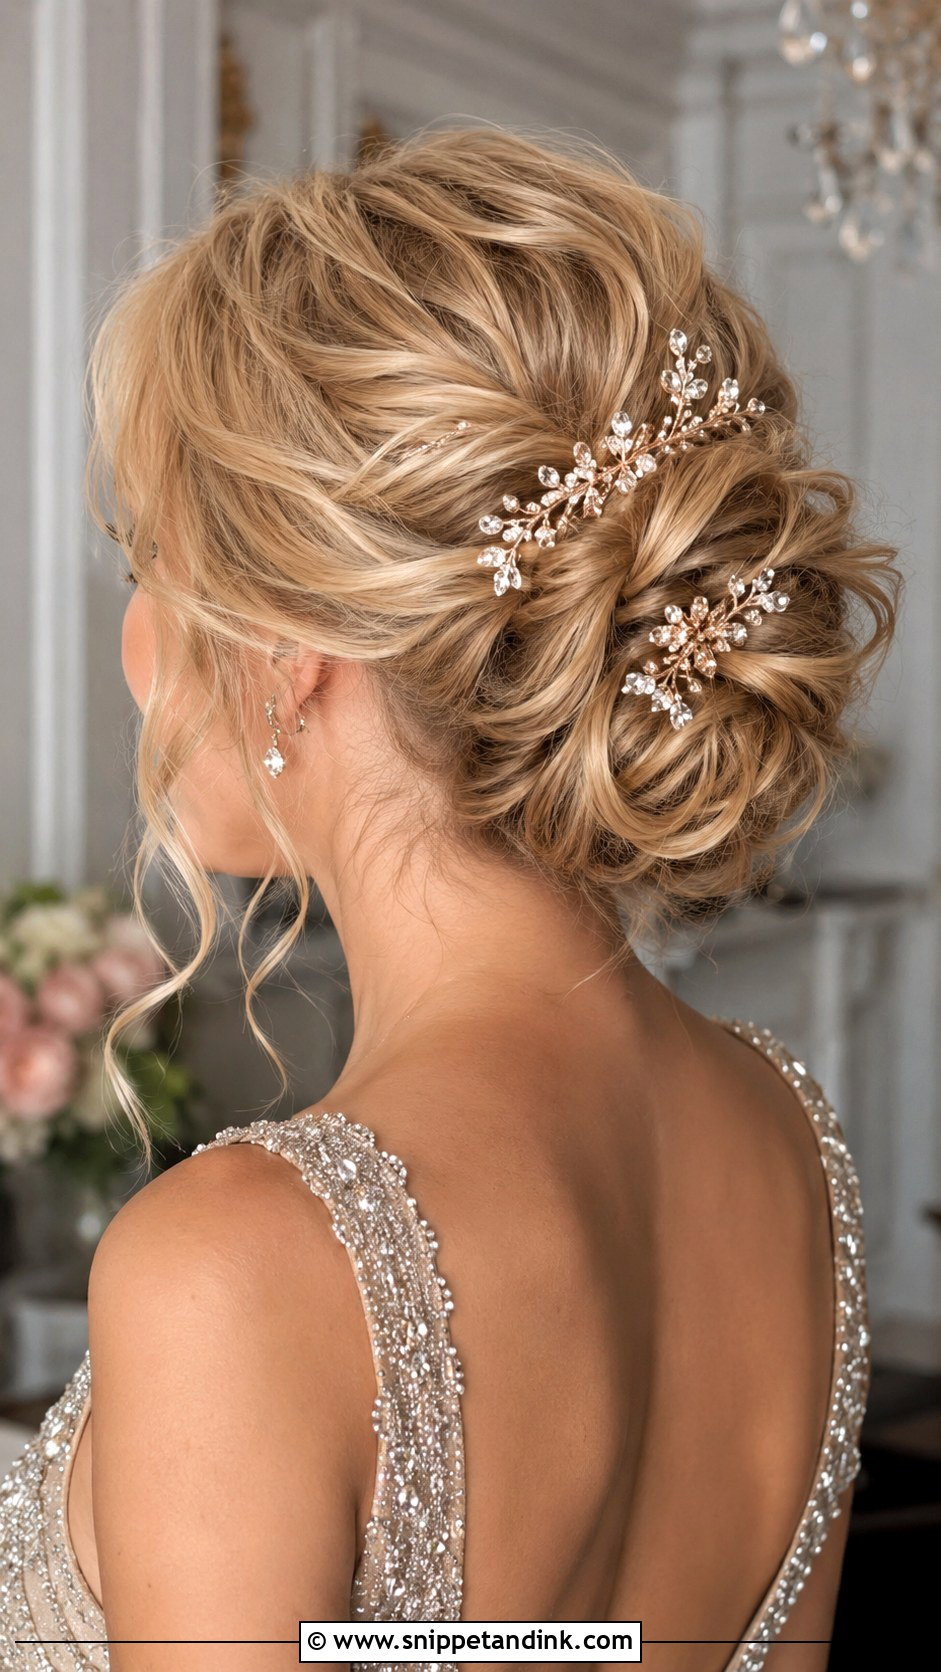
An accessorized pinned updo uses pins, clips or a comb to dress up a basic bun or twist. The accessory should go in last, after the updo is fully secure, and it should hook into hair that’s already pinned rather than hold any weight itself. A heavy comb in a loose bun slides out within the hour. It suits an evening wedding and works with almost any updo base.
Fascinators and Hats Change Which Updo You Should Wear
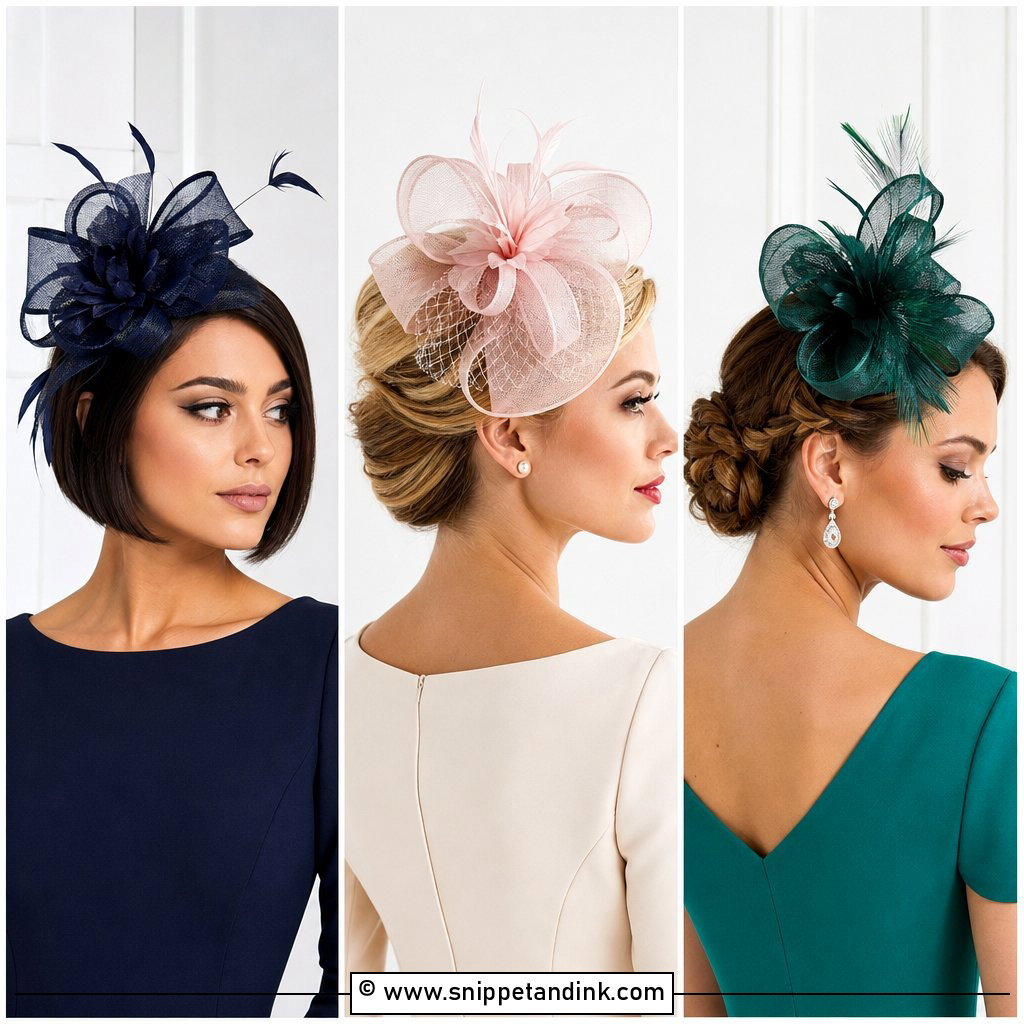
Many weddings, especially daytime ones, call for a fascinator or a hat, and guests often forget to plan their hair around it. A headpiece needs somewhere to sit, and a bun in the wrong place pushes it off balance.
A fascinator sits on one side of the head, usually above the ear and tilted slightly forward. Most attach with a comb, a headband or an elastic that goes under the hair at the back. I’d pair it with a low bun or a low chignon on the opposite side, so the weight balances. Slide the comb in facing backward, into hair that’s been teased lightly at the root, so the teeth have something to grip.
A brimmed hat rules out anything high. Ballet buns, top knots and big crowns all push the hat up. A low chignon or a side bun at the nape lets the hat sit properly on the head. Put the hat on to test the bun’s position before you pin it, not after, and leave the crown fairly flat, since volume there is lost under any hat.
Every Updo Here Comes Down to a Solid Base and Good Pins
An updo holds through a wedding when it starts from something solid, a ponytail or a braid, and every pin locks into that base. From a ballet bun to a braided crown, that’s the difference between a style that lasts and one you’re fixing in the bathroom by the speeches. Think about the venue, your dress and how long you’ll be dancing, add accessories or face-framing pieces if they suit you, and try the style at least once before the wedding.
You'll Like These Ideas:


Leave a Reply