
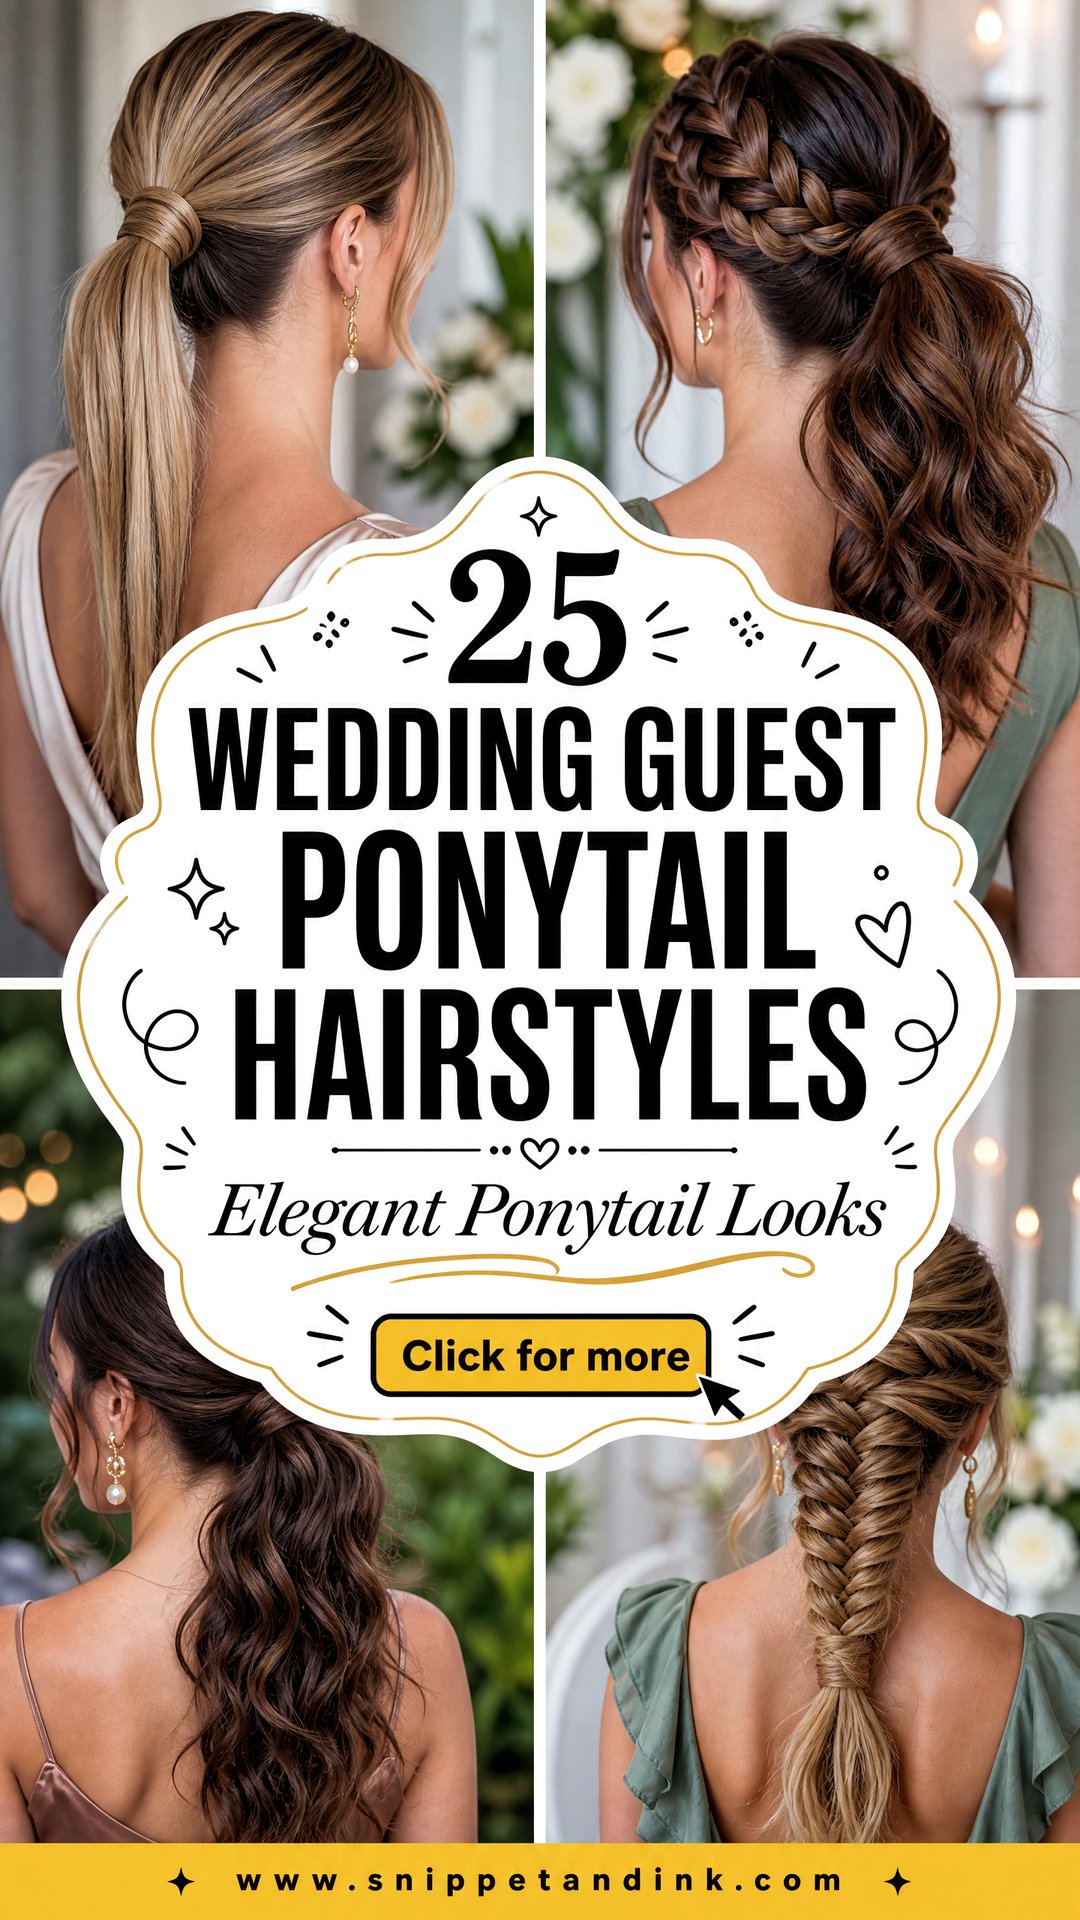
Guests ask me for ponytails more than any other style, and for good reason. A ponytail looks finished, keeps hair off your neck through a long summer day, and doesn’t compete with the bride’s updo. The difference between a gym ponytail and a wedding one is all in the build: where the base sits, how the elastic is hidden, how the length is set so it still has shape at midnight. It adapts to nearly any length and texture, from a glassy high tail for a black-tie reception to a loose braided one for a garden ceremony. Here are twenty-five wedding guest ponytail hairstyles, with notes from the chair on how I’d build each one and who it suits.
Anchoring the Base So It Doesn’t Slide During Dinner
Every ponytail on this list rests on the same foundation. When a guest’s tail has dropped two inches by the main course, it’s almost always the base that failed, not the styling.
- Start on second-day hair or add texture spray. Freshly washed, silky hair lets the elastic slip.
- Use a coated elastic, never a bare rubber band, and wrap it until it’s snug but not painful.
- Push two bobby pins into the base in an X, one from above and one from below, so they lock the elastic in place.
- For heavy hair, divide the tail and tie the top half first, then the bottom half just under it. Two smaller ponytails stacked look like one and carry the weight better.
- Finish with a light hairspray brushed over the surface, not sprayed in a cloud. A cloud makes sleek hair look crunchy.
If you can, test the style for a full afternoon the week before. You’ll find out where it pulls and where it drops while there’s still time to change the plan.
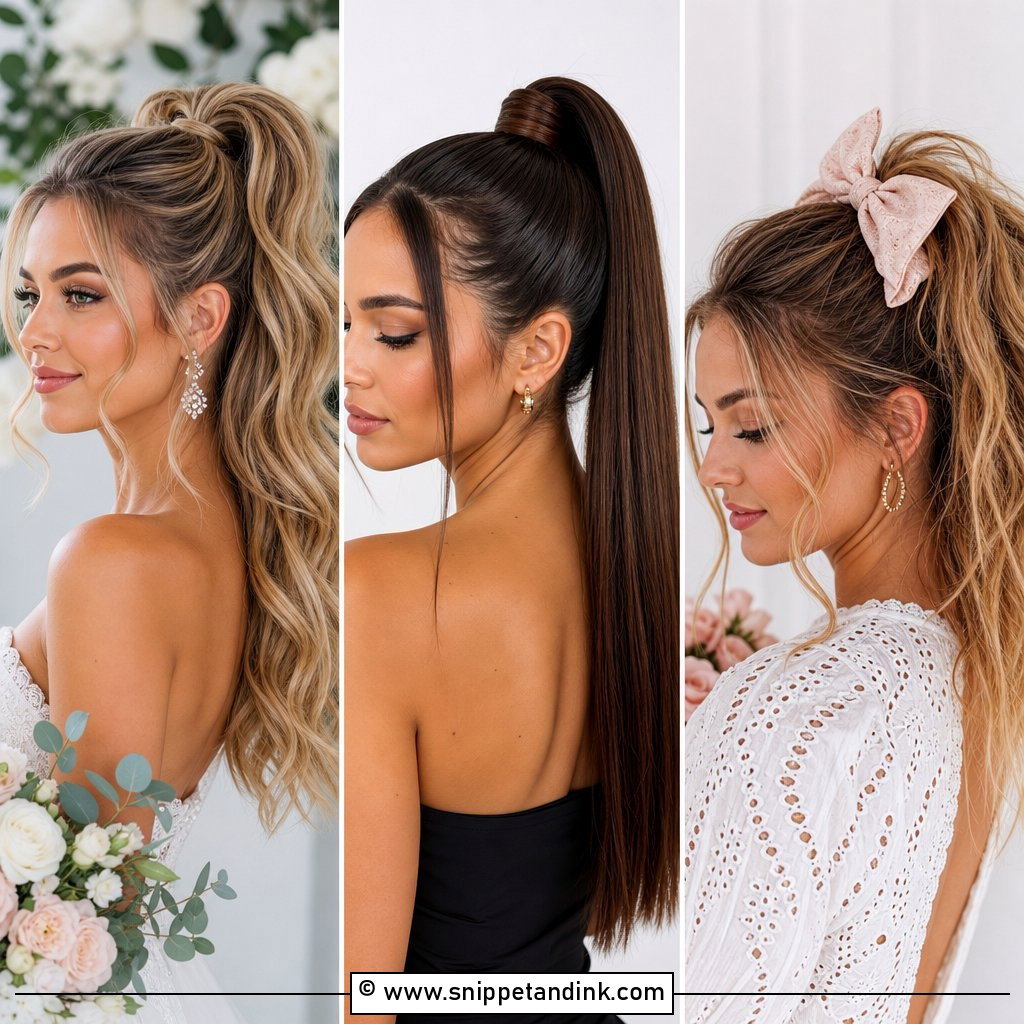
1. Sleek High Ponytail
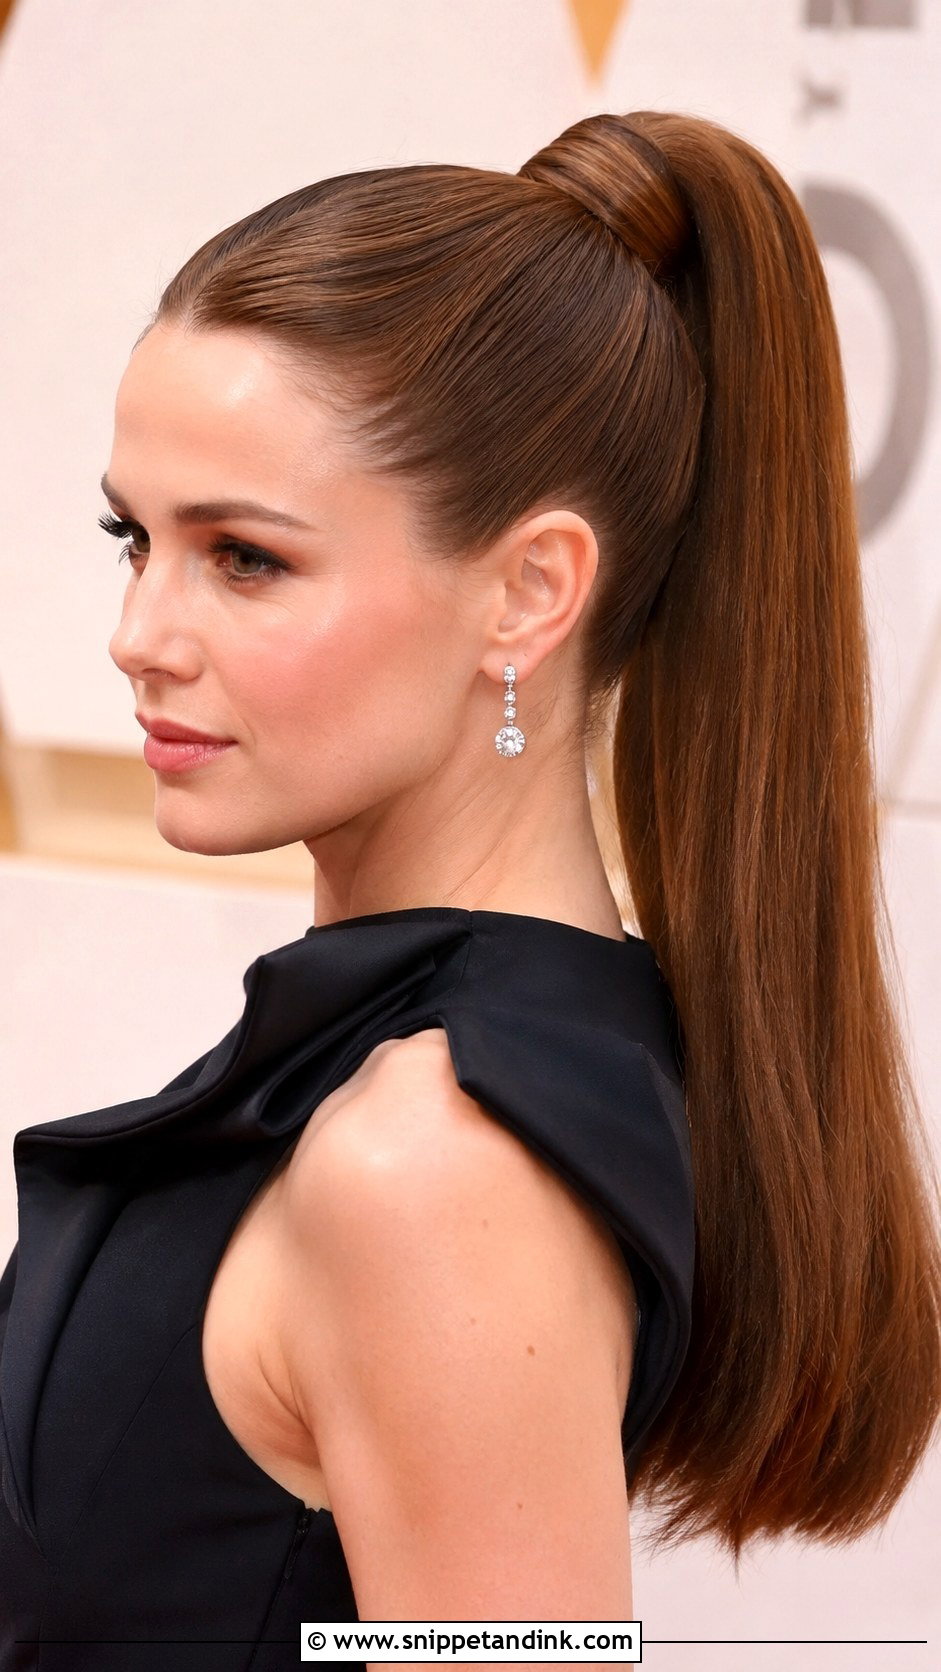
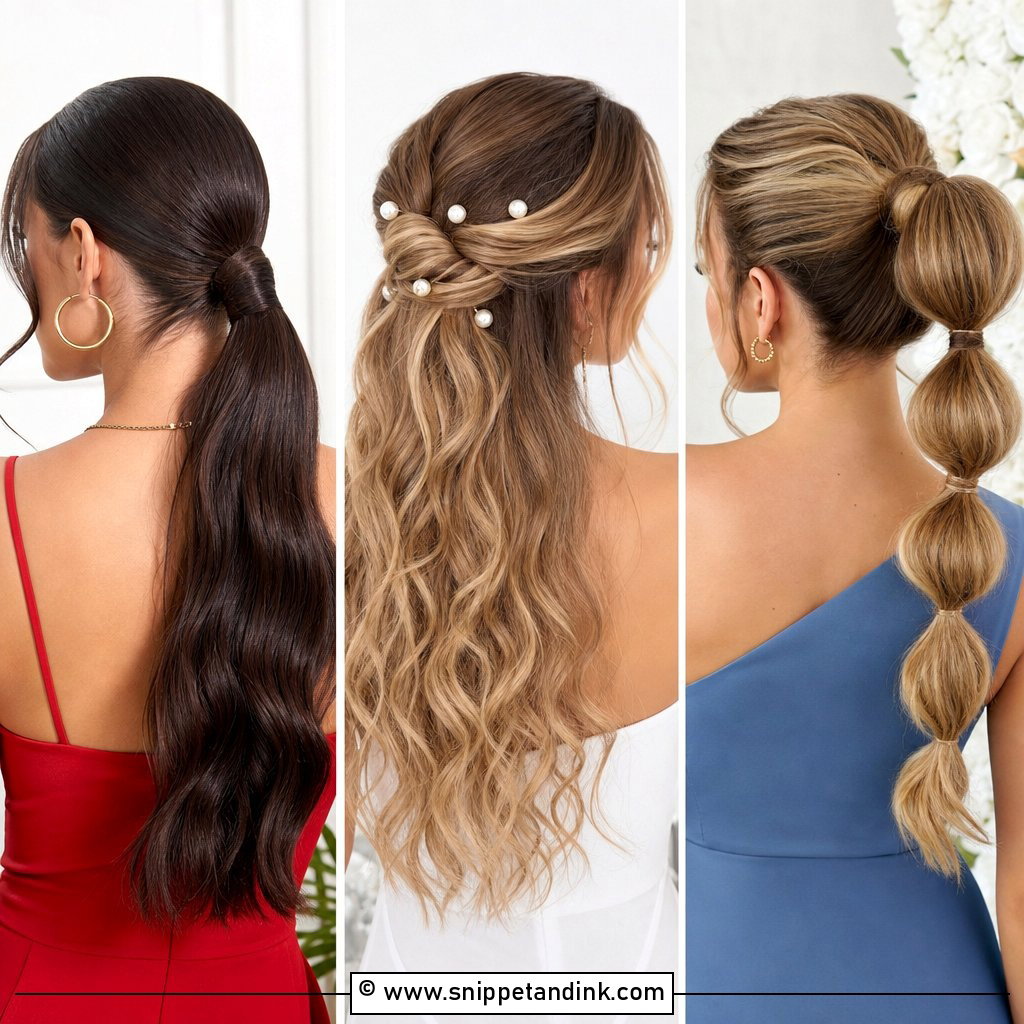
A sleek high ponytail lives or dies on tension. I brush the hair up toward the crown with a boar bristle brush while it’s still slightly damp with smoothing cream, then secure it before it dries so the lines set tight. Press the length straight, wrap a strand around the base, and finish with a drop of serum on the ends only. It lifts the face and shows off earrings. I’d skip it if you’re prone to tension headaches; a high tail pulls on the hairline for hours.
2. Low Twisted Ponytail
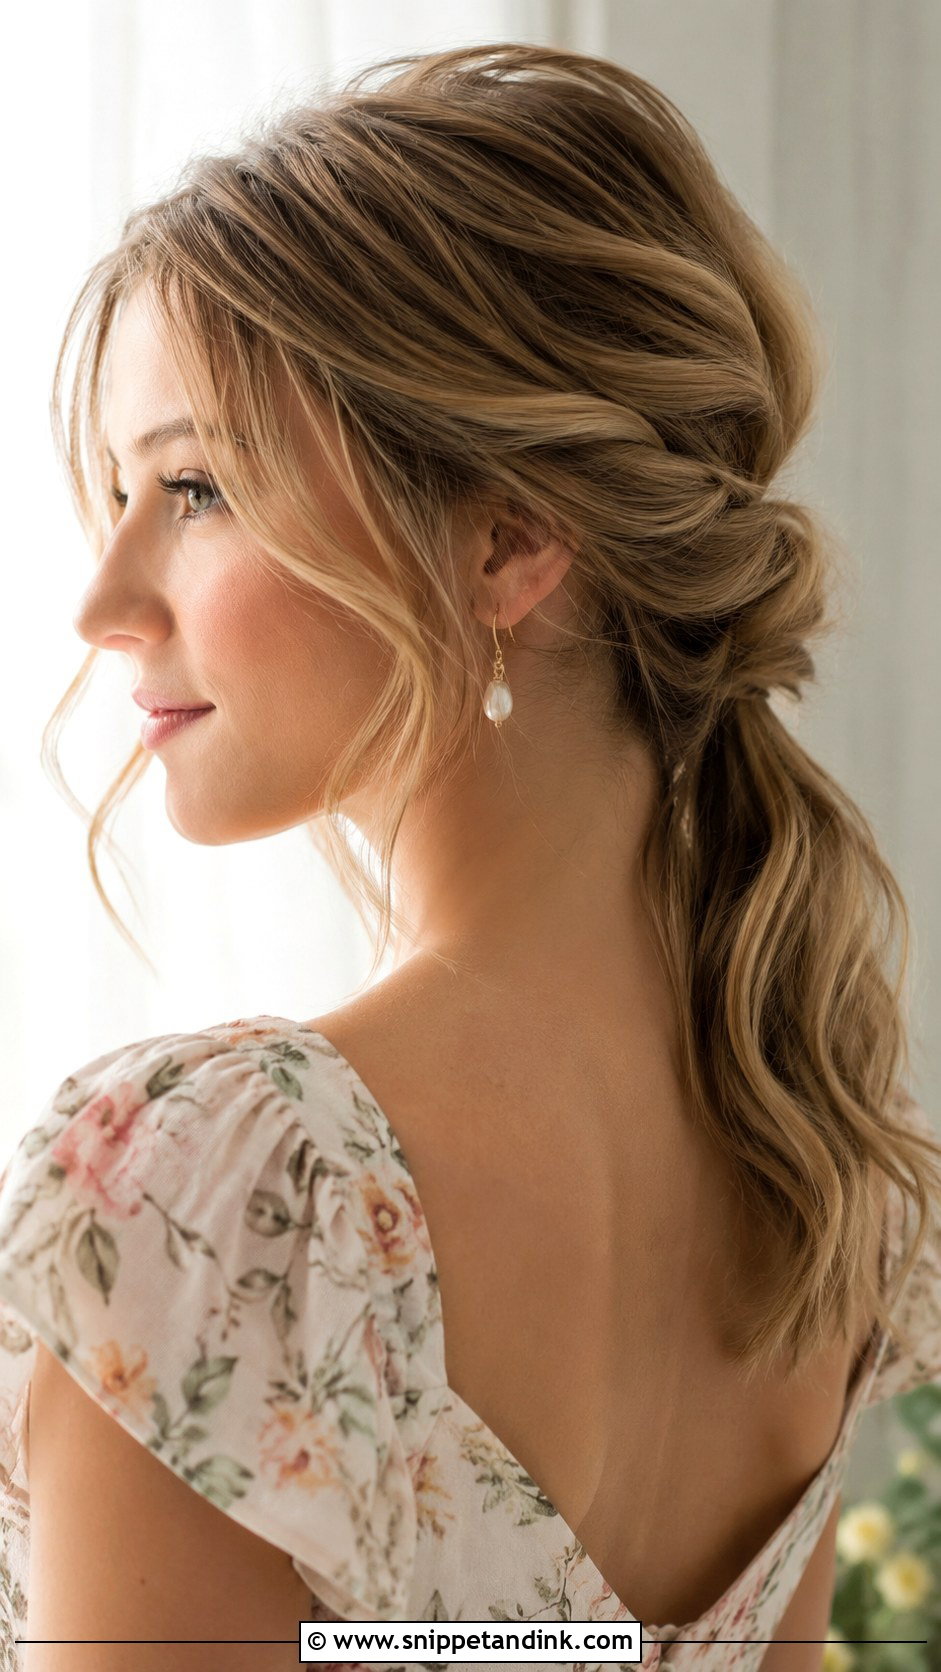
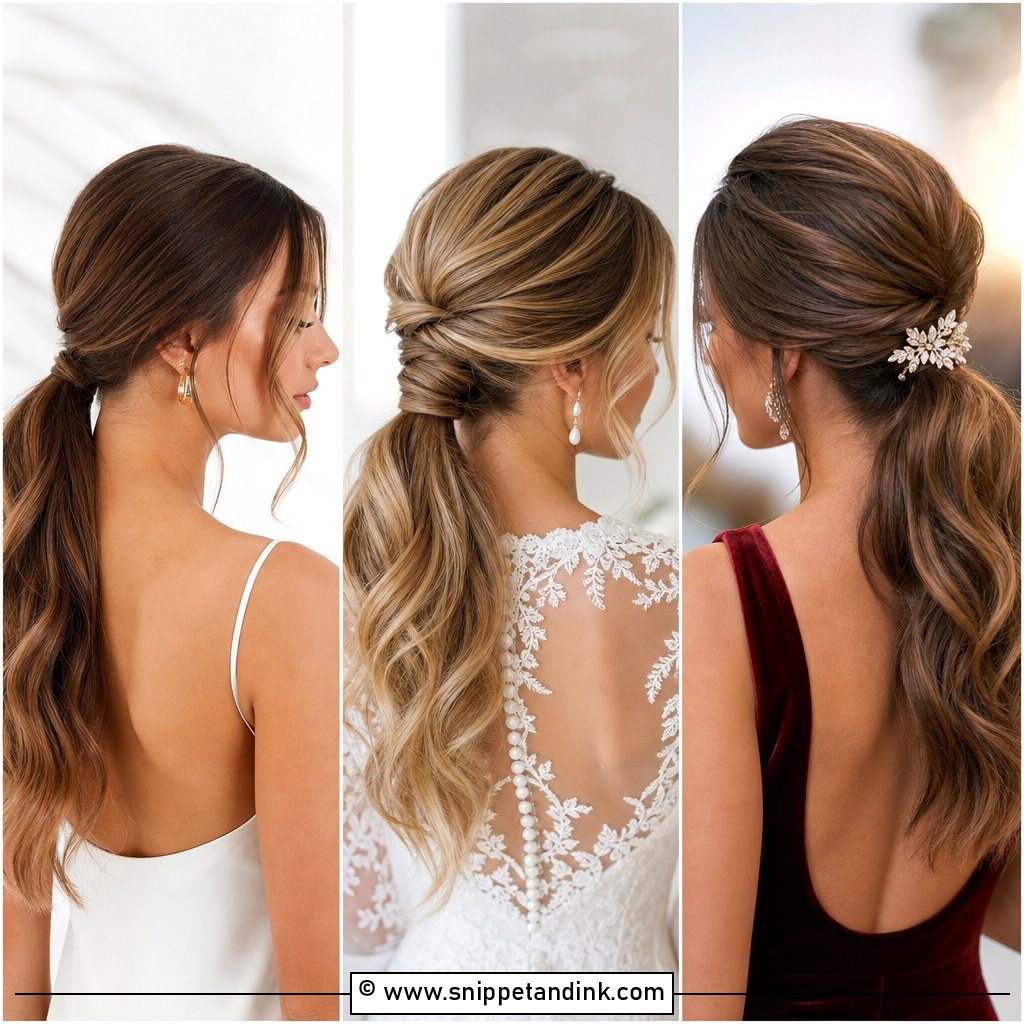
I twist small sections from each temple toward the nape, rolling each one away from the face, and gather them into a loose low tail. The twists give the style structure, so even fine hair holds its shape. It sits well at garden ceremonies and daytime weddings. Leave a couple of face-framing pieces out, and if you want a detail, a single pearl pin or a thin ribbon at the base is plenty. It’s a good choice if you’ve never liked having your hair pulled tight.
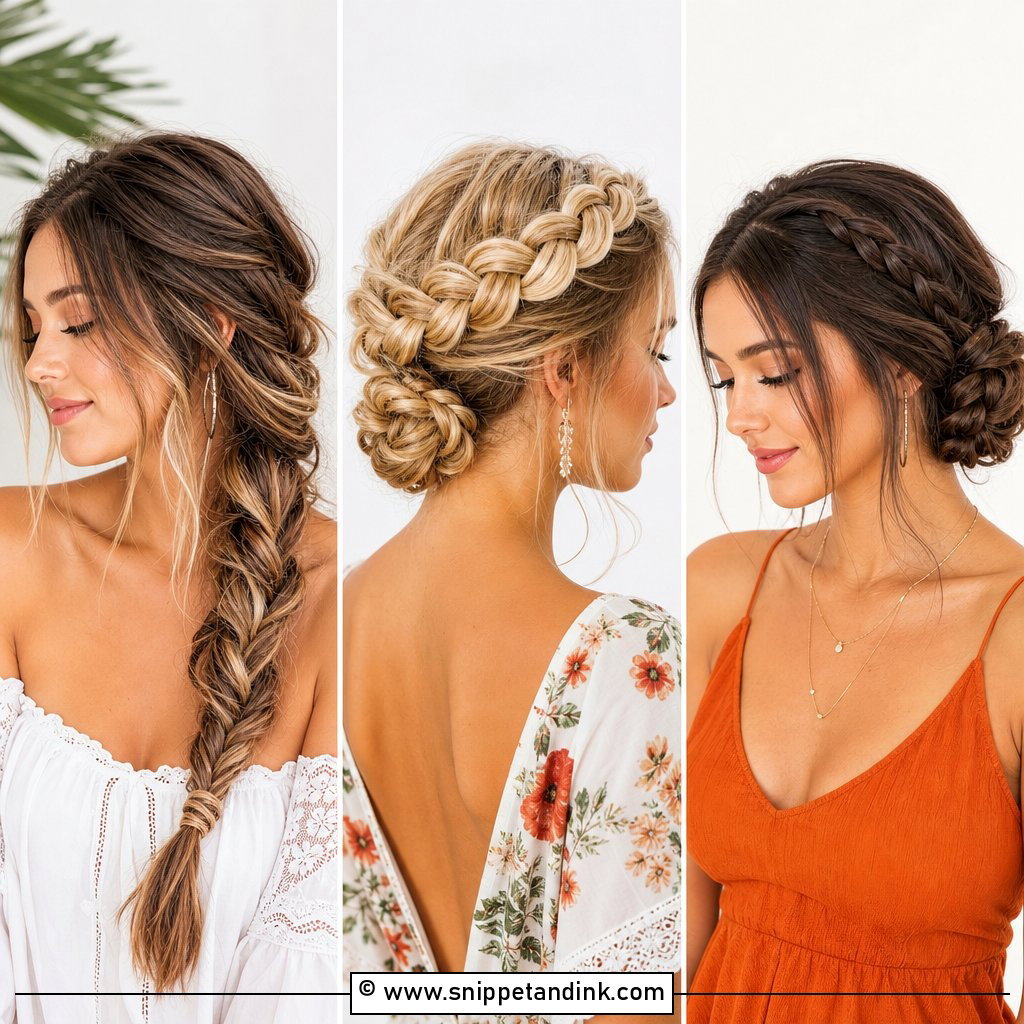
3. Braided Ponytail
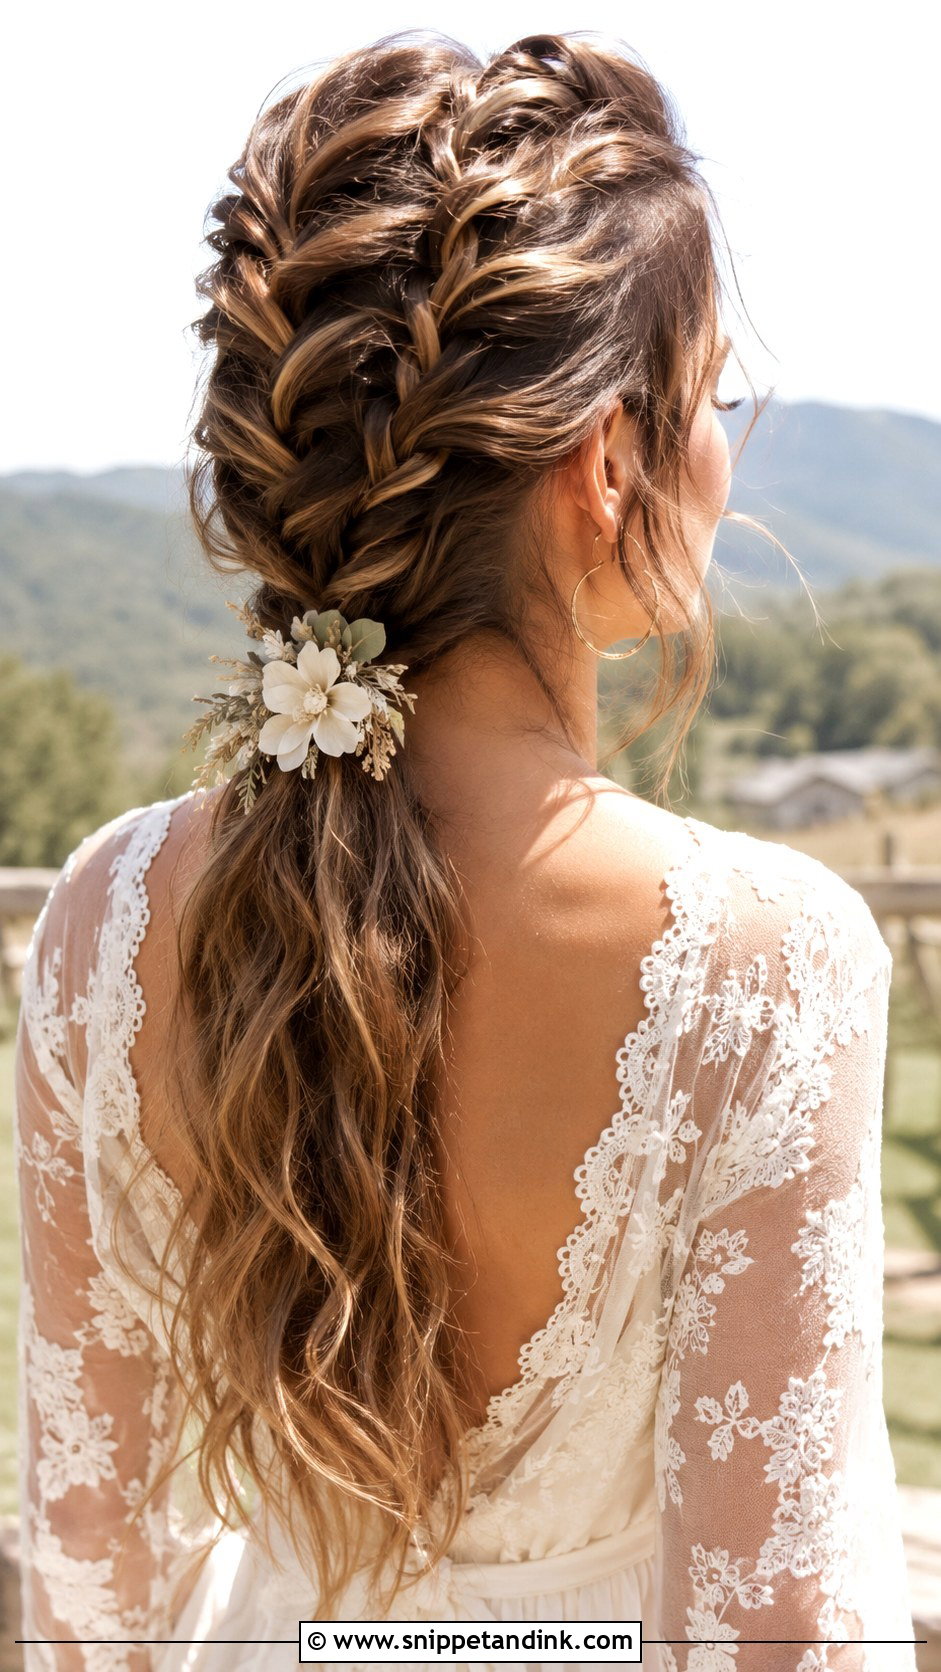
Want texture that also holds? Braid from the hairline back in a French or Dutch braid, then let it flow into the tail. Because the braid is anchored along the scalp, it doesn’t slip during hours of dancing. I braid it tight first and only then pull the edges loose, so it looks soft but the core stays secure. A small floral clip at the base suits outdoor and boho weddings.
4. Bubble Ponytail
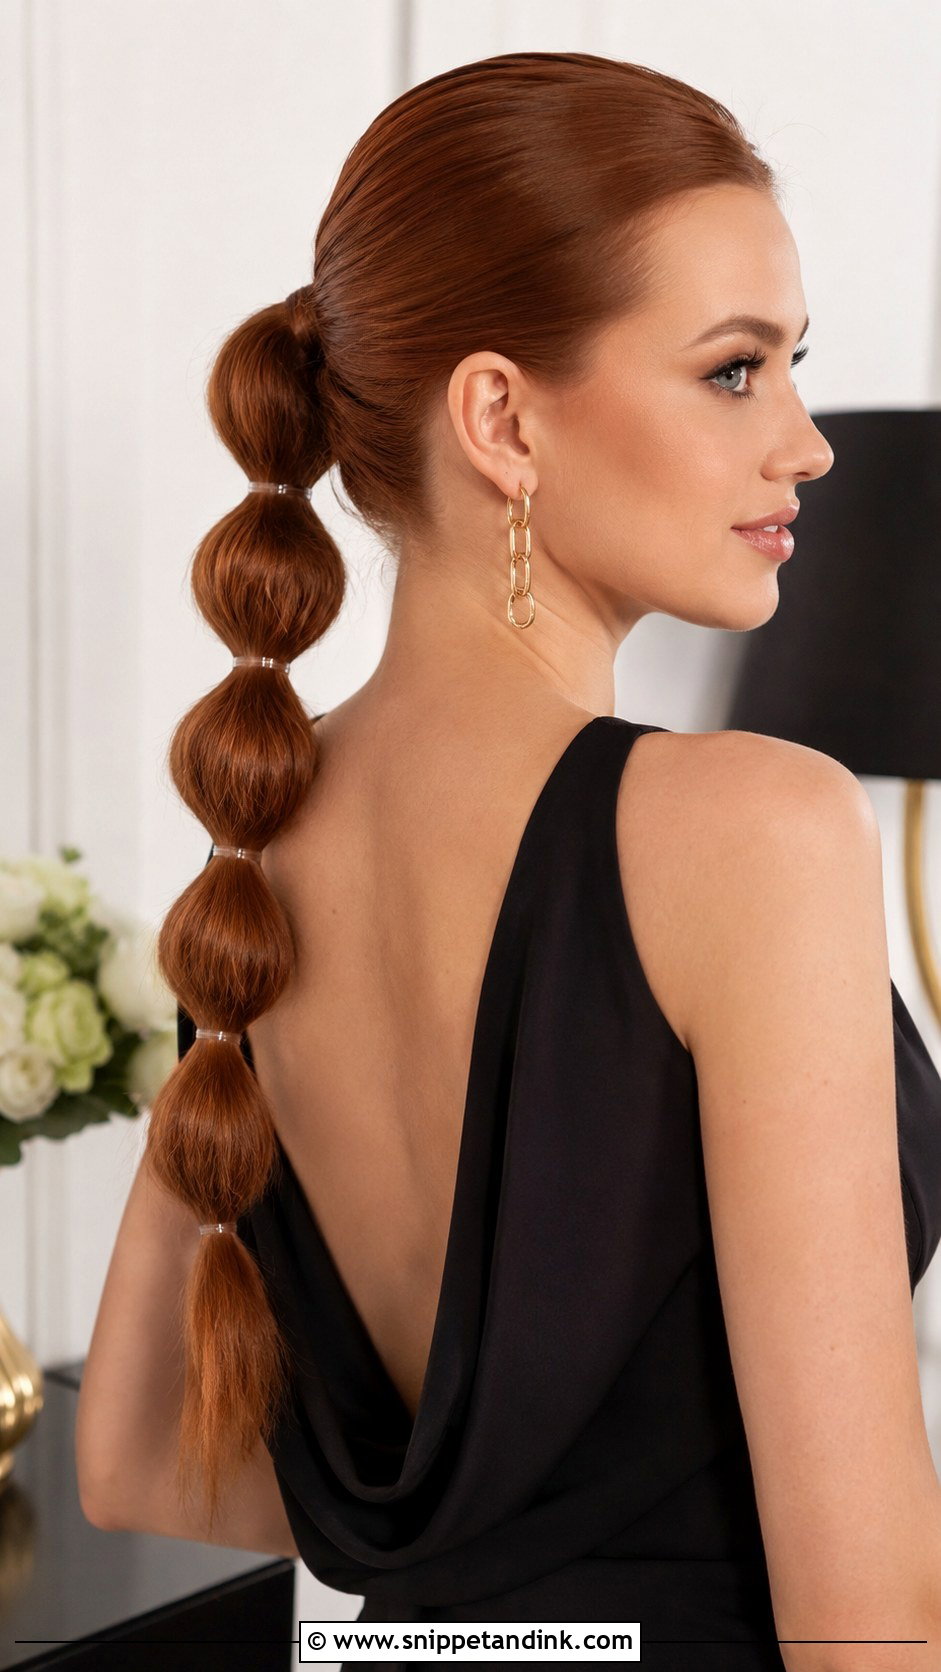
The bubble ponytail is the most playful style here, and it needs thick hair to work well. After securing the tail, I add clear elastics at even intervals and gently pull each section outward into a rounded bubble. On fine hair the bubbles look thin and stringy, so I add texture spray and a little backcombing inside each section first. Matching the spacing is what makes it look intentional rather than improvised. It’s a fun option for a younger crowd or a more relaxed reception.
5. Curly Ponytail
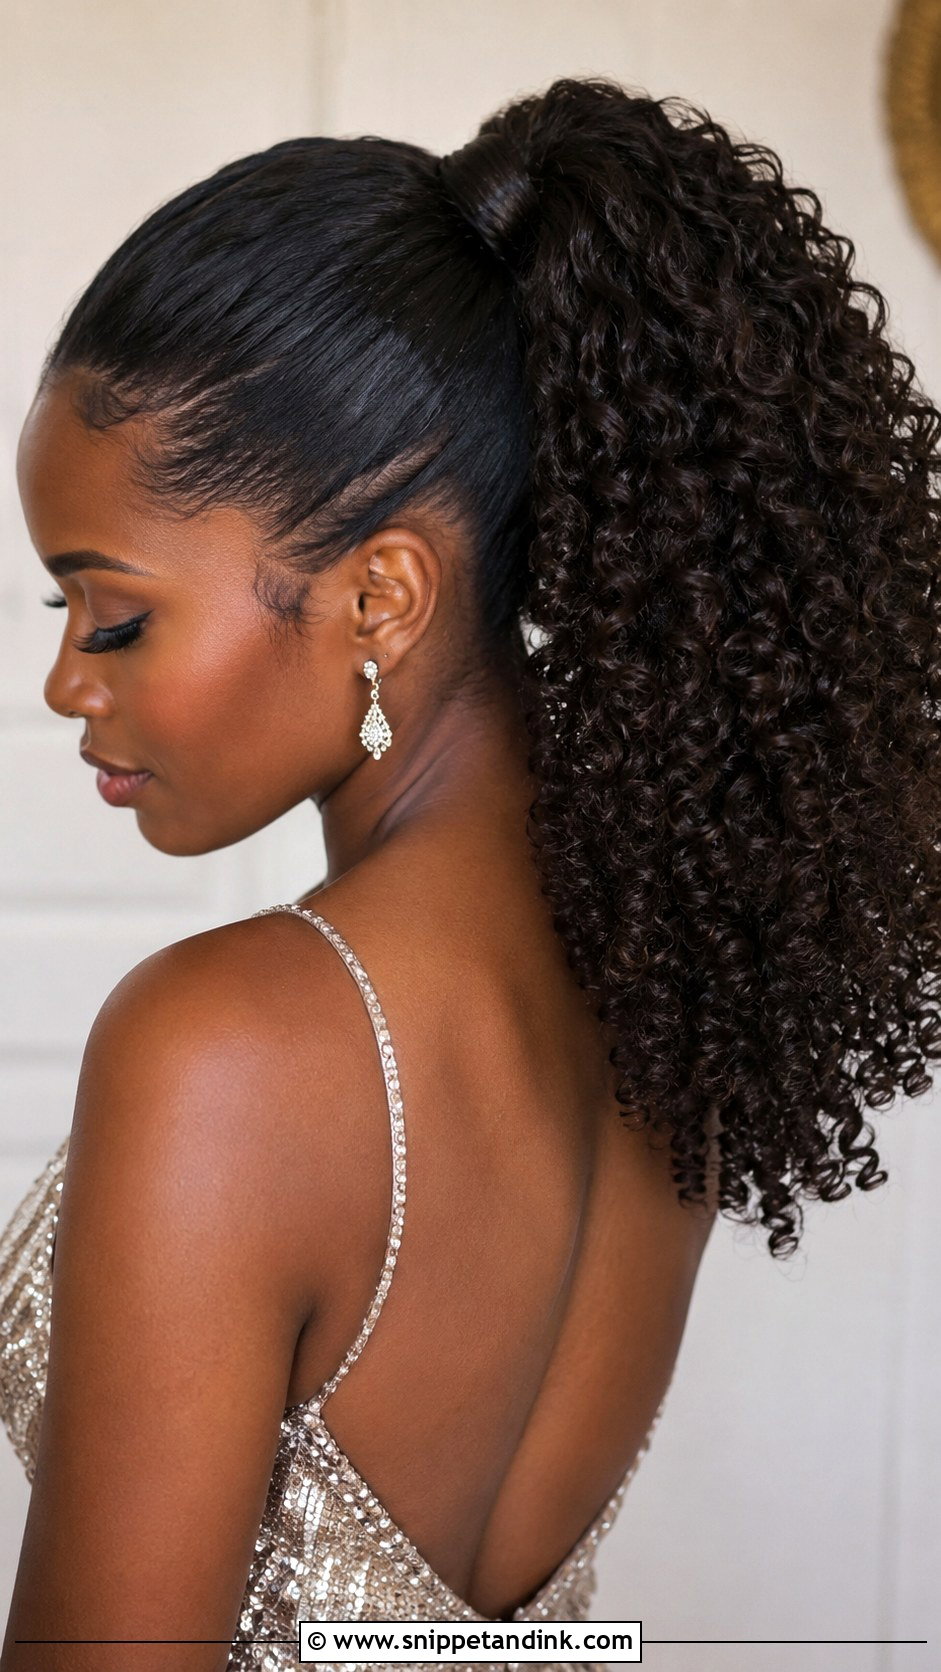
Curls in a ponytail need moisture more than hold. I apply a curl cream to damp hair, let the coils set, and only gather them once they’re fully dry, because pulling wet curls back stretches the pattern out. Gather high or low, wrap a curl around the base, and pin a couple of front curls back if you want the face clear. Don’t brush through them once they’re up. A curly ponytail has movement on a dance floor that straight hair simply doesn’t.
6. Sleek Low Ponytail
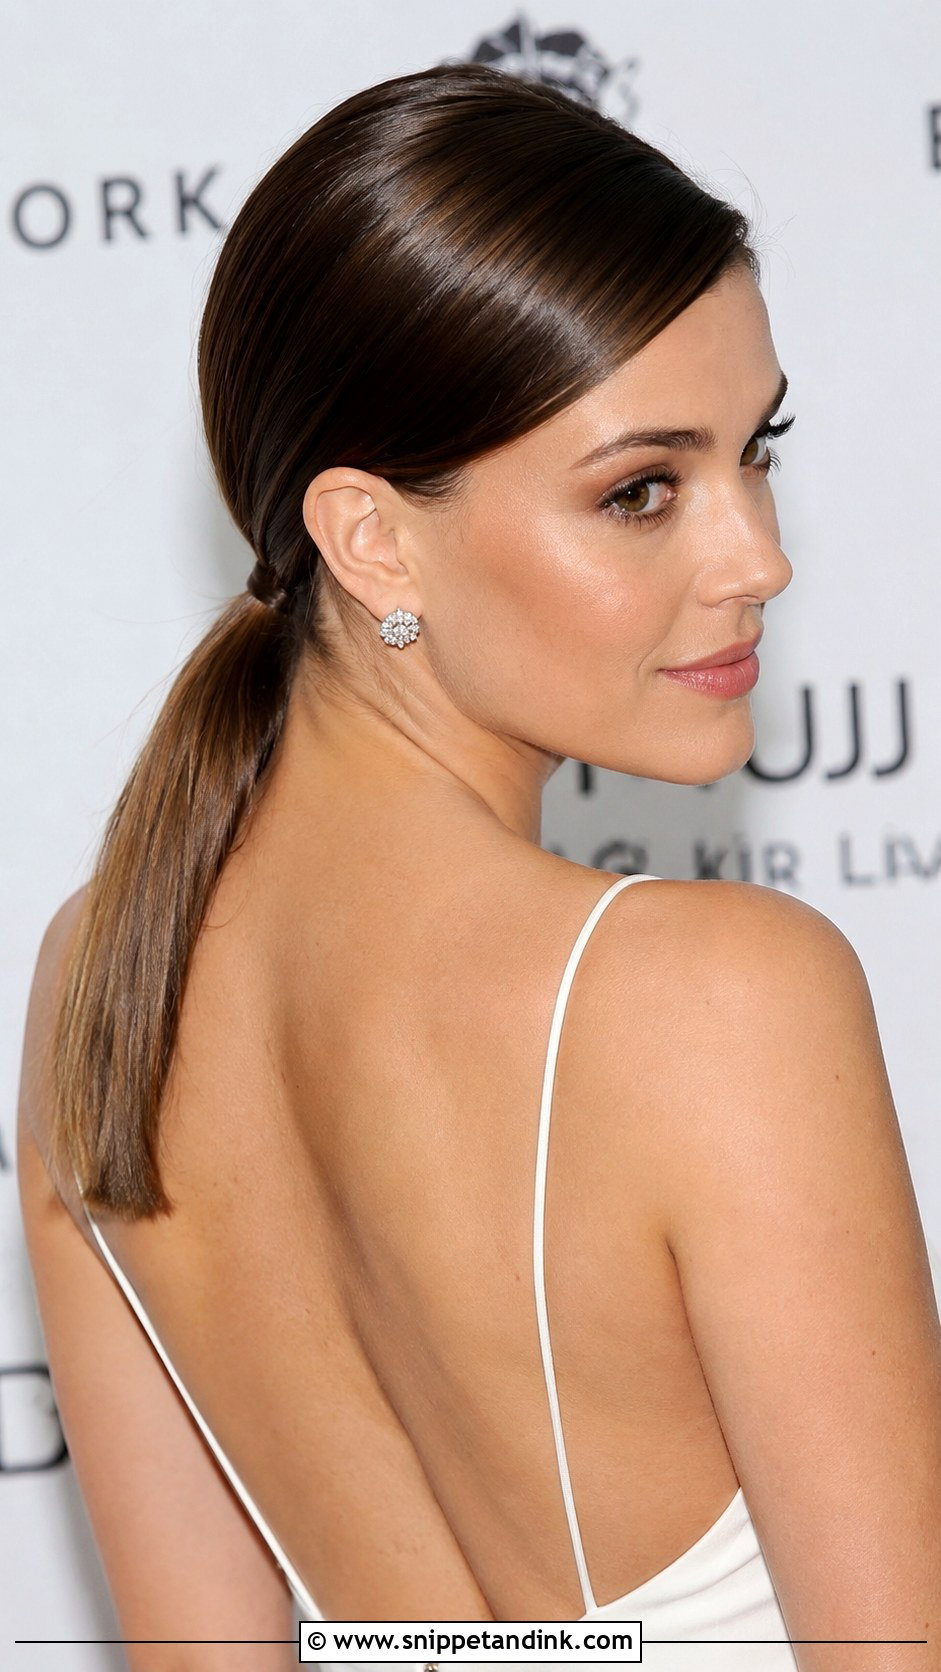
This is the guest style I’d pick for an upscale or formal wedding where the dress and jewelry should do the talking. A center or deep side part both work; center suits oval and heart-shaped faces, while a side part softens a squarer jaw. Smooth the hair back to the nape with a serum and a fine comb, wrap the base, and you’re done. It’s quick, which means it’s also the one I suggest to guests doing their own hair on the morning.
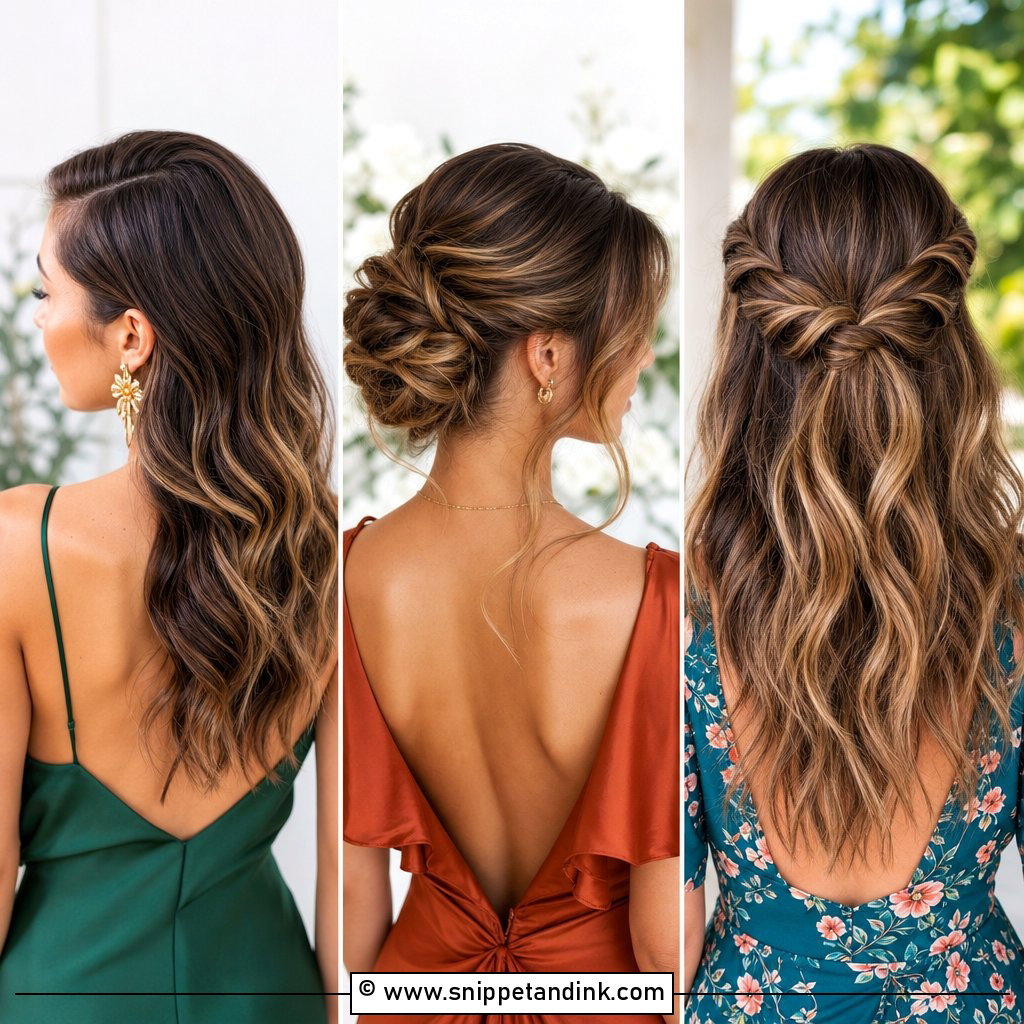
7. Half-Up Ponytail
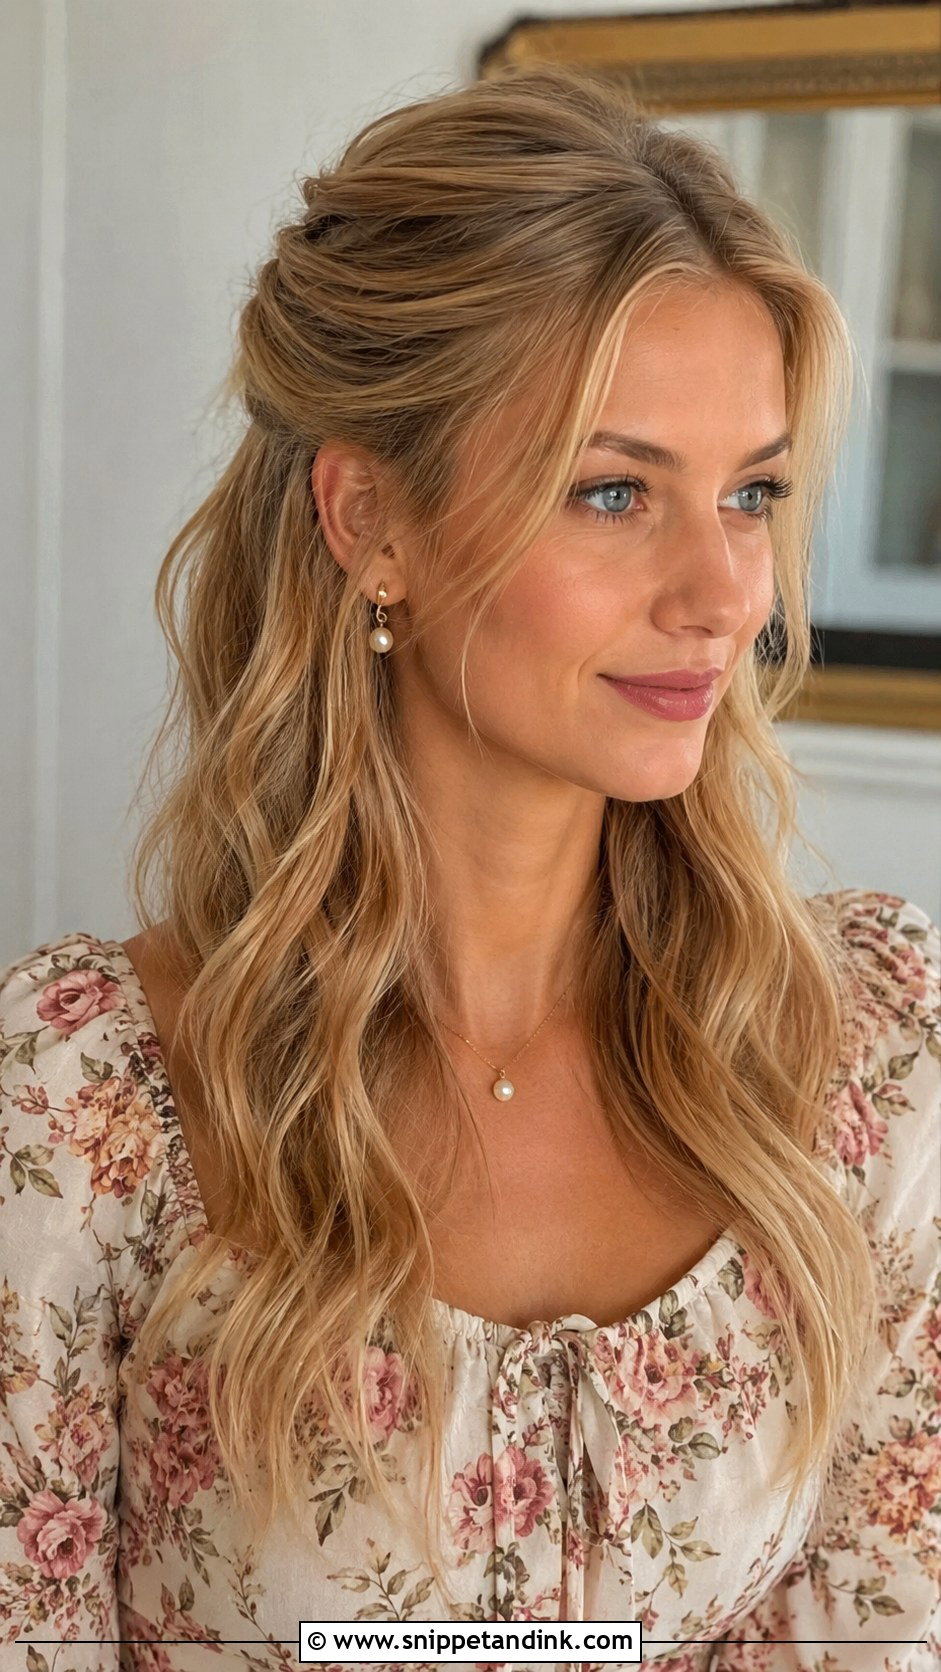
Can’t decide between up and down? Pull the top section back into a ponytail and leave the rest loose. It keeps hair off your face and still shows length. I tease a little at the crown before tying so the top doesn’t flatten, and wave the loose section so the two halves look connected. The thing to watch is wind: the loose half is still loose, so on an exposed beach or clifftop venue I’d choose a full ponytail instead.
8. Pearl-Accented Ponytail
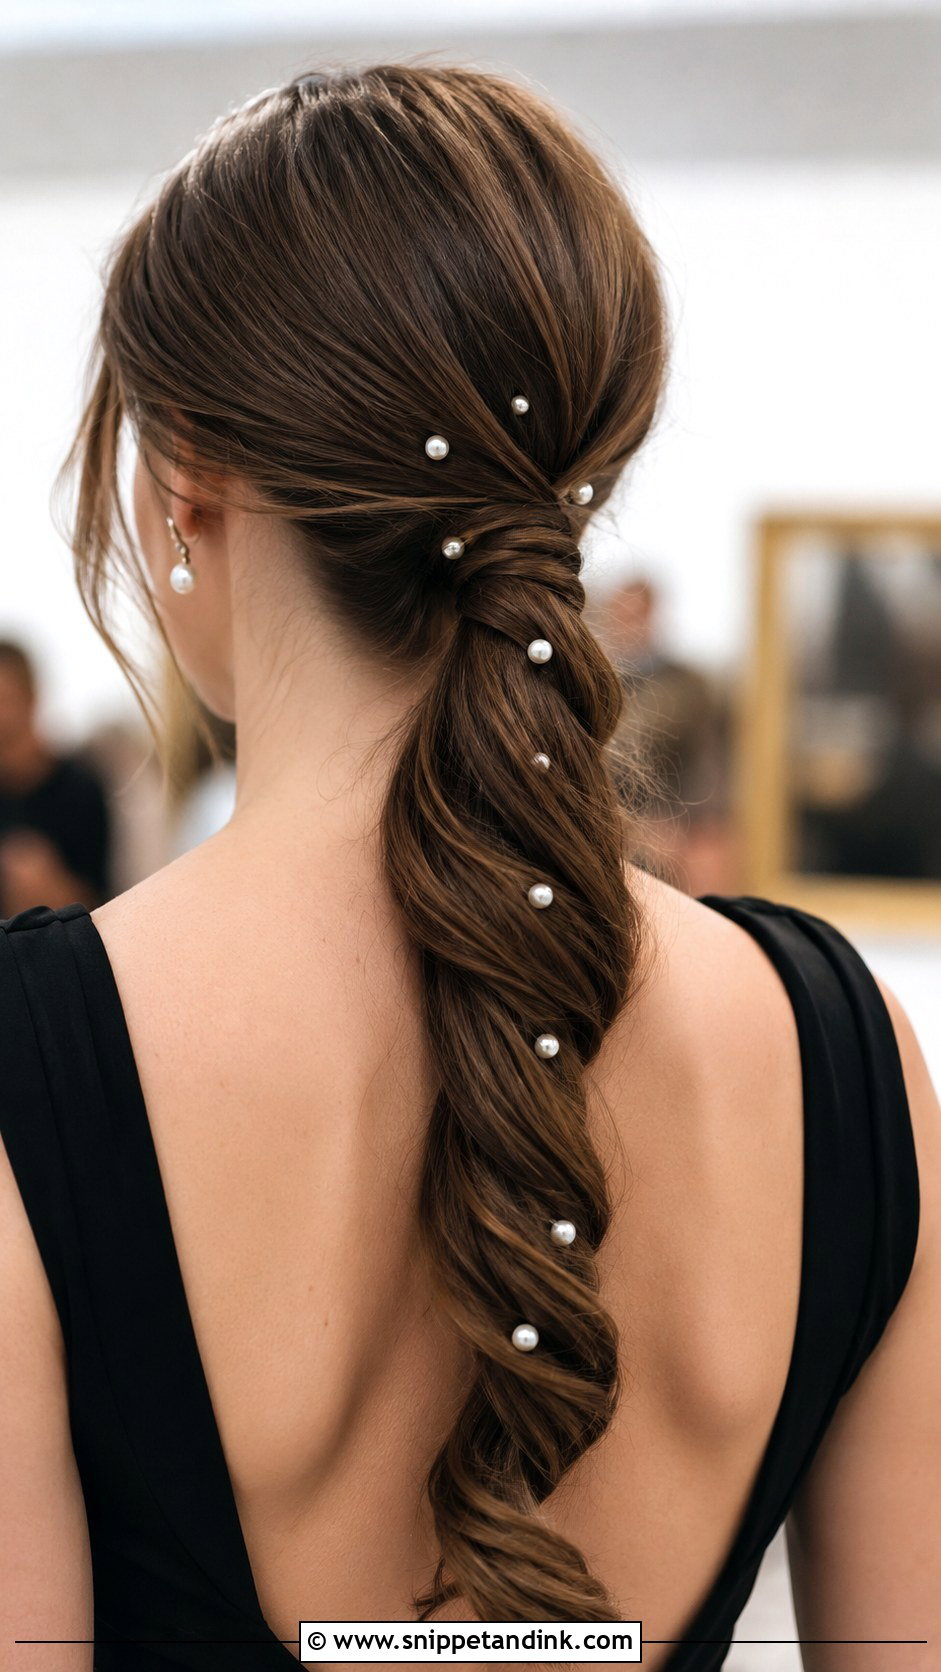
Pearl pins work on almost any base, twists, braids or a sleek tail. I slide them in at an angle so the pin grips the elastic or a braid rather than loose hair, which stops them sliding out. Cluster them near the base for a neat look, or scatter them down a braid. They pair naturally with a classic dress and simple makeup. A handful is enough; more than that and the ponytail starts to look bridal.
9. Side Ponytail
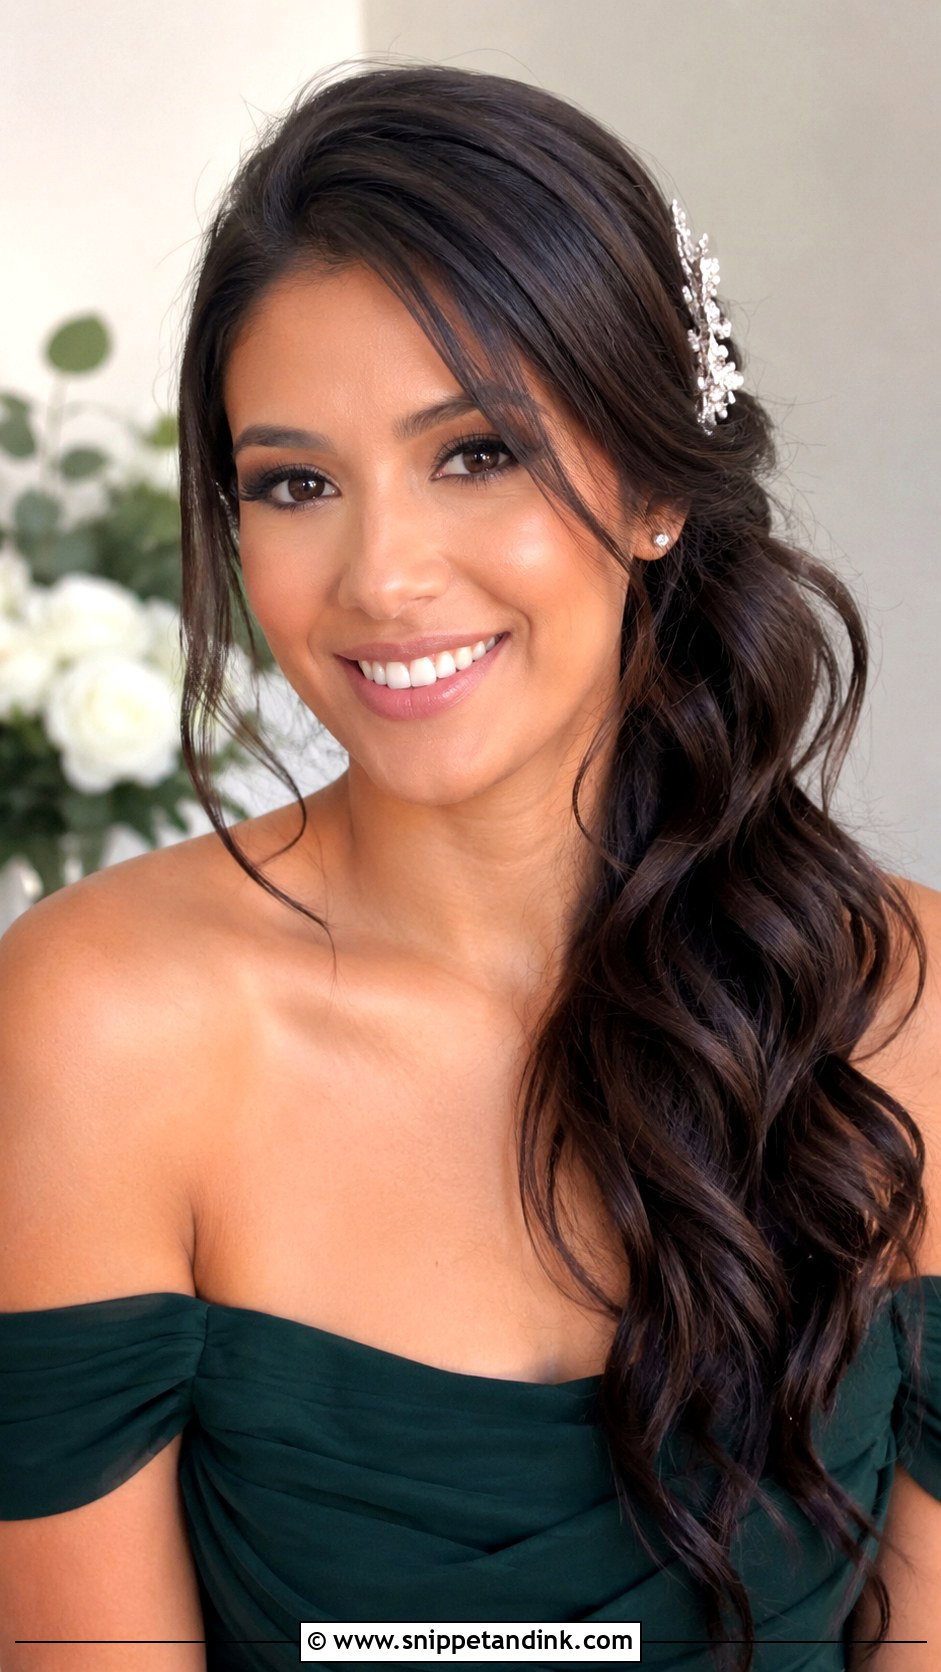
Sweeping everything over one shoulder shows off the neckline and suits off-the-shoulder dresses especially well. I secure it a little behind the ear rather than directly at the side, because a tail tied right at the side drags forward and pulls on the opposite temple. Add soft waves for an old Hollywood feel. A small flower or a sparkly clip at the gathering point is the only extra it needs.
10. Wrapped Ponytail
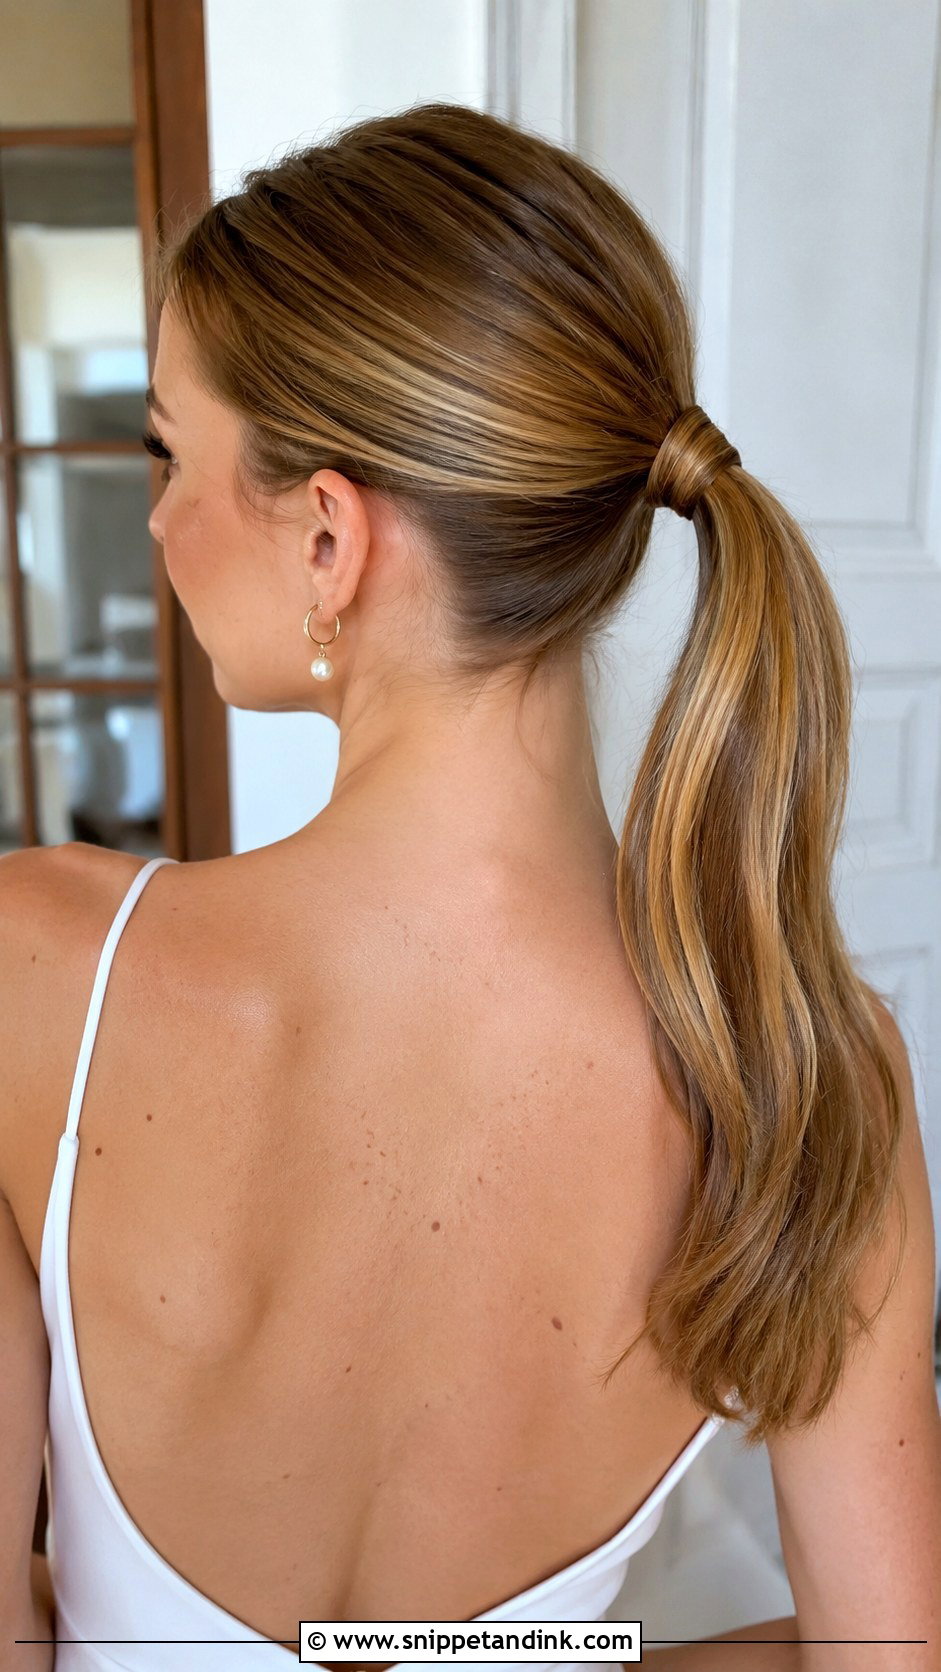
Wrapping the base is the single step that turns any ponytail into a dressed one. After securing the tail, I take a small section from underneath, smooth it with a little cream so it doesn’t fluff, wind it around the elastic, and pin the end under the tail with a bobby pin pushed upward into the base. It works at any height, sleek or textured. If you only learn one trick for your wedding guest hair, make it this one.
11. Voluminous Ponytail
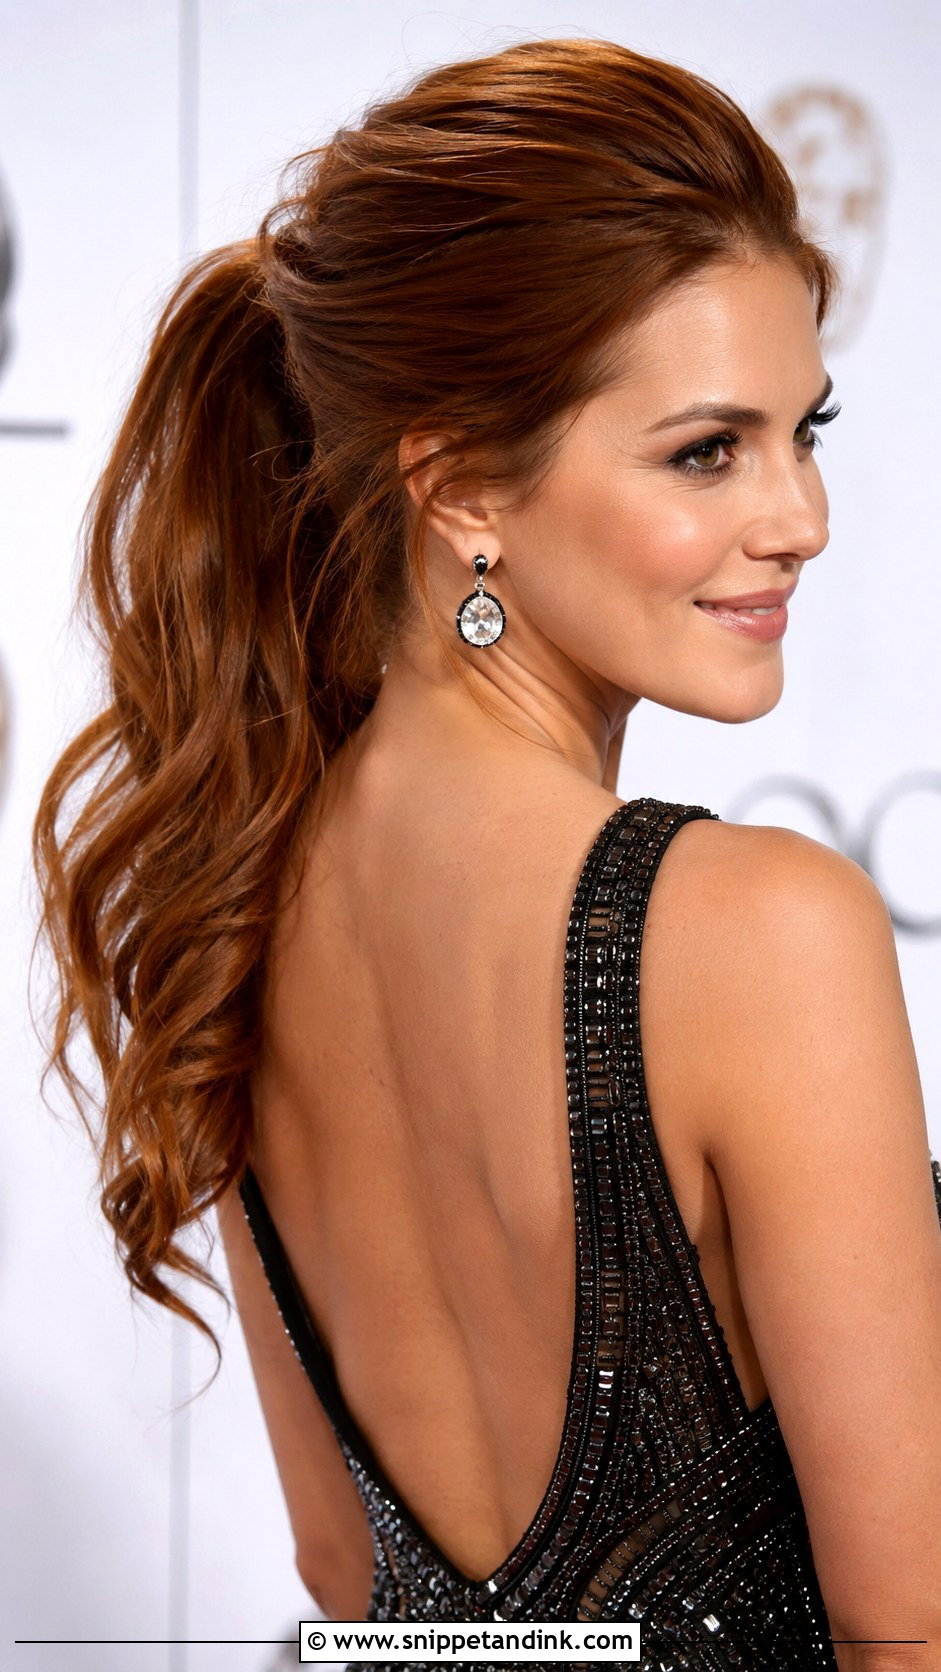
Volume is built underneath, not on top. I tease in horizontal sections at the crown and along the length, then smooth a top layer over the teasing so the surface stays polished. Texture spray between sections helps it last. It suits formal evening weddings and big gowns. Fine hair can do this too but needs more spray and a rest before the event; volume teased an hour ahead settles slightly, which actually makes it look less stiff.
12. Braided Crown Ponytail
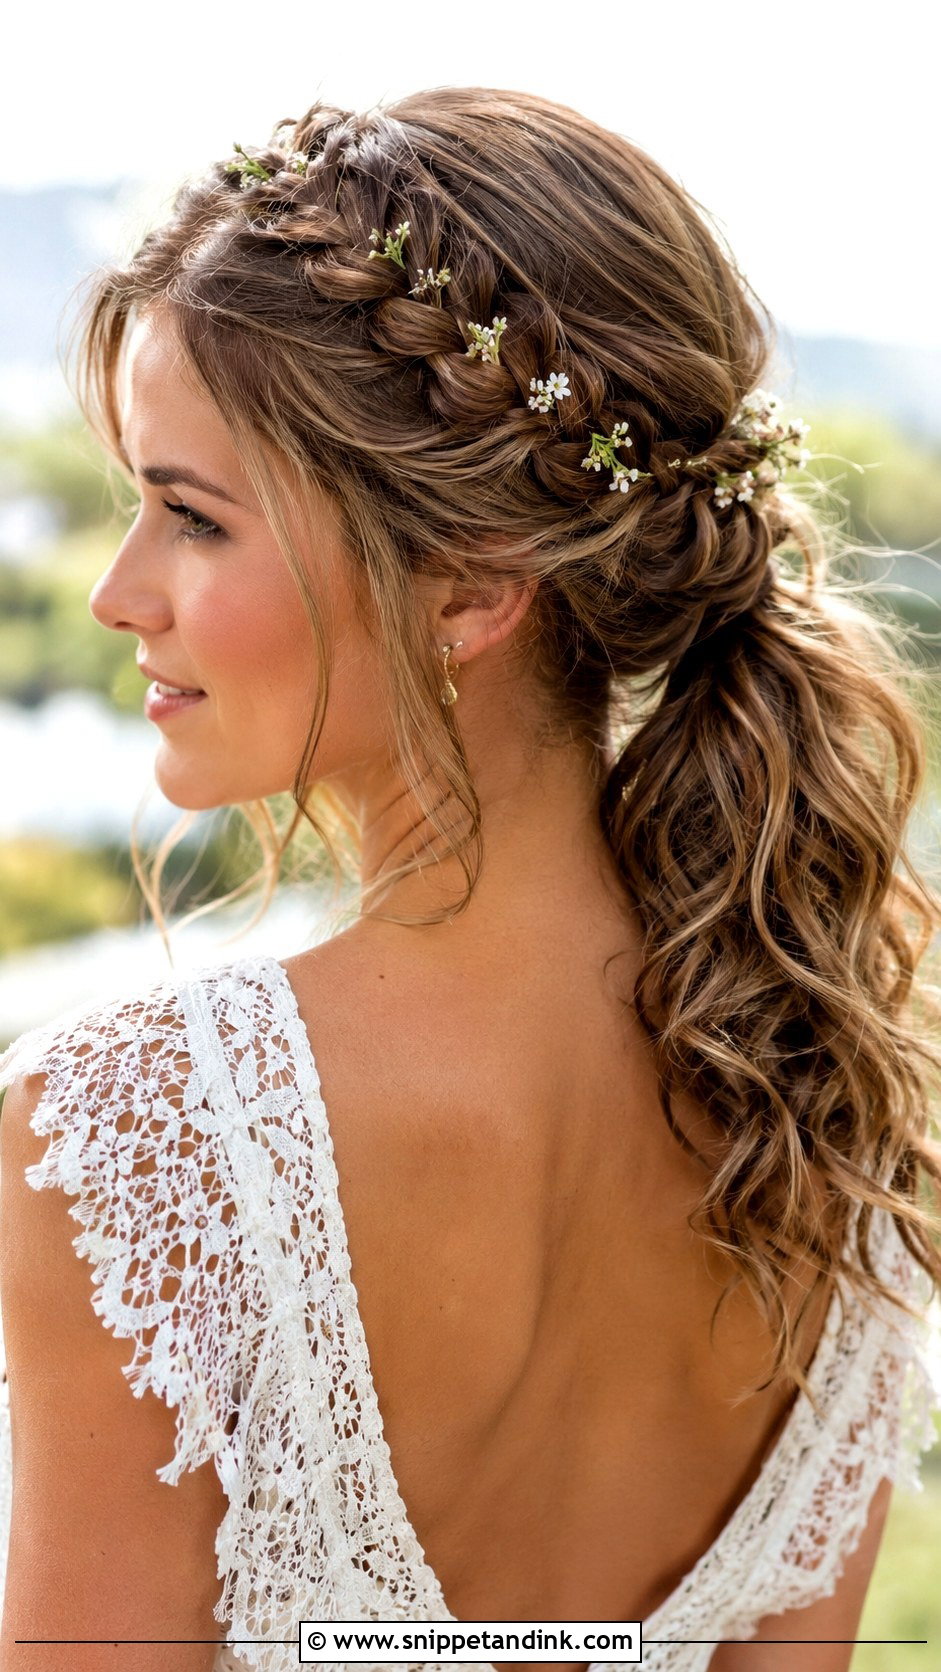
A braid wrapped around the crown with the rest gathered into a soft tail at the back has a fairytale feel suited to boho and outdoor weddings. I start the crown braid behind one ear and work across the hairline, pinning it as I go so it doesn’t slide back. Loosen it slightly once it’s secure, and tuck small flowers along it if the setting suits. It needs medium to long hair; on shoulder-length hair there isn’t enough left for the tail.
13. Wavy Ponytail
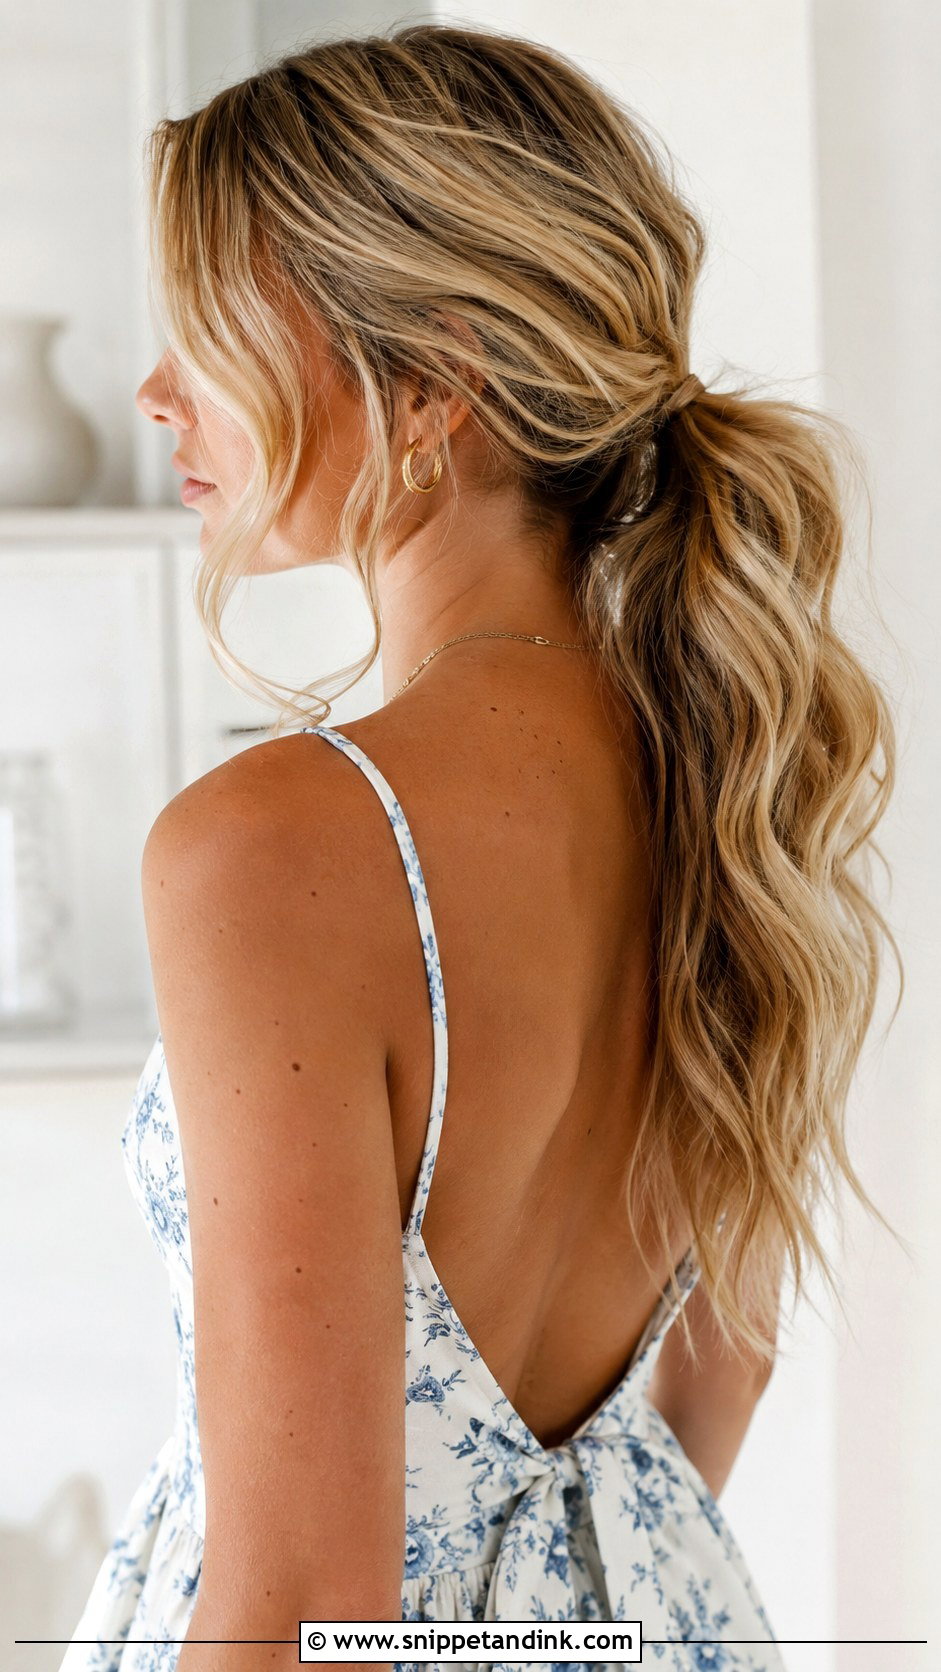
For waves, I use a large barrel and alternate the curl direction section by section, then let the curls cool fully before touching them. Brushing warm curls is why waves fall flat within an hour. Gather into a low or mid-height tail and loosen the waves with your fingers. It’s the natural choice for seaside ceremonies and relaxed summer weddings. In salty, humid air, a light hairspray rather than a strong one keeps the waves soft.
14. Ribbon Ponytail
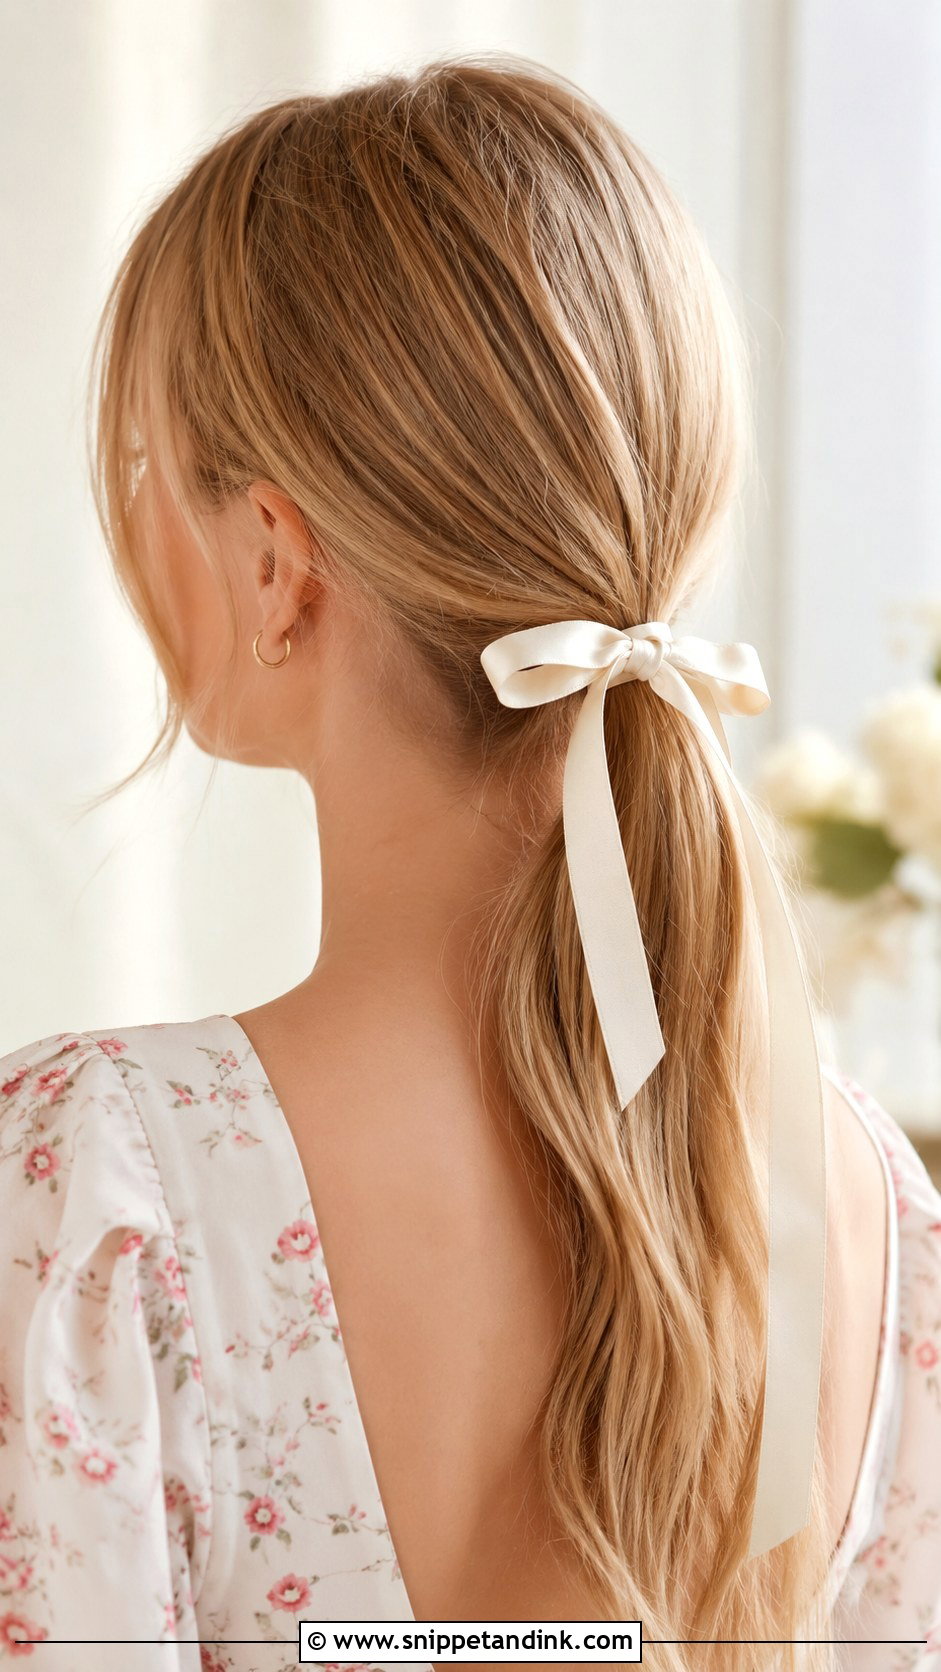
Ribbon at the base of a tail is a simple, inexpensive way to make the style feel deliberate. Satin or silk holds a bow better than polyester. I tie it over the elastic, not instead of it, because ribbon alone loosens as you move. Pick a color from your outfit and let the ends trail. It works on sleek, wavy or braided tails and feels right in spring and summer.
15. Twisted Side Ponytail
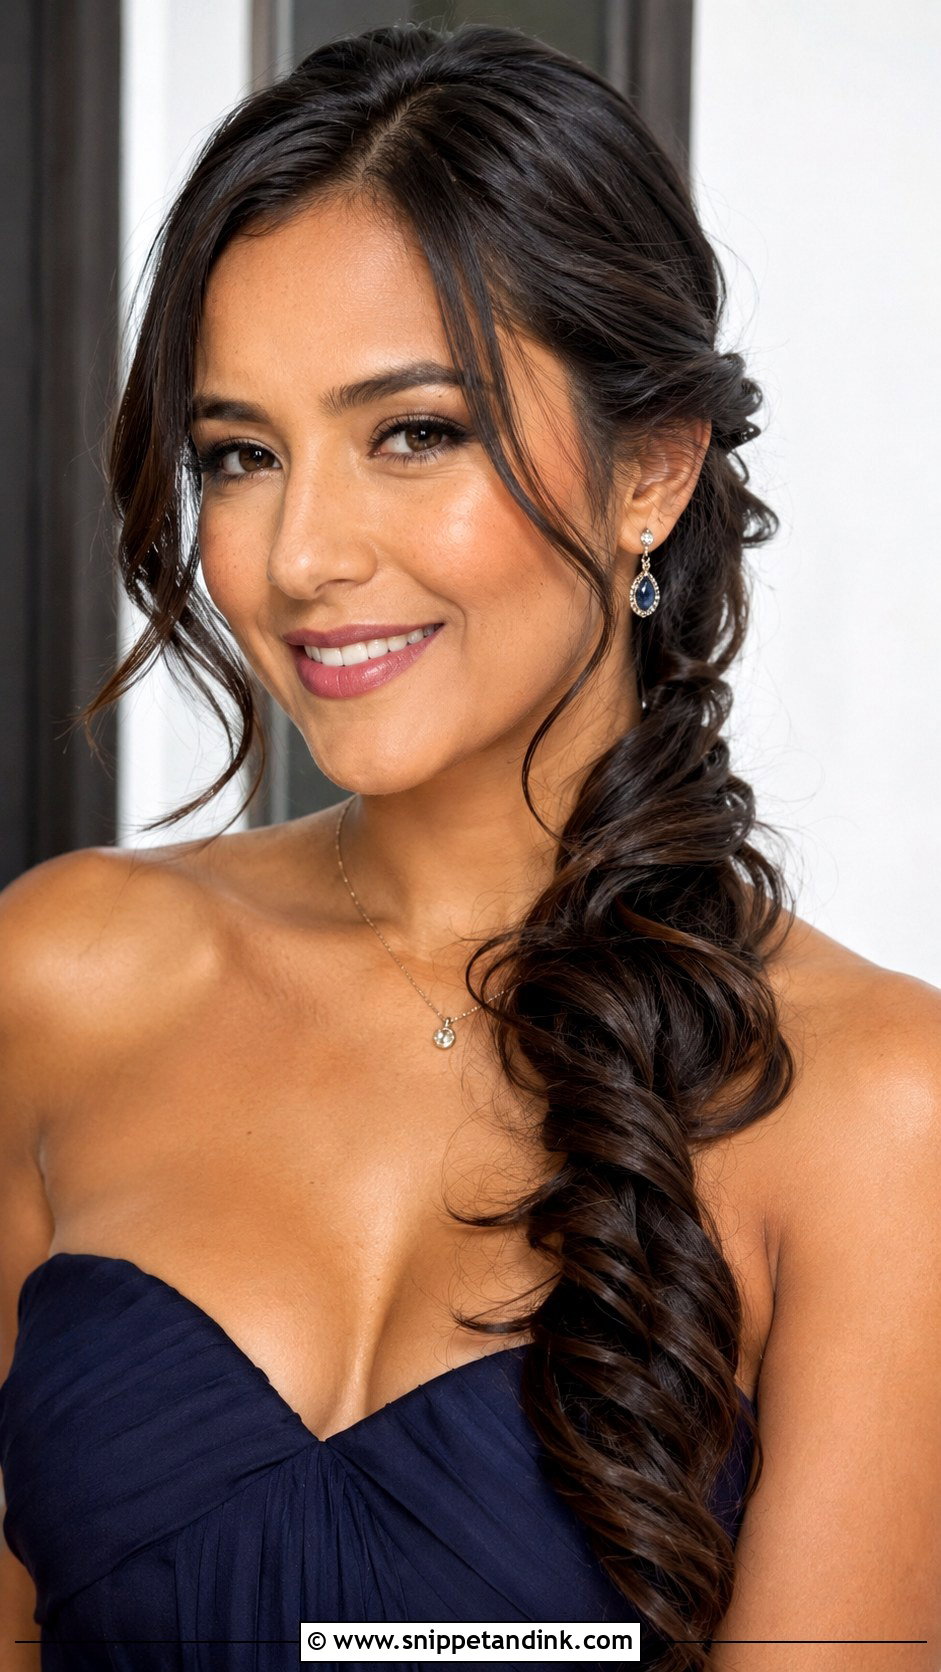
Twisting sections toward one side and gathering them over the shoulder gives structure and a romantic shape. I pin each twist as I go, crossing two pins in an X so they lock, because side styles carry their weight unevenly and a single pin will slip. It’s suitable for formal and semi-formal weddings. A decorative pin where the twists meet the tail covers the join, and a few loose tendrils soften the face.
16. Sleek Ponytail with Deep Part
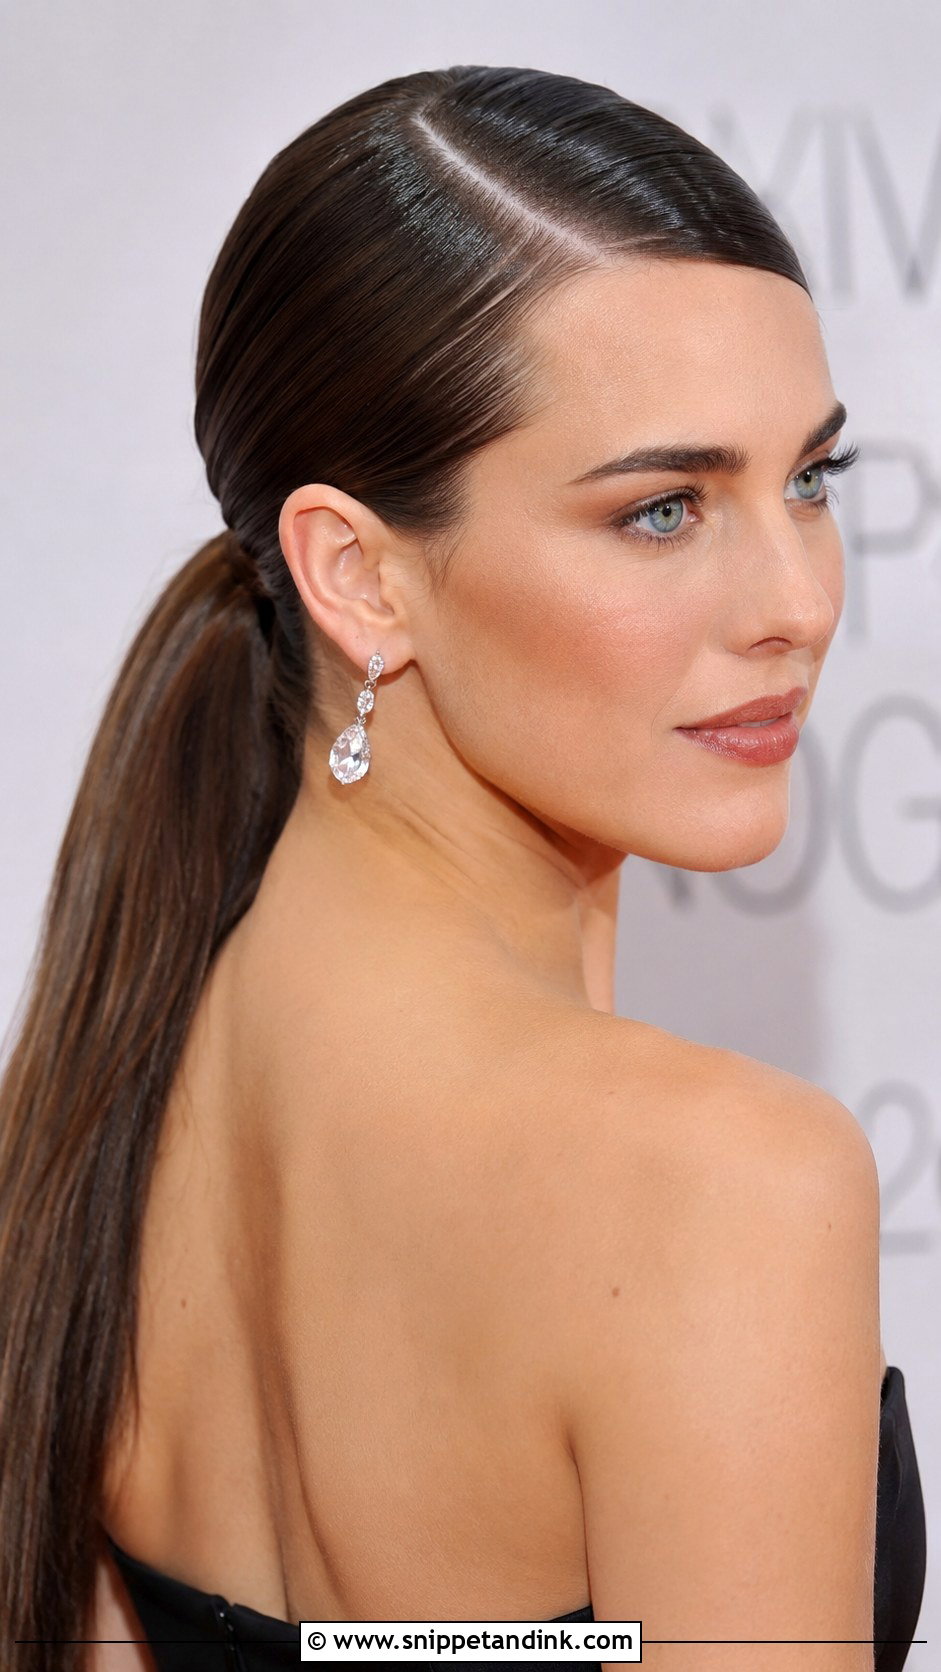
A deep side part changes a sleek ponytail from classic to fashion-led. Part the hair far to one side, then smooth it back into a low or high tail. I use a little gel or pomade along the part for a polished shine, and I lay the heavier side flat with a clip while the product sets so it doesn’t lift. Wrap the base. It suits formal evening weddings and city venues, and it looks best with a strong brow and minimal fuss elsewhere.
17. Messy Textured Ponytail
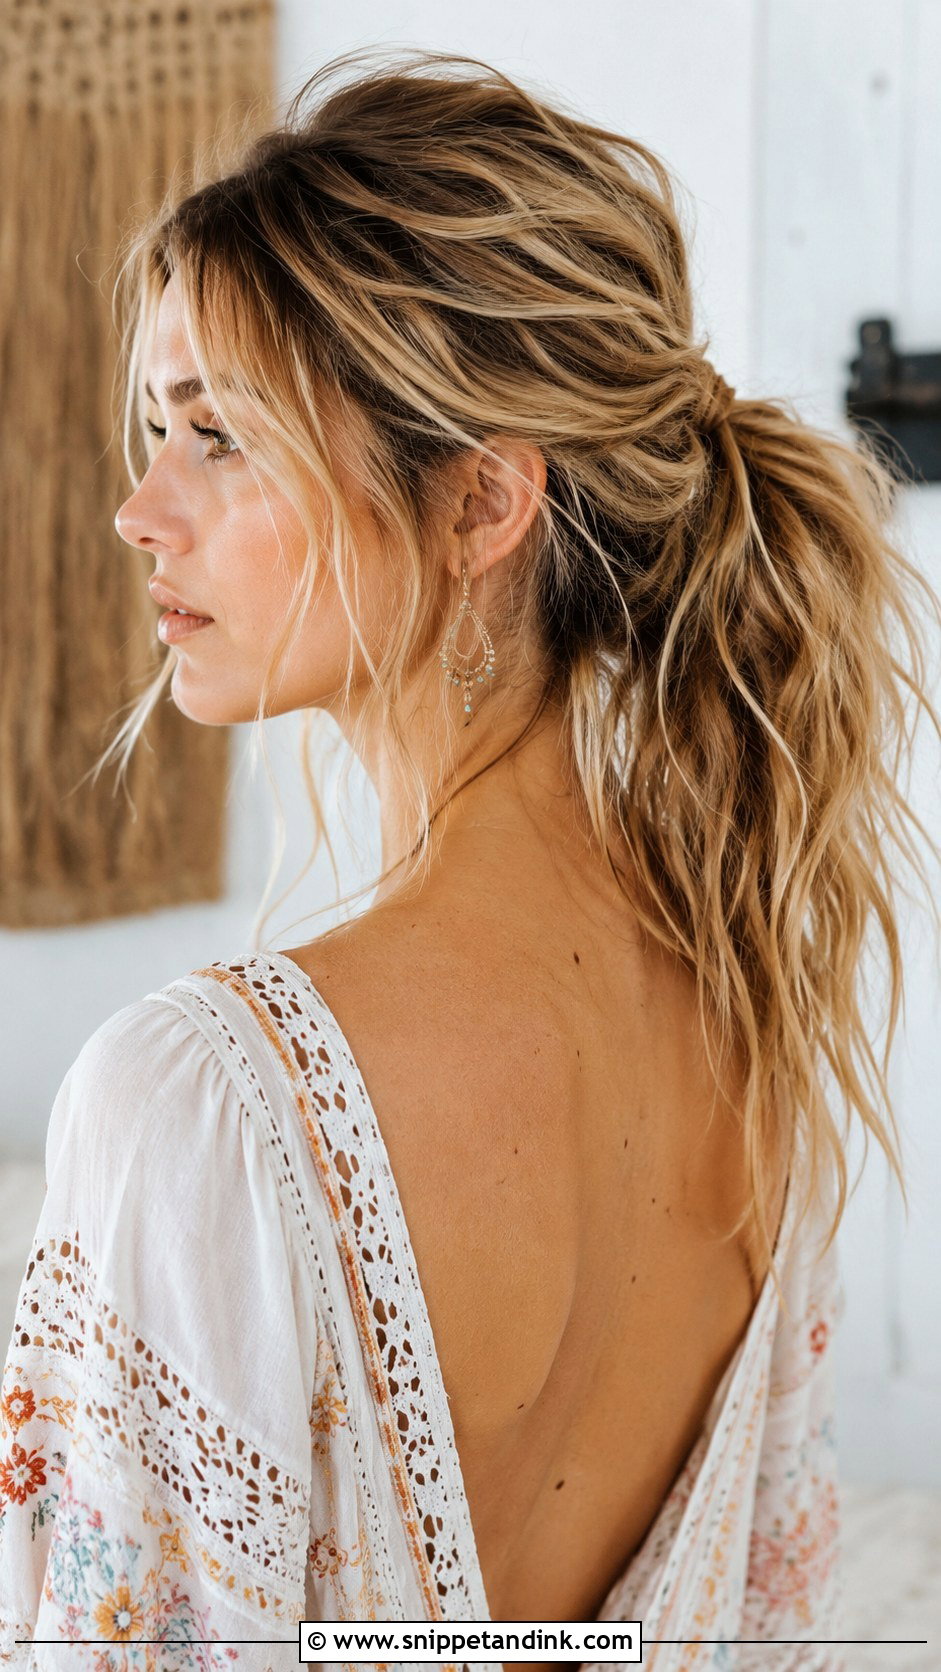
A messy ponytail takes more planning than it looks. I prep with texture spray, rough-dry the hair, then gather it and pull out a few pieces at the face and crown. Because the mess is deliberate, I keep the base itself tight so the style doesn’t actually come apart. It suits boho and casual outdoor weddings. Add a small braid or twist if you want detail, but leave it if not; overworking it is what turns it from relaxed to unkempt.
18. Knotted Ponytail
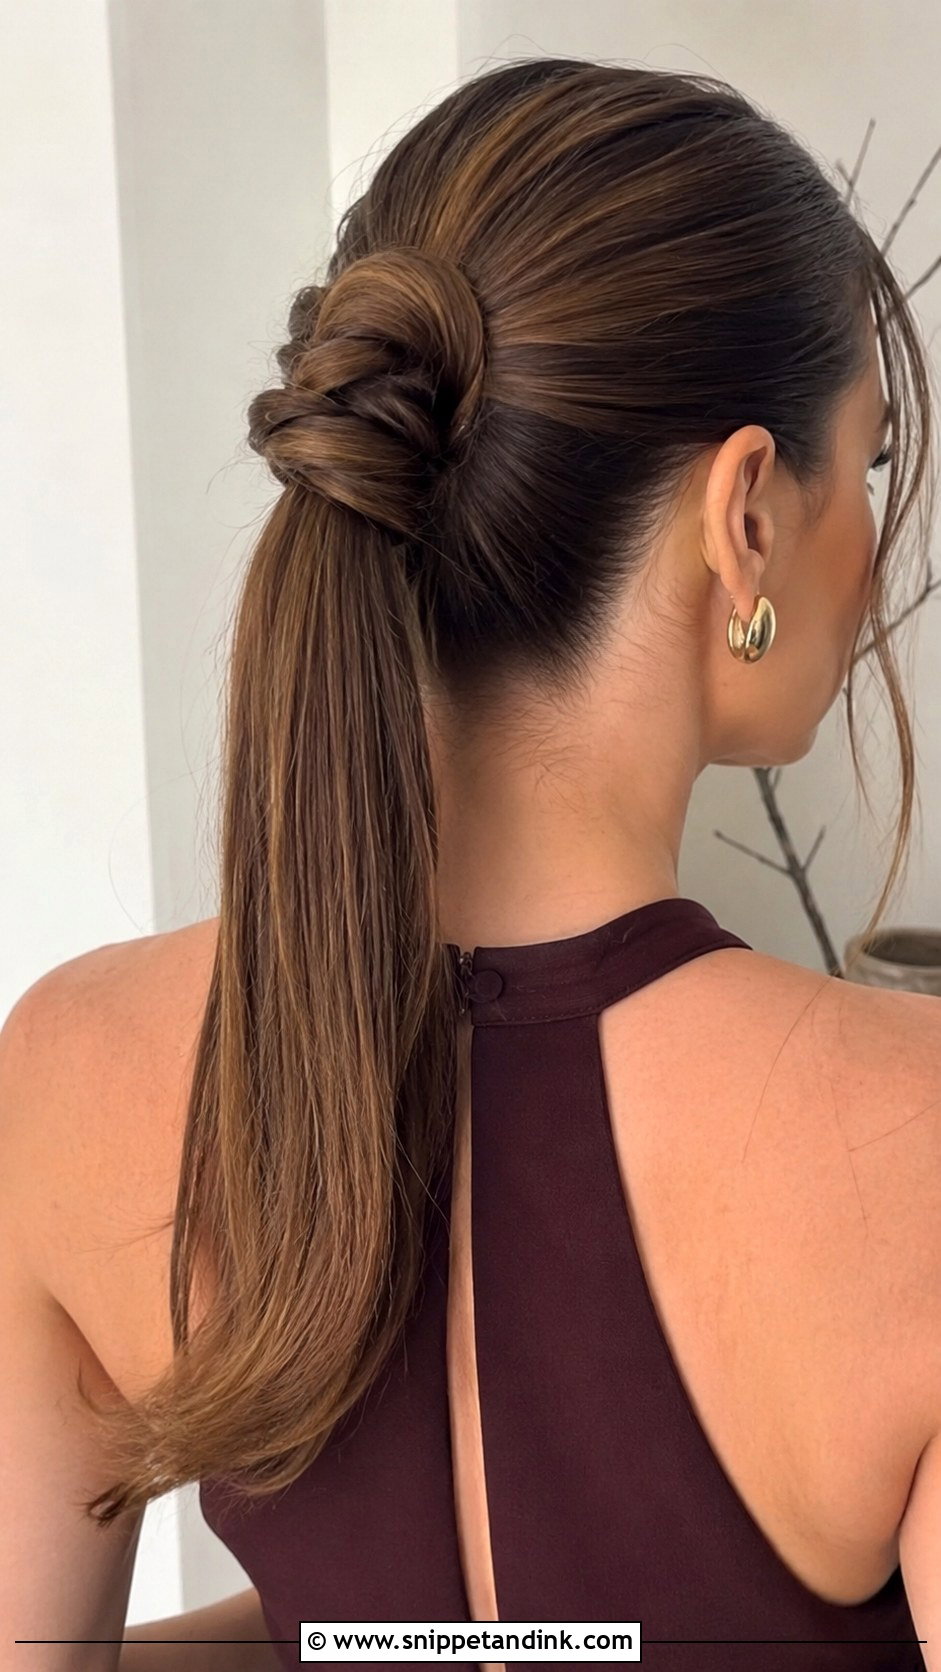
Splitting the hair into two sections and tying them into one or two loose knots before securing gives the tail a focal point. It works best on long, healthy hair; knots in fine or damaged hair can pull and leave kinks for days. Keep the rest smooth or softly waved to balance the knots, and pin the ends neatly. It’s a quietly creative choice for a modern wedding.
19. Low Ponytail with Face-Framing Pieces
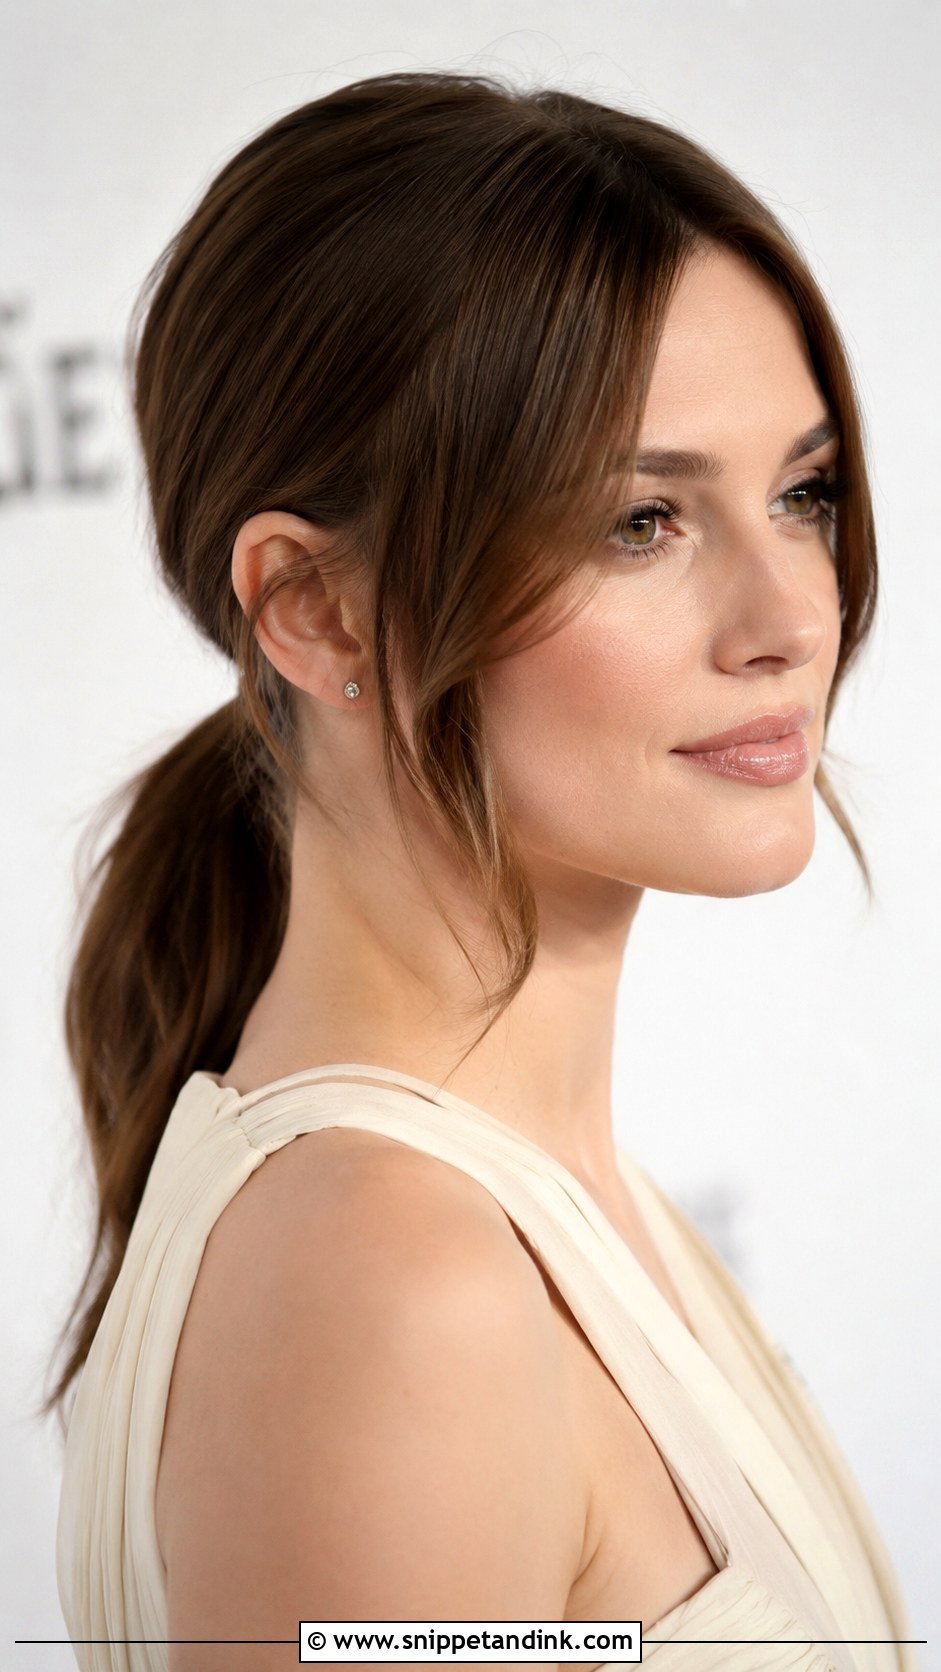
Most guests look better with a few pieces left out, and this is the style that proves it. Pull most of the hair into a smooth low tail and leave curtain pieces at the front. I decide how many pieces to leave by looking at your hairline: a strong widow’s peak needs softer, longer pieces, while a high forehead suits fuller ones. Curl them away from the face, wrap the base, and it works at nearly every kind of wedding.
20. Fishtail Ponytail
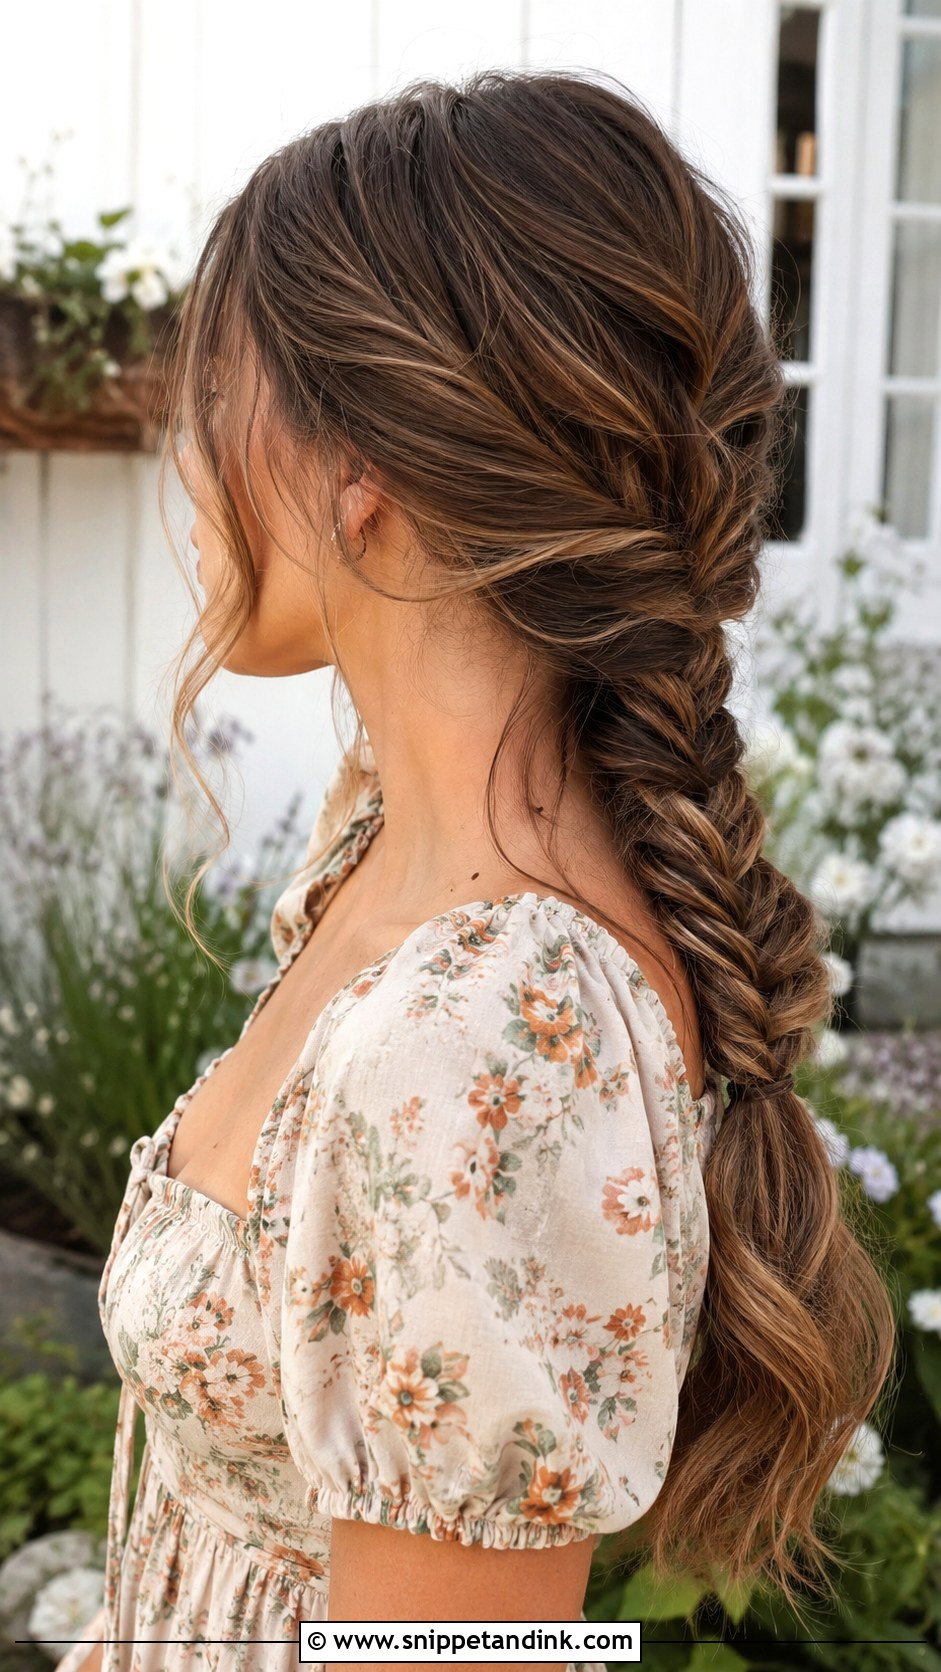
A fishtail looks complicated, but it’s just two sections and repeated small crossovers from the outside edge. The smaller the pieces, the finer the weave. I braid it tight, secure with a clear elastic, then pull the edges outward to widen it. It suits outdoor, rustic and garden weddings and holds well for dancing. Fine hair benefits from texture spray before braiding, otherwise the weave looks thin.
21. High Ponytail with Curls
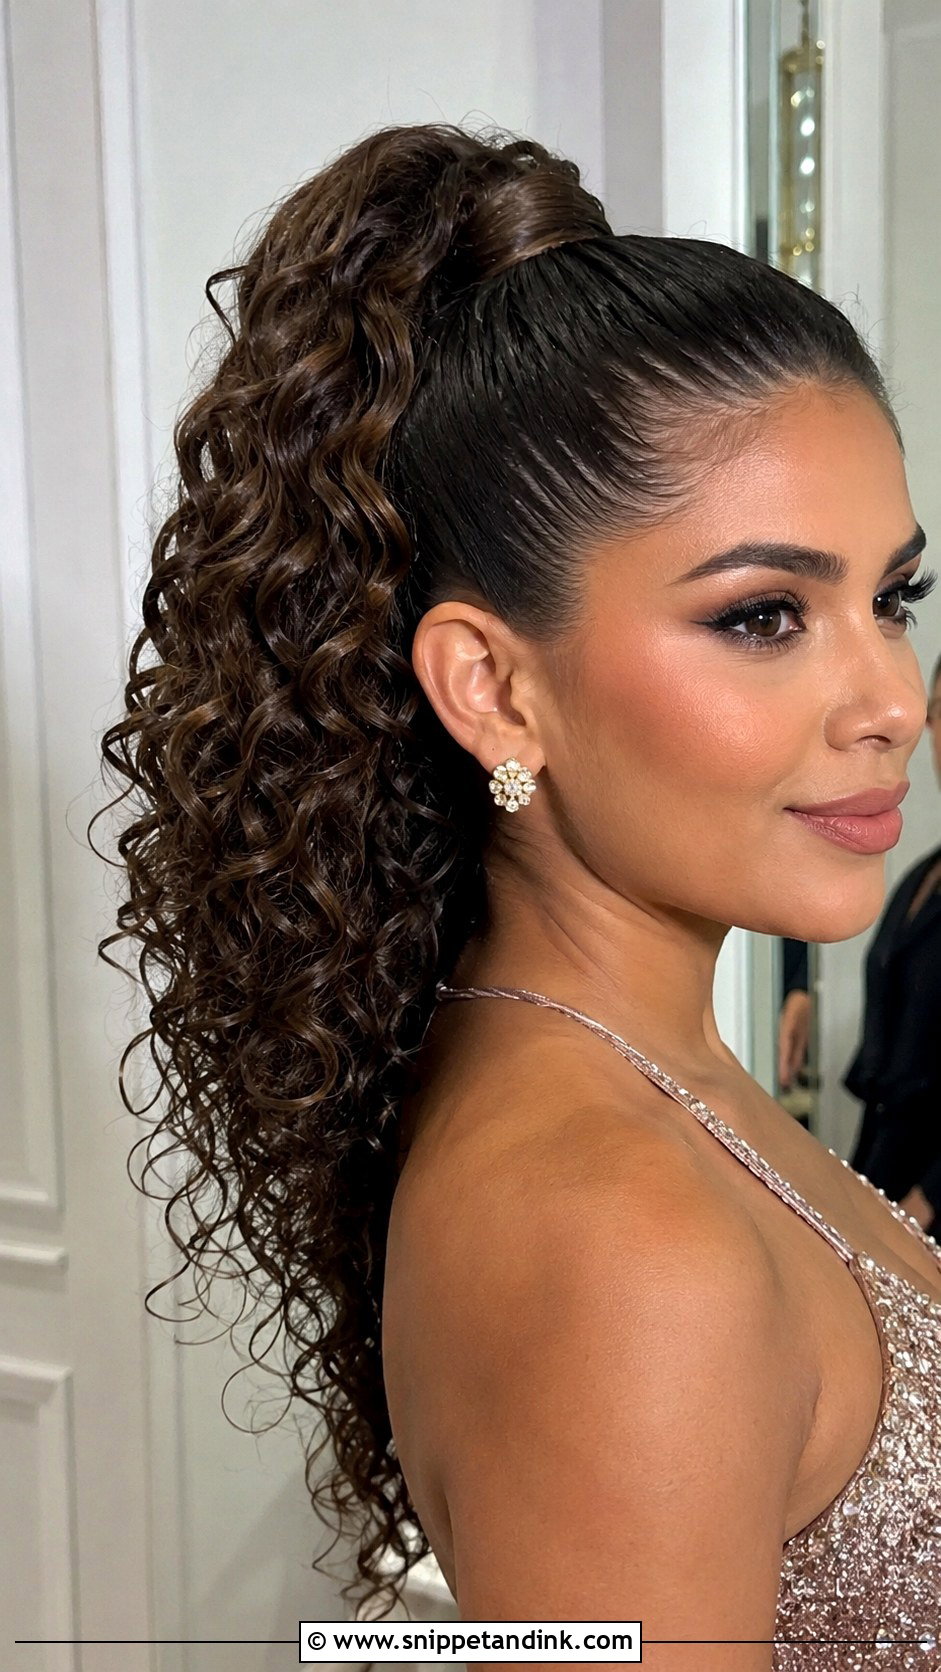
A high ponytail with curls has real energy, which makes it a good reception style. I curl the hair before putting it up, not after, because curling in the tail pulls on the base and loosens it. Secure high on the crown, wrap the base, separate the curls with your fingers and finish with a flexible hairspray. Heavy curls on a high tail can drag, so for very long hair I add a second elastic slightly below the first to share the weight.
22. Sleek Ponytail with Gold Accessories
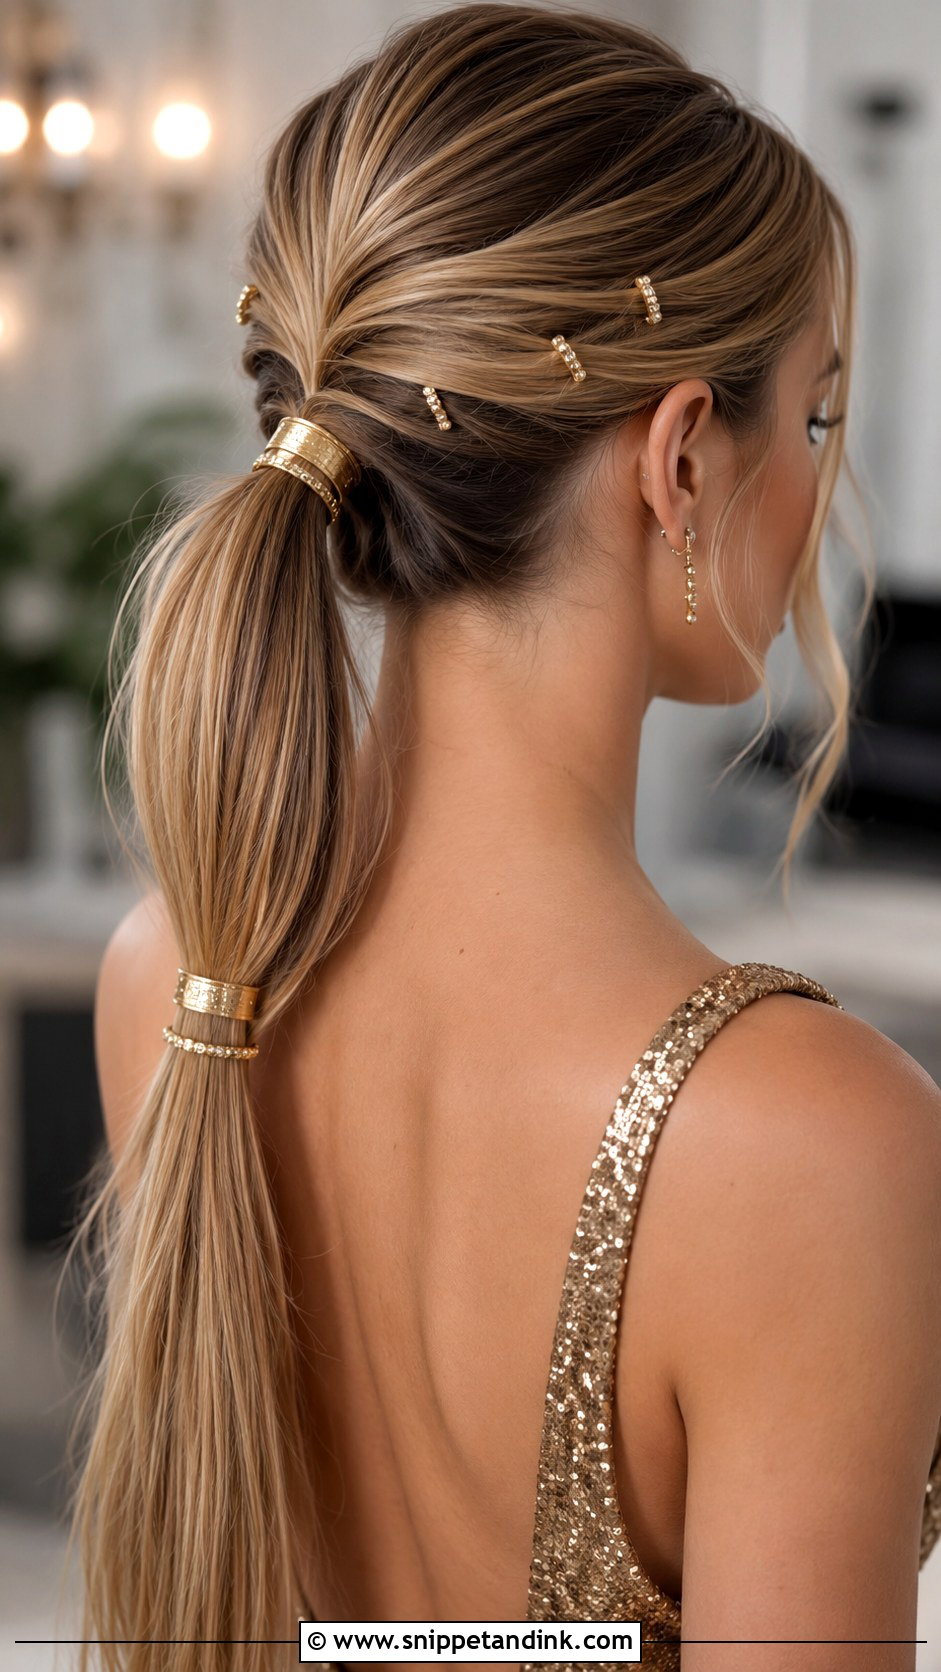
Gold pins, cuffs or a fine chain on a sleek tail add a bit of shine for formal and upscale weddings. Keep the base sleek so the metal stands out, and match it to your jewelry. Hair cuffs need to fit snugly; I size them to the tail before the event, because a loose cuff slides down by the speeches. The style is simple to build, and the accessories do the work.
23. Braided Half-Up Ponytail
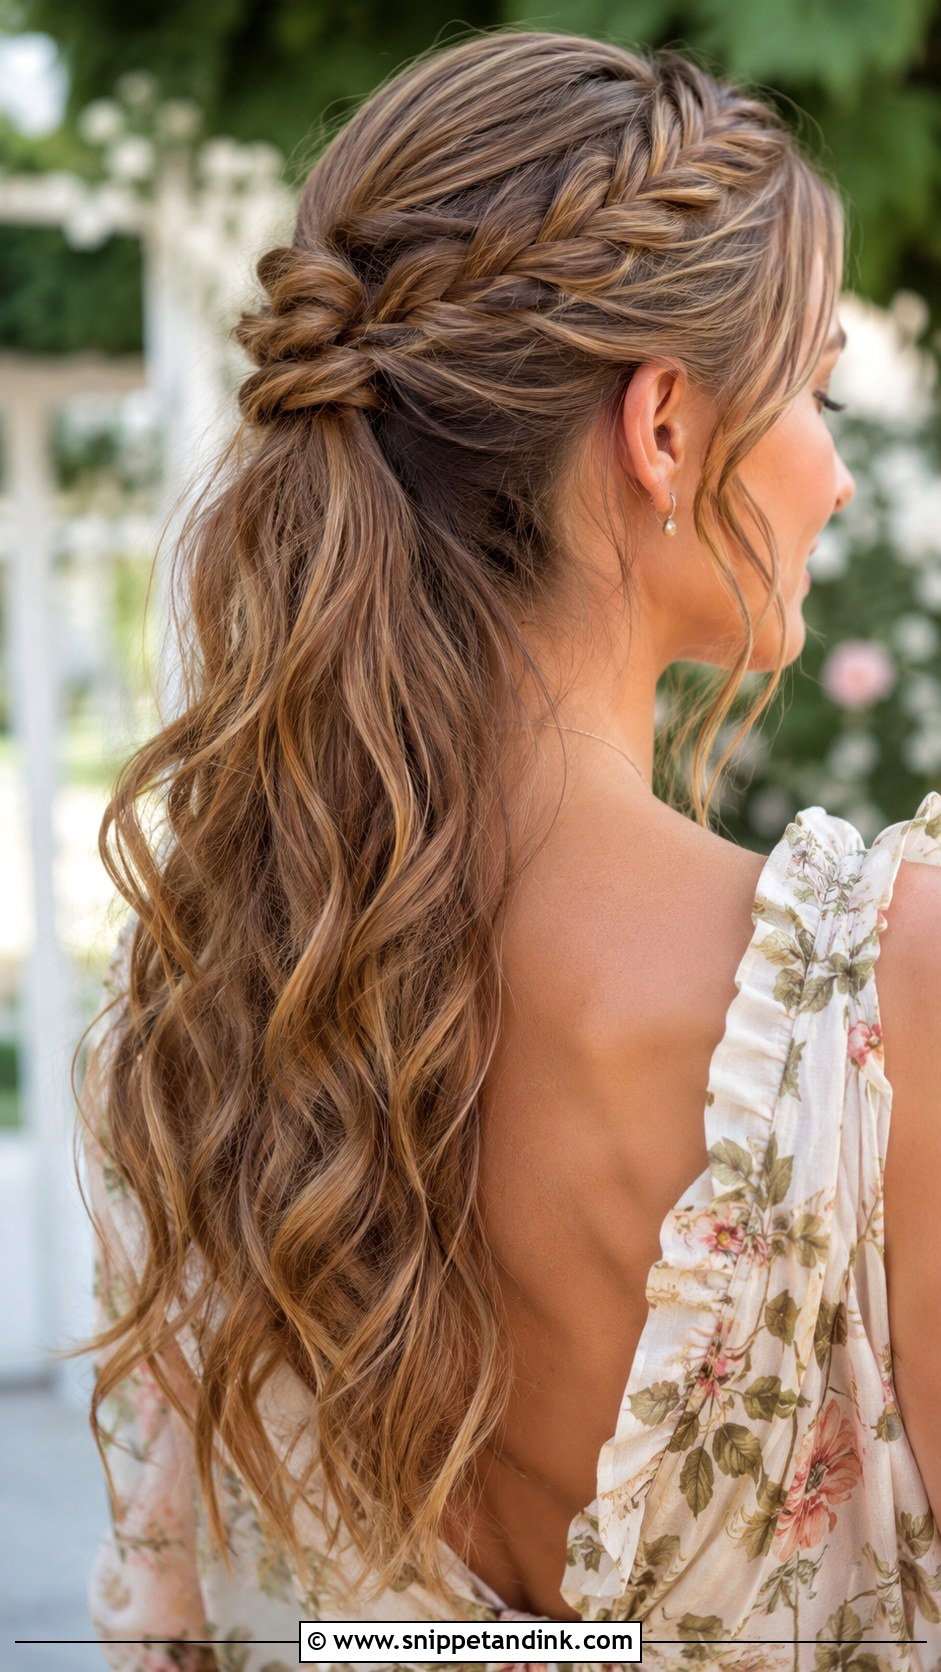
Braid the top sections, then gather them into a half-up tail while the rest hangs loose. The braids keep hair off the face and add detail. I braid the two sides slightly toward the back of the head so they meet neatly at the tail instead of bunching. Leave the lower half wavy and pull the braids a little loose. It’s well suited to garden and boho weddings.
24. Low Ponytail with Scarf
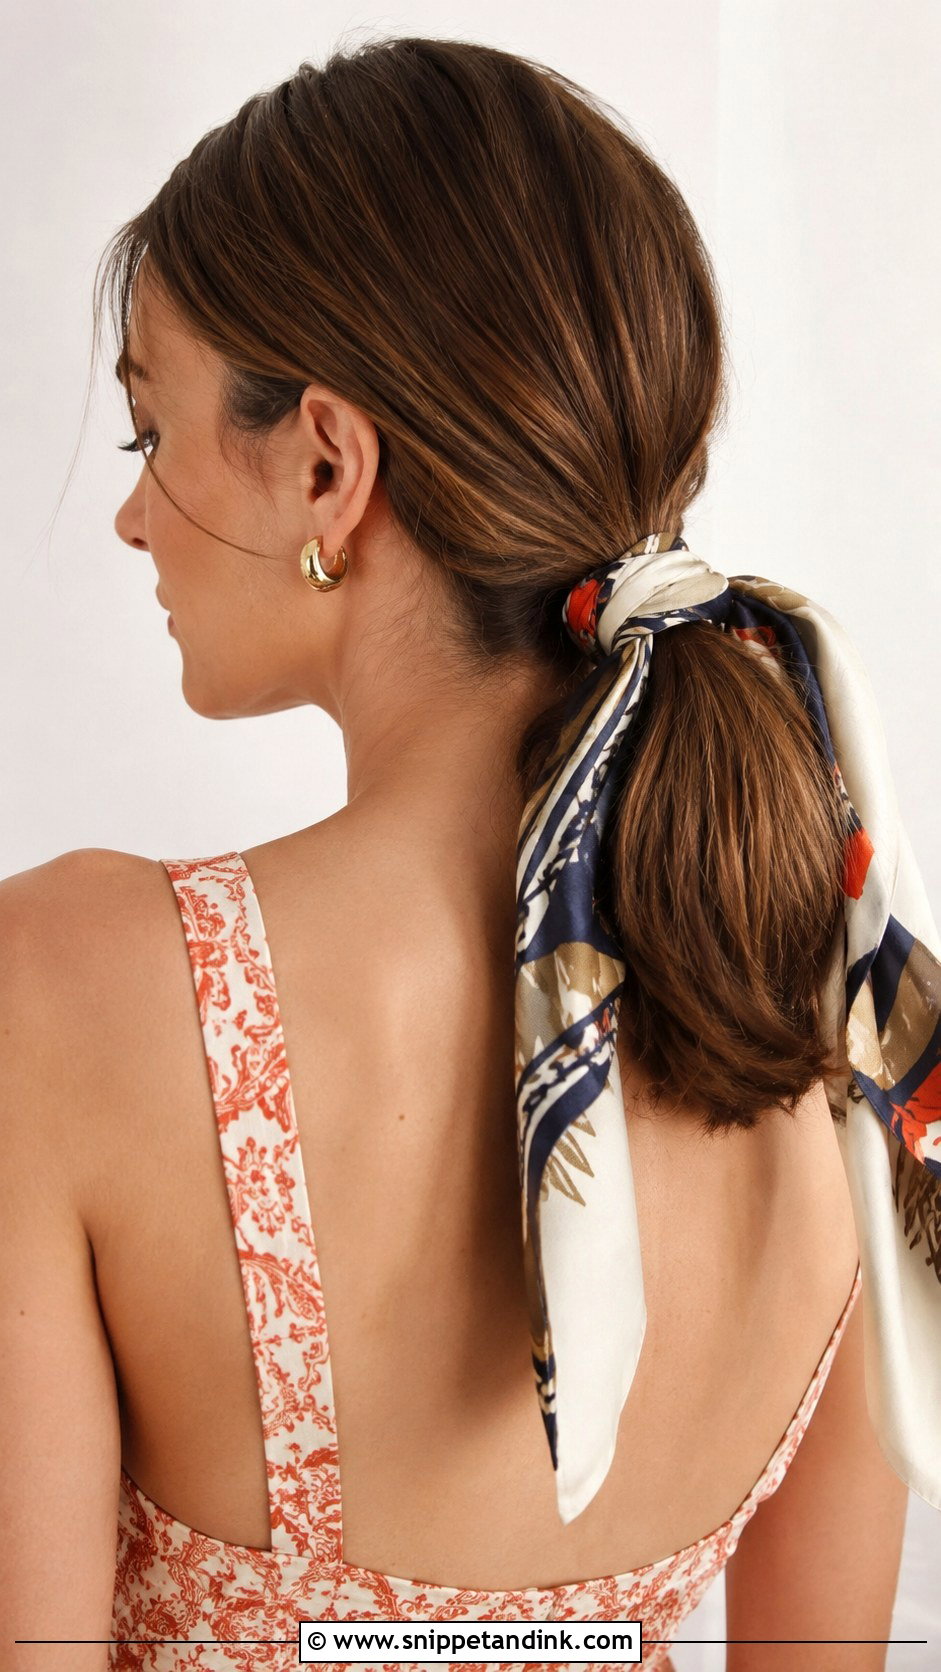
A silk scarf tied at the base of a low ponytail has a vintage, slightly retro feel. Let the ends trail or wind them down the tail. Real silk grips less than polyester, so I secure the tail with an elastic first and then tie the scarf over it. Pick colors from your outfit. It works best at trend-led, retro or outdoor weddings, and the ponytail underneath should be smooth so the scarf stays the focus.
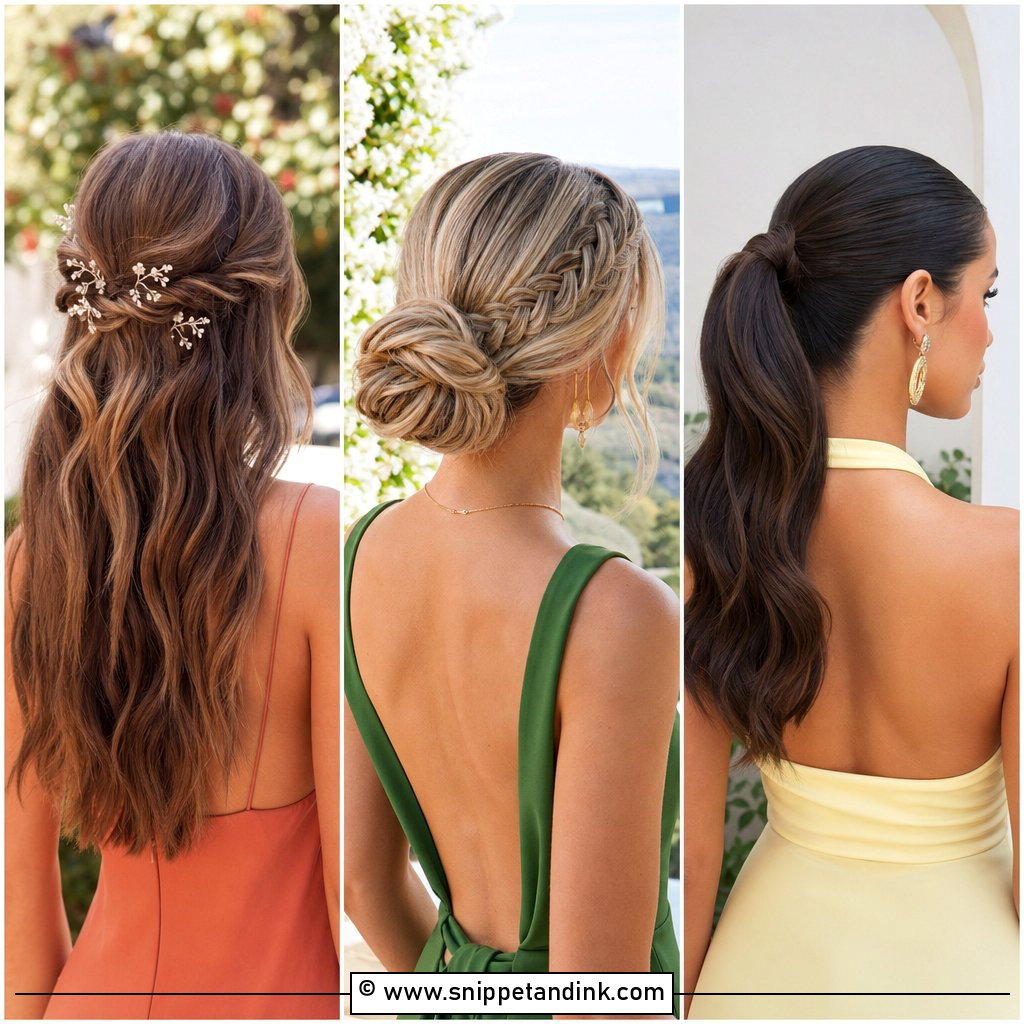
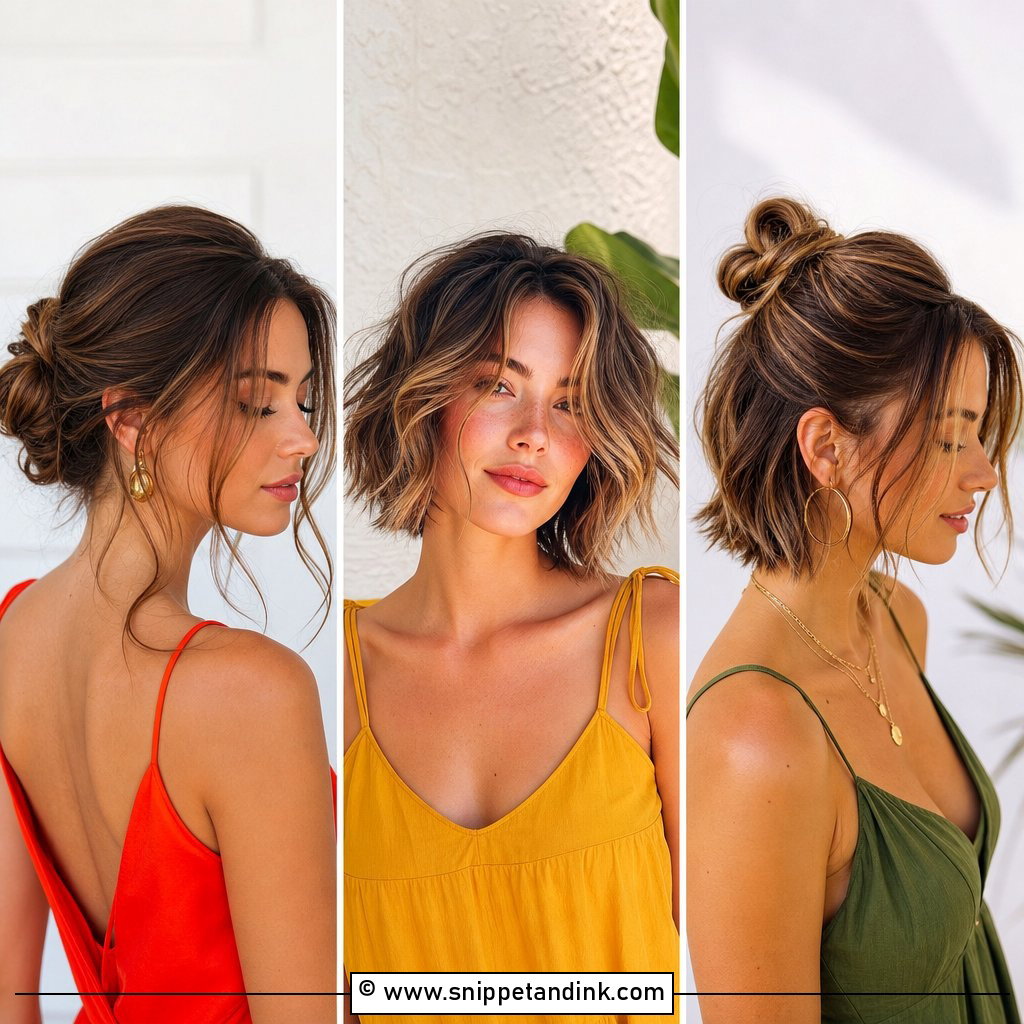
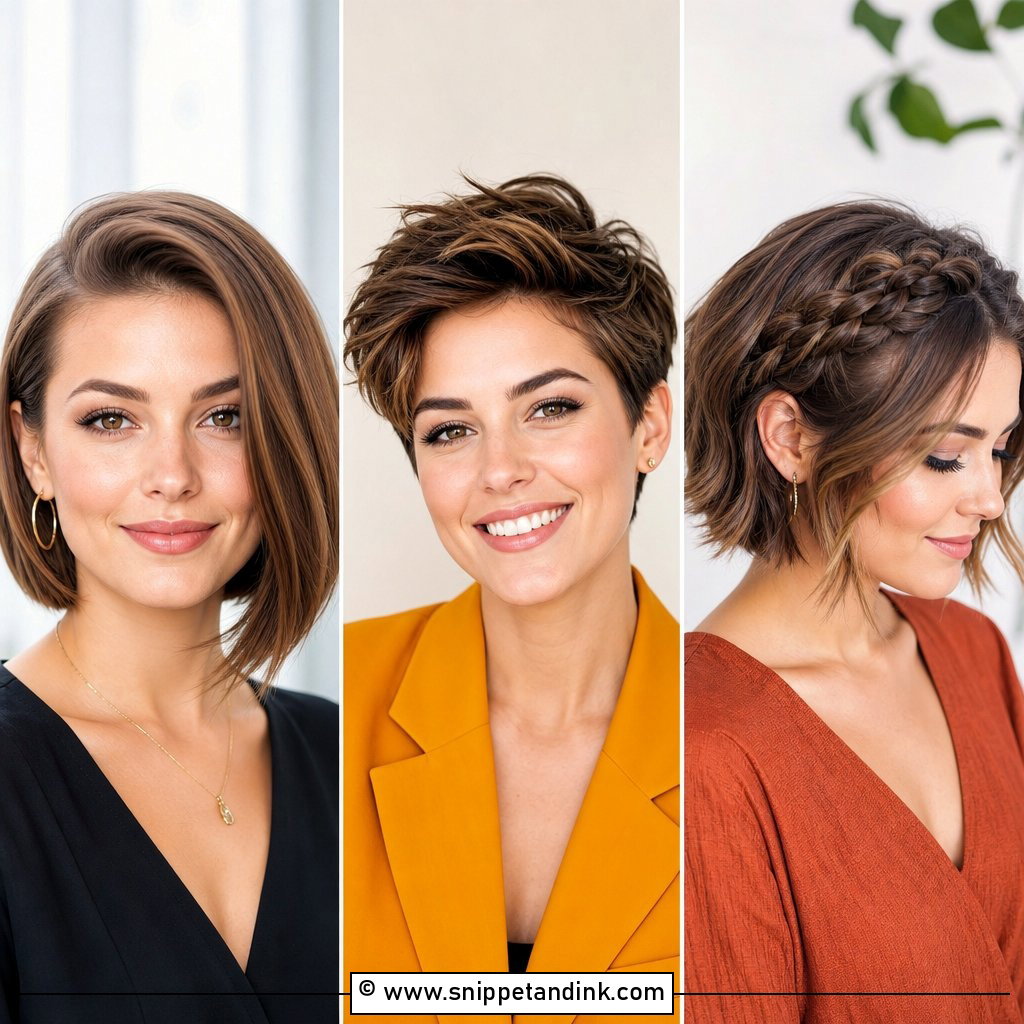
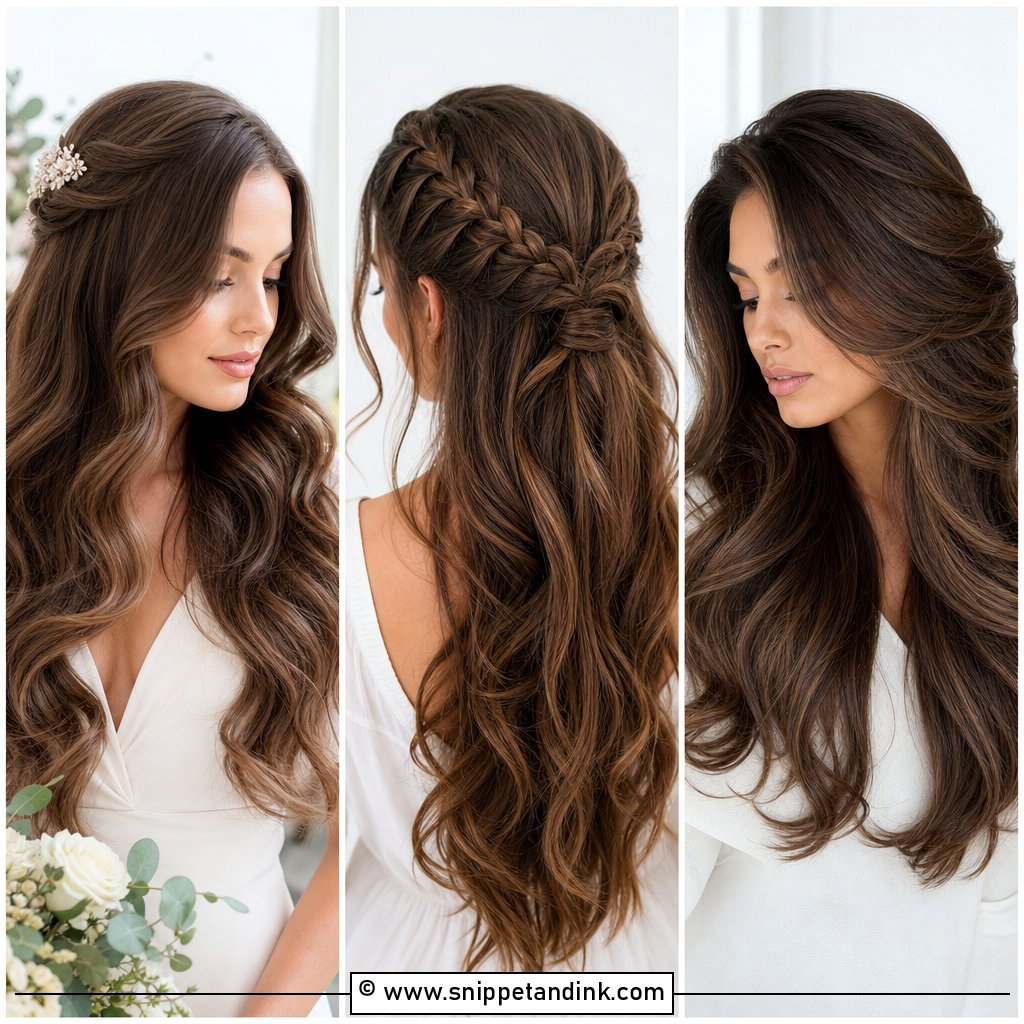
25. Romantic Twisted Low Ponytail
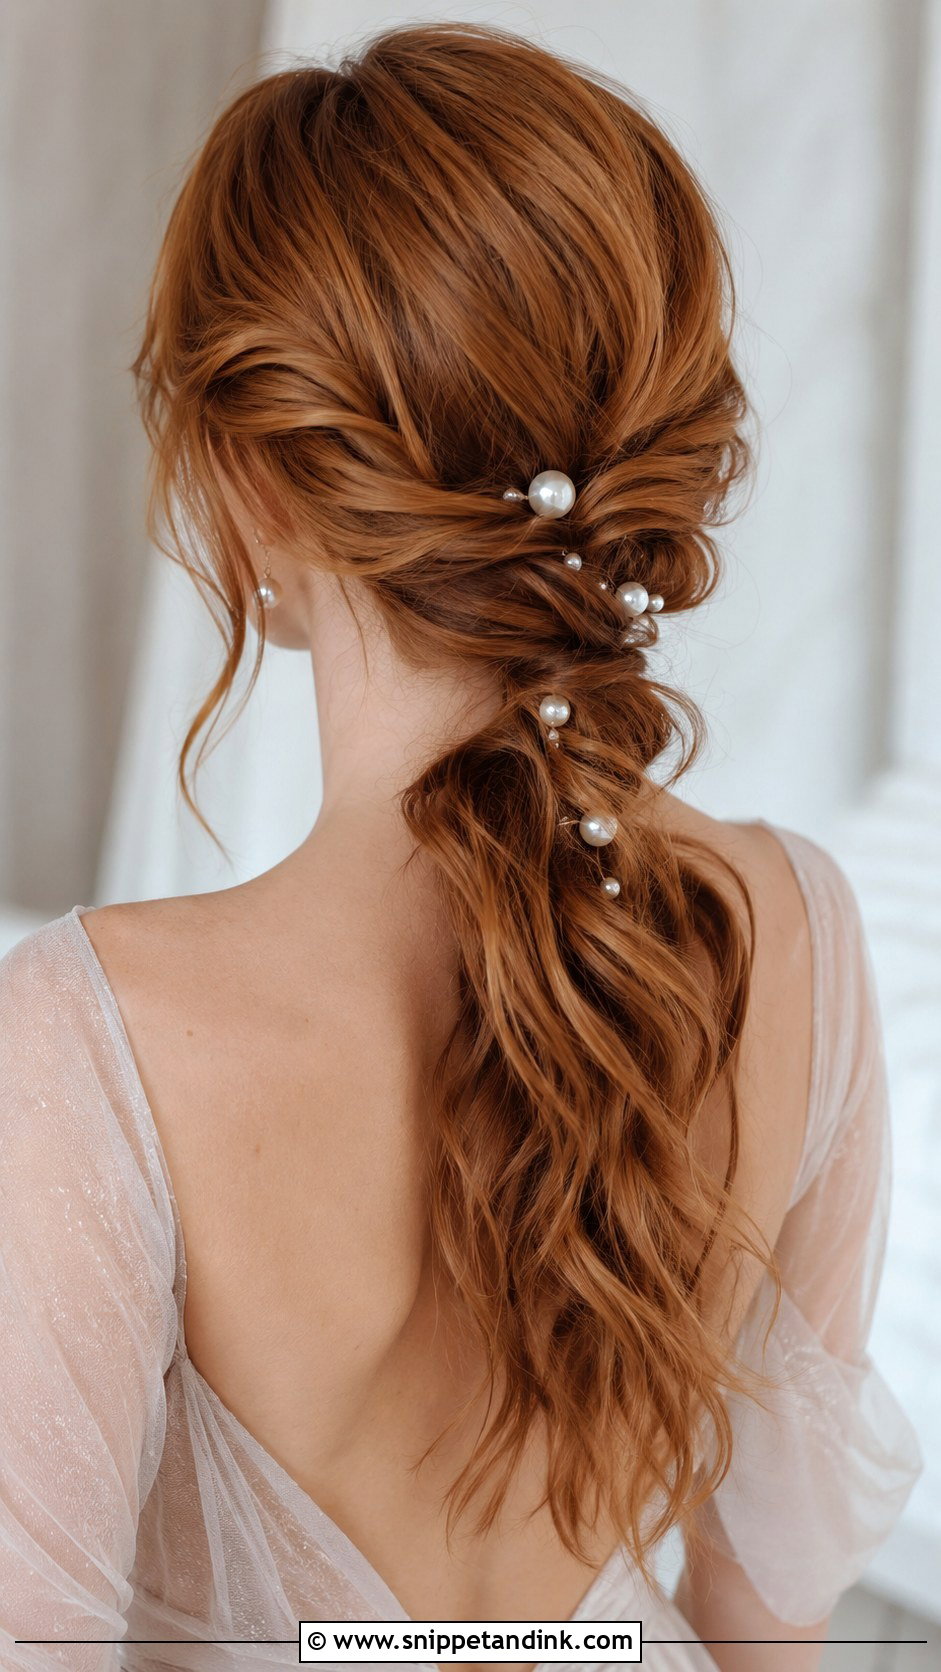
This one is a softer, looser version of the twisted ponytail: twist sections from both sides back to the nape, gather them into a low tail, then gently loosen the twists so they look relaxed. A few pearl pins or a small flower suit it, and loose pieces at the face keep it soft. It’s well suited to evening receptions. I’d book a trial if you have layers above the chin, because those are the pieces that escape the twists first.
Short Layers, Fine Ends and Very Heavy Lengths
Not every head of hair wants to go into a ponytail the same way, and a few small changes save a lot of frustration.
Layers shorter than the tie point
These pieces fall out first. Lower the ponytail so more hair reaches it, or braid the sides back before gathering. A small amount of pomade on the short layers helps them stay tucked.
Fine or thinning hair
A wrapped base and a slightly lower tail make fine hair look fuller. A clip-in ponytail piece is worth considering if you want length; secure it to your own tail, not to loose hair, and match the color in daylight.
Long, thick or heavy hair
Weight is your problem. A high, tight tail on heavy hair can give you a headache by the evening. Choose a mid or low position, split the tail into stacked sections, and bring a spare elastic so you can loosen and re-tie it during the reception without starting from scratch.
A Ponytail That Still Has Shape at Midnight
A ponytail is the most adaptable wedding guest hairstyle I know. It suits most hair lengths and dress codes, and many of these versions can be done at home with a brush, a few elastics and a handful of pins. Start from your dress and the venue, decide on the height, then add only one detail: a braid, pearls, a ribbon or a wrap. Build the base properly and the rest of the style will look after itself.
You'll Like These Ideas:


Leave a Reply