
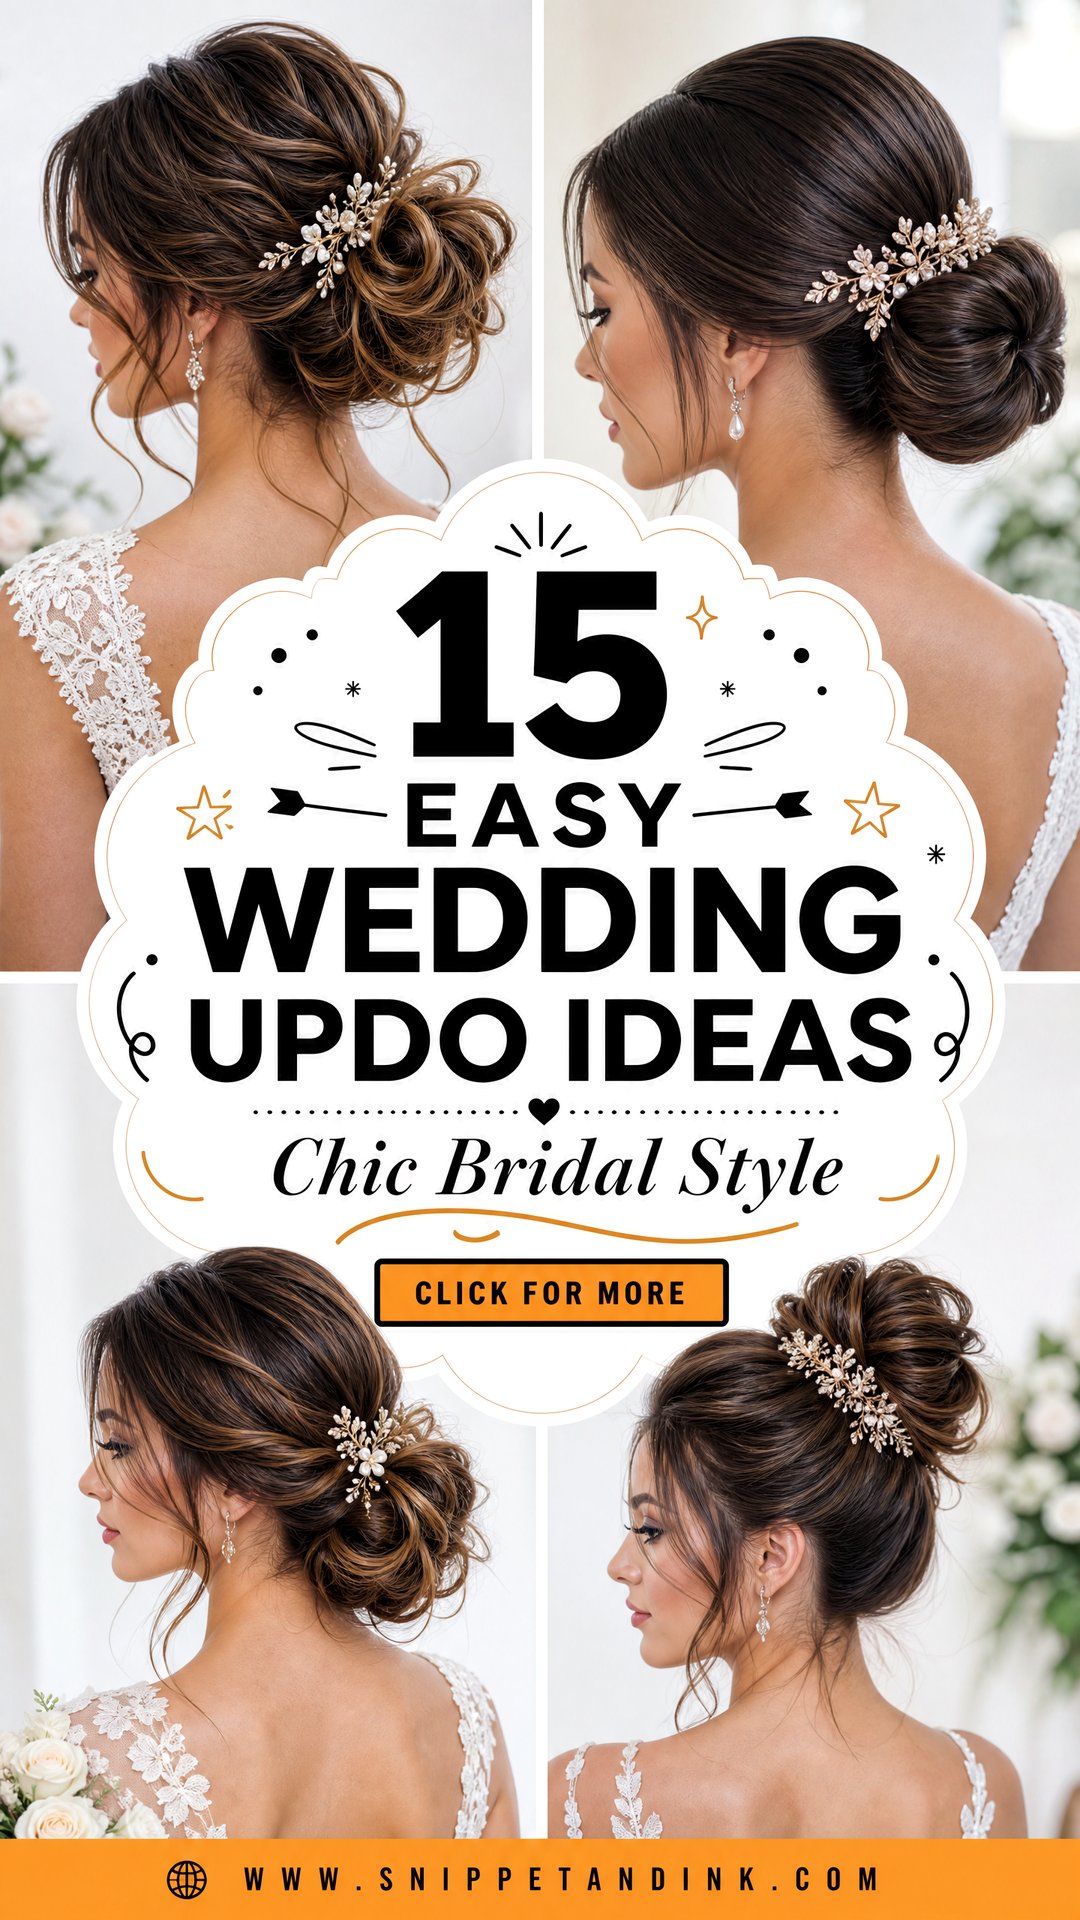
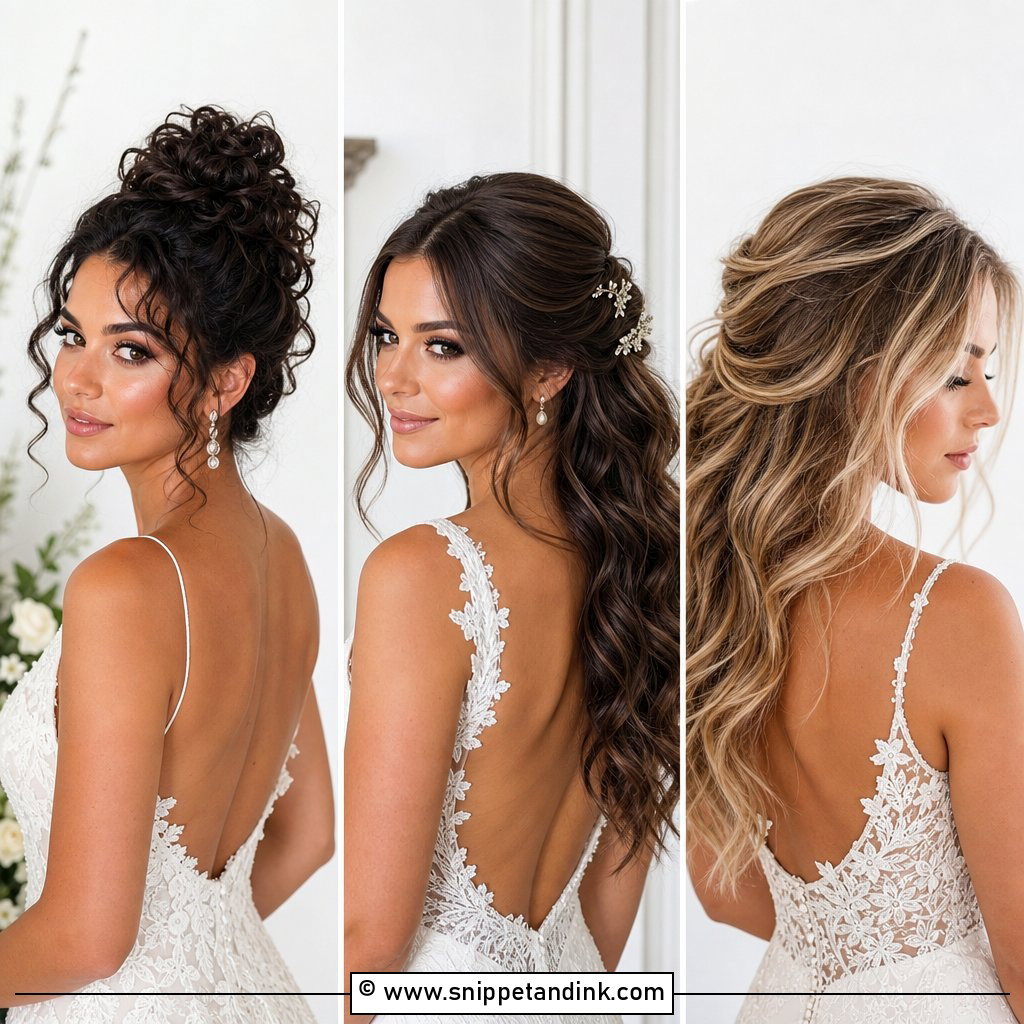
An updo is the closest thing wedding hair has to insurance. Pinned well, it doesn’t drop in the heat, it doesn’t end up in your mouth during the vows, and it’s still there after the third round of hugs. The updos I’m asked for most now aren’t stiff, though. Low buns with a few loose pieces, twisted chignons, braided crowns, curly pinned shapes and sleek knots all share a softness that older bridal hair didn’t have. A good one suits your neckline, veil and texture, and looks right from the back, which is the view your guests get for the whole ceremony. Each of the fifteen below can be described to a stylist in a sentence or two.
Clean Hair Slips, So Plan the Night Before
Freshly washed, silky hair is the hardest hair to pin. Pins slide out of it, twists unwind, and curls drop faster. Your own stylist will give you instructions, so follow those first, but here’s the logic I work from.
- Many stylists prefer hair washed the evening before or the morning before, rather than an hour before they arrive. A little natural grip helps.
- Use conditioner on the lengths only and skip heavy masks, oils and shine serums that week. They’re fine for loose hair and terrible for pin grip.
- Dry it completely, roots included. Damp roots make a bun sag and curls fall out within the first hour.
- Very fine hair often needs texture spray or dry shampoo worked through before pinning, even when it’s clean.
- Coily and tightly curled hair usually holds an updo best when it’s been stretched first, by blow-drying, braiding or banding the night before. Ask your stylist which they want.
If you’re colouring your hair before the wedding, I’d do it a week or two ahead rather than the day before. Fresh colour plus a deep-conditioning treatment is about as slippery as hair gets.
1. Low Bun Wedding Updo
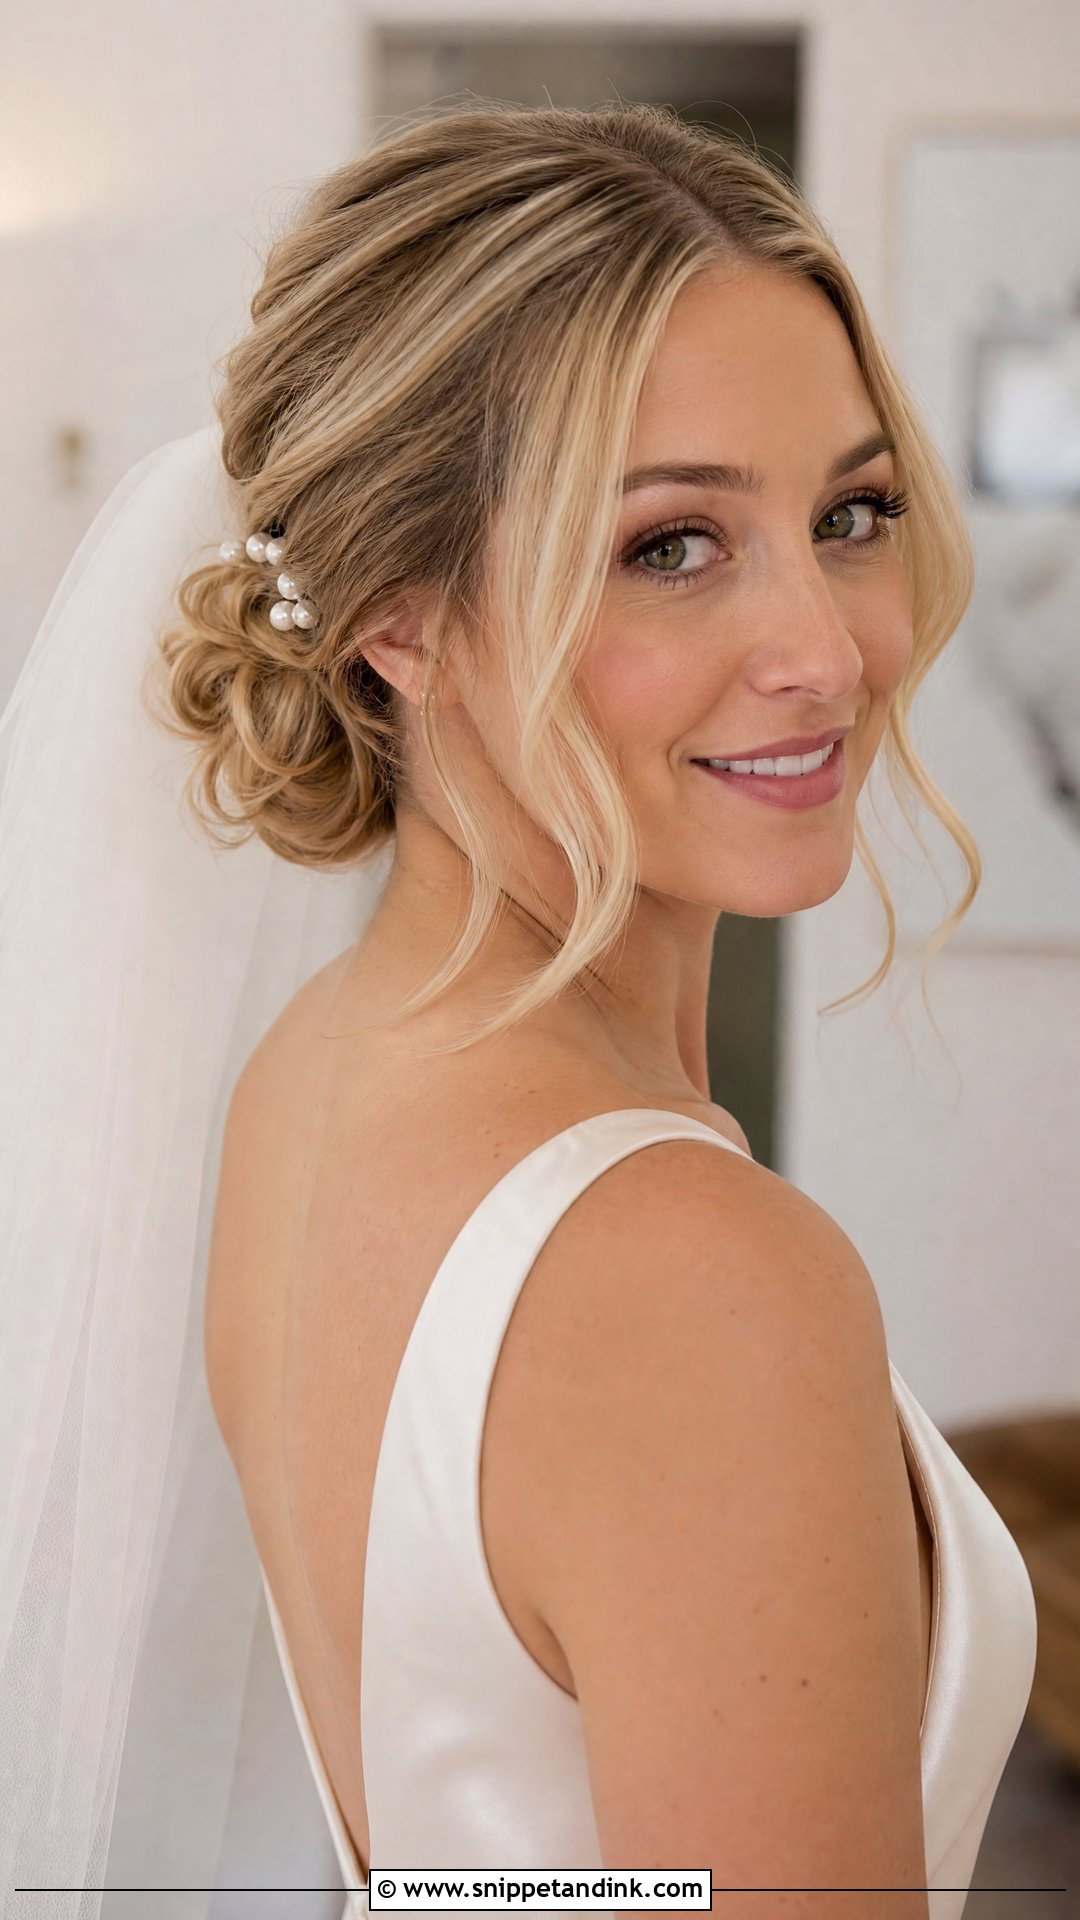
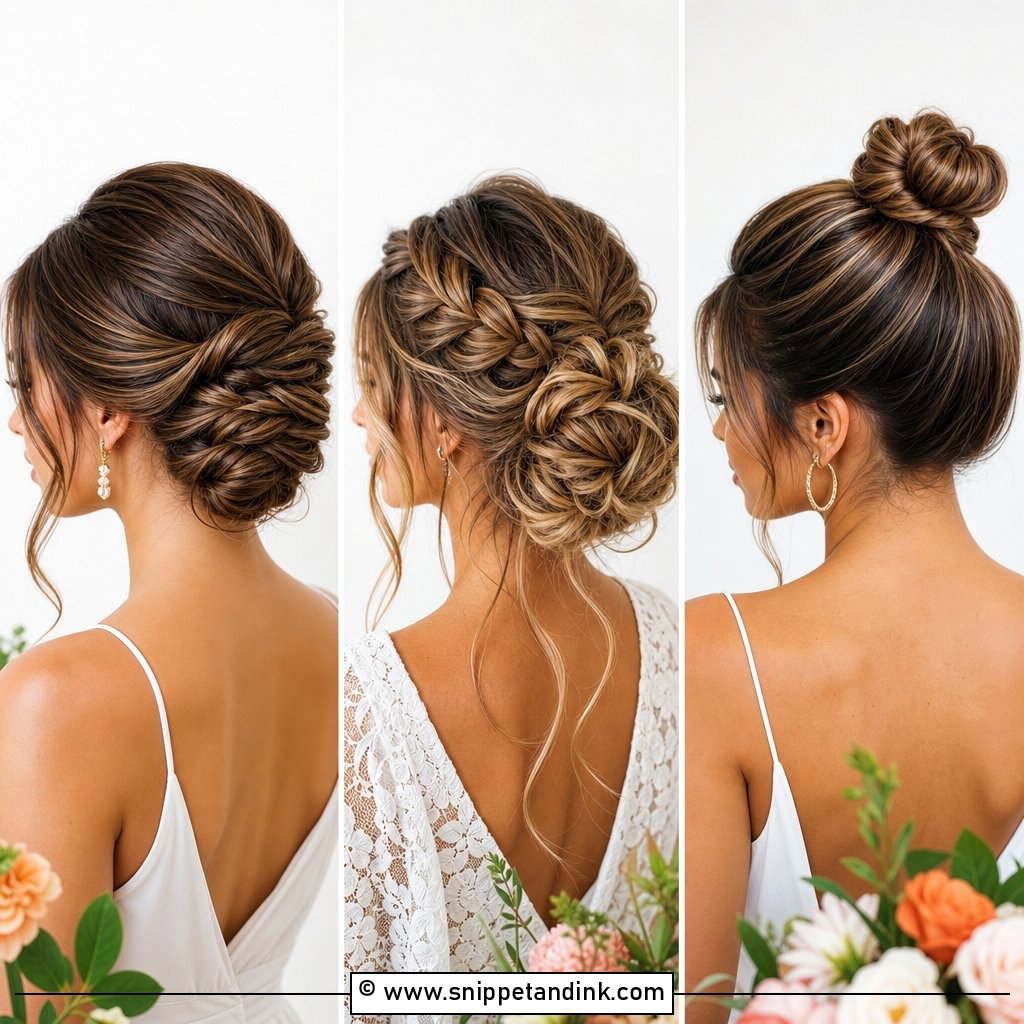
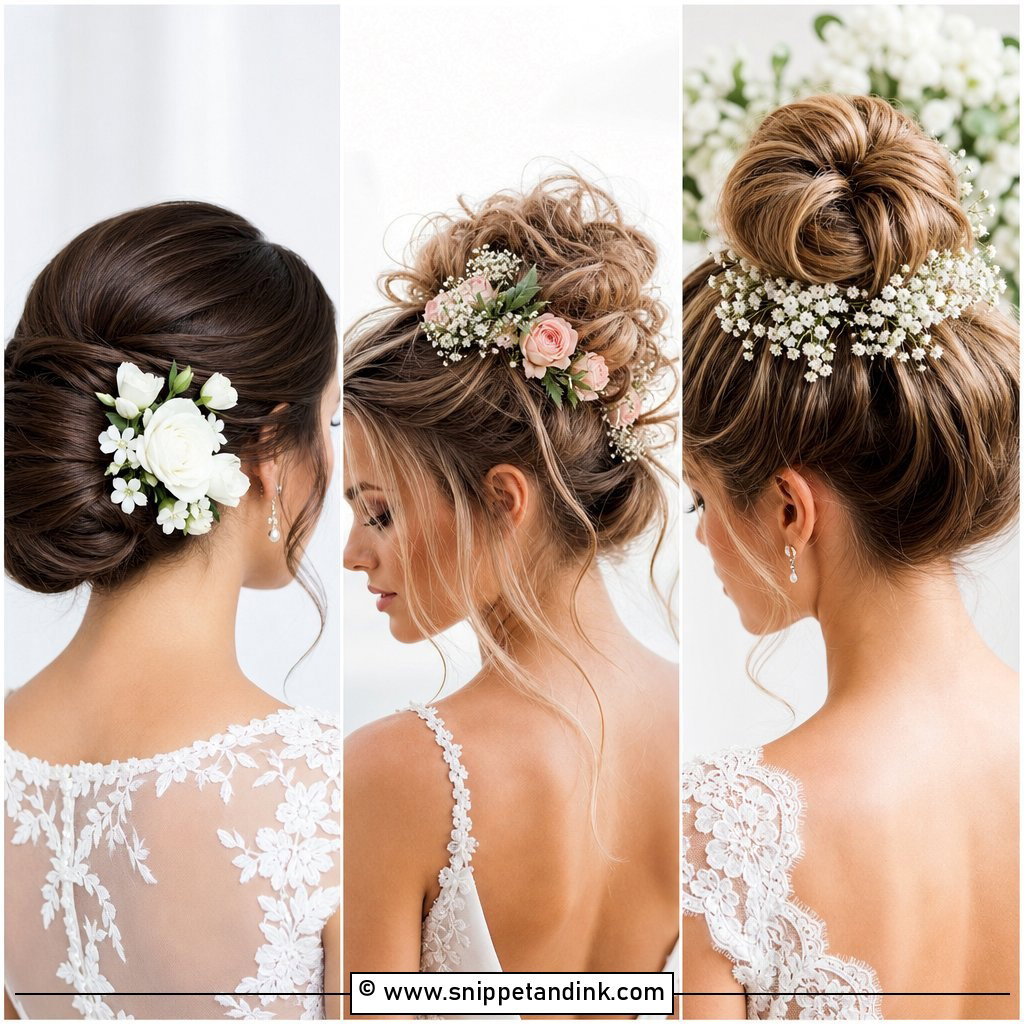
The low bun is the updo I’d put on almost any bride, because it sits at the nape where it balances a veil, a high neck or an open back equally well. It’s also the least tiring to wear over a long day: the weight rests on the neck instead of pulling at the scalp. Smooth suits a clean gown; a few gently pulled pieces read softer. I keep a little volume at the crown so the profile isn’t flat, then tuck a sheer veil just above the bun, where the comb has a solid base to grip.
2. Messy Bun Wedding Updo
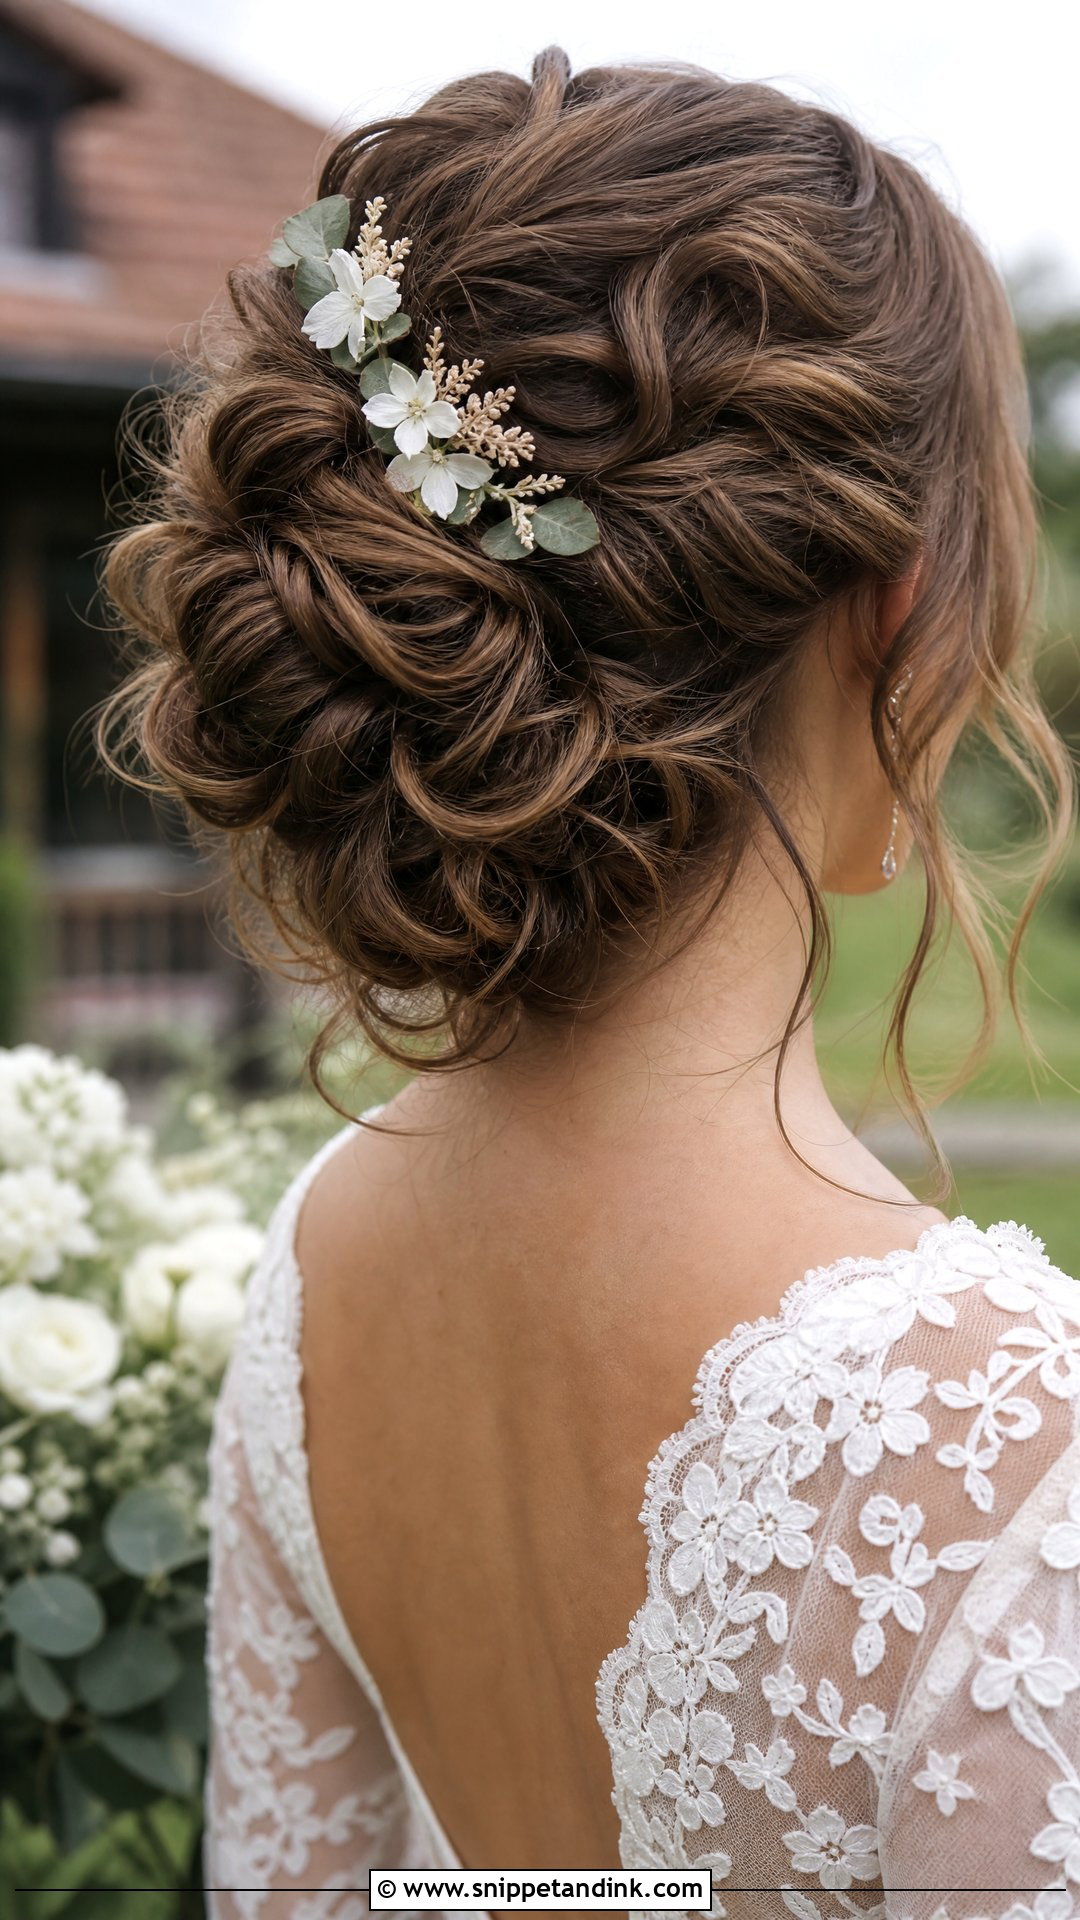
There’s nothing random about a good messy bun. Every loose loop is pinned, and the base underneath is as secure as a sleek one; the texture sits on top. That’s the difference between controlled softness and actual flyaways. Garden, beach and outdoor ceremonies suit it, and highlighted hair shows off its twists and curves particularly well. If you add detail, keep it small: tiny floral pins or a few pearls. Heavy ornaments flatten the airy shape that makes this look work in the first place.
3. Sleek Bun Wedding Updo
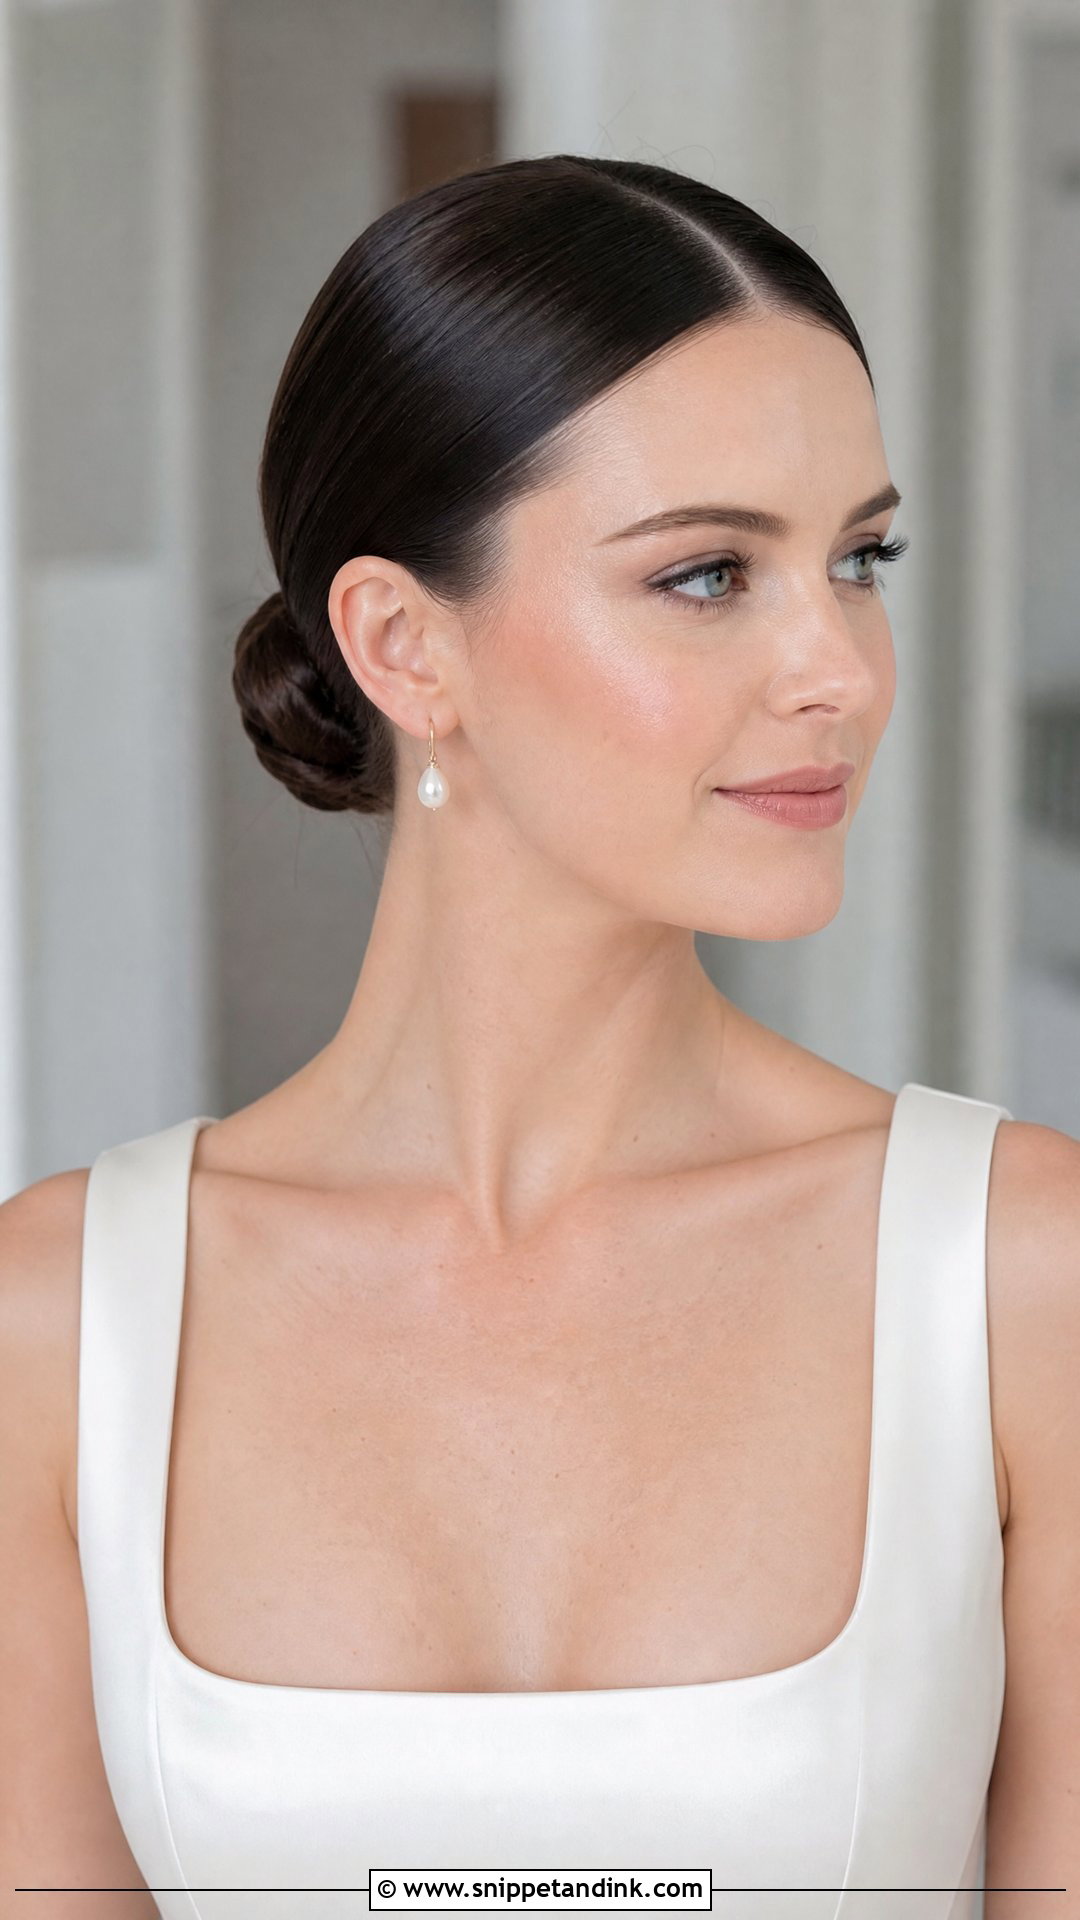
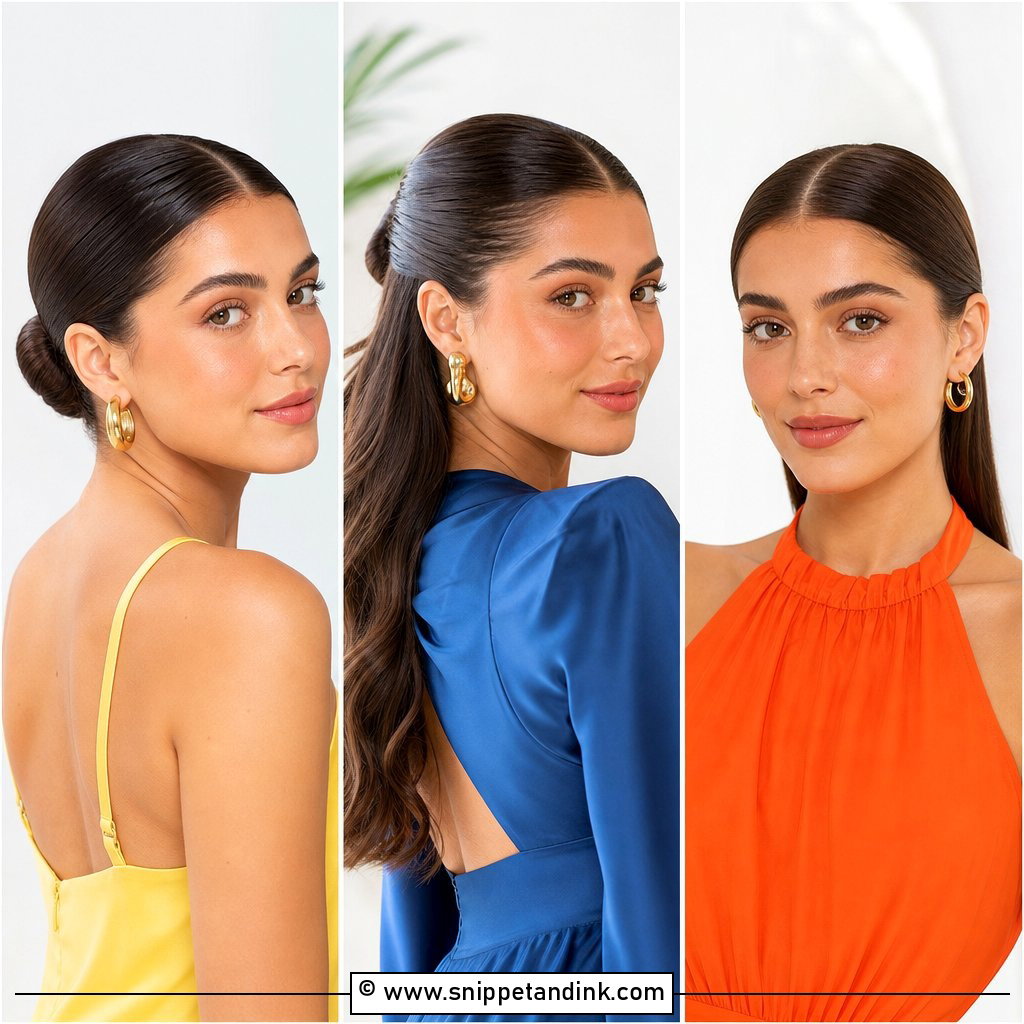
A sleek bun is the updo I recommend for humidity, since there are no loose curls to collapse. The hair is brushed smooth and gathered at the nape or a little higher, and the face, earrings and neckline take the attention. What makes or breaks it is prep: a smoothing product on damp hair and a careful blow-dry before it’s ever gathered. Finish with a shine product and a flexible hold spray. A center part looks fashion-led; a side part is gentler. On very fine hair, a sleek bun can look small, so I’d pad it slightly.
4. Twisted Chignon Wedding Updo
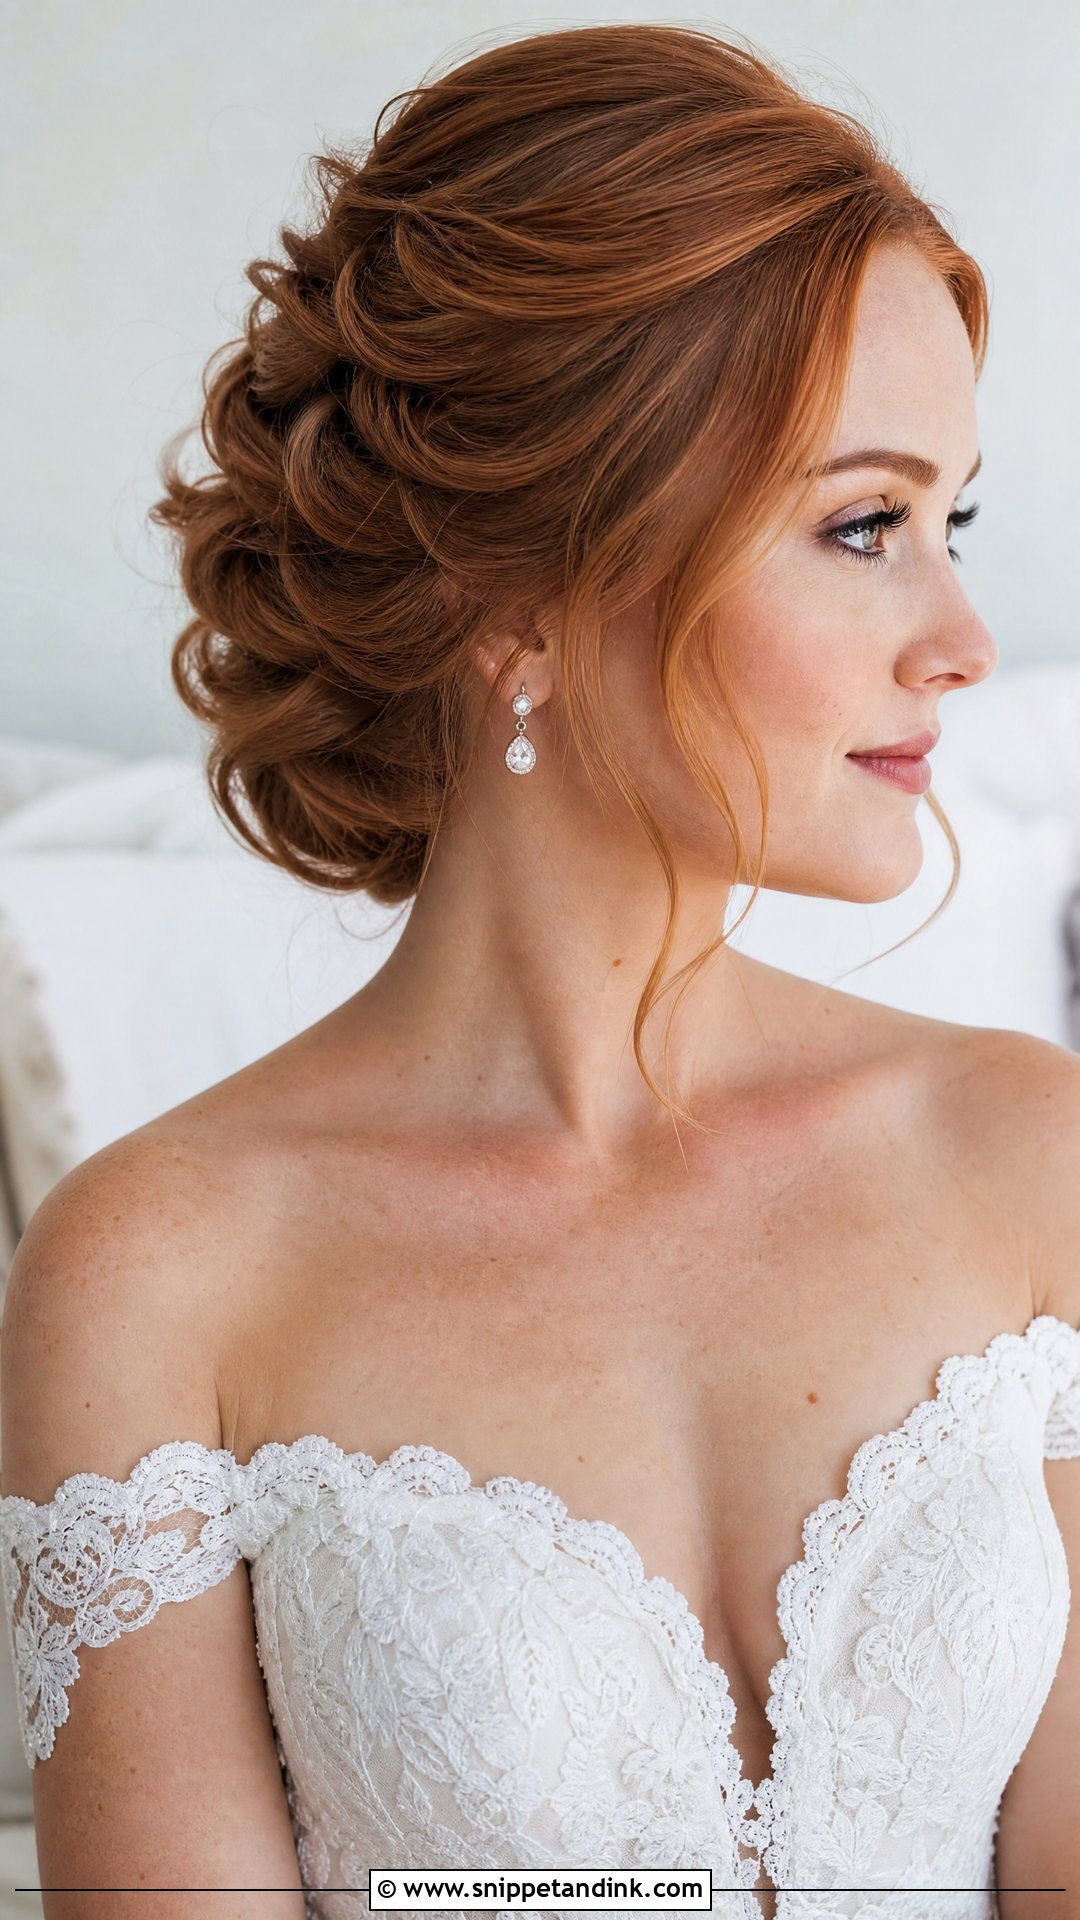
Twisting the hair before pinning it low gives a chignon visible detail without needing any ornaments. I’d keep the twists smooth enough that they read as a pattern from the back rather than a tangle. It needs medium to long hair; on shoulder length, a few clip-in pieces can add the fullness the twists require. Lace dresses, off-shoulder necklines and cathedral veils all suit it. Because the twists lock against each other, it’s one of the more secure shapes over a full day.
5. Braided Bun Wedding Updo
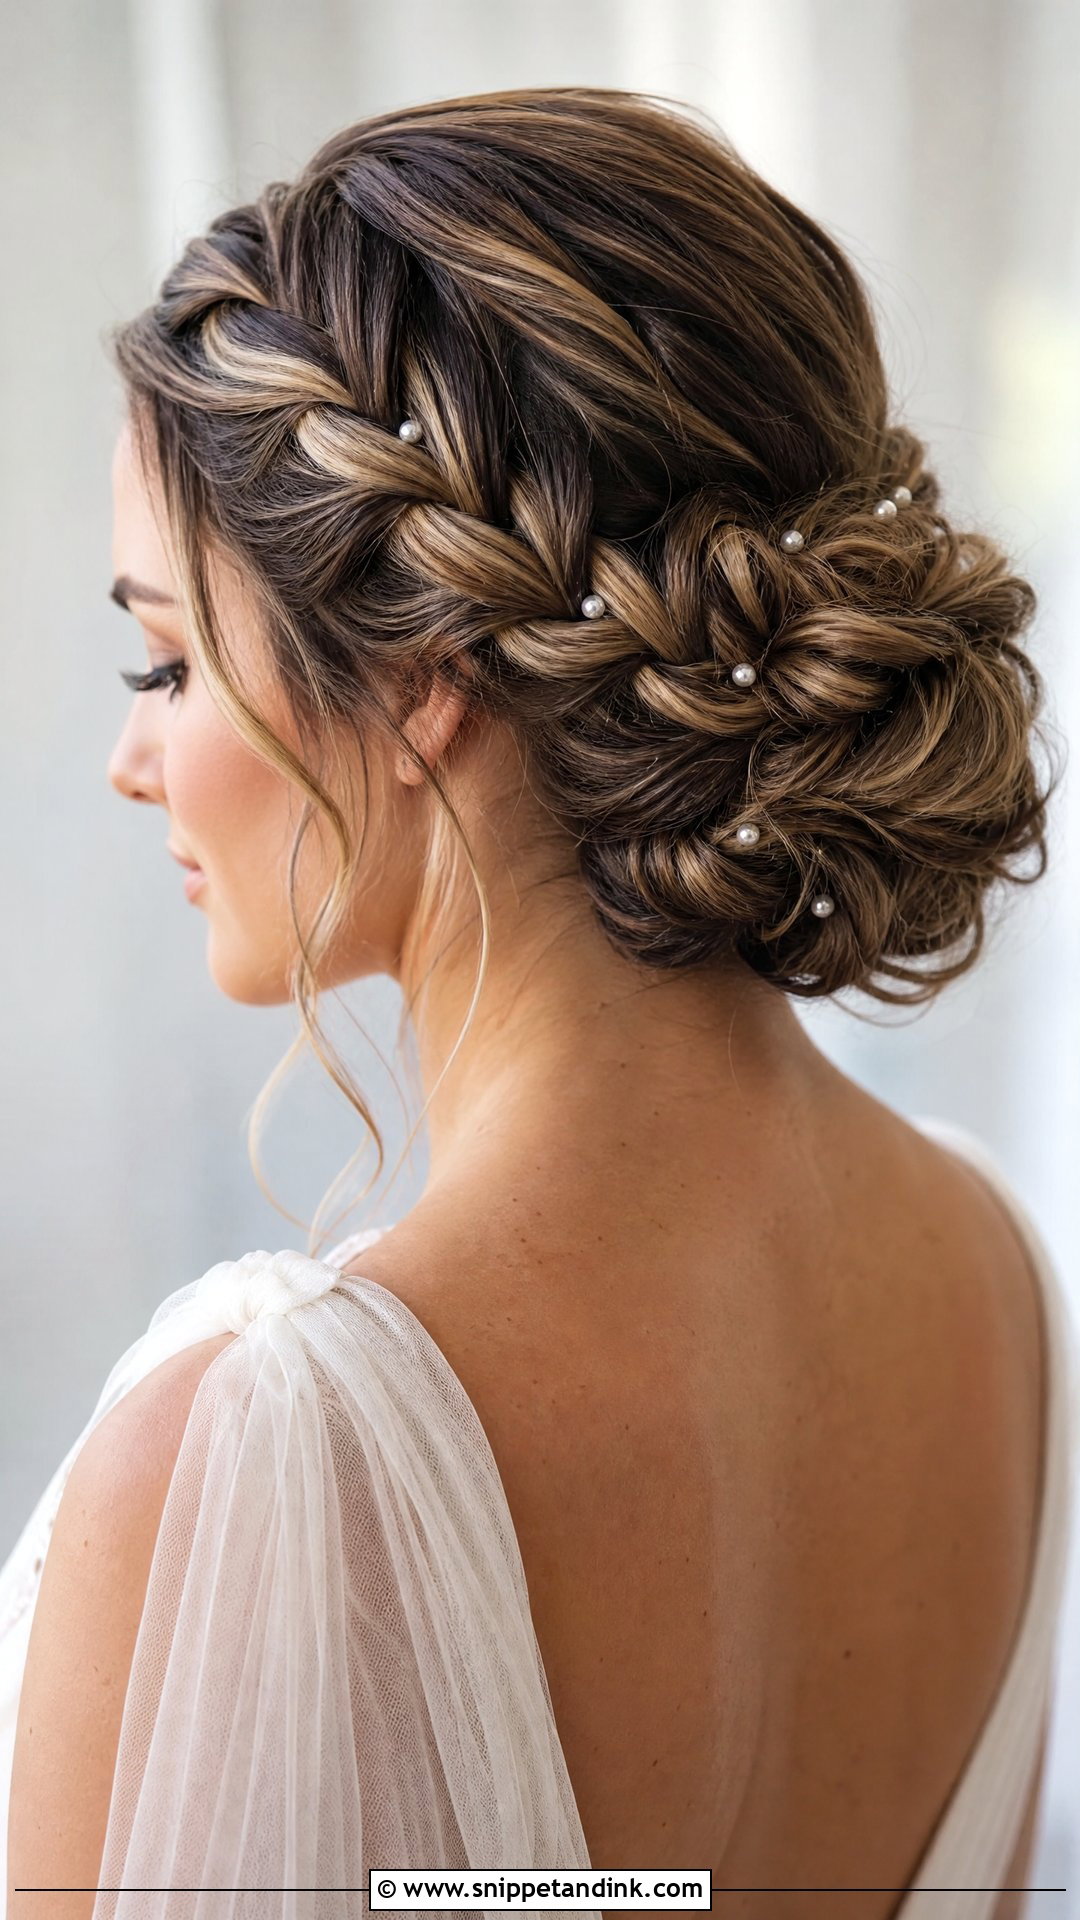
A braid adds structure as well as texture, which is why I use it to control layers that would otherwise slip out of a bun over a long ceremony and reception. It can wrap around the bun, lead in from one side, or cross the crown before being pinned low. Gently widening the braid by hand gives it a fuller, rounder outline. It looks particularly good on balayage or dimensional color, since each woven strand catches the light at a slightly different angle. With a braid this visible, you rarely need extra accessories.
6. French Twist Wedding Updo
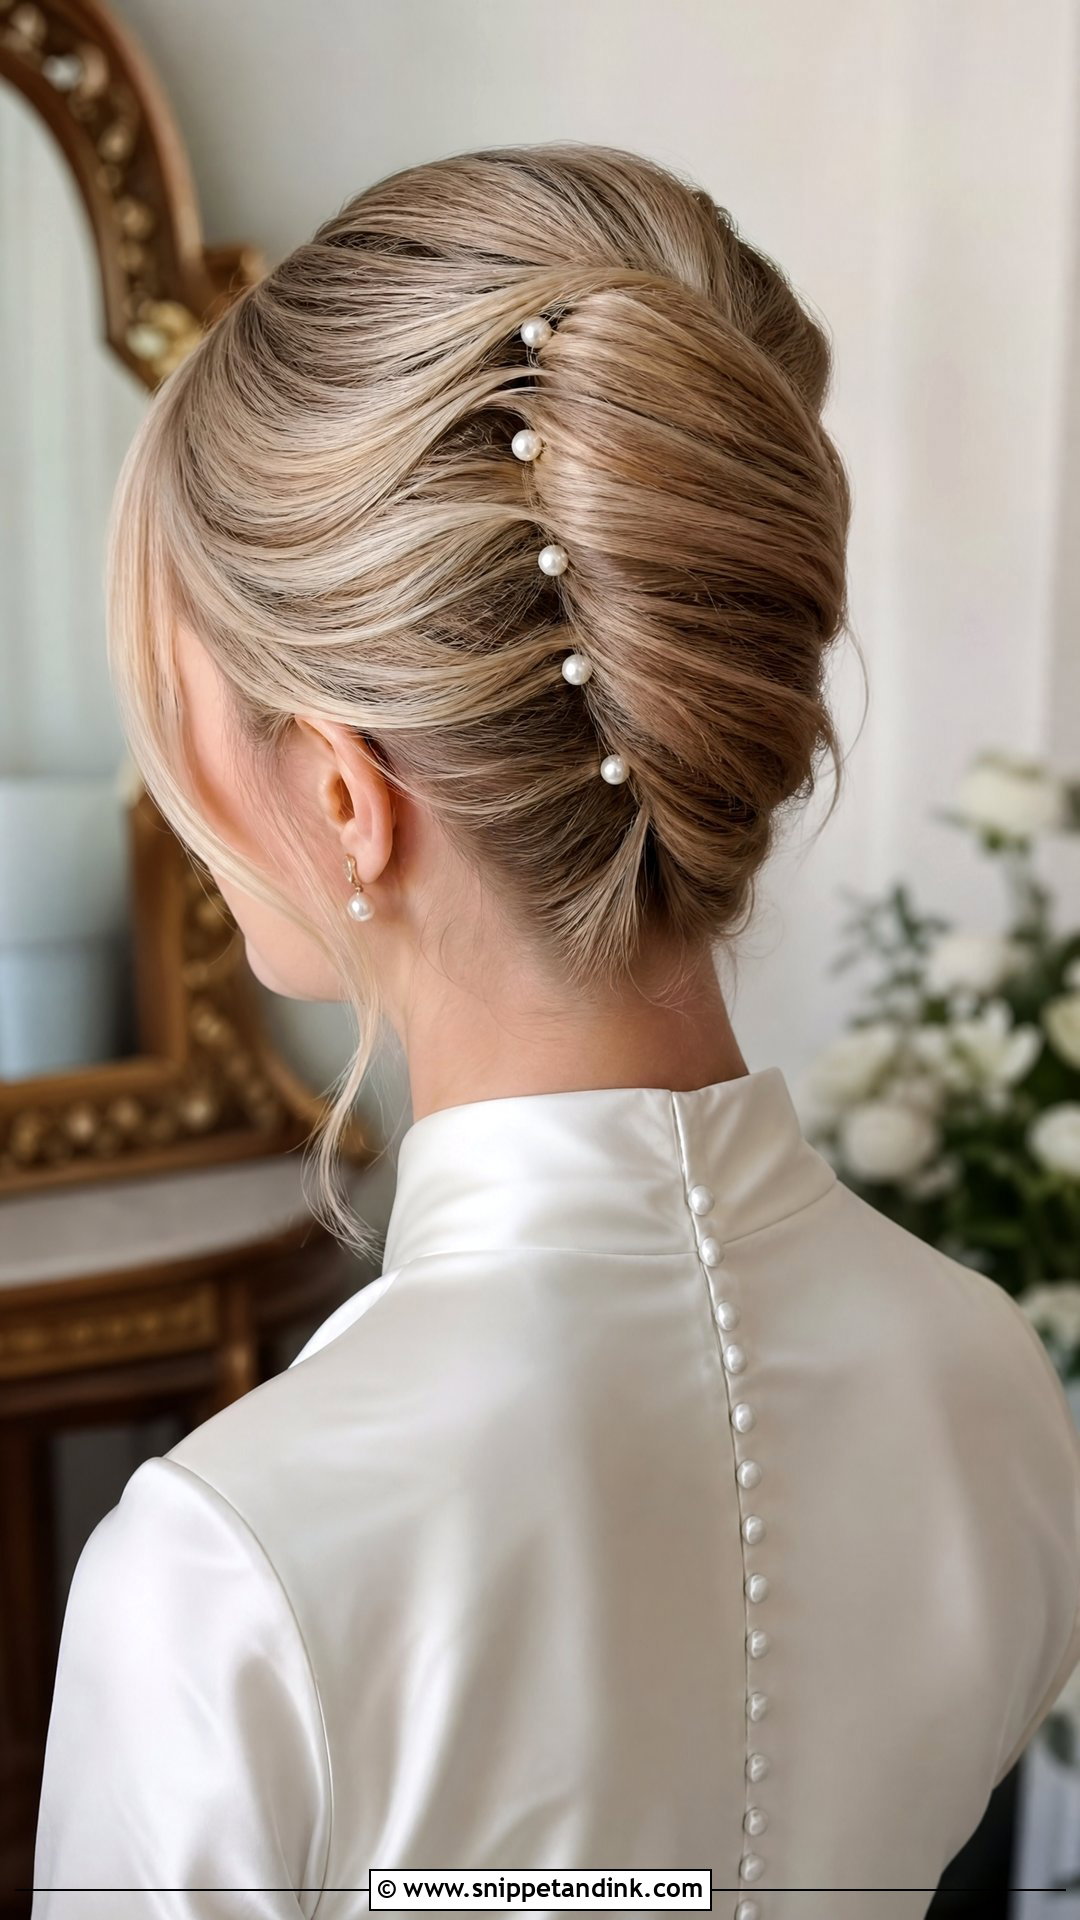
The French twist is more adaptable than its reputation. Swept upward and pinned in a vertical roll, it can be sleek for a formal ballroom or loosened at the top and sides for something softer. I build the anchor line with crossed pins first, then roll the hair over it, so the twist has something to lock onto and doesn’t loosen as you turn your head. High necks, satin and vintage accessories suit it, and the vertical line lengthens the neck in profile shots. A few pearl pins along the seam are enough.
7. Curly Wedding Updo
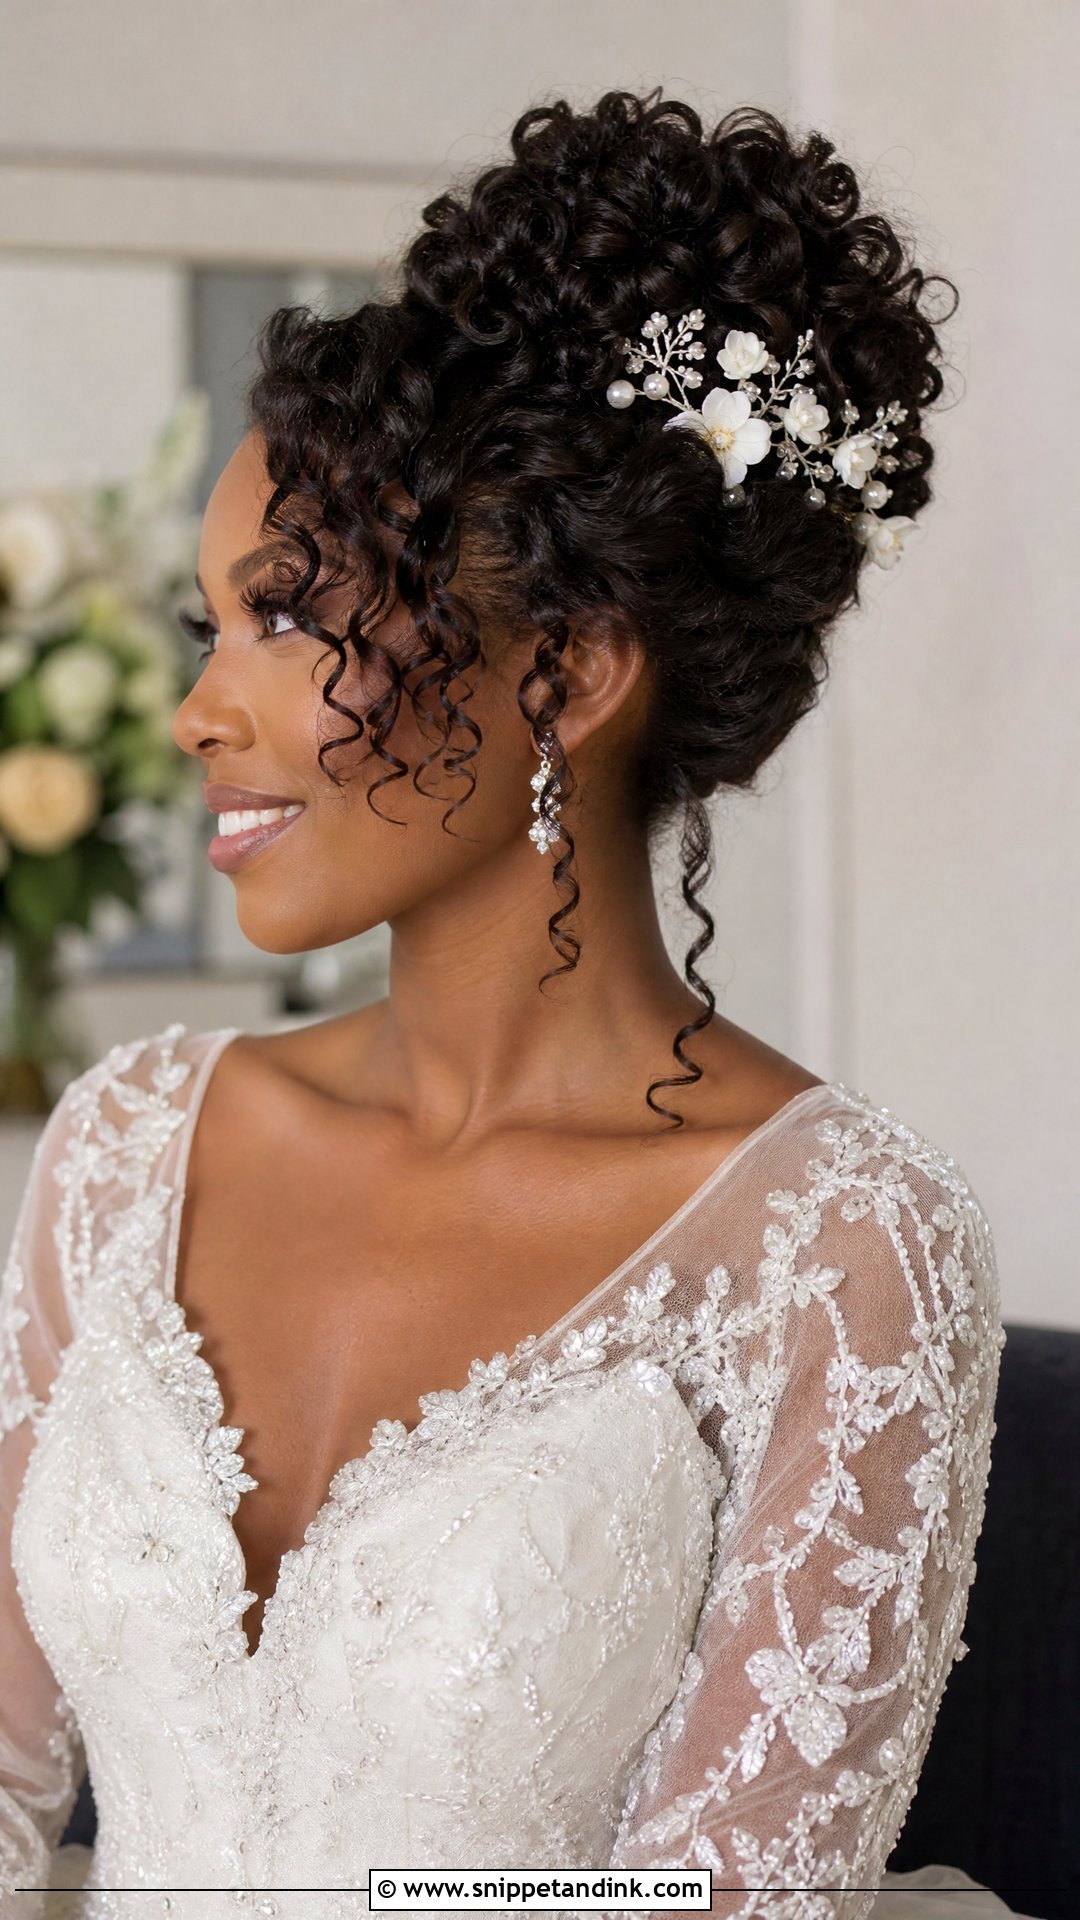
A curly updo keeps your texture on show while getting the hair off your neck. Rather than smoothing the curls away, I shape and pin them to build volume around the crown and back, working with the curl pattern instead of against it. It suits naturally curly, coily or permed hair. Leave a few curls loose to frame the eyes and cheekbones. Curl cream, a light gel and strong pins do the holding; brushing does the damage, so the curls should never meet a brush once defined. Veils, floral pins and combs sit easily in curls, though it holds its own with nothing in it at all.
8. Half Up Wedding Updo
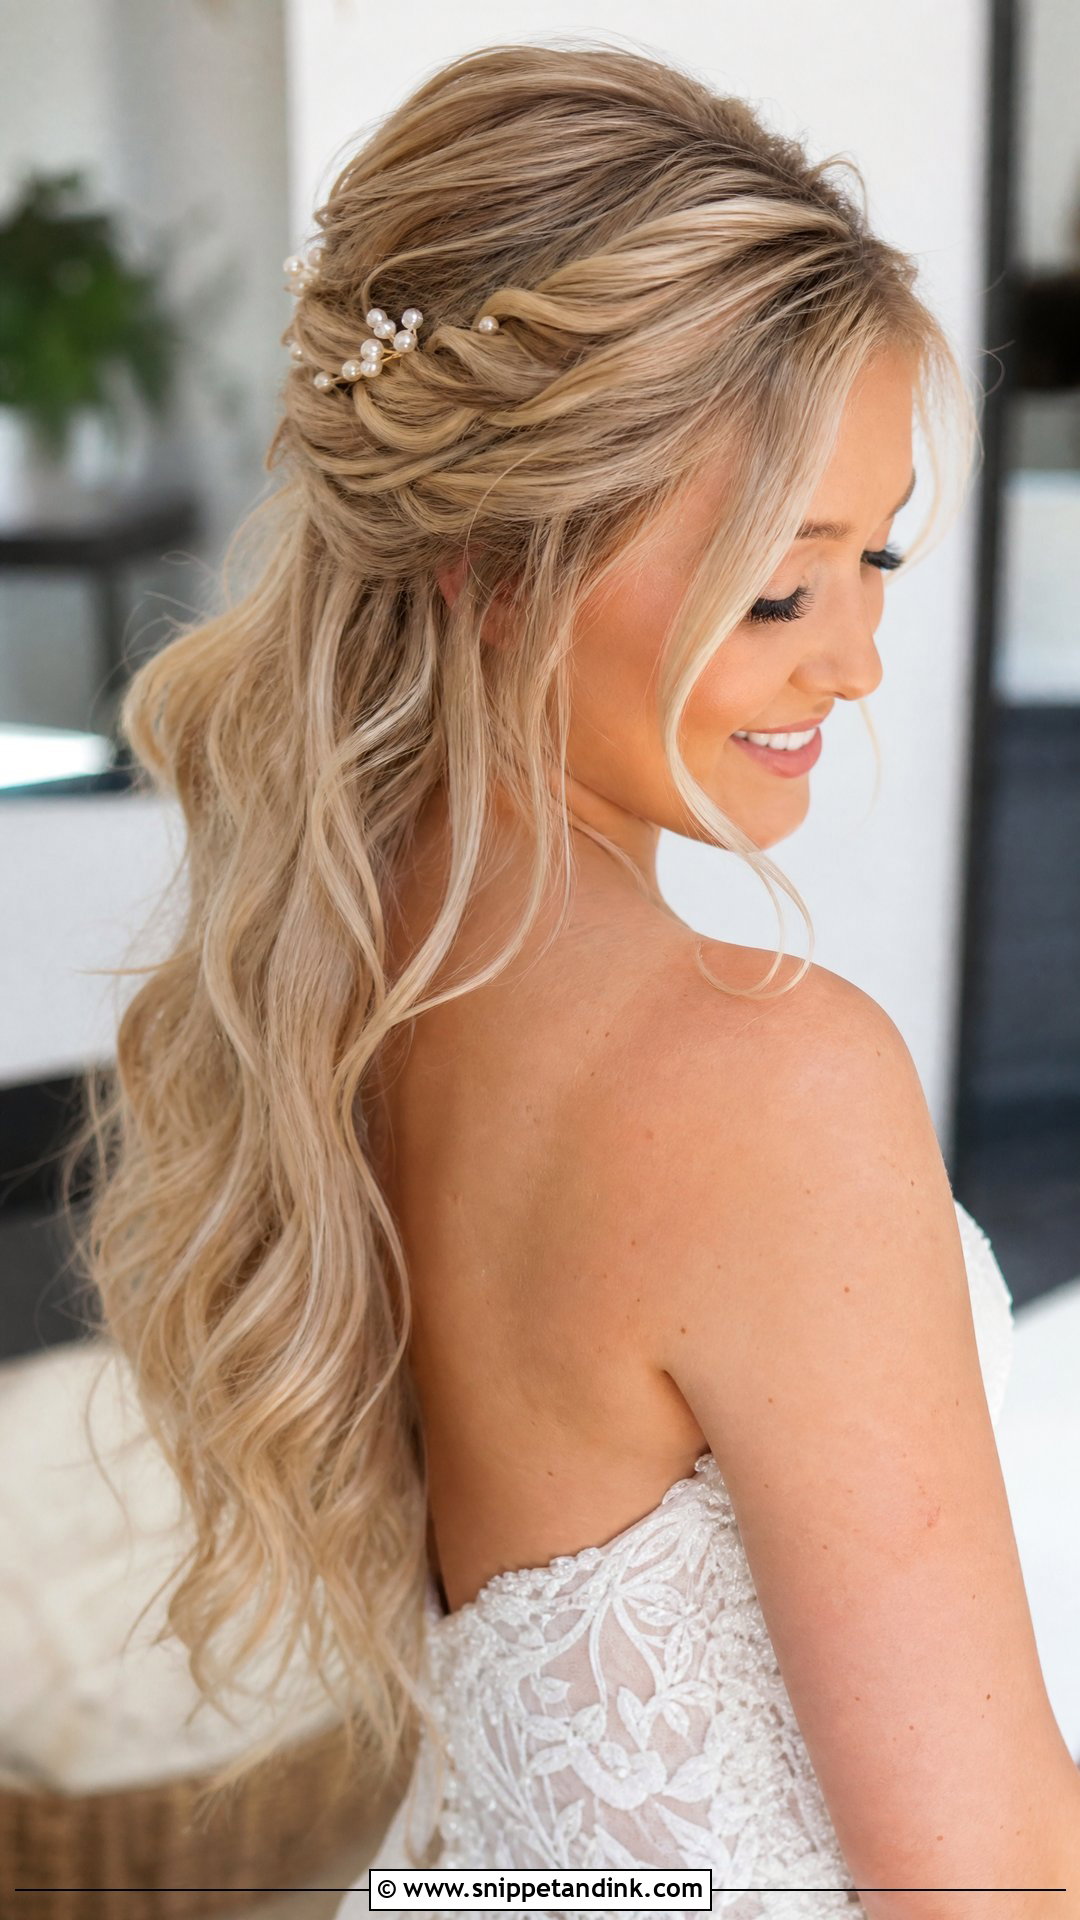
Half up is the compromise I suggest to brides who feel like someone else in a full updo. The top section is twisted, braided or pinned back, lifting the face and keeping hair out of it during the vows, while the lengths fall in waves. It suits long hair, medium hair, extensions and soft layers. Build some volume at the crown so the pinned section doesn’t sit flat. The trade-off is that the loose waves underneath will relax as the day goes on, which is worth planning a touch-up for.
9. Side Bun Wedding Updo
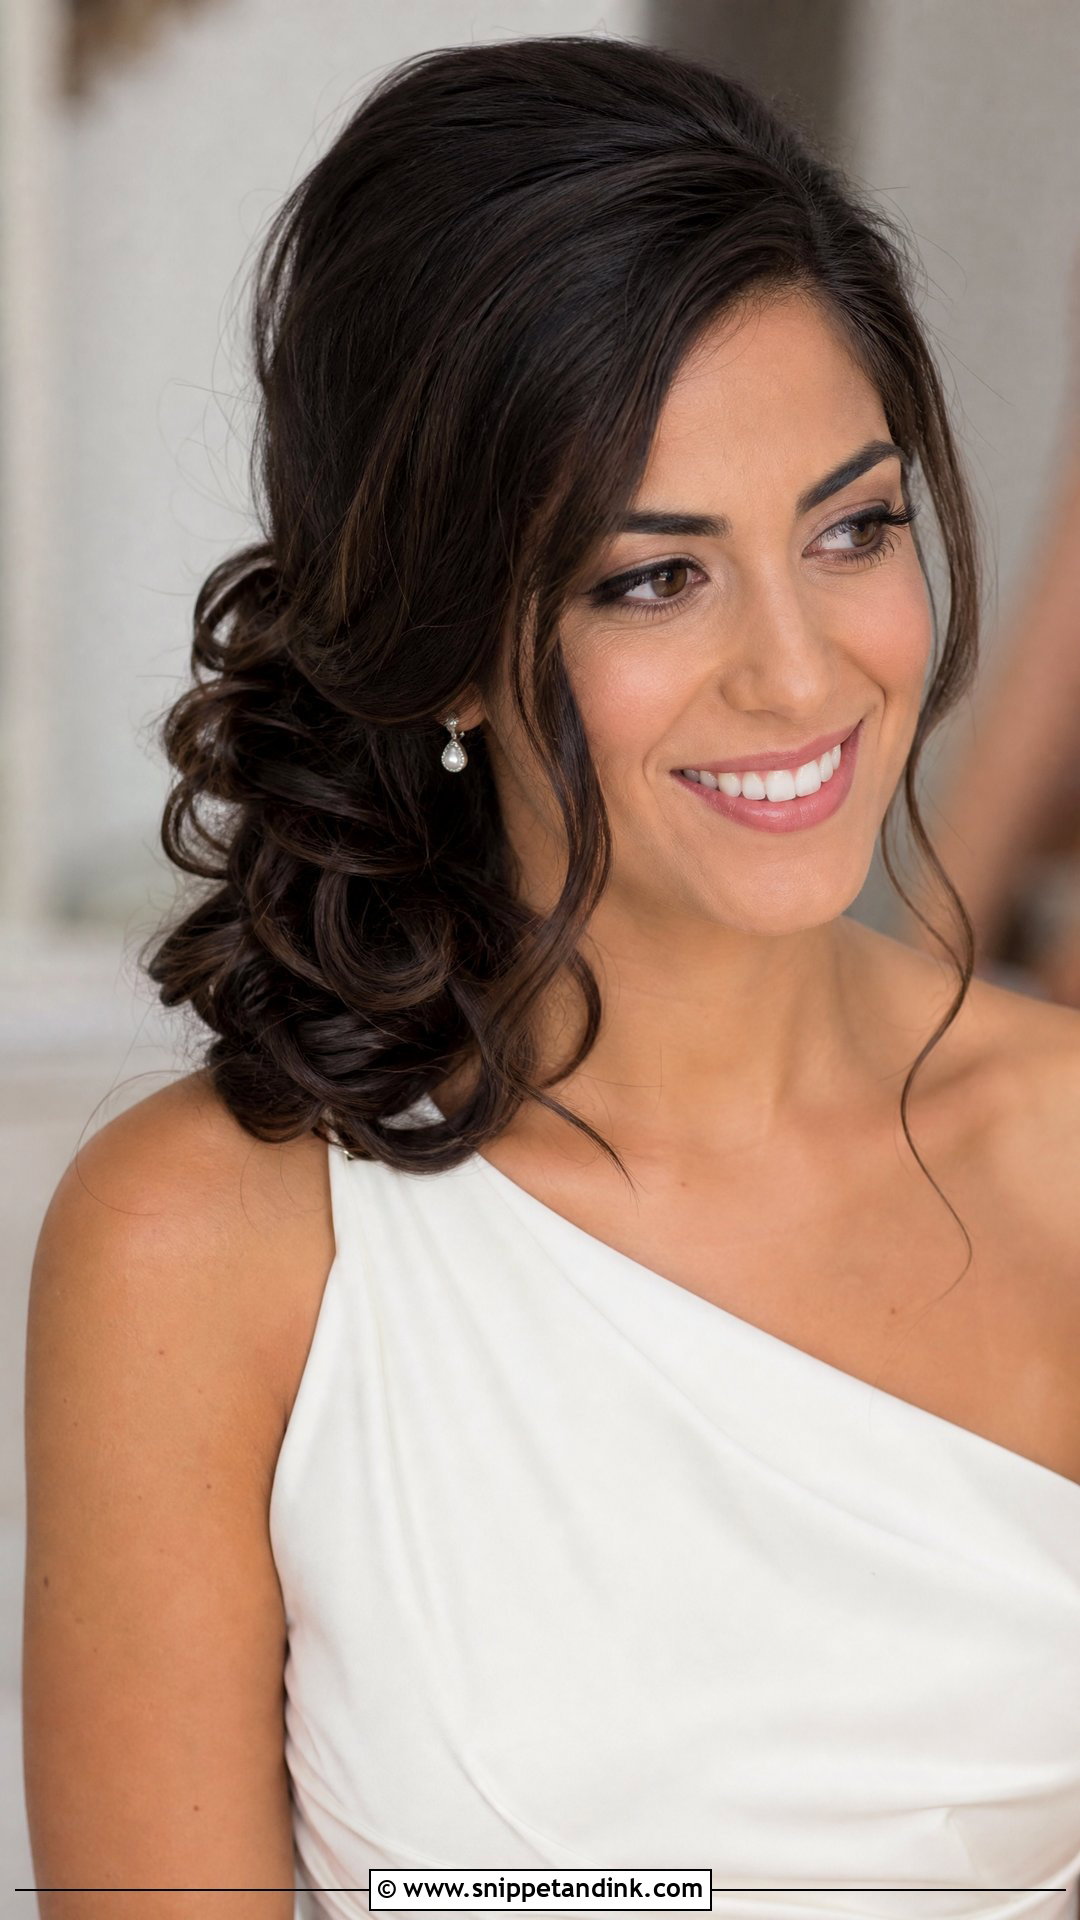
Placing the bun just off-center near one shoulder puts the detail where the camera sees it, not only from behind. One-shoulder gowns, deep side parts and statement earrings suit it. The challenge is weight: all the hair sits on one side, so I balance the volume carefully and anchor the bun with extra pins behind the ear so it doesn’t sag toward the shoulder by evening. Curls or twists leading into the bun make the transition from part to knot look intentional.
10. High Bun Wedding Updo
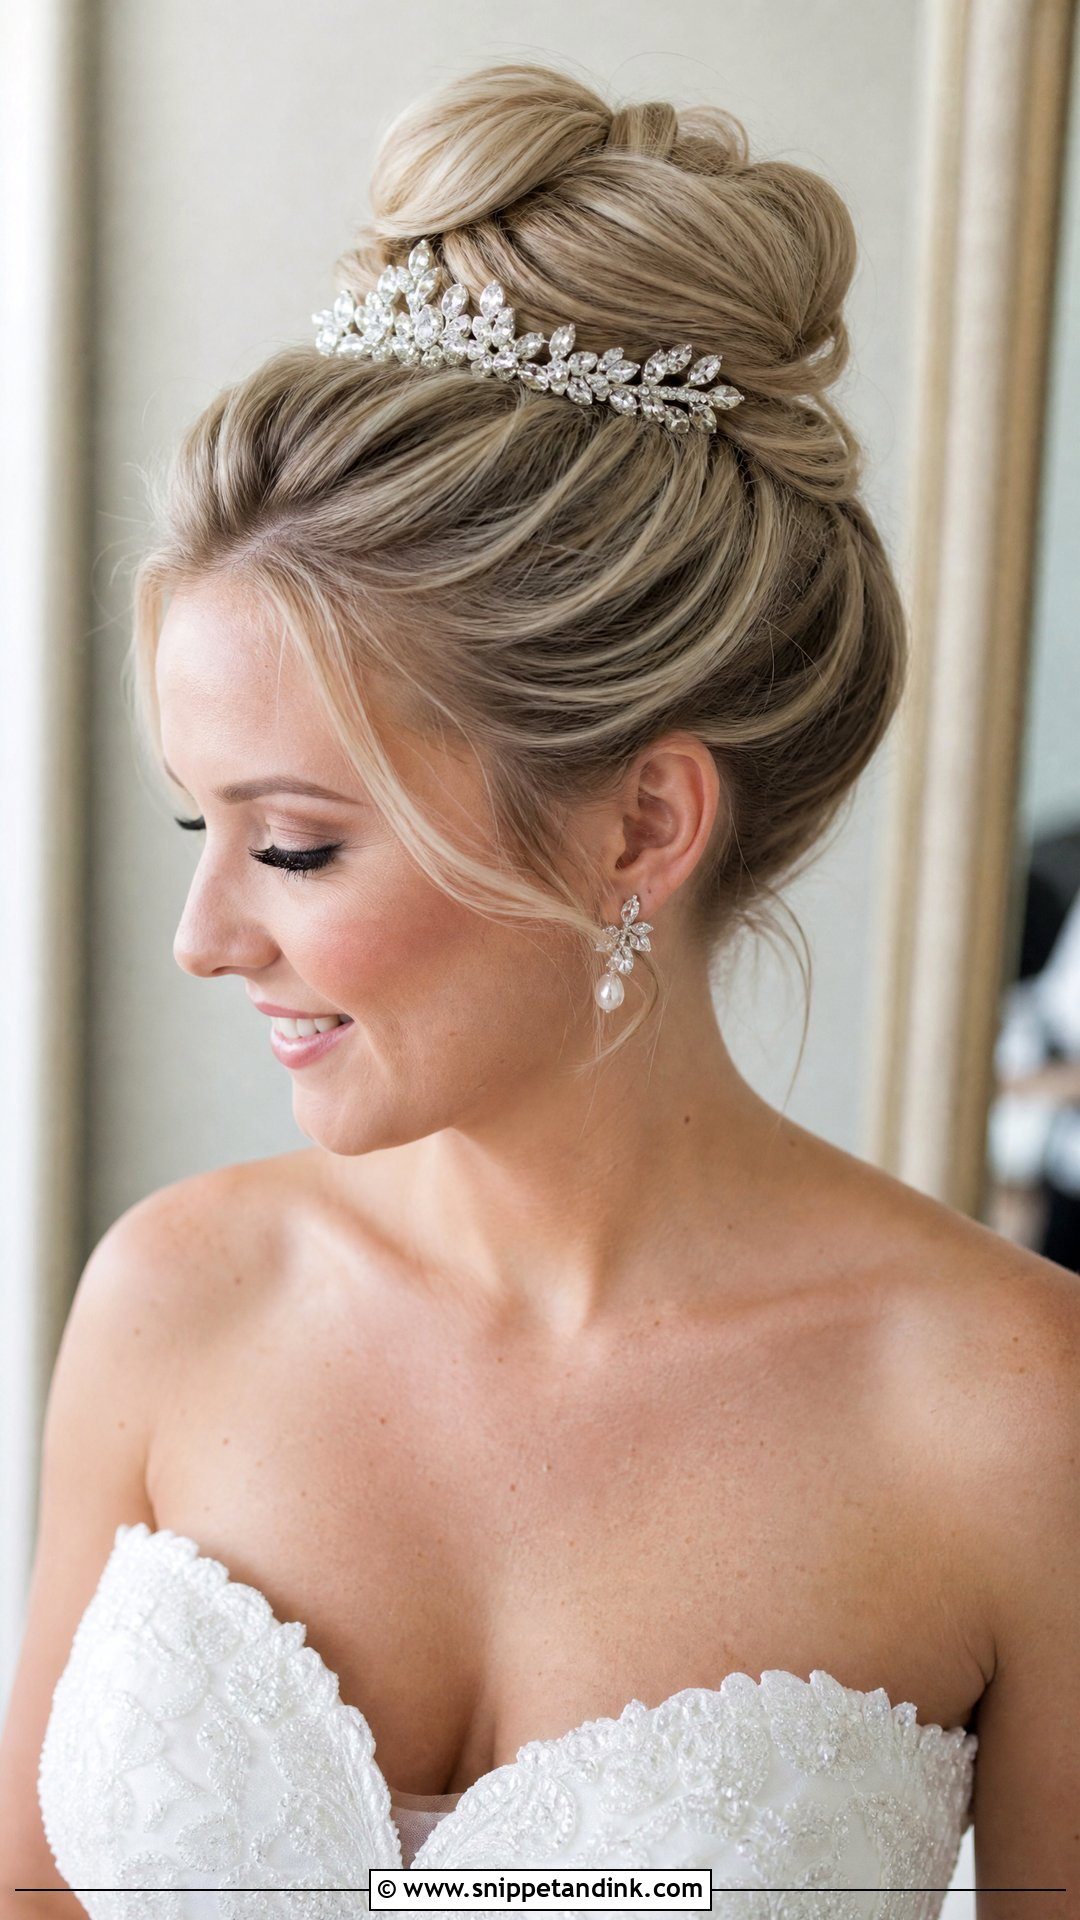
A bun on the crown keeps every strand off your neck, which makes it a good choice for summer heat, a lot of dancing, or a dress with a detailed back. It can be sleek or softly textured with curled pieces pinned around the base. A veil goes underneath; a delicate tiara above works too. Keep the front clean. I’d warn heavy-haired brides off this one, though: a big high bun pulls on the hairline for hours, and dropping it an inch or two often fixes the ache without changing the look.
11. Ponytail Wedding Updo
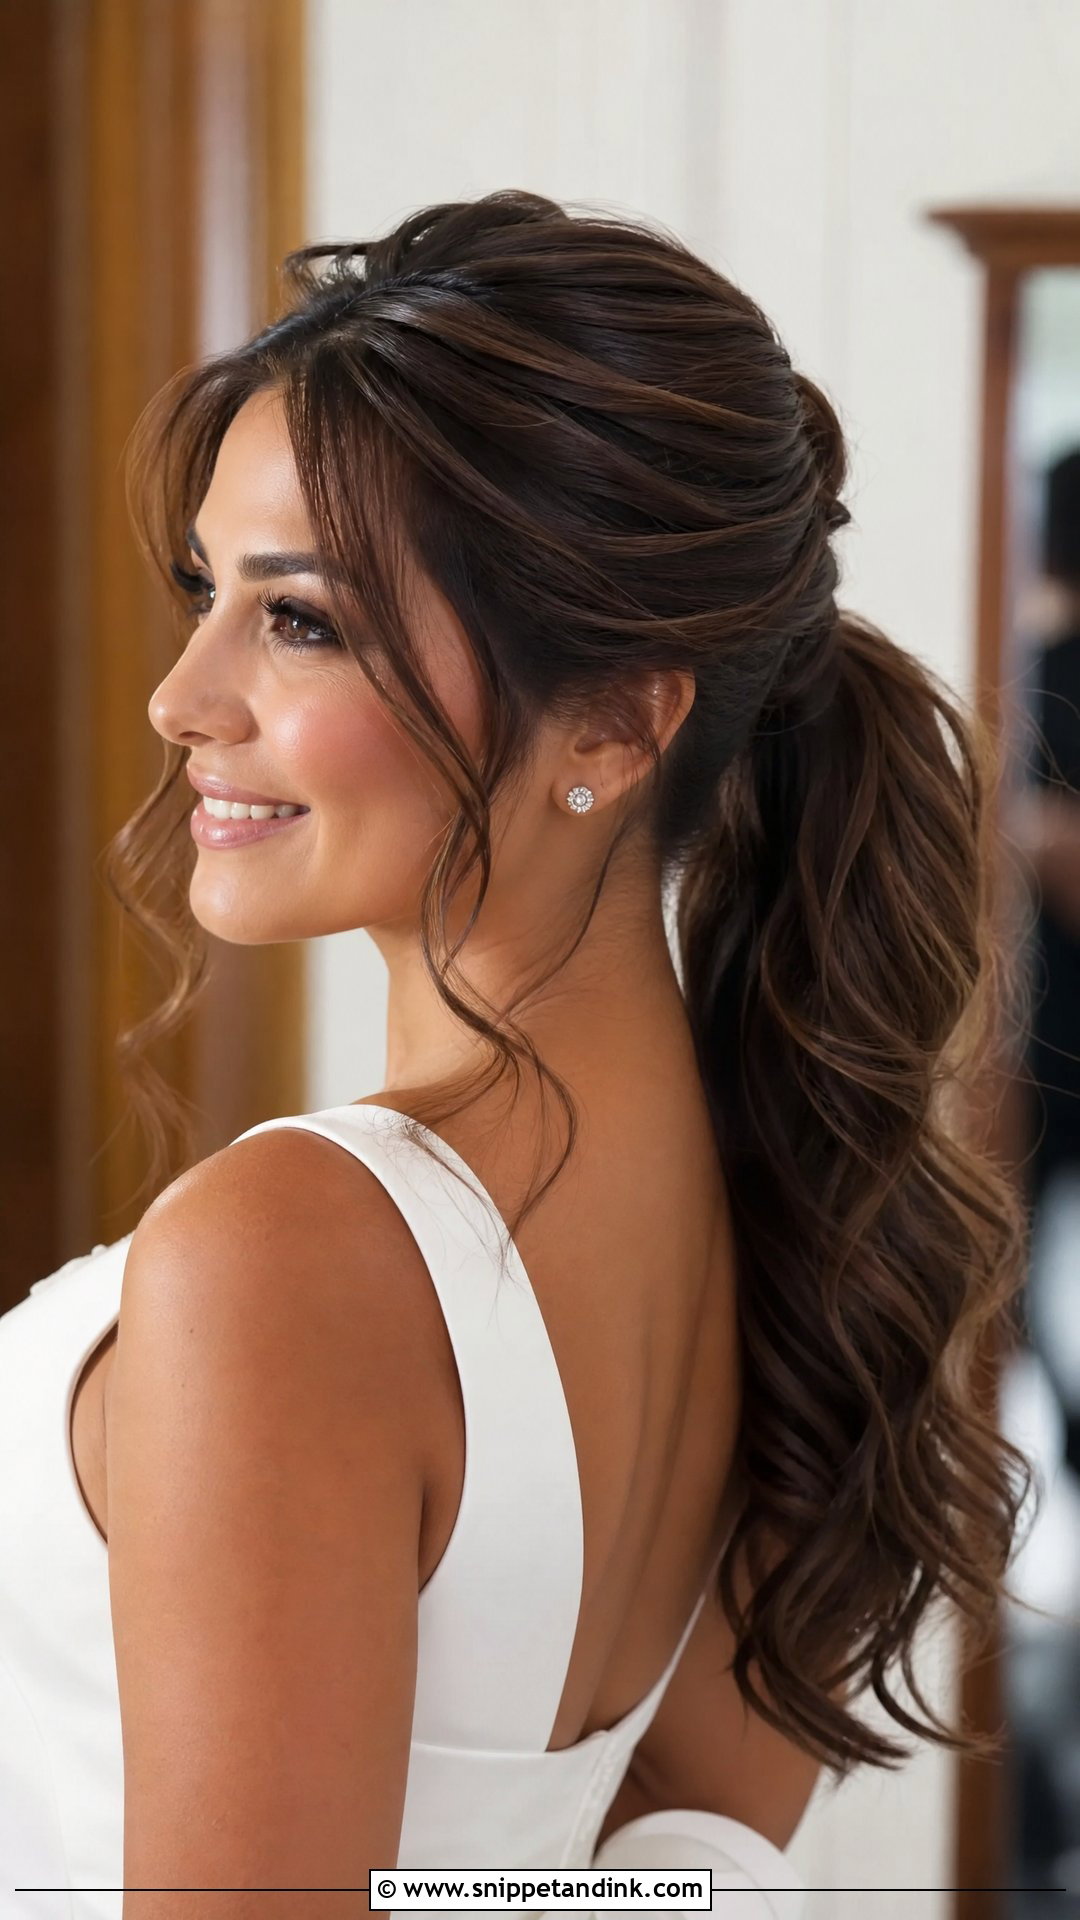
A ponytail reads less formal than a chignon but more current. Set it high, mid or low, then curl, wave or wrap the length so it looks finished. It suits long hair or extensions, since the length is half the look. I always wrap a strand around the base to hide the elastic and pin it underneath. It pairs naturally with simple gowns, jumpsuits and reception dresses. If you’re wearing a long veil, test it together first, because a swinging ponytail and tulle tend to tangle.
12. Claw Clip Wedding Updo
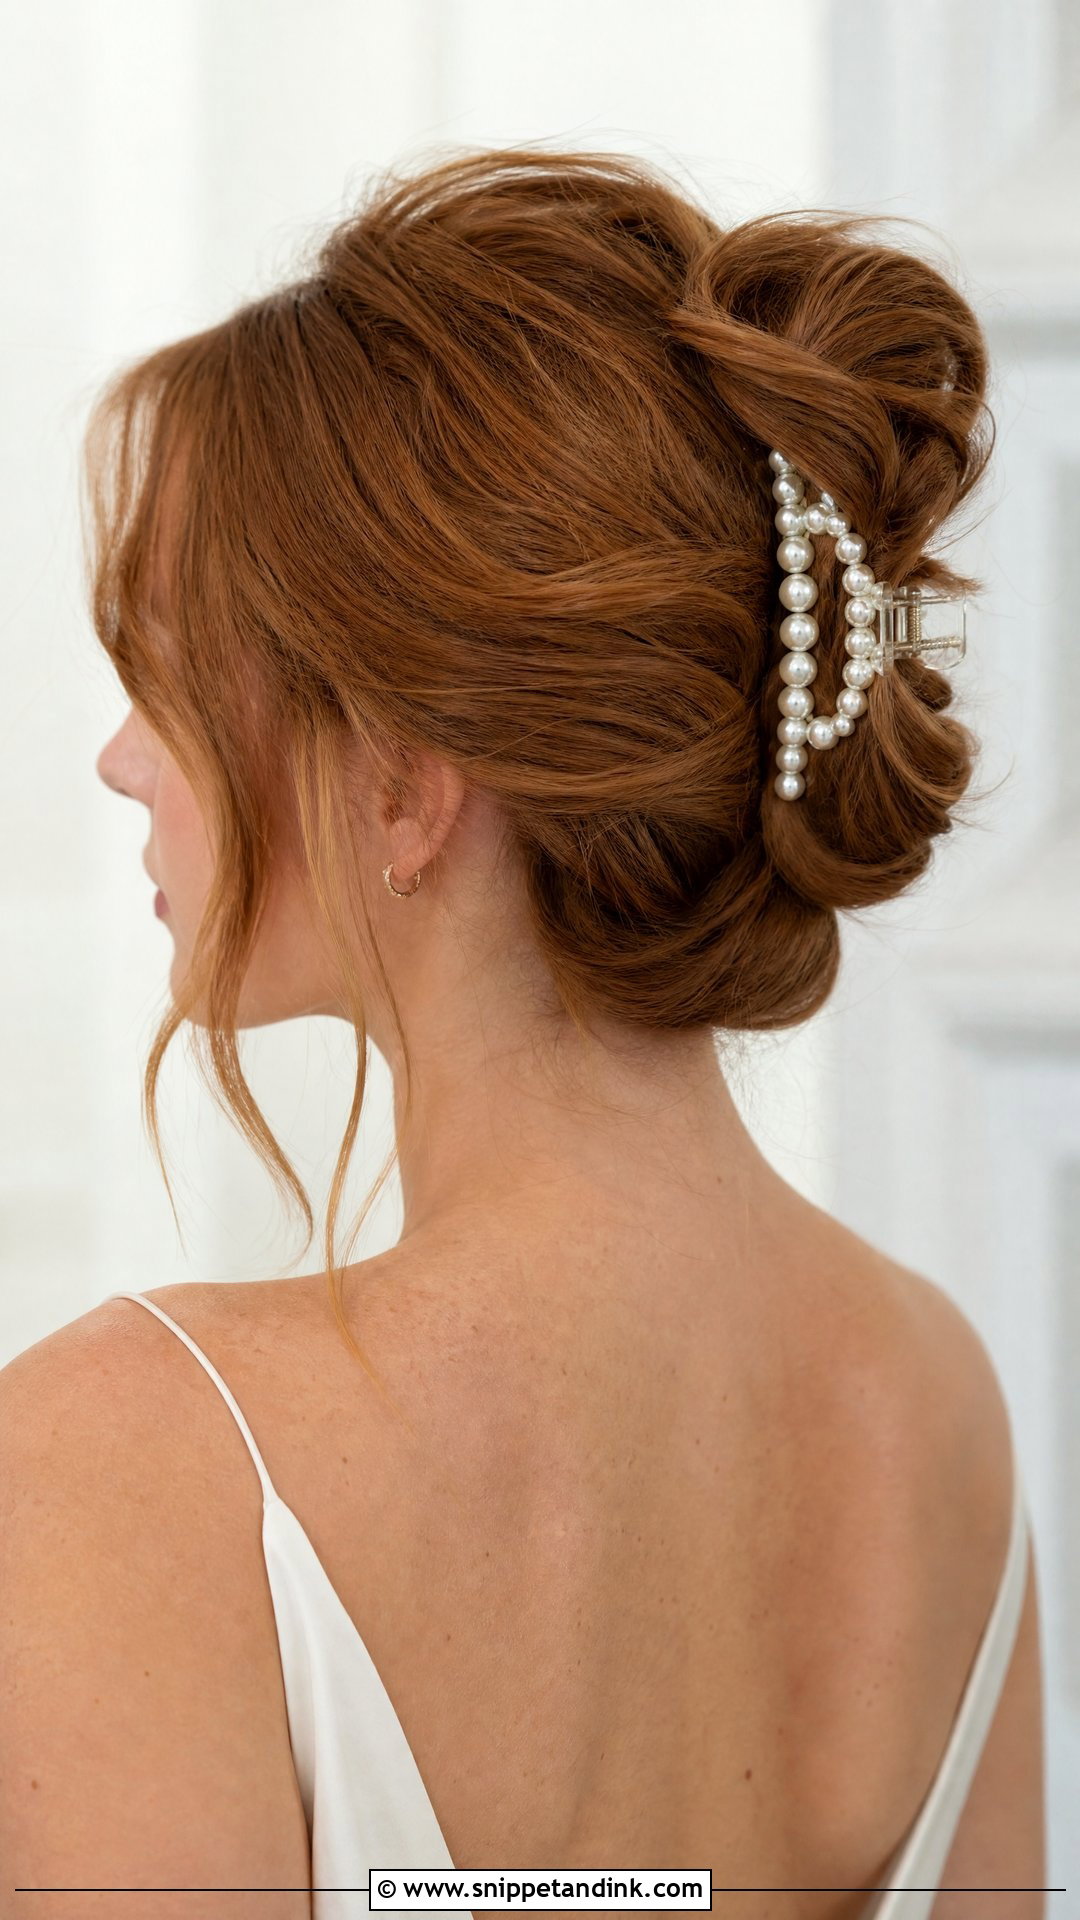
A claw clip updo is the relaxed end of bridal hair. The hair is twisted up, held with one good clip, and softened with loose pieces at the face and crown. It suits intimate weddings, courthouse ceremonies, showers or a second reception look better than a big formal day. The clip matters: pick pearl, gold, silver or clear acrylic with some weight to it, so it reads as bridal rather than the one you wear to the supermarket. A clip only holds what it can grip, so very thick hair may need hidden pins under it. It’s also quick, comfortable, and easy to redo yourself if it slips.
13. Short Hair Wedding Updo
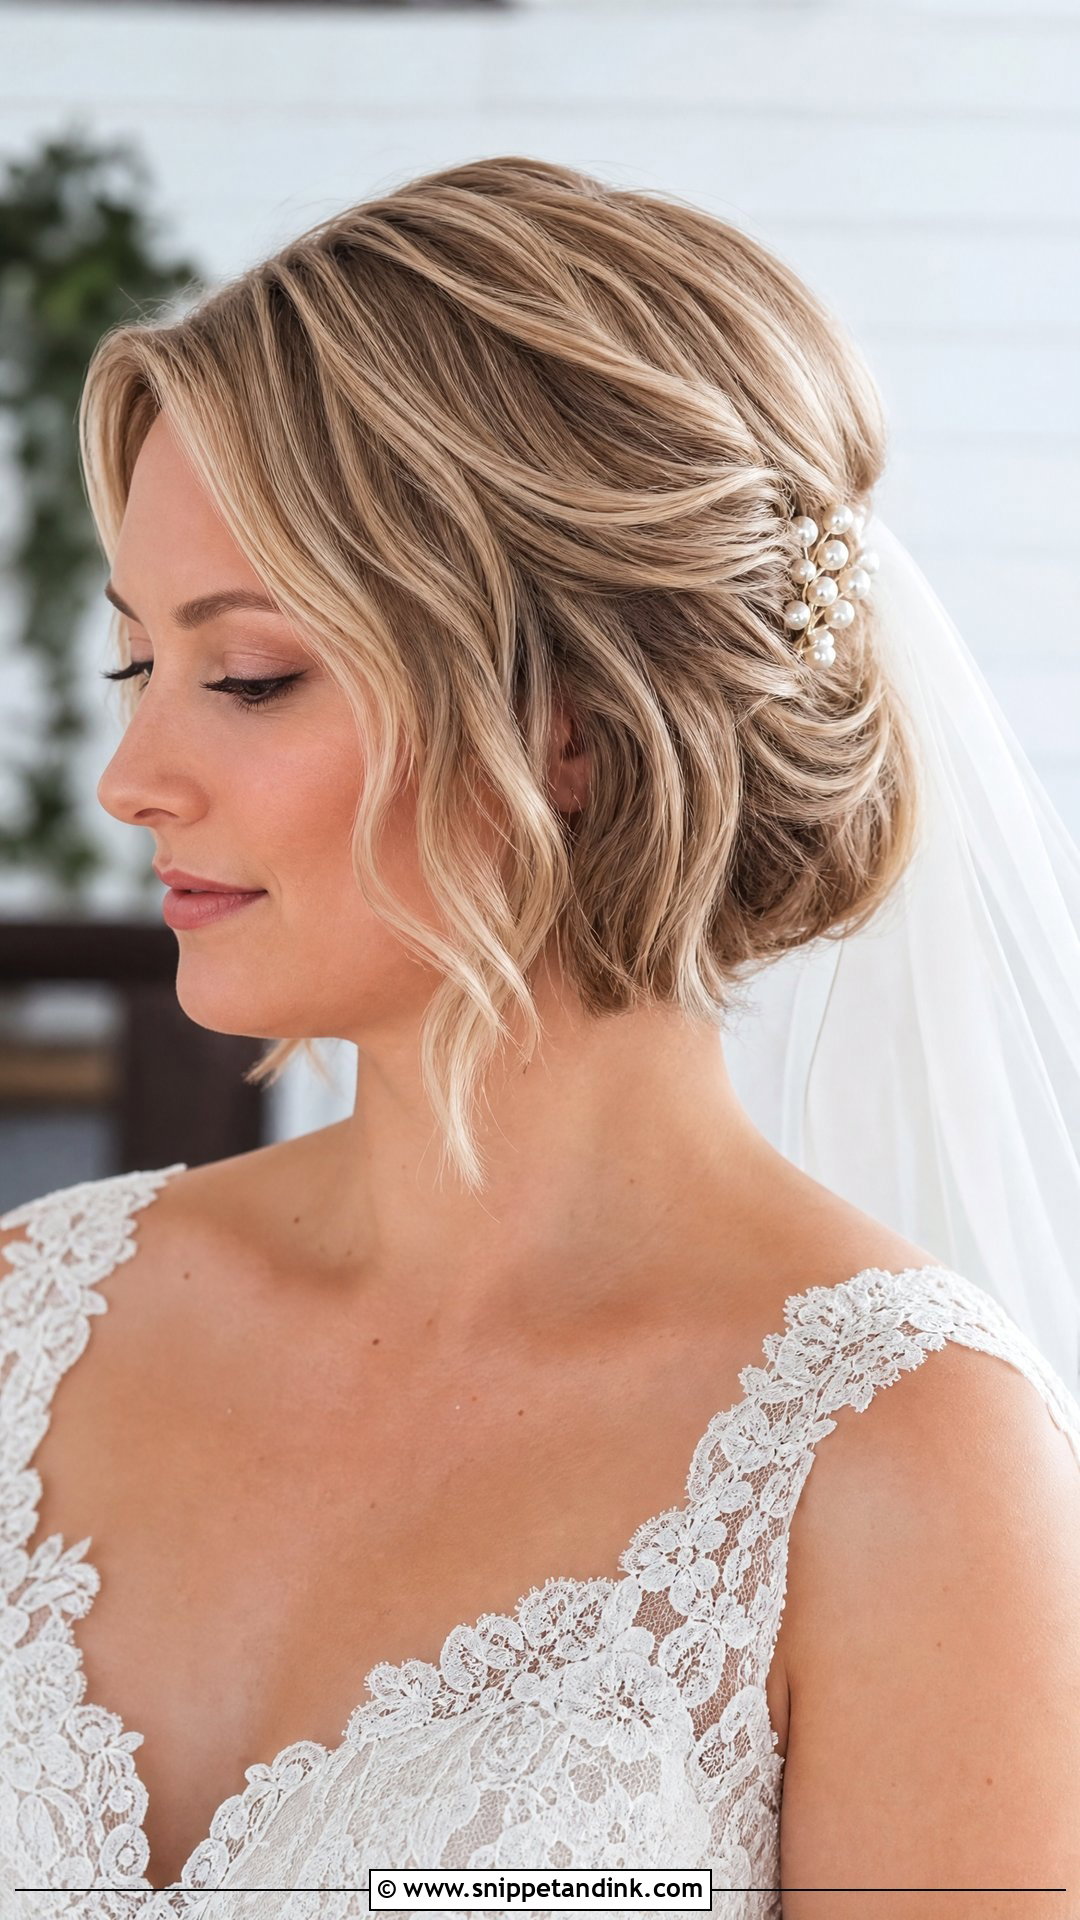
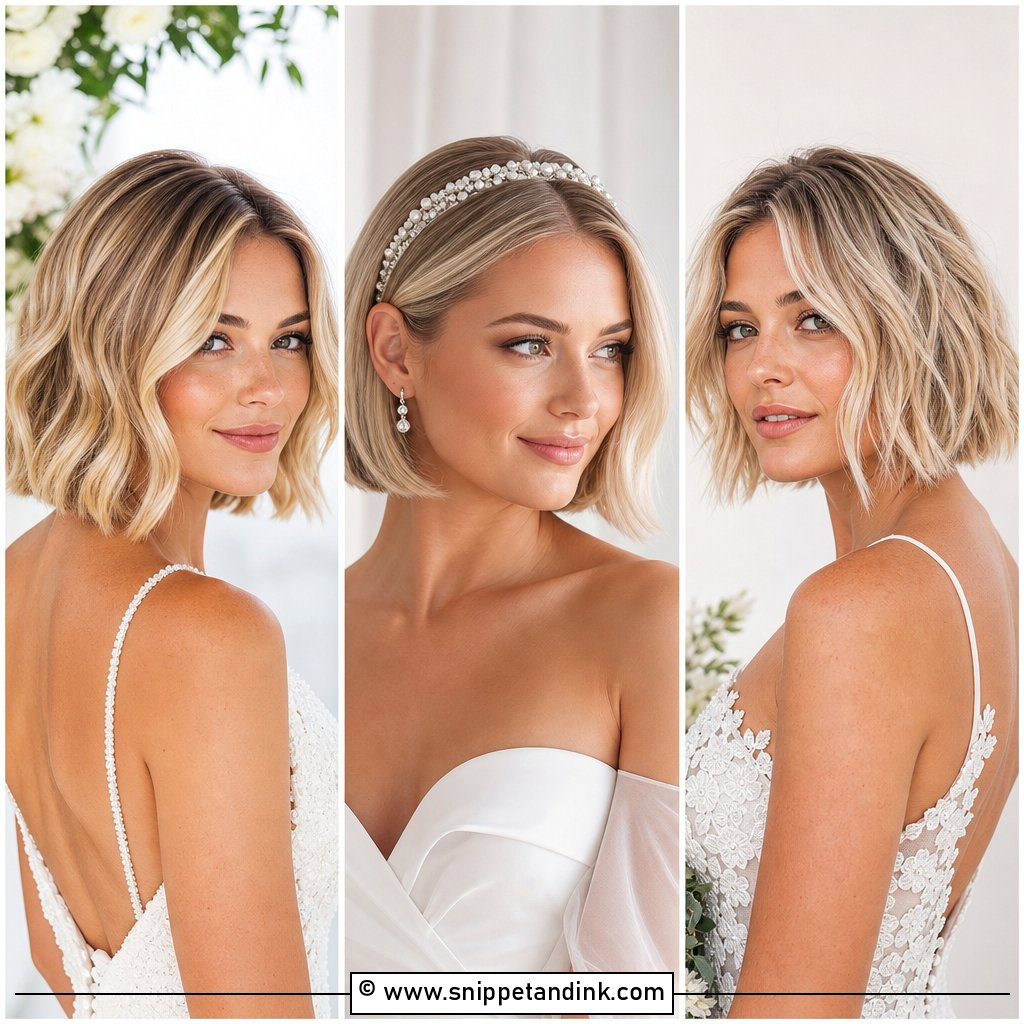
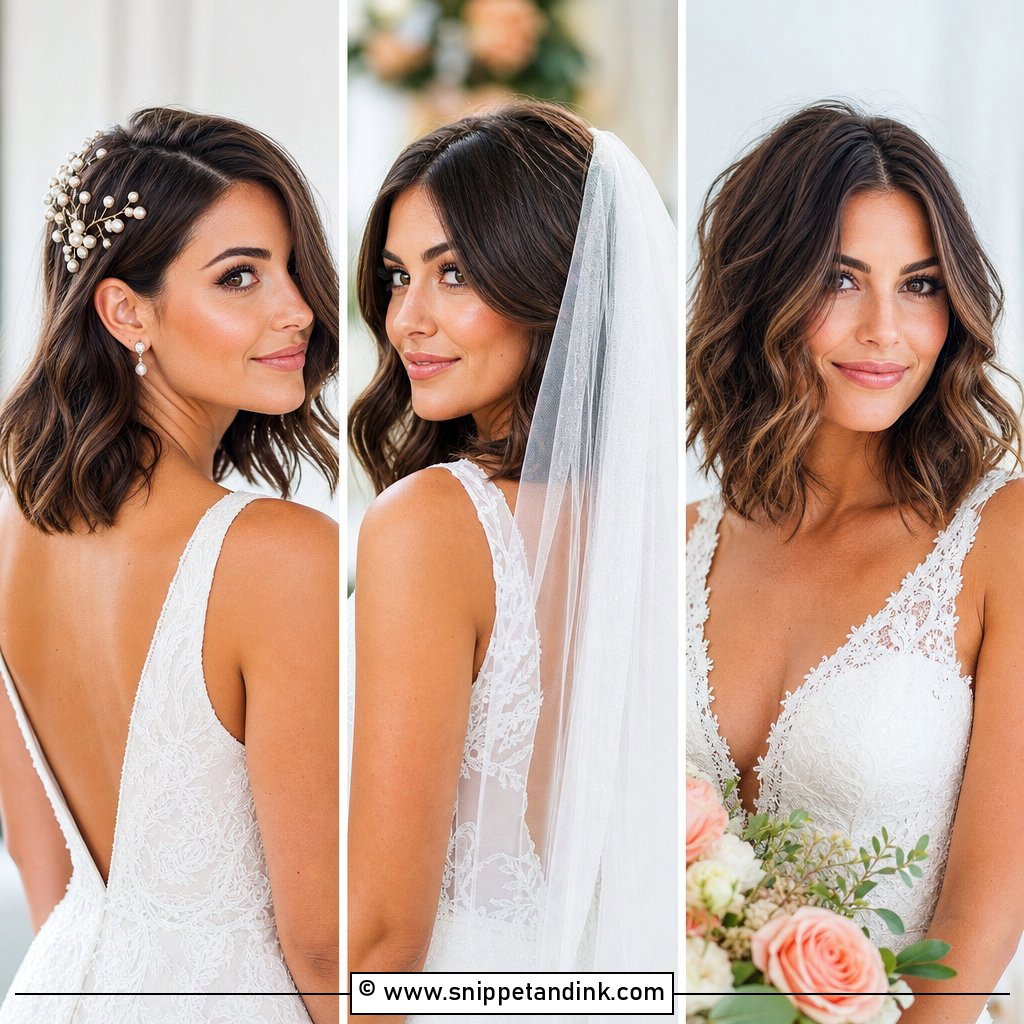
Short hair can absolutely be put up; it just needs more pins and better texture. On bobs, lobs and short layers I wave the hair first, then tuck and pin it into a small low shape, using little twists to cover the gaps where the back is shortest. Face-framing pieces soften it, and pearl pins or a small comb add the wedding detail. It’s the route for anyone who wants their hair off their face without extensions. Expect the very shortest nape hairs to escape, and plan an accessory to sit over them.
14. Long Hair Wedding Updo
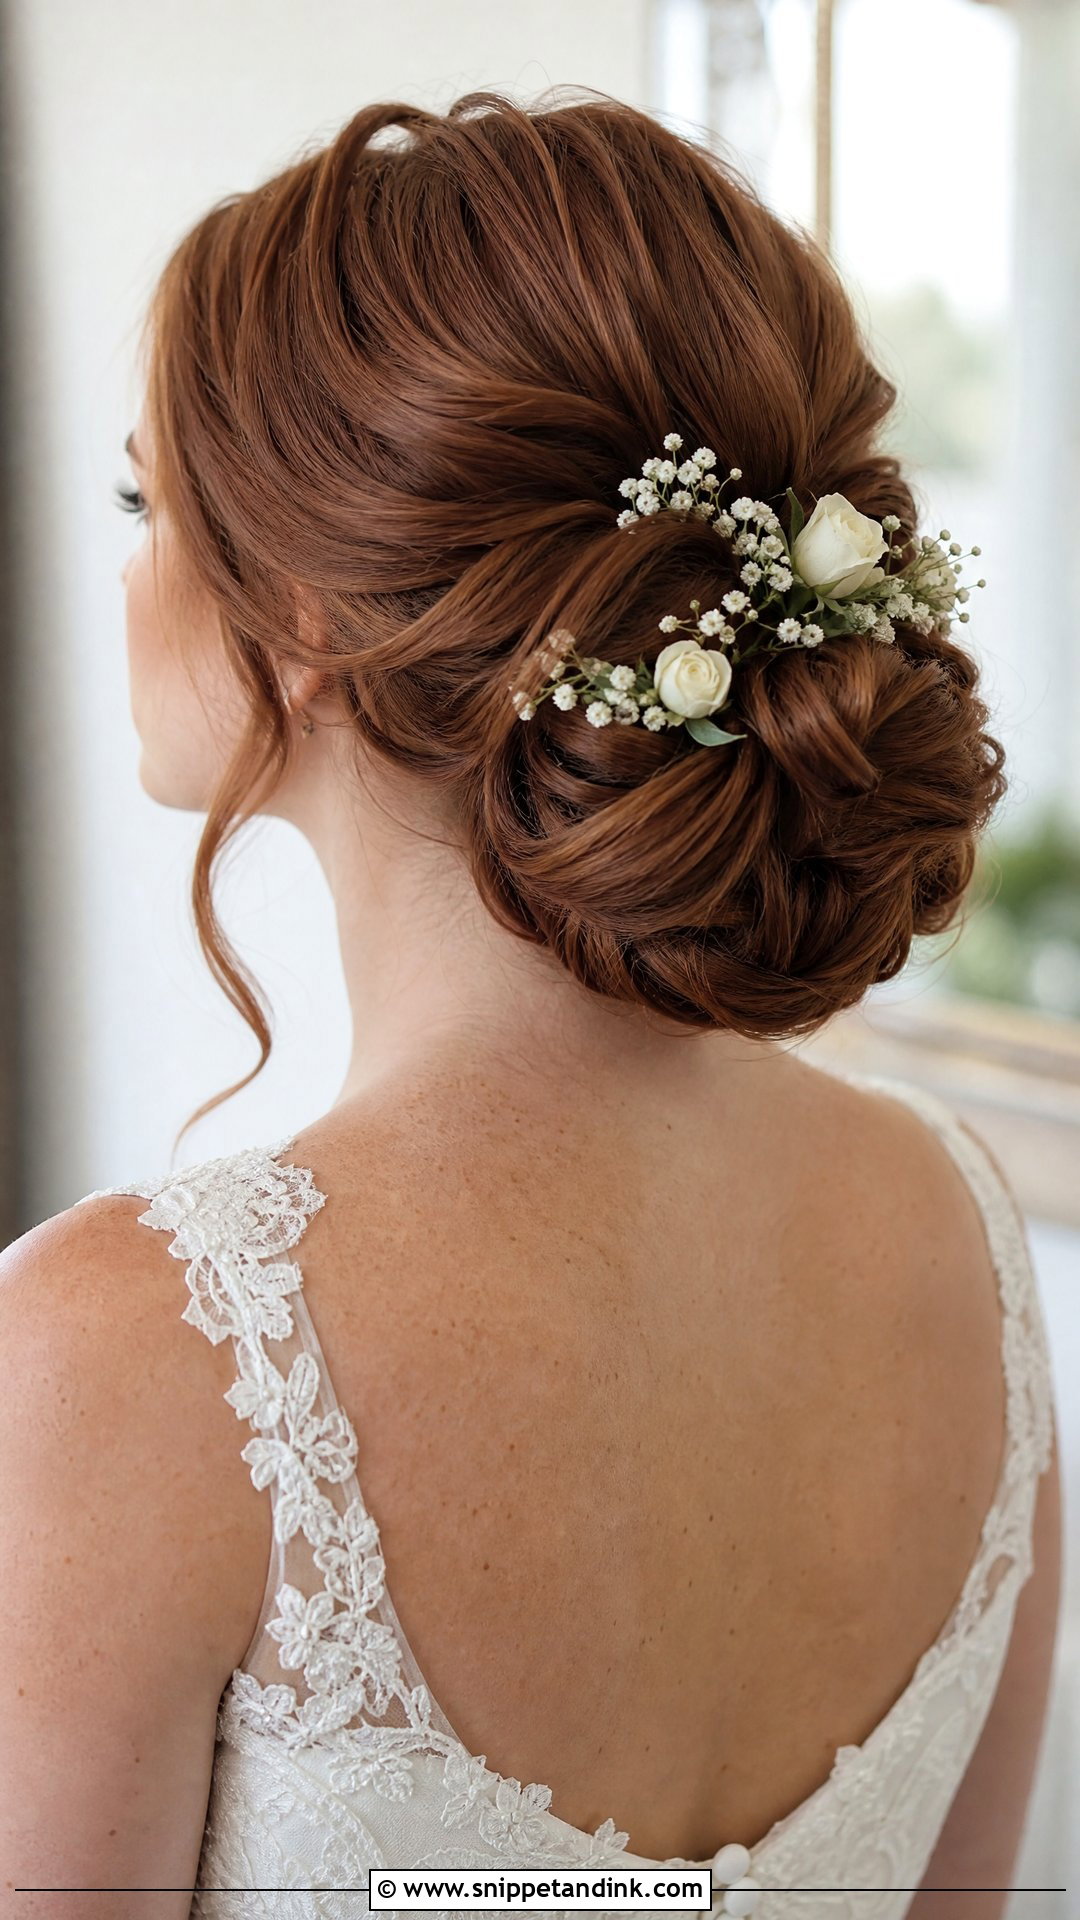
Long hair gives you every option and one recurring problem: weight. Too much hair pinned into one spot feels heavy within a couple of hours and can start to sag. I spread the shape evenly across the back of the head and use more pins, placed to share the load, rather than a few doing all the work. Waving the hair before pinning makes the finished updo look fuller and grips better. Low buns, braided chignons and twisted shapes all work, and long hair gives veils and combs a solid base.
15. Simple Wedding Updo
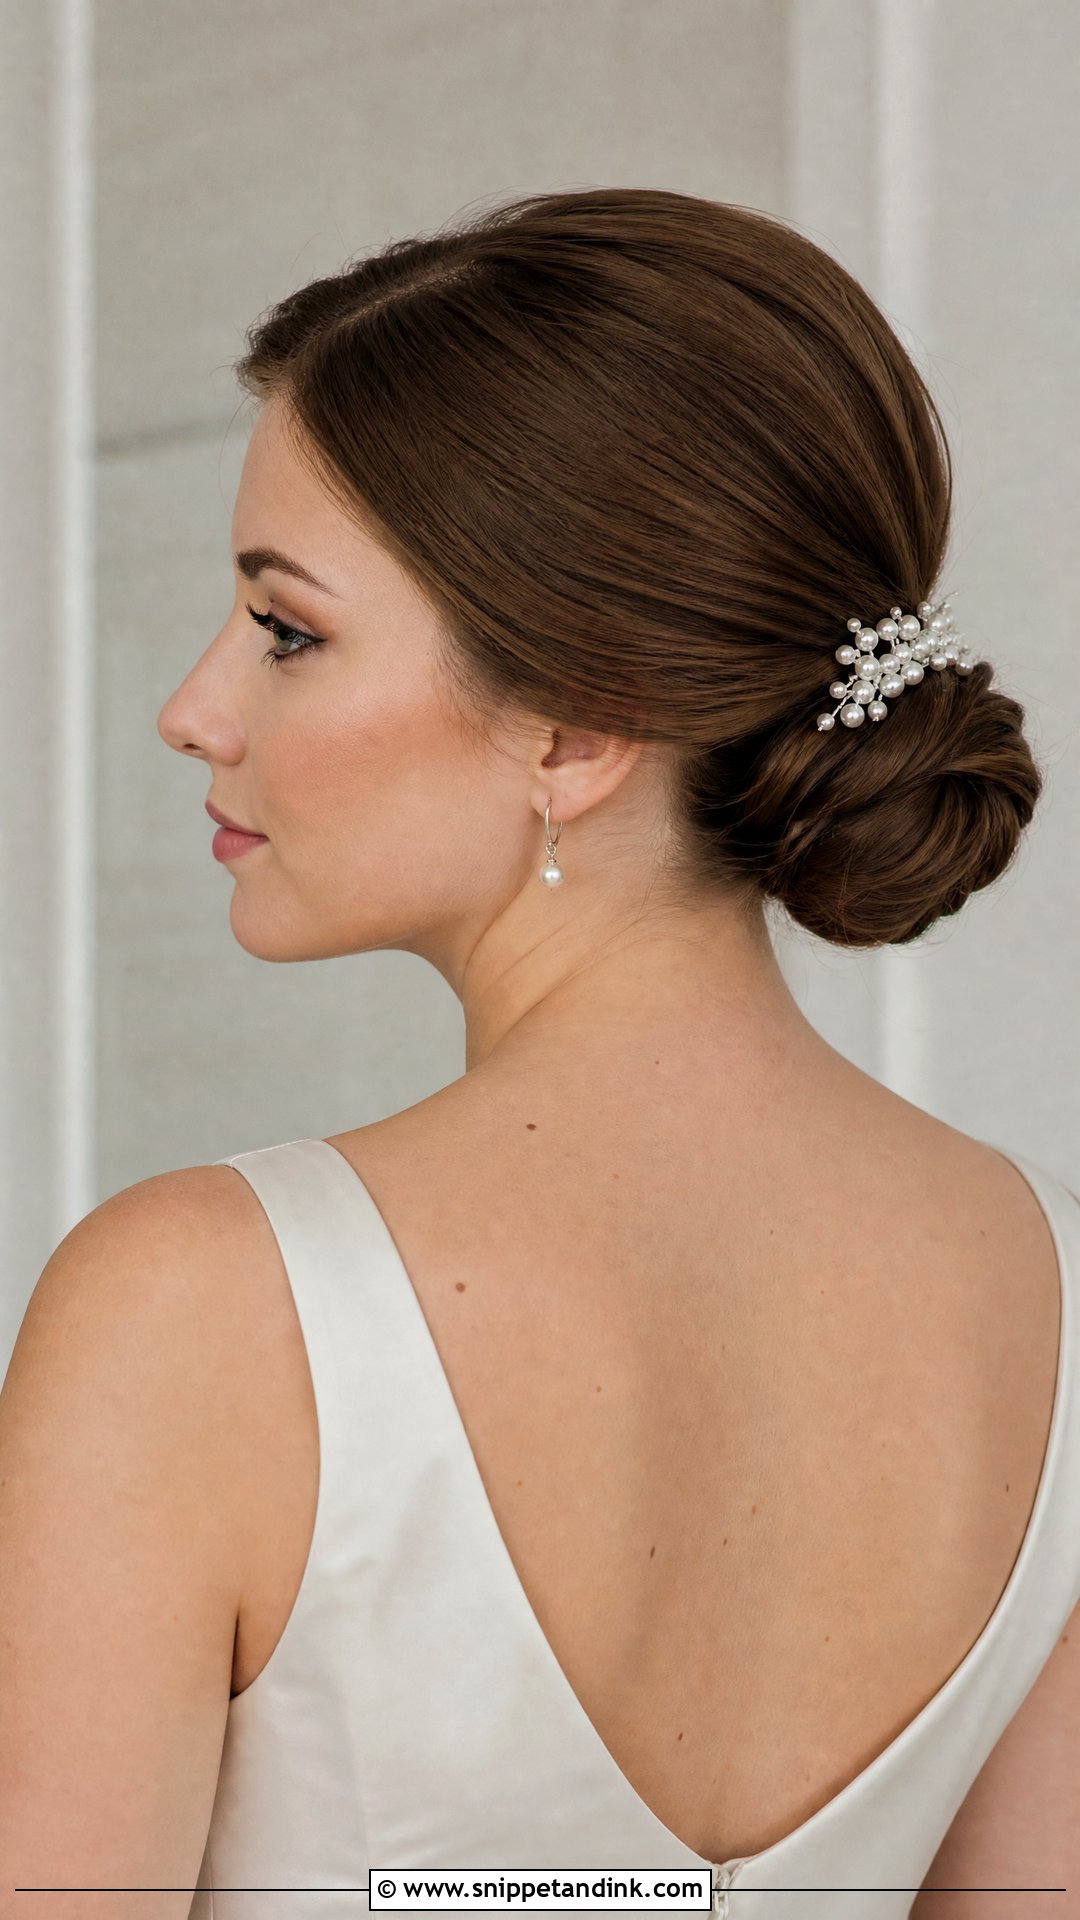
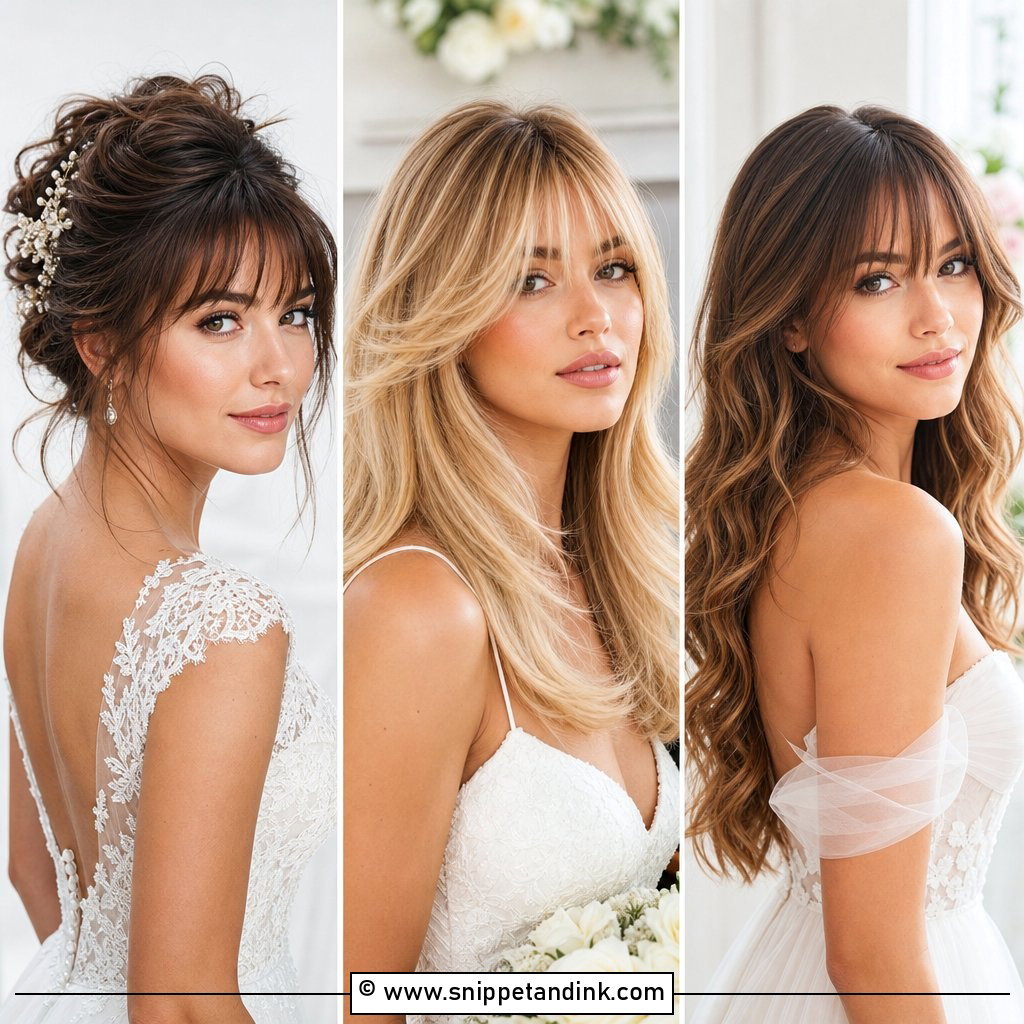
When the dress is doing a lot, the hair should do very little. A low knot, soft bun or smooth twist with almost no decoration lets lace, beading, sleeves or a bold neckline lead. Simple also tends to be the most durable: fewer loose pieces means fewer touch-ups. I still add a little crown volume so it doesn’t look flat in profile, and secure it firmly. If you want one detail, choose a single pin or comb rather than several.
An Updo Shouldn’t Give You a Headache
It’s surprisingly common for brides to be in quiet pain by the speeches, and it’s almost always the hair. A high bun pulls at the hairline, a heavy chignon drags on the nape, or one pin presses into the same spot behind your ear for six hours. None of this looks like a problem in the mirror.
Tell me the moment it feels tight, at the trial or on the morning itself. I can ease tension at the roots, spread the weight with more pins rather than fewer, or drop a high bun an inch lower without changing the look. Heavier, longer hair does best with a low or mid placement, where the weight sits on the neck rather than pulling up from the scalp.
Undoing Fifty Pins at Midnight
Ask your stylist roughly how many pins went in and where the anchor points are. Take it down slowly, working from the last pin in to the first, and don’t brush until most of the pins are out. A little conditioner or detangler through the lengths before brushing will save you a lot of breakage, especially if there’s hairspray holding everything together.
Comfort Decides More Than the Photo Does
Every updo here can look good on the right bride. The real question is which one you’ll still feel fine in eight hours later. A low bun is soft, a sleek bun is sharp, a curly updo shows your texture, and a braid or twist adds detail with very little effort. Collect photos from the back and side, not just the front. At the trial, wear your veil, pins and accessories with the actual updo. Then go with the one that felt light on your head, because that’s the one you’ll look relaxed in all night.
You'll Like These Ideas:


Leave a Reply