
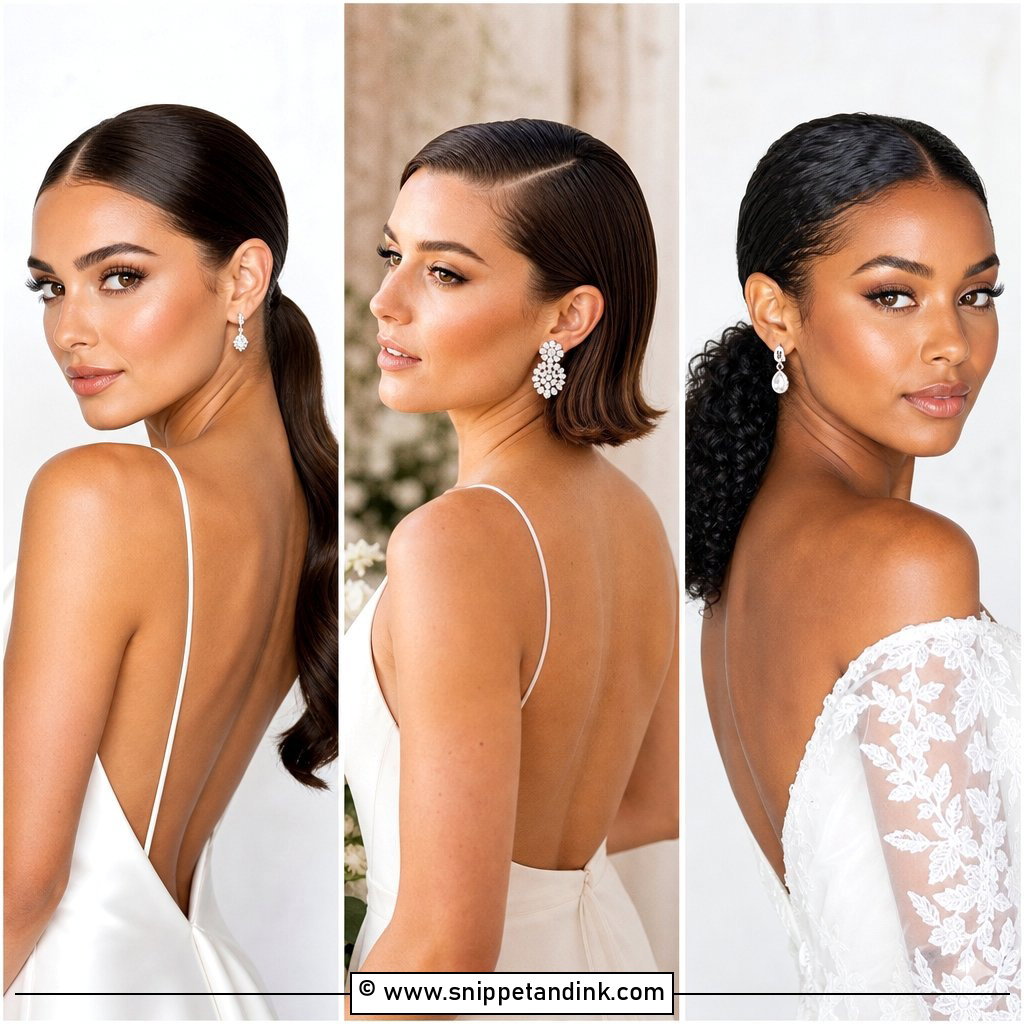
Slicked-back hair looks like the simplest thing I do on a wedding morning, and it’s the style that exposes the most. There’s no curl or volume to hide a crooked part, a cowlick or a patch of fine hair at the temple. Done well, it frames the face, keeps earrings and an open back in view, and barely moves from the first look to the last song. Below are 25 versions, from low buns and ponytails to half-up and wet-look finishes, and for each one I’ve added what I actually watch for when I build it, plus who I’d talk out of it.
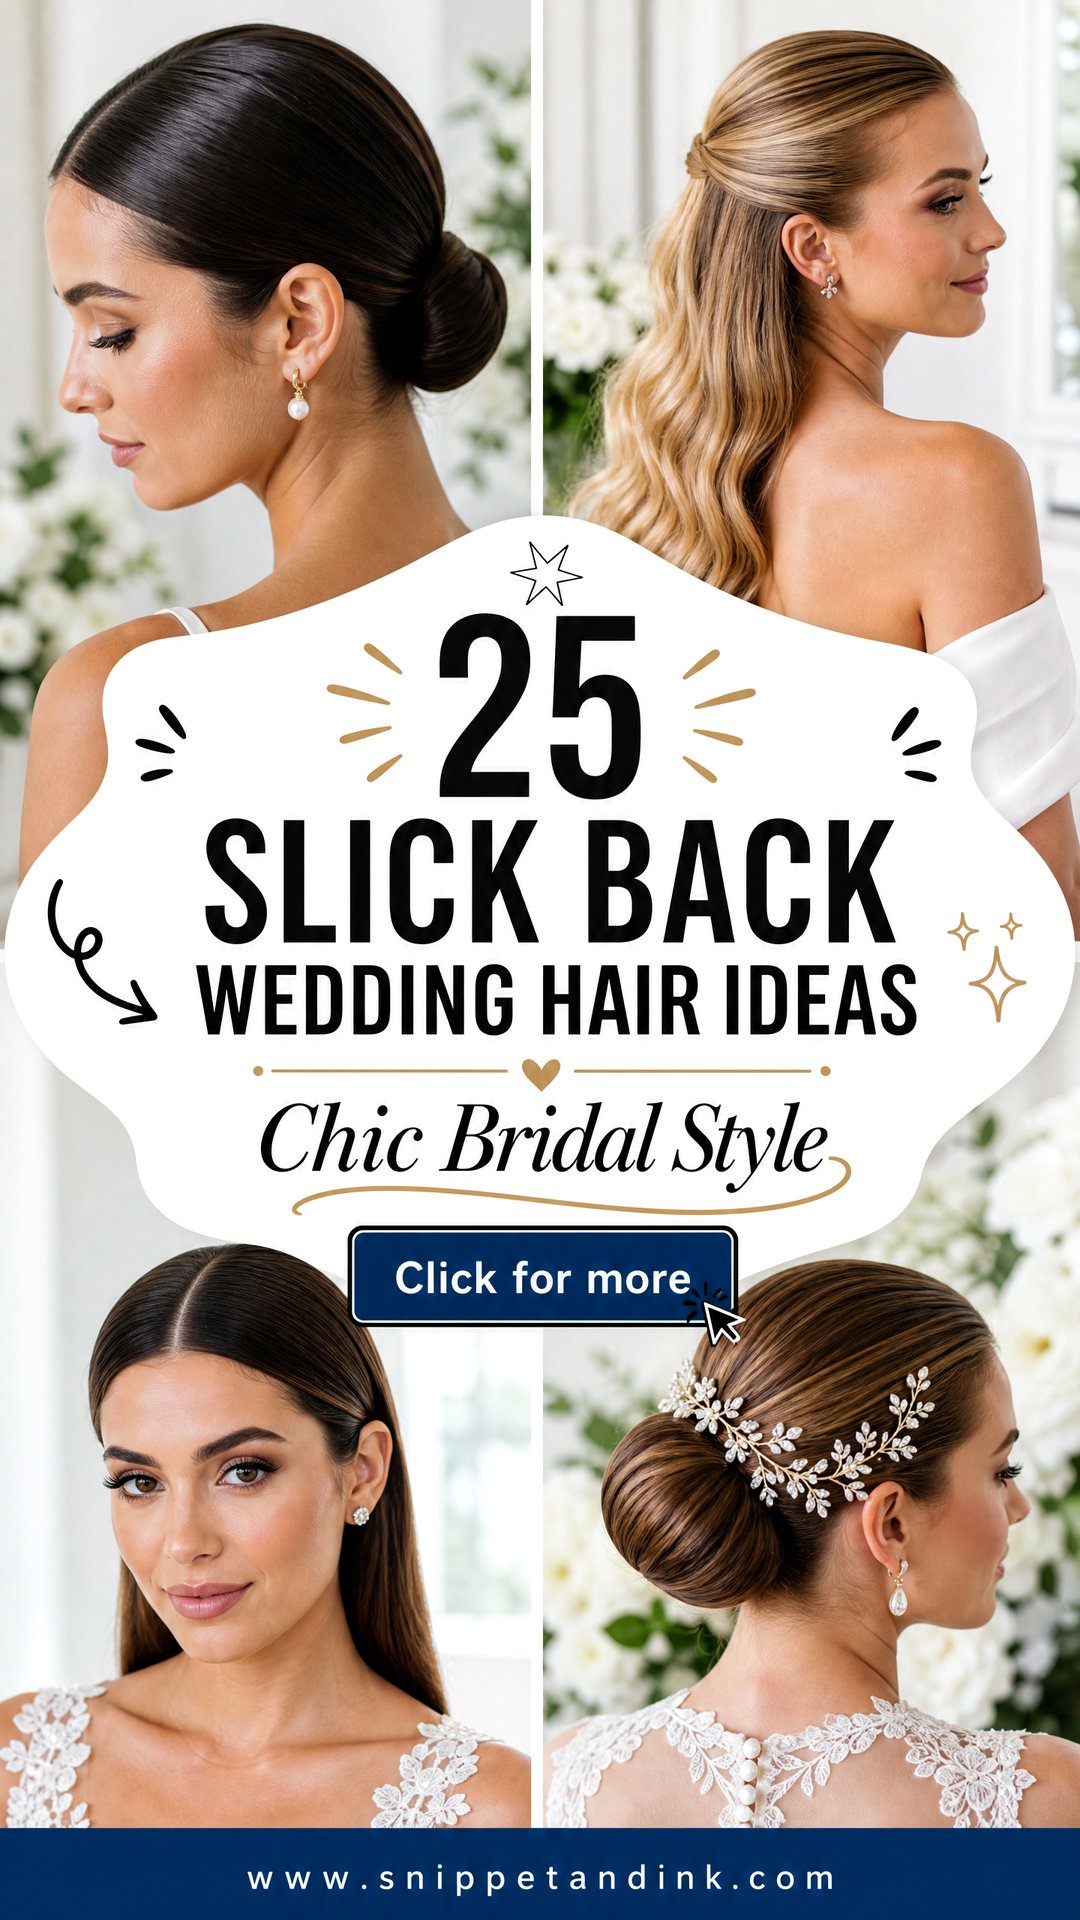
Gel, Cream or Pomade for Your Own Hair Texture
The product decides how a slicked style looks at 10pm, so I match it to the hair in front of me rather than to the photo. Fine, straight hair collapses under heavy products and starts to look greasy, so I keep to a light cream on damp hair and a flexible spray at the end. Thick or coarse hair can take a firmer pomade, which also tames the frizz that thick hair throws up at the crown. Curly and coily hair usually does best with a gel that holds without crunch, applied only where the hair needs to lie flat.
- Fine hair: lightweight cream, a root powder on the part, and no shine serum near the scalp.
- Thick hair: firm pomade worked through in sections, then brushed with a boar bristle brush.
- Curly or coily hair: flexible gel on the edges and front, curls left with their own definition.
- Short layers or regrowth at the hairline: a wax stick or a spoolie brush with gel, applied last.
Bring your usual products to the trial. If your hair reacts badly to one, we’ll find out then, not on the morning.
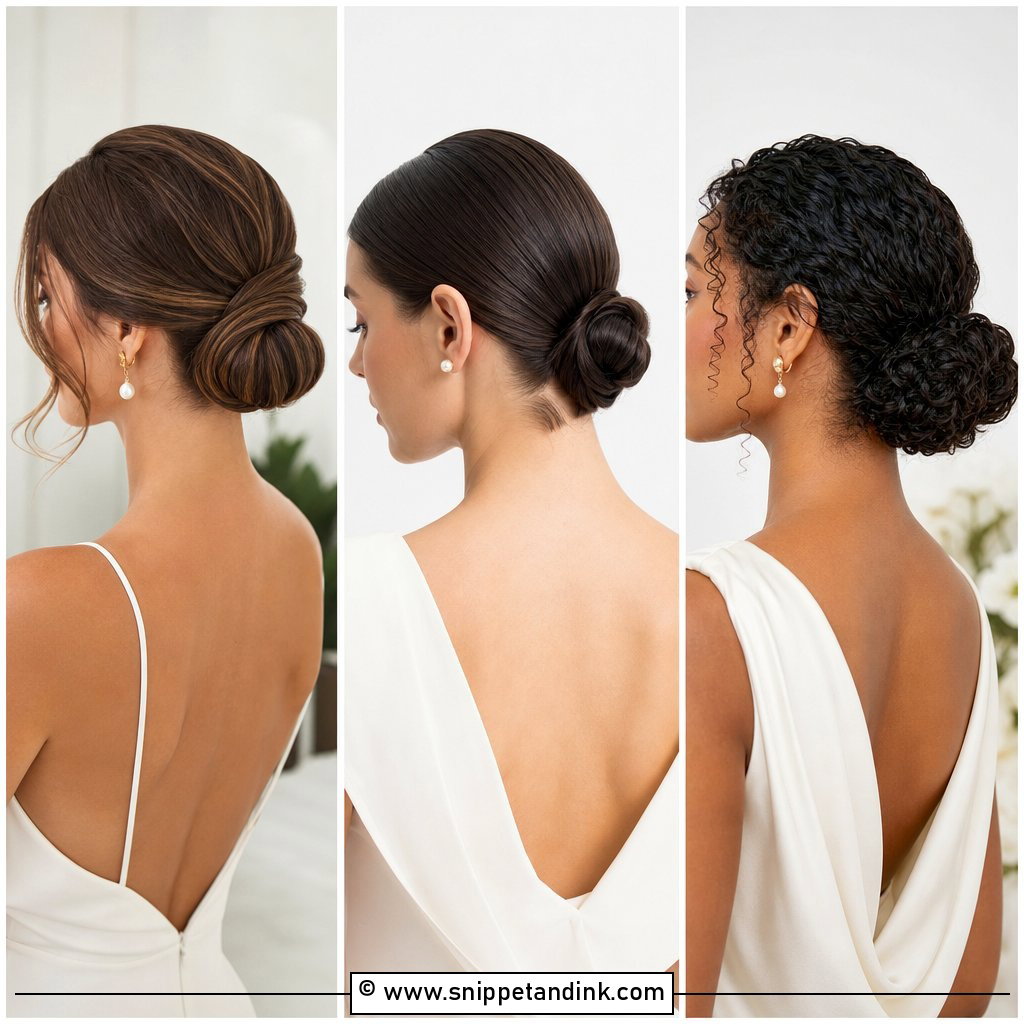
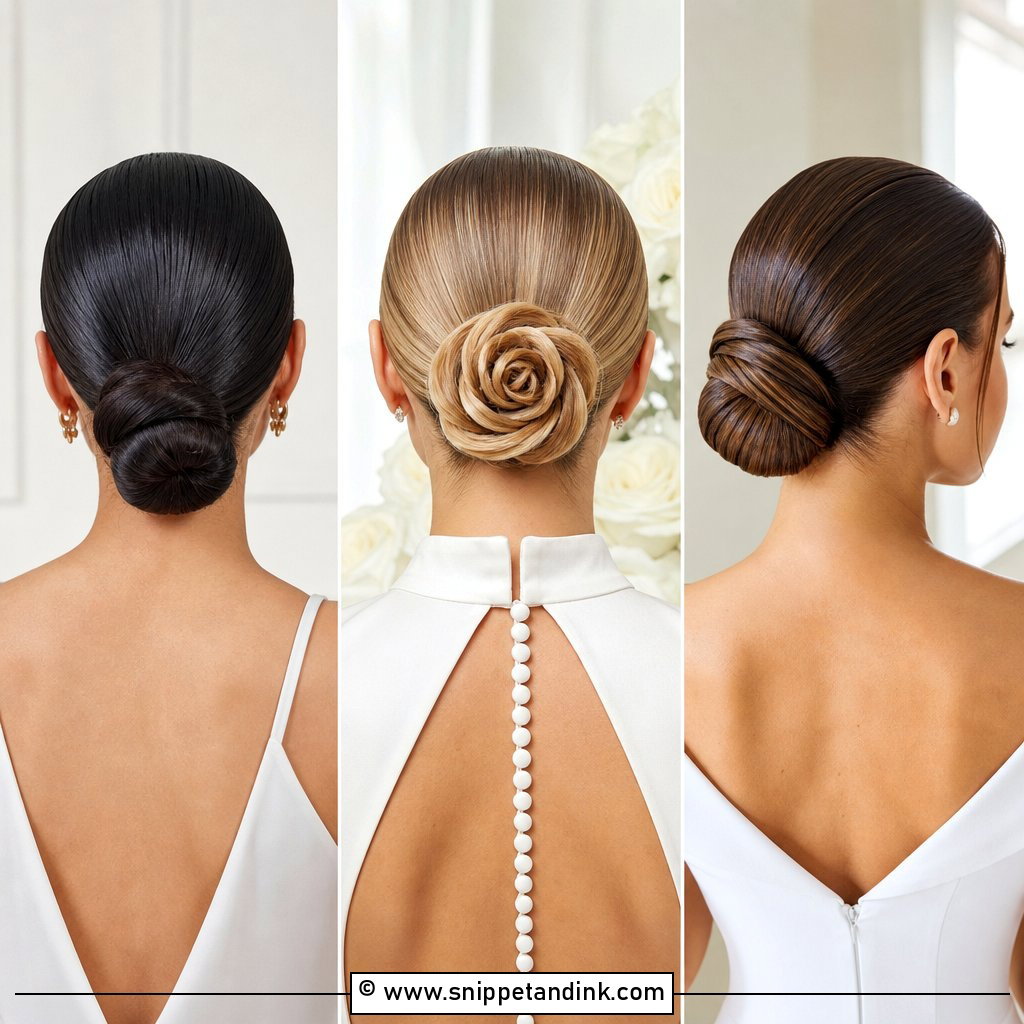
1. Slicked Back Low Bun
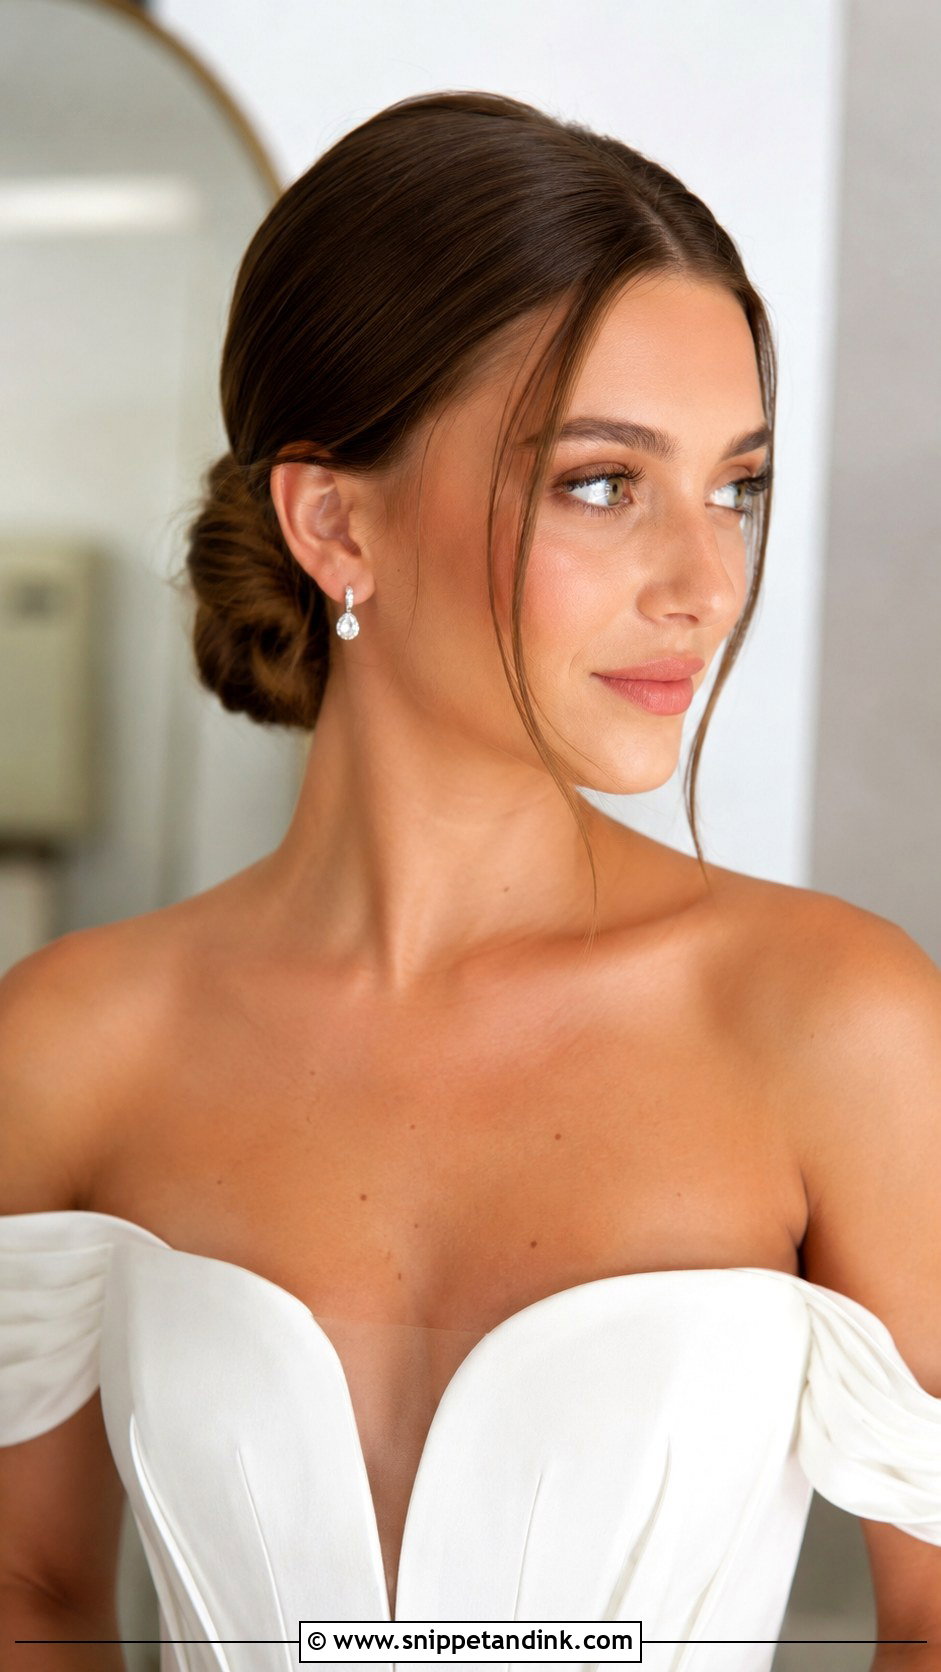
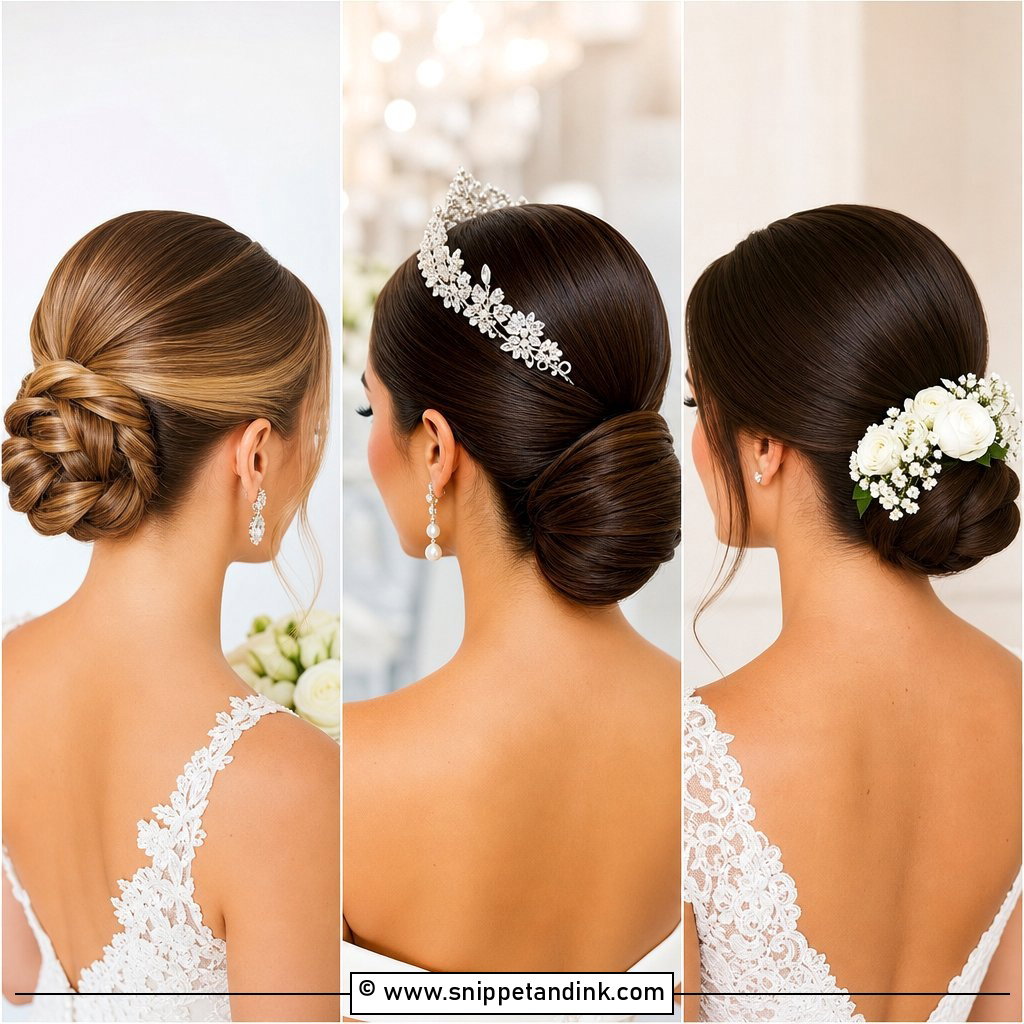
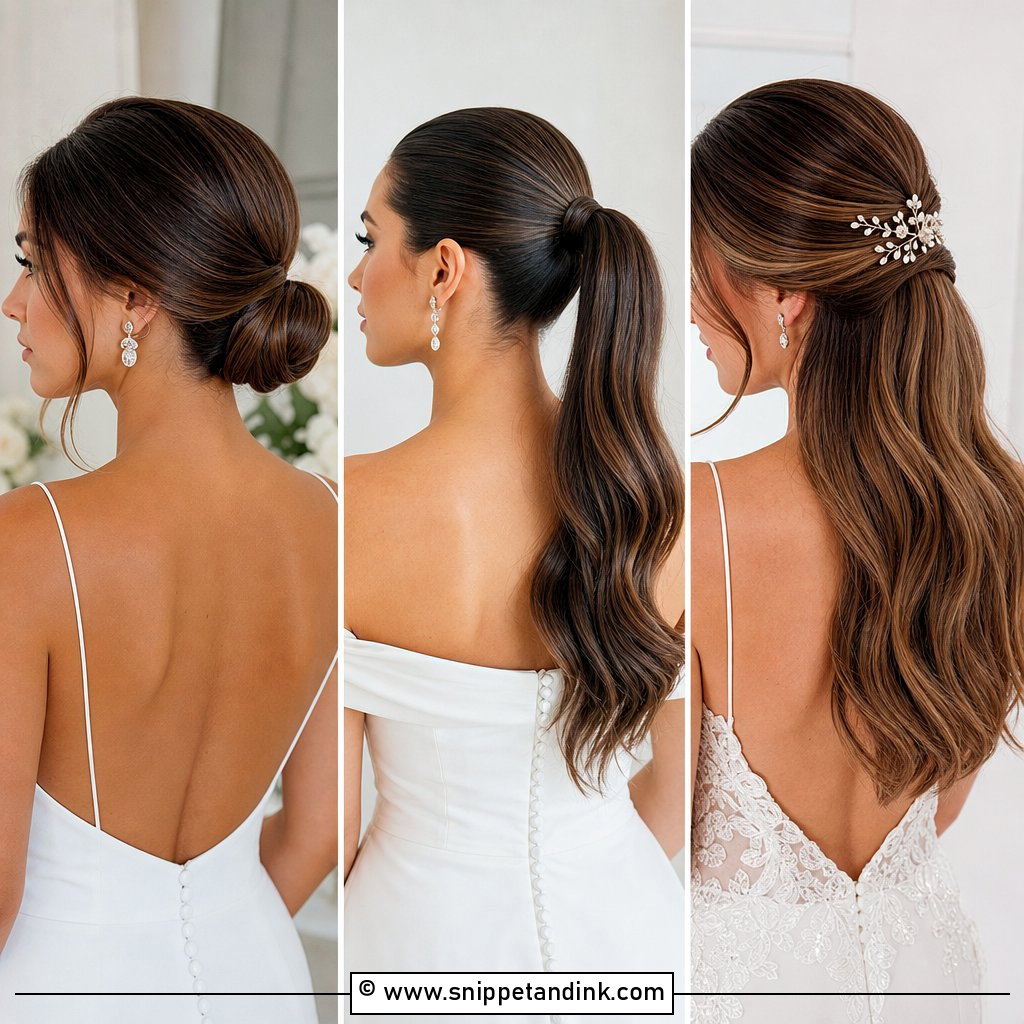
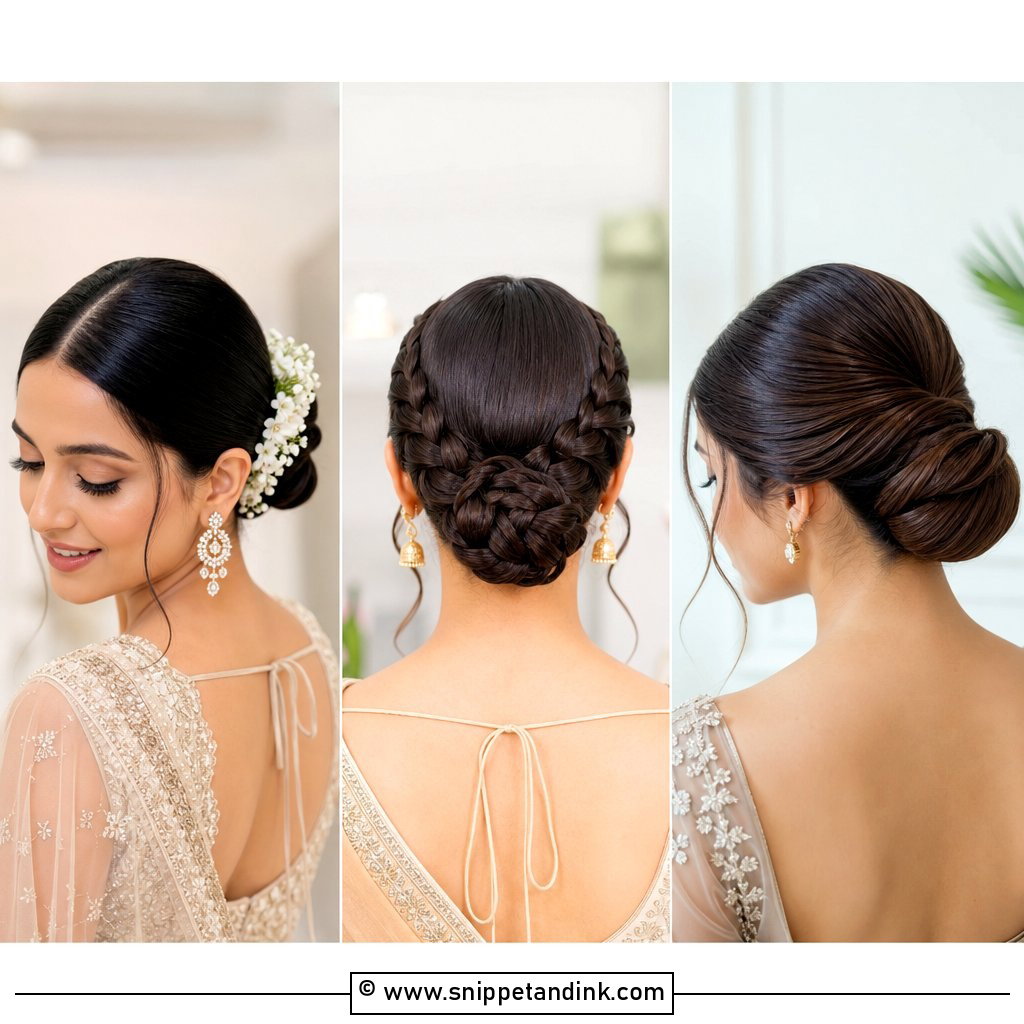
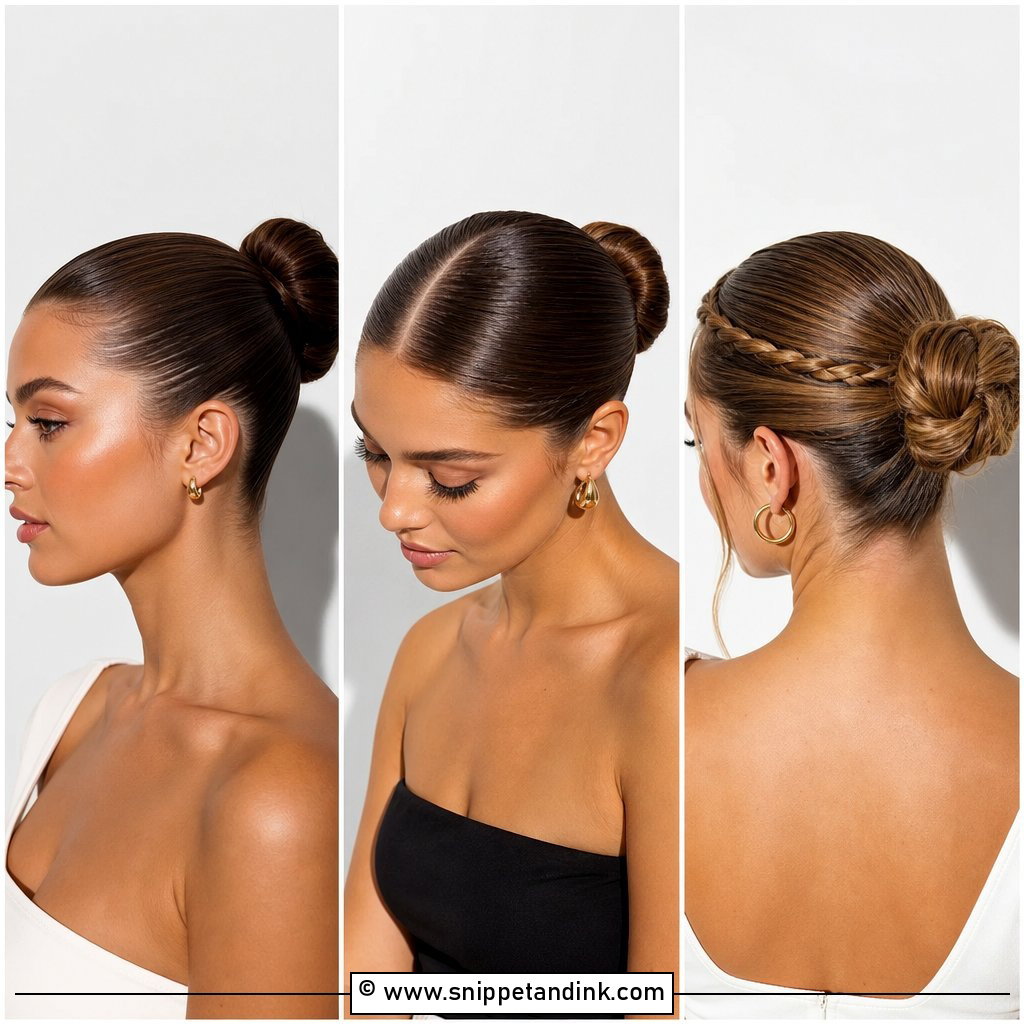
This is the one most brides bring me a photo of, often the Sofia Richie wedding picture. The finish depends on the brushing, not the bun: I smooth the hair back while it’s still slightly damp with a little cream, blow-dry it flat with a boar bristle brush, then set the knot low at the nape. A center or side part both work, so I decide at the trial by looking at your hairline. It holds through hours of dancing, but on fine hair I pad the knot with a small donut so it doesn’t look like a walnut from behind.
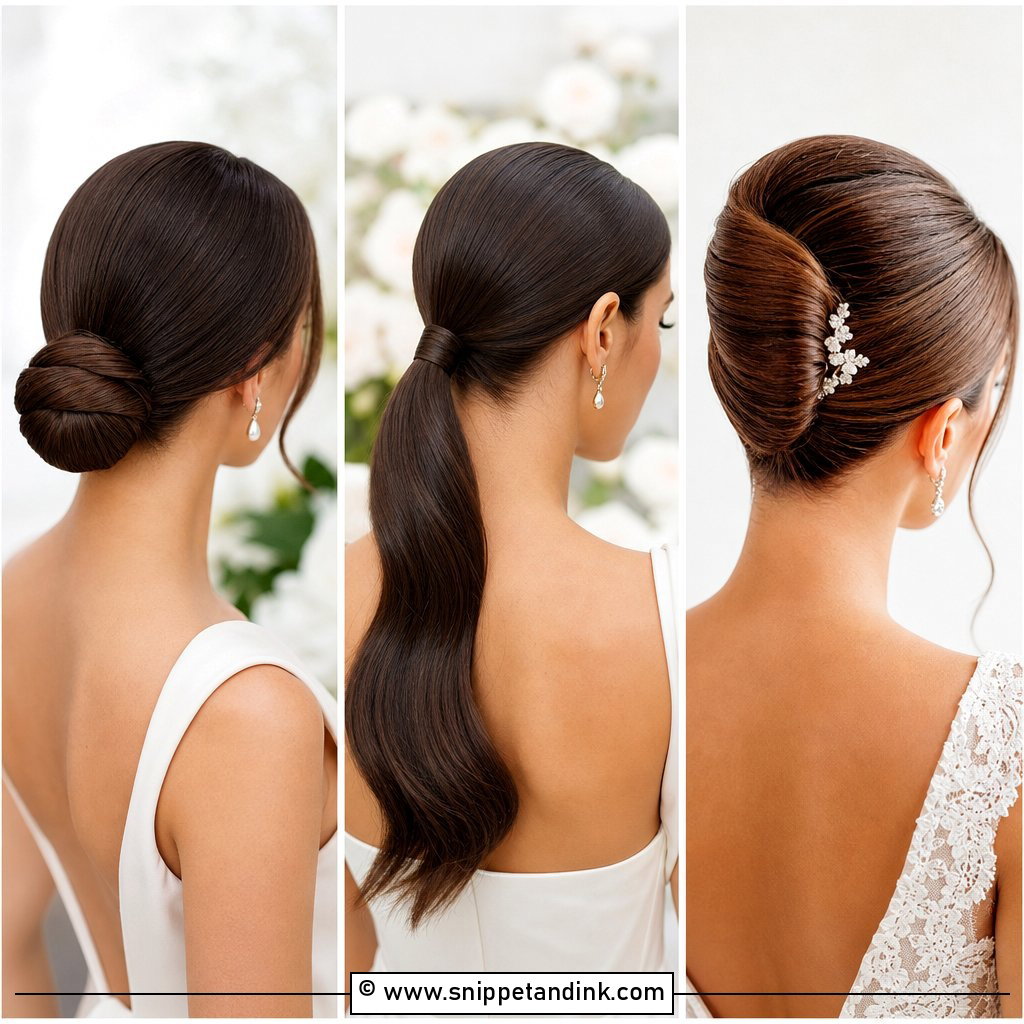
2. Slicked Back Ponytail
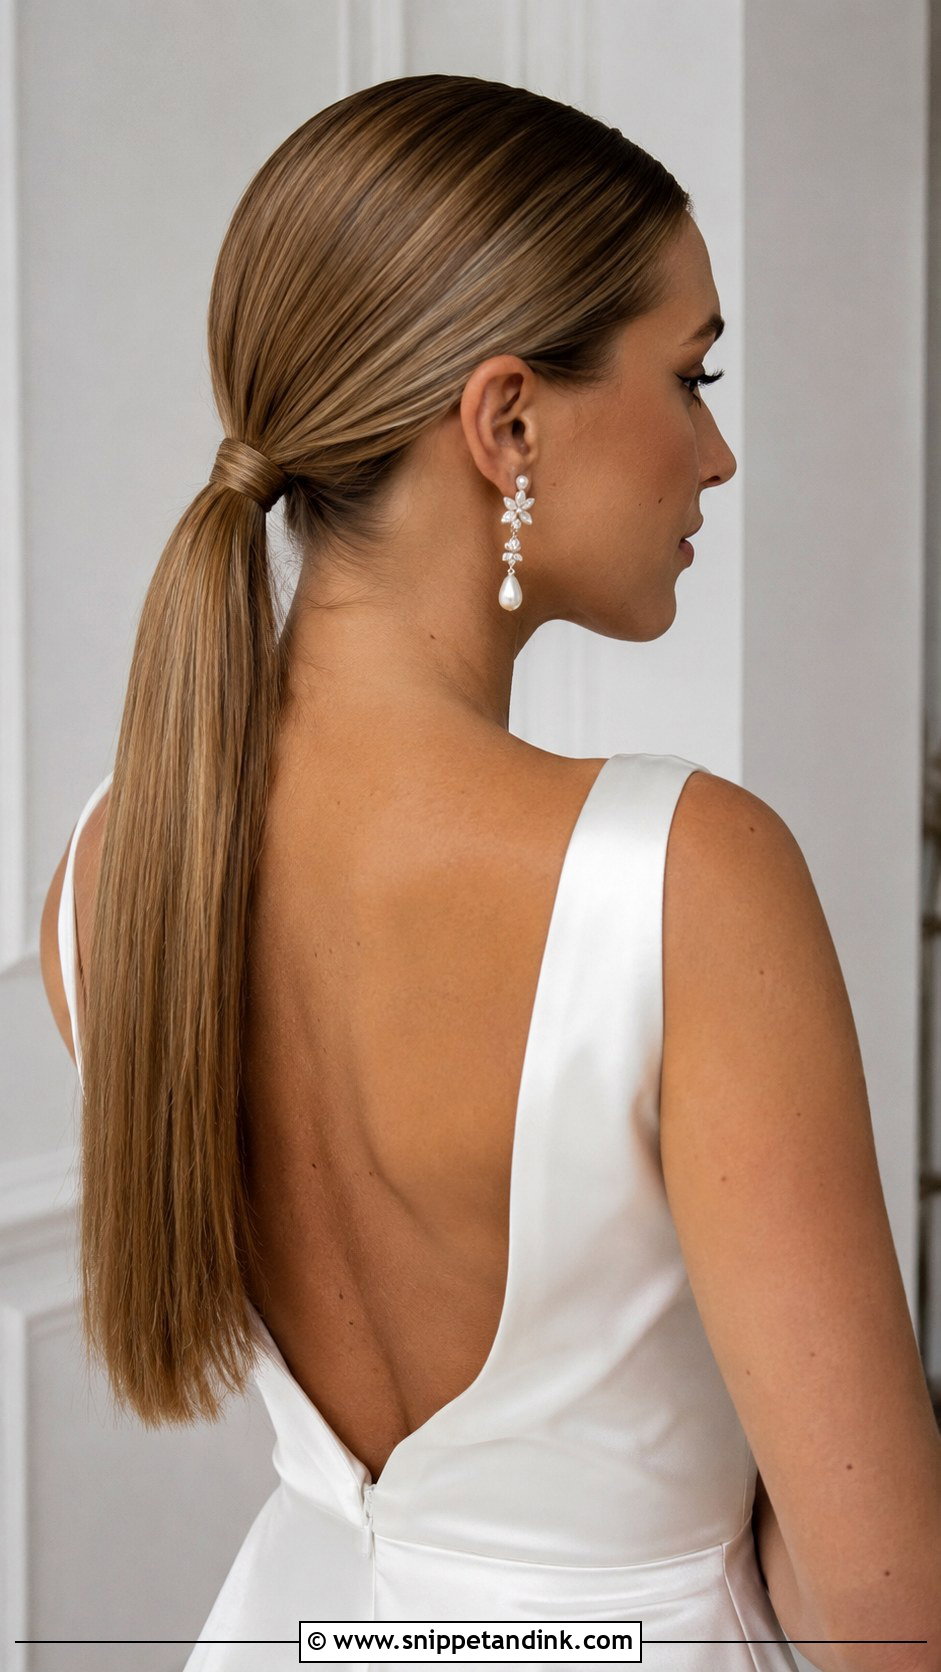
Placement changes everything here. A low ponytail reads quiet and tailored; a high one lifts the face and the whole silhouette, but it also pulls harder on the scalp, and by hour six some brides want it out. I wrap a strand round the elastic and lock it with a pin pushed into the base, so the wrap can’t unravel when you hug people. Bold lips and a structured gown suit it. If you get tension headaches from a gym ponytail, wear this one low.
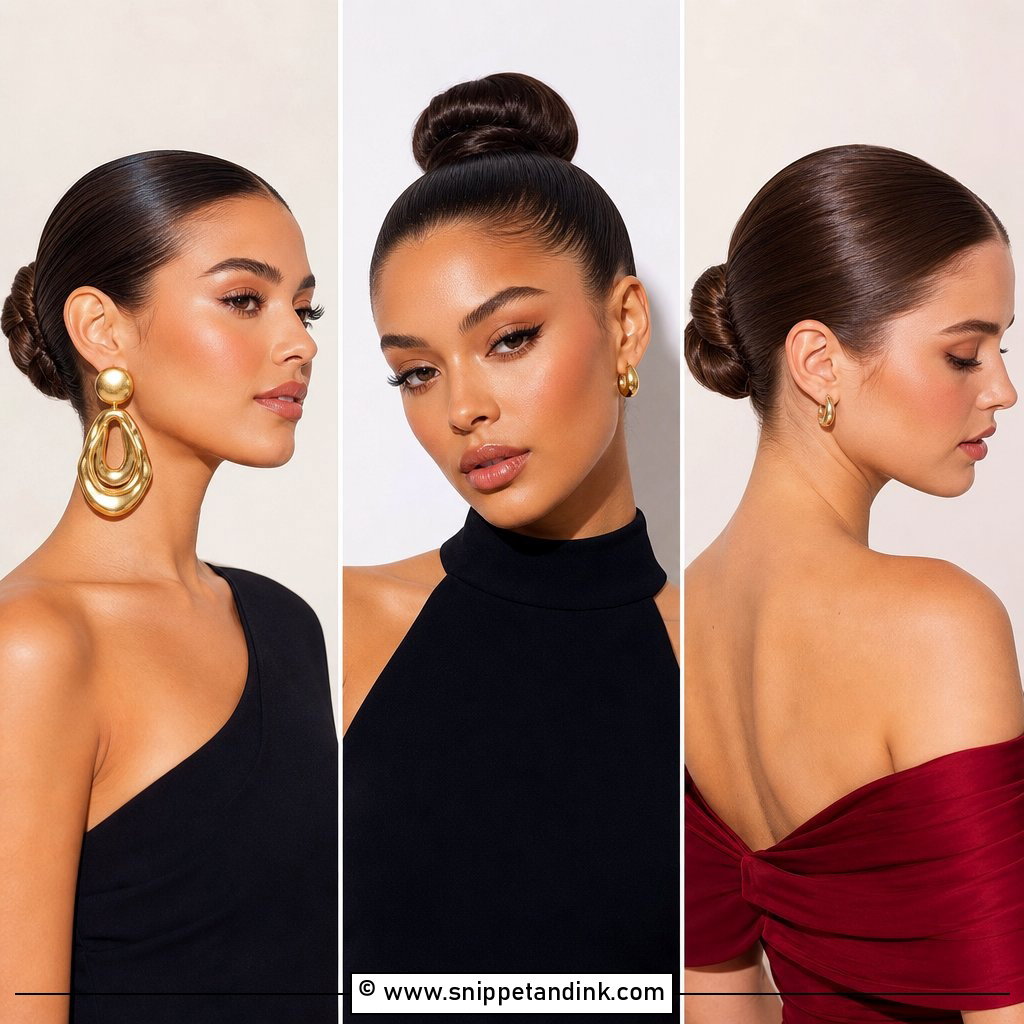
3. Slicked Back Bun With Middle Part
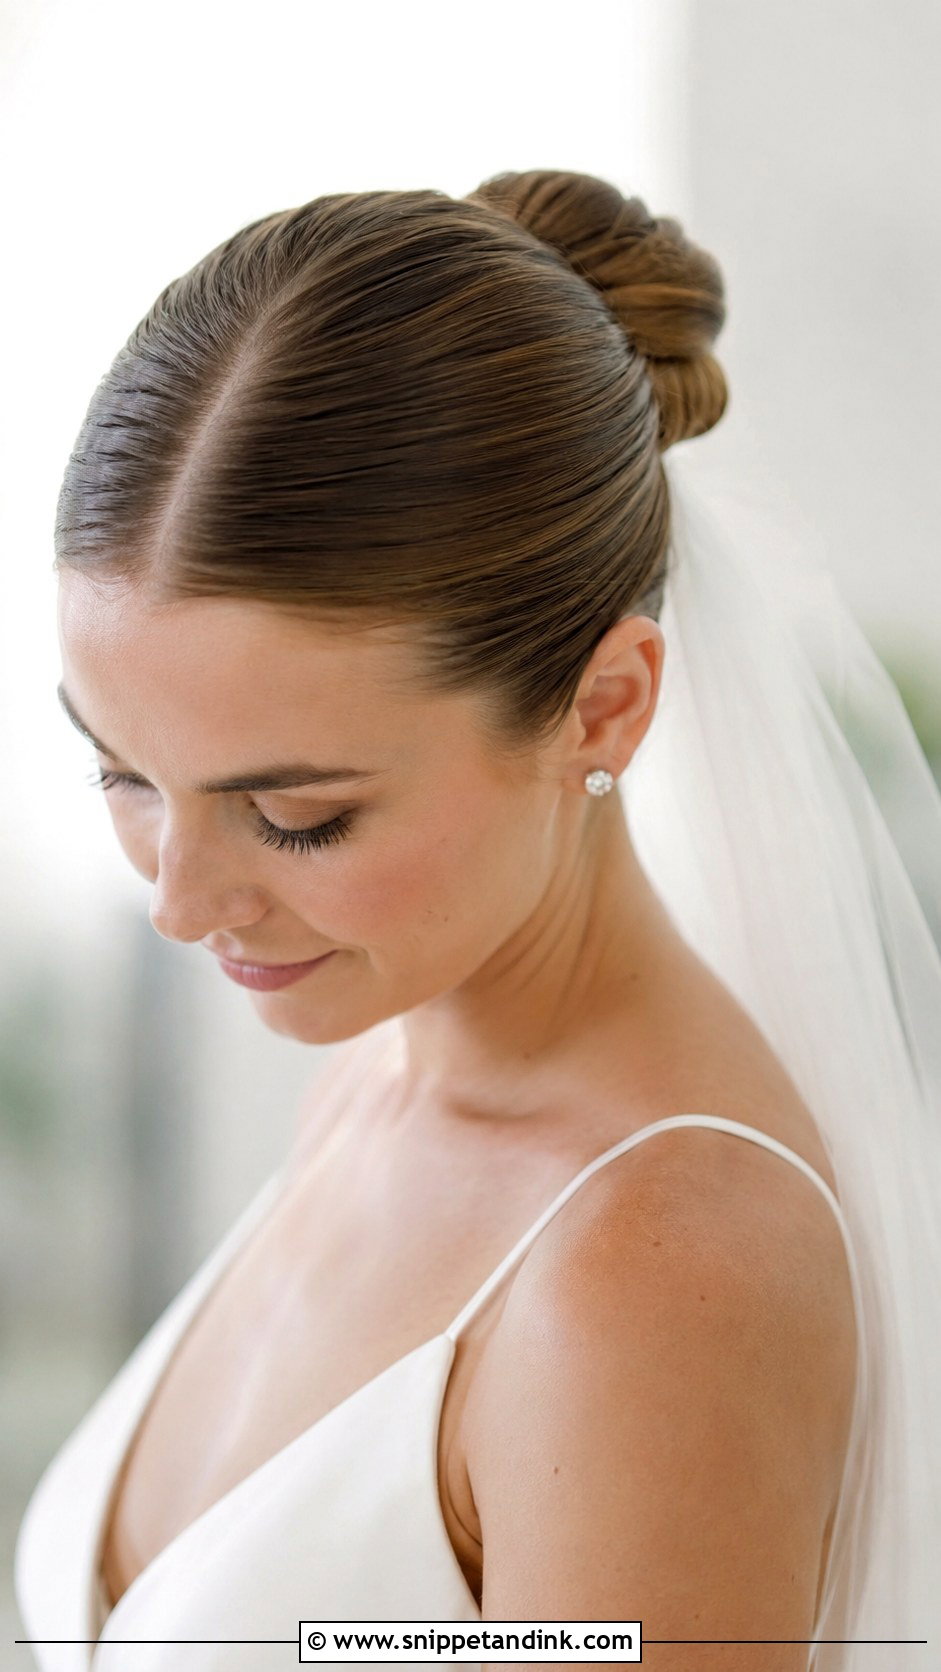
A middle part is unforgiving. Most people’s natural part wanders a few millimetres, and once everything is pulled tight that wobble shows in every front-facing photo. I set it with the tail of a comb from the brow bone straight back, then gather the hair into a neat ballerina bun. It sits well under a delicate veil and with clean makeup. If you have a strong cowlick at the front, we test the part at the trial before you commit, because some hairlines simply won’t lie flat on center.
4. Slicked Back Half-Up Half-Down
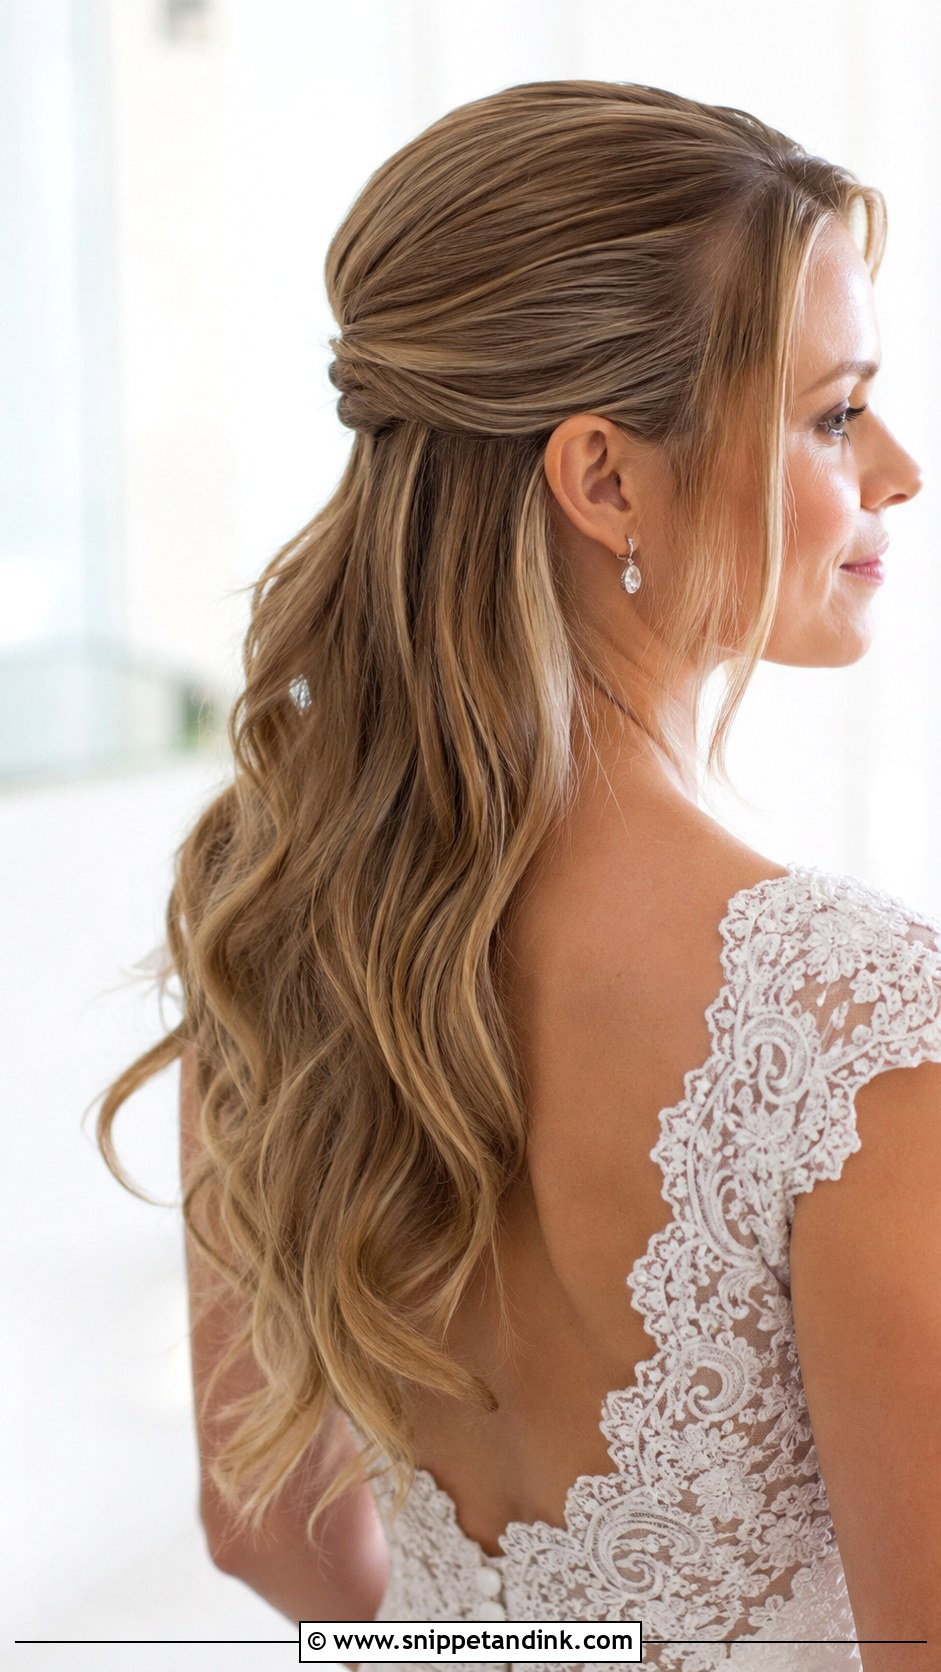
Half-up is where slick meets movement: the top and sides smoothed back and pinned at the crown, the length left in loose waves. I lightly backcomb the crown first, otherwise the smooth section looks glued to the head. It needs medium or long hair to work. The catch is the bottom half: curls drop faster than a bun, so I set them with a wand, let them cool fully before brushing, and tell humid-weather brides to expect softer waves by evening.
5. Slicked Back Wet Look
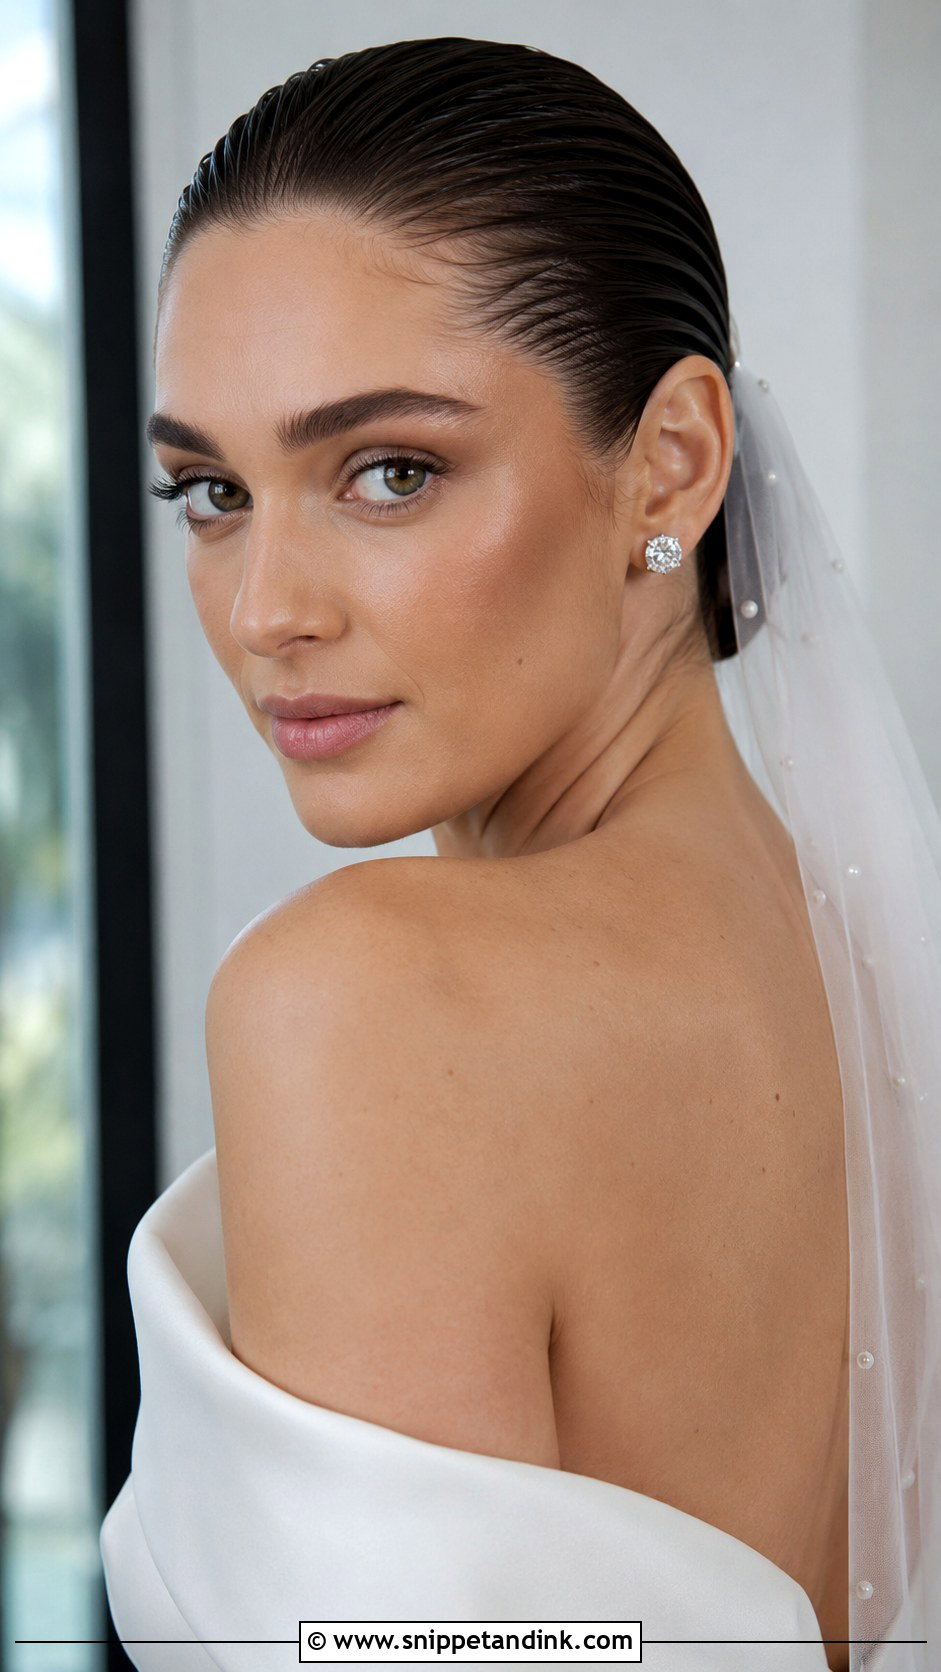
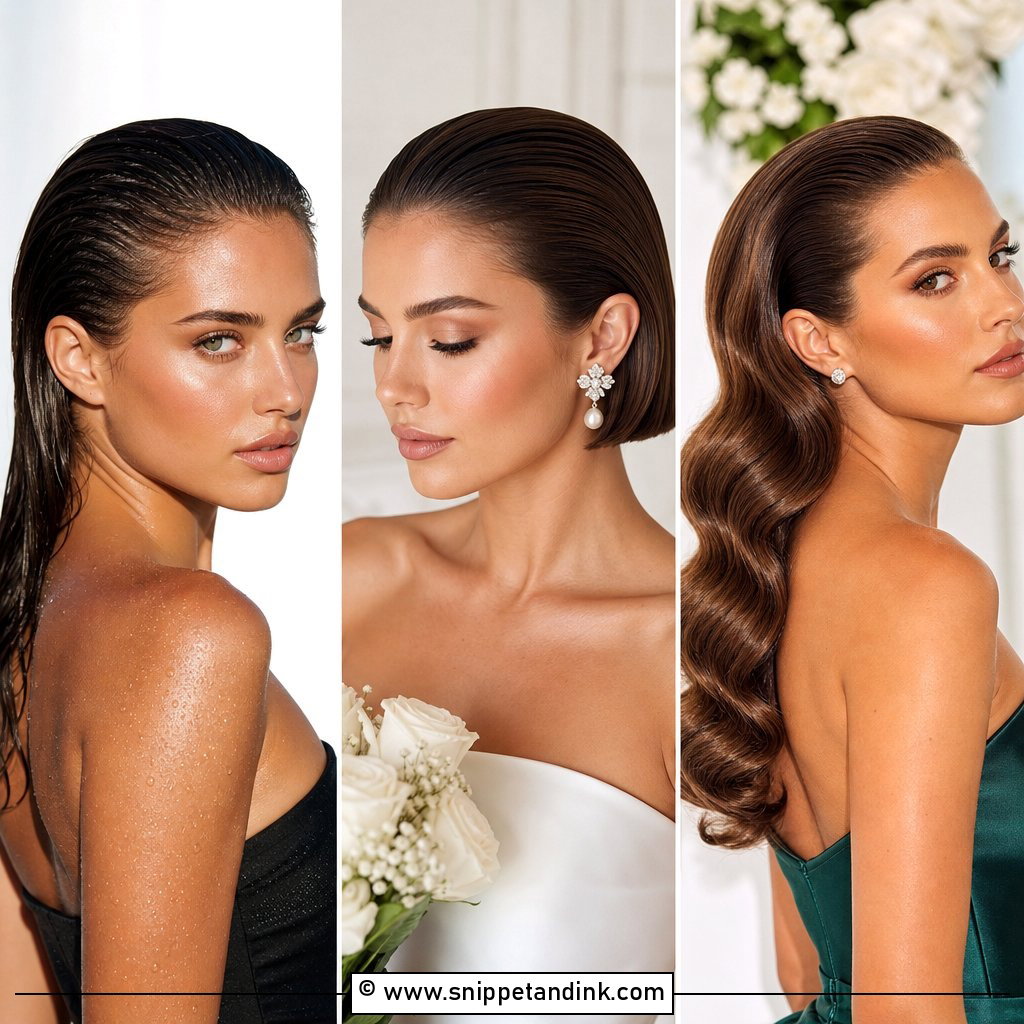
The wet look is a gel finish, sculpted and glossy, and it’s the most fashion-led style here. It suits short hair and sleek bobs especially well, and a sharp modern gown with dewy skin. Product choice matters more than with anything else on this list: a cheap high-alcohol gel can dry with white flakes that show under flash. I apply it in thin layers, comb each one through, and leave it alone once it starts to set. Under bright reception lighting it really does shine.
6. Slicked Back Bridal Updo
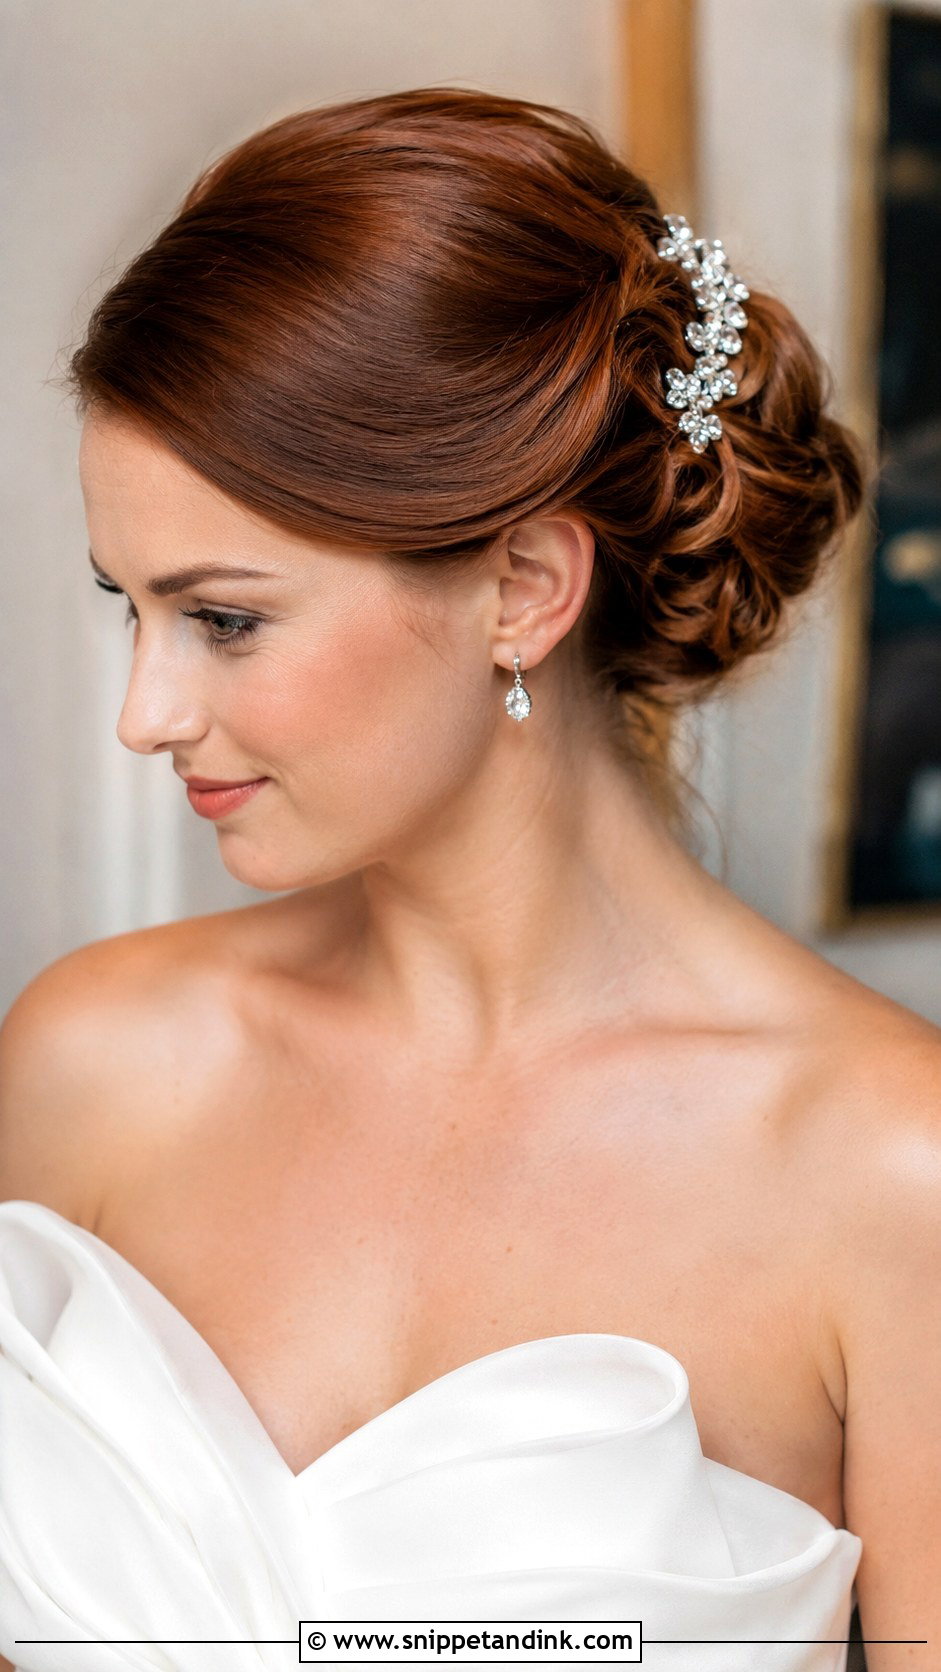
For a full updo, I sweep the front back cleanly, then twist and tuck the lengths into a shape behind. Everything is off the shoulders, which helps at a hot summer wedding and with a high or detailed neckline. A comb or a few jeweled pins can sit in the twists. It’s the style I’d choose for a black-tie wedding with a structured gown. The one thing I watch is weight: on very thick, long hair I split the tucks across two anchor points so the whole shape doesn’t drag on one spot all night.
7. Slicked Back Bun With Veil
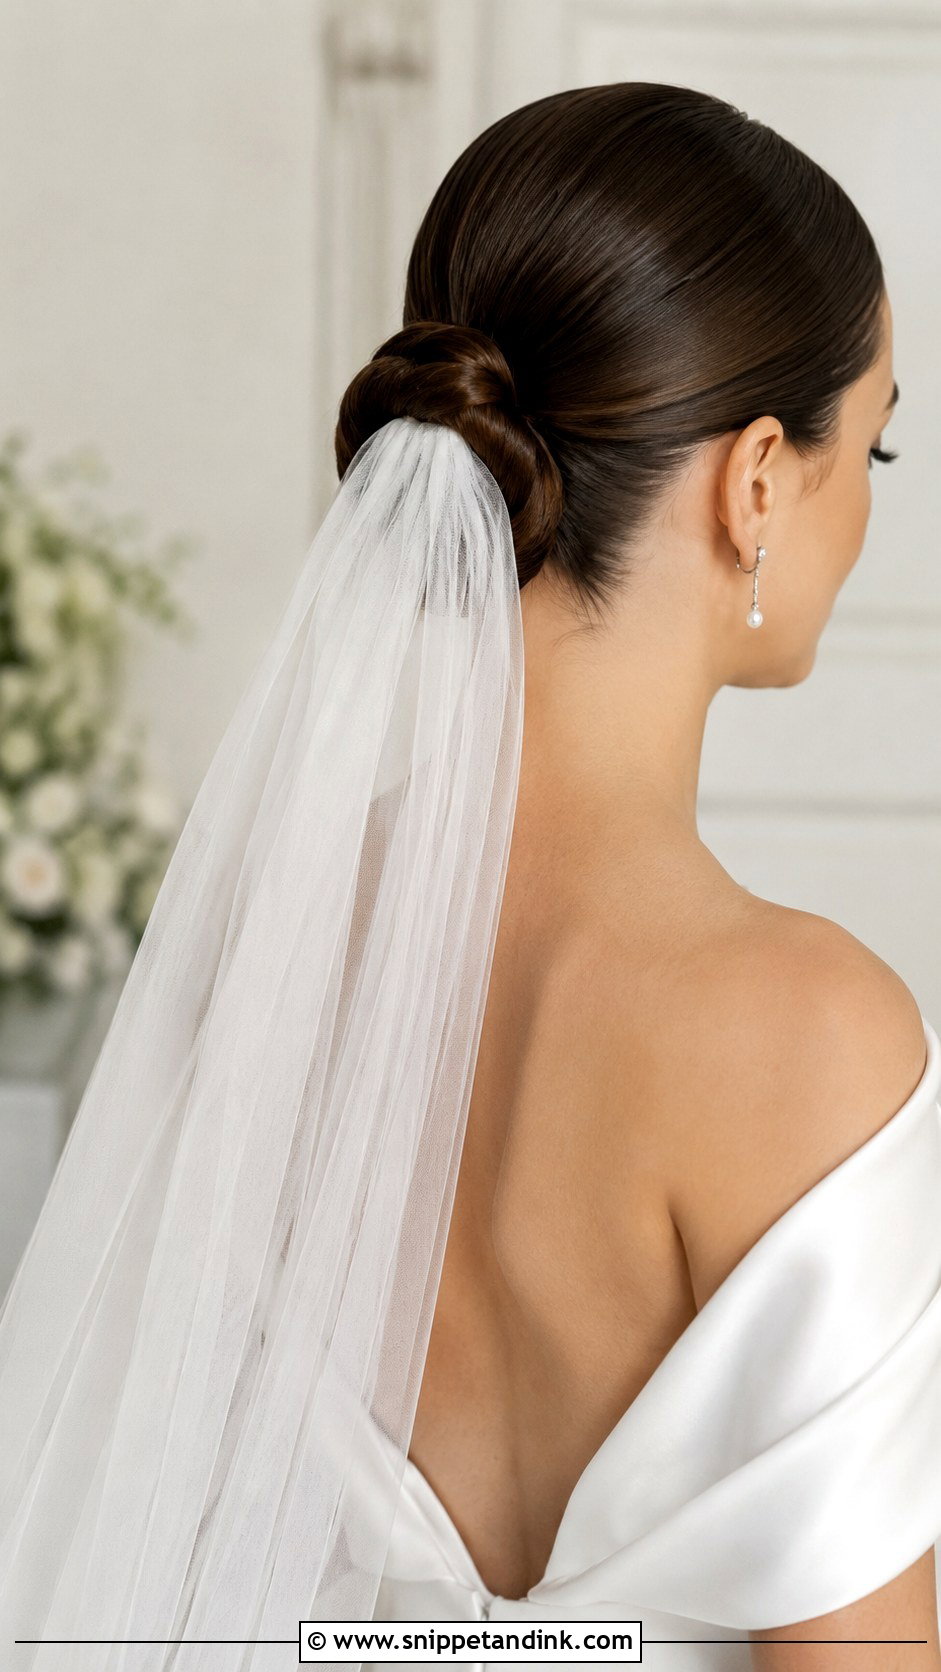
Veils and slicked hair have one practical problem: the hair is too slippery for a comb to grip. Before the veil goes in, I set two crossed bobby pins exactly where the comb will sit, and slide the comb teeth under them. That’s what keeps it anchored at the crown or the nape when you turn your head. A long cathedral veil gives the drama; a short birdcage leans vintage. Once the veil comes off for the reception, the bun underneath should look untouched.
8. Slicked Back Side Part
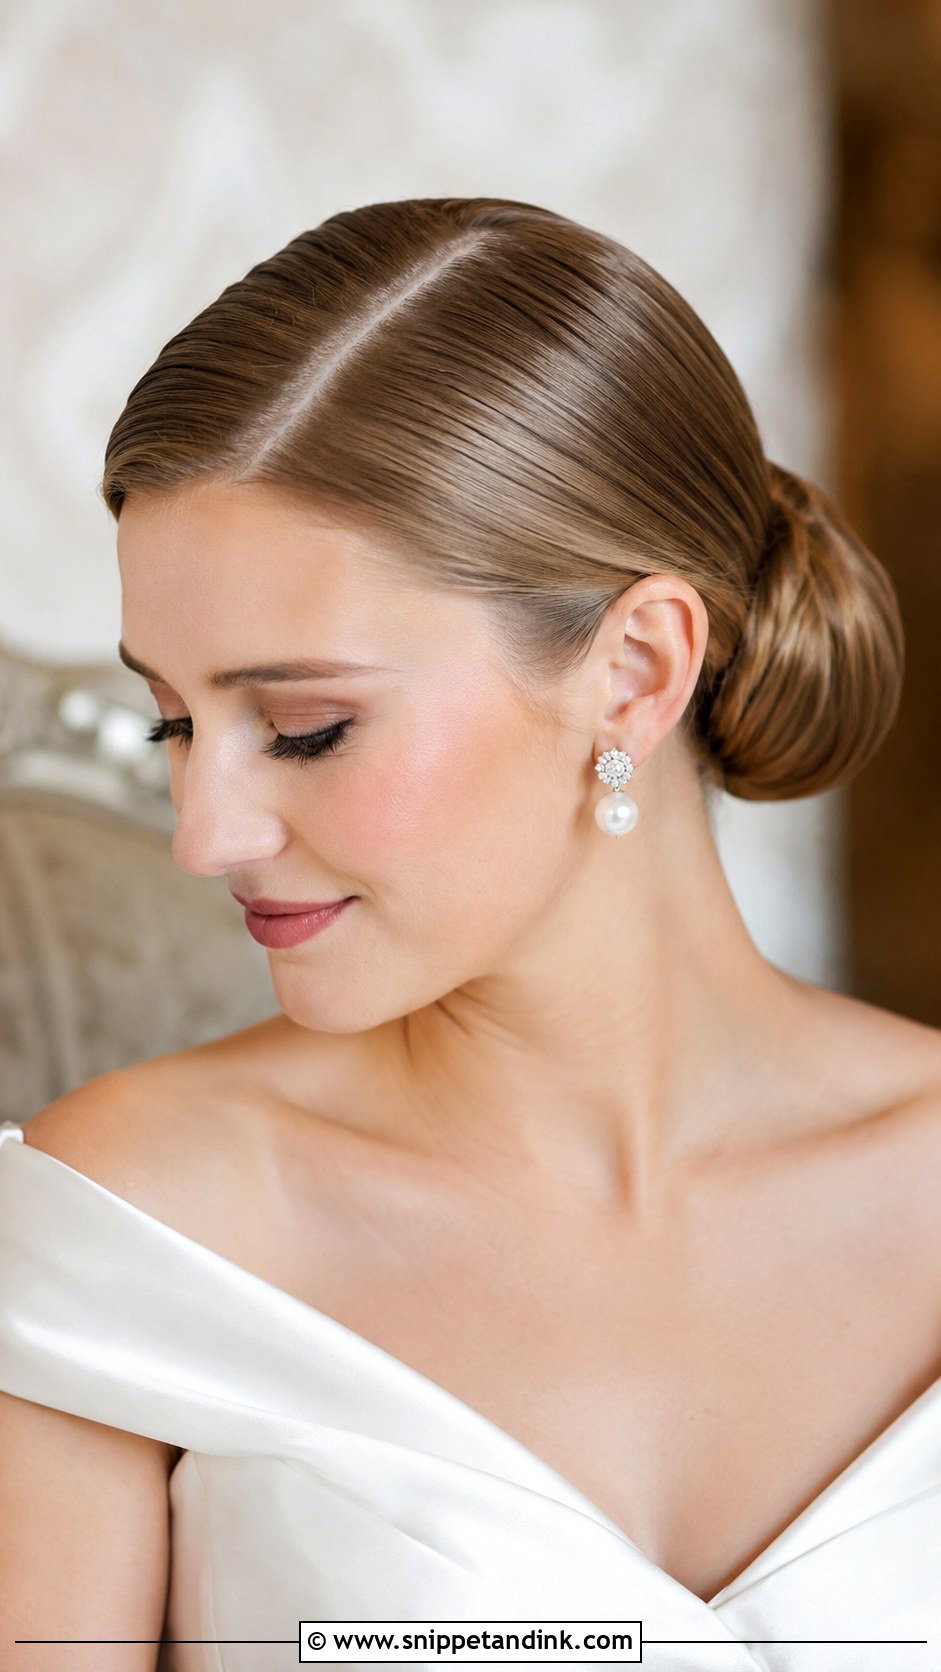
A deep side part gives slicked hair an old Hollywood angle. I usually start the part just above the arch of the brow and sweep everything into a bun or ponytail on the opposite side. On a round or square face it adds a diagonal line that softens the shape. The thing to check at your trial is which side you naturally part on: forcing the opposite way often leaves a ridge at the roots that pops up by mid-afternoon. A shine serum and vintage-leaning jewelry finish it.
9. Slicked Back Bob
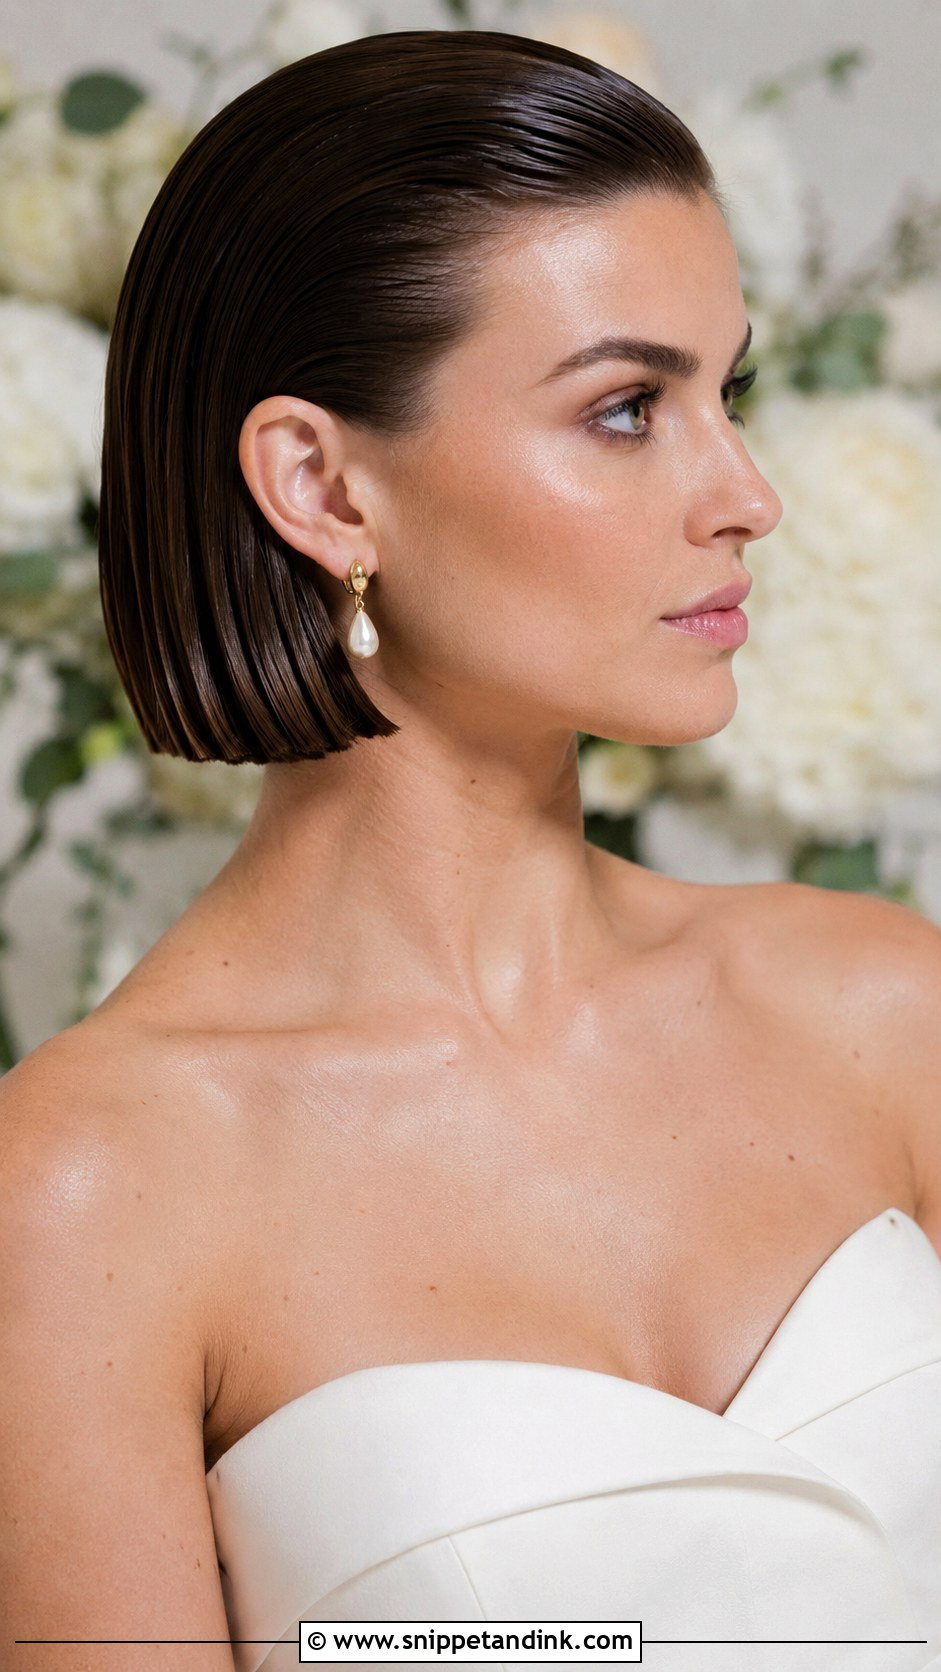
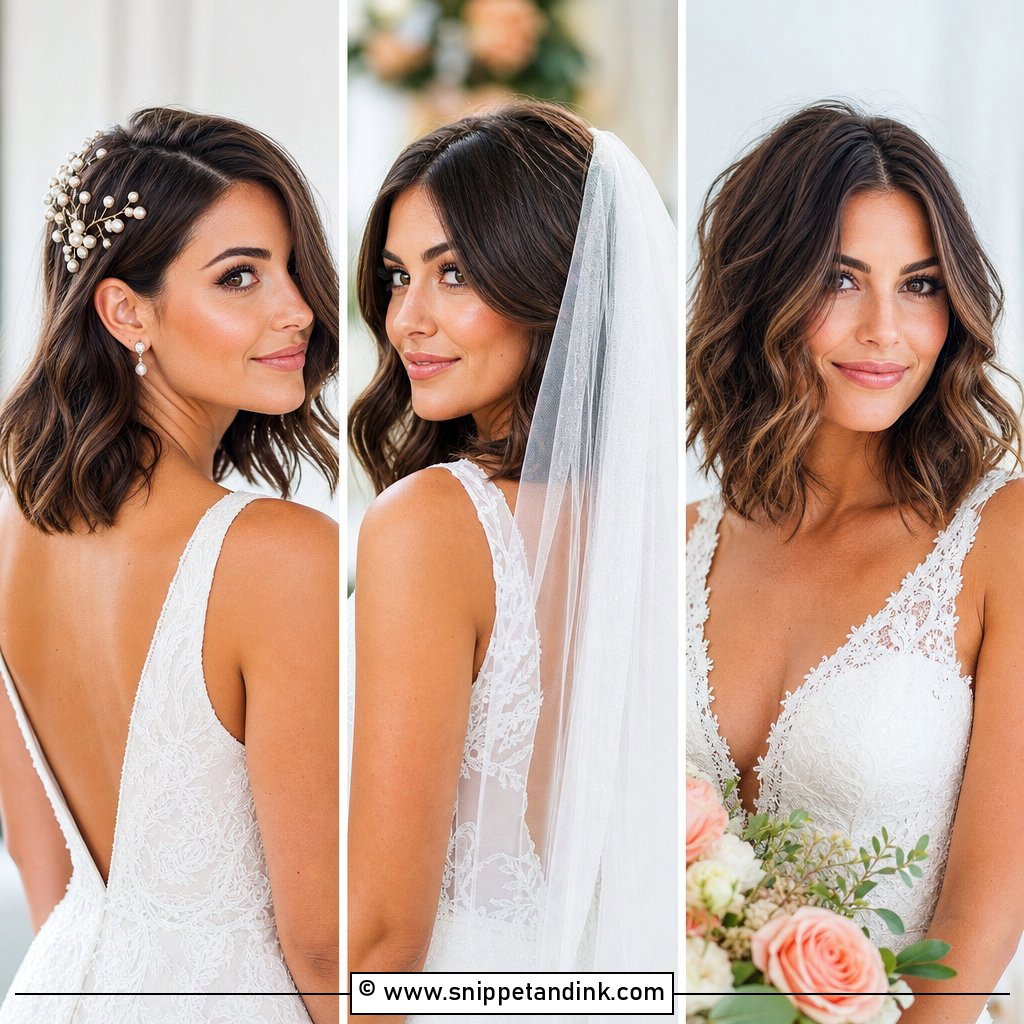
On short hair, a slicked back bob is one of the cleanest bridal looks I can do. Chin-length and jaw-length cuts both work. I use a firm pomade or strong gel and tuck the sides behind the ears, which sharpens the jawline and leaves room for bold earrings. Get your trim around two weeks before the wedding, not the day before, so the ends have relaxed and the shape lies flat.
10. Slicked Back Wavy Ponytail
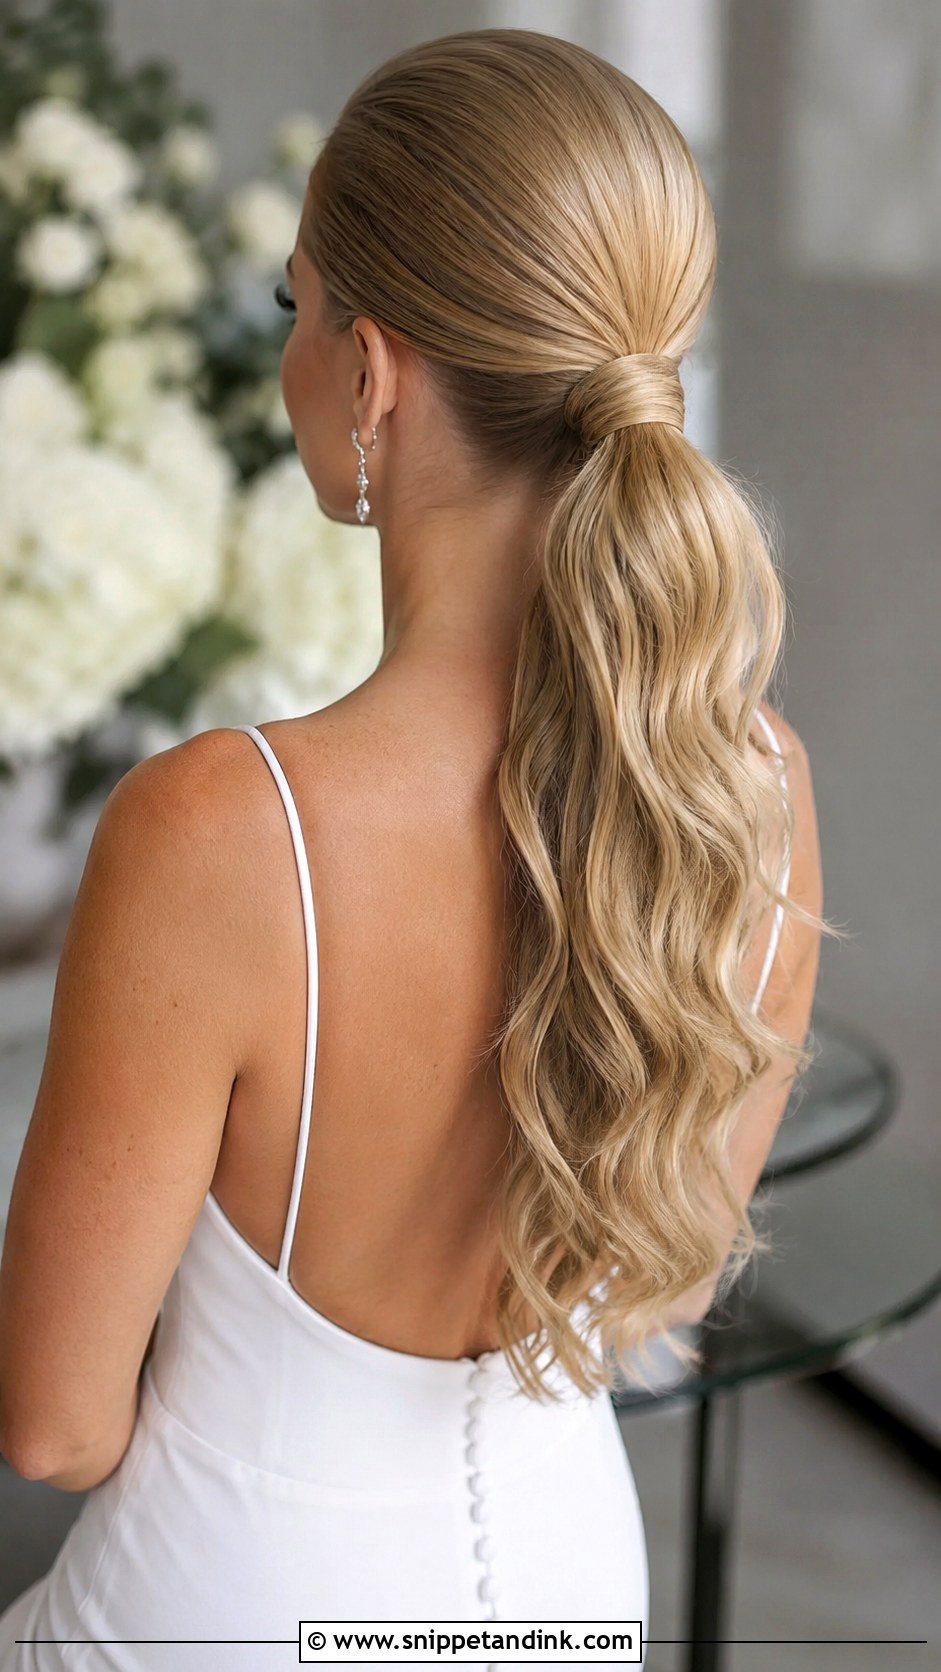
A slicked back wavy ponytail keeps the front smooth while the length moves. It needs long hair to carry the waves. I curl the ponytail after it’s secured, not before, because elastic tension flattens curls that were done loose. Wrap the base, pin it, then break the waves up with fingers rather than a brush. Polished from the front, softer from behind.
11. Slicked Back Bun With Face-Framing Pieces
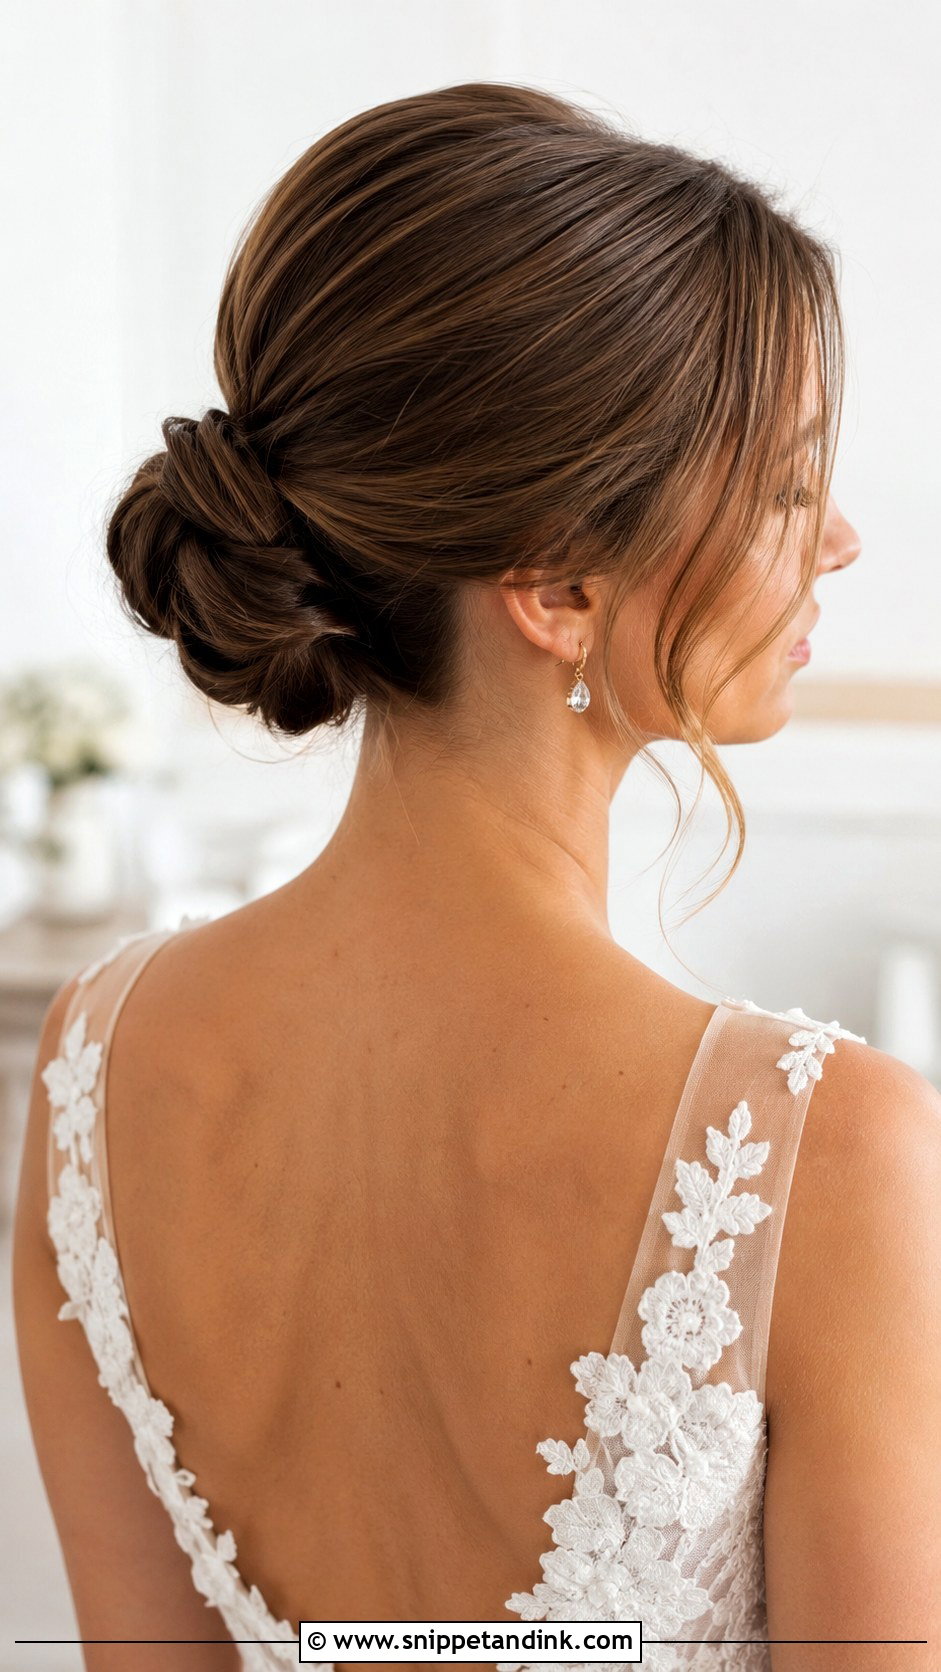
Face-framing pieces stop a slicked bun from looking severe. I pull most of the hair back, then release two or three thin strands at the temples. The mistake is leaving them too thick: a heavy chunk of hair by the cheek reads as a style that’s fallen out. I curl the pieces gently away from the face so they don’t stick to lip gloss. It’s the version I suggest to brides who like the clean look but feel exposed when everything is scraped back.
12. Slicked Back High Bun
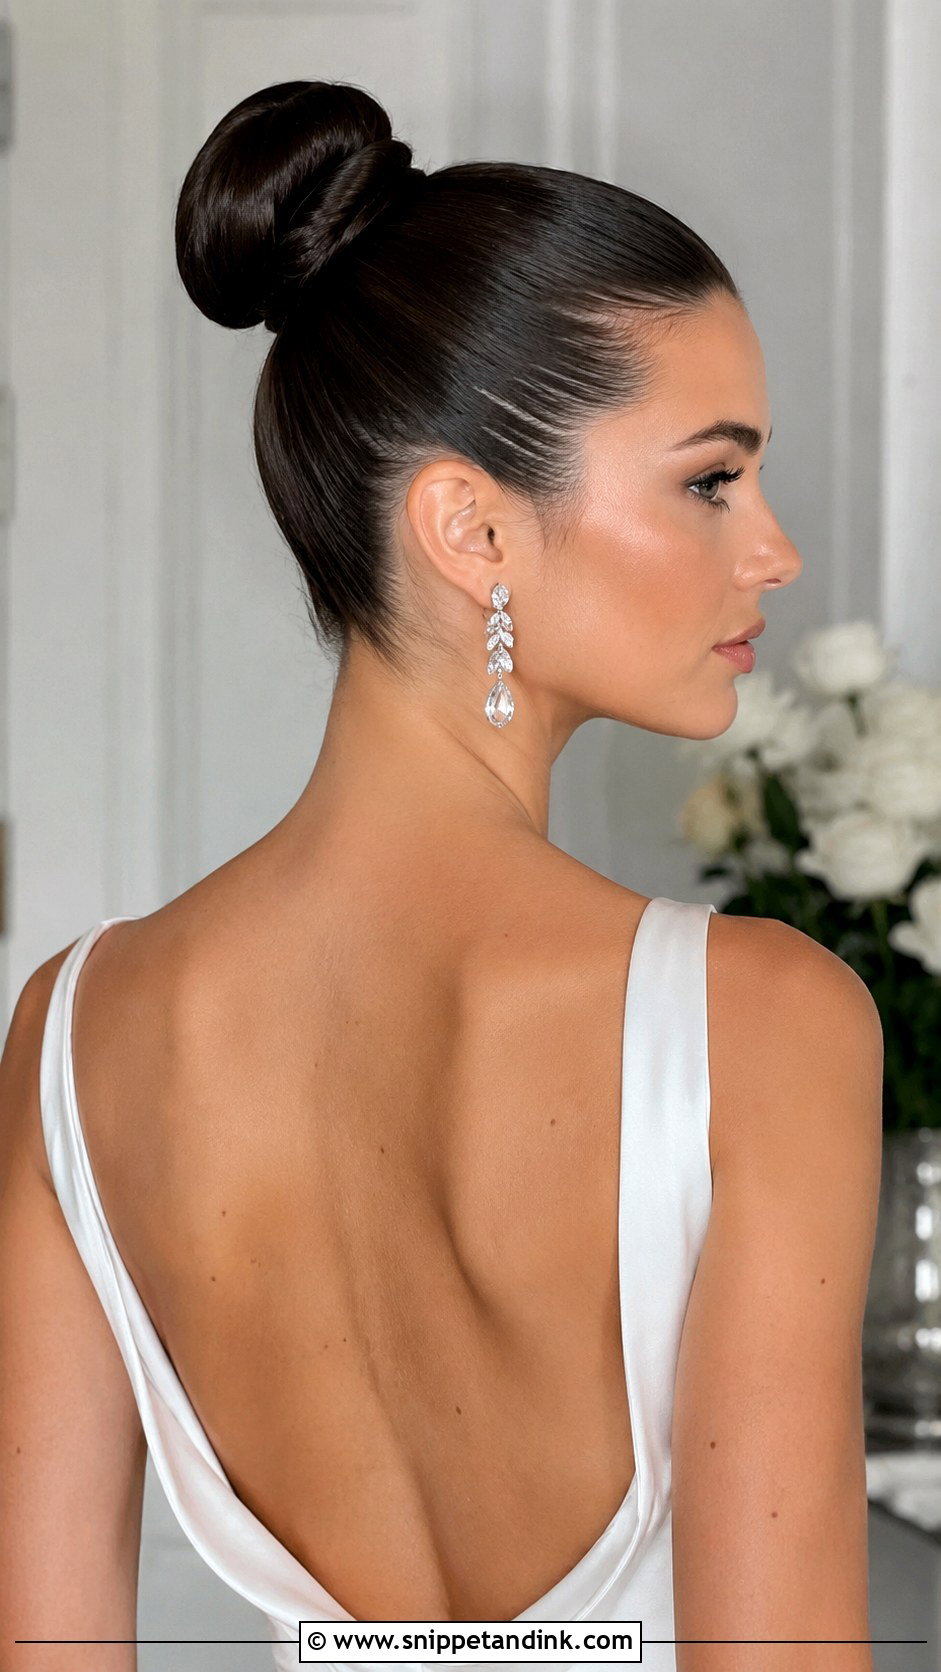
A high bun at the crown lengthens the neck and lifts the whole face. It’s ballet-led and works with statement earrings and an open back, and in warm weather it keeps every strand off the shoulders. I brush the hair upward from the nape first, since that’s where lumps show from behind in ceremony photos. A sparkling hairpin can sit at the base of the knot. If you’re wearing a long veil, we’ll need to talk placement, because a high bun pushes a comb up and back.
13. Slicked Back Low Ponytail
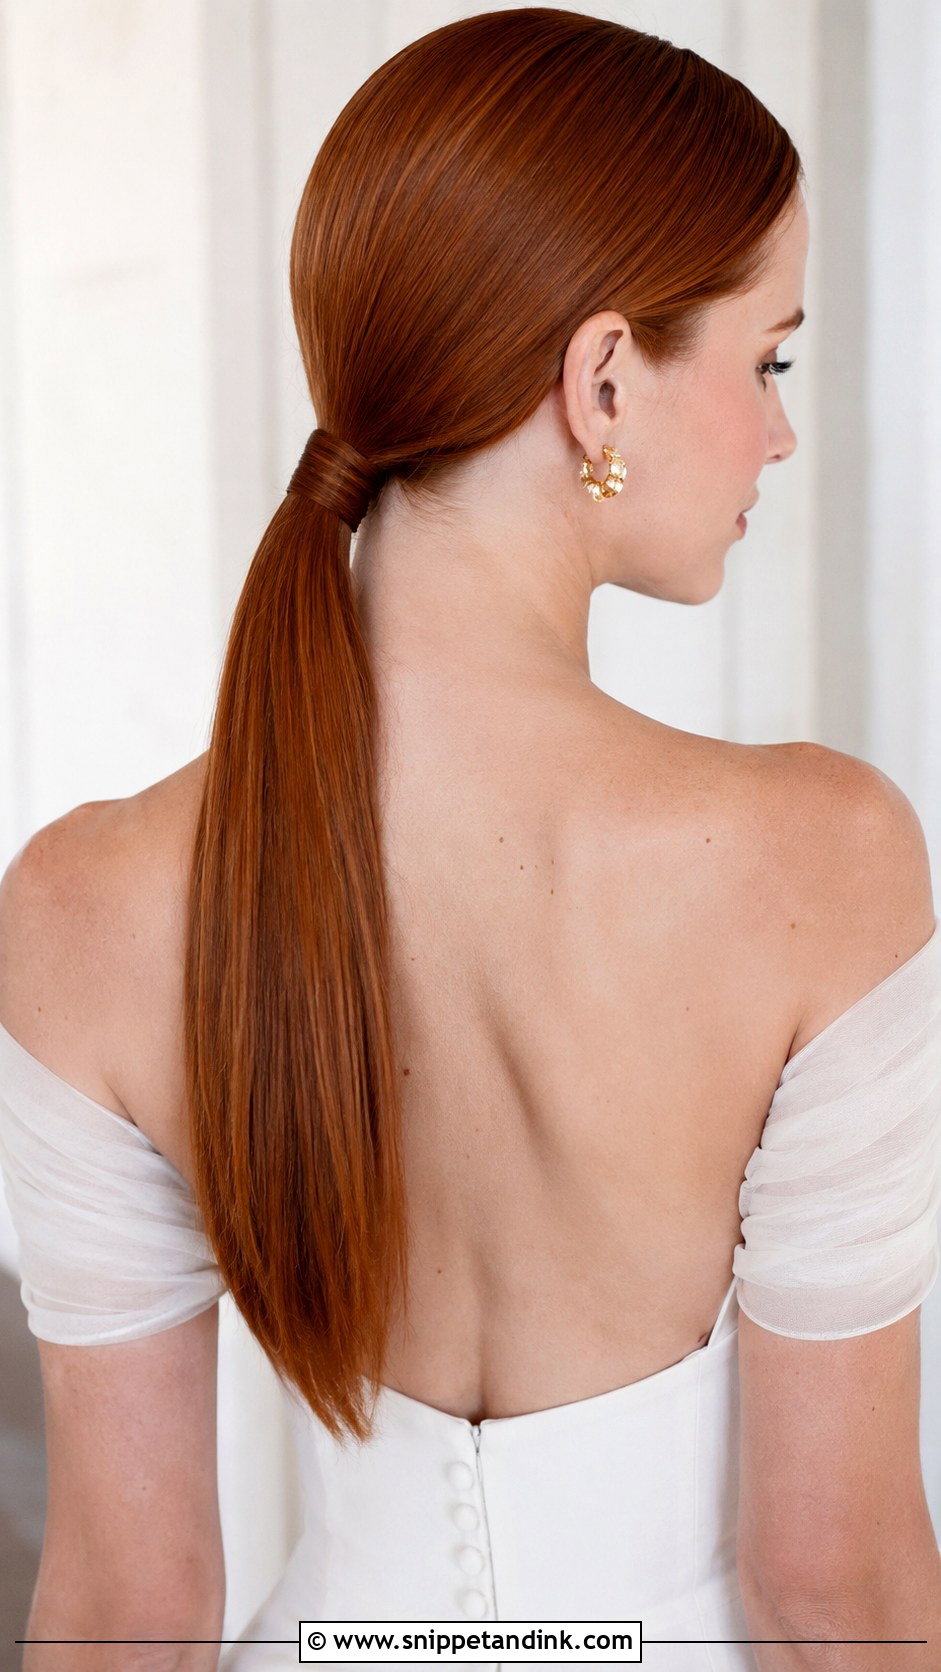
A low ponytail at the nape is the quietest style in this list and one of the easiest to keep tidy all day. It suits the ceremony and the dance floor equally. I wrap the base with a strand of hair, then decide on the length: left straight it’s sharper, given loose waves it’s softer. Almost every face shape can wear it. If your hair has short layers at the back, expect a few pieces to escape at the nape, and we’ll pin or gel those before you leave the chair.
14. Slicked Back Bridal Bob With Accessories
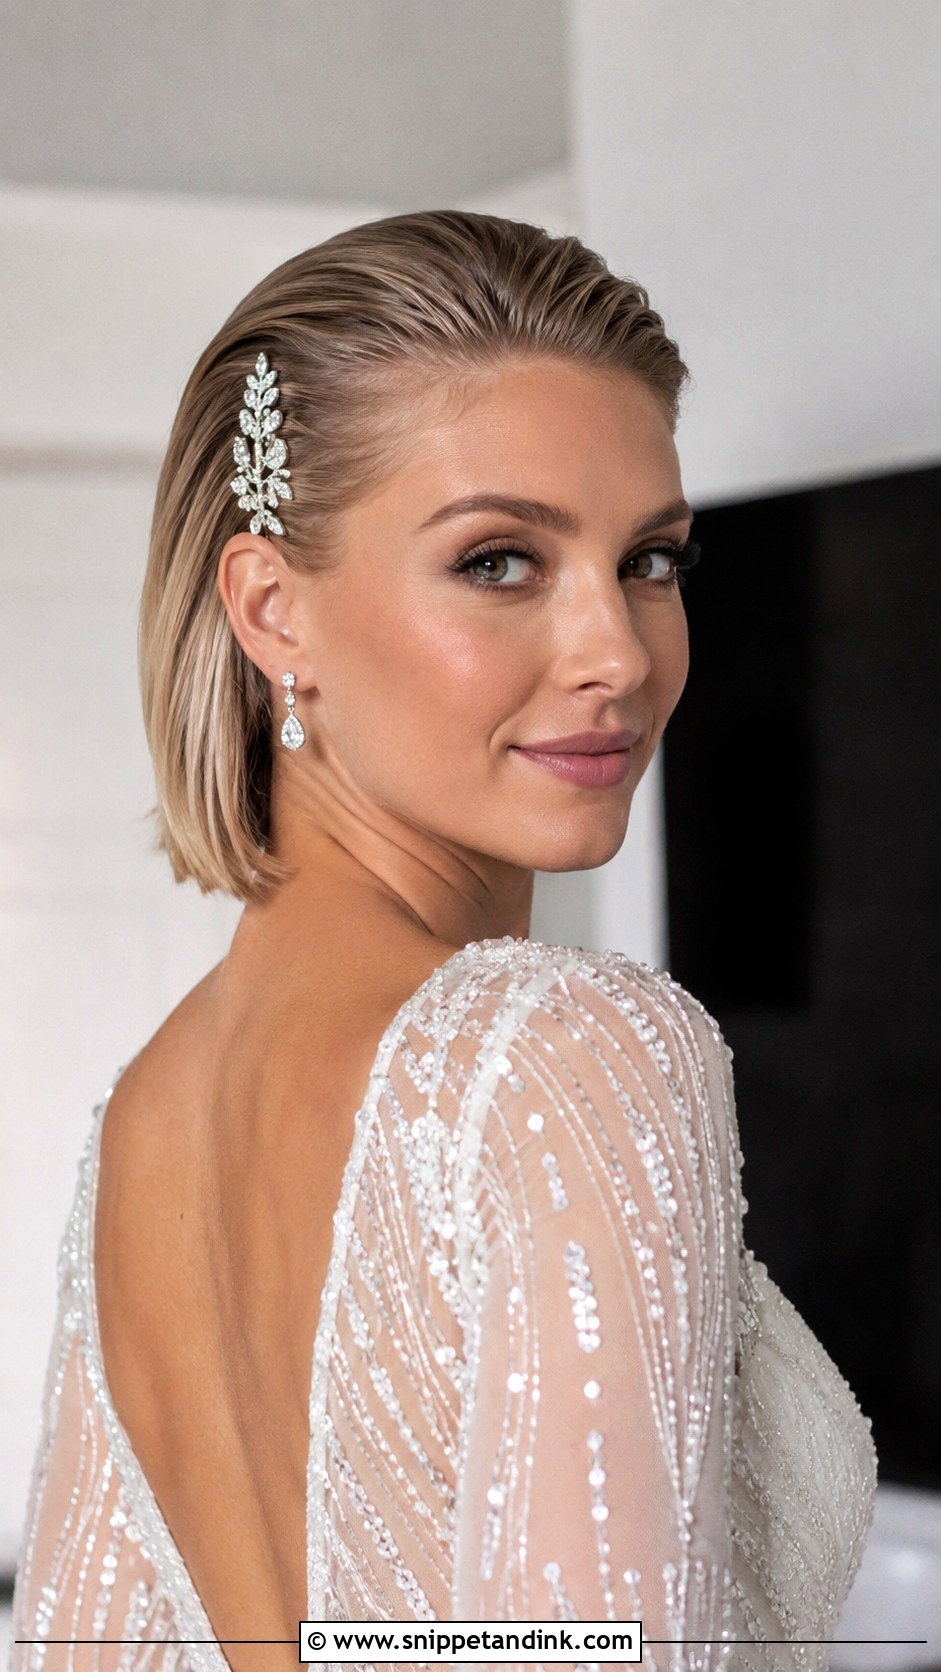
Short slicked hair gives accessories a clear stage. Once the bob is smoothed back, I add a jeweled clip or a few decorative pins, usually off to one side so the line isn’t perfectly symmetrical. Placing them is harder than it sounds on short hair, because there’s less to anchor into. I slide each clip in against the direction of the slick, then grip it with a crossed pin underneath. That way nothing slides when the hair warms up later.
15. Slicked Back Bun With Pearls
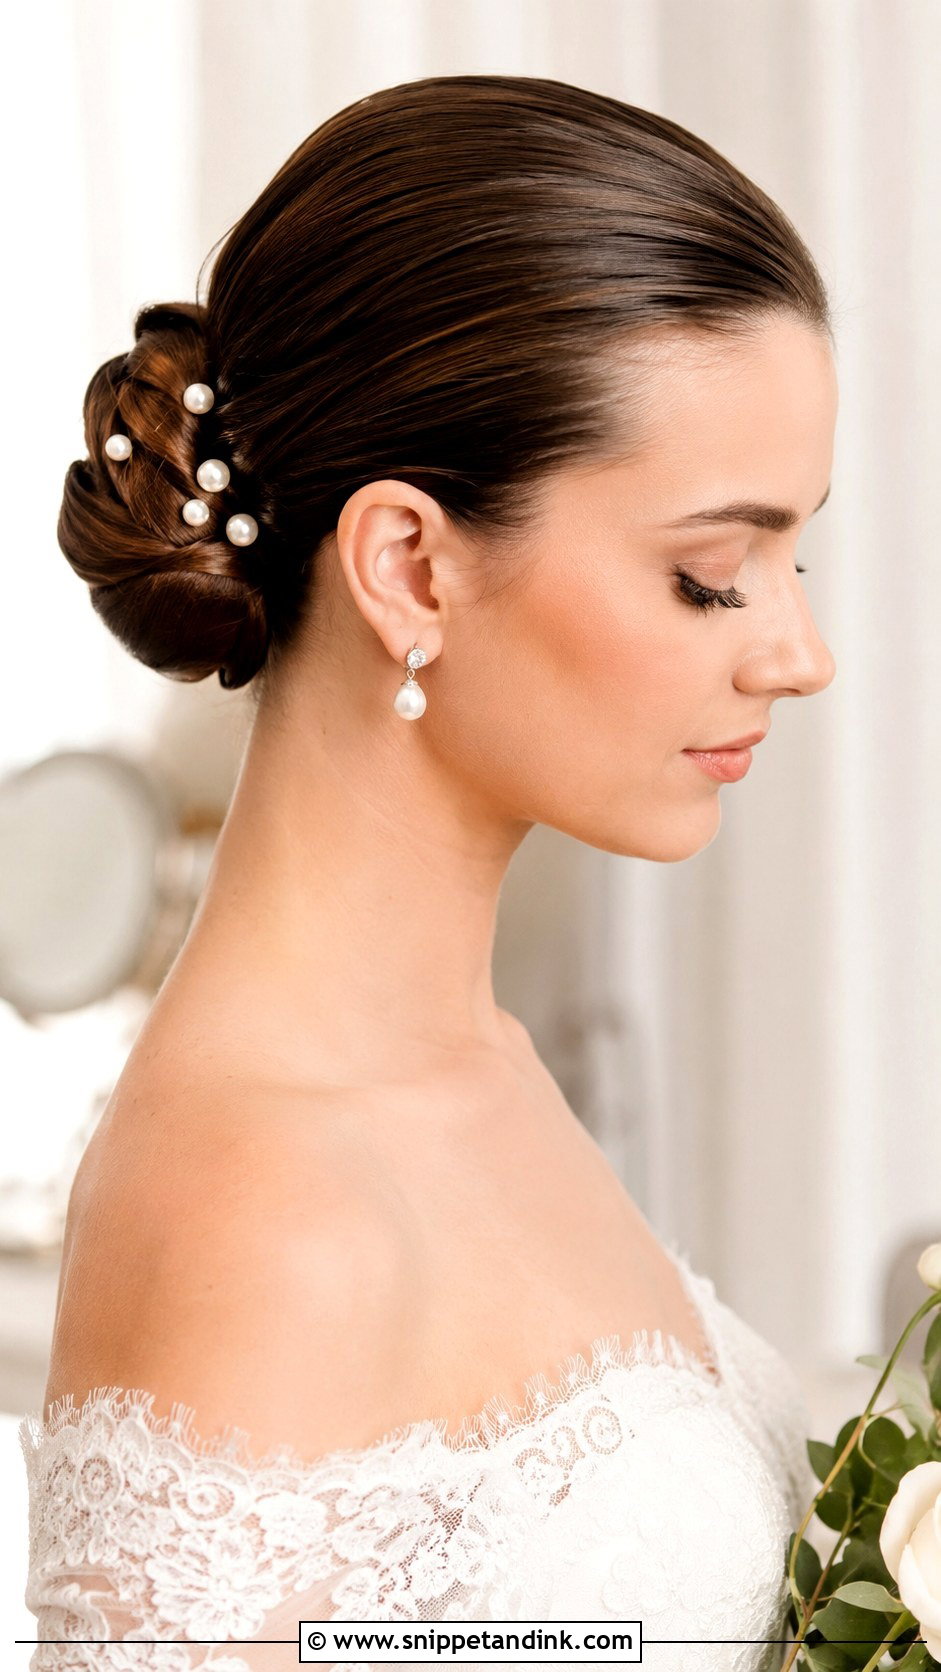
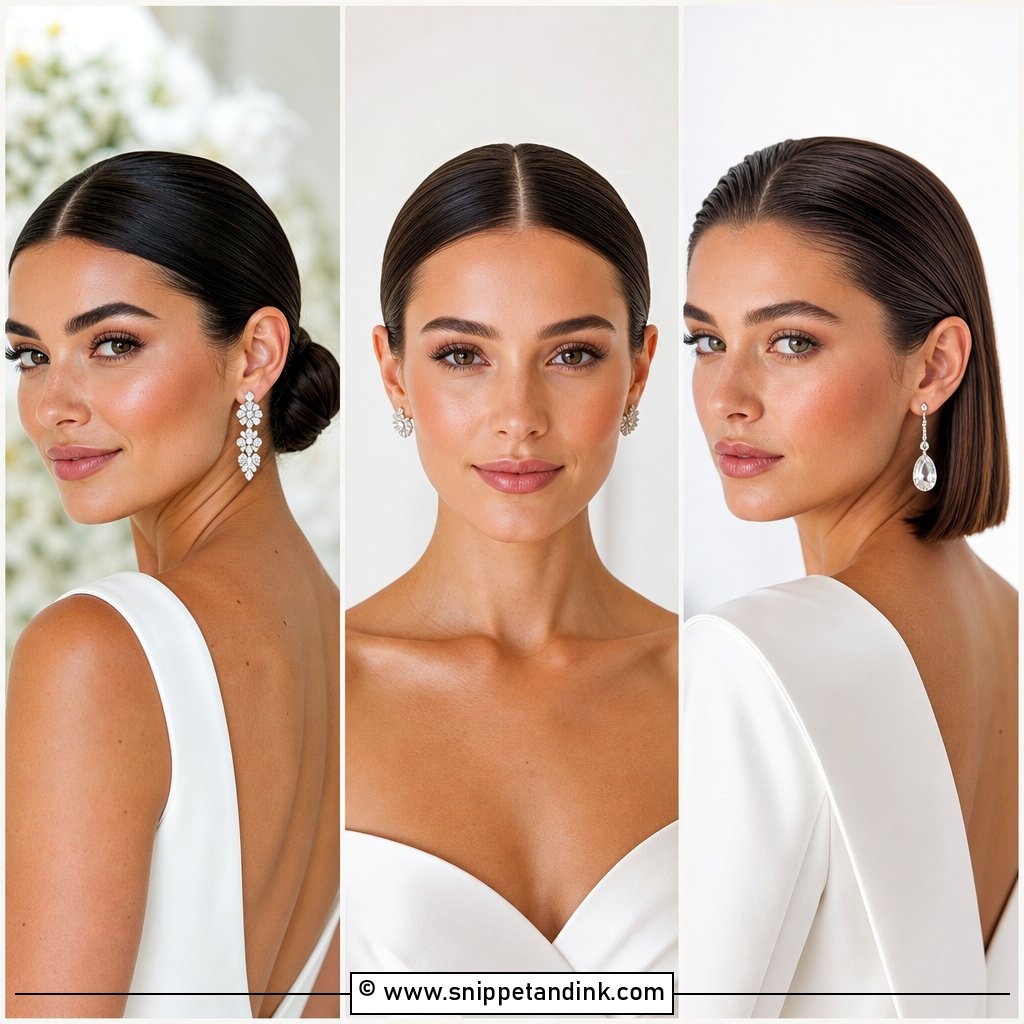
Pearl pins on a sleek bun give a soft glow against the smooth surface. I either cluster them on one side or space them evenly around the knot, depending on how much detail your dress already has. With a beaded or pearl-trimmed gown, fewer is better. Push each pin into the bun at an angle so the pearl sits flush rather than standing up on its stem; upright pearls are the ones that fall out during hugs.
16. Slicked Back Middle Part Tucked Behind Ears
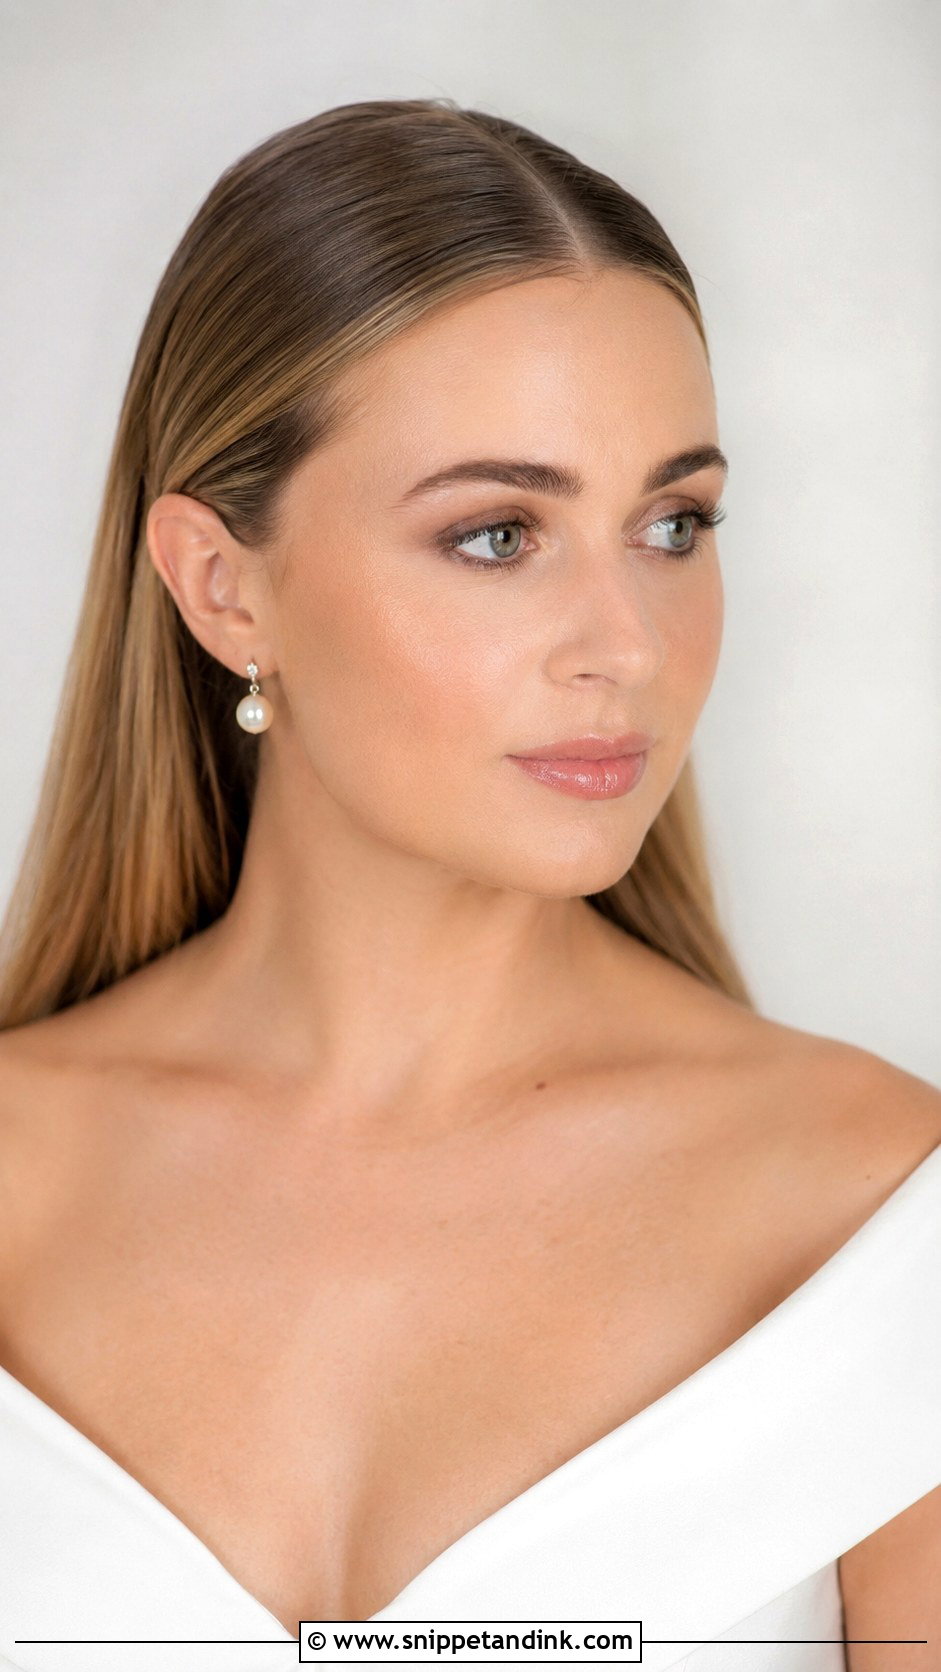
This style keeps the hair down: a center part, the top smoothed, and the front sections tucked behind the ears and pinned. The rest falls freely. A small lift at the crown keeps it from lying flat on the head. The pins behind the ears need to grip close to the scalp, otherwise the sections slide forward every time you lean in for a photo. It suits a minimal gown and fine earrings, and anyone who wants her length to be seen.
17. Slicked Back Curly Updo
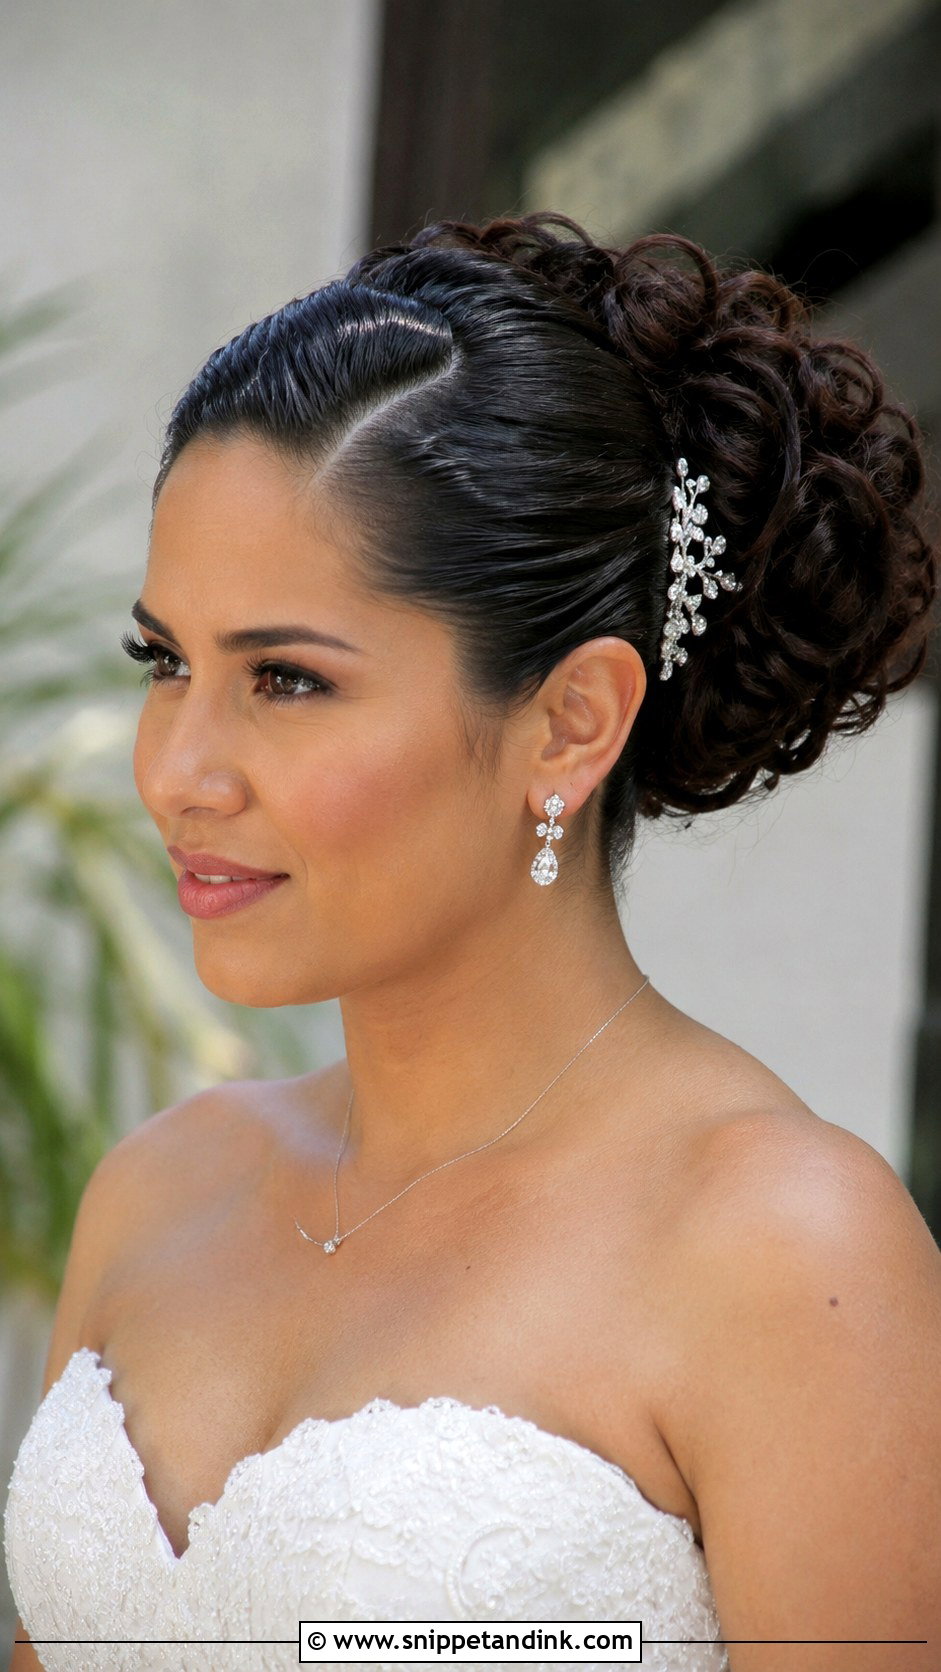
For curly or coily hair, I smooth the front and sides with a light, flexible gel and gather the curls into a full shape at the back. Your curl pattern stays intact, which I much prefer to blowing it straight. Use a brush on the edges only, and keep heavy products away from the curls or they’ll lose definition. If you wear edges laid, we’ll do them last so they’re fresh for the ceremony. A decorative pin or a flower suits it.
18. Slicked Back Bun With Hair Vine
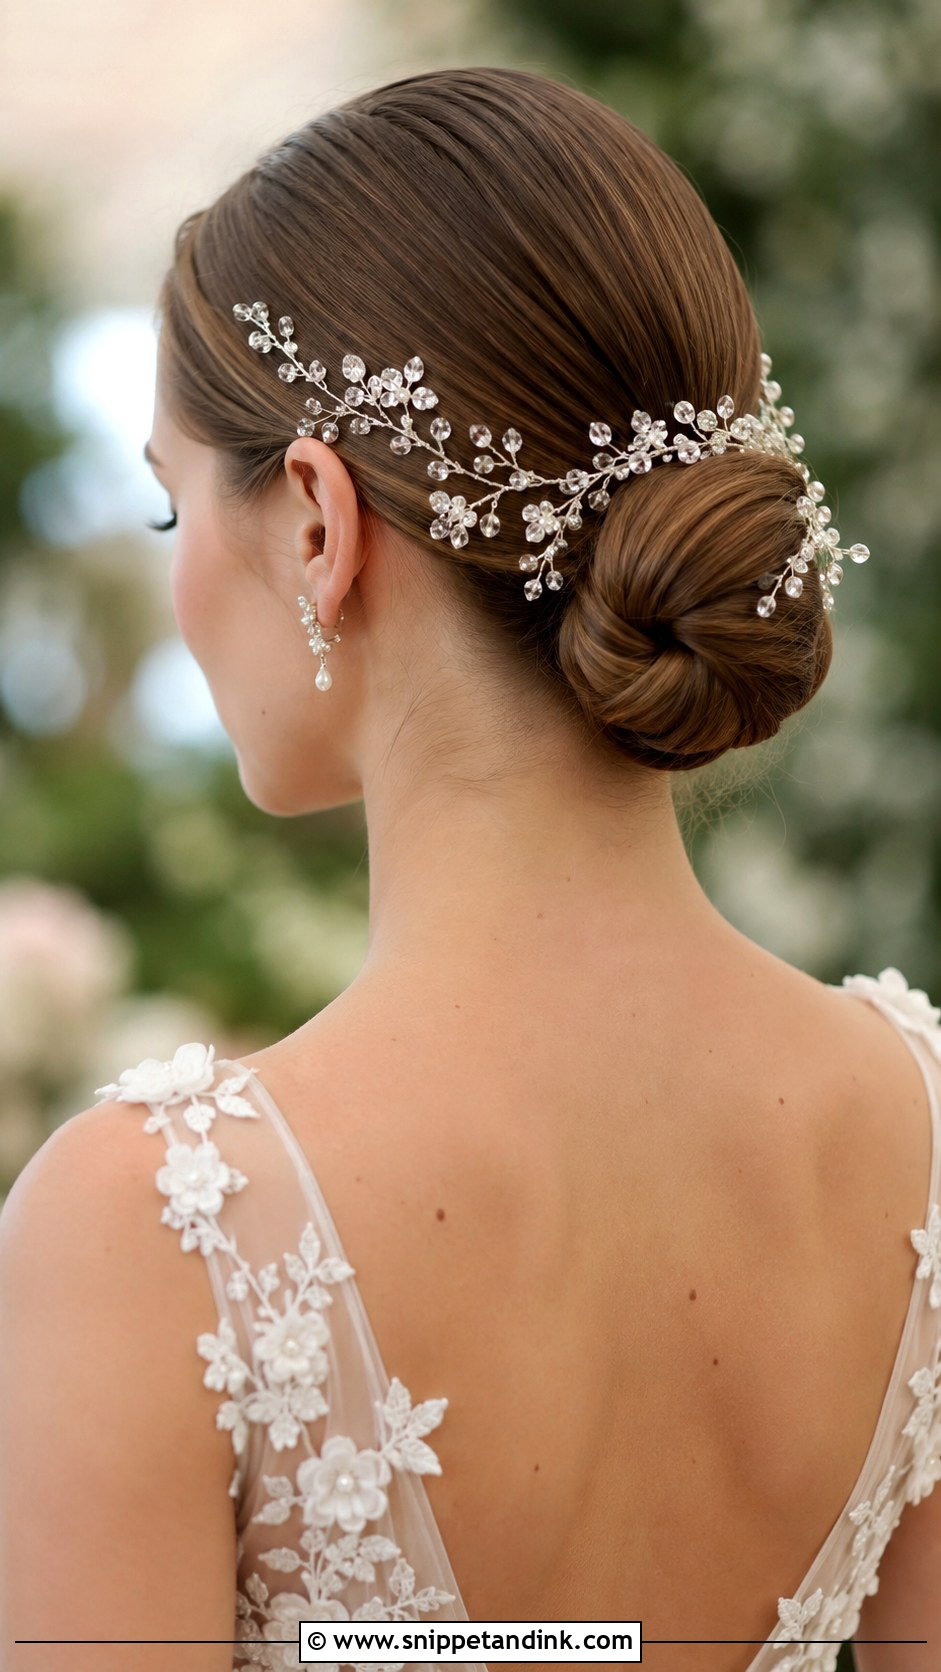
A hair vine wrapped around a slicked bun suits garden settings and soft, romantic gowns. The sparkling vine wraps around the knot, and I choose floral, crystal or pearl detail to echo the dress. Vines come on thin wire, so I thread them through the bun first and pin the ends inside it, never on top. A vine that only sits on the surface lifts after an hour of moving around.
19. Slicked Back Sleek Straight Hair
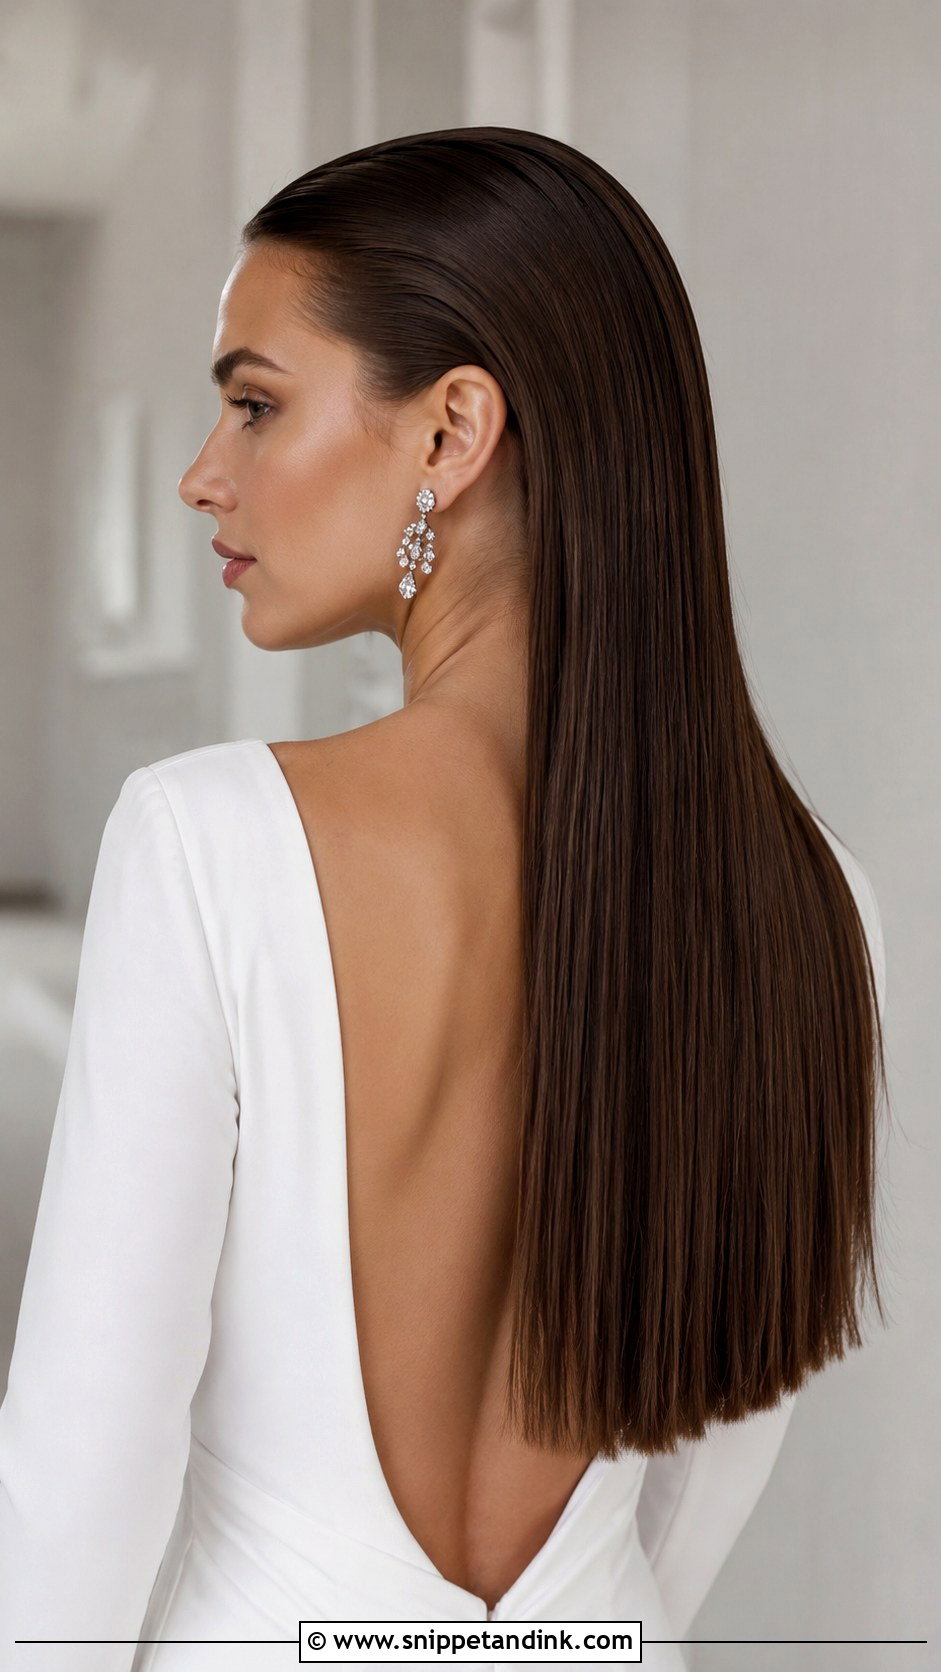
Sometimes the strongest choice is long, straight hair with the front smoothed back. I flat-iron in small sections at a moderate heat and add a drop of serum on the lengths only. Healthy, long hair shows off best this way, and it suits a modern gown with statement earrings. Expect humidity to be the one problem: straight hair puffs fastest of anything here, so on a humid day I’ll push you toward a ponytail instead.
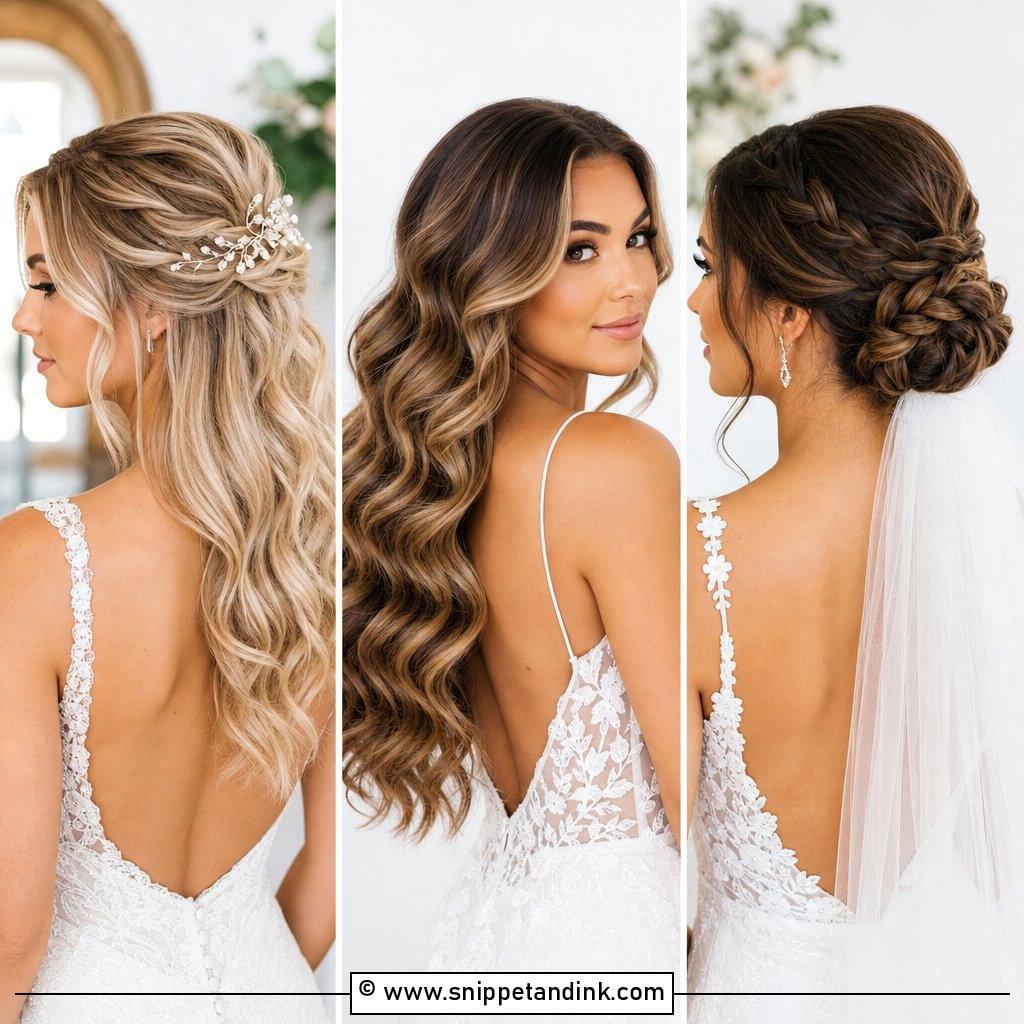
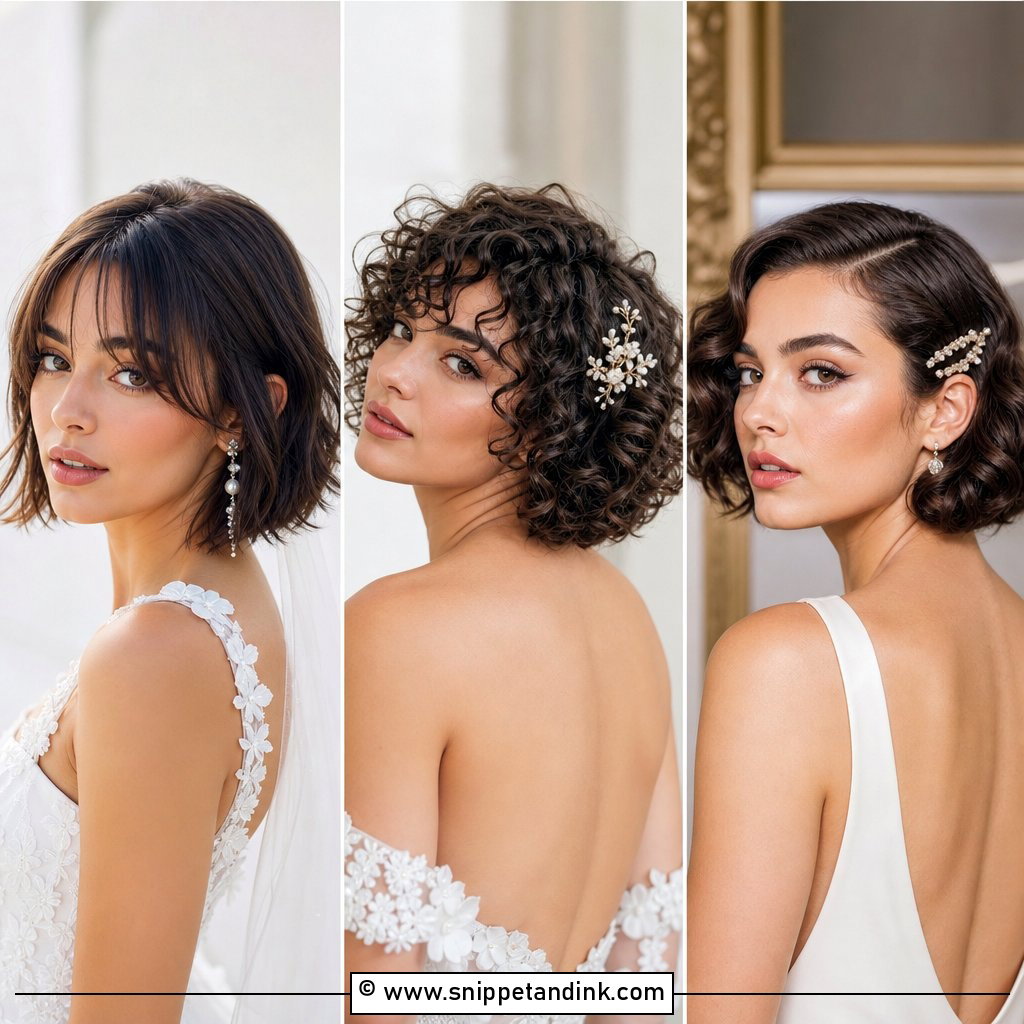
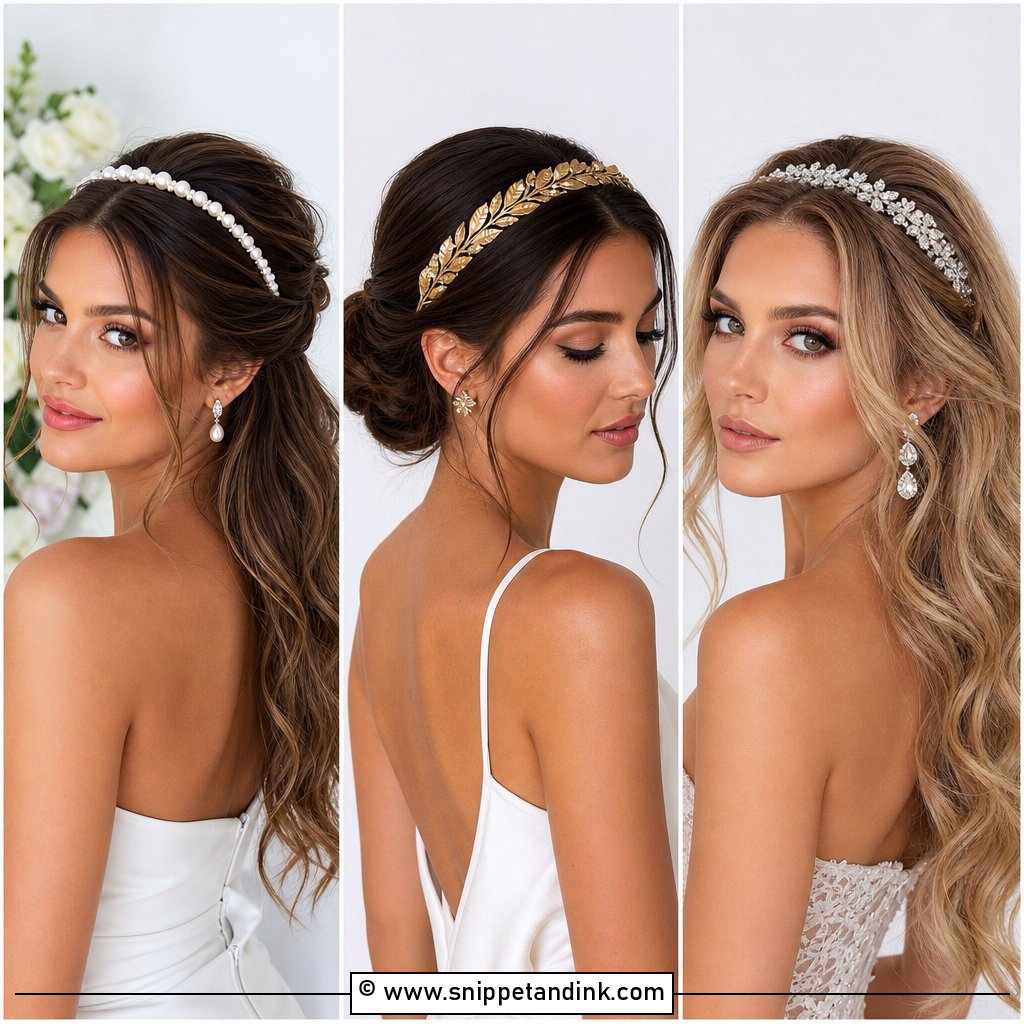
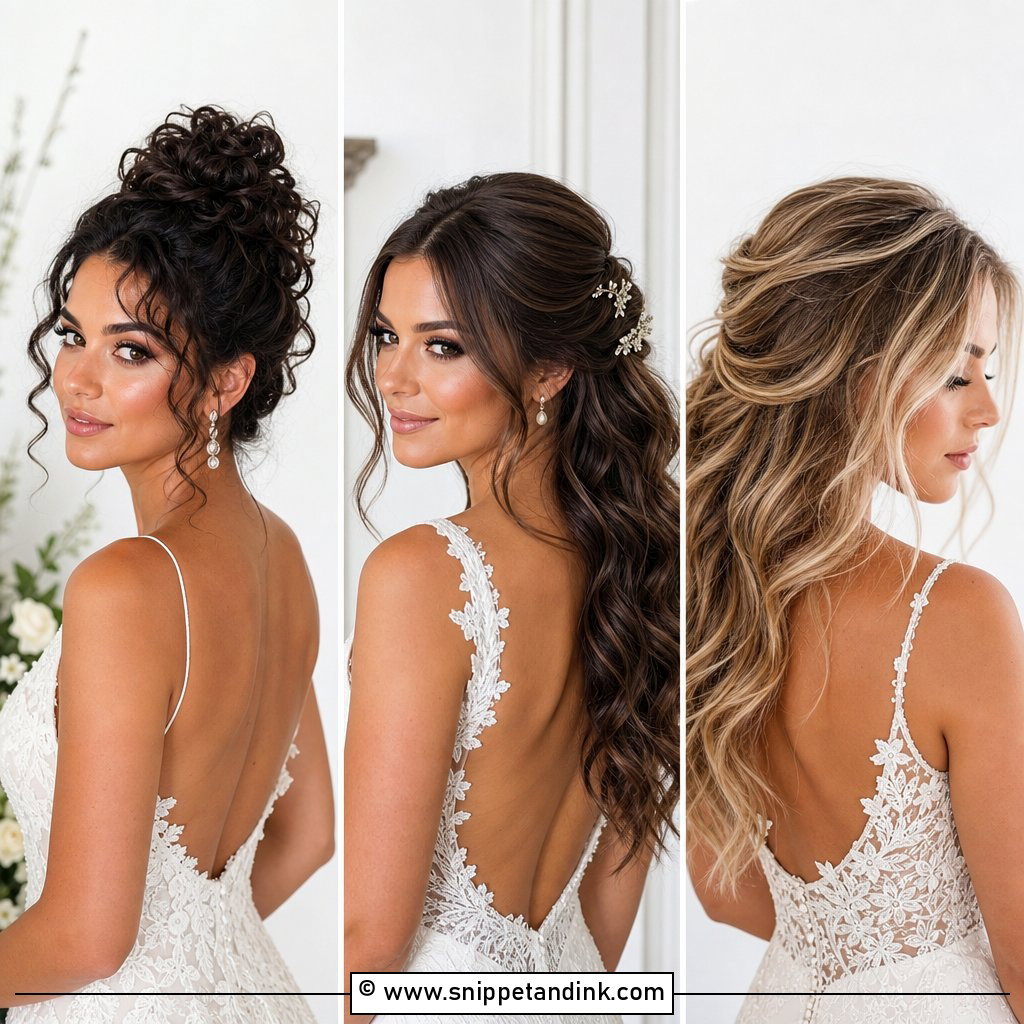
20. Slicked Back Braided Bun
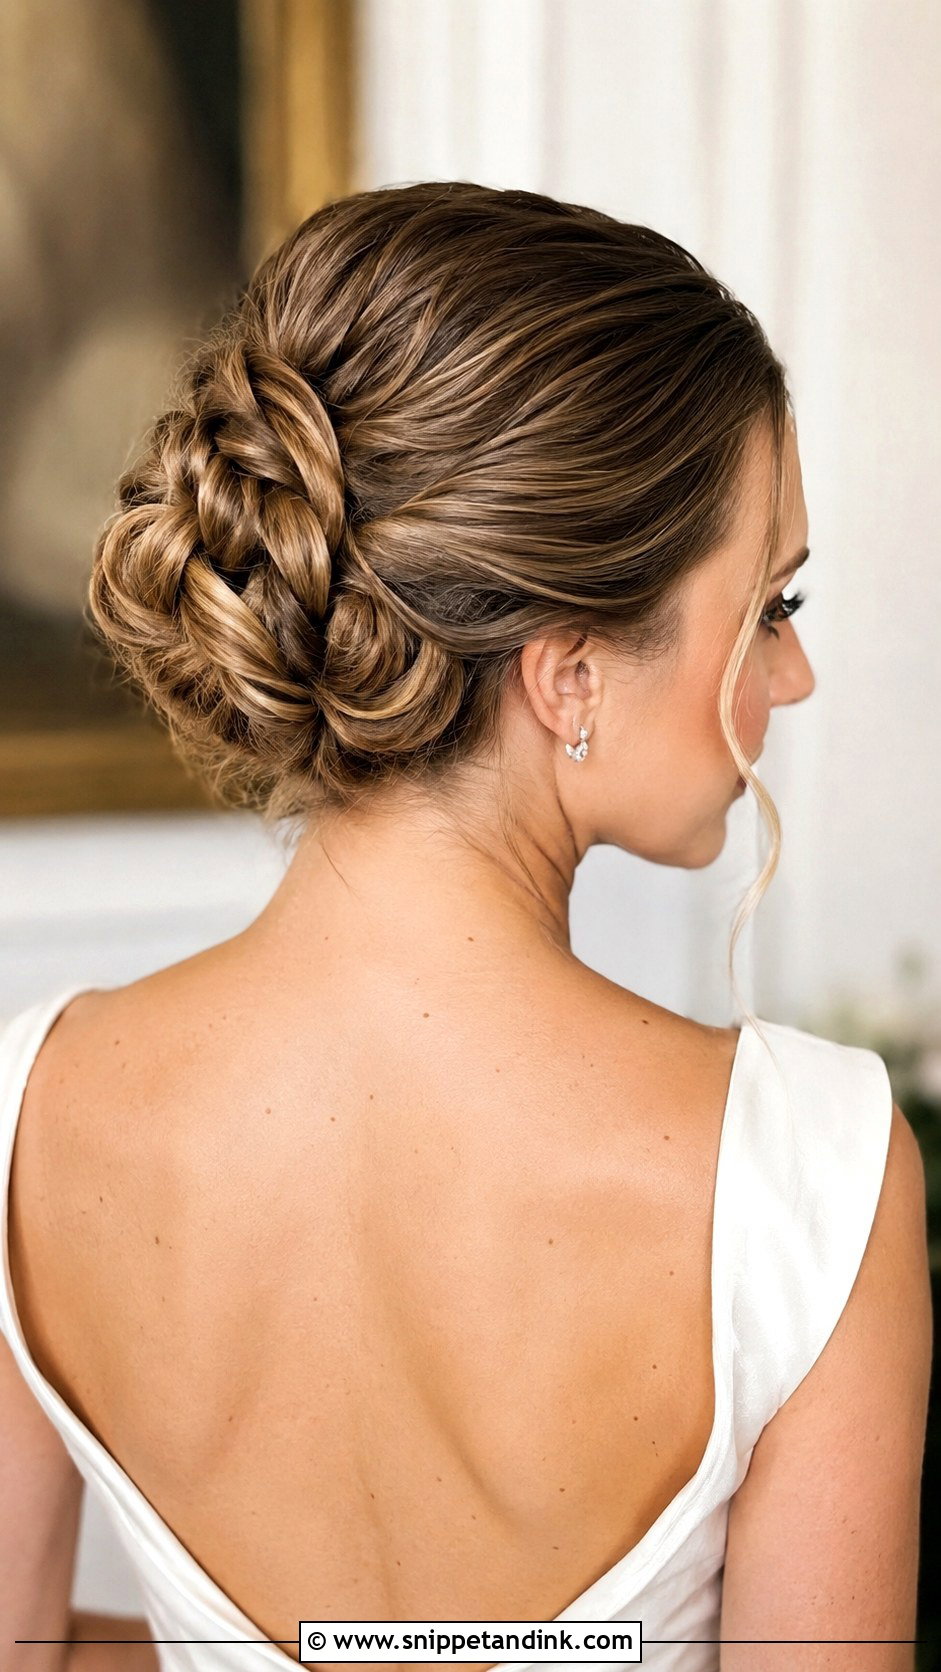
A braid inside a slicked bun adds texture without breaking the clean front. A three-strand braid gives a neat rope, a fishtail looks finer, and a French braid can travel up from the nape into the knot. I braid the length, then coil and pin it into a rounded shape, pulling the edges of the braid gently wider before I pin so it doesn’t look thin. Boho and classic gowns both suit it.
21. Slicked Back Bun With Flowers
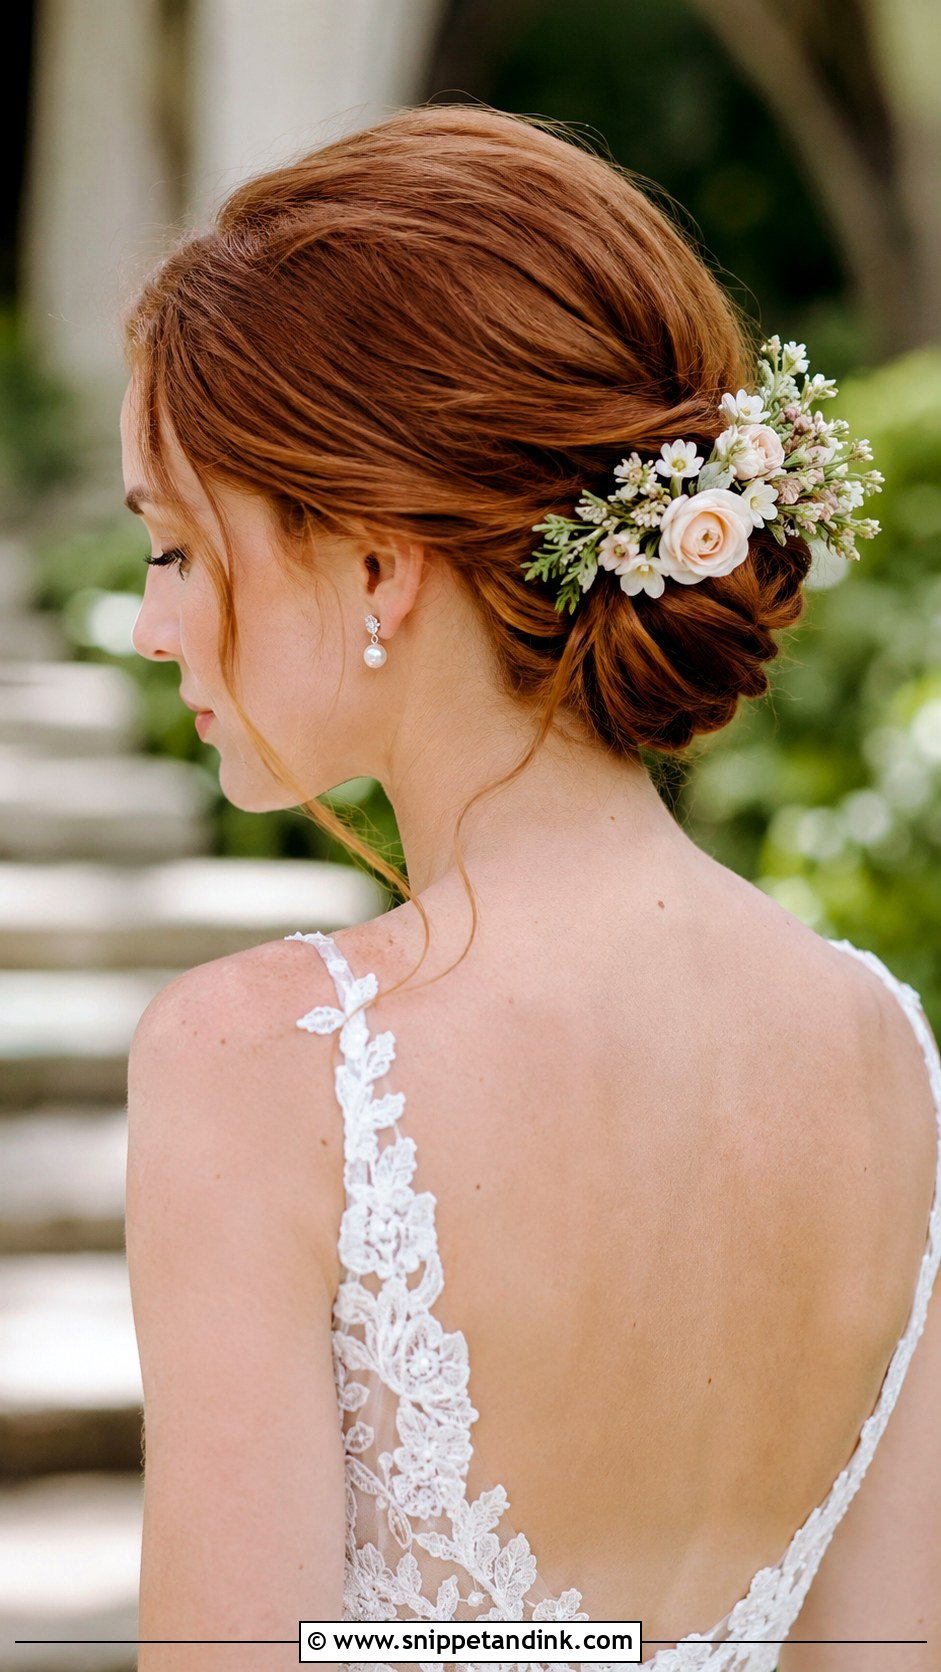
Flowers in a slicked bun soften the style. I like fresh or silk blooms that match the bouquet, tucked in small clusters around one side. The thing I warn about with fresh flowers is timing: delicate petals can start to wilt within a couple of hours out of water, so I ask the florist for hardy varieties and wire them before the morning. Silk stems avoid the problem altogether.
22. Slicked Back Glam Ponytail
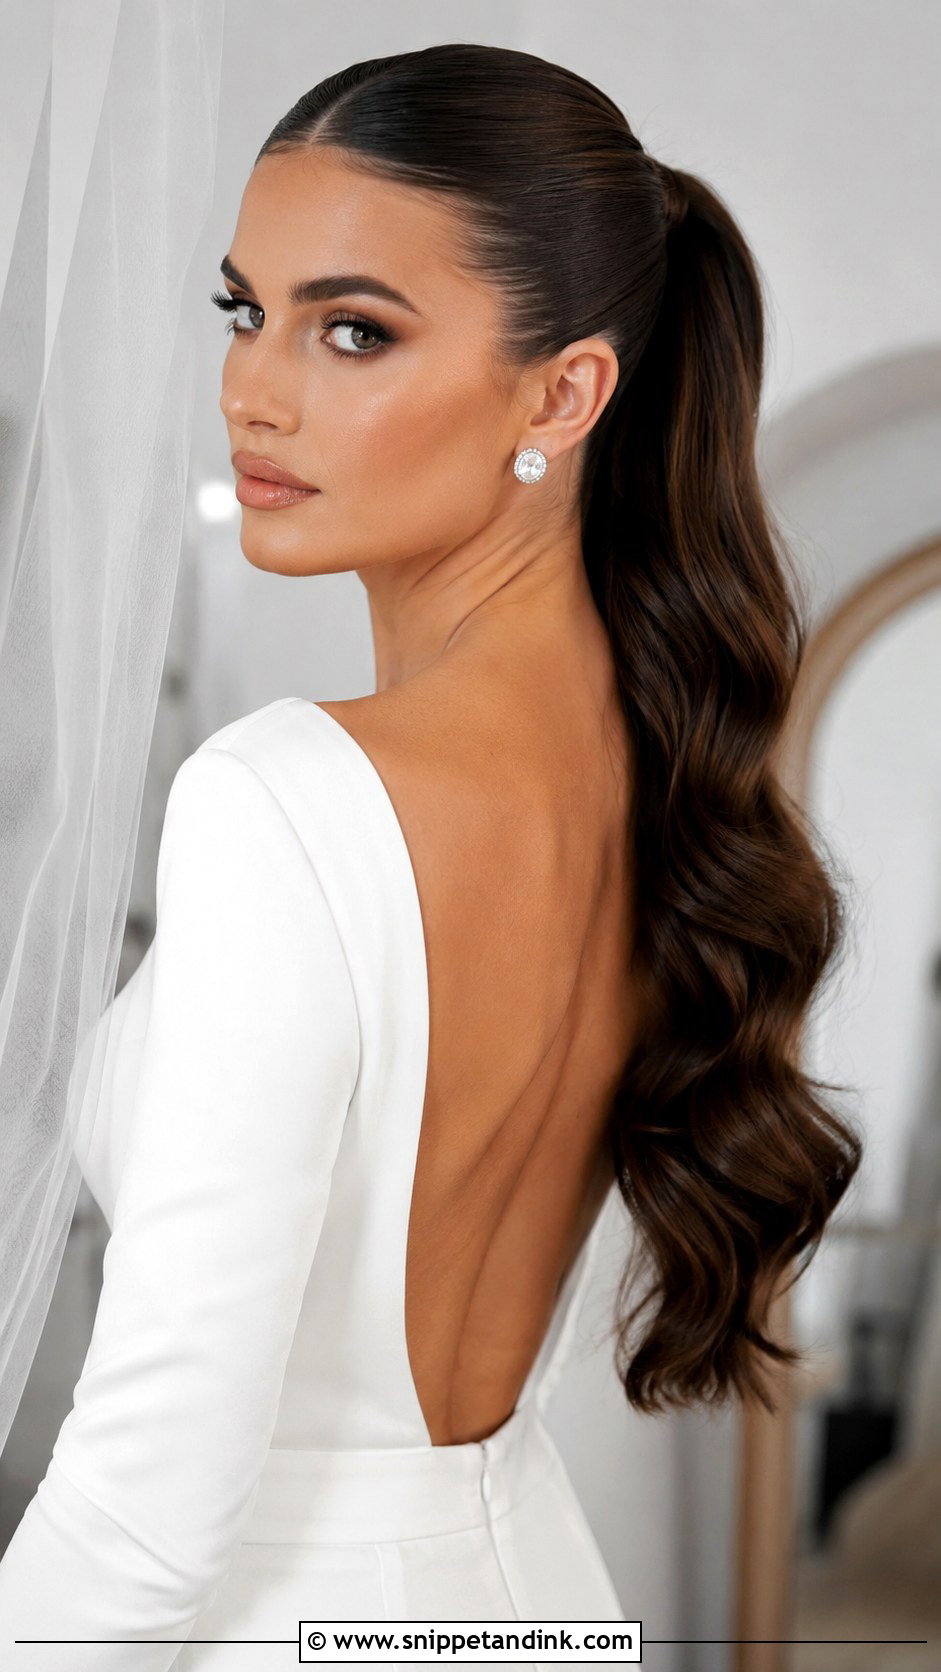
The glam ponytail is the most dramatic of the ponytails here: the front slicked tight, then a full tail with extra length or big curls. For extra length I add clip-in wefts at the base, hidden under the wrap. The weight is the issue. A heavy, curled ponytail pulls on the elastic all night, so I place a second elastic a little below the first to share the load. Sleek modern gowns and bold makeup suit it, and so does a dance-heavy reception.
23. Slicked Back Bun For Long Hair
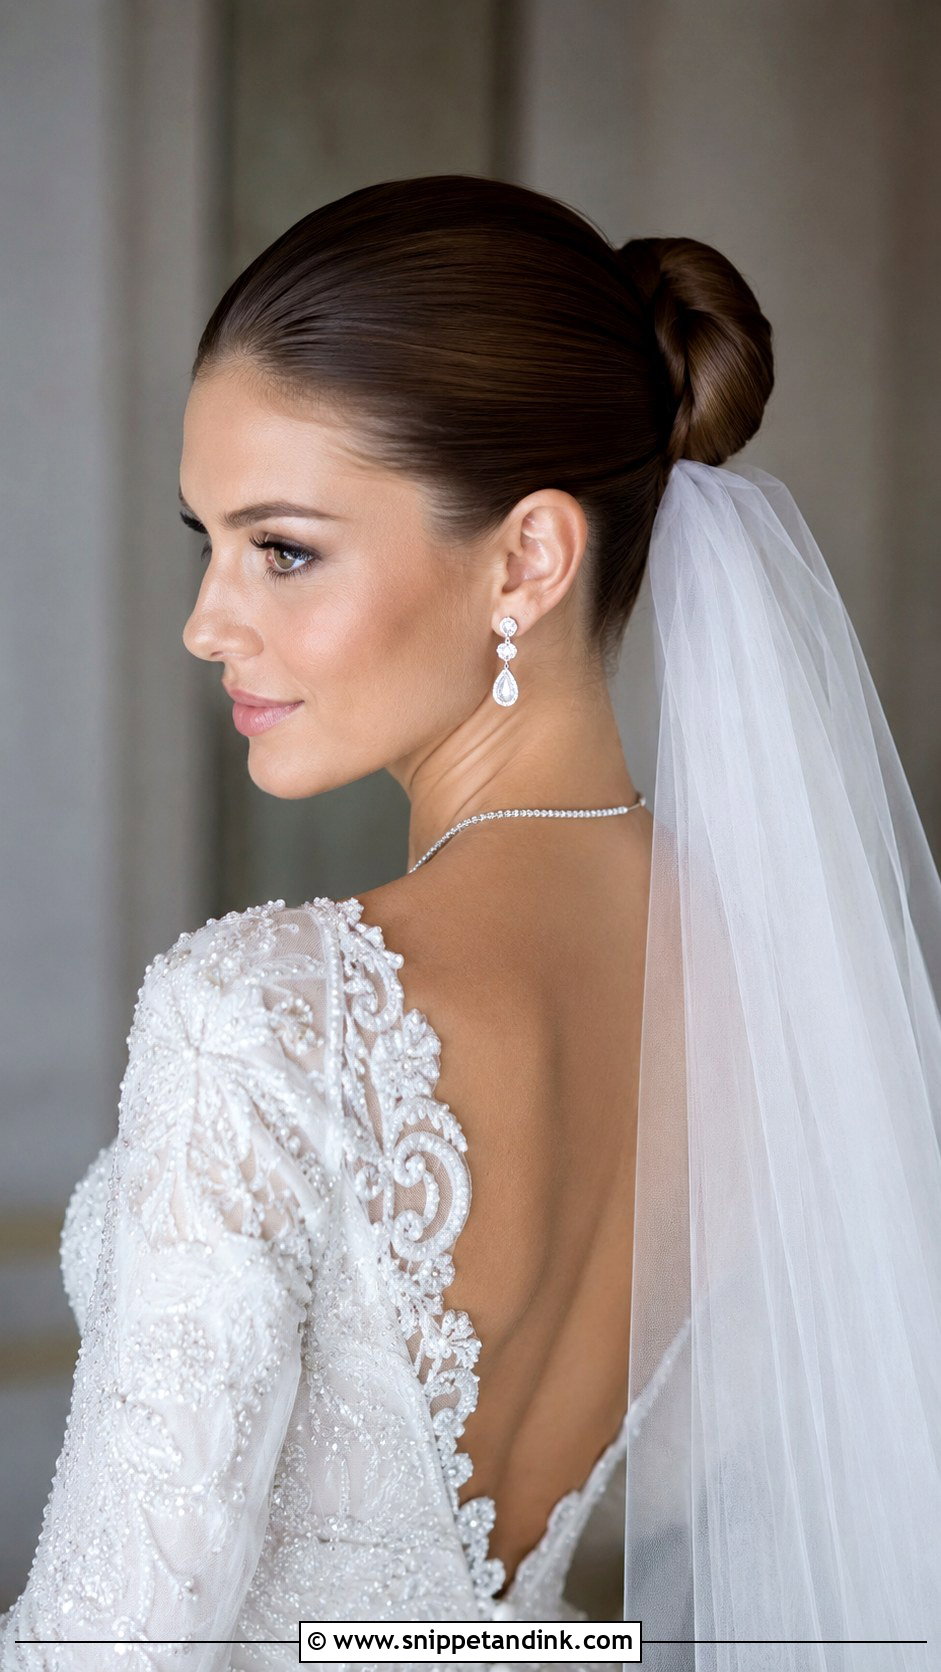
Long hair gives a slicked bun real size and roundness. I wrap the length into a generous knot and pin it in several places, because long hair carries enough weight that a single row of pins slides by the evening. You can keep it smooth or add a little texture on the surface. With a veil or statement earrings, it reads formal and classic.
24. Slicked Back Bun With Headband
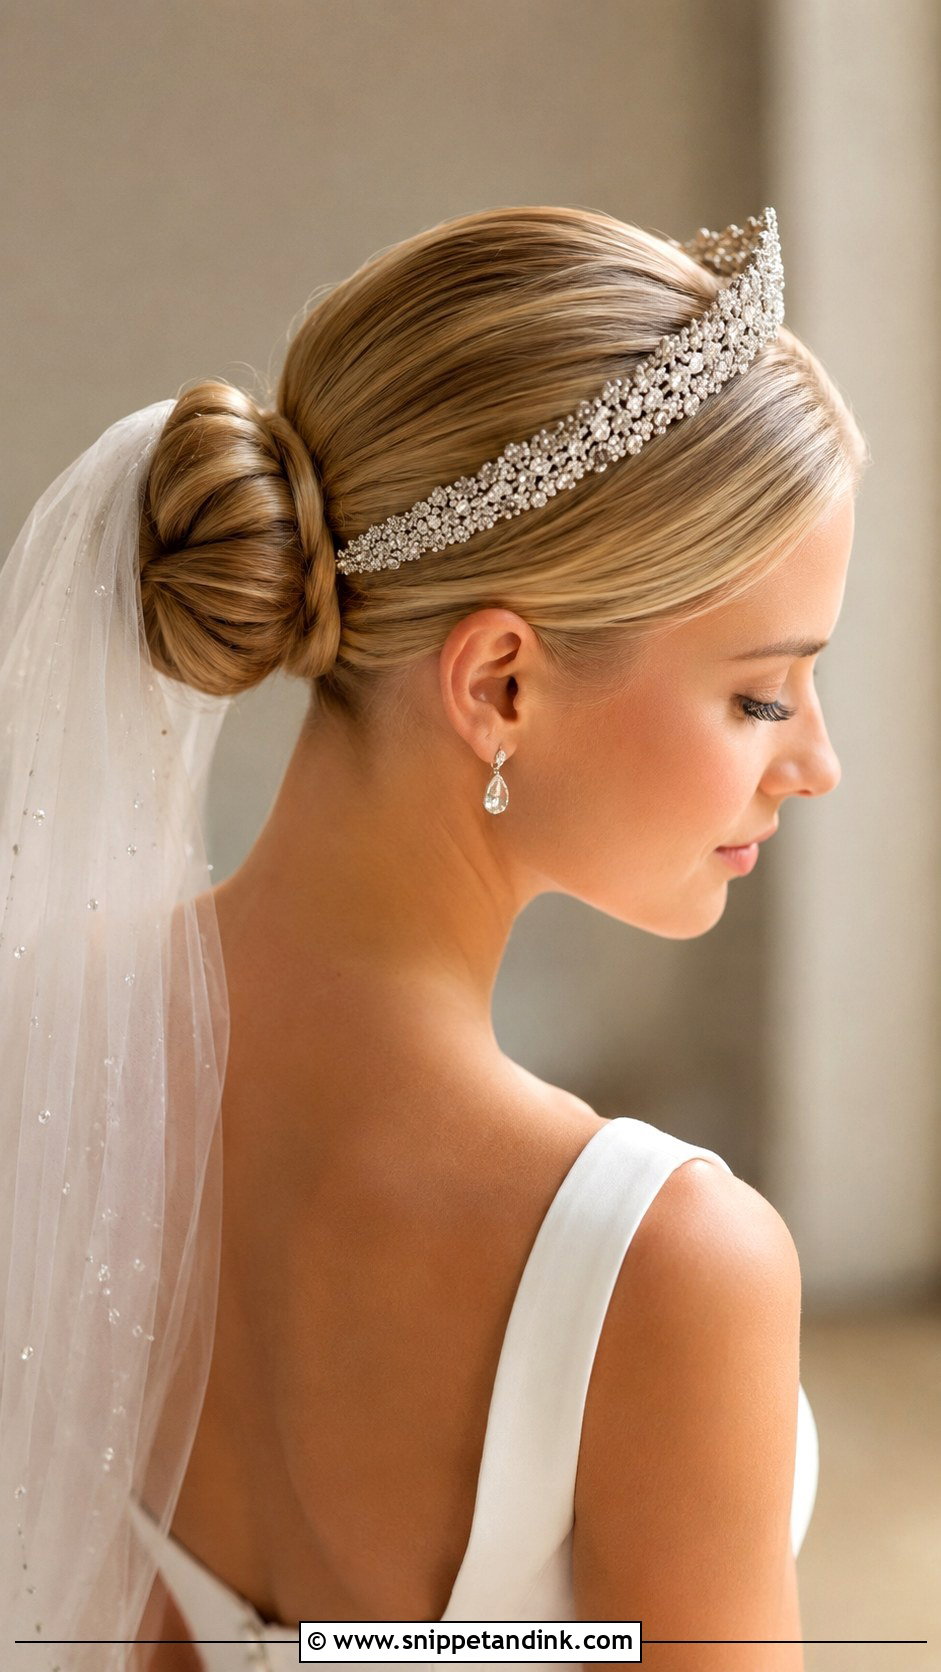
A sparkling headband sits clean on slicked hair, whether jeweled or pearl. Set it a couple of centimetres behind the hairline, across the crown, and it reads almost like a tiara. Hard headbands can press behind the ears after a few hours, so I ask brides to wear theirs for at least an hour at the trial. If it pinches then, it’ll hurt by dinner, and we can bend it or swap it.
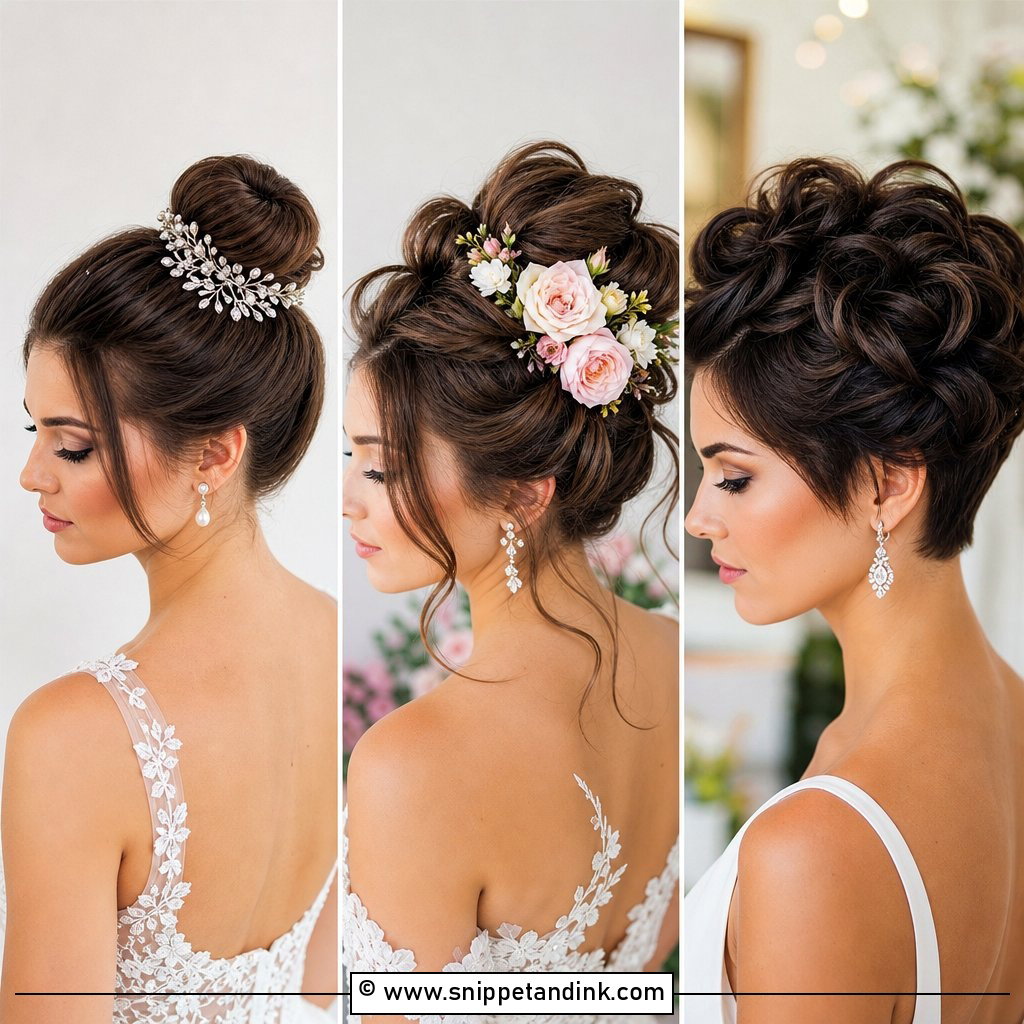
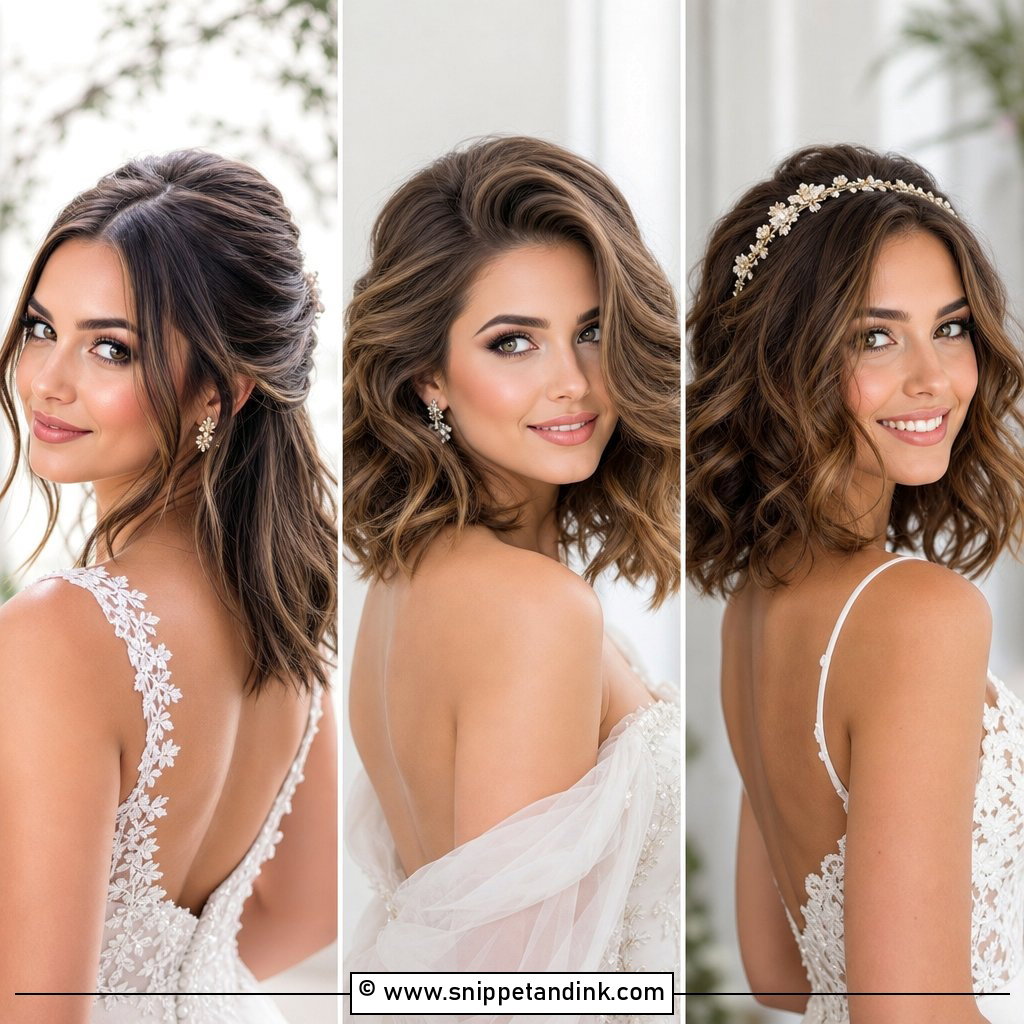
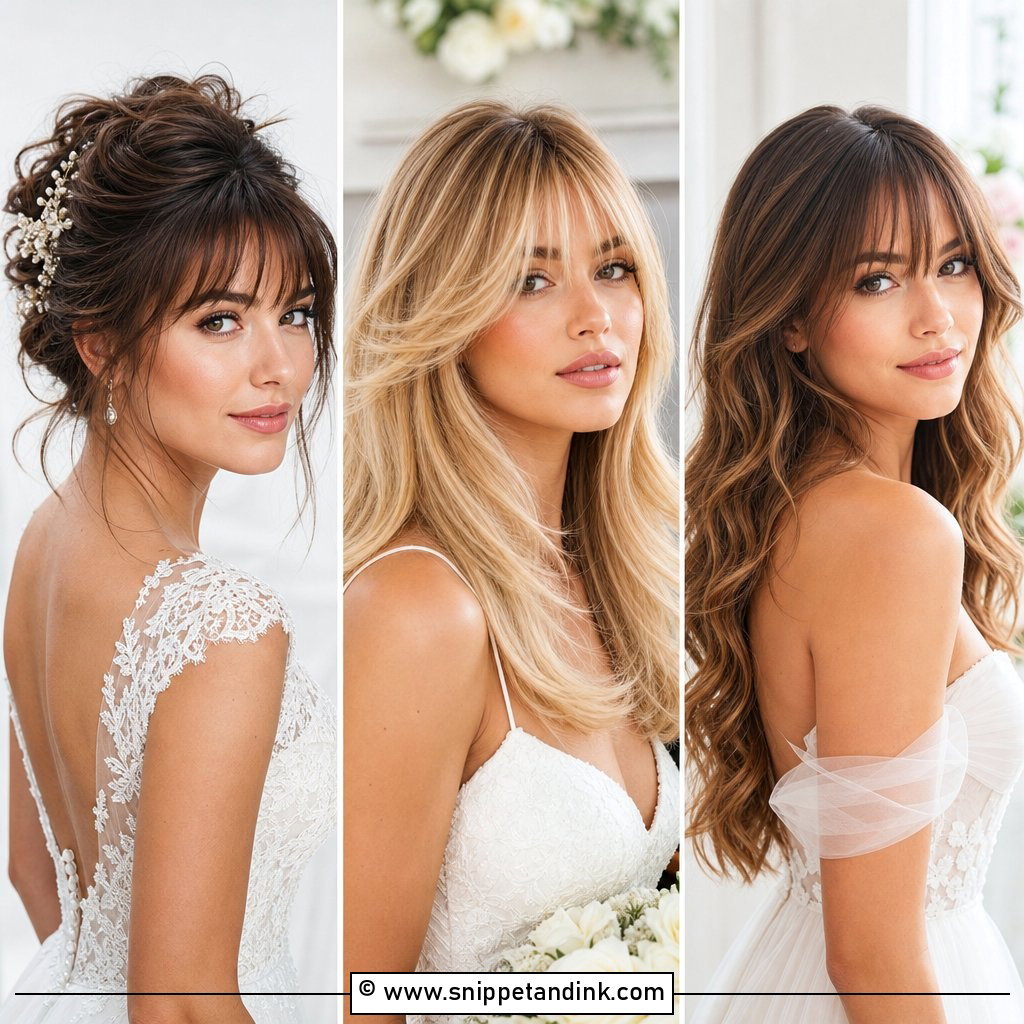
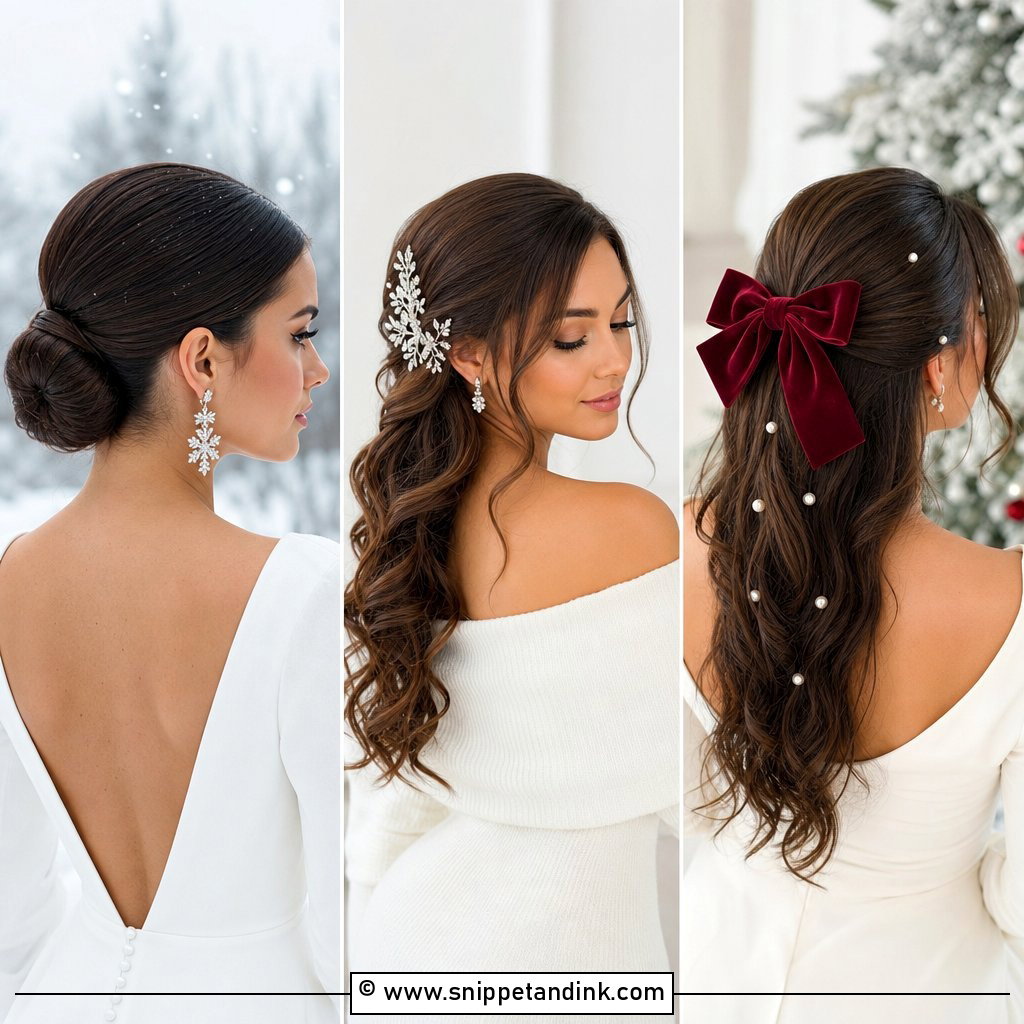
25. Slicked Back Textured Bun
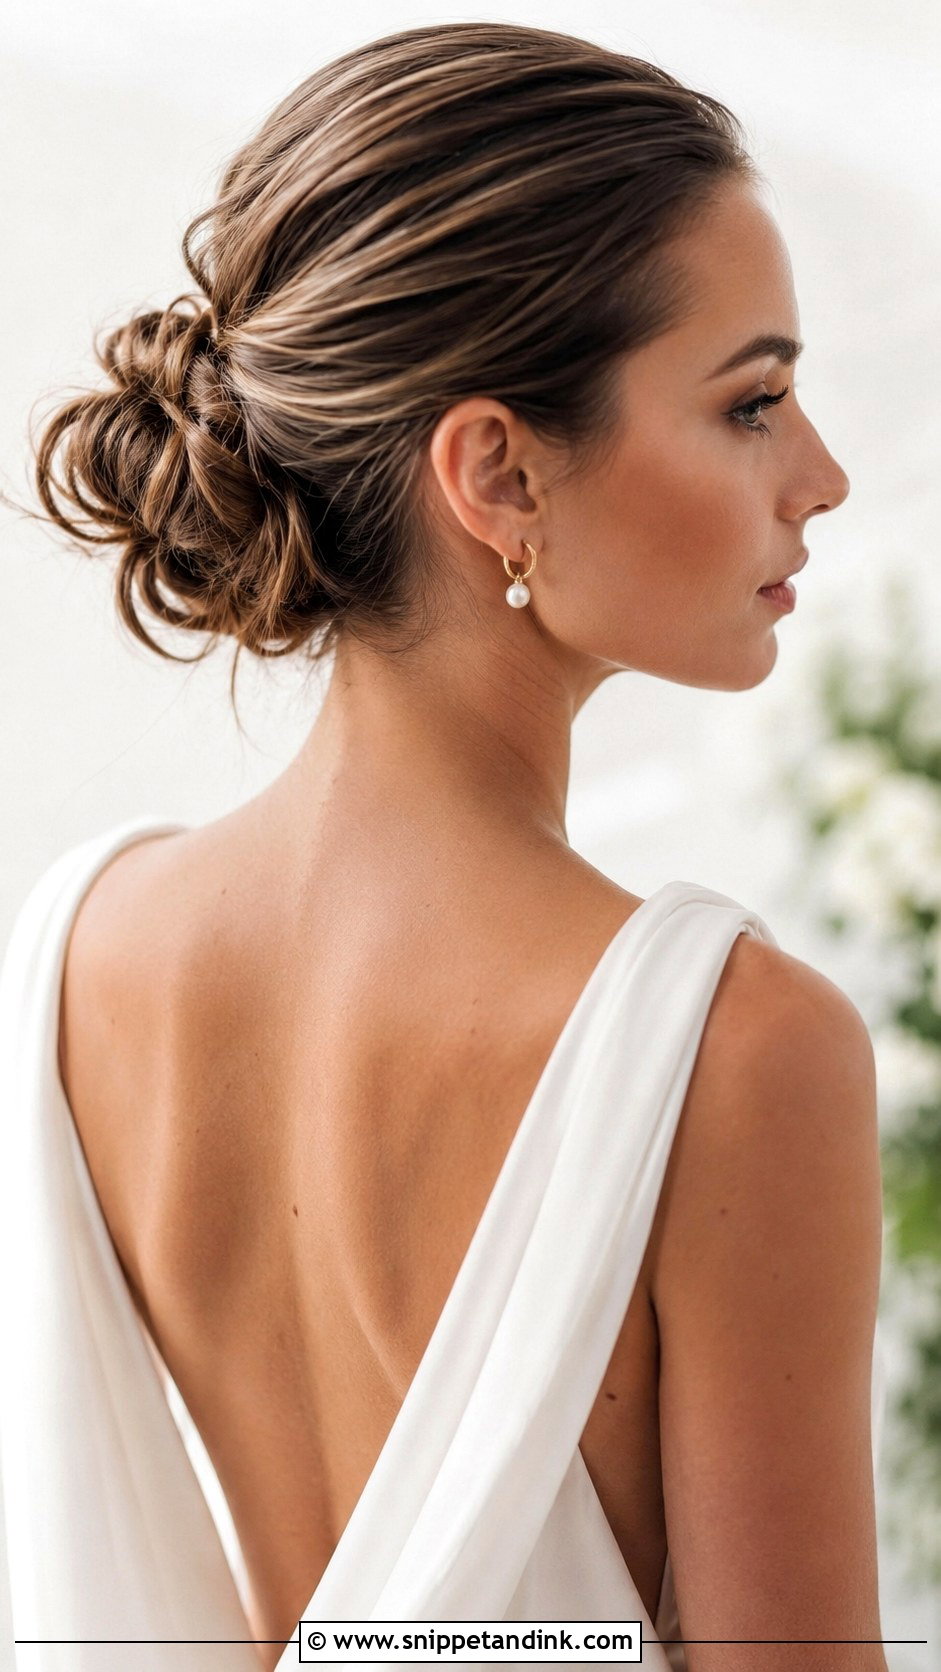
The textured bun keeps the front smooth and lets the knot itself look undone. I pull small pieces loose from the bun, never from the front, so the contrast stays crisp. It’s the version for brides who find a polished bun too stiff. A few delicate pins or a small hairpiece suit it. Texture spray holds this style better than shine products, which make the loose pieces clump together.
What Shows Up in Close-Up Photos of Slicked Hair
Tight, smooth hair hides nothing, and the camera exaggerates it. These are the problems I check from every angle before a bride leaves my chair.
Scalp showing through the part
On fine or thinning hair, a slicked part can look wide under flash. I dust a little root powder or tinted dry shampoo matched to the scalp along the part and at the temples. It reads as hair in photos and doesn’t move.
Flyaways that appear by the evening
Hair dries out and lifts as the day warms up. I give the maid of honor a spoolie with a little gel or a wax stick for the bag, because a quick sweep fixes it in seconds. Hairspray alone on dry flyaways tends to leave them stiff and standing up.
Sweat lifting the hairline
At outdoor summer ceremonies, perspiration loosens product at the front first. A blotting paper on the hairline before the photos, and a mattifying primer under the makeup, keep the edge clean. If your wedding is in high heat, choose a low style rather than a high one, since less tension at the front means less to lift.
Why Slick Styles Are All About the Groundwork
Slicked styles are simple to look at, and the work is in the brushing, the part and the pinning. Pick two or three styles from this list and bring them to your trial with photos of your dress neckline and earrings, so your stylist can judge which placement suits your face. Test the one you like for a few hours before the wedding, and you’ll know exactly how it feels by the end of the night.
You'll Like These Ideas:


Leave a Reply