
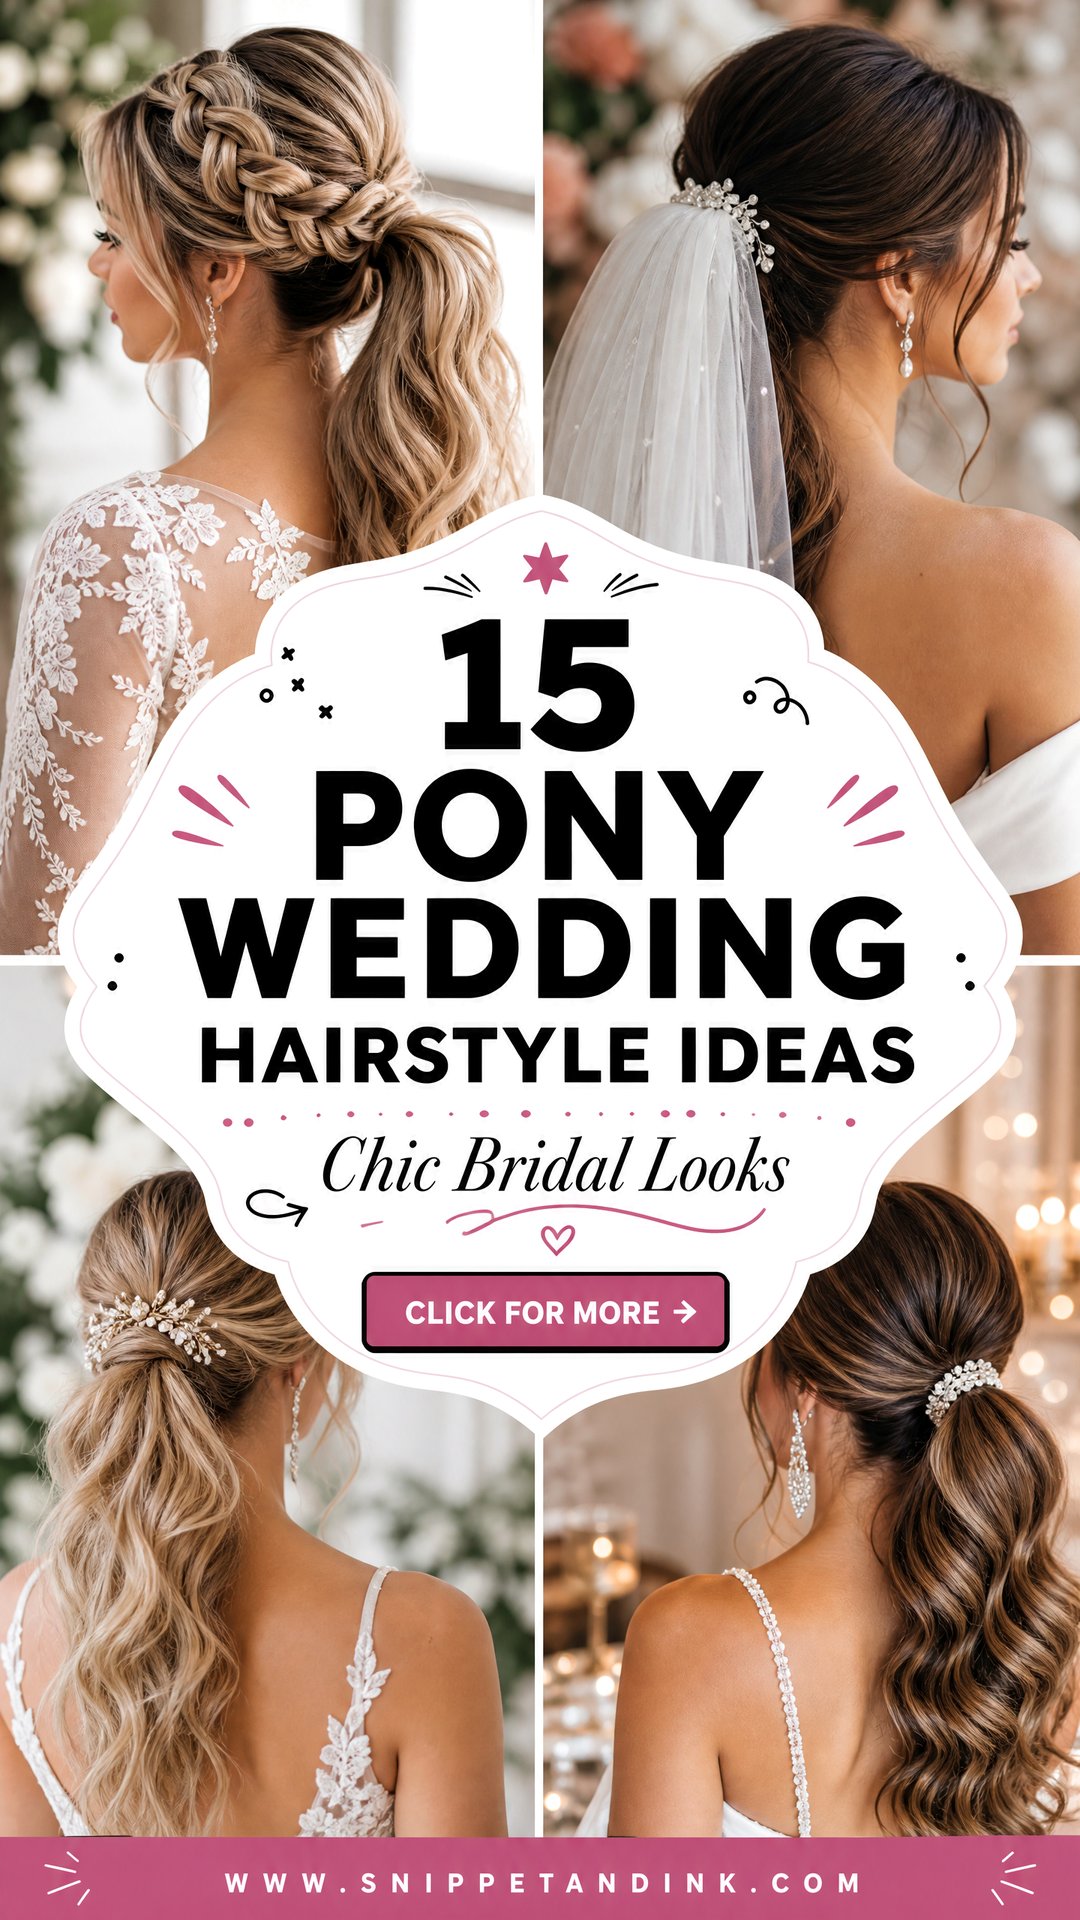
A ponytail is one of the most underrated wedding styles I do. It keeps hair off the neck and out of the face, it survives dancing better than loose curls, and it shows off an open back or a strapless neckline without hiding anything. What separates a wedding pony from an everyday one is construction: a smooth or lifted crown, a hidden elastic, a set that holds the curl, and one detail chosen with the dress in mind. Below are the versions I suggest most to brides, bridesmaids and guests, with how each one is built and who it suits.
Two Elastics, One Pin and a Wrapped Base
Every wedding pony I build has the same hidden structure, whatever it looks like on top. Knowing how it’s made helps you understand why some ponies hold for a whole day and others drop within hours.
- Prep: curl or wave the hair before gathering it. Curling a ponytail afterward pulls on the base and loosens it.
- Secure: use a snag-free elastic, then slide two bobby pins through it, crossed, into the hair at the scalp. That anchors the pony so it doesn’t slip down.
- Fullness: for a thicker-looking pony, split the hair into two sections and tie two ponies, one directly above the other. The top one covers the lower band and the pony looks twice as full.
- Wrap: take a thin strand from underneath, wrap it around the elastic and pin the end underneath with a bobby pin.
This takes a few extra minutes but it’s what makes a pony last through hugs, dancing and the drive home.
When a Ponytail Starts to Ache
Ponies, especially high ones, can cause headaches because the hair pulls on a small area of scalp for hours. Extensions add weight and make it worse. Tell your stylist if you get headaches from ponies normally. A slightly lower position, supporting pins under the elastic and not tying it too tight all help. If it hurts at your trial after an hour, it will hurt more at the wedding.
1. Low Pony Wedding Hairstyle
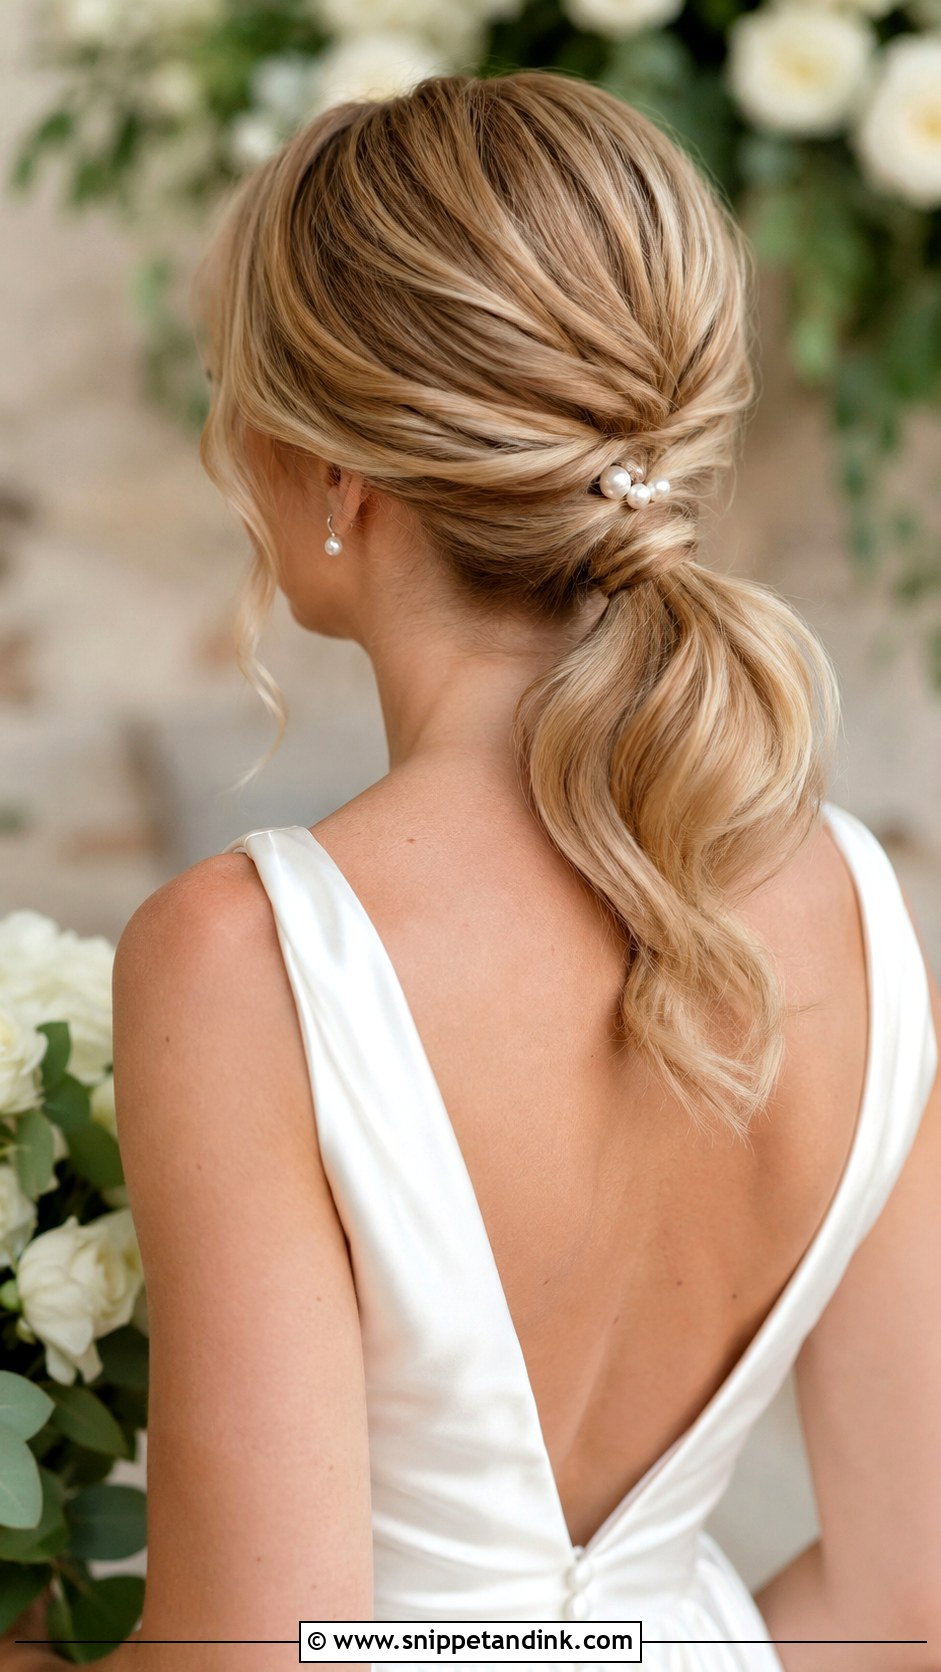
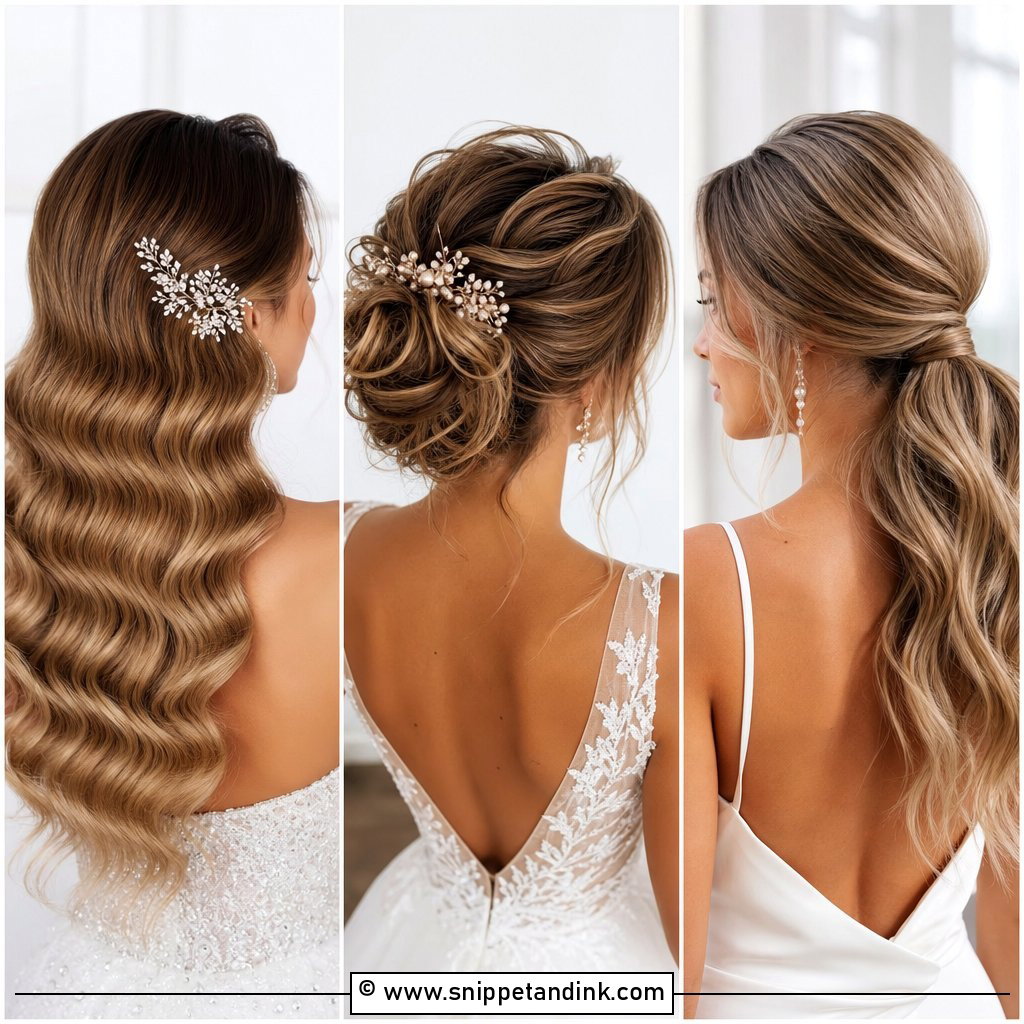
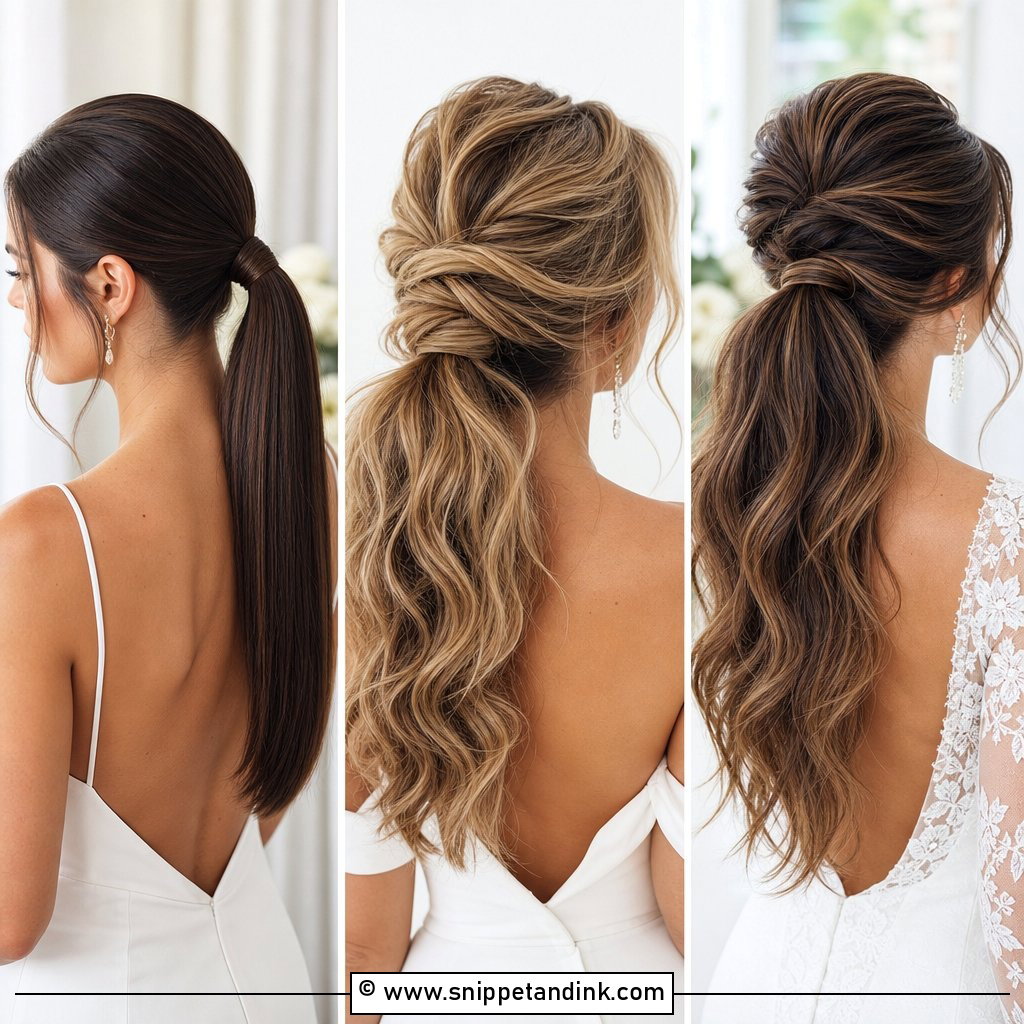
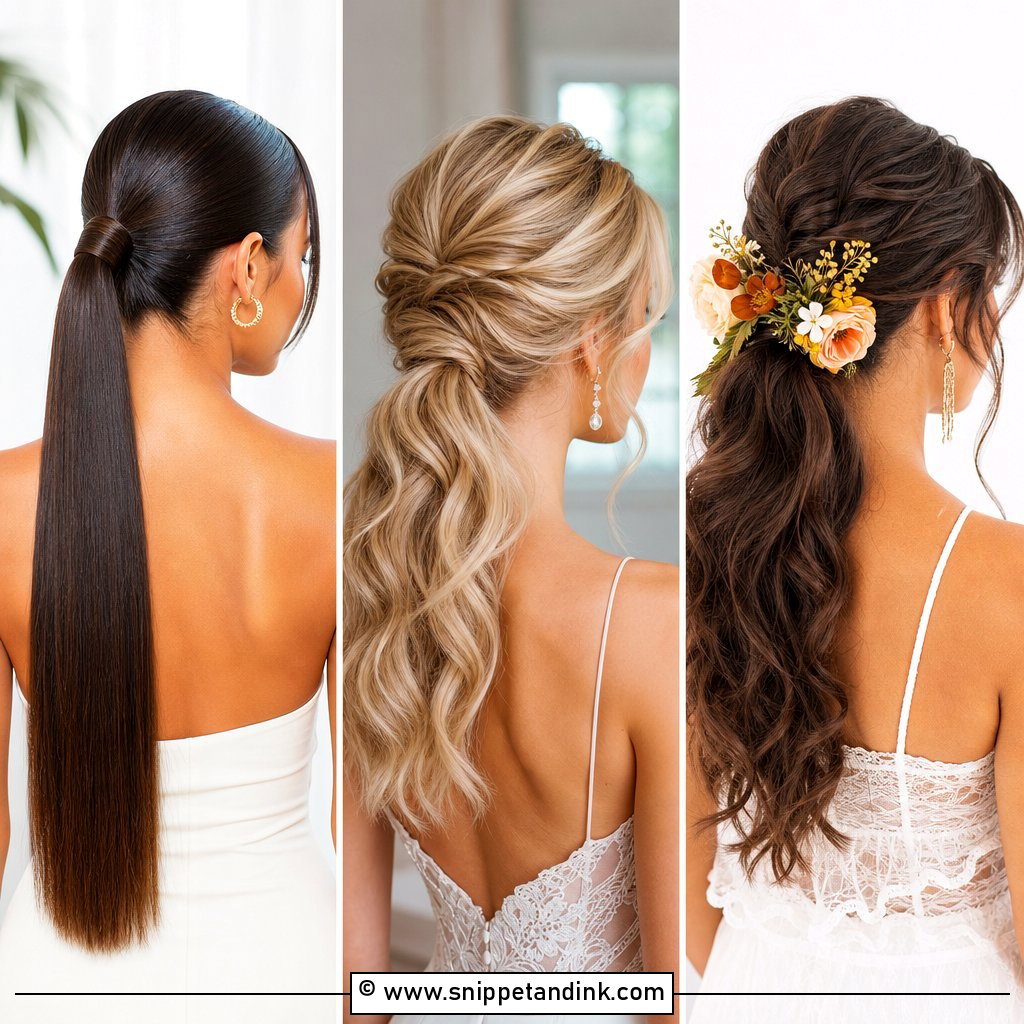
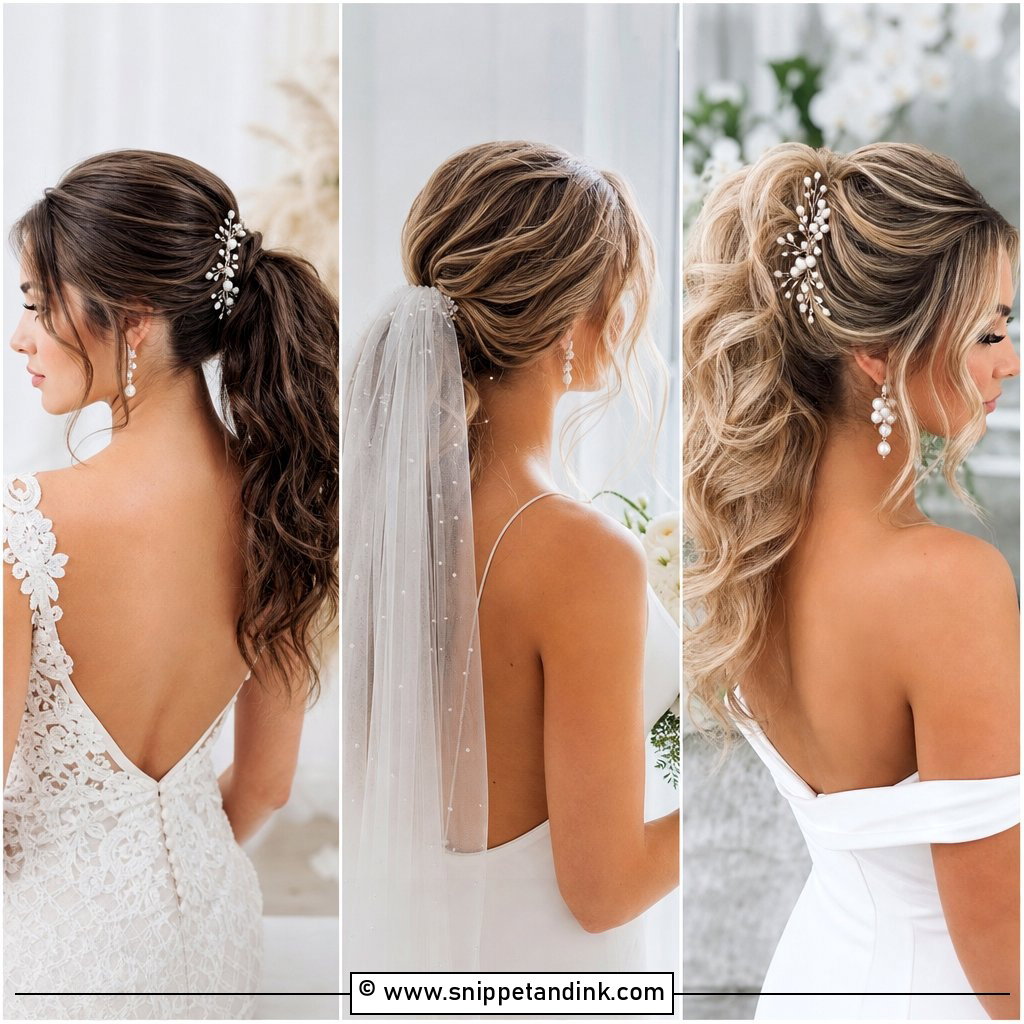
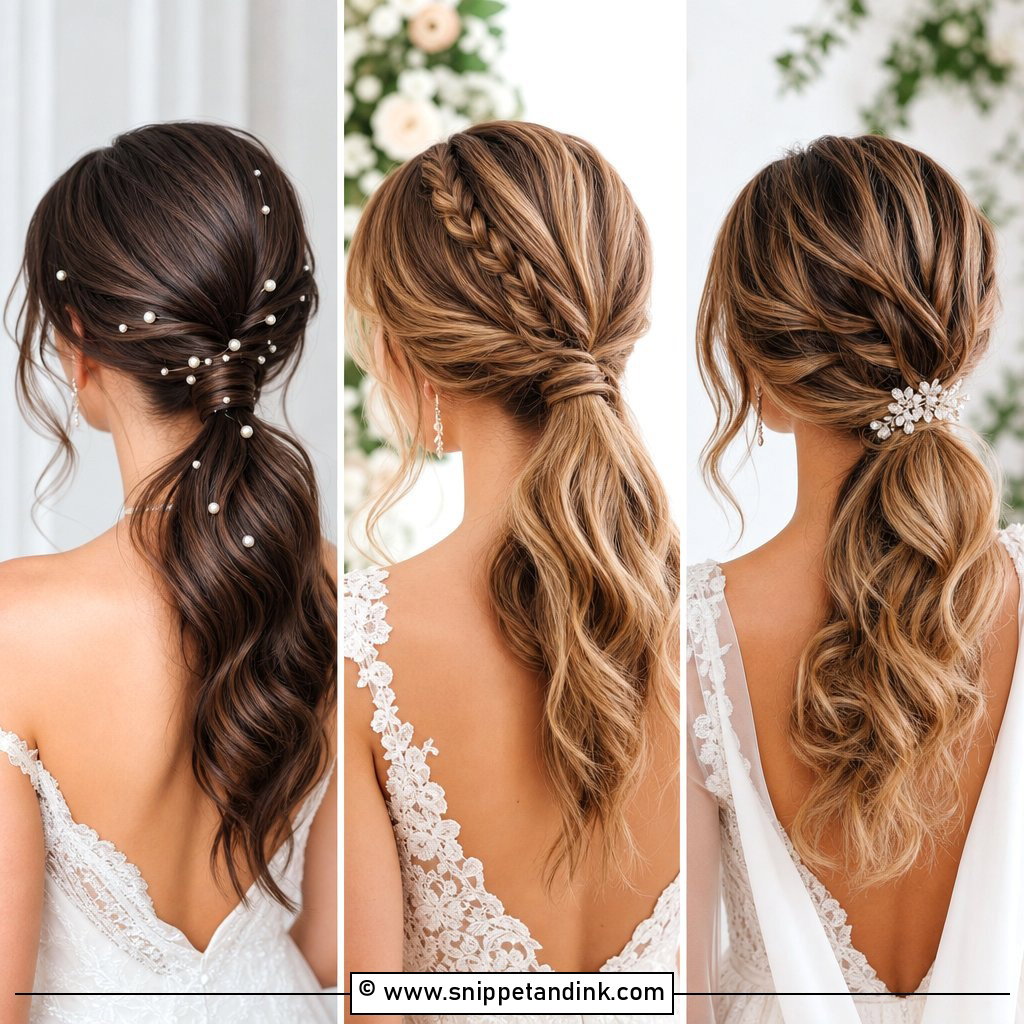
The low pony is the one I’d suggest to a bride who doesn’t want to think about her hair after the ceremony. Sitting at the nape, it leaves room above for a veil comb, pearl pins or flowers, and it doesn’t press against a chair back. I smooth the roots, add a little height at the crown with back-brushing, and wave the lengths. A wrapped section of hair around the elastic, pinned underneath, is what makes it look finished. Middle or side part both work; the choice depends on which looks better with your face from the side.
2. High Pony Wedding Hairstyle
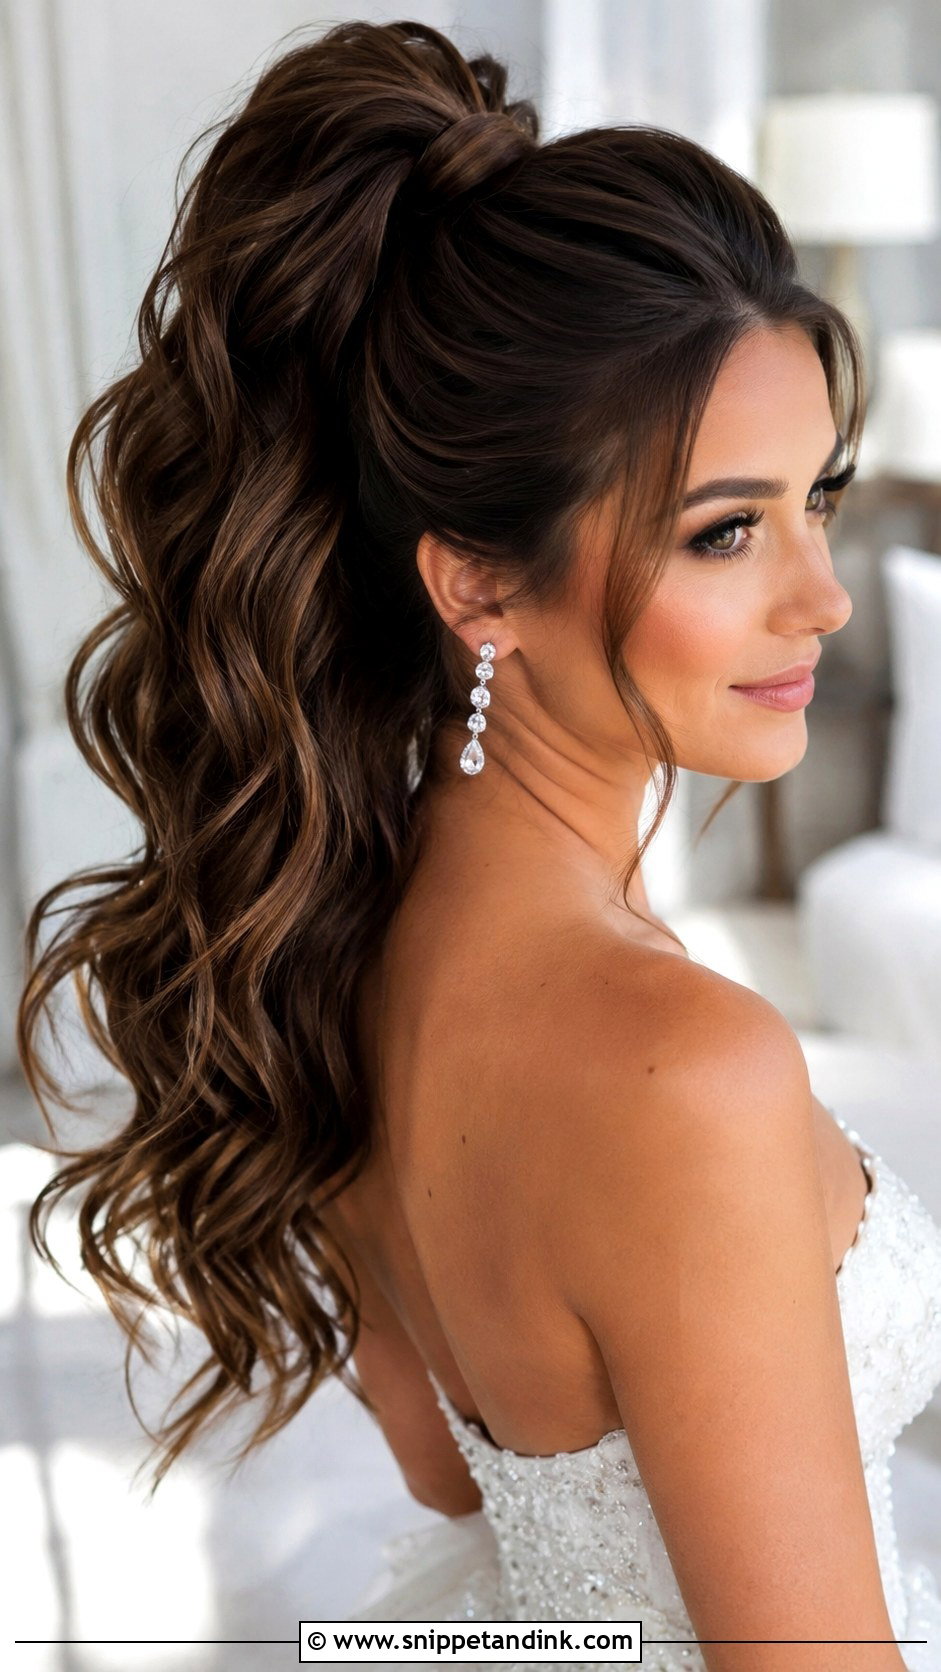
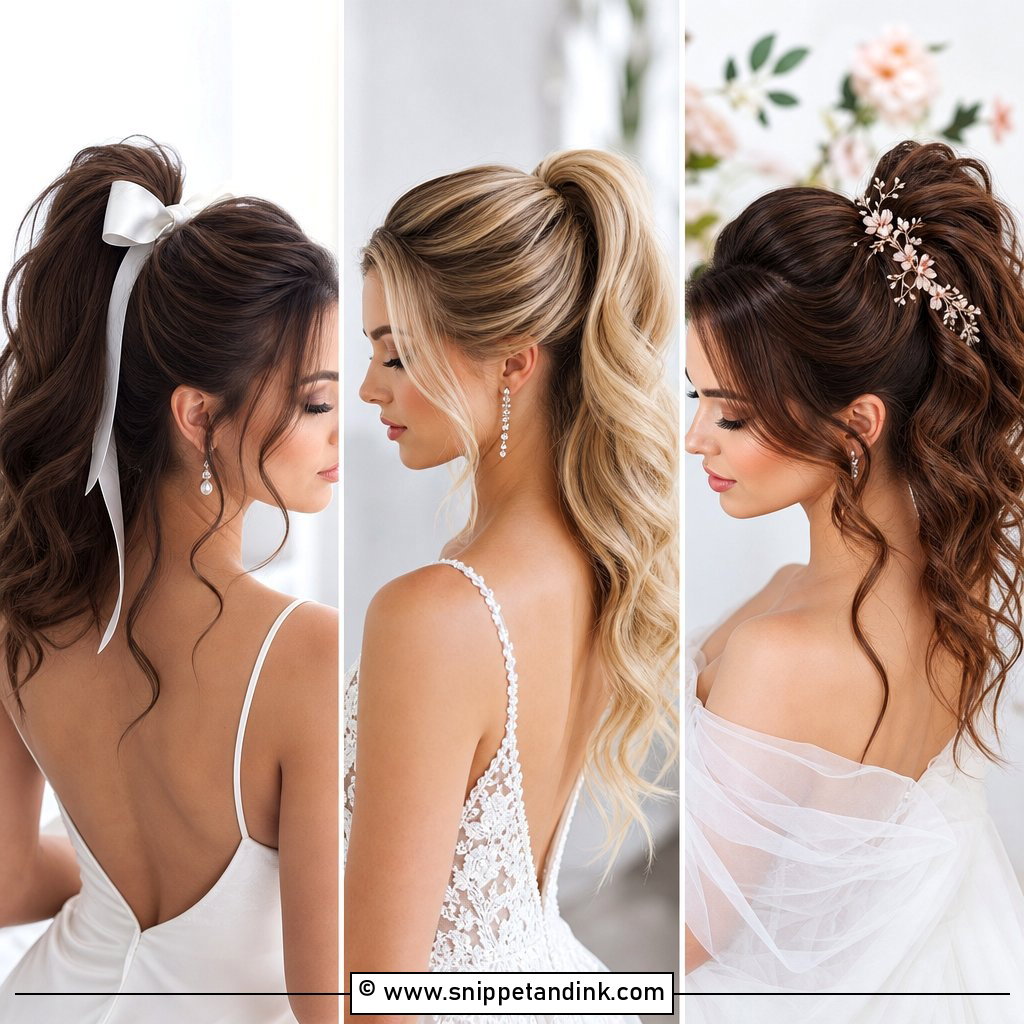
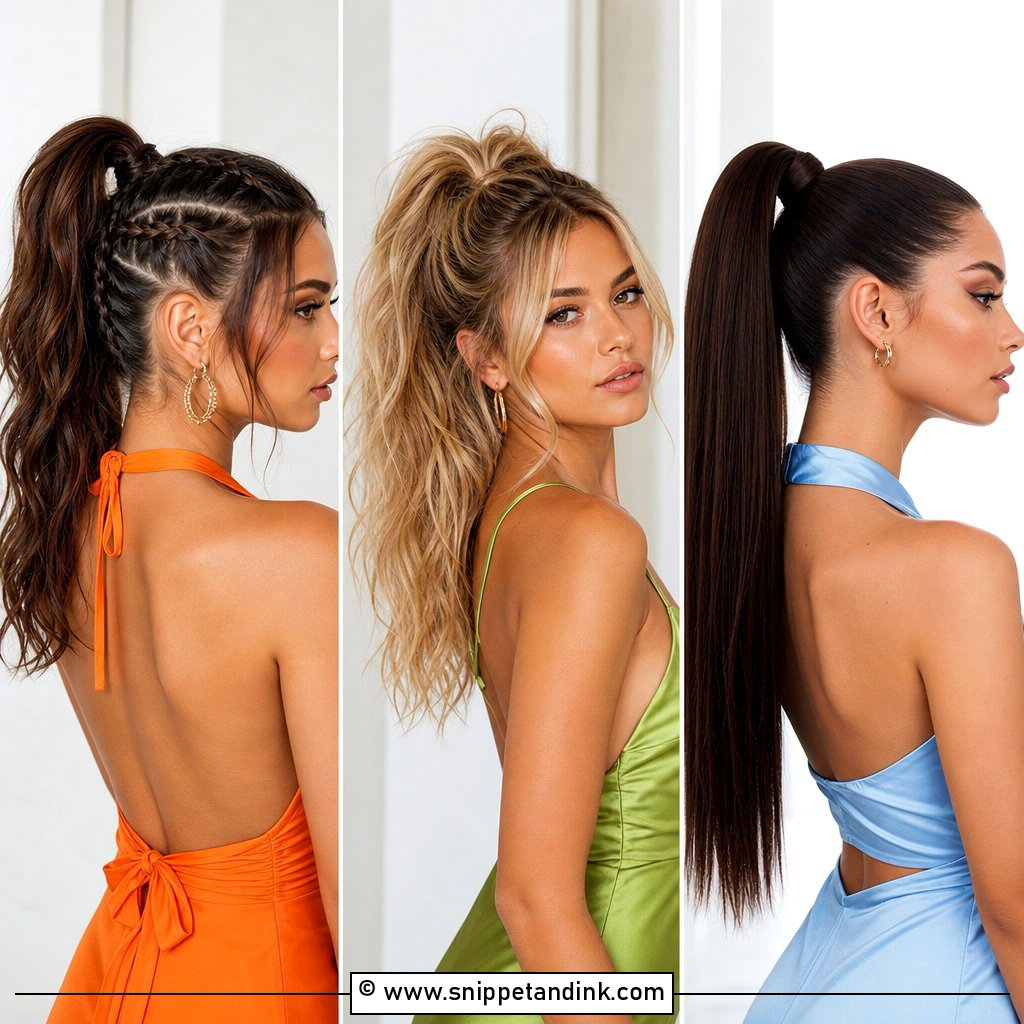
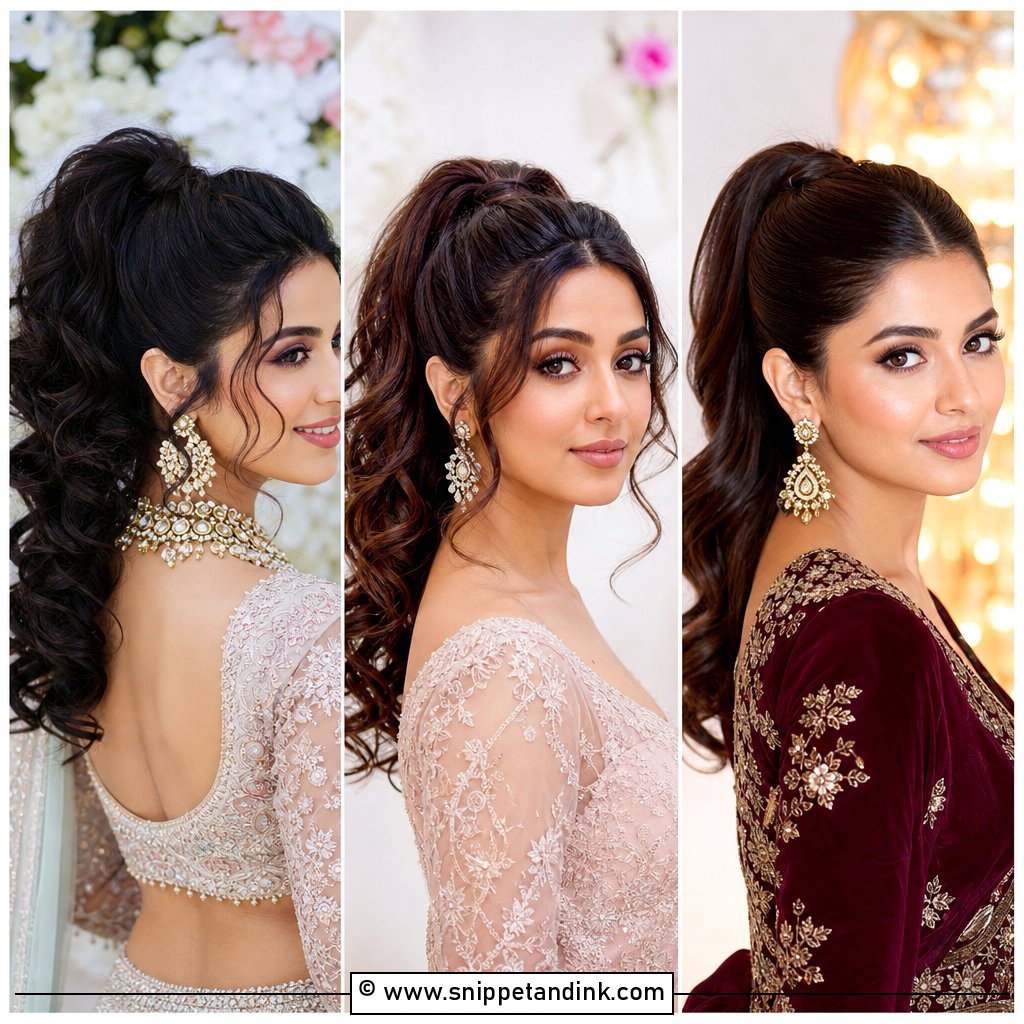
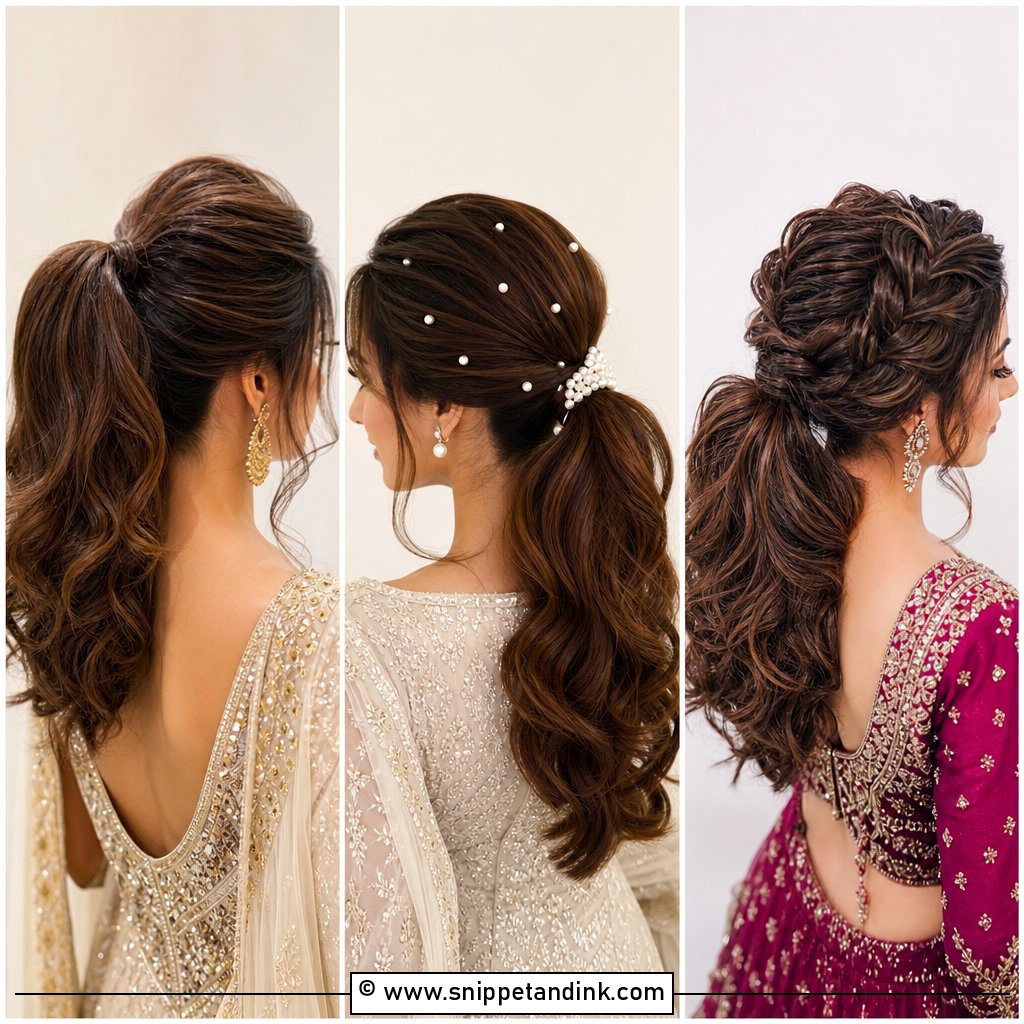
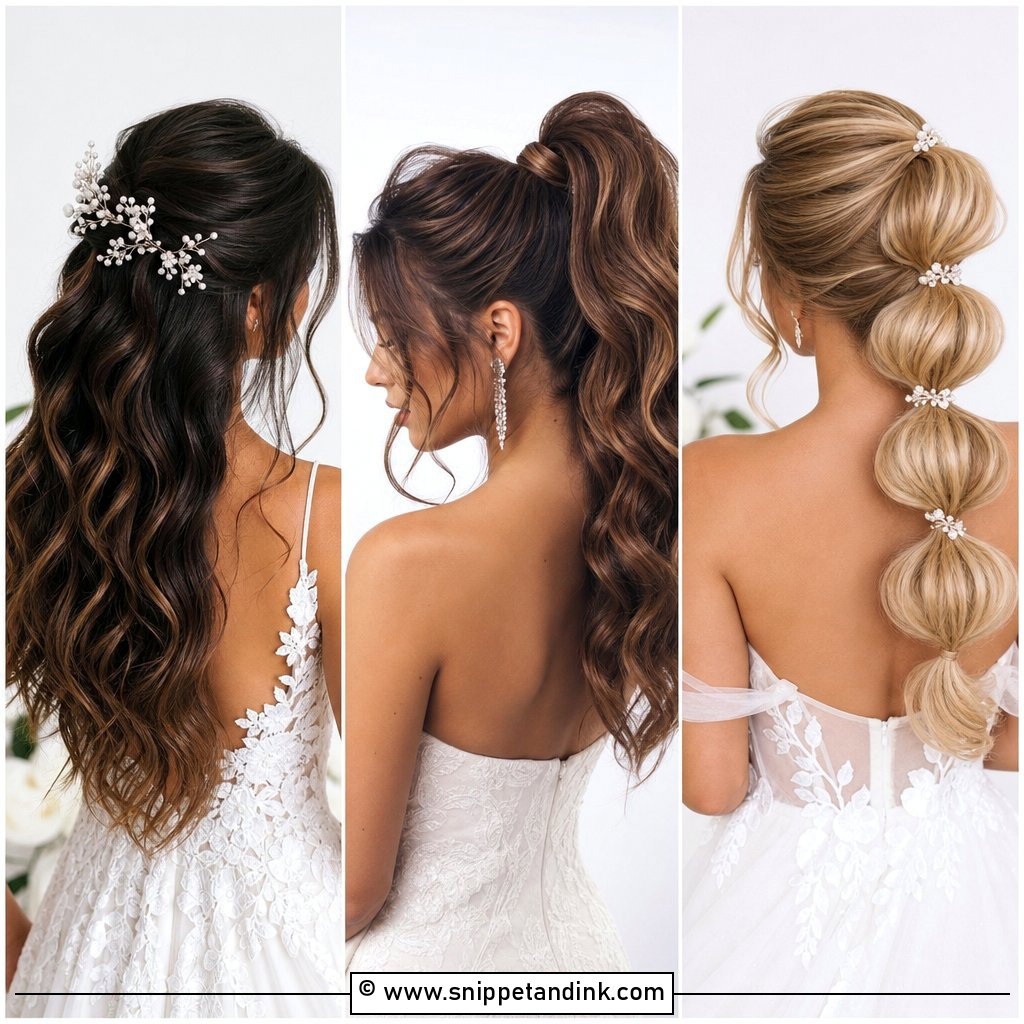
High ponies lift the whole face, but they’re the most demanding to wear for twelve hours. All the weight hangs from one point at the crown, and on thick or extended hair that can bring on a headache by mid-afternoon. I support it with two crossed bobby pins slid under the elastic against the scalp, which takes the weight off the hair itself. Curls or waves stop it looking sporty. Hide the band with a hair wrap or a pearl cuff. Detailed backs and strapless dresses show well under it.
3. Sleek Pony Wedding Hairstyle
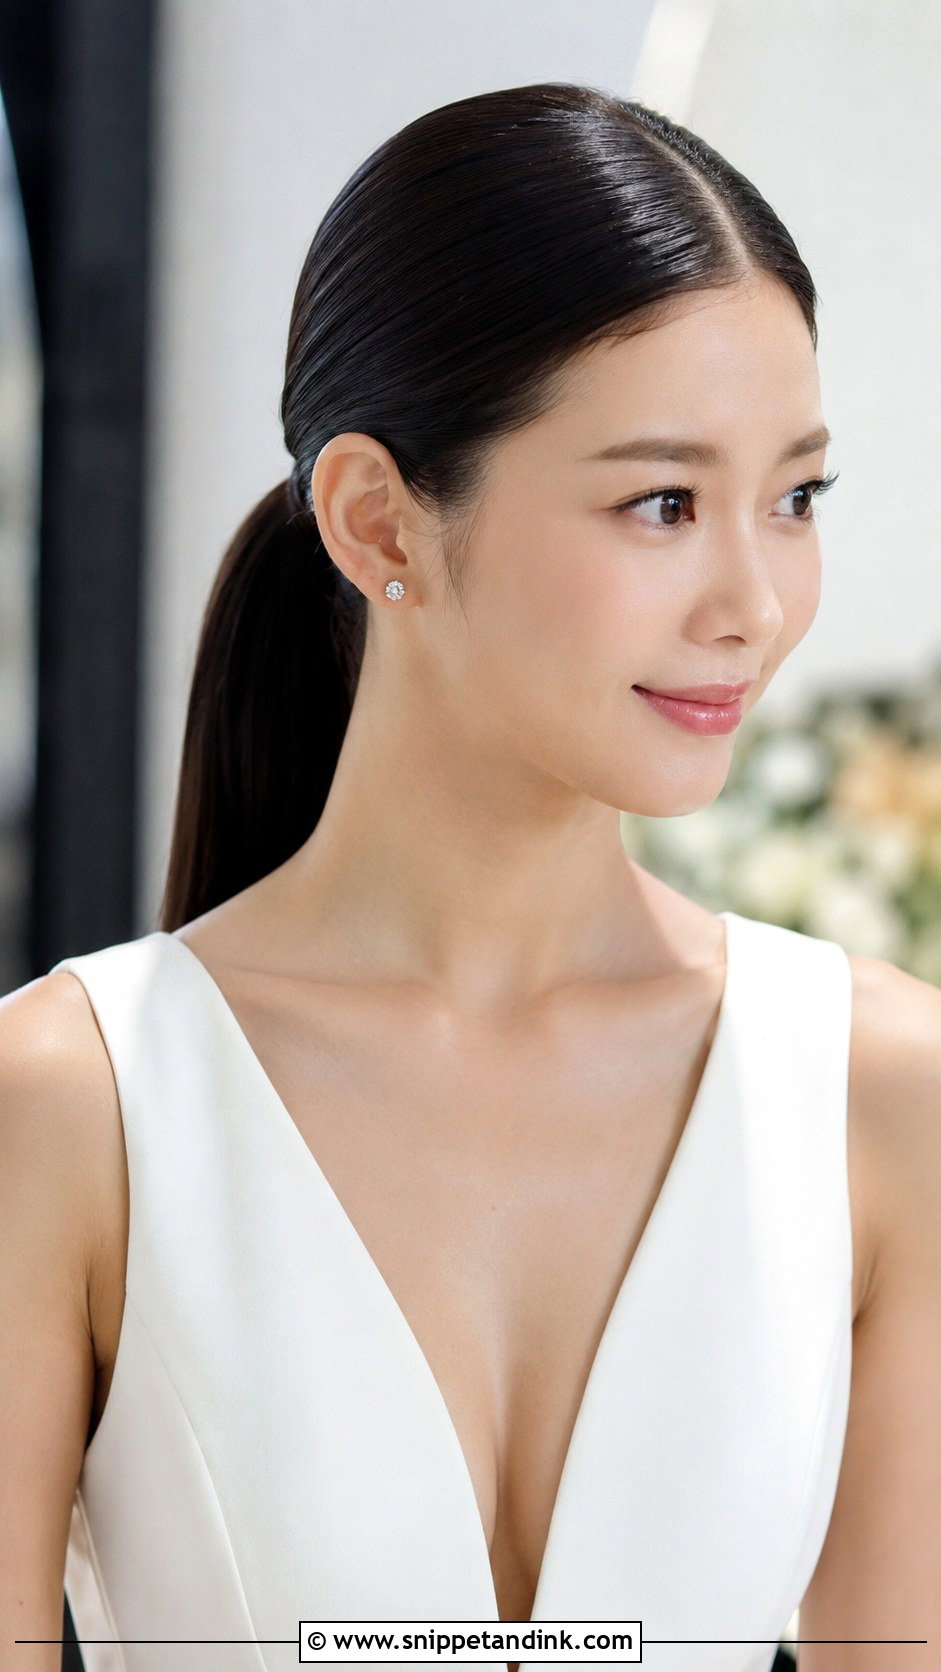
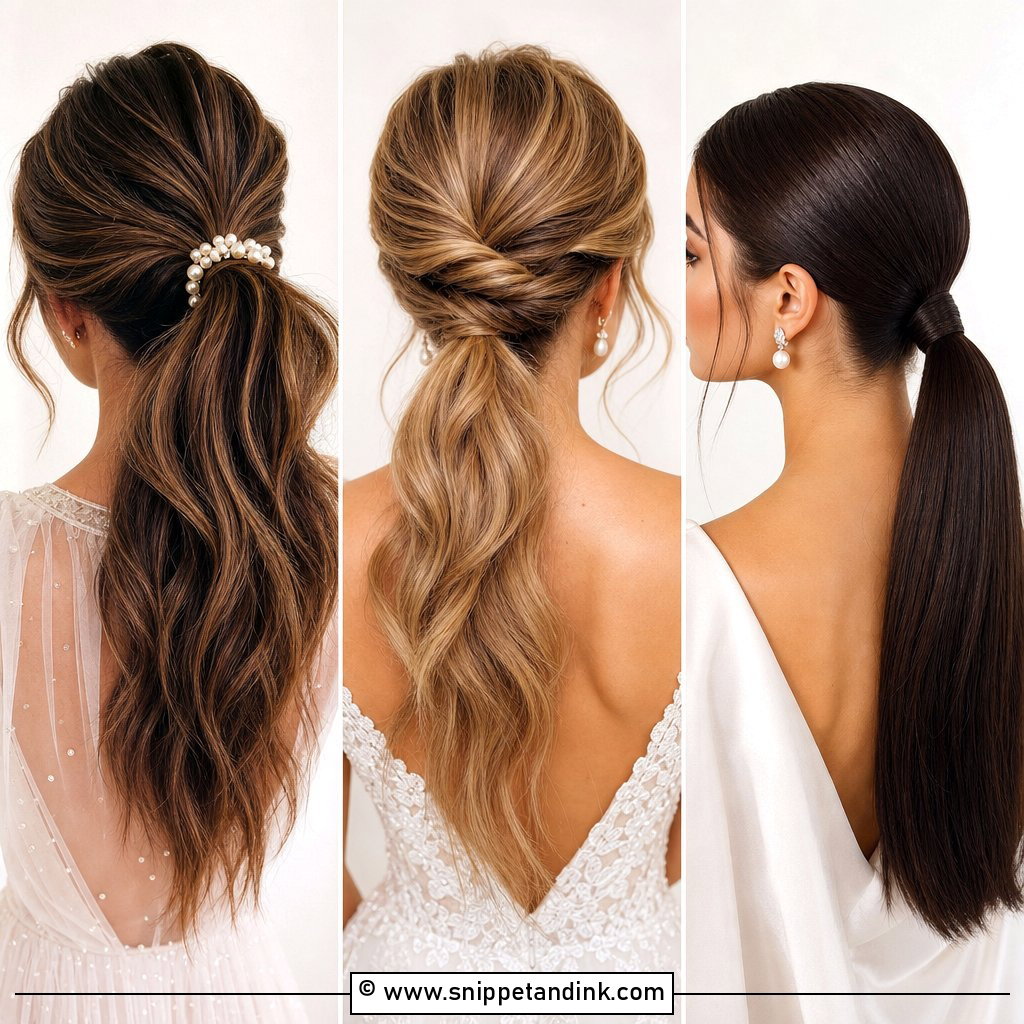
Sleek ponies are all about the surface. I blow-dry the hair smooth first, then brush it back with a boar bristle brush and a smoothing cream, secure, and finish with a light spray brushed through rather than sprayed on top. A centre part frames the face sharply. Too much gel and the hair looks wet in flash photos; too little and flyaways appear at the crown by evening. It sits well with minimalist dresses and satin. Fine hair with very little density can look thin pulled back this tightly, so a clip-in pony piece is worth trying at the trial.
4. Wavy Pony Wedding Hairstyle
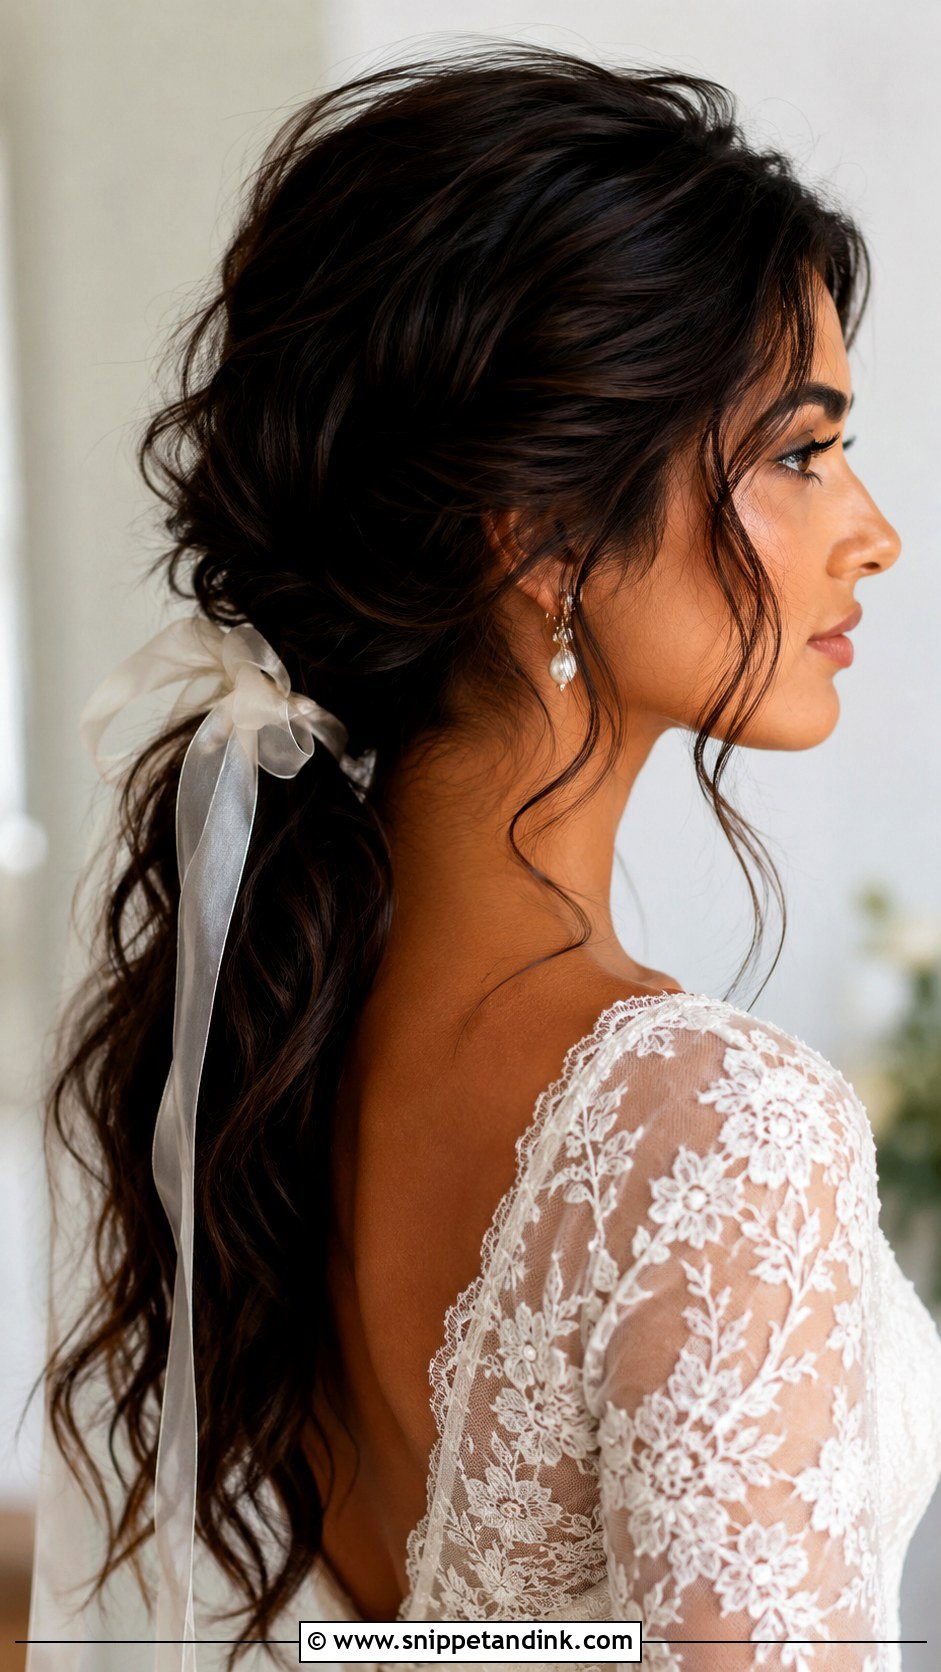
Waves are the easiest way to make a pony feel bridal. A wavy pony wedding hairstyle needs some volume at the crown and a few soft pieces around the face, then relaxed waves through the length. I curl the hair before putting it up, so the waves sit evenly, then brush them out at the end. It suits outdoor and beach weddings because loose waves look fine when the wind moves them. Low, mid or slightly to the side all work. Keep the finish soft, not crunchy; a ribbon or a few pearl pins are enough.
5. Curly Pony Wedding Hairstyle
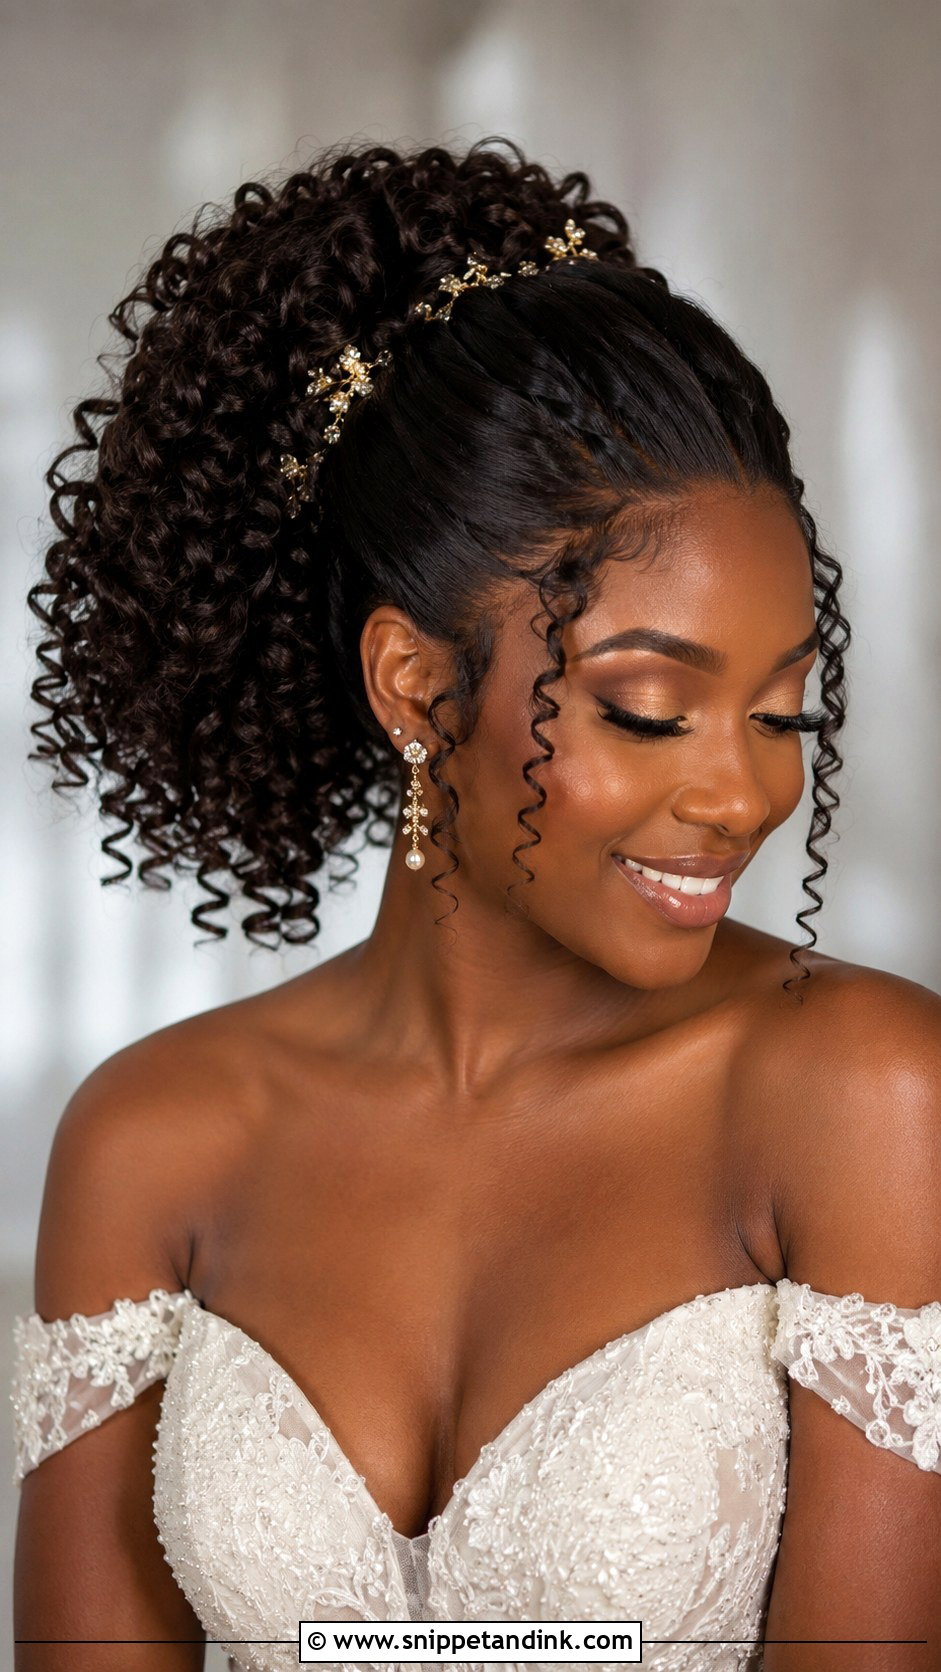
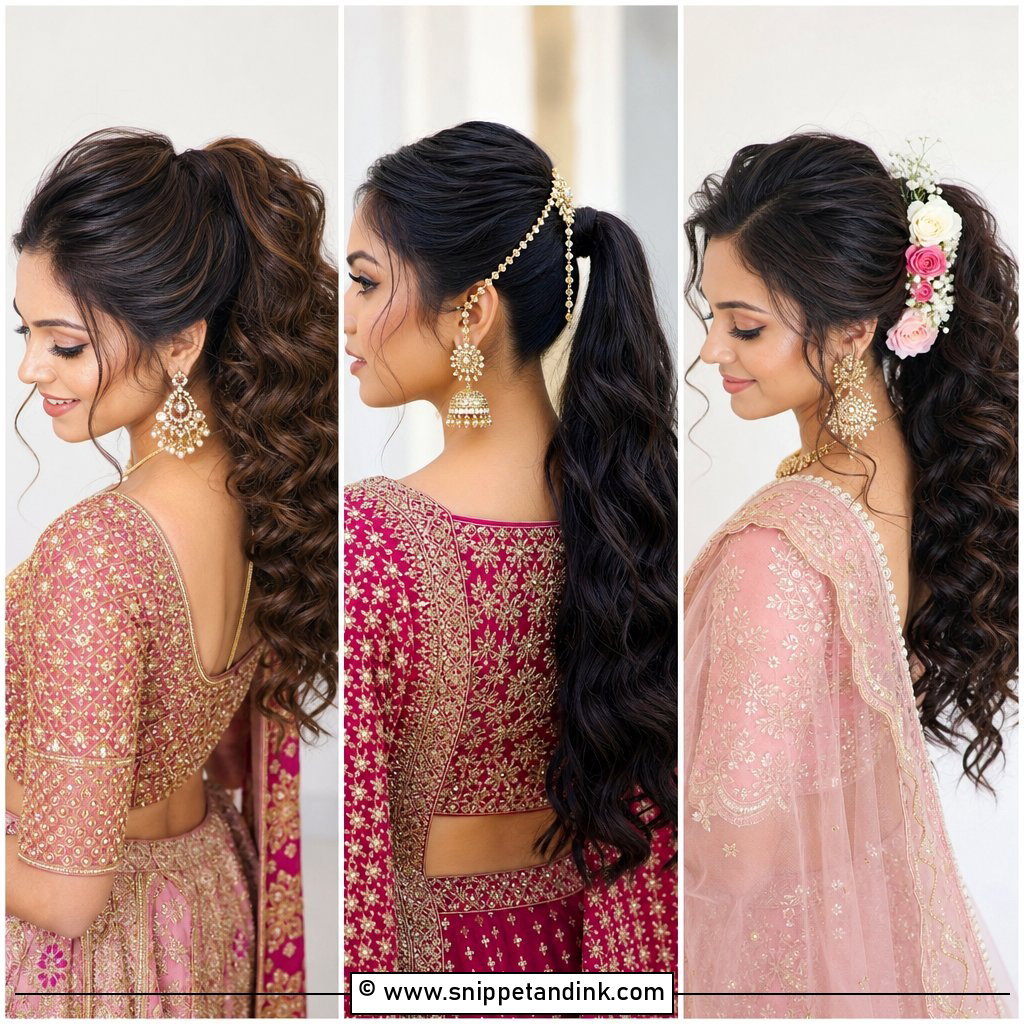
Natural curls, set curls and curled extensions all work in a pony, and each needs a different hold. Natural curls should be defined while wet and left to dry before they’re gathered; brushing them up afterward breaks the pattern into frizz. Gather them low for softness or lift them into a high pony for drama. I keep the crown defined and secure, then let the curls fill out naturally below. A few curls at the cheeks and jaw soften the outline. Use curl-safe products without heavy alcohol, which dry curls out over a long day.
6. Braided Pony Wedding Hairstyle
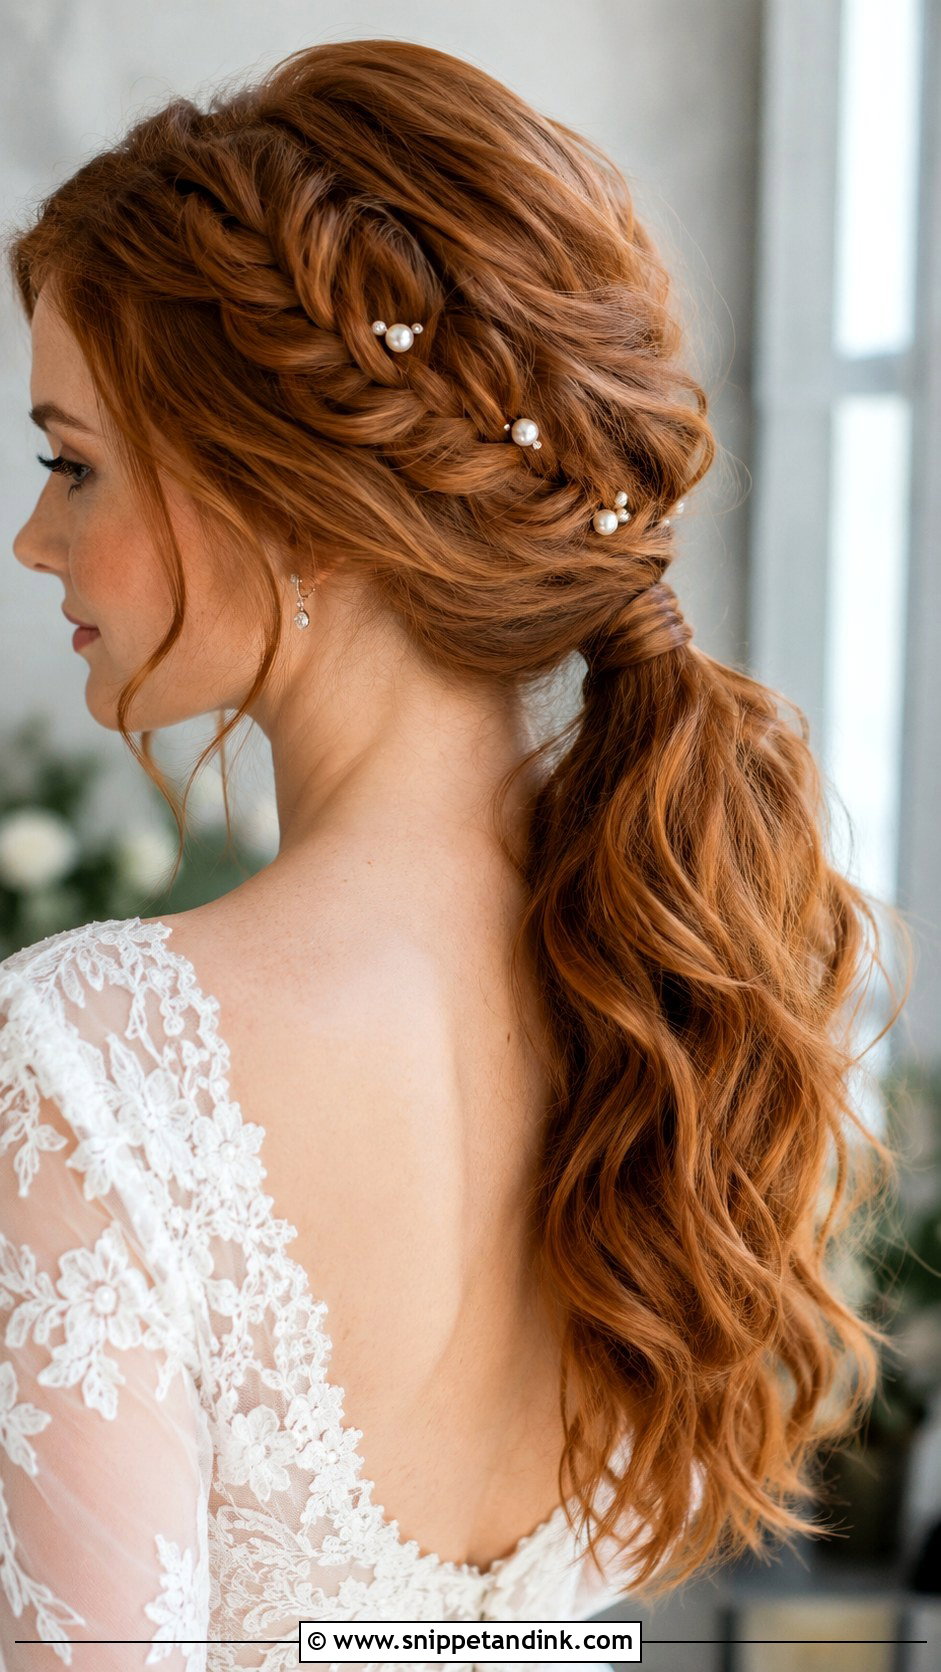
A braid gives a pony structure, which helps on long days. It can start at the crown, run along one side, or trace the hairline before joining the ponytail. I braid while the hair is dry and slightly textured, since freshly washed hair makes the braid slip. A loosened braid looks romantic, a tight one more polished. Pearl pins tucked into the braid and a small floral comb at the base finish it. If you have short layers around the face, expect a few pieces to escape; that’s usually fine and softens the look.
7. Side Pony Wedding Hairstyle
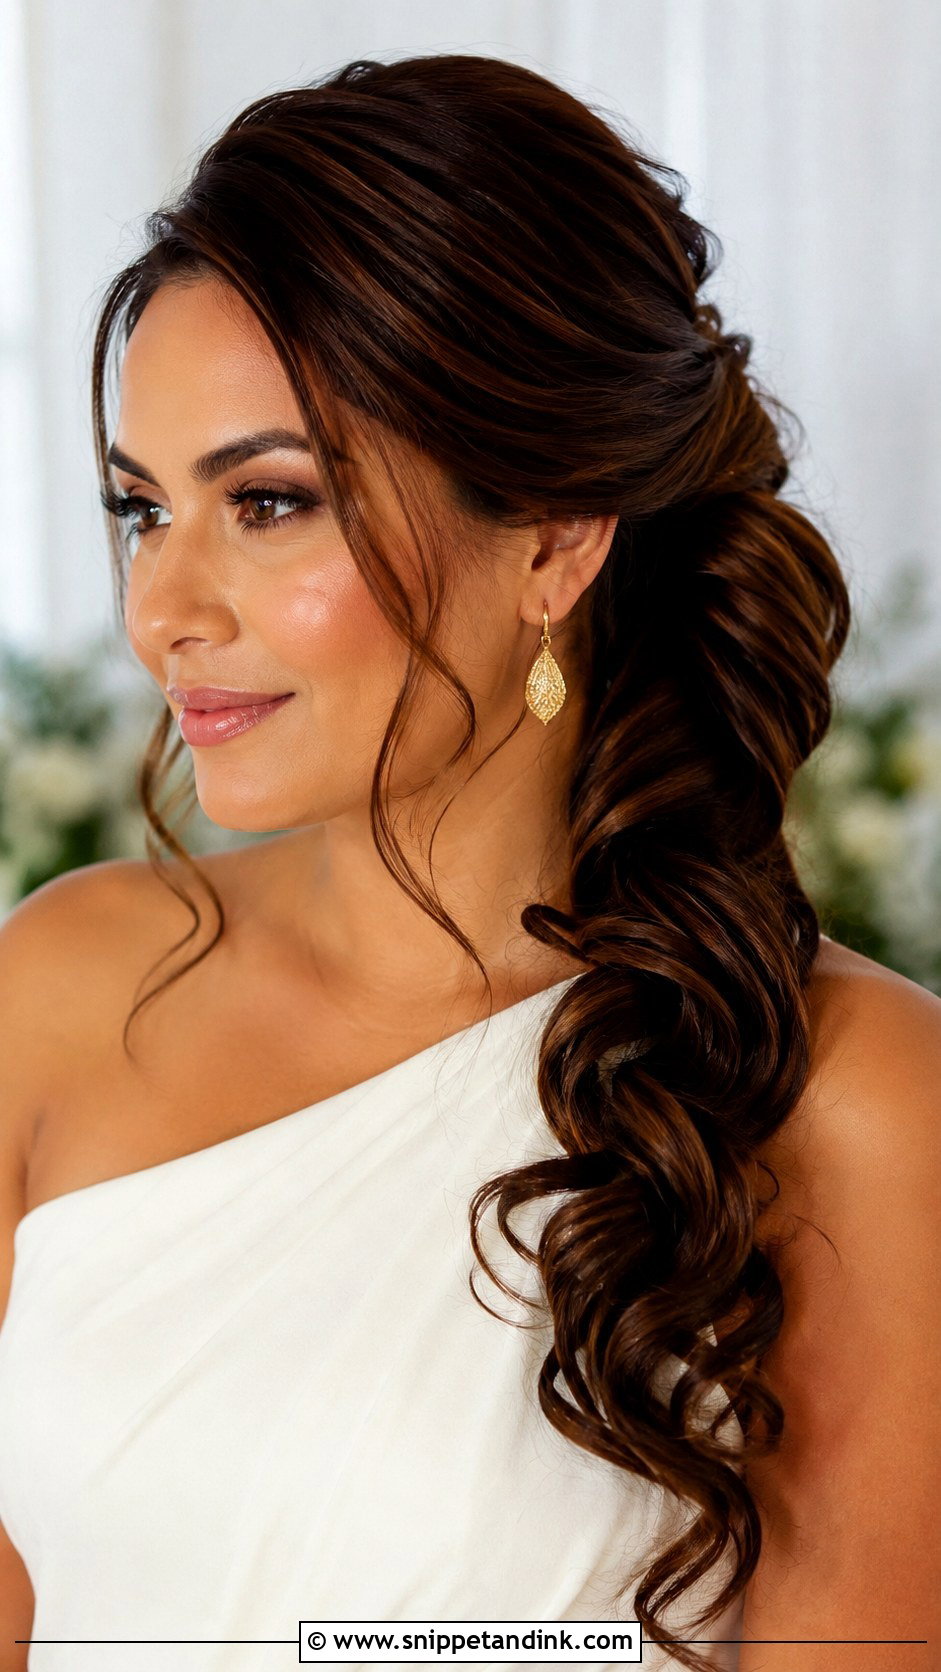
Gathering the pony over one shoulder puts the length right in front of the camera. It’s a good compromise if you want the length visible without wearing it loose. I pin the gathering point behind the ear rather than right at it, so the pony falls naturally rather than looking stuck on. A side part balances the shape. One-shoulder gowns suit it, with the pony on the bare side. Watch the length. On very long hair the pony can rest on the bodice and catch on beading or lace.
8. Bubble Pony Wedding Hairstyle
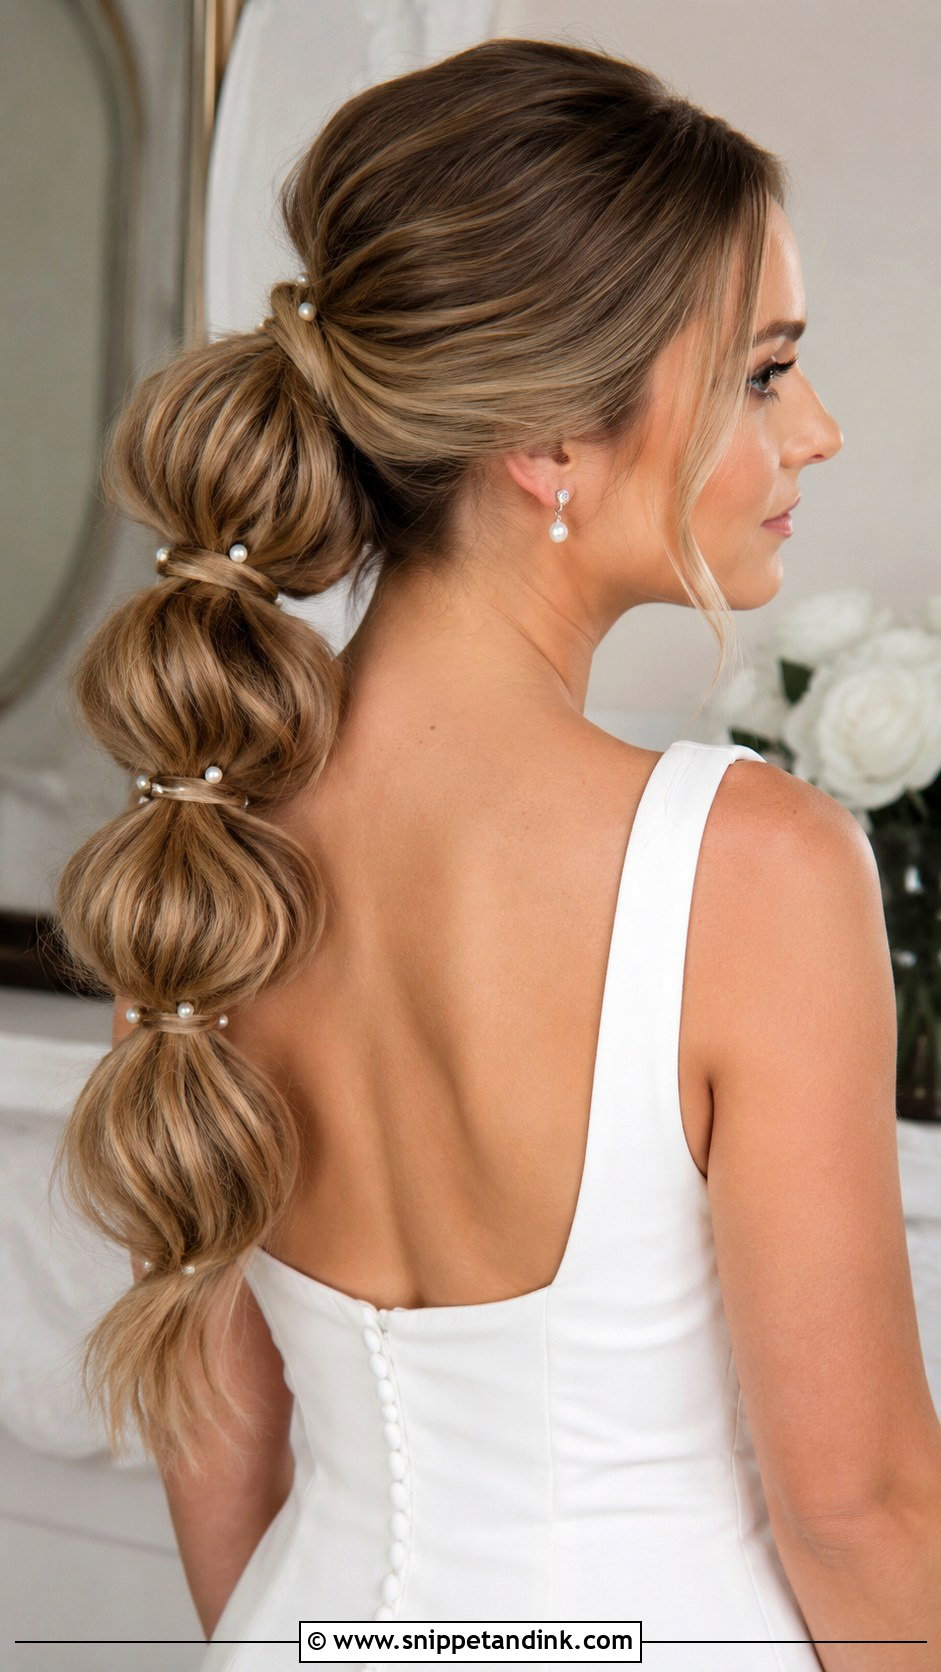
A bubble pony wedding hairstyle is playful, and it can look polished if each bubble is even. I tie small clear elastics at regular intervals down the length, then gently pull each section apart. Keep the crown smooth, wrap each elastic with a thin strand of hair or ribbon, and leave a couple of soft pieces at the front. You need long hair for this; on shoulder-length hair there’s only room for one or two bubbles. It works well for bridesmaids or a reception change. Tiny crystal pins can make it more formal.
9. Pony Wedding Hairstyle With Veil
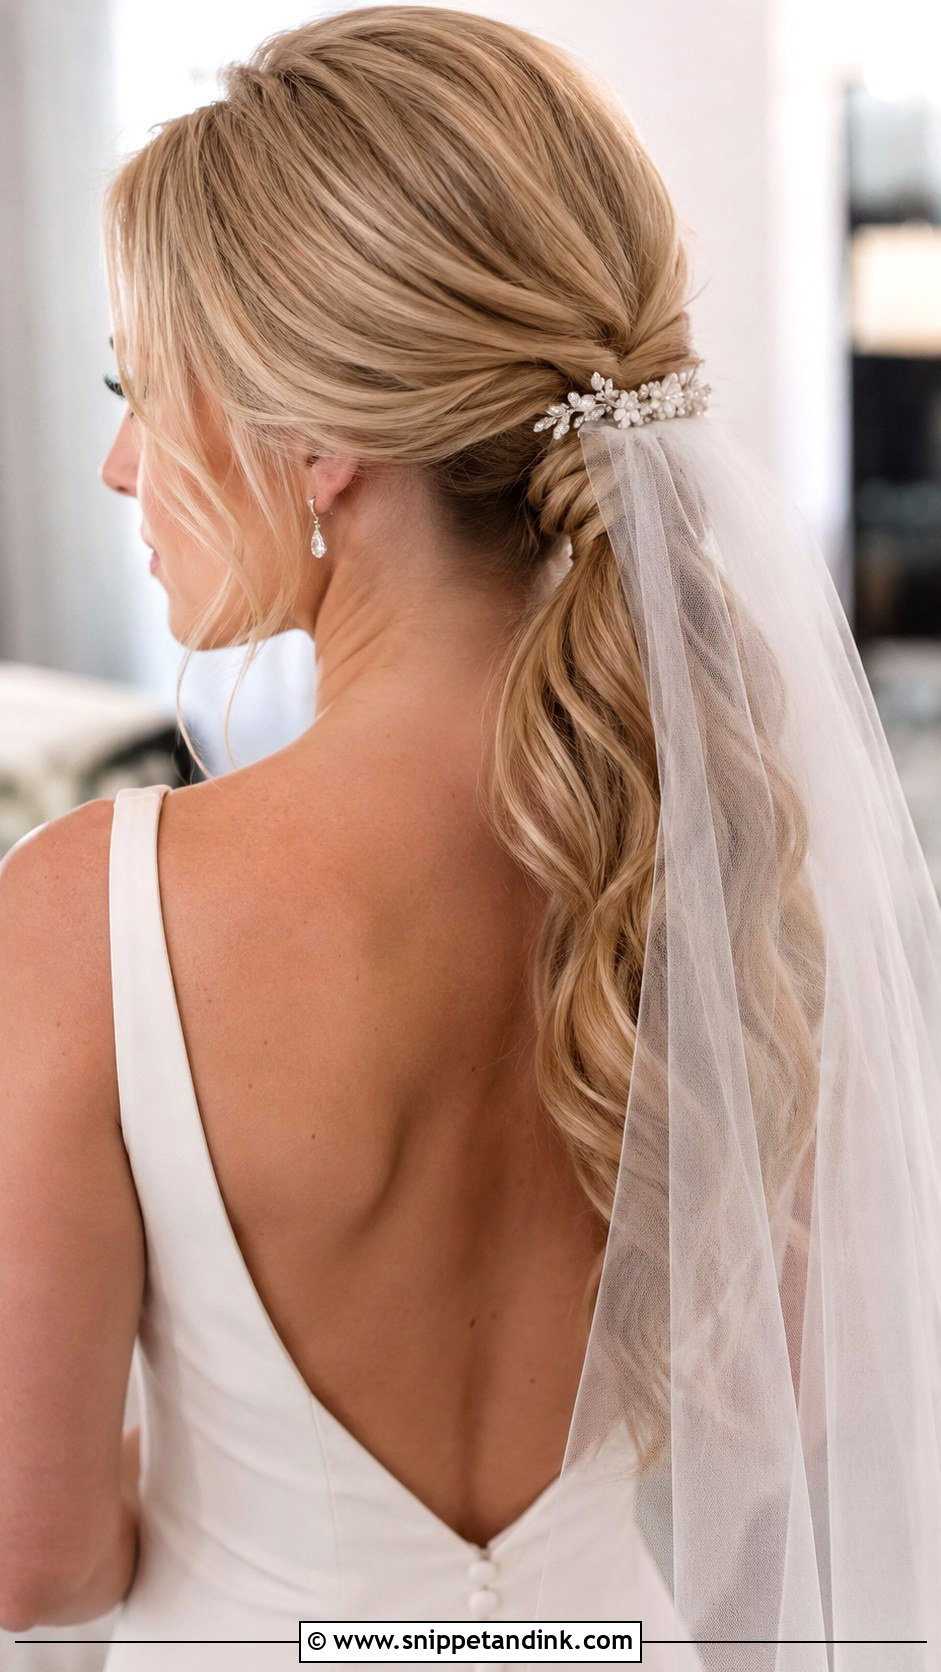
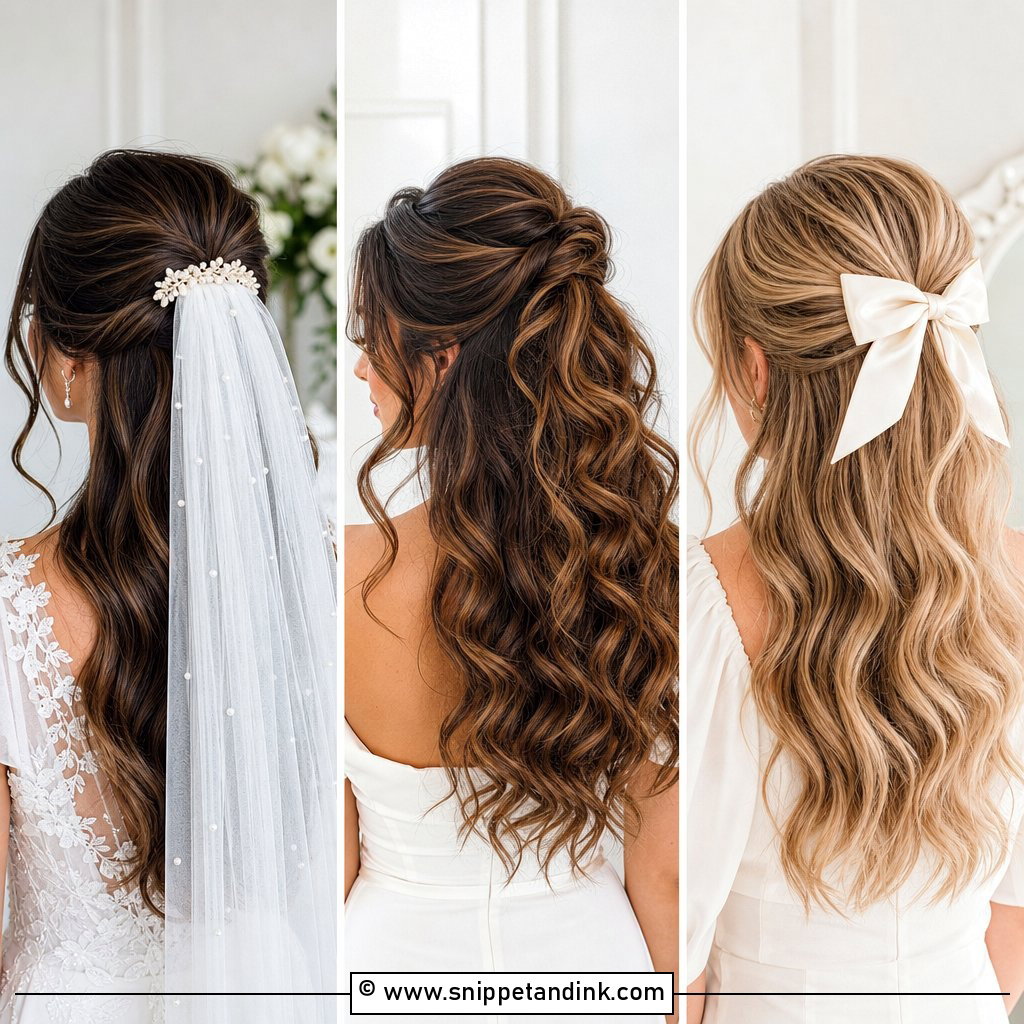
A veil with a ponytail needs planning. A low or mid pony works best because the comb can sit above the base without dragging the ponytail down. A high pony leaves little room for a comb and the veil can pull it backward. If the veil is long and heavy, I keep the pony smooth and secure the comb into a small teased base with crossed pins. With a soft, sheer veil, loose waves and face-framing pieces show through nicely. Practise walking and turning your head with the veil at your trial.
10. Pony Wedding Hairstyle With Pearls
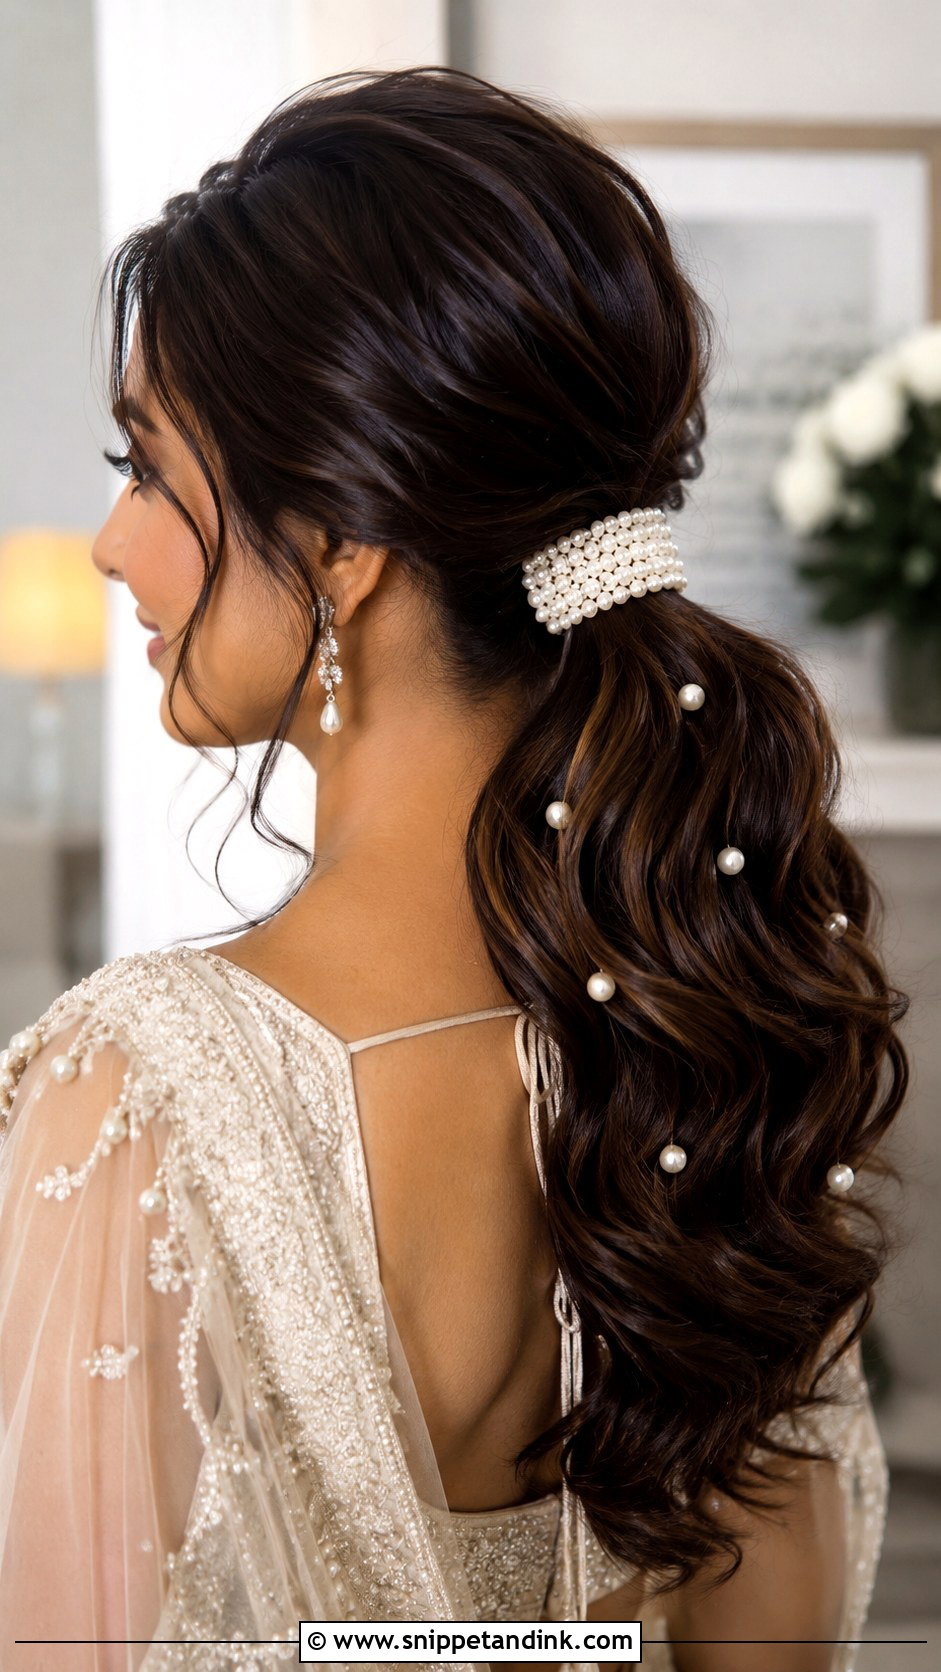
Pearls make a ponytail read as bridal right away. Tiny pins scattered through waves look delicate; a pearl cuff around the base looks clean and modern. I’d keep it to one or the other. The pins need something to hold, so they work best in textured or braided sections rather than on a sleek surface, where they slide. A low or braided pony suits pearls best. Less is better here; a handful of pearls looks considered, while too many starts to look like a costume.
11. Pony Wedding Hairstyle With Ribbon
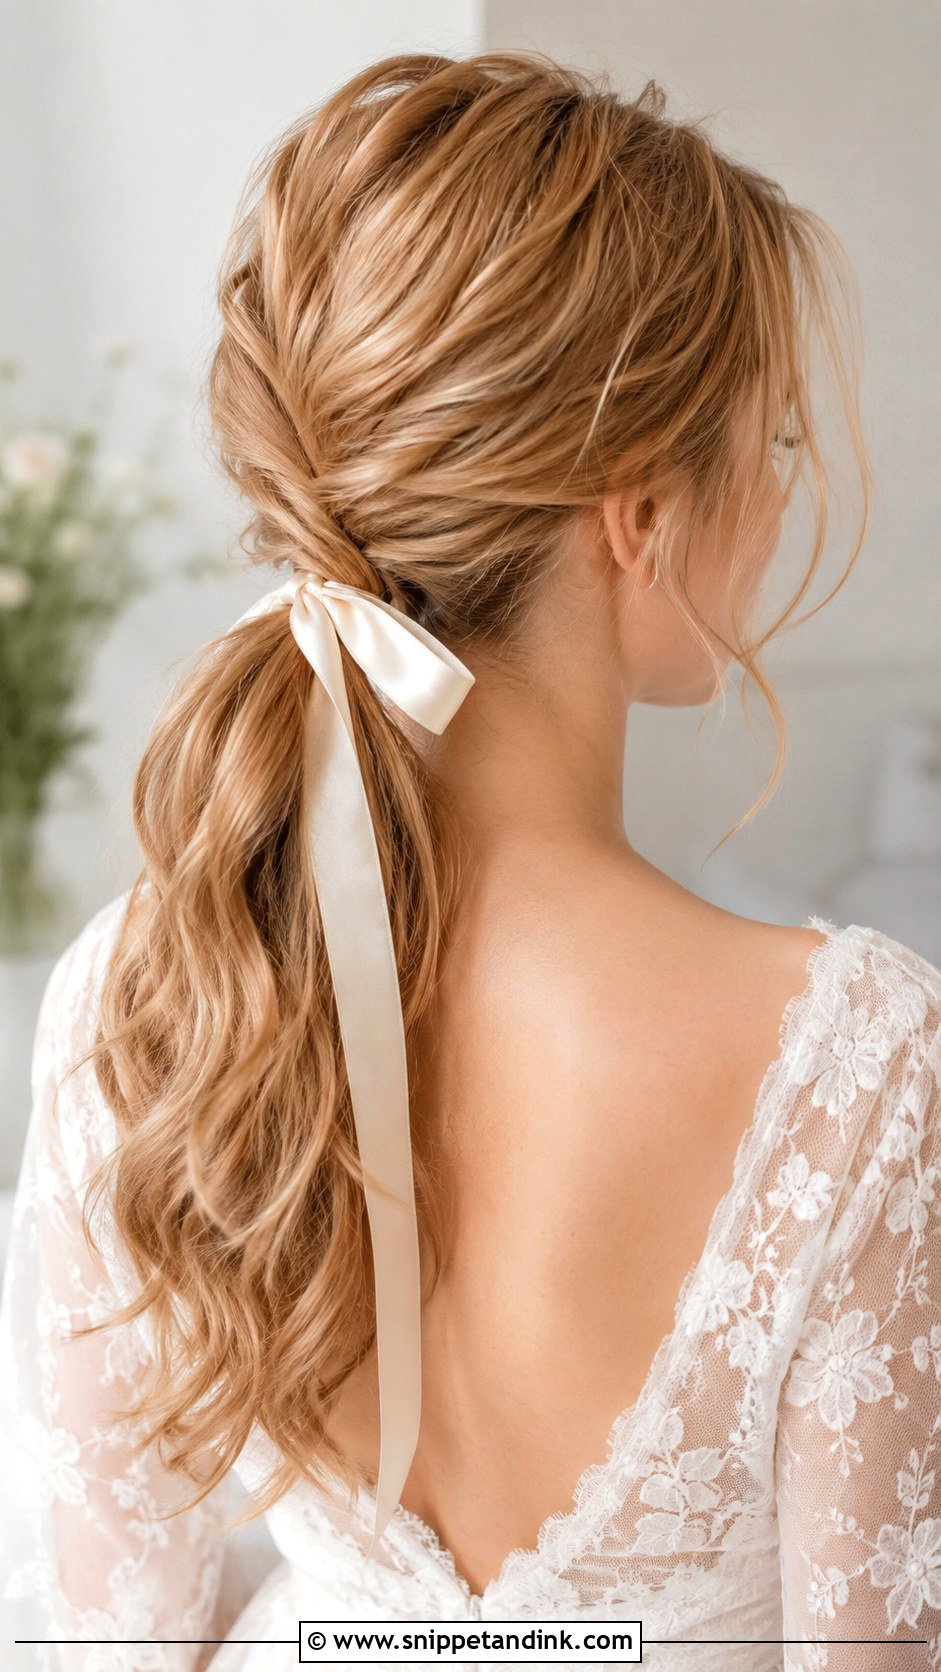
A pony wedding hairstyle with ribbon feels sweet, and ribbon is also the easiest way to hide an elastic. Tie it around the base of a low pony, weave it into a braid, or wrap it over the band and pin the end underneath. Satin, silk and sheer ribbons move well with the hair. Ivory, champagne, blush or soft blue can tie into the wedding colours. Scale the bow to the dress: a slim ribbon reads delicate, a wide one is a statement. I knot the ribbon around a pin, so it can’t slide down the pony as you move.
12. Messy Pony Wedding Hairstyle
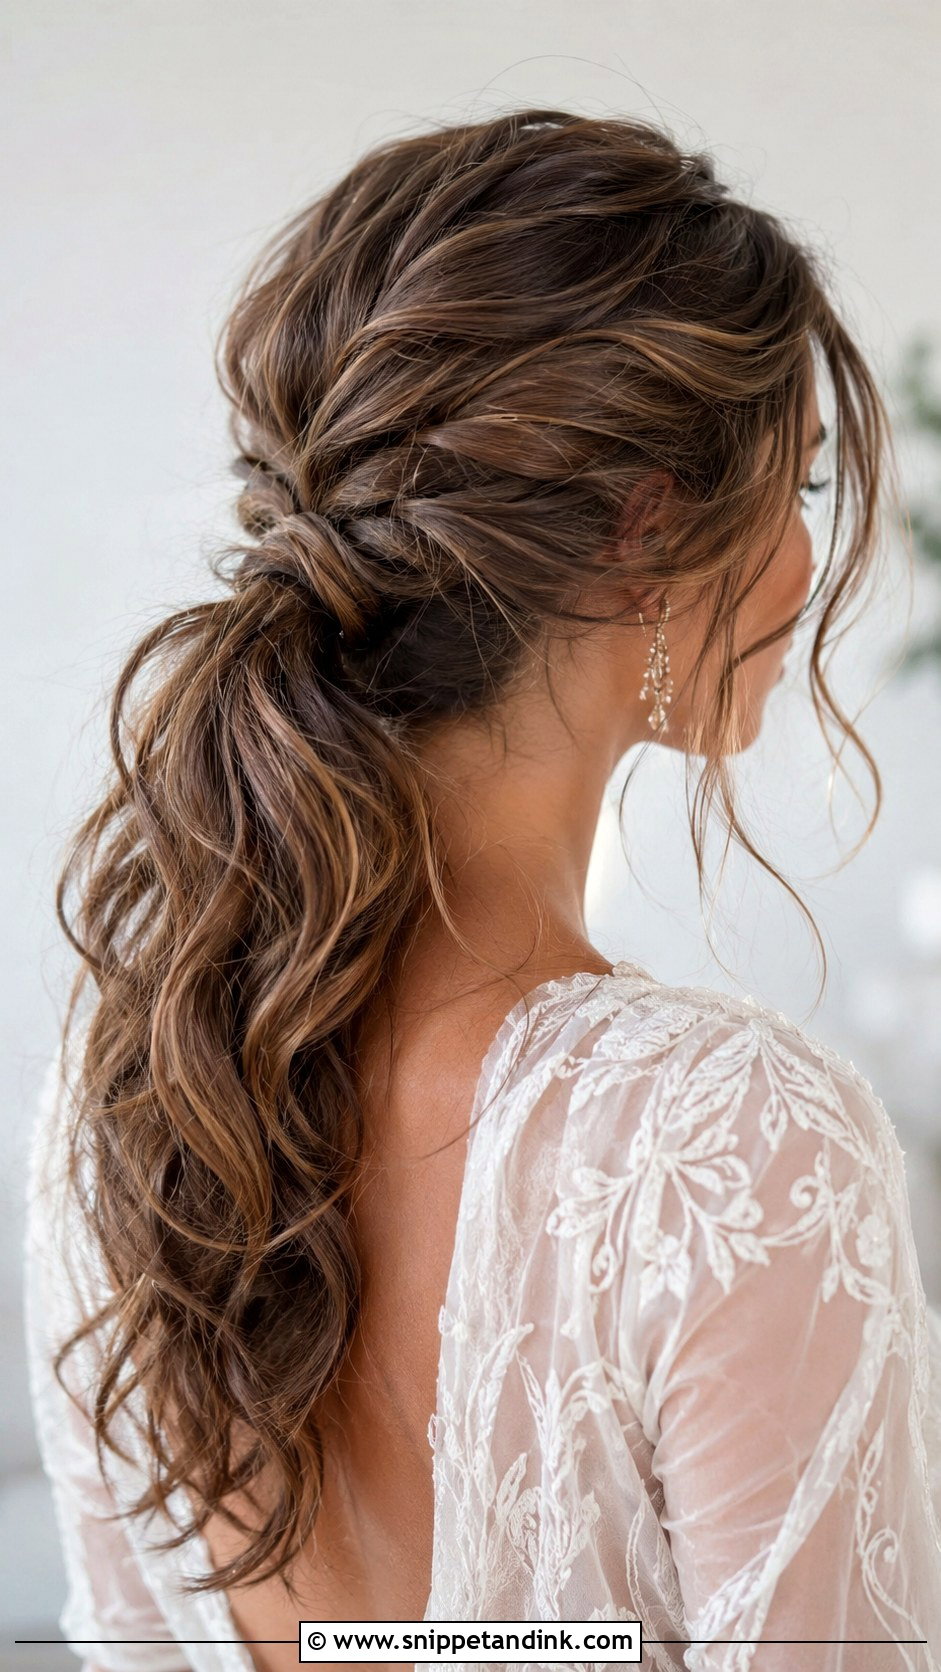
A messy pony only looks relaxed because of what’s hidden underneath. I tie the pony first, then pin the loose sections at the crown and sides in place before pulling out pieces at the front. That hidden structure is what stops it from falling apart by the speeches. Low is romantic, high is more fun. It suits outdoor weddings and boho dresses, and it handles wind and humidity better than anything sleek. Avoid it if you’ll want to look highly polished in formal portraits.
13. Half Up Pony Wedding Hairstyle
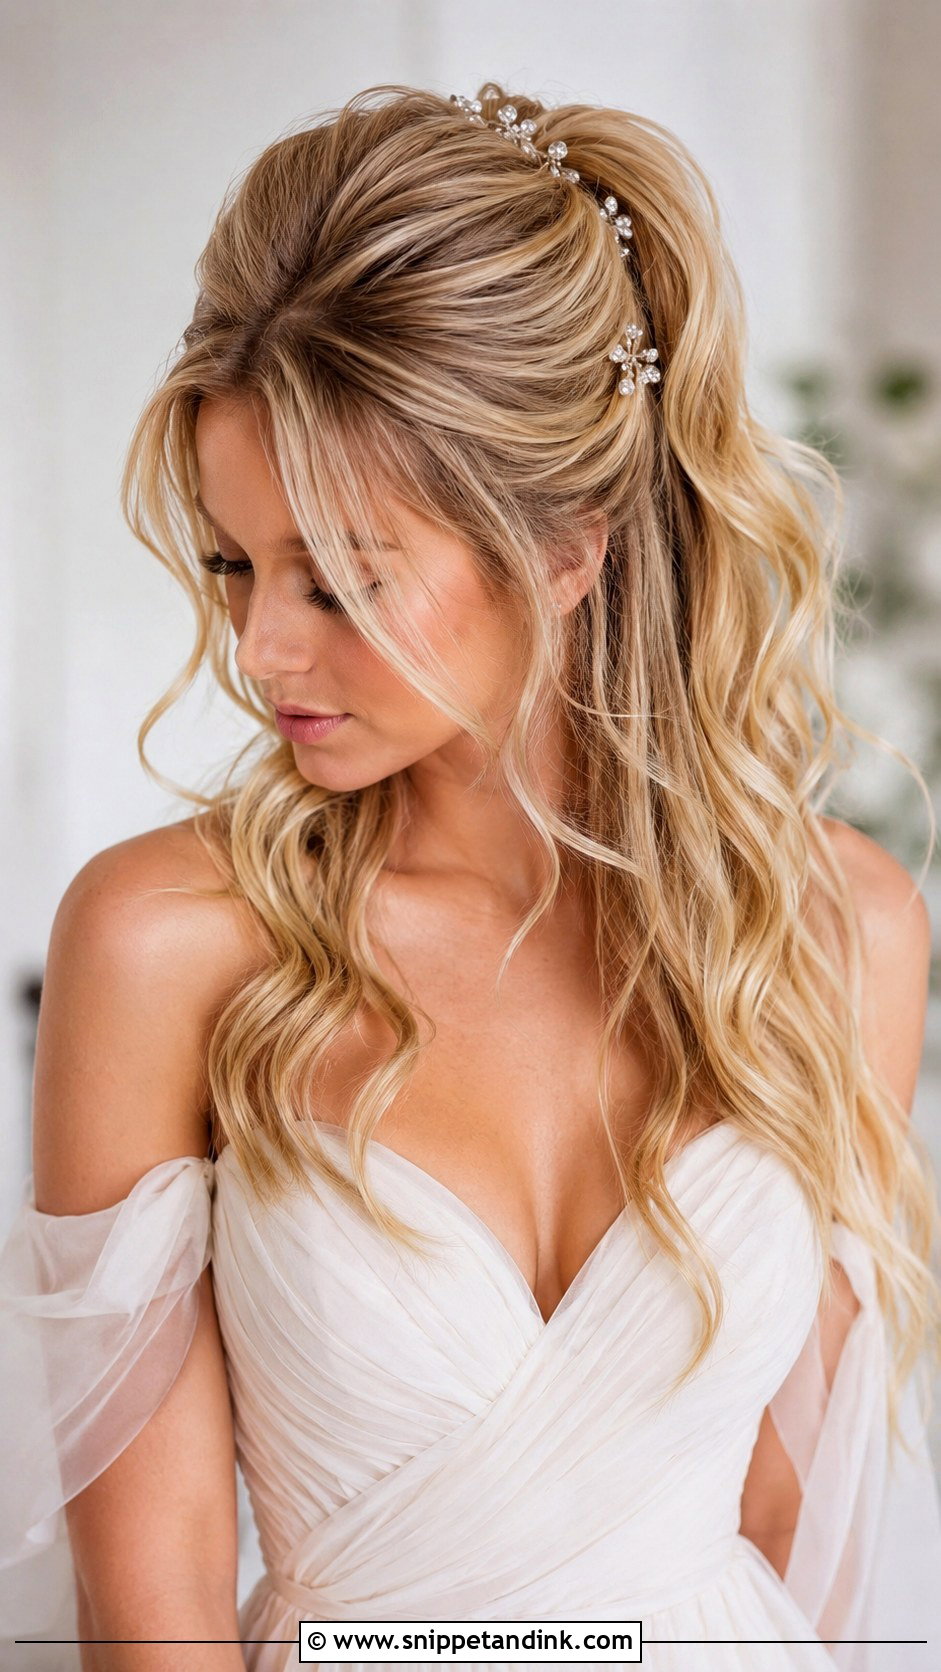
A half up pony wedding hairstyle combines loose hair with lift at the crown. I gather the top section into a small pony, then curl or wave the rest. It works on long, medium and layered cuts, as long as the top layers reach the gathering point. The pony can be wrapped with hair, finished with a bow or decorated with pearl pins. A veil can sit above or below it. This one tends to read younger, so it suits brides who want a softer look rather than a formal one.
14. Textured Pony Wedding Hairstyle
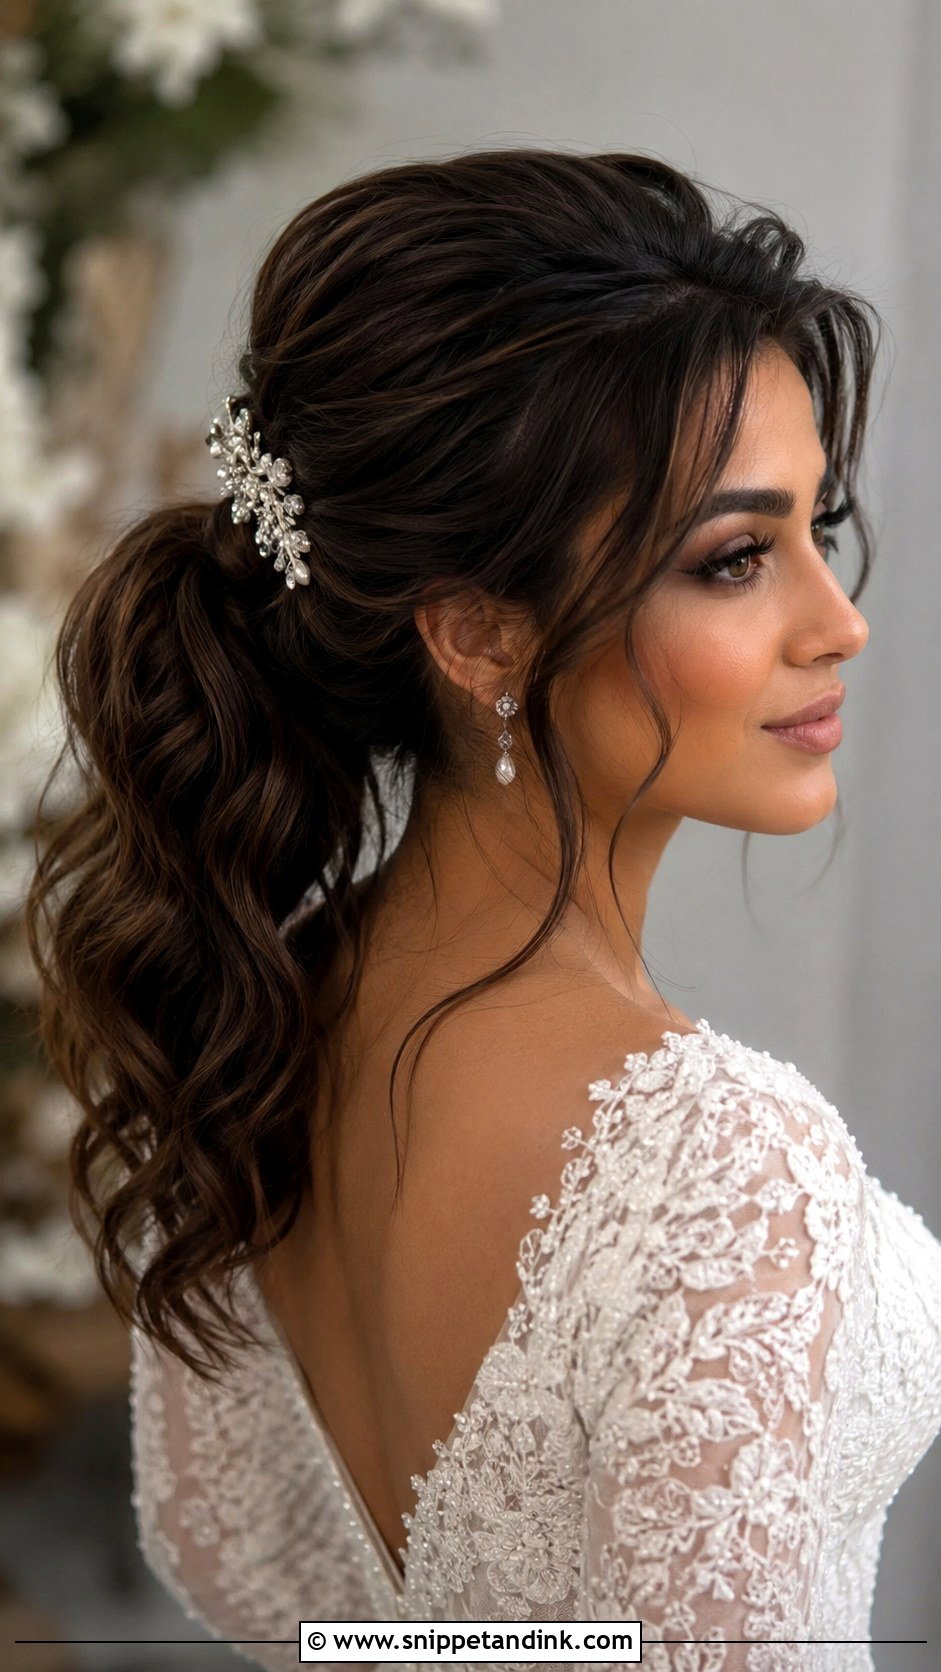
Texture is forgiving, especially in heat. A textured pony doesn’t need every strand to lie flat, so a bit of humidity or a hug that disturbs the crown won’t show. I lift the roots slightly and add bends through the lengths with a flat iron, rather than formal curls. Layered hair suits it because the shorter pieces fall softly around the face. A wrapped base, small pins or a delicate comb finish it. It’s a sensible choice for a summer garden wedding where a sleek pony would frizz.
15. Glam Pony Wedding Hairstyle
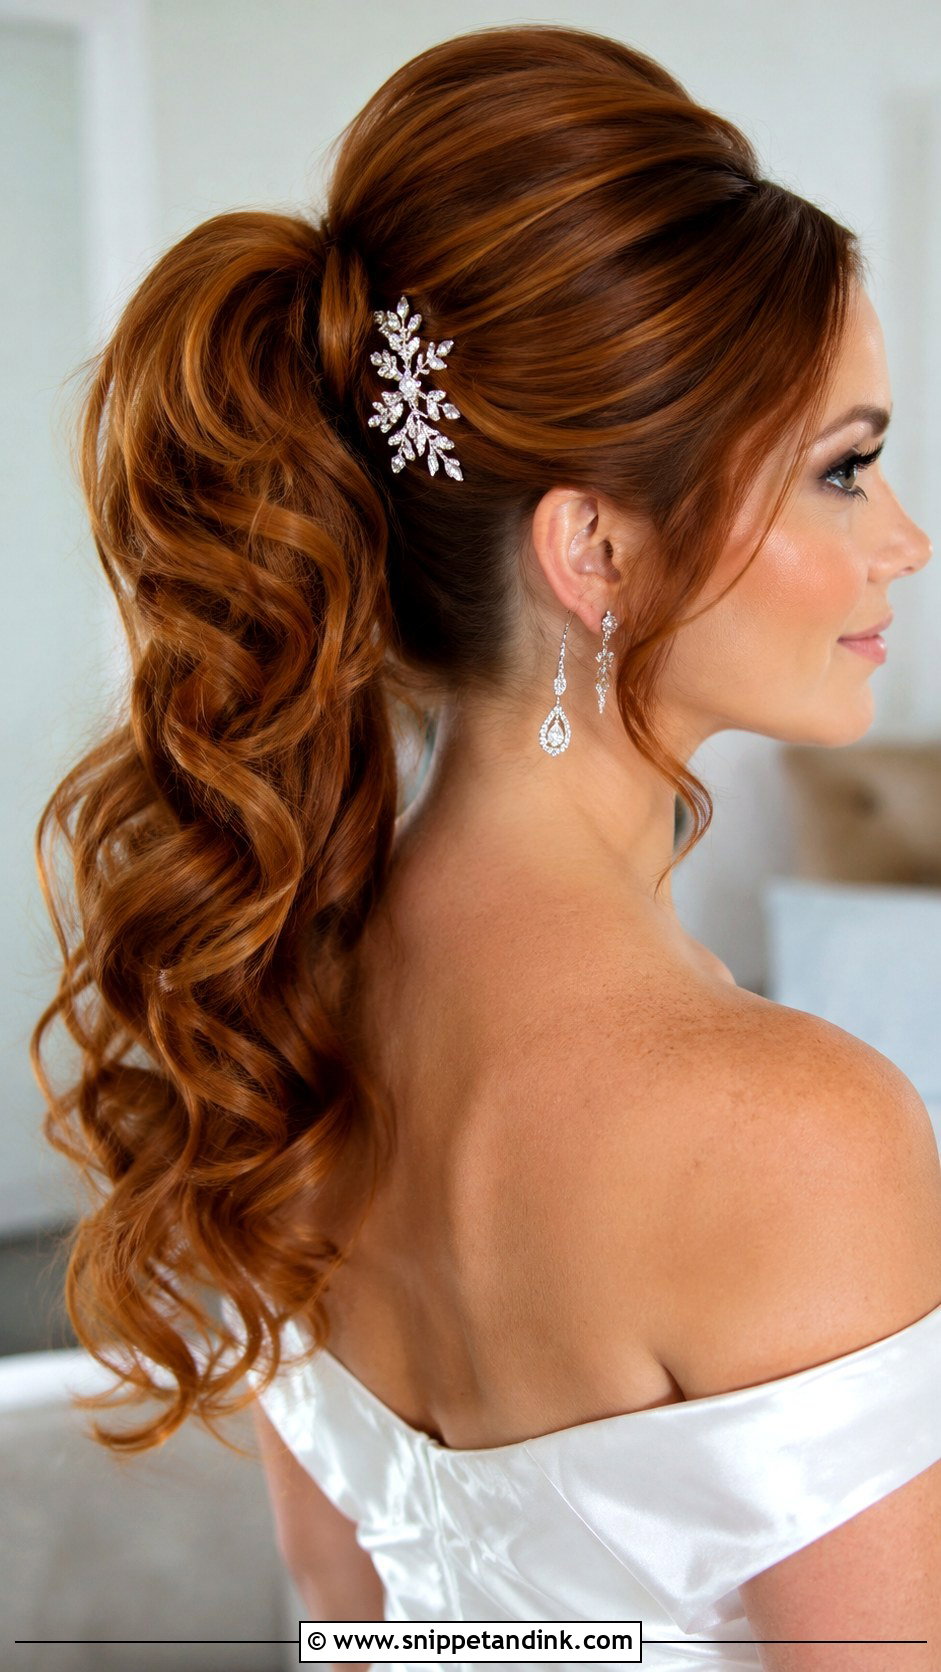
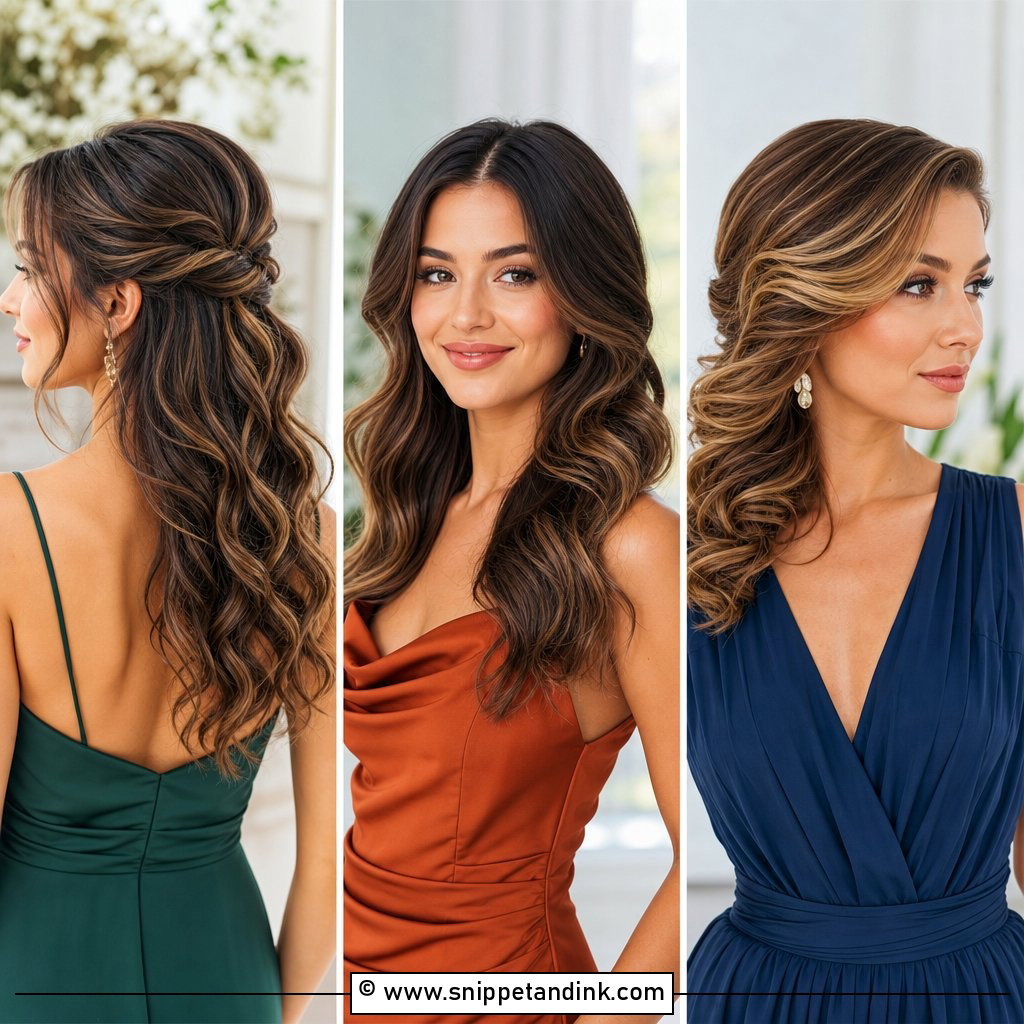
The glam pony is the red-carpet version: high or mid-height, smooth roots and big, glossy curls. Most brides need clip-in extensions or a pony piece to get the fullness in the photos, especially if their own hair is fine. I curl each section with a large iron, pin it to cool, then brush out the curls only once the pony is secured. The base must be lifted and firm, since this one carries the most weight. Pair it with fitted gowns and dramatic lashes. One sparkling comb or a wrapped base is enough.
A Pony for the Dance Floor After an Updo
Some brides want a formal look for the ceremony and something easier for dancing. A ponytail is the simplest switch, and you don’t need a stylist to stay for it. If your hair was curled and pinned up, taking down the pins and brushing the curls out with fingers gives you a ready-made wavy pony.
Ask your stylist to show a bridesmaid how to do it at the trial, and pack a small bag: a snag-free elastic, a few pins, a ribbon or pearl cuff to cover the band, and a travel hairspray. Taking a veil off and switching to a pony takes about ten minutes, which fits easily into the break before the reception.
A Ponytail Is Only as Good as Its Base
A good wedding ponytail comes down to a few decisions: height, part, how much volume and which accessory. Each depends on your dress neckline, veil and hair texture. Pearls feel classic, a sleek centre part feels modern, waves feel softer and a glam pony feels bold. Save the images you like, bring them to your trial, and test height and accessories with your veil if you’ll wear one. Then wear it for a few hours to check comfort, because a pony that pulls at the crown will feel worse by evening, not better.
You'll Like These Ideas:


Leave a Reply