
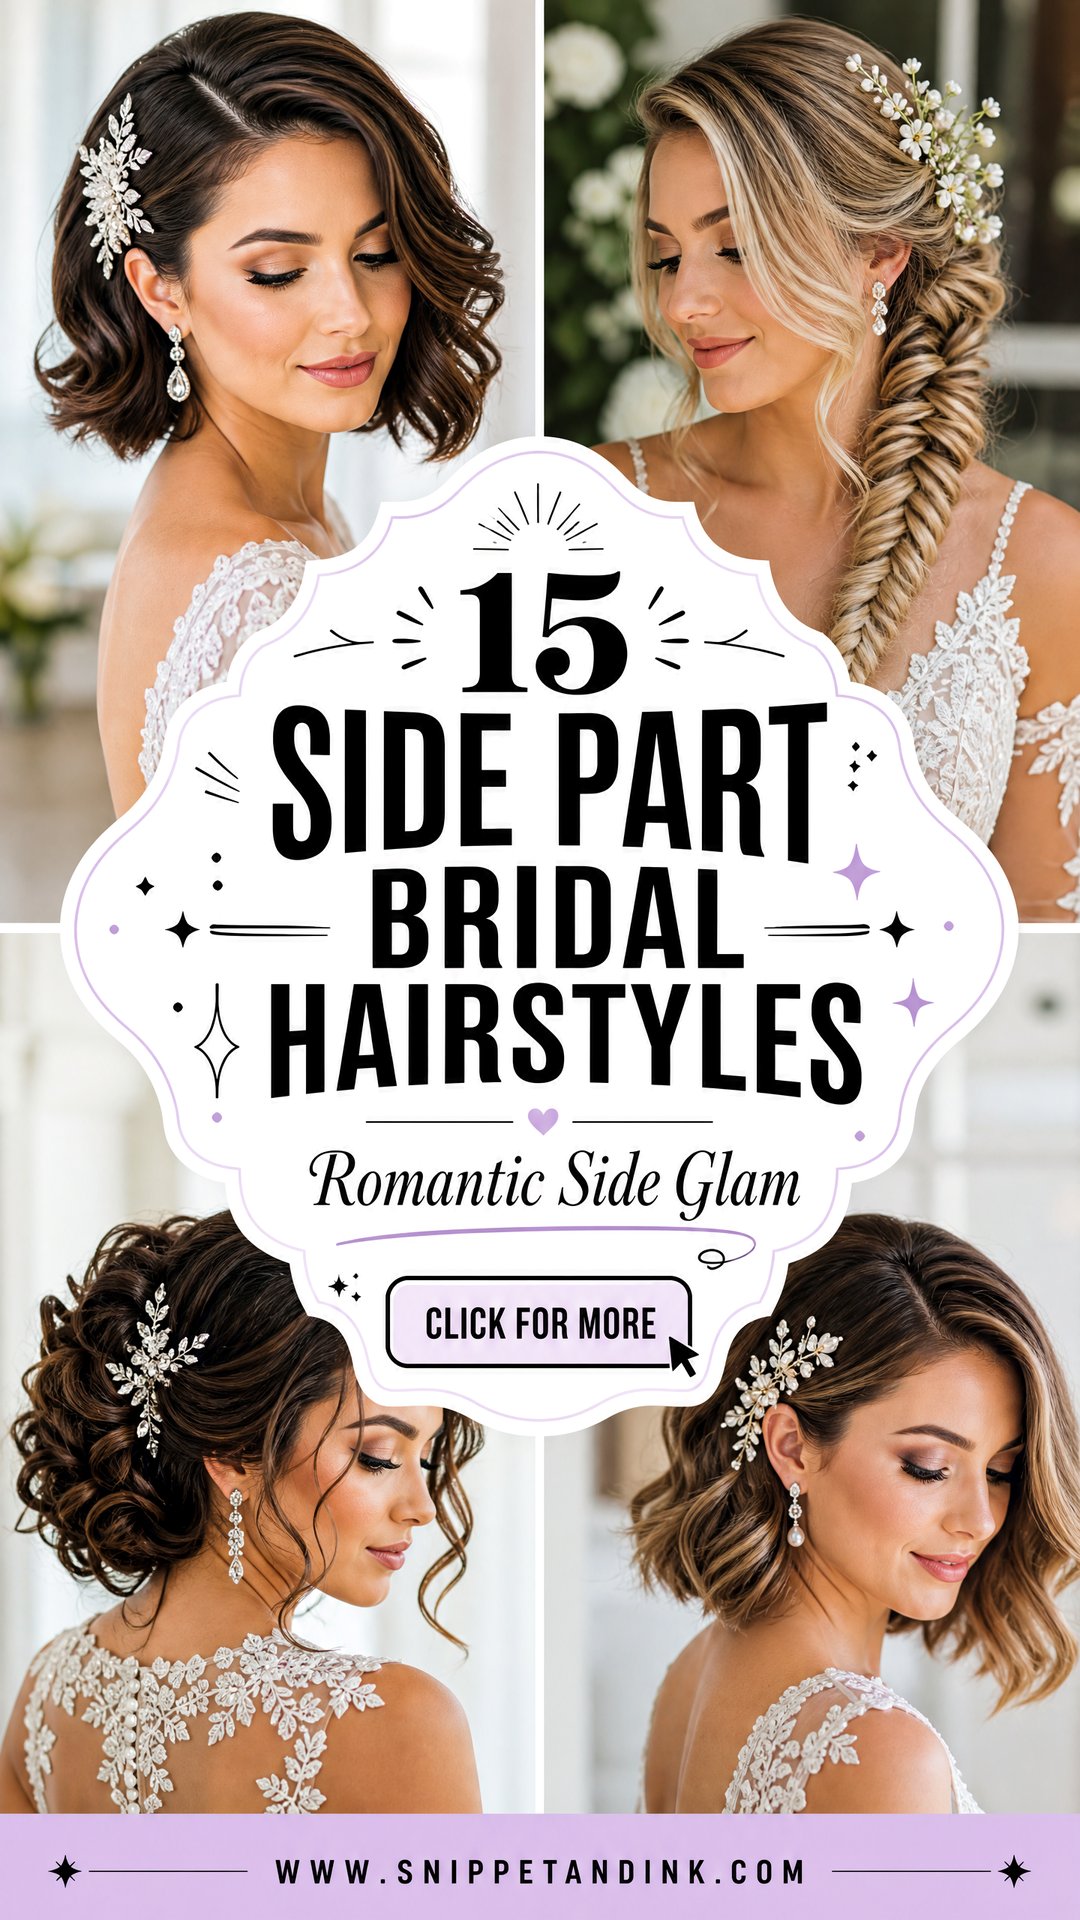
Moving the part is the smallest change I can make to a bride’s hair and often the one with the biggest effect. Shift it from the center to one side and the crown gains lift, the face looks less symmetrical in a flattering way, and a sleek bun suddenly looks softer. The catch is that a part sits right in the middle of every front-facing photo, so its depth, its line and what the scalp looks like along it all matter. Below are fifteen styles built around a side part, from set waves to a short bob, with what I watch for in each.
How Deep Should Your Part Sit?
A side part isn’t one setting. I place it by reference to your eyebrow, and each position does something different to your face and to the volume at the crown.
In line with the inner brow
The softest version. It barely shifts the balance of the face, so it suits brides who usually wear a center part and don’t want to feel unfamiliar on the day. Volume is gentle.
Over the arch
This is where most of my side-part brides end up. It lifts the heavy side noticeably, opens one side of the face, and works with nearly every style on this list.
Past the outer edge of the brow
A deep part for set waves and vintage looks. It gives the most drama and the most height. The trade-off is that the heavy side now carries a lot of hair across the forehead, so it needs firm pinning behind the ear and won’t suit anyone who hates hair touching their face.
Flipping your part to the opposite side of where it usually falls gives even more lift, because the roots stand up against their natural direction. It also fights you all day. I only do it if the bride is happy to train the new direction beforehand.
1. Side Part Hollywood Waves
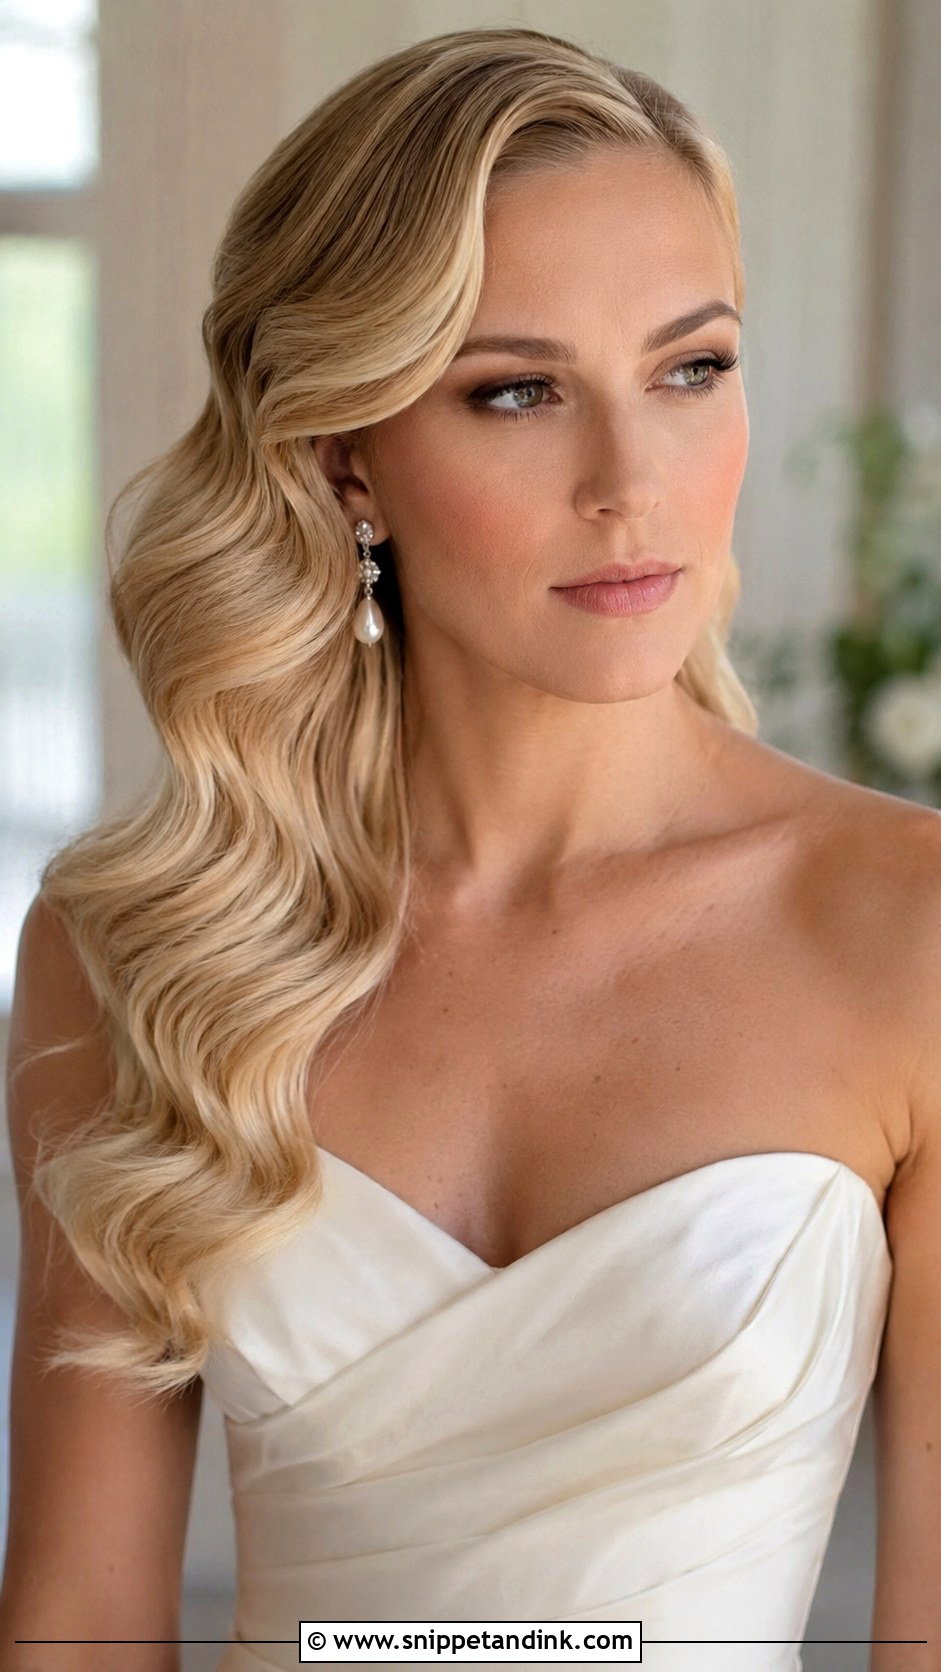
Set waves need length to form their S shape, so I’d save this one for hair at least past the collarbone. A deep part gives the waves height on the heavy side and lets them fall in one direction over the shoulder. I curl every section the same way, pin each curl to cool, then brush through until they join. Pearl earrings and satin or lace gowns suit it. Ask for shine spray and a flexible hold; lacquered stiff waves crack apart the first time you hug someone.
2. Side Part Low Bun
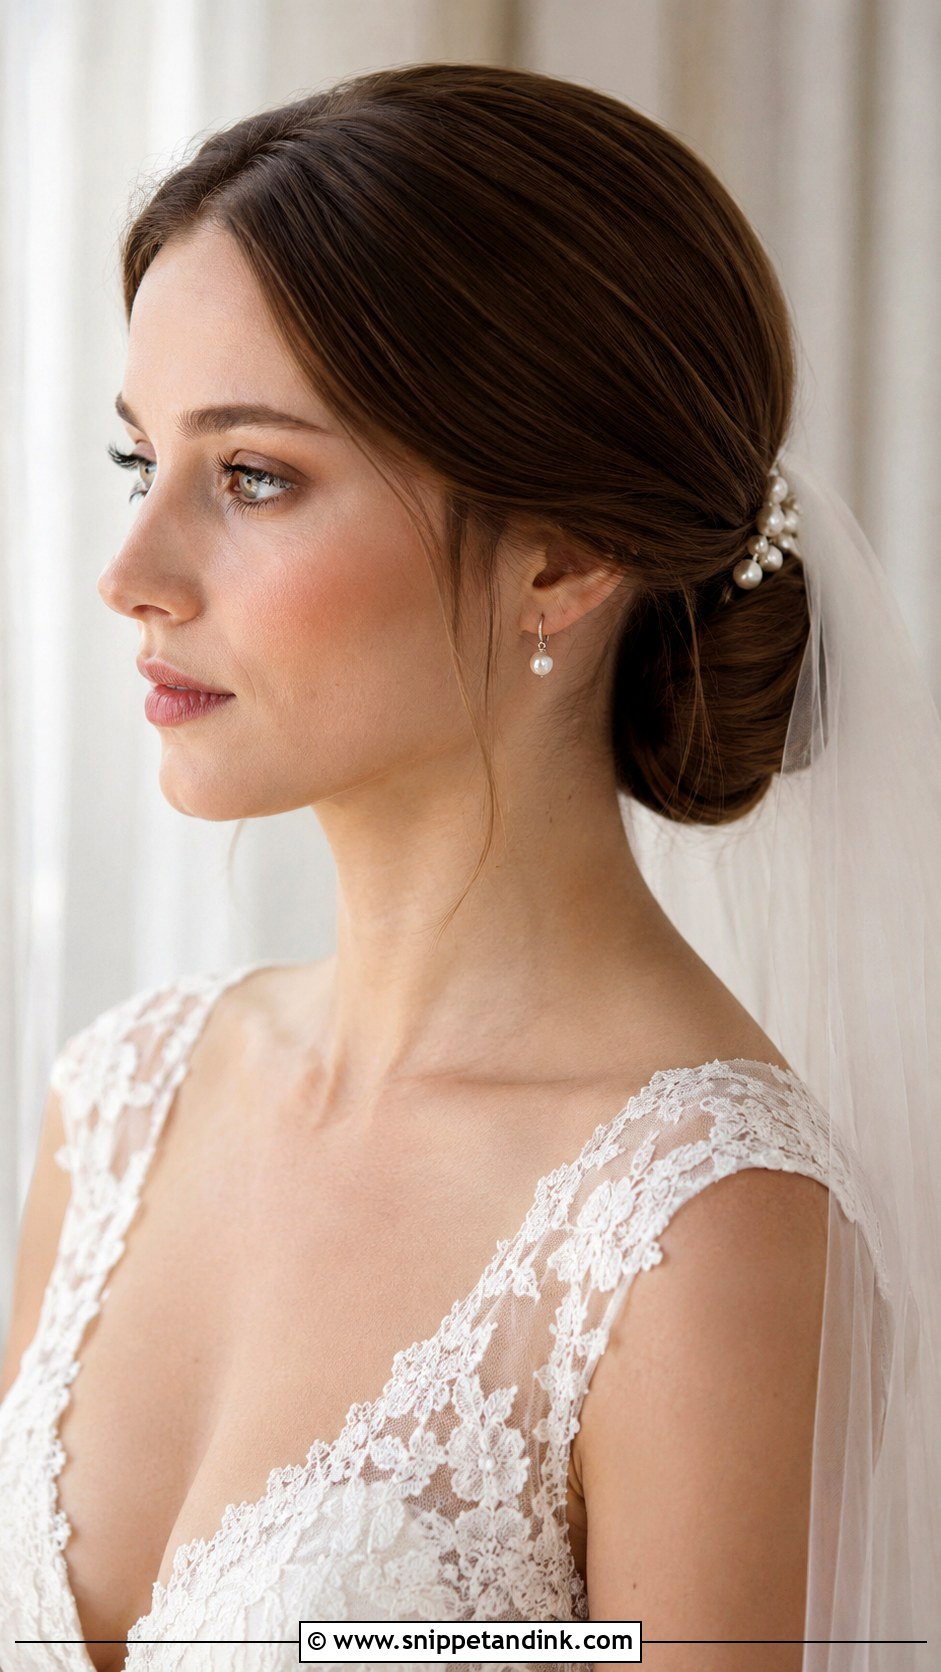
A center-parted low bun can look severe on some faces. Shift the part sideways and the front softens straight away, while the bun stays tight and secure at the nape. Fine hair needs texture spray or a small filler to fill the bun out; thick hair can be smoothed into a clean, compact shape. Veils, combs and pearl pins all sit happily above it. I’d recommend this for long outdoor days, because nothing about it relies on curl staying in.
3. Side Part Half Up Half Down Hair
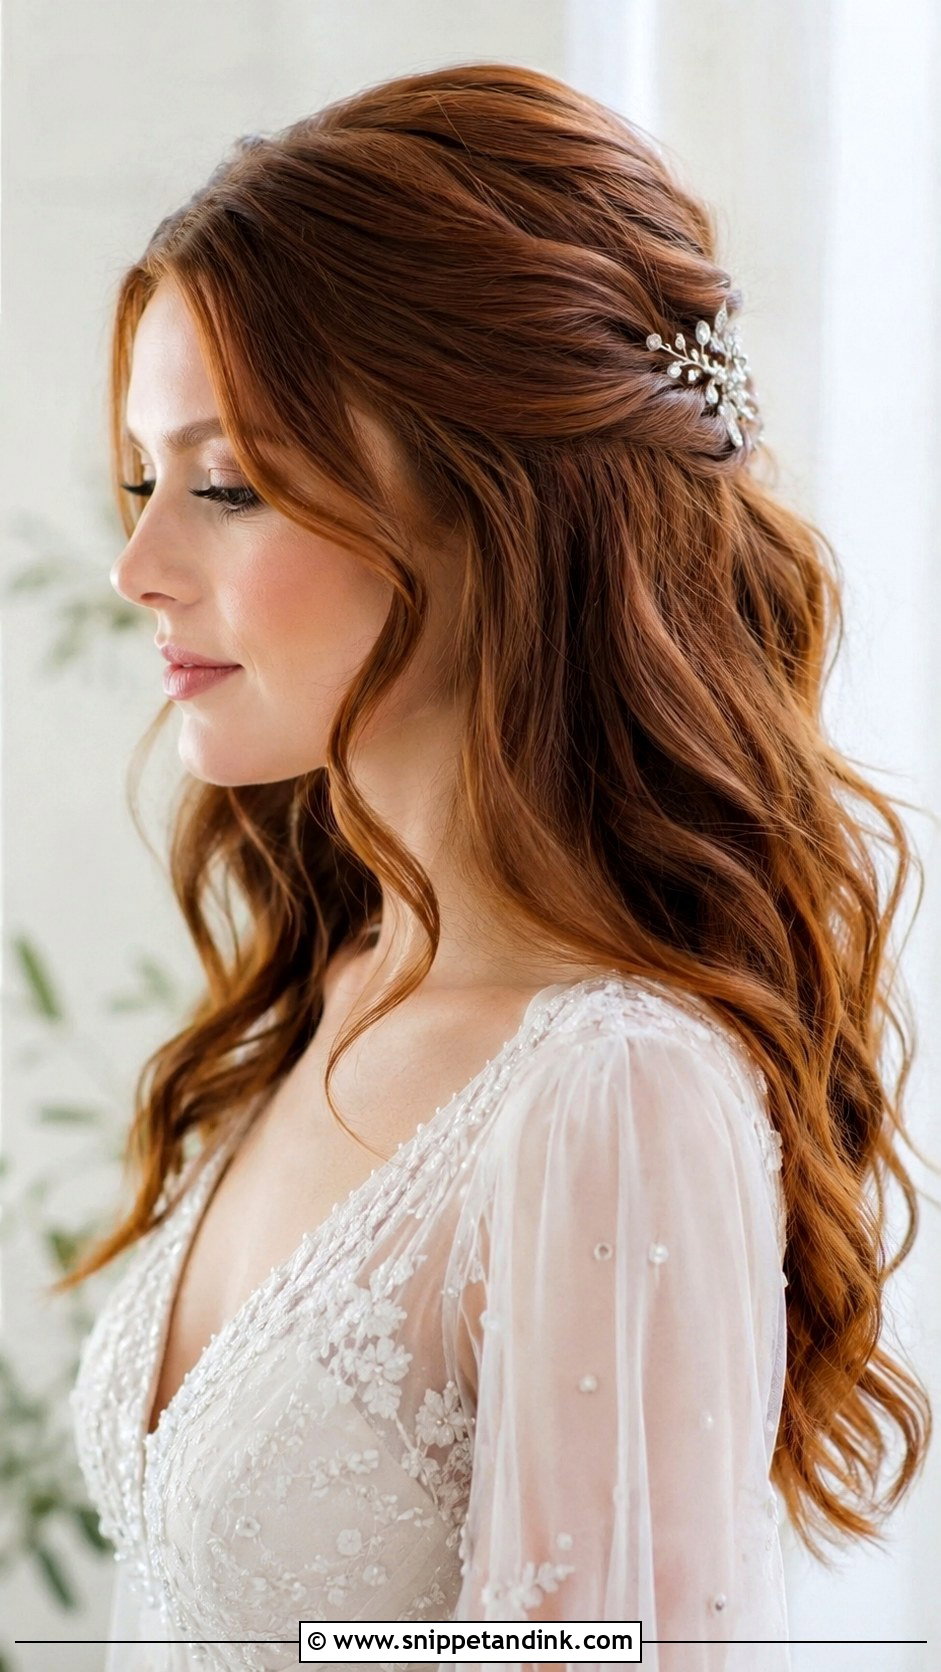
The pinned crown gives this one more security than fully loose hair, and the side part makes the front look styled rather than simply brushed. I lightly backcomb at the crown, smooth over it, and pin the top section with pins crossed in an X. The lower lengths get curls or waves. Small pins, a thin comb or scattered pearls suit it. Ask for curls set tighter than you want them, because they relax over the day and land where you wanted them by the reception.
4. Side Part Bridal Ponytail
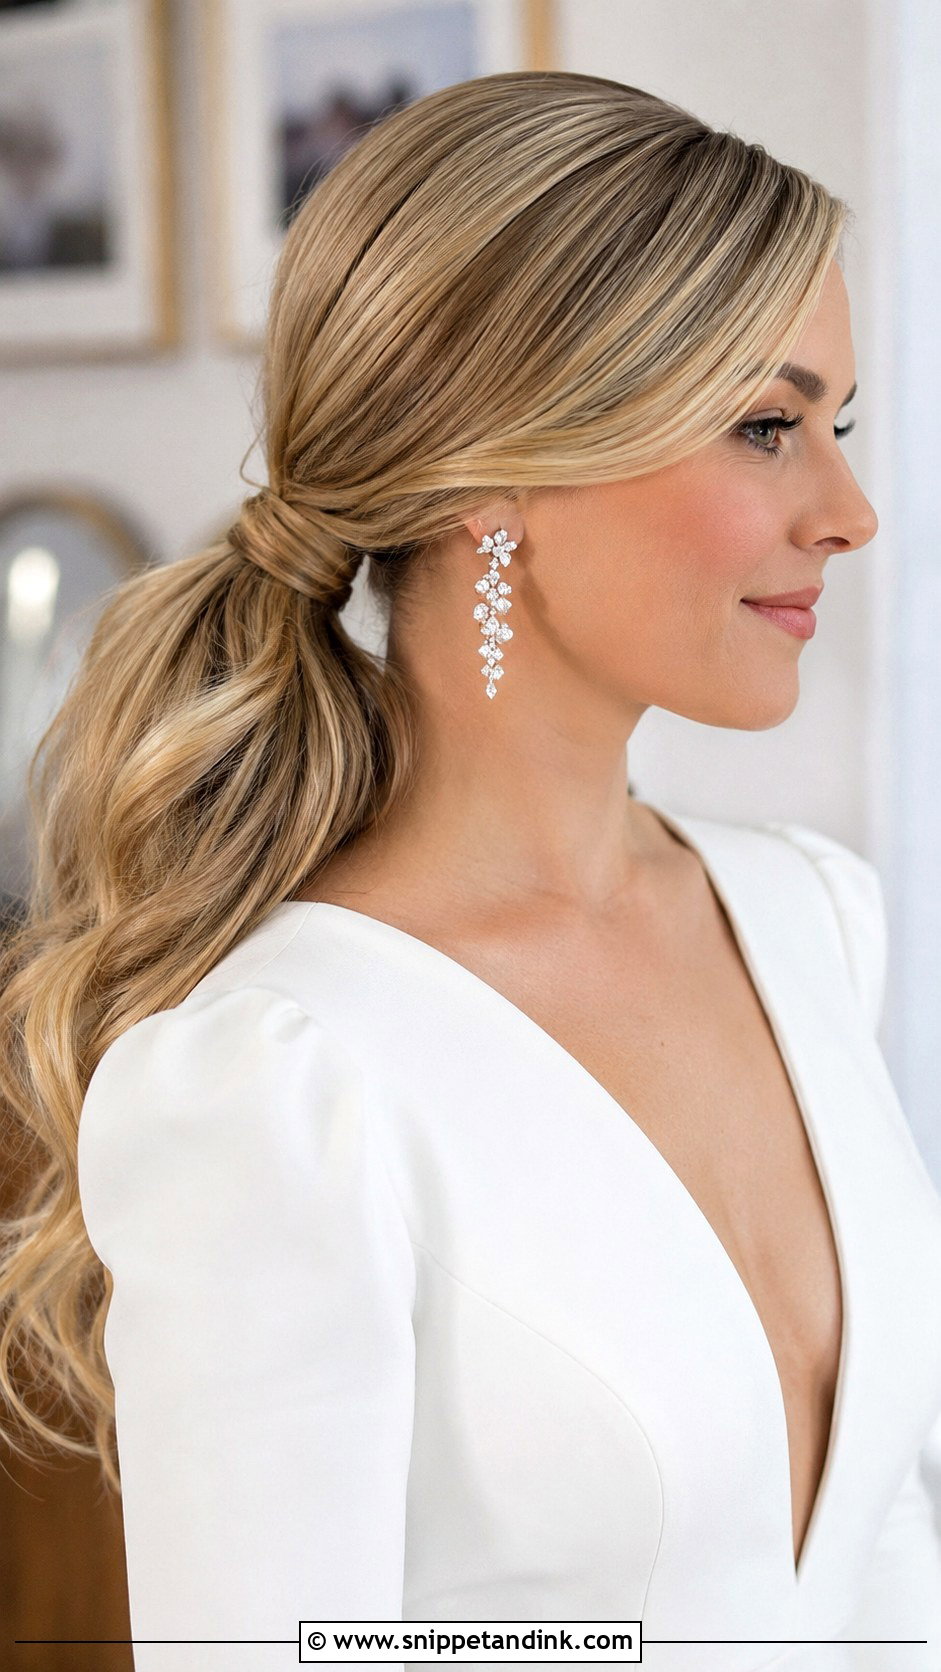
A ponytail gets your hair off your face without the formality of a bun. With a side part, the front sweeps across neatly and the tail can be curled, waved or left smooth. Low reads softer; mid-height adds lift and swing. I wrap a strand around the elastic and pin it underneath so no band shows. Since the neck and back are clear, it shows off earrings, high necks, open backs and detailed dress straps. Heavy hair needs a second elastic just below the first to stop the tail drooping.
5. Side Part Loose Waves
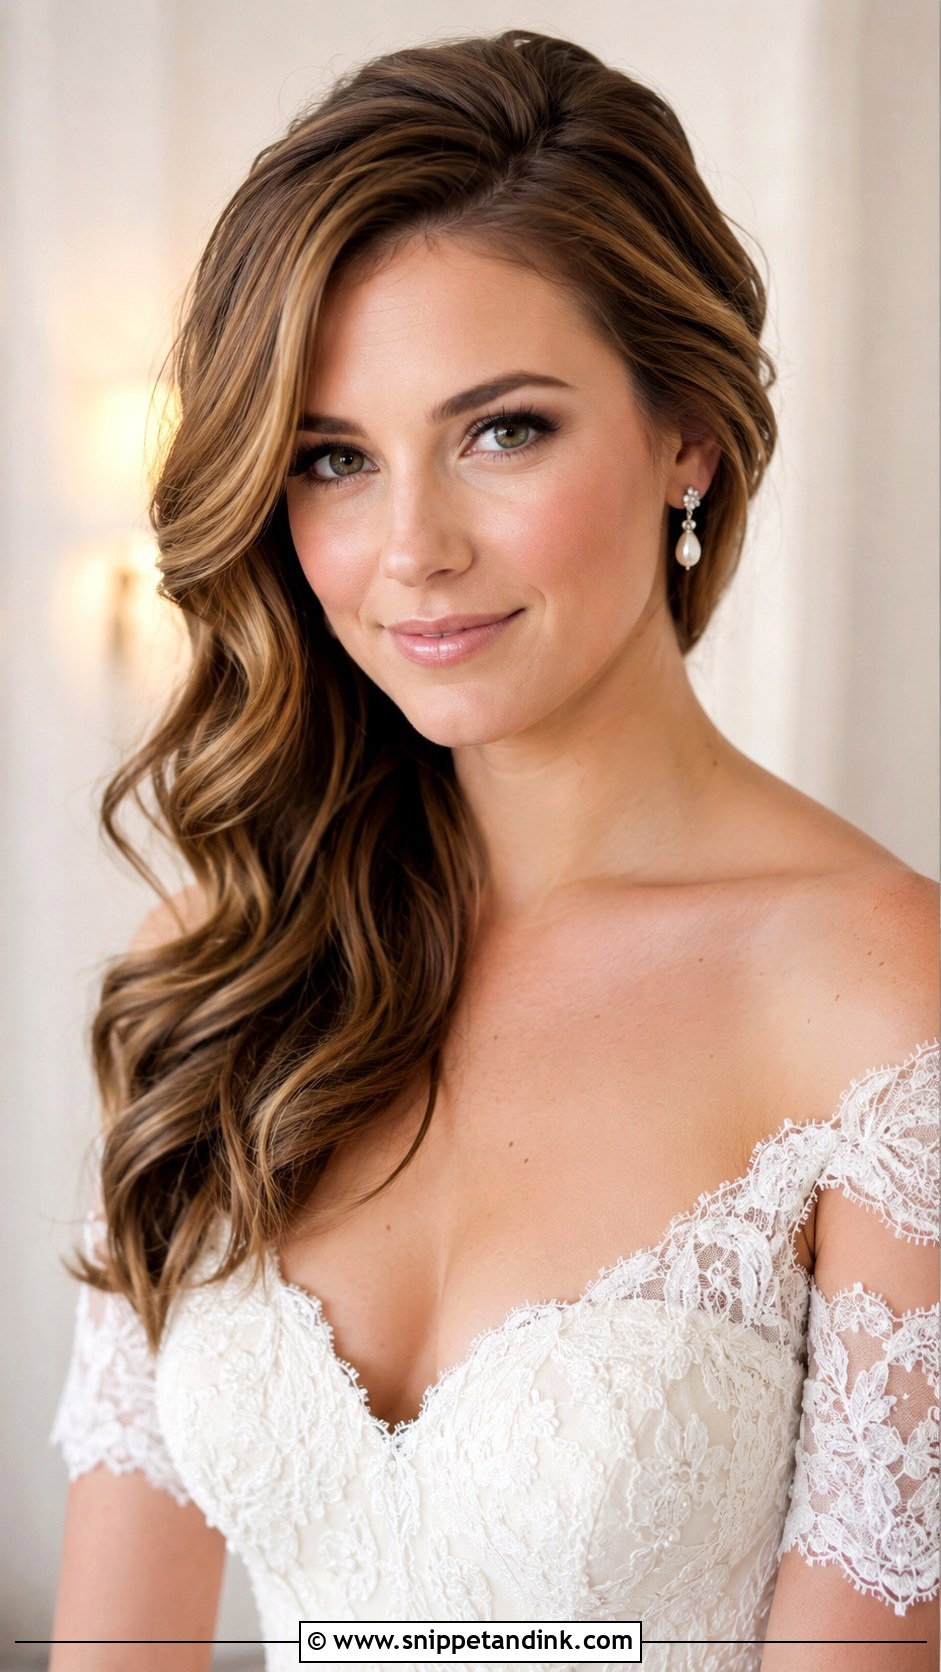
Loose waves look simple and are surprisingly hard to keep. A side part helps, since the heavier side holds its volume and the front pieces fall away from the face in a consistent direction. Layers give you extra movement; one-length hair needs a slightly tighter curl to look full. Garden, beach and relaxed indoor venues suit it best. In humid weather, I’d honestly steer you toward a half up or a low style instead, because loose waves are the first thing damp air flattens.
6. Side Part Chignon
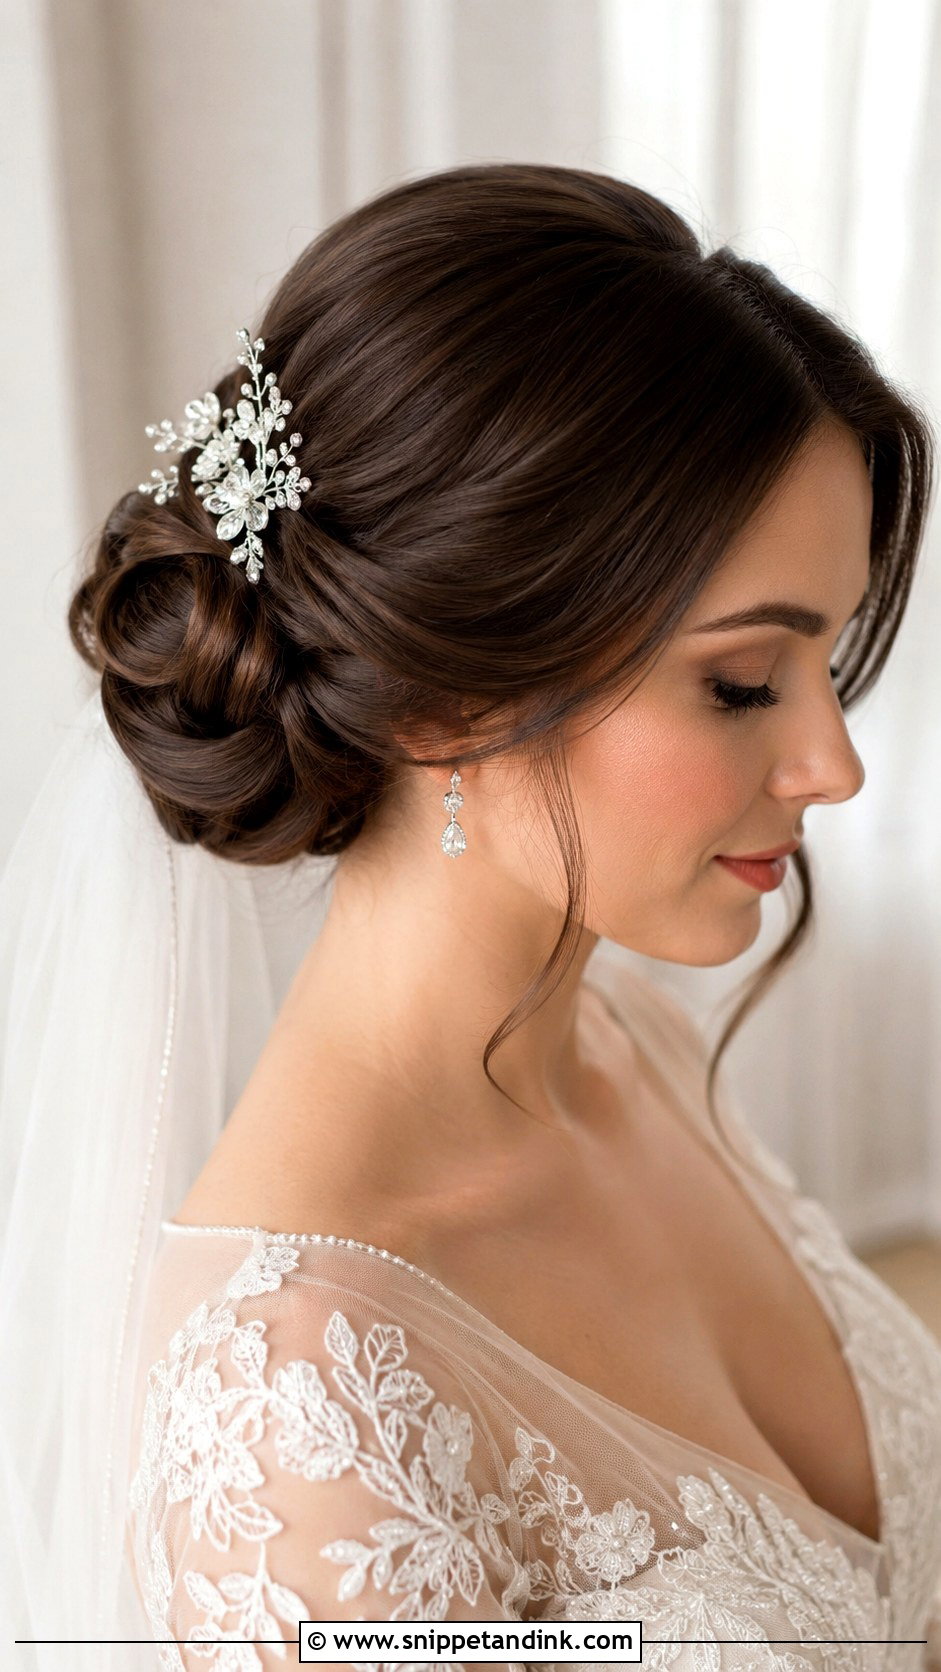
Tucked and folded rather than coiled, a chignon has a finished edge that a regular bun lacks. The side part breaks up the symmetry so the front doesn’t look scraped back. Veils can sit above or below it, and combs or crystal pins add detail. Minimalist gowns suit it particularly well. I set it with a few long pins pushed in against the fold, which is what keeps the roll from sagging later on. Leave out fine face pieces for softness, or keep the front smooth for a formal look.
7. Side Part Braided Bun
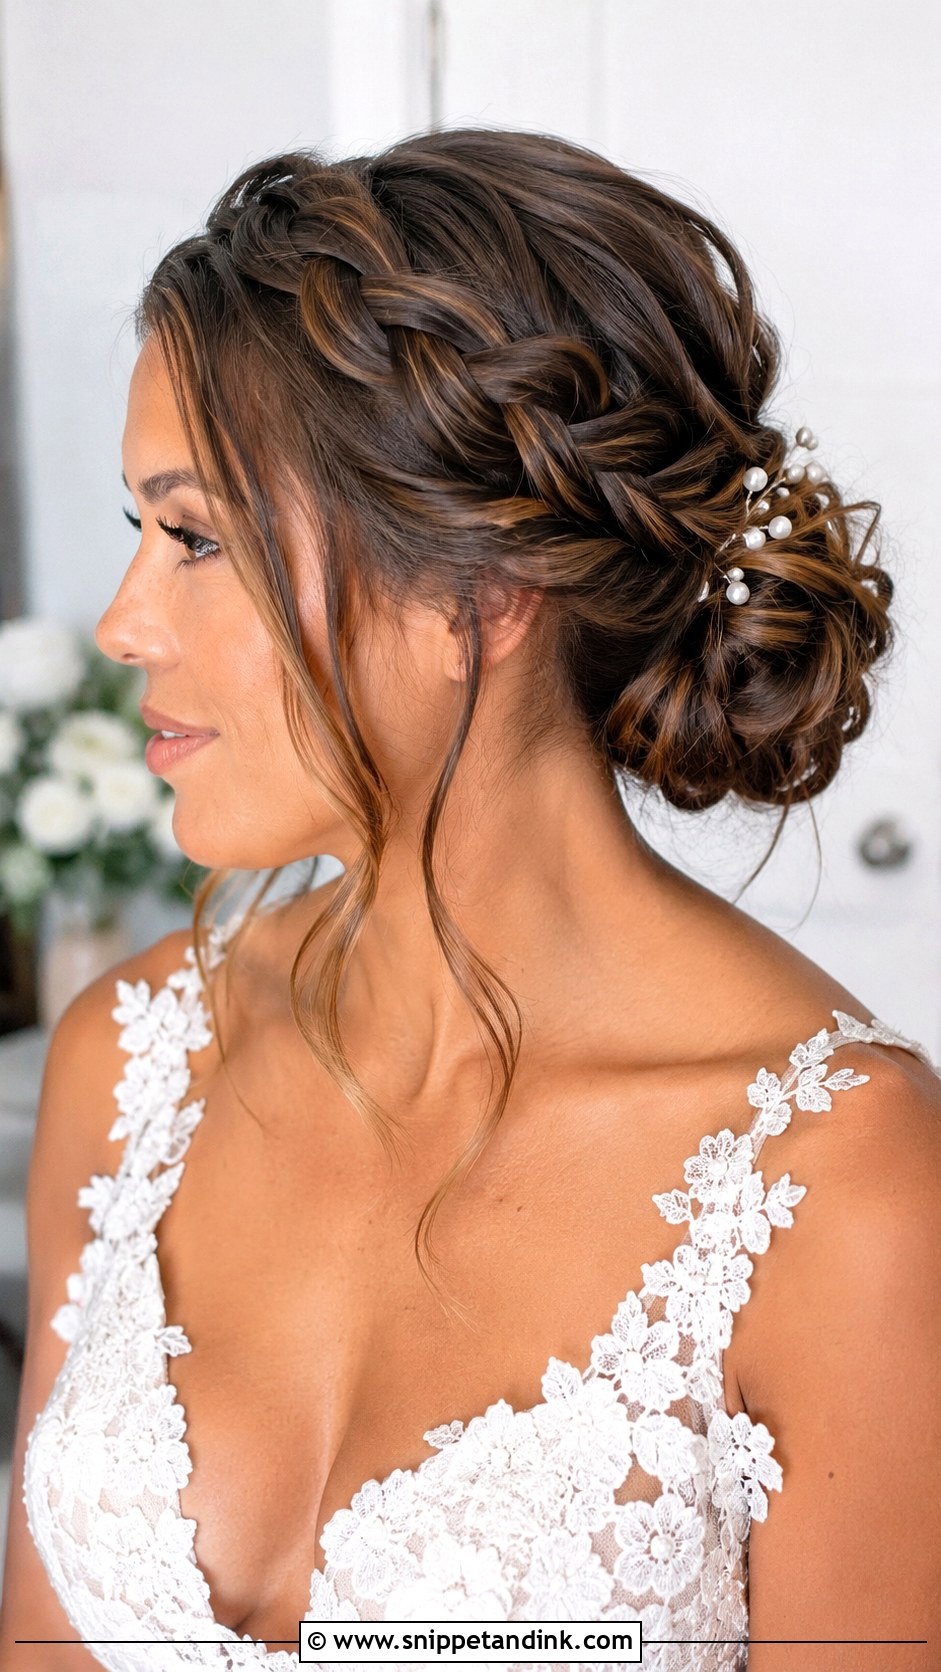
Starting a braid at the part and working it back into a low bun gives texture at the front, side and back, which pays off in close-up photos. Thick hair is easiest here; the braid packs volume into a controlled shape. Fine hair can work too if I braid loosely and use texturizing powder to make each section look wider. I’d keep accessories small, maybe a few pearl pins or a single comb, because the braid already provides the detail.
8. Side Part Side Swept Curls
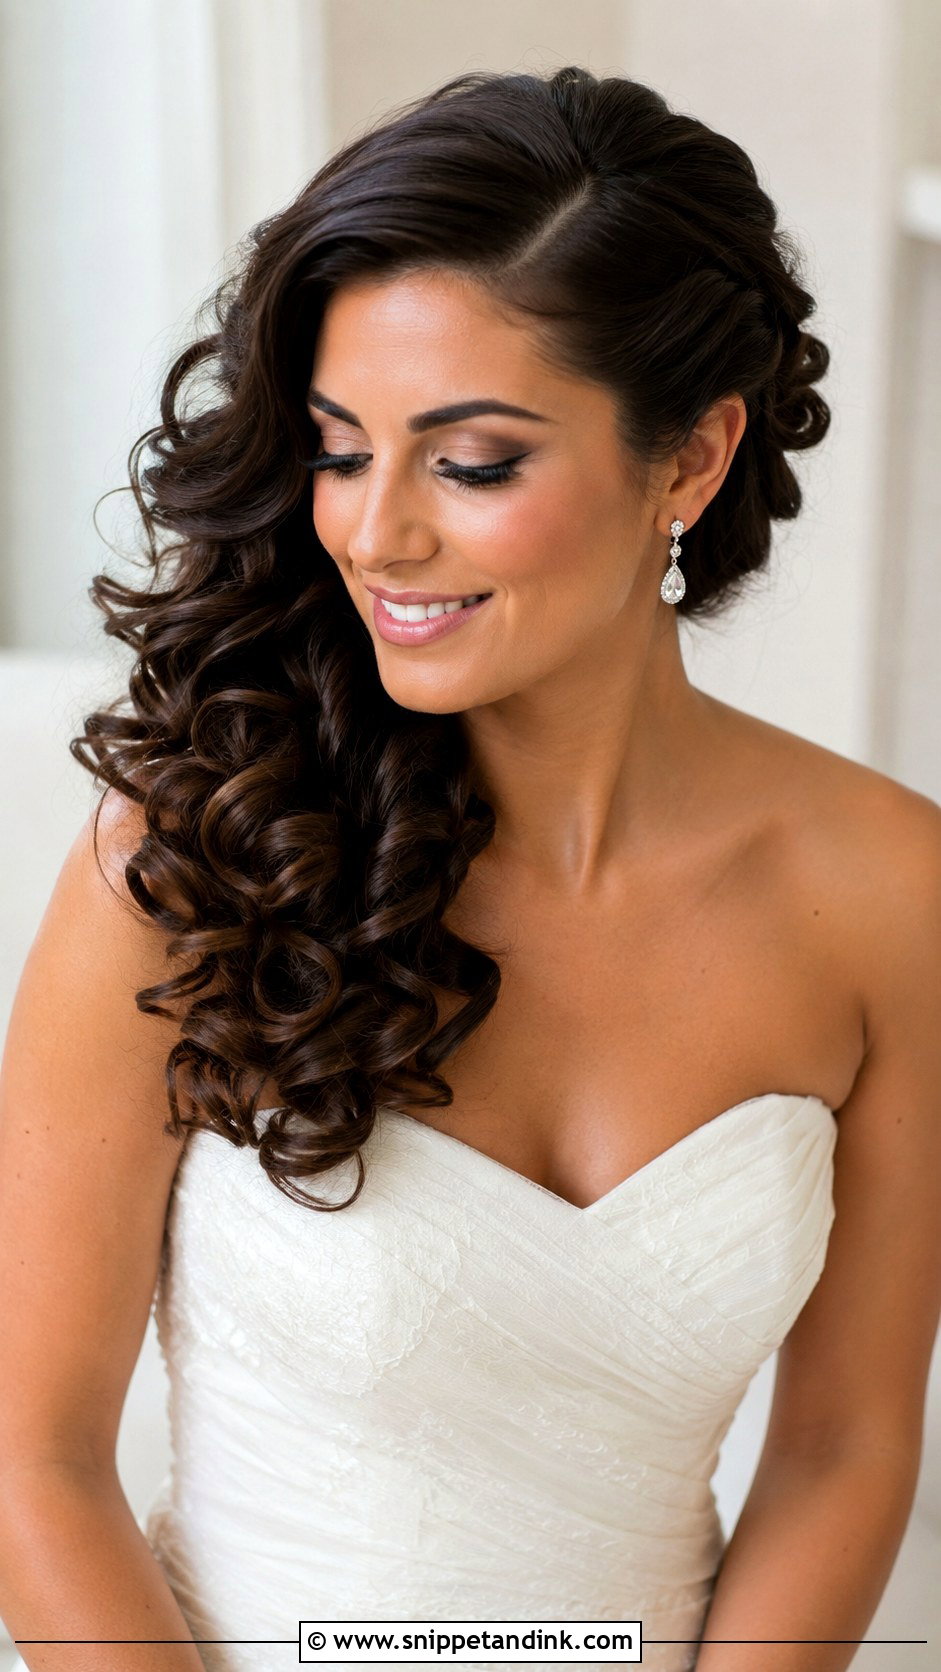
Drama comes from the contrast between the two sides: a deep part, curls swept toward the opposite shoulder, and one side of the face completely open. It suits strapless, one-shoulder, and sweetheart necklines. Polished curls fit formal weddings; looser ones fit relaxed celebrations. On the hidden side I lock the hair down with crossed pins behind the ear, because without them the curls keep falling forward and you spend the day pushing them back.
9. Side Part Short Bridal Hair
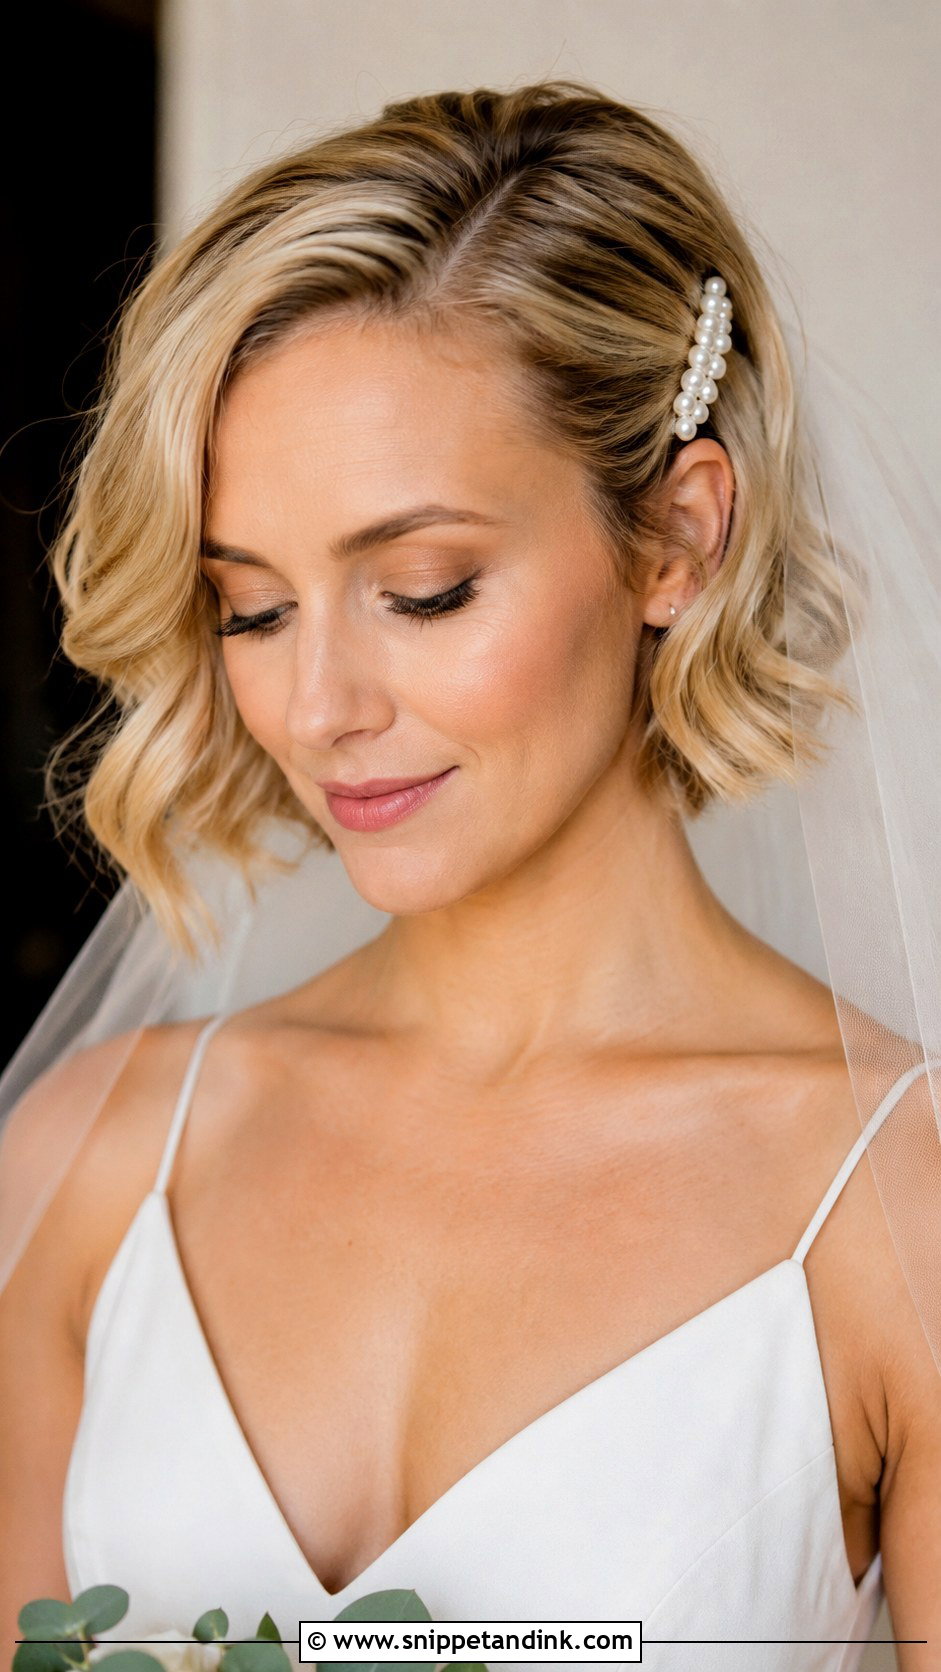
Short hair takes a side part well, and on a cropped cut the part does much of the styling. With a bob, lob, pixie or other cropped cut, I’d just change the direction and depth a little from your usual. Bobs suit soft waves and a pearl clip; a pixie suits a smooth sweep. You get to look like yourself, with no extensions or complicated updo. Plan your last trim about two weeks out so the edges have time to soften.
10. Side Part Sleek Bun
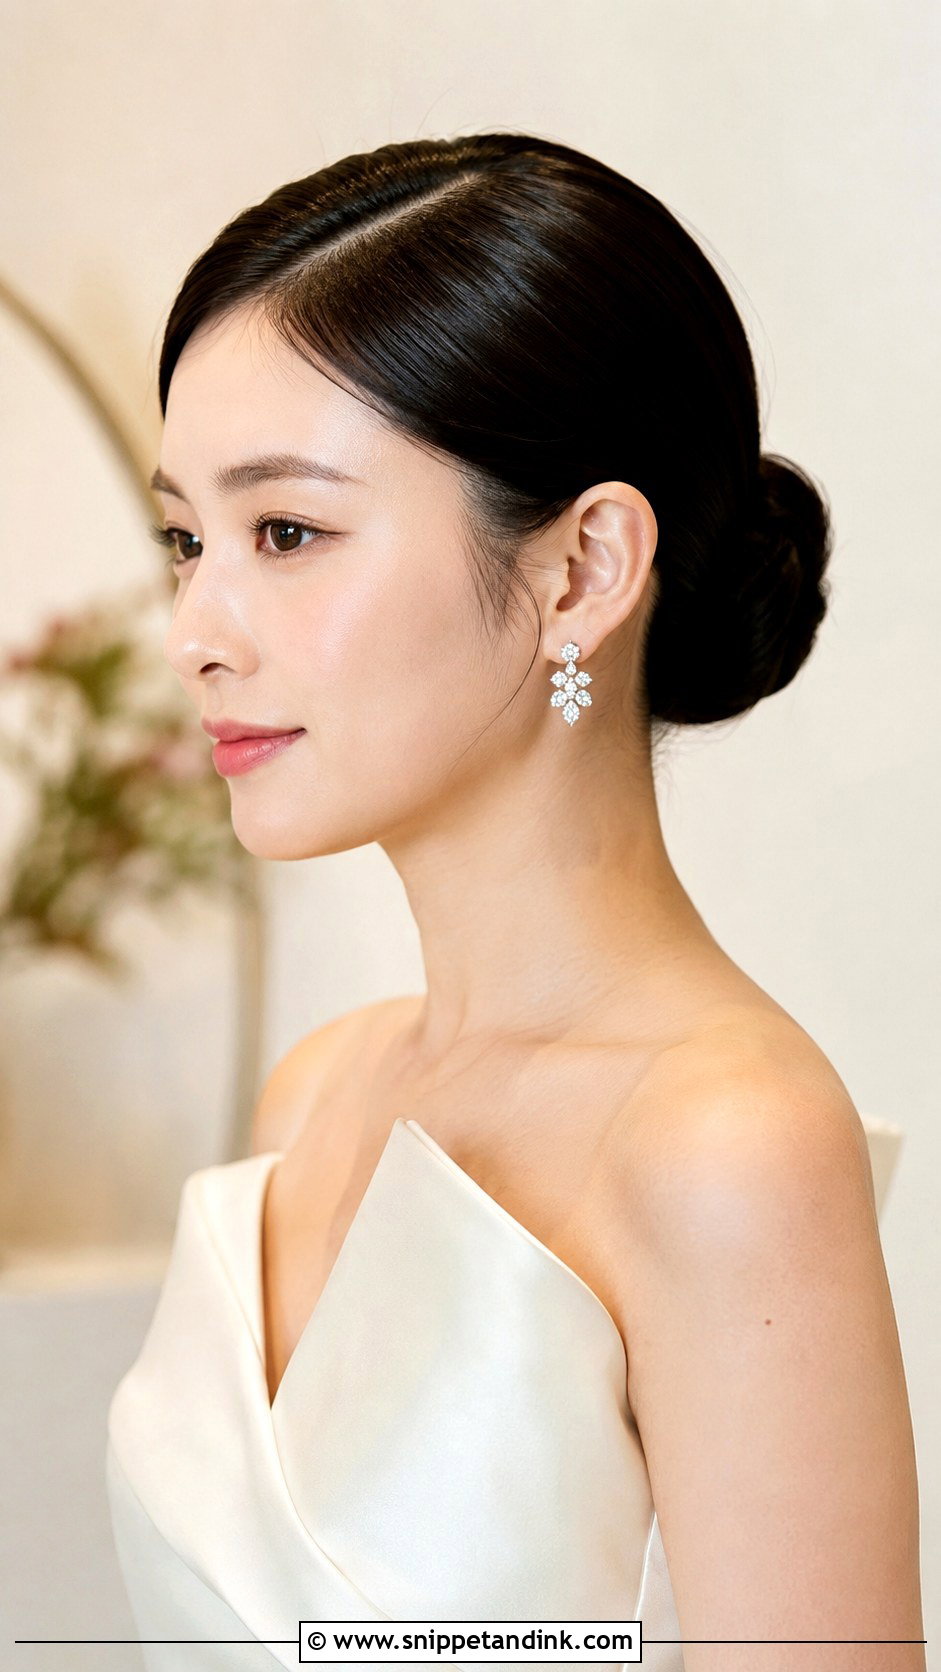
Smooth hair pulled close to the head, a clean side part and a neat bun at the nape or a little higher: this is the most weatherproof style on the list. Wind, humidity, hugs and dancing barely move it. Satin, structured dresses and statement earrings suit it. I work in smoothing cream, use strong pins and finish with shine spray for a flawless finish. The part line has to be razor straight here, since nothing else distracts from it.
11. Side Part Fishtail Braid
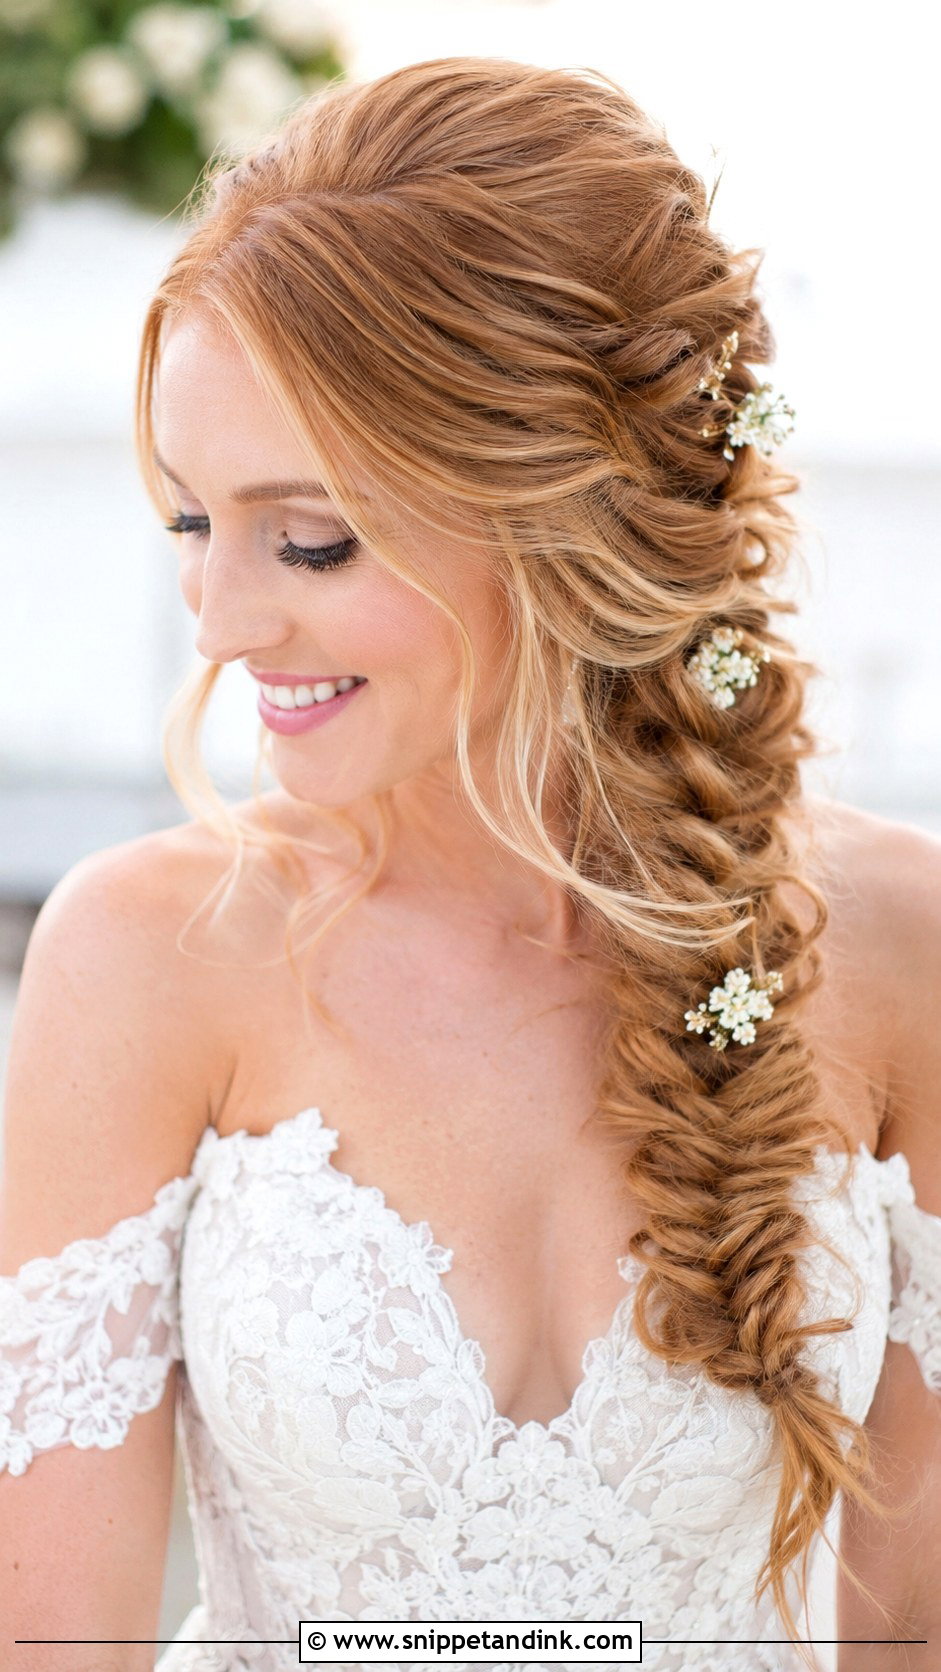
Here the part directs the hair across the head and into a fishtail that rests on one shoulder or runs low down the back. I braid it firmly and then gently pull the edges out so it looks wider and softer. Outdoor and rustic venues, beaches and lace dresses all suit it. Tiny flowers, pearl pins or a thin ribbon can be threaded through. Watch out with very layered hair, since short pieces escape a fishtail all along its length.
12. Side Part French Twist
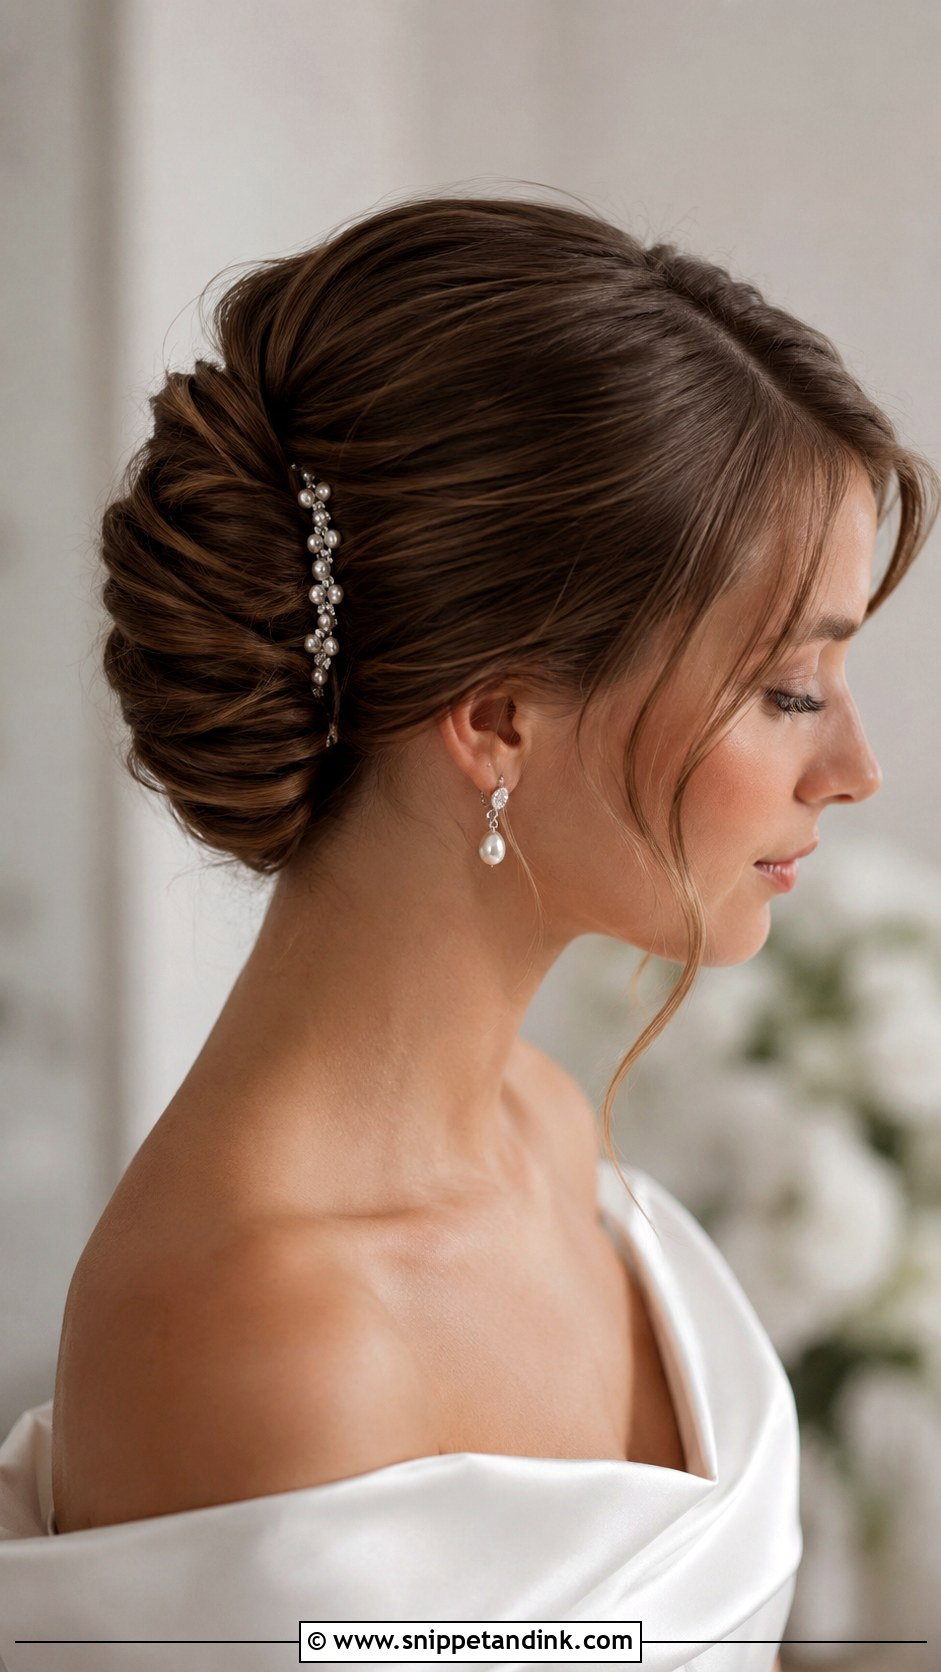
A French twist lifts the hair off the neck and folds it upward in a vertical roll, and a side part keeps that from looking strict. It needs medium to long hair. I backcomb lightly before twisting so the pins have something to grip, then pin the seam with long pins hidden along the fold. Veils, combs and slim pins sit well against it, and it fits formal weddings, city venues and classic gowns. A little height at the crown balances the shape in profile.
13. Side Part Curly Updo
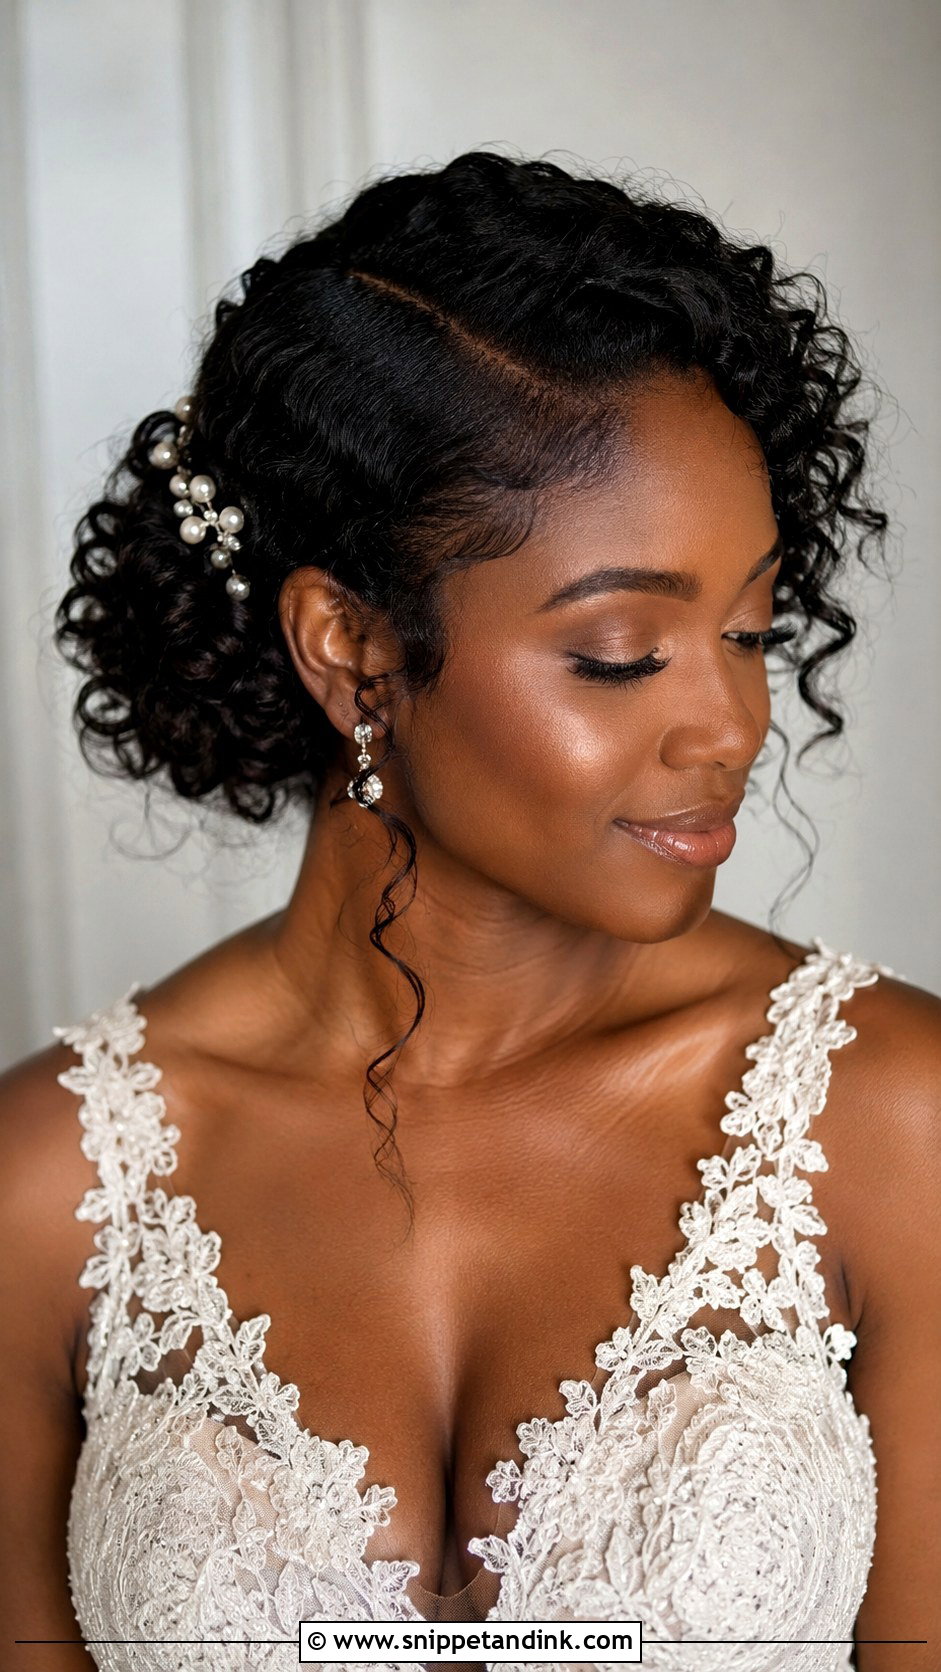
Curly, wavy and coily hair can be pinned up using its own pattern instead of being straightened first. I refresh the curls with water and a leave-in, then pin them into a low bun or a gathered crown with the side part kept defined at the front. Defined curls around the face add softness, while pinned curls at the back give volume. Never brush curly hair dry; it frizzes instantly. Work with fingers, hydrate well in the days before, and use a light gel or cream to hold the pattern.
14. Side Part Bob Wedding Hair
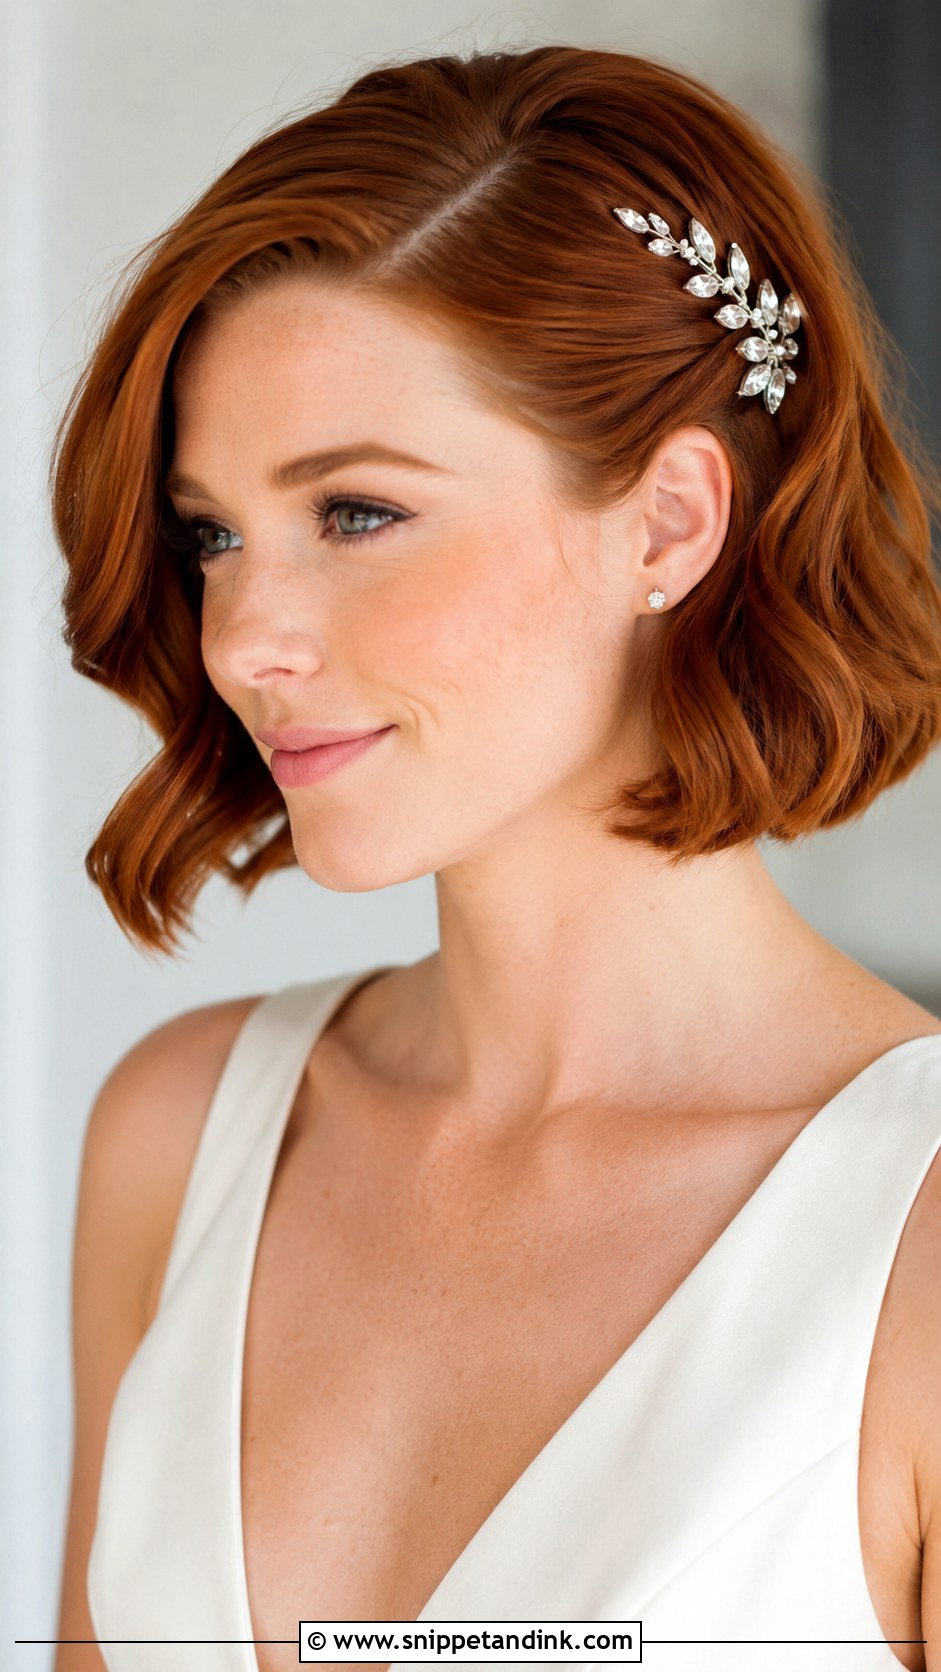
A side part bob wedding hair look takes little time and keeps the neckline and dress details on view. The part puts an angle into the bob; waves, bends or a smooth blowout dress it up. Chin-length and shoulder-length bobs both take a pearl clip, crystal barrette or mini veil. Soft waves feel romantic; a sleek bob tucked behind one ear feels modern. It needs very little touching up, which makes it one of the easiest choices here.
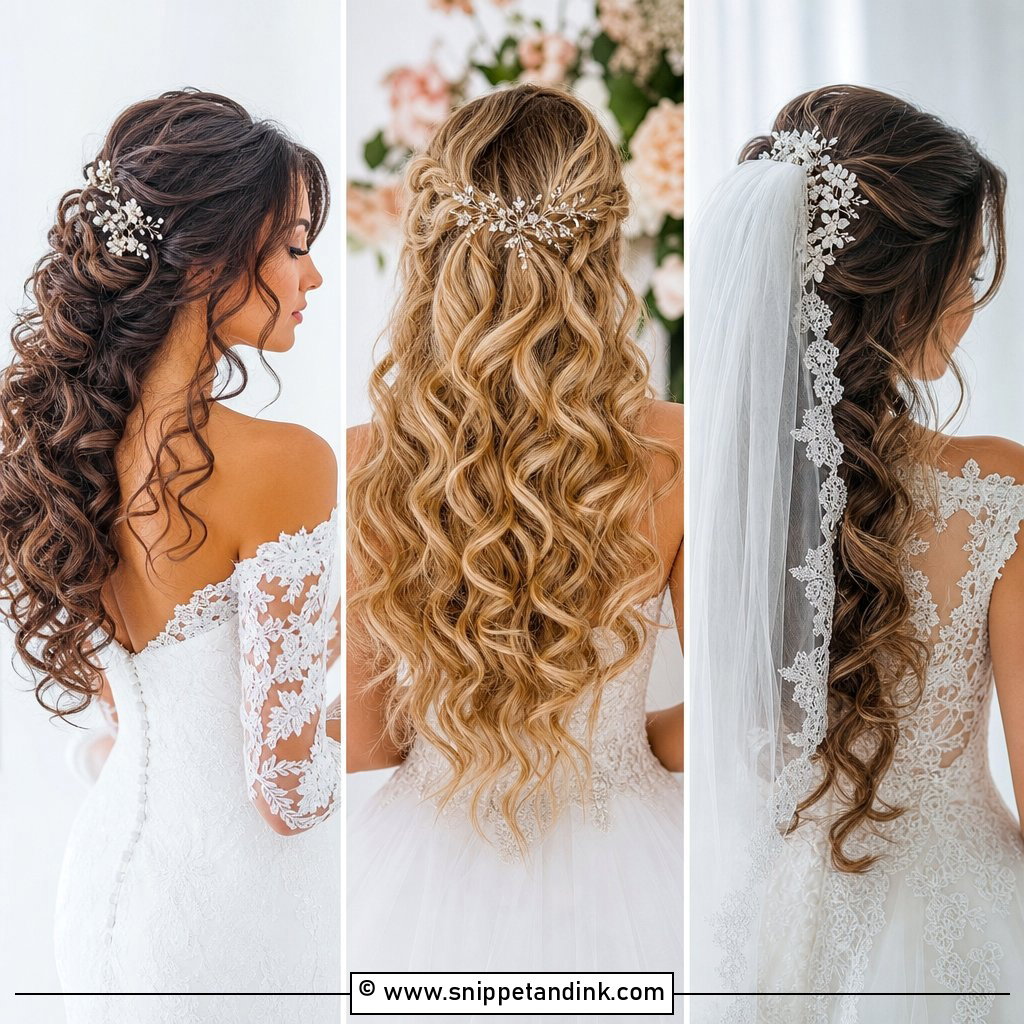
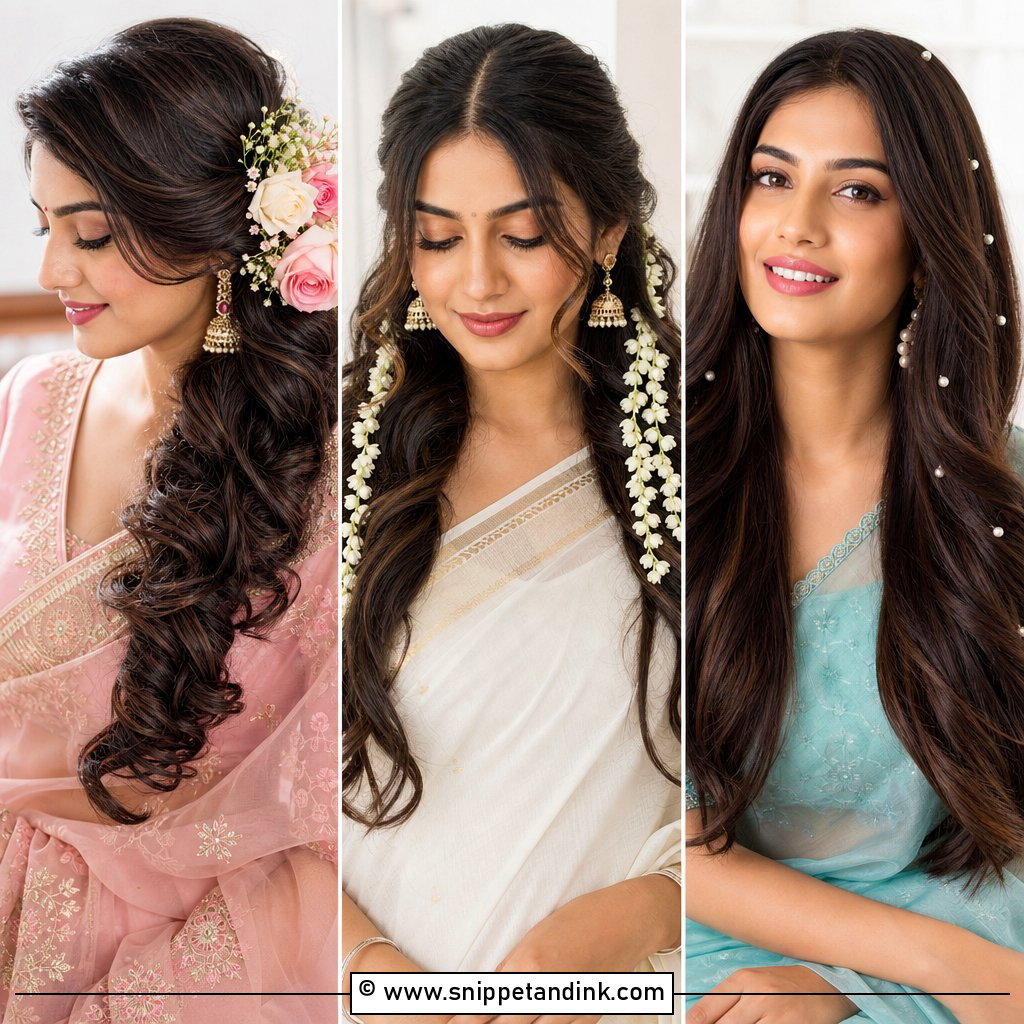
15. Side Part Waterfall Braid
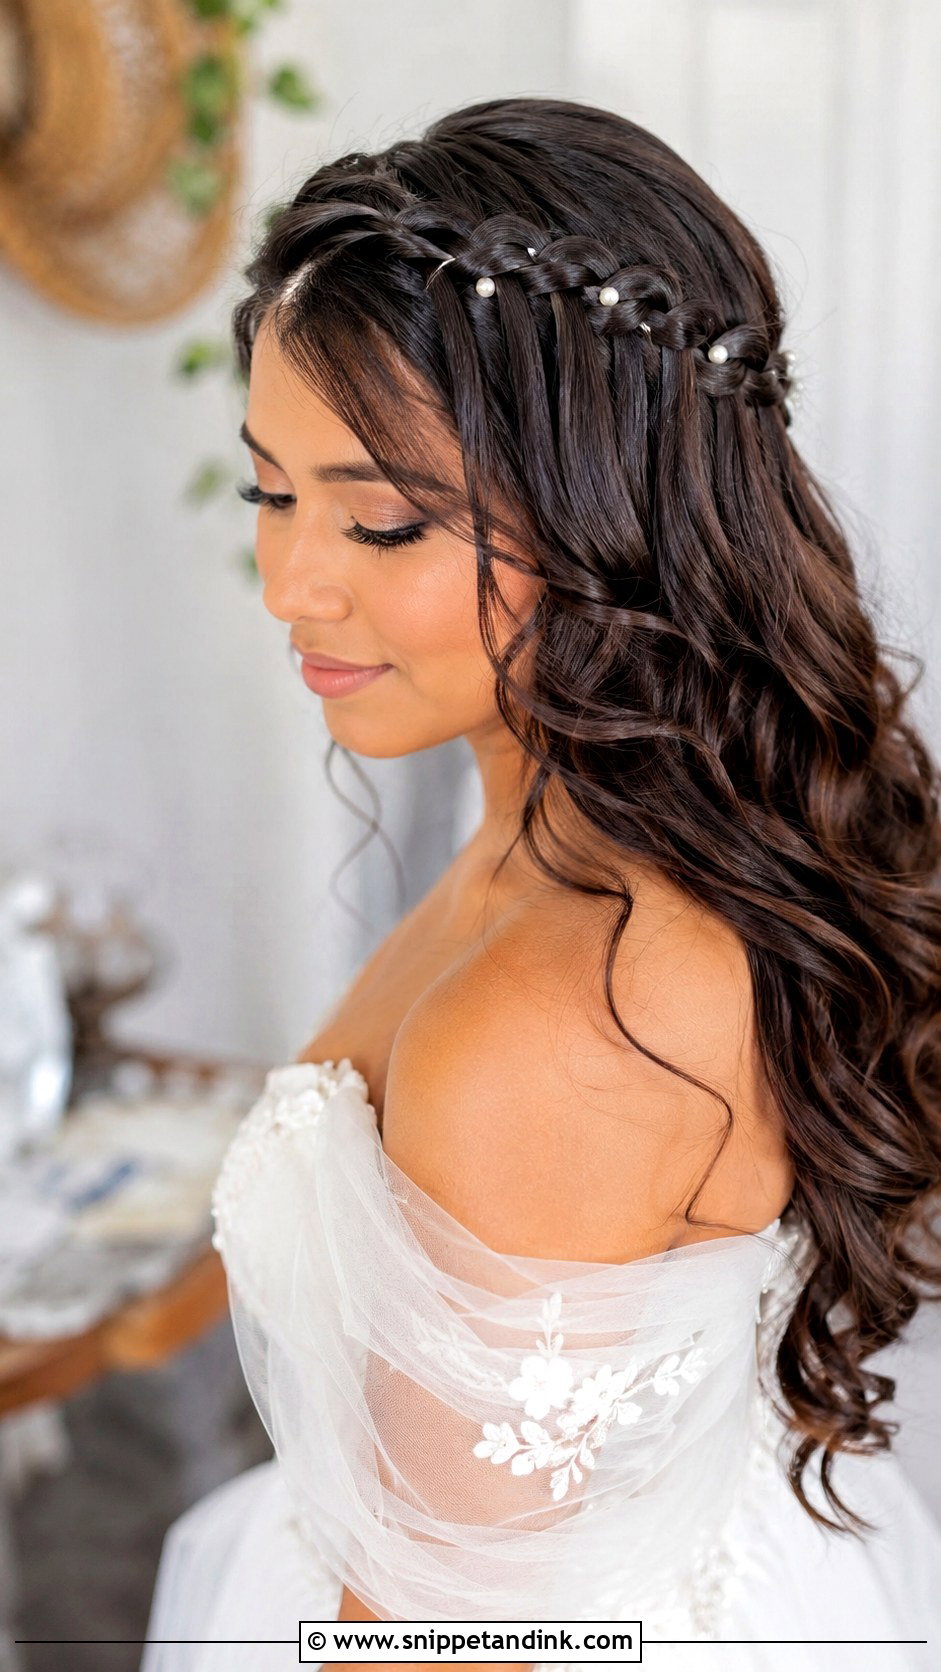
With a side part waterfall braid, you keep your hair down and get a woven band of detail running from the part across the crown. Each stitch drops a strand that joins the loose hair below. It needs medium to long hair, and the dropped strands should be curled or waved, or they vanish. Floral pins, small pearls or a veil placed behind the braid can finish it. I pin the end of the braid behind the opposite ear and hide it under a curl.
Training a New Part and Hiding the Line
If your hair has always fallen the other way, start parting it in the new position a few weeks before the wedding. Blow-dry the roots in the new direction every time you wash it. Hair has a memory at the root, and a few weeks of repetition makes the new part lie flat instead of springing back.
When the scalp shows along the part
Flash photography makes a part look wider than it is, especially on fine or thinning hair and on dark hair against a pale scalp. A few fixes I use:
- A soft zigzag part instead of a ruler-straight one, so the hair overlaps and covers the line.
- Root powder or a matching matte eyeshadow pressed along the part to tone down the contrast.
- Color or a root touch-up one to two weeks before the wedding, so there’s no regrowth line yet and the color has stopped looking brand new.
- A little root lift on both sides of the part, so the hair stands up and closes the gap.
Check the part in your trial photos, not only in the mirror. Mirrors are forgiving; a phone flash shows exactly what the photographer’s camera will see.
Test the Part Under Flash Before the Day
A side part can make waves dramatic, soften a sleek bun or give a braid direction, and it shifts where your dress, veil, earrings and makeup draw the eye. Before settling on a style, think about your length, texture, venue, likely weather and how much hold you’ll need. At the trial, look at the part from the front, both sides and from above, and take a photo with flash. It should feel secure and still look like you.
You'll Like These Ideas:


Leave a Reply