
Brides with hair between the collarbone and the shoulder blades often arrive at a trial apologizing for it. They shouldn’t. Medium length has enough hair to make a bun, a twist or a braid, and not so much weight that the style drops by mid-afternoon. What it does need is grip and a plan for the shorter layers. The ideas below lean polished rather than stiff, and with careful pinning these wedding upstyles help medium hair look fuller from the back, which is the view most of your ceremony guests get.
Is Your Hair Medium, or Mostly Layers?
In a salon, medium usually means somewhere between the collarbone and the shoulder blades. For an upstyle, though, the overall length matters less than your shortest layer. Before the trial, try this at home in front of a mirror:
- Gather everything into a low ponytail at the nape and check with a hand mirror. Whatever falls out is what your stylist will have to braid, twist or pin separately.
- Now try a high ponytail at the crown. If the hair at the nape won’t reach without straining, high buns and top knots will struggle.
- Look at the front. Layers ending at the cheekbone are flattering worn down, but they’ll drop out of any upstyle by evening unless they’re twisted back or deliberately left loose.
Take a photo of both ponytails to your trial. It tells your stylist straight away whether they’ll be reaching for braids, padding or a few wefts, and it saves twenty minutes of guessing.
1. Low Chignon Wedding Upstyle
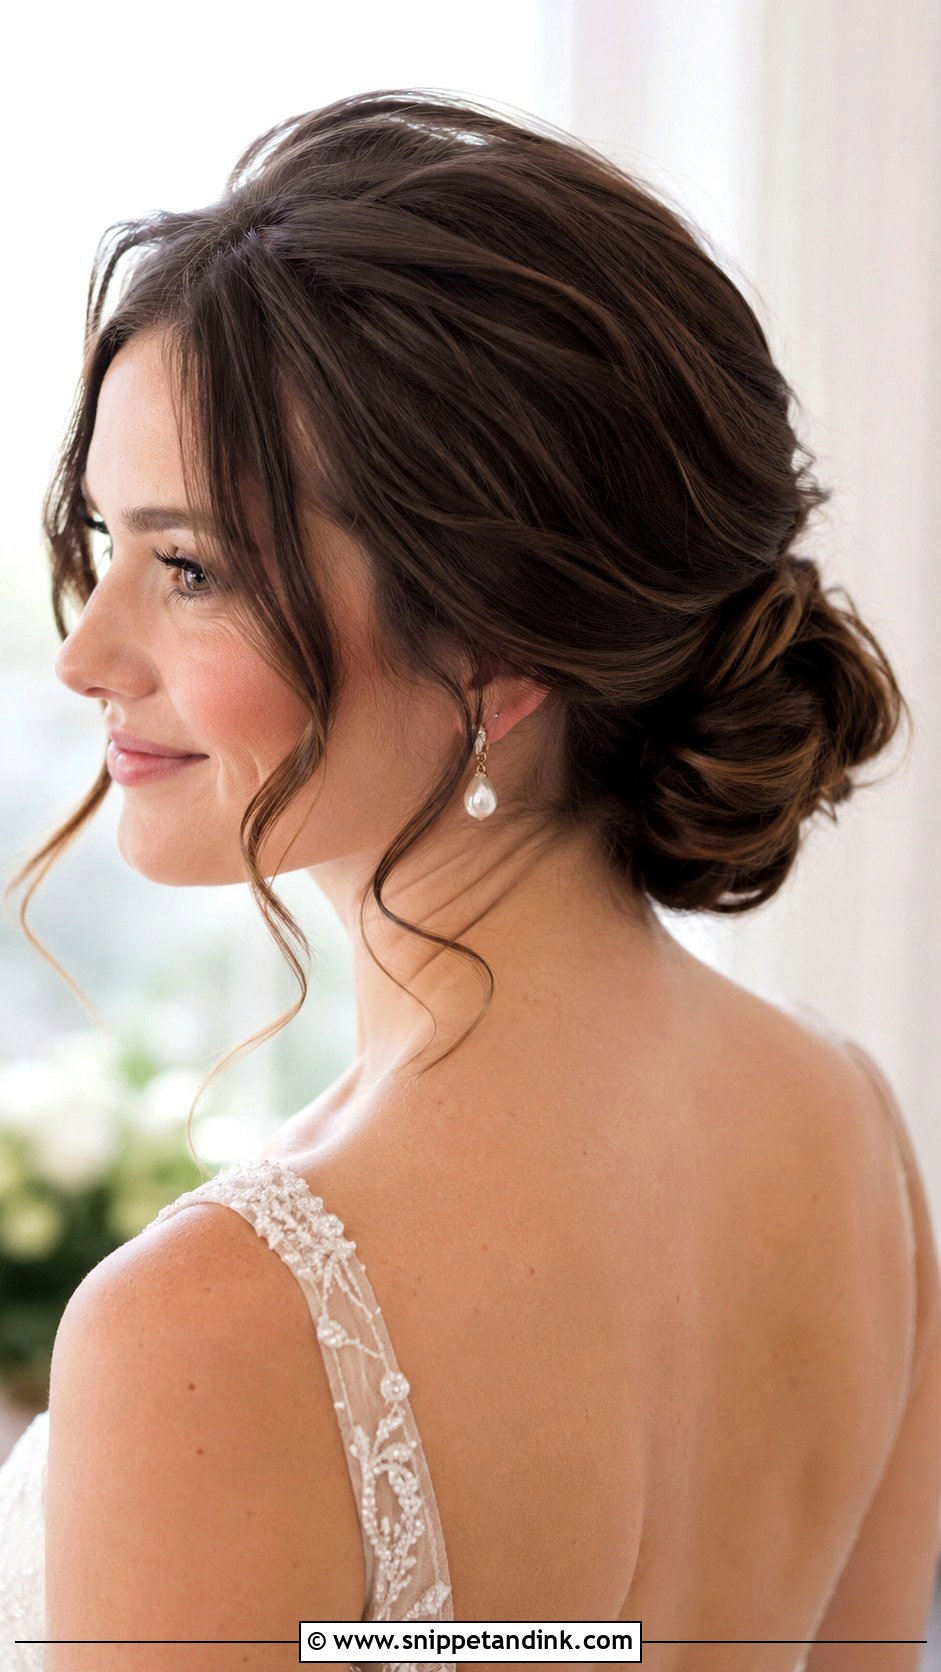
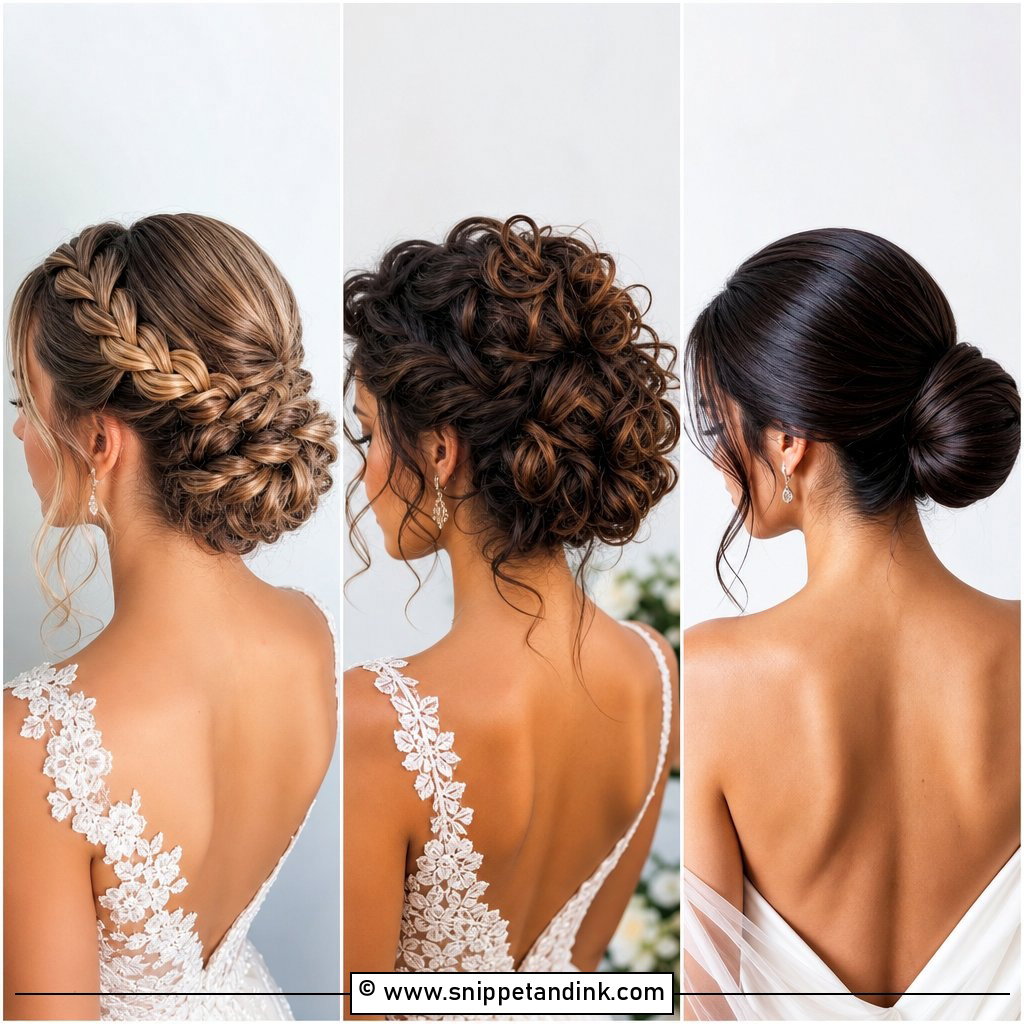
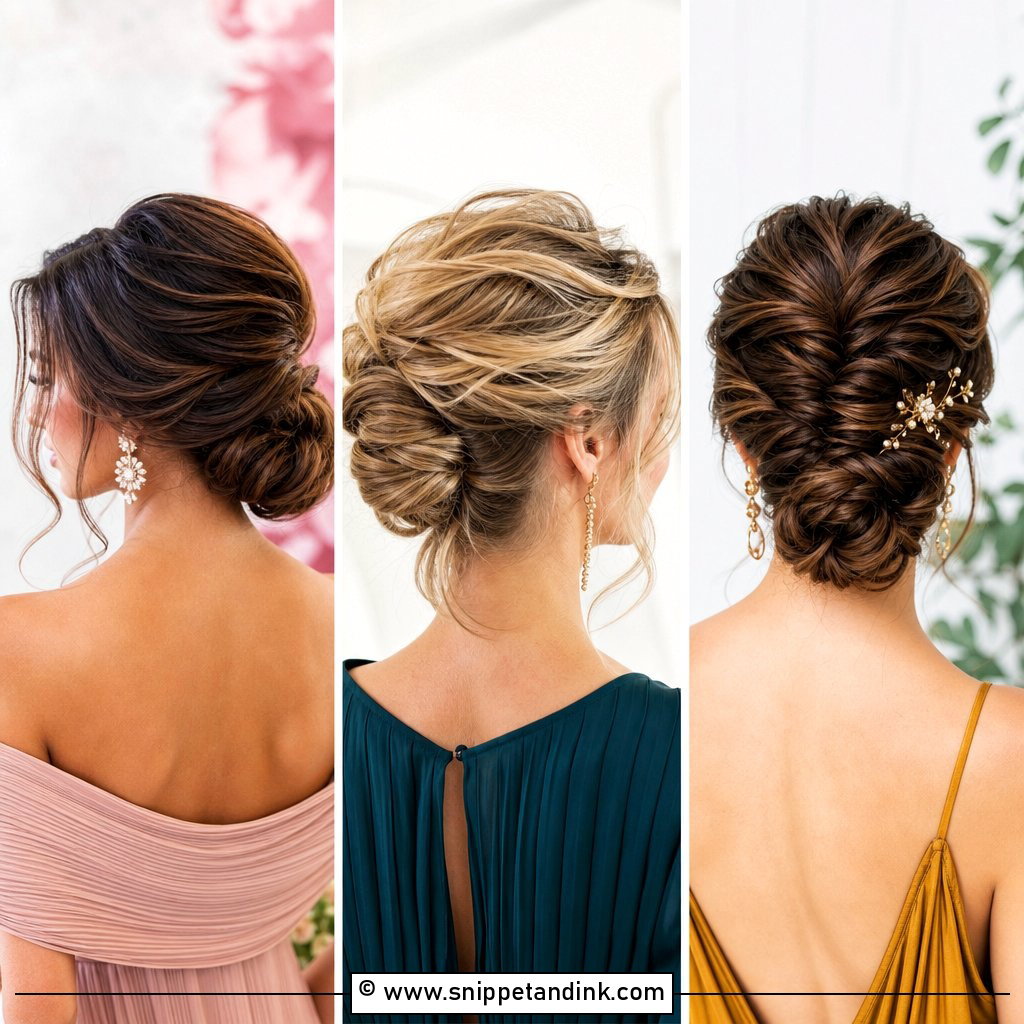
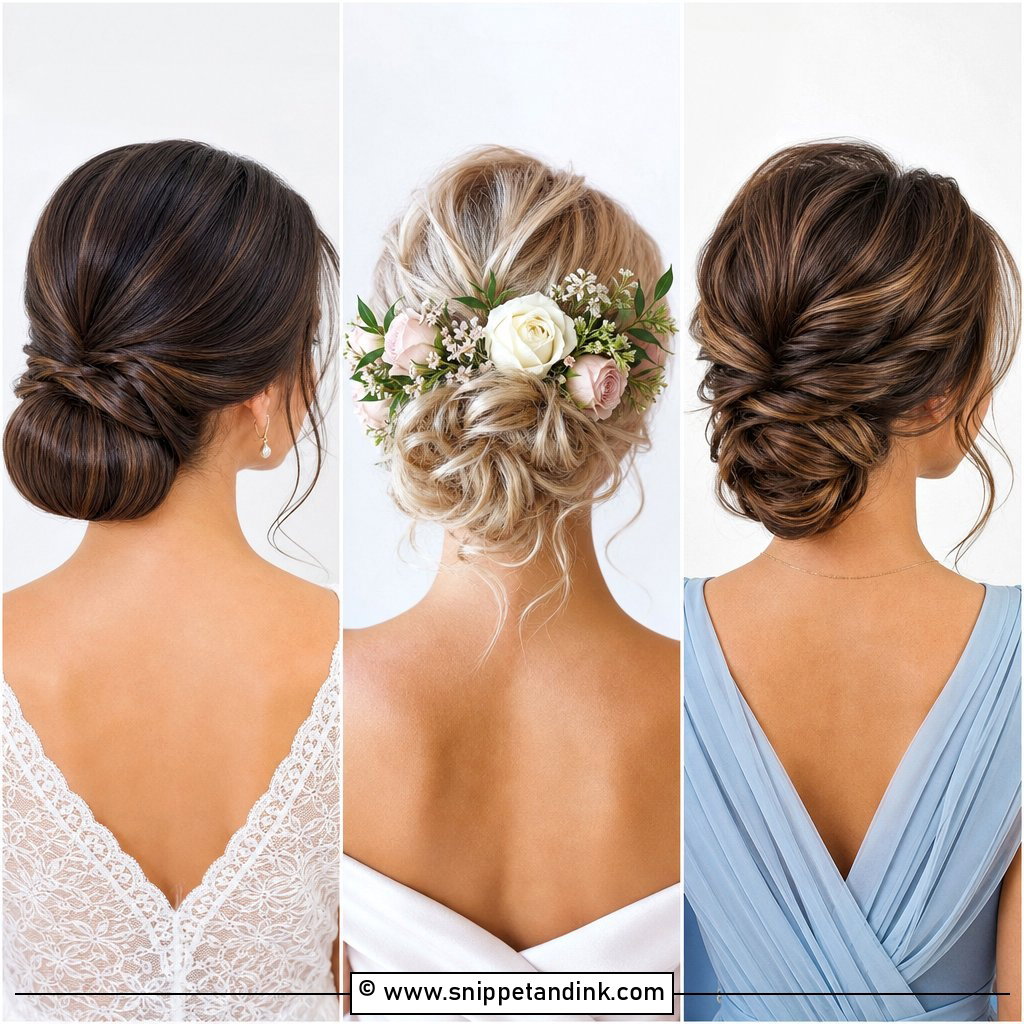
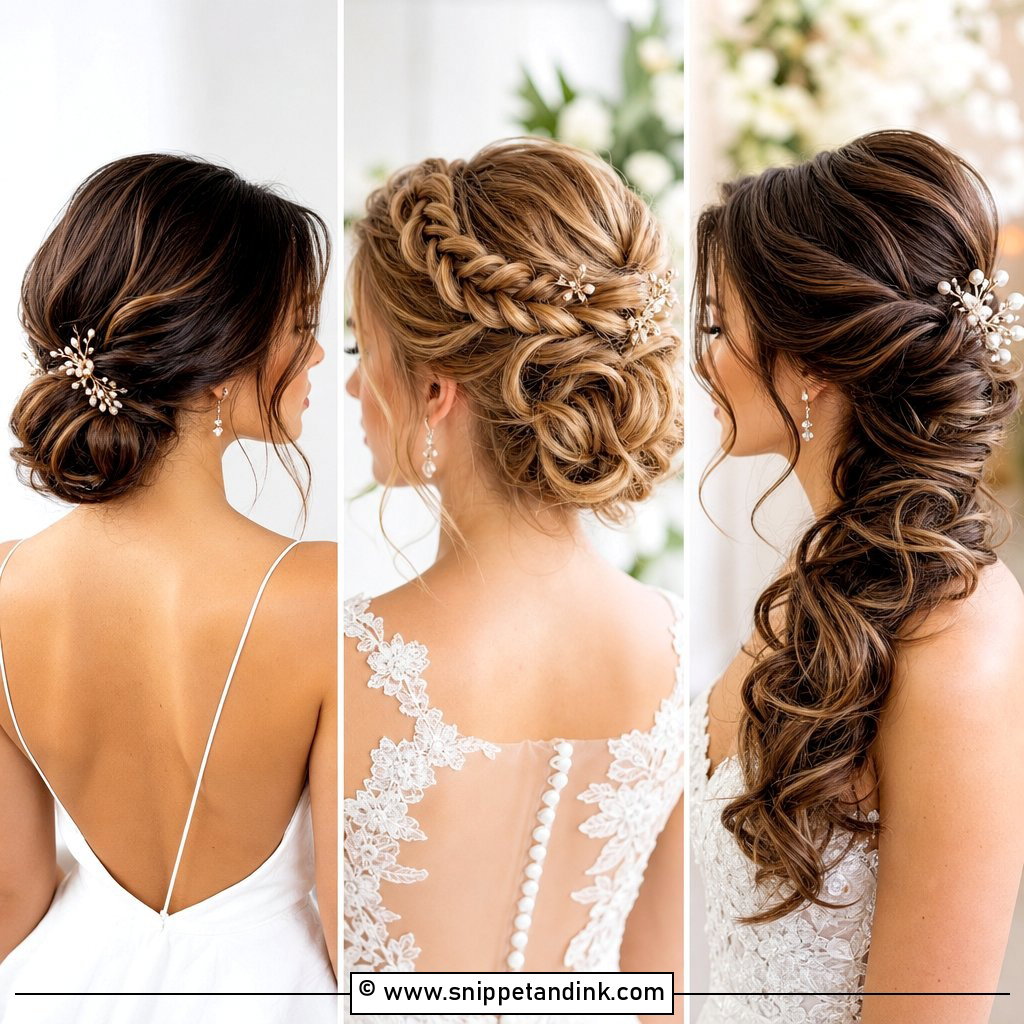
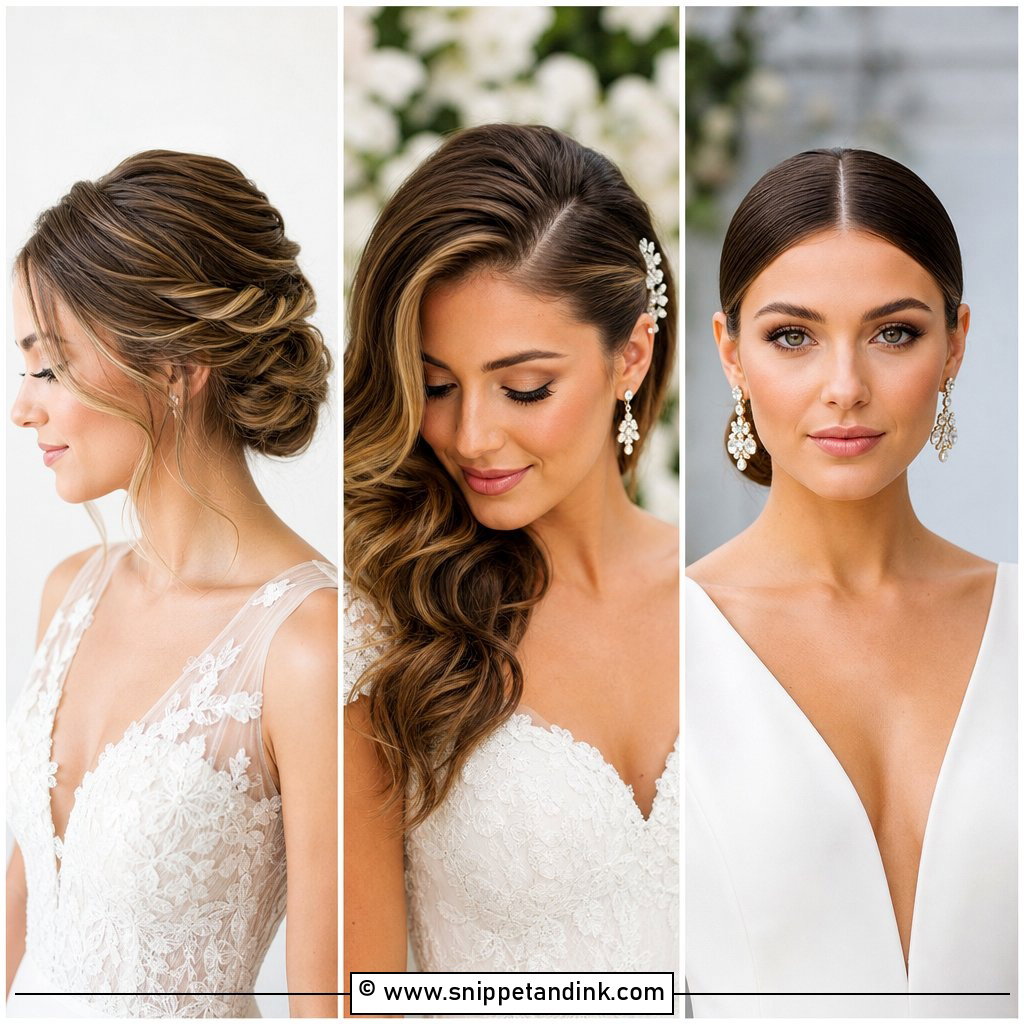
I’d put the low chignon first on any medium-length list because it hides layers better than almost anything else. The hair is gathered at the nape and tucked into a soft round, so short pieces fold inside instead of sticking out. A little teasing at the crown keeps the top from looking flat, and a couple of loose front pieces stop it from feeling severe. Keep it sleek for a formal room, slightly textured for a garden. With an open back or a busy neckline, it stays politely out of the way.
2. Textured Low Bun Wedding Upstyle
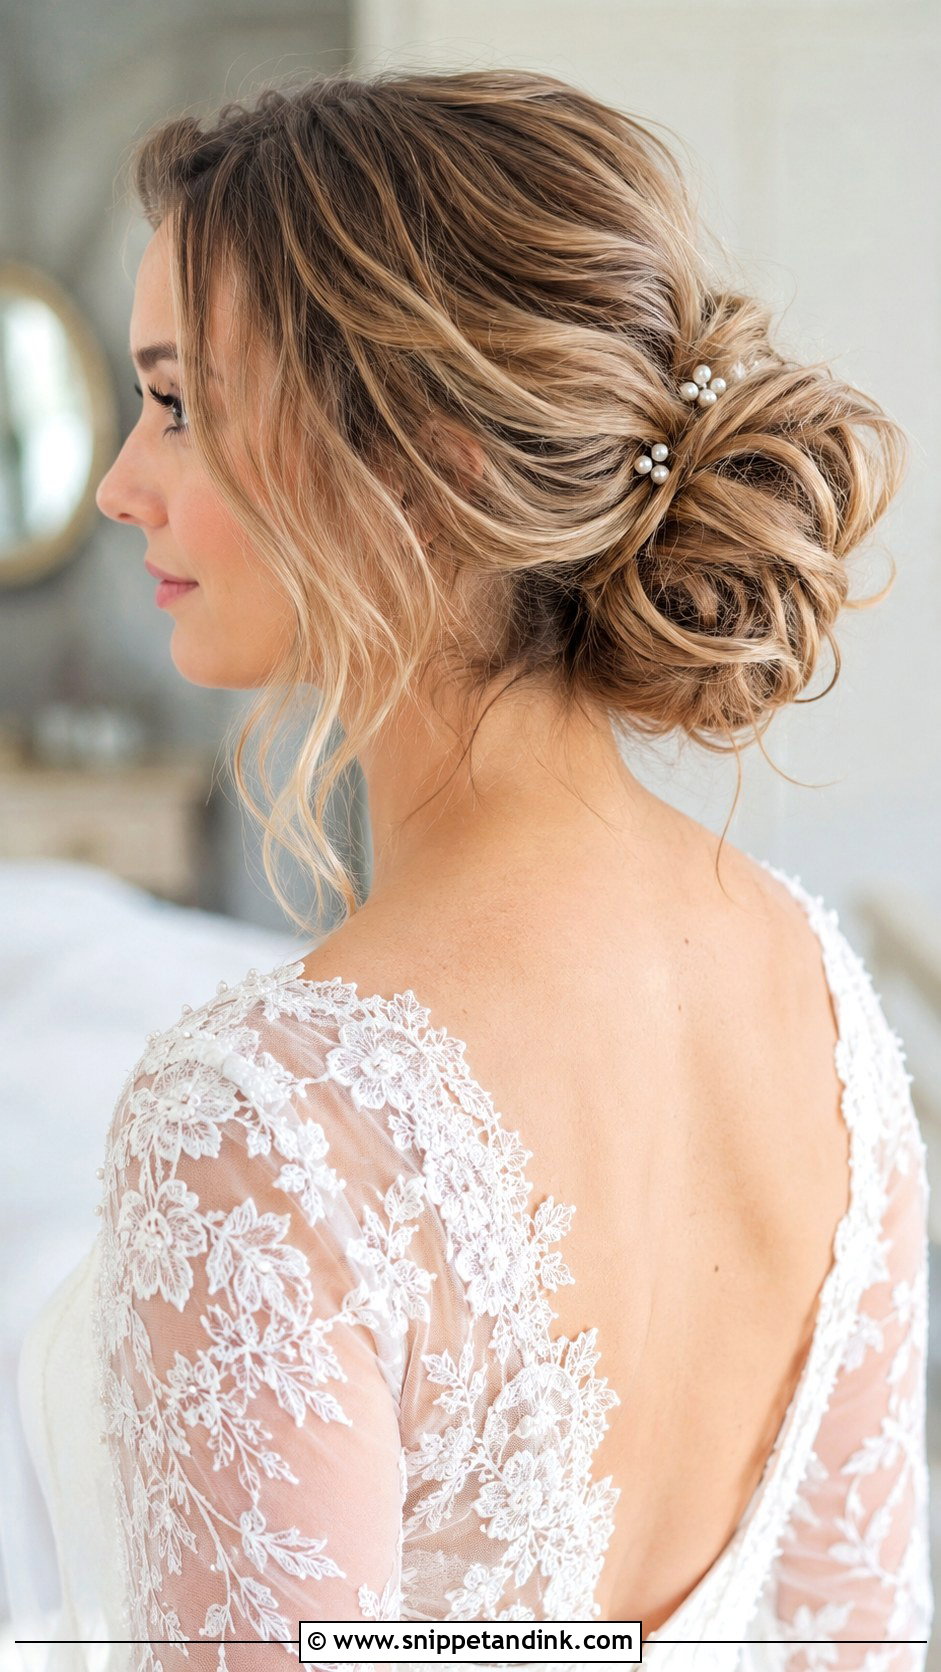
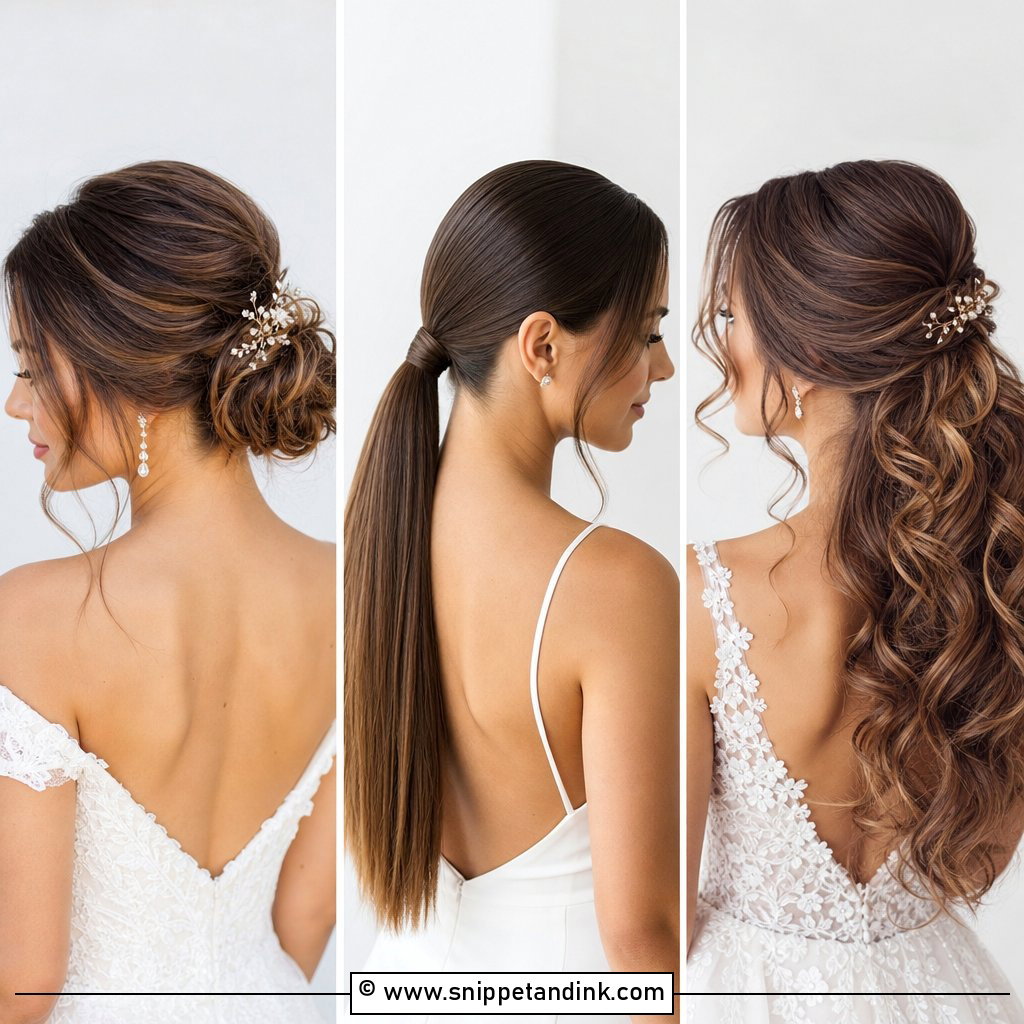
Texture is how I rescue a bun when layers are too short to wrap smoothly. Rather than pulling every strand tight, I pin the hair in small curled sections, each overlapping the last, so the bun reads thicker than the hair really is. Curl the whole head with a medium iron first; straight medium hair has no bend to hide pins in. A bit of movement looks right outdoors, where a perfectly smooth bun would start to frizz anyway. Pearl pins or a small comb finish it.
3. Sleek Low Bun Wedding Upstyle
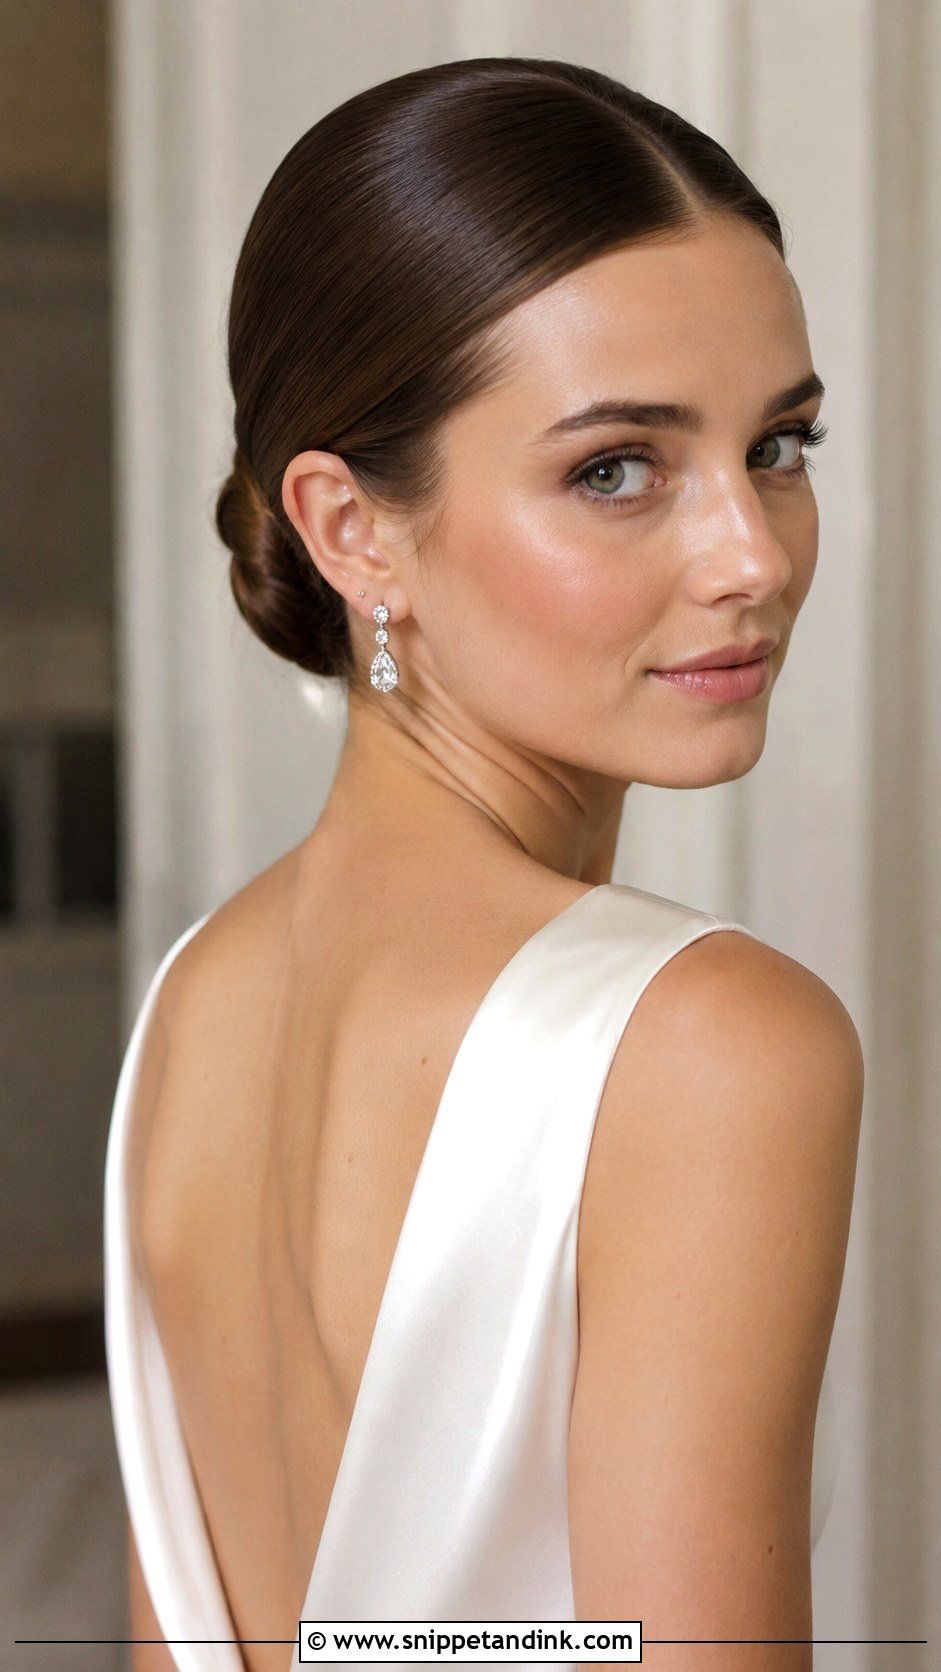
Sleek suits medium hair because there’s just enough length to make a knot without the bulk long hair brings. I part it in the center or just off, brush it flat to the head with a strong-hold gel and secure it into a neat knot at the nape. Minimal satin gowns and city venues suit that clean line. It shows every flyaway and every bump, so the brushing takes longer than the knot. Let earrings or the veil carry the detail.
4. Braided Low Bun Wedding Upstyle
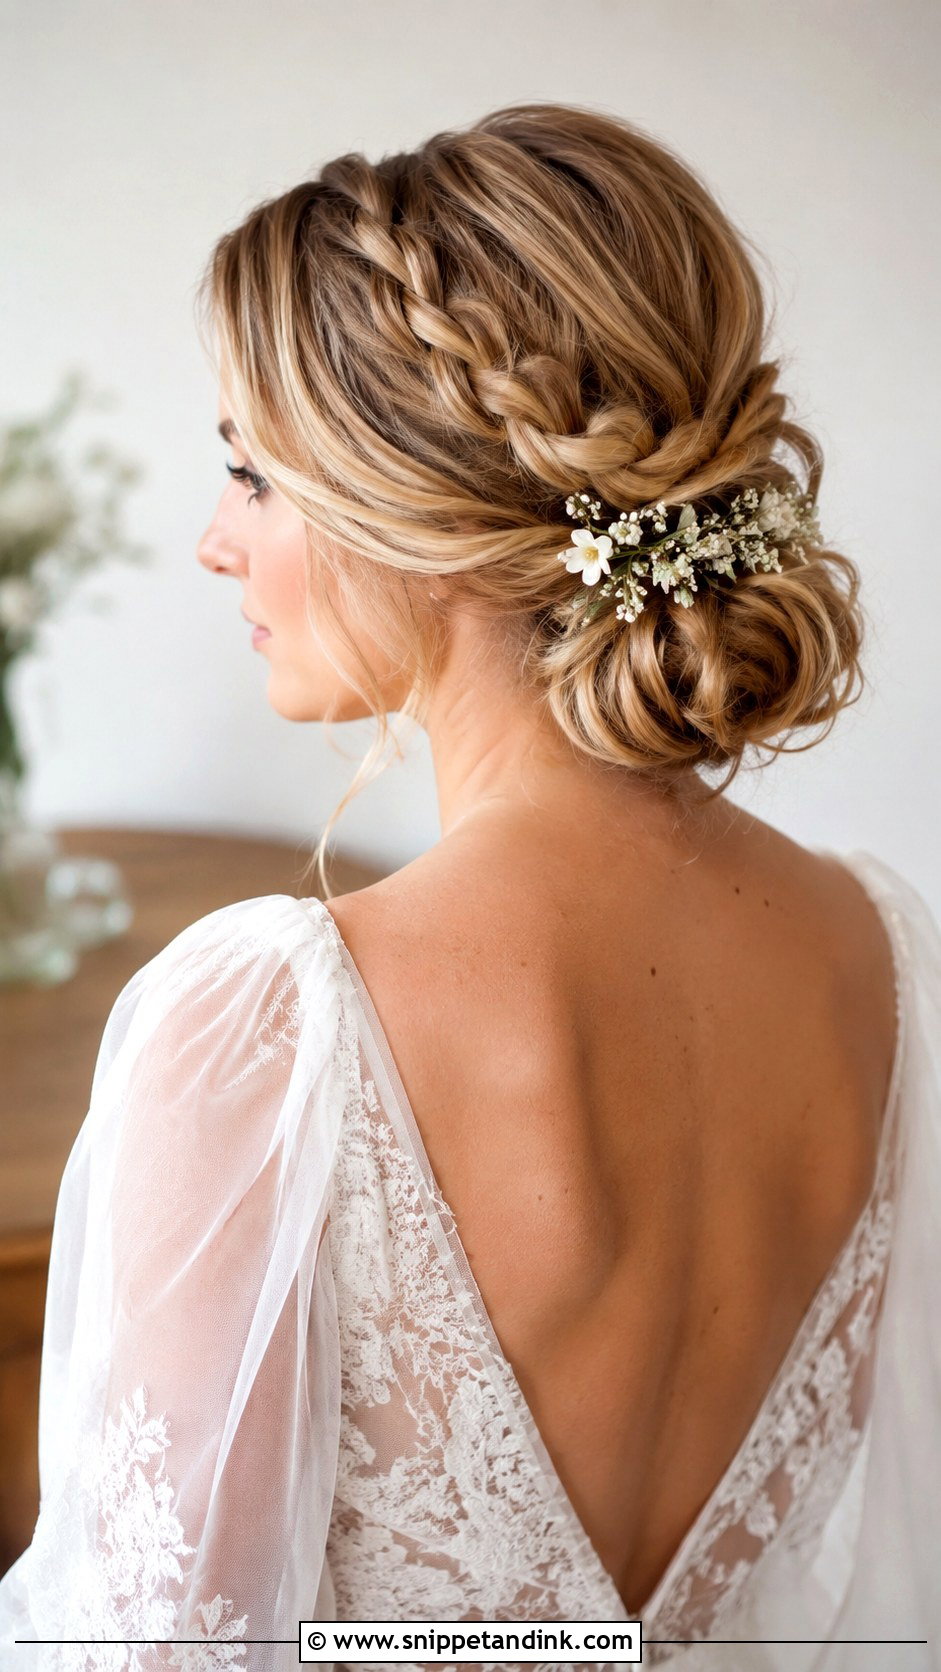
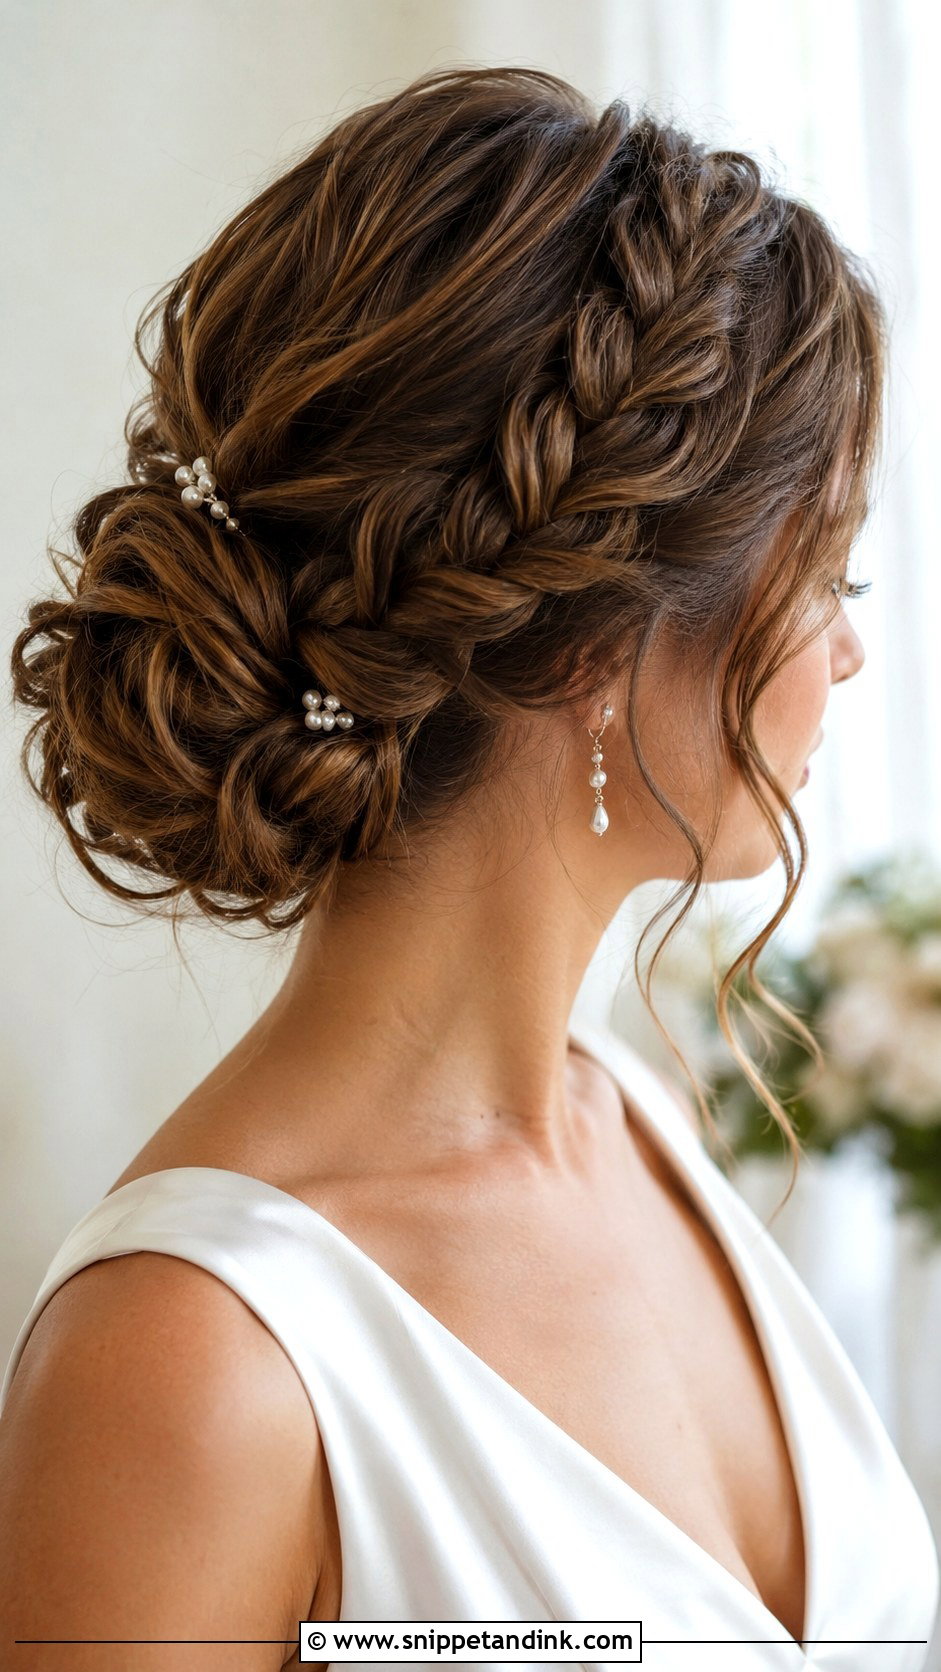
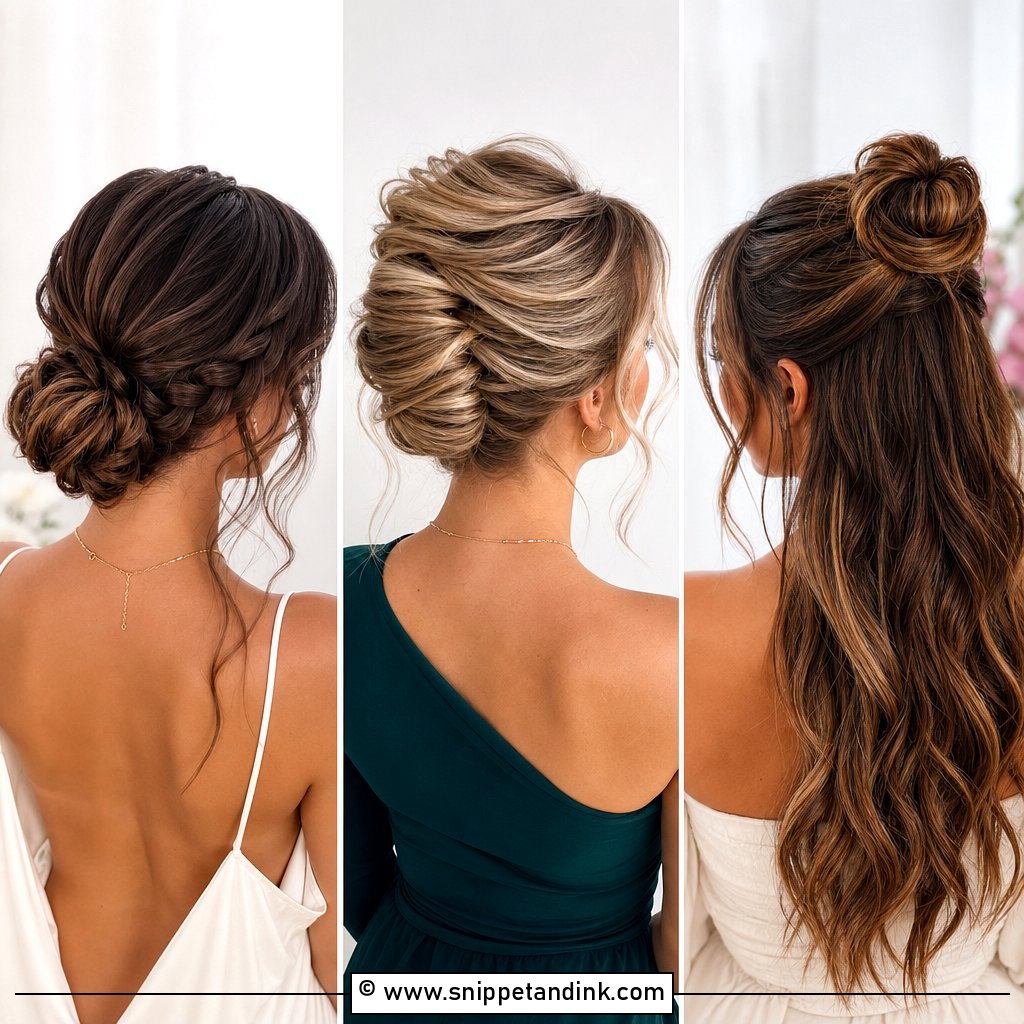
Braids are the quiet fix for layered medium hair. Each short piece gets caught in the plait instead of escaping from the bun. I usually start the braid along one side above the ear and feed it into a low bun at the back, which gives detail from the front without needing much length. Keep it loose enough that the pattern shows. Bridesmaids find it comfortable through a long day, and it sits naturally at a rustic wedding.
5. Twisted Chignon Wedding Upstyle
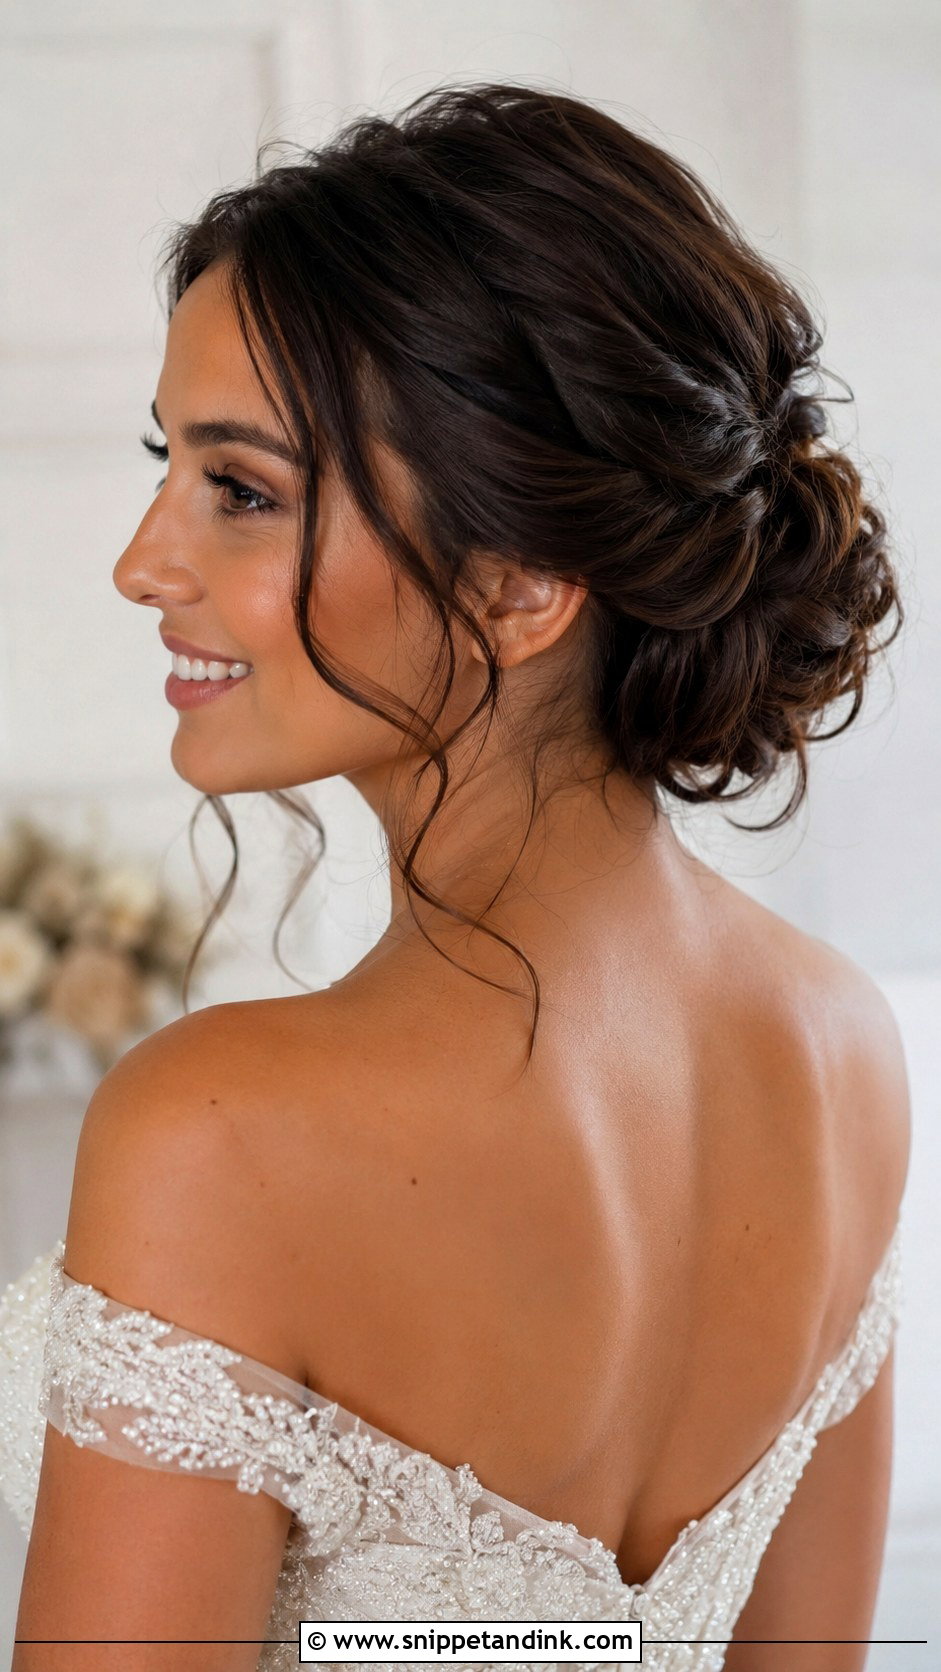
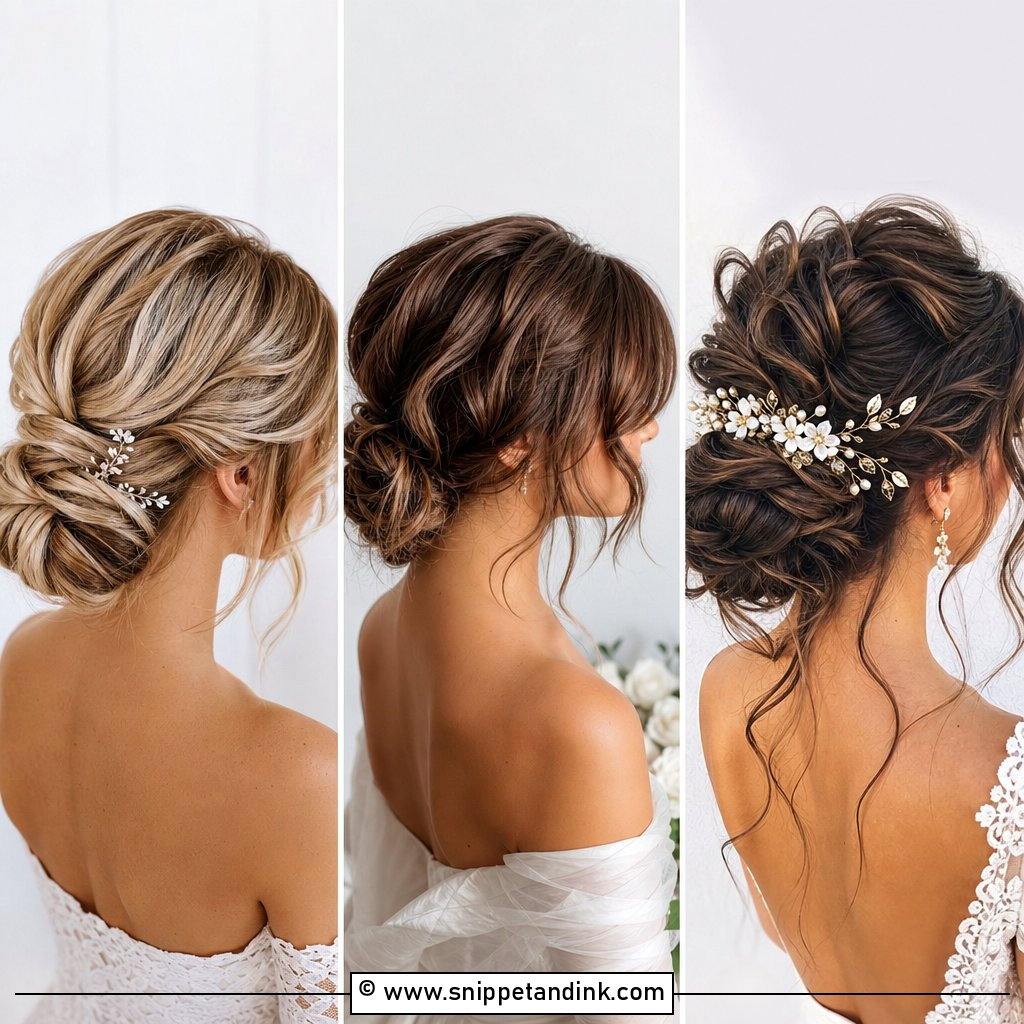
Twisting sections instead of smoothing them into one bun adds dimension, and it shows color work well: highlights and balayage look richer when each twist turns lighter and darker strands to the surface. I divide the back into three or four sections, twist each toward the center and pin it low. Volume at the crown keeps the shape balanced, and a veil comb slips neatly between the twists. If your colorist has done careful work, this is the style that lets it be seen.
6. French Twist Wedding Upstyle
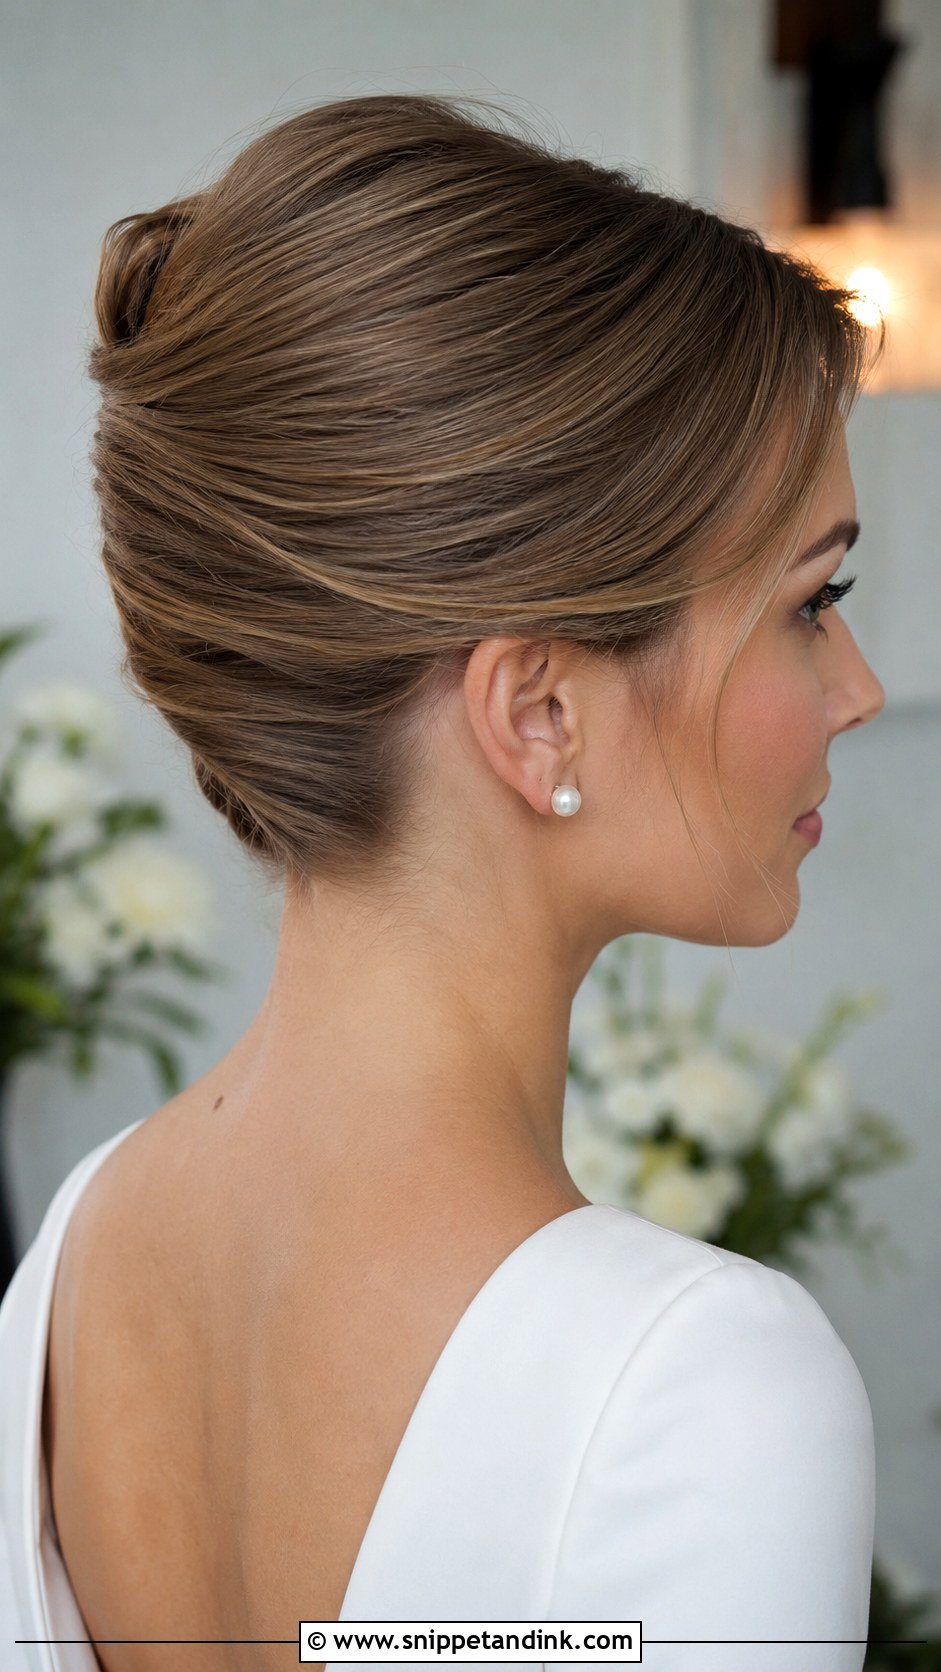
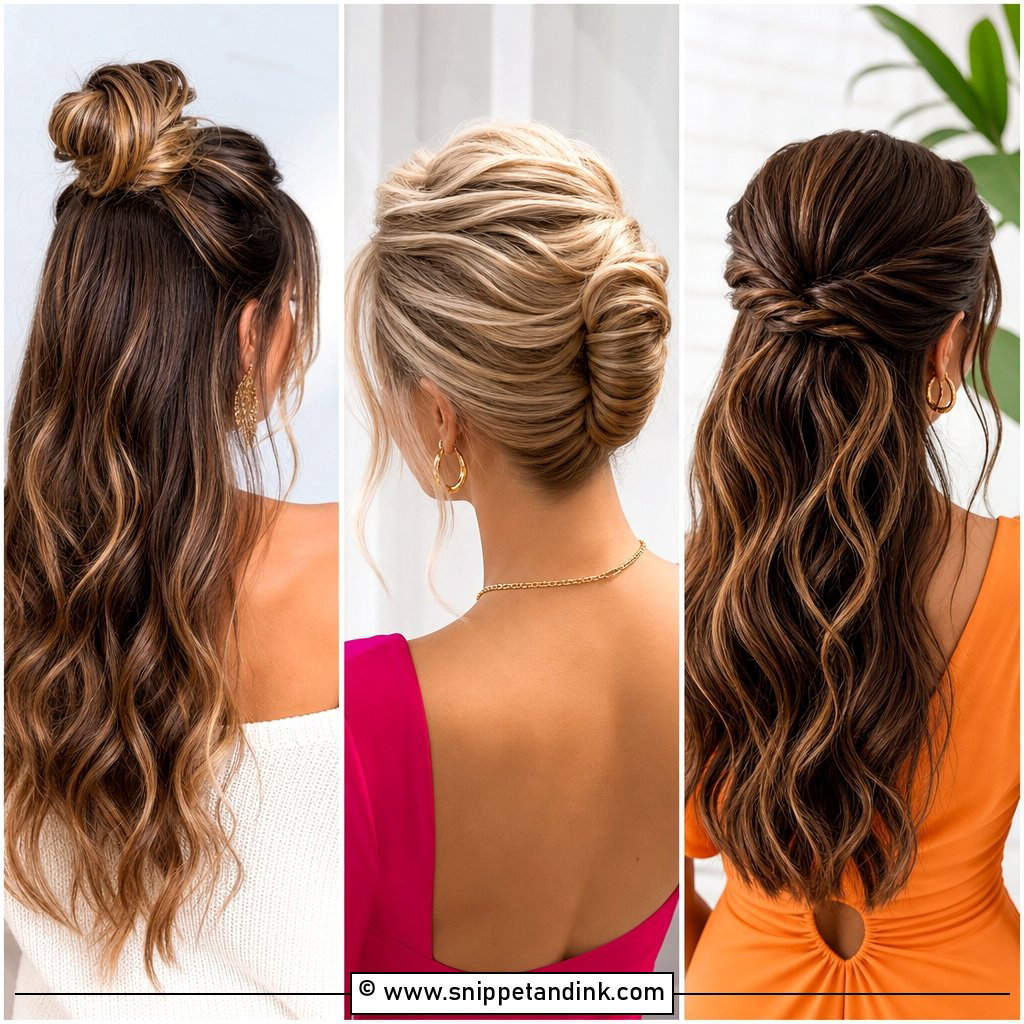
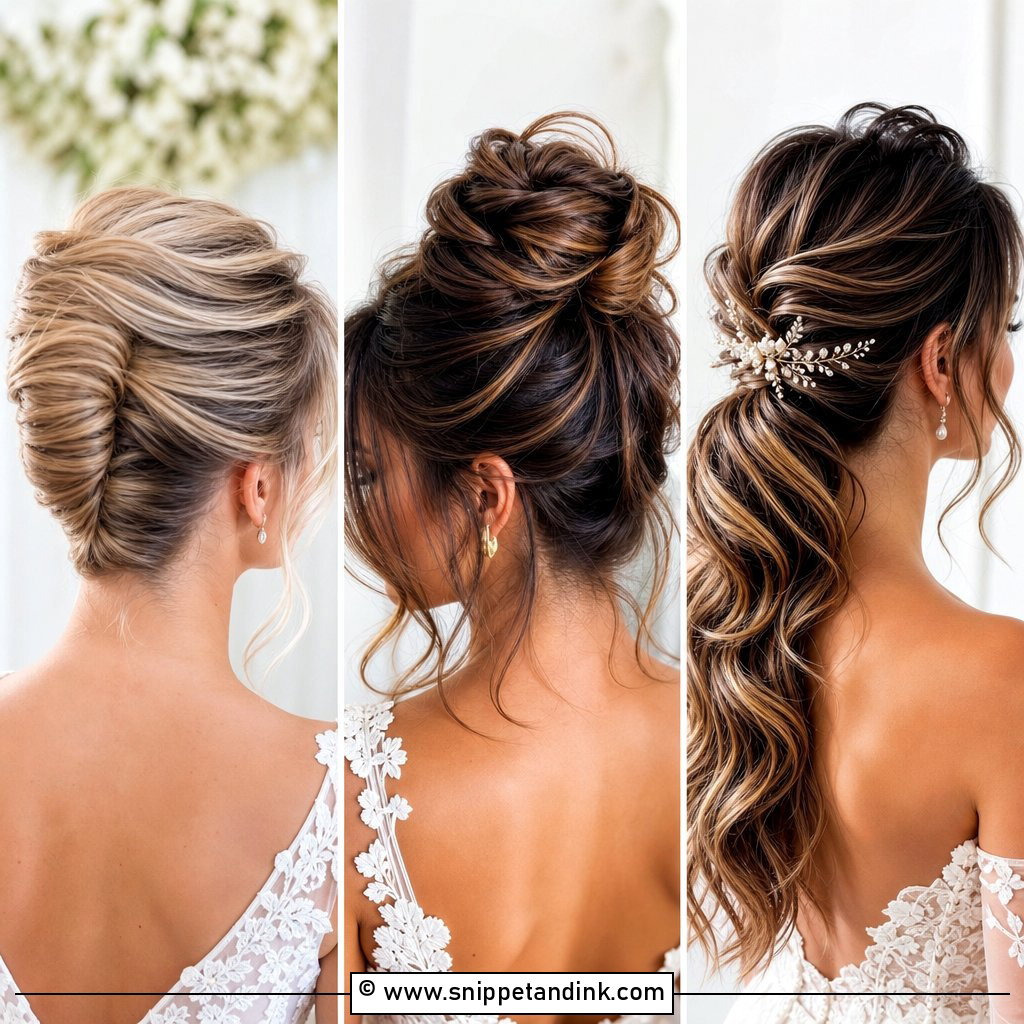
Medium hair is honestly easier to French twist than long hair. There’s less length to fold inside the vertical roll, so it stays slim instead of turning into a thick sausage down the back of the head. I backcomb lightly along the seam side so the pins have something to bite, then roll and secure with long hairpins woven in. Leave the front smooth with a side part for a sharper look, or loosen the crown and curl a few face pieces for something softer. Hair shorter than the collarbone usually won’t reach the top of the roll.
7. Messy Bun Wedding Upstyle
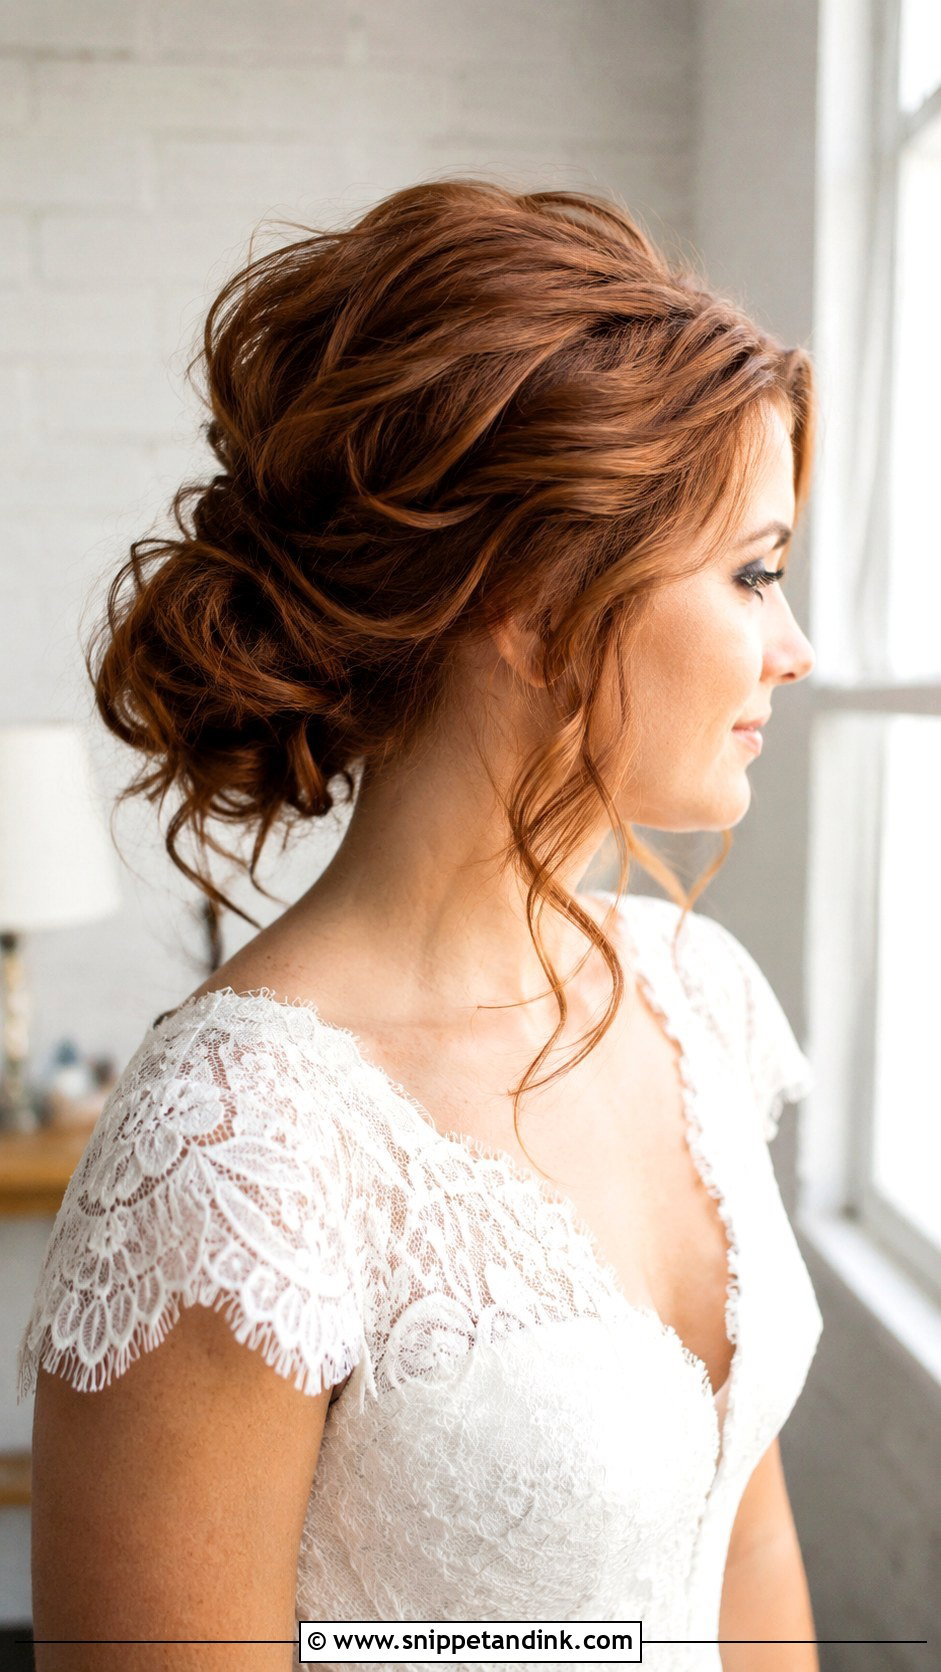
Messy has to be planned on medium hair, or it looks like the bun gave up. I curl everything first, tease gently at the root for lift, then pin the curls into a low or mid-height bun one at a time. Face-framing strands get curled separately. Fine hair struggles here more than with any other style because it’s slippery, and a texture spray before curling gives it the grip it needs. Lace dresses and outdoor ceremonies are its natural setting.
8. Half Up Bun Wedding Upstyle
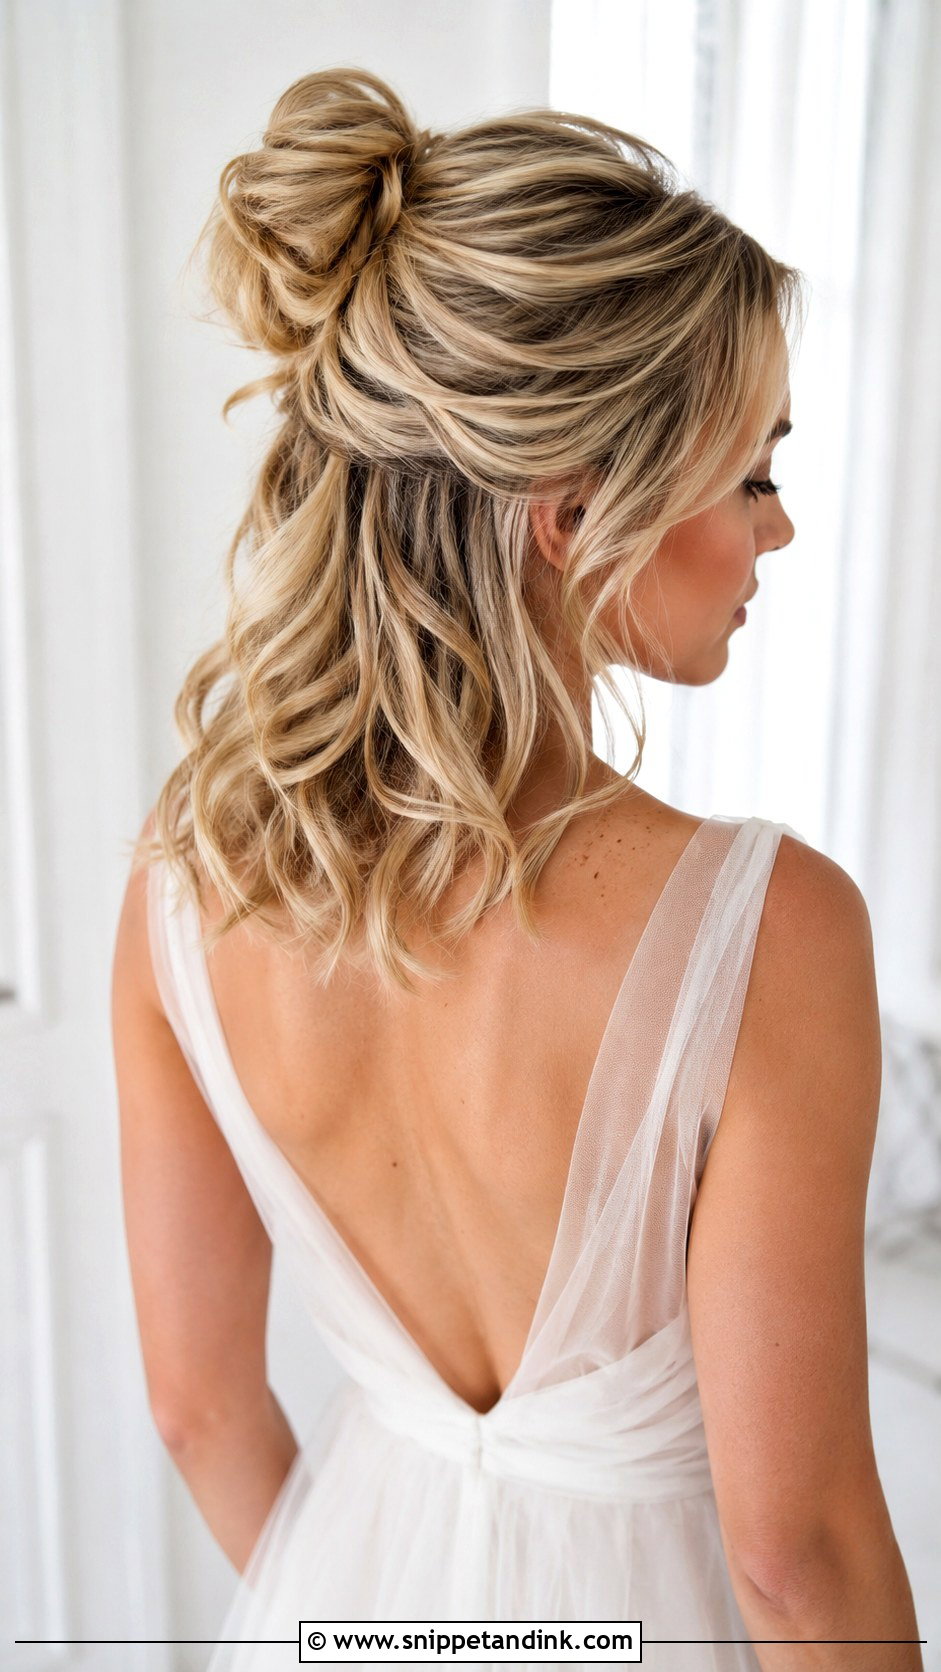
Half-up buns flatter shoulder-length hair in particular, because the curled lower section suggests more length than there is. I lift the top section, twist it into a small bun at the crown and wave the rest. A braid or a small hairpiece around the bun adds detail. The catch is that the loose hair rests on your neck and shoulders all day, so in heat it flattens and frizzes sooner than a full upstyle. Bridesmaids tend to love it.
9. Half Up Twist Wedding Upstyle
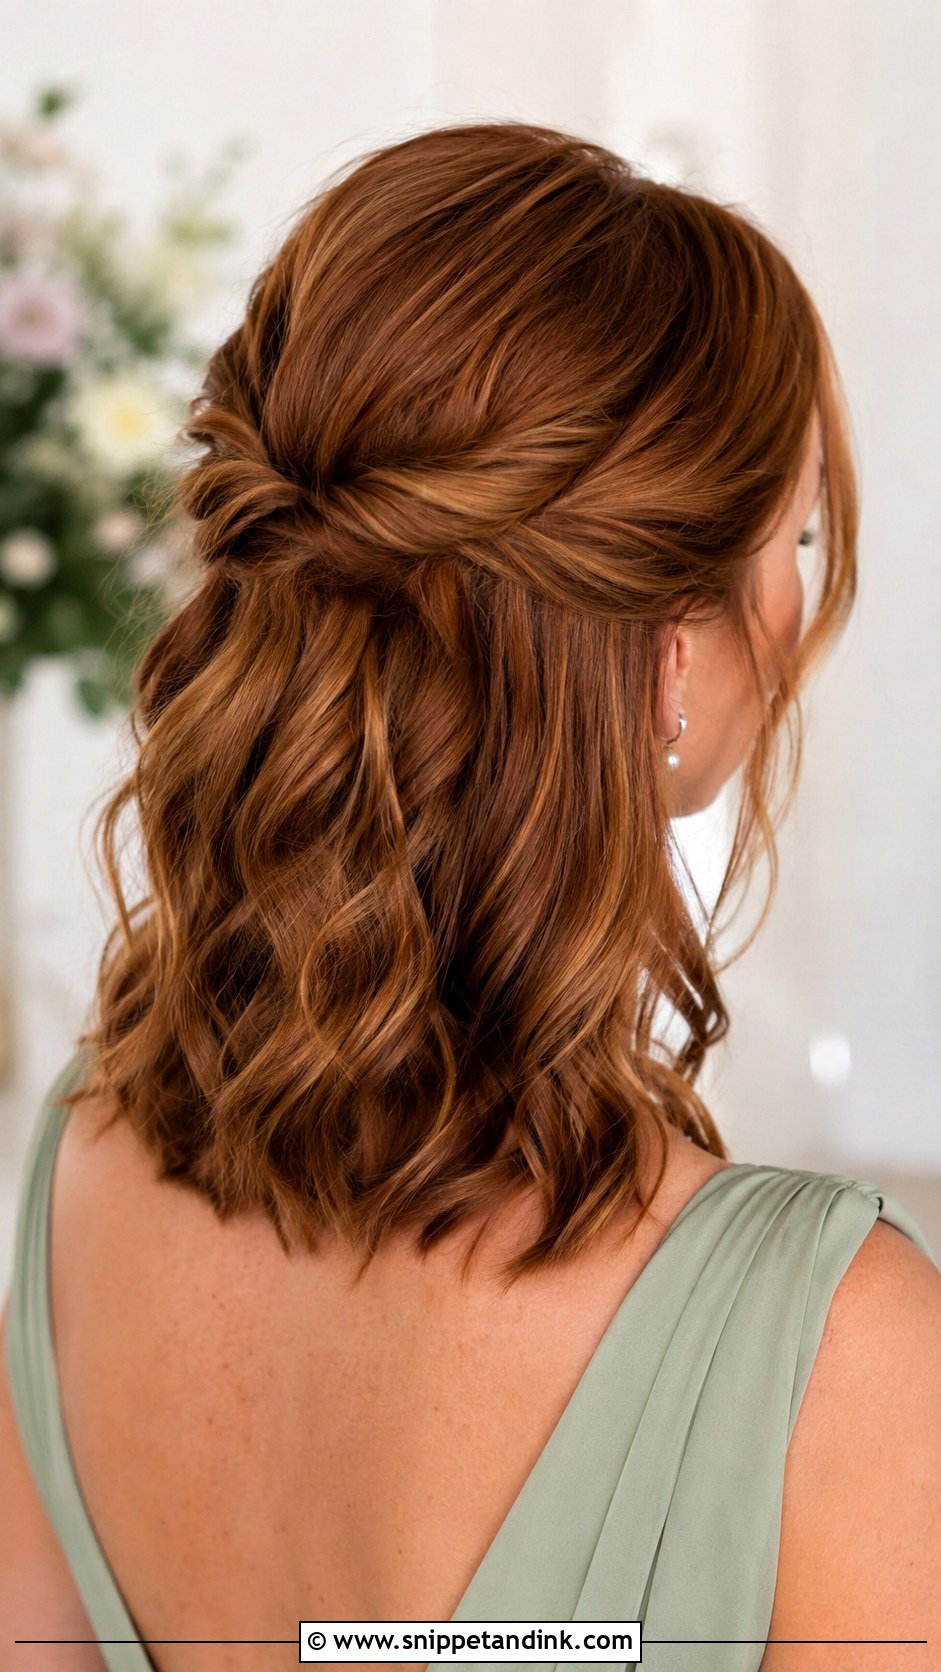
Twisting the front sections back is the gentlest form of half up, and the most useful if your face-framing layers won’t stay put. The twists draw them back and pin together at the crown, while the rest falls in waves. Tight twists look tidier; loosened ones look softer. Where the twists meet is the obvious spot for pearl pins or a slim comb, which also hides the pins underneath.
10. Crown Braid Wedding Upstyle
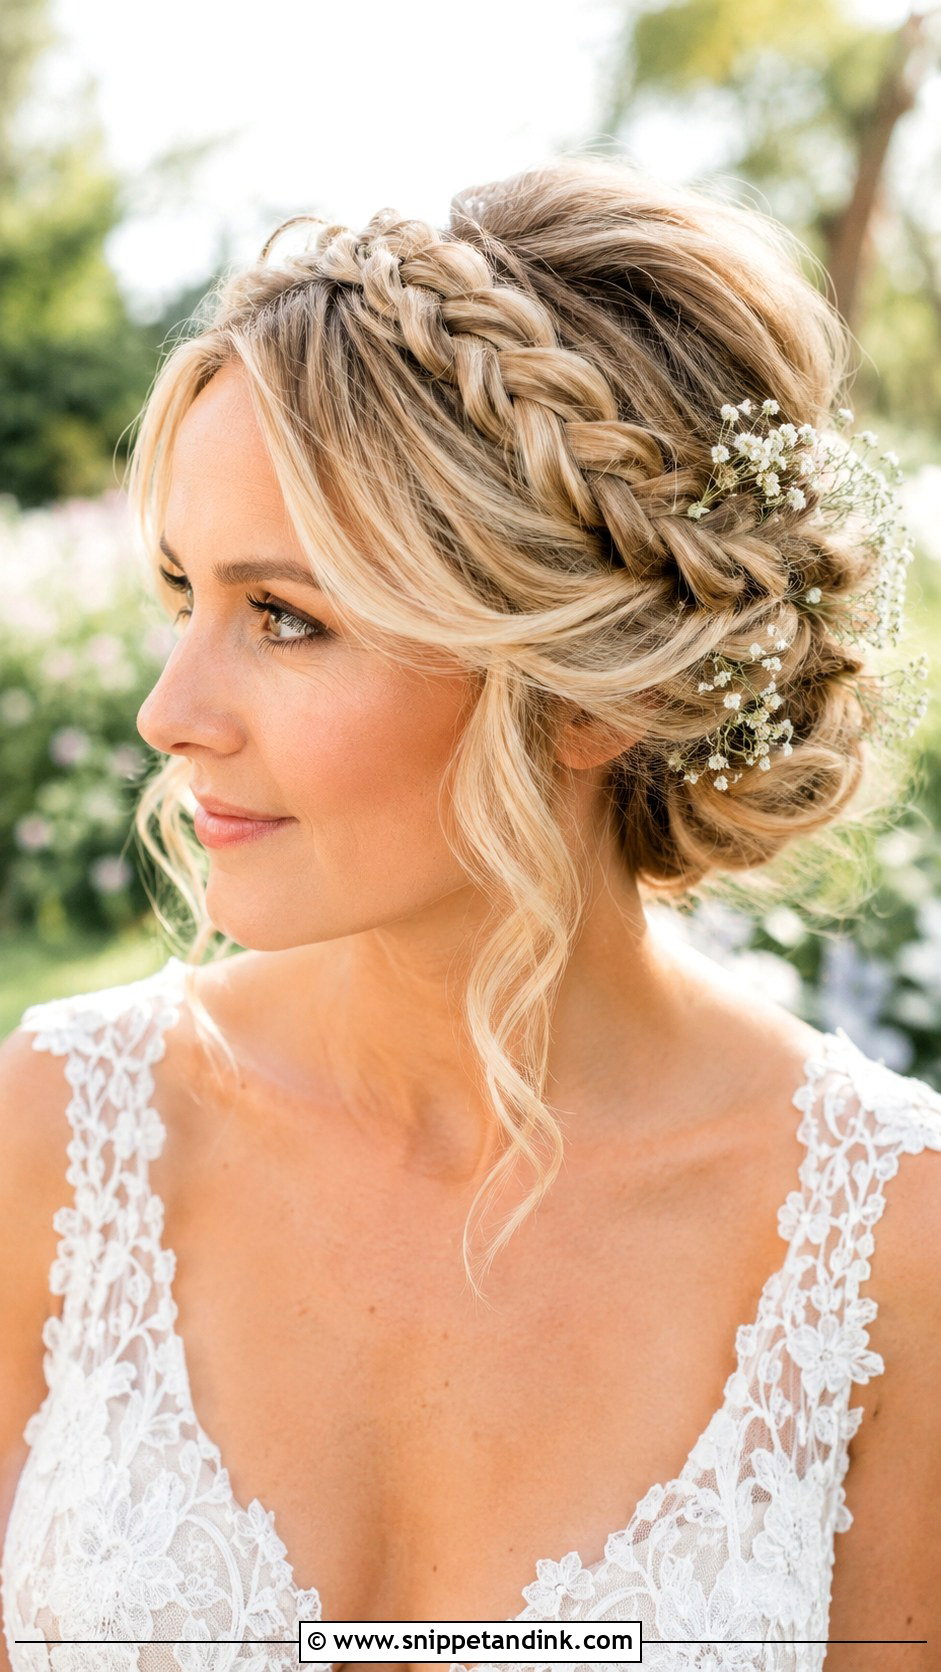
Crown braids normally need long hair, but there’s a workaround I use often on medium lengths. Instead of one braid wrapping the whole head, I braid each side separately and join the ends at the back, hidden under the opposite braid or a small bun. From the front it reads as a full crown, no extensions needed. Pull the braids gently apart for width and leave a few curls loose near the face. It holds up well on a windy beach or in an open garden.
11. Fishtail Braid Bun Wedding Upstyle
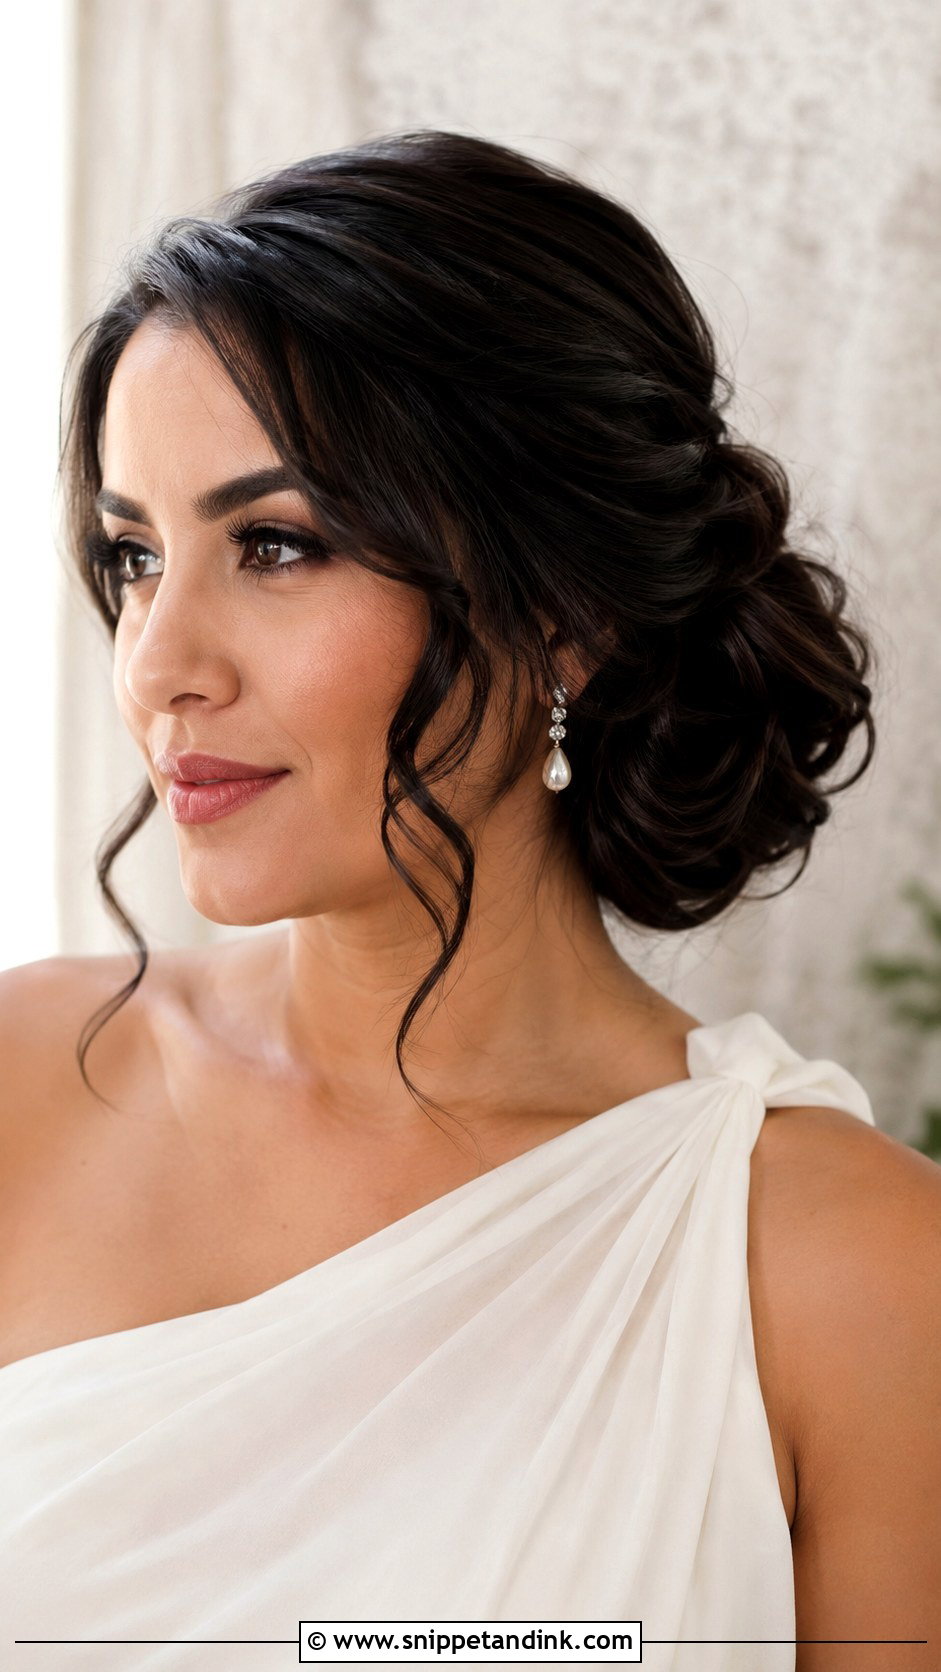
Fishtails look intricate at any length, which makes them handy when there isn’t much hair to work with. The fine woven pattern adds visual thickness. I braid it along one side or straight down the back and coil the end into a low bun, loosening the braid before pinning, never after, so the loops don’t pull out of place. Layered hair is the tricky part, because short ends poke out of such small sections; a little wax on the fingers while braiding keeps them in.
12. Side Bun Wedding Upstyle
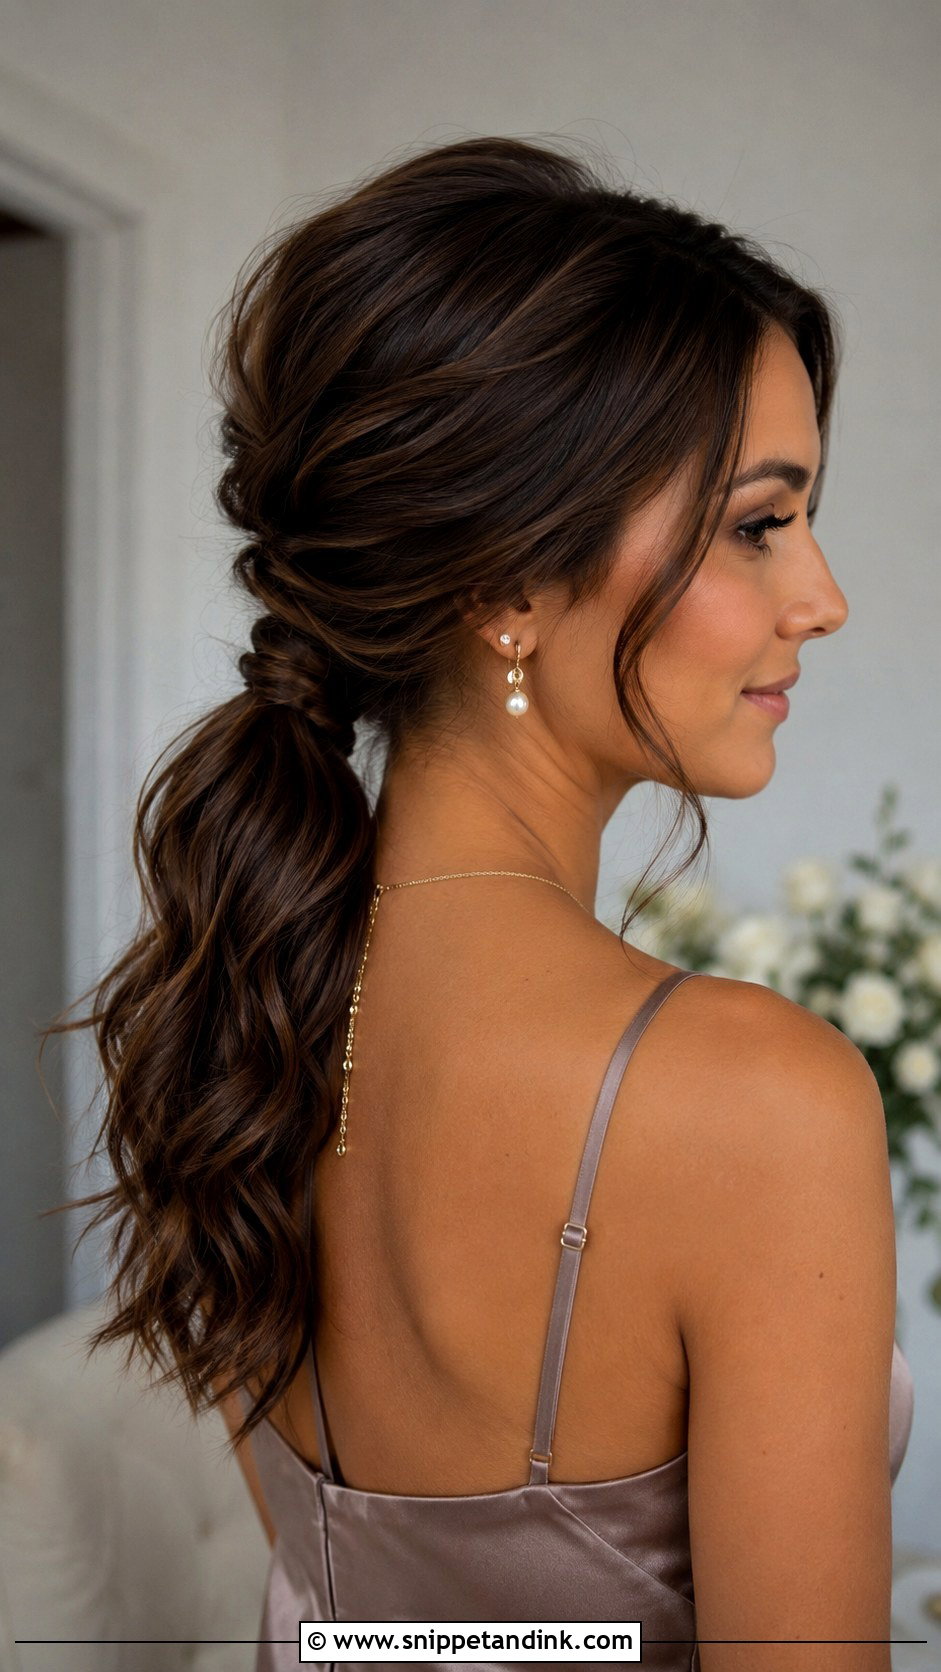
Bringing the bun to one side puts it where the camera actually sees it in front-on portraits. It sits low near the neck, with lift at the crown and curled pieces at the face. One-shoulder dresses pair naturally with it, as long as the bun sits on the bare side. Medium hair keeps the bun compact, and that matters here: a heavy side bun pulls the head slightly off balance and you’ll feel it by evening. A small accessory just above it evens out the shape.
13. Curly Updo Wedding Upstyle
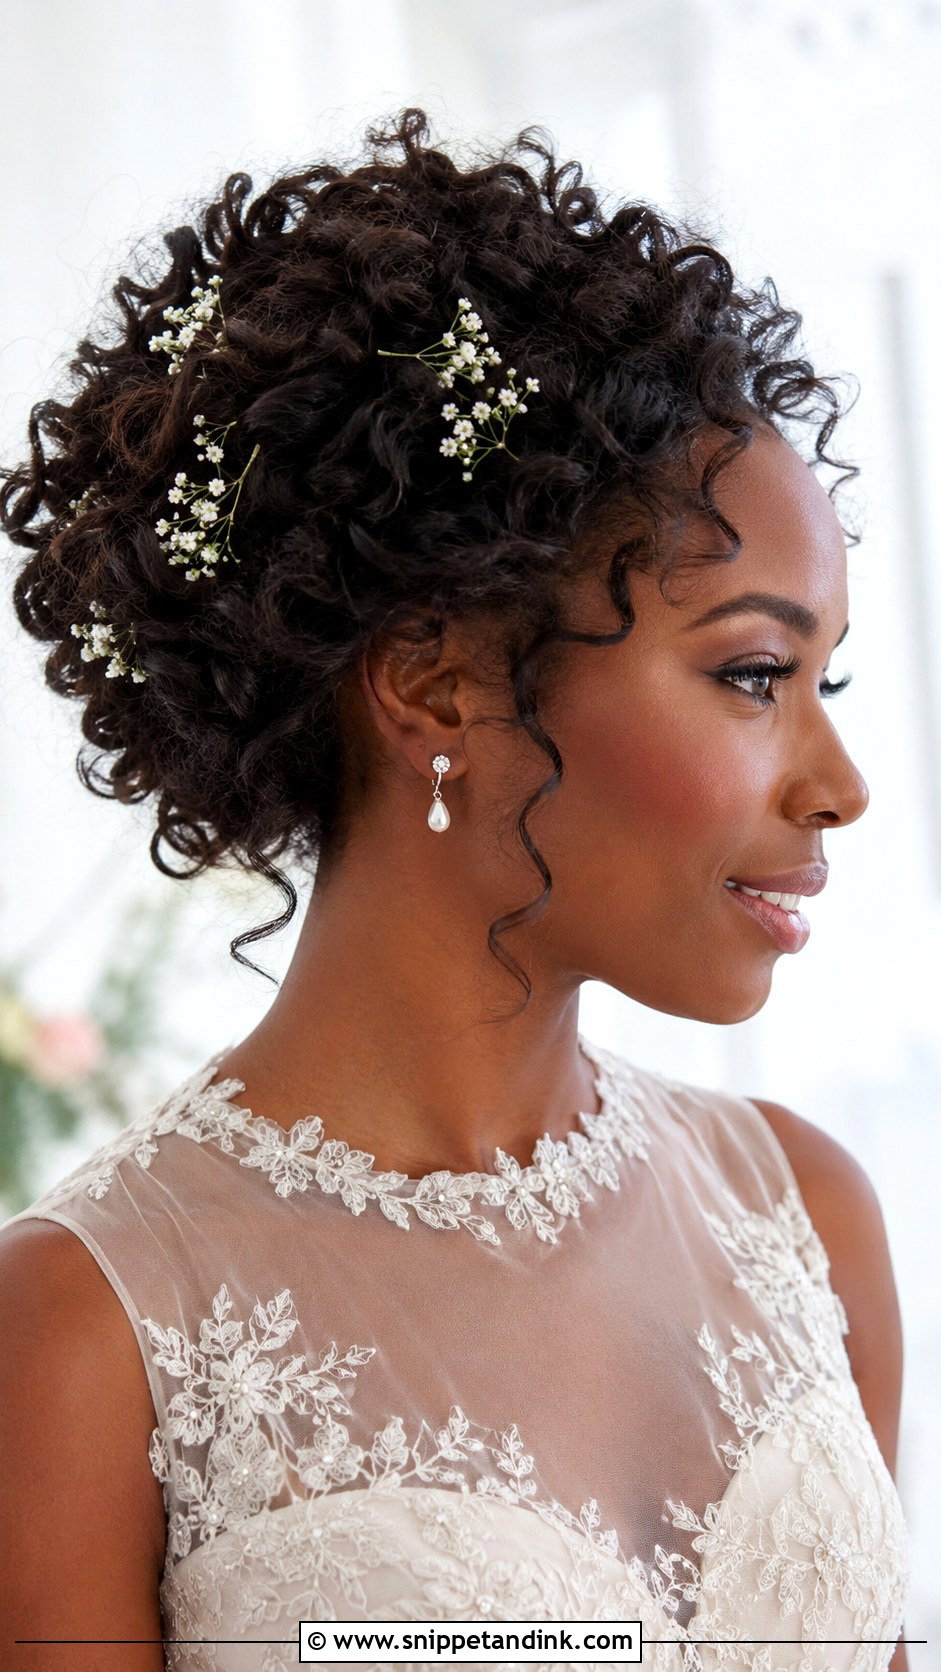
Pinned curls keep their pattern and give medium hair a lot of volume for its length. I don’t brush them out. Each curl or cluster is pinned individually, which turns layers into an advantage: short curls fill gaps at the crown, longer ones build the back. Where it sits depends on the dress and your face shape. Define natural curls with cream or gel the day before; set curls need to cool fully before pinning. Tiny flowers or a veil tucked underneath both sit well.
14. High Bun Wedding Upstyle
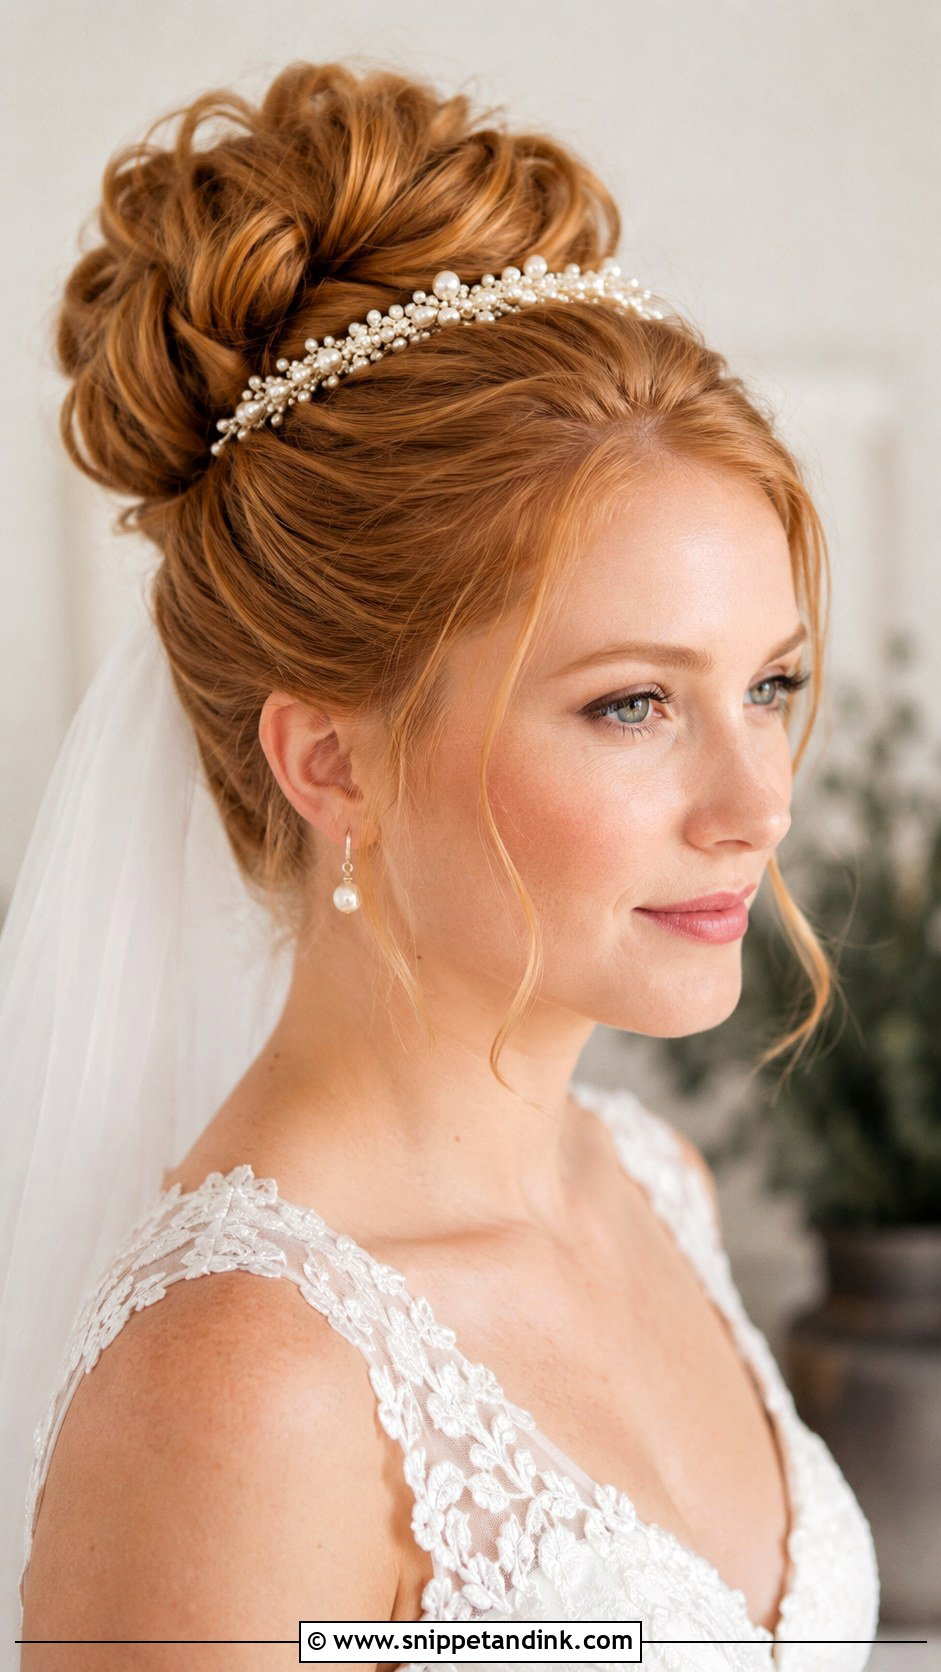
A high bun lifts the face, lengthens the neck and keeps hair off the shoulders, a real relief at a summer wedding. Medium hair usually makes a smaller crown bun than people expect, so I add a mesh donut or a little padding inside. Check first that the hair at the nape reaches the crown without stretching; if your bottom layers are short, they’ll slip out within the hour. Keep the front smooth for polish or pulled apart for softness. Veils and big earrings both suit the height.
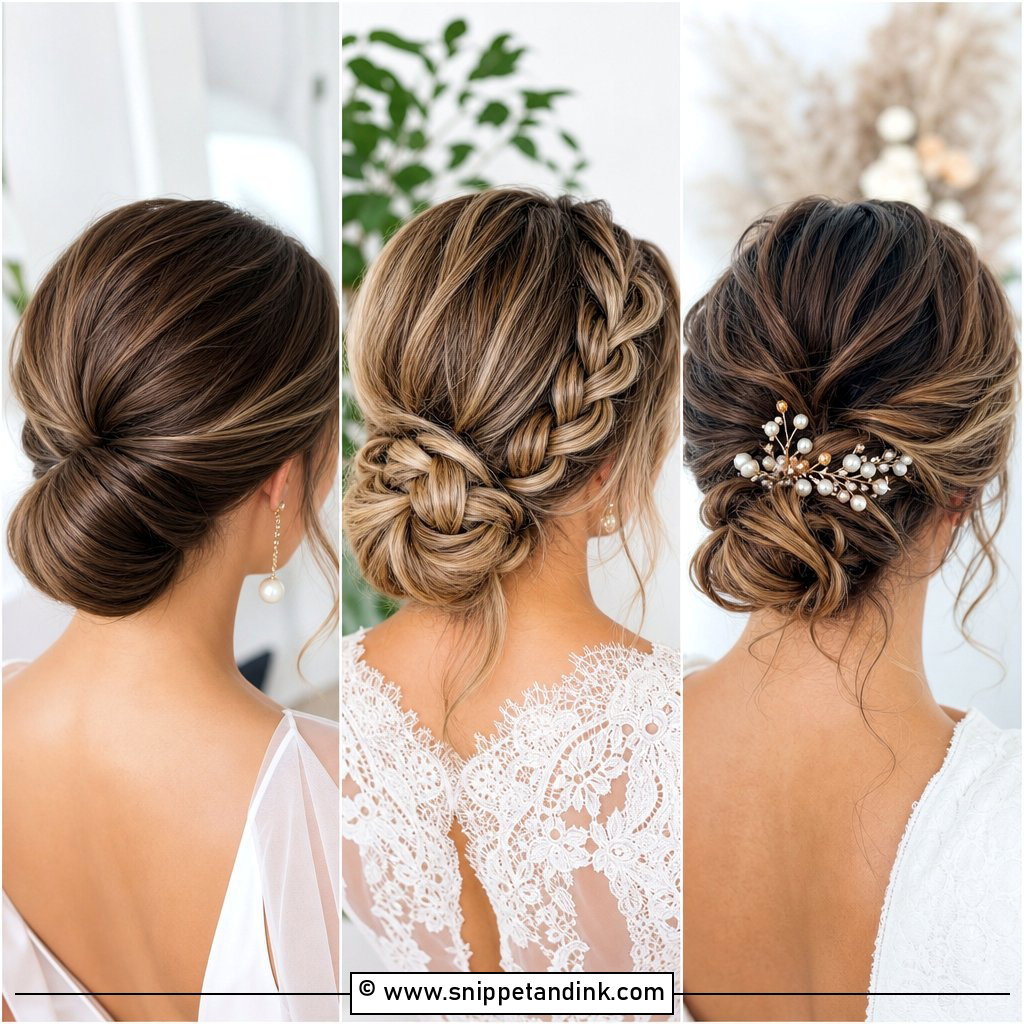
15. Low Ponytail Wedding Upstyle
Shaped properly, a low ponytail counts as an upstyle. On medium hair it needs waves through the length, lift at the crown and wrapped hair around the elastic, or it looks unfinished. It’s more relaxed than a bun and sits naturally with simple dresses and bridal parties. A twist from each side or a sharp side part adds the wedding detail. Fine hair benefits from a few hidden wefts to fill out the tail without changing its overall length.
Growing It Out or Clipping In Before the Wedding
Some brides with medium hair decide they want a long-hair style and start growing it. Hair grows roughly half an inch a month, so a few months buys less than most people hope, and the in-between stage can make layers harder to pin, not easier.
If you’re growing it
Stop cutting layers into the front and ask only for a light dusting of the ends. Book the last trim a few weeks before the wedding, so the ends look healthy and the shortest pieces have had time to catch up.
If you’re clipping in
A few clip-in wefts placed in the lower back of the head give a bun or chignon real bulk. Buy them early, match the color in daylight rather than bathroom light, and wear them to the trial so your stylist can plan where the clips sit. For an updo, wefts a little shorter than you’d expect blend in better than very long ones, which add weight without adding shape.
If you’re doing neither
That’s usually my advice. Every style on this list was chosen because it works with the length you already have, and a bride who isn’t fussing with half-grown layers or new clips tends to be far more relaxed in the chair on the morning.
Density Matters More Than Inches
Medium hair rarely limits what you can wear at a wedding; it changes how the style gets built. Fine hair needs texture and teasing to fill the shape, thick hair needs structure to contain its volume, and nearly everyone at this length has layers to manage. If it’s your own wedding, book a trial, bring photos taken from the back and side, and notice how the style feels three hours in, not only how it looks in the mirror.
You'll Like These Ideas:


Leave a Reply