
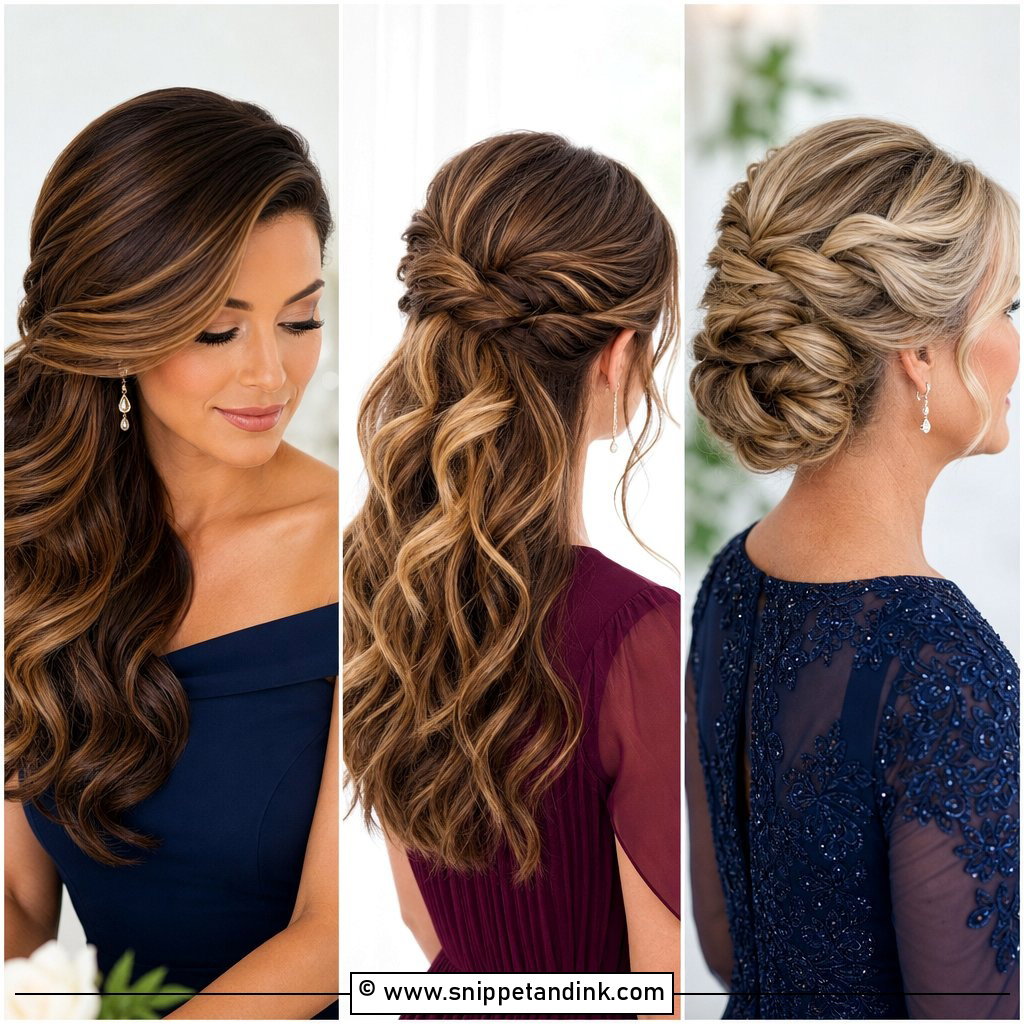
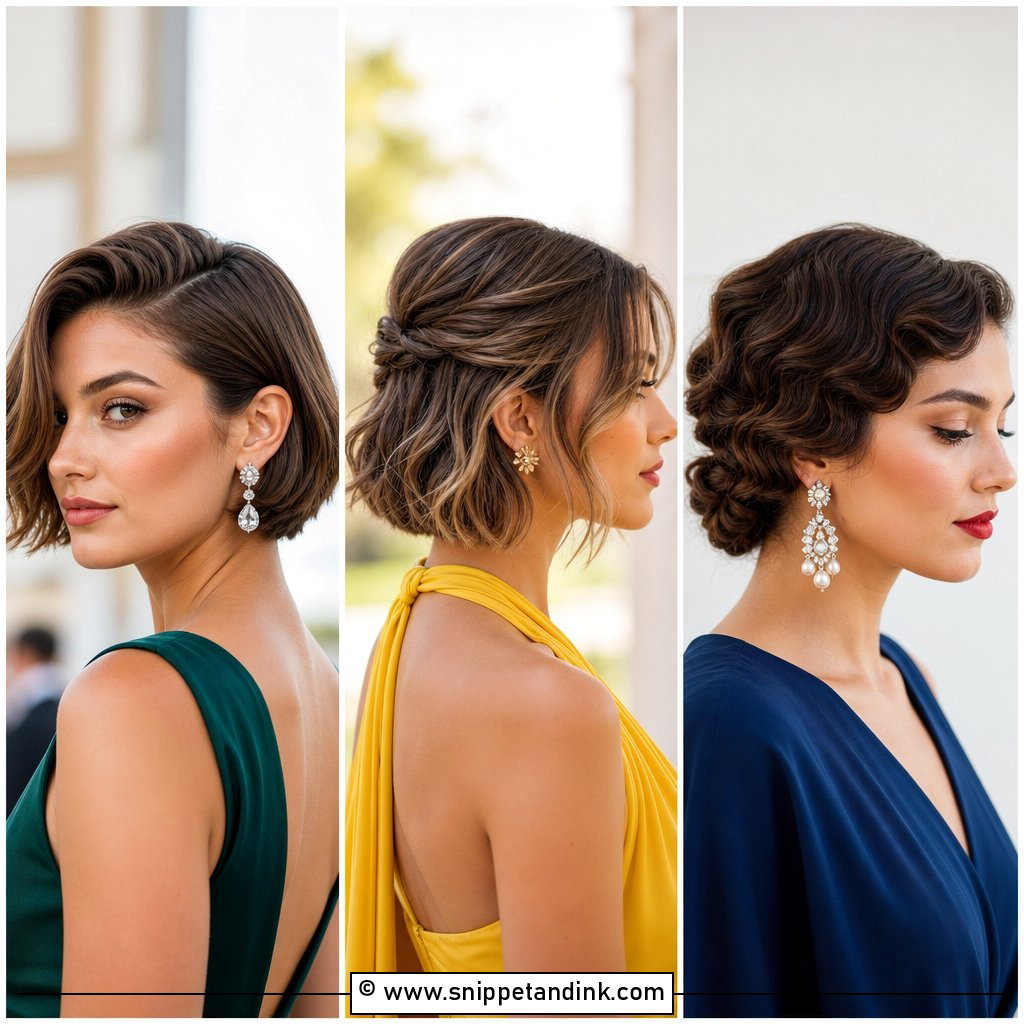
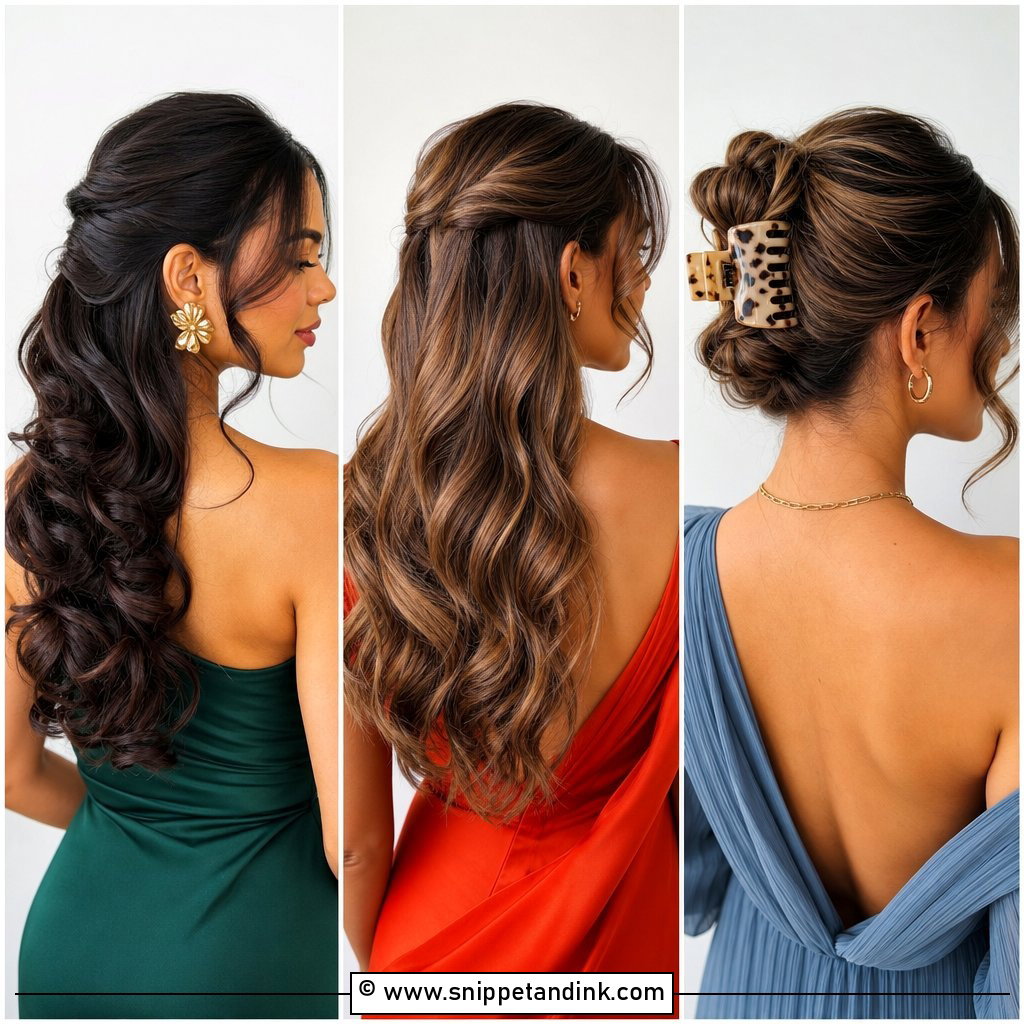
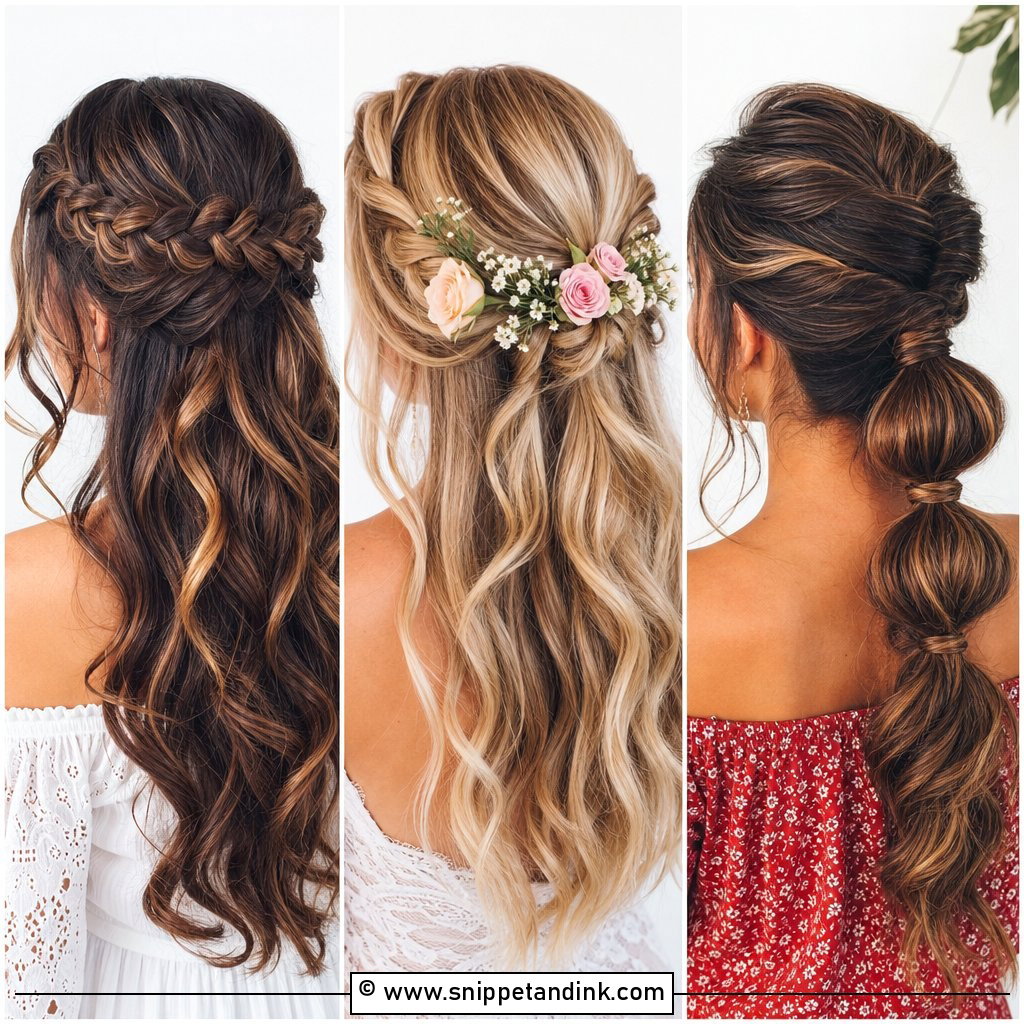
Shoulder to collarbone length is the hair I most enjoy putting up, and it’s the length guests most often tell me they can’t do anything with. It’s actually the reverse. Medium hair is long enough to grip pins and short enough that a bun never drags on the scalp, so it holds shape through a ceremony, a long dinner and a dance floor without needing much product. The catch is layers, which I’ll come back to. These 20 gorgeous upstyle options are ones I’d happily put on a guest, from a garden ceremony to a black-tie evening, with notes on how each one is built and where it tends to slip.
Pinning Shoulder-Length Hair Up by Yourself
Most guests do their own hair, and the difference between a style that lasts and one that slides out by dessert is usually the pins, not skill. Bobby pins clamp; U-shaped pins hold shape. I use U-pins to fix a bun into the base and bobby pins only to lock tight sections close to the scalp. When a bobby pin goes in, the wavy side faces down, and it holds best if you push it against the direction the hair is lying.
Second-day hair grips better than freshly washed hair, so wash the day before. If you have to wash on the morning, a dry texture spray through the lengths will give the hair some bite. Before you start, set out:
- Clear elastics for a base ponytail, which never show through
- U-pins and bobby pins that match your hair colour
- A fine-toothed comb with a pointed tail for sectioning
- A hand mirror, so you can see the back in the bathroom mirror
- A flexible-hold spray to set each section as you pin it
Mist each section lightly as you go rather than spraying the whole head at the end. It holds better and won’t feel stiff.
1. Low Chignon for Medium Hair
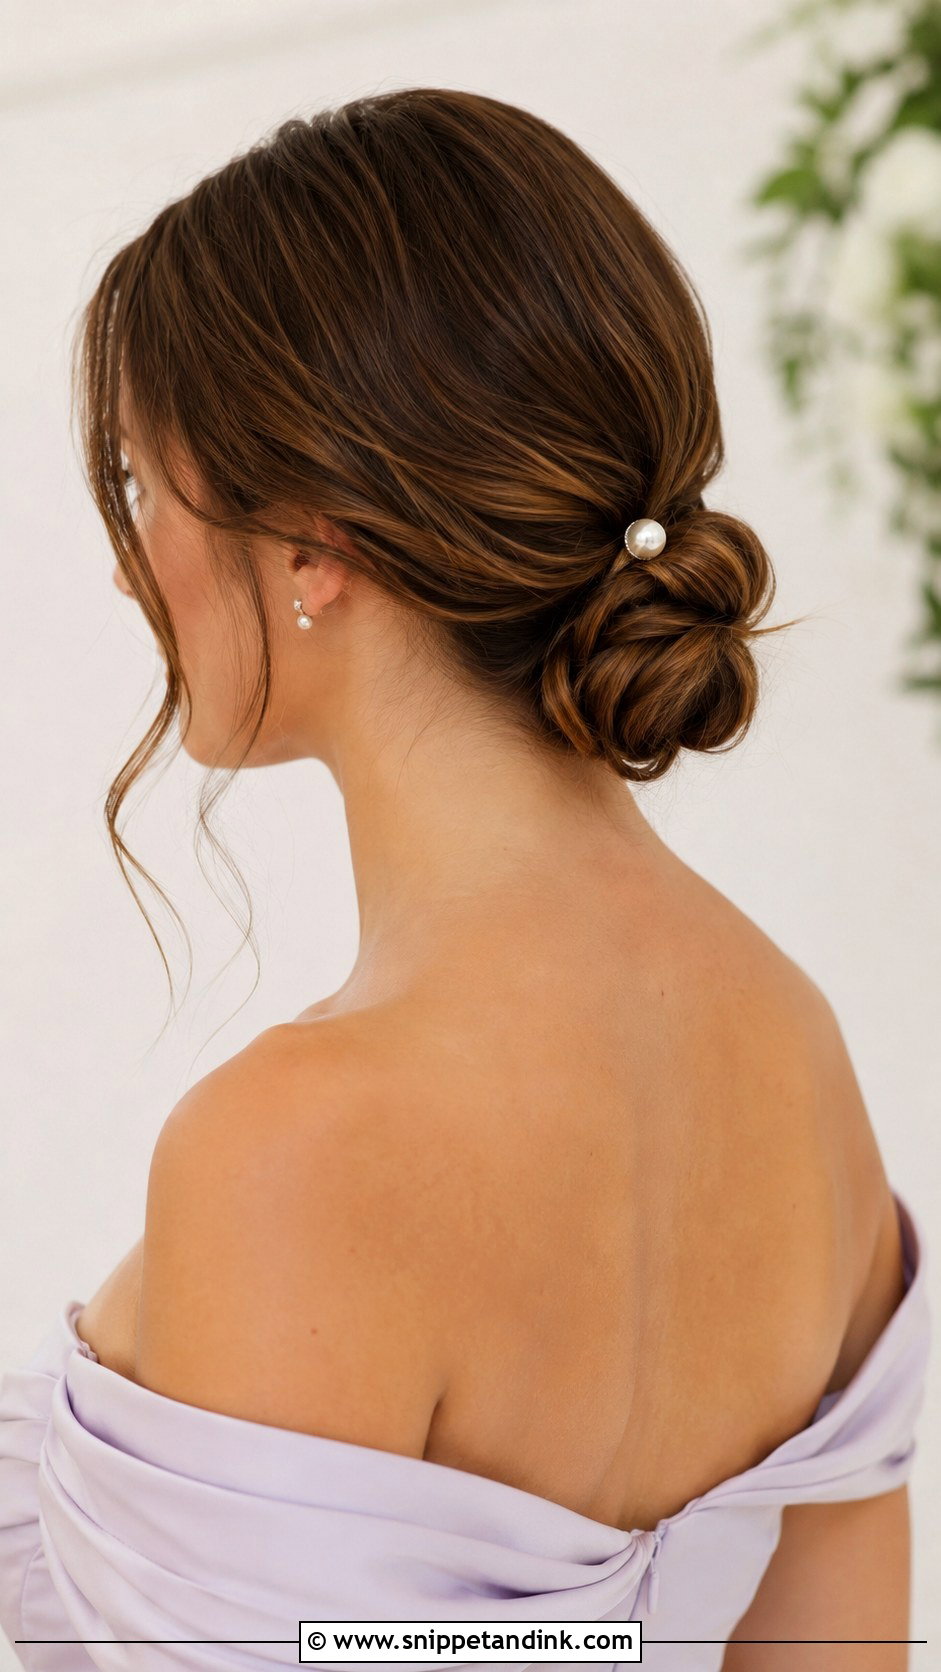
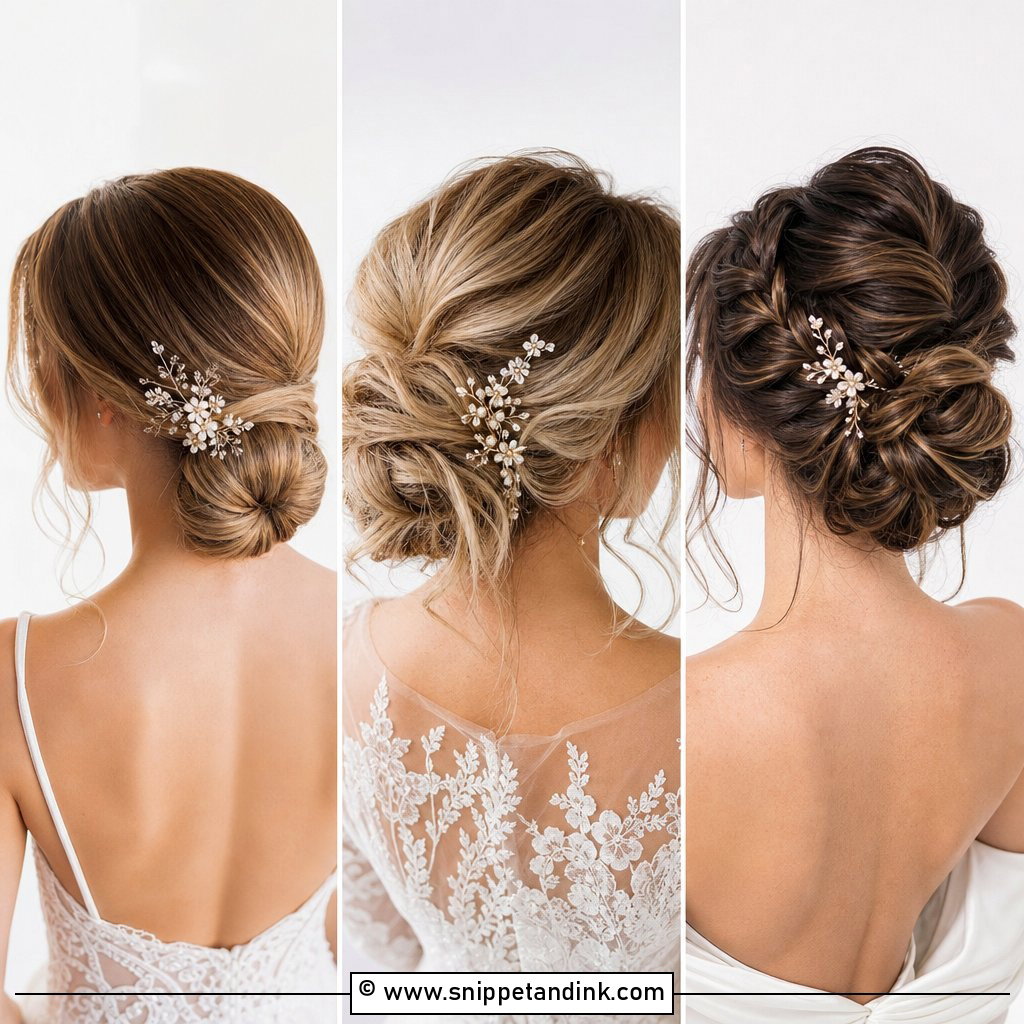
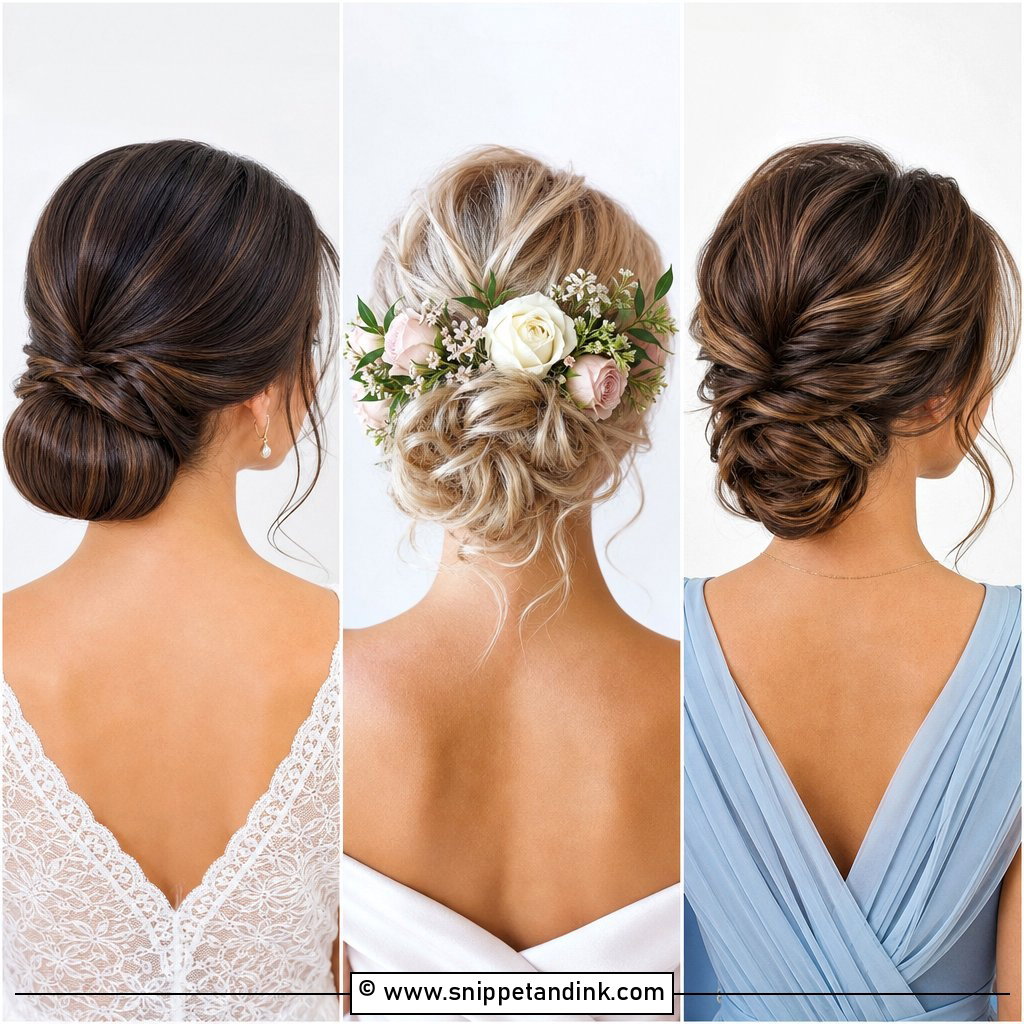
This is the style I’d teach a guest first, because it forgives shaky hands. Gather a low ponytail, twist the length, coil it against the elastic and pin it with U-shaped pins pushed into the base. Sitting at the nape, it leaves the crown clear for a hat or fascinator, which makes it my default for daytime weddings. On medium hair the coil comes out compact and neat, so it doesn’t need padding. A single pearl pin is enough decoration.
2. Twisted Bun With Face-Framing Tendrils
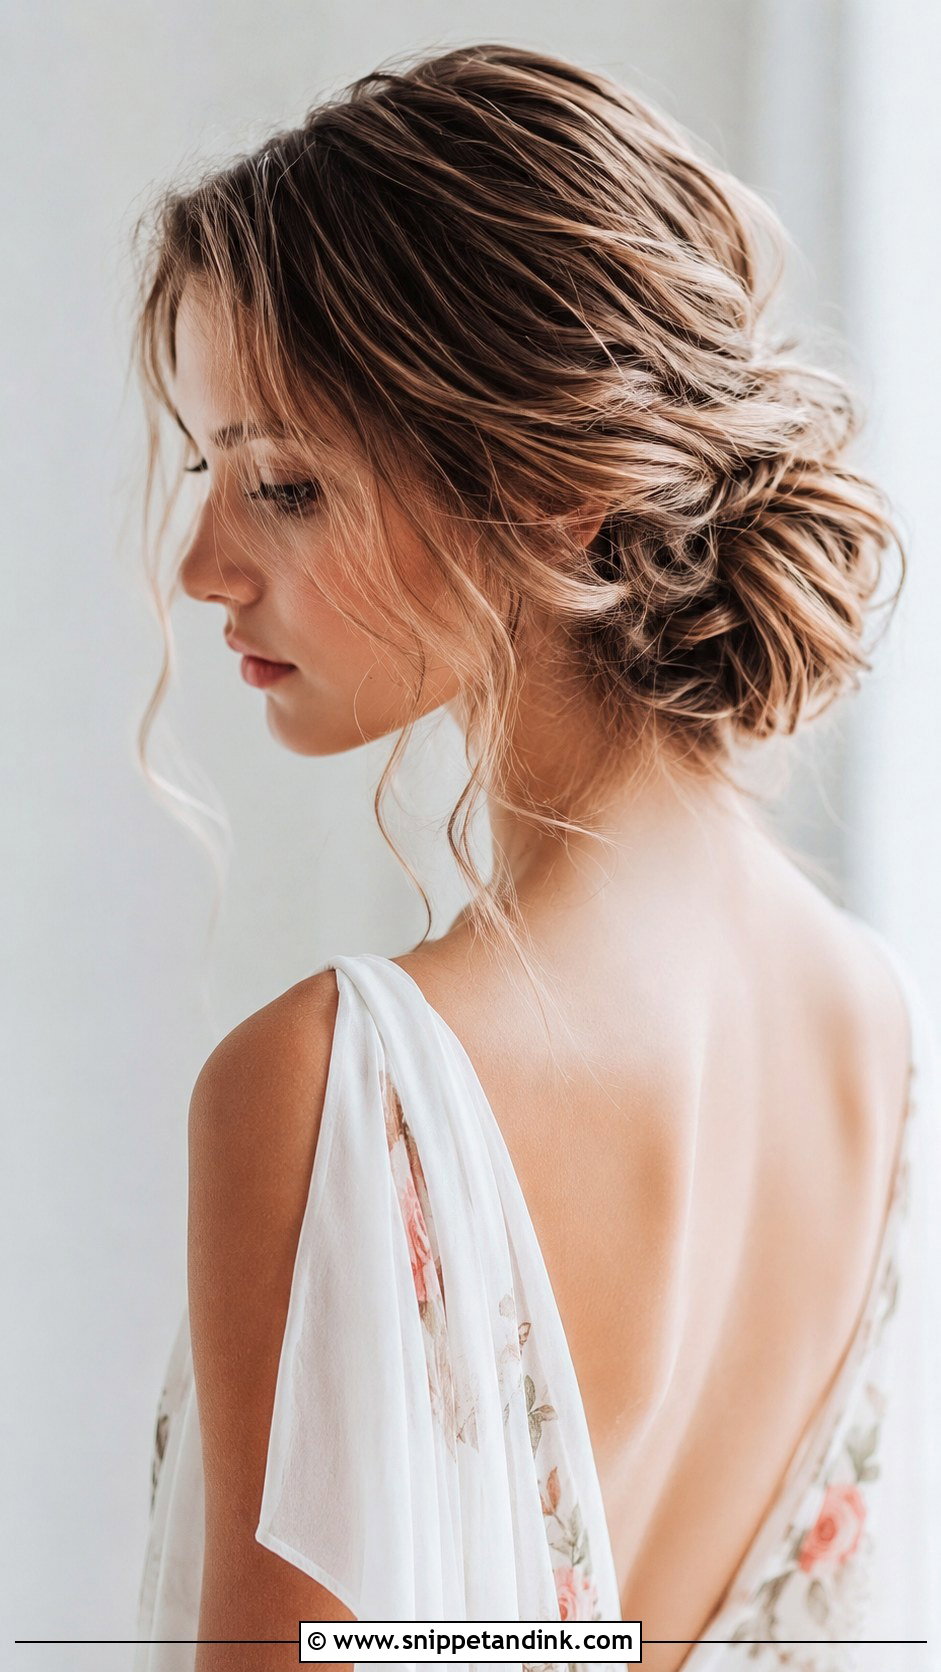
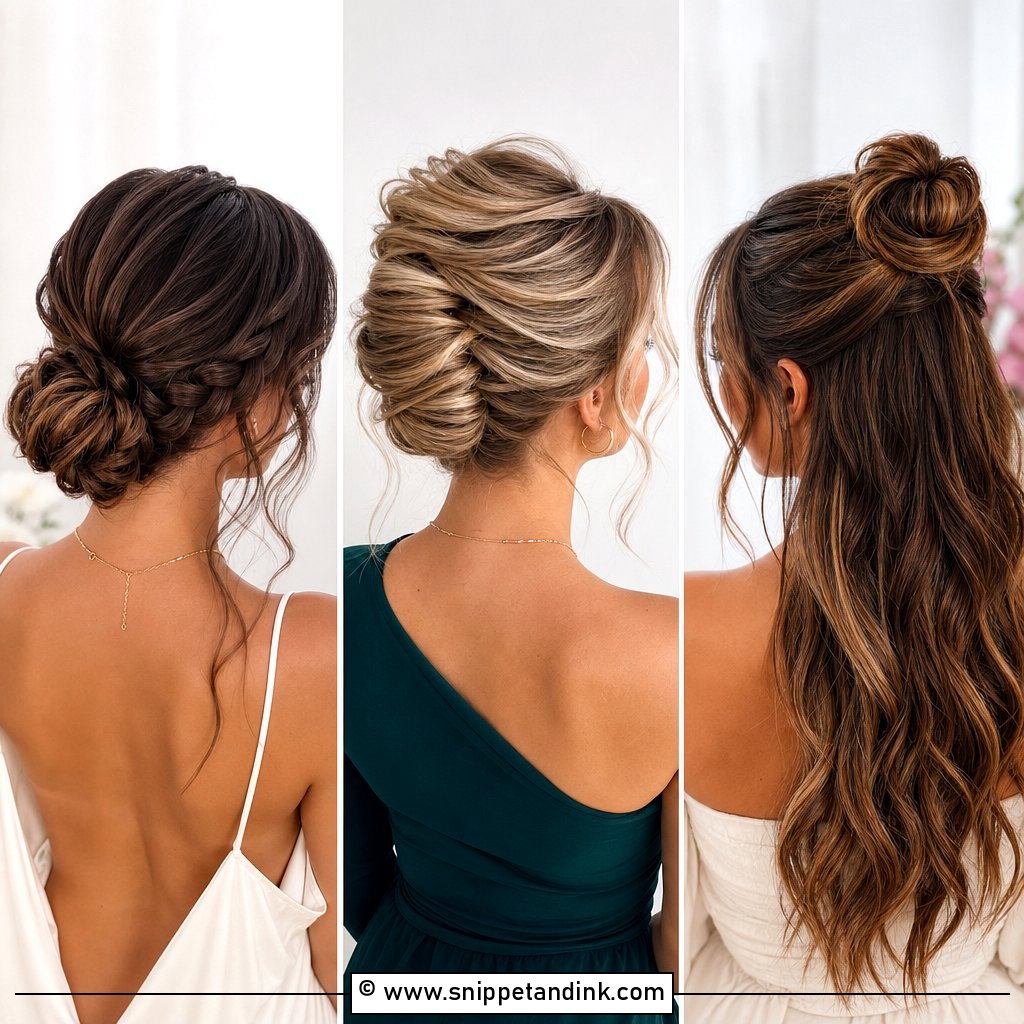
Curl the hair loosely first; a twisted bun made from straight medium hair tends to look thin and the twists unravel. Then twist sections back toward the crown and gather them low. I leave two tendrils at the face and curl them separately with a smaller iron so they keep a shape instead of hanging limp by evening. Long drop earrings sit well against those loose pieces.
3. Half-Up Top Knot
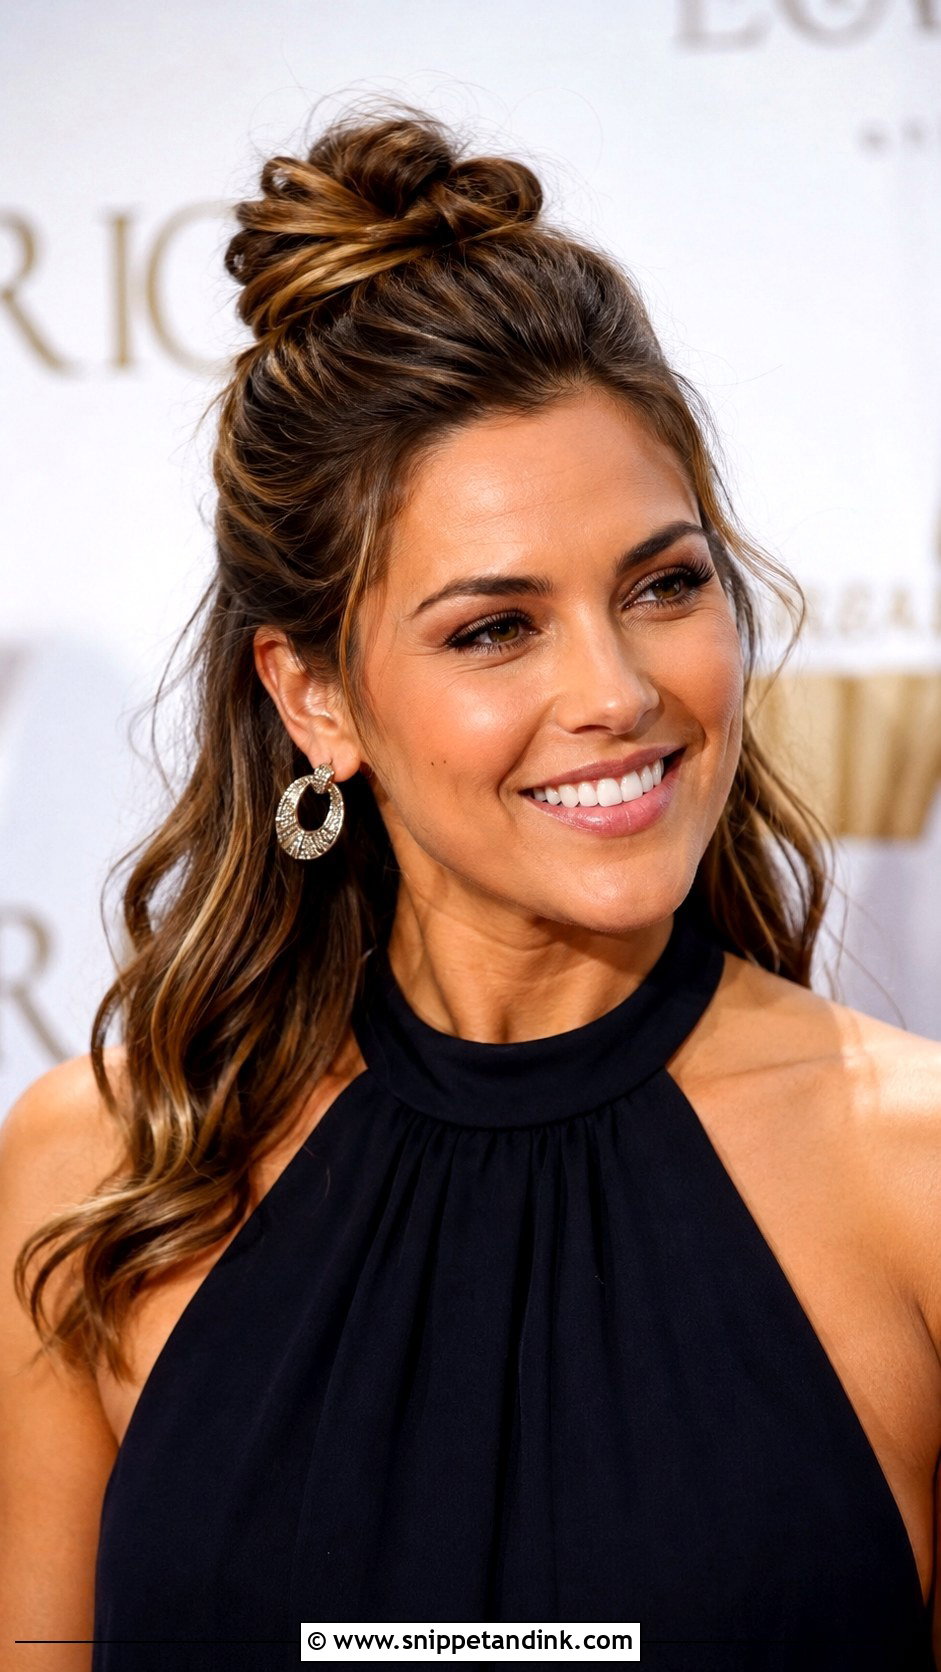
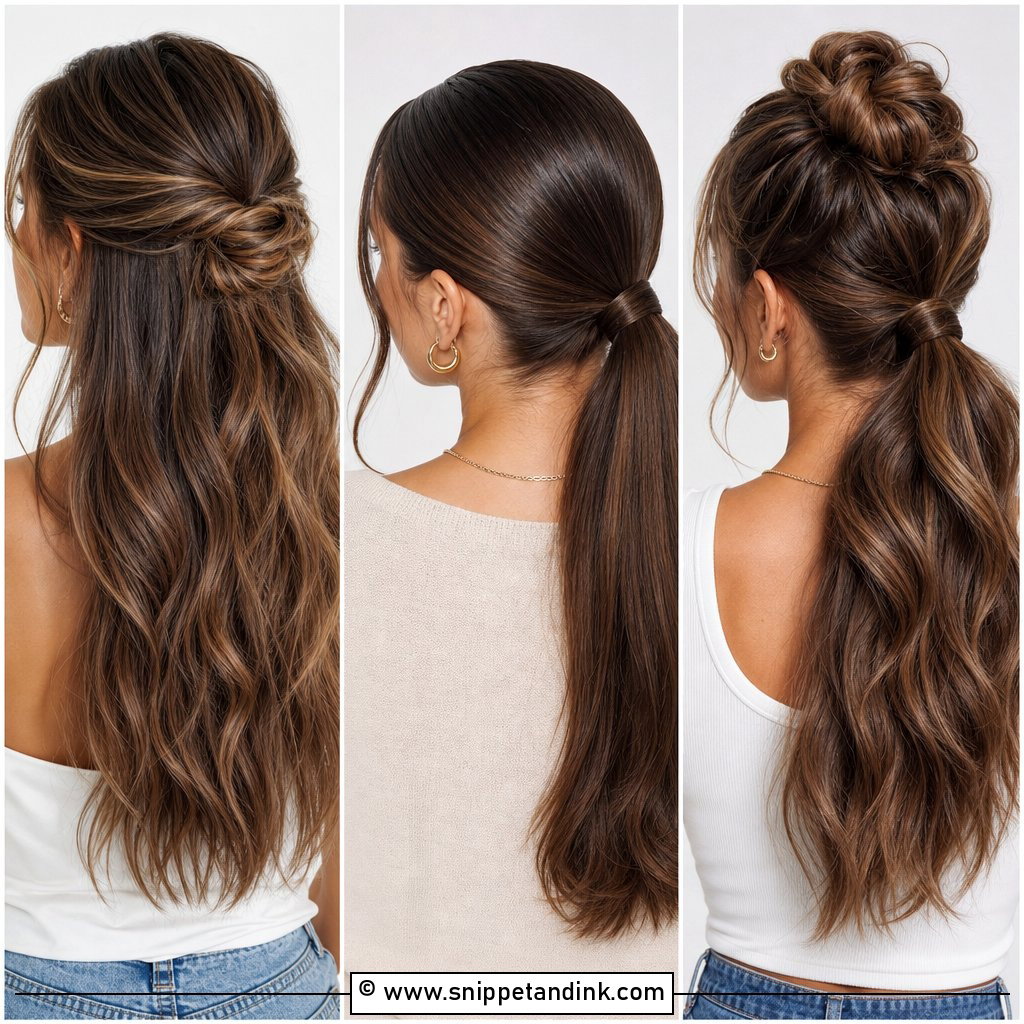
For a half-up top knot, the crown section goes up into a small knot and the rest stays down. It keeps hair off your face without committing to a full updo. Medium length is good here because the loose ends still have enough to wave. My one warning: the knot must sit on a firm base. I make a tiny ponytail with a clear elastic first, then wrap the knot around it, otherwise it migrates sideways by the speeches. The extra crown height helps round and heart-shaped faces.
4. Braided Half-Up Style
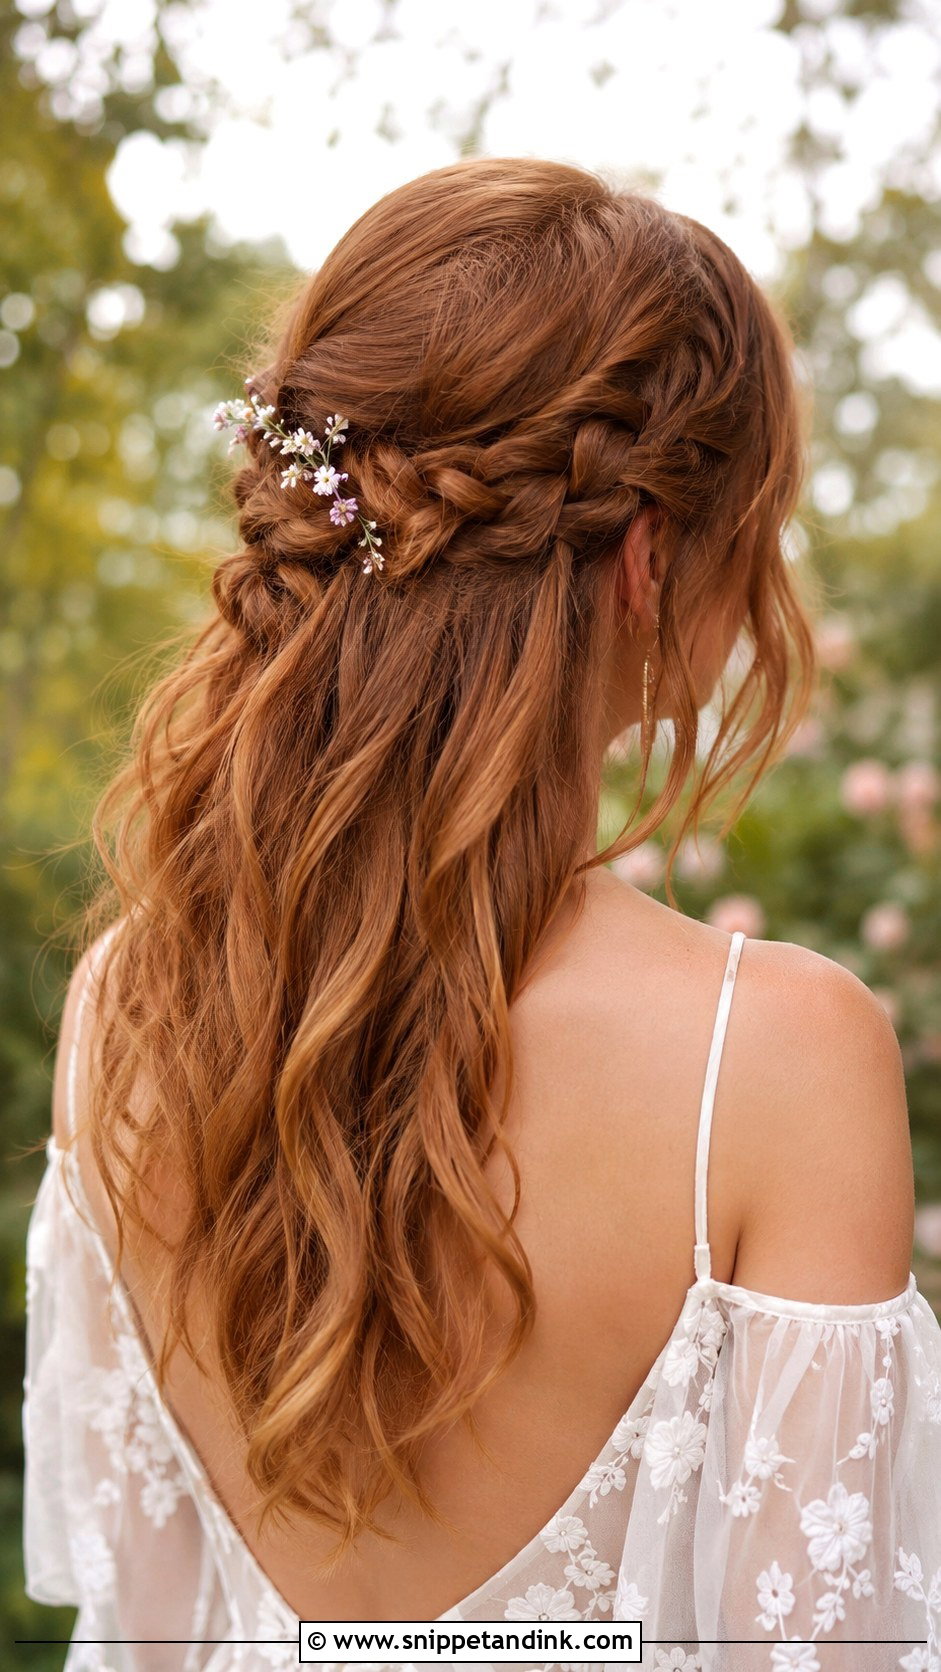
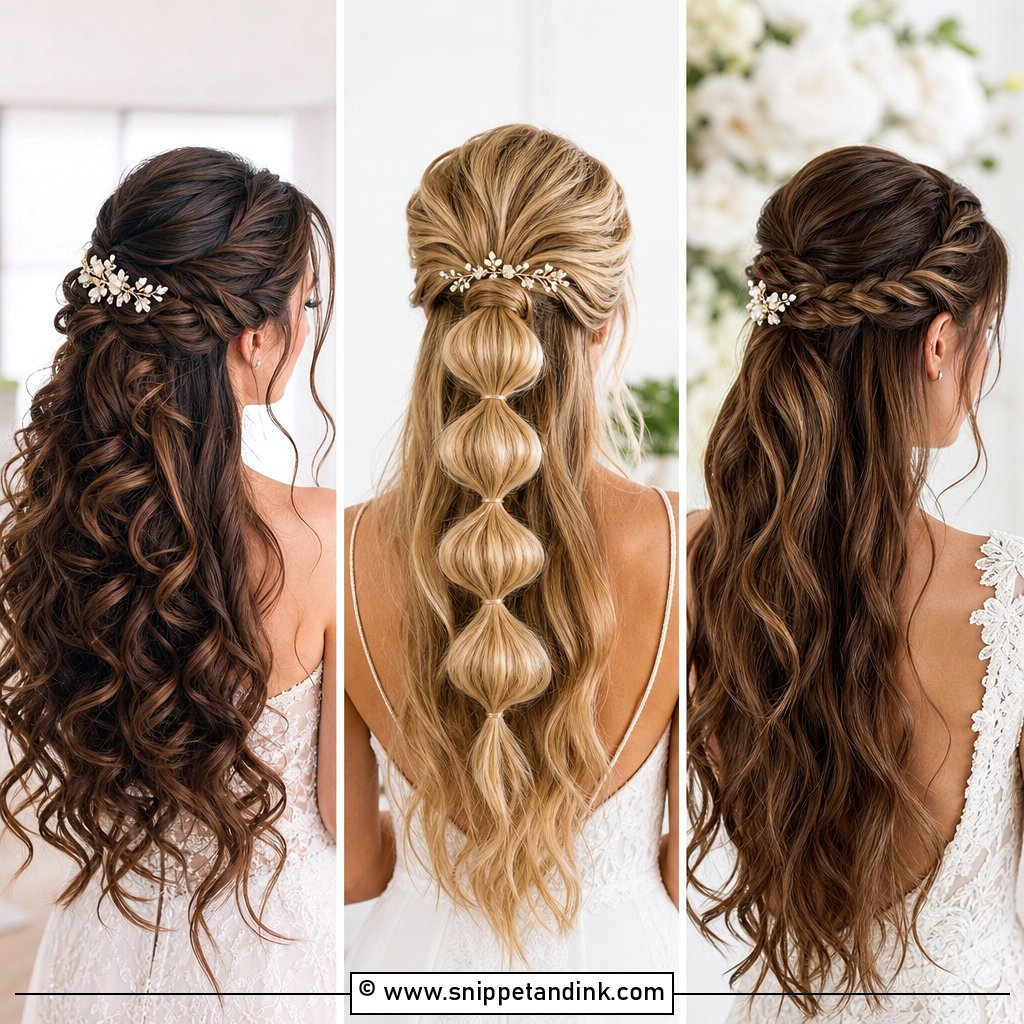
Two loose braids taken from the front and pinned together at the back give the hair detail while the rest falls in waves. Work a little texture spray through the sections before you braid; braids on squeaky-clean hair slip and look thin. I pull each loop wider after pinning, which makes medium hair look denser than it is. It suits outdoor weddings, though the waves underneath will drop first in humidity, so set them with a firmer spray than the braids.
5. Low Side Bun
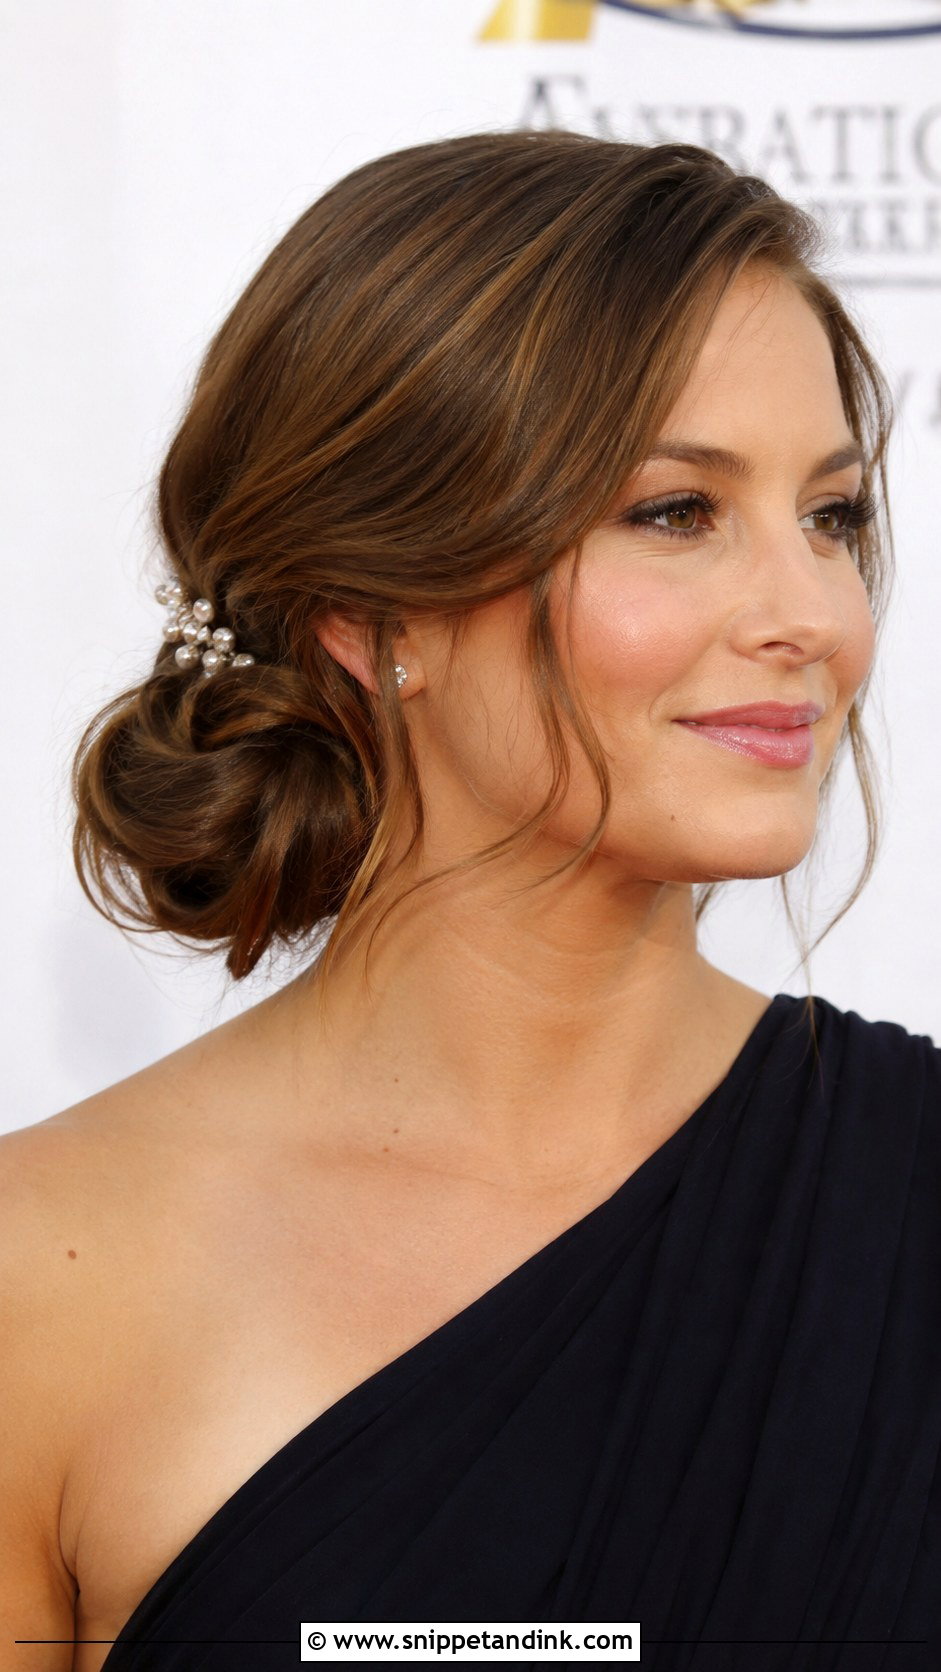
Gathering everything to one side shows off the jaw and neck and sits well against a one-shoulder dress. I secure the bun just behind the ear, not on it, because pins over the ear start to ache within an hour or two. Medium hair is easy to sweep aside because there’s less weight pulling the bun forward. A clip on the opposite temple balances the asymmetry so it doesn’t look like the bun has slipped.
6. Sleek Ballet Bun
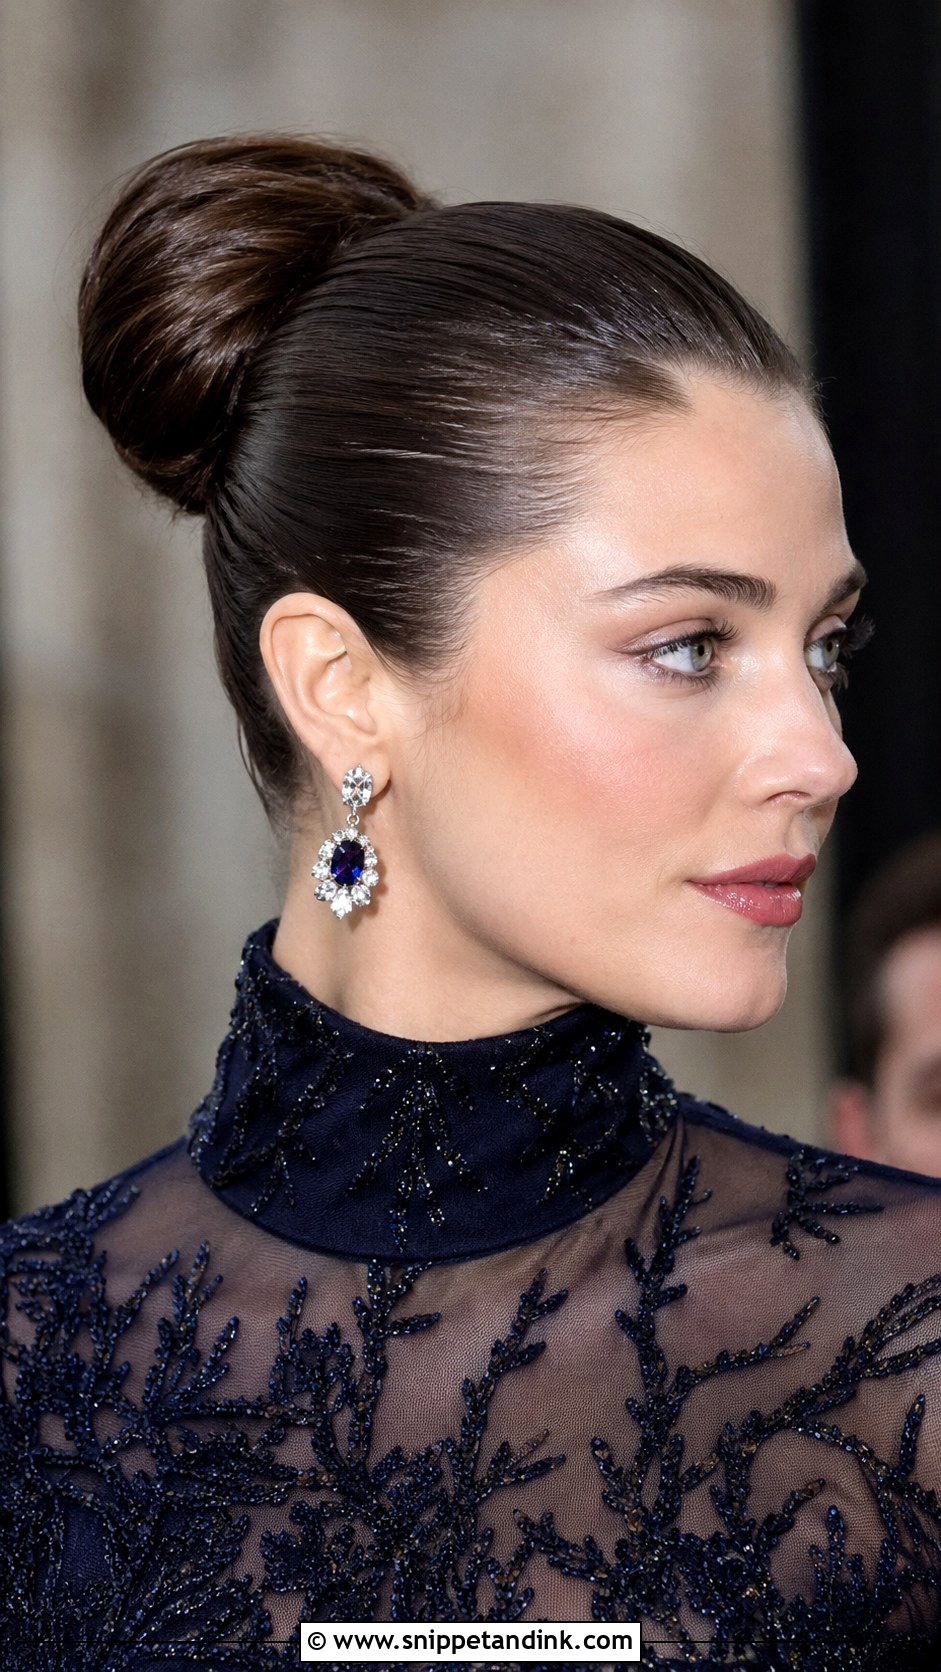
The sleek ballet bun is all about the brushwork. Smooth the hair back with a boar bristle brush and a little smoothing cream, then gather it high or mid-head and wrap the ends around the base. Skip heavy gel on medium hair: it can look wet in photos and leaves white flakes on dark colours. Because everything is pulled away from the face, statement earrings carry the outfit. It’s the most secure style on this list, which matters at a long reception.
7. Messy Updo With Loose Pieces
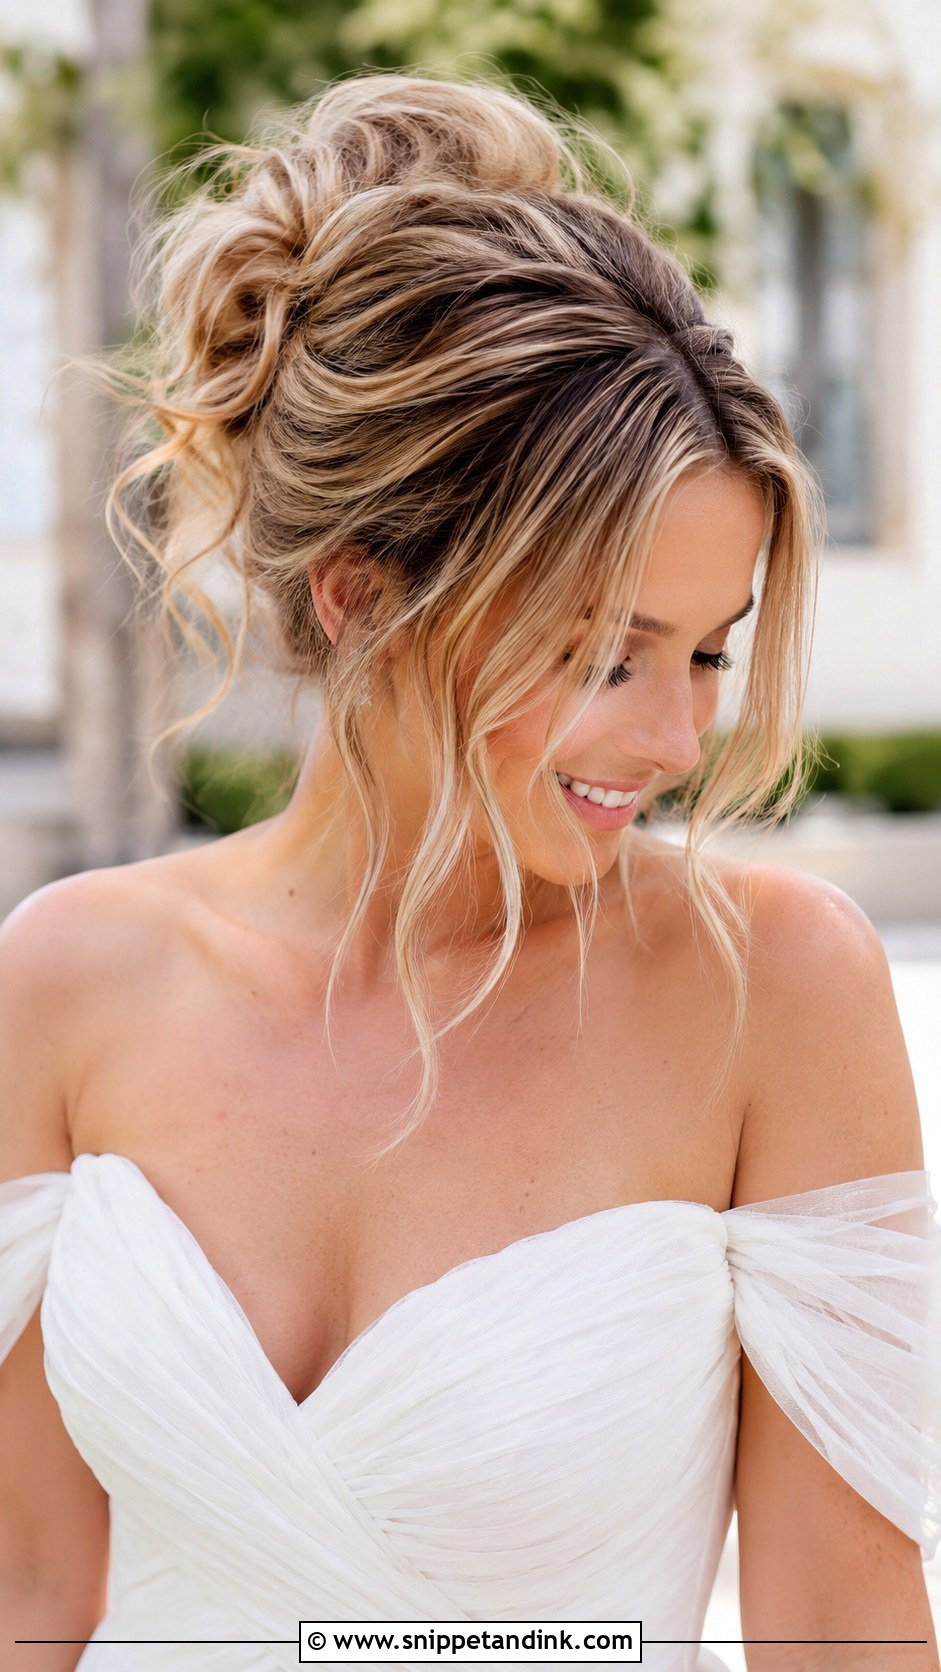
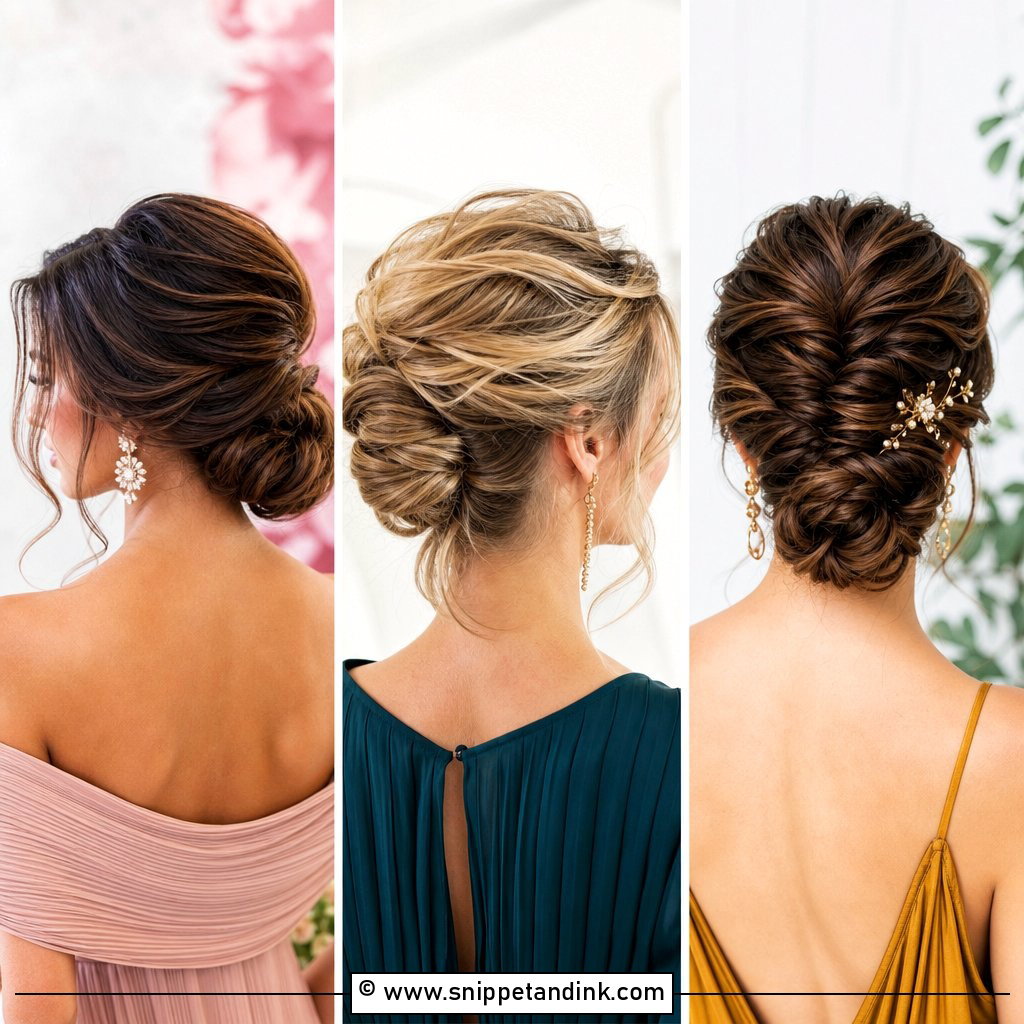
An undone updo still needs planning. I don’t brush the hair out first; I twist and pin loose sections into a soft bun so the texture stays in. A little dry texture spray gives medium hair the grip it needs. What I watch is the number of loose pieces. Leave three, not ten, or by the evening it will look like the style has collapsed rather than been designed that way.
8. Braided Crown Updo
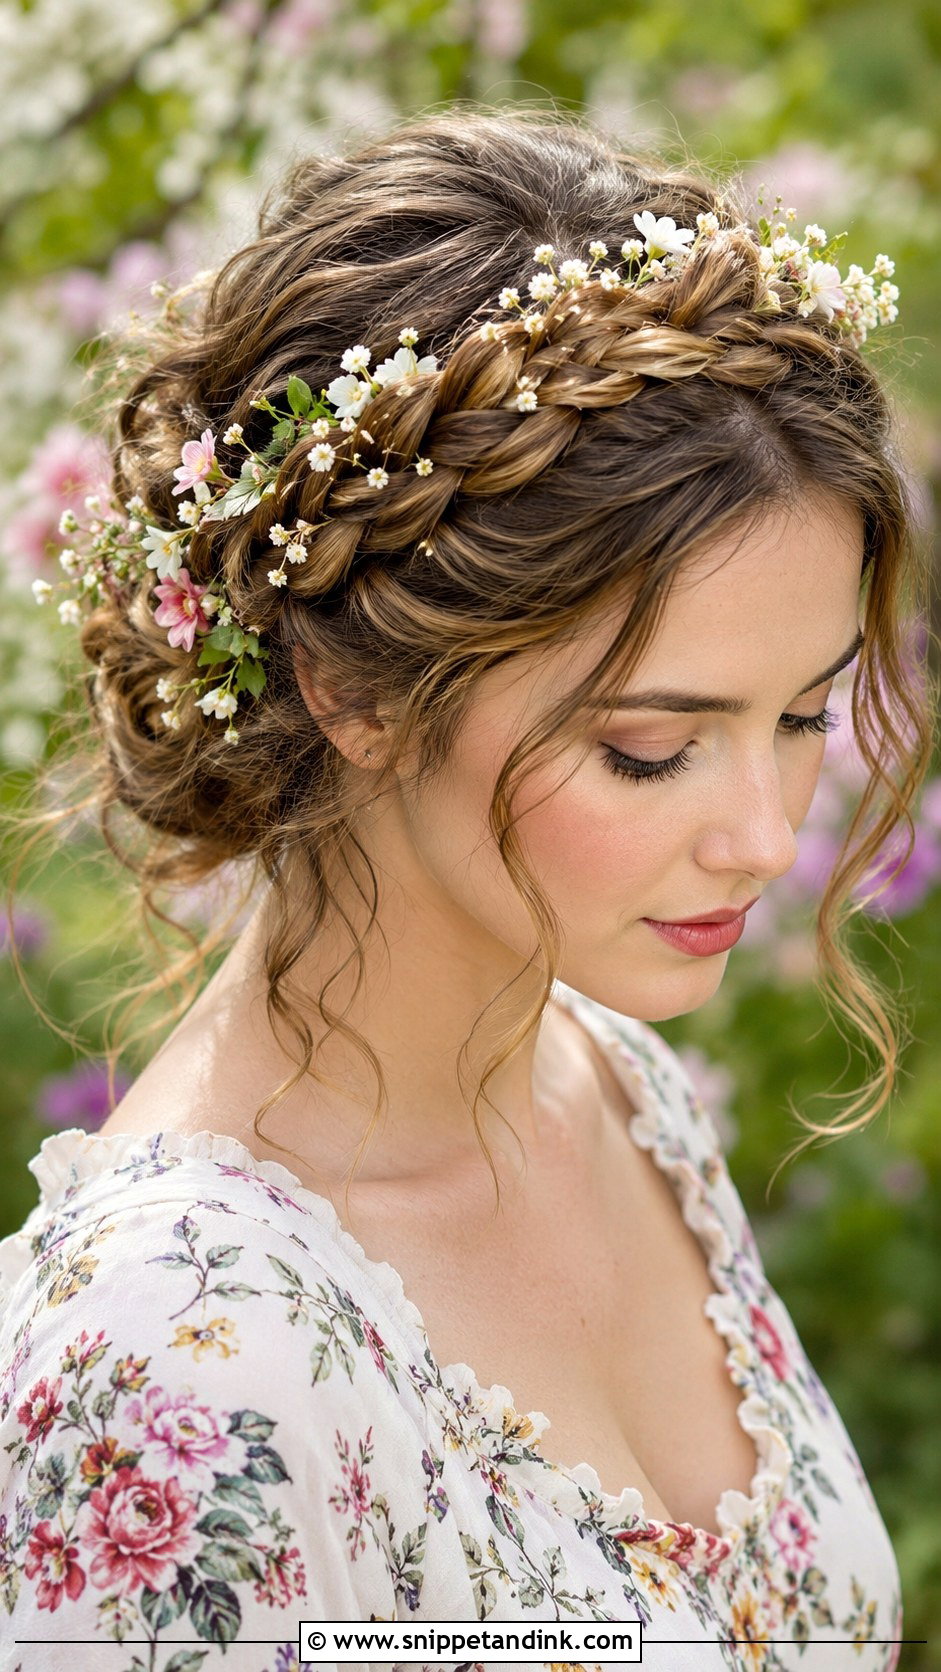
Braids along the hairline are pinned across the crown so they meet like a halo, and the ends tuck underneath. Medium hair usually reaches all the way round, though with heavy layers I’ll braid in a thin clip-in piece so the loop doesn’t show gaps. Small flowers or foliage tucked in suit a spring or garden wedding. Check it with a hand mirror from behind; the join at the back is where crown braids usually look patchy.
9. Low Ponytail Twist
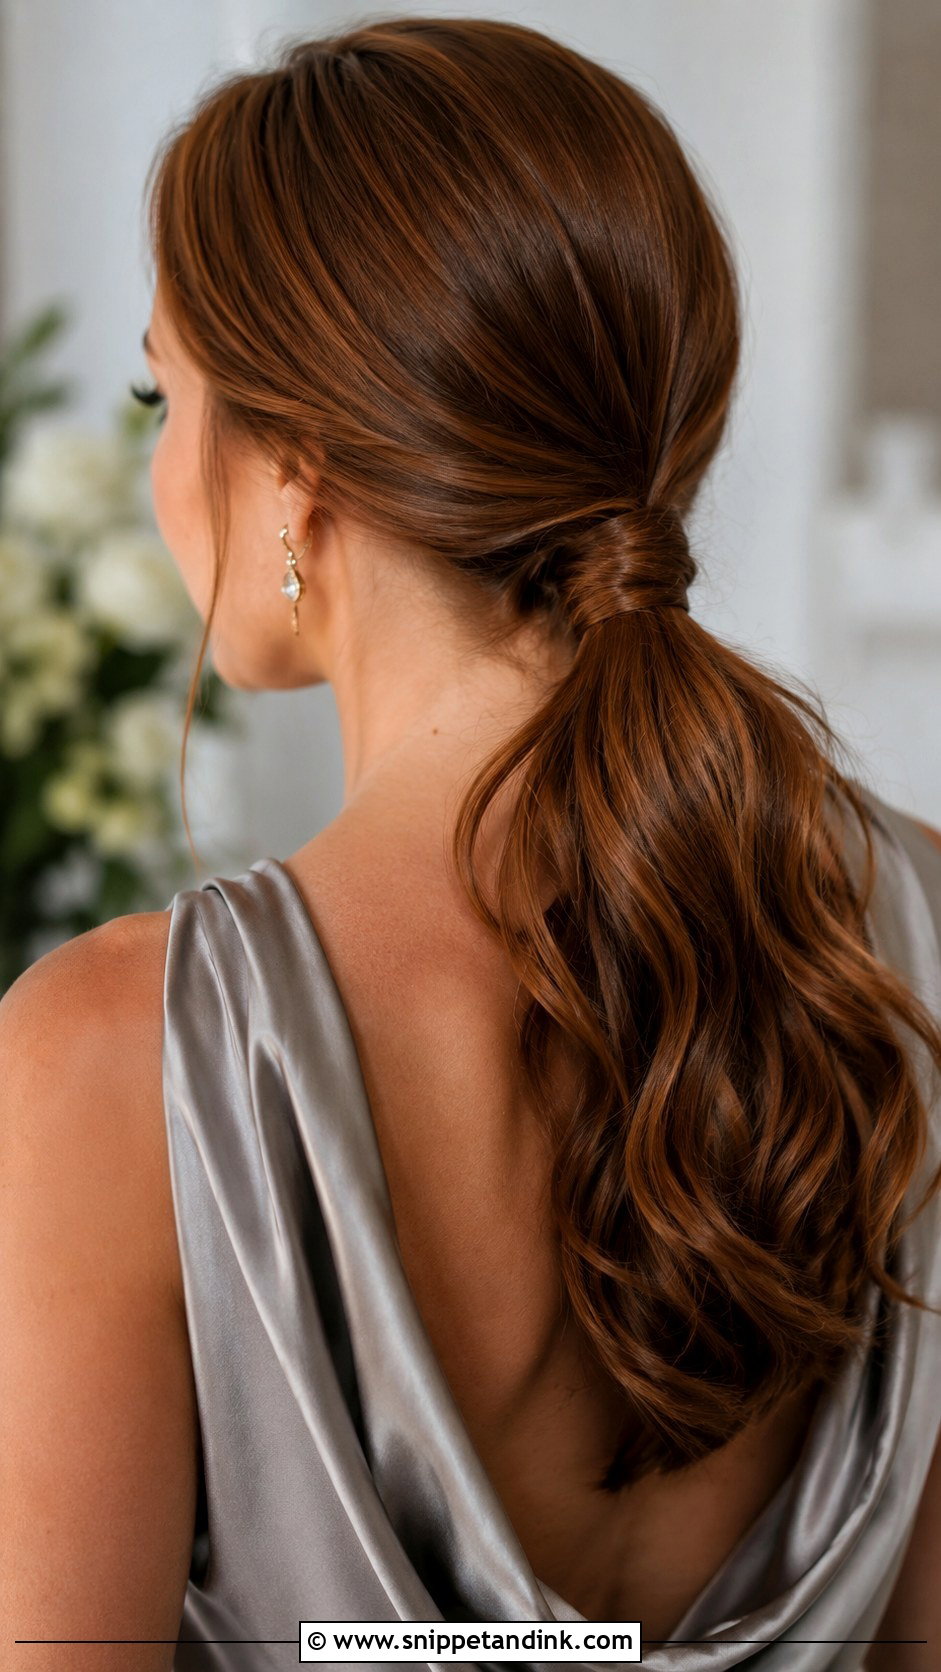
A low ponytail with a section of hair wrapped around the elastic is about as quick as a dressed-up look gets. I add a twist through the length so it reads finished rather than everyday. Spray the wrapped section and pin it underneath with one bobby pin, because a wrap with nothing holding it unwinds as you move your head. Leave it smooth for an evening wedding or add waves for a daytime one.
10. Twisted Updo With Pearl Pins
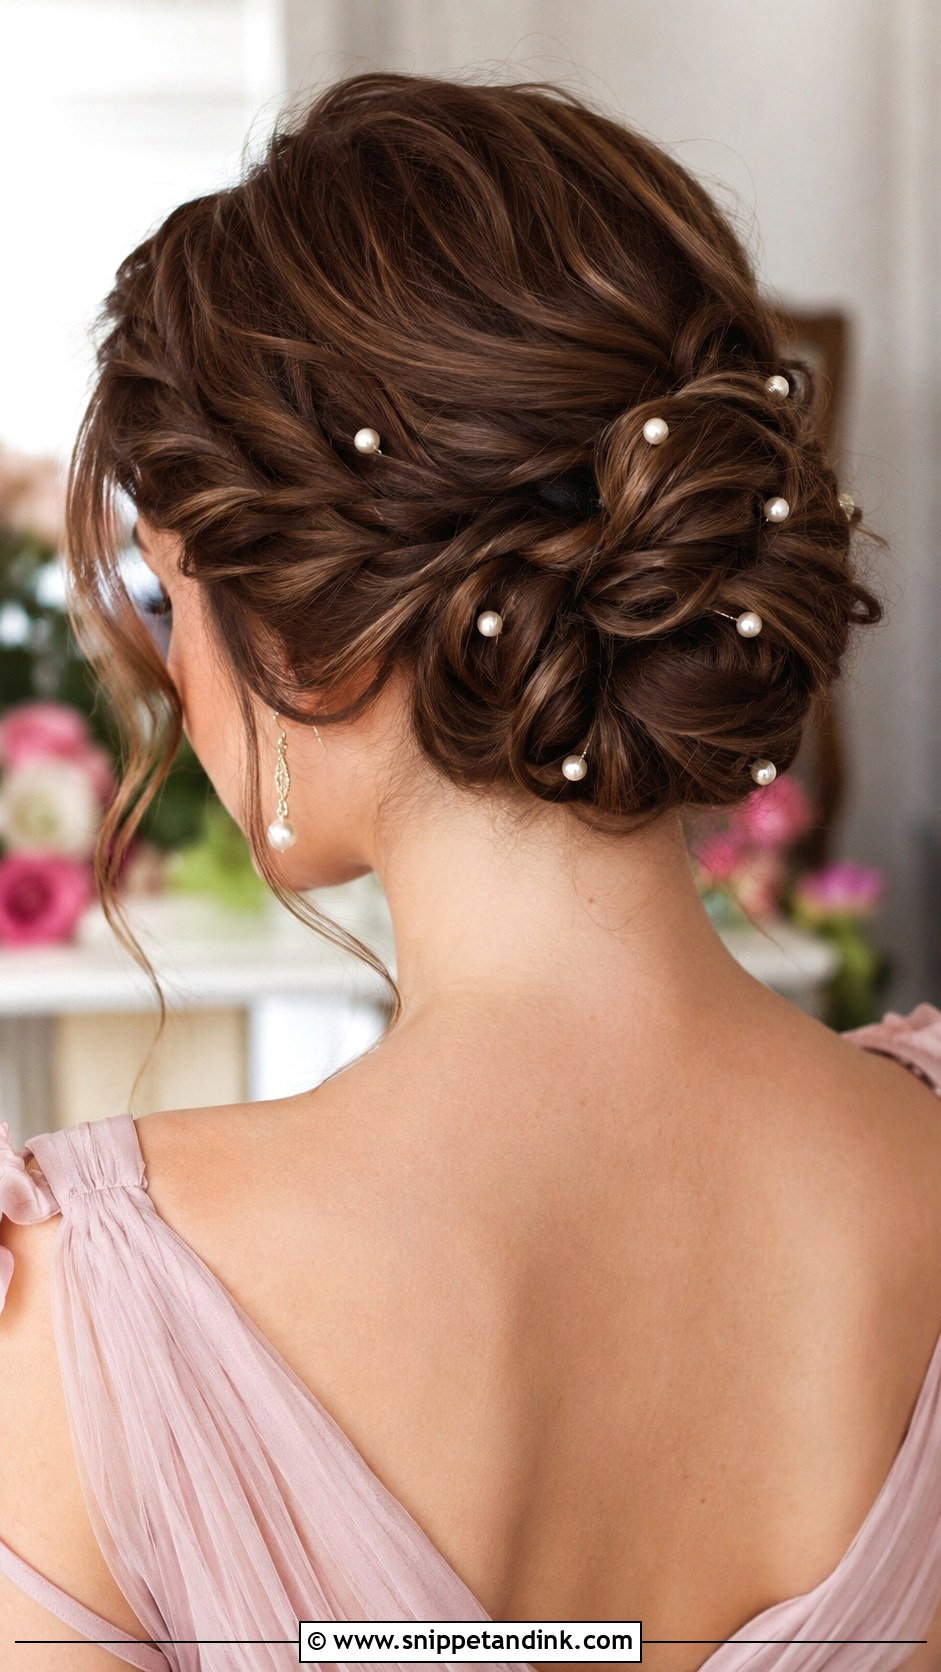
Pearl pins turn a plain twisted updo into something dressy. Twist sections back, pin them into a soft gathered shape, then place the pearls last. Push each pearl pin into a twist, where the hair is tight, never into a loose section, or they fall out during hugs. Medium hair holds twists without bulk, which keeps the pearls visible. I’d keep the number of pins odd and spaced unevenly; a neat row of pearls looks bridal, and you’re a guest.
11. Half-Up Twisted Crown
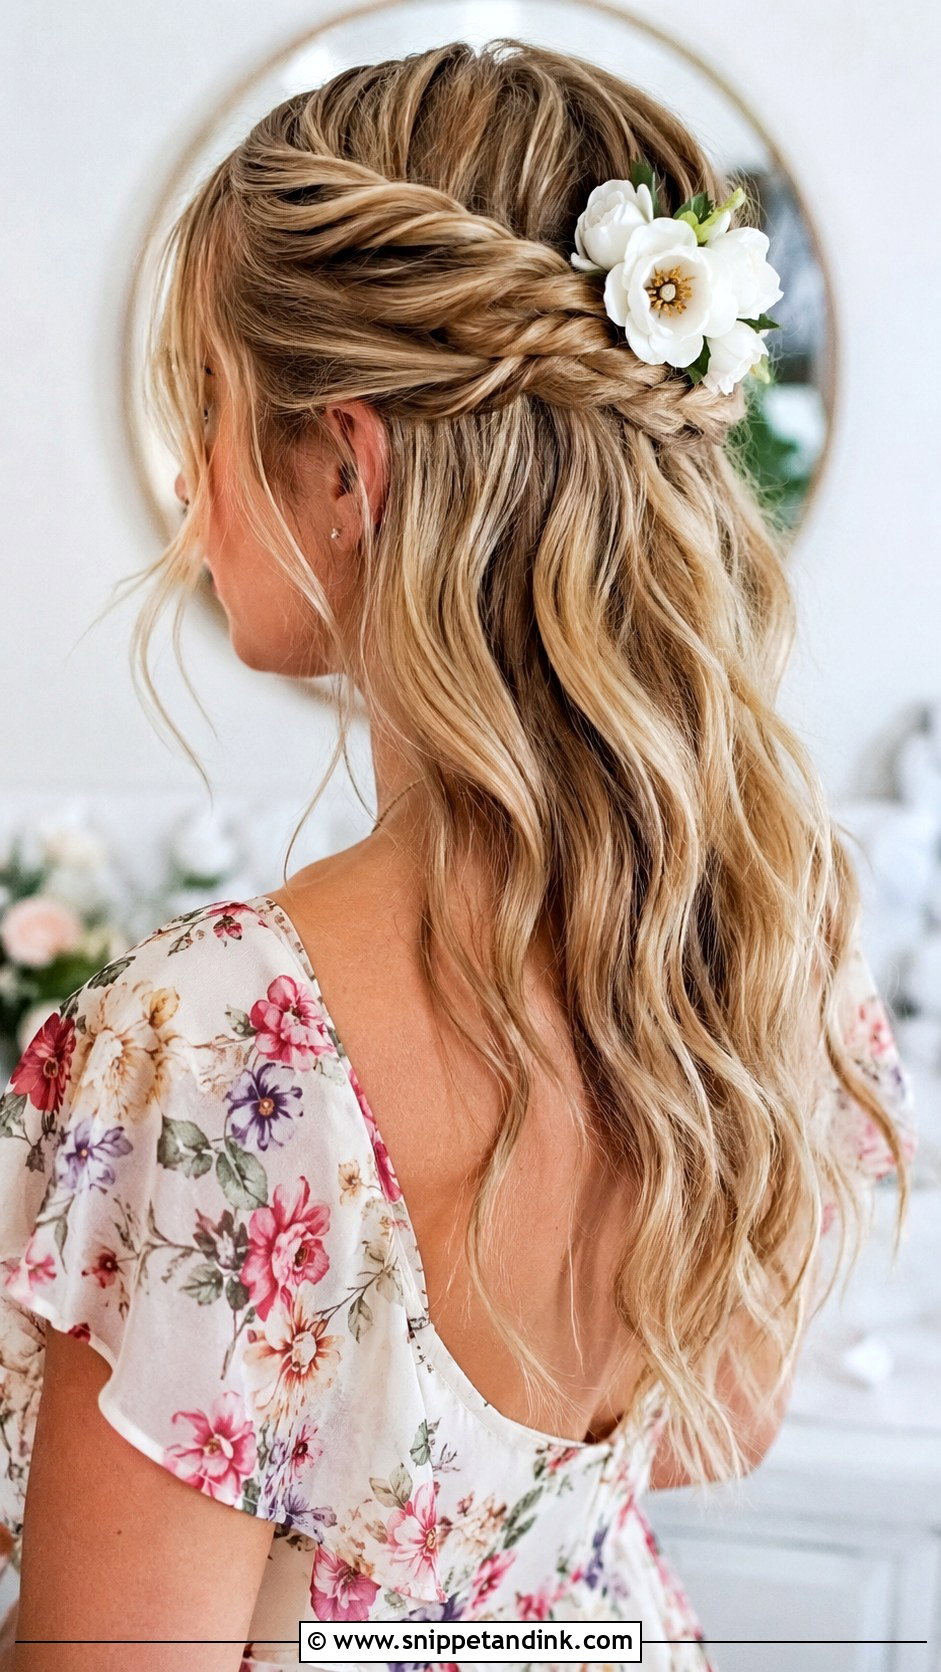
Small sections from each side are twisted and pinned together at the back to form a crown, and the rest falls in loose waves. Take the sections from just above the ear; too high and the twists pull your face tight. The height suits round and oval faces. A small pin or bloom where the twists meet hides the bobby pins, which are always the weak spot in this style.
12. French Twist Updo
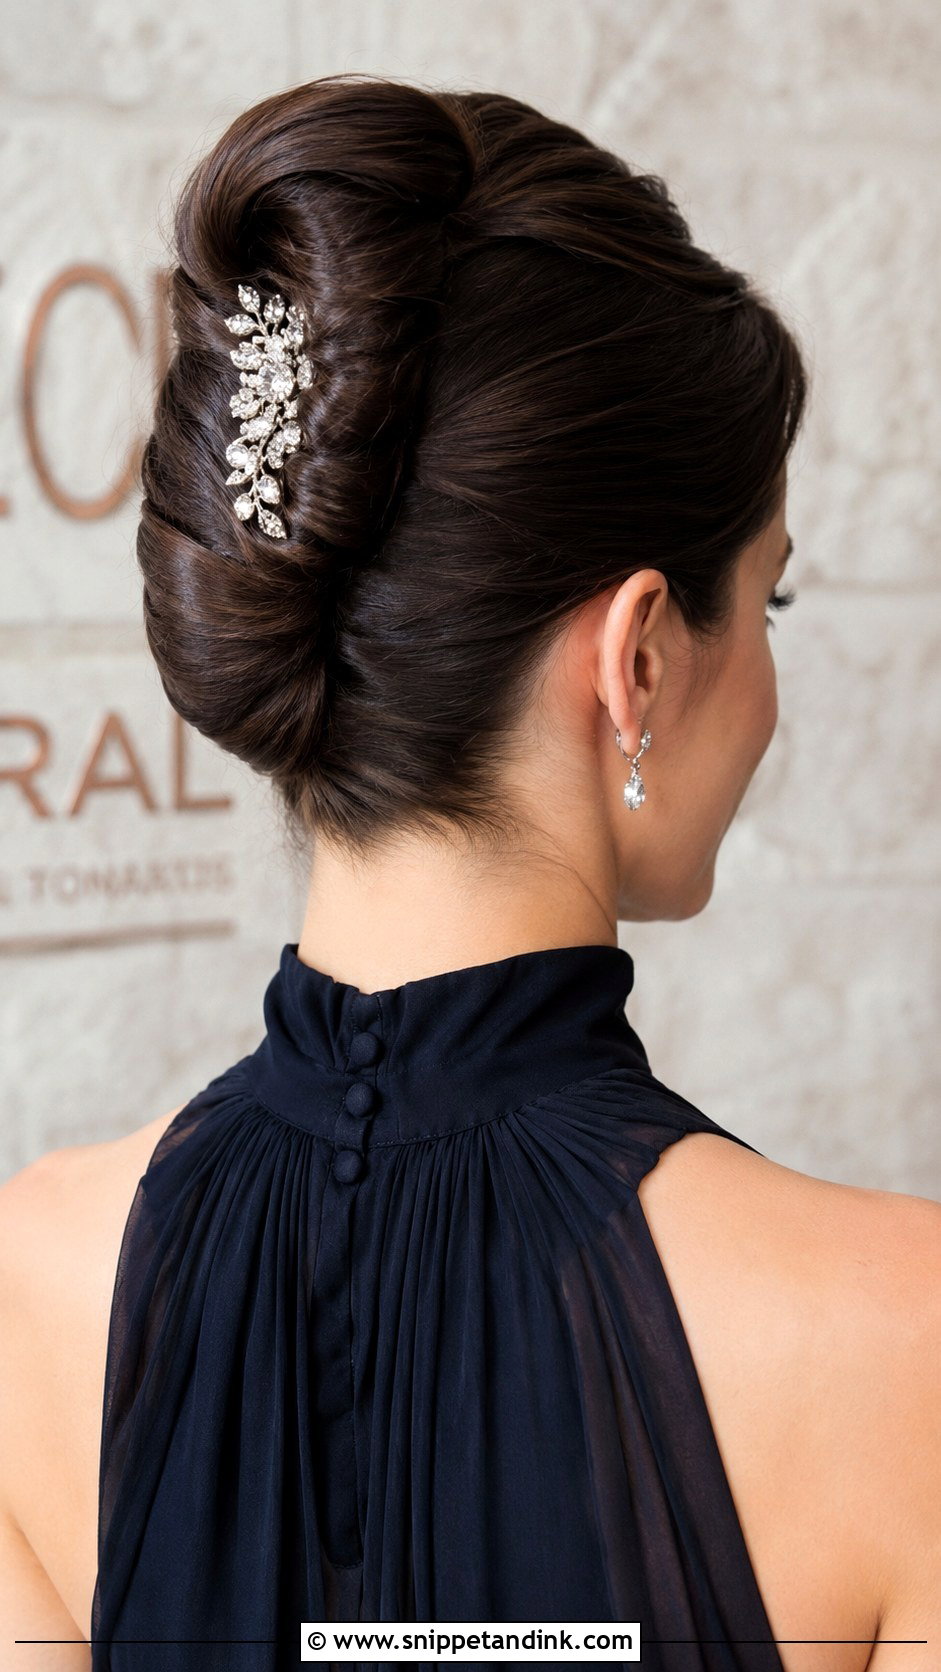
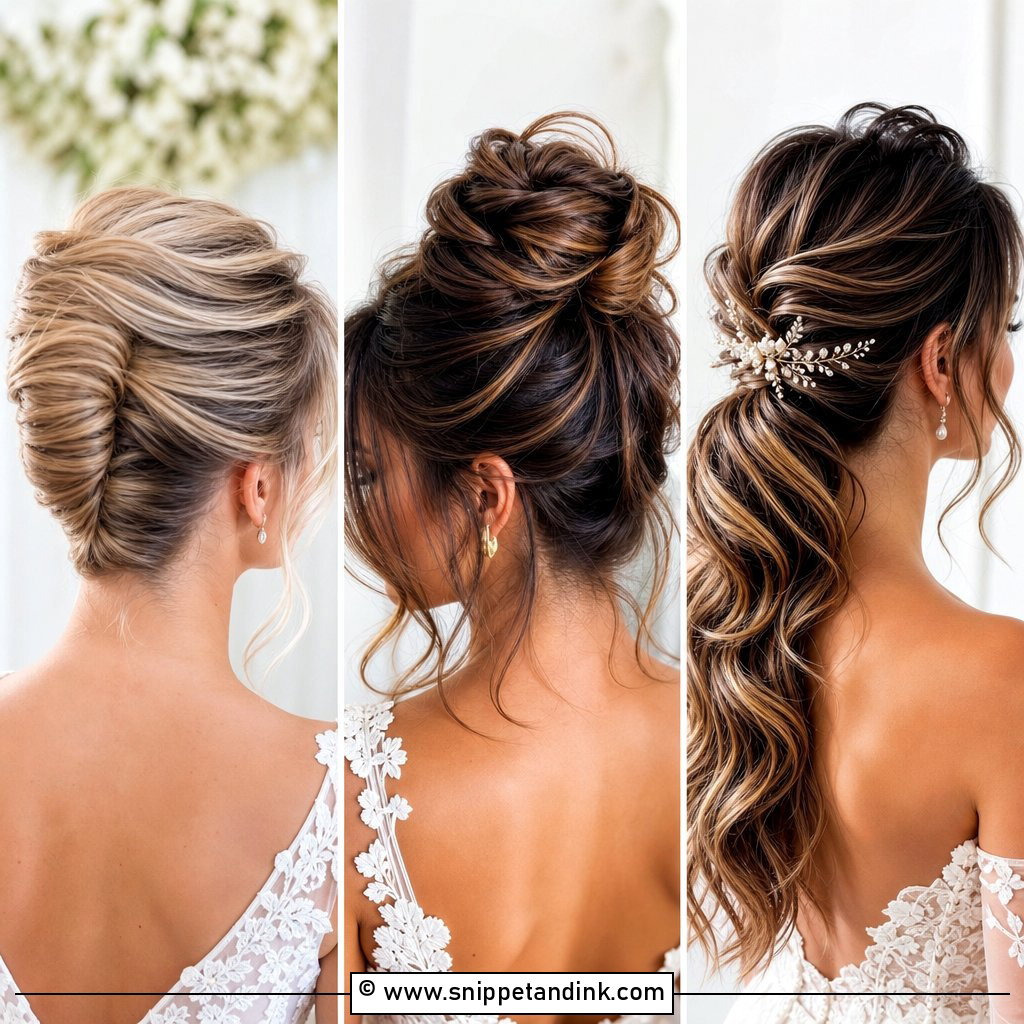
A French twist rolls vertically up the back of the head with the ends tucked inside the seam. On medium hair the length tucks in neatly, but the shortest layers at the nape escape first. I spray that area and smooth it with a toothbrush before rolling. Secure the seam with pins pushed in at an angle, crossing slightly. The clean vertical line lengthens the neck and suits high necklines, and it remains a wedding-guest favorite because it looks harder than it is.
13. Tousled Bun With Braid Detail
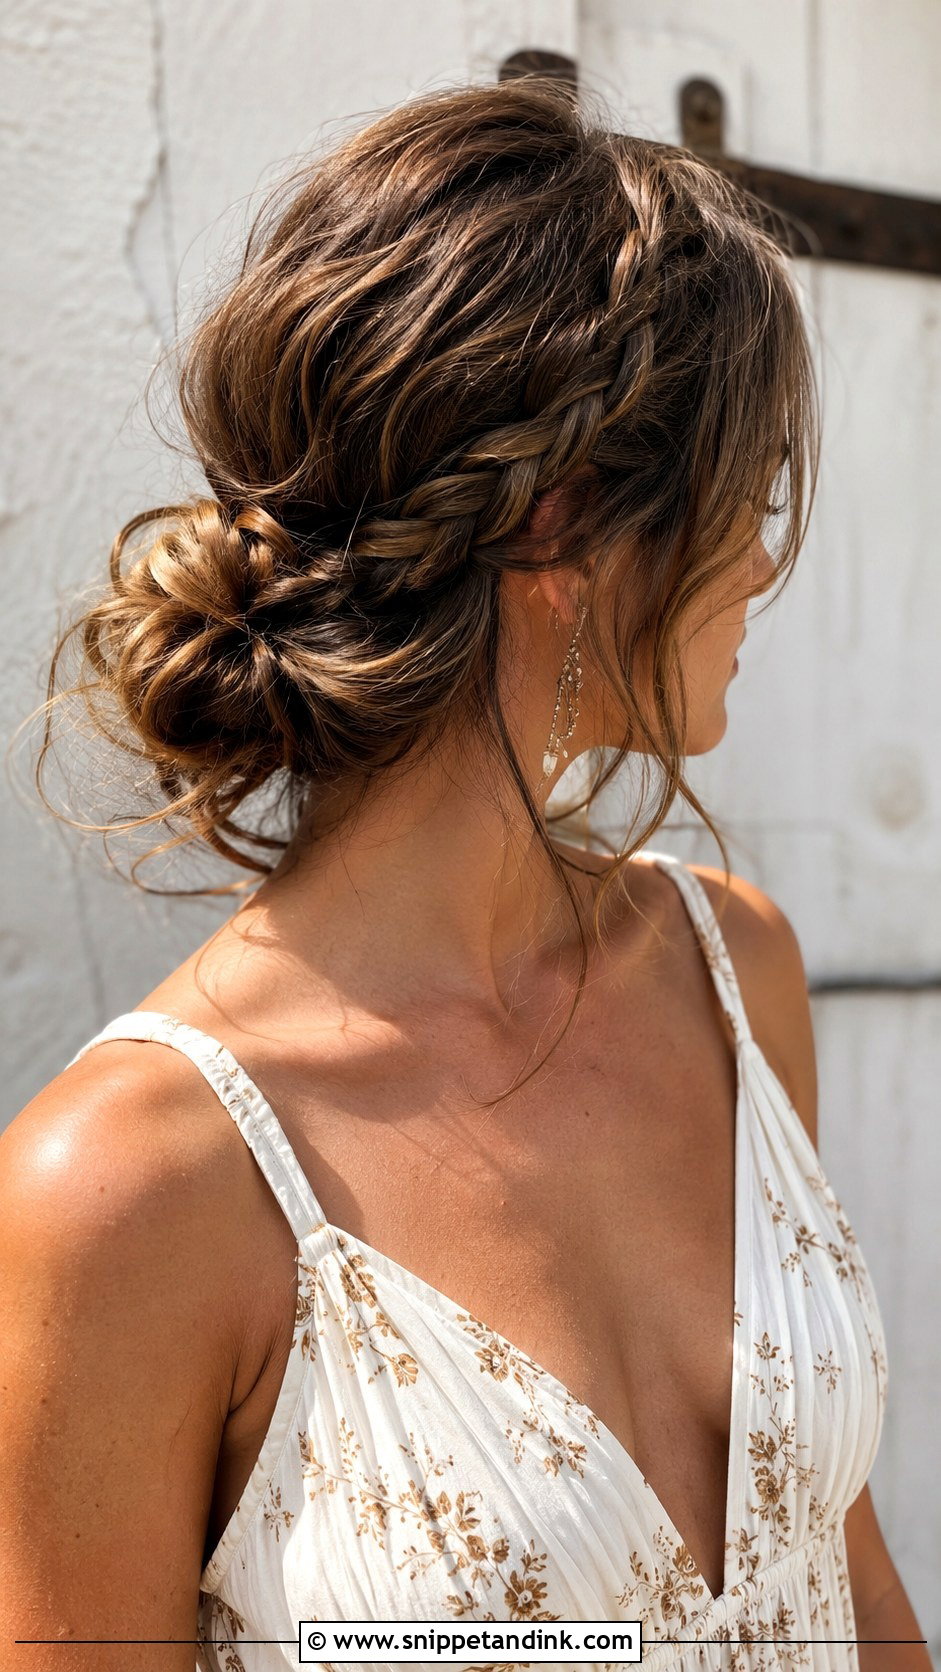
Start with a thin braid near the hairline, then gather everything into a loose low bun and wrap the braid into it. The braid gives the eye something to land on while the bun stays relaxed. On medium hair I sometimes need two small braids rather than one, so the detail is visible from the front. Pull out face-framing pieces after pinning, not before, so you can see how many you actually need.
14. Side-Swept Updo
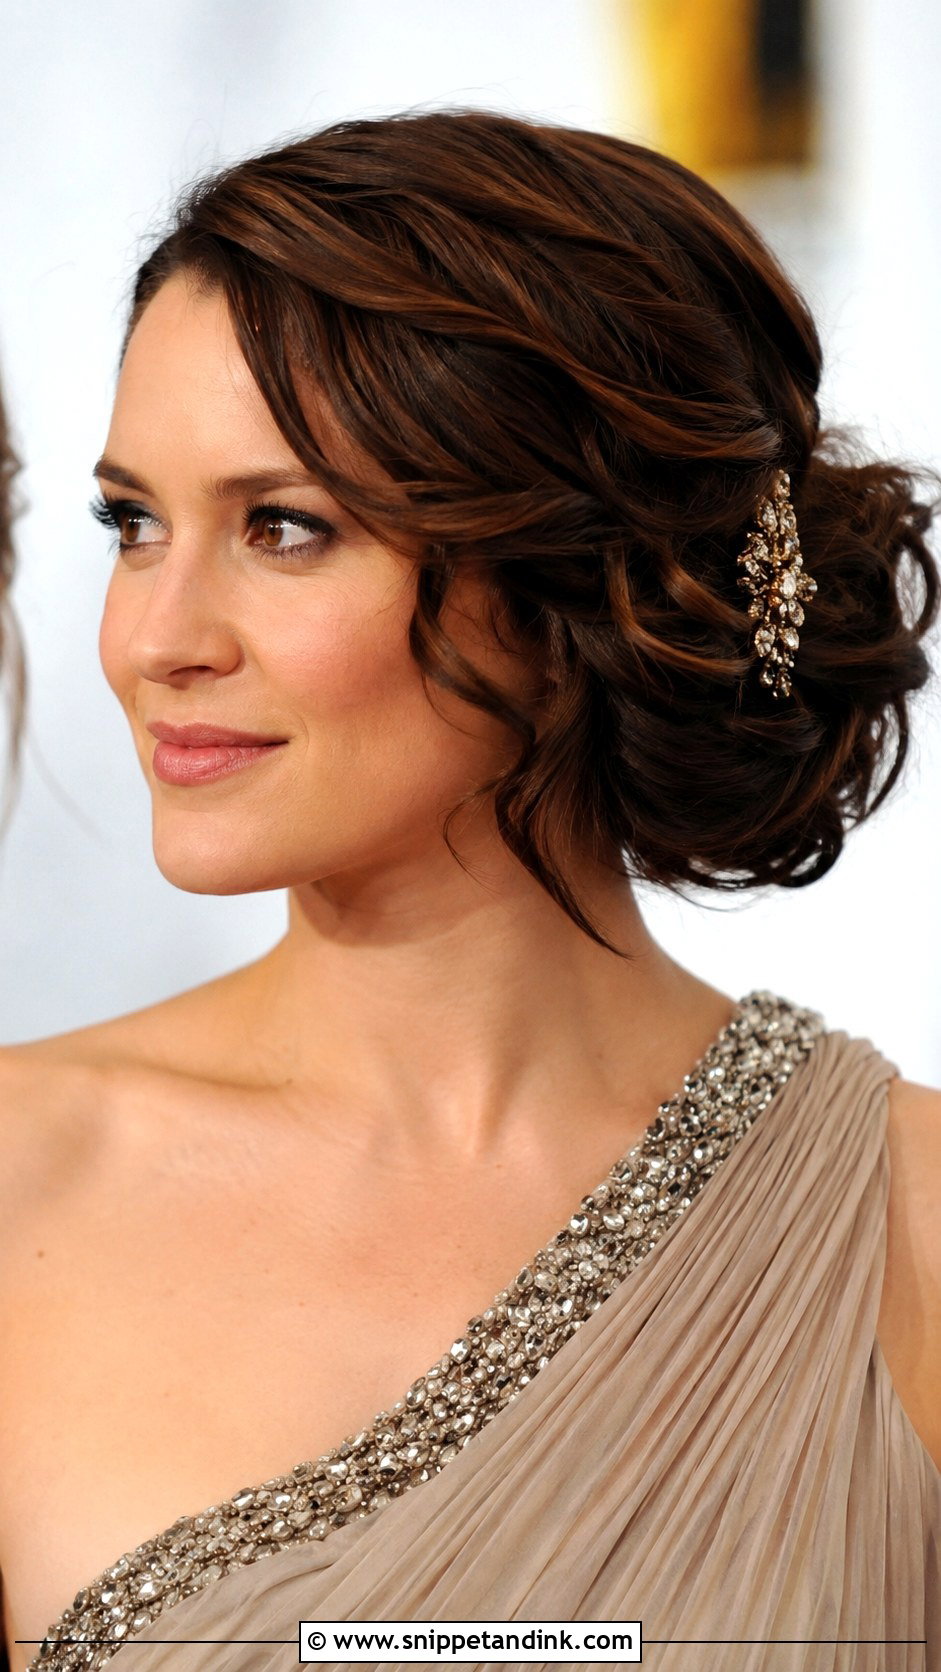
Sweeping everything to one side and pinning it into a gathered shape near the ear has an old-Hollywood feel. Wave the hair first and brush the waves out for a softer finish. Pins need to cross behind the ear to stop the weight sliding forward over time. It suits one-shoulder gowns and backs with detail, and a single decorative clip covers the place where everything is anchored.
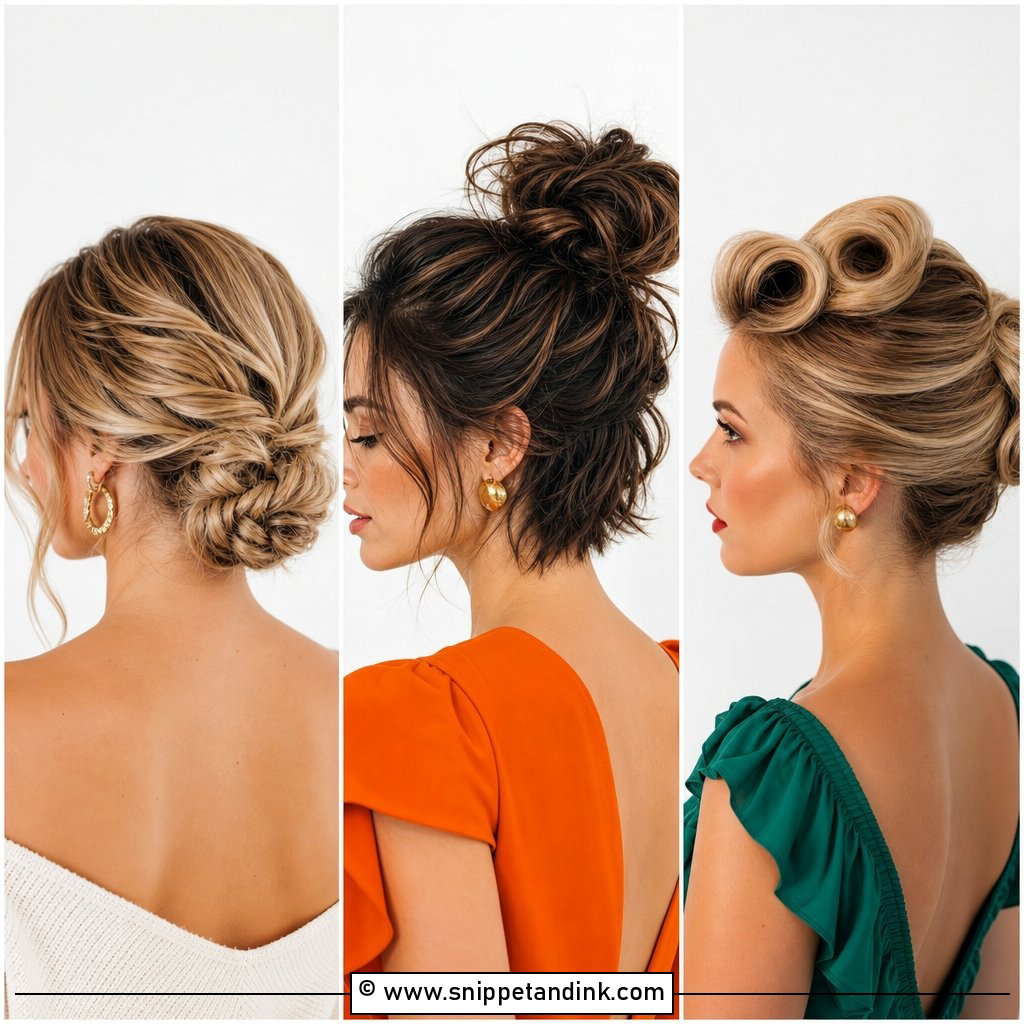
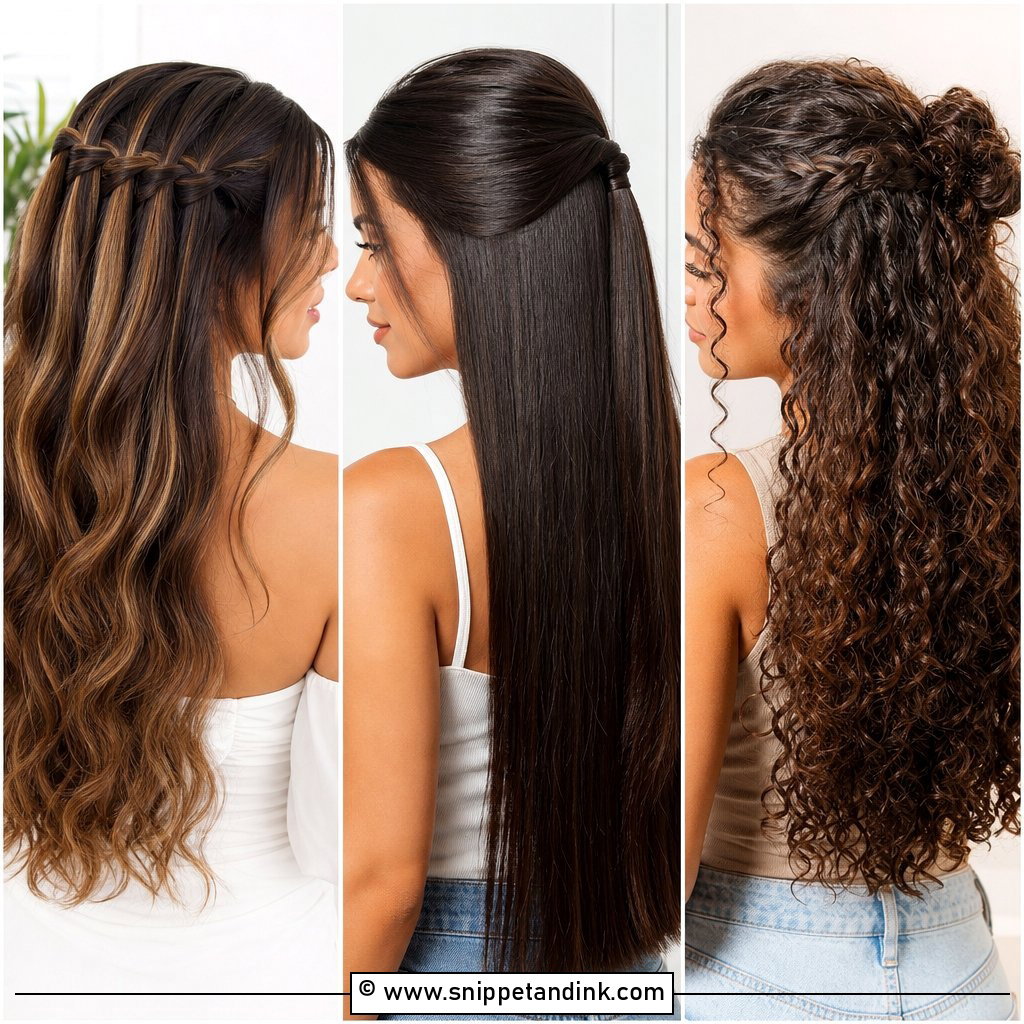
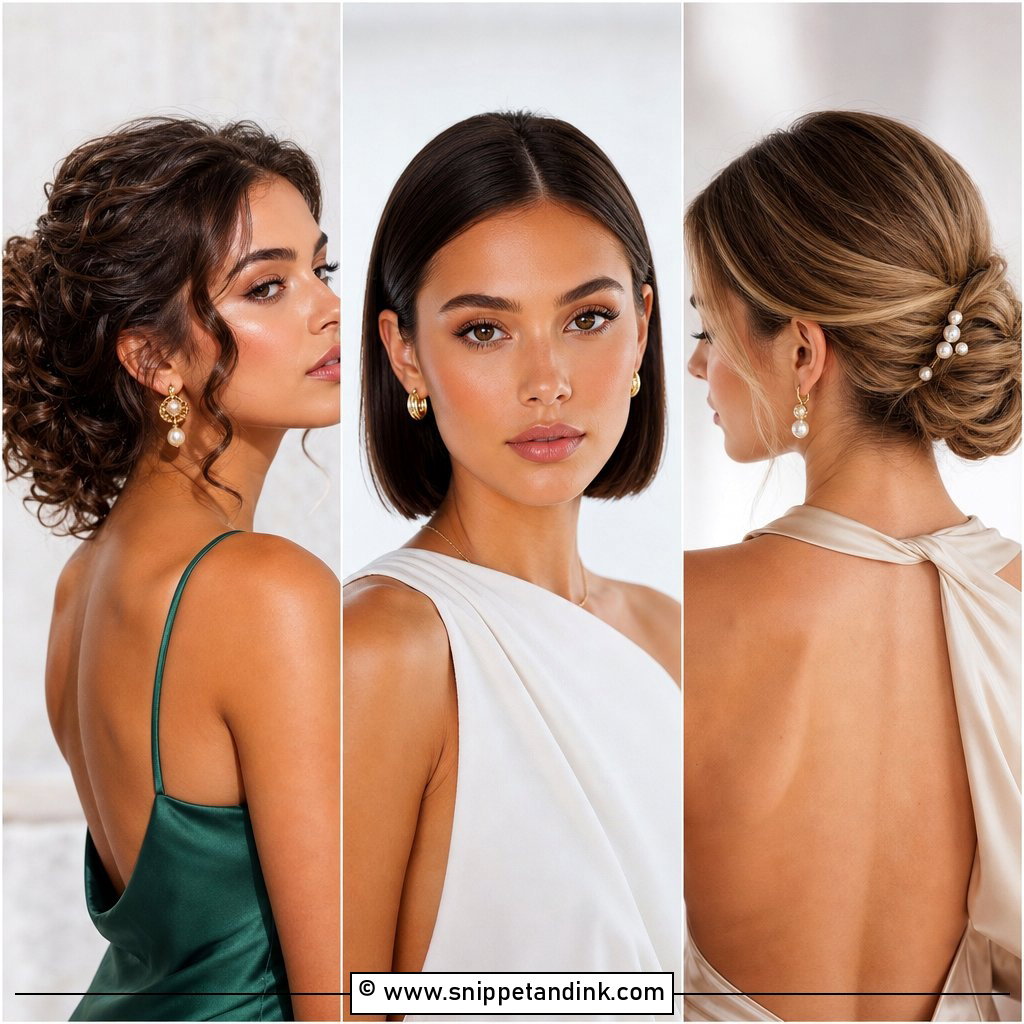
15. Knotted Low Bun
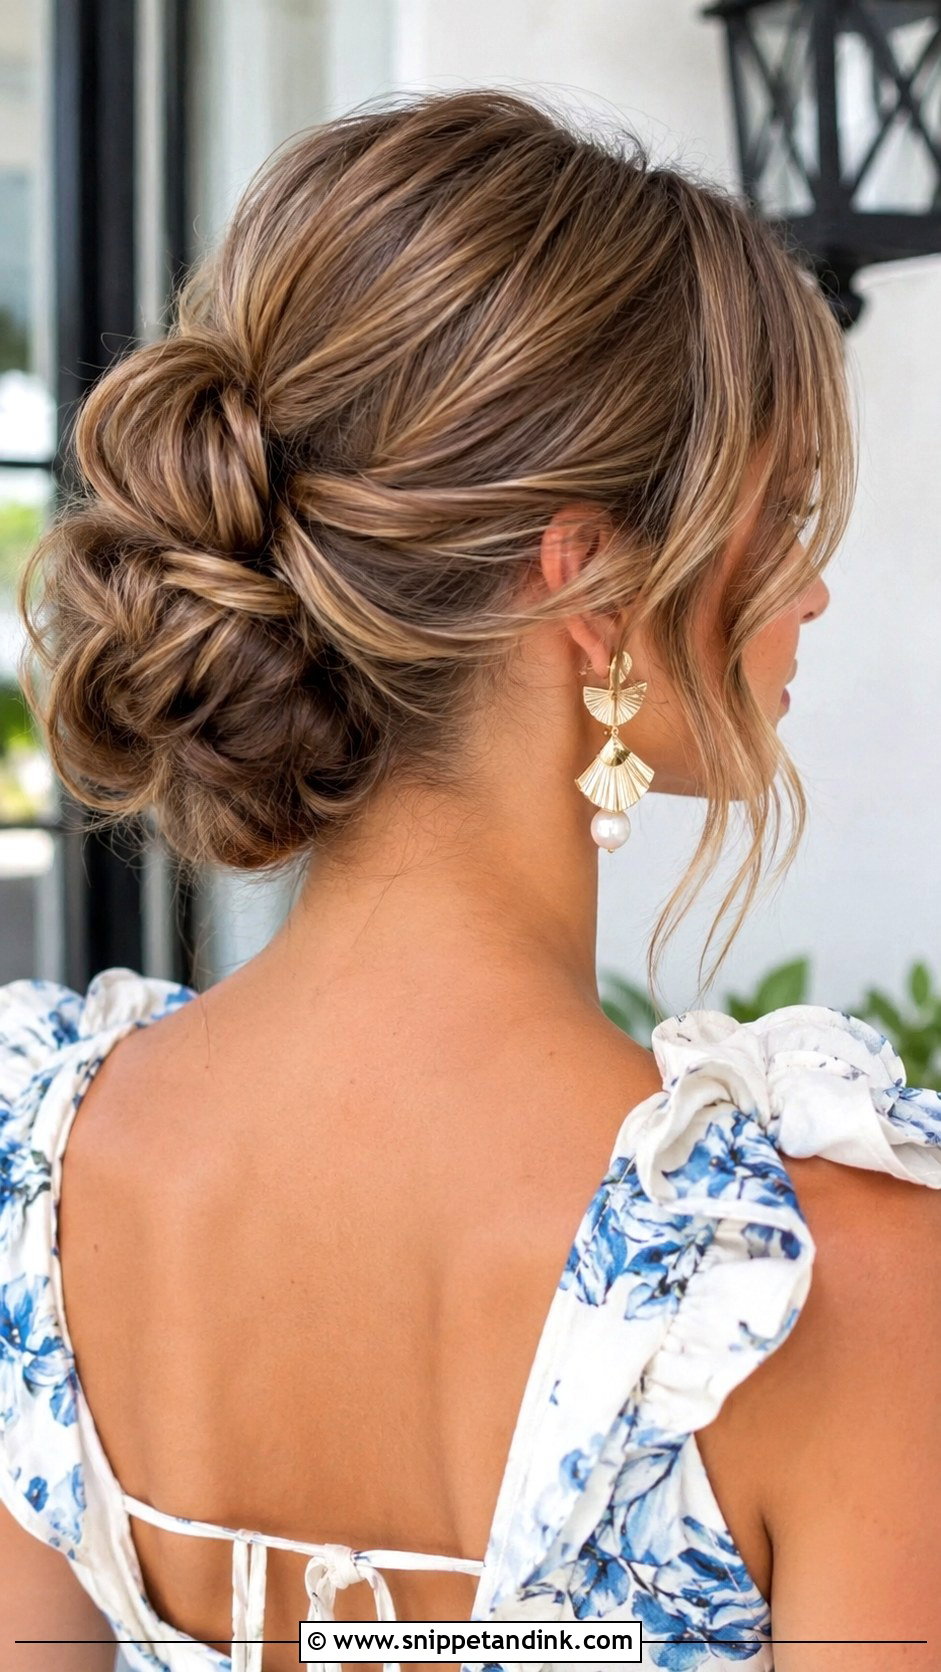
Instead of rolling the hair, you tie two or three sections into loose knots and pin them low. It’s simpler than it looks, and the texture hides imperfect pinning, which makes it a good choice if you’re doing your own hair. It sits at the nape, so a hat or fascinator fits above it. Keep the knots loose; tight knots on medium hair come out small and hard.
16. Loose Curly Updo
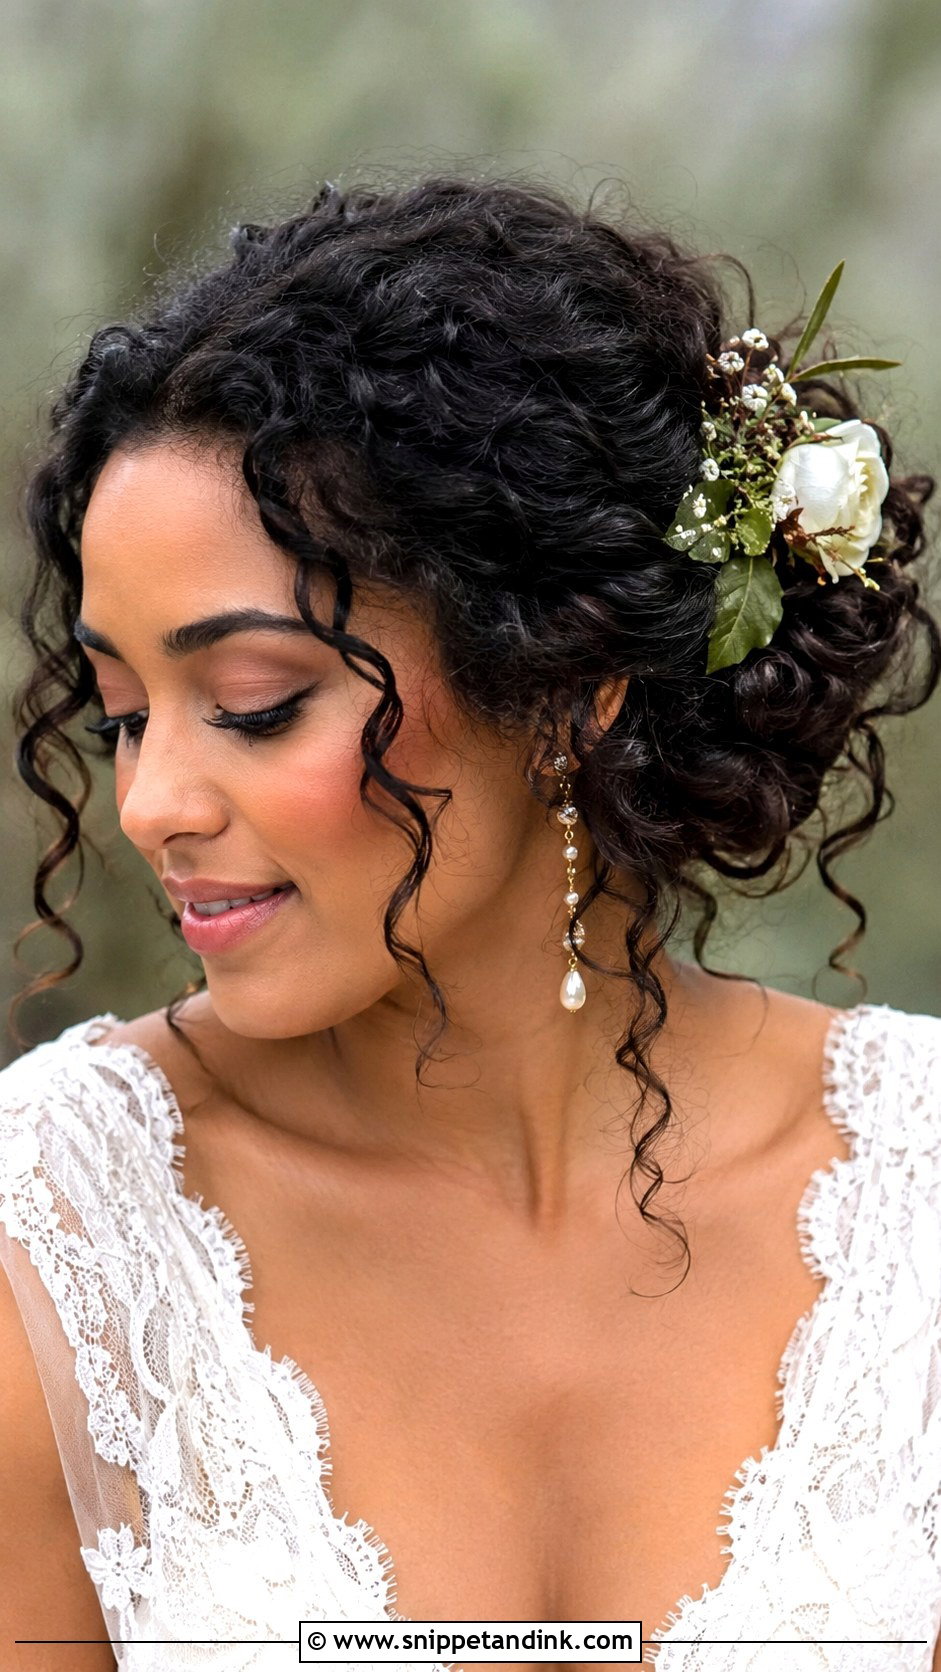
Curly guests shouldn’t be told to straighten for an updo. I gather the curls loosely toward the back and pin them into a full shape, leaving a few spirals at the face. Work with hydrated curls and a light-hold cream, since a hard gel cast cracks once you start hugging people. Use pins that match your hair colour; they disappear into curls far better than gold ones. Volume is the point here, so don’t flatten the crown.
17. Twisted Half-Up With Waves
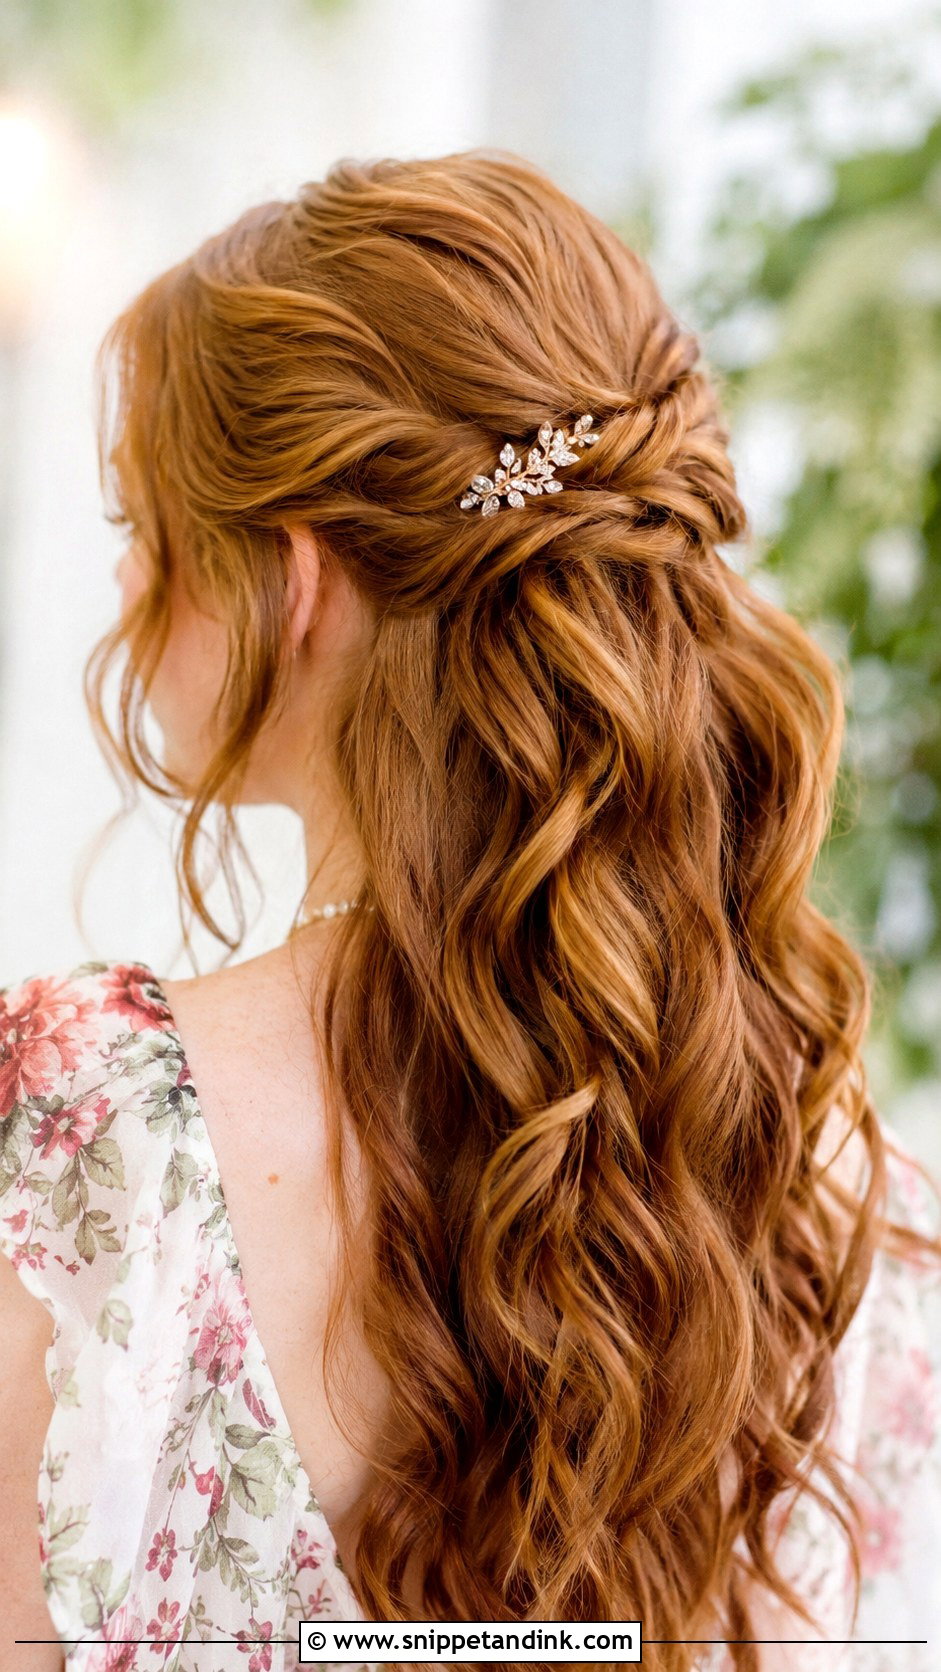
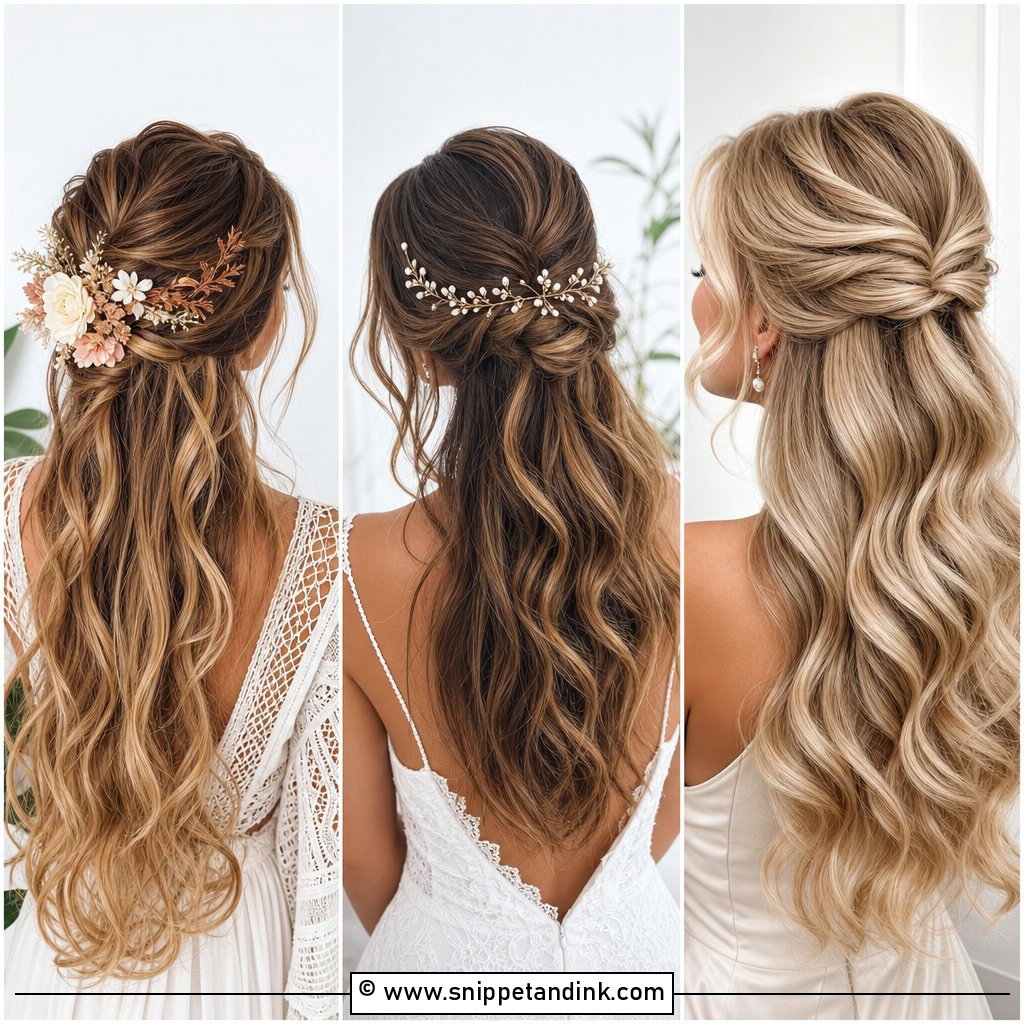
The top section twists back and is pinned, while the loose ends are curled into waves. Waves make medium hair look a little longer, which many guests like. The twist has to be anchored with crossed pins, because the weight of the loose hair pulls on it all day. A clip where the twist meets the loose hair covers the pins and gives the back a finished look.
18. High Bun With Volume
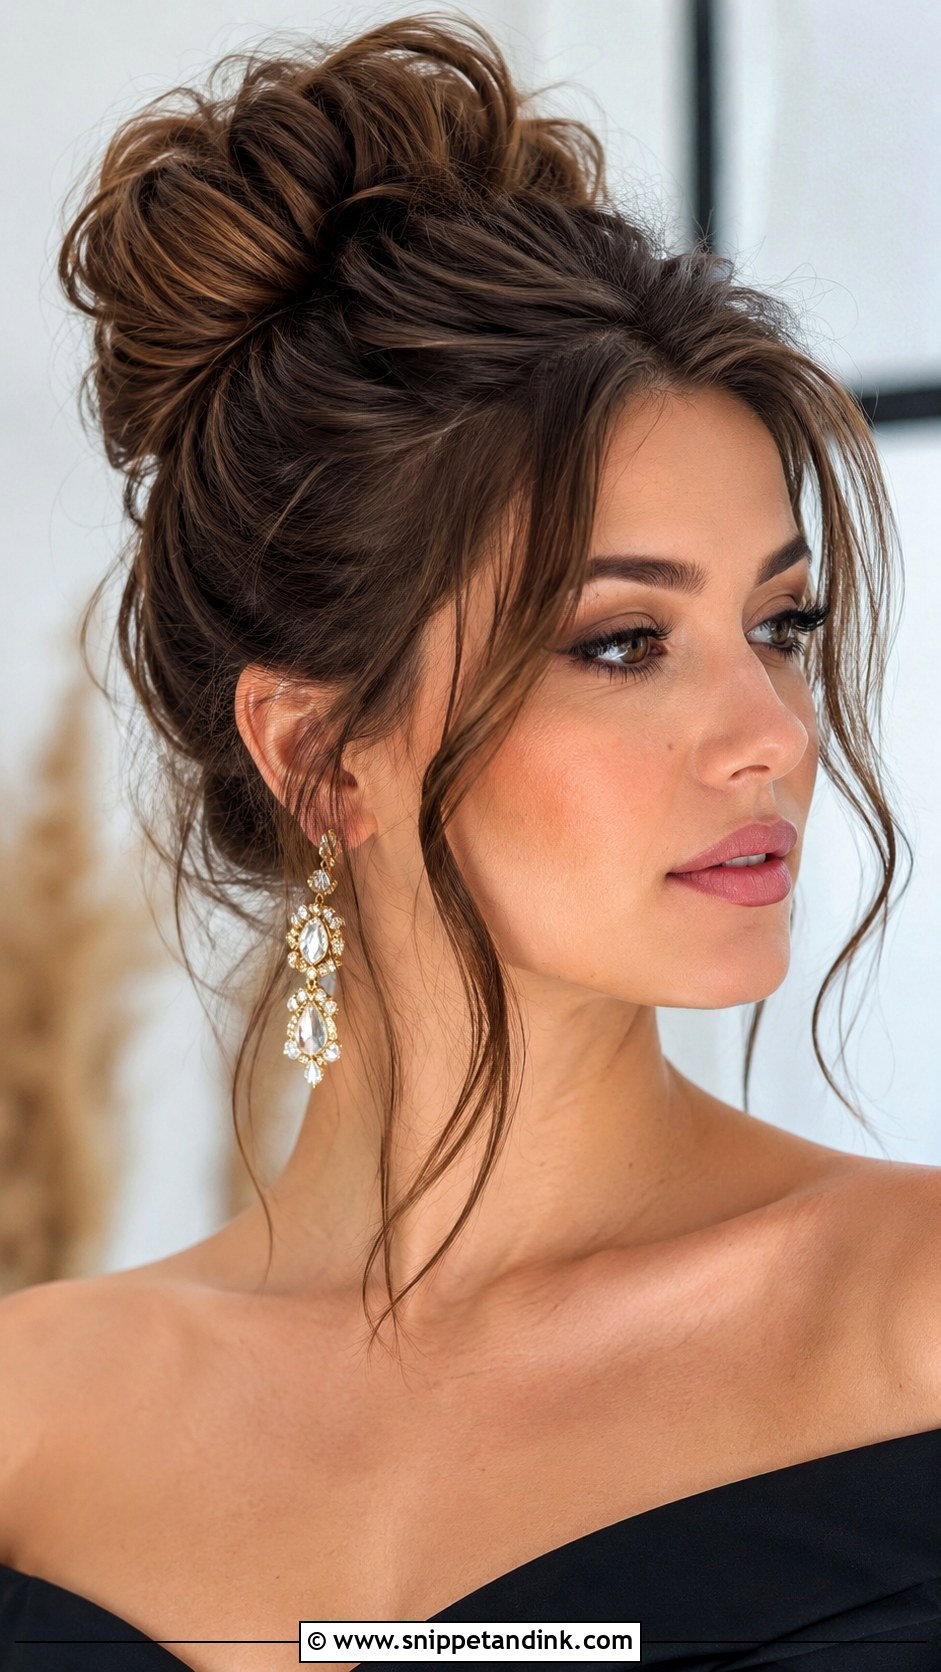
A full bun set high on the crown adds height and suits a formal wedding. I tease the base lightly before gathering it, which gives medium hair the lift it lacks, then twist and pin the bun around a small donut if needed. High buns pull more than low ones, so if you get tension headaches, set it slightly lower. It leaves high-neck and off-shoulder gowns clear, and a couple of loose pieces at the face stop it looking severe.
19. Braided Bun Combo
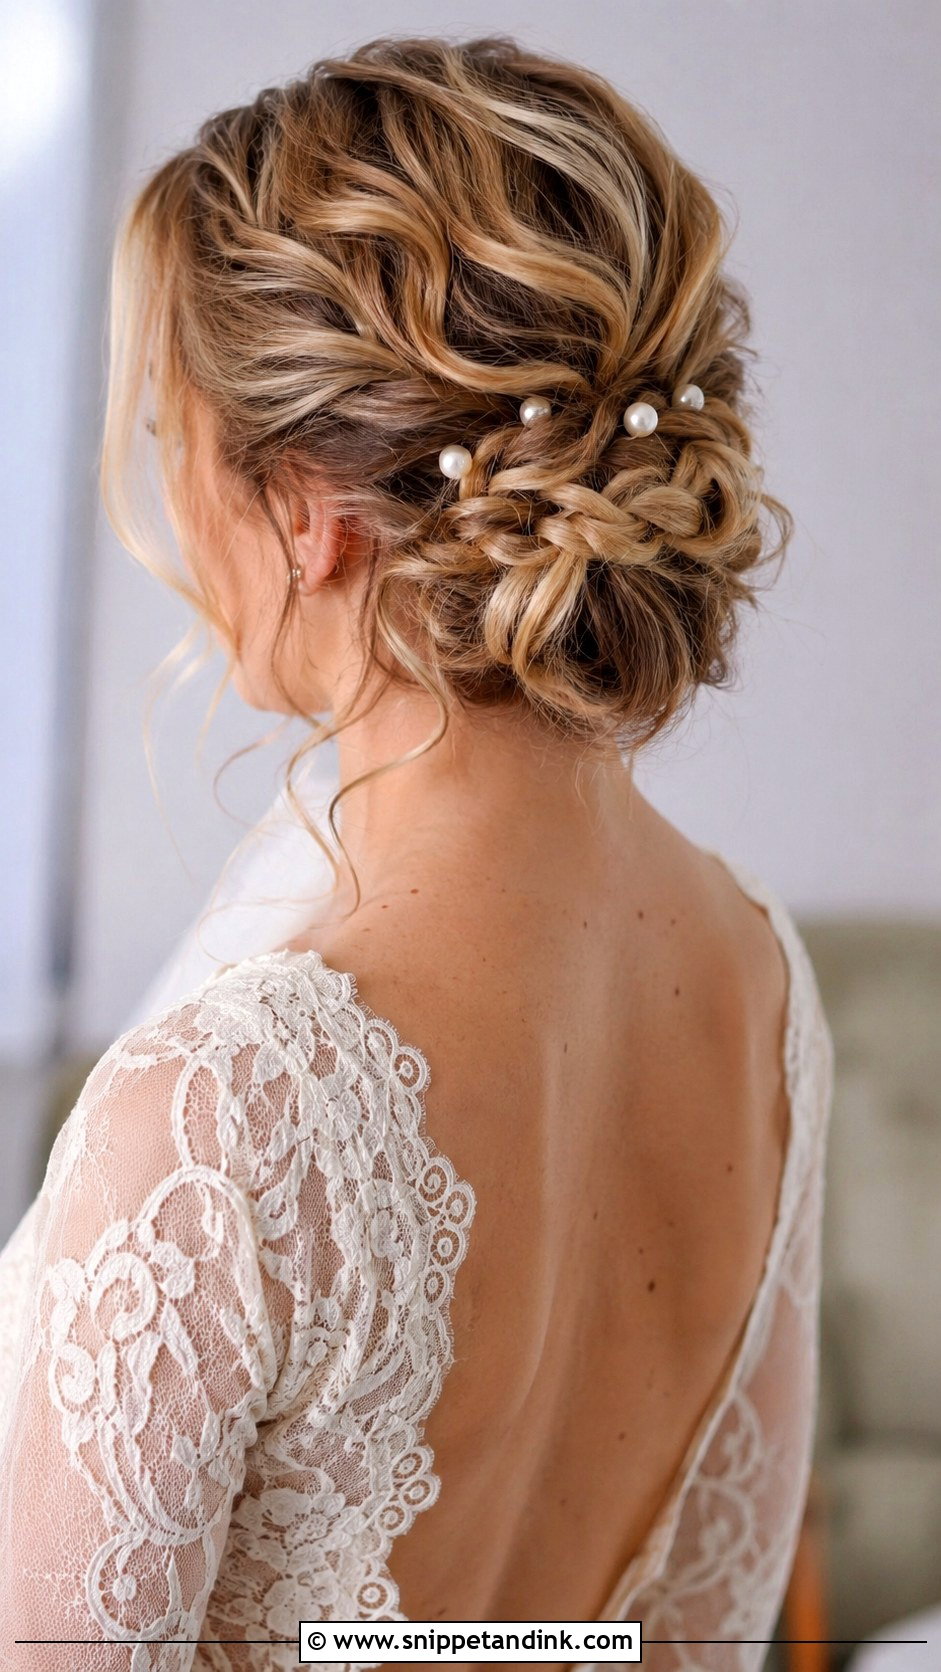
Braid a section or two, then wrap and pin everything into a low or mid bun with the braids woven through. It looks intricate from every side but takes about the same time as a plain bun once you’ve practised. Medium hair gives the bun texture without size. A delicate hair vine laid along the braid looks dressier than scattered pins. Because the braids lock the hair, this one stays secure through hours of dancing.
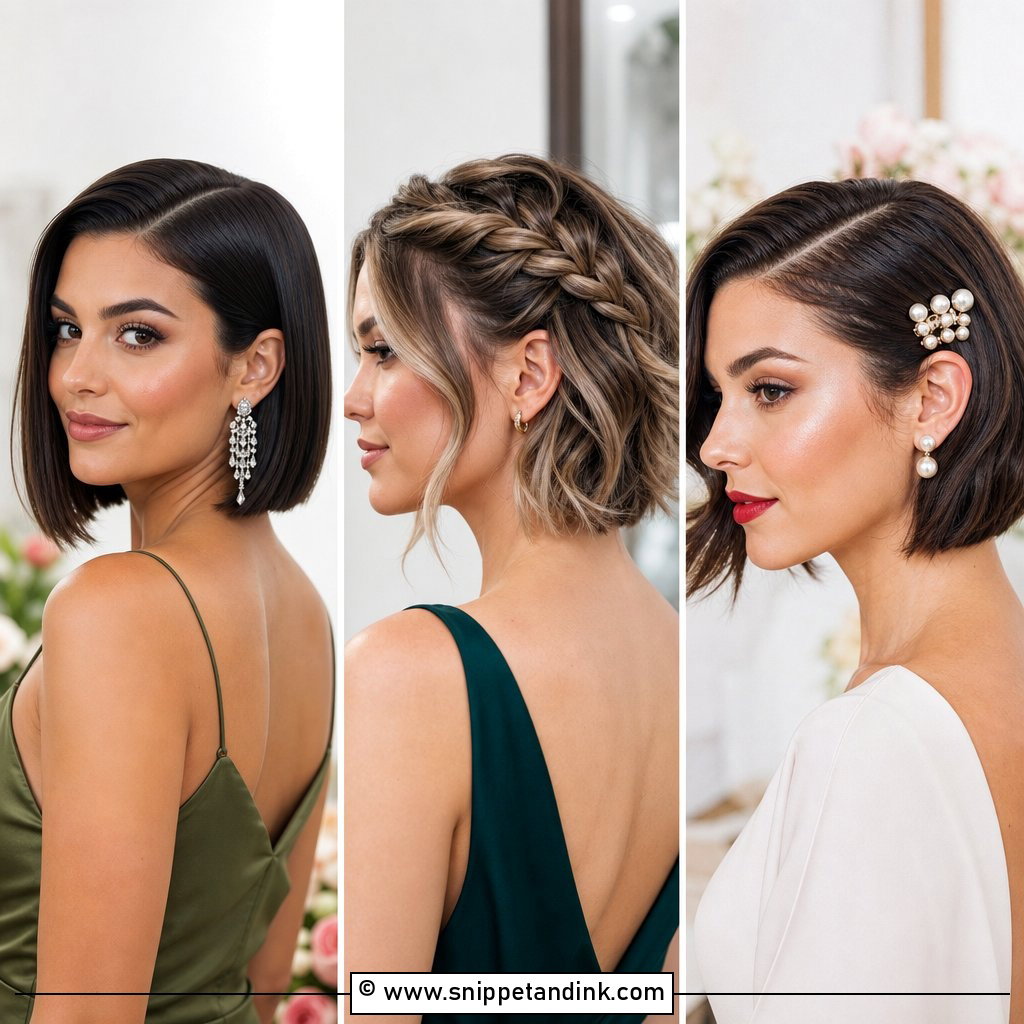
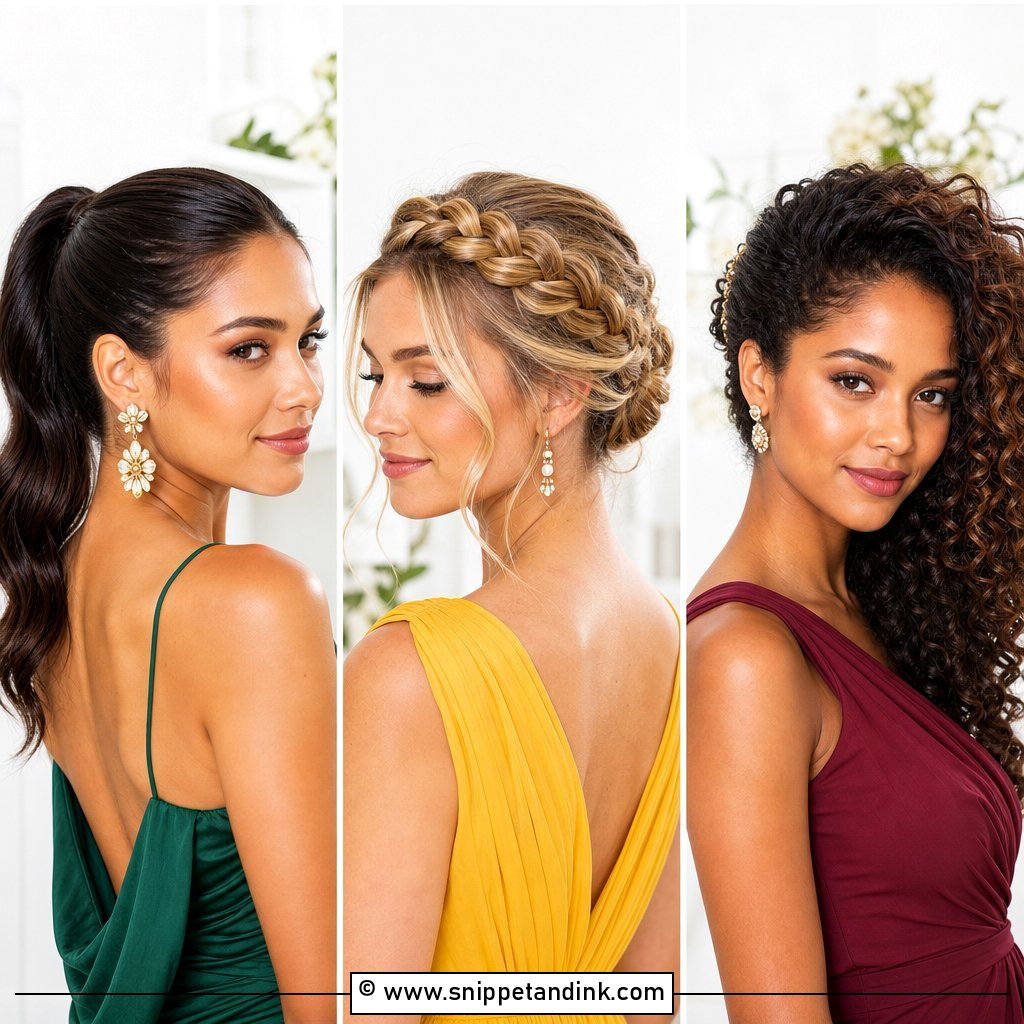
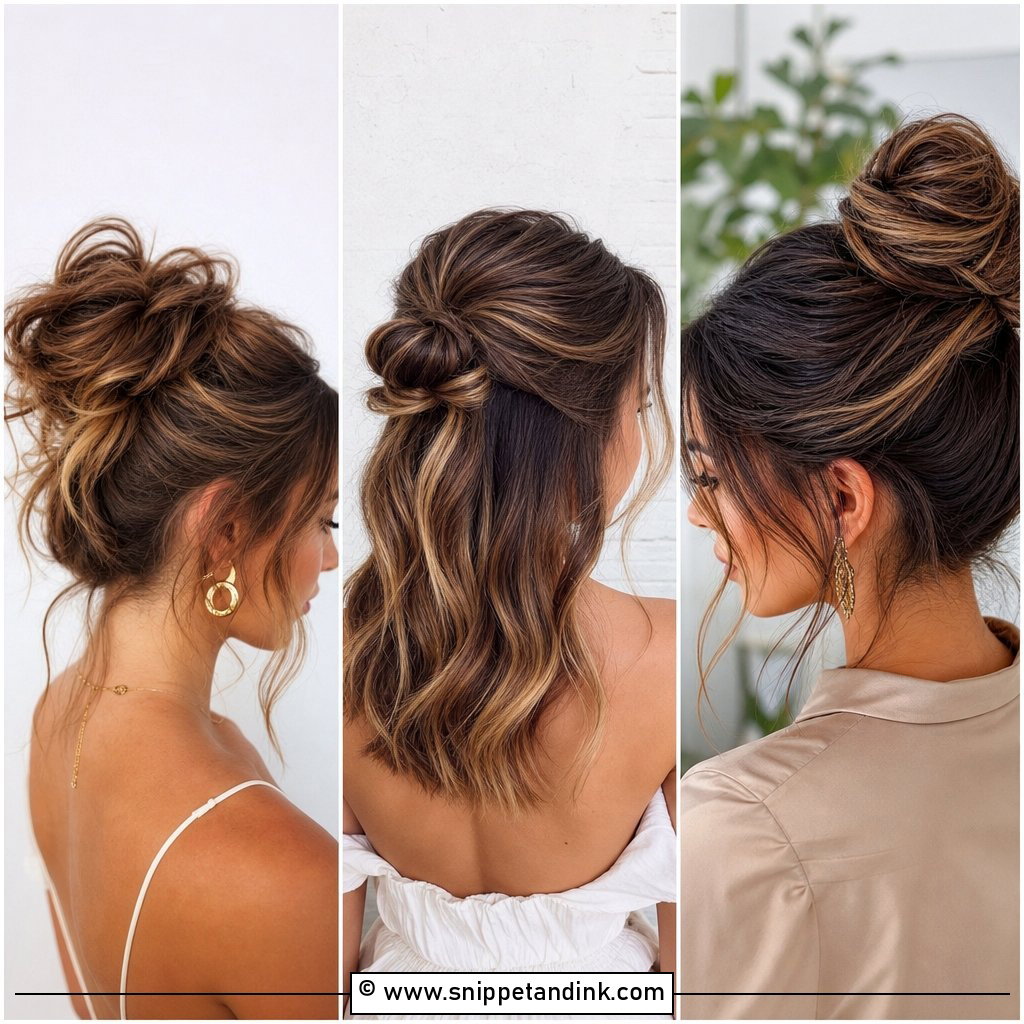
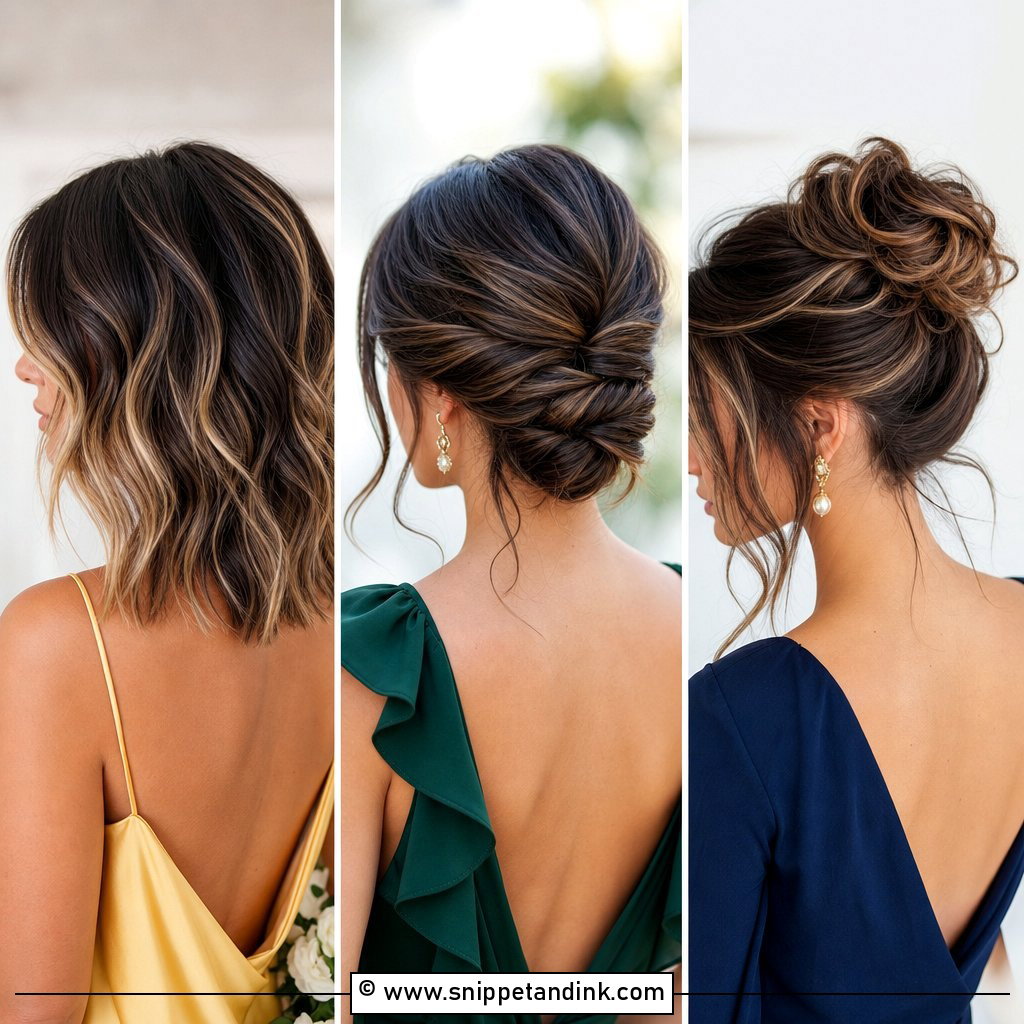
20. Rolled Updo With Accessories
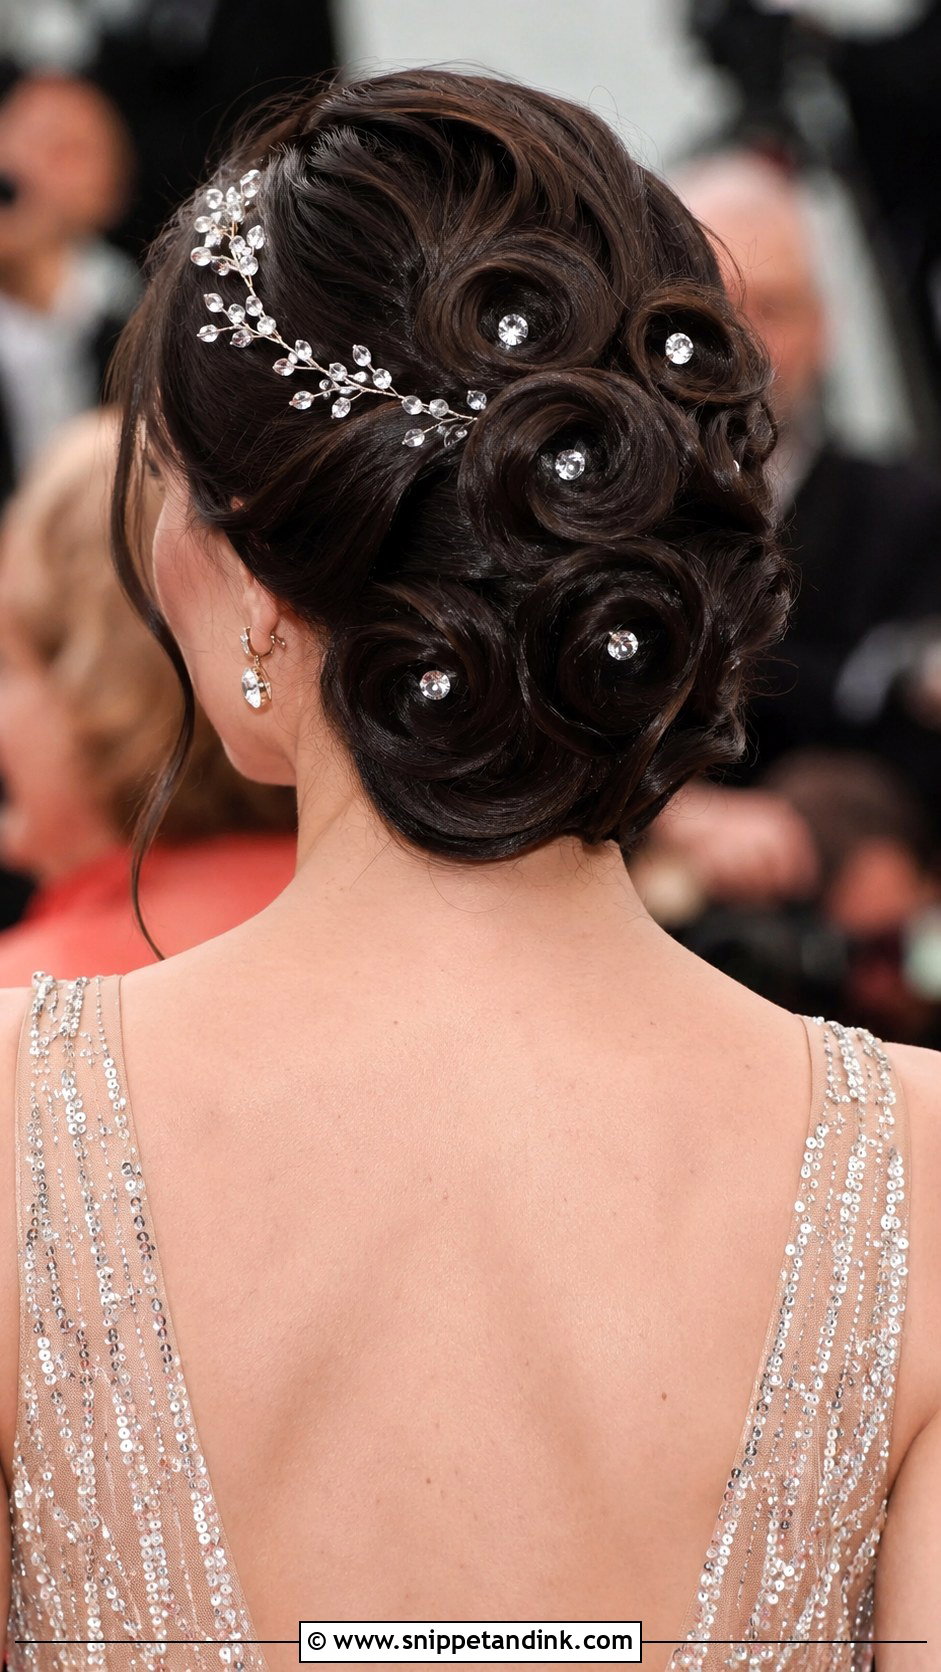
Sections of hair are rolled inward and pinned one above another, building a sculpted shape across the back of the head. Rolls need some grip, so set the hair with hot rollers or a curling iron and let it cool fully first. Medium hair works well because each roll stays small and tidy. Finish with jeweled pins, a crystal vine, or a brooch, and save it for a formal evening wedding, where the vintage feel fits.
When Your Layers Won’t Reach the Bun
Long layers at medium length are what make updos fall apart. The shortest pieces at the nape and around the face simply won’t reach the bun. Curl them before you gather the hair, and they’ll bend into the shape instead of sticking straight out. For the nape, I sometimes braid a small section upward from the neckline and pin it under the bun; it catches all those short ends.
Around the face, leave the short layers out deliberately and curl them, rather than forcing them back. A face-framing piece looks planned. A pinned-down layer that pops free during the first dance looks like an accident.
Staying a Guest, Not a Second Bride
A few touches read as bridal and are best left to the bride: a full floral crown, a jewelled comb set in the centre of a low bun, a veil-like hair vine, or anything in white. If the bride has told guests about a colour or theme, take your accessories from that palette instead. A small pearl pin or a single bloom at the side is plenty.
Cultural weddings bring their own rules, too. Some ceremonies expect hair to be covered or tied back, and some families consider certain flowers or colours inappropriate for guests. If you’re unsure, ask the couple a week ahead so you have time to practise something else.
Practise Twice in the Week Before the Wedding
Medium hair gives you more choice than most lengths for wedding-guest upstyles, from a sleek ballet bun to a braided crown. Use light products such as mousse or texture spray, since heavy gels weigh this length down and stop it holding a shape. Pick one style, practise it twice during the week before, and pack a few spare pins in your bag for the evening.
You'll Like These Ideas:


Leave a Reply