
An updo is the safest choice for a guest who doesn’t want to think about her hair after the ceremony. It stays off your neck through a hot dinner, survives hugging and dancing, and doesn’t need checking in every bathroom mirror. Most of the styles below need nothing more than an elastic, a handful of pins and one practice run. I’ve grouped tips by what each one needs from your hair, because the right choice for wedding guest updo hairstyles depends far more on your length and texture than on the photo you like.
Pins Do More of the Work Than the Style Does
When a guest’s updo falls apart by the speeches, the style is rarely the problem. It’s usually the pins, how many were used and which way they went in. A handful of changes in how you pin will make any of the 20 looks below last a full evening.
- Bobby pins hold flat sections against the scalp. U-pins (the open, hairpin shape) hold rolls, twists and buns without crushing them. Most home updos need both.
- Slide a bobby pin in with the wavy side down, then turn it so it catches some of the elastic or base underneath. A pin that only grips loose hair will work its way out.
- Cross two bobby pins in an X wherever weight pulls, usually at the base of a bun or behind the ear on side styles.
- Spray a little dry shampoo or texture spray on clean hair before you start. It gives the pins something to hold.
Spin pins, the small corkscrew pins sold for buns, are worth having if your hair is long and heavy. Two of them twisted into a bun hold as much as six or eight bobby pins, and they’re kinder to the scalp.
1. Messy Low Bun
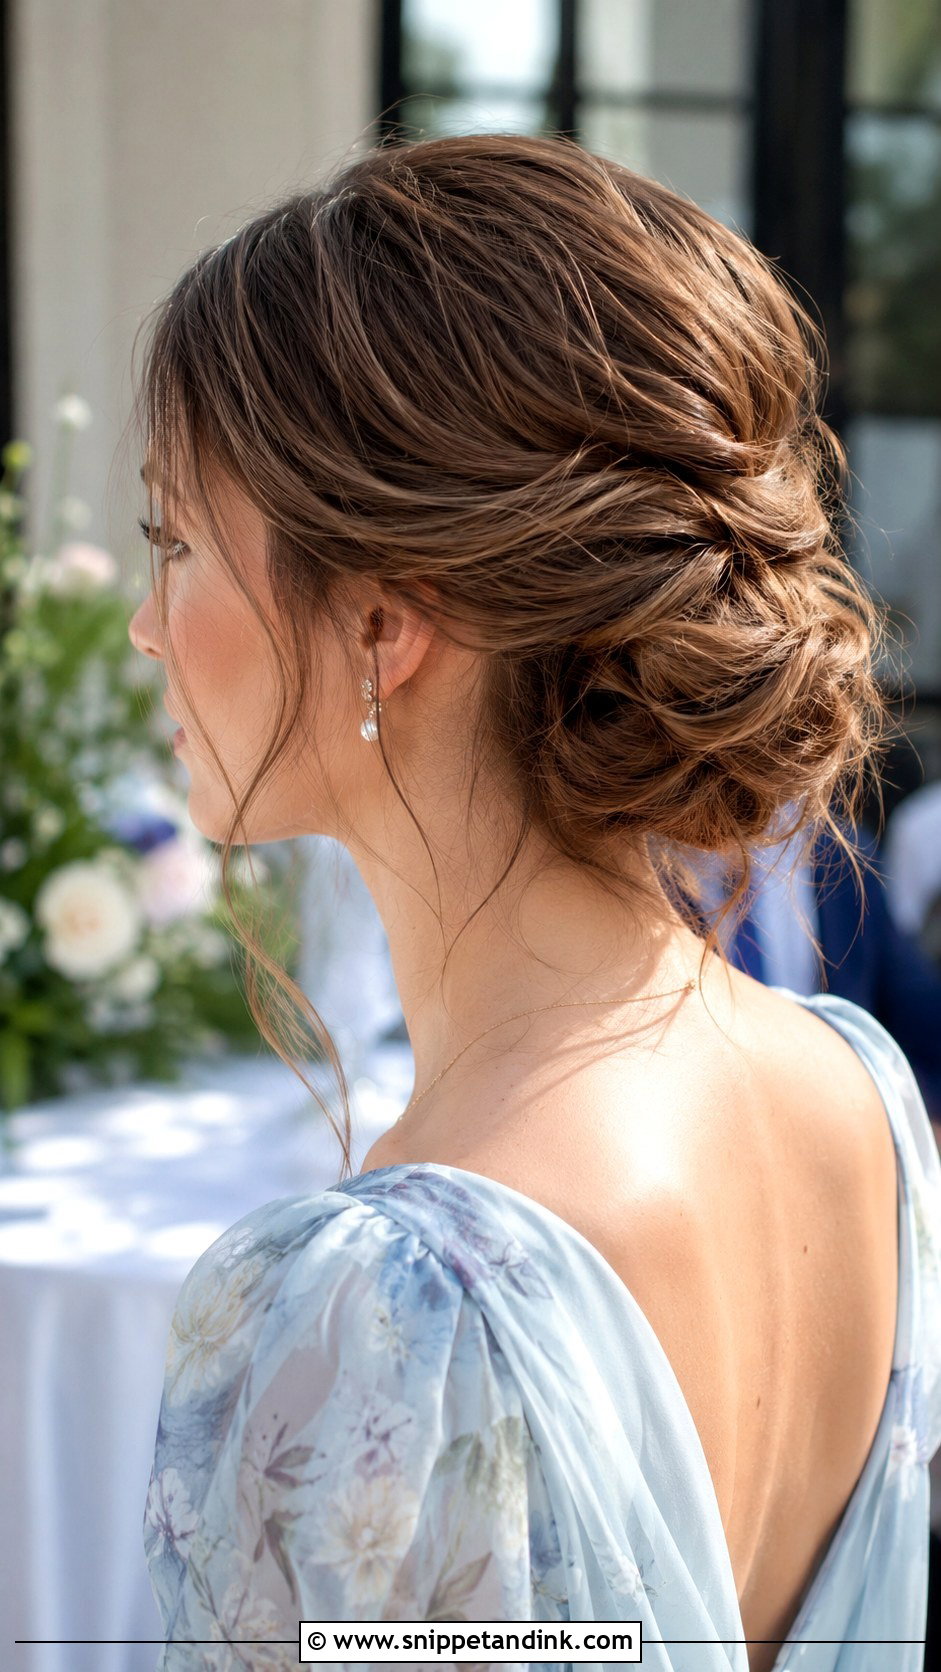
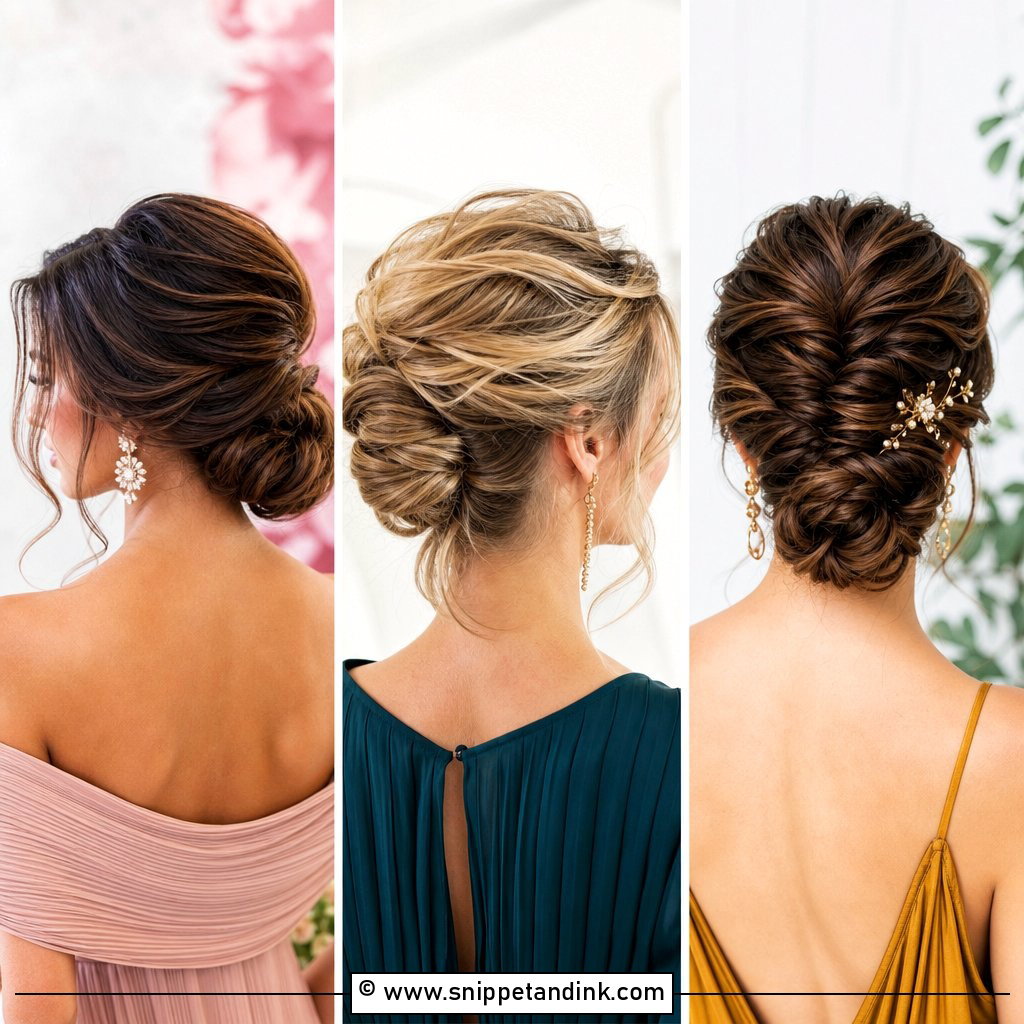
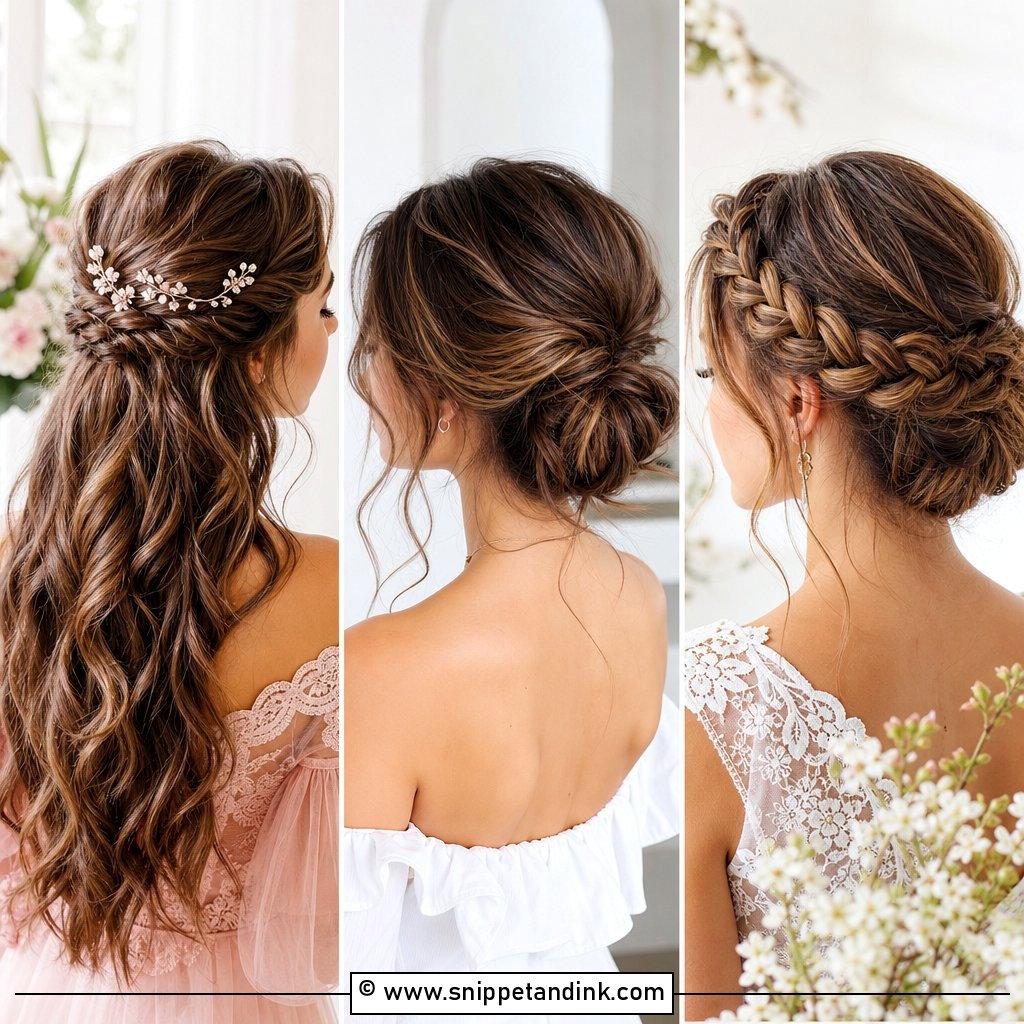
A messy low bun only looks careless; the hold underneath is deliberate. I tie the ponytail first, twist it, wrap it around the elastic and pin through the wrap into the elastic itself, which is what stops it sagging. Second-day hair holds far better than freshly washed hair, so I’d skip the wash the morning of. Pull a few pieces loose at the temples after pinning, not before, or they get caught in the bun. One sparkly pin is plenty.
2. Twisted Low Bun
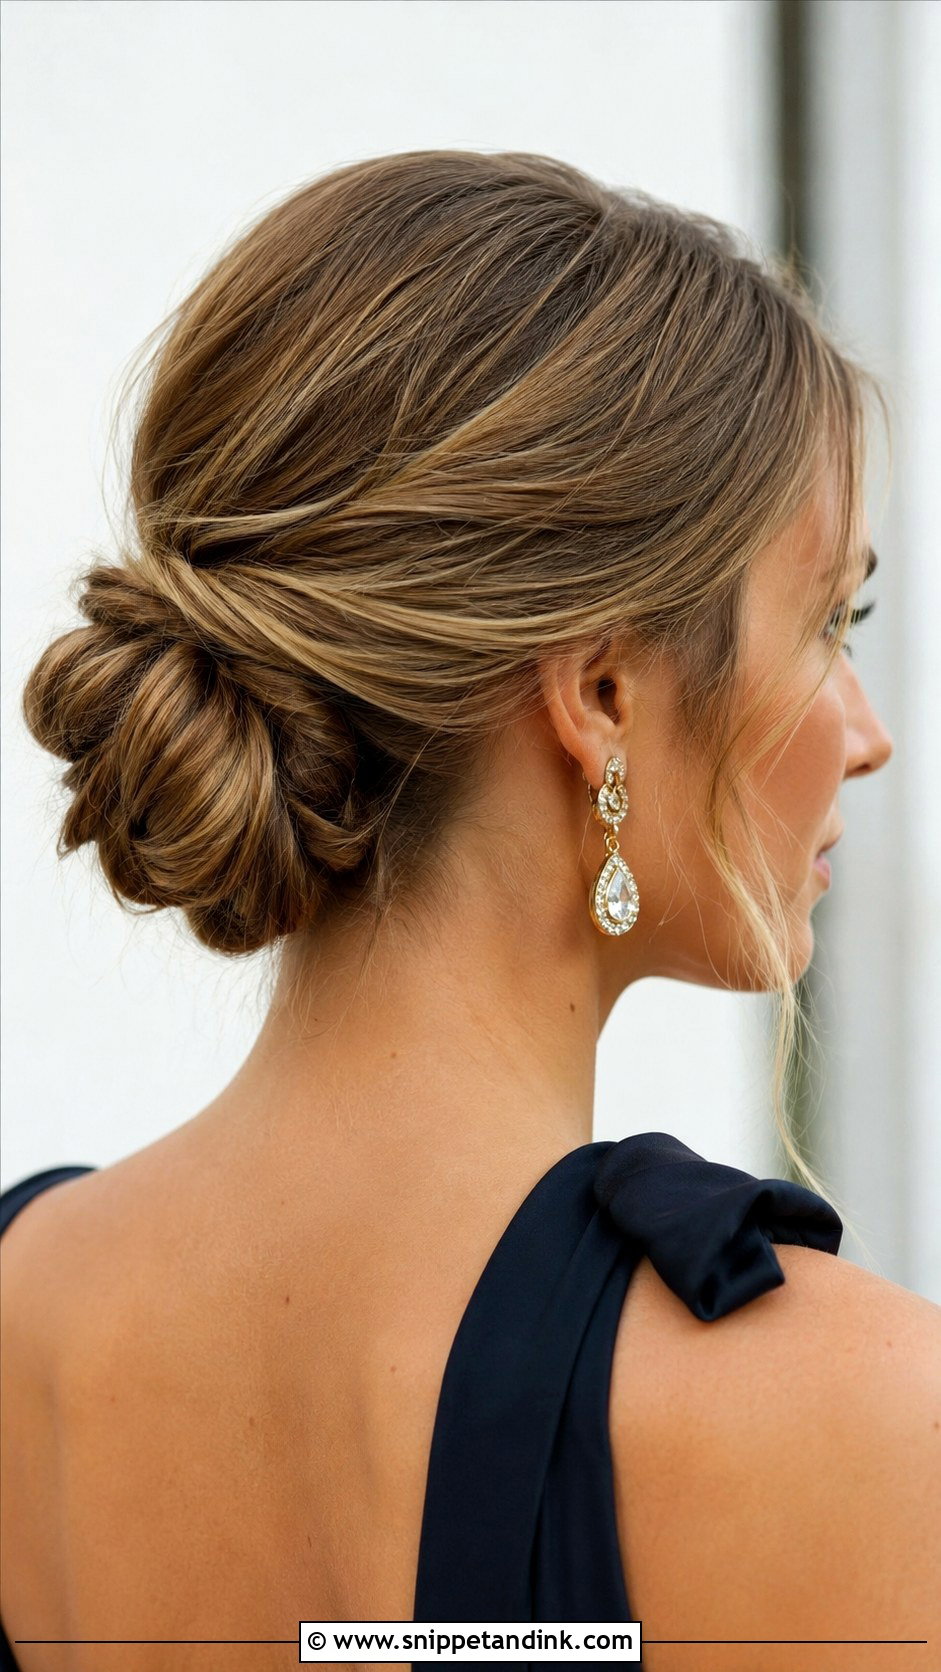
The twisted low bun is quicker than most people expect and needs no heat at all. Tie a low ponytail, twist the length tightly in one direction, then coil it around the base into a soft knot. The coil naturally wants to unwind in the opposite direction, so I pin against that direction. Tuck the ends under before the last pin goes in. It sits well under an open neckline with statement earrings.
3. Classic Chignon
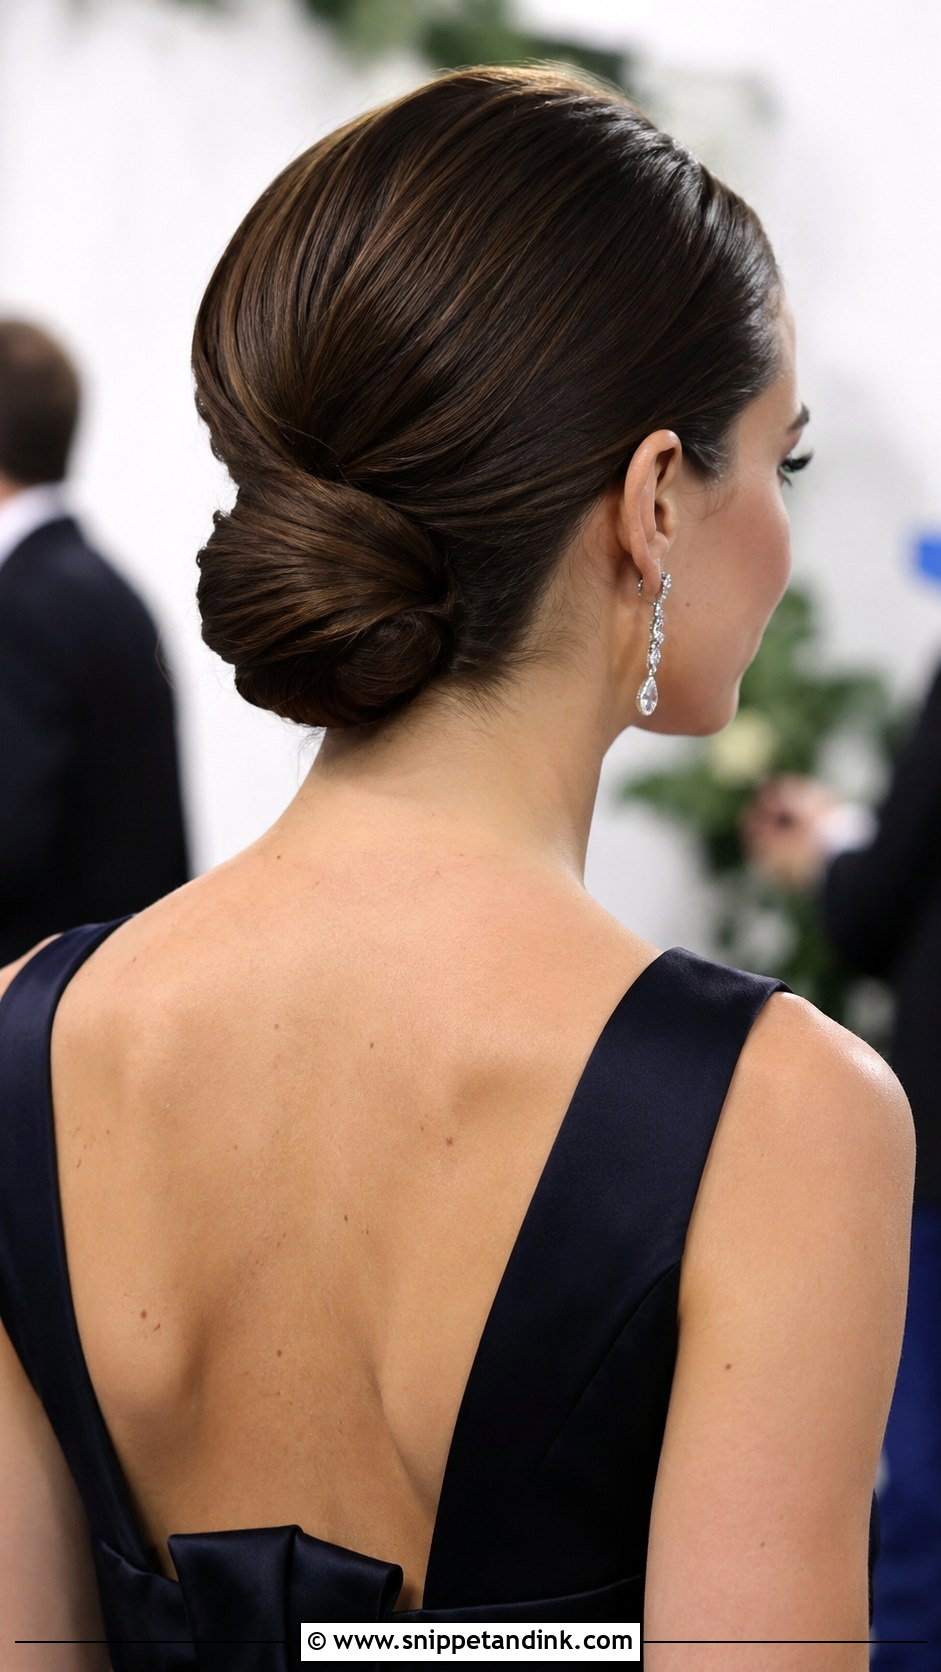
A chignon looks formal but takes about five minutes once you’ve done it twice. Brush the hair into a smooth low ponytail, open a small gap above the elastic, flip the tail through, then roll the remaining length up into the gap and pin along the seam. Straight or slightly wavy hair gives the cleanest result. Very thick hair can make the roll bulky, so I’d thin it by leaving a small underlayer out and pinning it separately underneath. Delicate jewelry suits this one.
4. Topsy Tail Ponytail Updo
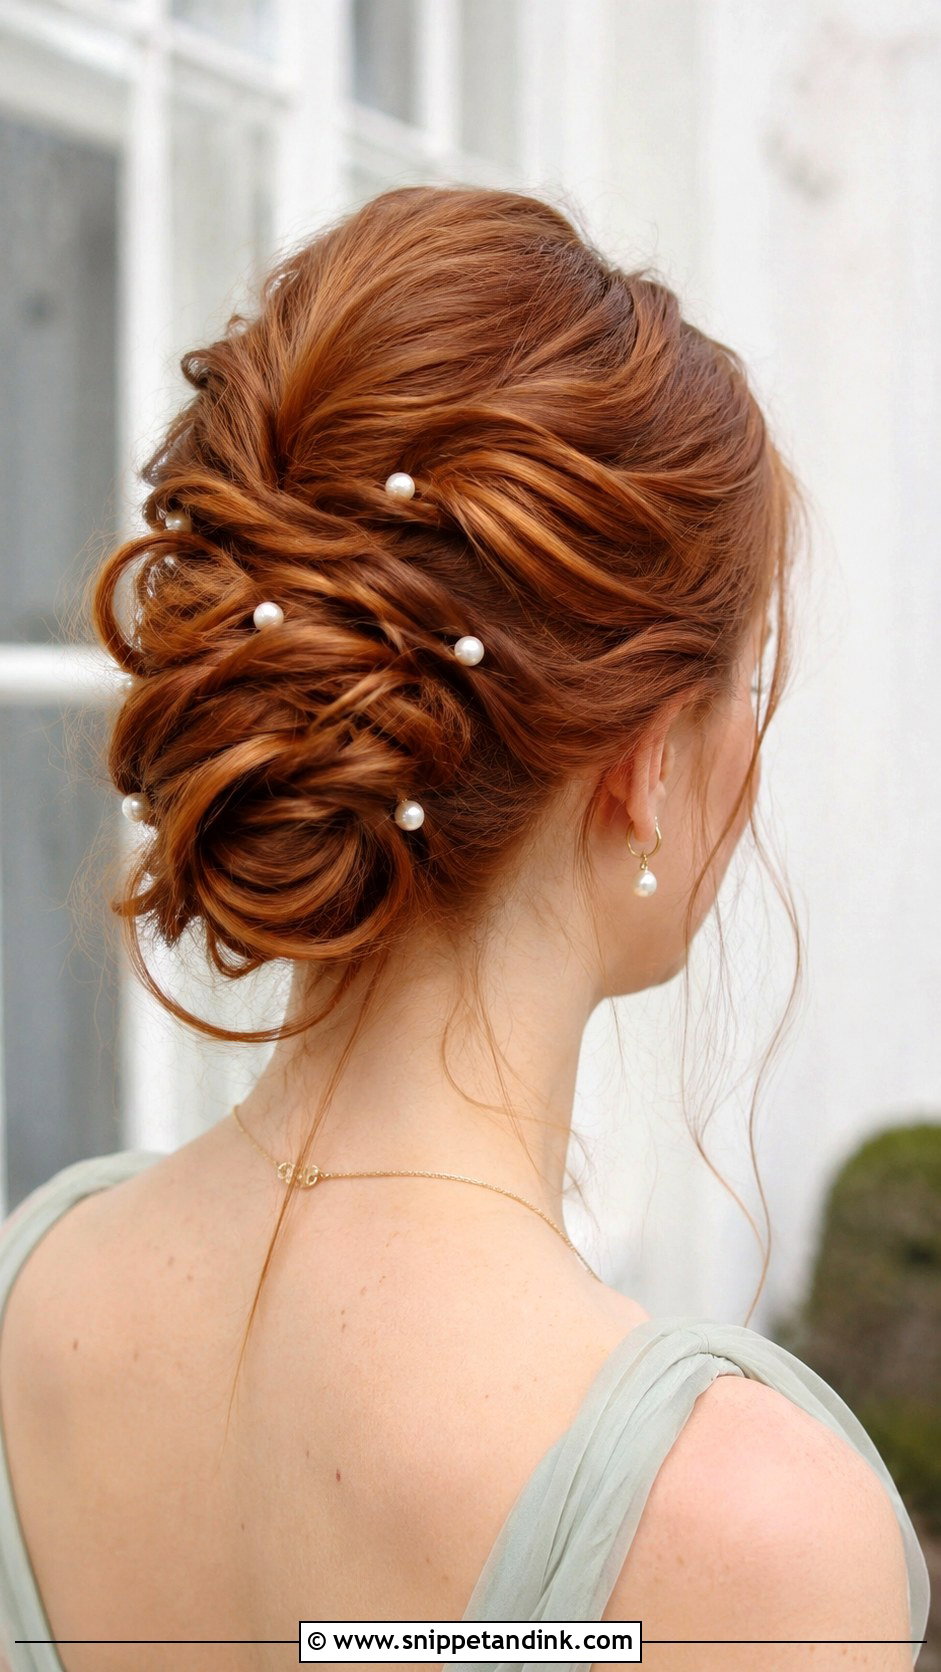
The topsy tail is the beginner’s updo I teach most often, because the shape builds itself. Tie a low ponytail, loosen the elastic slightly, split the hair above it and push the tail up through the opening. Do it twice for more twist. The elastic shows if you skip the loosening step, so slide it down a centimeter before flipping. On medium hair, tuck the tail ends up into the gap and pin them; a decorative comb hides any pins that peek through.
5. Braided Updo
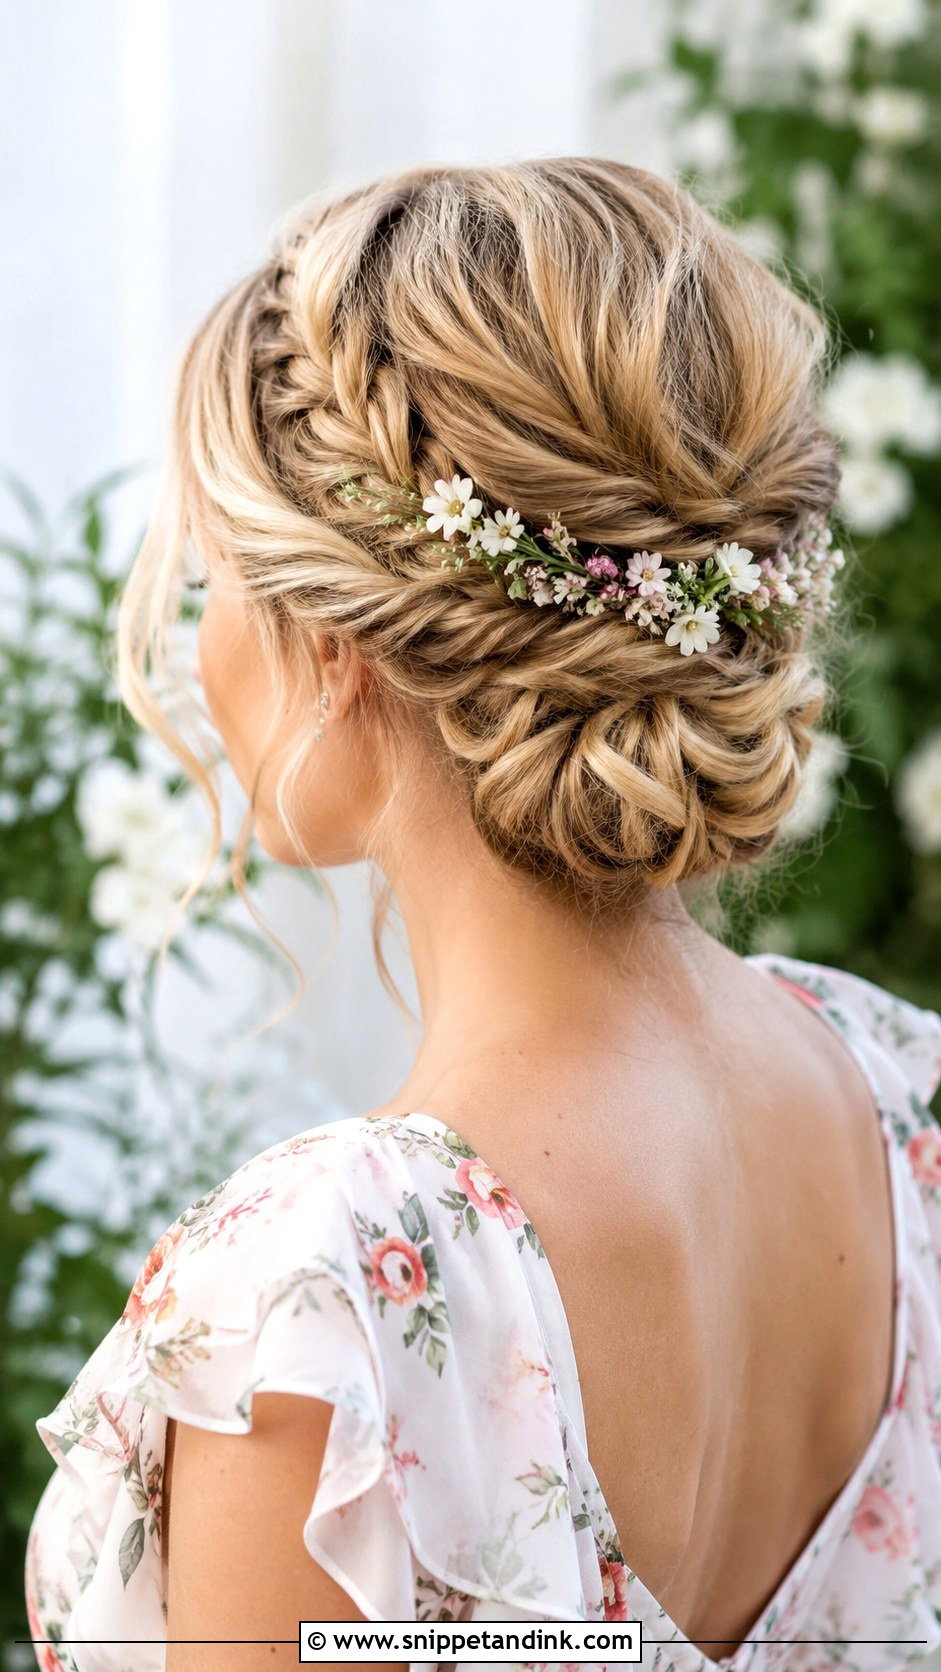
Braids hold an updo far longer than twists because the hair is locked in place. I braid two or three sections, either three-strand or fishtail, then wrap them around the back of the head and pin through the braid itself, not beside it. Tug the edges outward before pinning to make the braids look fuller. Long, thick hair suits this one best. On fine hair, braids can look thin, so I’d pancake them more and add a few flowers for bulk.
6. Half-Up Braided Crown
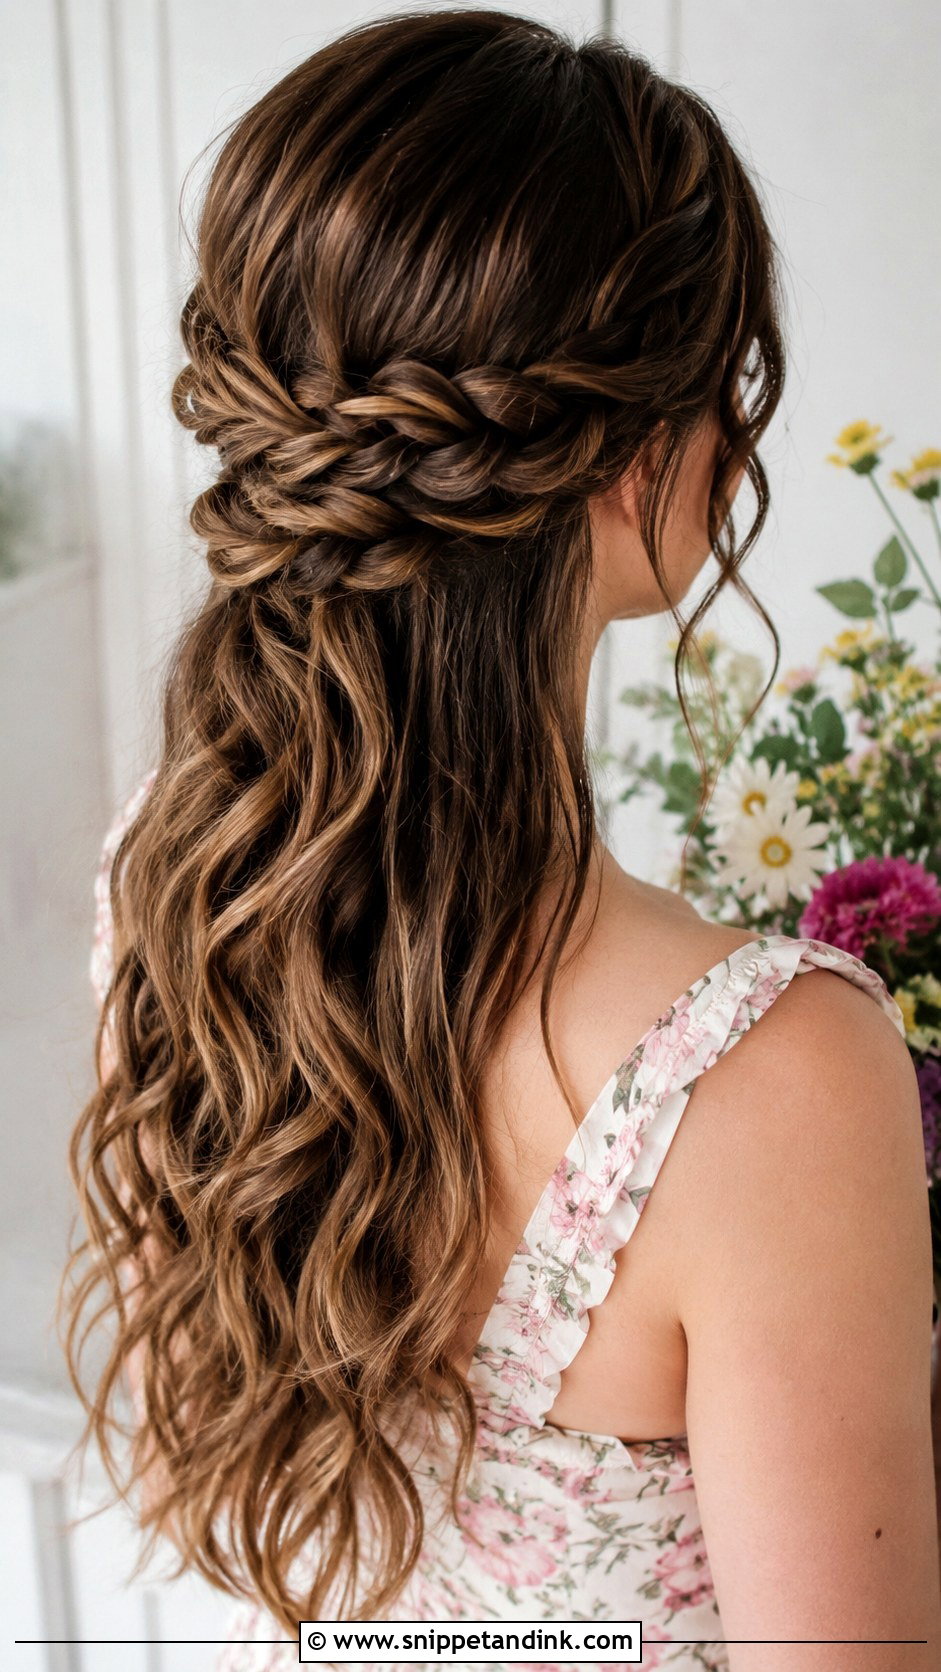
The half-up crown suits guests who can’t decide between up and down. Braid a section from each temple, bring both braids across the back and cross them, then pin each end under the opposite braid. Crossing them hides the ends better than pinning them side by side. It works on most lengths, but on very layered hair the shorter pieces will poke out of the braid; a light texture spray before braiding helps keep them in. Fresh flowers tuck neatly into the crossing point.
7. French Twist
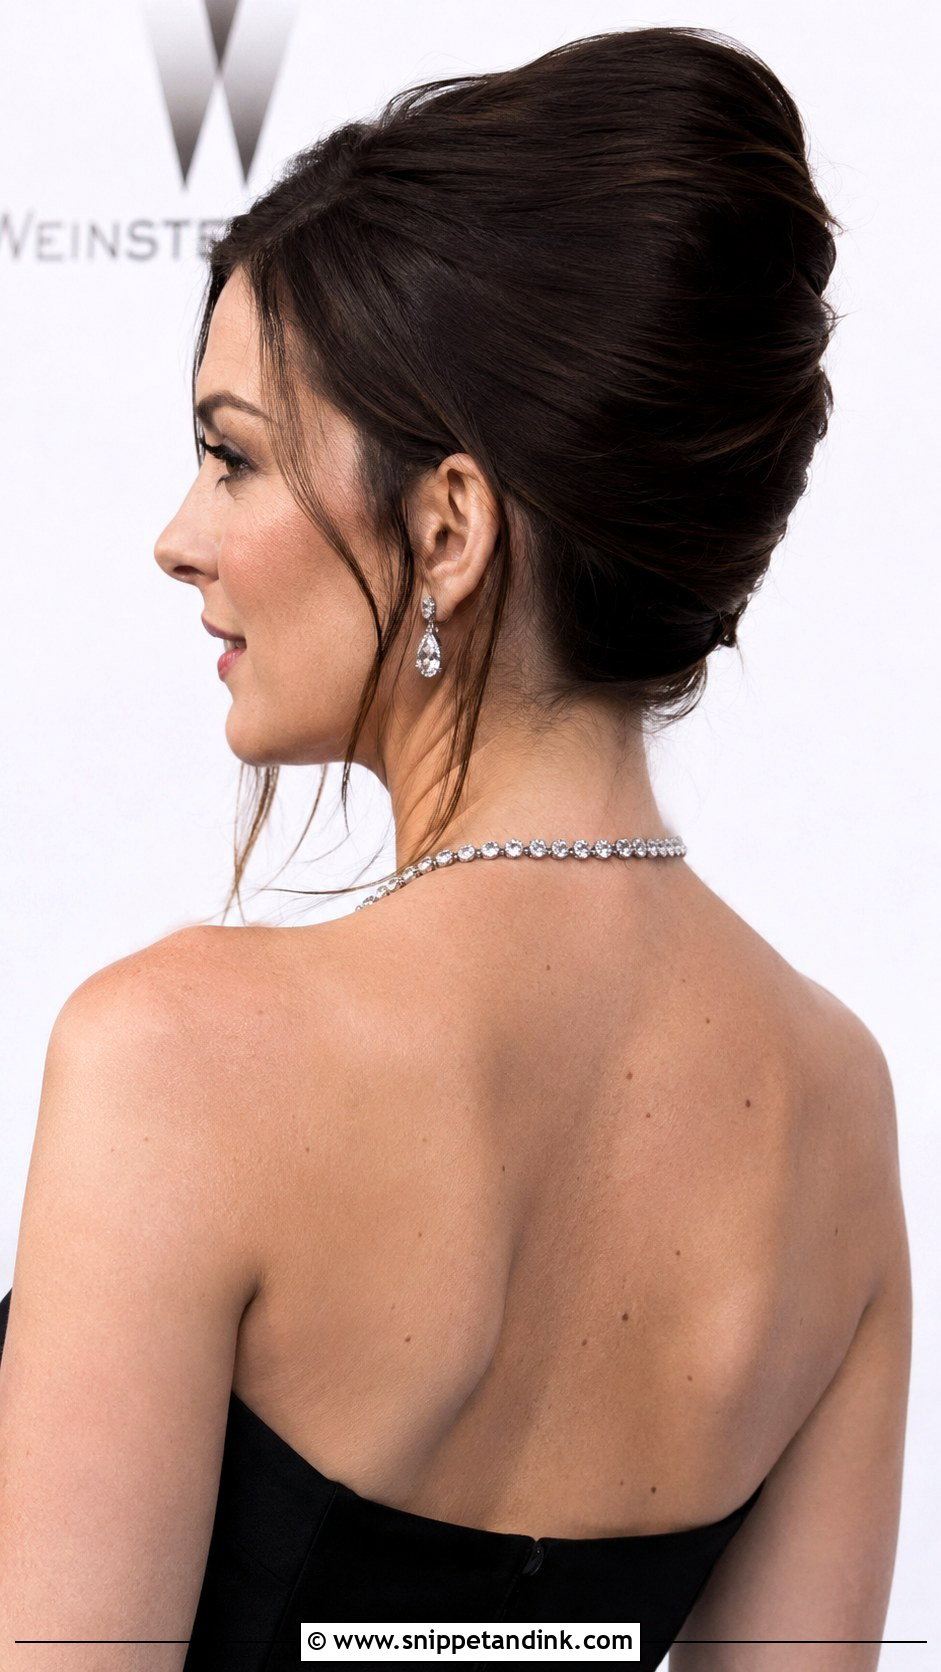
A French twist relies on a hidden base. I put a vertical row of crossed bobby pins down the center back first, then twist the hair over them so the twist locks onto that row. Without it, the twist loosens as soon as you turn your head. Tuck the ends inside and pin along the seam. Black-tie dress codes suit it, and a few soft tendrils at the temples keep it from looking severe. A drop of shine serum on the surface finishes it.
8. Low Twisted Updo
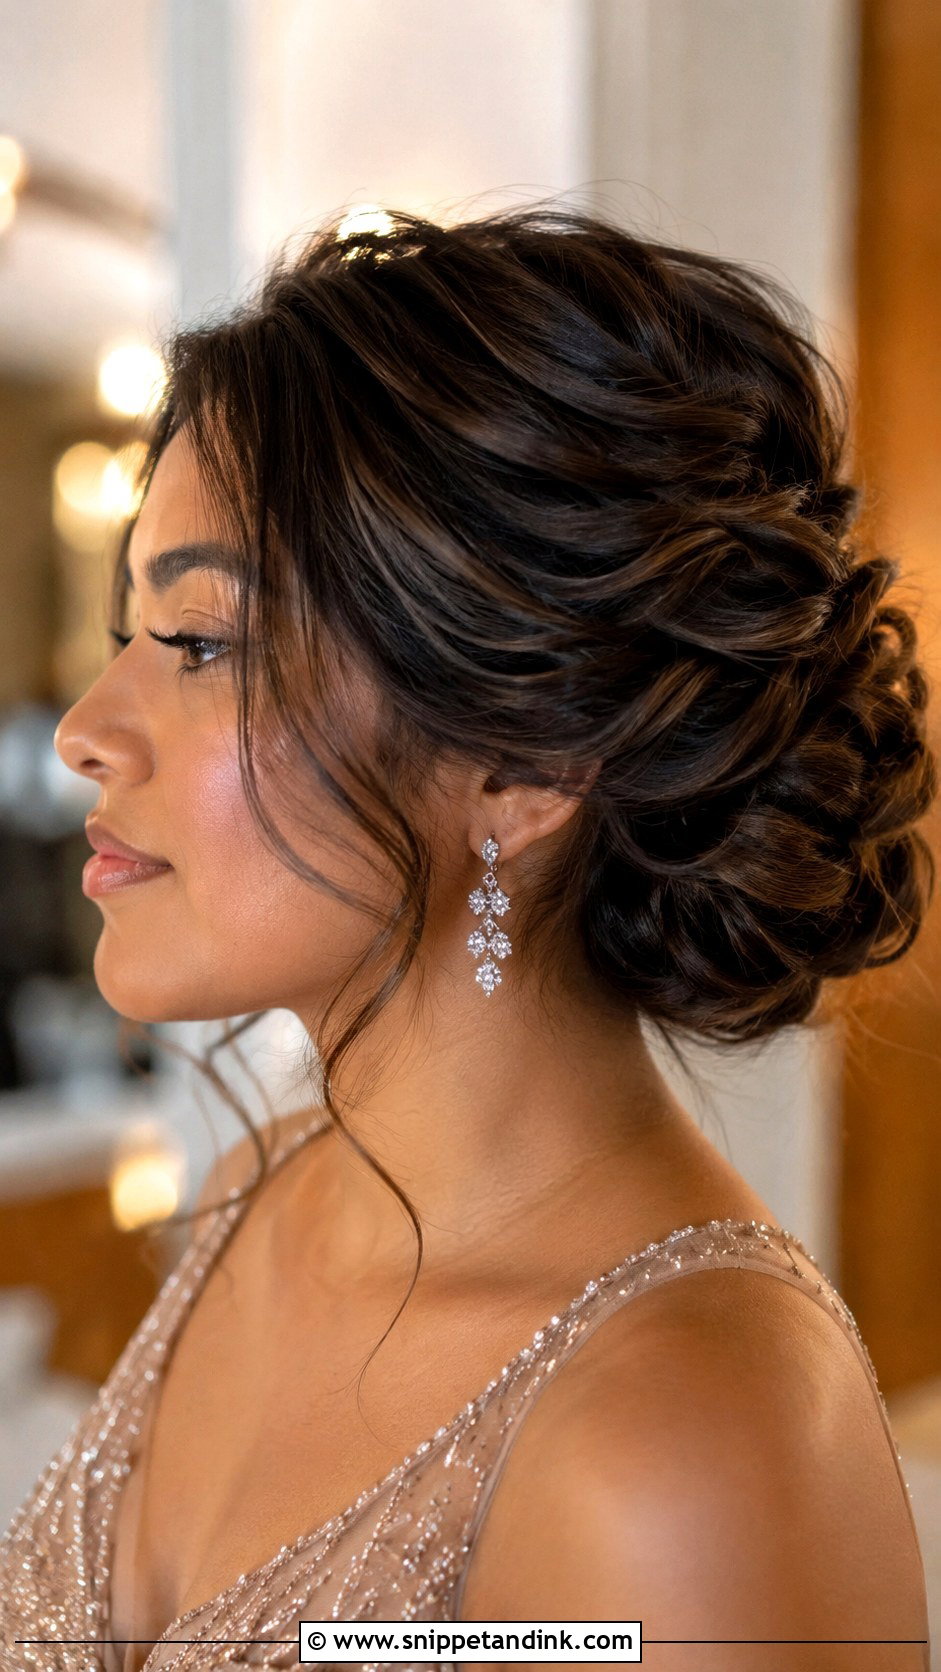
A low twisted updo is my first suggestion for wavy or curly hair, because the texture hides every pin. Split the hair into two or three sections, twist each separately and layer them into a loose knot at the nape. I pin each twist as I place it rather than all at the end, so the earlier ones don’t loosen. It sits low enough to be comfortable through a long evening.
9. Sleek Ballerina Bun
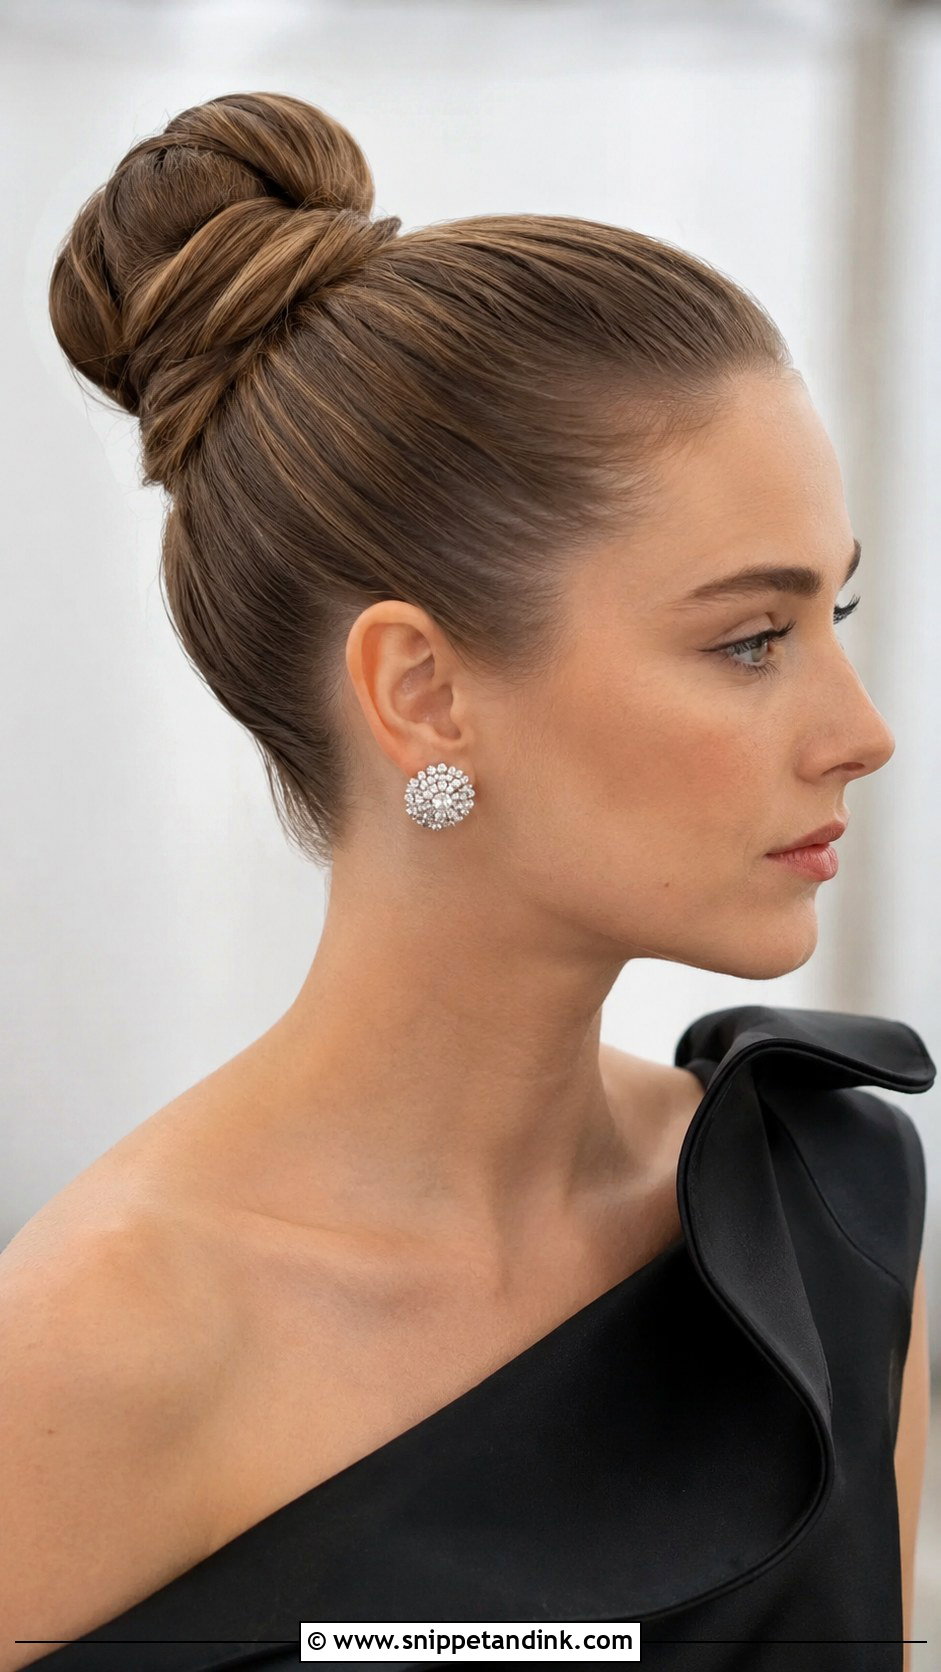
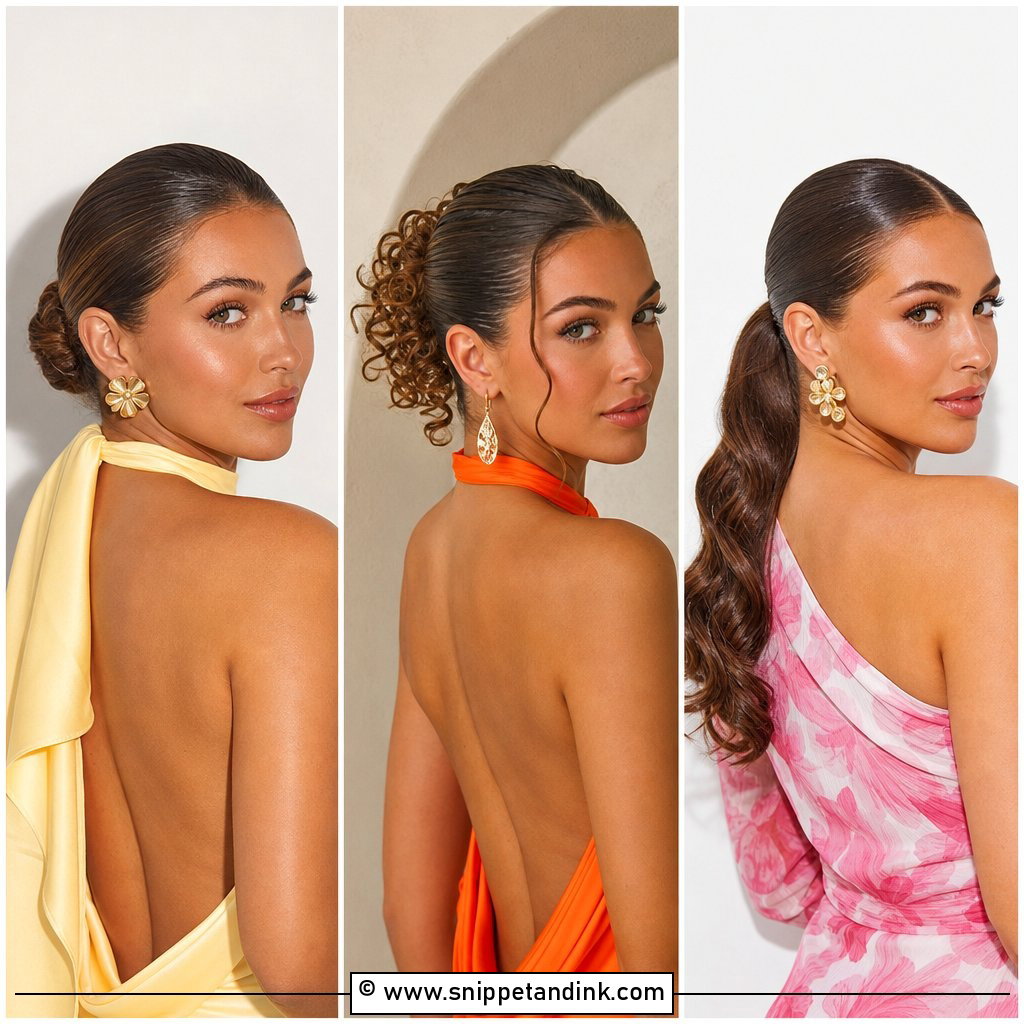
A sleek ballerina bun shows every bump, so the prep is the whole style. I brush the hair into a high ponytail while it’s slightly damp with a little gel, then smooth the surface with a boar bristle brush before the elastic goes on. Twist and wrap the length around the base and pin it close. Very curly or coily hair will need a blowout first to get the surface smooth. It does pull on the scalp, so I’d avoid it if you get tension headaches.
10. Curly Updo
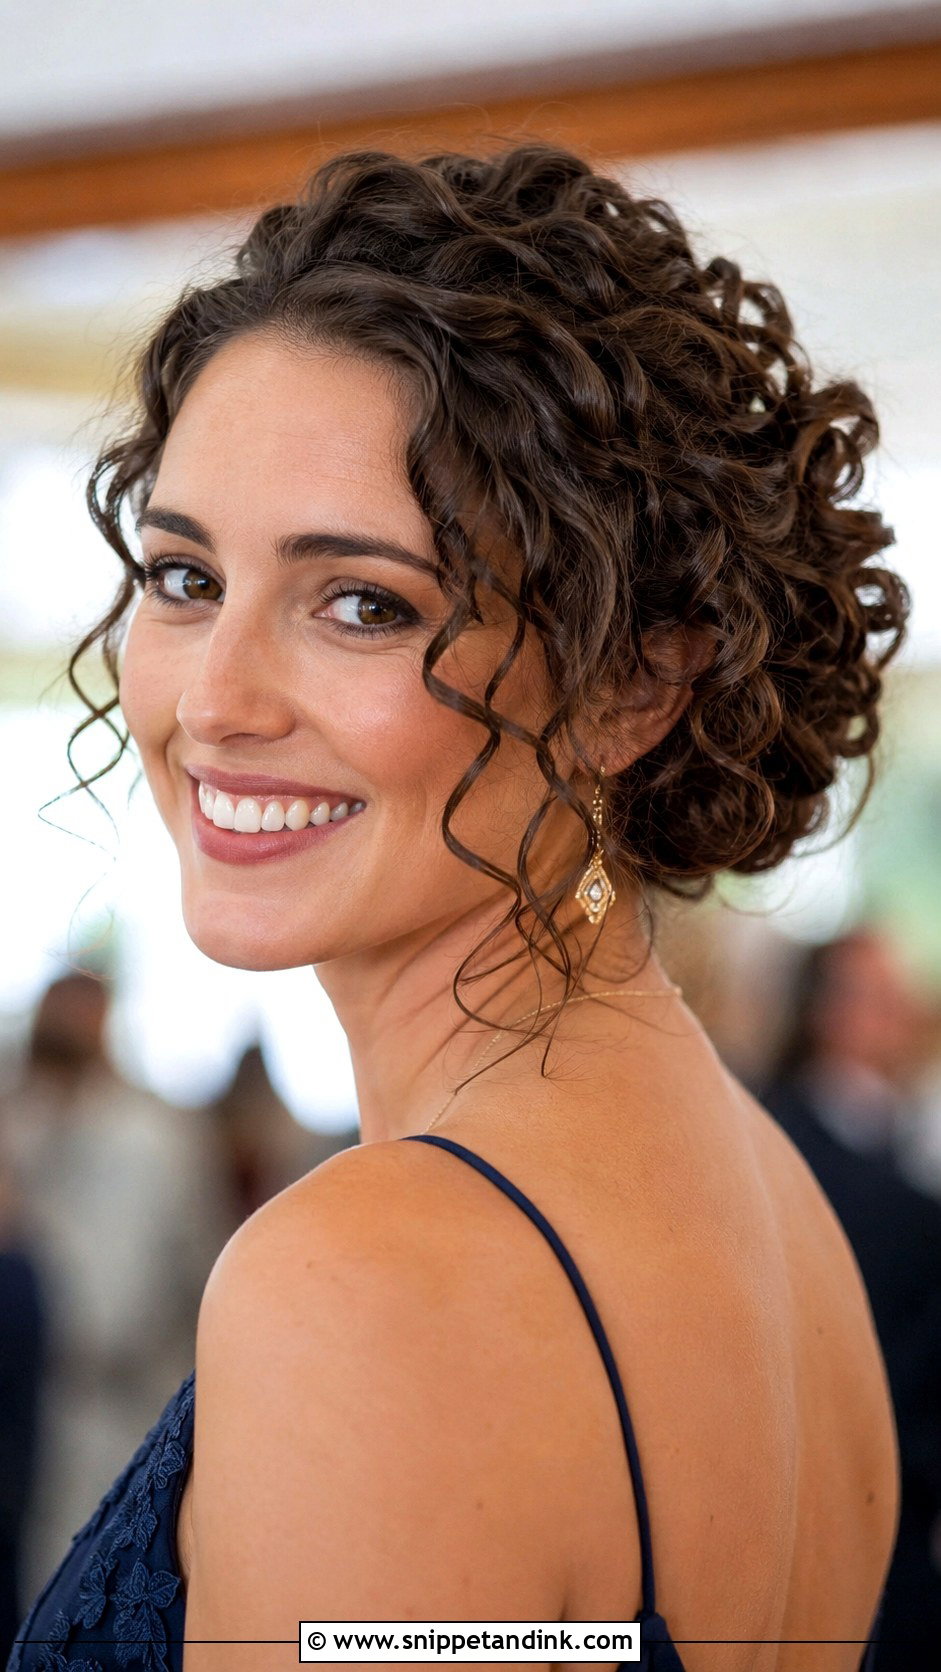
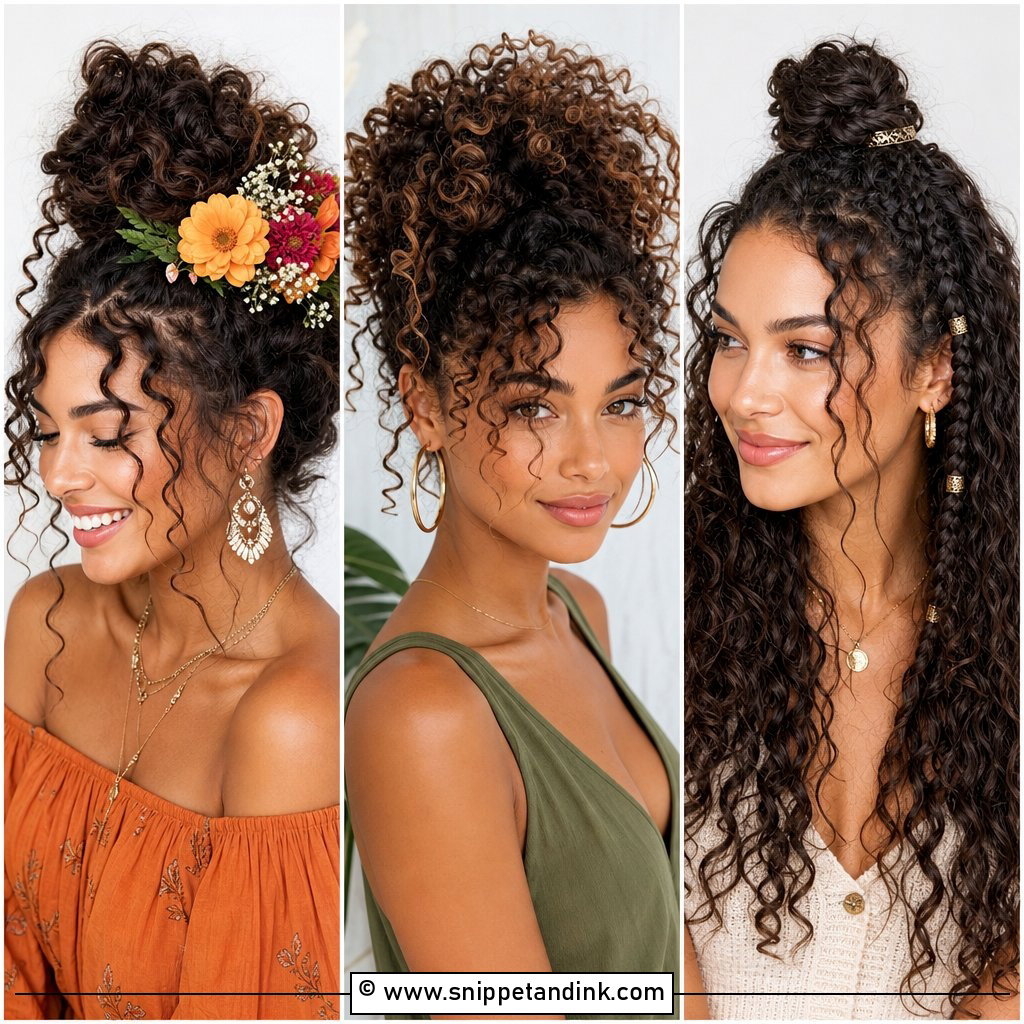
Curly hair gives you the volume for an updo; all you have to do is not flatten it. Gather the curls loosely toward the back with your fingers, never a brush, and pin sections up gradually using large U-pins, which hold curls without crushing them. Leave a few spirals loose around the face. I refresh any frizzy curls with a little water and curl cream before pinning. A light curl spray finishes it.
11. Knotted Bun
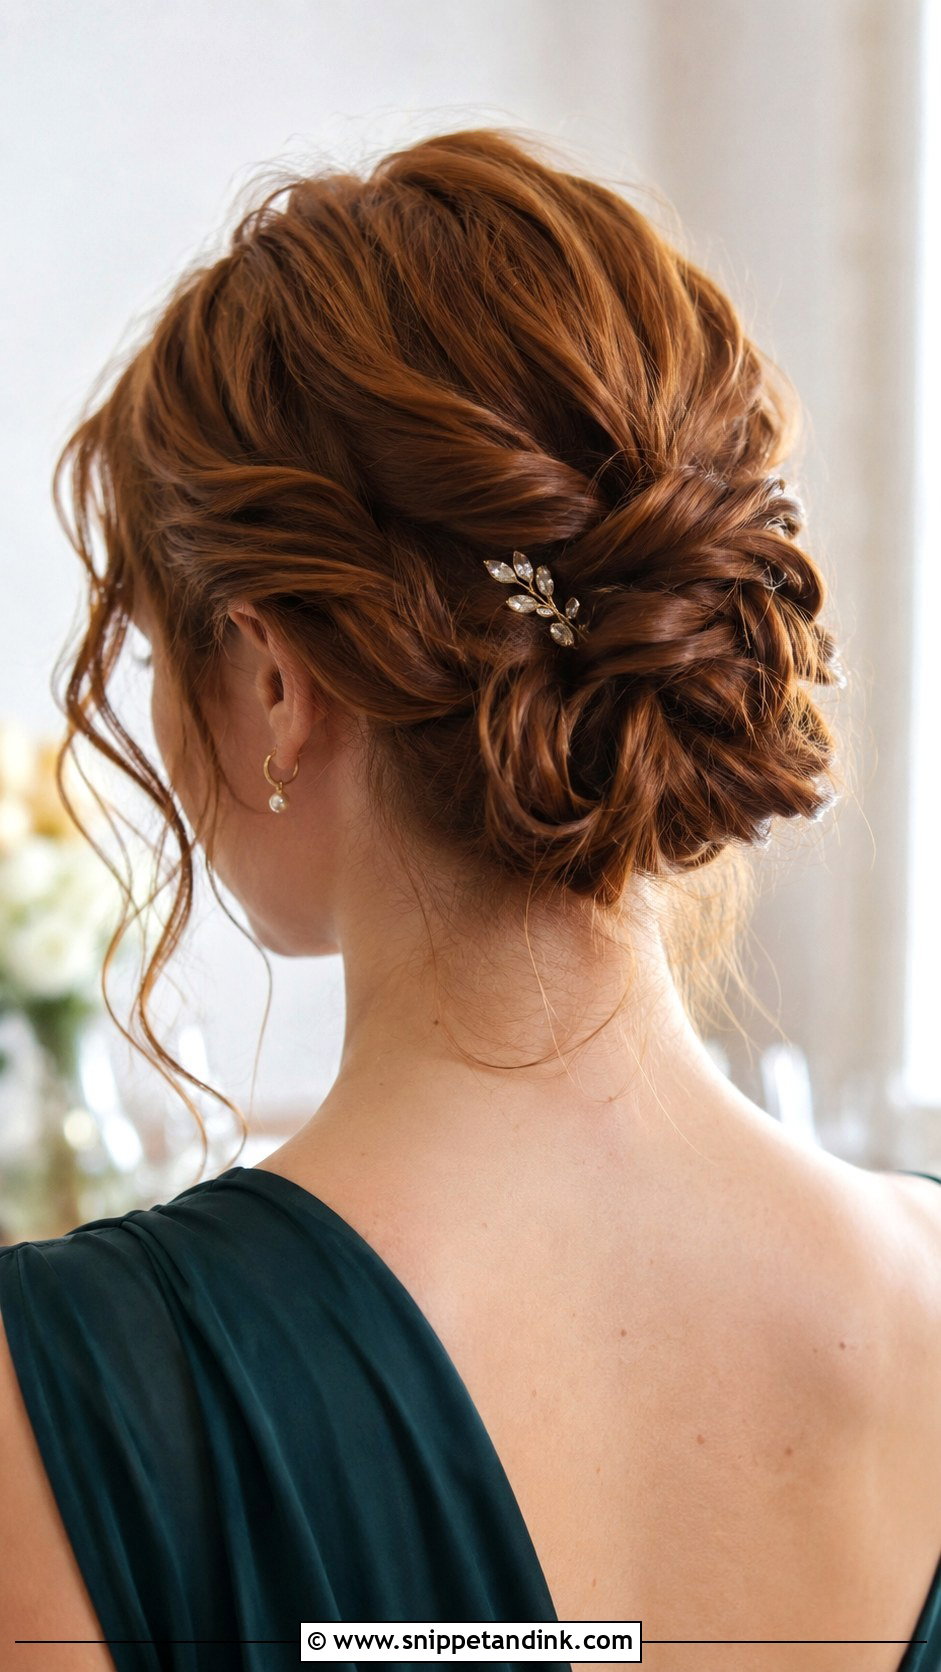
The knotted bun is the one I’d pick for a guest with no tools and ten minutes. Split the hair into two sections at the back and tie them together like a shoelace knot, once or twice, then tuck and pin the ends under. It works on medium to long hair. Fine hair can slip out of the knot, so add texture spray first. Loosen the knots slightly with your fingertips for fullness, and slide a delicate pin across the woven detail to show it off.
12. Side Swept Updo
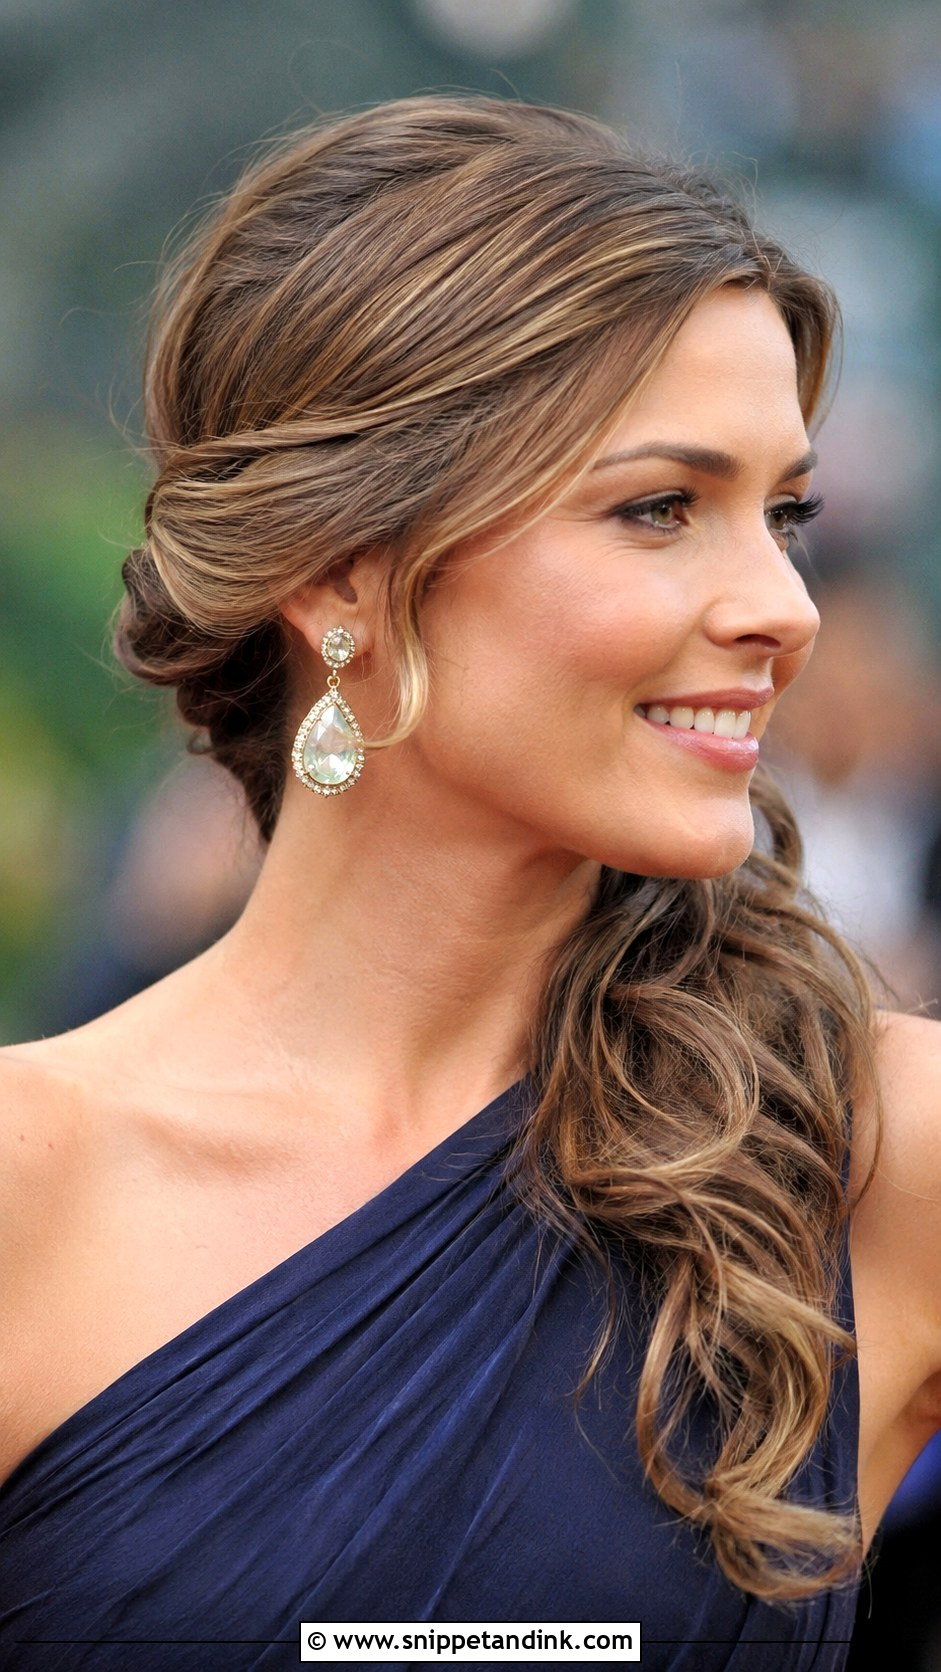
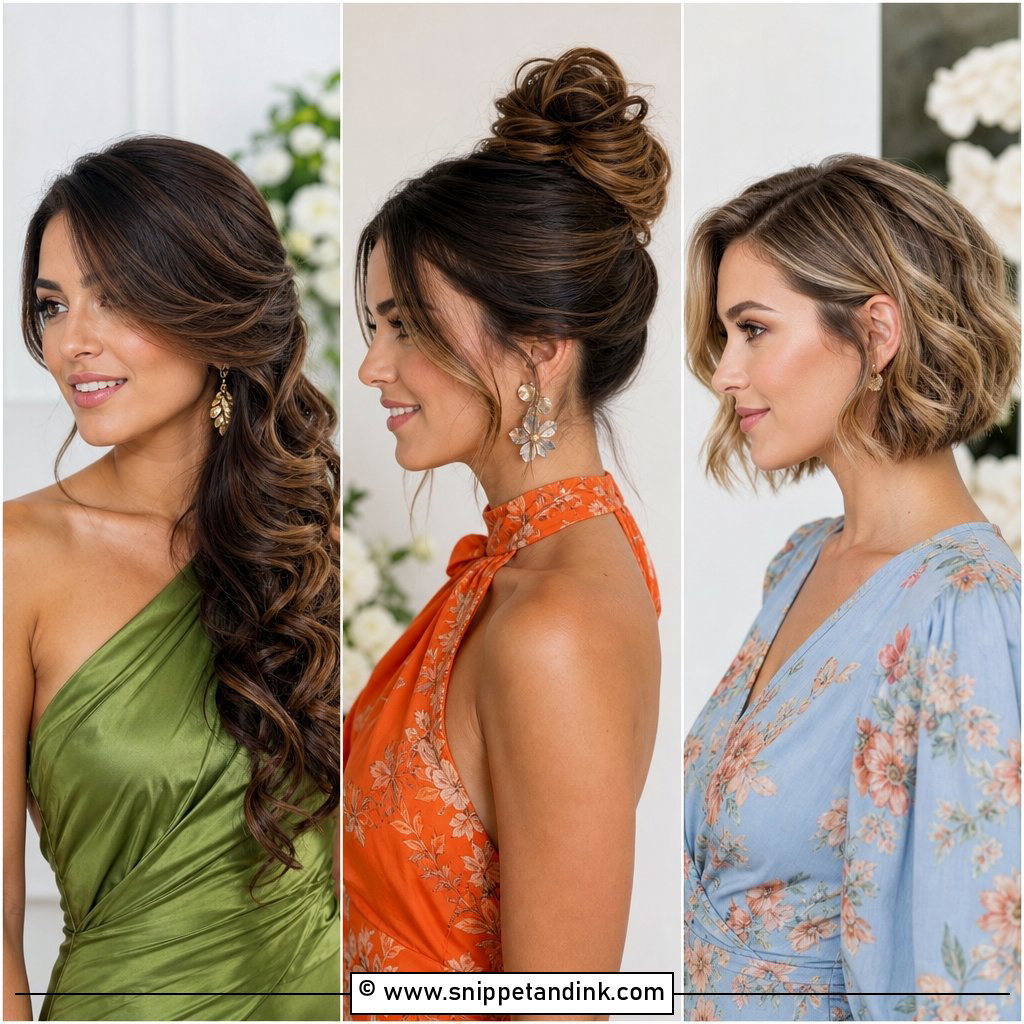
A side-swept updo puts all the weight on one side, so the anchor has to be strong. I make a row of crossed bobby pins behind the ear before sweeping the hair across, then twist the length into a roll that sits over those pins. One-shoulder dresses pair naturally with it, with the earrings on the open side. It’s a good fit for wavy or curly hair, and a few loose waves over the shoulder soften the shape.
13. Messy Bun With Face-Framing Pieces
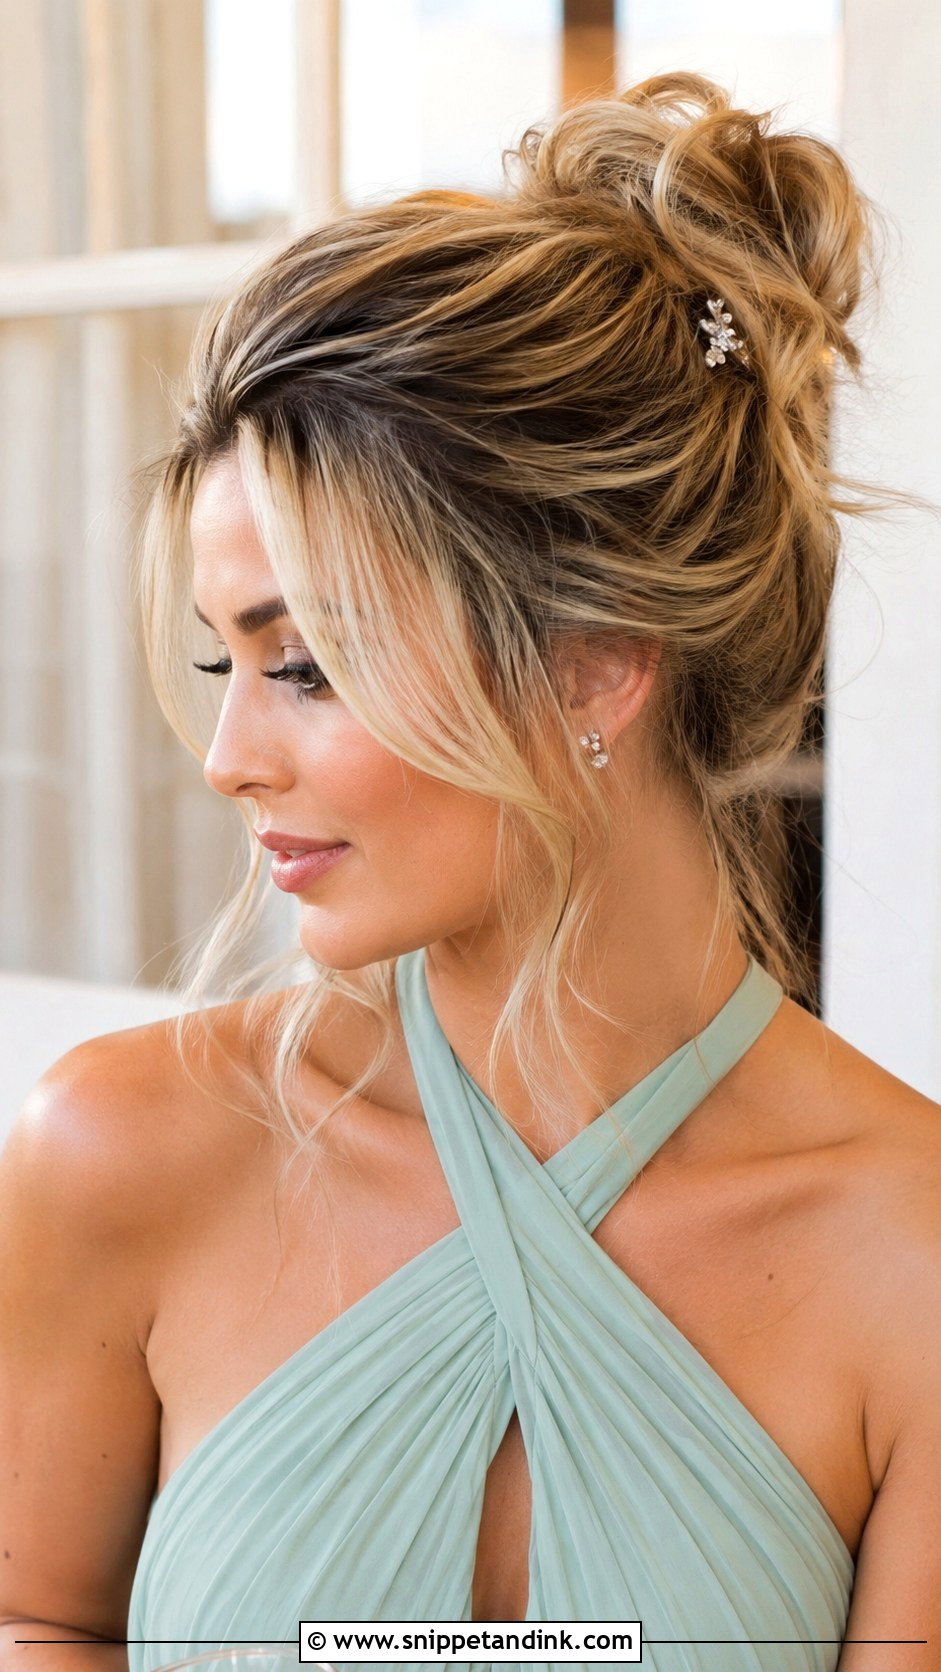
This messy bun is the most forgiving style here. Pull the hair into a loose bun at whatever height suits your neckline, without brushing it smooth, then tug two pieces from the front. I curl those front pieces with a wand away from the face so they look intended rather than fallen out. A bit of texture spray gives grip and volume, and a small clip finishes it. It works on nearly every hair type and length.
14. Braided Bun
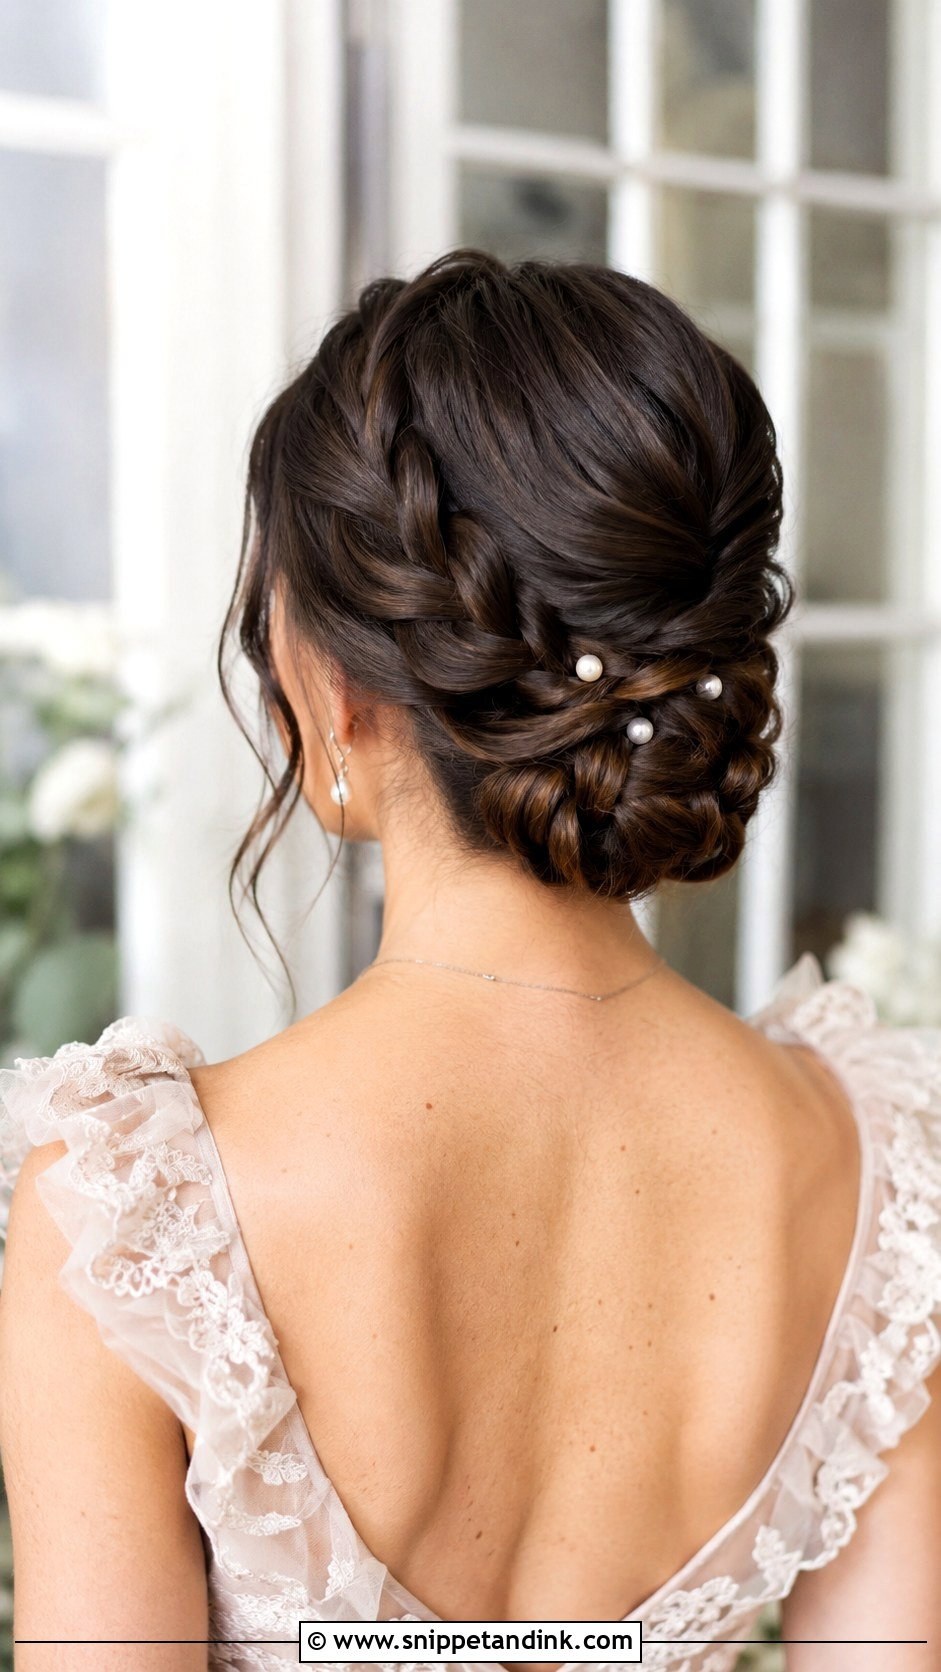
A braided bun holds through long days better than any plain bun I know, because the braid keeps the hair from slipping. Braid all or part of the hair, loosen the braid a little, then coil it around itself at the nape and pin through the braid every few centimeters. Medium to thick hair gives a rounded shape; fine hair makes a smaller bun, which I’d fill out by teasing the ponytail before braiding. Pearl pins or tiny flowers suit the woven texture.
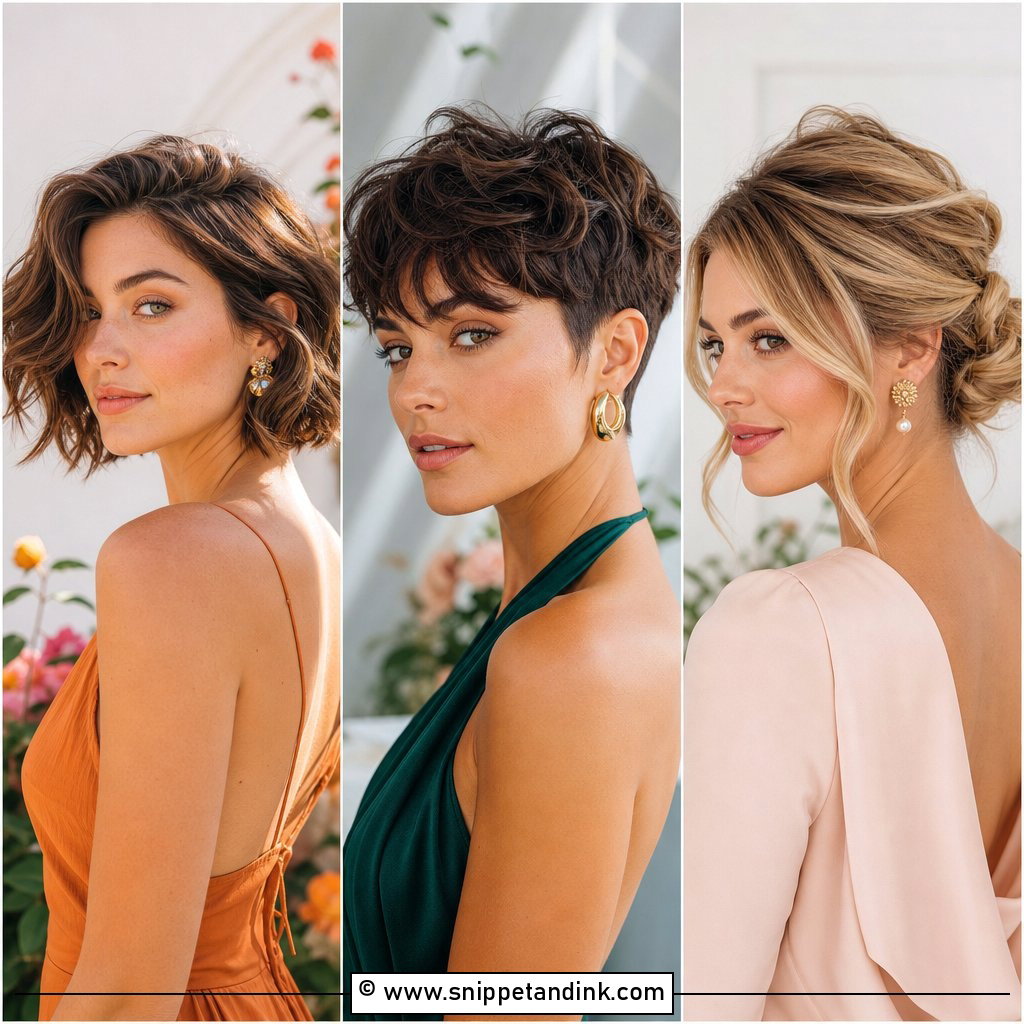
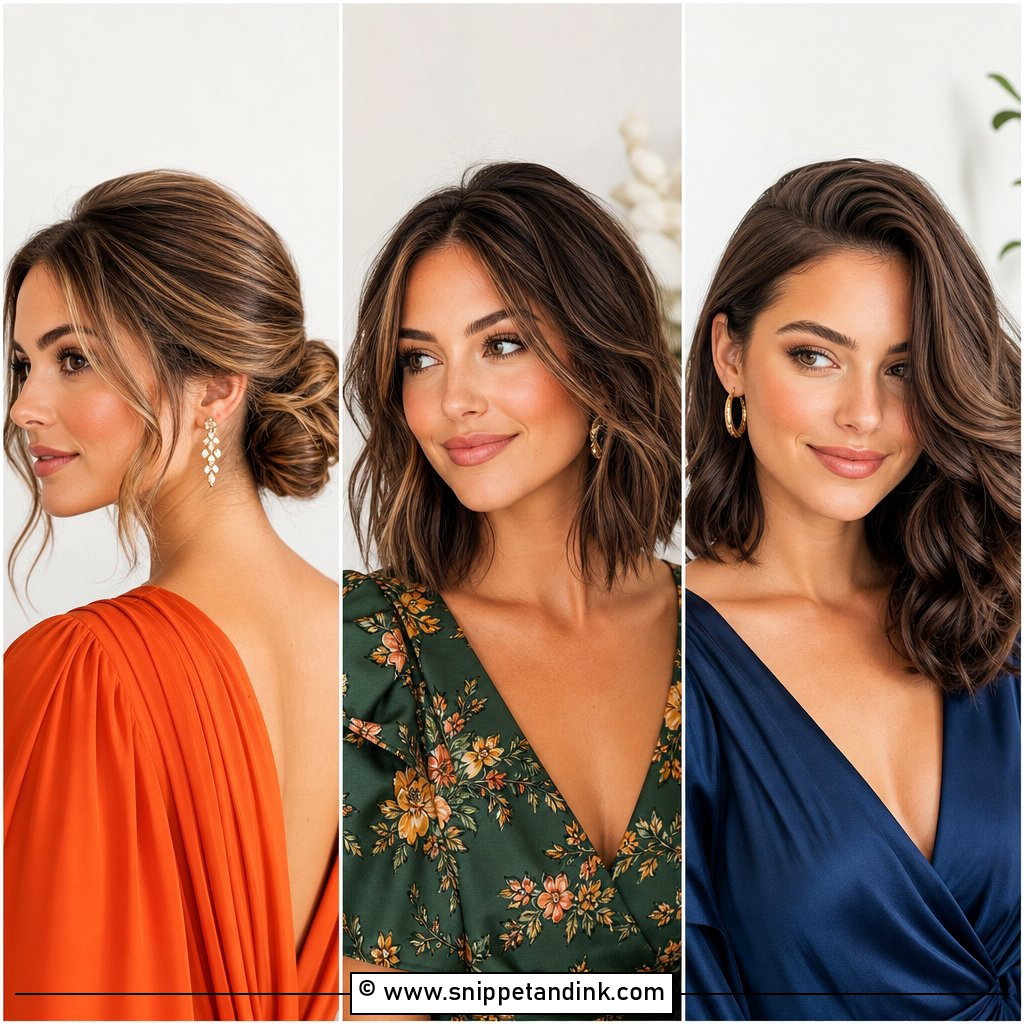
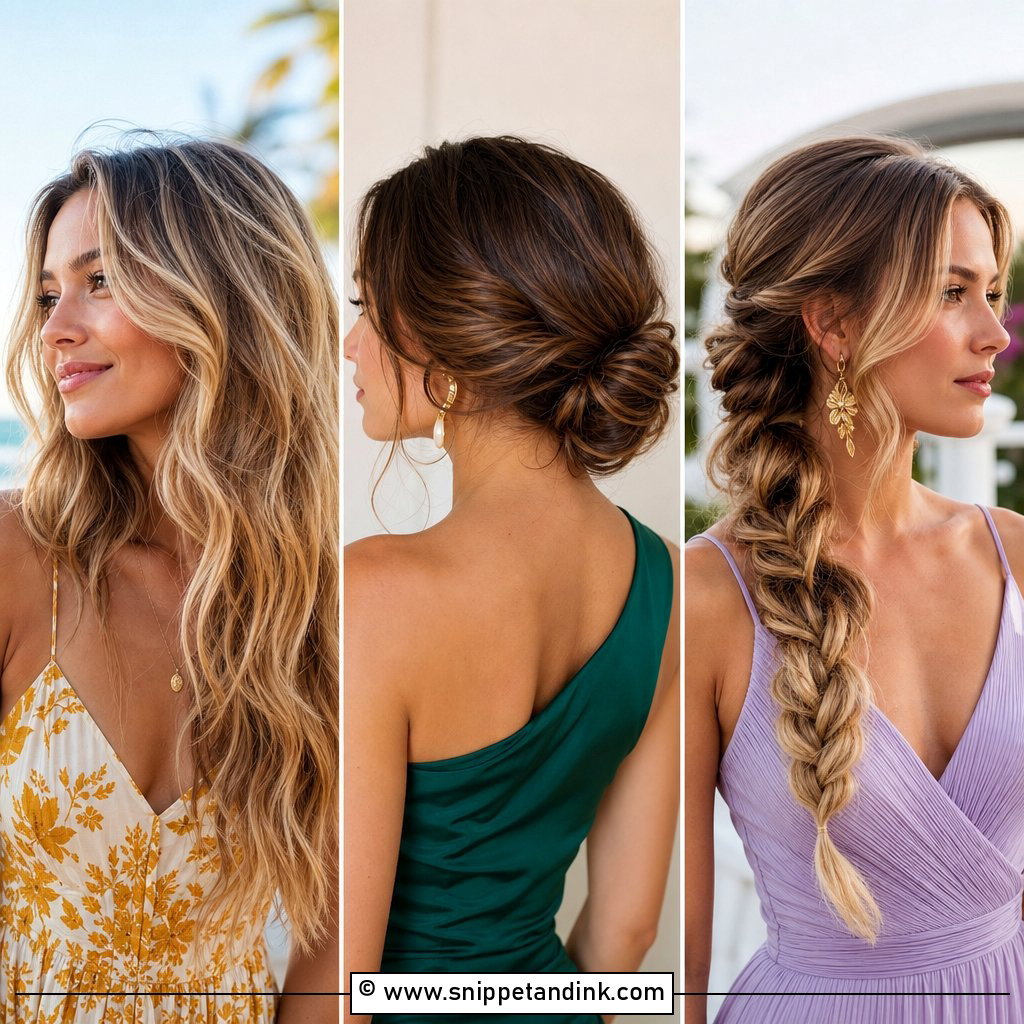
15. Twisted Half Updo
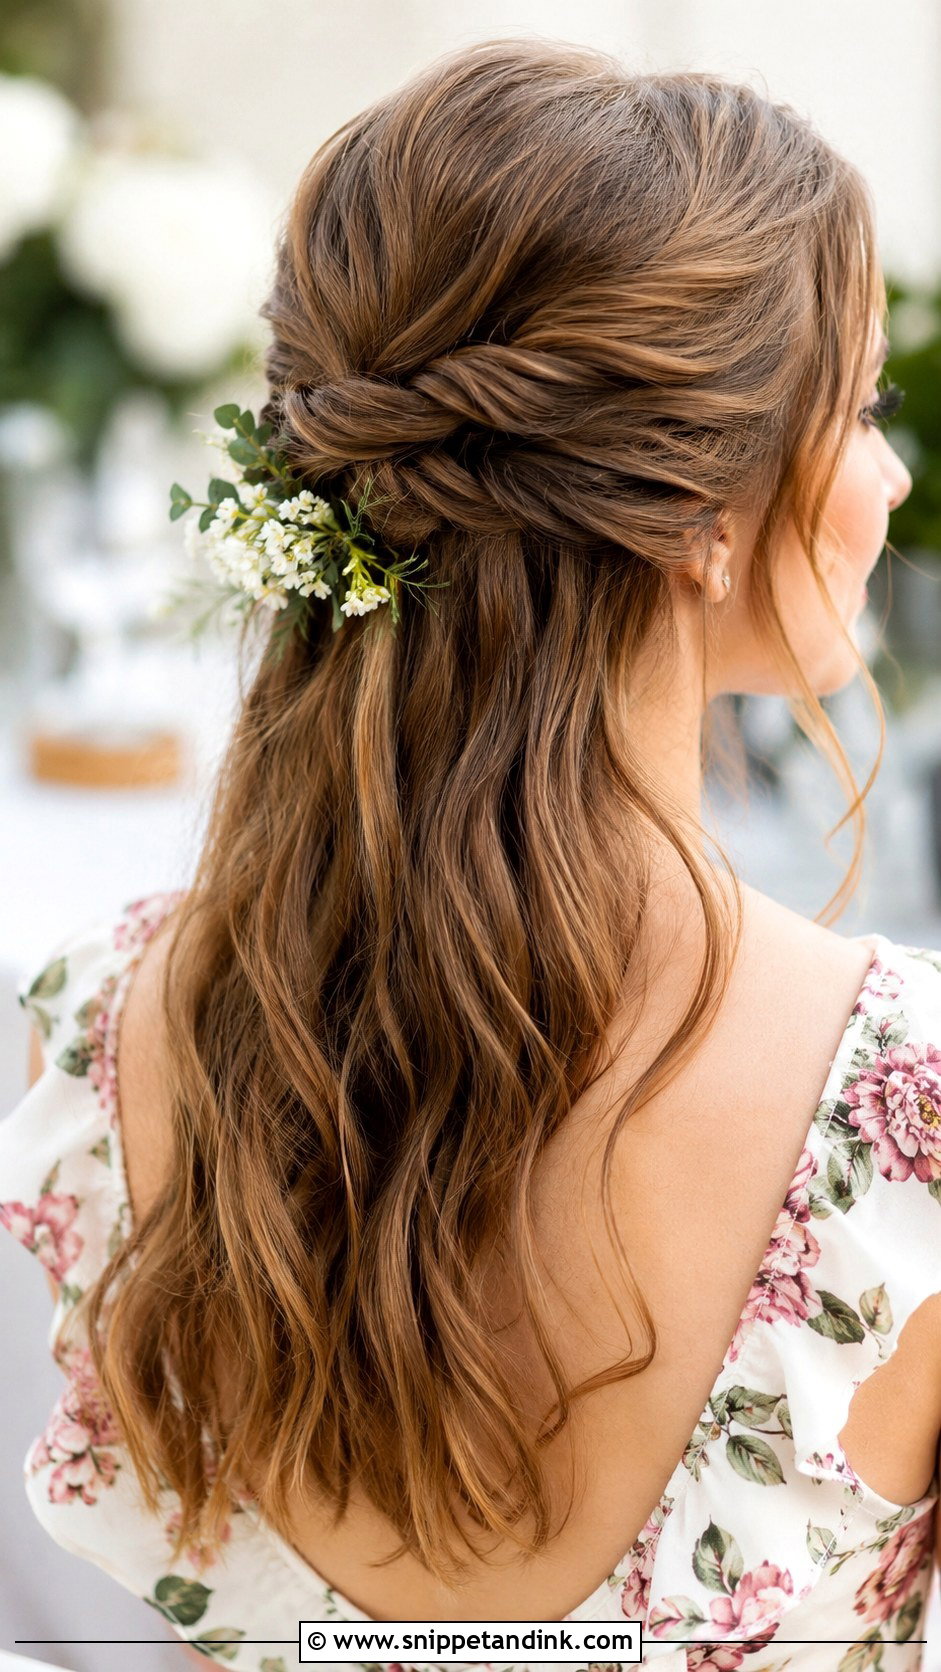
The twisted half updo is light and comfortable, which makes it popular with guests who dislike tight styles. Twist a section from each side toward the back, cross the twists and secure them with pins or a small clip. Twisting away from the face keeps hair off the cheeks while the rest falls free. It suits straight, wavy and curly hair alike. Loosen the twists slightly for softness, and spray lightly to hold the shape.
16. Low Bun With Braid Detail
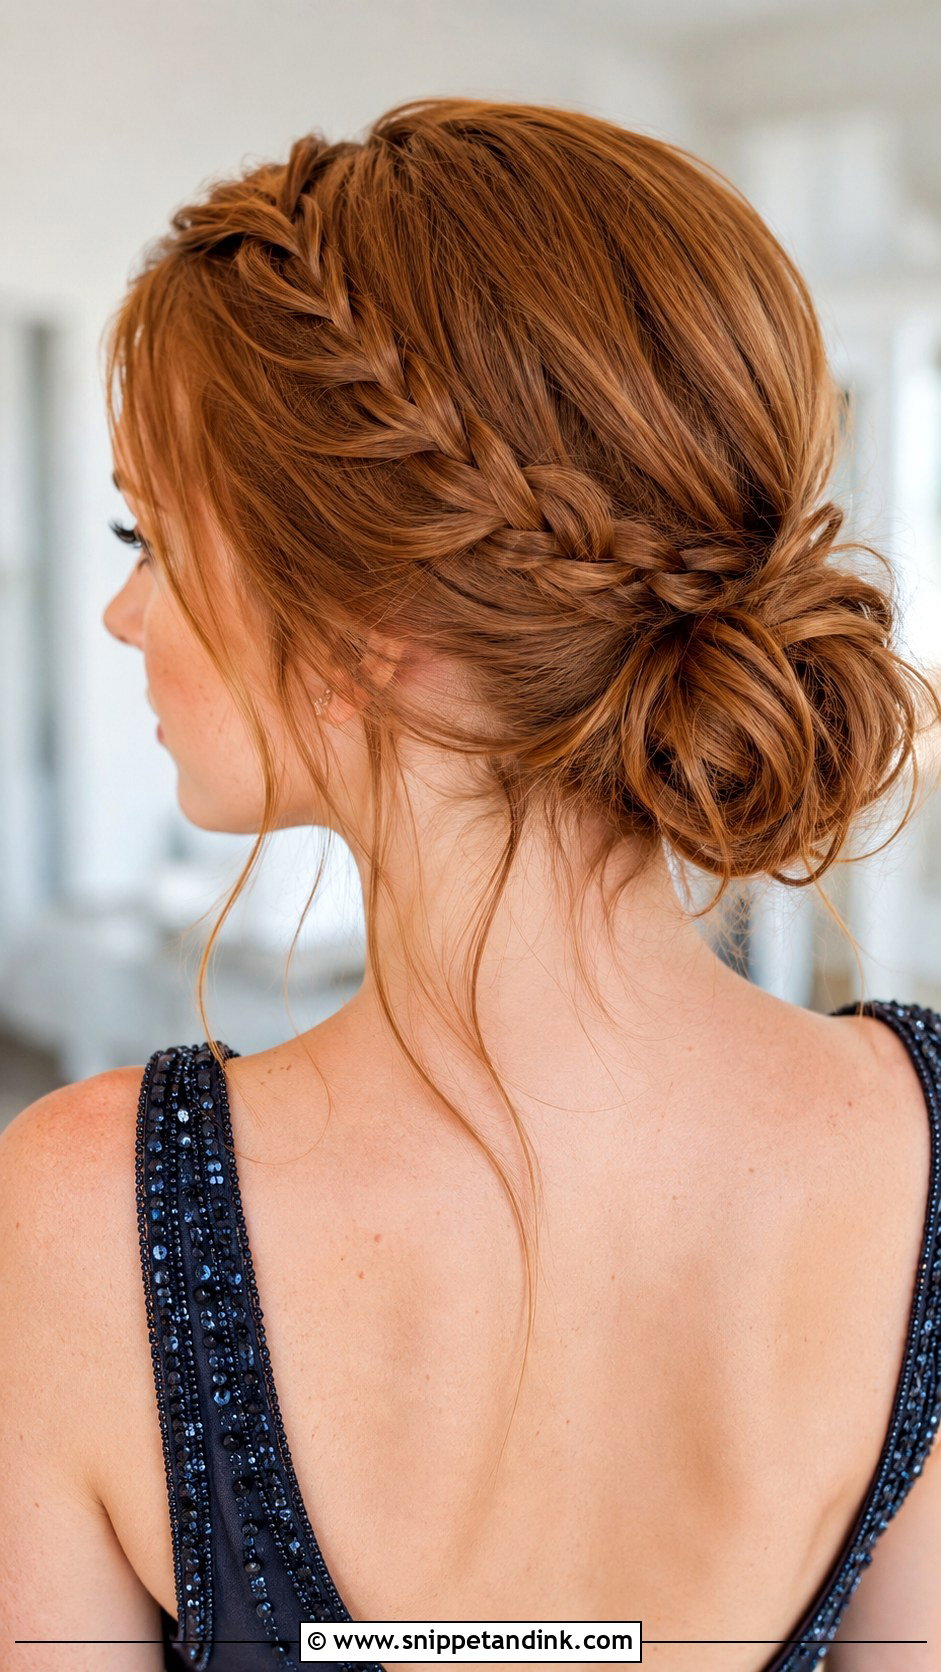
A low bun with a braid gives you a detail that’s easy to spot from the side without making the style busy. Braid a small section near the temple, then gather all the hair, braid included, into a low bun and wrap so the braid runs through it. I braid the side piece before the rest of the hair is gathered, since braiding it after pulls the ponytail off center. It stays secure for hours on medium to long hair. A few wispy pieces near the face soften it.
17. Voluminous Updo
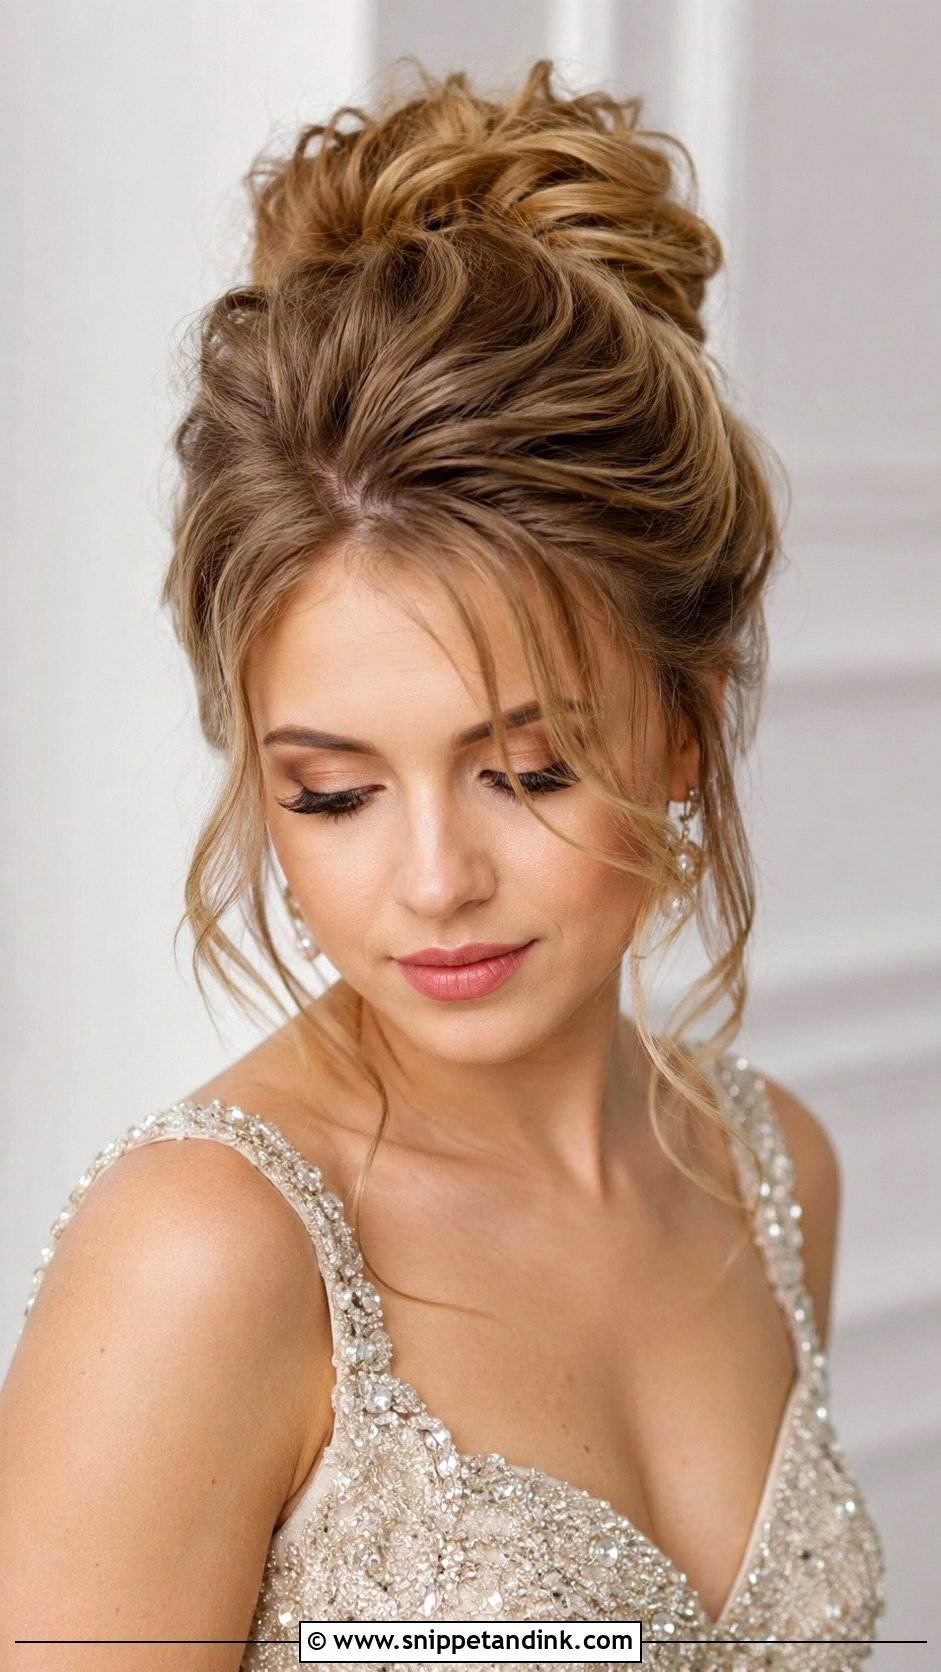
Volume at the crown is what makes this one feel formal. Tease the crown in small sections, back-combing only the roots, then smooth the top layer over the teased hair so the surface stays neat. Sweep everything into a loose bun or twist and pin it without pressing down the height. It’s especially useful on fine hair that needs body. I’d leave a few face-framing pieces out so the height doesn’t look harsh in profile.
18. Pinned Back Waves
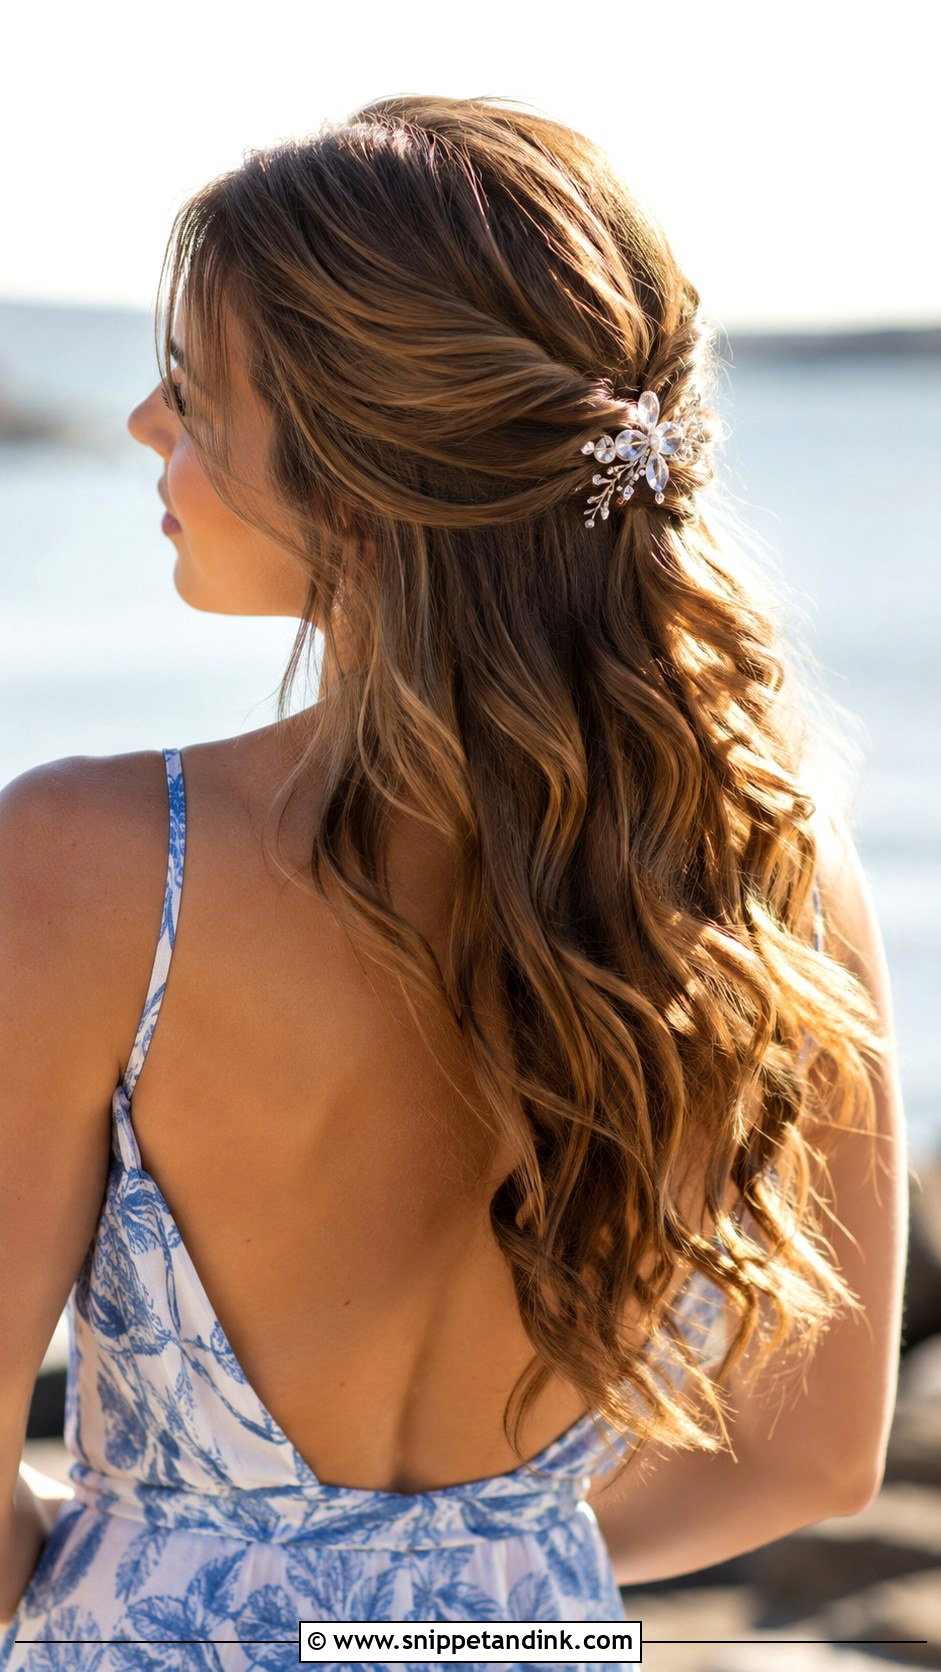
Pinned-back waves are barely an updo at all, which suits guests who like their hair down but want it off the face. Curl the hair into loose waves and let them cool, then sweep the front sections back and pin them with decorative pins angled toward the crown. Hide a plain bobby pin under each decorative one for hold. Medium to long hair with natural movement works best. It’s an easy choice for a beach or garden wedding.
19. Rolled Updo
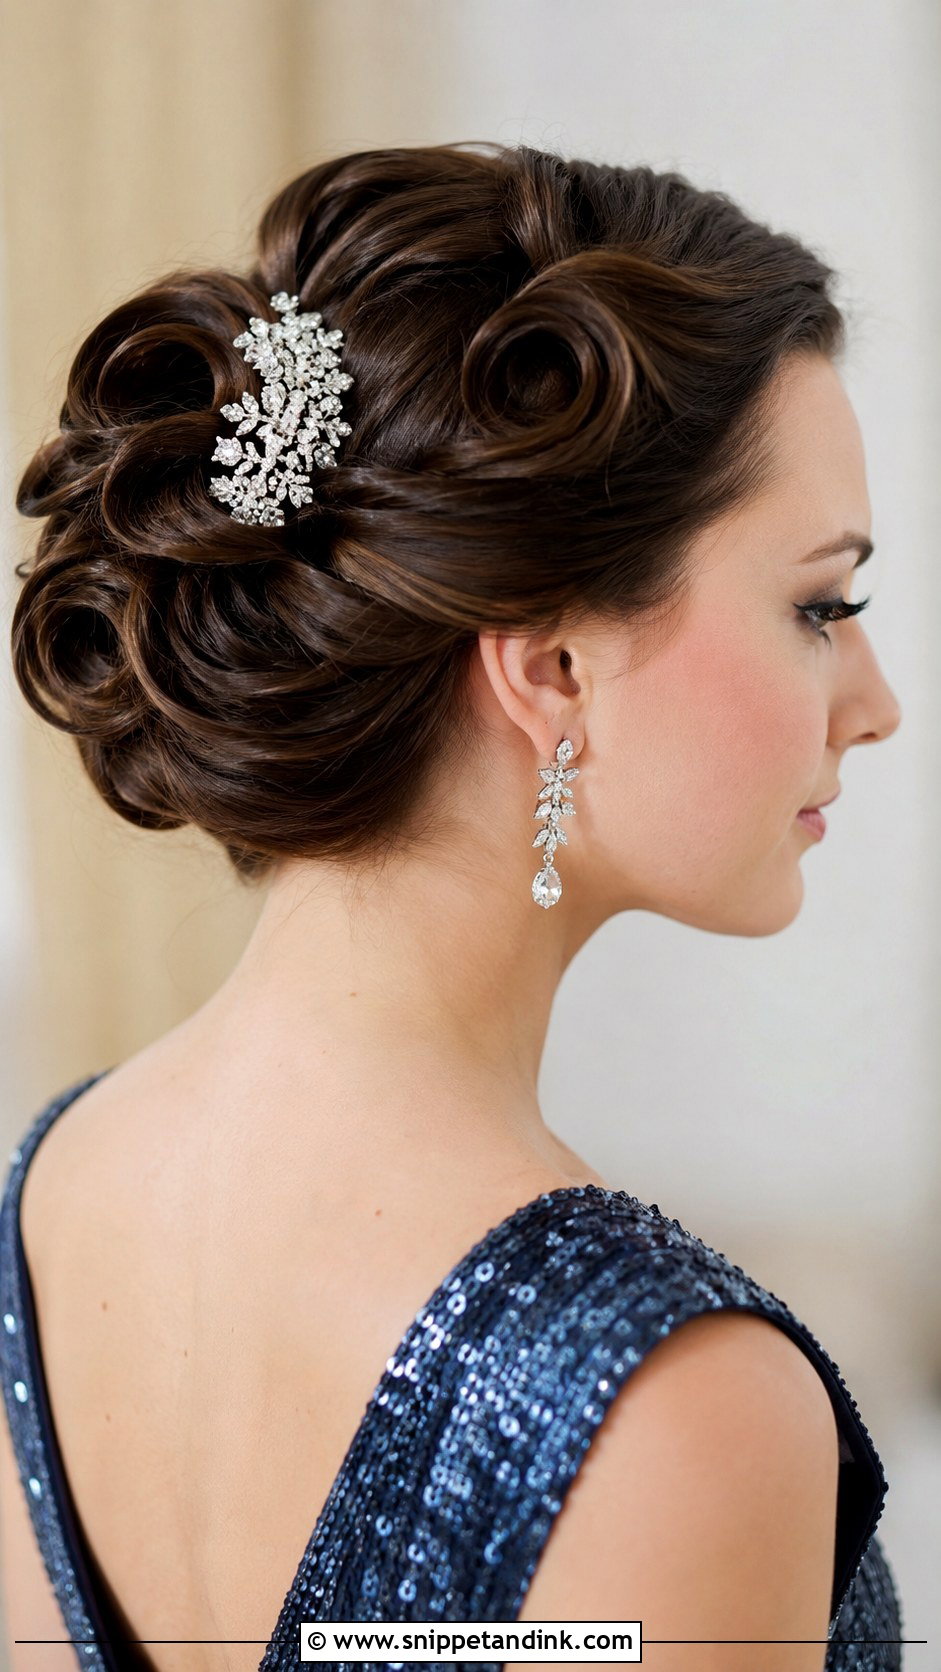
A rolled updo gives a vintage outline, and it holds well once set. Section the hair and roll each piece inward toward the scalp, pinning as you go, with the pins sliding into the base of each roll. I set the hair with hot rollers first so the rolls have curl to hold. Straight to wavy hair keeps its shape best. Arrange the rolls neatly for a sleek finish or loosen them slightly; a jeweled comb finishes it.
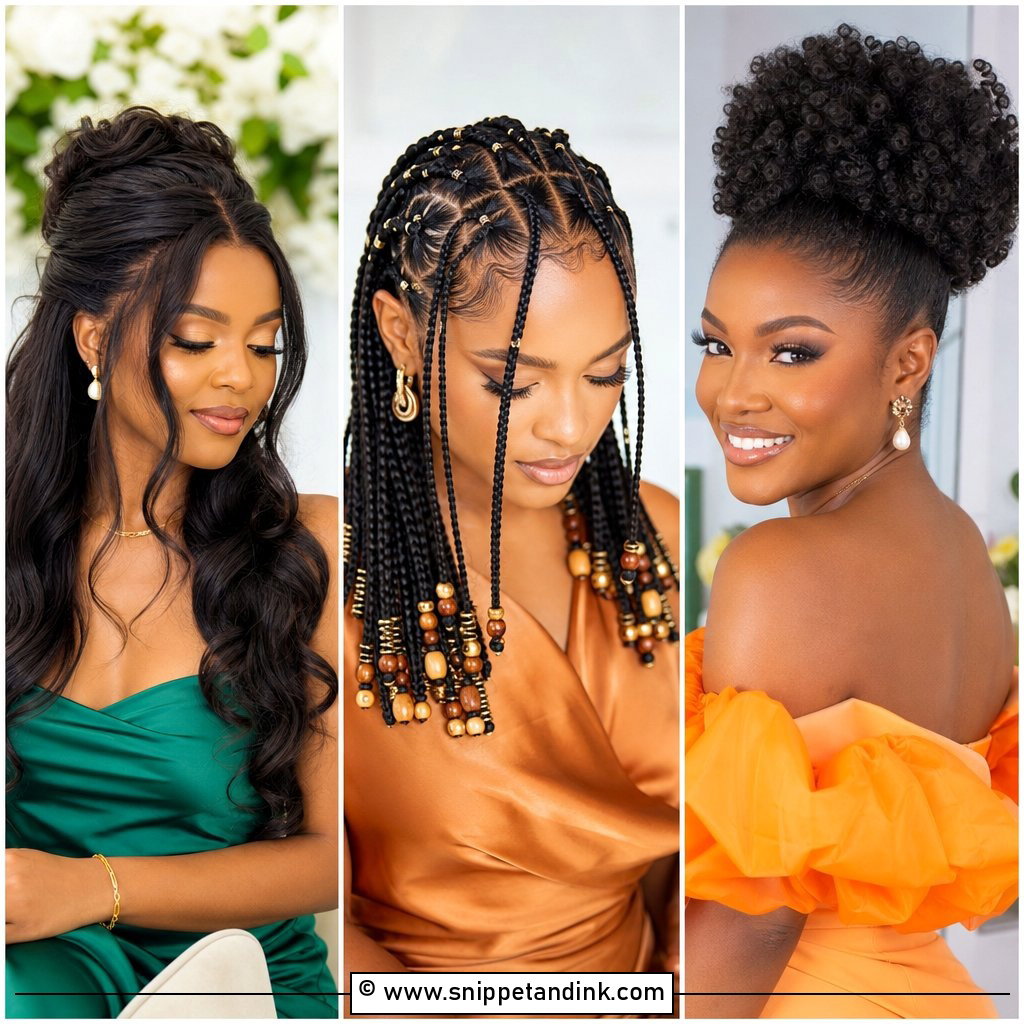
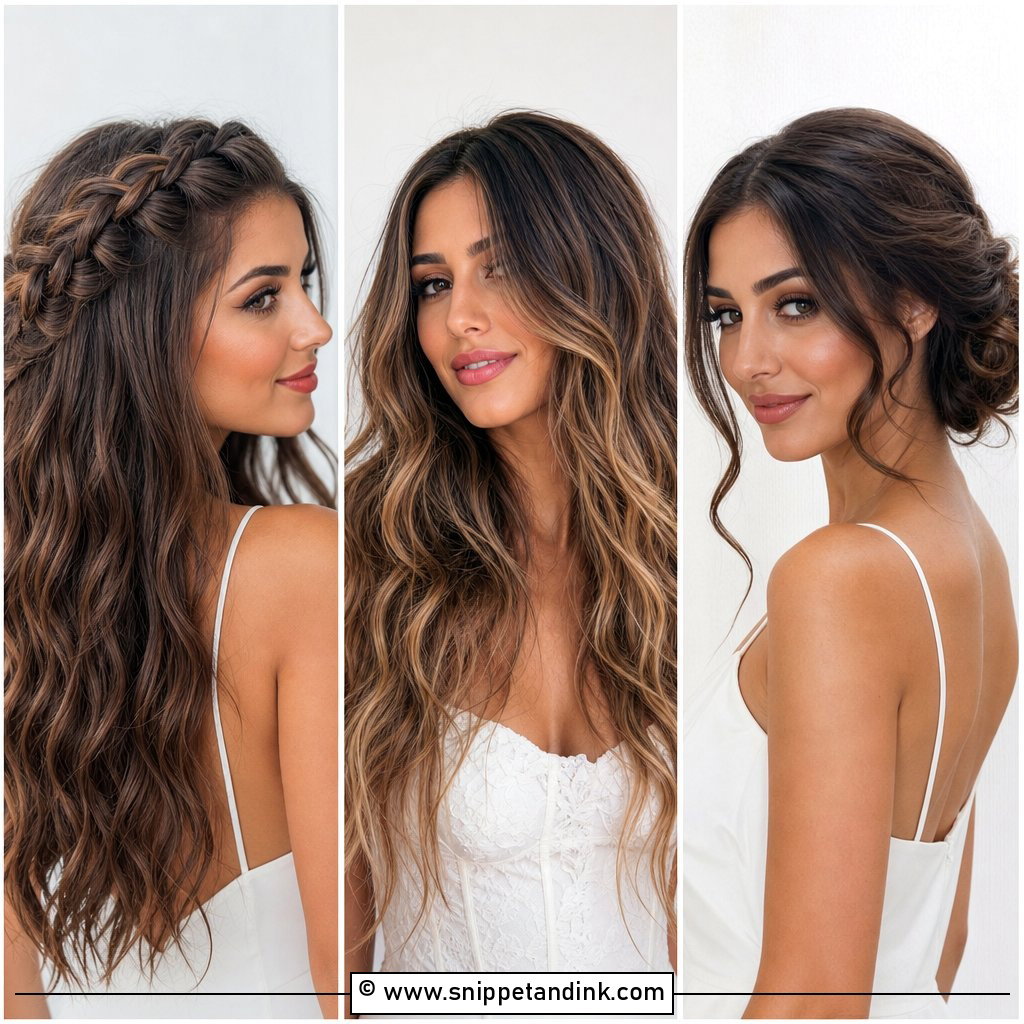
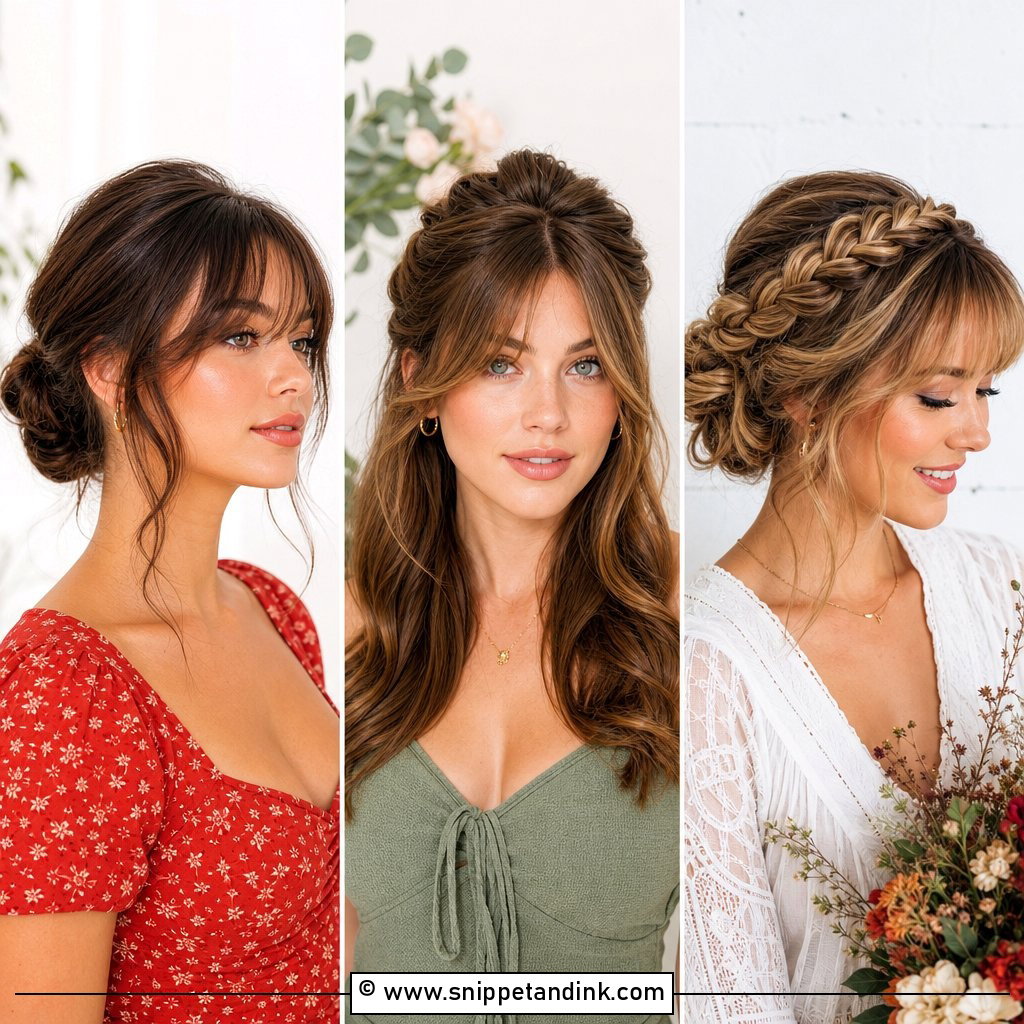
20. Bubble Ponytail Updo
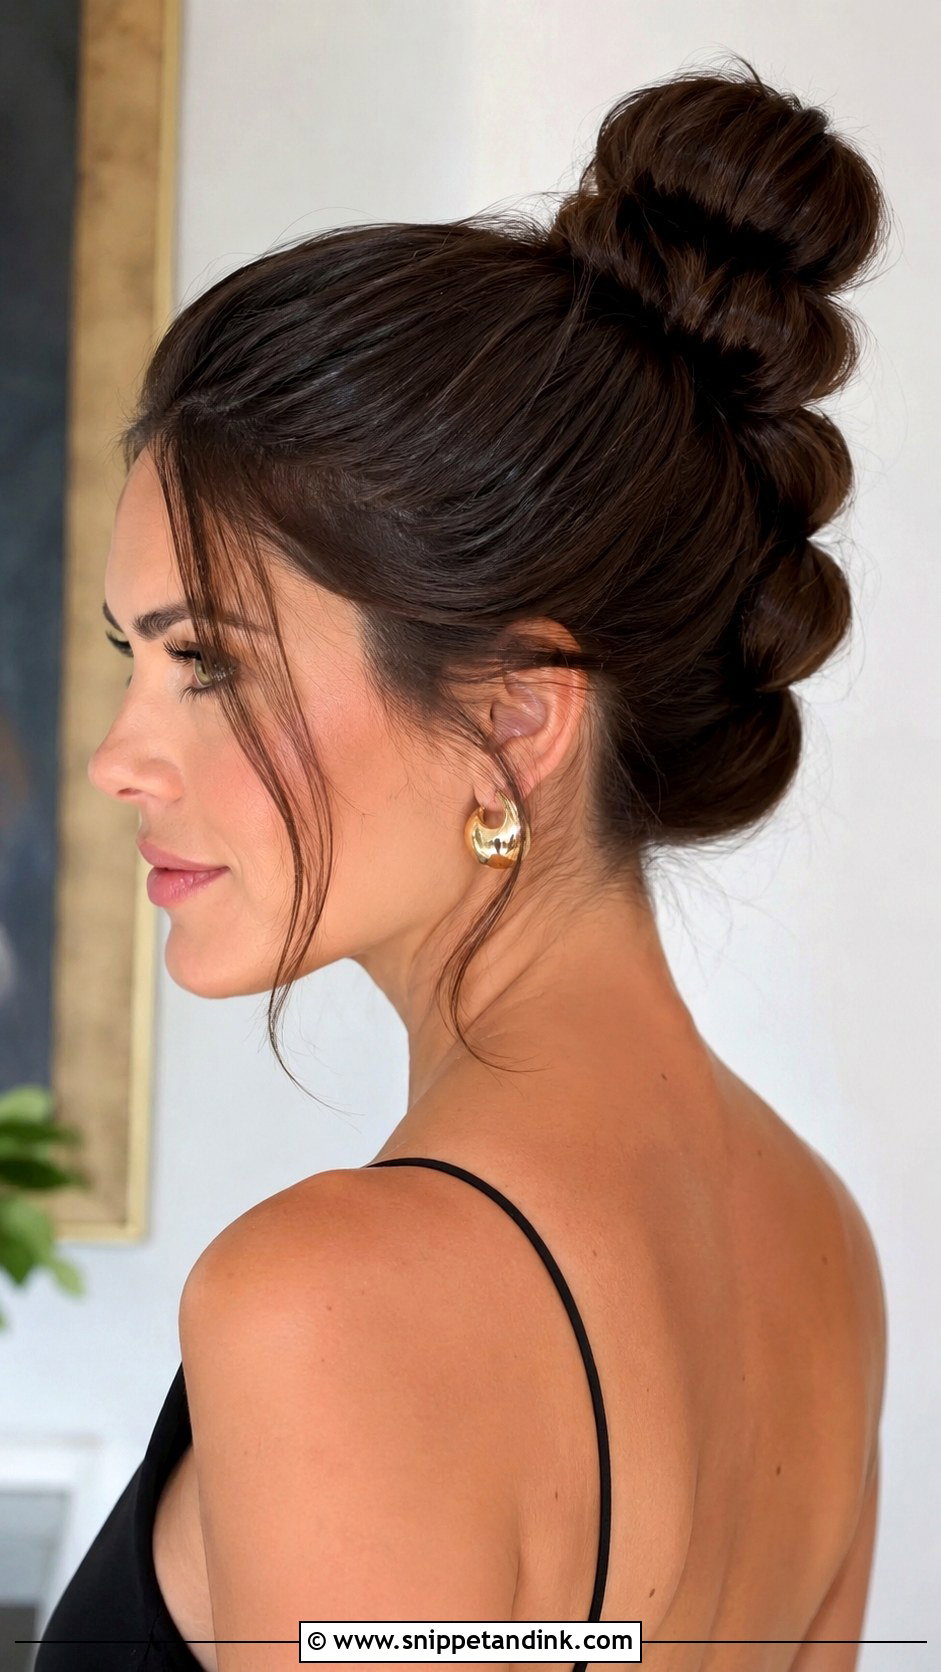
The bubble ponytail updo is playful and modern. Start with a ponytail, add small clear elastics down the length at even spaces, and gently pull each section outward into rounded bubbles. Loop the ponytail up and pin it. I wrap a thin piece of hair around each elastic and pin it underneath to hide it. Long, thick hair gives the fullest bubbles. Contemporary weddings suit it best.
If an Updo Starts Aching by the Speeches
A tension headache from an updo is common and avoidable. It usually comes from a ponytail pulled too tight at the start or a pin pressed hard into the scalp at an angle. I tie the base snug but not tight, and push each pin in flat against the head rather than pointing down into it.
If you’re already aching, find the pin causing it by pressing gently around the bun, then slide just that one out and replace it at a shallower angle. Loosening the whole style rarely helps and usually ends in a fallen bun.
Shoulder-Length Hair and the Updos That Still Work
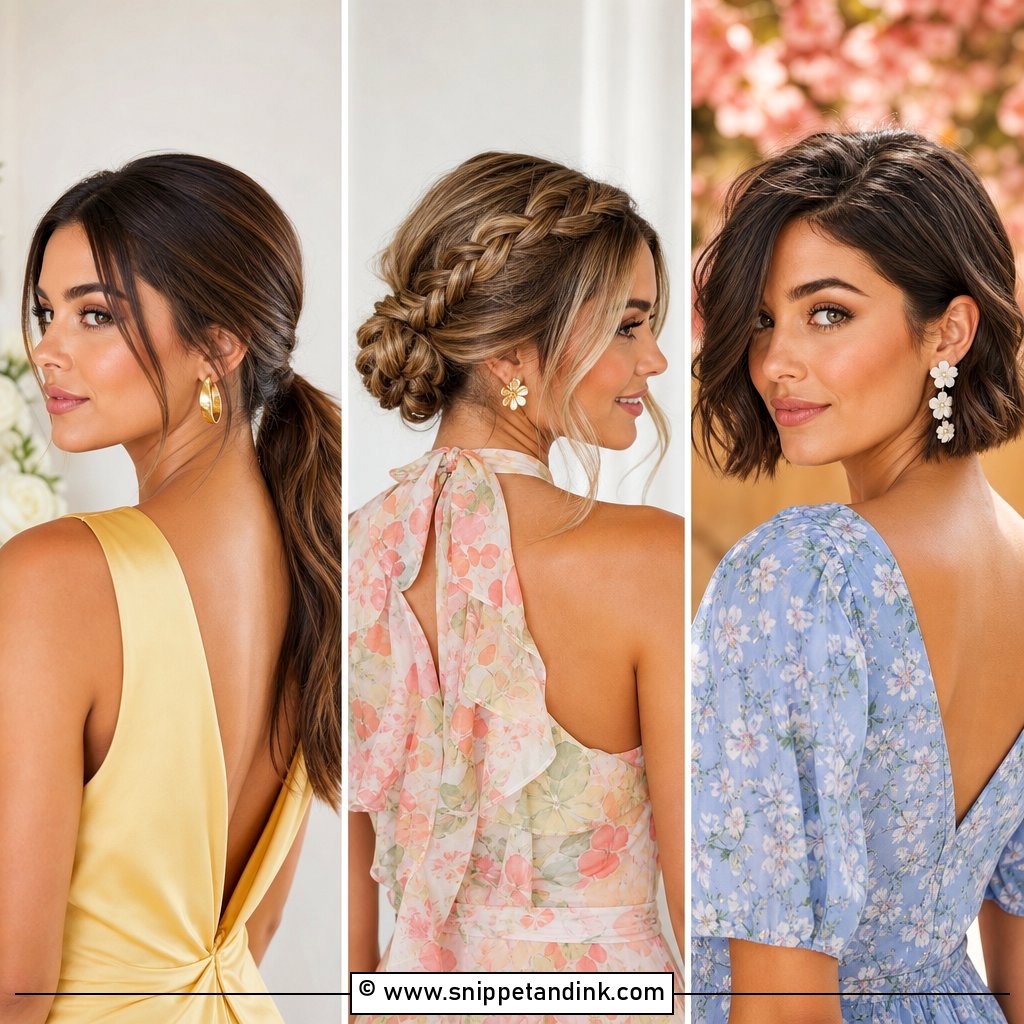
Hair just at the shoulders can do more of these styles than people assume. The twisted low bun, the topsy tail, the knotted bun and the twisted half updo all work at that length. I’d skip the braided bun and bubble ponytail, which need length to coil or loop. Layered cuts will leave a few shorter pieces loose at the nape; pin those flat first, then build the updo over them so they’re hidden.
Practice the Pinning Once Before the Wedding Week
An updo doesn’t have to be expensive or complicated to look right at a wedding. Messy buns, braids, twists and playful bubble ponytails all come down to the same thing: a secure base and pins placed where the weight pulls. Pick the style that matches your hair texture first and your outfit second. Then practice it a day or two before so you know how long it takes and where your hair wants to slip.
You'll Like These Ideas:


Leave a Reply