
Most wedding guests do their own hair, usually in a hotel bathroom with one plug and a mirror that’s slightly too far away. Medium length is kind to you there. It’s long enough for a chignon, a twist or a braid, and short enough to dry and curl in well under an hour. I’ve picked twenty styles that guests with this length can realistically manage or book cheaply, and for each I’ve said how long it takes, how it holds up and which kind of wedding it suits, from a garden lunch to a black-tie evening.
Styling It Yourself in a Hotel Room on the Morning
Guests rarely get a hairstylist, so I’d rather be honest about what each look asks of you. With medium hair, the difficulty usually comes from reaching the back of your own head, not from the technique.
Roughly how long each group takes
- Fifteen minutes or less: half-up top knot, soft pinned-back waves, sleek low ponytail, bubble ponytail.
- About half an hour: half-up curls, textured low bun, side-swept waves, knotted low bun, wavy lob.
- Plan an hour and a practice: twisted crown, Hollywood waves, fishtail braid, French twist.
Pack the tools you actually use at home. Hotel hair dryers are usually weak and wall-mounted, which makes a blowout almost impossible. I’d bring your own dryer, one curling tool, a dozen bobby pins in your shade, a few U-pins, clear elastics, texture spray and a small hairspray. If you’re travelling abroad, check the voltage; many curling irons won’t run safely without a converter.
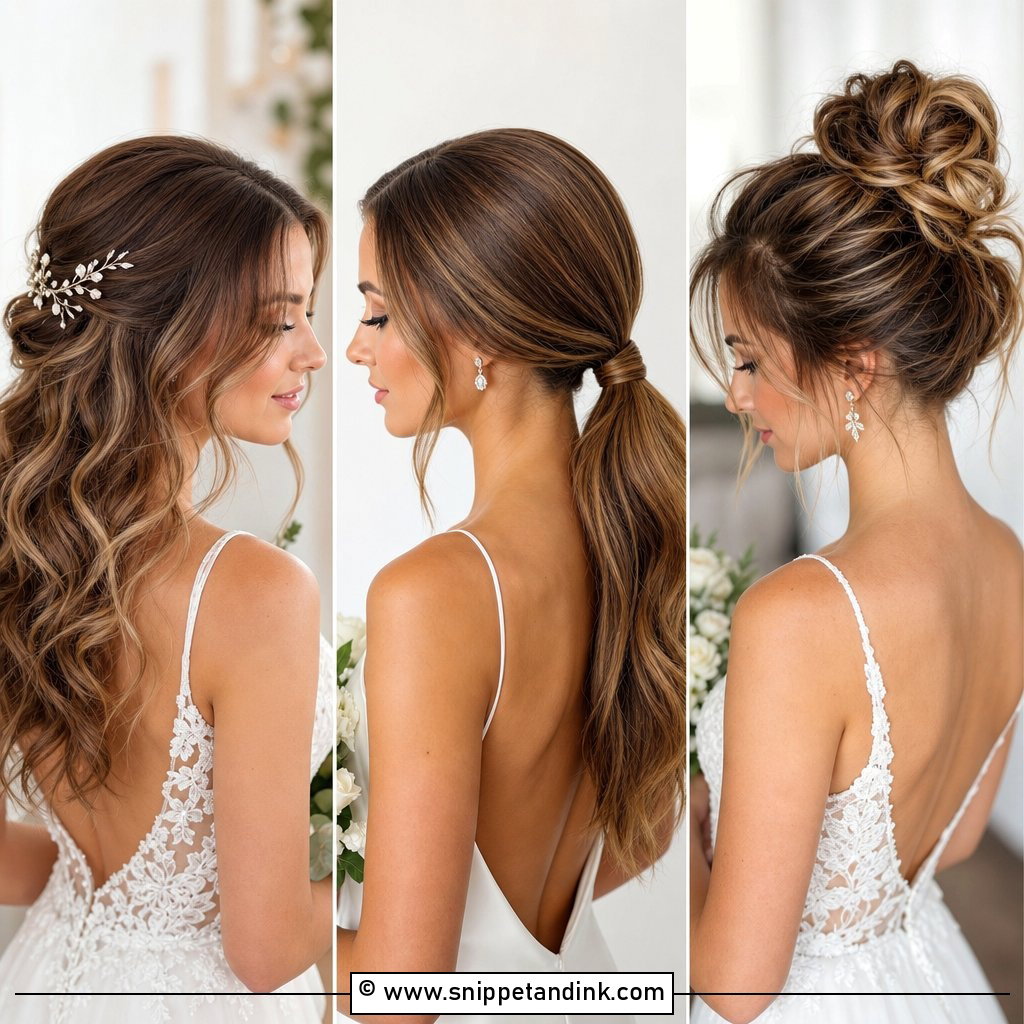
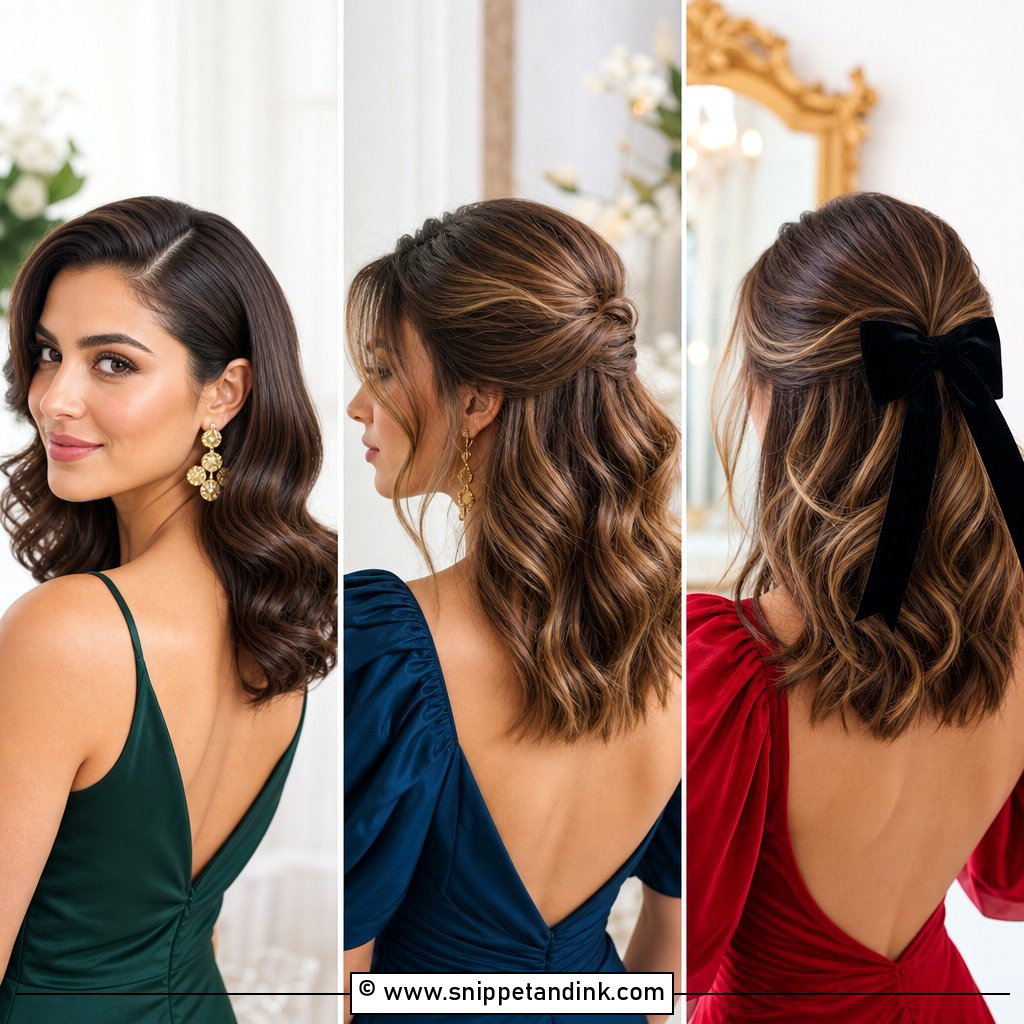
1. Half Up Half Down Curls
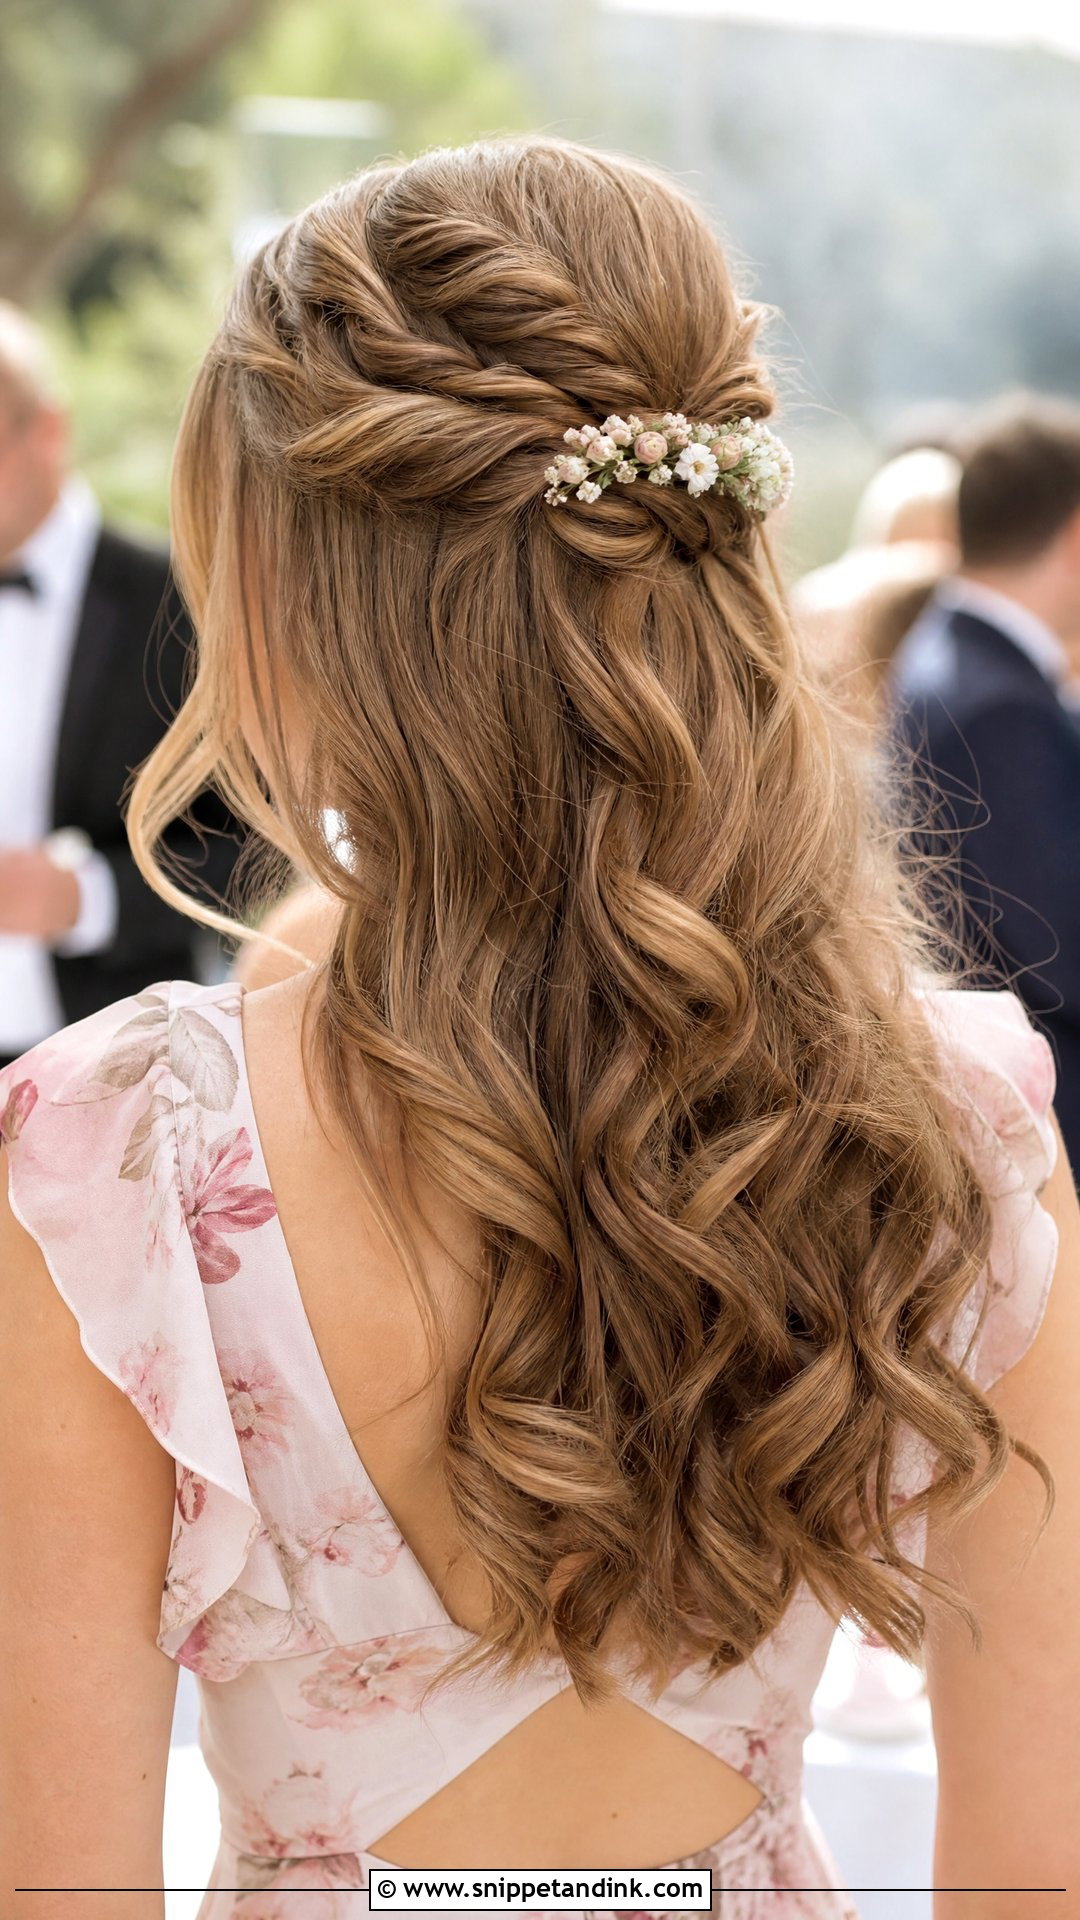
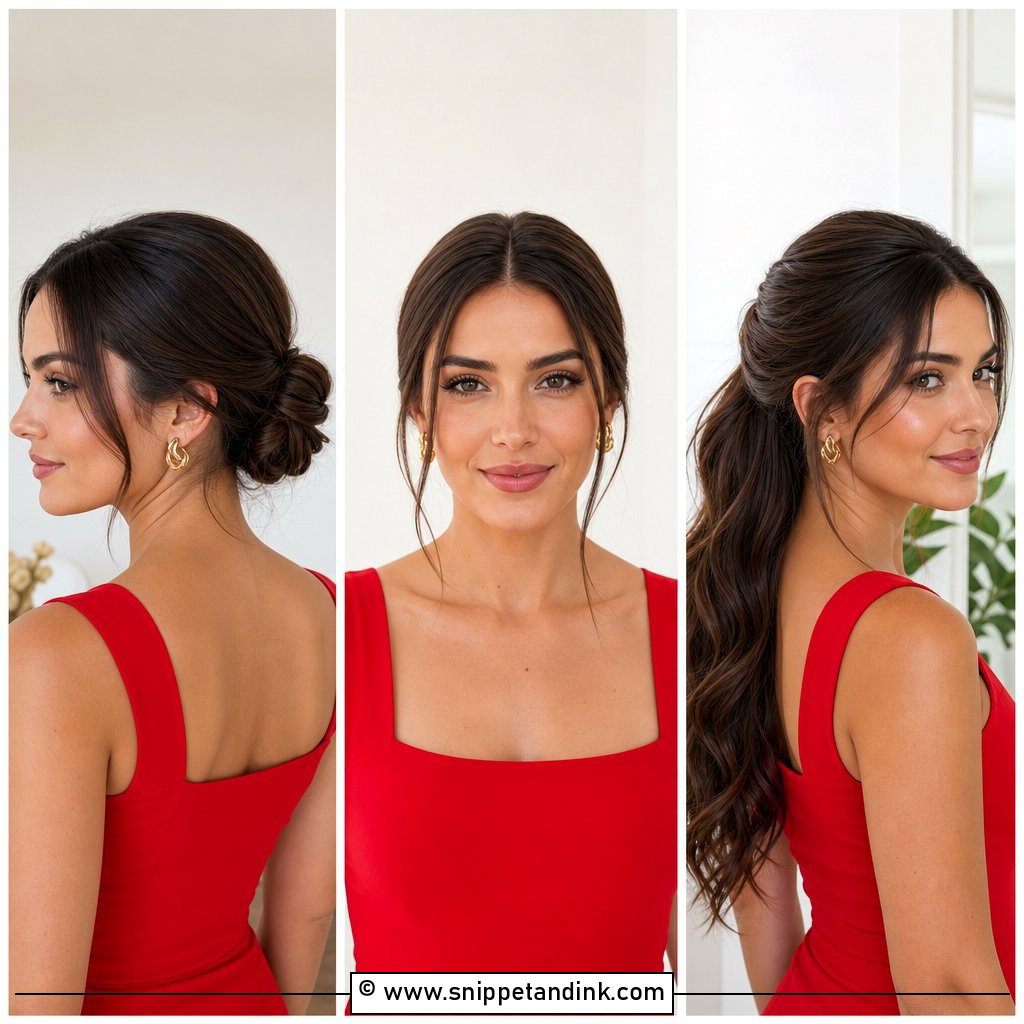
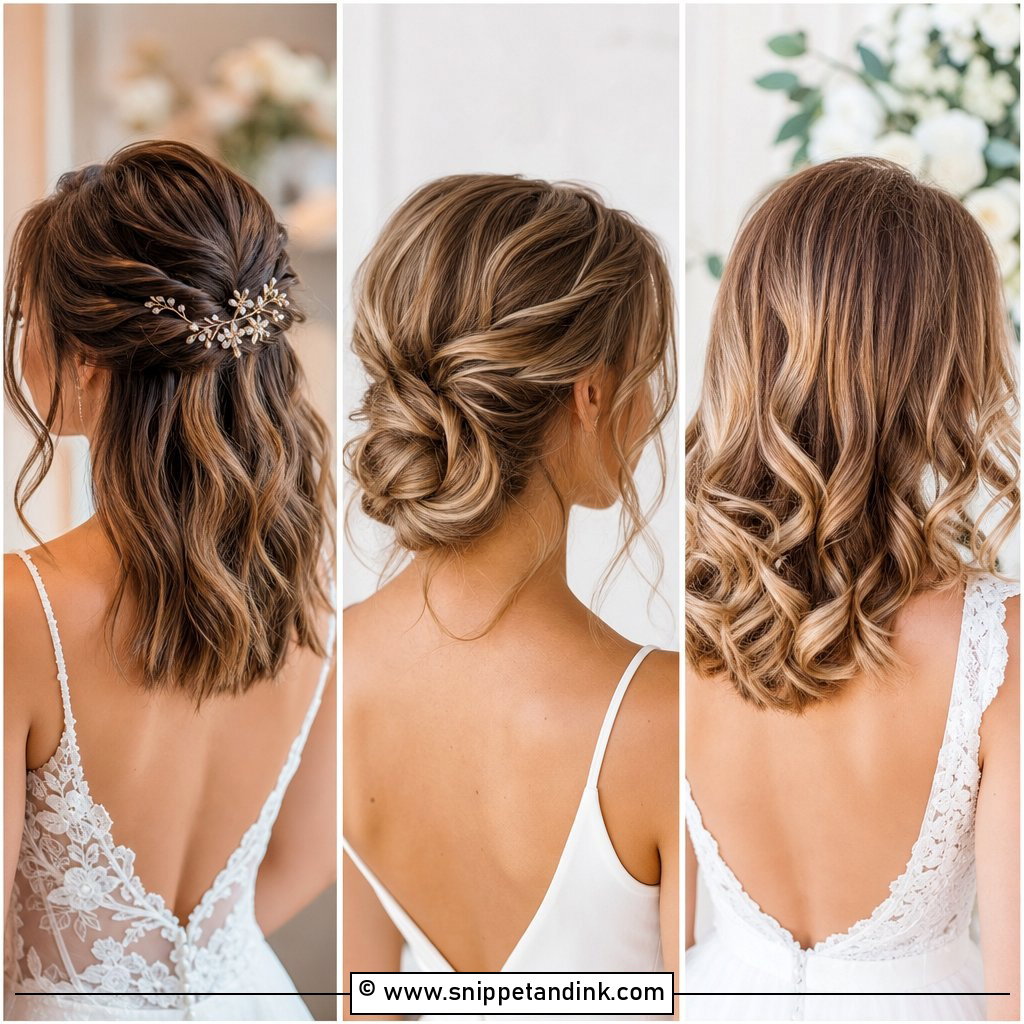
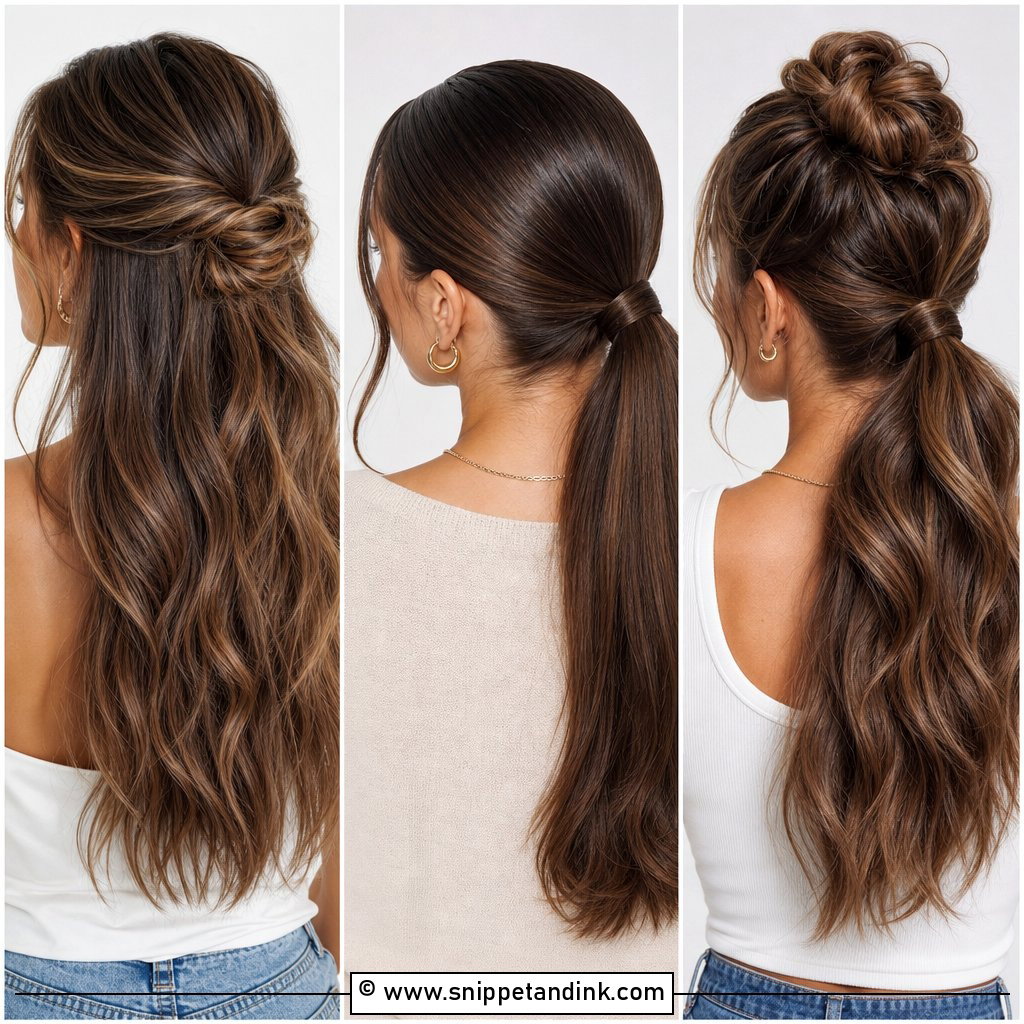
Curl first, pin second, and let the curls cool before you do either. I’d use a 1 to 1.25 inch wand on medium hair, wrap each section away from the face, and leave the curls alone until they’re cold to the touch. Then take the top section back and pin it at the crown with two bobby pins crossed into an X; one straight pin alone will slide by the first dance. A small clip or a couple of tiny flowers can hide the pins. It’s the style I’d point a nervous first-timer toward, since it forgives uneven curls better than any updo.
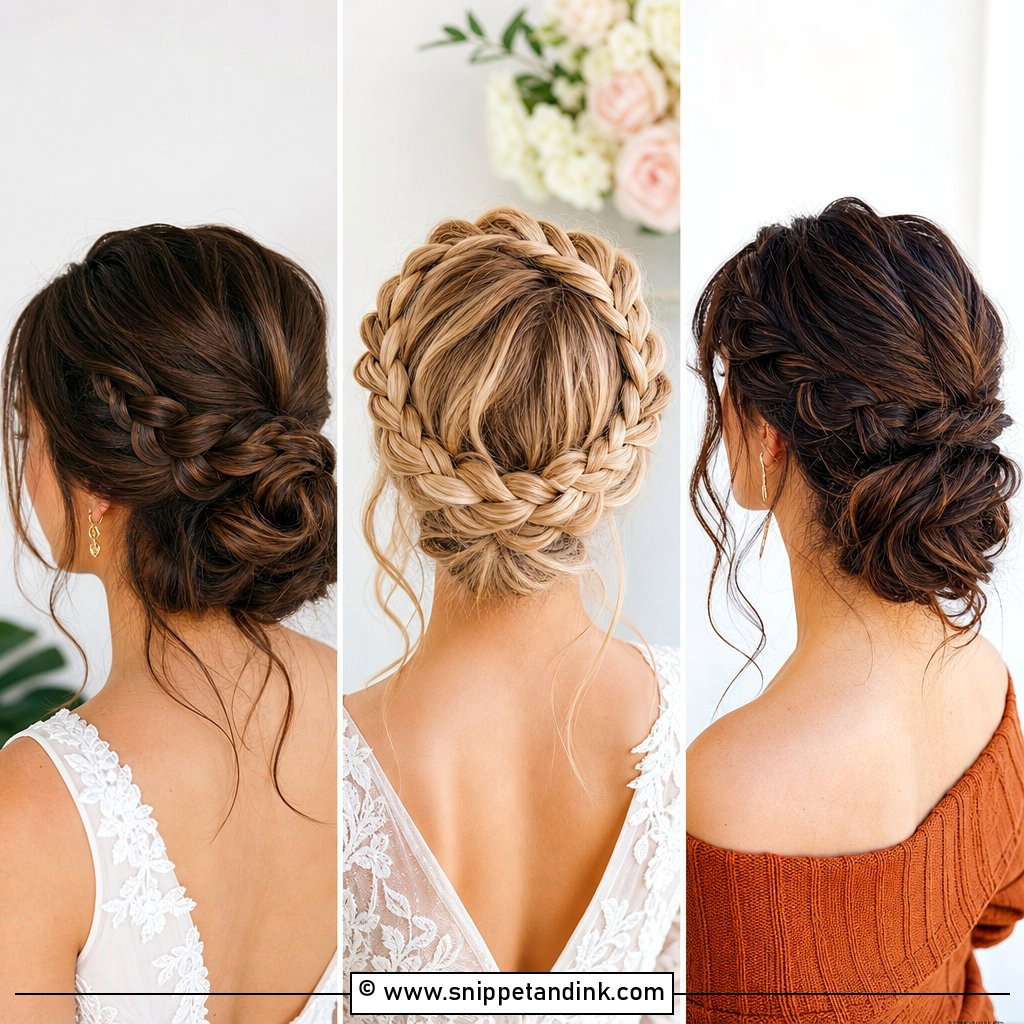
2. Low Twisted Chignon
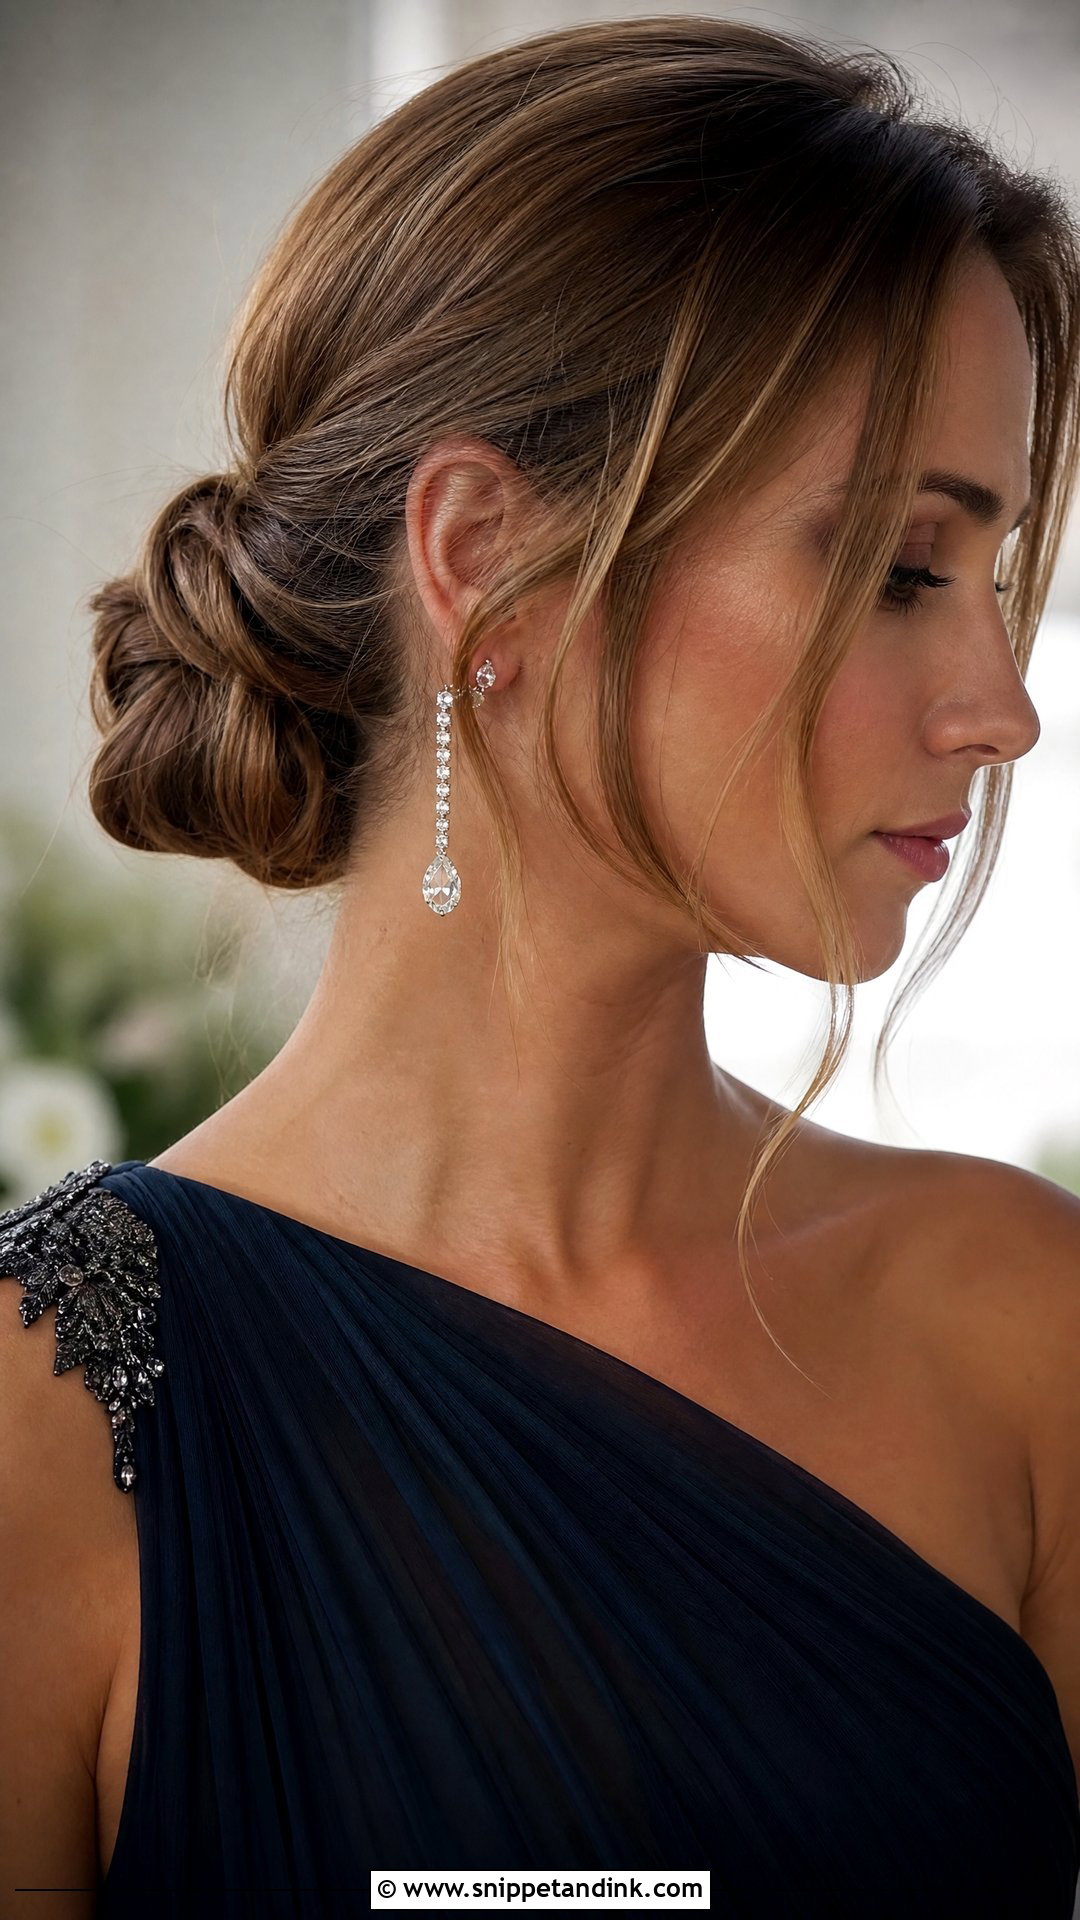
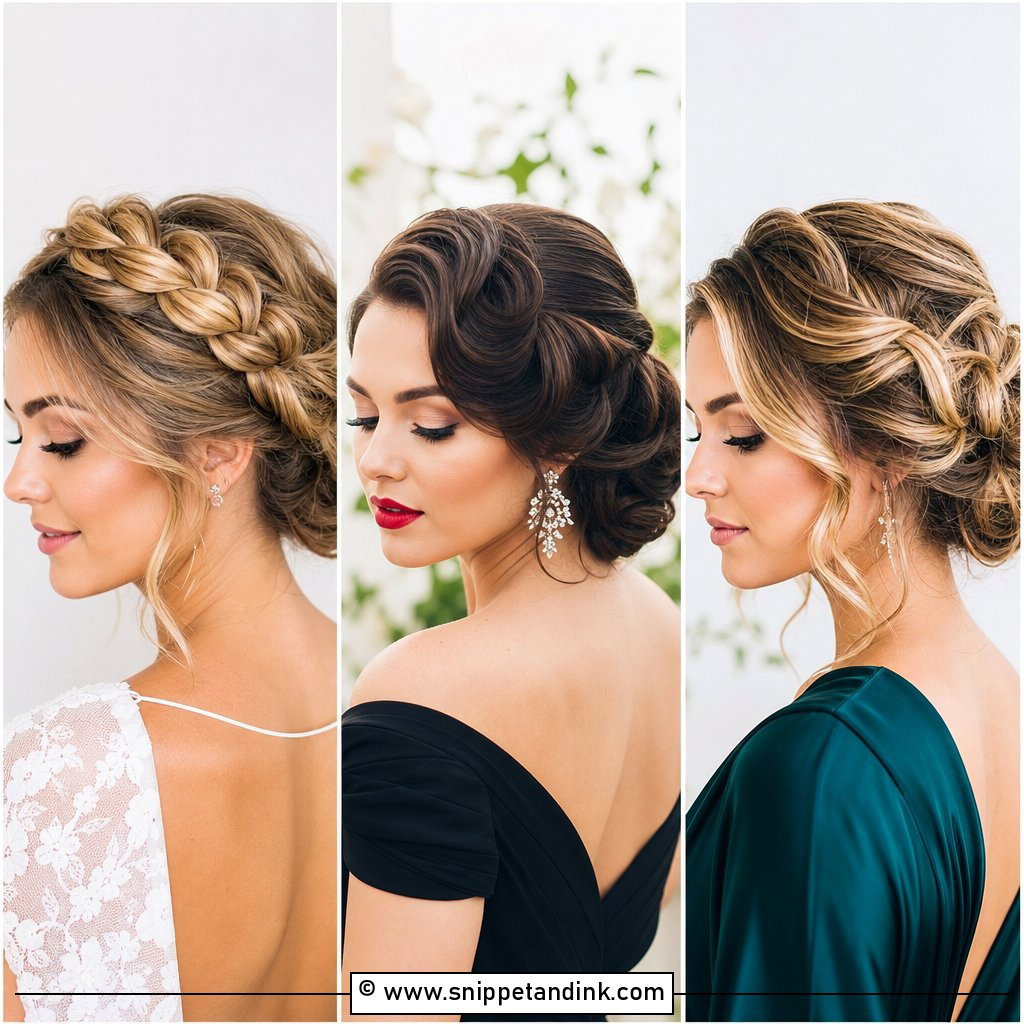
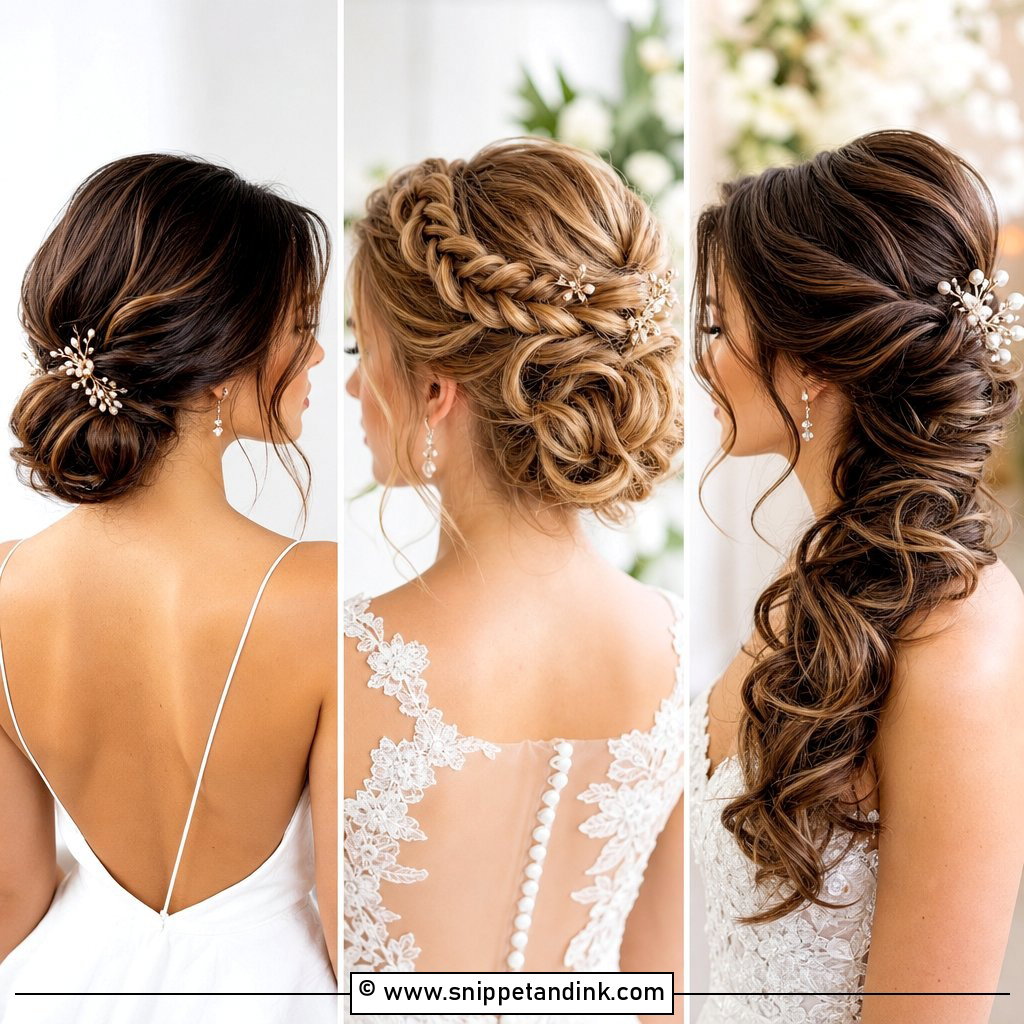
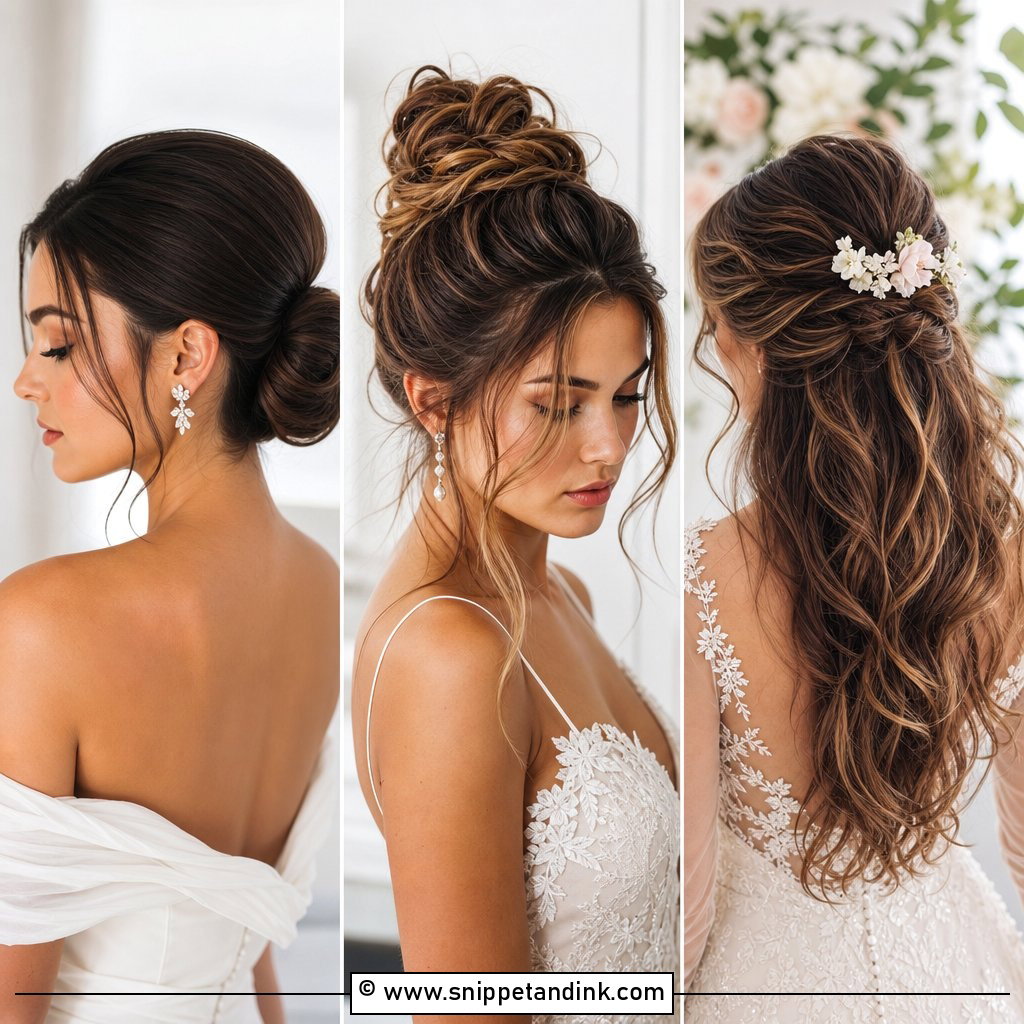
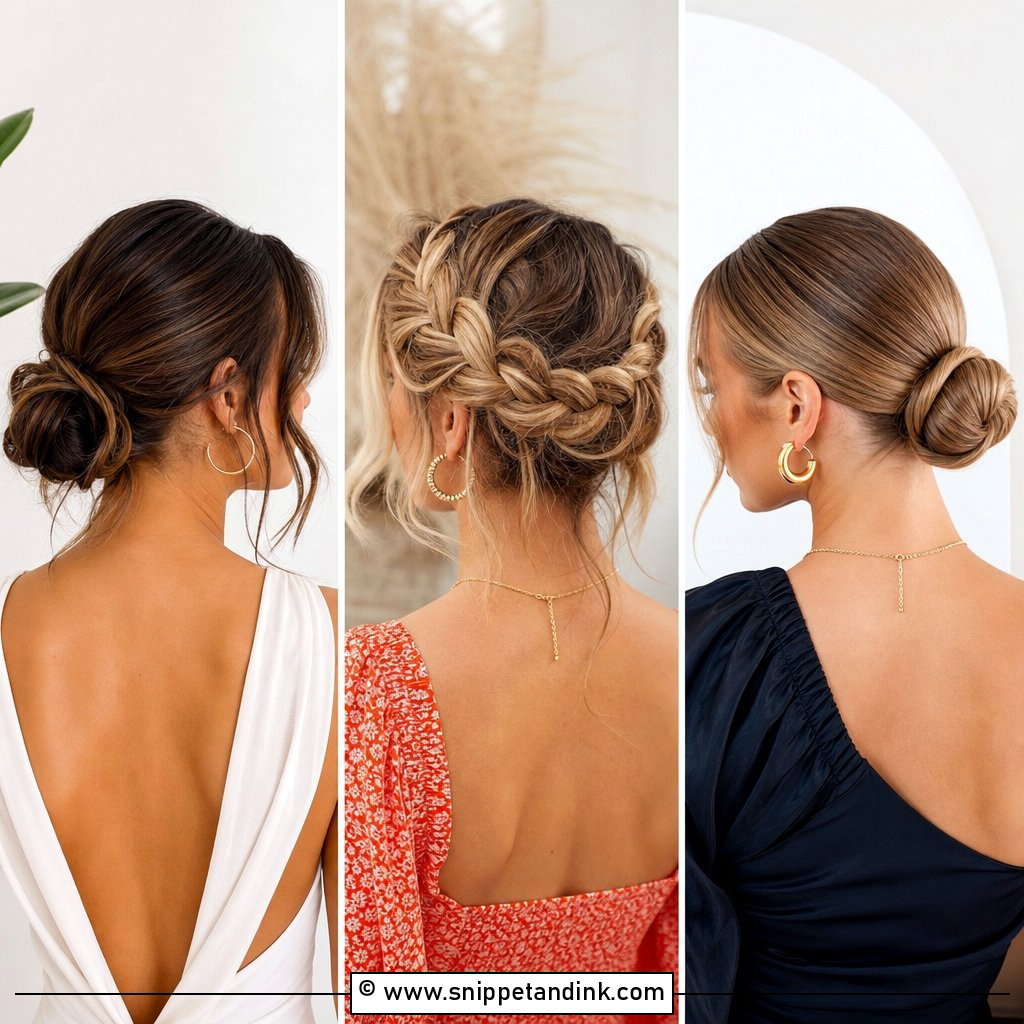
A twisted chignon is the guest style I’d choose for a black-tie evening, because it looks finished from every angle at a seated dinner. Smooth the hair into a low ponytail at the nape, twist the length and wrap it into a soft knot, tucking the ends underneath. U-shaped pins hold a coil far better than bobby pins; push them in at an angle so they catch both the knot and the base. Leave a couple of strands at the face. Since your neck and ears stay bare, it’s the right partner for statement earrings.
3. Textured Low Bun
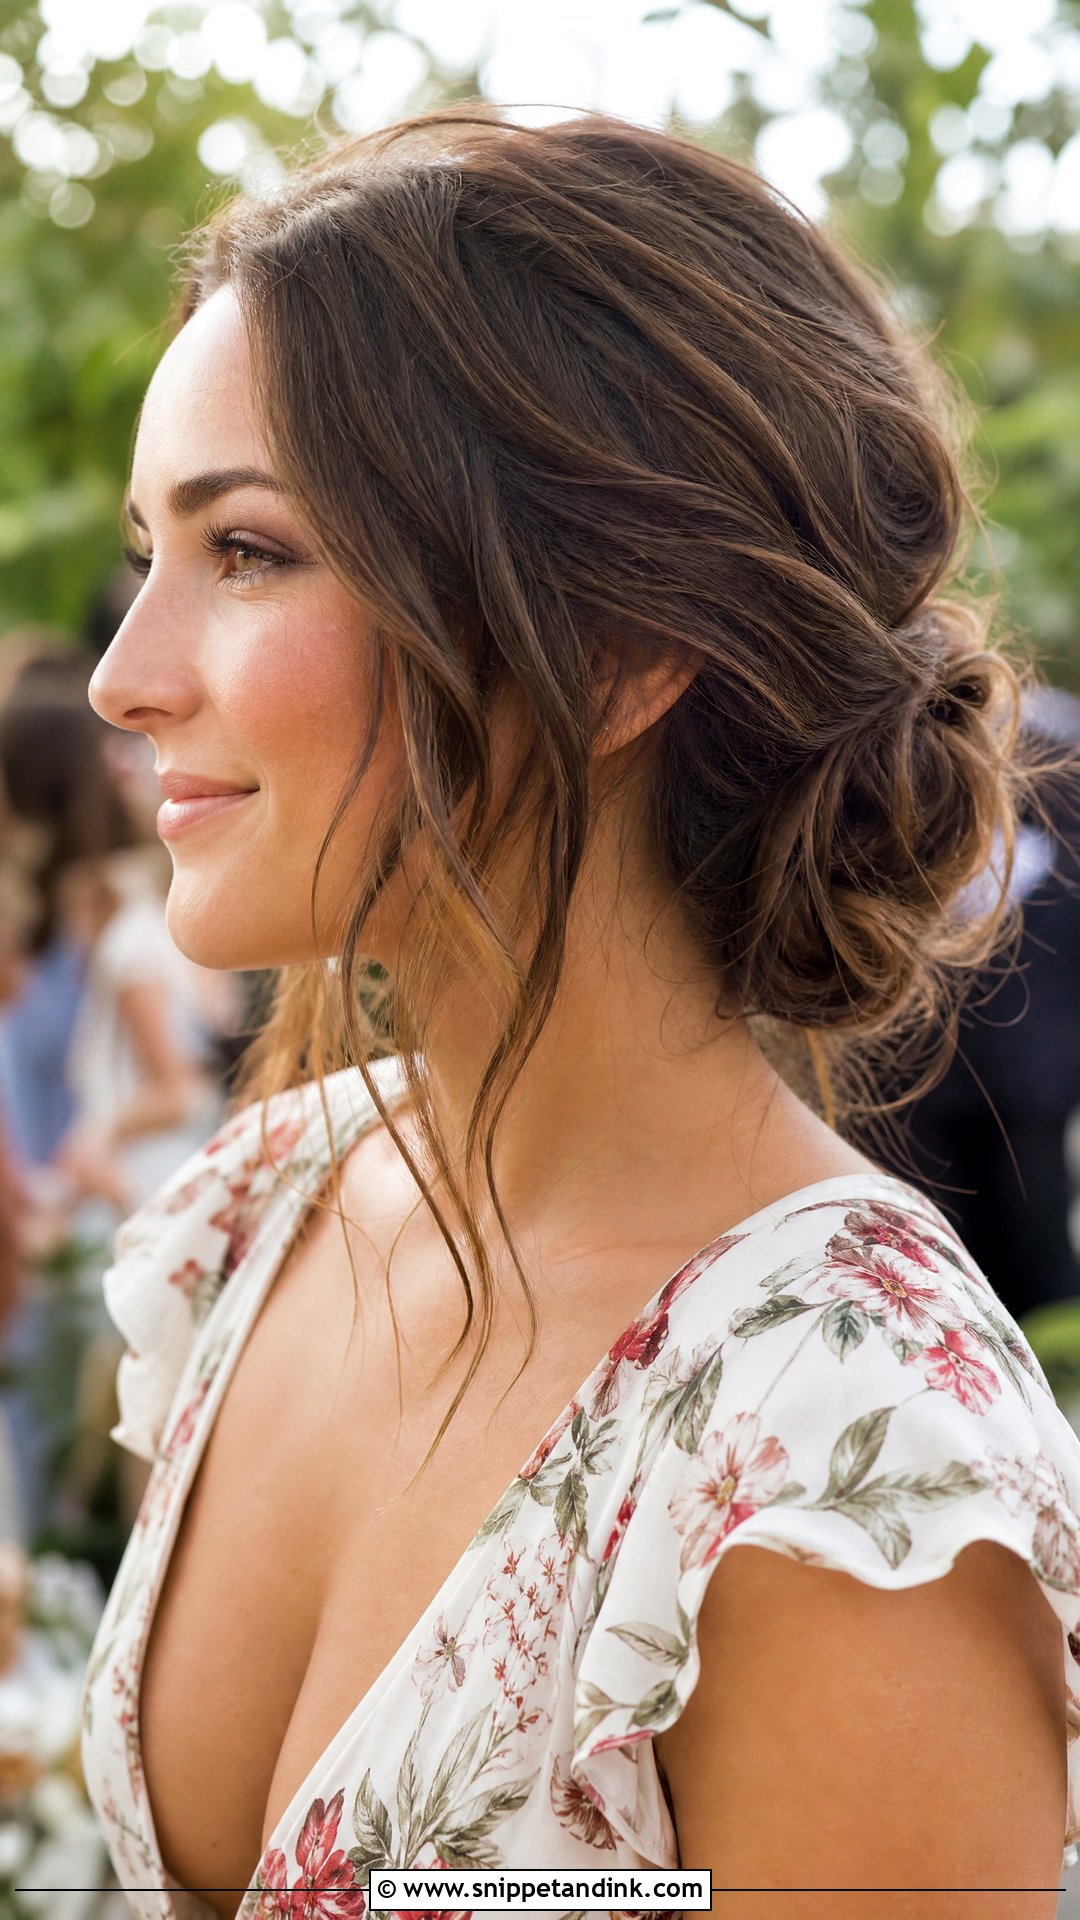
Undone buns fail in one of two ways: too tight and they look severe, too loose and they slide down the neck by the reception. Wave the hair first with a flat iron or wand, then gather it low and twist it into a loose bun, anchoring it with an elastic underneath before you pin the shape. Only after it’s secure should you pull out face pieces and tug the bun wider. Texture spray on clean hair gives the pins something to bite. I’d wear it to a daytime garden or outdoor wedding with a floral dress.
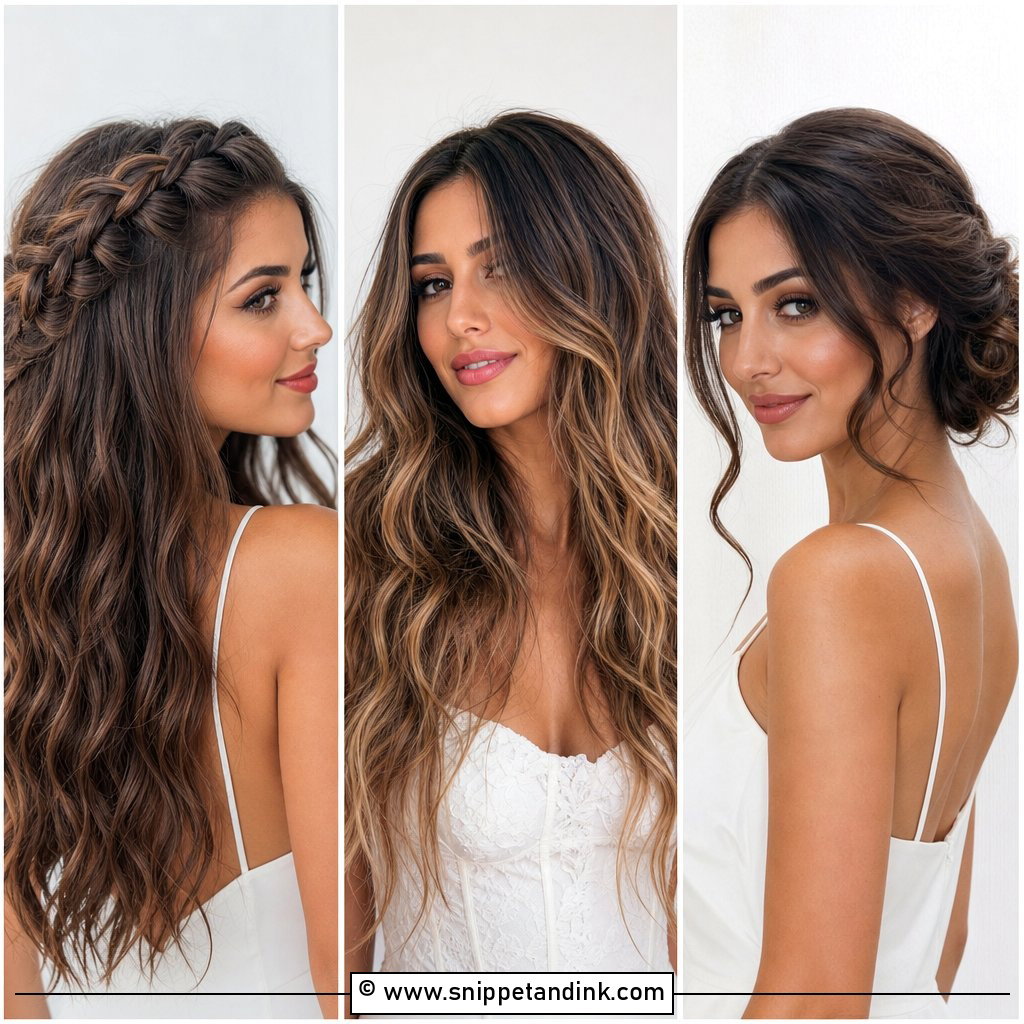
4. Side Swept Waves
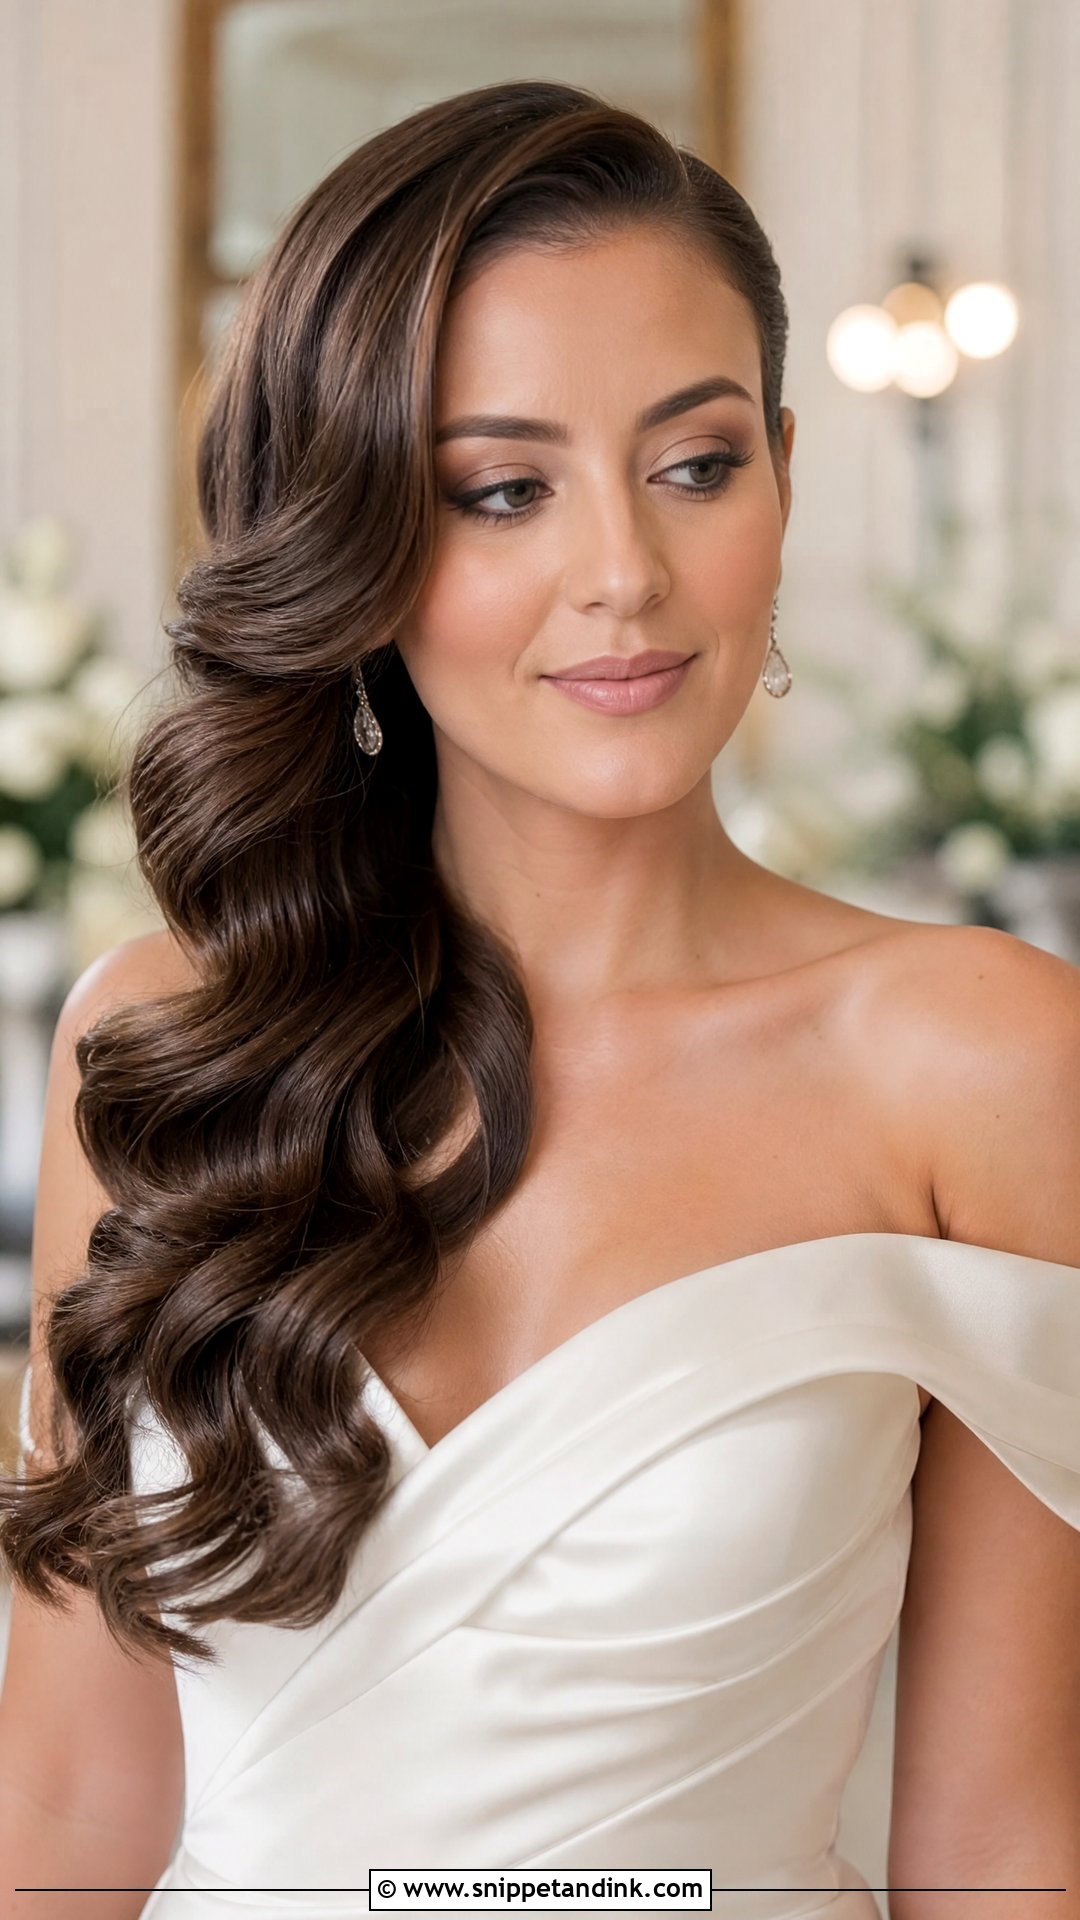
Side-swept waves are mostly about the pins you can’t see. Curl every section in the same direction, brush the curls out with a wide paddle brush, and sweep the length over one shoulder. On the bare side, slide three or four pins in a row behind the ear, crossing the last pair, so the weight of the waves doesn’t drag the hair back across. Round and square faces tend to suit the asymmetry. A shine spray at the end, held at arm’s length, gives the glossy finish without making the hair greasy.
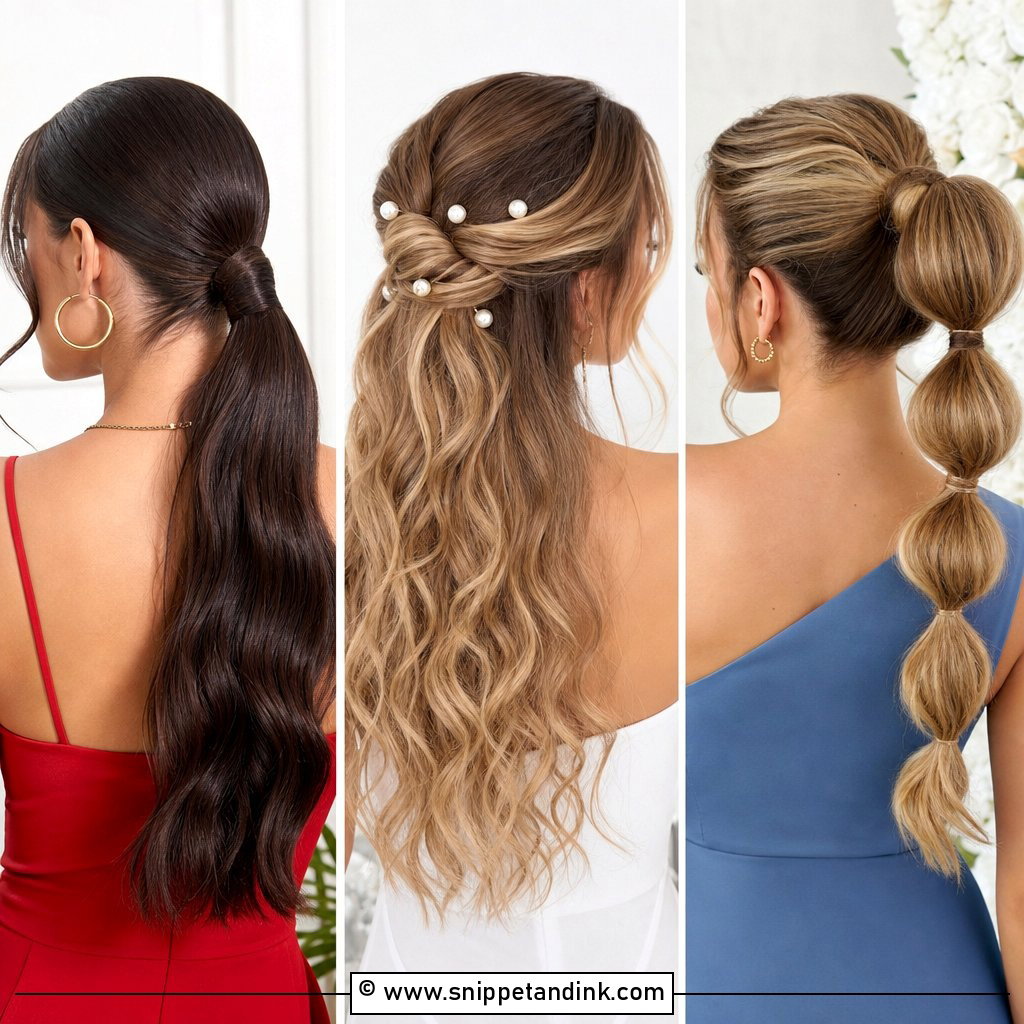
5. Braided Half Updo
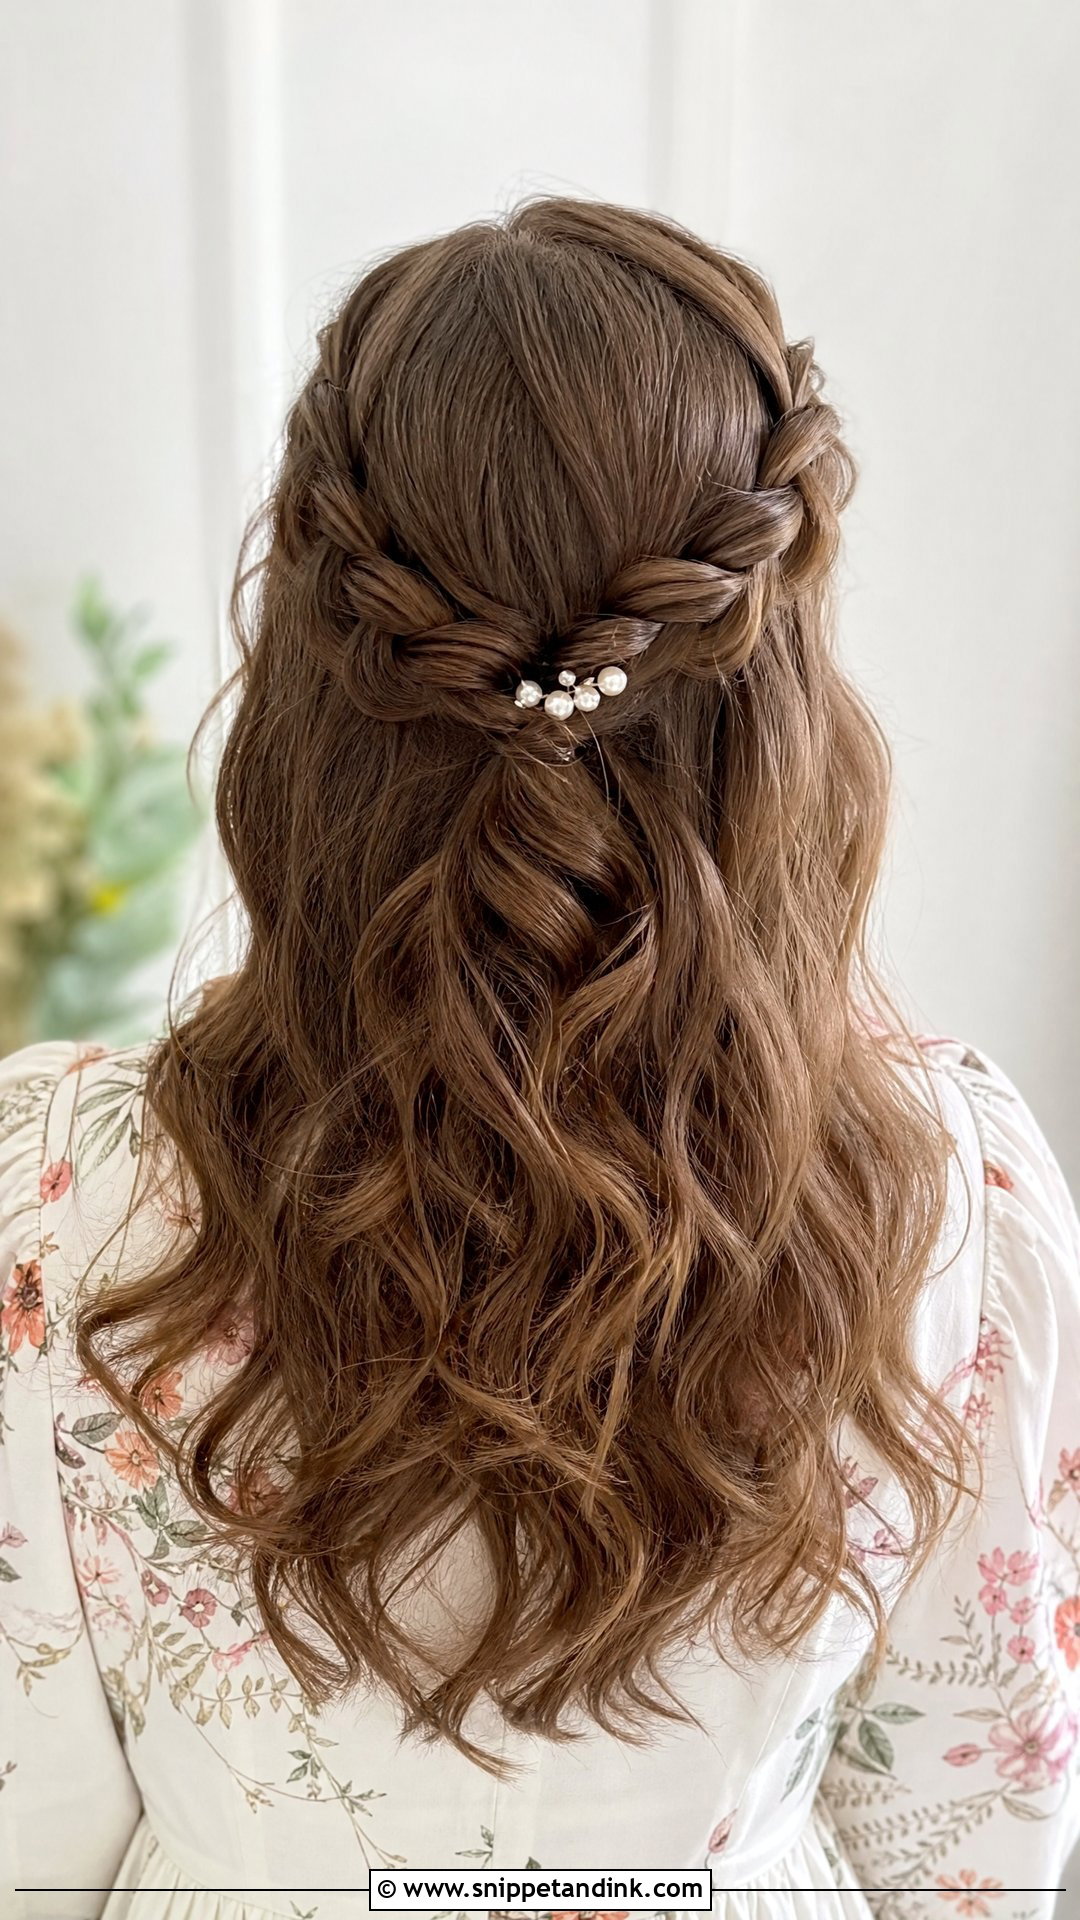
Two small braids pulled back from the sides and joined at the crown is a quick win, and it hides second-day hair well. Braid each side loosely, secure them together with a small clear elastic, then pancake the braids by gently tugging the outer loops wider. That stretching is what makes medium hair look thicker. The rest falls in loose waves. Pearl pins tucked into the braid hold better than ones placed on top. Daytime rustic or beach weddings suit it best.
6. Sleek Low Ponytail
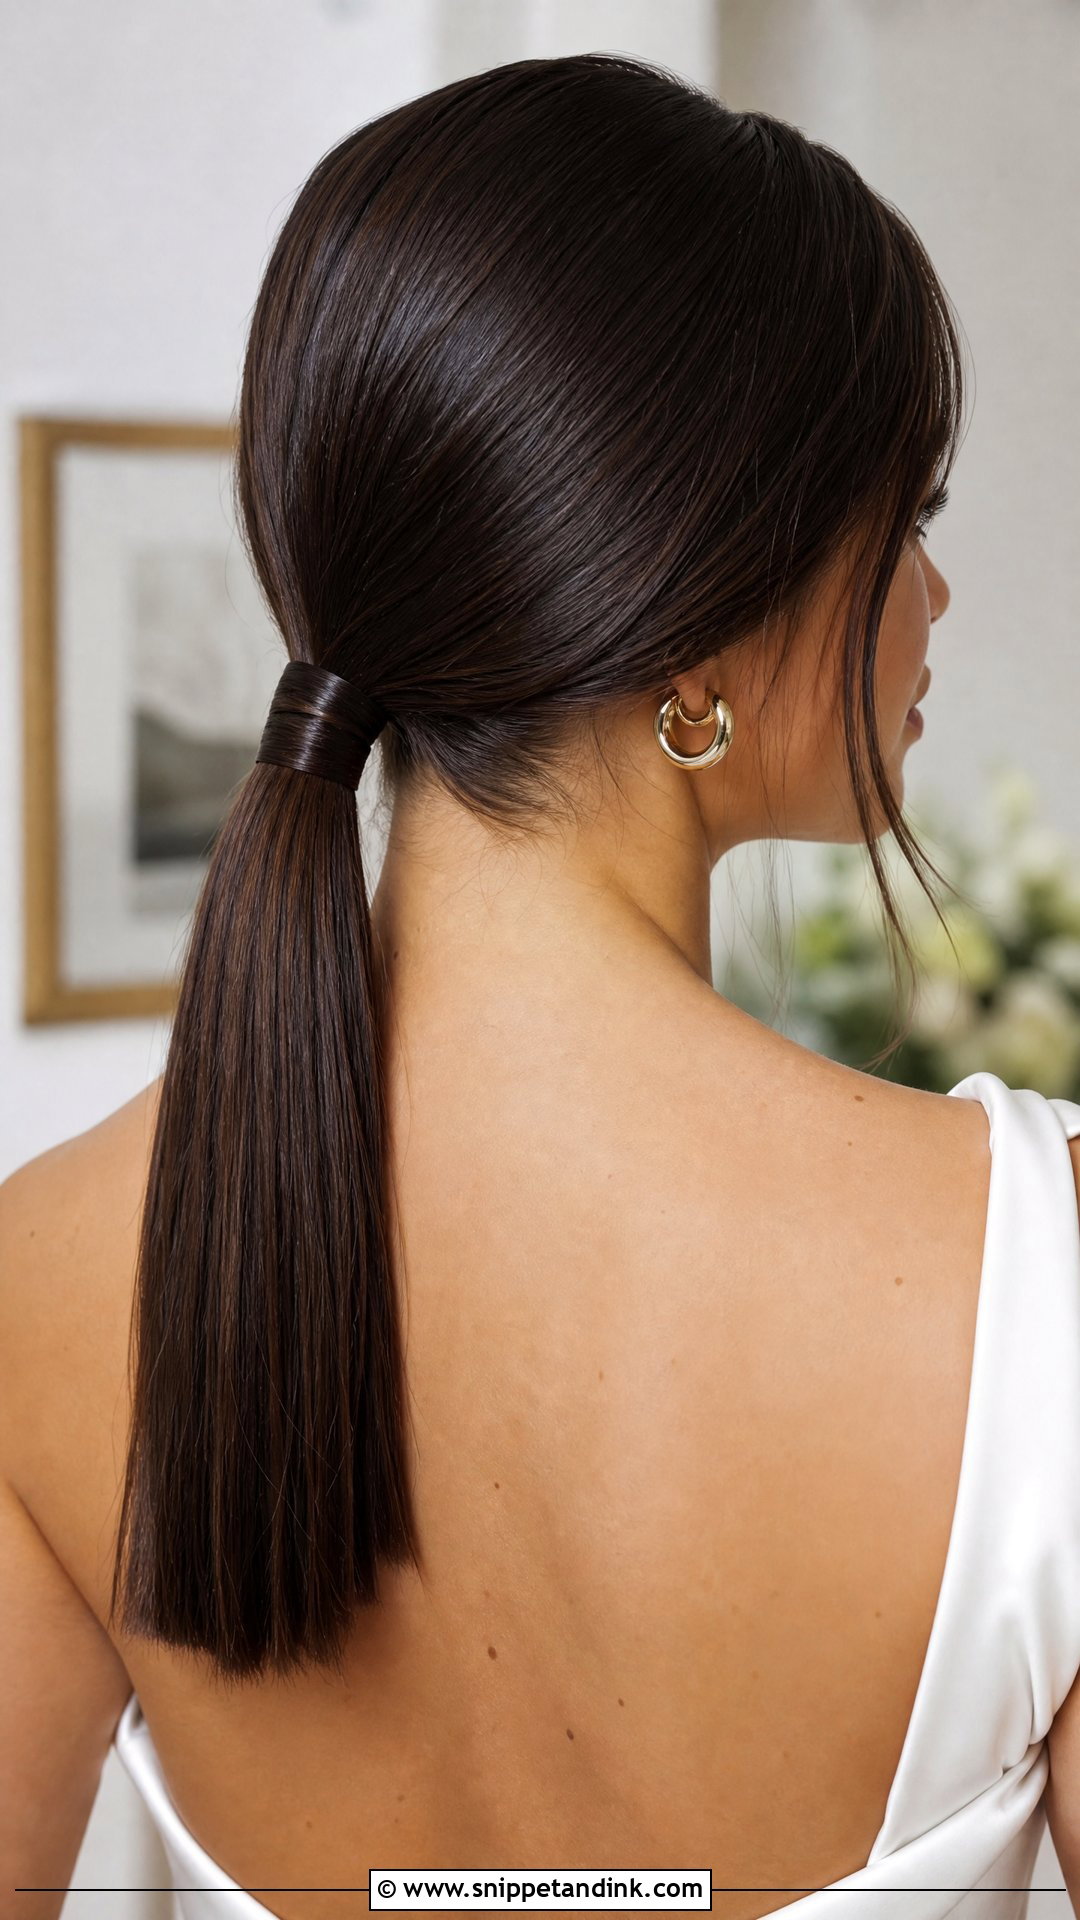
Sleek ponytails are less forgiving than they look. Any bump at the crown shows, so I brush the hair back while it’s still slightly damp and set it with a little gel or smoothing cream before blow-drying it flat. Gather it at the nape, secure with an elastic, then wrap a small strand around the band and pin it underneath. If you have a cowlick at the nape, a firmer hold product there helps. Keep the ends straight or give them a slight bend. It suits a modern city venue, and it leaves room for stronger makeup.
7. Romantic Curly Updo
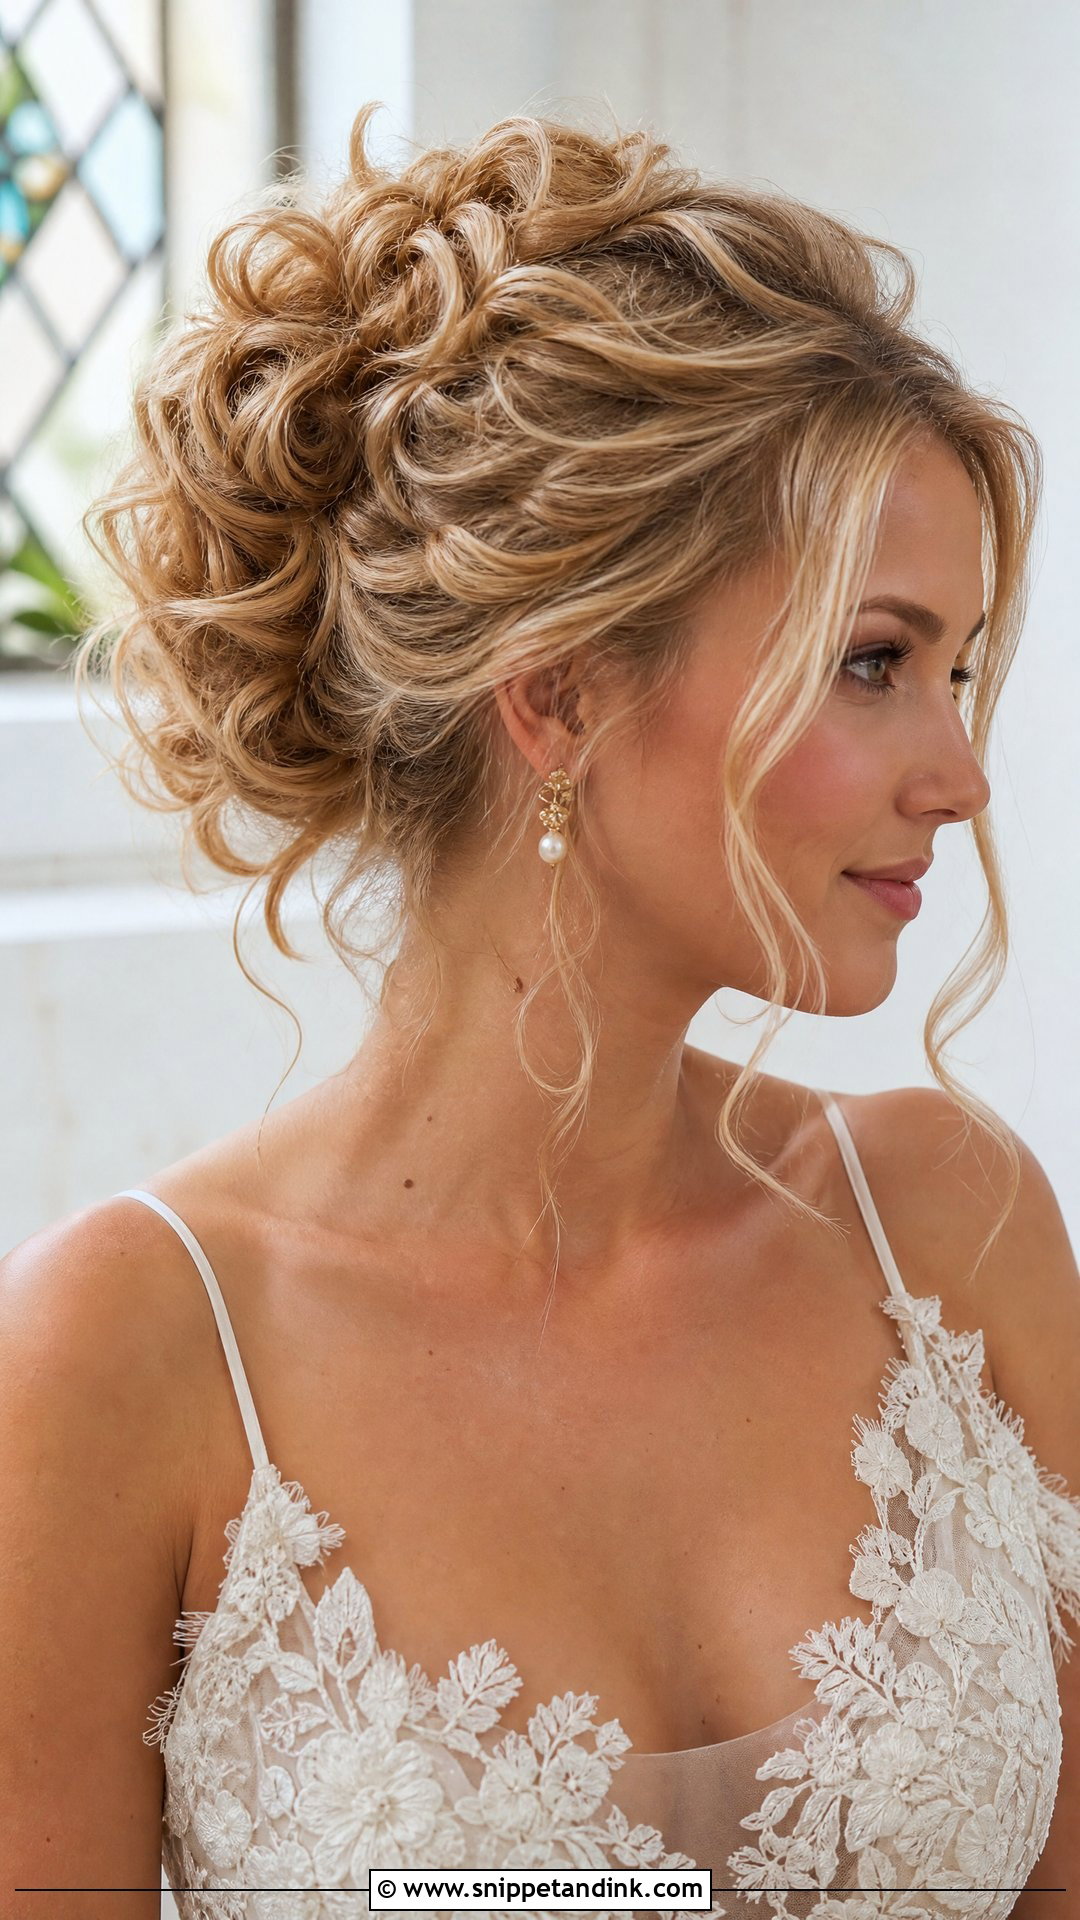
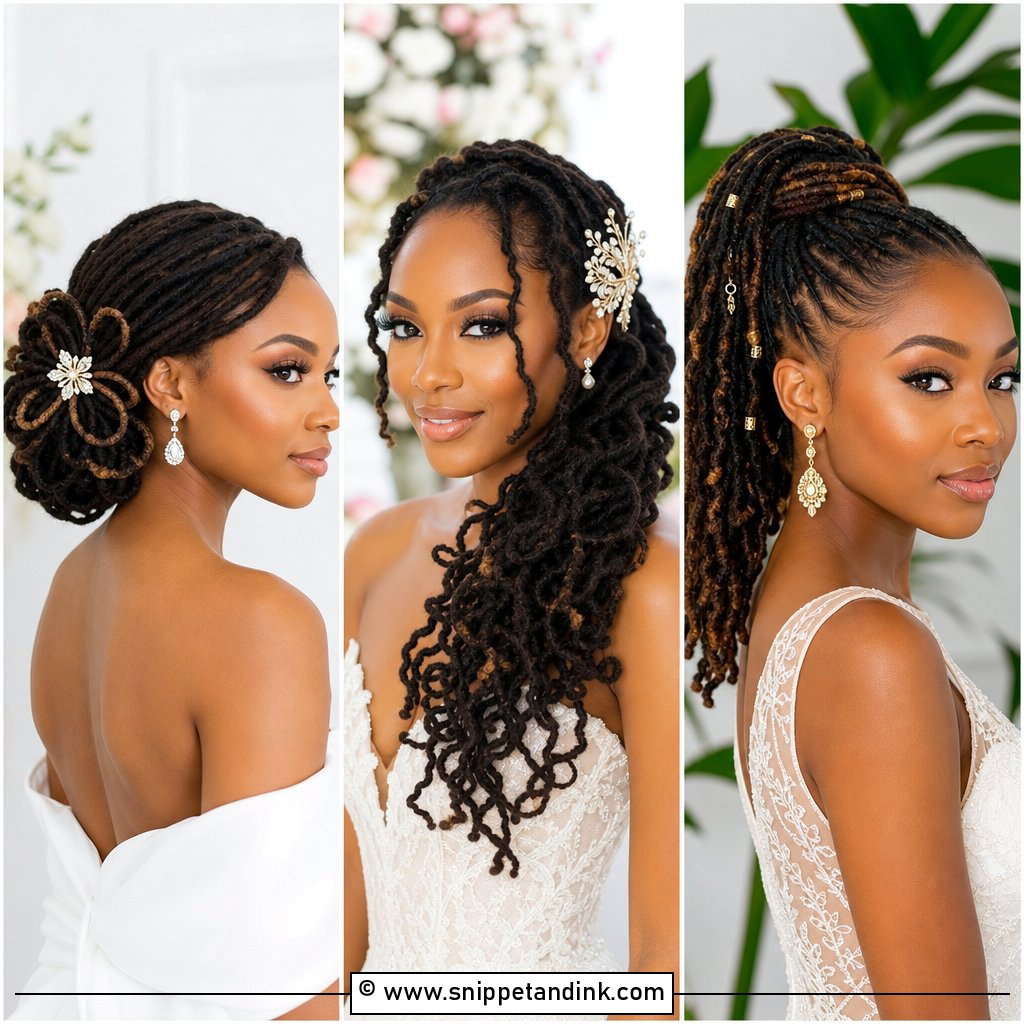
Naturally wavy or curly hair makes this updo easier, not harder. Work with your own texture rather than ironing it into new curls, gather it loosely toward the back of the head and pin the curls in clusters so some sit higher than others. A few tendrils at the face soften it. Lifting the hair off the neck is a relief at a summer wedding. The romantic curly updo looks right with delicate earrings and a flowing dress. If your curls are coarse, use a few more pins than you think, because curly hair pushes pins out as it expands in humidity.
8. Twisted Crown Braid
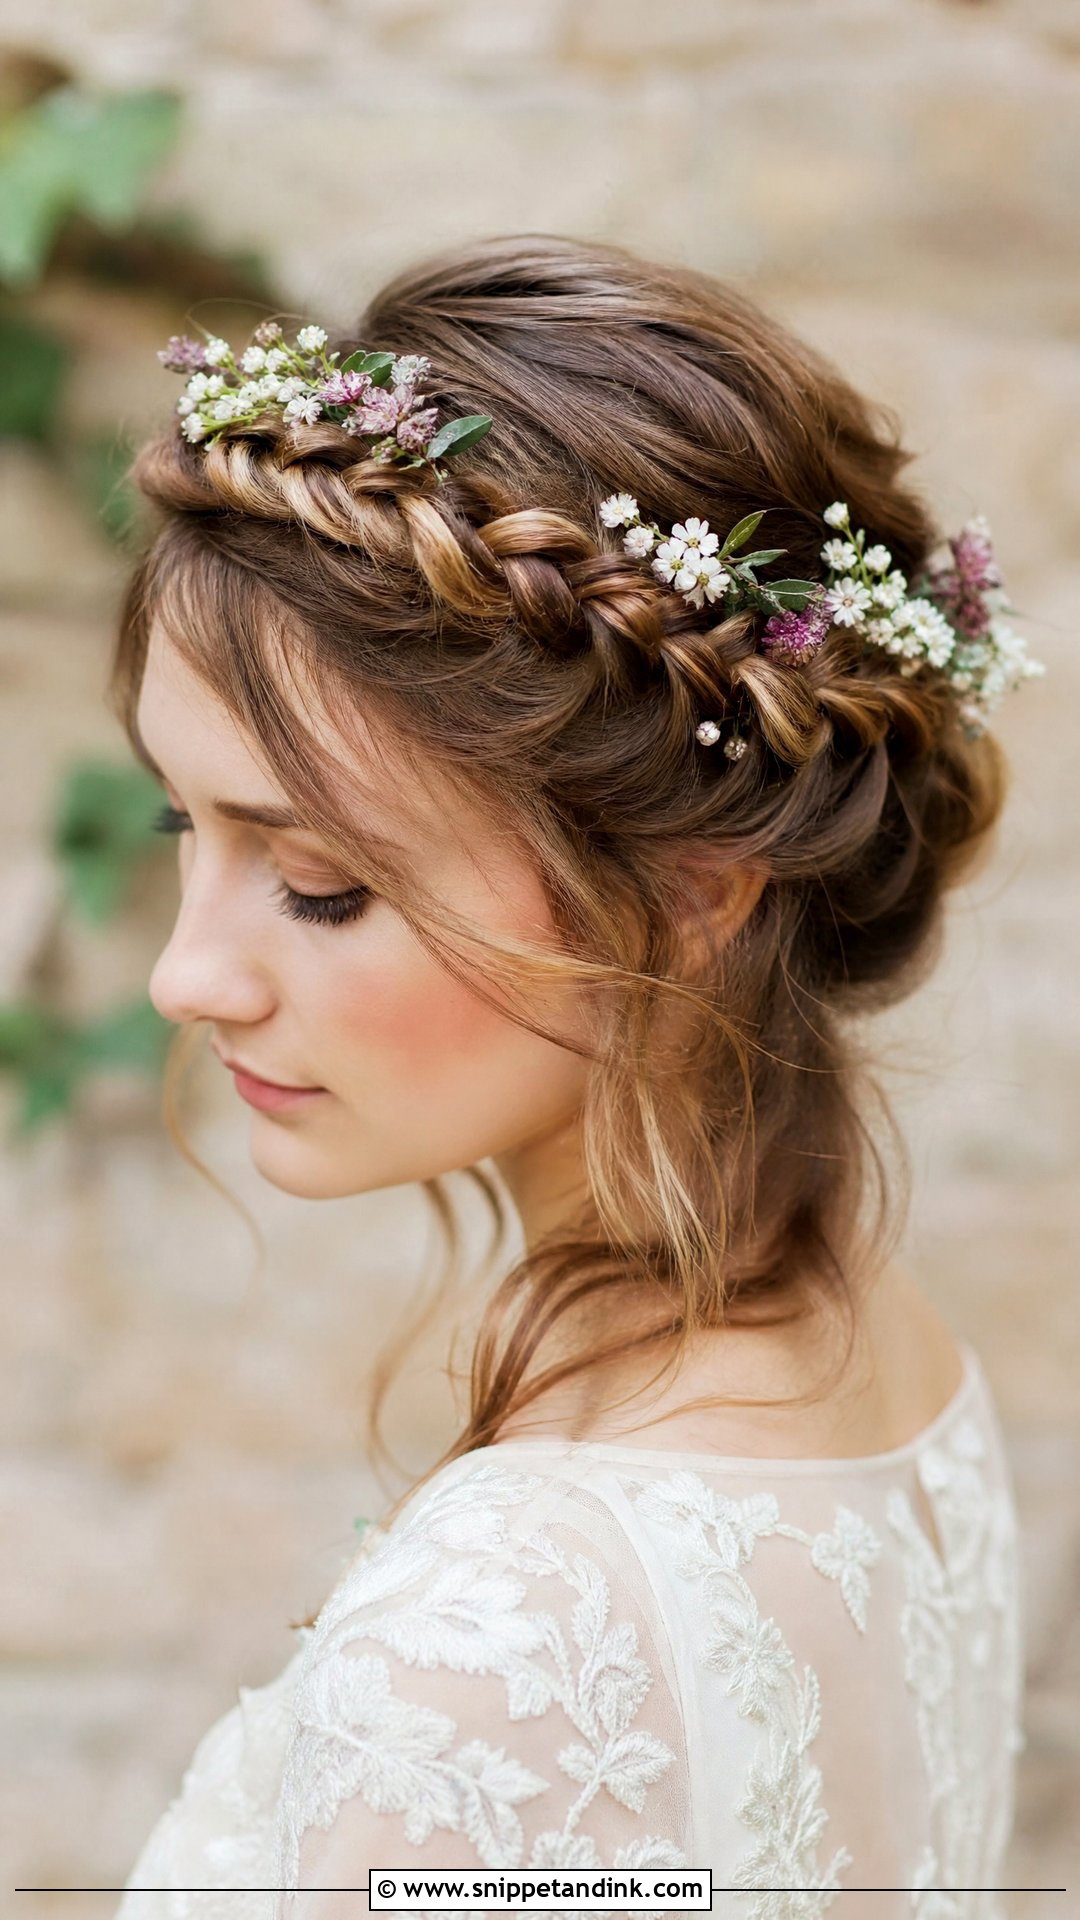
A twisted crown takes longer than people expect when you do it on your own head, since you’re twisting behind you by feel. Start at one temple, twist small sections away from the face along the hairline, and pin as you go rather than at the end. Keep going round until the twists meet at the back, then leave the rest down or roll it into a low bun. It keeps hair off the face all day and sits well at a rustic or woodland wedding. Small flowers slip into the twist easily. Practise once the weekend before, because the first attempt is always lopsided.
9. Voluminous Blowout
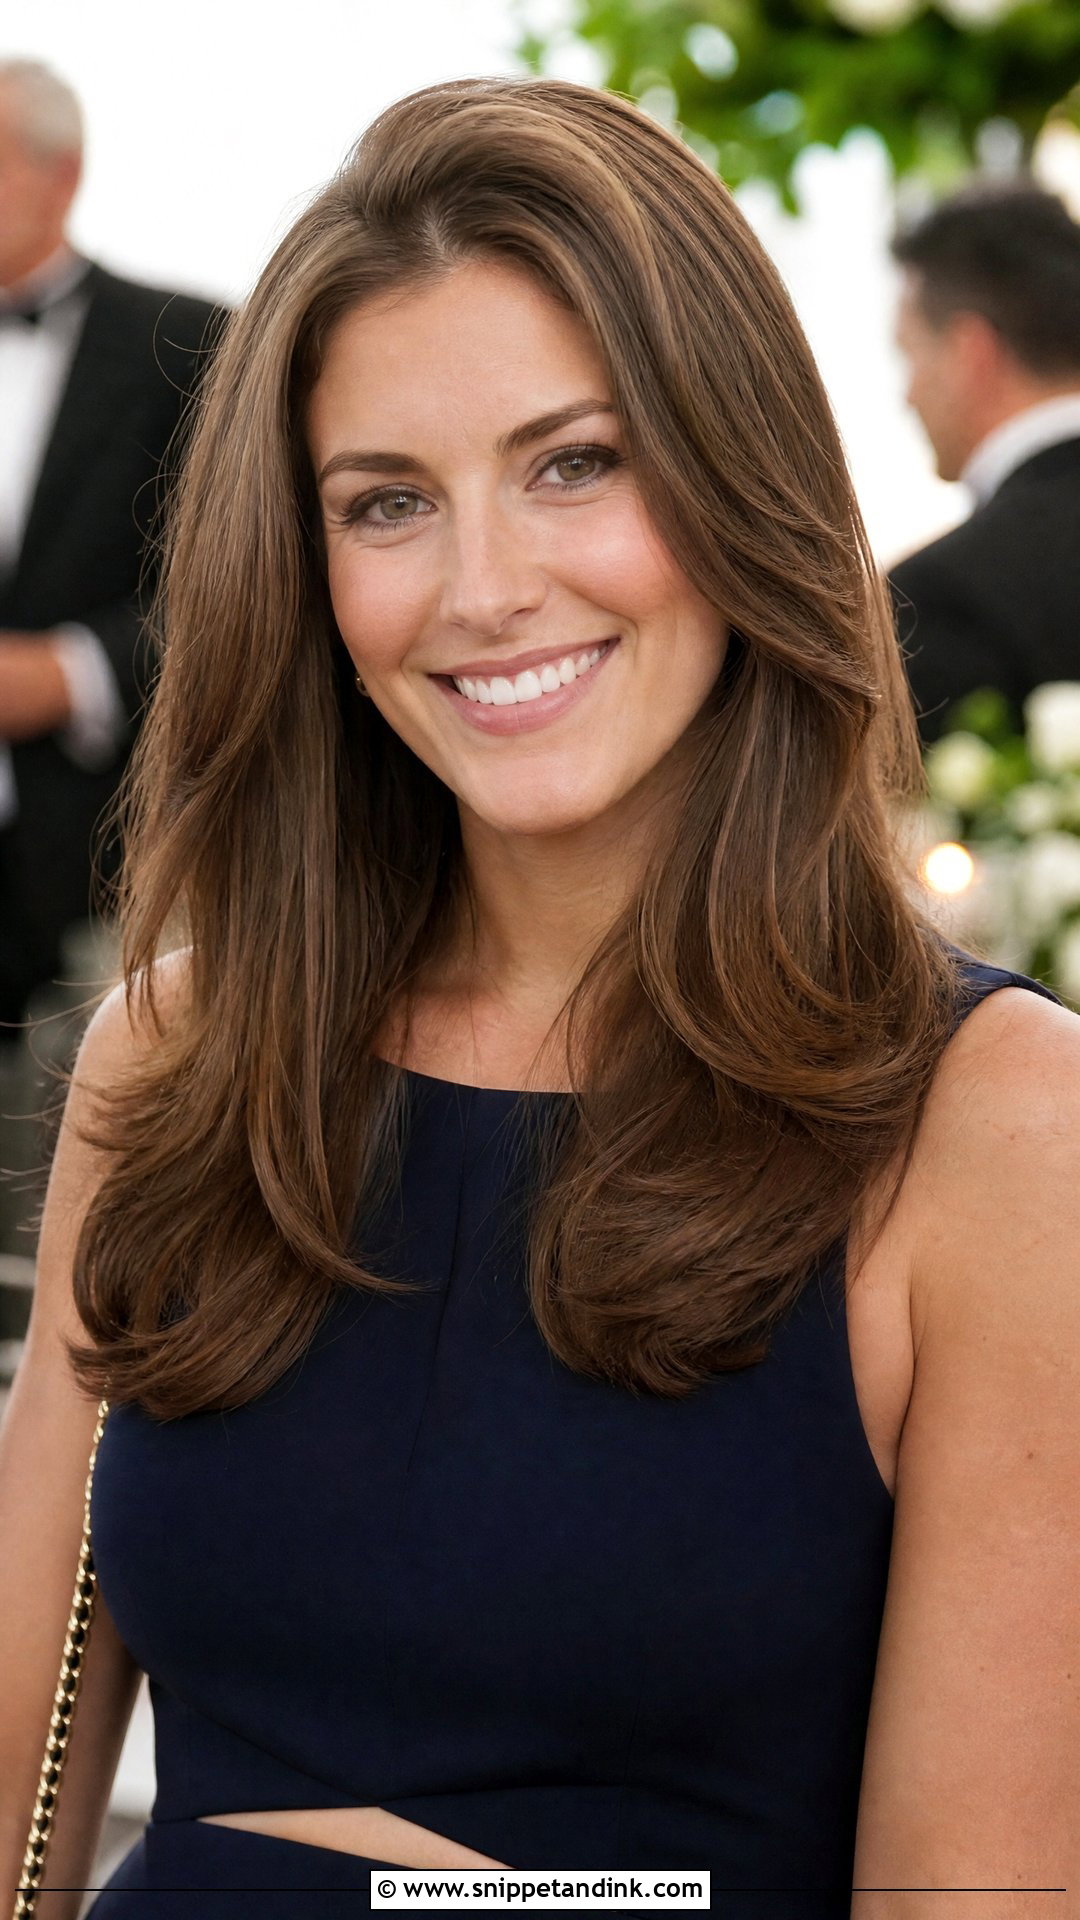
A bouncy blowout lives or dies at the roots. Rough-dry the hair until it’s about 80 percent dry, then work in sections with a round brush, holding each one straight up from the scalp while the dryer points down the hair shaft. Cool each section on the brush for a few seconds before releasing it; warm hair drops, cooled hair keeps its shape. Turn the ends gently under. A light hairspray at the end holds it, but in humid weather a blowout on fine hair may flatten within a few hours, so pack a small round brush or velcro rollers for touch-ups.
10. Messy French Twist
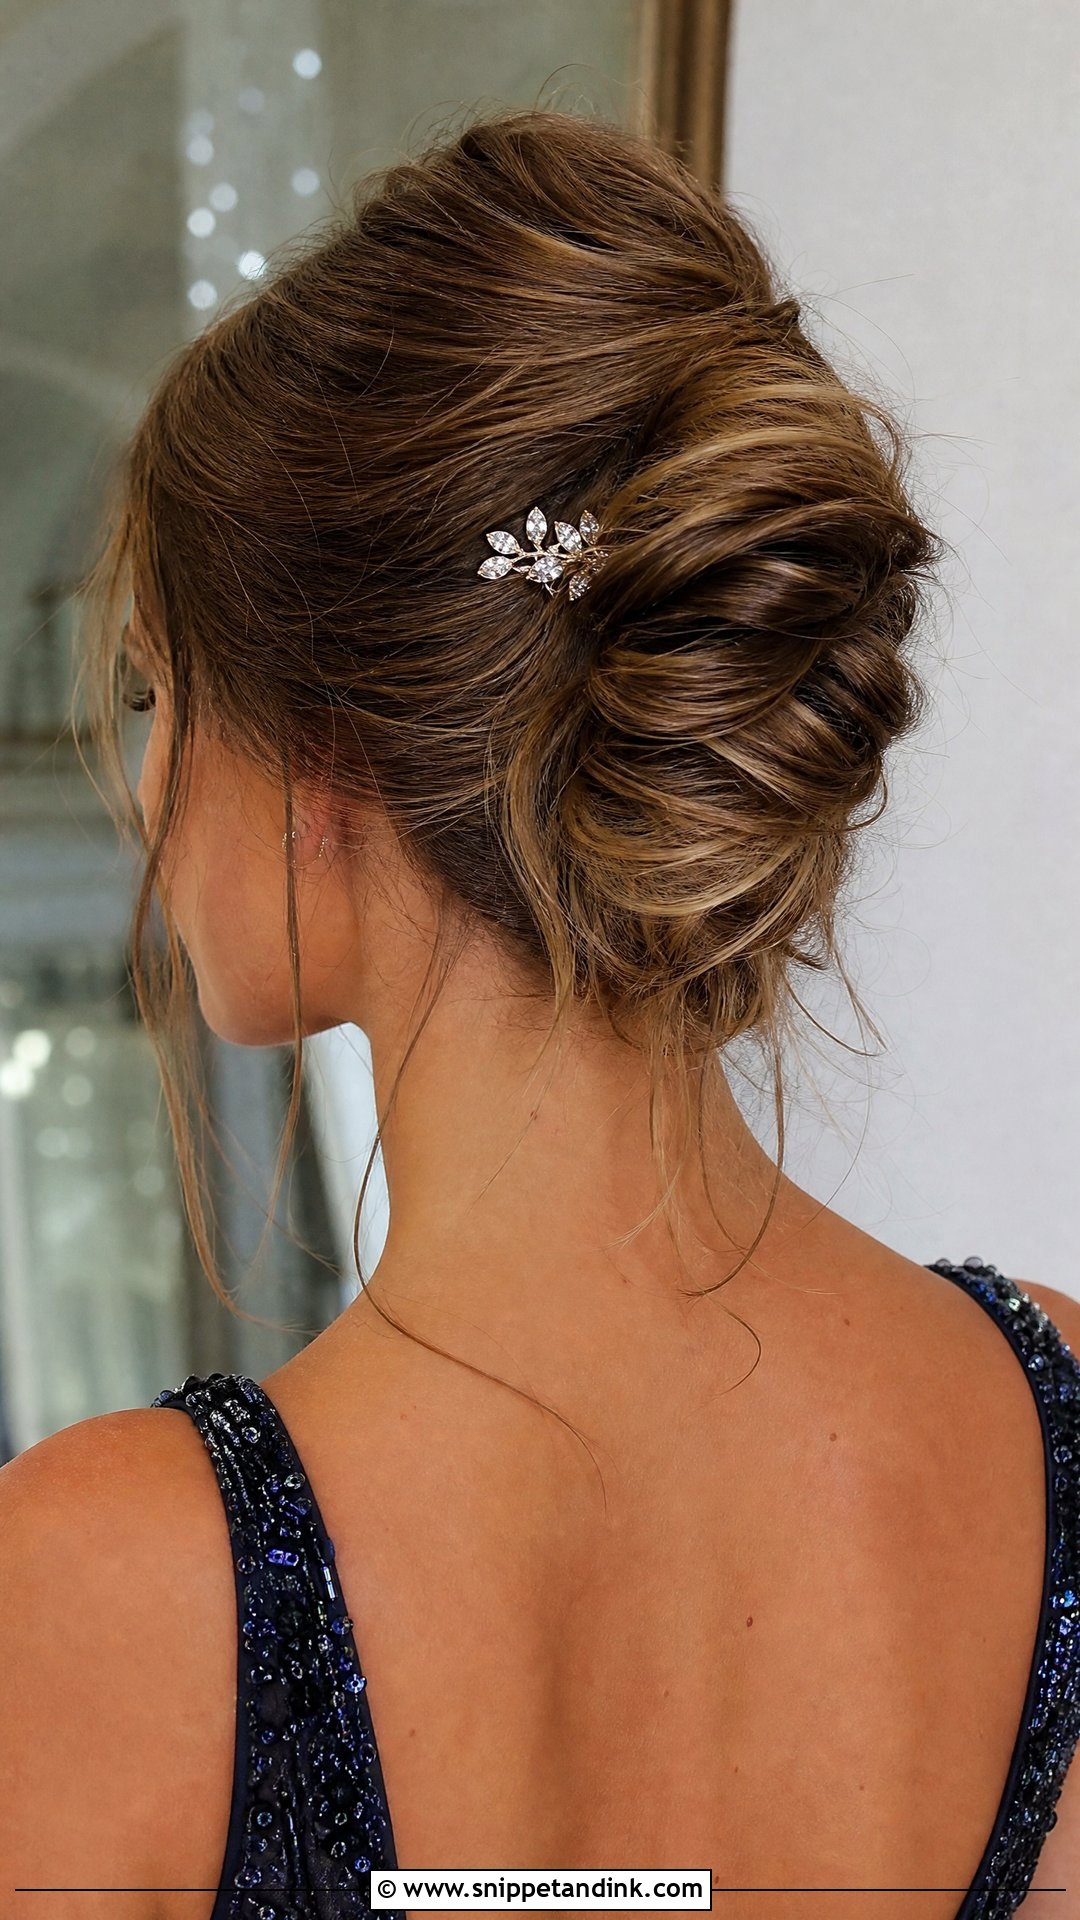
A messy French twist is easier at home than a sleek one, which is why I’d suggest it to guests. Gather the hair to one side, twist it up the back of the head, tuck the ends in and pin along the seam. Pull out a few pieces once it’s secure. Bobby pins inserted against the twist, then turned and pushed in flat, hold far better than ones pushed straight in. It leaves the neck bare for a necklace or earrings, and a single sparkly pin is enough decoration for a guest.
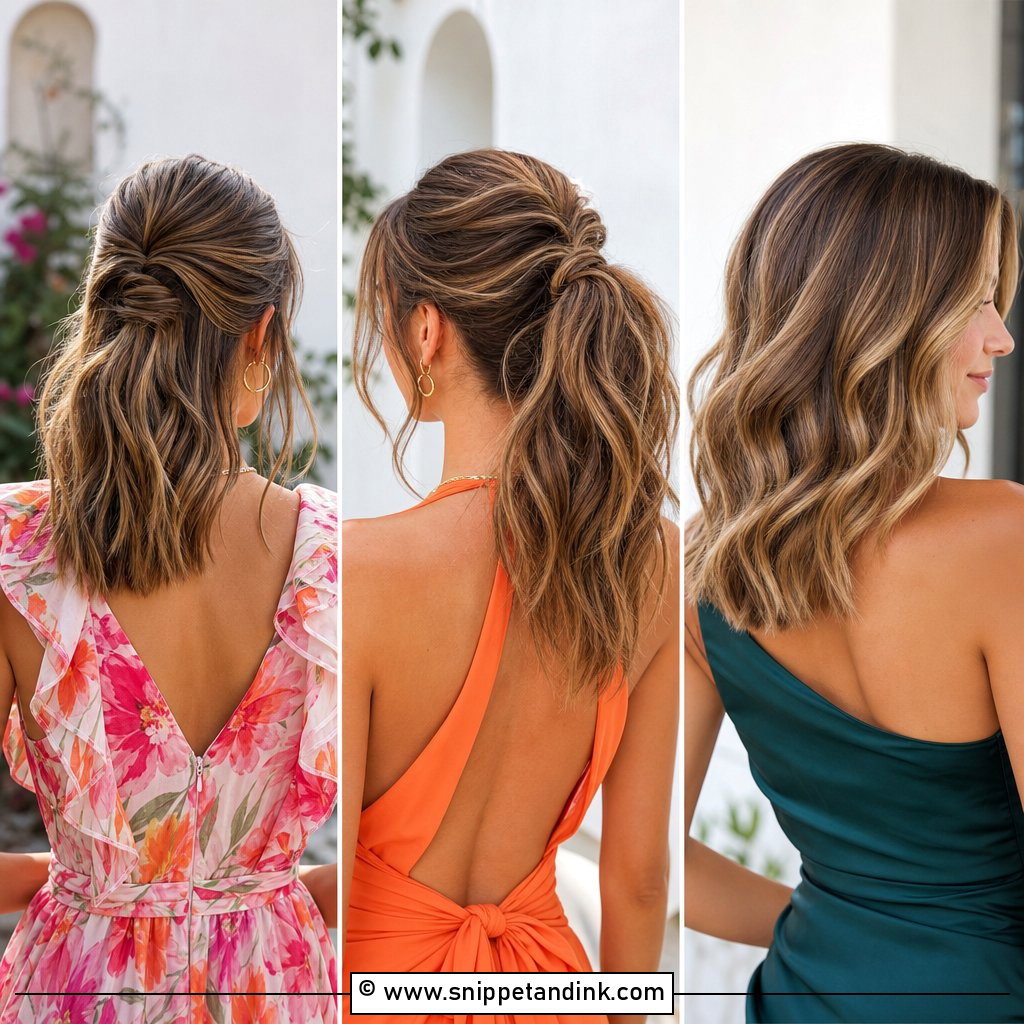
11. Half Up Top Knot
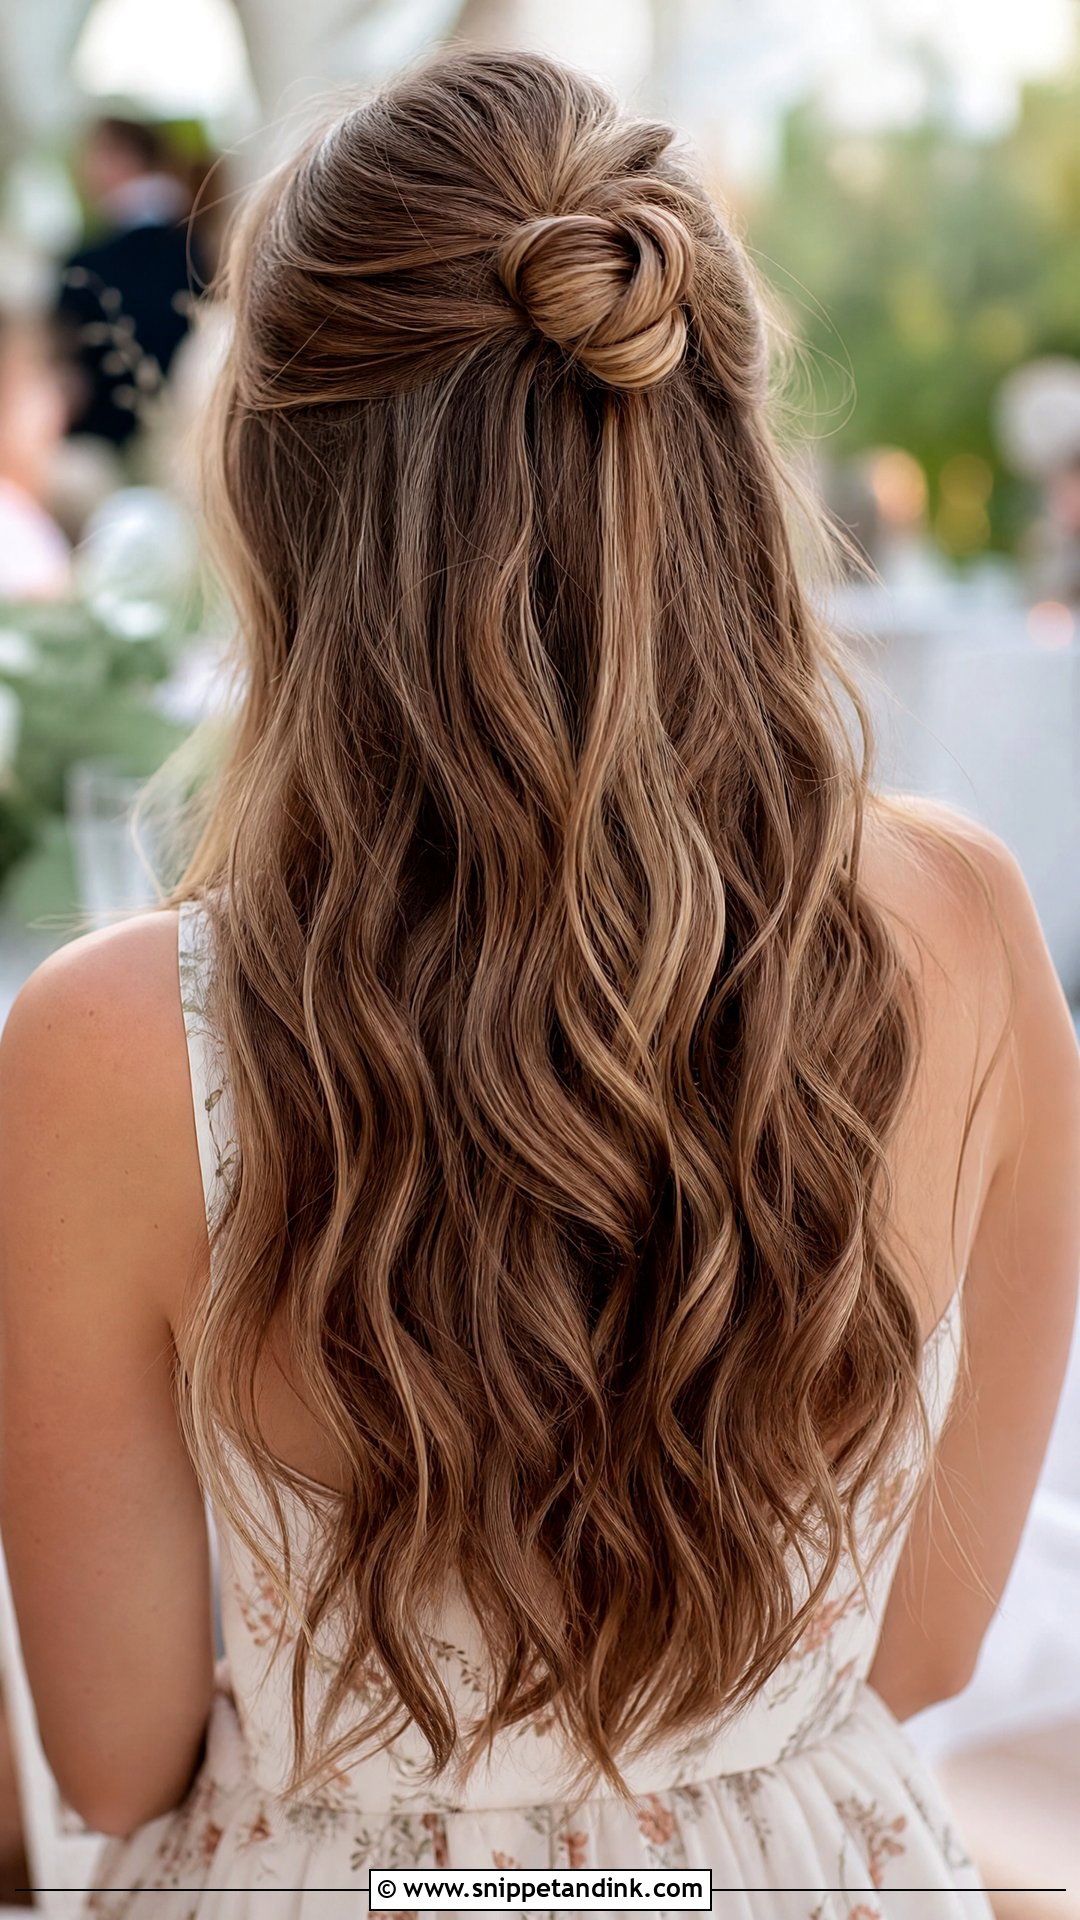
The half-up top knot is about the fastest style on this list. Gather the top section, twist it into a small bun at the crown, secure it with an elastic and wrap the knot with a couple of pins. The rest hangs straight or wavy. Make the knot from a smaller section than feels right; on medium hair a large knot takes so much length that the lower half looks thin. It suits casual and boho daytime weddings better than an evening affair.
12. Loose Fishtail Braid
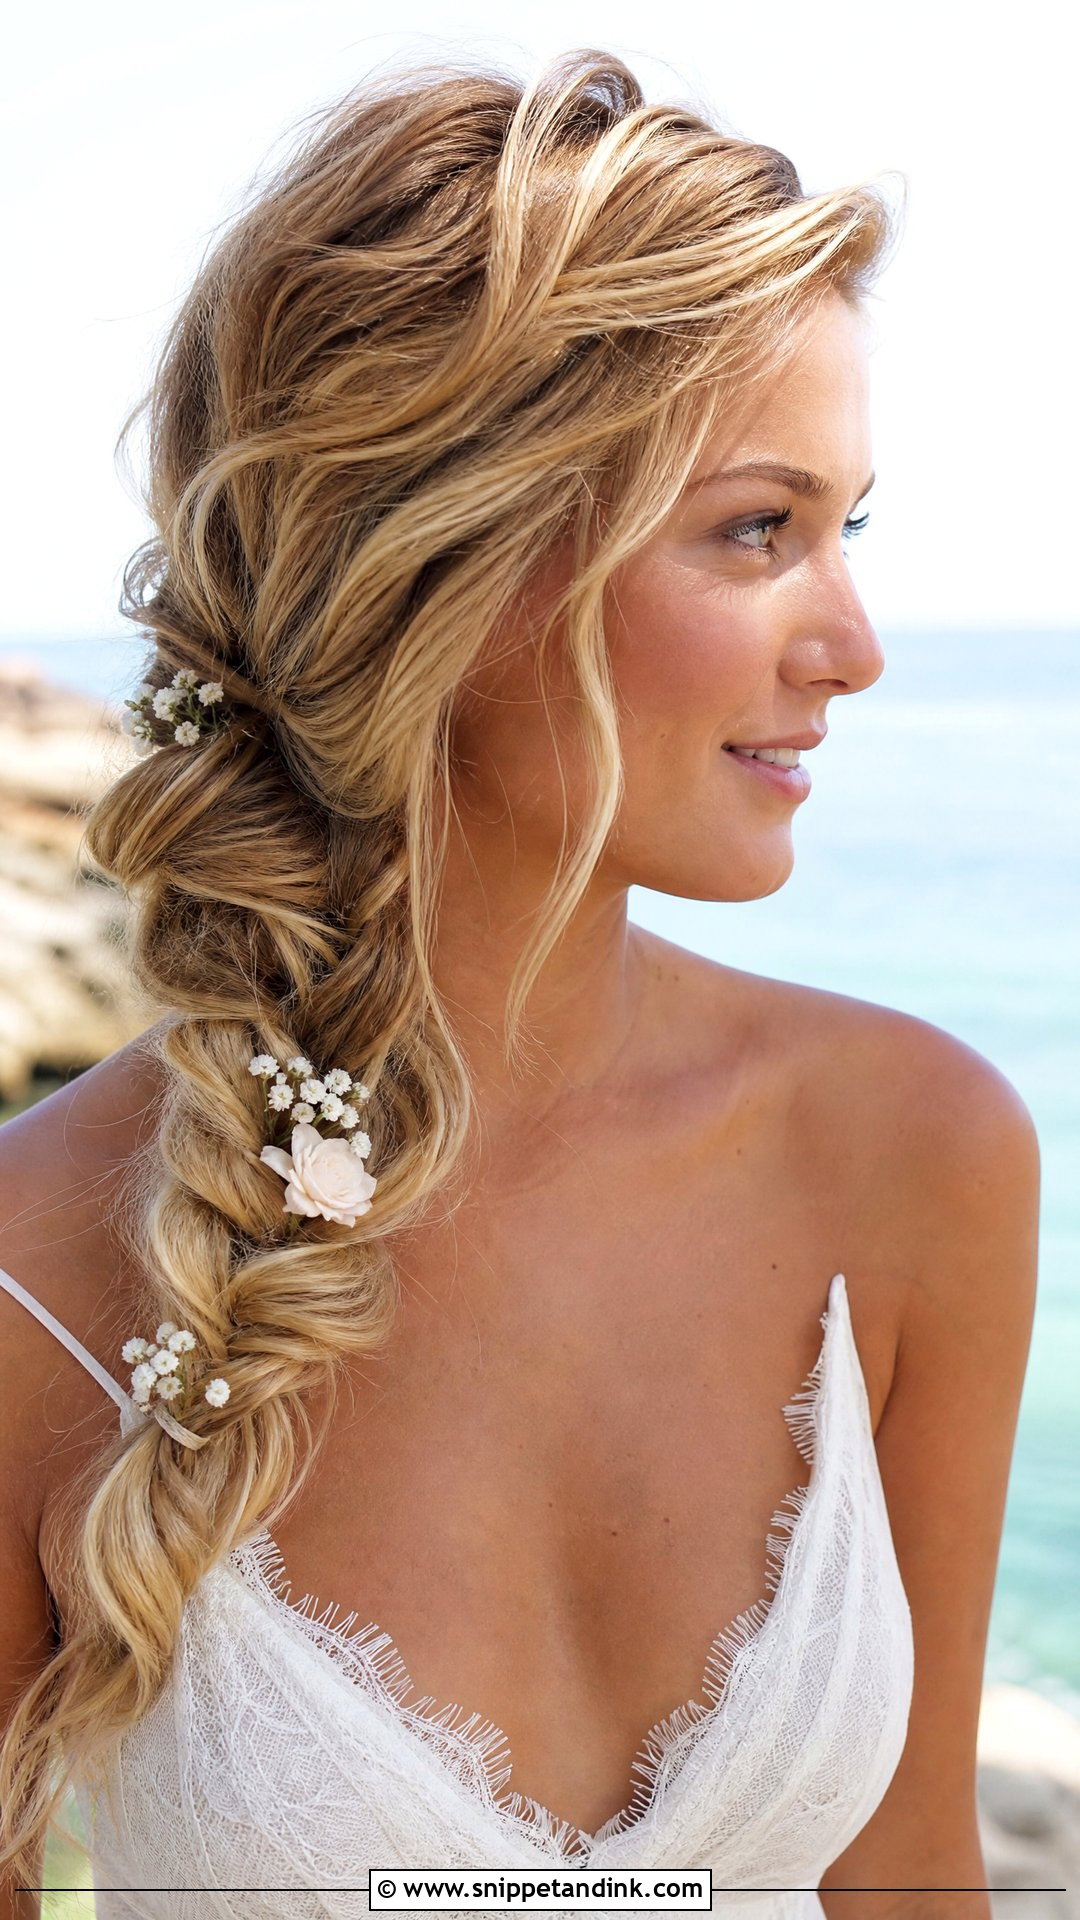
Fishtails are slow, but they’re also the easiest braid to loosen without it falling apart. Sweep the hair over one shoulder, split it in two and cross a thin strand from the outside of each half over to the other side, again and again. The thinner the strands, the finer the pattern and the longer it takes. Tie it off, then gently pull the edges outward to widen it. On medium hair the braid will end near the collarbone, so it sits neatly rather than hanging. A beach or garden wedding suits it, and pearl pins add a touch of finish.
13. Glamorous Hollywood Waves
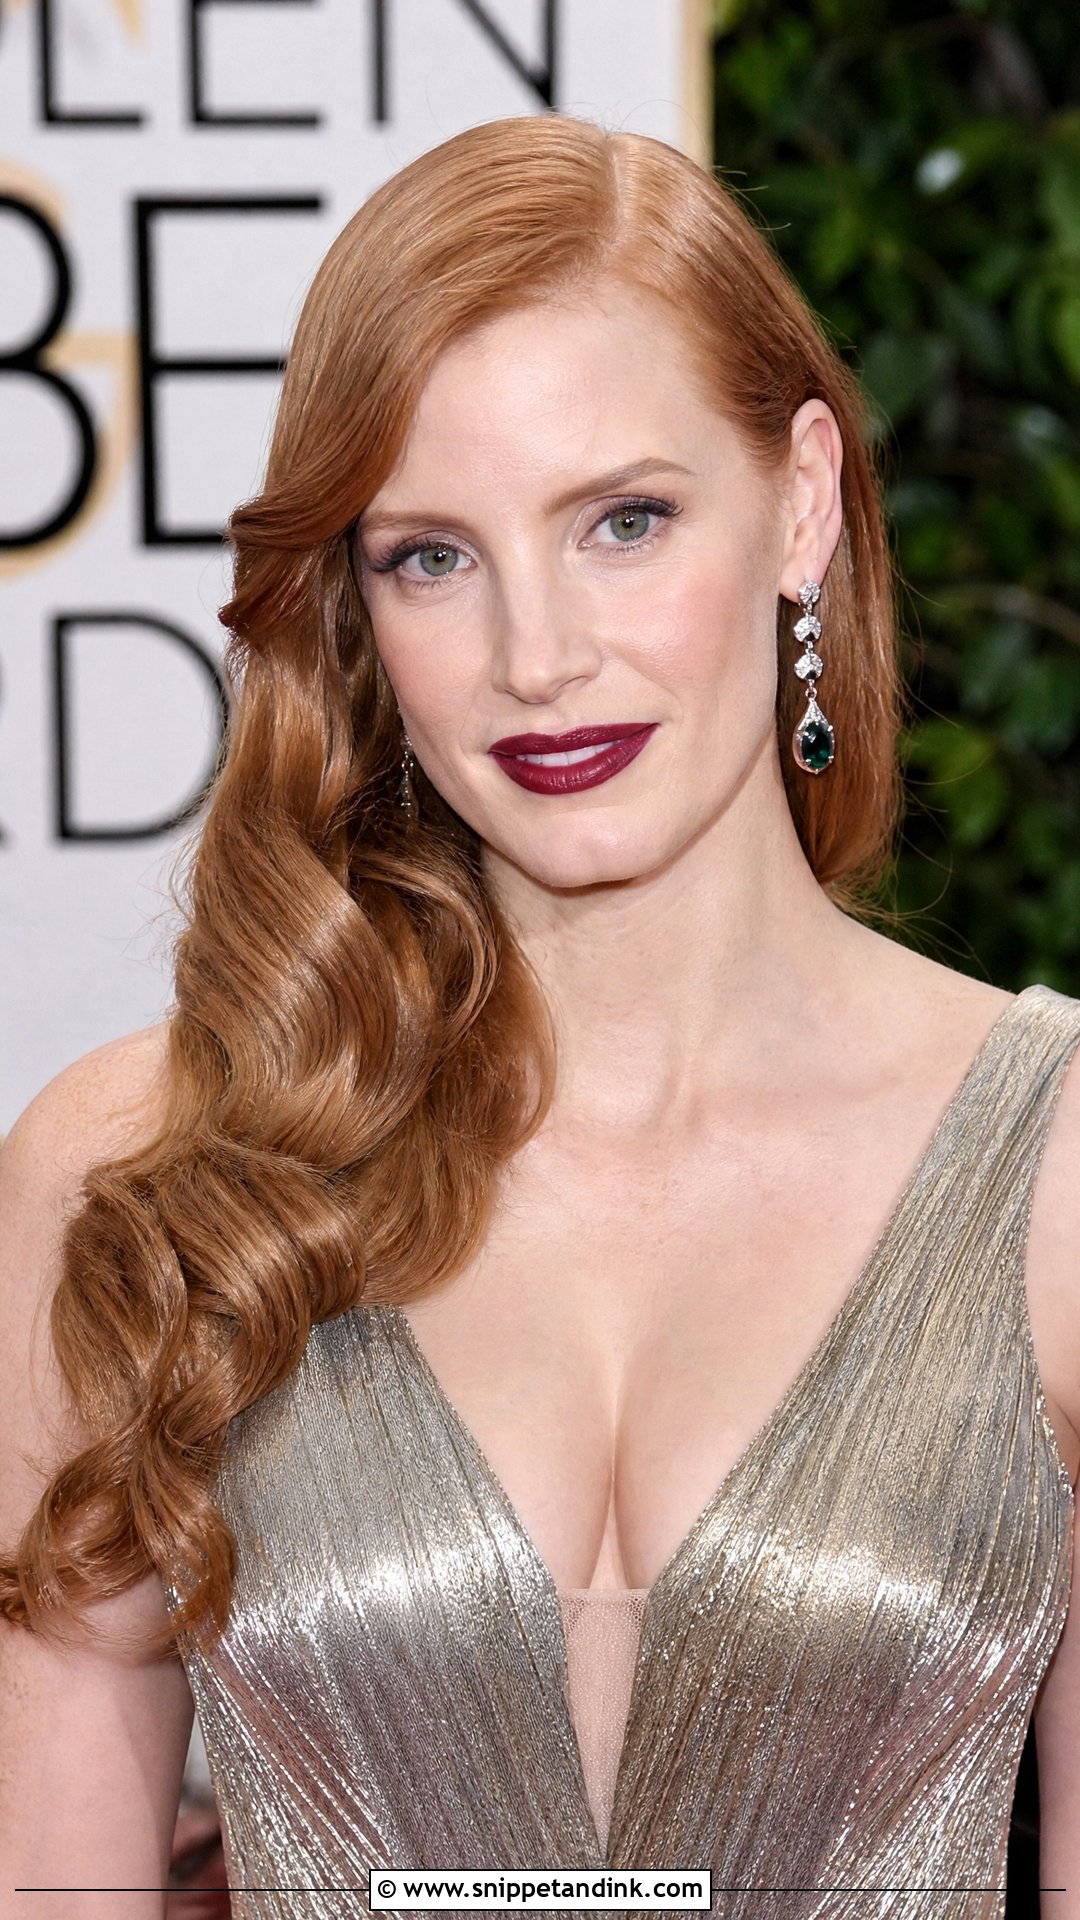
Hollywood waves come from curling everything the same way and then brushing it into one shape. I use a large barrel iron, roughly 1.25 to 1.5 inches, curl every section away from the face, let the curls cool, then brush them out with a boar bristle brush until they merge into one continuous wave. Two flat clips pressed into the dips while you finish your makeup sharpen the S-shape. Keep it close to the head and worn down. It belongs with an evening gown and a bold lip, at a formal venue.
14. Twisted Side Updo
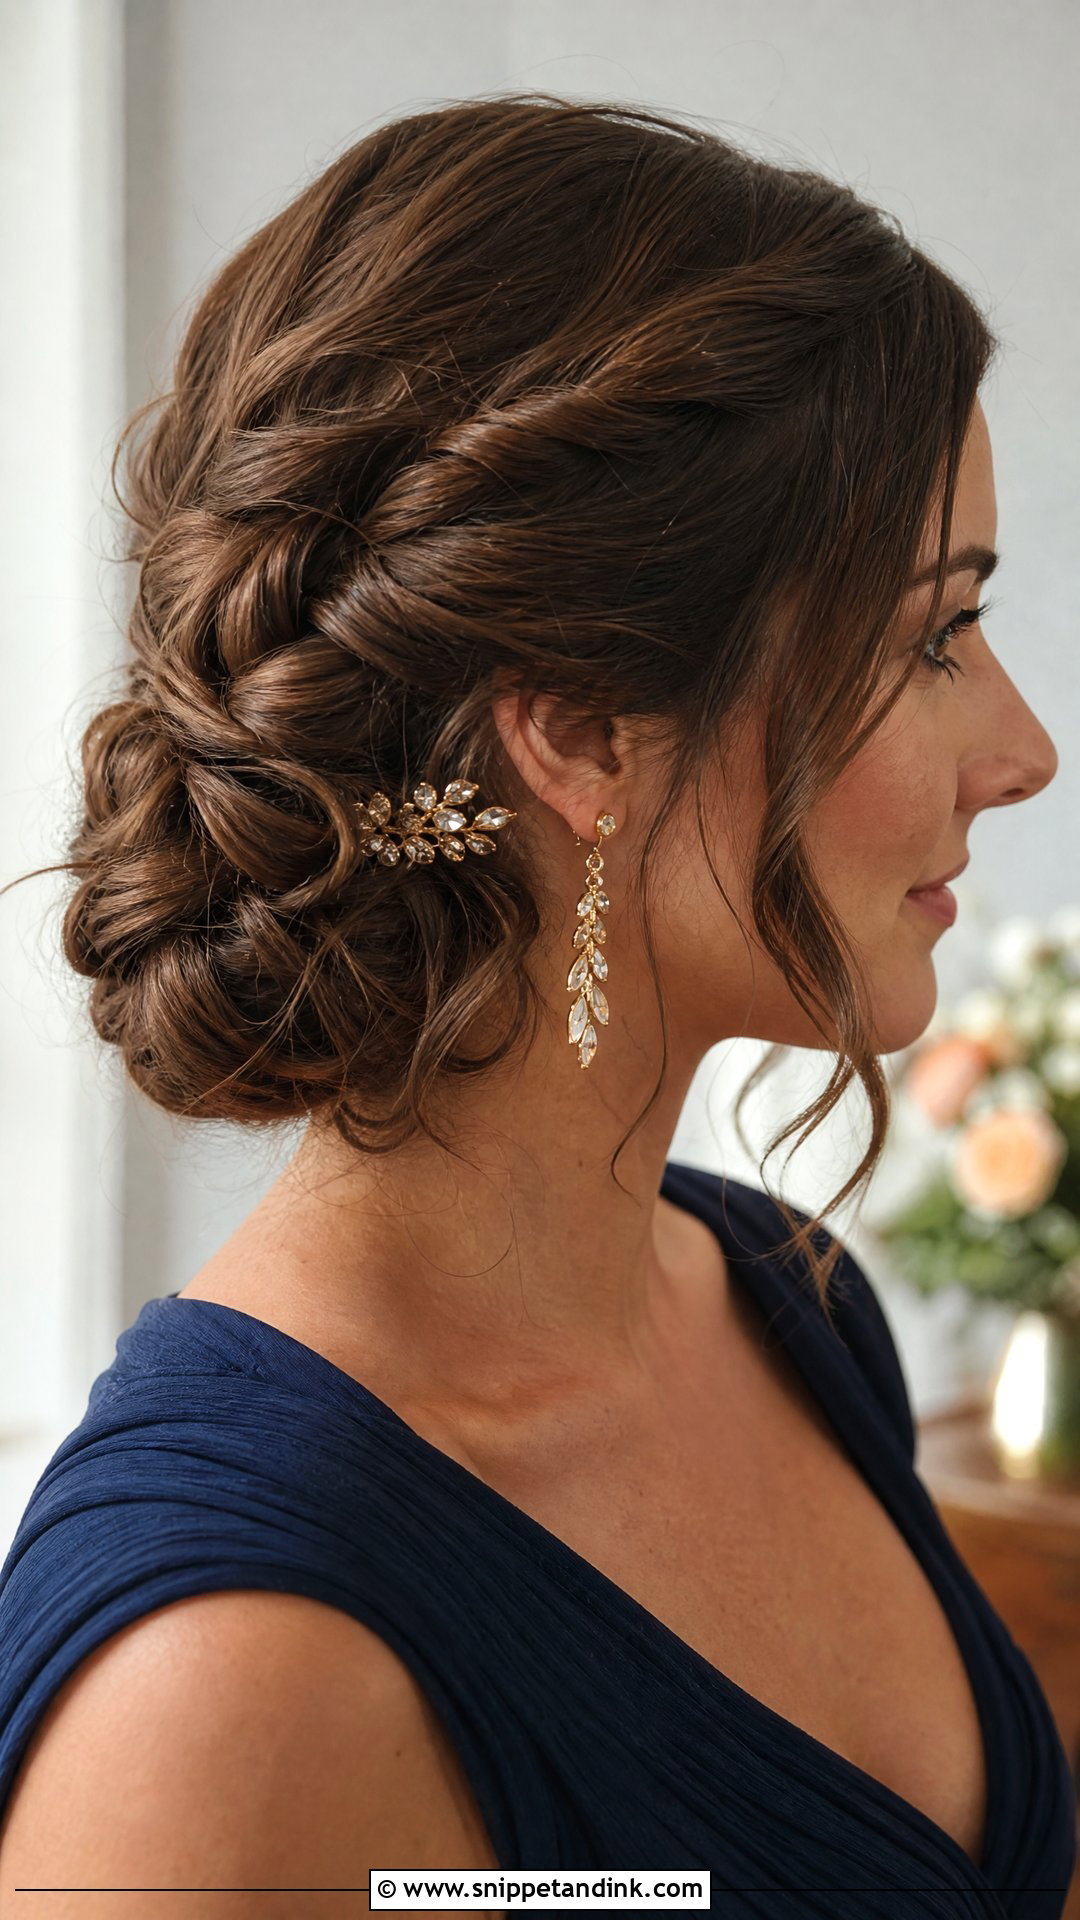
Pinning hair to one side is harder on medium length than long, because there’s less weight holding the shape. Sweep everything to one side, twisting small sections as you go, and pin them together low behind one ear. A small hidden ponytail placed behind the ear first gives the twists a firm base to pin into. Let a few tendrils fall loose. A decorative clip near the gathered section adds sparkle. Check it sitting down, since a side cluster can press against a chair back.
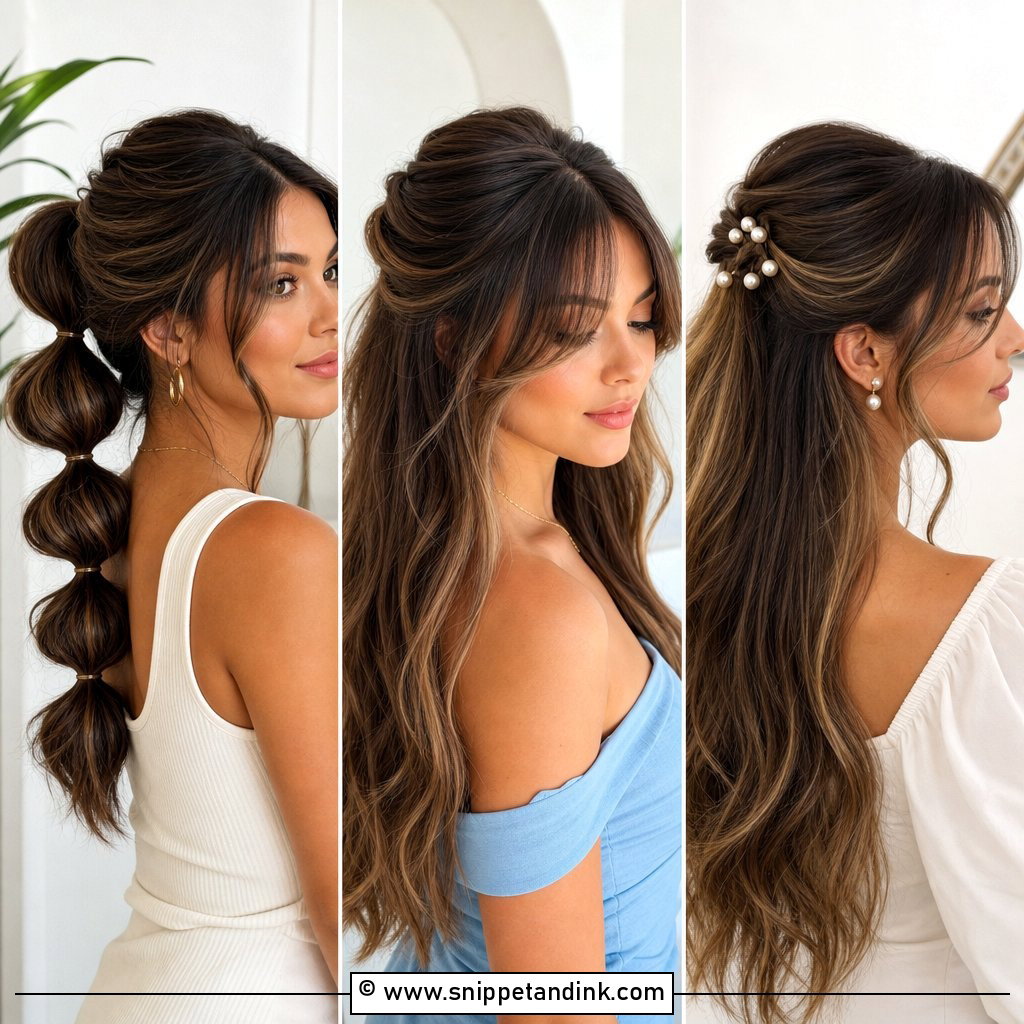
15. Half Up Bubble Ponytail
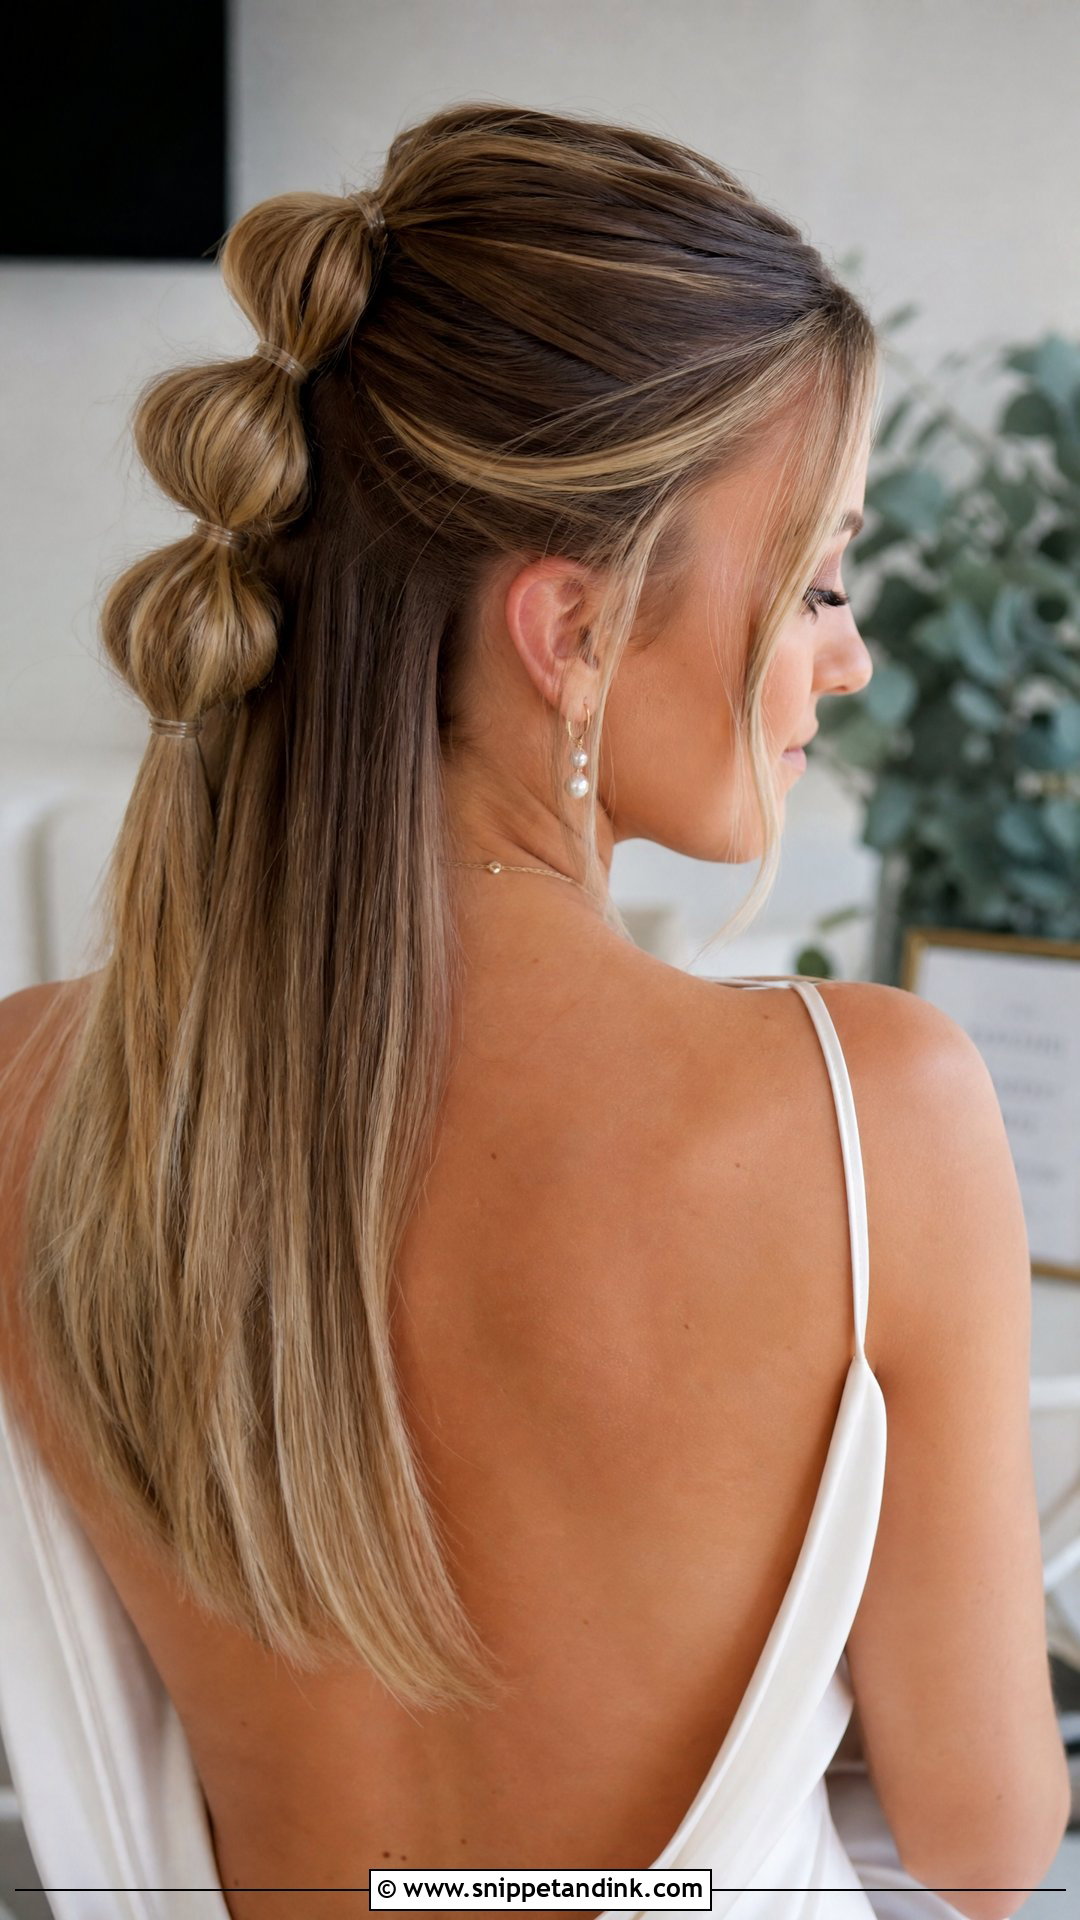
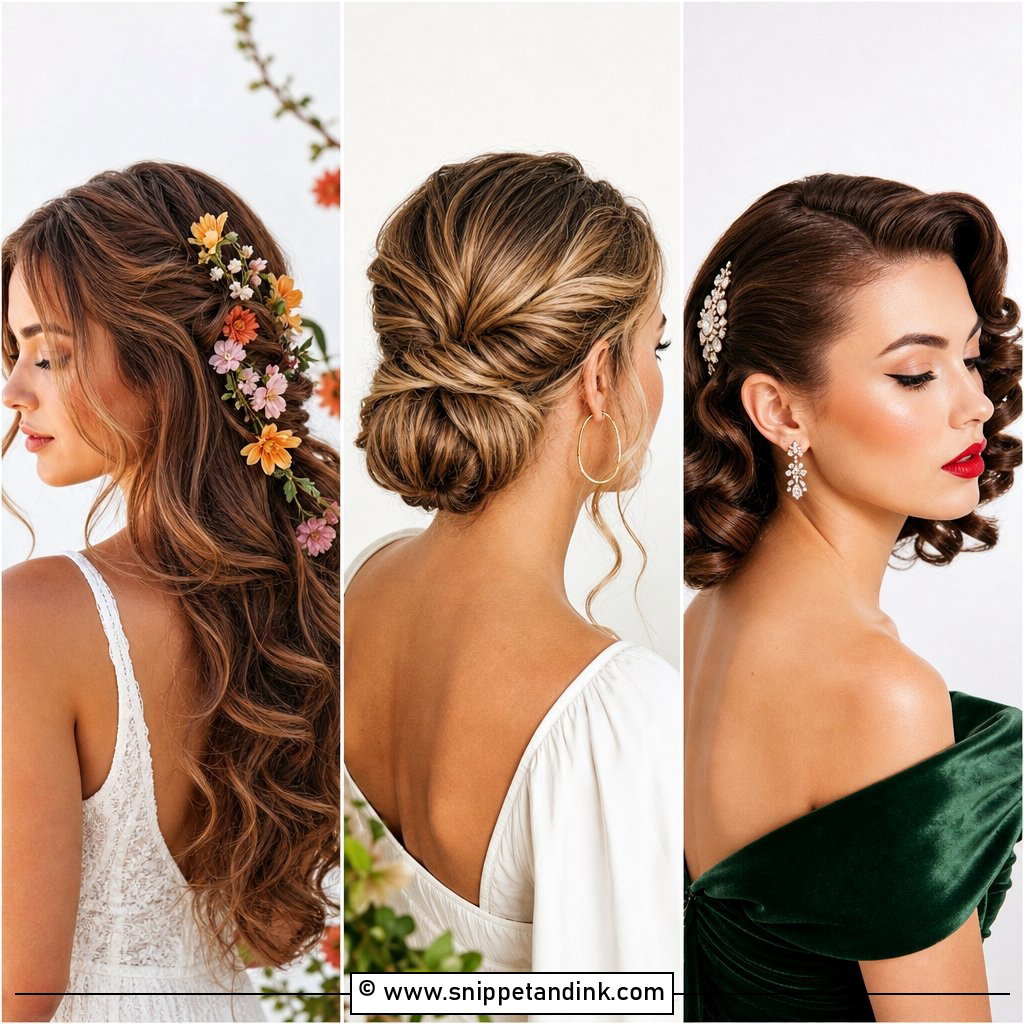
Bubble ponytails are the quickest way to make a half-up style look deliberate. Gather the top half into a ponytail, add small clear elastics at even intervals down its length, and pull each section gently to puff it out. Leave the lower half loose. On medium hair you’ll get maybe three bubbles, so keep the gaps short. The half up bubble ponytail is playful, so I’d keep it for a relaxed or modern wedding rather than a formal church service, and pair it with simple earrings.
16. Soft Pinned Back Style
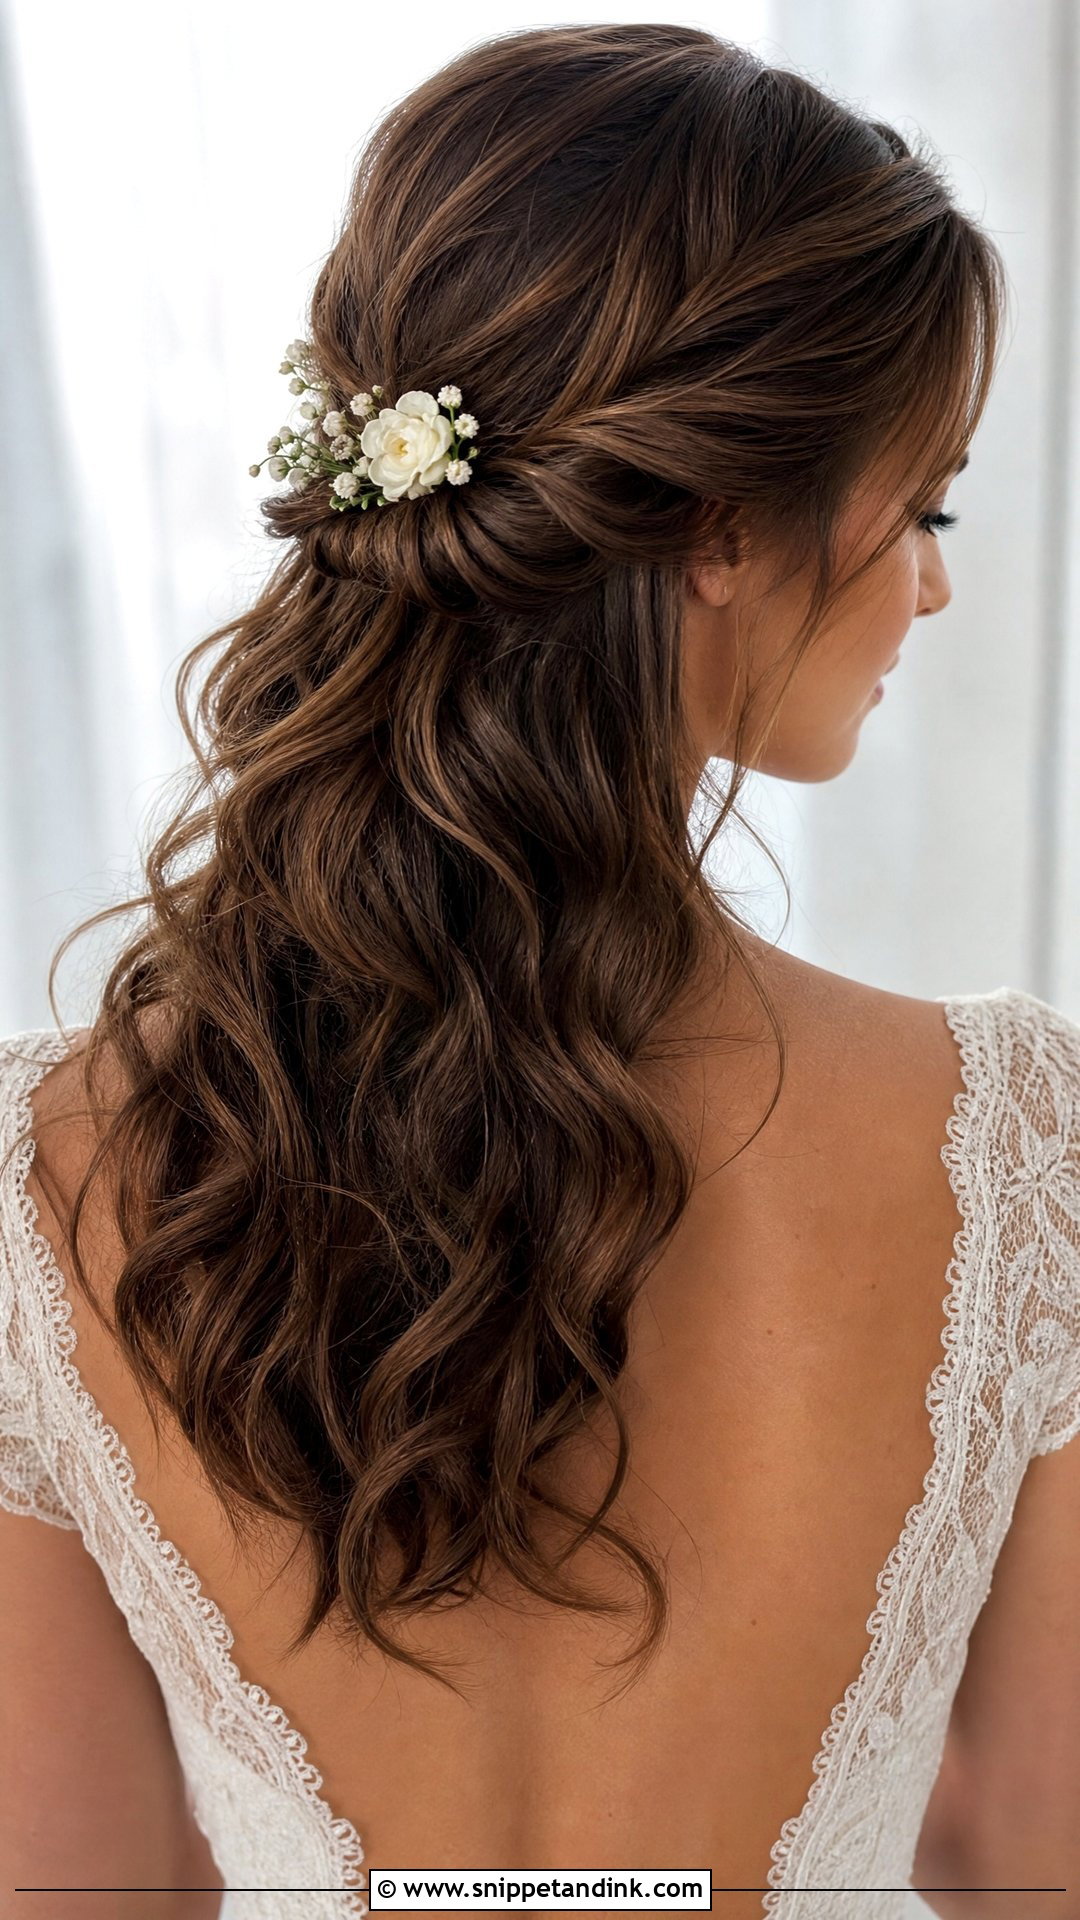
Less really can be more. Wave the hair loosely, then take a small section from each side and pin them behind the head, crossing the pins where the two meet. Your face opens up and most of your length stays down. Because it’s so simple, the finish of the waves matters most, so spend your time there. Every texture can wear it, from straight to coily, and it suits nearly any wedding.
17. Knotted Low Bun
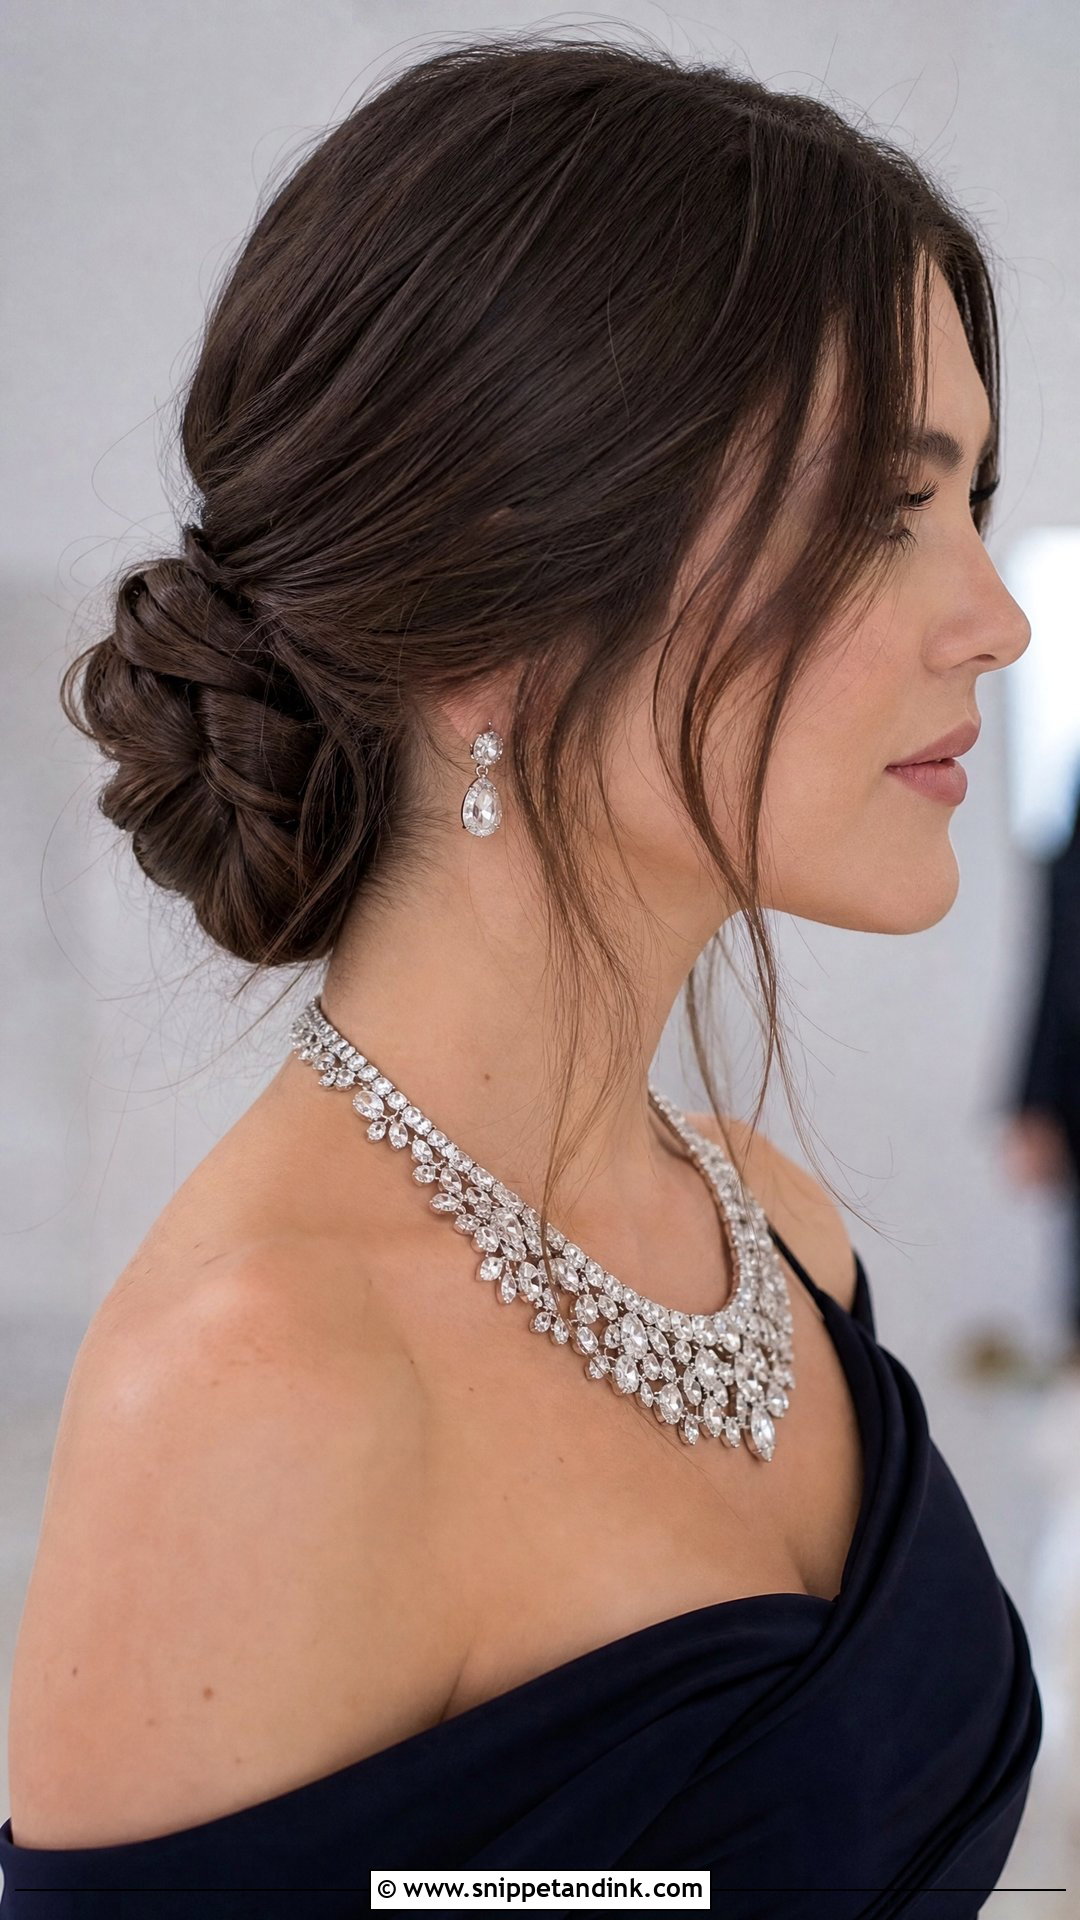
Knotted buns look intricate and are surprisingly simple. Split the hair into two sections at the back, tie them in a knot as you would a shoelace, then knot again, working down the length. Tuck the ends under and pin the shape low at the nape. Medium hair usually gives two or three knots, which is plenty. The texture of the knots hides small imperfections, which makes it forgiving for a home attempt. It goes well with formal gowns and statement jewelry at an upscale wedding. A few loose strands at the face stop it looking too tight.
18. Wavy Lob With Deep Side Part
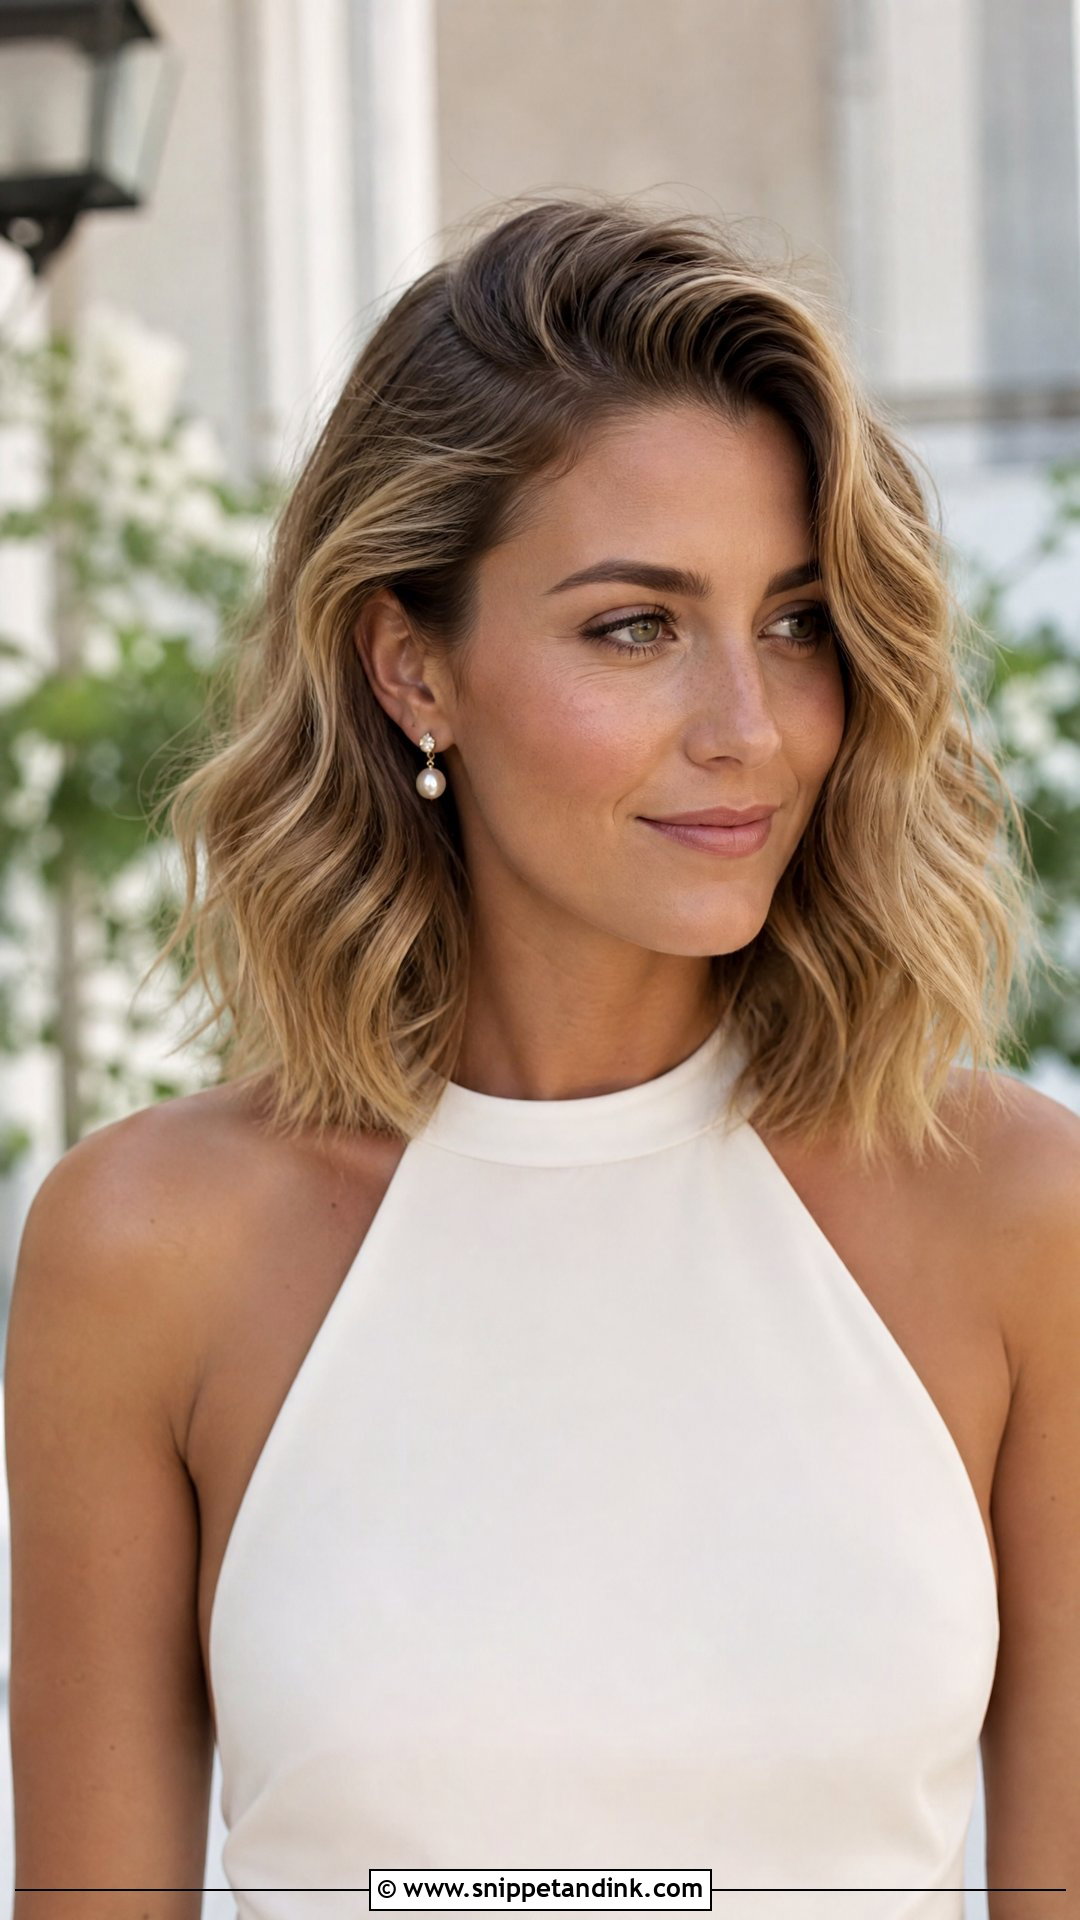
A wavy lob with a deep side part gets its volume from the part itself. Flip the hair over to the opposite side while it’s still damp and dry the roots that way, then flip it back; the hair will lift naturally at the part. Add loose waves with a flat iron and finish with texture spray for a lived-in feel. It frames the face and suits most face shapes, and it’s an easy choice for a minimalist or city wedding. Bring a few pins in case the heavy side starts falling forward into your face by evening.
19. Floral Accented Updo
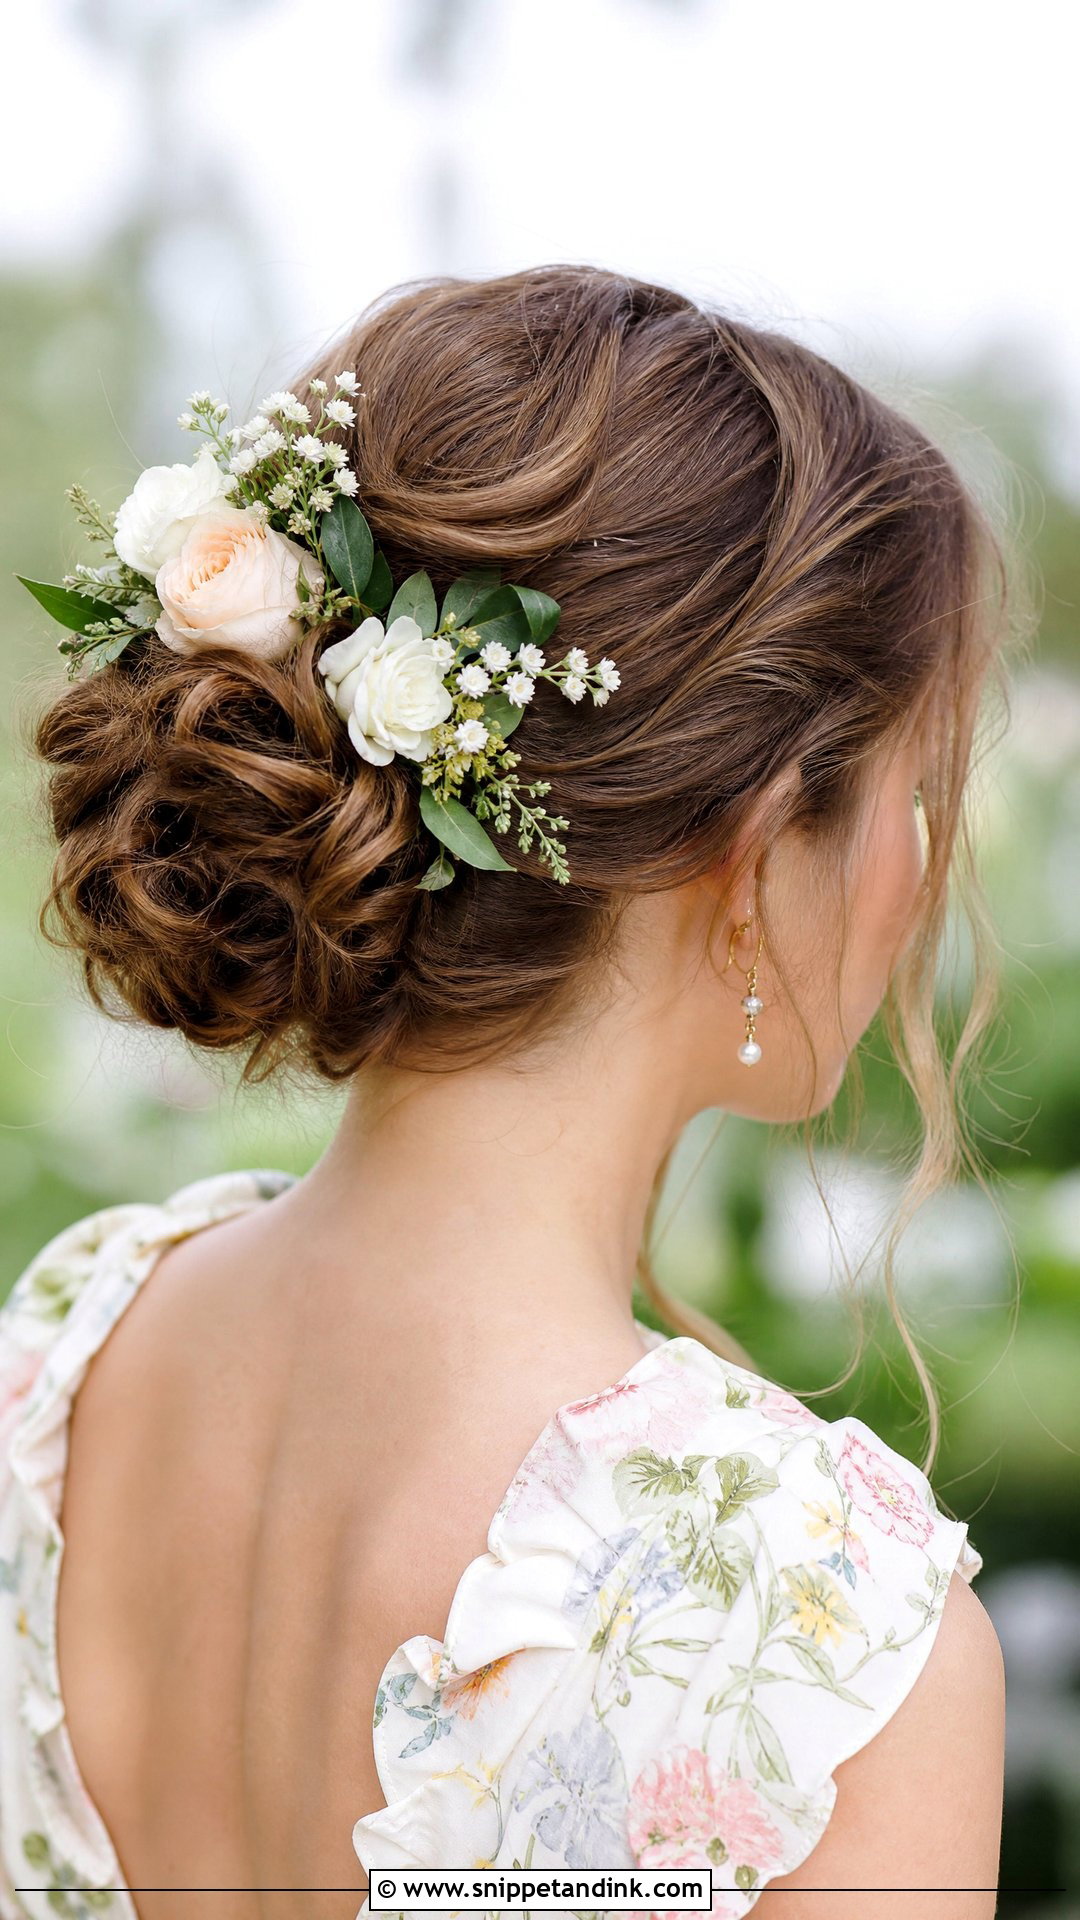
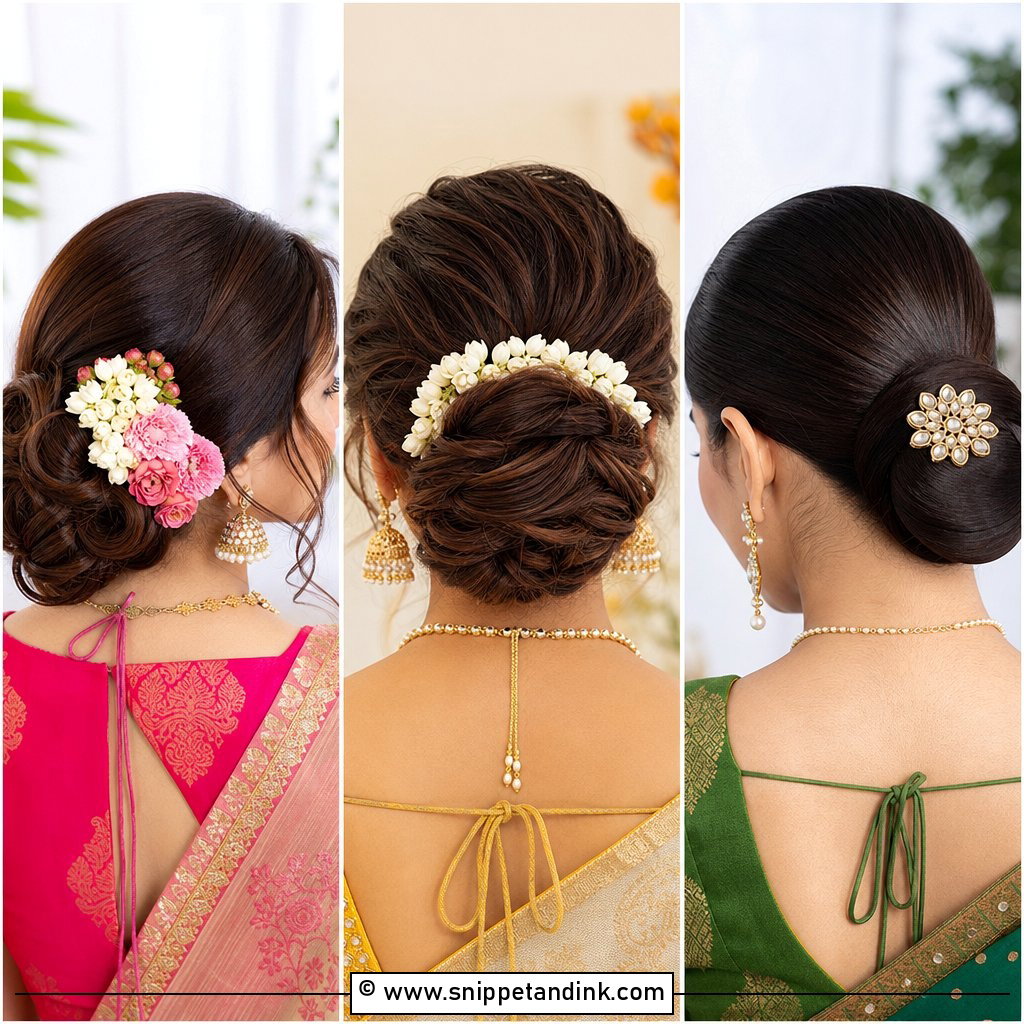
Flowers do most of the work in this updo, but they have to be chosen carefully. Gather the hair into a soft low bun or twist, then tuck small blooms around it. Pick colors that suit your dress and avoid pure white, which can look bridal from across the room. Fresh flowers wilt against a warm head in a few hours, so wire hardy ones like spray roses or use good silk ones for a long day. The look suits spring and summer outdoor weddings. Leave a couple of face pieces out to balance the flowers.
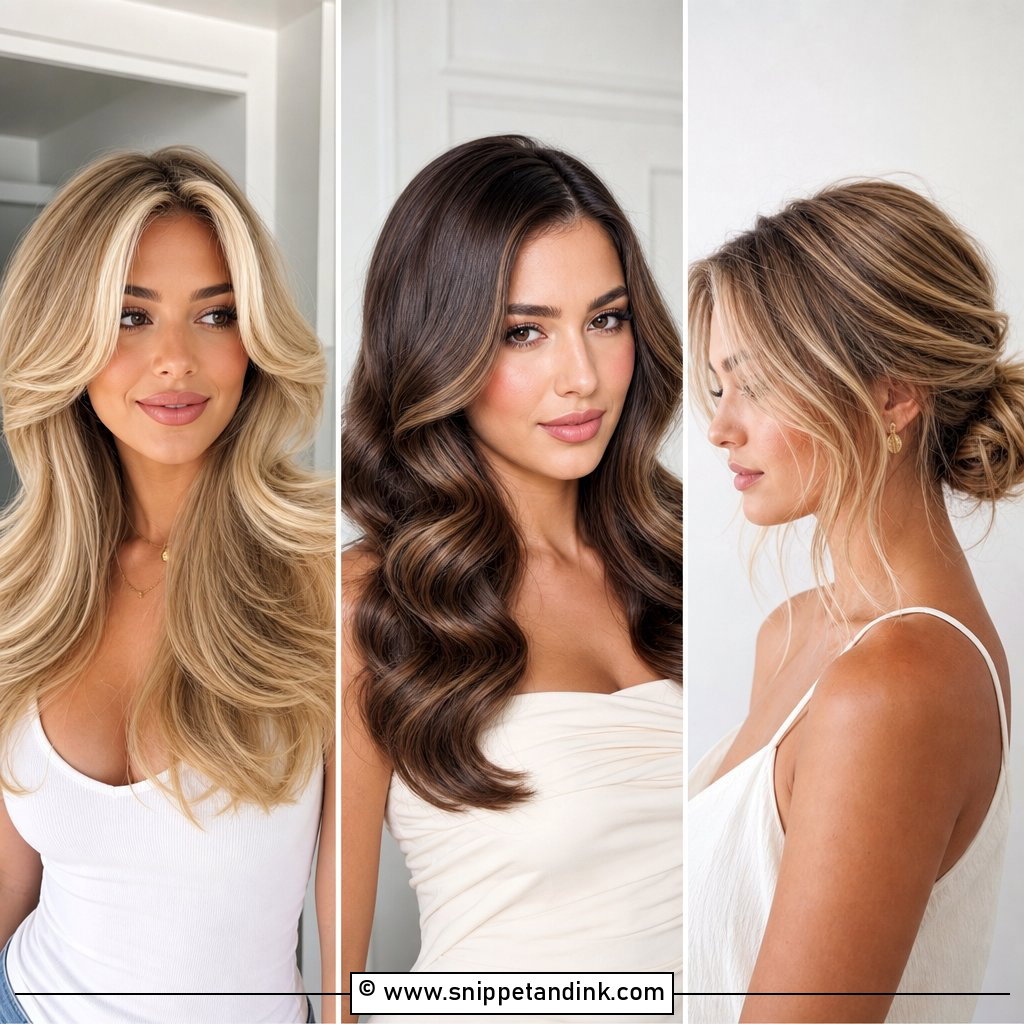
20. Half Up Twisted Ponytail
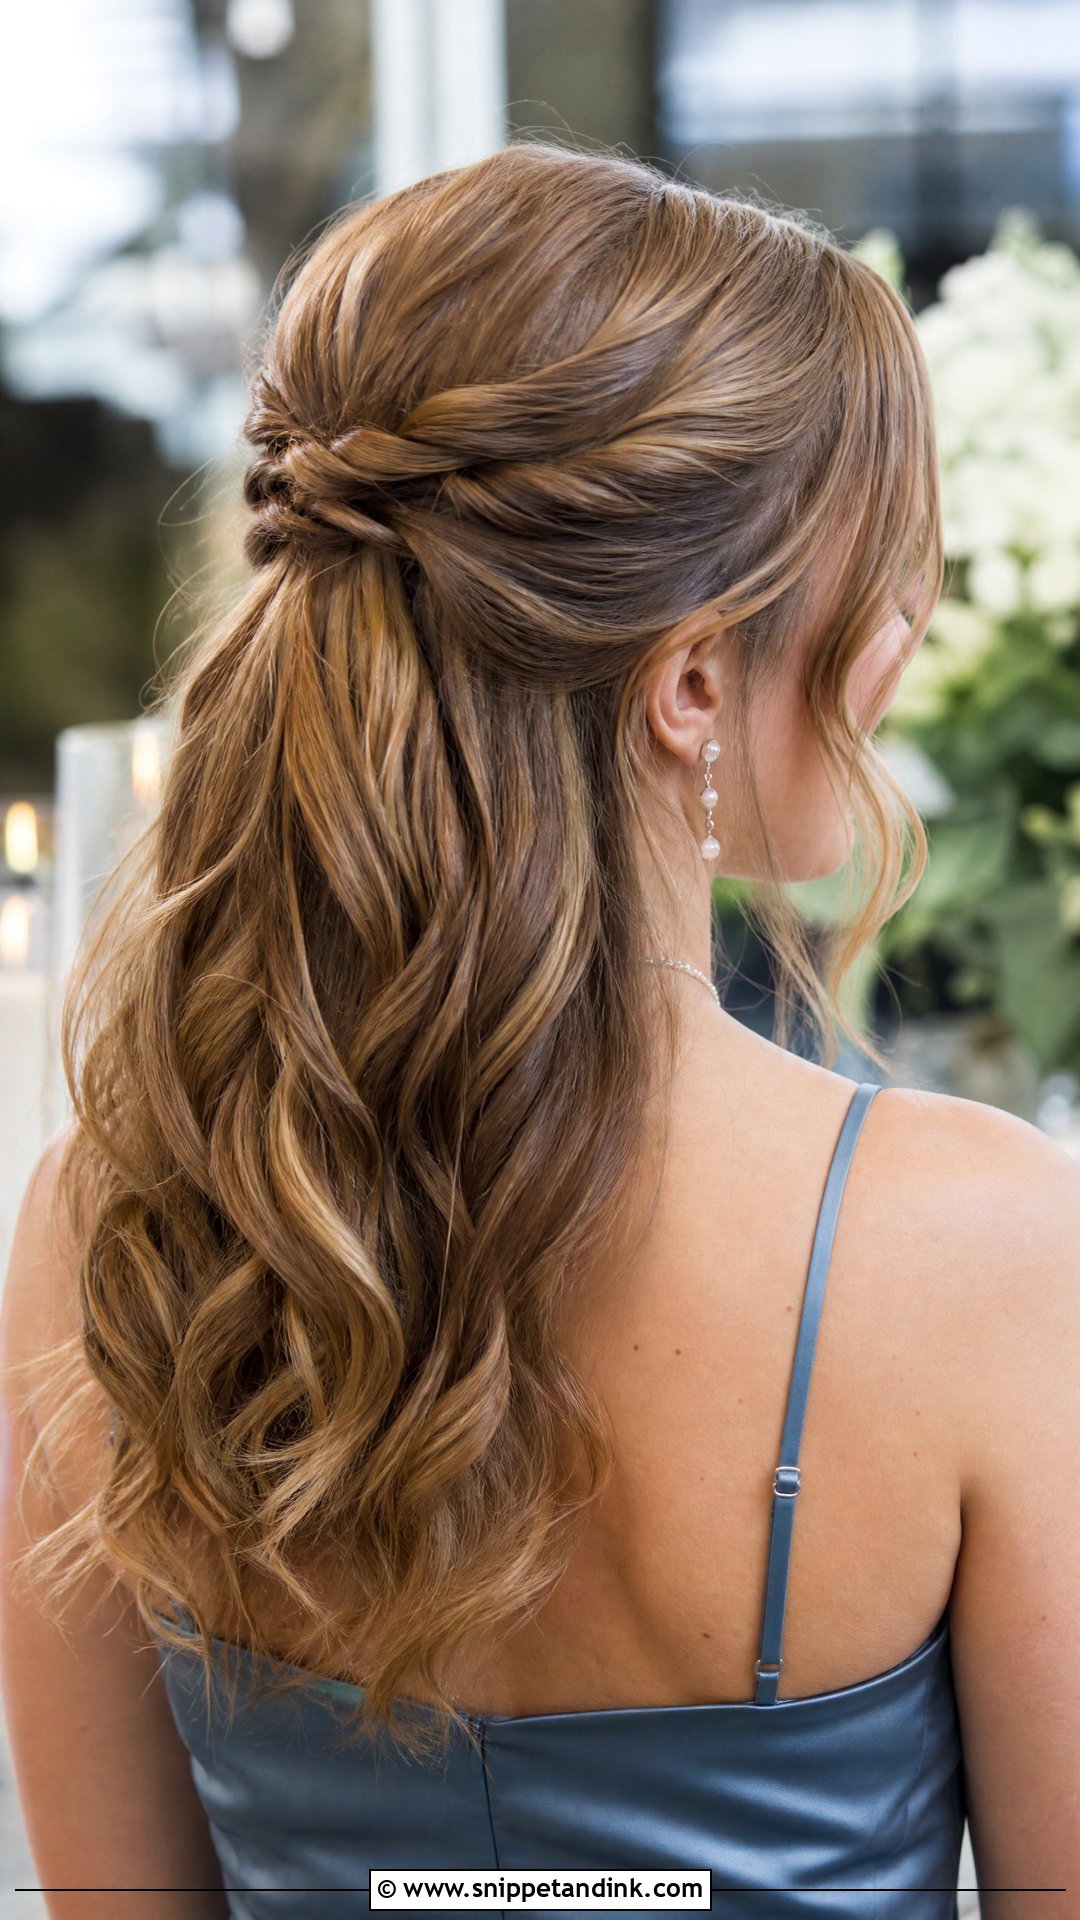
Twisting the sides back into a half ponytail is a neat alternative to braids if you can’t braid your own hair. Take a section from each side, twist it toward the back, and gather both twists with a clear elastic at the crown, adding a few pins to keep them flat. The rest falls in soft waves. The twists add detail near the face without much skill. It suits casual and formal weddings, depending on how polished the waves underneath are.
Staying Clear of Bridal Territory
There’s an unspoken guest rule in hair, just as there is with the dress. Some pieces read as bridal in photographs even when you mean nothing by them, and it’s easy to avoid them.
- Skip anything veil-like, including long tulle bows, birdcage netting and large sheer combs at the back of the head.
- Keep white flowers small or mix them with color; a ring of white blooms reads as a bridal crown.
- Tiaras and big jeweled headpieces belong to the bride unless the couple has asked for a glamorous dress code.
- For a religious ceremony, find out ahead of time whether women are expected to cover their hair. A low bun or chignon sits flat under a scarf, while a high bun or top knot won’t.
If you’re in the wedding party, ask before you style. Many brides choose bridesmaid hair to match the photos, and it’s better to know that in advance than to undo your curls in the bridal suite.
Rain, Wind and a Long Drive to the Venue
Hair styled at nine has to last until midnight, often after a car ride and an outdoor ceremony. A few habits make a real difference.
- In the car, keep the headrest away from the back of a bun or knot; sit slightly forward, or style the back after you arrive.
- On a windy coastline, choose an updo or a braid. Loose waves on medium hair whip across the face and tangle within minutes.
- If rain is forecast, curly and wavy hair should lean into its own texture, while a sleek blowout is the first style to give up.
Let the Invitation Pick the Style
Start with the invitation. The venue, the time of day and the dress code tell you more about the right style than any trend does. A beach or garden lunch calls for loose, textured hair that won’t fight the wind, while an evening reception suits a chignon or Hollywood waves. Add accessories like floral pins or pearl clips if they suit the outfit, and do one practice run the weekend before, timing how long it takes. On the day you’ll know exactly how early to plug in the curling iron.
You'll Like These Ideas:


Leave a Reply