
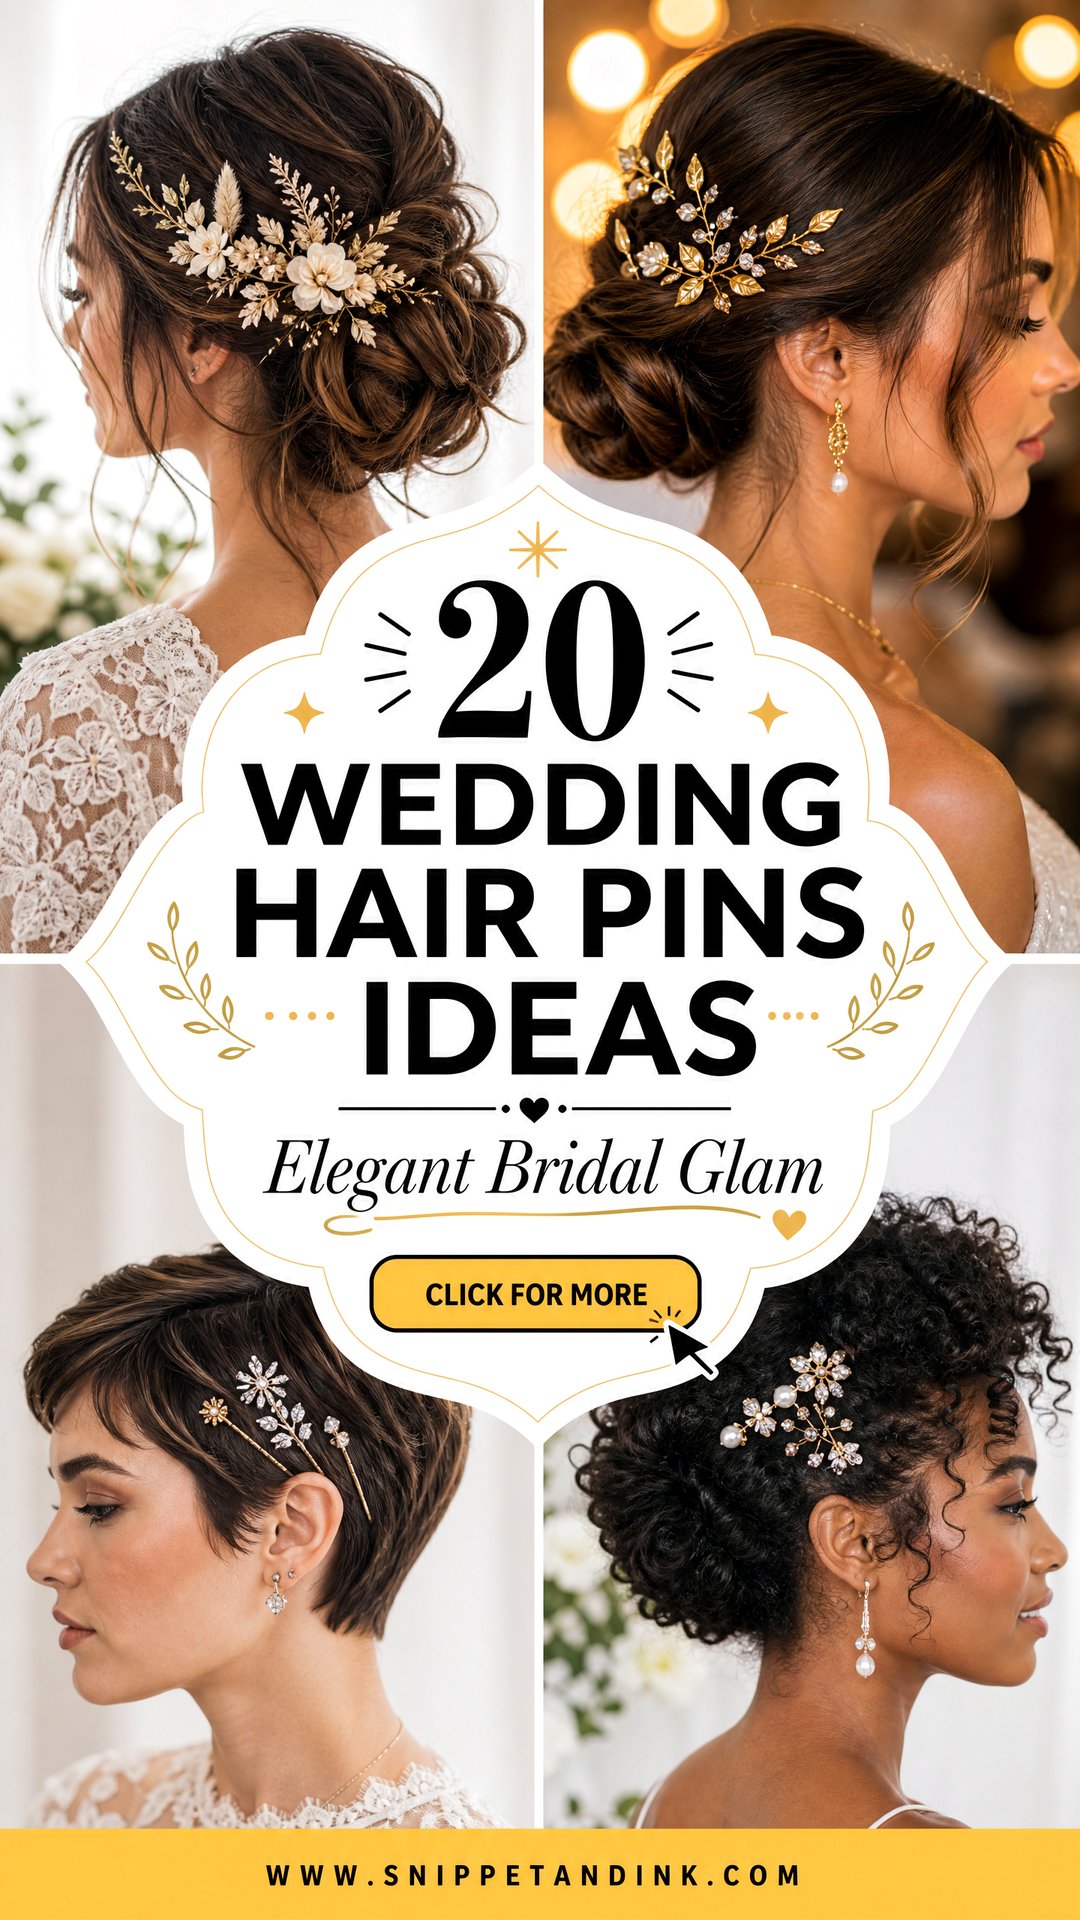
Decorative pins are the accessory I end up adjusting most on a wedding morning, because they’re small enough to move and visible enough that placement matters. Pearls, enamel flowers or sparkling crystals can finish almost any style, from a pixie cut to a braided crown. What changes from one hairstyle to the next is where the pins go and what they’re gripping. Each look below comes with the placement I’d actually use and the hair type it suits.
The Pins You See and the Pins Doing the Holding
Decorative pins are rarely what keeps a bridal style up. Underneath every visible pearl there are working pins, and the right combination is what stops a pretty pin from sliding out halfway through dinner.
The hidden hardware
- Bobby pins grip flat sections and anchor a base. I place them wavy side down, against the scalp.
- U-pins hold volume in buns and twists without flattening them.
- Spiral pins twist into a bun and hold it from the center, useful on thick hair.
What to look for in decorative pins
Check the shaft before you buy. A straight smooth prong slides out of fine or silky hair; a zigzag or slightly bent one holds. Lightweight pieces stay put longer, so a heavy crystal cluster on a single prong is a risk on anything but thick hair. Bring every pin you plan to wear to your trial, because the number and placement change once I see your actual hairstyle.
1. Pearl Hair Pins on a Low Bun
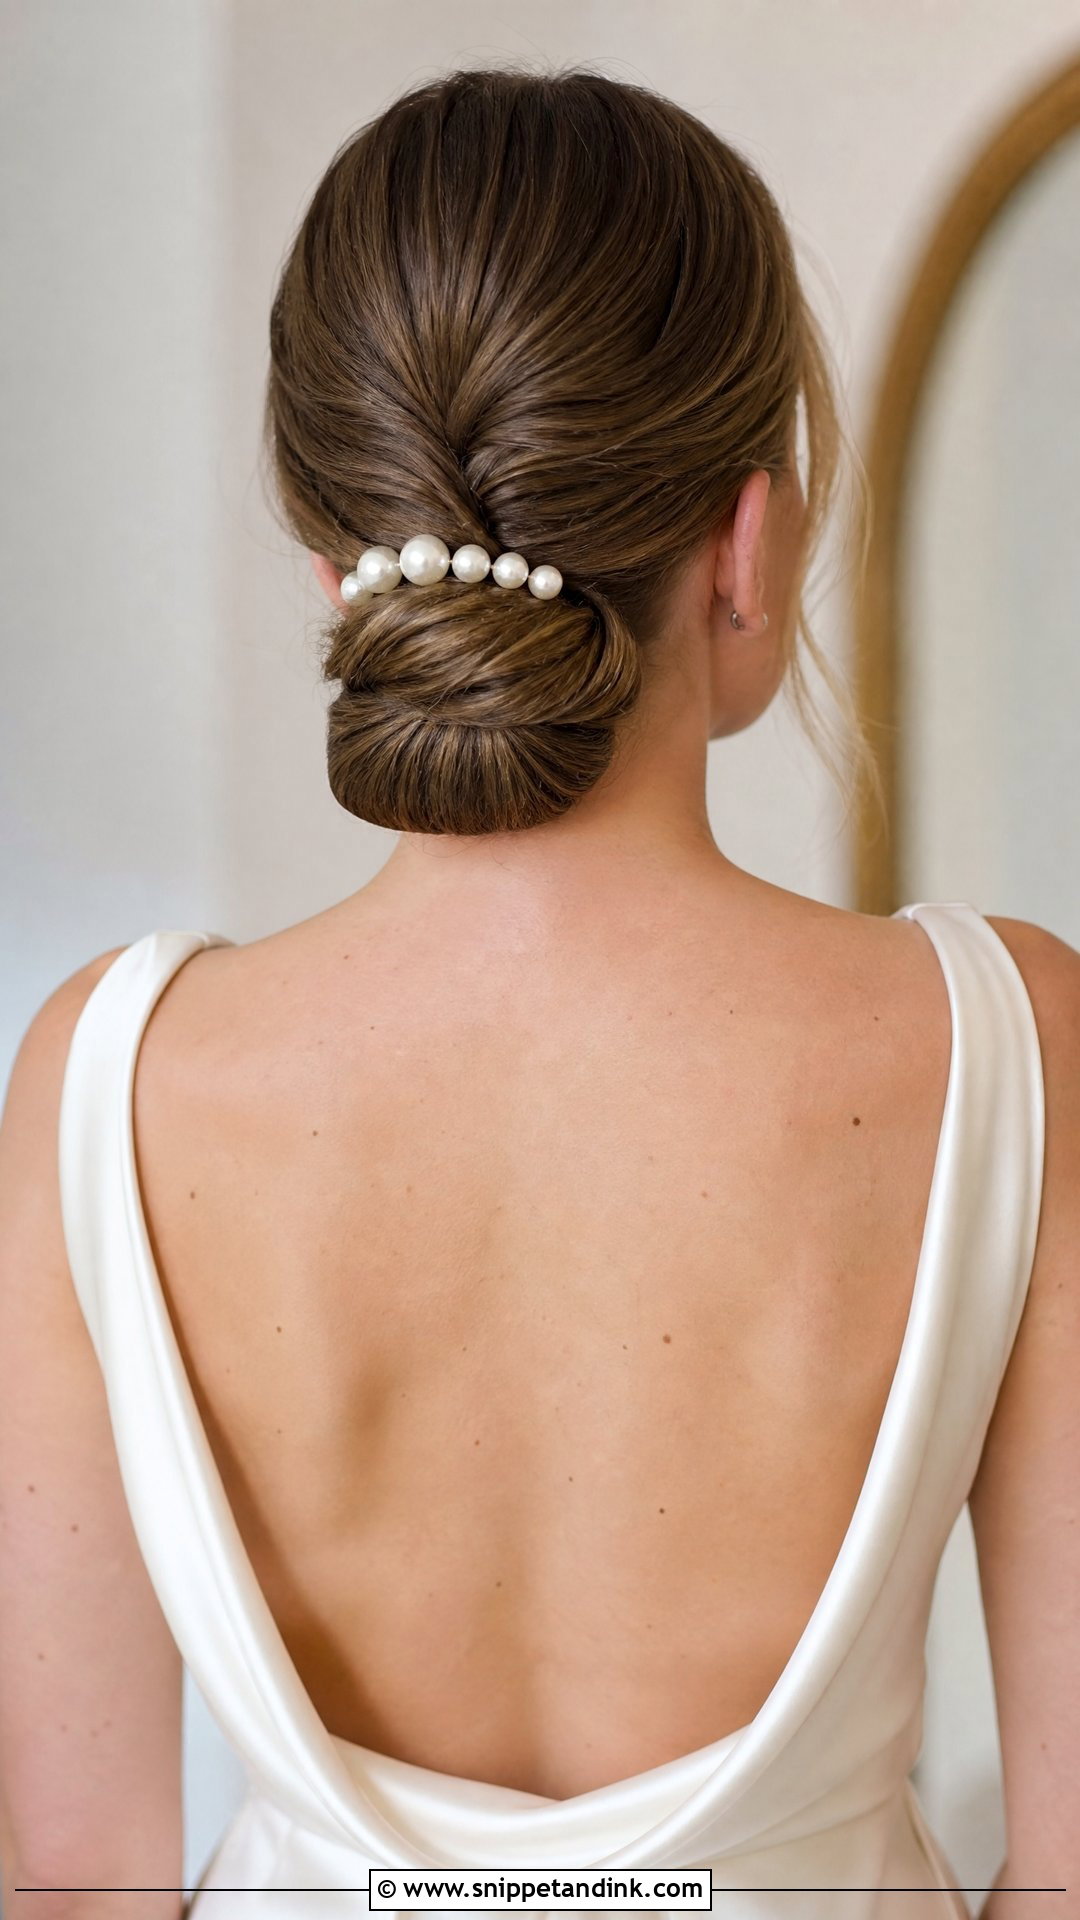
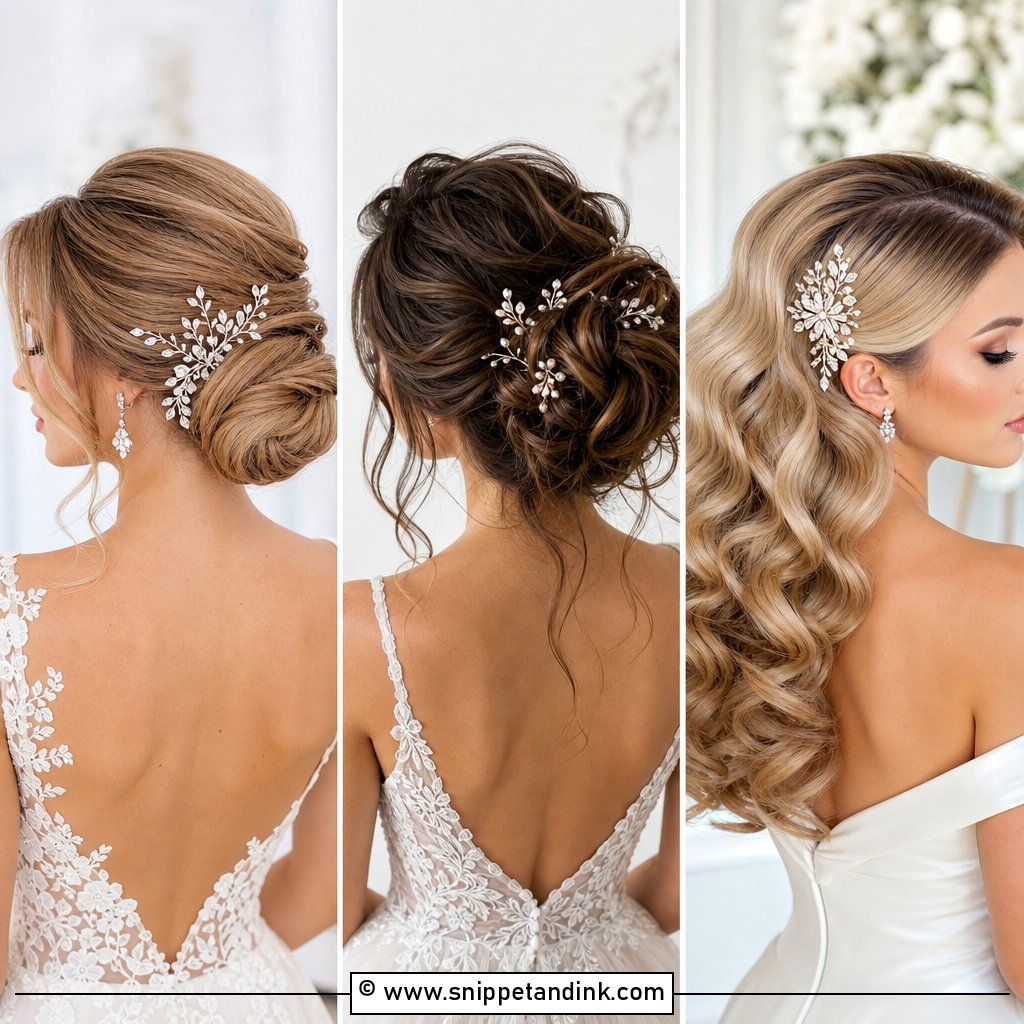
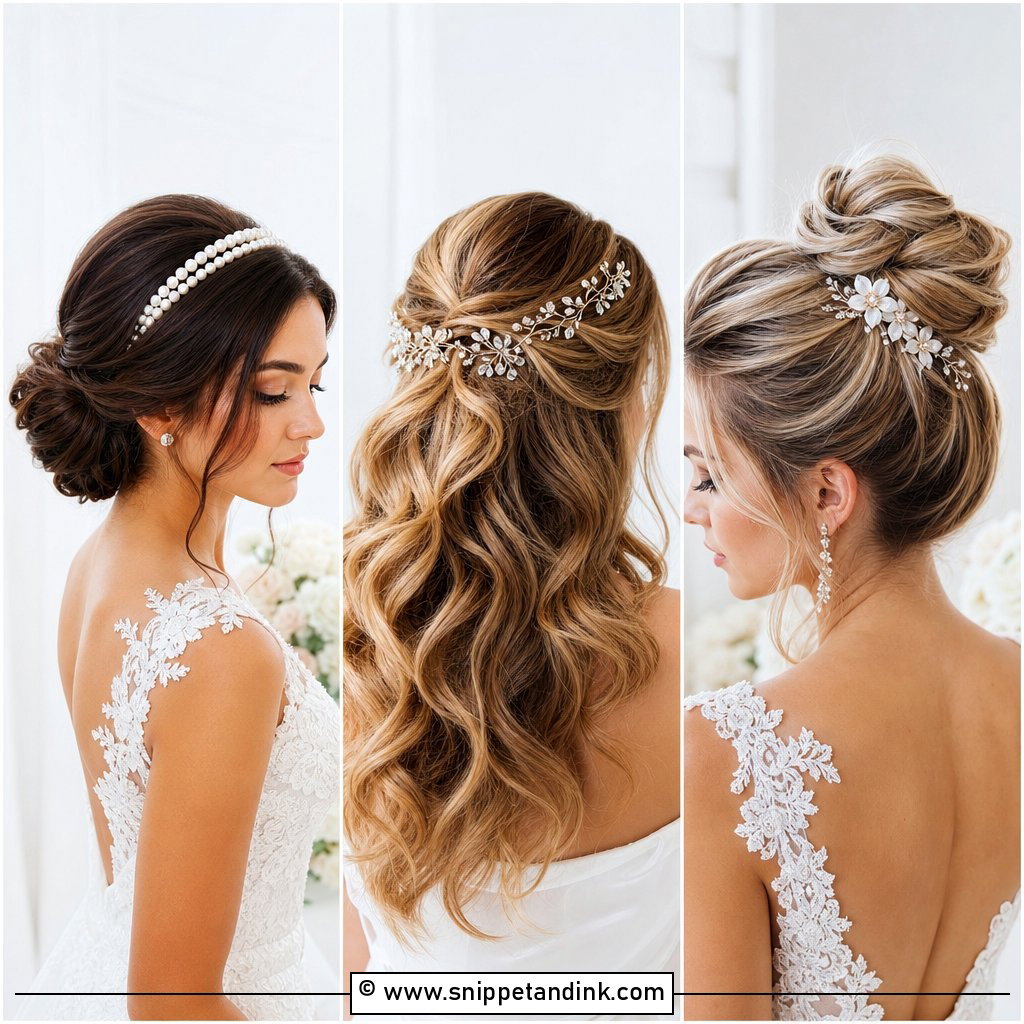
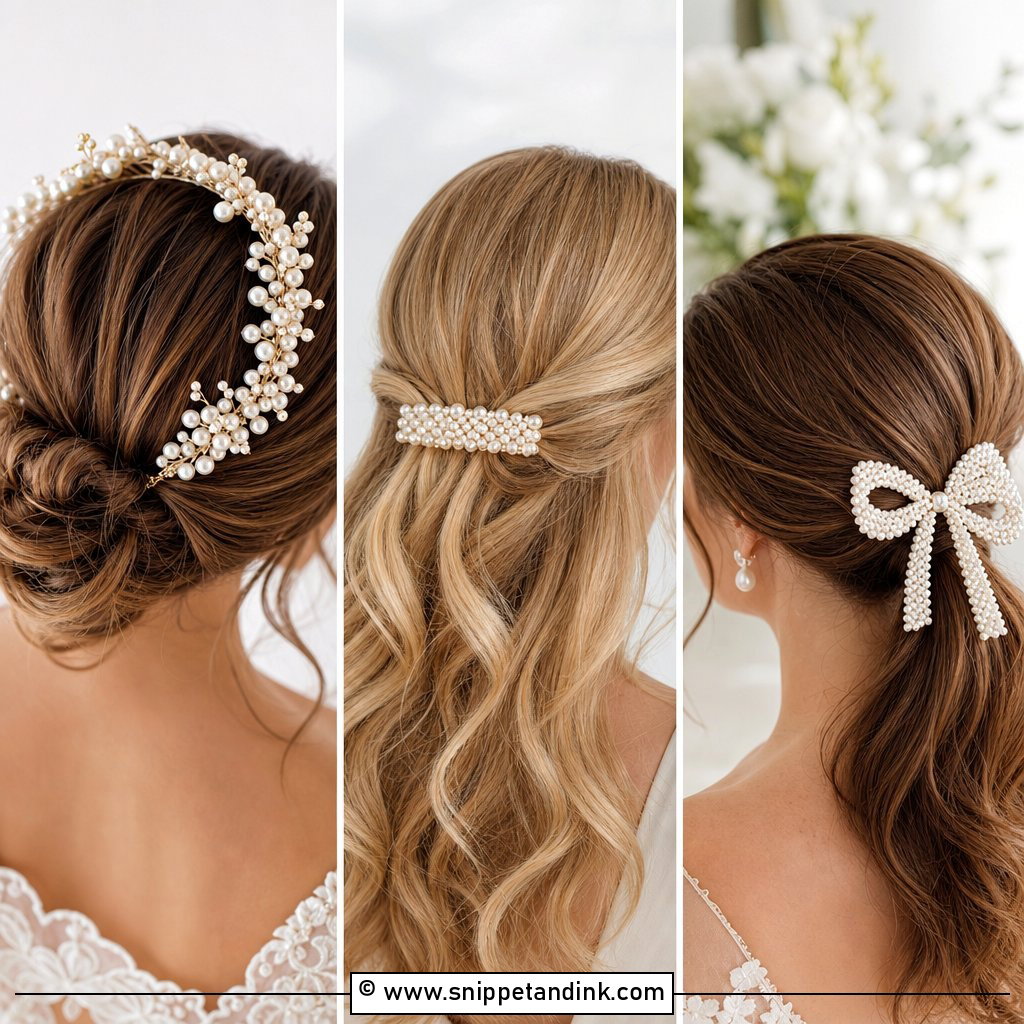
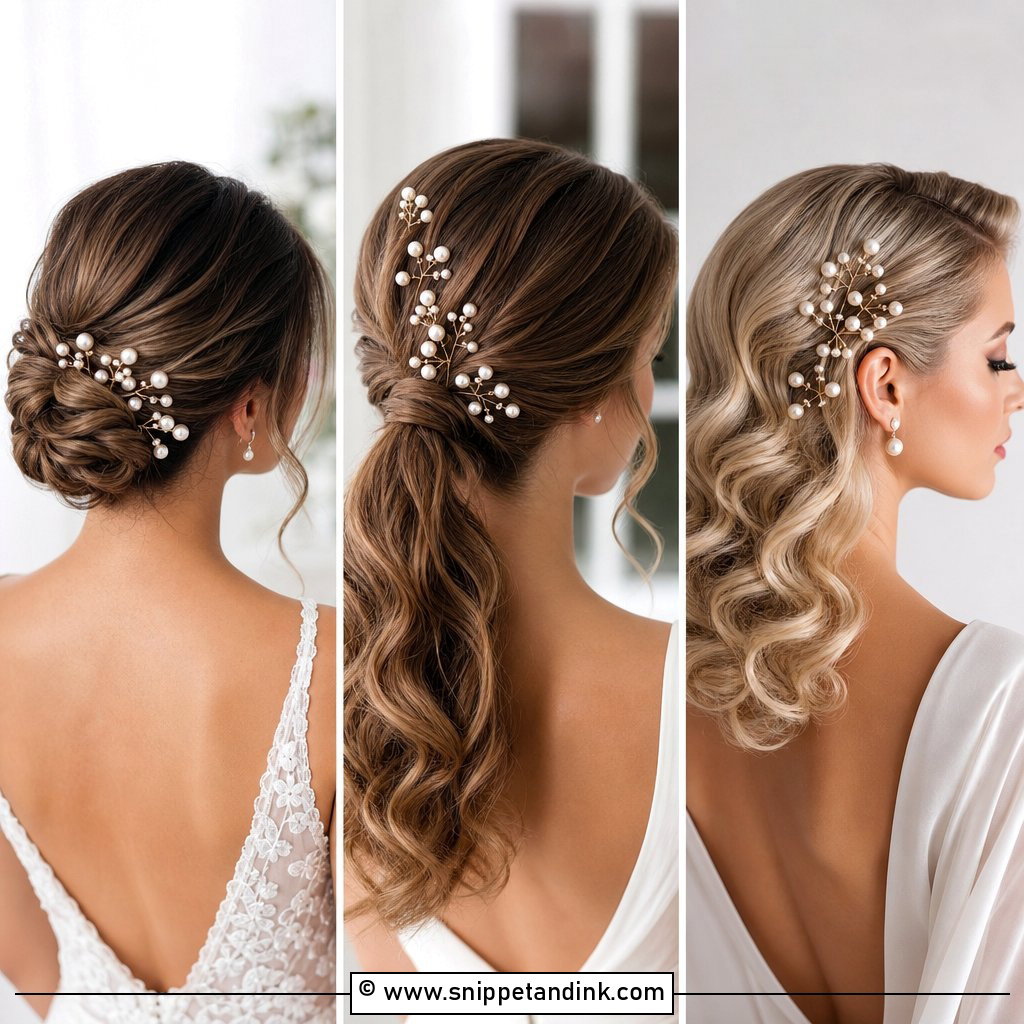
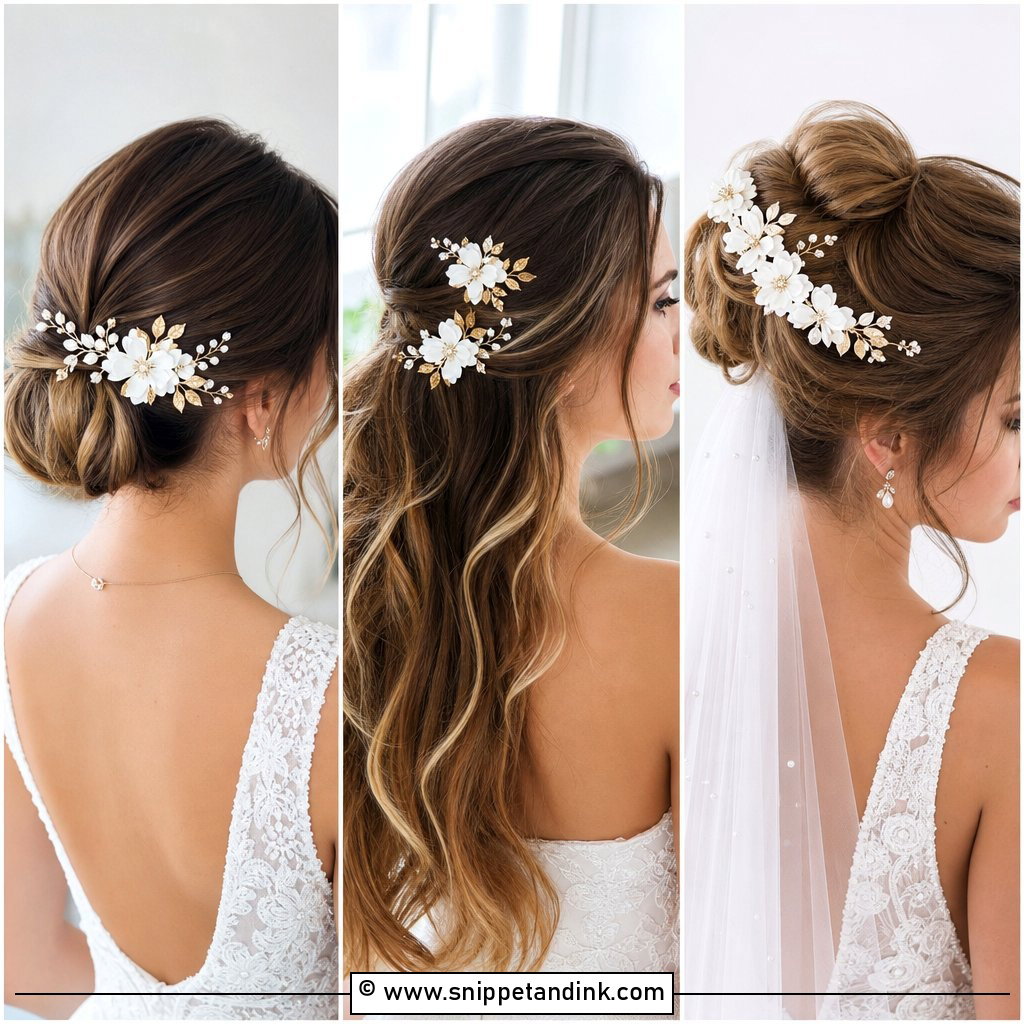
Three or four pearl pins around the base of a low twisted chignon is the placement I default to when a bride isn’t sure what she wants. The bun gives each pin a dense, rolled section to bite into, so they rarely shift. I set them slightly off-center rather than evenly around the bun. From the aisle, guests mostly see one side of your head, and a cluster on that side reads better than a ring. Ivory and champagne gowns suit the warm sheen of pearls.
2. Crystal Hair Pins for a Half-Up Style
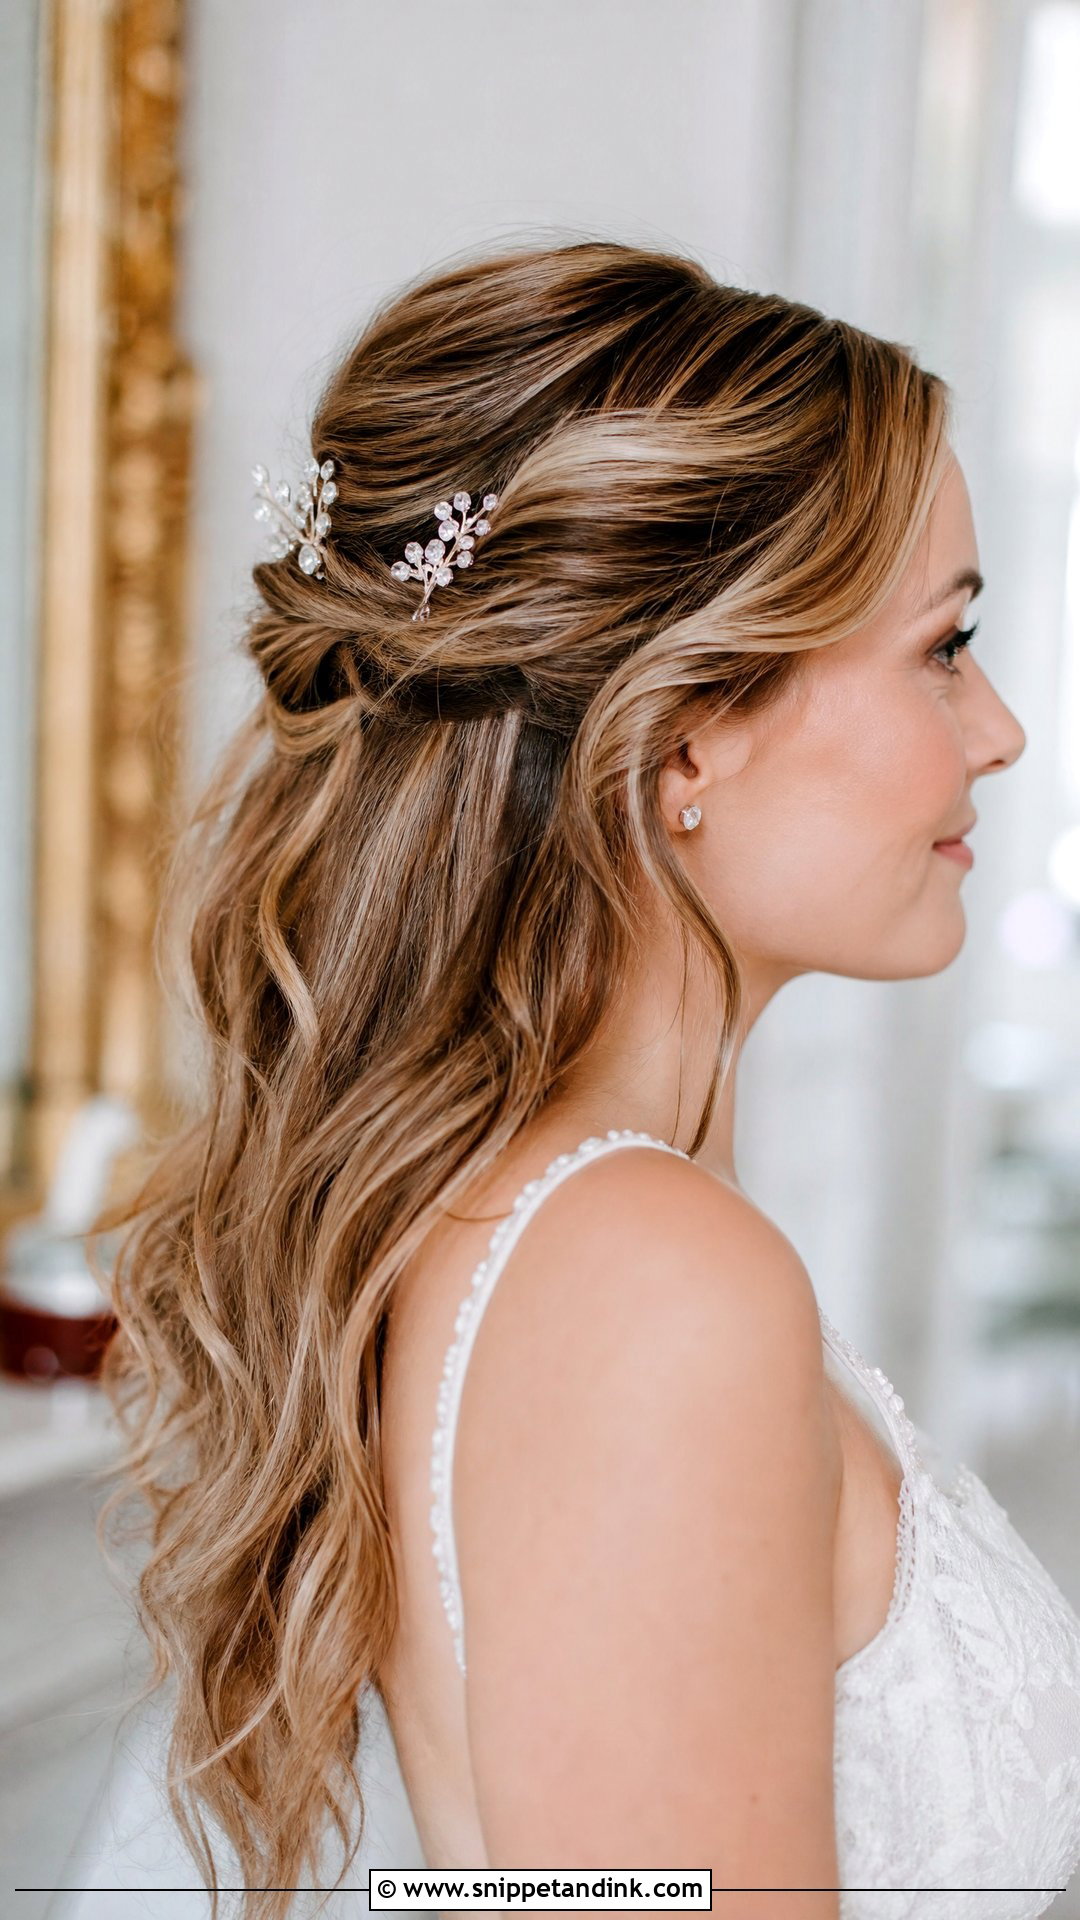
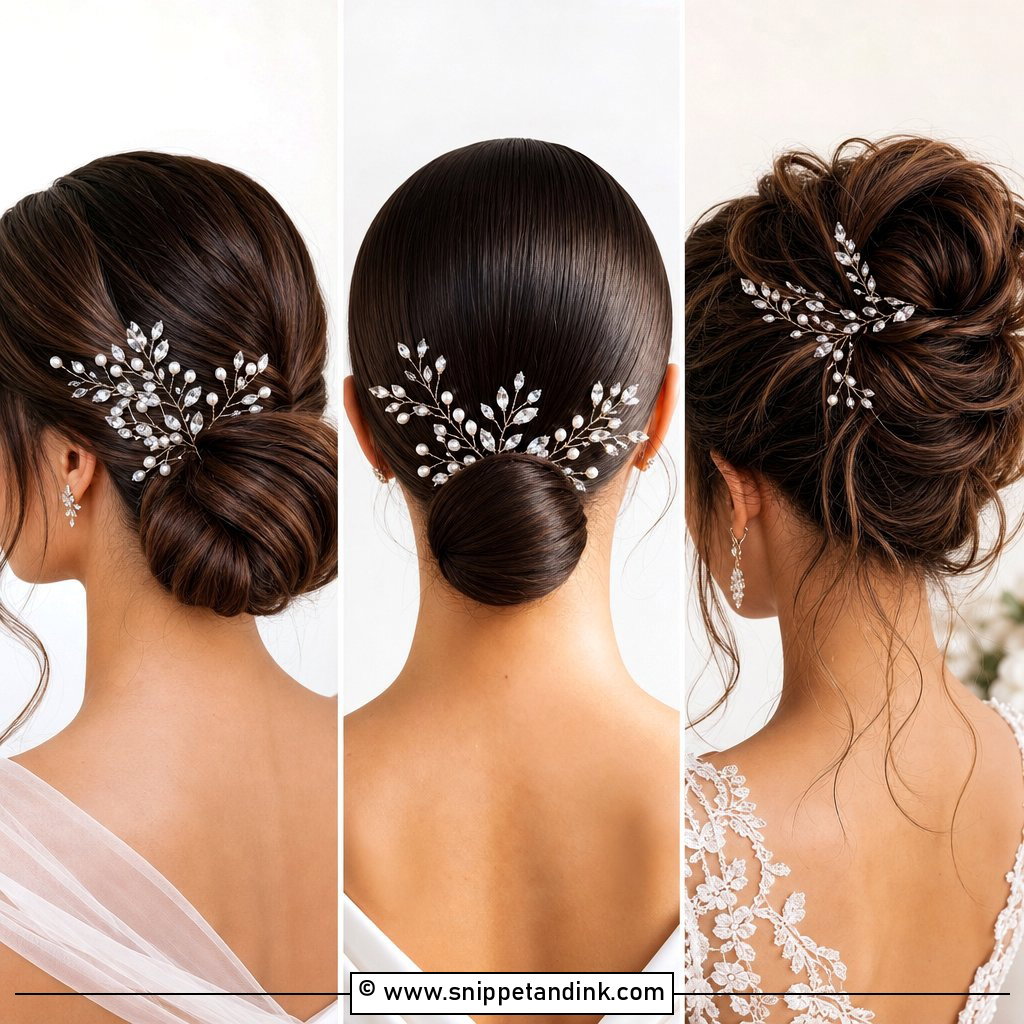
On a half-up style, the pins go exactly where the top section is secured, which is also where the hardware is hiding. Two or three crystal pins along the twist cover the bobby pins underneath and catch the camera flash. Long, wavy hair suits this best because the loose ends give the eye somewhere to travel. Fine hair needs the anchor pinned extra firmly, since the weight of the hanging lengths can pull a half-up section loose by evening. Silver crystals look brightest against a pure white gown.
3. Floral Hair Pins for a Boho Bride
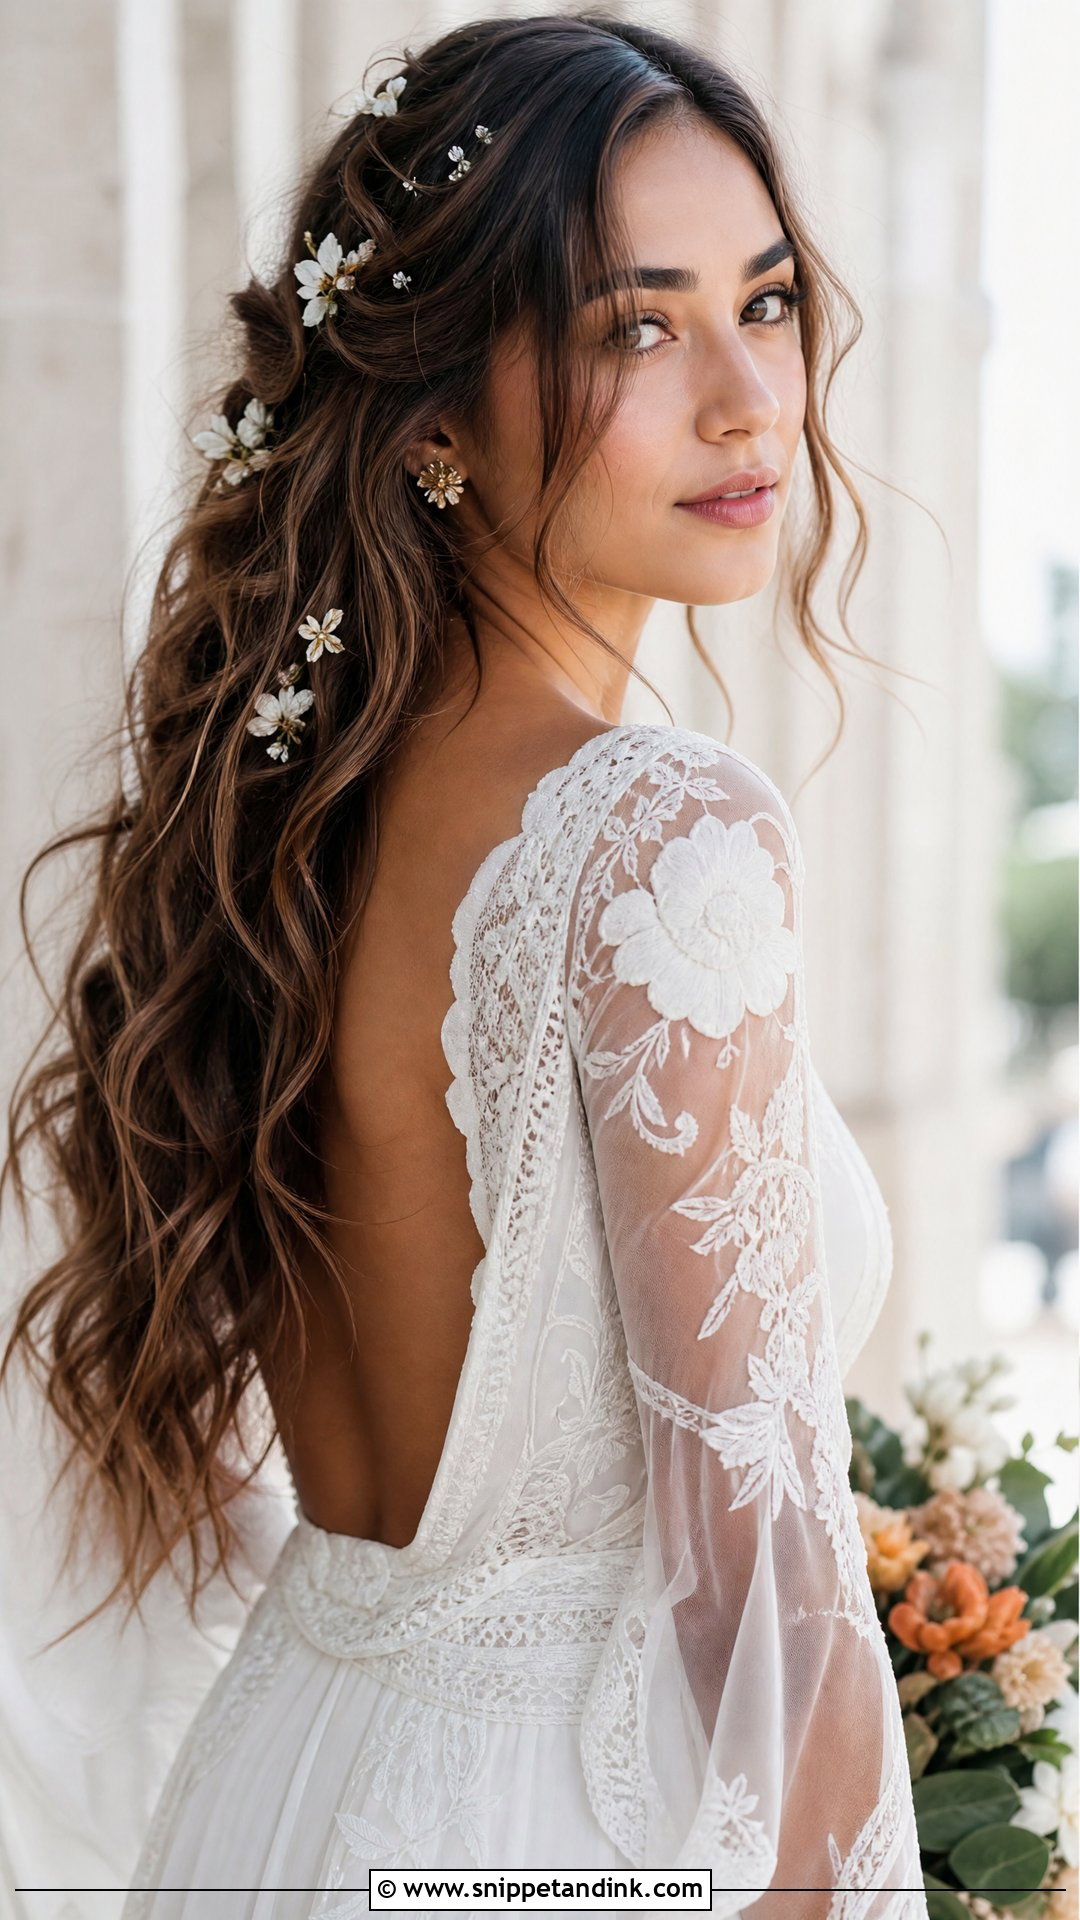
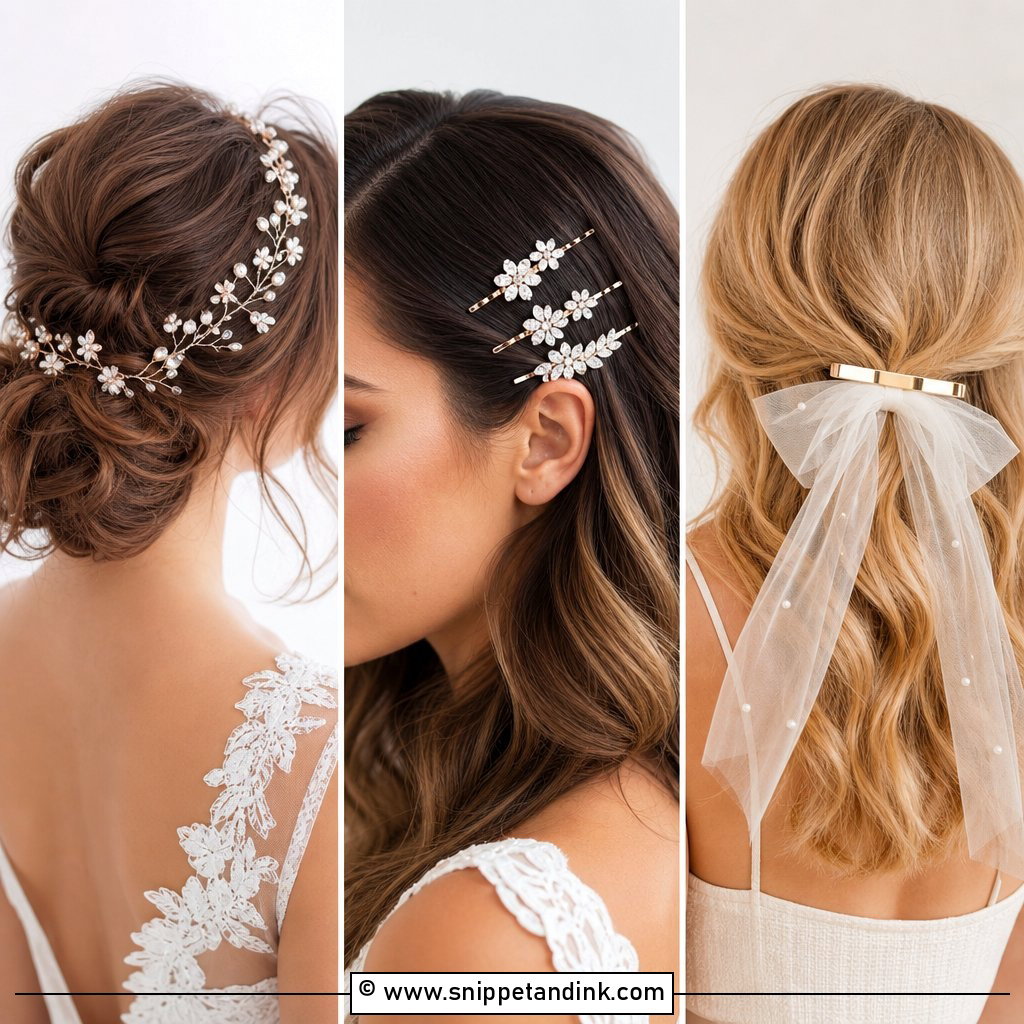
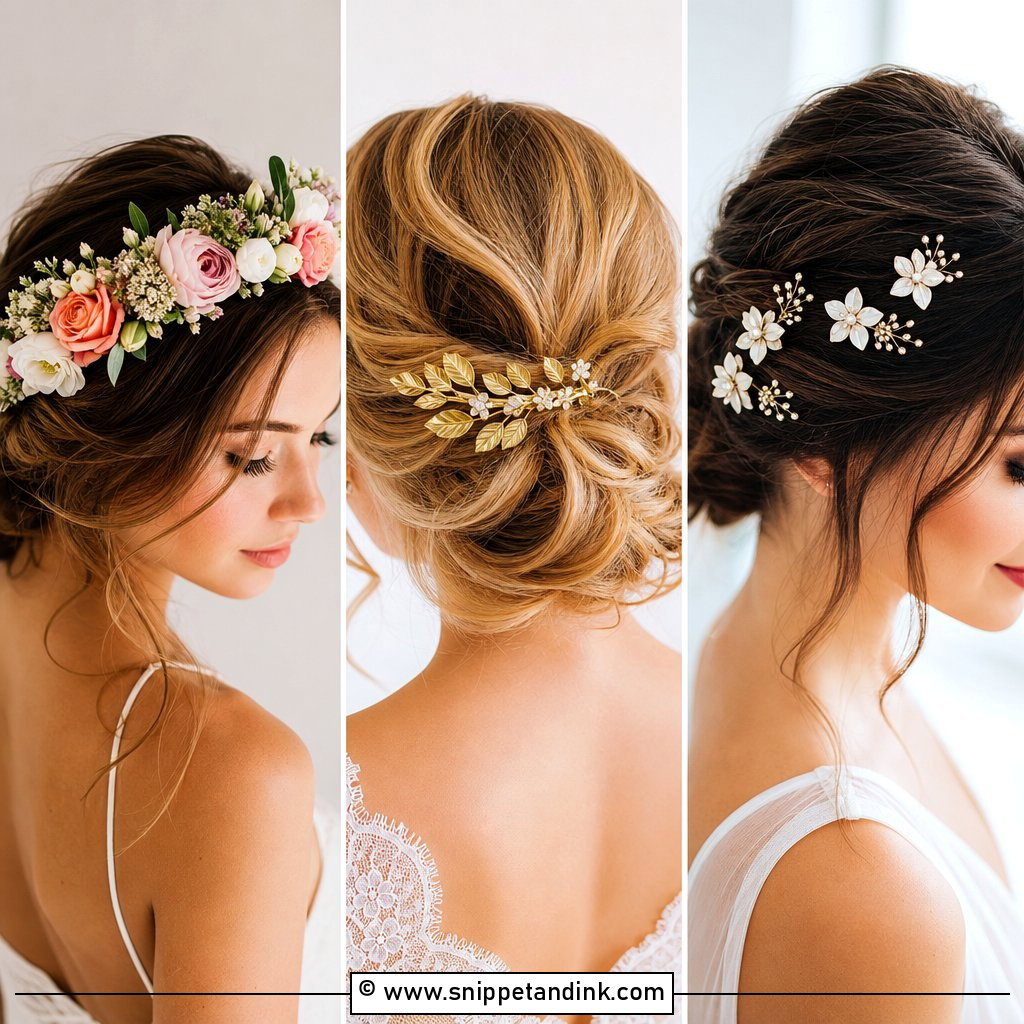
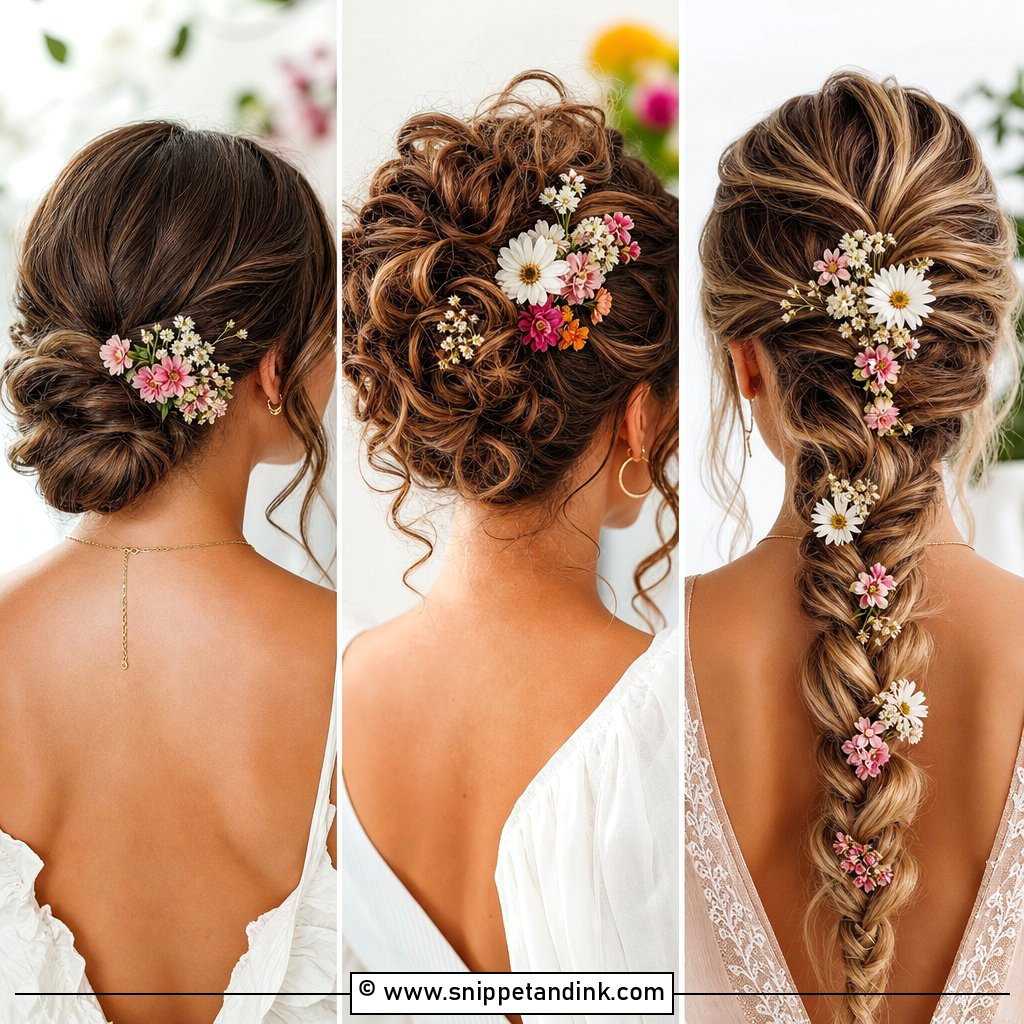
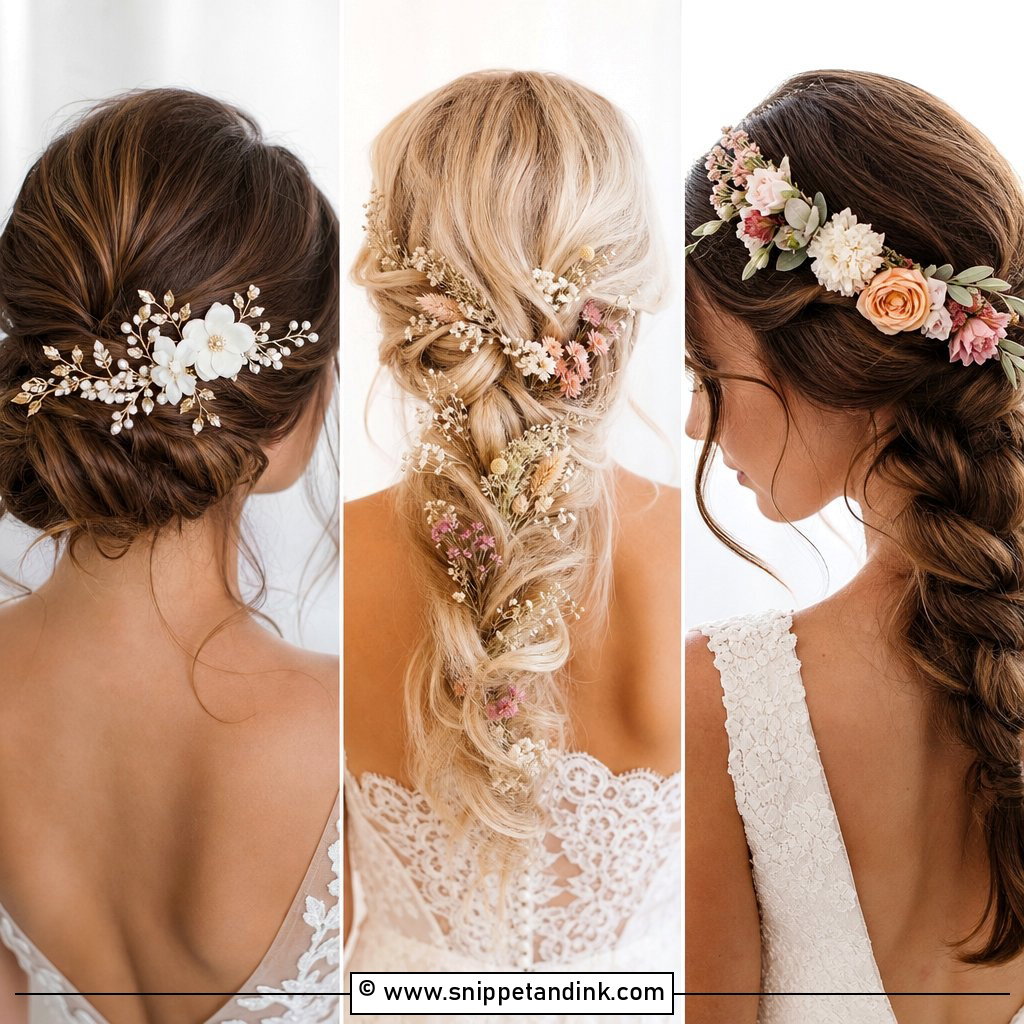
Floral pins work in tousled waves because the texture hides the pin shafts. I scatter them as if they’d grown there: a few clustered near one temple, one or two drifting further back. Silk petals and enamel flowers both hold their shape all day, unlike fresh stems. On very straight, slippery hair they slide, so I’d add texture spray first or choose pins with a small zigzag shaft. Outdoor ceremonies and earthy palettes are where this placement feels most at home.
4. Vintage Hair Pins for an Old Hollywood Look
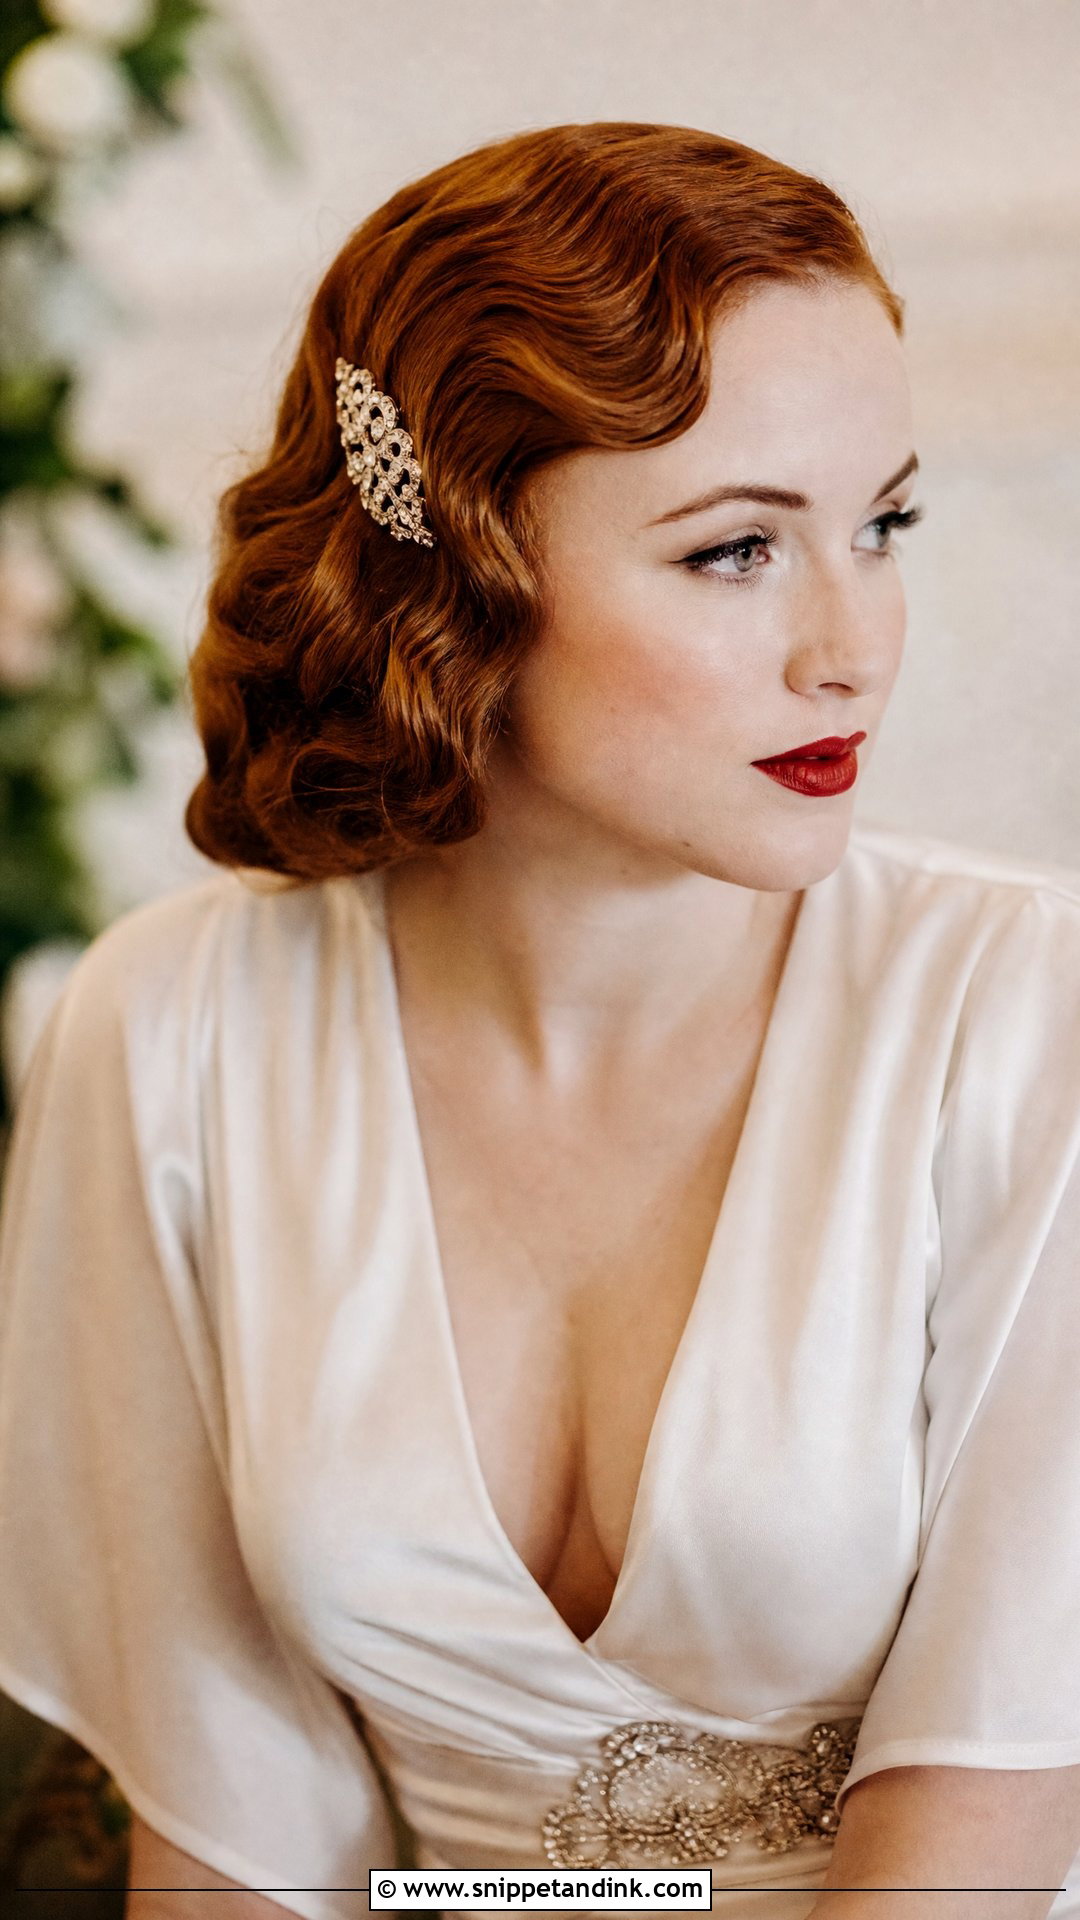
One statement pin near the temple is the whole idea of an old Hollywood look. Finger waves or a deep side part with polished curls give it a smooth surface to sit on, and art deco or filigree designs suit the era. I always place it on the side opposite the part, where the hair sweeps back, so it holds the wave in place instead of floating on top. Satin gowns and a red lip finish the picture. Short or long hair both work, as long as the waves are set well before the pin goes in.
5. Gold Hair Pins for a Warm Bridal Glow
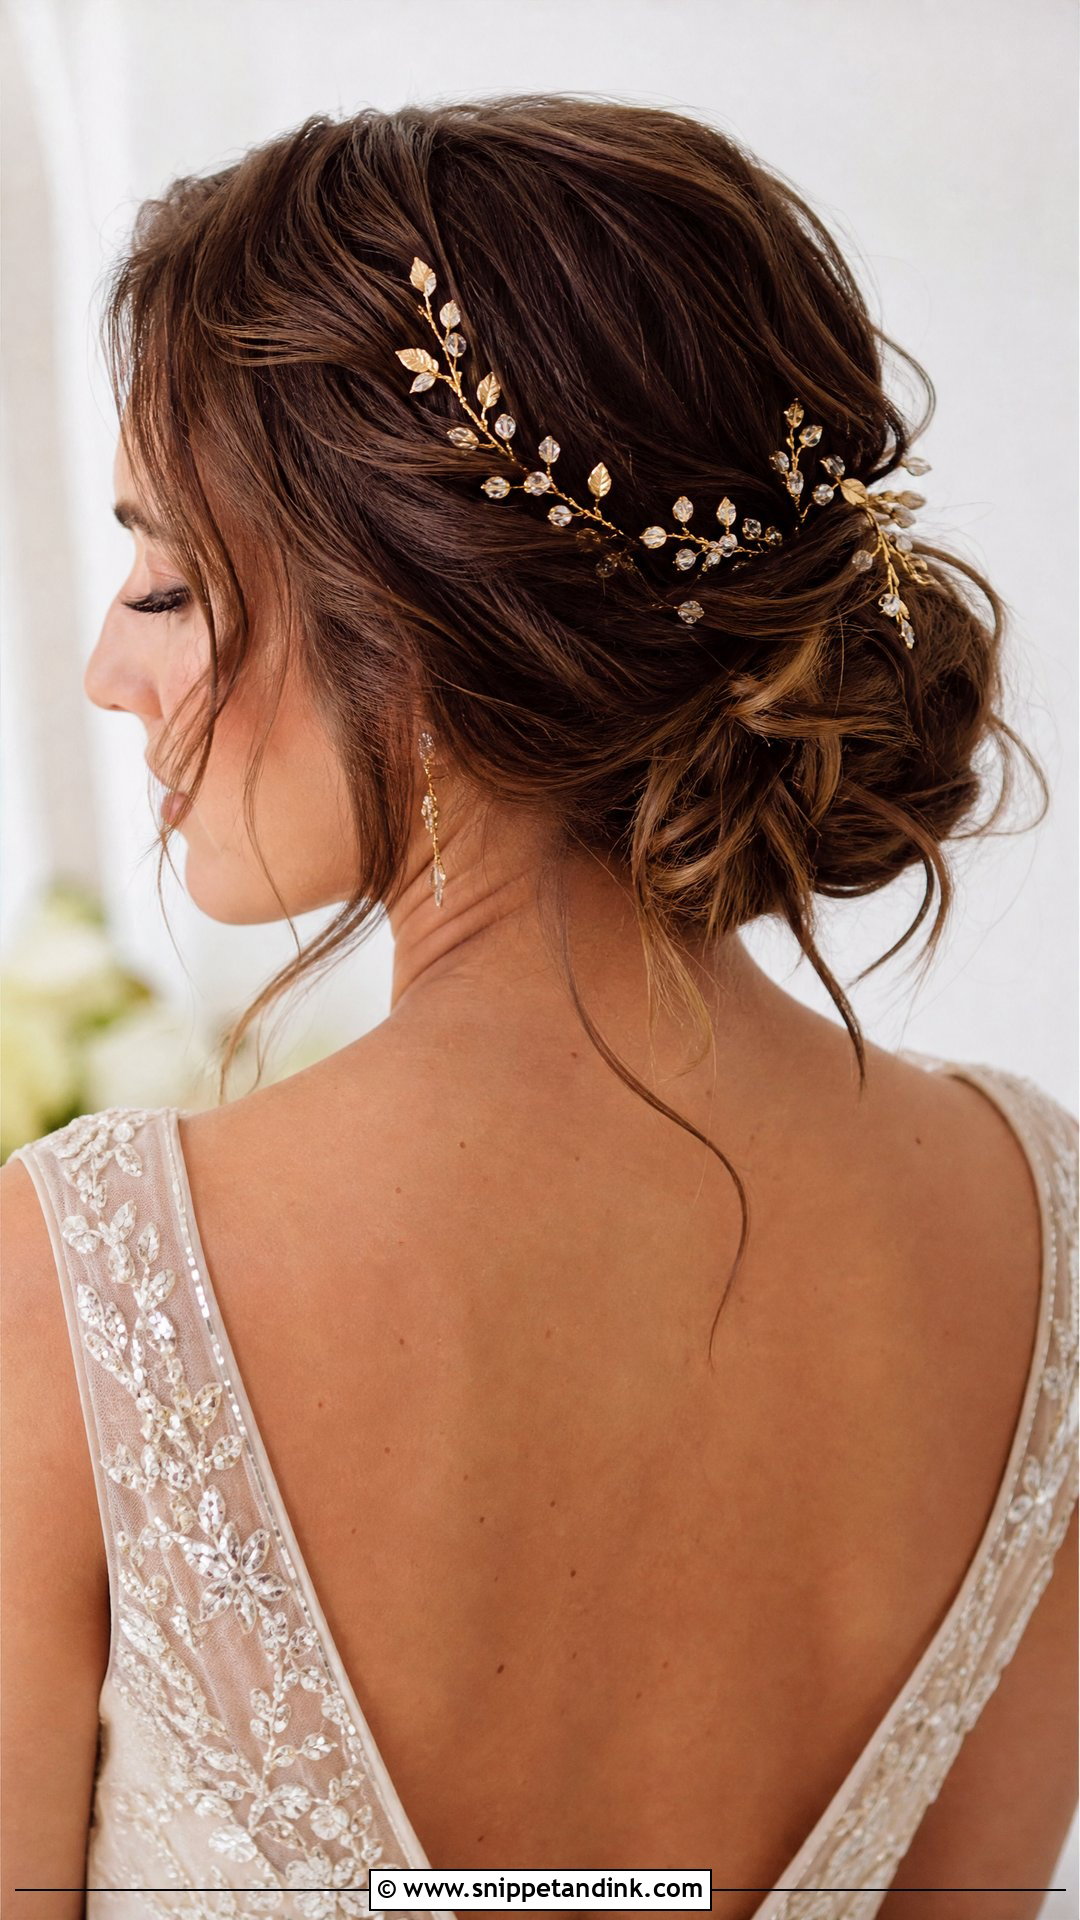
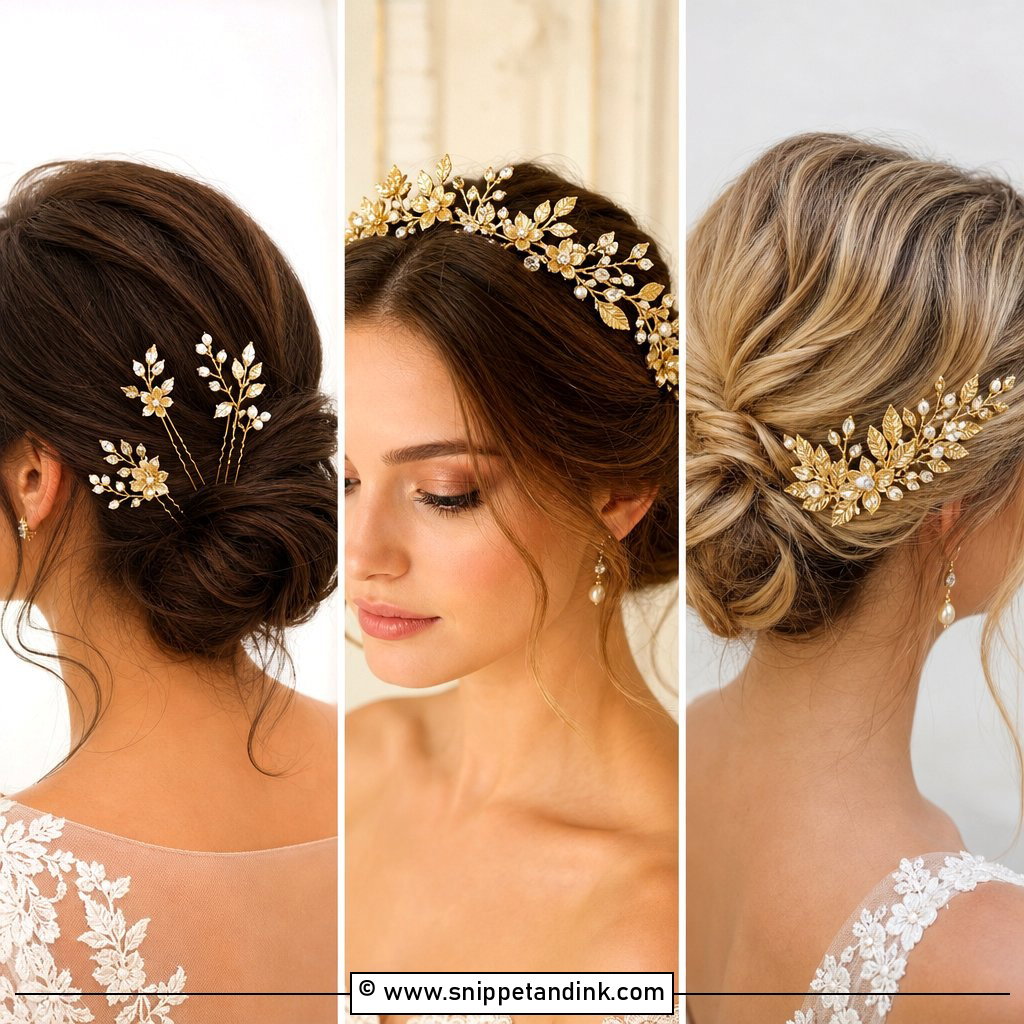
Warm metal flatters ivory, champagne and blush gowns. A few gold leaf or sprig pins curving along one side of a loose chignon follow the direction of the hair rather than pointing straight out. I angle each leaf so it lies with the curve of the bun. Gold suits warm skin undertones and autumn or summer dates. One or two pins look restrained; five or six layered together read as a headpiece in their own right.
6. Hair Pins for a Braided Crown
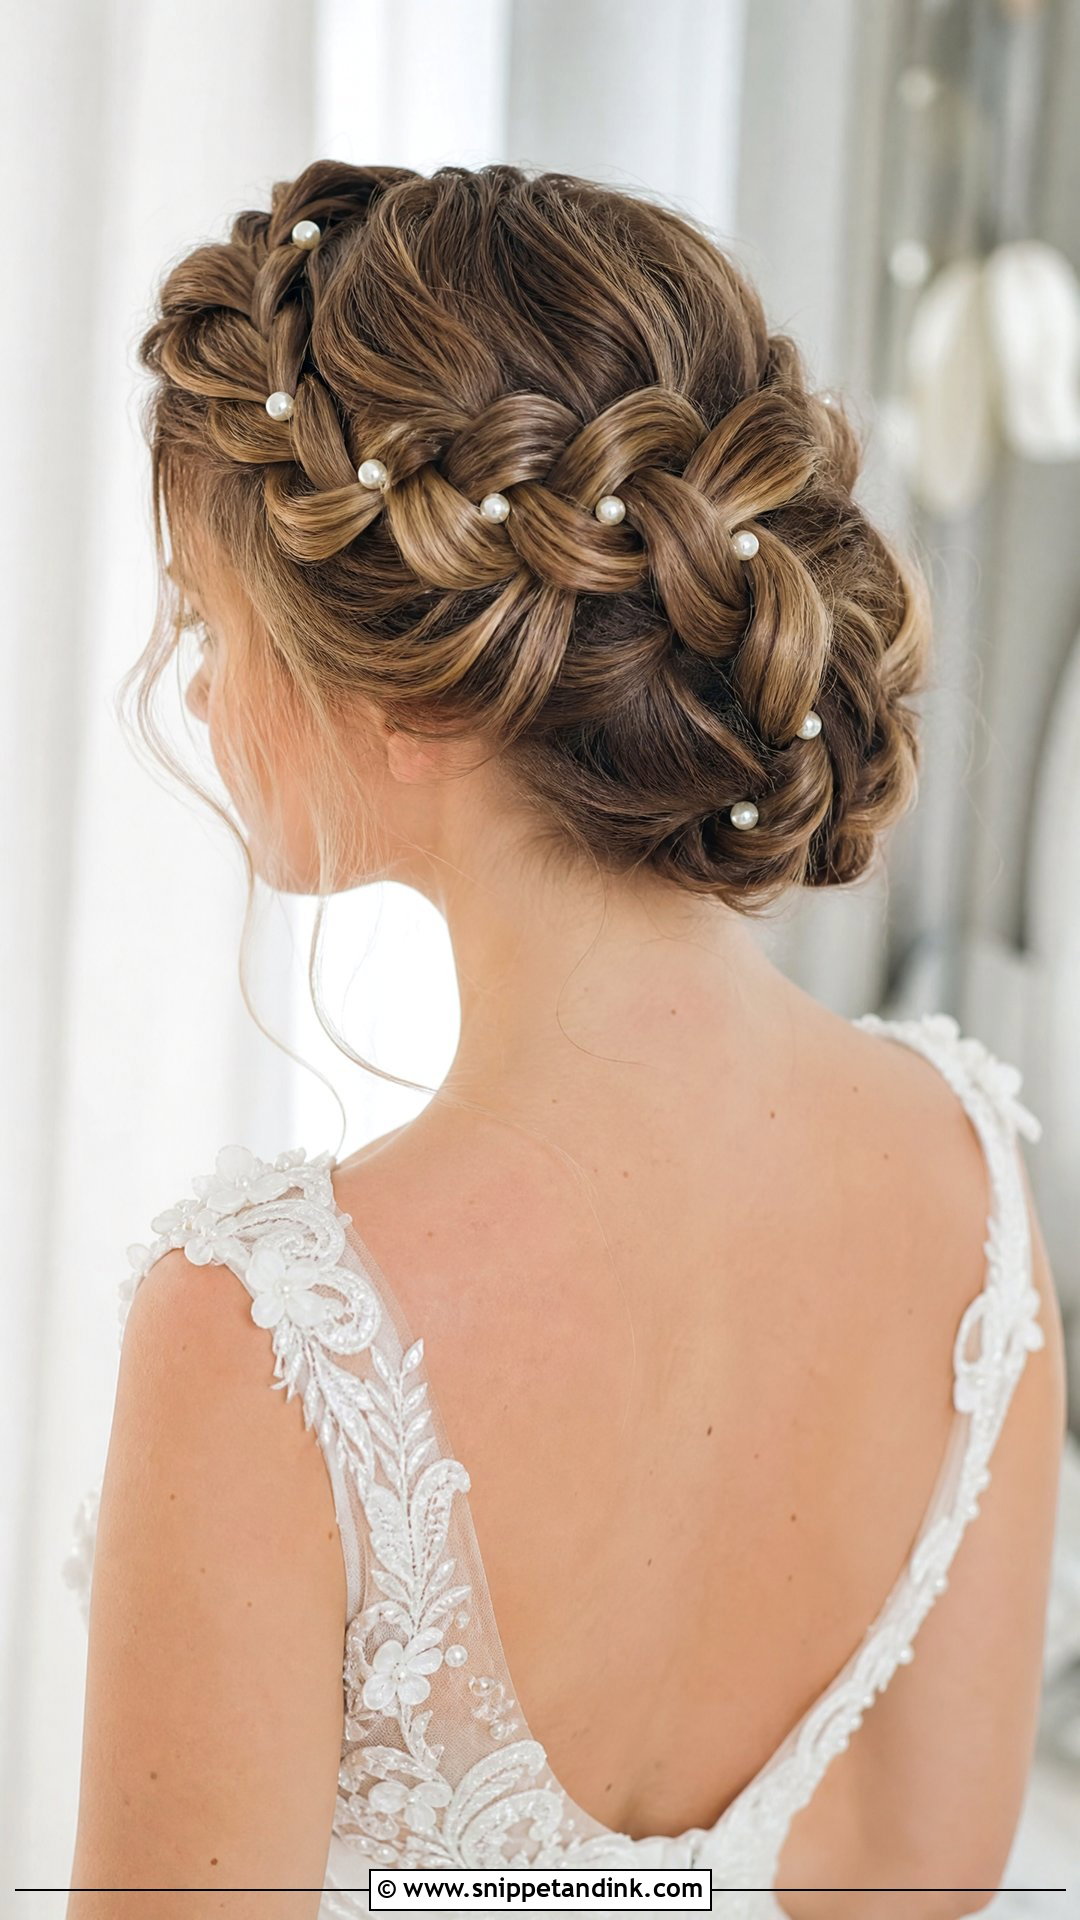
A braided crown is one of the most secure styles I build, and pins are partly why. Small pearl or crystal pins tucked between the woven sections sit in natural pockets, so they hold through hugs, wind and dancing. You’ll need longer hair, roughly past the shoulders, for a braid to wrap all the way around. I hide the braid ends under the opposite side, and that seam is a good spot for one slightly larger pin.
7. Hair Pins for Loose Romantic Waves
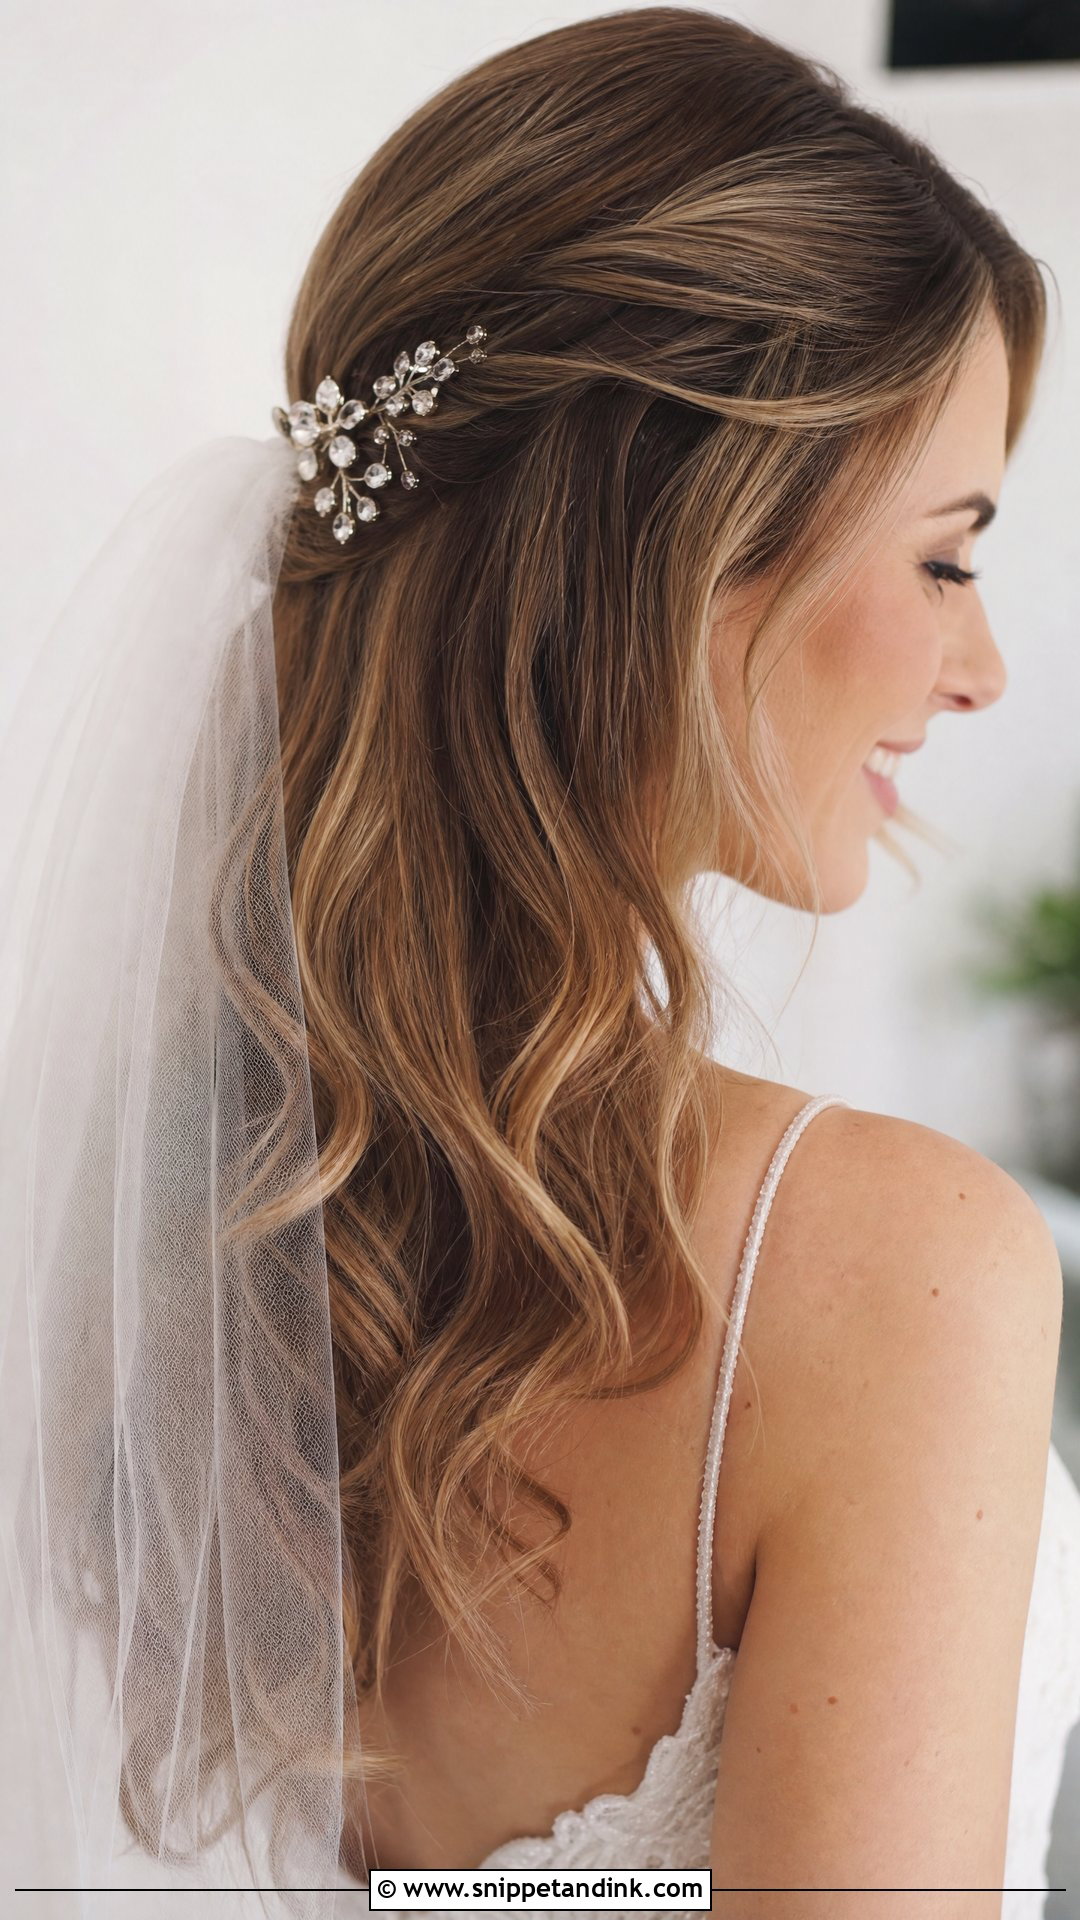
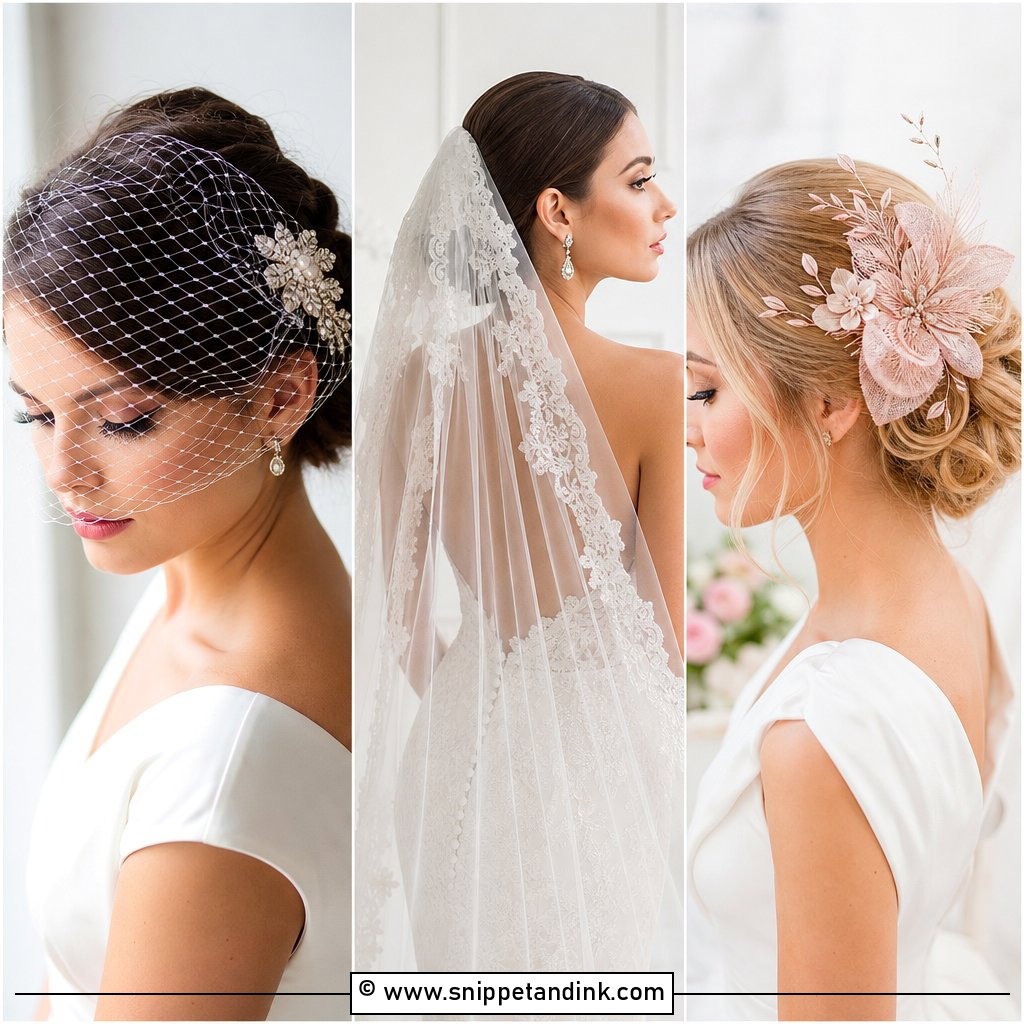
Loose waves with one side swept back need only a single pin, maybe two. The pin holds the hair off the face and keeps the soft movement everywhere else. What goes wrong here is the anchor. A decorative pin alone won’t hold a swept section on smooth hair, so I secure the section first with a hidden bobby pin and slide the pretty one over it. Tight or loose waves both suit it, and lightweight veils sit behind it without fuss.
8. Hair Pins for a Sleek Low Ponytail
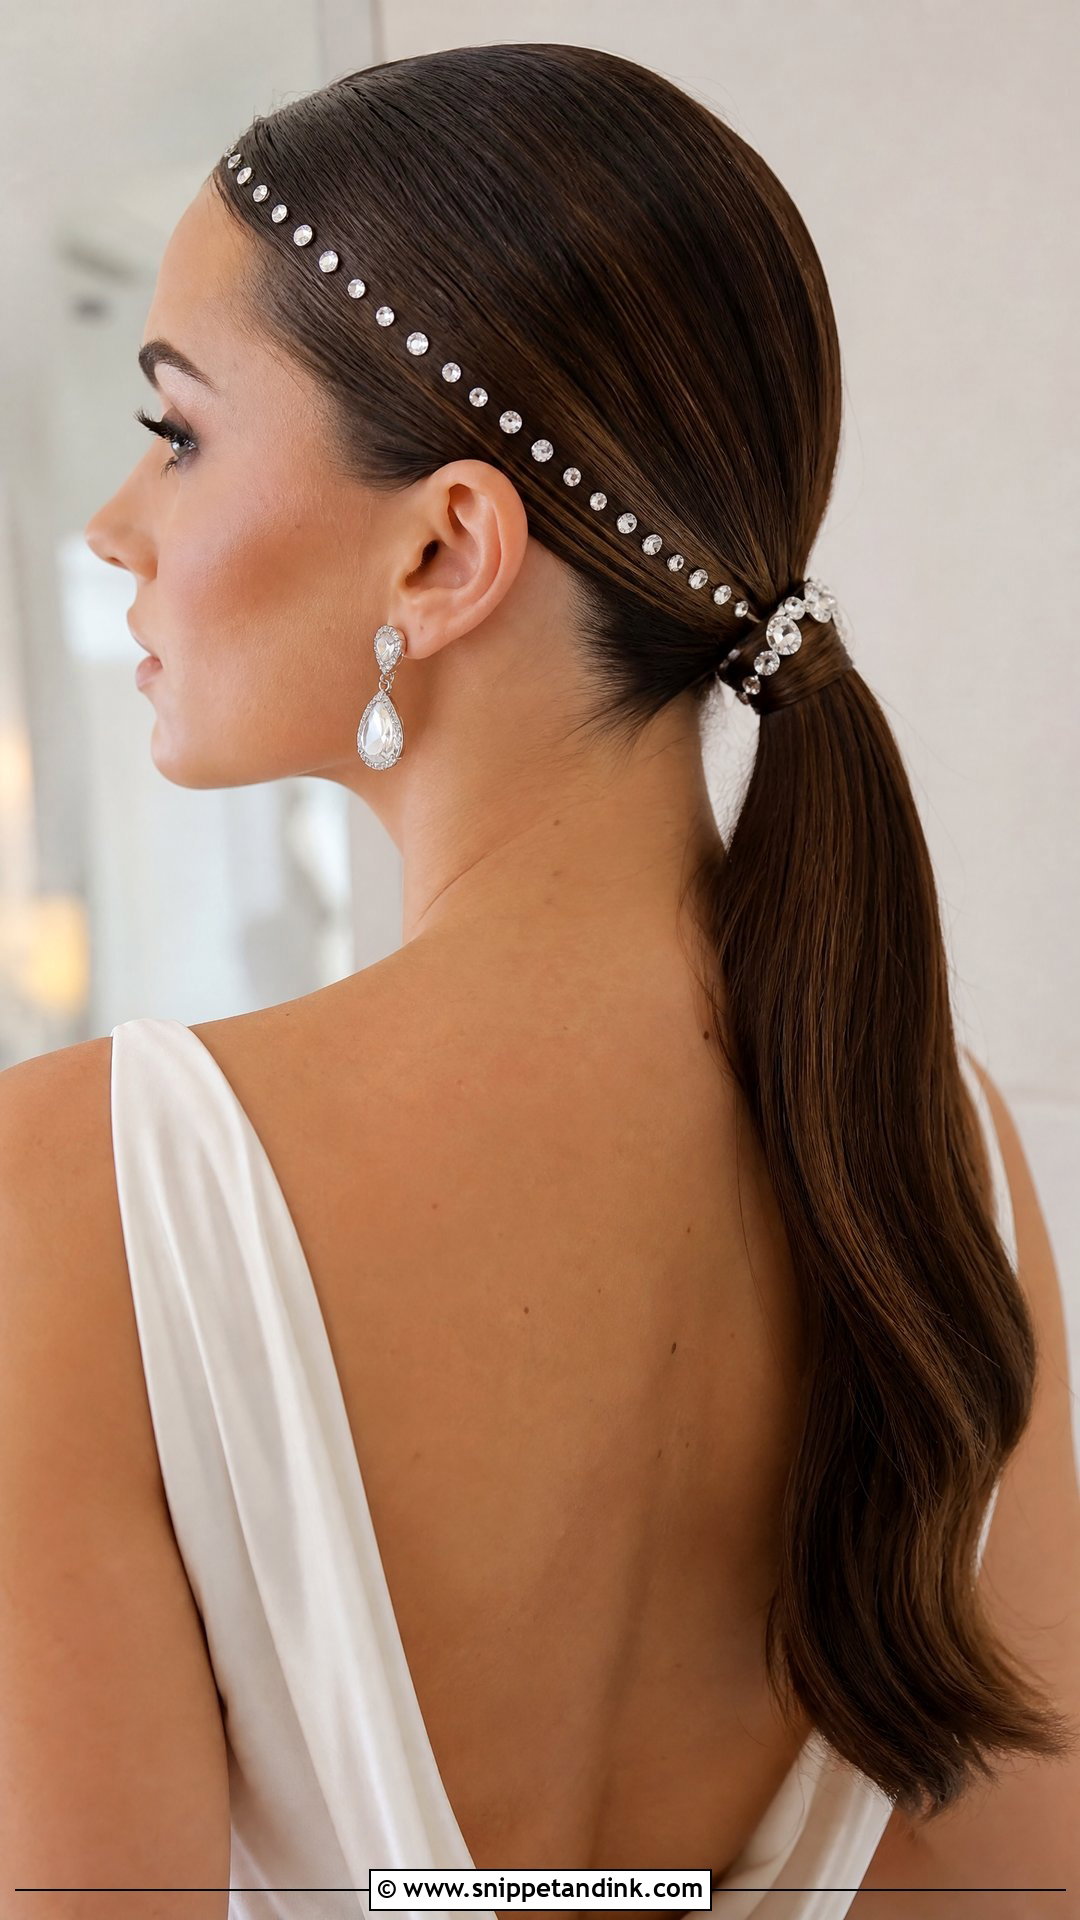
A sleek low ponytail is about control: smooth, glossy hair, a clean part and nothing out of place. A row of crystal or pearl pins along the part gives the simple shape a bridal finish. Gel and smoothing product make hair slippery, so I set the pins before the shine serum goes on and press each one in flat to the scalp. Satin gowns and statement earrings pair naturally with it, and the pins add just enough detail to keep the attention on the dress.
9. Hair Pins for Short Hair and Pixie Cuts
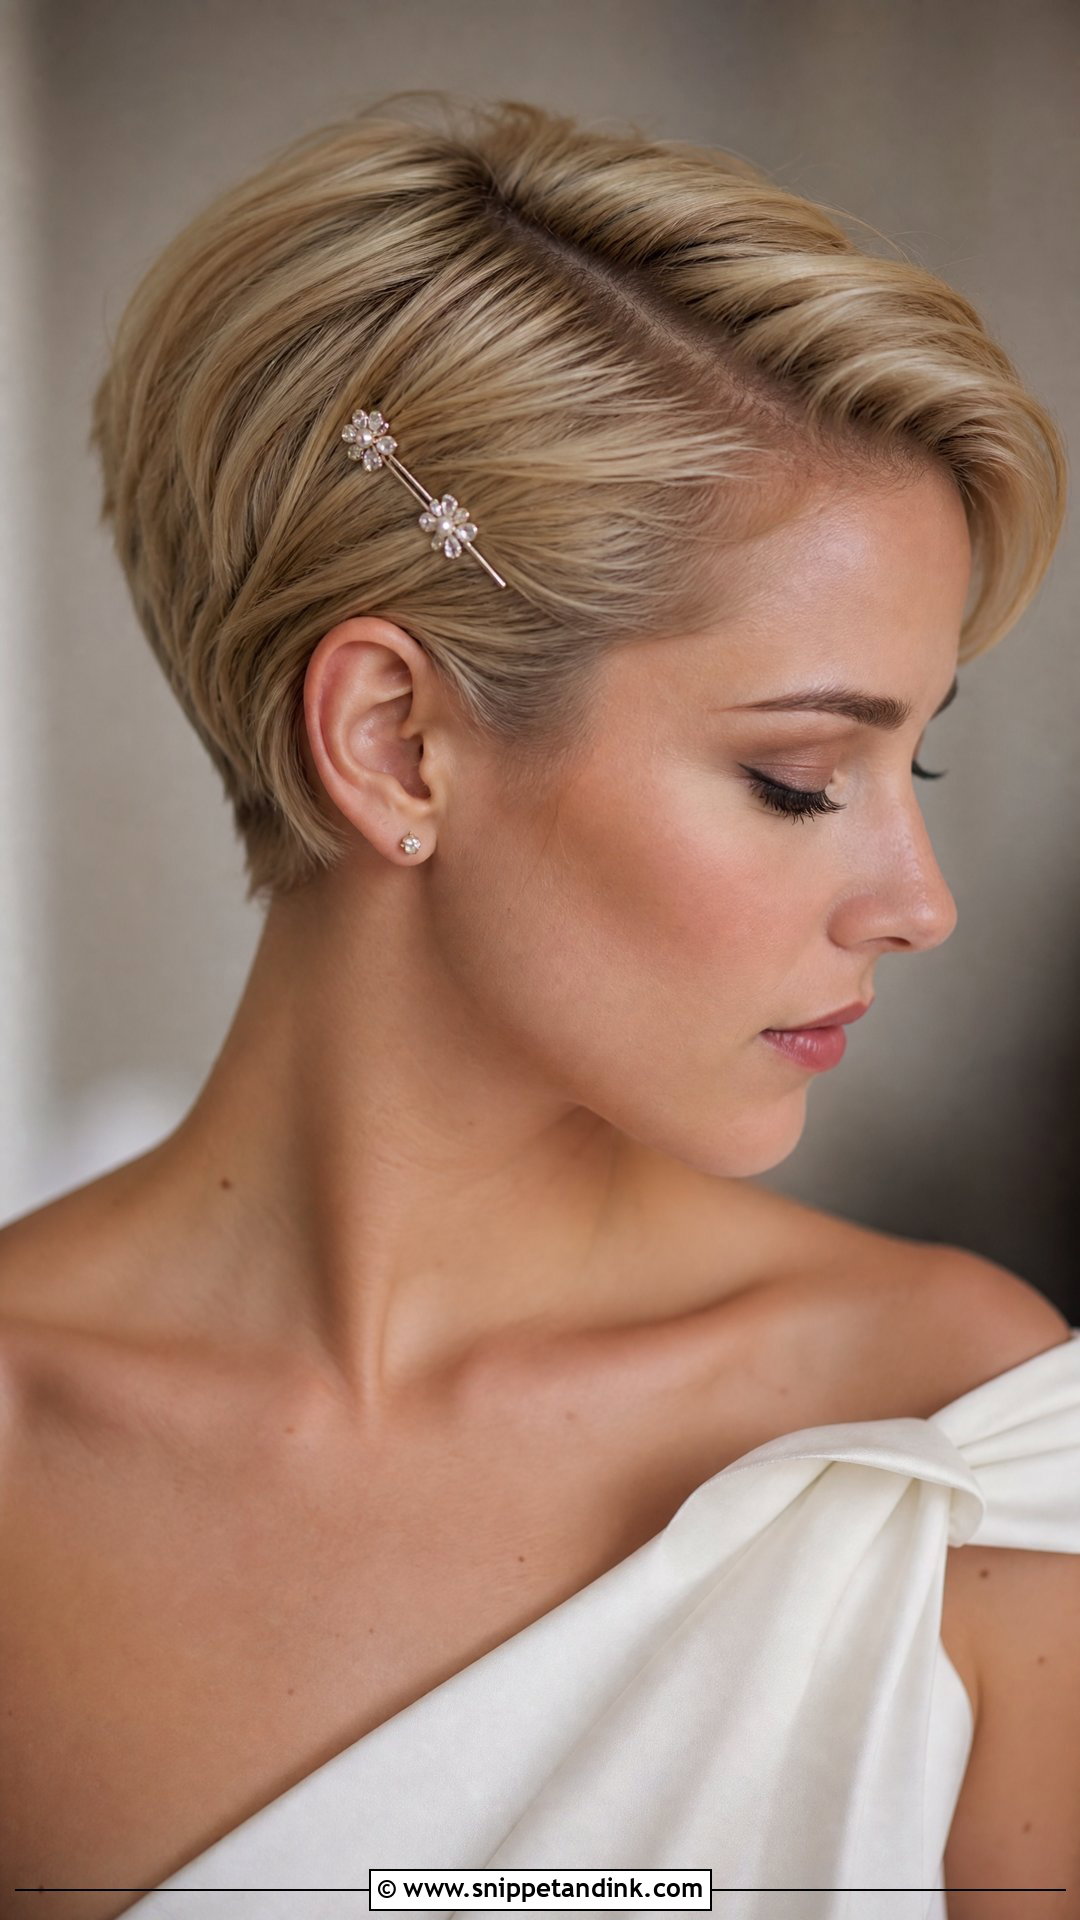
Short hair often gets overlooked for accessories, yet a pixie or bob shows a pin off better than long hair does. One or two crystal or pearl pins above the ear or along the side part frame the face. With very short hair, there isn’t much length for a pin to grip, so I choose small pins with a strong spring or a mini clip back. Modern and vintage gowns both work. Keep it to two pins at most, or the cut starts to look busy.
10. Hair Pins for a Messy Bun
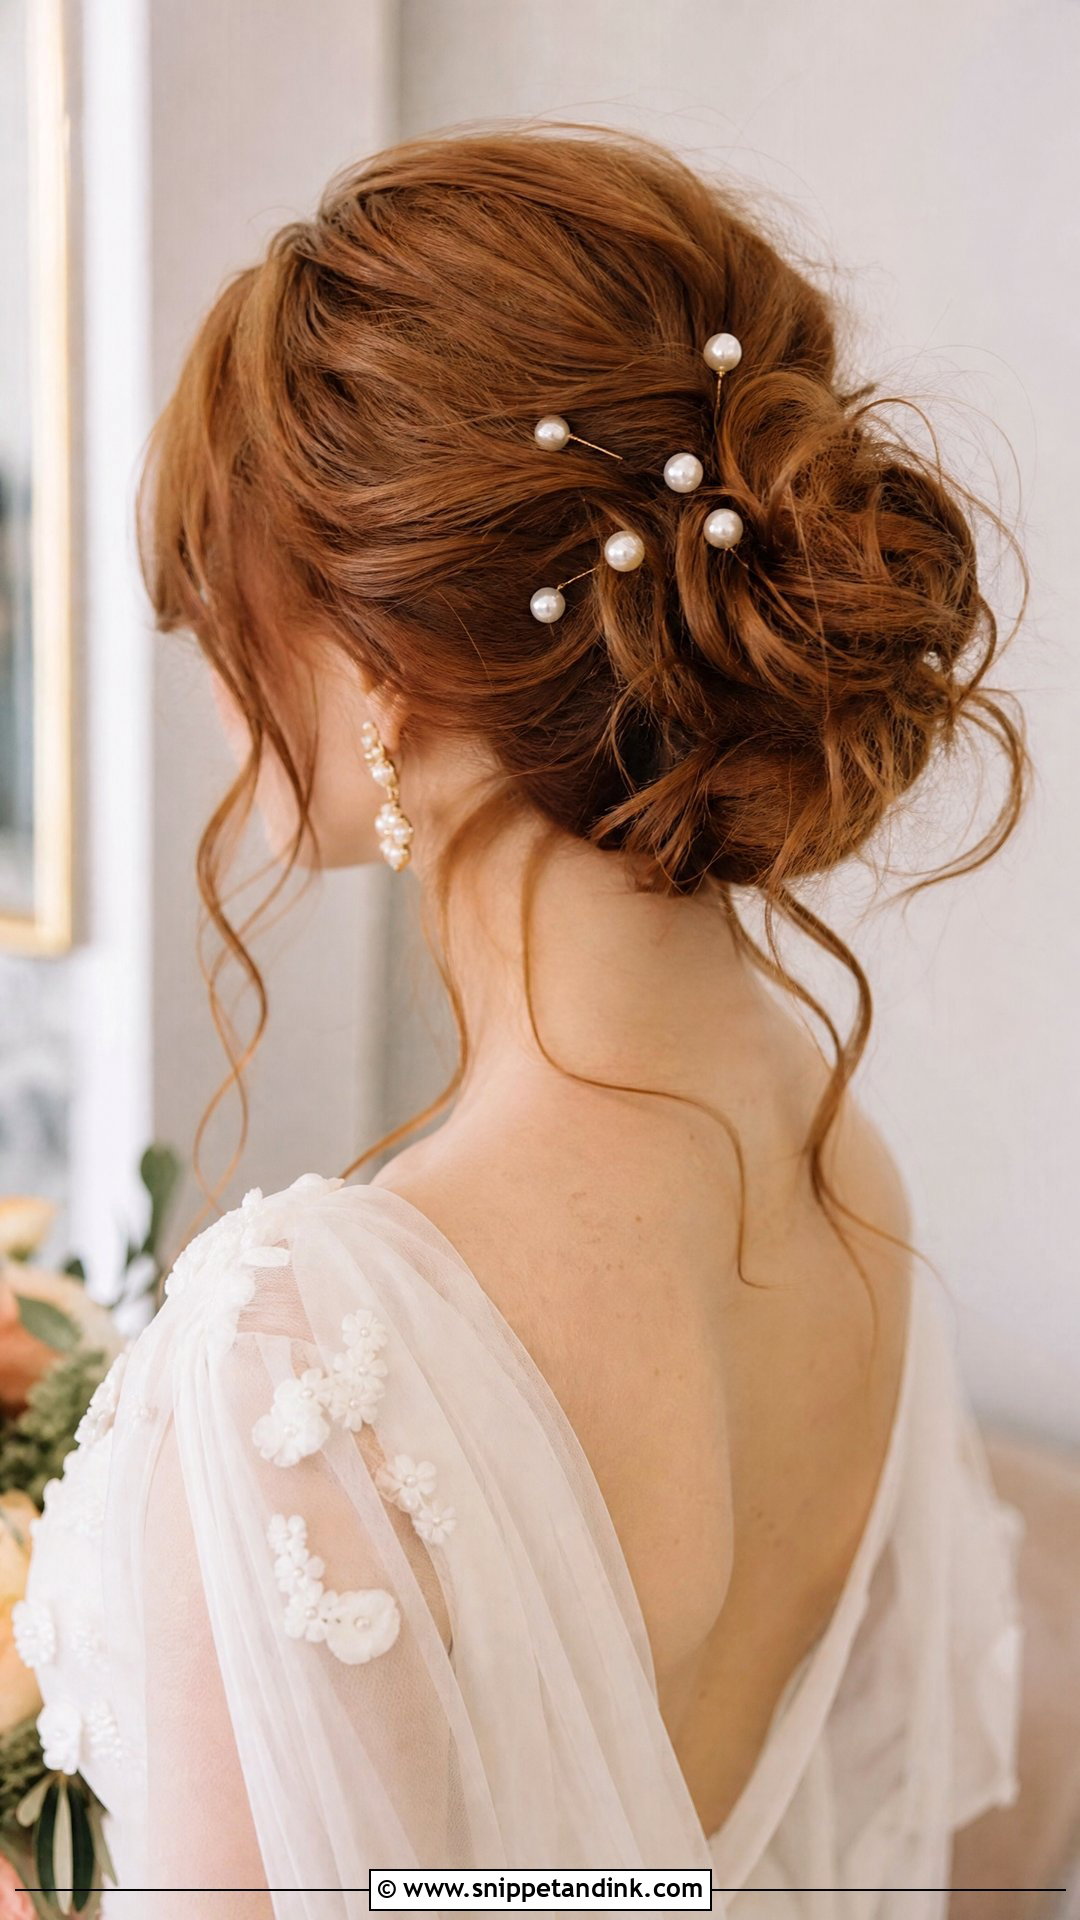
A messy bun is forgiving, which is why I suggest it for brides with layers or hair that won’t hold a sleek shape. Leave a few face-framing pieces out, and once it’s accented by scattered pearl pins, the bun looks deliberate rather than rushed. The texture gives pins plenty of grip. My only caution is restraint: in an undone style, too many pins start to look like they’re holding it together rather than decorating it. Garden ceremonies suit it well.
11. Hair Pins for a Veil and Updo Combo
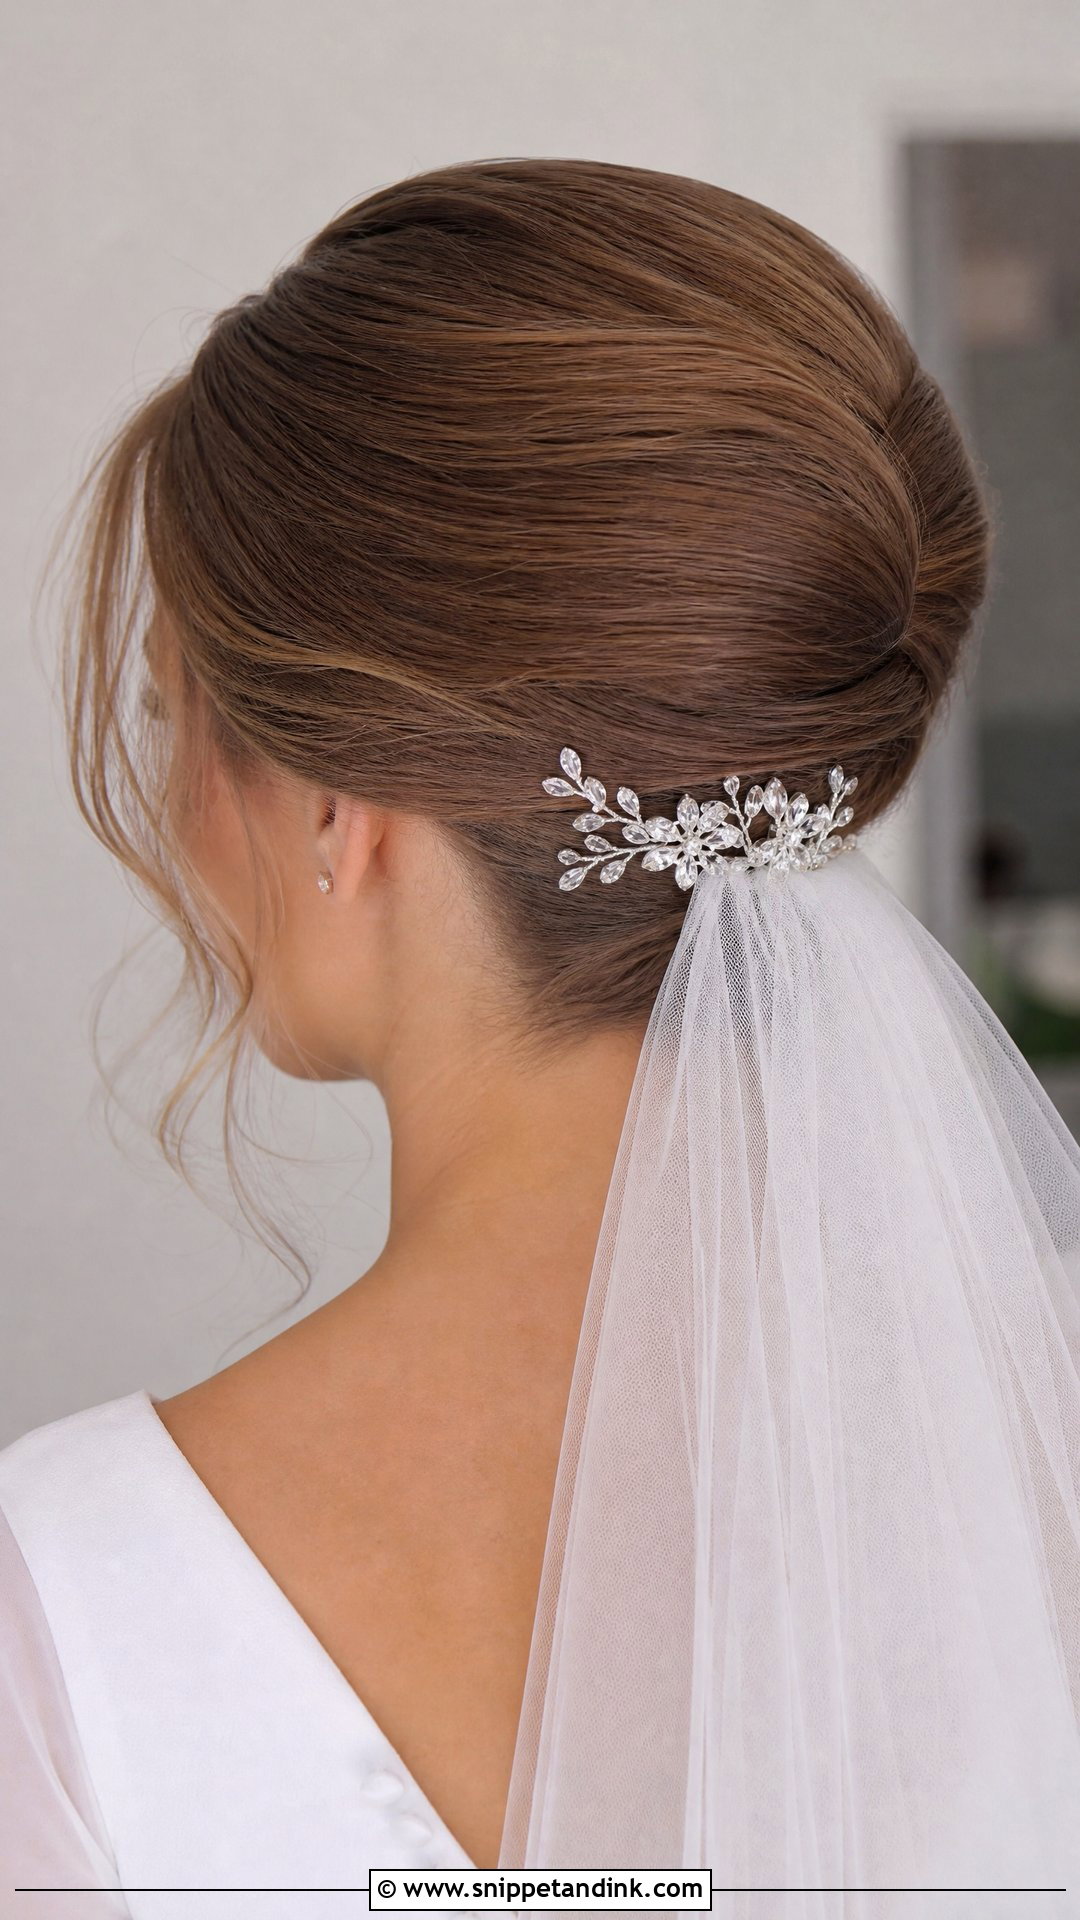
Here the pins earn their place twice. A smooth updo with the veil comb tucked underneath leaves a visible strip of metal, and two or three crystal pins along the base cover it. They also act as a guide later. When the veil comes off after the ceremony, I lift the comb out from beneath the pins, and the updo stays intact because each element was secured separately. It’s practical and it suits traditional ceremonies with a long veil.
12. Hair Pins for a Side-Swept Style
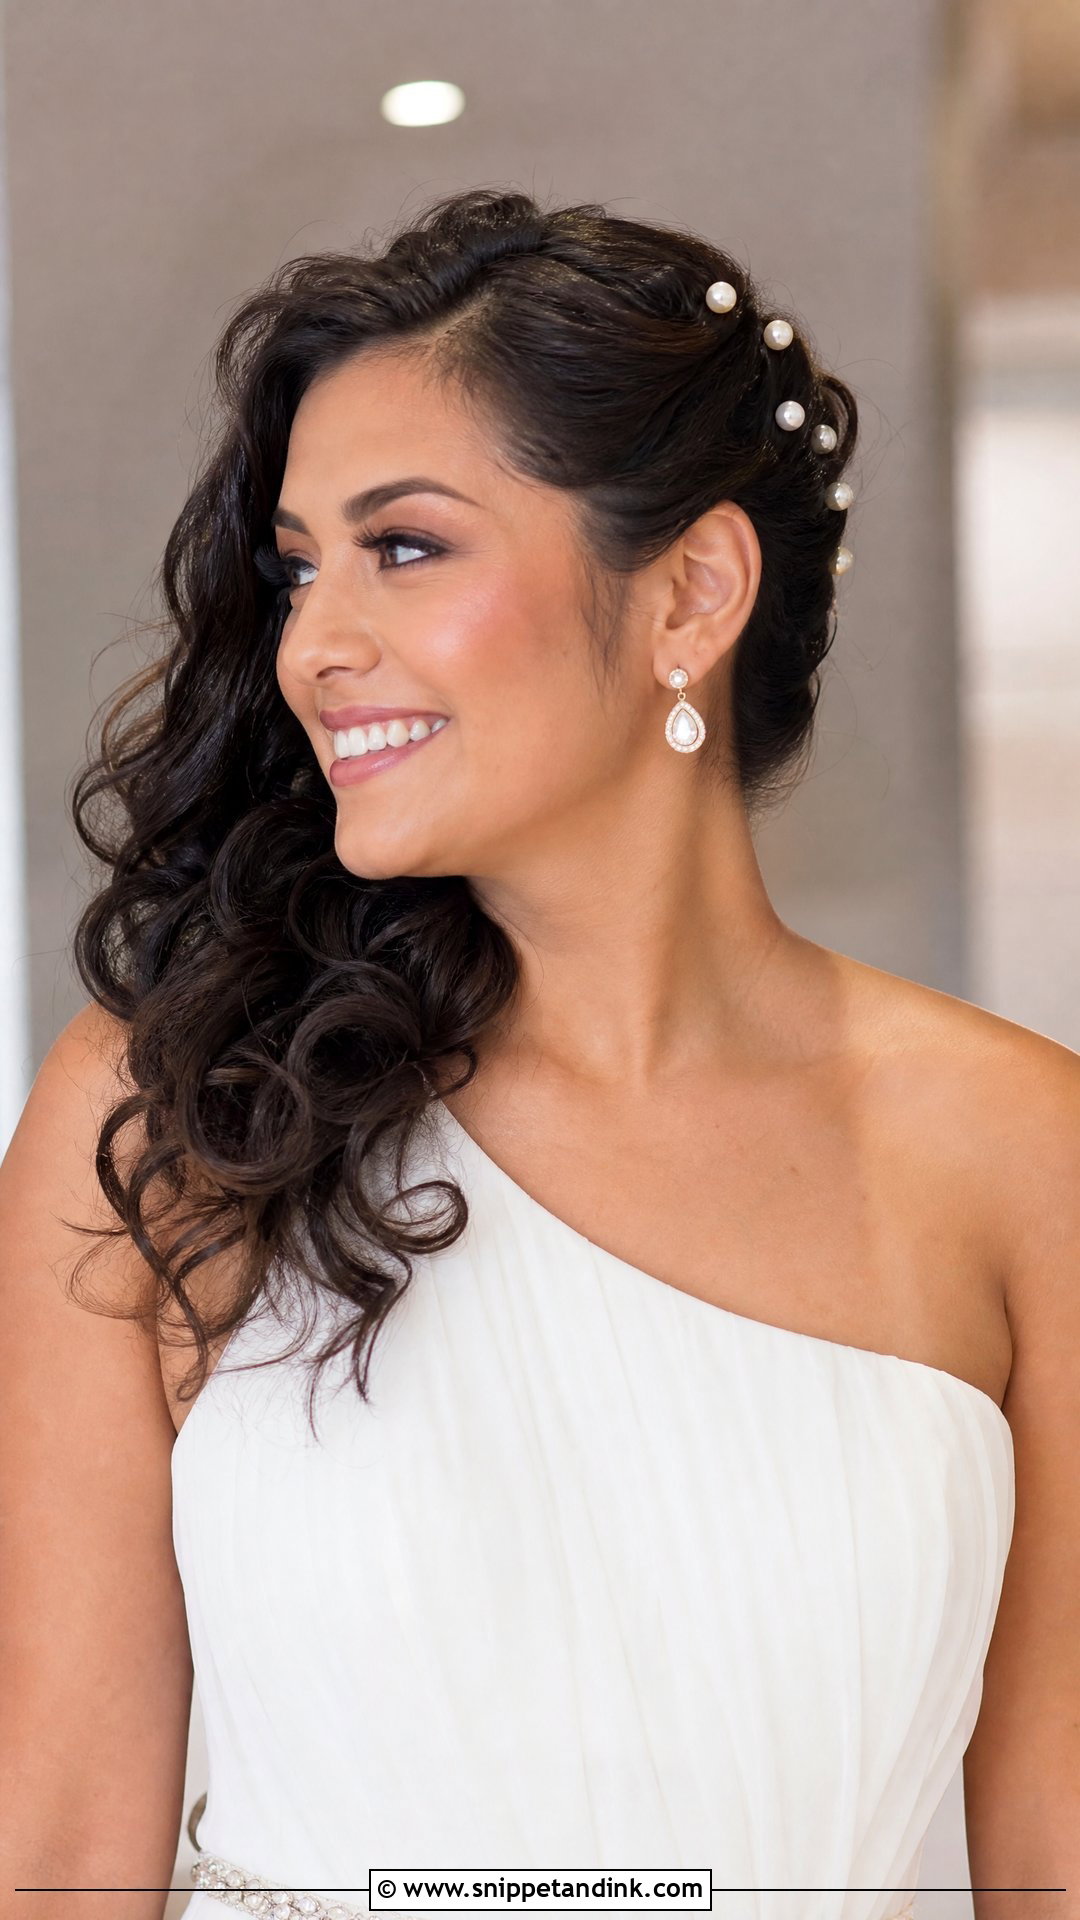
A side-swept style gathers loose curls over one shoulder, and the pins go on the opposite side where the hair is pulled back. That’s where the tension is, so the pins need to be anchored into a pinned section, not just pushed into the curl. One-shoulder gowns and statement earrings balance the asymmetry. I’d think about which side faces your guests at the ceremony and sweep the hair toward them, so the pins show in photos from the other side.
13. Hair Pins for a Twisted Updo
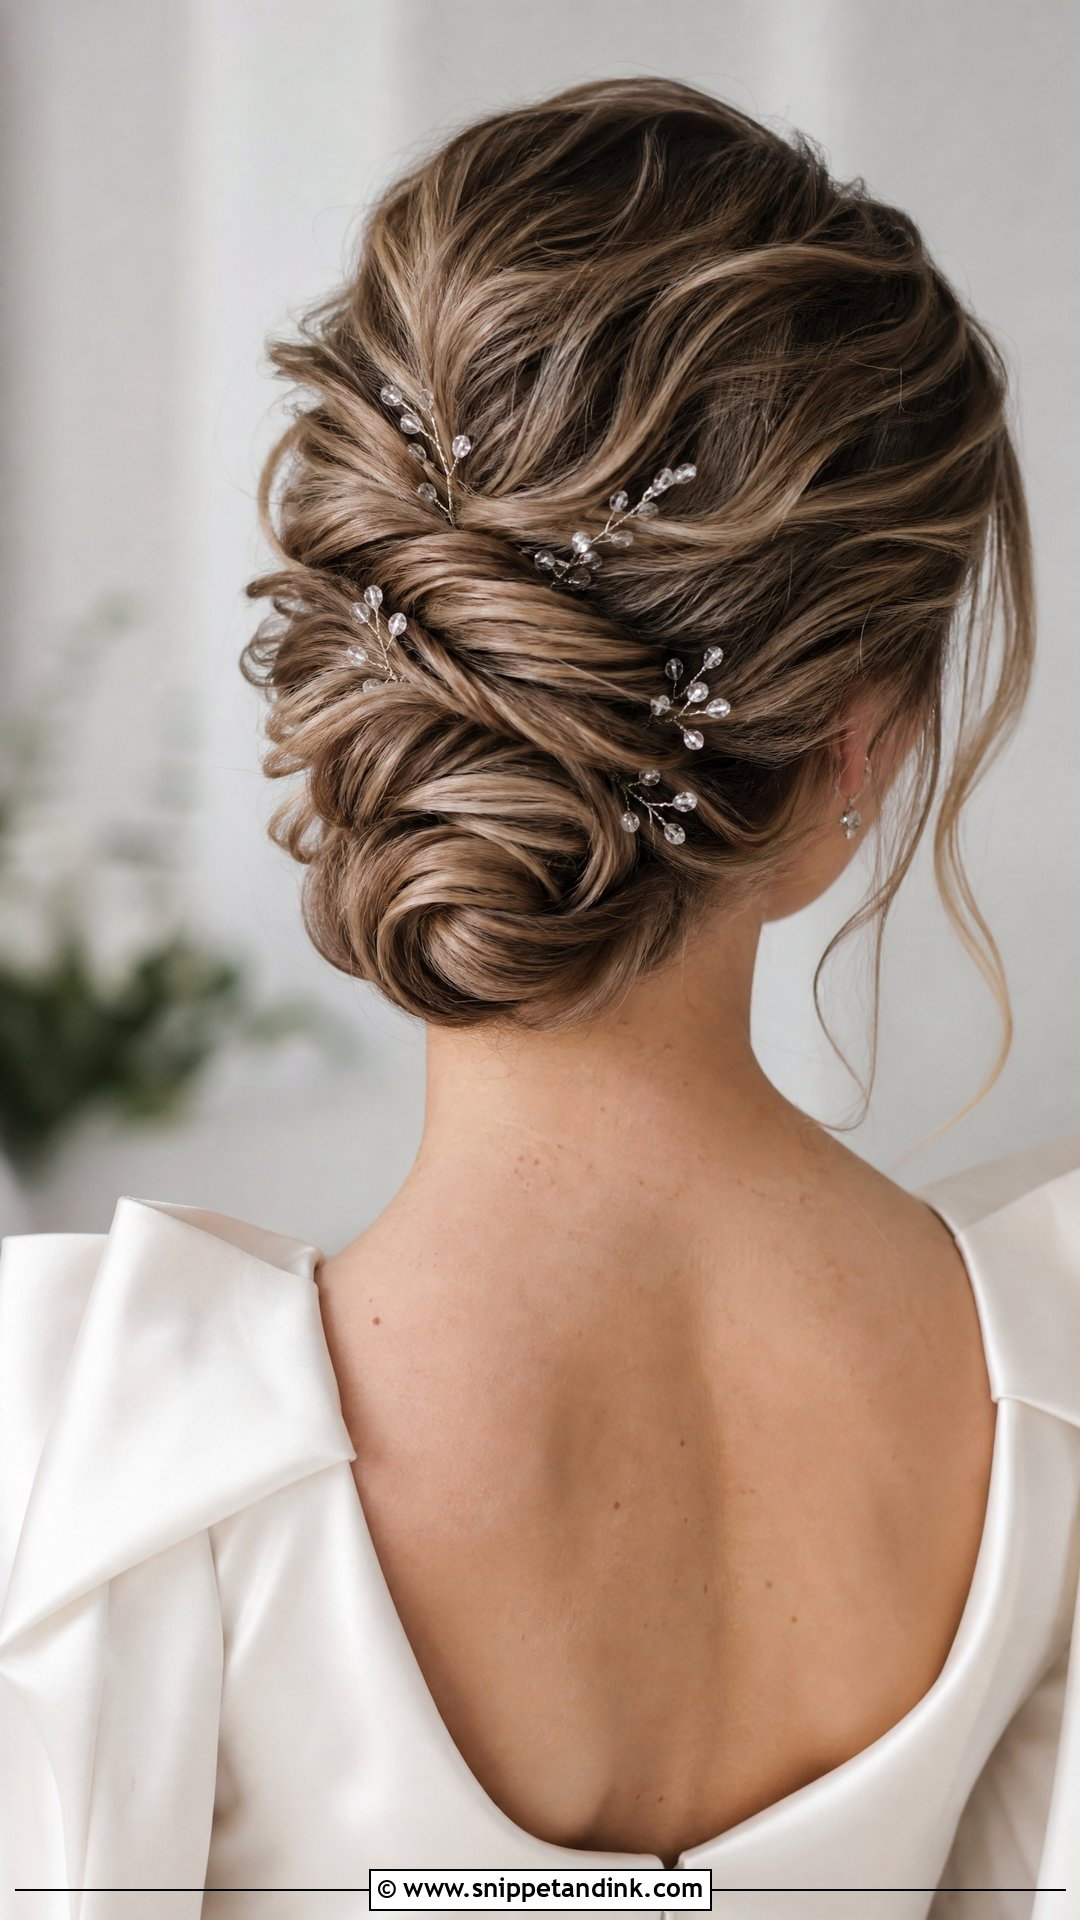
A twisted updo is built from sections twisted and pinned into a sculptural shape, so it already has dozens of working pins inside it. The decorative ones go in last, in the gaps between twists where they catch the light. Fine hair needs a little backcombing at the root of each section to give the twists body. The style holds well through a long reception and suits structured gowns and formal ballrooms.
14. Hair Pins for a Flower Crown Style
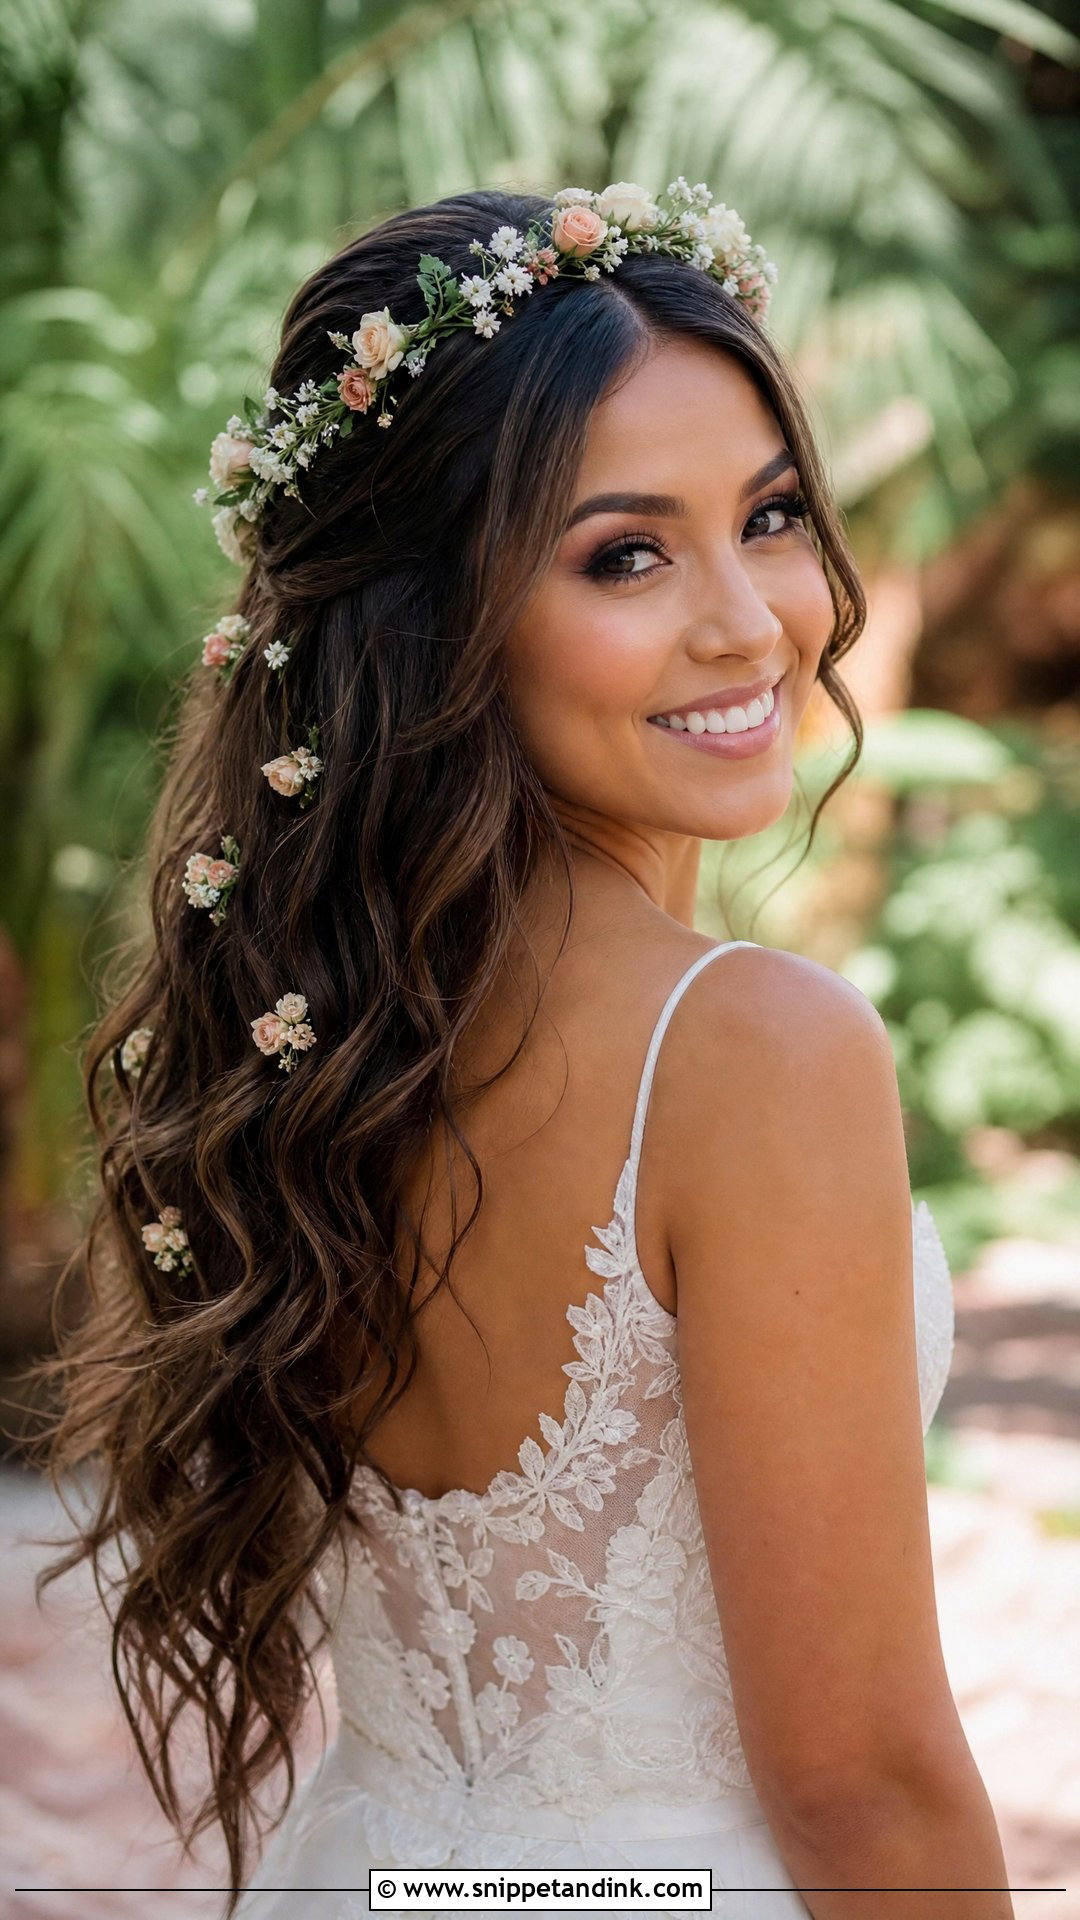
Flower-shaped pins give you the feel of a flower crown without the weight or the wilting. Tiny enamel or silk blooms scattered through a half-up style or loose waves look like they’re woven in. They’re lighter than a full crown, which matters for fine hair or a long day outdoors. Real flowers start to droop in summer heat; these stay crisp through the last song. I place smaller blooms near the face and slightly larger ones toward the back.
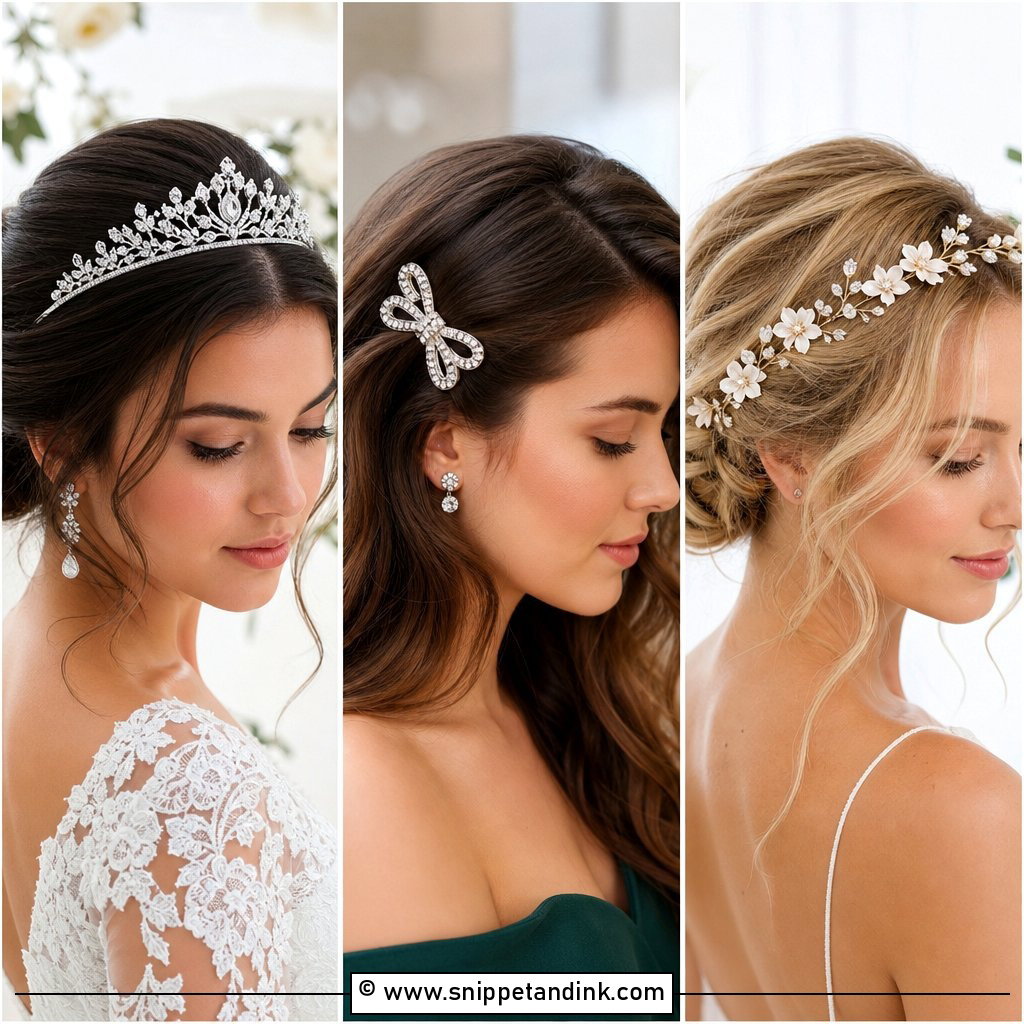
15. Hair Pins for a Classic French Twist
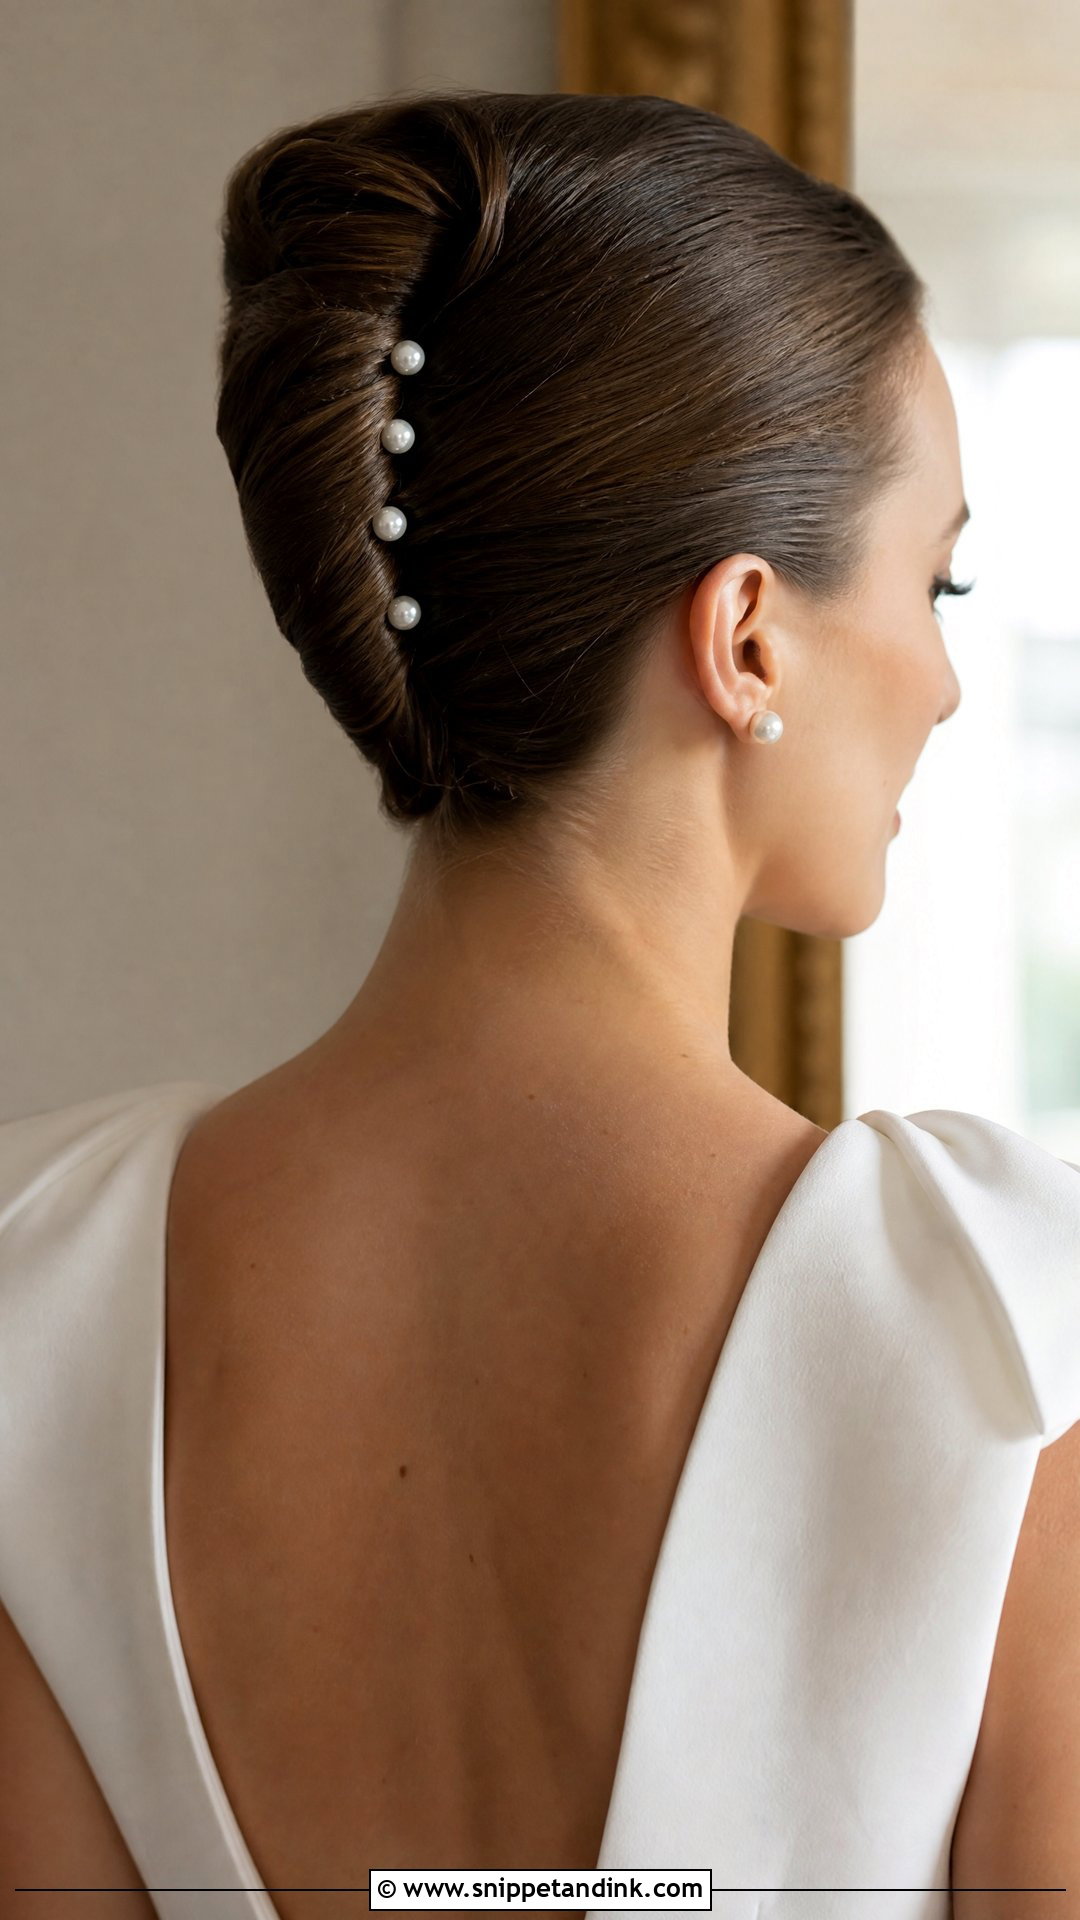
The French twist is a clean vertical roll up the back of the head, and the seam where it closes is the obvious line for decorative pins. Hair pins secure the rolled section while a row of pearl pins tucked into the fold adds shine. I build it on hair that has a little grip, never freshly conditioned, because a twist on slippery hair slowly unrolls. Structured gowns and formal ballrooms suit it. It stays neat for hours if the base is solid.
16. Hair Pins for Curly Natural Hair
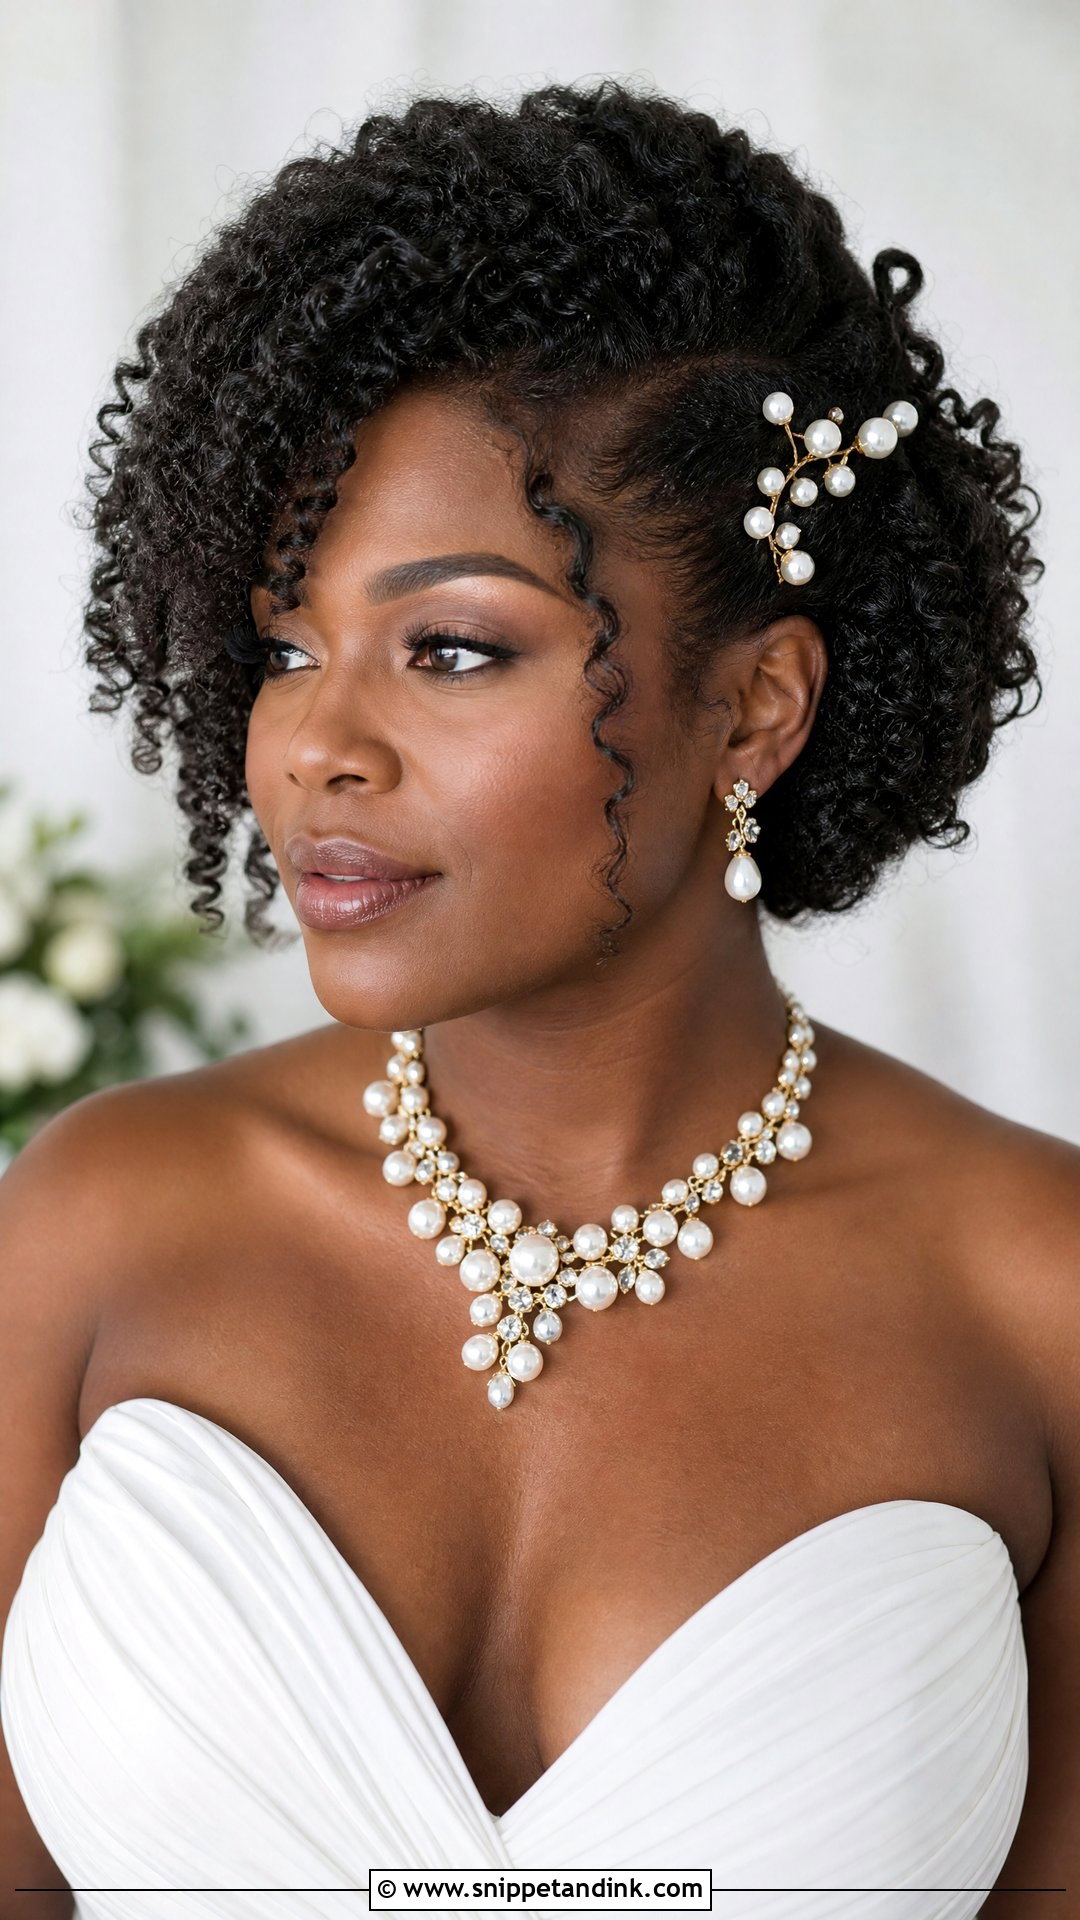
Natural curls hold pins better than almost any other hair type, because the coils grip the shaft from every side. Sweep one side back with pearl or crystal pins and let the rest stay full. I work with the curl pattern rather than smoothing it, and I avoid brushing curls dry before placing pins, since that breaks them into frizz. Wider pins suit voluminous coils; tiny ones get lost. Bold gowns and statement jewelry sit comfortably with this much texture.
17. Hair Pins for a Low Chignon
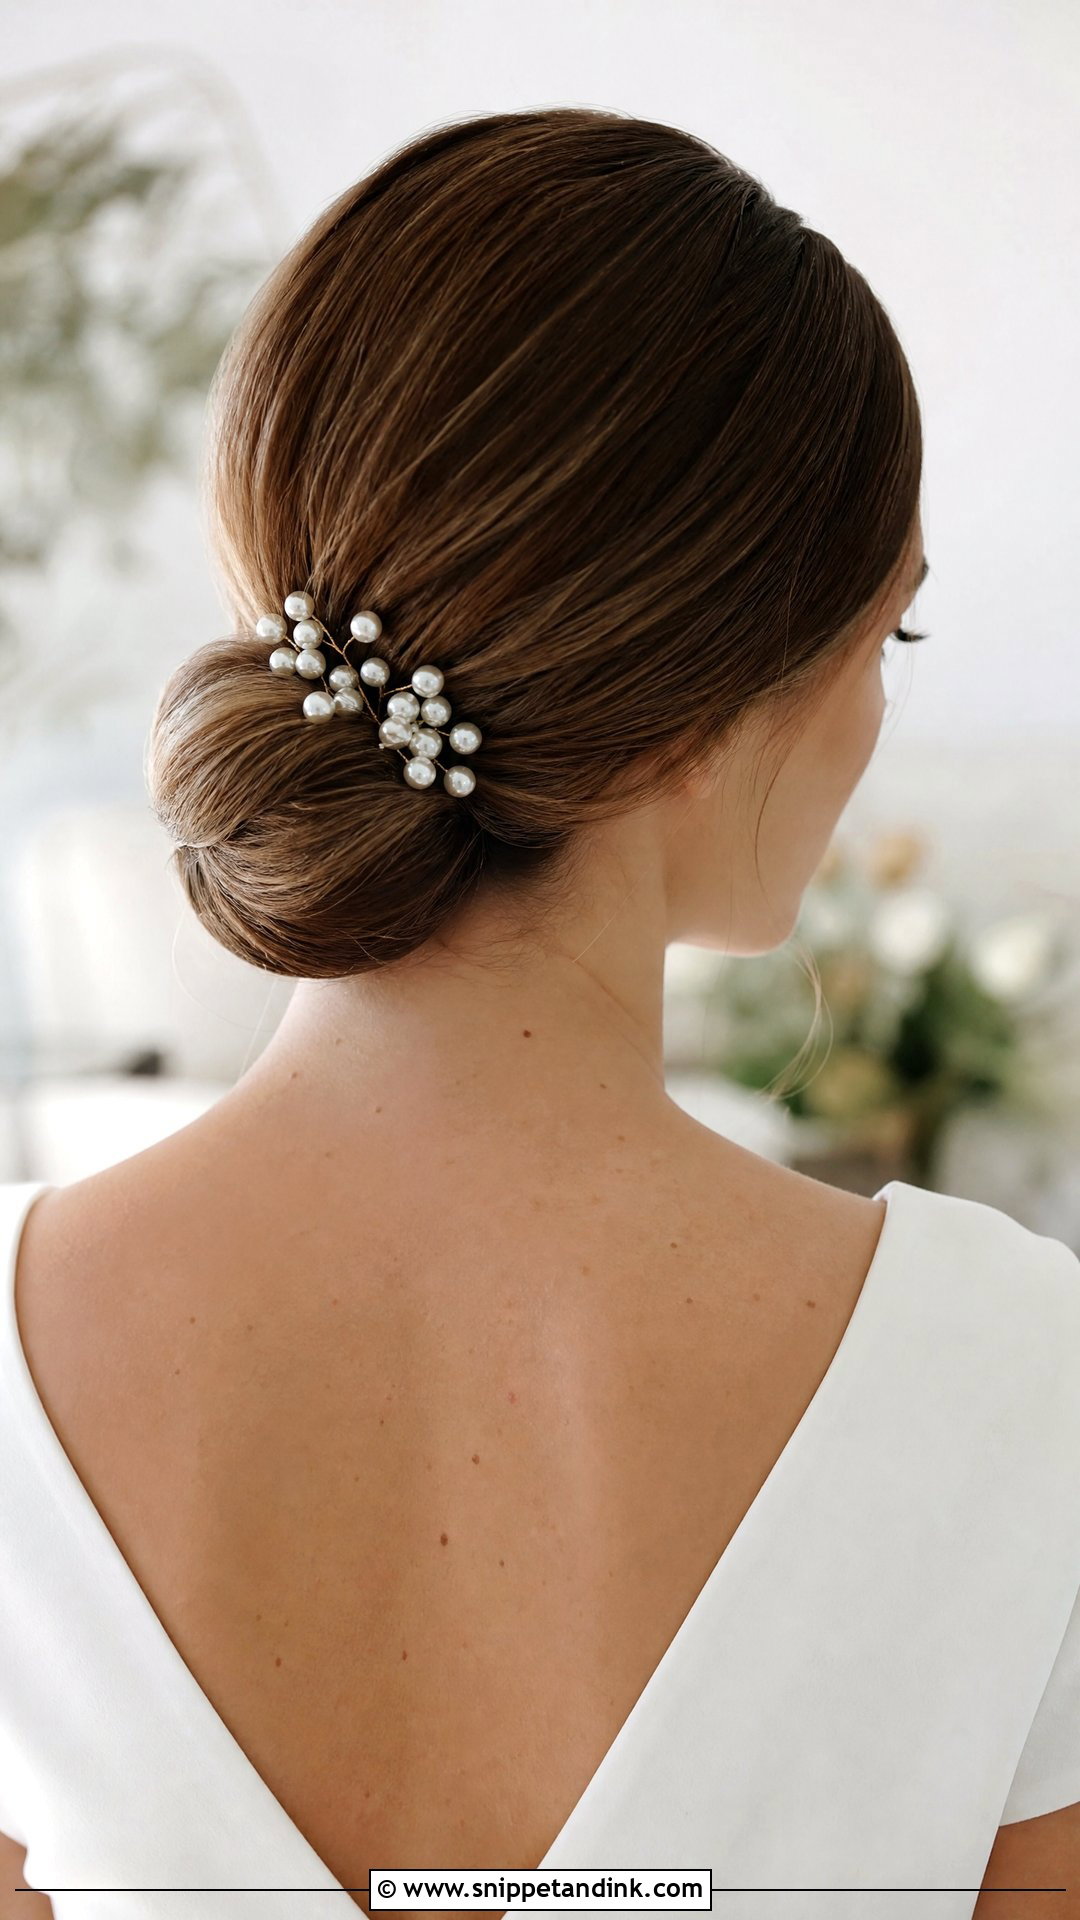
A low chignon is a neat knot at the nape, and a cluster of pearl pins on one side gives it a little asymmetry. The rolled bun is dense, so pins stay where I put them all day. Minimalist gowns and refined venues suit its clean outline. If you’ll wear your veil under the chignon, I place the cluster above the veil comb rather than beside it, so the two don’t overlap in photos from behind.
18. Hair Pins for a Boho Half-Up Braid
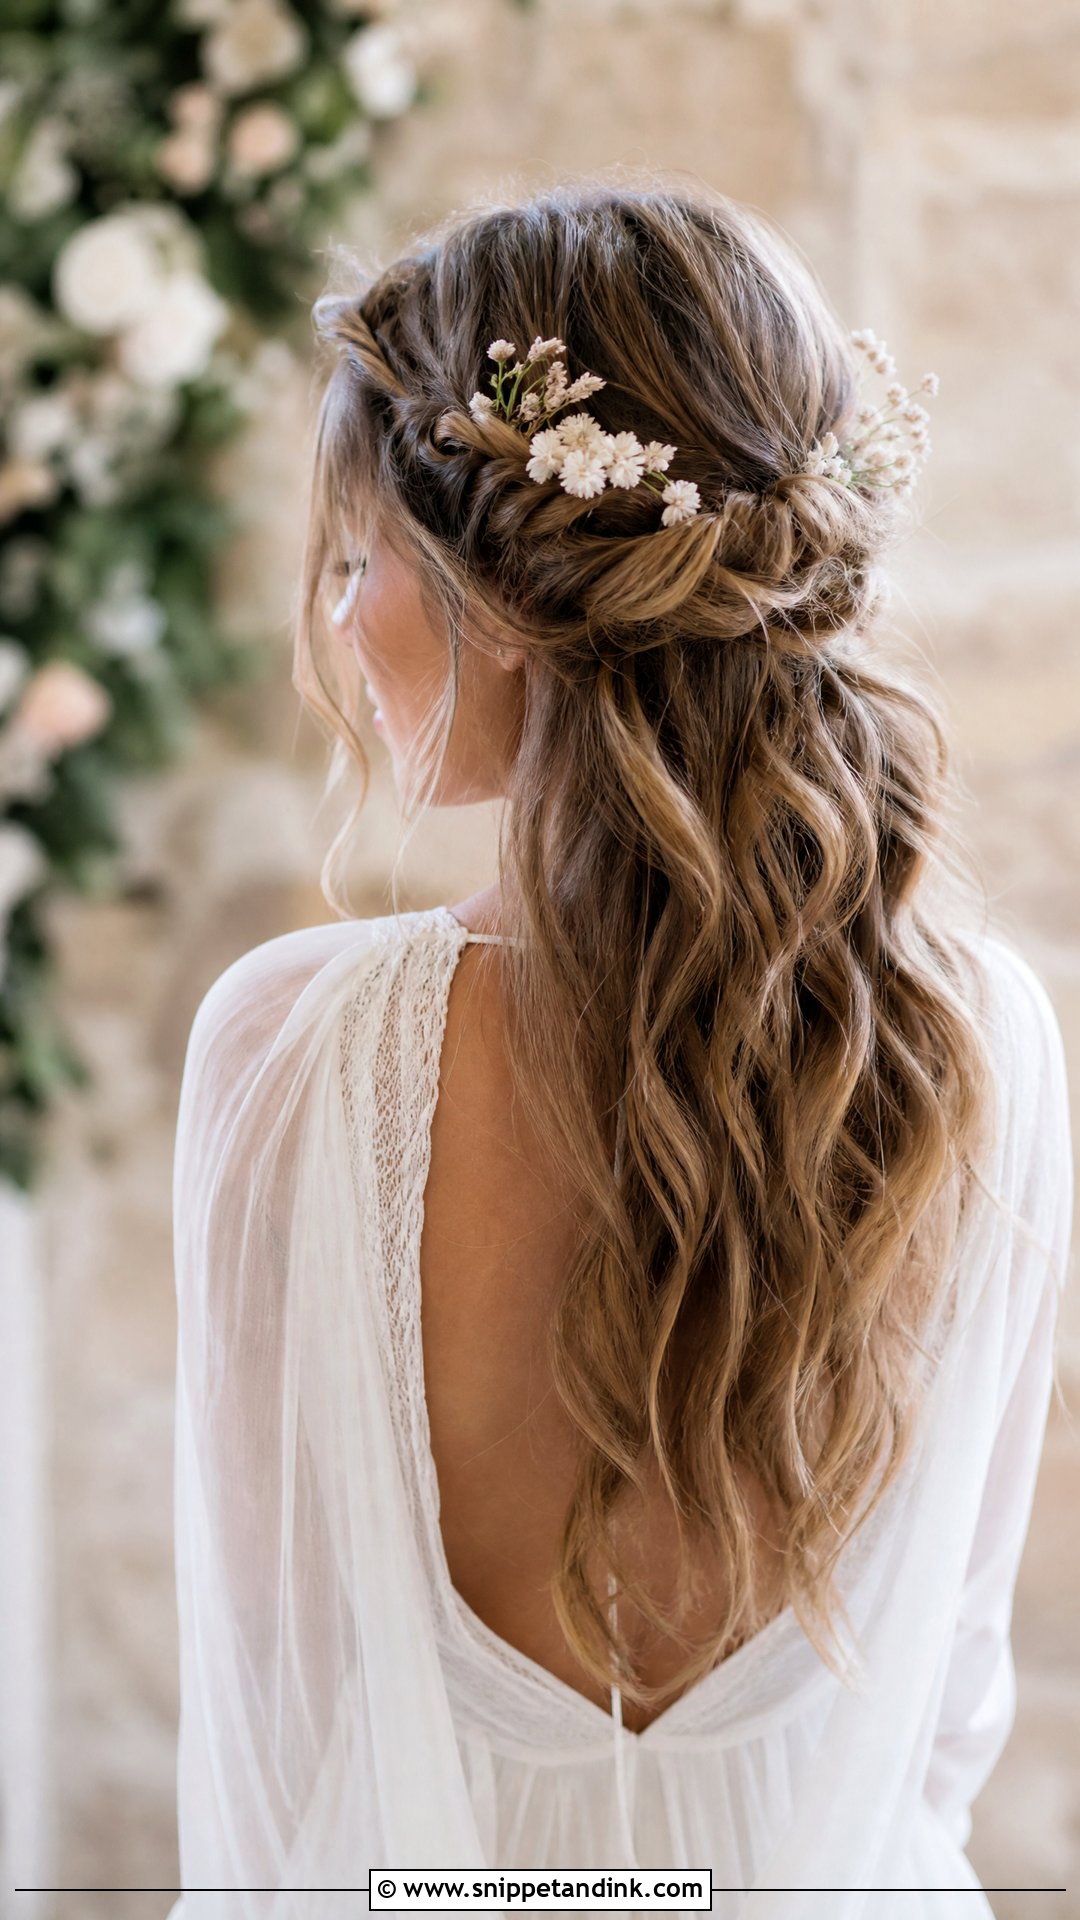
A half-up braid keeps the top section woven and pinned back while the rest falls in waves. Floral or pearl pins tucked along the braid hold stray pieces and add a little detail. I pancake the braid, gently pulling out the edges, before the pins go in, because the wider surface gives them room. This suits a relaxed outdoor ceremony and a flowing gown. It also forgives a little wind, since a few loose strands look intended.
19. Hair Pins for a Bridal Top Knot
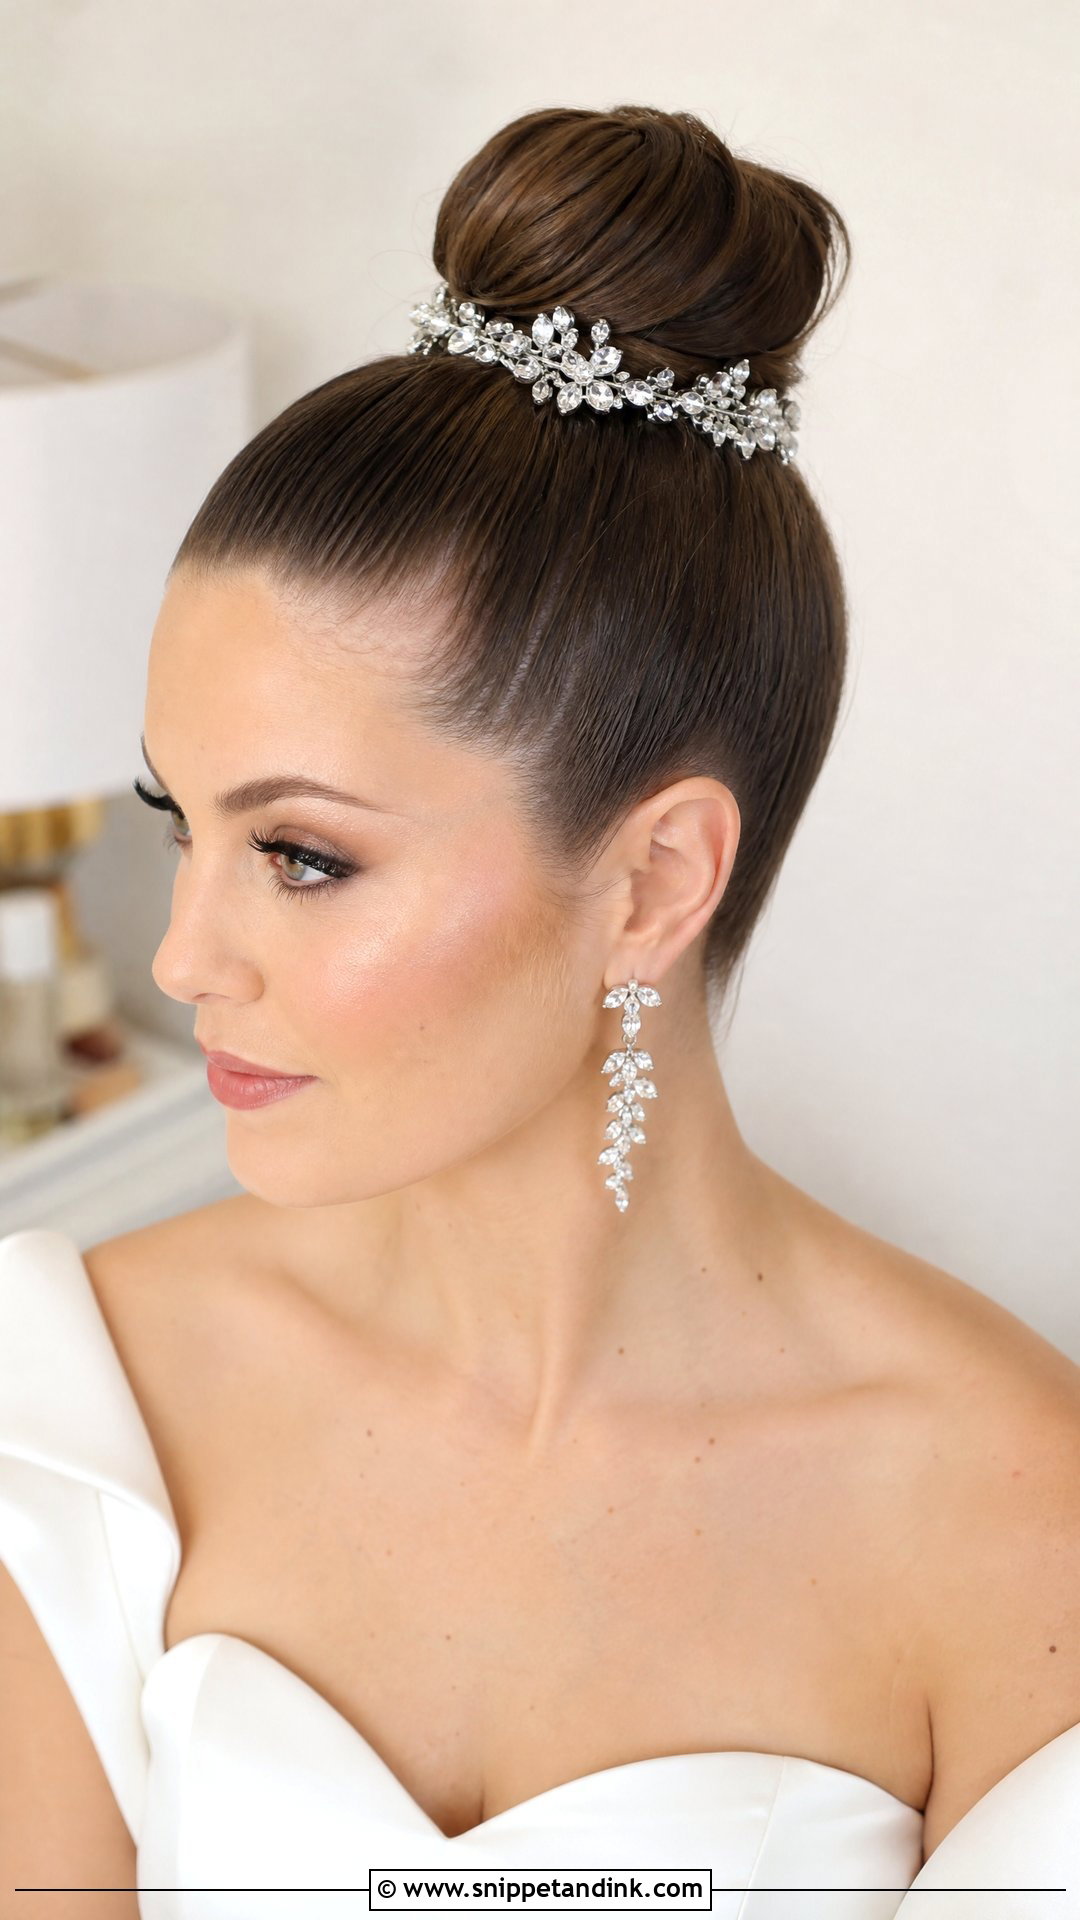
A high top knot is the most modern look here, and also the one where pins work hardest. The bun sits at the crown, so gravity pulls on it all day. Crystal pins around the base add shine, but the real hold comes from a tight elastic and U-pins underneath. It keeps hair off the neck, which helps in summer heat. I’d only suggest it for brides comfortable with a clean, exposed face, and I’d pair it with structured gowns and strong earrings.
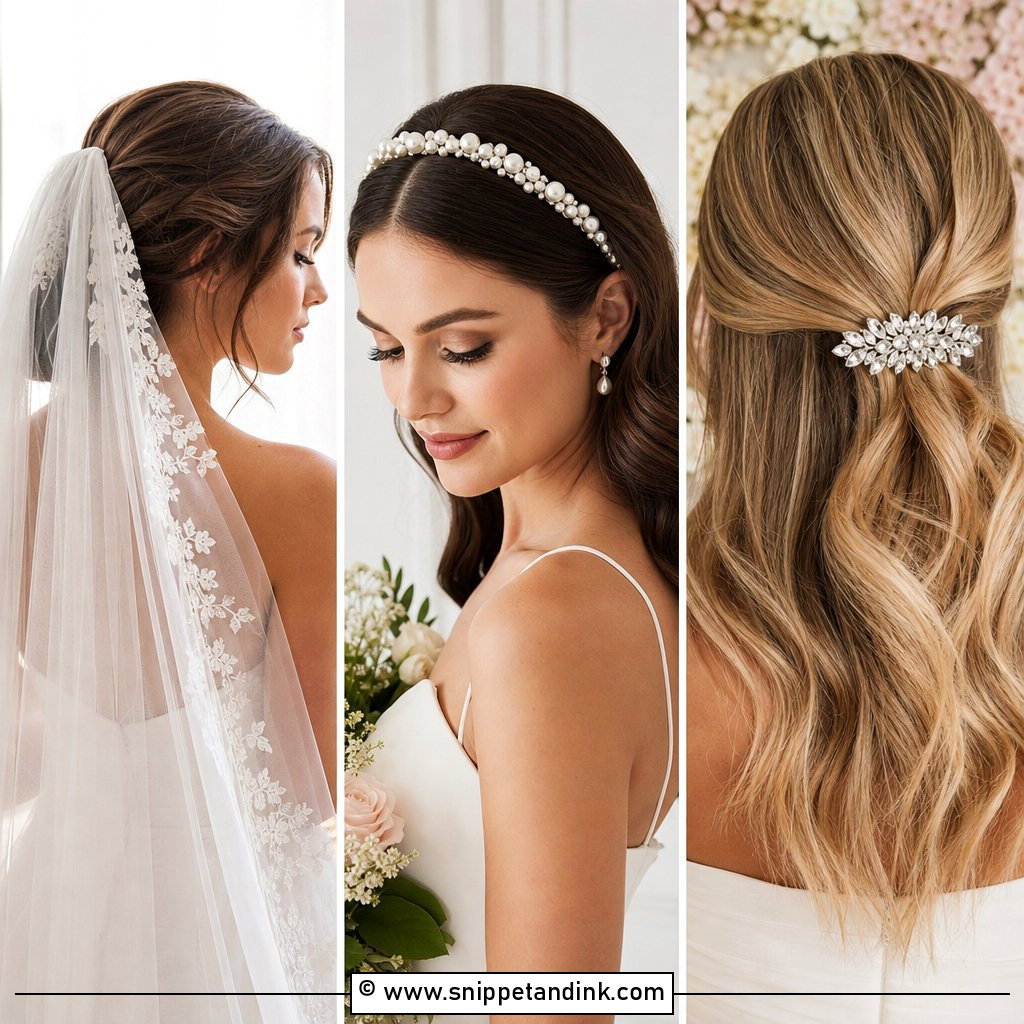
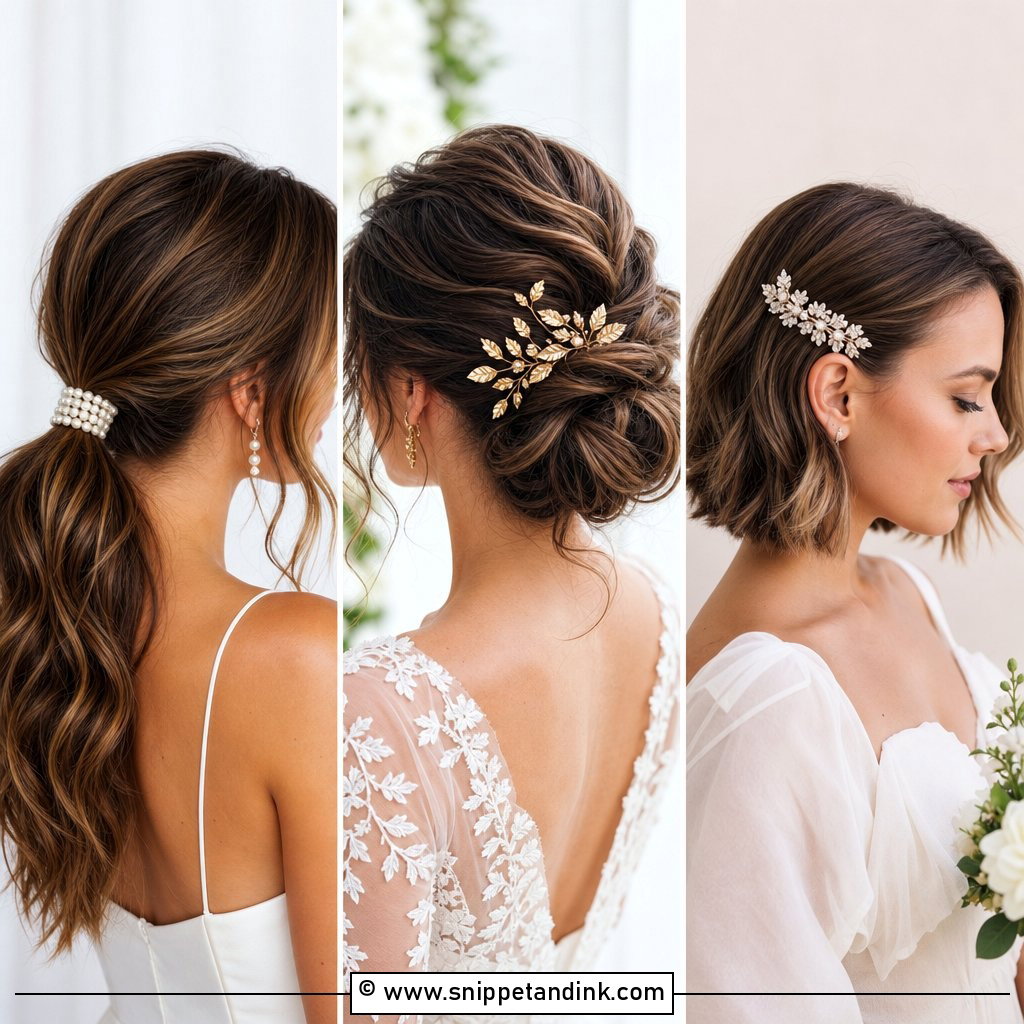
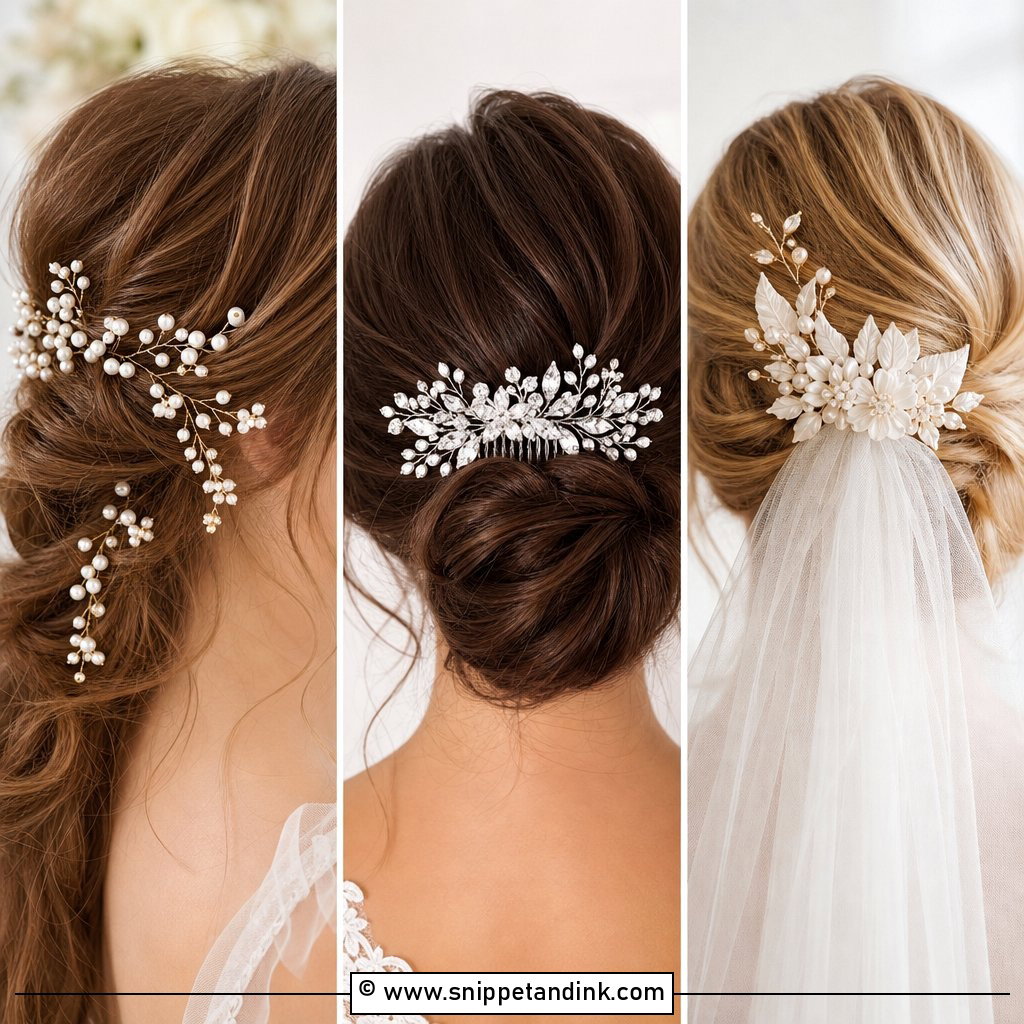
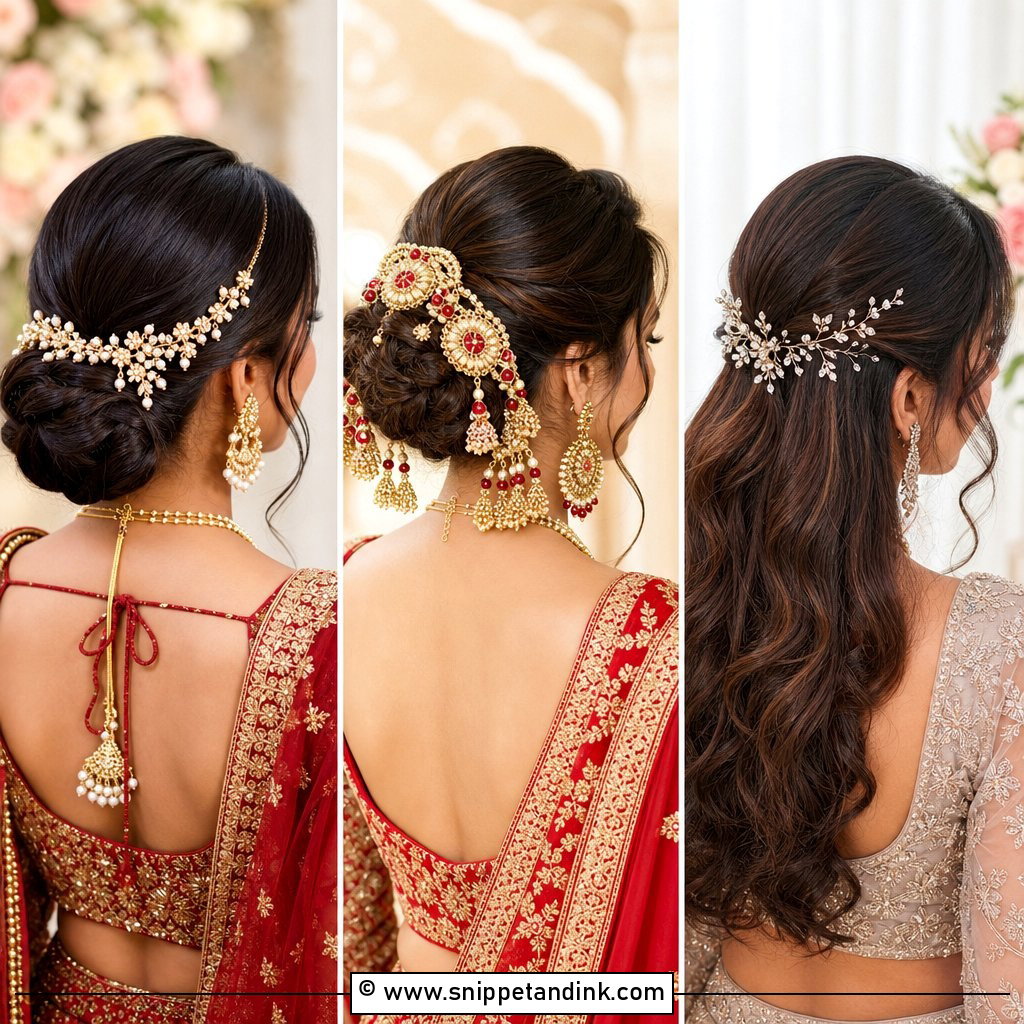
20. Hair Pins for a Cascading Half-Up Style
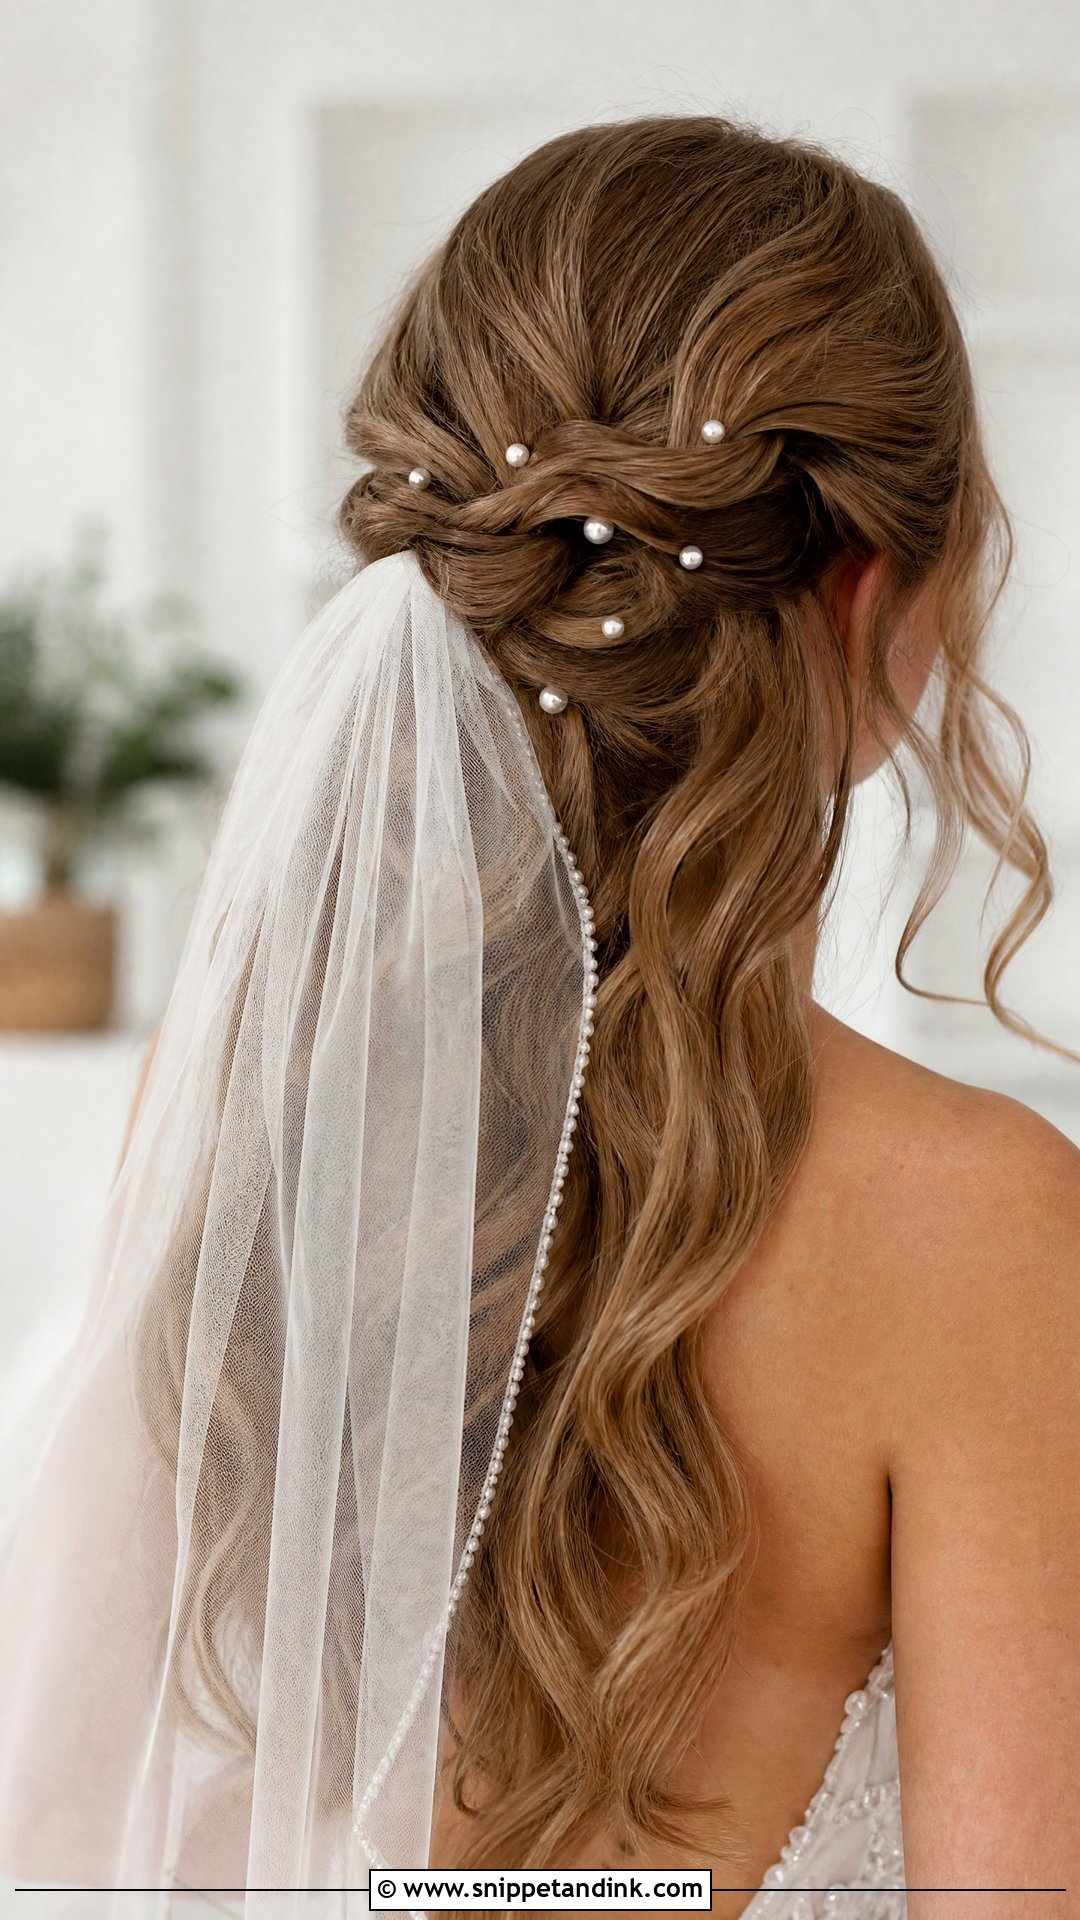
A cascading half-up style twists the top half back and leaves the bottom in long waves. Pearl or crystal pins scattered where the hair gathers frame the face from both sides. Lightweight veils slide in just under the twist. Of all the looks here, this one suits the widest range of themes, but it needs curls set the night before or done with a hot tool and pinned to cool. Otherwise the waves fall flat before the speeches.
How Many Pins a Style Really Needs
There isn’t a magic number, but there is a pattern. A short cut or a sleek ponytail carries one or two. A chignon or half-up style looks finished with three to five. Braided crowns and twisted updos can take more, because the pins sit in natural gaps. Past that point, extra pins stop reading as sparkle and start looking crowded.
Bring a couple of spares in your clutch or give them to a bridesmaid. Pins do occasionally slip during hugs and dancing, and a quick replacement in the restroom is easier than living without one in every reception photo.
Taking Them Out at the End of the Night
Brides often forget this part. After a long day, sprayed hair and dozens of pins can tangle together, and pulling at them breaks hair. Remove the decorative pins first and drop them straight into a small pouch so none get lost. Then feel for the working pins and slide each one out in the direction it went in. If the hair is stiff, a little conditioner worked through with your fingers loosens hairspray before you brush. Pearl pins should be wiped gently before storing, since hairspray residue can dull the finish over time.
Placing Your Pins Where the Photographer Will Actually See Them
Pins are the most flexible accessory a bride can wear, working on short cuts, braids, chignons and natural curls alike. Bring a few options to your trial, along with photos of your veil and gown, and let your stylist place them while you watch in a hand mirror. Then check the back. Most of your ceremony photos will be taken from behind or from the side, and that’s where the pins need to look right.
You'll Like These Ideas:


Leave a Reply