
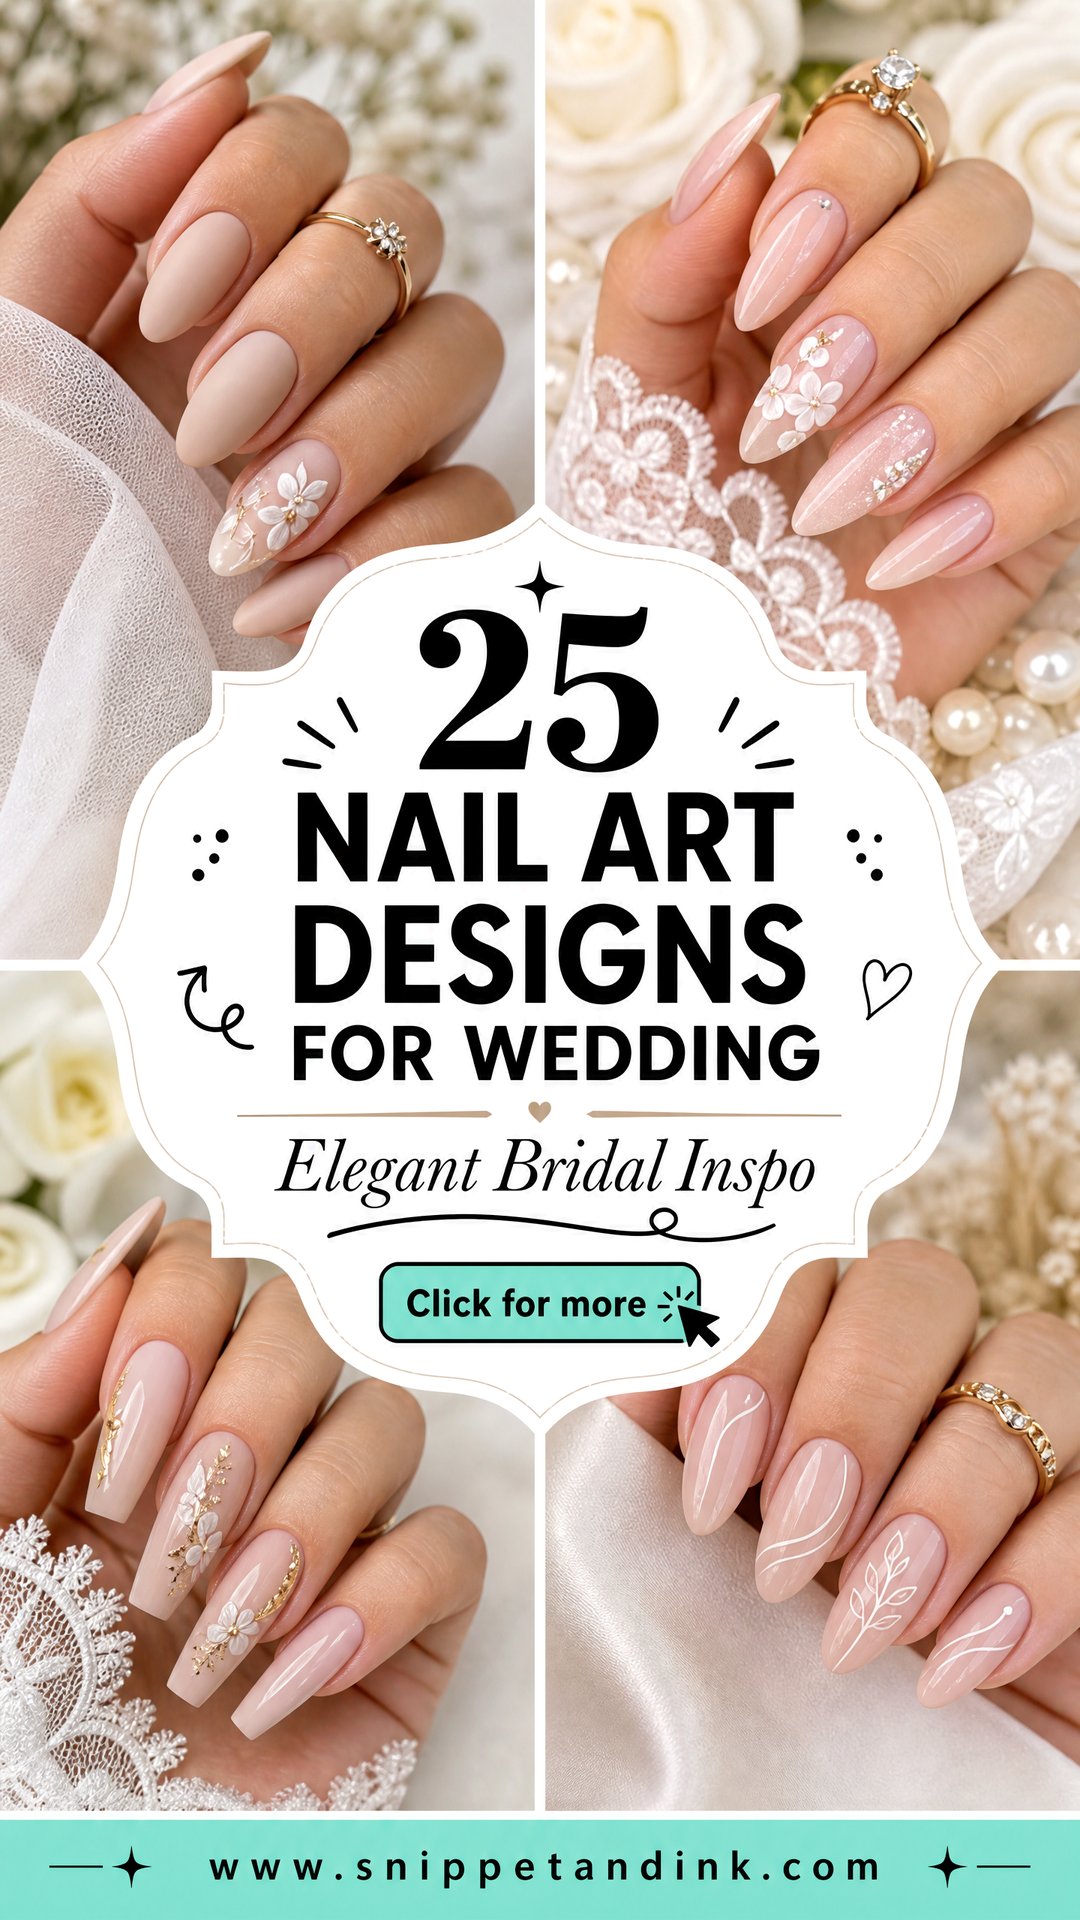
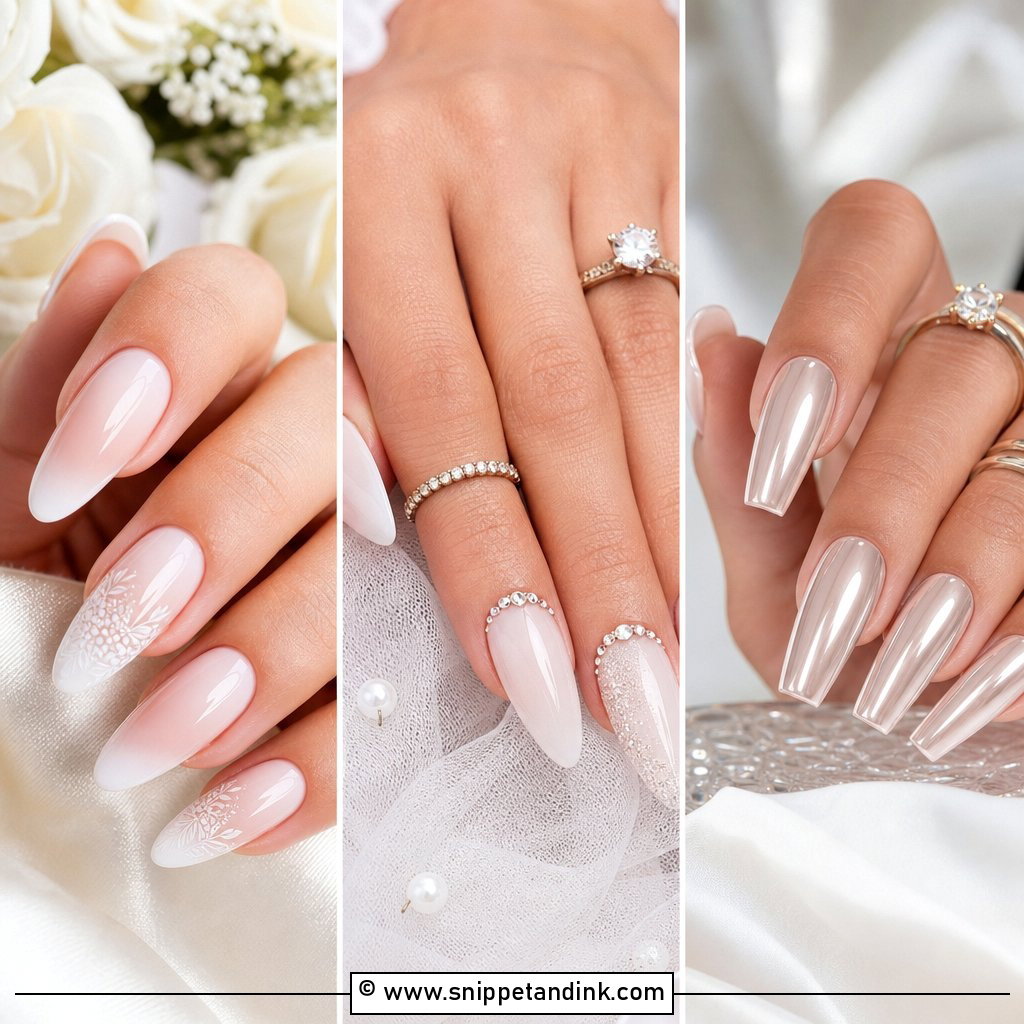
A bridal manicure gets photographed more closely than almost anything else you wear. Every ring shot, every bouquet hold and every hand-on-shoulder portrait puts your fingertips a few inches from a lens, so the design has to read cleanly at that distance and still sit quietly next to the dress. The sets I get asked for most right now are milky bases, slim French lines, pearl and chrome finishes, fine lace and small florals, but a wedding set does not have to be plain. These 25 wedding nail designs run from the classic to the slightly unexpected, with my notes on how each one wears, who it suits and where it tends to go wrong for brides, bridesmaids and guests.
Gel, Builder Gel or Press-Ons for a Wedding Week
Before we talk design, decide what the design sits on. Regular polish looks fine on day one but usually chips within a few days, and a wedding involves a lot of hand work: unpacking decor, hugging, fastening shoes. For most brides I recommend gel or builder gel, cured under a lamp, which typically lasts two to three weeks without lifting.
- Soak-off gel polish suits healthy natural nails and simple colour or French work.
- Builder gel adds a thin structured layer, which I use when nails are weak, bendy or need a little length evened out. It is also what holds pearls and stones securely.
- Soft gel extensions give length if your own nails are short, but they need a trial so you can live with them for a few days first.
- Press-ons are a sensible backup or a budget option for guests. Size them carefully; a tip that is too wide lifts at the sidewalls and shows in close-ups.
When to book the final appointment
I like the wedding set done one to three days before. That leaves time to fix a chip but not enough for visible regrowth. Have any cuticle work done at least a week earlier if your skin tends to redden, and oil your cuticles every night in between so they look soft rather than freshly trimmed in photos.
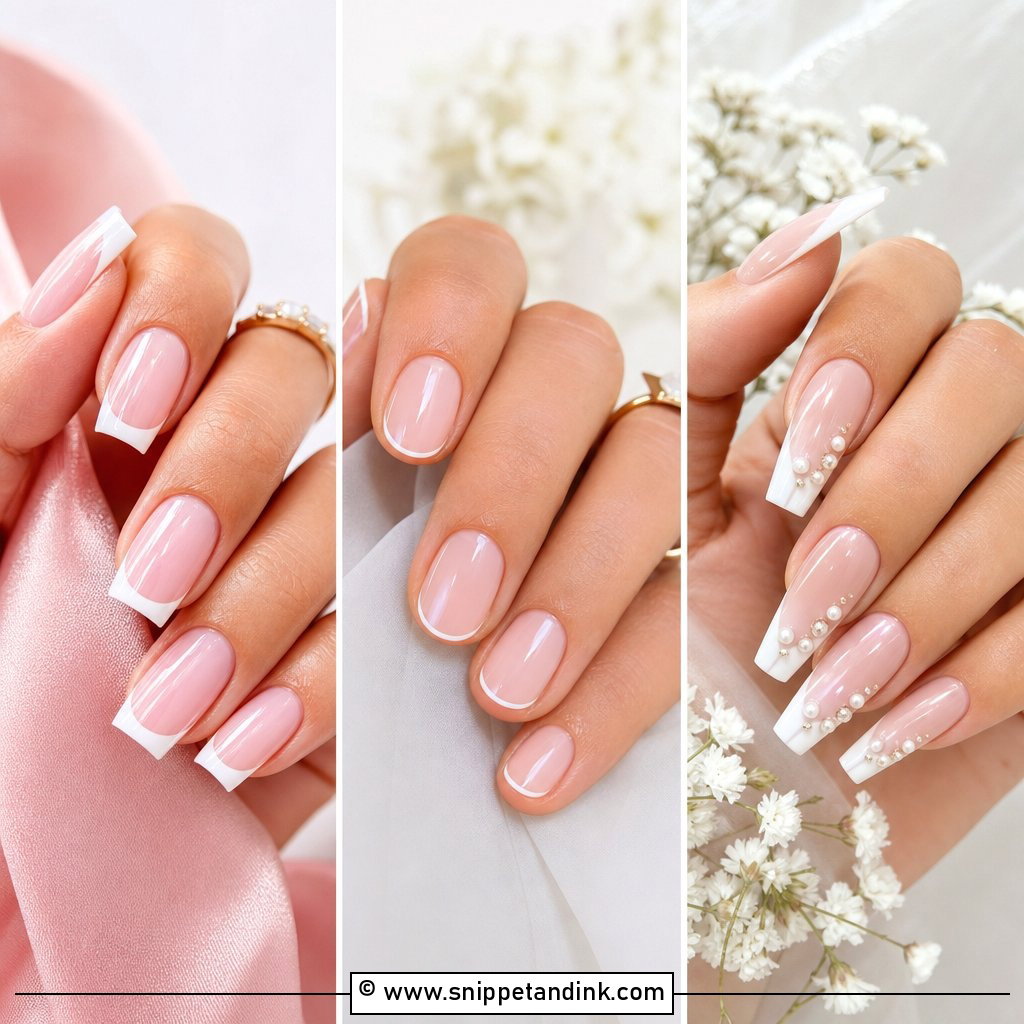
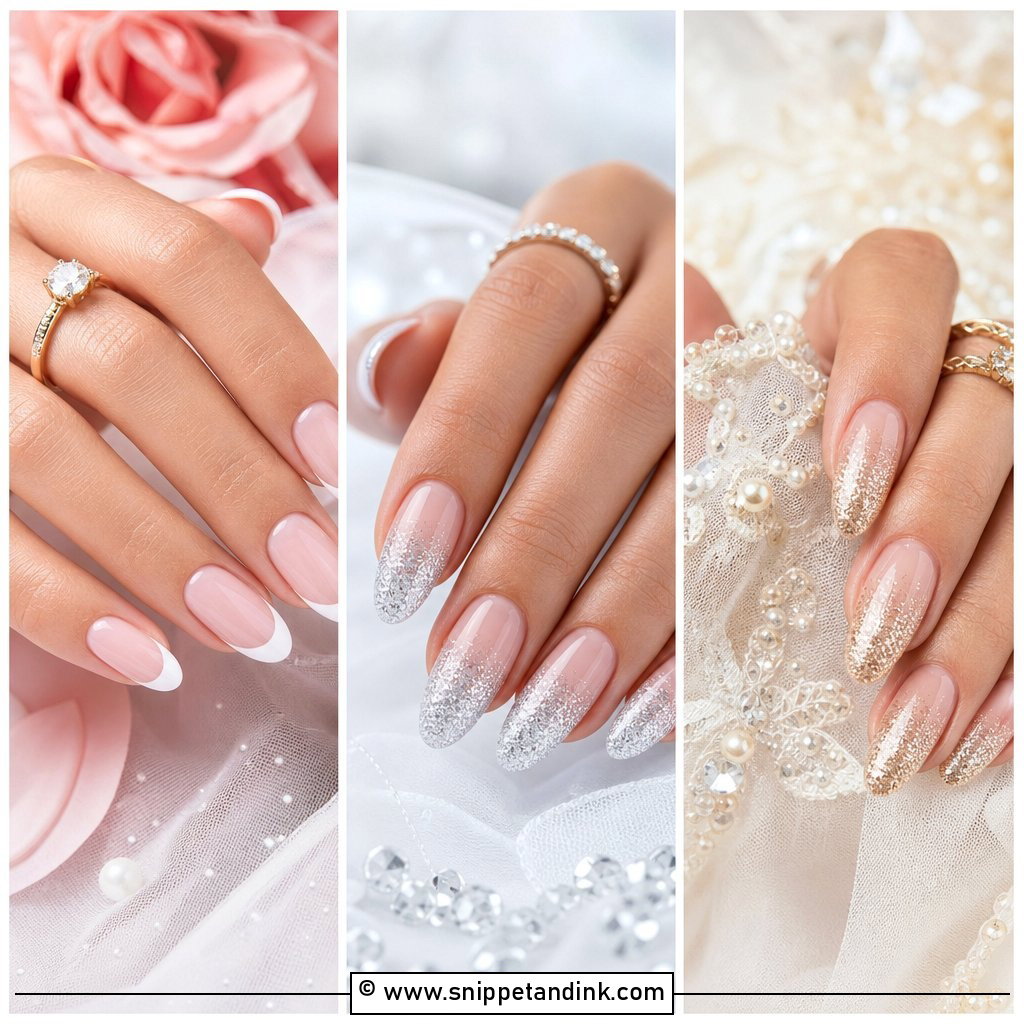
1. Classic French Tip Wedding Nails
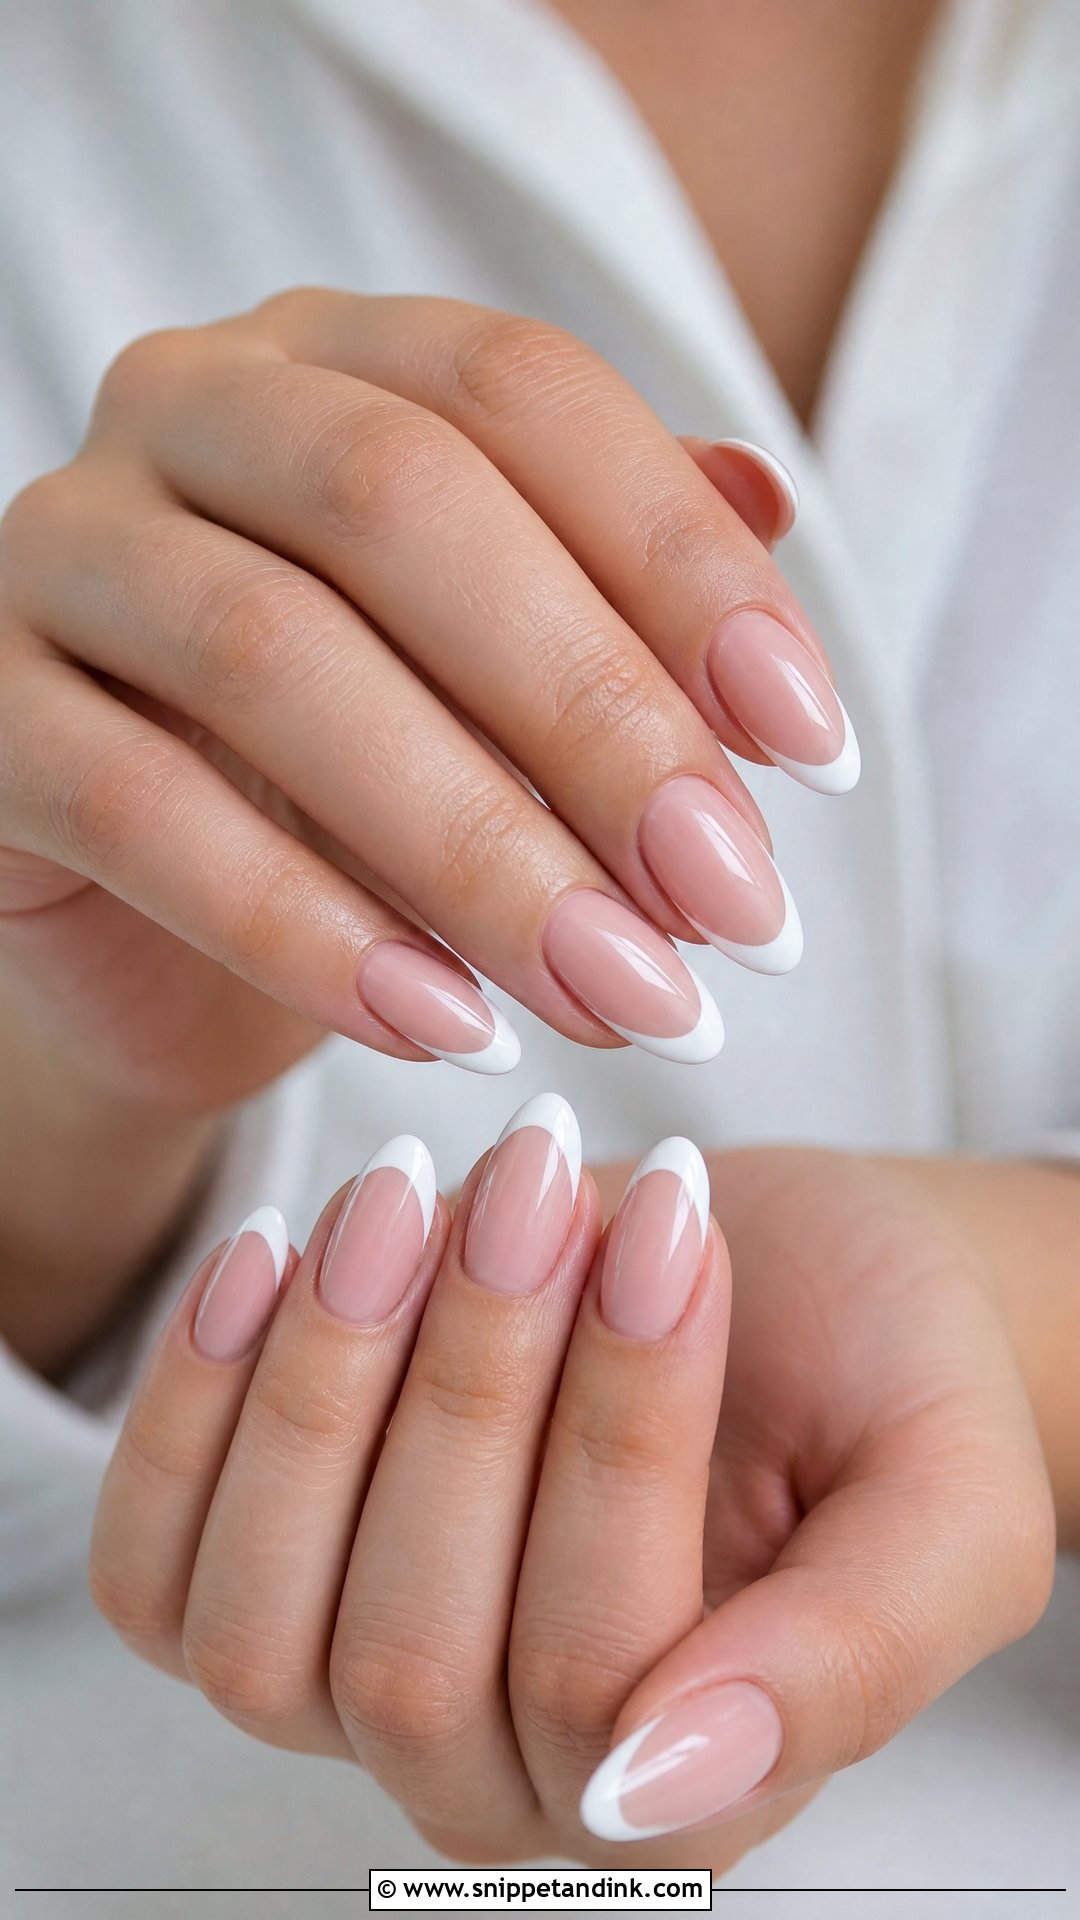
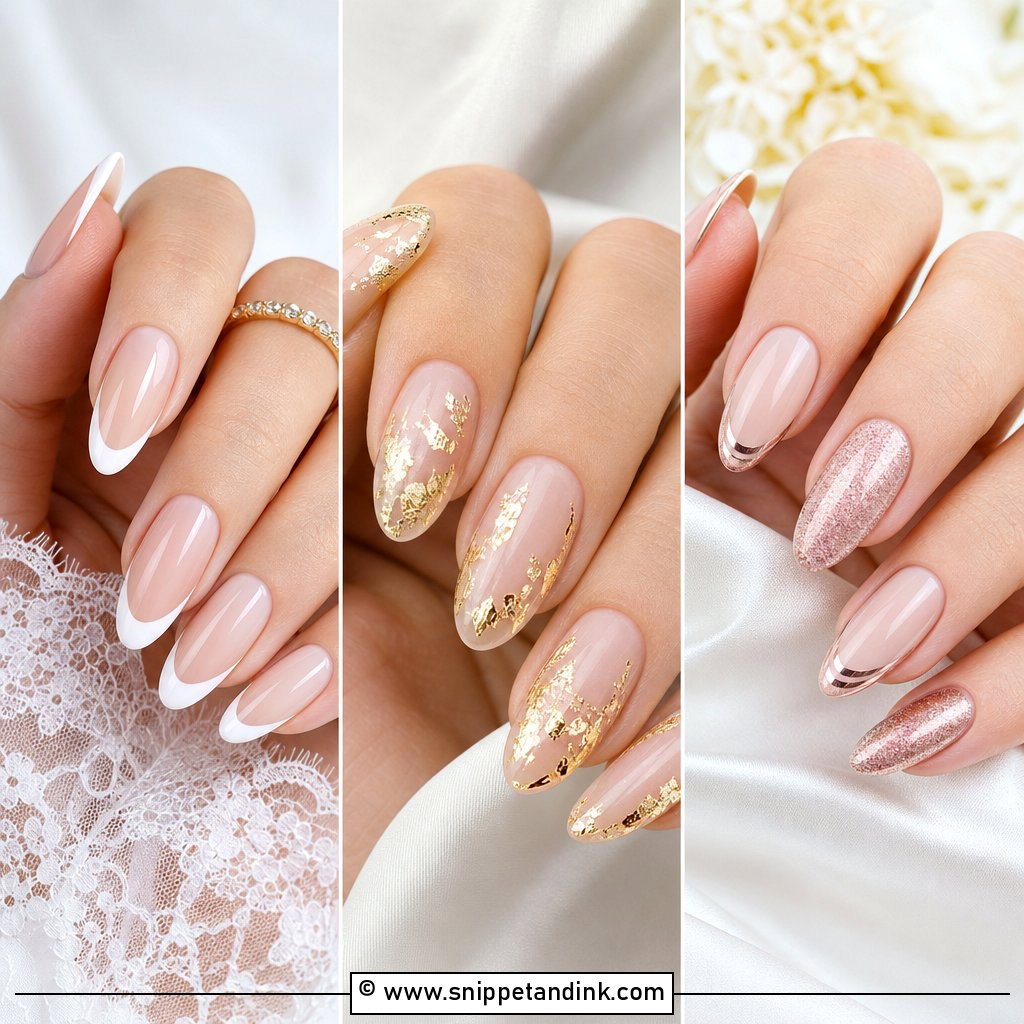
The French is still the set I do most often for brides, and the reason is practical: a pink or nude base with a white edge looks clean in a ring photo from any angle. What has changed is the smile line. A thick, opaque white tip can look chunky on camera, so I usually paint it thinner and keep the white slightly soft rather than stark. It sits well on almond, oval or a short squoval. The one thing I check first is the free edge: if your natural nails grow unevenly, I build the tip slightly with gel so the line matches across all ten.
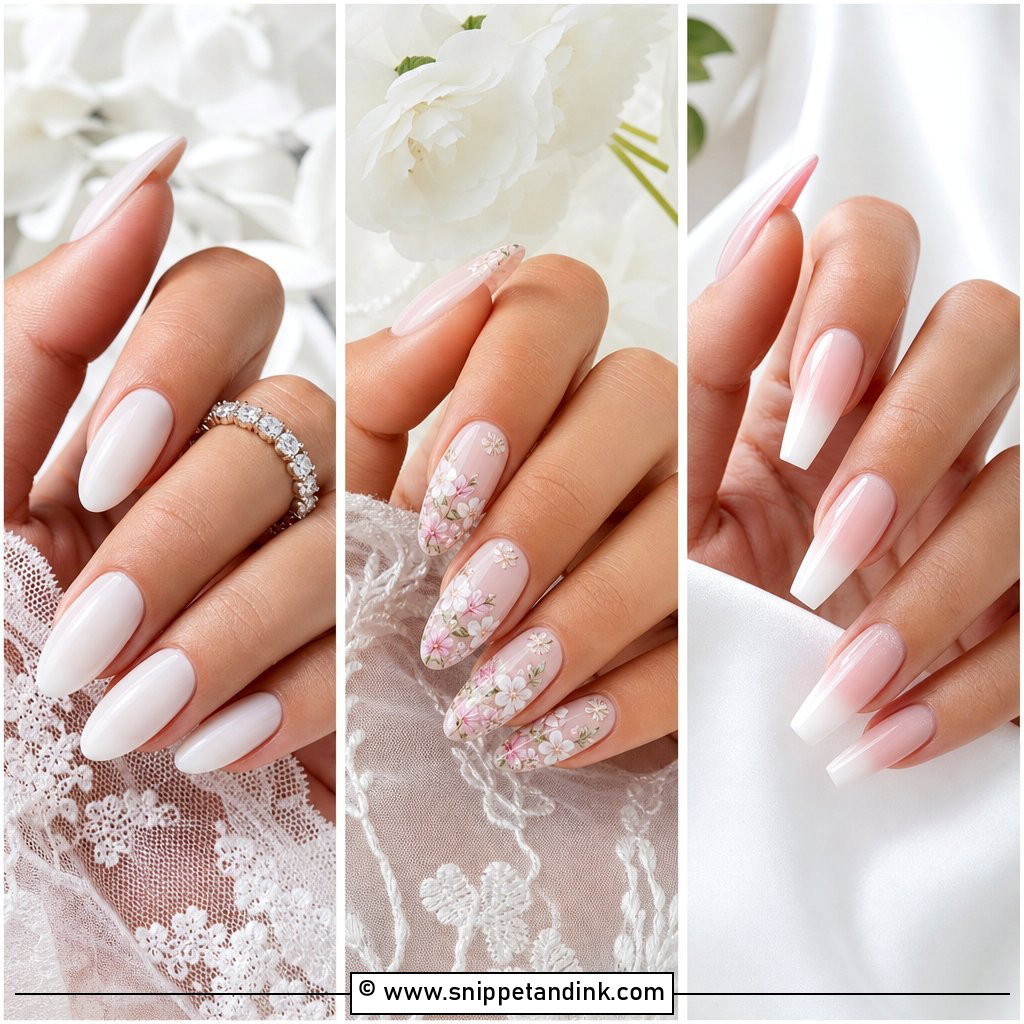
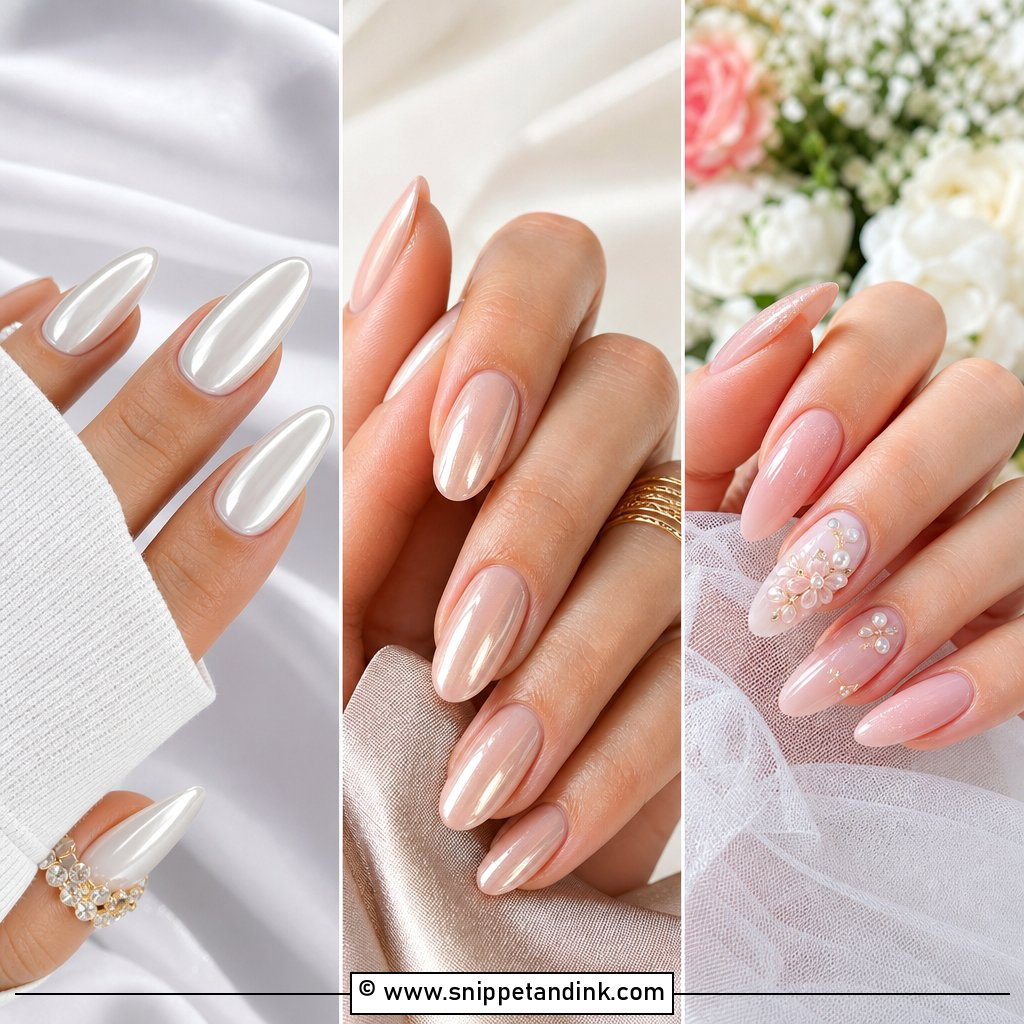
2. Milky White Wedding Nails
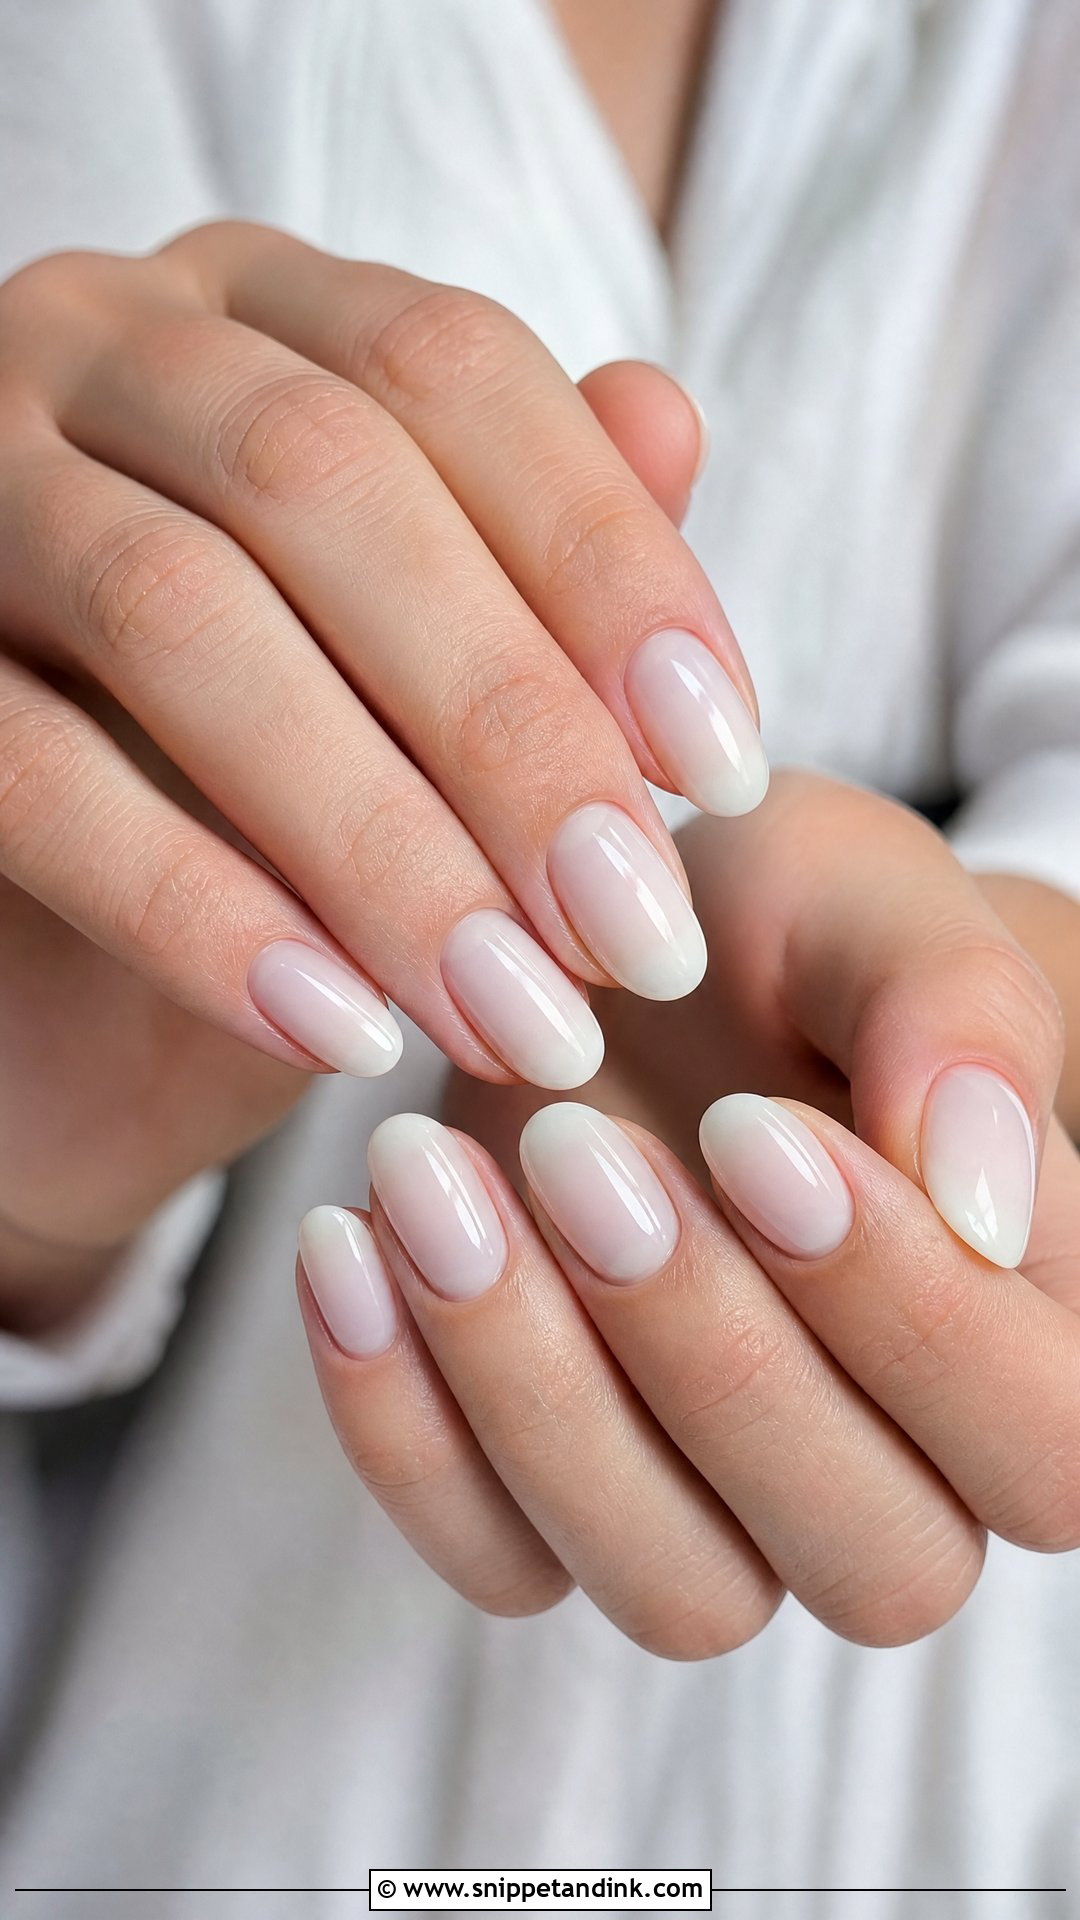
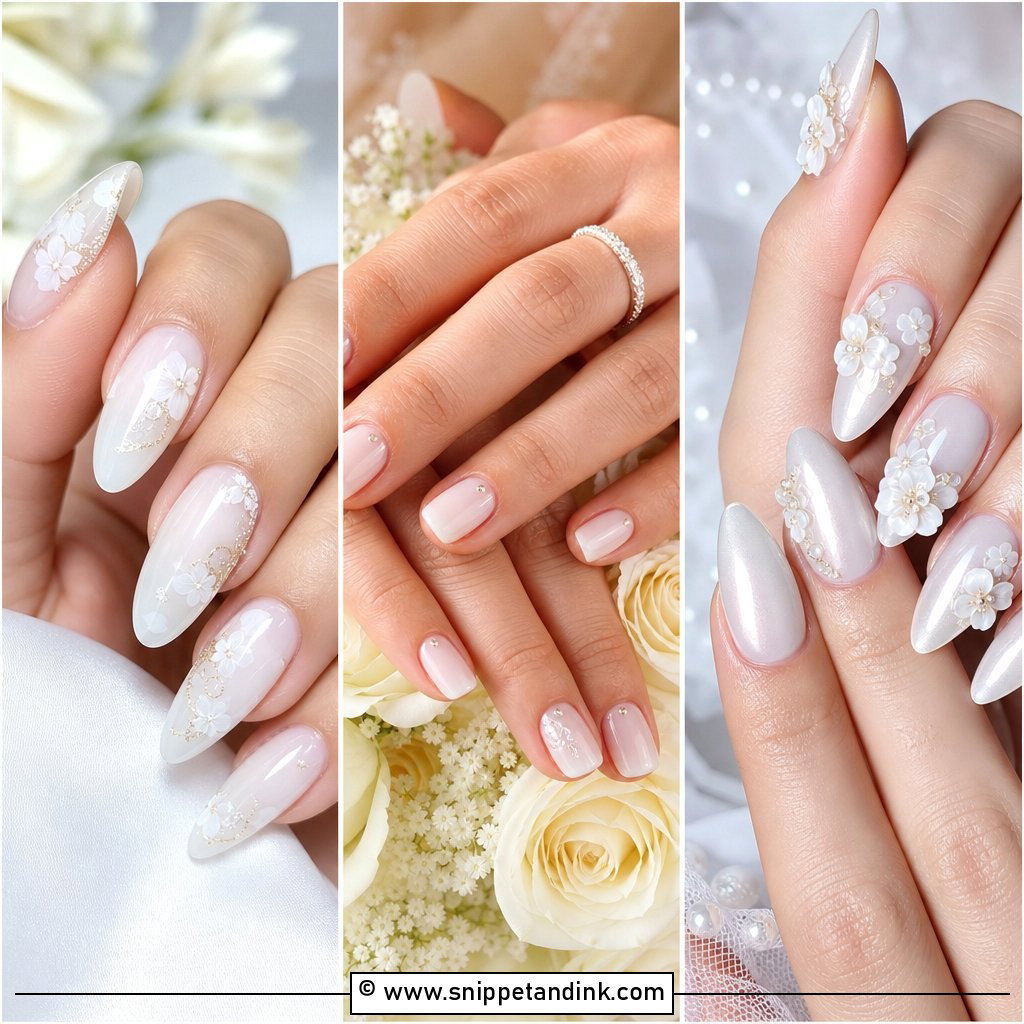
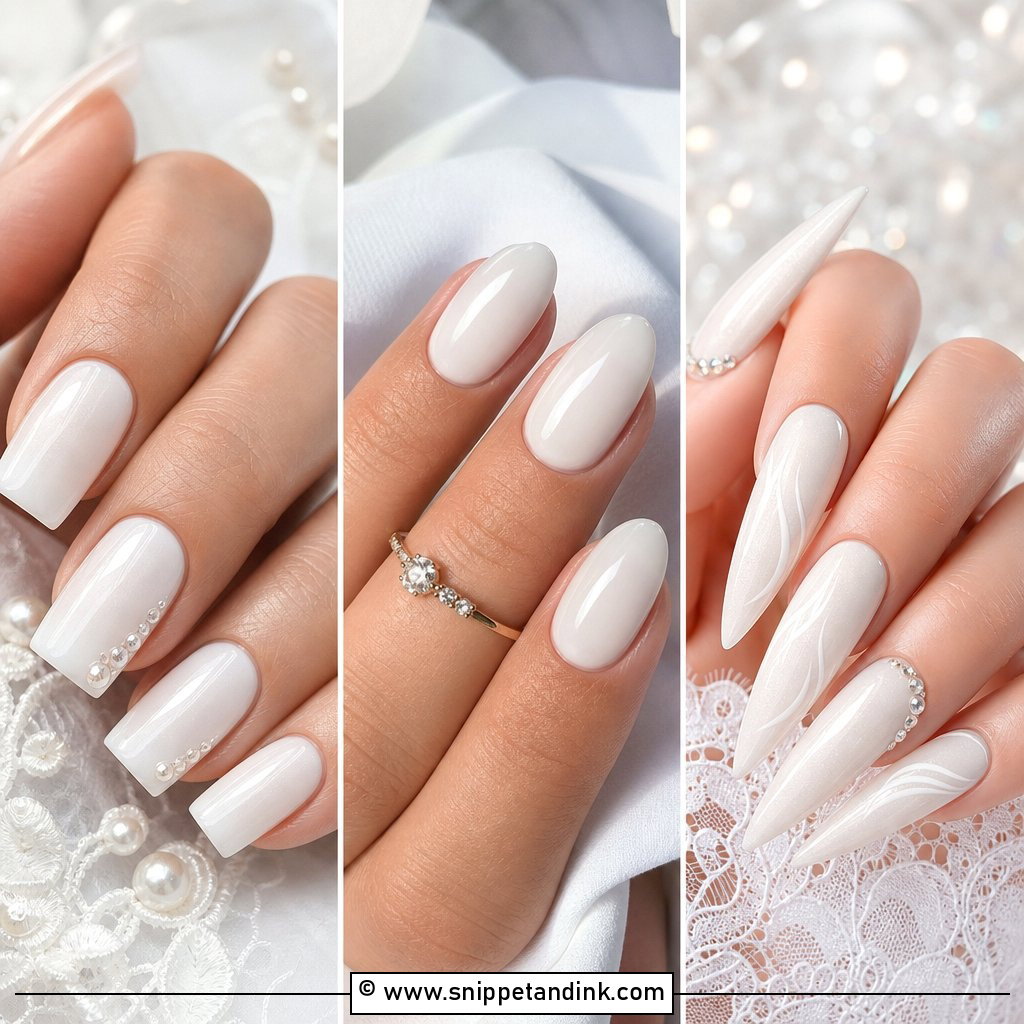
Milky white sits between sheer and opaque, which is why it suits ivory and champagne gowns better than a bright paper white does. Getting it right is about layers. Two thin coats of a milky gel give that glassy, see-through-at-the-edges look; three coats start to look like correction fluid. I like it on almond or oval, and if you want a bit of candlelight glow, one very fine shimmer layer underneath the top coat is enough.
3. Baby Pink Wedding Nails
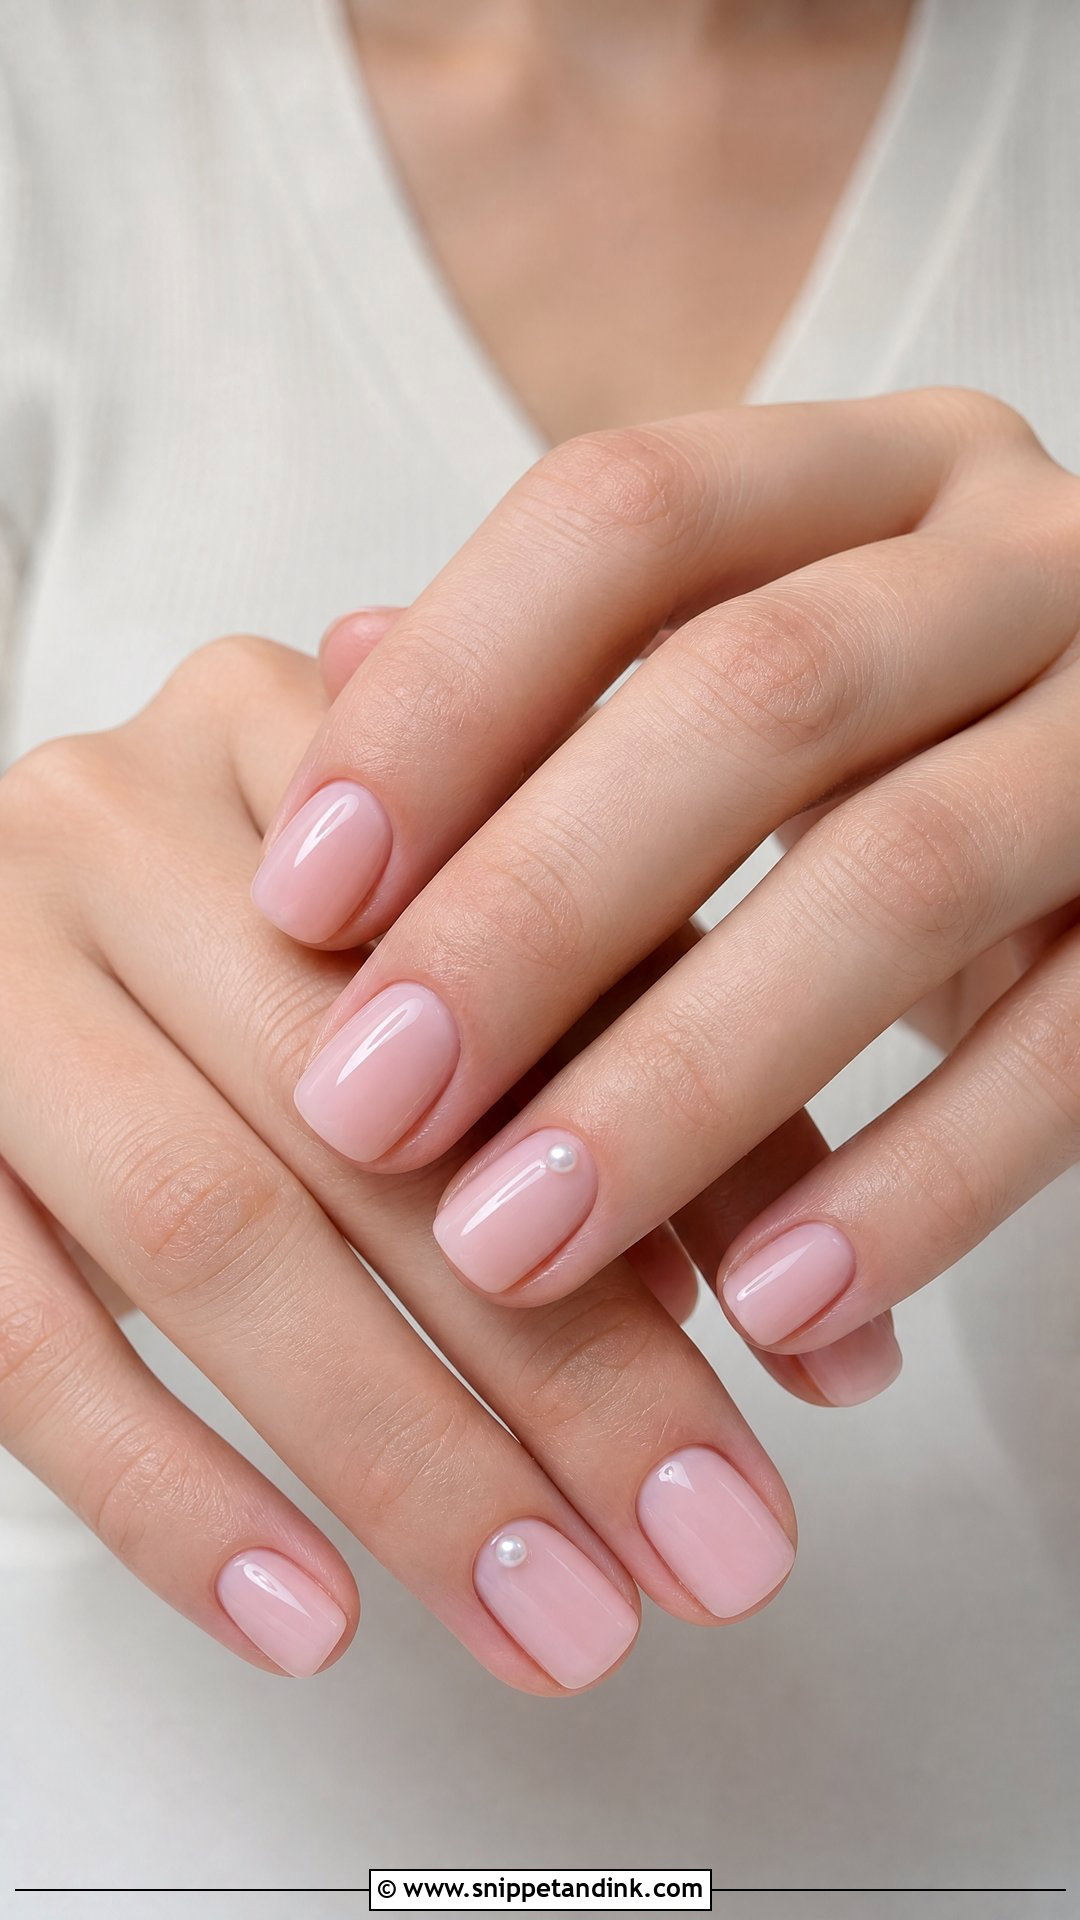
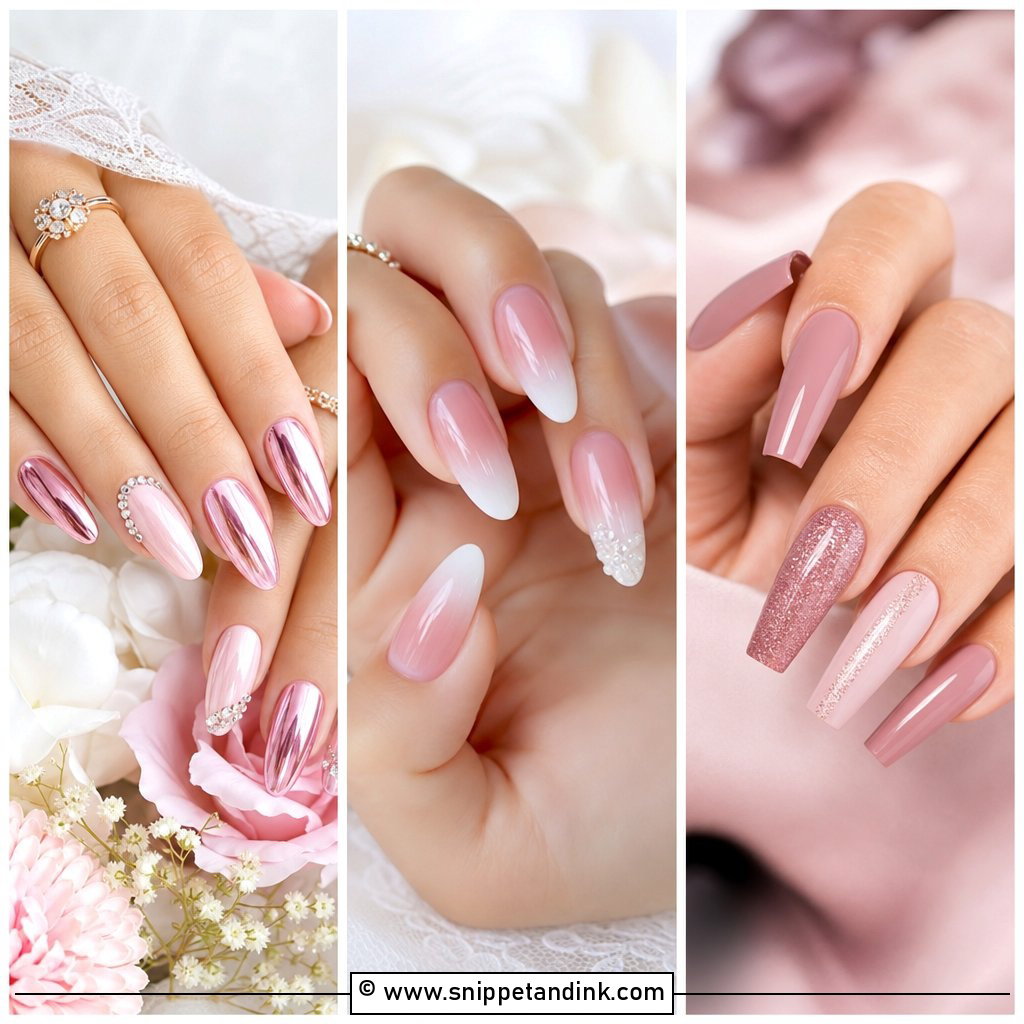
Baby pink is the set I suggest to brides who usually wear clear polish and feel nervous about anything more. A sheer pink evens out redness around the nail bed and makes hands look rested, which matters more than people expect in close-ups. If your nail beds are stained or ridged, go one step creamier for coverage. A thin white line or a single pearl is all the art it needs, and it carries over to bridesmaids without competing with the bride.
4. Nude Chrome Wedding Nails
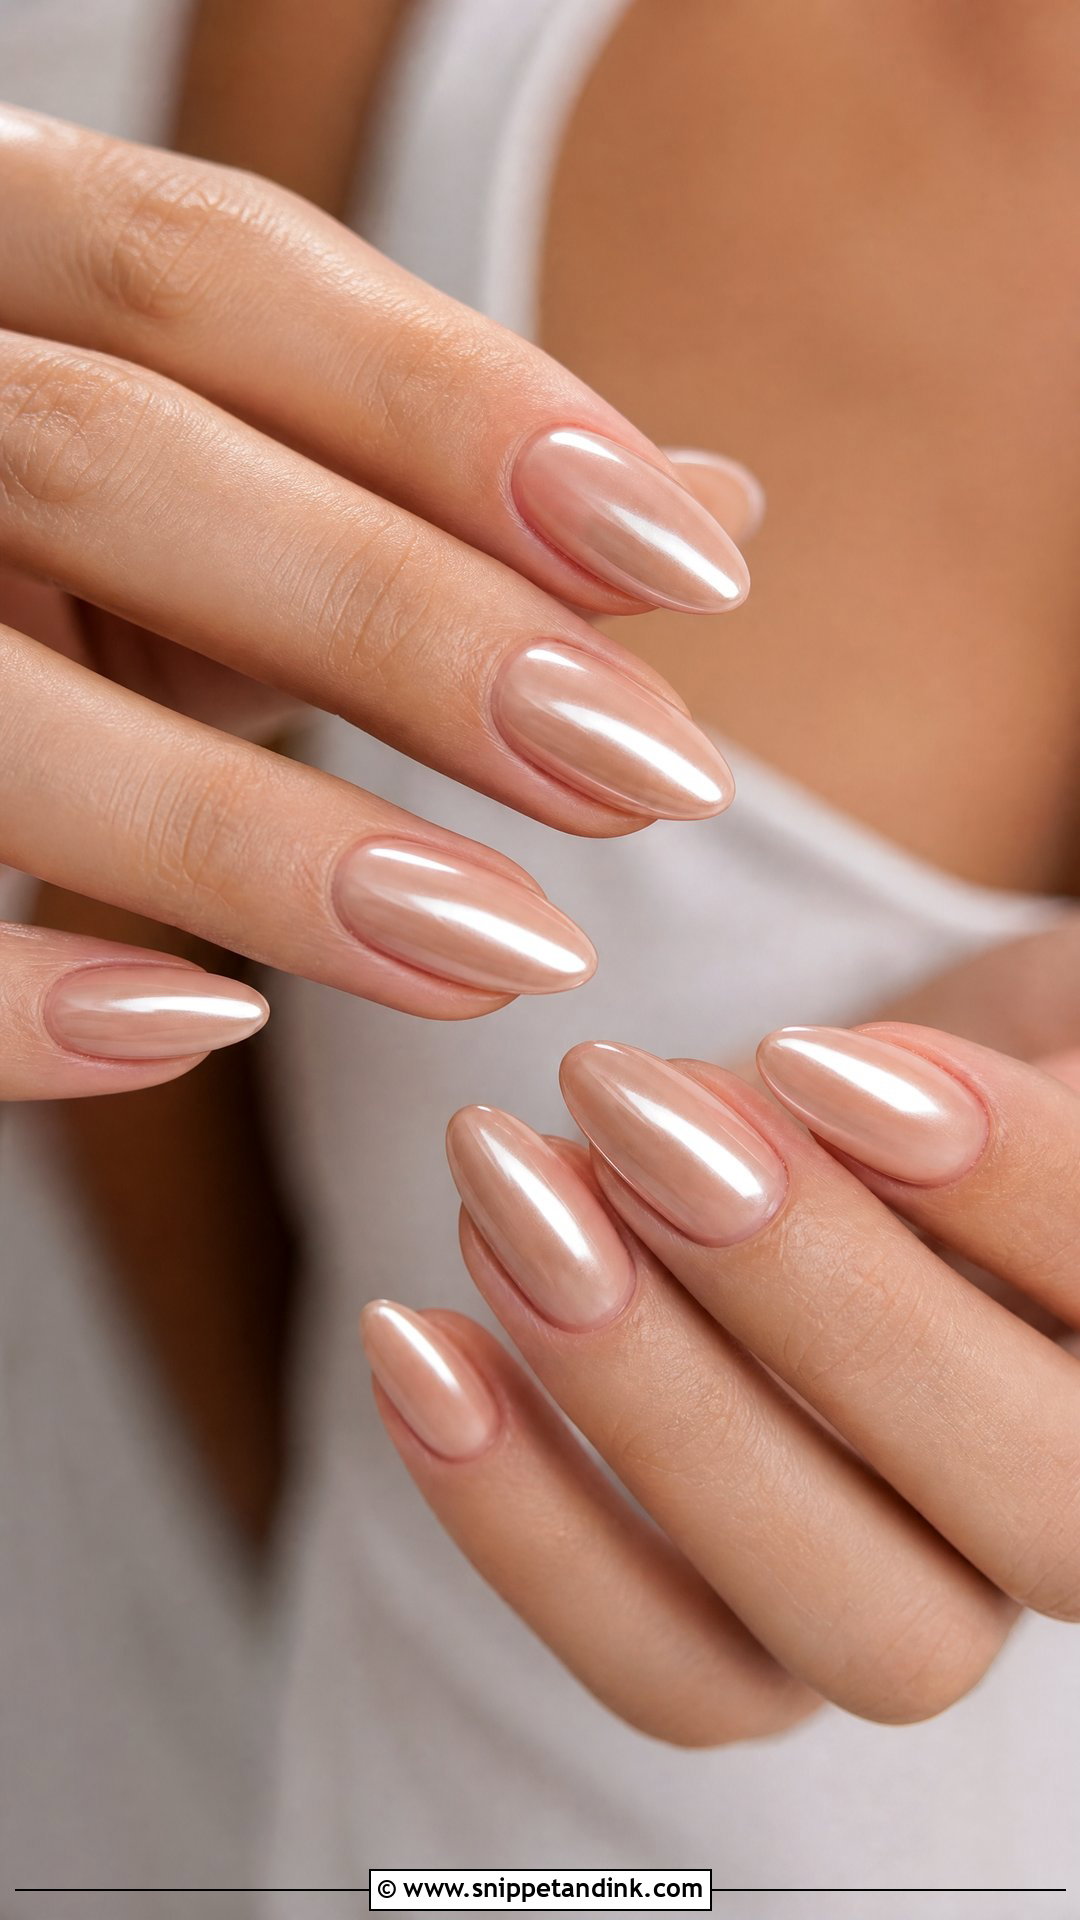
Chrome powder is rubbed into a no-wipe top coat, then sealed, and the result reflects light in a way regular shimmer cannot. On a nude base it reads as a soft sheen rather than a mirror. For brides I steer toward pearl, champagne or pale pink chrome; silver chrome on a nude can look grey under flash. The finish shows best on almond and coffin shapes because the longer surface catches more light, though it suits short nails too. One caution: chrome highlights every bump, so the base has to be built perfectly smooth first.
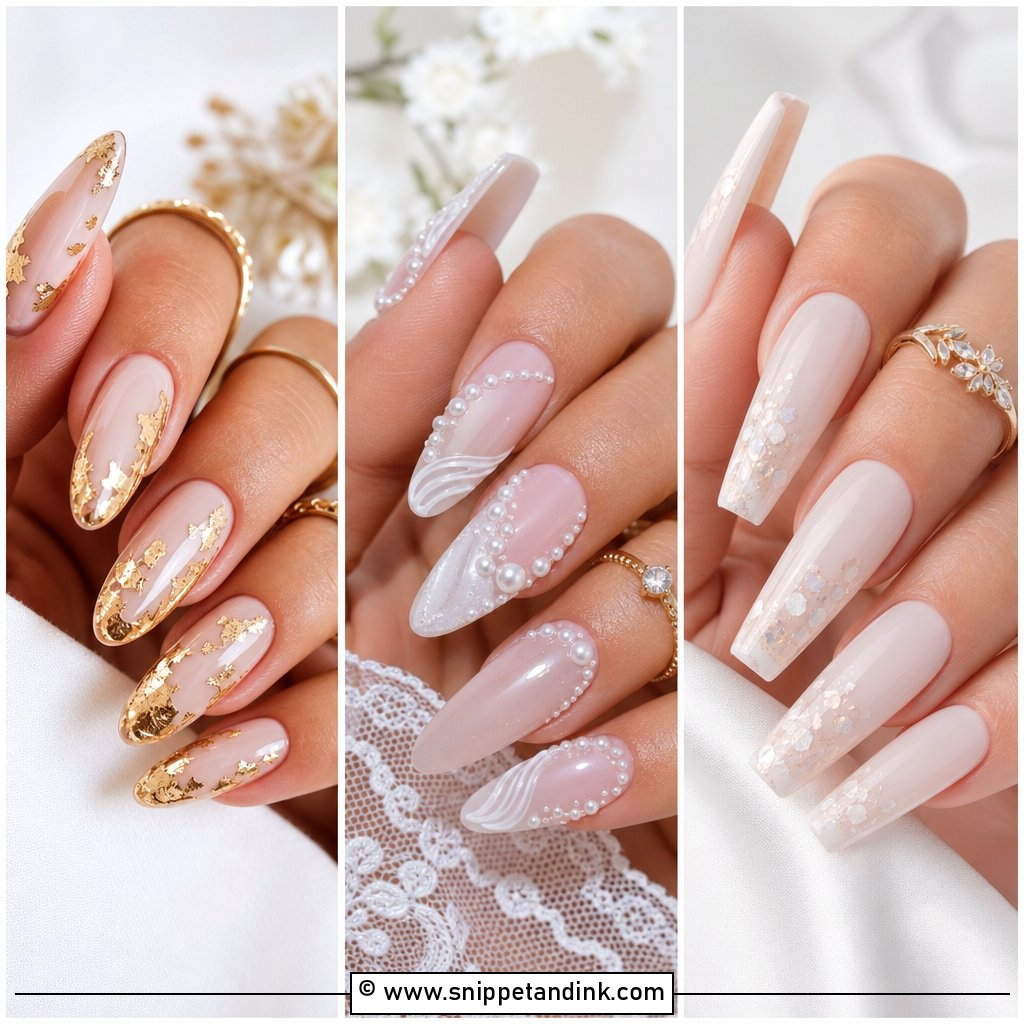
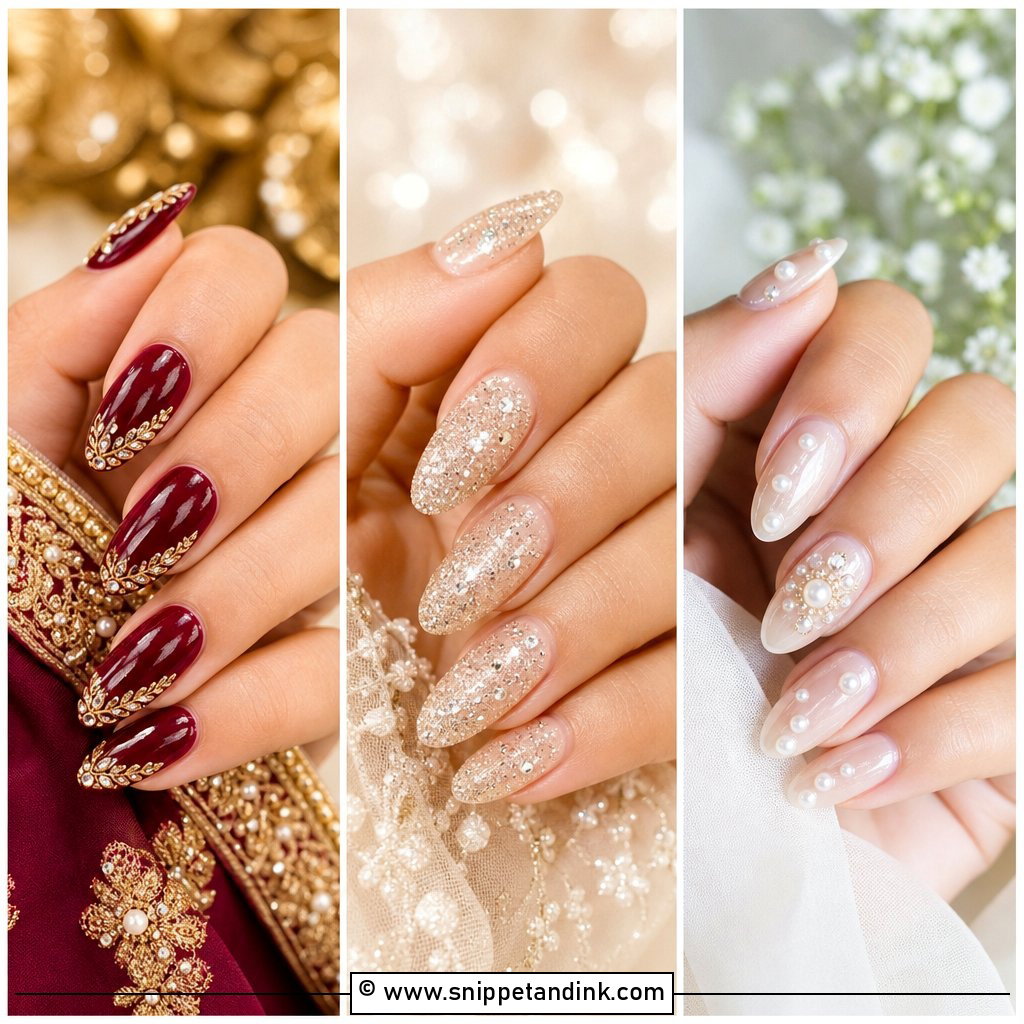
5. Pearl Accent Wedding Nails
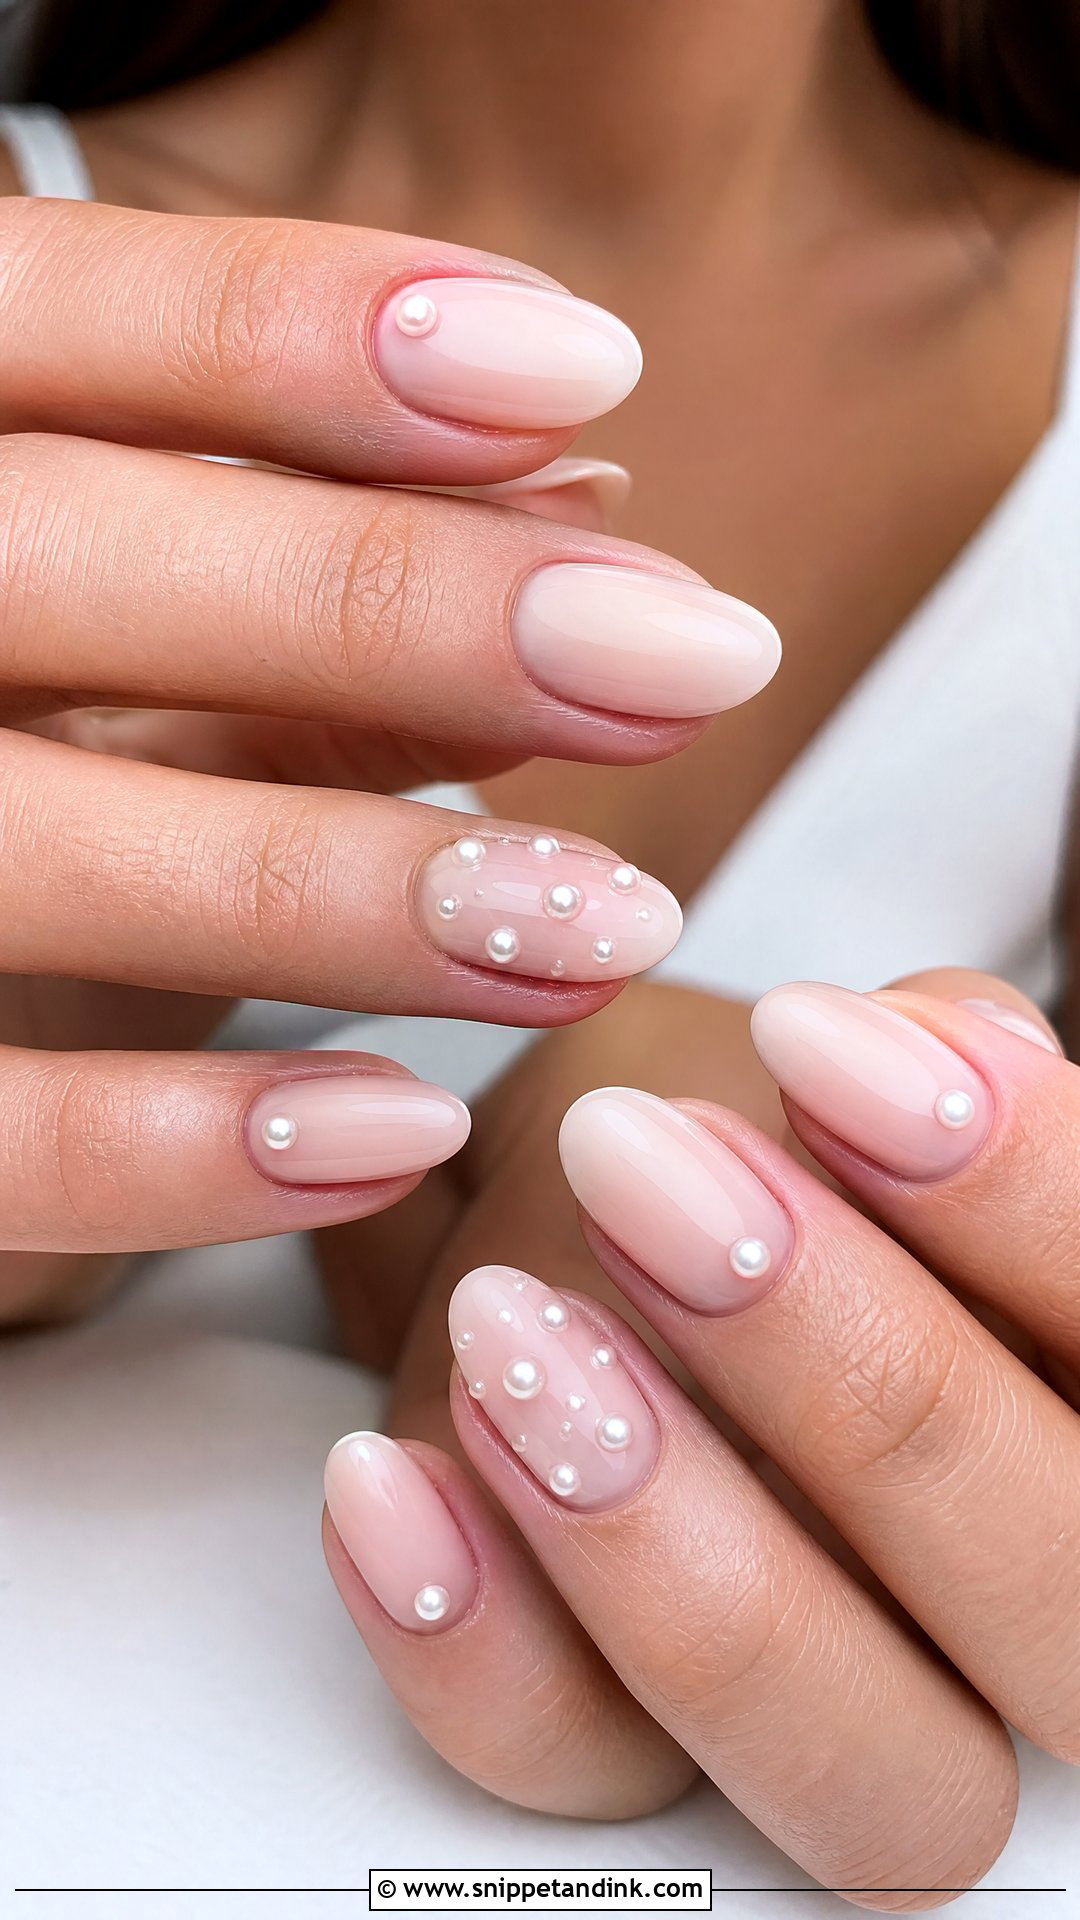
Pearls are where a wedding set most often fails on the day. Large round pearls catch on veil tulle, lace sleeves and hair, and they can pop off when you open a champagne bottle or pull a zip. I use small flat-back pearls, seat each one in a pool of thick builder gel and cap them so no edge is exposed. Place them near the cuticle, along the tip or on one or two feature nails over a nude, milky or sheer pink base. Medium almond, oval or squoval shapes balance the raised texture best.
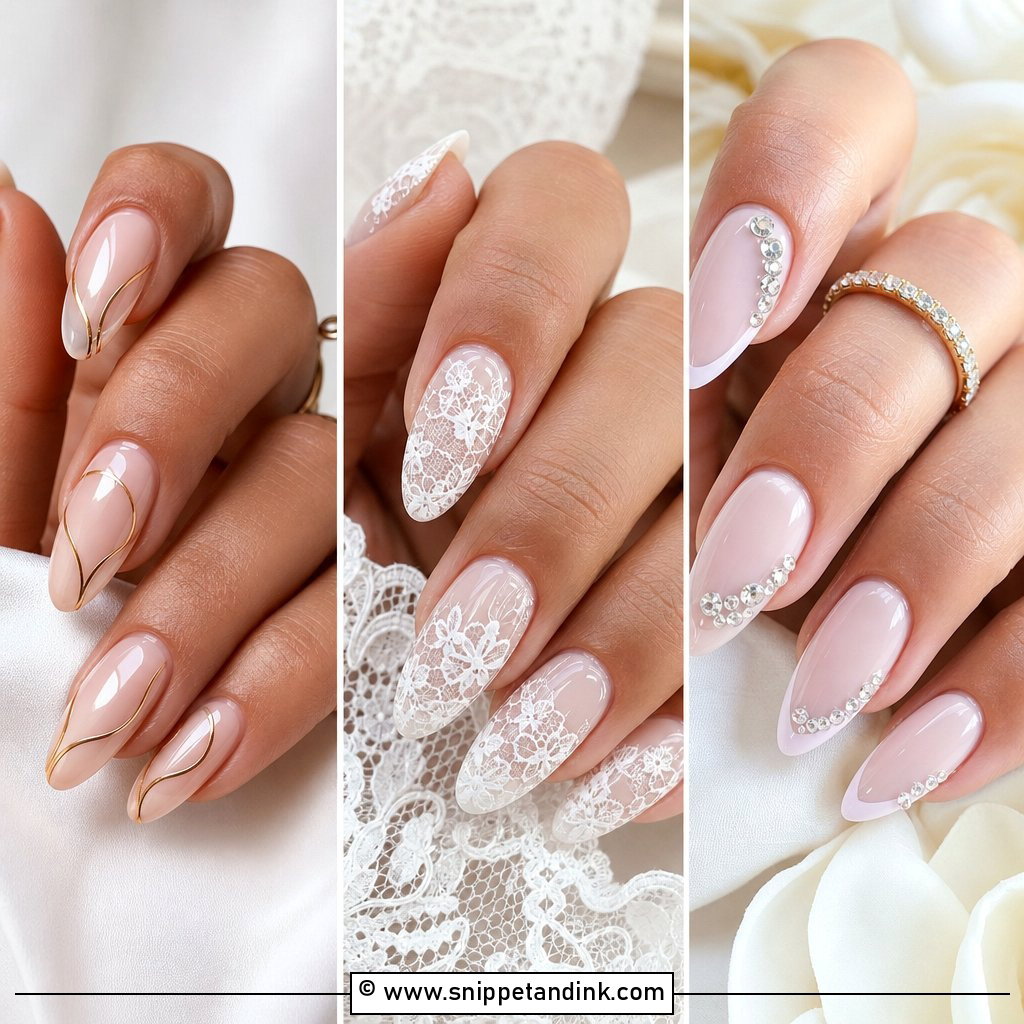
6. Lace Wedding Nails
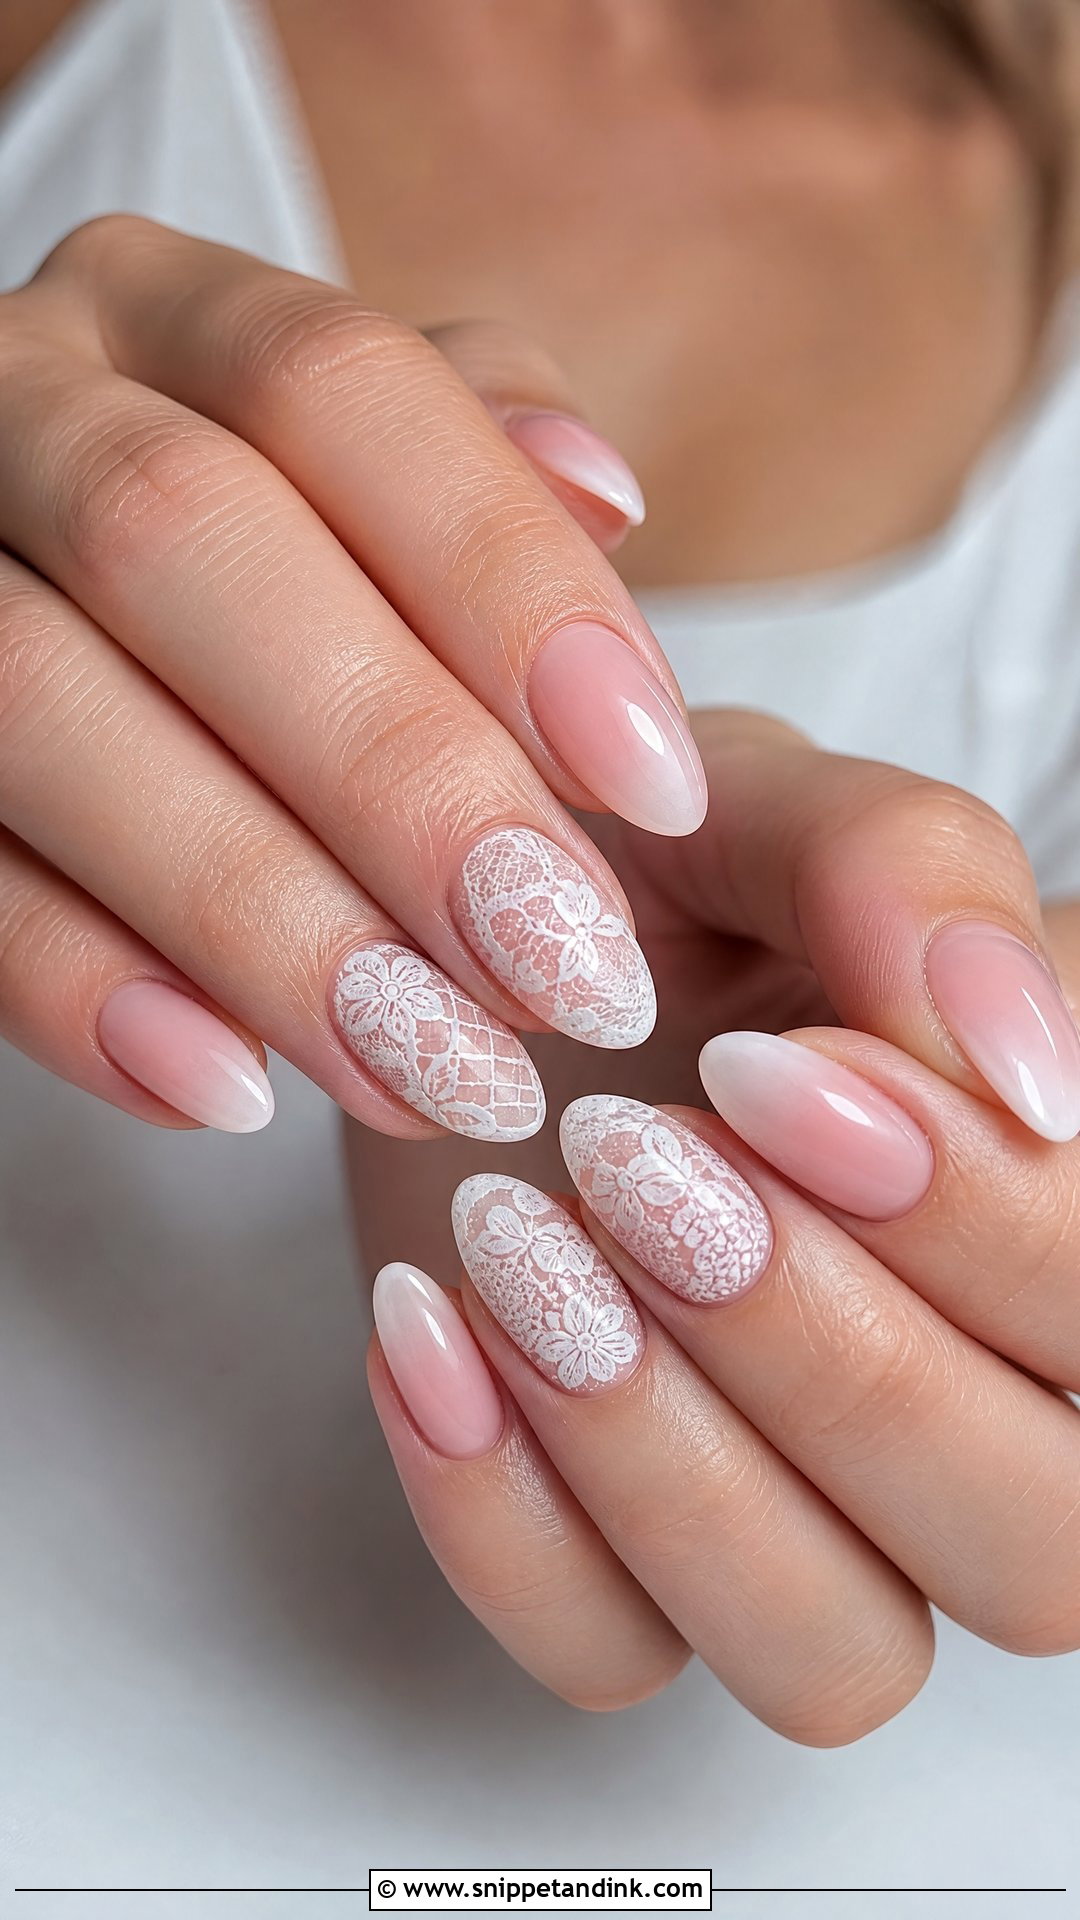
Lace is my favourite way to echo the dress, but it only works when the pattern is fine. I paint it with a thin liner brush over a sheer pink, nude or milky base, or use lace-pattern stamping for very even repeats. Bring a close photo of your actual lace, because a floral Chantilly and a geometric guipure need completely different brushwork. Two accent nails are plenty; a full set of lace reads as busy from a few feet away. Almond and oval soften the pattern, while square gives it a crisper look.
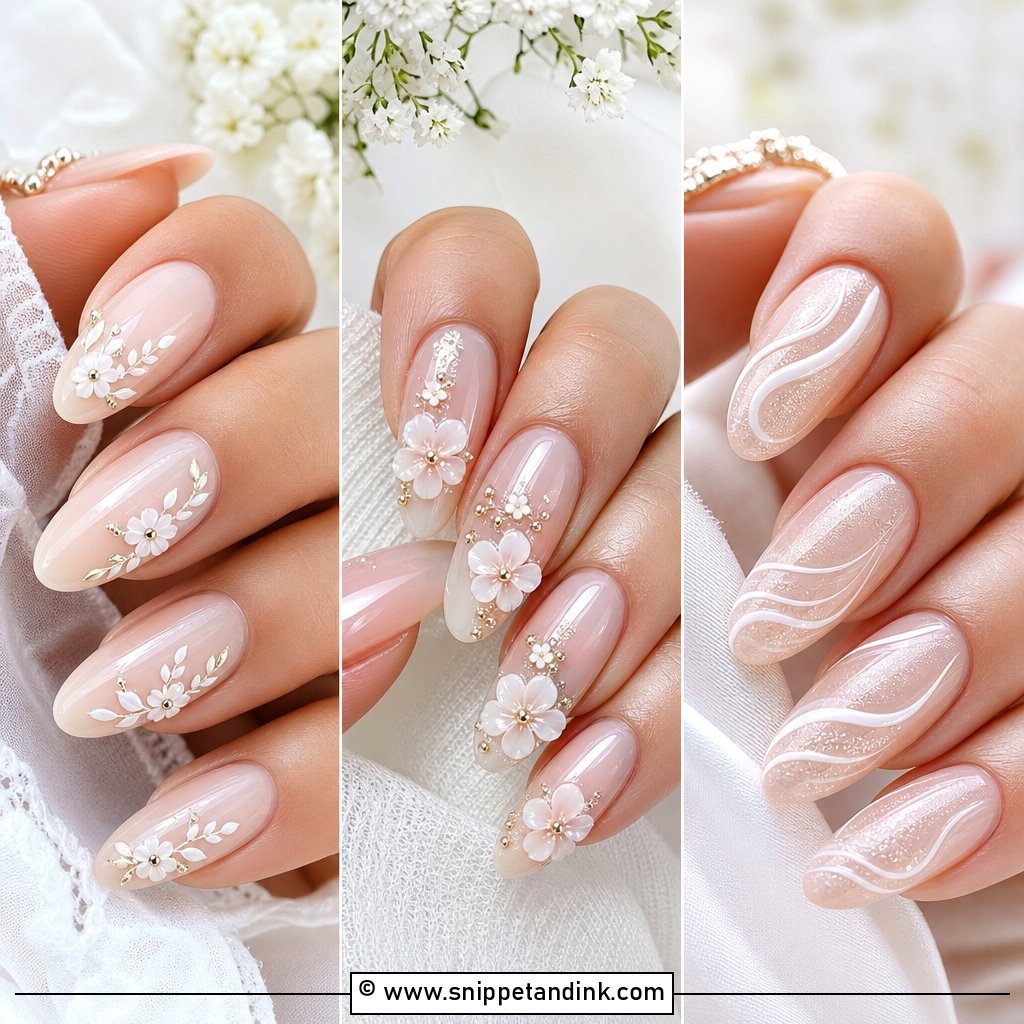
7. White Floral Wedding Nails
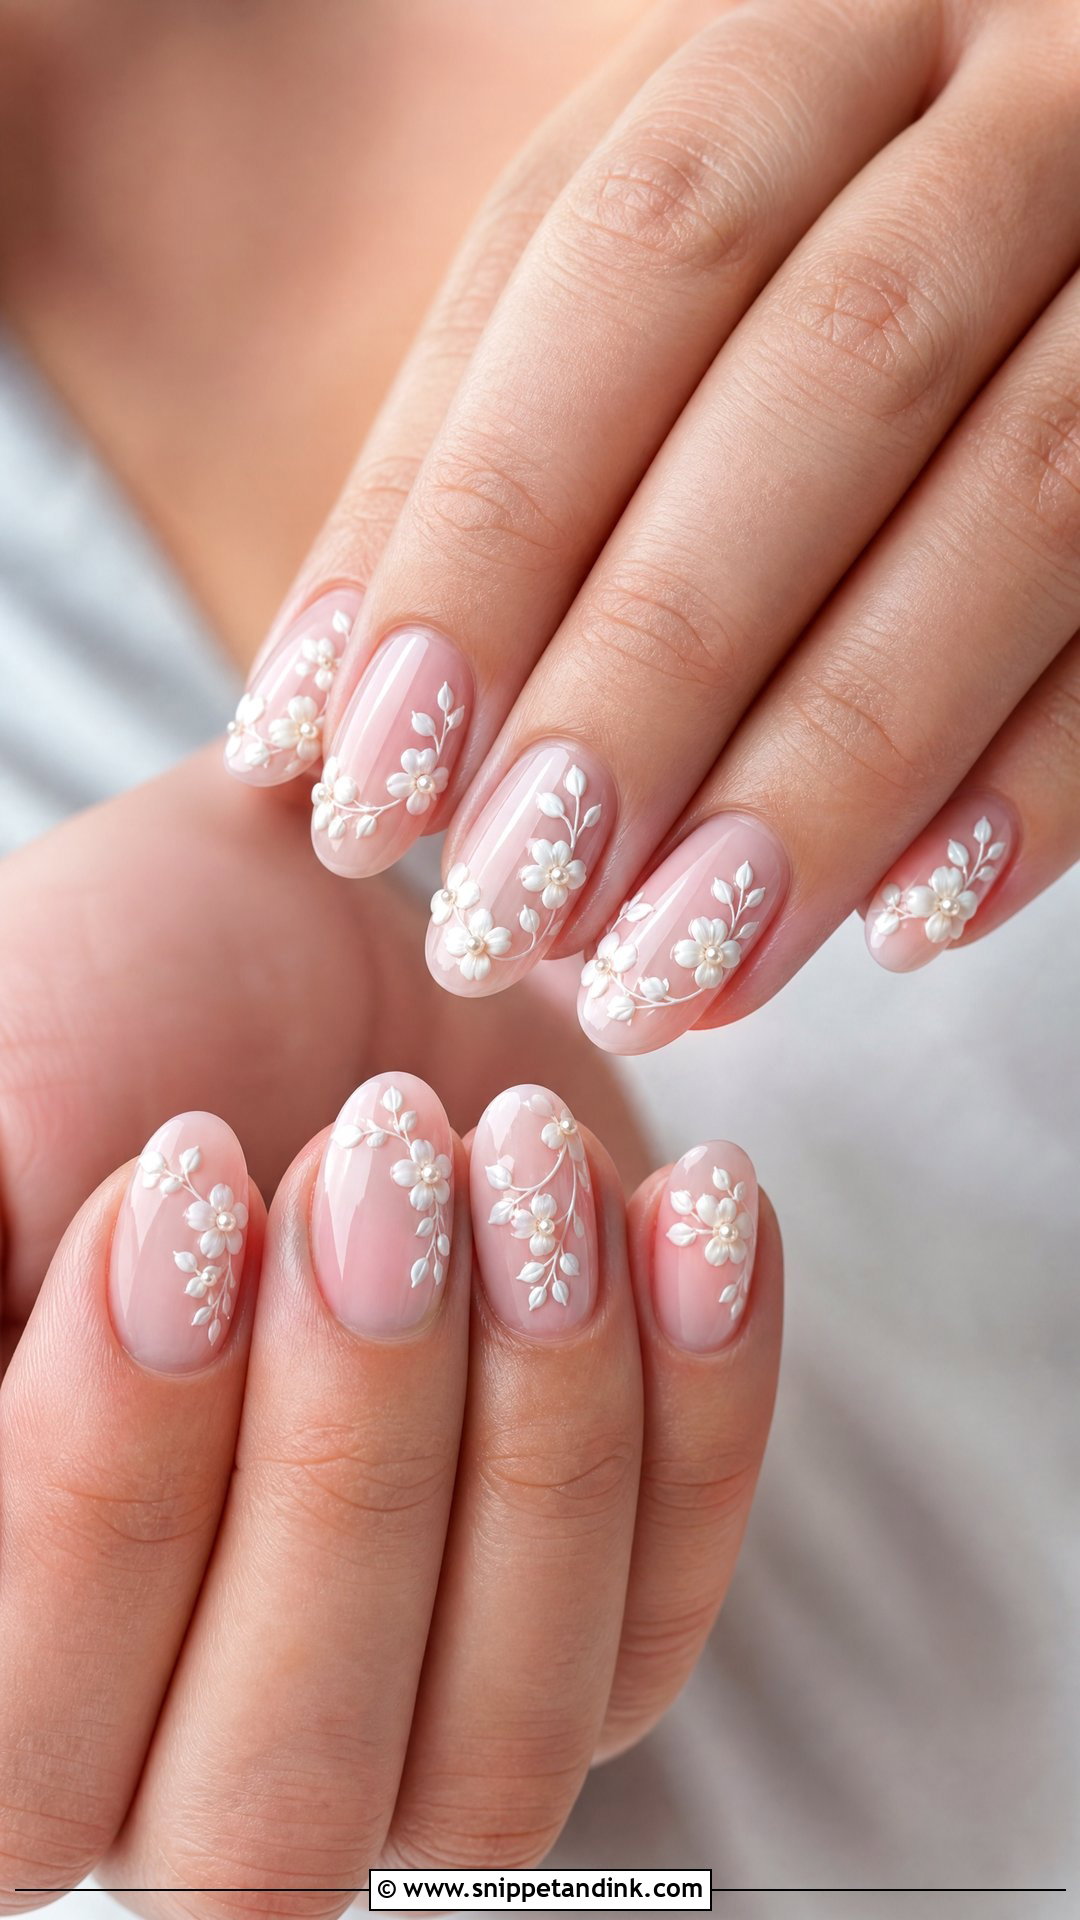
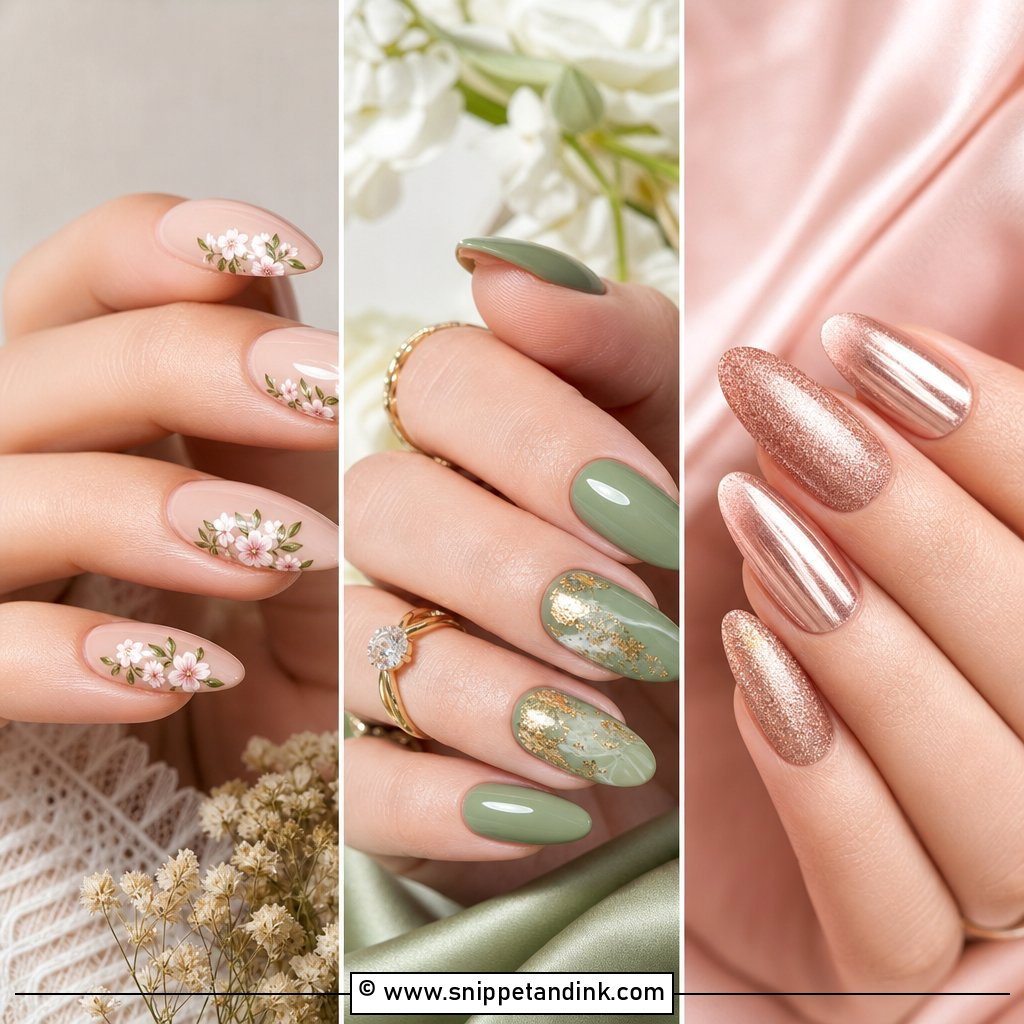
Small white flowers suit garden ceremonies and spring or summer dates, and they are one of the few art styles that look right on short natural nails. I keep the petals spaced out on a sheer pink, nude or milky base rather than packing every nail. A dot of gold or a micro pearl in the centre gives each flower depth. If you are tempted to match your bouquet exactly, send me a photo of the florist mock-up: daisies and roses need different strokes, and a loose abstract petal often photographs cleaner than a realistic one.
8. Blush Ombre Wedding Nails
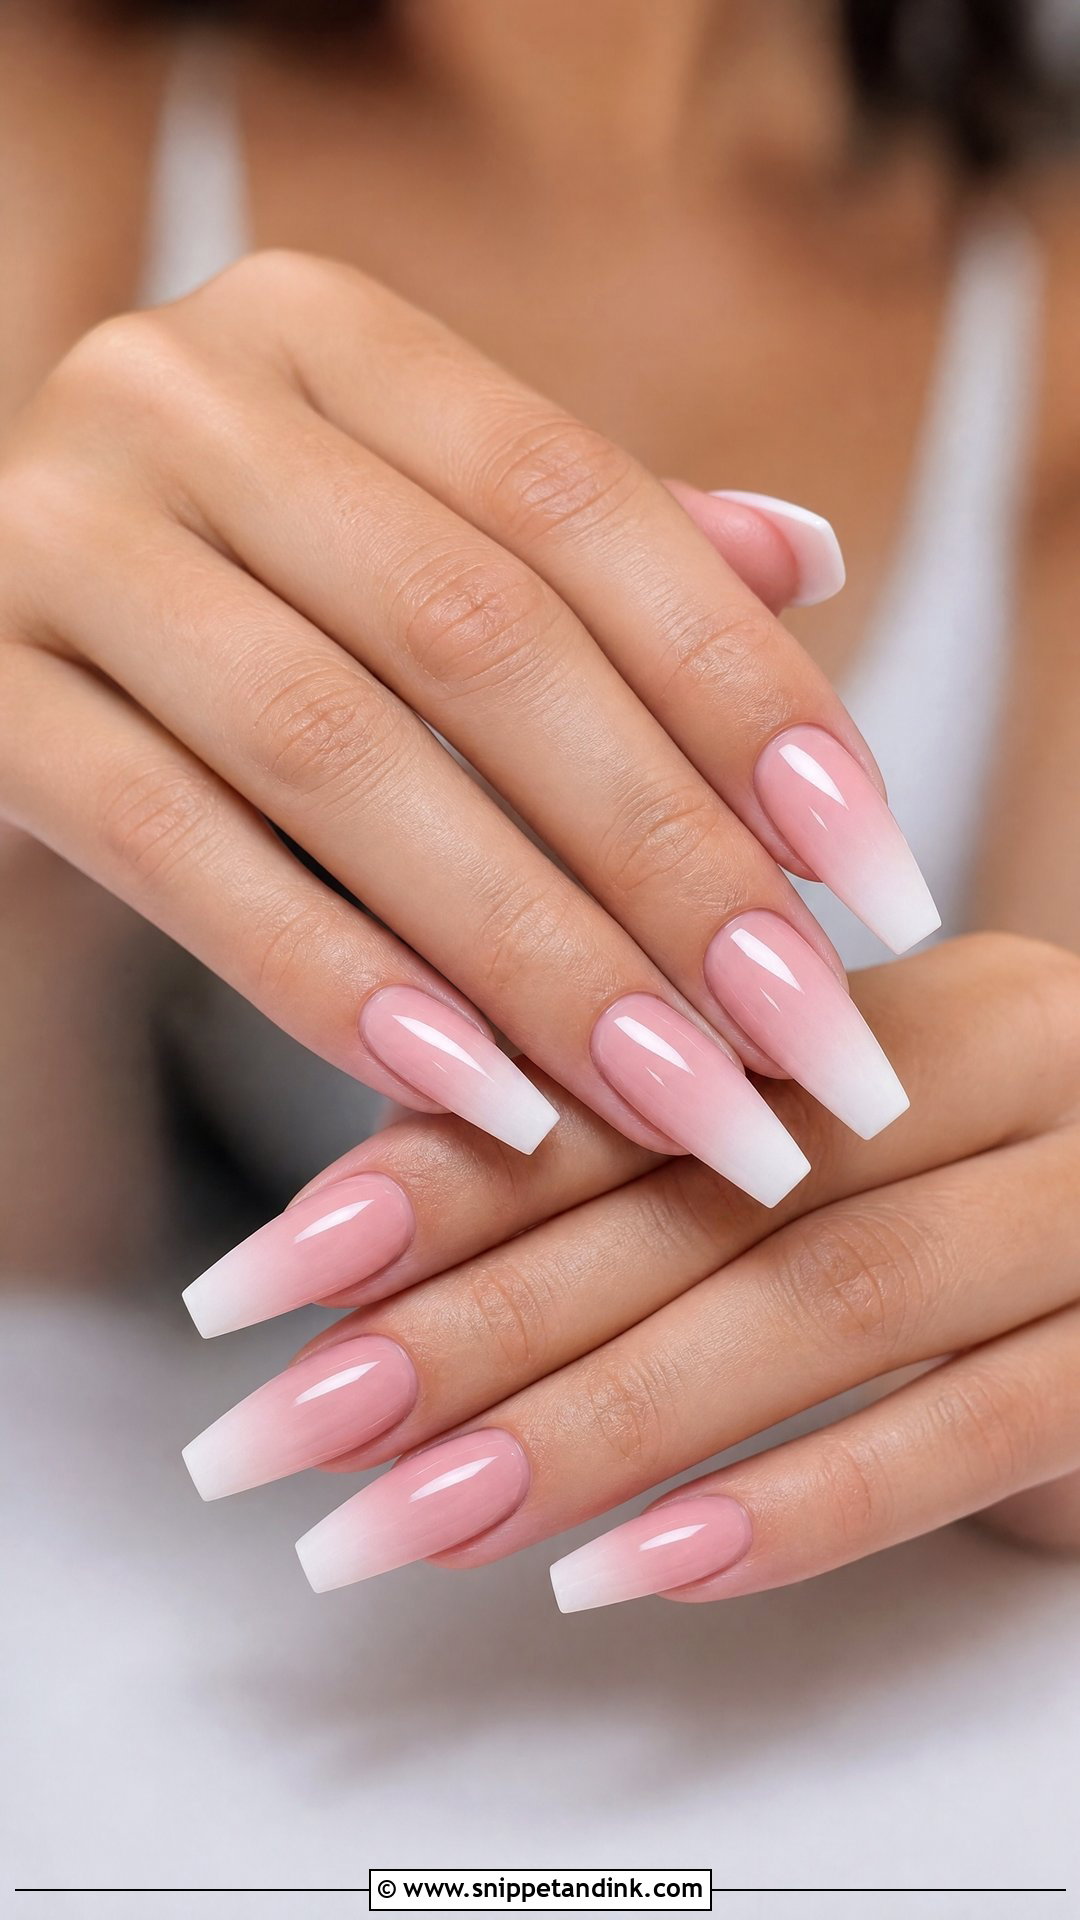
An ombre fade is the most forgiving design on this list. Because the colour blends from nude or pink into a milky tip, regrowth at the cuticle barely shows, which helps if your appointment has to be four or five days before the wedding. I sponge or airbrush the gradient in thin passes so there is no hard band. It works on almond, coffin, oval or square, and a pearly top coat can replace the usual gloss if you want a little extra glow.
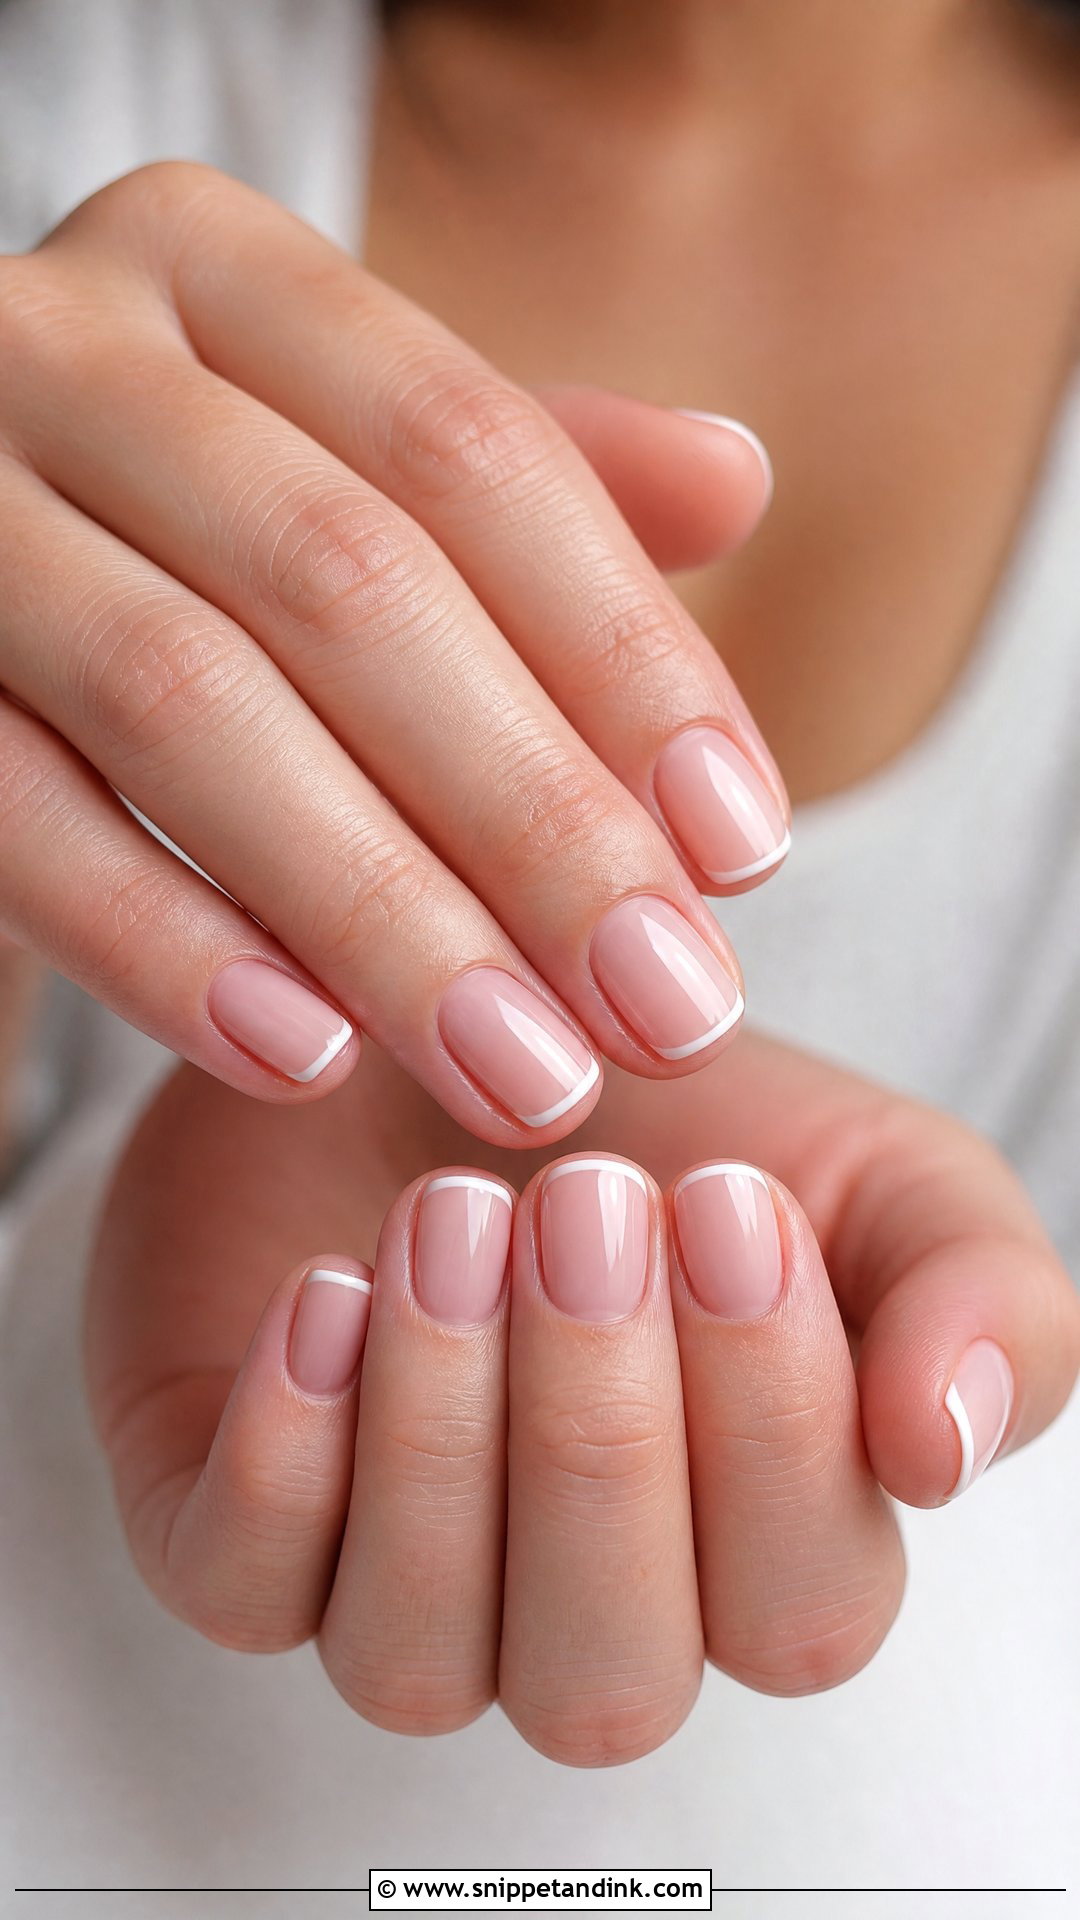
9. Micro French Wedding Nails
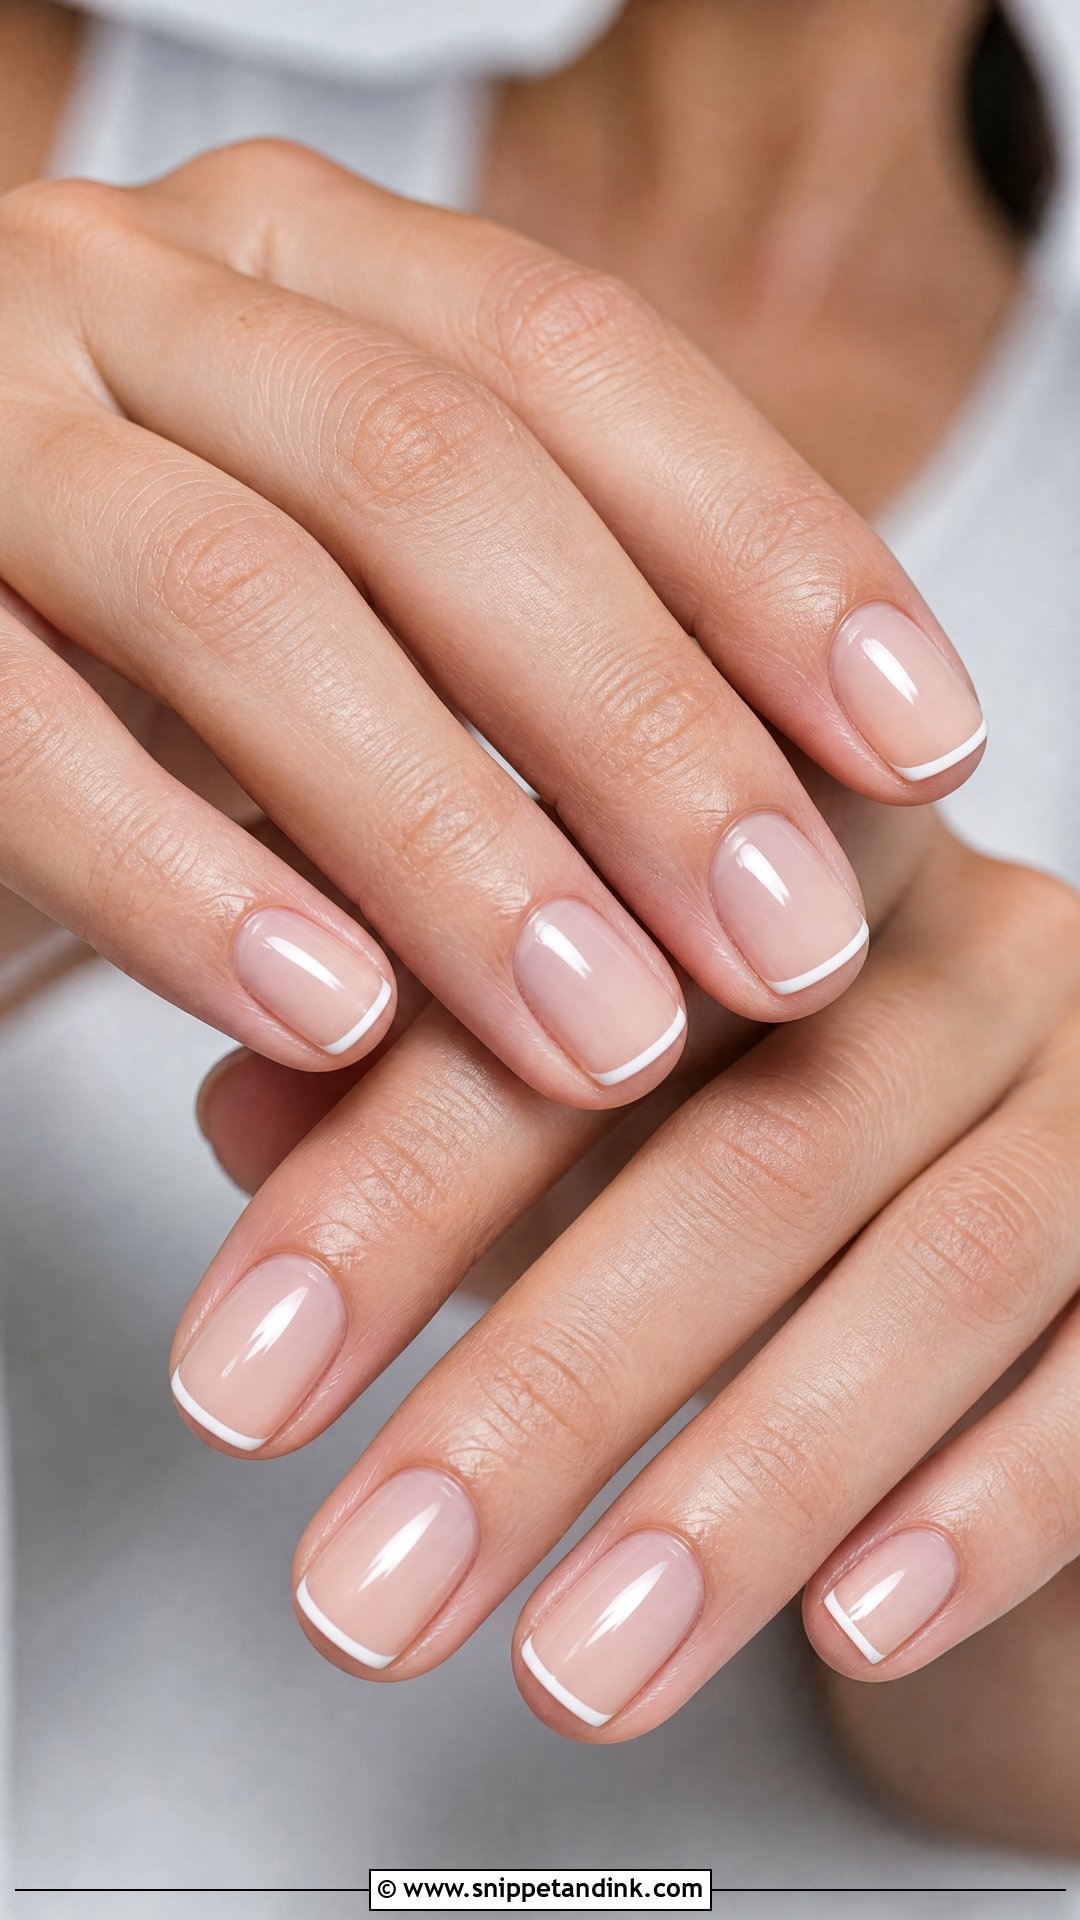
Micro French wedding nails swap the bold white tip for a line barely a millimetre wide. I recommend them first for short nails, because a standard French tip can swallow a small nail bed and make fingers look stubby. The base stays sheer pink, nude or milky beige. Painting a line that thin and even takes a steady hand and a long striper brush, so ask to see your technician’s previous micro French work. A pale blue line is a quiet way to sneak in something blue.
10. Glazed Donut Wedding Nails
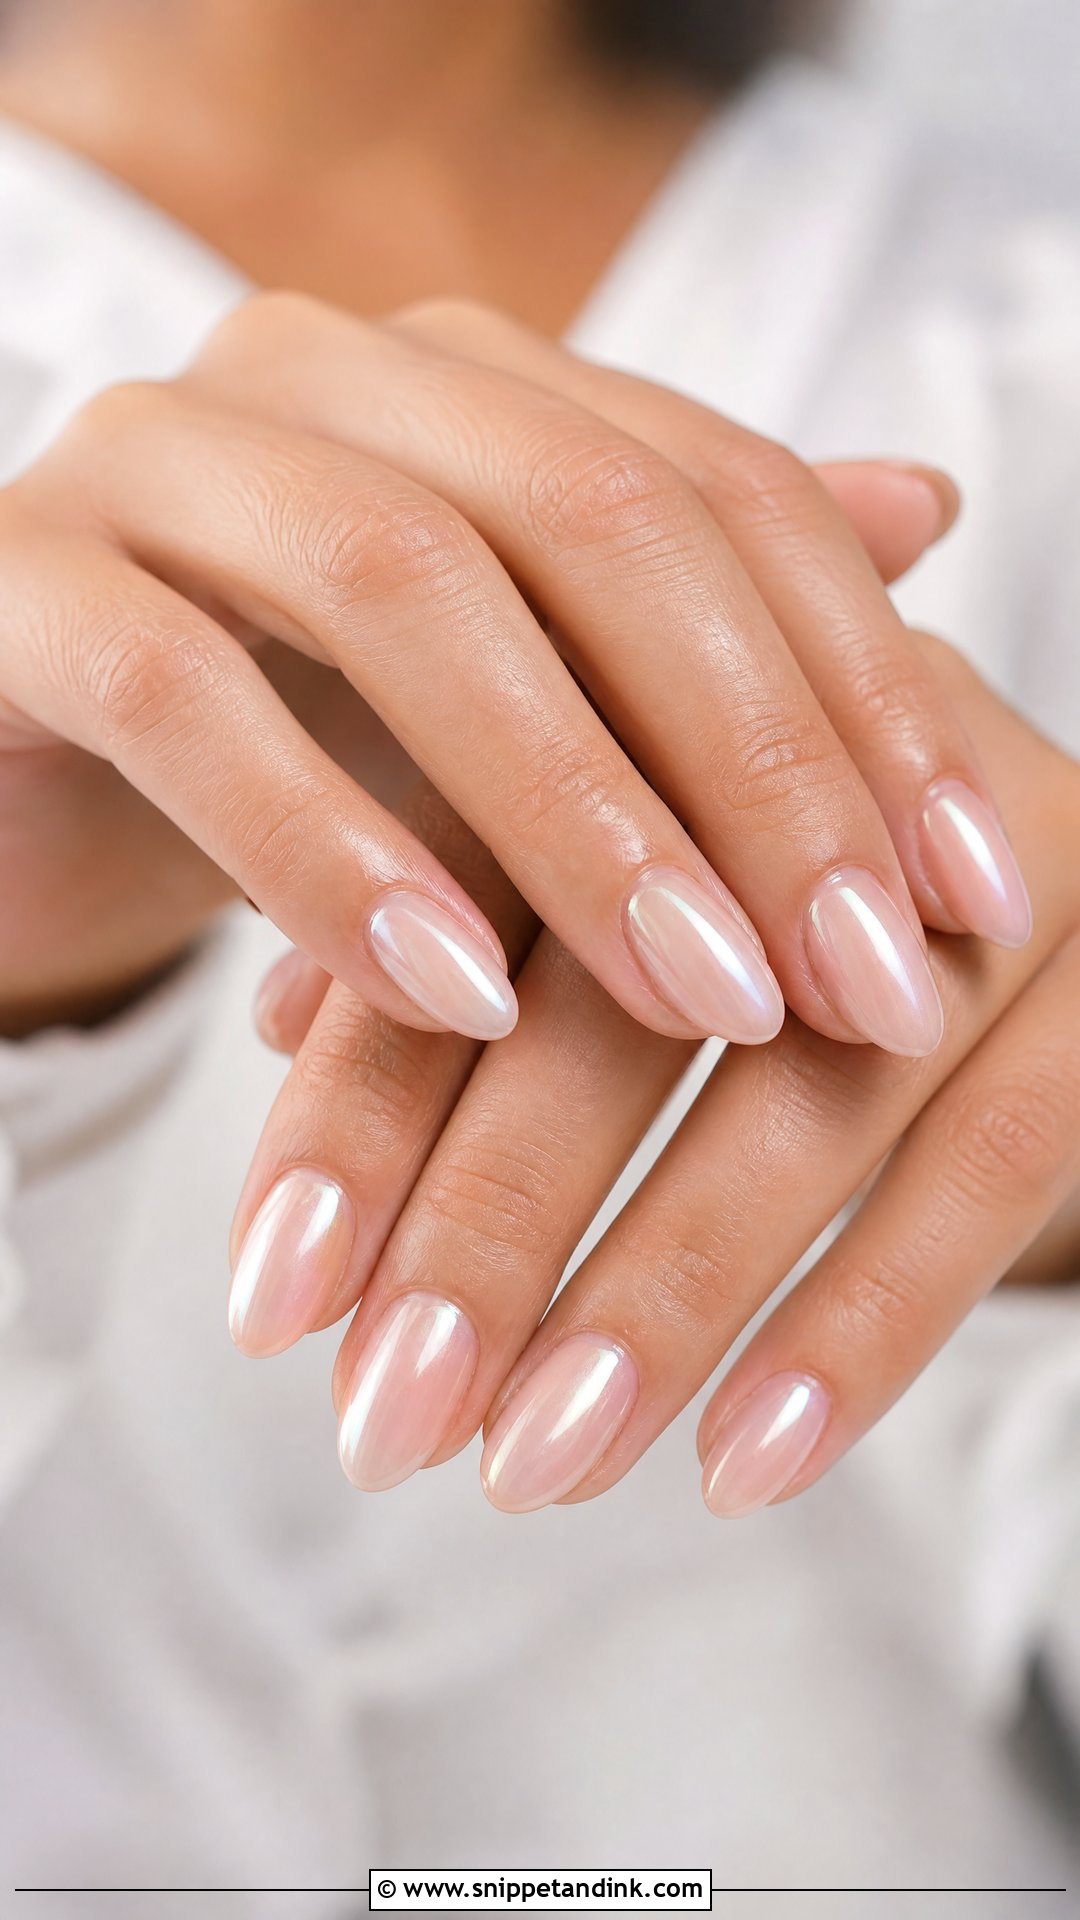
Glazed donut wedding nails are a sheer base with a fine pearl chrome rubbed over the top, so they sit somewhere between regular polish and full metallic. The undertone of the chrome matters more than the base colour. Pink pearl leans warm and flushed, ivory pearl is the most classic, and champagne pearl suits olive and deeper skin. I test the powder on one nail first and hold your hand next to the dress fabric before committing to all ten.
11. Gold Foil Wedding Nails
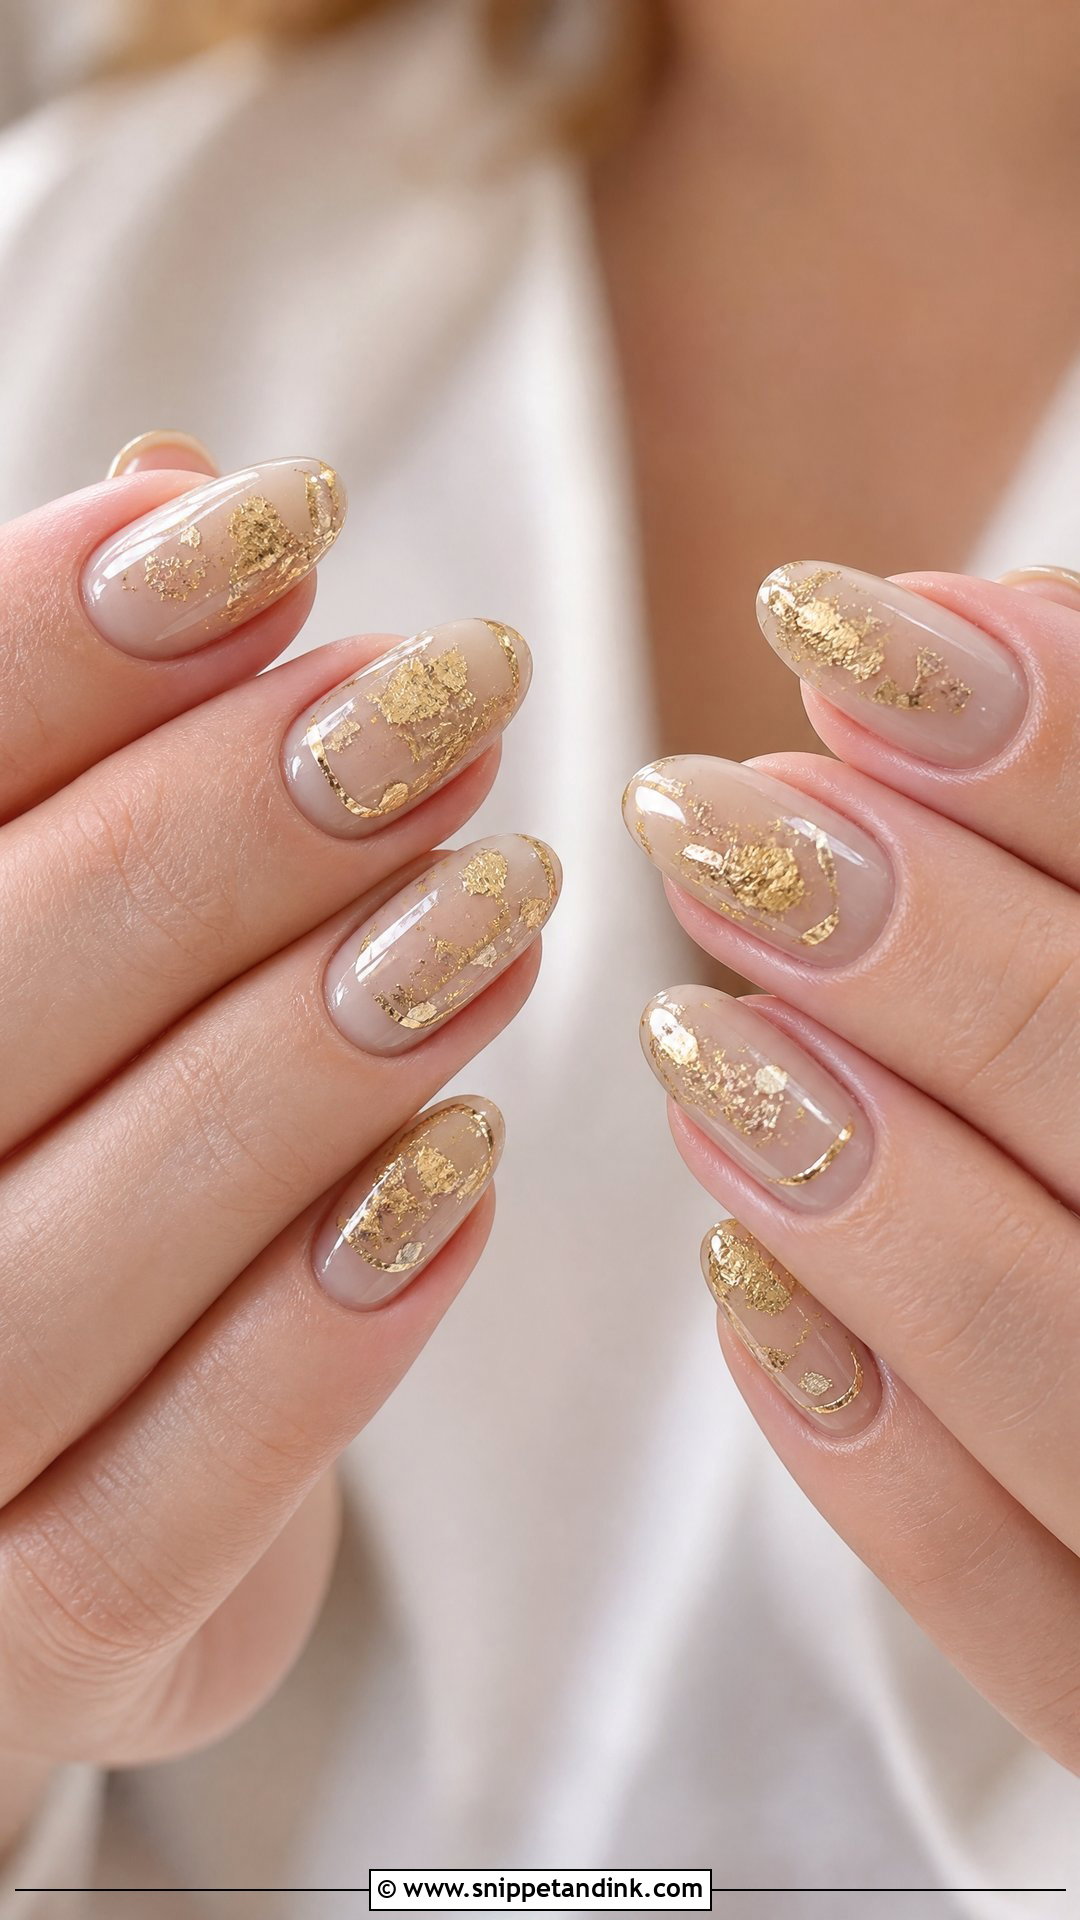
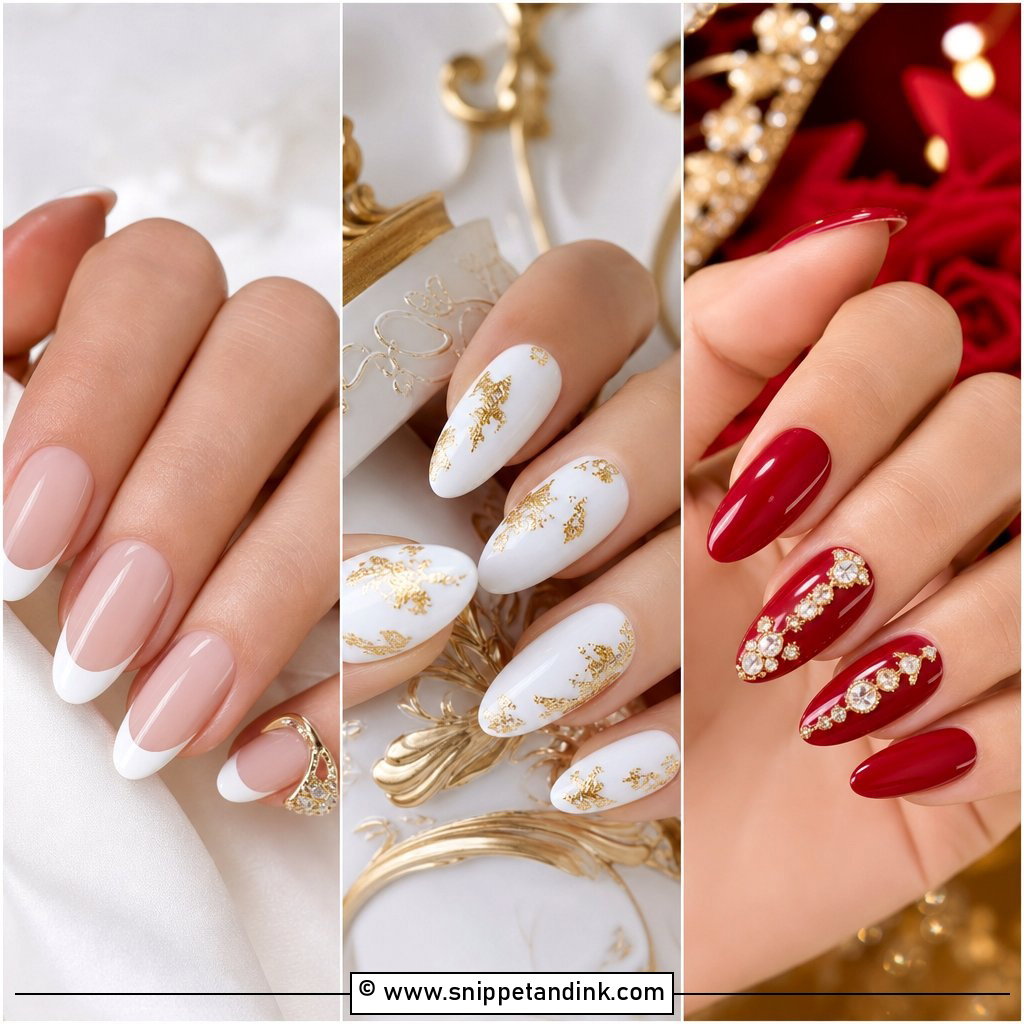
Gold foil gives warmth without glitter grit. I press small, torn flakes into a tacky gel layer over a sheer nude, blush or milky base, keeping the placement irregular so it looks like texture instead of confetti. The flakes must be fully encapsulated under the top coat or the edges lift and snag. It pairs well with gold jewellery, champagne gowns and autumn palettes. Guests can wear foil on every nail; for brides I usually limit it to one or two accents.
12. Silver Glitter Ombre Wedding Nails
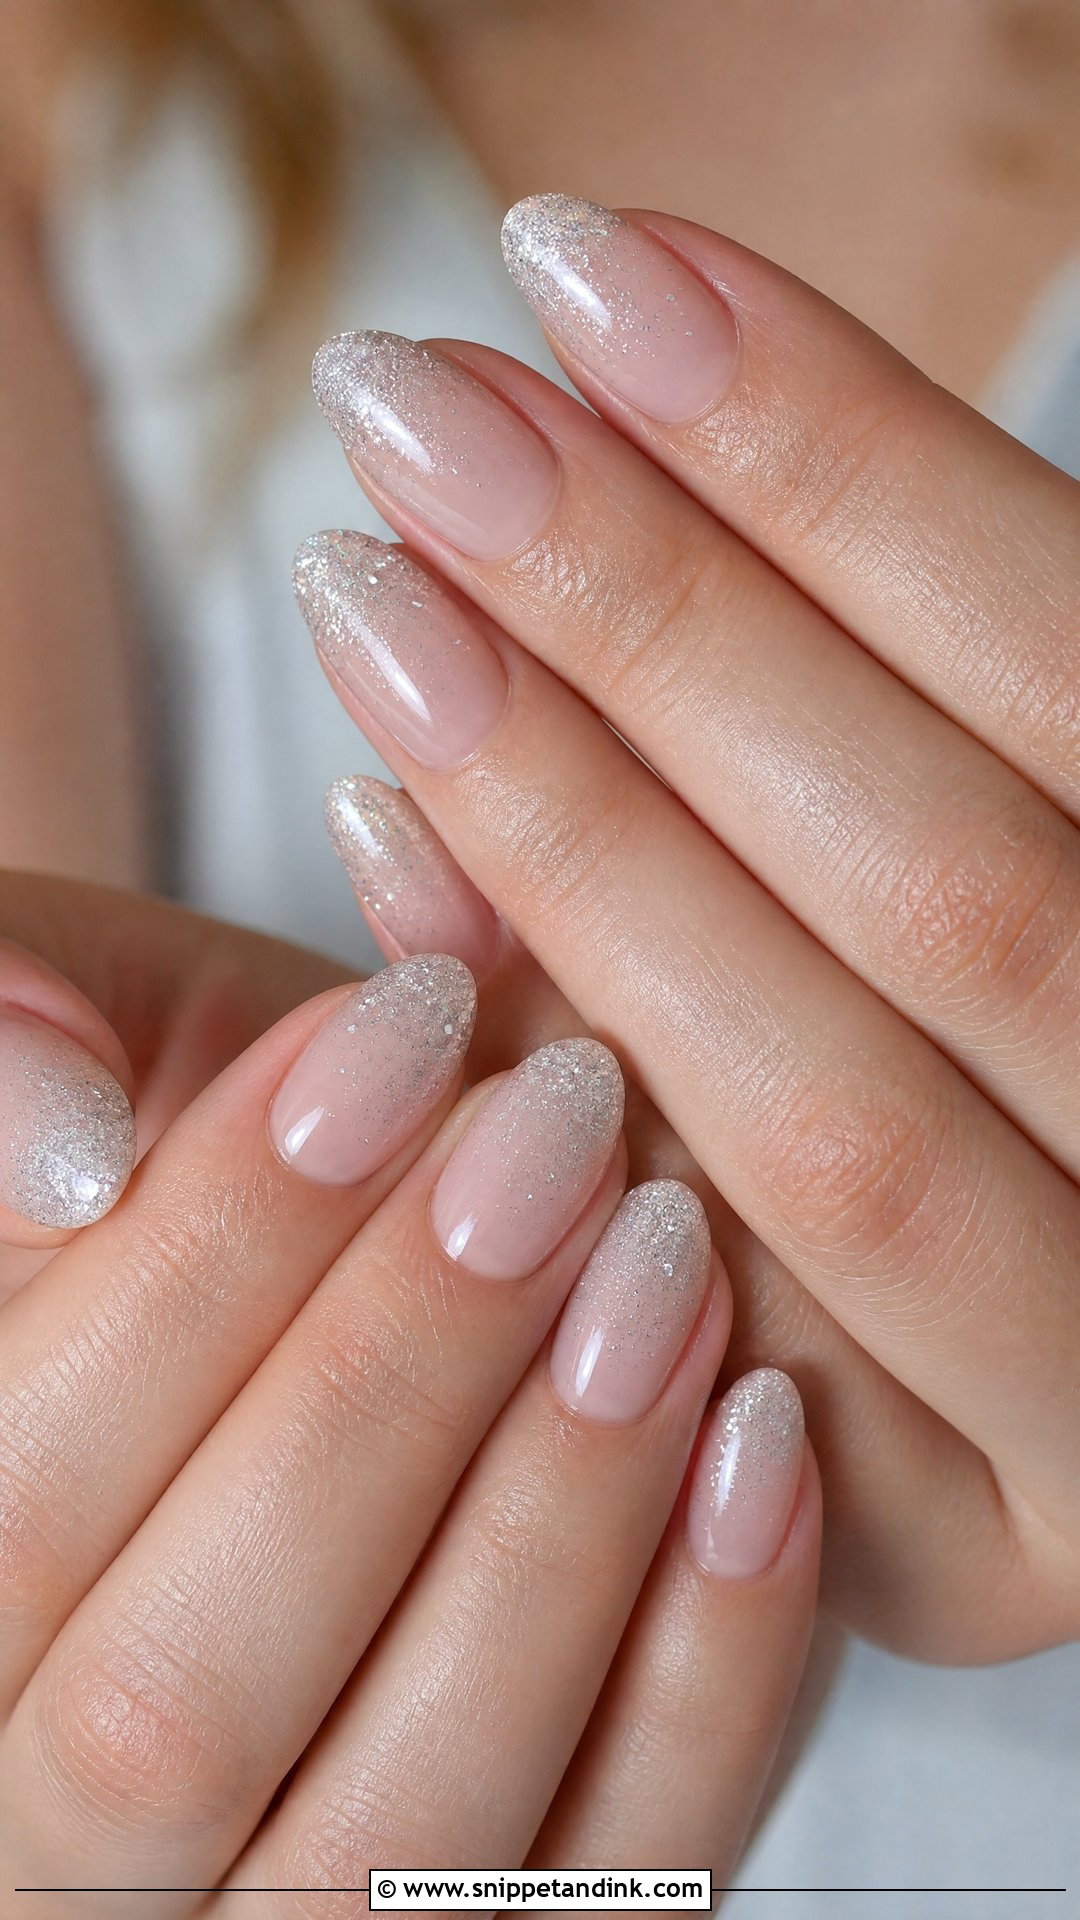
Silver glitter faded from the tip into a sheer base gives evening receptions some sparkle without a full disco ball. Fine glitter is the right call here. Chunky pieces leave a gritty surface that needs extra top coat to smooth, and that extra thickness shows in side-on ring shots. A clear, nude or pale pink base keeps the fade soft. It sits well alongside crystal hair pins and beaded bodices, and suits almond, coffin or square shapes.
13. Something Blue Wedding Nails
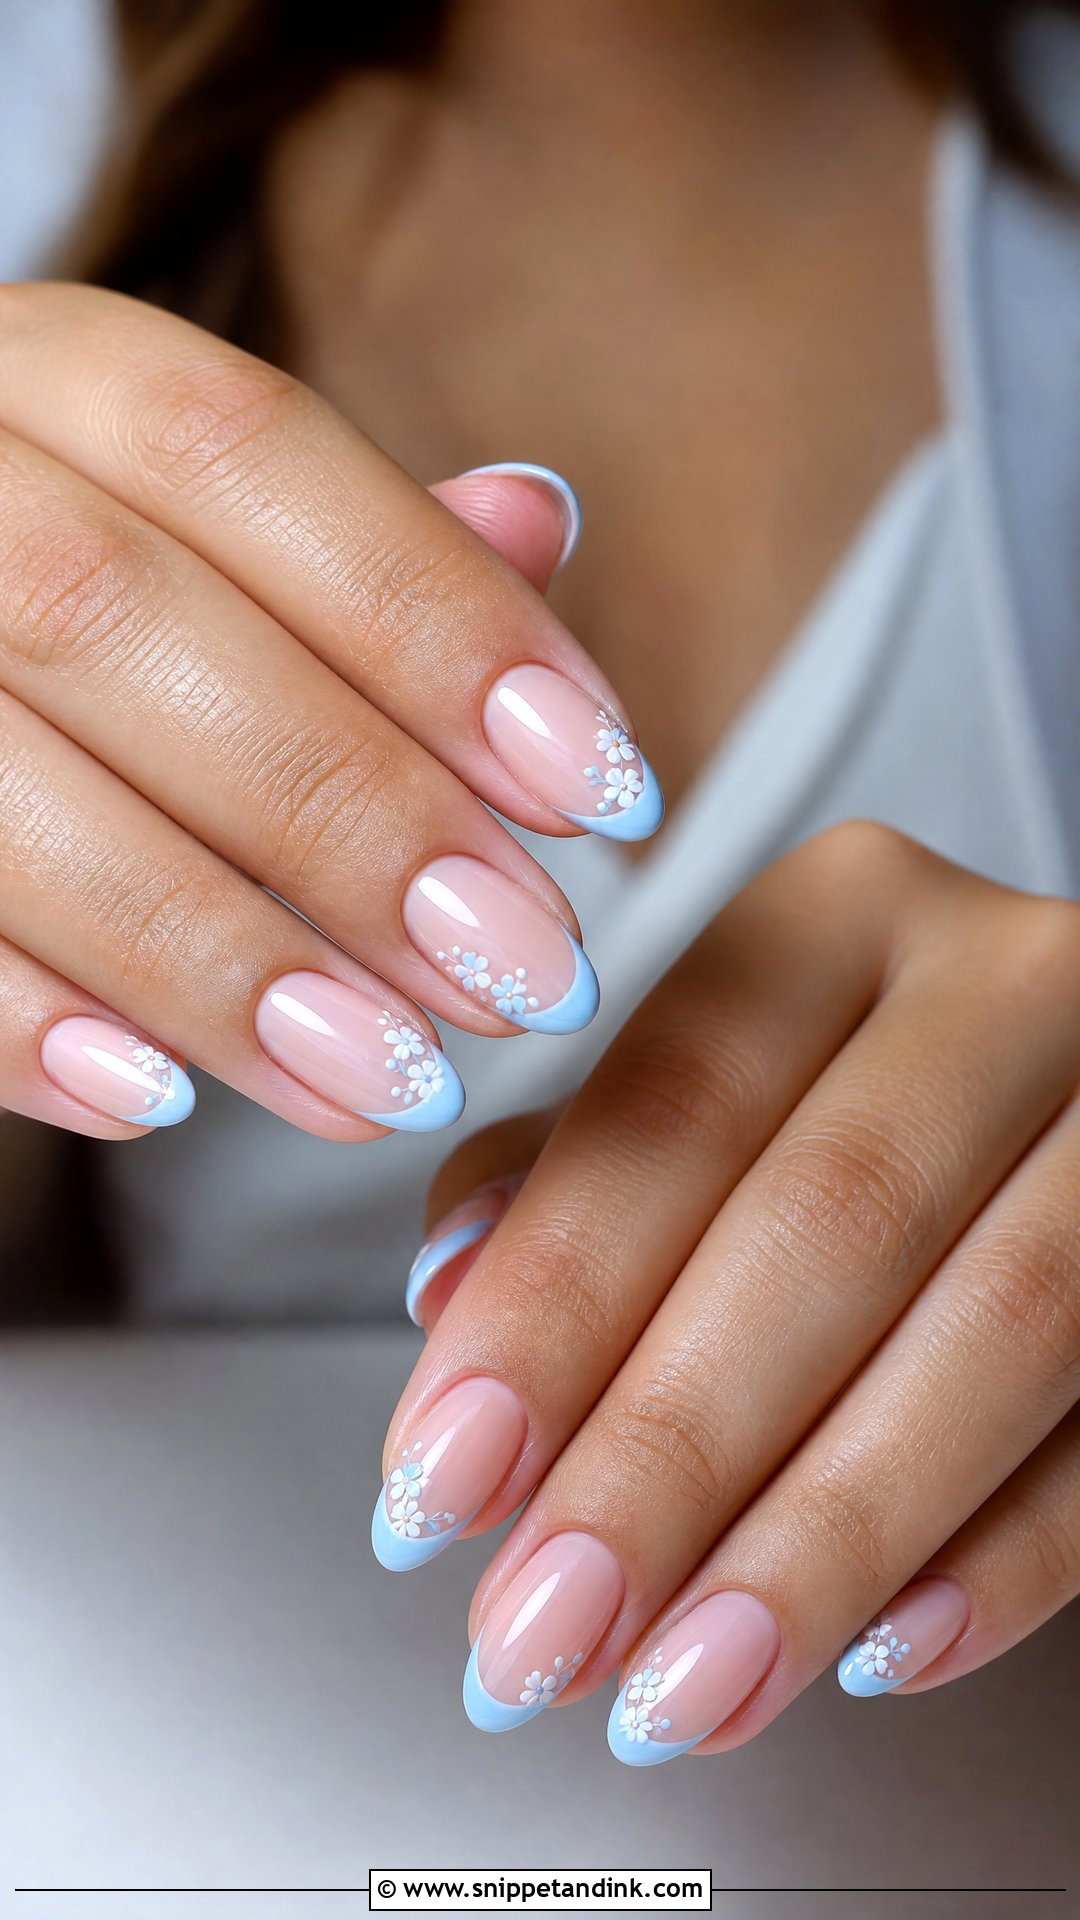
Something blue on the nails can be almost invisible or quite obvious, and I’d decide that before the appointment rather than in the chair. The subtle route is pale blue micro French tips, a few tiny blue flowers or one blue accent nail over sheer pink. If blue is already in your palette, powder blue or dusty blue can cover a full nail. Pale blues can drift toward lilac or grey depending on the lighting, so test the shade in daylight, not just under salon lamps.
14. White Swirl Wedding Nails
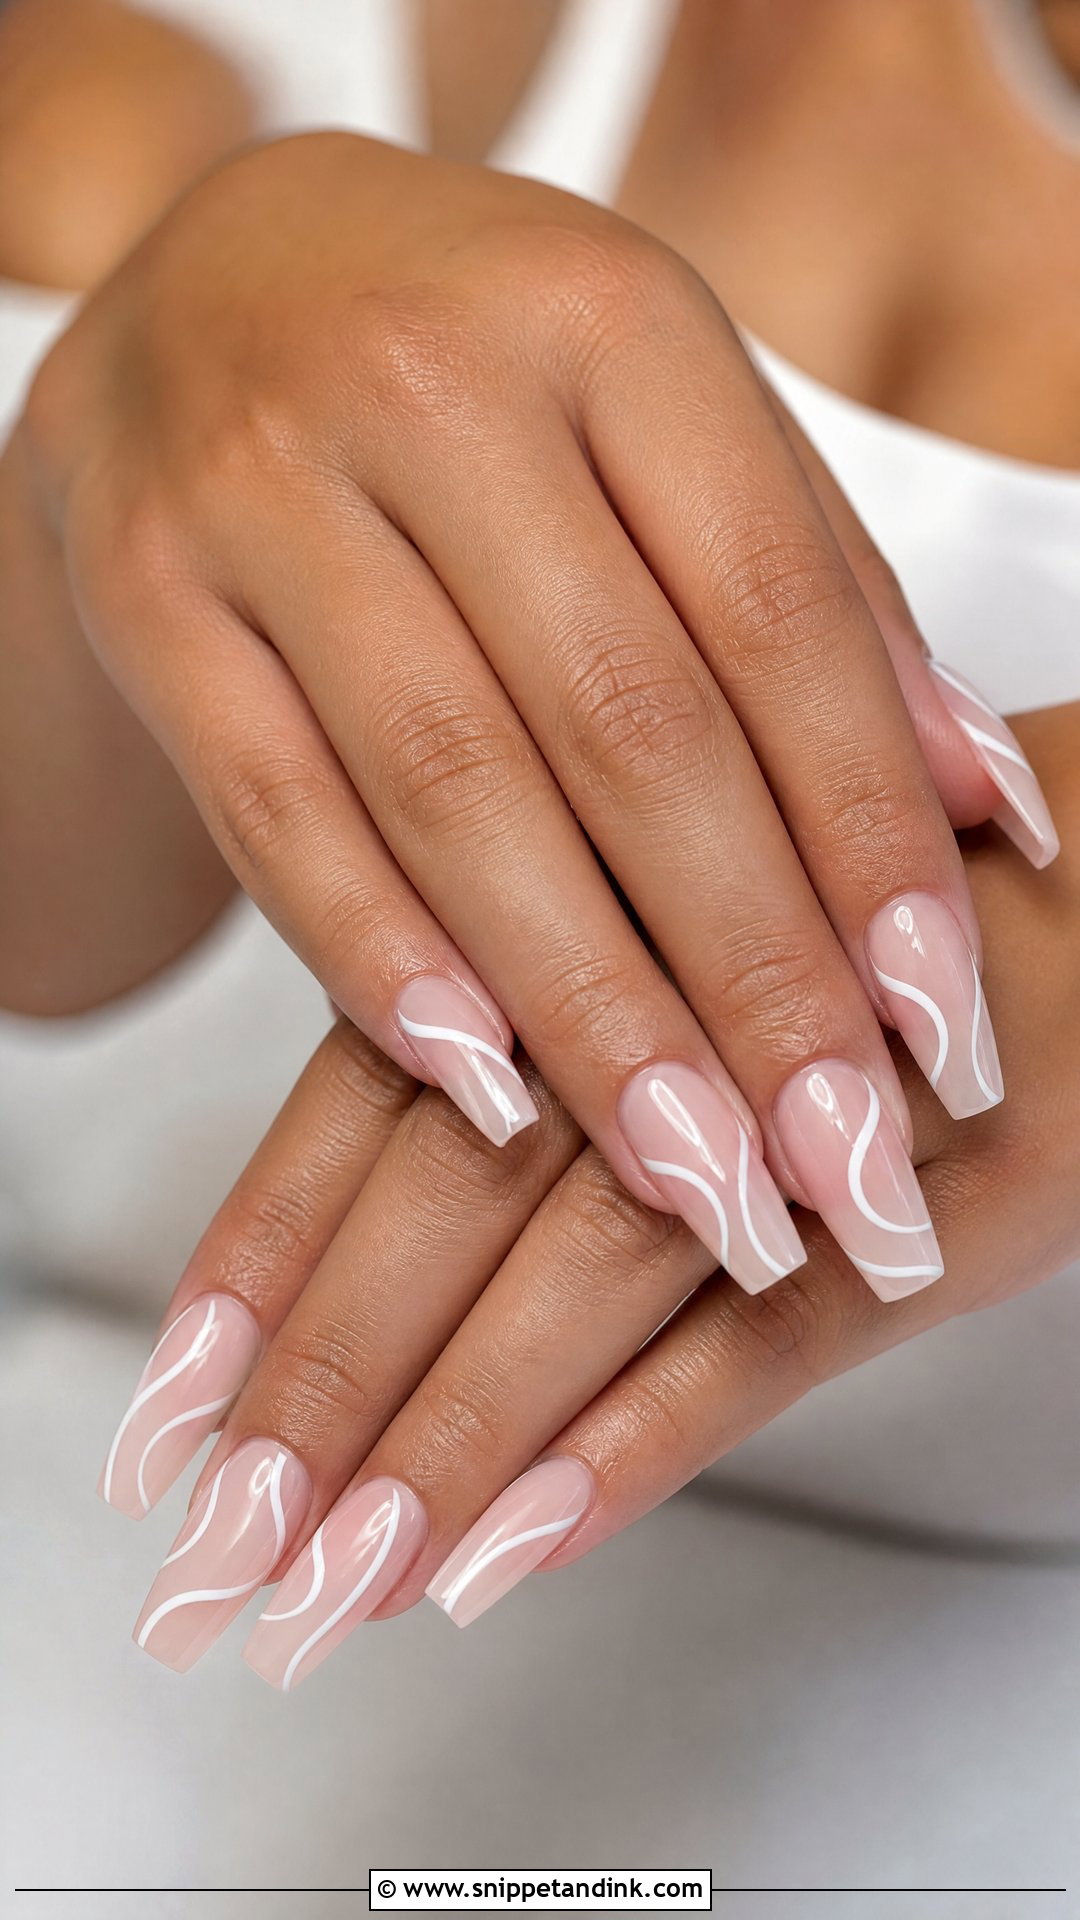
White swirls are freehand curved lines flowing over a sheer nude or pink base, and the line weight decides whether they look refined or cartoonish. I keep them thin and let some swirls run off the edge of the nail so the pattern looks continuous. A touch of shimmer along one curve adds depth if you want it. Almond and coffin show the curves best because the length gives the lines room to move.
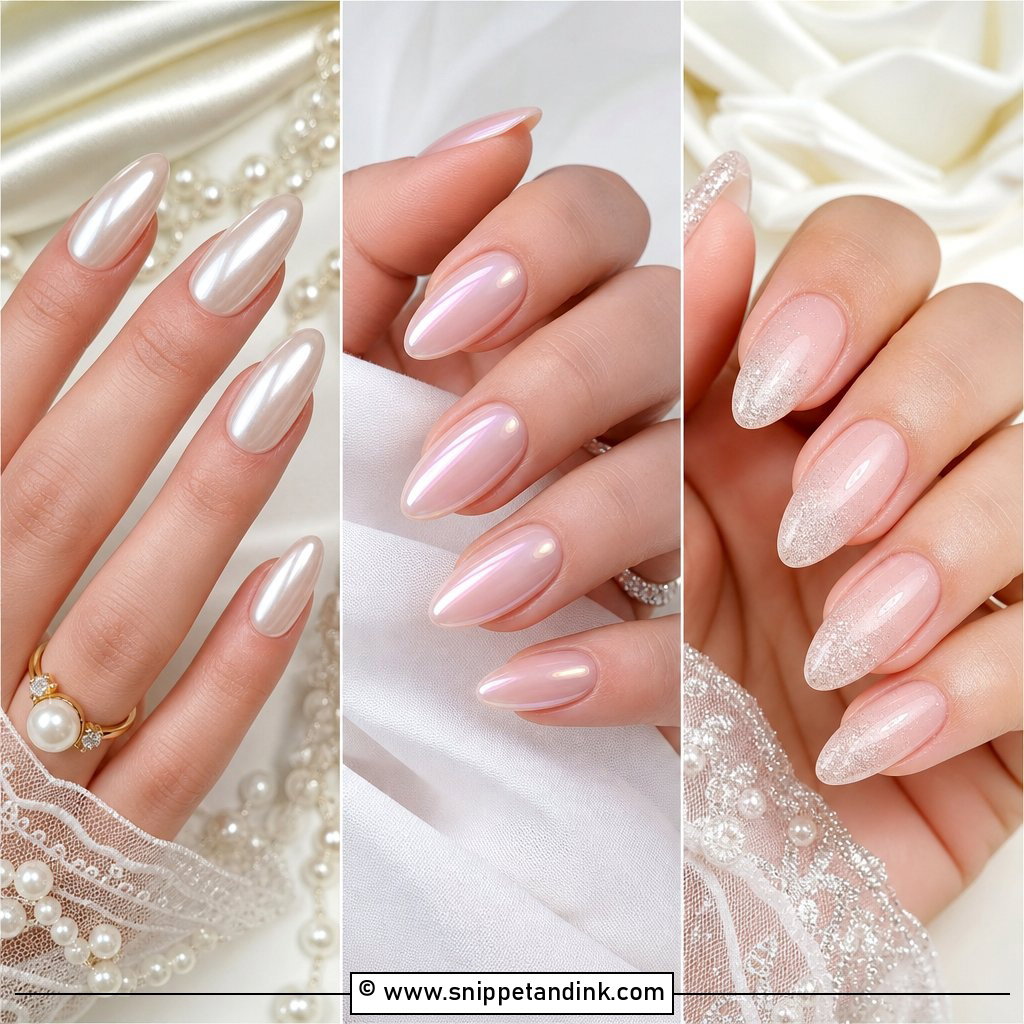
15. Matte Nude Wedding Nails
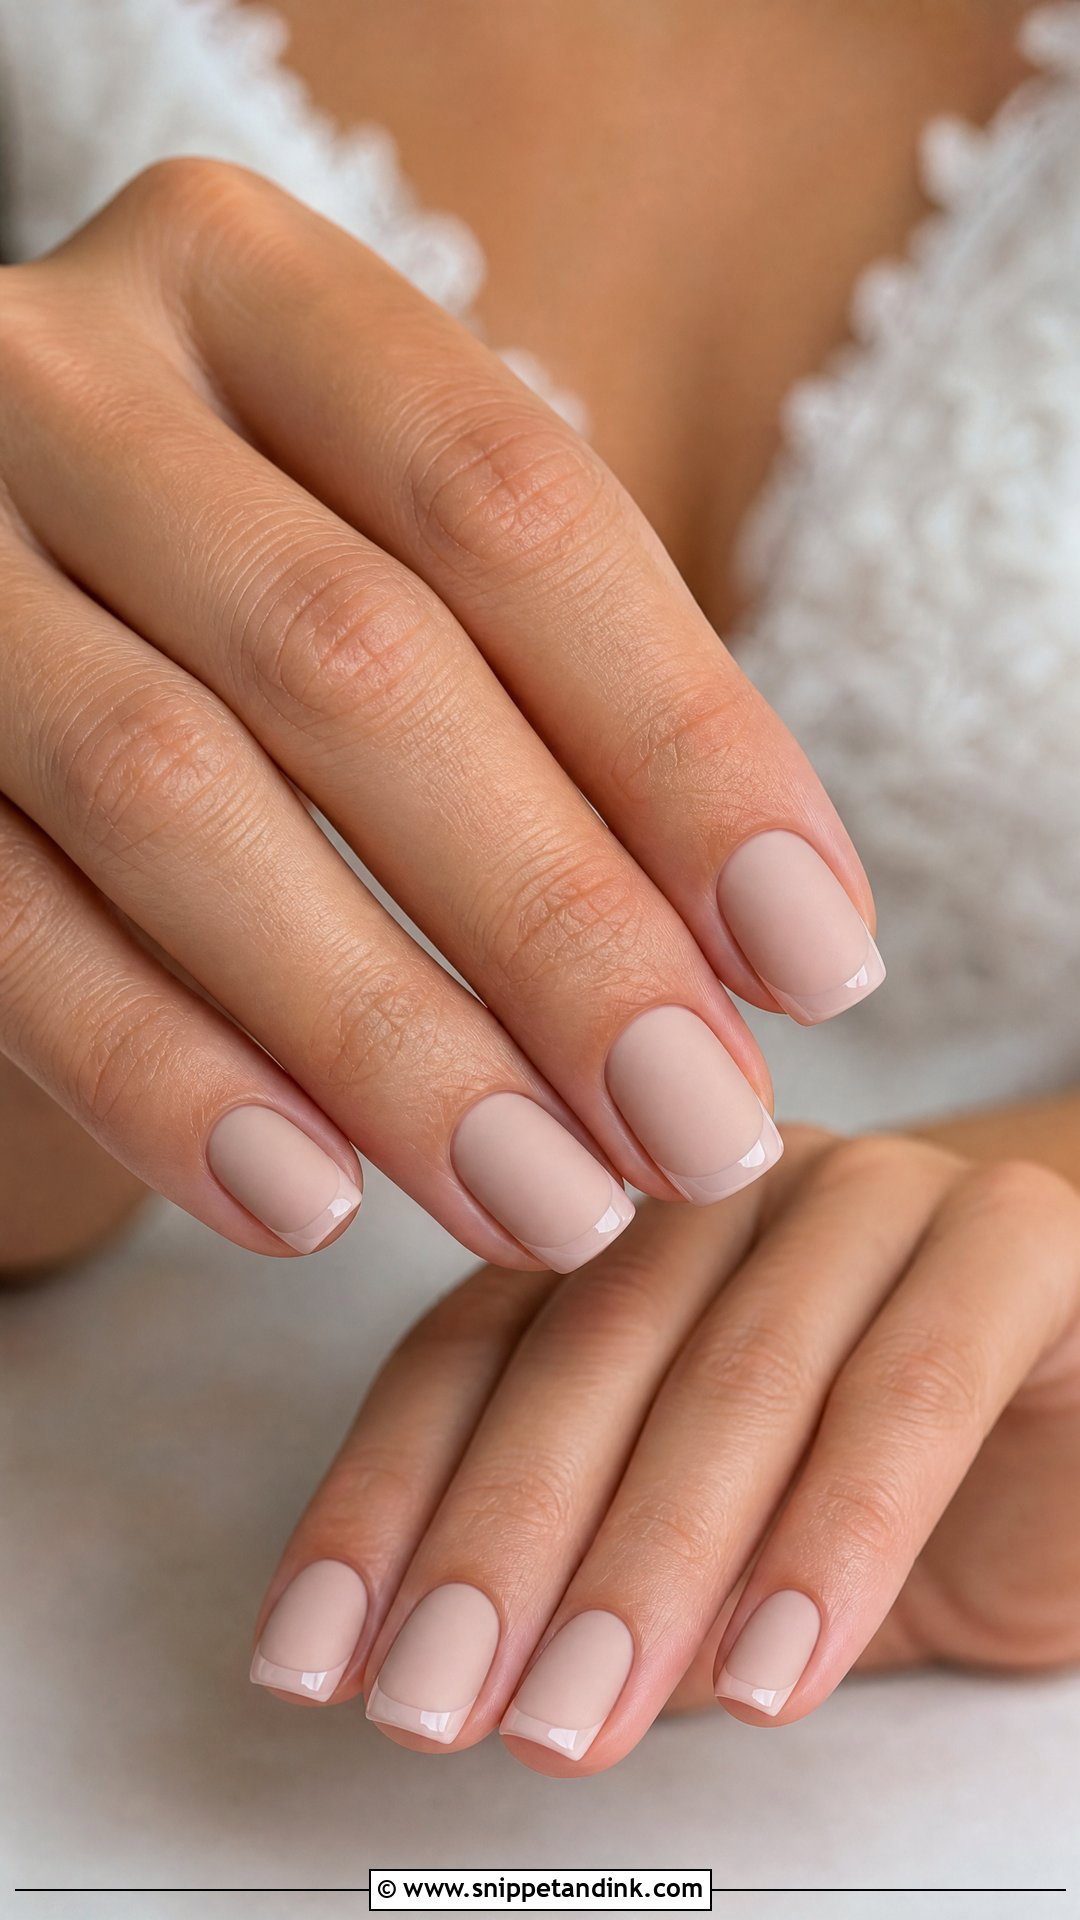
Matte nude has a velvety finish that looks different from every glossy set around it, but it is the least forgiving finish I offer. Without shine, any dent in the base, flooded cuticle or uneven edge is obvious, so the prep has to be meticulous. Matte top coats can also pick up colour from fake tan, denim and makeup within a few days, which is why I schedule matte as close to the wedding as possible. Choose a nude near your skin tone, or lean pink, beige or peach for your undertone. A glossy French tip over matte gives subtle contrast.
16. Sheer Pink Rhinestone Wedding Nails
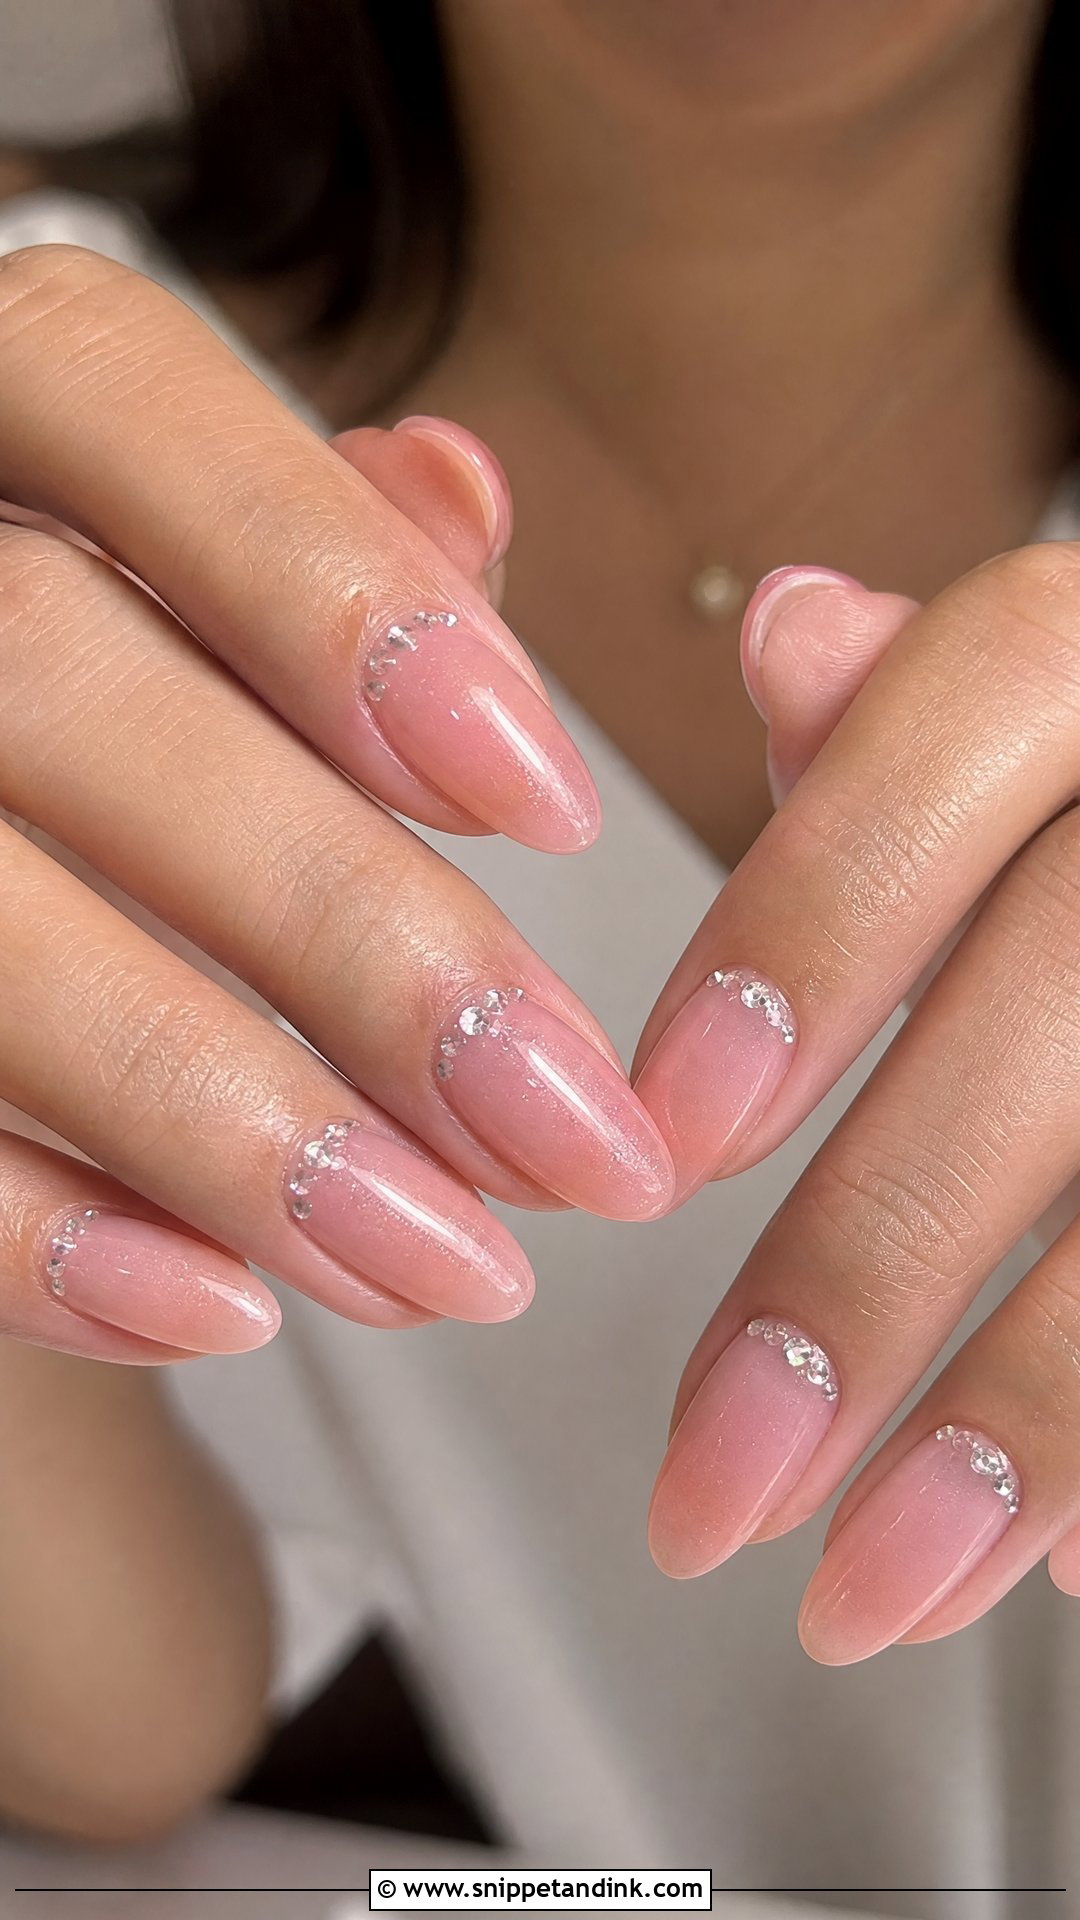
Sheer pink rhinestone wedding nails keep the base translucent and let a few small stones do the work. I set them near the cuticle, along a French line or on one accent nail, with plenty of spacing so the hand never looks crowded. Each stone sits in builder gel with the top coat brought up around its edges; loose-set crystals are the ones that snag on a veil. The sparkle ties in with crystal earrings and beaded gowns, and the set travels well to bridesmaids at formal weddings.
17. Champagne Shimmer Wedding Nails
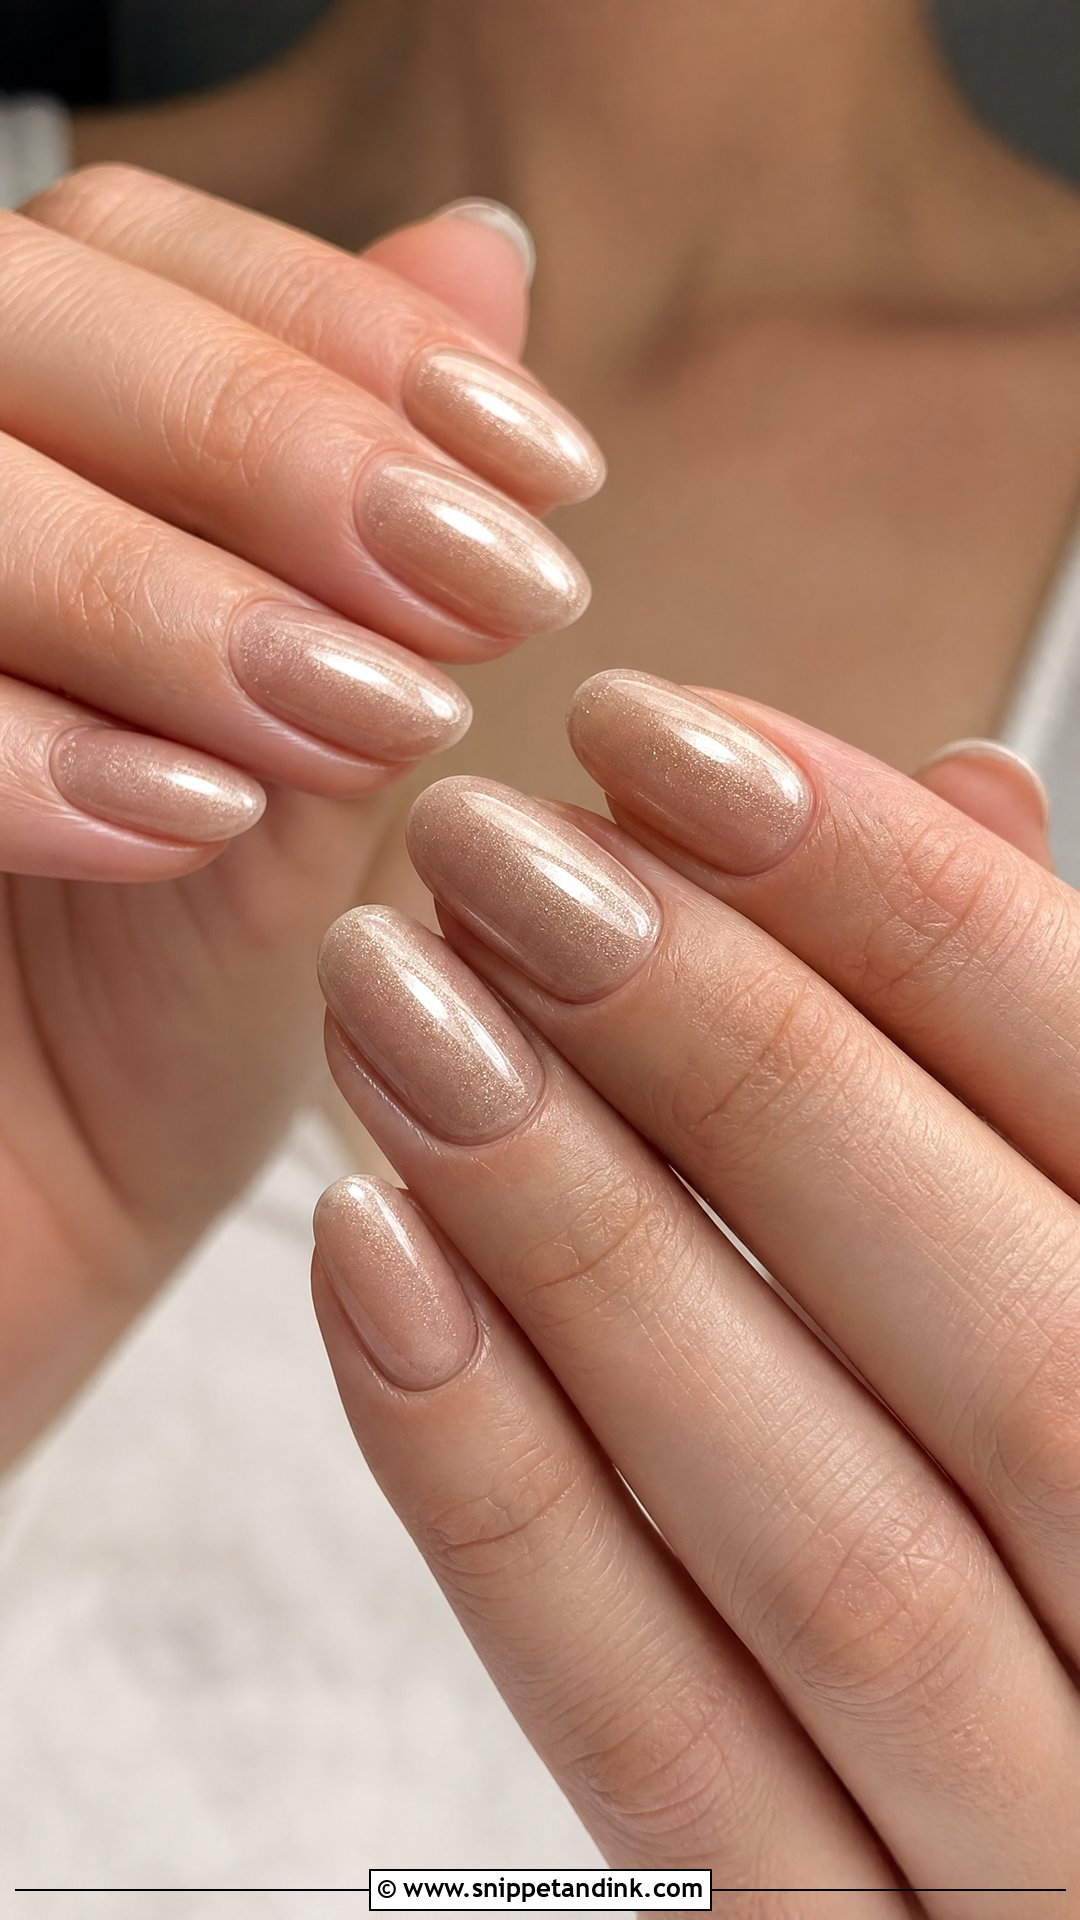
Champagne shimmer is a fine-milled polish that sits between nude, gold and pearl. It is far easier to wear than glitter because there are no particles to snag, and it catches light gently in outdoor ceremonies and warm reception lighting. On ivory, blush and champagne dresses it reads as warm rather than metallic. I paint it as a full set or under a soft French tip, and it suits short and long lengths alike.
18. Soft Marble Wedding Nails
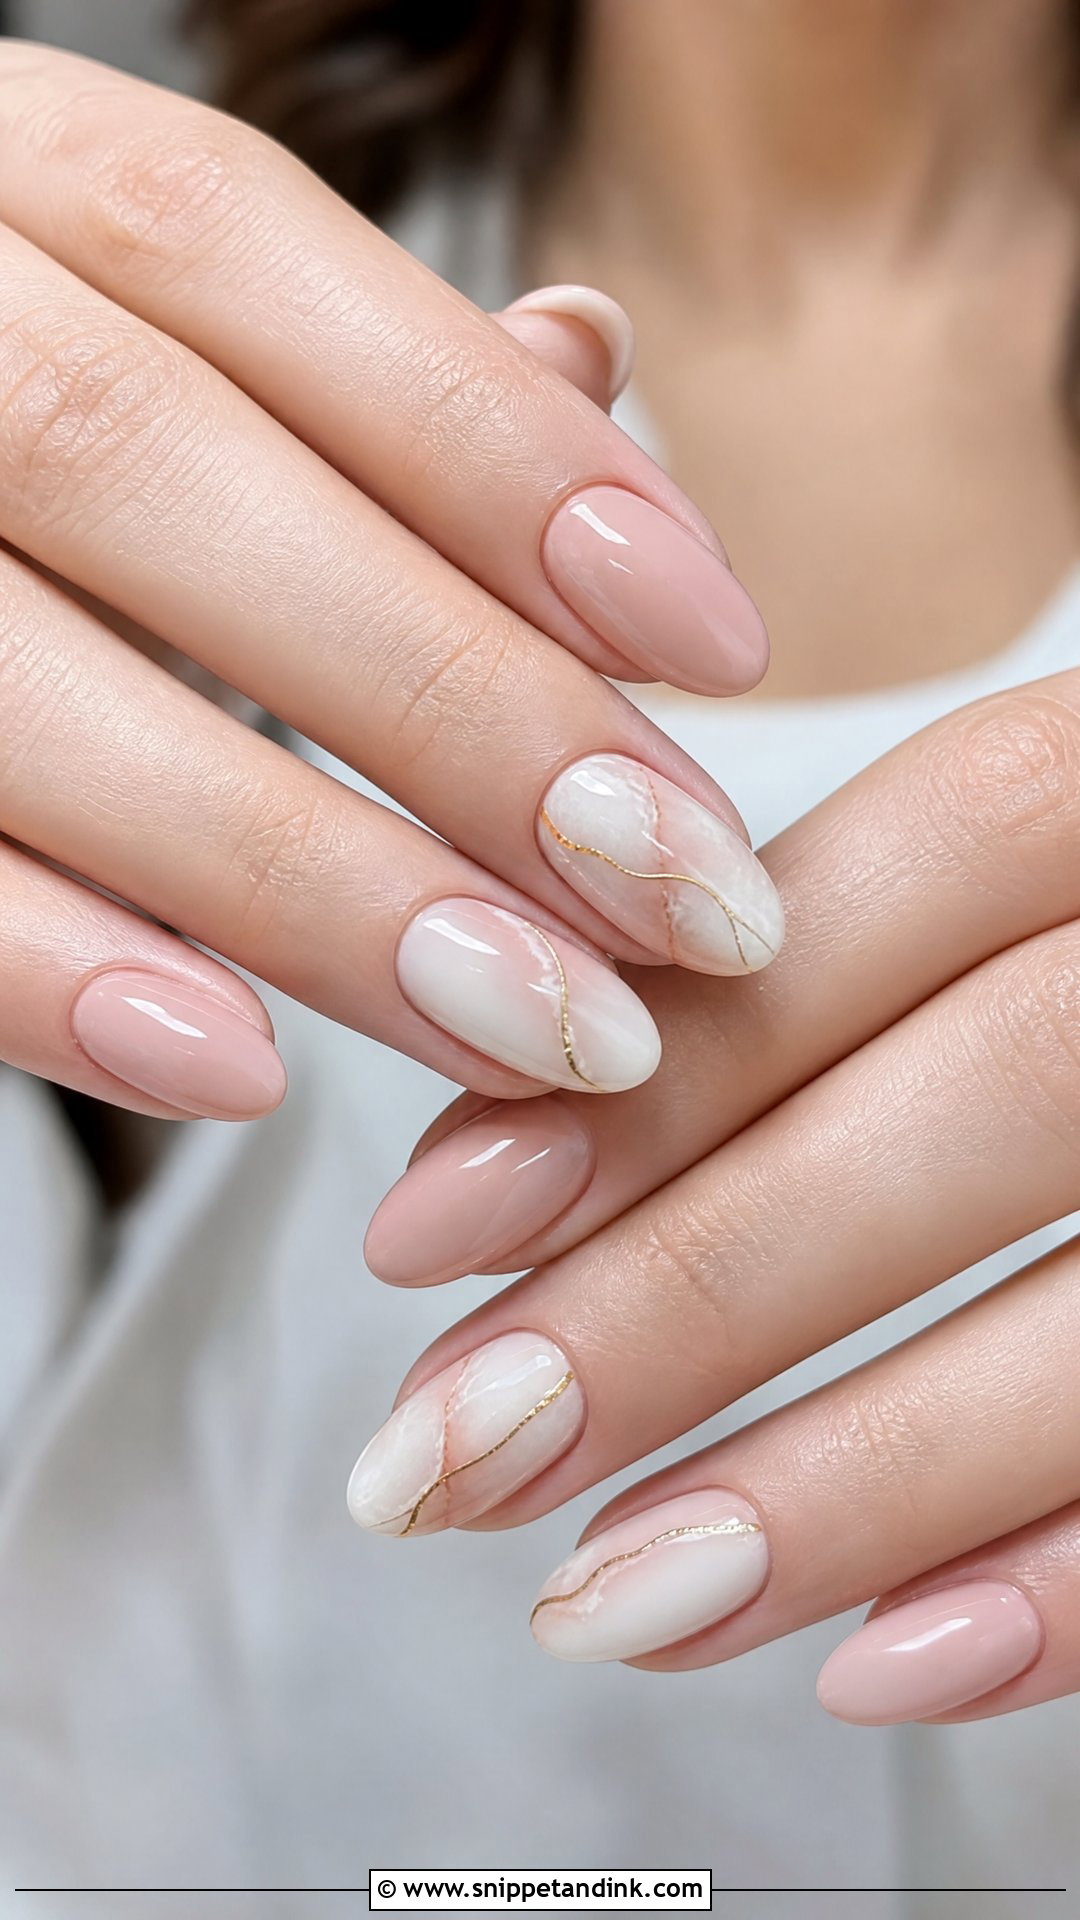
Marble is made by dropping white, nude, blush or grey gel into a wet layer and dragging it with a thin brush or a little alcohol, so no two nails come out identical. For a wedding I keep the veins soft and airy; dark, high-contrast marble can look like a kitchen worktop in photos. One or two marble accents next to milky or nude nails balances the set. A fine gold or silver line through the stone pattern adds a luxe touch for city weddings and clean-lined gowns.
19. Short Squoval Wedding Nails
A squoval edge, straight across with rounded corners, is what I suggest to anyone who does not normally wear length. It does not catch on lace, it does not change how you type or fasten jewellery, and it looks tidy in photos. You can still put sheer pink, milky white, a French tip or nude chrome on it, and add a micro pearl or tiny floral if you want art. Bridesmaids and guests who need a low-fuss formal manicure tend to land here too.
20. Almond Wedding Nails
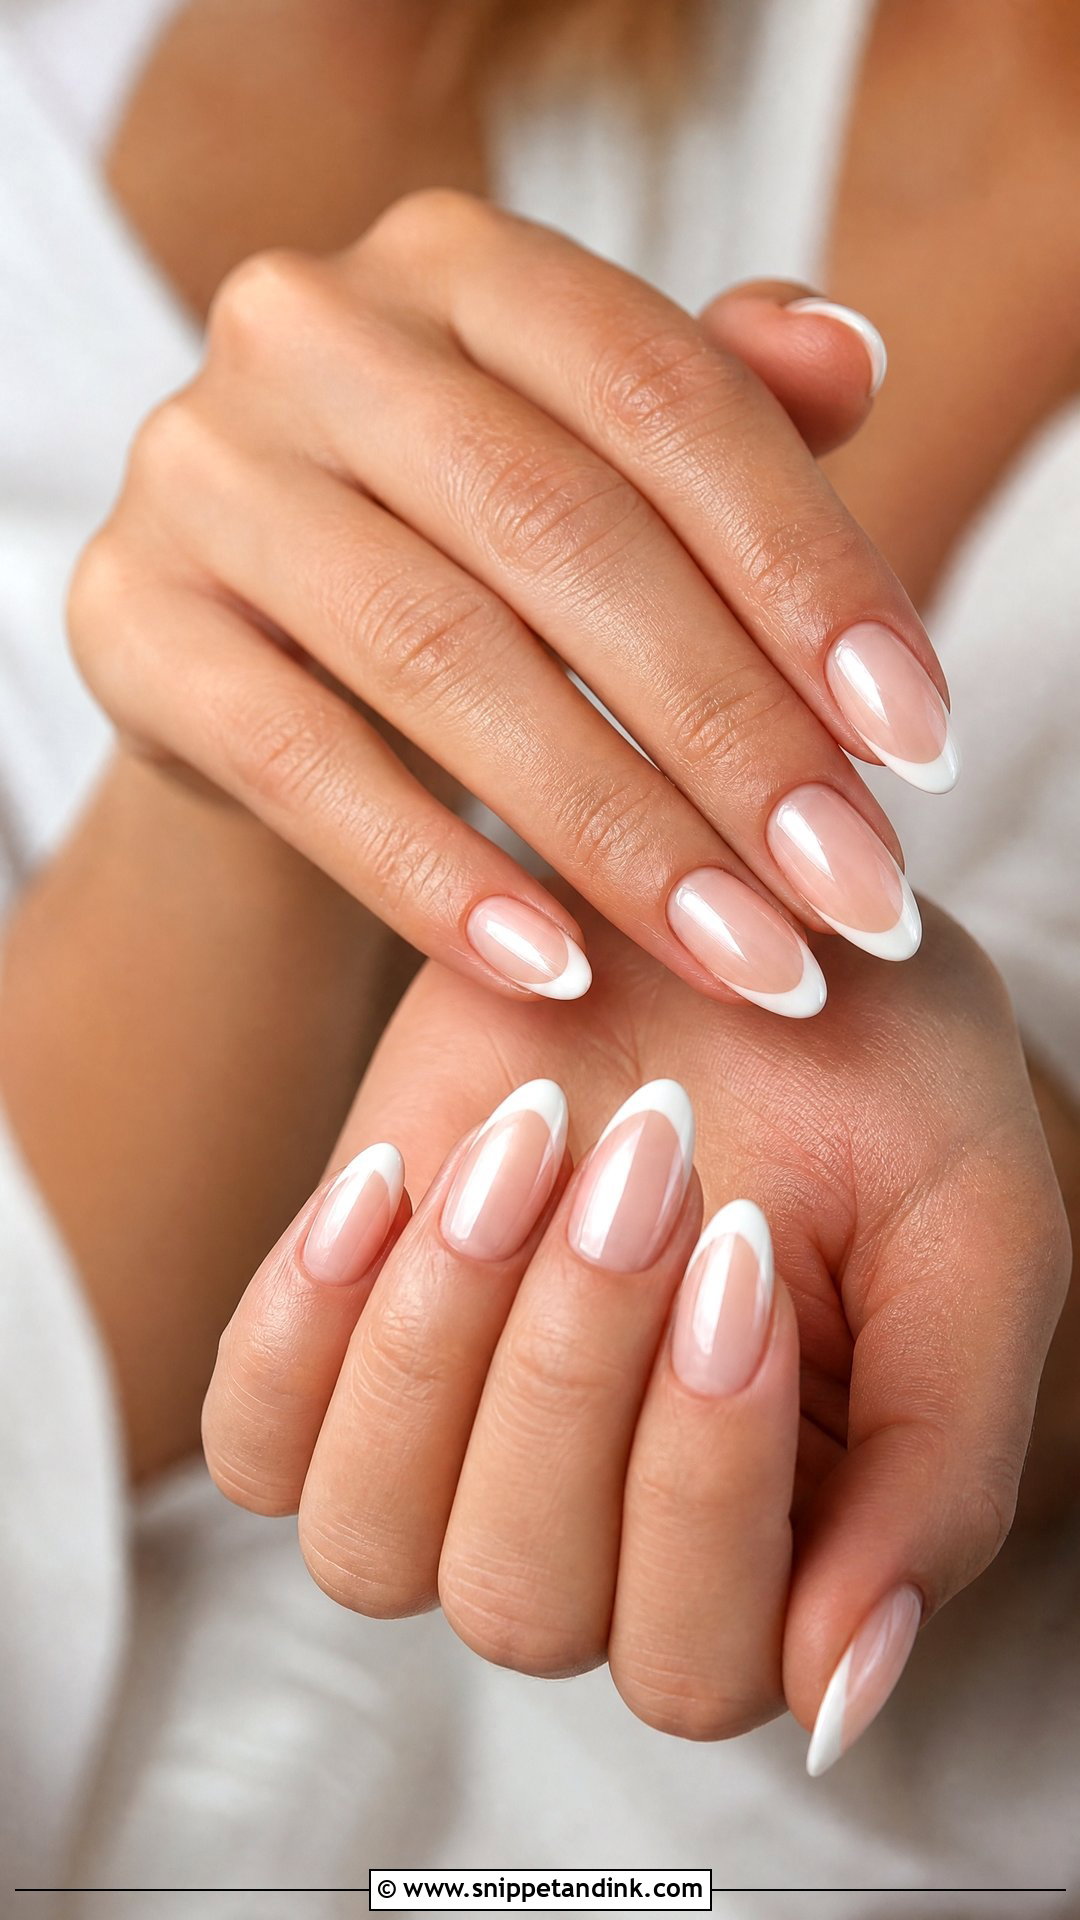
Almond wedding nails taper softly to a rounded point, which lengthens fingers without the sharpness of a stiletto. It is the shape I recommend most for ring shots because it frames the hand and points the eye toward the band. Medium length gives enough space for French tips, chrome, floral art or pearls while staying wearable. If your natural nails are weak at the sidewalls, almond with a builder gel overlay is far sturdier than almond in plain polish.
21. Coffin Wedding Nails
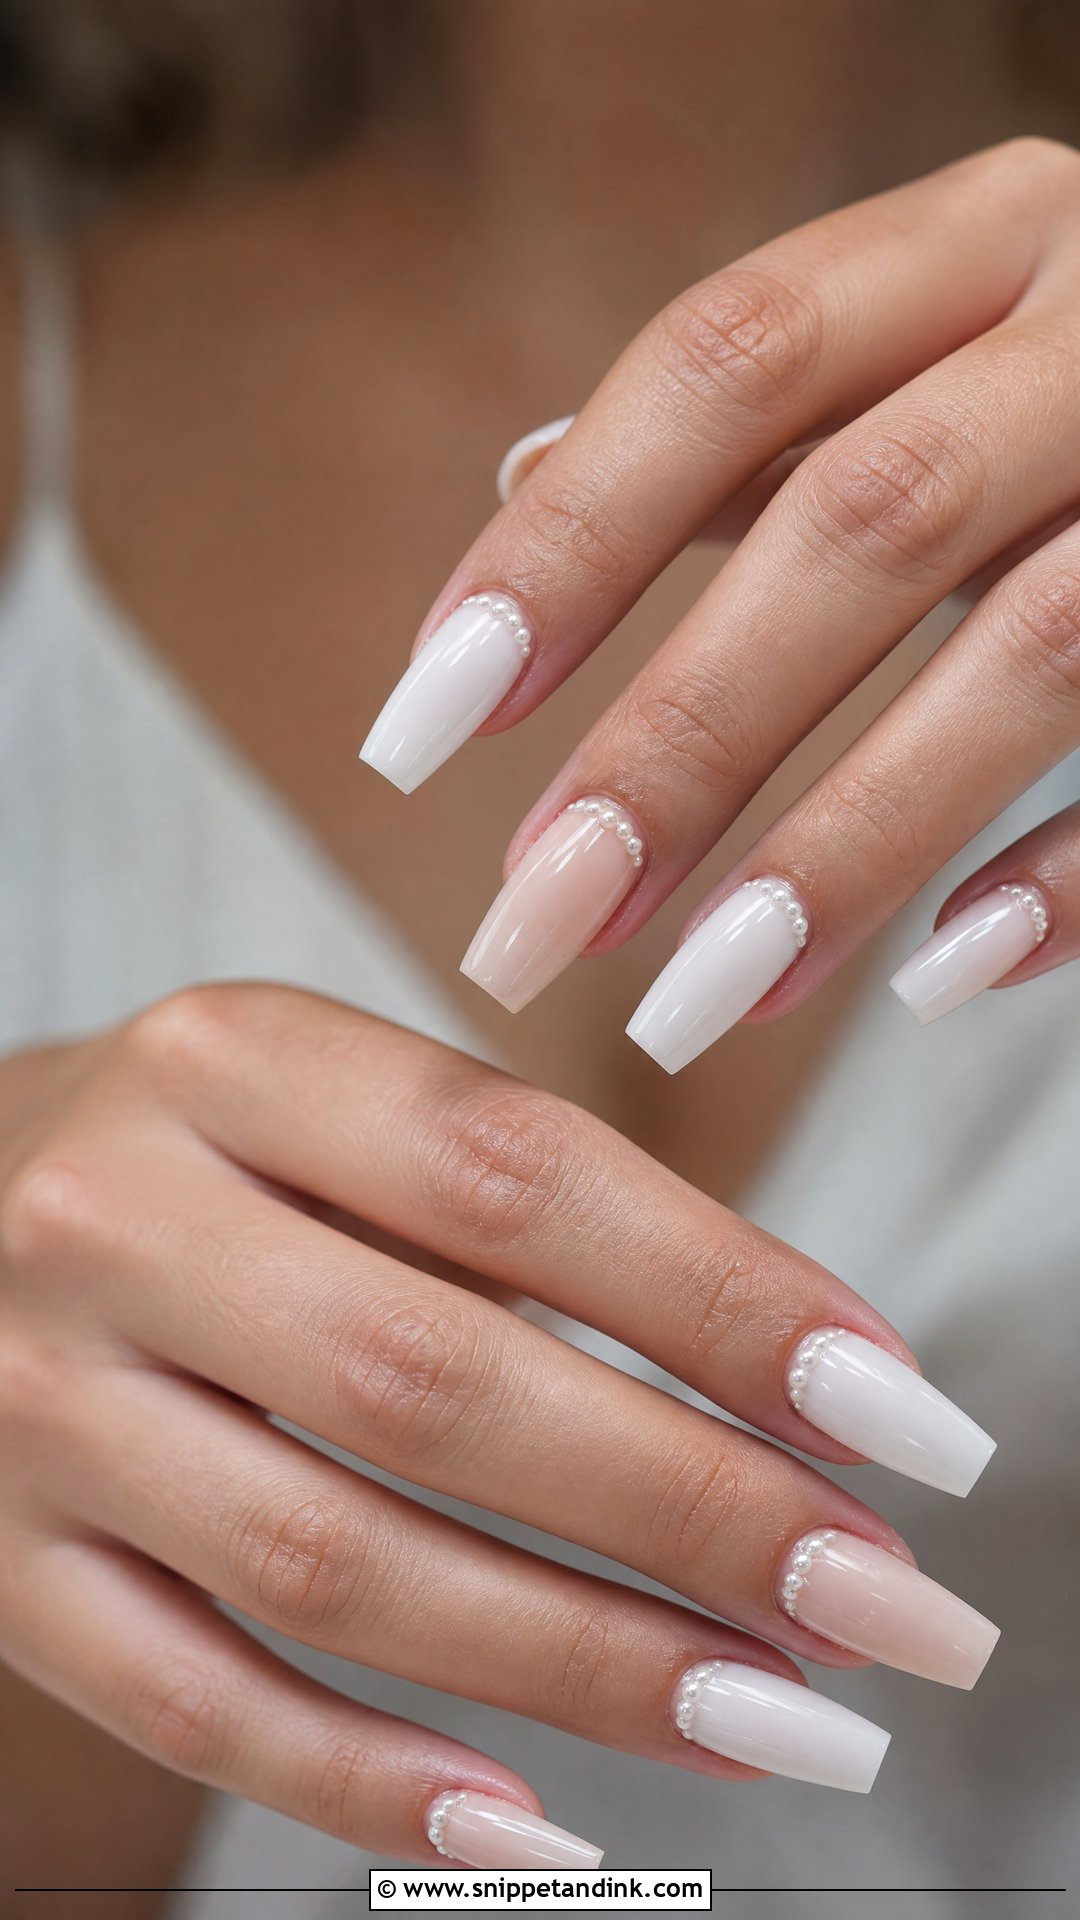
Coffin wedding nails have tapered sides and a flat tip, which gives a wider canvas than rounder shapes. That flat edge also takes the most impact, so I keep bridal coffins at medium length; long coffin tips tend to chip at the corners by the reception. Milky white, blush, nude beige or pearl chrome keep the shape feeling bridal, and the extra surface leaves room for French tips, a few rhinestones, lace or an ombre shimmer. It pairs naturally with structured gowns and bridal suits.
22. Oval Wedding Nails
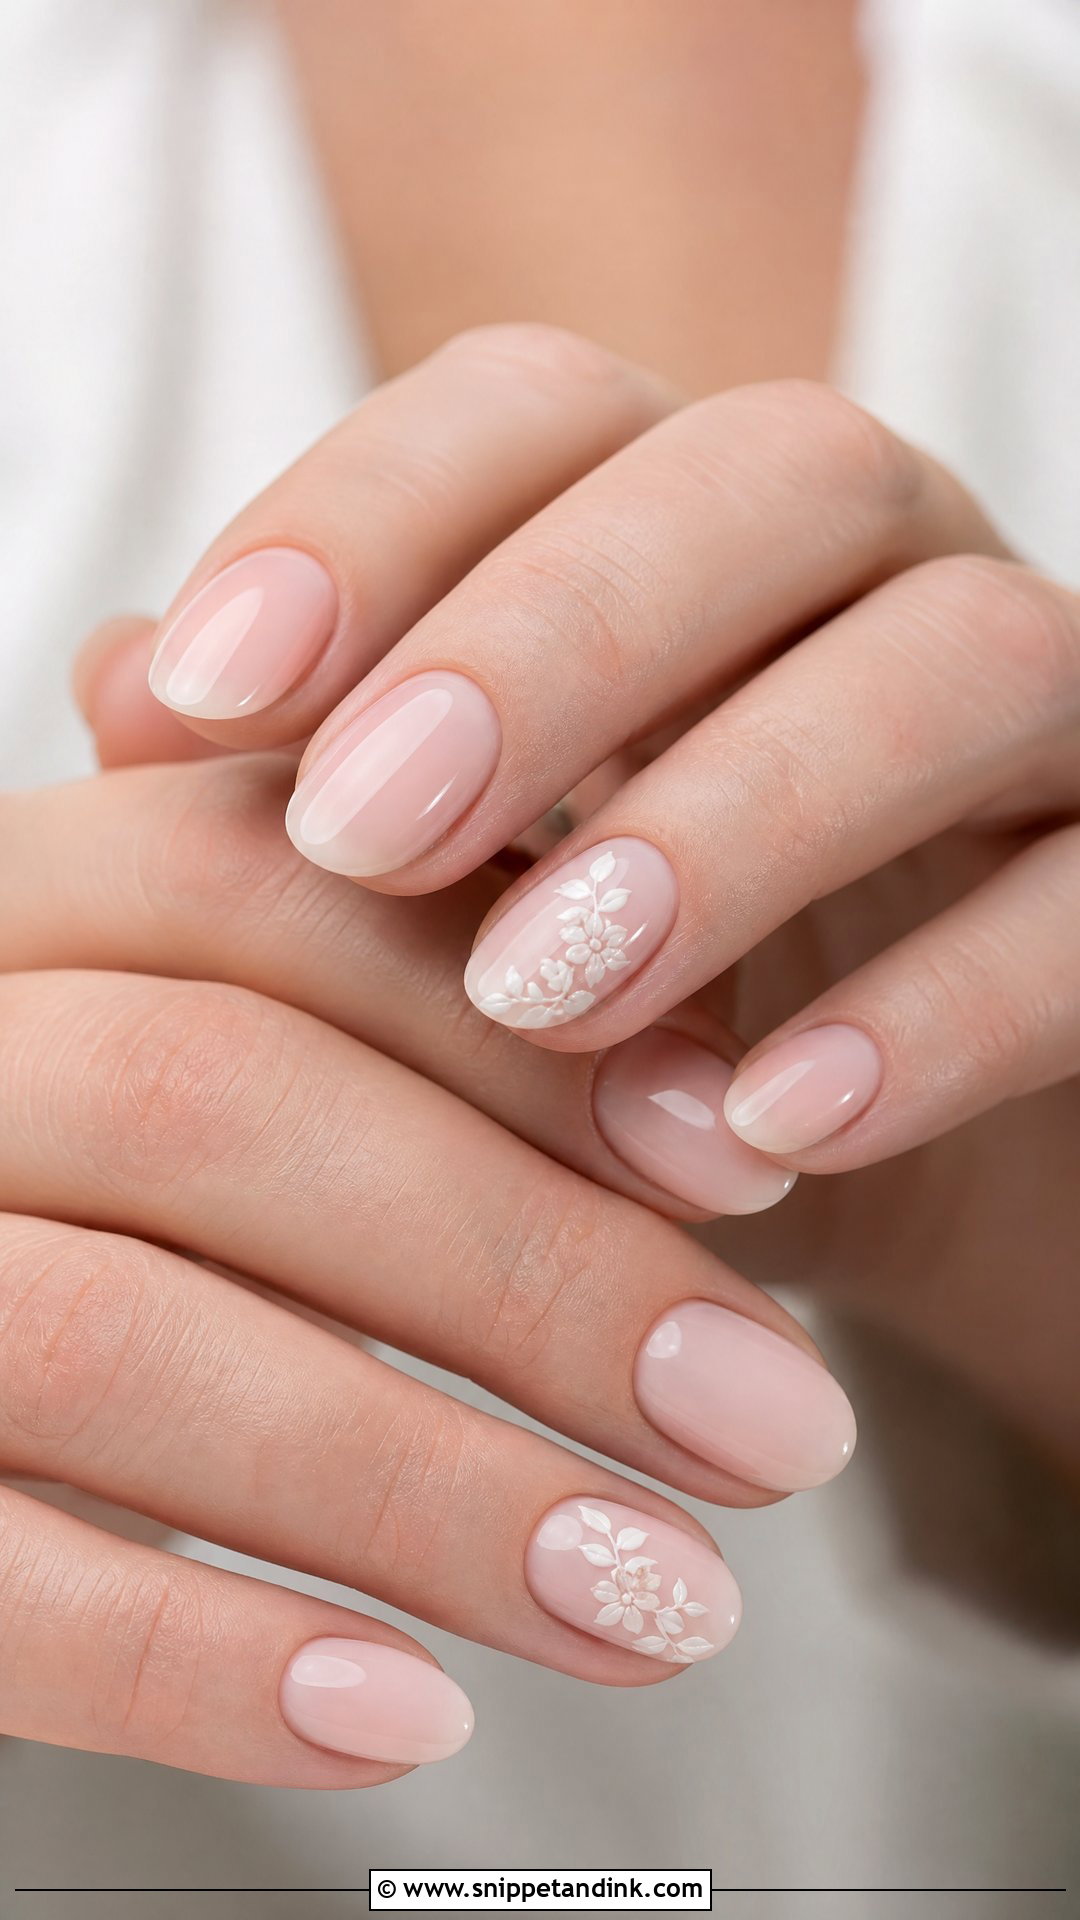
Oval follows the natural curve of the fingertip, so it flatters most hands and grows out more gracefully than any angular shape. It is also the least likely to catch on fabric during the week of fittings, packing and ironing. Sheer pink, nude, milky white or soft shimmer all suit it, and so does delicate art: tiny white flowers, a fine French or a soft ombre. If your nails are short and you still want them to look a little longer, oval does that quietly.
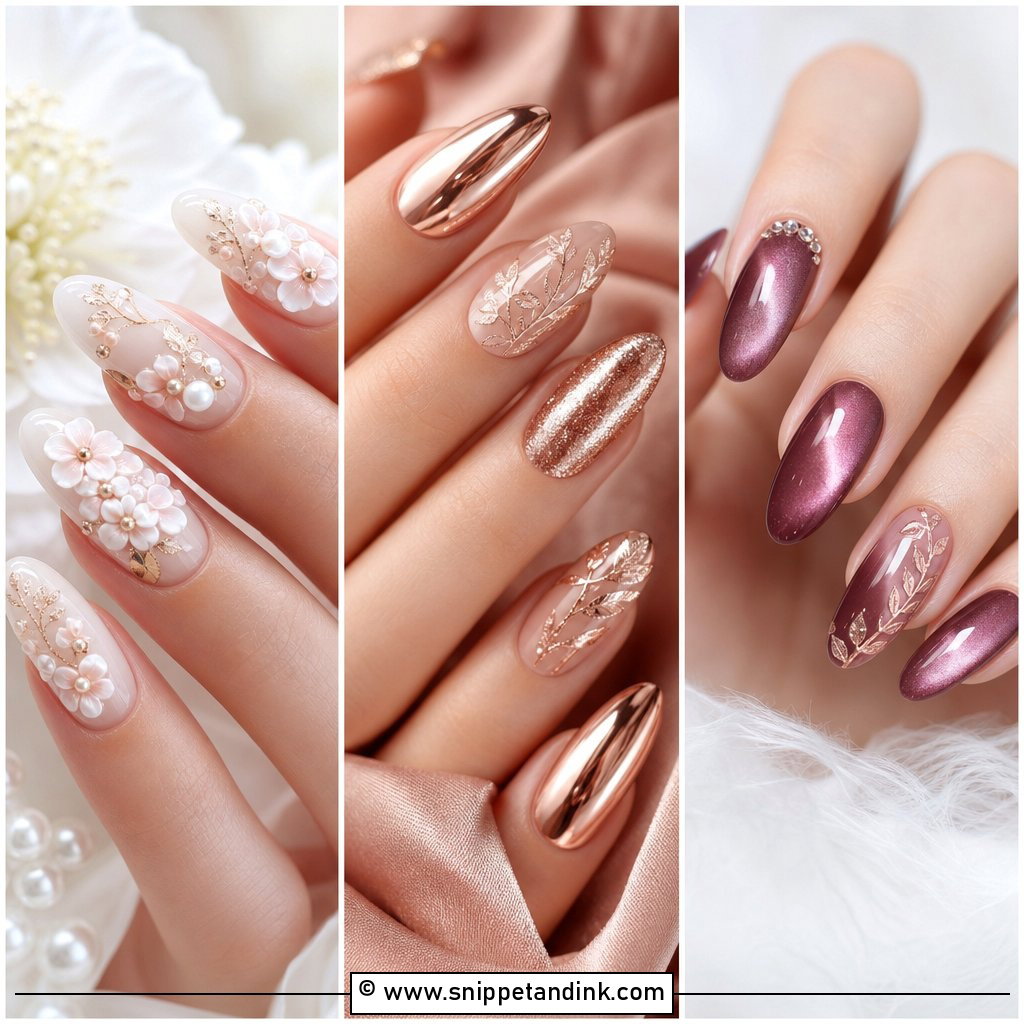
23. Rose Gold Wedding Nails
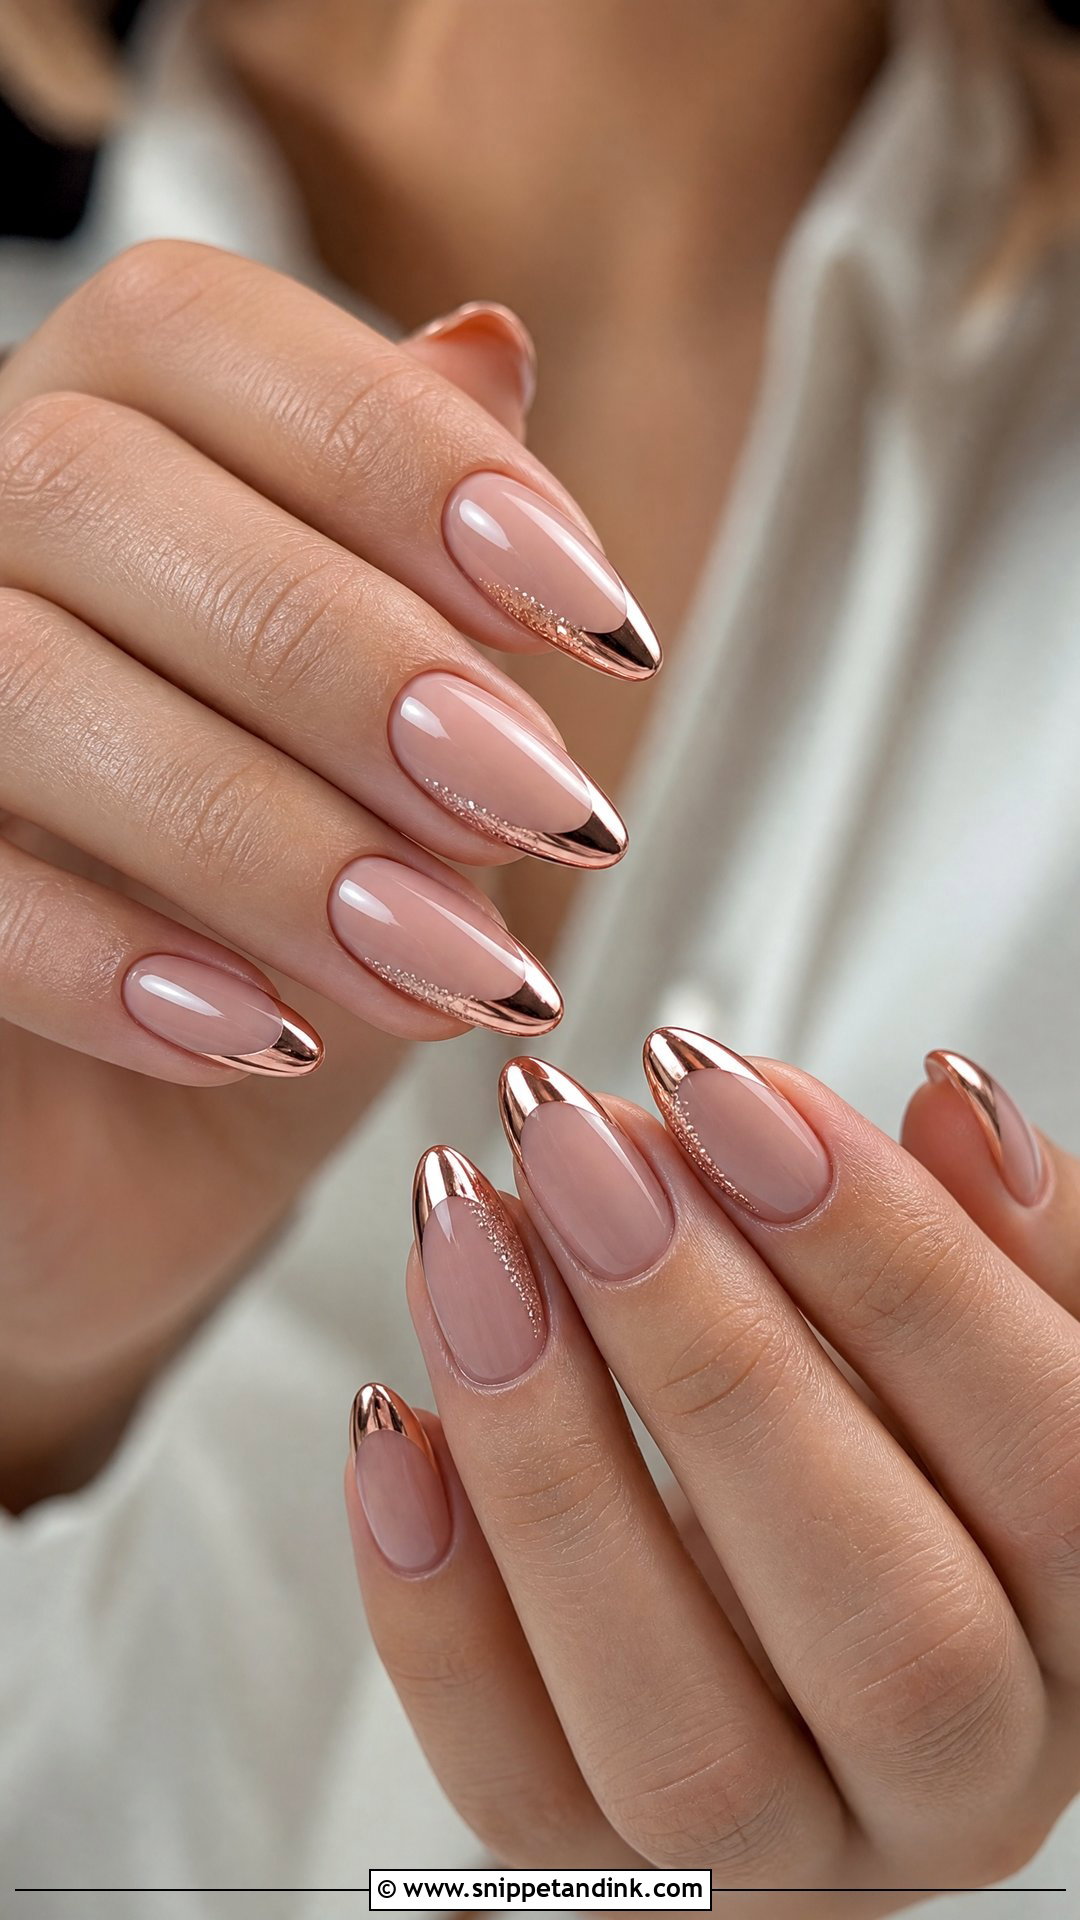
Rose gold blends pink and metallic gold, so it works best when your jewellery or makeup already leans warm. I apply it as a shimmer wash, a chrome finish or a fine foil line over nude, rather than as an opaque metallic, which can look brassy under indoor bulbs. Rose gold French tips are a modern take. Avoid chunky glitter here. Almond, oval and coffin shapes show the reflection well, and warm evening or garden light brings out the colour.
24. Minimal Line Art Wedding Nails
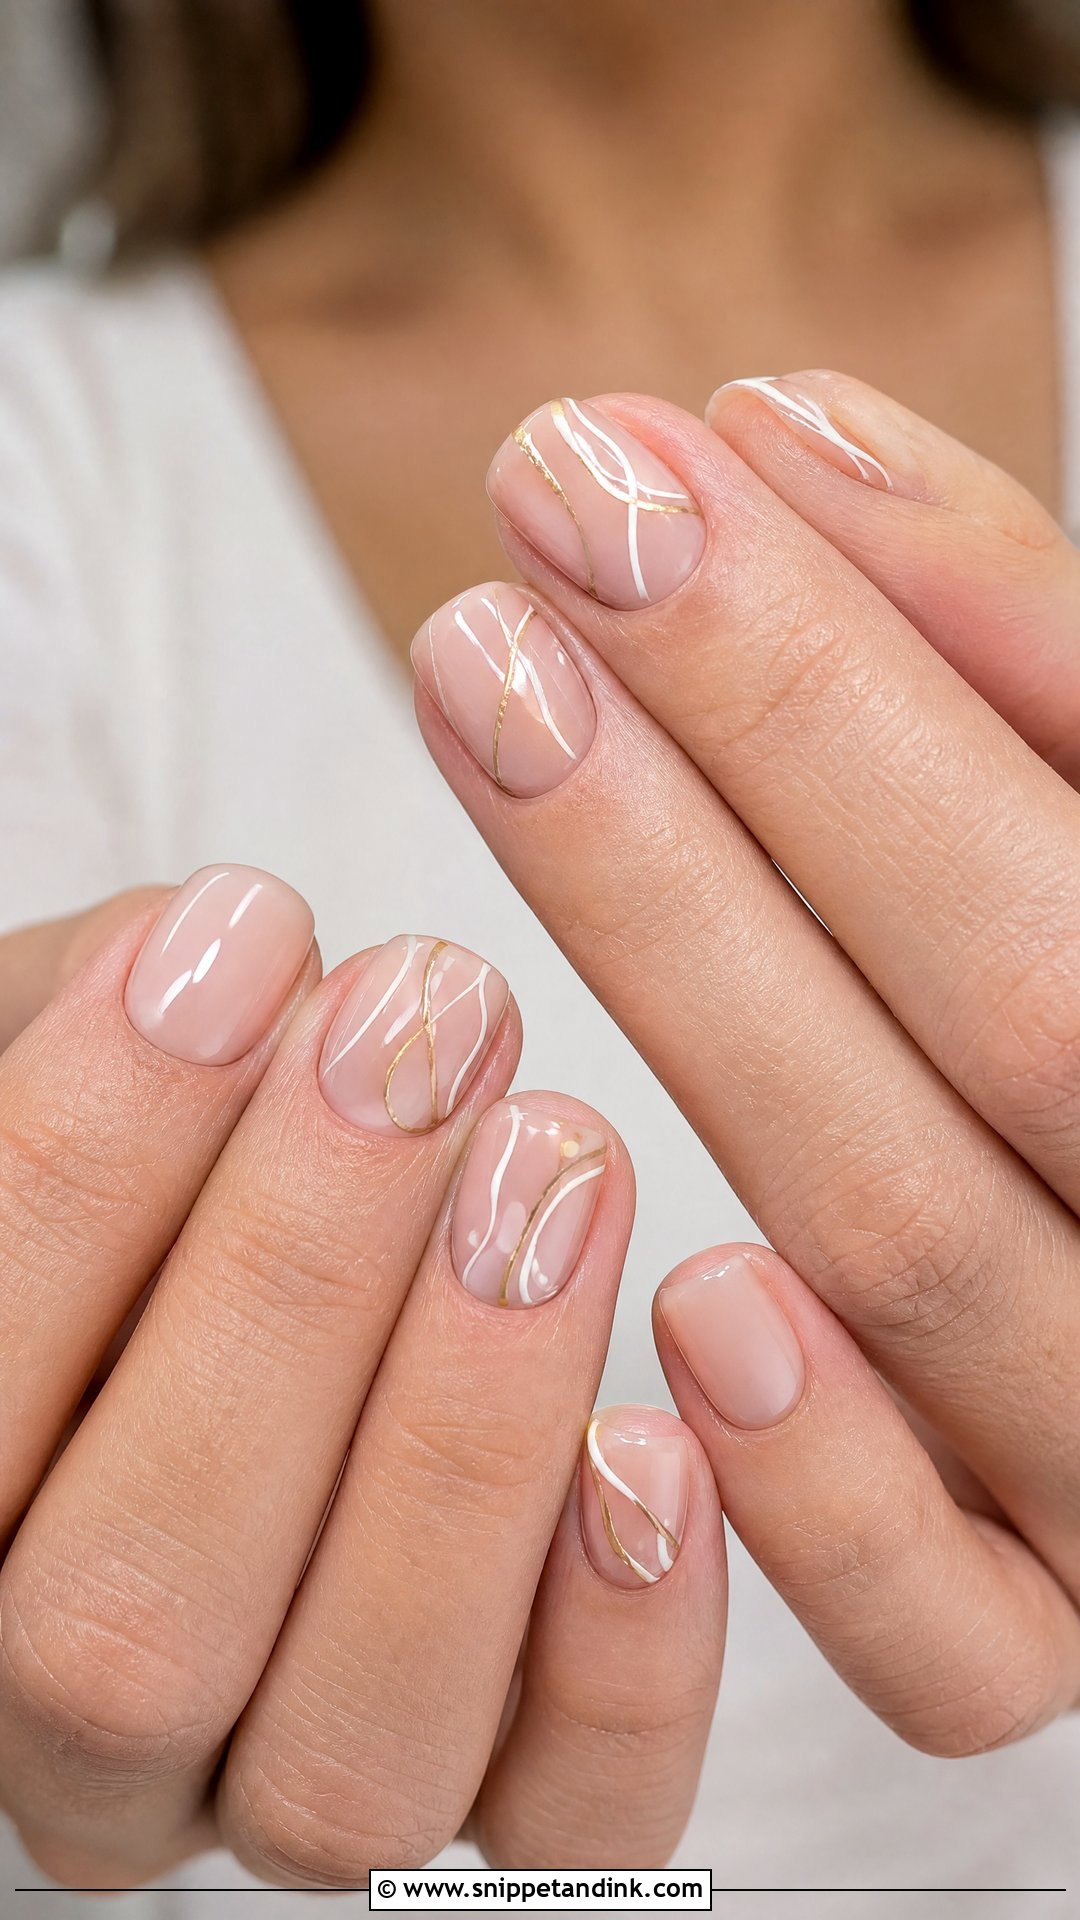
Line art is a few thin strokes of white, gold or beige over a nude, sheer pink or milky base: curves, tiny leaves, simple outlines. It needs almost no space, so it is one of my favourite options for short nails. The trick is restraint. I limit the lines to a few nails and keep them hairline-thin, because thicker lines start to look like sticker art. It suits minimalist gowns, sleek buns and simple jewellery.
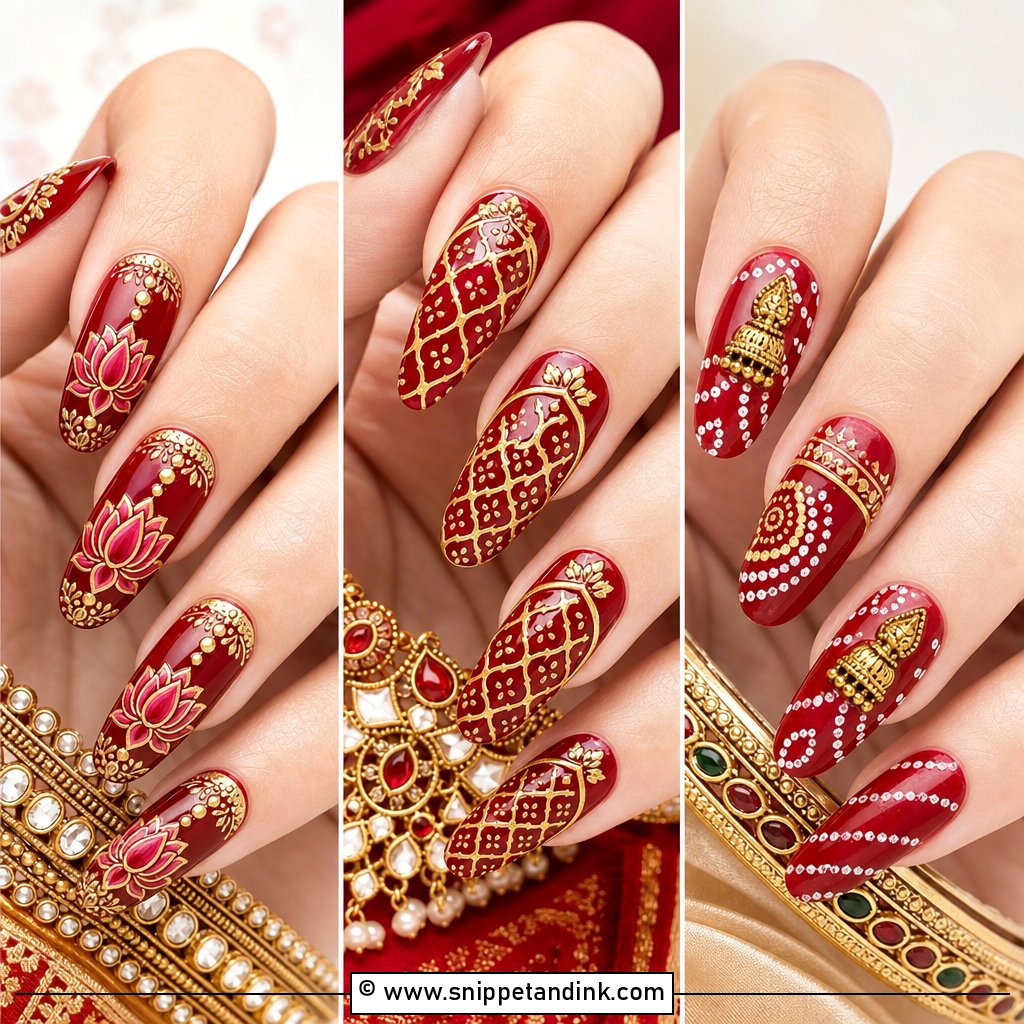
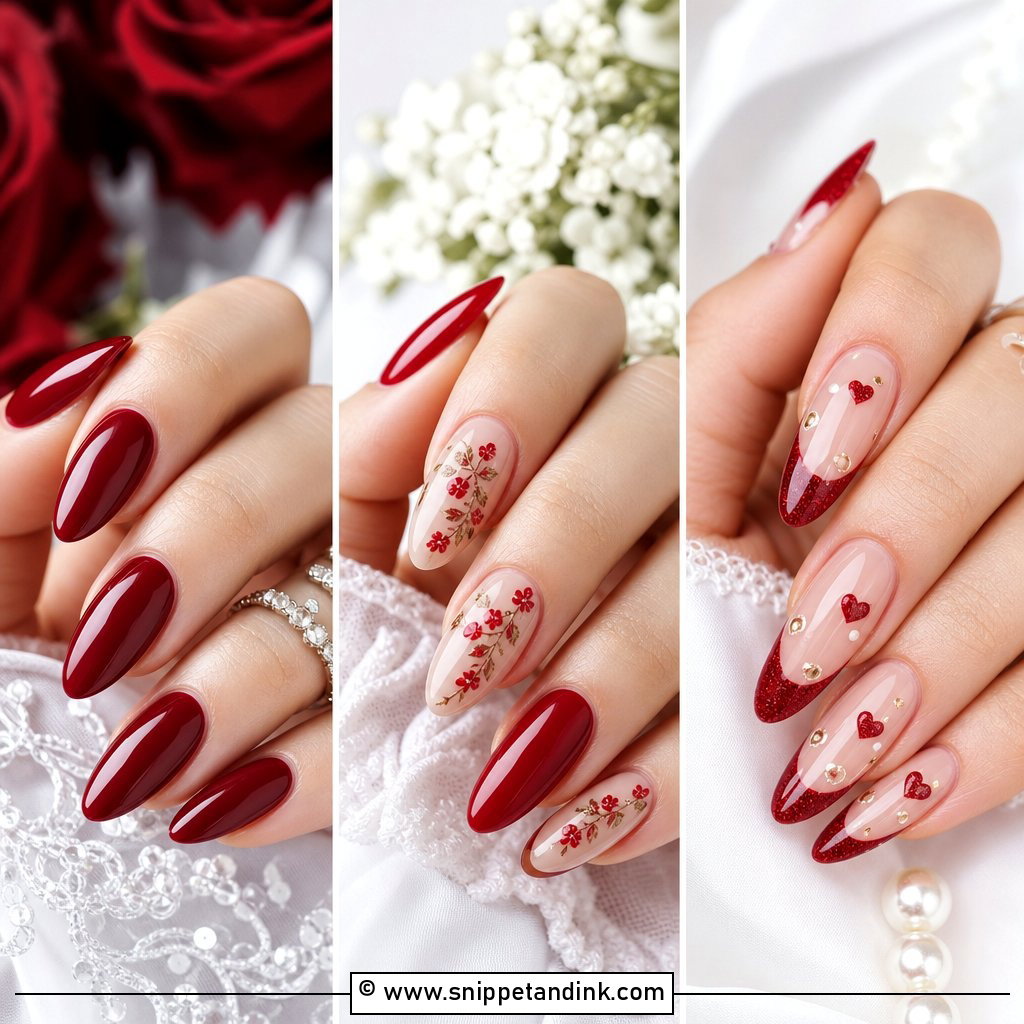
25. Red Wedding Nails
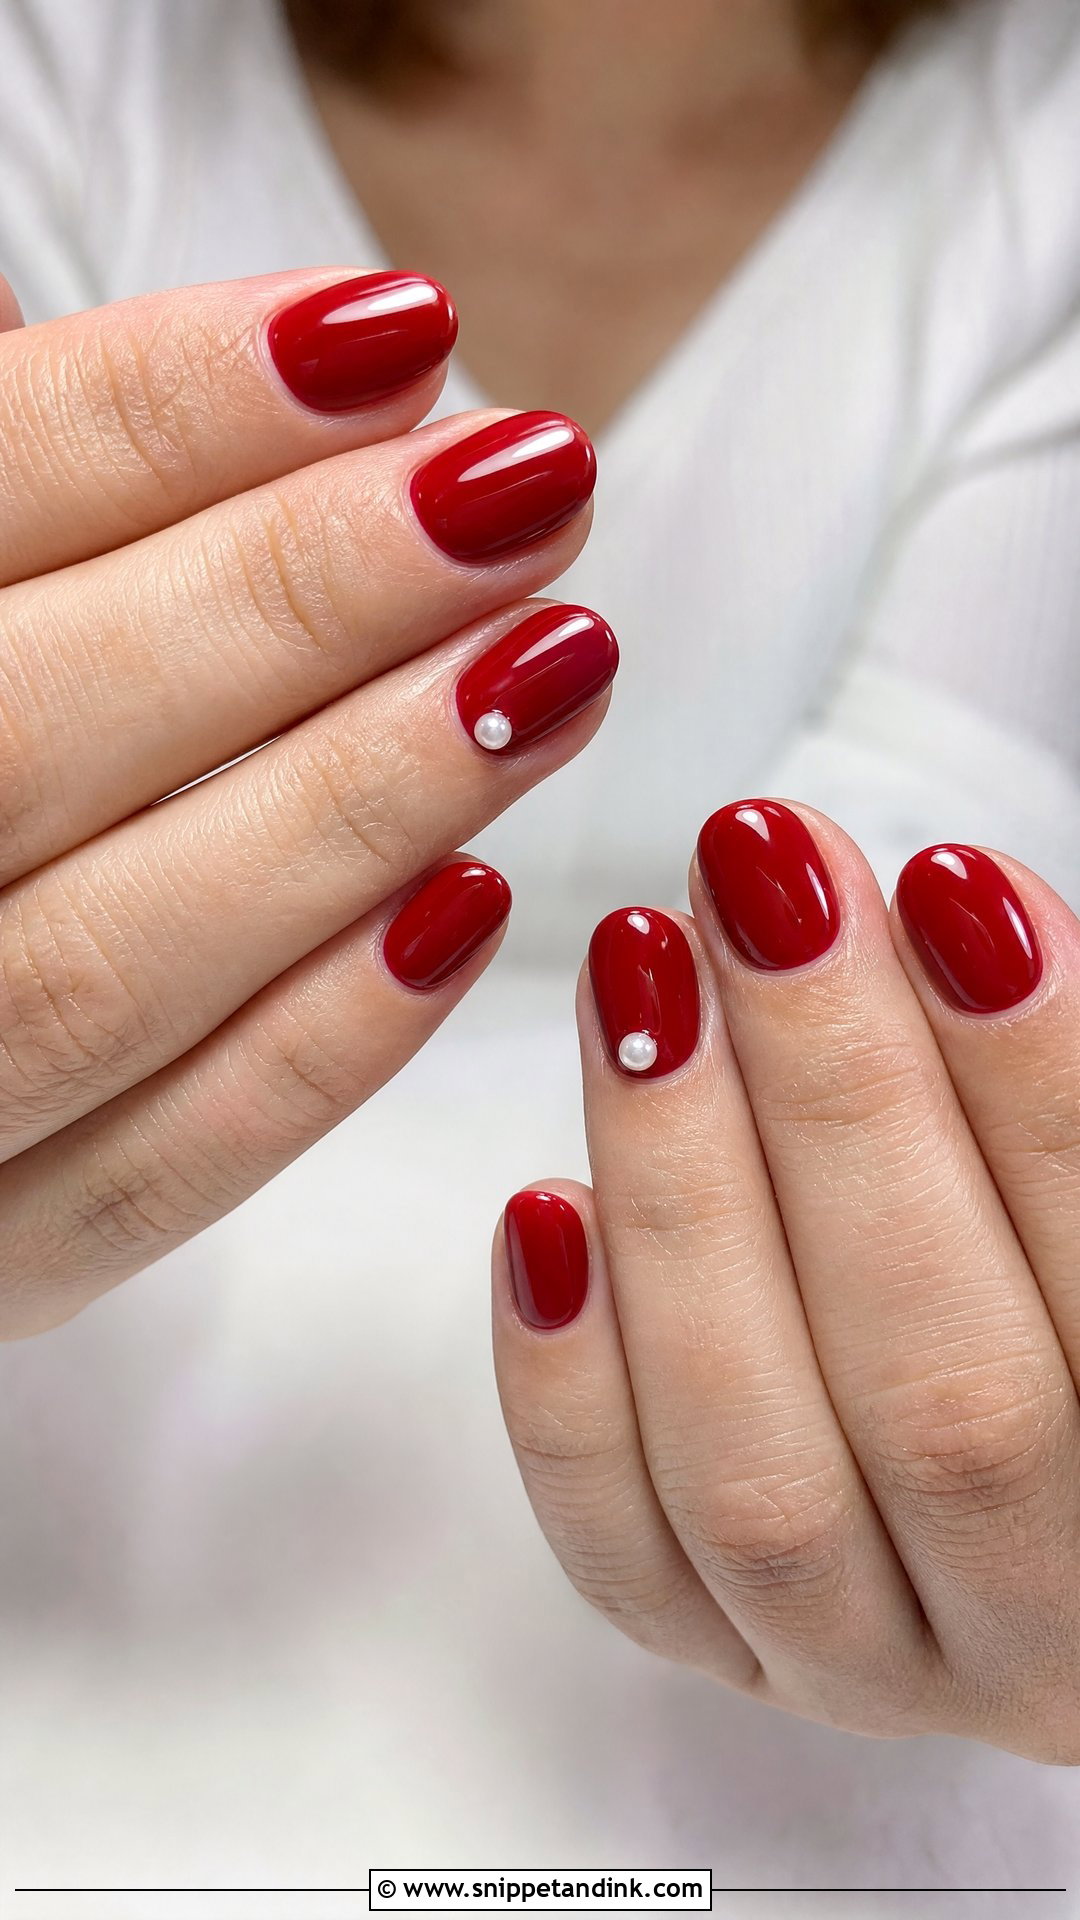
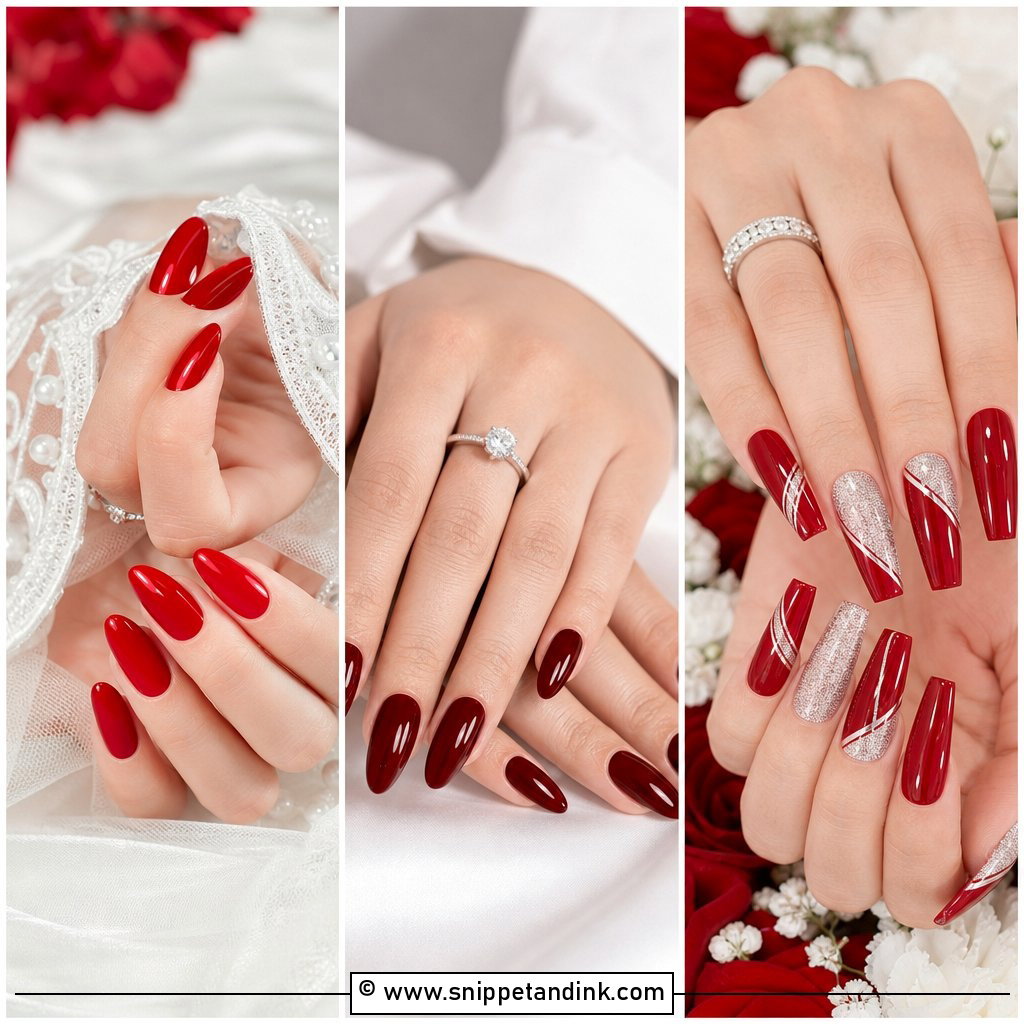
Red is a confident choice, and on the right bride it looks better than any neutral. I’d steer you toward it only if you already wear red and love it, because a colour you are unsure about will feel loud on the day. Match the red to your undertone: a blue-red suits cool skin, while cherry or cranberry flatters warmer tones. Keep the shape short oval or almond and the finish glossy. A tiny pearl or fine gold line adds a wedding detail, and red works just as well for guests who want something polished and classic.
What a Ring Shot Shows That a Mirror Hides
Photographers use macro lenses for rings, and those lenses magnify everything around the band. The flaws I notice most in wedding galleries are not design choices at all. They are dry cuticles, polish flooding into the skin at the sidewall, uneven free edges and a thick ridge where the gel was built too high.
- Ask for a thin, flat apex on the ring finger in particular; a bulky nail looks swollen beside a delicate band.
- Check the sidewalls under good light before you leave the salon. Gel that touched skin will lift within days.
- Pack cuticle oil and apply it an hour before the ring photos, then wipe the excess so it doesn’t shine like grease.
- Keep the ring finger free of 3D art if your engagement ring is detailed. Two competing points of sparkle confuse the photo.
A Snapped Nail at Seven in the Morning
It happens more often than brides expect, usually while getting dressed or opening something. Don’t try to trim or glue it in a panic. Nail glue, a spare press-on tip in your size and a fine file in the emergency kit will fix most breaks in ten minutes. If the break goes below the free edge into the nail bed, file it smooth, cover it with a nude press-on and plan a proper repair after the wedding. I’d also tell your bridesmaids where the kit is, because you won’t be the one looking for it.
Live With Your Shape First, Then Pick the Art
Comfort first, then colour. Pick a shape you can actually live with for a week of hugging, packing and fastening jewellery, then match the shade and detail to your dress, metals and venue light. If you are trying extensions, a new shape or detailed art, book a trial at least a few weeks before so there is time to change course. A set that still looks right when you take it off after the honeymoon is the one worth choosing.
You'll Like These Ideas:


Leave a Reply