
A bridal manicure gets more close attention than almost any other part of the look, because every ring shot and bouquet photo puts your hands in the frame. When a bride sits down at my desk, I think about her nail shape, the metal of her ring and how many days the set has to last before I think about color at all. The ideas below run from a plain milky gel to sculpted 3D flowers, and each one comes with what I’d actually watch for while doing it. Some are easy on short natural nails. Others need length or extensions to work, so read them with your own hands in mind, not just the photos.
A Manicure Calendar Counted Back From the Wedding Date
Most of the bridal nail trouble I’m asked to fix is a timing problem, not a design problem. Gel generally holds for two to three weeks before grow-out and lifting start to show, so the final set needs to go on close to the date while still leaving a day to correct anything.
- Six to eight weeks out: stop peeling and picking, use cuticle oil every night, and decide whether you need extensions for the shape you want.
- About four weeks out: book a trial if you’re trying a new shape, chrome or 3D work. Wear it for several days and notice what catches, chips or annoys you.
- One to three days before: the final set. Earlier than that and a gap appears at the cuticle in ring photos; on the morning itself there’s no time to redo a smudged nail.
- The wedding morning: nothing new. A little cuticle oil, wiped off the nail surface before the photographer arrives so it doesn’t look greasy.
If you’re having a spray tan, book it before the manicure. Tanning solution settles into the cuticles and stains the free edge, and it’s much easier for me to clean skin before gel goes on than to work around orange edges afterwards.
What Your Engagement Ring Tells Me About Length and Color
I always ask to see the ring before suggesting a shape. A large solitaire or a tall setting already draws the eye, so a short to medium nail in a sheer color lets the stone lead. A slim band or a low eternity ring can handle a longer almond or a little art without being overwhelmed.
Metal matters as much as the stone. Yellow gold looks warmer beside ivory, beige and champagne bases; platinum and white gold suit milky white, cool pinks and silver accents. Rose gold sits happily with blush. When the metal and the nail color disagree, the ring shot is where you’ll notice it first.
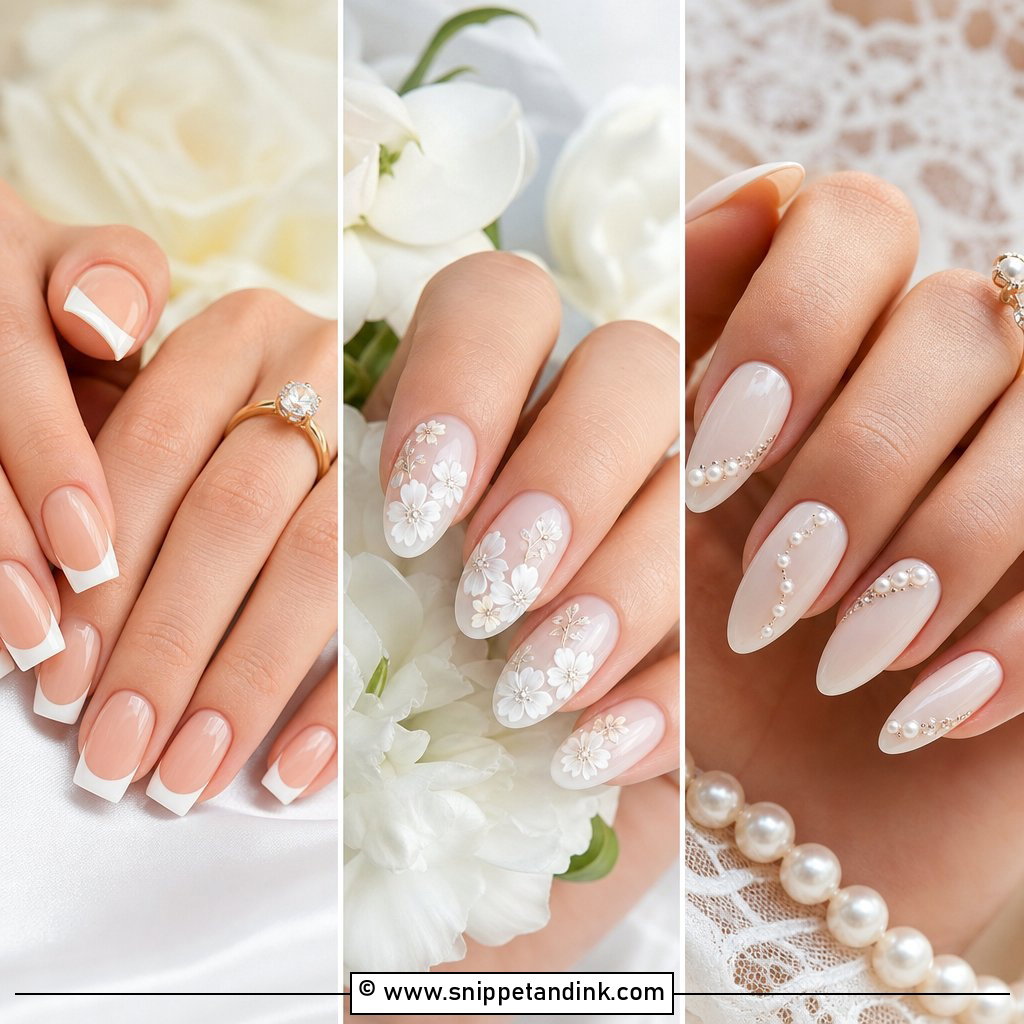
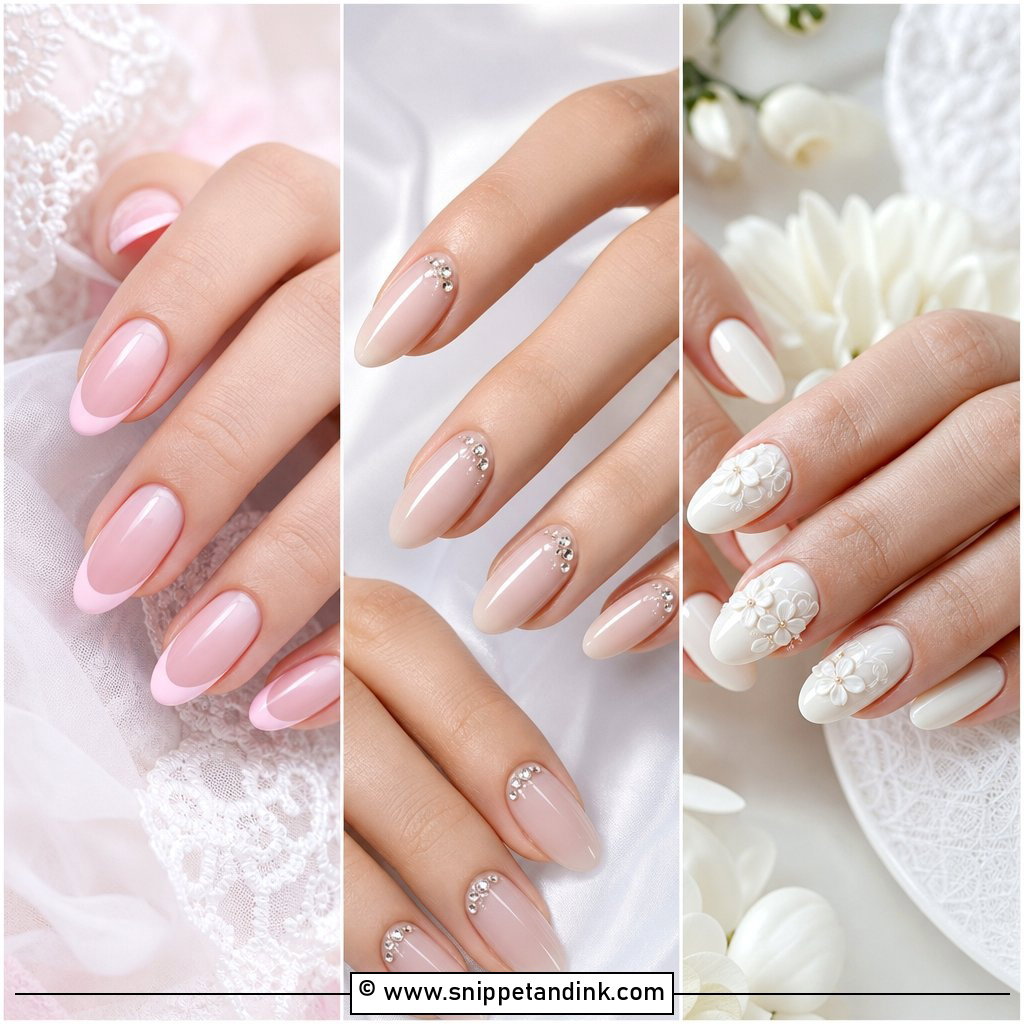
1. Bridal French Tip Nails
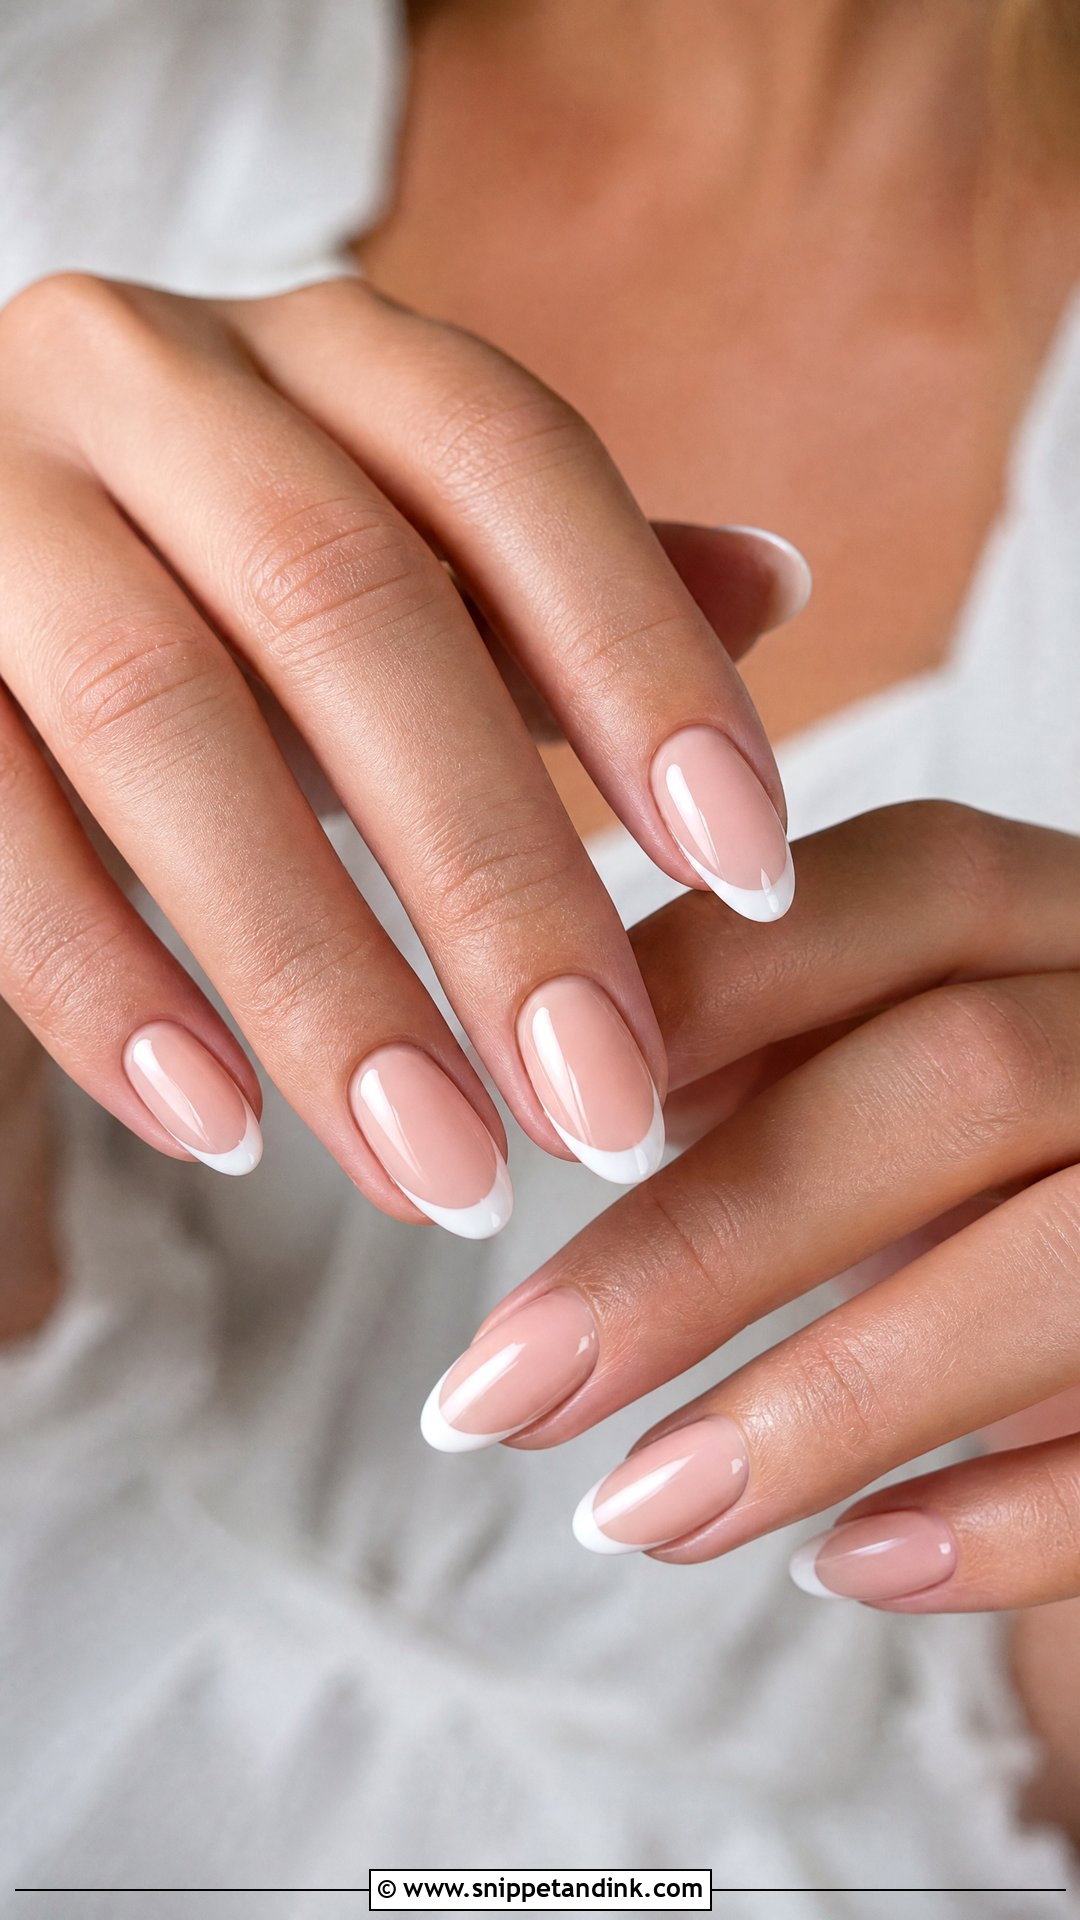
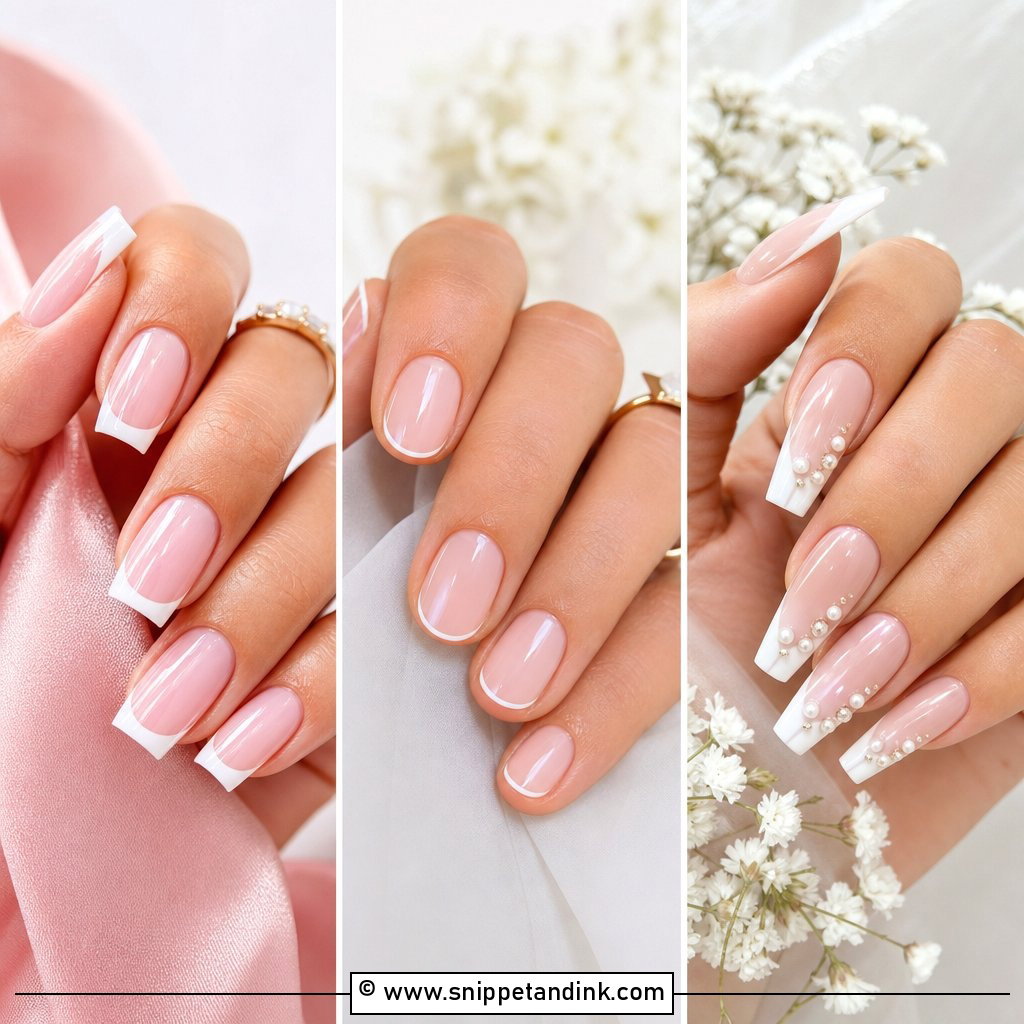
Bridal French tip nails stay popular because the white edge reads clearly even in a wide shot of the aisle. The part most people get wrong is the base. A stark clear base shows every ridge and any yellowing at the free edge, so I use a sheer pink or nude matched to the nail bed. I set the smile line to follow the natural curve of each nail rather than a straight guess, and I keep it thinner on short nails so they don’t look stubby. A slightly blurred micro French is the modern version, and it grows out more gracefully if the set has to last close to three weeks.
2. Milky White Wedding Nails
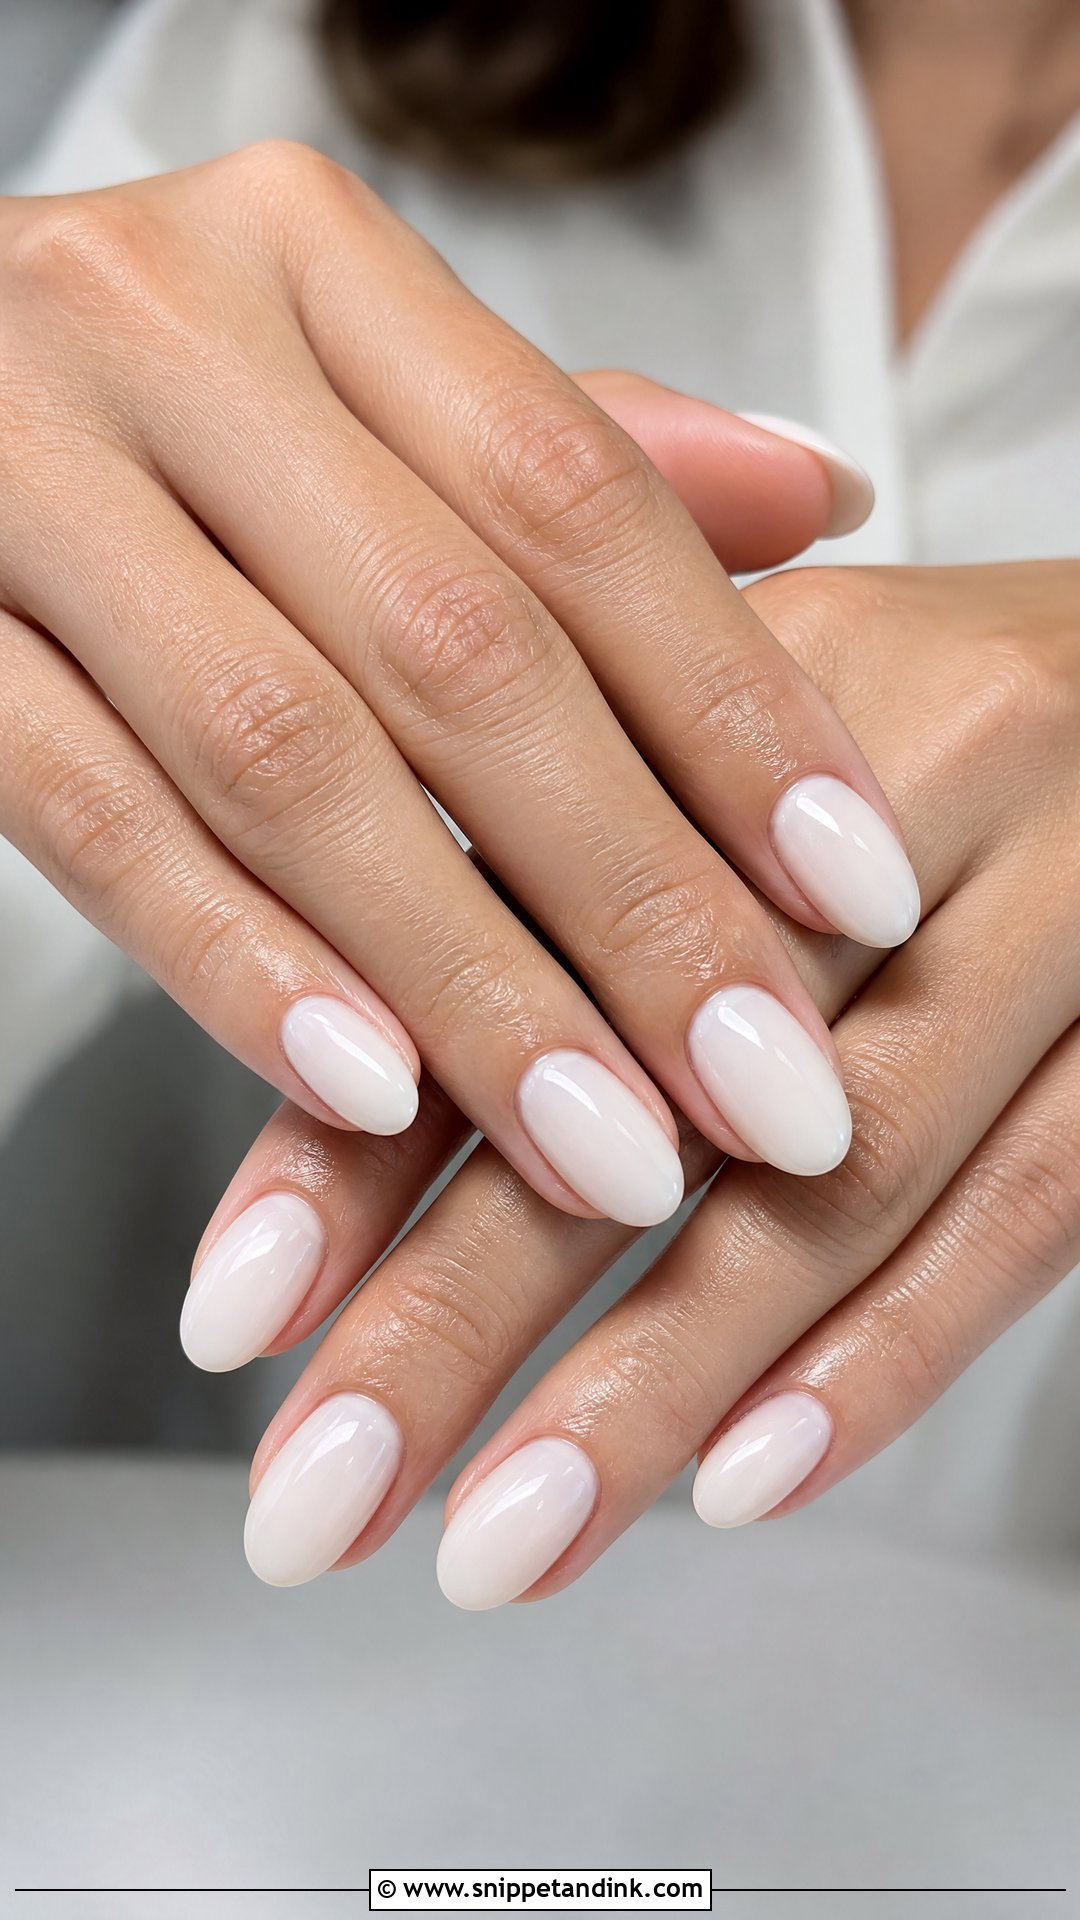
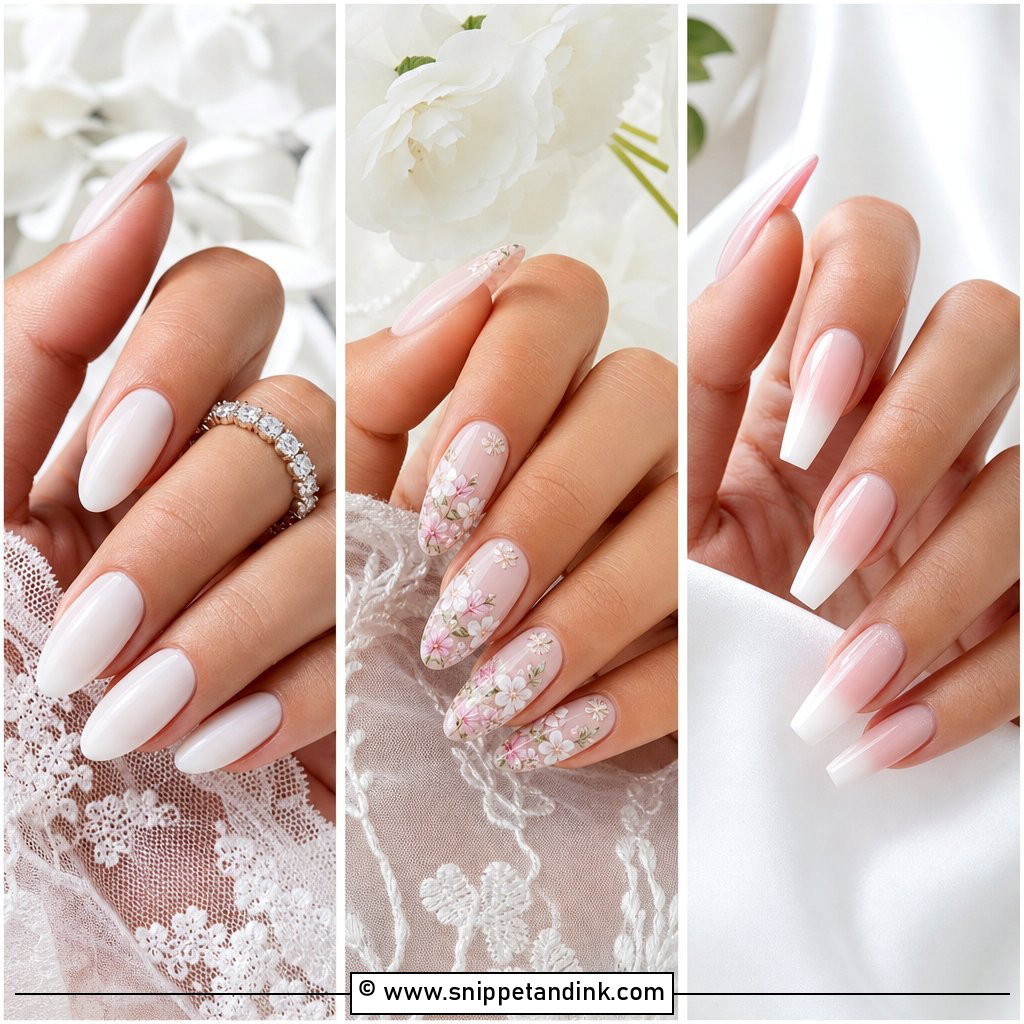
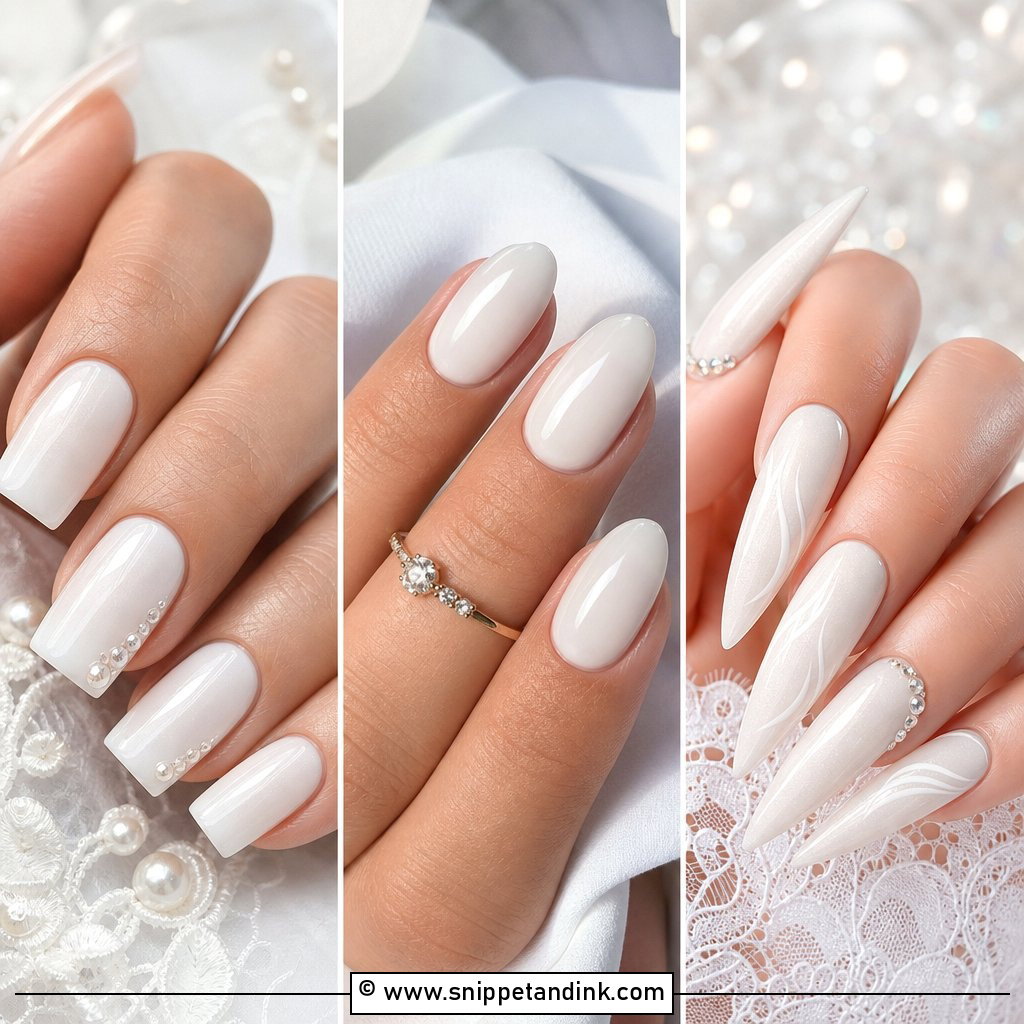
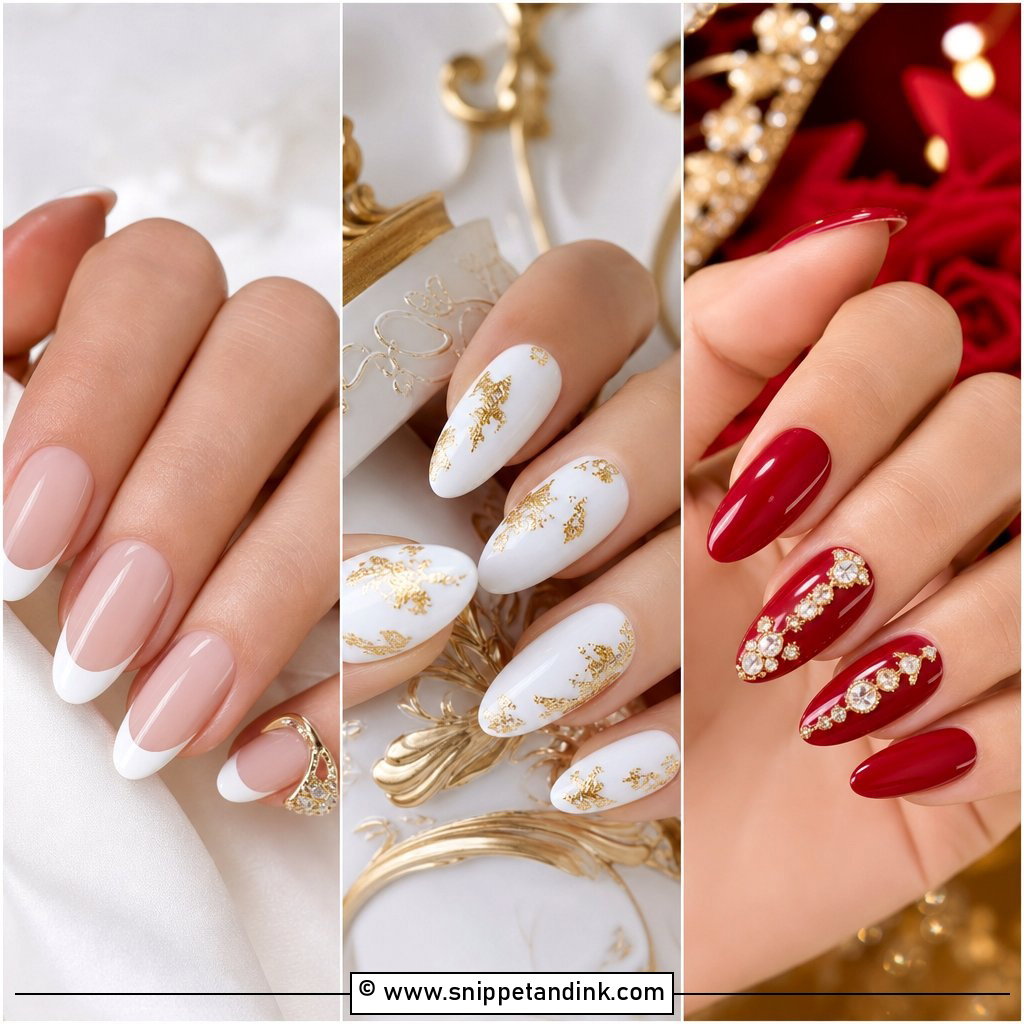
Milky white is the color I mix most for brides, and it’s trickier than it looks. Too much white and it streaks or turns chalky; too little and it reads as a dirty clear. I build it in two or three thin coats instead of one thick one, which keeps the color even and stops the gel from wrinkling under the lamp. It sits softly next to ivory and champagne fabric, and it’s a sensible pick when the dress already carries heavy beading. On very warm or olive skin I sometimes add a drop of pink so the fingertips don’t look grey.
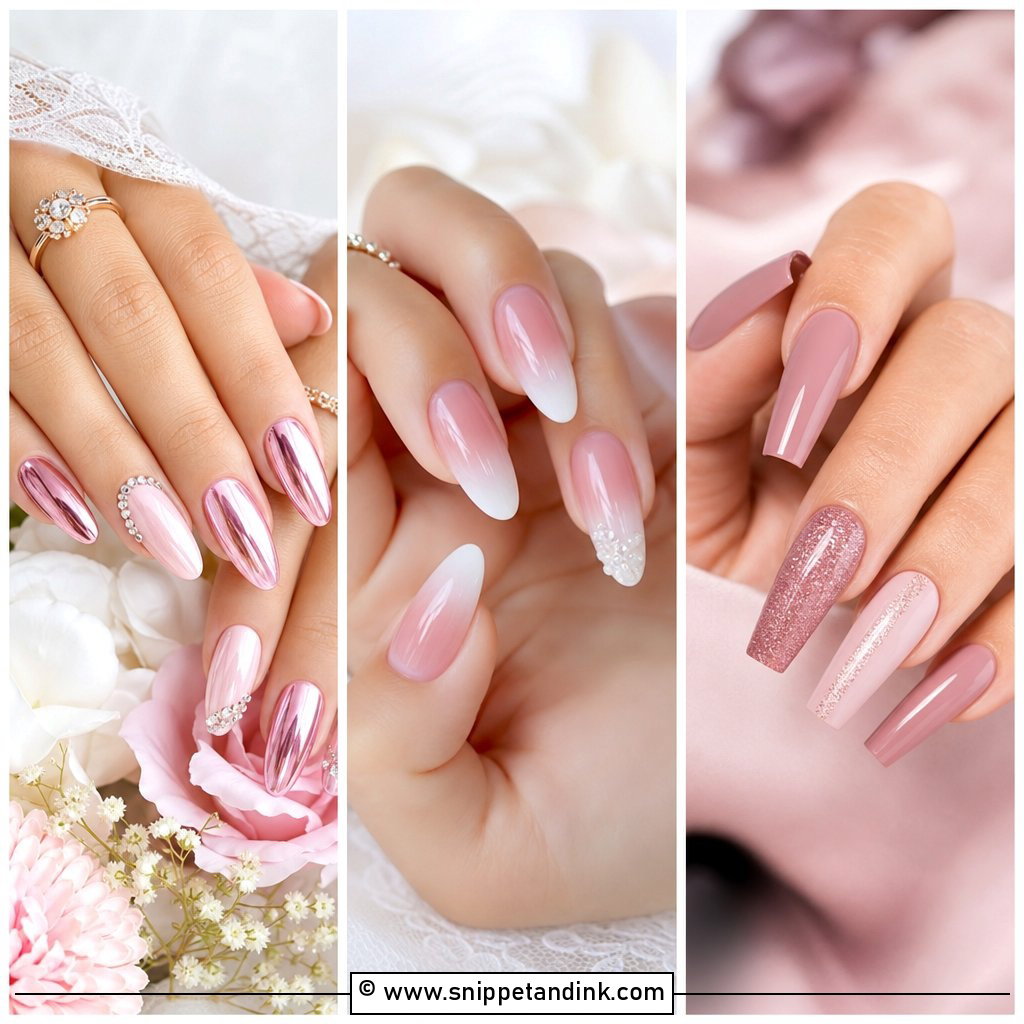
3. Pearl Chrome Bridal Nails
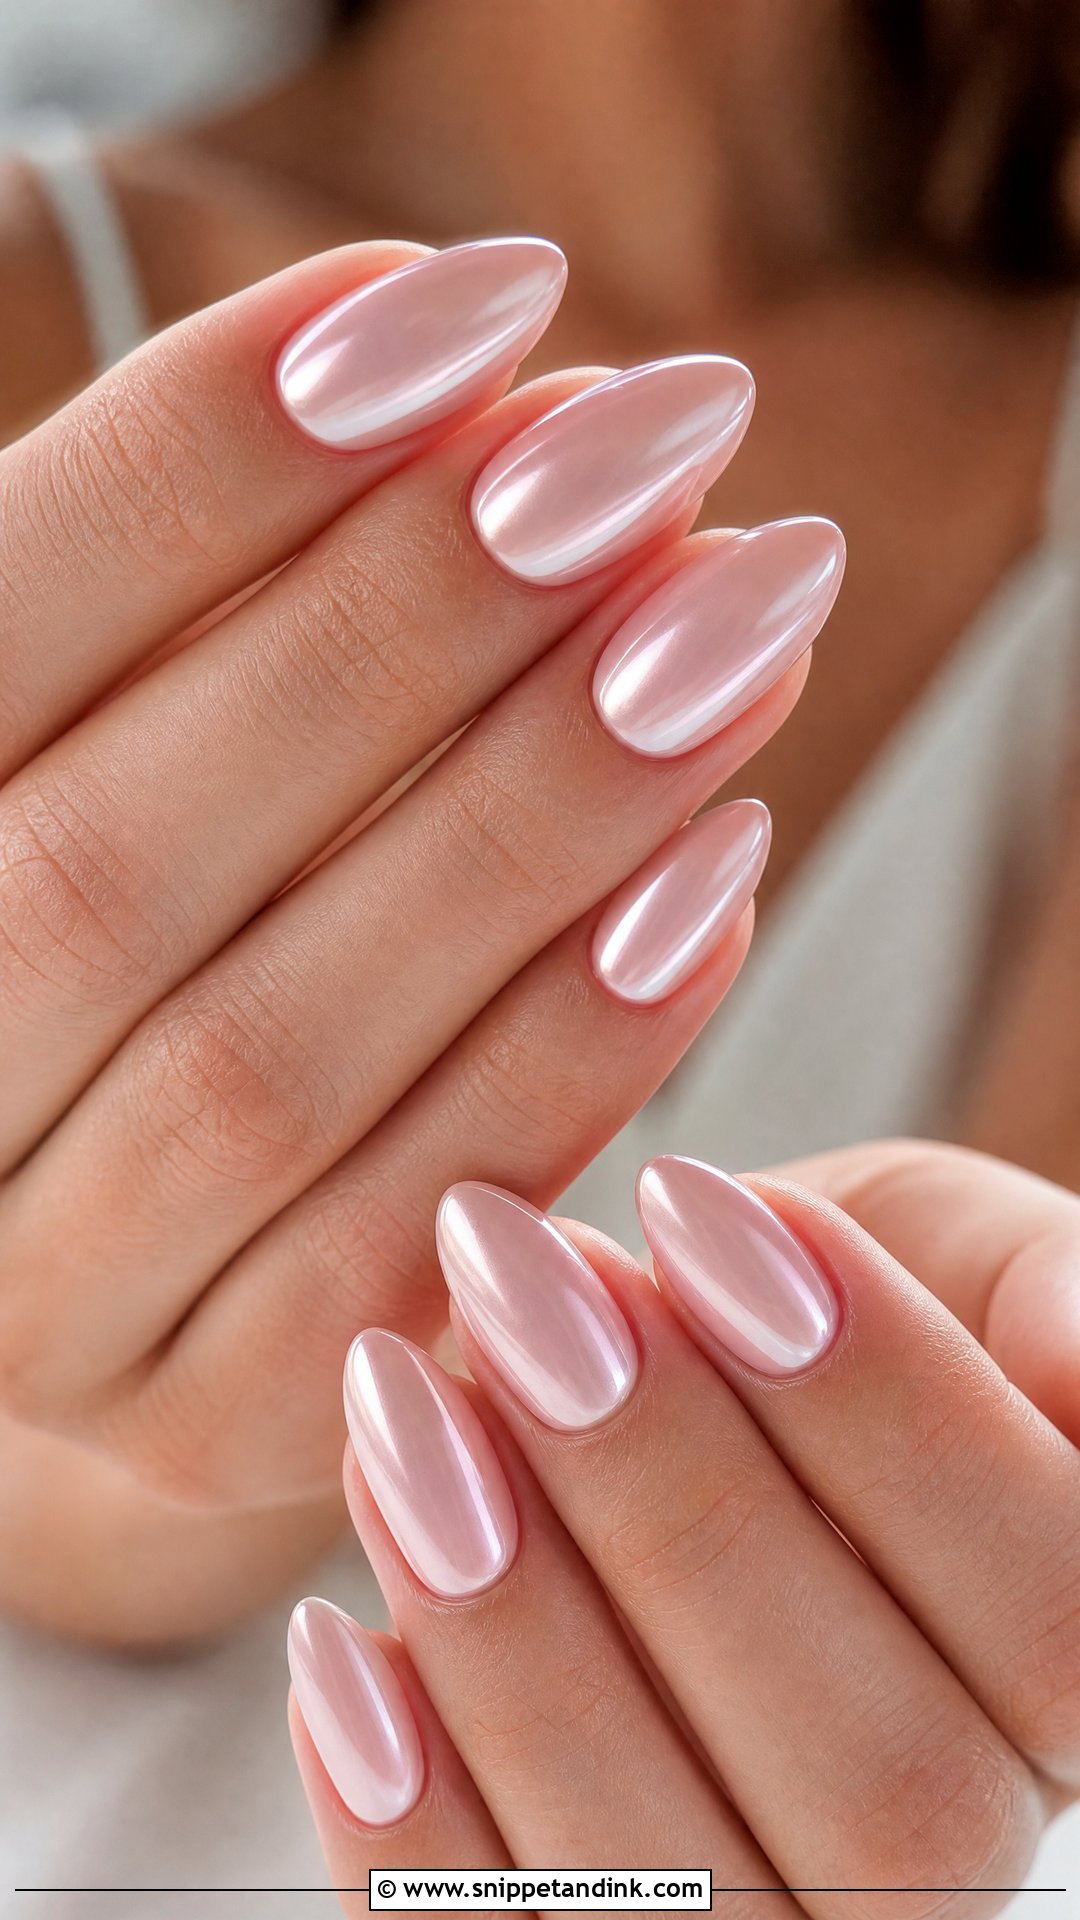
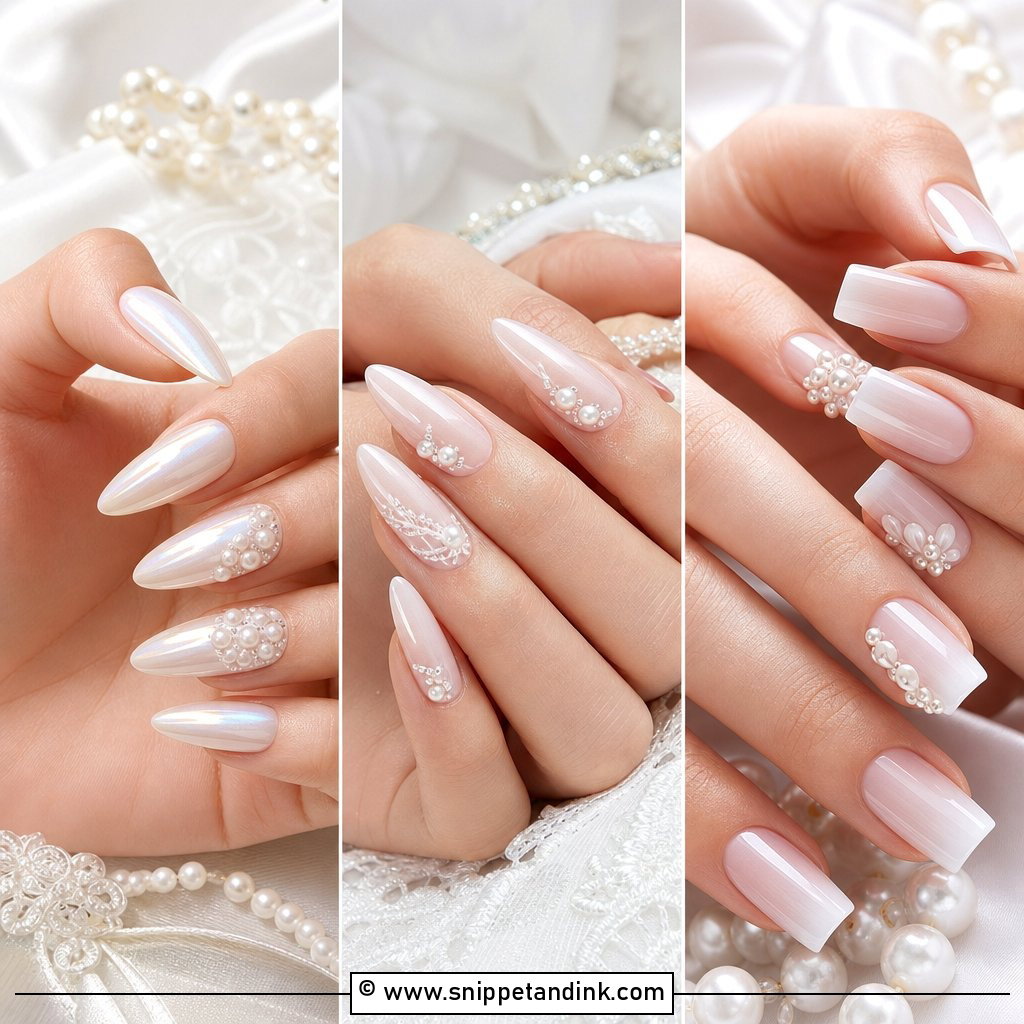
Pearl chrome gives shine with none of the grit of glitter. I buff a fine pearl powder onto a cured no-wipe top coat, then seal it twice, because chrome rubbed onto the wrong layer simply wipes away. The base decides the mood: pale pink reads warmer, milky white cooler and brighter. It catches camera flash strongly, so I keep the rest of the set plain. Chrome also shows scratches on the top coat sooner than a cream finish, which is why I’d book it as close to the date as you can.
4. Blush Pink Bridal Nails
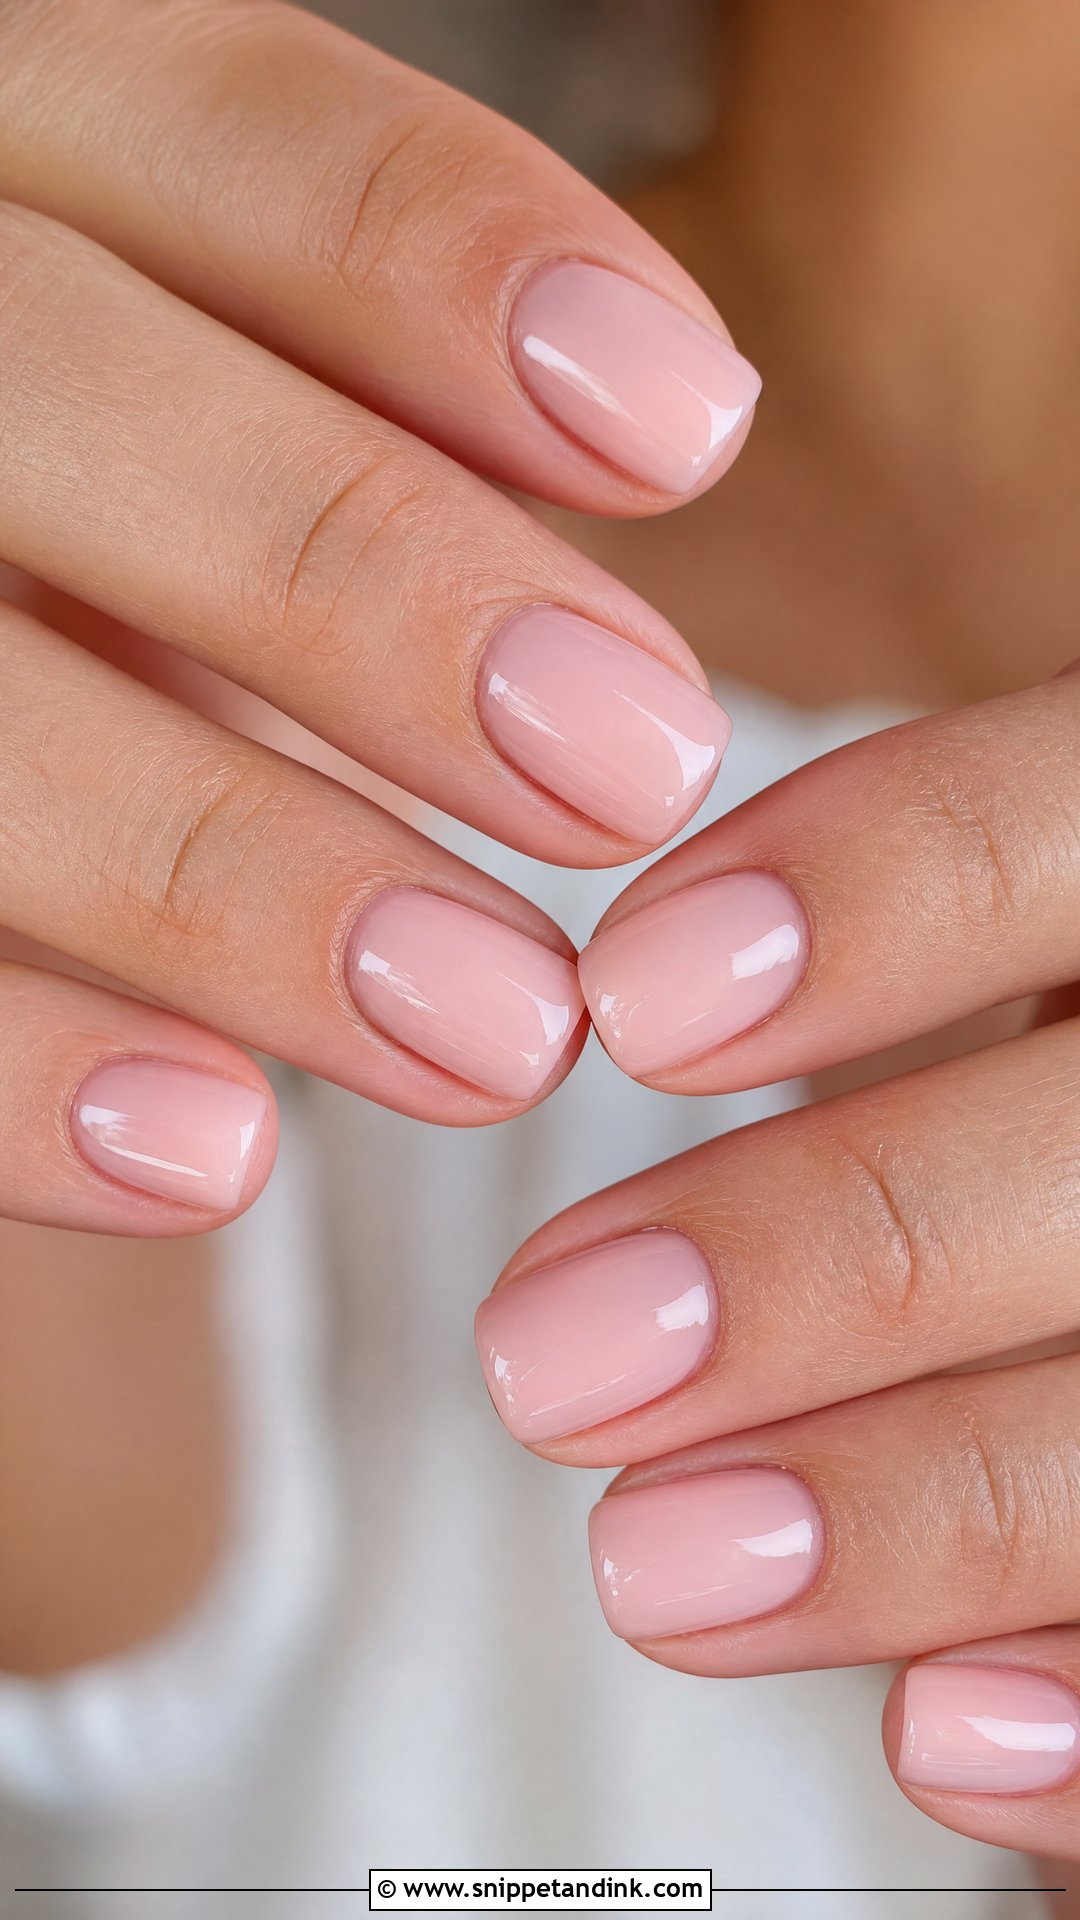
Blush pink suits the widest range of hands I see, mostly because it imitates the color of a healthy nail bed. Worn as a solid gloss or a sheer jelly, it makes short nails look tidy and deliberate instead of unfinished. The thing to check is undertone. A cool, bluish pink can make warm skin look slightly sallow under reception lighting, so I swatch two or three pinks on the actual nail before we commit. A tiny pearl at the cuticle is about all the decoration it needs.
5. Nude Wedding Nails With White Flowers
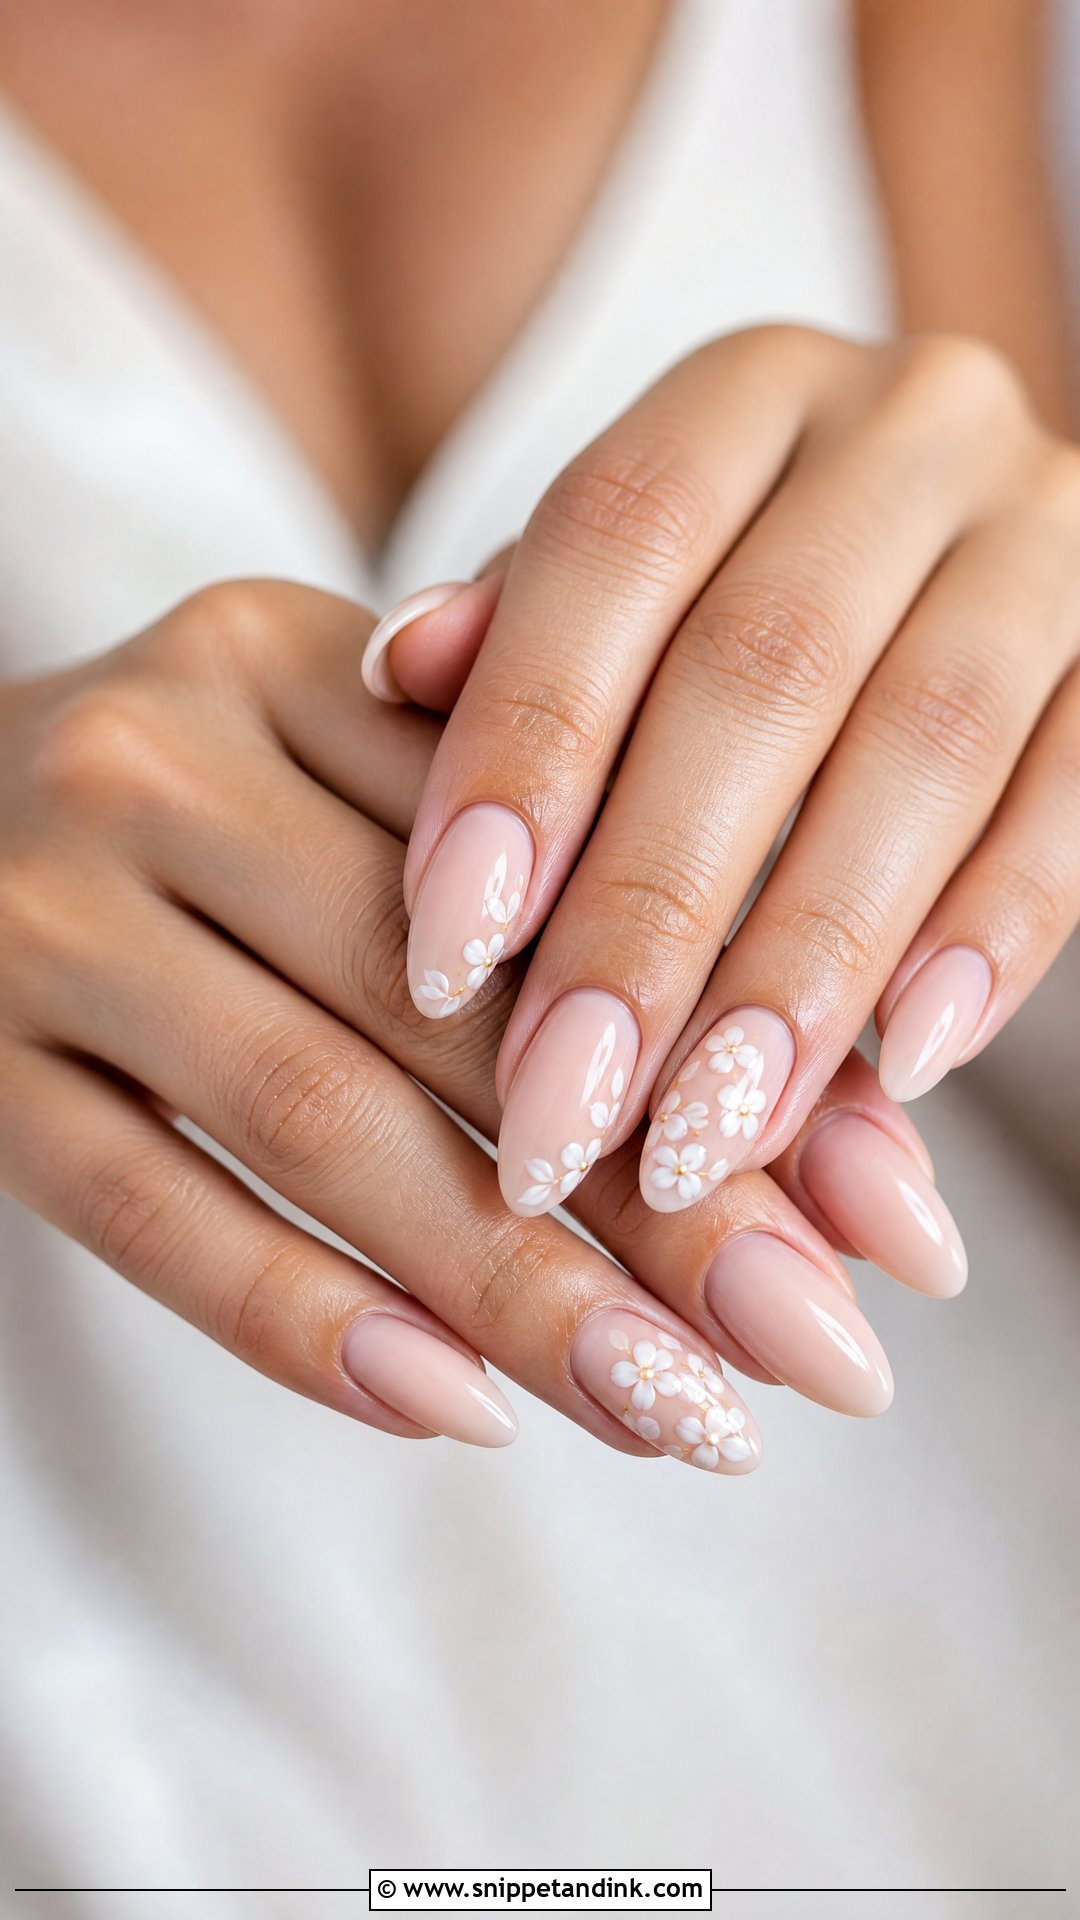
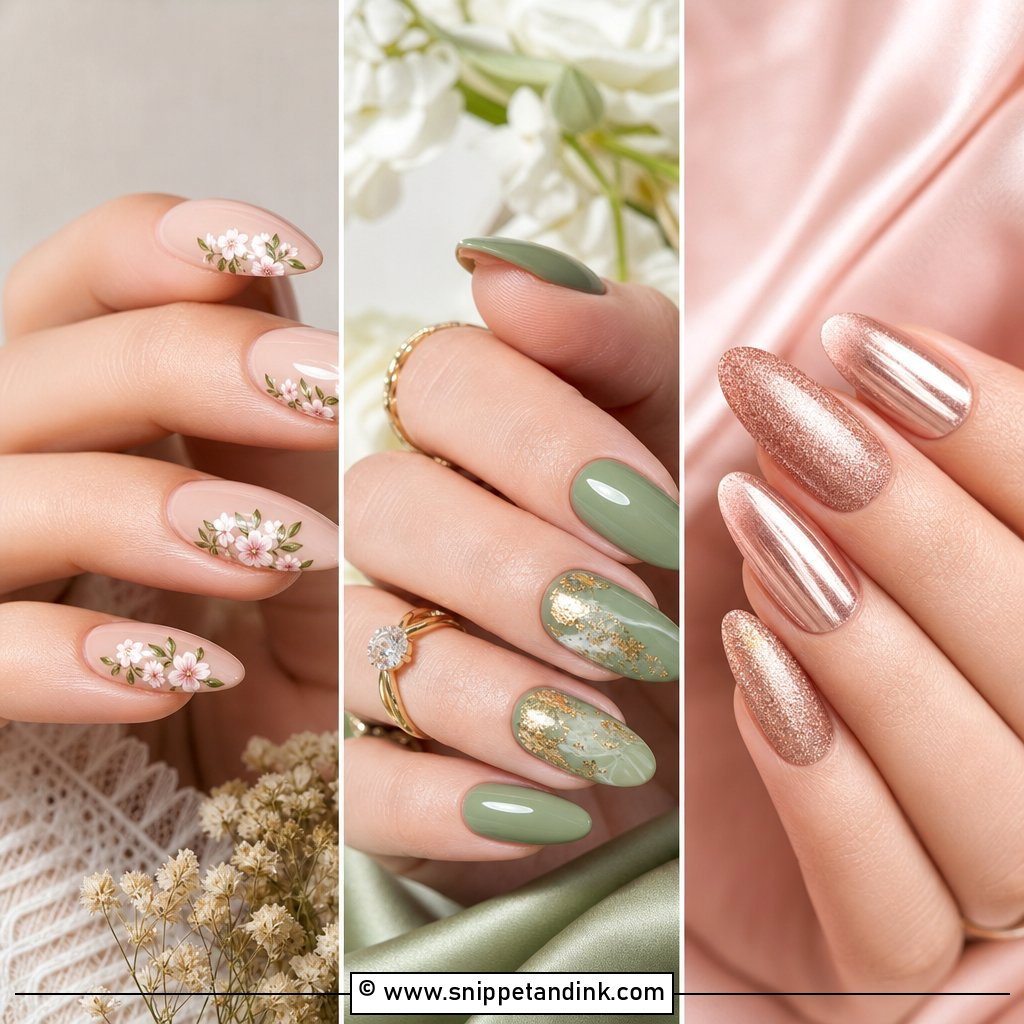
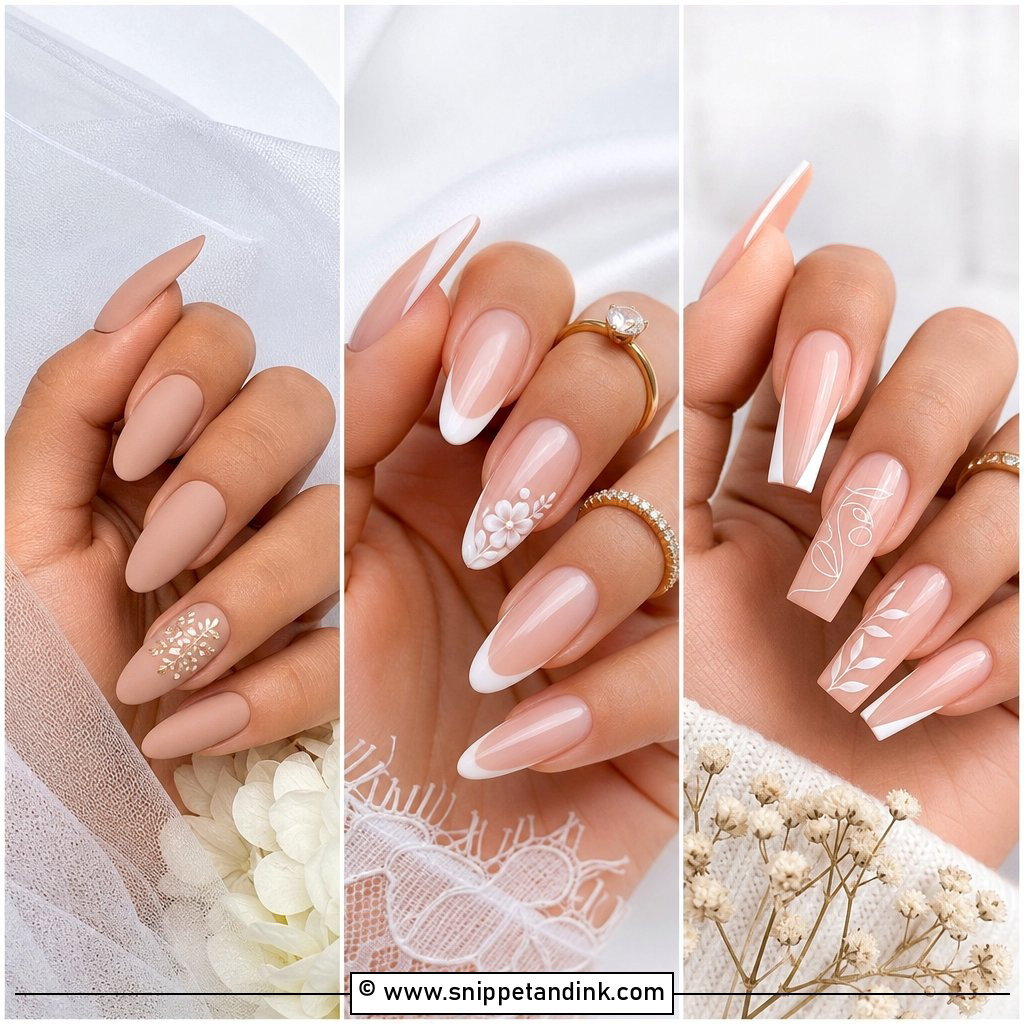
Small white flowers over a nude base are one of the designs I’m asked for most, and the size of the flowers decides whether it works. Each petal is a dot of thick white gel pulled with a fine brush, and if the dots are too big the flowers merge into blobs once top coat goes over them. I keep them to the tips or a pair of accent nails so the hand doesn’t look busy. A matte top coat makes them look stitched rather than painted, which suits floral lace or appliqué, though matte picks up makeup and hand cream more easily than gloss.
6. Lace Wedding Nail Art
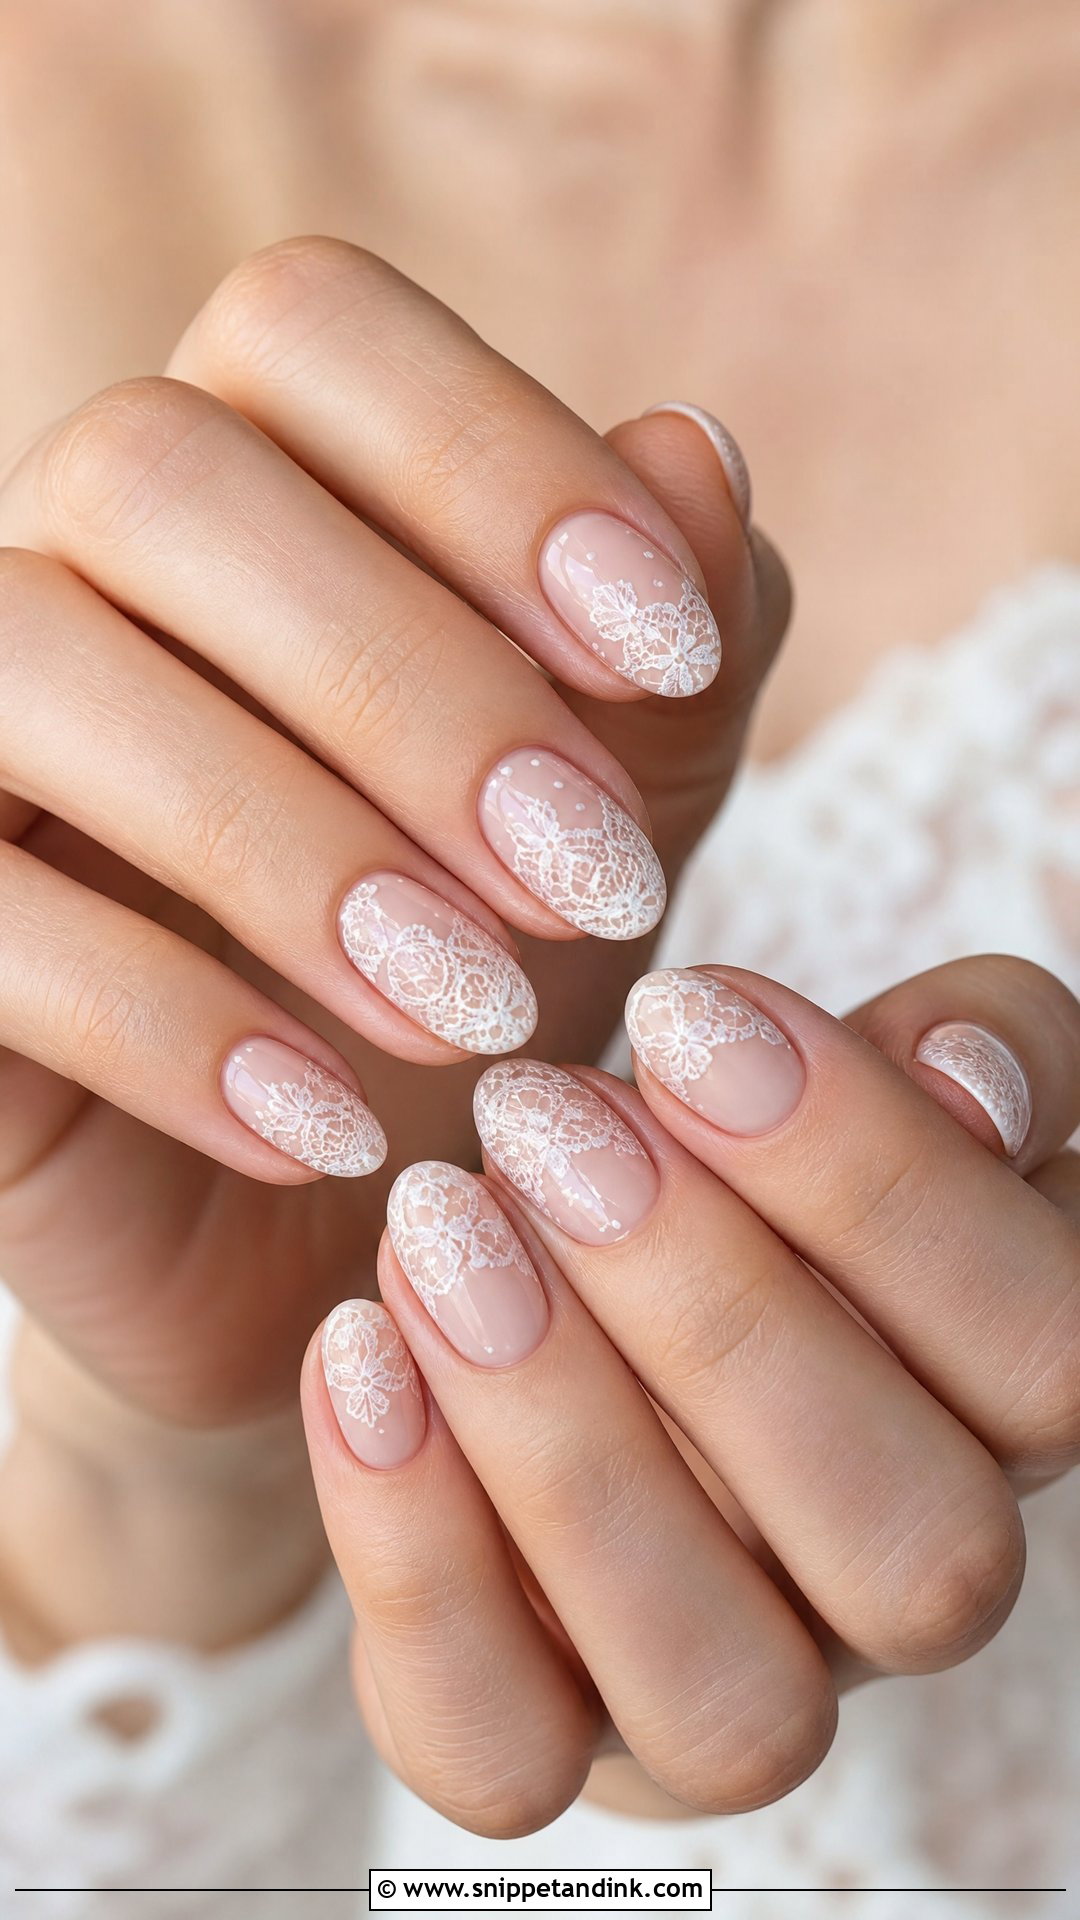
Lace is the hardest design here to do well freehand. It’s built from fine lines and tiny dots, and stark white on a darker base looks like a doily instead of fabric. I work in soft white or ivory over a sheer milky base and limit it to two or three nails. Bring a close photo of your actual lace, whether that’s a sleeve or a veil edge, to the appointment. Copying one scallop or motif from the dress makes the design feel tailored. Stamping plates are faster, but the lines come out heavier.
7. White Ombre Bridal Nails
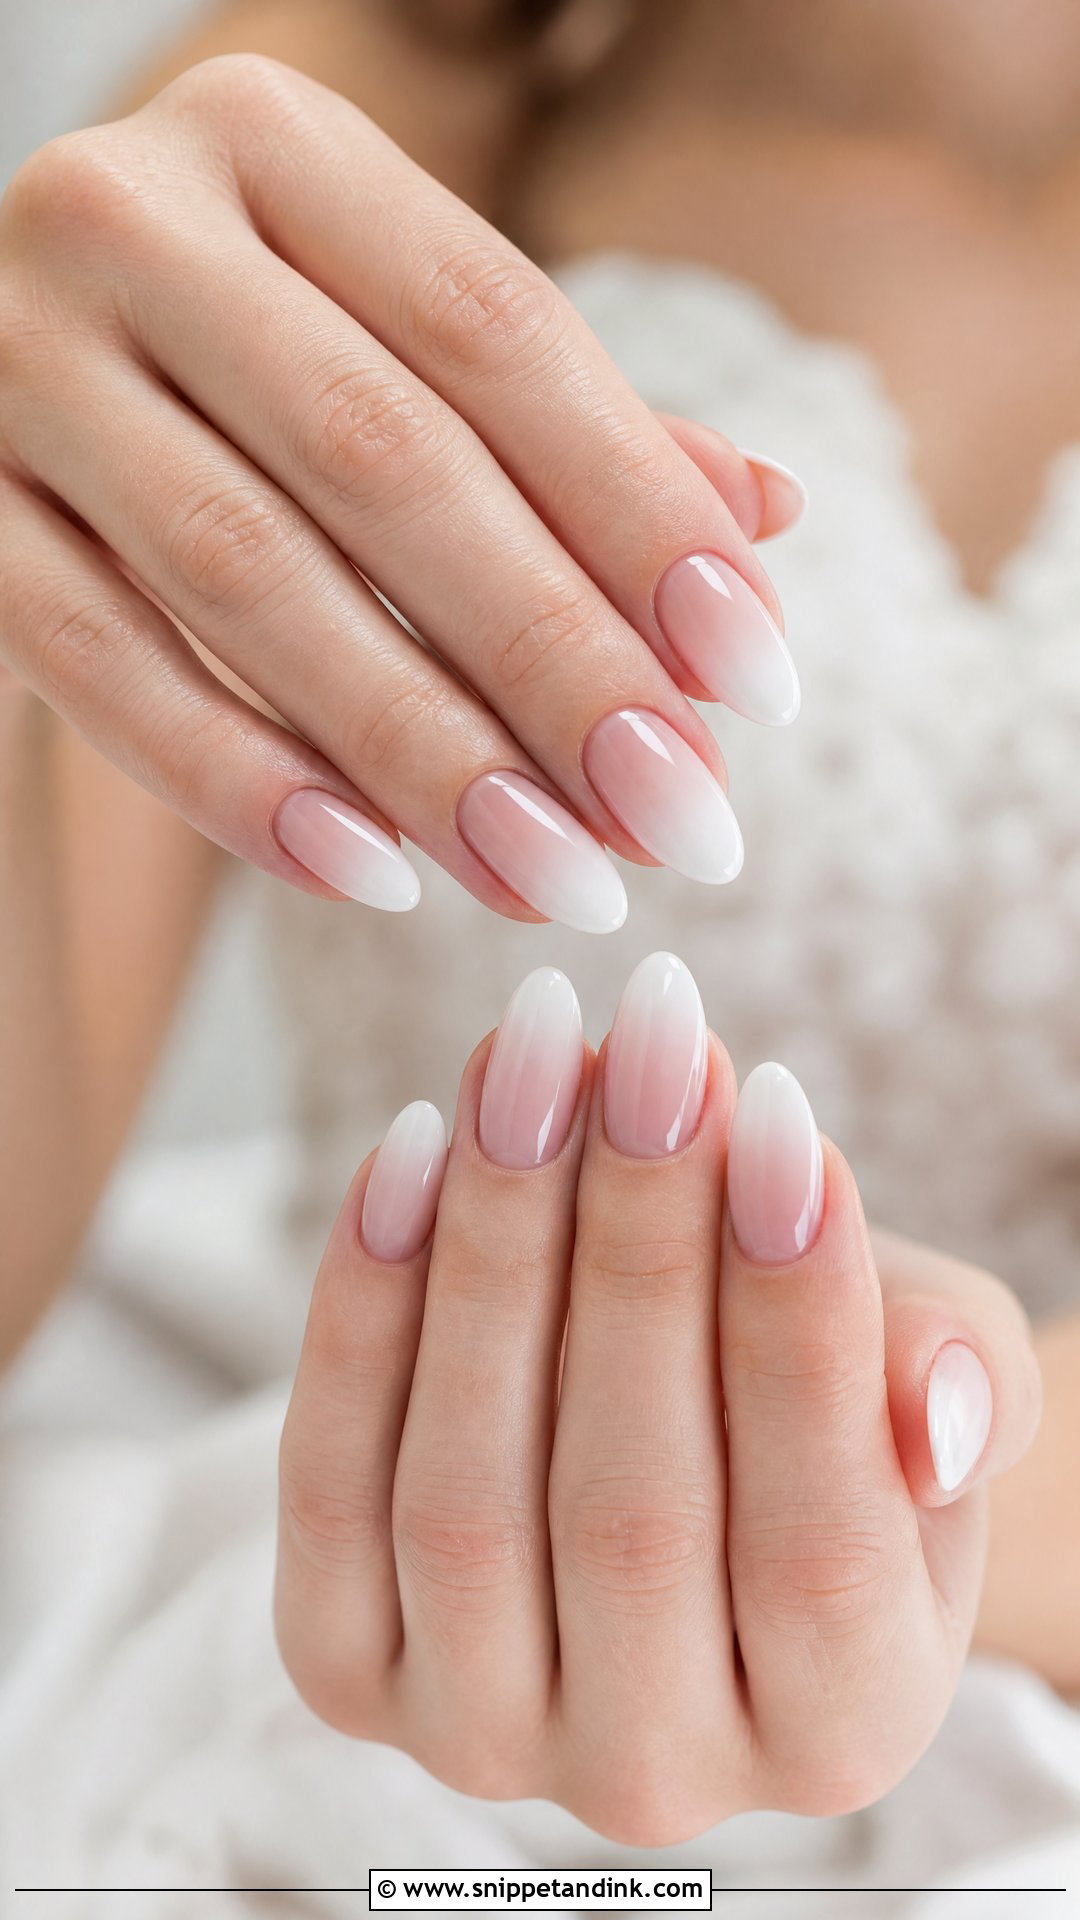
White ombre, often called baby boomer nails, fades a pink or nude base into a white tip with no hard line. I build the gradient over several thin layers with a sponge or soft brush, and the fade should stop well short of the cuticle so new growth doesn’t show as a band. With no defined edge, it hides a few days of grow-out better than a classic French. It makes nails look longer on almost any shape, and a pearl chrome layer on top adds a faint glow if plain gloss feels too simple.
8. Short Bridal Nails
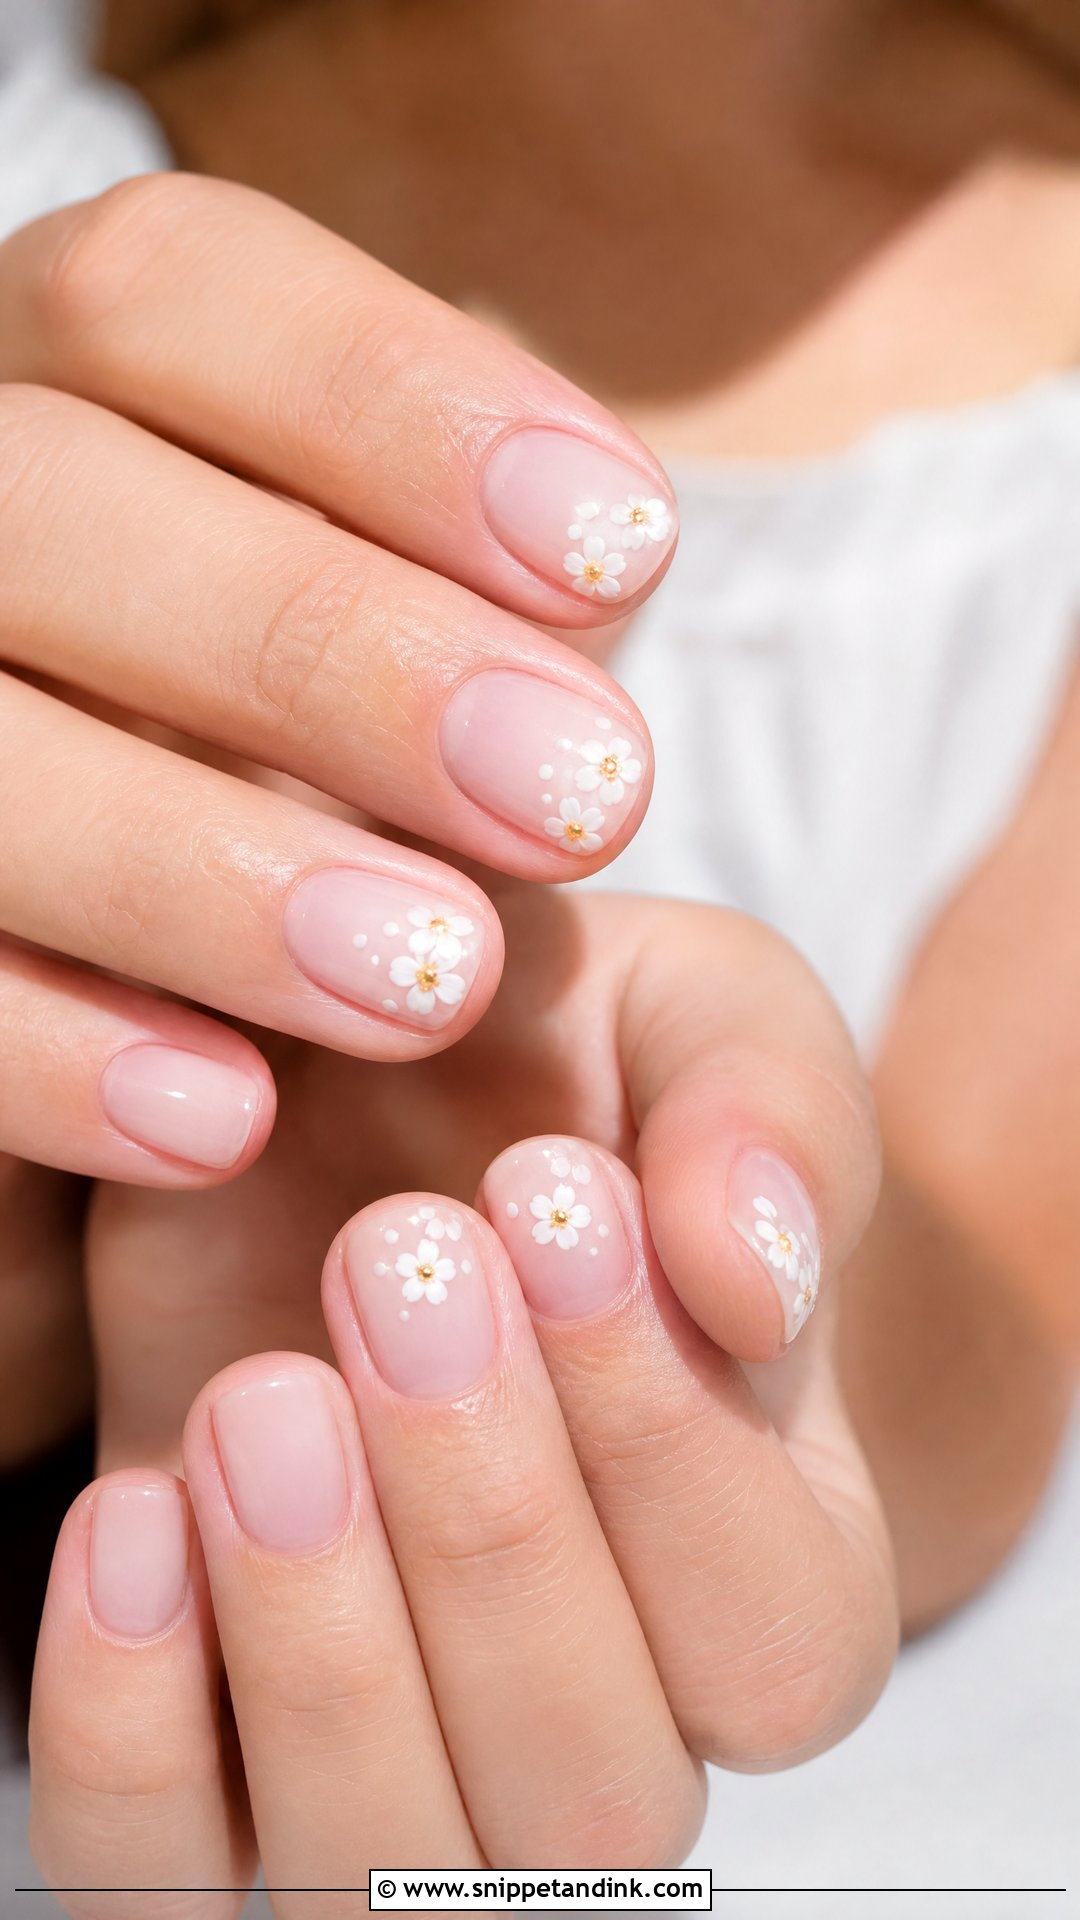
Short bridal nails often look more polished in photos than long ones, because nothing pulls the eye away from the ring. Prep is what makes them work: cuticles pushed back cleanly, sidewalls filed even, and a shape that echoes the cuticle line. I’d skip large art and use one tiny detail at most. They’re the practical choice if you’ll be tying ribbons, handling envelopes or simply aren’t used to length. Do keep all ten nails at a matching length; one short broken nail stands out more than you’d think.
9. Almond Wedding Nails
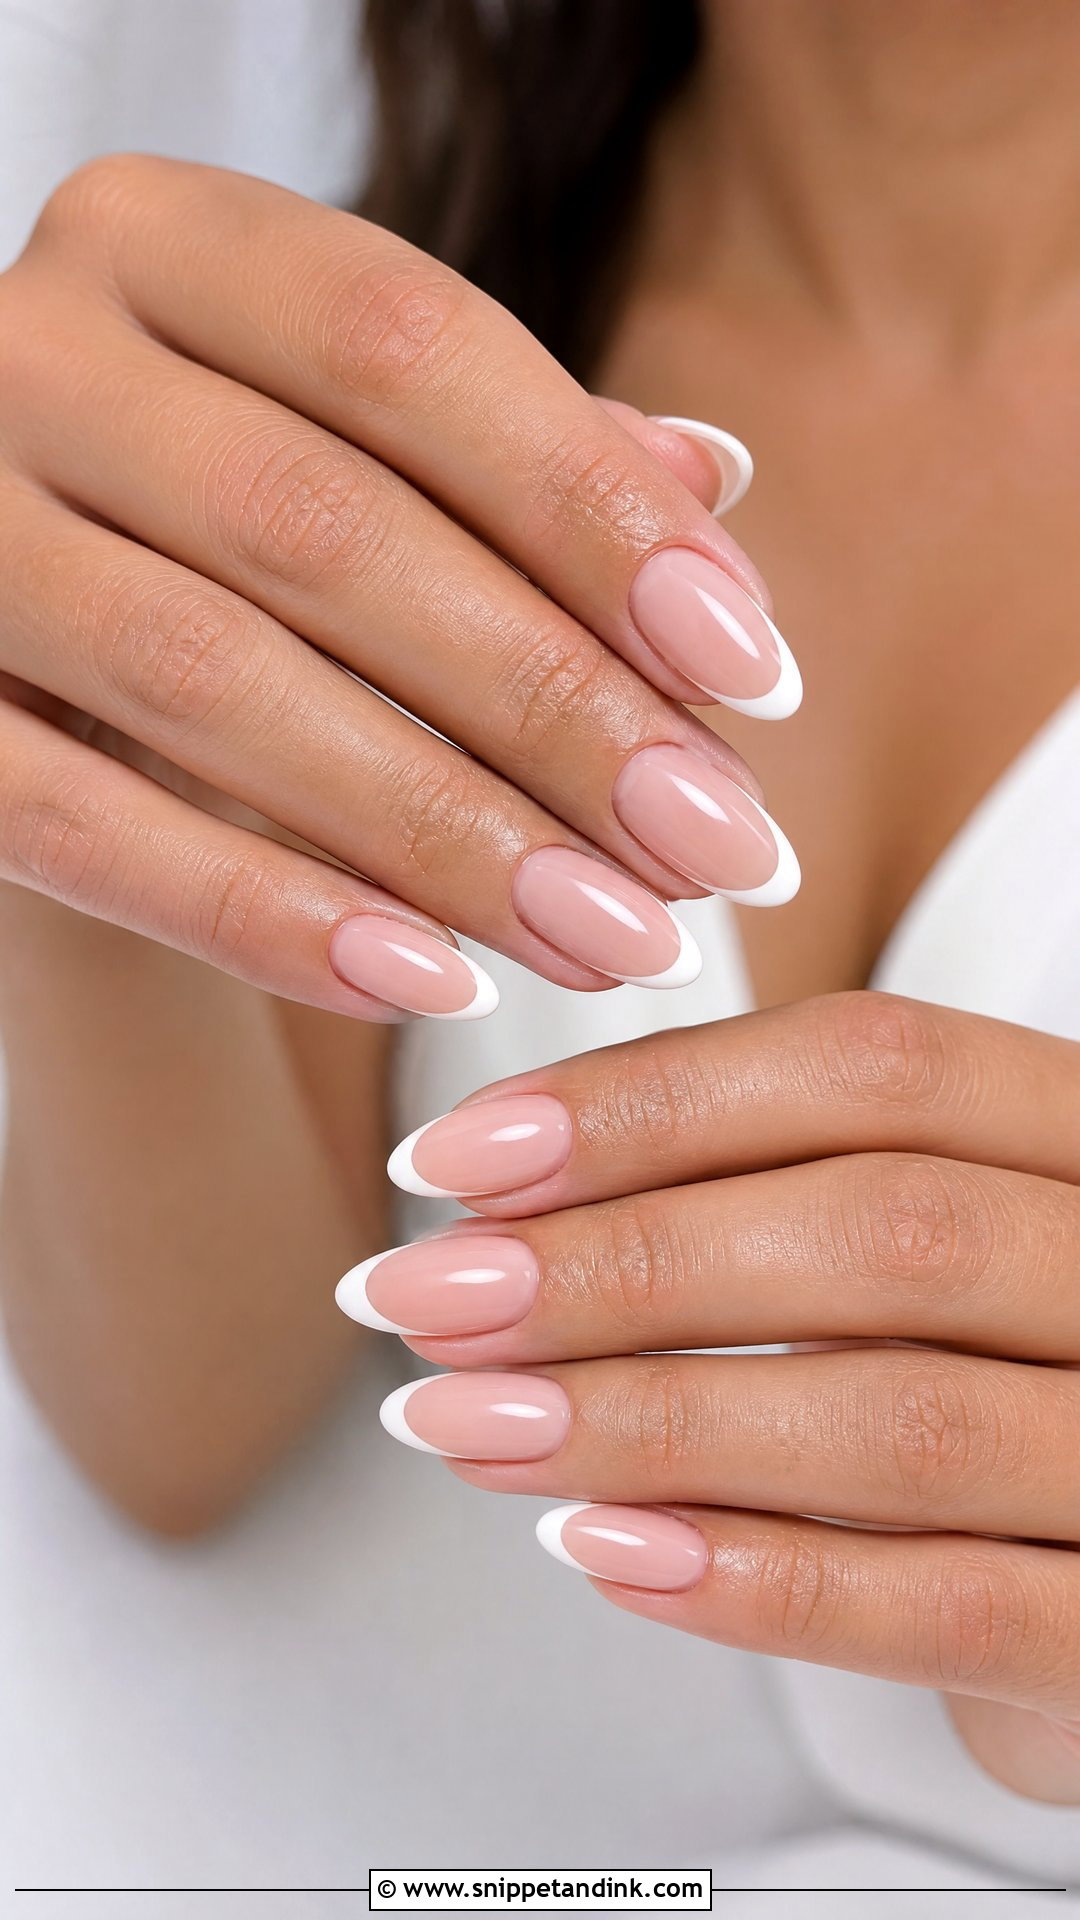
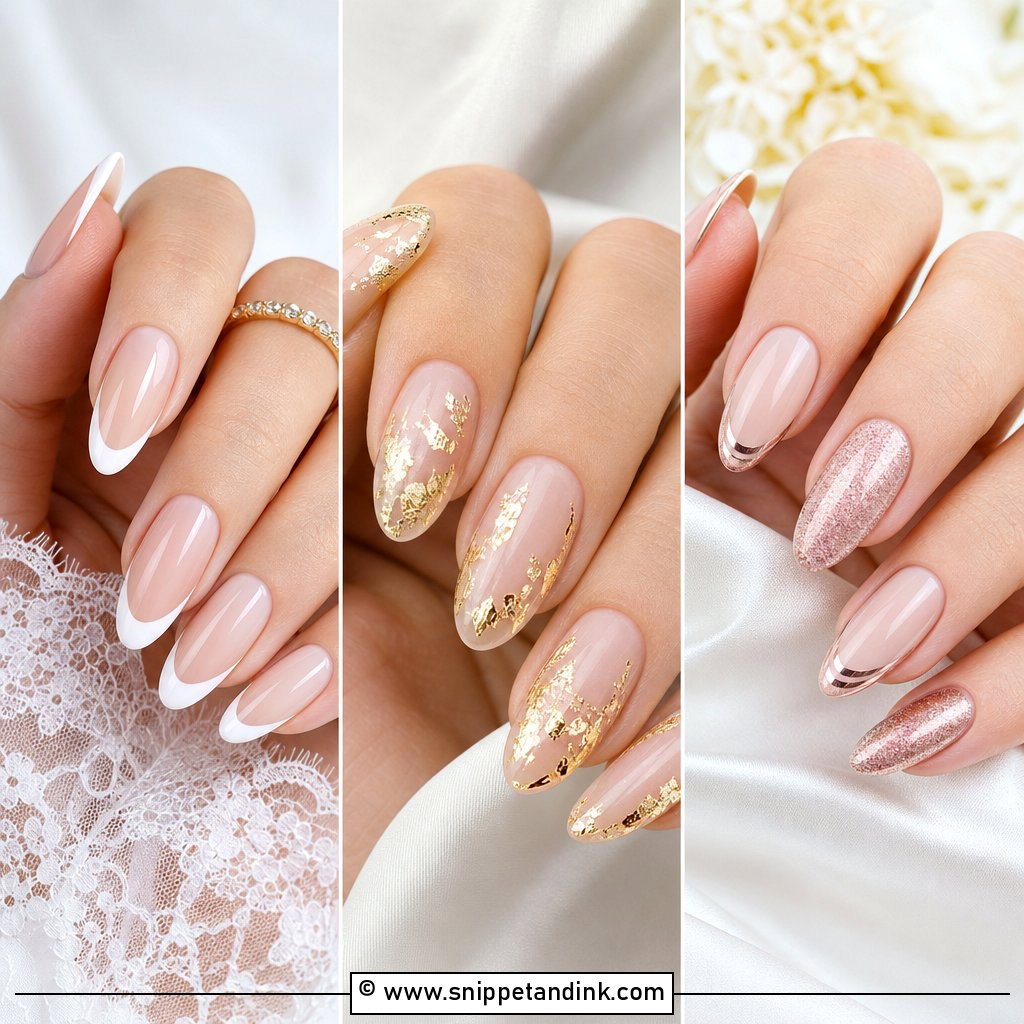
Almond is the shape I suggest most when a bride can’t decide, because it lengthens the fingers without the drama of a stiletto. It needs some free edge to file into, a few millimetres past the fingertip, or it ends up as a rounded oval. The tapered tip leaves room for a French line, chrome or small florals. One honest caution: a sharp almond on a thin natural nail tends to crack at the sidewall, so I reinforce that stress area with builder gel before the wedding week.
10. Square Wedding French Nails
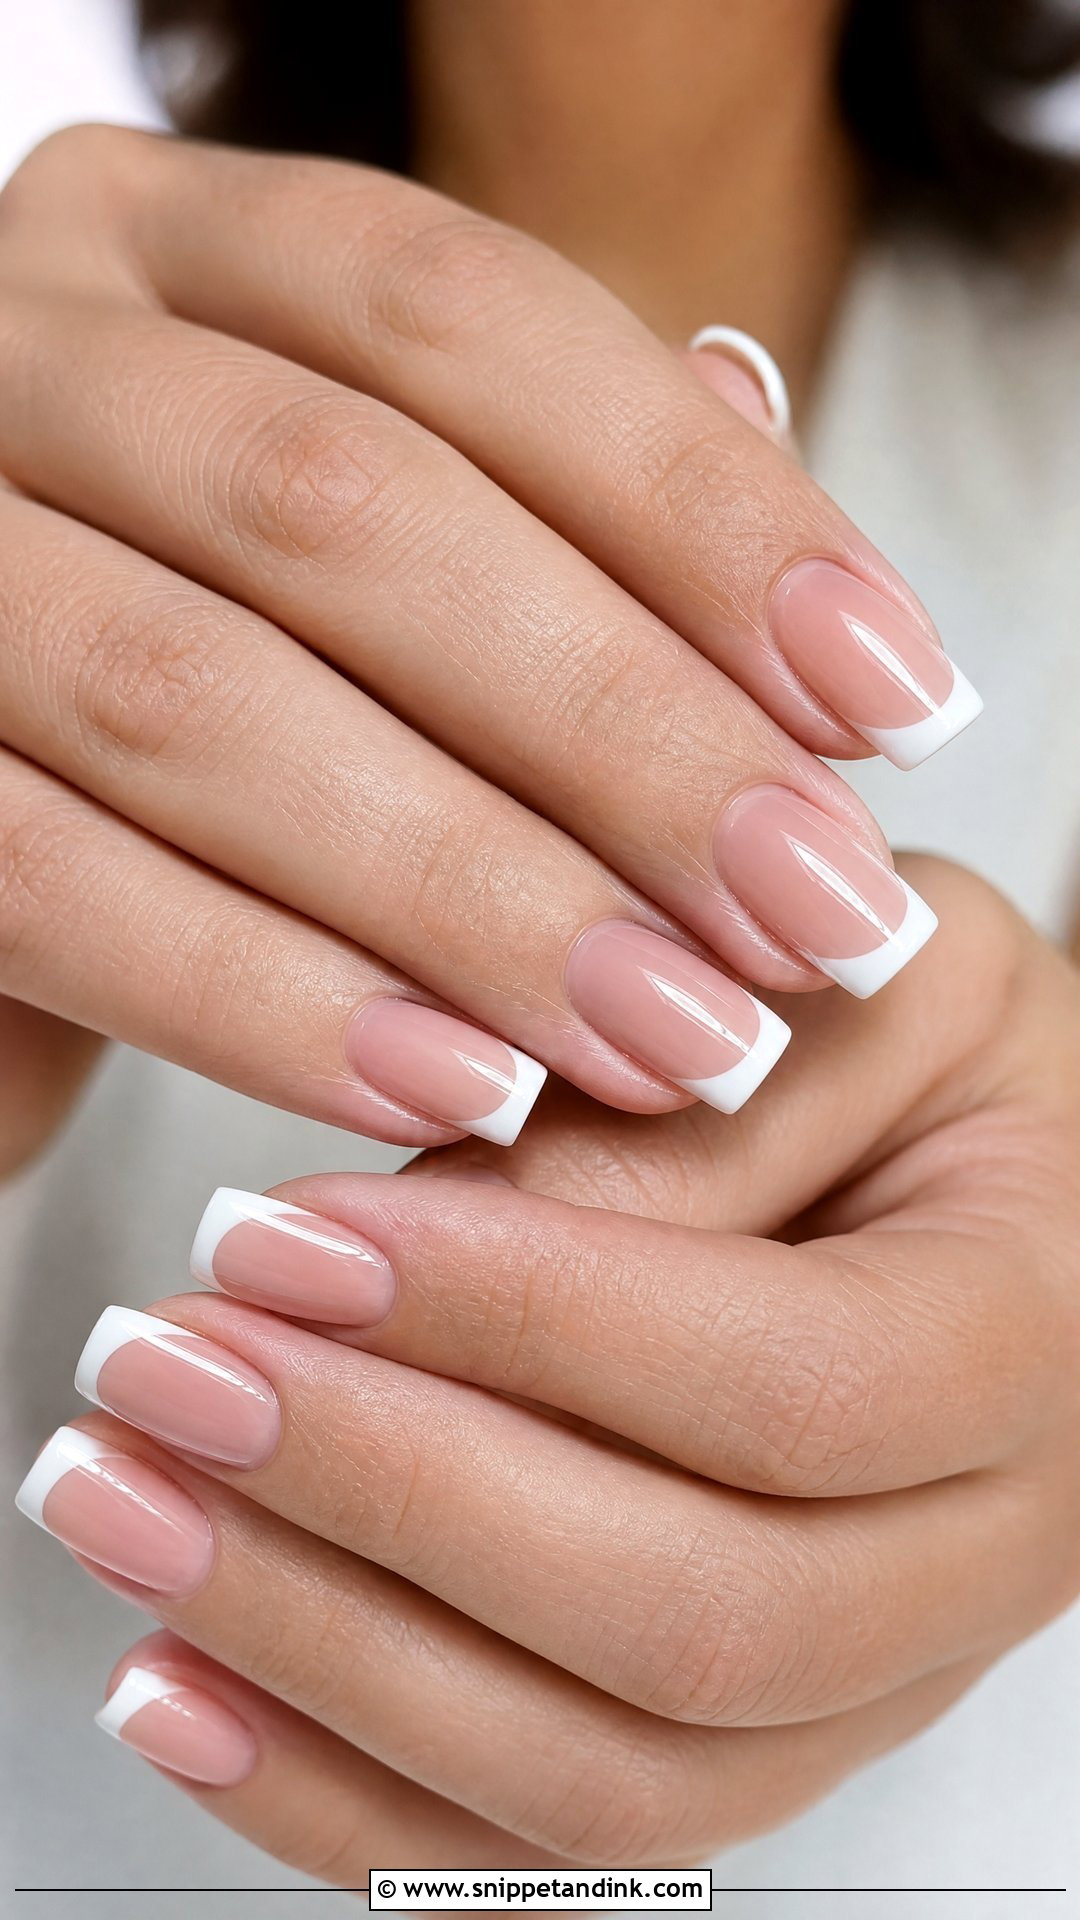
A square French has a straight, crisp tip that suits short to medium nails and structured gowns. I soften the corners very slightly, really a squoval, because sharp corners snag on tulle and are the first place to chip. Thick white tips make the nail bed look short, so I keep the white band to about a third of the nail or less. A barely visible silver line under the tip is a quiet way to make the set feel custom.
11. Coffin Wedding Nails
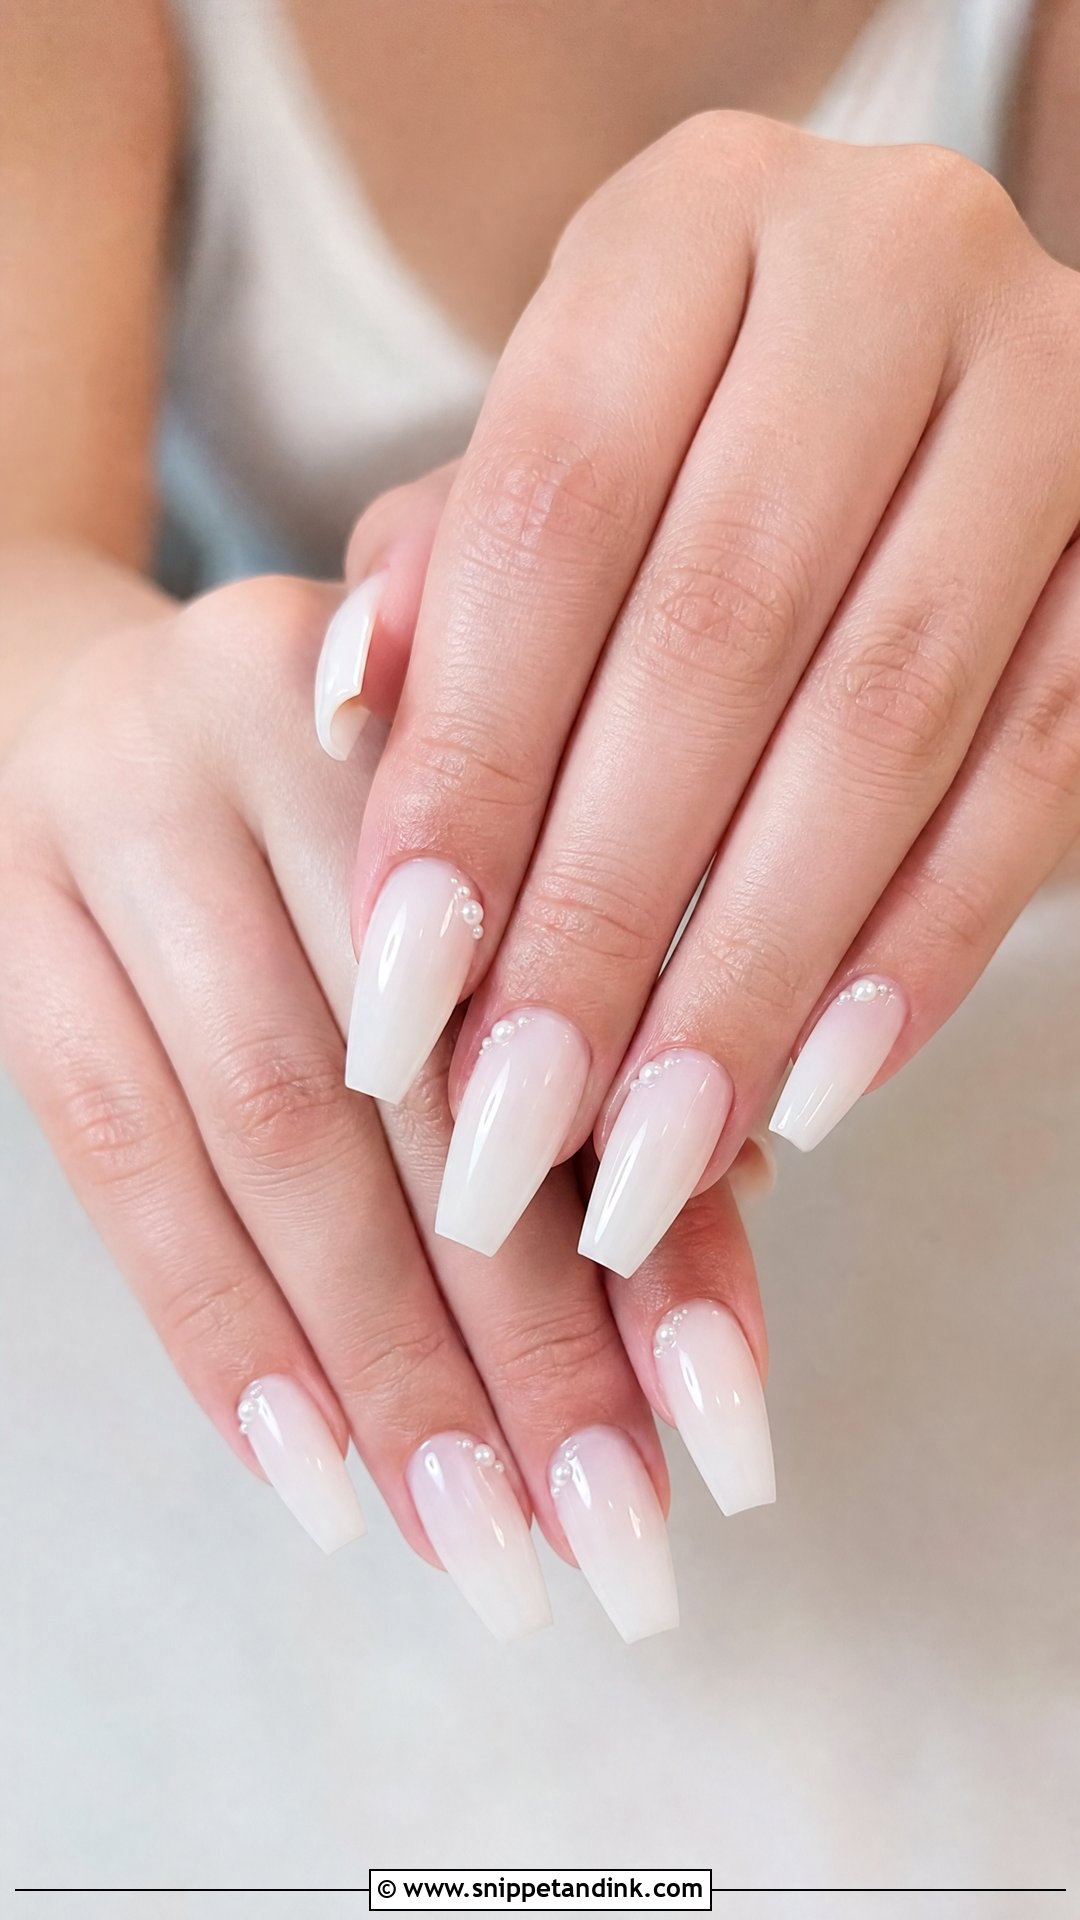
Coffin wedding nails usually need length, which often means extensions, so this is the shape to plan earliest. The flat tip and tapered sides look striking, but that flat edge is also where a coffin set chips when you open car doors or grab a phone. Milky white, blush, nude ombre and pearl chrome all suit it. I keep a bride’s coffin at medium length, since long ones make gripping a bouquet stem or fastening an earring back genuinely awkward. Any art sits mid-nail so the shape carries the drama on its own.
12. Oval Bridal Nails
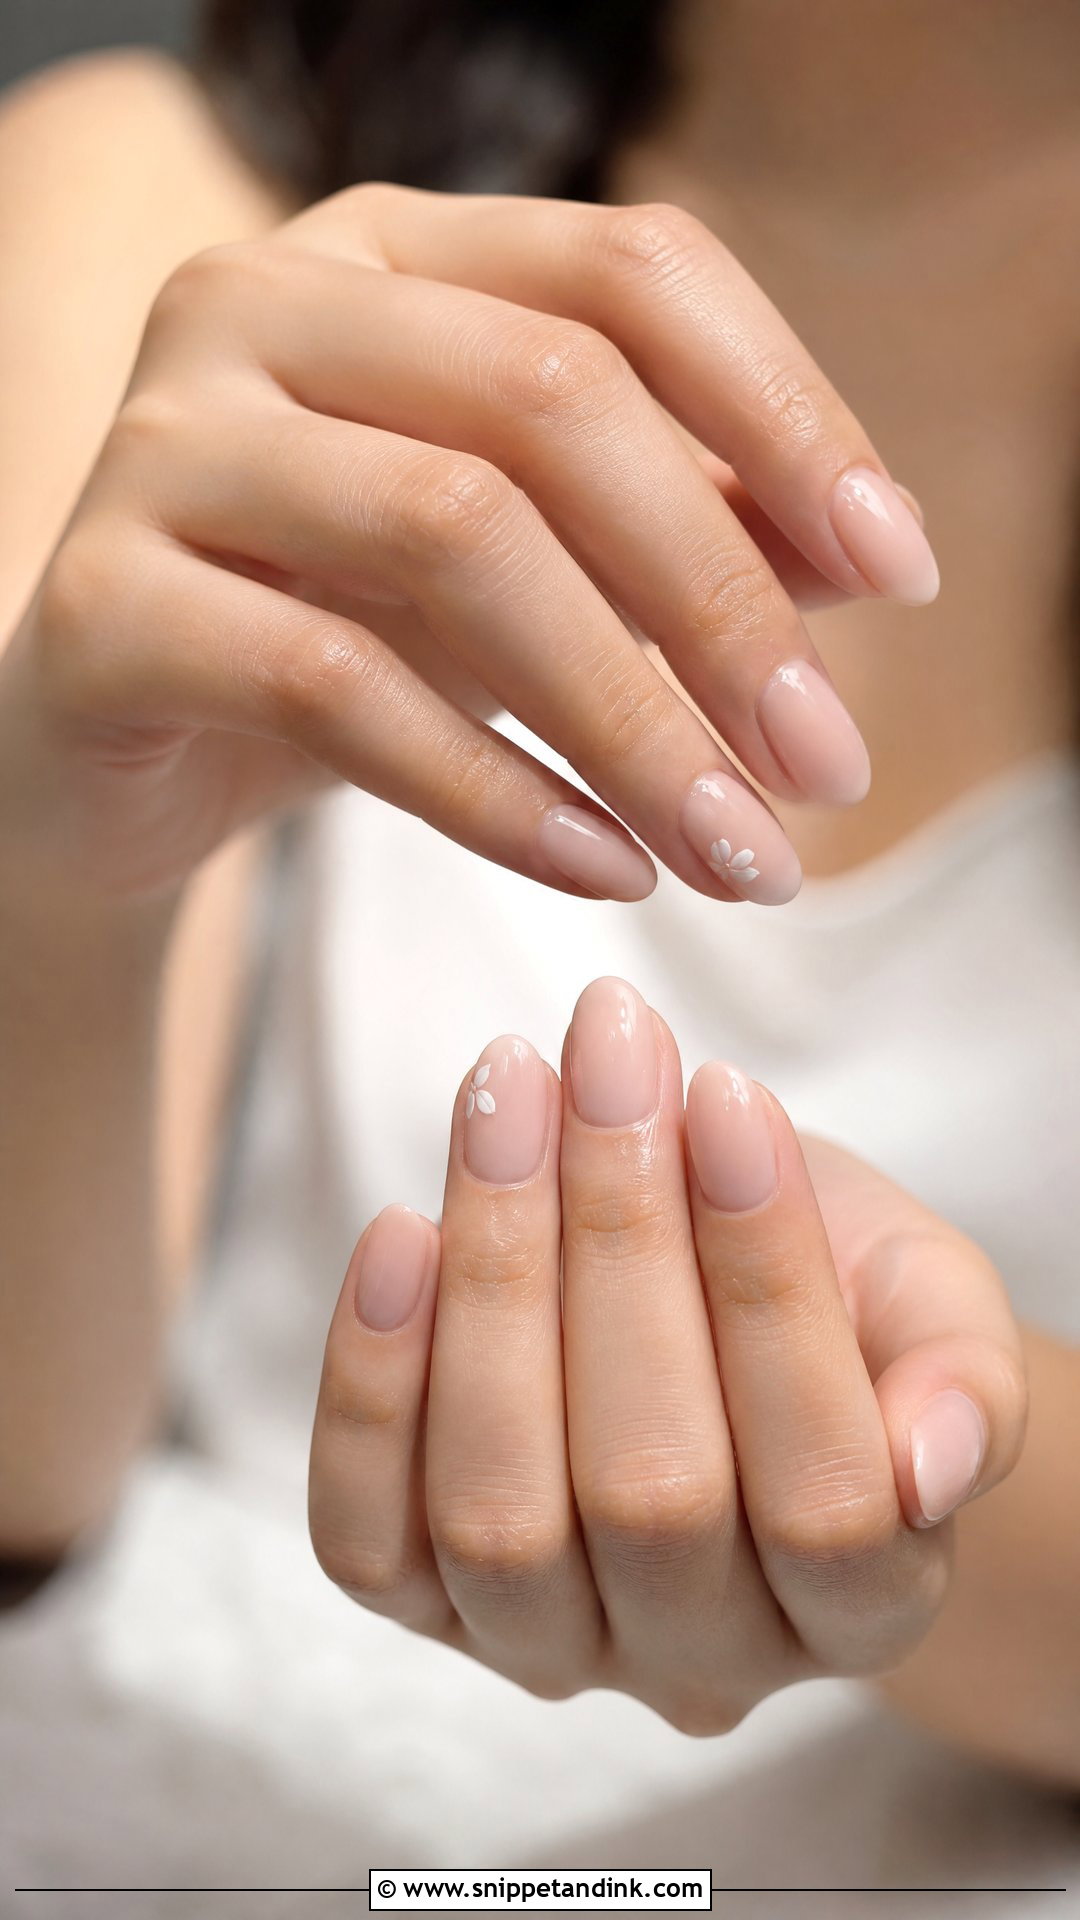
Oval follows the curve of the fingertip, so it’s the easiest shape to wear on natural nails at almost any length. With no corners to catch on beading or a veil, it’s where I steer brides wearing delicate fabrics. Sheer pink, milky white and soft ombre all sit well on it, and a couple of tiny white petals is plenty of art. The only drawback: on very short nails an oval drifts toward round, so leave yourself a little free edge.
13. Wedding Nails With Pearls
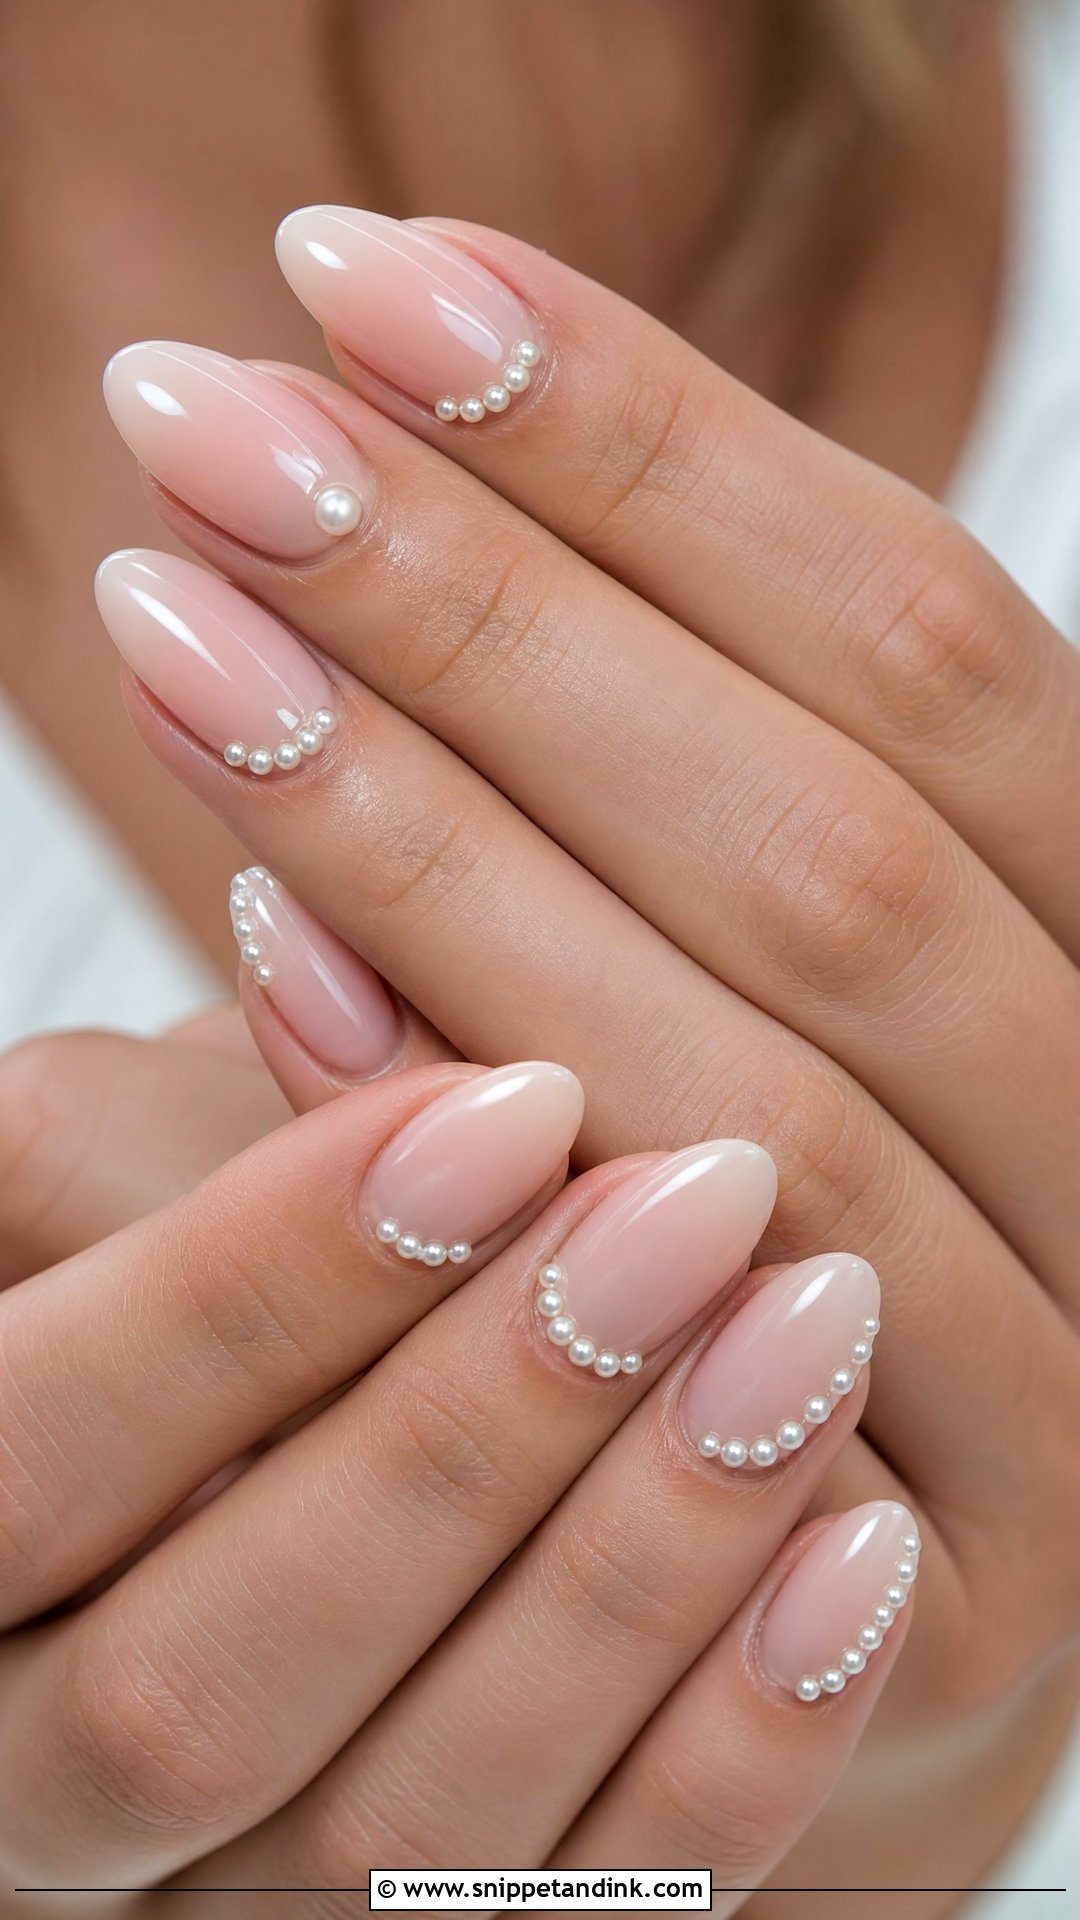
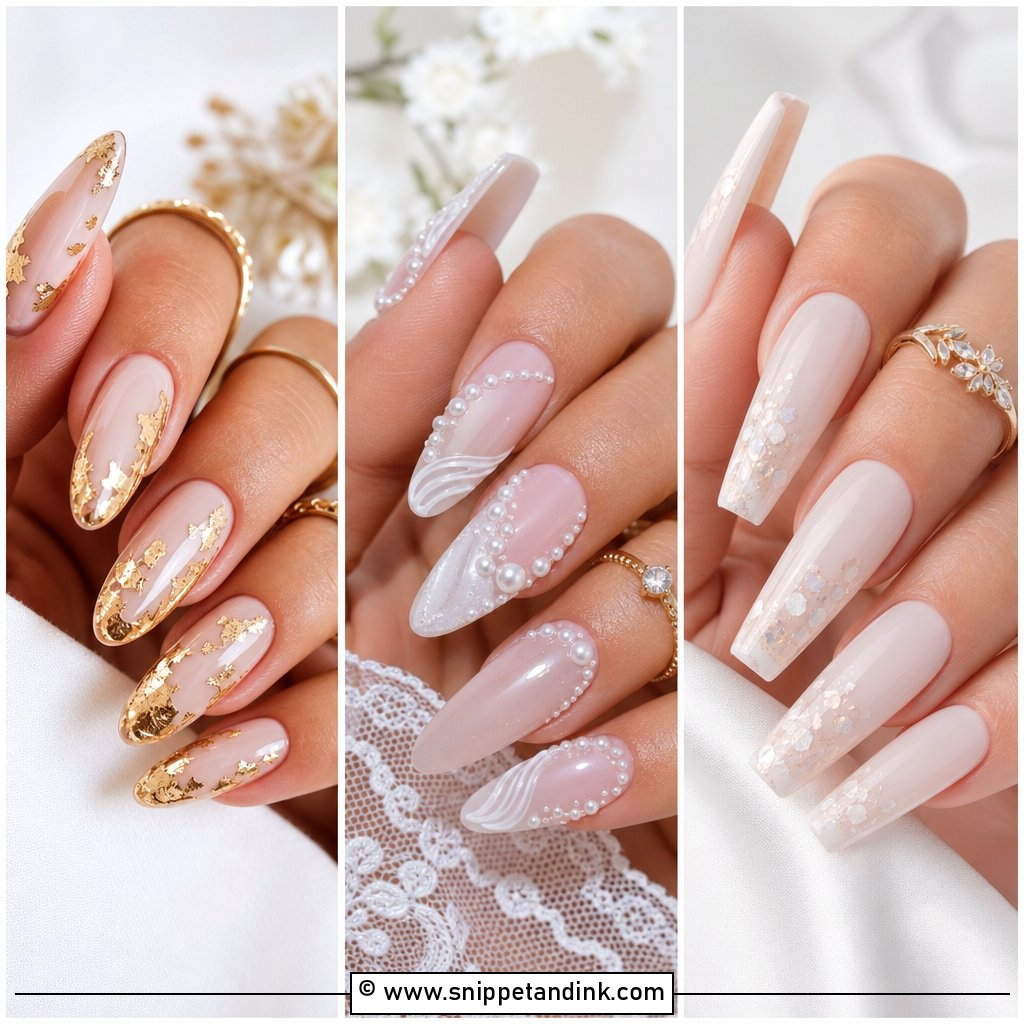
Pearls look like jewelry on the nail, but they need care to stay put. I use small flat-back pearls, press them into a thick gel and cap the edges, otherwise they pop off the first time you dig through a clutch. Domed or large pearls catch on hair and knit fabrics, so I place them near the cuticle where the nail is flattest. If your veil or dress already carries pearls, two or three accent nails tie it together without looking like costume.
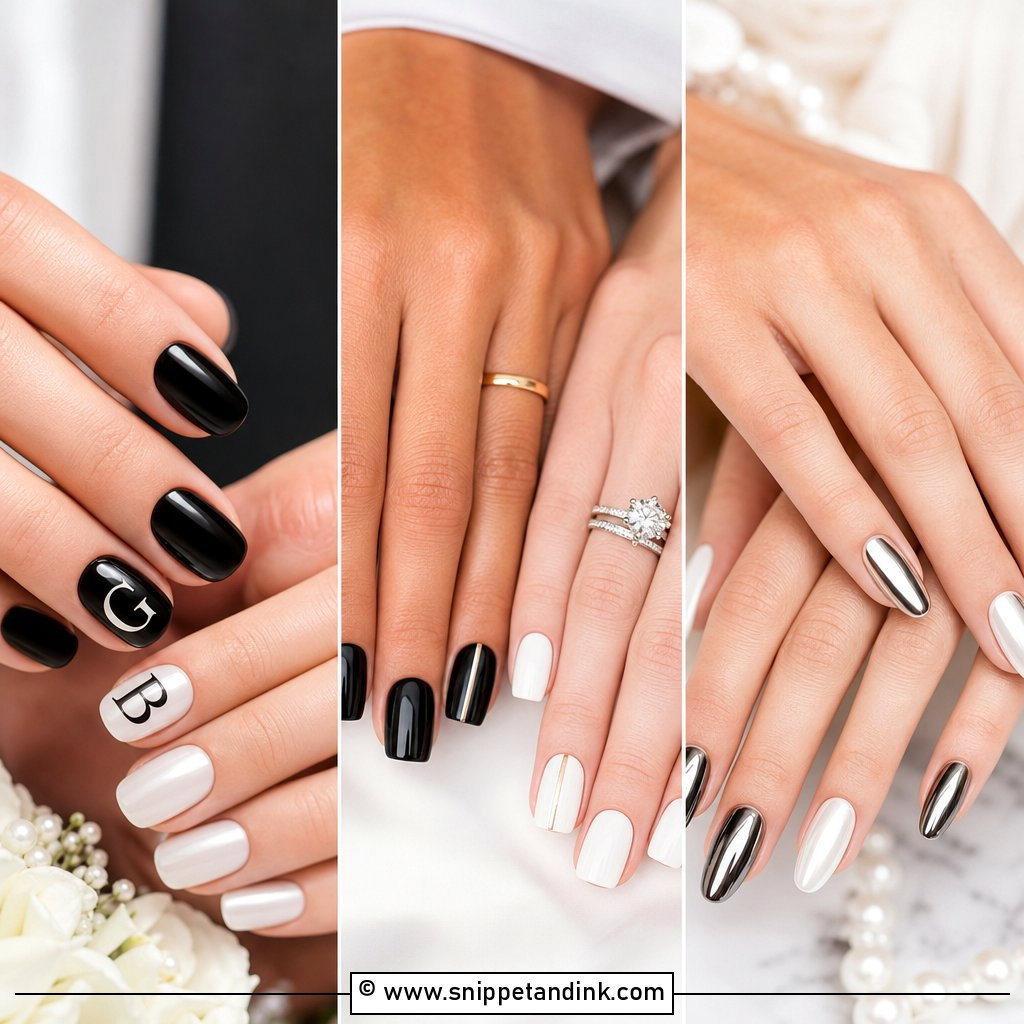
14. Gold Accent Bridal Nails
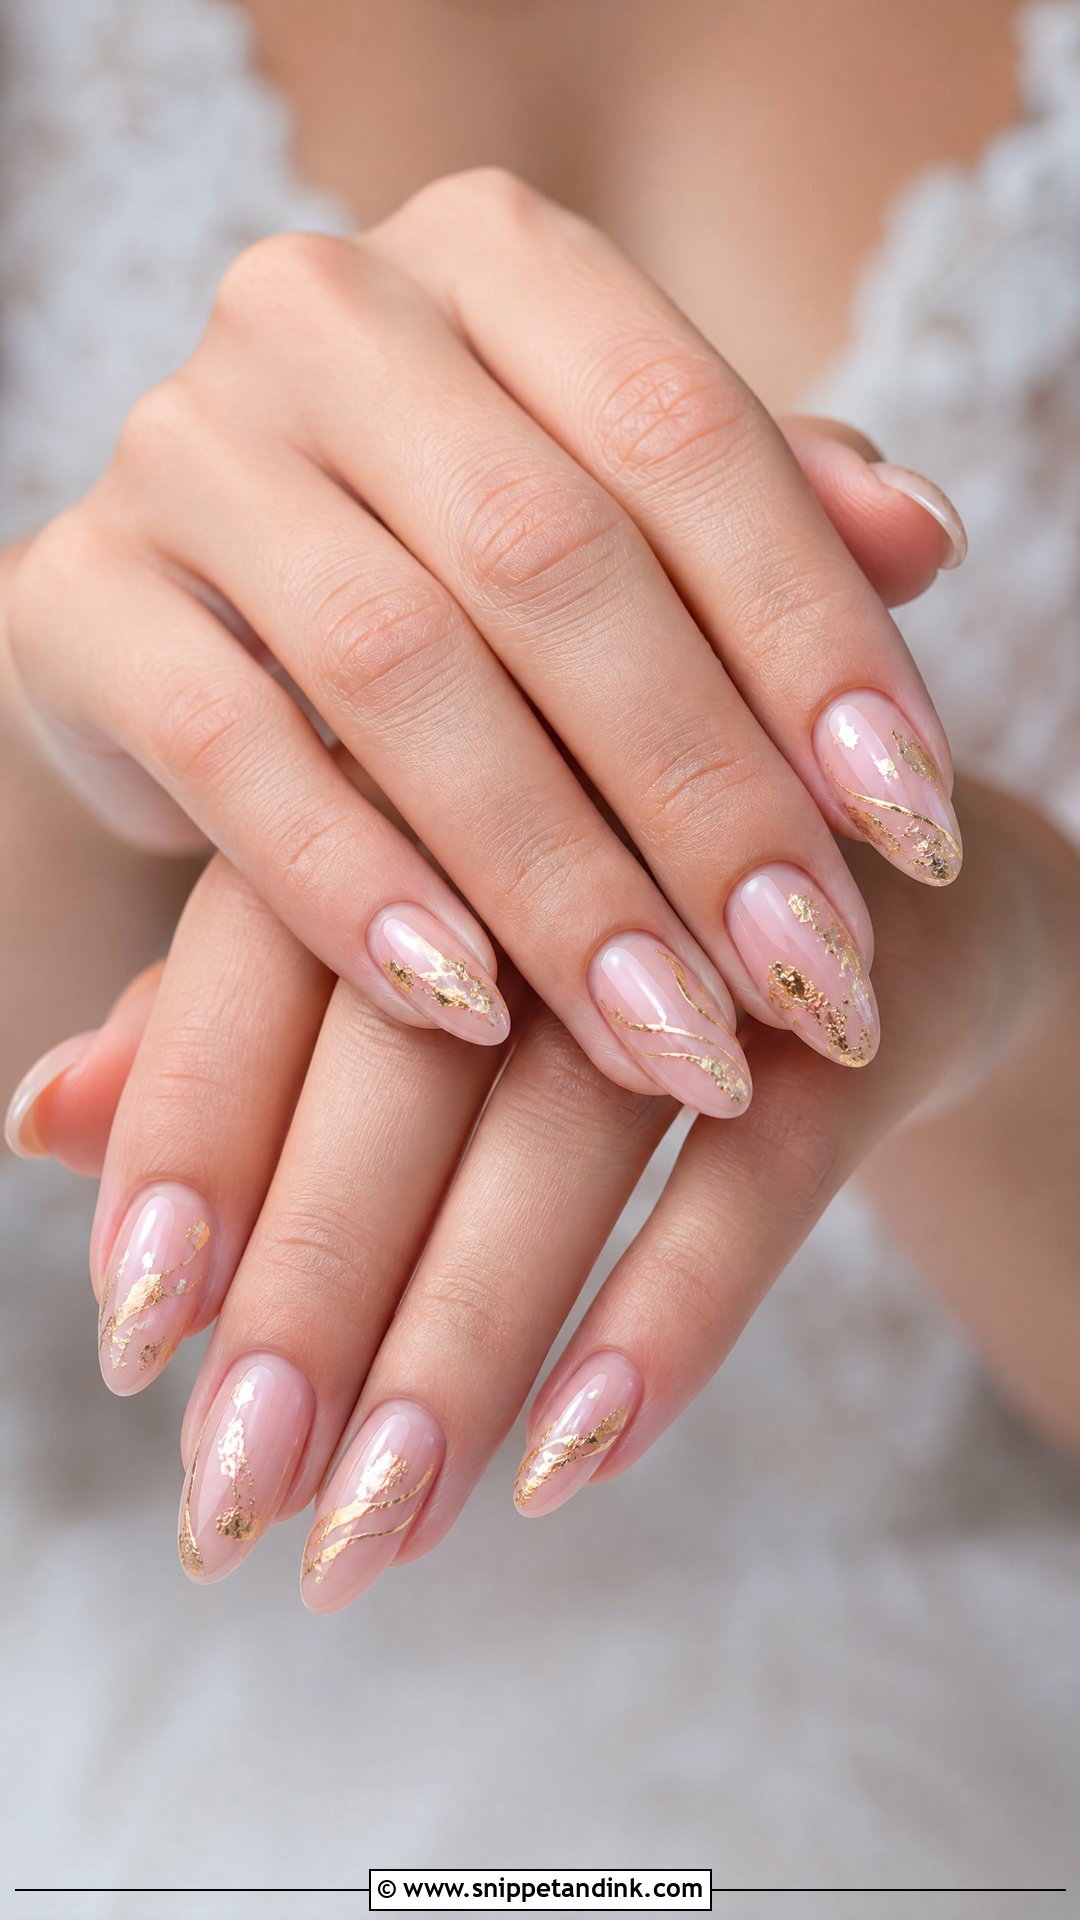
Gold works best in small doses: foil flakes, a fine outline, one curved stroke near the tip. Full gold glitter tends to read as party nails. Match the gold to your ring, because yellow foil beside a white gold band can look like a mistake in a close-up. Foil also needs a complete top-coat seal or its edges lift and catch on fabric. For a first-timer I’d suggest a nude almond with a thin gold outline at the tip; it’s restrained and still clearly a wedding set.
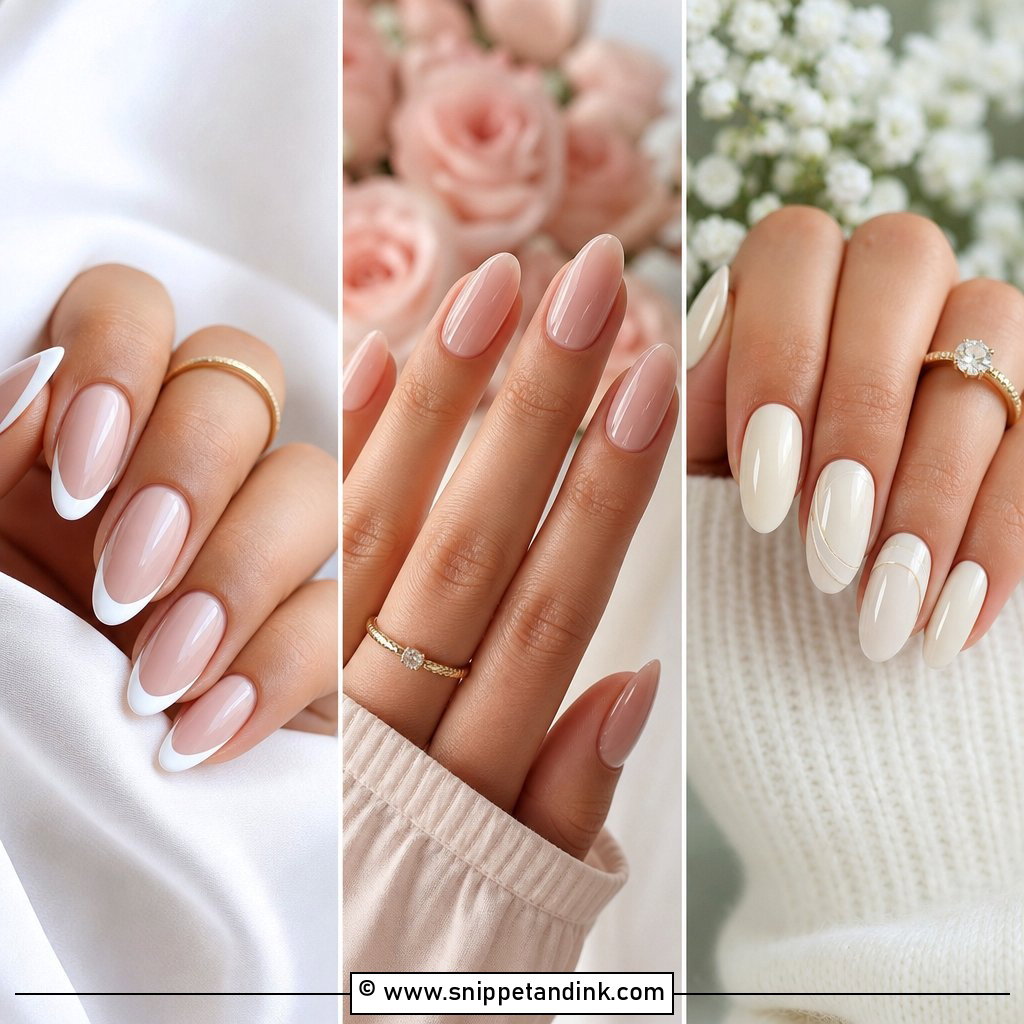
15. Silver Accent Wedding Nails
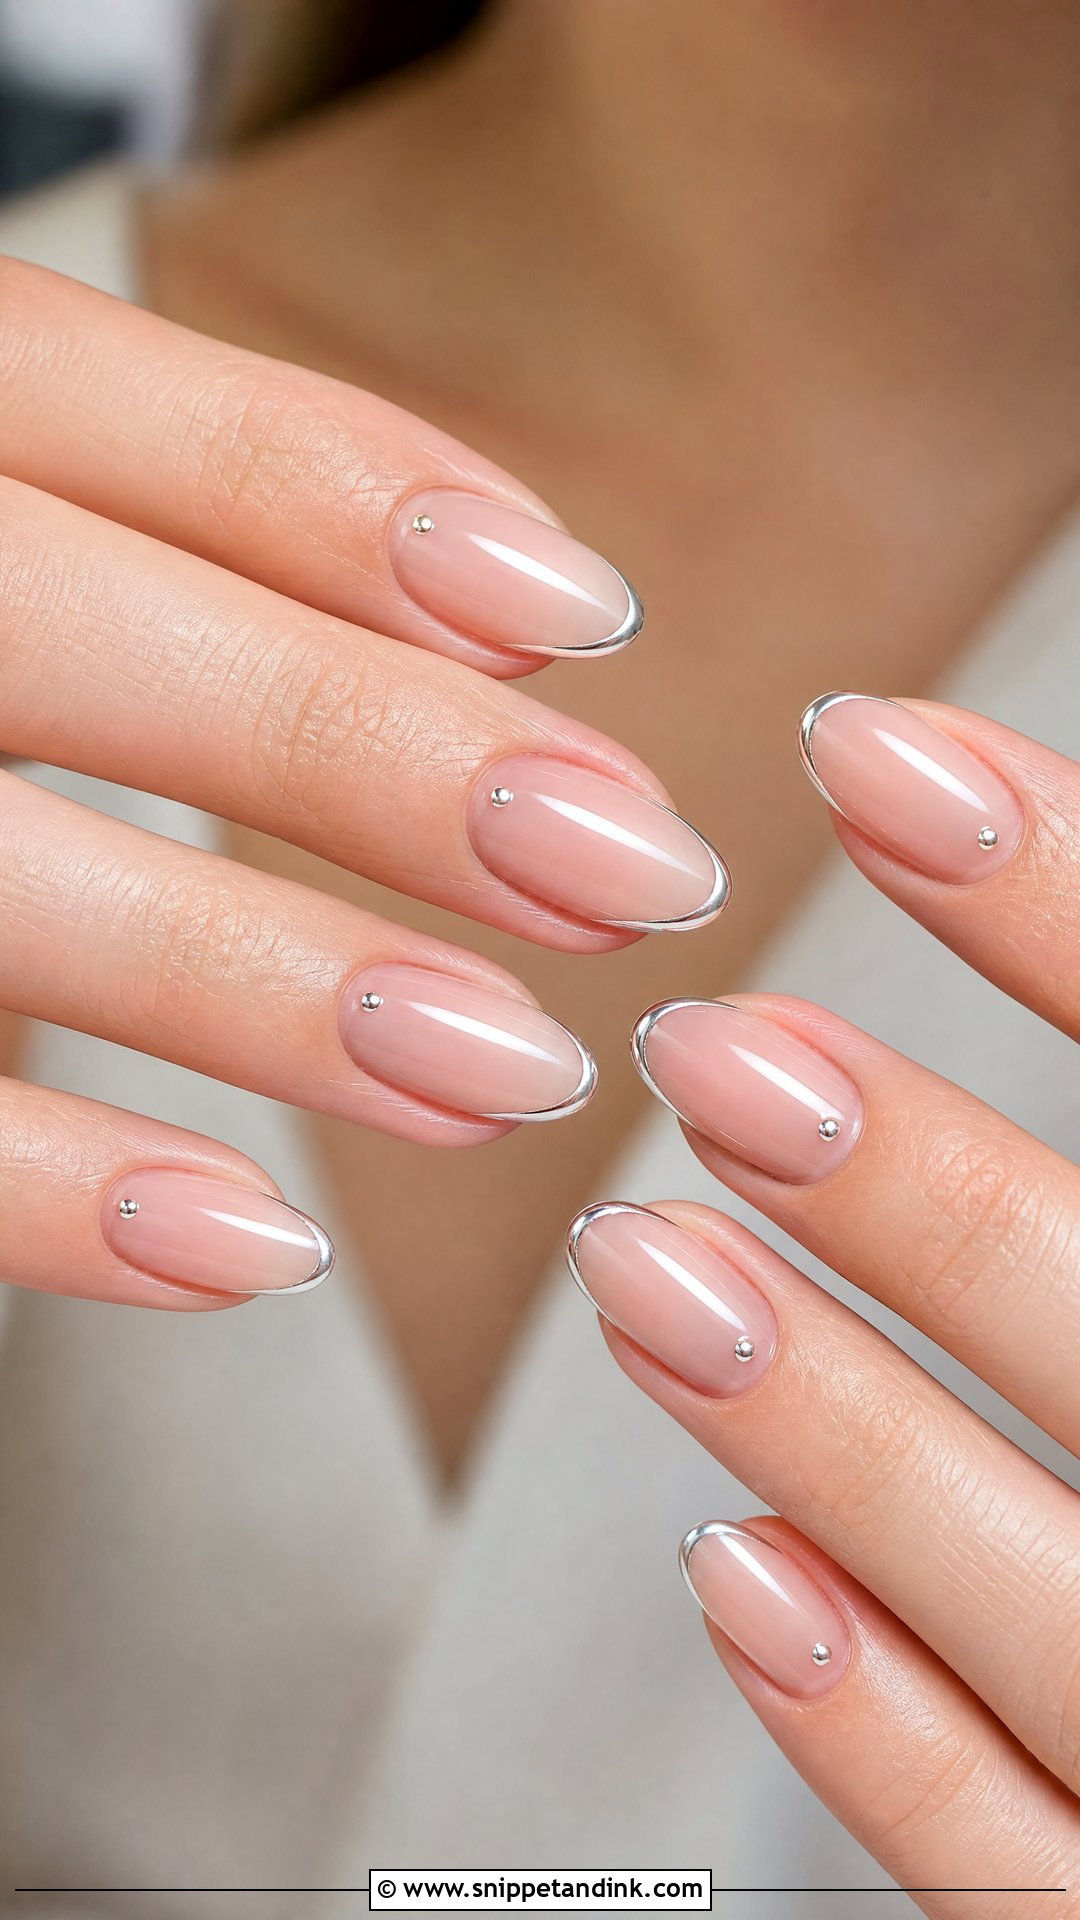
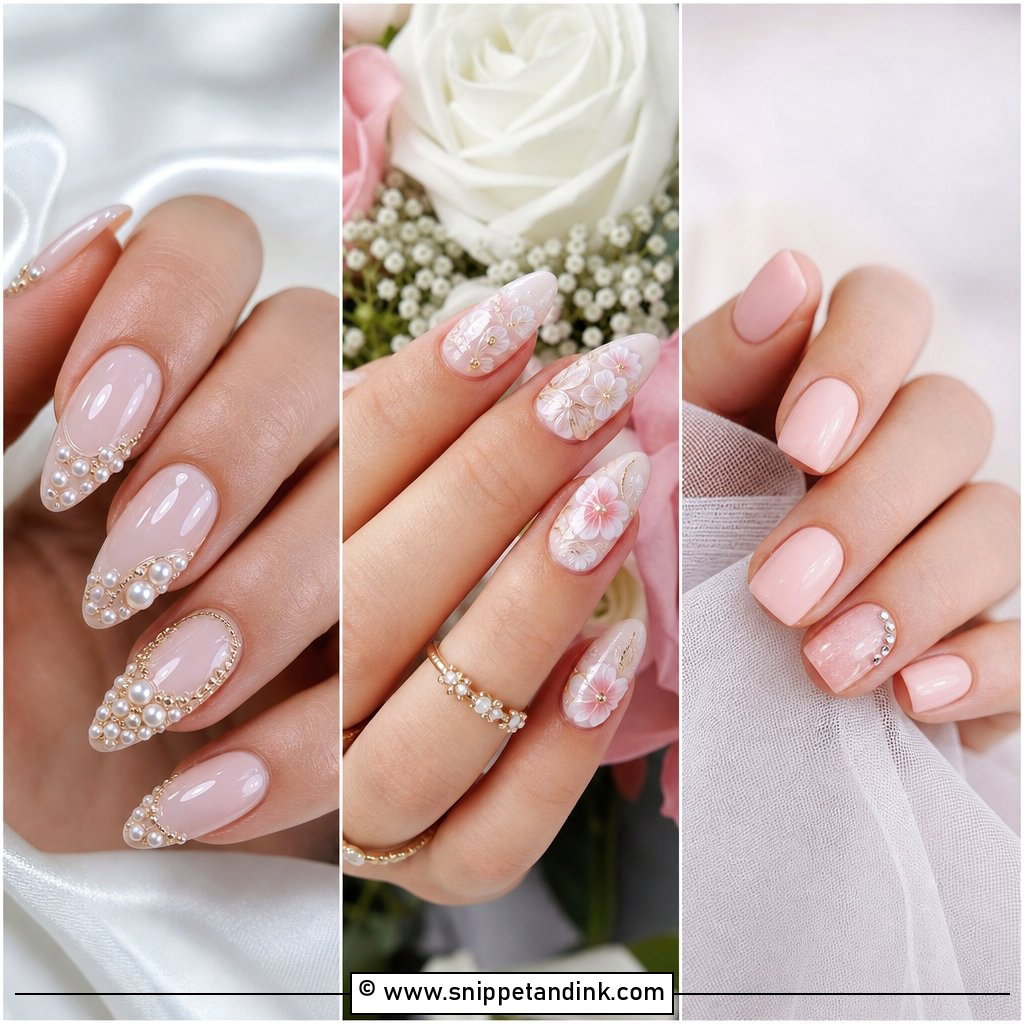
Silver belongs with platinum or white gold rings, crystal beading and bright white gowns. I use it as a line or a few dots near the cuticle, since full coverage starts to look like holiday nails. Chrome lines are painted with a liner gel and then rubbed, and the line has to be perfectly clean, as any wobble catches the light. If your bodice has crystals, a small silver accent on the ring finger connects the two quietly.
16. Glitter Ombre Bridal Nails
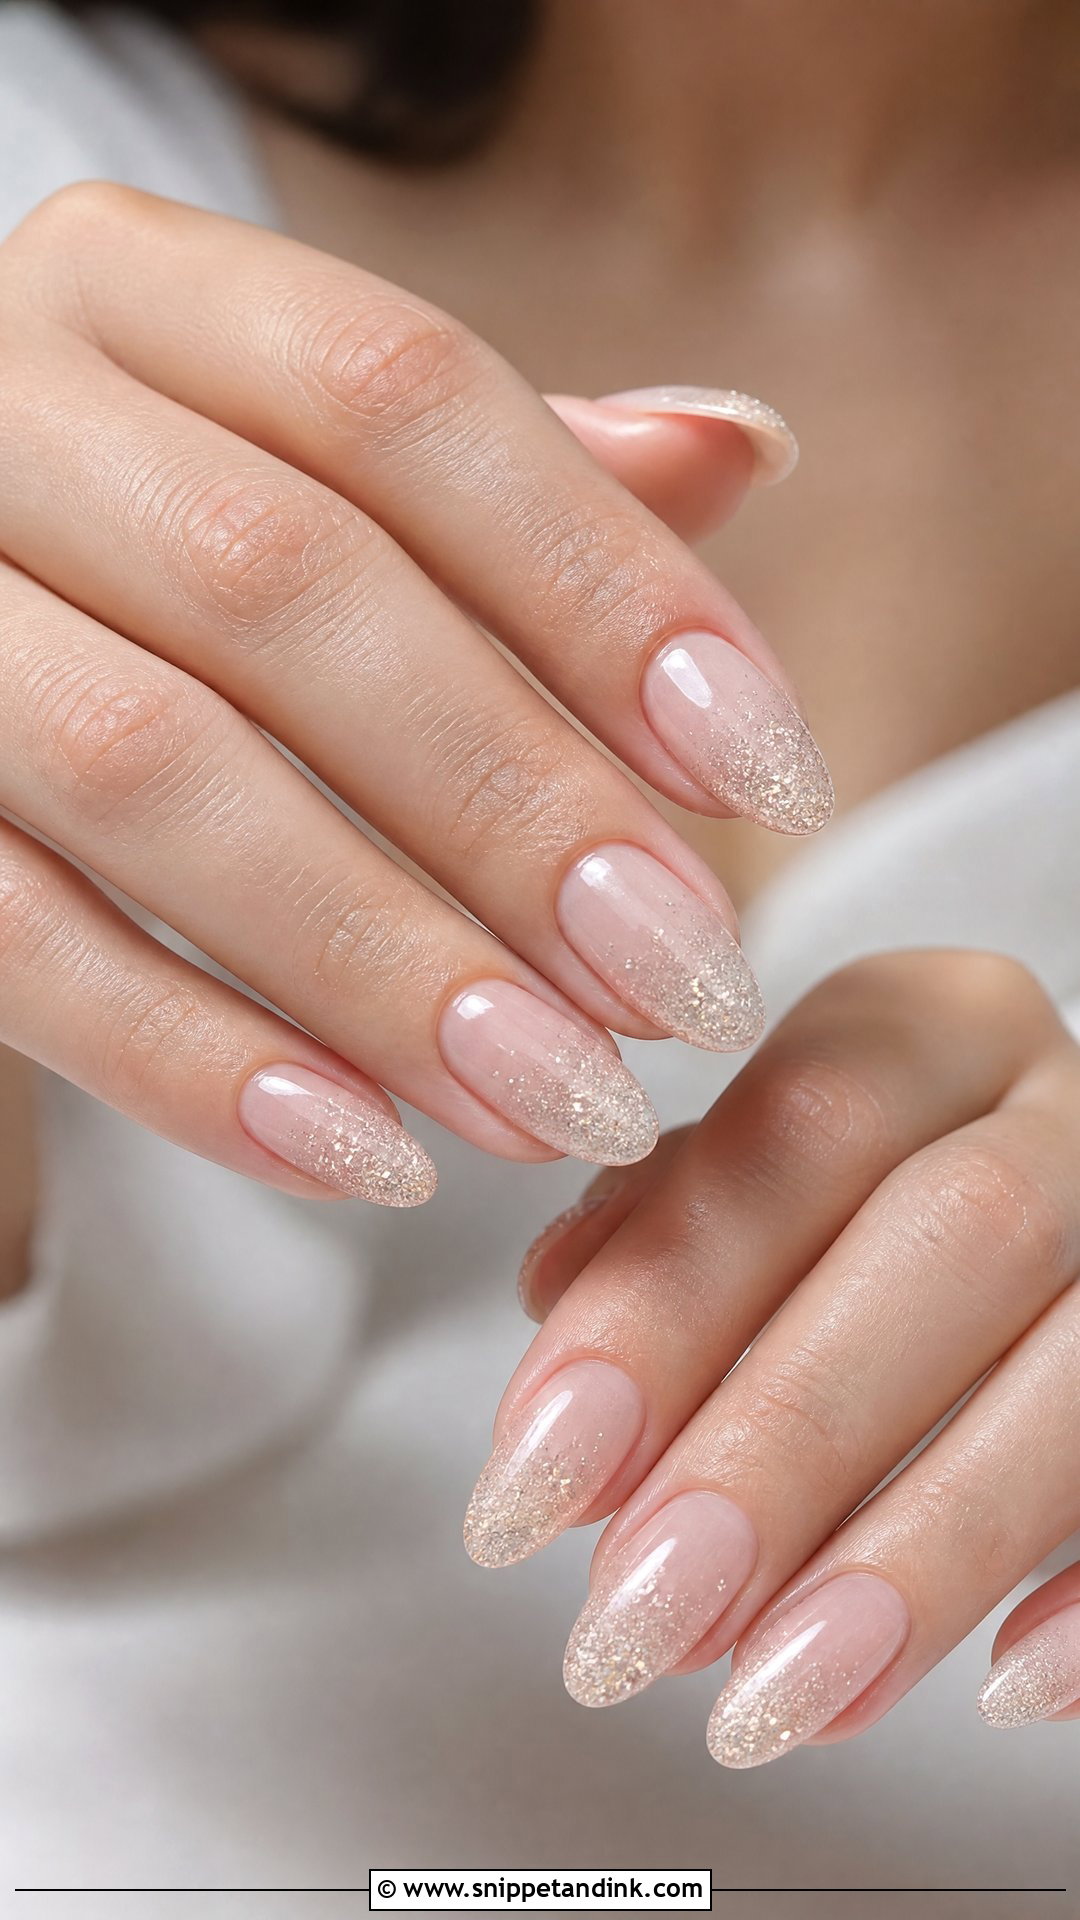
Glitter ombre bridal nails give you sparkle without a full glitter coat. Fine glitter fades from the tip or the cuticle over a sheer base. Micro glitter keeps it delicate; chunky pieces look clumsy and leave the top coat bumpy. Silver reads cool and champagne reads warm. I like it with a very plain dress, where the nails can carry a bit of celebration on their own. Expect a longer removal appointment afterwards, because glitter gel needs extra soaking.
17. Floral French Wedding Nails
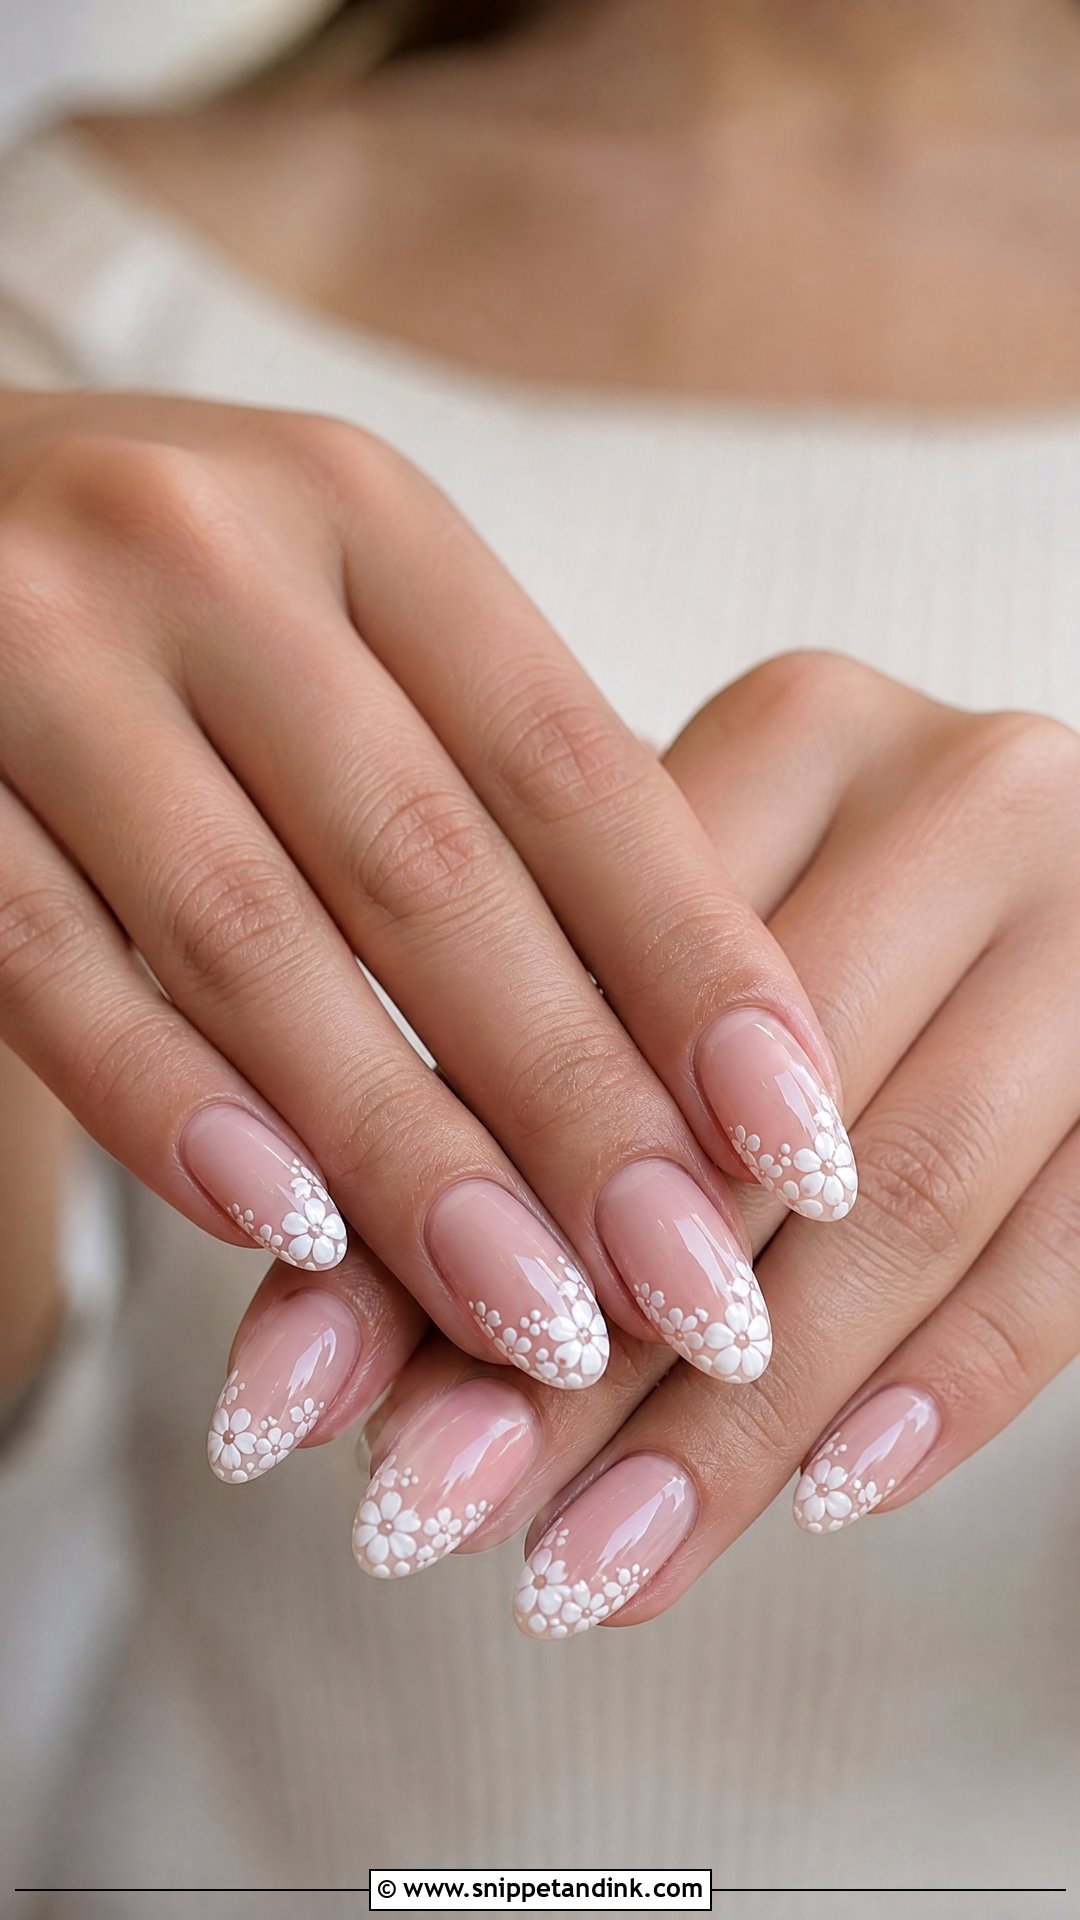
Here the white tip is made of tiny flowers or petal clusters instead of a solid band. From a few feet away it still reads as a French; up close the detail shows. I paint the flowers along the smile line first and fill the gaps afterwards, which keeps the tip shape consistent from nail to nail. A sheer nude or blush base keeps it soft. It ties in with an embroidered veil or a garden bouquet, and it’s easier to keep even on almond or oval than on square.
18. Minimal Bridal Nail Art
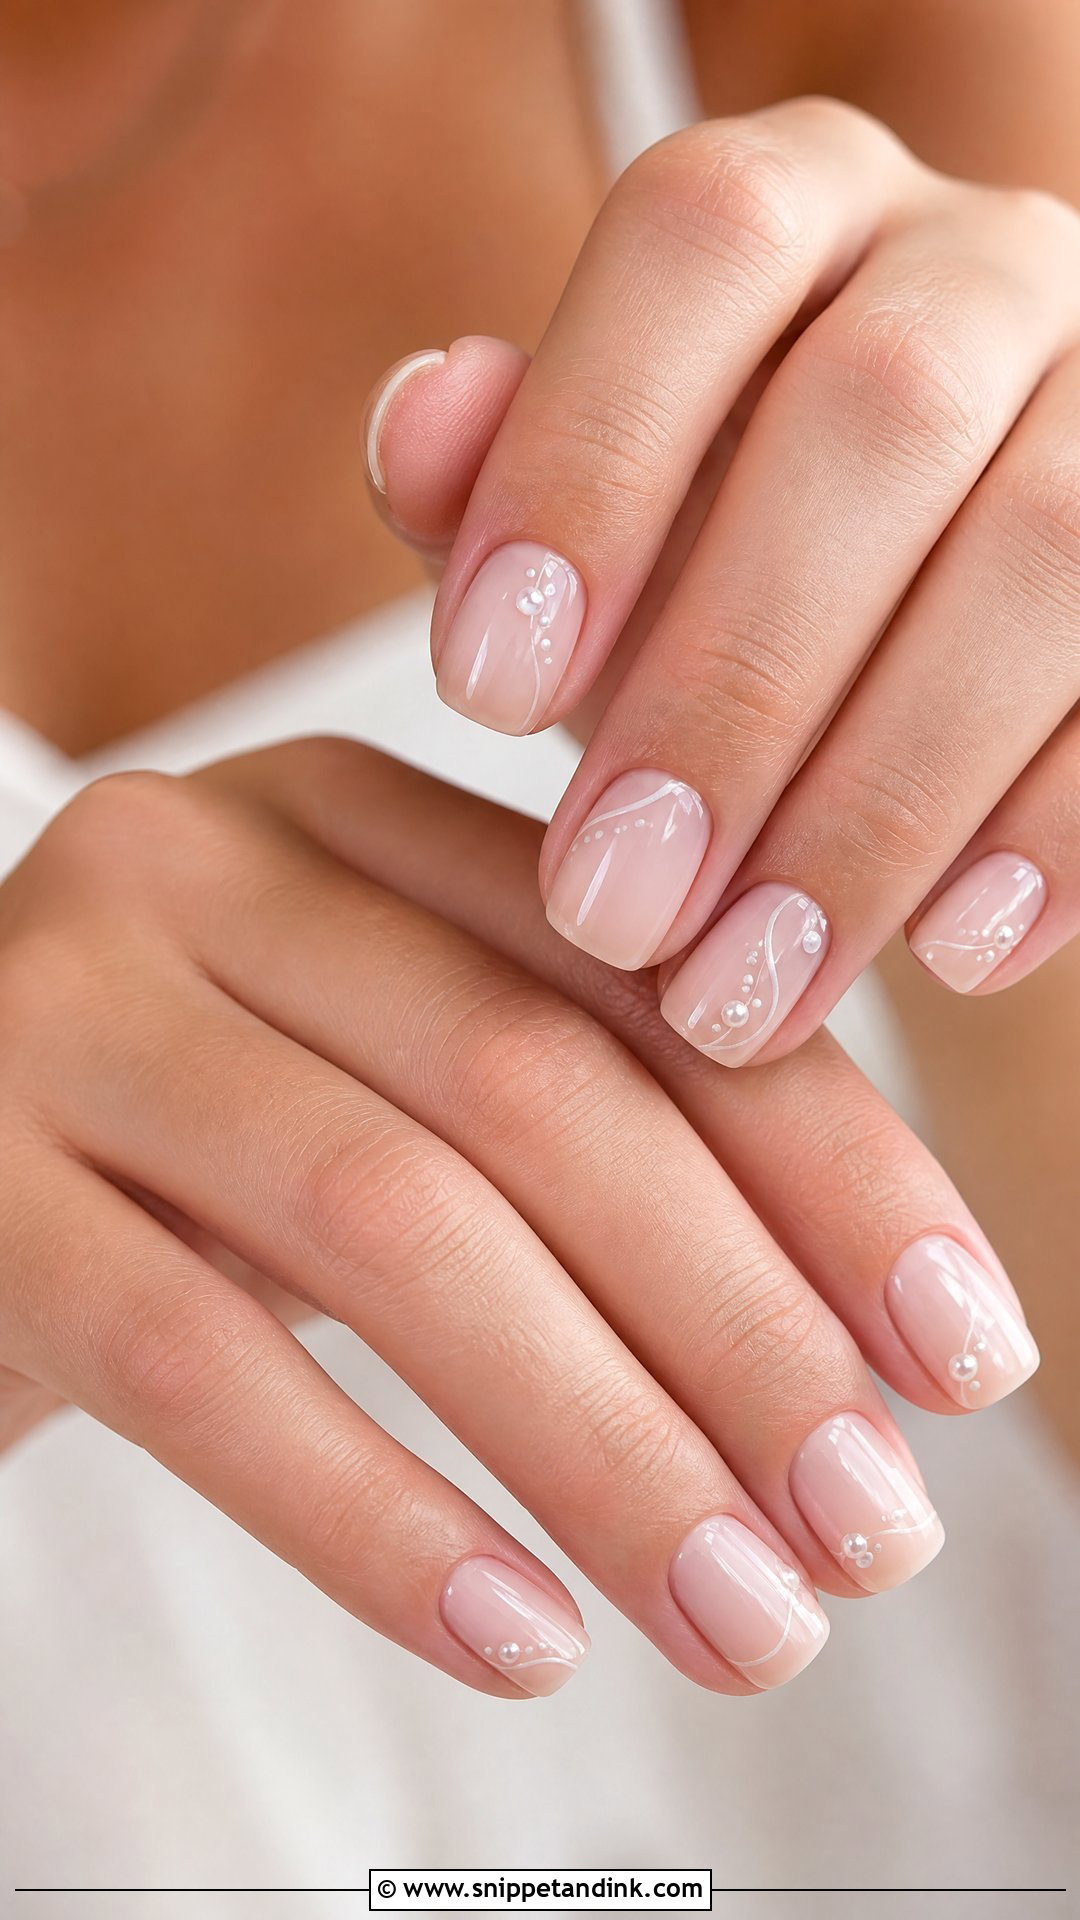
Minimal art means one deliberate detail and a lot of bare nail: a dot, a thin line, a single pearl. It’s what I recommend when the dress, veil and jewelry are already doing a lot. Negative space is less forgiving than it looks, because a sheer nail shows any bubble or patchy base, so the prep has to be clean. Gloss reads fresher, while a fine shimmer top coat adds a little warmth.
19. 3D Flower Bridal Nails
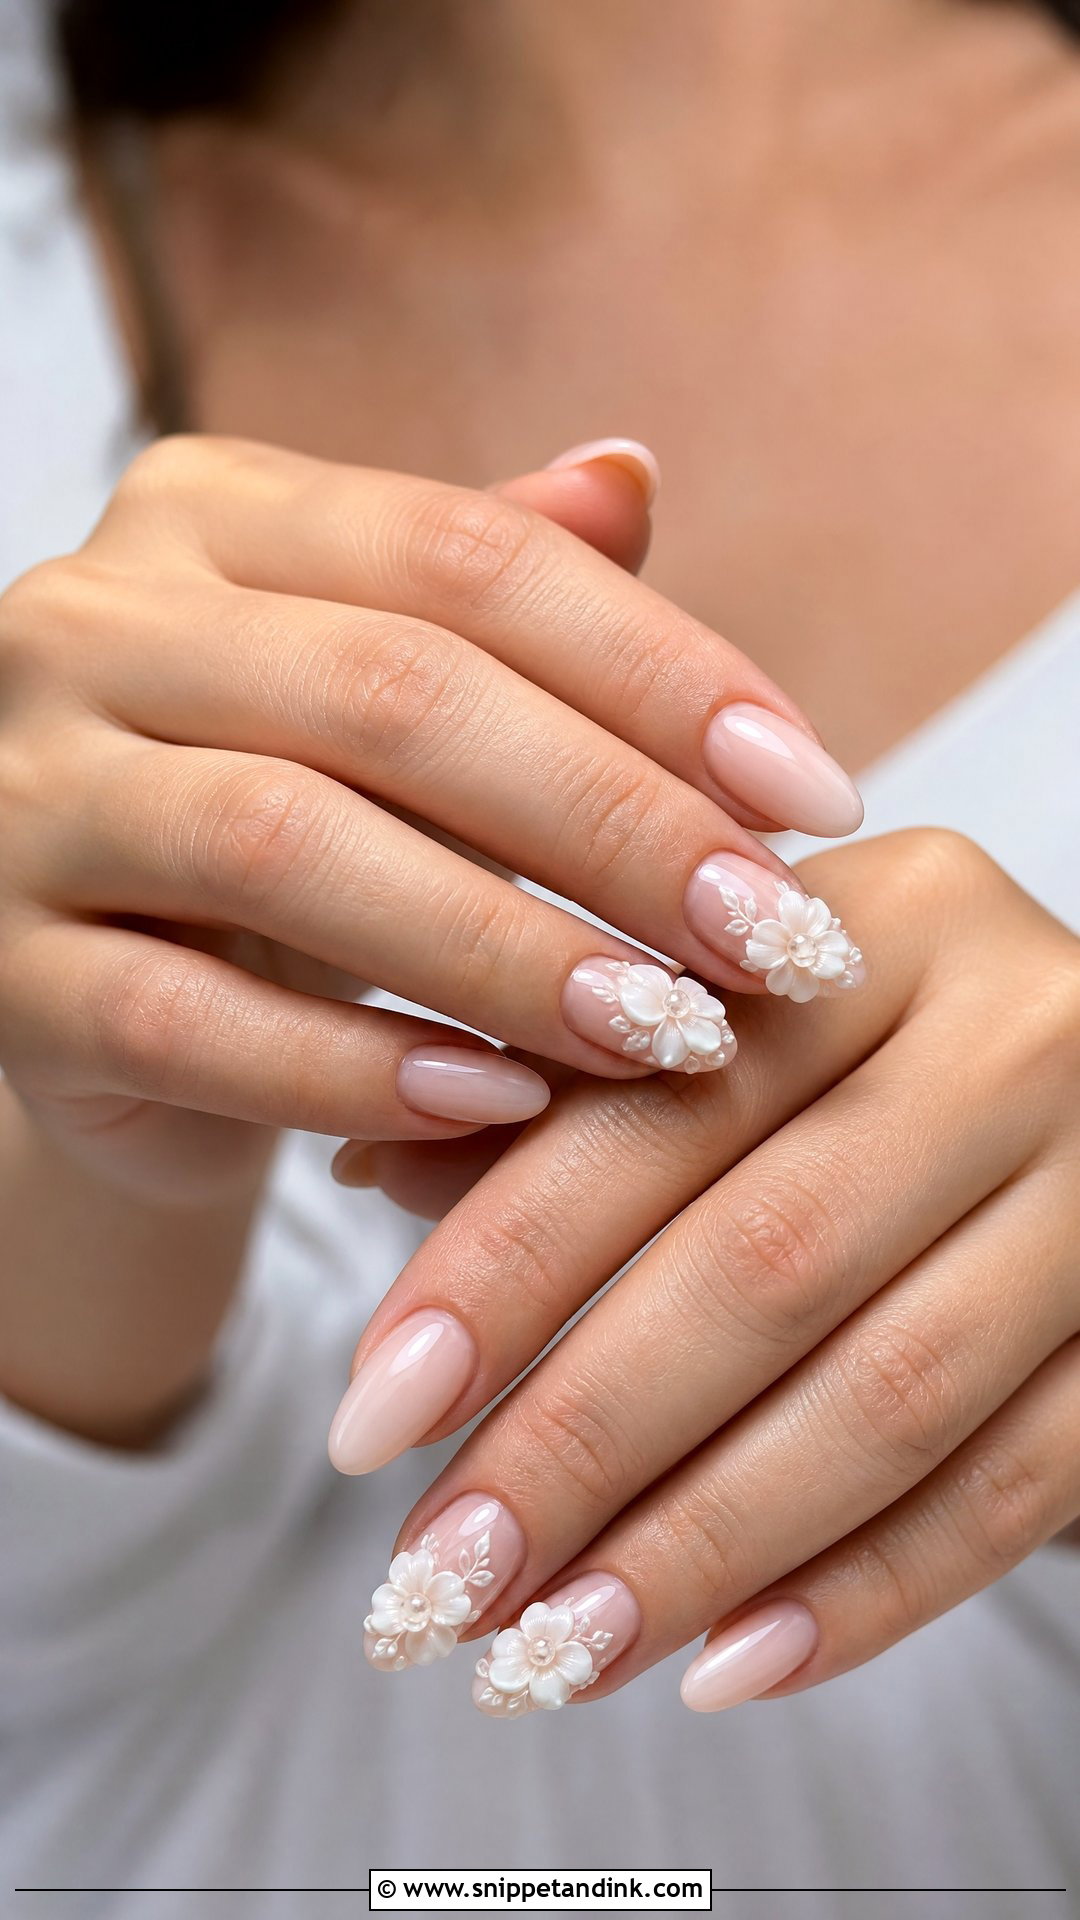
3D flowers are sculpted from a thick builder or 3D gel and cured in layers, so they have real height. That height is the trade-off. Raised petals can snag on tulle, lace and hair, and they’re the first detail to chip. I limit them to one or two nails per hand and smooth every edge before the final cure. White, ivory and pale pink are the easiest to style, and they echo a bouquet well in close-up shots. I’d avoid them if you’ll spend the day adjusting a fine knit wrap or a heavily embellished veil.
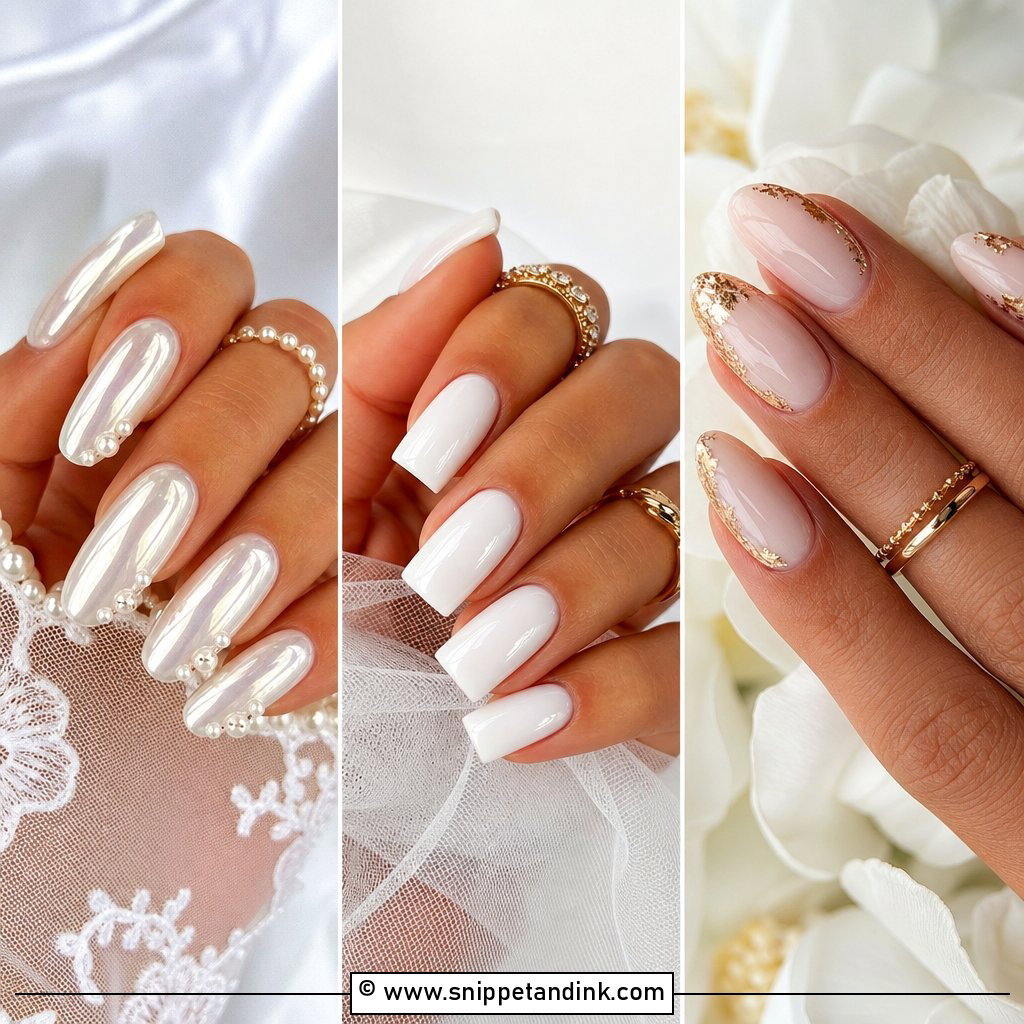
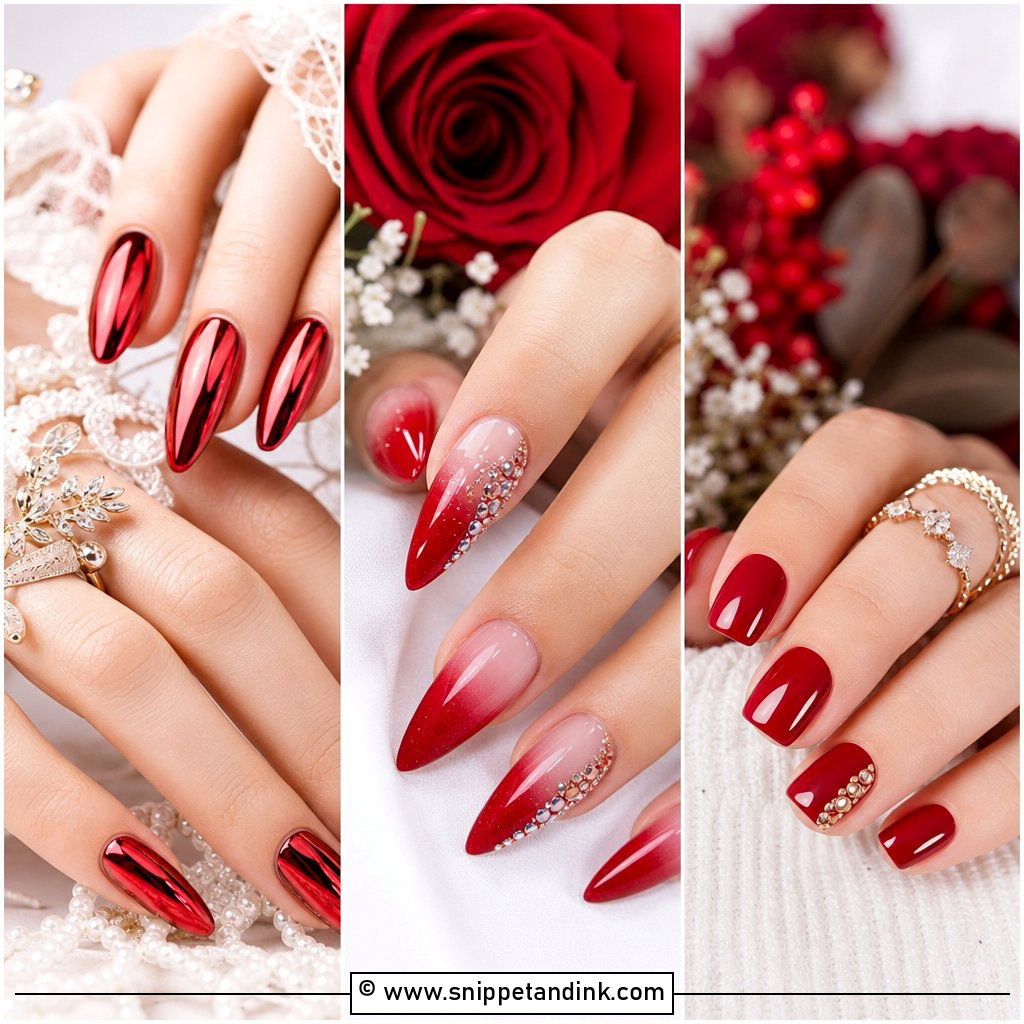
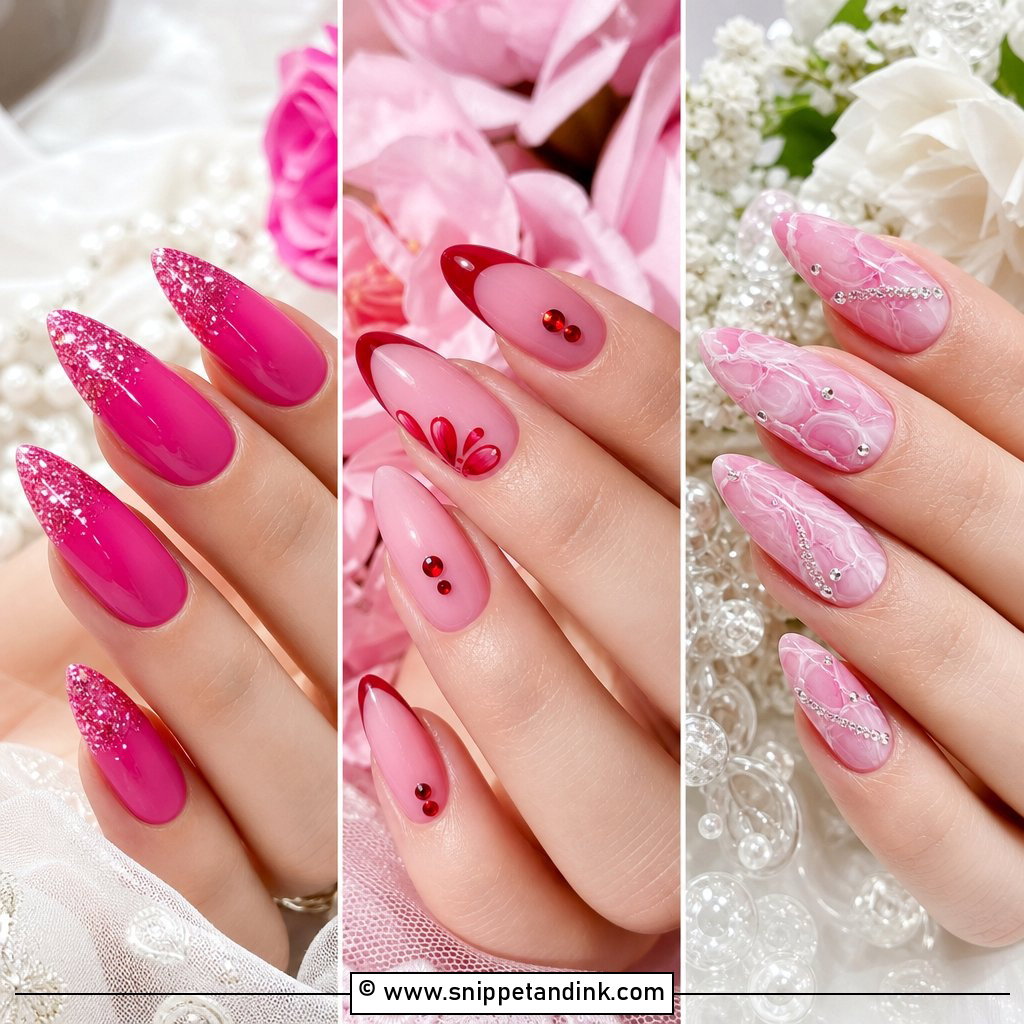
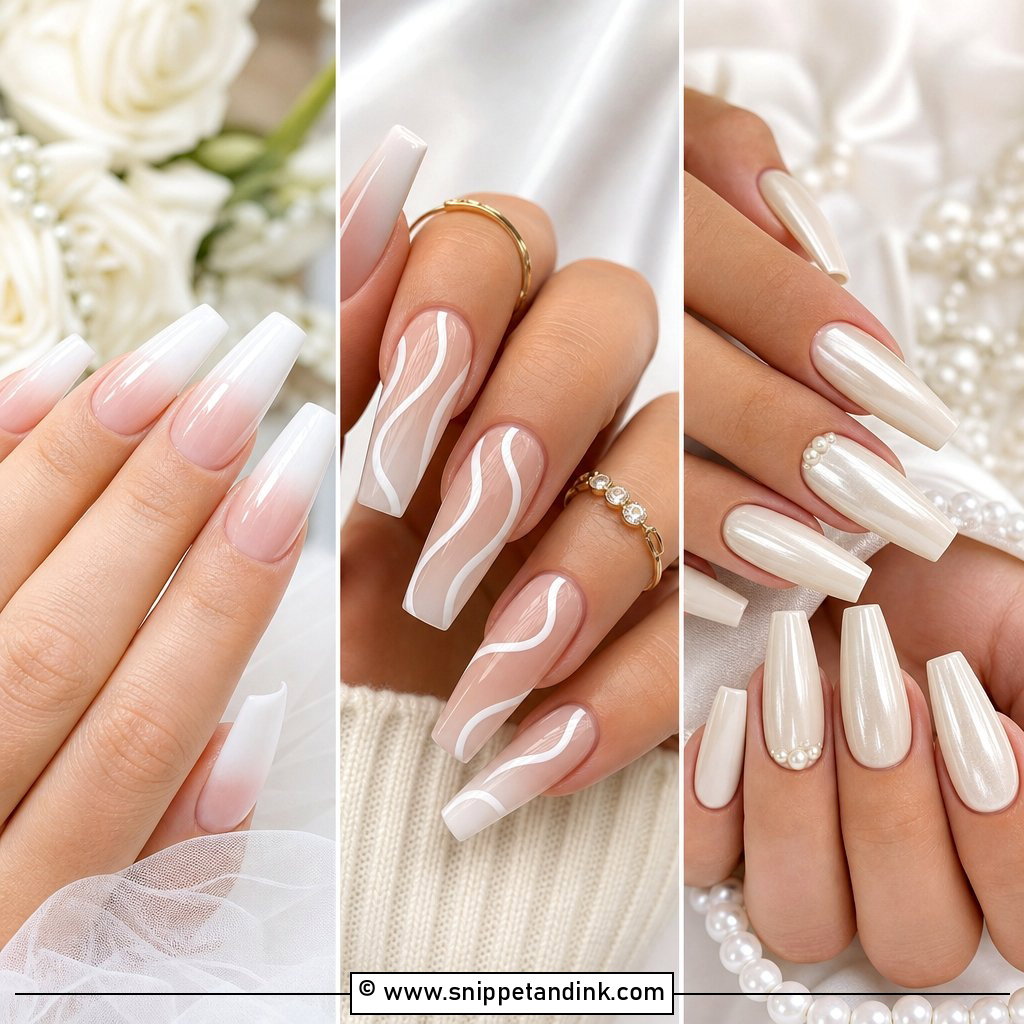
20. Sheer Pink Wedding Nails
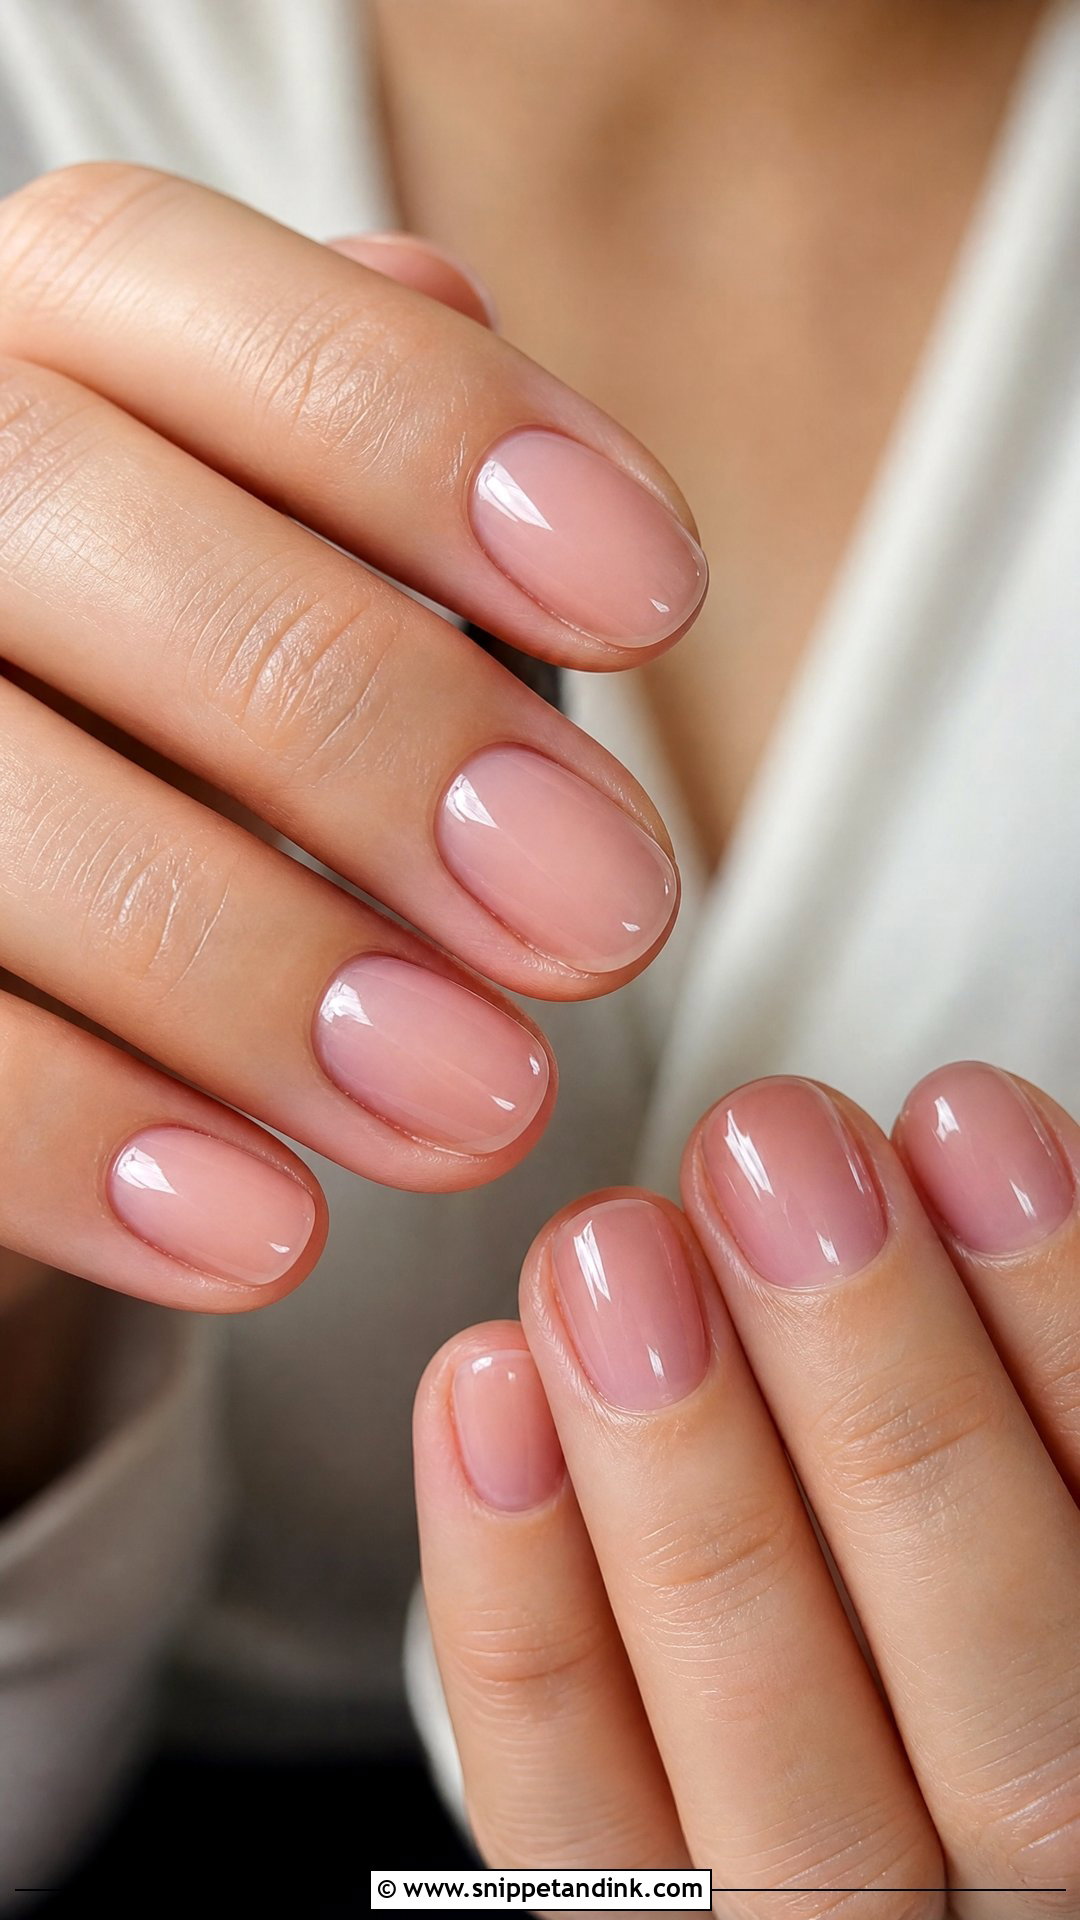
Sheer pink is the set I suggest for brides who don’t normally wear nail color. The translucent tint lets the natural nail show through, so the hands look cared for without looking done. Applied over a builder gel base, it also strengthens thin nails and smooths ridges, which helps if you’ve been growing them out for the wedding. A shimmer layer or one pearl is optional. It grows out with almost no visible line, so it’s a safe pick when the honeymoon follows straight on.
21. Ivory Wedding Nails
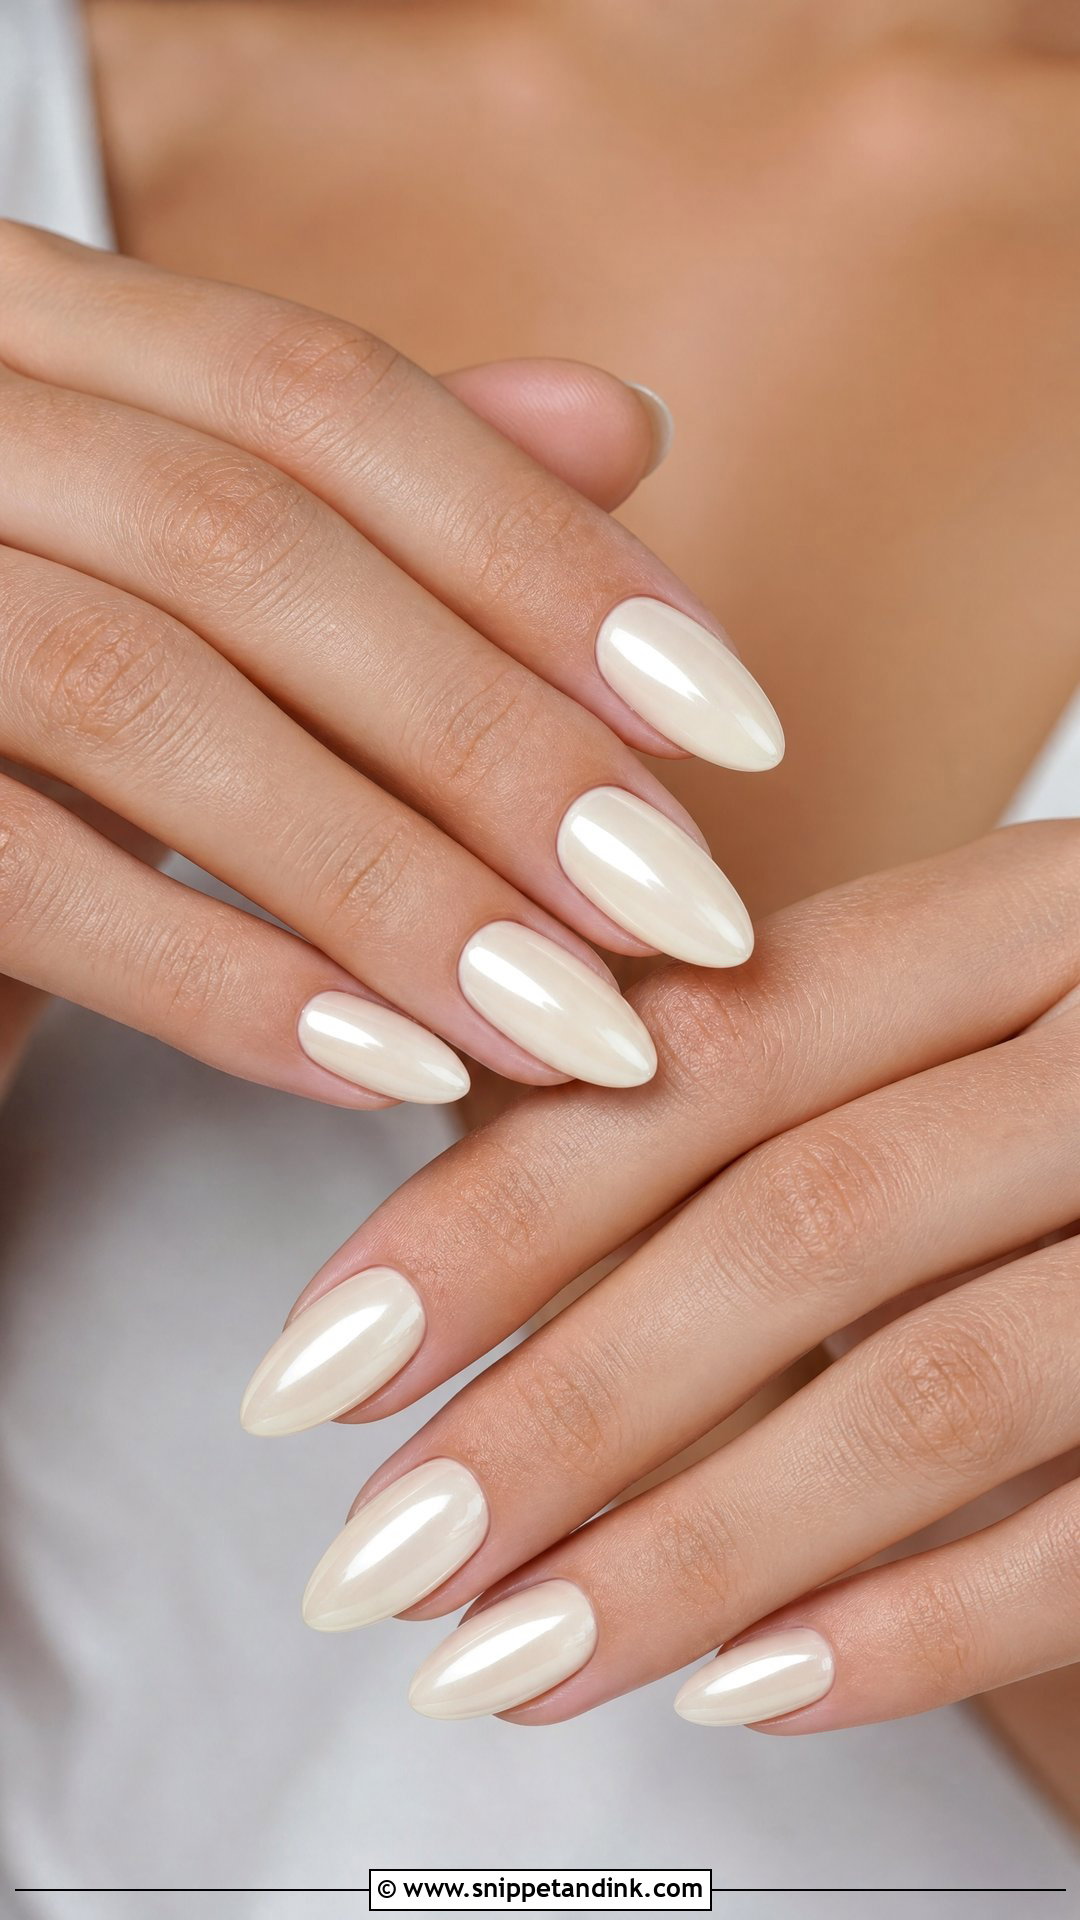
Ivory is my answer when pure white looks harsh against the skin, which happens a lot on fair, pink-toned hands. It’s a warm off-white, so it sits naturally next to cream and champagne gowns. On short square nails I paint it solid; longer almonds can carry ivory French tips or a little floral work. Hold your dress fabric beside the swatch in daylight before deciding, because some ivory gels lean yellow once cured.
22. Rose Gold Bridal Nails
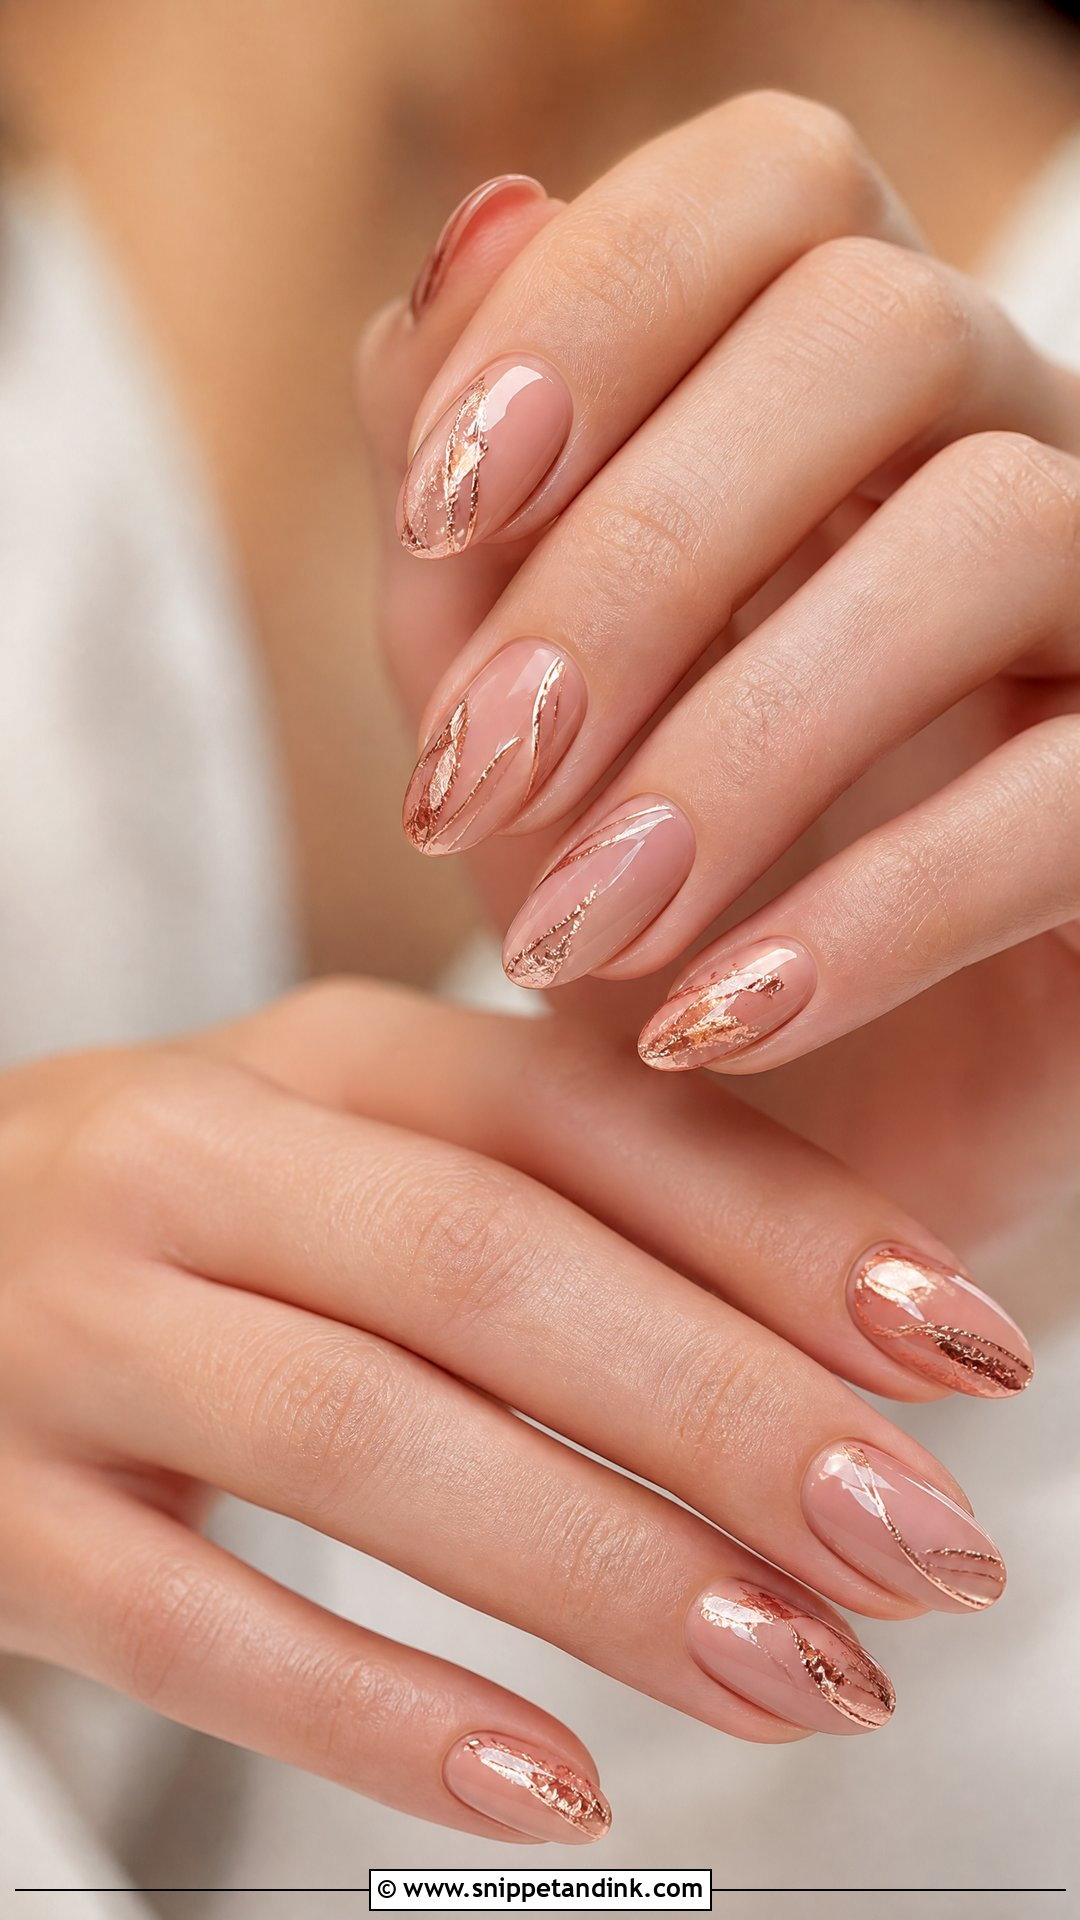
Rose gold sits between nude and metallic, and it does its best work beside blush flowers, rose gold bands and warm makeup. I add it as foil, fine shimmer or thin lines over a nude or milky base, on two or three nails only. A full rose gold set can turn brassy under warm reception bulbs. Check the foil against your ring before the appointment, since rose gold jewelry ranges from coppery to very pale pink.
23. Cat Eye Wedding Nails
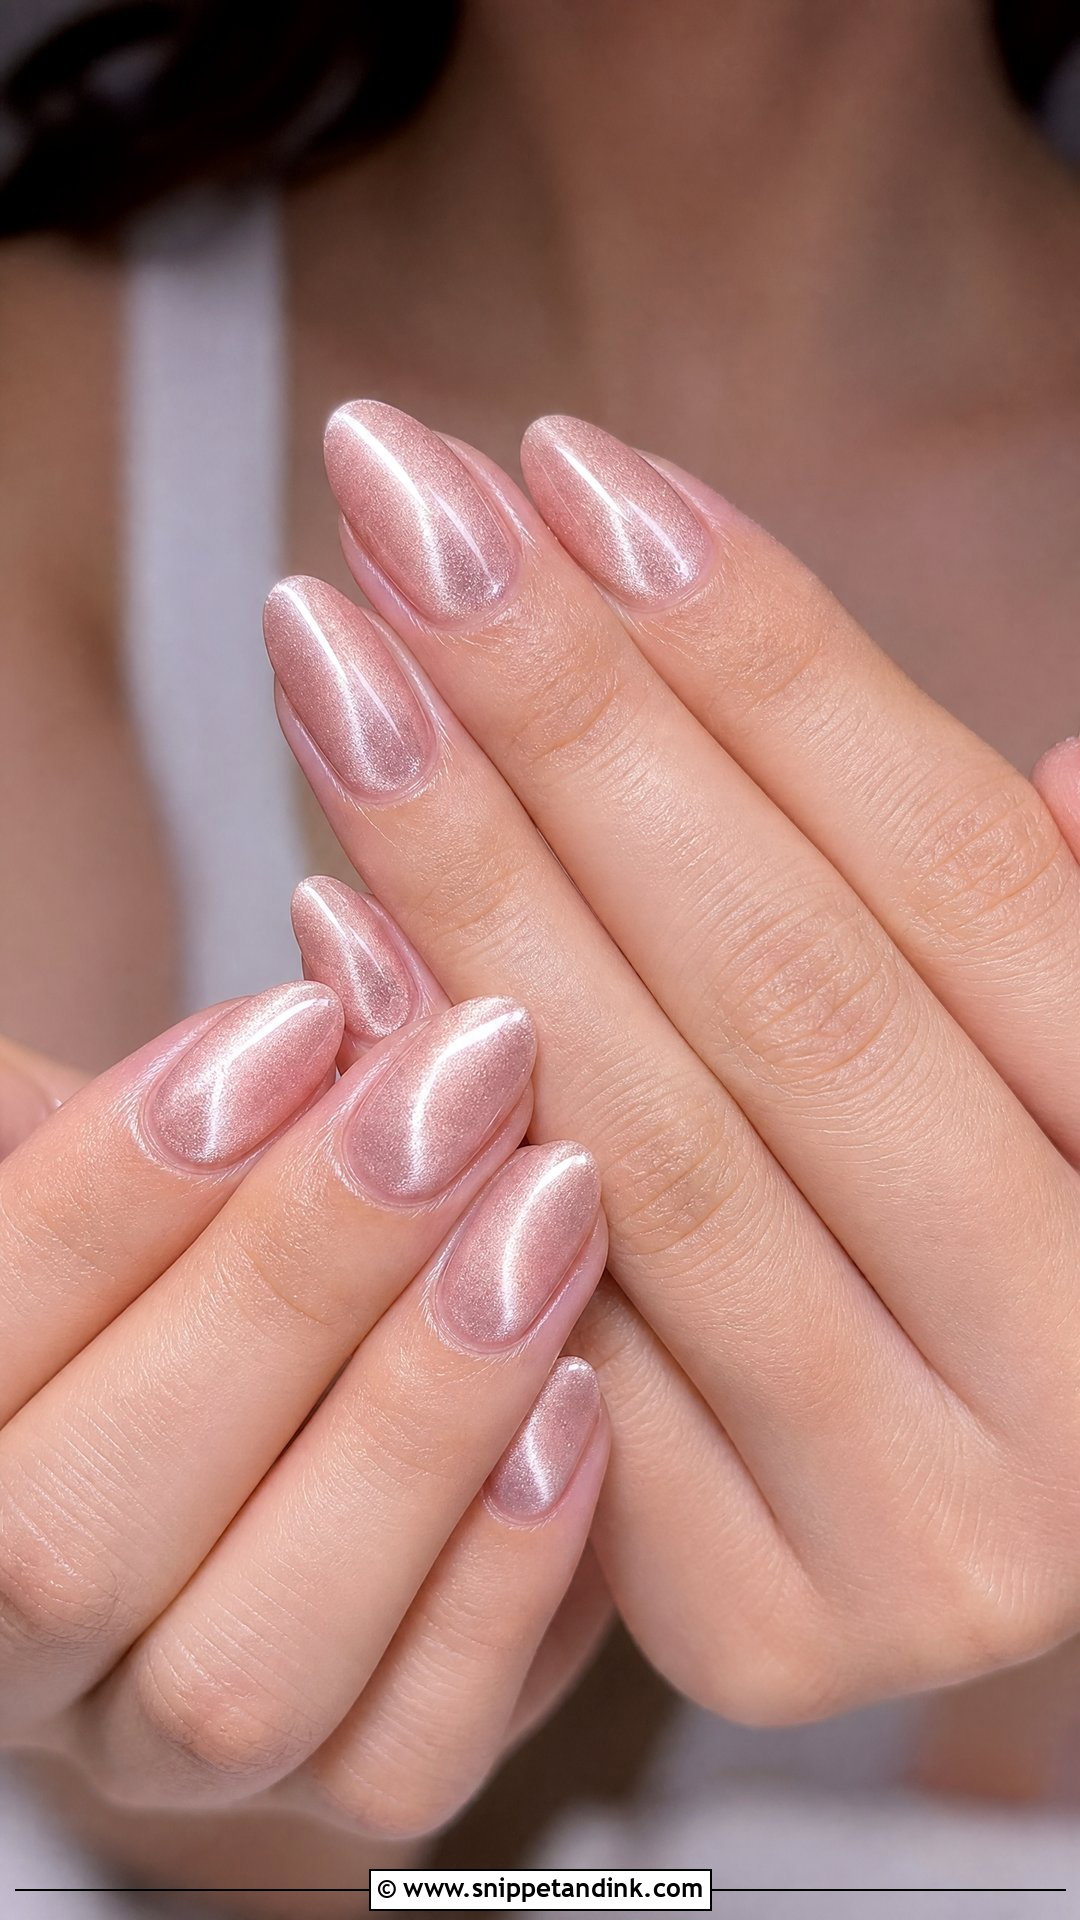
Cat eye wedding nails look surprisingly bridal in pale shades. The gel holds magnetic particles, and I hold a magnet over the wet nail to pull them into a line or a soft glow that shifts as you turn your hand. In pearl, champagne or milky beige it gives depth with no painted art at all. The magnet has to go on quickly before curing or the effect blurs, so expect slight variation from nail to nail. Almond, oval and coffin show the reflection best.
24. Marble Bridal Nails
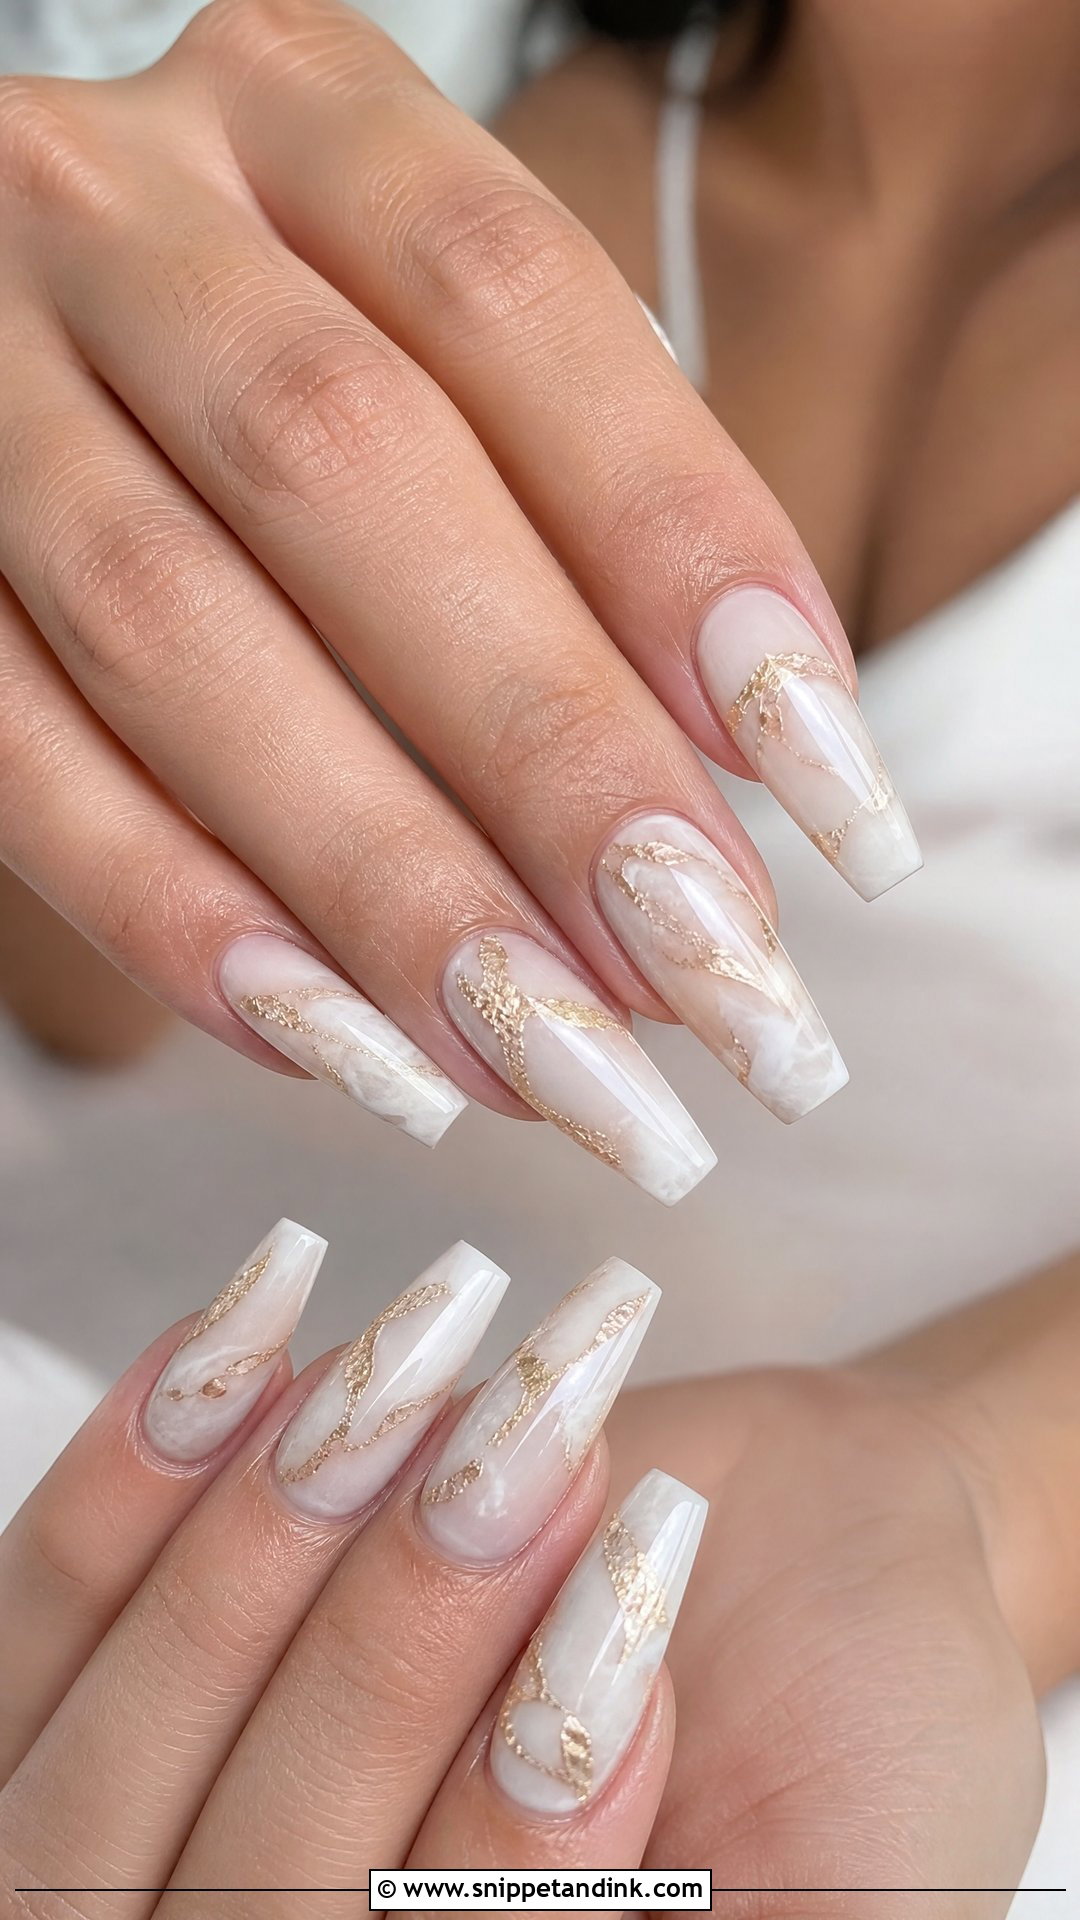
Marble only looks bridal when the veining stays thin and pale. I drop thinned white or grey gel into a wet base and pull it with a fine brush, so no two nails come out alike, which is part of the appeal. Dark veining and heavy contrast look more like a kitchen worktop than a wedding set. A fleck of gold or silver foil adds warmth if it matches your jewelry. Almond and coffin give the pattern room to flow; on very short nails, marble tends to read as a smudge.
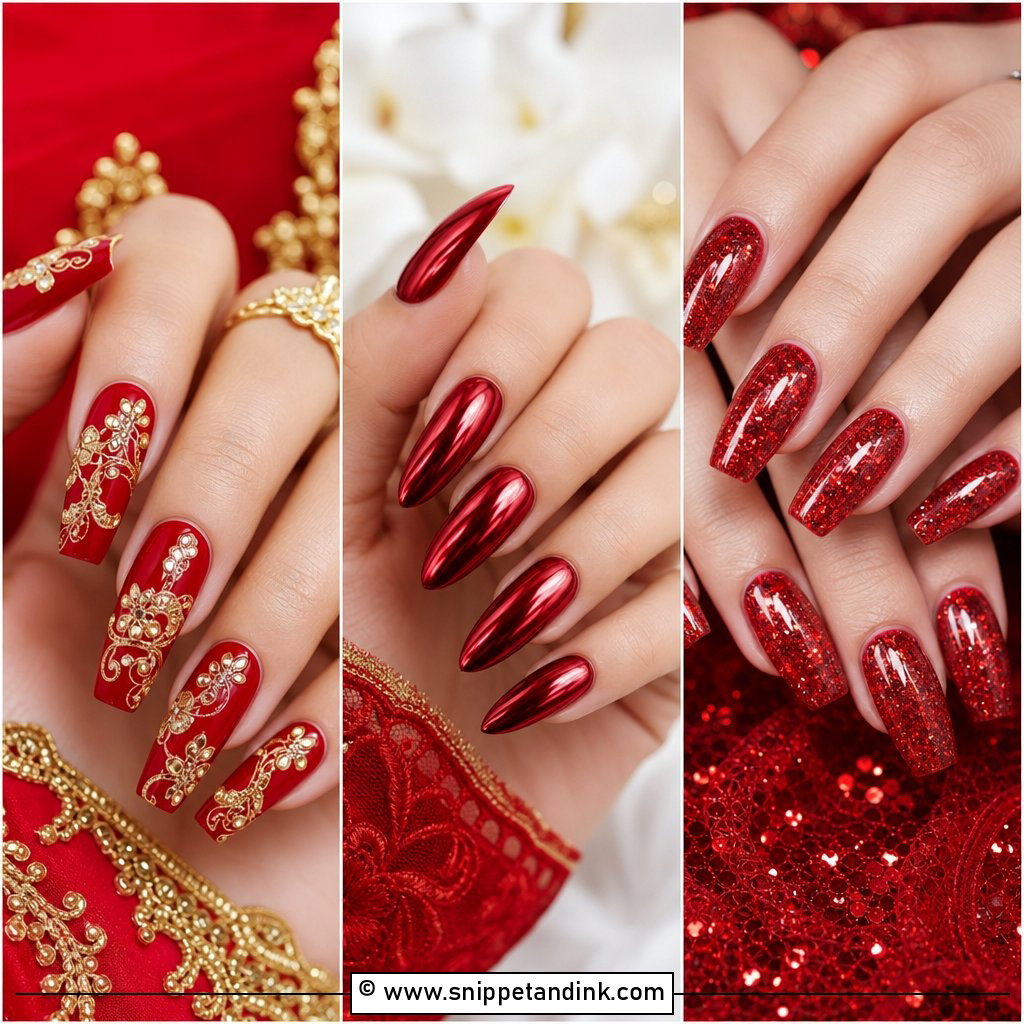
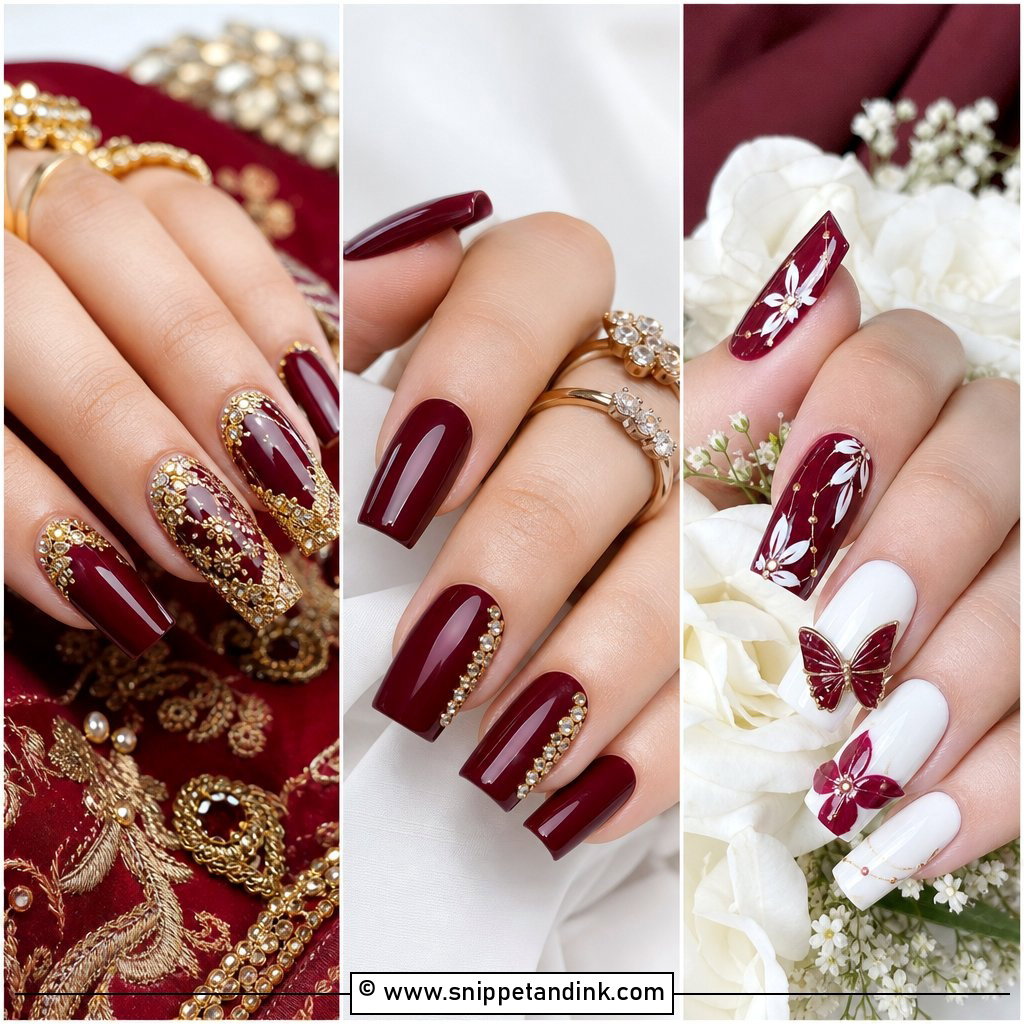
25. Something Blue Bridal Nails
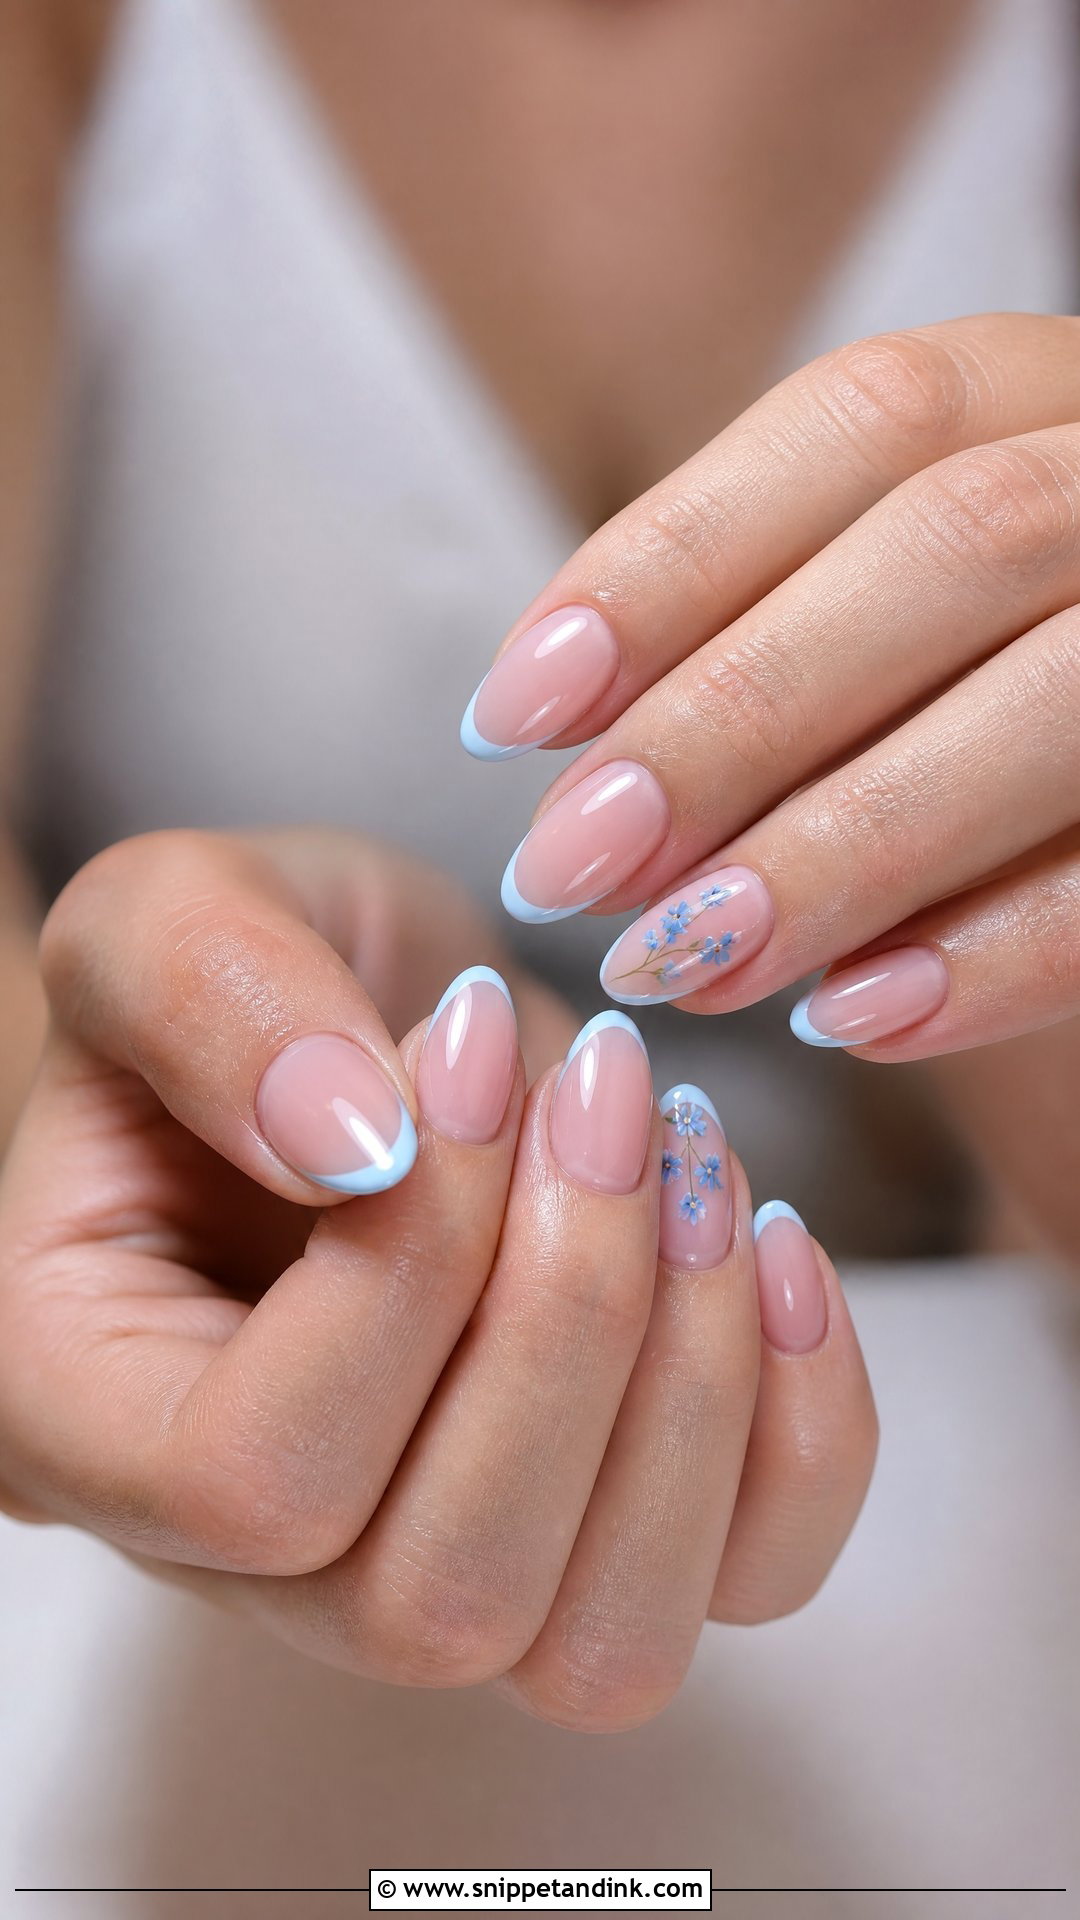
Something blue on the nails only needs a hint: a pale blue French on the ring finger, one tiny blue flower, or a light blue shimmer on a single nail. Keep the rest sheer pink, nude or milky so the set still reads as bridal. I’d take the blue from something real, like the bouquet ribbon or your shoes, and swatch it beside that item, because pastel blues range from minty to almost lilac. Put the detail on the ring hand if you want it to show up in the ring shot.
A Chipped Nail Between the Ceremony and the Last Dance
Even a well-cured gel set can chip once you’re hugging people, lifting a dress and opening champagne. Without a lamp you can’t repair gel properly at the venue, but you can make a damaged nail look tidy until morning. I’d hand a small pouch to whoever is carrying your emergency kit:
- A fine glass or emery file for smoothing a snag before it catches on your veil.
- A small bottle of regular clear top coat to seal a tiny chip; it dries in a few minutes and hides the rough edge.
- Nail glue and a few spare flat-back pearls or crystals if your set has them.
- A sheer pink polish close to your base color, for covering a scuffed tip.
If a natural nail breaks below the fingertip, don’t glue it hard back over the skin. File the broken edge smooth, shorten the matching nail on the same hand slightly if you like, and leave the proper fix for after the wedding.
Bring Your Ring to the Final Appointment
Trends come and go, but the sets that hold up are the ones planned around real hands and a real wedding day. Before the final appointment, take your ring, a scrap of dress fabric if you have one and a photo of your jewelry, then test your top color against all three in daylight. Settle on length early so there’s time to grow or extend it. After that, keep the art in proportion to the dress: a quiet manicure for a busy gown, a little more detail for a plain one.
You'll Like These Ideas:


Leave a Reply