
The easy styles are often the ones that last best. A soft bun, a wrapped ponytail, loose waves or a simple braid has fewer pins to fail and less height to collapse, so it tends to look the same at the last dance as it did at the ceremony. That’s why I steer plenty of guests and bridesmaids toward them, even when they could book a long chair session. The looks below lean polished but relaxed: clean shapes, a bit of texture, one small accessory at most. Most can be done at home in under an hour. Pick by your outfit, the forecast, your hair length and how much fussing you’ll tolerate on the day.
An Unhurried Hour for Styling Your Own Guest Hair
Most guest hair goes wrong because of timing, not skill. Someone washes it that morning, runs out of time for curls to set, and ends up with a ponytail sliding down by the speeches. I’d give yourself a full hour and work in this order.
- Wash the night before if your hair is fine or slippery. Day-old hair holds pins and curls far better than freshly washed hair. Very curly or coarse hair is the exception; it often behaves best a day after a wash with leave-in conditioner.
- Dry it fully. Damp roots are why buns sag and waves fall out, so finish the roots with a hairdryer even if the lengths air-dried.
- Spray texture or dry shampoo at the roots and through the mid-lengths before curling. It gives pins and elastics something to grip.
- Curl first, then wait. Let every section cool completely, ideally while you do your makeup, before you brush anything out or gather it up.
- Set the shape, then secure it. Put in the elastic or main pins, check the back with a hand mirror, and only then add accessories.
- Change into anything that goes over your head before the final spray, or drape a silk scarf over your hair while you pull it on.
My kit list for a home style is short: a smoothing brush, a tail comb, small clear elastics, bobby pins that match your hair colour, a few U-shaped pins for buns, texture spray, a flexible hairspray and a curling iron. A 32mm barrel suits most medium and long hair; go smaller for short cuts.
1. Easy Low Bun Wedding Hair
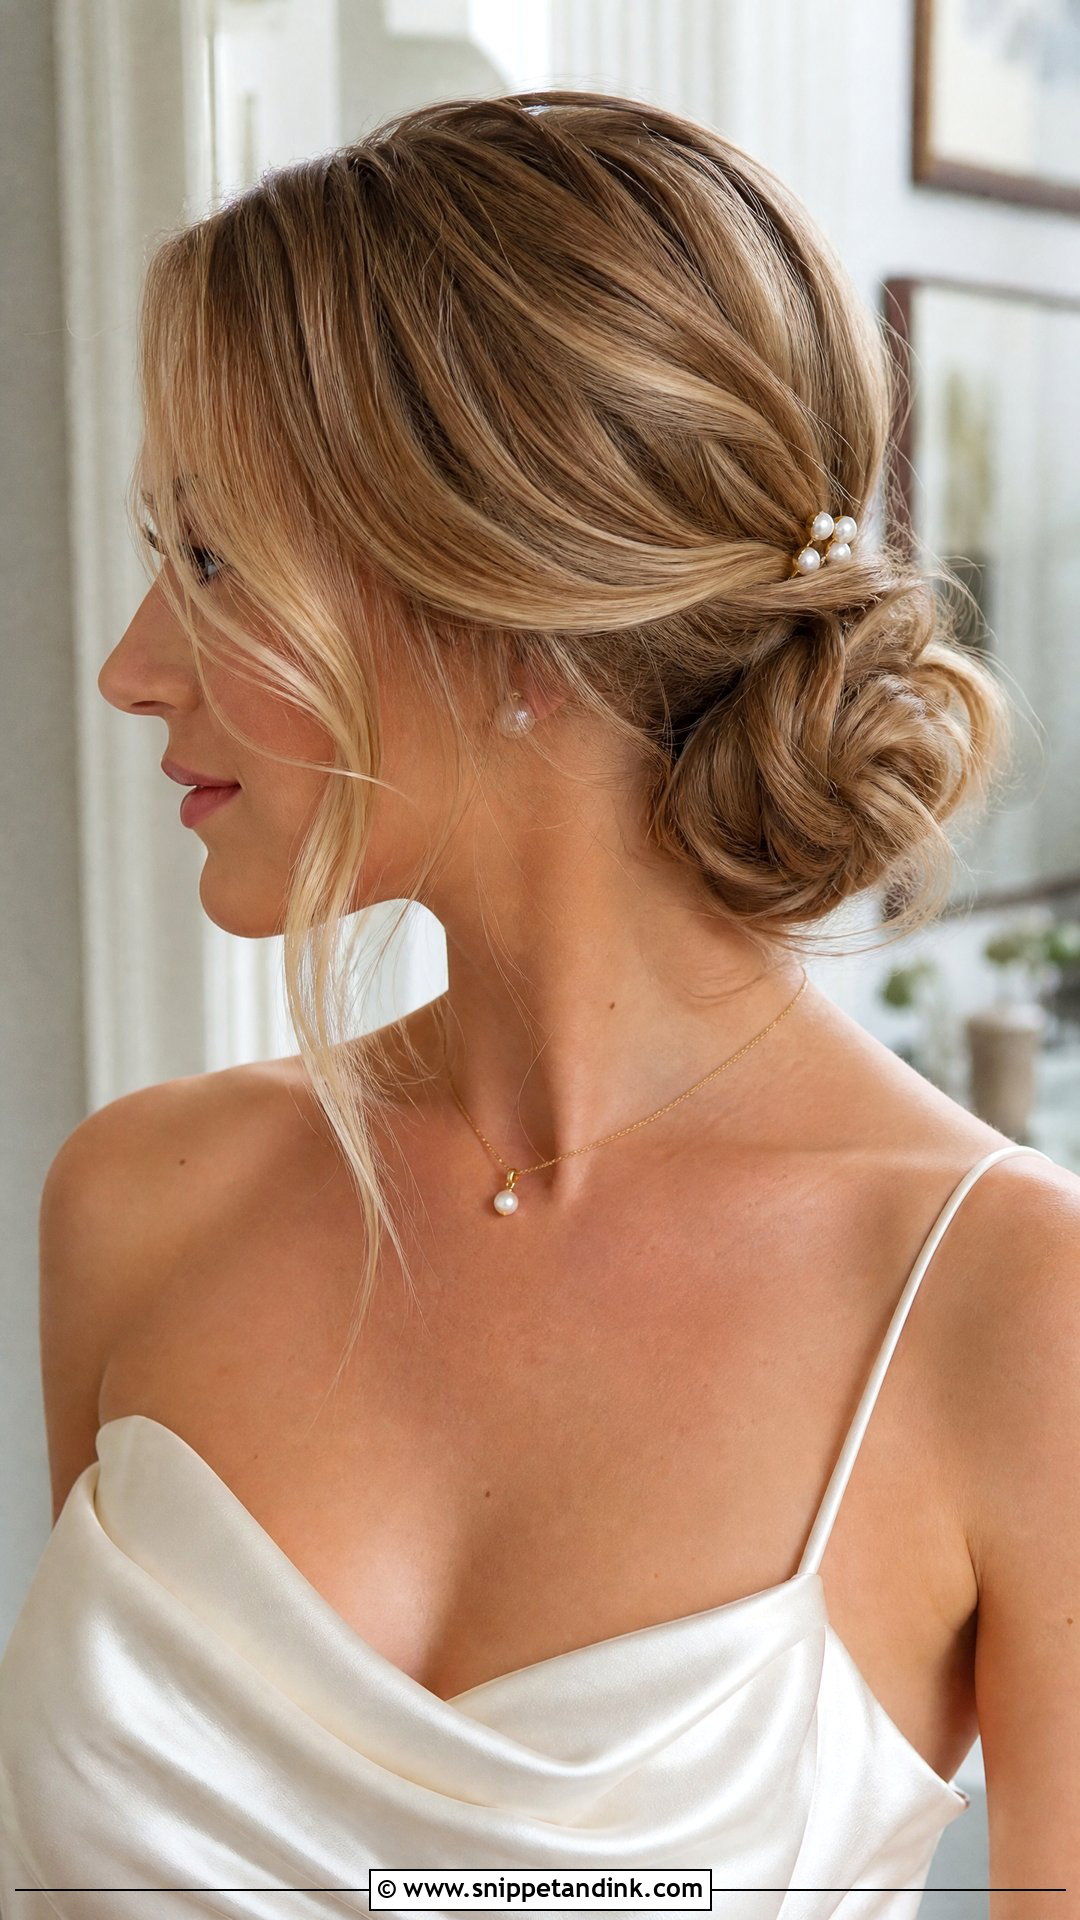
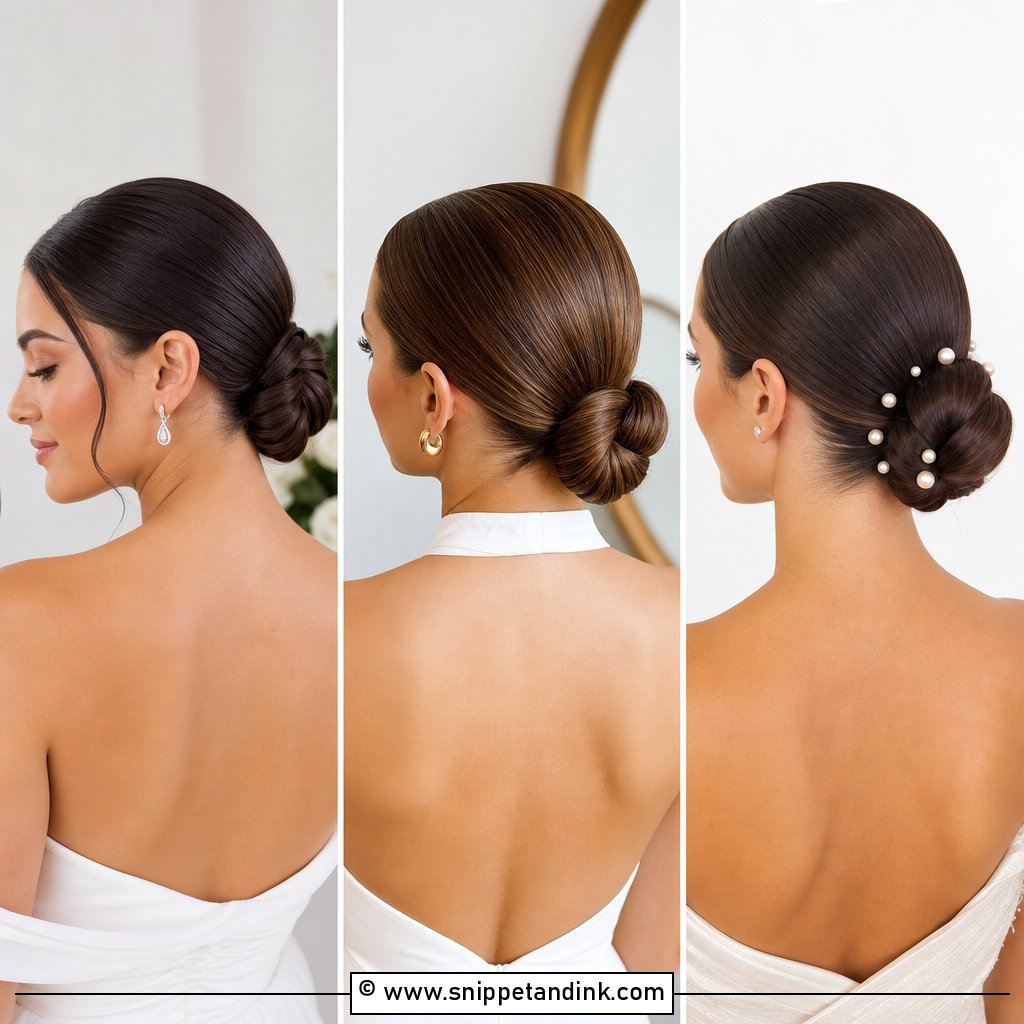
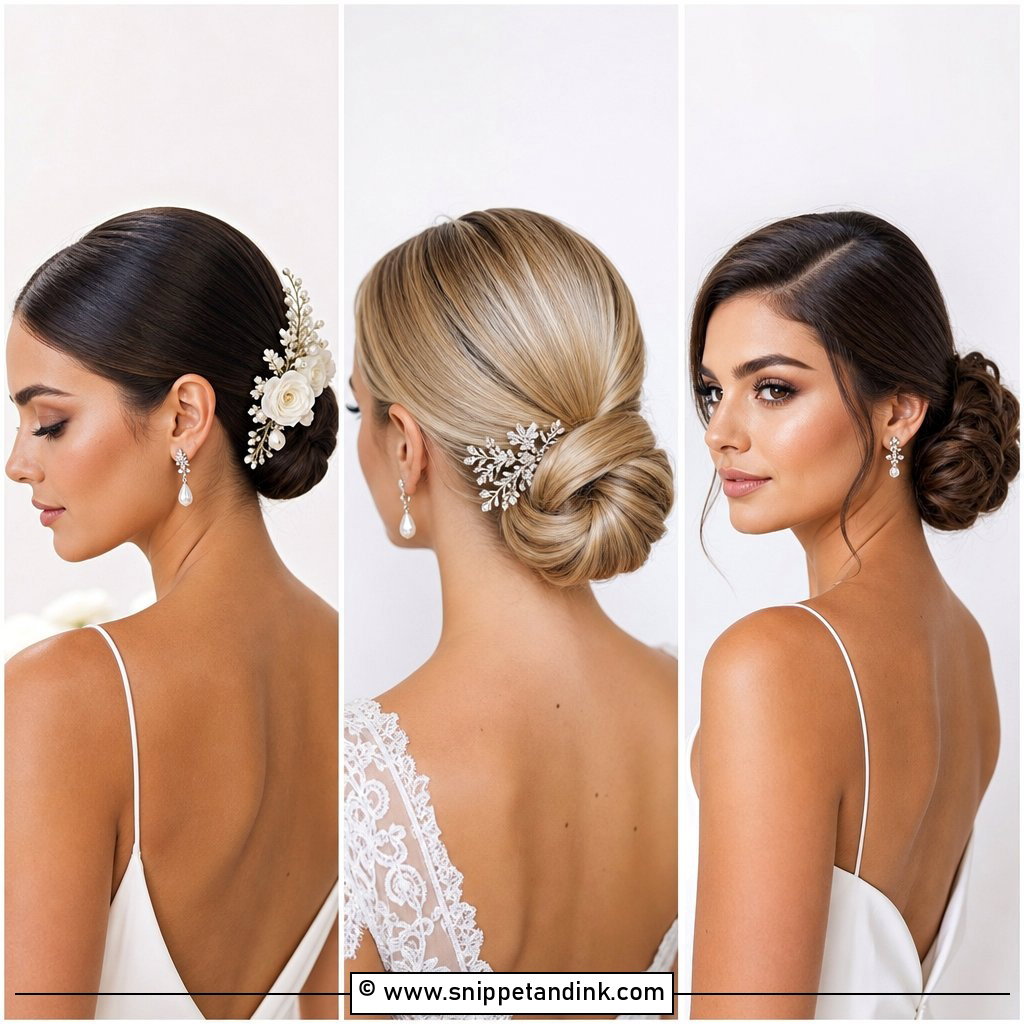
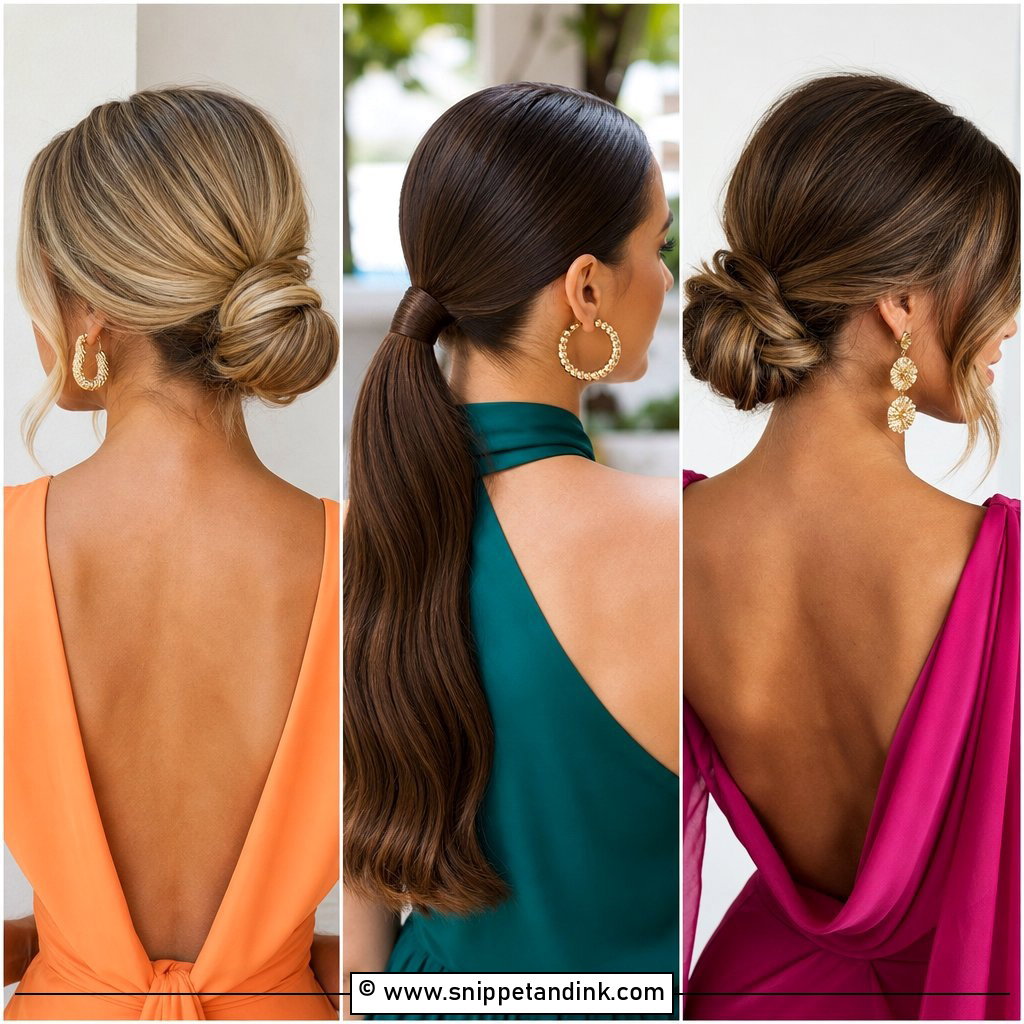
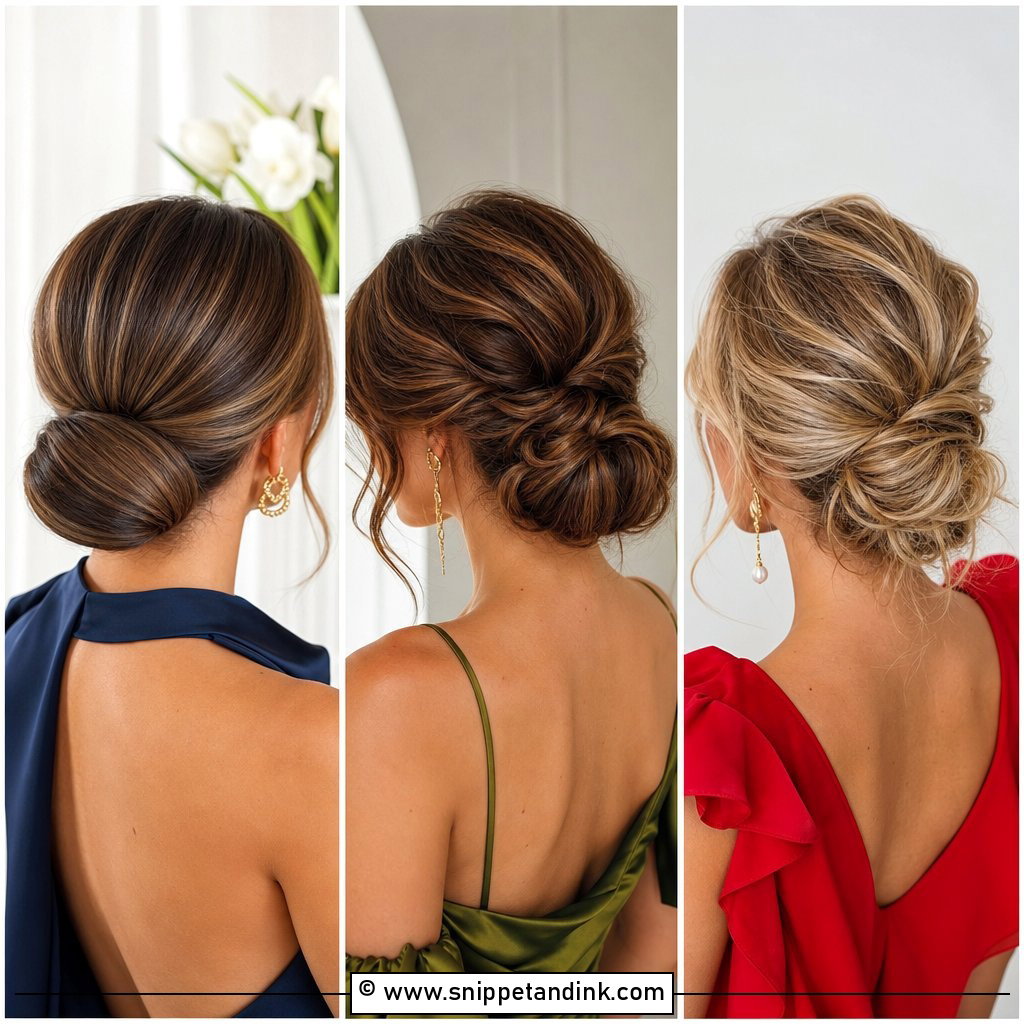
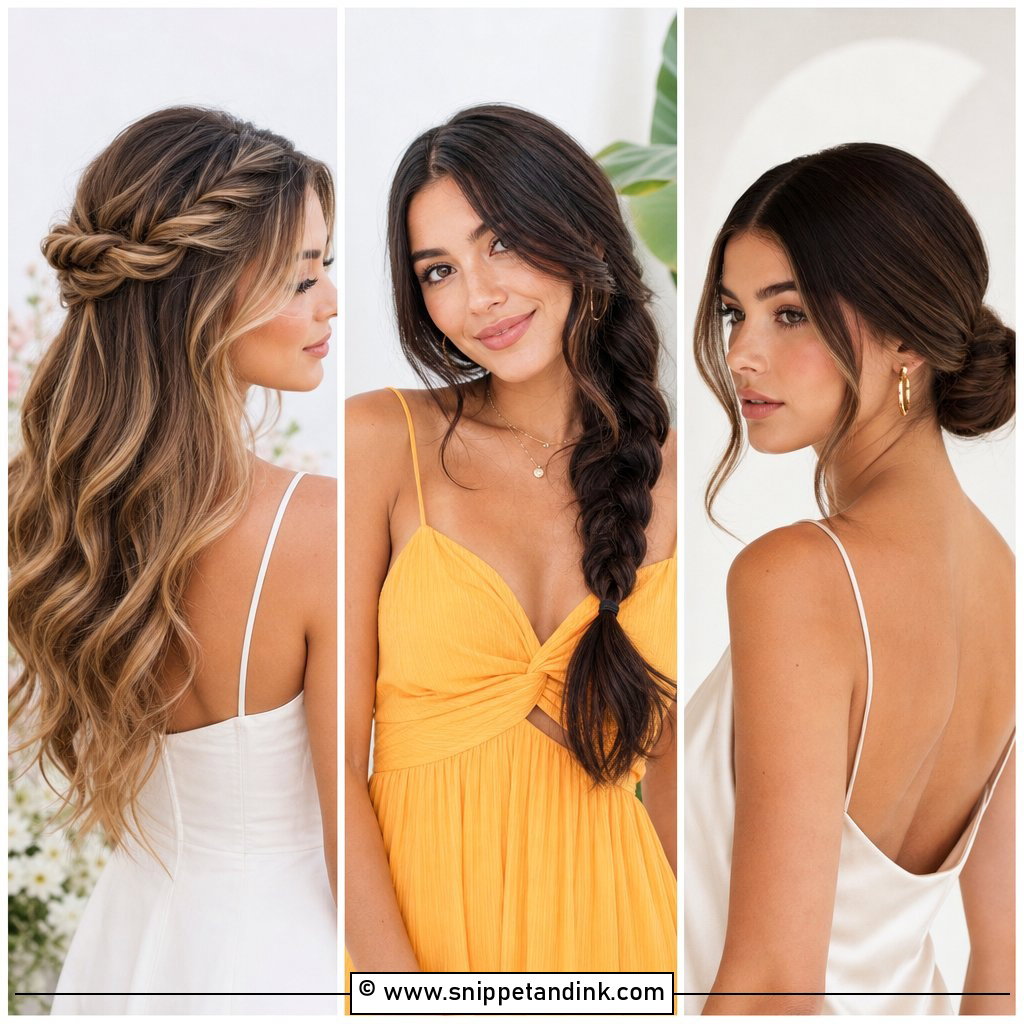
The low bun is the shape I fall back on most when a veil is involved, because it sits at the nape and gives a comb something solid to grip without lifting the veil off the head. It also leaves an open back on show. On fine hair I build it around a small hidden ponytail, then pin the twisted length onto that base; pins anchored into an elastic hold far longer than pins pushed into loose hair. Leave a couple of front pieces out and curl them lightly, or smooth the crown with a little styling cream and tuck everything in. Shoulder-length hair can manage it with small pins and texture spray, though the bun will be compact.
2. Half Up Half Down Wedding Hair
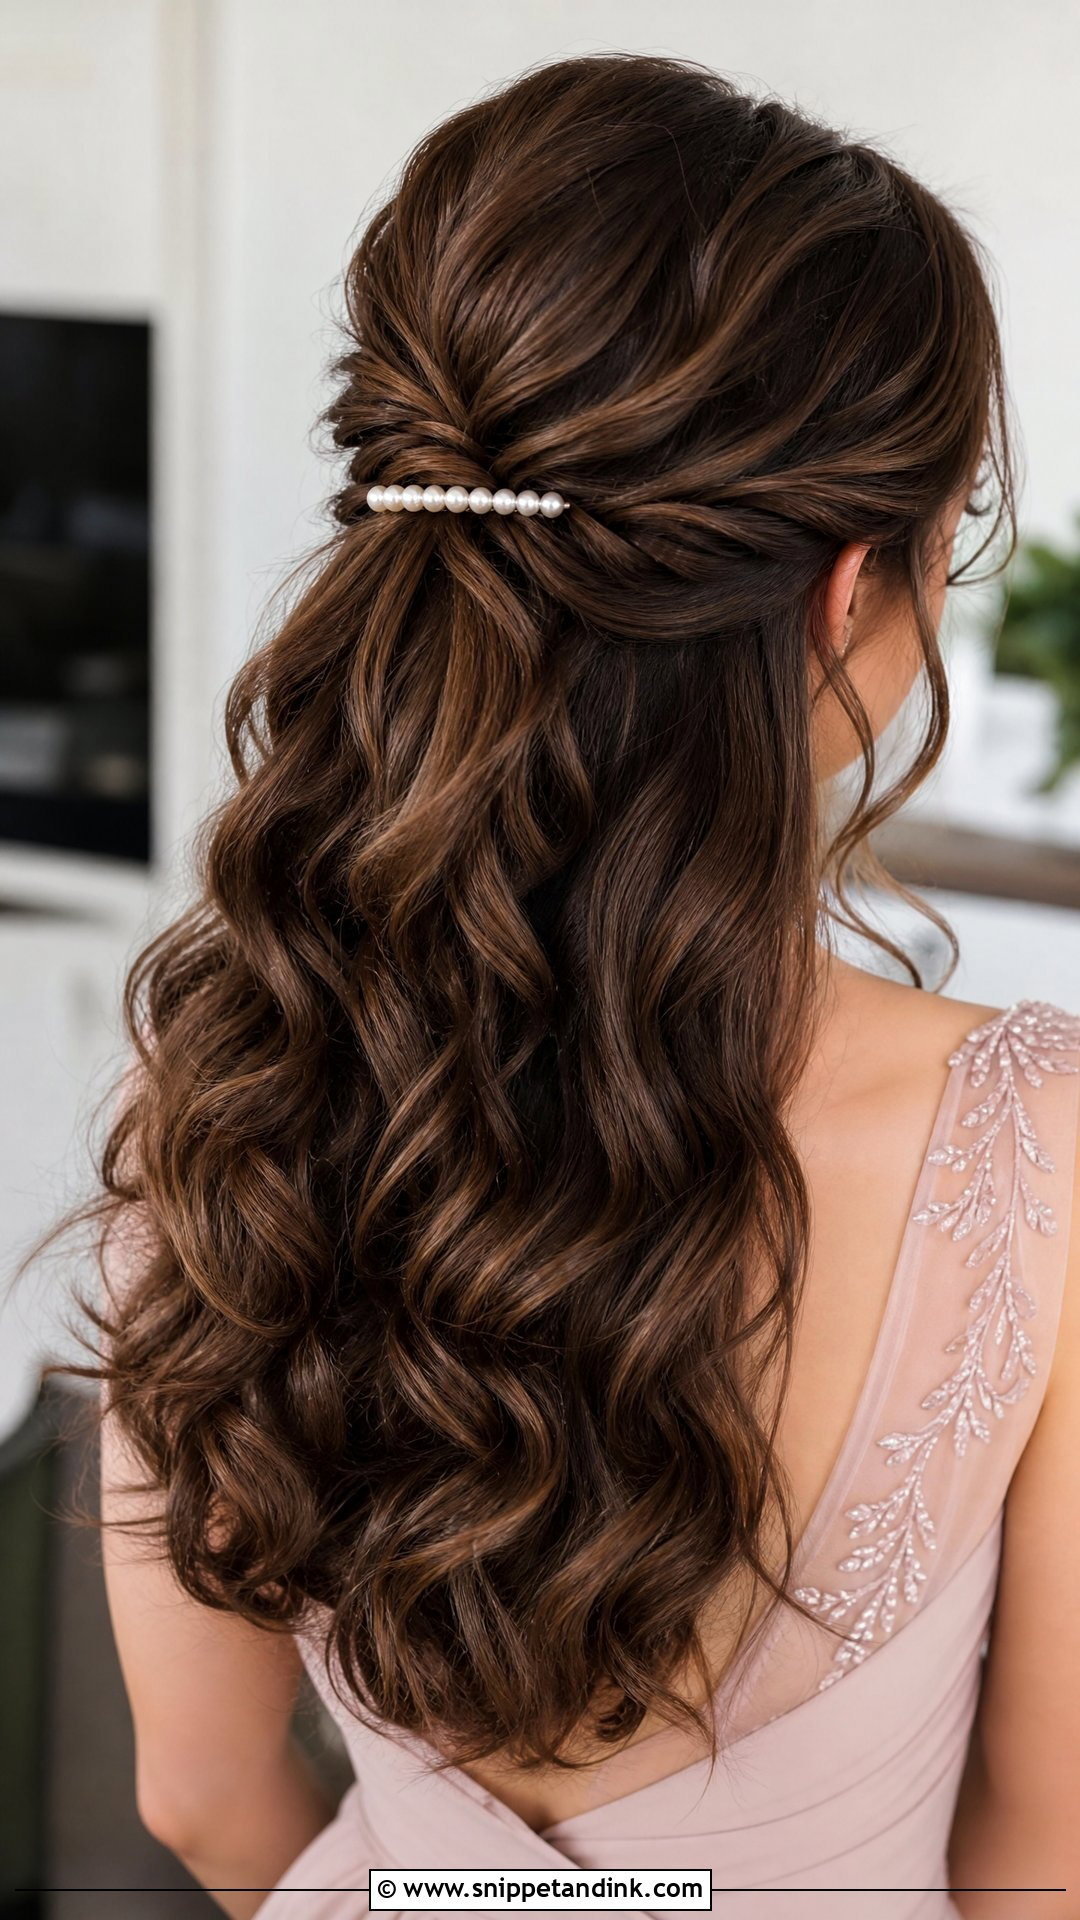
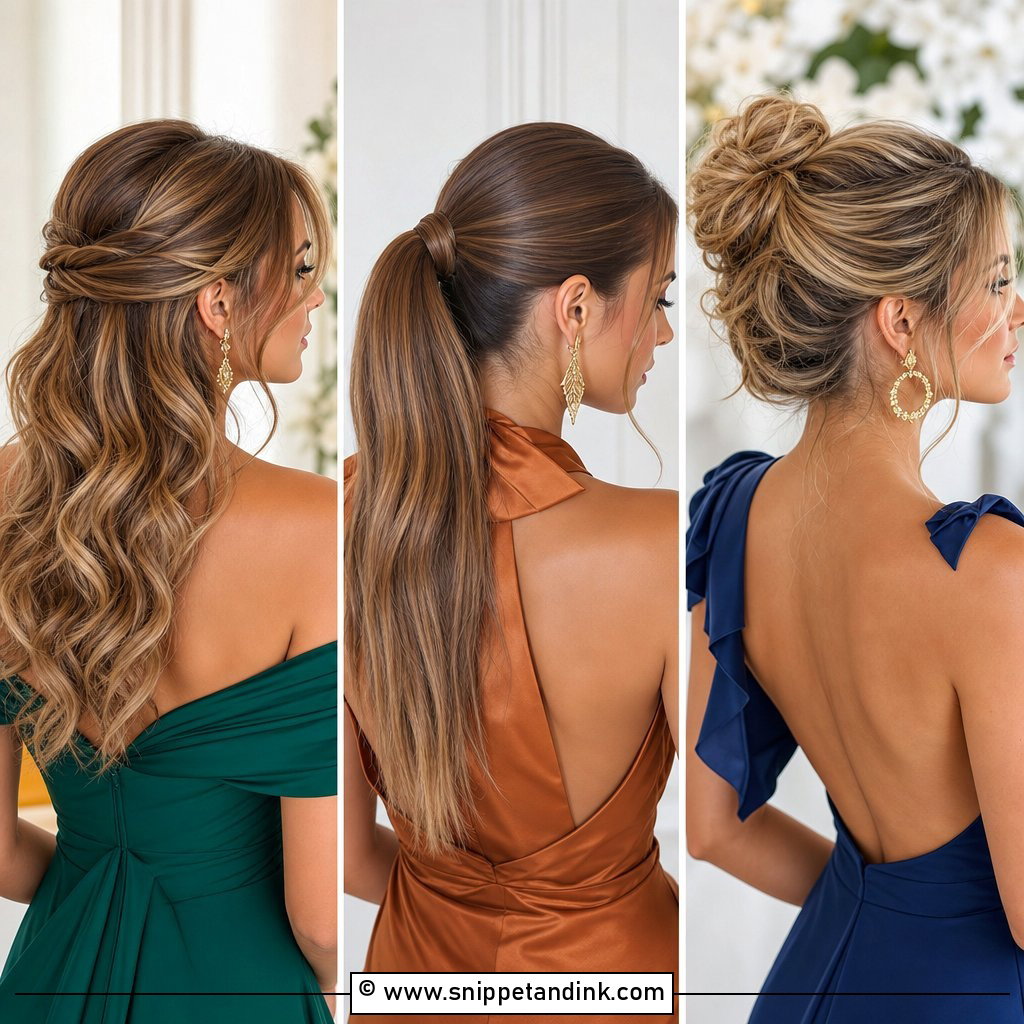
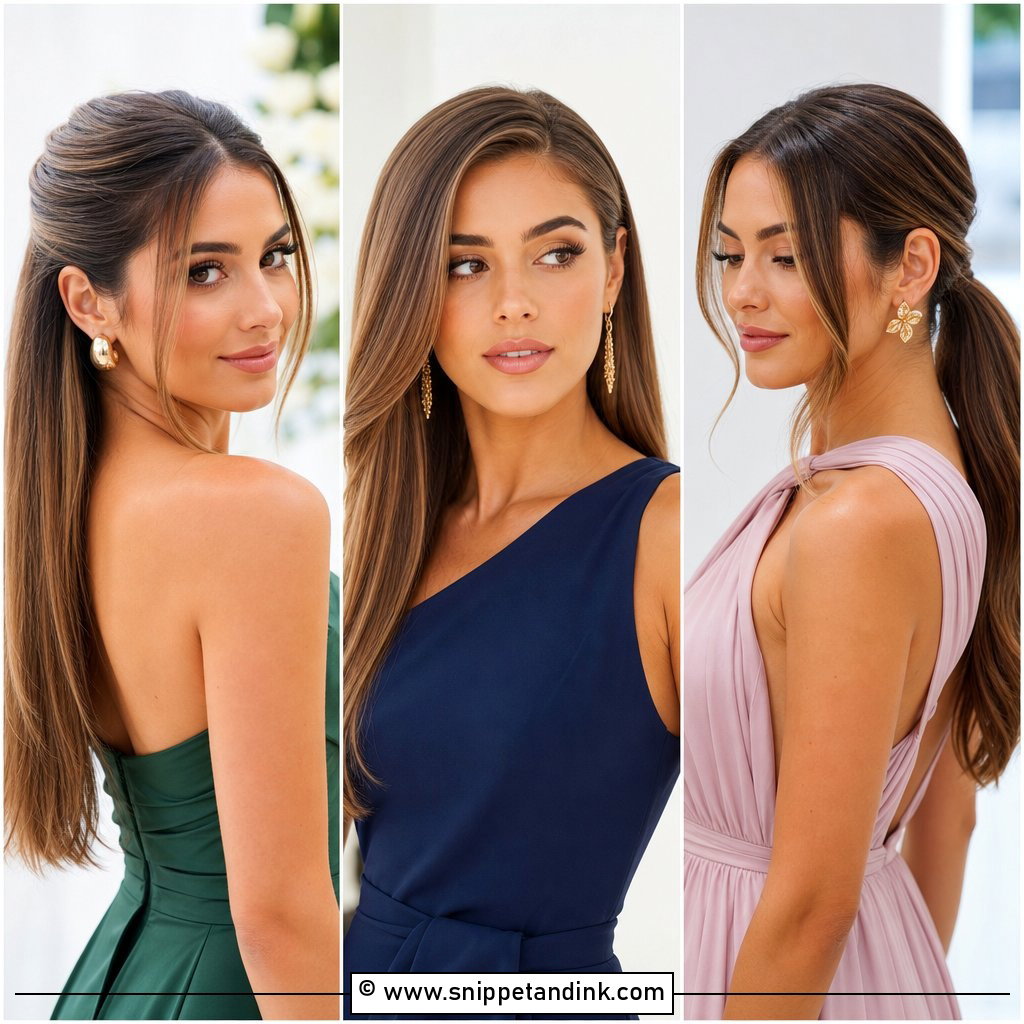
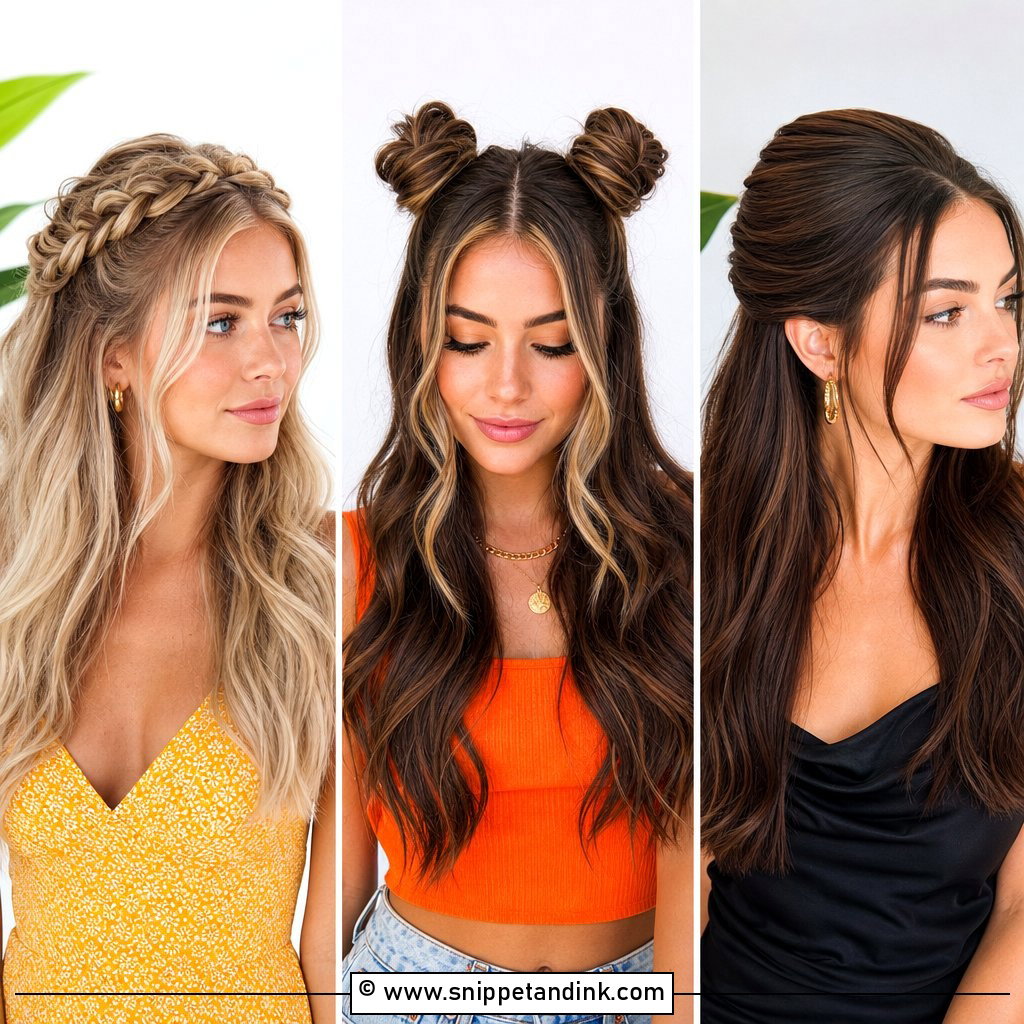
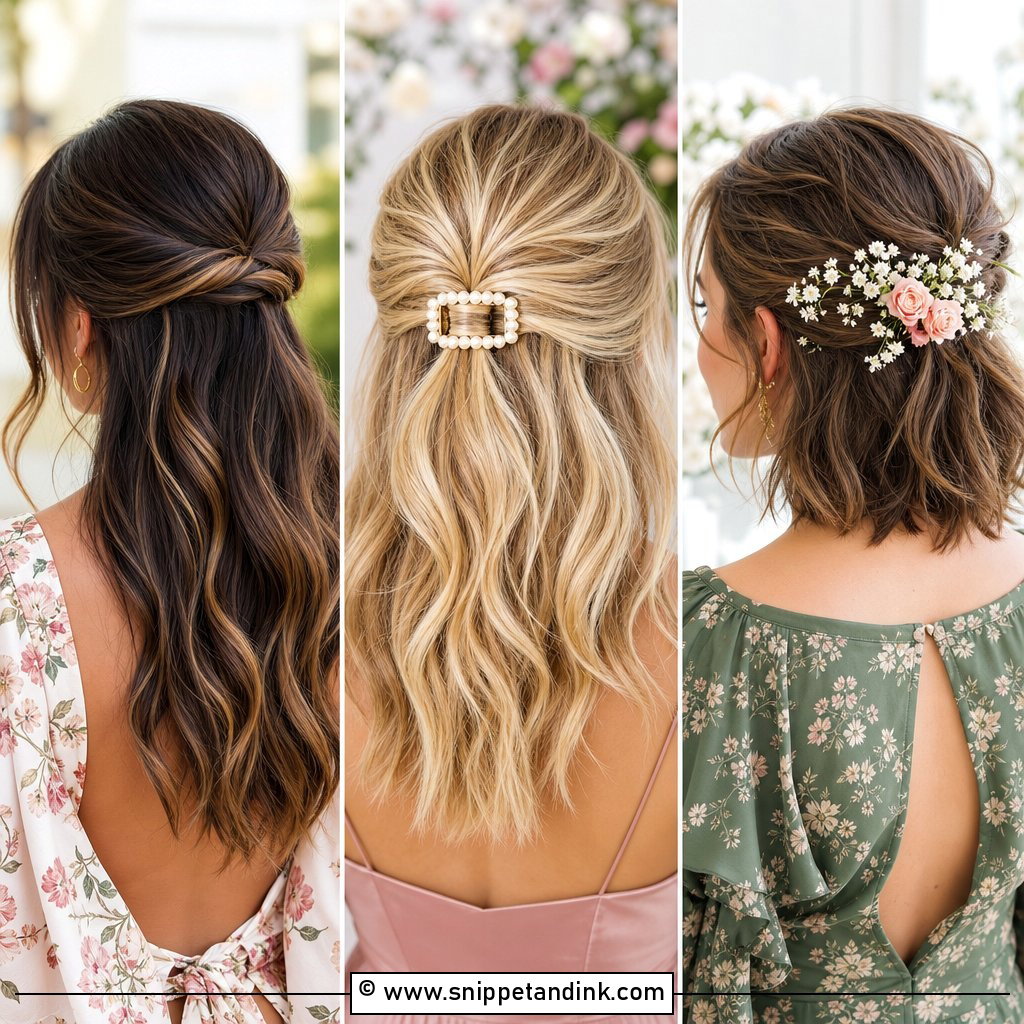
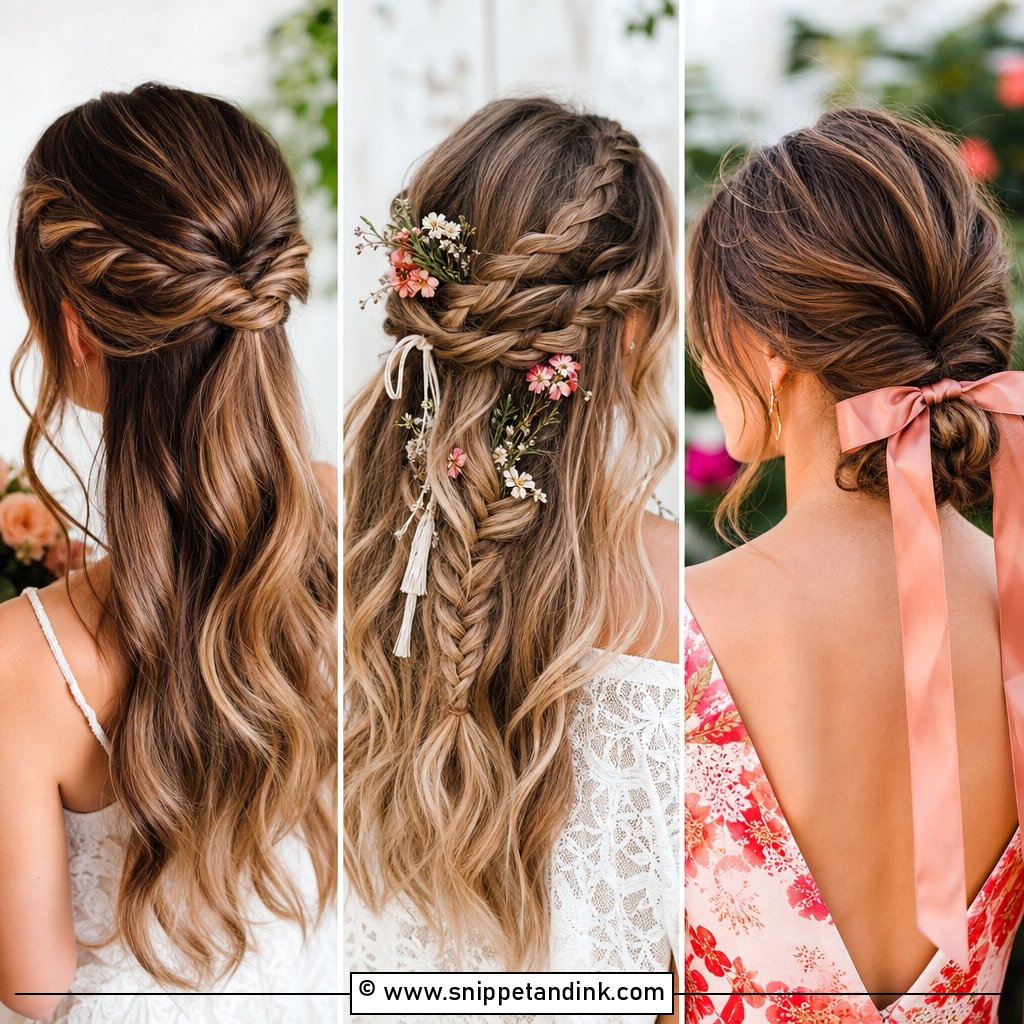
Half up half down gives you the movement of loose hair with some of the control of an updo, and the lift at the crown flatters most face shapes while keeping hair out of your eyes. Its weak point is the bottom half. Lengths resting on your shoulders are the first thing to frizz and flatten, so I curl them and leave every section to cool fully before brushing out gently. For the top, I hide a small elastic under a twist or braid rather than relying on pins alone, which slide on silky hair. A small clip or floral pin covers the join.
3. Easy Wedding Ponytail
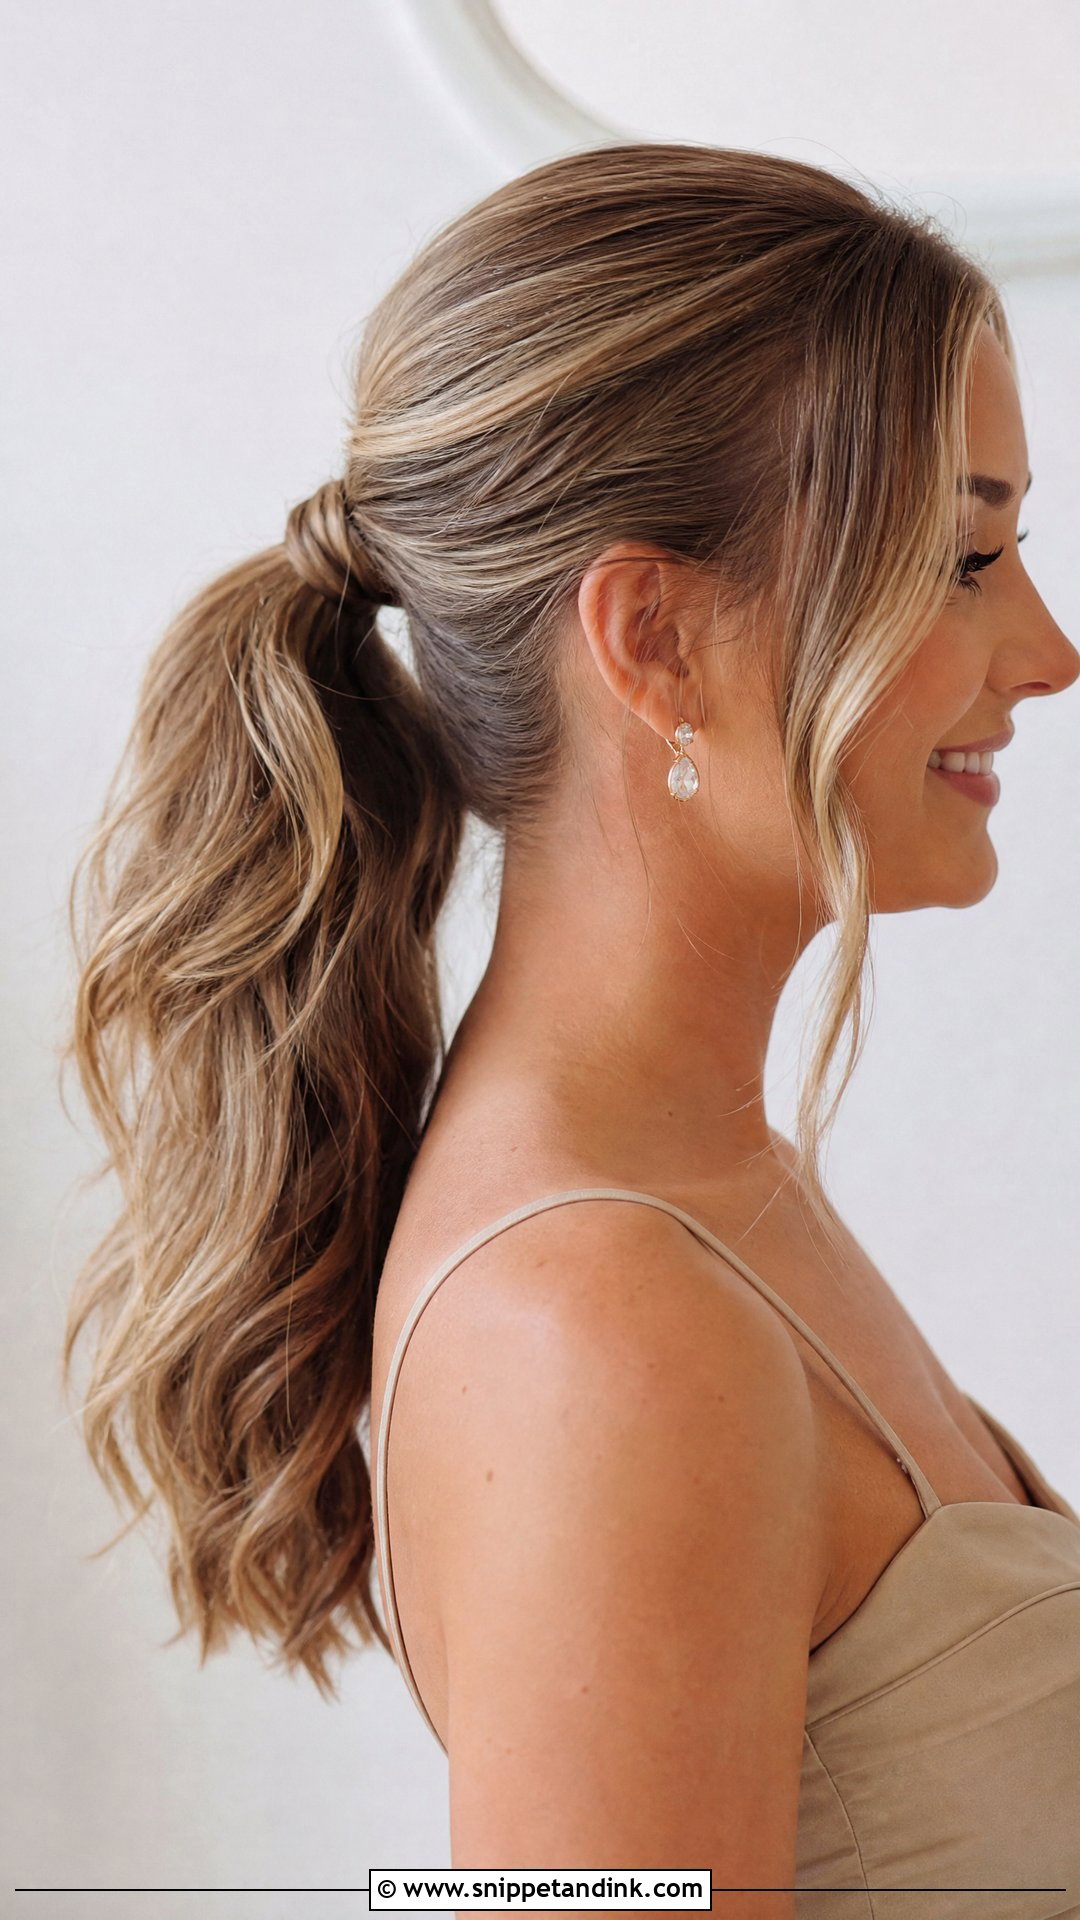
Styled with intent, a ponytail reads far more formal than people expect. The version I recommend to most guests sits low or mid-height, with soft waves through the length and a strand wrapped around the elastic to hide the band. A center part looks sleek, a side part softer. Brush the crown smooth before you tie it, because any bump left there stays all day. I also push two bobby pins crossed through the base, since a heavy tail drags the elastic down by evening. Outdoors it’s a sensible pick: wind can’t do much to hair that’s already gathered.
4. Loose Waves Wedding Hair
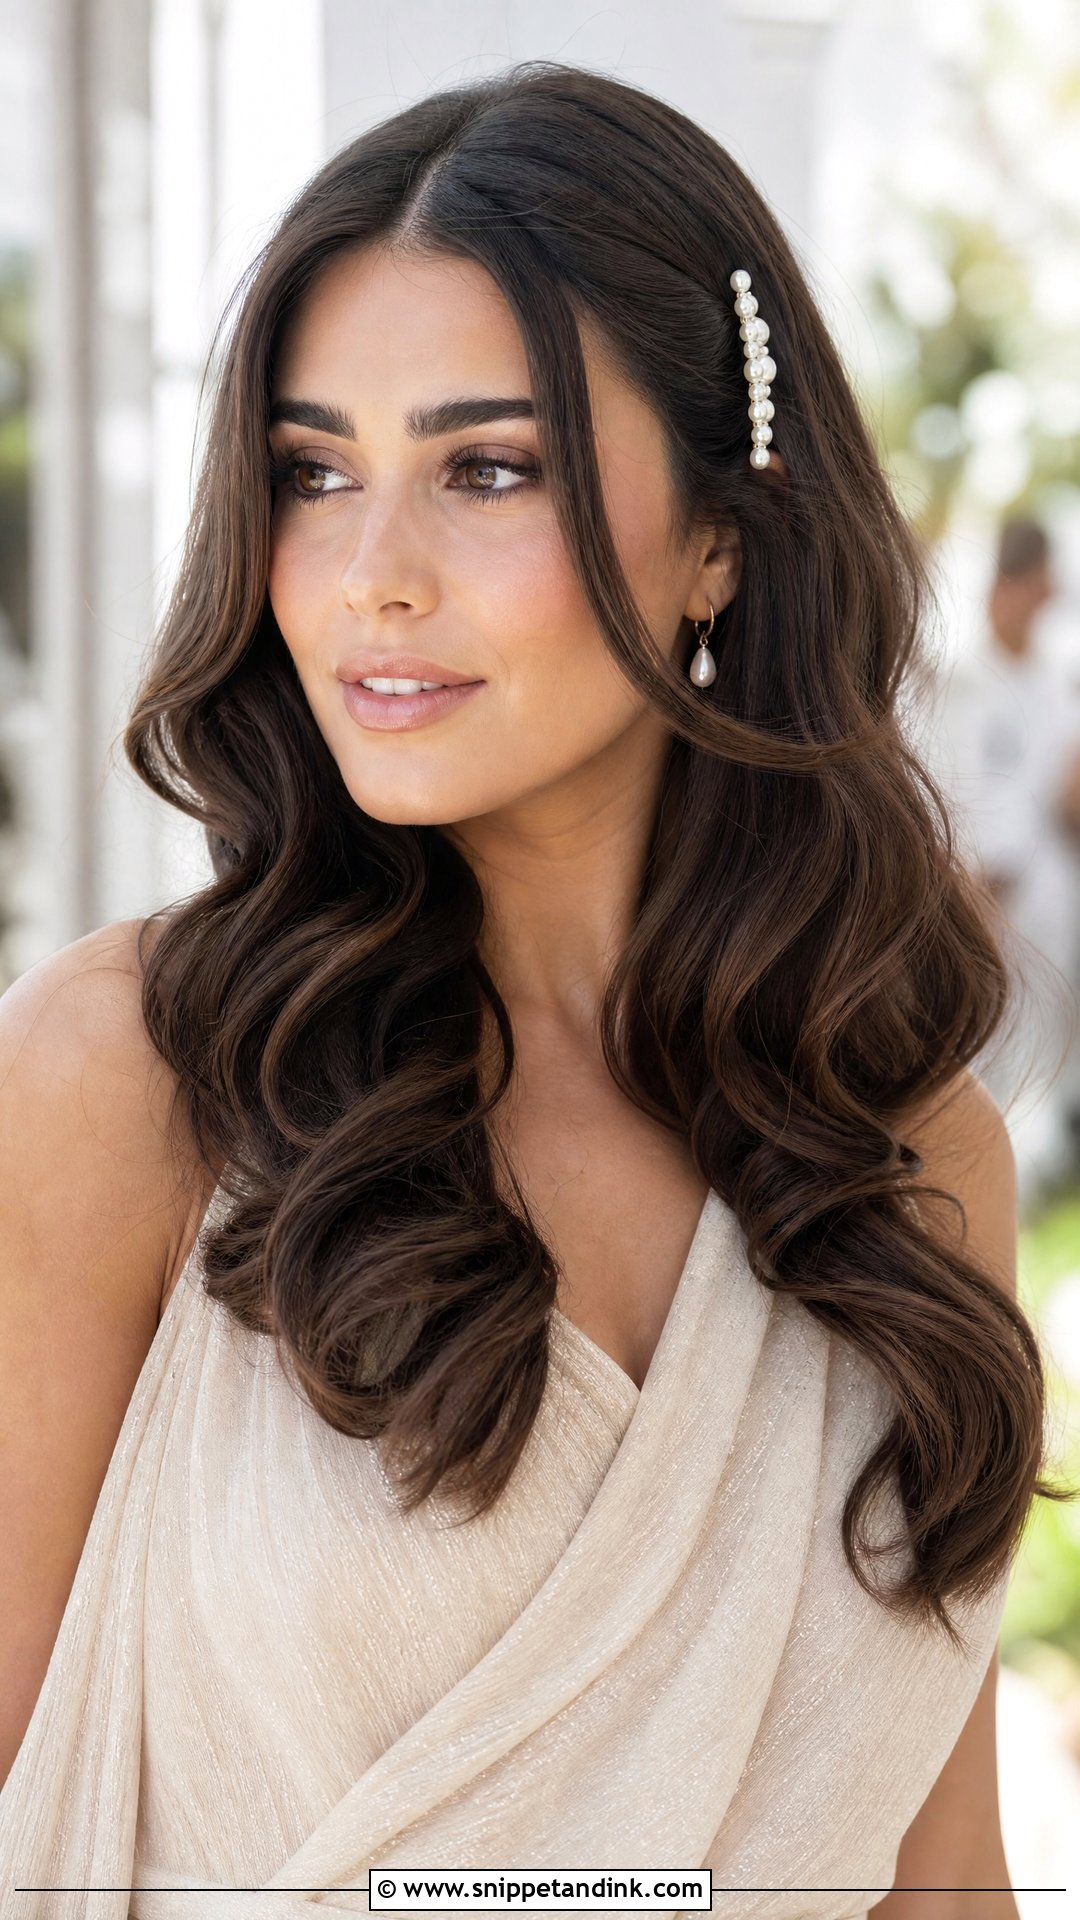
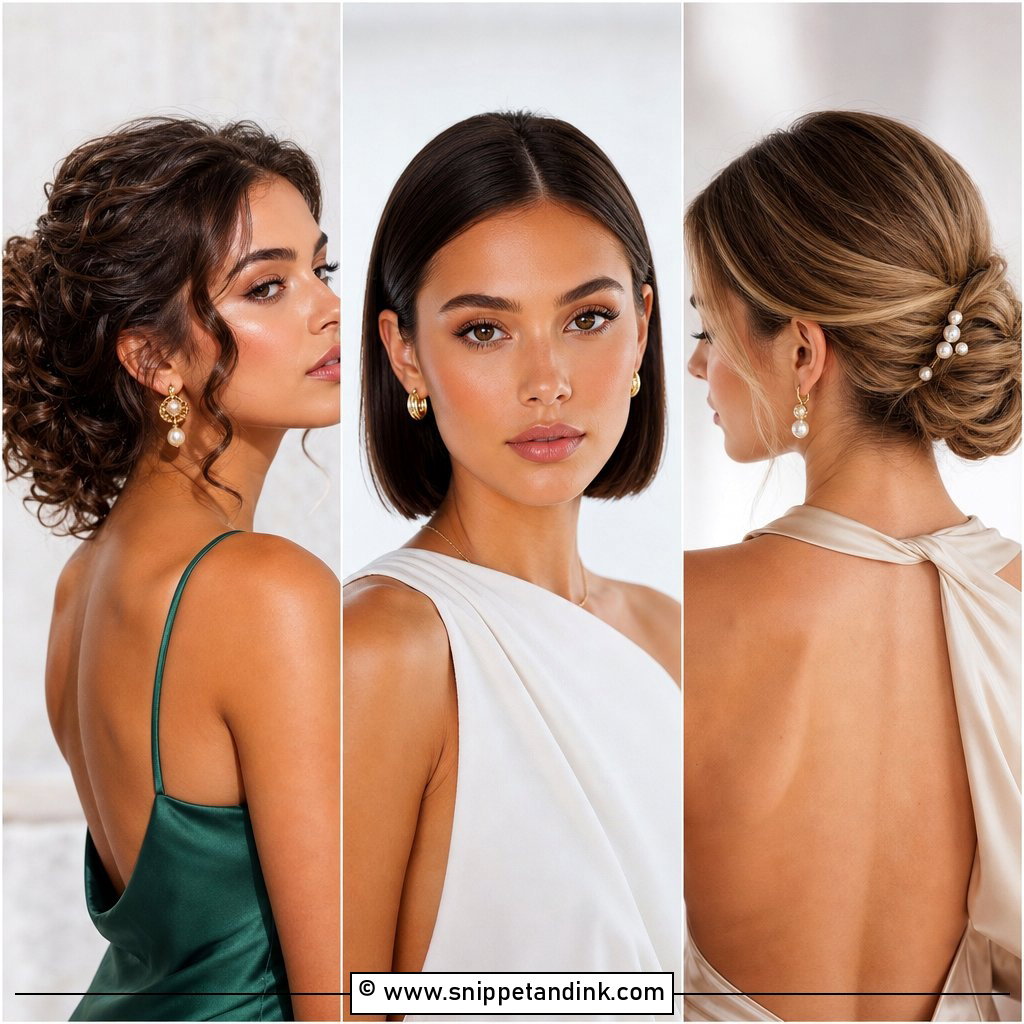
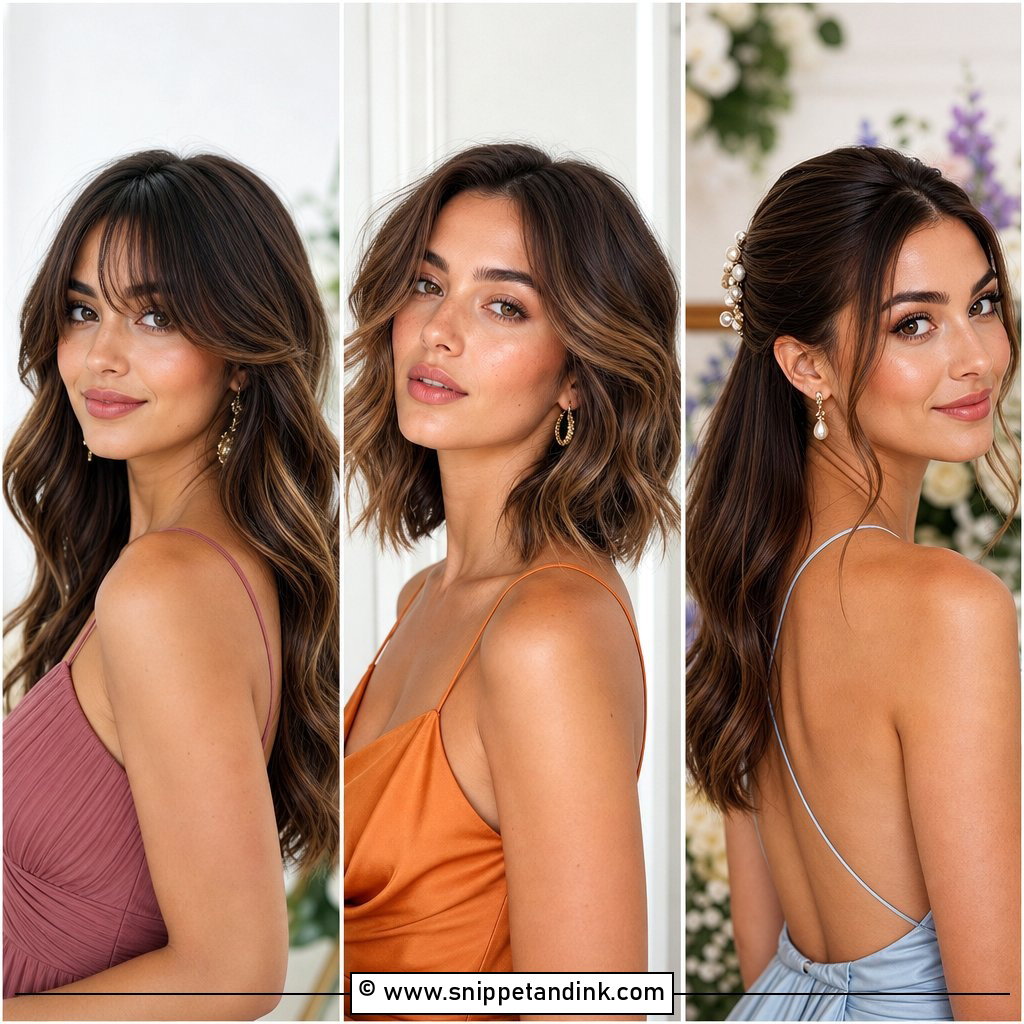
Loose waves only look polished when they’re soft and shiny rather than tight or crunchy. I start with heat protectant, curl each section away from the face, then leave the hair alone until it’s completely cool; brushing warm curls is the most common reason waves drop within the hour. Fingers or a wide-tooth comb open them up. Layered cuts show the movement best, while one-length hair can look heavy unless you curl a little closer to the root. A side part with pearl pins or a delicate barrette makes it more formal. On a humid day, plan for fine hair relaxing almost straight by the reception.
5. Messy Low Bun Wedding Hair
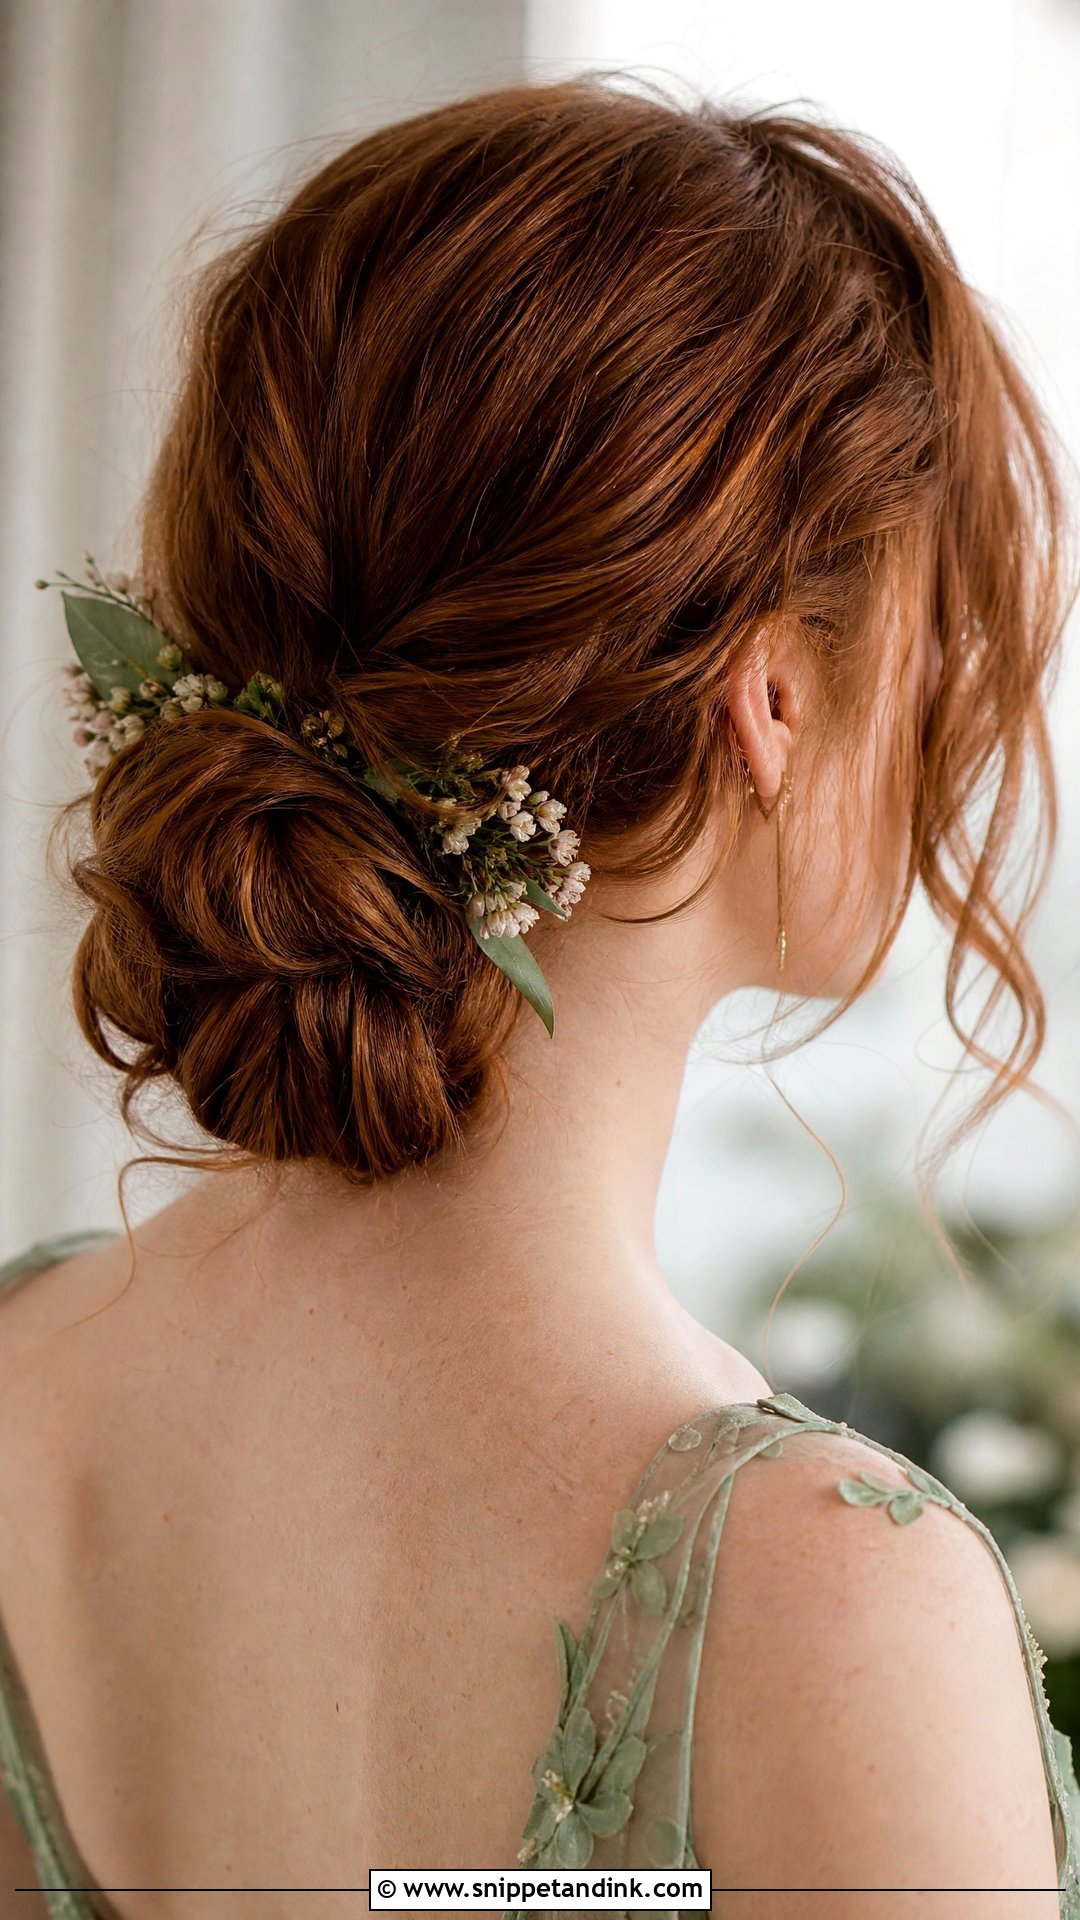
Messy is harder than it looks. A bun that reads as intentionally undone needs texture underneath, so I wave the hair first, gather it low, twist it loosely and pin it in sections instead of wrapping it in one go. Pull the loose pieces at the face and nape out at the end, not the start, or they get caught in the pins. Texture spray gives the grip. It’s forgiving, too: a stray flyaway blends in rather than spoiling it, which is why it suits garden and beach venues and a bridesmaid line where people are styling each other.
6. Braided Low Bun Wedding Hair
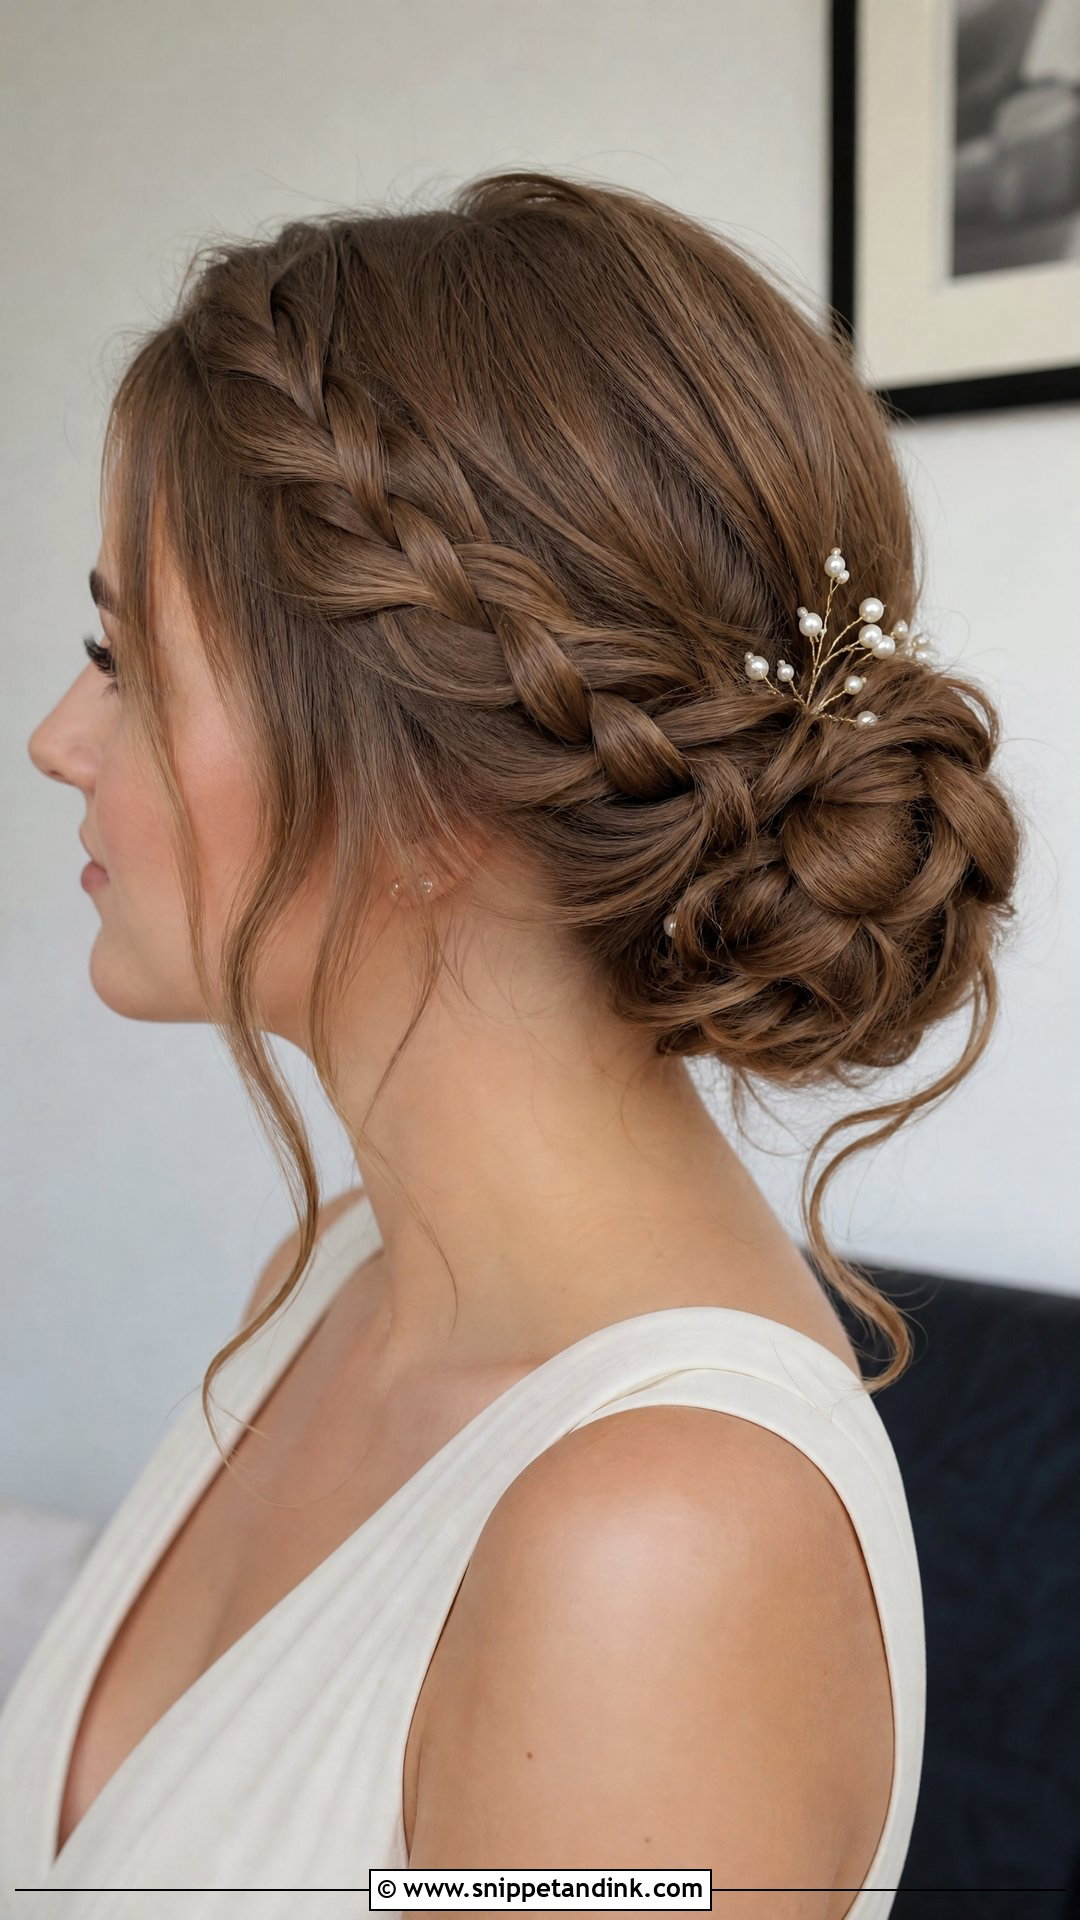
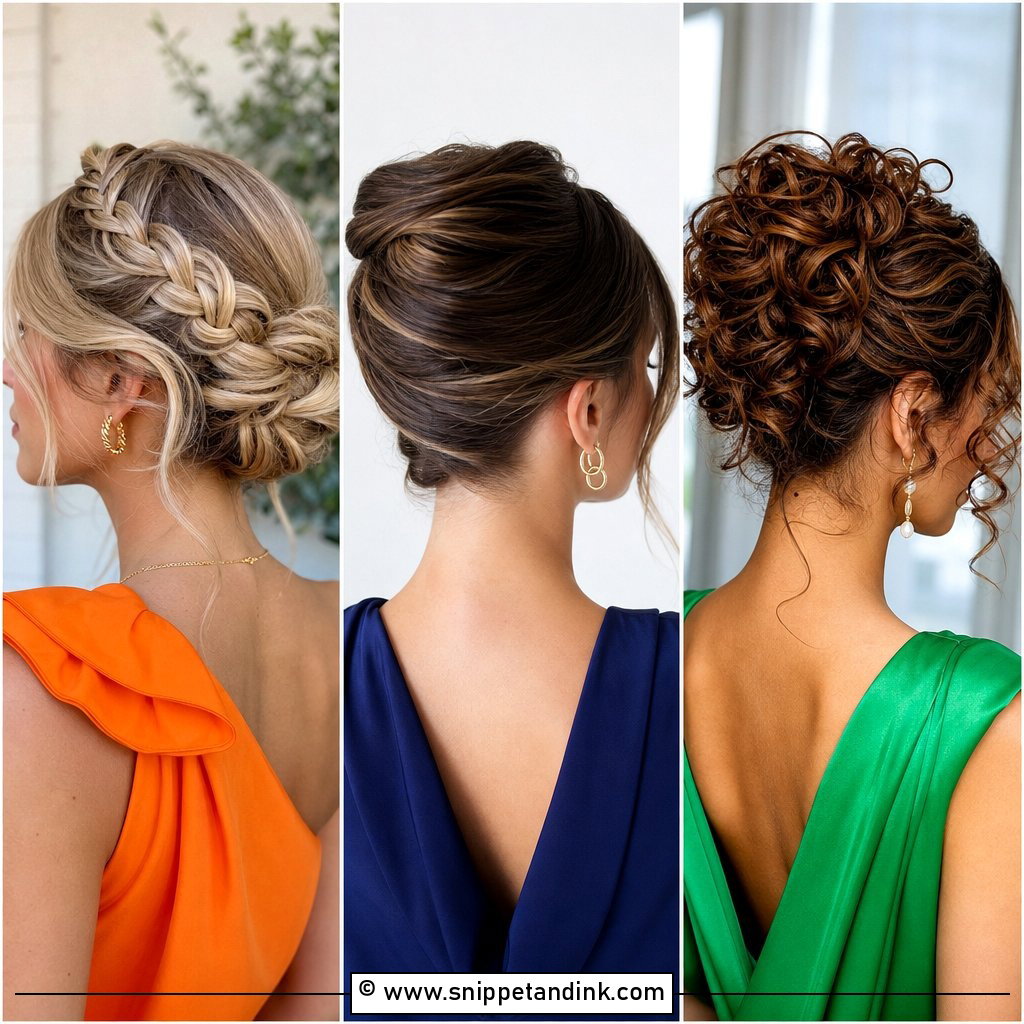
Adding a braid to a low bun gives detail for very little extra work, and it actually helps the hold. A plait is a firmer anchor than a loose twist, so on medium and long hair the bun stays put longer. Run one small braid along the side, braid the front pieces back, or plait the whole length loosely and wrap it in. After securing, I gently pull the outer loops wider; the braid looks fuller and catches the light better in photos. Small pins, fresh flowers or a simple veil tucked underneath all sit well against that texture.
7. Side Braid Wedding Hair
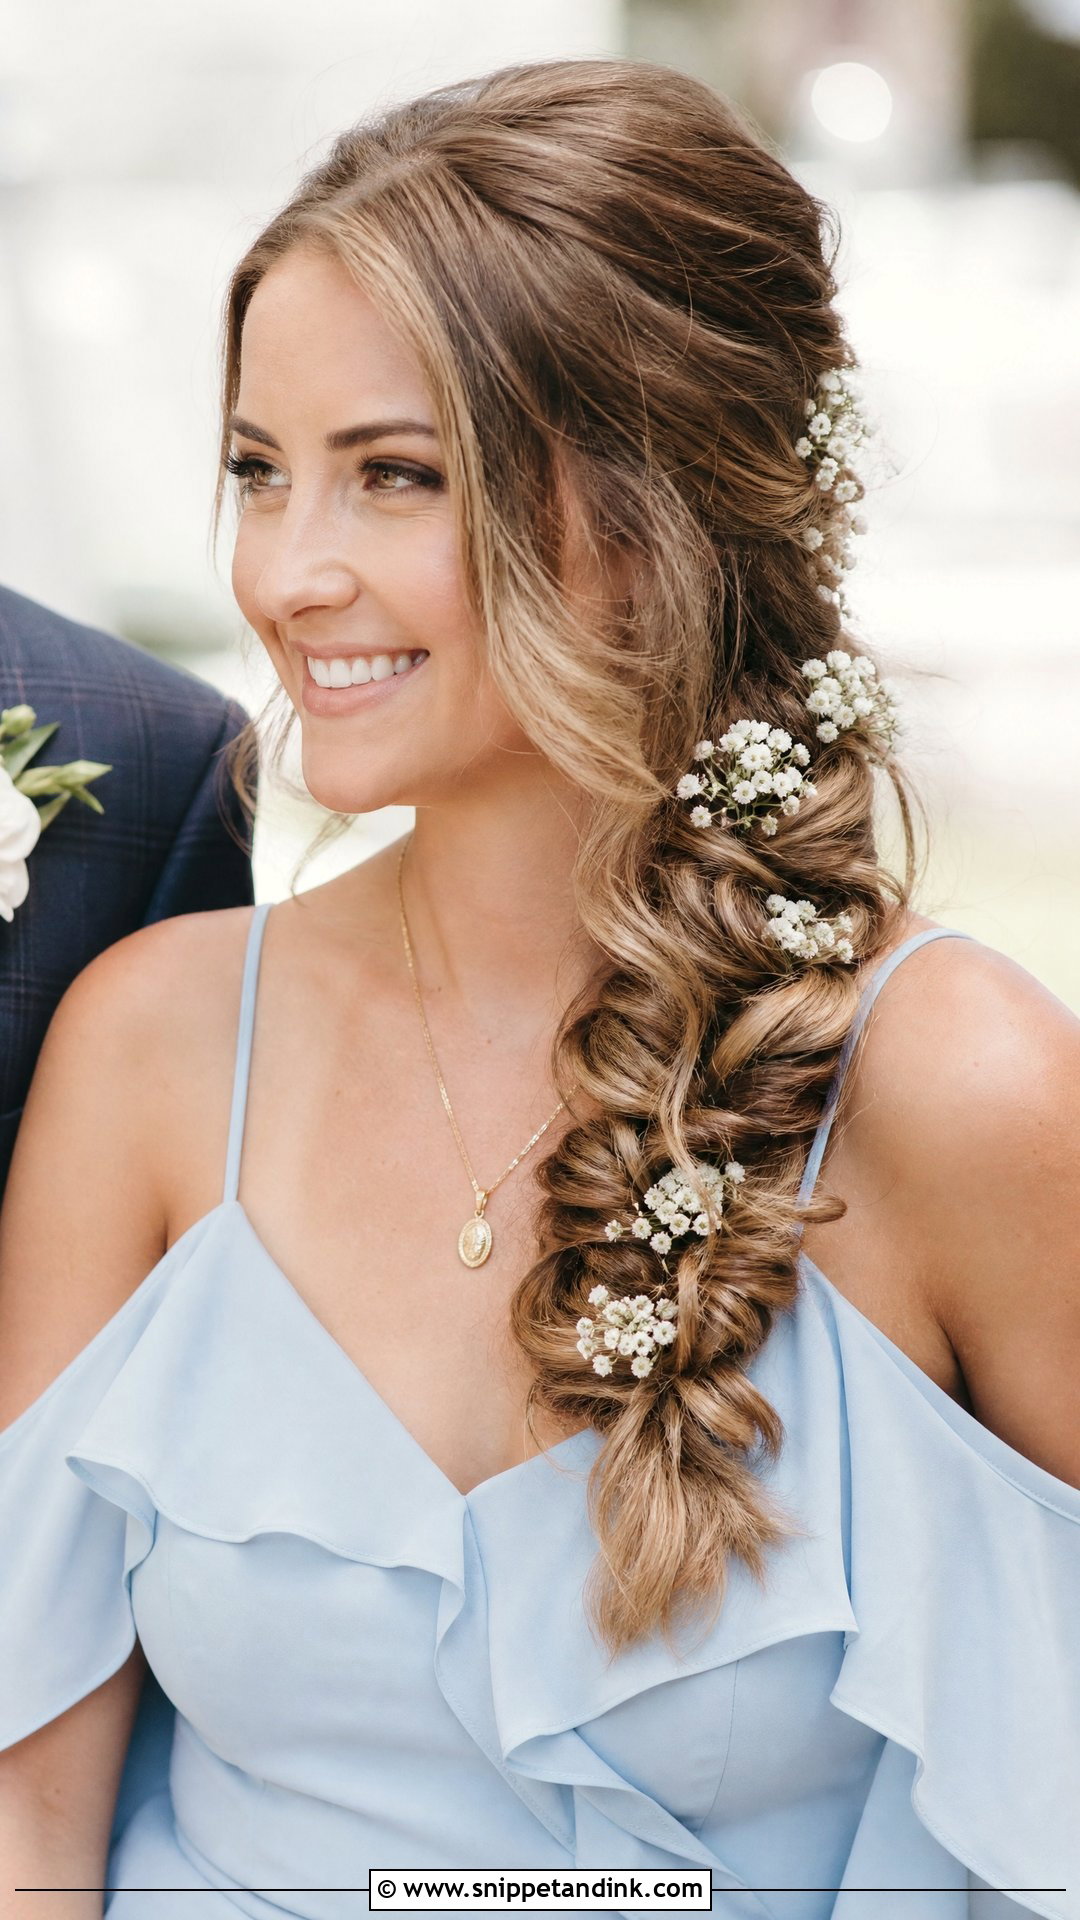
A side braid is relaxed rather than formal, so I’d keep it for outdoor ceremonies, destination weddings and casual receptions rather than a black-tie ballroom. A fishtail braid, Dutch braid or classic three-strand braid all work, so use the one your hands already know. Clean, slippery hair makes a thin braid that unravels at the tail, which is why I prep with dry texture spray first. Pull it apart gently to widen it and finish with pearl pins or a small floral detail near the base. If your dress has a single strap, braid toward the bare shoulder so the plait isn’t rubbing on fabric all night.
8. Sleek Low Ponytail Wedding Hair
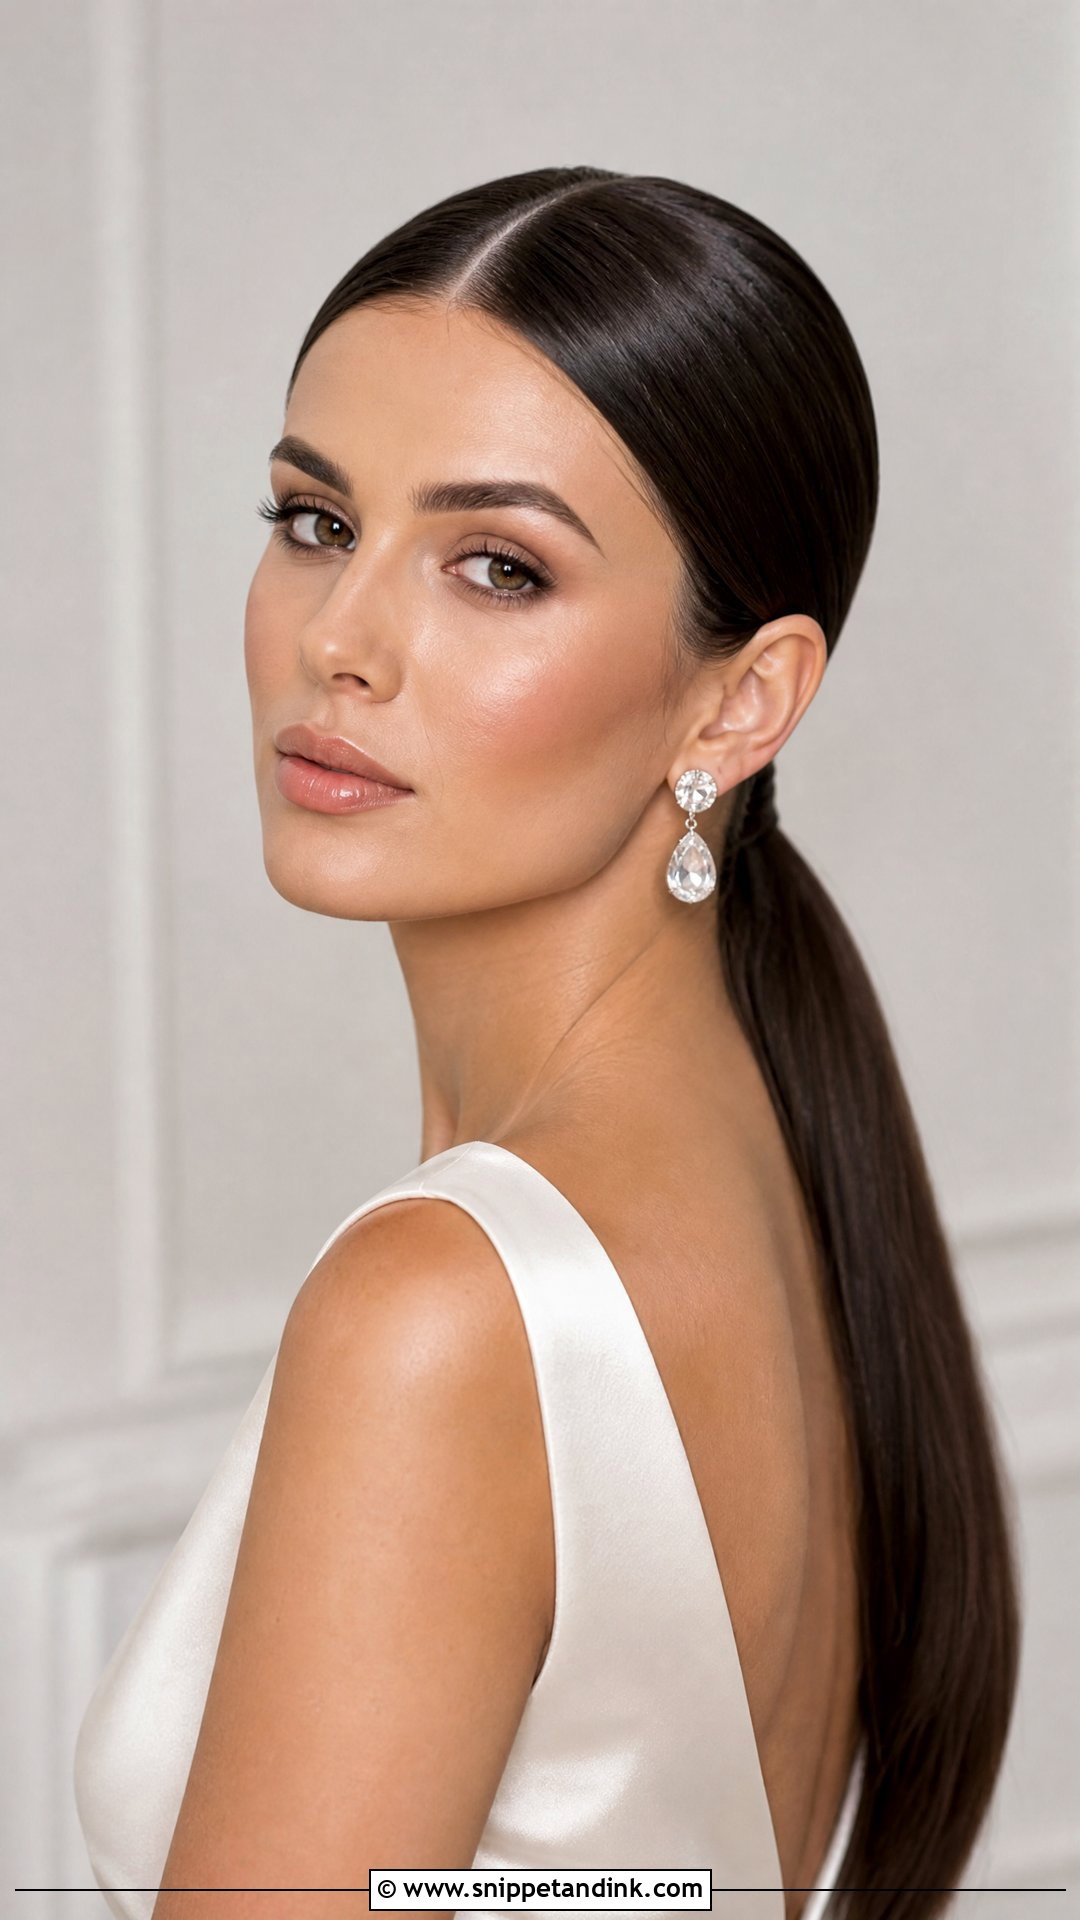
Sleek is the least forgiving finish here, because every bump and flyaway shows. I part it in the center or deep on one side, smooth it close to the head with a bristle brush and secure it at the nape, then wrap a small section around the elastic. The length can stay straight or take a soft bend at the ends. Statement earrings, high necklines and minimal dresses all suit it. Reach for shine spray rather than heavy gel, which can look wet and stiff under flash. Very curly or coarse hair can get there with a blow-dry first, but on a humid day it will be fighting you.
9. Curly Wedding Updo
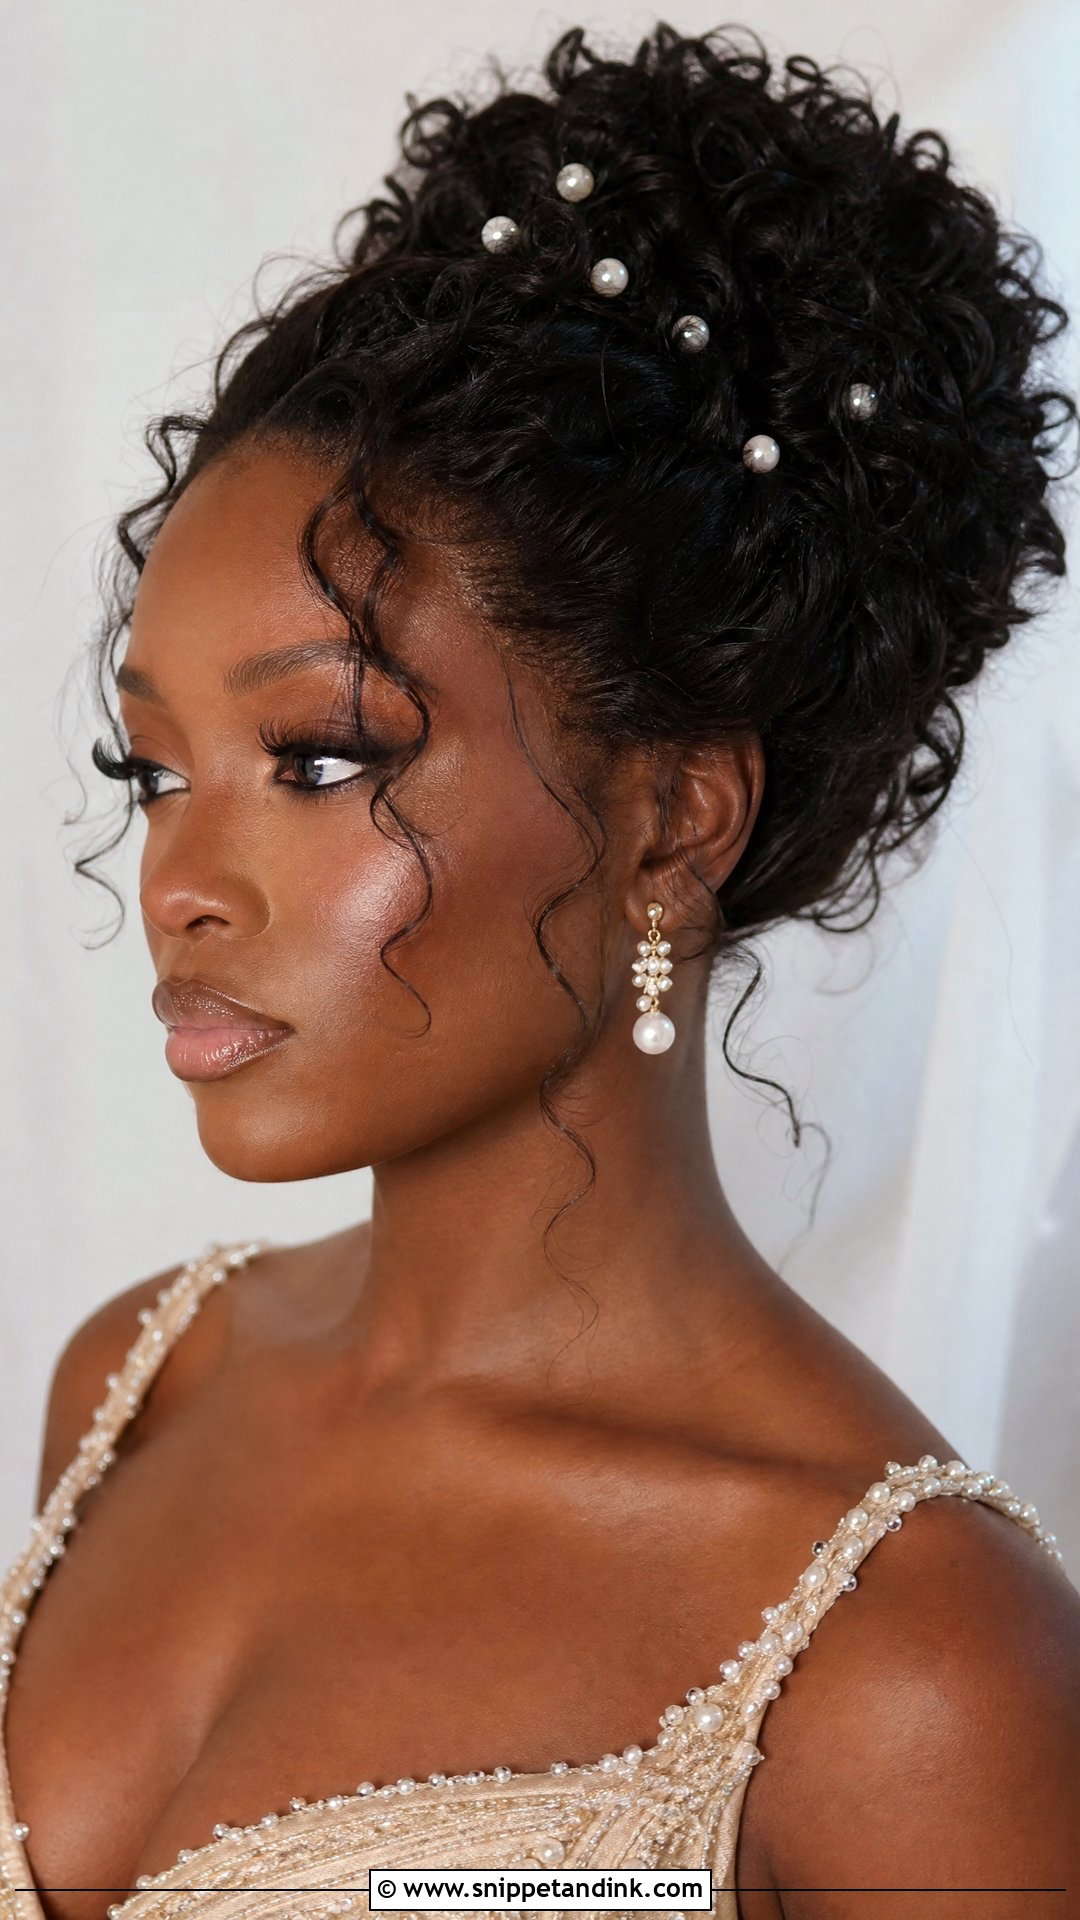
Natural curls deserve an updo that keeps their shape instead of brushing them into frizz. I define them with curl cream or mousse while damp, let them dry fully, and only then gather them. They can be pinned loosely at the crown, collected into a low bun, or arranged into a soft updo with tendrils around the face. I slide pins under the curls, never through them, so the pattern isn’t crushed. In humid weather this is one of the most reliable styles on the list, since it works with natural texture. Small pearl pins sit nicely among the curls.
10. Short Hair Wedding Waves
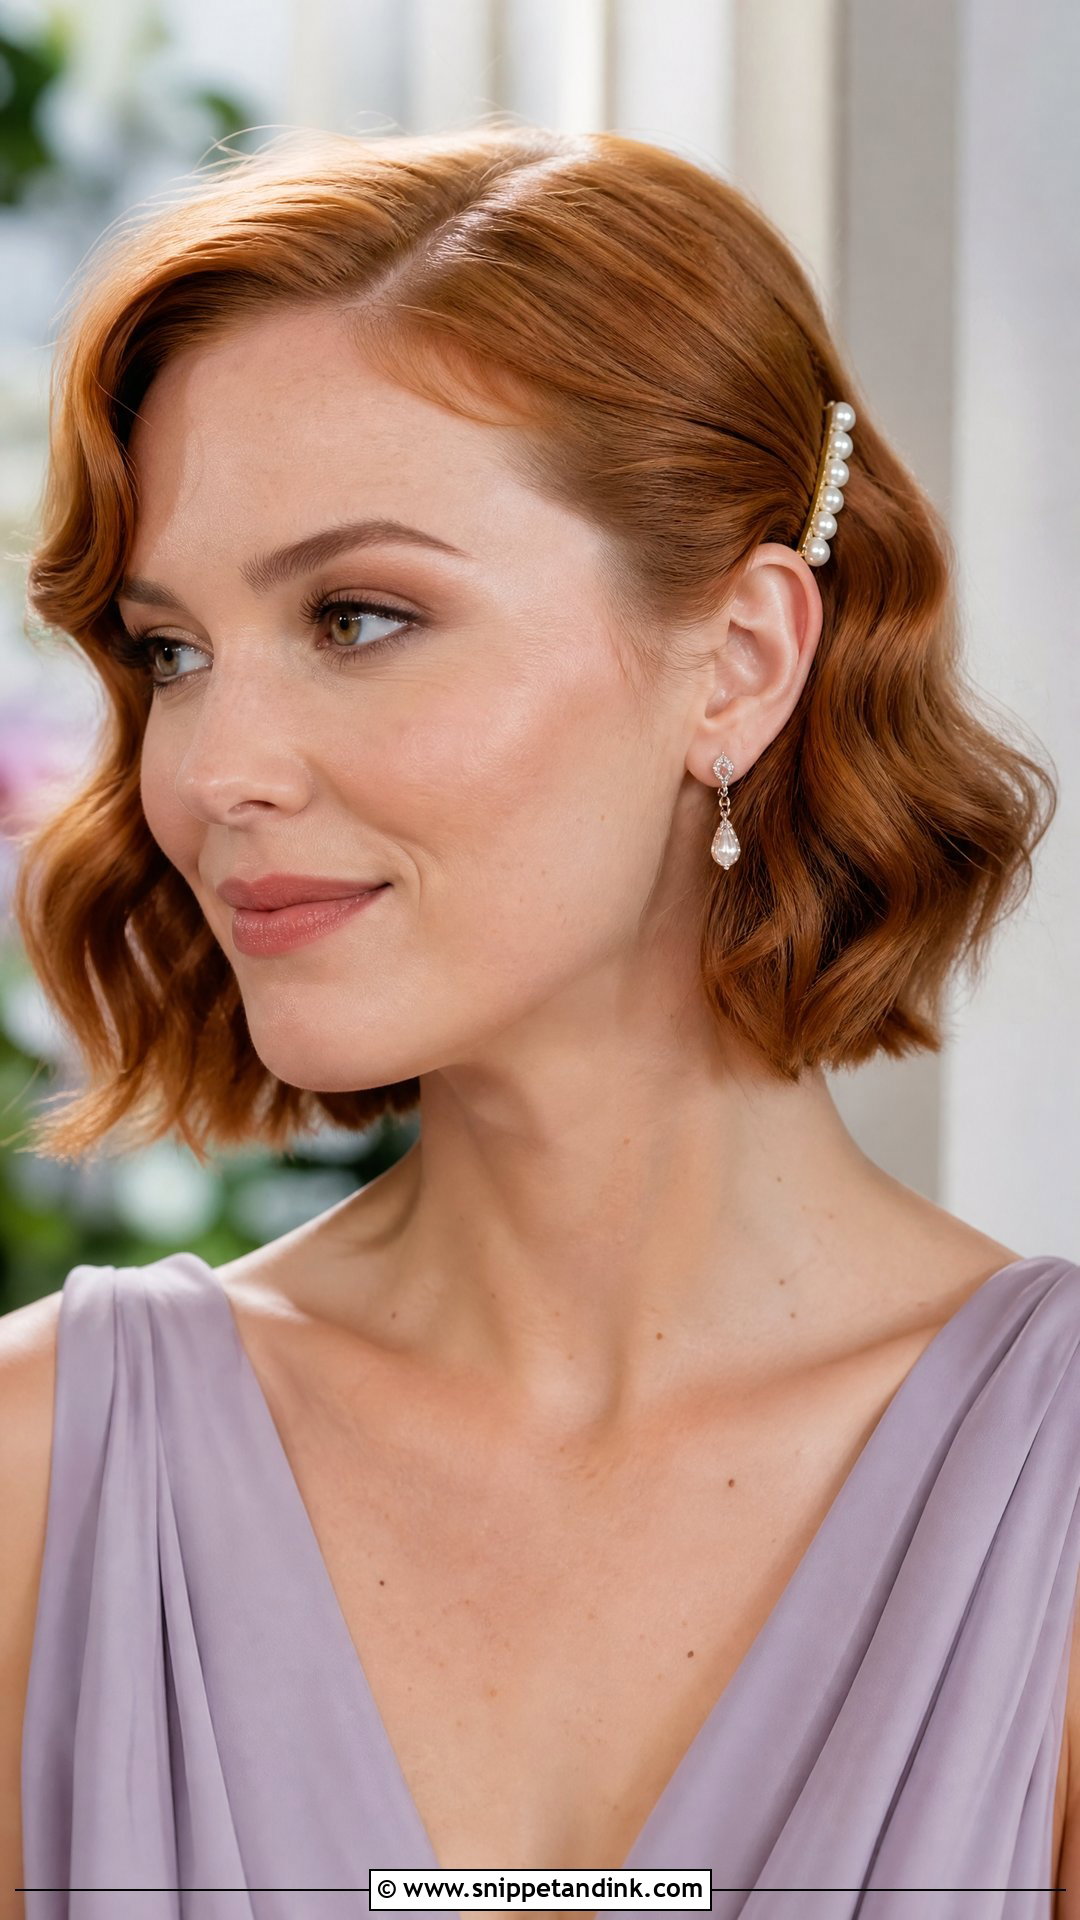
Short hair takes soft waves very well. A bob, lob, or cropped cut can be curled lightly to put movement around the face. I use a smaller barrel and keep the bends loose, because tight curls on short hair spring up and make it look shorter than it is. A side part adds a little glamour; a middle part keeps it modern. Tuck one side back with a small barrette or pearl clip for a formal touch. It’s comfortable for a full day and leaves earrings and neckline details on show.
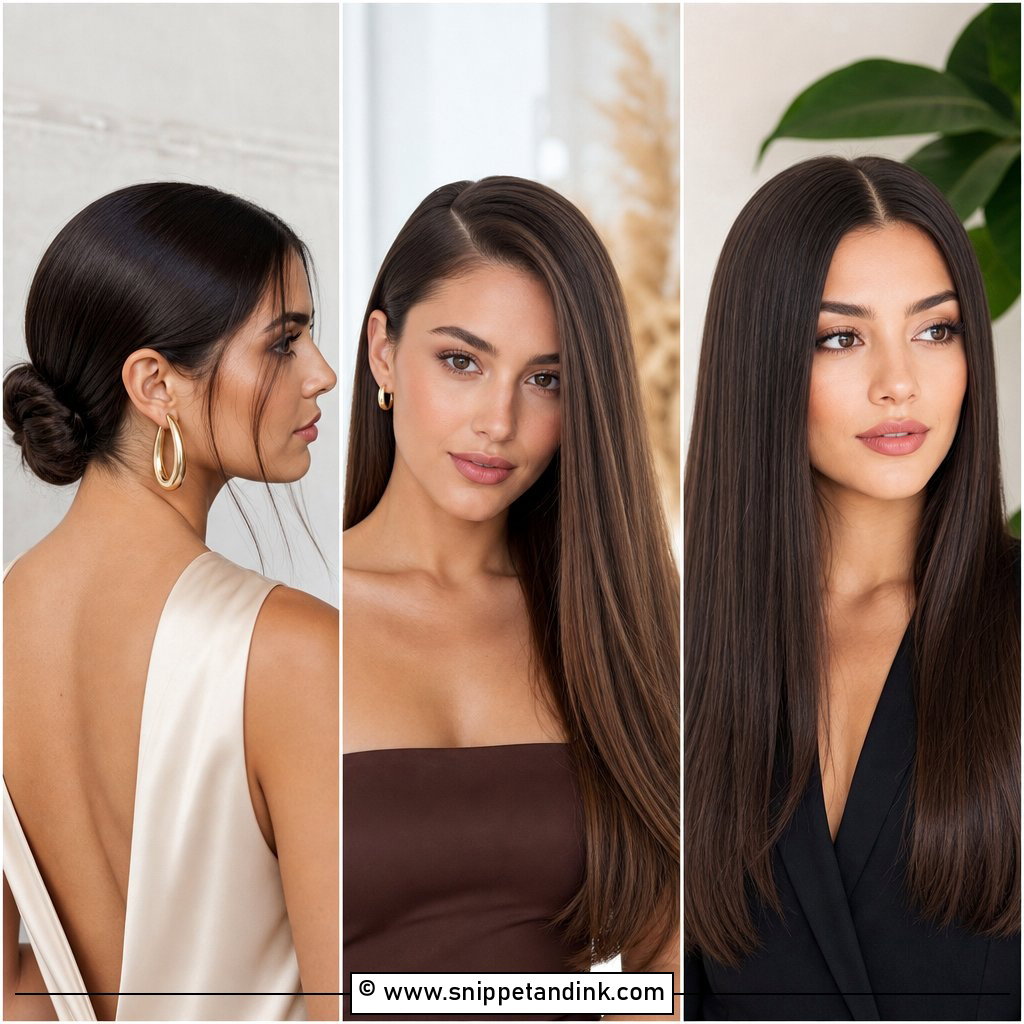
11. Easy Chignon Wedding Hair
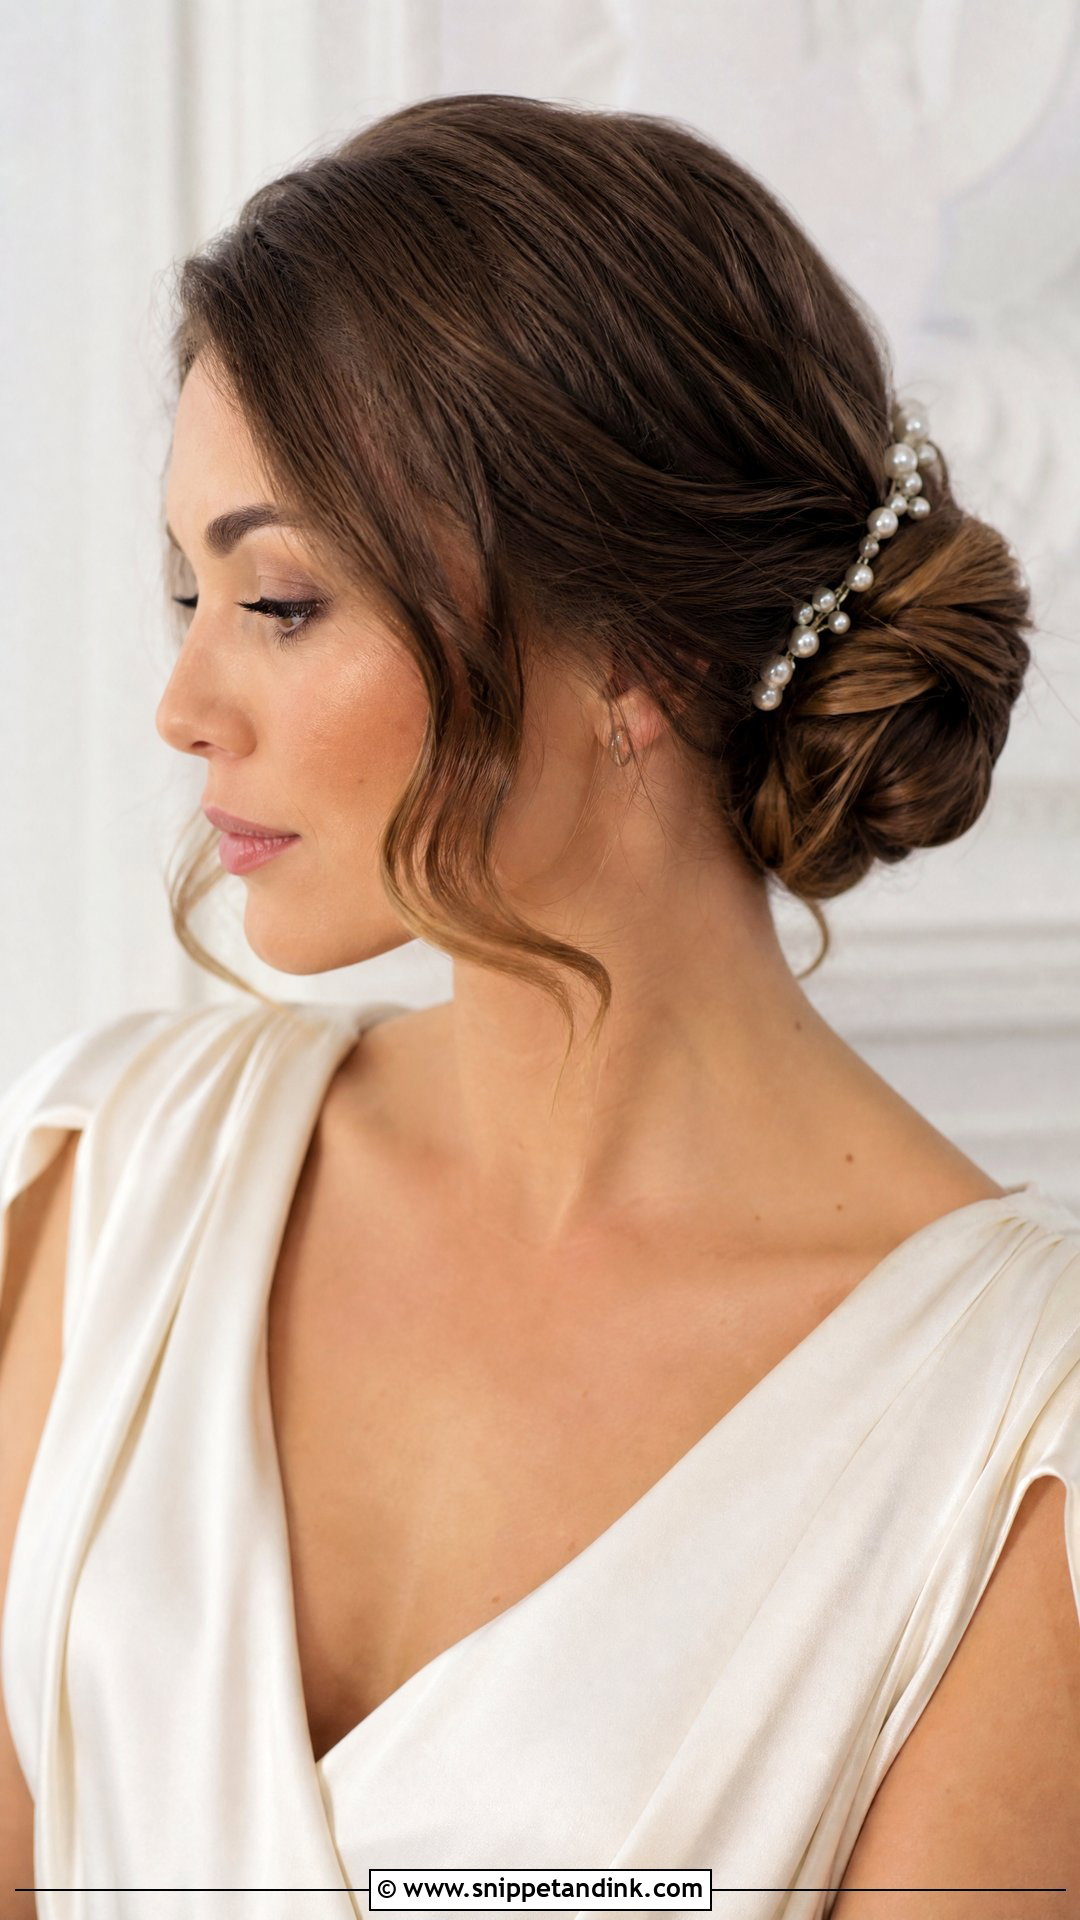
A chignon sits low at the nape, smooth or softly twisted, and it’s the shape I’d suggest for a church ceremony or a formal evening reception. The easy version doesn’t need to be perfect; a little texture makes it more wearable. Wave the hair lightly, gather it low, twist it inward and pin it. I use U-pins here, which hook the twist to its base far better than bobby pins alone. Keep the front soft with a side part or a couple of loose pieces. Because the shape is compact and firm, a veil comb slides in just above it and stays.
12. Claw Clip Wedding Hair
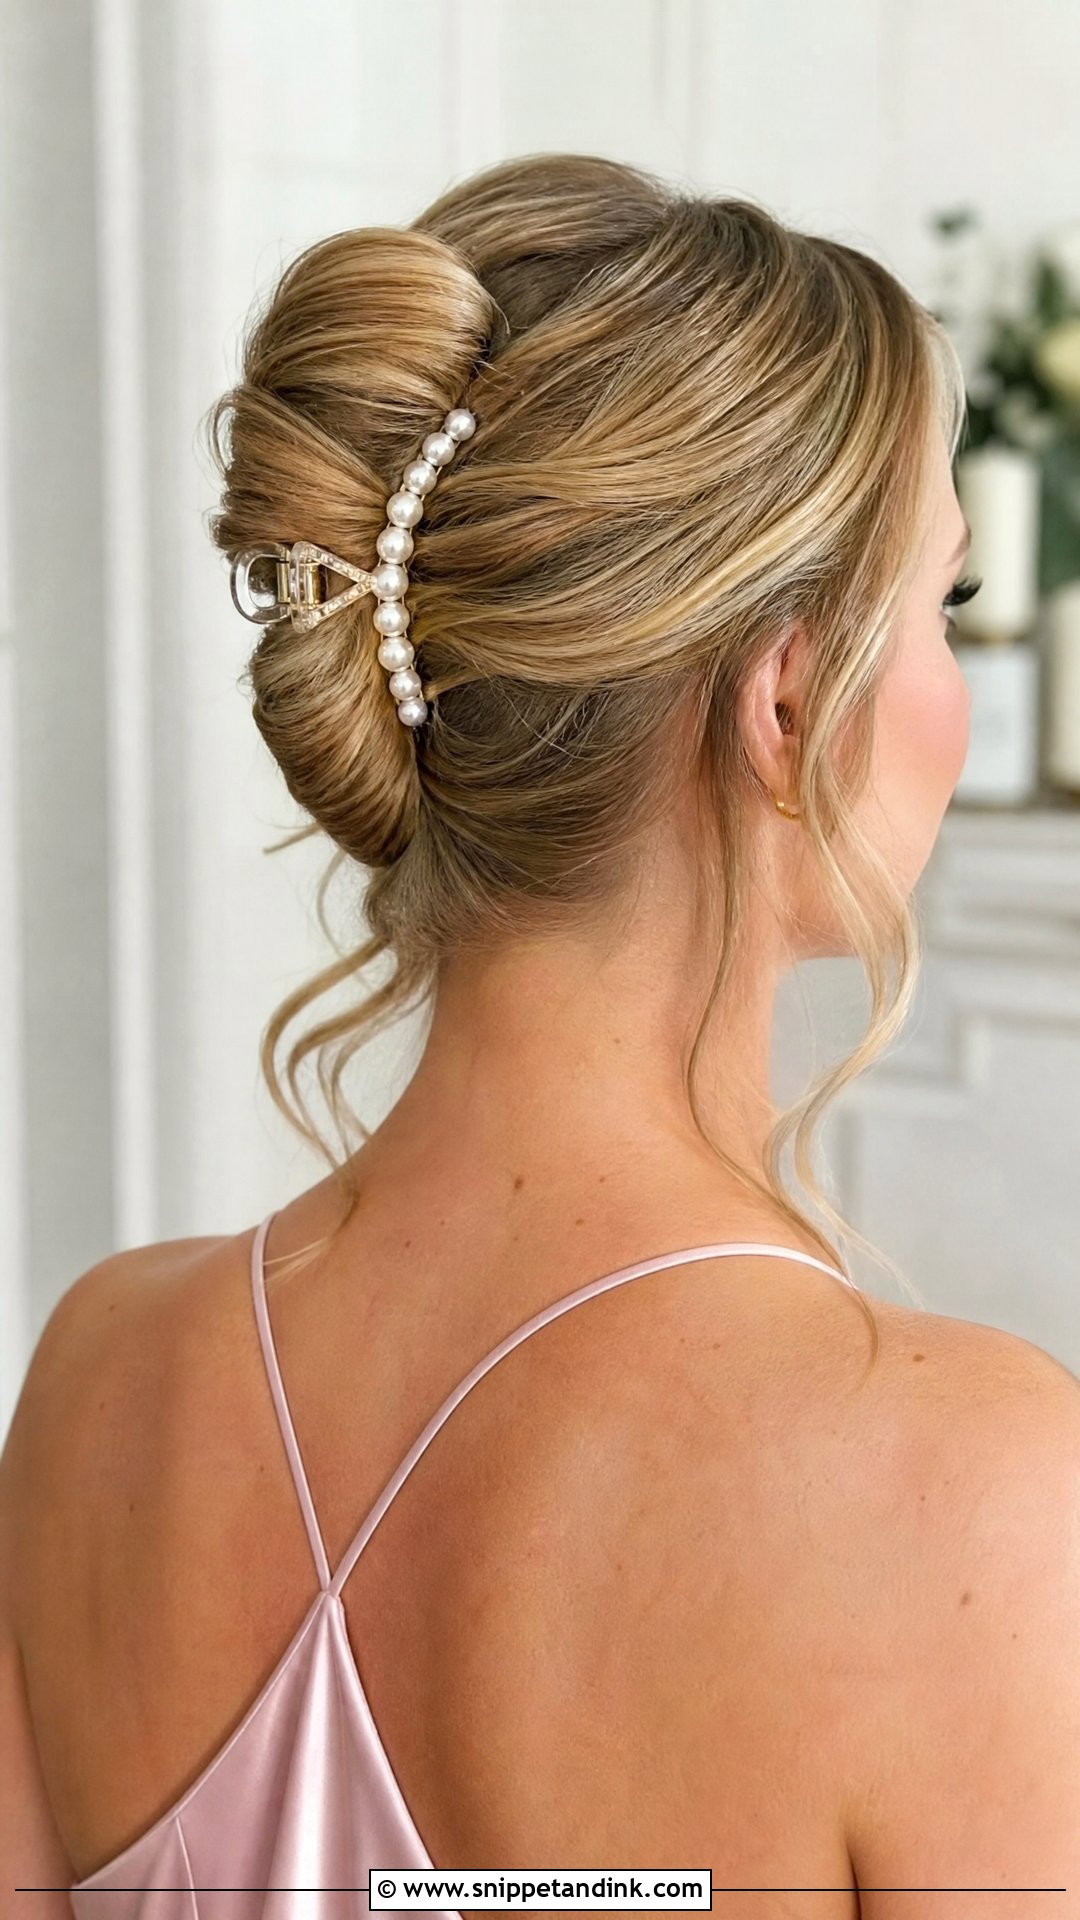
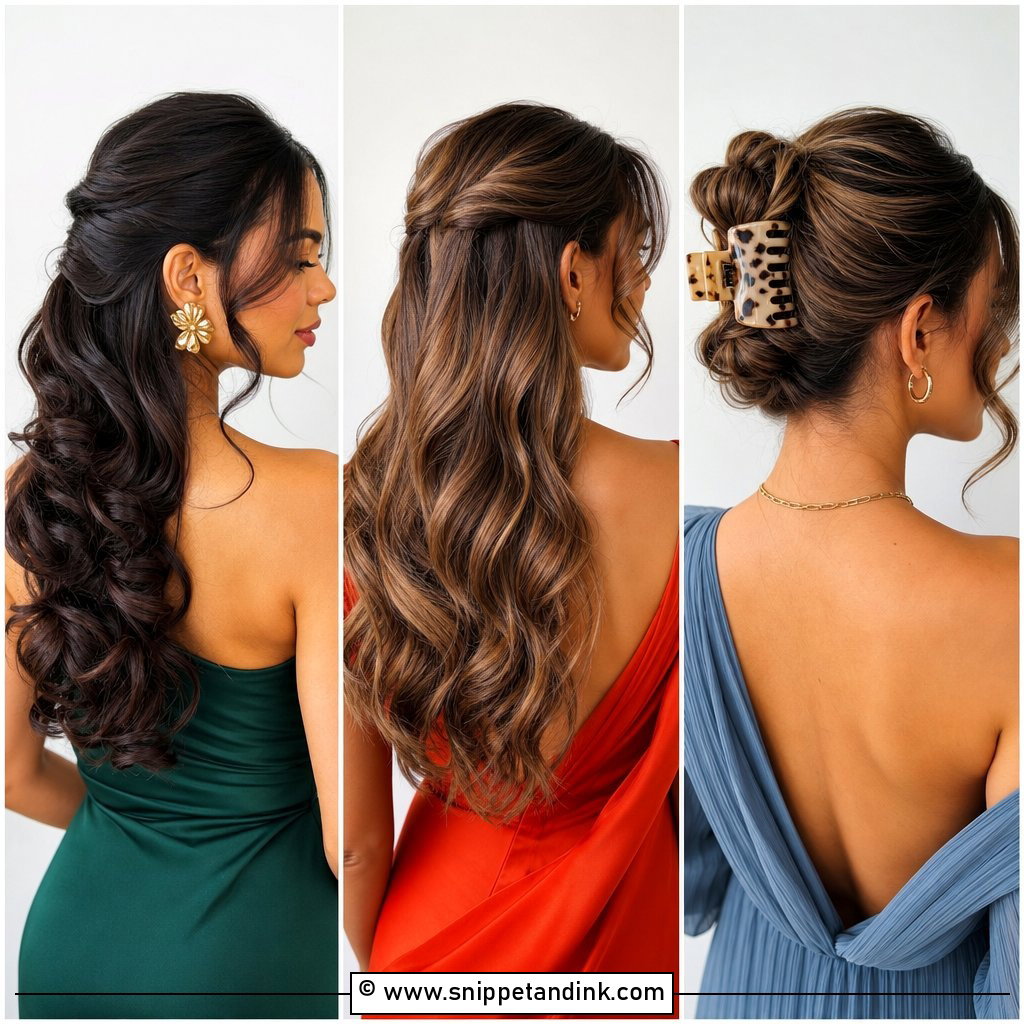
A claw clip wedding hairstyle only works at a wedding when the clip itself is chosen with care: pearl, gold, clear or satin-finish, not the plastic one from your bathroom drawer. Twist the hair up softly and either let the ends fan out or tuck them in. My honest caveat is weight. A clip holds medium hair well, but very long or thick hair tends to slip within a couple of hours, so I’d keep this for rehearsal dinners, bridal showers and casual weddings, or hide two bobby pins under the clip. Leave a few front pieces out and curl them.
13. Hollywood Waves Wedding Hair
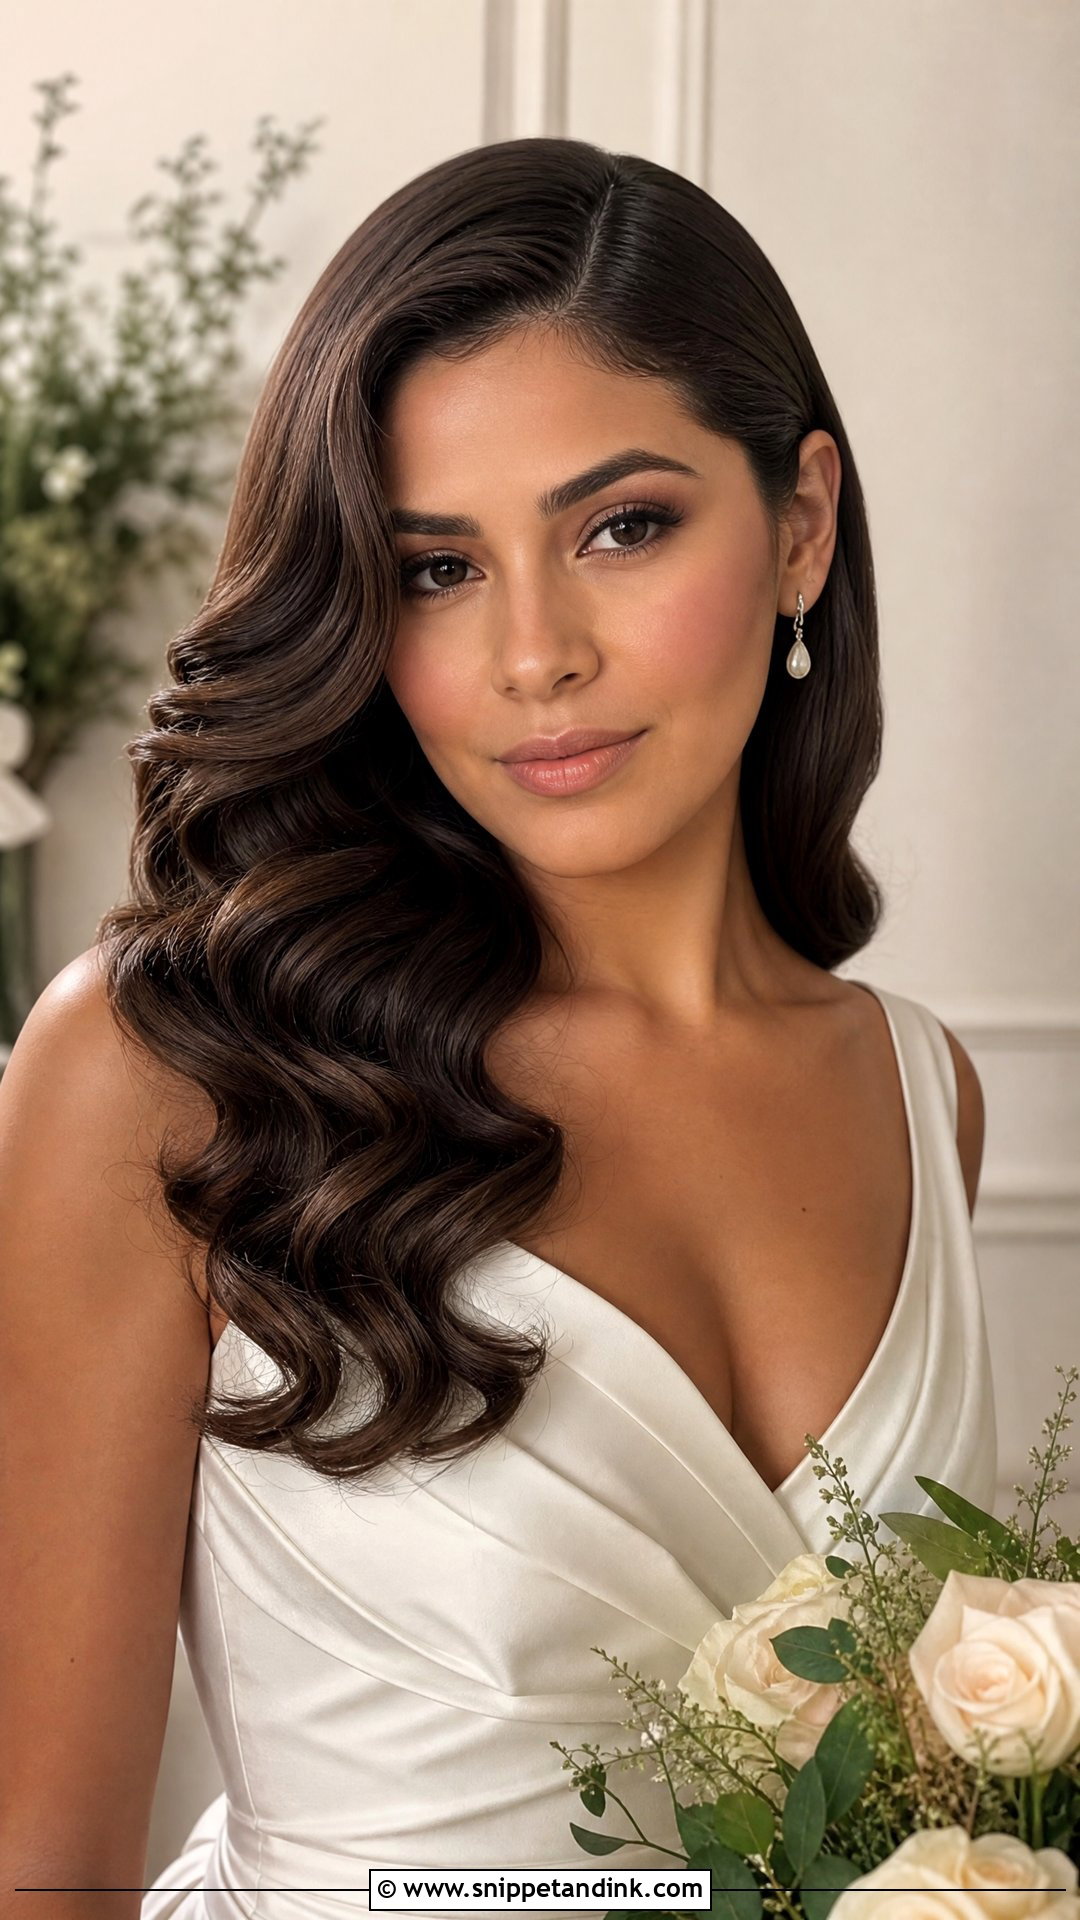
Hollywood waves take more care than loose waves, but the steps are simple. Every section is curled in the same direction, cooled completely, then brushed through with a soft brush until the curls join into one continuous wave. A deep side part gives the glamour. Around the face I hold the waves in place with flat clips while the hair cools, which is what keeps the S-shape crisp. Long and medium hair show it best. Finish with a lightweight hairspray so it holds without going stiff, and add a few pins on one side or nothing at all. I save this one for formal and evening weddings.
14. High Bun Wedding Hair
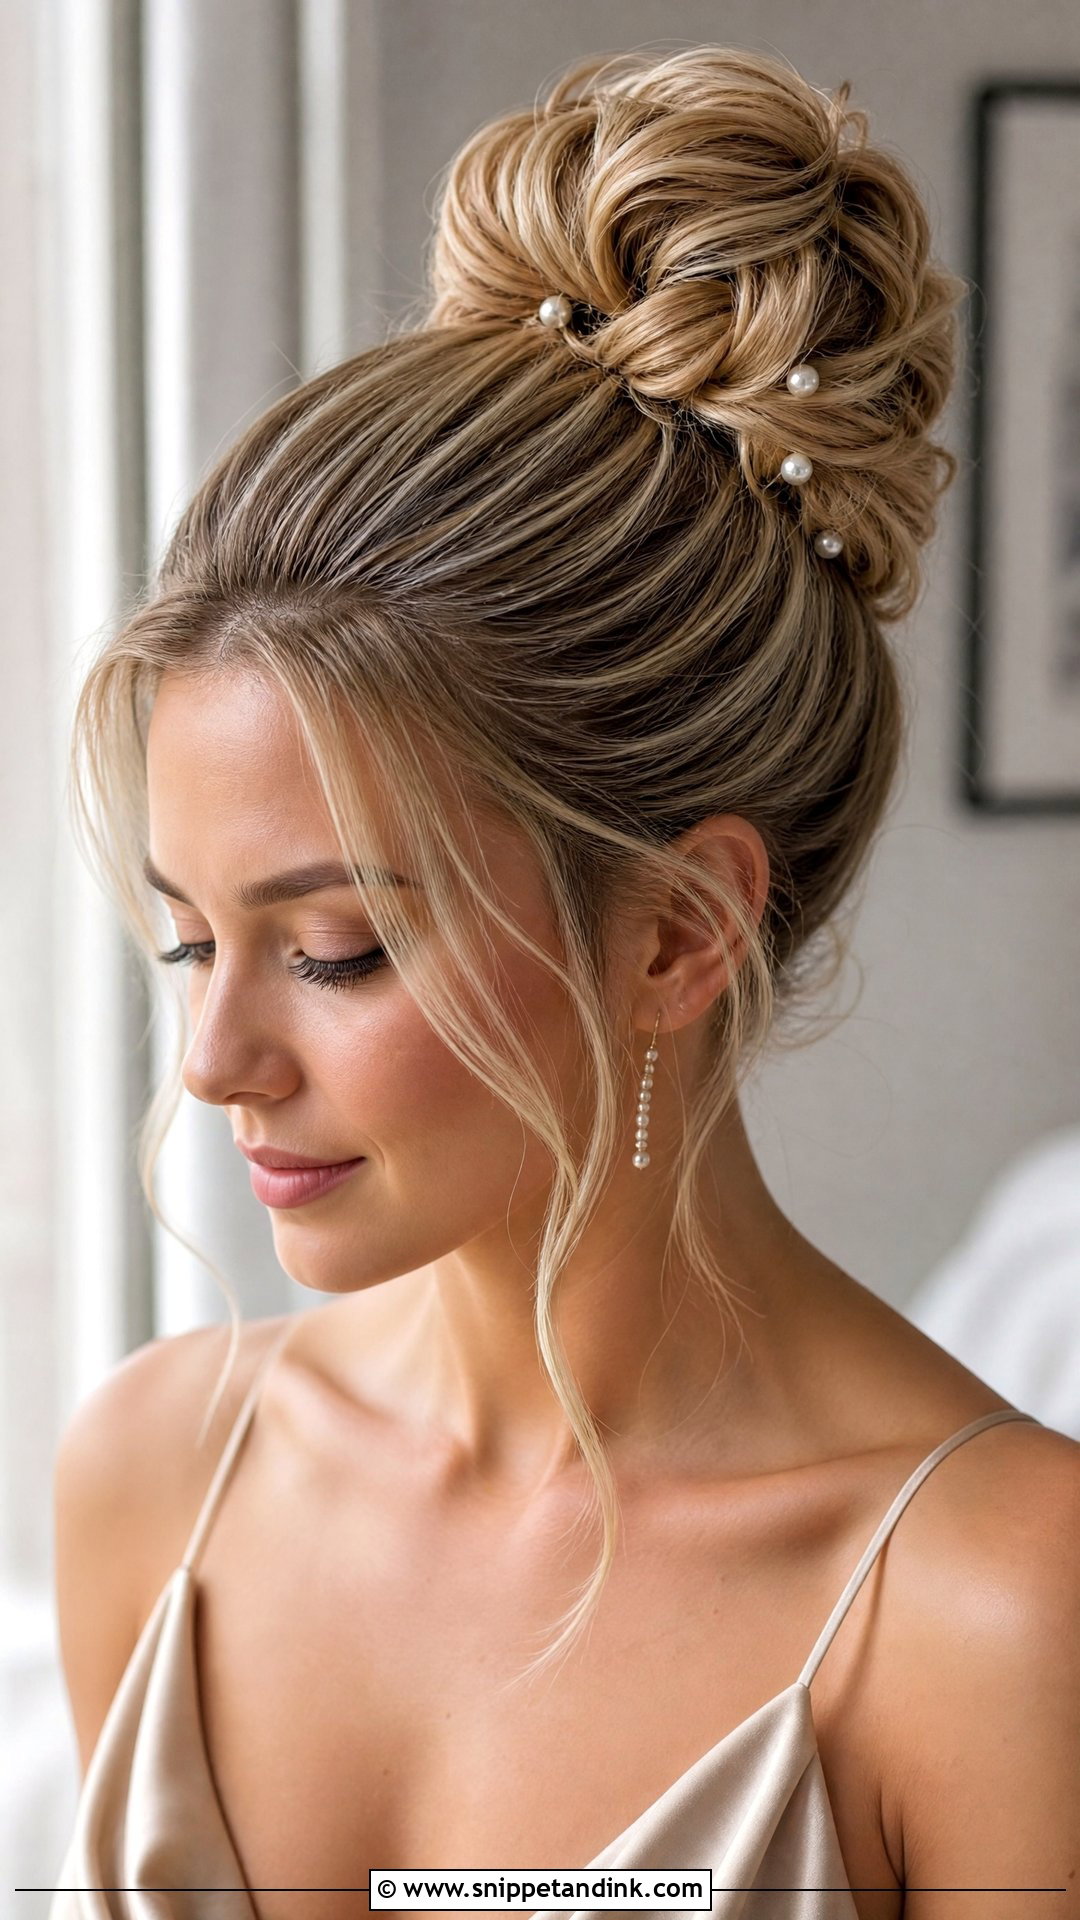
A high bun lifts everything off the neck and shoulders, so it’s worth considering in warm weather, with a high-neck dress or with statement earrings. It can be sleek or softer with loose pieces at the face. The easy route is a high ponytail first, then twisting the length around the base and pinning as you go. Slippery hair needs texture spray before you start, and second-day hair grips better still. One thing I always check: a high bun fights a veil comb and a car headrest, so it suits guests better than a veiled bride. A few pearl pins or a delicate comb dress it up.
15. Simple Straight Wedding Hair
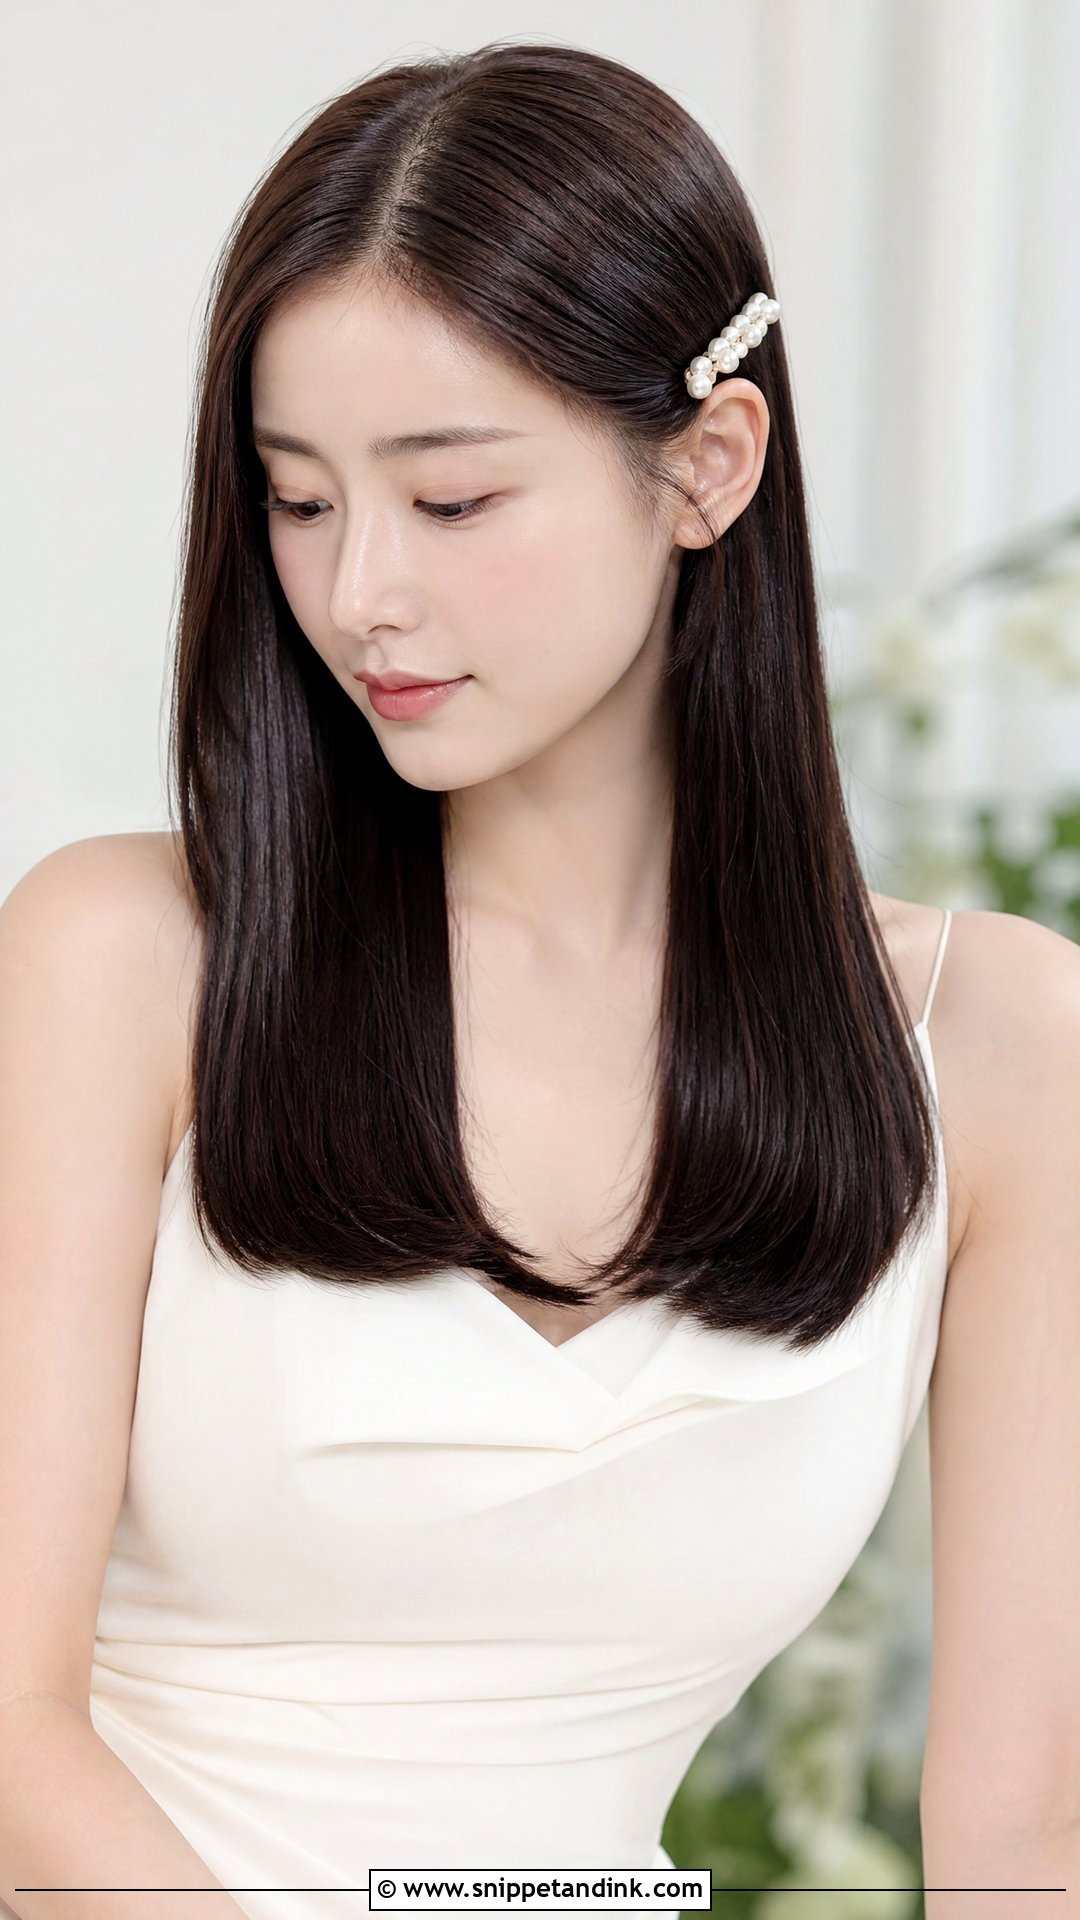
Straight hair looks chic when it’s smooth, glossy and well shaped, and that starts with a trim a week or two before so the ends sit cleanly. A clean part and a little movement at the tips stop it looking flat. Tuck it behind both ears for a modern finish or clip one side back with a pearl barrette. I use heat protectant before straightening and only a small amount of shine serum on the mid-lengths and ends; serum near the root goes greasy by evening. Minimalist dresses and city weddings suit it, and so does anyone who simply wants to look like herself.
Every Easy Style Has a Weak Spot, and a Ninety-Second Fix
Each look here tends to give way in one predictable place a few hours in. When I know where a style will go, I tell the wearer what to pack so she can sort it in the venue restroom without taking the whole thing down.
Ponytails and claw clips slide down
The weight of the hair drags the elastic toward the nape. Two bobby pins crossed in an X through the base, pushed upward into the elastic, stop the slide. For a claw clip, re-twist and set it a little higher than you think it needs to be.
Waves and Hollywood curls drop
Humid rooms and dancing relax a wave into a bend. A light mist of hairspray on your palms, then scrunching the ends upward, brings back shape without a hot tool. If the venue is very warm, pin the front pieces behind one ear for the reception.
Buns and chignons loosen at one side
Usually one pin has worked its way out. Find the soft spot, slide a U-pin in at an angle and turn it so it hooks into the base. Don’t keep adding bobby pins on top; that makes the bun lumpy and uncomfortable against a chair back.
Four bobby pins, two elastics, a mini hairspray and a small comb fit in a clutch beside a lipstick and cover almost every one of these.
Practise It Once the Weekend Before
None of these need a professional, but every one of them goes better the second time. Try your chosen style on a quiet weekend, wear it for a few hours, and notice where it loosens or what you keep touching. That tells you whether you need texture spray for grip, smoothing cream for frizz, or simply more time for curls to cool. If I could give every guest one piece of advice, it would be that: the style that suits you is the one you can do calmly on the morning, with your outfit, the weather and your own hair working with you.
You'll Like These Ideas:


Leave a Reply