
I do bridal hair for a living, and I’ll still tell you that plenty of brides can do their own. The trick is picking a style that suits your length and texture instead of one that needs a second pair of hands behind your head. Good DIY bride wedding hairstyles are built from moves you can repeat: a ponytail, a twist, a curl that’s allowed to cool. Below are the ones I’d actually let a client attempt alone, with notes on where each tends to go wrong. Practice is what makes them work, so pick two and rehearse them before you commit.
Arms Ache Fast, So Set Up Like a Salon
The hardest part of styling your own bridal hair isn’t technique. It’s holding your arms above your head for forty minutes while working on a part of your head you can’t see. In my experience, a little setup changes more than another tutorial.
- Sit at a table, not a bathroom counter, so you can rest your elbows between sections.
- Put a second mirror behind you, or prop your phone on video to check the back. Footage shows bumps that a mirror reflection hides.
- Lay pins, elastics and clips out in a small dish before you start. Hunting for one with a curl half wrapped wastes the heat set.
- Wear a button-front shirt so nothing has to come off over your head later.
- Ask someone to do only the back pins. Even a nervous friend can push in a pin where you point.
Turn the heat down if your hair is fine or lightened; the hottest setting scorches ends long before it adds hold. And allow roughly double the time your best rehearsal took. Wedding mornings run late, and rushing is when curls go in crooked.
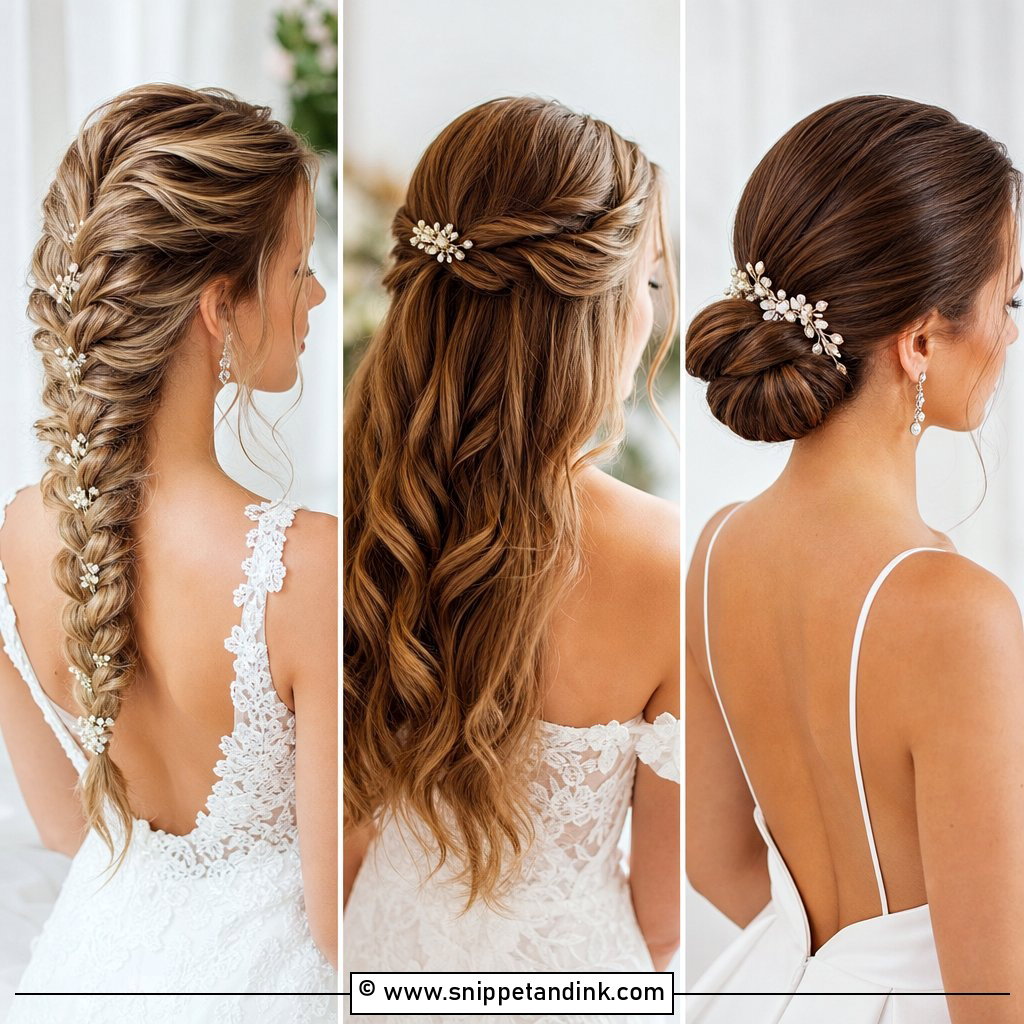
1. Low Bun Wedding Hairstyle
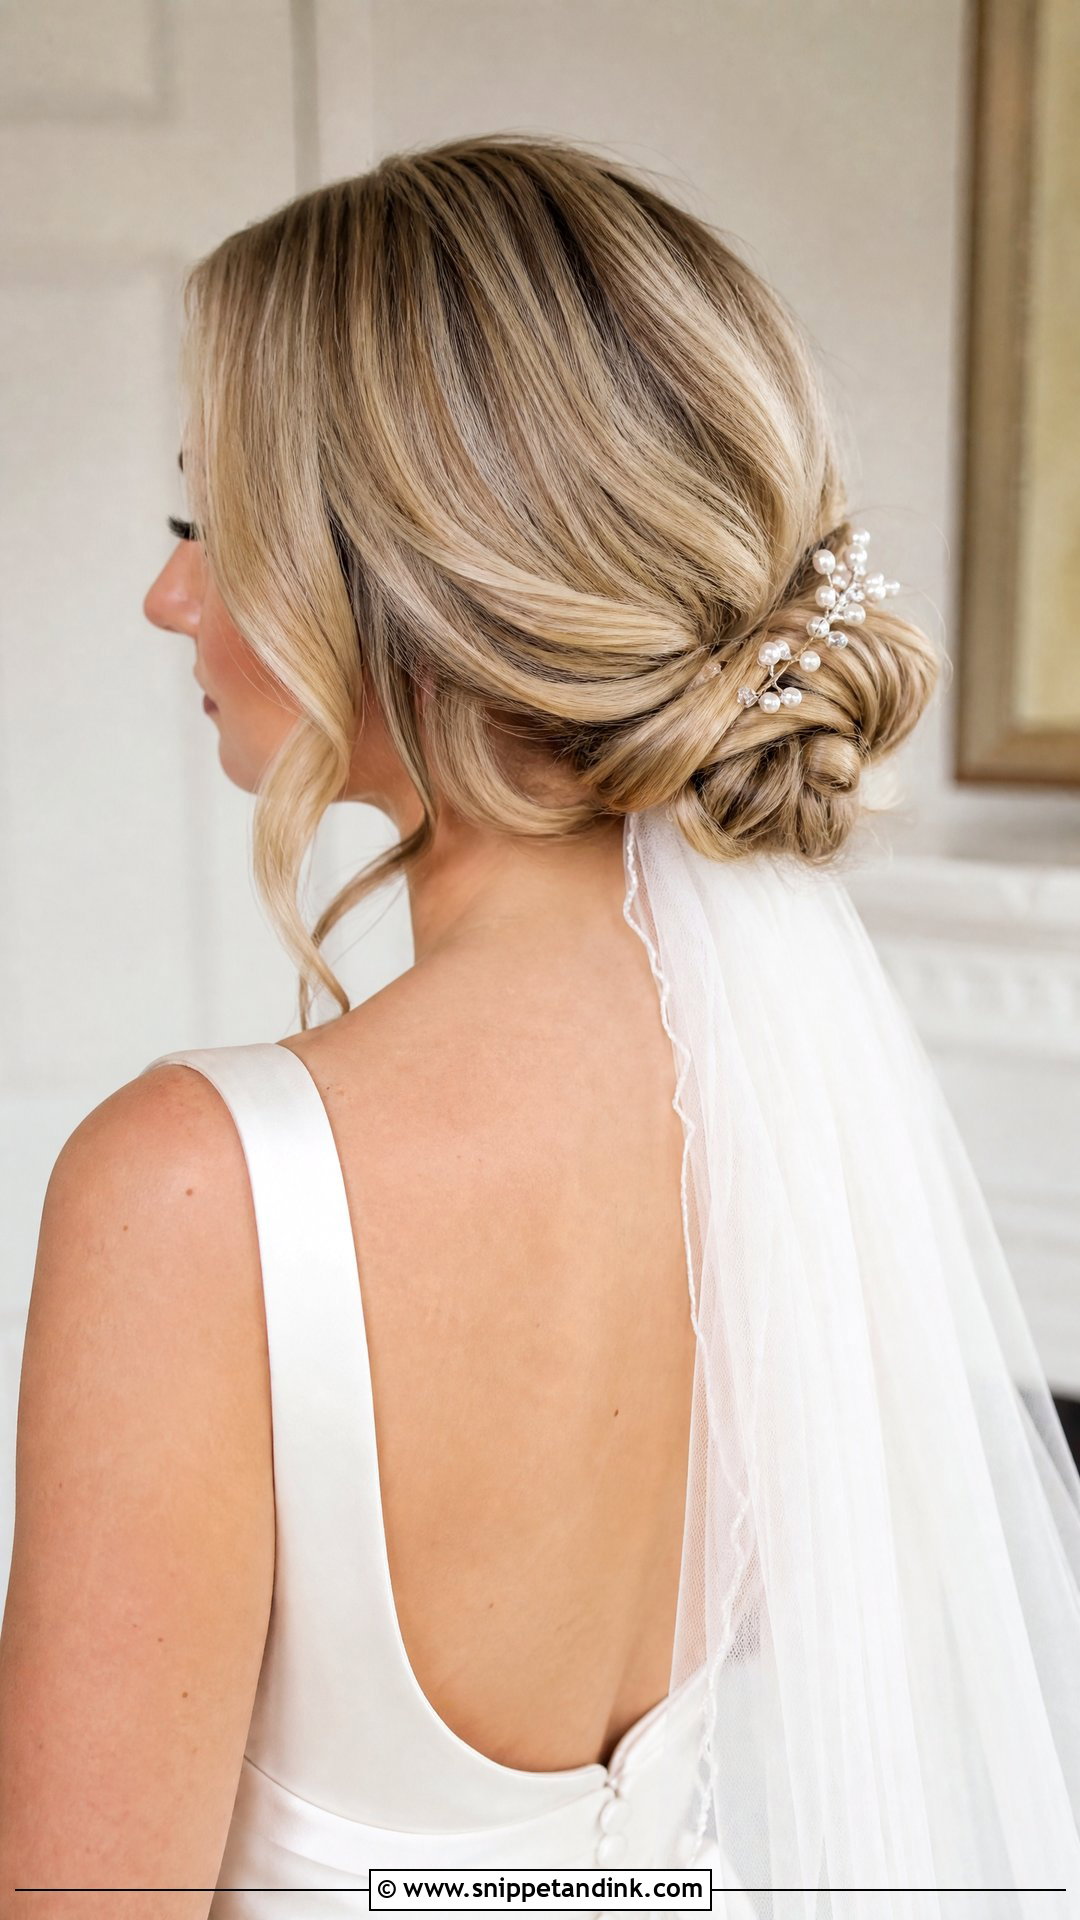
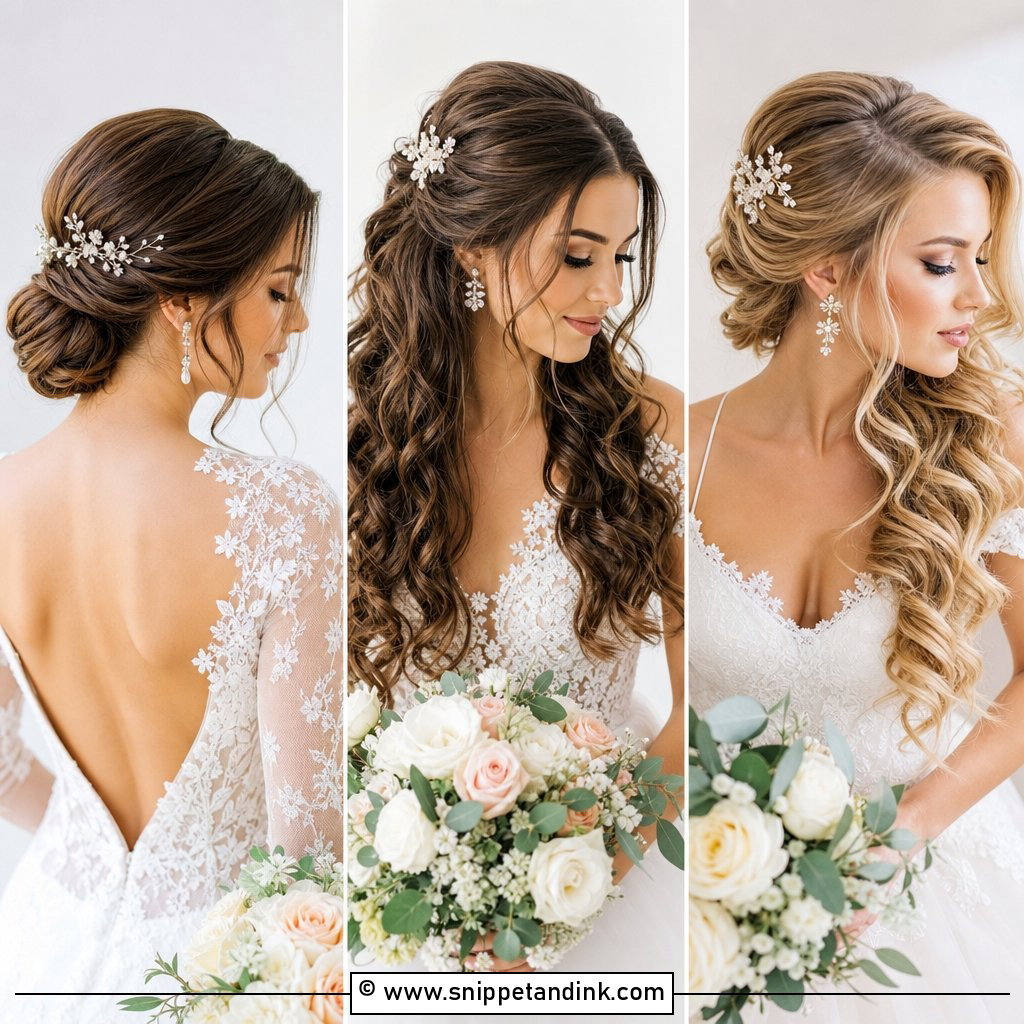
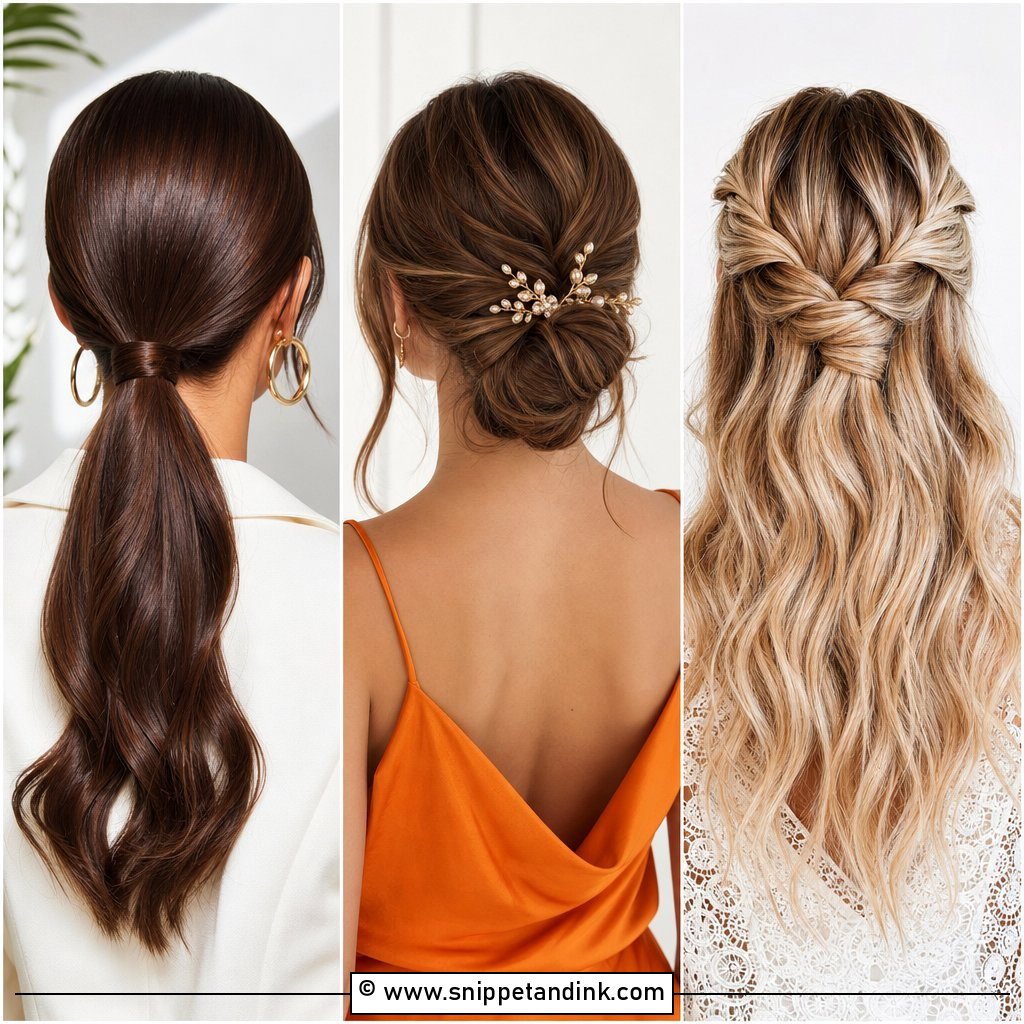
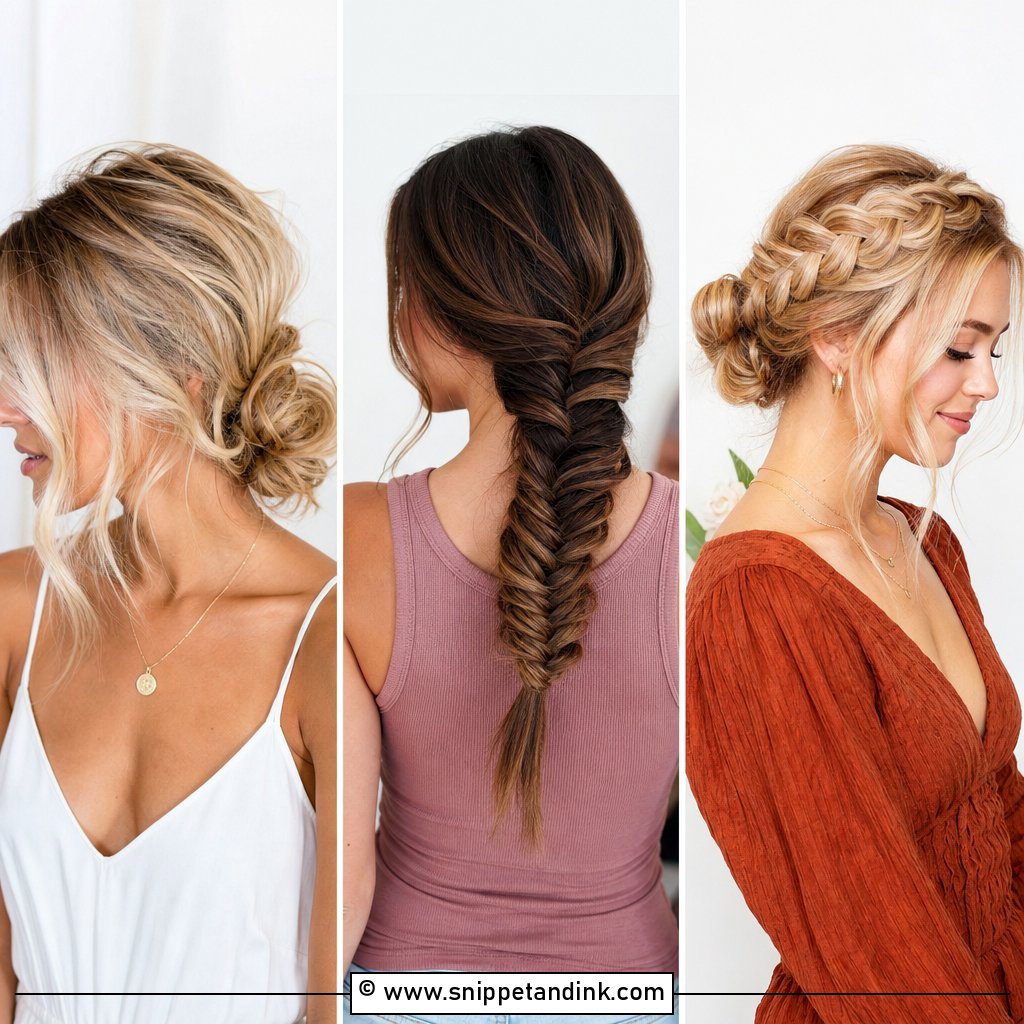
Everything here starts from a ponytail at the nape, which is why I put it first. Curl the hair if you want texture, gather it loosely, twist it round and pin it in small sections rather than trying to force the whole bun into shape at once. Small sections hide mistakes, because each one can be re-pinned without dismantling the rest. Leave a couple of pieces by the face if your neckline is soft. Flexible spray, then a veil comb, pearl pins or a small floral clip on top.
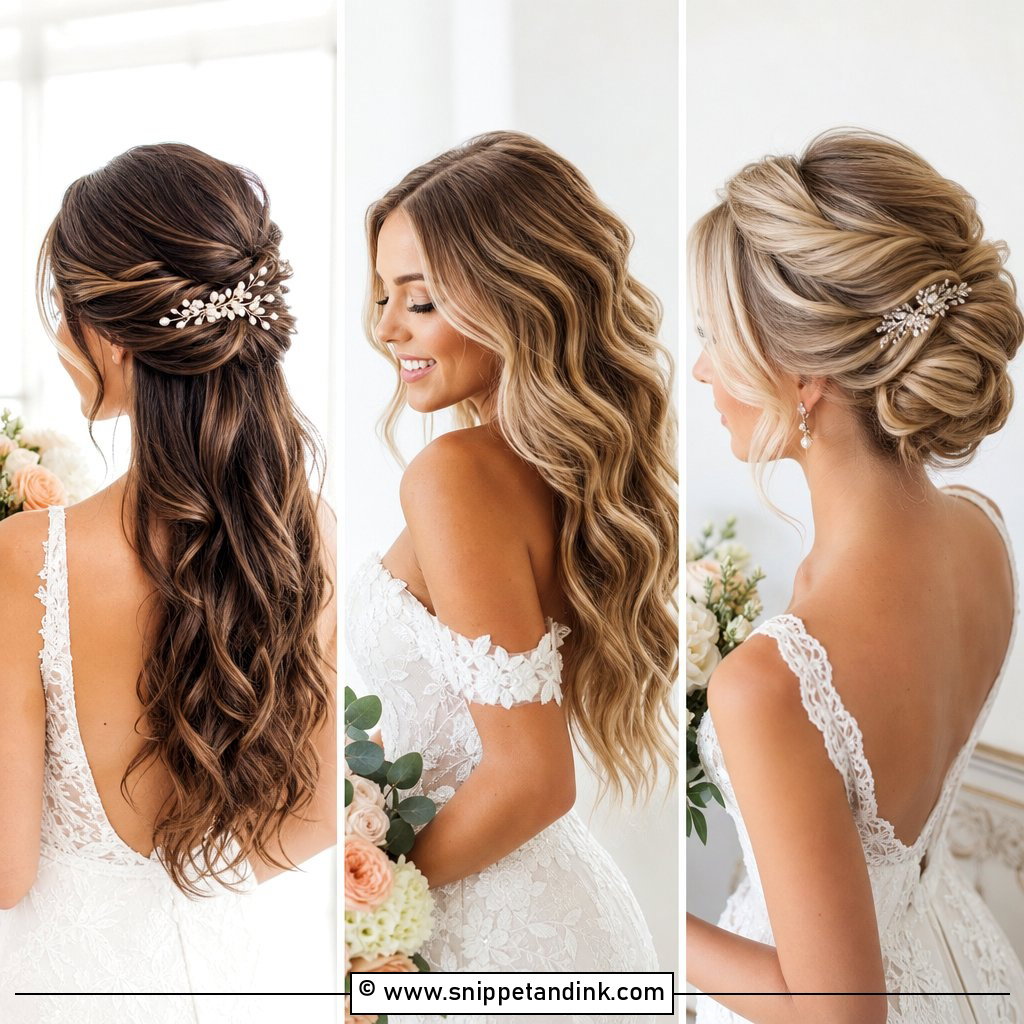
2. Half Up Half Down Wedding Hairstyle
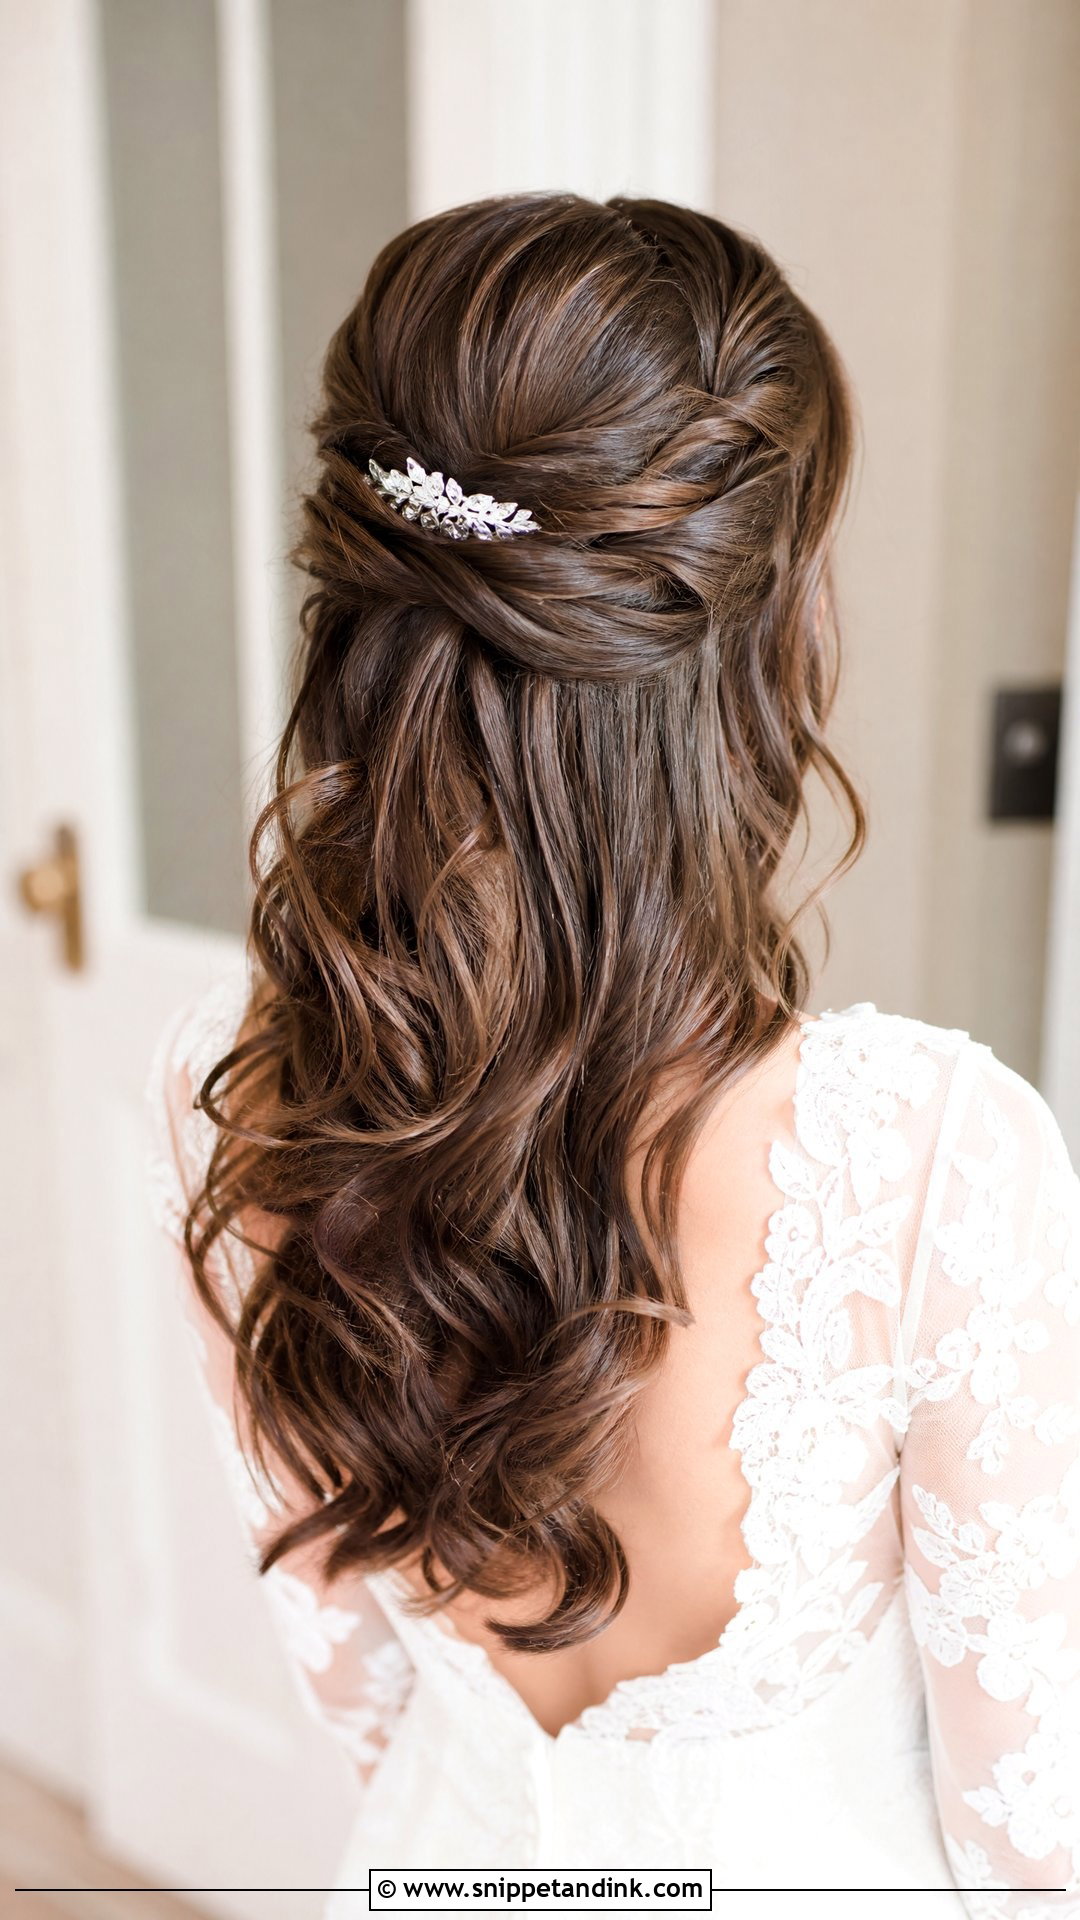
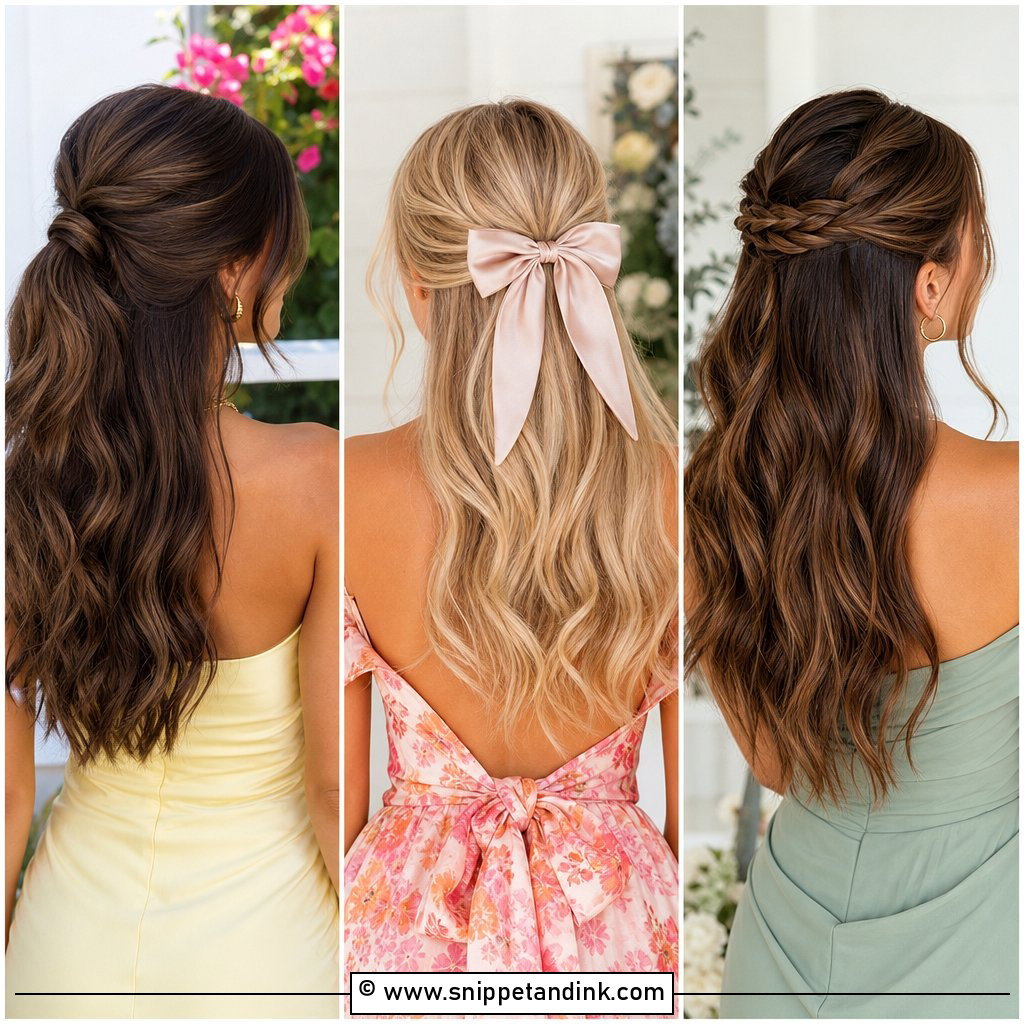
Half up lifts the crown and keeps front pieces off your face while showing the curls underneath. Curl in medium sections and brush them lightly once cool. Then take two pieces from each side, twist them back and secure them with pins or a clear elastic. The mistake I see most is twisting too tightly near the face, which pulls the hairline and looks strained in photos, so keep those twists loose and tight only at the back. Tug the crown gently for height. The pinned center is where a long veil or a hair vine belongs.
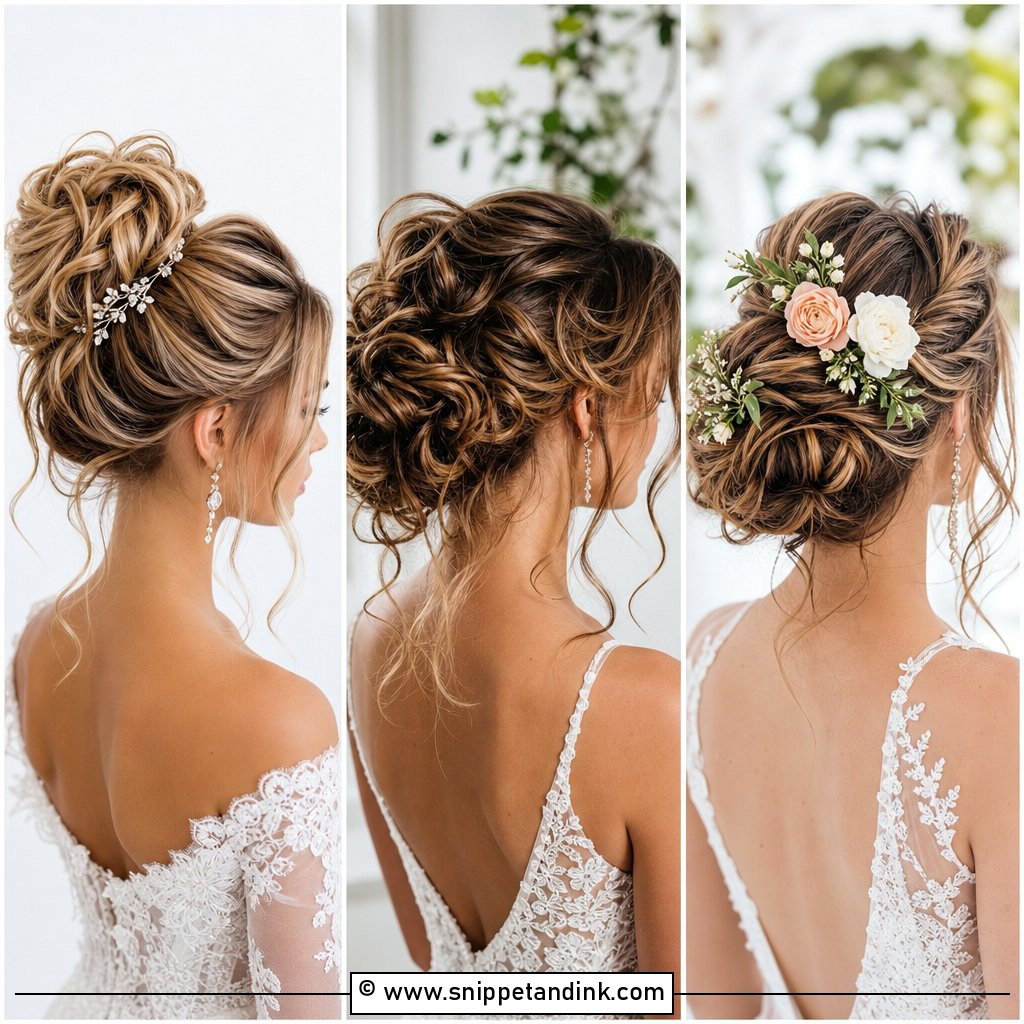
3. Messy Bun Wedding Hairstyle
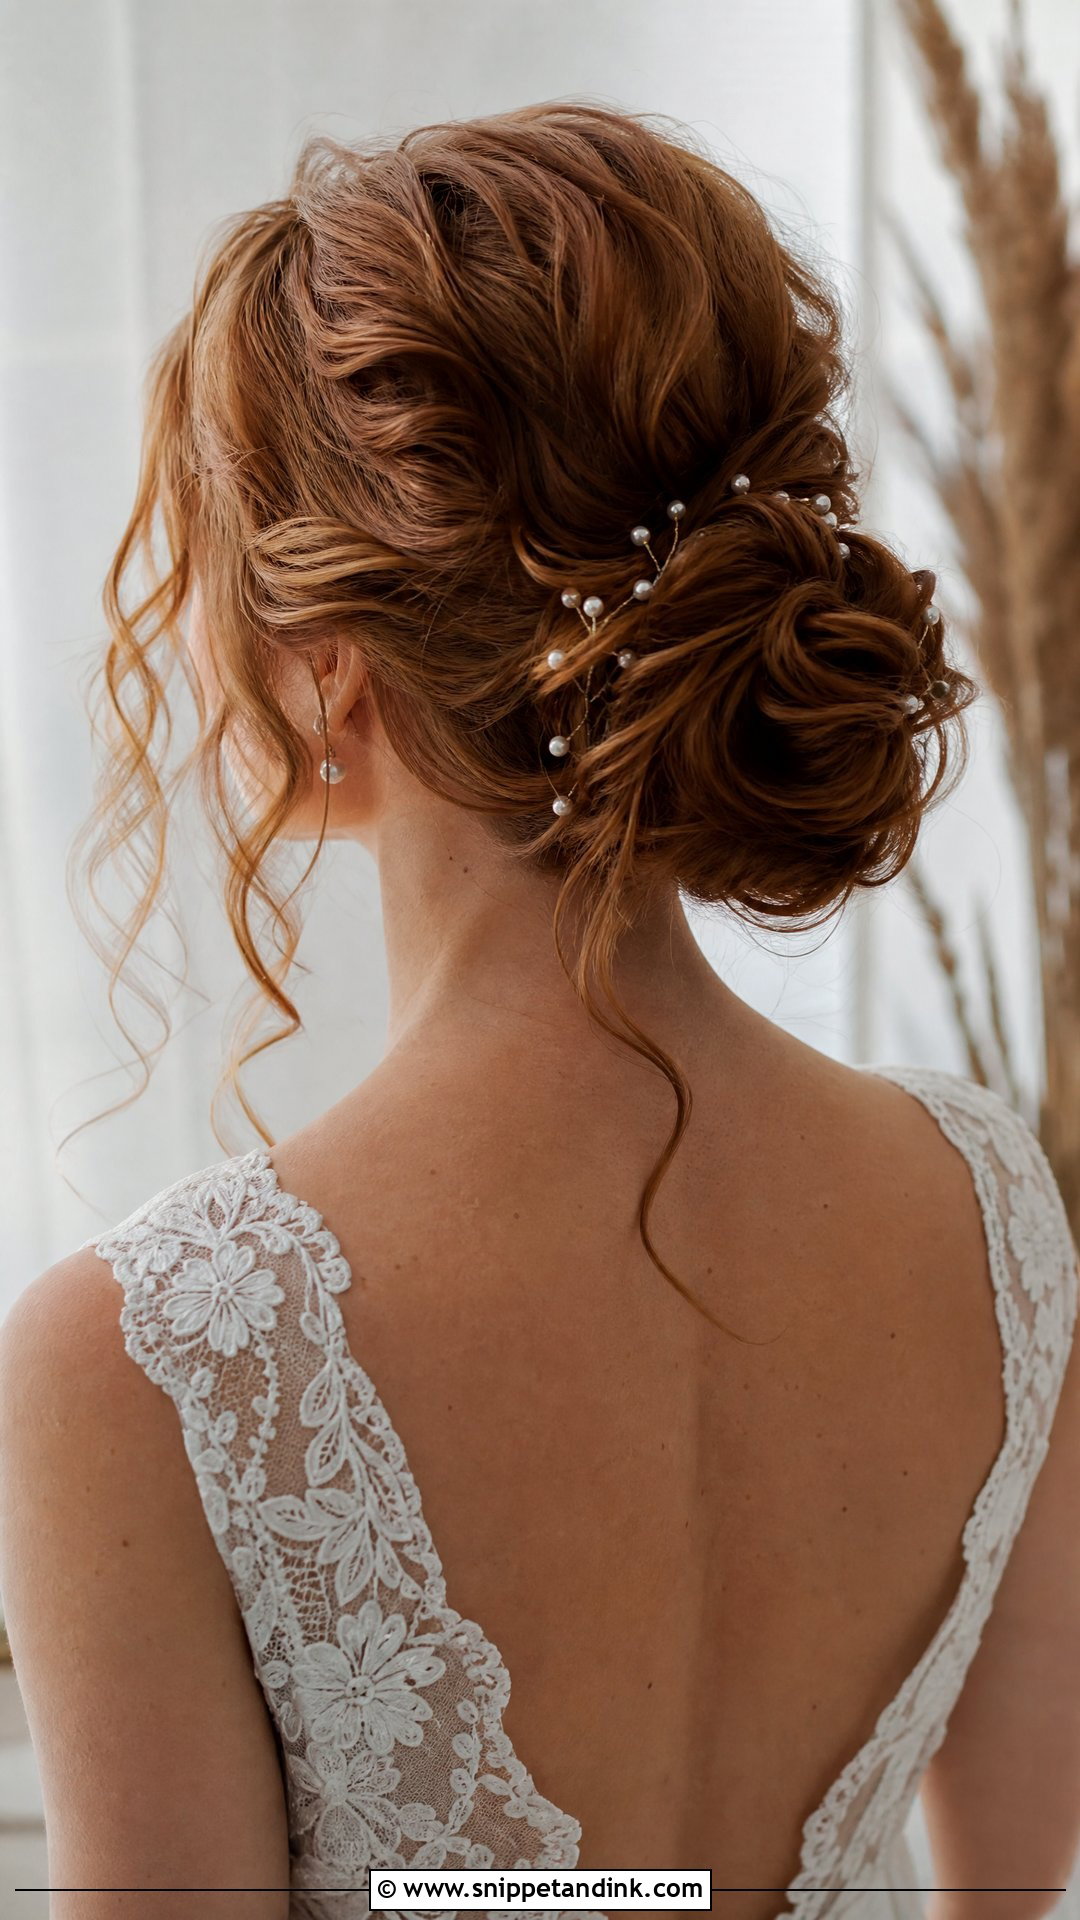
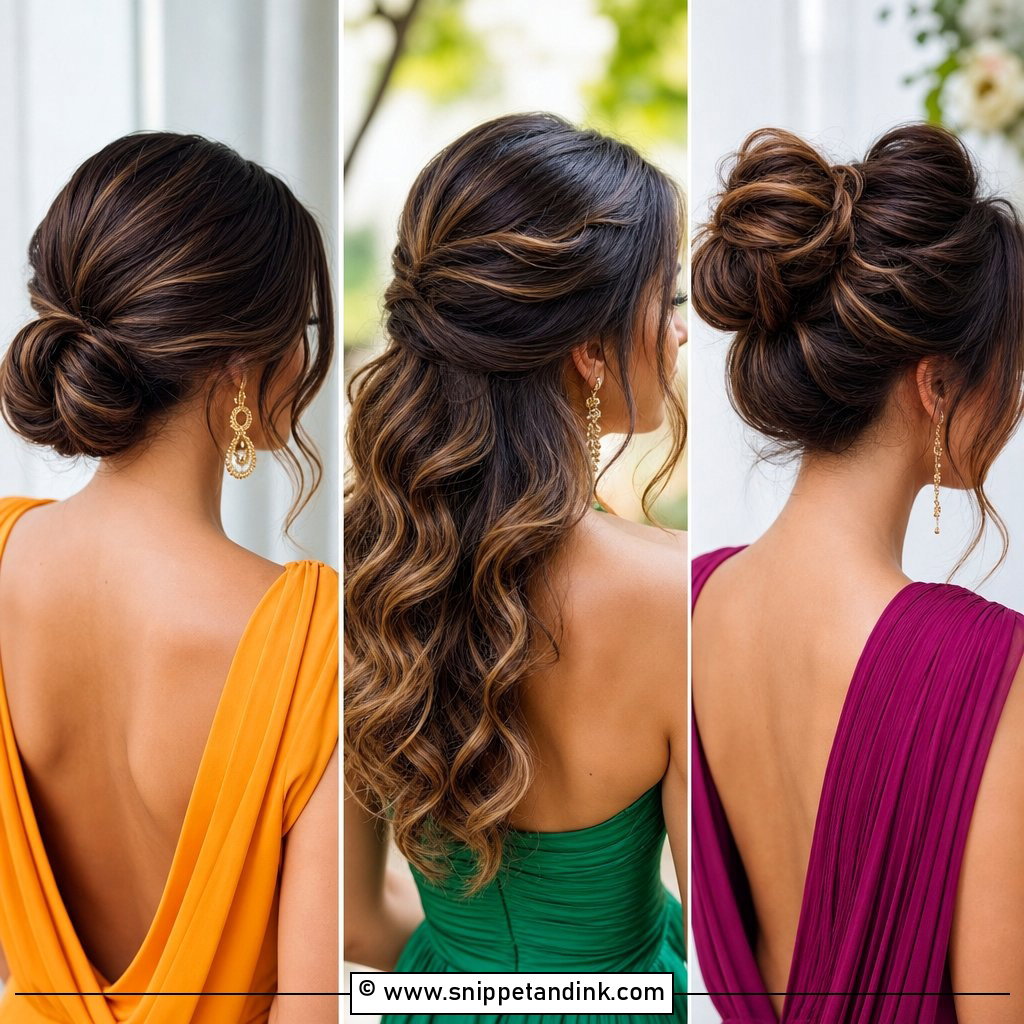
Imperfection is the whole point, so this one forgives an uneven section better than anything else on the list. It isn’t meant to be a tight ballerina bun. Spray dry texture first so the hair has grip, tie a low or mid ponytail, then twist and pin pieces around the base, leaving a few ends showing. Curl the front strands and break them up with your fingers. Very silky hair is the one exception: it won’t hold a loose shape, so wash it the day before instead of that morning.
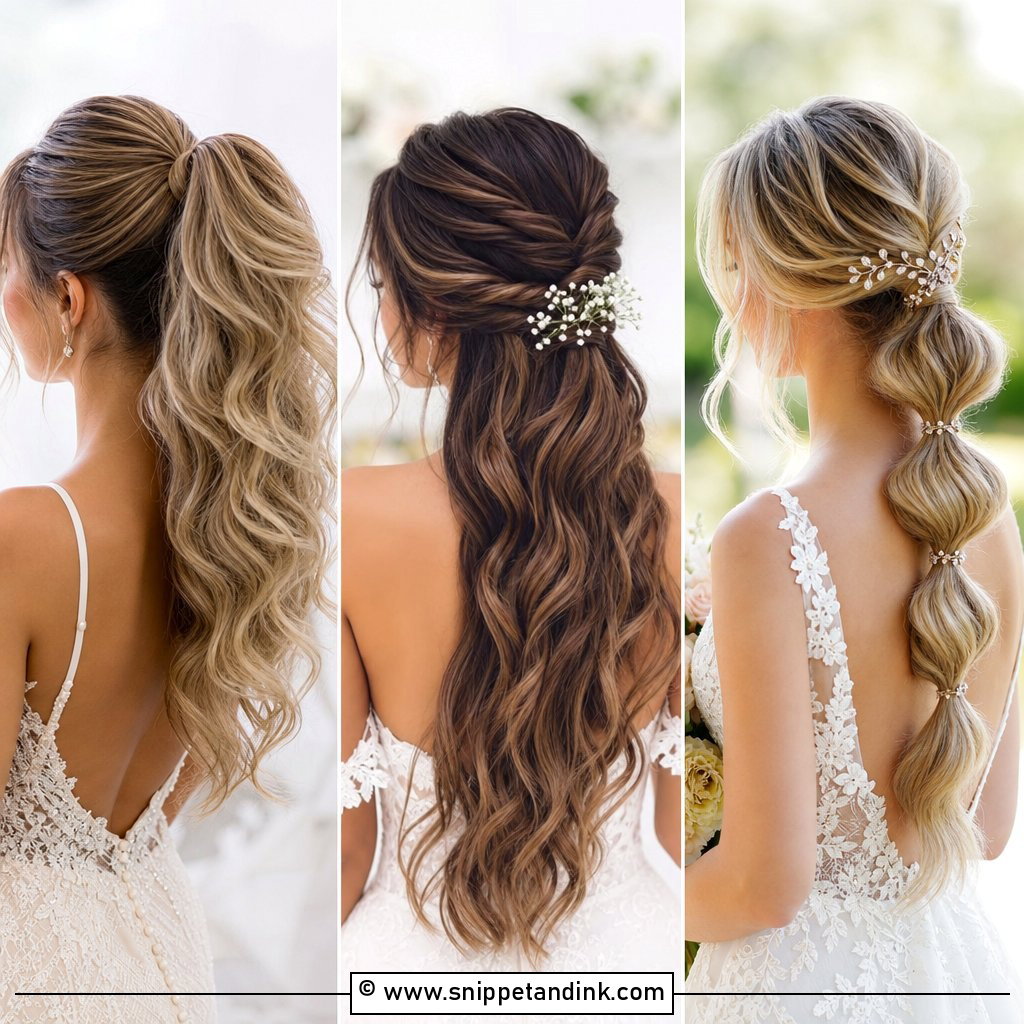
4. Sleek Low Ponytail Wedding Hairstyle
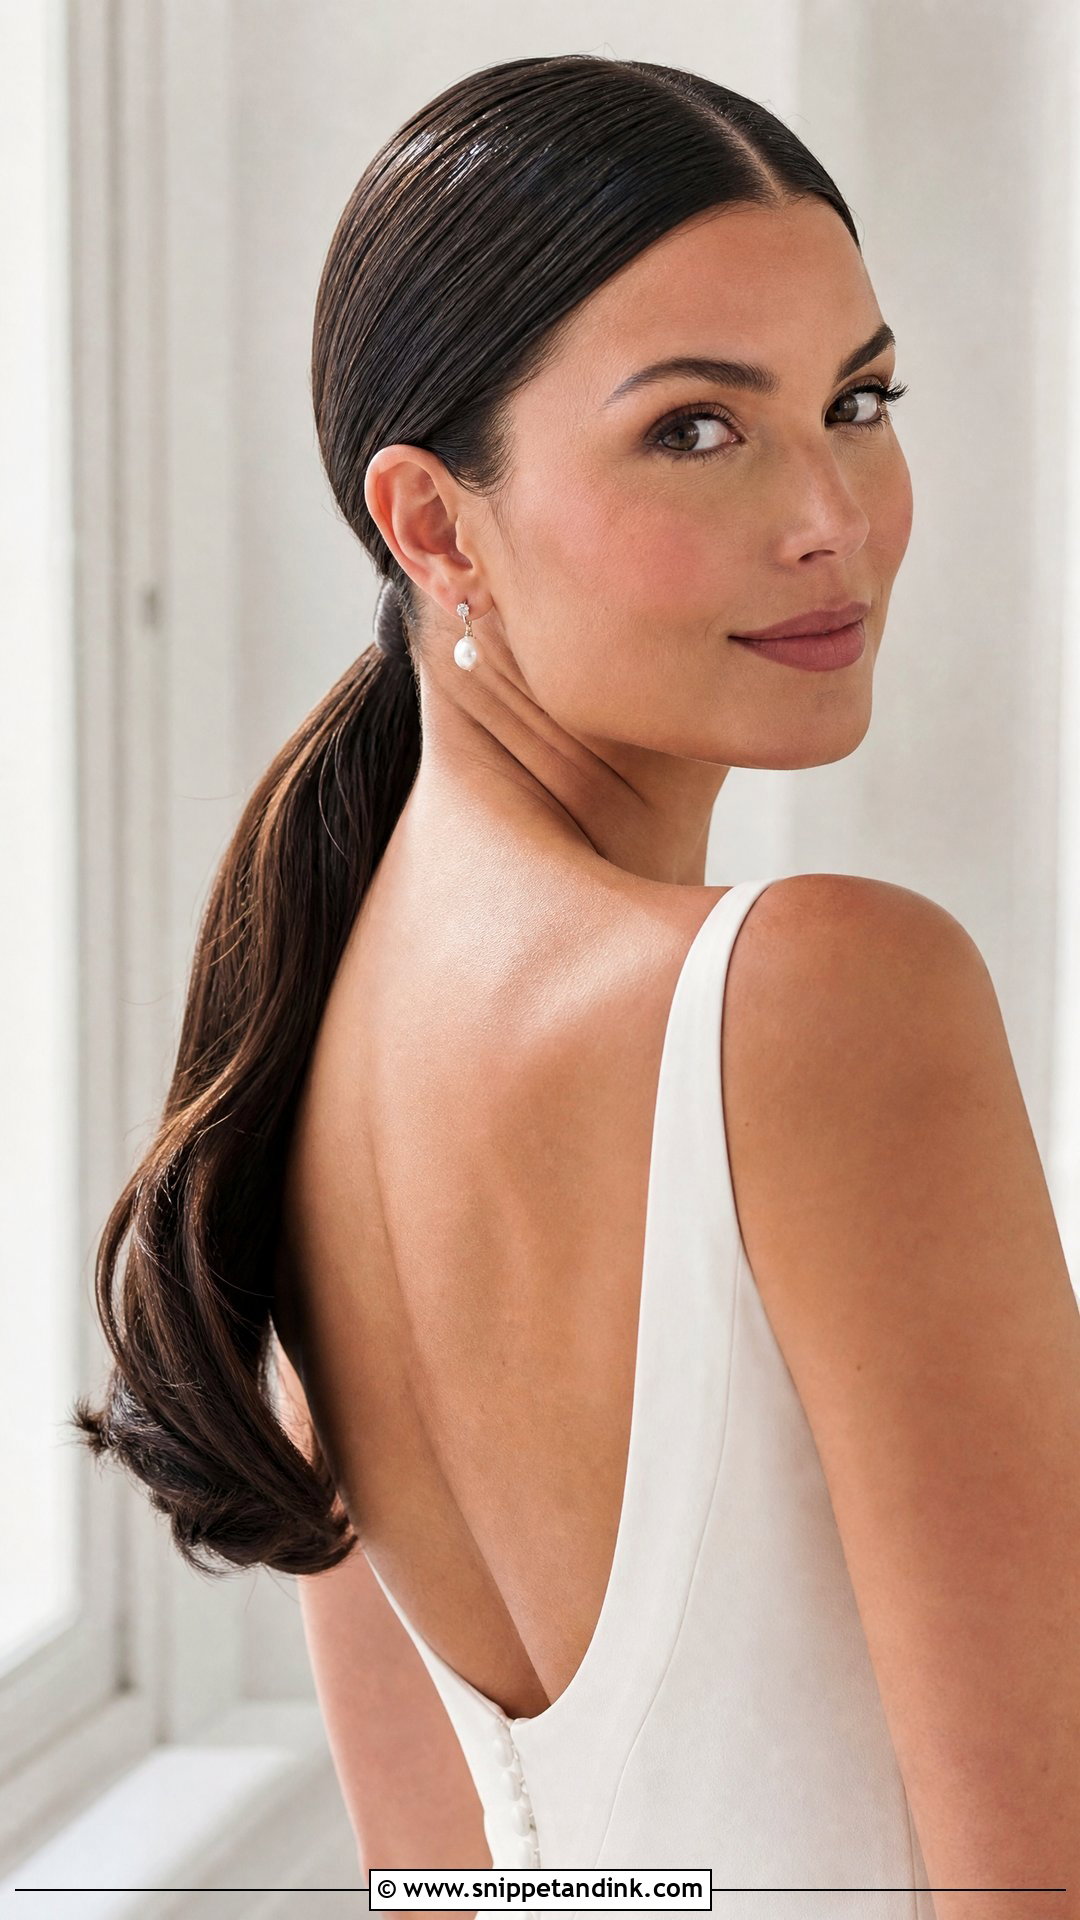
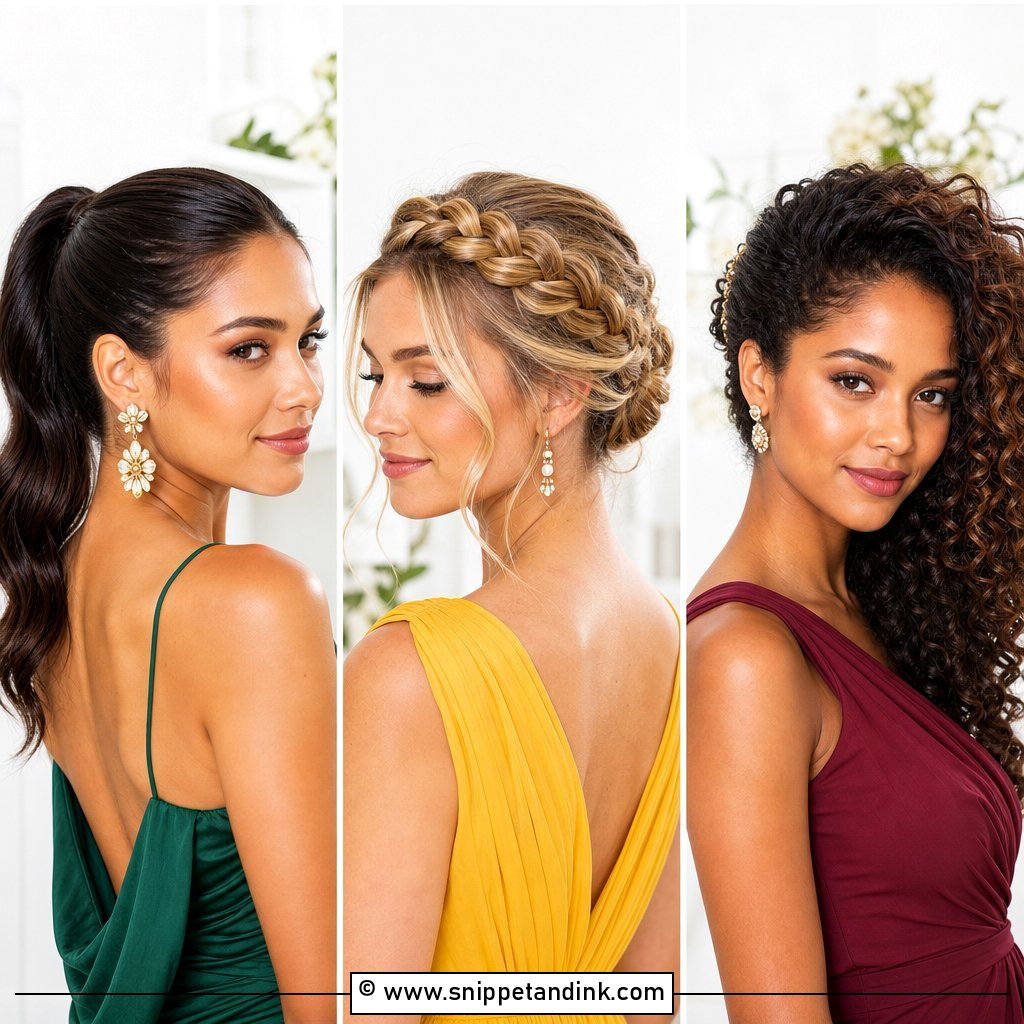
It’s surprisingly easy to create at home, and it suits minimalist gowns, high or square necklines and statement earrings. Start with straightened hair or polished waves and a clean part. Brush back, tie it low and tight, wrap a strand round the elastic and pin it underneath. The hard part is the back of the crown, where bumps hide from your mirror. I’d film the back on your phone before you tie it. Smoothing cream controls flyaways; leave the length straight or wave it.
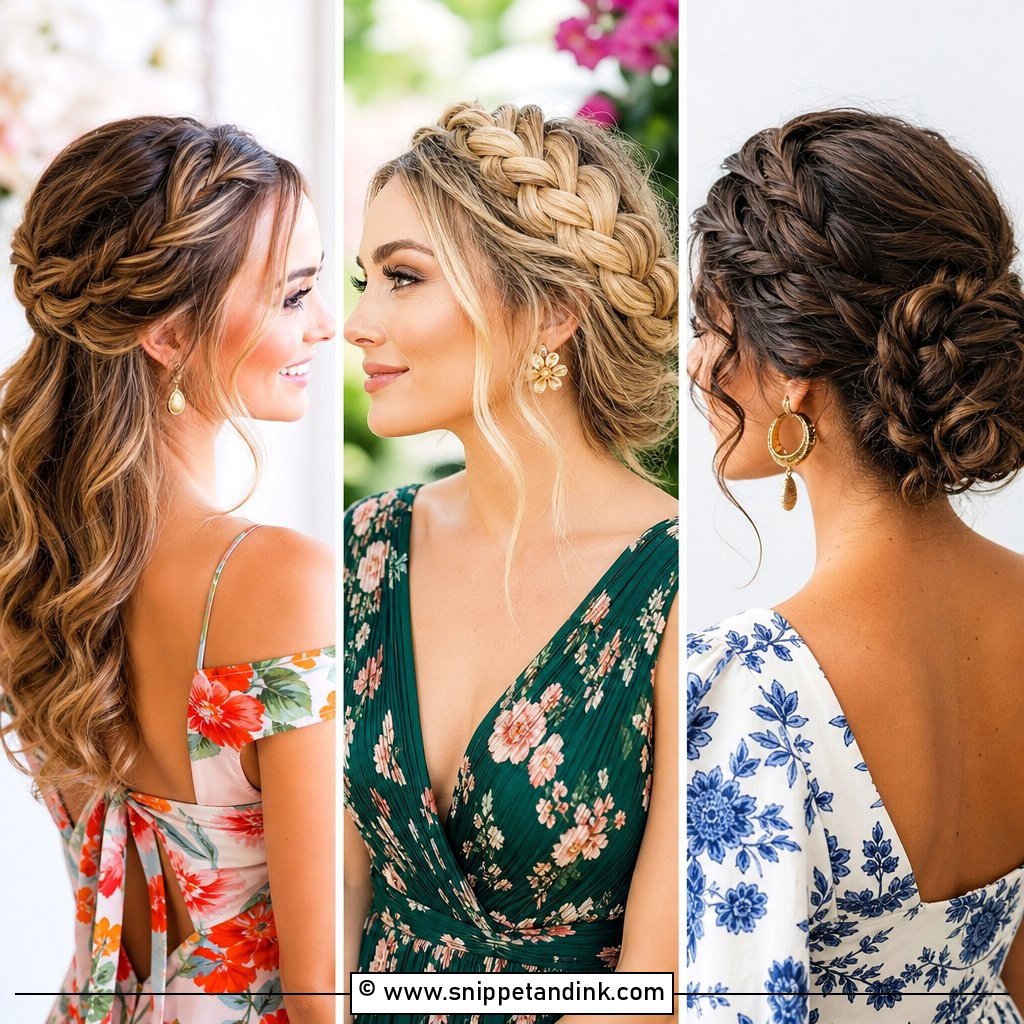
5. Braided Crown Wedding Hairstyle
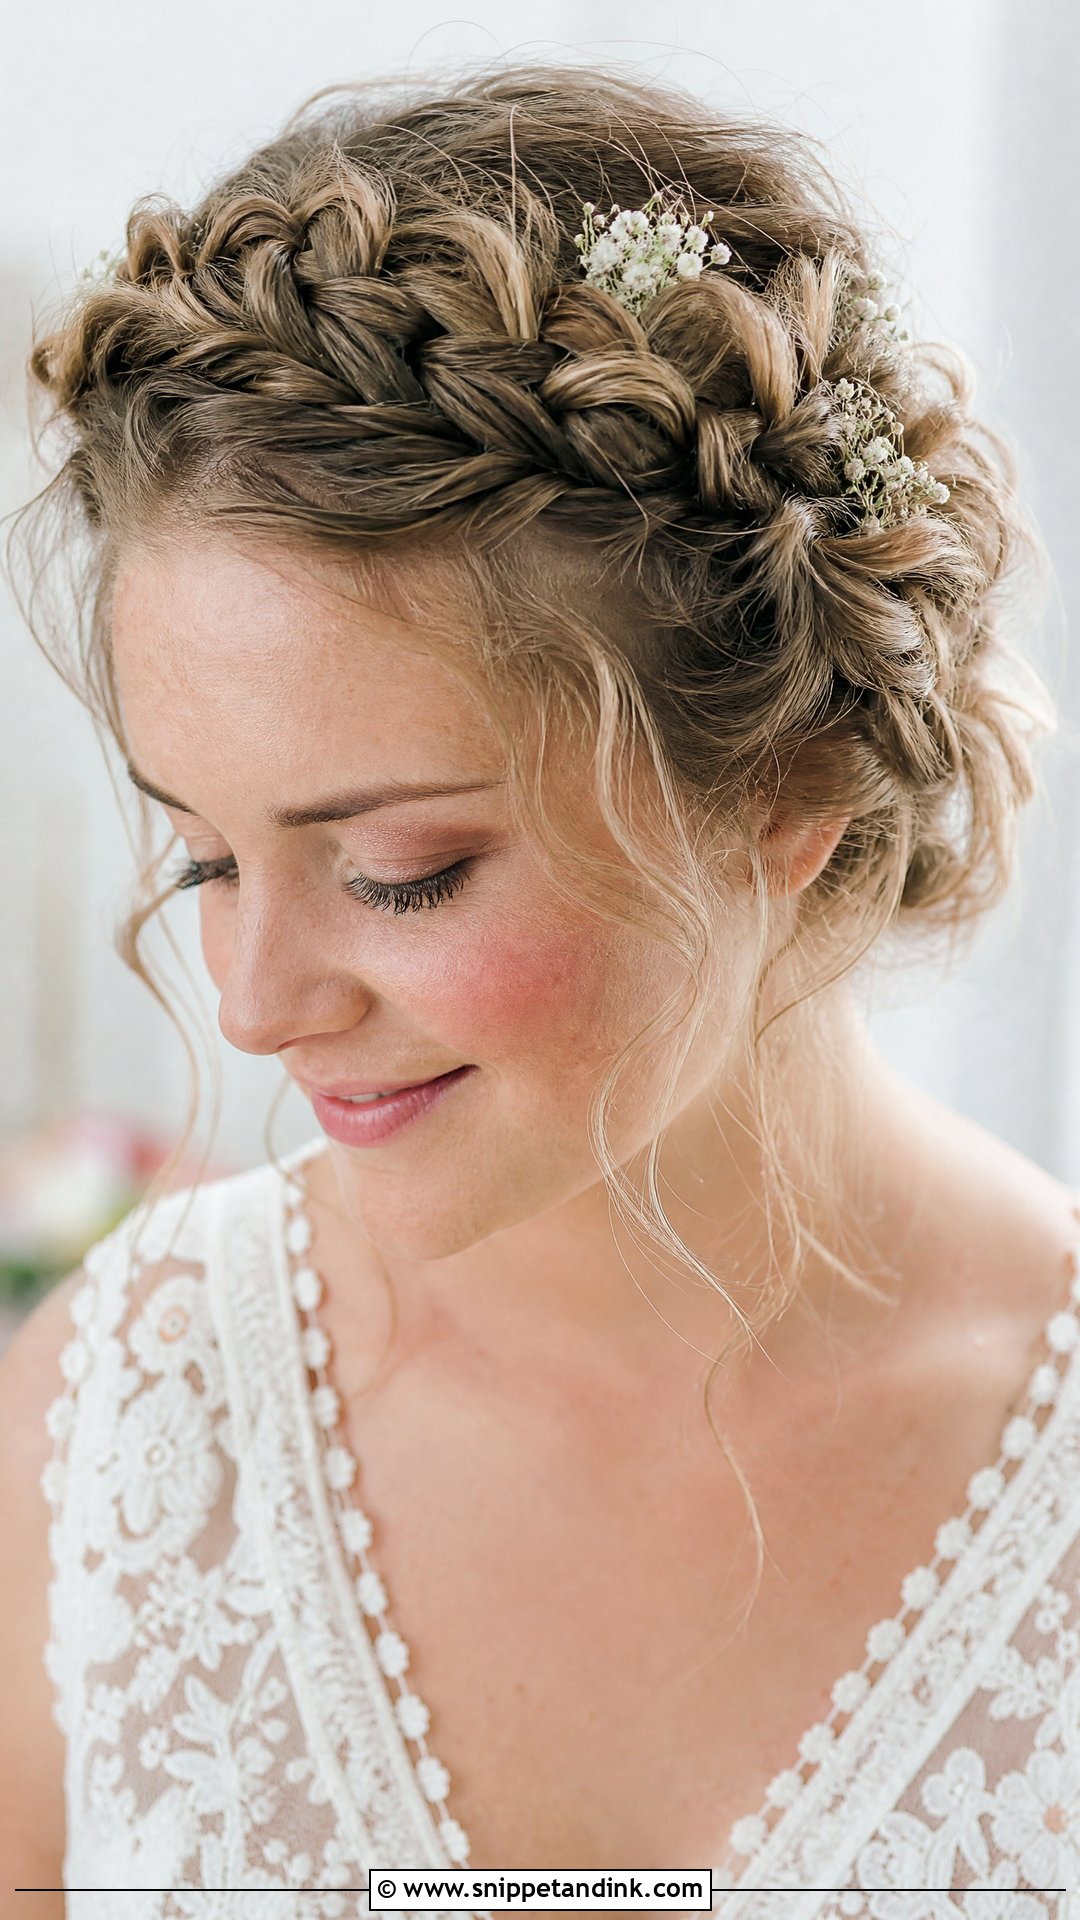
Clean, slippery hair is the enemy of this one, so add loose waves or texture spray before you start. Braid one section on each side, wrap them over the top or around the back of the head, pin them securely and tuck each end under the opposite braid. Then pull the braid edges a little wider so it looks full rather than tight. Arm fatigue is the honest challenge: braiding at the back of your own head takes a lot of rests. It keeps hair off your face all day and suits outdoor and rustic venues.
6. Side Braid Wedding Hairstyle
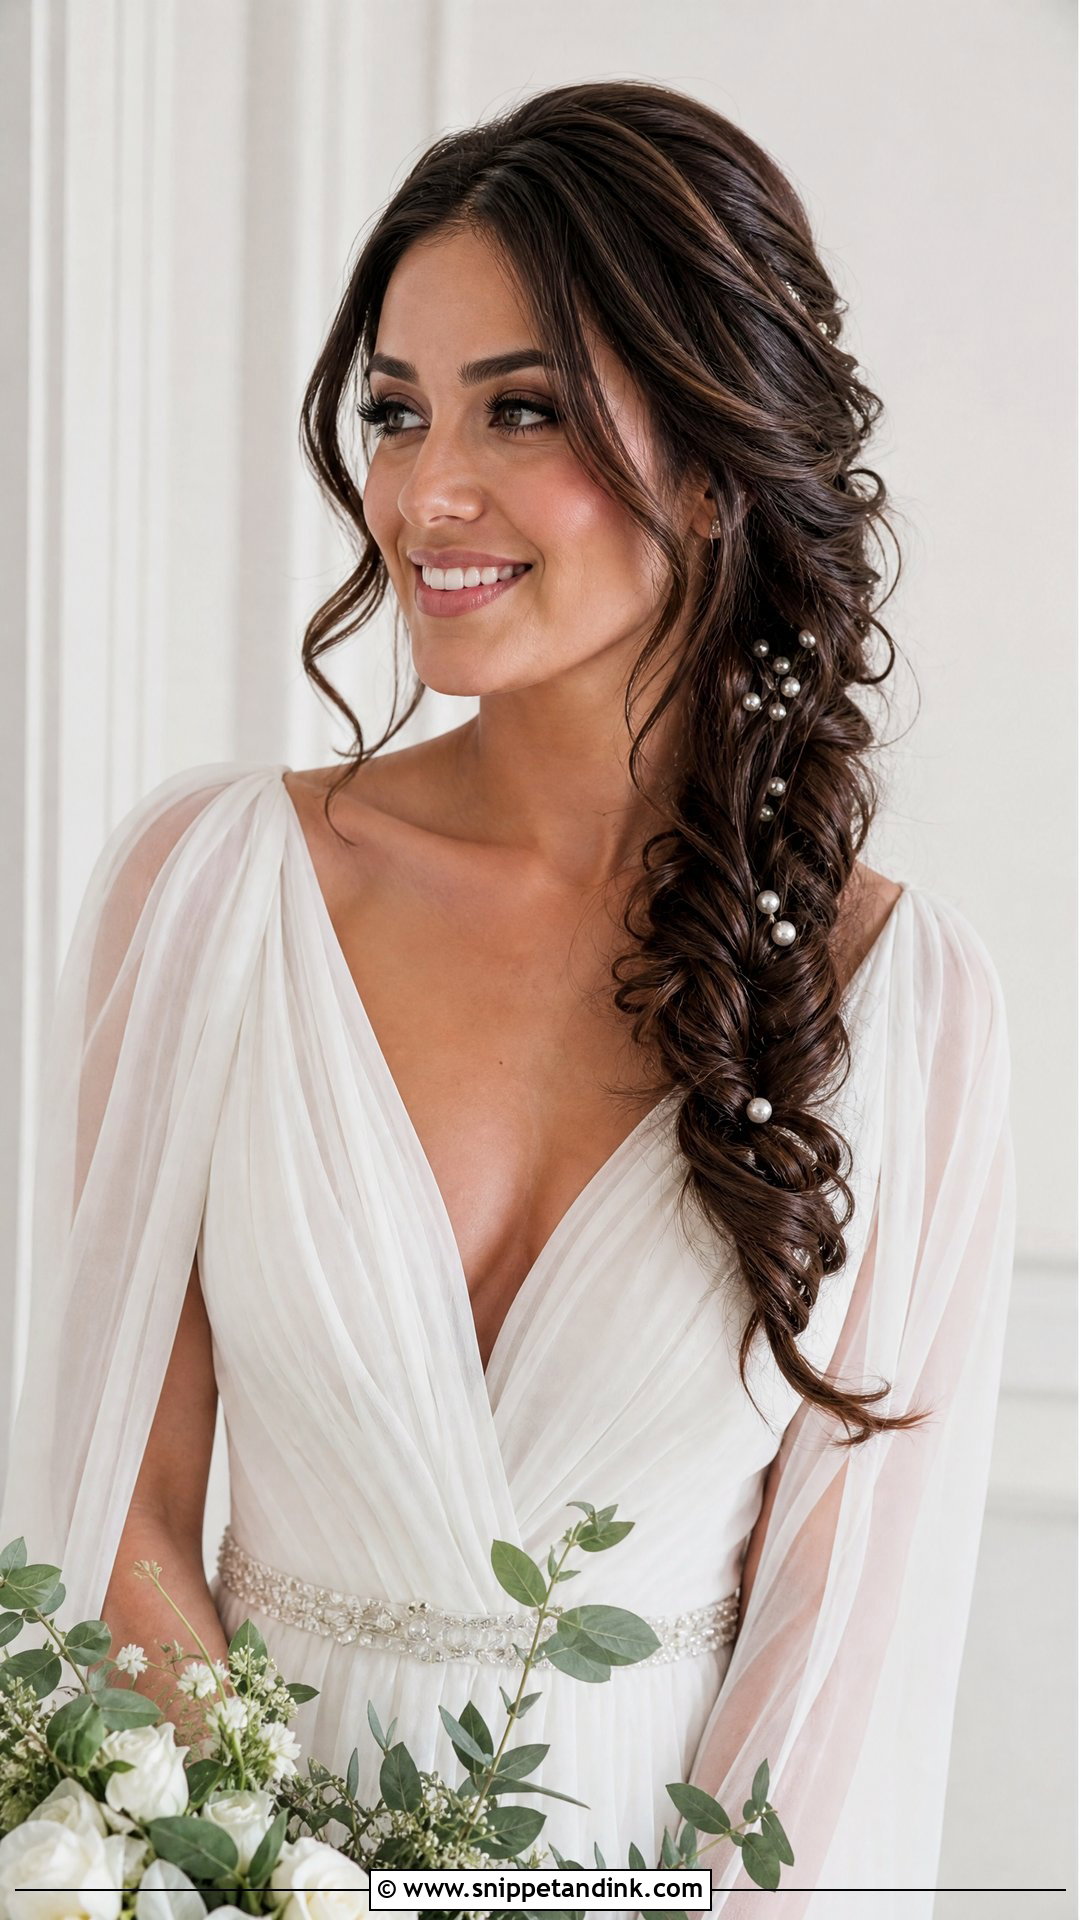
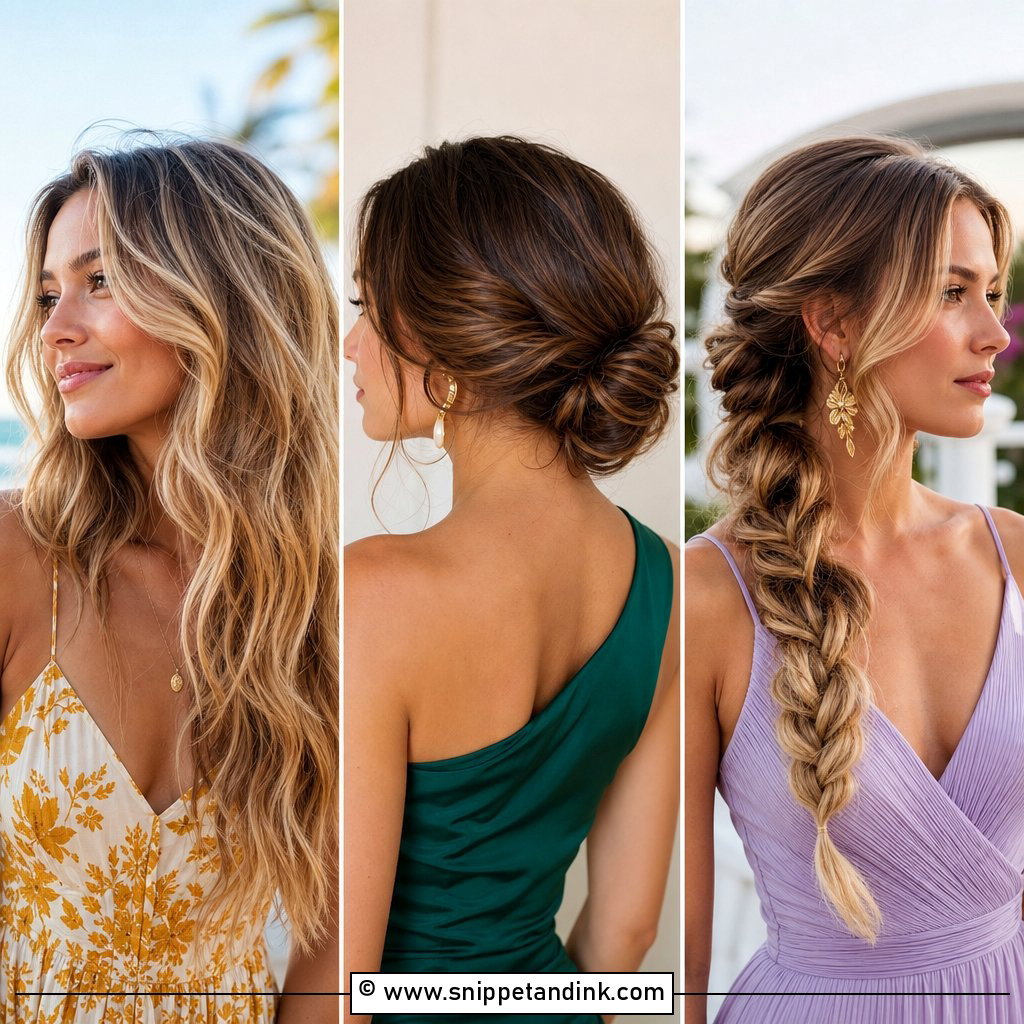
Of all fifteen, this is the one I’d recommend to a nervous first-timer, because you can see every inch of it in the mirror. It works on long, medium, layered and naturally textured hair. Sweep everything over one shoulder and braid it loosely, in three strands, fishtail or Dutch. Keep it relaxed, then pull the edges for fullness. Layers will poke out, which is fine; curl those pieces rather than fighting them. It keeps hair contained in heat, and pearl pins, tiny flowers or a ribbon make it bridal.
7. Loose Waves Wedding Hairstyle
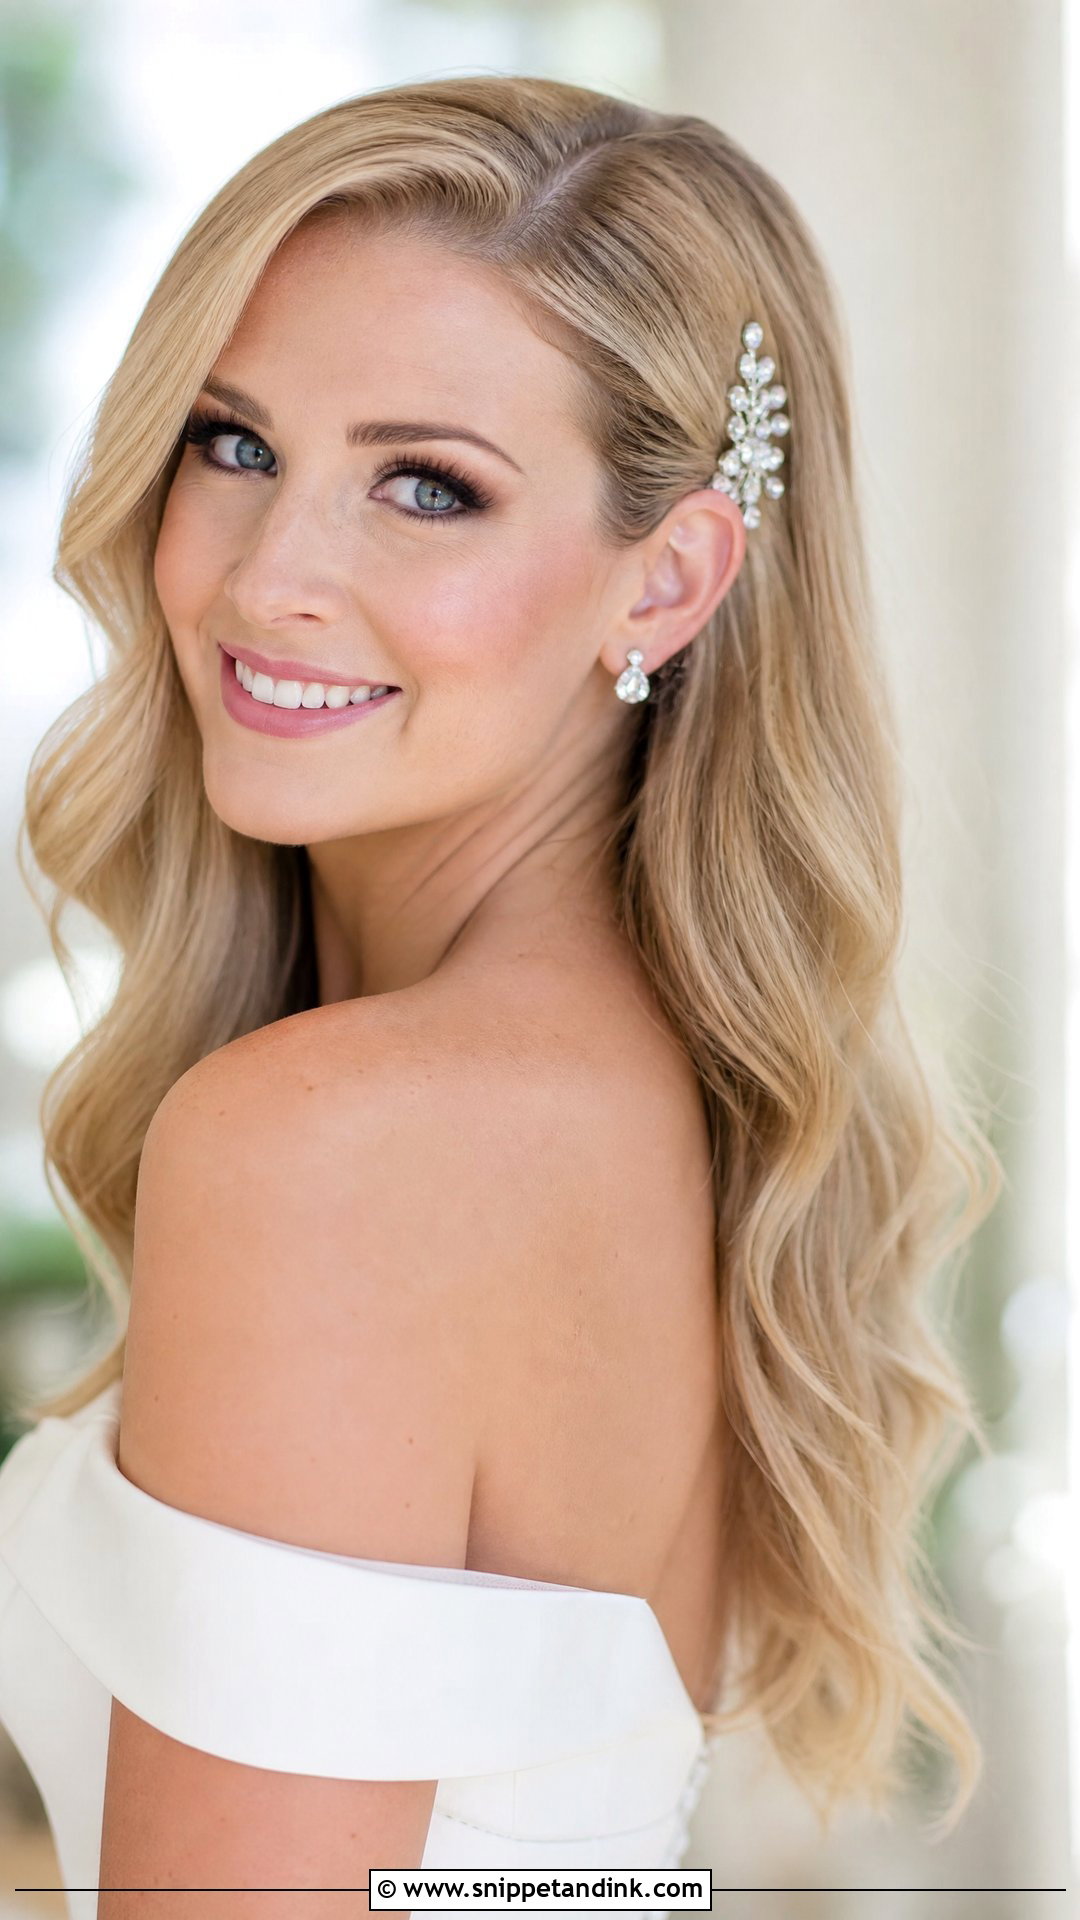
Waves on your own head are mostly about patience. I curl away from the face in medium sections and leave every curl alone until it’s fully cool, because brushing warm curls is the quickest way to lose them. Once cool, run a wide-tooth comb or your fingers through. Keep products light: heavy oils and too much spray weigh waves down within an hour. Tuck one side behind the ear for a cleaner shape, and finish with a veil, comb or crystal clip.
8. Hollywood Waves Wedding Hairstyle
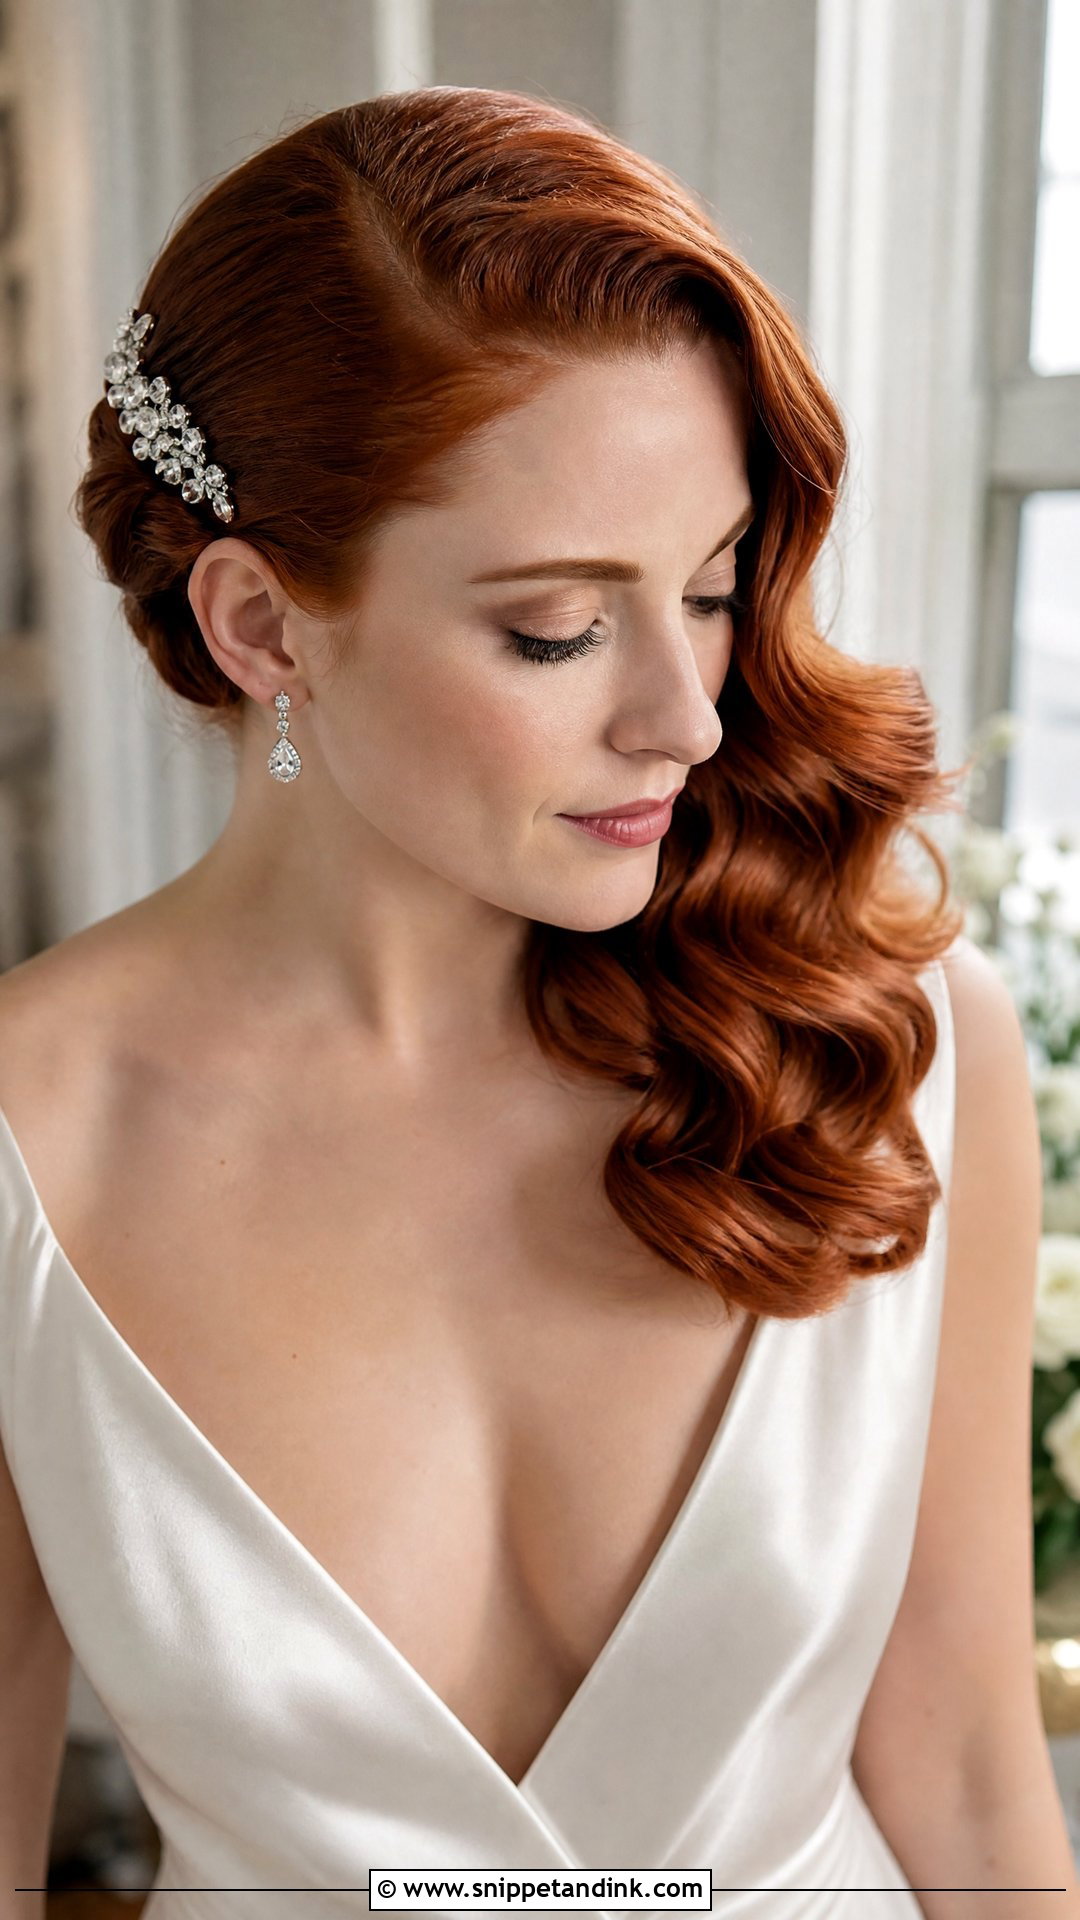
This is the most demanding style here, though you can get it right at home with practice. Every curl goes in the same direction around the head and gets clipped while it cools; that consistency is what lets the waves link up later. Remove the clips, brush until the pattern connects, then set a deep side part. A drop of serum smooths the top. If you’re new to curling irons, I’d give this three rehearsals, not two. It suits satin, vintage-leaning dresses and long earrings.
9. Twisted Half Up Wedding Hairstyle
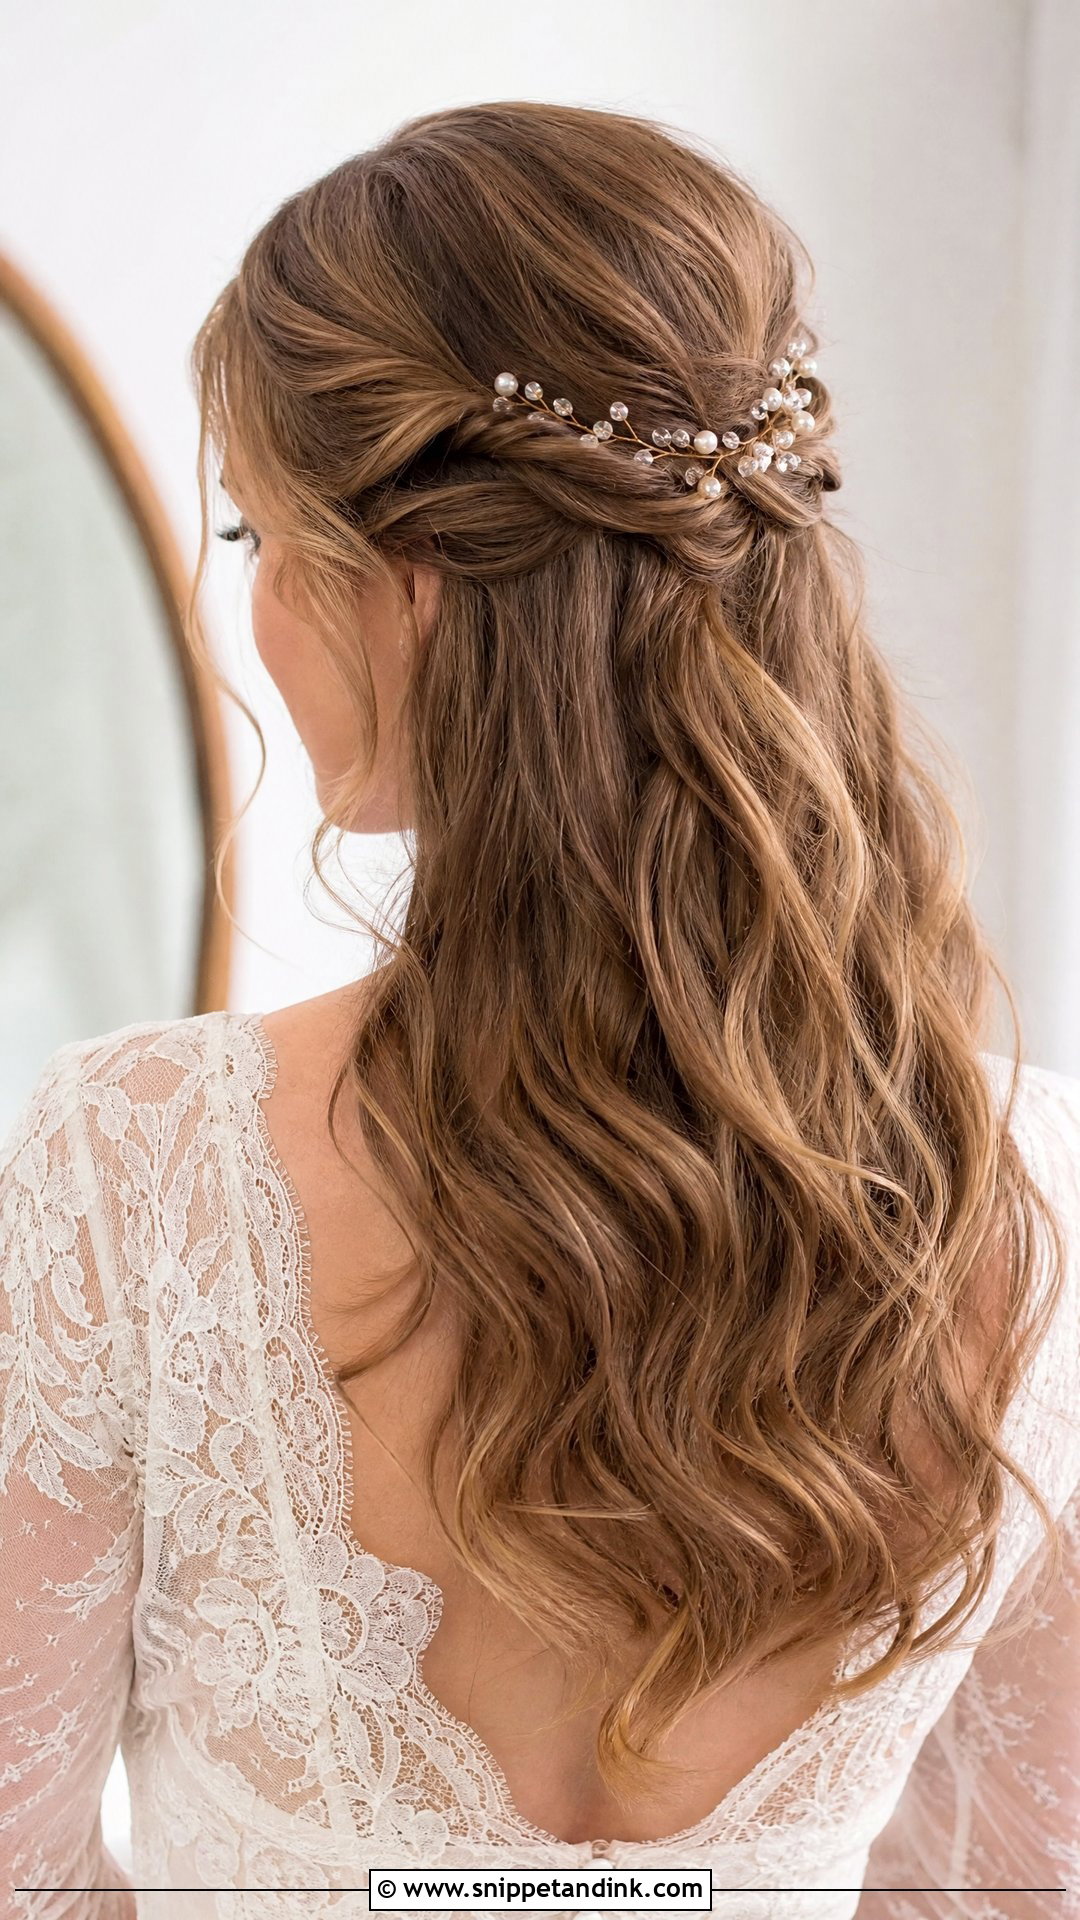
Twisting is easier than braiding, which makes this the quickest way I know to make loose curls look bridal. Curl first, then twist a small section from one side toward the back, repeat on the other and pin both together near the crown. Stack two twists per side if you want more detail. Pull gently at the crown for lift. The pinned meeting point gives a veil comb a firm spot that doesn’t hide the curls.
10. High Bun Wedding Hairstyle
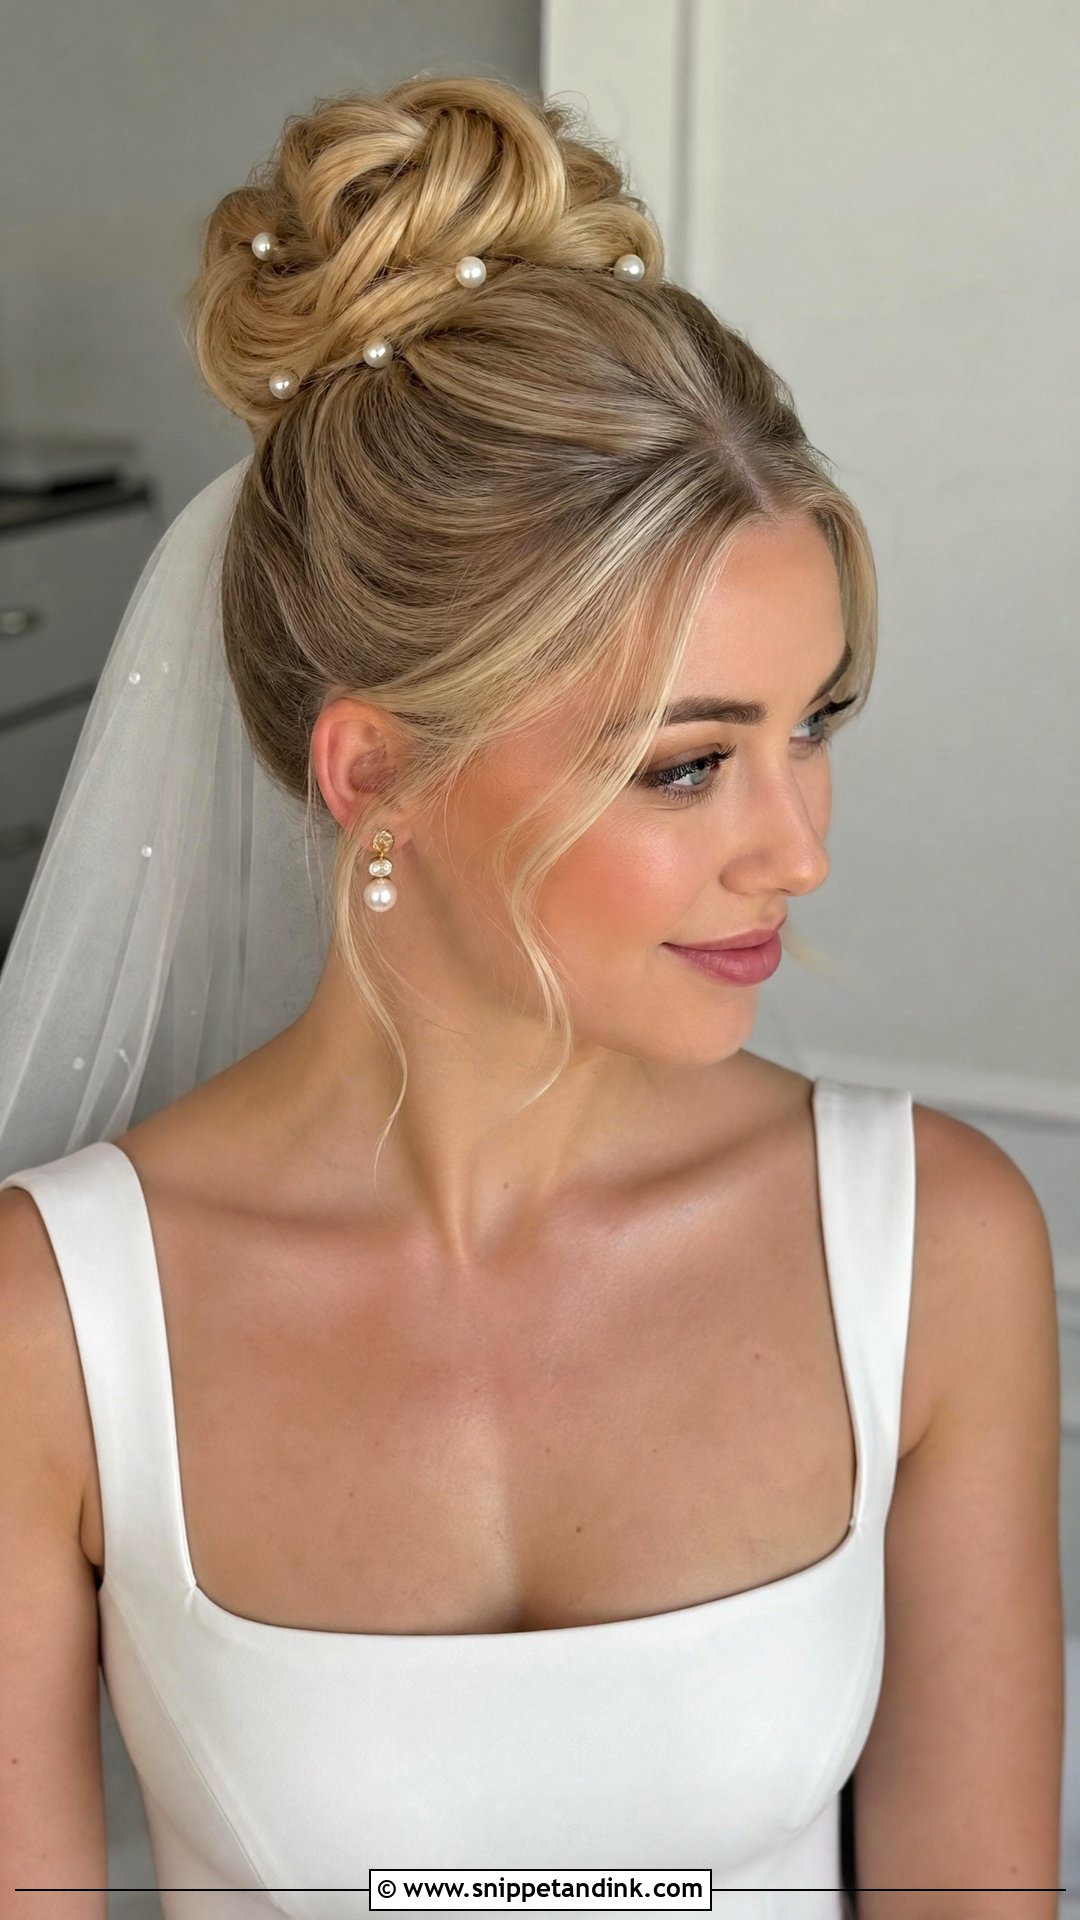
A high bun shows off the face, neckline and earrings, and keeps hair off your shoulders on a hot day. Brush into a high ponytail, twist it into a bun and pin around the base. Curl the ponytail first for a softer finish; smooth it with gel for a sleek one. Check balance from the front with a second mirror, since a bun that drifts to one side is the classic DIY tell. If the elastic feels tight at the crown, loosen it now, because it won’t feel better in six hours. A veil goes underneath.
11. Chignon Wedding Hairstyle
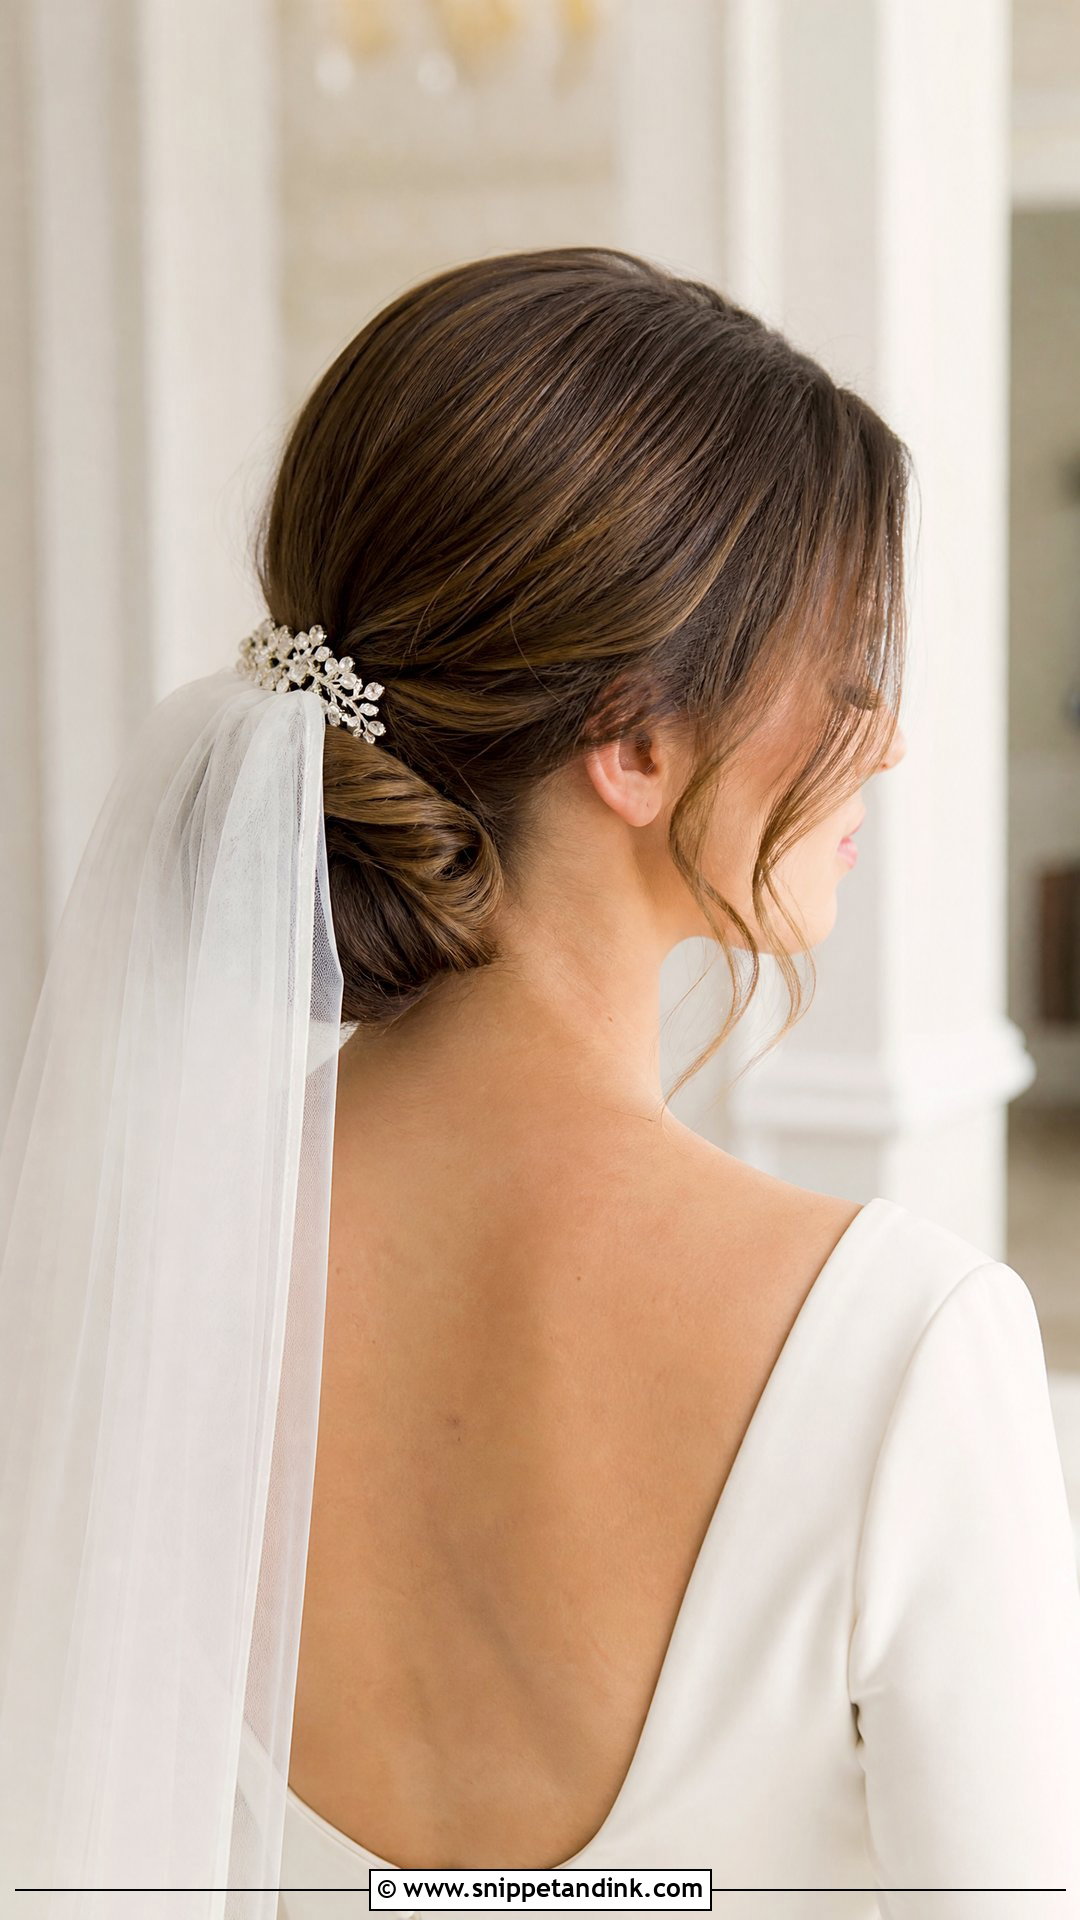
Tie a low ponytail, open a small gap above the elastic and flip the tail through to make a twist. Then roll the remaining length upward and pin it. That’s a chignon, and it’s far less fiddly than it looks. Fine hair needs help here, either texture spray or a small padding piece hidden inside the roll. It sits at the nape where a veil comb holds well, and it stays neat under almost any classic gown.
12. Fishtail Braid Wedding Hairstyle
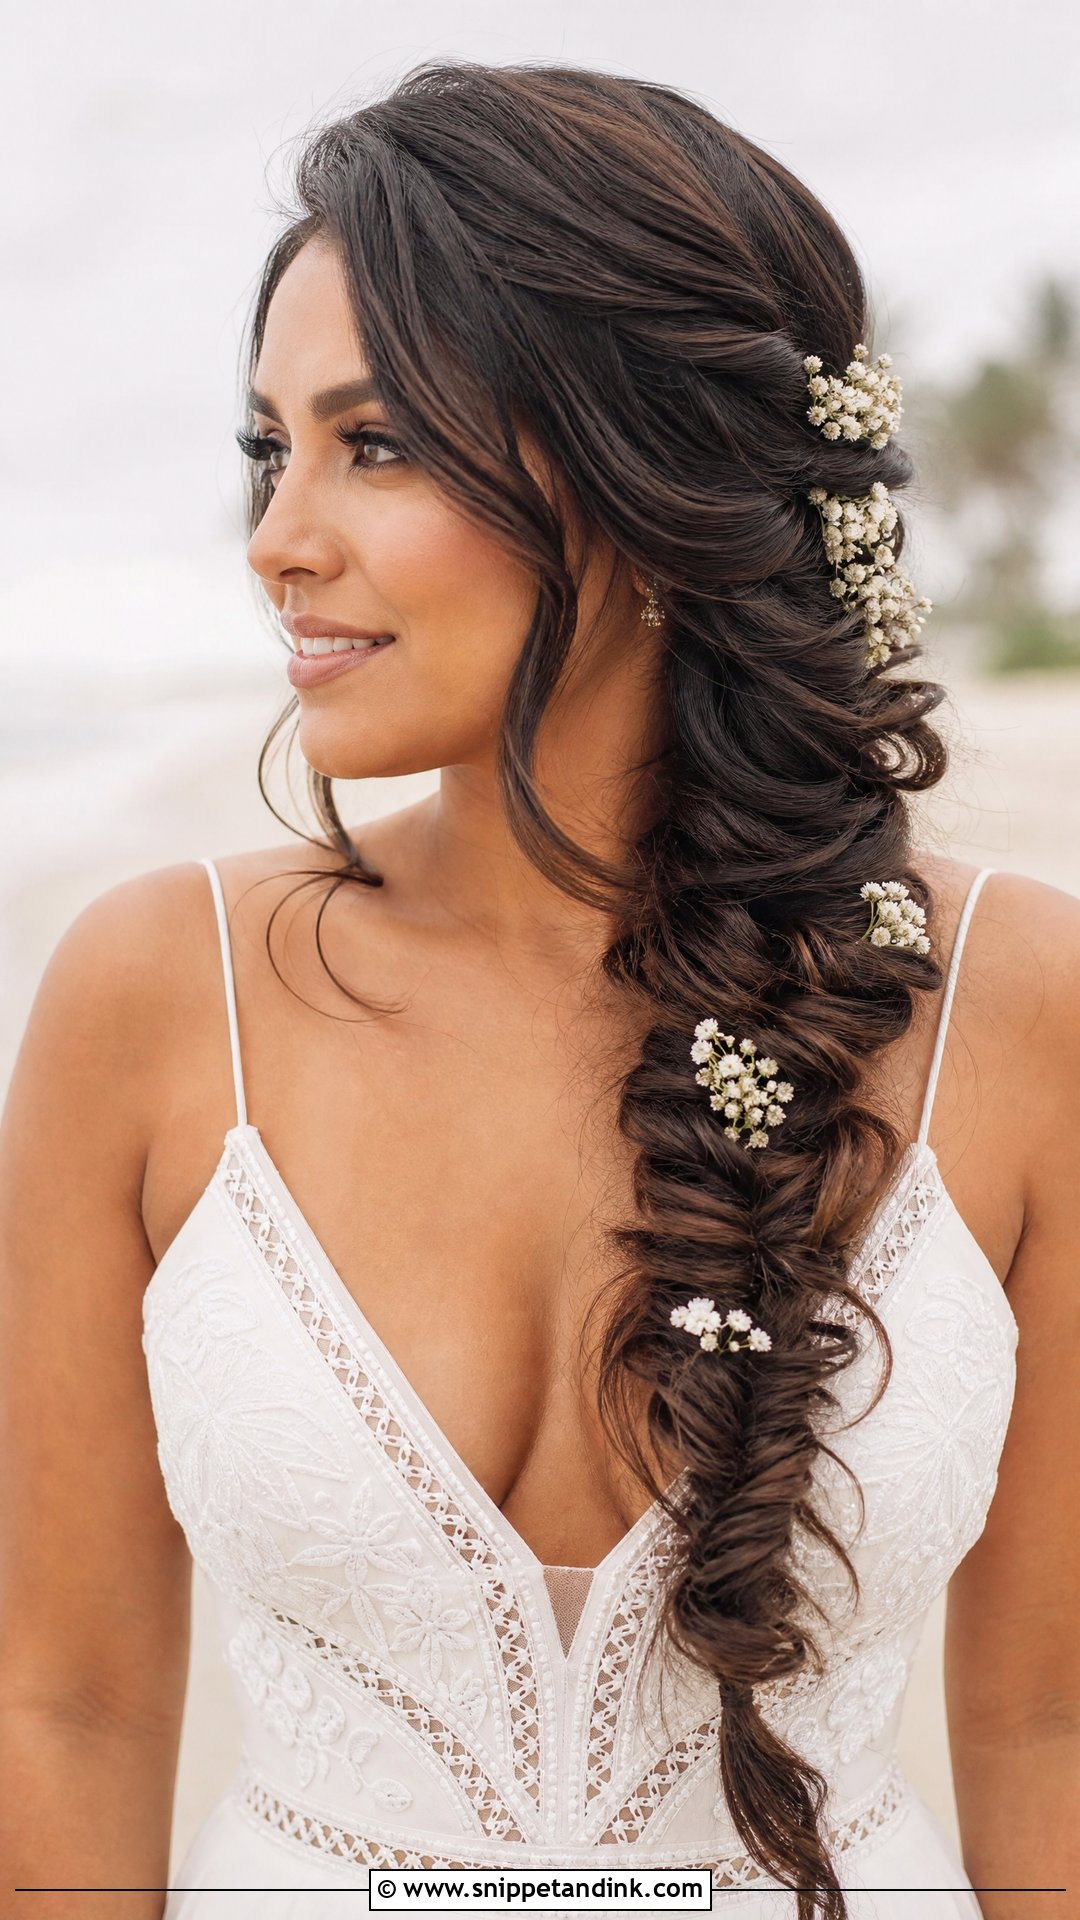
Fishtails look complicated but follow one repeating move: split the hair in two, then cross a thin piece from the outside of one half over to the other, again and again to the ends. Thinner pieces make a finer pattern and take longer. Don’t leave it tight; pull it gently wider once it’s tied. Wear it down the back or over one shoulder, curl the front pieces and add small pins or flowers along the length. Doing a fishtail down your own back is hard, which is why I suggest the over-the-shoulder version for DIY.
13. Curly Ponytail Wedding Hairstyle
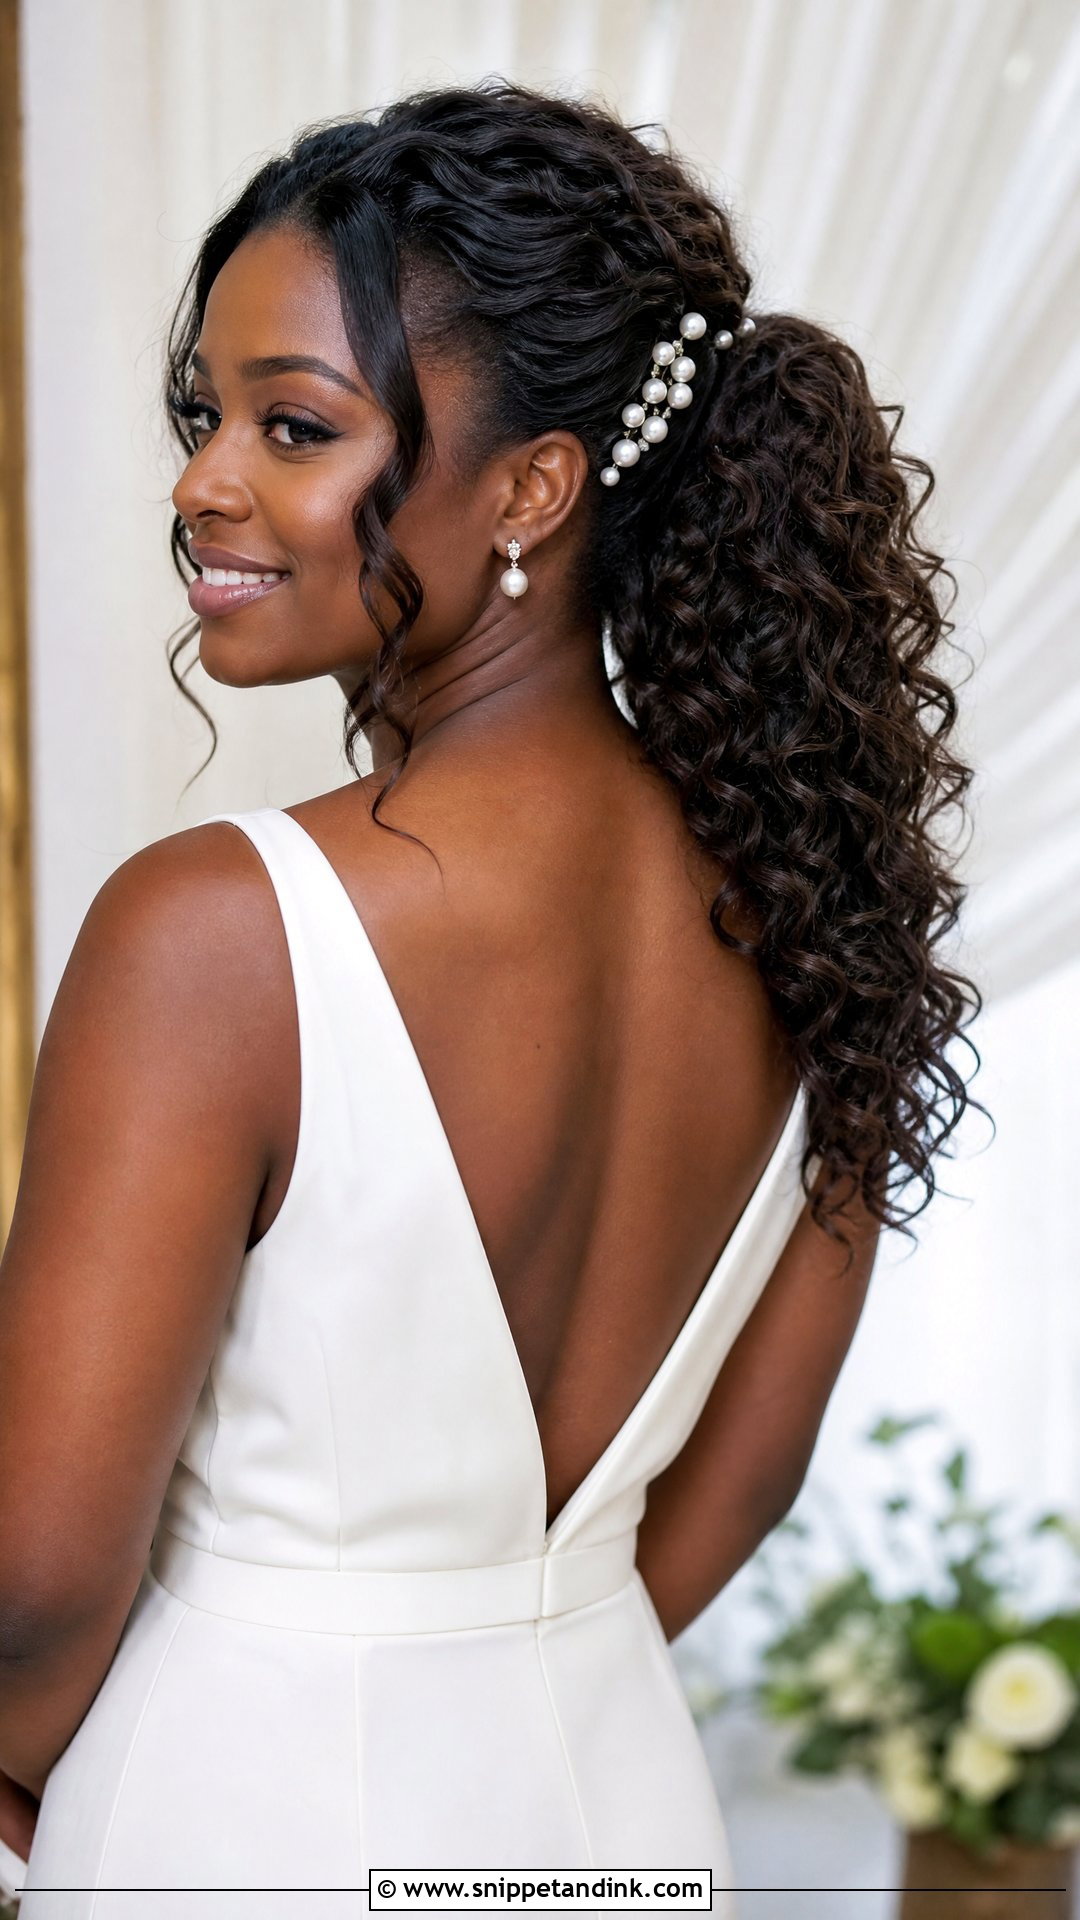
Curl all of the hair, leave a few front pieces out, then gather the rest into a mid or low ponytail. Hide the elastic with a wrapped strand and pin it underneath. A little teasing at the base adds lift. What I like about this for DIY is how easy it is to refresh: one curling iron in the bridal suite and five minutes before the reception brings the bounce back. Veils sit above the ponytail, and decorative pins can run down one side.
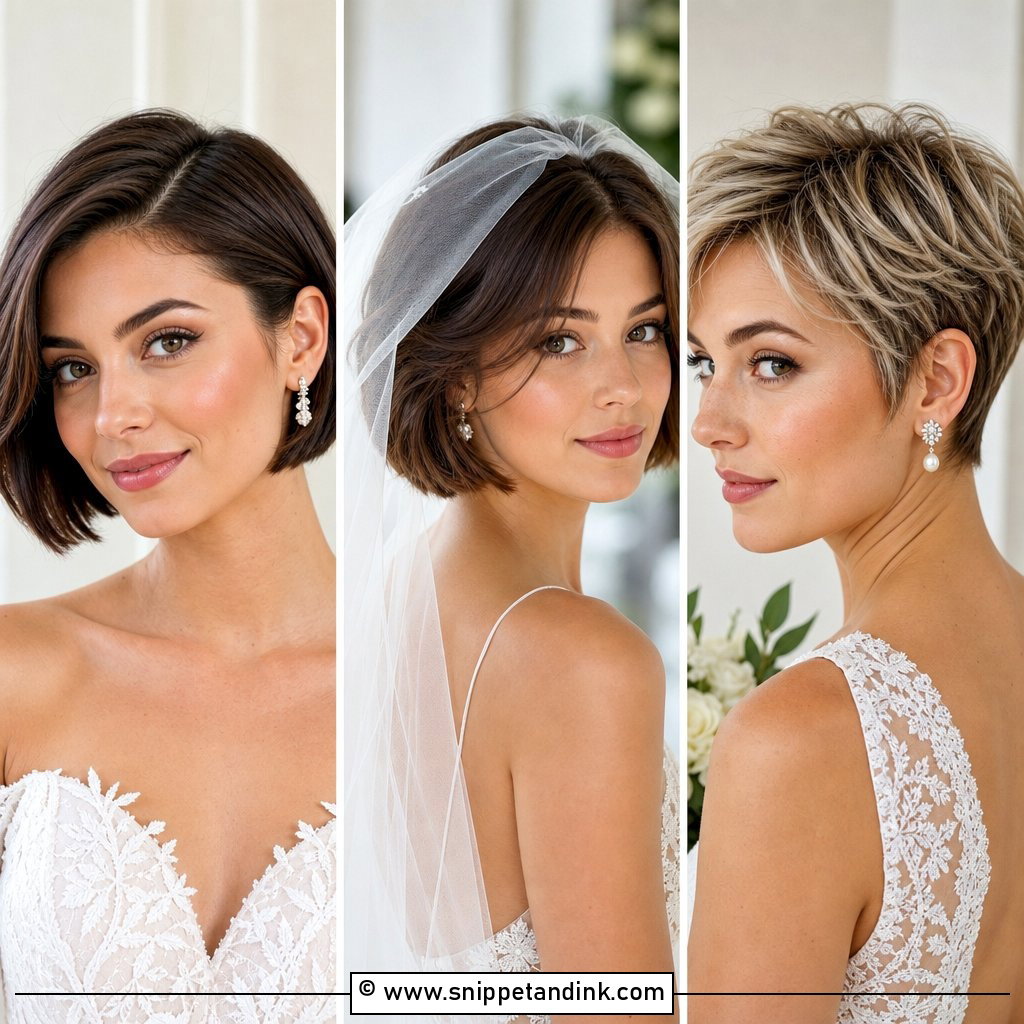
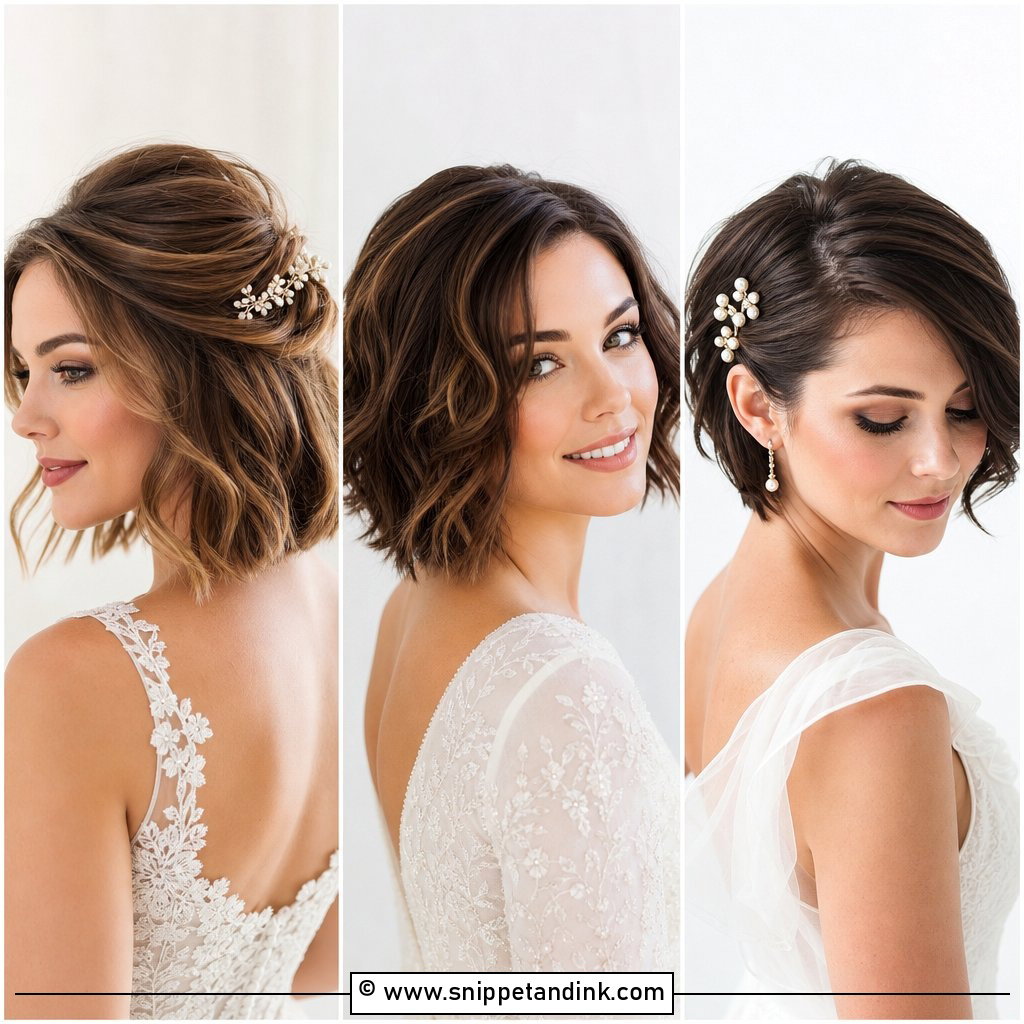
14. Short Hair Wedding Hairstyle
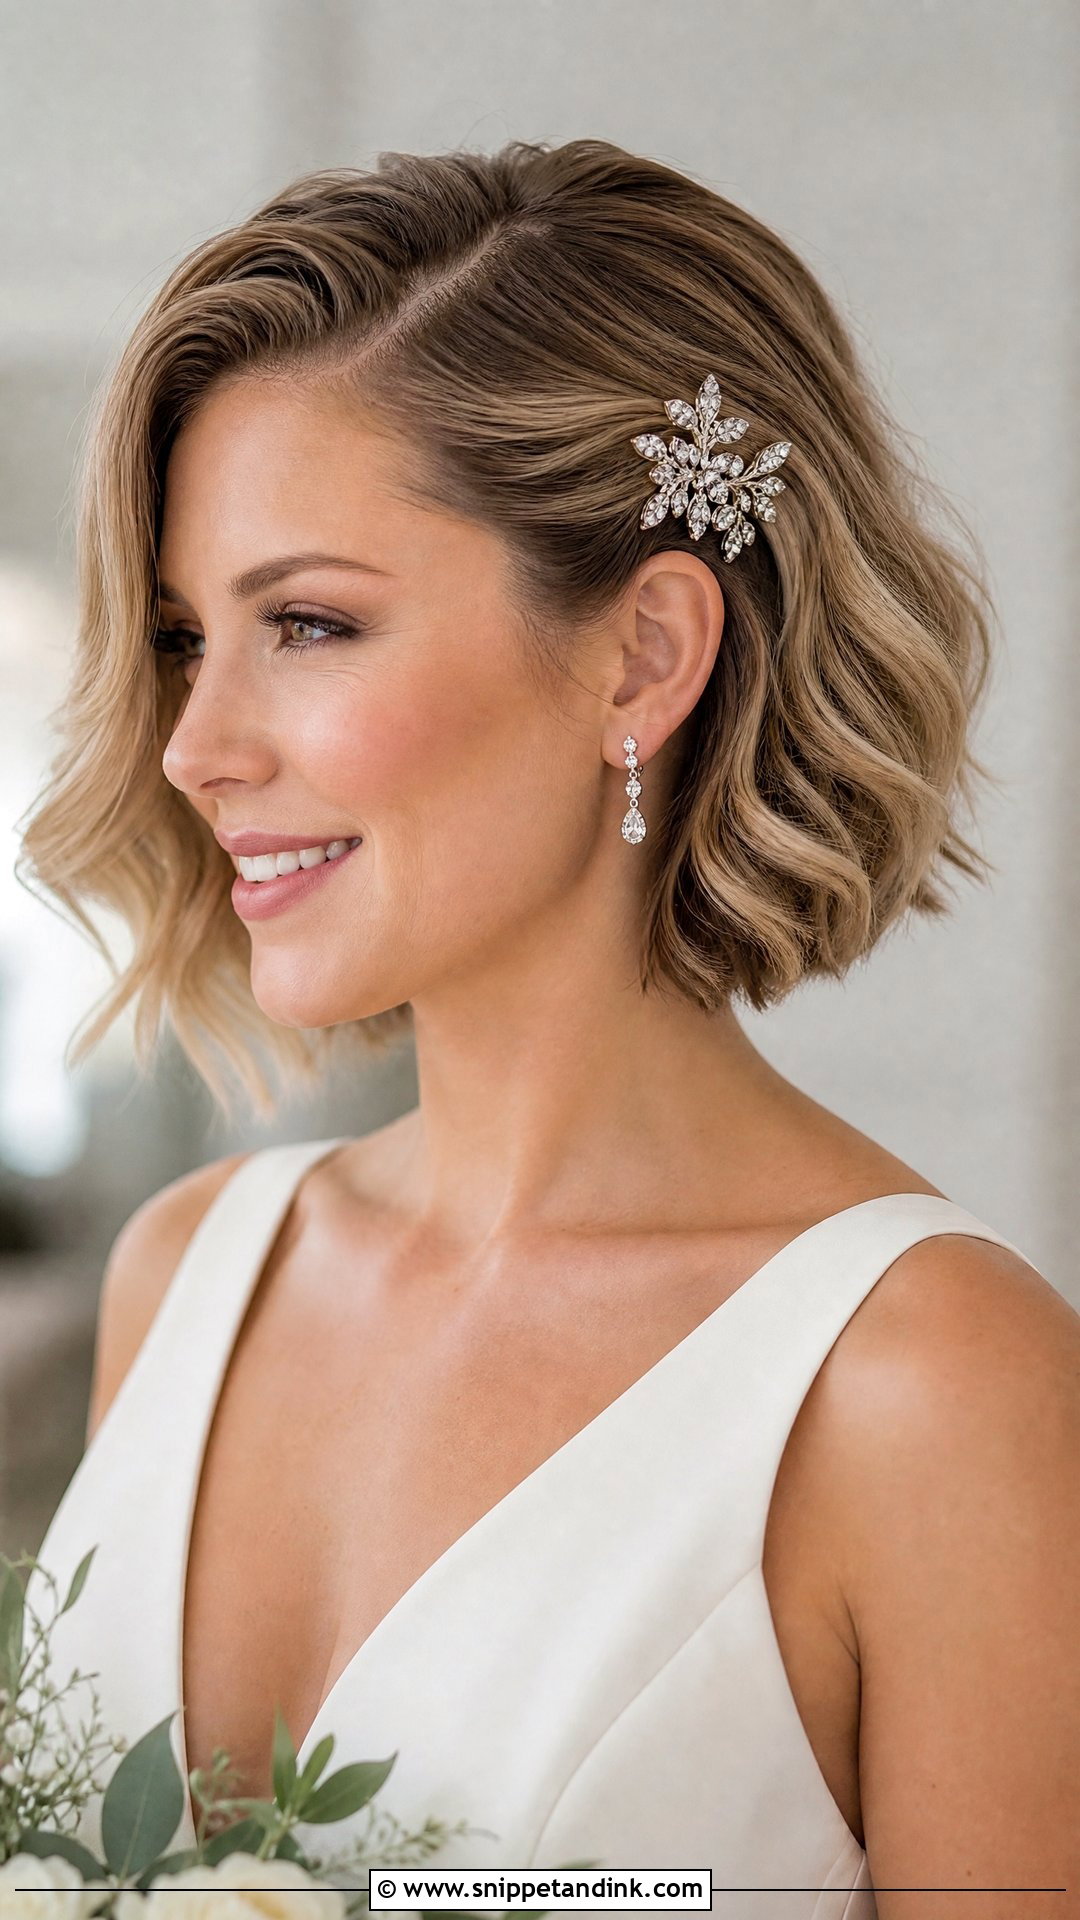
Short bridal hair depends on finish more than length. With a bob, lob or shoulder-length cut, I’d use a small-barrel iron for soft waves, then a side part or brushed-back shape, and tuck one side behind the ear with a pearl clip, crystal comb or small floral pin. Pixie cuts need texture at the crown and smooth sides. Get your cut about two weeks before, not the day before, so it has time to settle. One strong accent that matches your dress is plenty.
15. Braided Low Bun Wedding Hairstyle
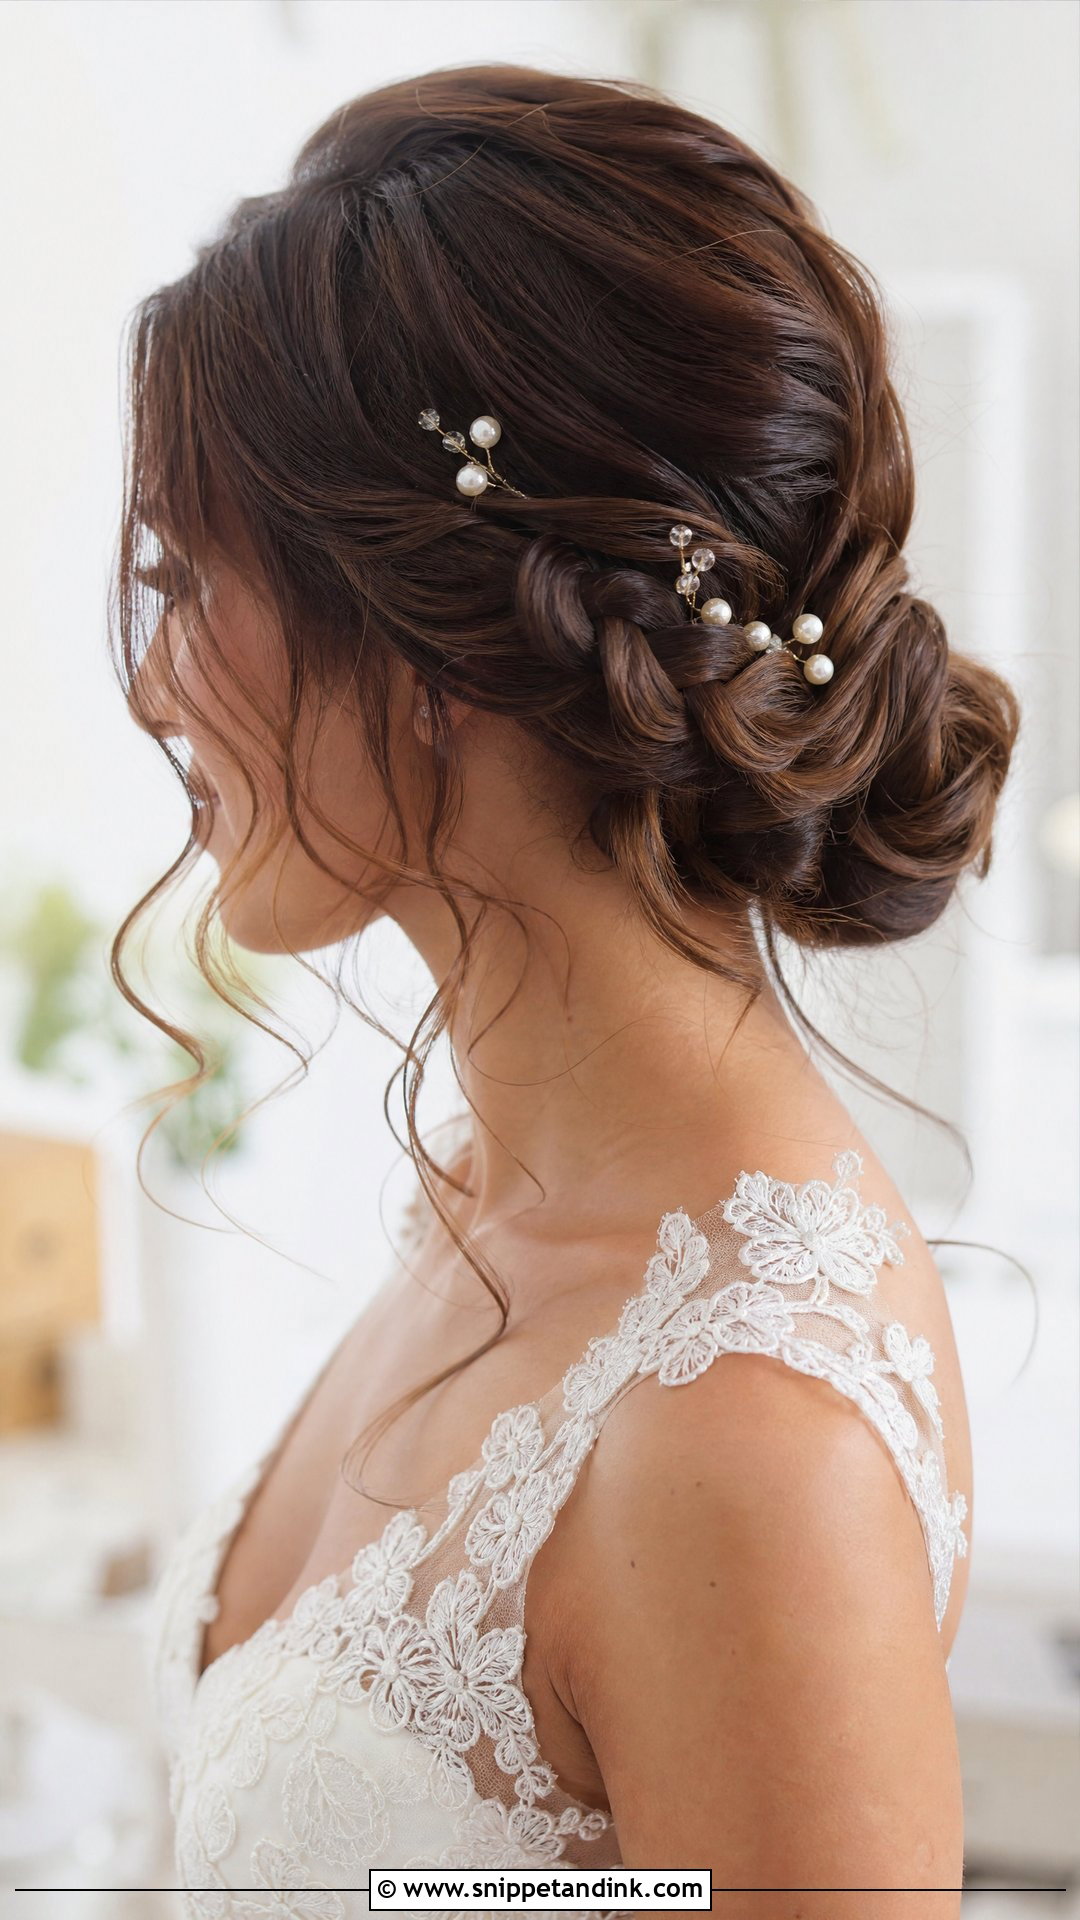
Braiding before you coil gives the bun built-in grip, so it holds better than a plain twisted bun and needs fewer pins. Braid loosely down the back or to one side, pull it wider if you want fullness, then coil it into a low bun at the nape and pin. Pin through the braid itself, not just the outside of the coil, and it won’t budge. Leave a few soft strands near the face. It sits nicely with lace and pearls.
When Something Slips at 4 p.m.
Even a well-pinned style shifts after hugs, a breezy portrait session and a few hours of dancing. These are the fixes I’d do myself in a bridal suite, and none of them need more than a mirror and two minutes.
The Bun Starts to Sag
Don’t add more pins on top. Slide two pins in from opposite sides so they cross under the bun, scooping a little hair from the base each time. Crossed pins lock; parallel ones slide out together.
Waves Have Gone Flat
Twist the front pieces around a finger, clip them flat with a duckbill clip for ten minutes while you sit for a drink, then release. You won’t get the morning curl back, but you’ll get enough shape for the evening photos.
The Veil Comb Is Loosening
Take the comb out, push it back in against the direction of the hair, then pin over its teeth with a bobby pin on each side. Taking the veil off after the ceremony is perfectly fine too, and it takes the weight off the whole style.
Hairline frizz from humidity calms with a drop of serum rubbed between your palms and pressed on, not raked through. Hand this list to whoever holds your emergency kit so they can fix things without asking.
Rehearse Twice, Then Trust Your Hands
DIY bridal hair works when the style suits the hair you actually have. Practice your favorite at least twice, photograph it from the front, side and back, and wear it for a few hours to see how it holds. Use light products and strong pins, and keep a small kit with hairspray, bobby pins, a comb and spare elastics. Loose waves, a chignon, a braided bun or half up, it matters less which one you pick than how calm you feel doing it. If your hands know the steps by the morning, I’d trust them.
You'll Like These Ideas:


Leave a Reply