
Natural hair on a wedding day doesn’t need disguising. It needs a plan. For Black women that plan might be soft coils, a sculpted afro, locs pinned into a crown, or a wash and go that has already been tested on a real trial day. When a client sits down with me, I look less at the photo she brought and more at her texture’s habits: how much it shrinks, how it reacts to damp air, how long a set holds before it puffs. The fifteen styles below suit brides, bridesmaids, mothers and guests, and for each one I’ve added what I would actually check before committing to it.
Shrinkage, Wash Days and When to Set Your Style
Most of what goes right with natural wedding hair happens in the week before. I plan backward from the ceremony time: the last wash and deep condition two or three days out, so the hair has settled and the scalp isn’t freshly irritated, then the set itself (twists, braids, bantu knots or a banded stretch) the night before.
Shrinkage is the thing to plan around. Coily hair can draw up to a fraction of its stretched length once it meets water or humid air, which is wonderful for a puff and frustrating for a braid out you wanted resting on your shoulders. If length matters to you in the photos, choose a stretched set and ask your stylist about low heat, rather than reaching for a flat iron on the morning. Hair that has never been pressed is the hair most likely to be damaged by a rushed press.
A countdown I give my natural hair brides
- Four to six weeks out: trim the ends so coils clump together instead of splitting apart.
- One to two weeks out: a full trial with the exact products, then wear it for the rest of that day.
- Two to three days out: wash, deep condition and seal with your usual butter or cream.
- The night before: set the style and sleep in a satin bonnet or on a satin pillowcase.
- The morning: unravel and shape only once makeup is underway, so the set gets the longest possible drying time.
1. Natural Hair Bridal Updo
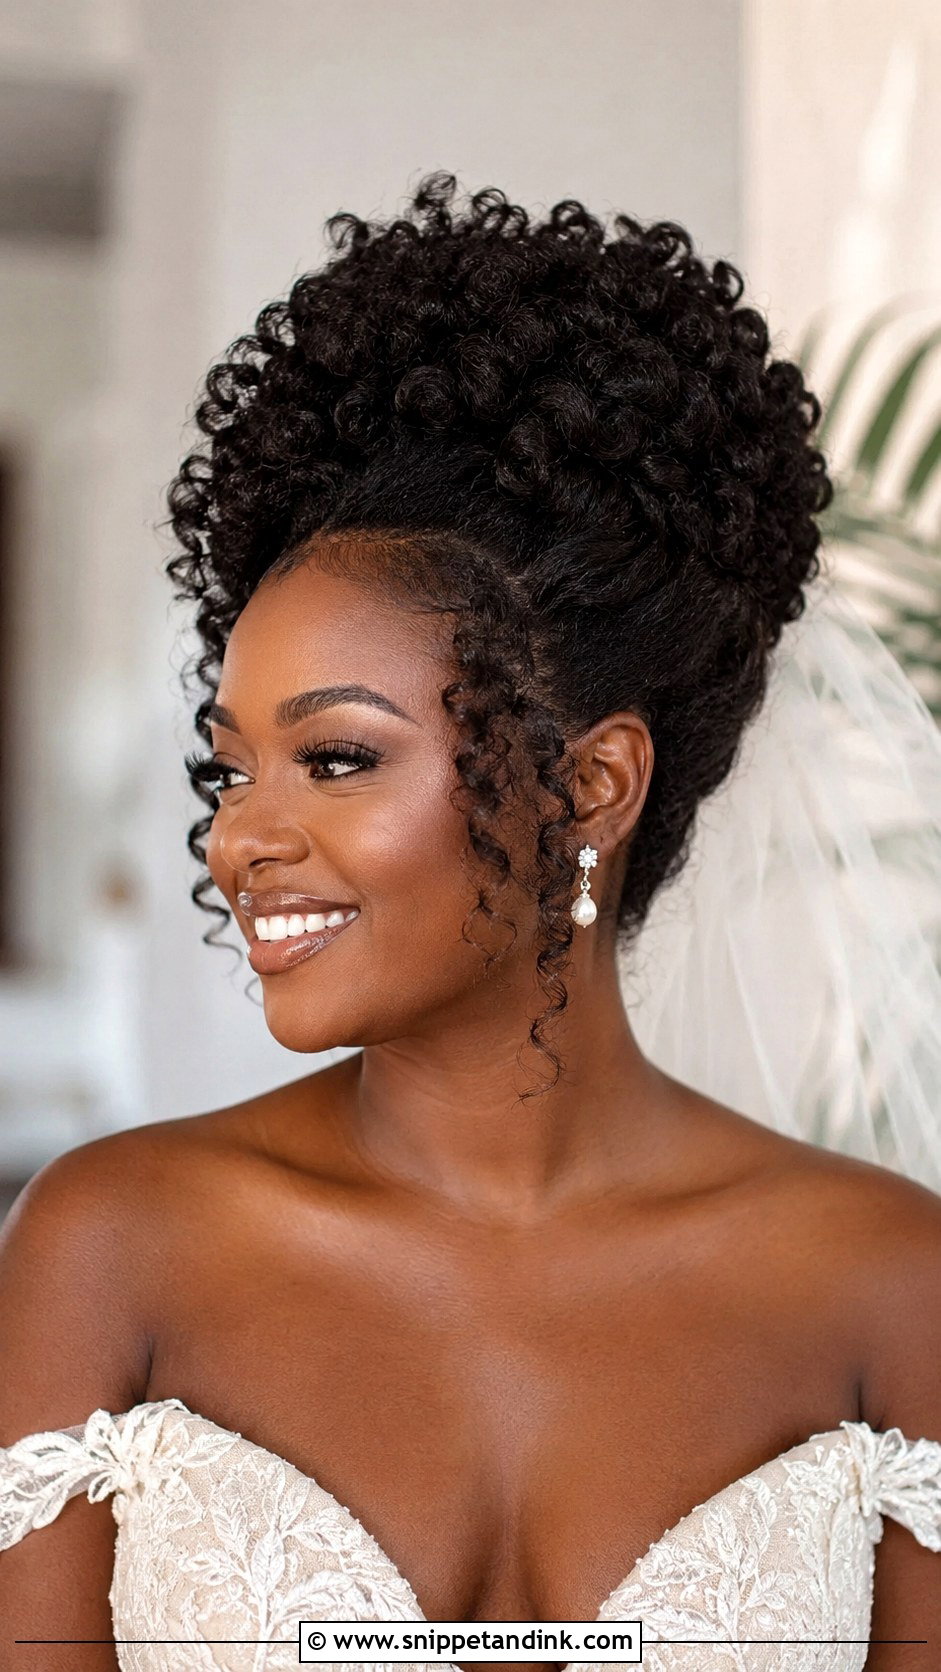
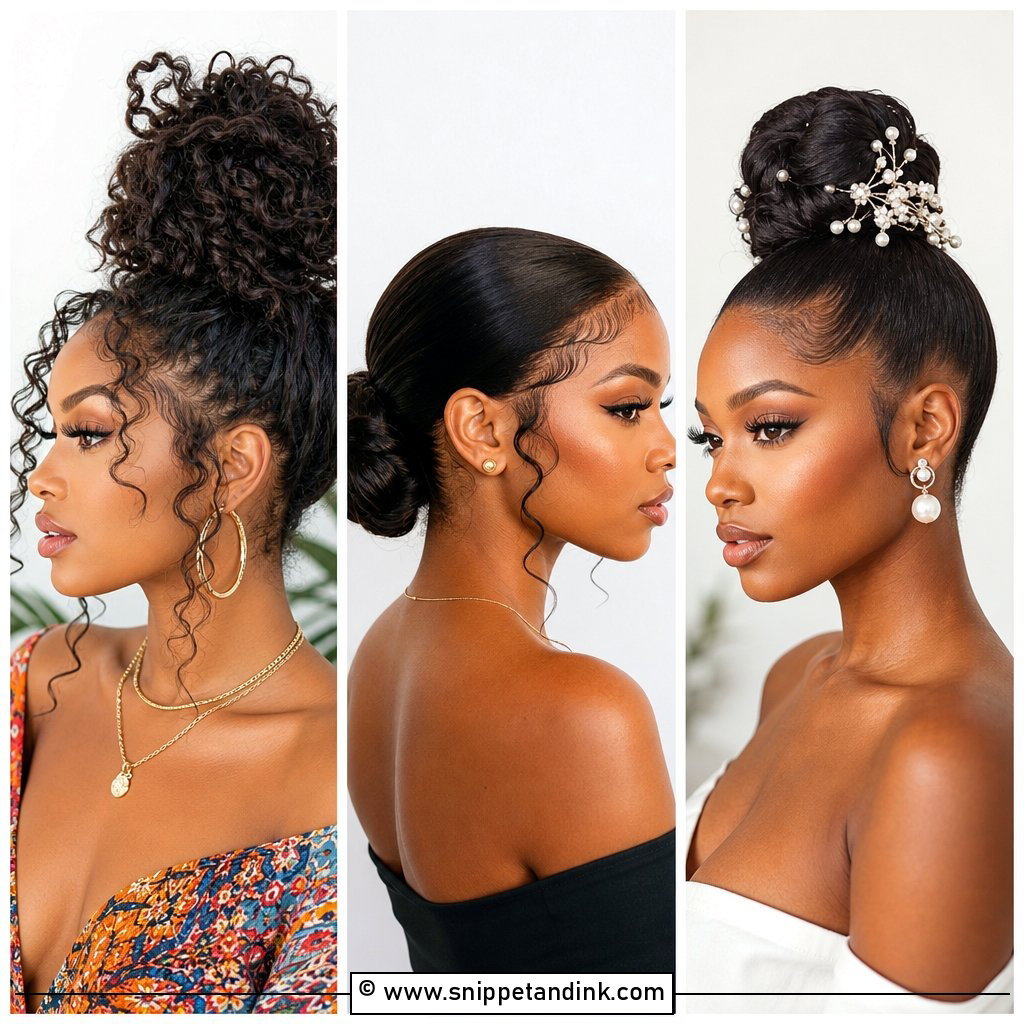
Gathering coils upward is the most forgiving way to get a formal shape, because shrinkage works in your favour here: the hair packs into itself and holds. I stretch the hair first with a low-heat blow-dry or a banded set the night before, then build the crown over a few large flat twists that act as an anchor for the pins. That anchor matters more than any product. Pull too hard at the nape to get the sides smooth and you’ll feel it by the reception, so I leave the hairline soft and let a few curls fall at the temples. Strapless and high-neck gowns both suit it, since the neck stays clear.
2. Natural Hair Low Bun Wedding
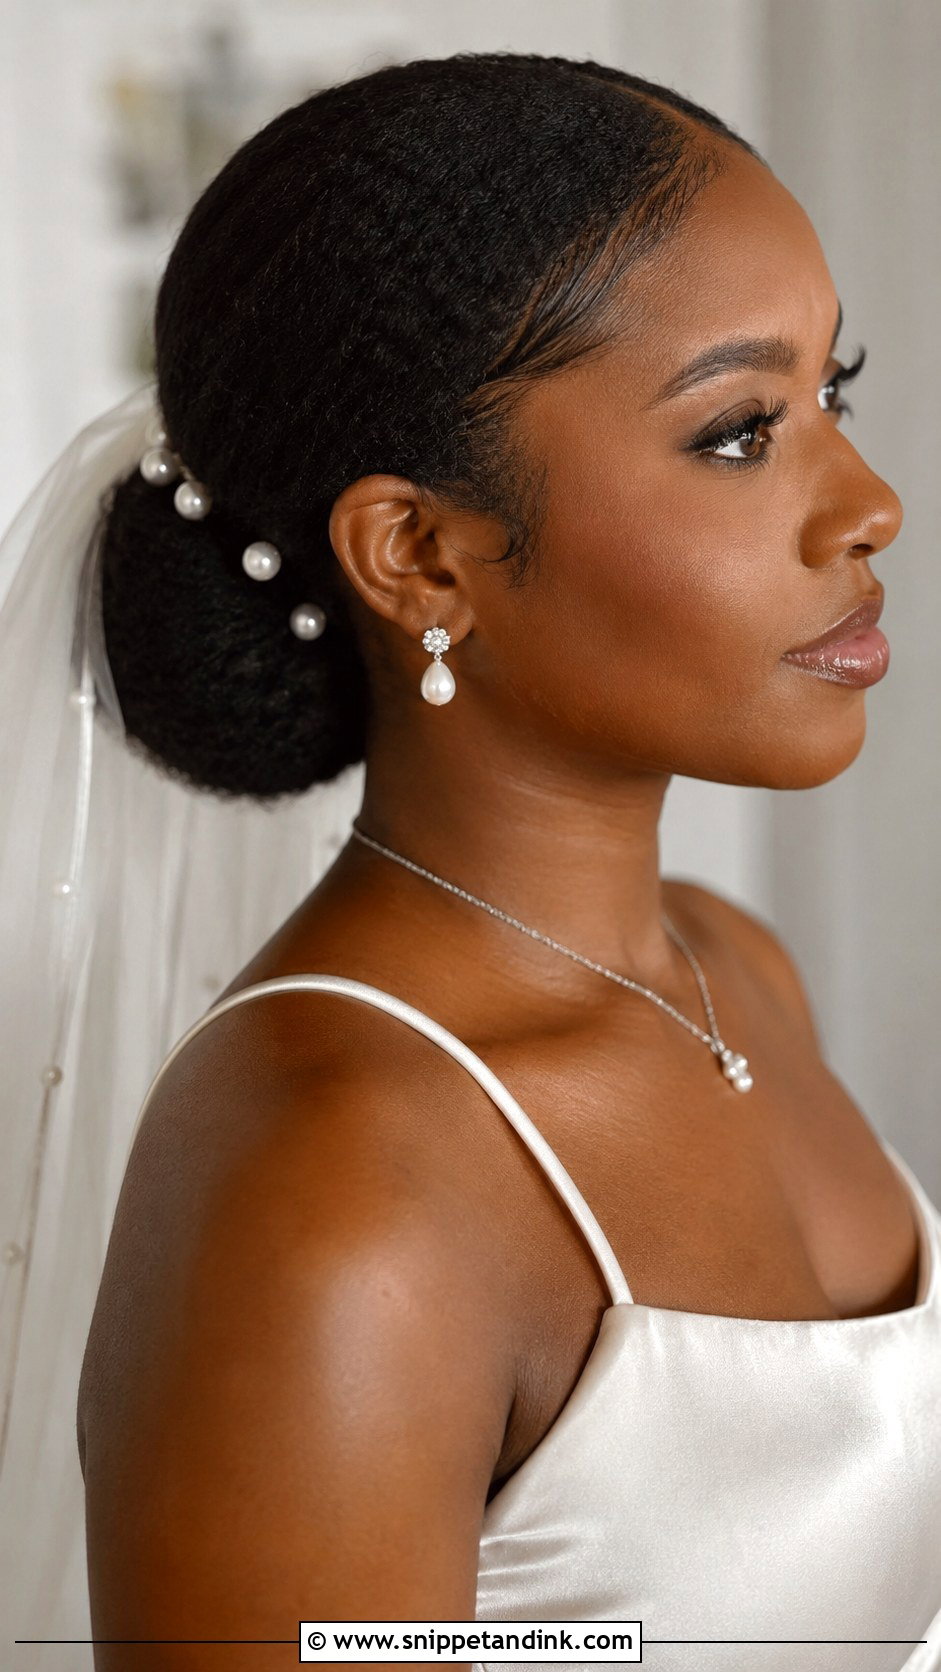
A bun at the nape is what I suggest when a client plans to wear a long veil, because the comb slides in just above it and has something solid to grip. Stretched hair gives the smoothest round shape. Twists gathered together give a bun with visible pattern, which I often prefer in photos. Where most low buns go wrong is the edges: heavy gel laid down at seven in the morning can flake or turn white by the first dance, so I use a light hold and tie a silk scarf over them while makeup is done. A sprig of baby’s breath or a single pearl comb is plenty.
3. Natural Hair High Puff Wedding
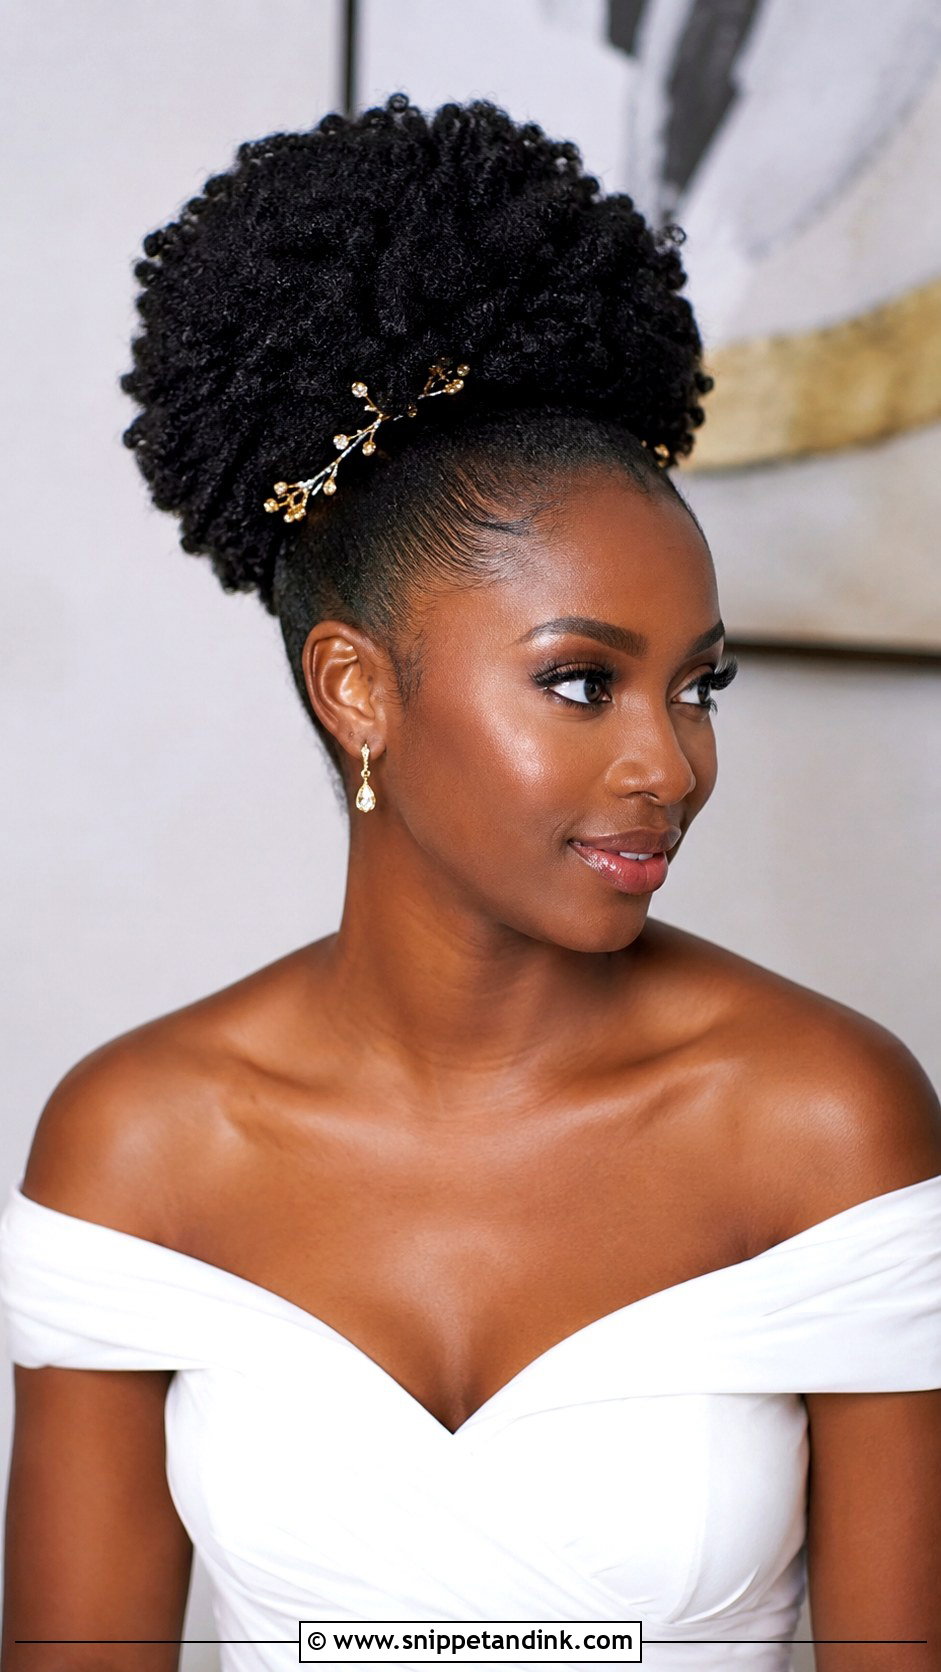
The puff is the style I see brides talk themselves out of, and they shouldn’t. It gives height and a crown in one shape, and it suits anyone who wears her curls big on an ordinary Saturday. What I watch is the band. A tight elastic at the crown for twelve hours puts real tension on the hairline, so I use a stretchy fabric band or a soft cord drawstring and smooth the base with a light gel rather than wrenching it flat. Off-shoulder and halter necklines keep the silhouette clean. A small tiara pressed into the front of the puff stays put better than pins, which can vanish into dense coils.
4. Natural Afro Wedding Hairstyle
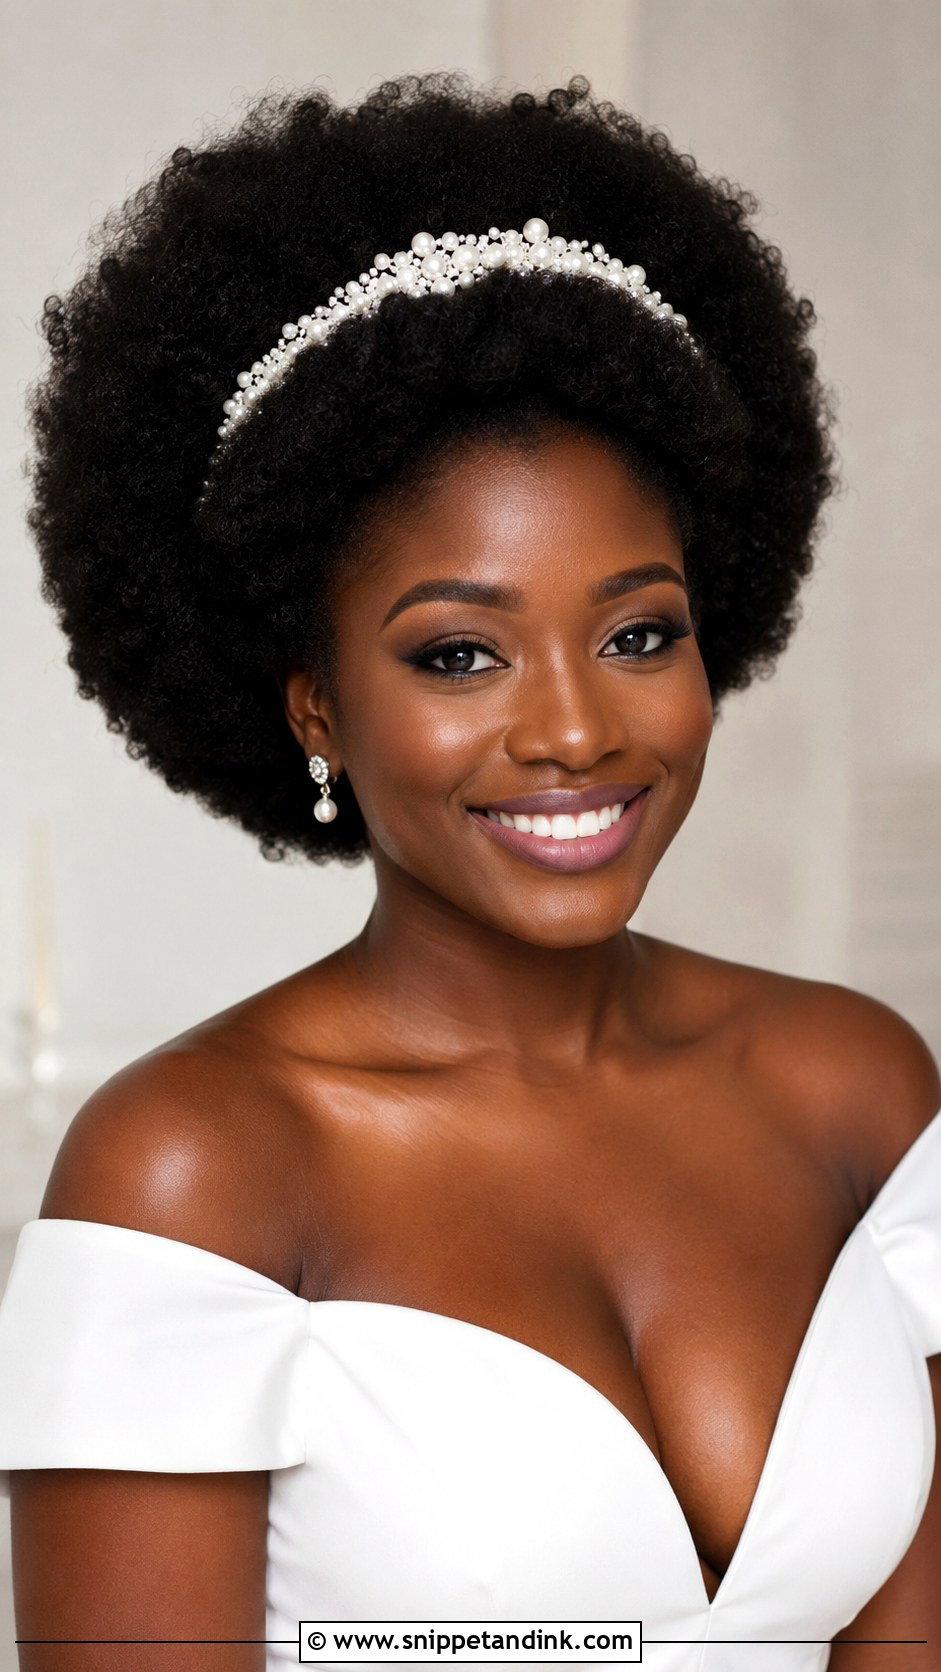
An afro is the most honest bridal style on this list, and the one where shape decides everything. I pick it out in sections, check it from the side in a hand mirror, and trim any strands that break the outline, because a lopsided curve shows immediately in profile photos. A rounded shape suits most faces; a tapered afro, shorter at the sides, keeps a narrow face from looking swallowed. Hydration in the week before decides how soft it looks. Dry coils pick out frizzy and dull, so I’d deep condition on the last wash day and seal with a butter. A veil comb tucked underneath the crown, rather than on top, protects the shape.
5. Twist Out Wedding Hairstyle
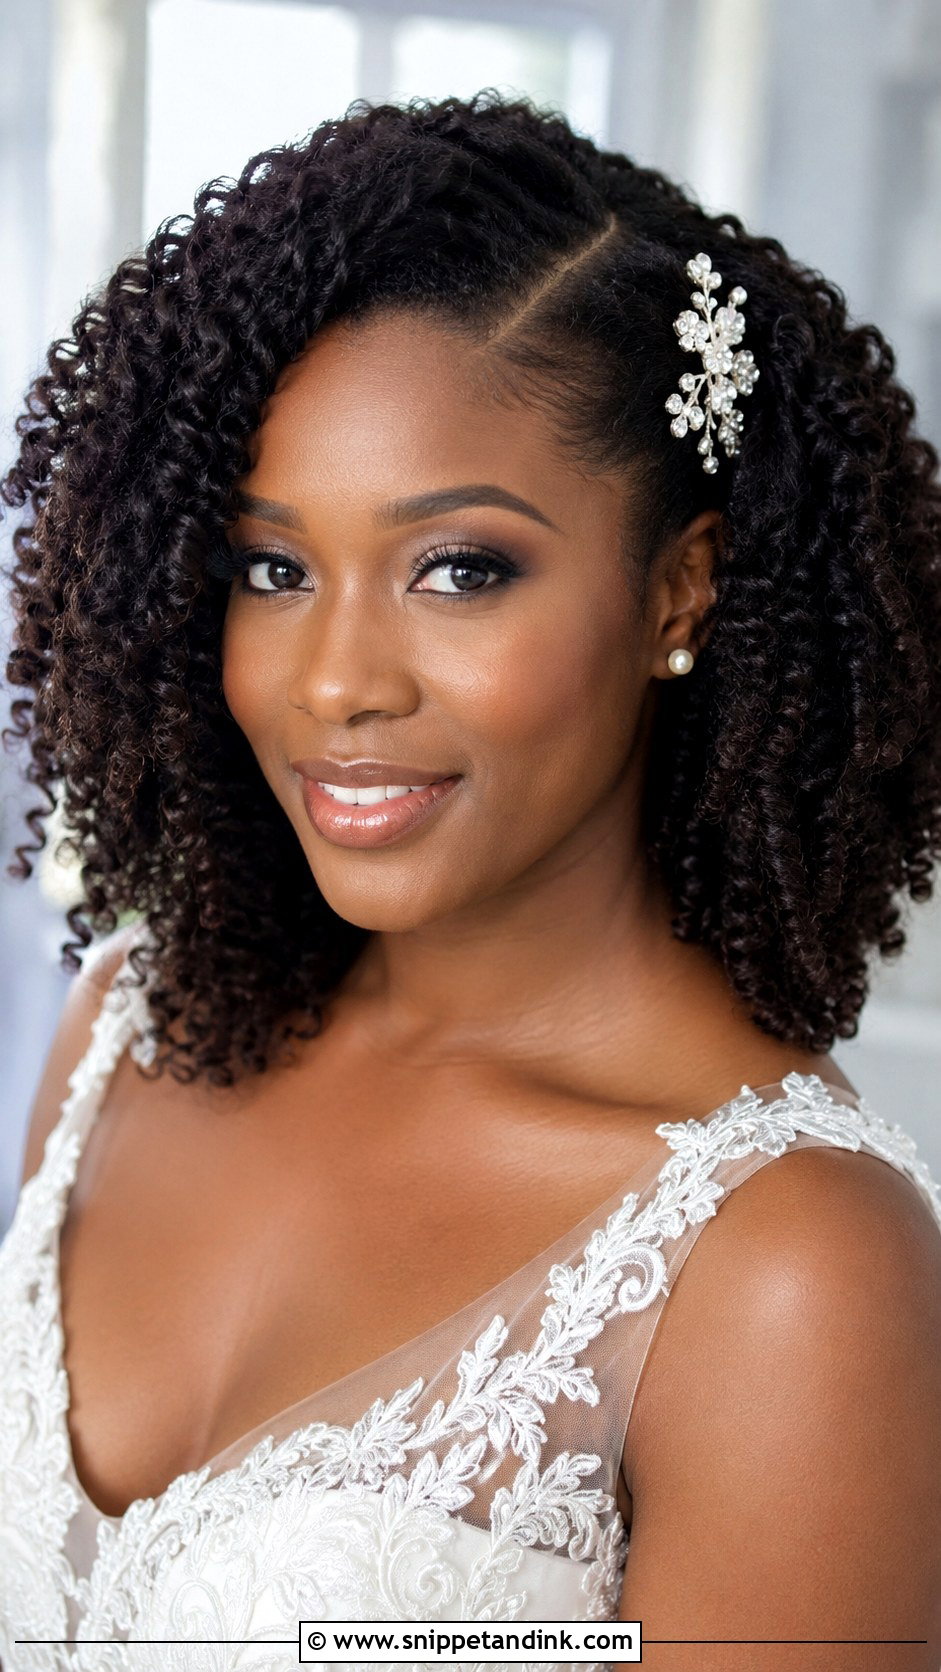
Twist outs live or die by the set. I twist the night before on damp hair with a cream and a light gel, and the hair has to dry completely; a twist still damp at its core frizzes the moment it’s opened. Separating is the next risk. With a little oil on my fingertips I unravel each twist and split it once, maybe twice, because over-separating turns definition into fluff. Worn loose or lifted at the crown, it gives movement without any heat, and a jeweled side comb finishes it.
6. Braid Out Wedding Hairstyle
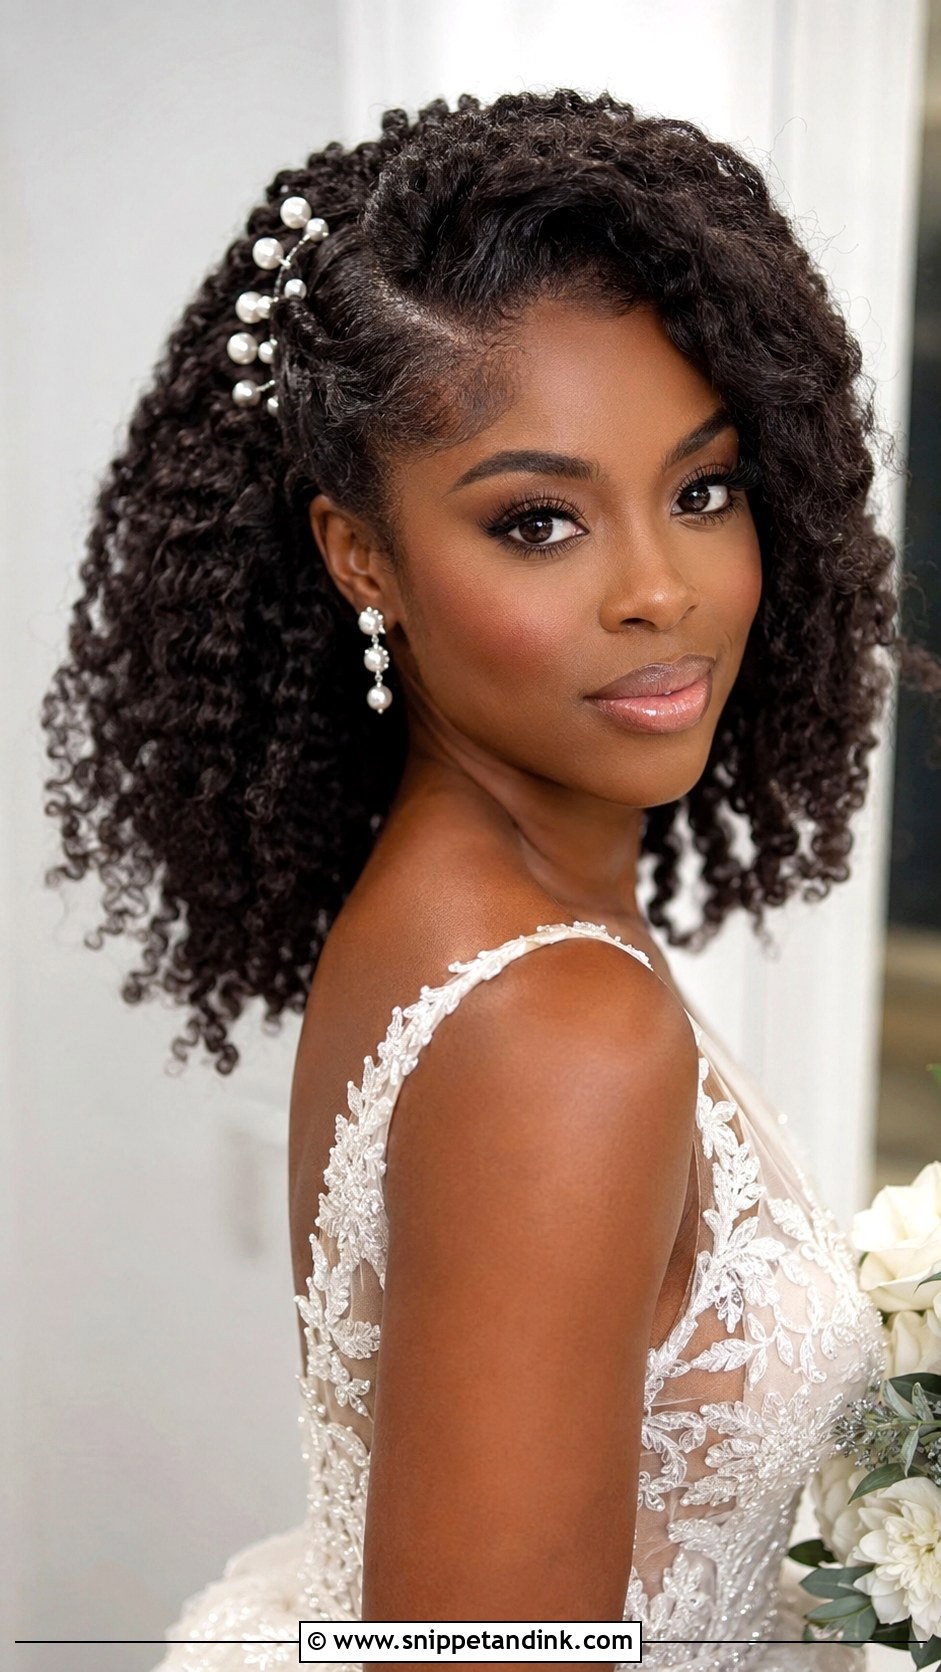
Braids set a longer, wavier pattern than twists, so a braid out shows more of your real length. That’s why I suggest it to brides worried that shrinkage will make their hair look short in photos. It suits fine coils and thick type 4 hair alike, although fine hair needs fewer, chunkier braids or the result can look stringy. On the morning I lift the roots with a pick at the crown only and leave the ends untouched, since that’s where the definition lives. Wear it down with a centre part or pin it loosely; both start from the same set. A thin headband keeps it tidy through the ceremony.
7. Wash And Go Wedding Hairstyle
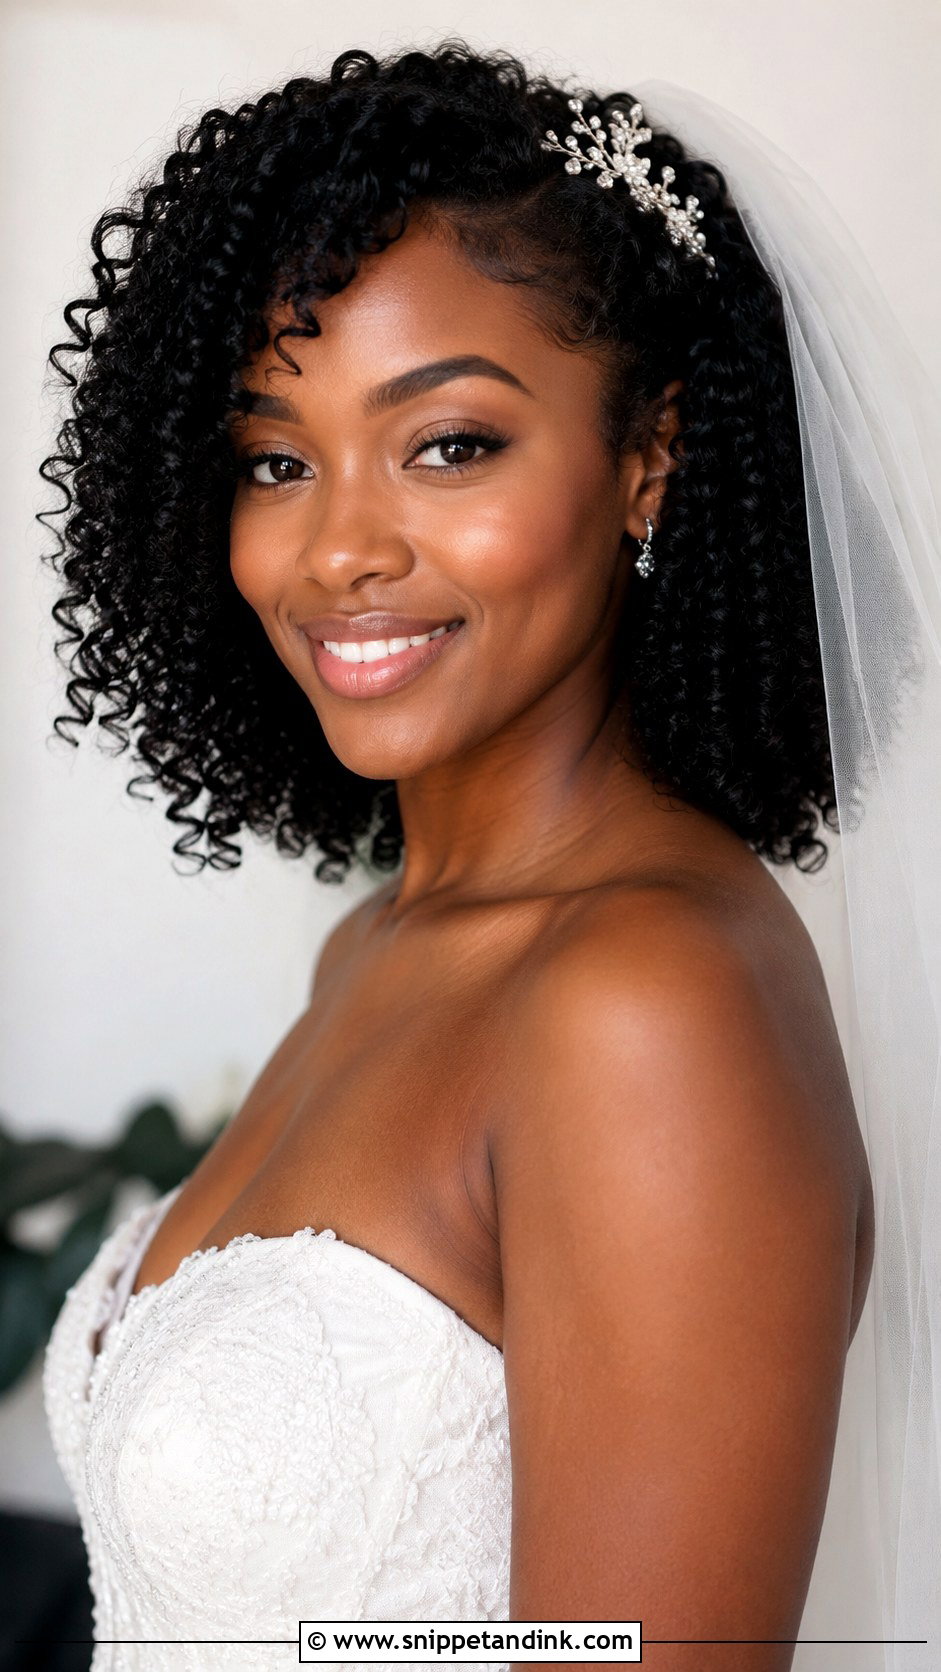
A wash and go wedding hairstyle looks simple and takes more planning than anything else here. Your products need deciding at the trial, not the night before, because the same gel can give one person crisp clumps and another a crunchy cast that never breaks. The bigger risk on the day is drying time. Thick hair can take a couple of hours under a hooded dryer or diffuser, and a wash and go still damp inside loses definition by afternoon, so I put it first in the chair. Once it’s fully dry, scrunch out the cast with a drop of oil on your palms. Pearl clips sit well in clumped curls.
8. Natural Hair Half Up Half Down Wedding
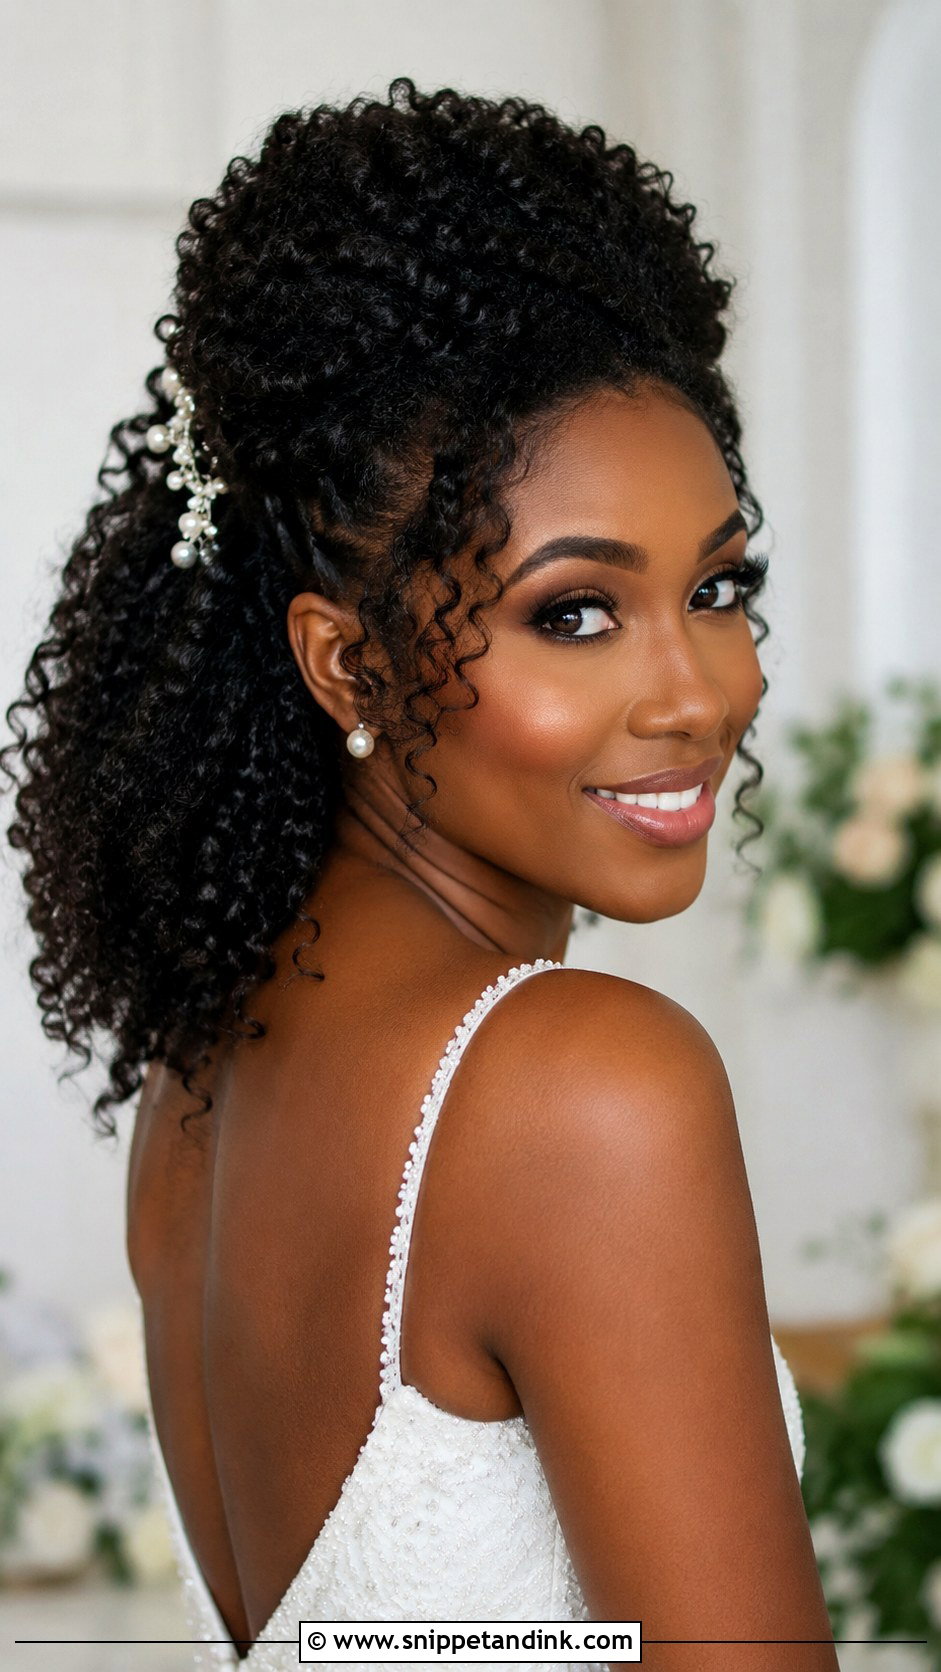
Half up is the compromise I reach for when a bride wants her face clear but doesn’t want to lose her length. The top section is lifted into a mini puff or a pair of flat twists, and the rest stays loose. The loose part is the tricky part. It’s exposed to the room’s humidity all day, so whatever texture it carries needs a firm set underneath. I also check where the veil comb will go before pinning the top, otherwise the two compete for the same spot at the crown.
9. Flat Twist Updo Wedding
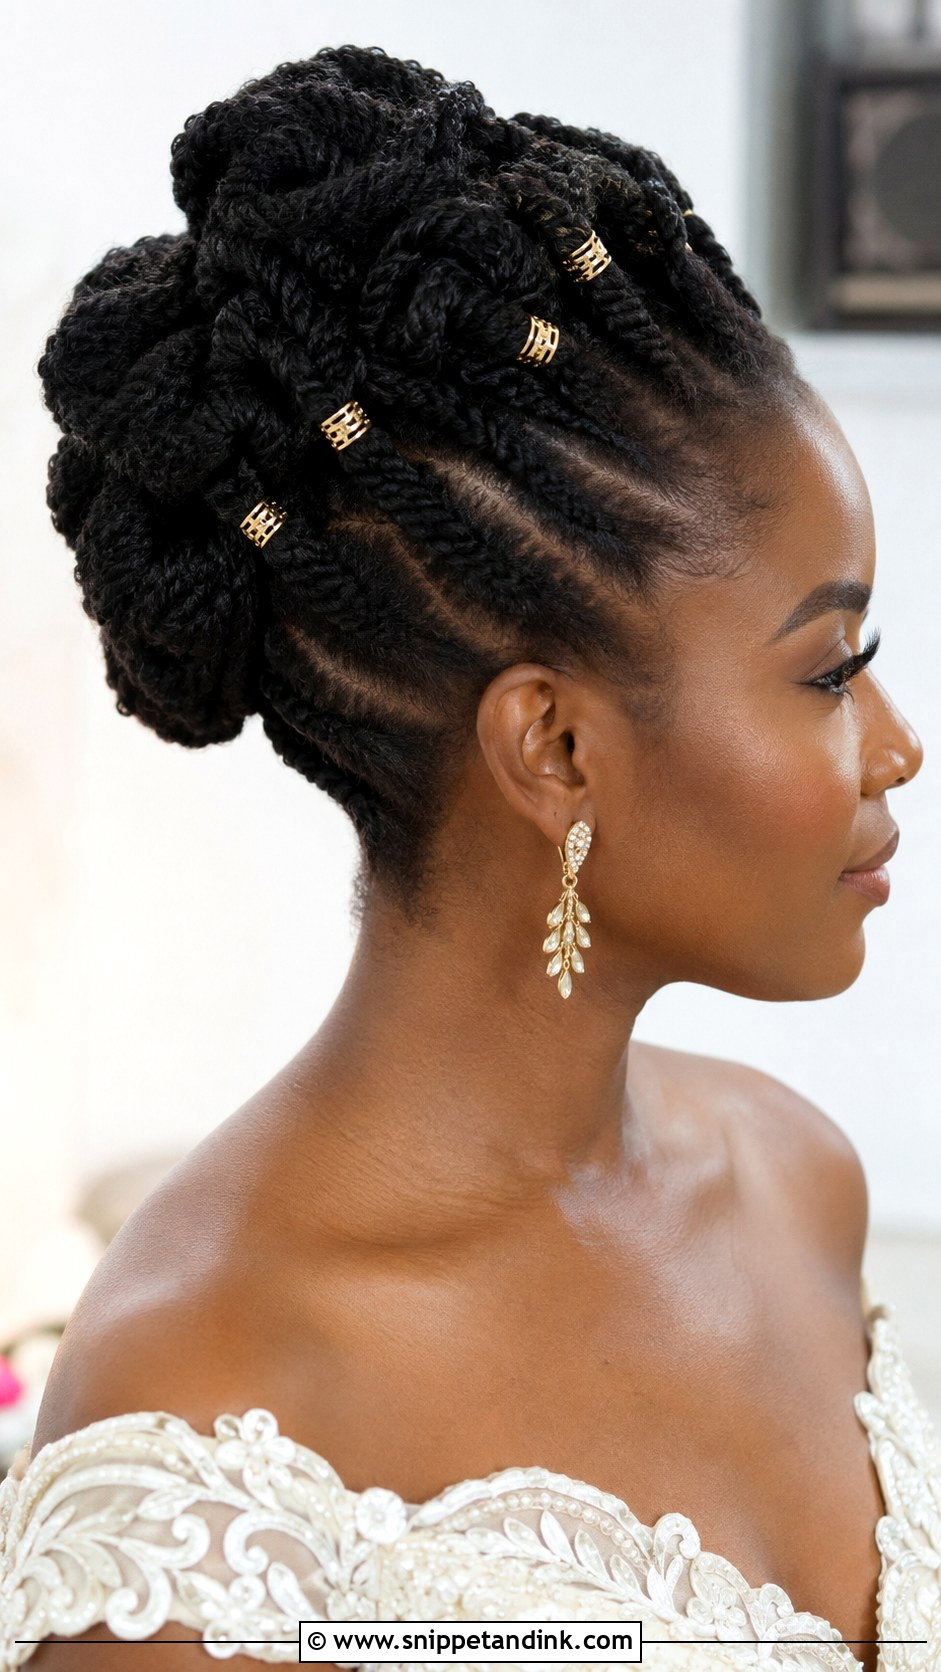
Flat twists are my pick for heat and long ceremonies. Each twist is anchored to the scalp, so the style doesn’t depend on curl definition at all and damp air can’t really undo it. They can run toward the crown or sweep sideways into a low bun. Neat parts take time, often an hour or more depending on how many twists you want, and that time is worth giving. What I won’t do is twist so tightly that little bumps rise on the scalp. That’s tension, and it can damage the hairline. Gold cuffs slide onto finished twists easily.
10. Two Strand Twist Wedding Hairstyle
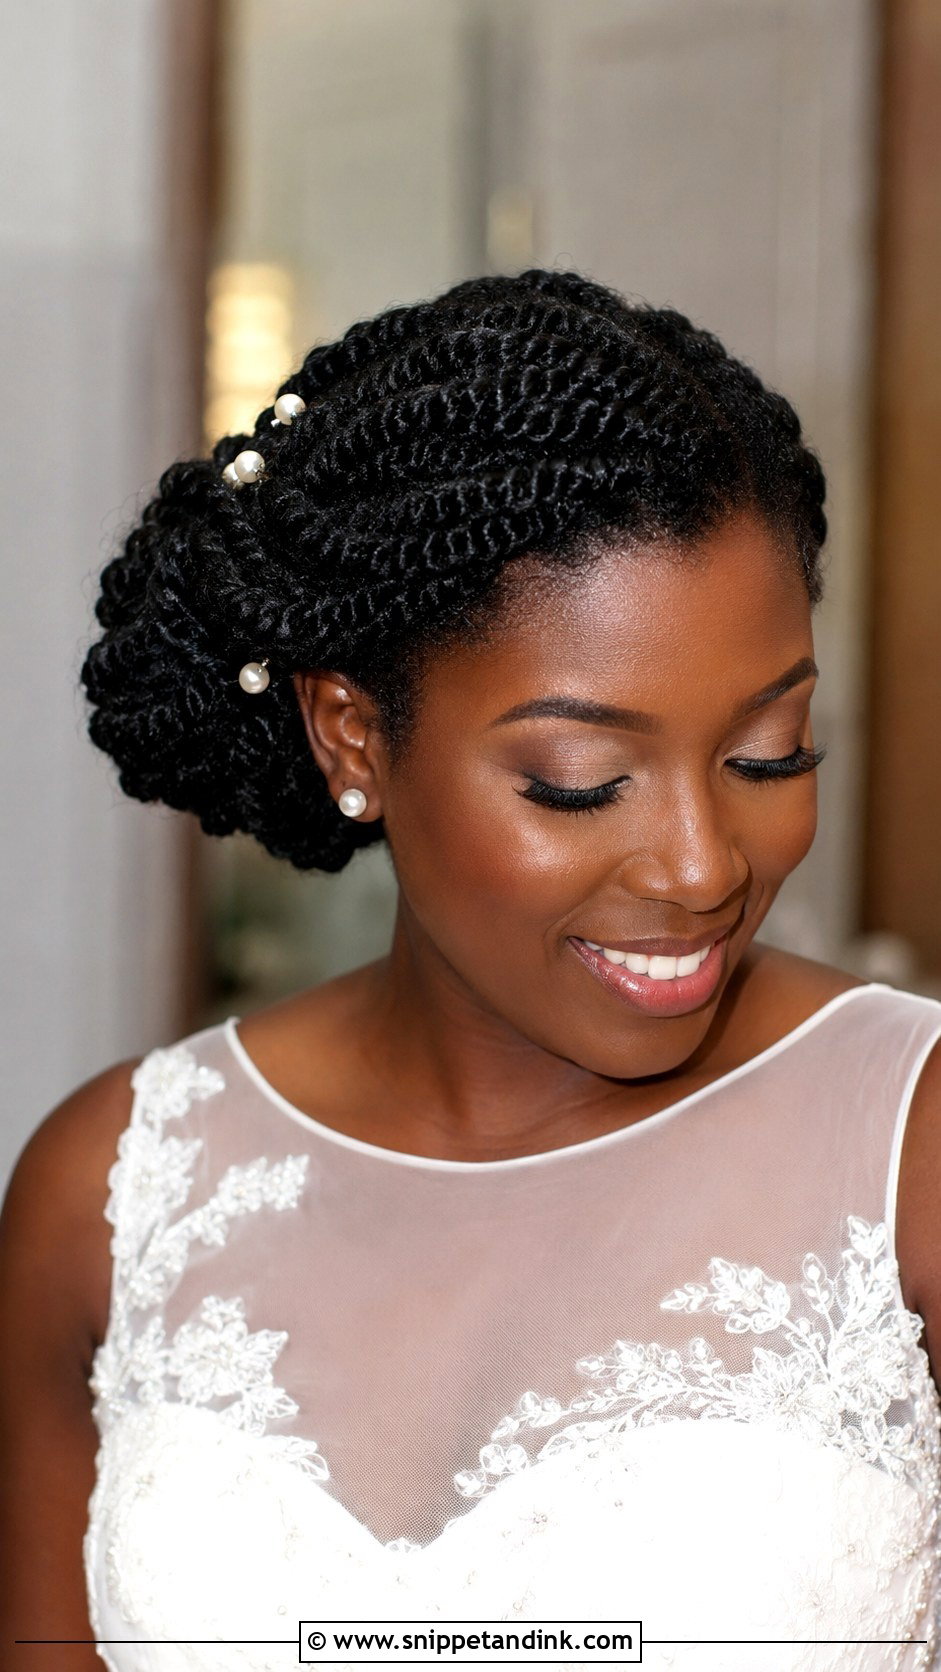
Two strand twists are the one style here you can have installed a few days early, which takes real pressure off the wedding morning. Smaller twists show more detail and last longer; medium ones are quicker to do and read fuller. I’d steer you away from heavy oil on the day, since it attracts lint and looks greasy under flash. A light shine spray does the job better. The twists can then be pinned up or left at the shoulders, and a headpiece sits securely on them because pins grip twisted hair well.
11. Natural Hair Crown Braid Wedding
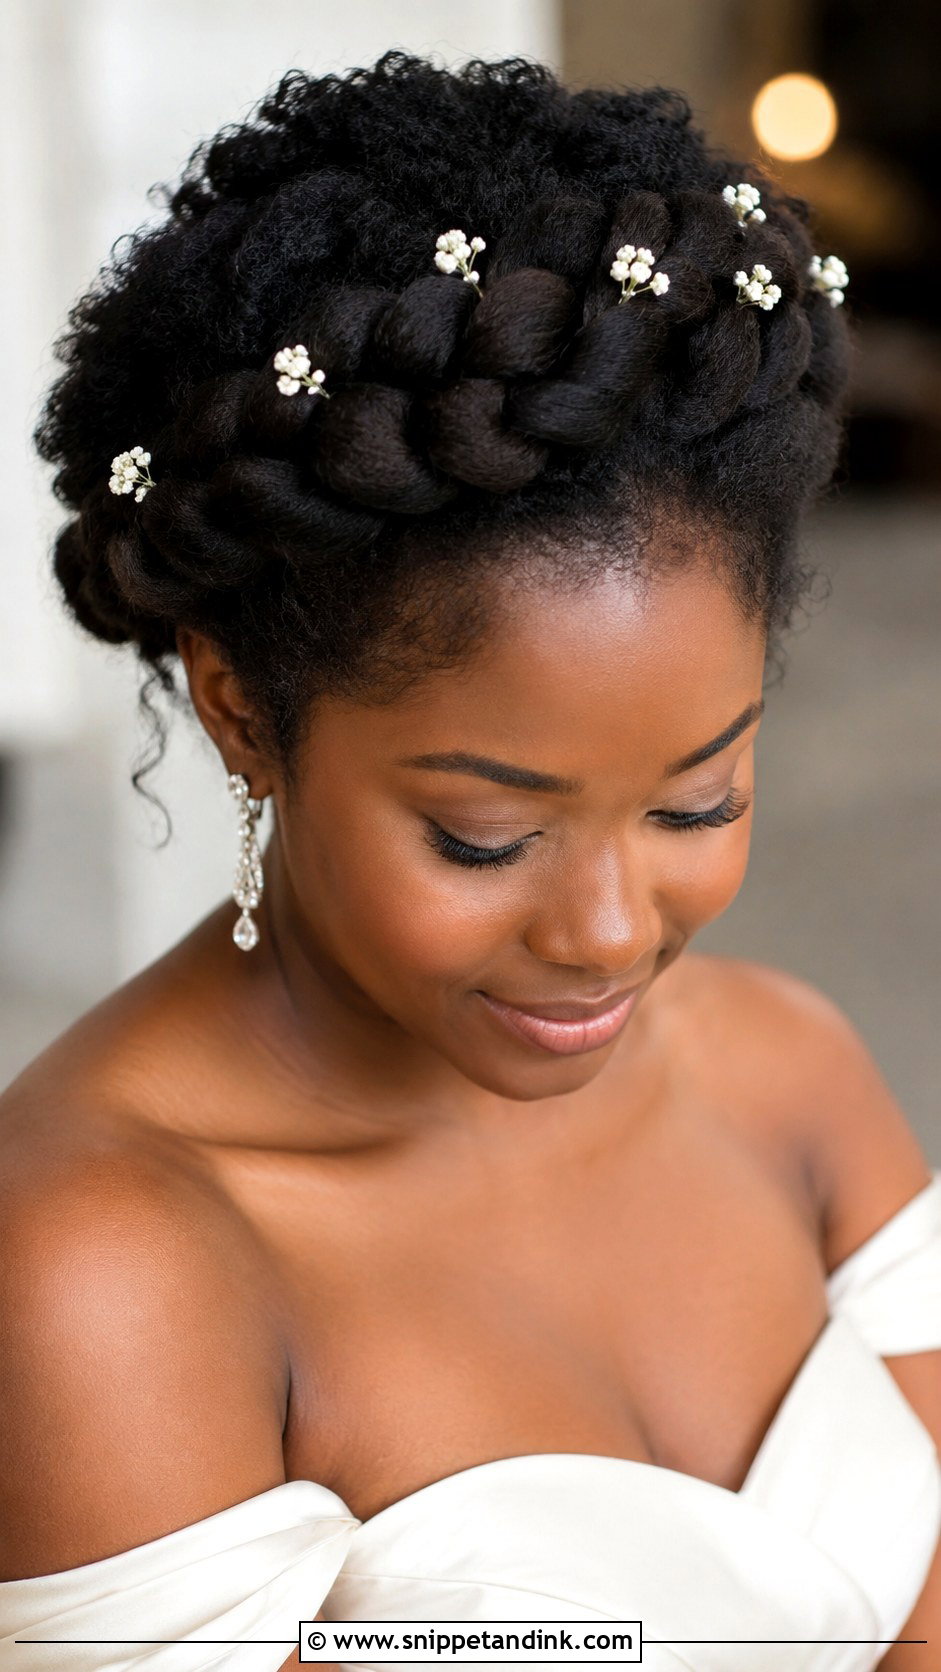
A crown braid circles the head like a halo, and on natural hair it’s sturdier than almost any other updo because the braid itself is the anchor. If your hair isn’t long enough to wrap the whole way round, I braid in kinky textured extension hair matched to your curl pattern so the join disappears. The braid carries a lot of visual weight, which is why I’d keep earrings to simple drops and makeup soft. Physical weight is the other issue. A thick braid with added hair pinned at the back can start to pull, so at the trial I check comfort after an hour, not after five minutes. Tiny pearls tucked along the braid are enough decoration.
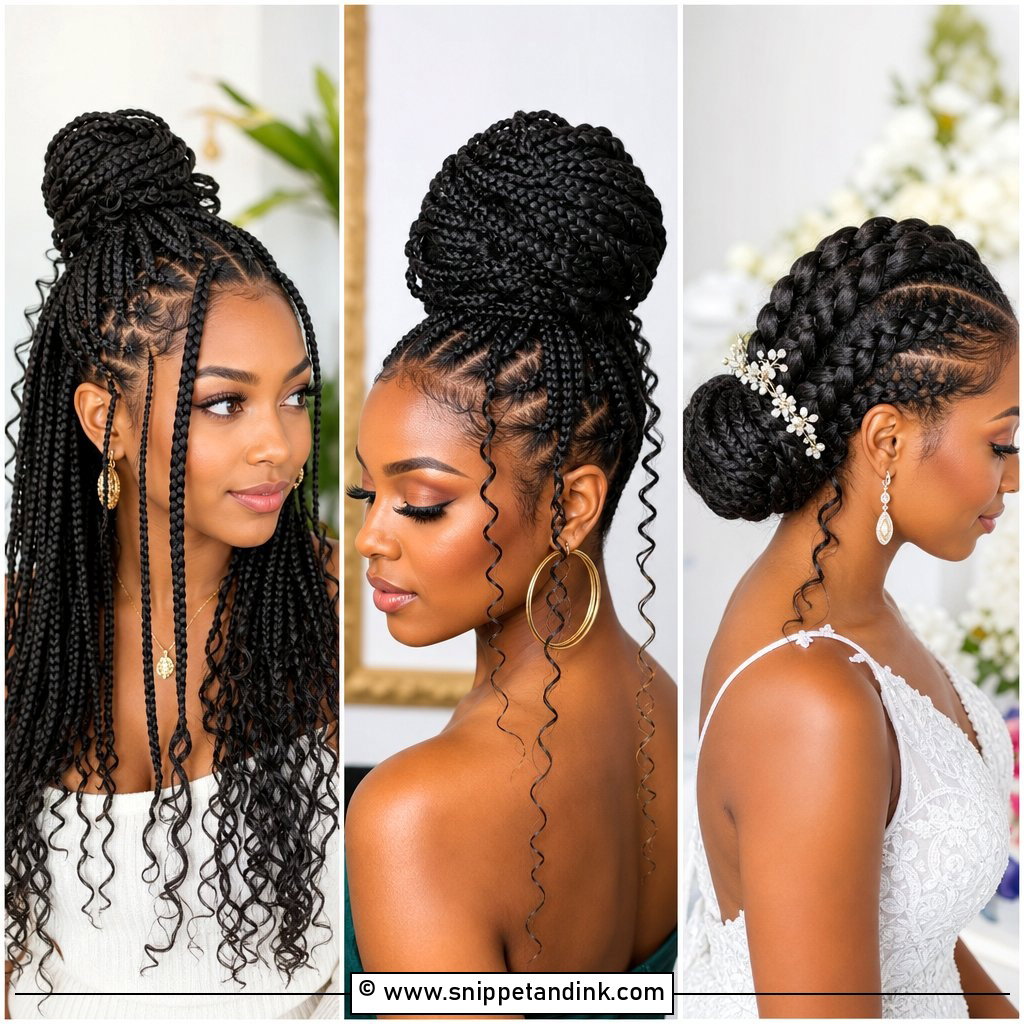
12. Cornrow Bun Wedding Hairstyle
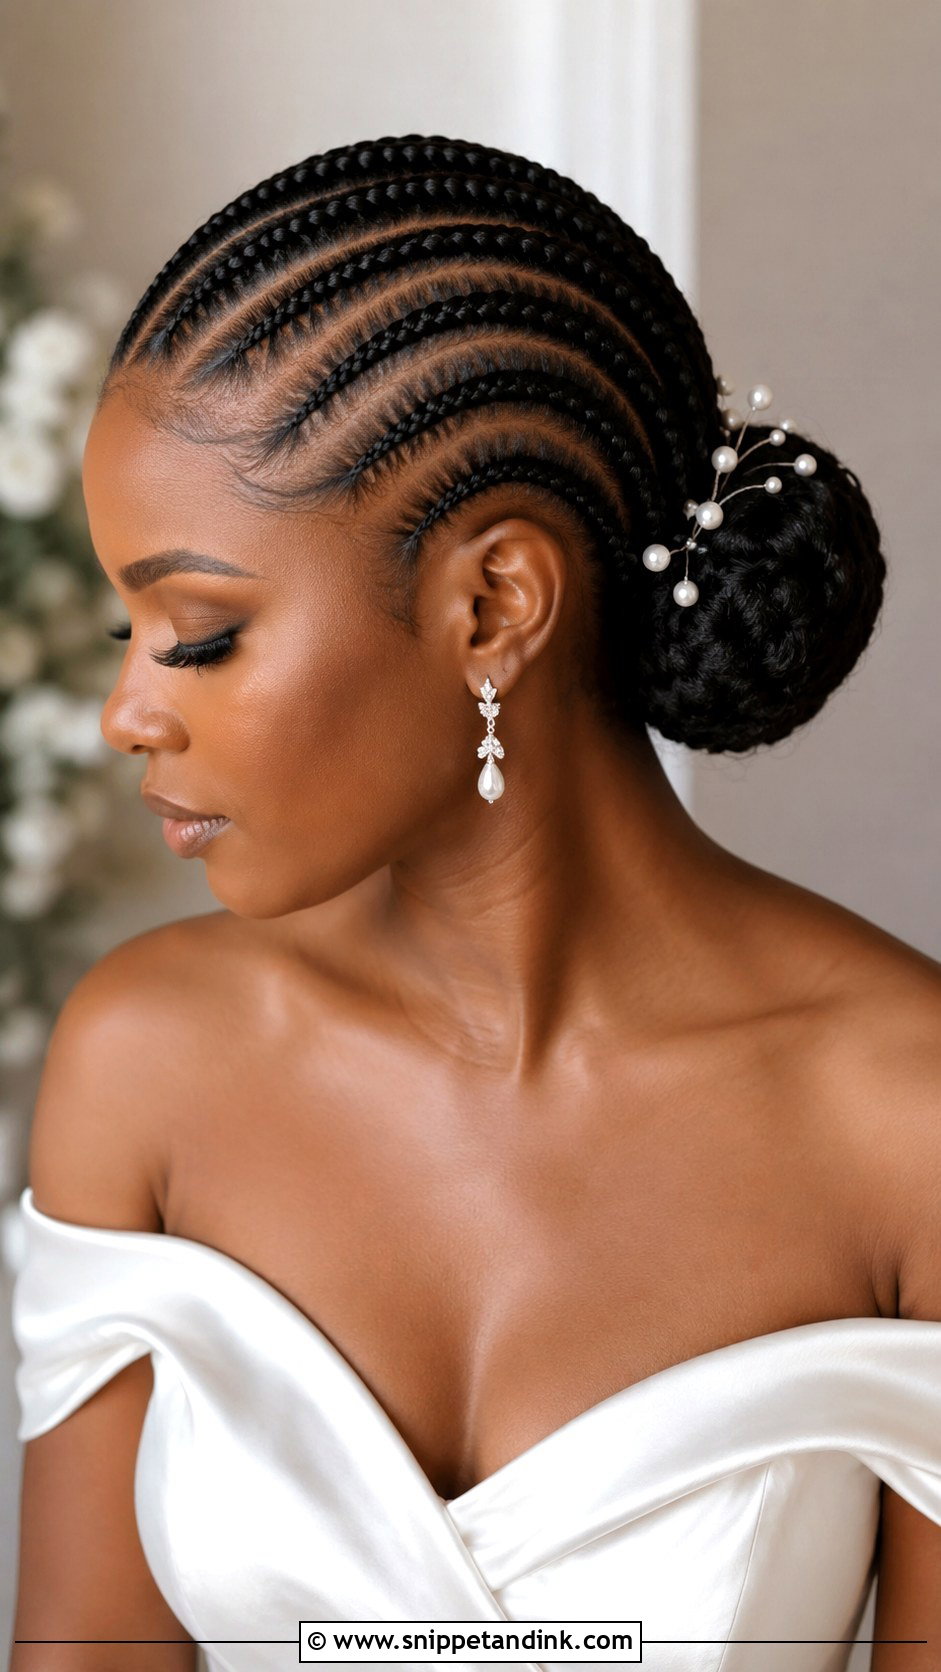
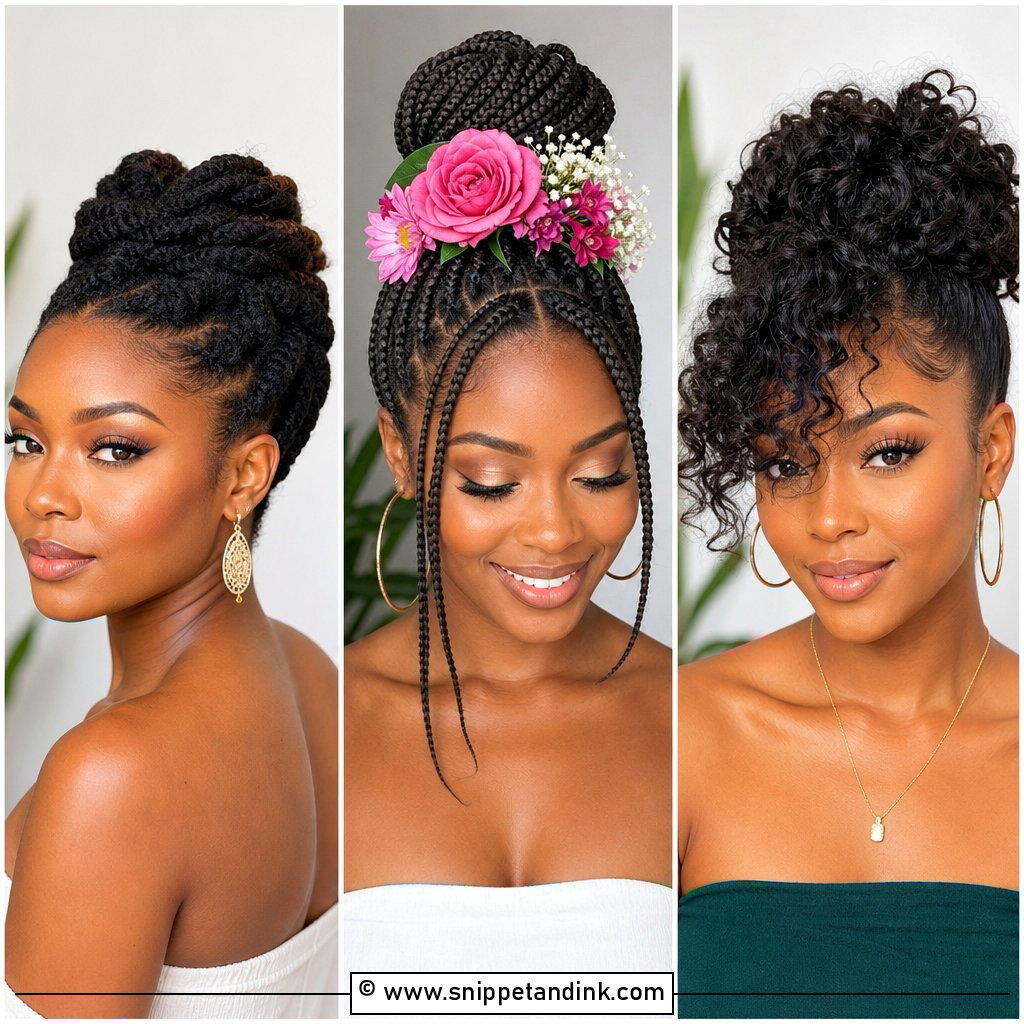
A cornrow bun wedding hairstyle asks the least of you on the day, and that’s a real virtue when you won’t want to think about your hair. The cornrows can run straight back or curve in a pattern into the bun, and I set the bun height only after seeing the veil and the neckline. Have the braiding done a day or two ahead rather than that morning, since cornrows take hours and fresh braids can feel tight for the first night. Moisturise the scalp first. If anything stings while the braider works, say so; tension that hurts is tension that damages edges.
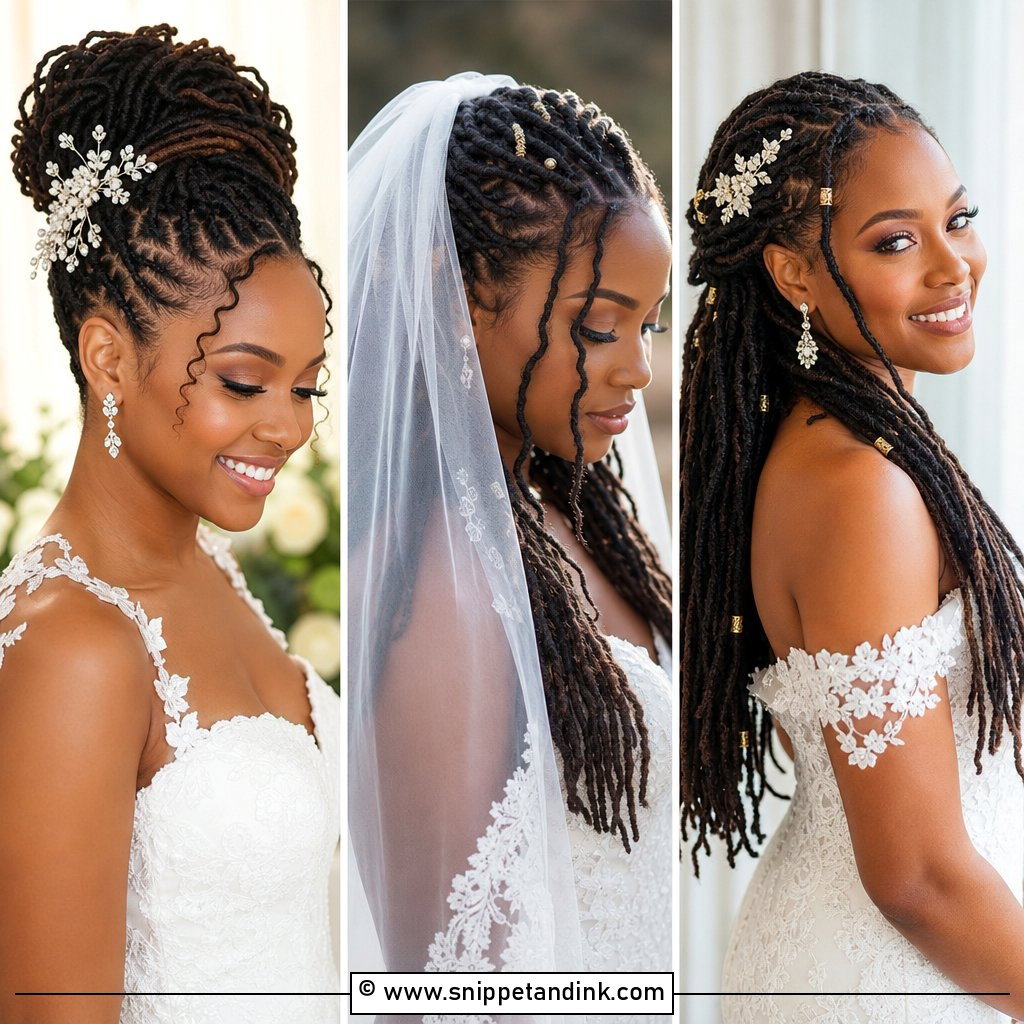
13. Natural Locs Wedding Updo
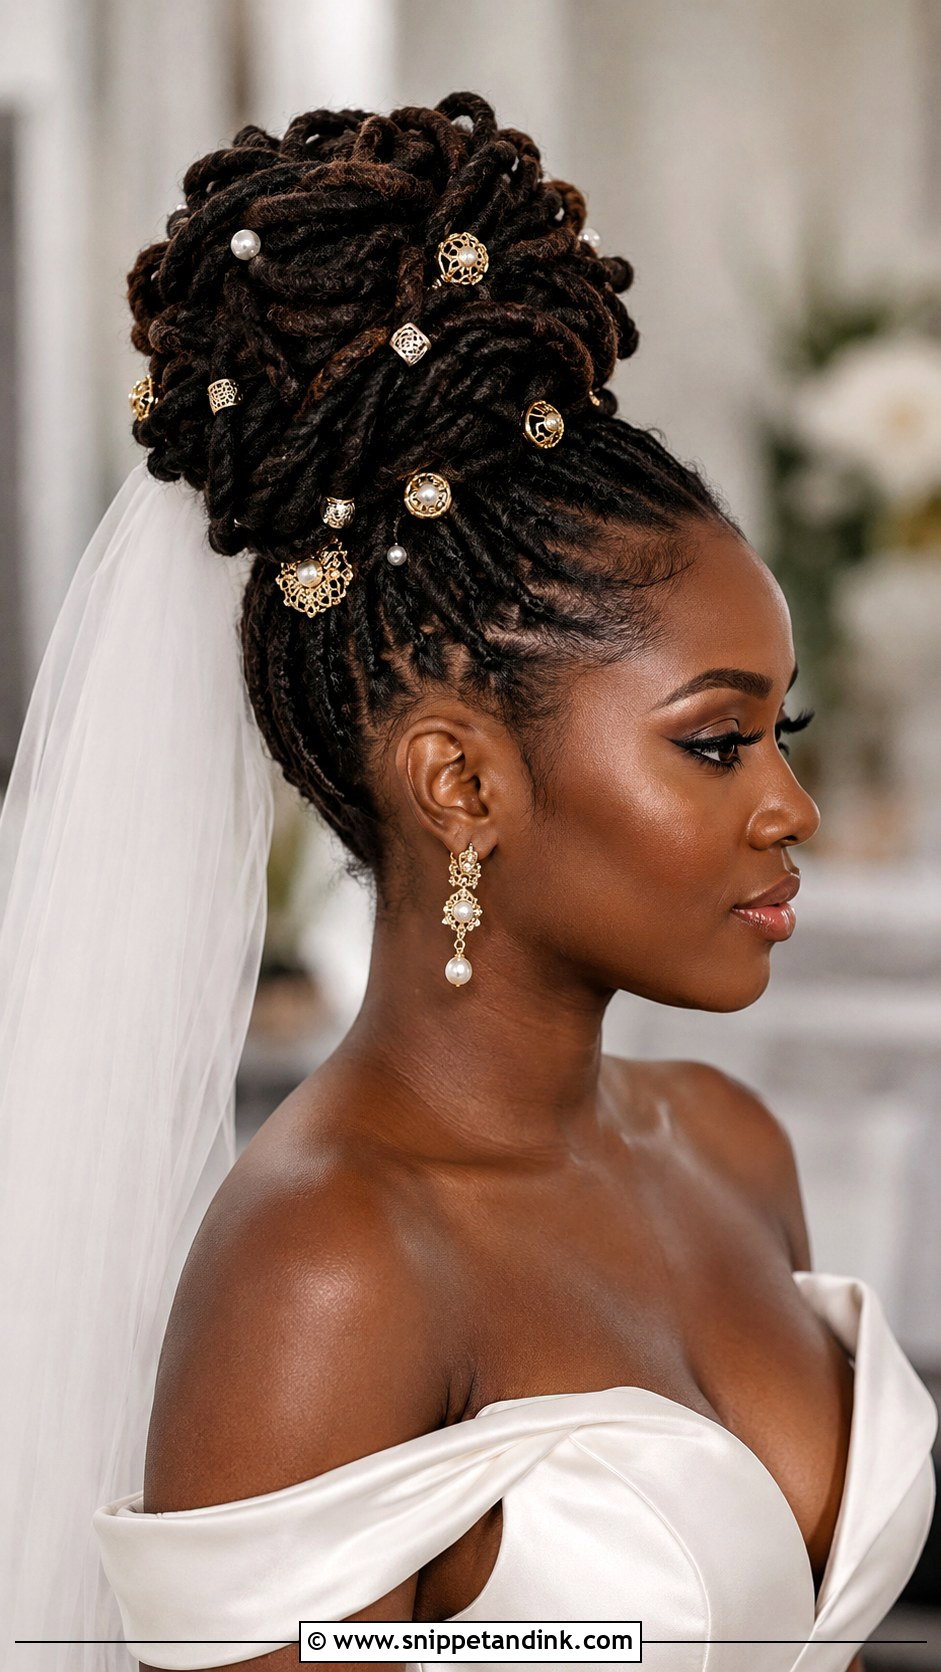
Locs give an updo real weight, which helps it hold and also means it can drag. A natural locs wedding updo built from long mature locs needs more anchor points than people expect, so I spread pins across the head instead of loading everything at the nape. Starter locs are softer and can loosen if handled too much, so I keep their styling simpler: a low roll rather than a sculpted crown. Leaving a couple of locs free around the face eases pressure on the scalp as well. Finish with a light shine spray rather than oil, which can build up inside the locs.
14. Short Natural Hair Wedding Hairstyle
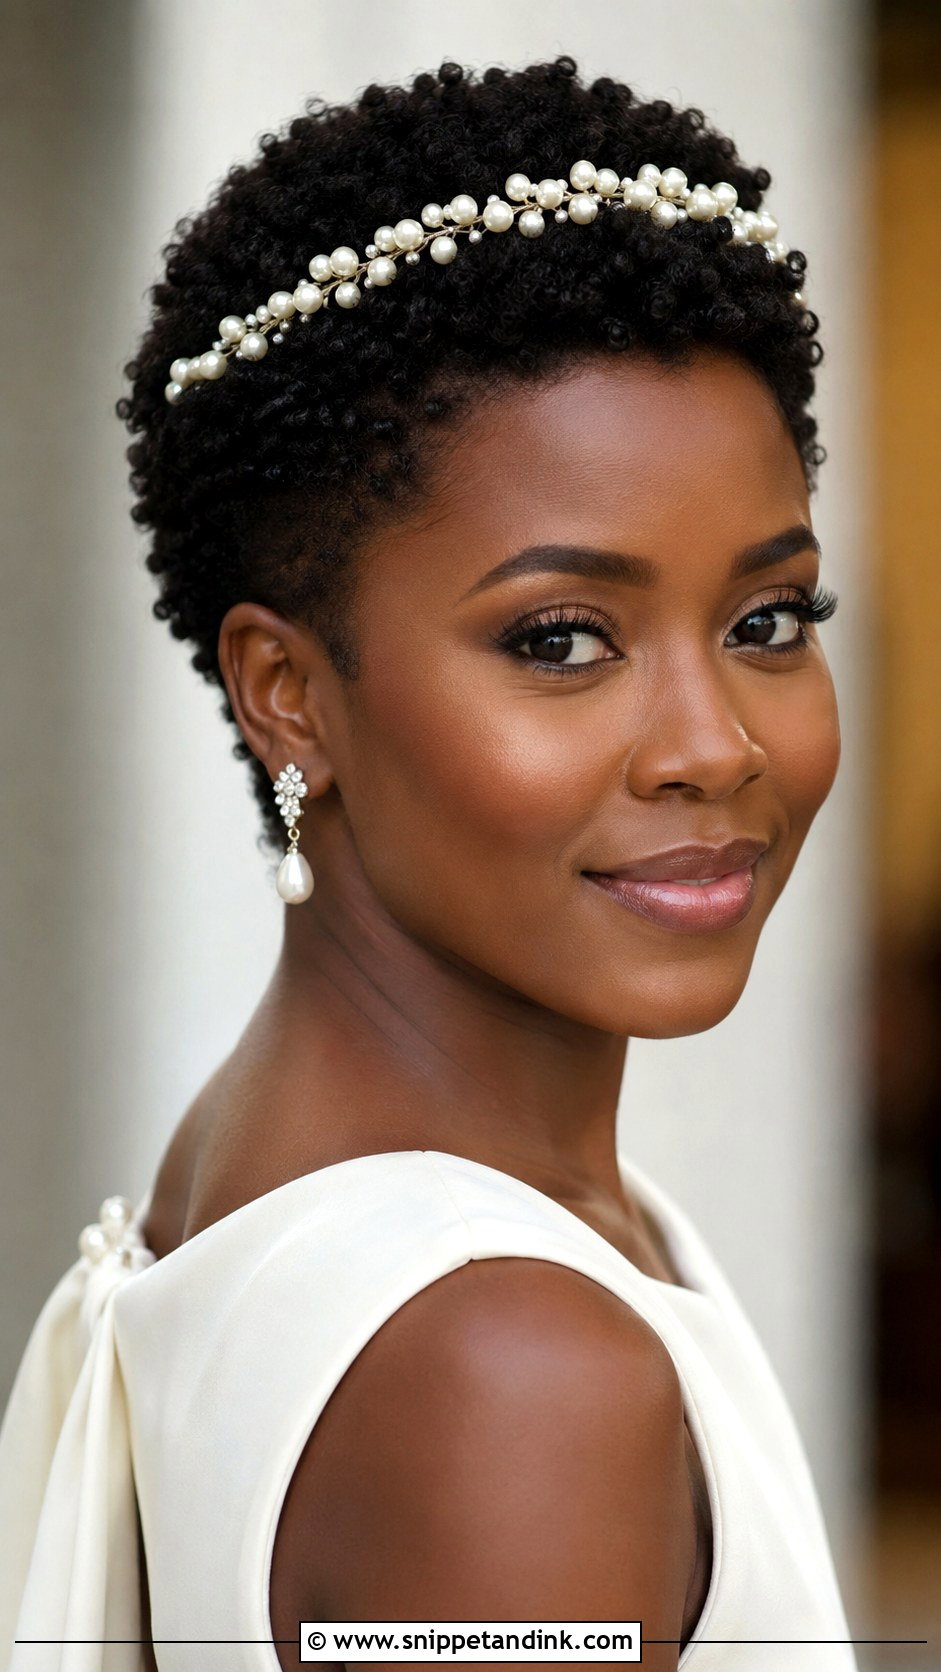
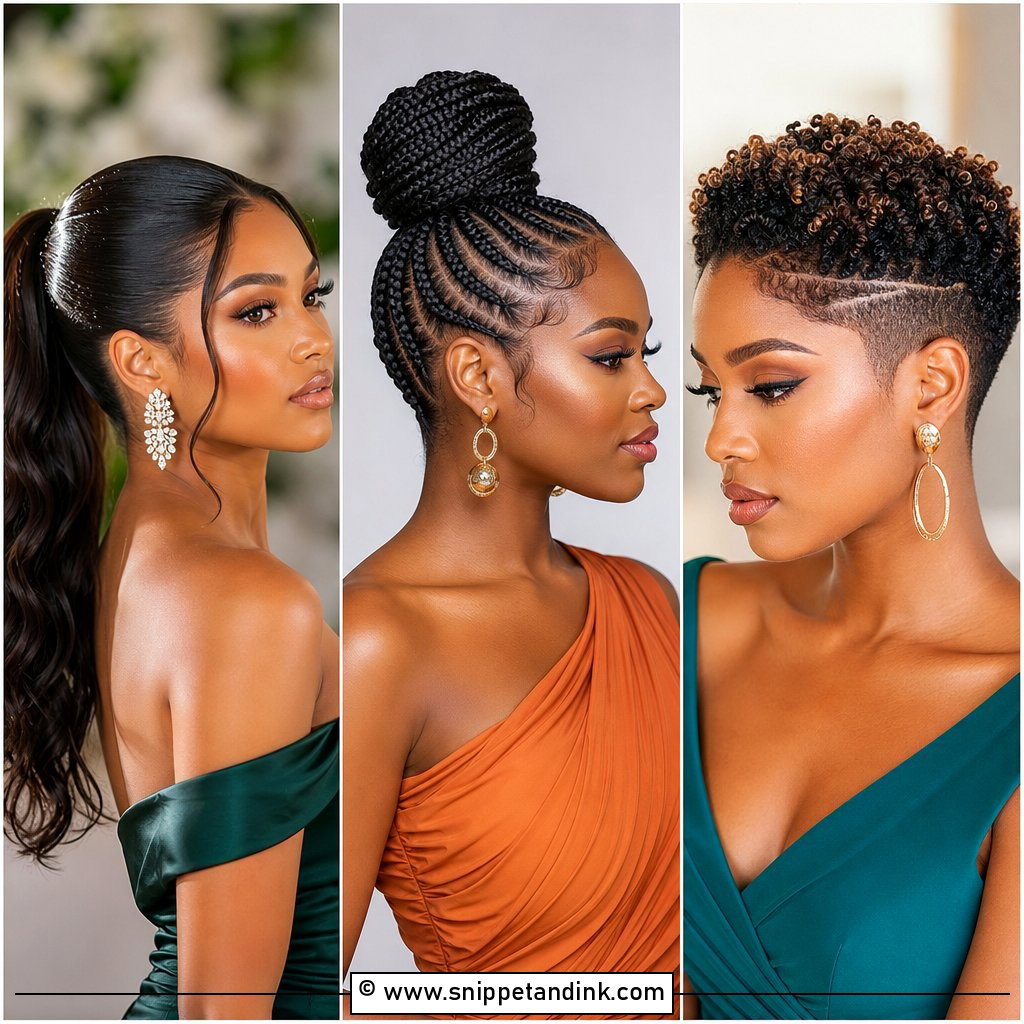
Short hair is the quickest to prepare and the least forgiving of a bad cut. A tapered cut, a teeny weeny afro or a finger coil look all depend on a clean outline, so I’d book the cut a week to ten days before, when the line has softened, not the day before when it still looks raw. Finger coils need time to set, roughly as long as makeup takes, which makes them easy to schedule. With the neck and ears open, detailed necklines and bold earrings get noticed. A birdcage veil or one gold clip is plenty; more than that crowds a short shape.
15. Natural Hair Side Swept Wedding
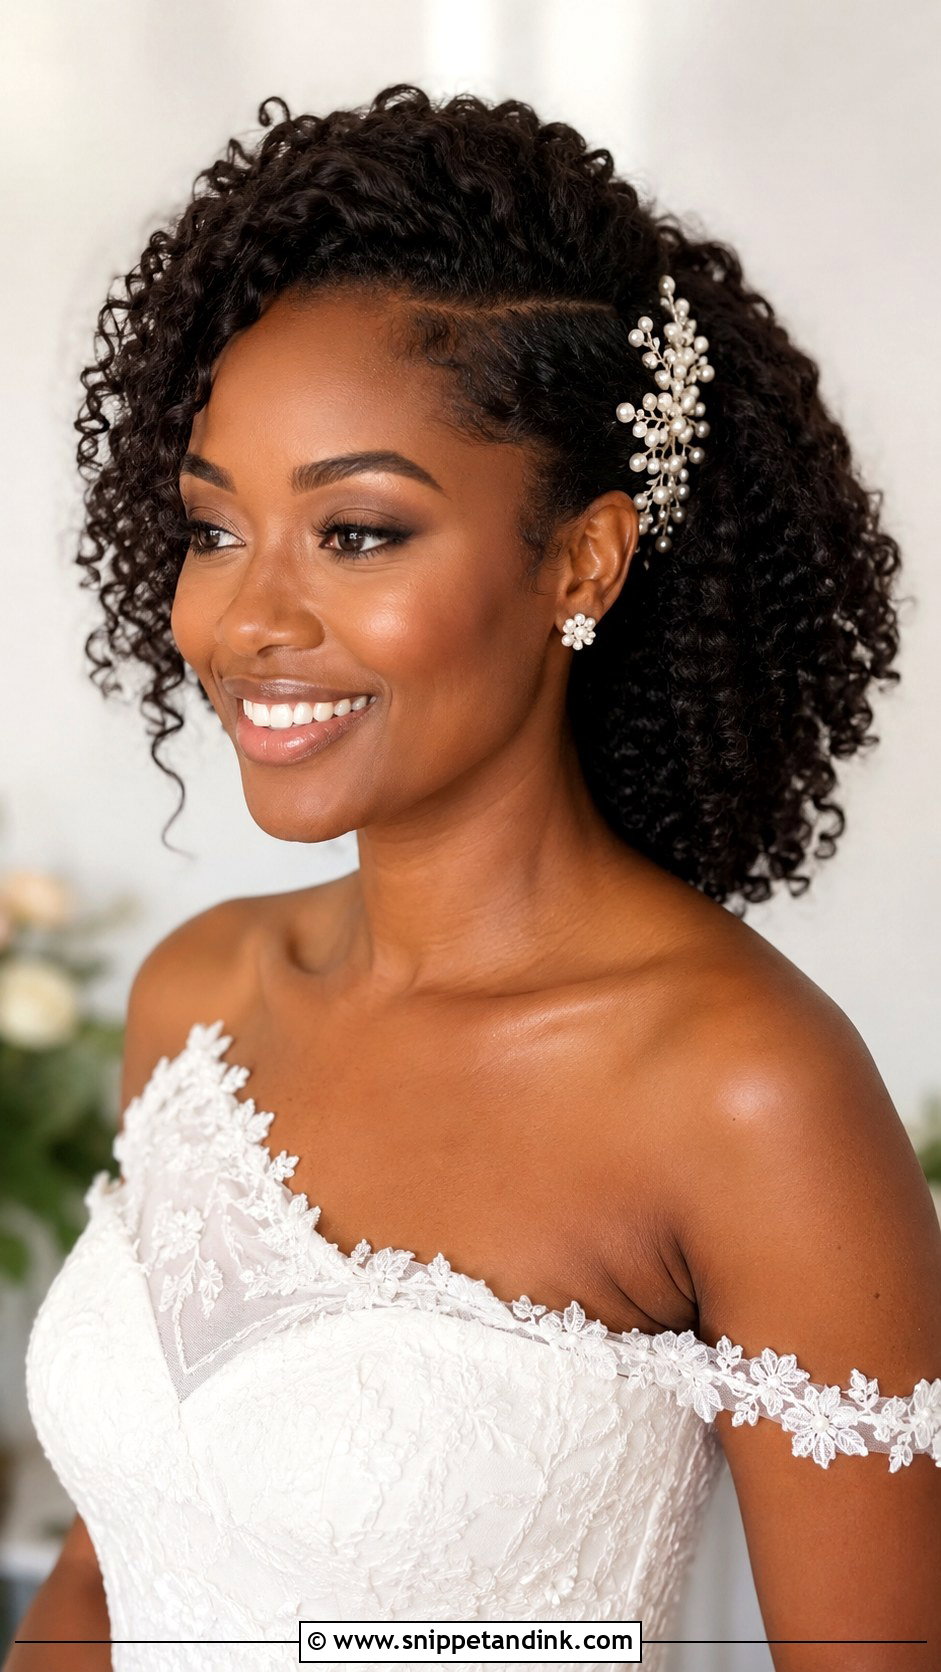
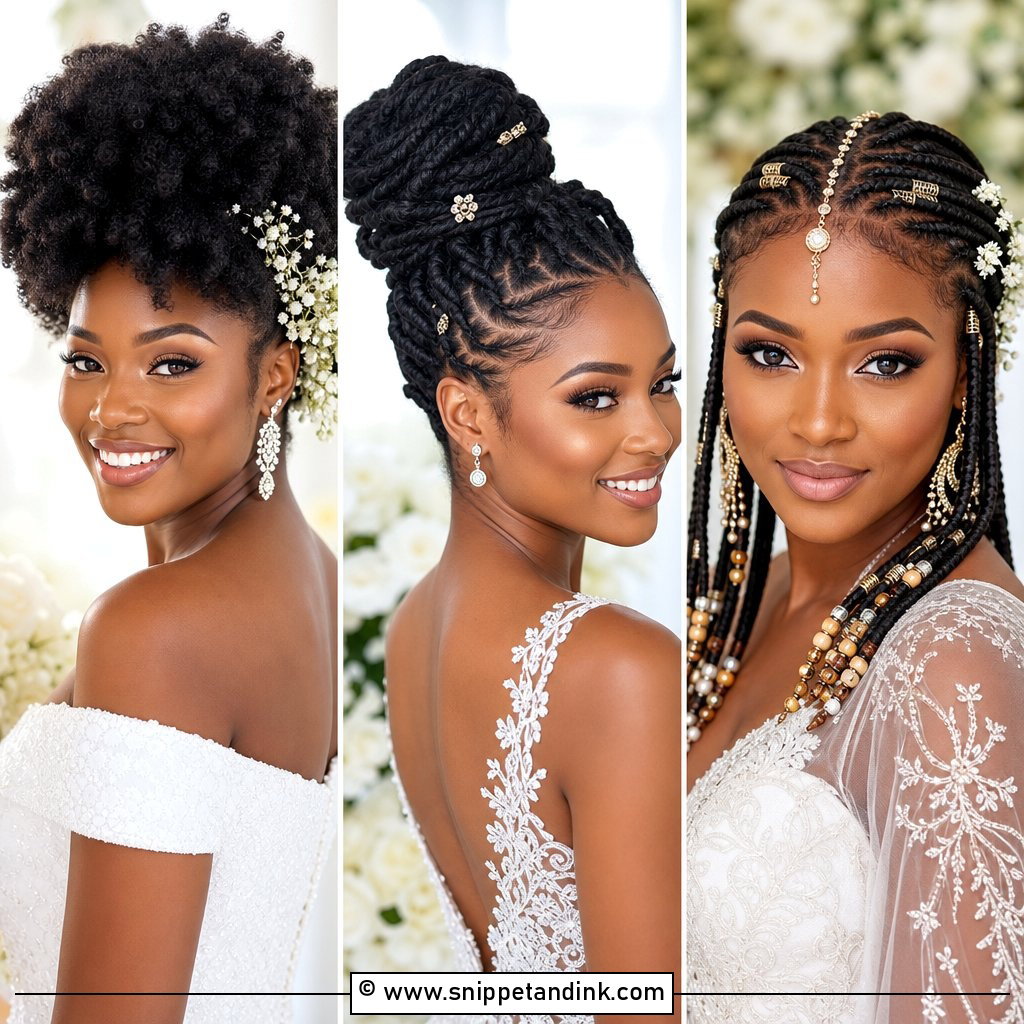
Sweeping everything to one side gives a full, uneven silhouette without a complicated updo, and it works on twist outs, braid outs, wash and gos and locs. The pinned side does all the work. I place a vertical row of crossed bobby pins matched to your hair colour, hidden under a layer of curls, so the anchor never shows. Think about which side faces your guests during the ceremony, because that’s the side the photographer sees most. A one-shoulder dress is the natural partner, with the bare shoulder on the open side and a statement earring there too.
Coils Outdoors in Summer Heat
Defined curl styles are the ones most at risk outside. Twist outs, braid outs and wash and gos all rely on a set that moisture can loosen, while flat twists, cornrows, locs and a well-pinned updo barely notice the weather. If your venue is a summer garden or a beach, that alone can settle a choice between two styles you love equally.
For a defined style on a muggy day I seal the set with a gel that has real hold and go easy on glycerin-heavy products, which can draw water from the air into the hair and make it swell. Expect some reversion by evening anyway. A little extra volume at the reception isn’t a failure; it’s simply how coils behave.
The Touch-Up Kit Your Bridesmaid Carries
Your stylist won’t always stay past the ceremony, so one person in the bridal party should hold a small kit and know what each piece is for.
- Bobby pins and U-pins in your hair colour, since the ones that fall out are always the ones holding something.
- A small spray bottle of water with a splash of leave-in, to wake up flattened curls.
- A wide-tooth pick for reshaping an afro or puff after a round of hugs.
- A silk scarf to tie over your edges while you eat or change outfits.
- A little edge control and a soft brush, used lightly.
Pack the scarf even if you’re sure you won’t need it. A long drive between ceremony and reception flattens the back of any style resting against a headrest, and the scarf plus the pick fixes that in two minutes.
Natural Texture Is Already Bridal
Every style above starts from your own texture, so the deciding questions are practical: how your hair behaves in the weather you’re likely to get, and how it sits with your dress. Book a trial, take photos from the back and side as well as the front, and wear your accessories during it. Then go with the style you’d recognise as yourself when you look at the photos twenty years from now. Natural hair doesn’t need to be made bridal. It already is.
You'll Like These Ideas:


Leave a Reply