
A bun is the style I end up doing more than any other on wedding mornings, and it’s rarely because the bride asked for something plain. It keeps the face open, gives a veil comb something solid to grip, leaves earrings on show, and it’s the one shape that still looks the same after the hugging line and the first dance. The variety is in the details: where the knot sits, how the part falls, how much texture goes in before pinning. Get those three right for your dress and hair type and a simple bun reads as finished, not as the style you settled for. Save the ones below that match your neckline and bring them to your trial.
Sizing the Knot to the Hair You Actually Have
The first thing I do at a bun trial is gather the hair into a ponytail at the height we’re planning and look at it. That ponytail tells me what size of bun is realistic. Fine hair at shoulder length will make a neat knot about the size of a small plum; thick hair at mid back can make one big enough to look heavy on a petite frame.
- Fine or thin hair: I add texture spray or a light dry shampoo first, because clean fine hair slides out of pins. A mesh bun form can add size, but it must match your hair color closely.
- Thick or very long hair: I’ll often split it into two or three sections and pin them separately, so the weight isn’t hanging from one elastic.
- Layered hair: twisted and braided buns hide short ends far better than a single wrapped knot.
- Below the shoulder but not long: a low bun is easiest. A high bun needs more length to wrap around itself.
If what you want is bigger than what you have, say so at the trial. There’s no shame in a clip-in piece, but I need to see it blended before the morning.
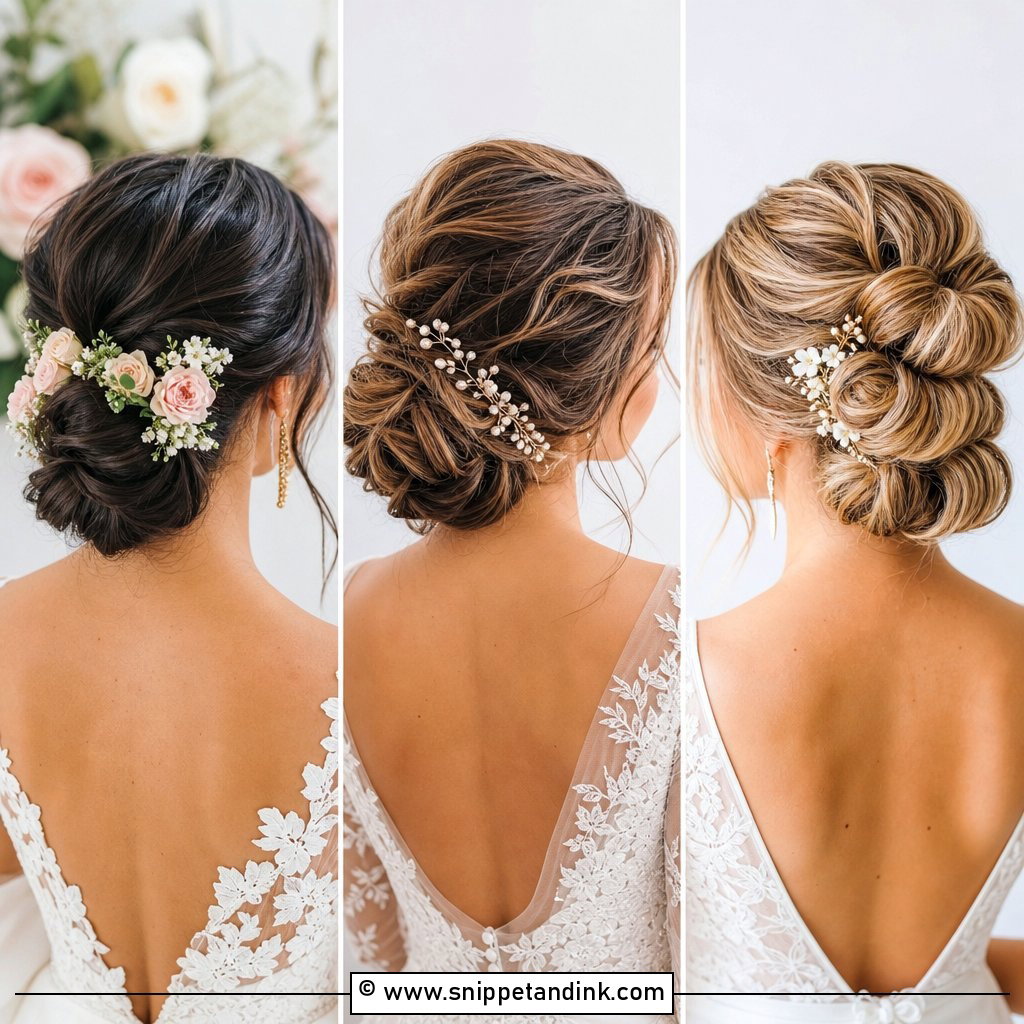
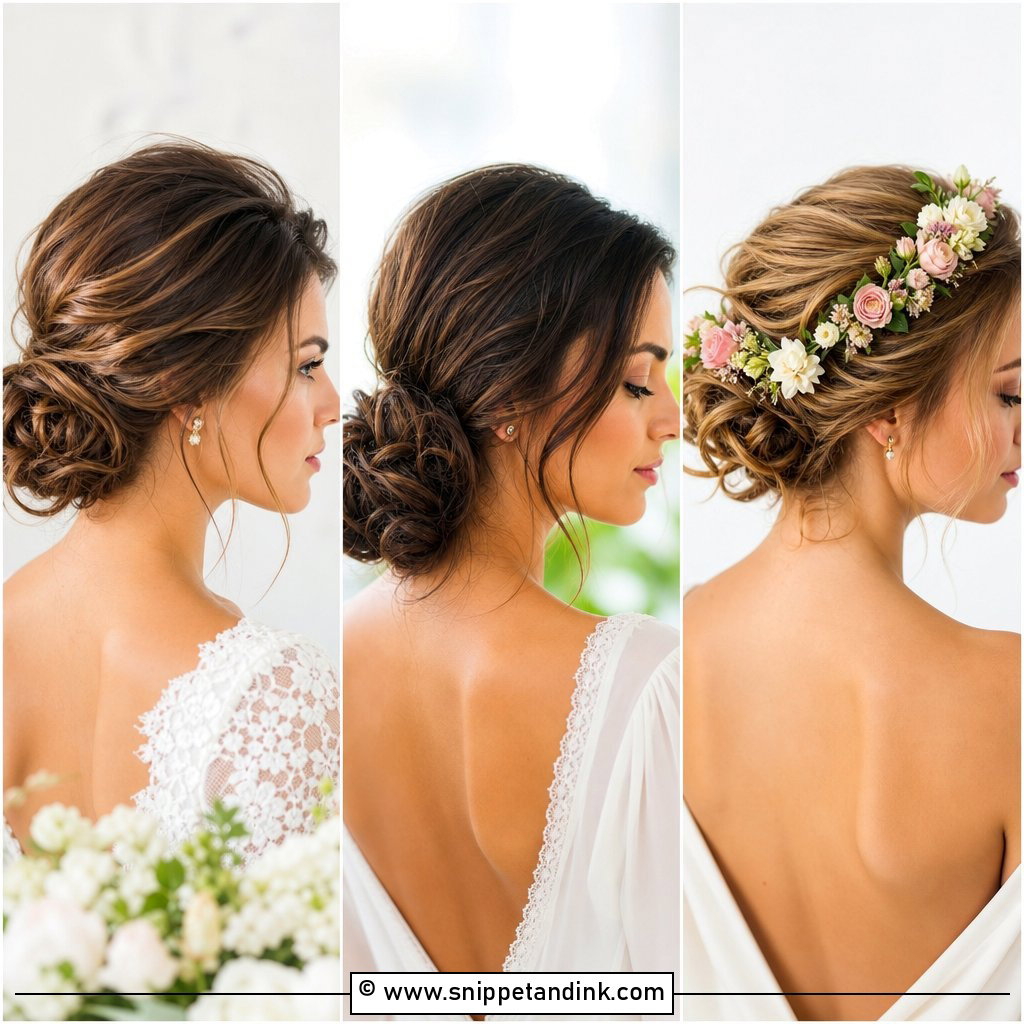
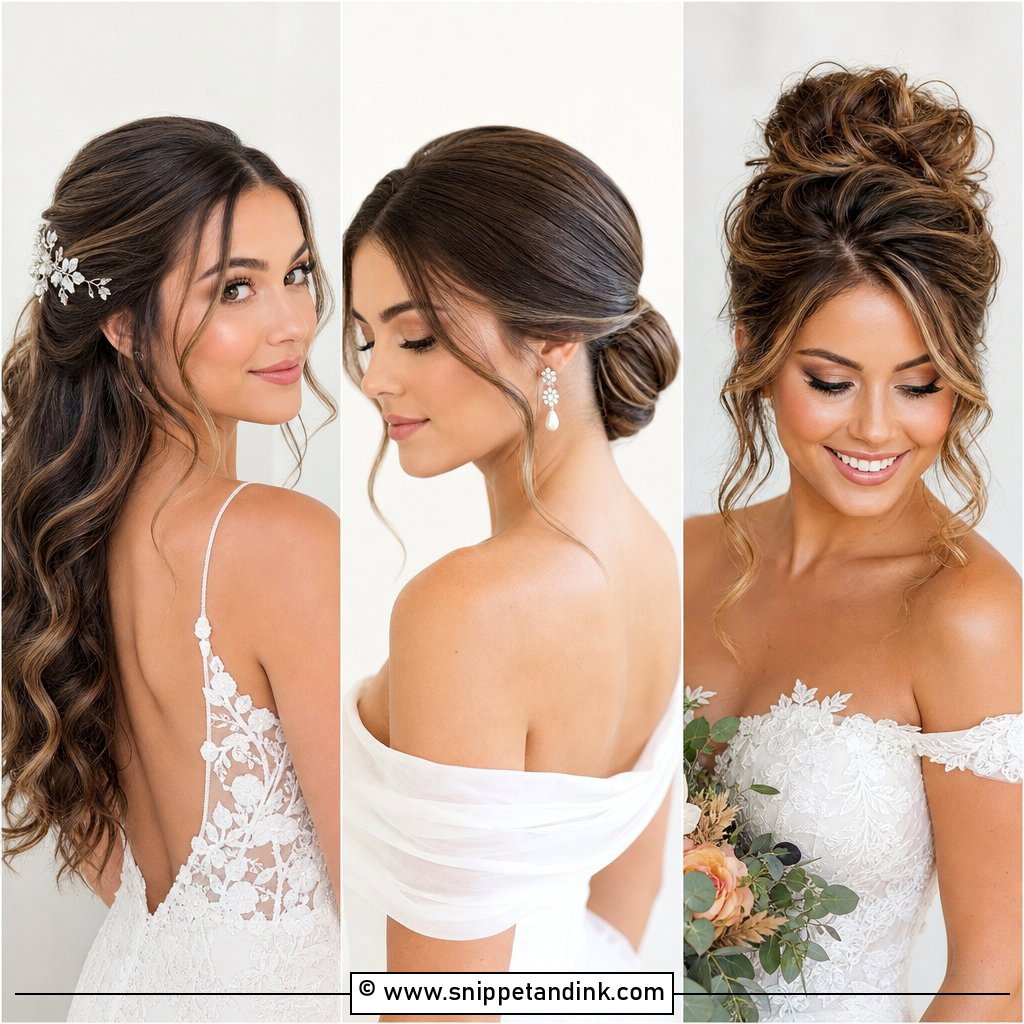
1. Simple Low Bun Wedding Hair
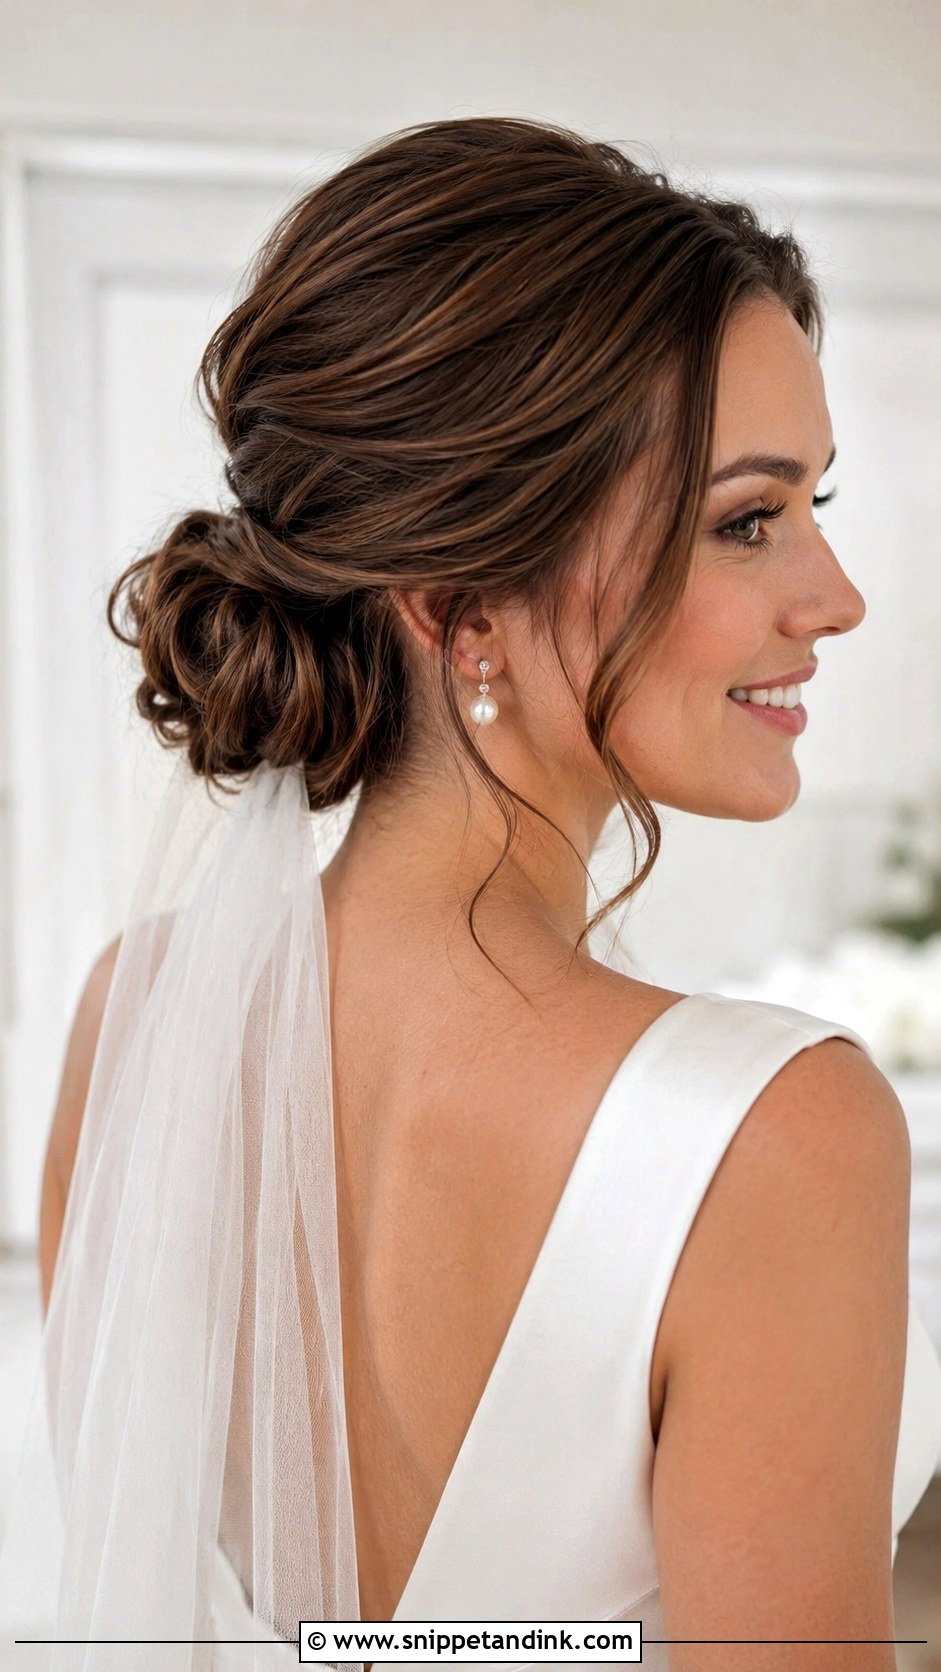
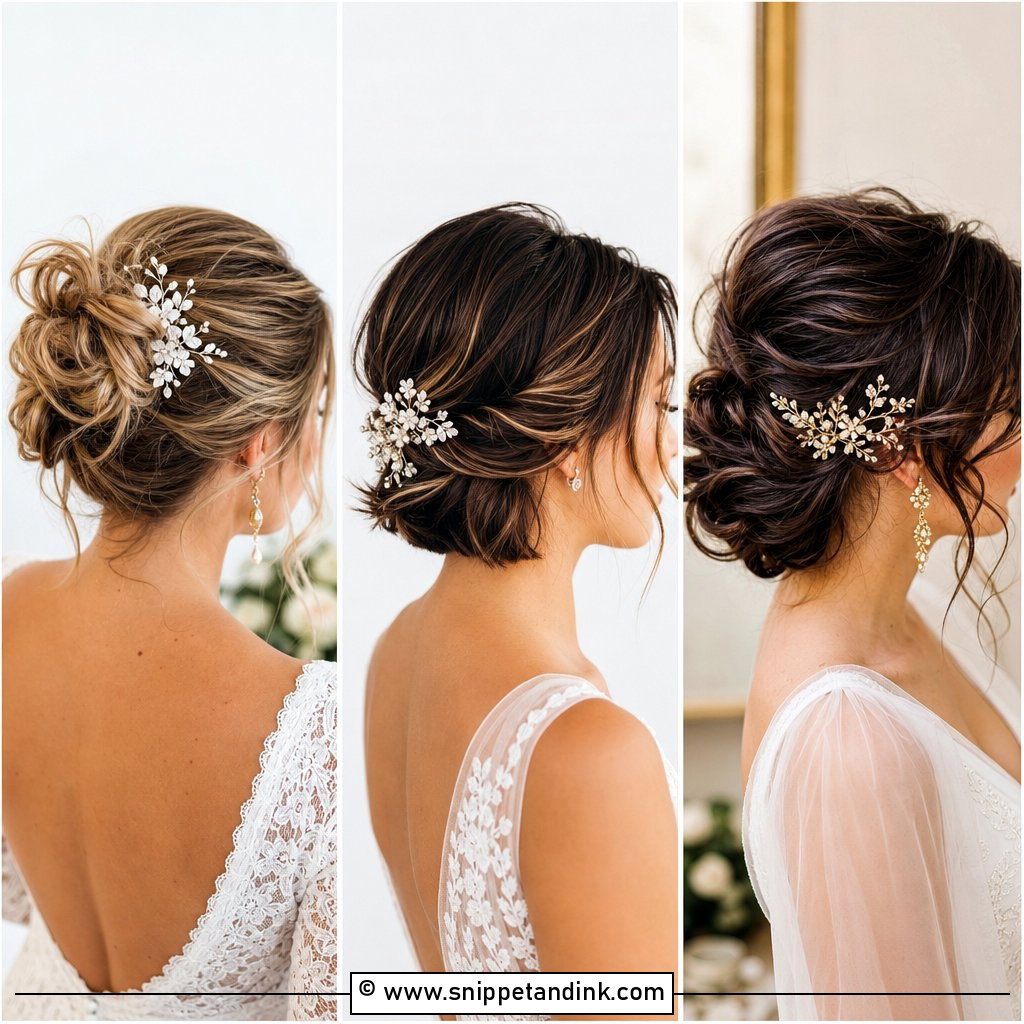
If a bride can’t decide, this is where I start, because a nape bun sits under almost every veil and doesn’t fight a high or low back. The weight rests low, so there’s no pull at the crown by hour eight. What I check first is how it looks from the side: a low knot can disappear behind the ears on a long neck, so I’ll keep a touch of lift at the crown to give the profile some shape. Smooth the sides, but leave the pinning secure rather than rigid, or every hug will feel like a tug. It suits a minimal dress, a courthouse ceremony and a lace gown equally well.
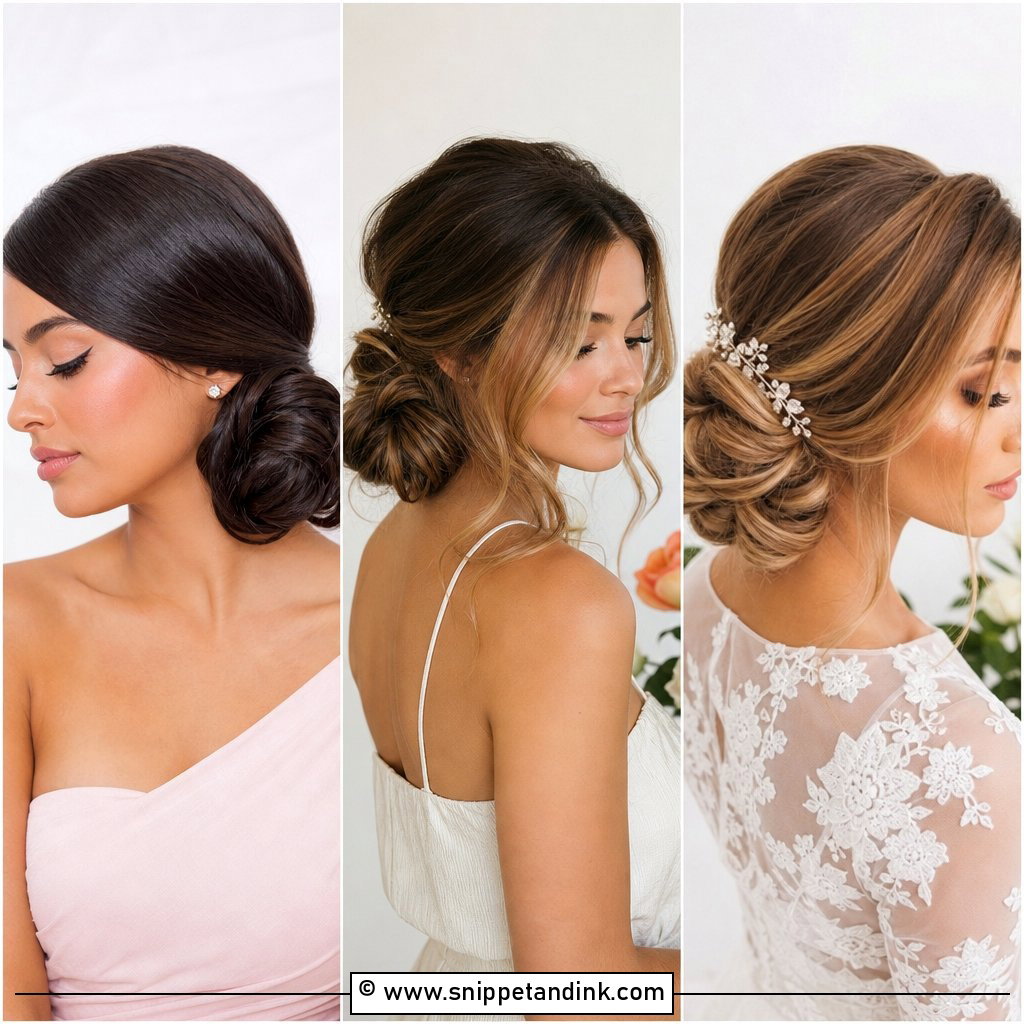
2. Sleek Low Bun Wedding Hair
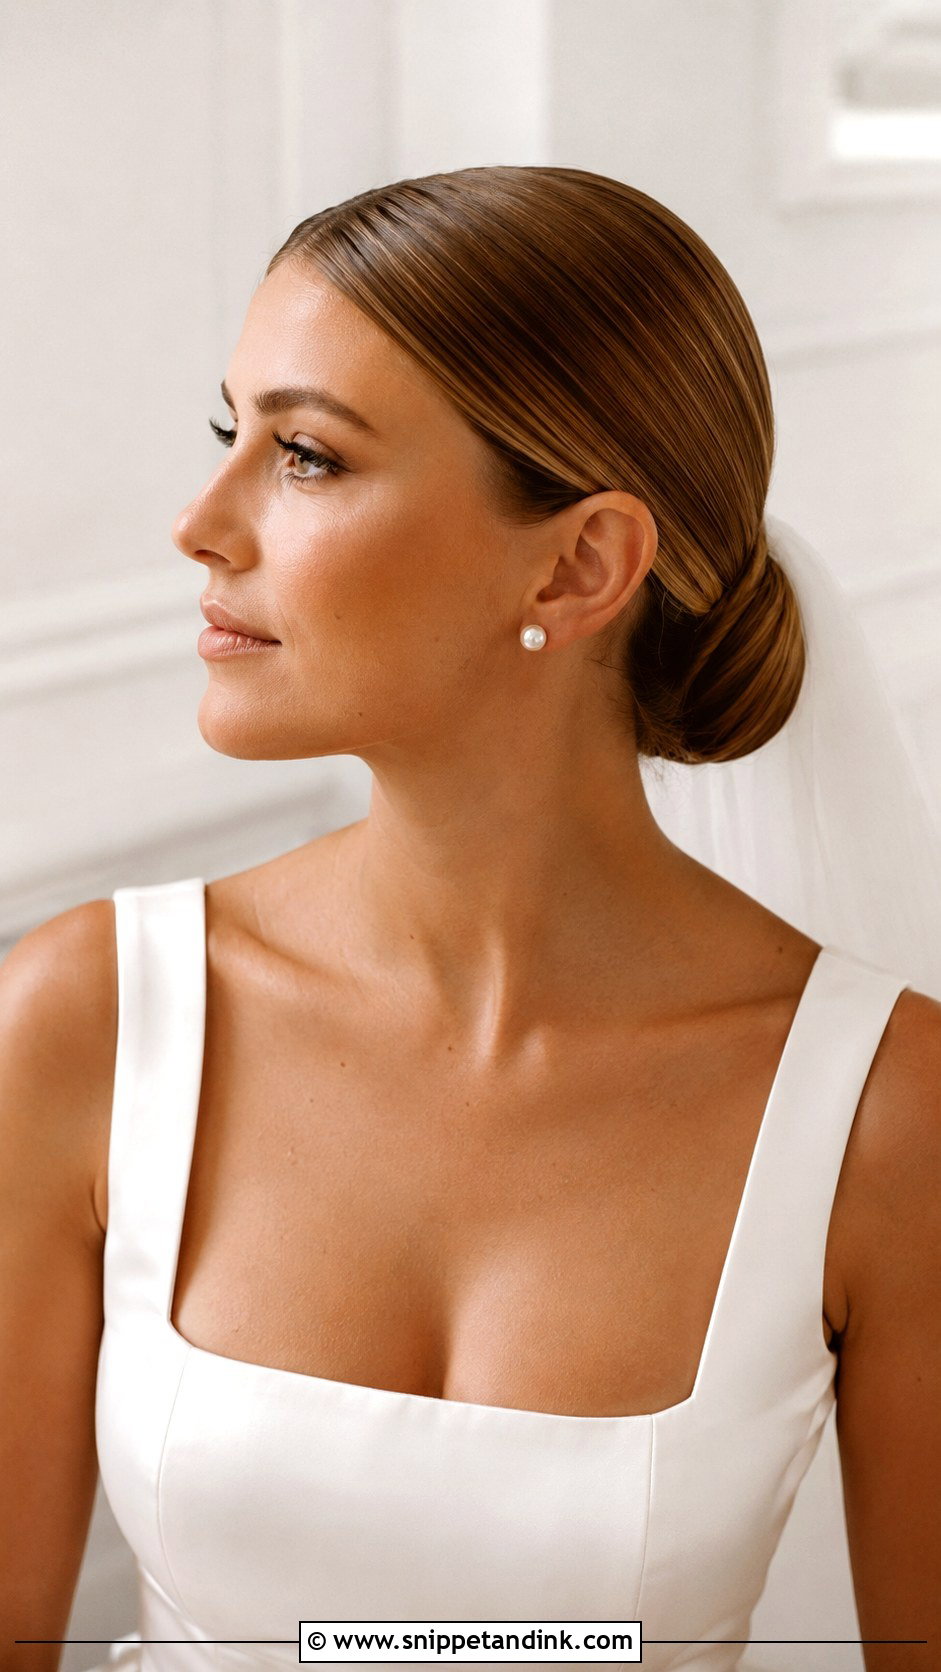
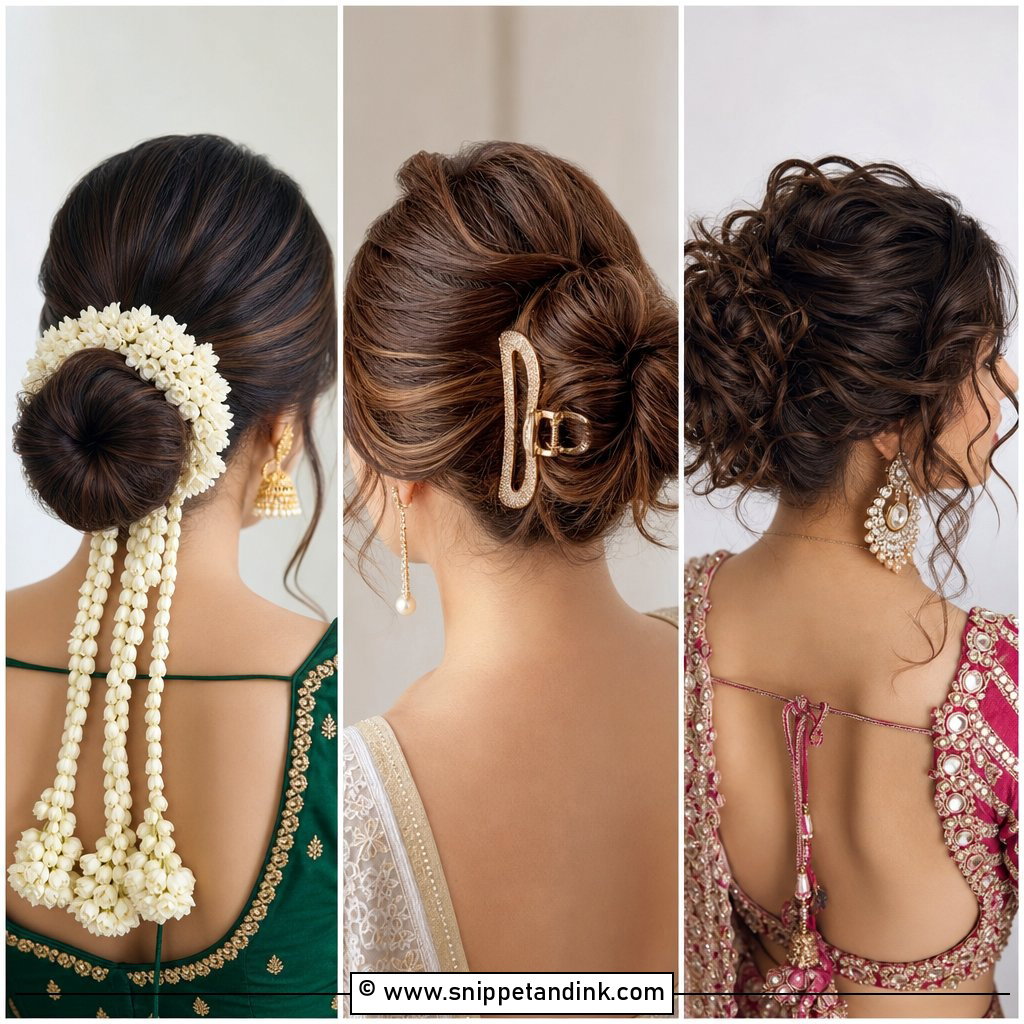
Sleek buns look simple and are the least forgiving style in this list. Every bump shows, and so does every flyaway once the lighting gets bright. I smooth the hair in sections with a little cream and a boar bristle brush, set the ponytail base with a hair elastic before any pins go in, then wrap. A middle or soft side part both work. Go easy on shine spray: too much and the camera reads it as wet. This is the bun I’d pair with satin, structured bodices, high necks and a bold earring.
3. Messy Low Bun Wedding Hair
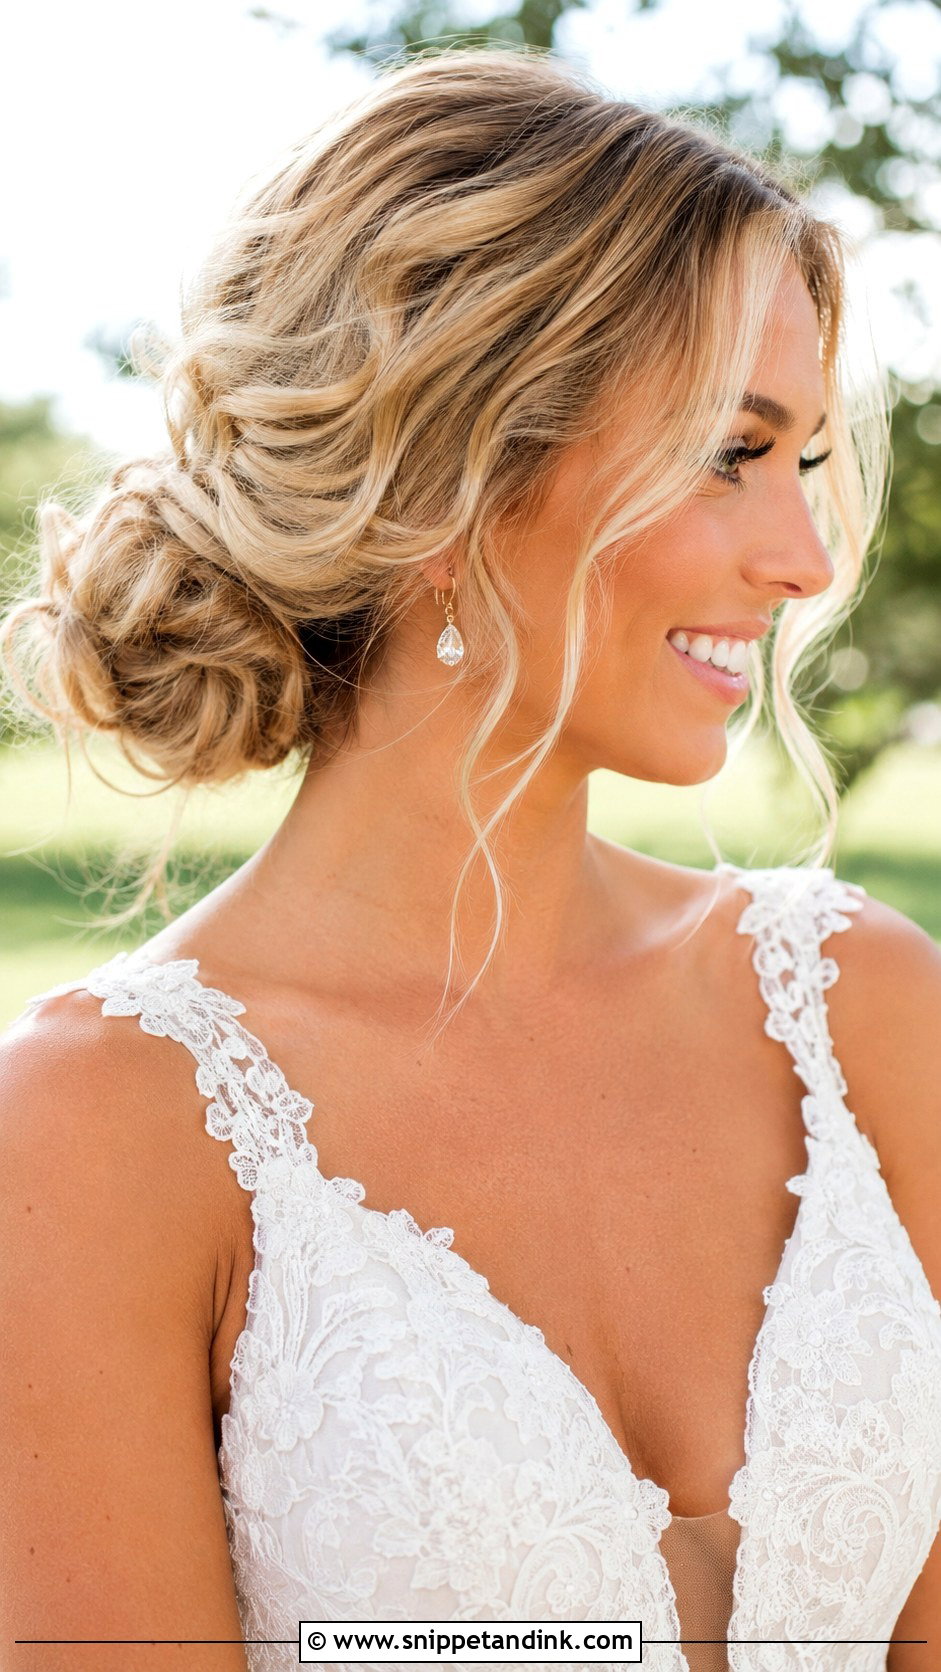
Messy is the hardest word in bridal hair, because what most brides mean is “soft but still put together.” I curl every section first, let it cool, then pin it loosely and pull pieces out on purpose. Without that curl underneath, the texture falls flat by the cocktail hour and starts to look unfinished. A few face-framing strands help if you rarely wear your hair back. Use a flexible spray rather than a hard hold so it can move. I like it with lace, outdoor ceremonies and lighter makeup.
4. Textured Bun Wedding Hair
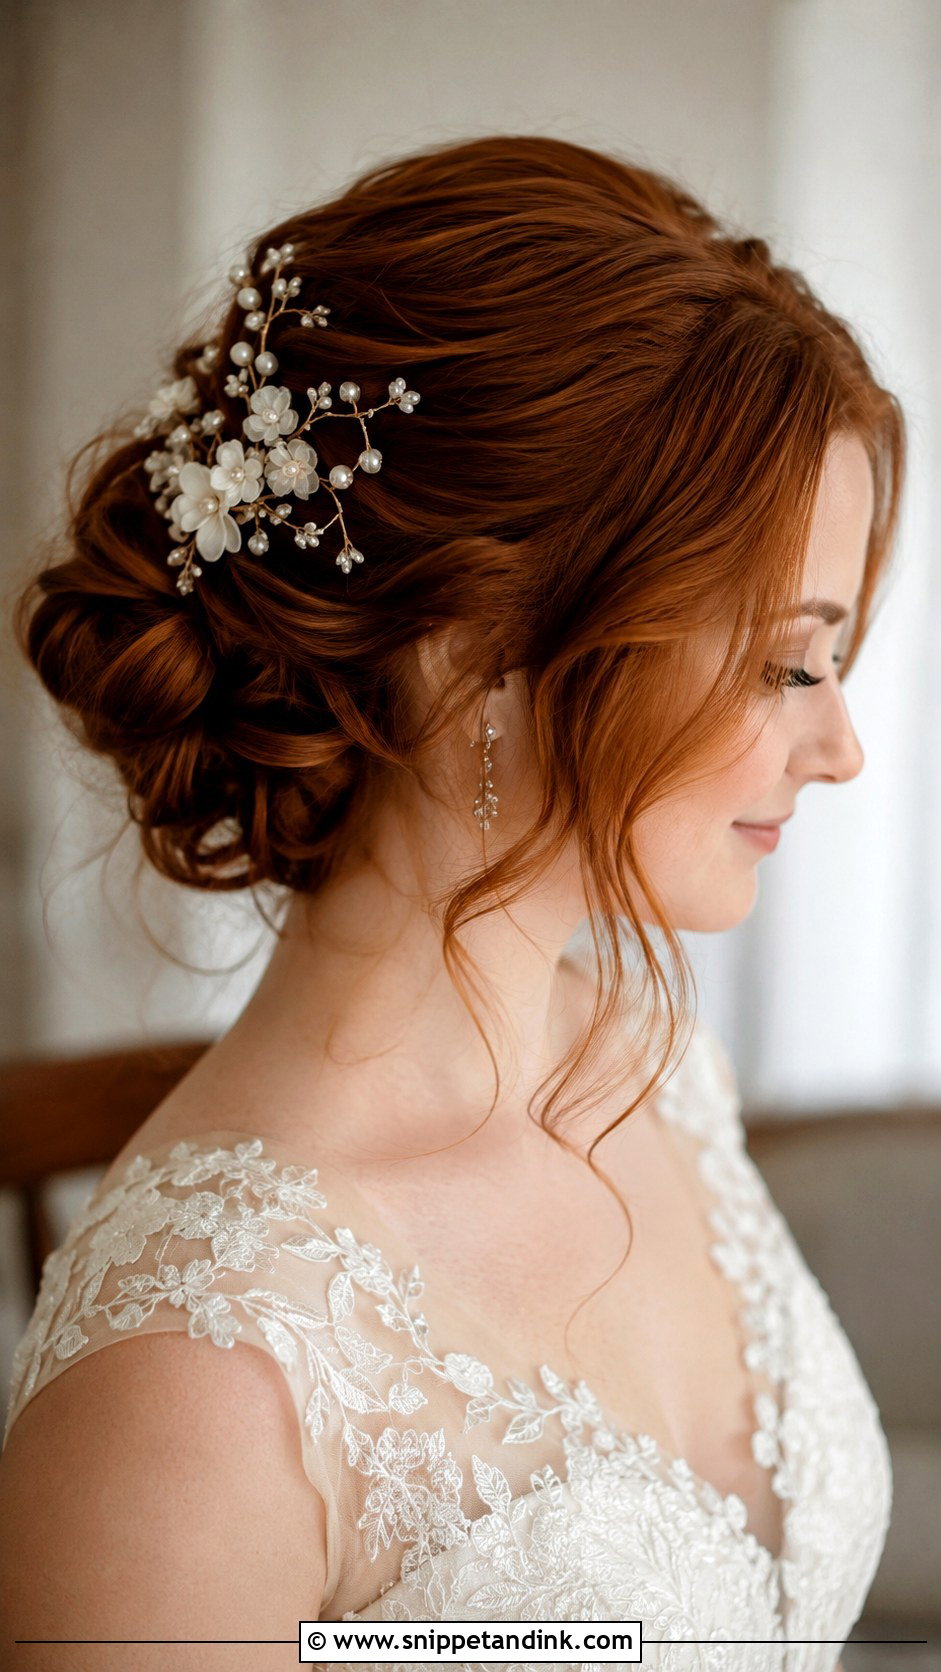
Texture does a lot of quiet work in photos. A bun built from bends and loose twists catches light on every ridge, so it looks fuller and more detailed than a smooth one of the same size. That’s why I use it on fine hair: the texture spray and pinned twists make a modest amount of hair read as thick. It needs medium length or longer to wrap properly. Floral combs and small pins sit nicely in the folds. Keep the front calmer than the back, otherwise the whole style tips into rushed.
5. Middle Part Bun Wedding Hair
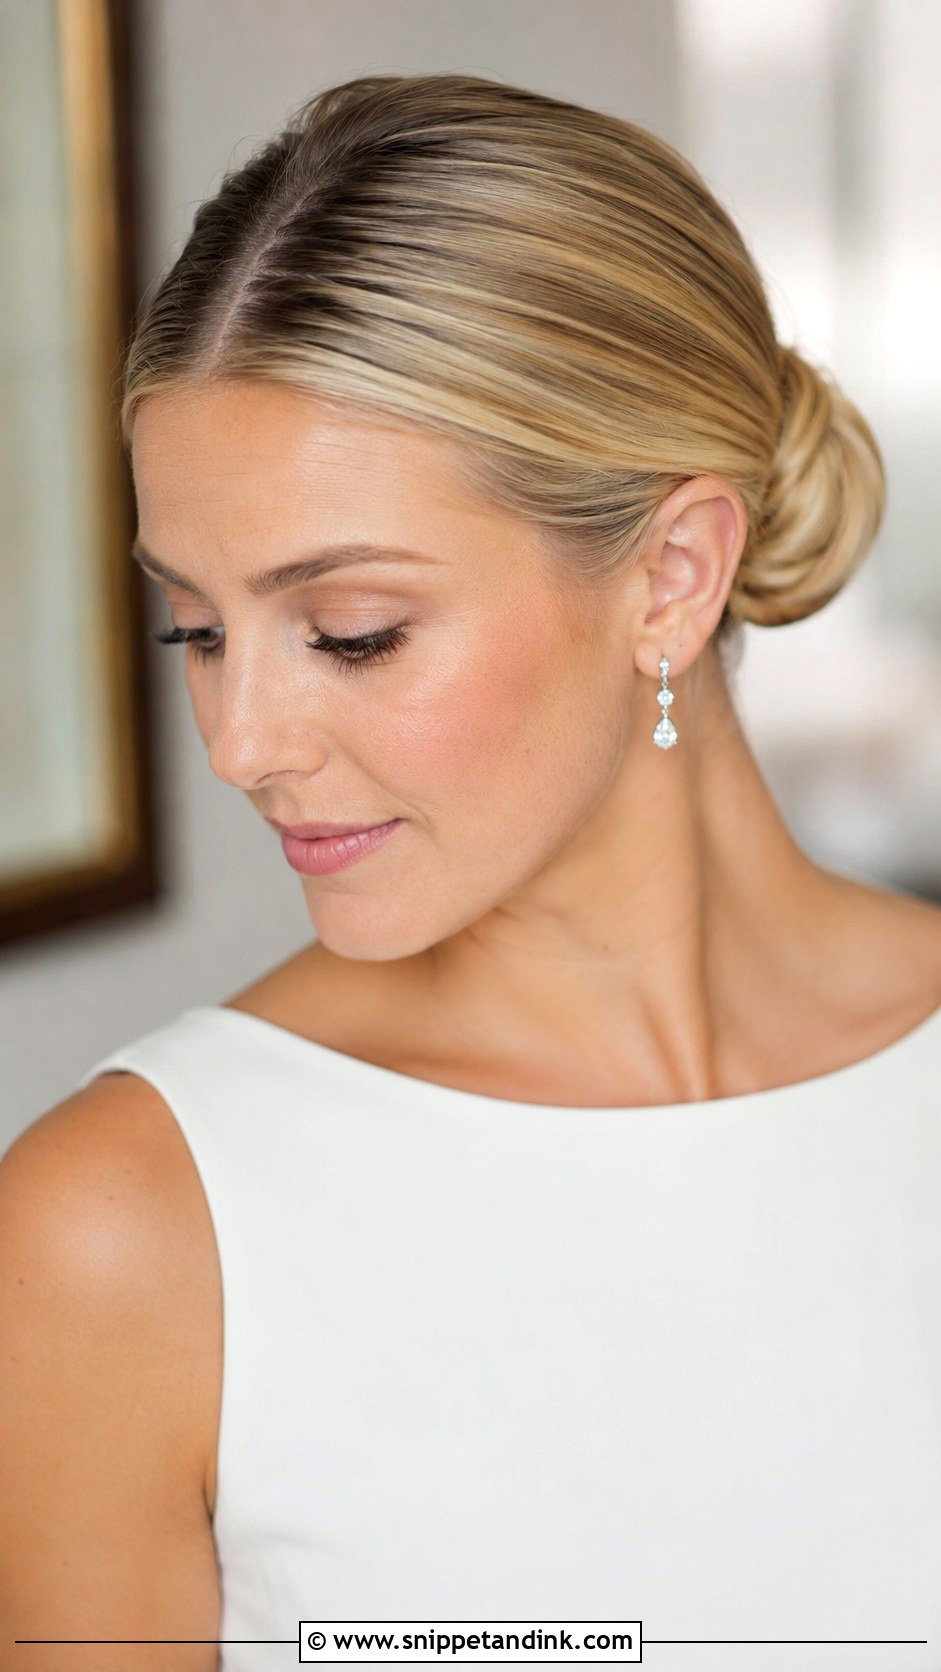
A center part is honest about your face. It creates symmetry, which is lovely if your features are fairly even and less kind if your hairline has a strong cowlick or one side naturally lifts. I check that first, before we commit. Done well, it gives a modern, clean frame that lets the dress do the talking, especially with off-the-shoulder and square necklines and a drop earring. Ask for a little root lift on either side of the part, because a flat center part can make the face look wider in straight-on photos.
6. Side Part Bun Wedding Hair
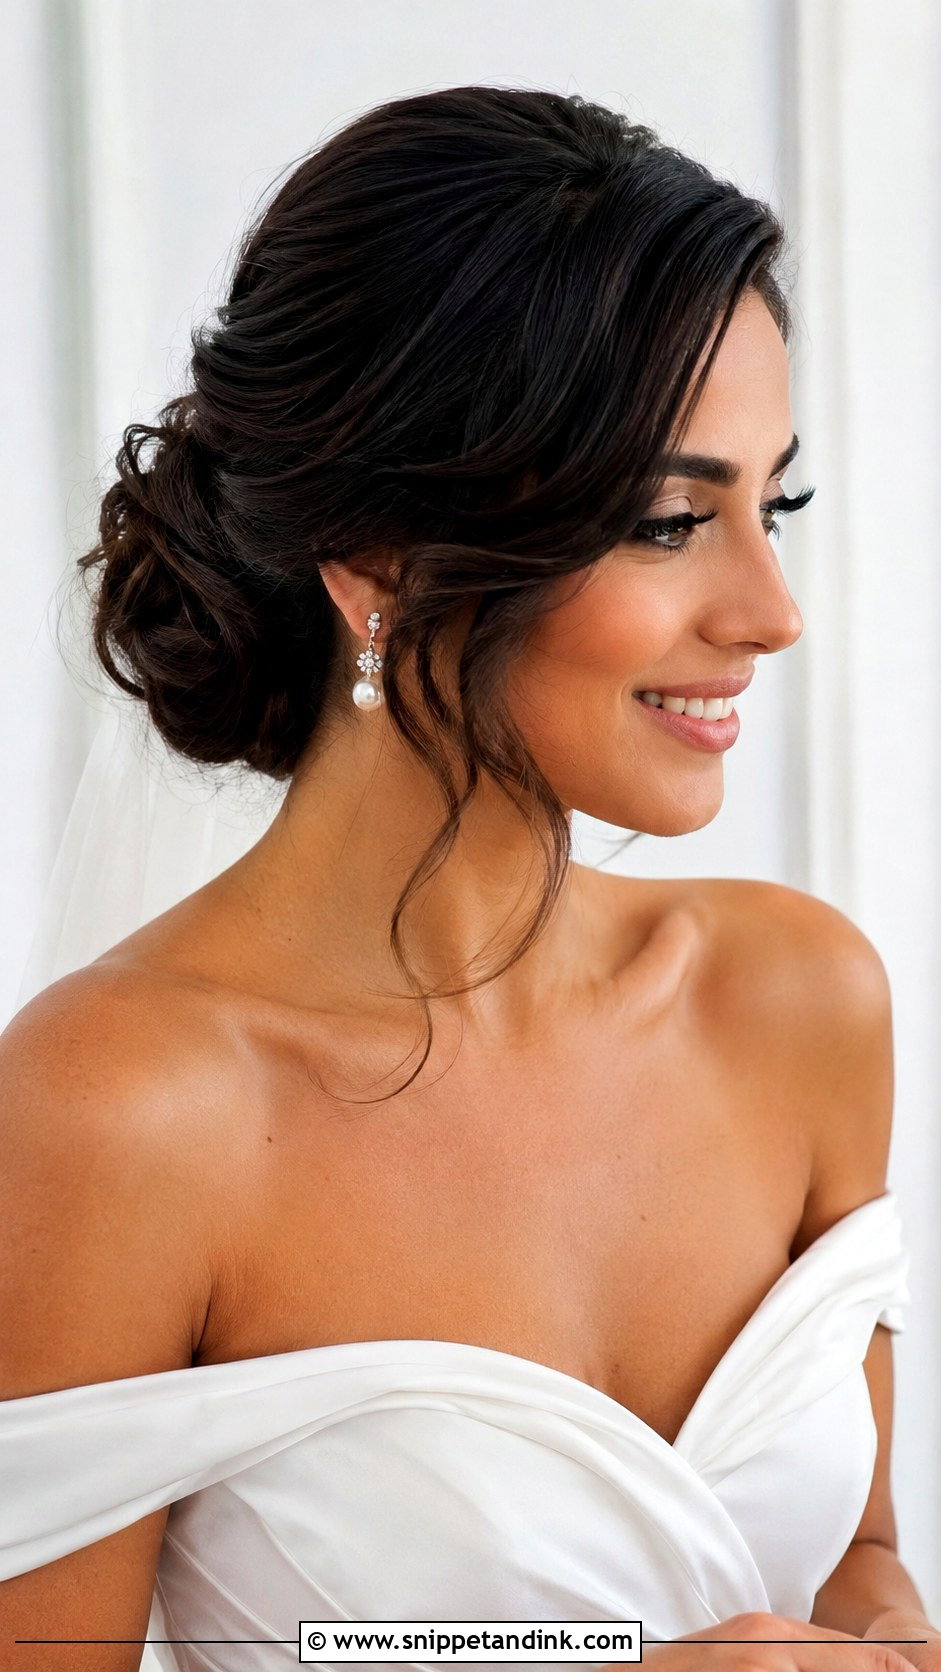
A side part adds movement across the forehead, and it’s the part I suggest most for round, square, or heart-shaped faces since the diagonal breaks up width. I usually keep the bun low and only slightly off center; push it too far to one side and it can look lopsided in the ceremony shots taken from the aisle. The deeper side of the part is a natural spot for a comb, barrette or a pearl pin. Pin the front sweep smooth but not tight, so it doesn’t pull at the temple by evening.
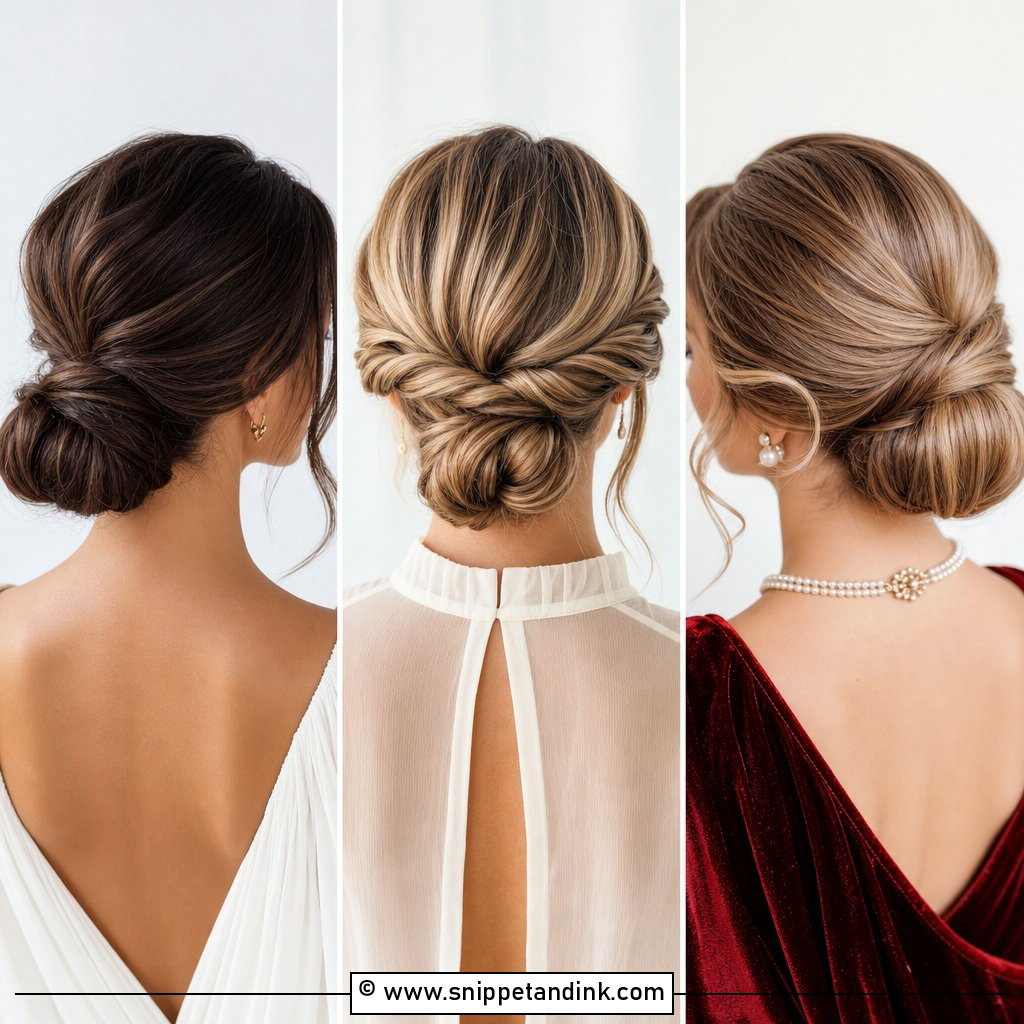
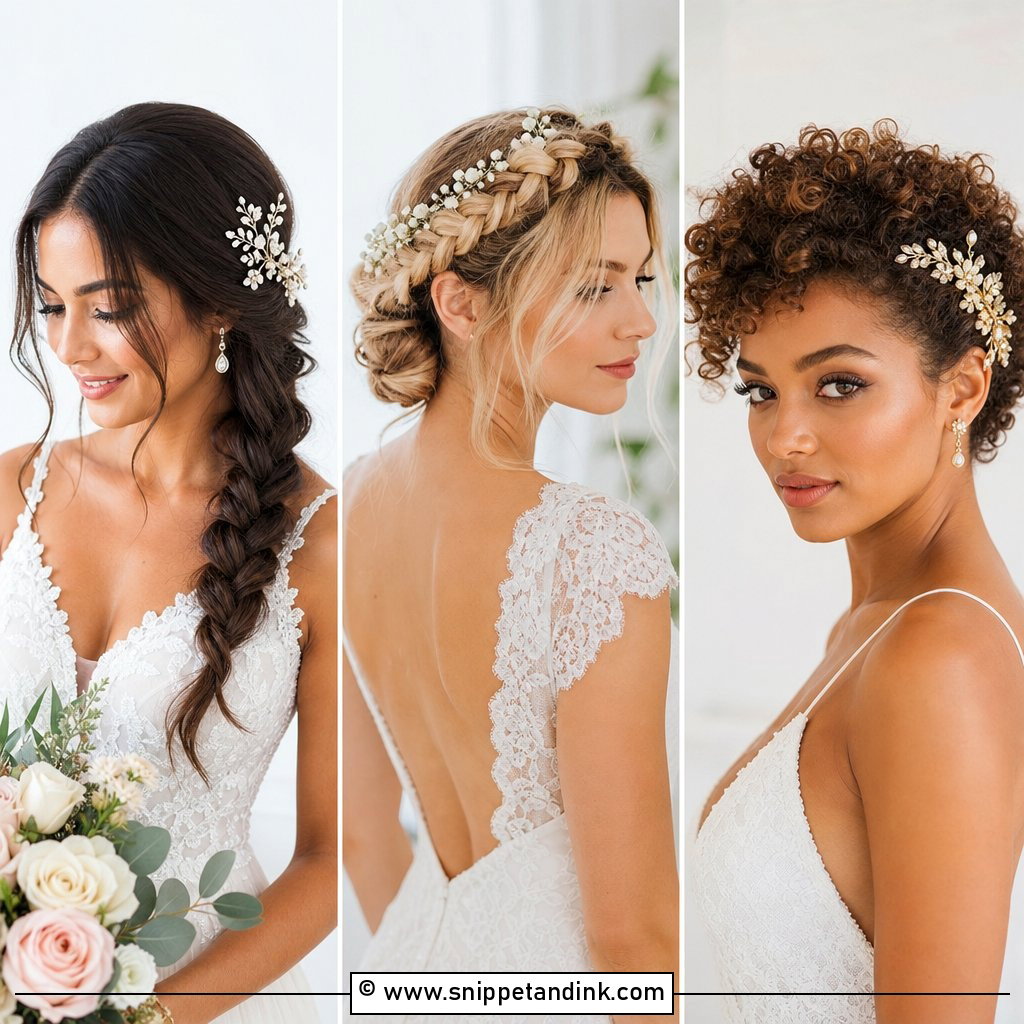
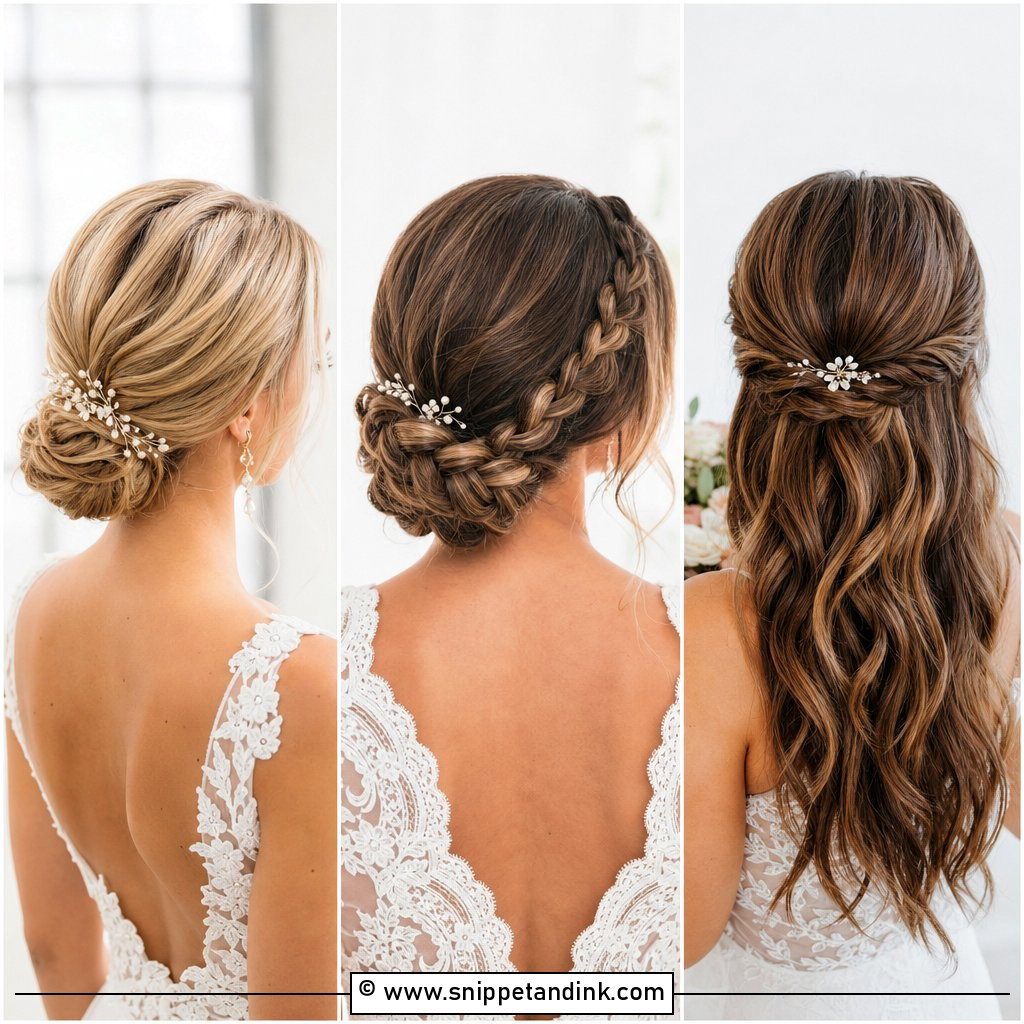
7. Braided Bun Wedding Hair
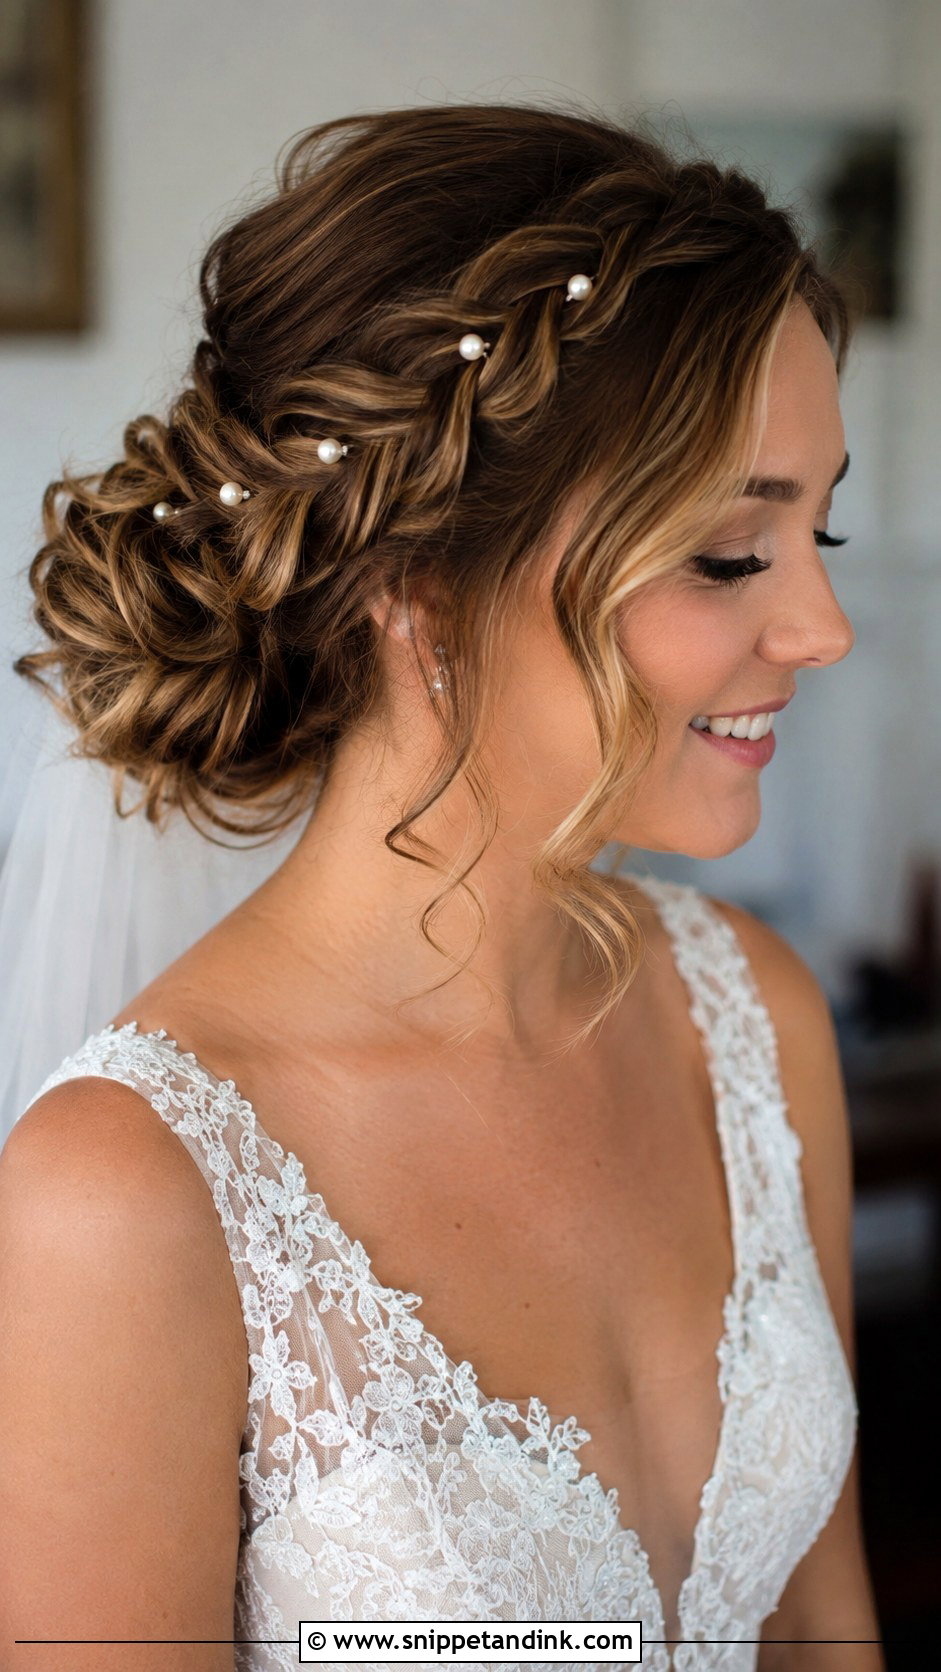
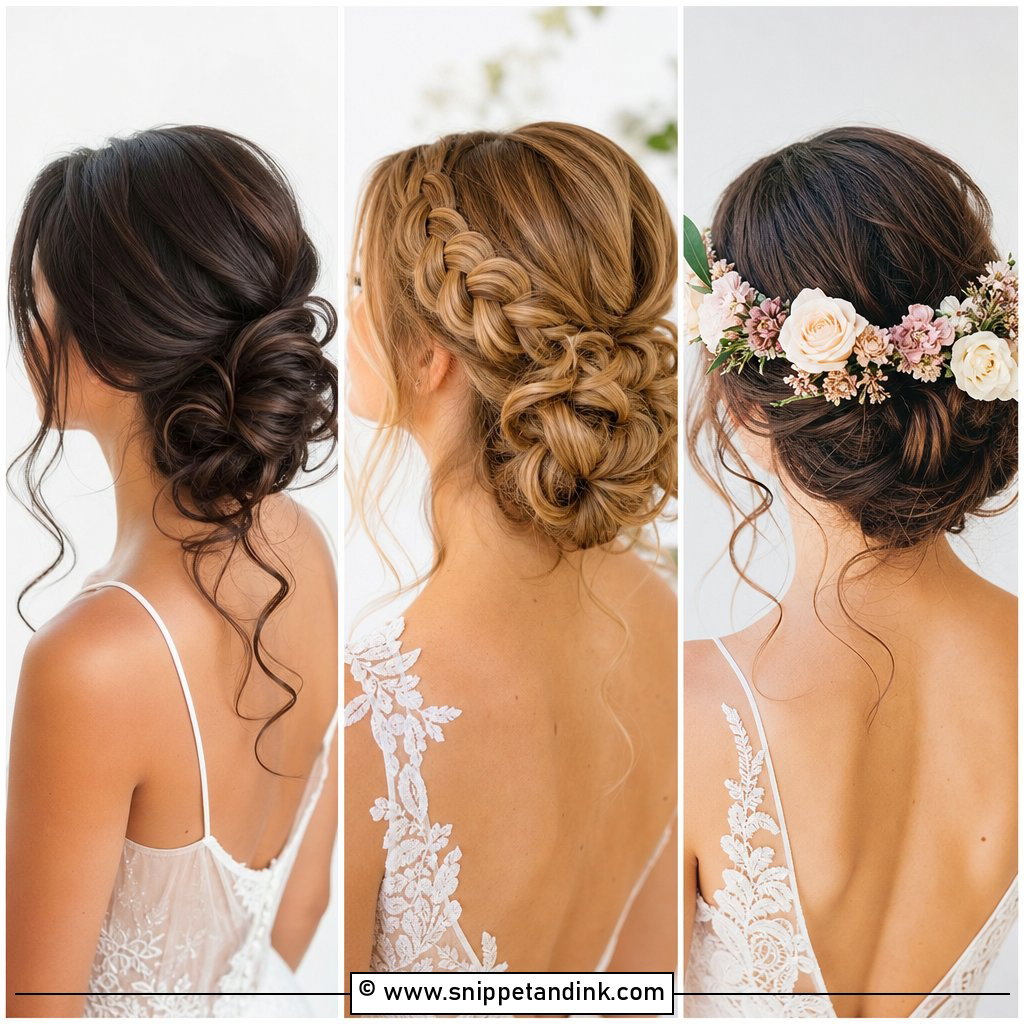
Braided bun wedding hair is my practical choice for layered hair, not only a decorative one. A braid locks shorter layers in place that would otherwise poke out of a plain knot within a couple of hours. One small braid wrapped around the base, or running along one side into the bun, is usually enough detail. If you’re having a veil, tell your stylist early, because the comb needs to slide under or above the braid, not through it. Leave out a few face-framing pieces so the braid doesn’t feel severe.
8. Twisted Bun Wedding Hair
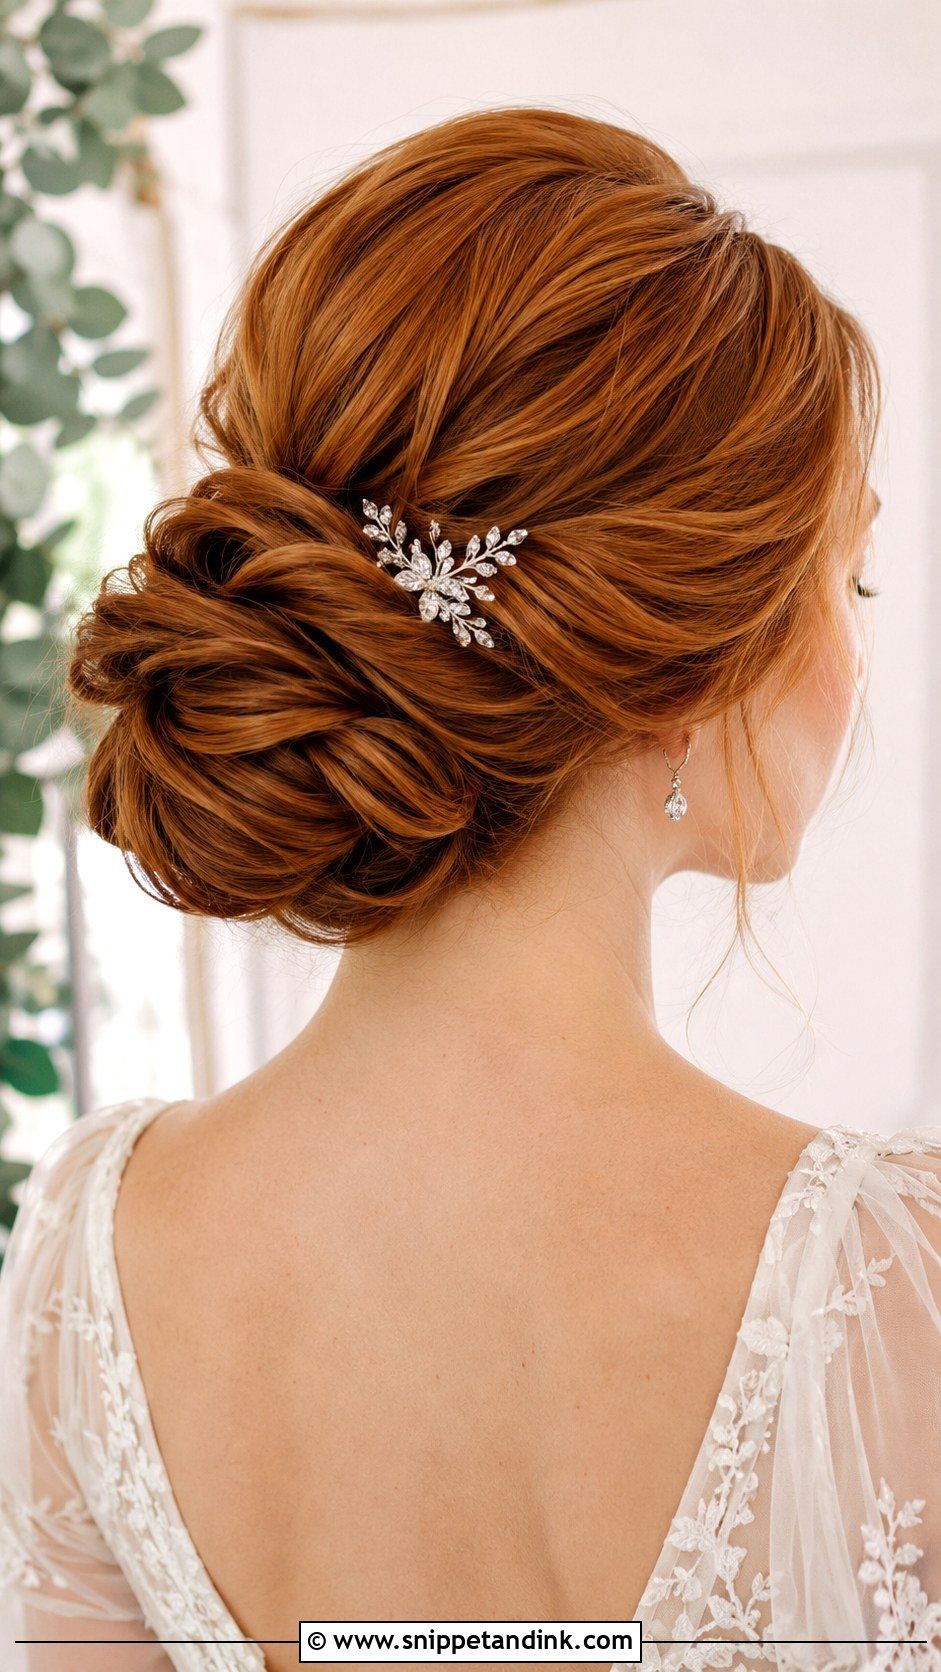
Instead of one wrapped knot, a twisted bun is built from several small sections, each twisted and pinned on its own. That makes it far more secure than it looks, because the weight is spread across a dozen anchor points. I like it for brides with layers or a grown-out cut, since the twists catch the short ends naturally. It can be smooth or loose depending on the venue. Pearl pins and small flowers slot easily between the twists. I’ll lift the crown slightly and keep two smooth front pieces to stop it looking heavy at the back.
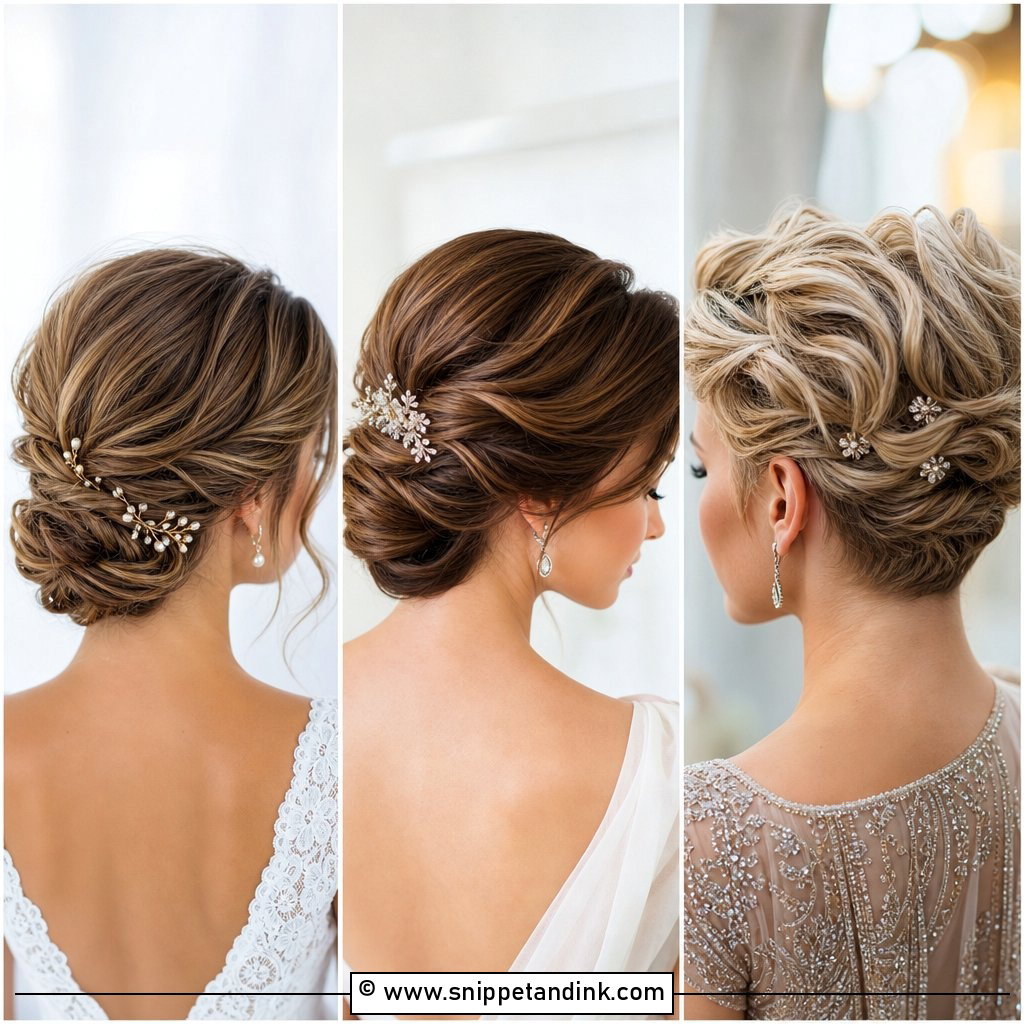
9. Chignon Bun Wedding Hair
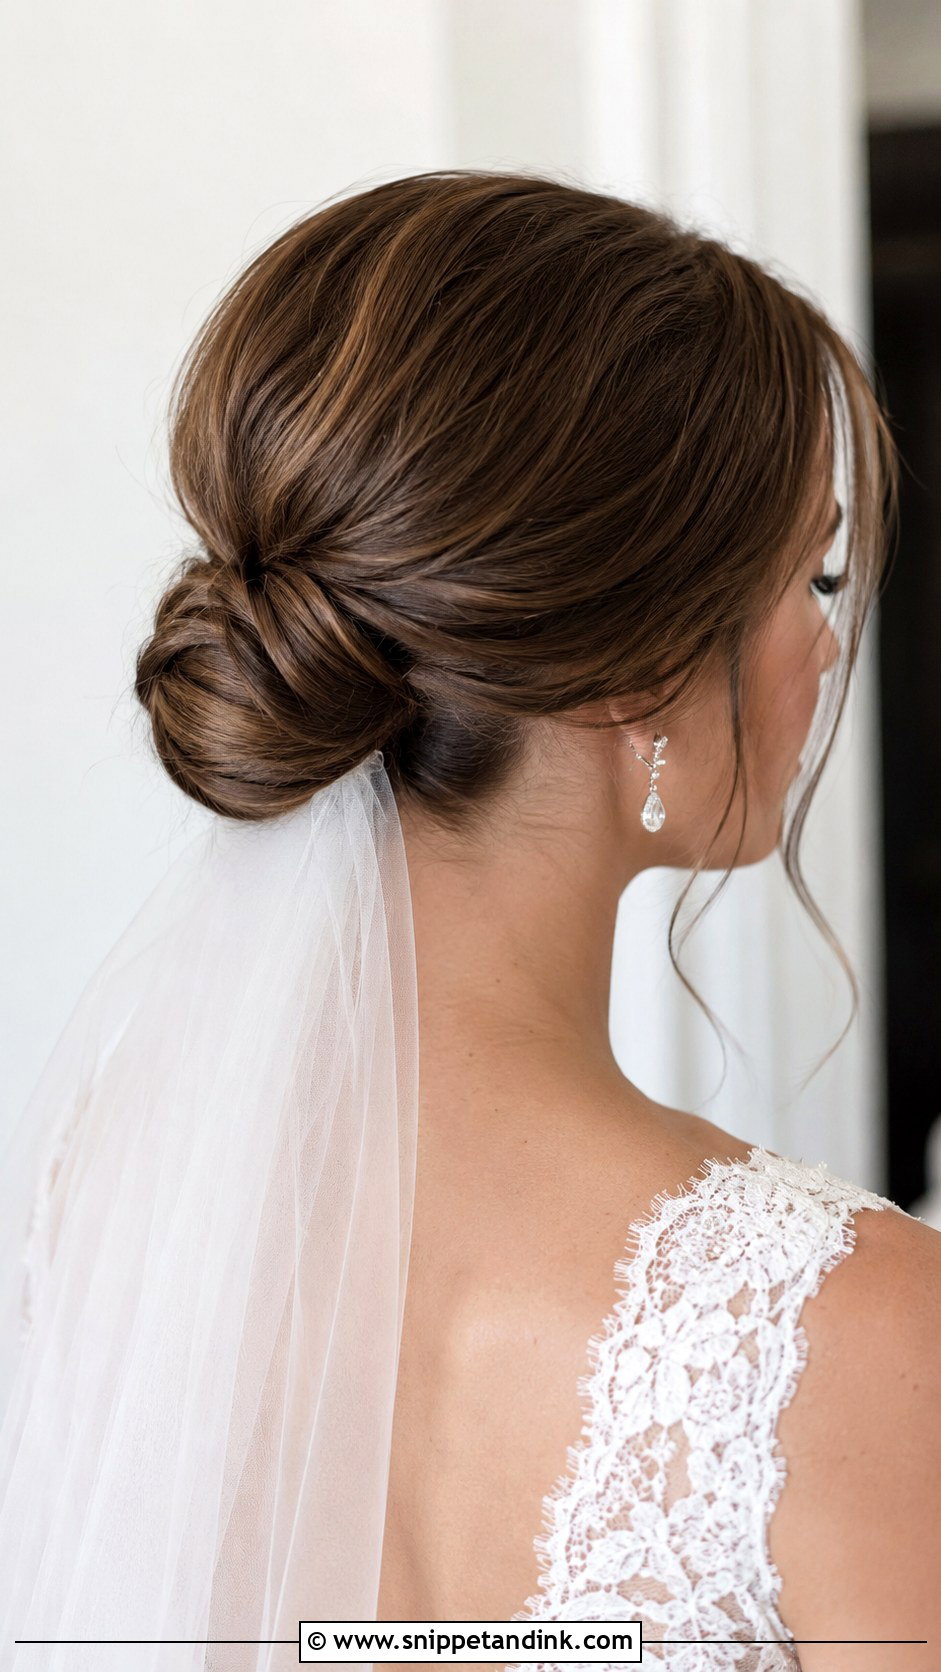
A chignon is the bun I’d recommend to anyone worried about how their photos will age. It sits at the nape and can be rolled, tucked or gathered, and that shape has barely changed in decades. It suits most textures, from fine straight hair to thick waves. With lace sleeves and a cathedral veil it looks classic; loosen it slightly and it moves easily into a garden wedding. What separates a good chignon from a tight one is clean pinning you can’t see and a little softness around the face.
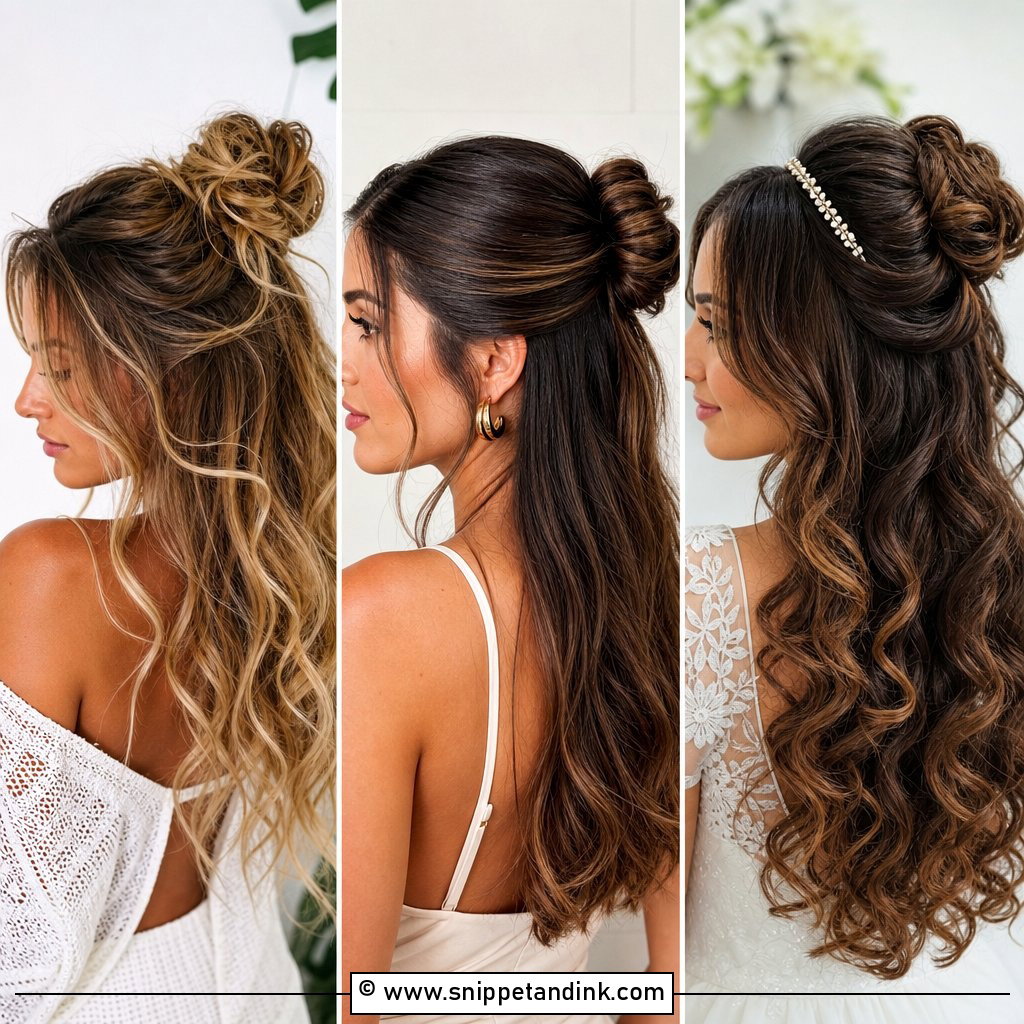
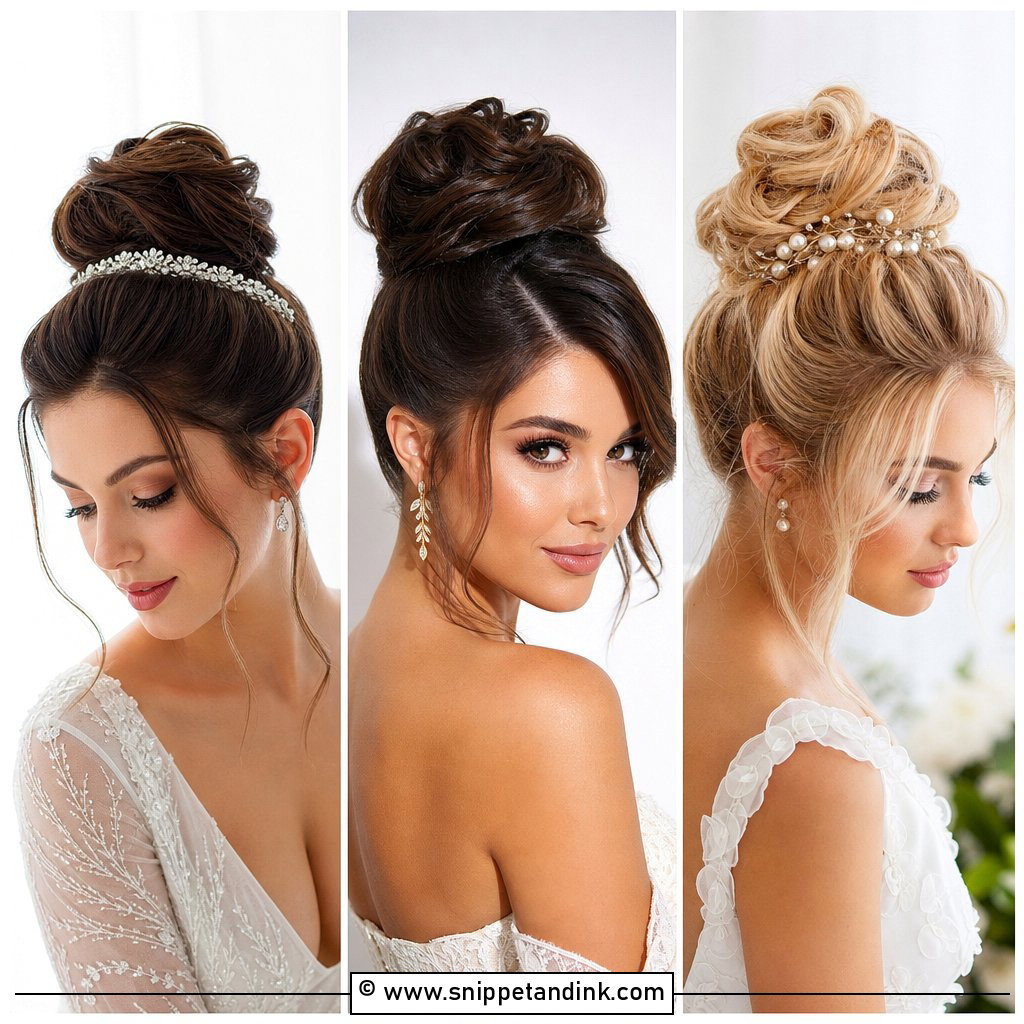
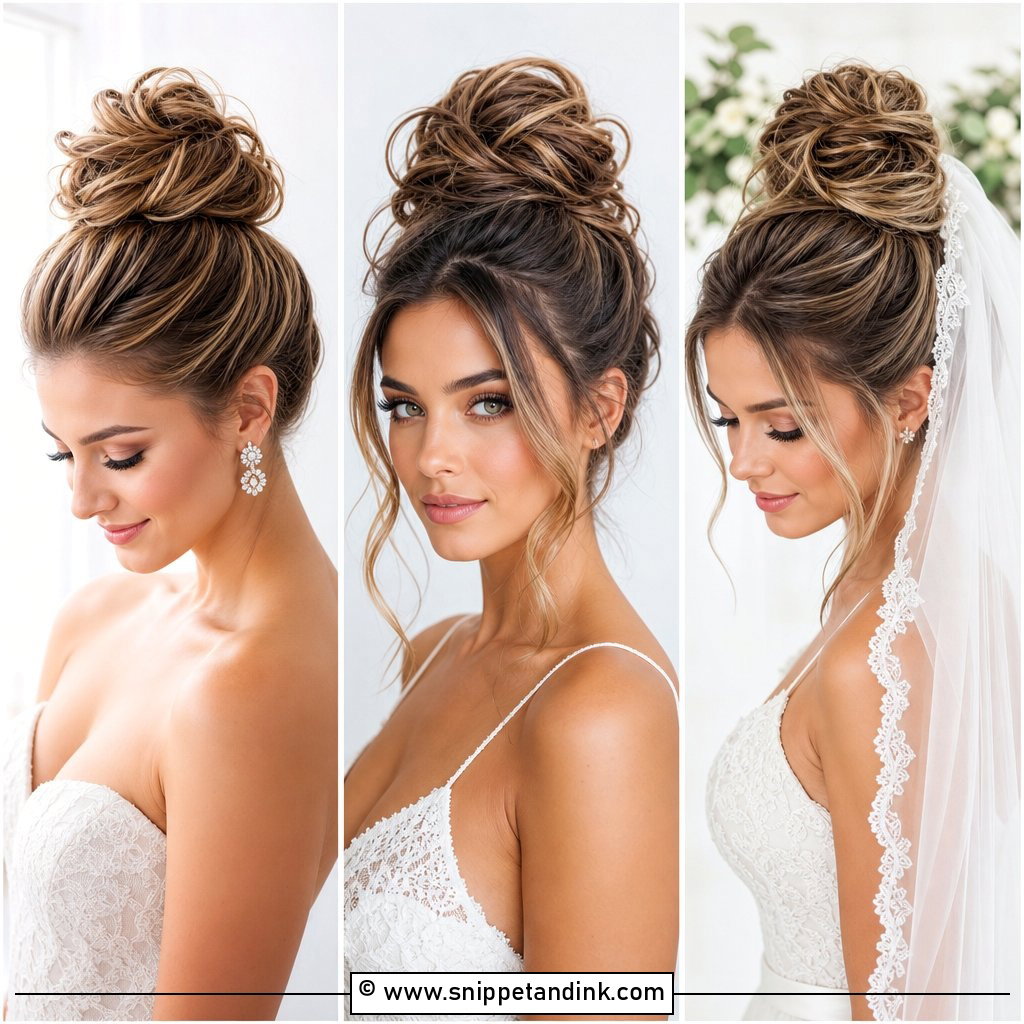
10. High Bun Wedding Hair
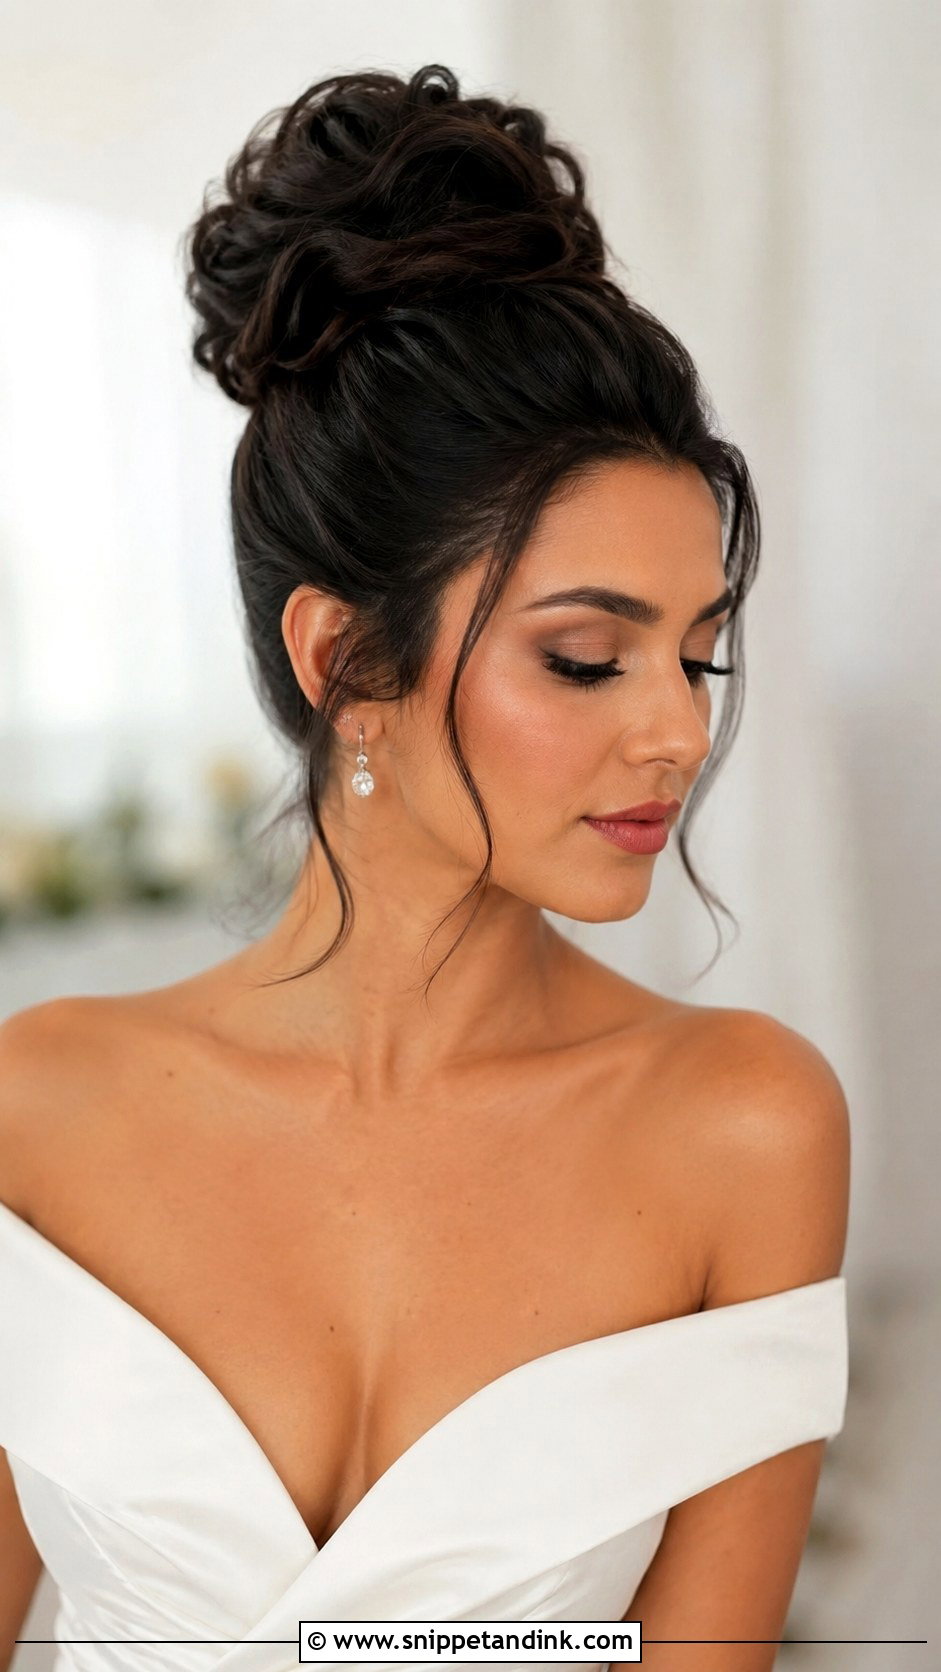
A high bun lifts the whole silhouette and makes the neck look longer, so I reach for it with high necklines, open backs and detailed bodices you want seen. It’s also the coolest option for a summer ceremony, since nothing touches the shoulders. The trade-off is weight: a full head of thick hair pinned at the crown can start to ache by the reception, so I’ll test it for at least an hour at the trial. Smooth like a ballerina bun or softly textured both work. A veil comb sits best just below it.
11. Ballerina Bun Wedding Hair
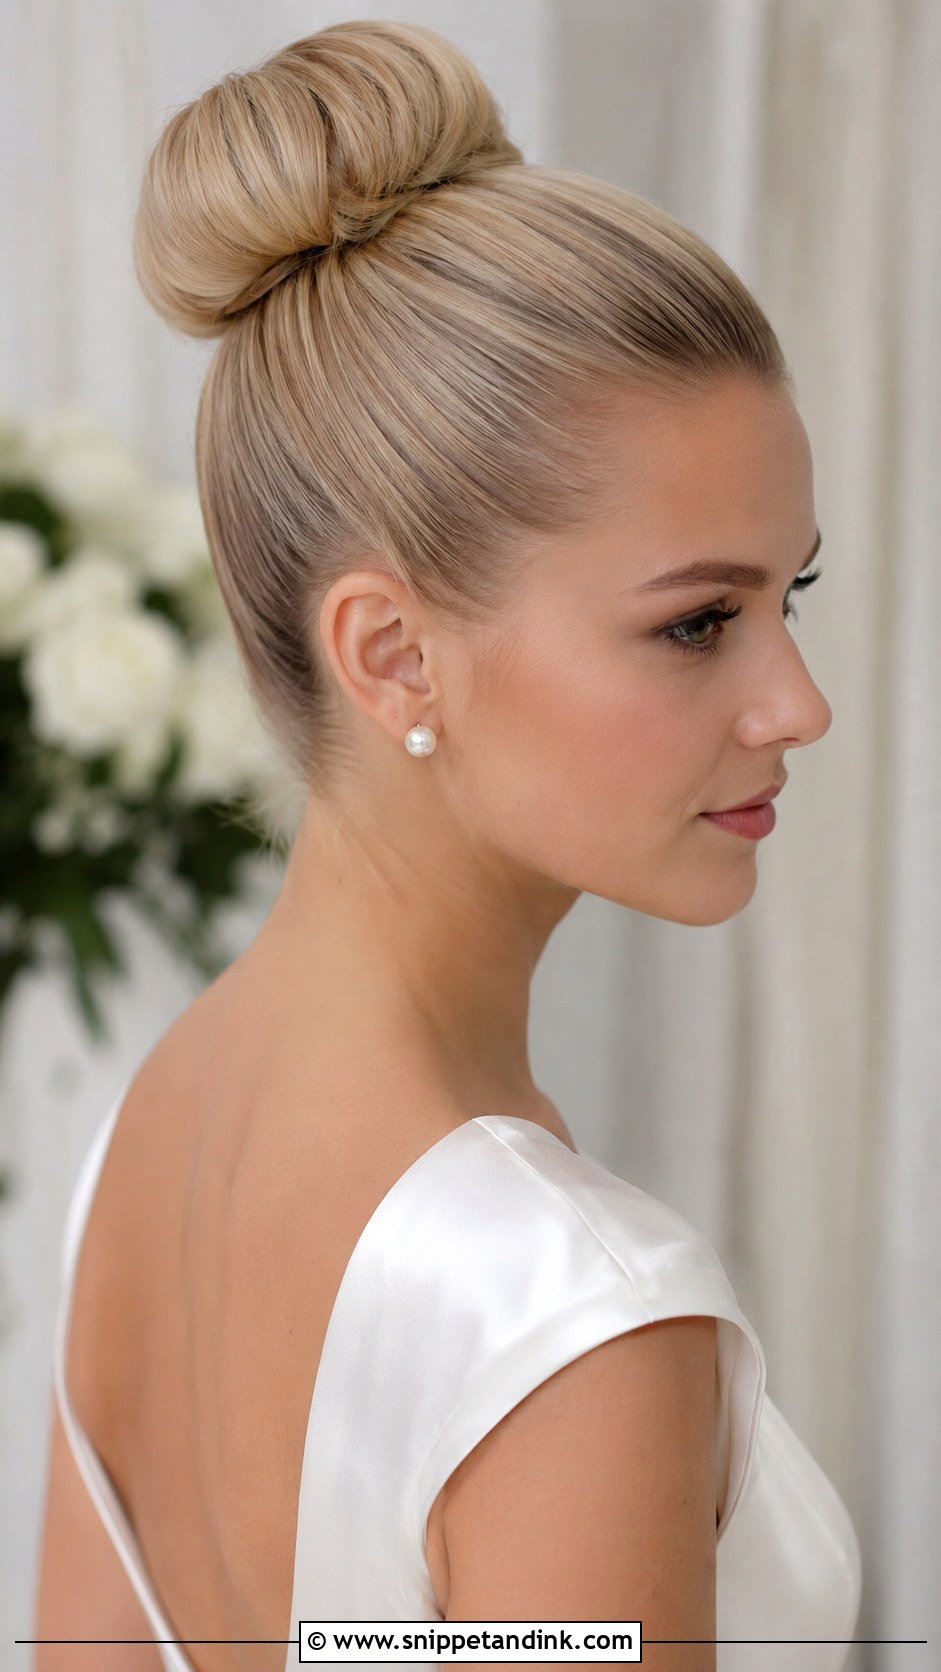
Ballerina bun wedding hair is round, smooth and tidy, placed at the crown or lower at the back. It’s one of the most secure shapes I make, which matters for a long church ceremony or a day with a lot of standing. With modern gowns, satin and pearl studs it looks very clean. The risk is that it tips into severe, especially under bright overhead light. I soften it with a few baby hairs left loose at the hairline and a healthy shine, not a lacquered one.
12. Curly Bun Wedding Hair
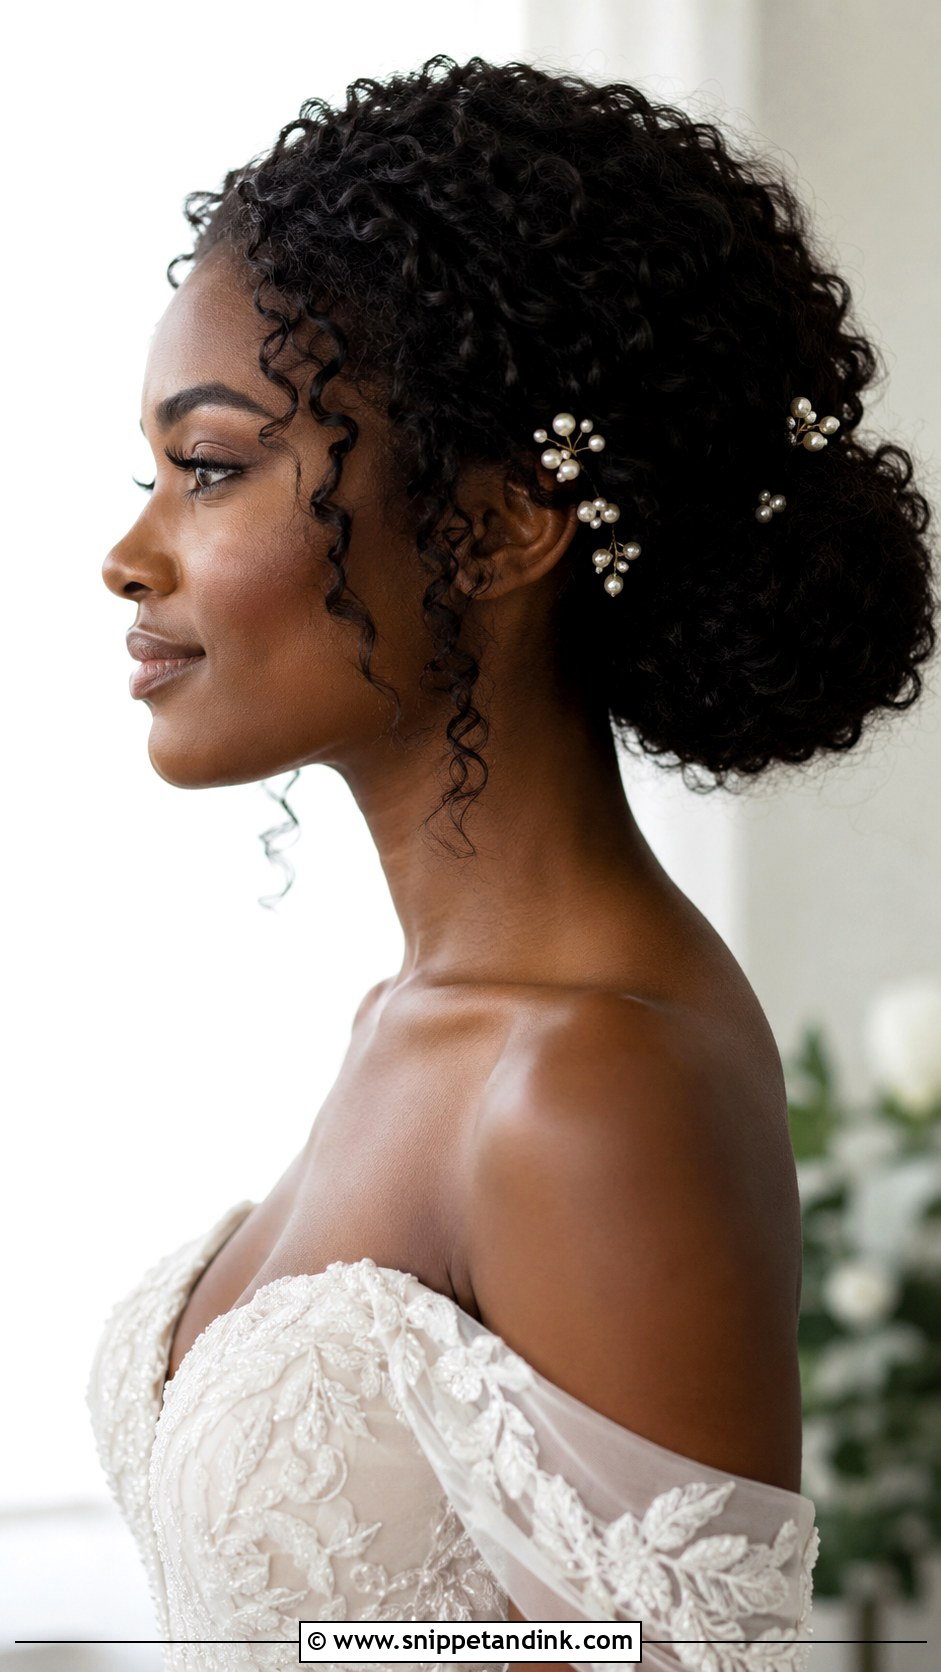
With curls, I never brush them out to build the bun. That breaks the pattern into frizz. Instead, I gather the curls by hand, pin them along the direction they already fall, and let their shape show. Moisture and a defining cream go in the night before or at wash day, so they’re not fighting the styling. Keep a few curls loose around the face if you want softness, or pin everything for a cleaner finish. Small pearl pins or a few tiny blooms read well against curls without hiding them.
13. Short Hair Bun Wedding Hair
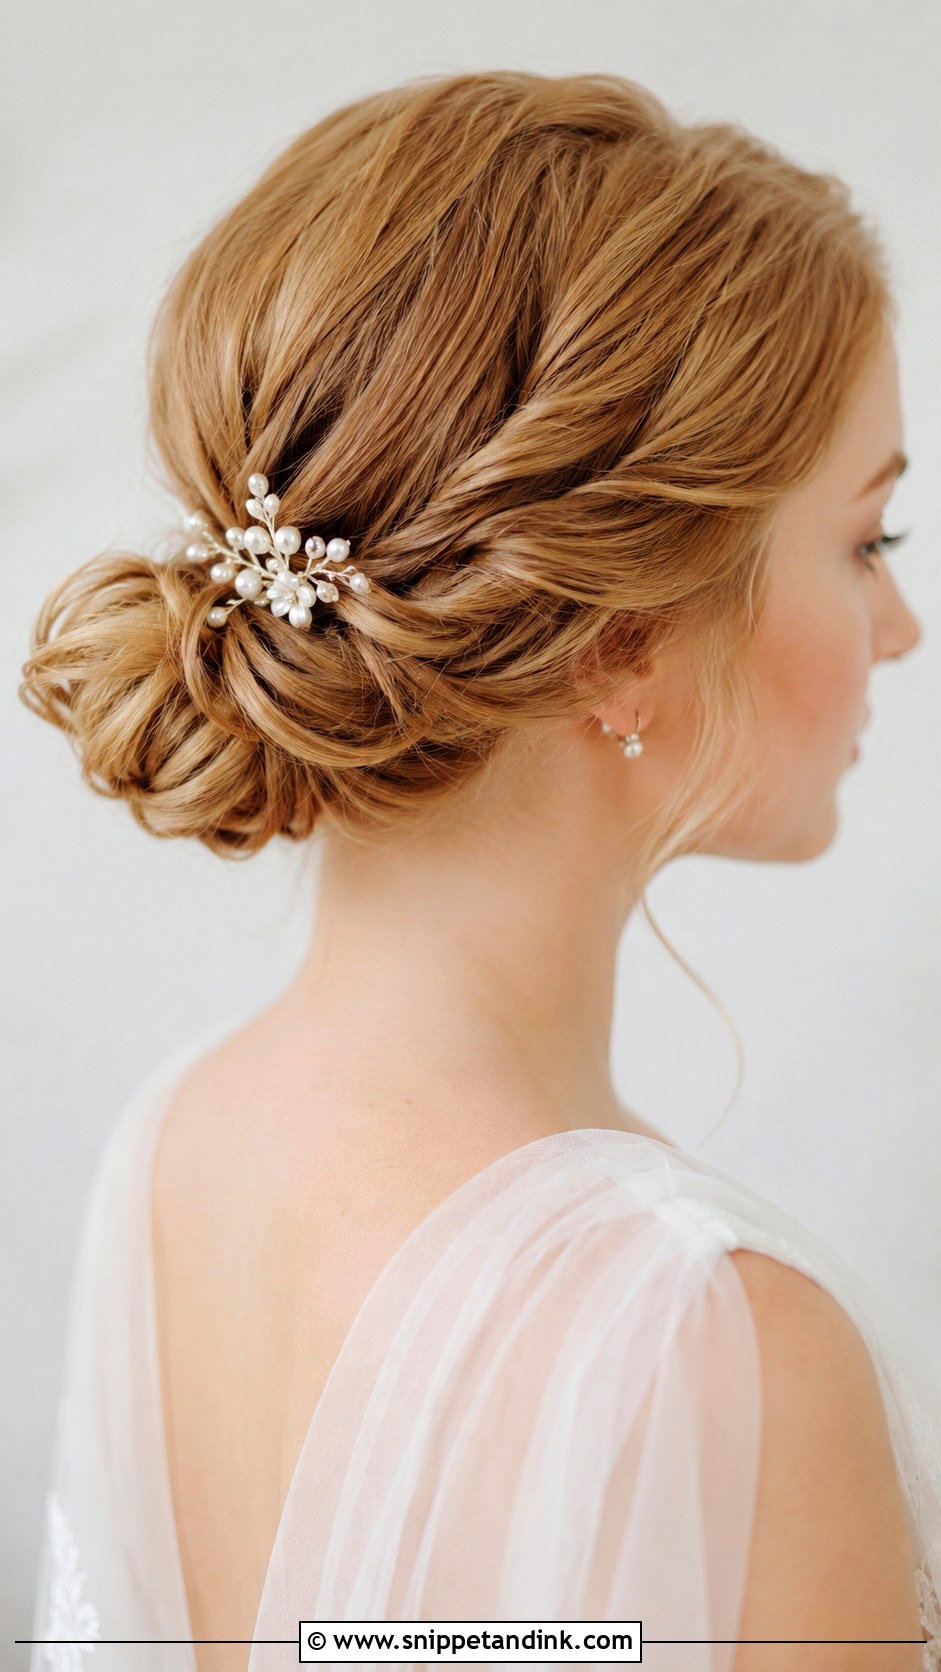
Short hair bun wedding hair works, but it needs honesty about size. If your hair sits at the jaw or just above the shoulders, I can make a small low bun or tucked chignon, usually with twists, hidden pins and some backcombing to bulk it out. The nape layers are the problem area, so I’ll pin them up first. A few loose front pieces make it look chosen. If you want a bigger bun than your length allows, ask about a matched clip-in piece at the trial rather than on the morning.
14. Bun Wedding Hair With Veil
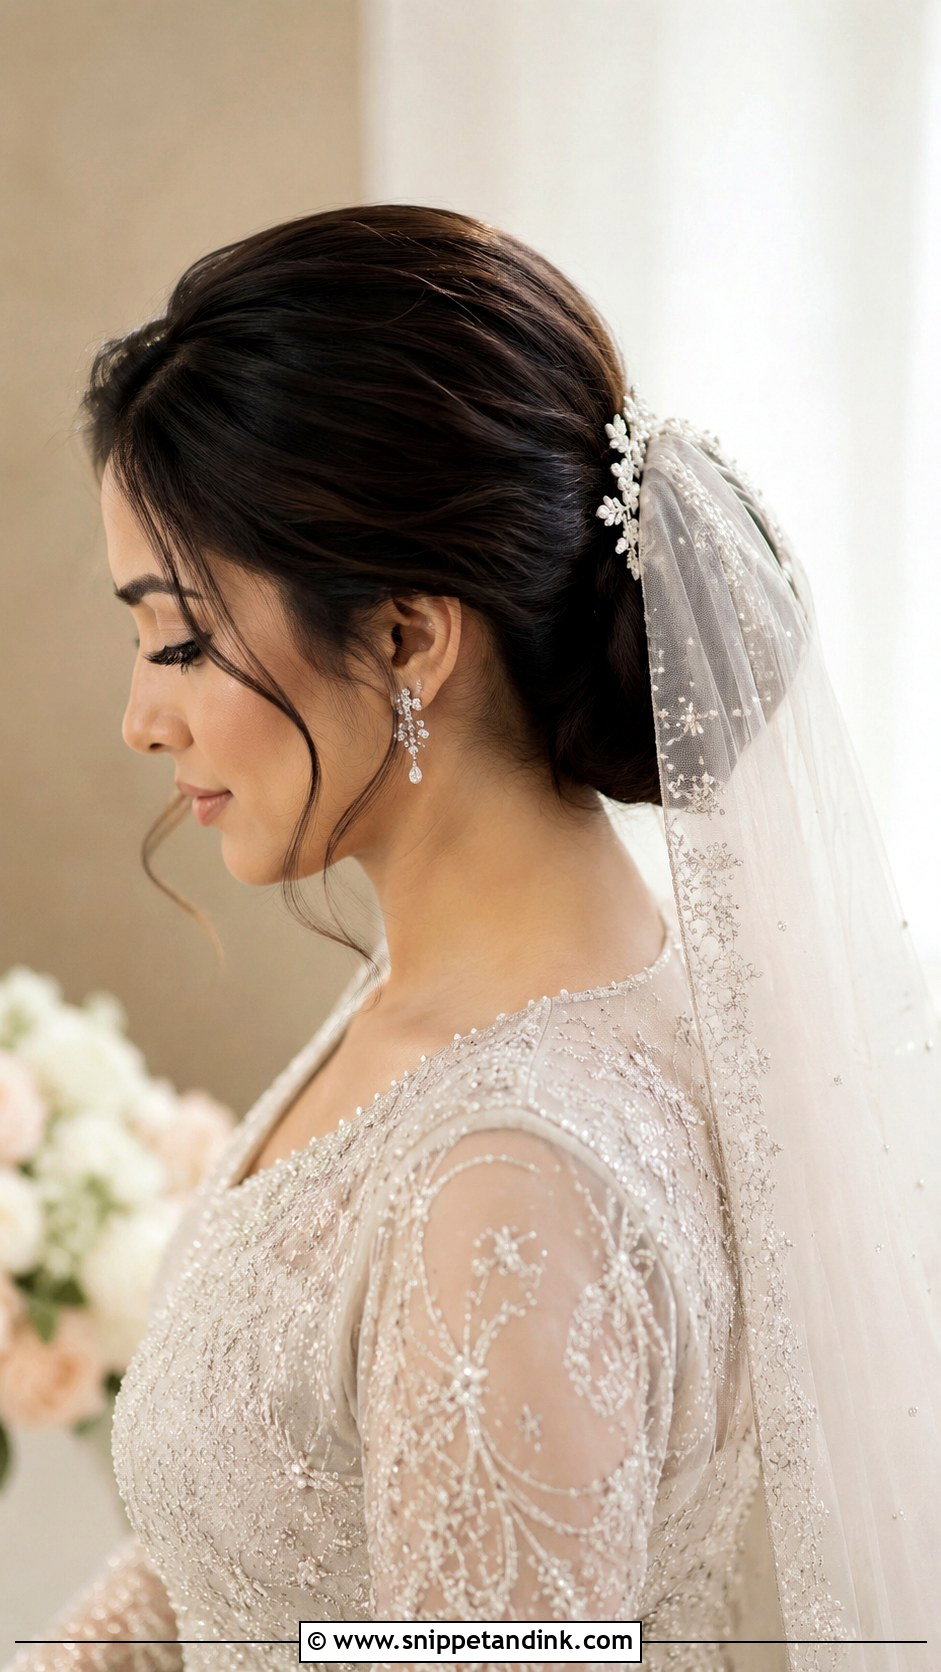
The bun gives the veil a firm place to anchor, which is why this pairing is so common. Above the bun gives a traditional fall; below it looks softer and more modern. A low bun is the most practical for long and fingertip veils. Please bring the actual veil to your trial: I set the comb into a hidden pin cross under the bun so the weight isn’t hanging off the knot itself. From behind, during the vows, a softly textured bun under tulle is the photo most brides end up framing.
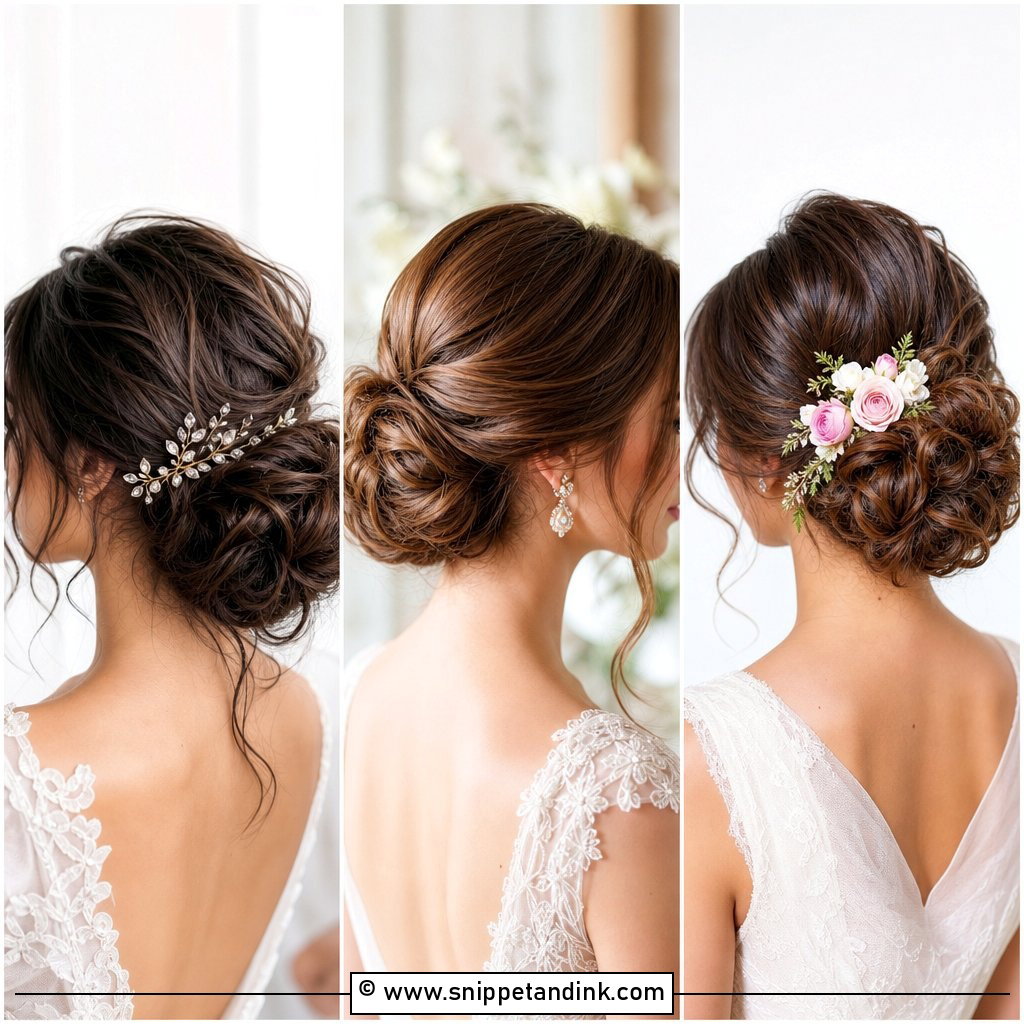
15. Bun Wedding Hair With Pearls
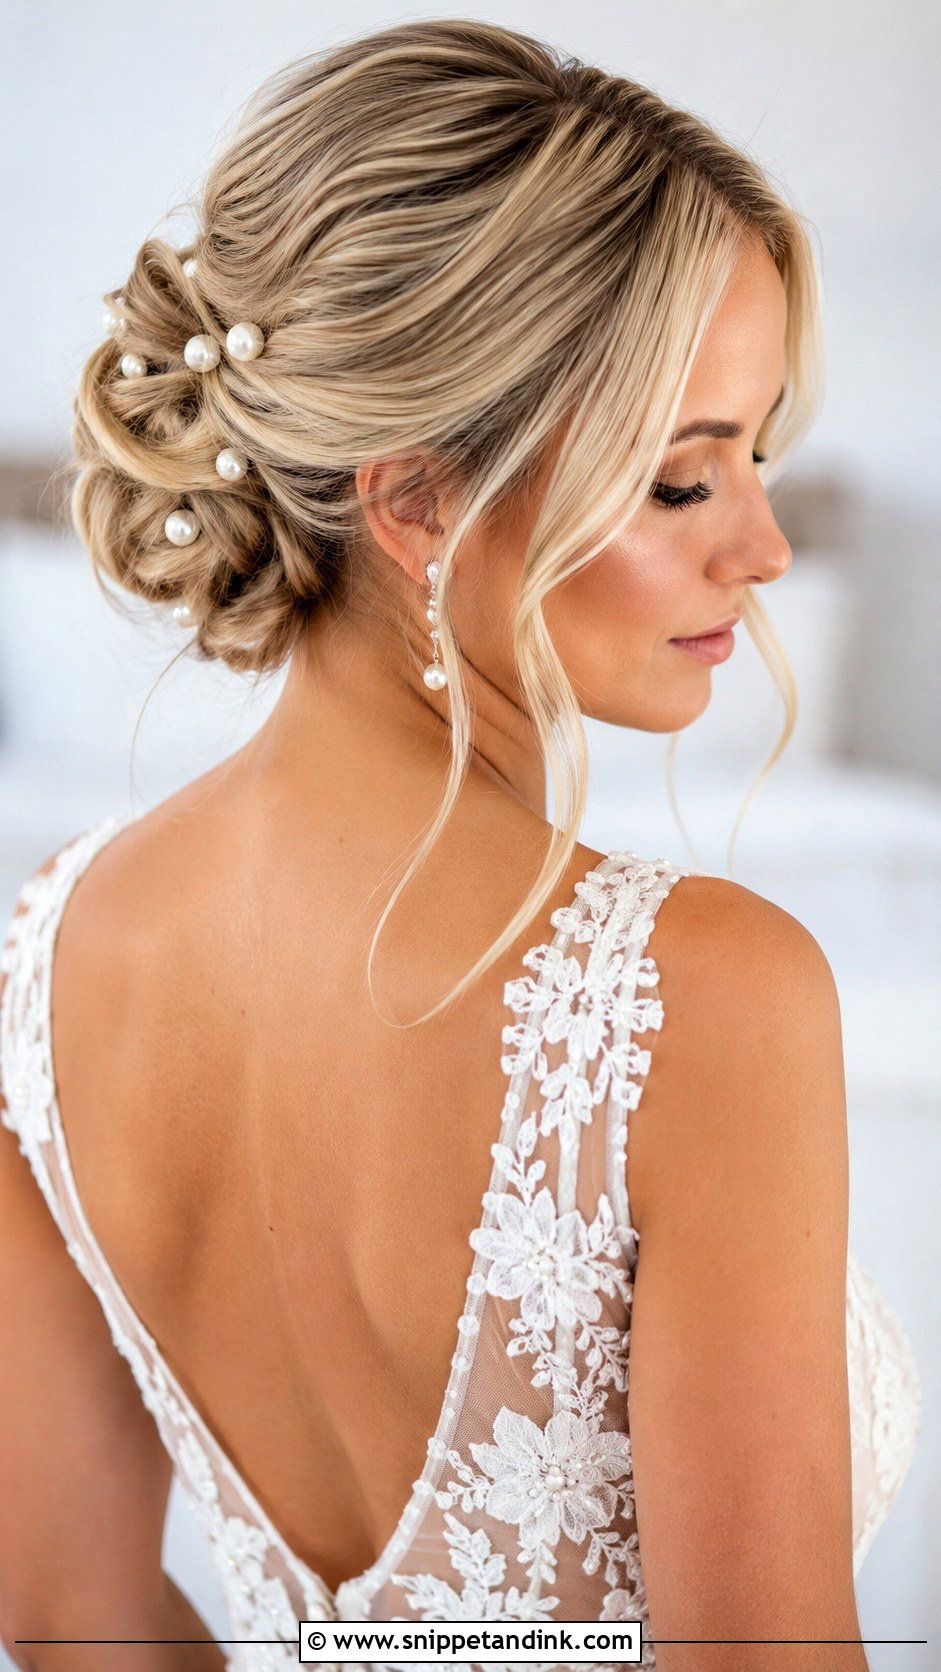
Pearls give a plain bun just enough shine without turning it into a project. I’ll scatter pins around a low knot, line them along one side, or tuck them into a twisted chignon, and they suit sleek, textured and braided buns alike. Where brides go wrong is quantity: past seven or eight pins on a small bun, the hair starts to look dotted. With a simple dress, fewer is better. They also catch soft light well in close-ups.
Sagging by the First Dance Usually Starts at the Base
When a bun drops or loosens late in the day, the cause is almost always underneath it, not the pins on top. I build every bun on a secure base: a firm elastic or a cross of bobby pins at the anchor point, then the knot pinned into that base rather than just into loose hair. Bobby pins grip; open U pins shape. Mixing them up is the most common reason a home-done bun slides.
Weight and humidity do the rest. A veil pulls on the bun all day, and damp air relaxes any curl inside it. That’s why I set the veil comb into its own pins and use a flexible spray over the whole shape rather than drenching the outside.
Washing Schedule for a Bun That Holds
Freshly washed, conditioned hair is slippery. For most straight and wavy hair, I’d rather you wash the day before and skip heavy conditioner on the lengths, so the hair has a little grip on the morning. Very oily scalps can wash that morning and dry fully; curly hair is the exception, since it usually styles best with its normal wash routine and plenty of moisture. Whatever you do on the trial day, repeat it exactly before the wedding, so the hair behaves the way it did when we tested it.
Settle the Shape at Your Trial, Then Leave It Alone
Sleek, textured, braided or curly, a bun only has to do three things on the day: suit your dress, hold the veil and stay comfortable while you’re not thinking about it. Book a trial, wear a top with a neckline close to your dress, bring the veil and any pins, and wear the style for a few hours afterward. If it still feels right that evening, don’t change it the week of the wedding.
You'll Like These Ideas:


Leave a Reply