
A bun is the style I trust most on a long wedding day. It keeps hair off the neck, gives a veil comb something solid to grip, and still looks finished when guests stare at the back of your head through the vows, which they do for longer than most brides expect. The word covers a lot of ground, though. A glossy knot at the crown and a loose, pinned nest at the nape behave differently, suit different hair textures and sit differently against a dress. Here are fifteen versions I build regularly, with notes on how each one is made and who it suits.
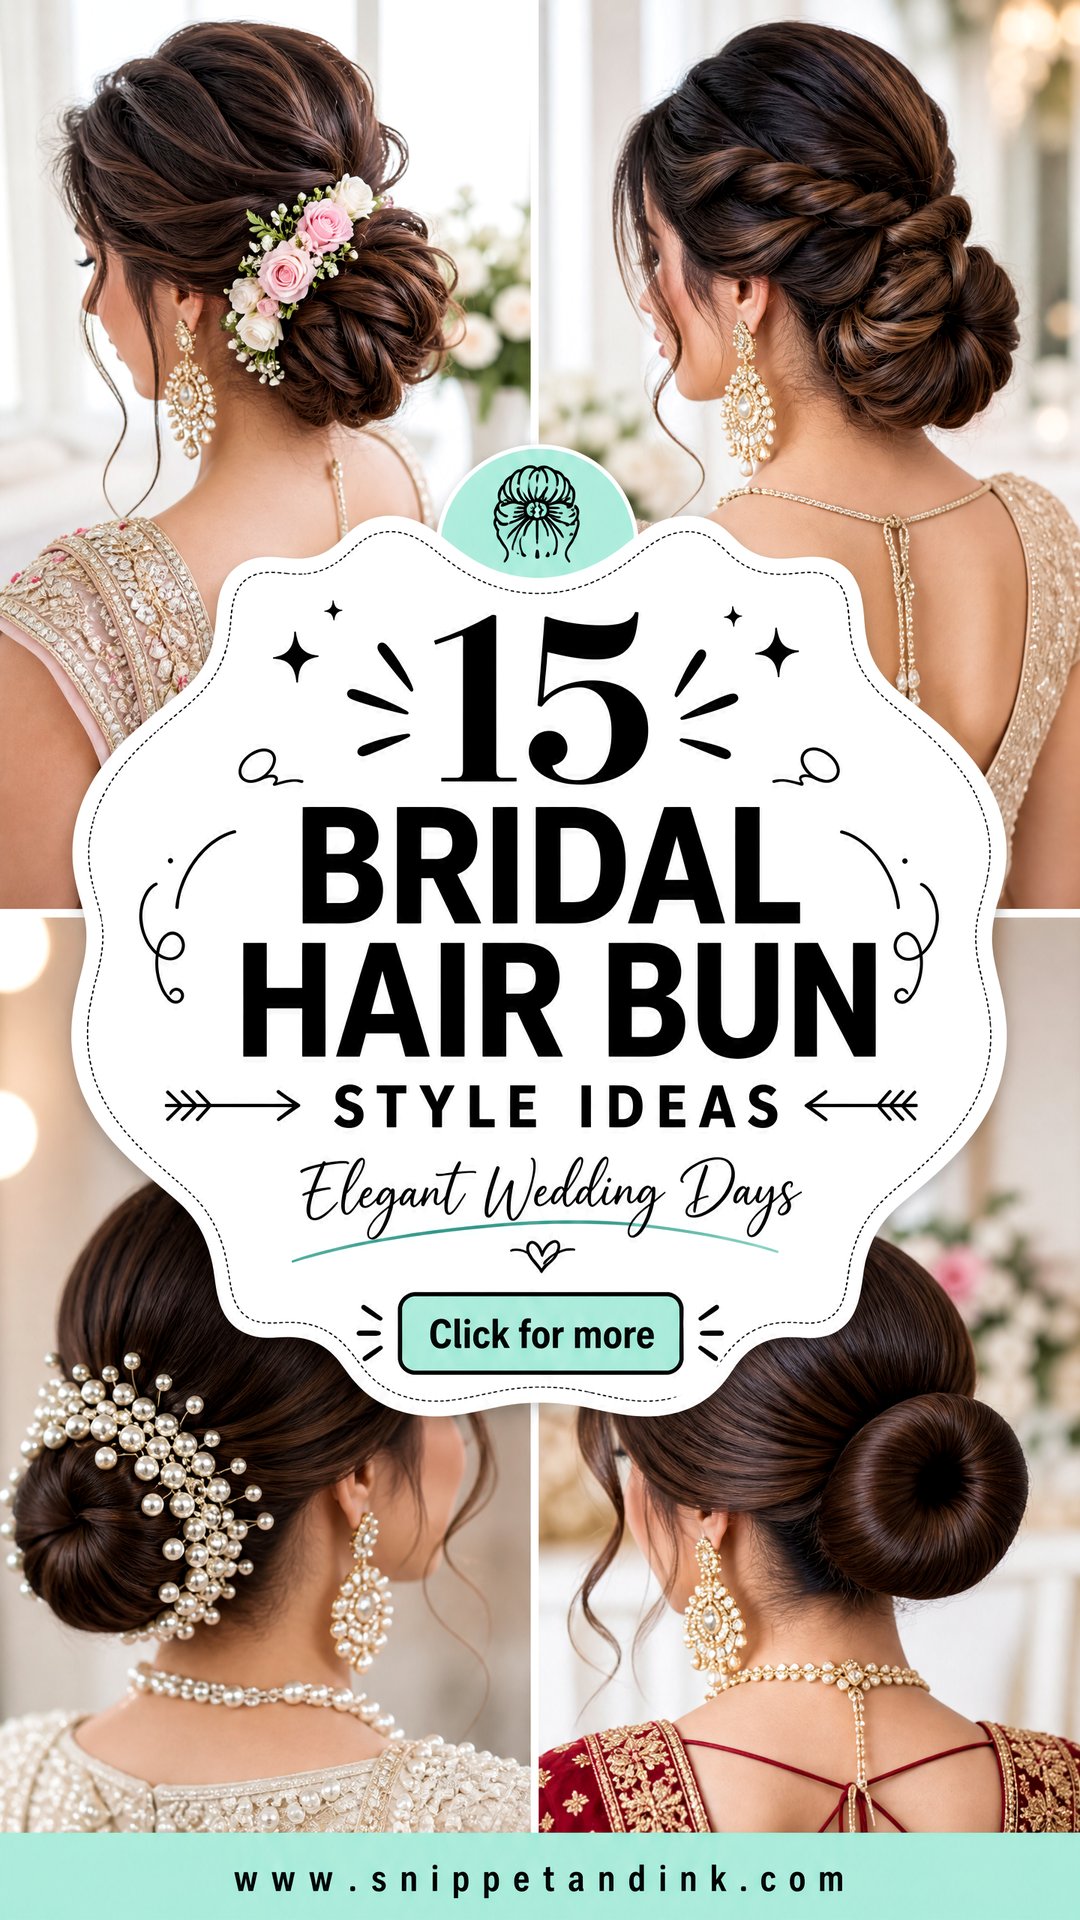
Matching Bun Height to Your Neckline and Veil
The first thing I ask at a consultation is to see the back of the dress. Where a bun sits on the head has to answer the neckline and back, because the two are always photographed together during the ceremony.
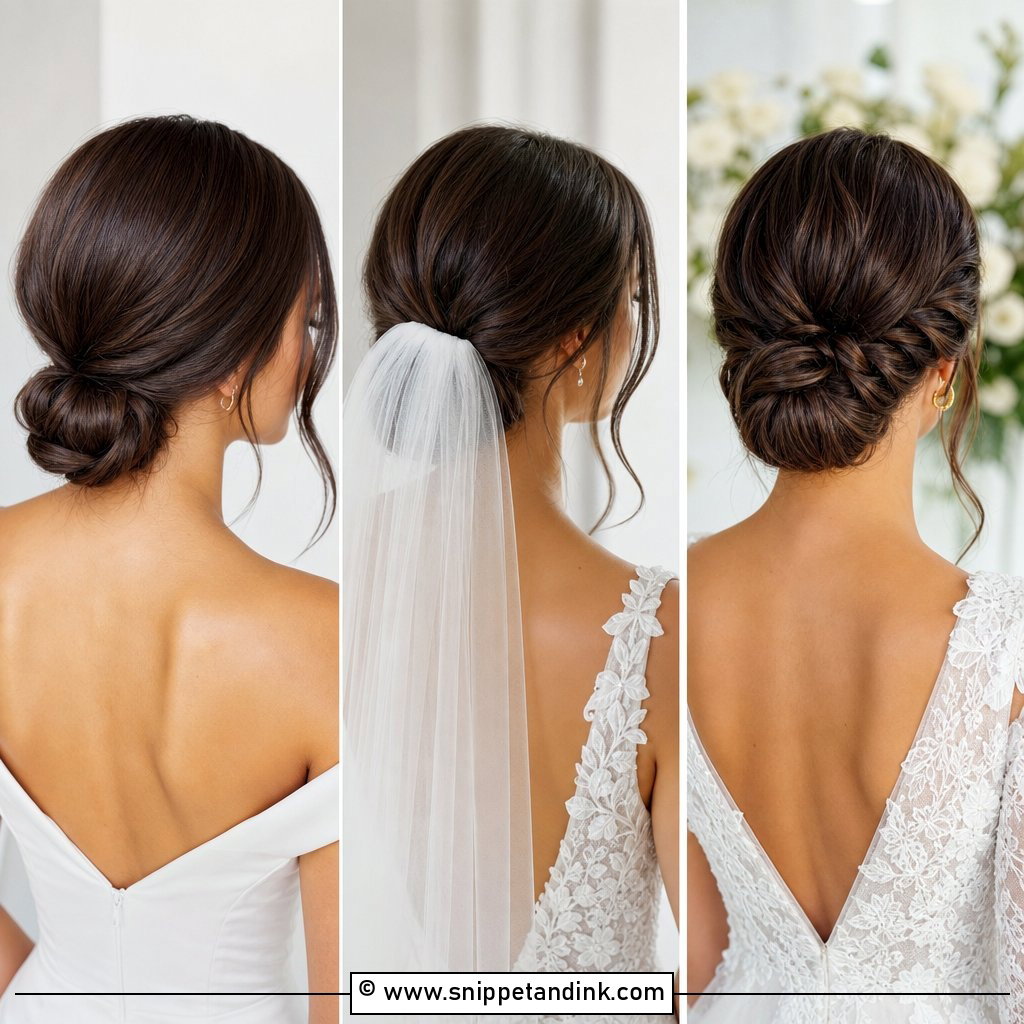
- Open or low backs: a low bun or chignon at the nape keeps attention on the dress without clutter above it.
- High necks and halters: I lift the bun to the crown or the back of the head. A low bun on a high collar looks crowded and gets nudged every time you turn.
- Strapless and sweetheart gowns: almost any height works, so I decide by veil and face shape instead.
- One-shoulder necklines: a side bun on the bare side balances the line.
- Long or heavy veils: anchor the comb above or just under a low bun. A high bun copes with a short veil but tilts under cathedral length.
Height also changes your profile. A high bun lengthens the neck; a low one softens the jaw. When a bride is unsure, I pin the hair loosely at two heights and take a side photo of each before committing.
1. Low Bridal Bun
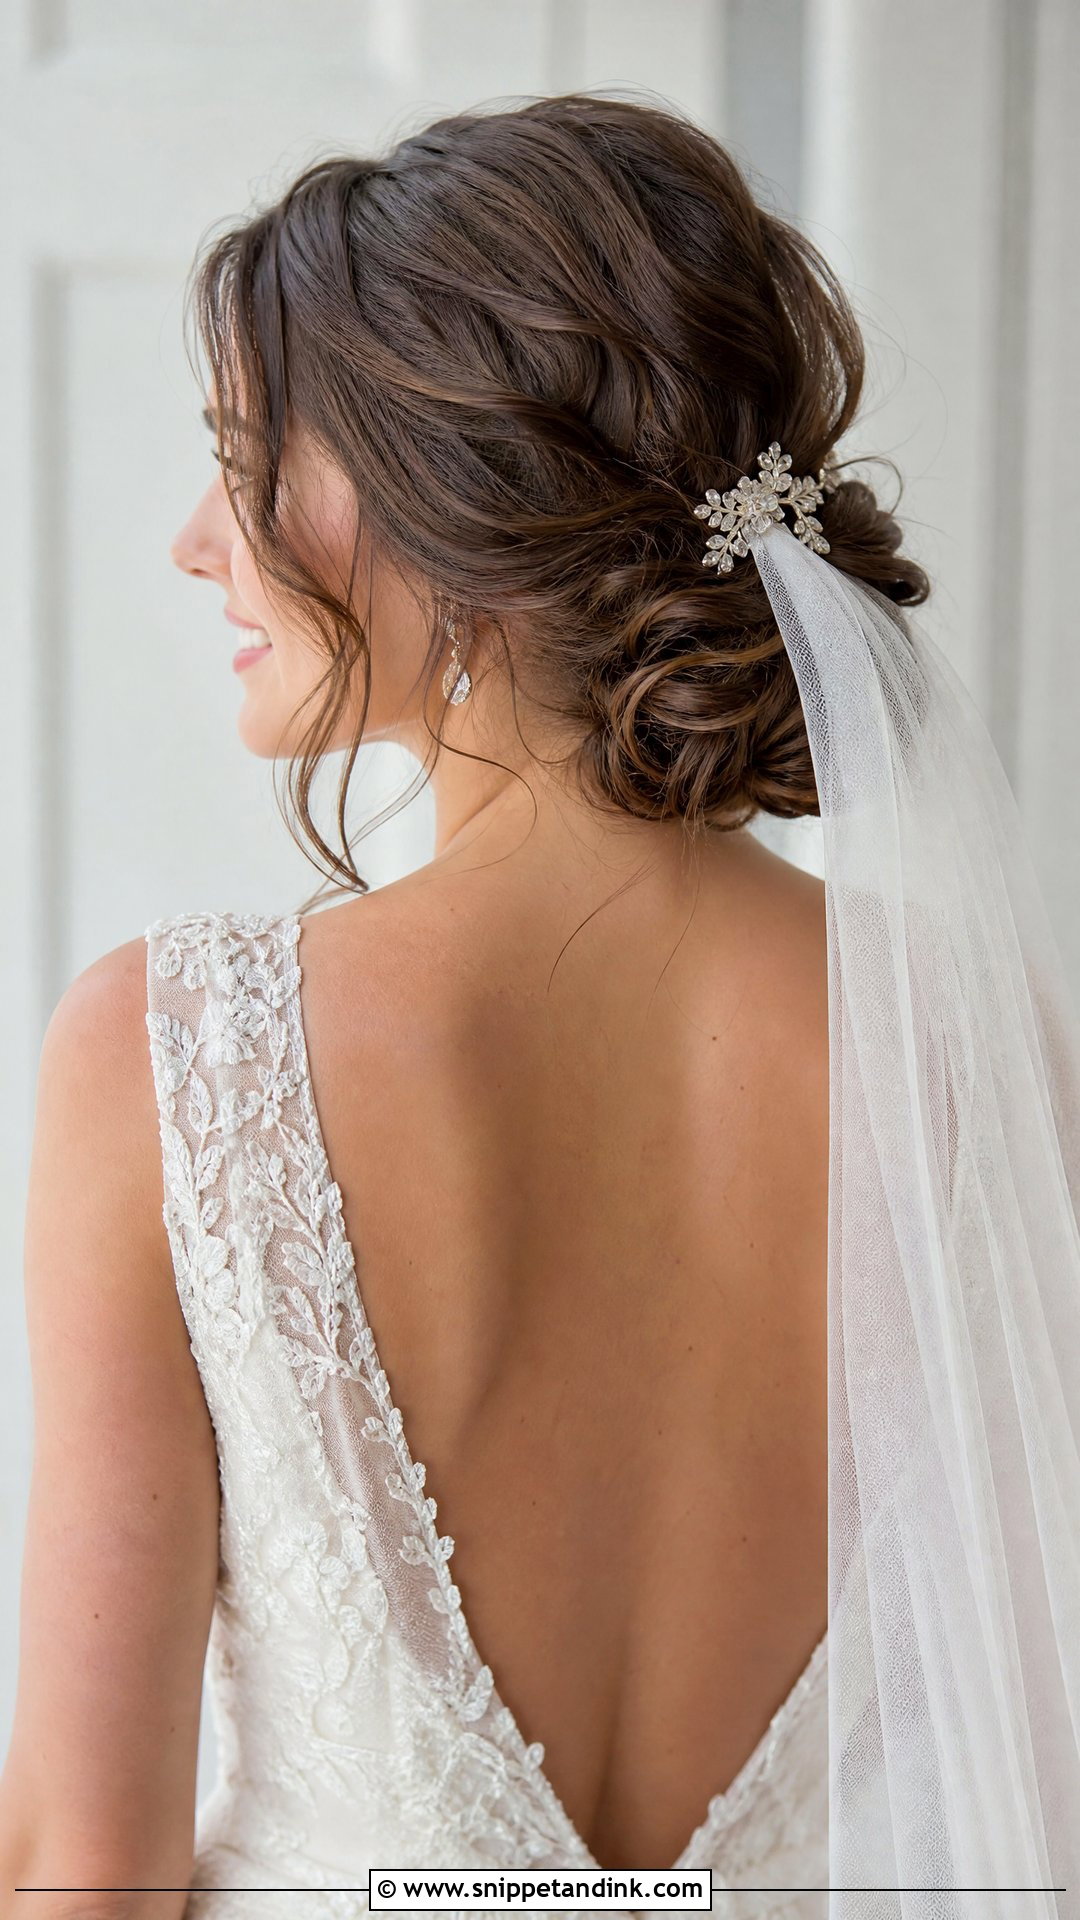
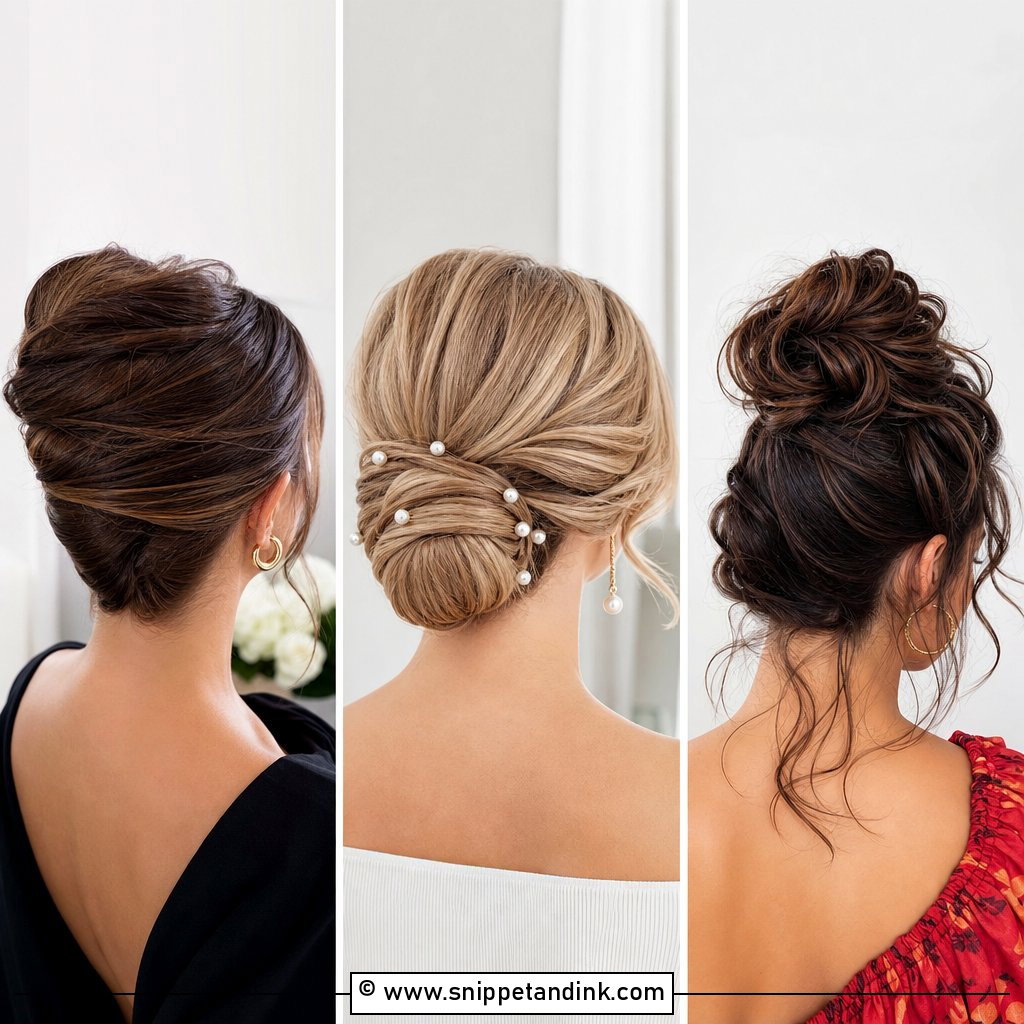
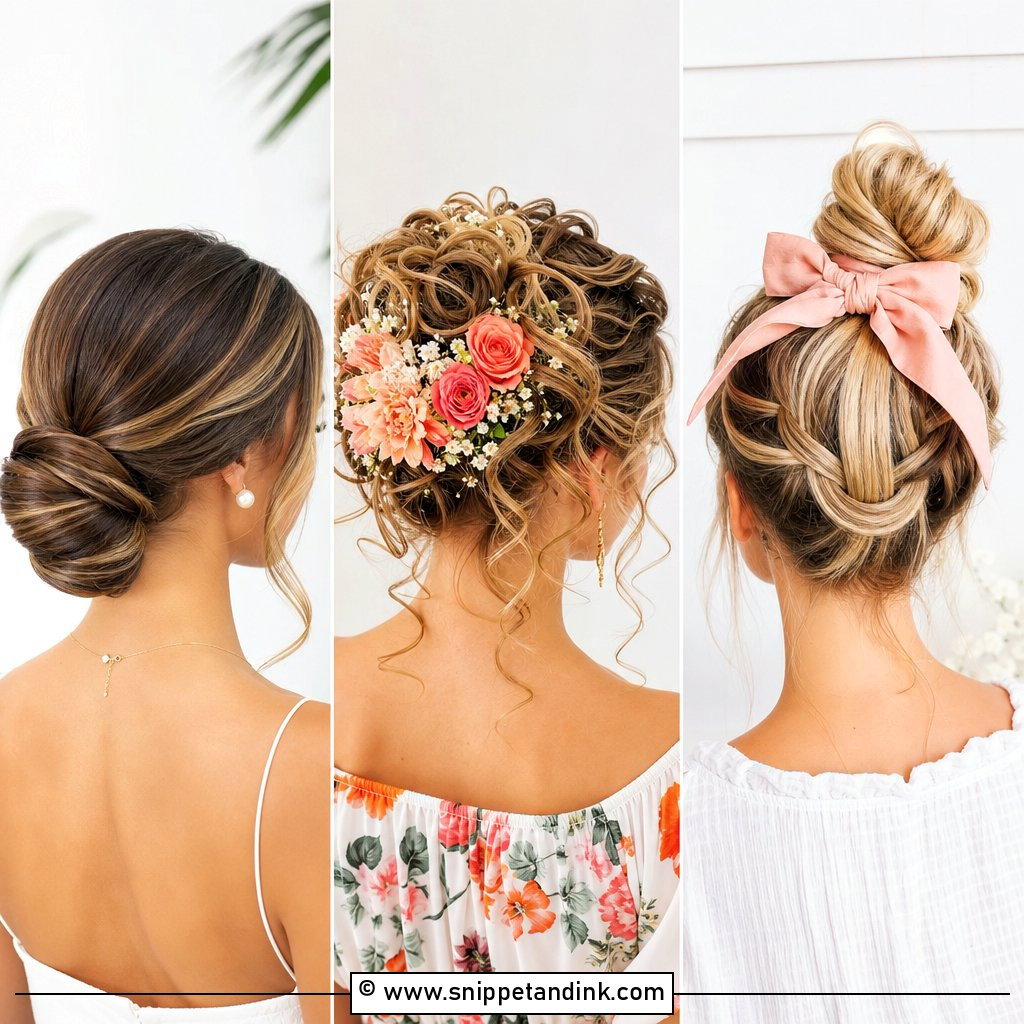
The low bun is the one I suggest first when a bride can’t decide, because it sits at the nape where a veil comb, pearl pins and a detailed dress back all meet without fighting each other. It is also the most forgiving shape for hugs and slow dancing, since nothing sticks out to get knocked. I keep a little lift at the crown so it doesn’t flatten in side profile. If you plan to sit against a high-backed chair for dinner, tell me, and I’ll set the bun a touch higher so it doesn’t get squashed.
2. Sleek Bridal Bun
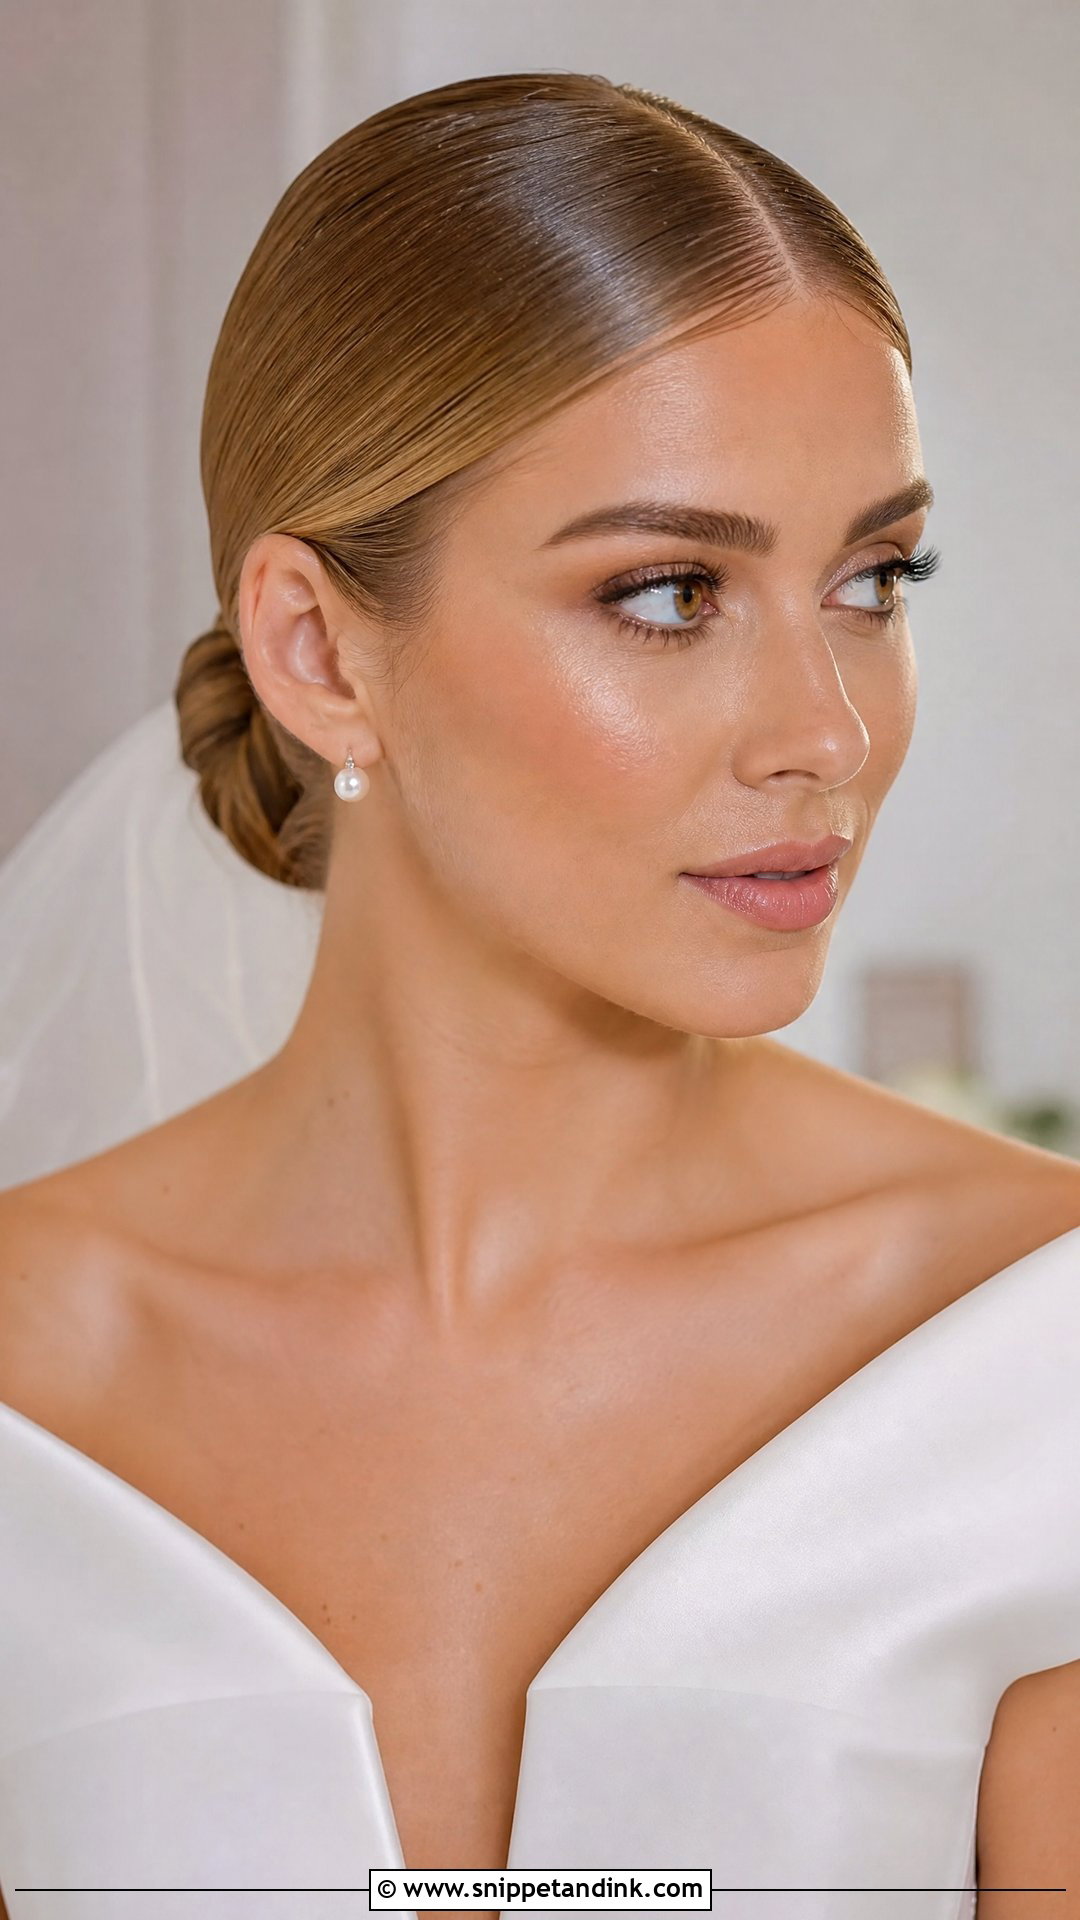
Sleek buns look simple and take the longest to get right. Every hair has to lie flat, so I smooth the hair down in sections with a firm bristle brush and a small amount of gel or cream before it is tied, never after. Minimal gowns, high necklines and statement earrings sit well with it. It does show everything: flyaways in humid air, an uneven part, a bump at the crown. If your hair is very fine or you have a cowlick at the front, a soft middle part usually hides that better than a hard side part. I finish with a light shine spray rather than heavy lacquer so it still moves when touched.
3. Messy Bridal Bun
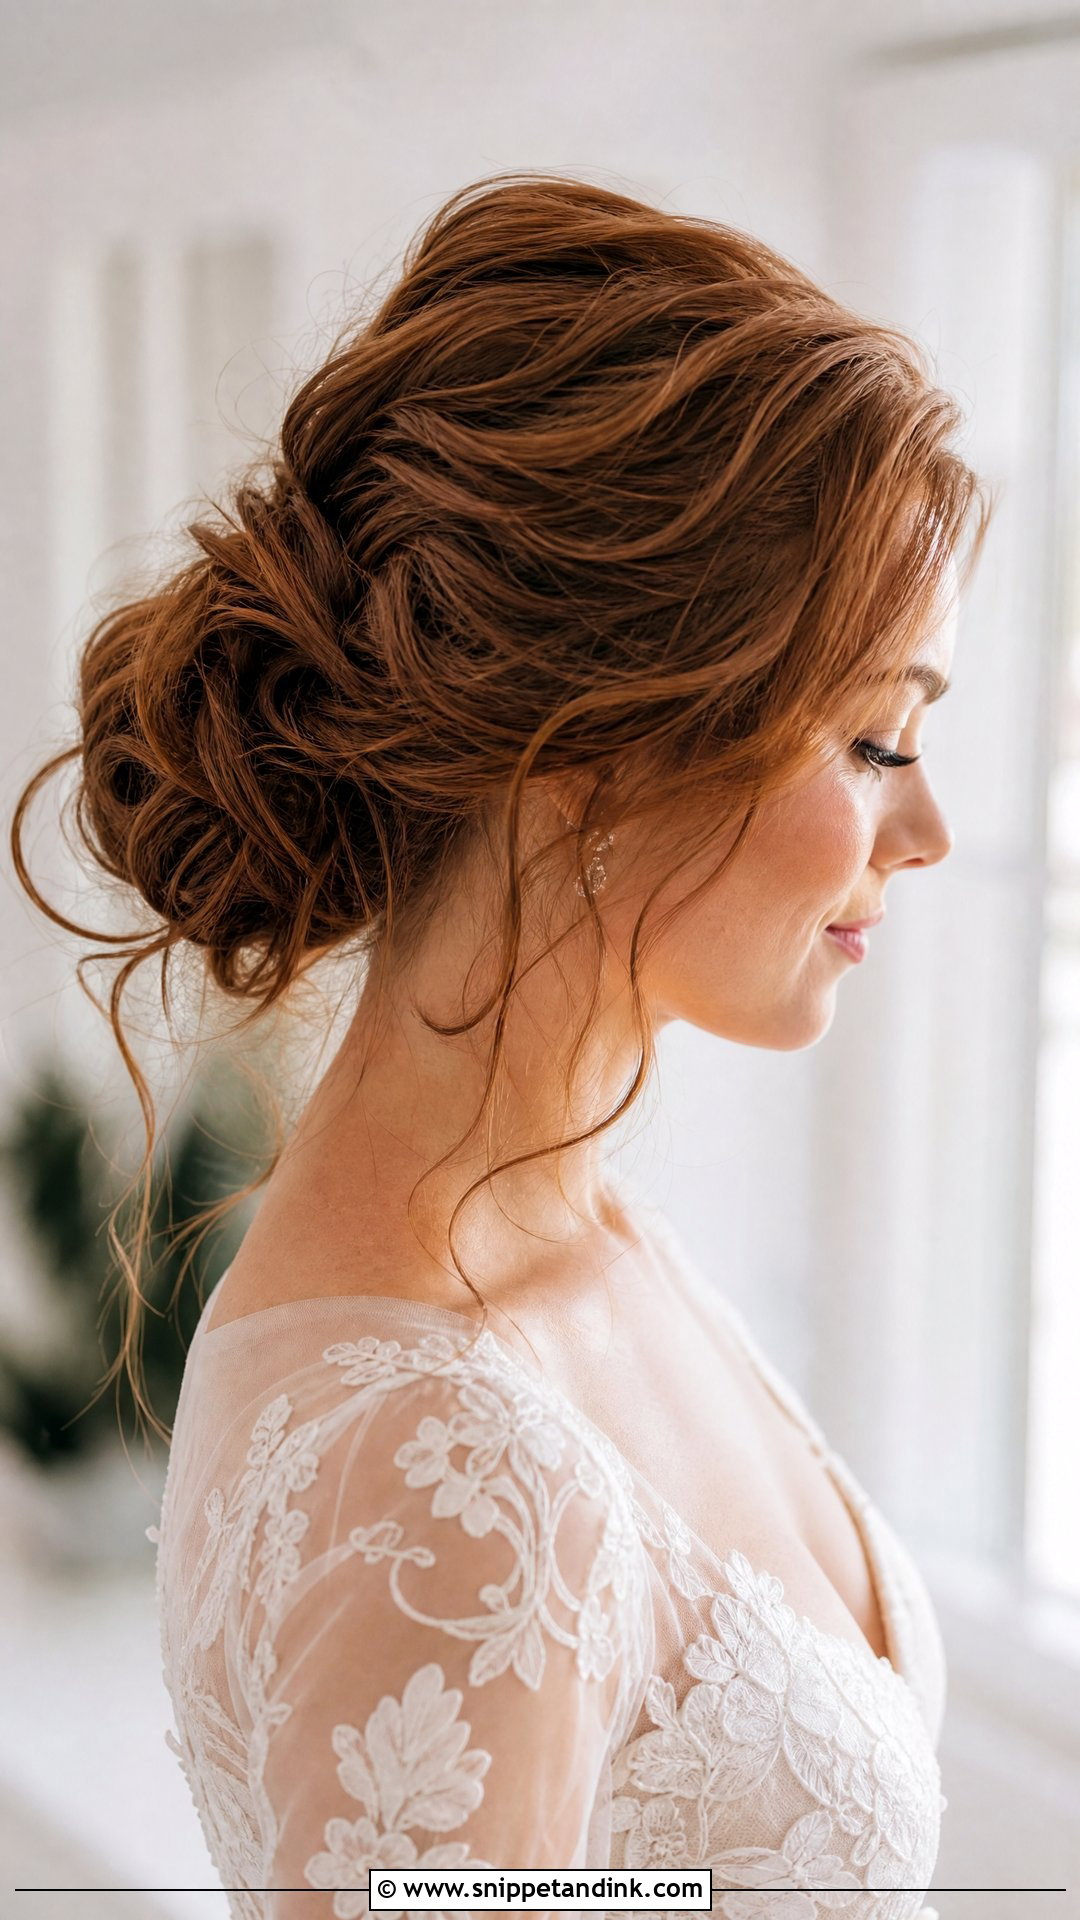
Messy is the most misunderstood word in my chair. The bun that looks loose on the day is usually pinned more carefully than a sleek one, because each piece pulled out has to stay where I put it for ten hours. I build a tight base first, then loosen the outer layer by hand. It suits wavy hair naturally, since the hair already has movement and grip. Very straight, silky hair needs a curl set and texture spray first, or the loose pieces fall flat by the first dance.
4. Braided Bridal Bun
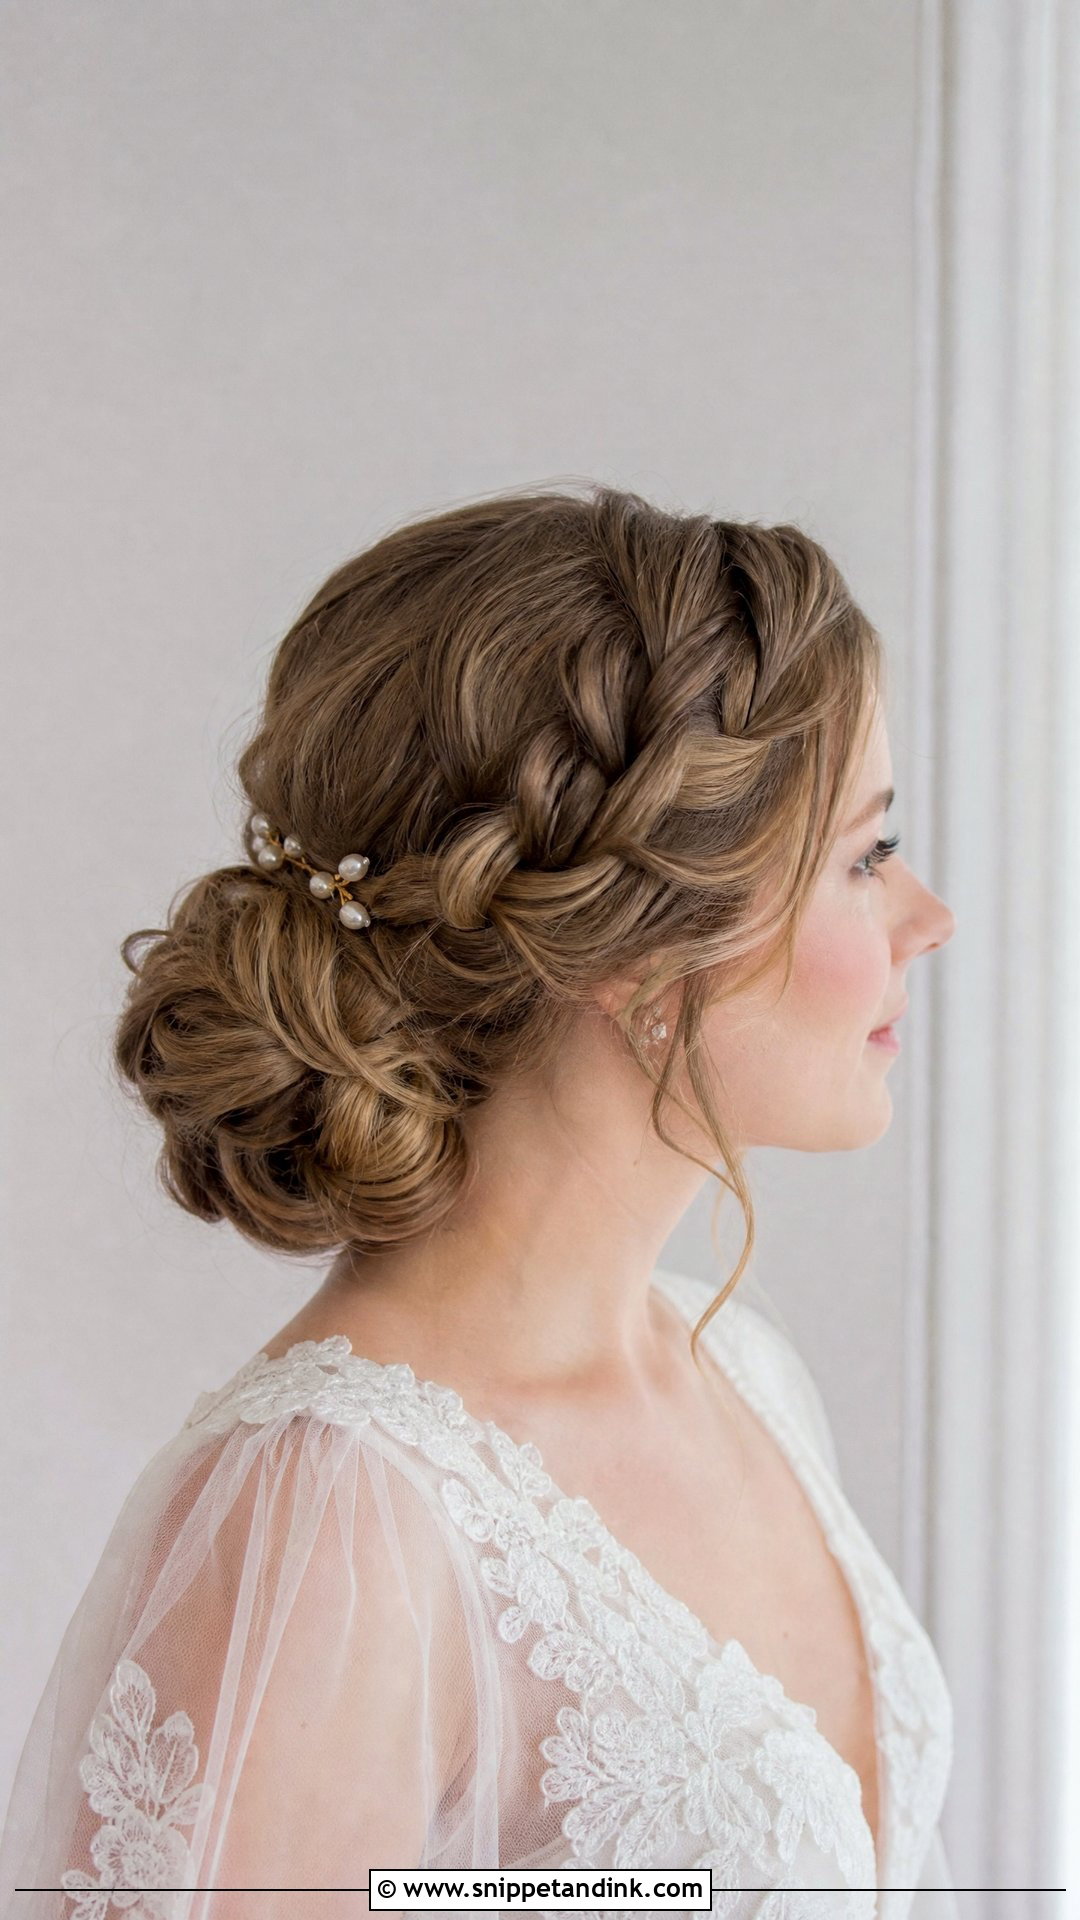
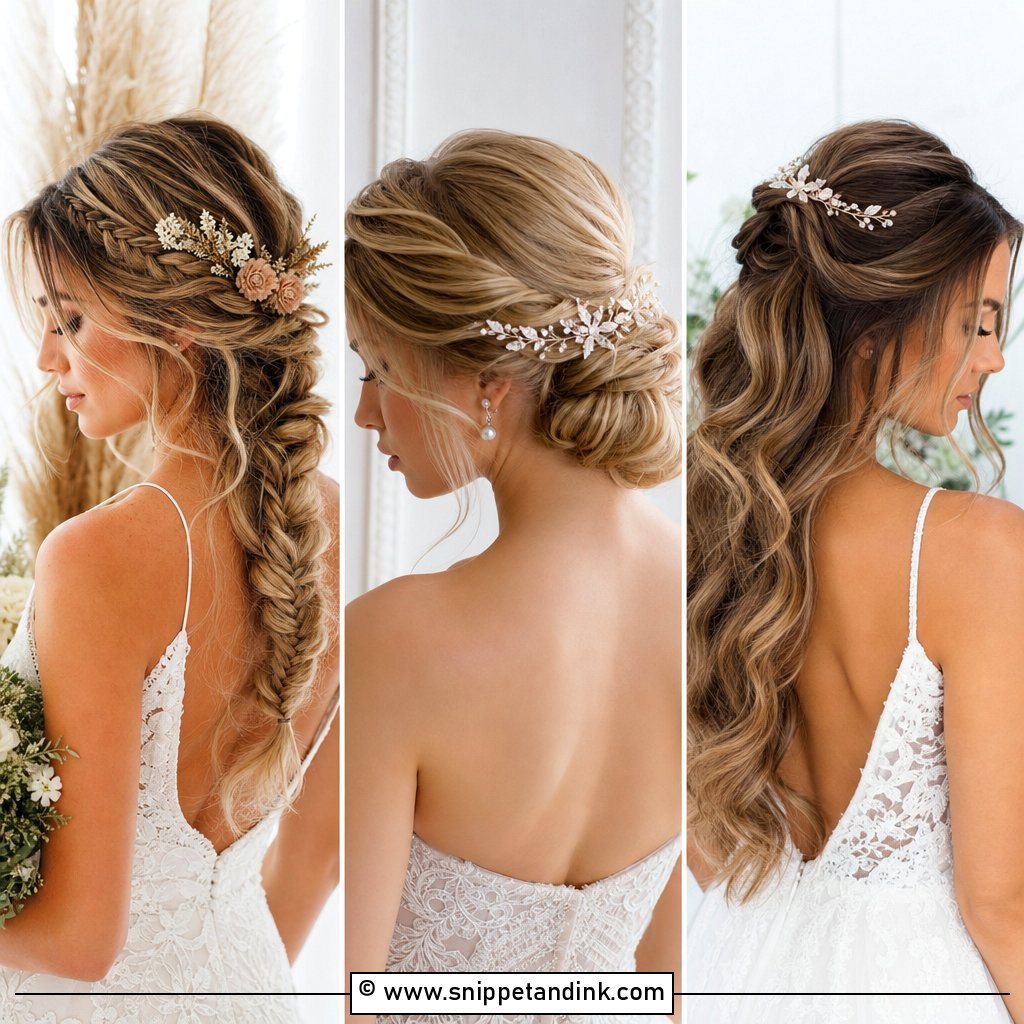
A braid gives the bun grip as well as detail, which is why I lean on it for long, heavy hair. Wrapping a three-strand or fishtail braid around the bun locks the length in place, and the pins can hide inside the braid instead of on the surface. I pancake the braid slightly, pulling the edges out with my fingertips, so it reads clearly from a few metres away. It sits well beside boho dresses and soft tulle. Skip it if your hair is shoulder length or layered short at the back, because short layers poke out of the braid by mid-afternoon.
5. High Bridal Bun
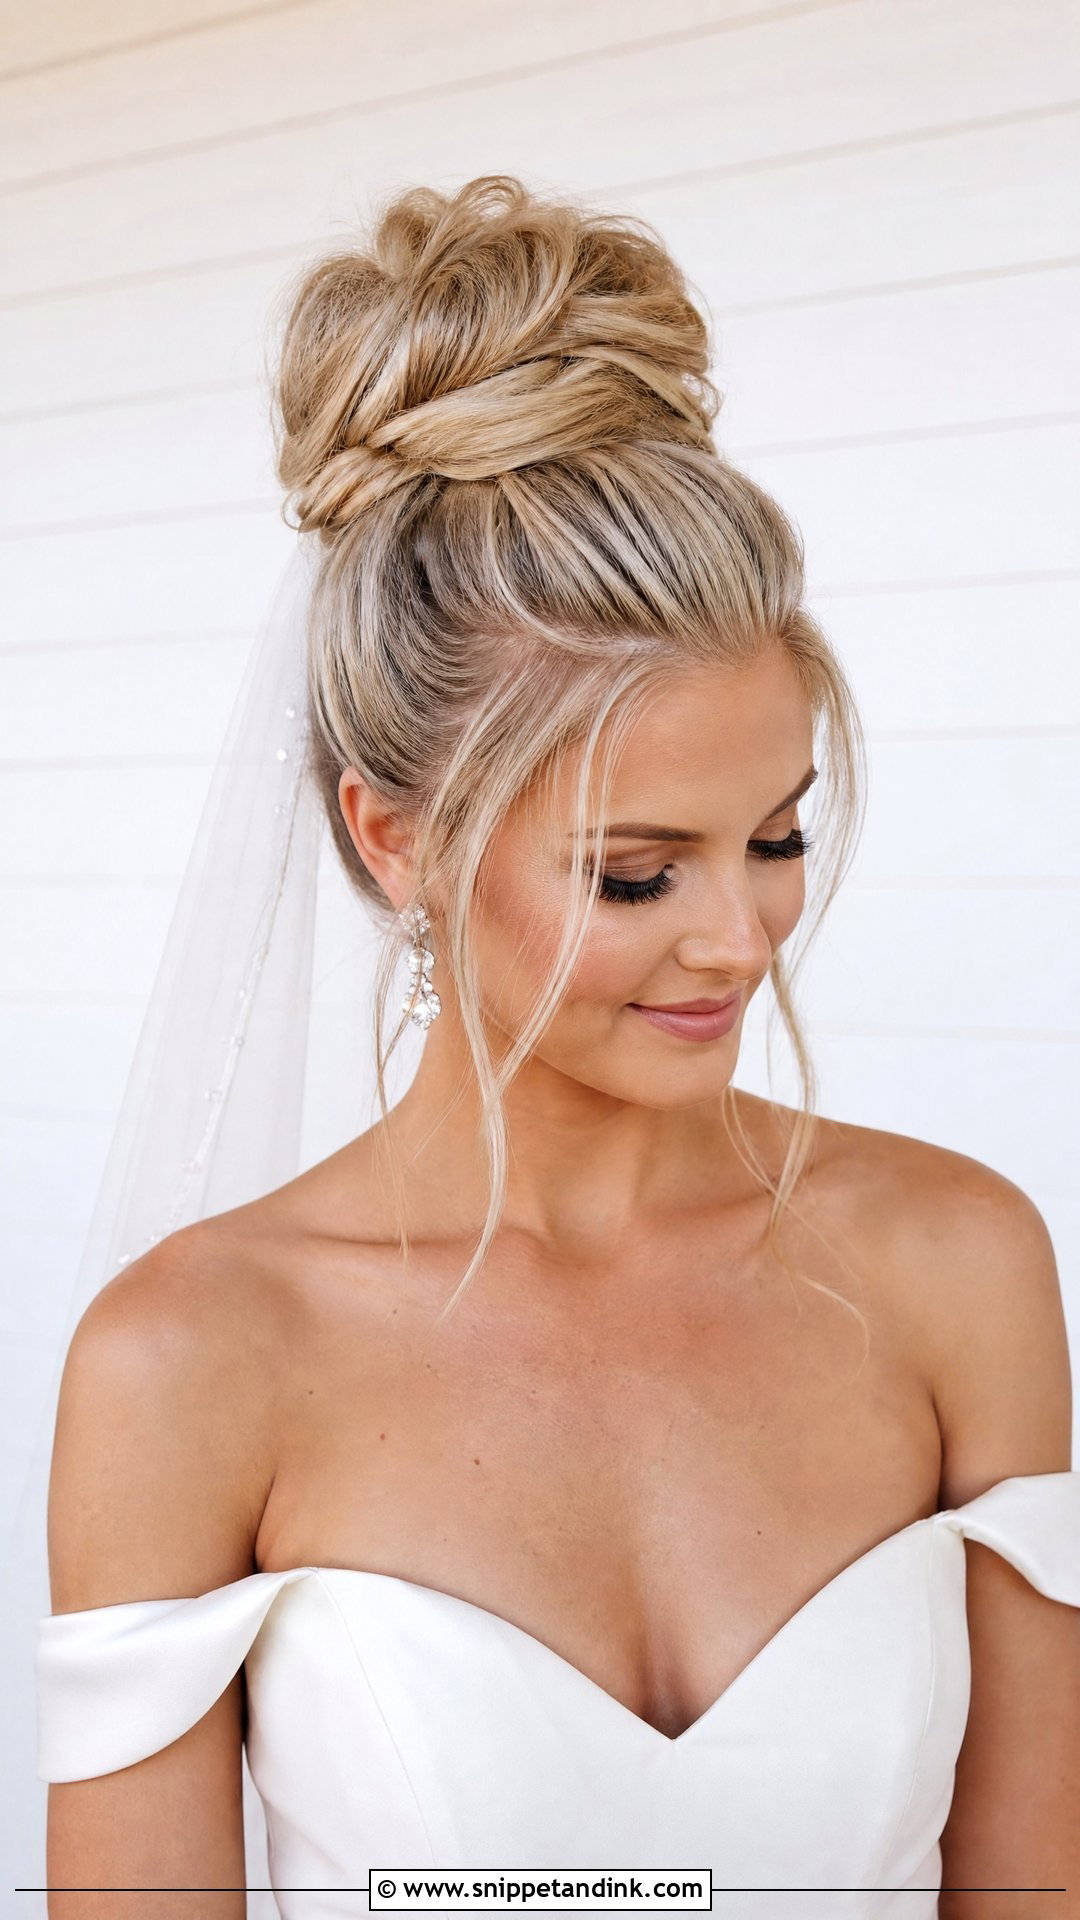
High buns lengthen the neck and suit dramatic necklines, open shoulders and full skirts. They also put the most weight on the smallest anchor point, so I always build them on a secure ponytail base. Fine hair often needs a padding form or a clip-in piece to reach a proper size. In hot weather it is a relief to have nothing touching the neck. I’m careful with tall brides and short grooms, though, as a high bun adds noticeable height in side-by-side photos.
6. Side Bridal Bun
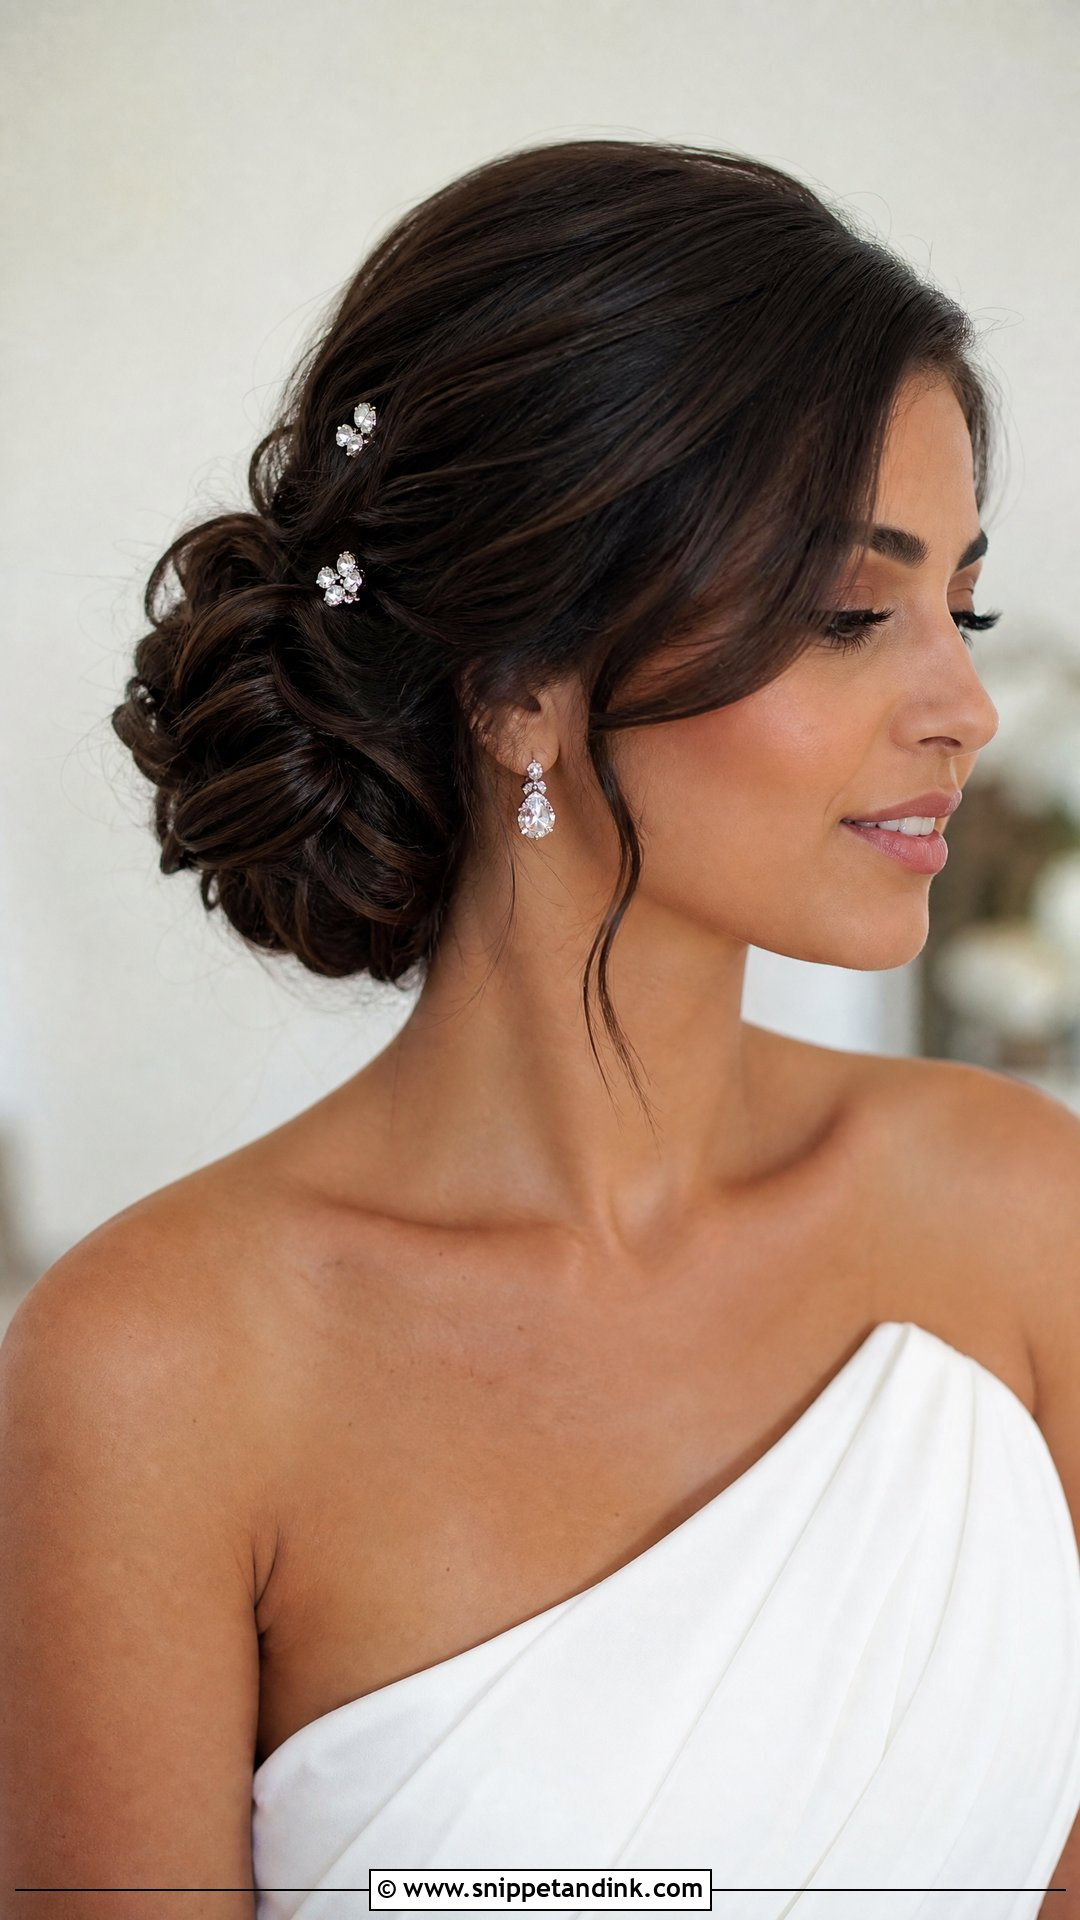
A side bun is the version that shows up in front-facing photos, which matters if most of your pictures will be portraits rather than ceremony shots from behind. I place it just behind the ear on the side with the bare shoulder if you are wearing a one-shoulder gown. Balance is everything here. Too much volume and it drags the face down on that side, so I keep it compact and add soft waves at the hairline on the opposite side to even things out.
7. Chignon Bridal Bun
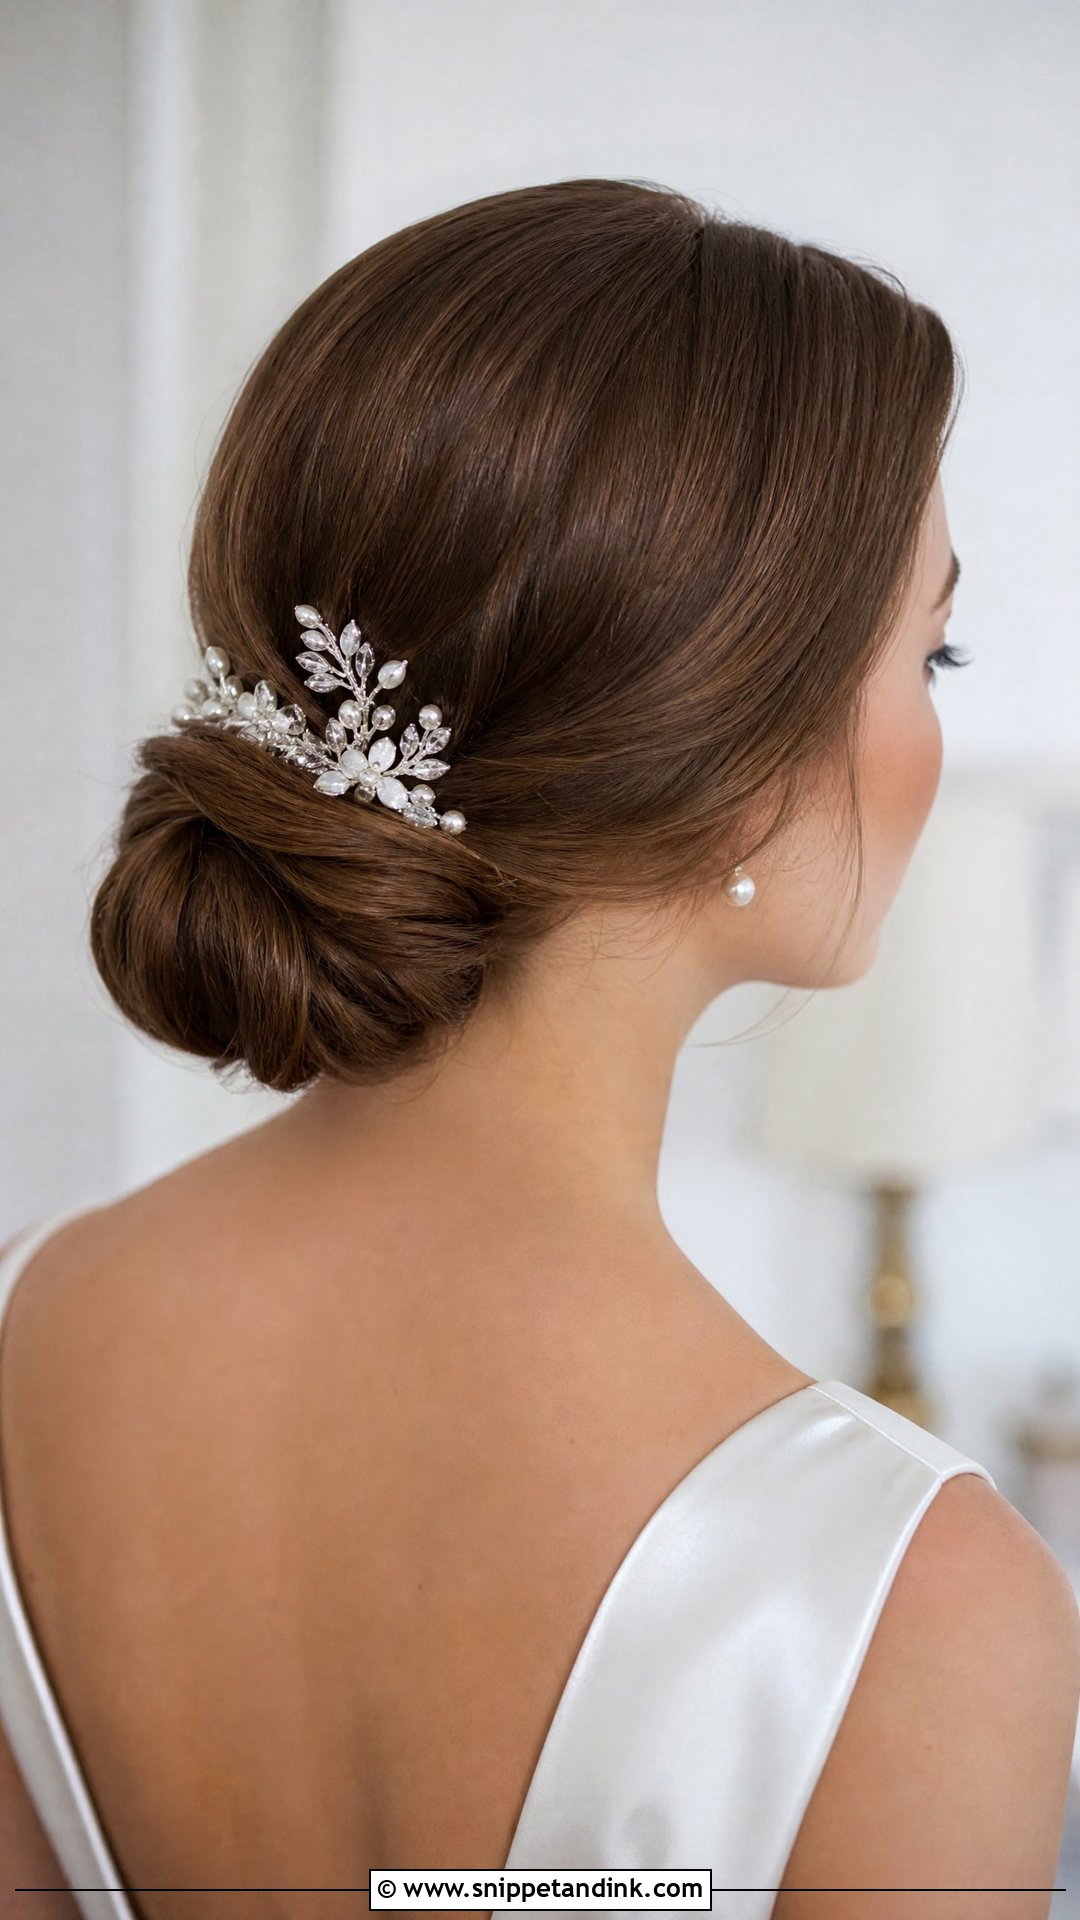
The chignon is the classic tucked or rolled bun at the back of the head, and it rewards a clean, simple finish. I like it for formal venues, cathedral veils, satin gowns and heirloom earrings, since nothing competes with the jewelry. It can be glassy or softened with a little texture. The technique I use most is a rolled tuck, where the length is folded under itself and pinned along the seam, so no ends show at all. Hair below the shoulder blades is ideal; shorter hair usually needs a small filler.
8. Twisted Bridal Bun
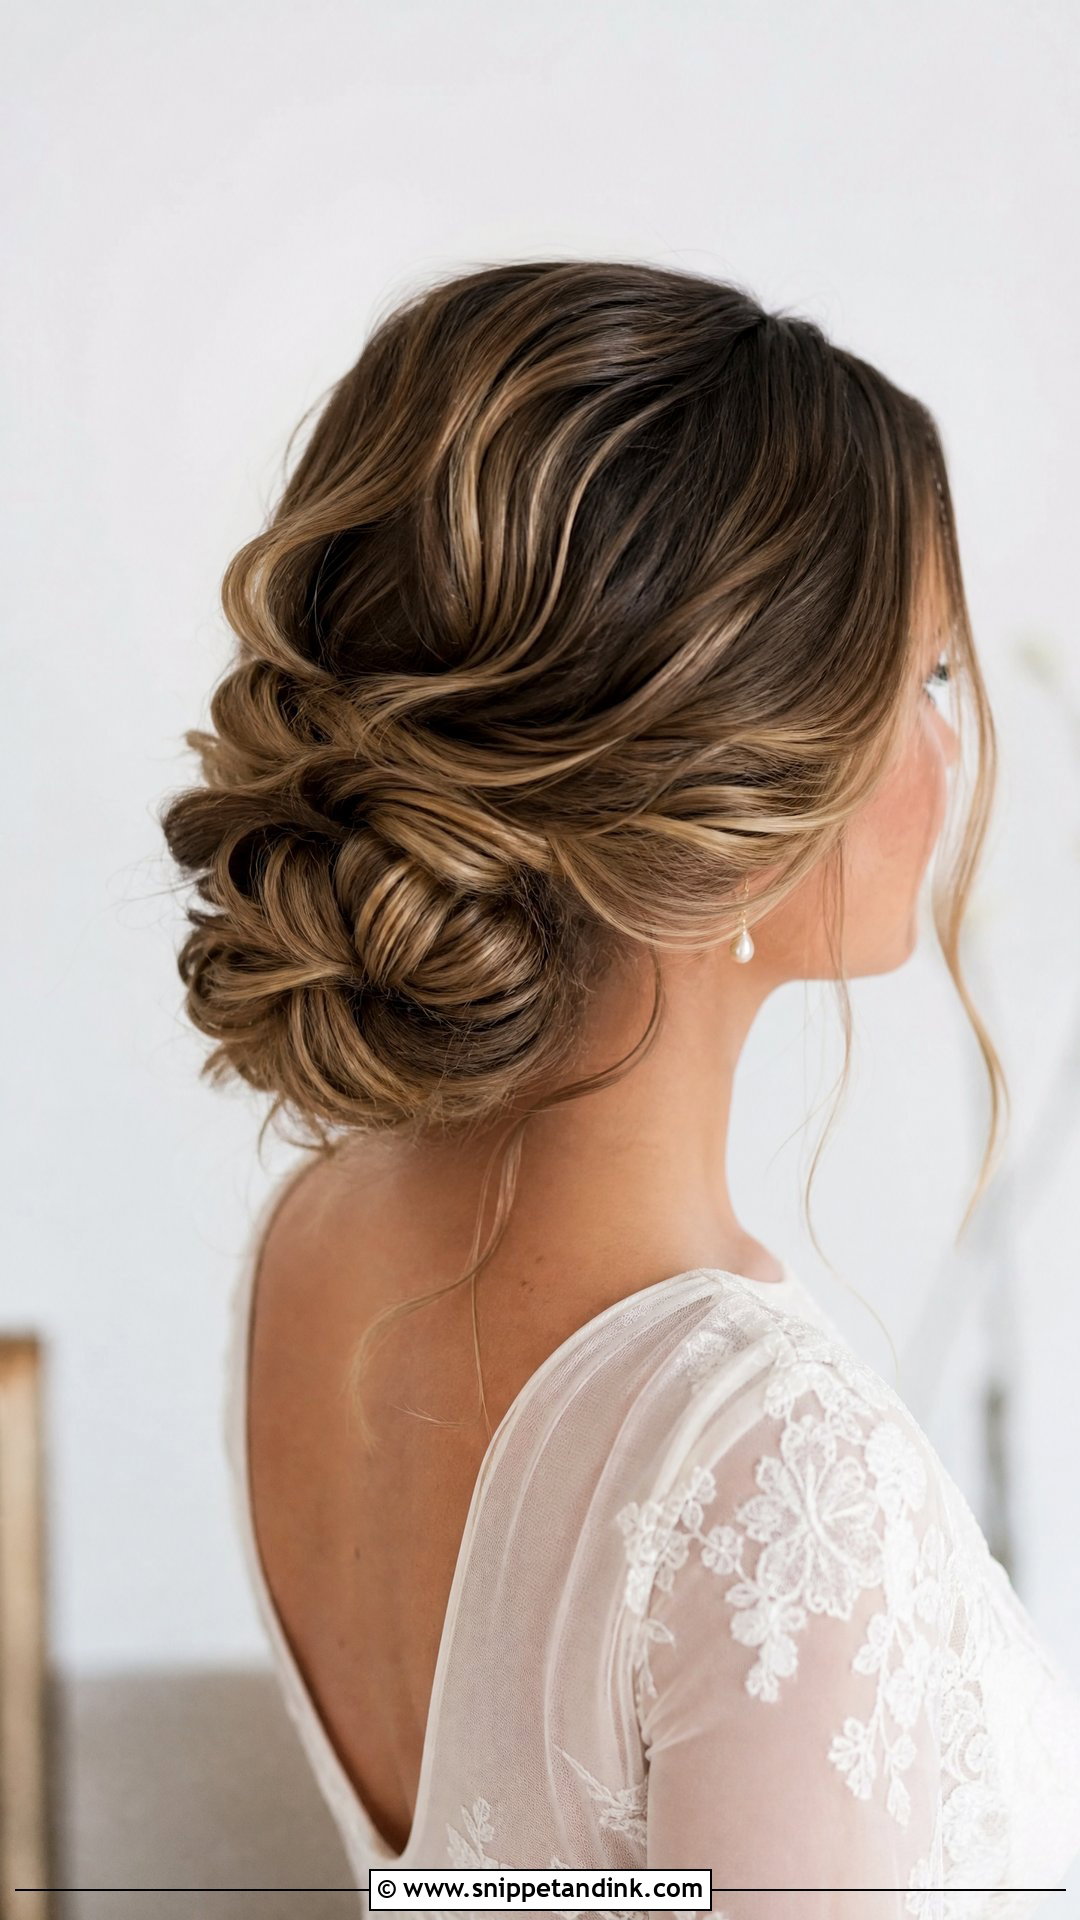
Twisting the hair in sections before pinning gives a bun more surface and more depth than a single wrap. On fine or medium hair it is my go-to trick for looking fuller without extra pieces. Highlights and balayage show off well here, since each twist catches a different tone. What goes wrong is bulk: if the twists are too thick they look like rope. I keep them finger-width and pin each one flat against the next, so the finished shape stays neat from the side.
9. Textured Bridal Bun
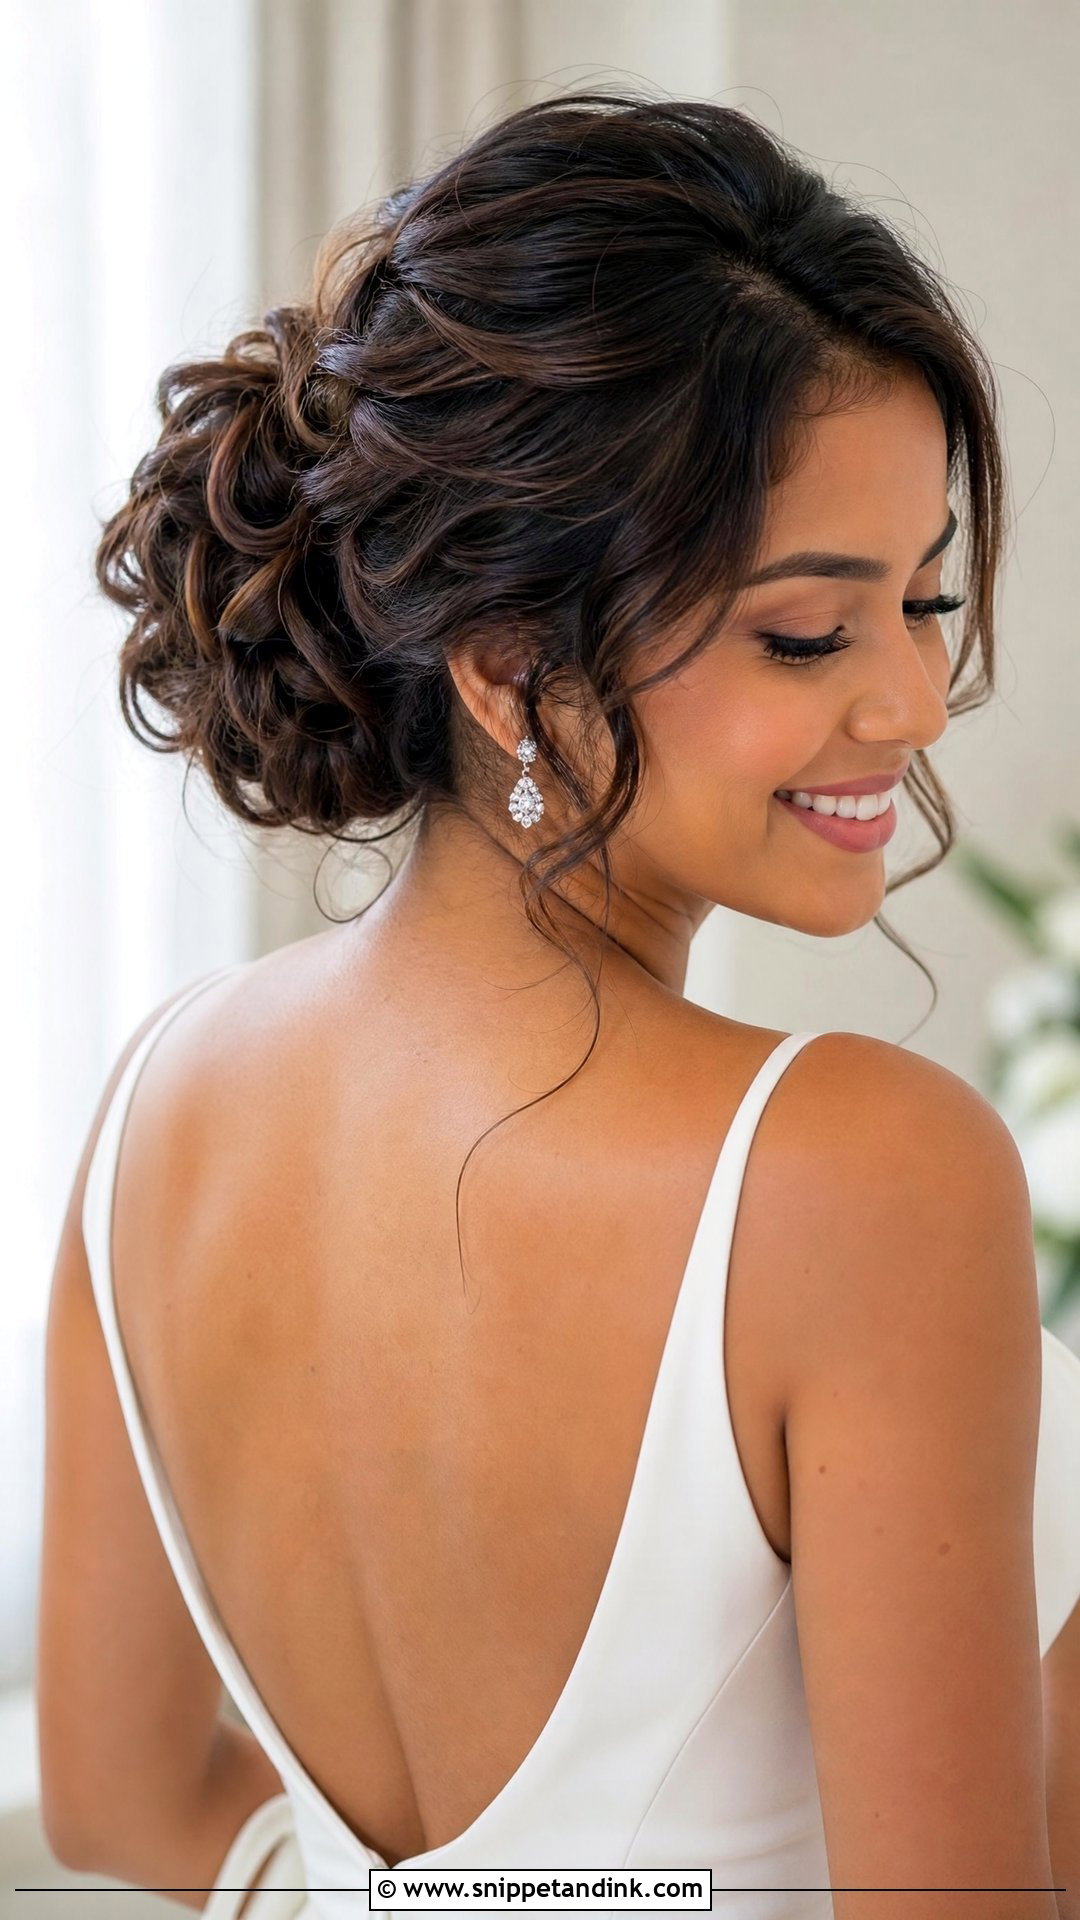
Texture is what makes this bun look modern rather than formal. I curl the hair first, let the curls set completely cool, brush them out and then pin, so the bun has real body rather than just volume at the surface. It works for medium and long hair. Fine hair can look noticeably thicker with texture powder at the root. Since the shape itself carries the detail, a single pearl pin or nothing at all is plenty.
10. Floral Bridal Bun
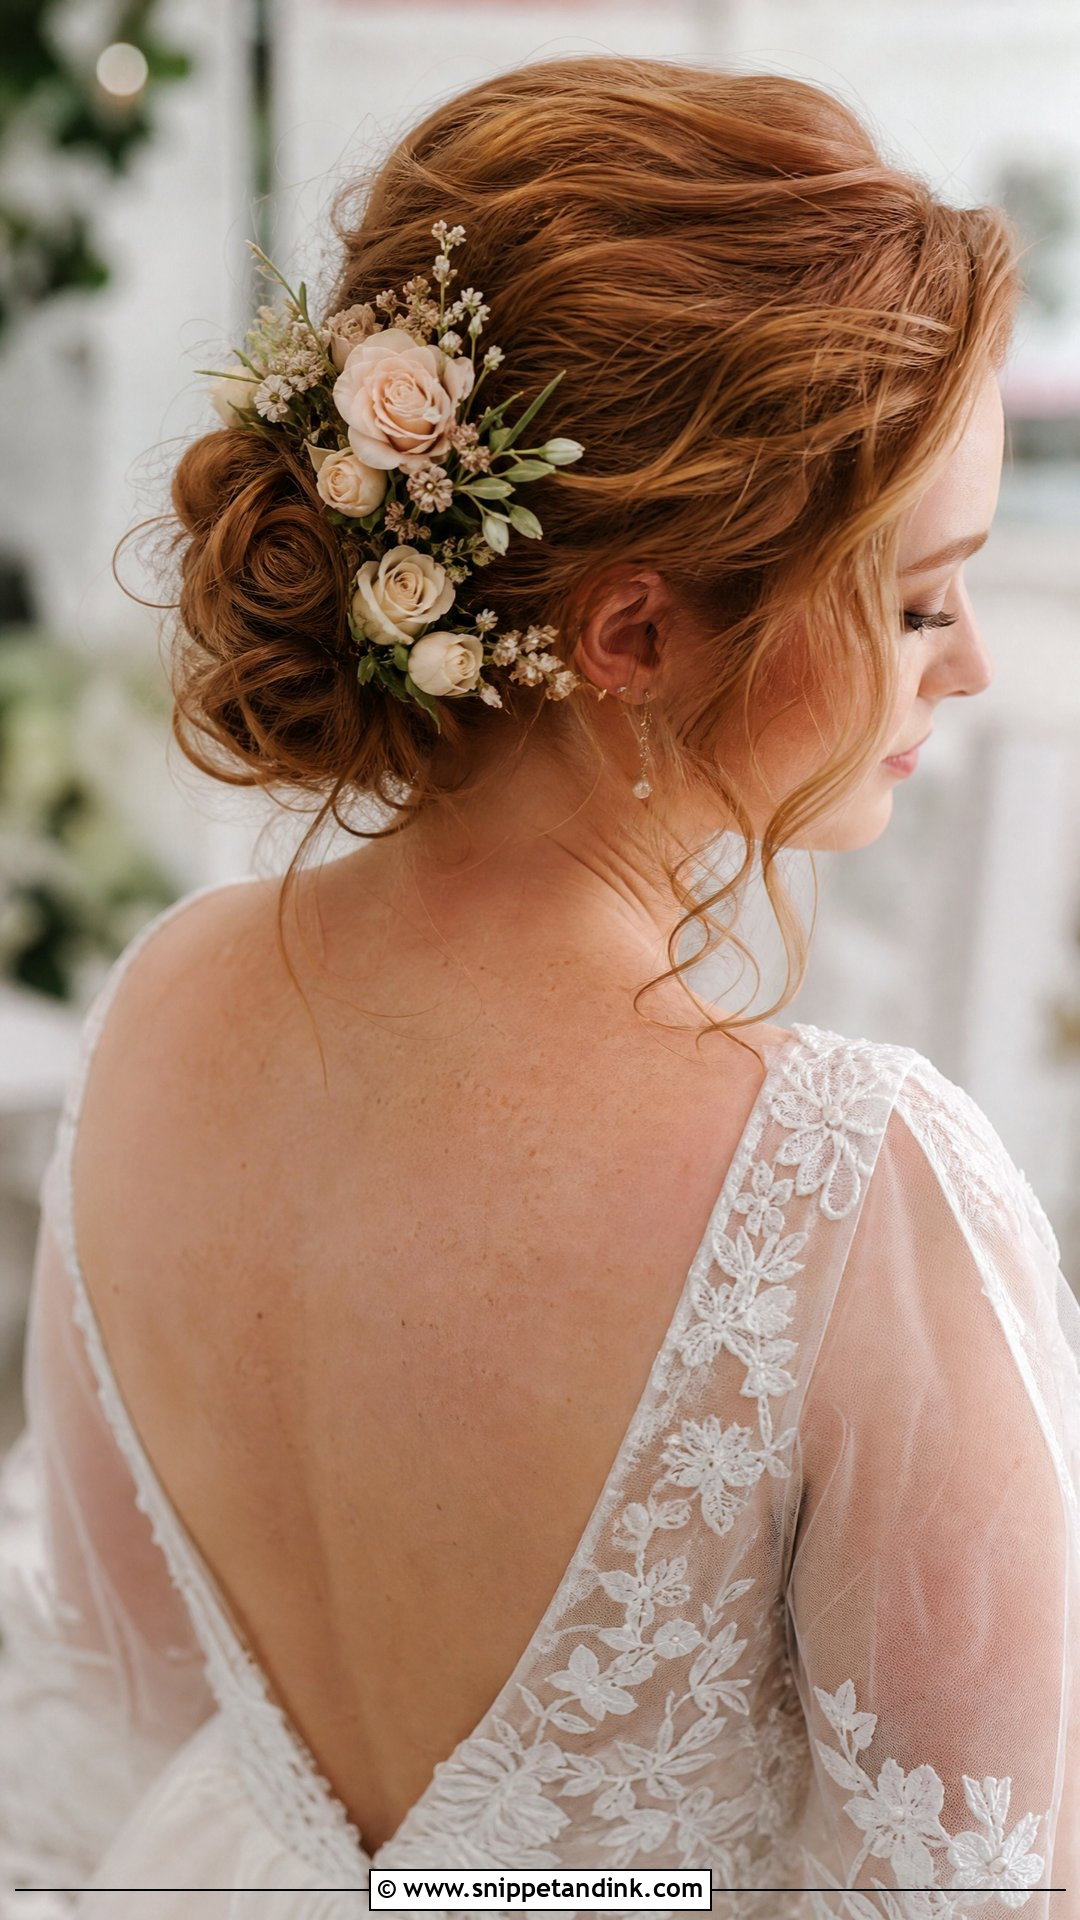
Fresh flowers in a bun need planning with your florist, not just a handful pulled from the bouquet. Soft blooms like gardenias and garden roses wilt fast against a warm scalp, so I ask for sturdier stems such as spray roses, waxflower or small orchids, wired and taped. Smaller flowers sit better than one big bloom, which tips the bun sideways. Spring garden weddings, outdoor and beach ceremonies all suit it, and the shape can be low, side, braided or textured. Faux flowers are the safer choice for a hot day.
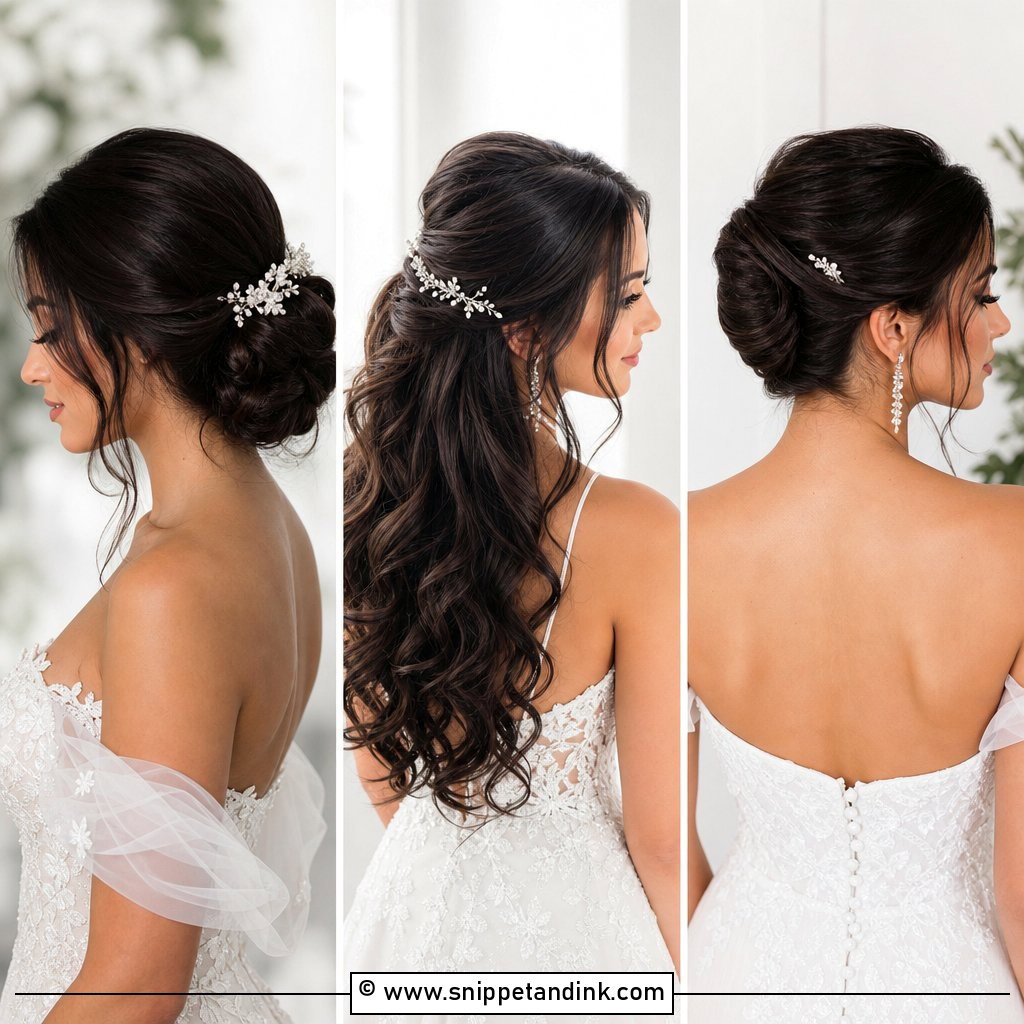
11. Pearl Bridal Bun
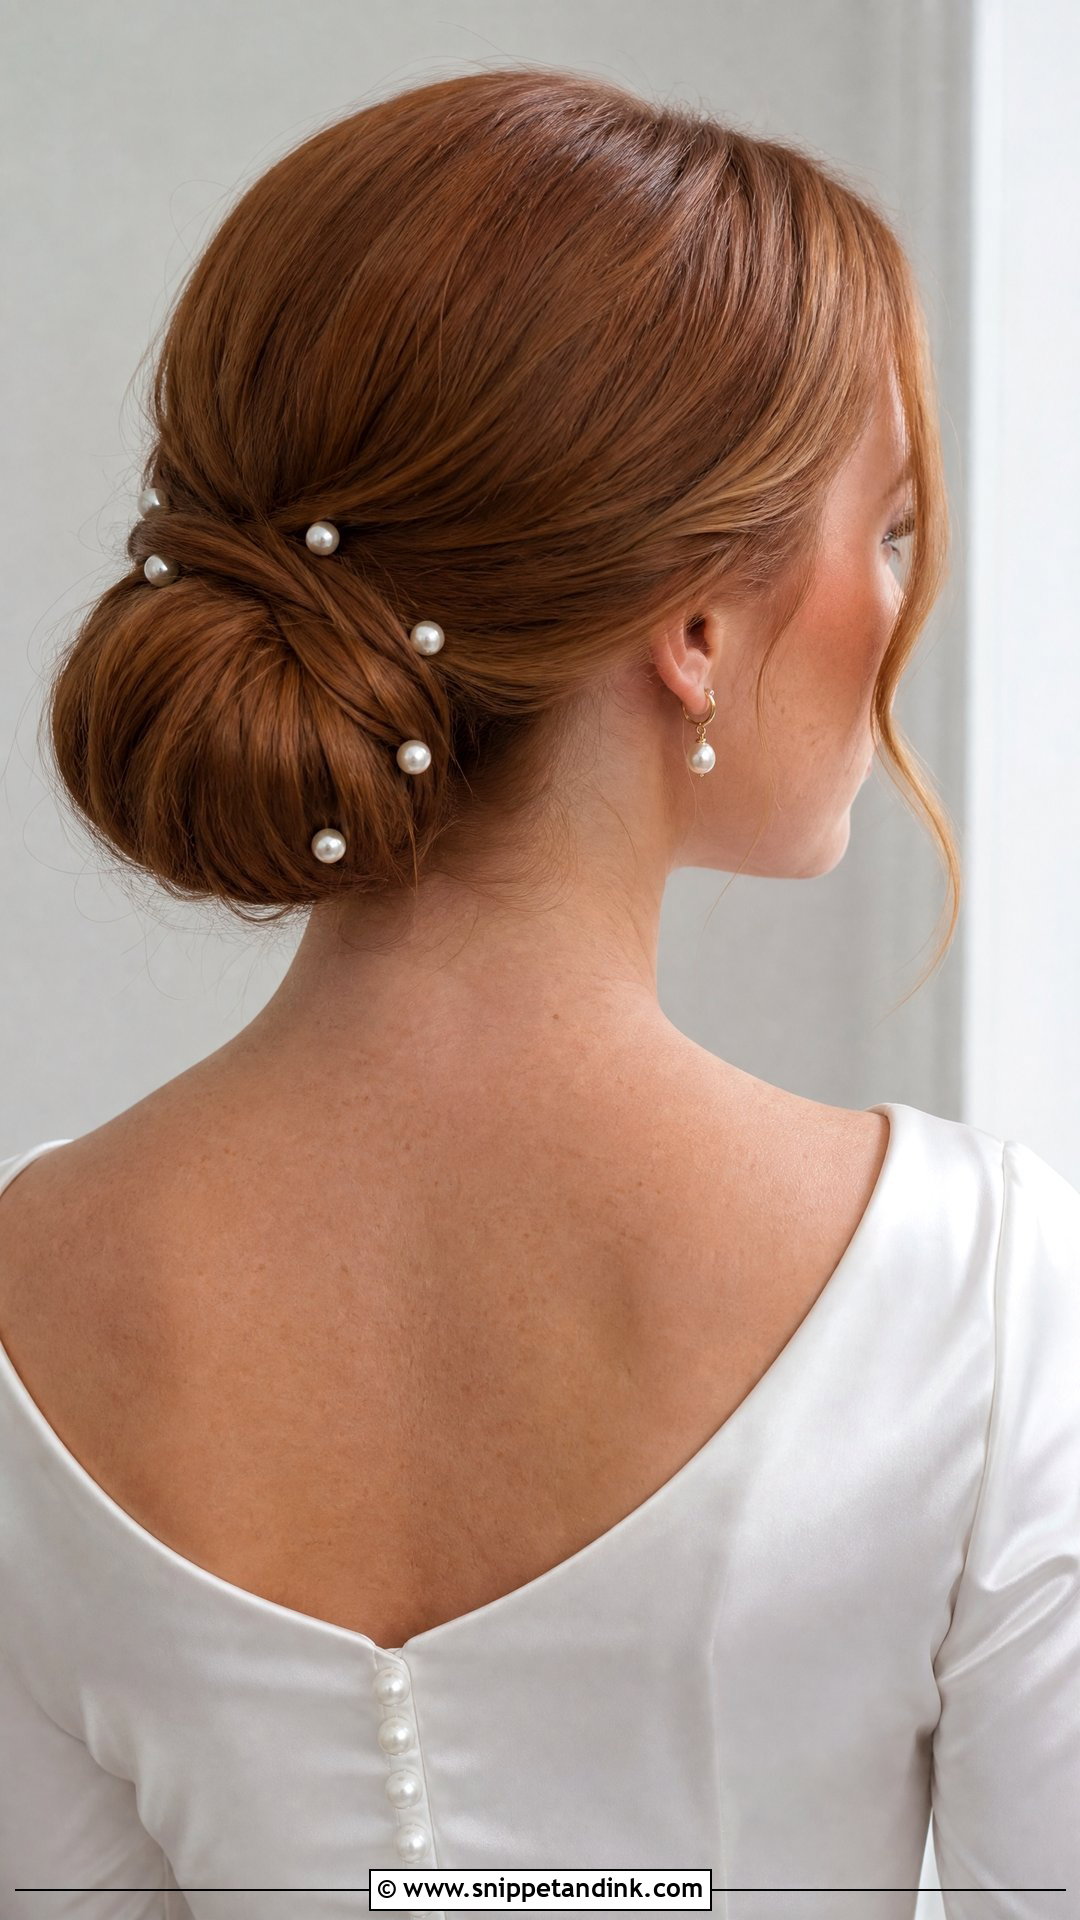
Pearls catch the light in a way that’s easy to overdo. I place them where the eye already goes: along the seam of a chignon, on one side of a sleek bun, or scattered sparsely through texture. It ties in nicely if your dress has pearl buttons, beading or a satin finish. Three to seven well-placed pins look considered; twenty start to look like decoration on a cake. Pearl pins with a U shape hold far better than straight bobby-pin versions in a heavy bun.
12. Veil Bridal Bun
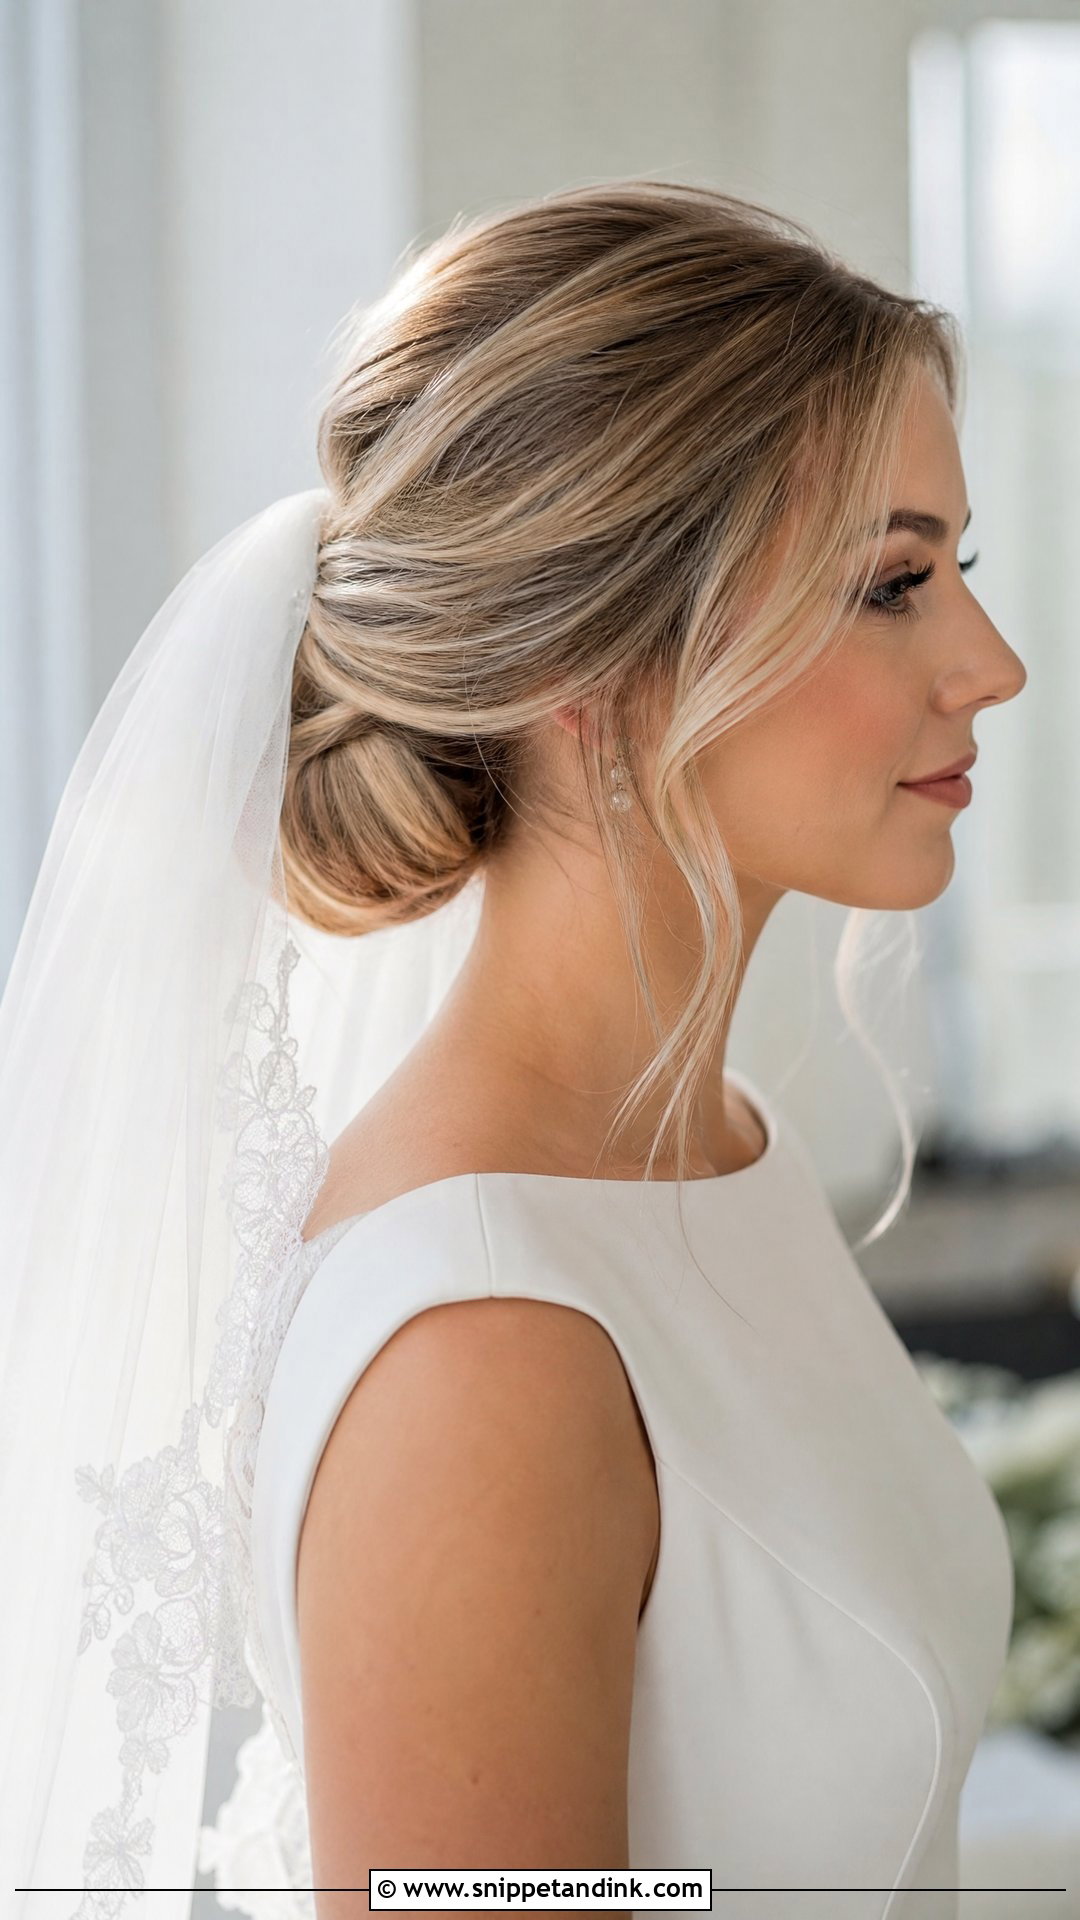
With a veil, placement decides the whole style. A comb above the bun gives a traditional frame; one tucked beneath it lets the tulle fall softer and is easier to slide out after the ceremony. Low buns and chignons make the sturdiest base. Heavier lace and cathedral veils pull backward with every step, so I anchor the comb into a hidden braid or a crossed-pin base rather than the bun itself. Bring the actual veil to the trial. A lighter sample won’t tell us how yours will drag.
13. Curly Bridal Bun
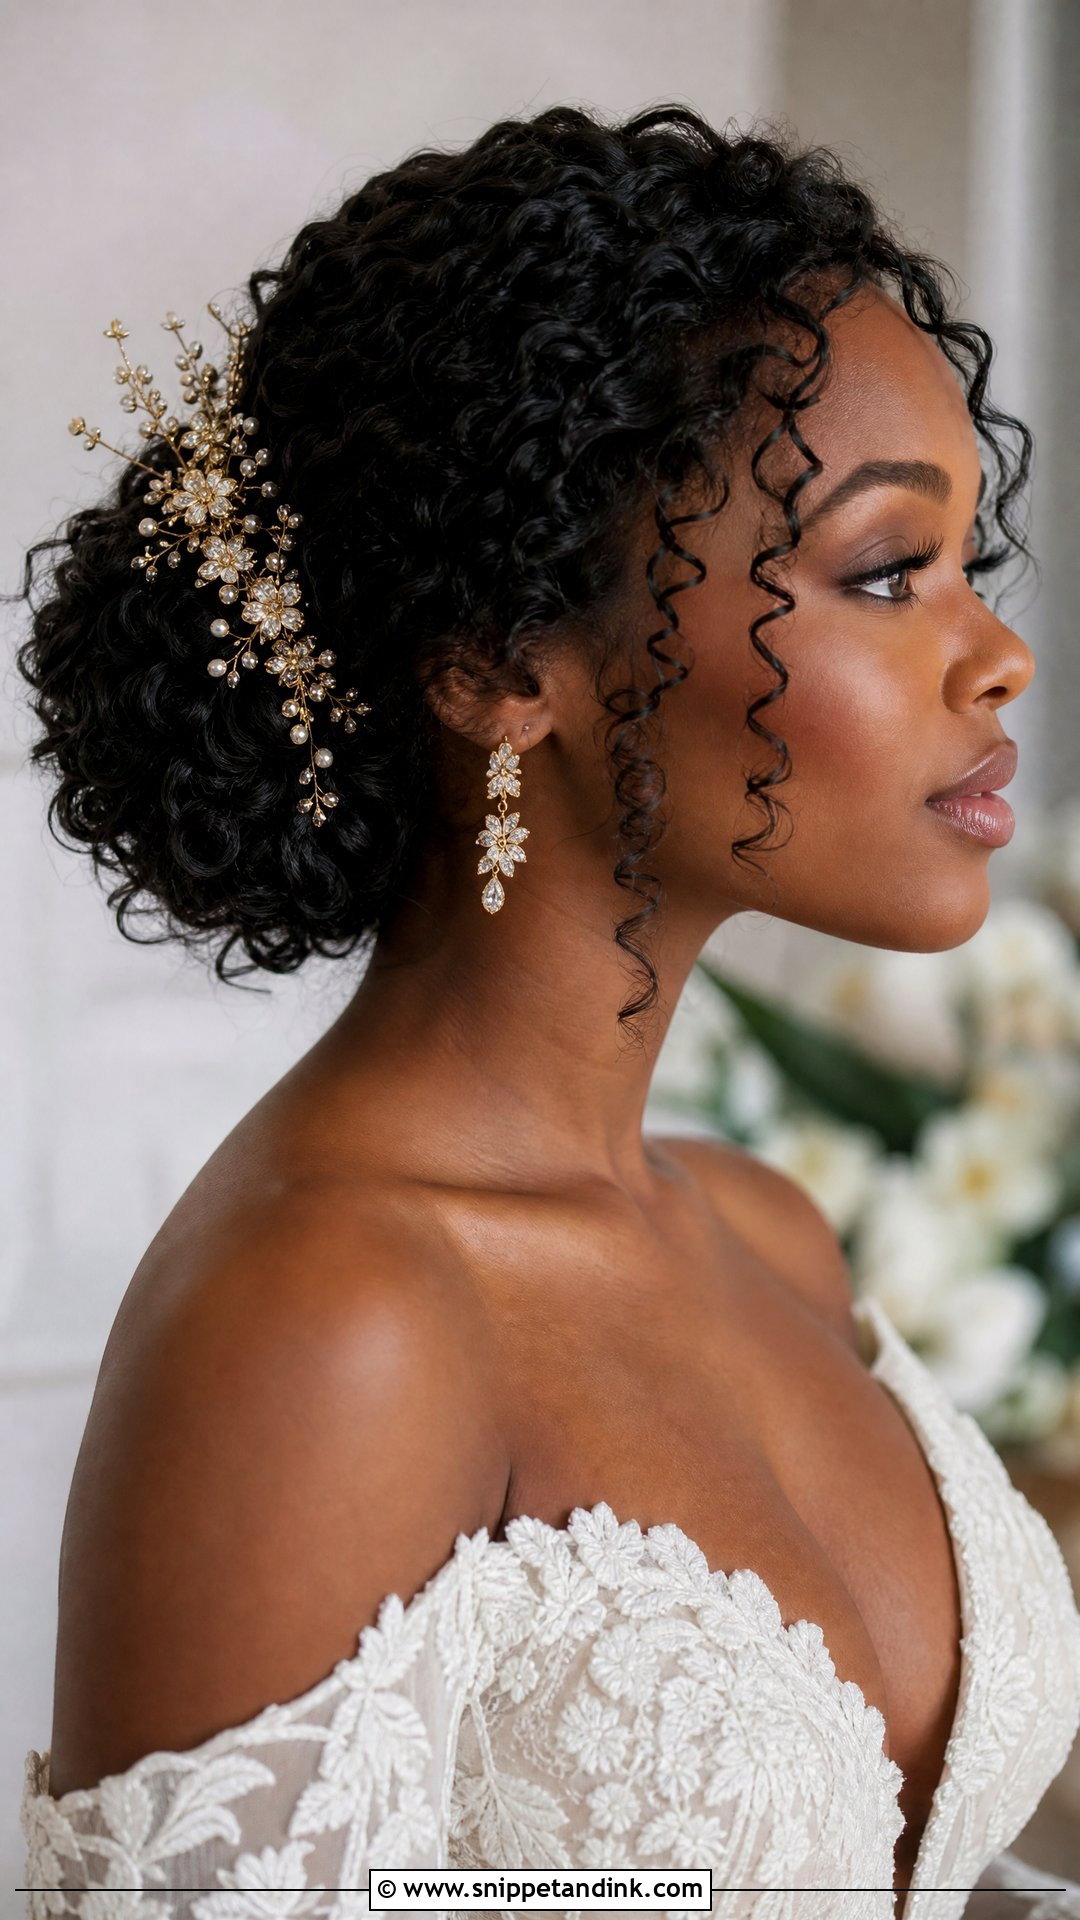
Natural curls make some of the best buns I get to build, because the volume is already there. The mistake is brushing them out: that turns defined curls into frizz. I work with the hair damp or freshly refreshed with a leave-in conditioner, gather the curls gently and pin through the curl clusters rather than across them. Coily and textured hair usually holds this shape all day without much product. A few curls left loose at the temples keep it soft, and gold pins look warm against darker hair.
14. Donut Bridal Bun
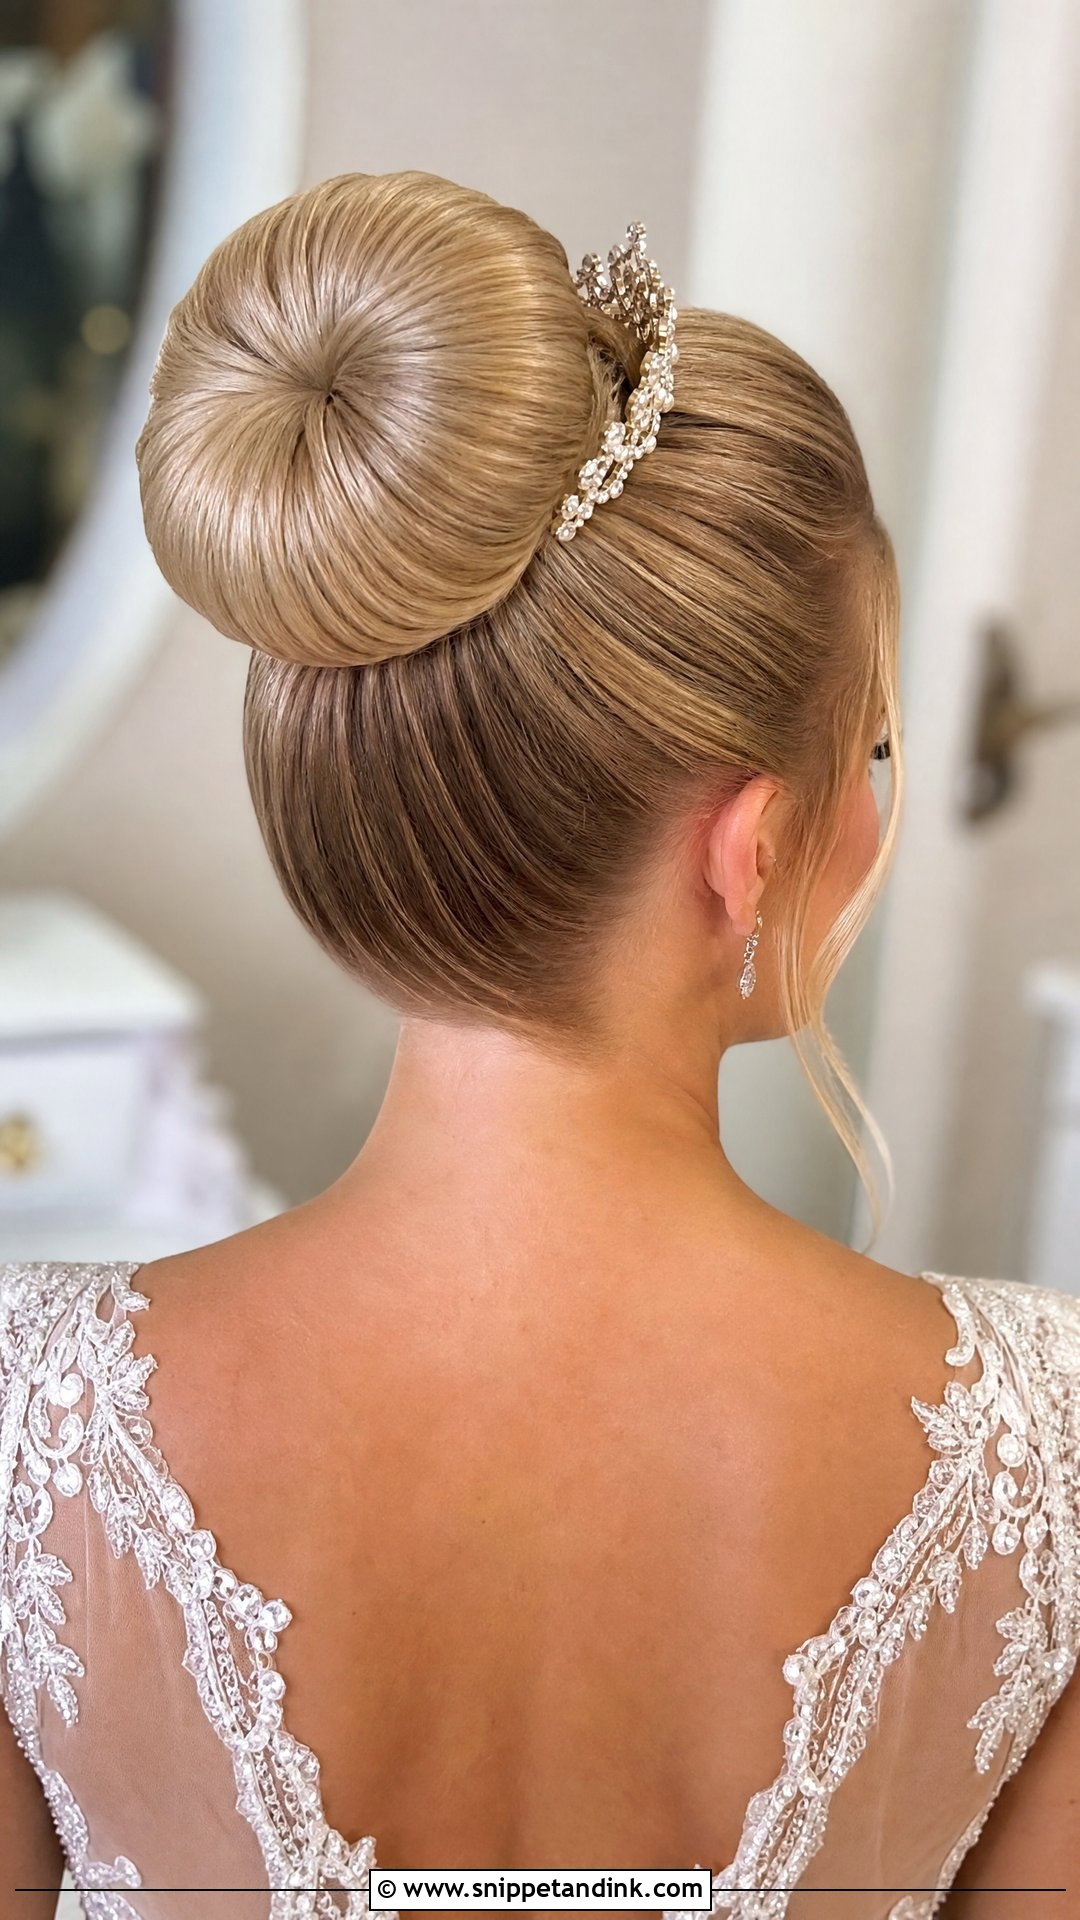
The donut bun relies on a foam or mesh ring to get that round, even shape, so it suits fine and medium hair that couldn’t make the size on its own. Color-matching the form matters more than people think; a beige ring in dark hair shows through under flash. I spread the hair evenly over the ring and tuck the ends underneath. Sleek suits a ballet feel, a softened hairline suits a romantic one. It sits well under tiaras and with statement earrings.
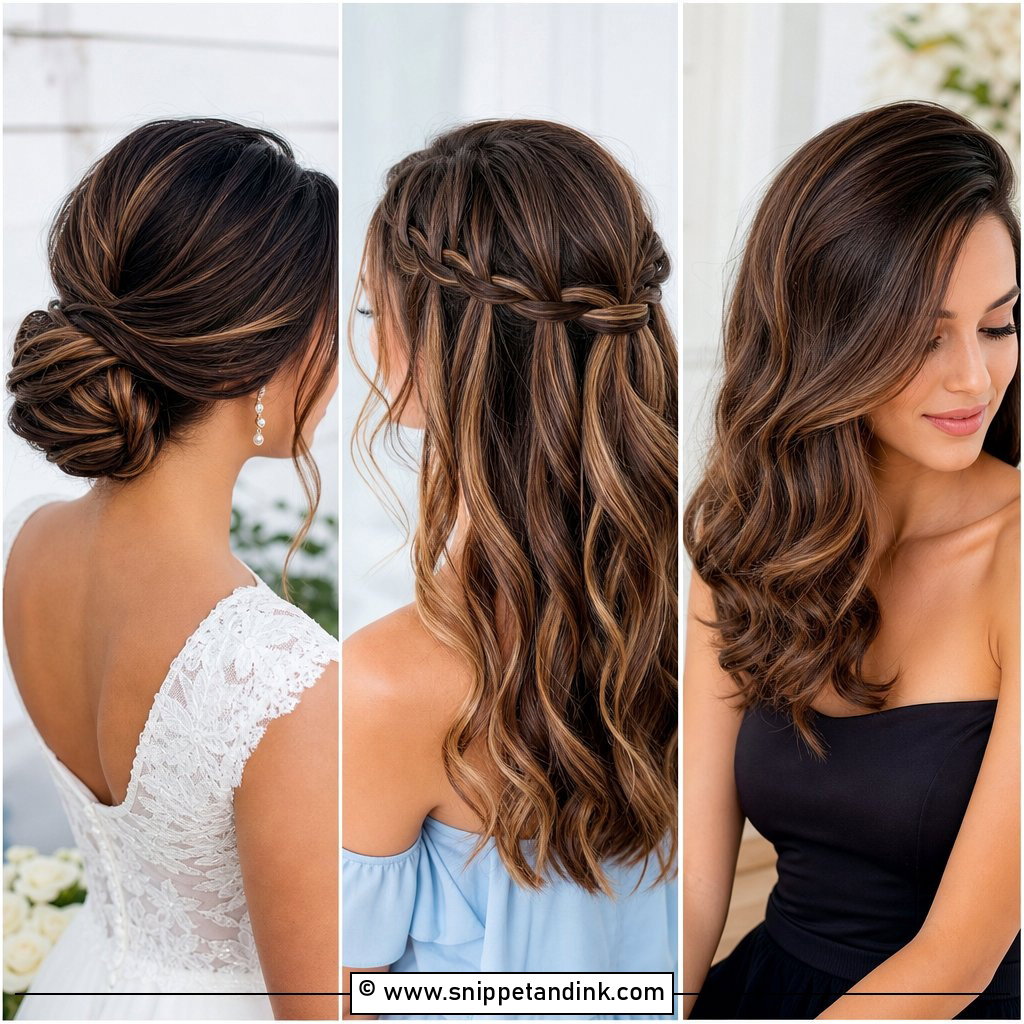
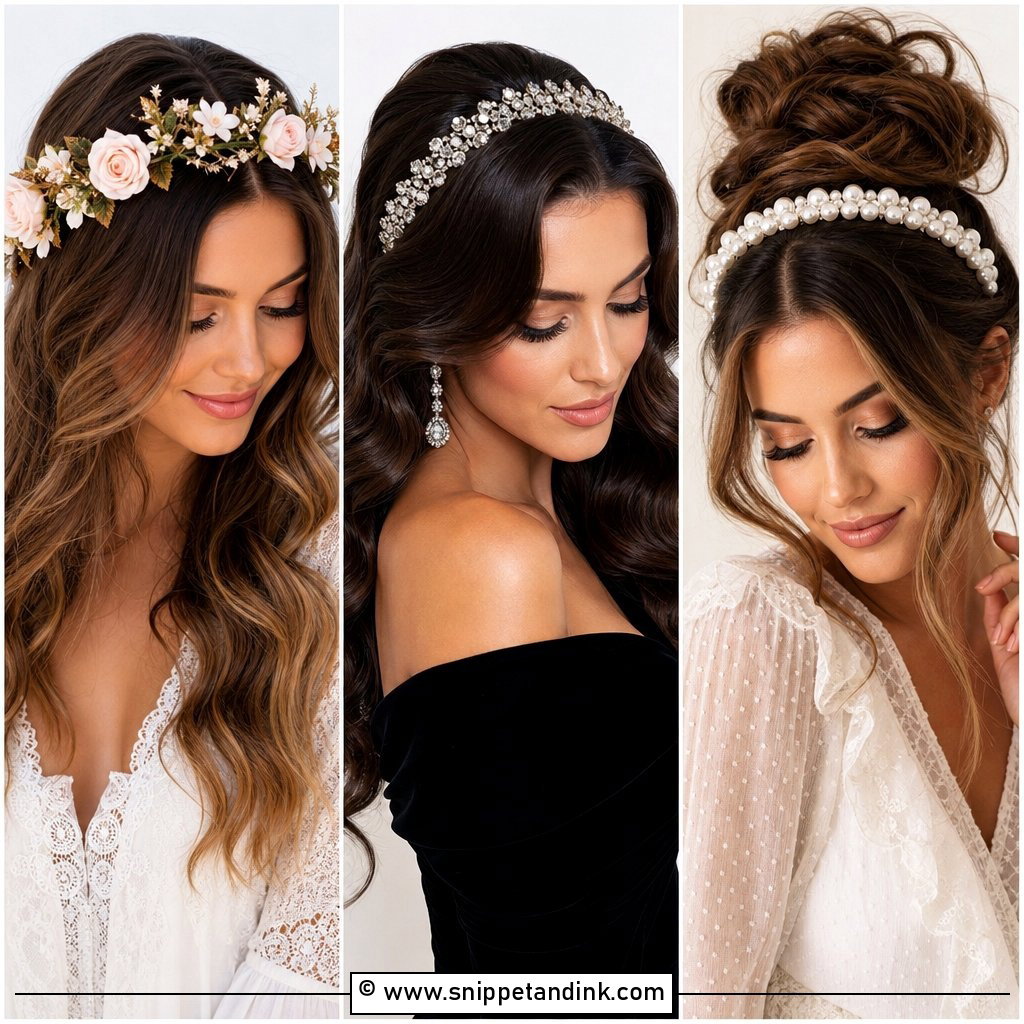
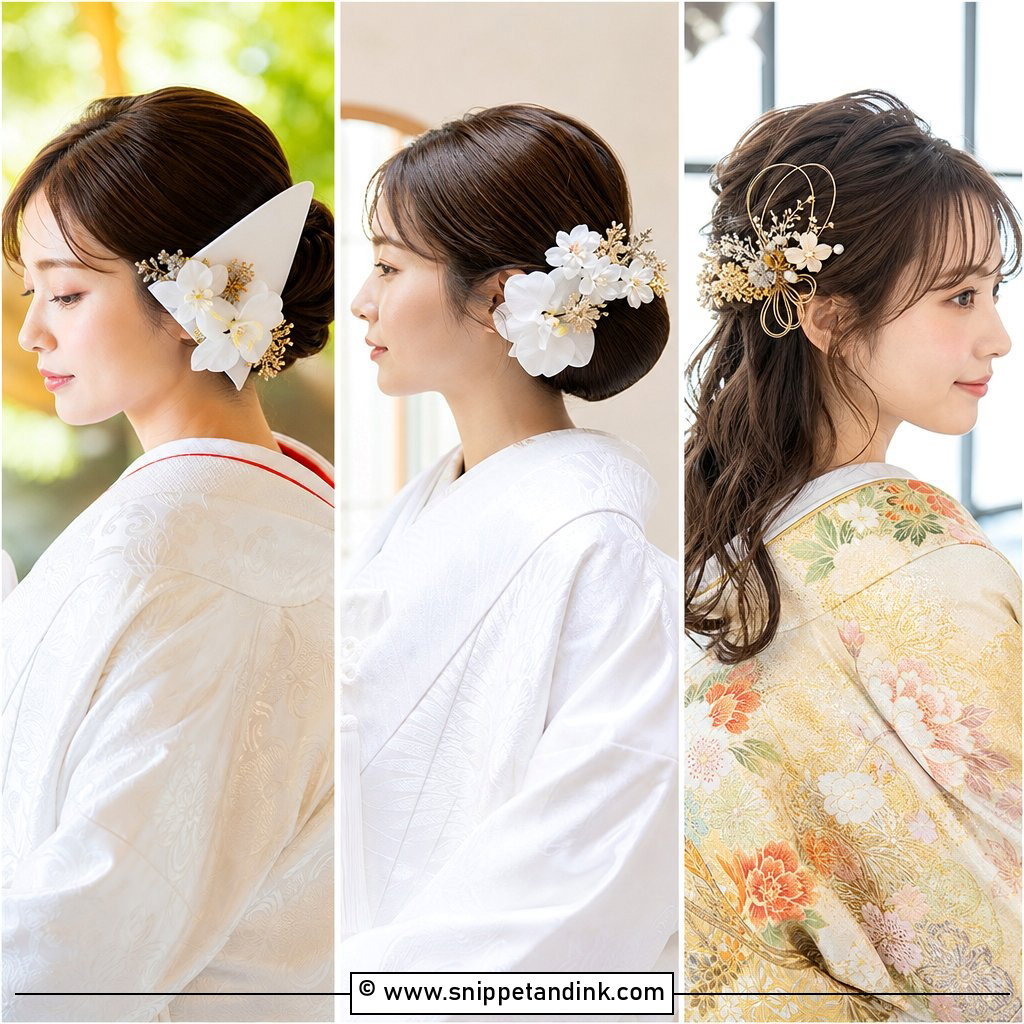
15. Boho Bridal Bun
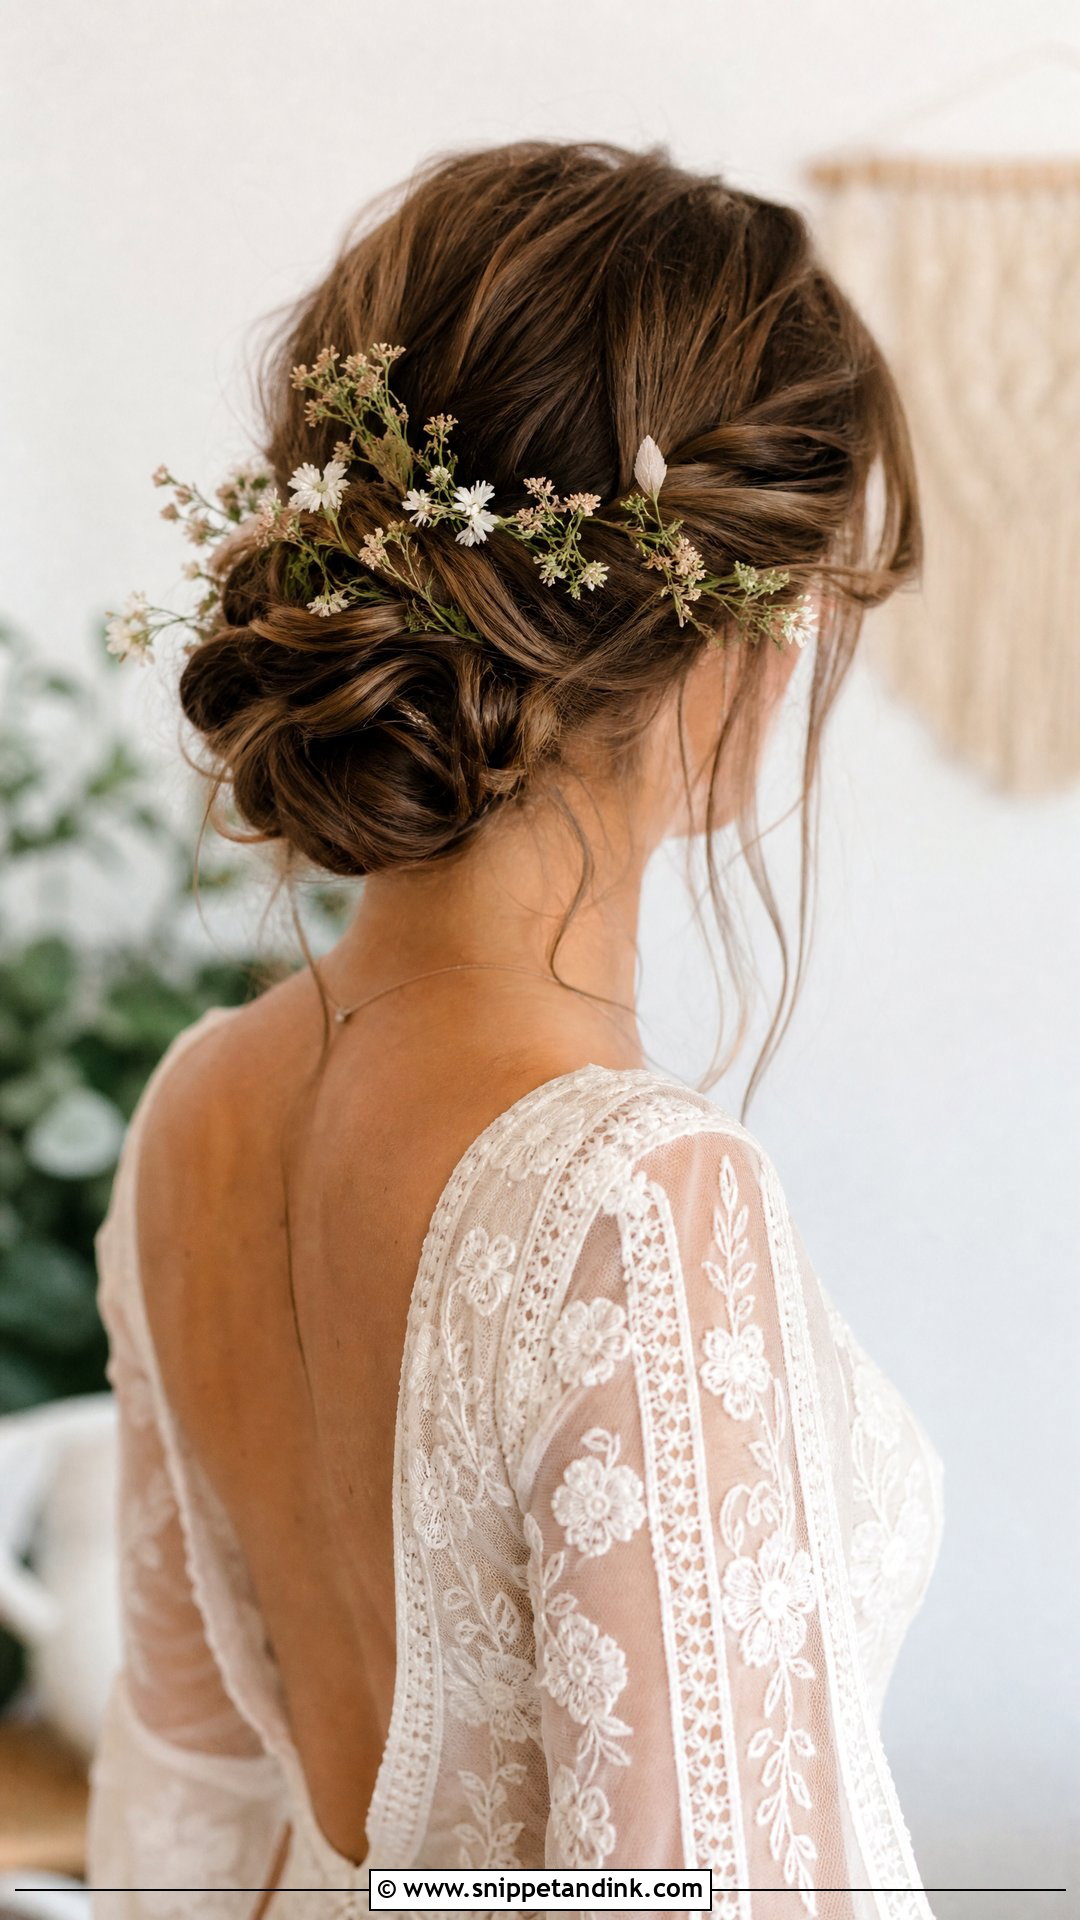
Boho buns look loose but need the same hidden structure as any updo. I combine soft waves, a couple of small braids and pulled-out pieces around the face, pinned over a secure base. It fits lace gowns, outdoor ceremonies, beach weddings, barn venues, and wildflower bouquets. Wind is the real test outdoors, so I keep face-framing pieces longer than the cheekbone, where they’re less likely to blow into lip gloss. A thin vine or a few small flowers is plenty of decoration.
Why Buns Slide by the First Dance
Bridal buns rarely collapse all at once. They slide. Freshly conditioned, silky hair gives pins nothing to grip, so by the reception the bun has dropped half an inch and the front has loosened. Most of that is preventable.
- Come with clean hair but skip heavy conditioner on the ends. Many of us prefer hair washed the night before, so ask your stylist.
- I always build a base first, either a small ponytail or crossed pins that the rest of the bun locks into. A bun pinned only to loose hair moves.
- Fine hair often needs a padding form or a few clip-in pieces. That’s normal, and invisible when the color matches.
- Give a bridesmaid a few spare pins and a small hairspray, and show her where the anchor pins sit.
Humid and beach venues are the hardest case. A slightly textured style copes better there than a glassy sleek bun, which shows every flyaway once the air turns damp.
A Bun Shouldn’t Give You a Headache
Tension headaches are the quiet problem with wedding buns. Hair pulled tight at the crown, a weighted veil comb and dozens of pins can start to ache around the second hour of photos, and you’ll be wearing it for many more.
Tell me at the trial if anything pulls even slightly, because it only gets worse. If the veil is the culprit, I’ll seat the comb in a braided anchor rather than straight into the bun, so it comes out after the ceremony without loosening the shape. Tight, sleek styles are the most likely to hurt. With a sensitive scalp, a softer low bun is often the kinder choice, even if the sleek one looked sharper in the mirror.
Two Buns at the Trial, Then Trust the Back View
If you are still torn between two buns, ask for both at your trial and photograph each one from the back and the side, not just the front. The back view is what guests look at through the whole ceremony, and it usually settles the decision. Bring the veil, the earrings and anything you plan to pin in. Then wear the winner home and keep it on for the afternoon. A bun that still feels secure and comfortable by evening is the one to book.
You'll Like These Ideas:


Leave a Reply