
Of all the wedding hairstyles I pin, the bun is the one I trust most to last from the first look to the last song. It doesn’t have to be plain. It can be glossy and tight, loosely pinned, sculpted, or relaxed enough for a ceremony in a field. It gives a veil and earrings somewhere to sit and keeps hair out of your face through hugs, wind and a crowded dance floor. Below are fifteen versions, with my notes on which hair and which dresses each one actually suits.
How Much Hair a Bun Really Needs
This is usually the first question at a trial. My honest answer is almost always yes, with help. Length decides which buns are realistic on your own hair and how big the finished shape can be.
Chin to shoulder length
A true bun isn’t possible at chin length; I’d do a small twisted knot at the nape with a couple of clip-in pieces. At shoulder length you can have a compact low bun, a twisted bun or a small chignon. Ballet and high buns look tiny without a padding piece.
Collarbone and longer
Almost everything on this list is open to you. Very long or thick hair gives plenty of volume, but the bun can end up large and heavy, so I often braid part of the length flat underneath to compress it.
Layers matter as much as length. Short top layers escape a sleek bun and work better as deliberate face-framing pieces. If you’re getting a cut before the wedding, tell your hairdresser you’re planning an updo so they keep the layers longer.
1. Classic Low Bridal Bun
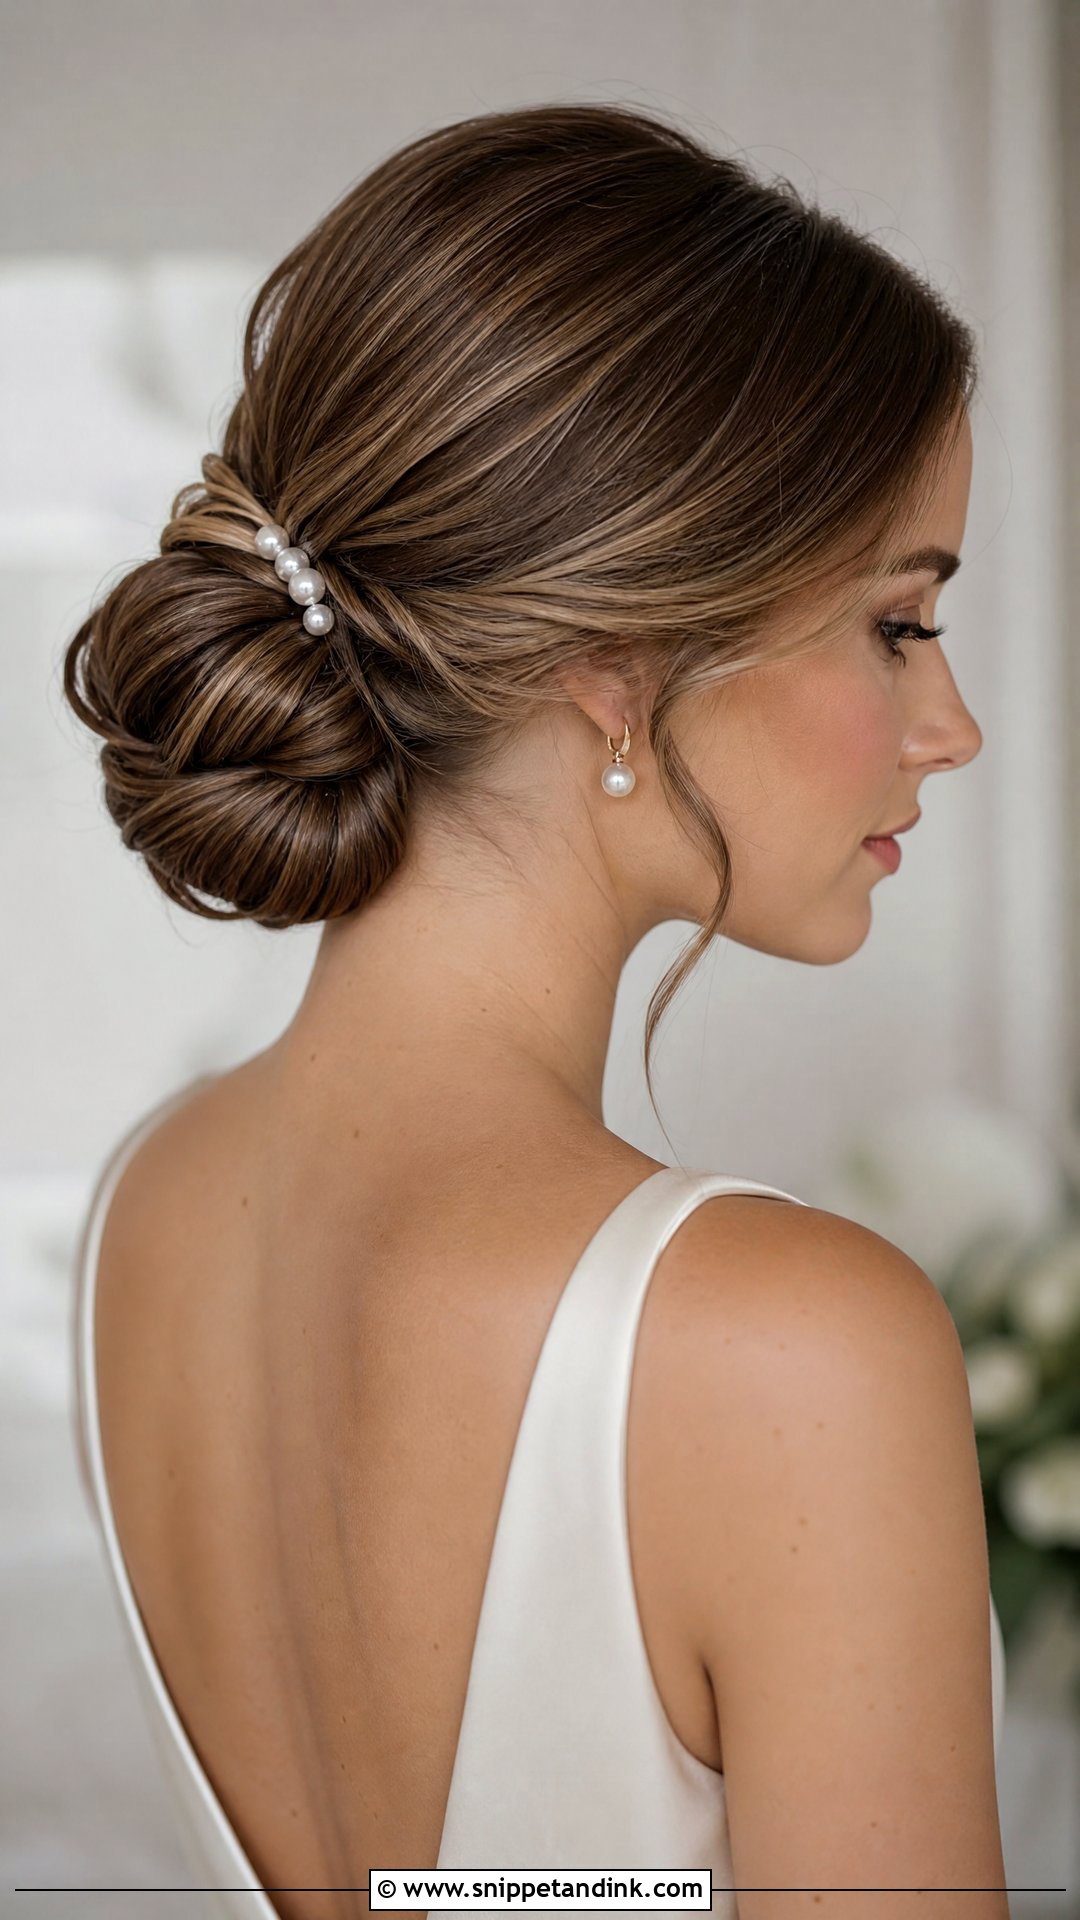
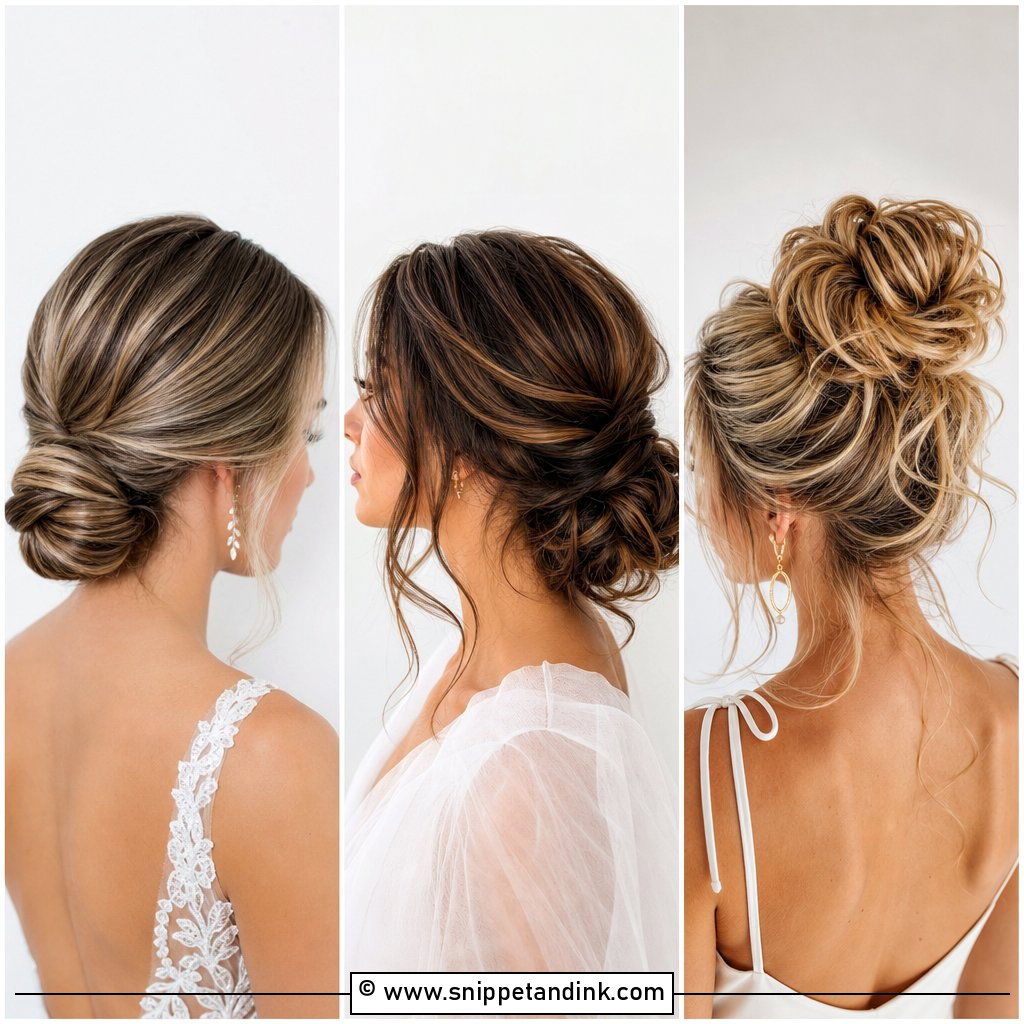
The classic low bun is the quiet option, and quiet is often right when the dress, veil and jewelry already have plenty going on. I set a little lift at the roots before gathering, because a bun on completely flat hair looks smaller and heavier than it is in photos. Center part or soft side part both work. It pairs with strapless gowns and high necks alike, which is why it’s the safe answer when a bride hasn’t finalized her dress by the trial.
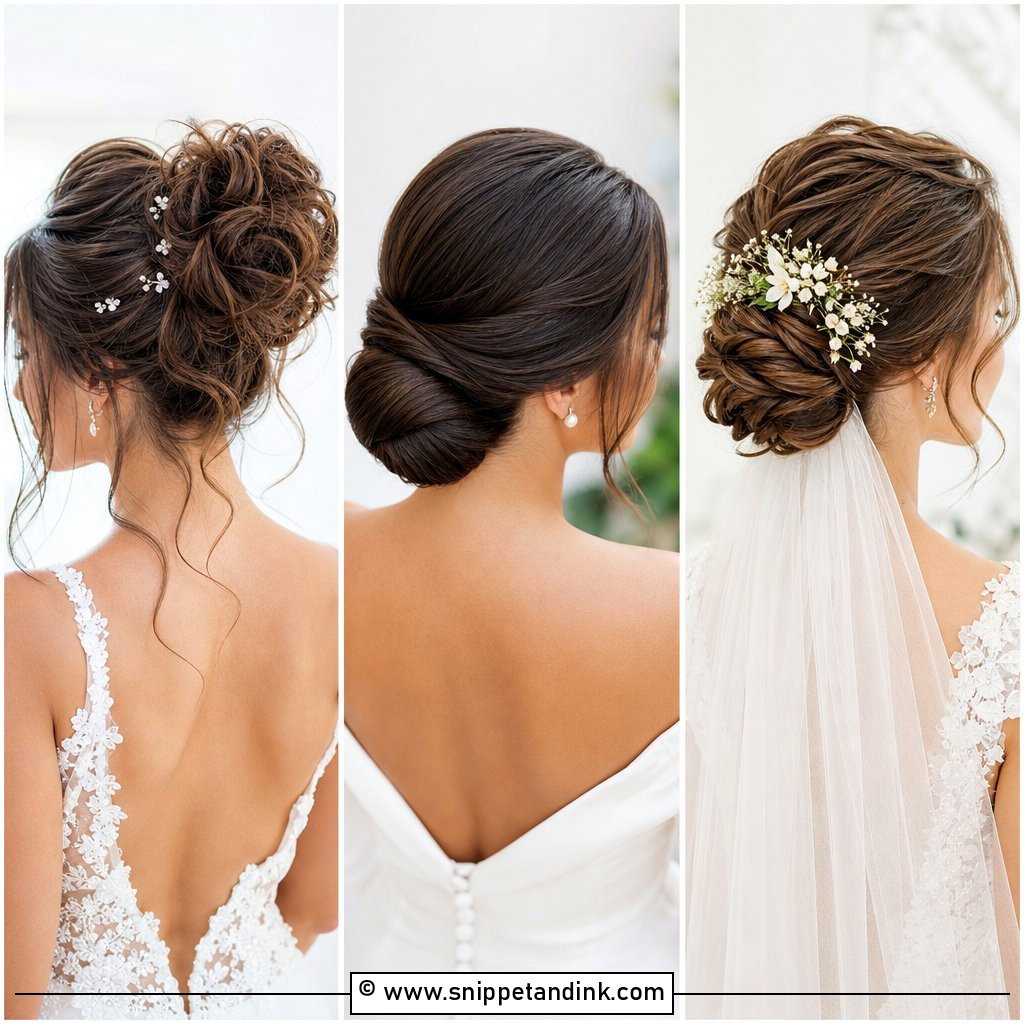
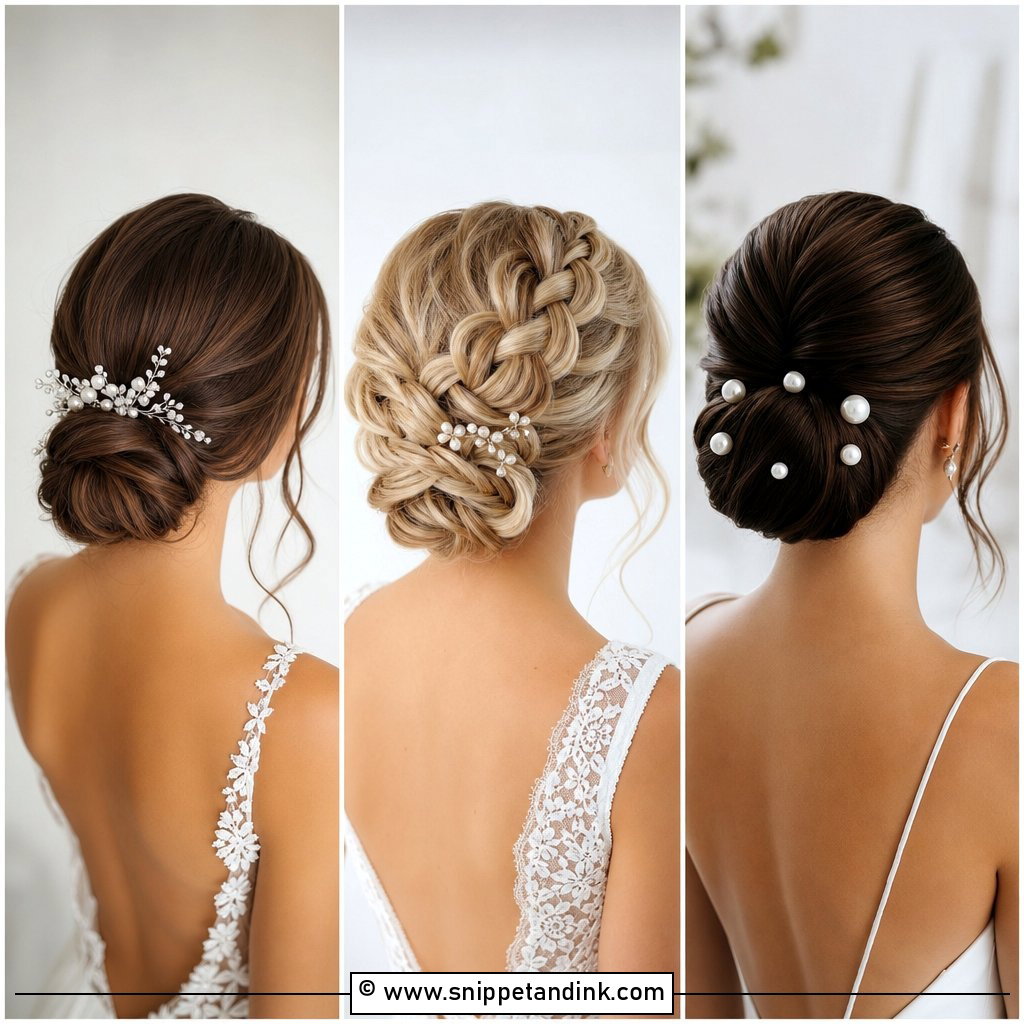
2. Sleek Low Bridal Bun
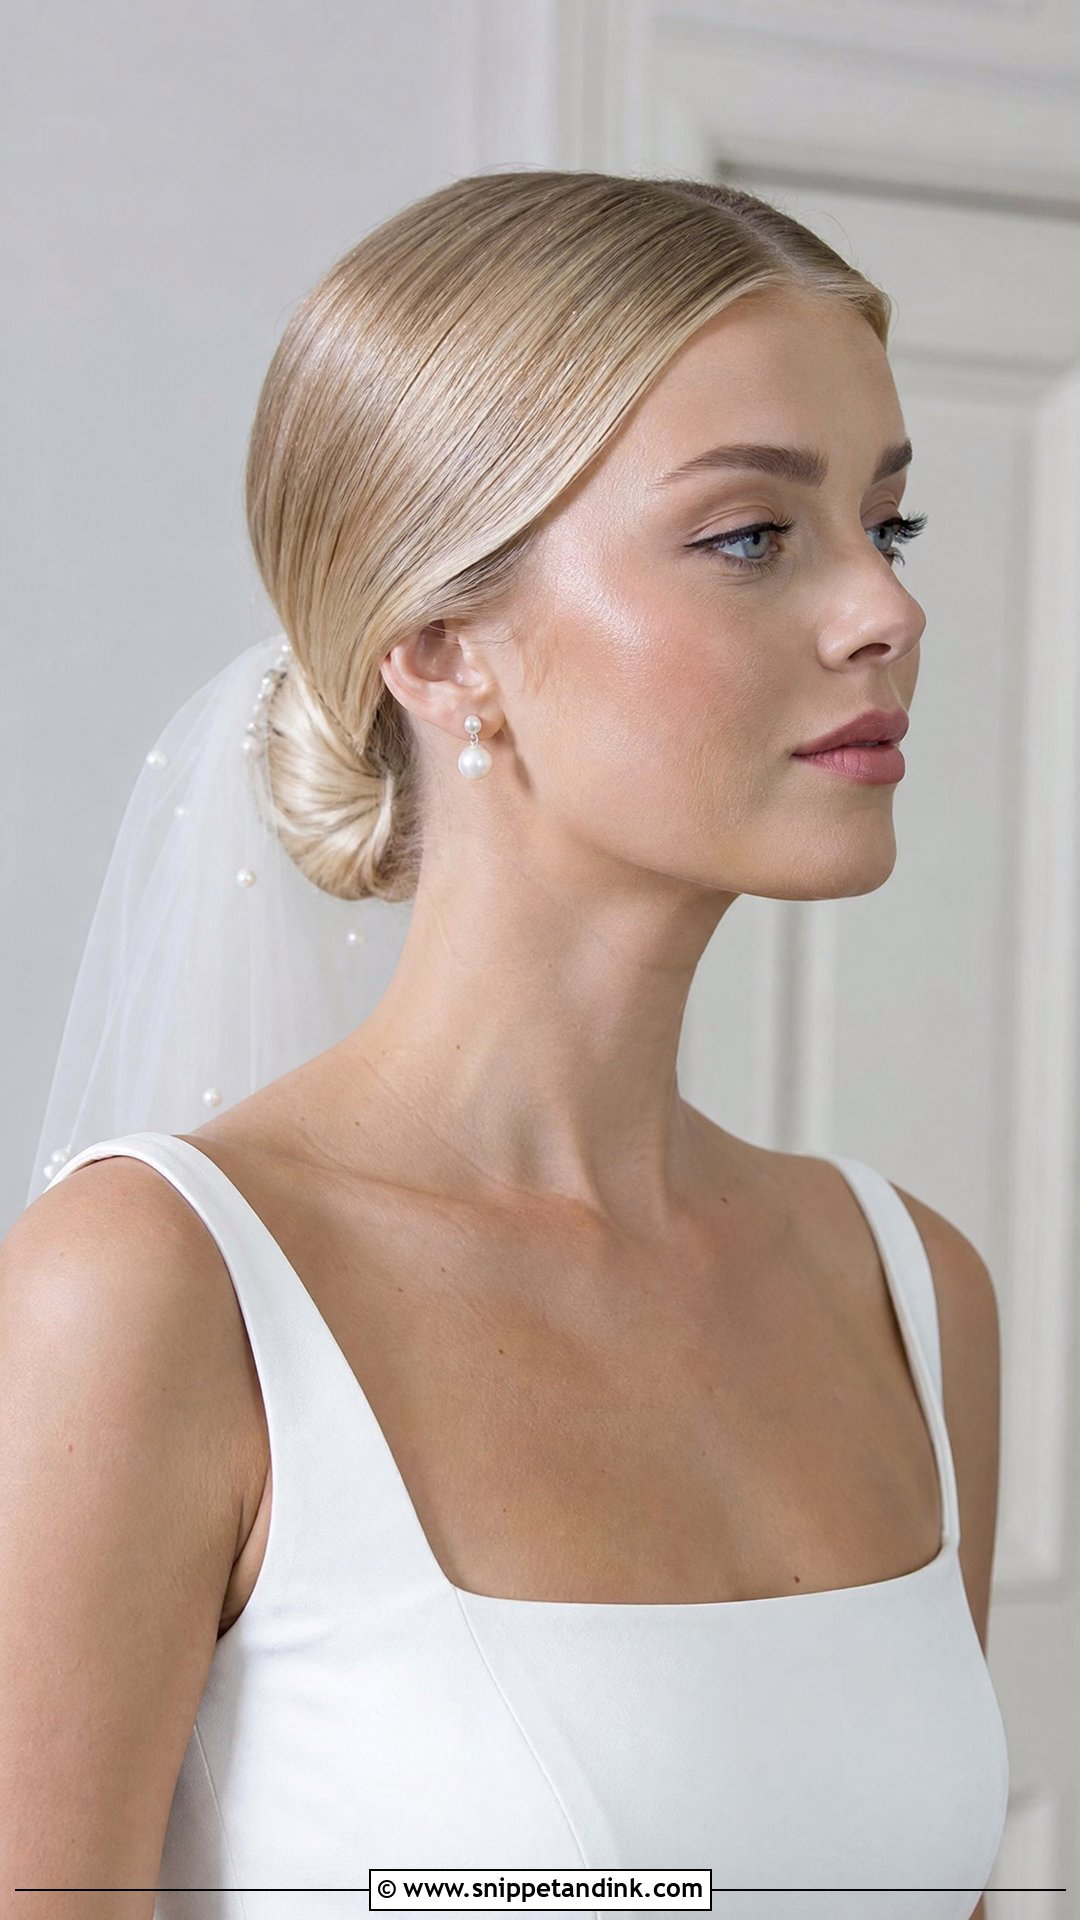
Clean shine and a sharp part are what make the sleek low bridal bun look modern. I smooth with a flat brush and a light cream, never a heavy gel, because a wet-look finish can read greasy by the evening. A middle part looks sharper; a side part is kinder to rounder faces. It holds up well through a long ceremony, but humidity will raise frizz along the hairline, so I seal the edges last. A veil tucked underneath or one pearl pin is plenty.
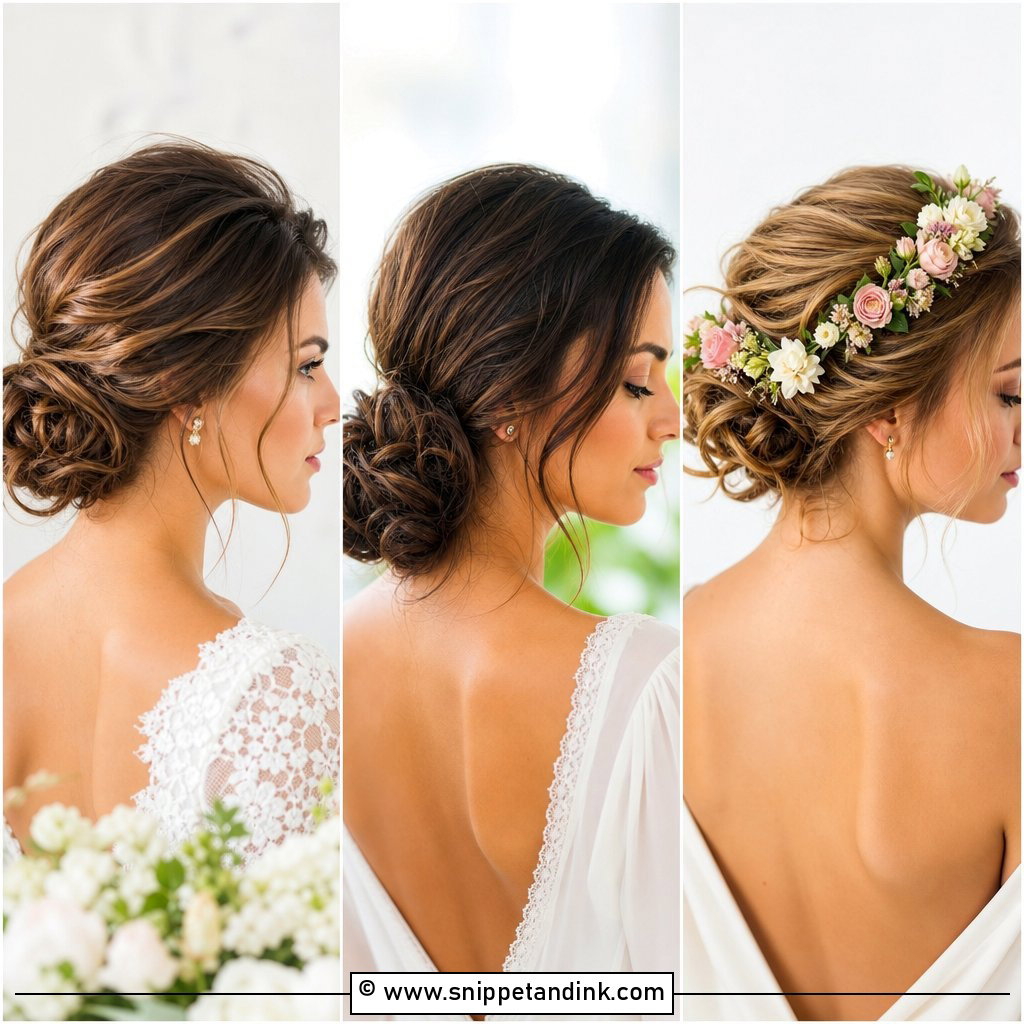
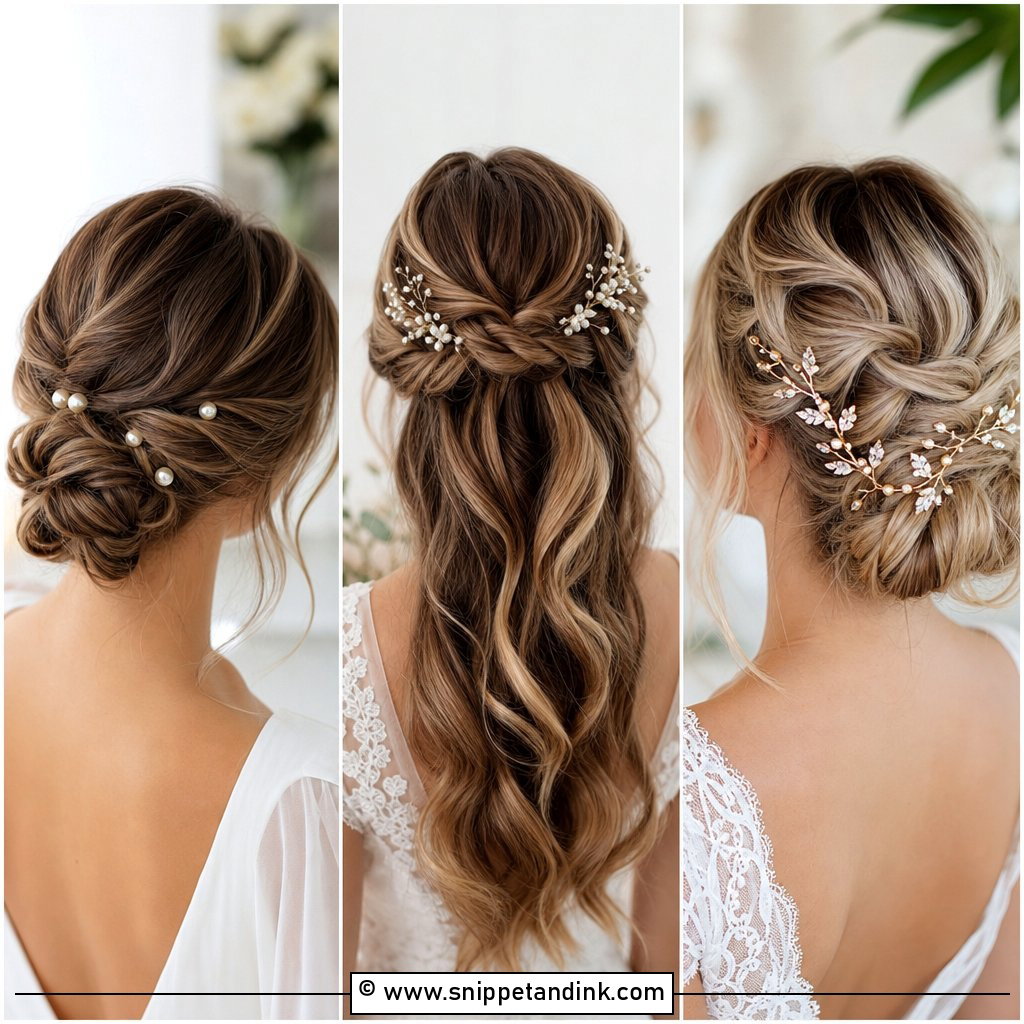
3. Textured Low Bridal Bun
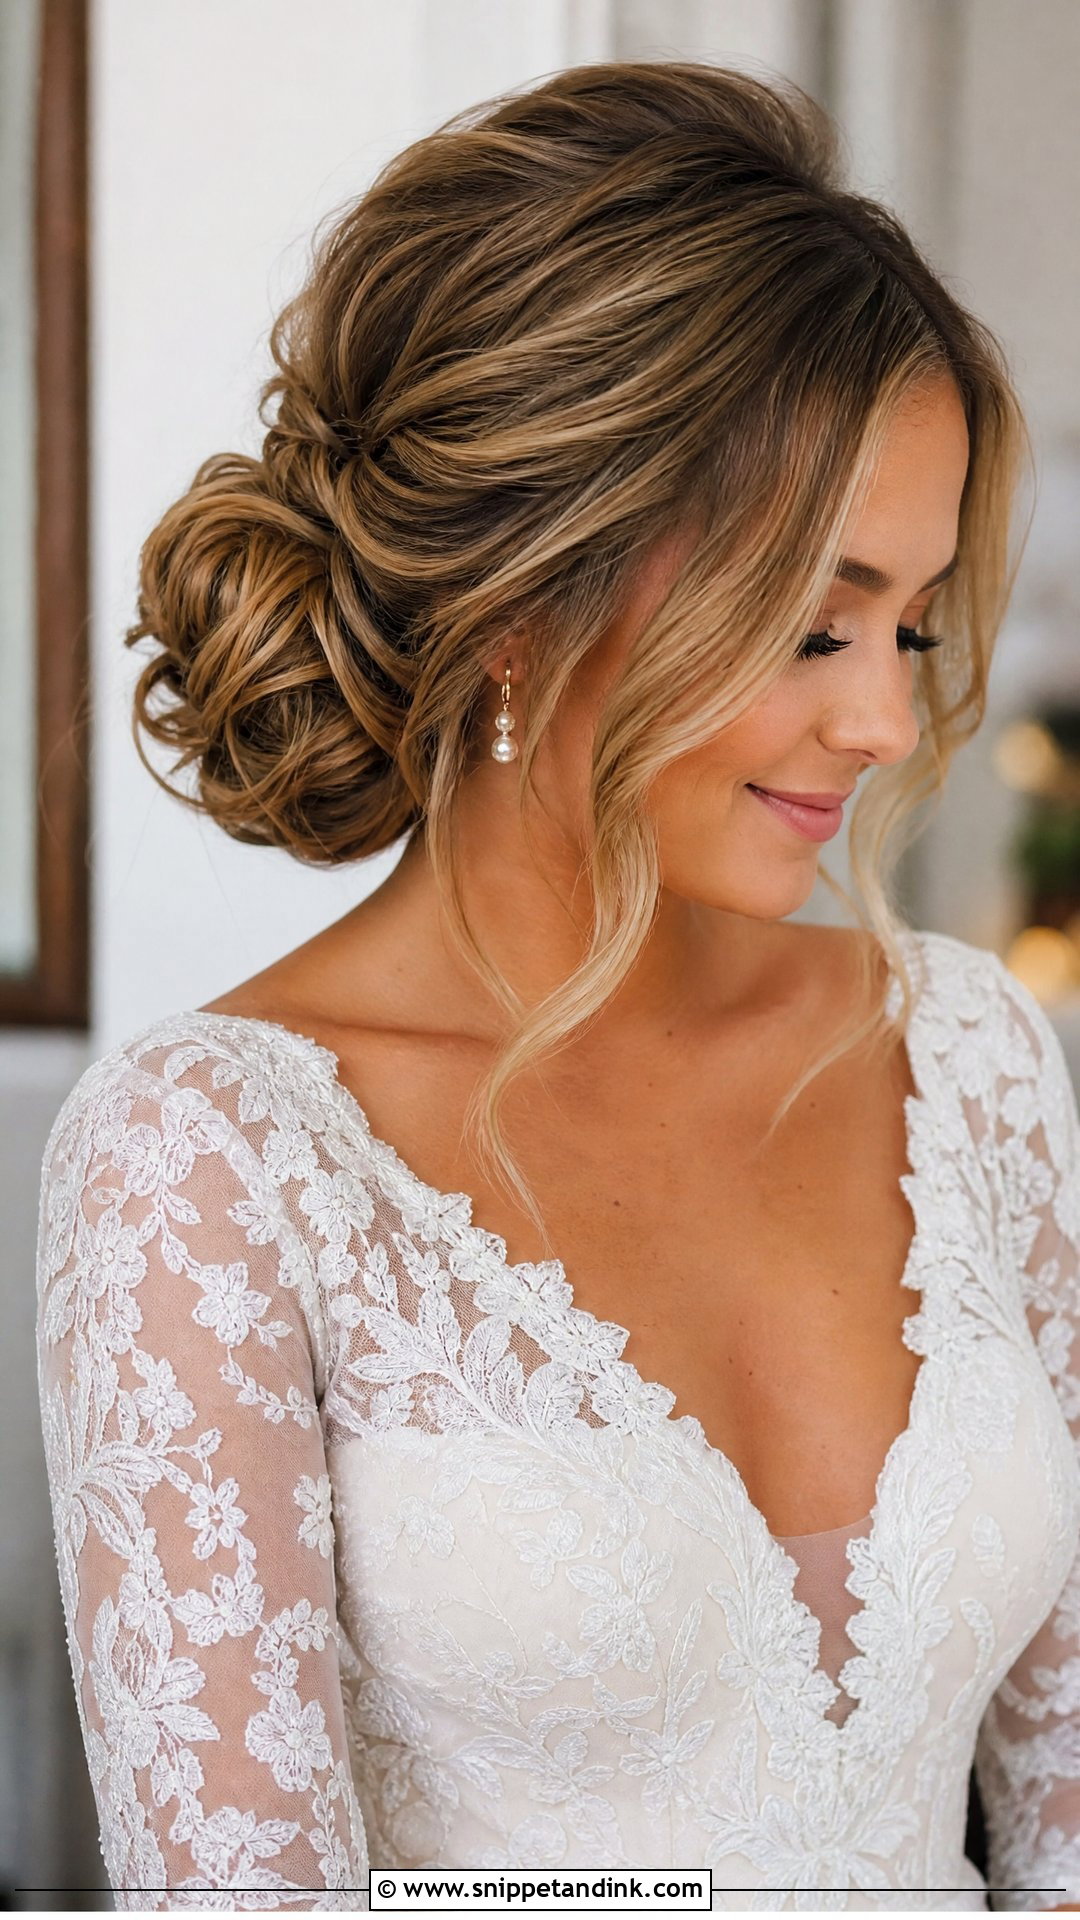
The textured low bun starts with curls or waves, which I let cool fully before pinning so the bends survive being gathered. Highlights and balayage show up well here because the texture separates light and dark strands. If you don’t feel like yourself with everything pulled back, this is where face-framing pieces make the most sense. It suits outdoor weddings, lace and floral veils. The risk on fine hair is that it starts to look thin once the texture relaxes, so I build it with a little padding.
4. Messy Low Bridal Bun
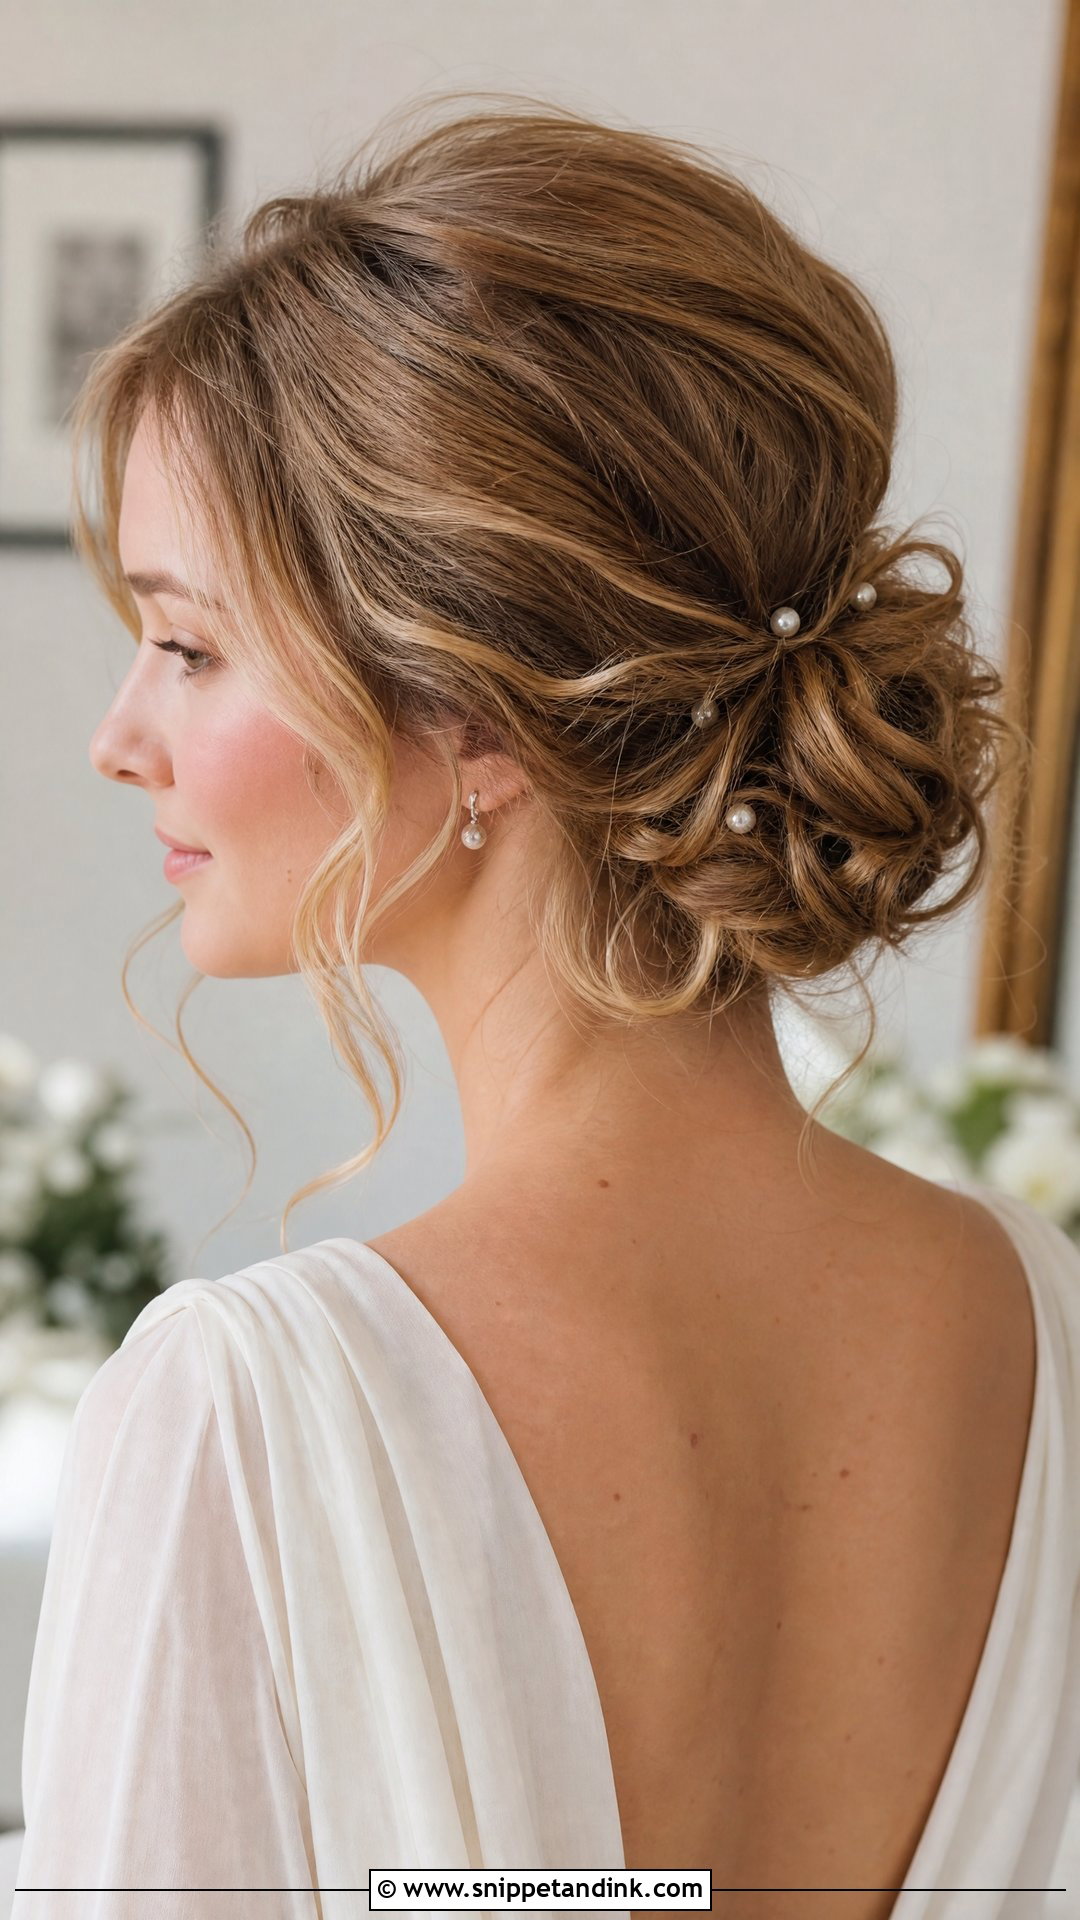
Messy should never mean rushed. The loose twists and pieces around a messy bun are placed one by one, and the front still needs shape so you don’t look like you’ve just woken up. I use a soft hold spray as I go rather than a stiff one at the end, so the texture moves without falling apart. Beach and garden weddings suit it. Where I’d hesitate: very straight, silky hair resists messy texture and tends to slide flat within a couple of hours unless it’s been prepped with a texturizing spray.
5. Braided Low Bridal Bun
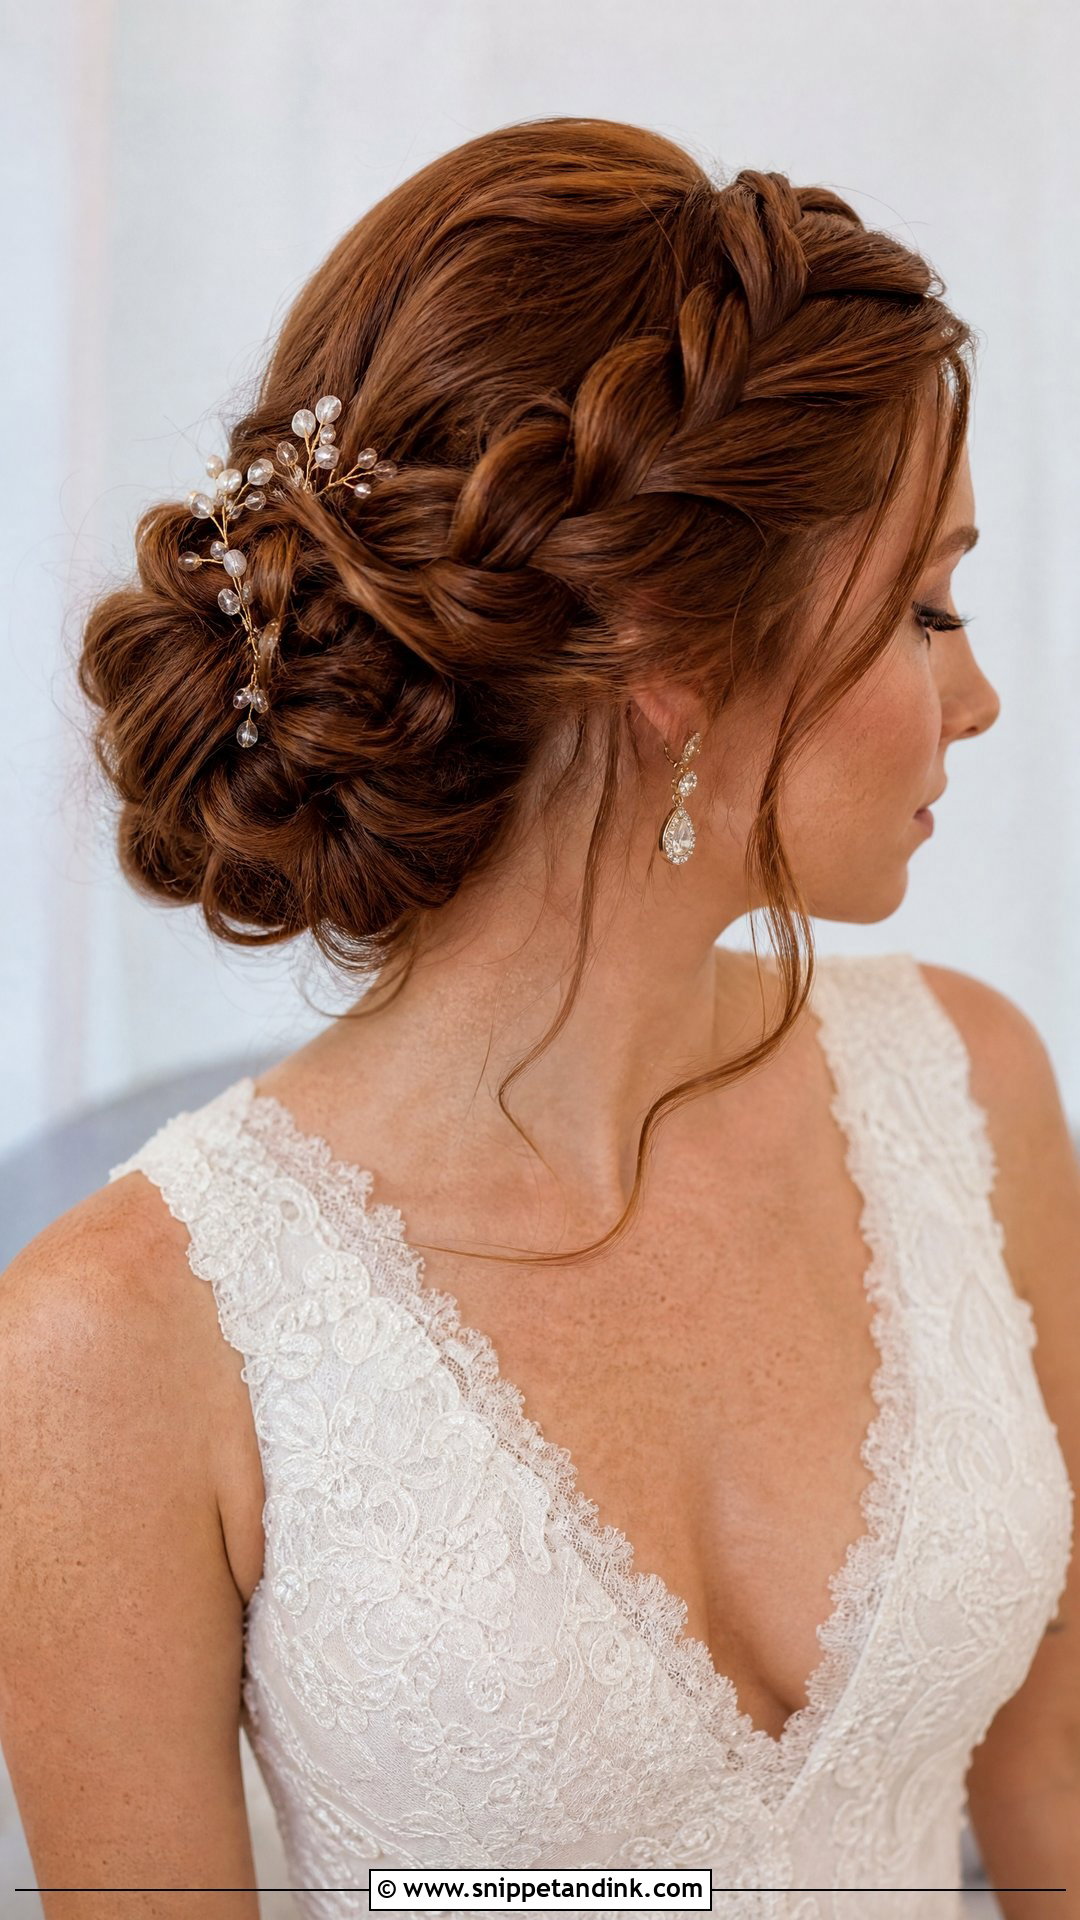
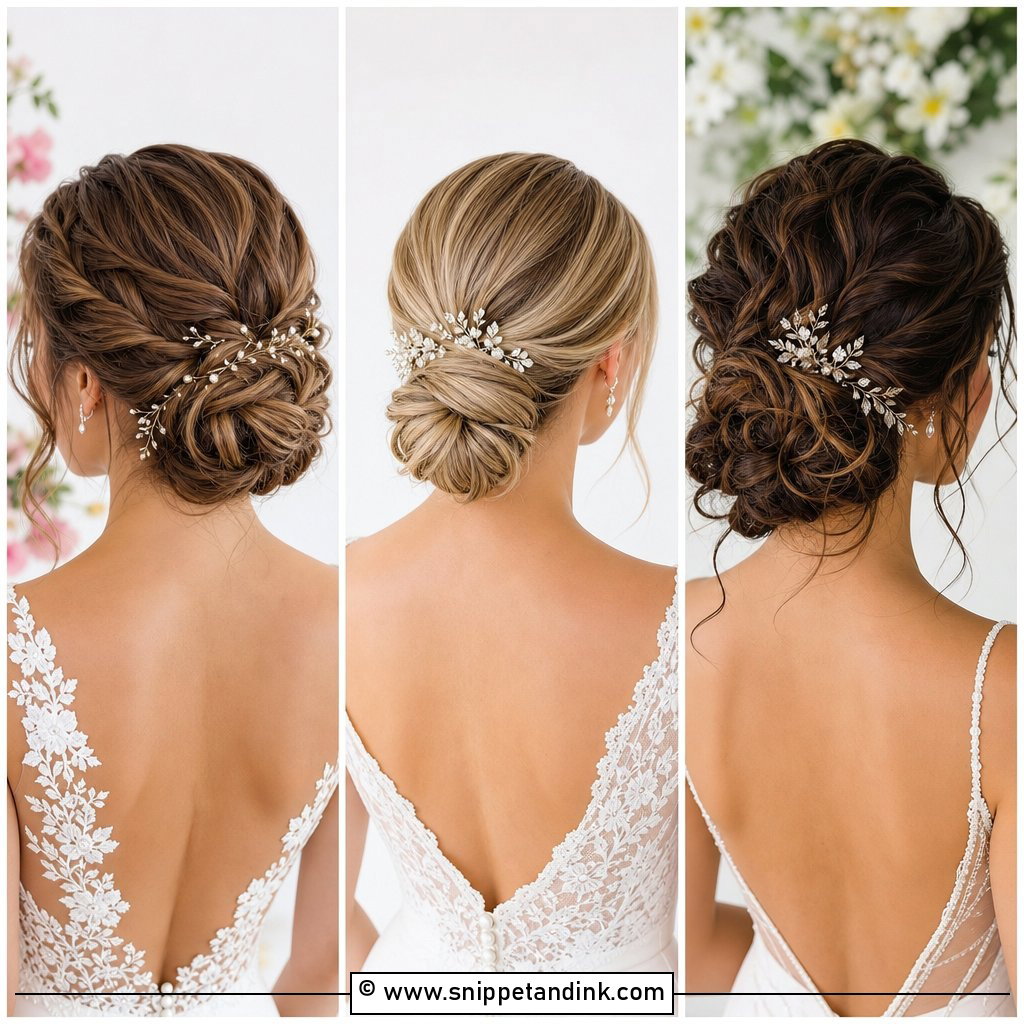
A braided low bun gives thick hair somewhere to go. Braiding part of the length before it’s pinned compresses it, so the bun stays a sensible size and the back still has pattern. The braid can wrap the bun, start at the crown or run along one side. I loosen it slightly for fullness, though not so much that the braid loses its line in photos. Lace and outdoor venues suit it, and it holds remarkably well through dancing.
6. Twisted Low Bridal Bun
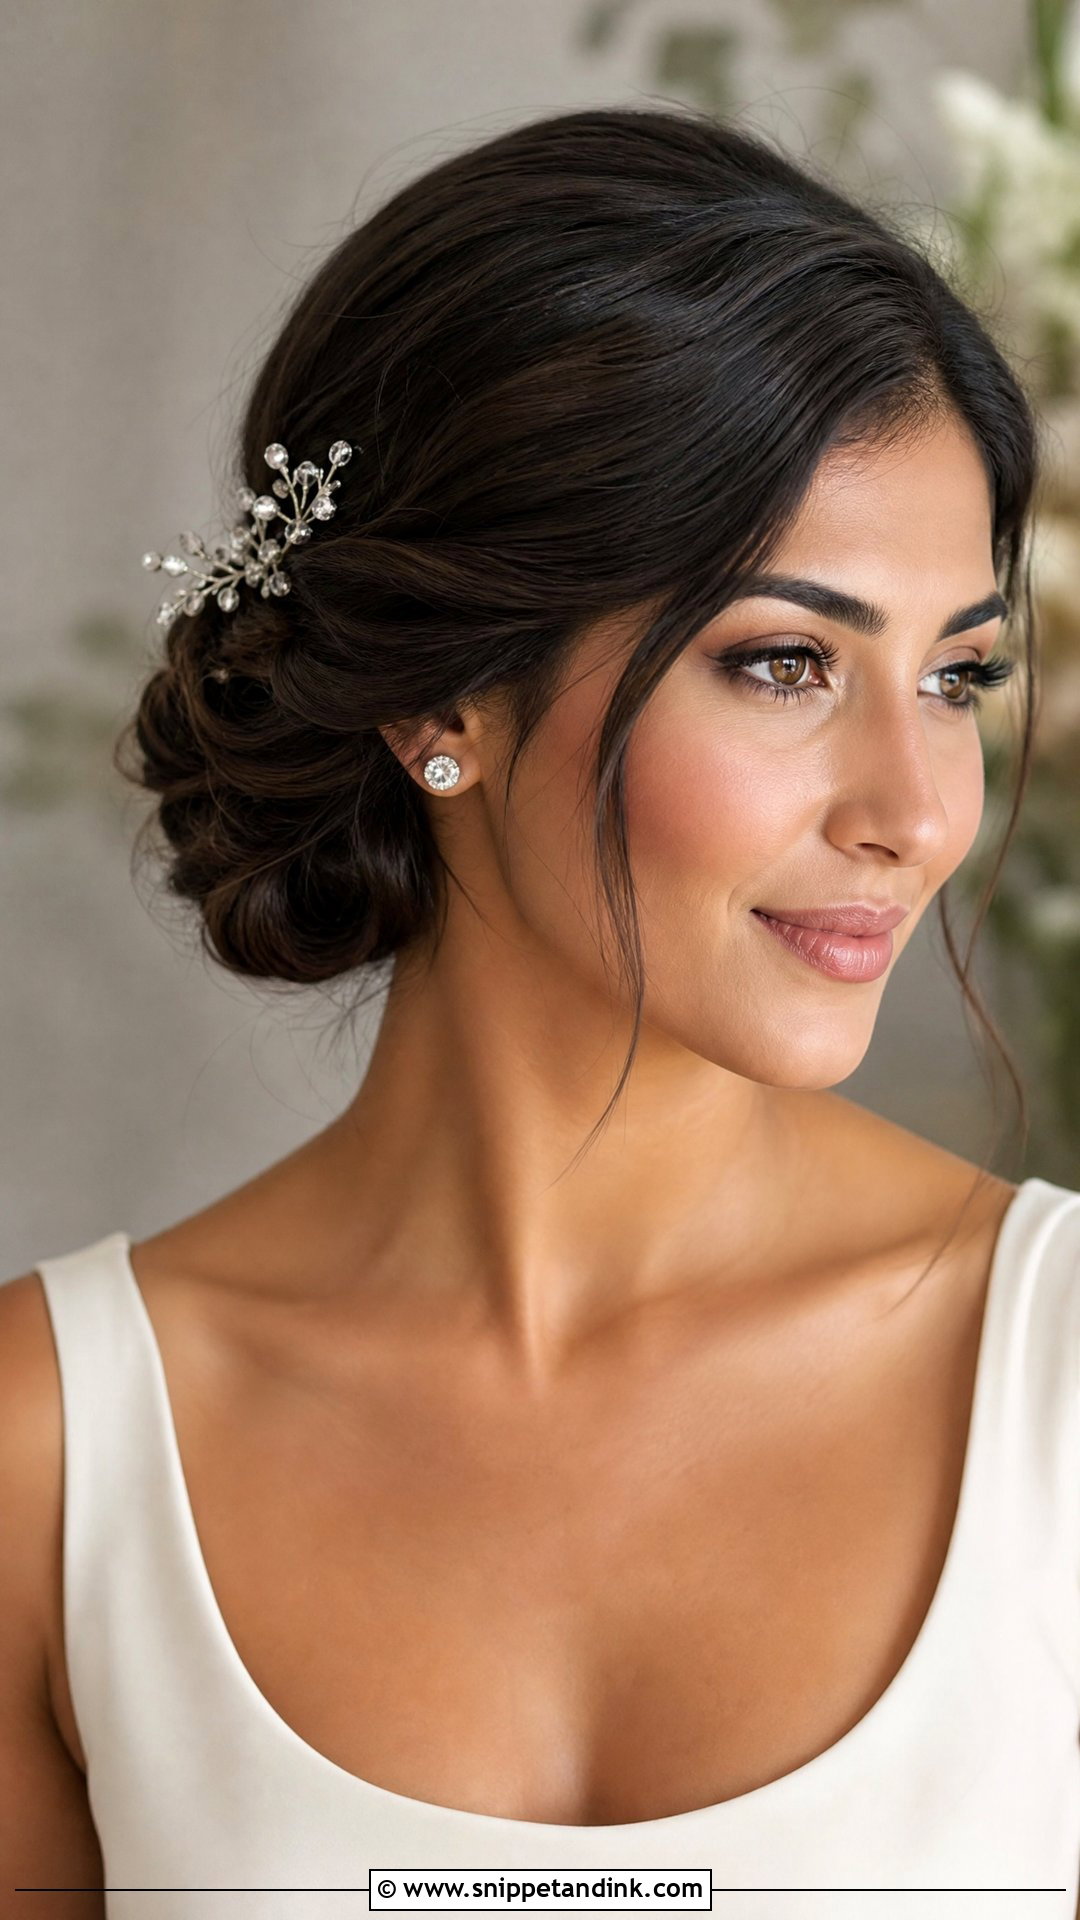
Rolling the hair in sections instead of braiding it gives the twisted bun softer movement and a cleaner finish than a messy one. I’d suggest it to brides with fine hair, because each twist lifts away from the scalp and makes the whole back look fuller than the hair really is. The pins go in against the direction of the twist so it locks. A veil, pearl comb or a few crystal pins finish it without crowding the twists.
7. Chignon Bridal Bun
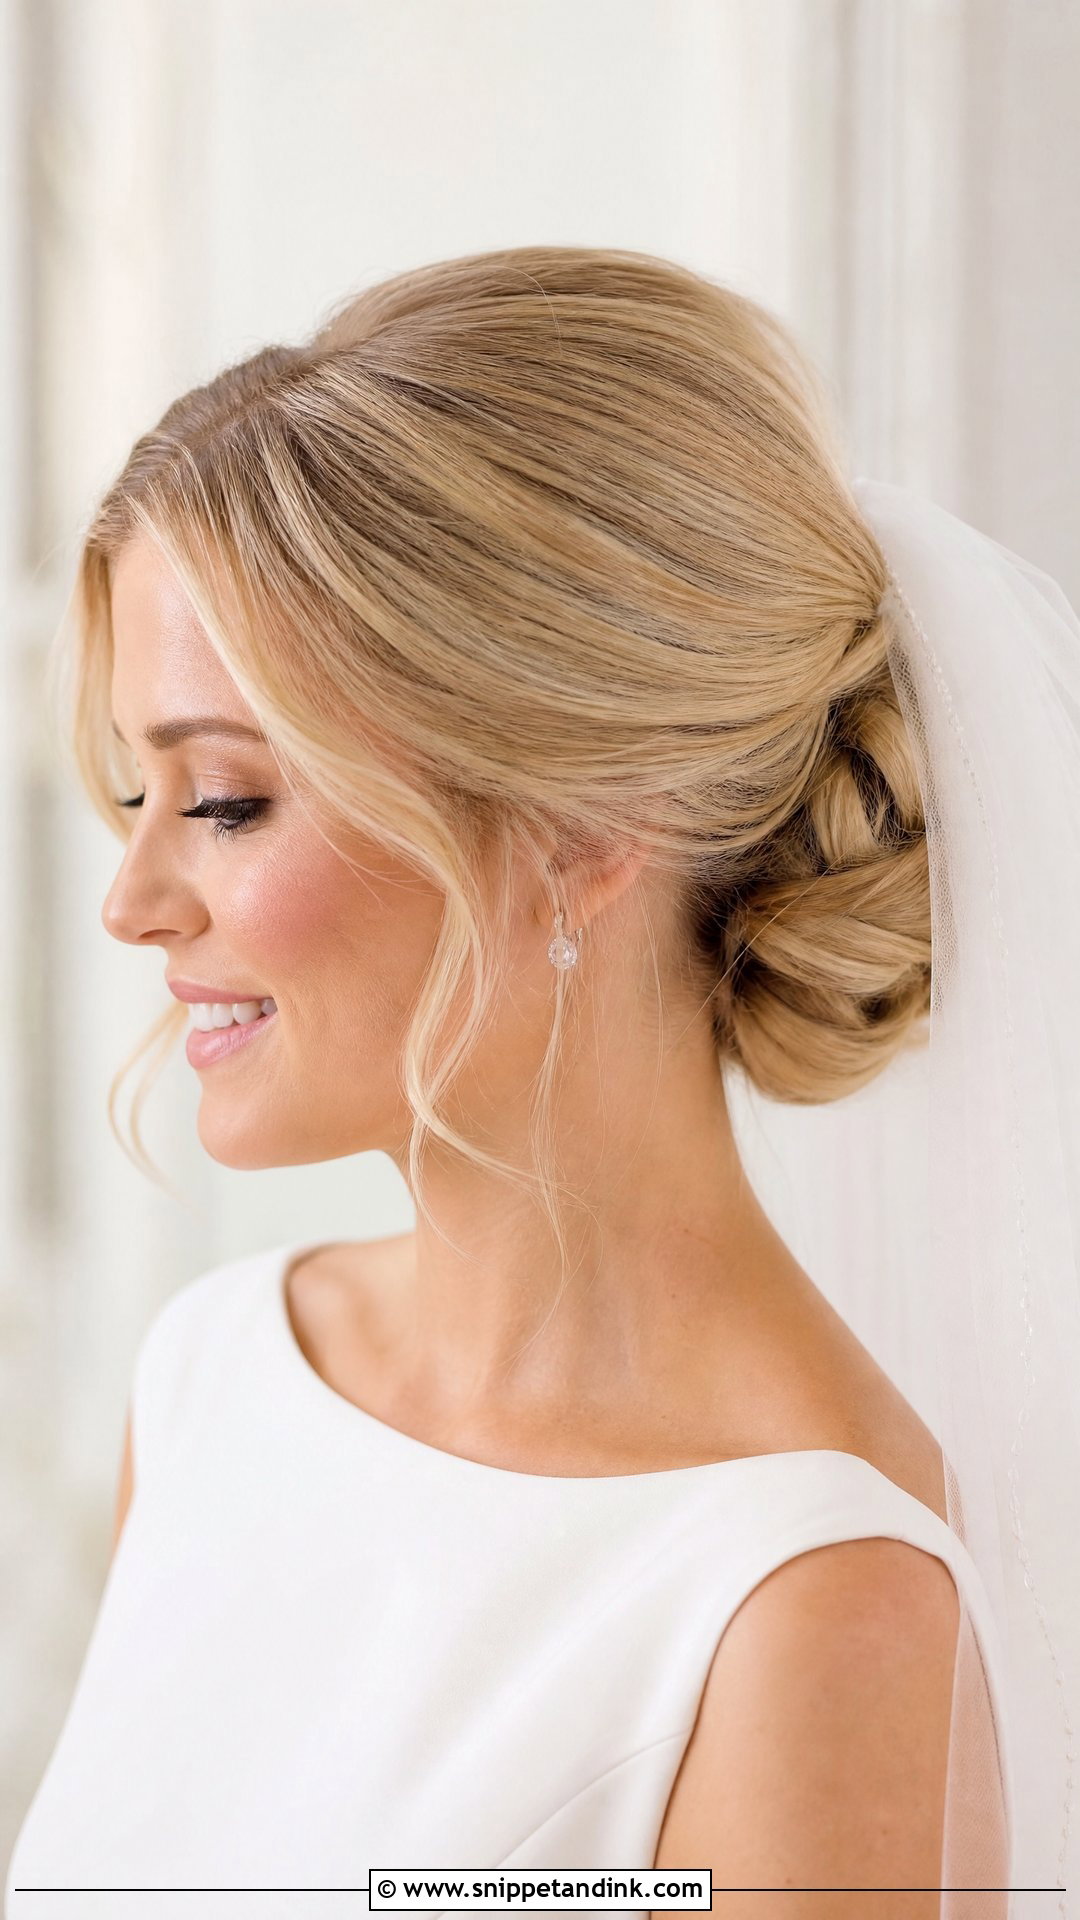
The chignon sits low and folded, and it has lasted as a bridal shape because it flatters the side profile, which is the angle most vow photos are taken from. It can be smooth and tucked, softly rolled or slightly textured. Combs and pins grip the folds well, so it’s one of the steadiest bases for a veil. If you’re torn and want something formal that won’t look dated in your photos later, this is the one I’d point to.
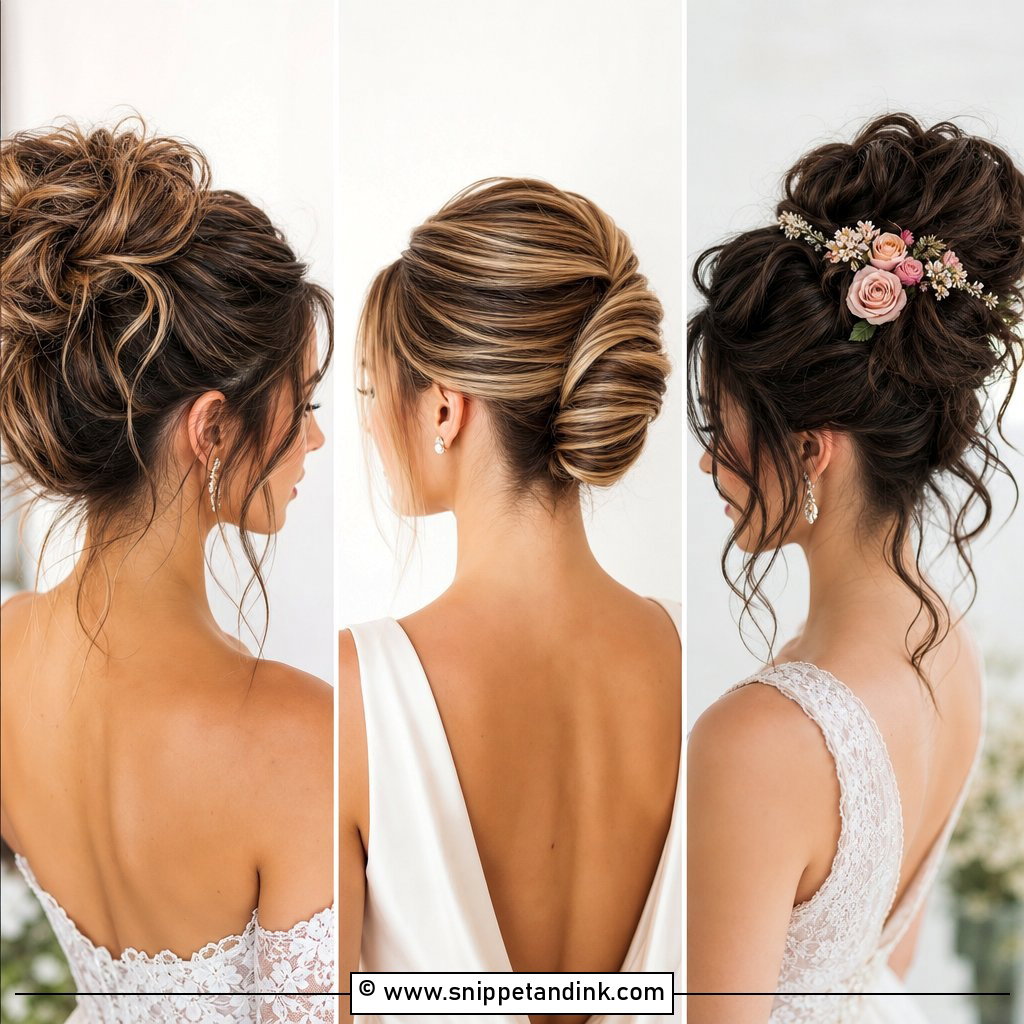
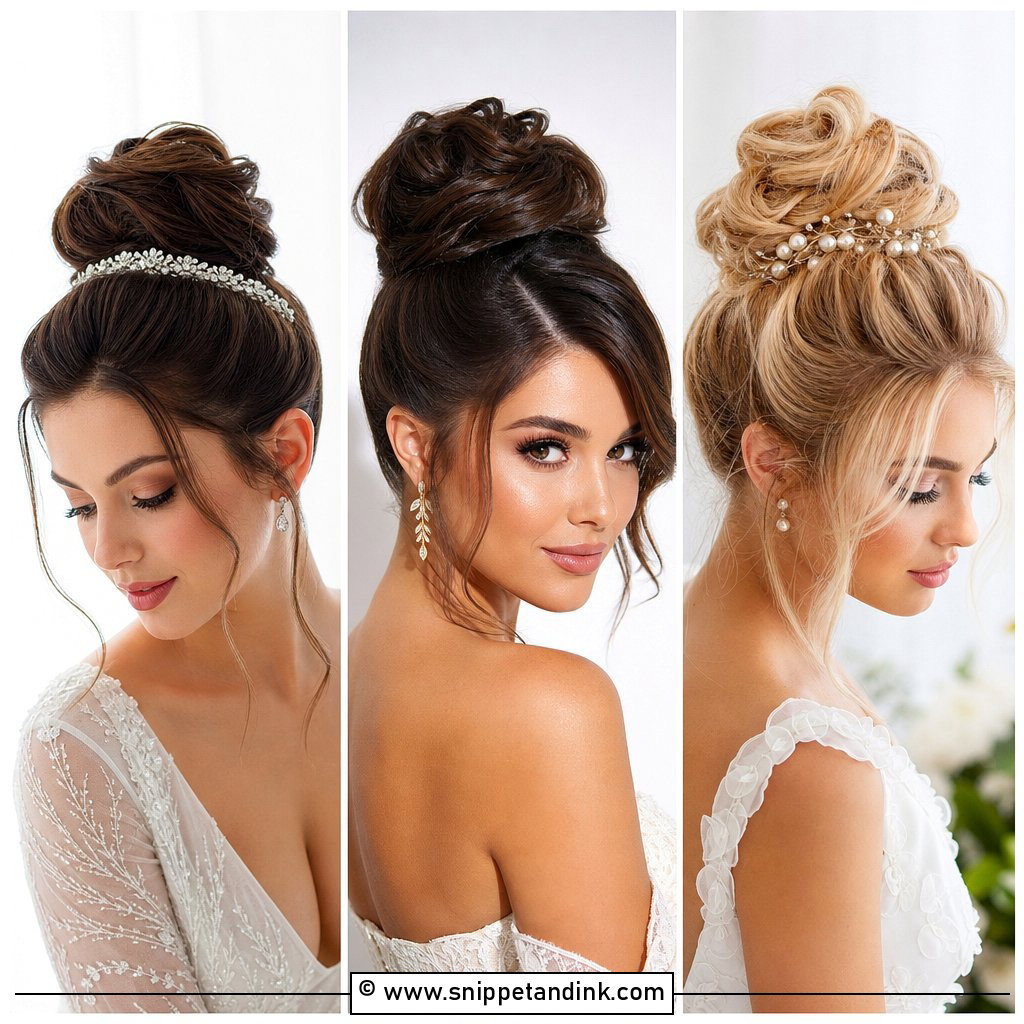
8. High Bridal Bun
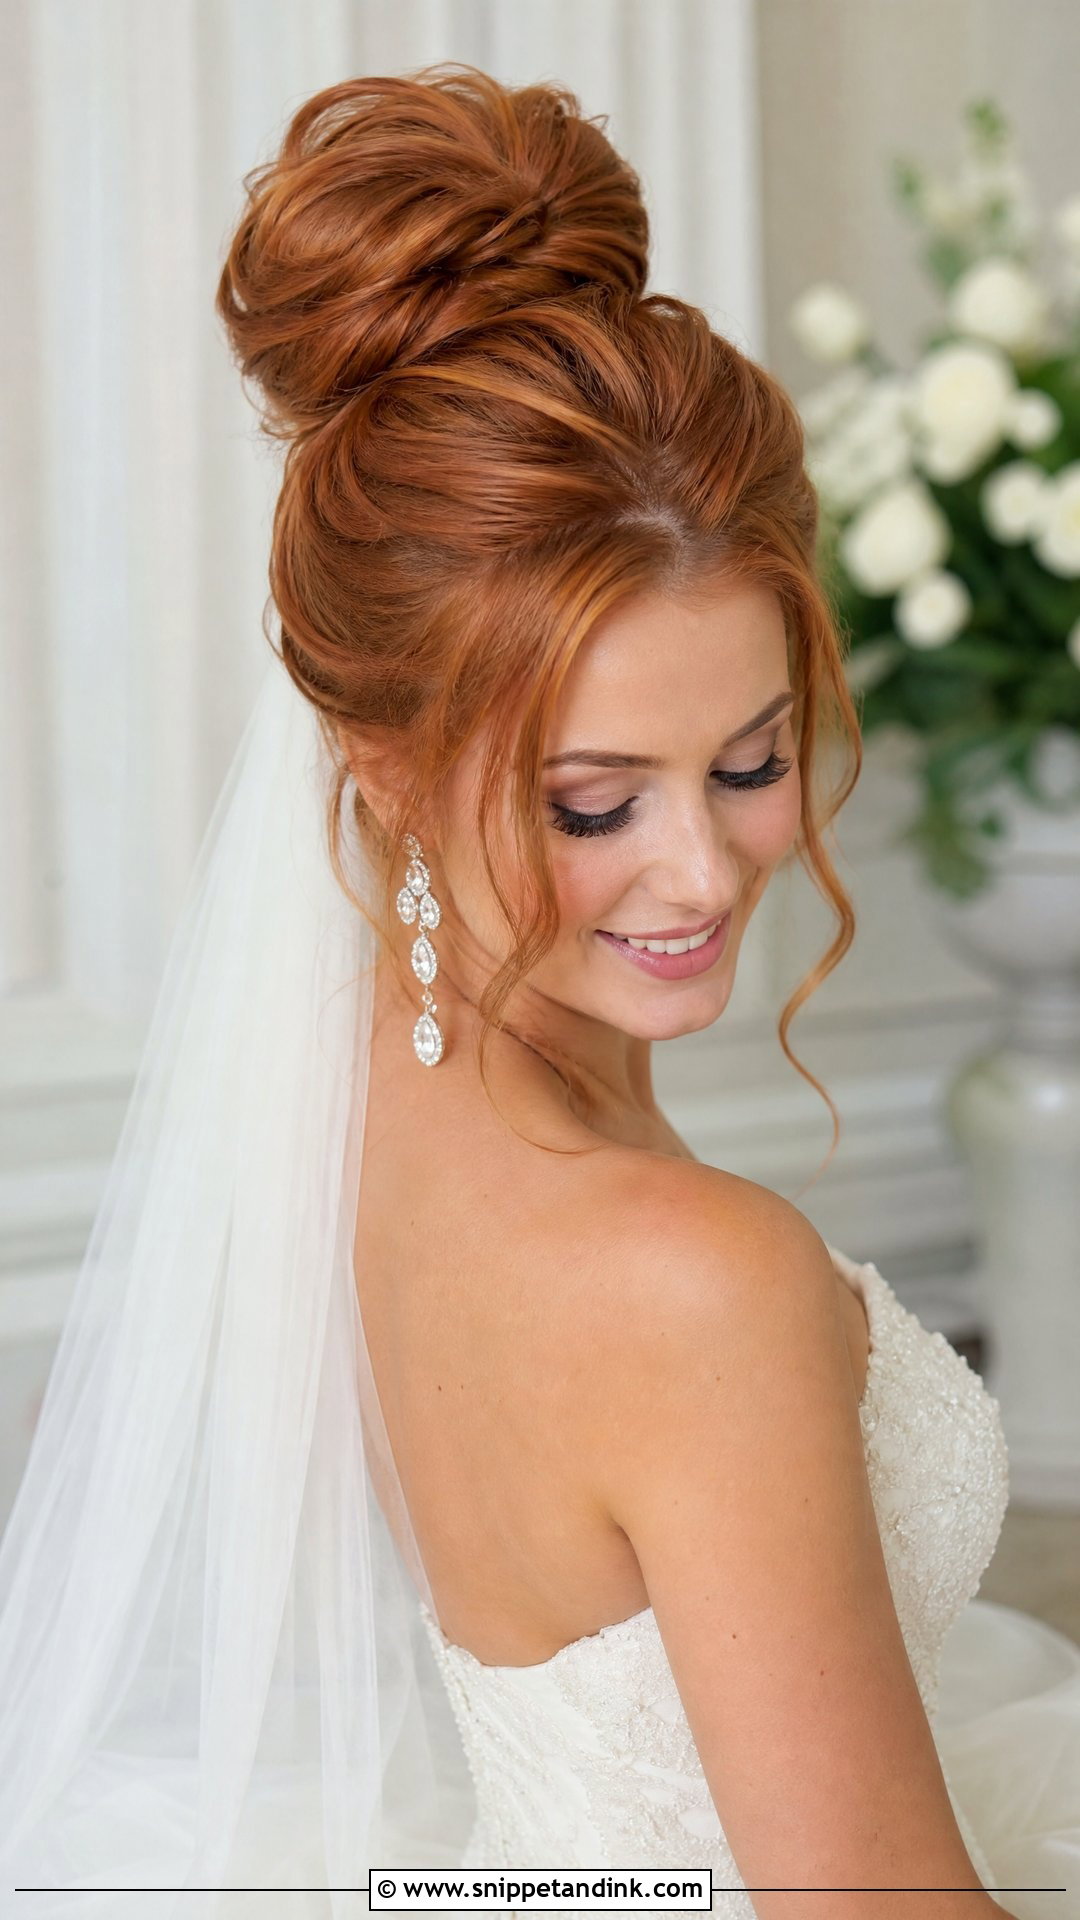
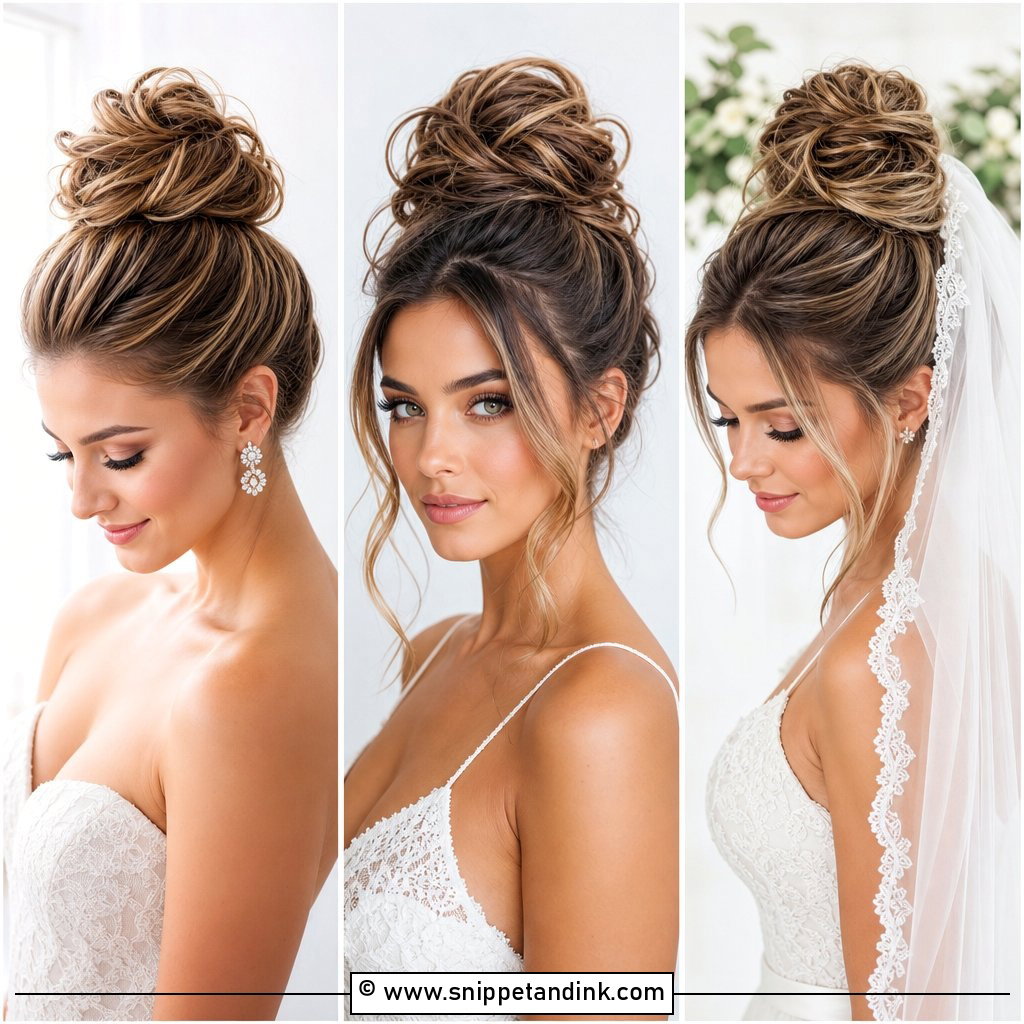
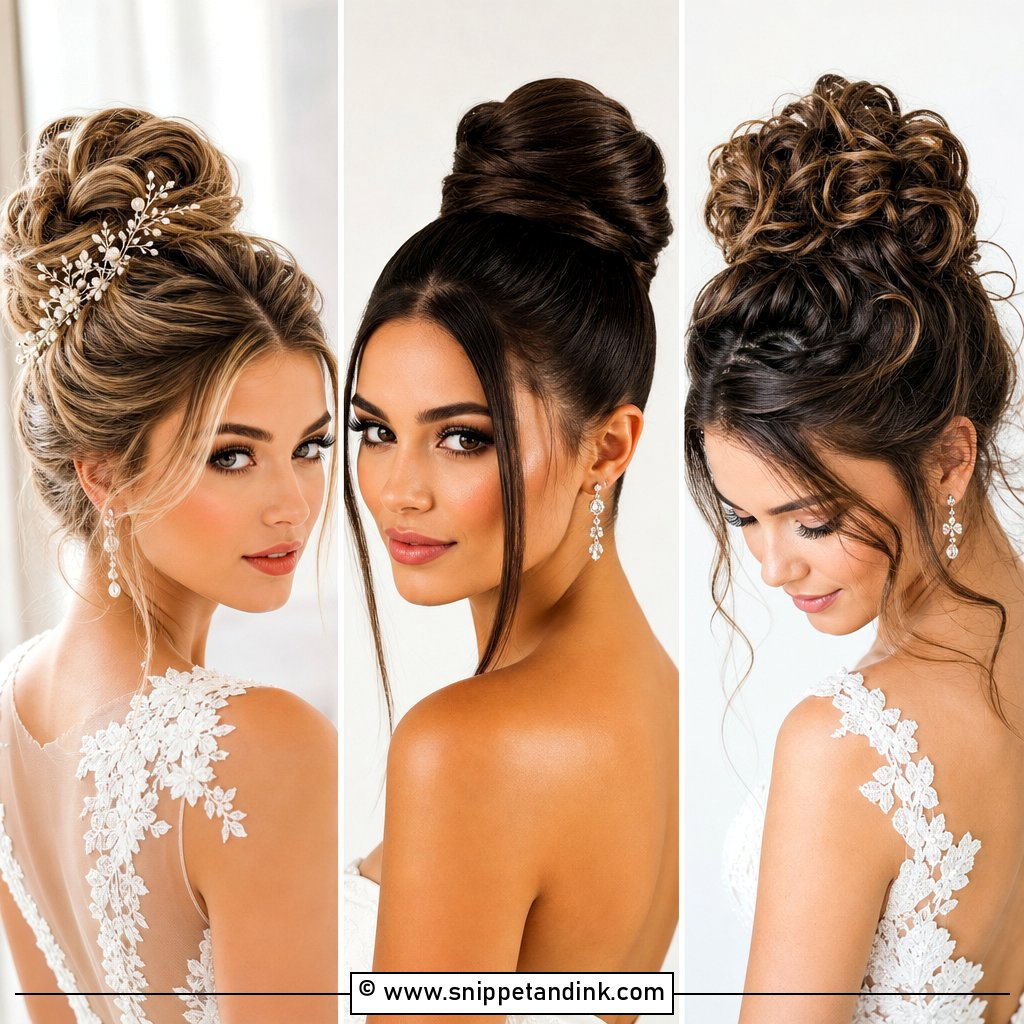
A high bun draws the eye upward, which can flatter petite brides and shows off shoulders, collarbones and earrings. It can be smooth, textured or softly curled. Placement is the hard part: too far back and it looks low by accident, too far forward and it looks like a gym bun. I check it from the side in a mirror before pinning fully. Ball gowns and statement accessories carry it well, but it does need a lighter veil tucked underneath.
9. Ballet Bridal Bun
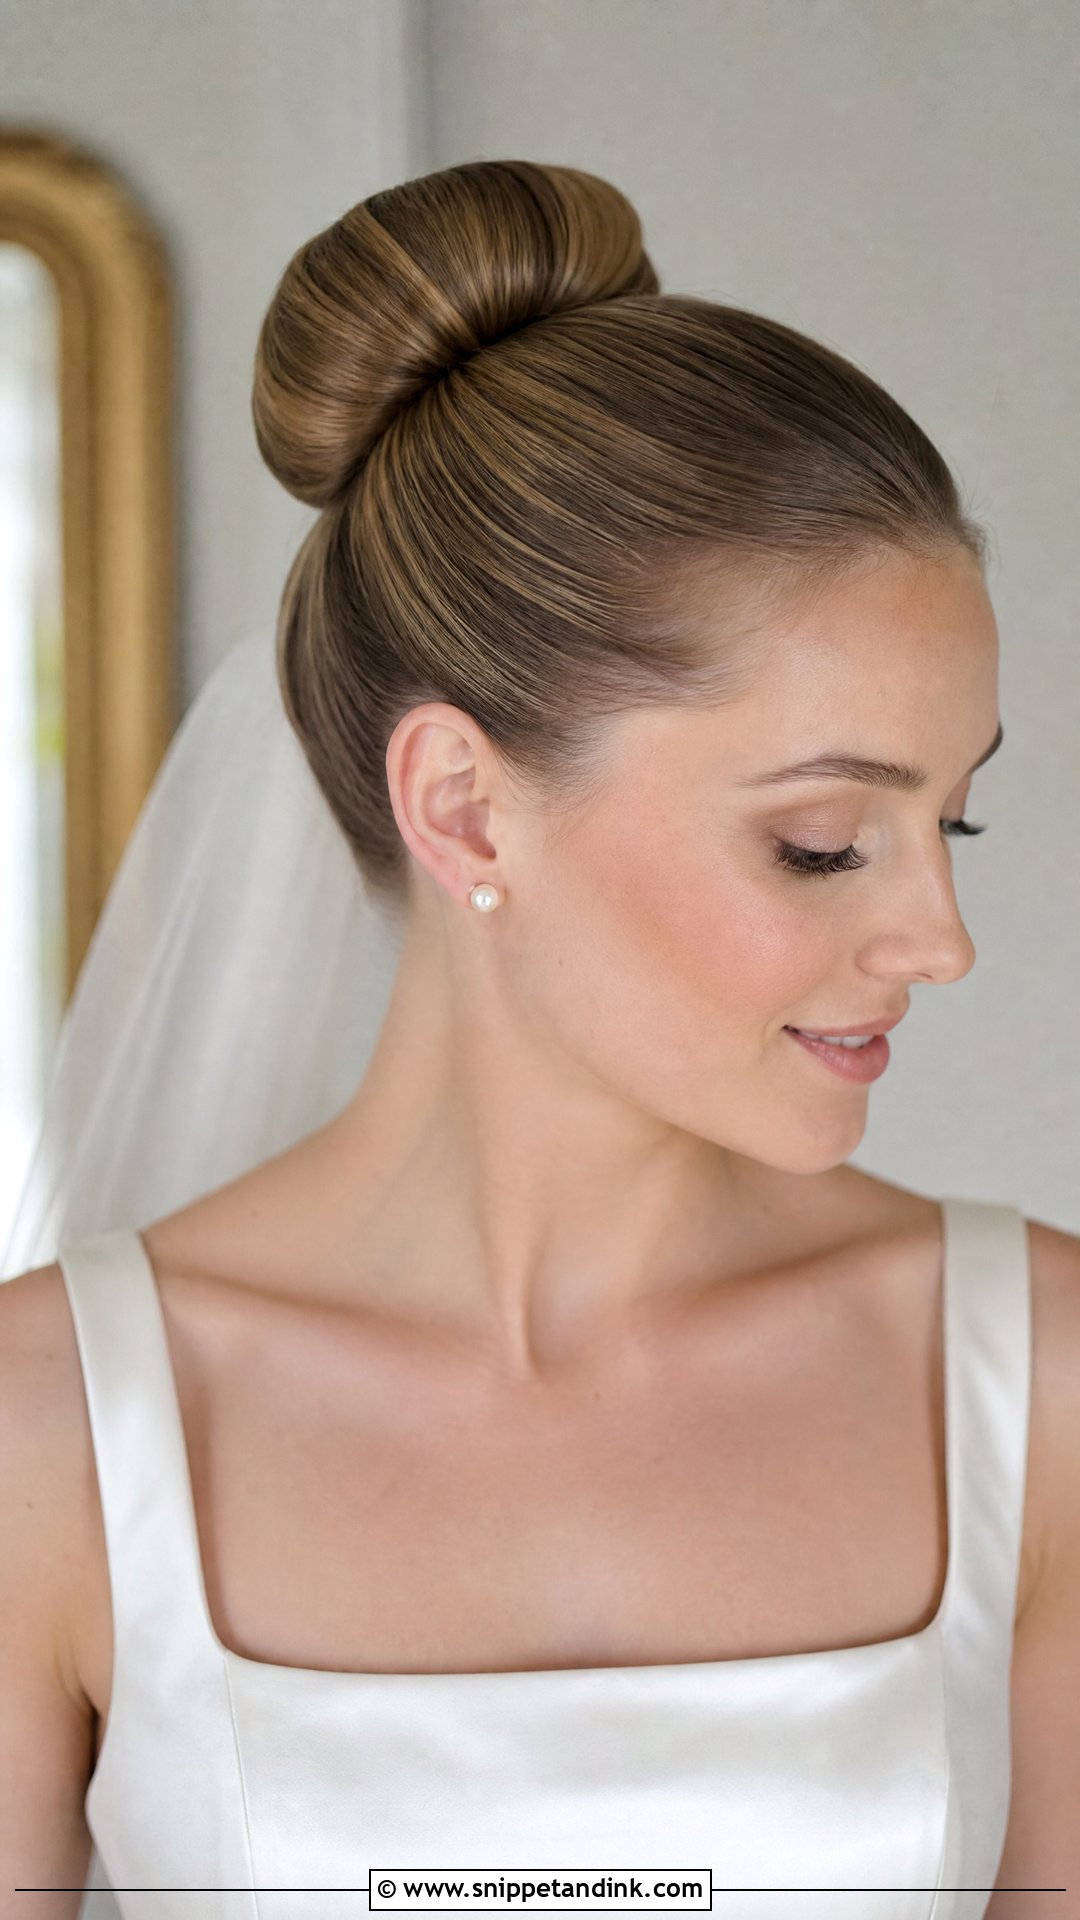
The ballet bun is unforgiving. Every flyaway, uneven part or bump at the hairline shows, so I spend more time on smoothing the hairline than on the bun itself. A strong pin pattern under a smoothing cream keeps it rounded. Simple gowns, square necklines and off-shoulder dresses suit it, and you can wear it at the crown, mid-back or at the nape. On curly hair that’s air-dried, I usually blow it smooth first; otherwise the texture fights the clean surface.
10. Side Bridal Bun
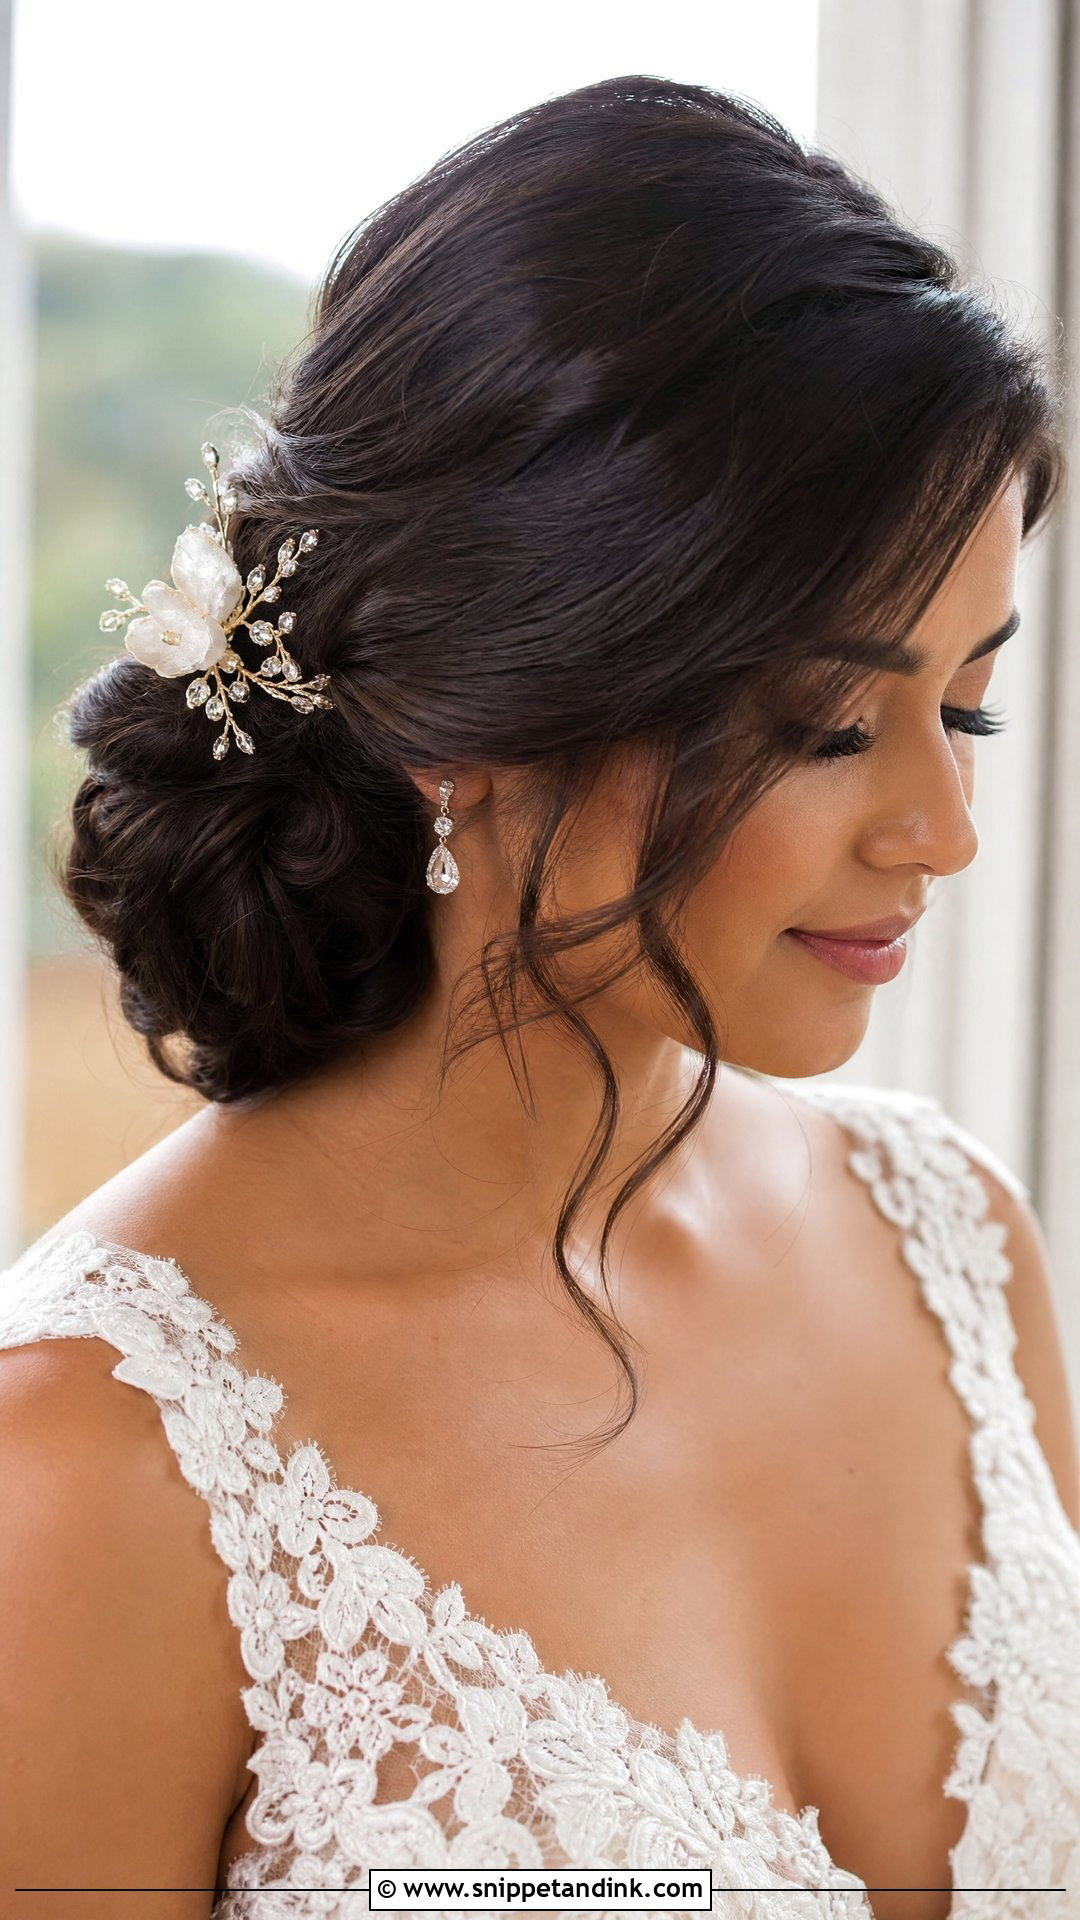
Sitting low near one side of the nape, a side bridal bun shows from the front, which is nice if you’d like your hair visible in face-on photos without wearing it down. Side parts, side-swept bangs and asymmetrical necklines suit it. The weight sits on one side, so I anchor it with extra crossed pins toward the center of the head; otherwise it can slowly tilt. A comb or a few flowers above the bun finish it.
11. Curly Bridal Bun
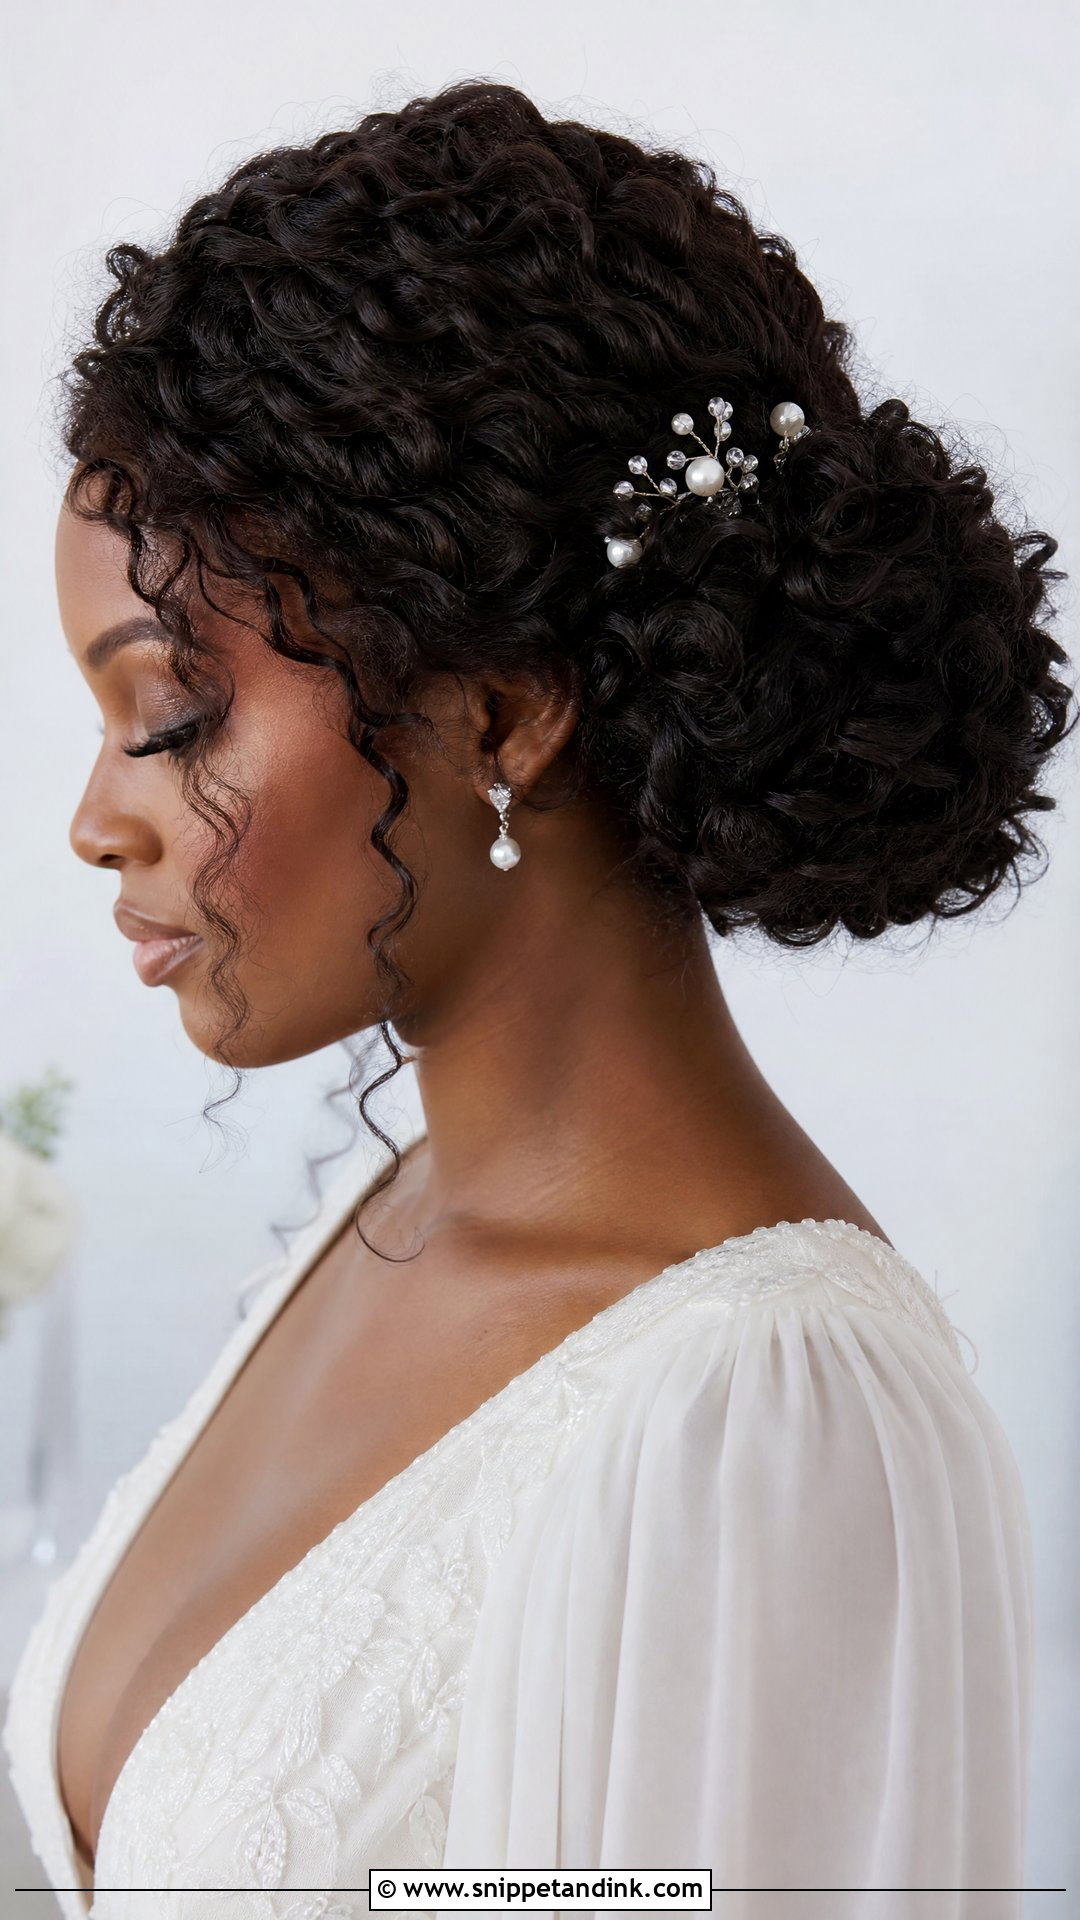
With a curly bun, the curls are the feature, so I don’t smooth every piece flat. The bun can sit low, mid or high, and a few curls around the temples soften it. The most important step is defining the curls before anything gets pinned; once they’re gathered, touching them only creates frizz. I pin into the base of curls rather than through them, which keeps the pattern intact.
12. Boho Bridal Bun
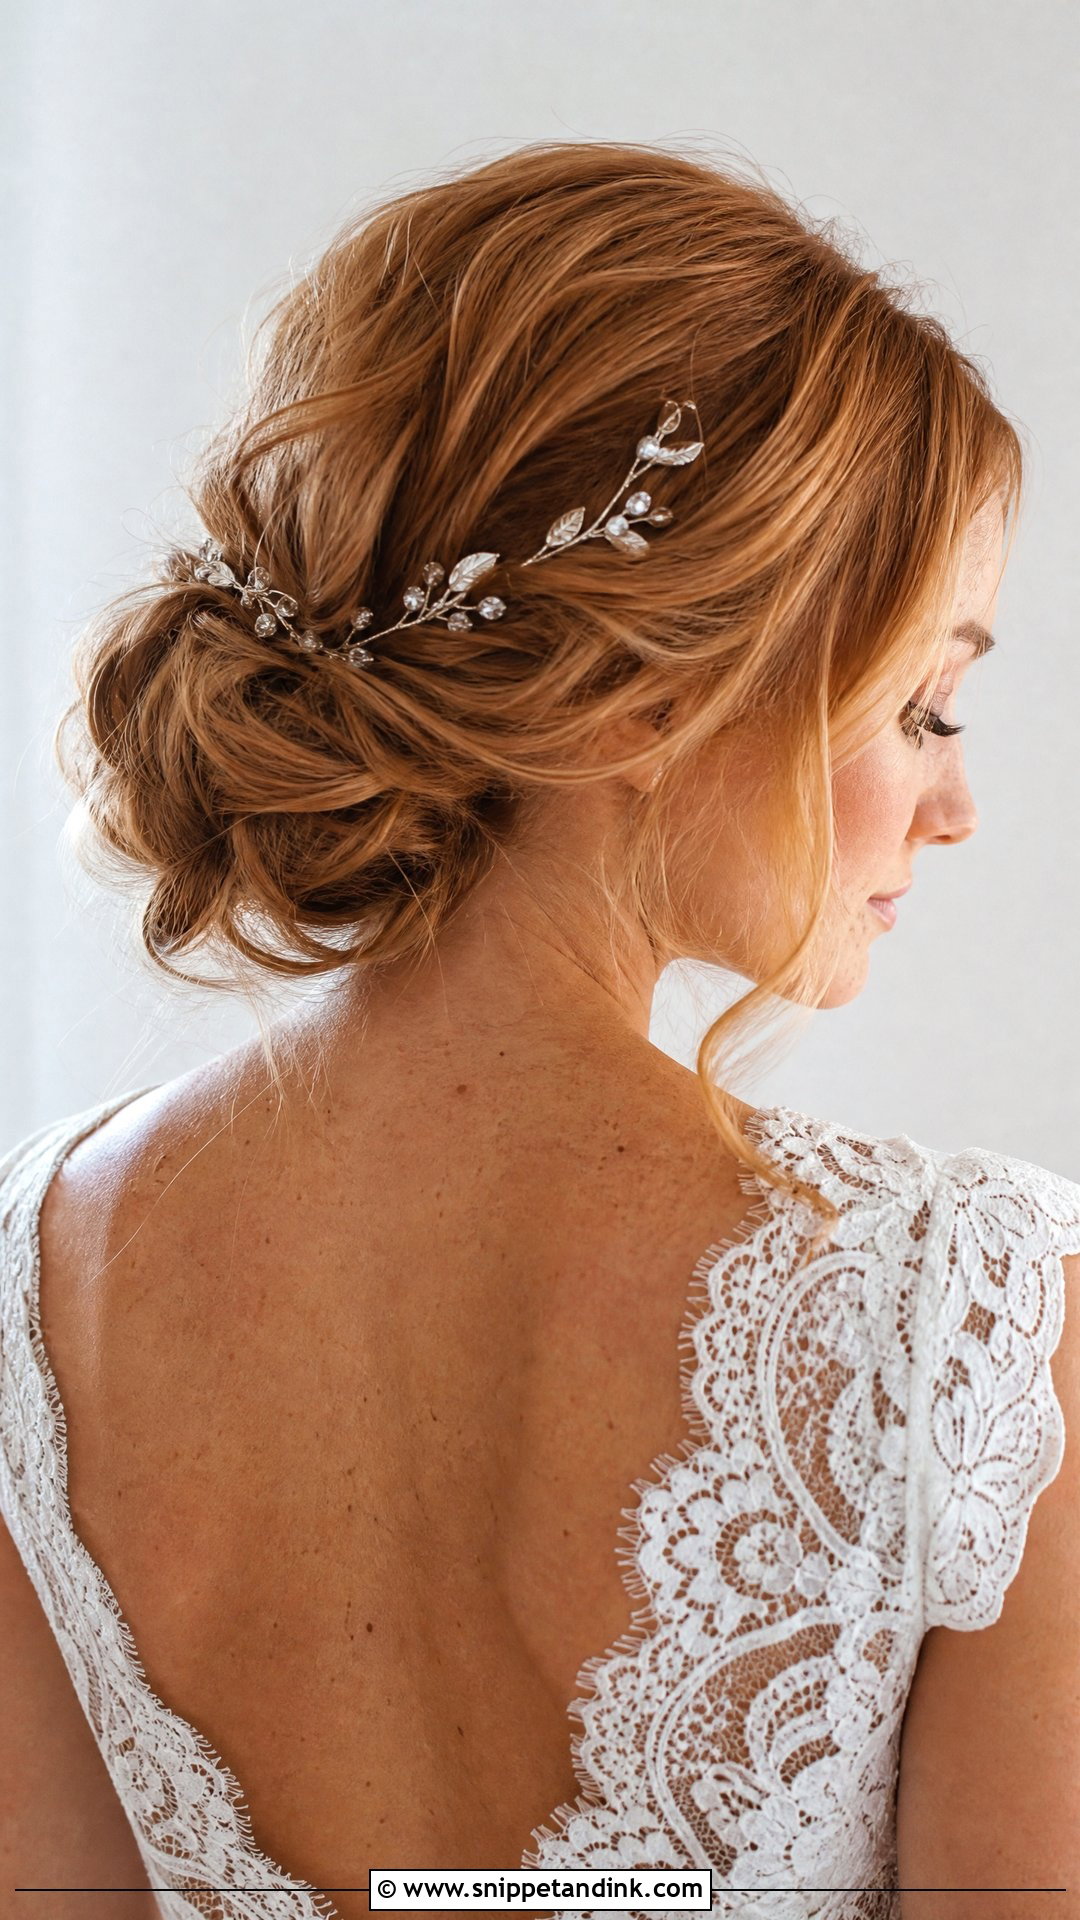
A boho bun is loose waves, soft twists and an undone shape that still has to look cared for. It fits outdoor ceremonies, meadow weddings and beaches, and goes well with lace or chiffon. Small flowers, leafy pins or a hair vine tie it to the setting. I keep volume at the crown so the loose front doesn’t make the head look flat. Be aware that wind at an open-air venue will pull more pieces loose than you planned, so start with fewer.
13. Floral Bridal Bun
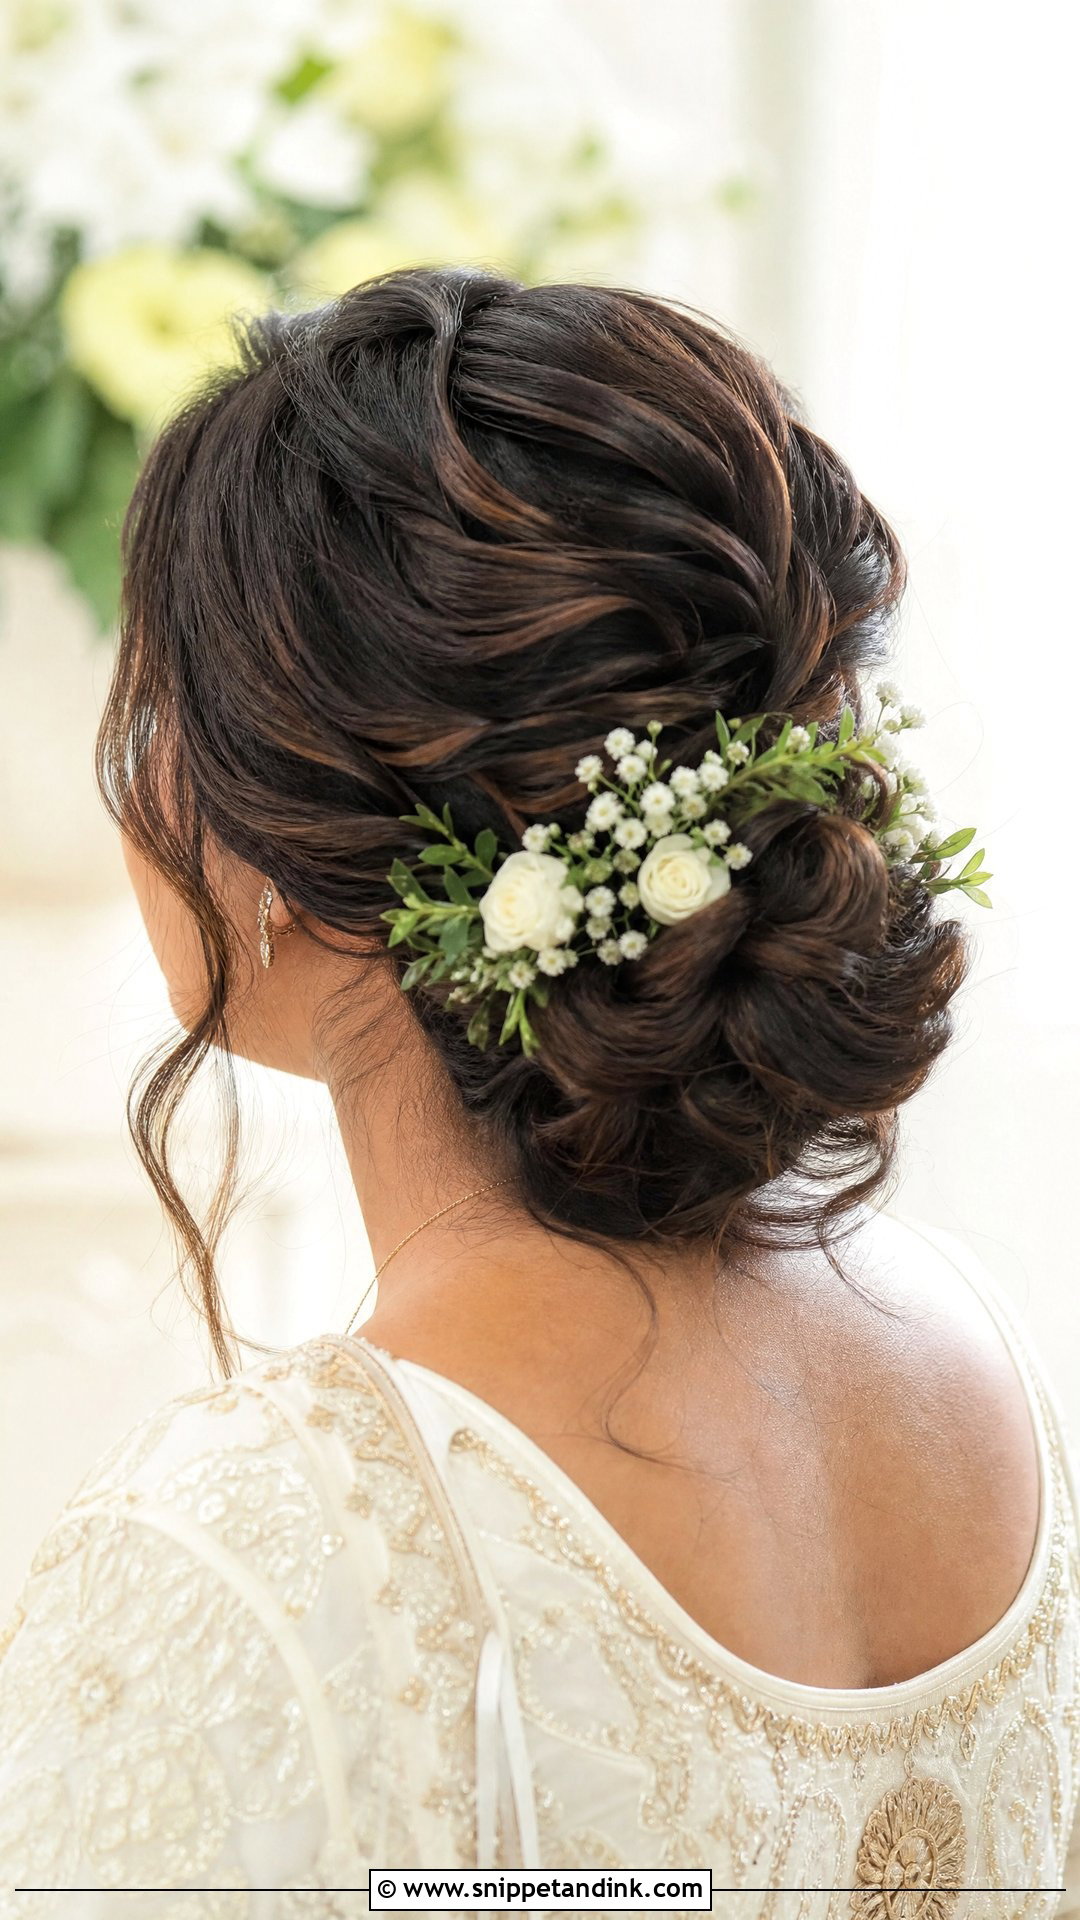
Flowers in a bun need restraint. I tuck them to one side, scatter a few, or group them near where the veil sits, and smaller blooms nearly always look more refined than one oversized flower in close-ups. Fresh stems wilt and shed pollen, so I prefer hardy varieties or good faux pieces for hair. Match the color to your bouquet and the dress tone. A low textured bun is the easiest base, though a side or braided bun takes flowers well too.
14. Pearl Bridal Bun
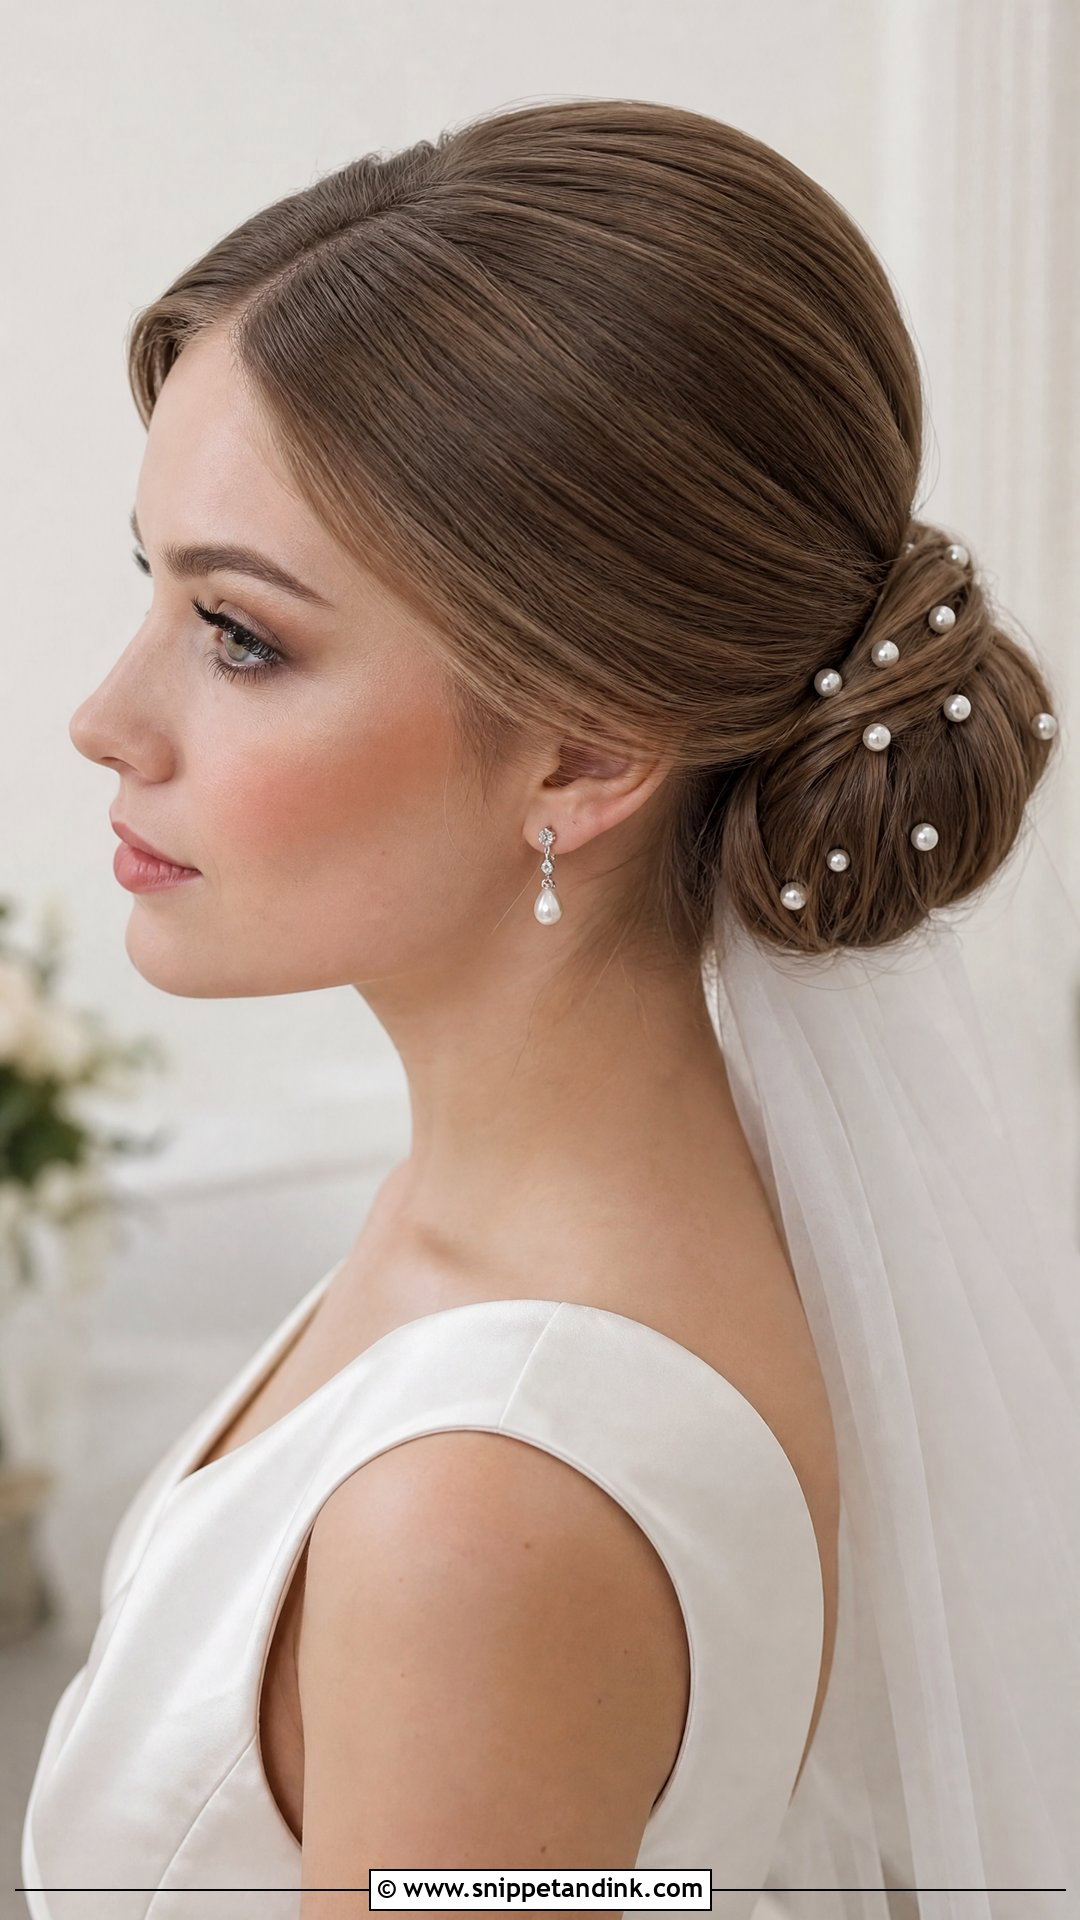
Pearls give detail without glitter. They can go in as pins, a comb, a headband or tiny scattered accents. Sleek buns, chignons and twisted buns all suit them, as do satin gowns and classic veils. Balance matters more than quantity: I place them in odd numbers and slightly off-center, which looks deliberate rather than sprinkled. A few well-placed pearls do more than a full set. Spray before placing them, not after, so they keep their luster.
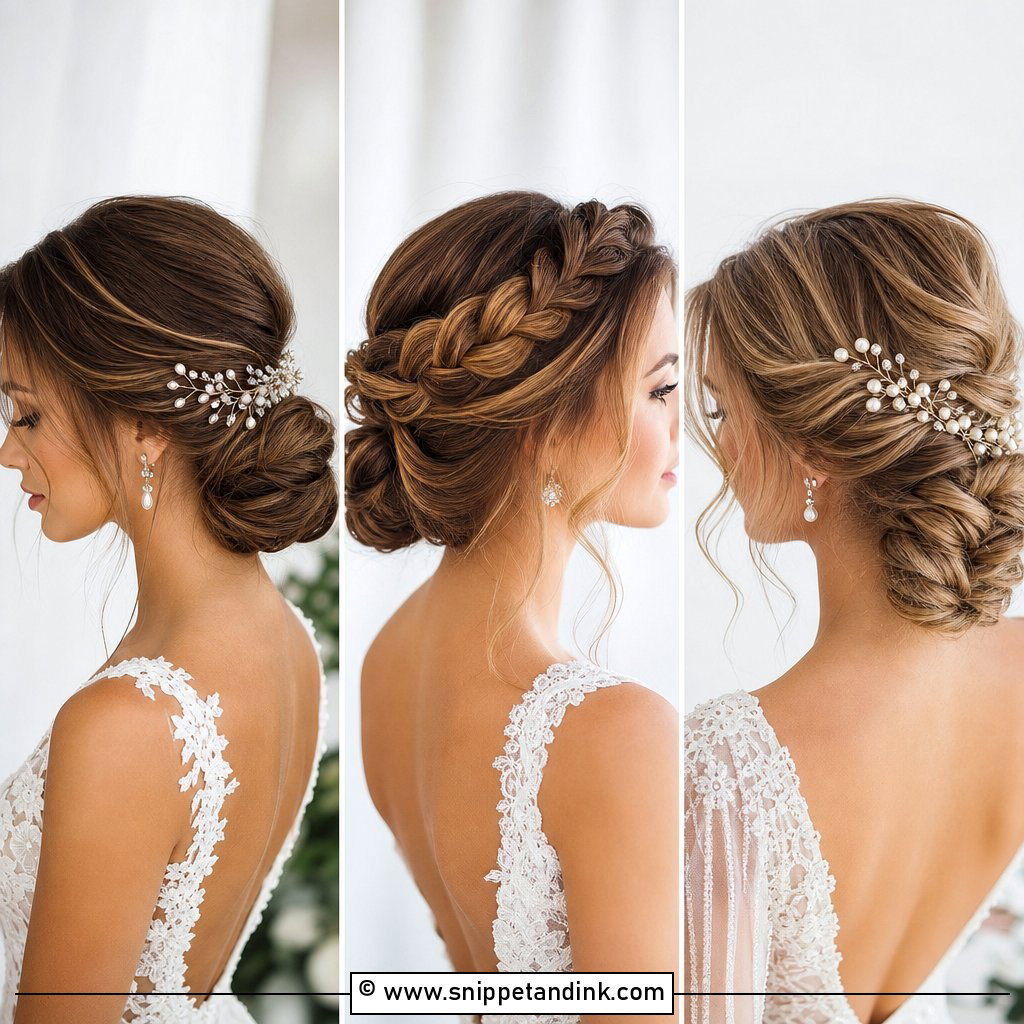
15. Veil Bridal Bun
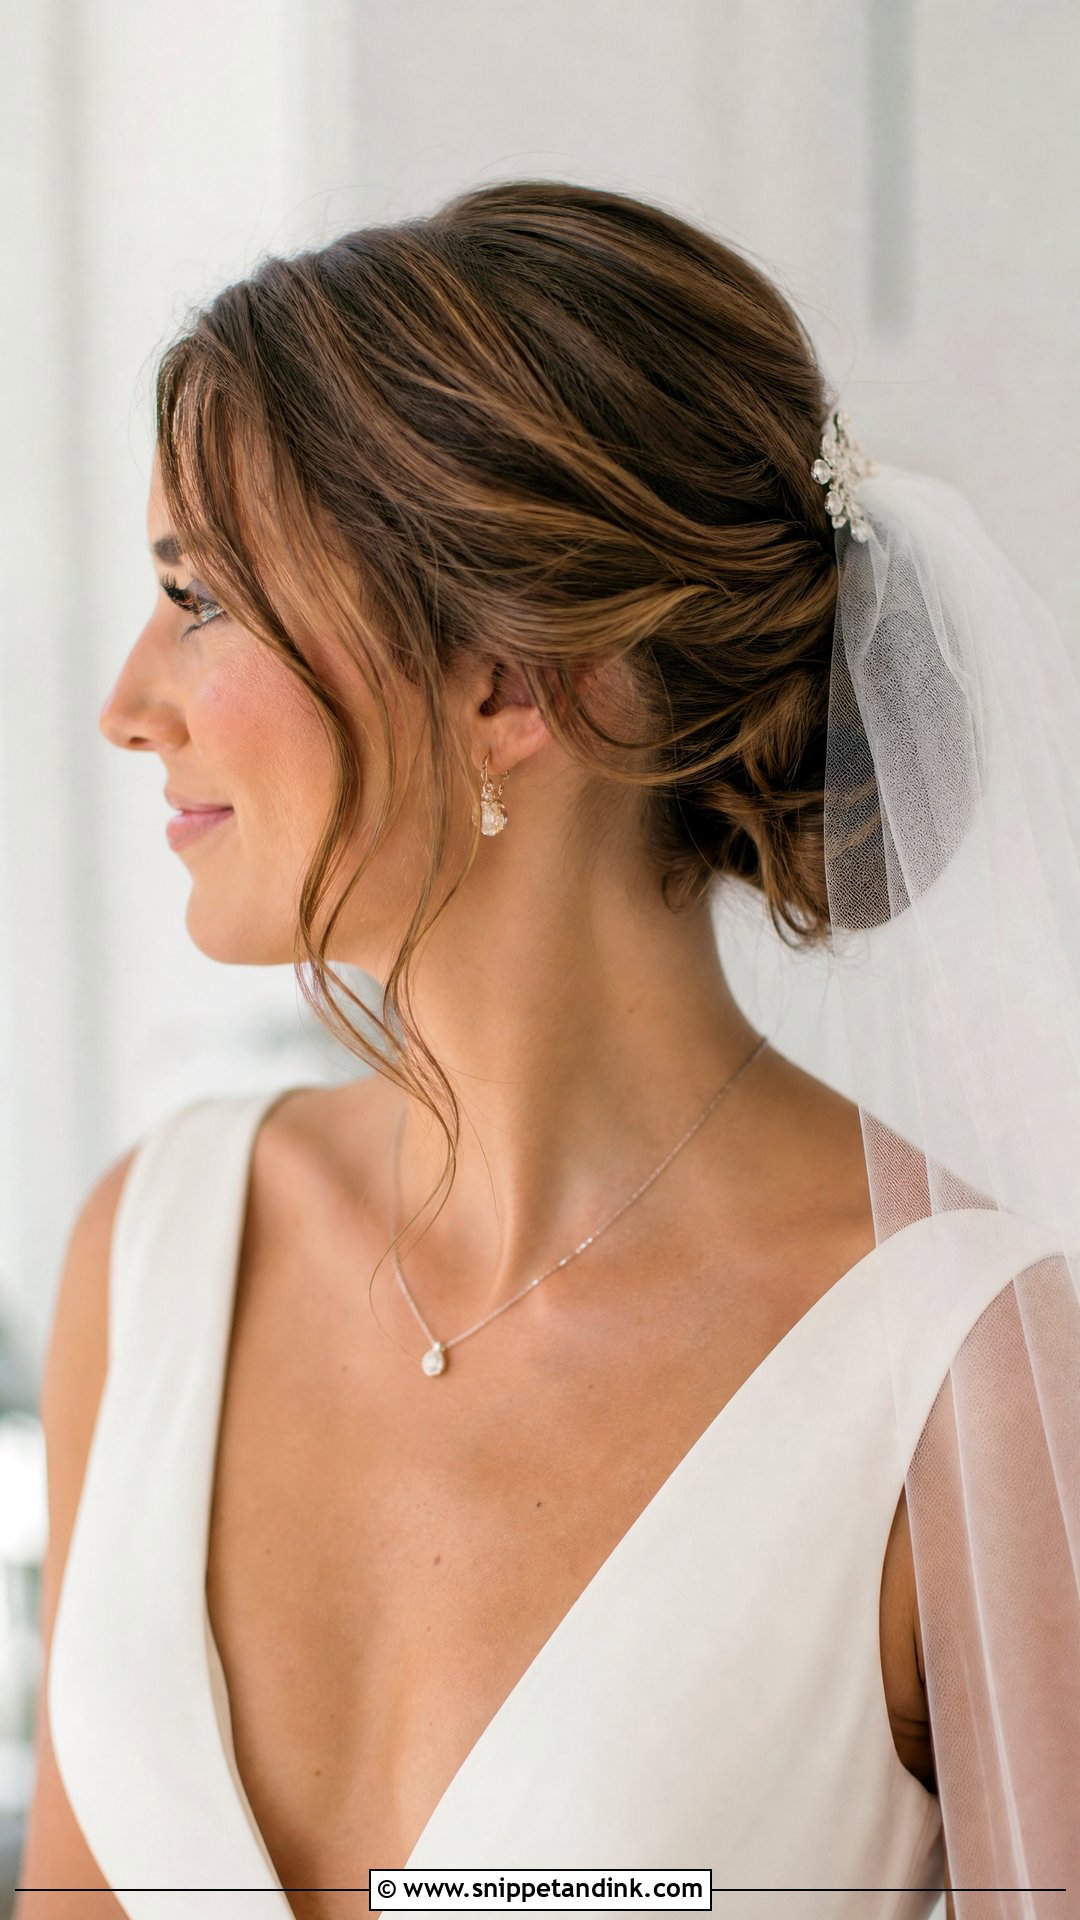
With a veil, the bun is really a mounting point. Low buns are easiest because the comb can sit above, below or tucked into the shape. A higher bun can work with a light veil placed underneath. Bring the actual veil to your trial, since weight and comb width change where it can grip. And think about the evening: when the veil comes off, the hair underneath still needs to look finished, so I avoid hiding gaps where the comb will be.
Twelve Hours of Pins Without a Headache
A bun that looks perfect at noon can feel like a clamp by the speeches. Tension headaches from updos are common, and in my experience they come from a few small things rather than the style itself.
- Speak up at the trial. A pin that pricks or a section that pulls will feel worse after six hours, never better.
- Wear the trial style for the rest of that day to find out where the weight sits.
- Ask for a soft base elastic, not one wound tightly; much of the pressure starts there.
- Heavy combs and fresh flowers load one spot. Spreading accessories out or using lighter faux stems helps.
- Eat and drink water. Skipped meals make a tight hairstyle feel much worse.
If you want your hair down for the party, plan it with your stylist rather than pulling pins out in the bathroom. A bun built over a low ponytail can be released into waves in a few minutes, as long as someone knows which pins come out first.
Side photos are worth one more thought. Most vow and kiss shots are taken in profile, so at the trial I take a quick side photo at each bun height before pinning fully. Seeing them side by side settles the question in a minute.
Height First, Then the Finish, Then the Veil
A bun handles more at once than any other bridal style: it keeps hair secure, shows the dress, holds a veil and looks finished from every side a photographer might stand. Which one suits you comes down to neckline, hair texture and length, venue and how much weight you’re comfortable carrying. Settle on a height, then a finish, then test it with the veil in place and wear it for a few hours. If it still feels comfortable by dinner, you’ve got it.
You'll Like These Ideas:


Leave a Reply