
A blowout is the bridal style I get asked for most by people who hate the idea of a stiff updo. Done properly, it gives you lift at the root, shine through the lengths and ends that move when you turn your head. It also suits nearly everyone in the wedding party, from the bride to her mum to the friend who only wants to look rested. The catch is that a blowout is built from heat, tension and cooling time, so the shape you see in the mirror at 10am has to be engineered to still be there at 10pm. Below are fifteen versions I’d happily put on a client, with notes on what each one needs from your hair.
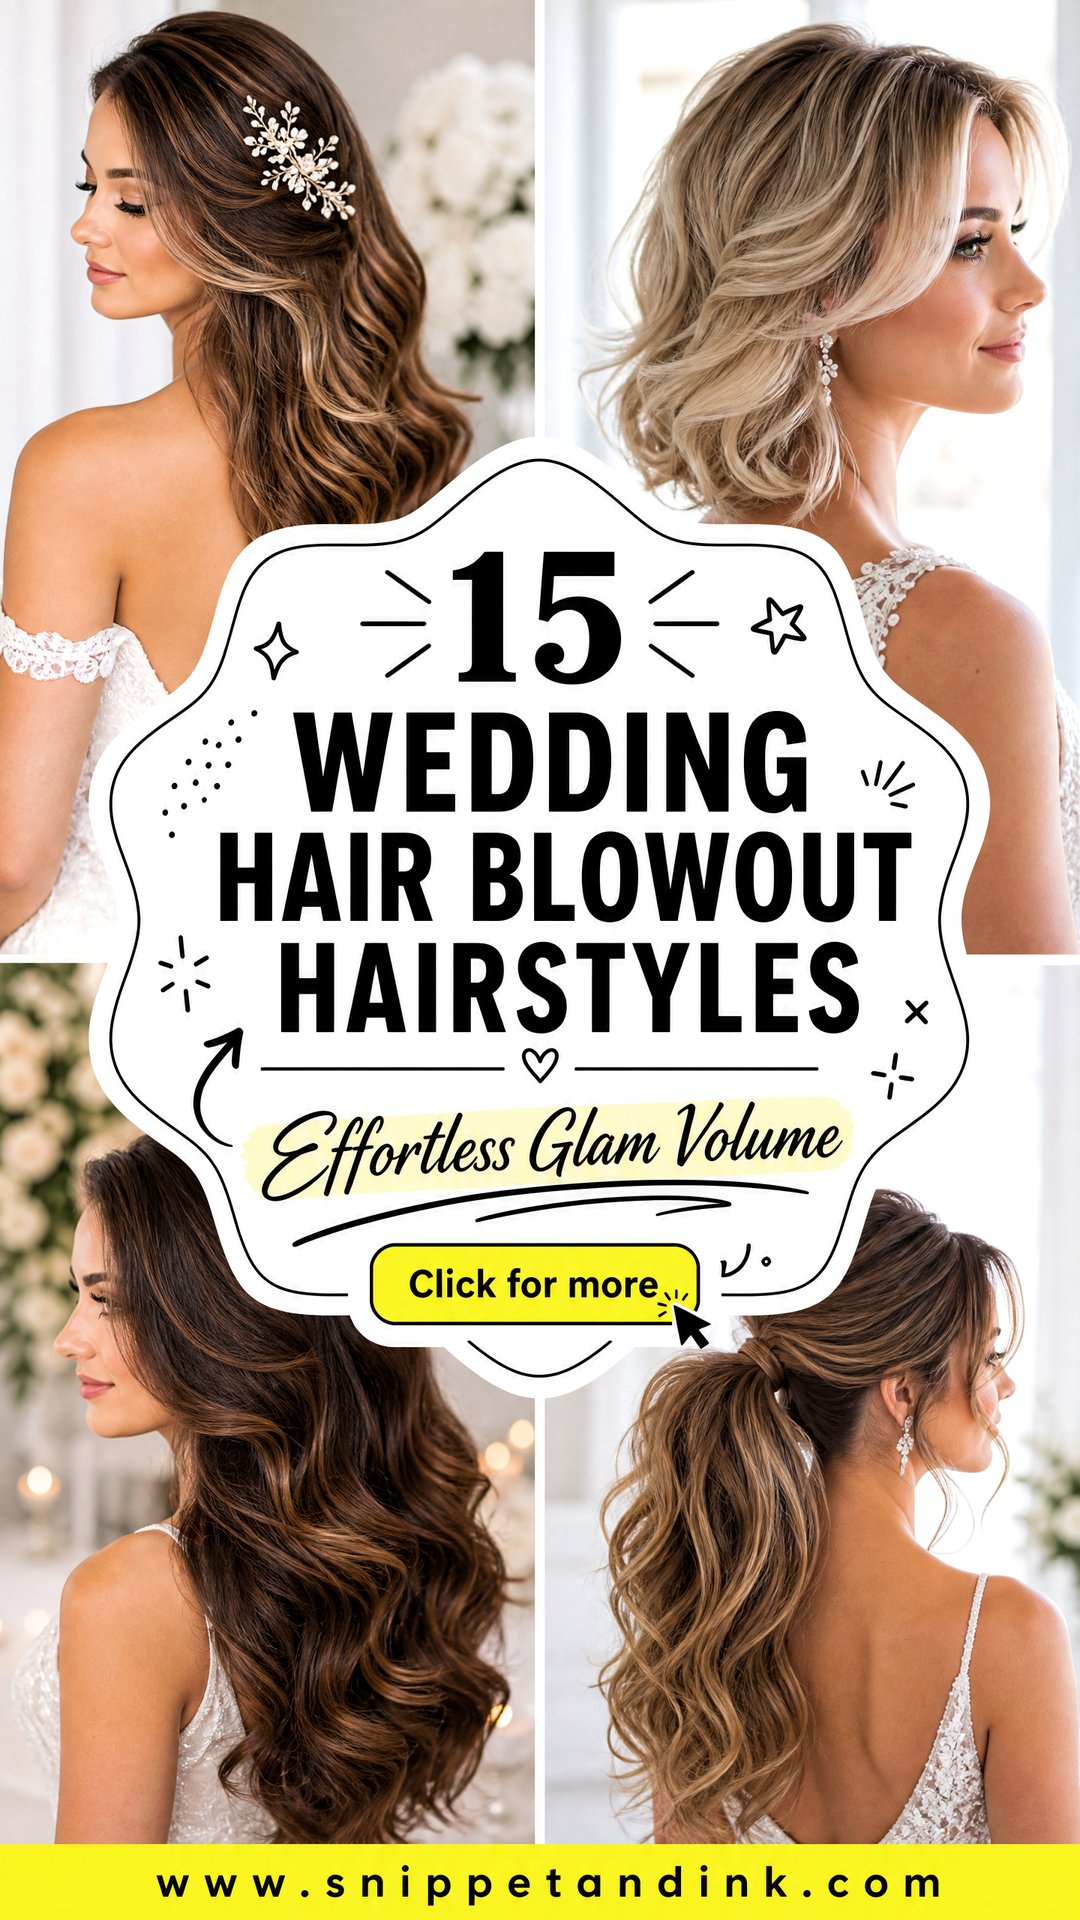
Why Blowouts Fall Flat, and How I Set Mine to Hold
Hair holds a shape when it cools. A blow-dry that is brushed out while still warm will relax within an hour, and that is the single most common reason a bridal blowout goes limp before the speeches. So the technique matters more than the products.
- Wash the evening before or that morning, depending on your hair. Very clean, very fine hair can be too slippery to hold a set, while oily roots collapse by lunchtime. Your trial is where you find out which camp you’re in.
- Rough-dry to about eighty percent before the brush comes out. Detailed brushing on soaking-wet hair just wastes heat and time.
- Dry each section until it is fully dry at the root, then roll it, still warm, into a Velcro roller or pin curl.
- Leave everything to cool completely. I usually do makeup while the rollers sit, which saves time on the morning.
- Brush out last, with a paddle or bristle brush, and use a light, flexible spray rather than a firm hold.
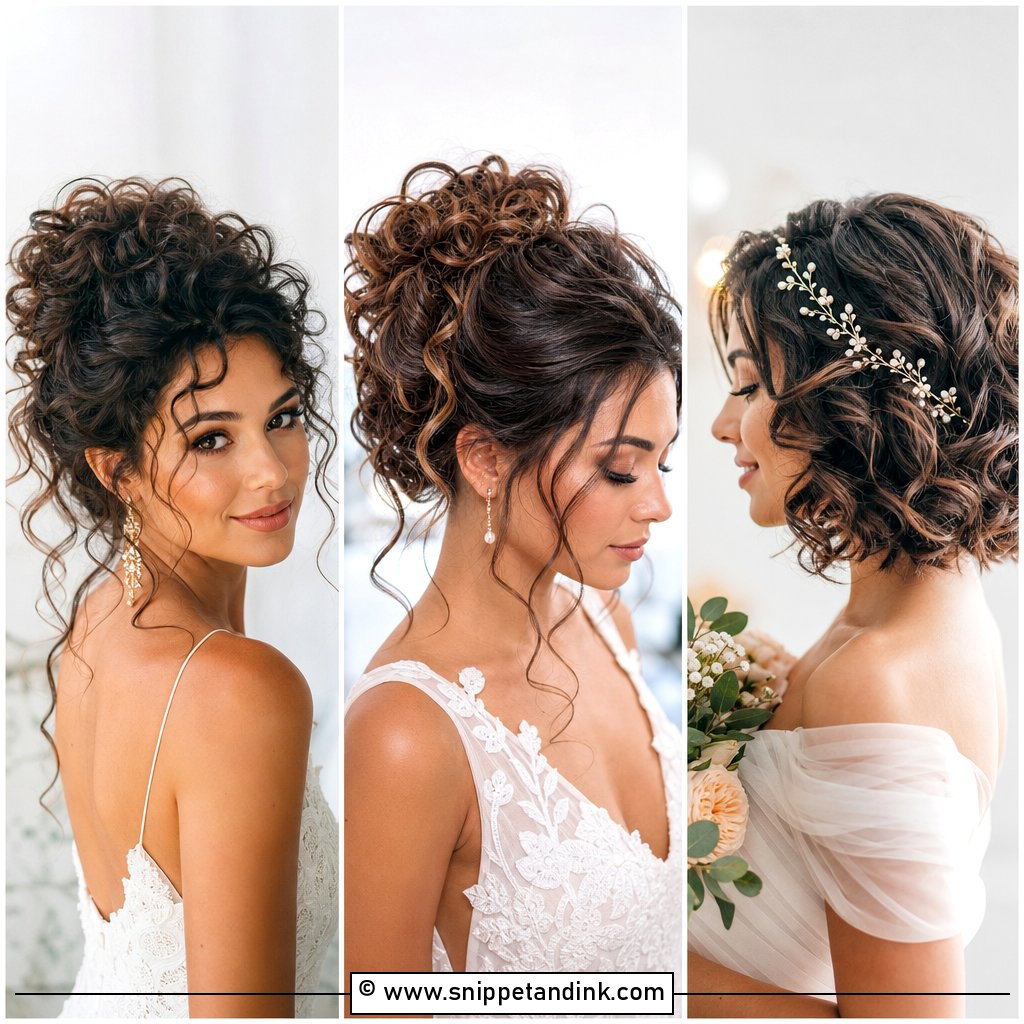
Curly and coily hair can absolutely wear a blowout, but it needs more time, a heat protectant and a clear conversation about humidity. If the wedding is outdoors in summer, I’d rather plan a set style that lets some texture back in than promise a sleek finish that won’t survive the walk to the car.
1. Wedding Bouncy Blowout
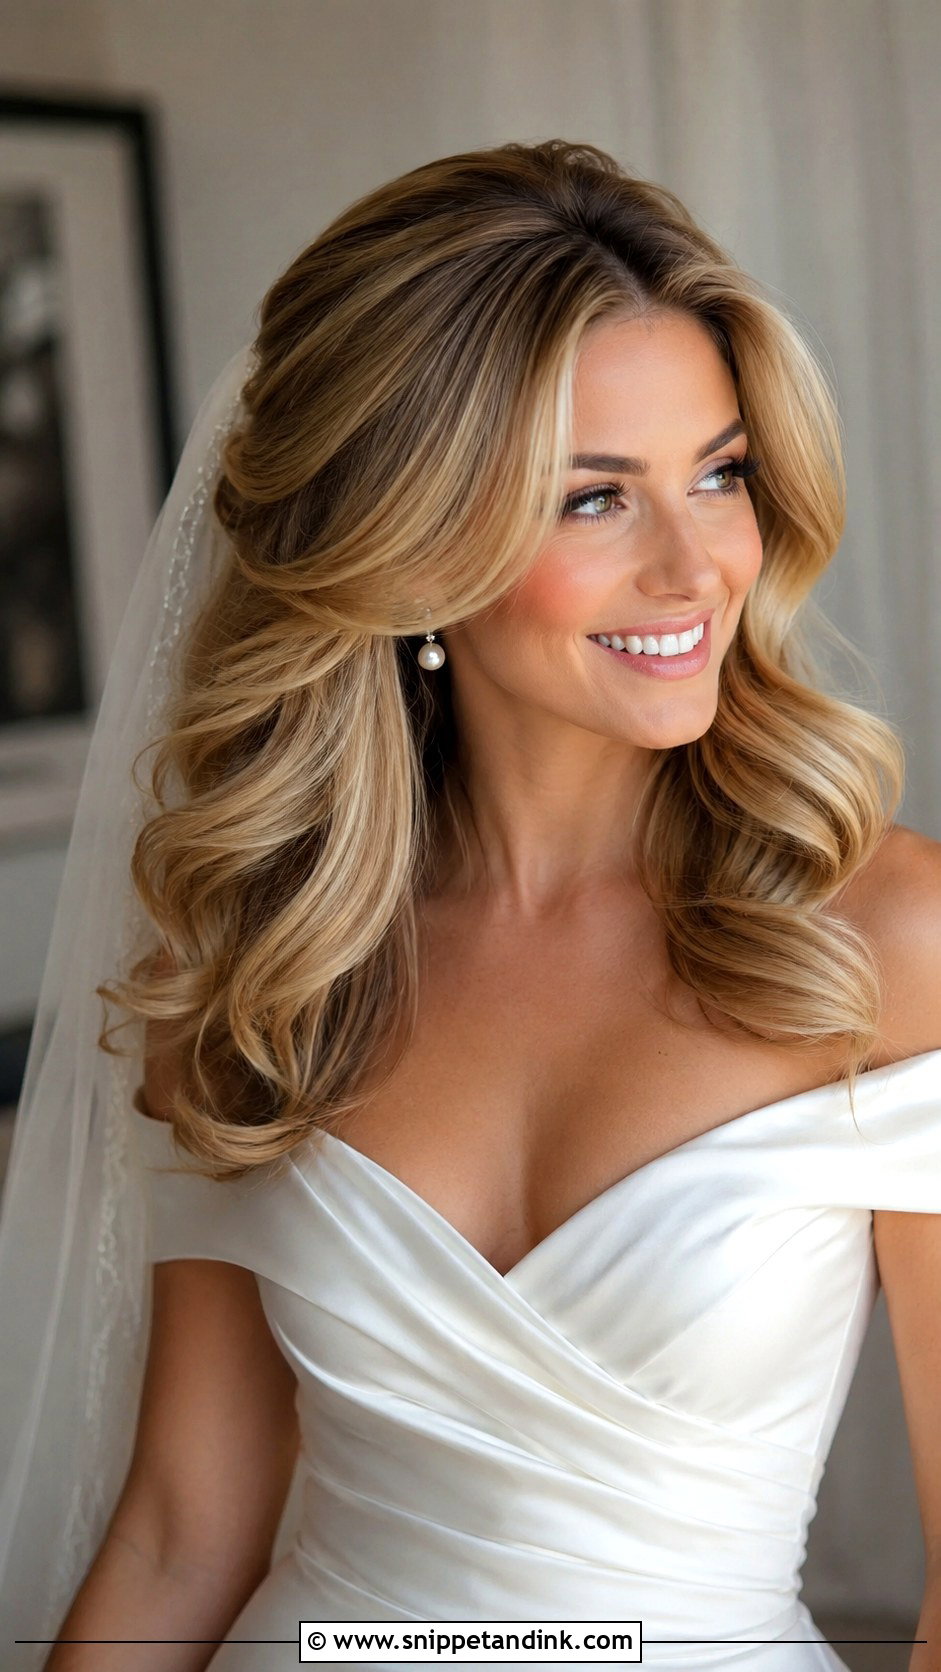
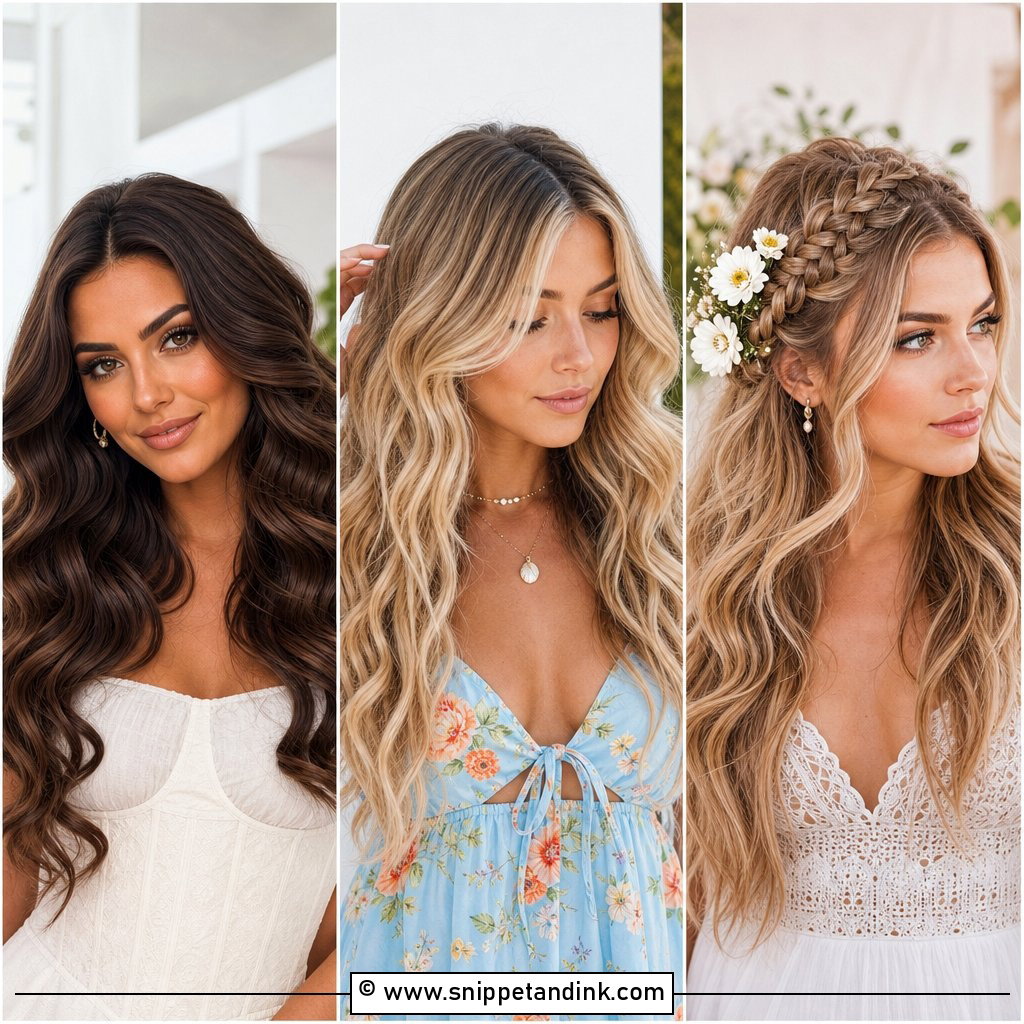
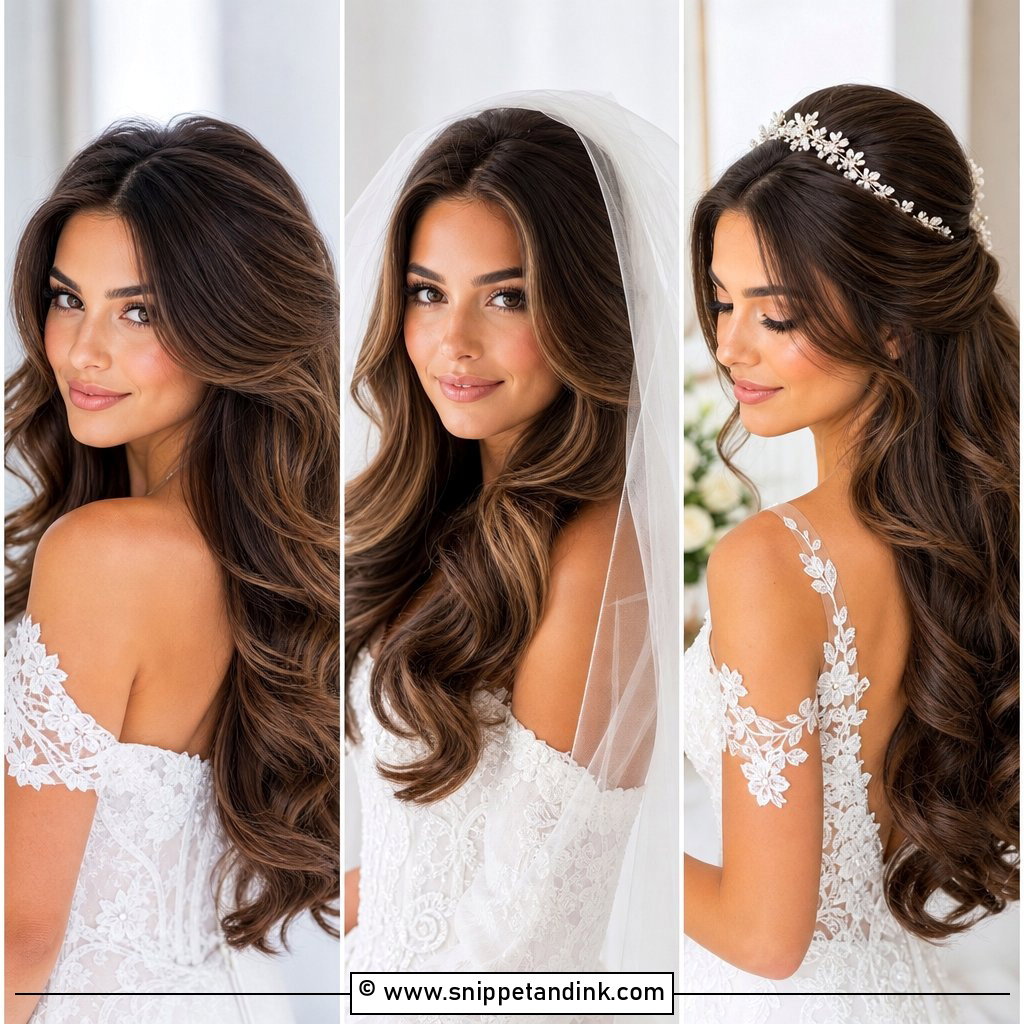
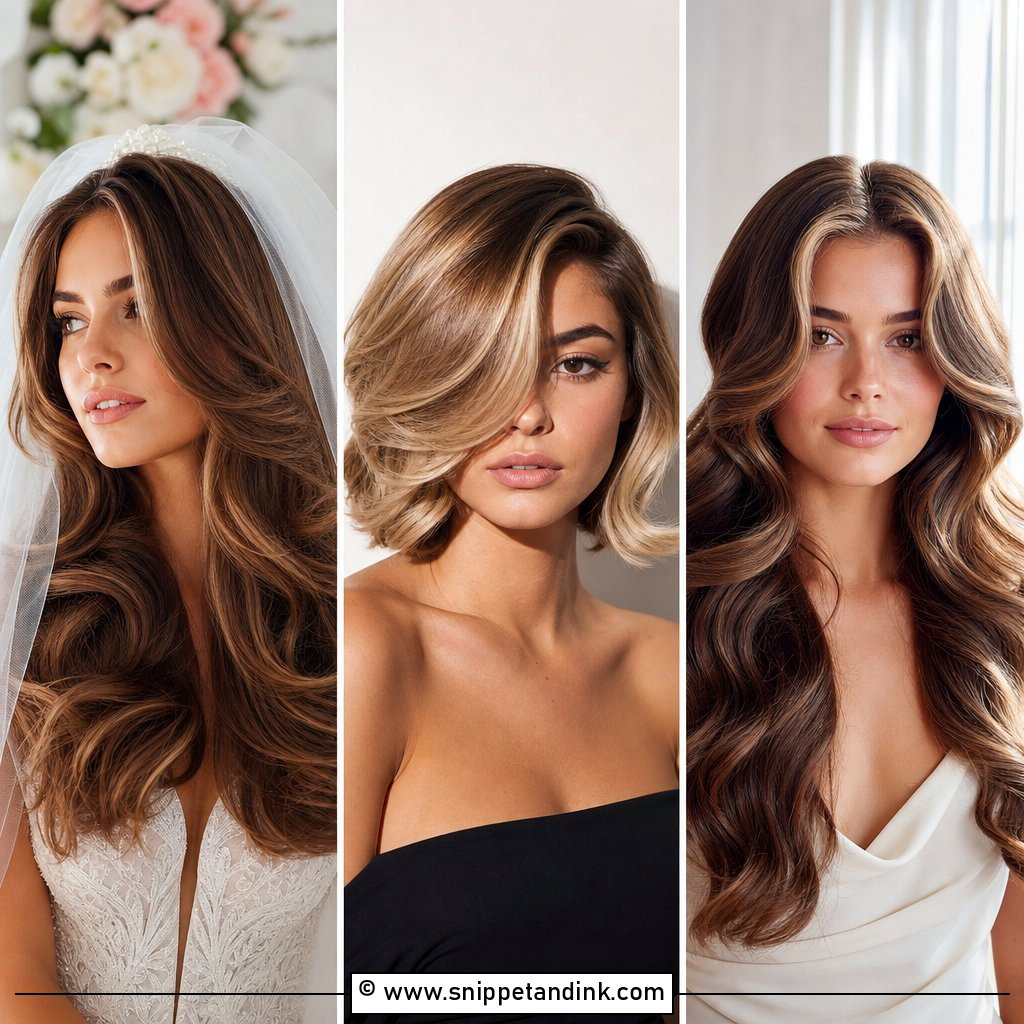
The wedding bouncy blowout is the classic: full, glossy and rounded at the ends. It needs medium to long hair, because the flip at the bottom relies on enough length to swing. I dry the crown over-direction, pulling each section up and forward, so the root stays lifted after it cools. Ask for brushed-out bends rather than ringlets, and a flexible spray instead of a firm one, or the bounce turns into a helmet by the first dance.
2. Wedding 90s Blowout
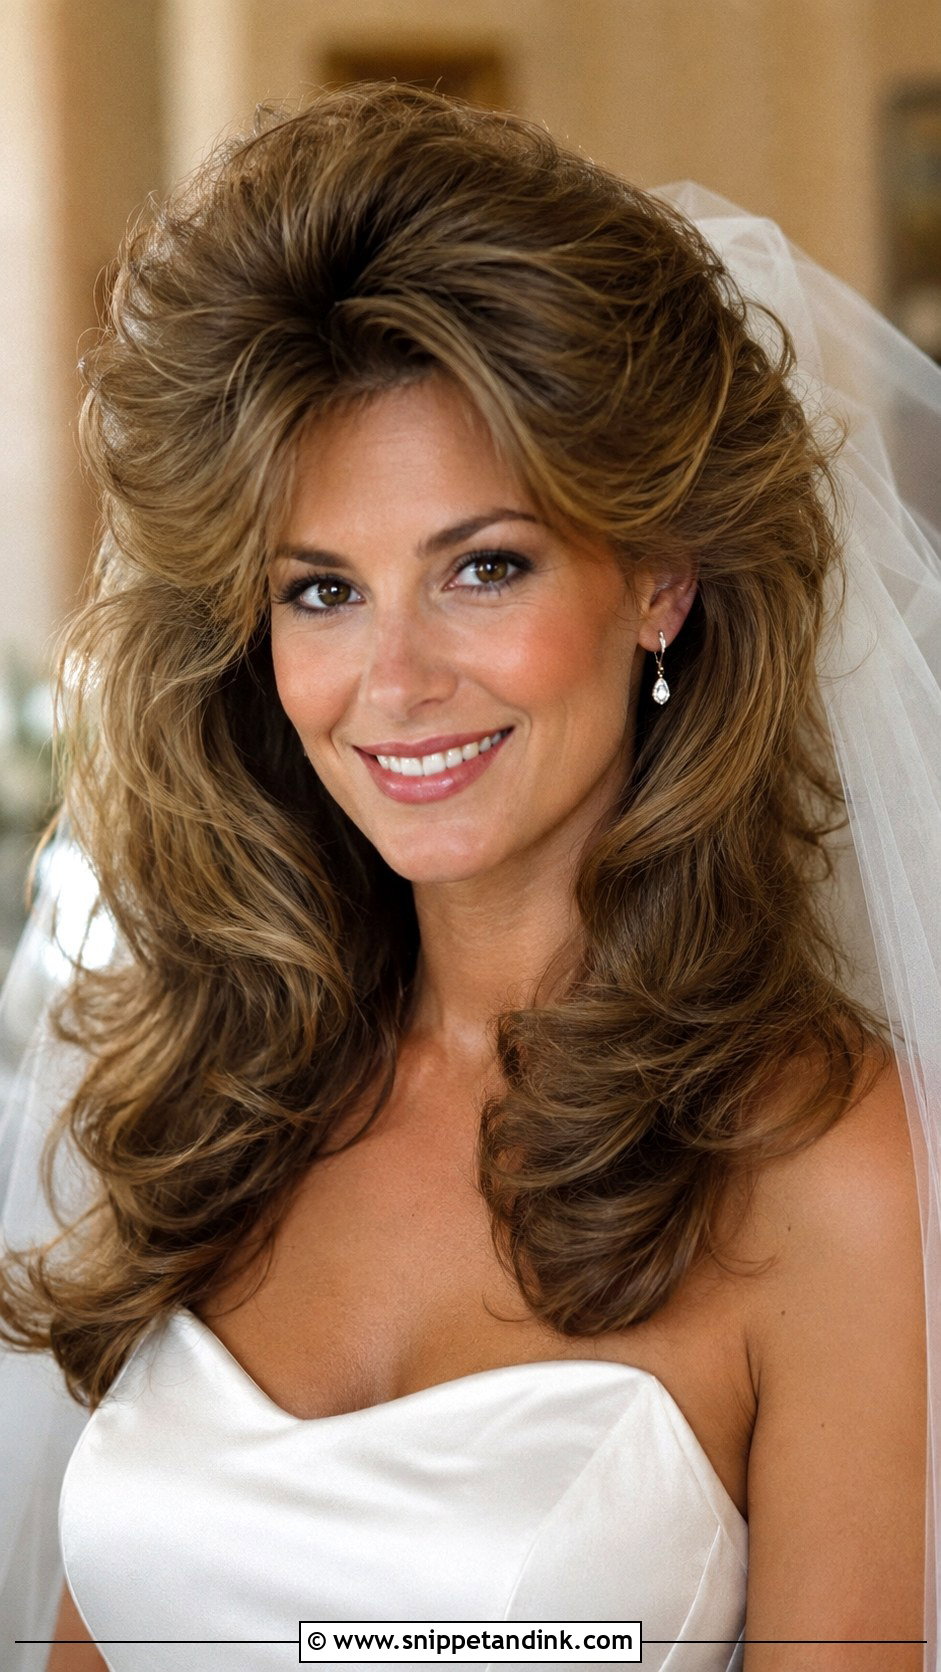
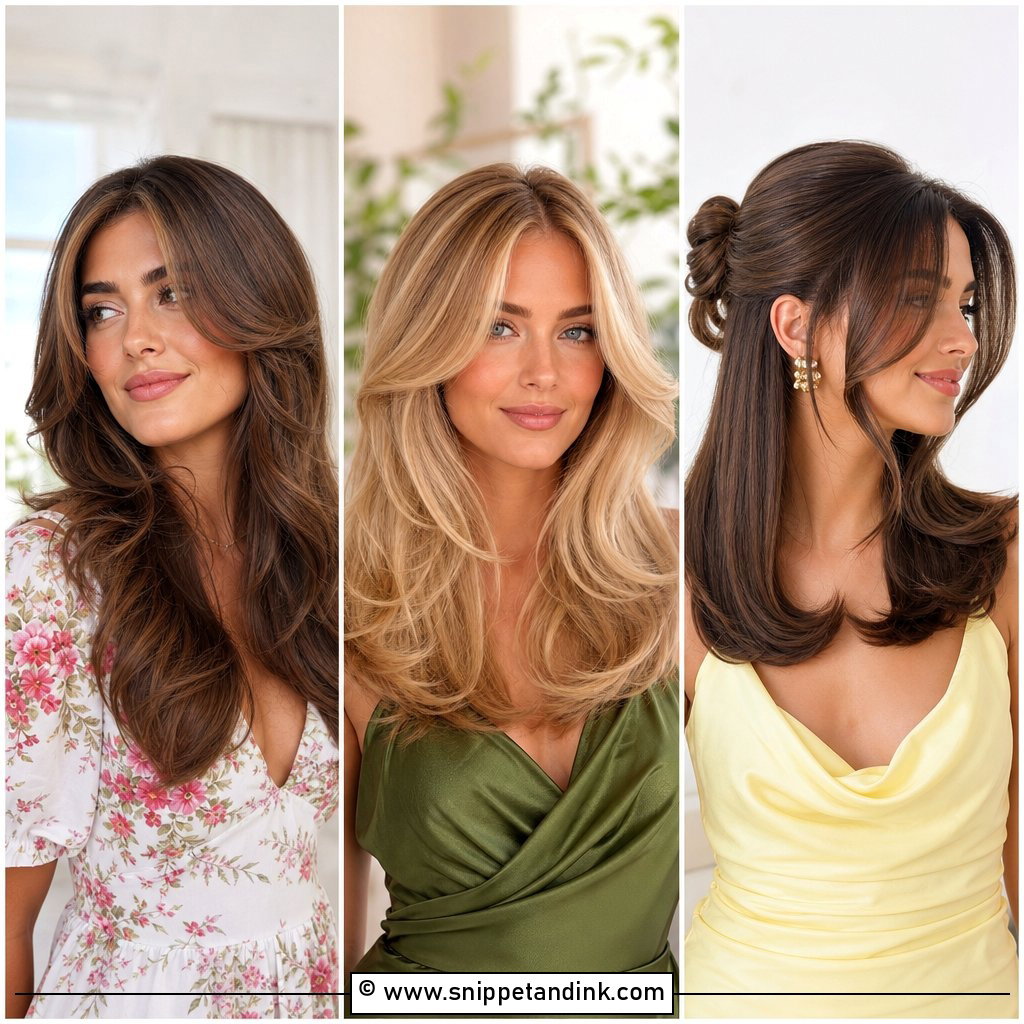
The wedding 90s blowout is bigger and more feathered, with the face pieces swept back and away. It depends on layers. On a one-length cut there is nothing for the brush to flick, and the style just looks like a smooth blow-dry. I set it in large Velcro rollers straight off the dryer and leave them in until the hair is cold to the touch. A clean neckline or plain satin dress gives this shape room, since the hair is already doing the dramatic work.
3. Wedding Blowout With Curtain Bangs
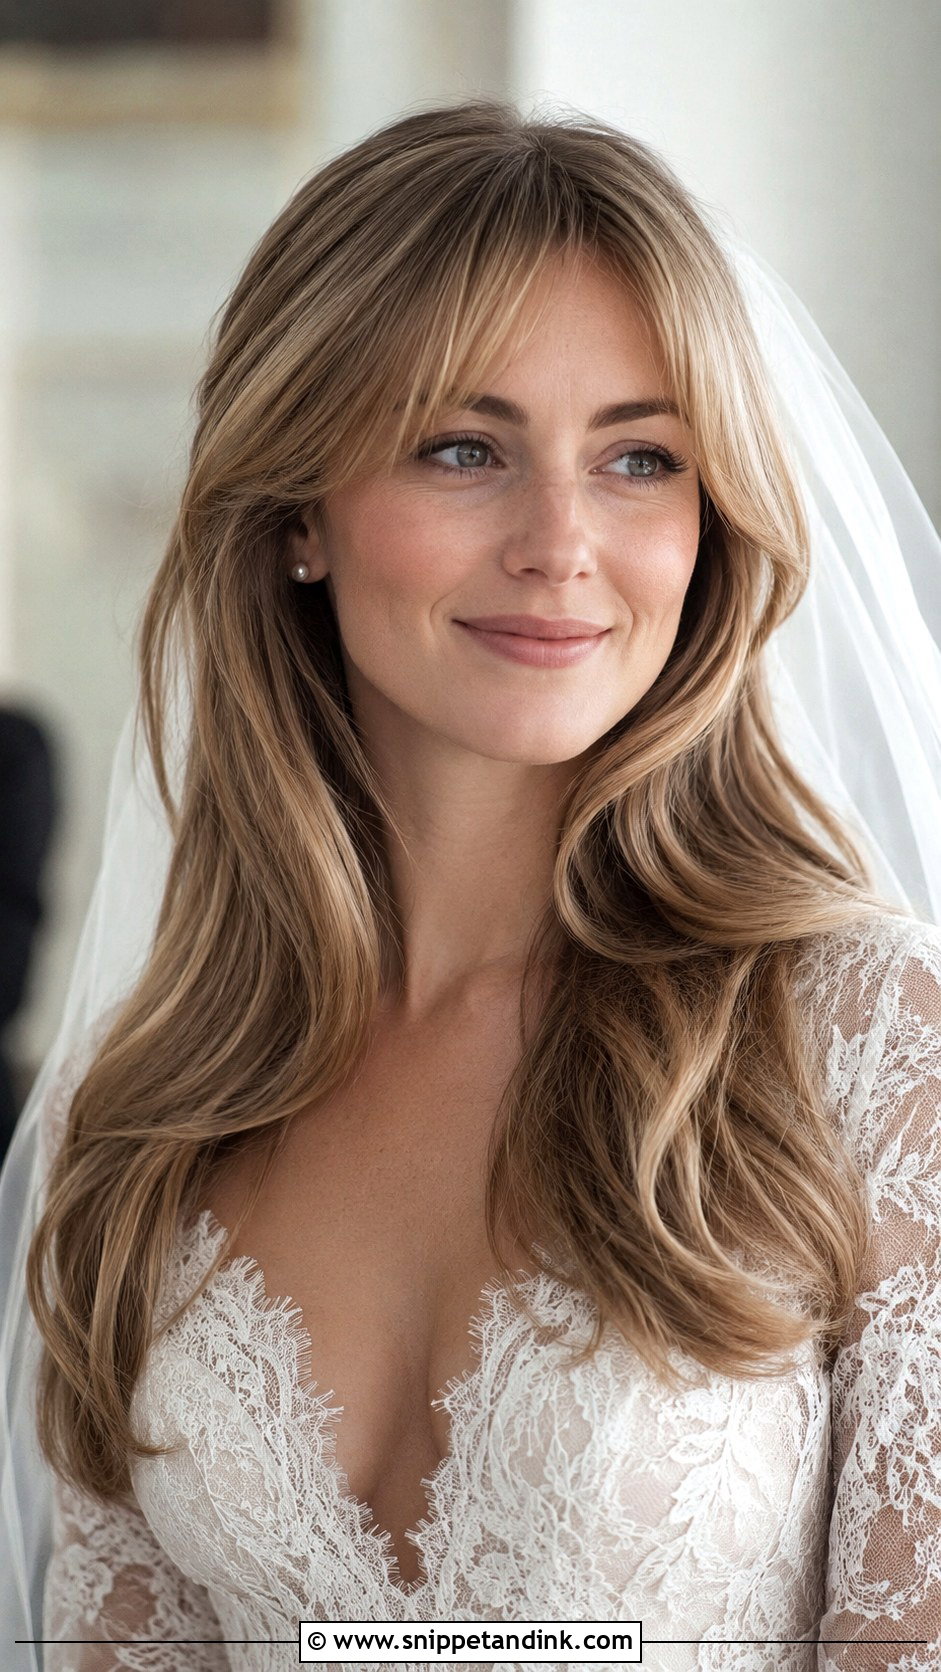
With a wedding blowout with curtain bangs, the fringe has to blend into the longer layers rather than sitting on the forehead like a separate piece. I dry bangs first, while they are still wet at the root, pushing them side to side with a flat brush so they lose any cowlick before I round them out. If you don’t normally wear bangs, the wedding is not the moment to cut them. Get them trimmed about a week ahead so they have time to settle, and keep the rest of the hair simple so the face frame stays the focus.
4. Wedding Blowout With Loose Waves
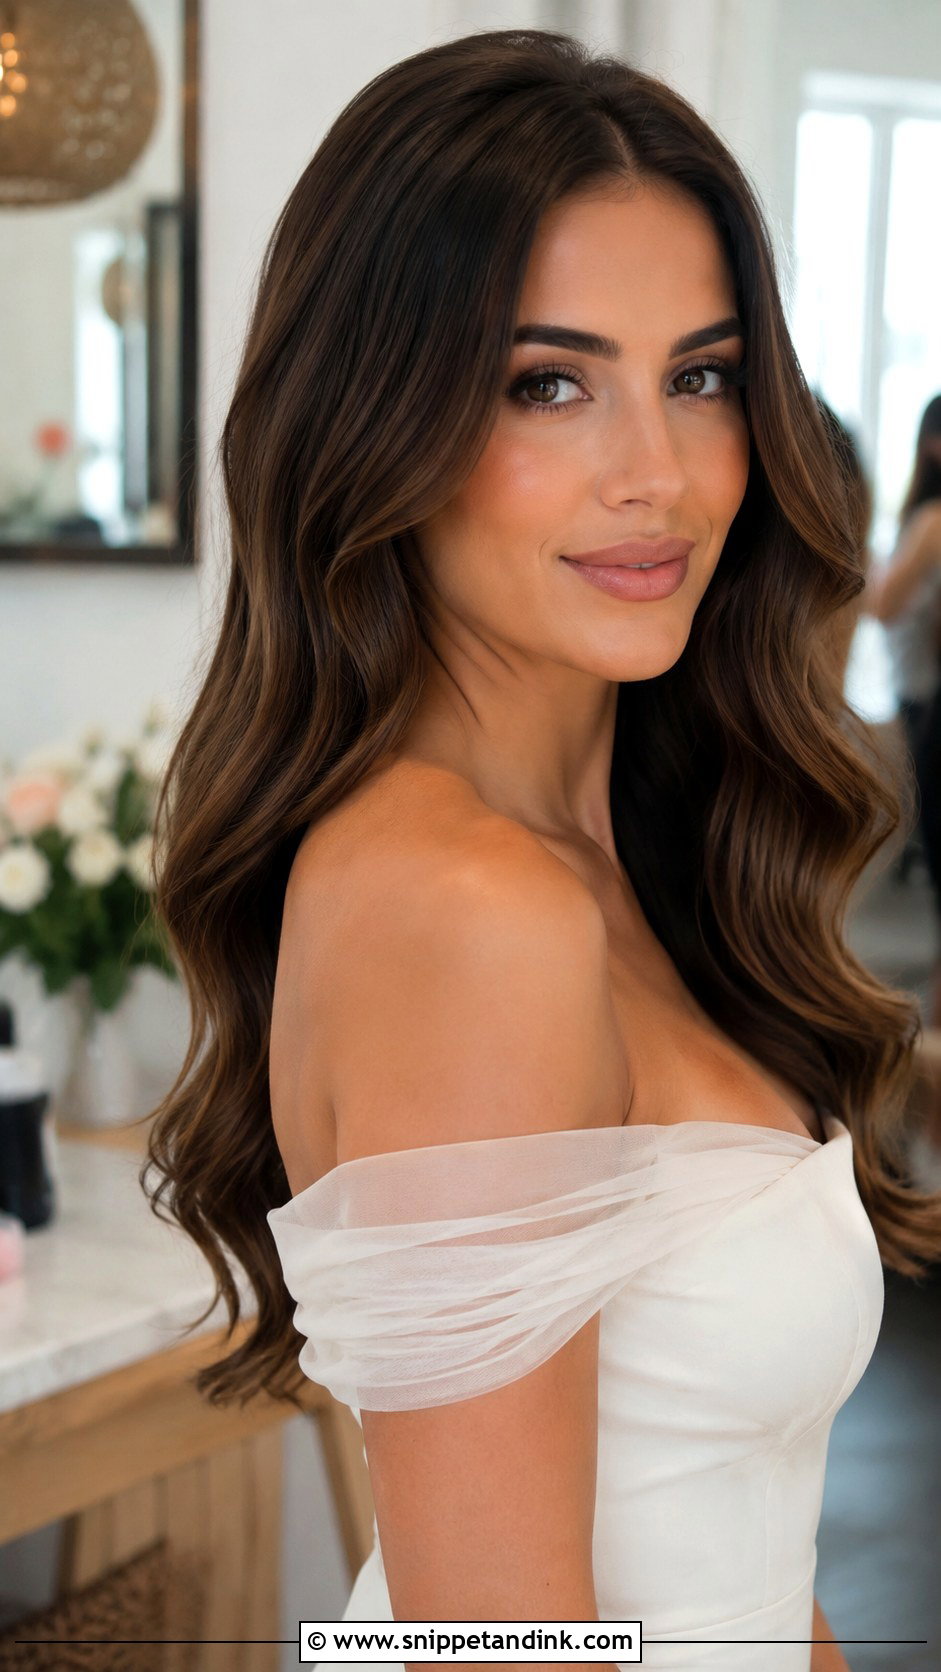
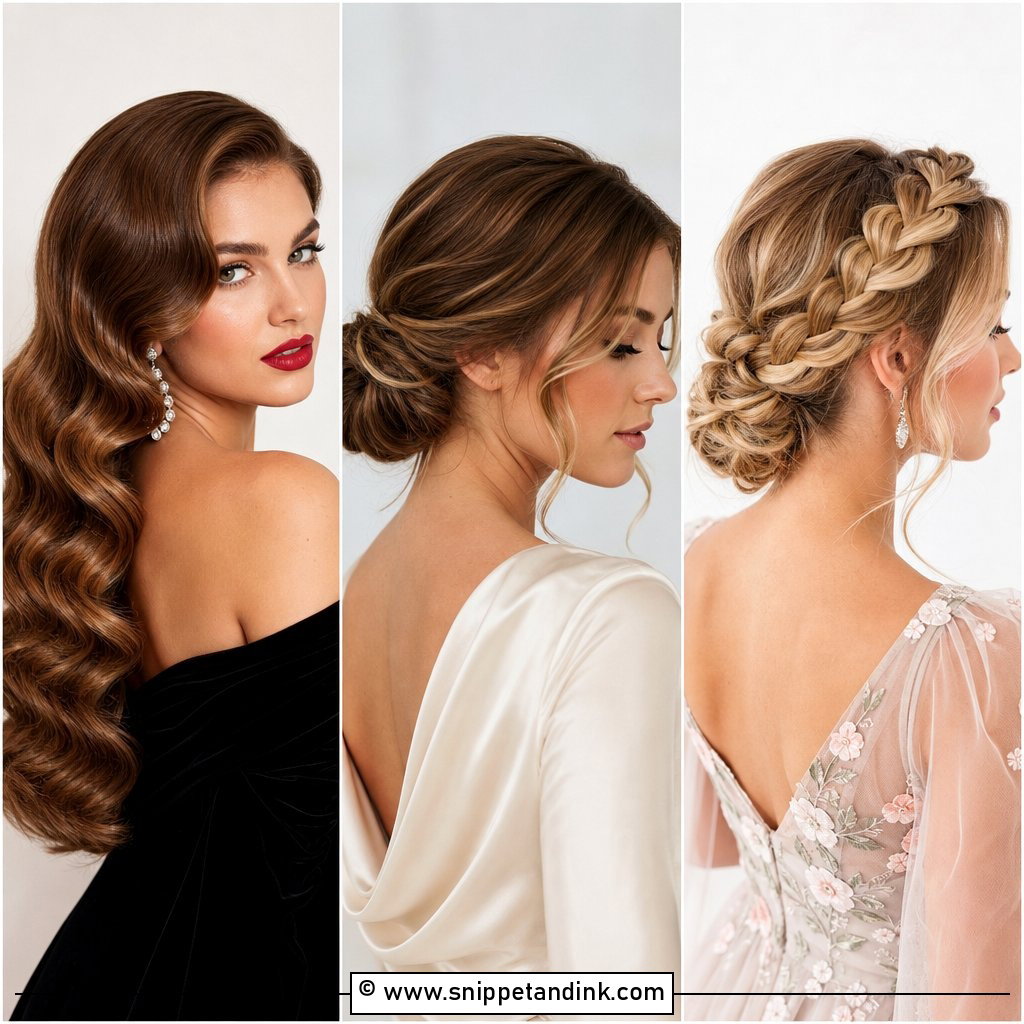
Loose waves on top of a blowout hold far better than waves curled into air-dried hair, because the smooth base gives the iron something even to grip. I start the waves below the cheekbone so the crown stays lifted and clean, then brush them out once they have cooled. Outdoors, this is the version that copes with a breeze without looking messy. In real humidity, though, waves loosen fast on straight hair, so I spray each section before it goes on the iron rather than only at the end.
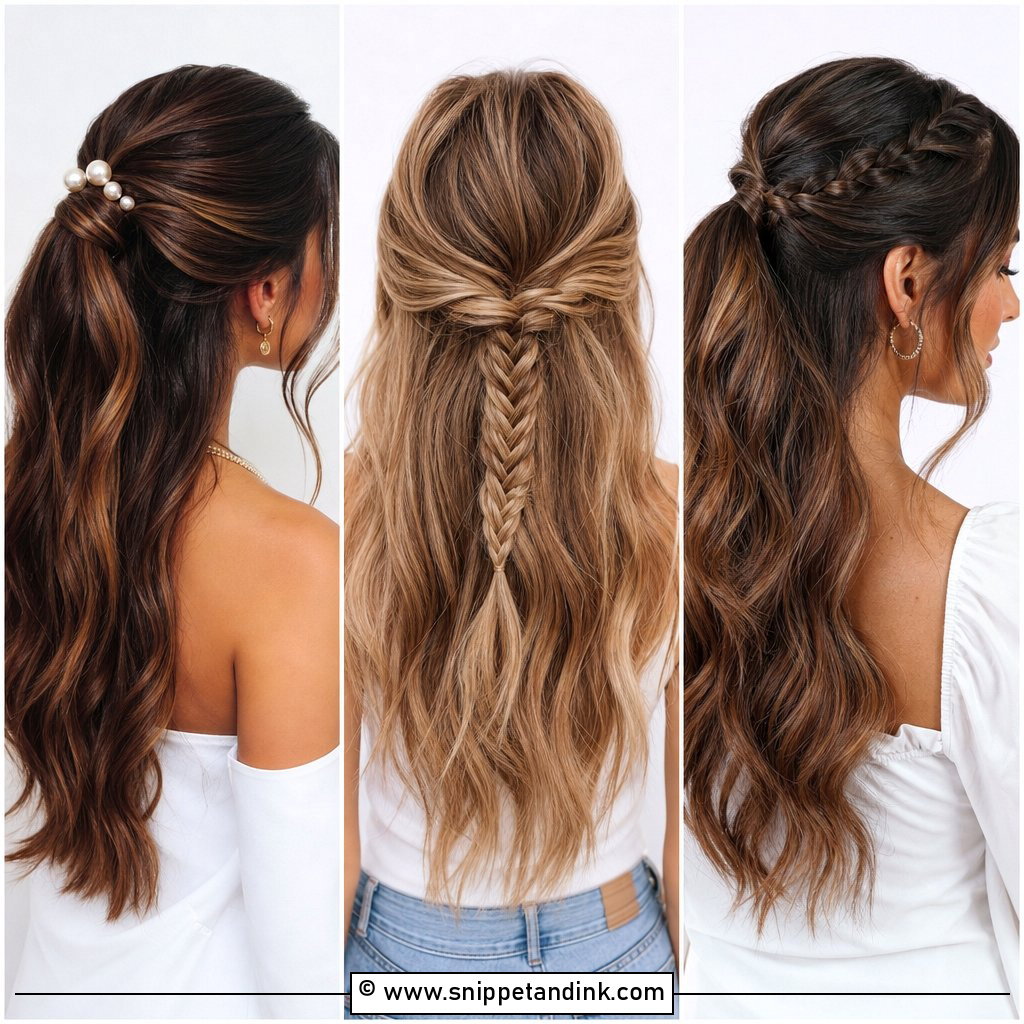
5. Wedding Blowout Half Up
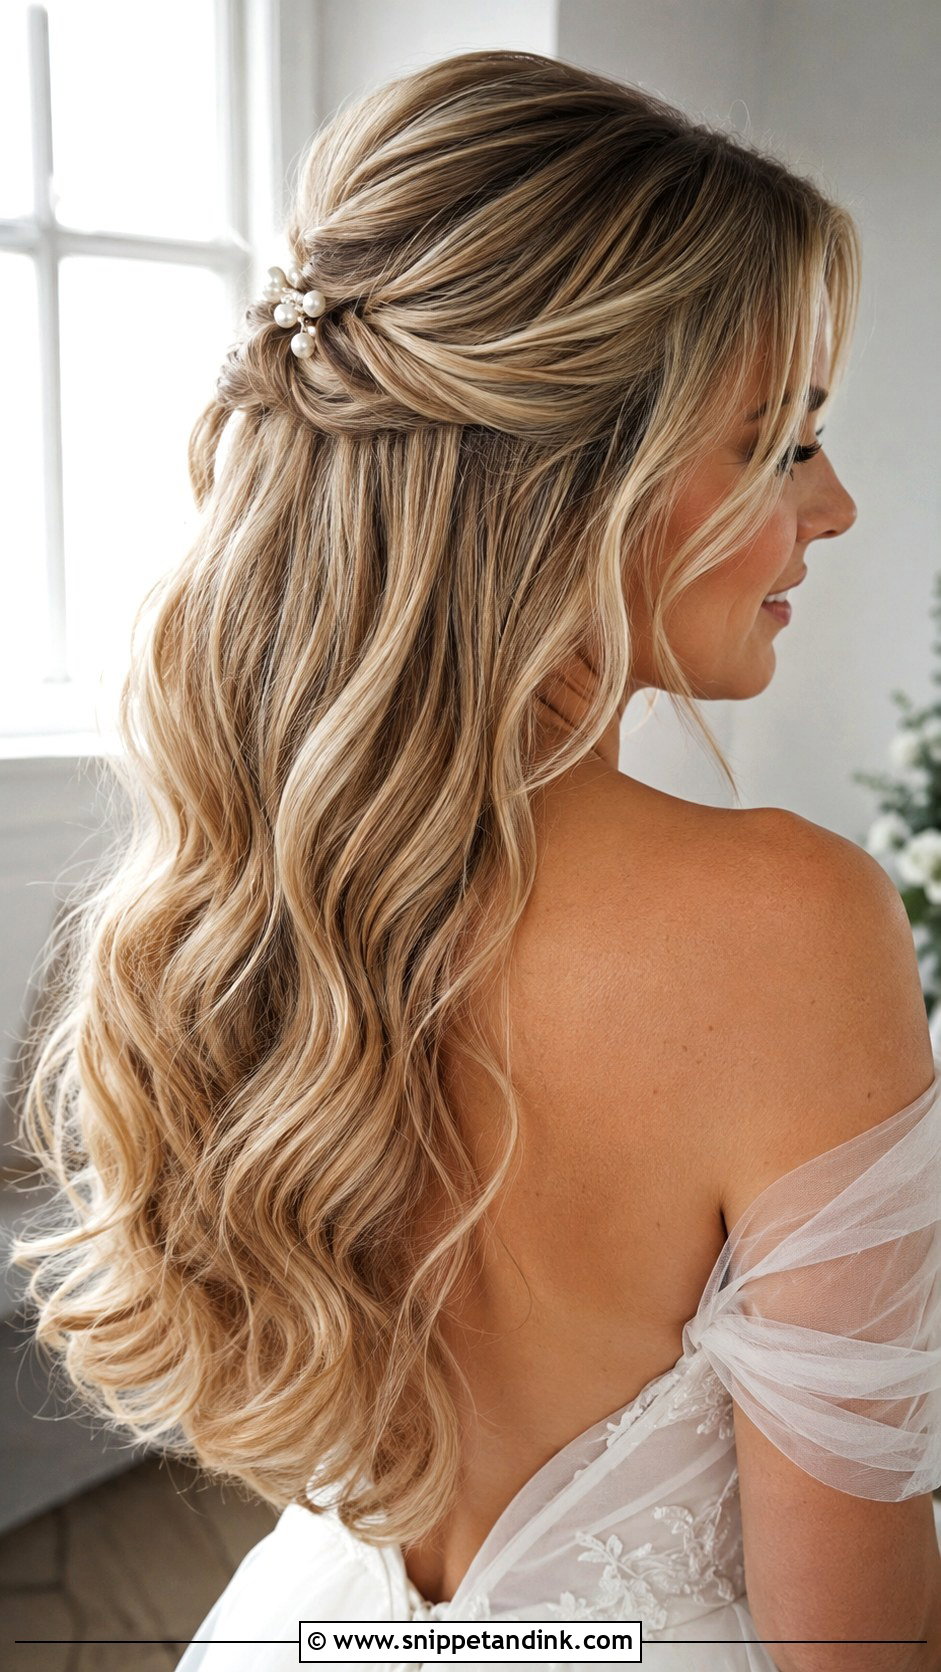
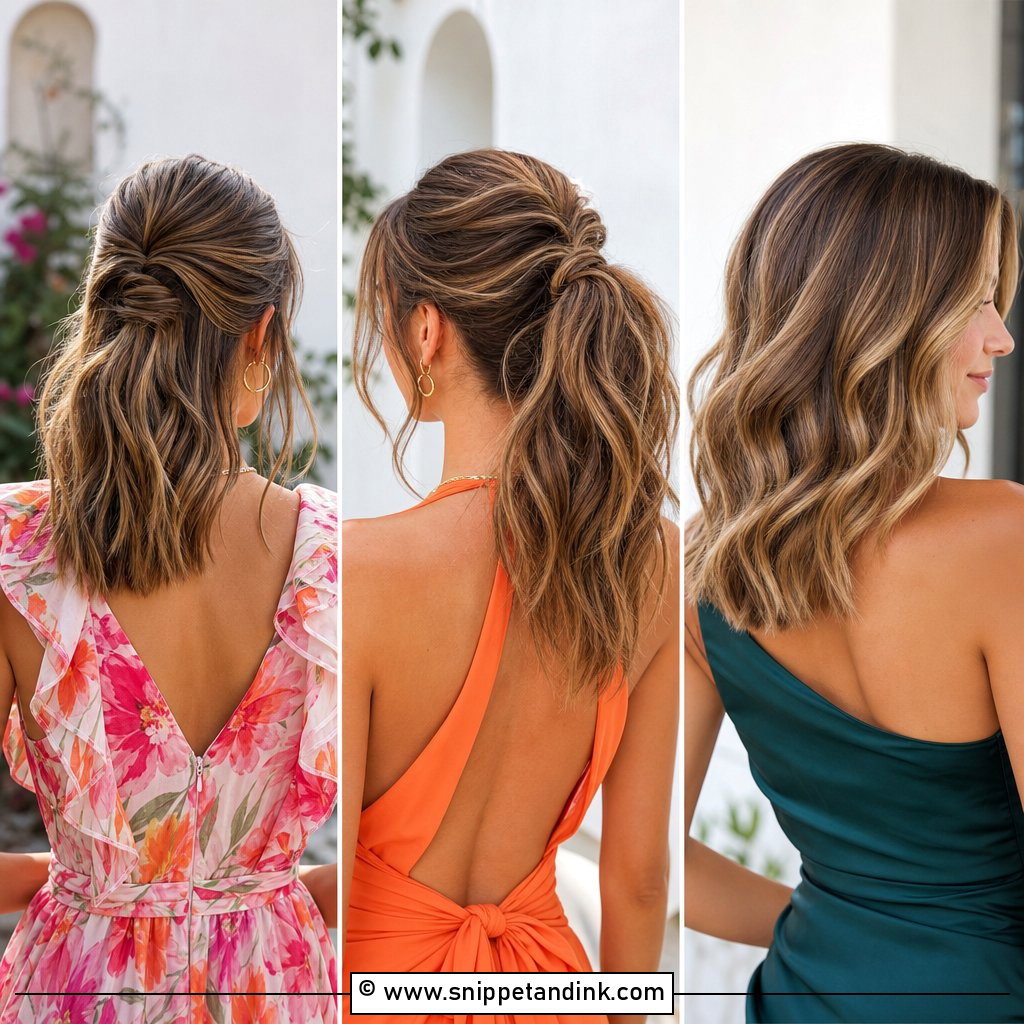
Half up is the blowout I recommend when someone is nervous about hair falling forward during vows. I take the top section from temple to temple, give it a little backcombing at the root for height, then pin it at the crown with two crossed grips. That anchor is also the best place to hang a veil. The pinned part can be smooth or loosely twisted. Keep it fairly small, though, because a heavy half-up section pulls volume out of the lengths below it.
6. Wedding Blowout With Side Part
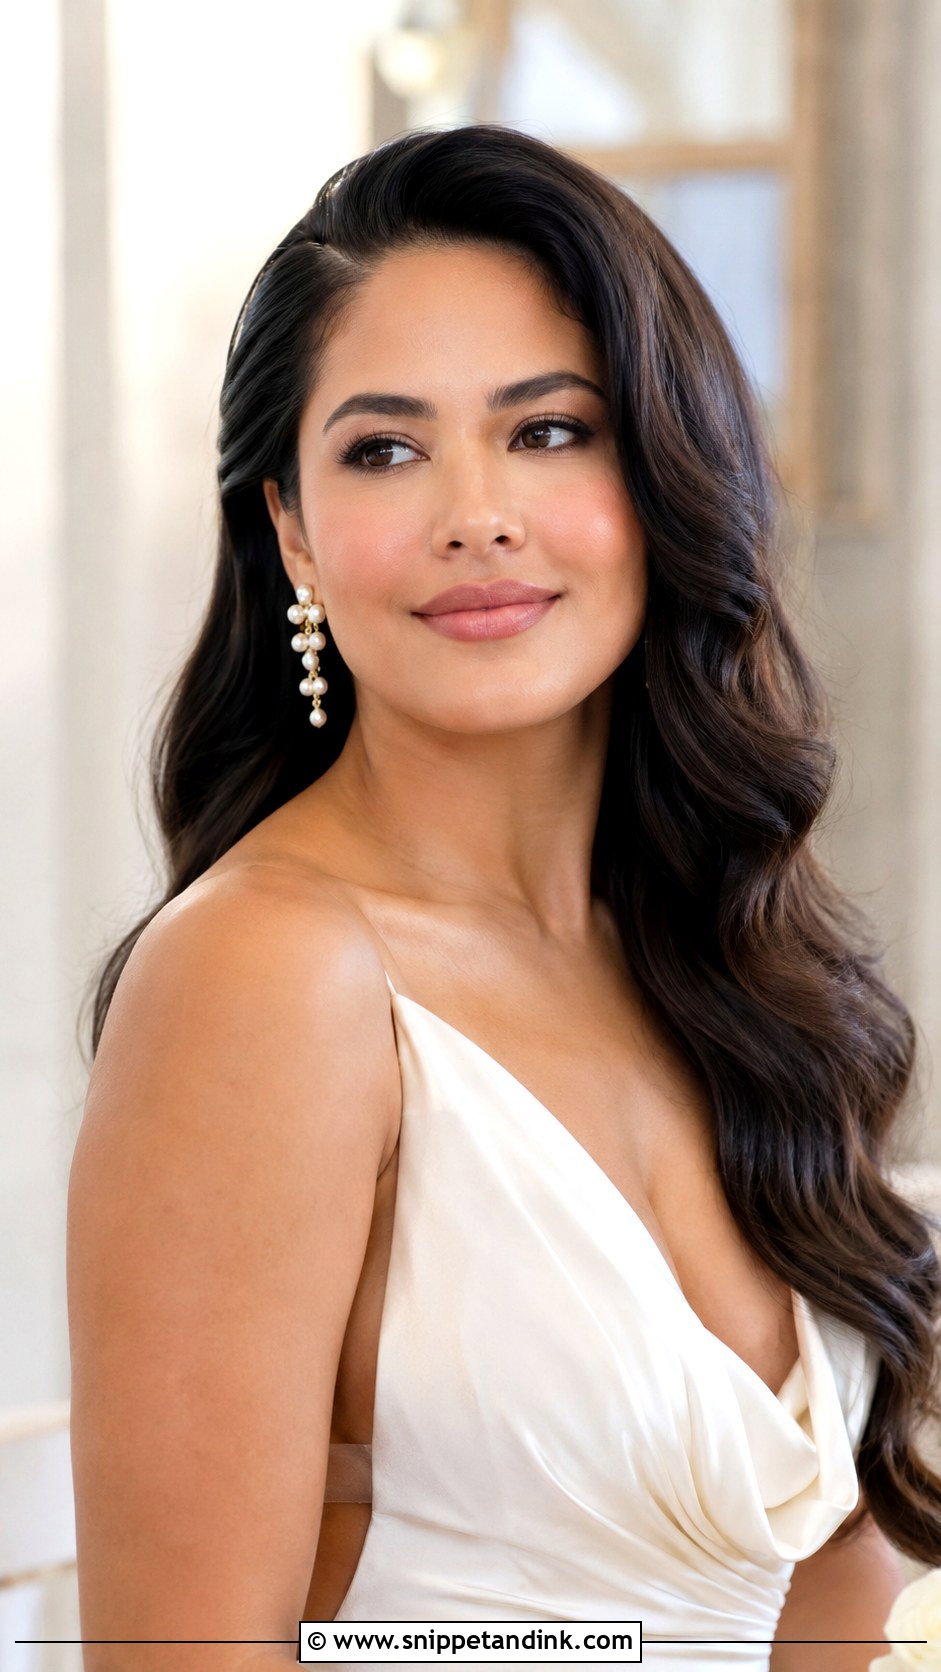
A deep side part puts the volume where most faces want it, on the top and one side, without any teasing. I flip the part the opposite way while drying so the root stands up, then lay it back over. Tucking the shorter side behind an ear shows off earrings. I use a smoothing cream through the mid-lengths only, before drying, and keep it away from the root on the heavy side, or the lift drops within the hour.
7. Wedding Blowout With Veil
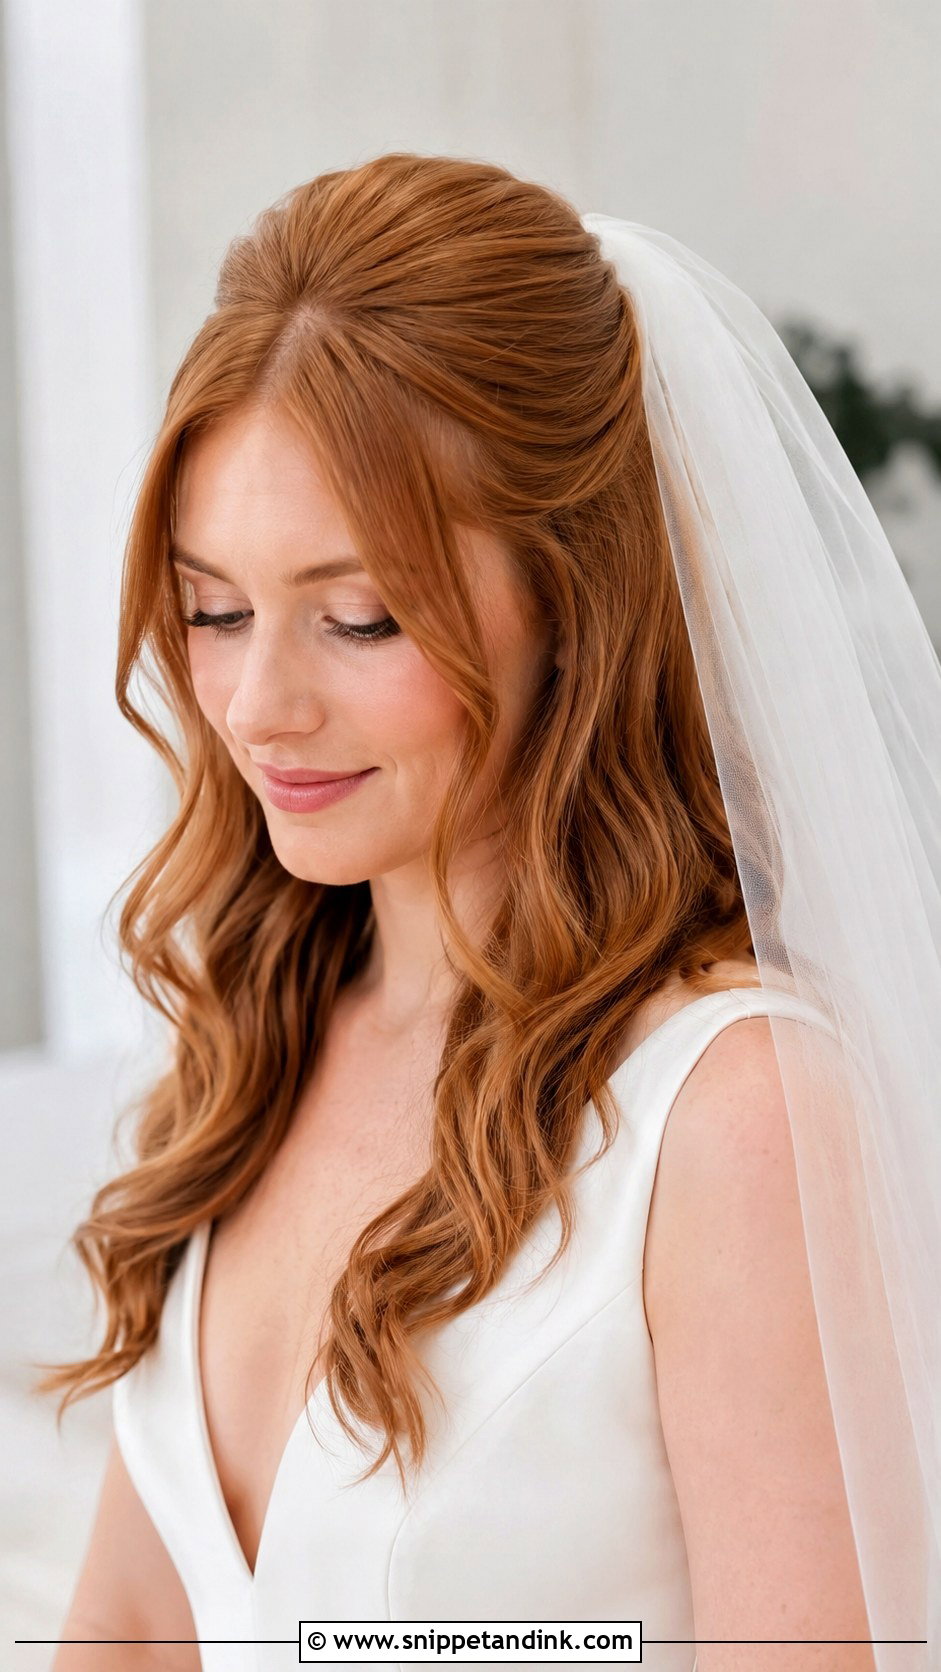
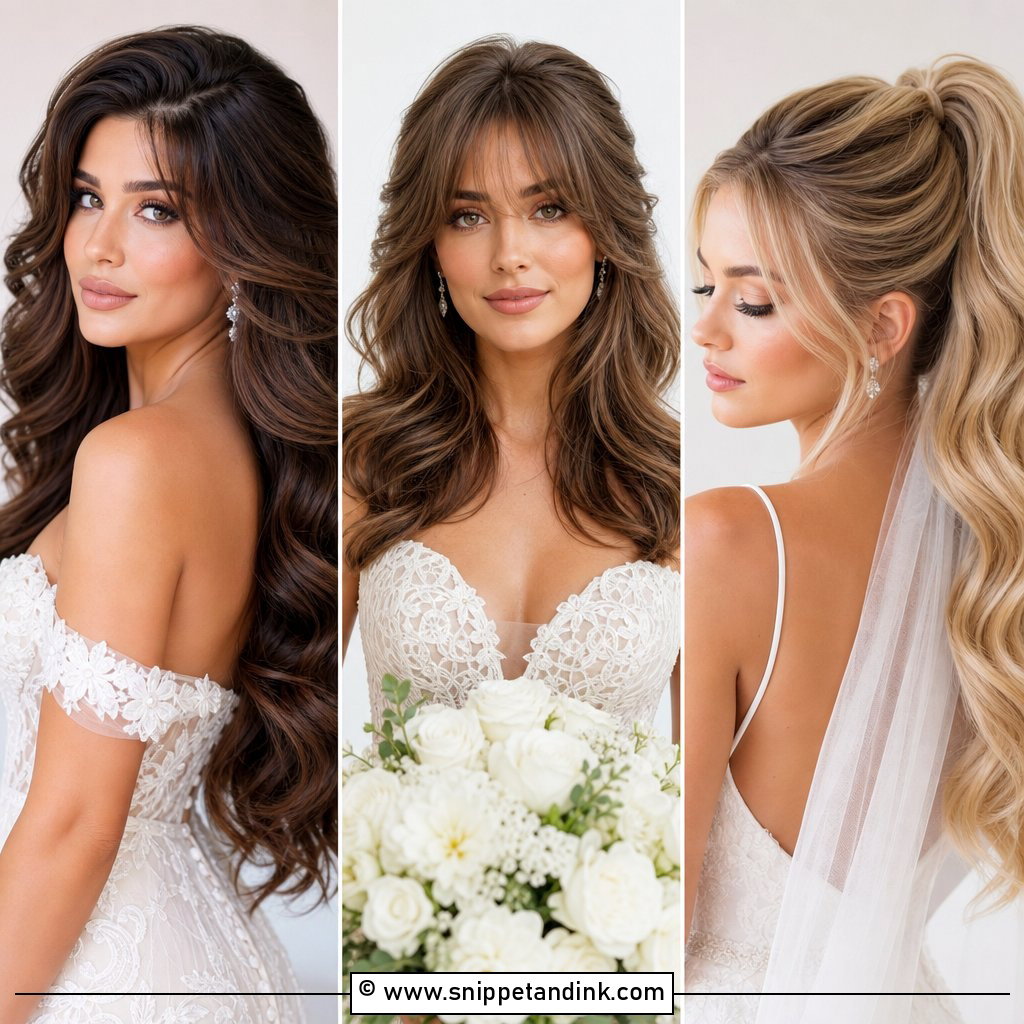
Veils and blowouts need a compromise. Too much height at the crown and the comb sits on top of a hump; too little and the veil drags the hair flat. I keep the lift just in front of where the comb will go, then build a hidden base of crossed pins underneath for the comb teeth to grab. A fine, lightweight tulle sits far better on a blowout than a heavy cathedral veil, which will pull on loose hair all through the ceremony and portraits.
8. Wedding Blowout With Hair Clip
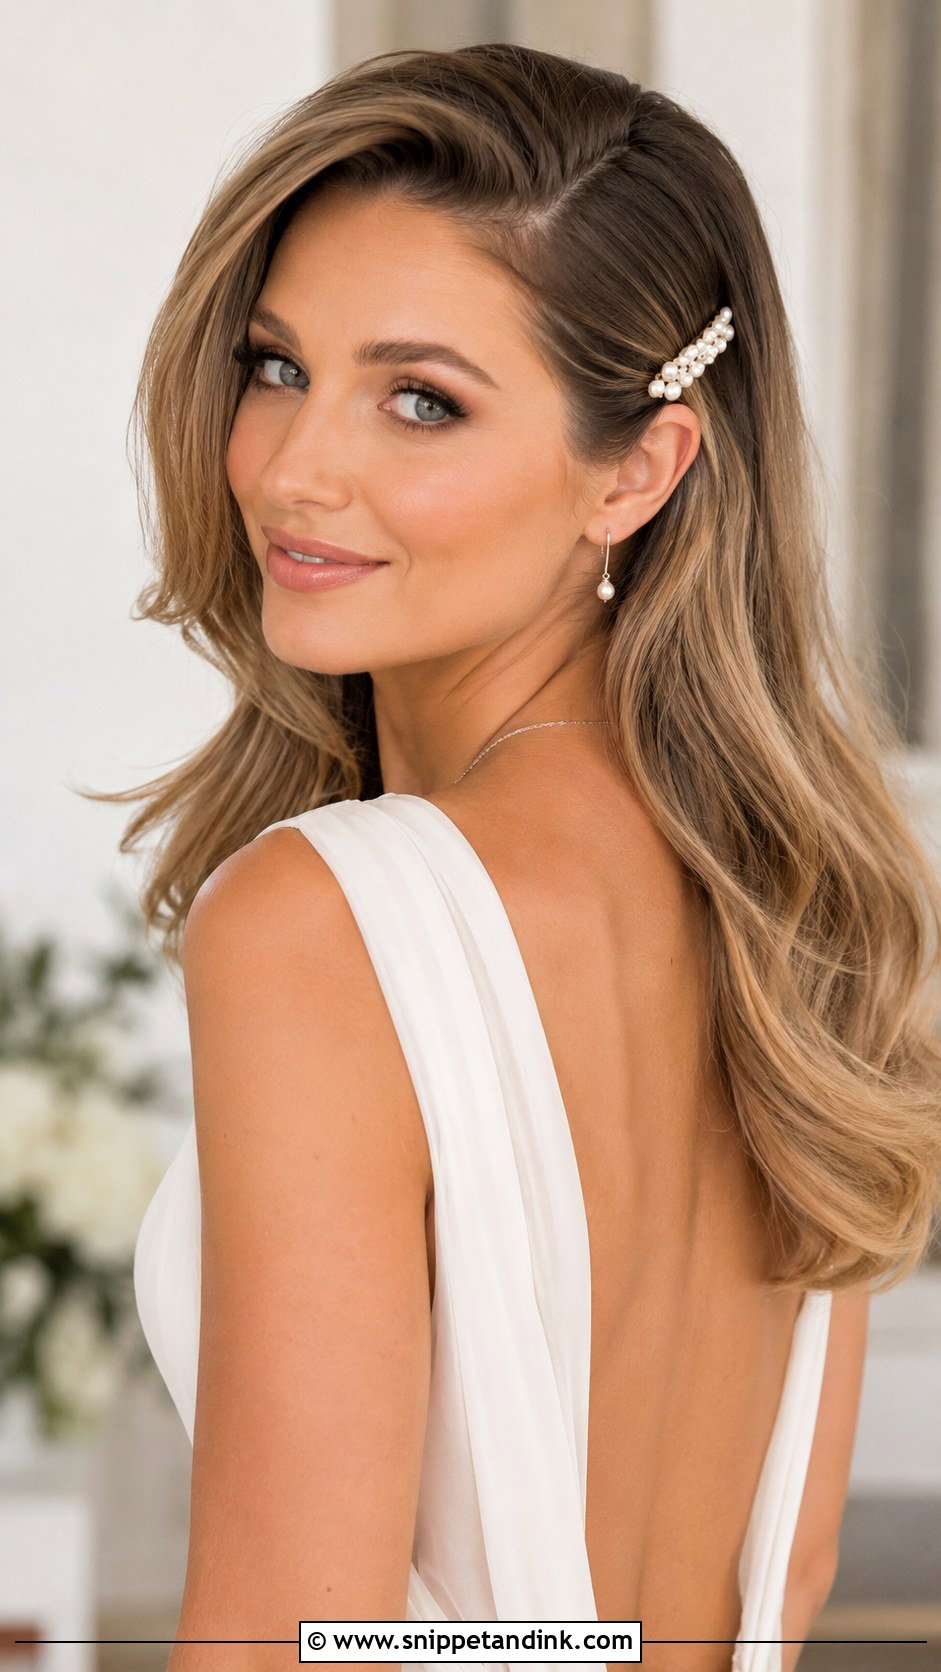
This is the easiest blowout to personalize, since the clip carries the bridal detail and the hair does the rest. I place clips just above a soft ear tuck or slightly behind the temple, and I always secure them over a small crossed pin, because silky blown-out hair lets a barrette slide within minutes. Size it to your hair density: a big crystal clip on fine hair just shows how little hair is underneath. It’s a good fit for a courthouse ceremony or rehearsal dinner too.
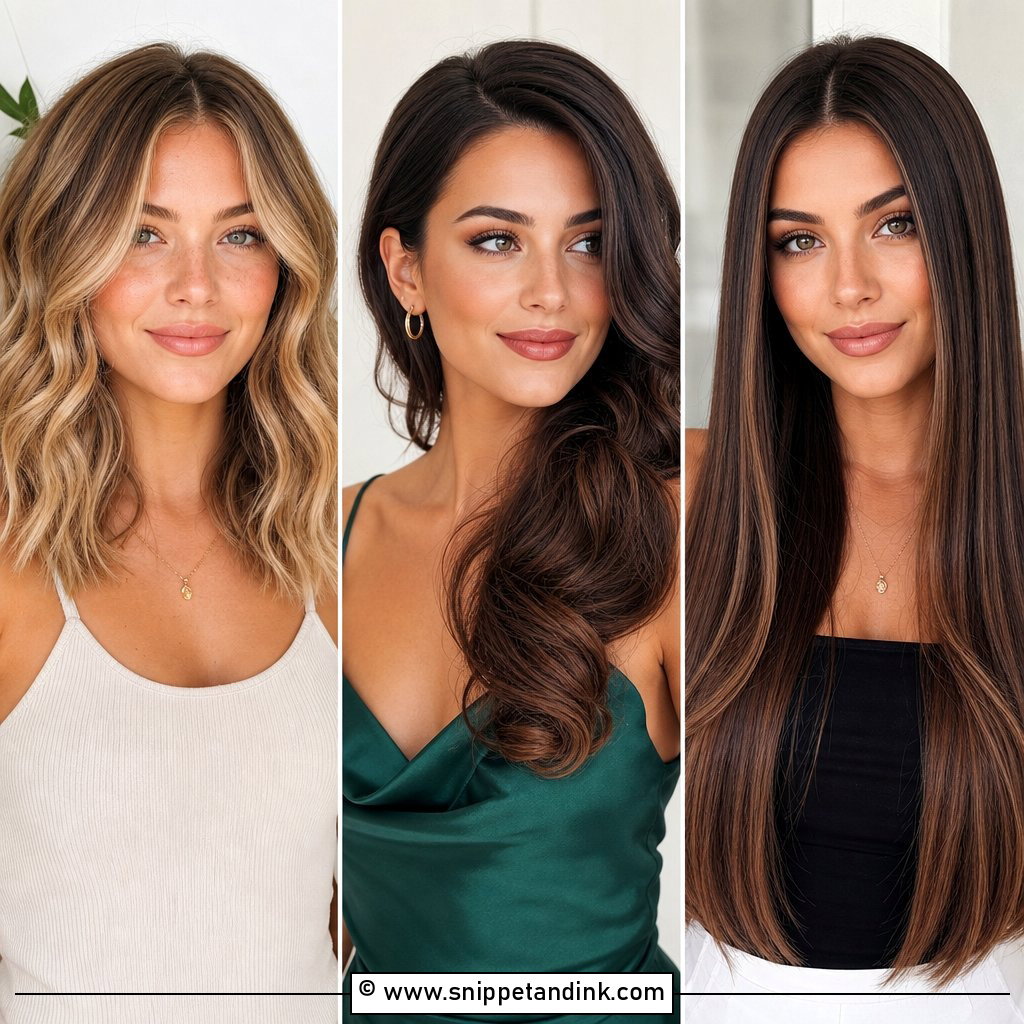
9. Wedding Blowout For Long Hair
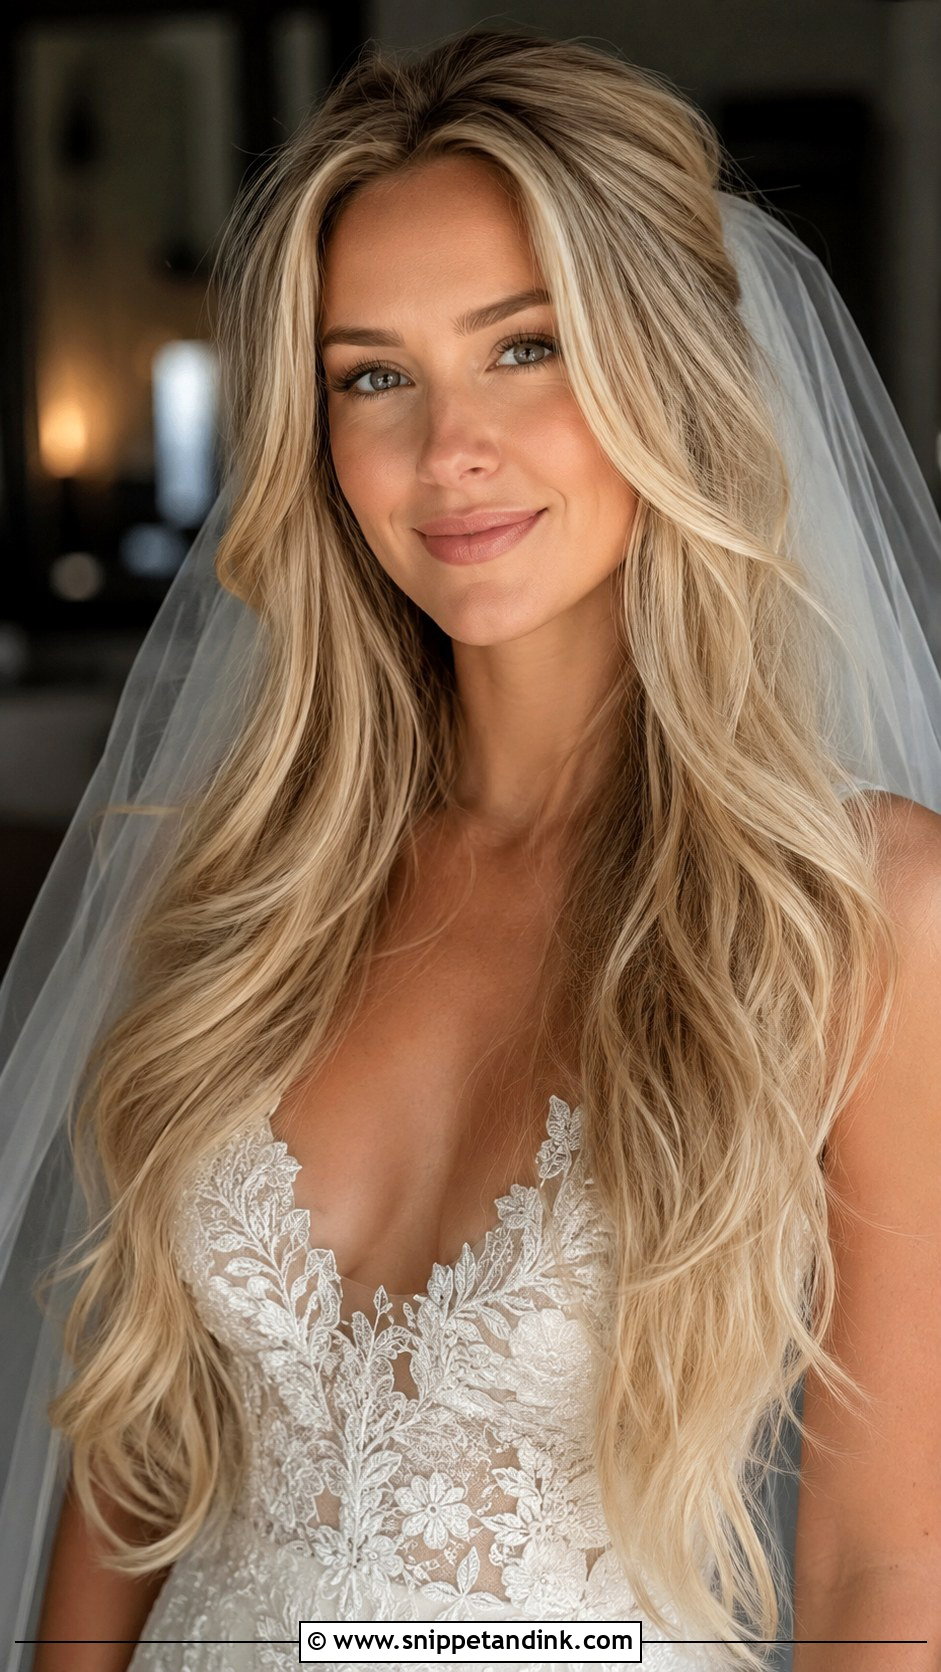
Long hair is heavy, and weight is what flattens a blowout. I dry long hair in more sections than people expect, roll the crown while it’s still warm, and use lightweight mousse at the root only. Face-framing layers matter here; without them, waist-length hair hangs like a curtain in photos. Keep the top smooth and let the ends turn out. It sits well under a long veil, as long as the veil is fine enough not to drag.
10. Wedding Blowout For Medium Hair
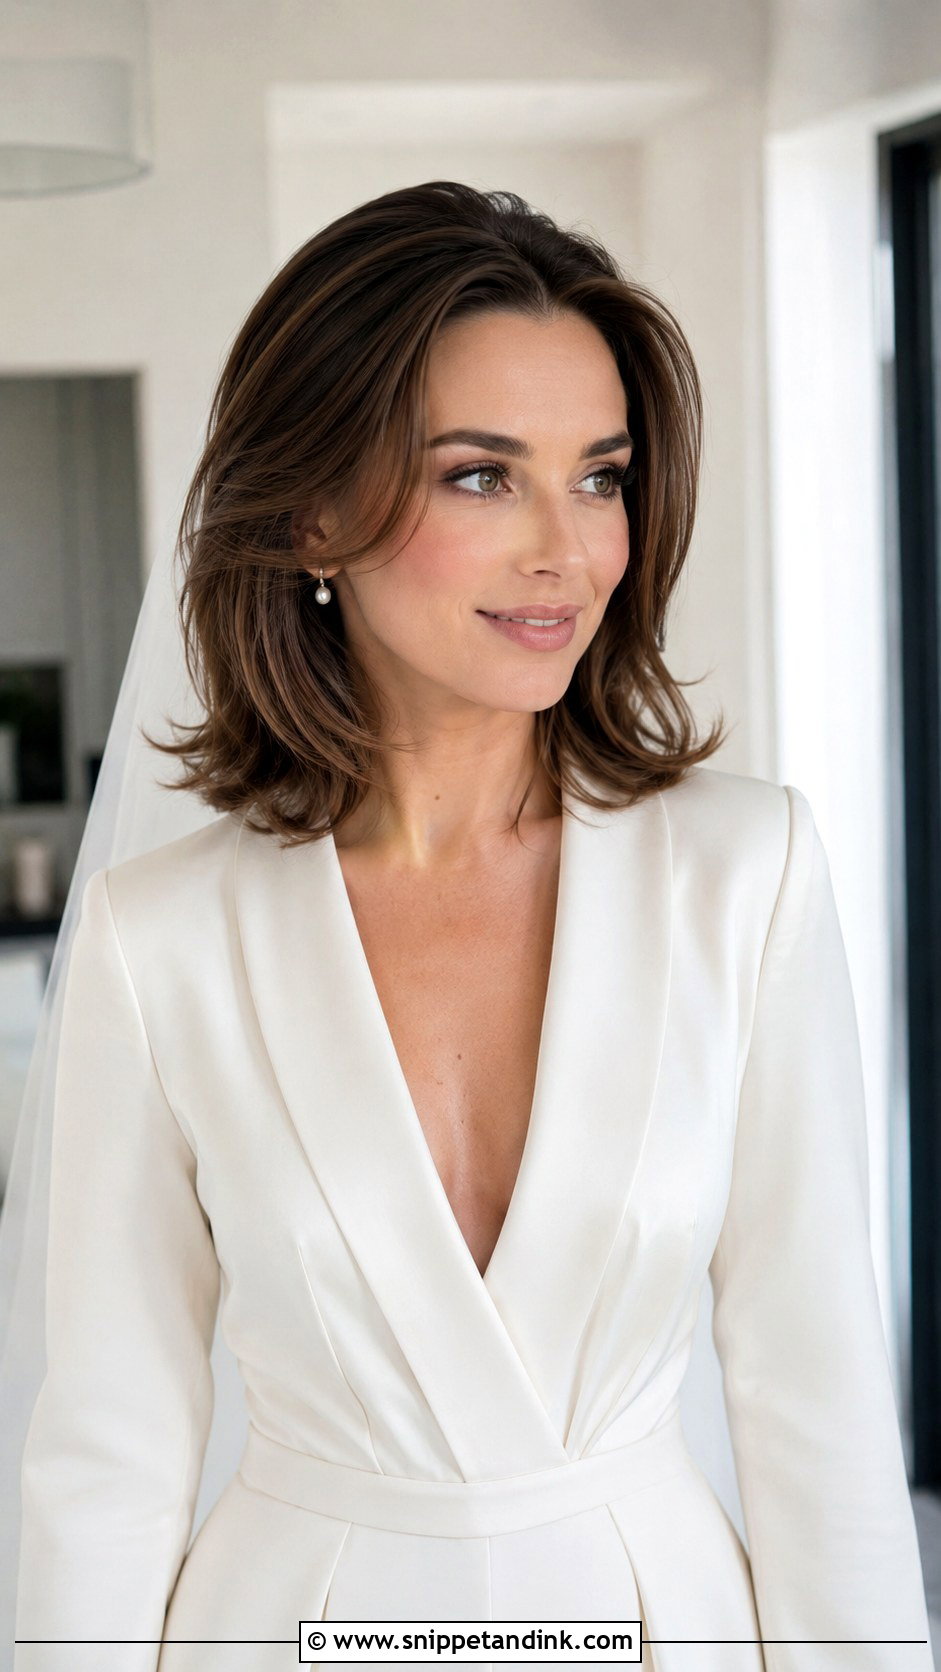
Shoulder and collarbone lengths are the easiest blowouts to keep alive all day, since there’s not much weight pulling the shape down. The work is in the ends. They have to turn under or flick away cleanly, because at this length the ends sit right where the camera looks. It’s an easy style to repeat across bridesmaids, wedding guests, and brides with lobs. My one warning: collarbone hair catches on shoulders and straps, so expect to smooth it a few times through the evening.
11. Wedding Blowout For Short Hair
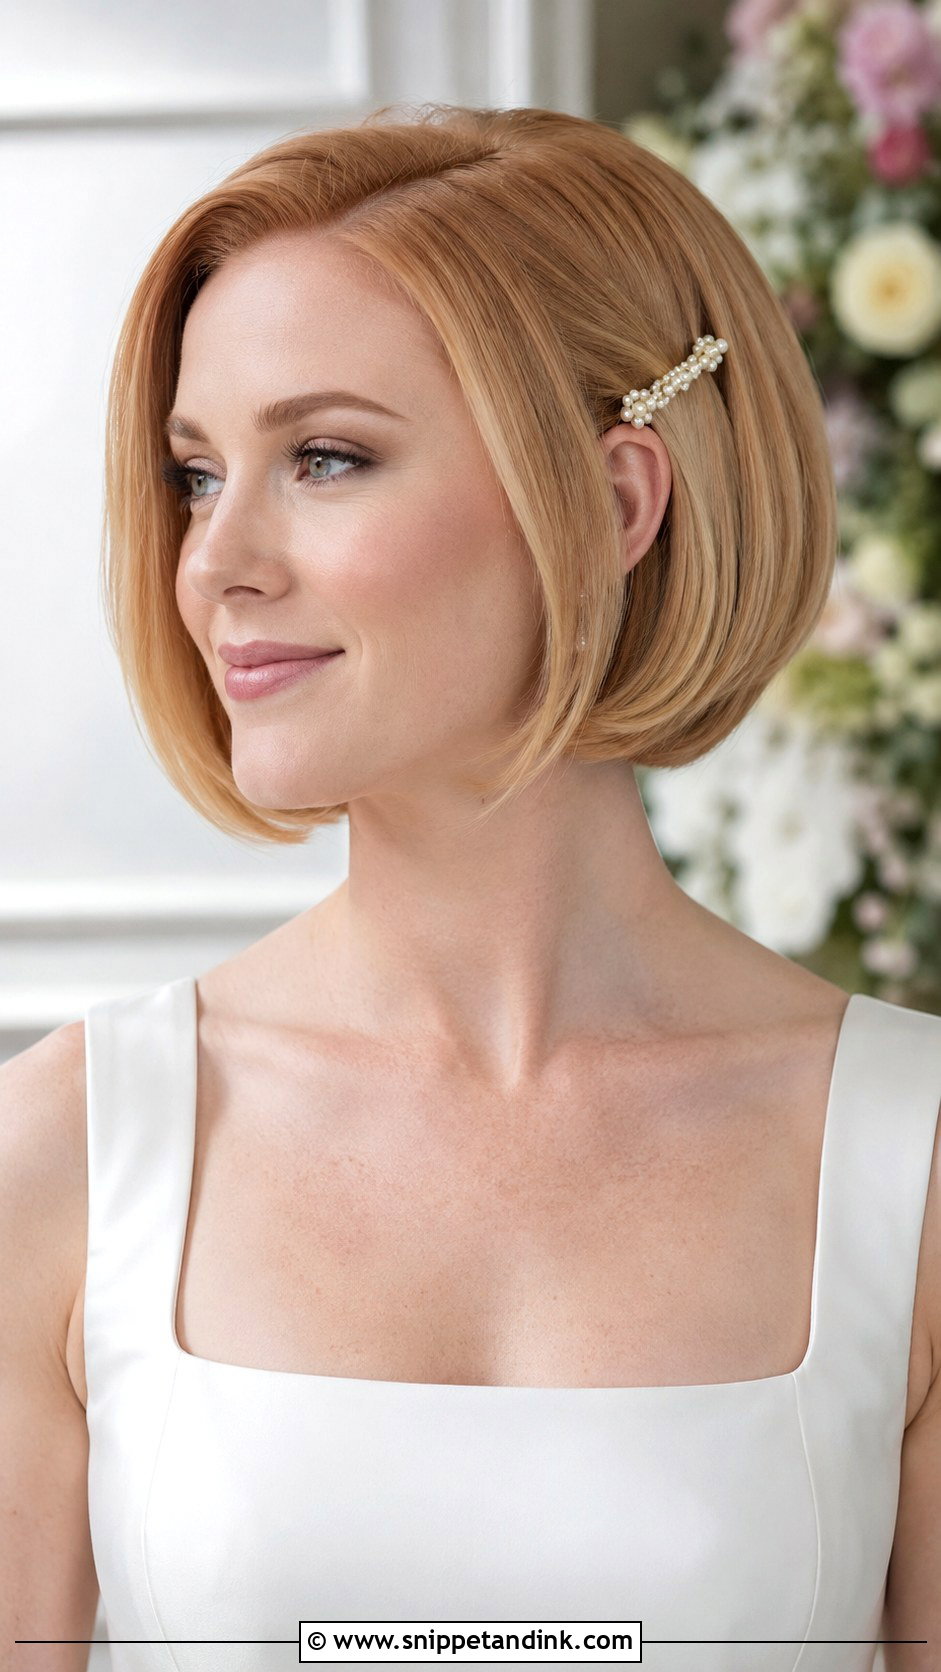
Short hair can carry a blowout every bit as well as long hair, but it shows everything, so the cut matters more than the styling. A bob or bixie needs a clean shape from the barber or salon about one to two weeks before, not the day before when the lines are still harsh. I curve chin-length fronts slightly away from the face to open the neckline. On anything shorter, I’d focus on texture and a little height at the crown. A single pearl pin or sleek barrette is plenty.
12. Wedding Blowout For Fine Hair
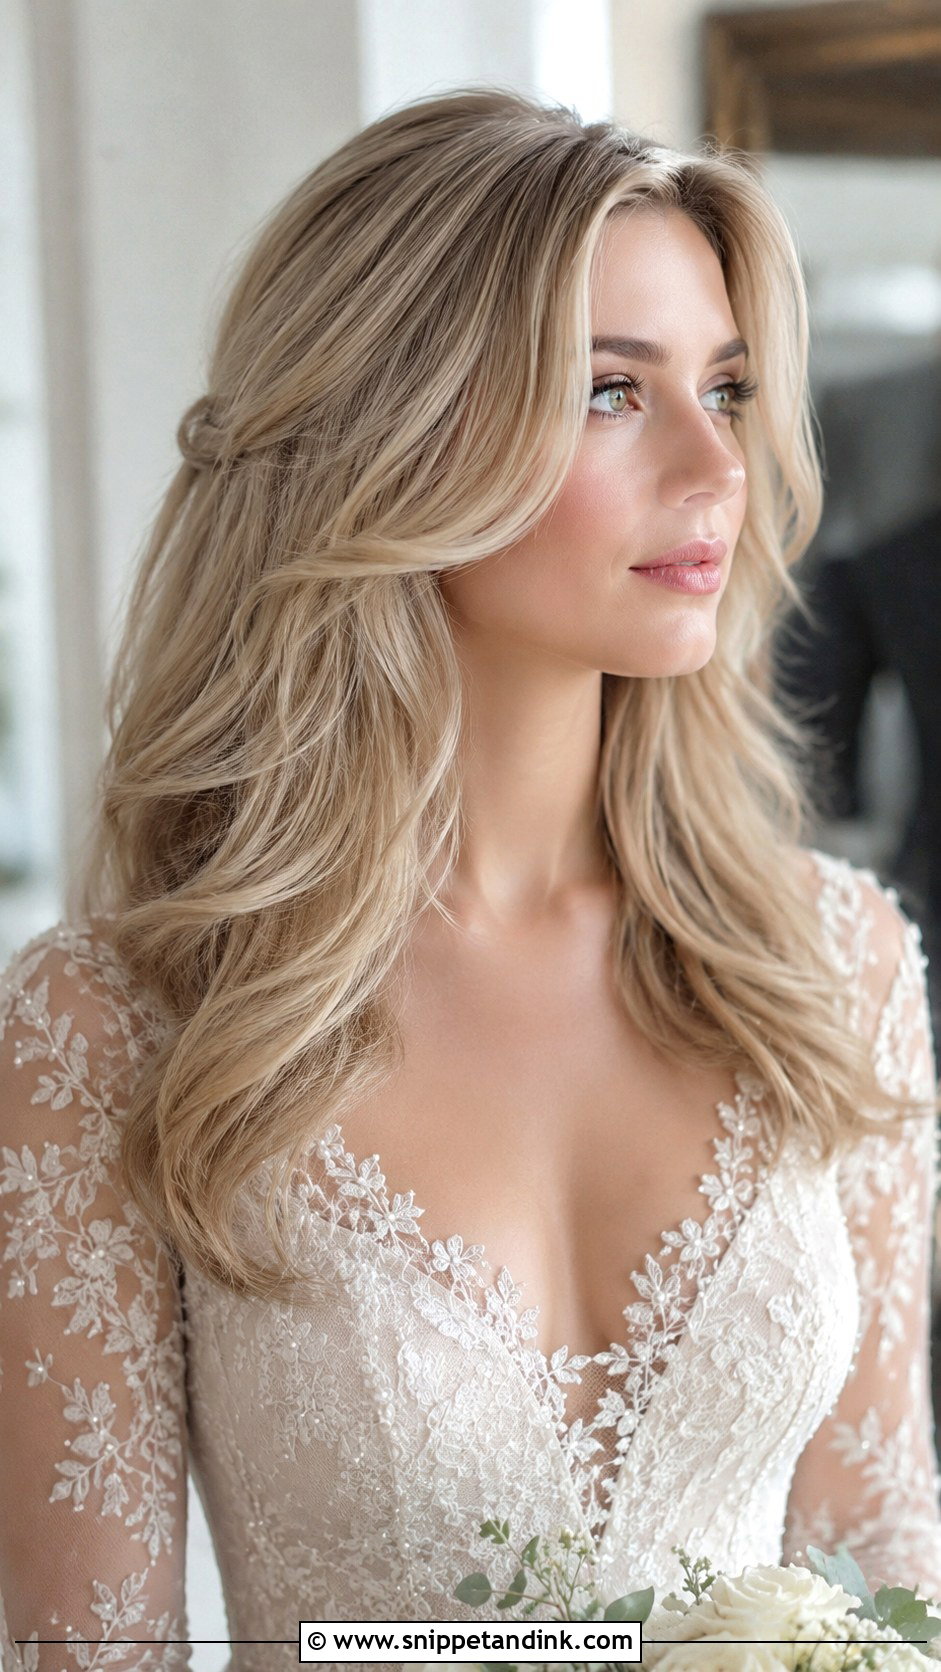
Fine hair loses volume to product more than to anything else. I use mousse on damp roots, dry with a smaller round brush than I’d use on thick hair, and set the crown in large rollers to cool. Serum only goes on the very ends. A side part or curtain bangs adds visible fullness at the front, which is where photos look first. Fine blowouts do drop as the day goes on, so I’d rather leave a client a little bigger than she wants at the start.
13. Wedding Blowout For Thick Hair
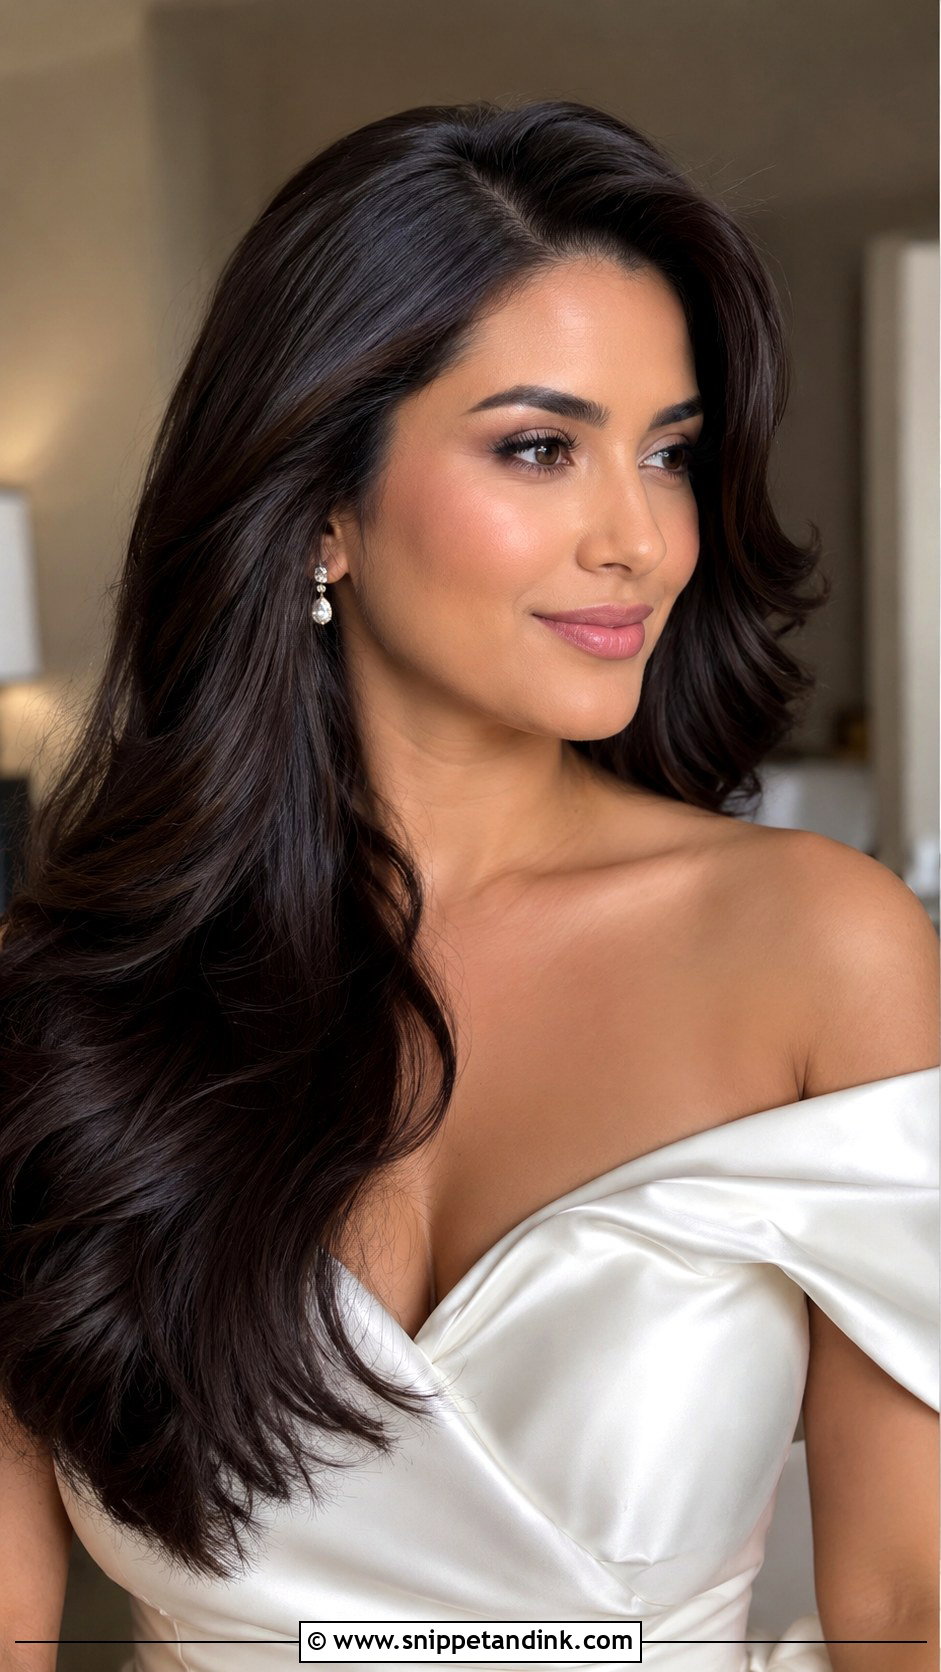
Thick hair has the opposite problem: it holds volume all day but goes wide. I smooth the root with tension and a large brush, dry in small sections so nothing is left damp underneath, and keep any waves large and brushed through. If the hair is very dense, long layers cut in advance help it fall in rather than out. Damp underlayers are the usual reason a thick blowout frizzes by the reception, so I check the nape before I put any heat on the top.
14. Wedding Blowout With Soft Curls
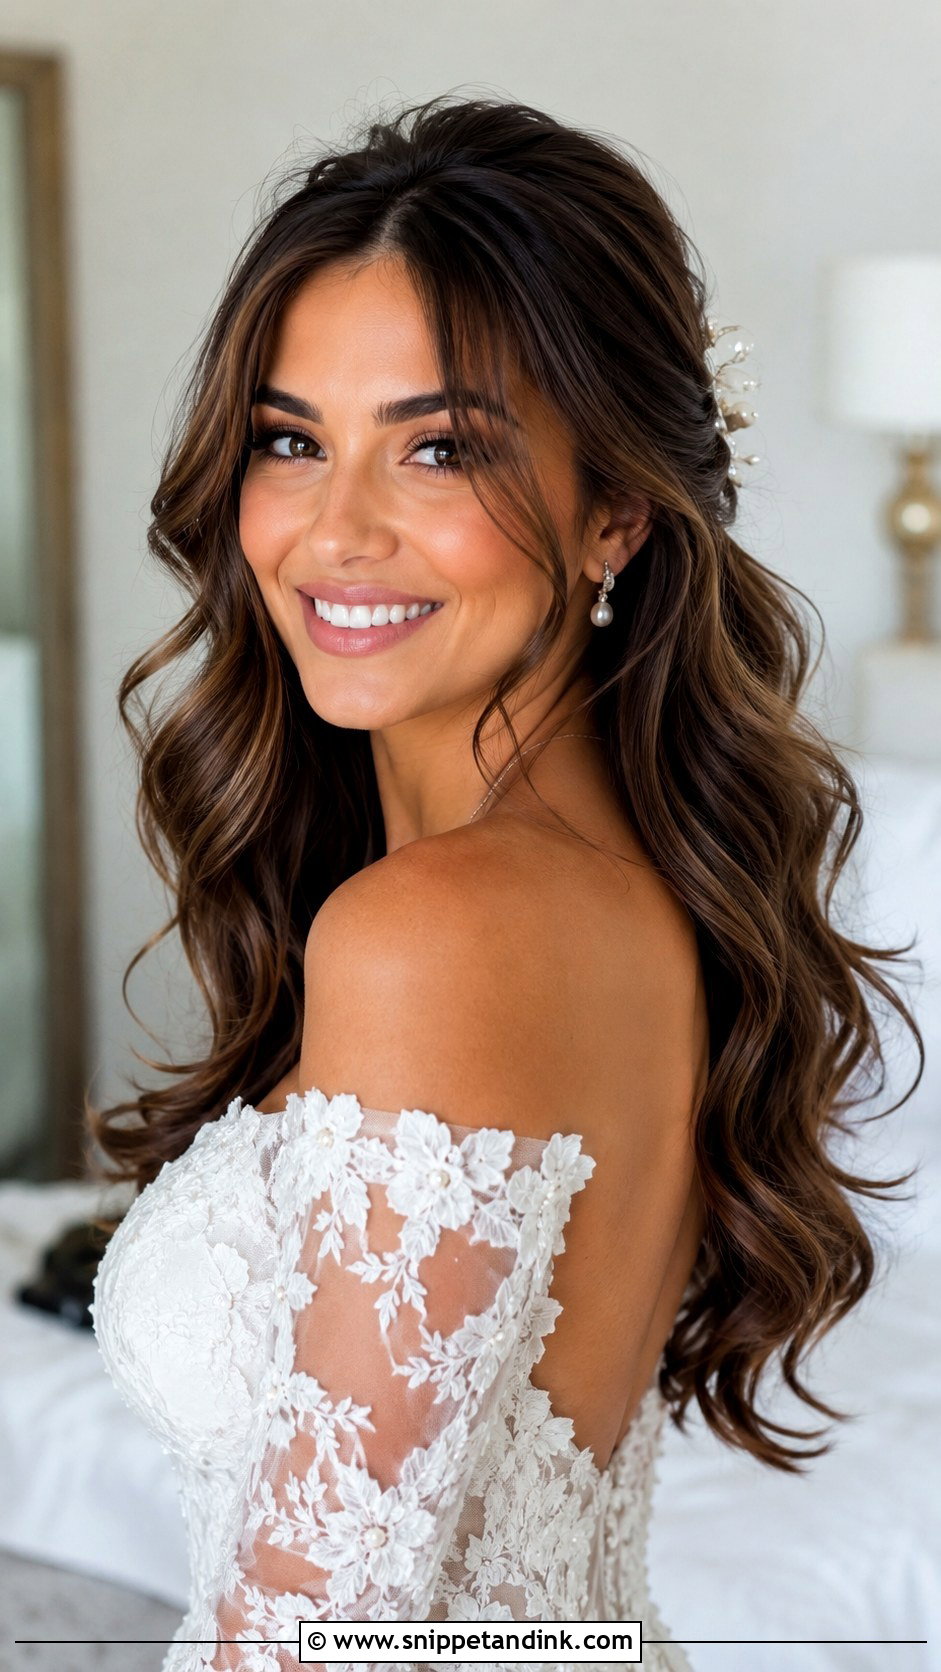
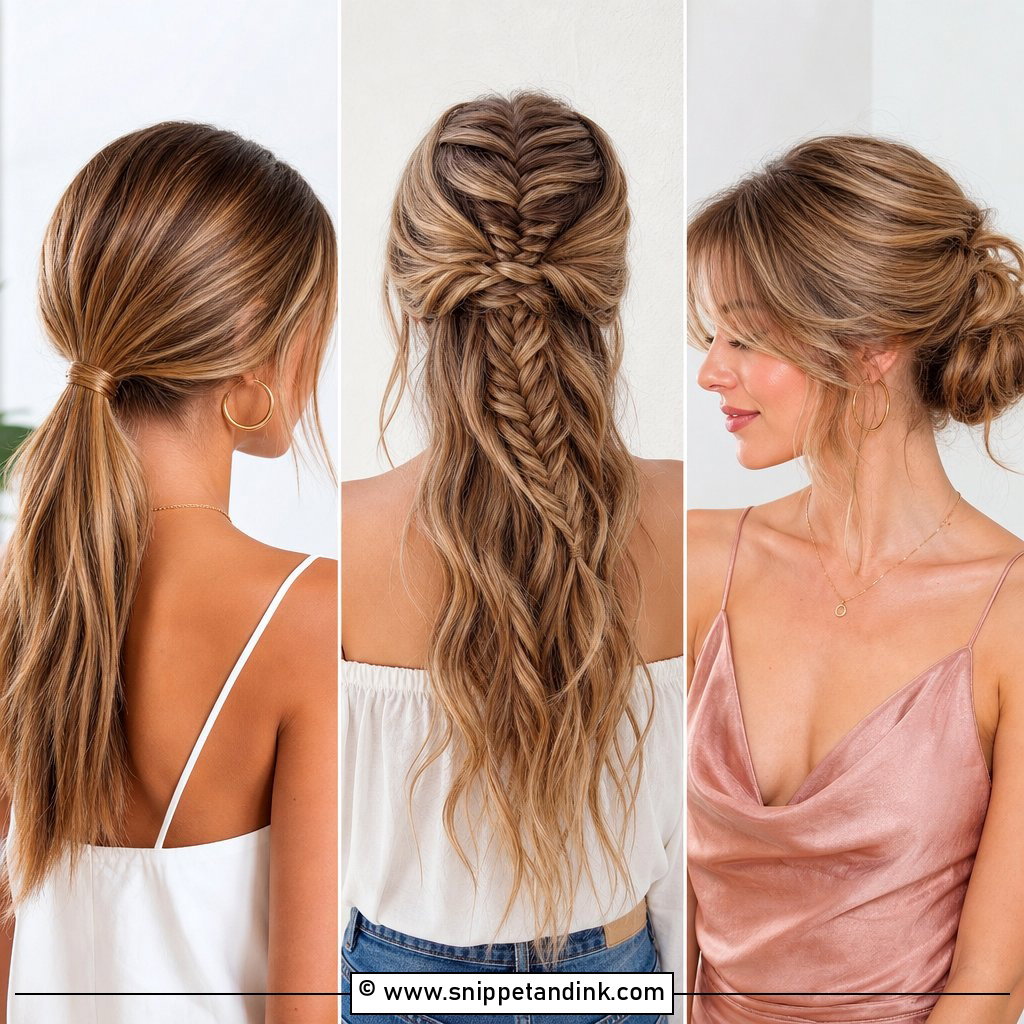
Curling on top of a blowout gives more structure than loose waves while staying soft. I blow the hair smooth first, curl larger sections than you’d think, pin each curl to cool, then brush them together so they read as one shape. This is the version I suggest for a twelve-hour day with hair worn down, because a cooled, pinned curl survives far longer than one released hot. Direct the front curls away from the face to keep it open for photos.
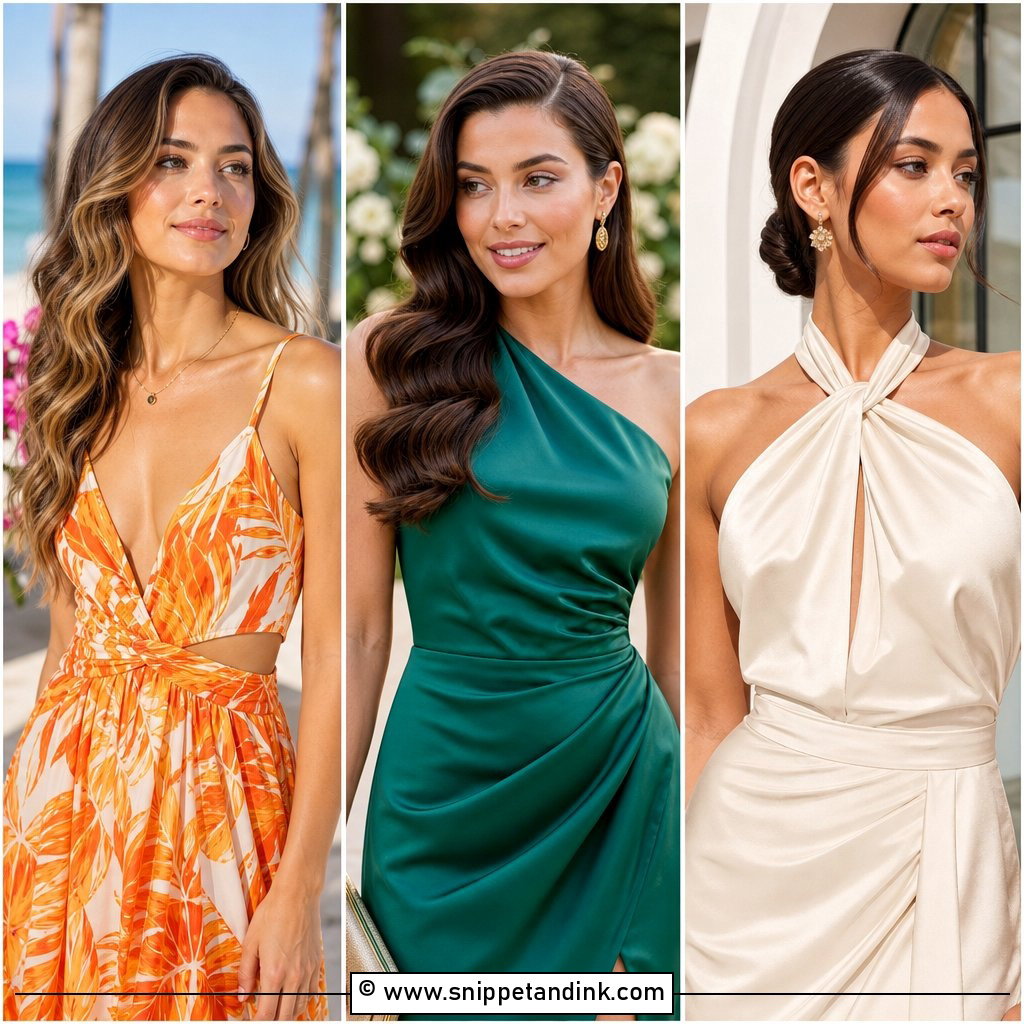
15. Wedding Blowout Ponytail
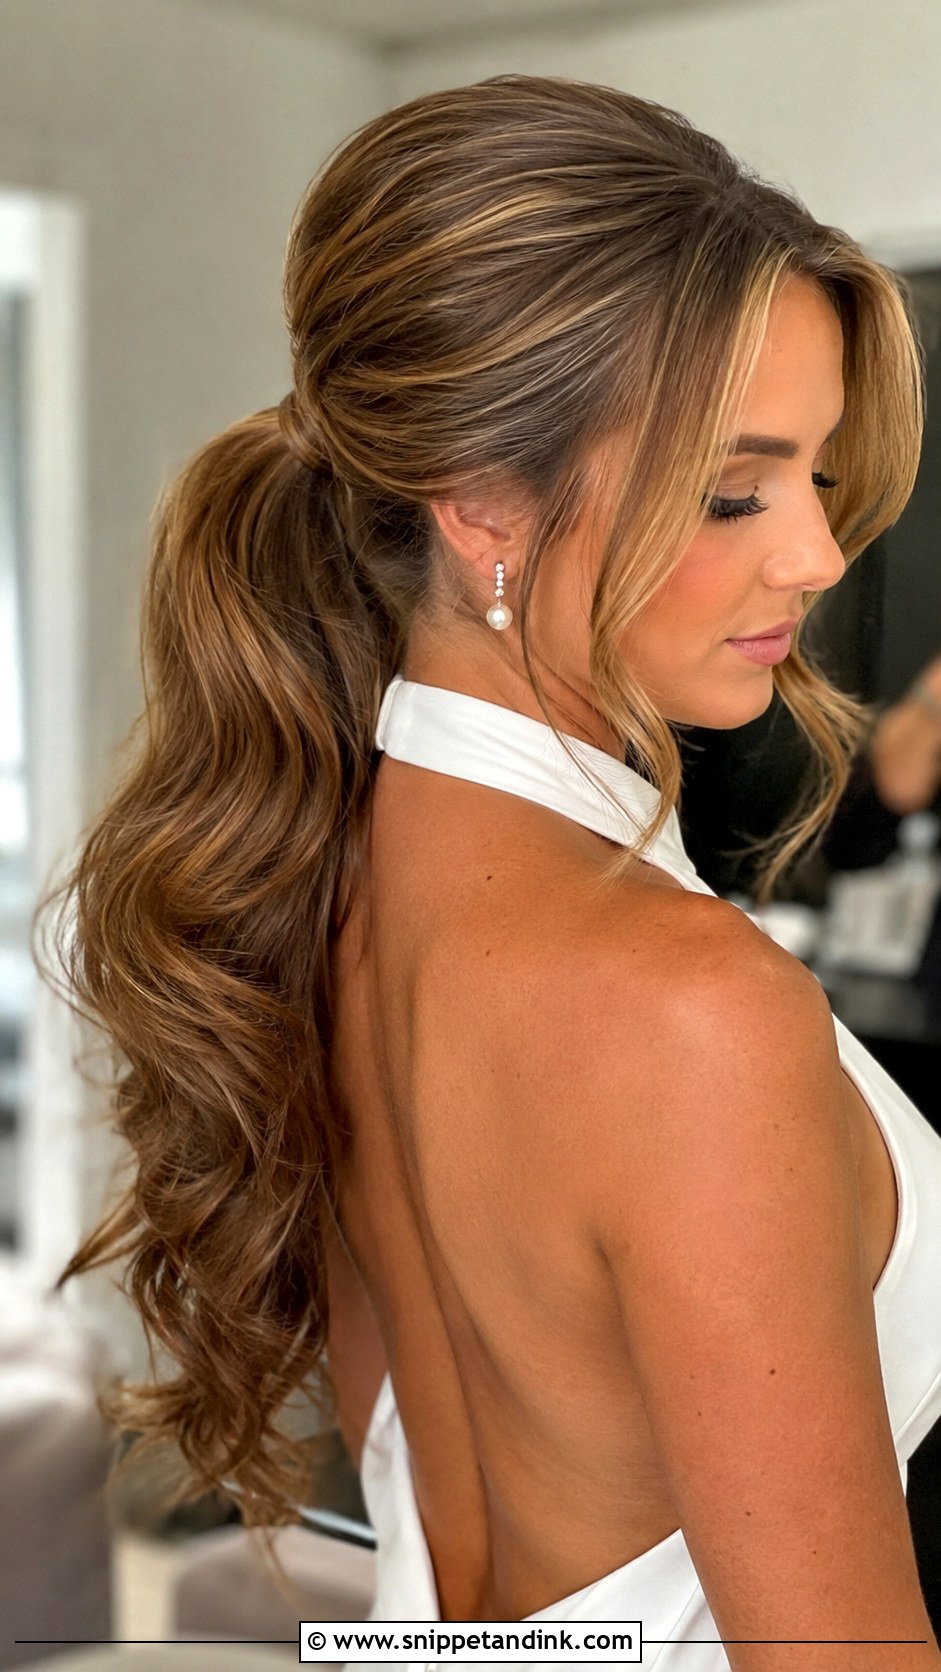
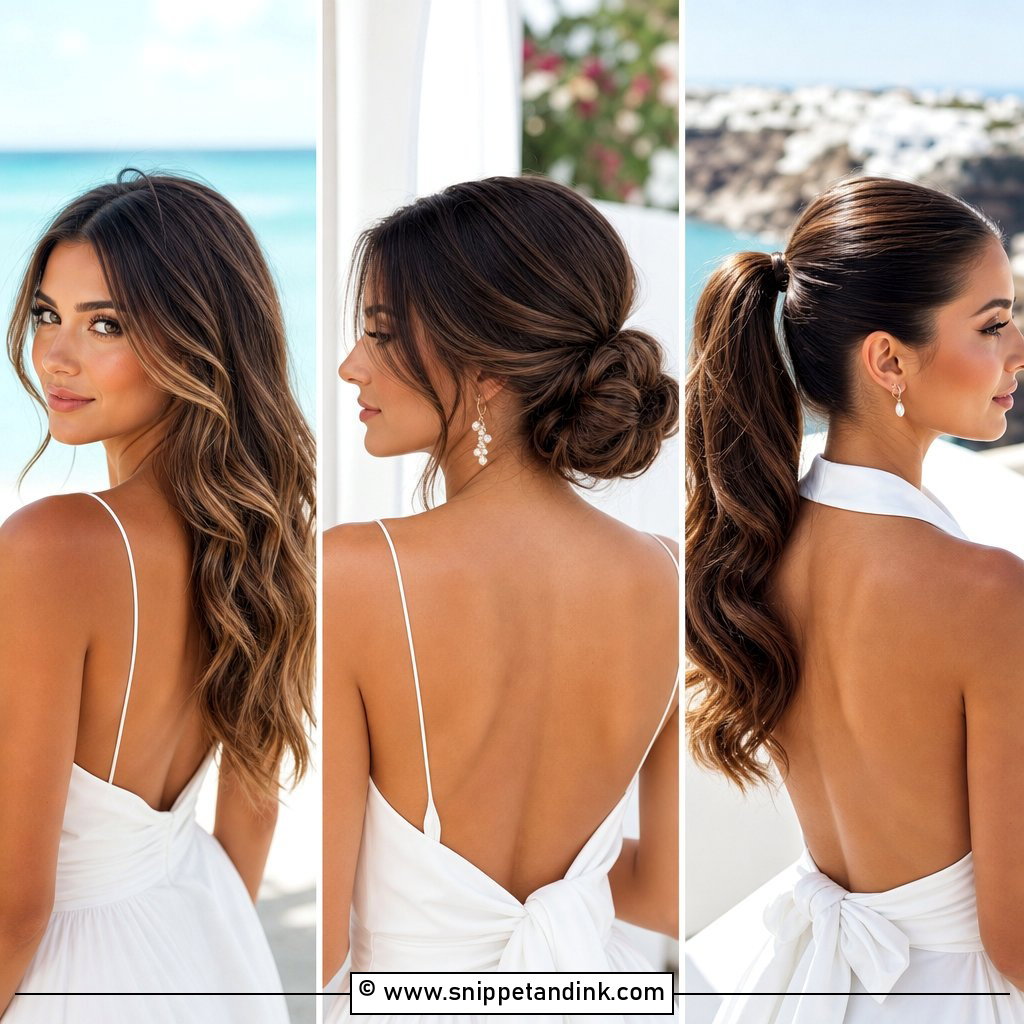
A wedding blowout ponytail is sleek at the base and full through the tail, and the blowout is what keeps the tail from looking limp. I dry the hair completely before tying, because a ponytail gathered over damp hair dents and frizzes. A strand wrapped around the elastic hides the band. Warm days and long dance floors are where this one earns its place, since it keeps hair off the neck. Leave a couple of face pieces out only if your hair holds a bend, or they’ll hang straight within an hour.
Rain, Sweat and Dancing: Rescuing a Blowout Mid-Reception
A blowout is loose hair, so it will move during the day. That’s fine. What you want is a small plan for when it moves too much.
If it drops
Flip your head, mist a little dry texture spray into the crown, and pin two or three large sections up for ten minutes while you sit through a speech. Taking them out cold brings much of the lift back. A bridesmaid can do this in a restroom with a handful of clips.
If it frizzes
Don’t add more spray, which only makes frizz crunchy. A tiny amount of smoothing balm warmed between the palms and pressed over the top layer calms it. Keep an umbrella handy for any outdoor moments, since wet hair will revert to its natural texture almost instantly.
If you’d rather not fuss at all
Ask your stylist for a reception switch. The half-up or ponytail versions above can be built in thirty seconds over the original blowout, so you get a fresh look and keep hair off your neck for dancing.
Which Blowout Holds Until the Last Song
A good blowout looks simple, but it’s the result of how the hair was dried, set and cooled, not the photo on your mood board. Plan it around your cut, your texture, your neckline and the forecast, and book a trial so you both learn how much product your hair actually needs. Bring pictures, but also tell your stylist how your hair behaves on a normal day. That conversation usually decides which of these fifteen will still be holding its shape when the last song plays.
You'll Like These Ideas:


Leave a Reply