
A blowout is the quiet foundation under most bridal hair. Even when the finished style is curls, a bun or a half-up look, the shape and shine come from how the hair was dried first. Done properly, it gives volume at the root, a smooth surface that reflects light, and ends that turn instead of hanging. These 30 looks run from big bouncy volume and glassy straight hair to vintage waves and textured boho styles, and for each one I’ve noted what holds it up, which hair types it fights against and what I’d change at a trial.
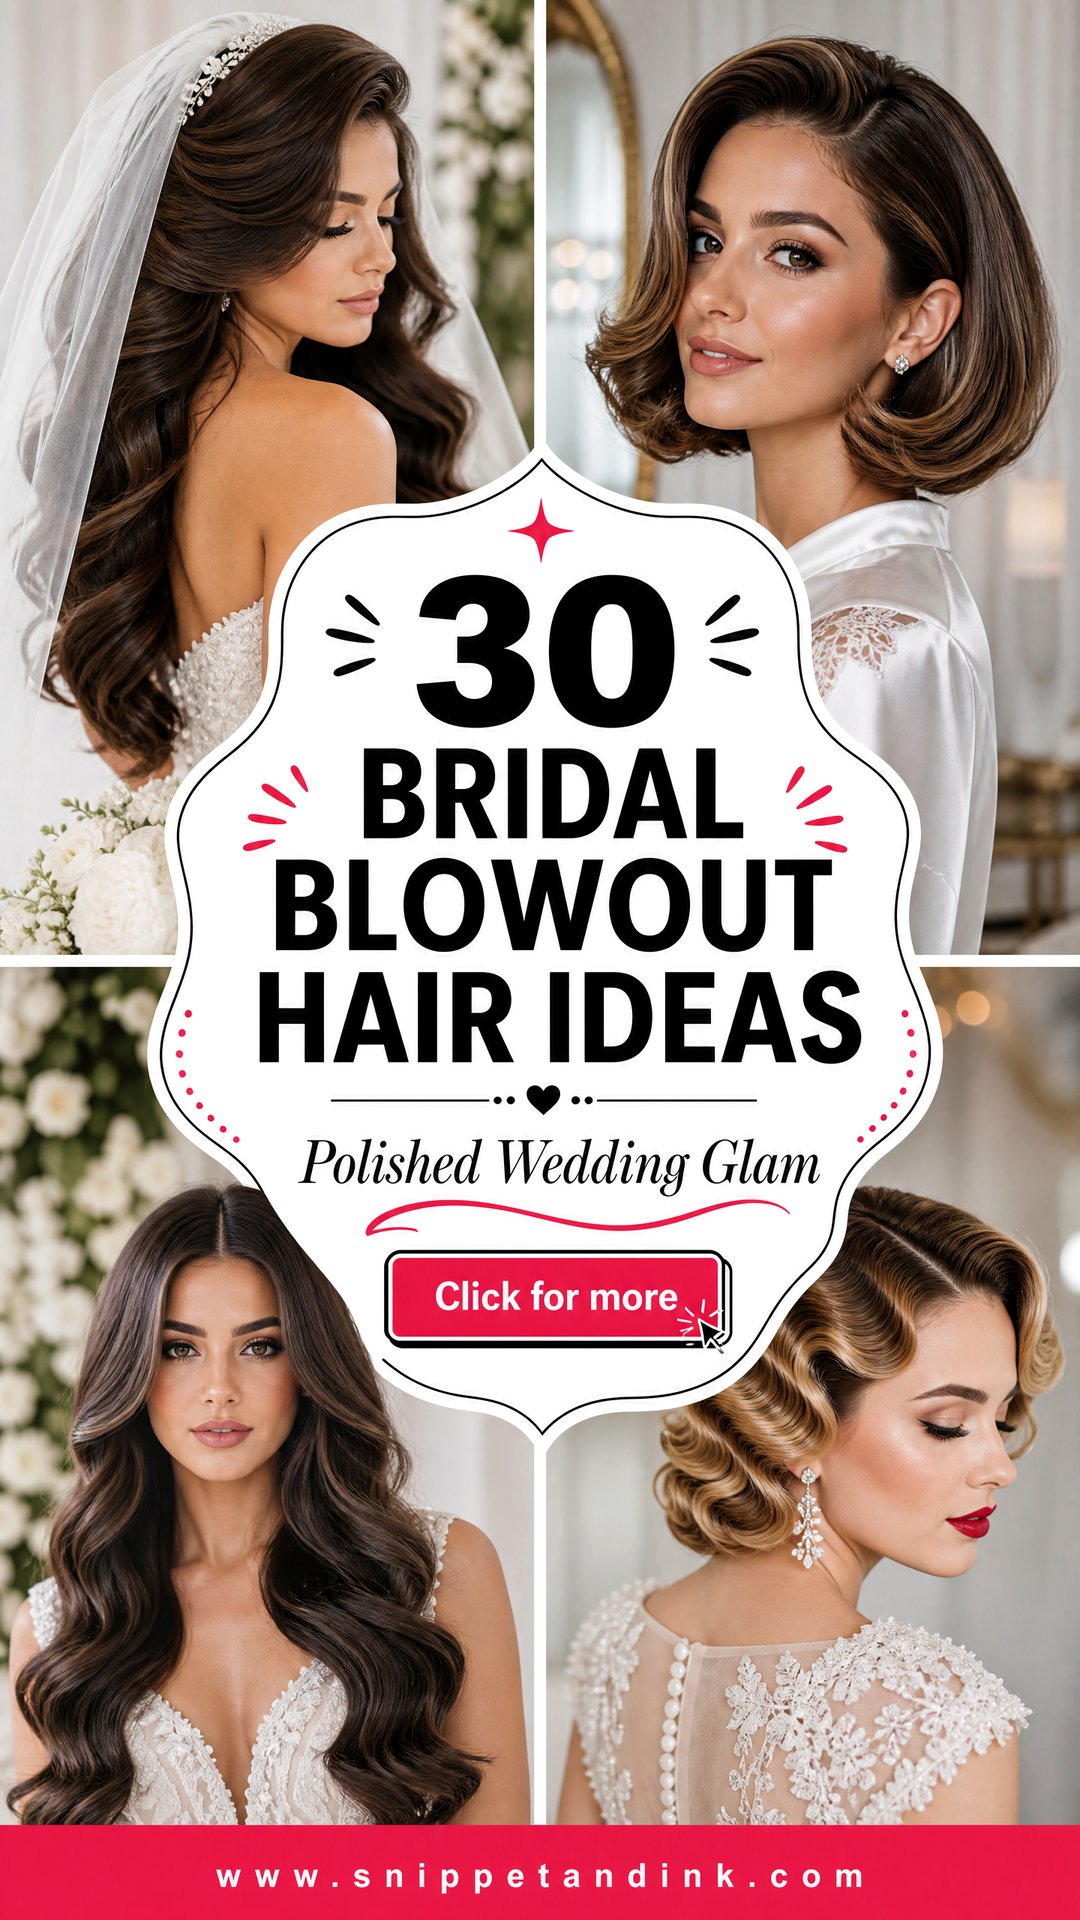
Where Blowout Volume Comes From
Most of a blowout’s staying power is decided before the dryer is switched on. Hair that’s just been washed with a rich conditioner is silky but has no grip, and it drops quickly. I’d rather start with hair washed the night before or early that morning, rinsed well, with a light conditioner on the ends only.
Then I work in this order:
- Heat protectant and a light mousse or root spray on damp hair.
- Rough-dry to about 80 percent with fingers, lifting the root.
- Smooth each section with a round brush, then let it cool on the brush or in a Velcro roller before releasing it.
- Finish with a light hairspray and a shine product on the ends only.
That cooling step is the one people rush. Hair holds the shape it cools in, so a warm curl brushed out immediately will fall within an hour.
If you can, skip a new color or keratin-type smoothing treatment in the final week. Smoothing treatments can leave hair too slippery to hold a curl, and you won’t know until the morning it matters.
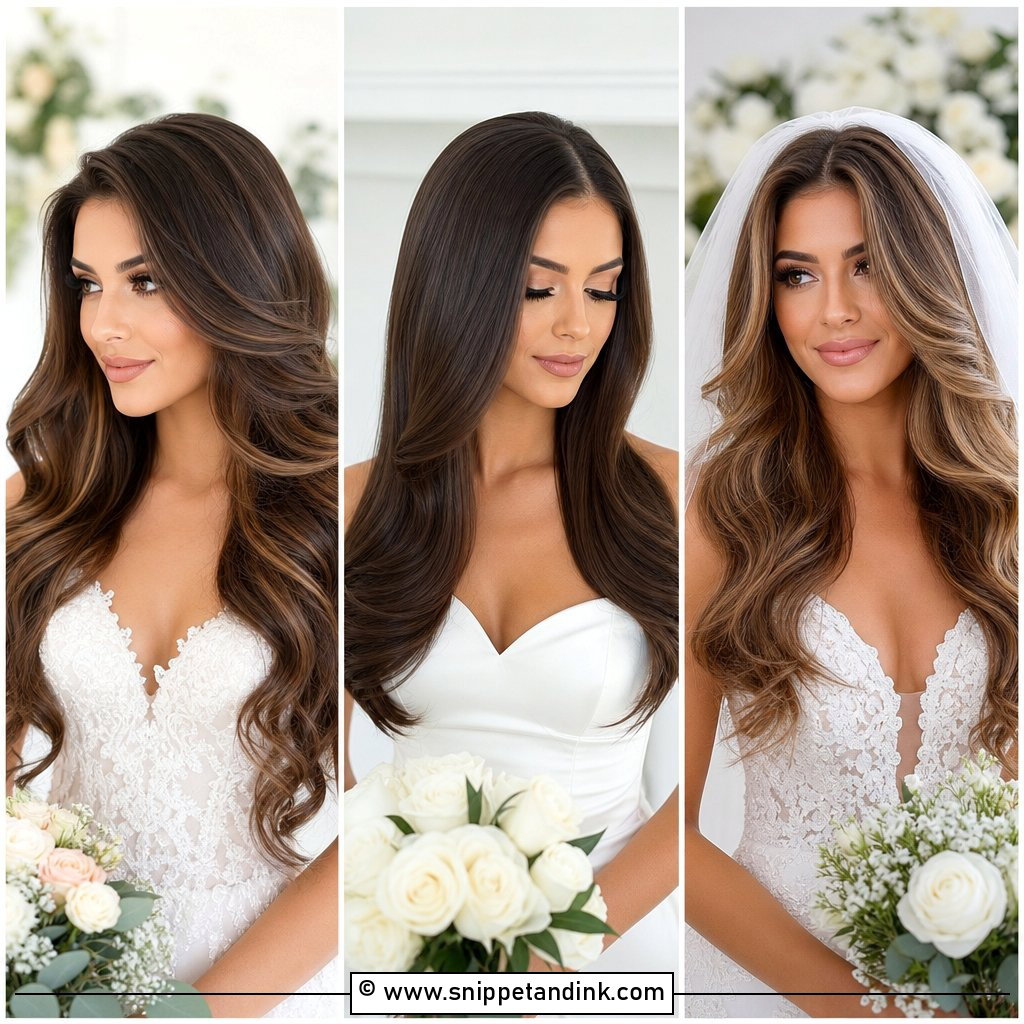
1. Voluminous Bouncy Blowout
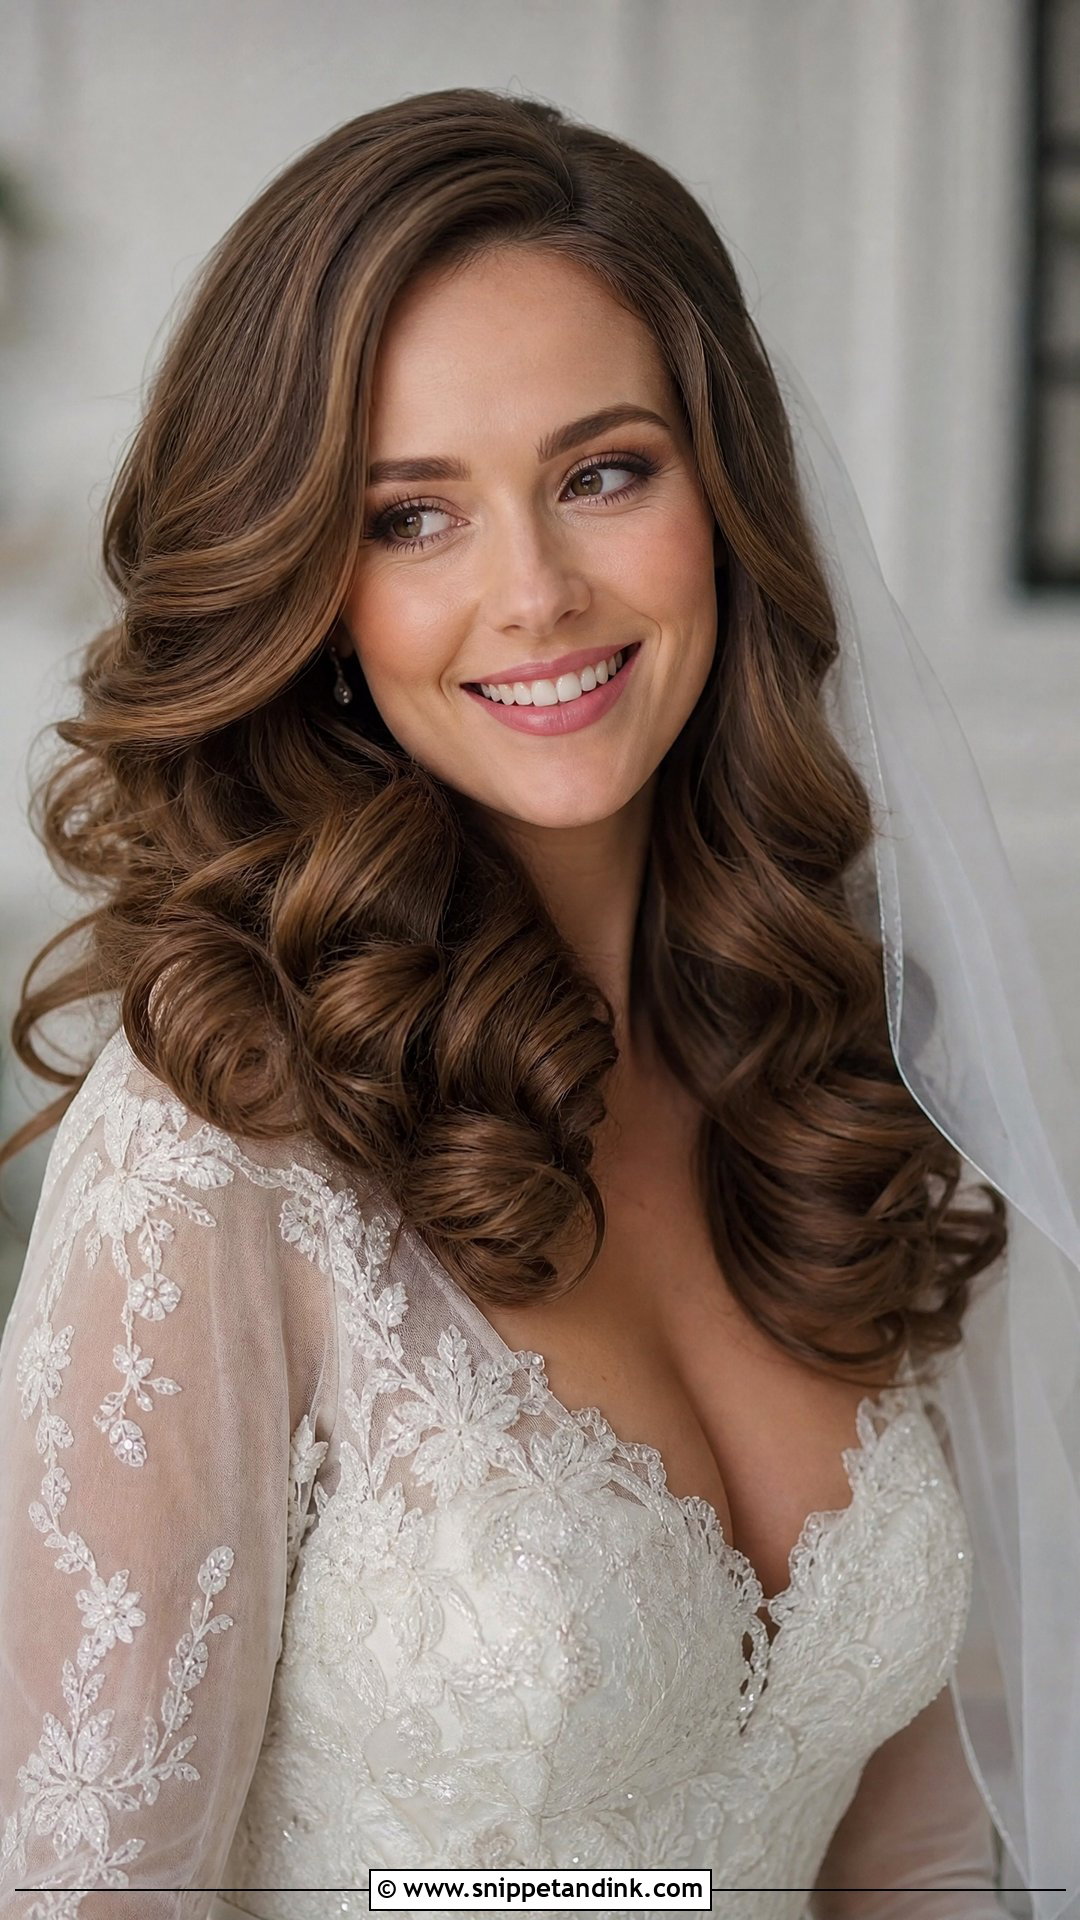
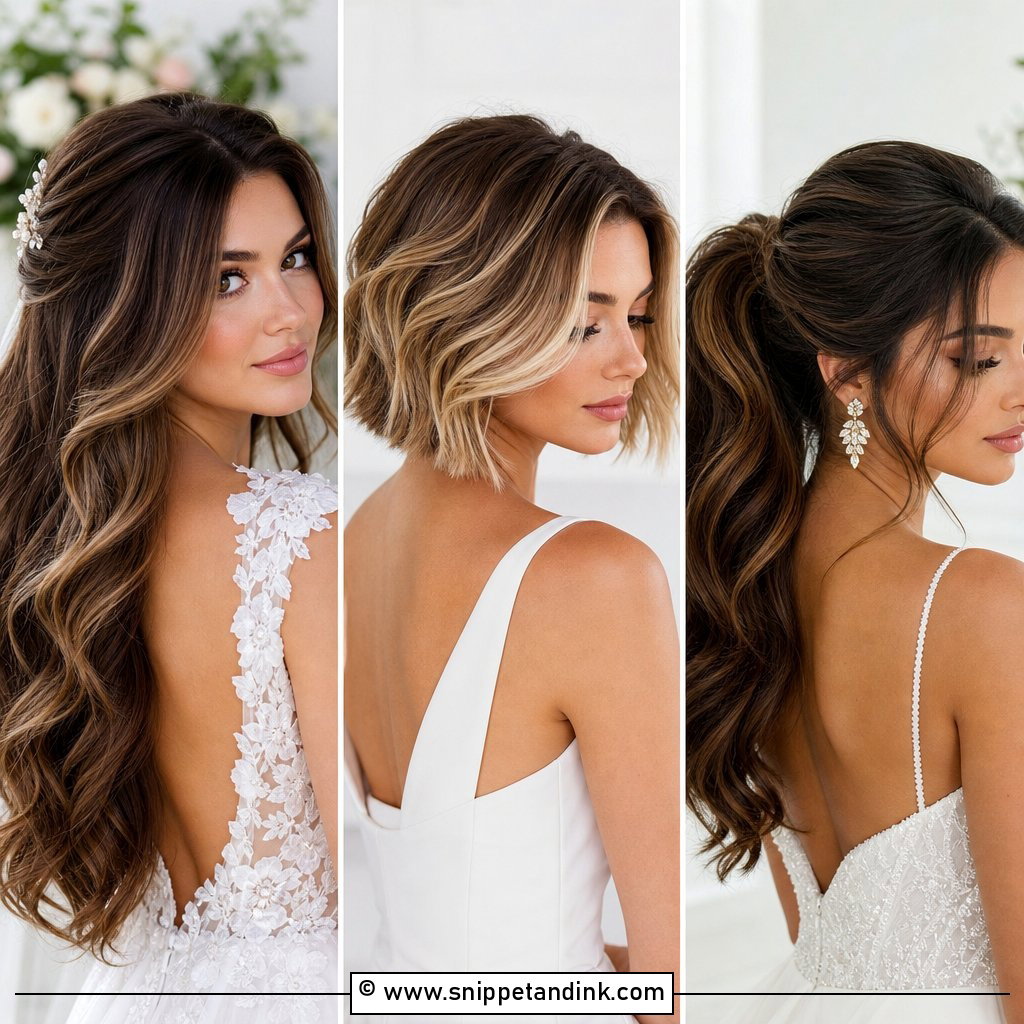
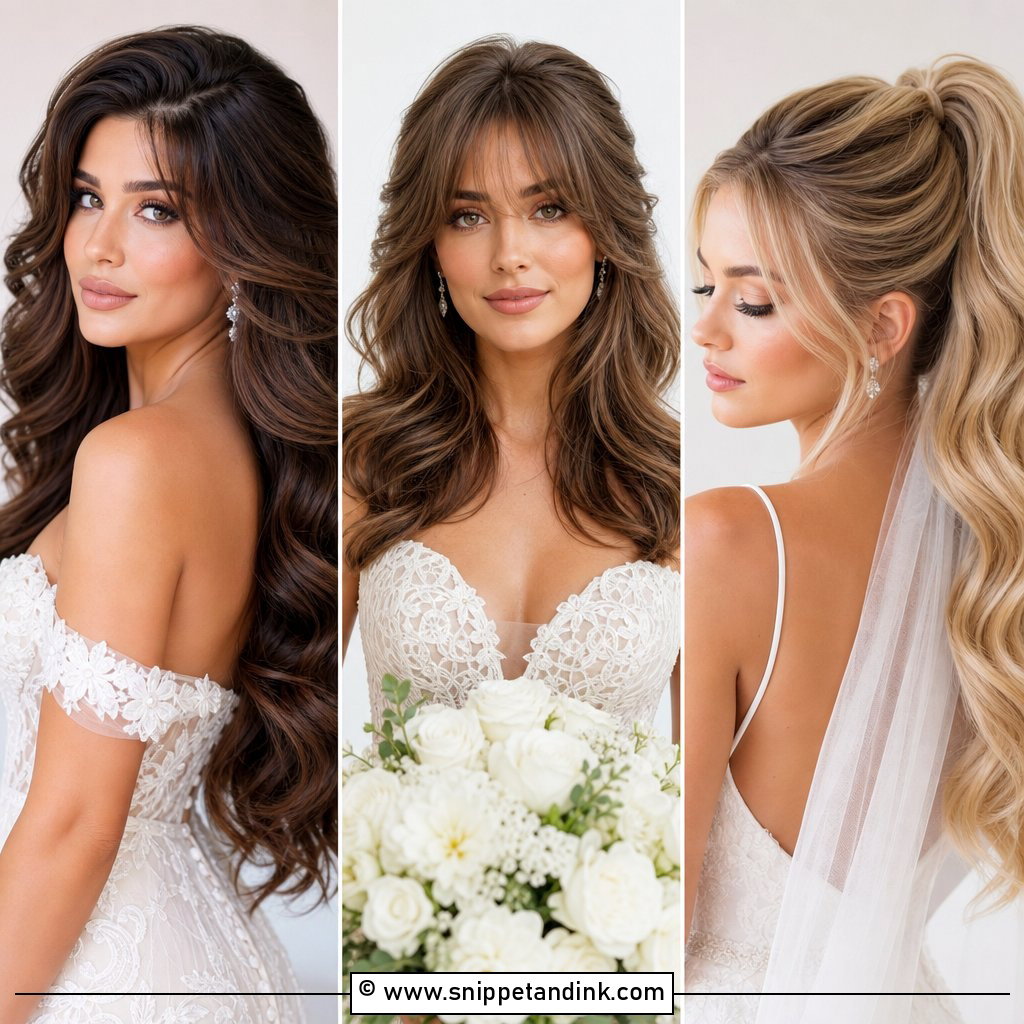
Big bounce comes from drying the root in the opposite direction to where it will fall, then rolling each section around a large round brush and letting it cool on the brush before releasing it. That cooling step is what most home blowouts skip. On medium to long hair I pin each warm barrel in a Velcro roller while I finish the rest of the head. It holds well with a light veil or a couple of pins; a heavy veil will flatten the crown, so I lift the root again after it’s removed.
2. Sleek Straight Blowout
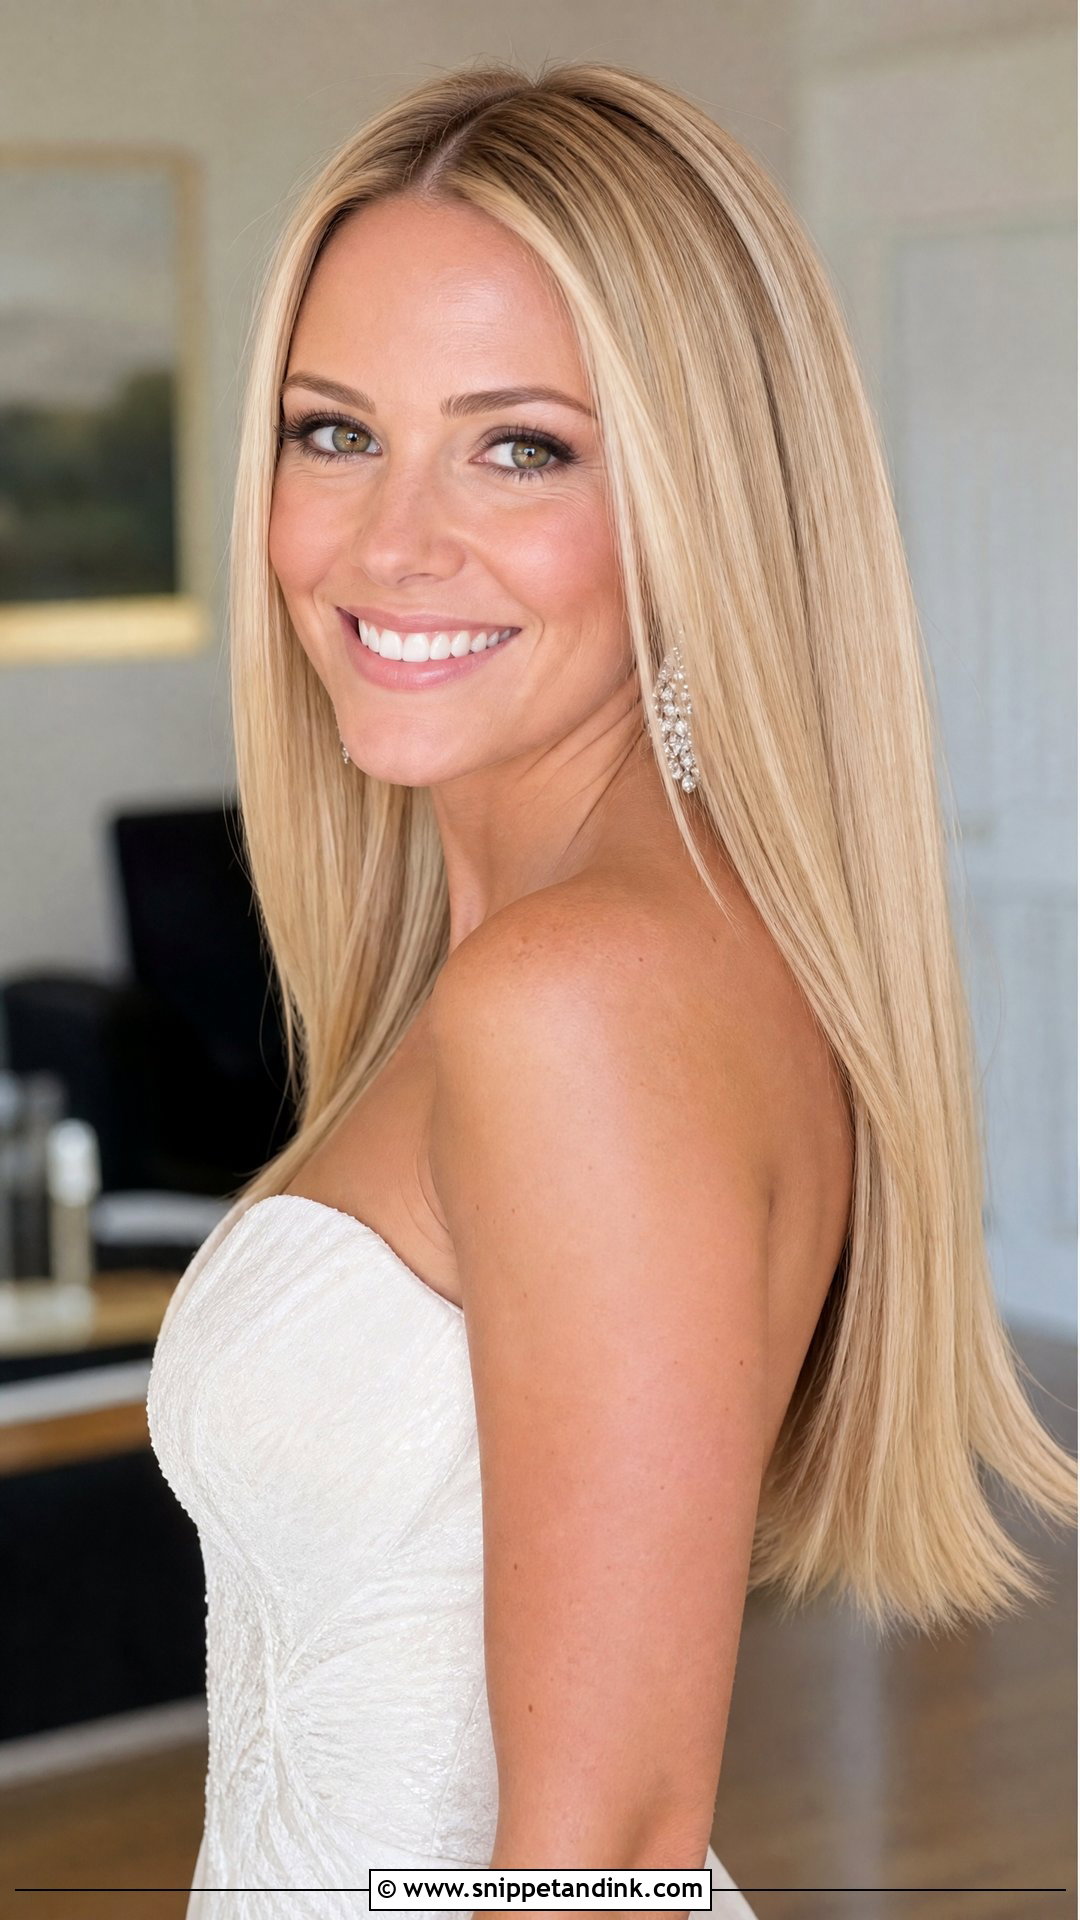
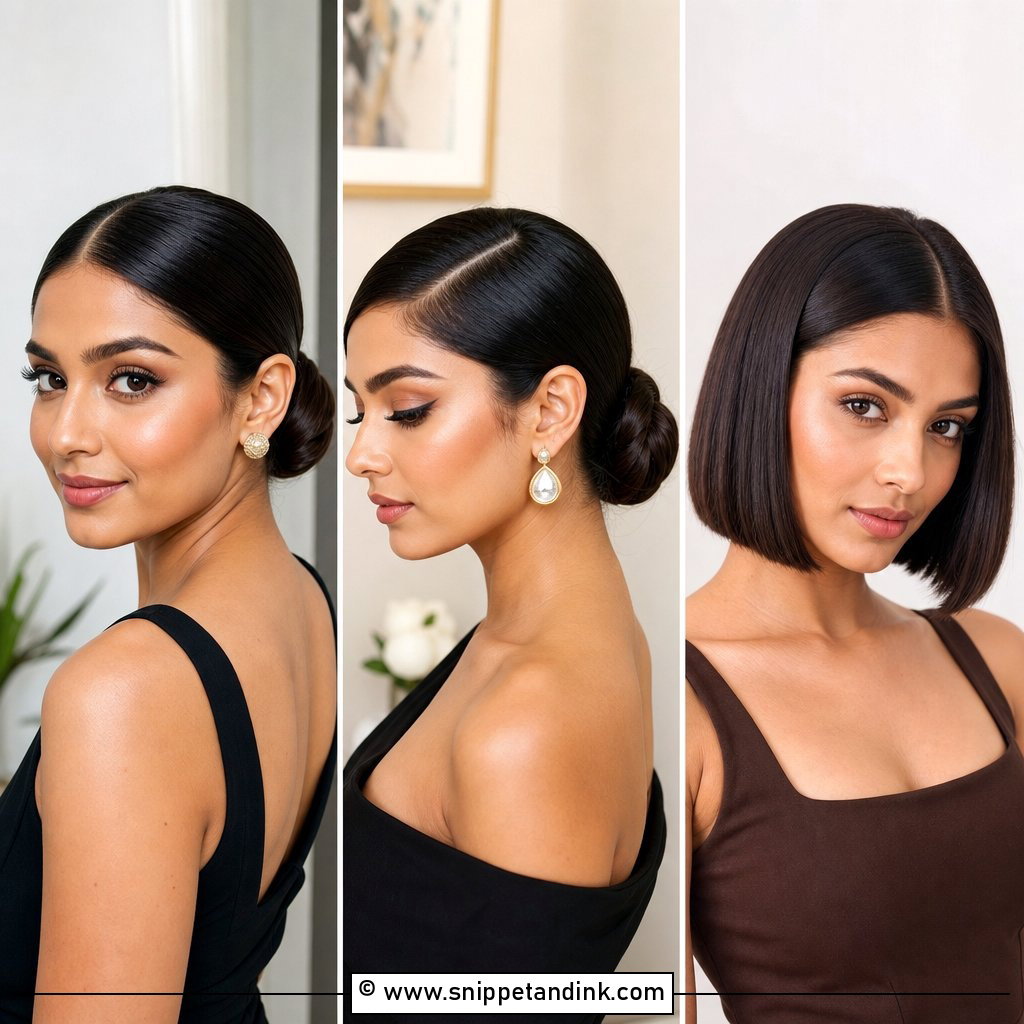
A sleek straight blowout looks simple and is unforgiving. Every kink shows, so I dry it smooth with a paddle or round brush first and only use the flat iron for the final pass, at a moderate temperature, a few strands at a time. Serum goes on the lengths only; near the scalp it reads as greasy by evening. It shows off color, earrings and a low back. Skip it if your hair frizzes in damp air and the wedding is outdoors in summer; straight hair shows humidity faster than any other finish.
3. Old Hollywood Glam Waves
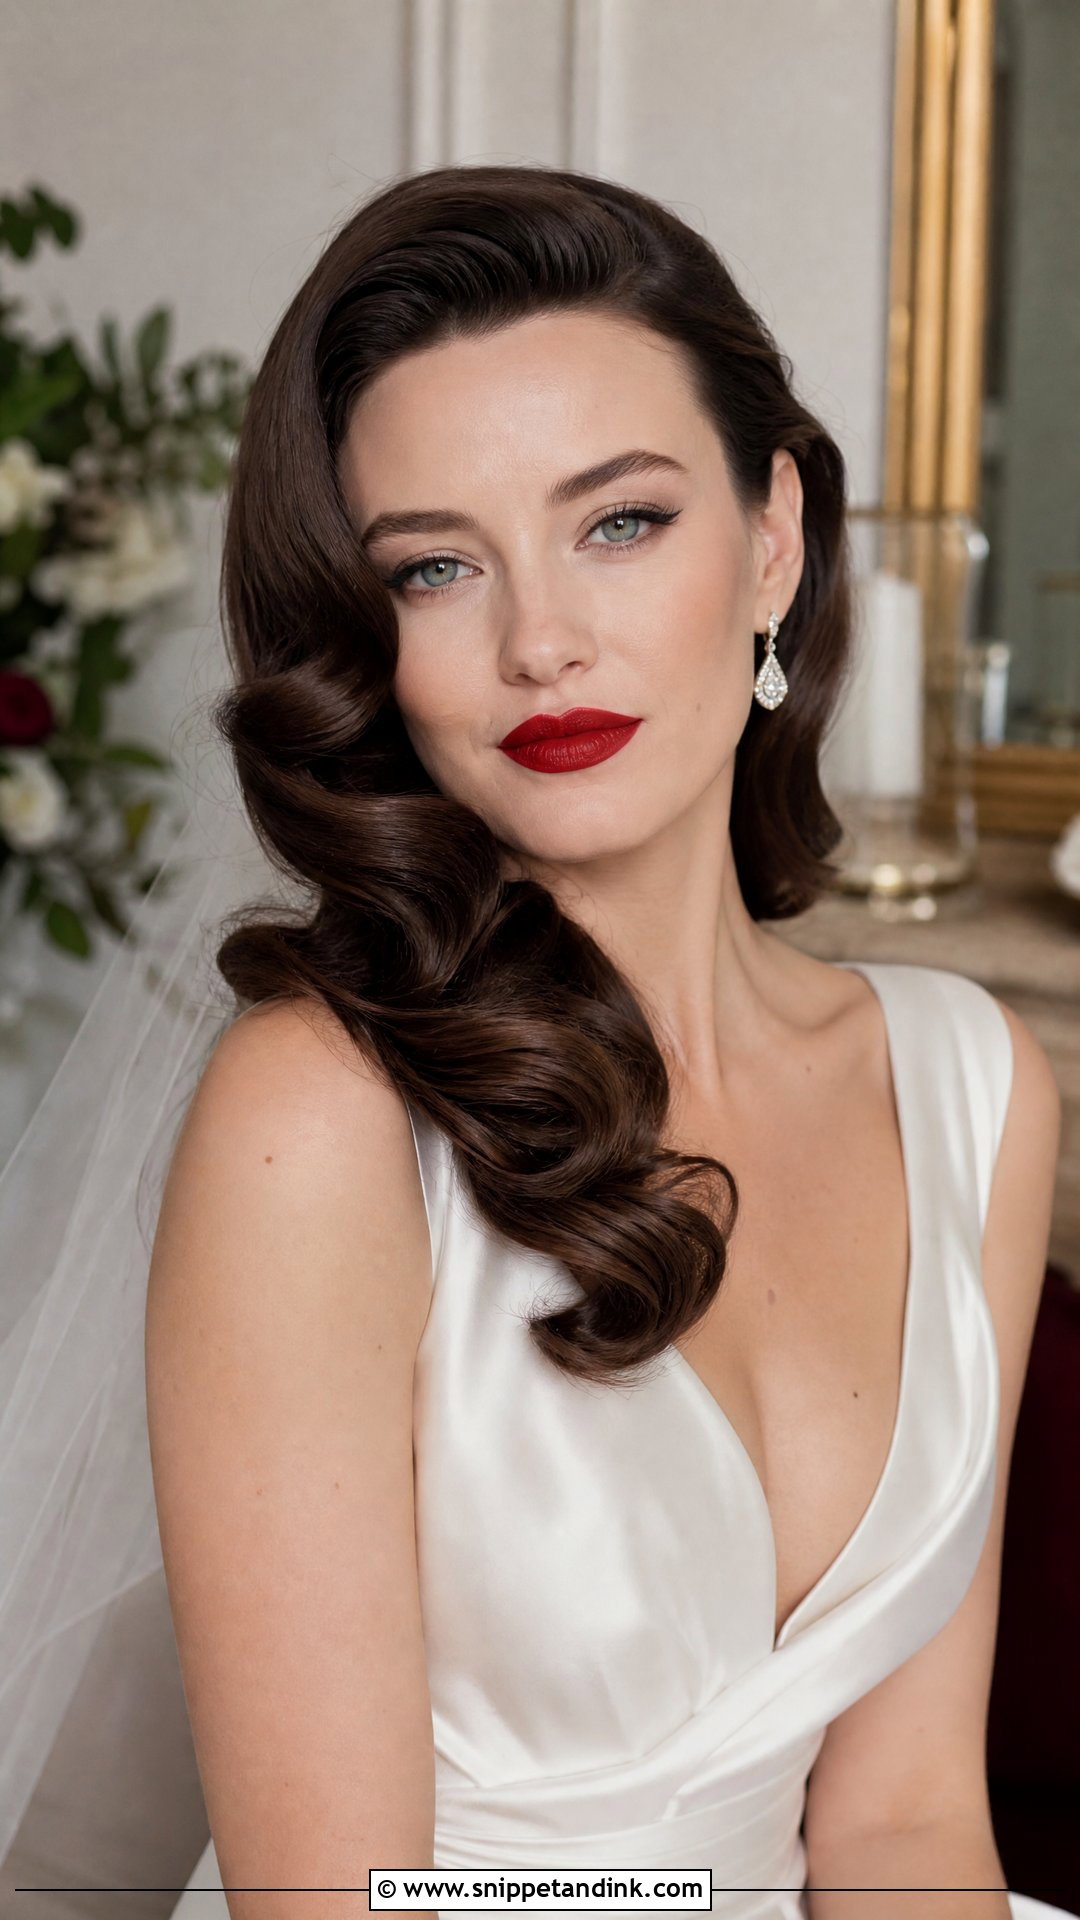
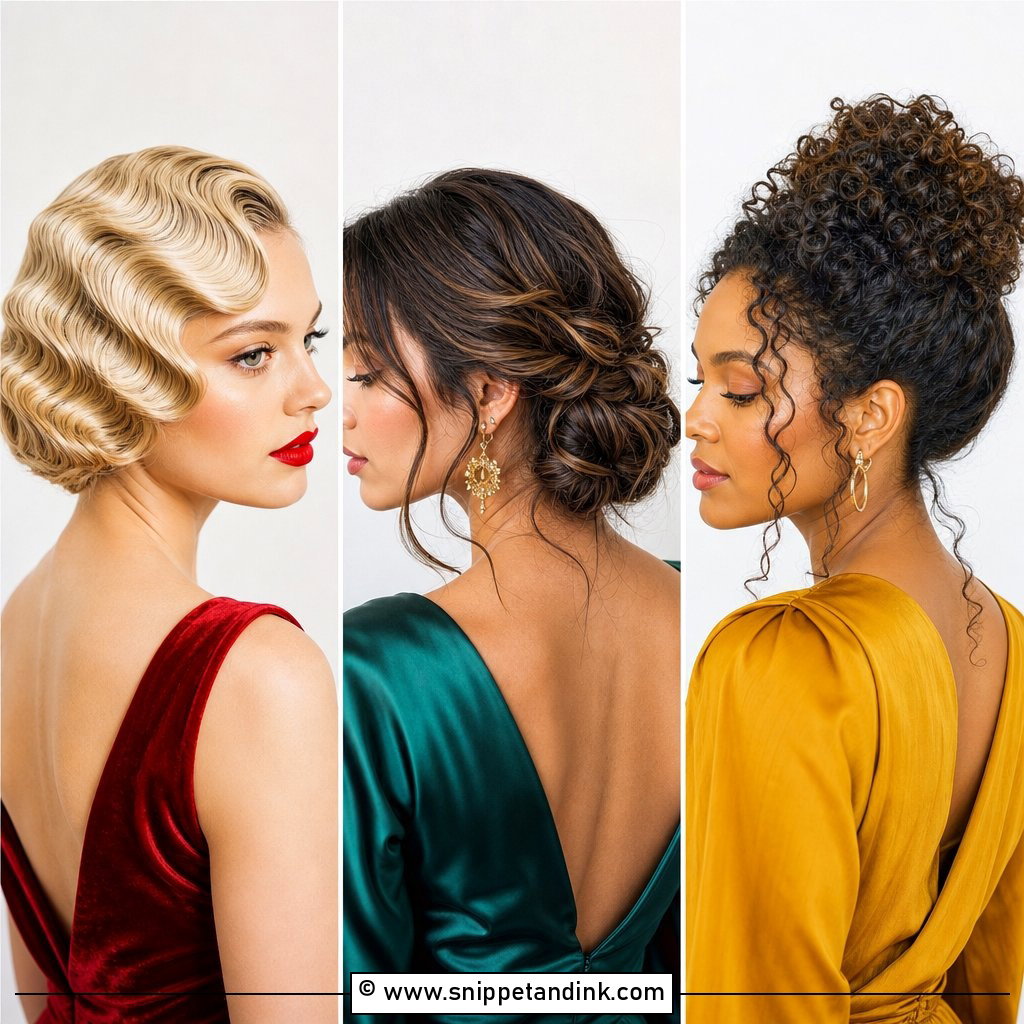
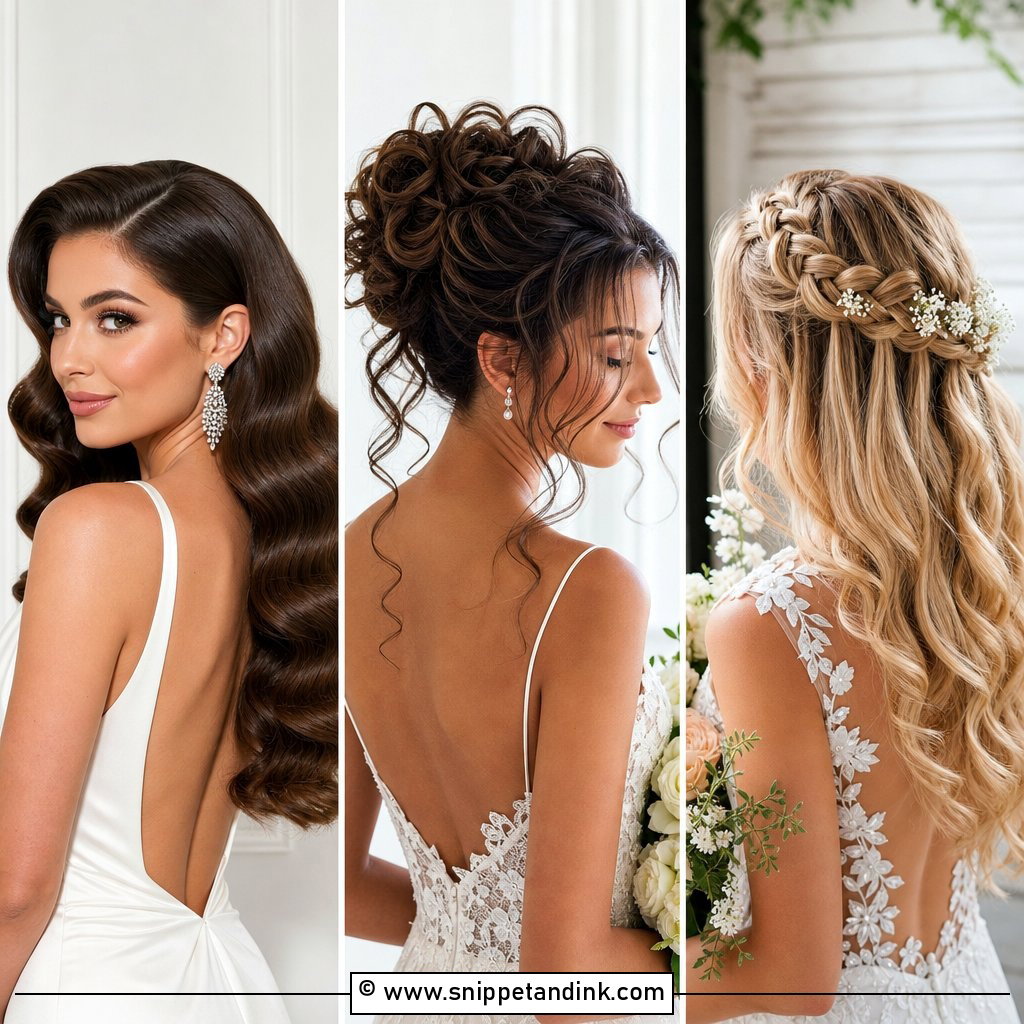
These are uniform S-waves swept to one side, and they start as curls, not waves. I curl every section in the same direction, pin the curls to cool, then brush them out with a soft bristle brush until they merge into one wave pattern, pressing in the ridges with clips. Medium to long hair gives the deepest wave. Pair it with a side part and one statement earring on the open side; a bold lip completes the 1940s look.
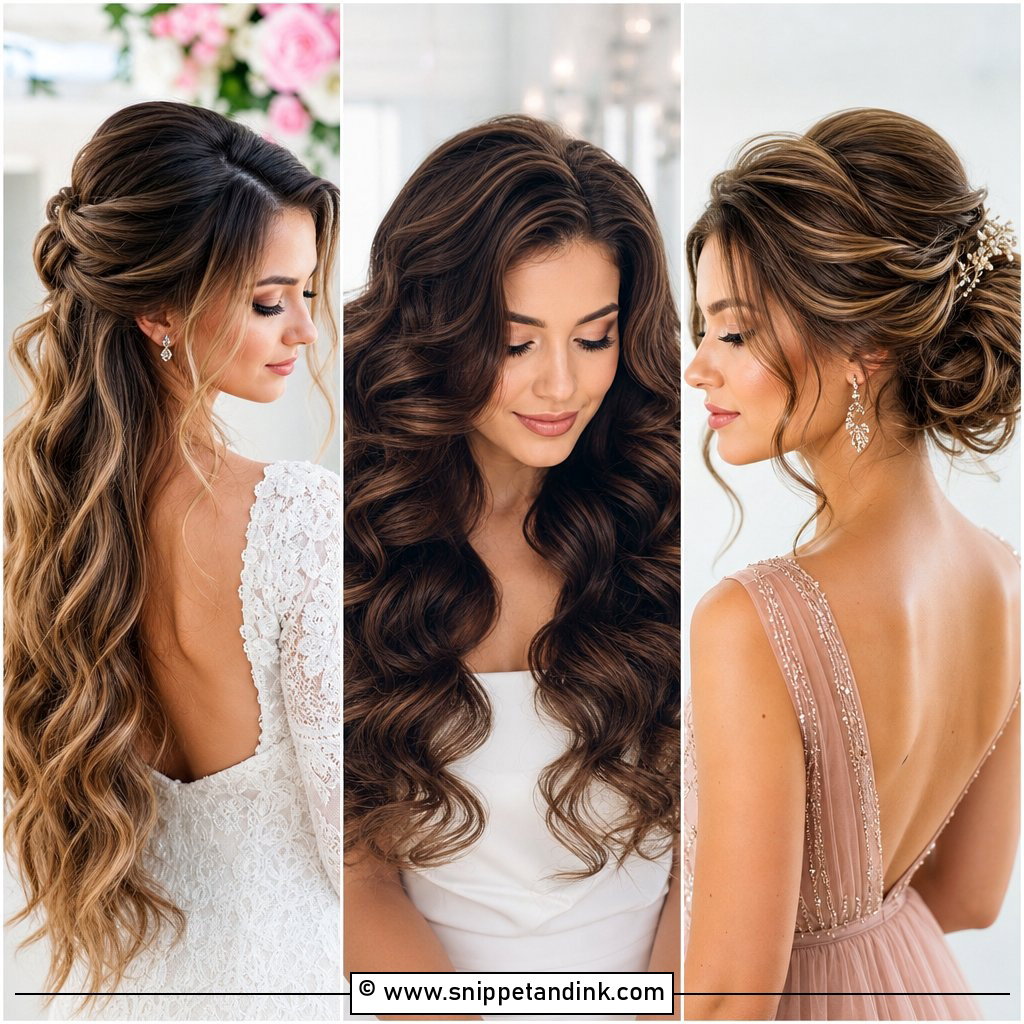
4. Half-Up Half-Down Blowout
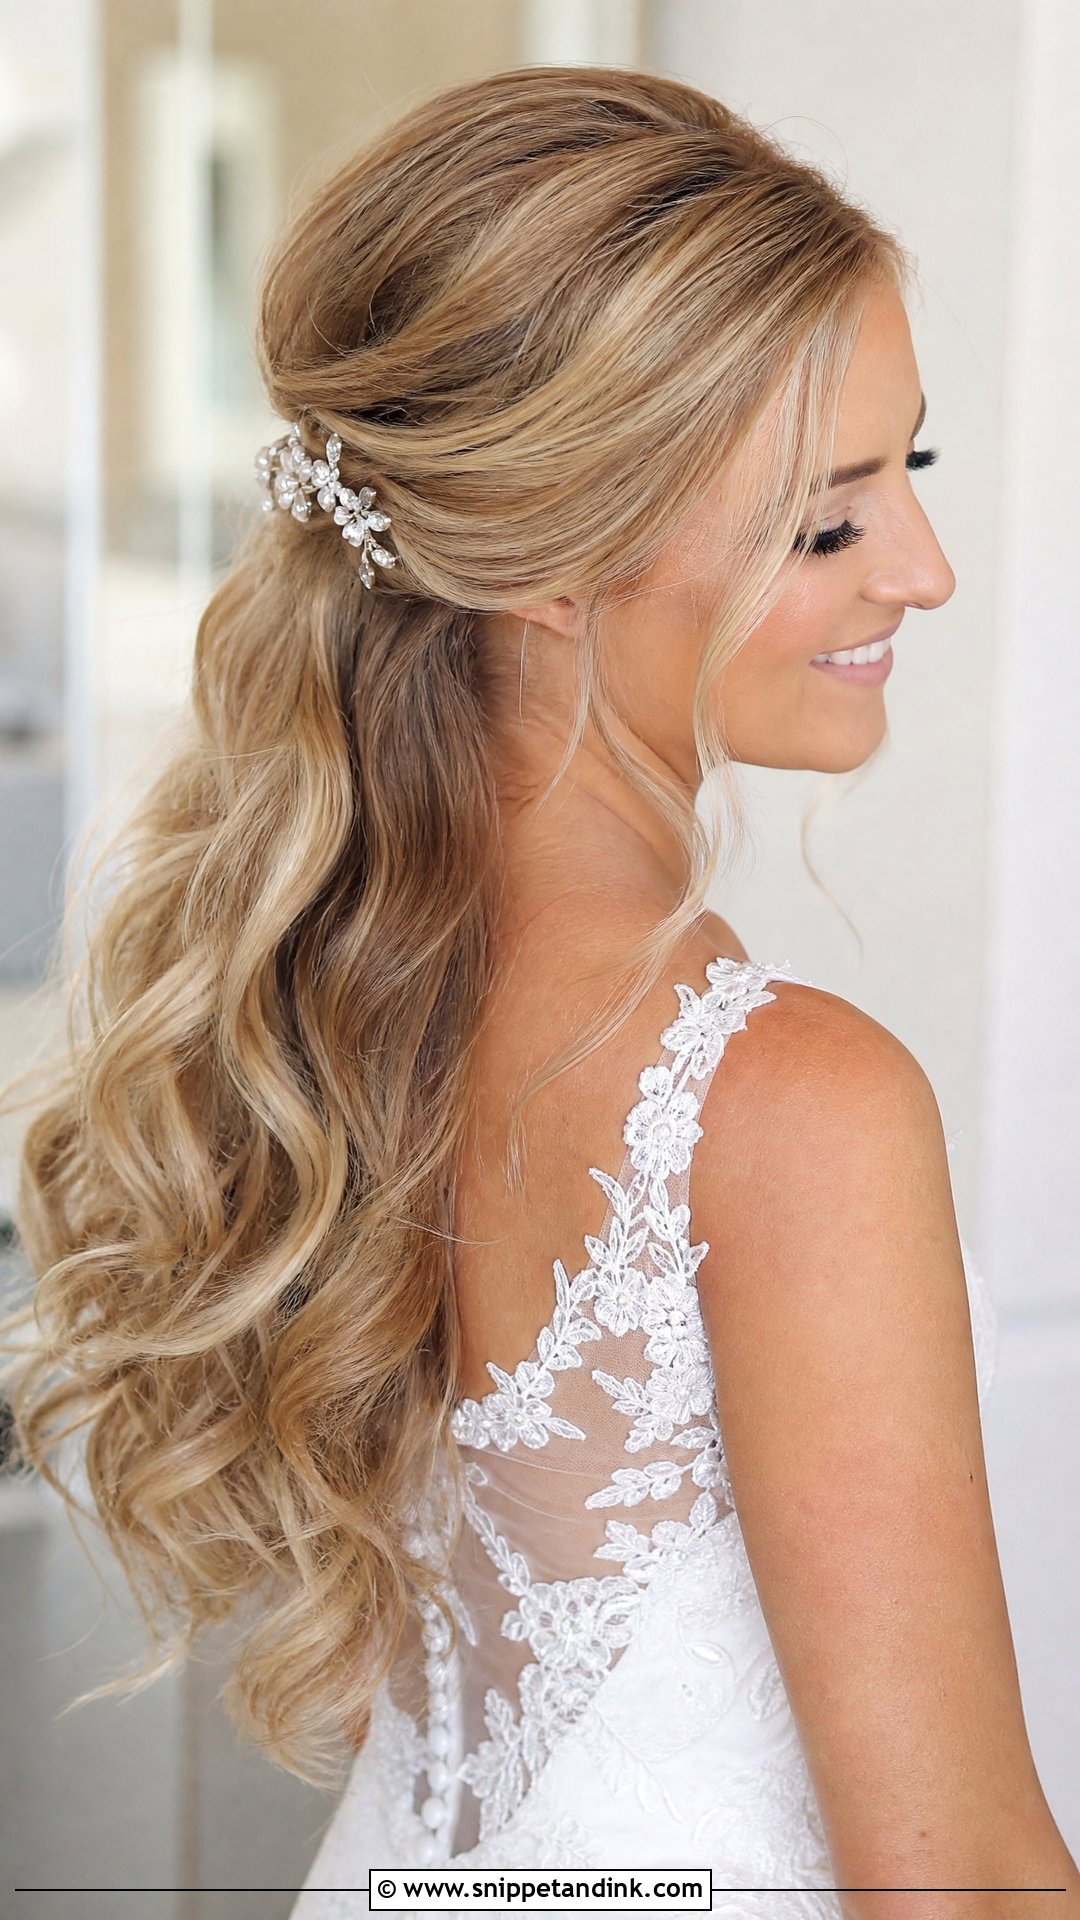
Half-up lets you have length and still keep hair out of your face during vows. I blow-dry the whole head for body first, then gather the top section and pin it with crossed bobby pins under a small backcombed cushion so it doesn’t slide down. The loose lengths are curled loosely. It pairs well with a veil, which slots in just under the pinned section. The loose part will relax by the evening, which is something to accept rather than fight.
5. Loose Romantic Curls
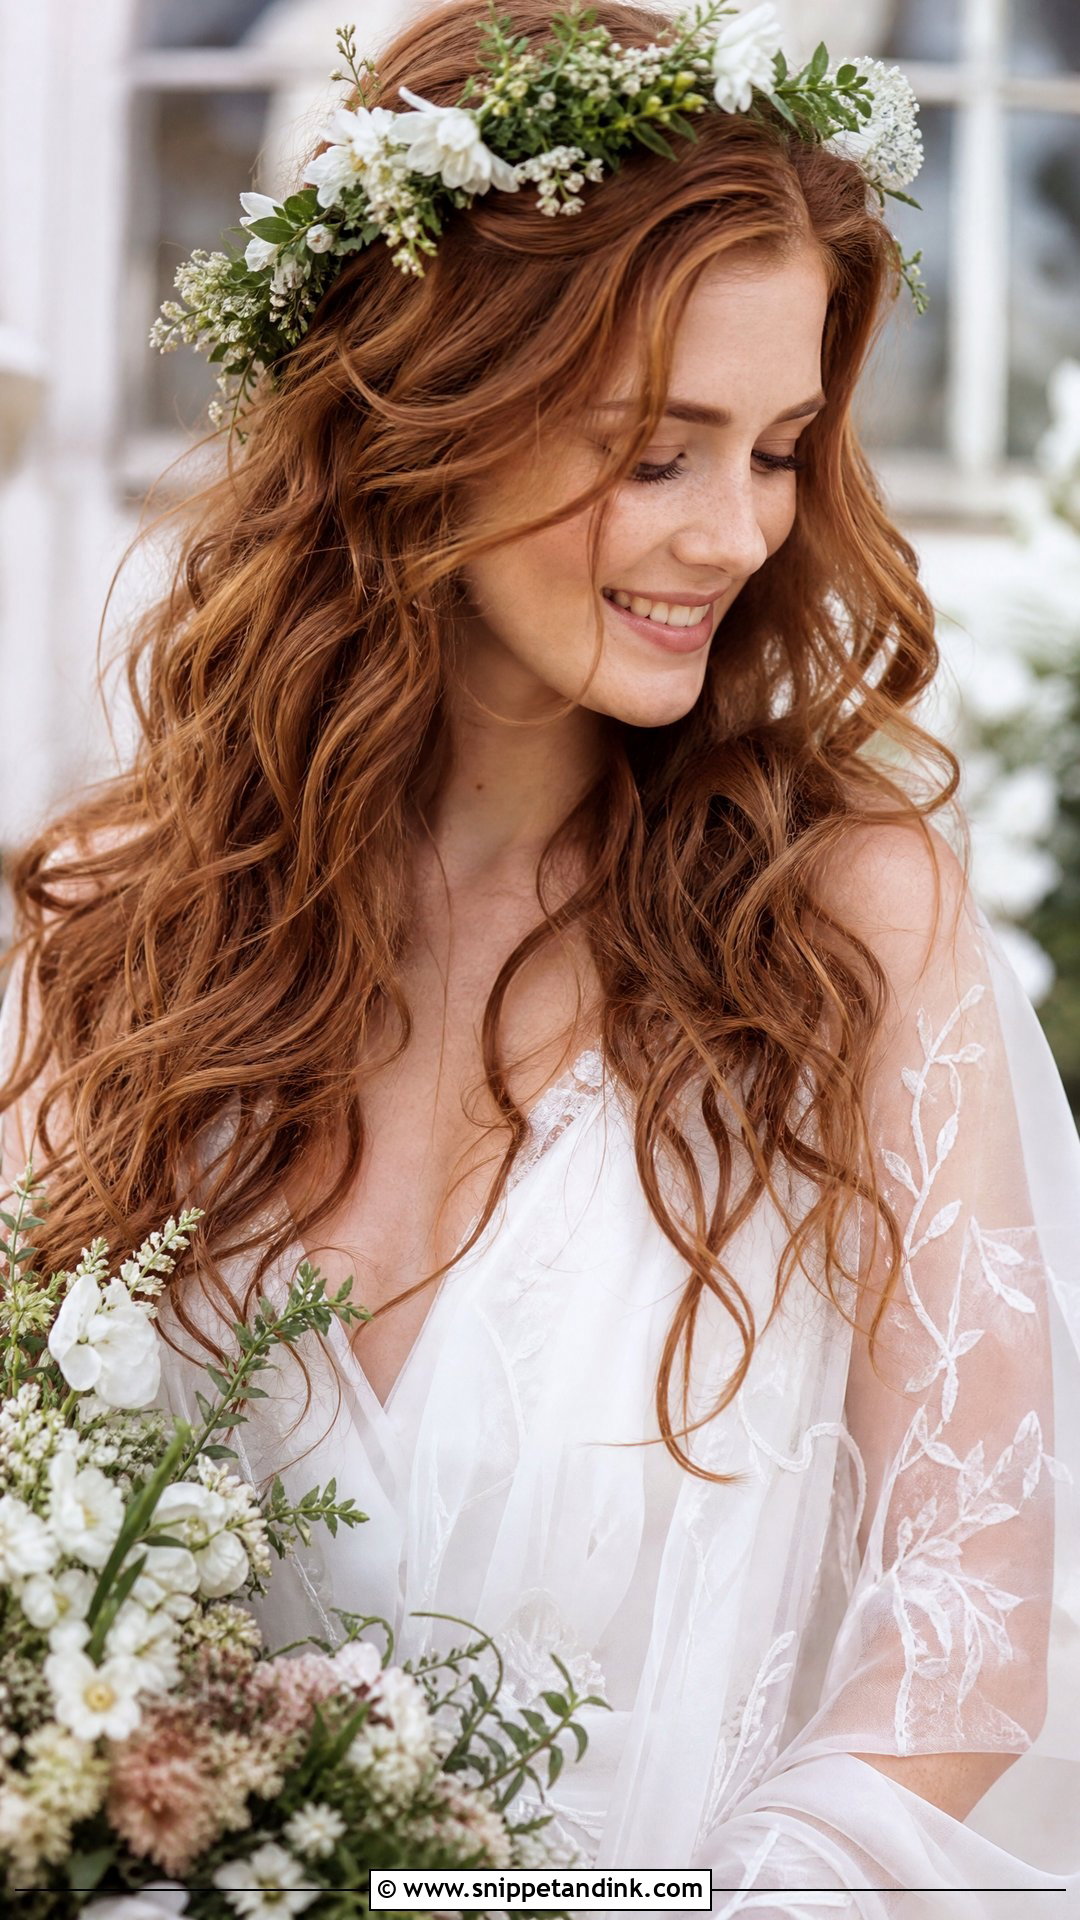
Soft, undone curls come from a large barrel wand, with a section left out of the curl at the very ends so they look natural. I spray a texturizing product on dry hair before curling to give the curls something to hold. These curls fall a little within a couple of hours, so I curl them slightly tighter than the final look you want. They suit garden and boho weddings and sit easily under a floral crown or a flowing veil.
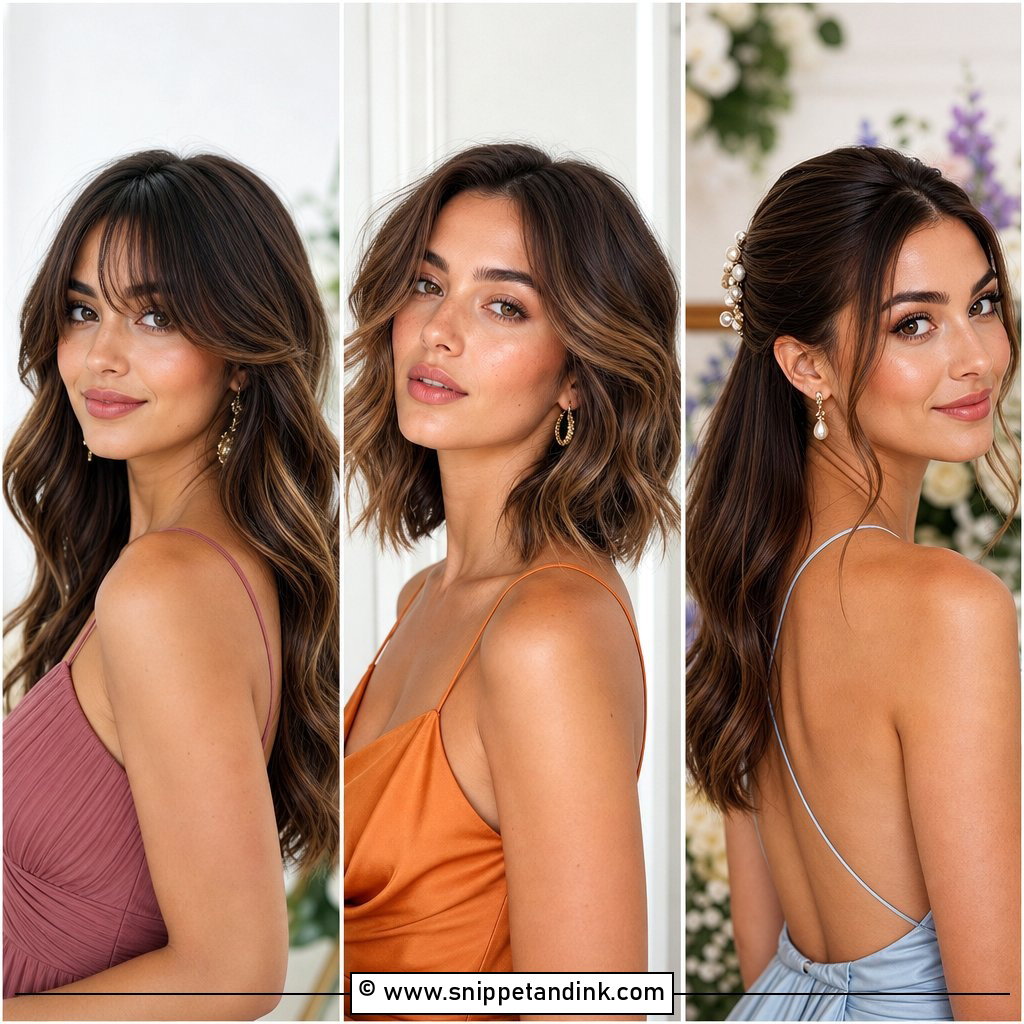
6. Blowout With Curtain Bangs
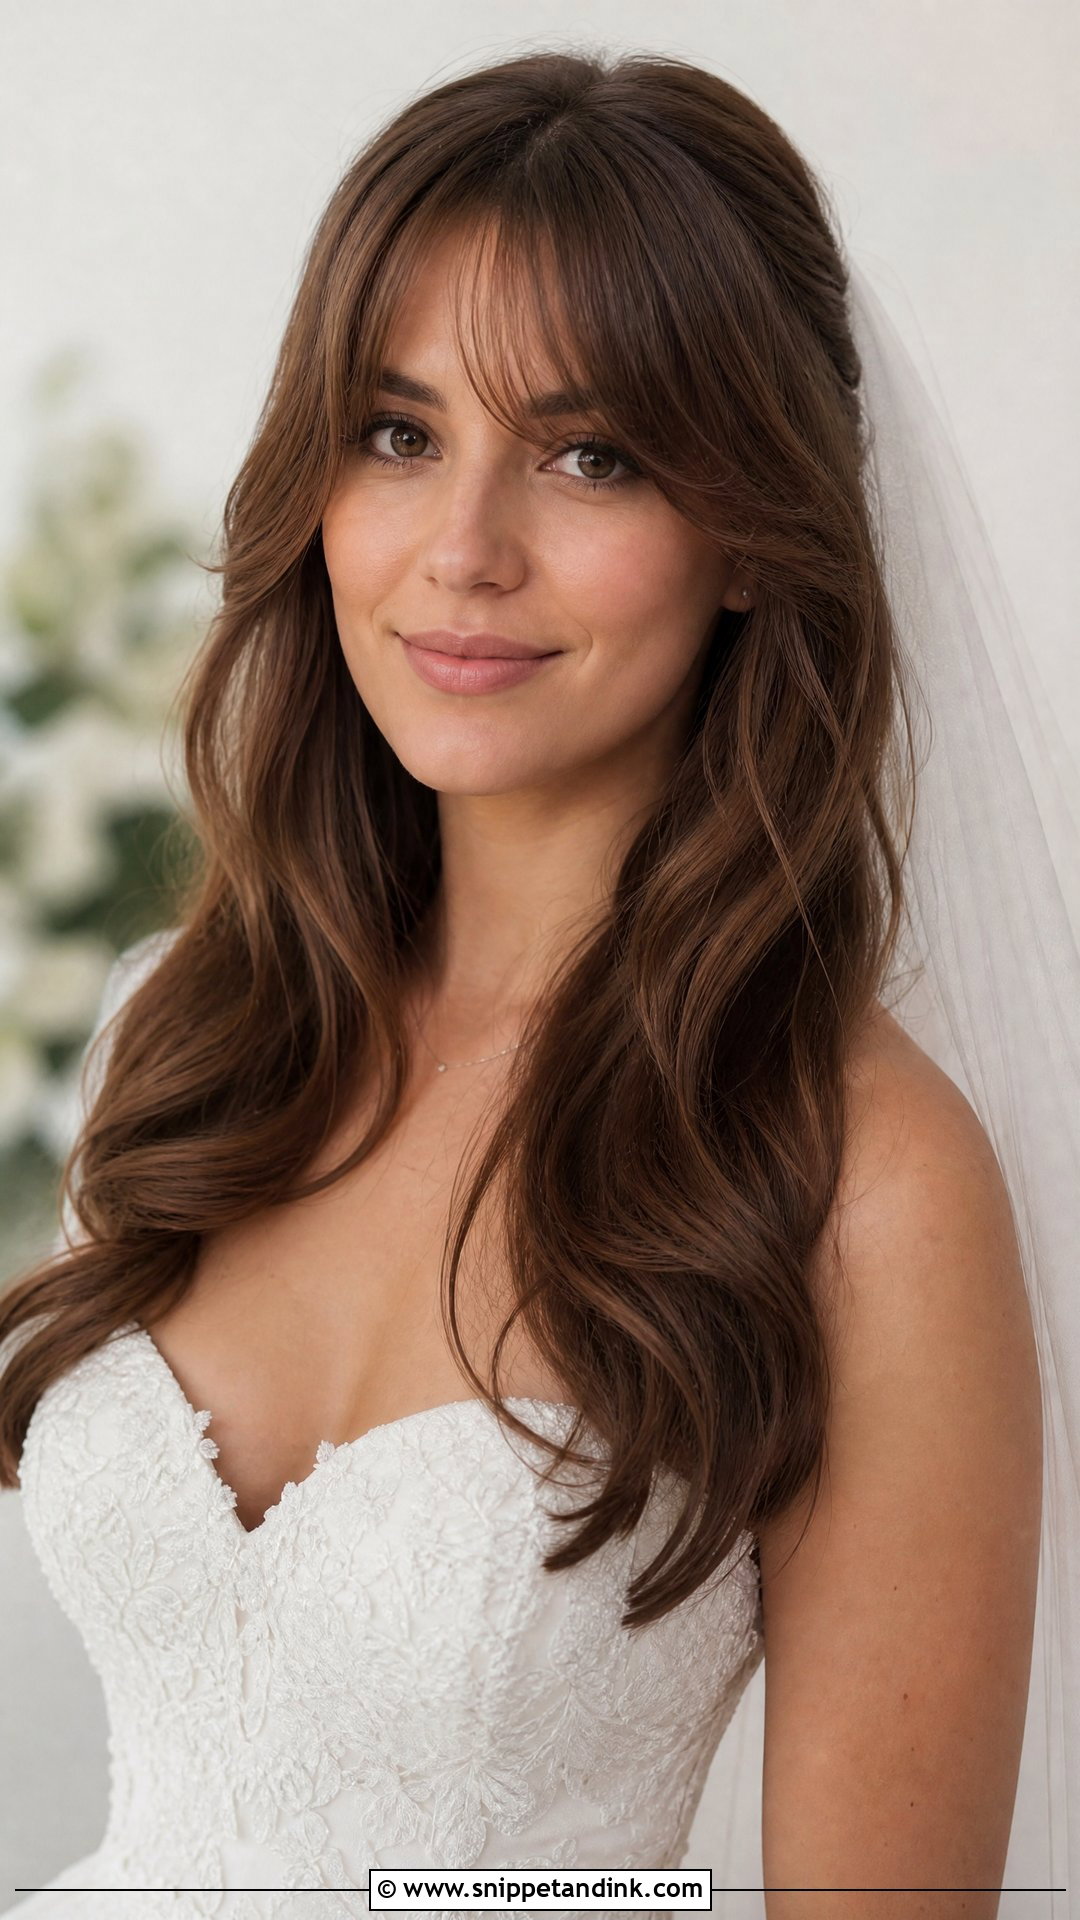
Curtain bangs need to be dried before anything else, while they’re still wet, because once they air-dry flat they’re hard to reshape. I dry them forward with a small round brush, then flip them back to each side. Paired with a voluminous blowout, they frame the eyes and cheekbones. Have them trimmed about a week before the wedding, not the day before; fresh-cut bangs often sit too short and too blunt.
7. Side-Swept Blowout
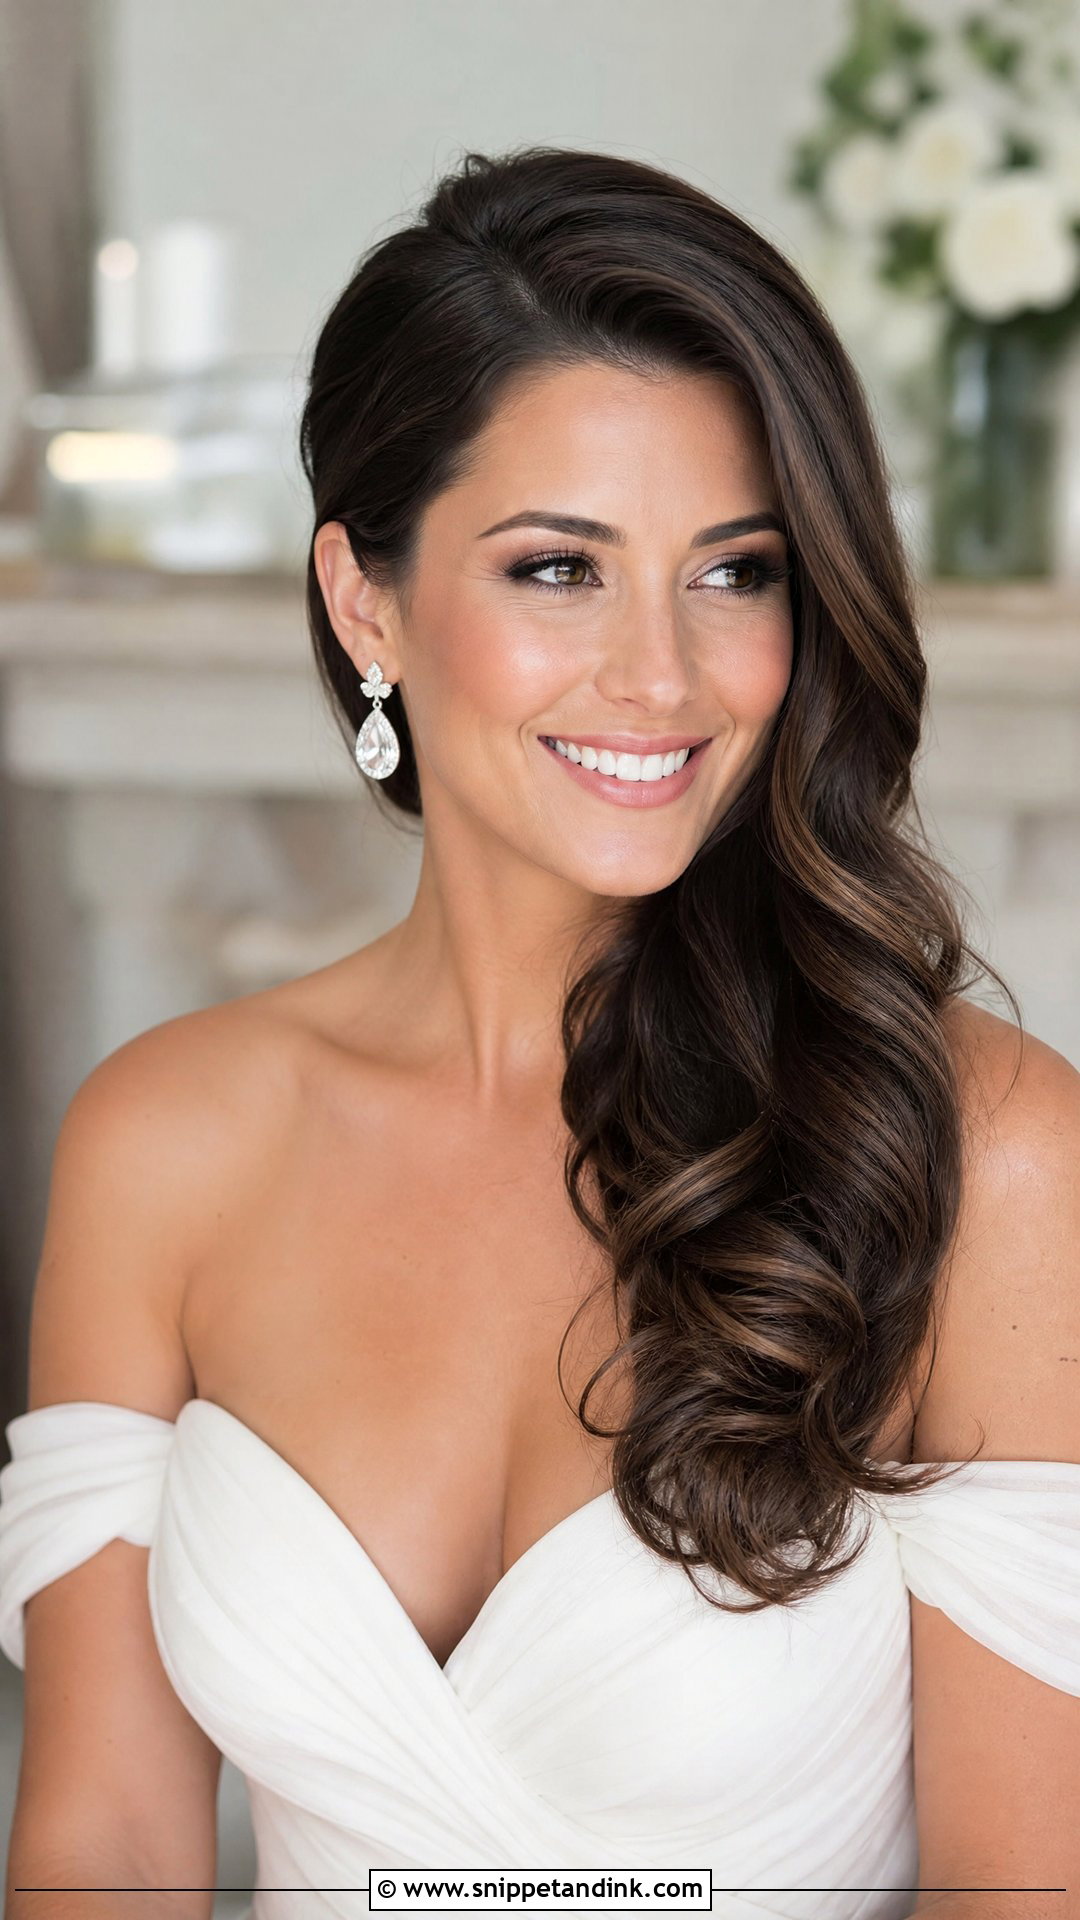
Swept volume is built by drying the hair over to one side from the root, then holding the sweep in place with a couple of hidden pins behind the ear on the full side. I’d place it on the side that faces the camera at the ceremony. Medium and long hair carries this best. Off-shoulder gowns and statement earrings both look good with the open side. A firm hold spray keeps the shape through hugs.
8. Voluminous Blowout With Veil
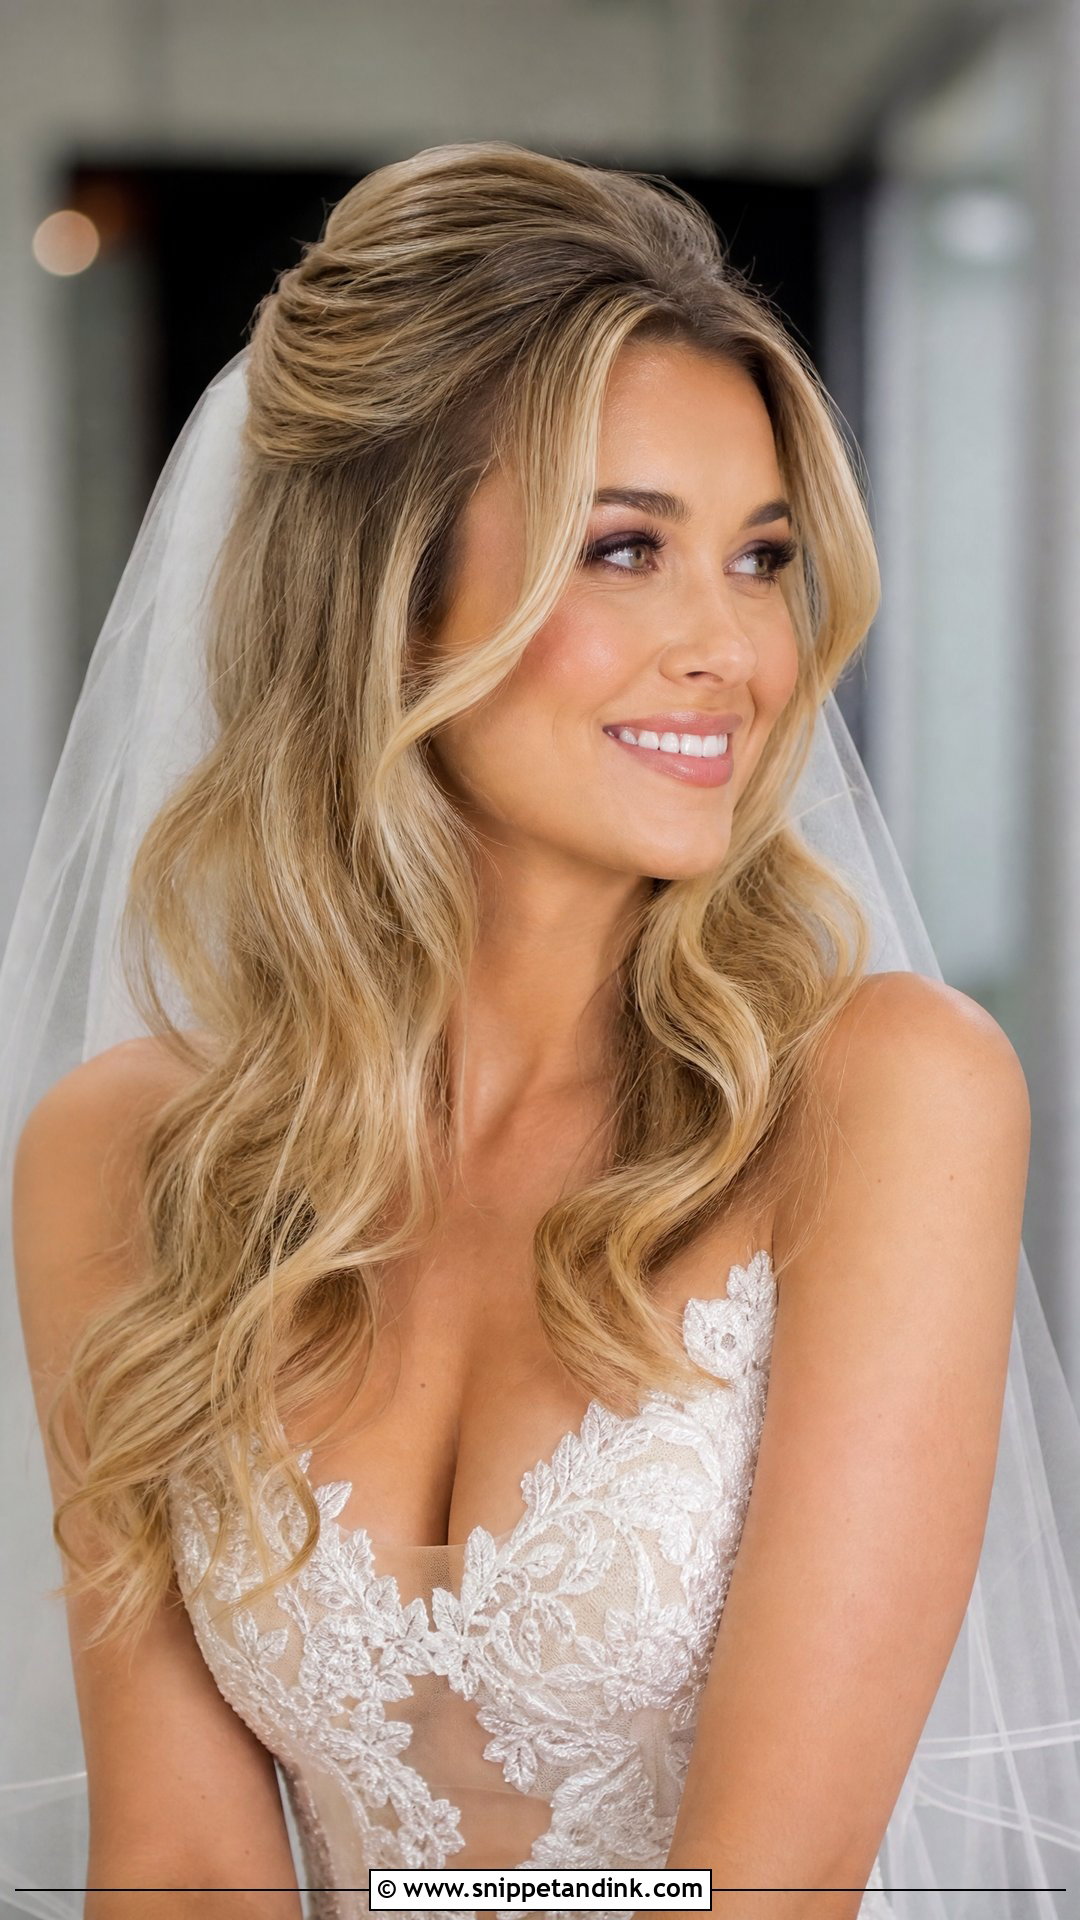
A veil needs a place to grip, and a blowout with crown volume gives the comb a base. I backcomb a small strip at the crown and slide the comb in under it at an angle. Soft waves frame the face. The trick is planning for veil removal: a heavy veil leaves a flat dent where the comb sat, so I show a bridesmaid how to lift that spot with fingertips and a little dry shampoo after the ceremony.
9. Bohemian Wavy Blowout
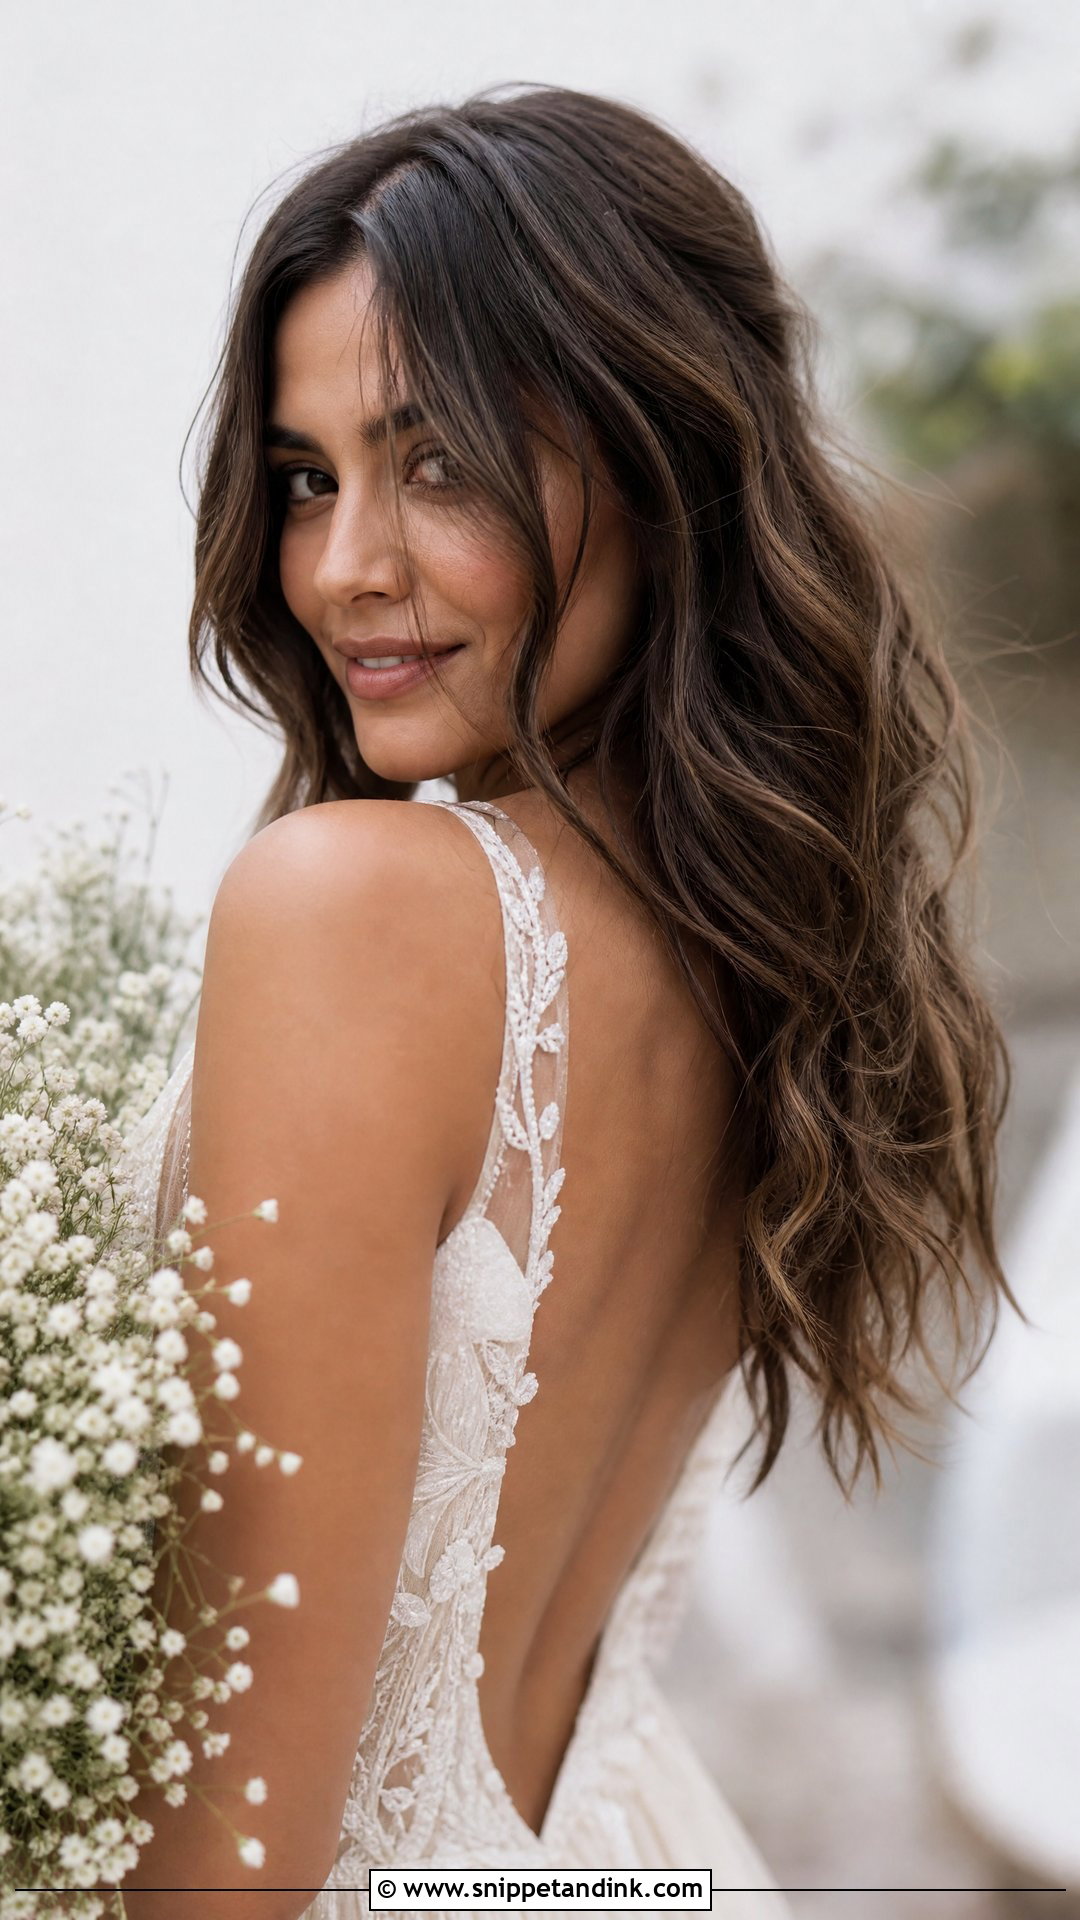
Tousled, imperfect waves are the core of a bohemian wavy blowout, built with texture spray and a curling wand, leaving the ends straight. They suit outdoor and beach weddings because a little wind adds to the look. Boho waves pair well with floral crowns, braids or baby’s breath. If your hair is very fine and straight, I’ll add a few hidden clip-in wefts; otherwise the waves can disappear completely by the evening.
10. Blowout With Soft Layers
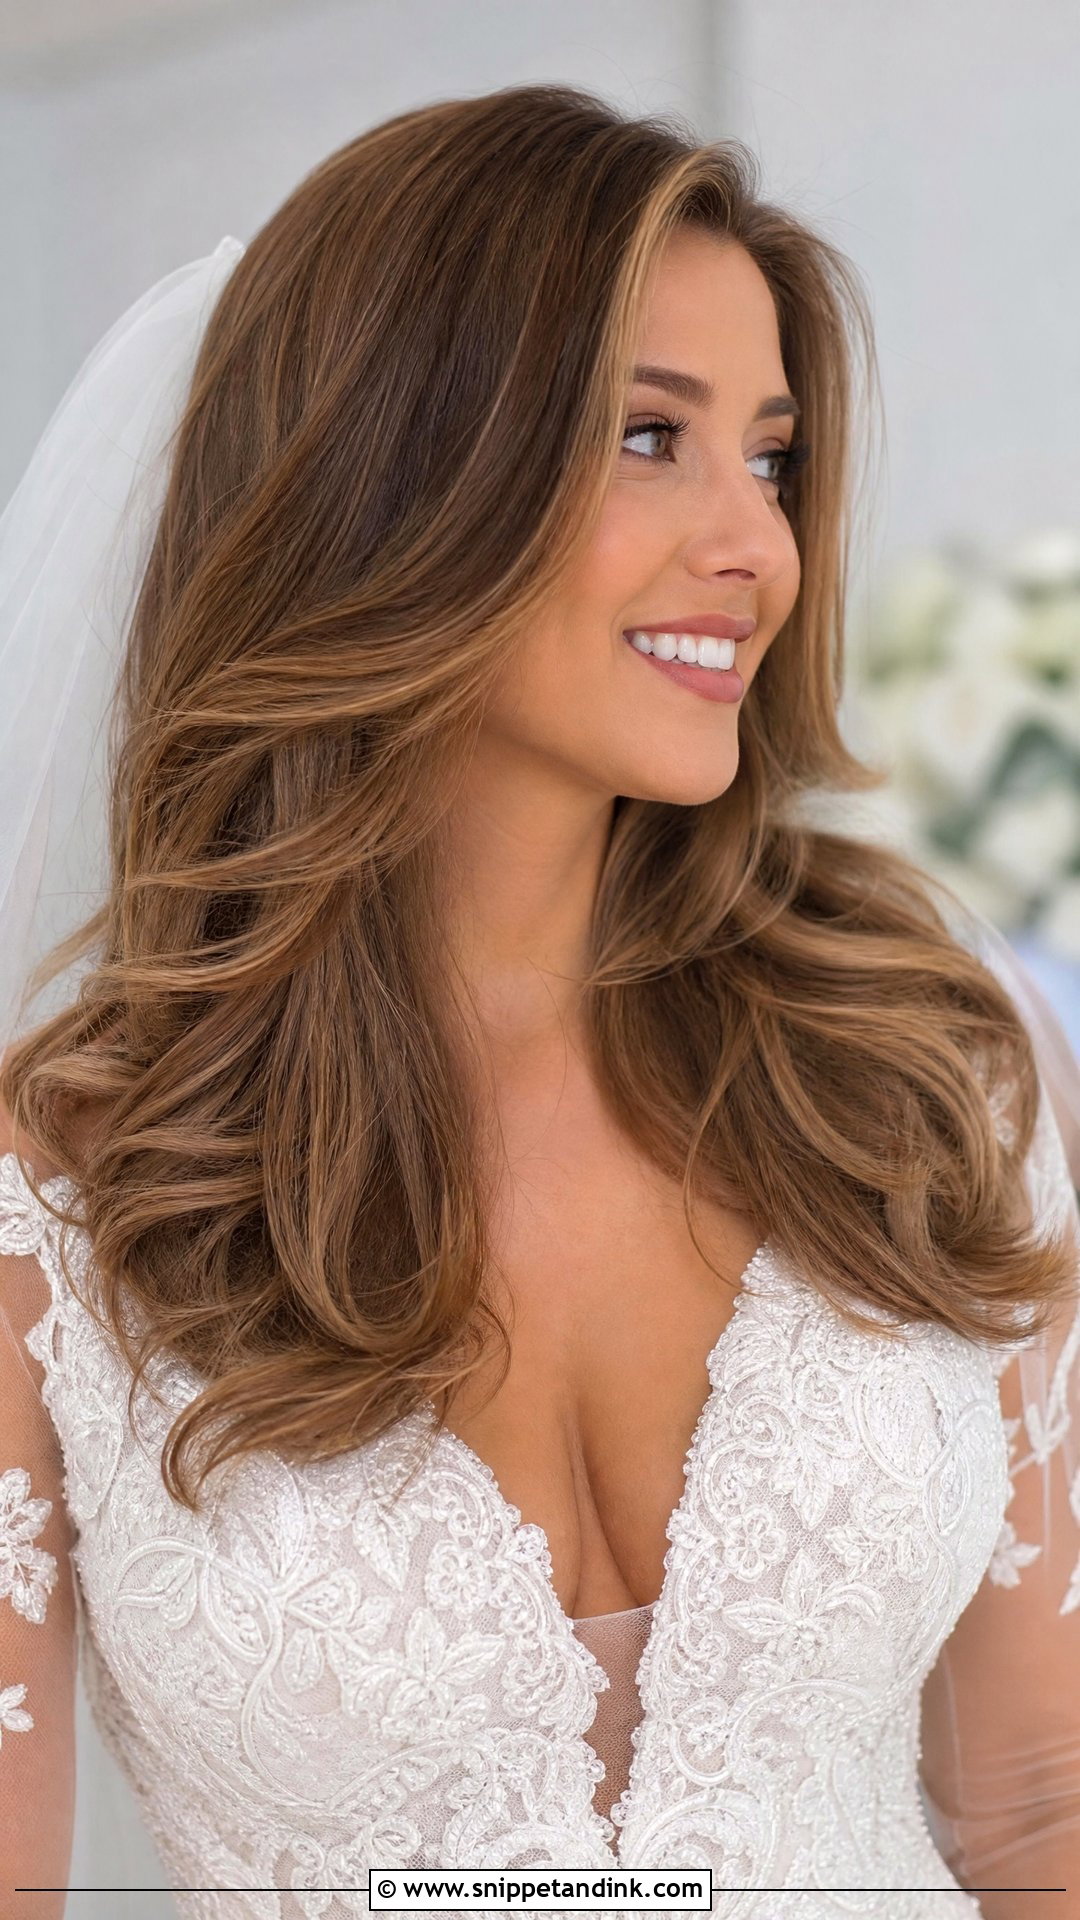
Layers give a blowout its movement, because each layer curls in on itself and creates shape. I dry each layer separately with a round brush and curl the ends away from the face. The result is lighter and moves more. One warning: get layers cut at least a few weeks before the wedding so you know how they sit. A new layered cut done right before the day can surprise you.
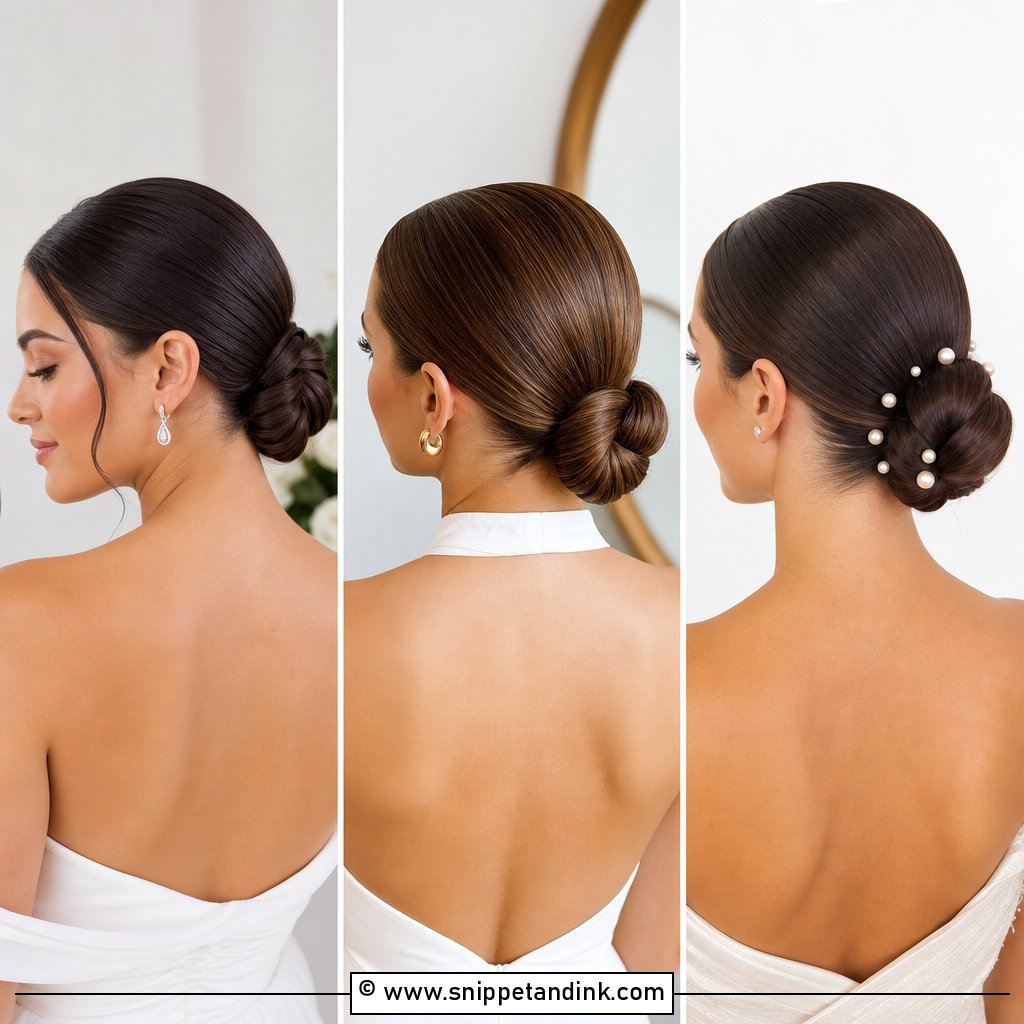
11. Sleek Low Bun Blowout
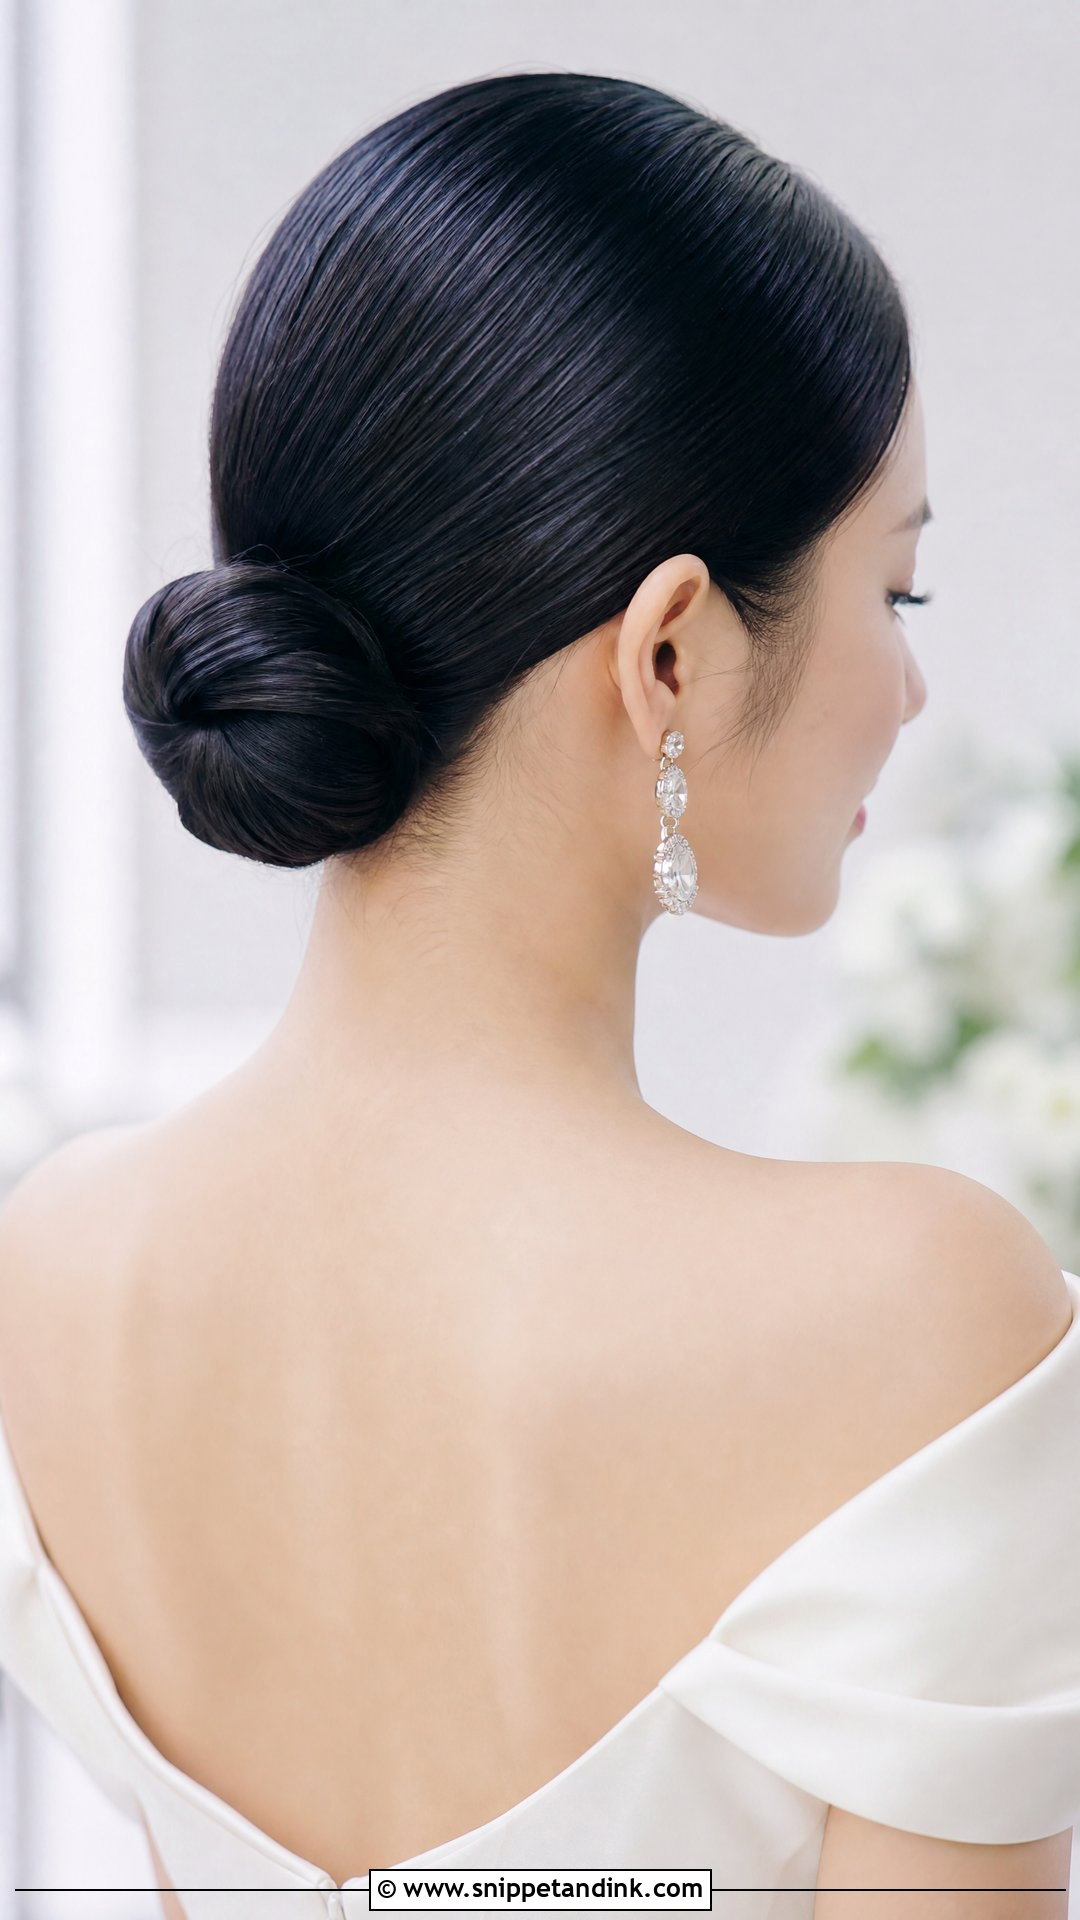
A sleek low bun on a smooth blowout is about the base. I dry the hair completely straight, slick it back with a little gel and a boar bristle brush, and secure it at the nape with a strong elastic before wrapping and pinning. Statement earrings and minimal gowns suit it. It’s one of the most durable styles I can do: once pinned, it barely moves all day.
12. Voluminous Ponytail Blowout
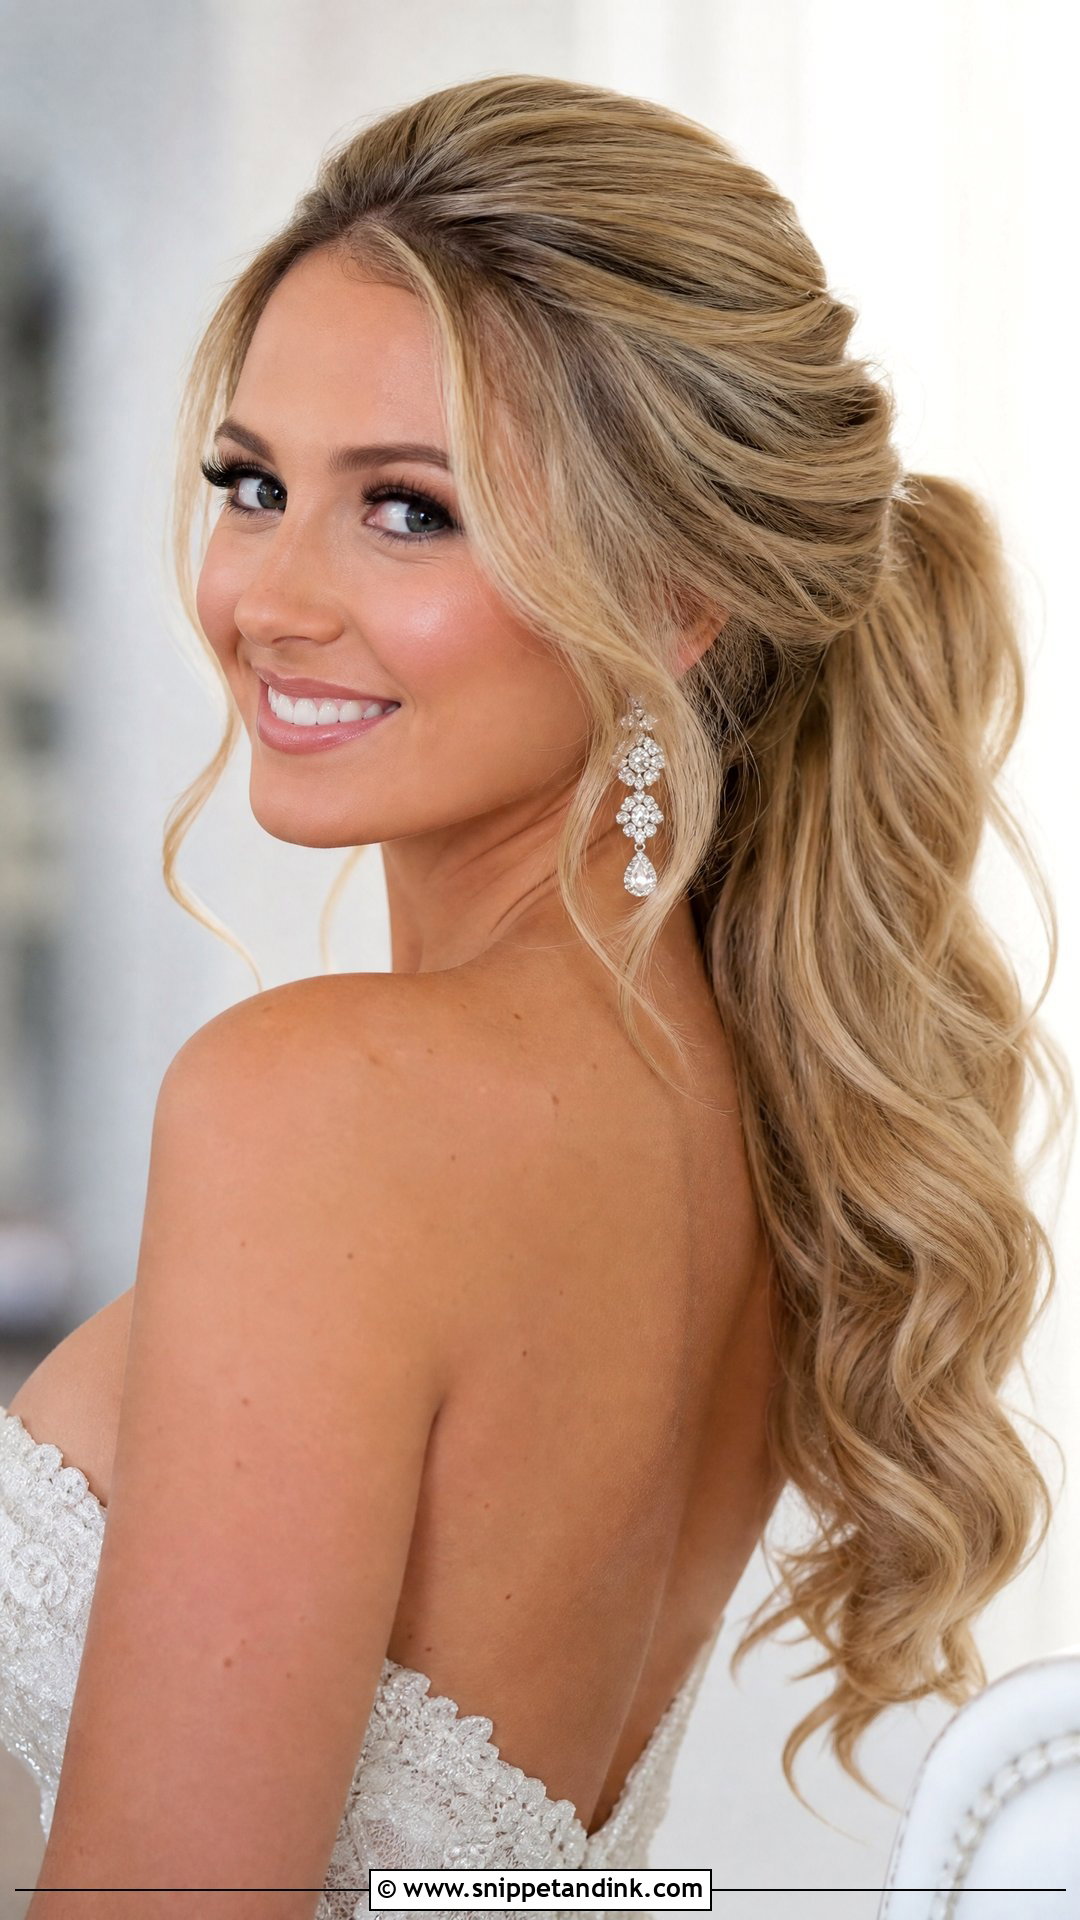
The ponytail itself is quick; the volume is where the time goes. I blow-dry for body, backcomb the crown slightly, then gather the hair high or low and secure it. A piece of hair wrapped around the base hides the elastic. Curling the lengths gives it flow. If you’re prone to headaches, choose the low version; a high pony pulls on the scalp after several hours.
13. Blowout With Money Piece Highlights
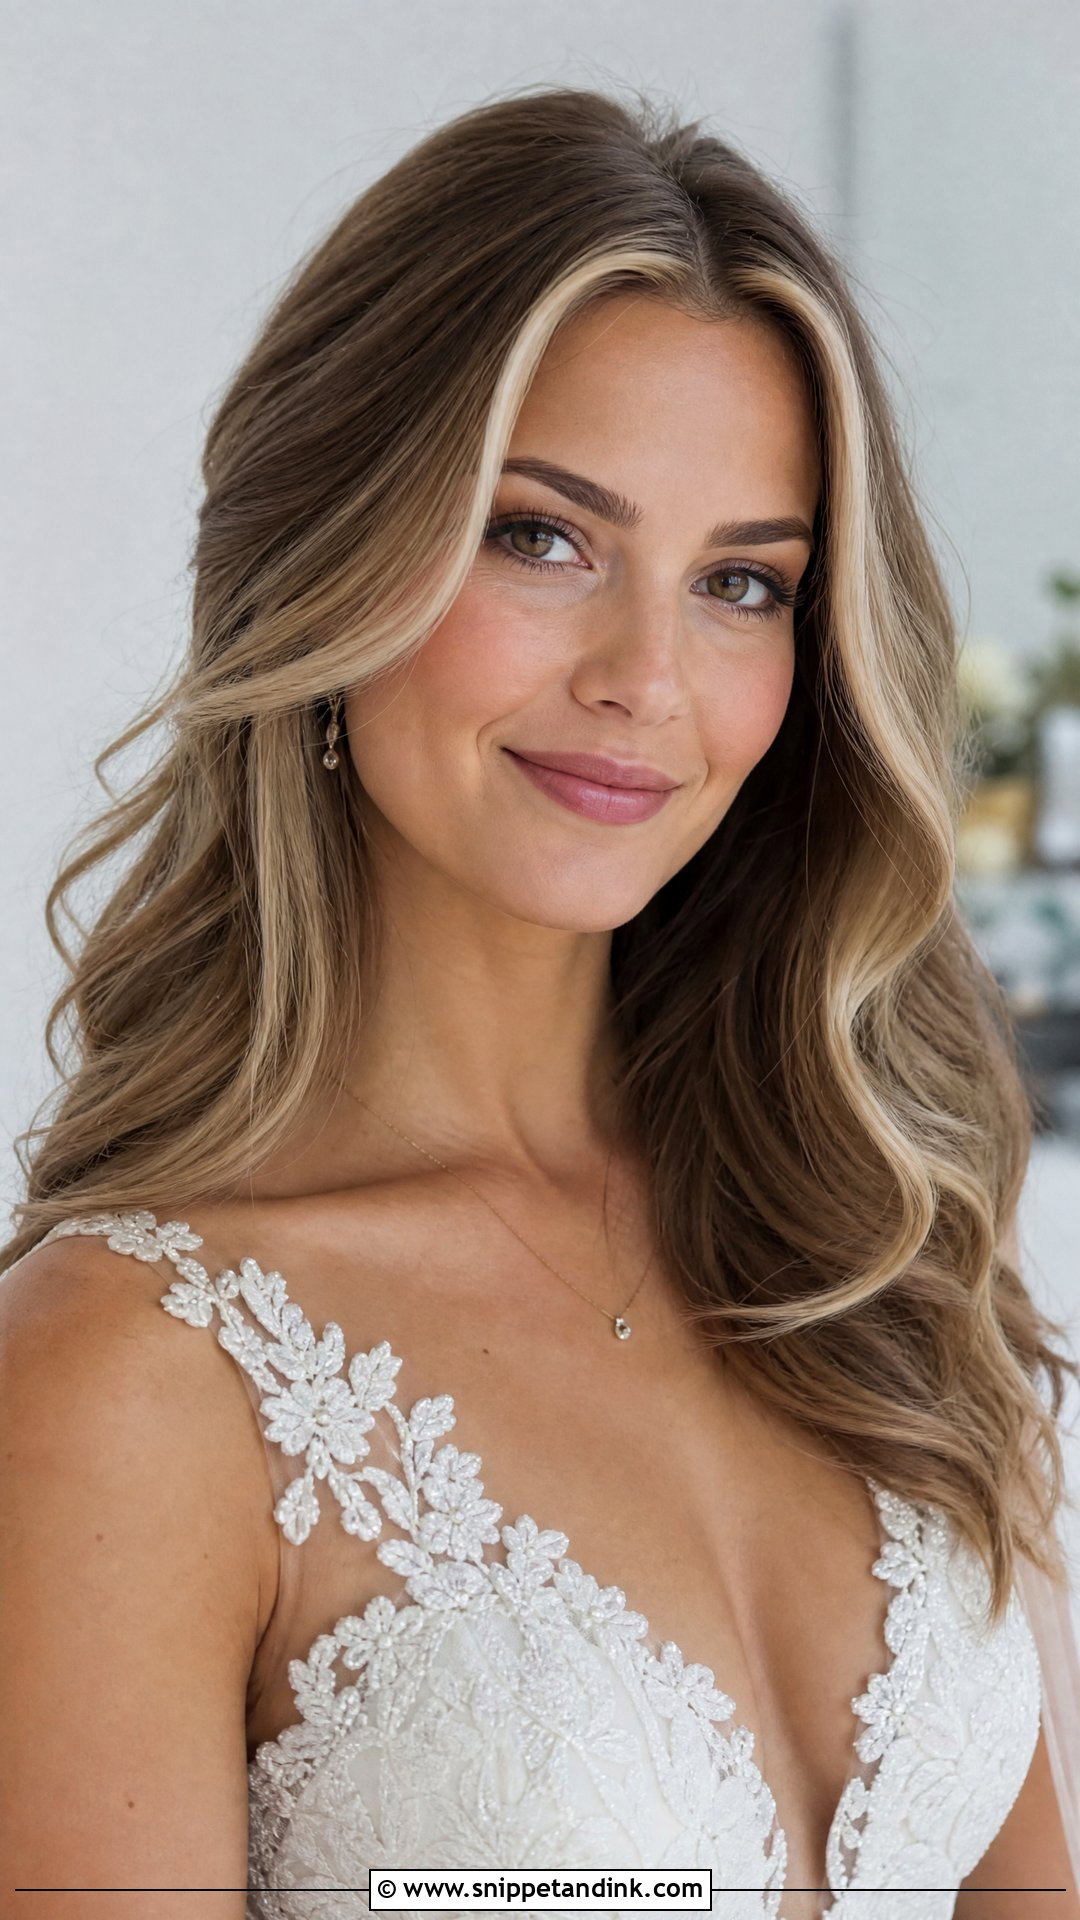
Money piece highlights are brighter strands right at the front of the face. A round brush blowout shows them off, because the lighter pieces catch the light as they curve around the face. Get the color done two to three weeks before the wedding so the tone has time to settle. Very fresh bleach can look slightly brassy in photos, and a gloss treatment a week out fixes that.
14. Soft Glam Blowout With Pins
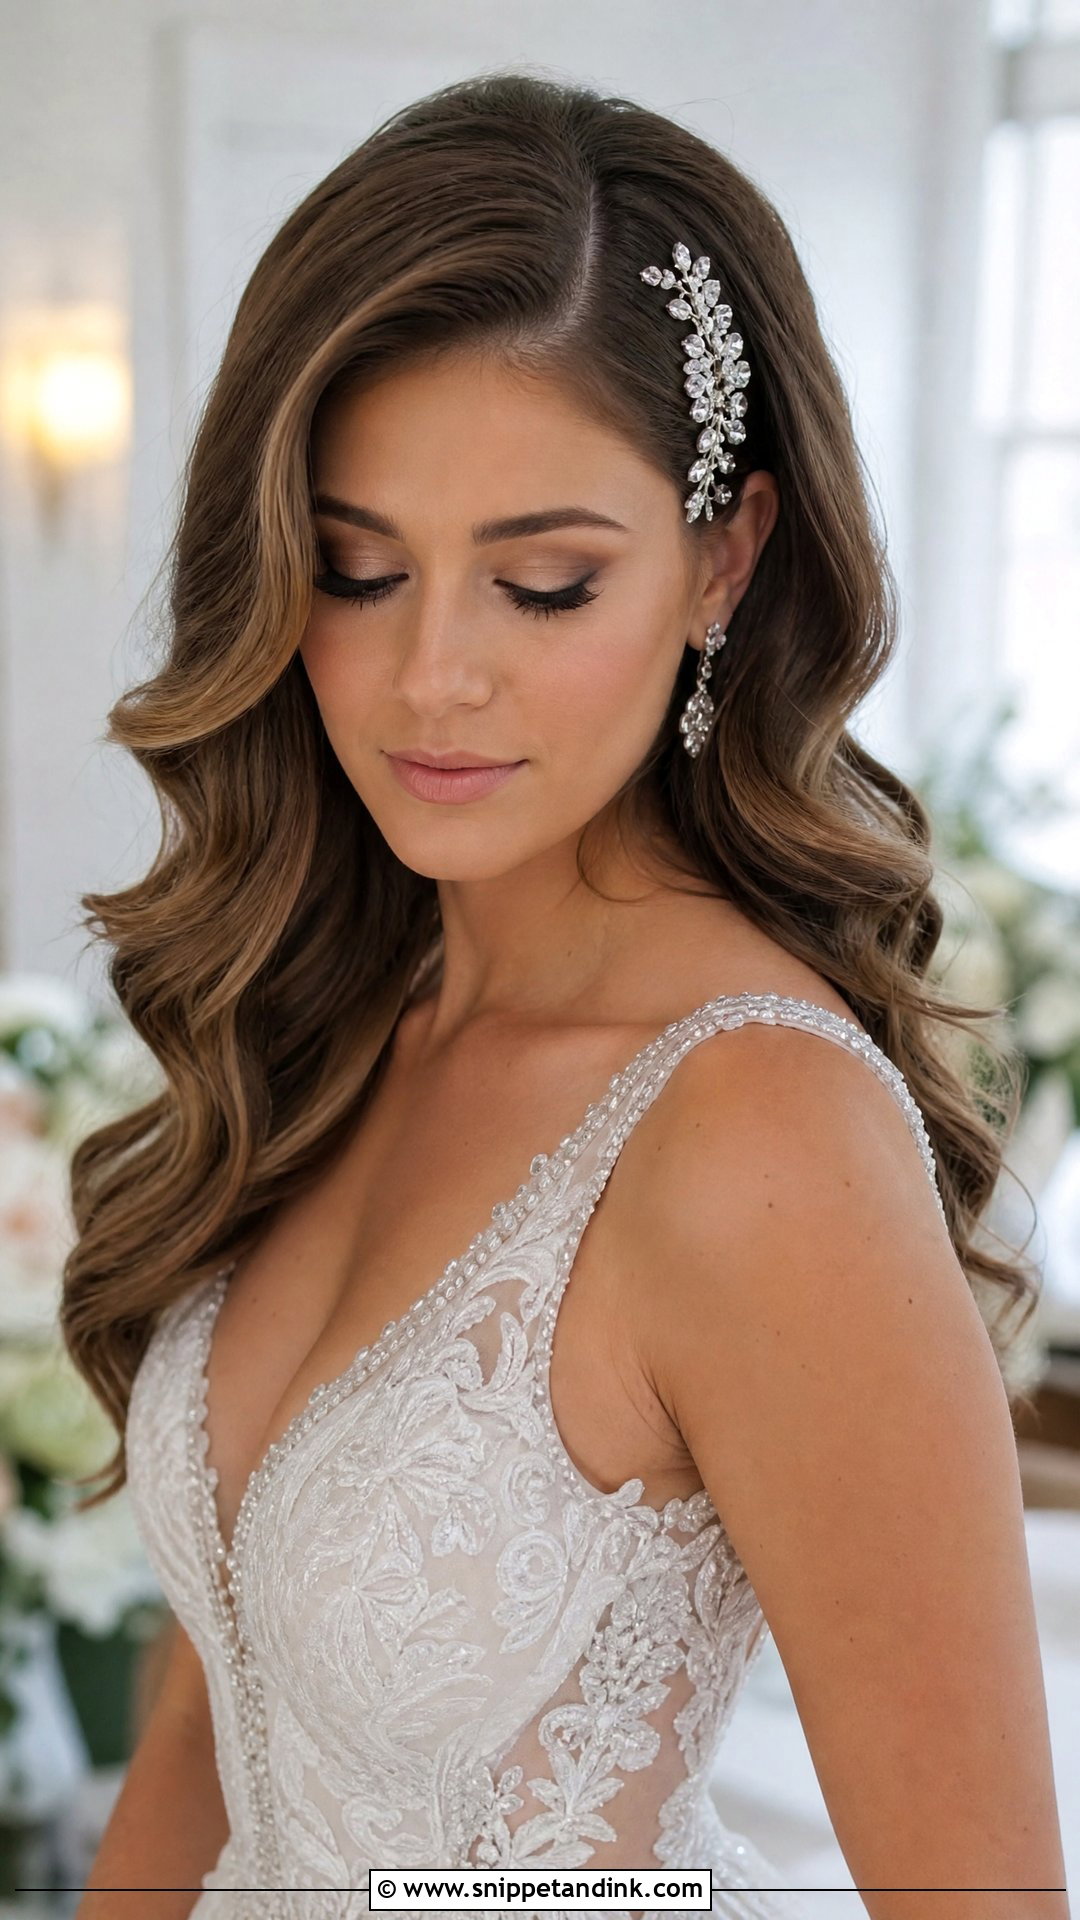
Decorative pins and jeweled clips do more than sparkle; on a soft blowout they’re also holding a section in place. I use them to sweep one side back or accent the crown, and slide each one into a small backcombed patch so it can’t creep down. Real hairpins go in first, decorative ones on top. It works with a veil or with loose hair.
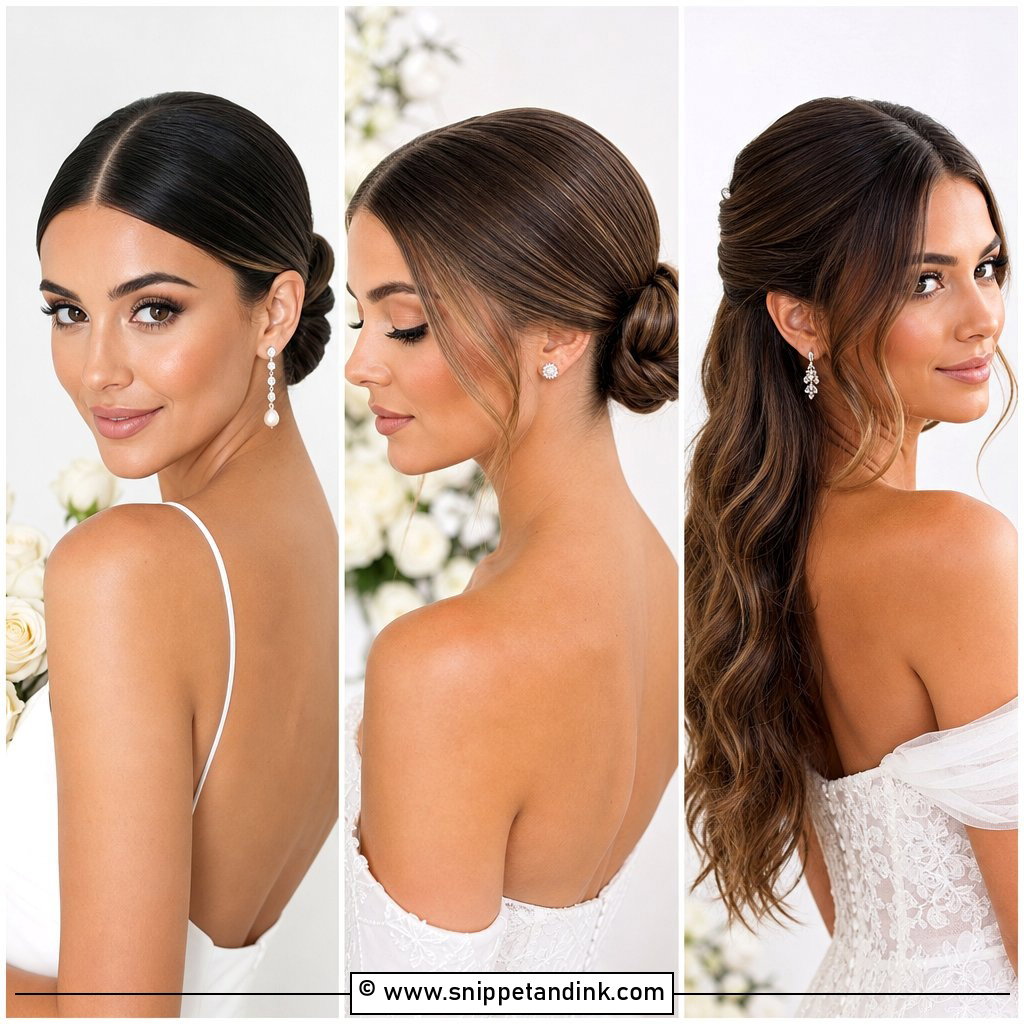
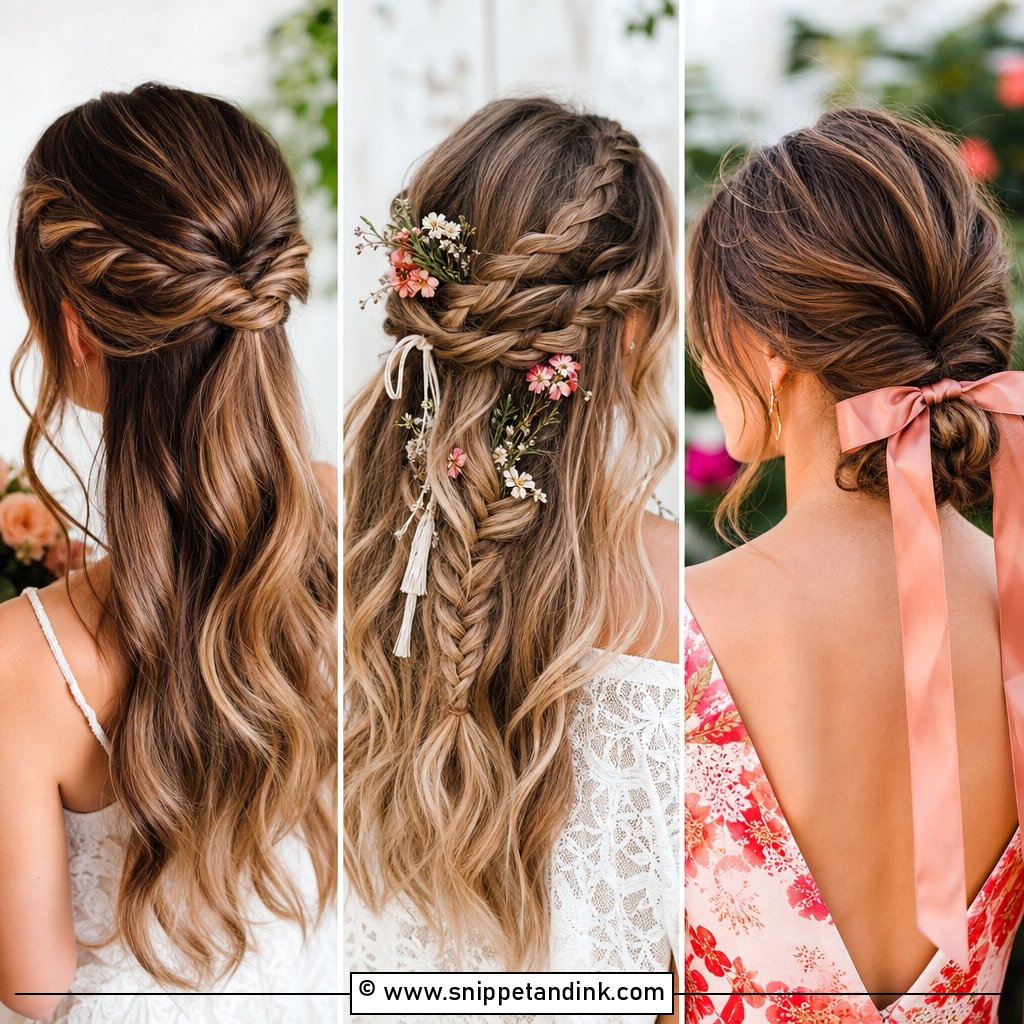
15. Blowout With Braided Crown
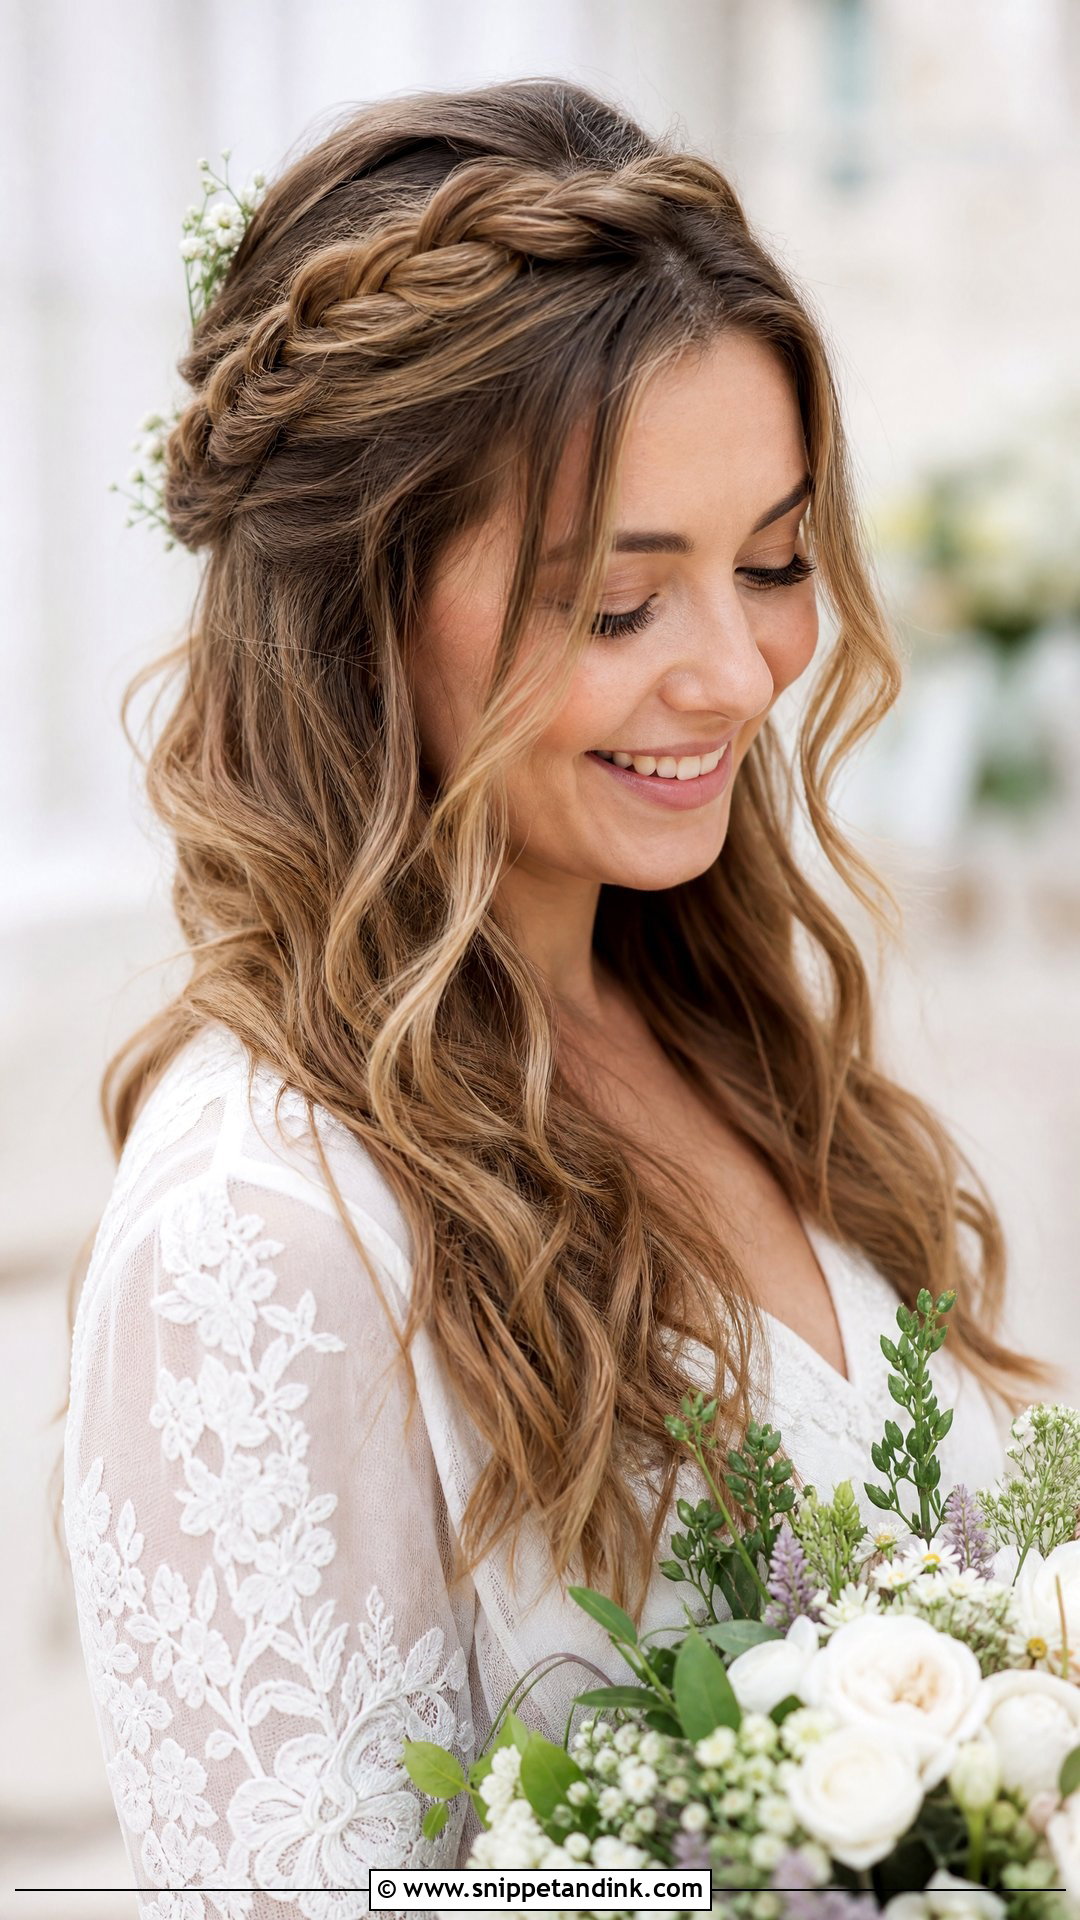
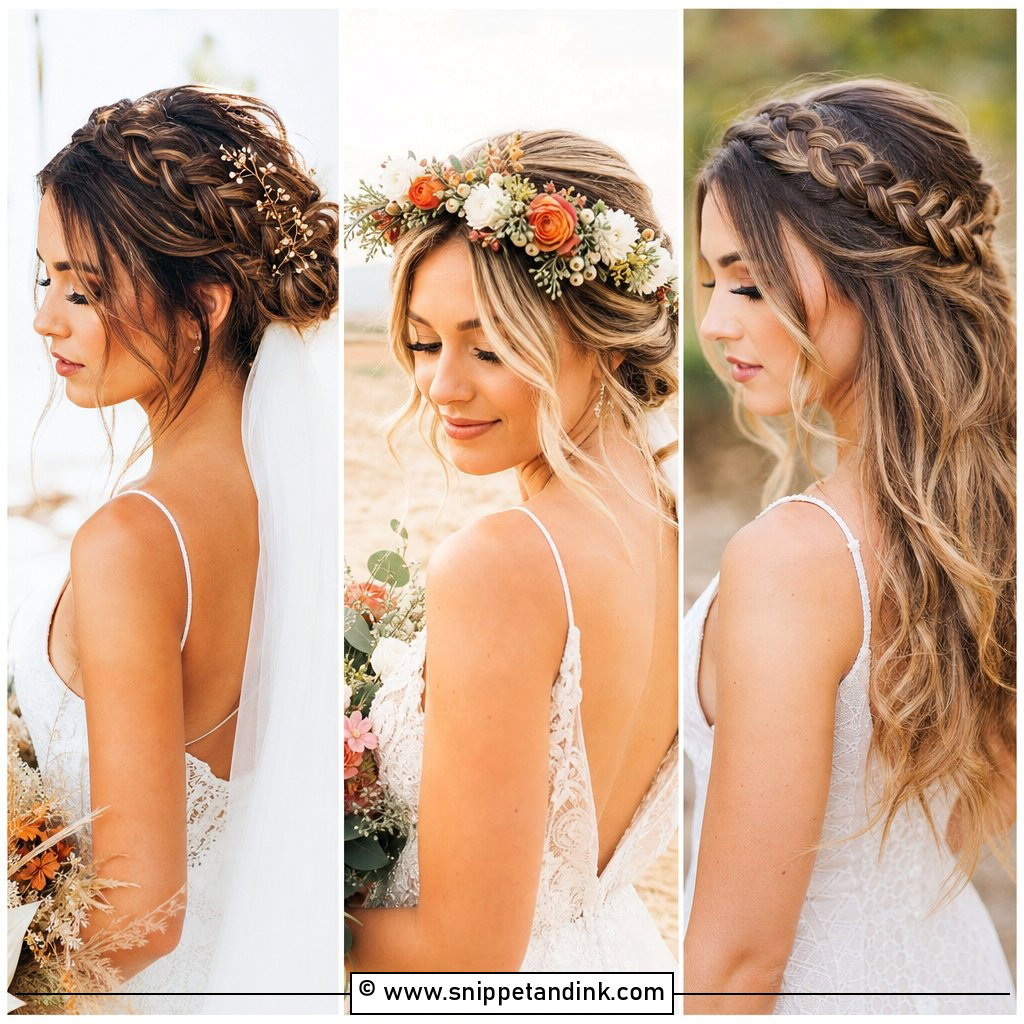
A braid around the crown keeps the hair off your face while the rest stays loose and full. I braid on second-day or texture-sprayed hair because freshly washed hair slips out of the plait. Shorter layers at the front may poke out; I tuck them with small pins. It suits garden weddings, and fresh flowers or baby’s breath slot right into the braid.
16. Glossy Blowout for Short Hair
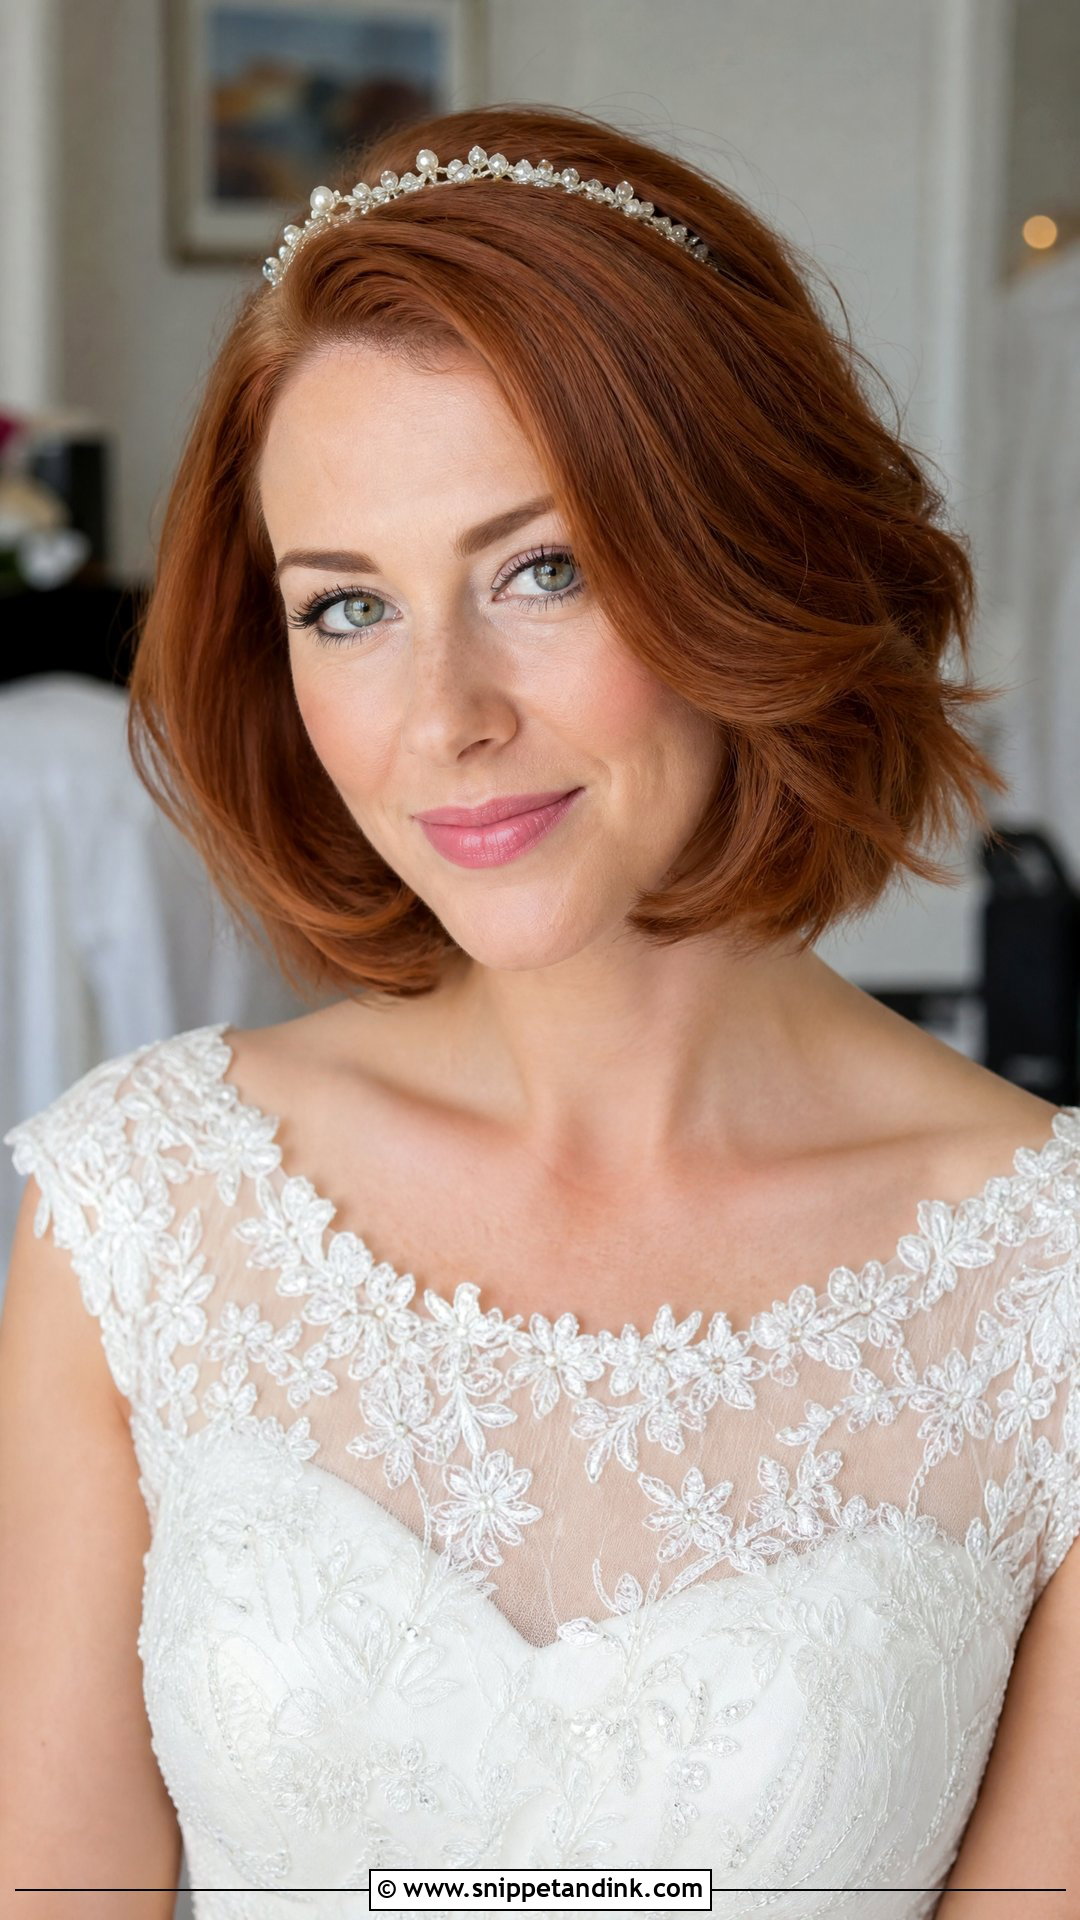
Bobs and lobs take a blowout well because shorter hair is lighter and the volume holds longer. I use a smaller round brush for root lift and to bend the ends under or out. The face is framed and the neck is clear, so earrings or a delicate headband stand out. A trim a week or two before the wedding keeps the ends crisp without making the length shorter than you planned.
17. Cascading Curls Blowout
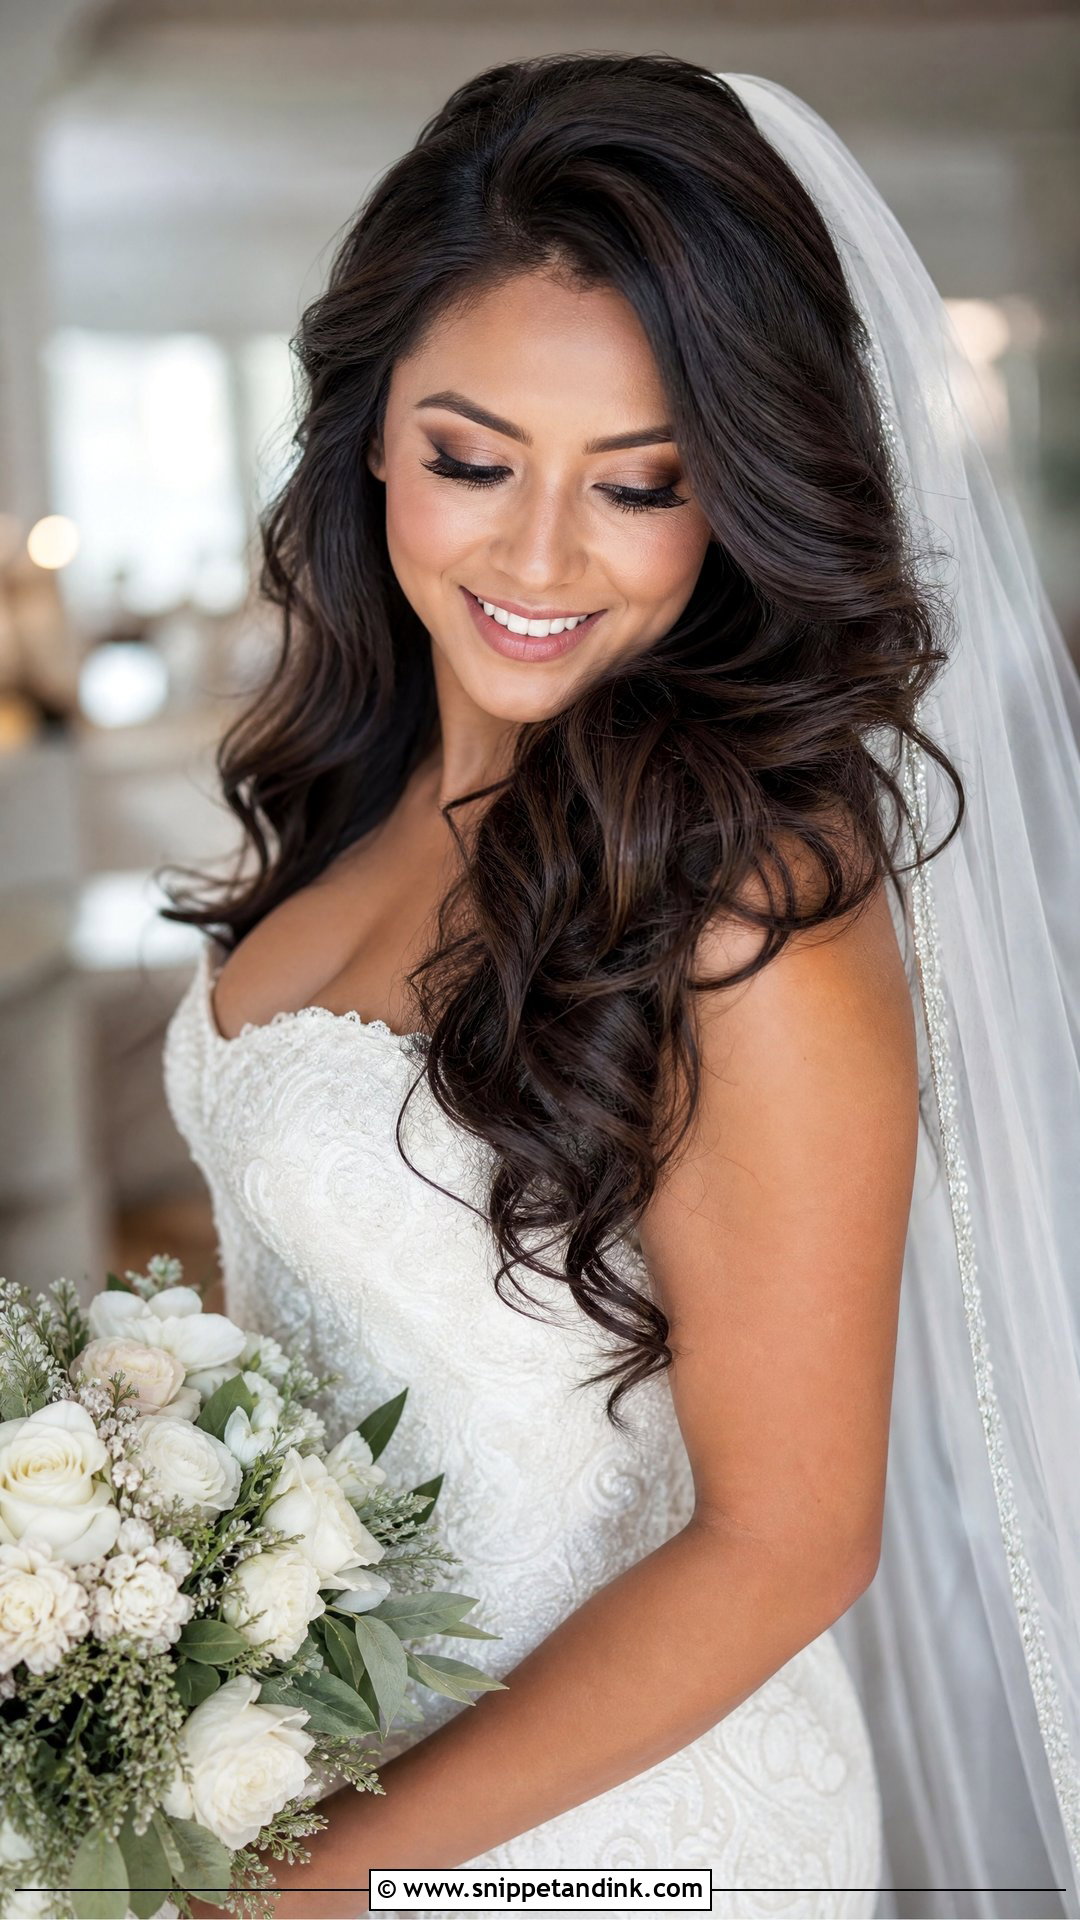
Long curls tumbling down the back are heavy, and weight is their enemy. I curl in smaller sections than you’d expect, pin each curl to cool, and brush them out only at the end. Very long, heavy hair can drop a curl within a couple of hours if it’s done in big sections. Veils and flowing gowns suit it. For long receptions, I’d consider a half-up version to take some of the weight off the curls.
18. Blowout With Deep Side Part
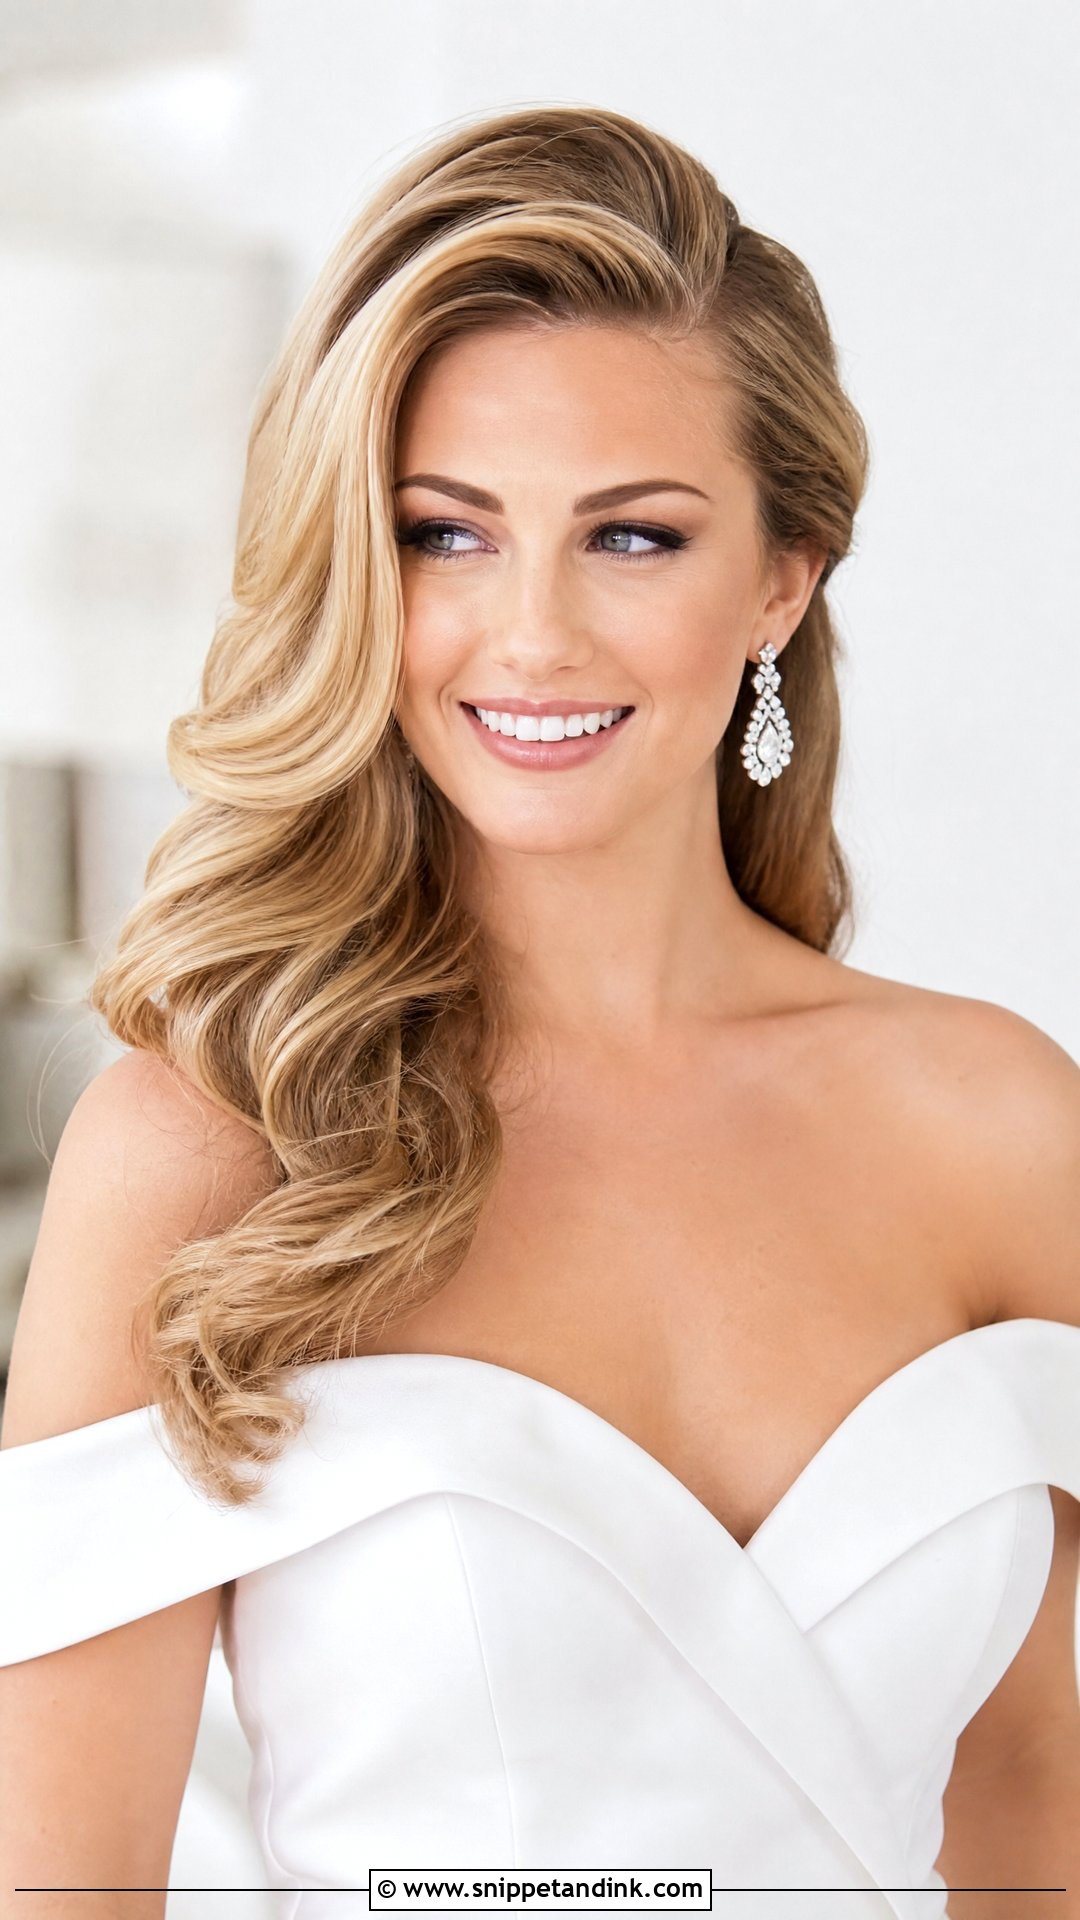
A deep side part adds height on one side and drama on the other. I check which way your hair falls naturally before placing it, because forcing a part against a cowlick looks fine for an hour and then lifts. Round brush volume through the lengths finishes it. It suits off-shoulder gowns and statement earrings, and works on most lengths.
19. Beachy Wave Blowout
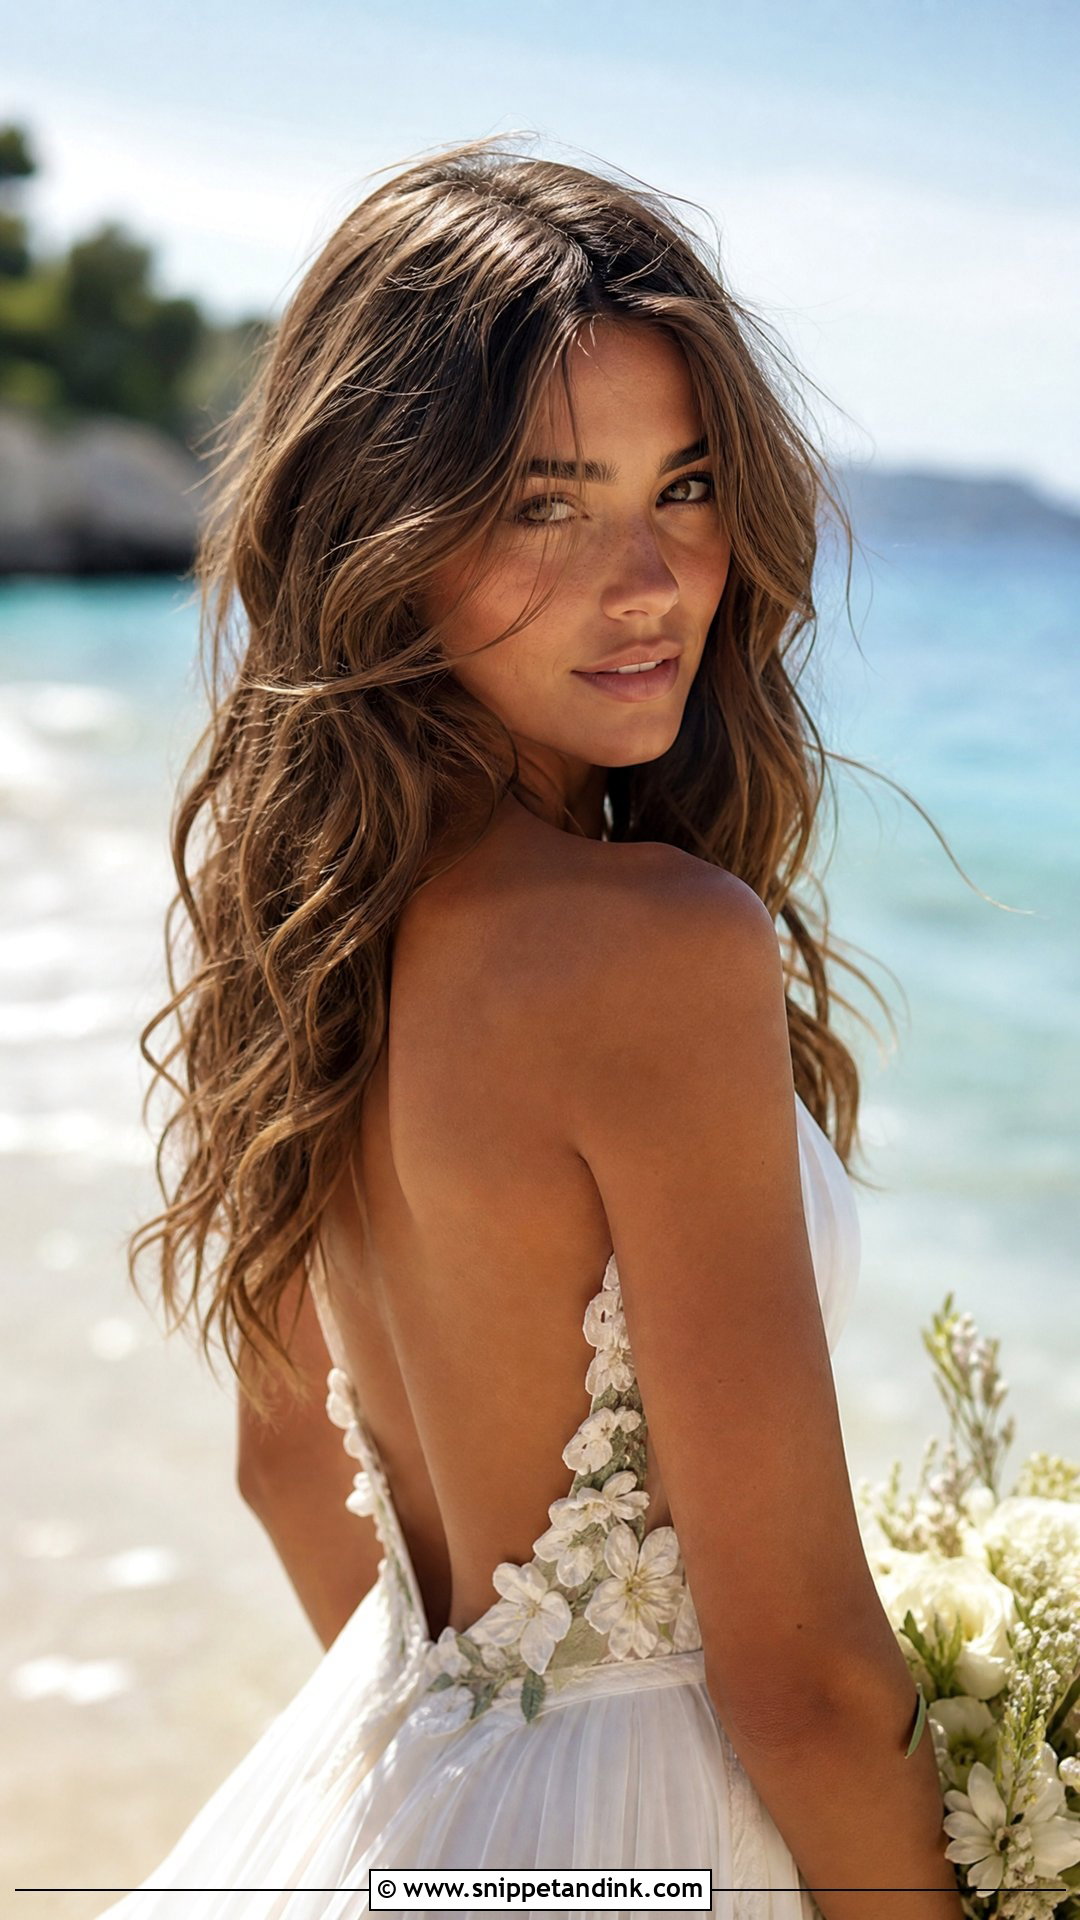
Beach waves are about texture, so sea salt spray or a dry texture spray goes on before the wand. I wrap the hair flat around the barrel instead of twisting it, and leave the ends straight. Salty, damp air near the ocean will loosen these waves fast, so I build them slightly tighter than the look you want. Floral accents or a flowing veil finish it, especially at a destination wedding.
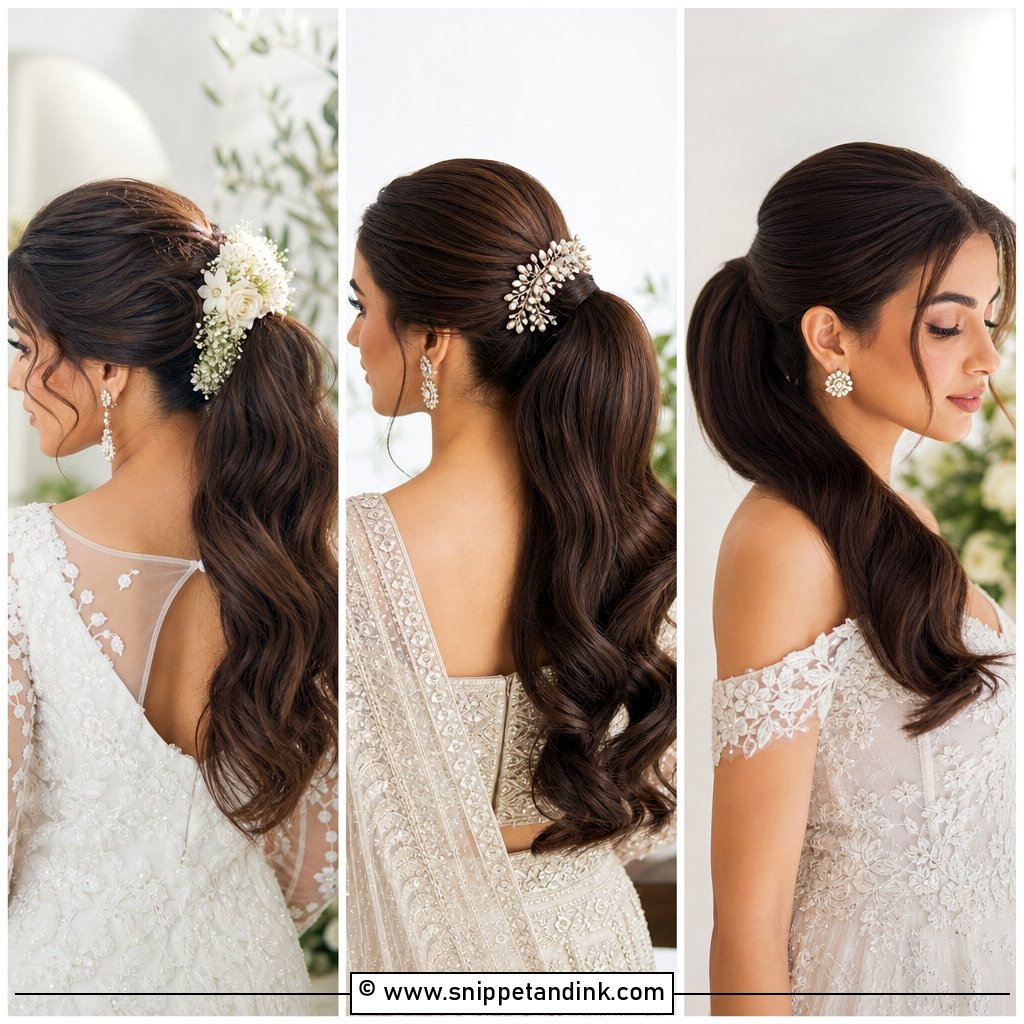
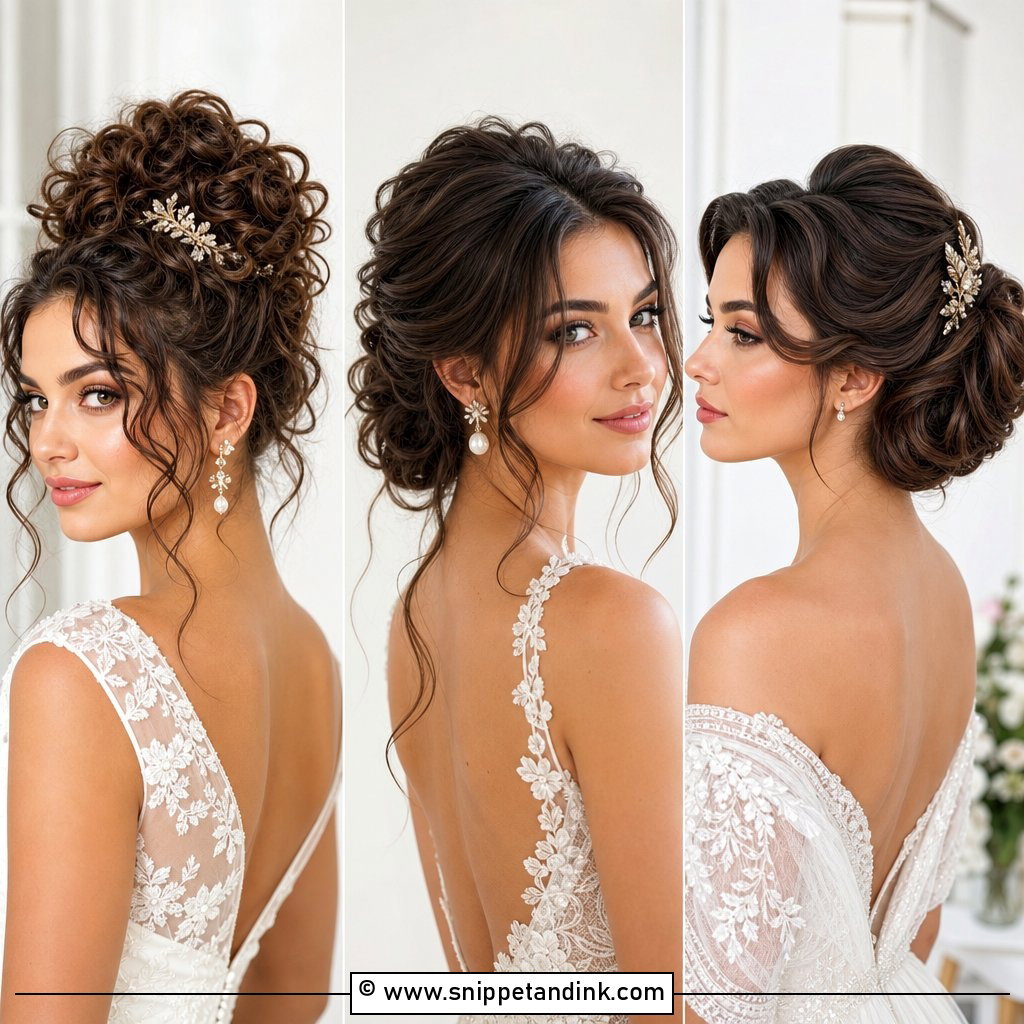
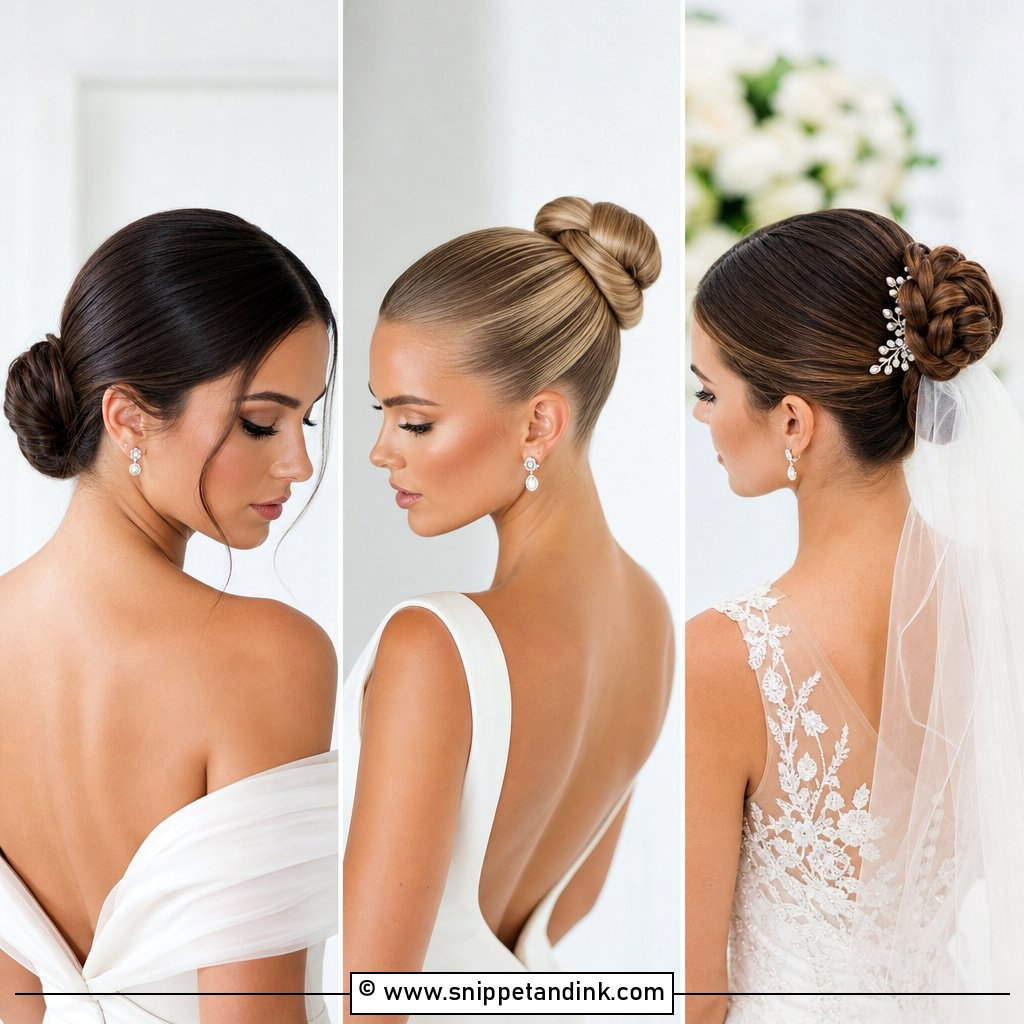
20. Blowout With Flower Accents
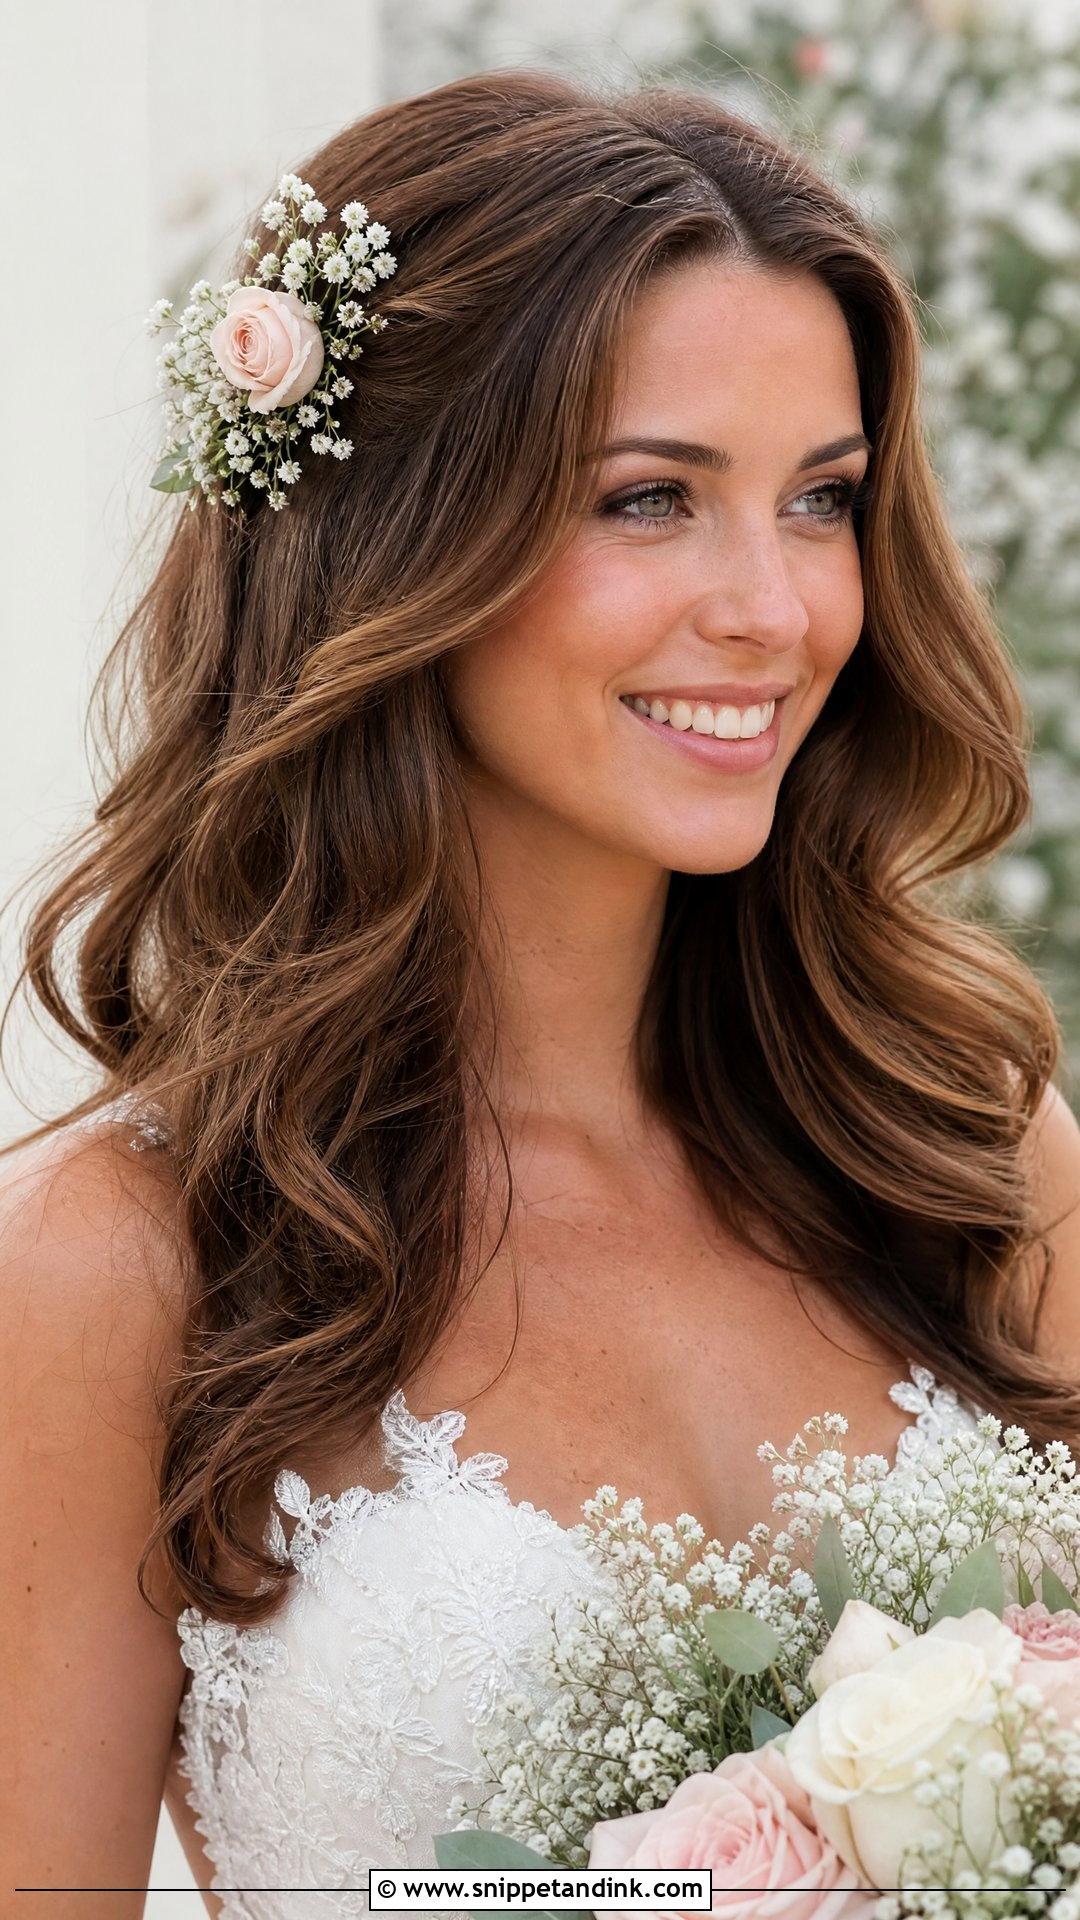
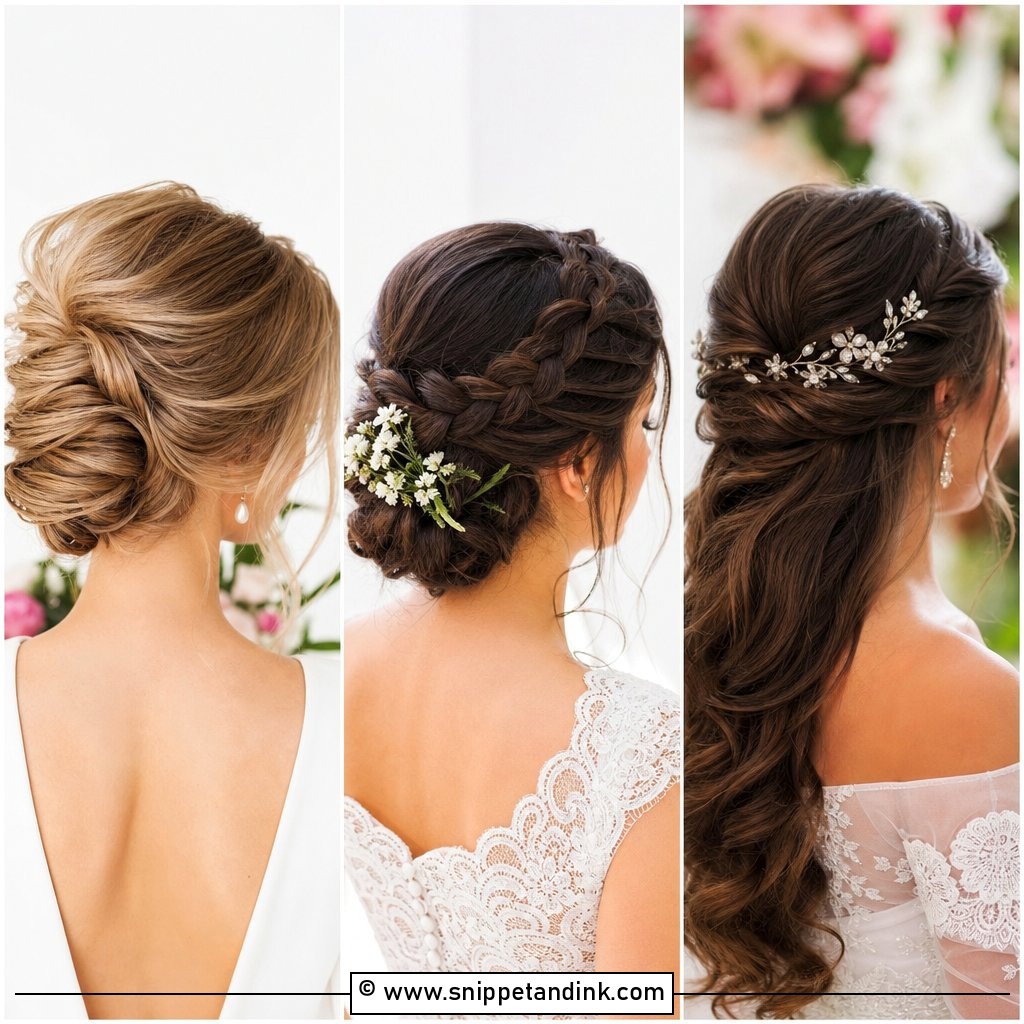
Fresh flowers sit best in hair that has some texture. This style pairs soft, bouncy waves with small blooms, pinned in after the blowout and curls are finished so the heat doesn’t wilt them. Spray roses, baby’s breath and wax flower last much longer out of water than delicate petals. Tuck them to one side or scatter them; either works with medium to long hair.
21. Voluminous Blowout for Curly Hair
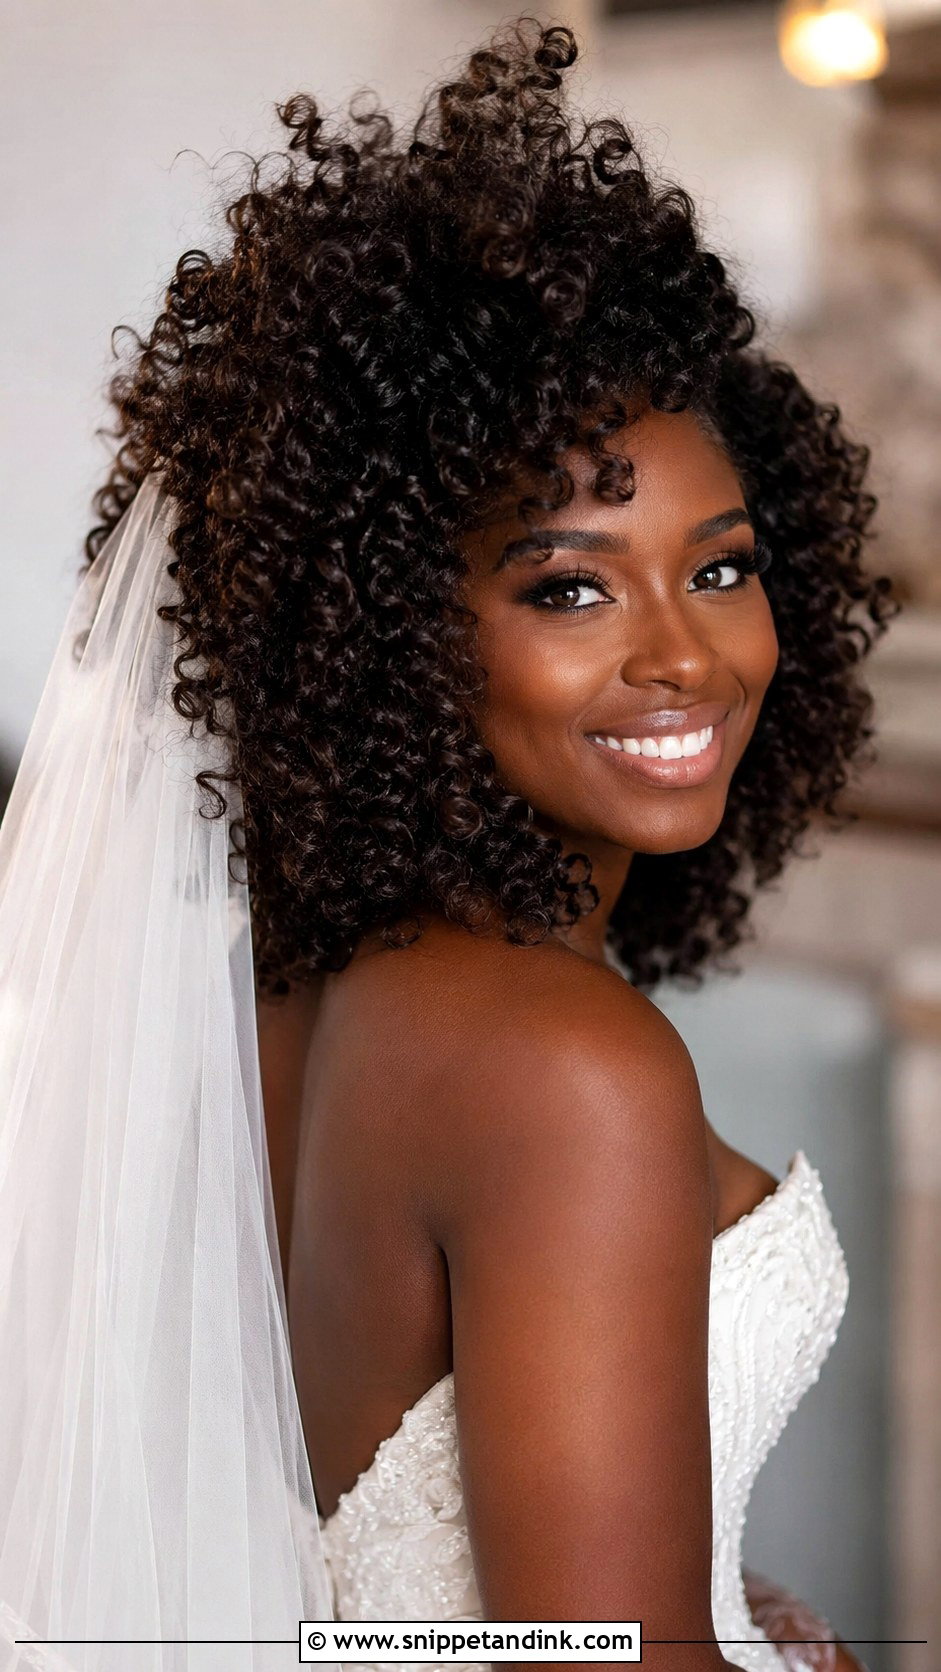
Curly hair doesn’t need to be straightened to look polished. I define the curls with a curl cream, then dry them with a diffuser on low heat, lifting the roots without disturbing the pattern. Touching the curls while they’re drying causes frizz, so I leave them alone until they’re completely dry. Then I lift at the root with a pick for volume. It flatters medium and long curly hair and sits well with a veil.
22. Blowout With Tousled Texture
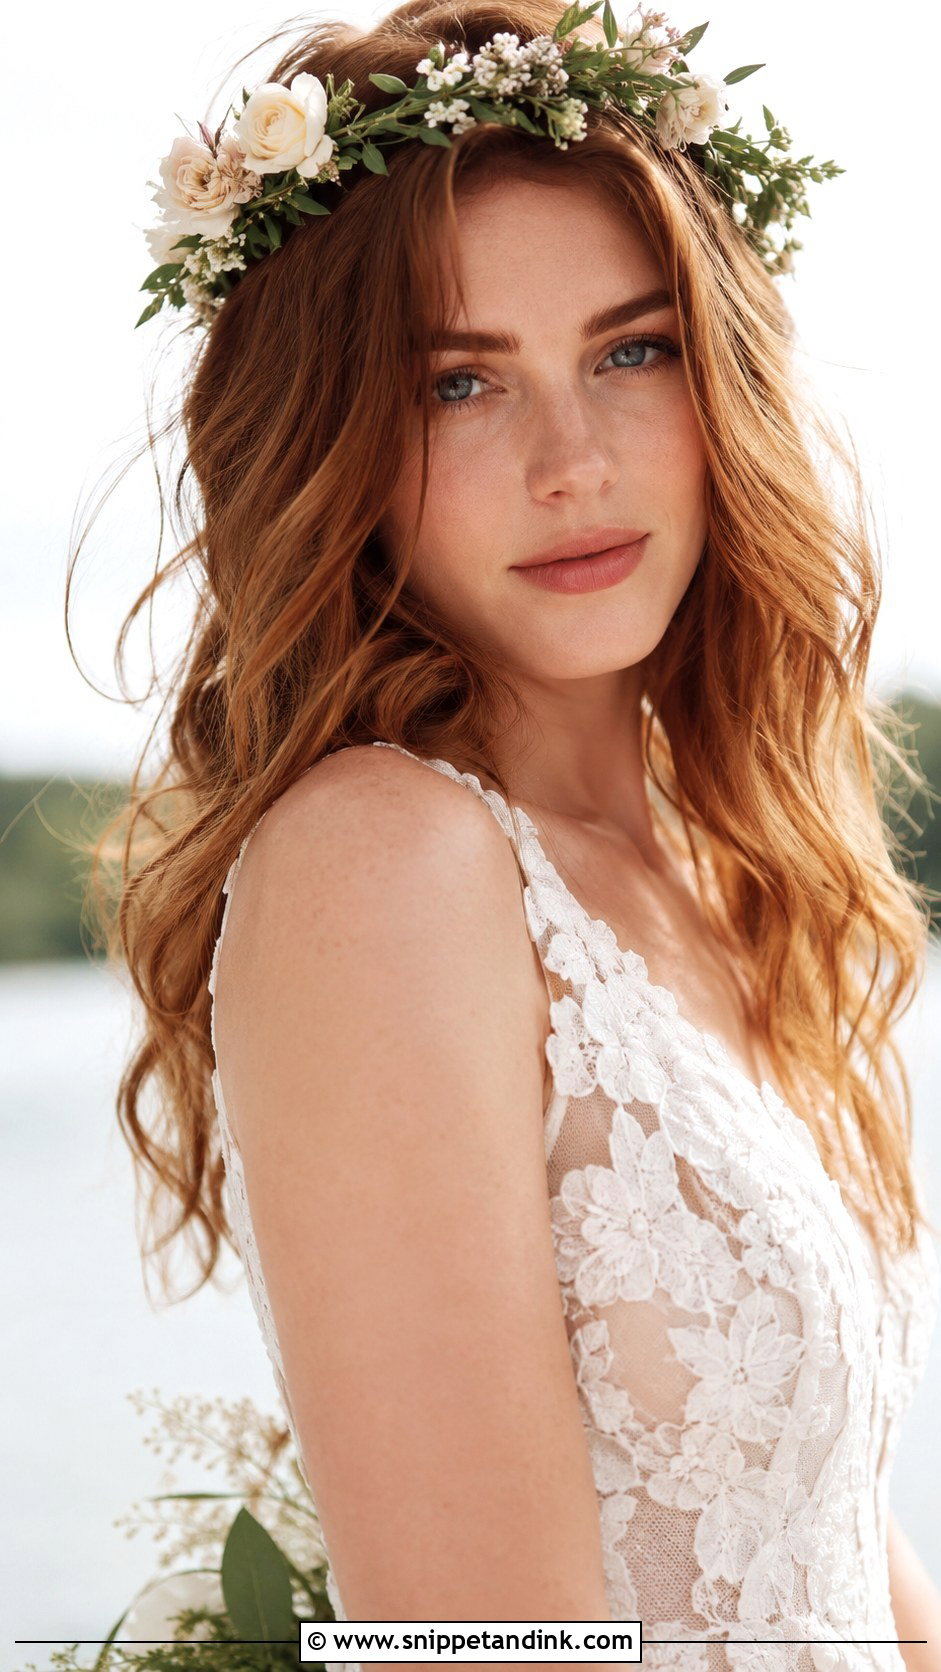
Tousled texture looks casual but is built carefully: texture spray, a curling wand and then breaking up the curls with fingers. It’s one of the most forgiving looks, because when it relaxes over the day it simply looks more lived-in. Floral crowns, pins or a flowing veil all suit it. It’s a good pick for brides who don’t want to feel stiff or overdone.
23. Sleek High Bun Blowout
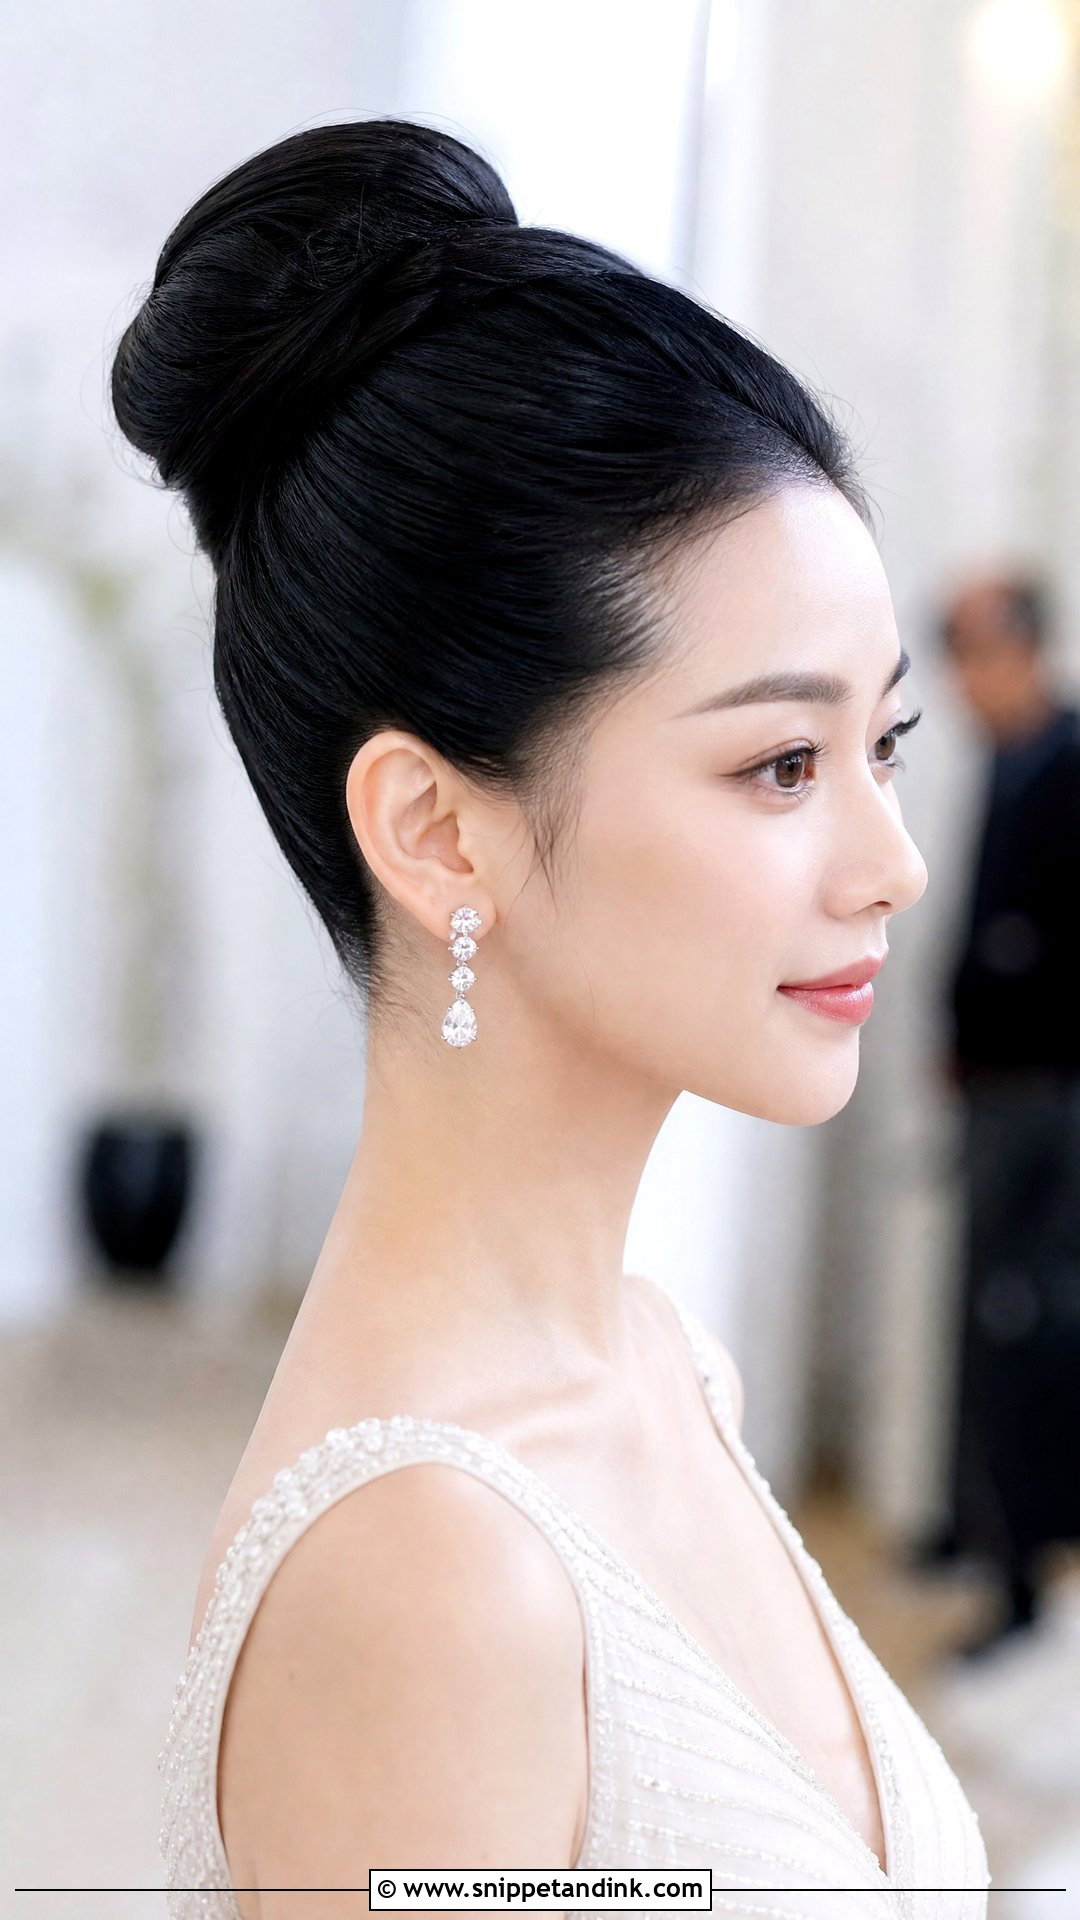
A high bun shows every strand at the crown, so the blowout underneath has to be smooth. I dry the hair upward toward where the bun will sit, then secure it with a strong elastic before wrapping. Statement earrings and open necklines suit it. It holds very well, but on sensitive scalps the height can ache after several hours, so wear it for a while at your trial.
24. Blowout With Crystal Hairpiece
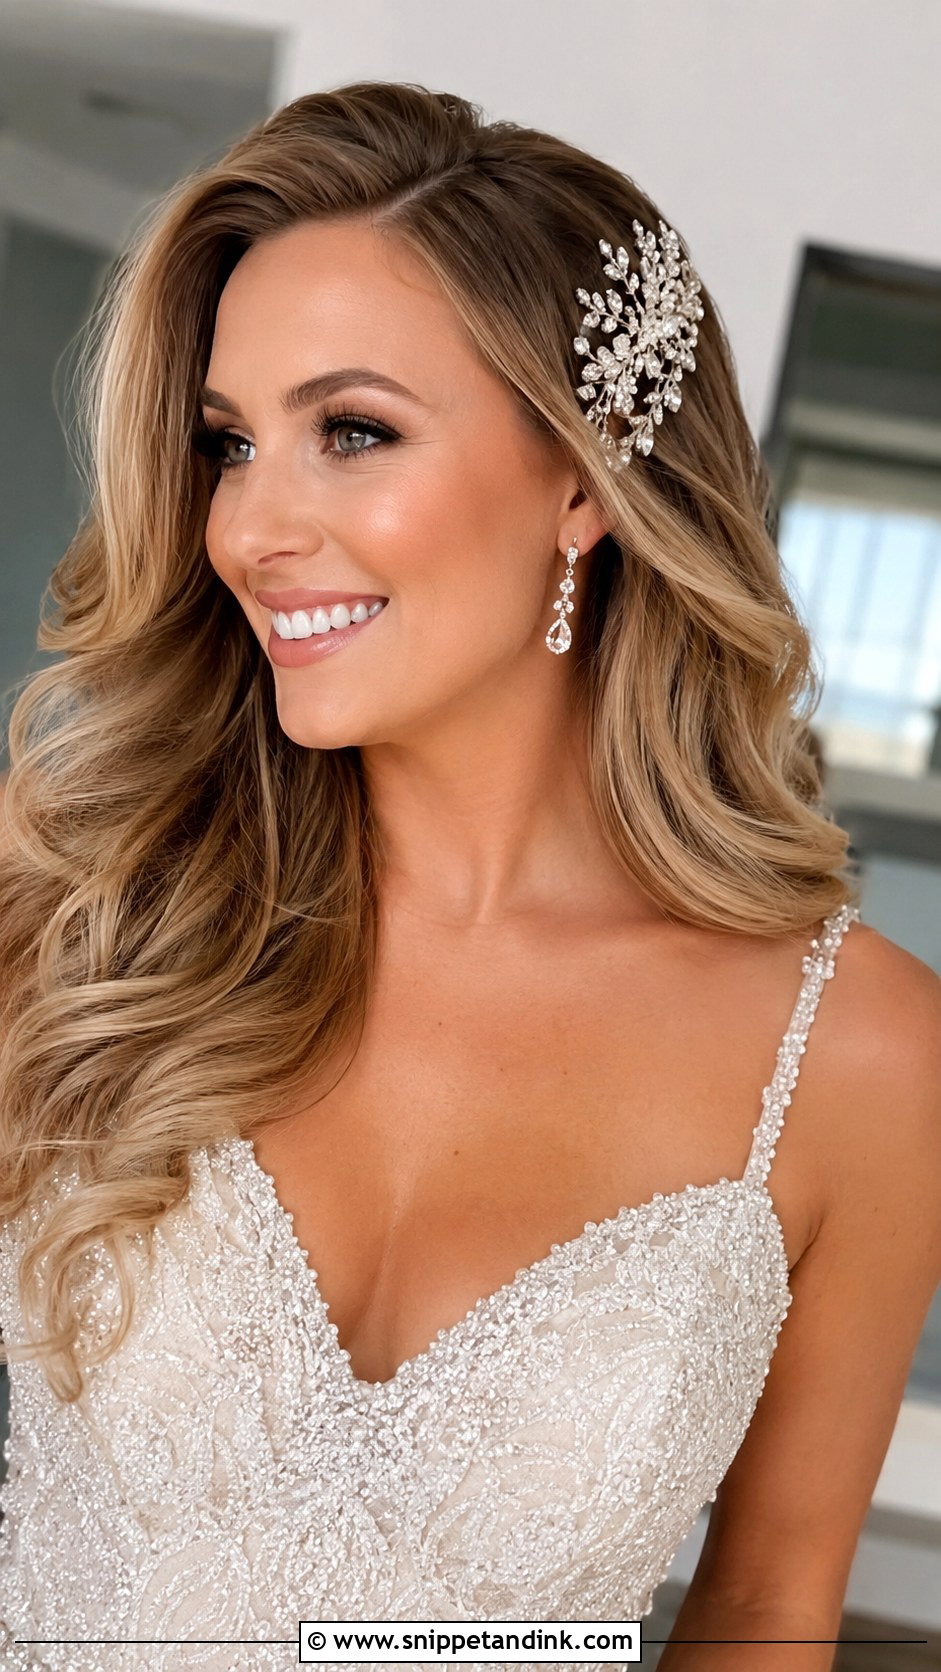
A crystal hairpiece adds sparkle and catches the light in photos, but it also has weight, so I anchor it into a backcombed section or onto a couple of crossed bobby pins. Place it to one side or across the crown. Bring it to your trial; a heavy piece can drag soft waves flat, and I might need to set the hair beneath it more firmly.
25. Soft Waves With Center Part
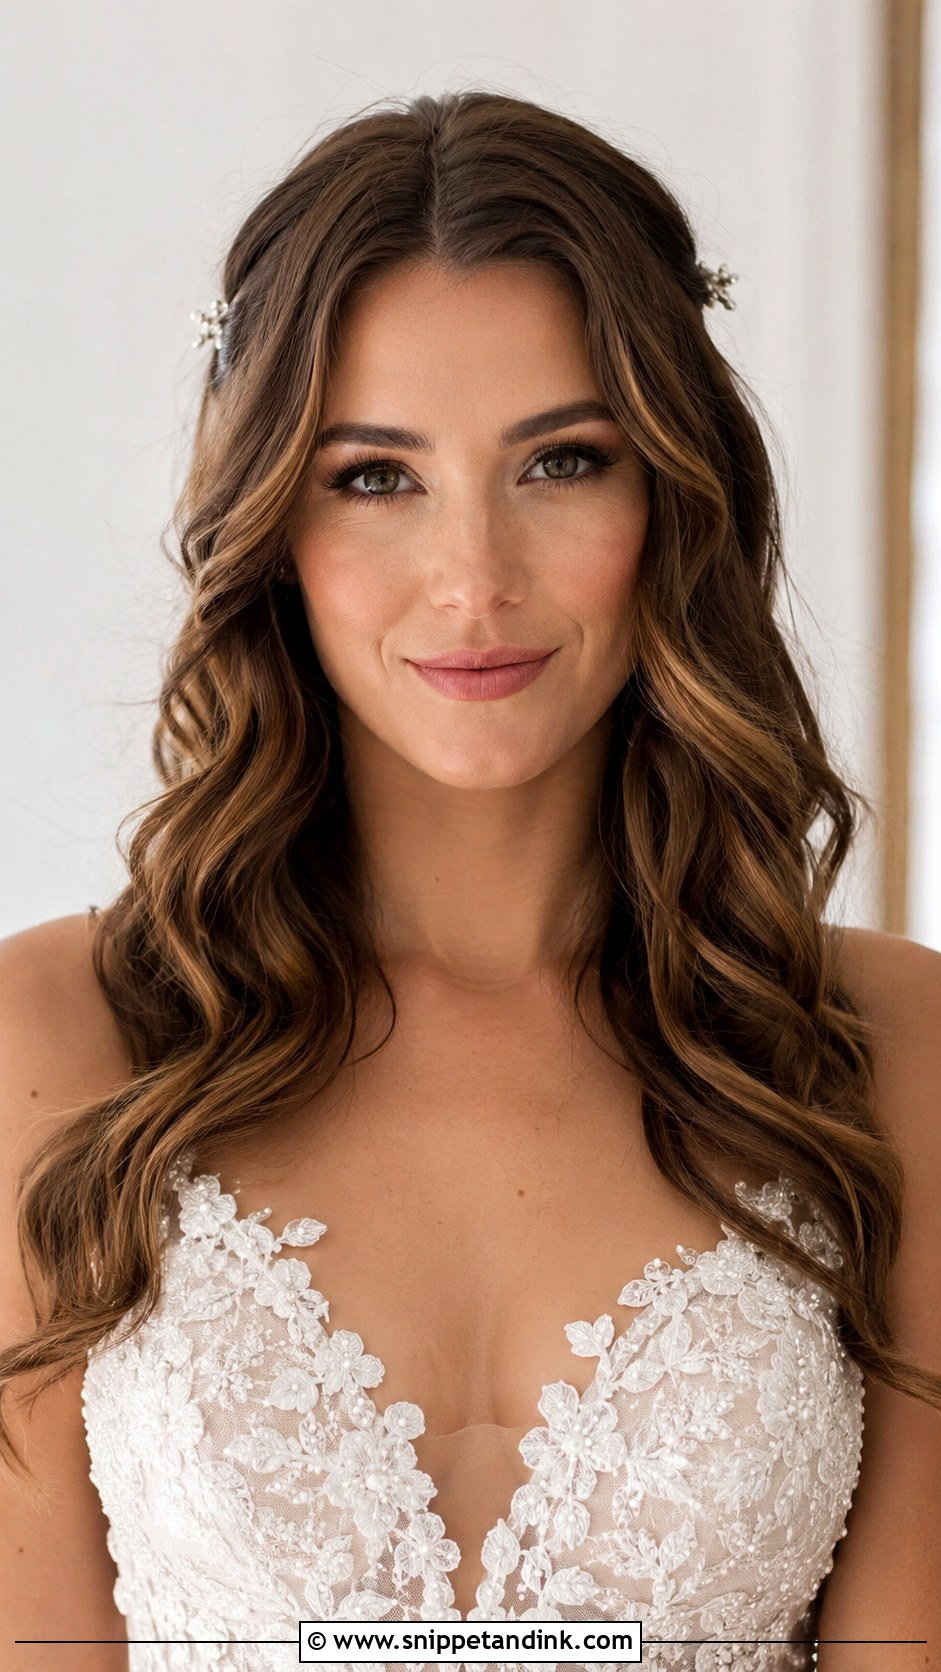
A center part is unforgiving: it needs to be straight and the volume needs to match on both sides. I blow-dry each side with equal lift, then add loose waves with a wand. It suits oval and heart-shaped faces well, and very round faces sometimes look better with the part moved slightly off center. Delicate pins or a veil finish it nicely.
26. Voluminous Blowout With Headband
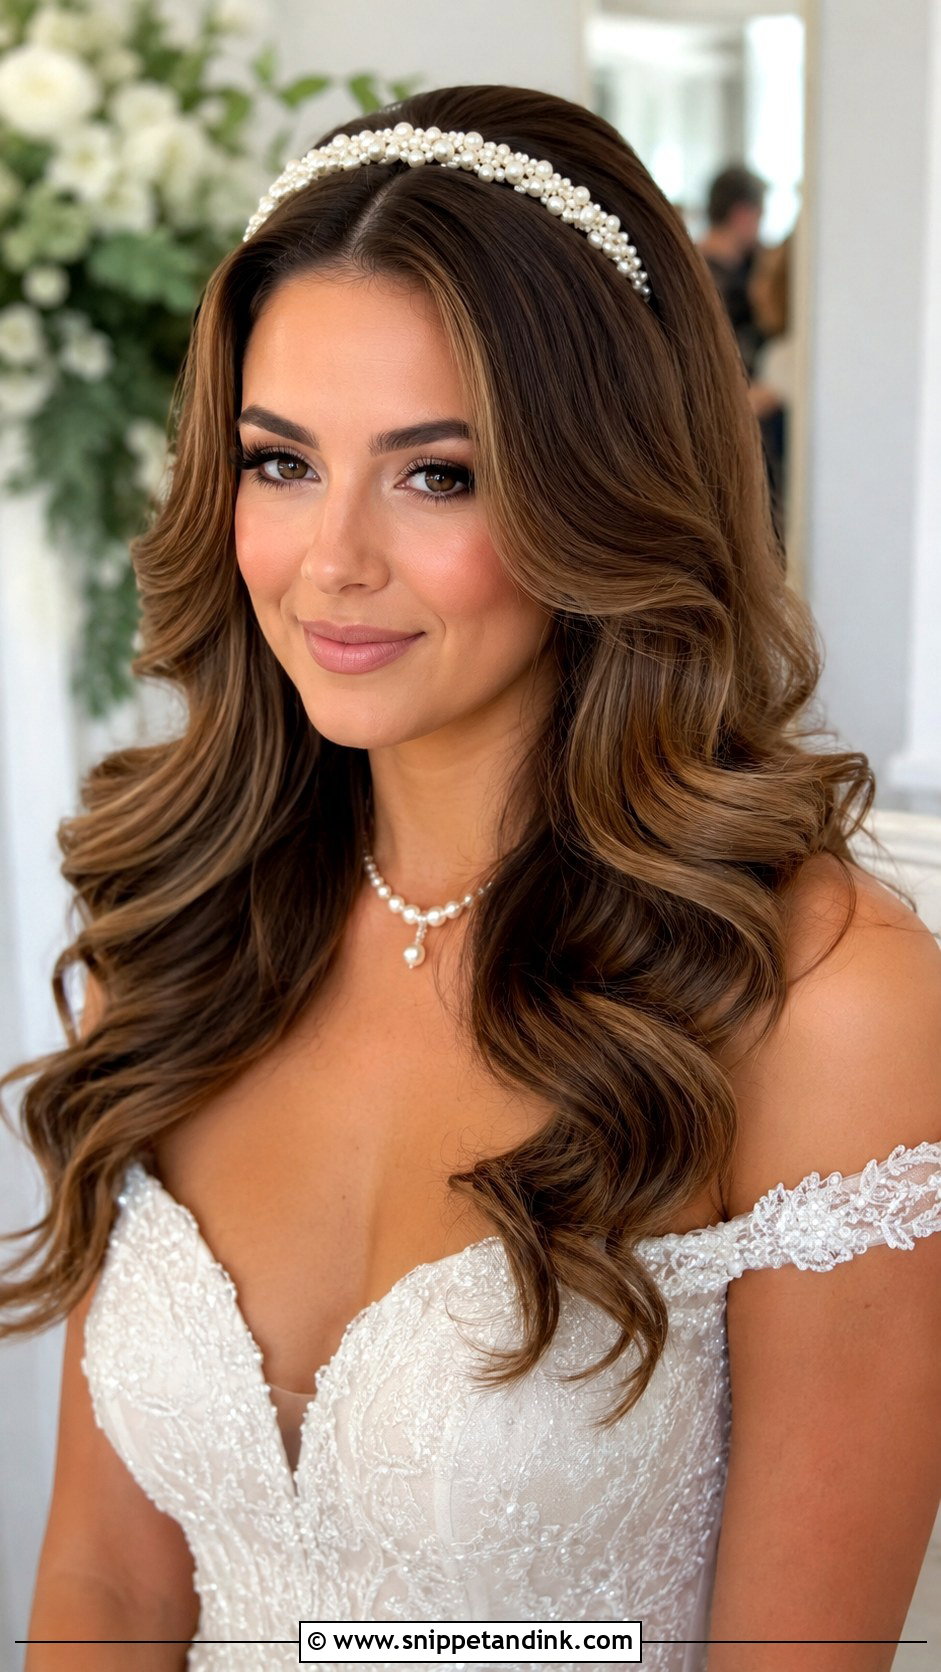
A jeweled or floral headband sits on top of a volume blowout and frames the face. I backcomb a little at the crown just behind where the band sits, so it doesn’t slide forward. Headbands with small teeth hold better than smooth ones. Pearls, crystals or fresh flowers can match the rest of your accessories.
27. Blowout With Wispy Face-Framing Pieces
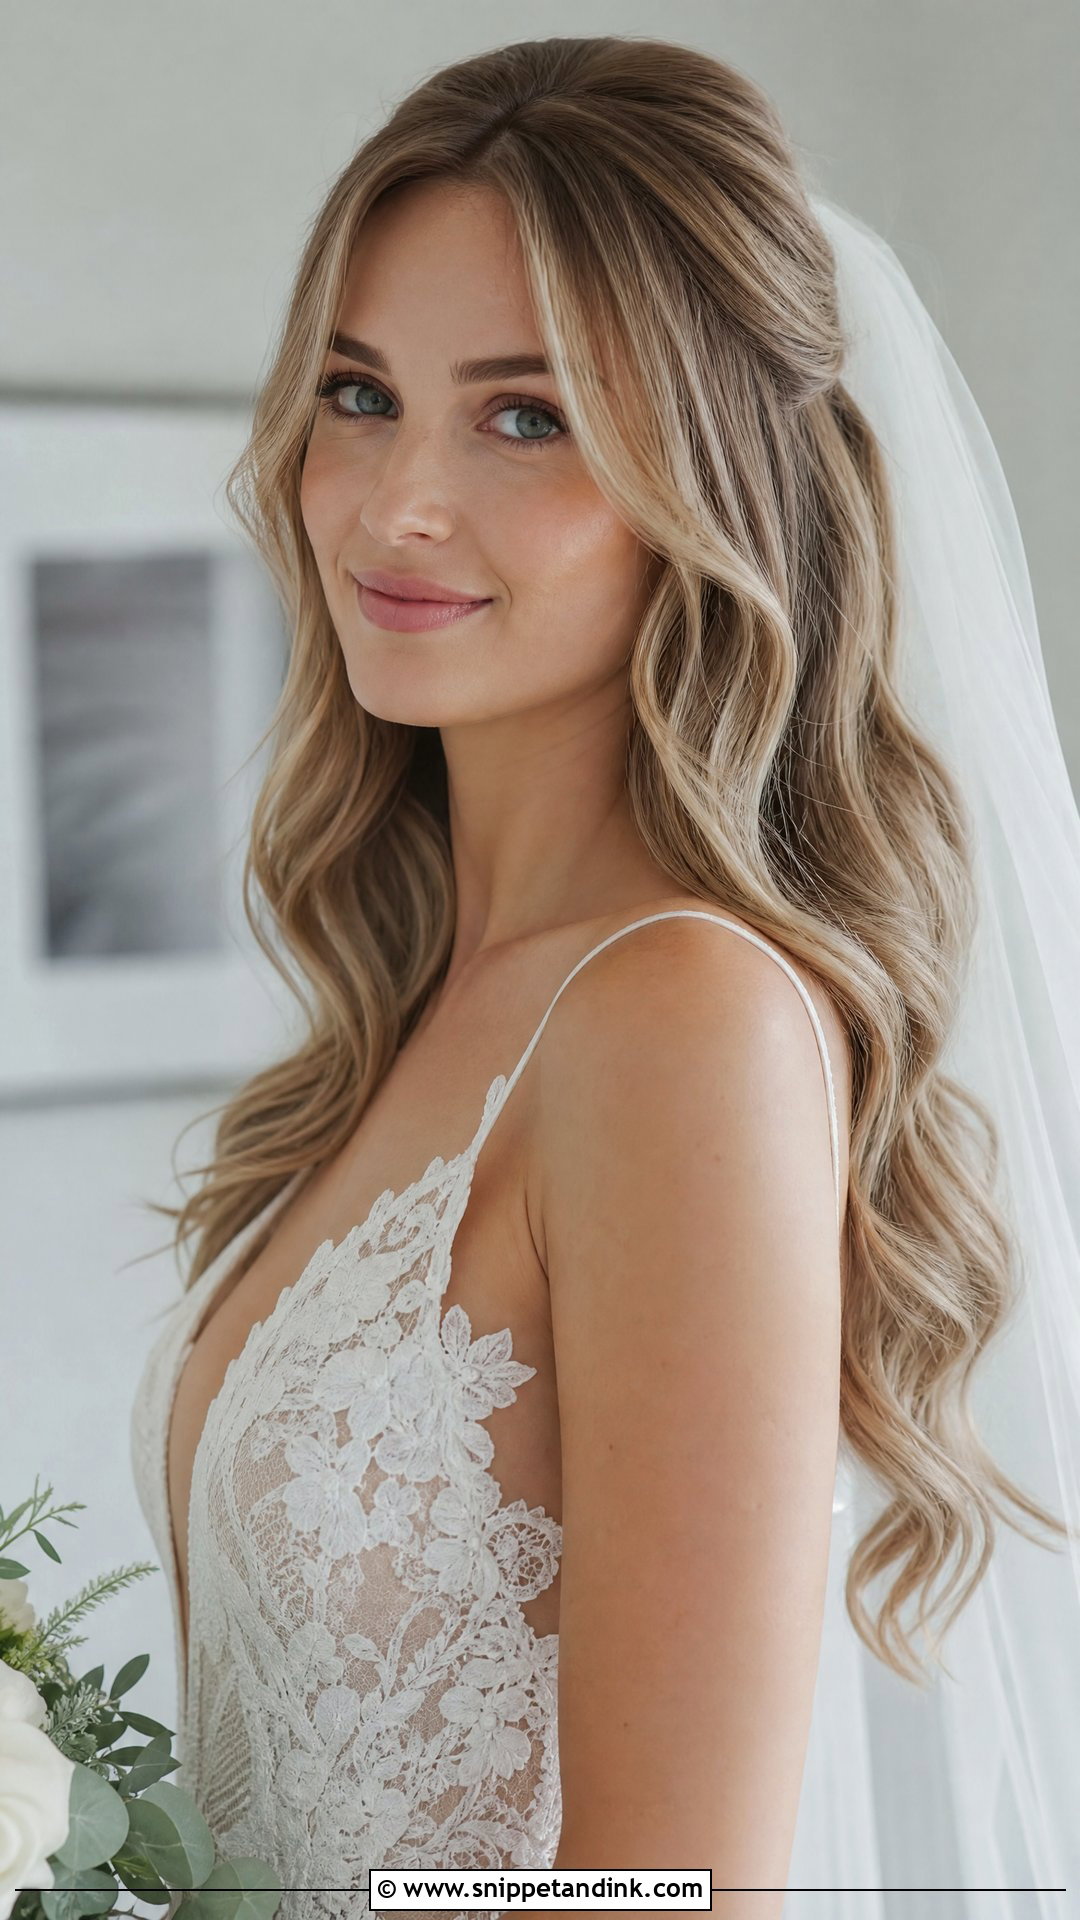
Wispy pieces need a lighter touch than the rest of the hair. I curl them with a small iron and only a light mist of spray, so they move. They soften both updos and loose styles. Keep them out of your eyes and away from your lip color; long wisps stick to lipstick within an hour.
28. Glamorous Volume at the Crown
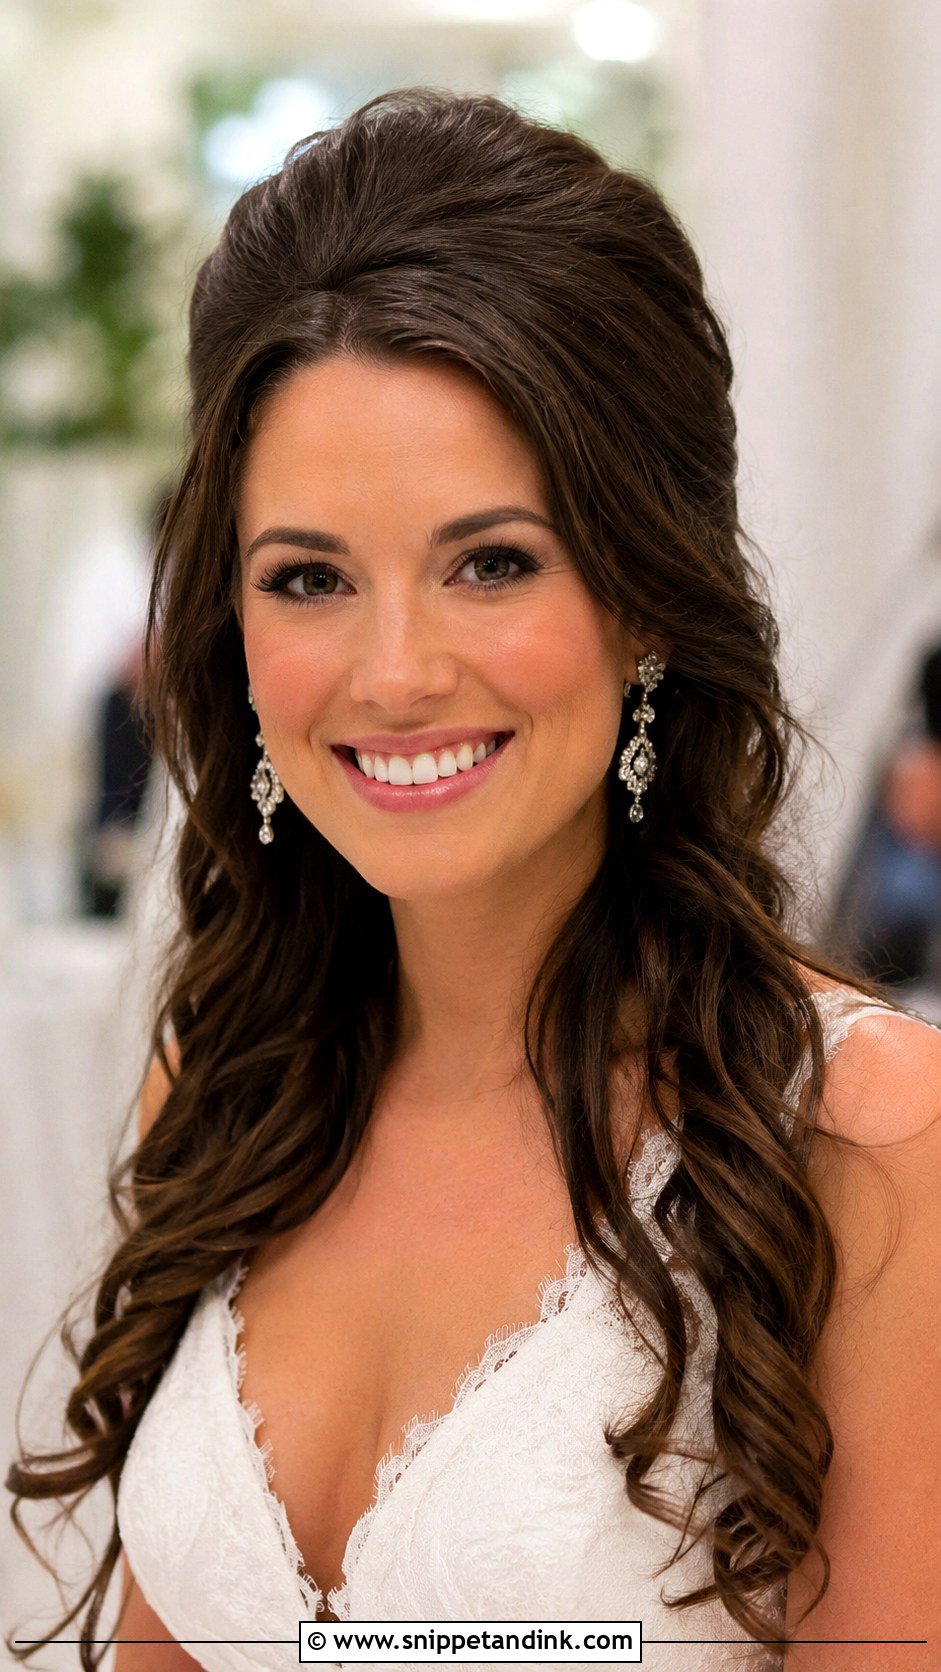
Crown volume starts at the root, with root-lift spray and drying the crown upward with a round brush. I backcomb a small hidden section underneath for staying power. It adds length to round and oval faces. The volume holds better on fine hair if you avoid heavy oils or serums near the roots. A strong hold spray at the root keeps it up.
29. Blowout With Pearl Accents
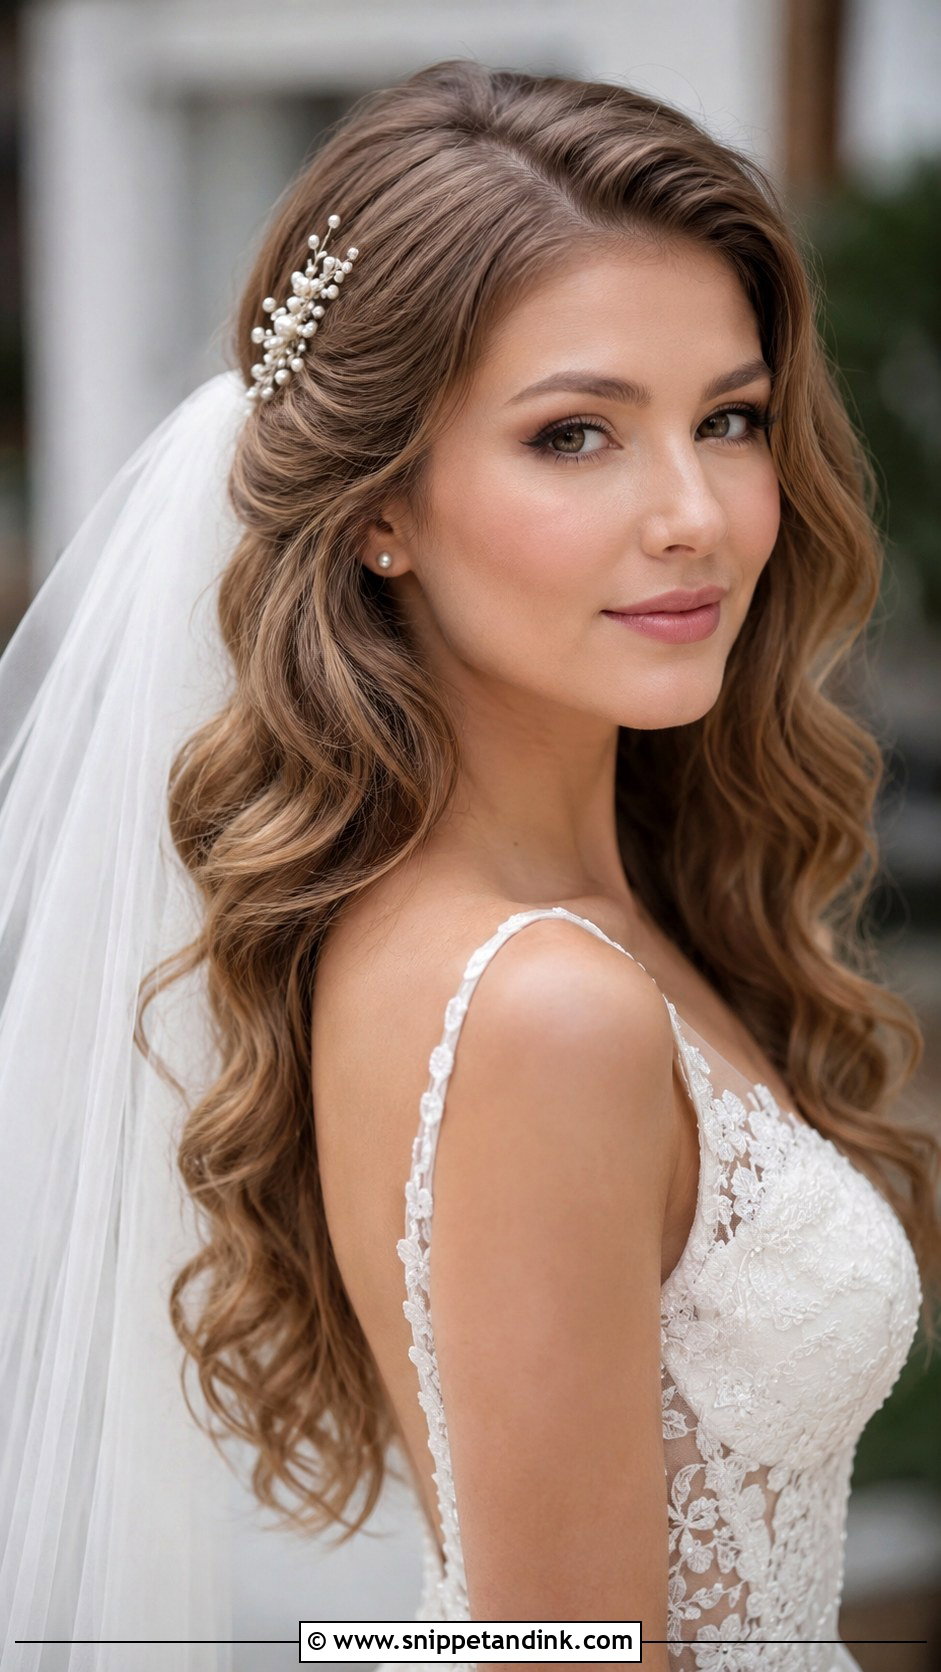
Pearl pins sit well in soft waves. I scatter them unevenly or cluster them to one side, angling each into a backcombed section so they stay put. Match the shade of the pearls to your earrings or necklace; white and ivory look different next to each other. It’s a natural fit for classic and vintage-leaning weddings.
30. Vintage Finger Wave Blowout
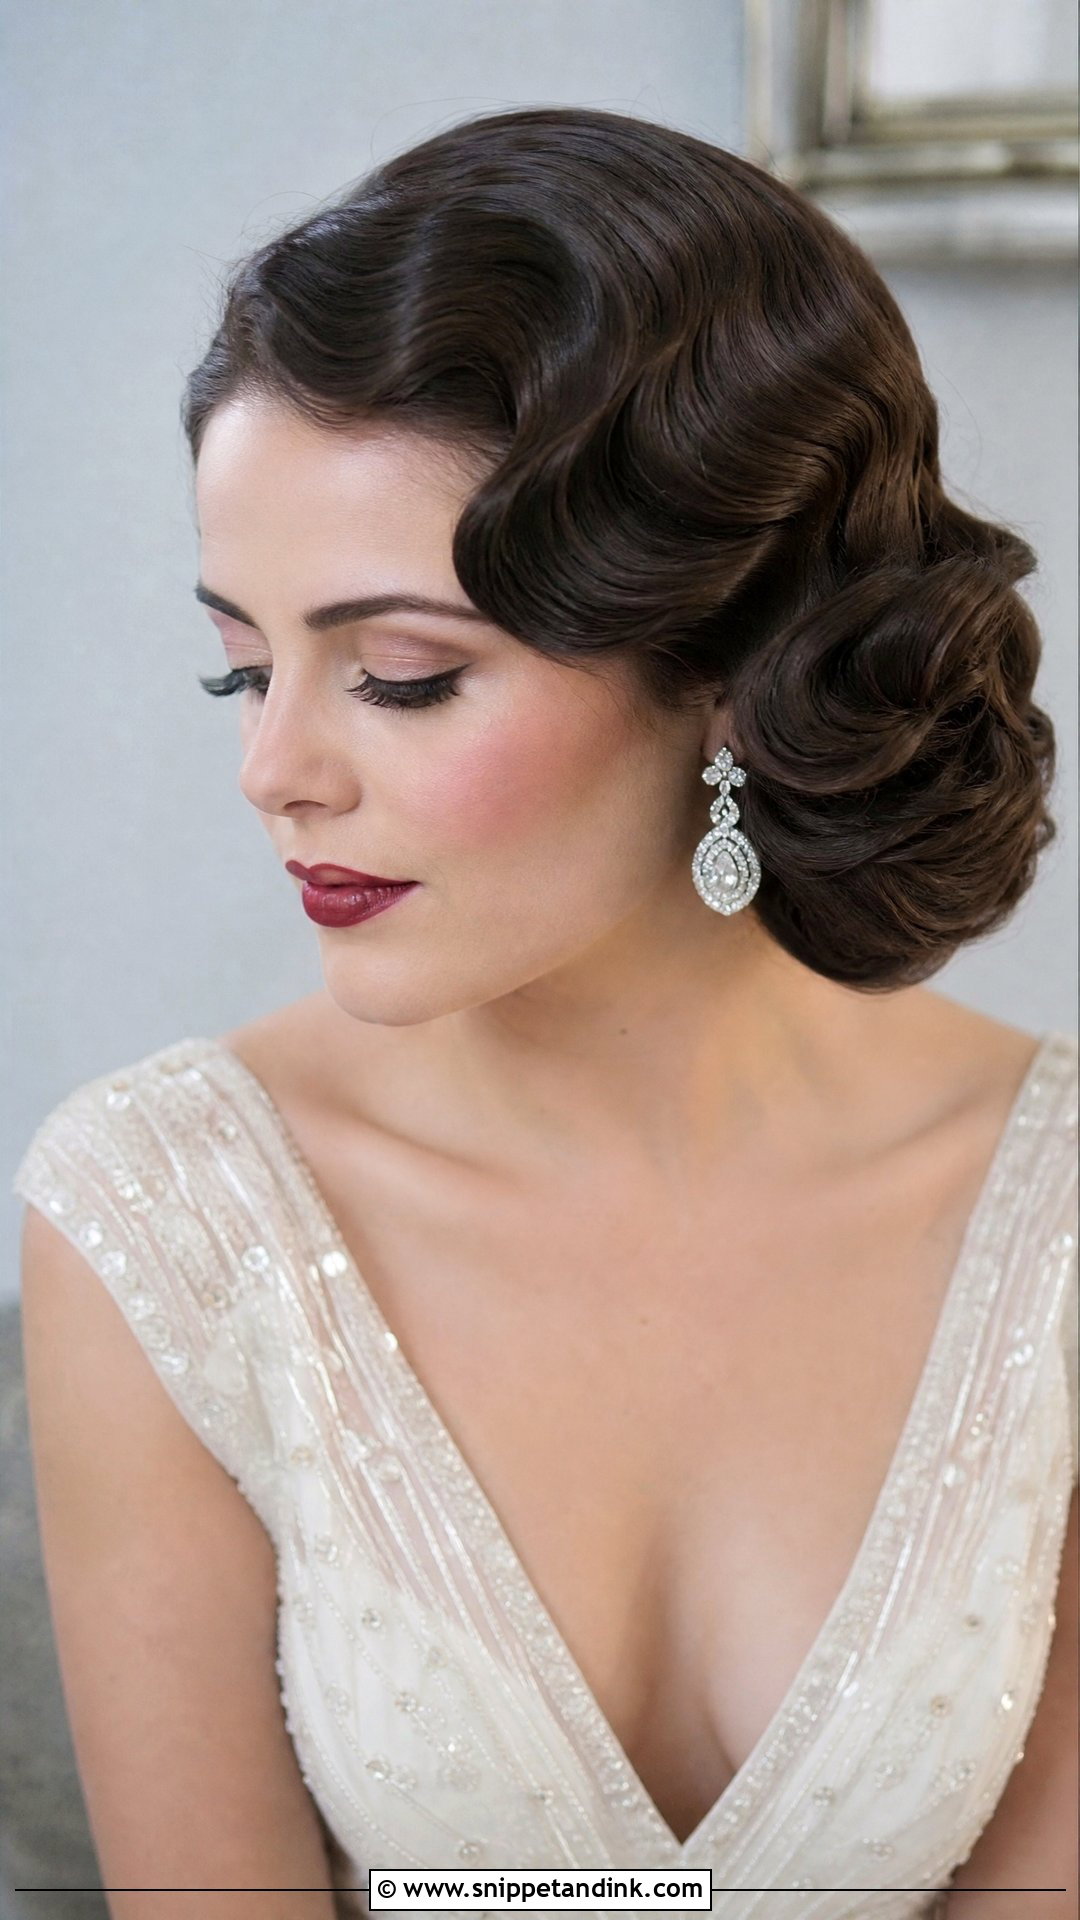
A vintage finger wave blowout creates sculpted S-shaped waves that sit close to the head, as in the 1920s. It’s set wet, with gel, a comb and clips, and left to dry completely before the clips come out. That means extra chair time. It suits short and medium hair best, and pairs with vintage gowns and art deco jewelry.
Humidity, Fine Hair and Other Reasons Volume Drops
Every blowout loses some volume over a long day. How much depends on your hair and the weather, and you can plan for both.
Damp or tropical venues
Moisture in the air reverses a blowout, so straight styles turn frizzy and curls loosen. For a humid or beach wedding, I lean toward textured waves or a style partly pinned up, and I use an anti-humidity spray as the last step. Bring a small towel or blotting paper for your hairline if you’ll be outside in the heat.
Very fine or very thick hair
Fine hair loses volume first. I use more root lift, rollers while your makeup is done, and sometimes clip-in wefts for body. Thick hair holds shape but takes much longer to dry, so book a longer appointment, or dry it the evening before and only refresh it on the day.
Give a bridesmaid a travel hairspray, a few pins and dry shampoo. A spray of dry shampoo at the root and a quick lift with fingertips brings most blowouts back to life before the reception.
Will Your Blowout Still Have Shape at Dinner?
A blowout only looks as good as the hair it starts on and the time it’s given to cool and set. Pick the finish that suits your hair’s texture, your veil and your venue’s humidity, then book a trial and live in it for the day. If it has dropped by dinner, that’s useful information, not failure: your stylist can set it tighter or add rollers on the morning.
You'll Like These Ideas:


Leave a Reply