
The bridal hair I’m asked for lately is softer and less sprayed than it used to be: low buns with a little air in them, half up waves, glossy ponytails, braids that look touchable. The brides want to recognize themselves in the photos years from now, and I agree with them. What they don’t always see from a saved picture is how much depends on things outside the photo, like the back of the dress, where the veil sits, the weather and how much hair they have. The styles below are the ones I do most, with what each one needs to work and who I’d steer toward something else.
What Your Dress’s Back and Veil Tell Me About Hair Height
Before I look at inspiration pictures, I ask to see the back of the dress and where the veil will sit. Most brides only picture the front, but guests watch you from behind for the whole ceremony.
- Low or open backs: a low bun, chignon or ponytail keeps the line of your back clear. Long loose hair hides the detail you paid for.
- High necks and lace collars: lift the hair a little higher, to mid-head, so it doesn’t rub on the lace or catch in the buttons.
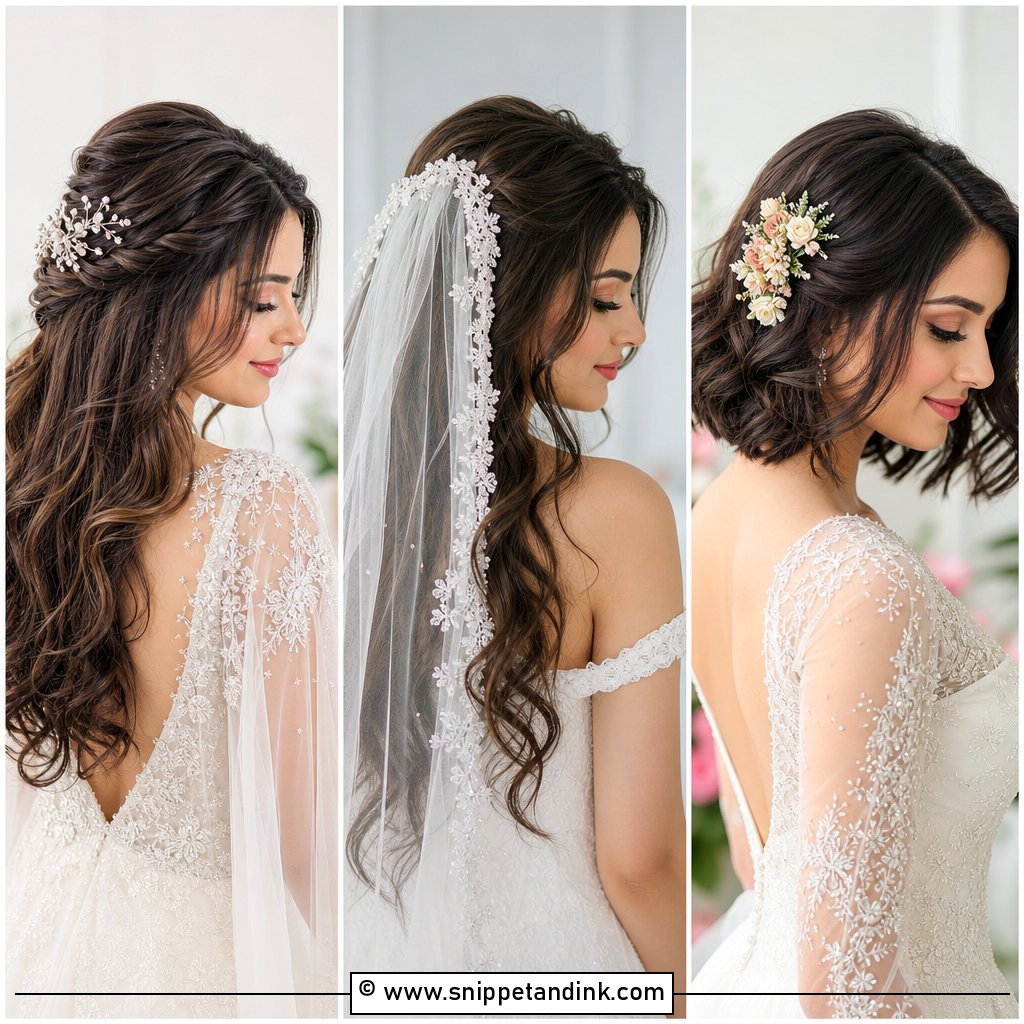
- Veil at the crown: the hairstyle has to be firm right there. A loose half up or waves need a hidden pin base to hold the comb.
- Veil below a bun: plan the bun height so the comb tucks in just underneath it.
- Strapless or off-shoulder: almost anything works, so let your hair type decide.
This isn’t a strict rule set. If you have very long hair and love it down with a low back, we can do a half up so some of the back still shows. But those choices go much faster once the dress and veil are on the table.
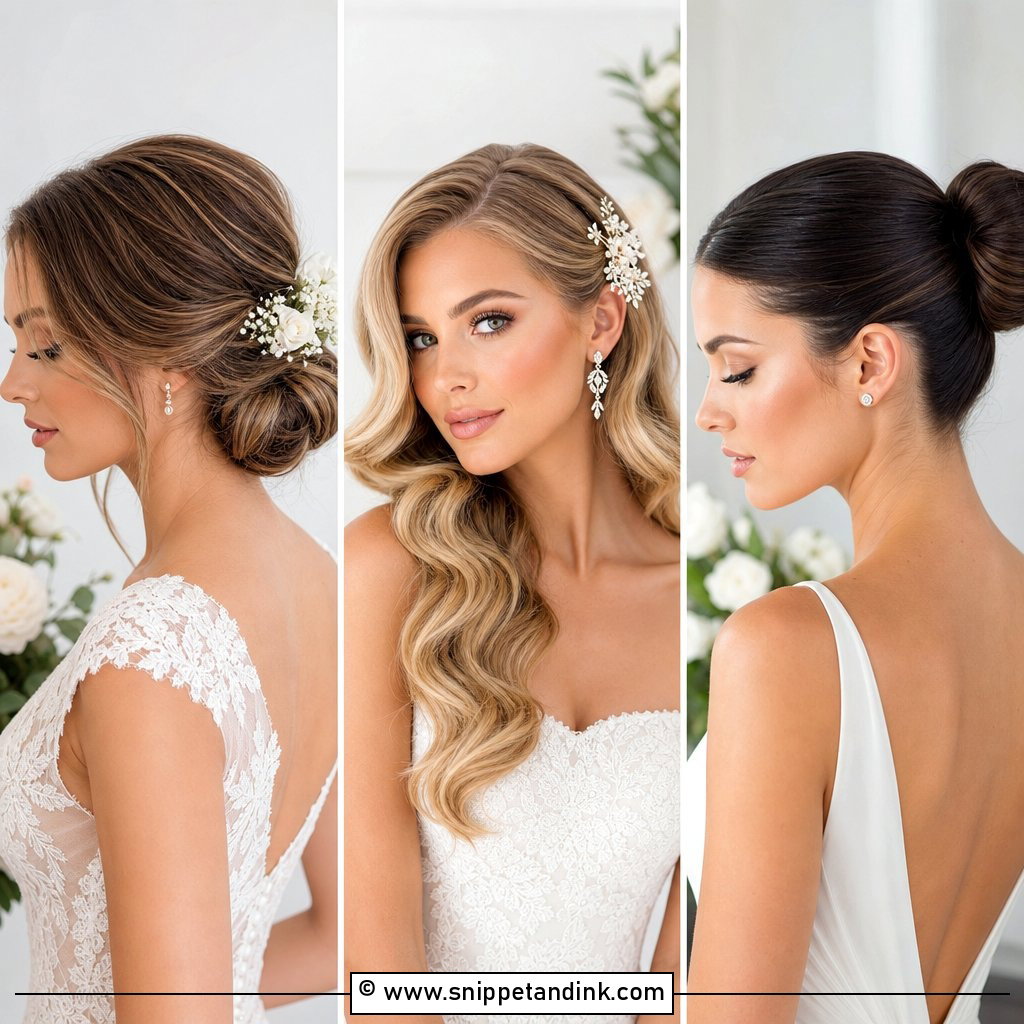
1. Low Bun Wedding Hairstyle
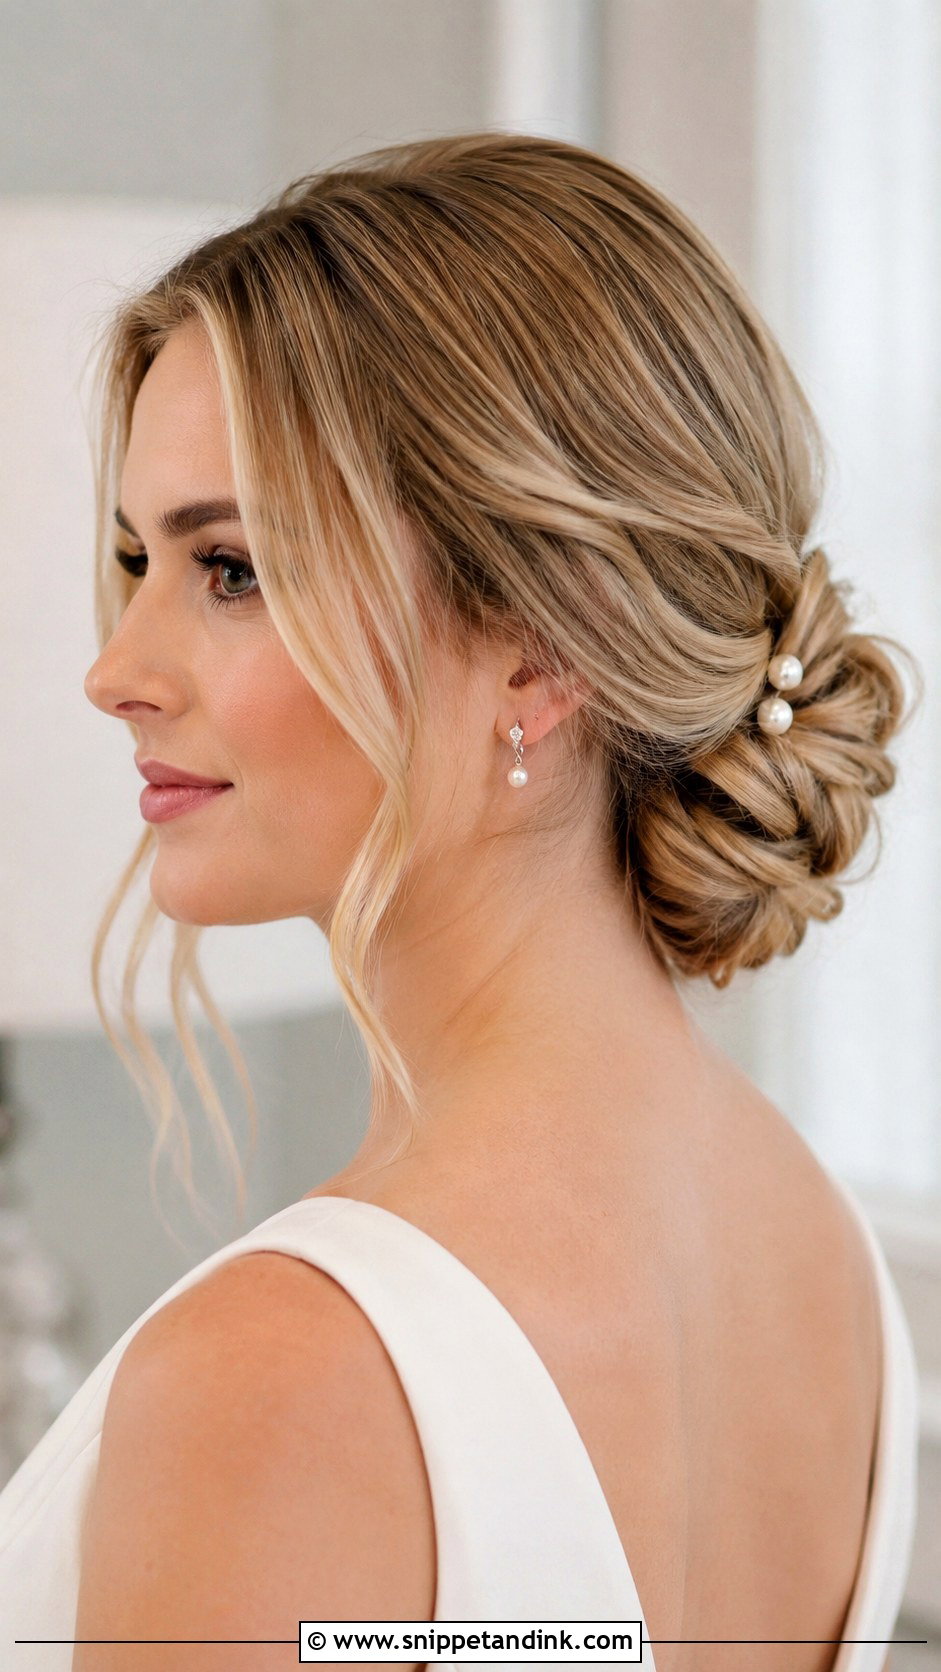
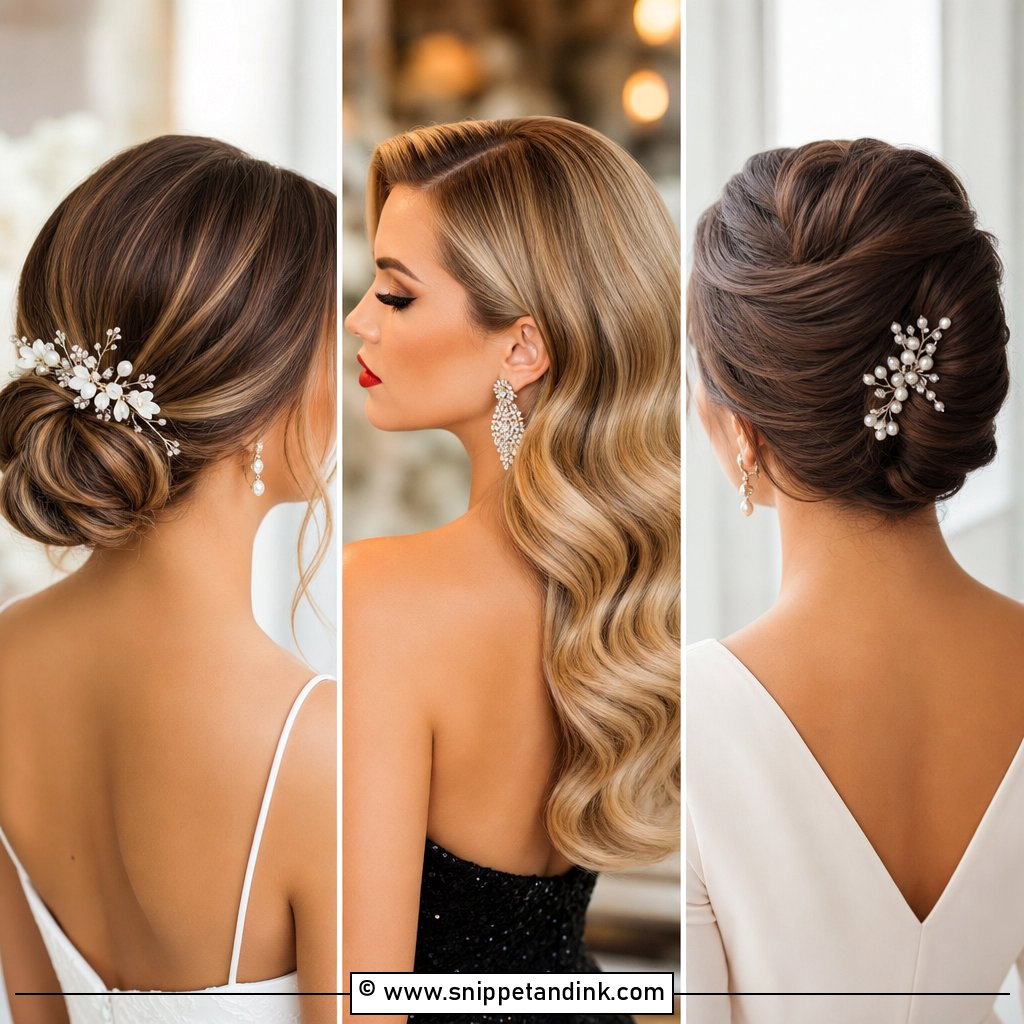
If a bride can’t decide, I usually suggest a low bun first. It sits at the nape, out of the way of a veil comb above it, and it survives hugging and dancing better than almost anything else. The finish is what you adjust to the dress: smooth for a plain crepe or satin gown, a little textured for lace or tulle. I pin it in sections so one loose piece never brings the whole bun down.
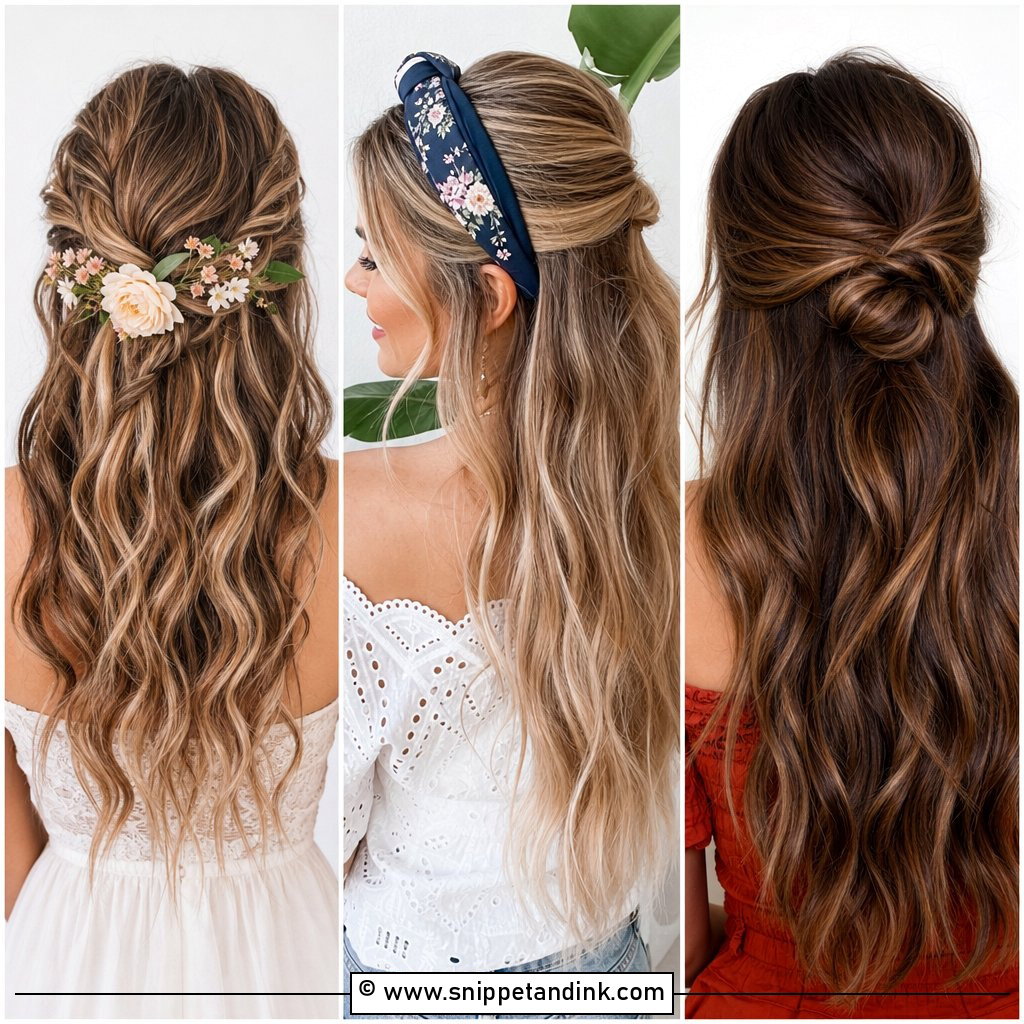
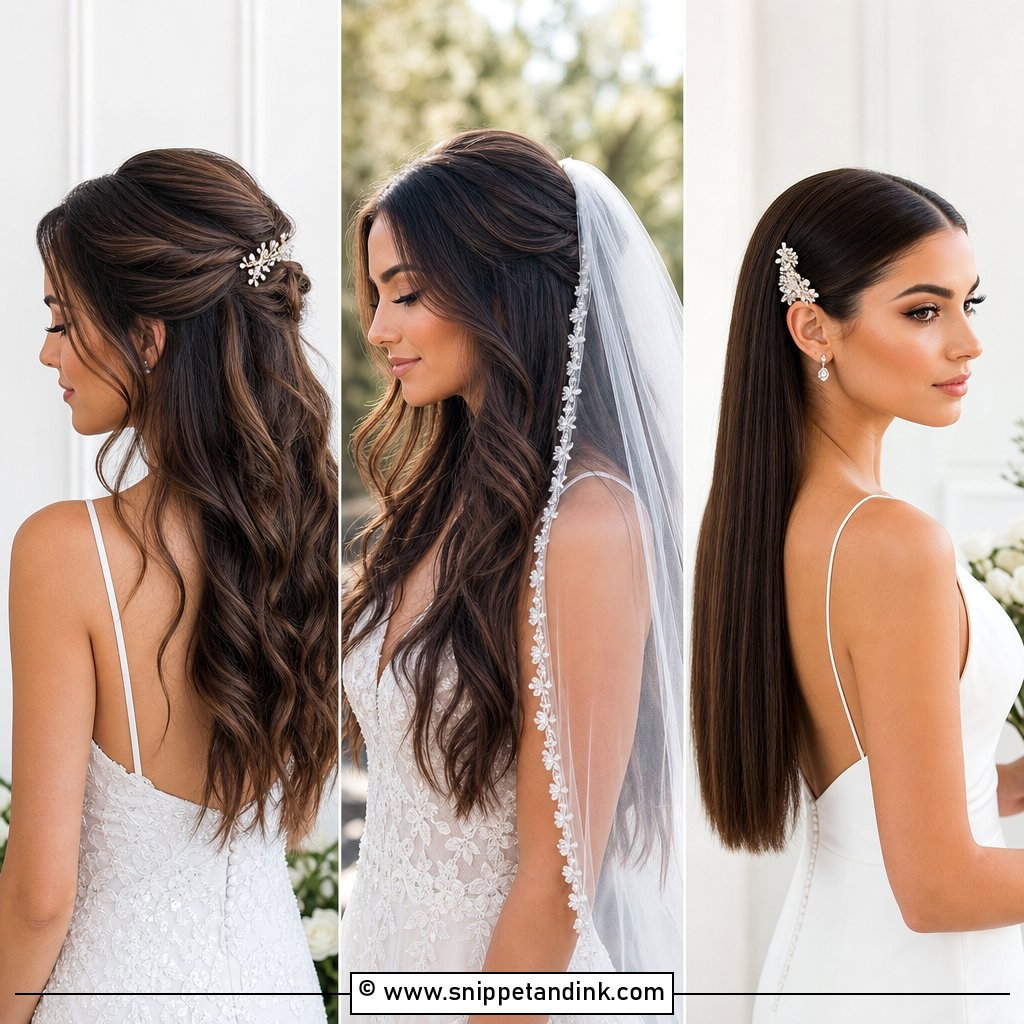
2. Half Up Half Down Wedding Hairstyle
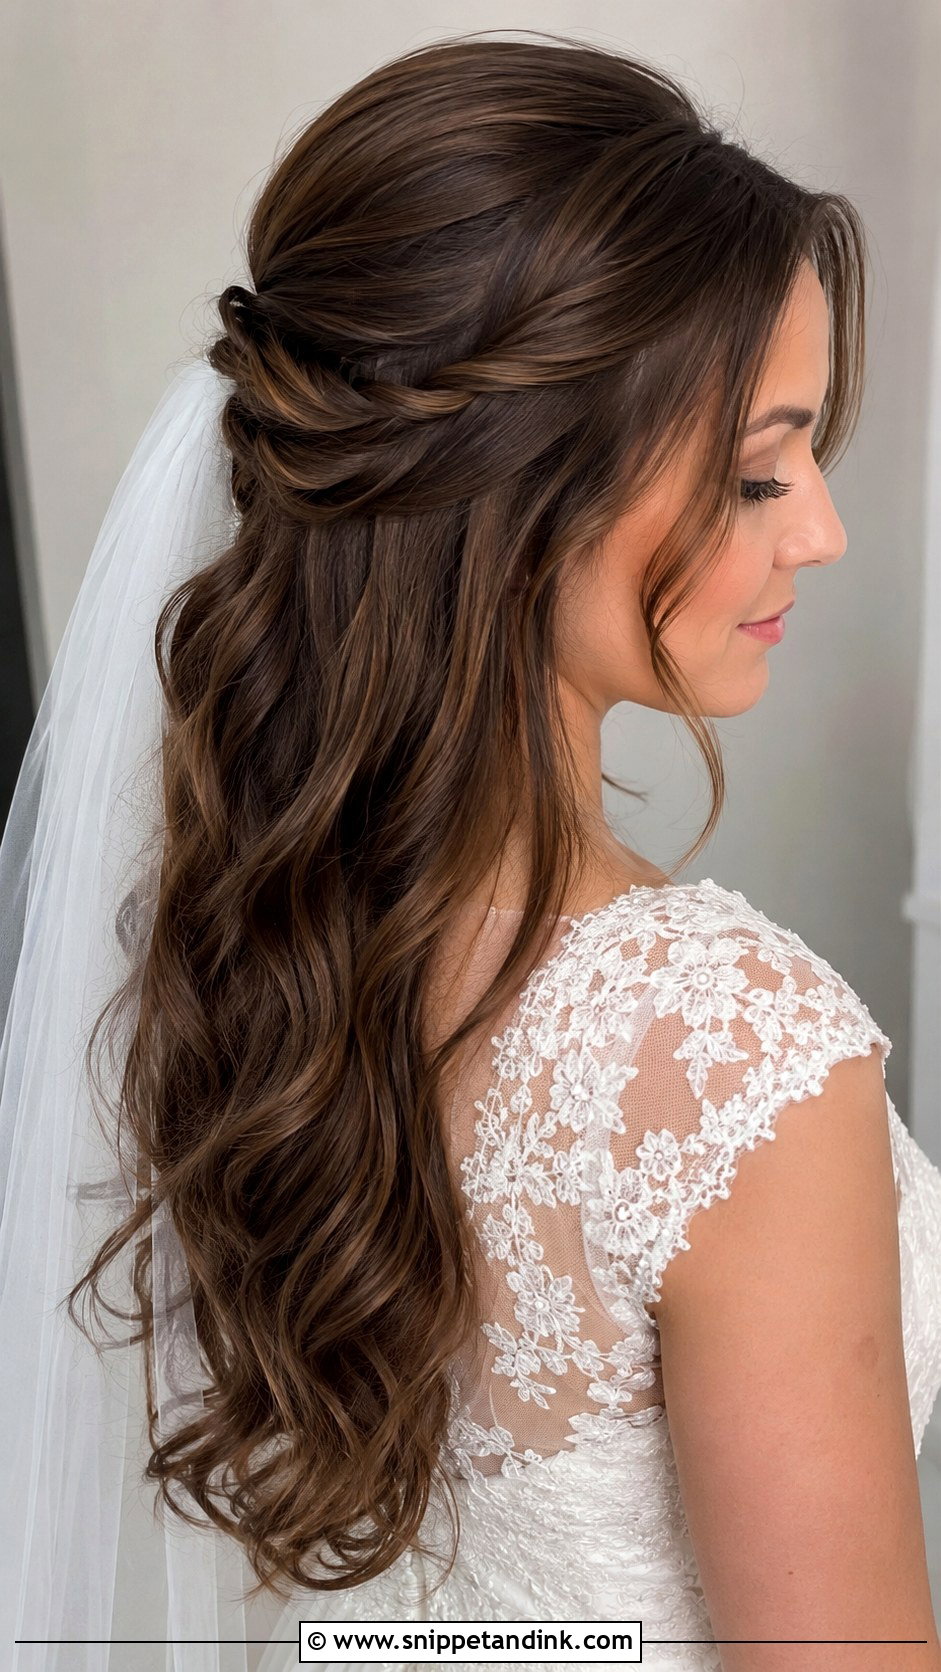
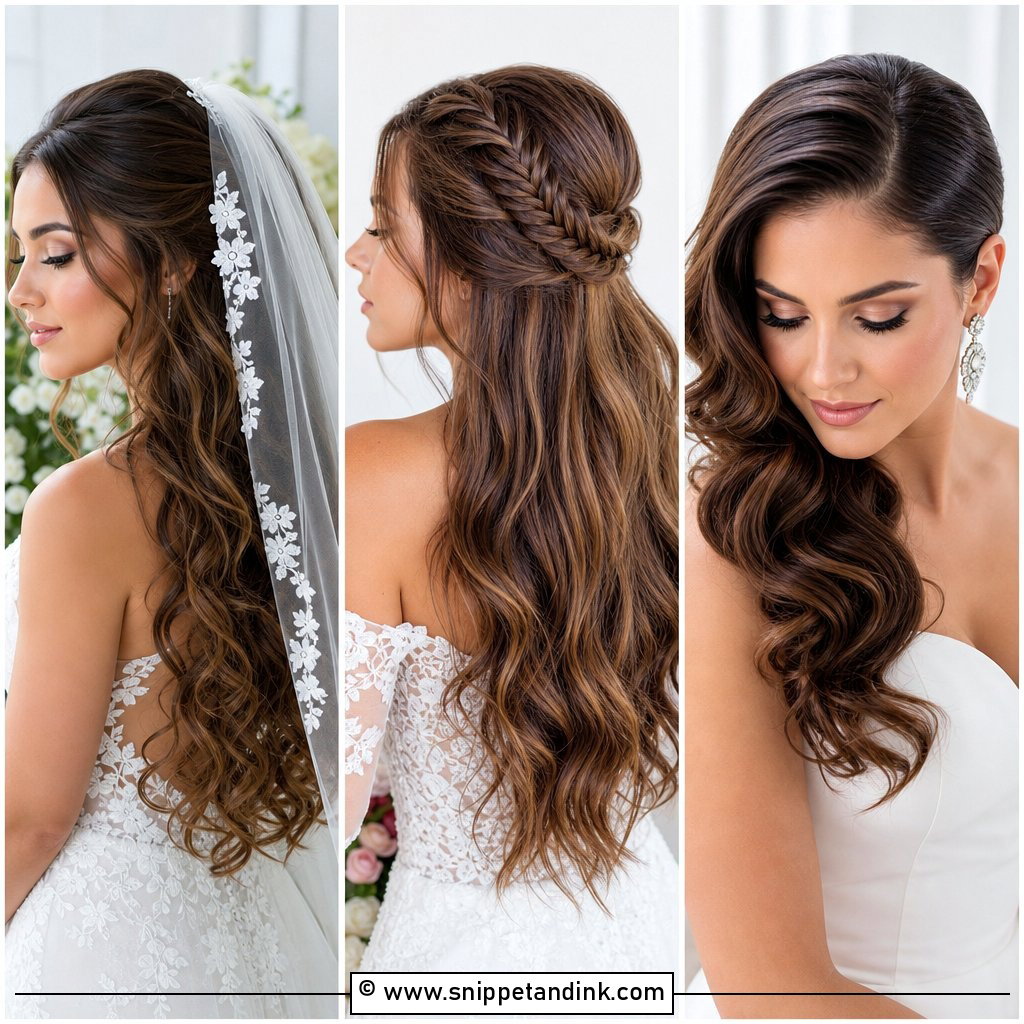
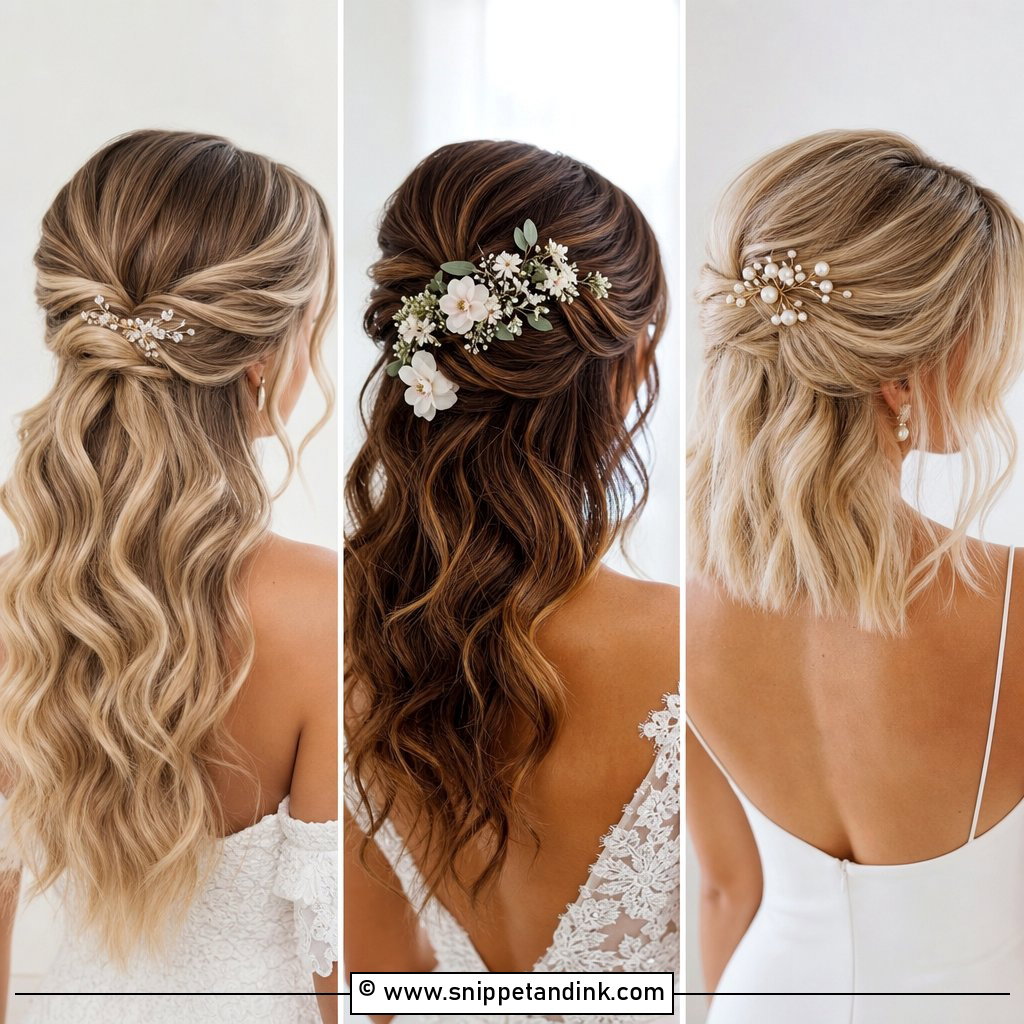
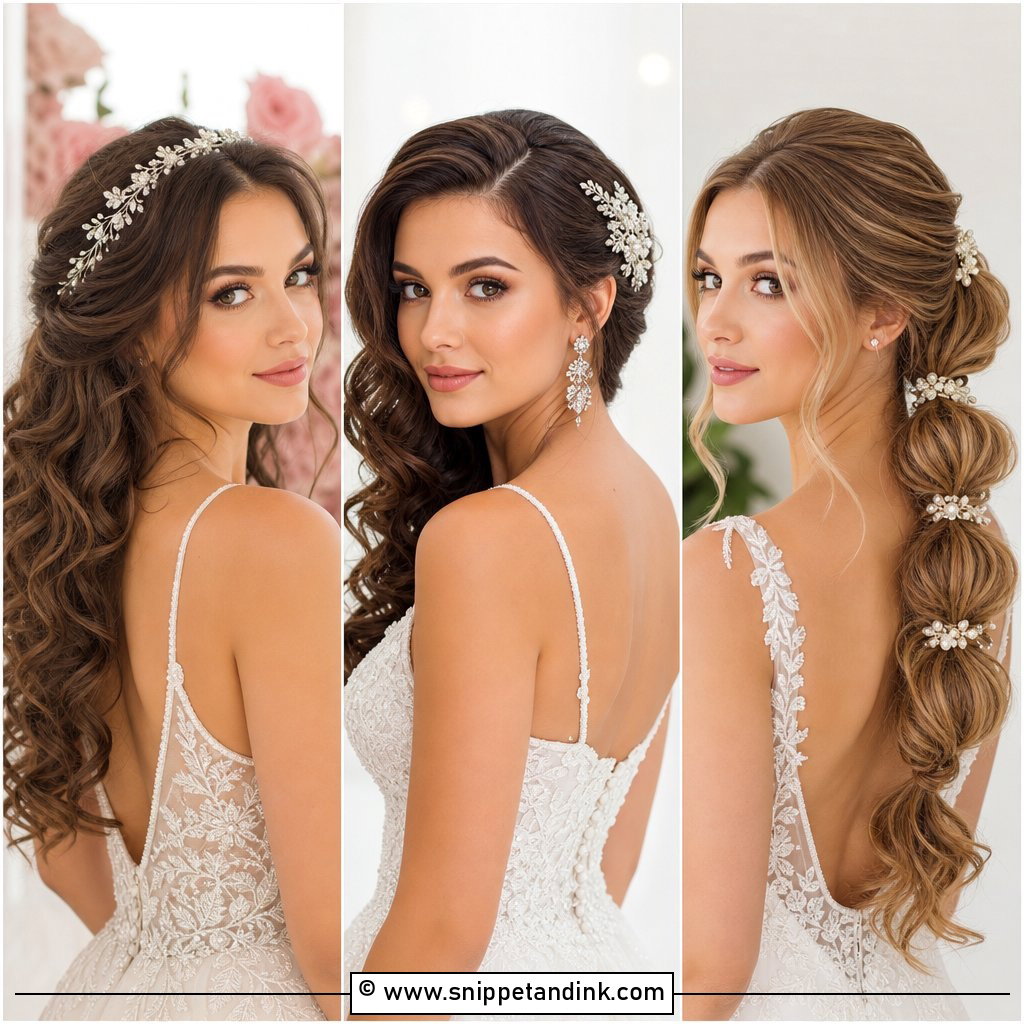
Half up half down suits the bride who wears her hair down every day and feels odd with it all pulled back. The top is secured, so the front stays out of your face, while the length stays soft. Its weakness is the lengths: curls on loose hair drop over the day, especially fine hair. I curl smaller than the final look and let the curls relax into place. A veil tucks neatly under the pinned section, which hides the comb completely.
3. Hollywood Waves Wedding Hairstyle
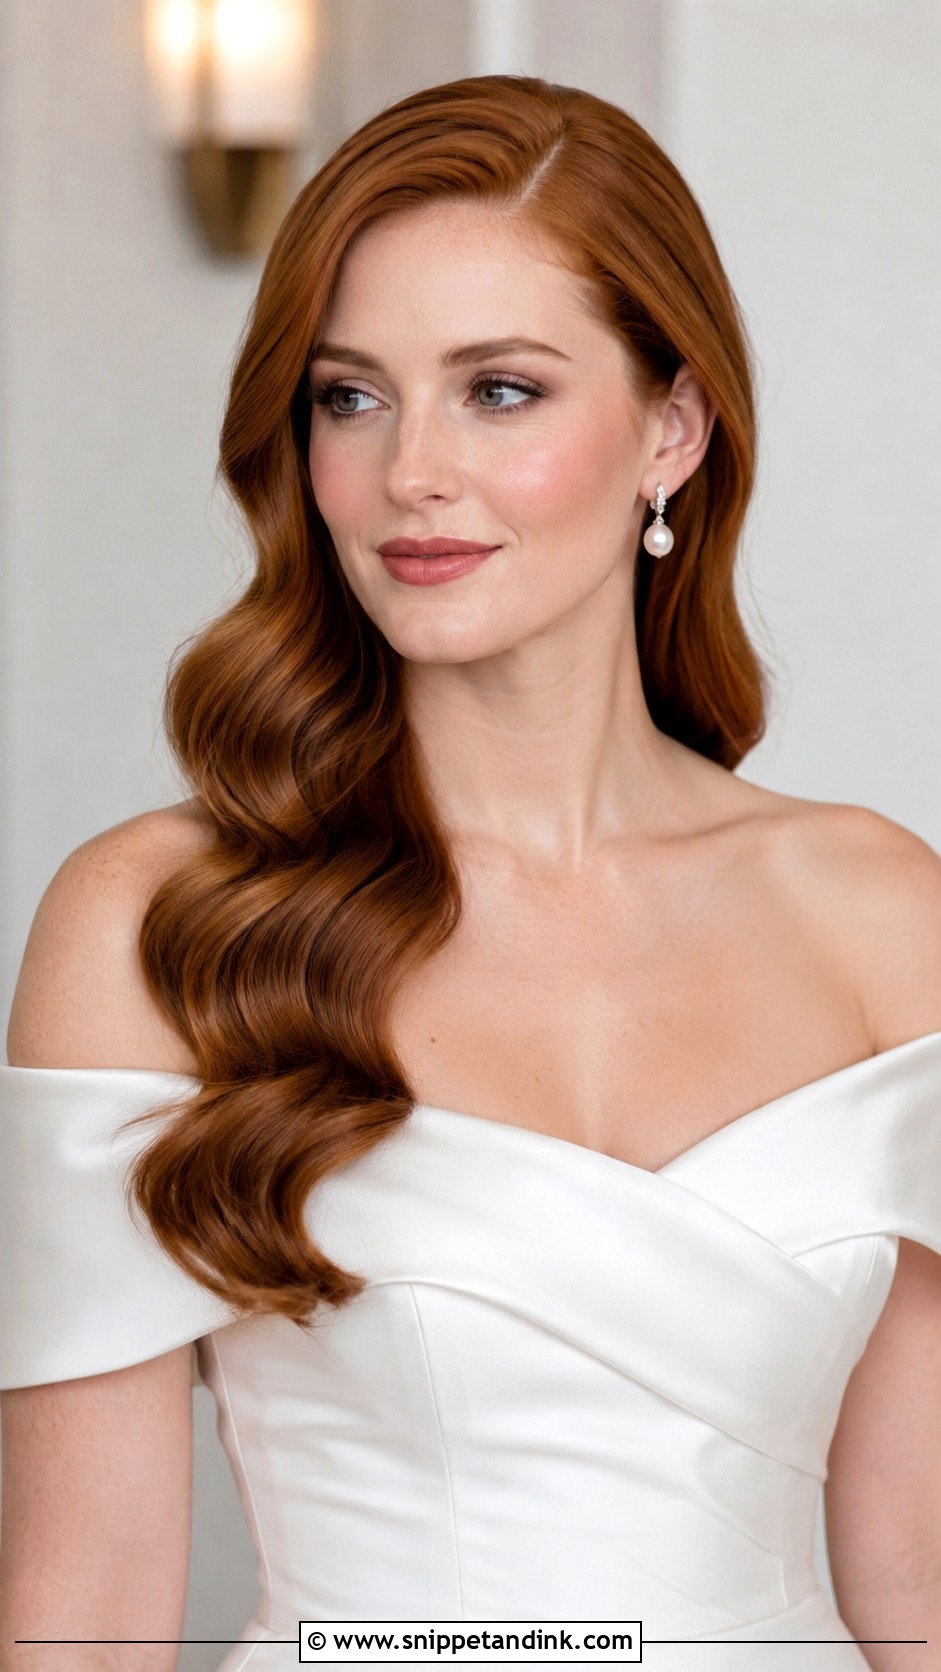
Sculpted waves only look this glossy with real prep. I set each curl in the same direction, clip it while it cools, and brush the whole head out into one wave. The cooling time is what makes them last until the last dance, so allow for it in the schedule. This style asks for a trial, because the side part and the depth of the wave change your face shape more than you’d expect. It suits satin, strapless and vintage-leaning gowns, and it looks out of place next to a loose, floaty dress.
4. Sleek Bun Wedding Hairstyle
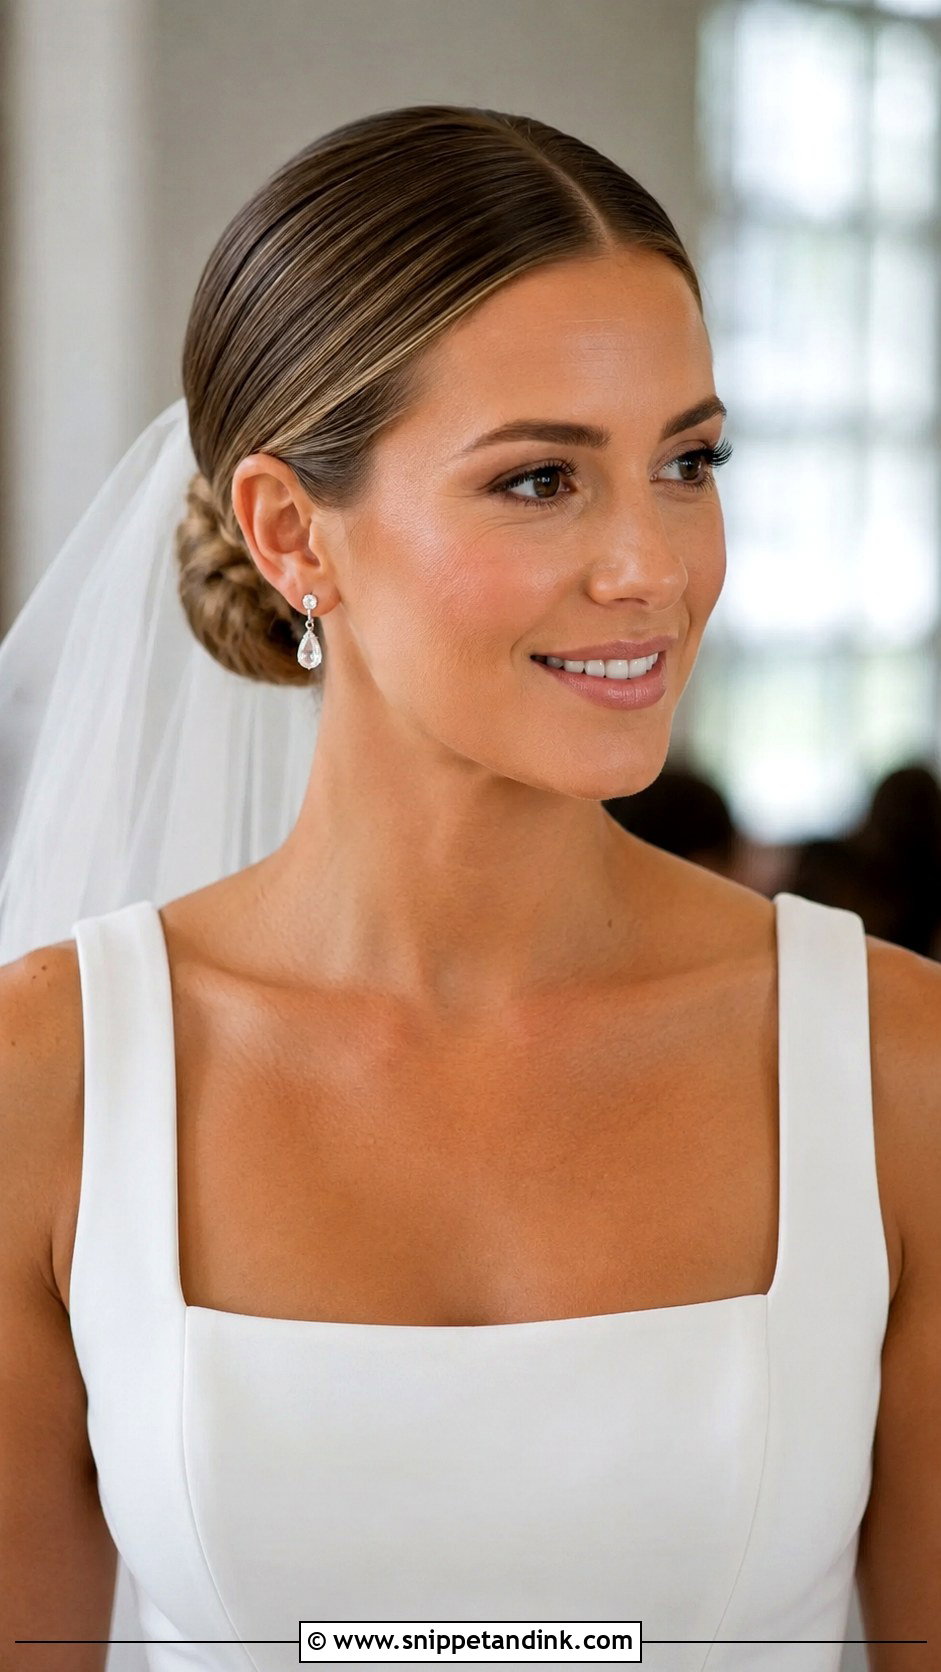
A sleek bun hides nothing, and that’s both its appeal and its risk. Every bump and flyaway shows, so I smooth the hair in sections with a boar-bristle brush and a light gel or cream rather than heavy spray. It suits structured gowns, square necklines and halters, where clean lines match the dress. If your hairline has lots of baby hairs or cowlicks, I’d consider a center part over brushing everything straight back, since it’s kinder on those areas. The look should read smooth, not shellacked.
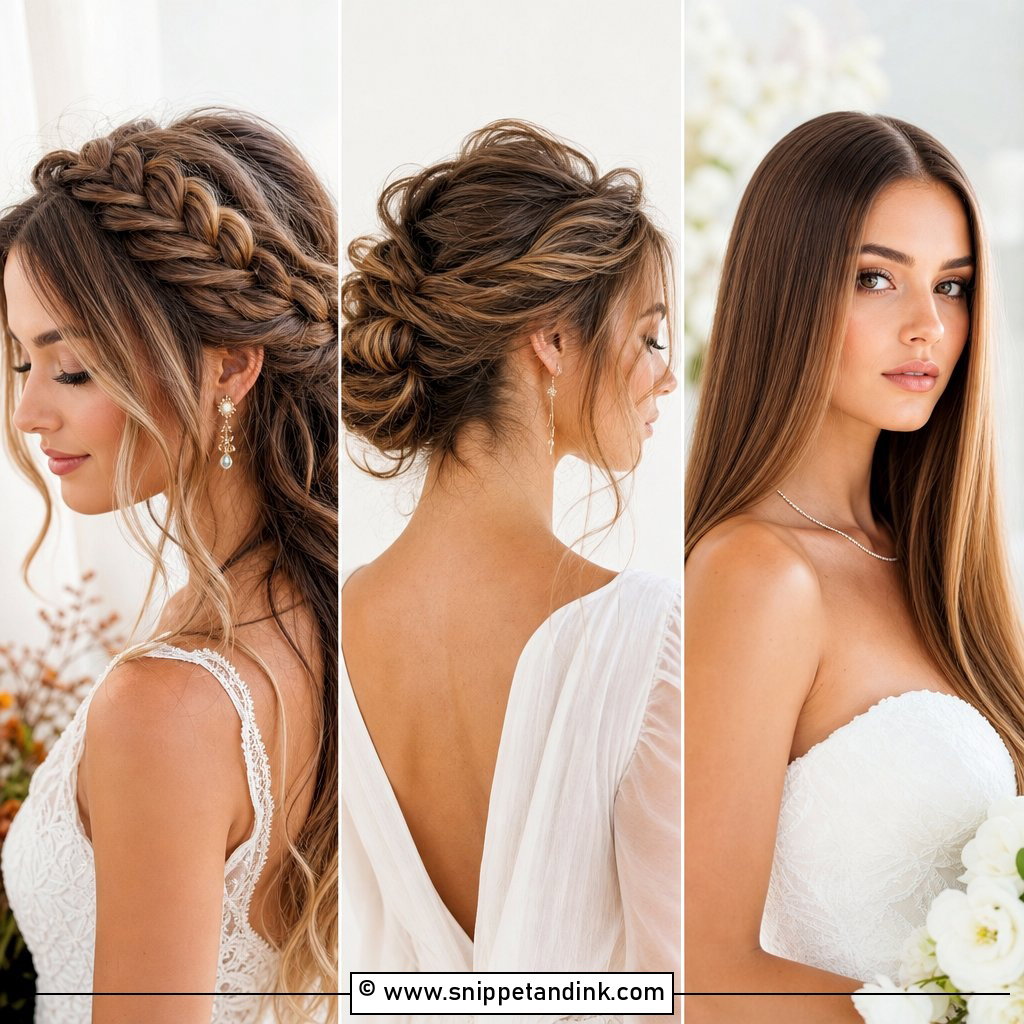
5. Textured Updo Wedding Hairstyle
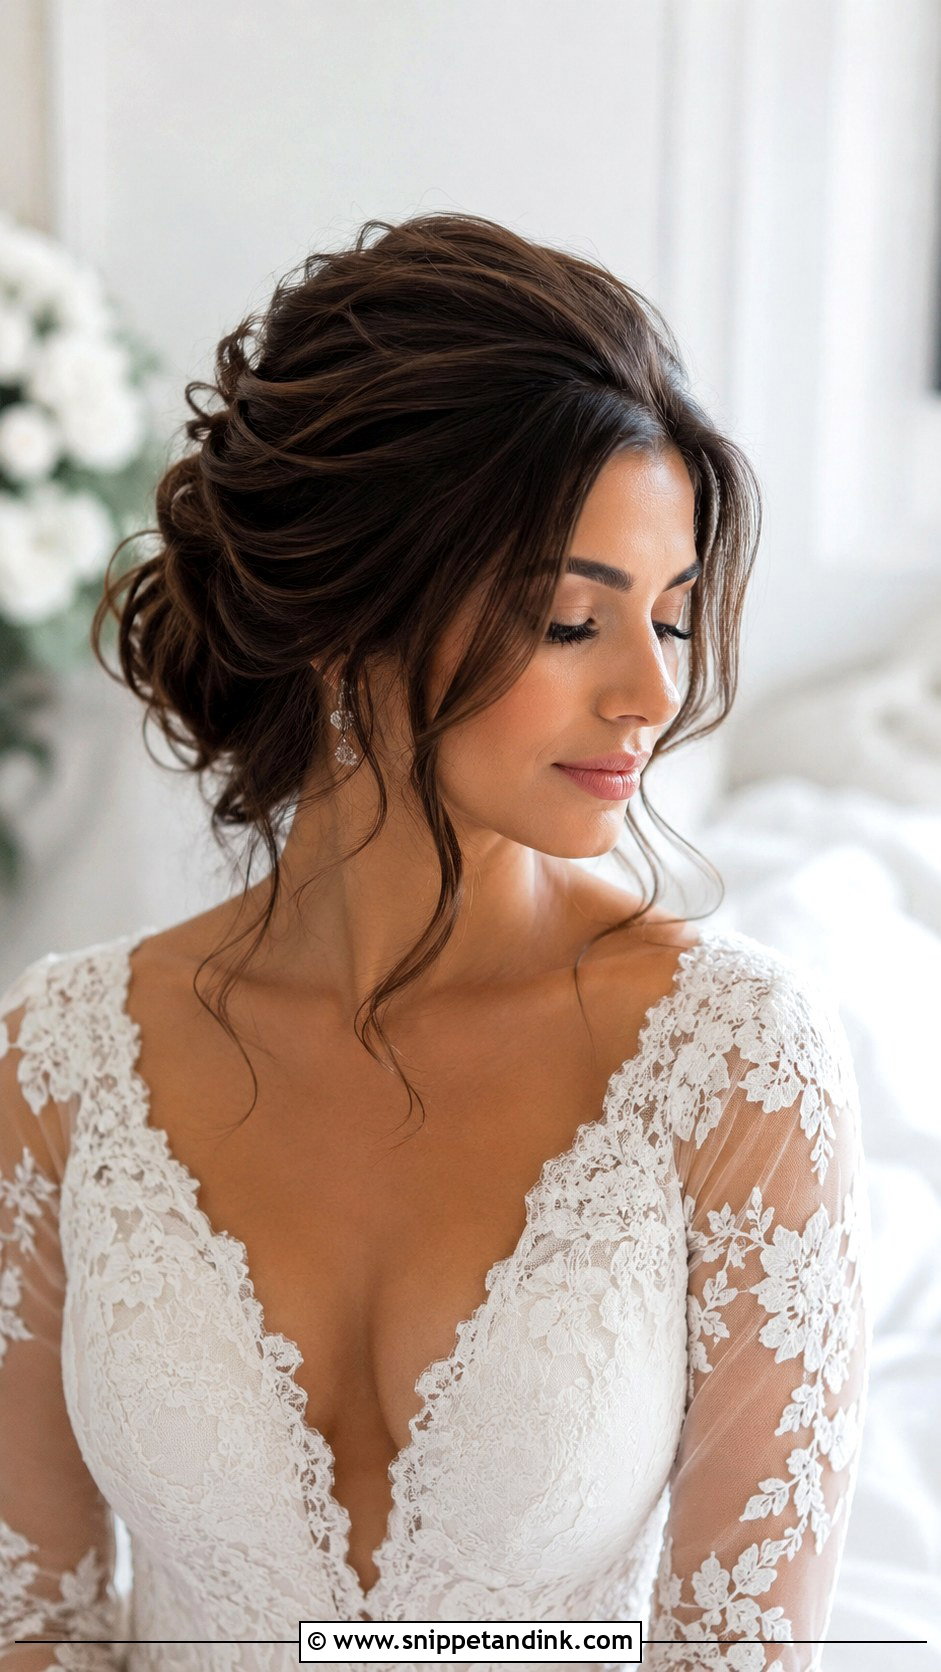
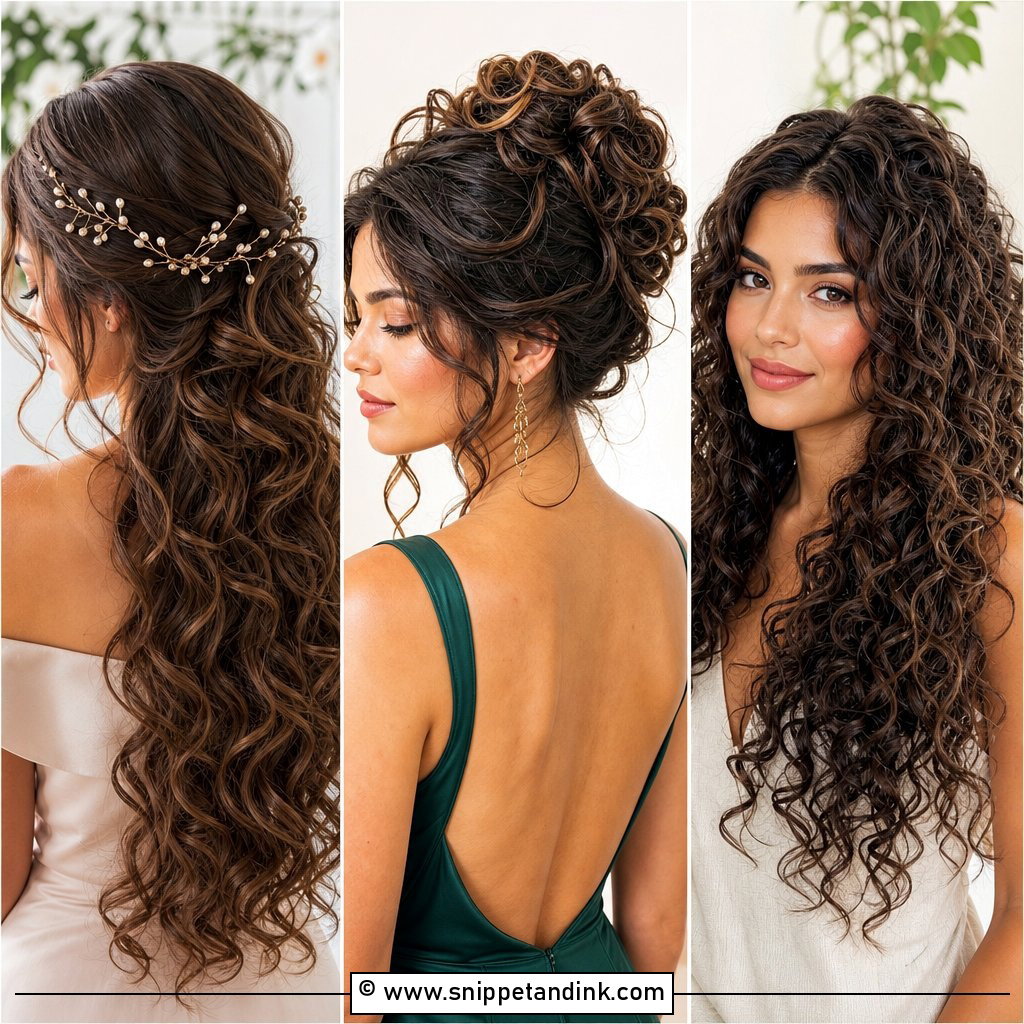
A textured updo is built from loose pinned sections, not one twist, which is why it moves without collapsing. I curl the hair first, give the curls some grit with dry texture spray, then pin each piece individually. Highlighted or balayage hair shows off particularly well here, because the color catches on every raised section. Keep a couple of pieces near the cheekbones. The pins should be hidden so the shape holds until late without looking stiff.
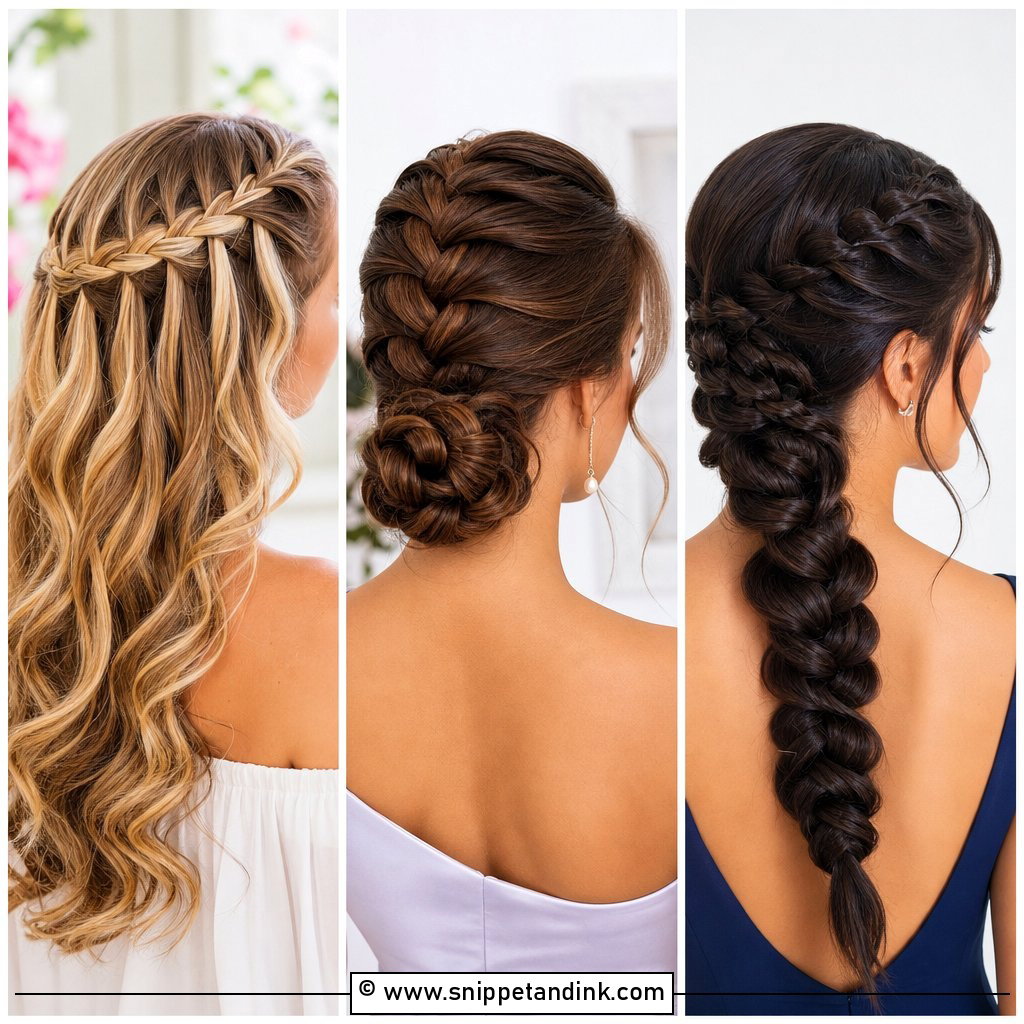
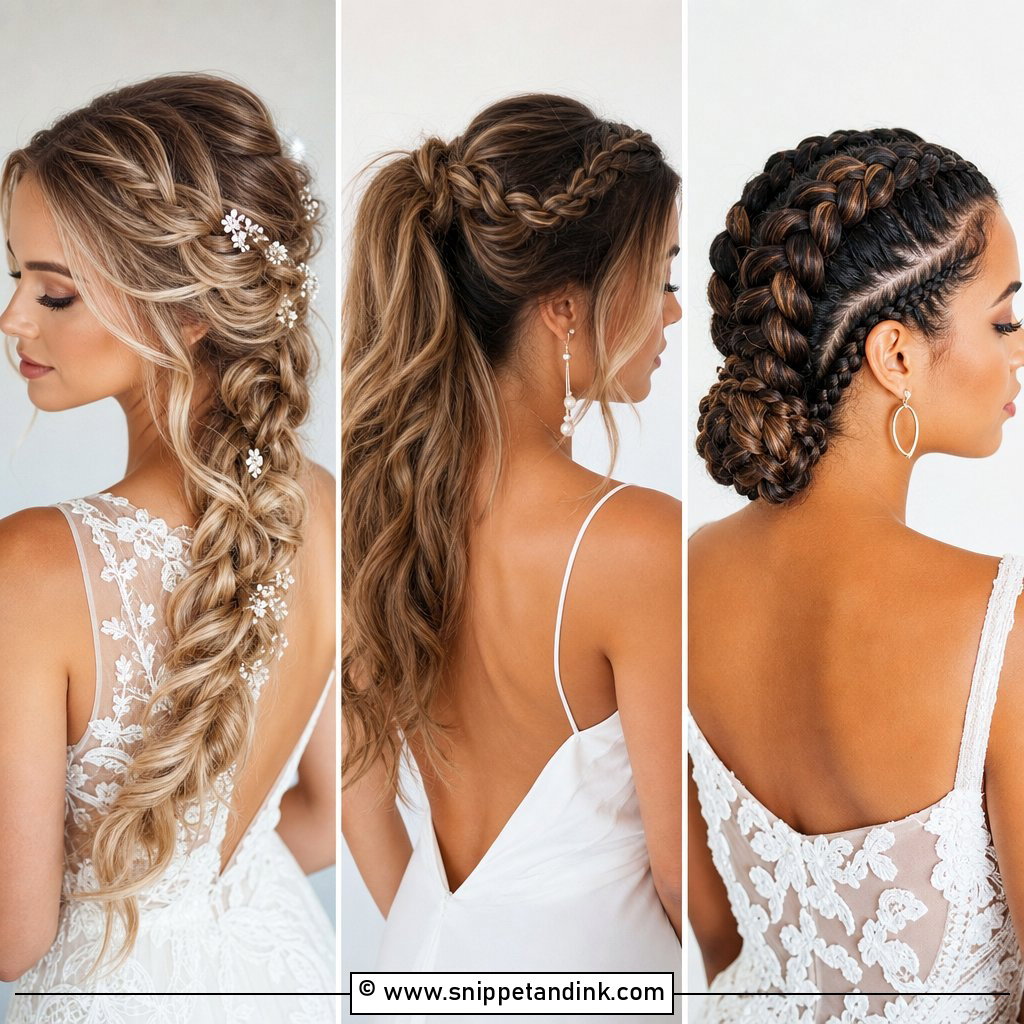
6. Braided Updo Wedding Hairstyle
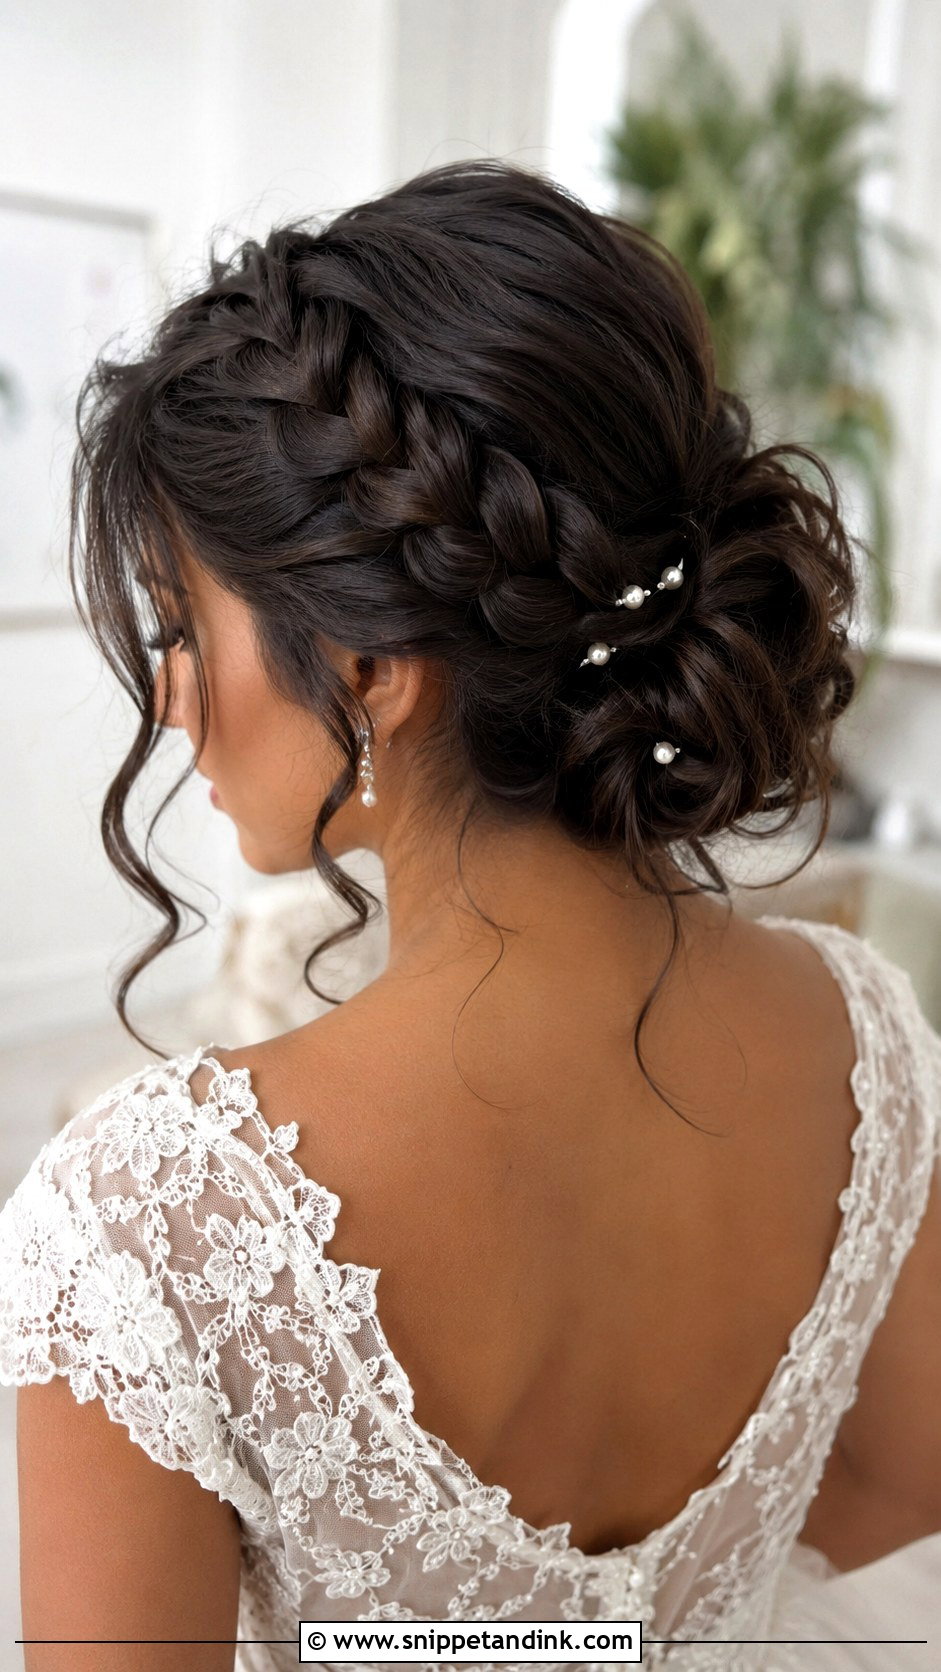
Thick hair is easiest to control in a braided updo. The braid takes up volume that would otherwise make a bun look heavy, and it gives the stylist a firm structure to pin into. I loosen the braid a little after pinning so it reads as one soft shape in photos rather than a tight rope. How tightly it’s braided changes the mood more than any accessory: tight looks formal, loosened looks more relaxed. Add flowers only if they match the bouquet.
7. Bridal Ponytail Wedding Hairstyle
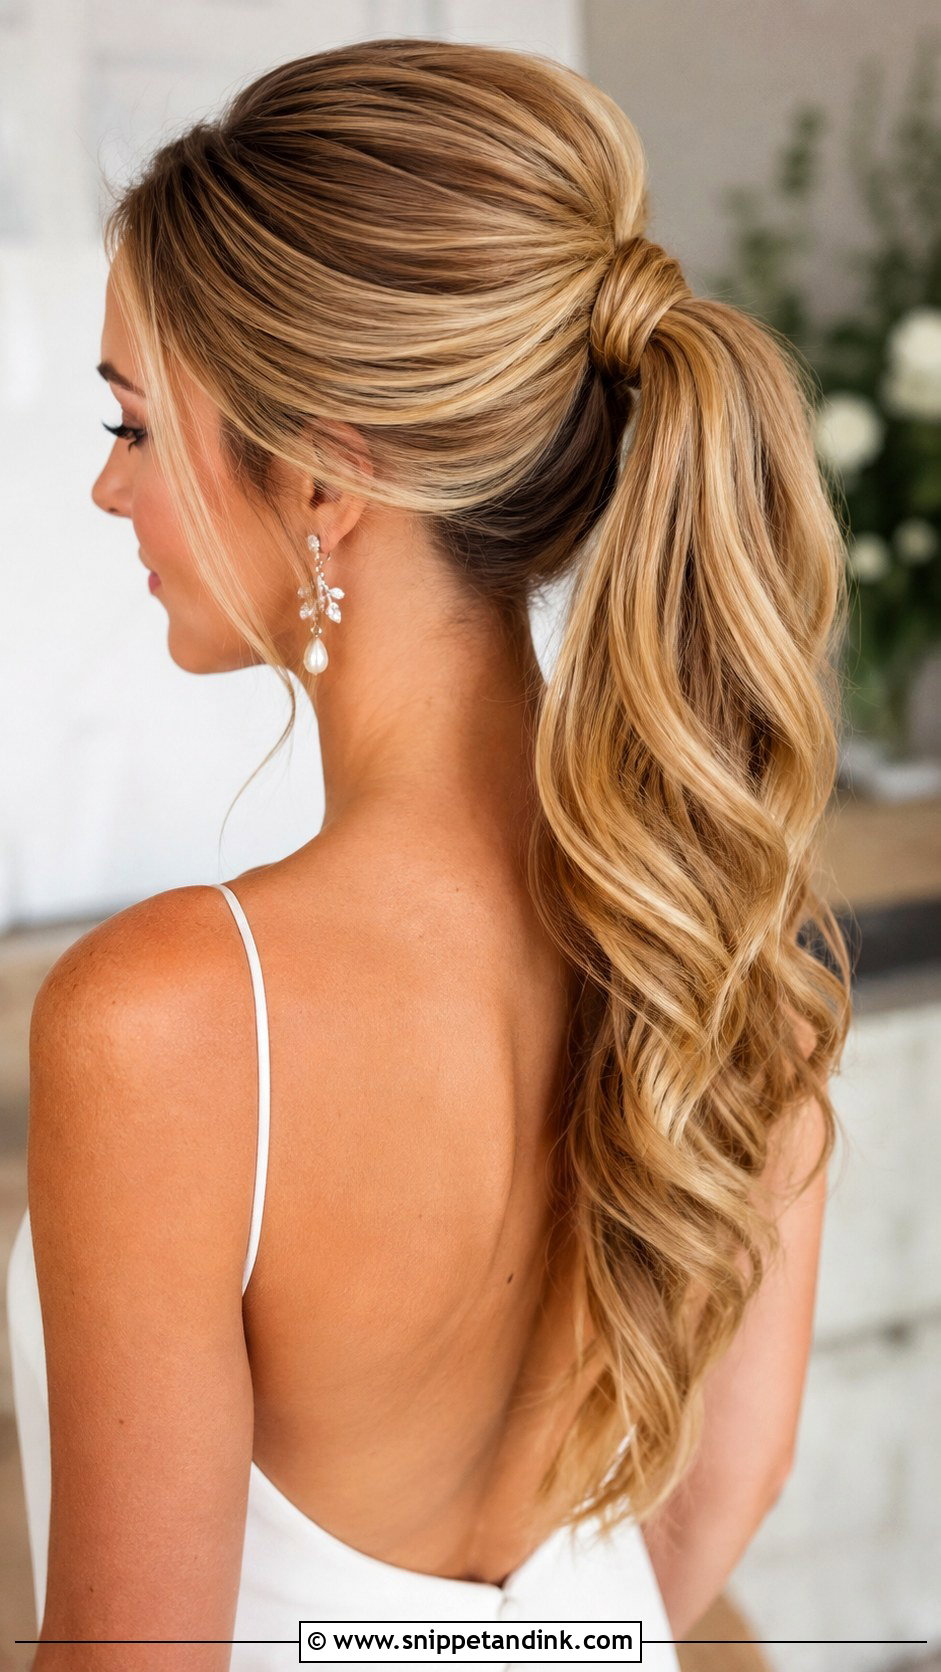
Ponytails are the most comfortable bridal look I do, and they’re surprisingly formal with the right finish. The wrapped base is the step that makes it bridal, since a bare elastic reads casual immediately. I lift the crown slightly, smooth the sides, and curl the length so it swings. Clip-in extensions add fullness if your ponytail is thin. The weight is the thing to watch: a very high, full ponytail can give some brides a headache by evening.
8. Side Swept Wedding Hairstyle
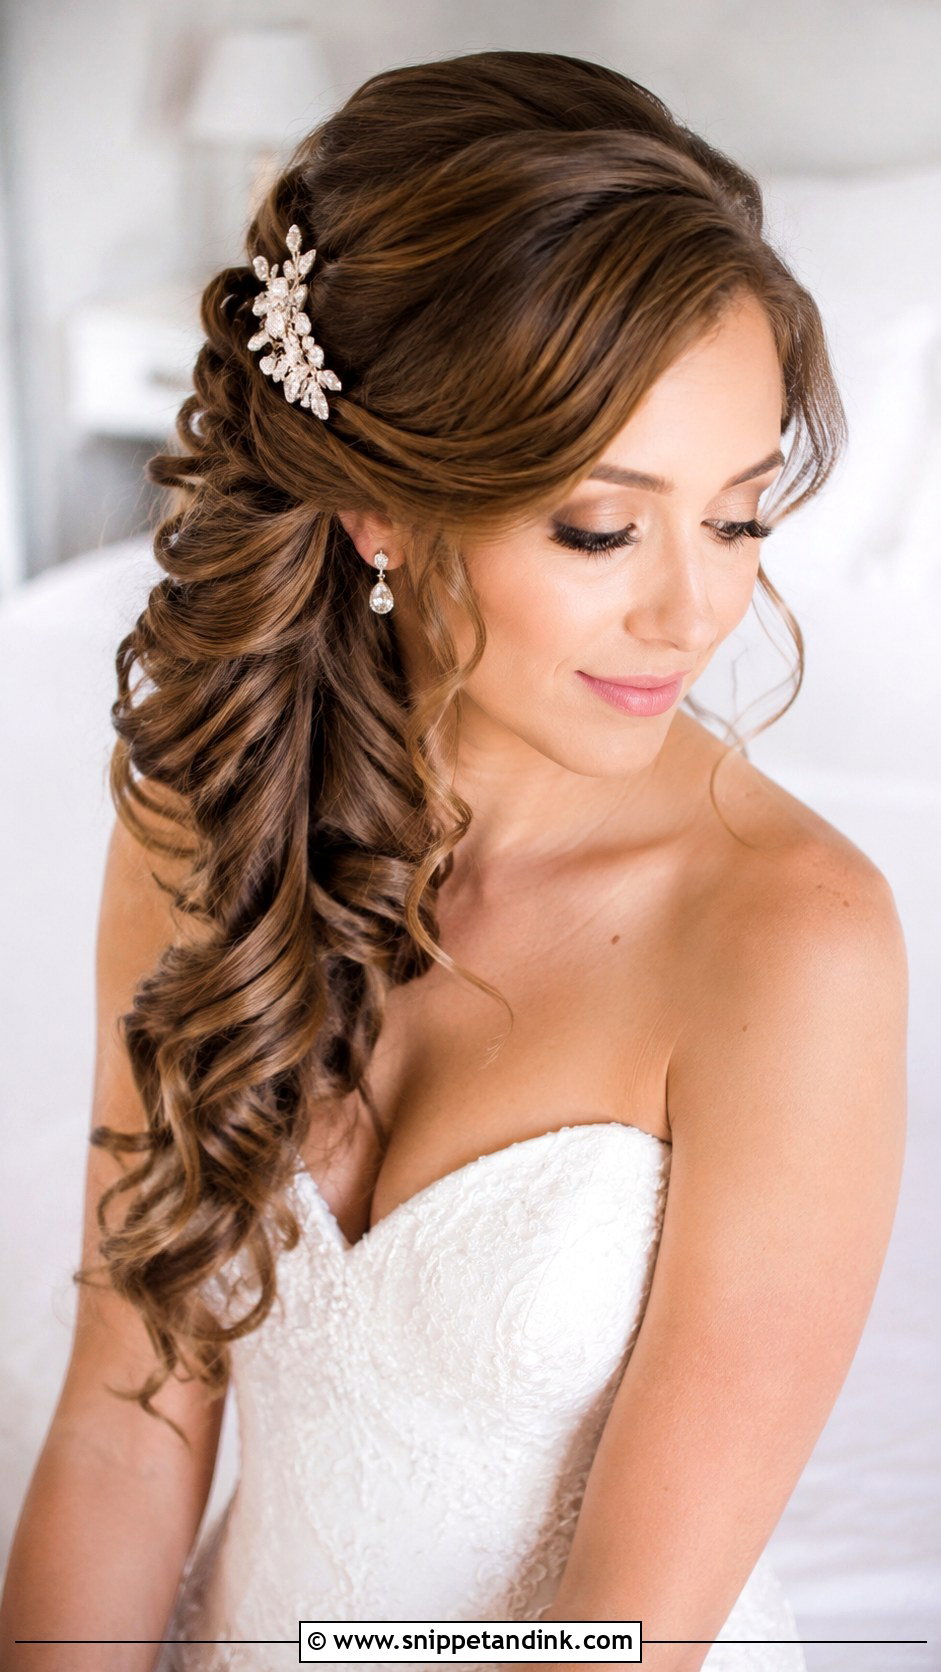
Hair worn over one shoulder takes some planning. The weight wants to fall back, so I twist and pin the far side behind the ear before sweeping the curls forward. Once it’s anchored, it moves freely without drifting. It suits one-shoulder and sweetheart necklines, and it lets a detailed back show. An off-center comb or veil sits naturally on the pinned side.
9. Curly Wedding Hairstyle
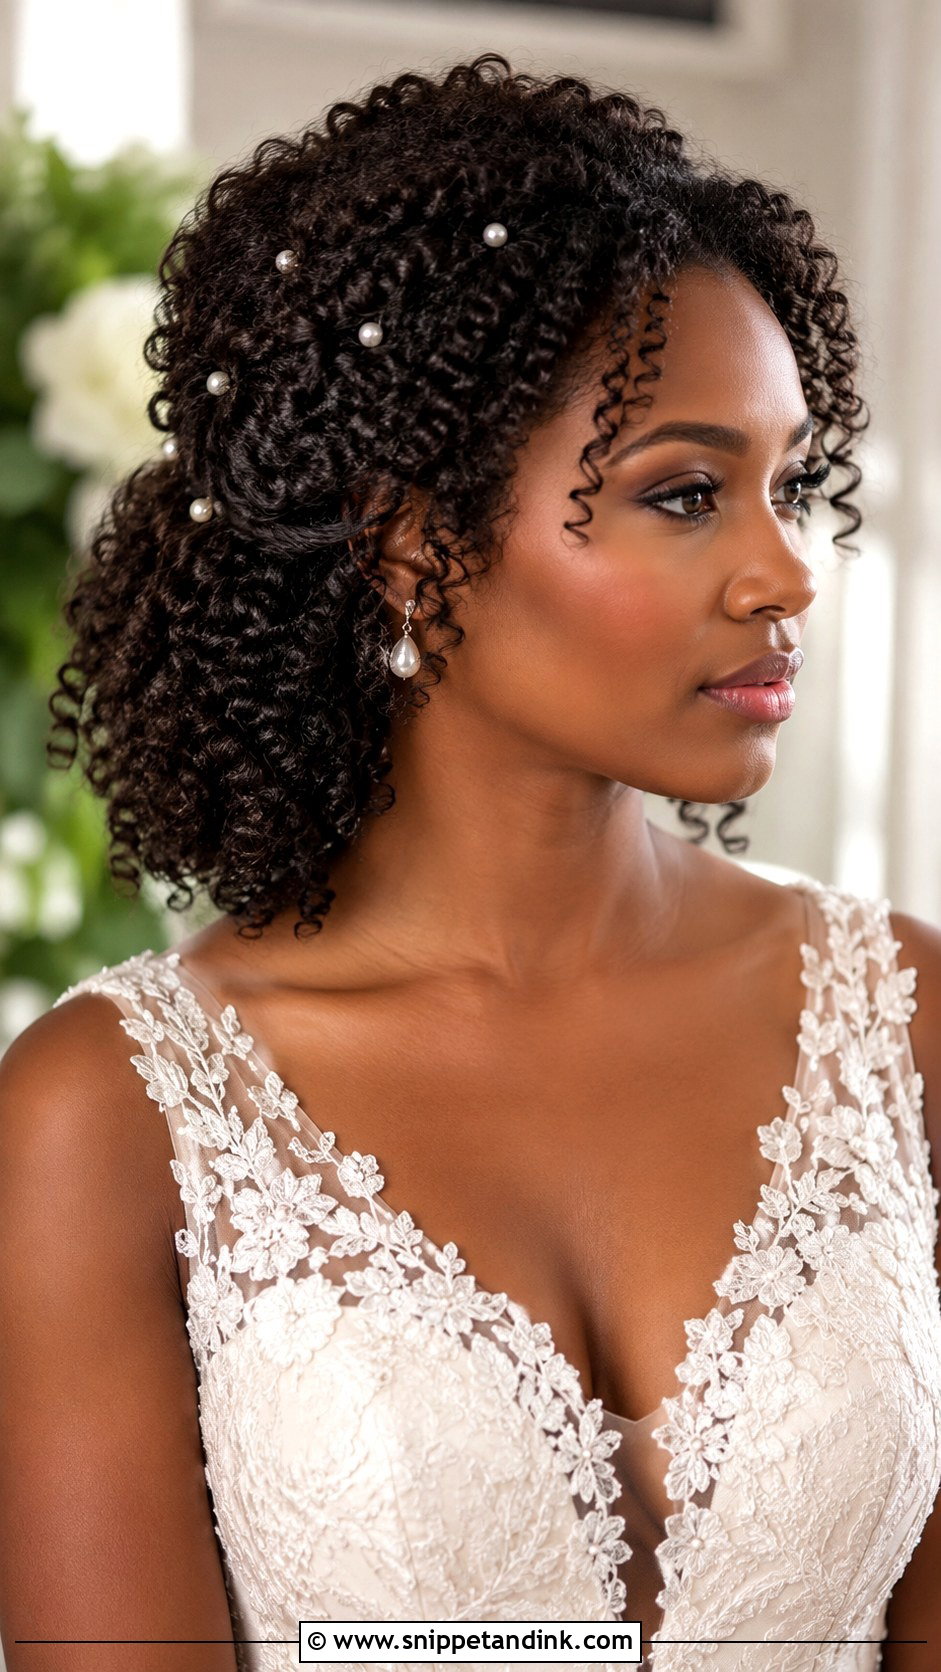
A curly bridal look starts the day before, not at the chair. Curls need moisture to define well, so I ask brides to wash and condition with their usual routine and let the hair dry without touching it. On the morning, I work with the natural shape, bounce and only re-define curls that have lost their pattern. Find a stylist who works with curls regularly; brushing curls out to restyle them is the most common mistake I see. A veil sits best tucked under the crown.
10. Short Hair Wedding Hairstyle
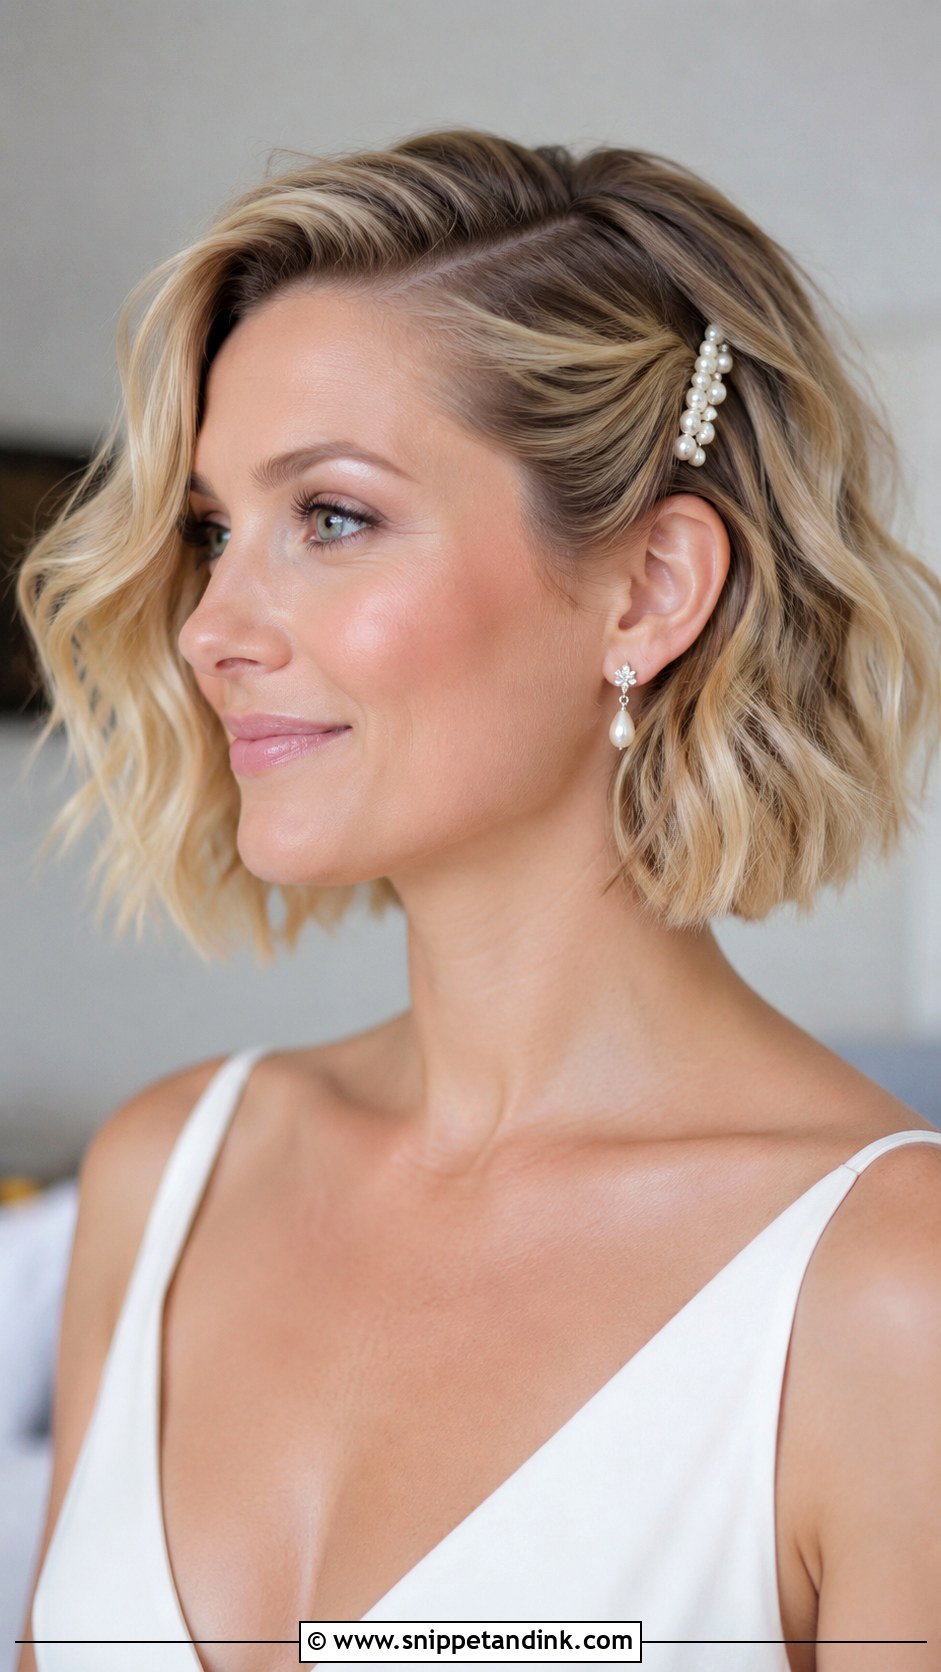
Short hair needs one clear decision about texture, smooth or waved, and then a single detail. I usually curl the ends with a small iron, set a deep side part and add pearl clips or a small comb above the ear. On a pixie, a little pomade worked through gives shine and shape. Get your last cut two to three weeks before the wedding so the edges have softened.
11. Chignon Wedding Hairstyle
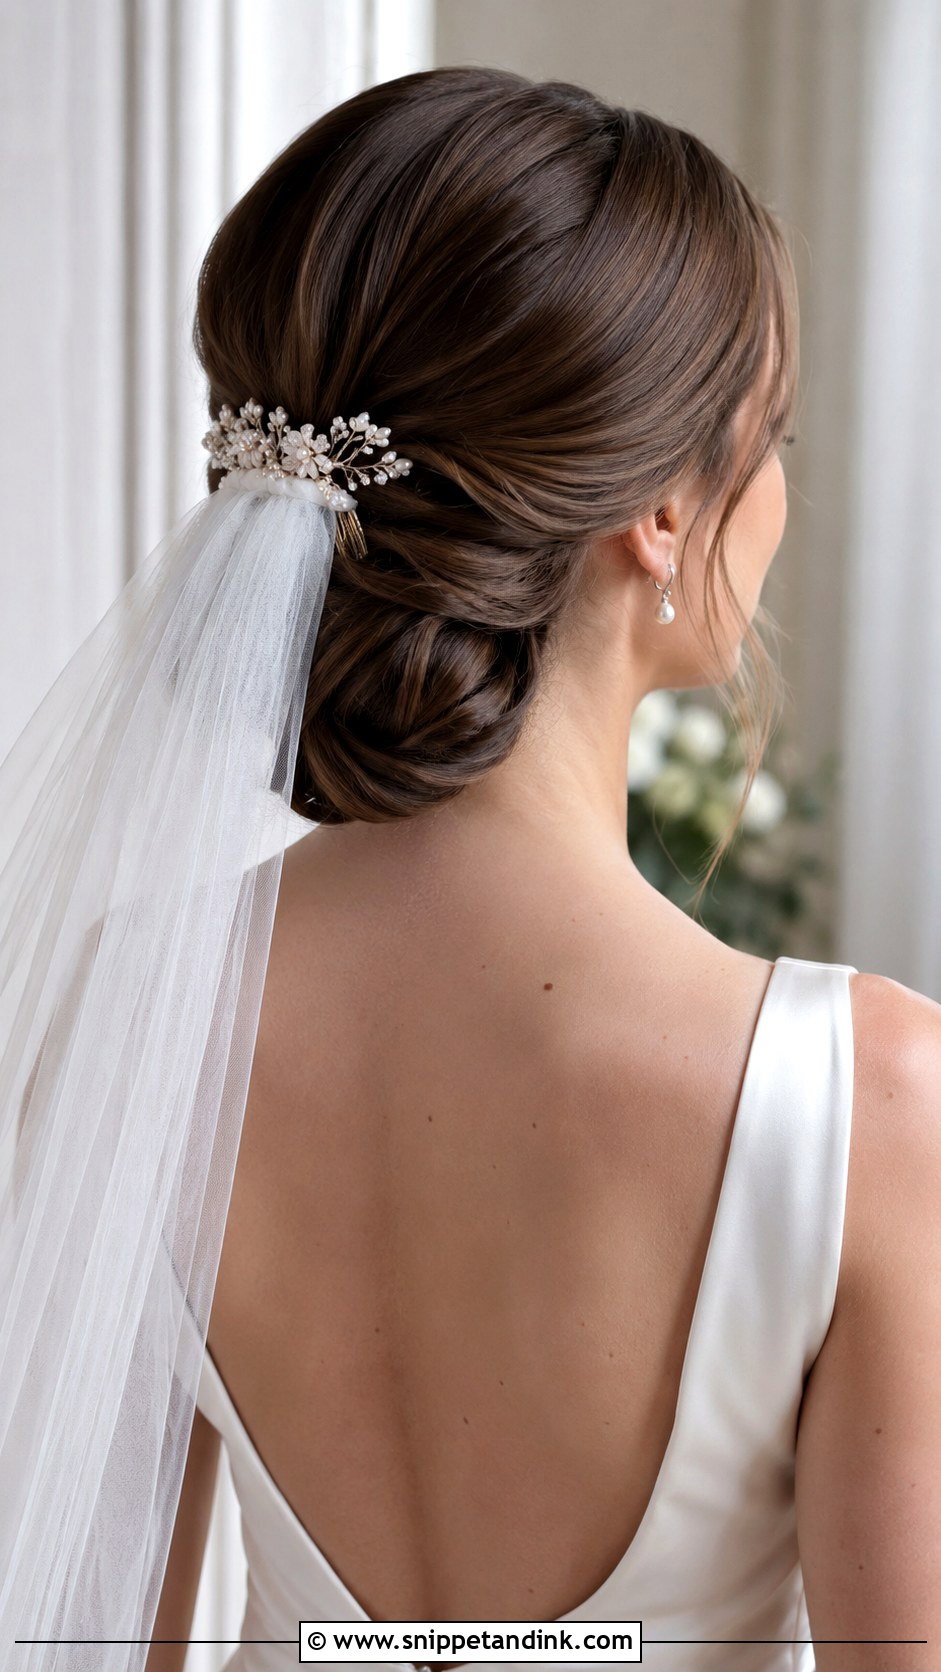
Formal weddings are where a chignon belongs. It sits low, takes a veil comb directly above it and suits most necklines. In warm weather, it keeps the hair off your neck all day. I shape it with U-pins rather than bobby pins, because they hold a rolled shape without squashing it. Loose face pieces soften it; a sleek, sculpted version suits a formal evening.
12. Loose Waves Wedding Hairstyle
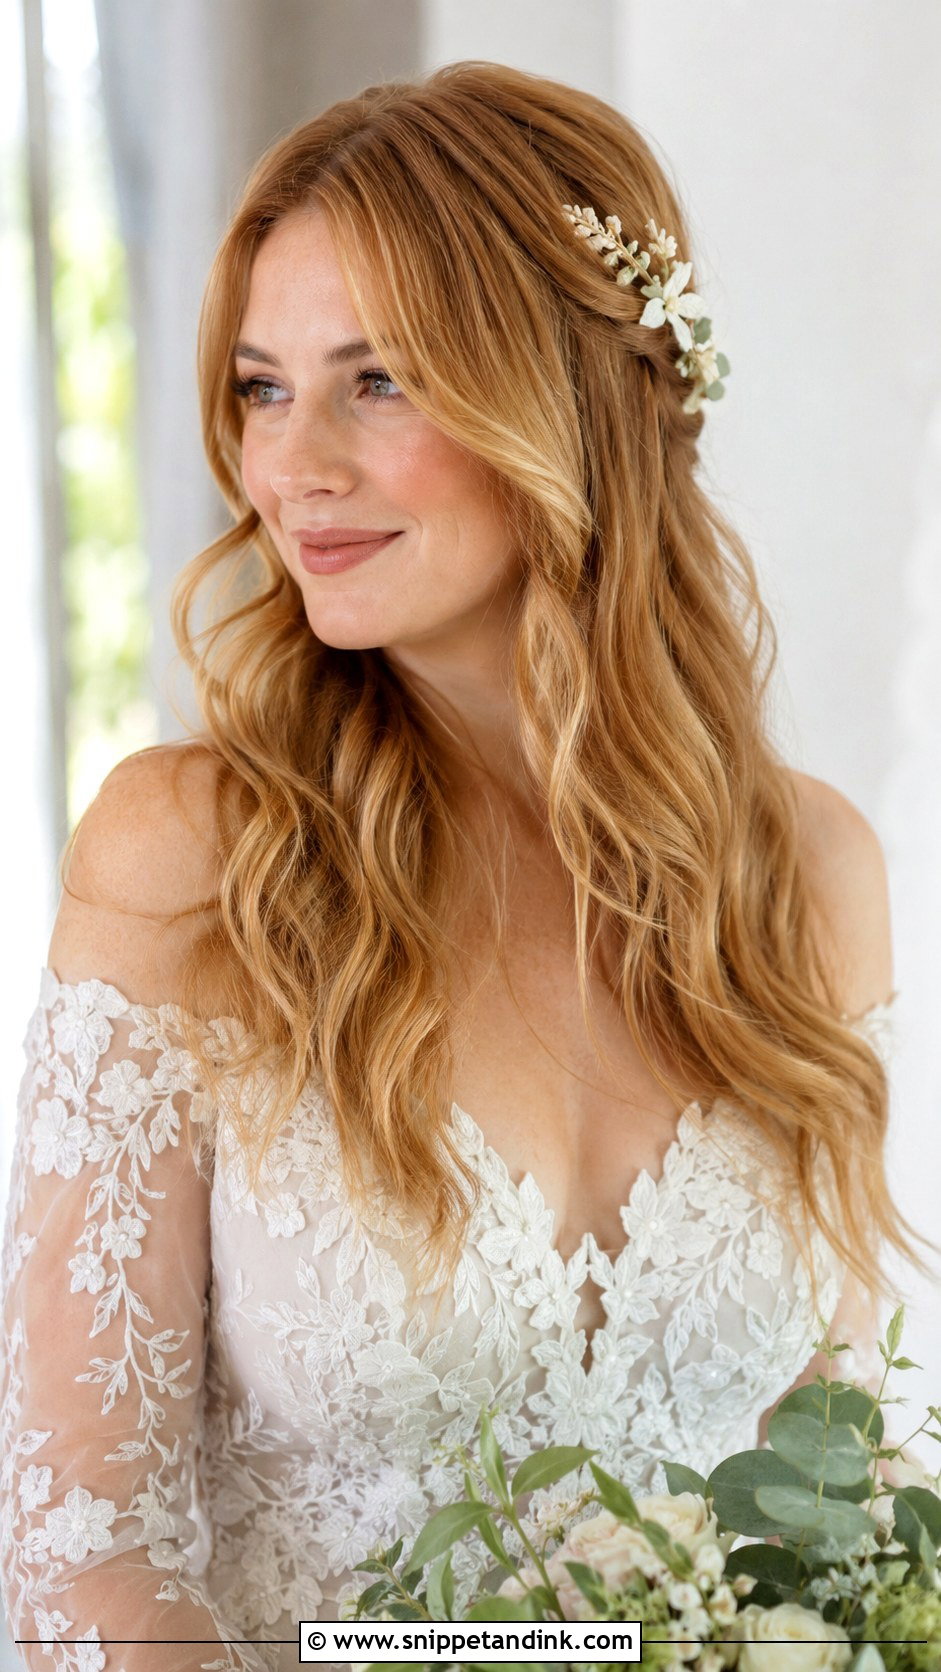
Loose waves look like the easy option and are actually one of the harder styles to keep. Hair worn down drops, flattens and tangles more than any updo. I prep with mousse at the roots, curl with a larger barrel in alternating directions, and let them cool fully before I brush through. The ends should be smooth and the crown lifted. A small comb or a single pin adds a bridal detail.
13. Crown Braid Wedding Hairstyle
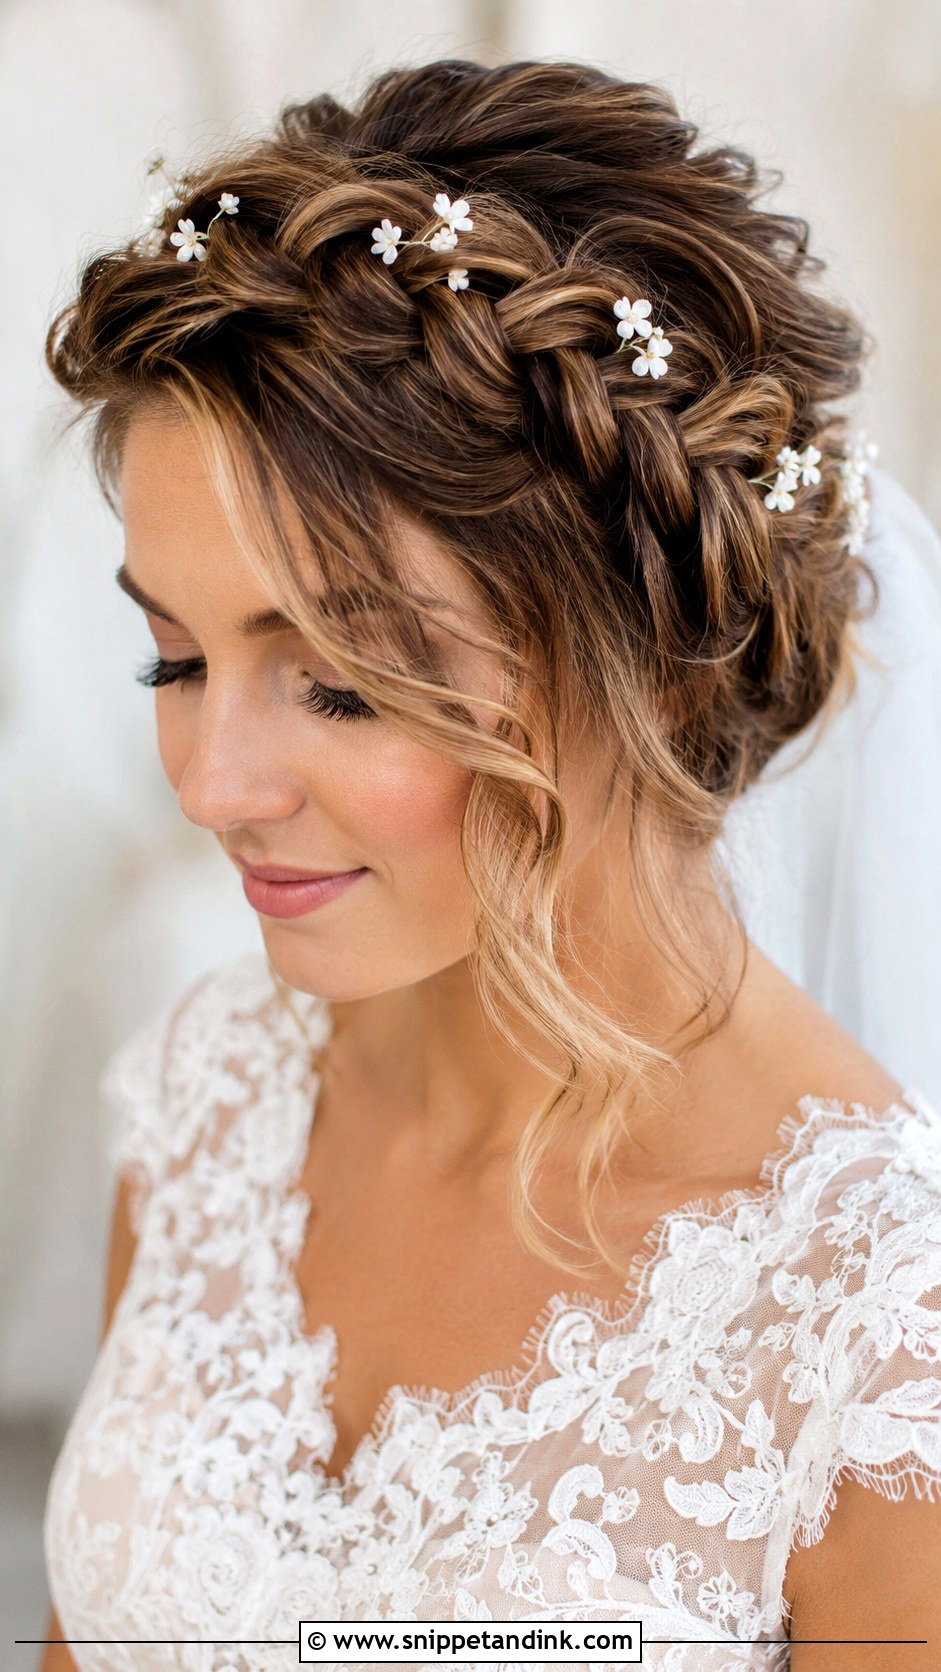
A crown braid sits around the head and keeps everything controlled, which I value on breezy outdoor days. Depending on finish, it can look classic or fairytale-like, or garden-inspired. A full wrap needs hair past the shoulders; for medium hair I braid across the front and gather the rest into a low bun or waves. Clip-in extensions can add fullness to a thin braid. Keep accents small so the braid itself stays the focus.
14. Natural Hair Wedding Hairstyle
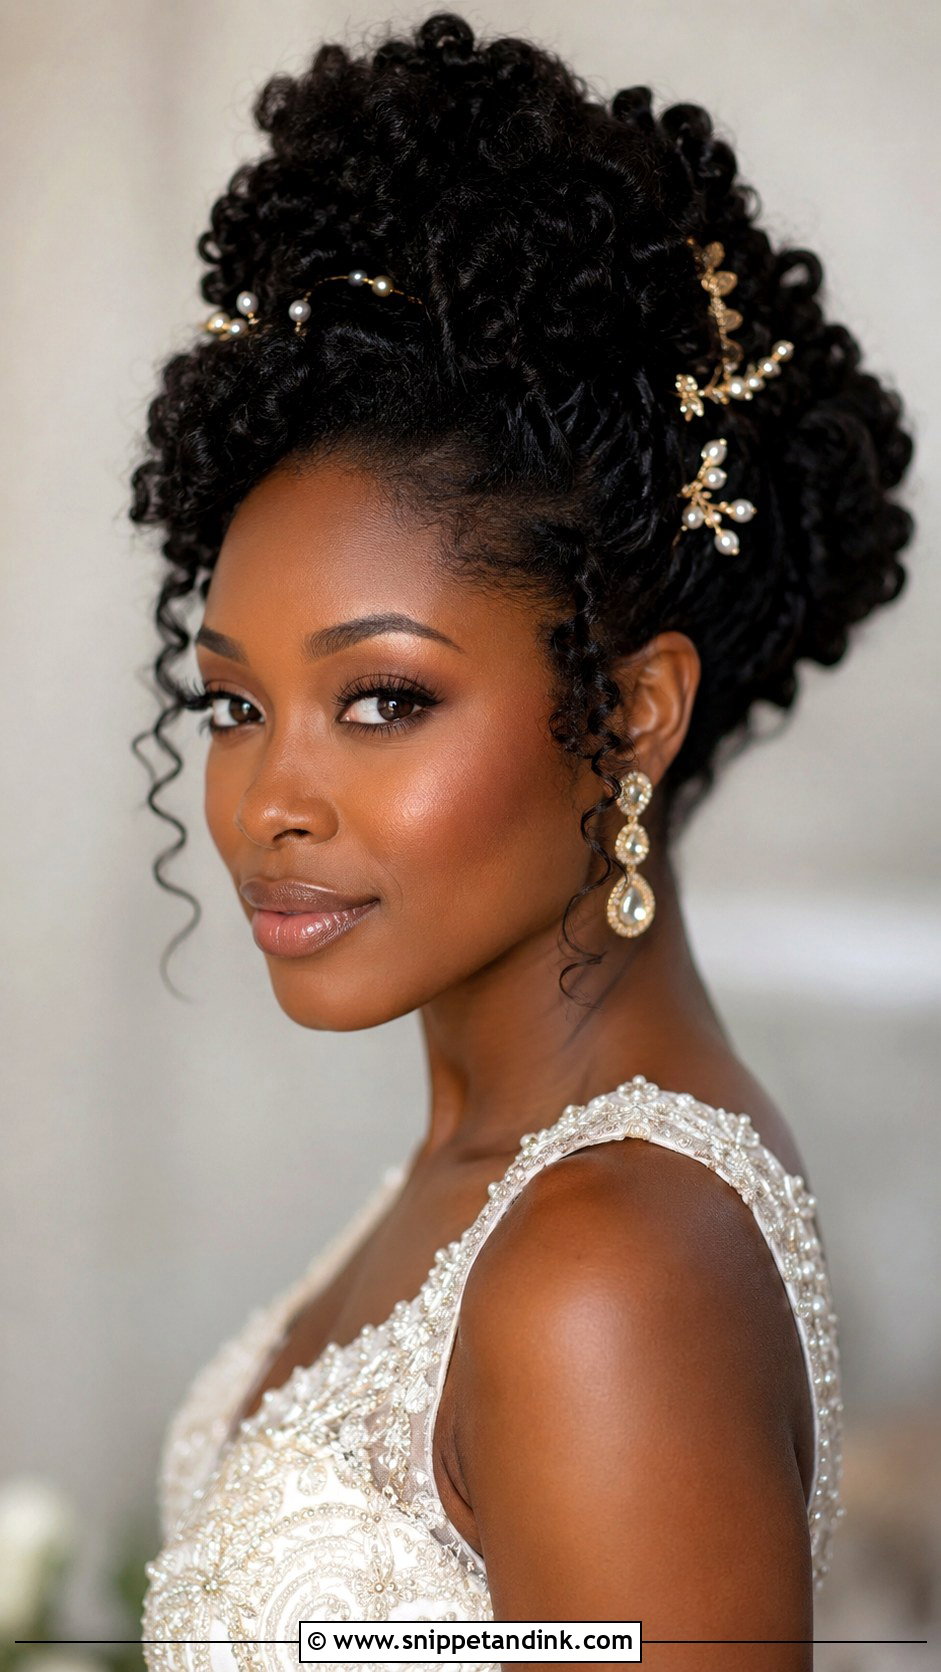
With natural hair, I plan around shrinkage and humidity before anything else. A defined twist-out can look totally different after an hour in damp air, so the trial is where we see how your texture behaves over time. Twist-outs, puffs, braided buns, loc updos and half up shapes all work, and the right one depends on your density and length. For a style that has to last, I’d set it the day before and refresh it on the morning. Veils pin well into a bun or a braided base, and gold pins or pearls show up well against darker hair.
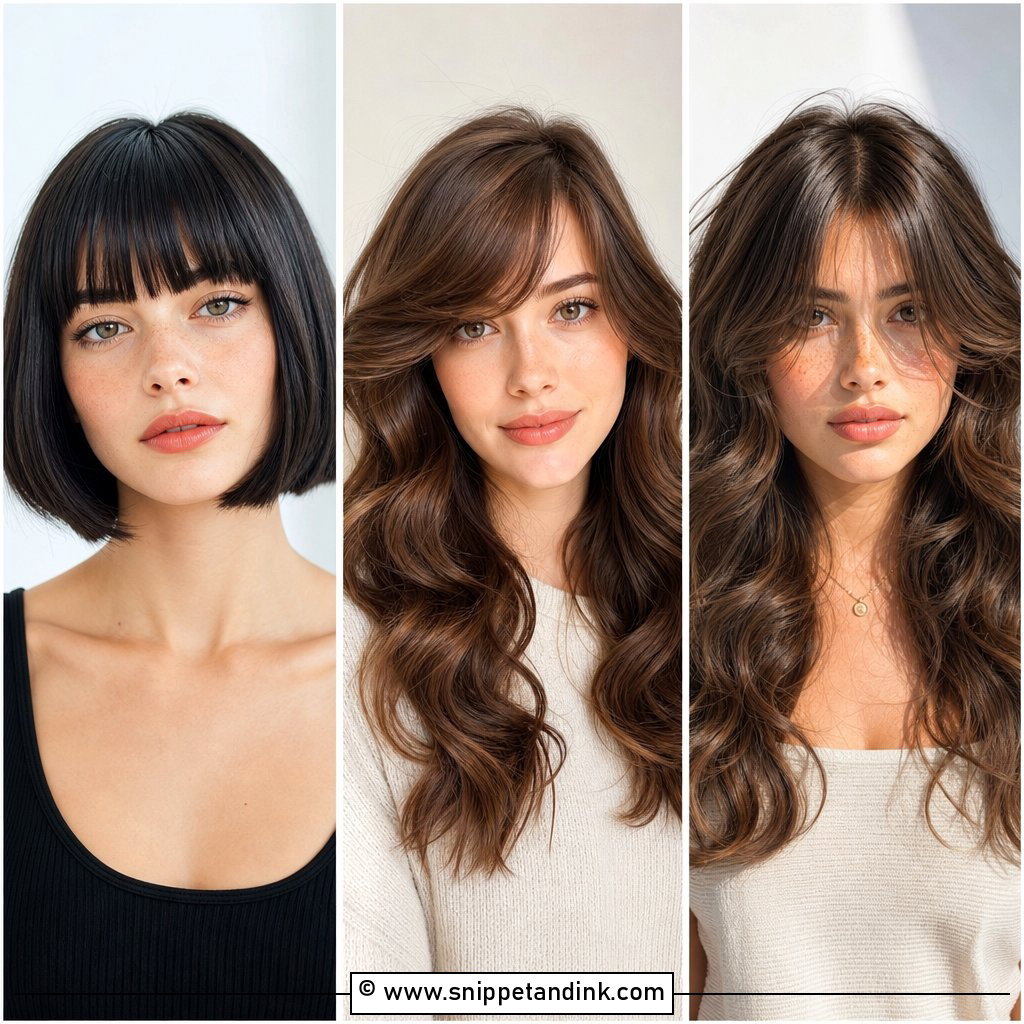
15. Vintage Wedding Hairstyle
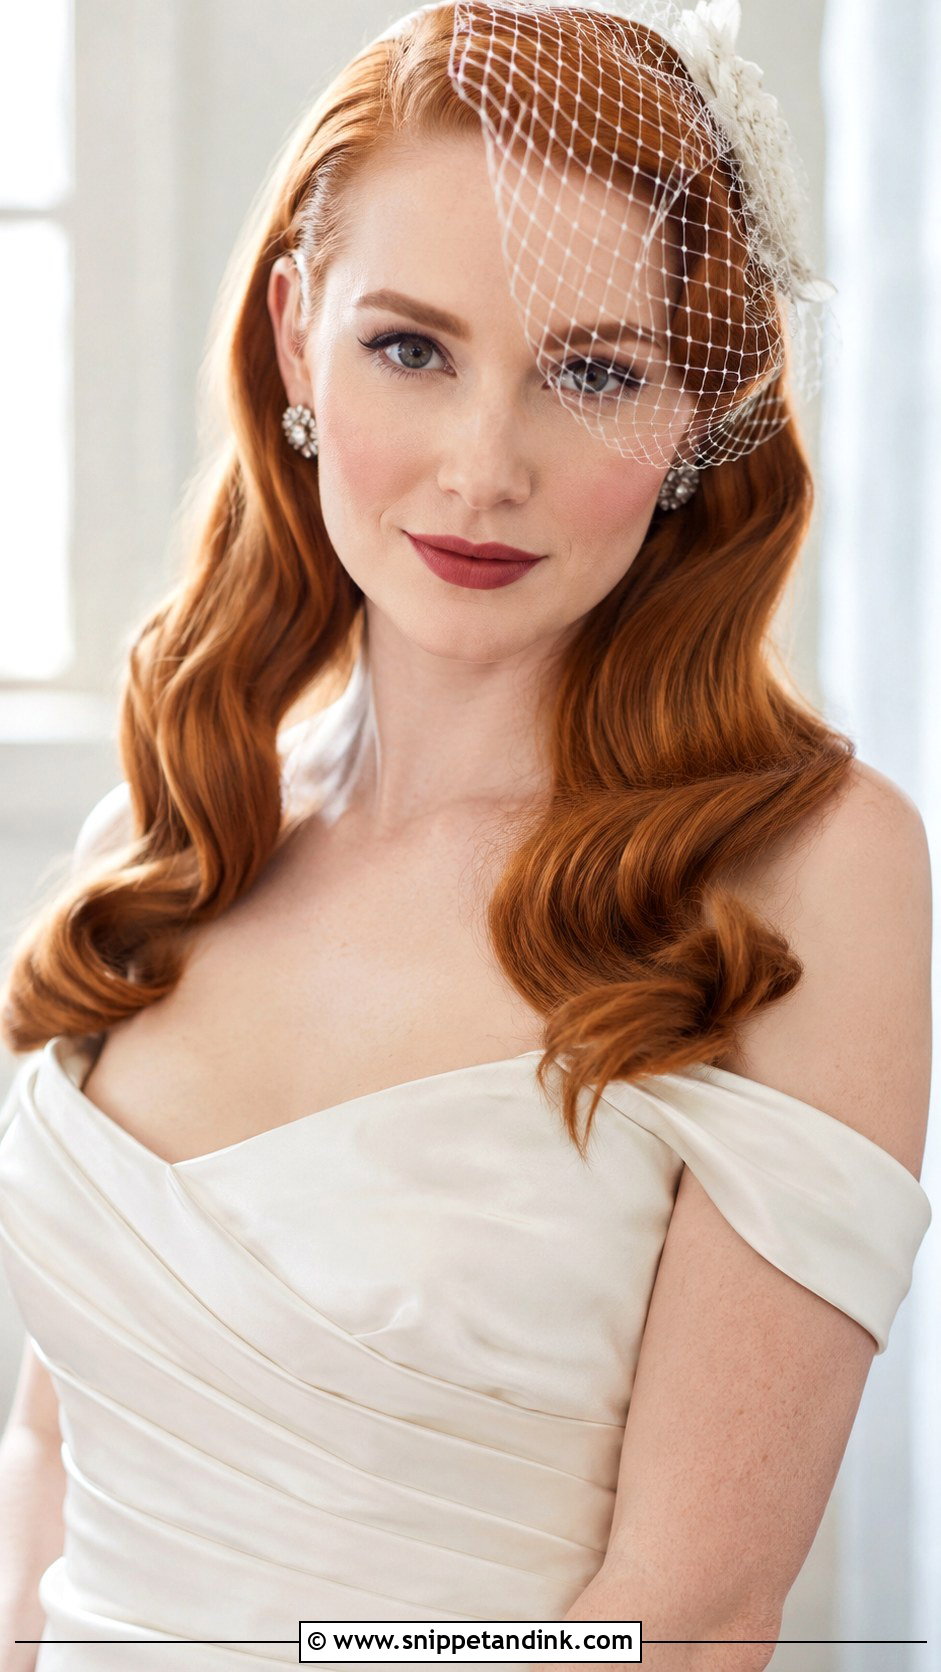
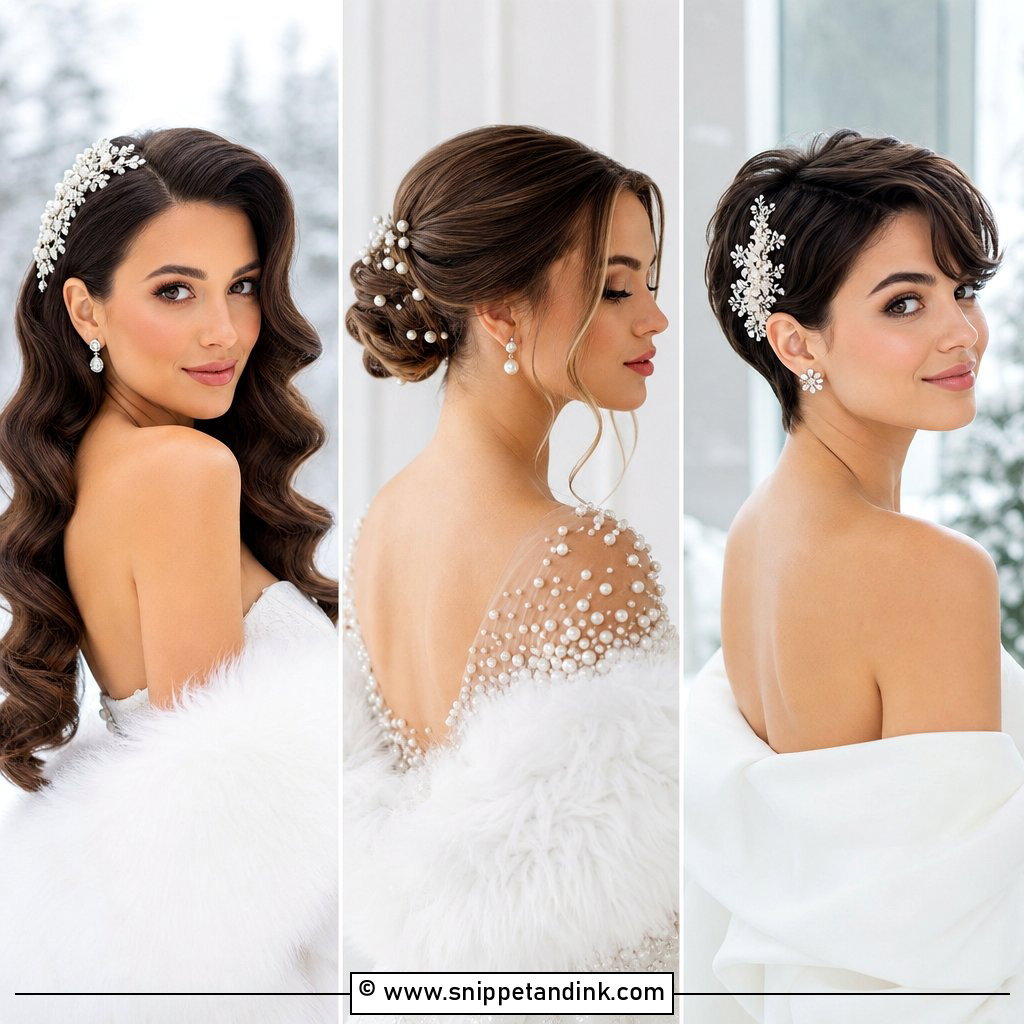
Vintage hair works when you pick one decade and commit to it. Sculpted finger waves point to the 1920s, a brushed-out set to the 1940s, and mixing them looks like a costume. I set the hair with rollers or pin curls and give it time to cool before brushing it out; skipping the setting time is why vintage styles fall flat by the reception. It pairs naturally with satin, birdcage veils and a red lip.
Timeline Math for the Getting-Ready Room
Different styles take very different amounts of time, and that affects the whole morning schedule. As a rough guide, a ponytail or loose waves take less time than a sculpted updo, Hollywood waves or a vintage set, which need cooling time built in. Those longer styles can run past an hour on thick hair. Allow more time for very long or thick hair, and for anything with extensions.
I prefer to do the bride’s hair before her makeup is finished, or at least before her lipstick, so she can relax her face and not worry about smudges. Bridesmaids go before her, so there’s a buffer if the morning runs late. The bride should be finished with about half an hour to spare before getting into the dress, which leaves room for small fixes and the photographer’s detail shots.
One thing I ask every bride: wear a button-down or zip-front top while your hair is done. Pulling a T-shirt over a finished updo crushes it, and there is rarely time to start again.
Save the Photo, Then Test It on Your Own Hair
A saved picture is a starting point, not a plan. The photo shows hair that may be thicker, longer or a different texture from yours, often with extensions you can’t see. Bring several angles of the styles you like to your trial, plus a photo of your dress, and be honest about what feels uncomfortable. The right choice is the one that still looks like you, and still feels fine, at the end of the night.
You'll Like These Ideas:


Leave a Reply