
Brides spend a lot of the trial staring at the back of their hair in a hand mirror, yet the front view is the one in nearly every photo. Walking down the aisle, saying the vows, the first look, the family lineup: the camera is in front of you. So when I plan a style, I build the front first. The part, the hairline, how much hair sits beside the cheek and how the veil frames the face are what people actually see. These twenty styles are judged from that angle, with notes on how each one is set up so it reads well head-on.
Your Mirror Lies About the Front View
A mirror shows you a flipped face, and most people’s faces aren’t quite symmetrical. That’s why a part that looks right in the mirror can look off in photos, and why brides sometimes dislike a trial photo of a style they loved in the chair.
I check the front with a phone’s rear camera held at eye level from a couple of meters away, which is closer to how a photographer will see you. A few things I look at first:
- Which side the part sits on. Most people have a side that suits them better, often the side their hair naturally falls to.
- Whether the hair beside the cheeks is the same volume on both sides, or deliberately not.
- Baby hairs and flyaways along the hairline, which glow under a flash and in backlit outdoor shots.
- Where the eye lands first. If it’s a bump of pinned hair or a bobby pin, the front needs work.
1. Soft Cascading Waves With Center Part
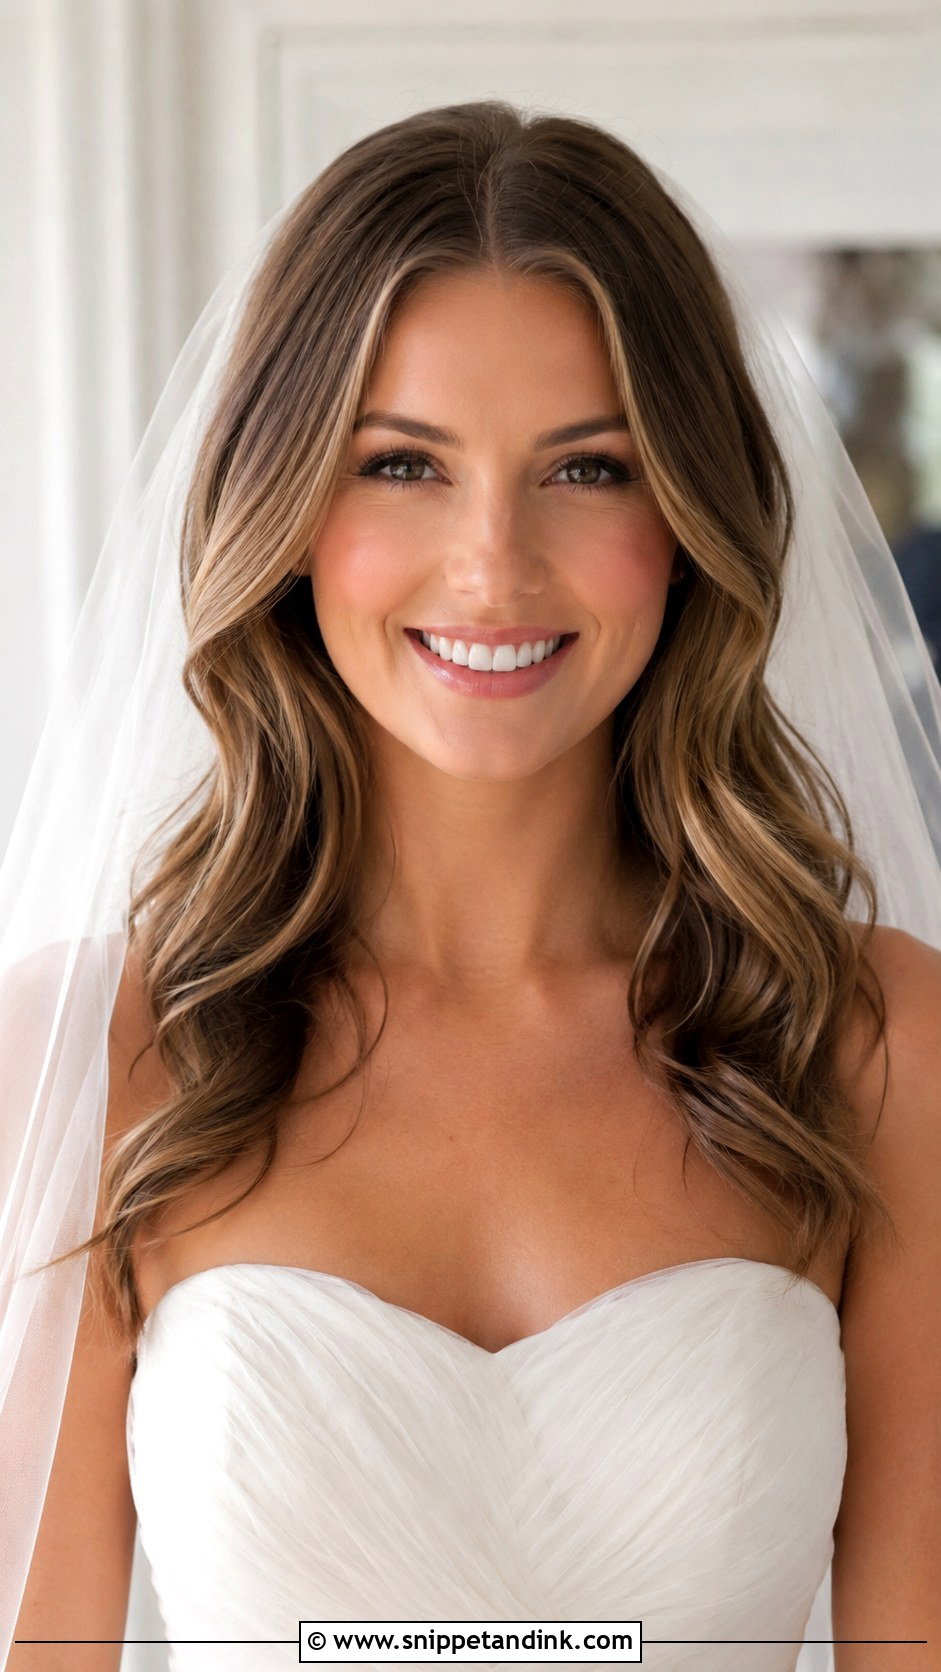
From the front, a center part with waves is all about symmetry, so the part has to be truly central. I find it by lining the comb up with the nose, not by eye. The waves start loose at the crown and get fuller toward the ends, which keeps the width away from the face. Oval, heart and round faces all suit it. It’s close to everyday hair, only smoother and more defined, so brides who wear their hair down most days feel like themselves in it. Keep the earrings simple and let the hair do the work.
2. Half-Up Half-Down With Twists
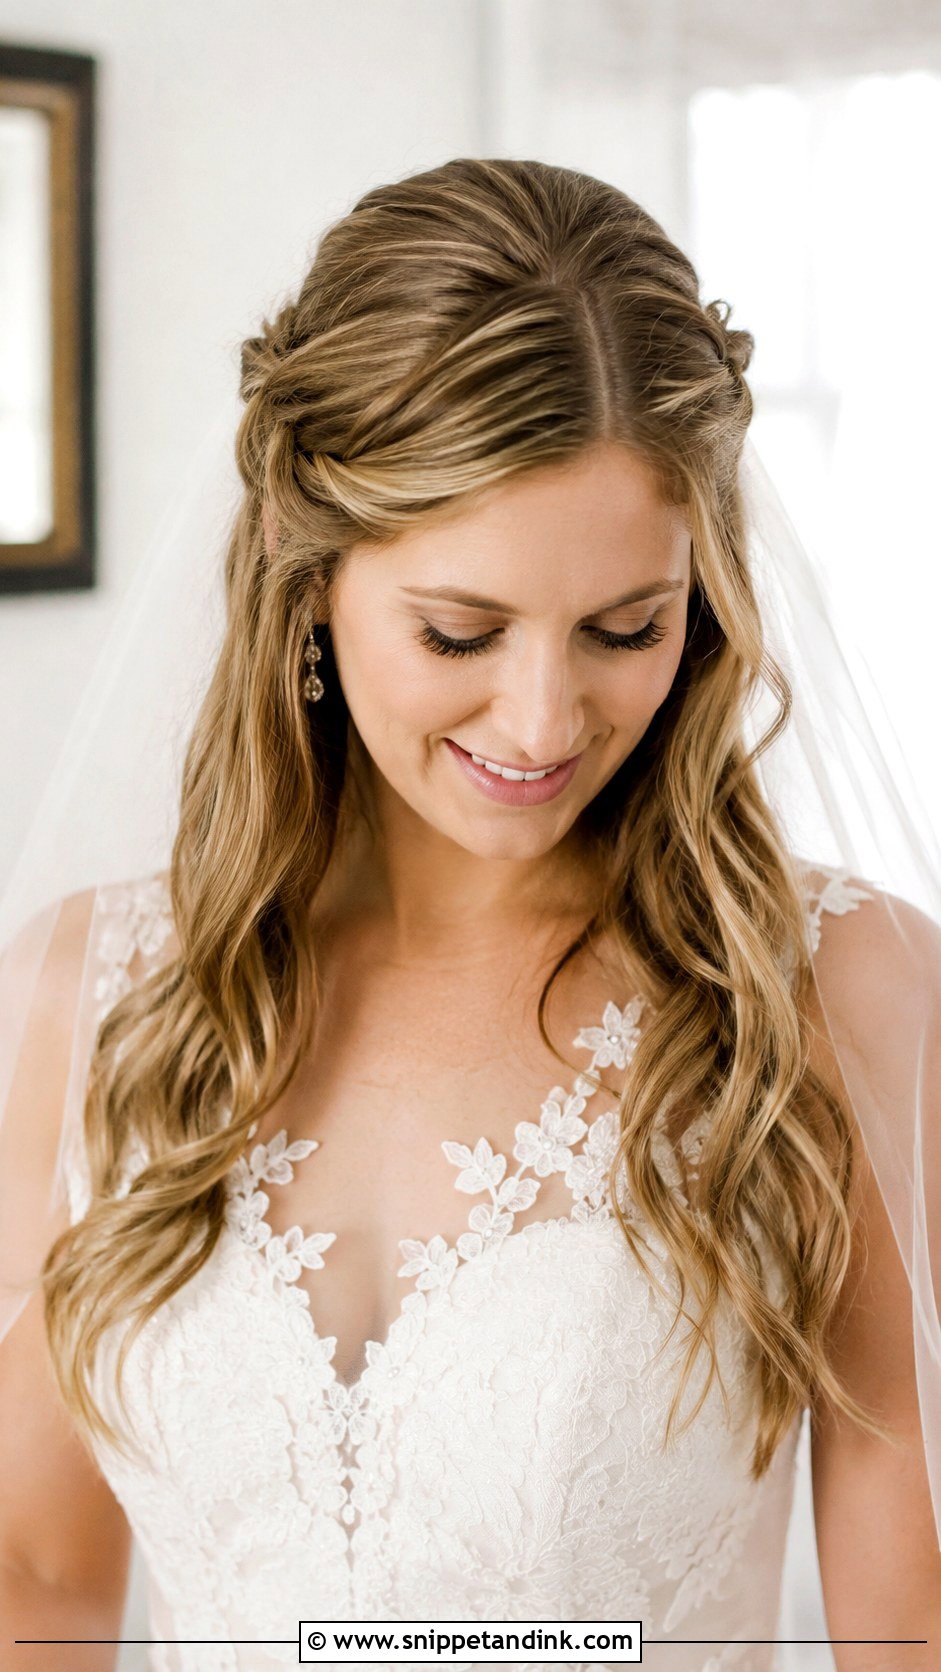
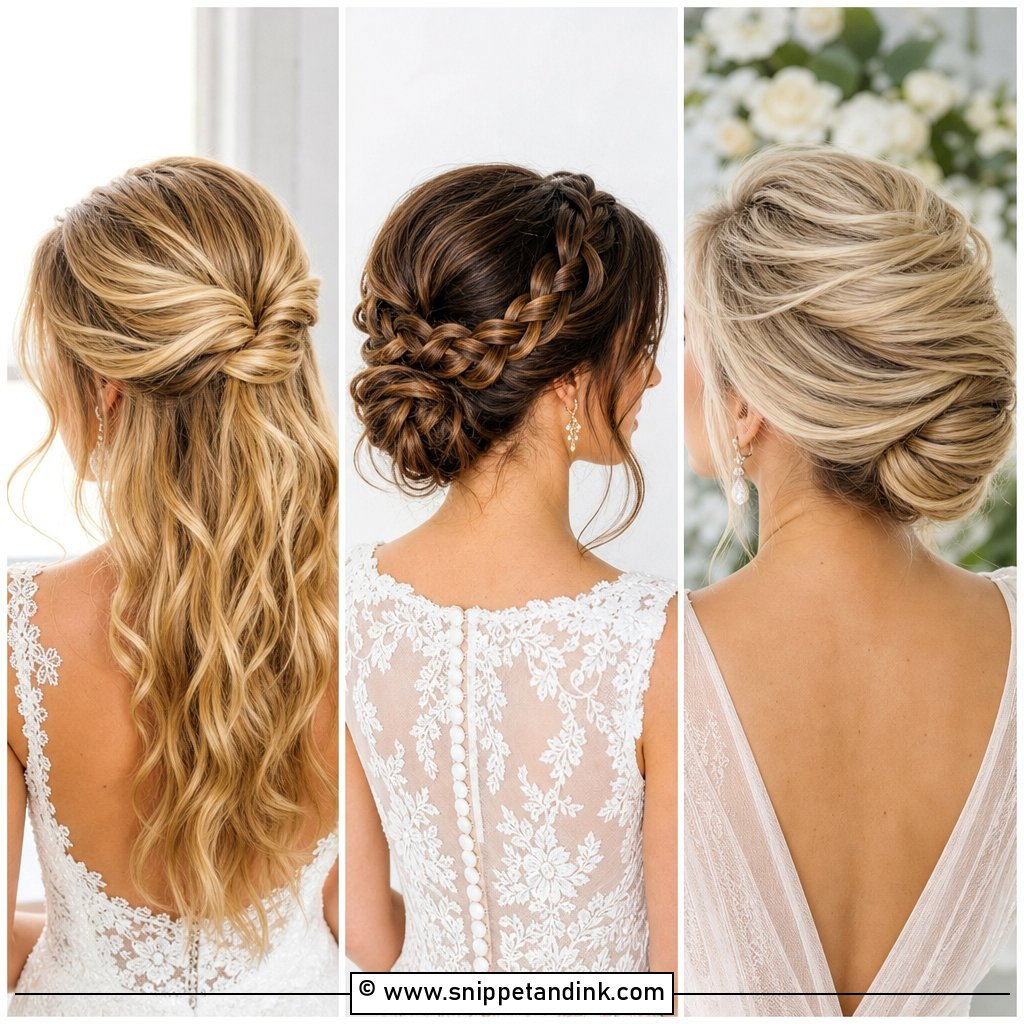
Twisted half-up styles look tidy from the front because the twists pull the hair back from the temples in a clear line. I twist each front section away from the face and pin it flat, so you see the twist itself rather than a lump of pinned hair. The length below falls in waves or curls behind the shoulders. Veils and floral pins sit neatly where the twists meet. It suits most lengths and textures and carries over well from ceremony to reception, since the face stays clear for eating and dancing.
3. Sleek Low Bun
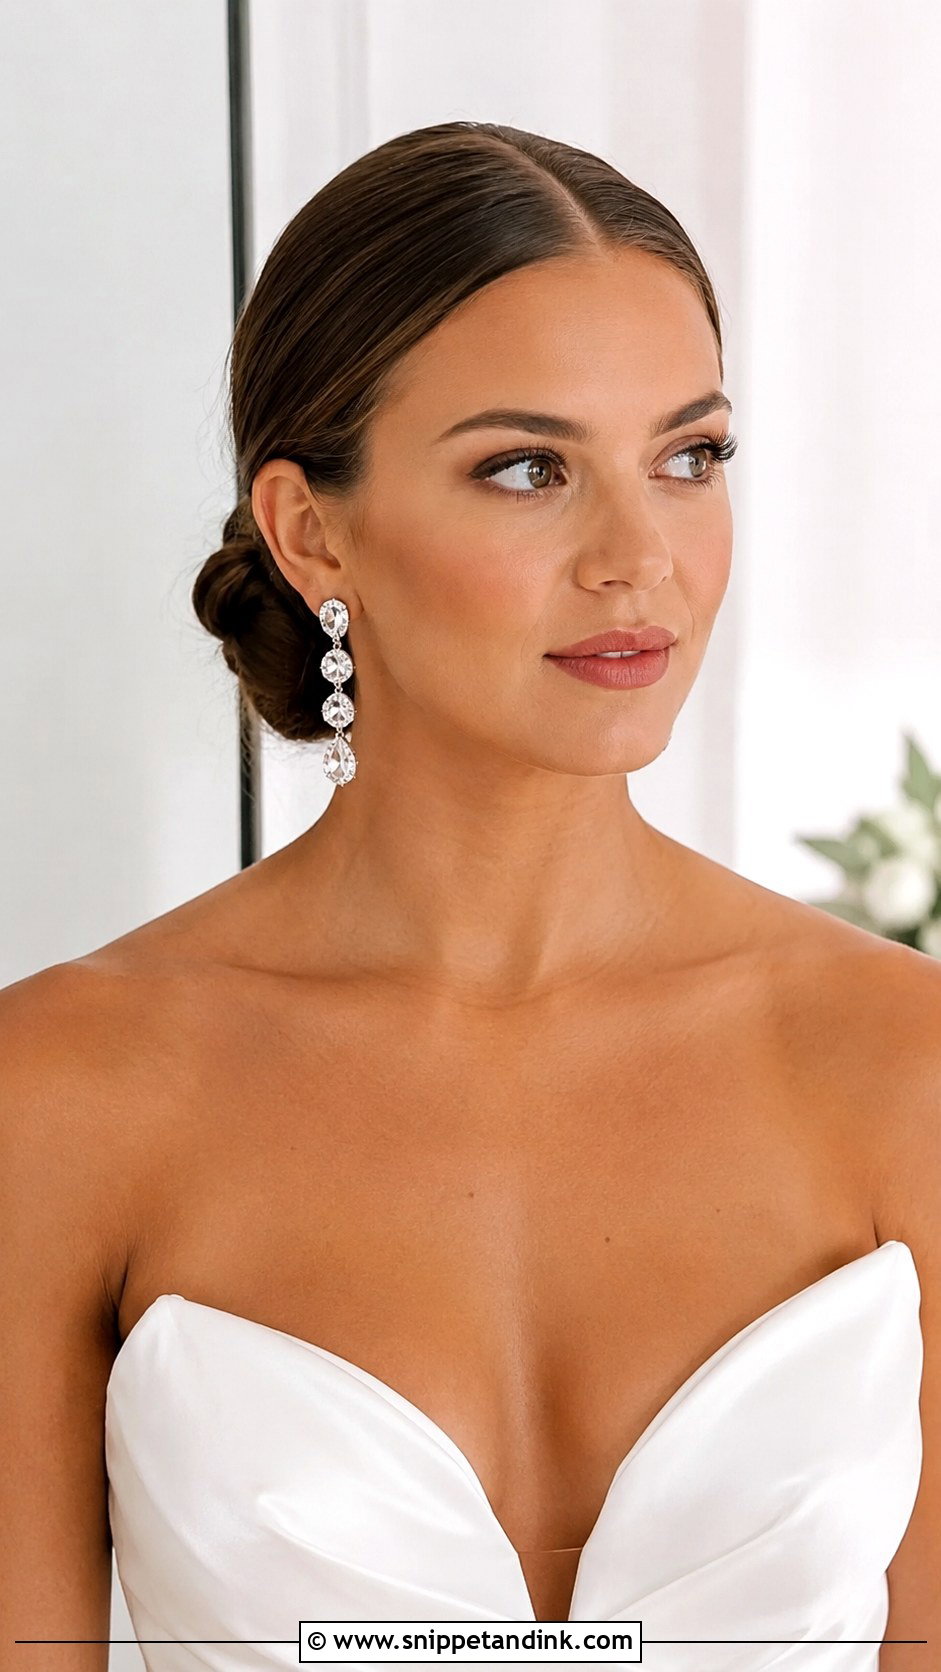
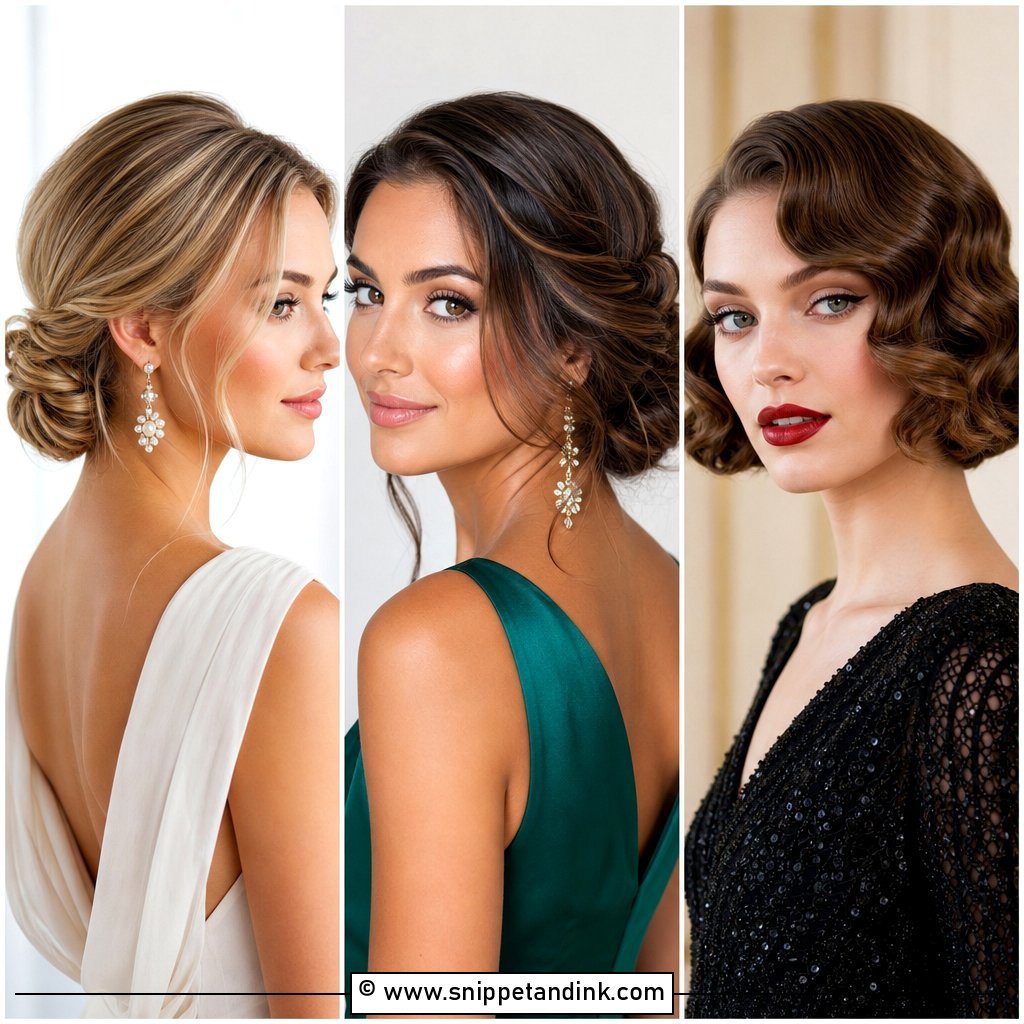
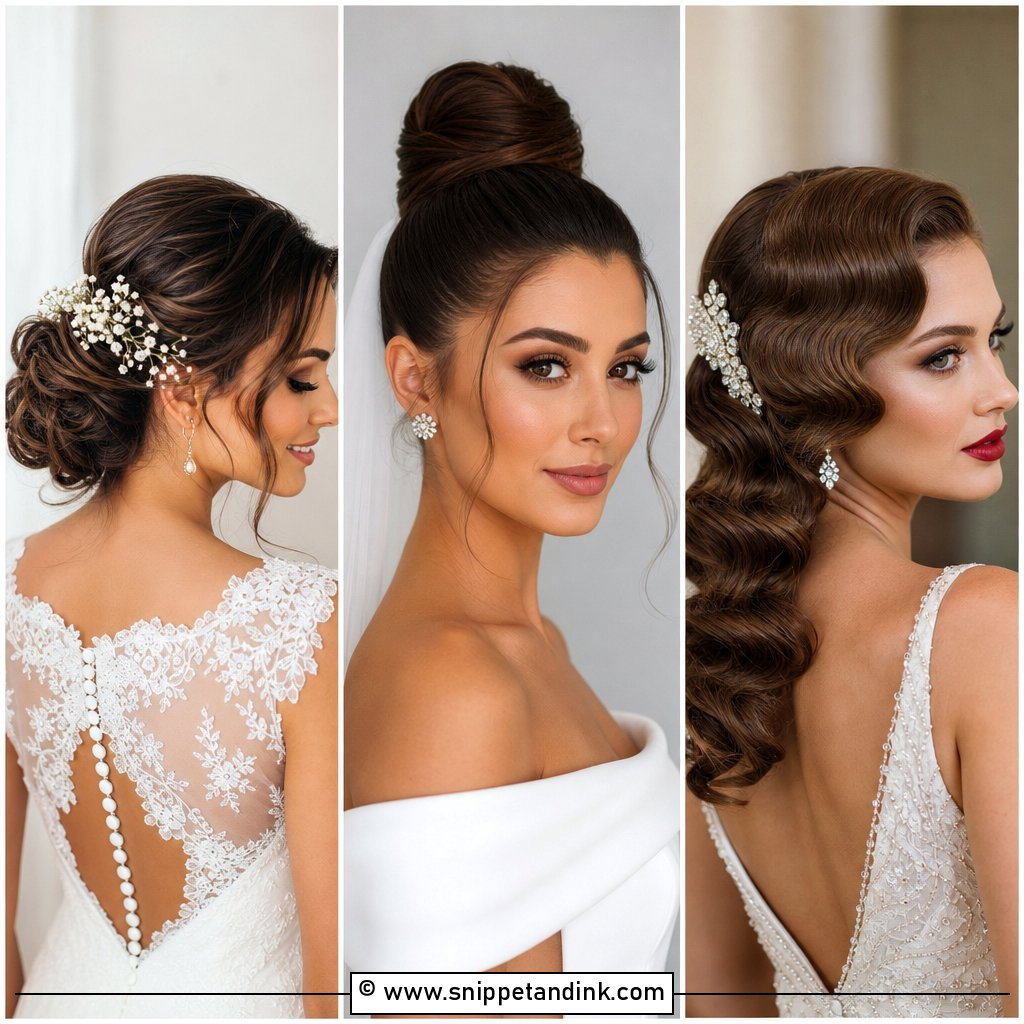
Head-on, a sleek low bun almost disappears, which is exactly why some brides want it: the face and earrings take over. That means the front has to be flawless. I smooth the hairline with a toothbrush and a little gel or wax so baby hairs don’t frizz up under the flash. Center or side part both work. It’s very veil-friendly, holds through a long day, and suits oval and longer faces especially. If the full sleek look feels too stark, I leave two fine strands at the front.
4. Romantic Braided Crown
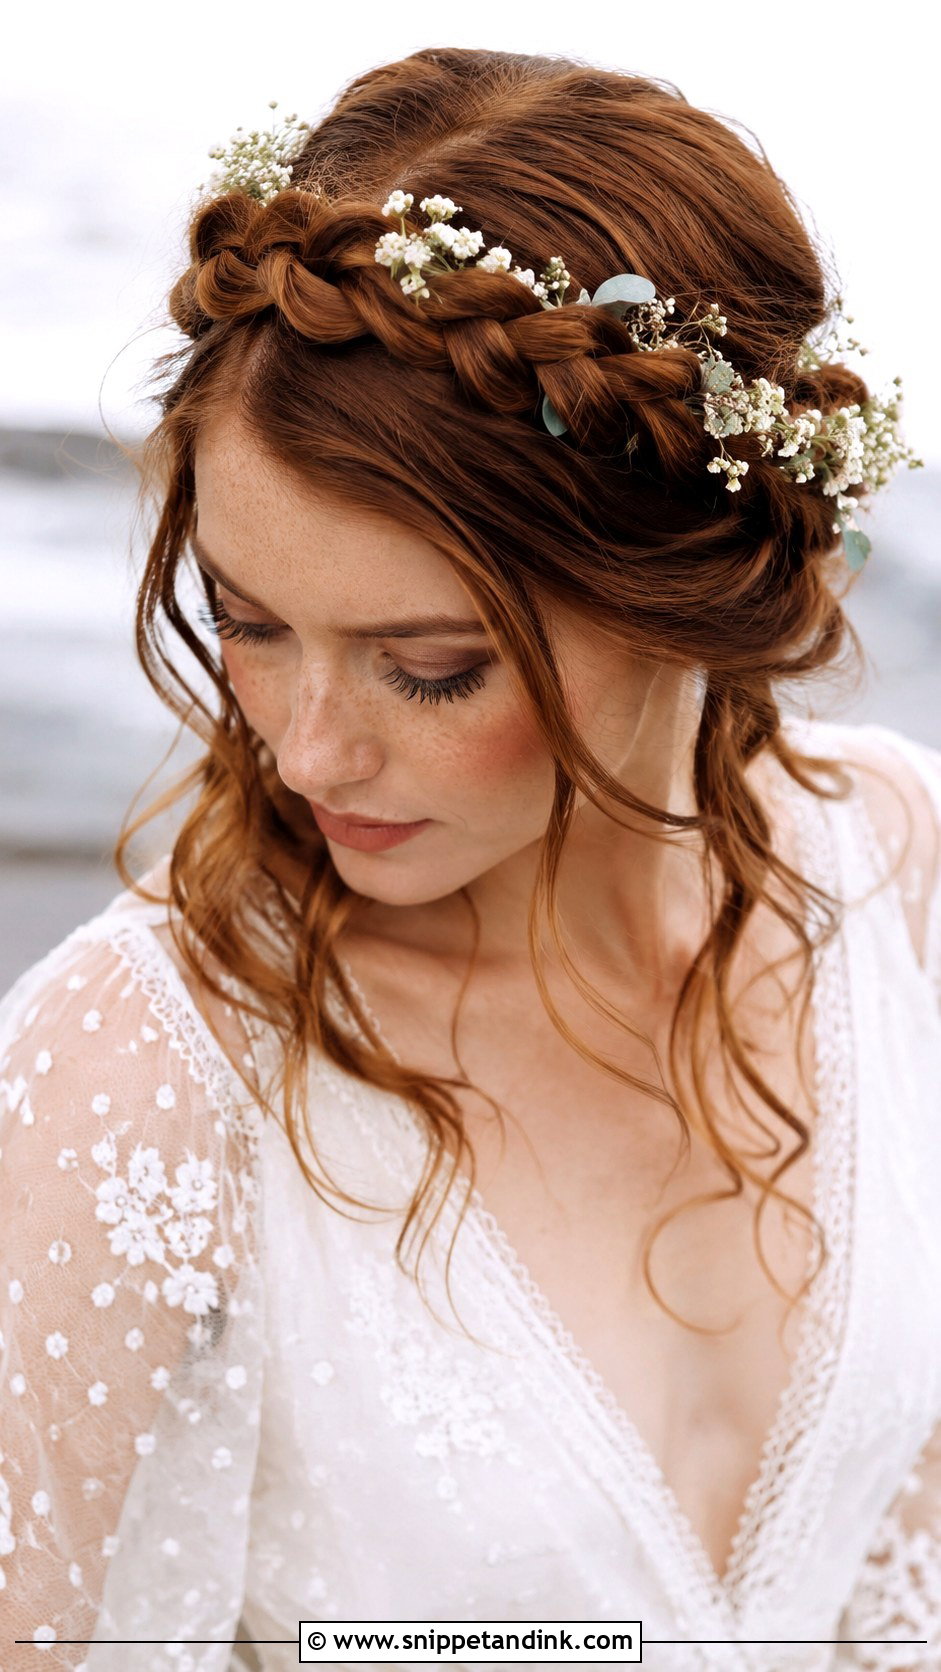
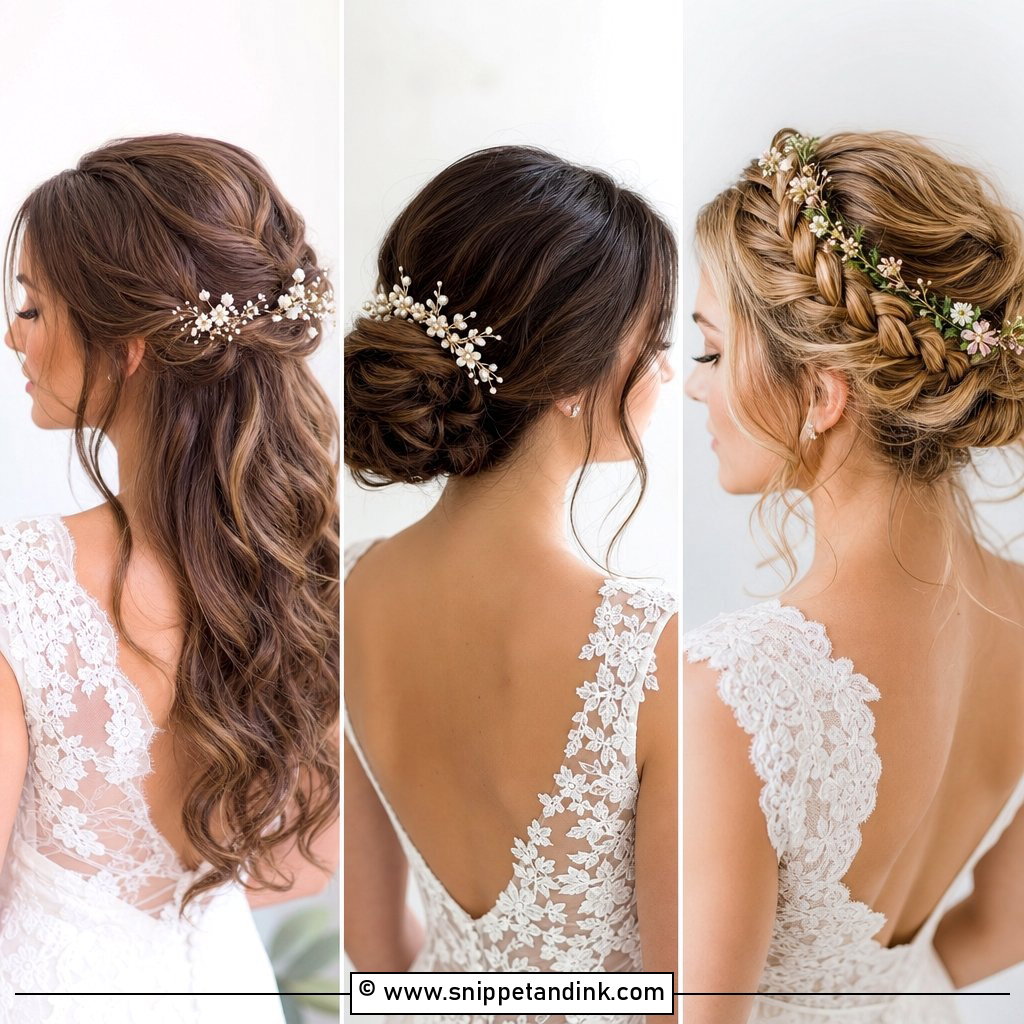
A braided crown frames the face like a halo and keeps every strand off it, which is why I like it for warm-weather ceremonies. From the front, the braid line should sit just behind the hairline, not on it; too far forward and it starts to look like a headband. I tuck small flowers or pearls into the braid after it’s pinned. Medium to long hair needed. It suits boho, garden and rustic weddings, and it’s one of the few styles that looks finished from the back, the sides and the front.
5. Hollywood Glamour Waves
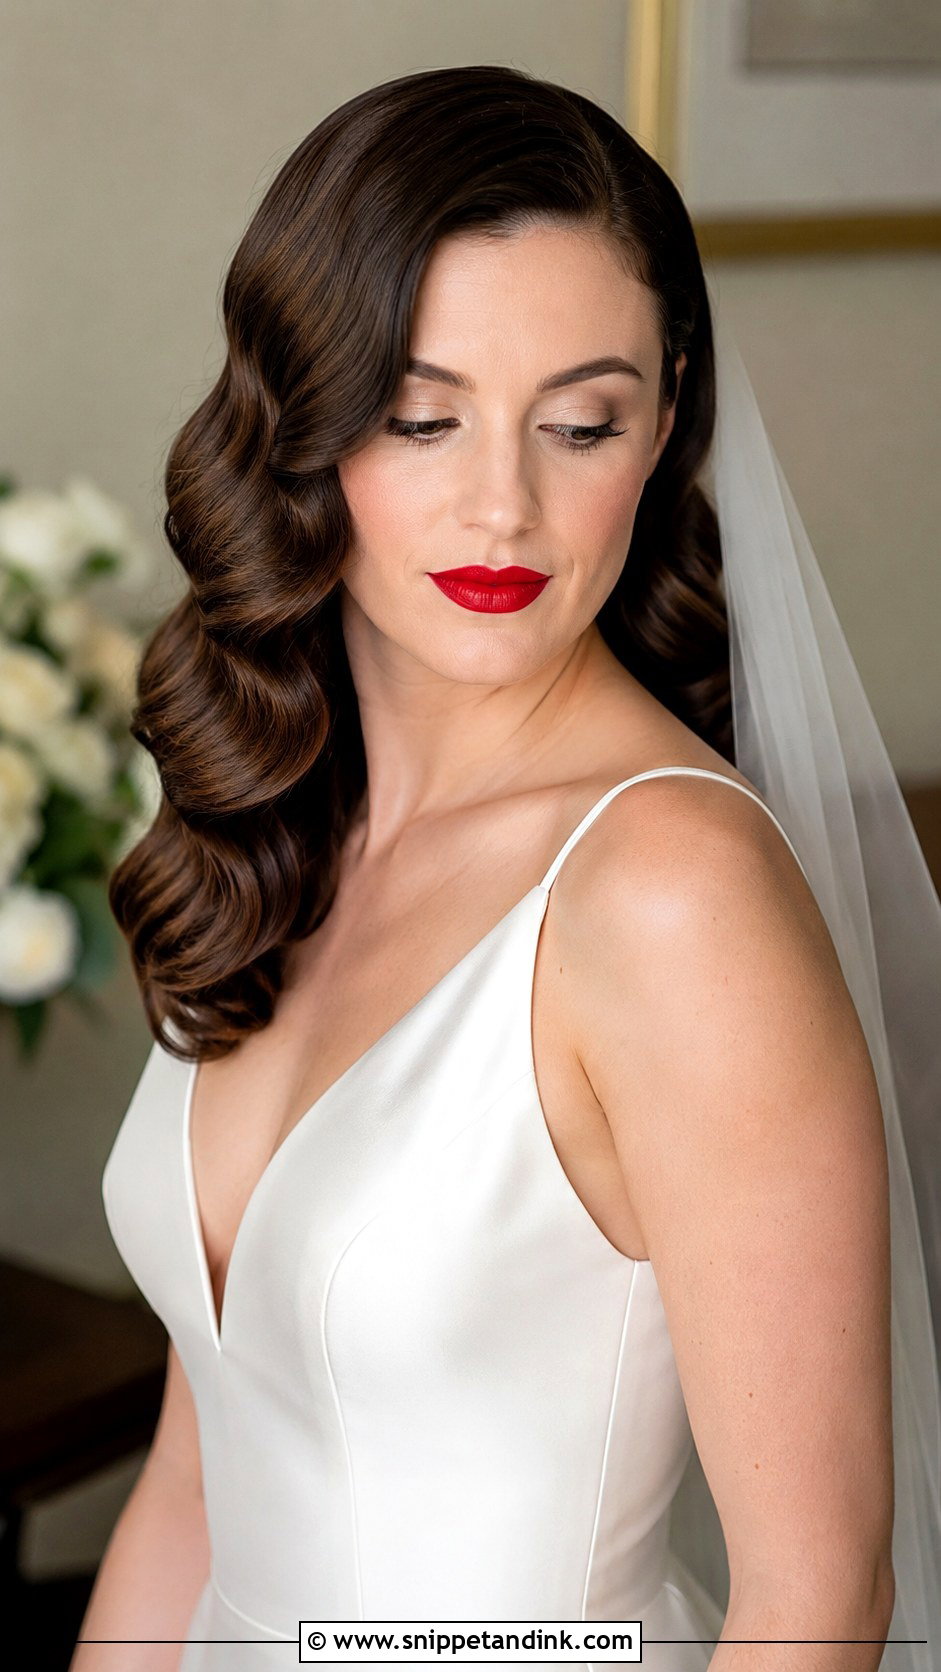
Hollywood waves are sculpted, not tousled. Every section is curled in the same direction, pinned to cool, then brushed into one continuous S pattern with a defined side part. From the front, the deep part gives drama and the waves sweep across one side of the face. Satin gowns and a red lip are natural partners. You need medium to long hair. Shine is the whole effect, so I’d use a light shine spray and keep the hairline smooth, because one frizzy piece shows clearly in a close-up.
6. Curtain Bangs With Loose Curls
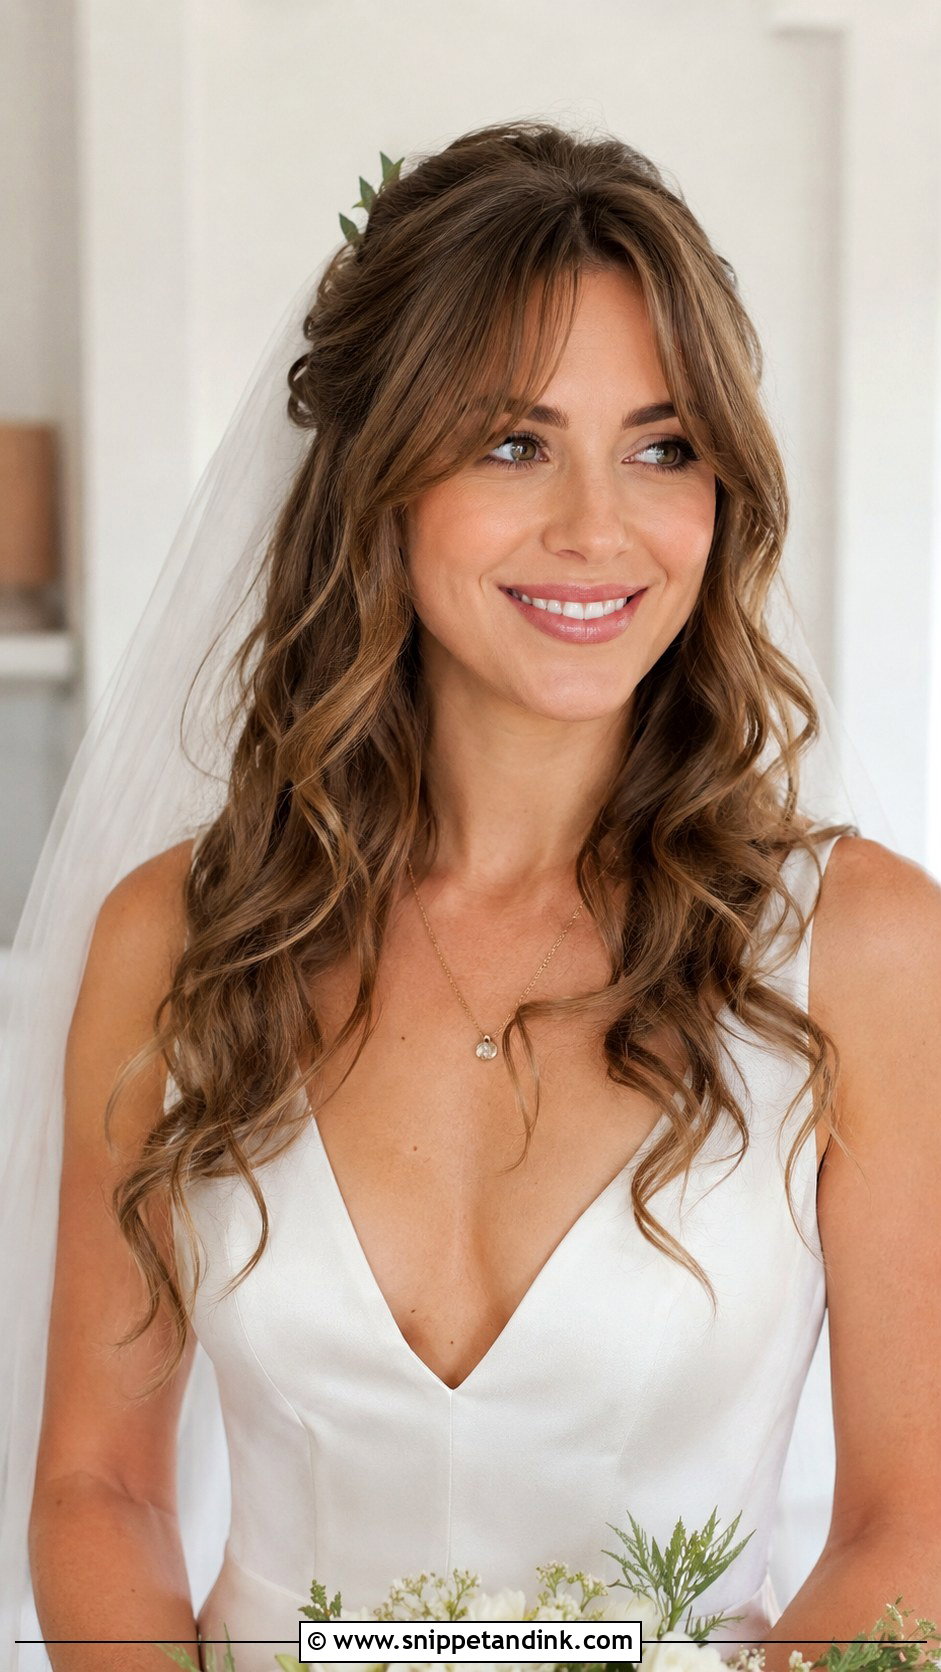
Curtain bangs look fresh on brides as long as they’re styled, not left to air dry. They part in the middle and sweep to each side, opening up the eyes and cheekbones. I blow-dry them with a small round brush, lifting each side up and away from the part, then set them with a light spray. Paired with loose curls, the front looks young and relaxed. They soften a strong jaw nicely. If you’re getting them cut for the wedding, do it a couple of weeks ahead so they’ve grown out of that just-trimmed stiffness.
7. Classic Chignon
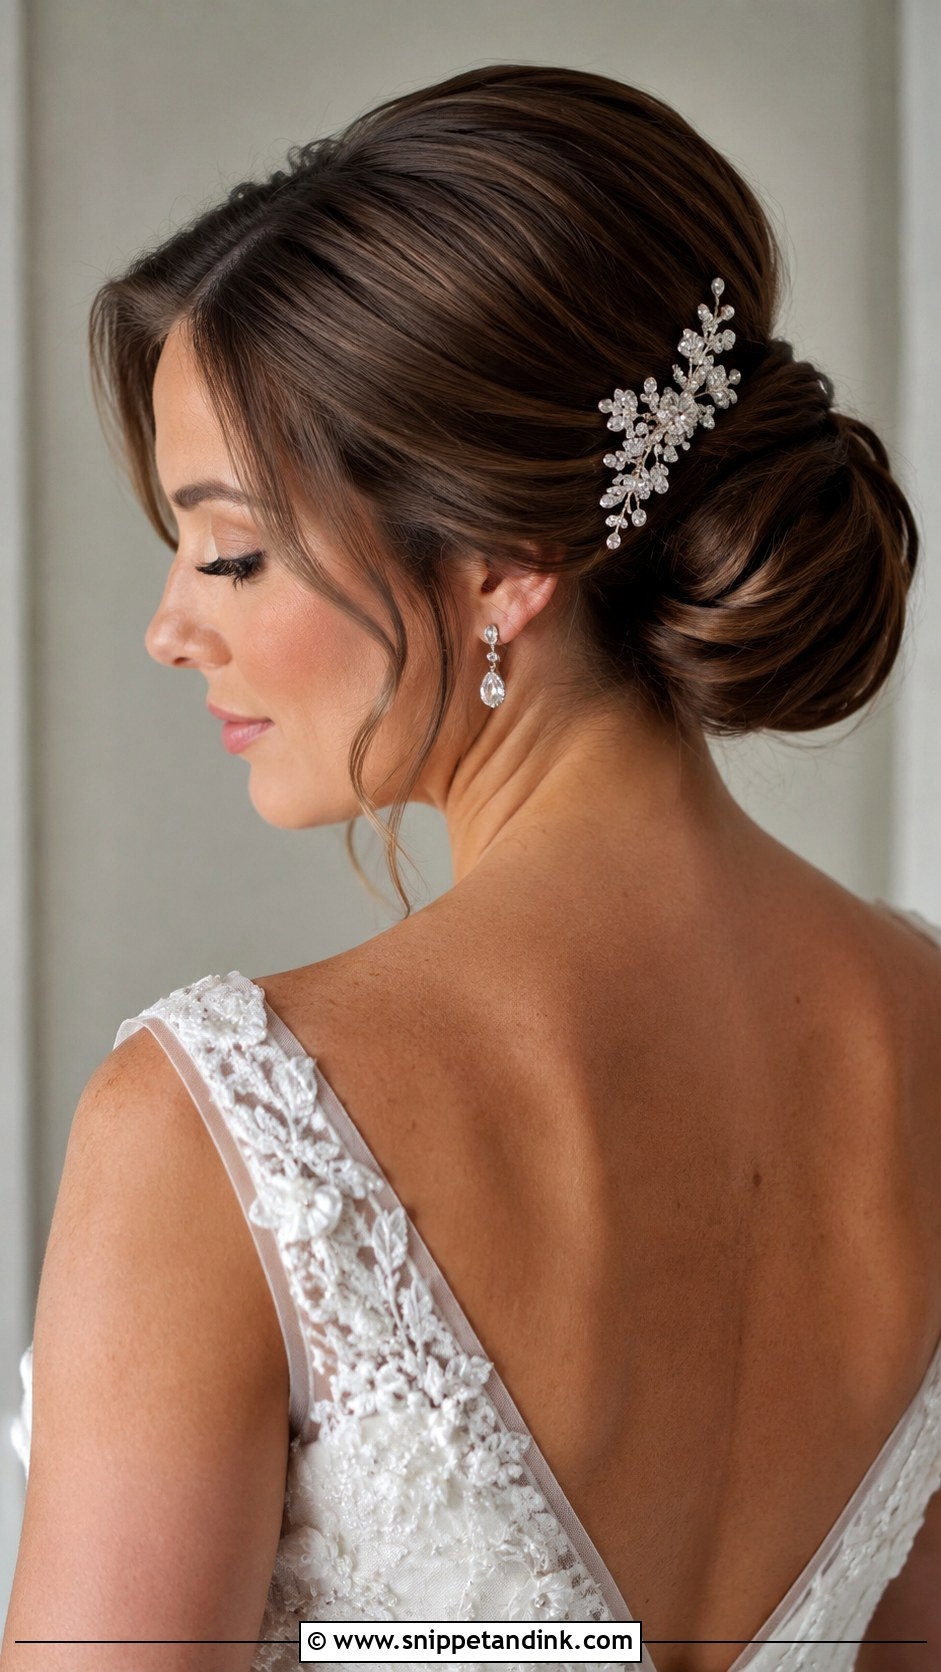
A chignon is a smooth, rolled knot at the back, which leaves the front clean and puts the face at center stage. Since so little hair shows from the front, I pay attention to the part and to whether there’s slight lift at the crown, because a completely flat top can look severe in photos. It’s a traditional choice for formal and church weddings and suits most lengths; shorter hair may need a small padding inside the roll. A jeweled pin or small veil is all it needs.
8. Boho Waves With Loose Braids
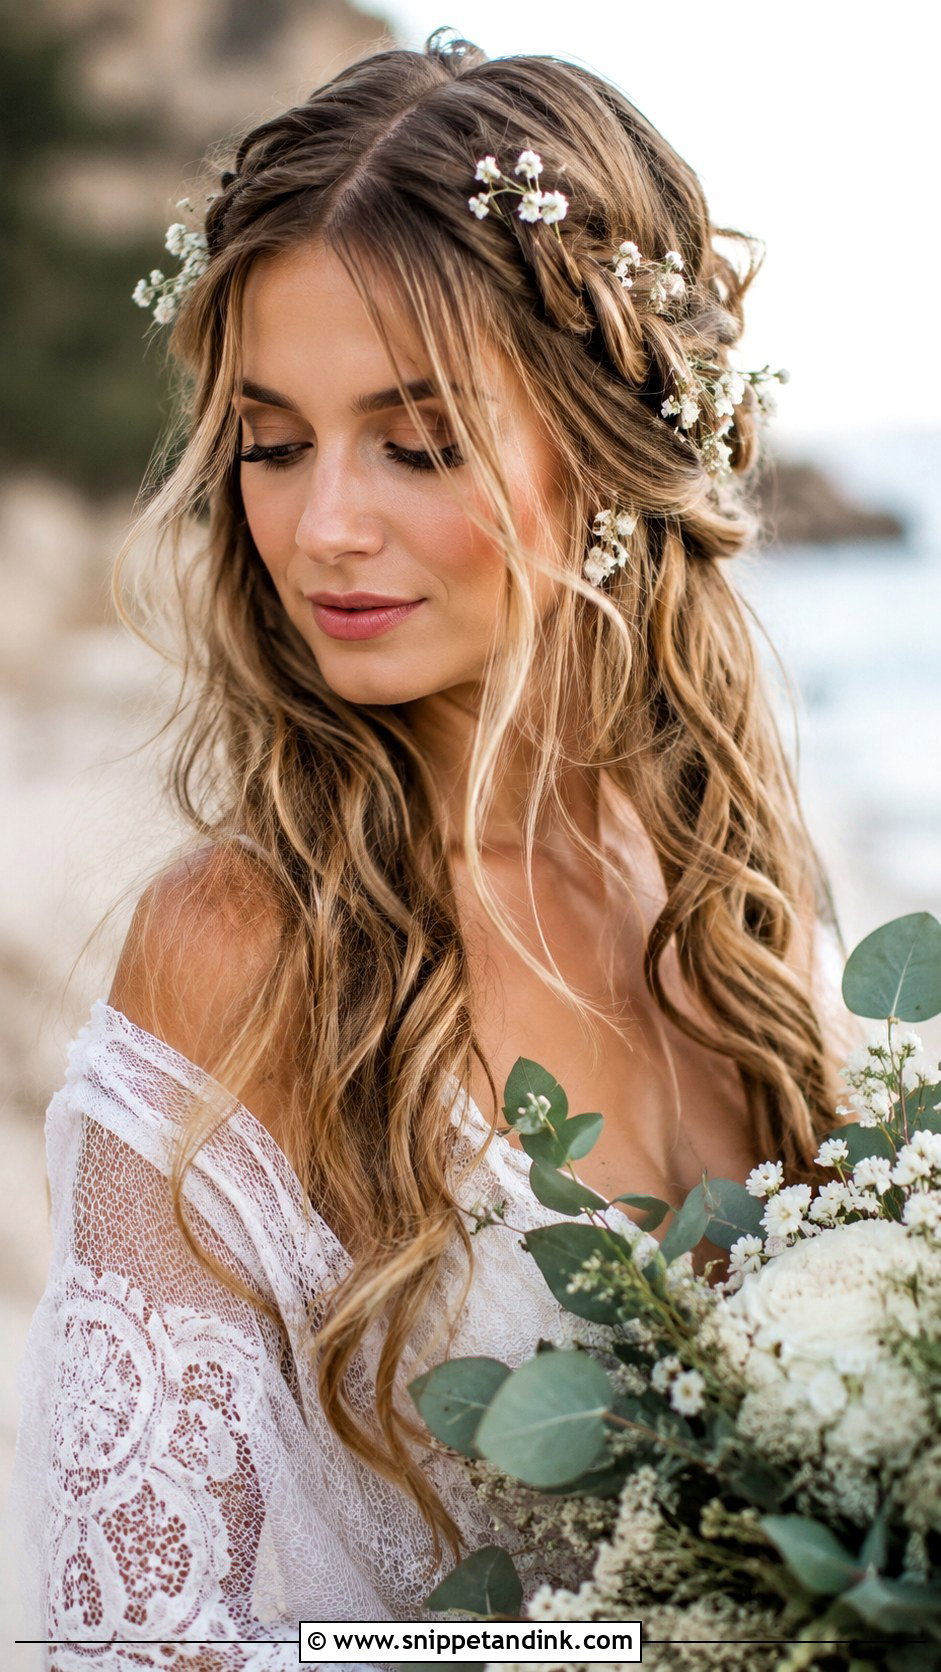
Boho waves with small braids near the front are meant to look relaxed, but the braids still have to be placed with care. I braid two thin sections from just behind the hairline and pull them back toward the crown, so from the front they frame the face rather than hanging beside it. The waves underneath are loose and textured. It’s built for outdoor, beach and garden weddings and suits medium to long hair with some natural movement. Tiny flowers or a sprig of greenery can be tucked into the braids.
9. Sleek High Ponytail
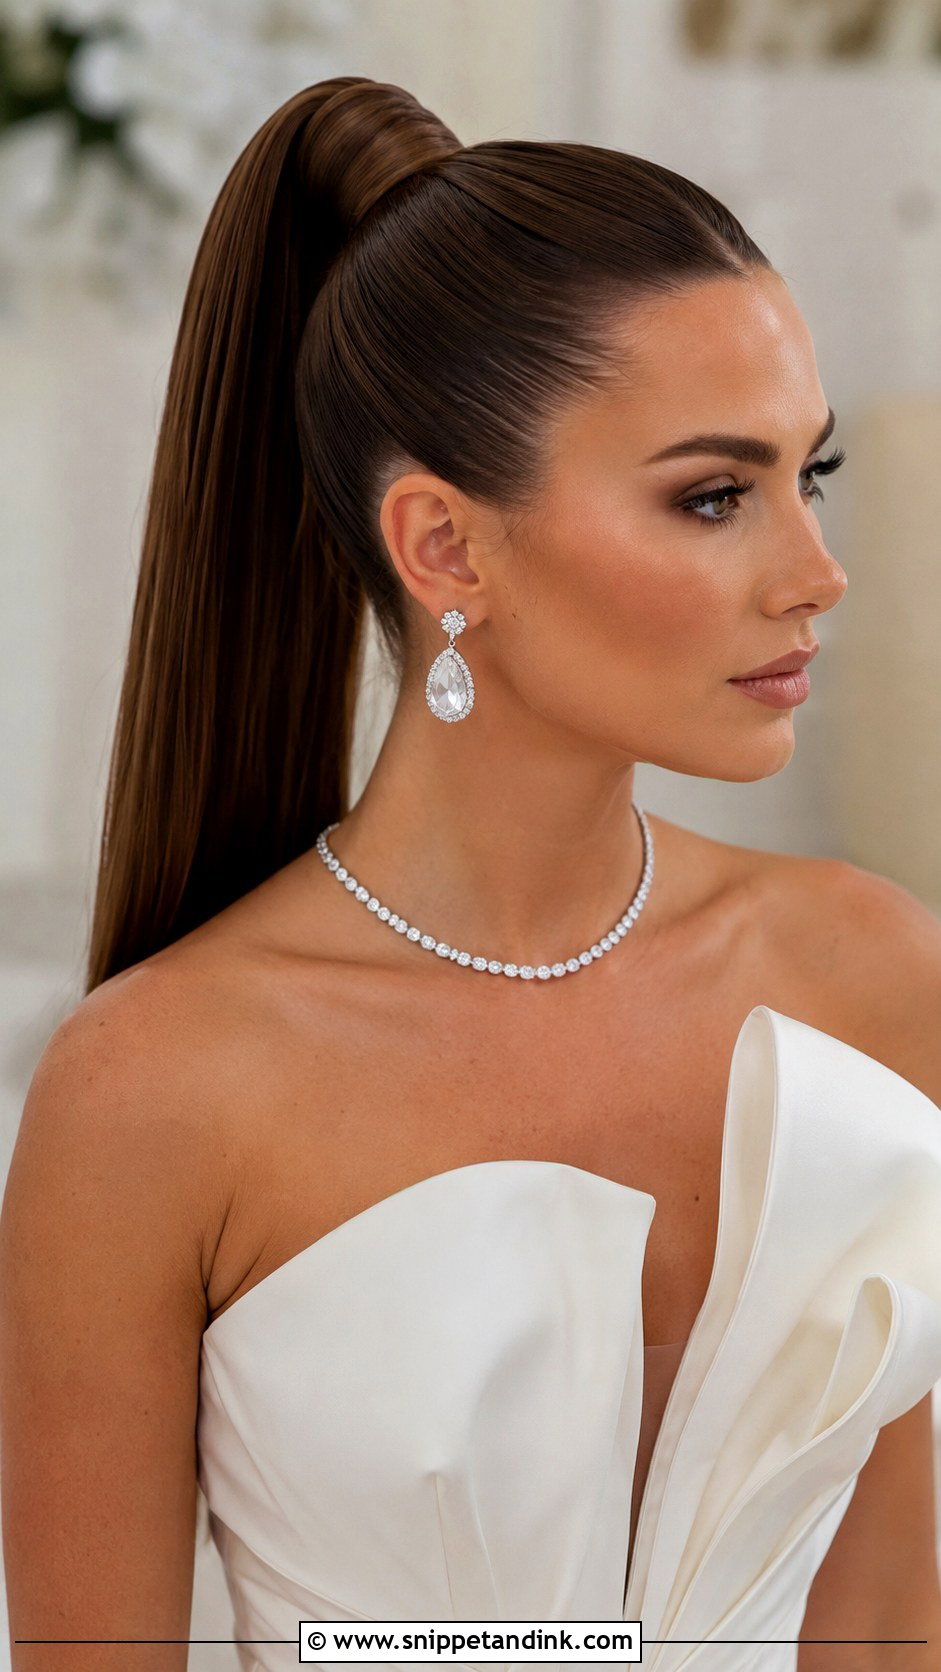
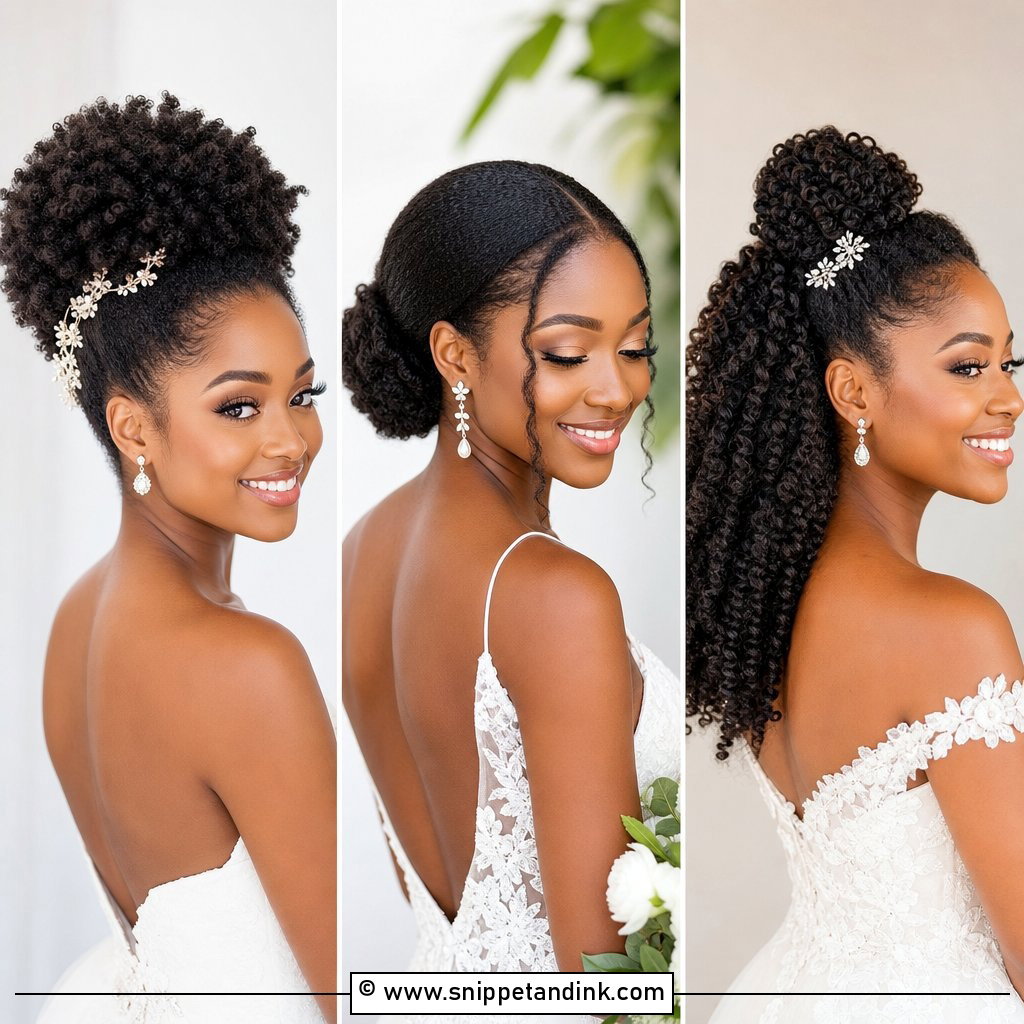
A sleek high ponytail gives a clean front silhouette and lengthens the neck. The hard part is the hairline: brushing everything up toward the crown can leave bumps and gaps at the temples, so I brush it in several stages with a smoothing cream, securing the base before each final pass. It suits sculptural gowns and bold jewelry. Wrap a strand of hair around the base to hide the elastic. Fair warning: a heavy ponytail pulled very tight can give you a headache by late evening, so I place it a touch lower on brides who are sensitive to that.
10. Vintage Finger Waves
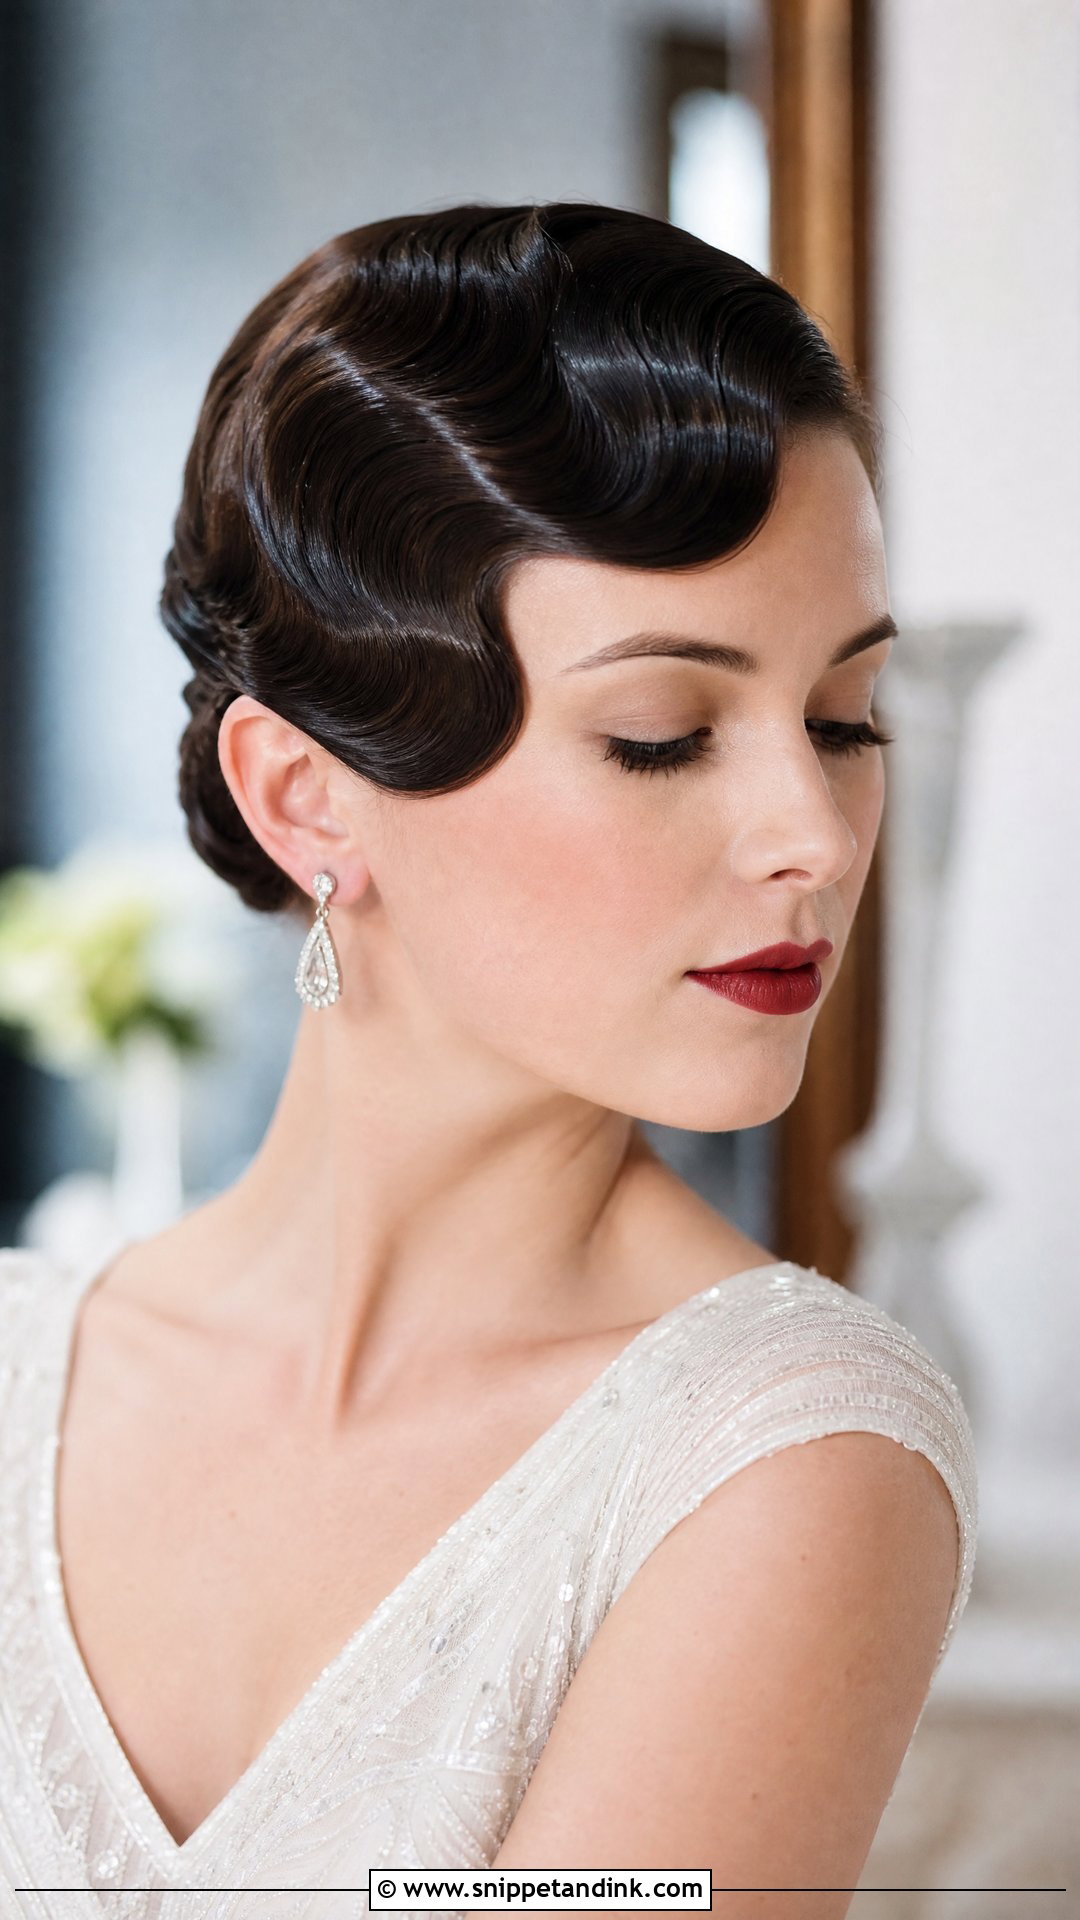
Finger waves are pressed close to the head in sculpted S shapes, which makes them read strongly from the front. They work best on short to medium hair, especially bobs; longer hair is usually tucked under to fake the length. I set them with a strong gel or setting lotion and duckbill clips while the hair is still damp, then let them dry fully before the clips come out. They suit Art Deco themes and beaded gowns and look striking in black and white photos. A jeweled hairpiece or a small feather comb finishes the look.
11. Half-Up Braided Bun
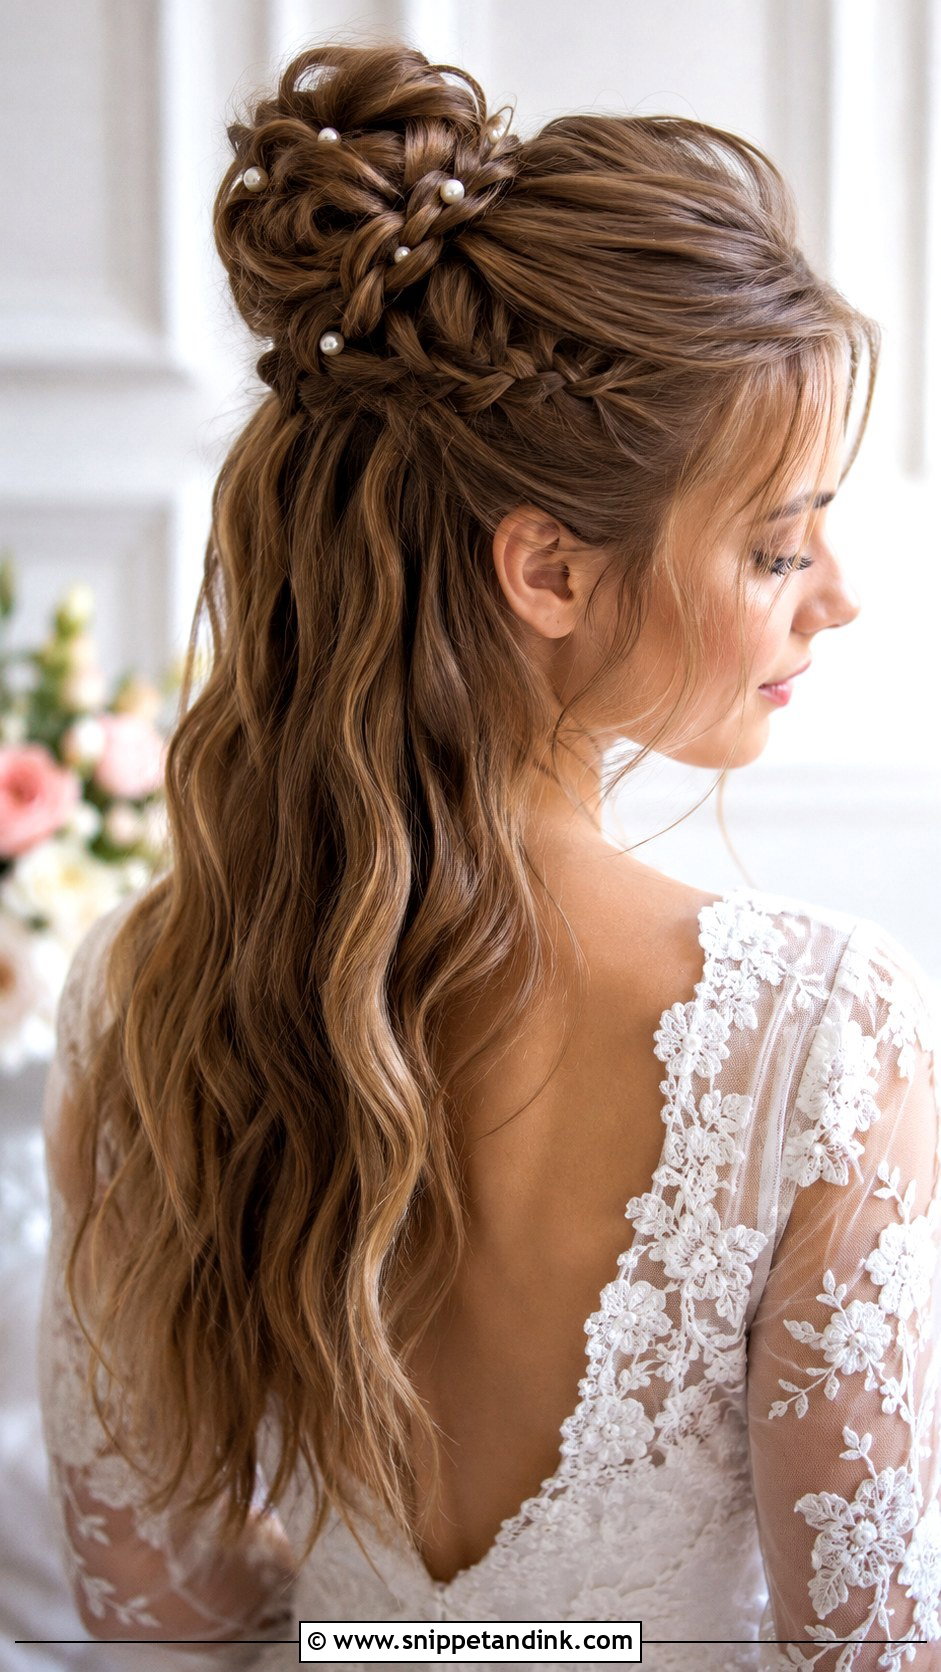
The half-up braided bun gathers the top section into a small braided knot and leaves everything below loose. From the front, the face is completely clear, which suits brides who’d otherwise be pushing hair back all night. I braid the top section, then wrap it into a bun and pin it through its center so it doesn’t wobble when you turn your head. It suits medium to long hair and moves easily from ceremony to reception. Small flowers or pearls along the braid add detail.
12. Side-Swept Curls
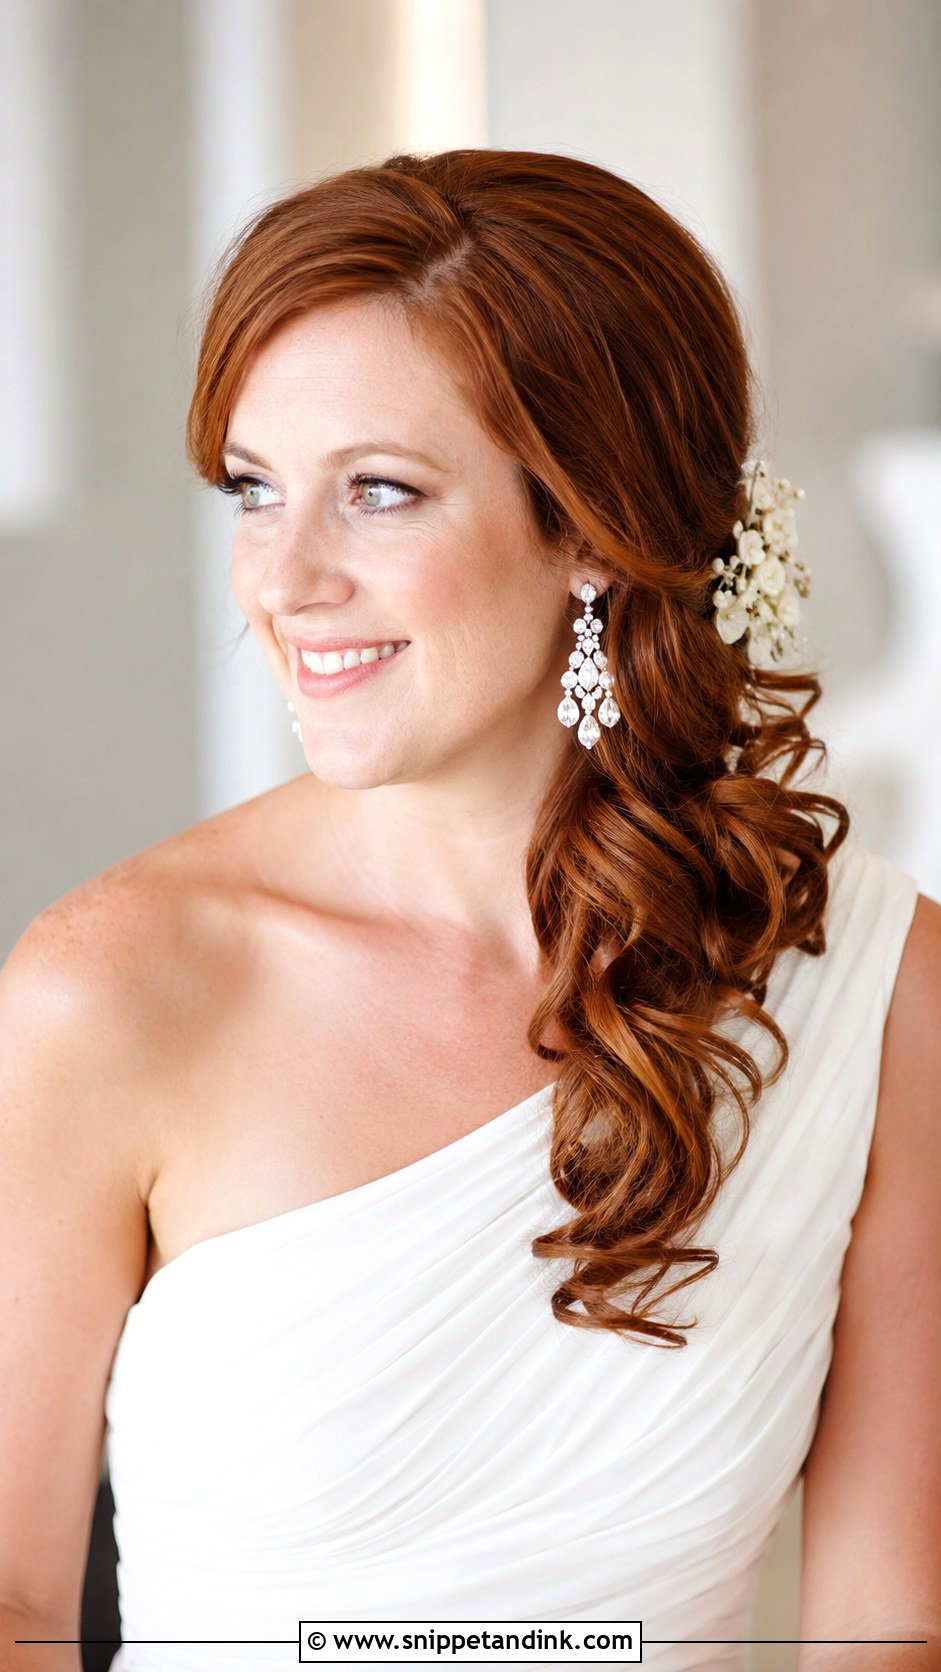
Side-swept curls give you an asymmetrical frame: hair on one side of the face, the other side clean. That makes a strong pairing with one-shoulder gowns and statement earrings, and it shows off back details too. I pin the clean side behind the ear with crossed bobby pins hidden under a top layer, because from the front any visible pins look untidy. Medium to long hair works best. A floral pin near the part is a small, effective finish.
13. Pulled-Back Bridal Waves
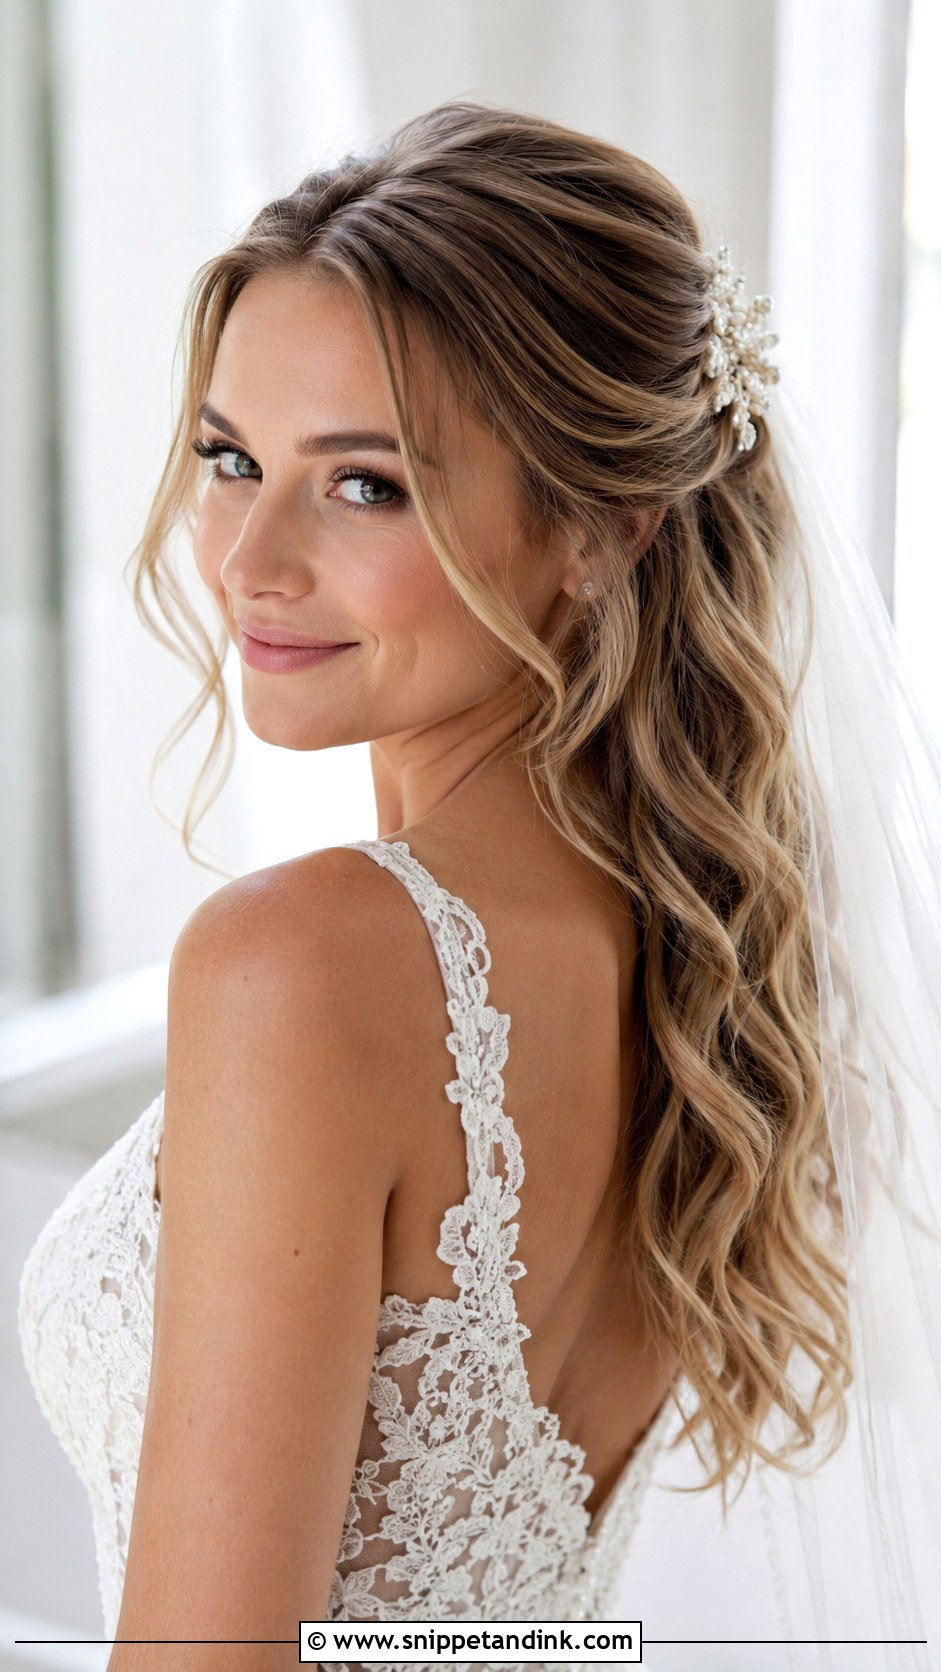
Pulled-back waves are a simple idea: pin the front sections back and let everything else fall in waves. From the front, the face is open and the length still shows over the shoulders. The thing I watch is the pinned section sagging during the day, so I add a little backcomb at the root and pin from underneath. Veils and small accessories sit neatly at the pinned point. It suits most lengths and textures, and a jeweled clip or small comb hides where the pins meet.
14. Textured Low Updo
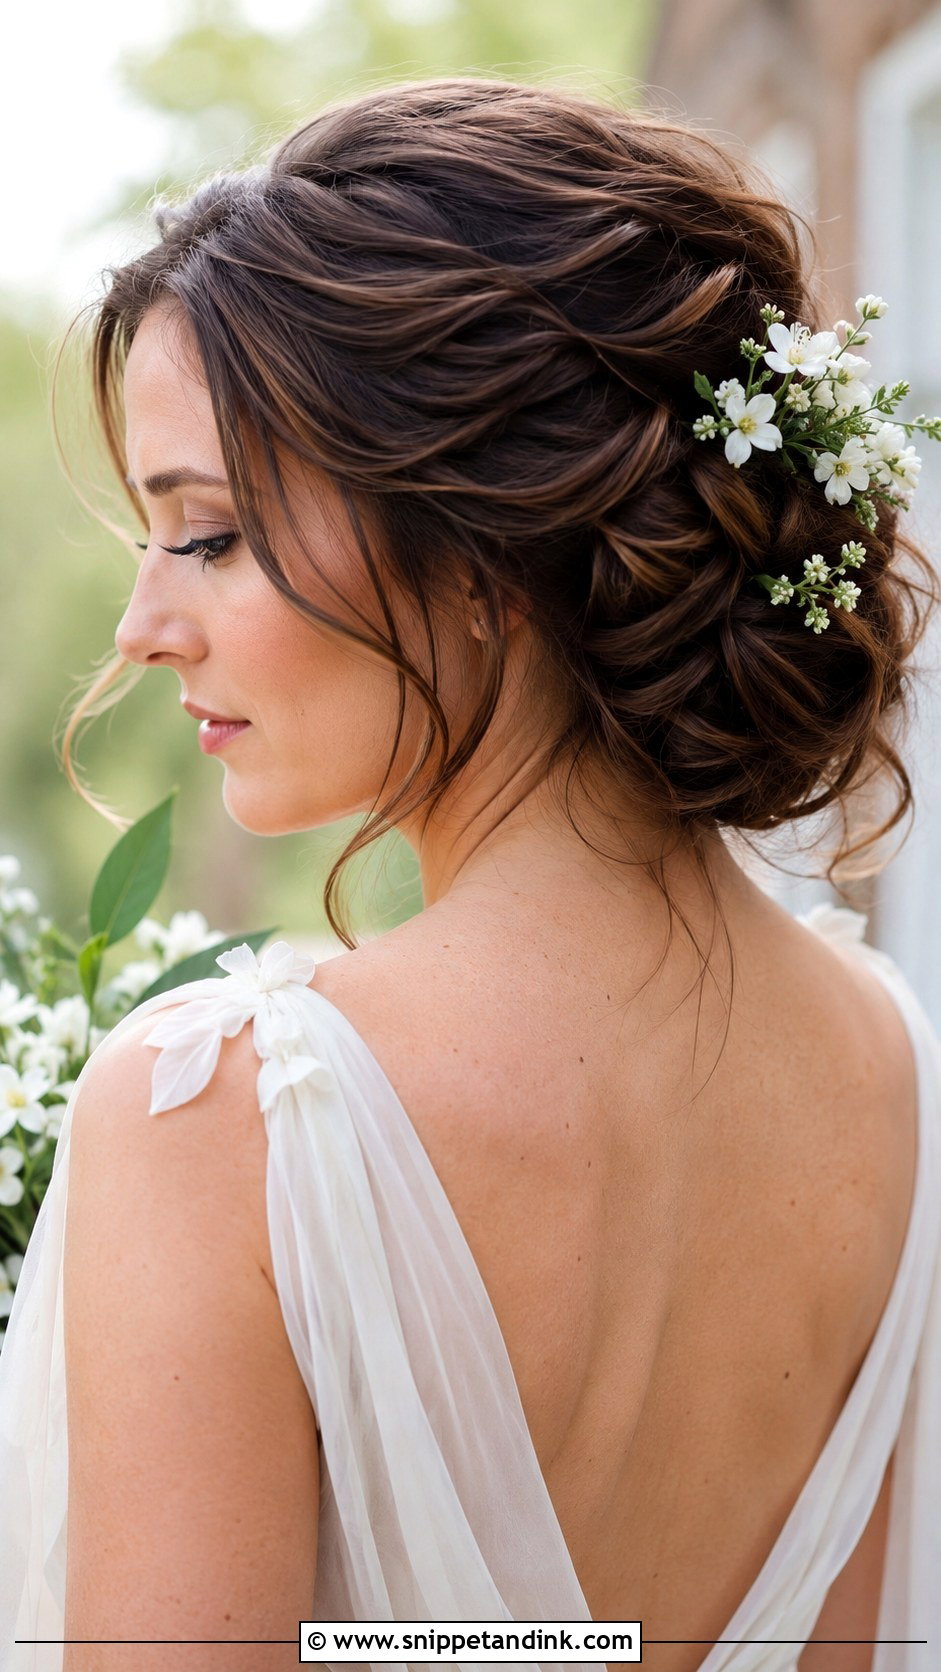
A textured low updo is deliberately undone, but the face-framing pieces at the front decide whether it looks romantic or just messy. I curl those pieces separately and leave them slightly shorter than the rest so they sit at the cheekbone instead of hanging in the eyes. The updo itself is loose, pinned at the nape with visible texture. Relaxed garden and vineyard weddings suit it, as does medium to long hair with some natural movement. Small flowers or pearls can be scattered through the twists.
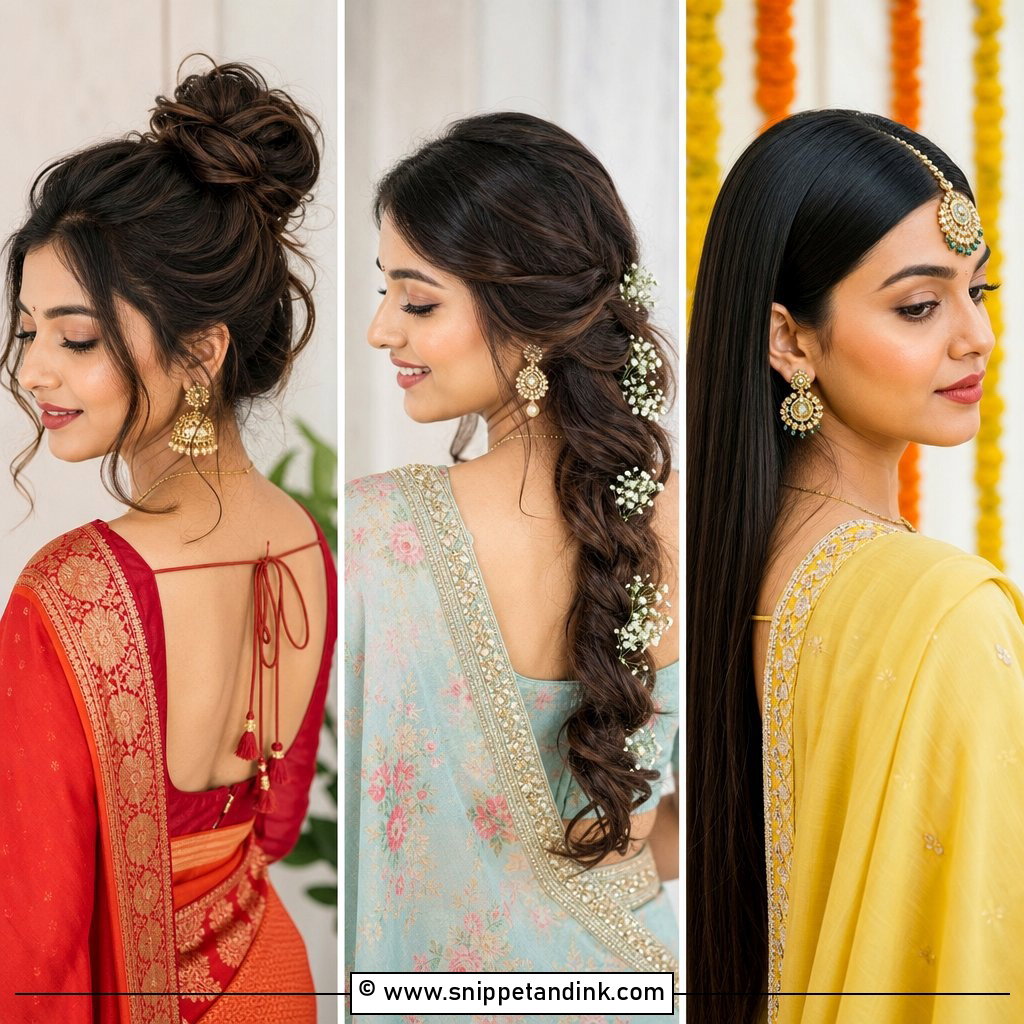
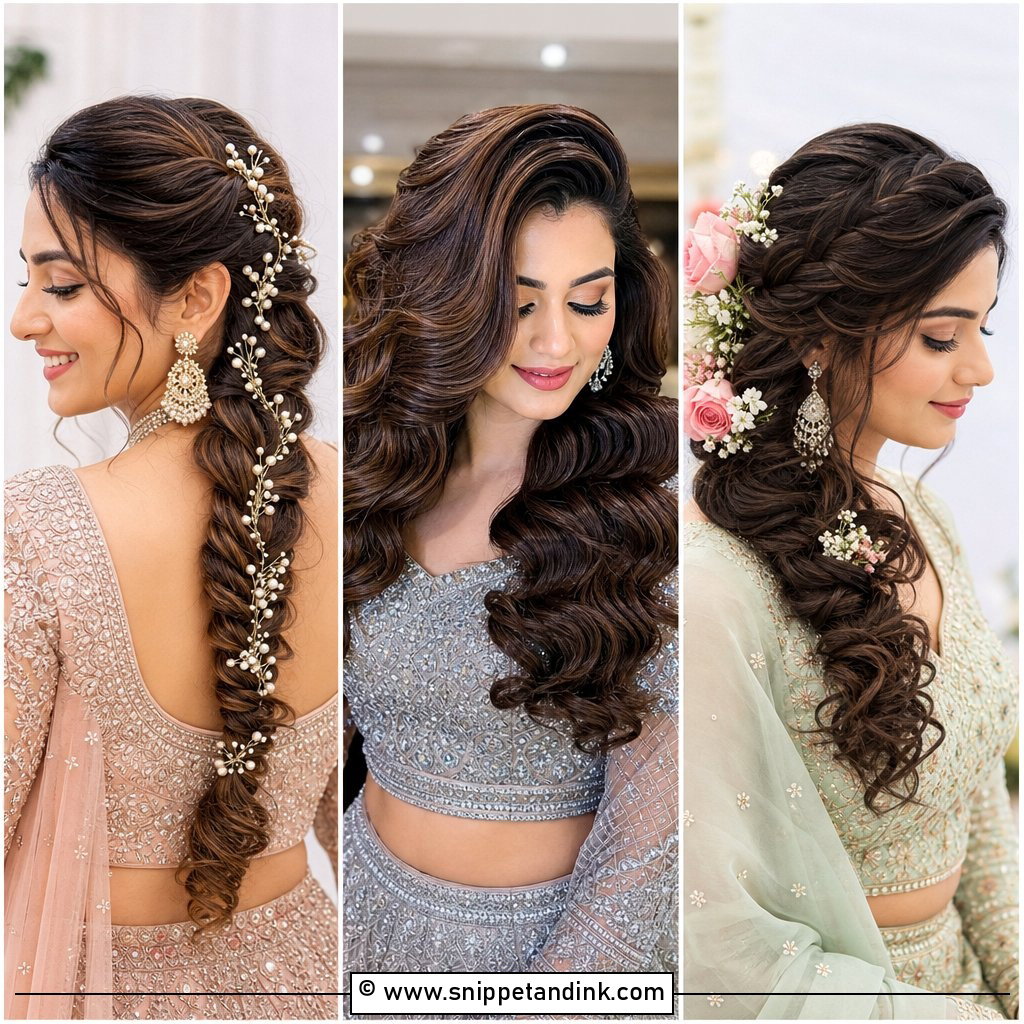
15. Sleek Straight Hair With Deep Side Part
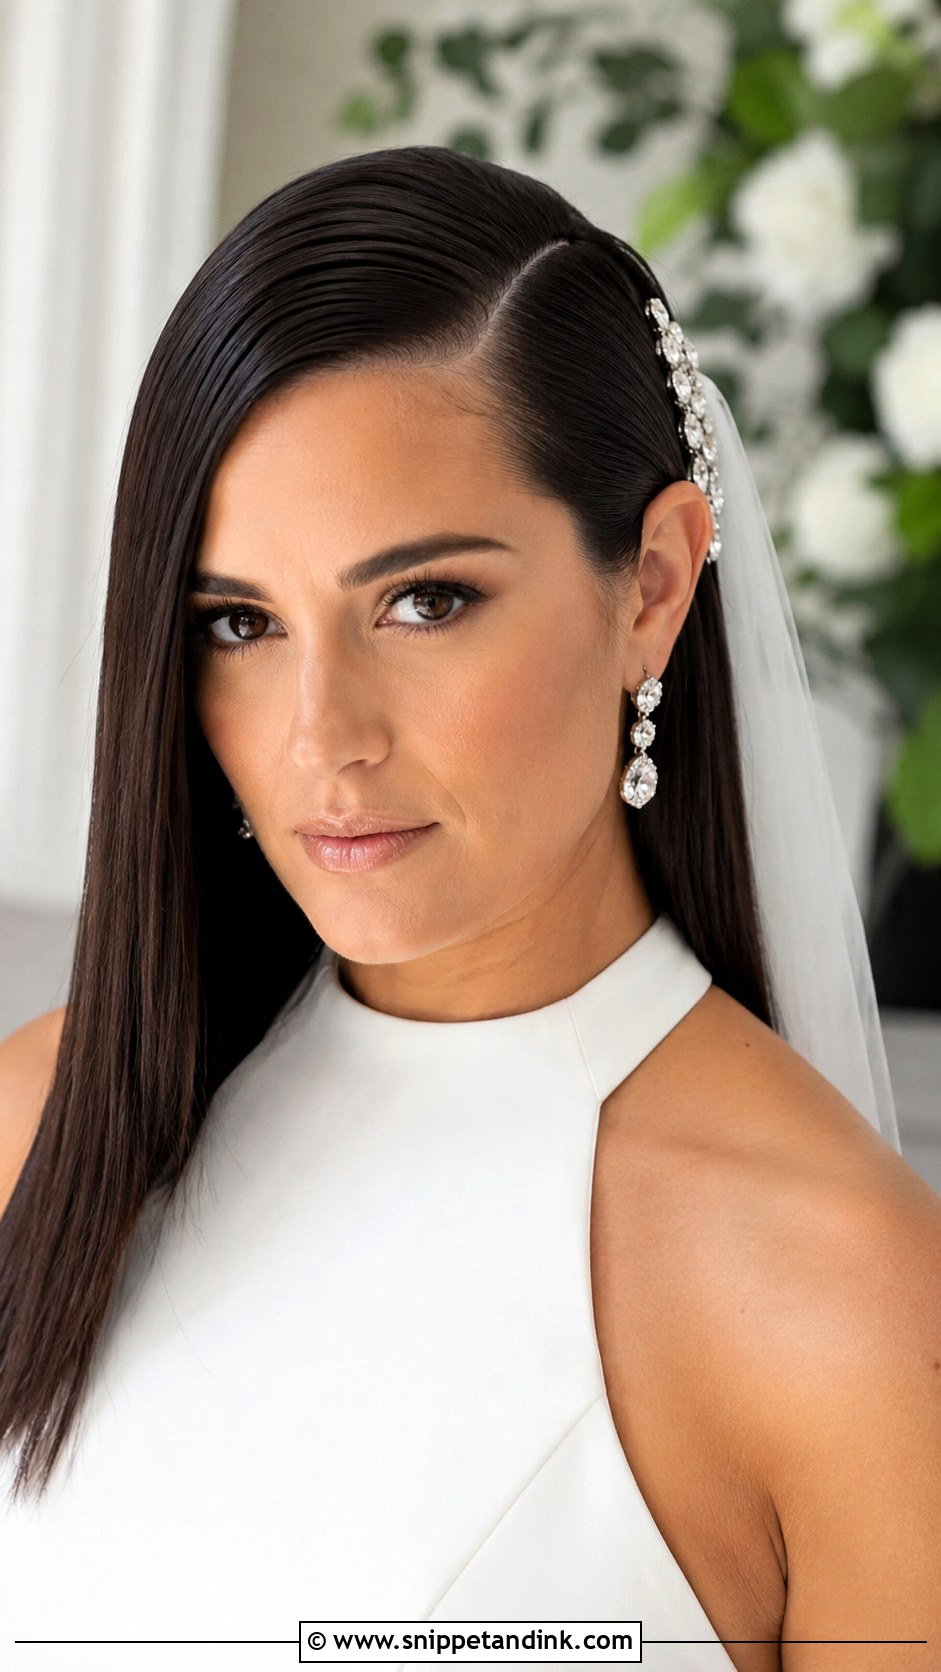
Sleek straight hair with a deep side part is the simplest look here and the least forgiving. Every bend and flyaway shows, so I flat iron in thin sections and finish with a drop of serum smoothed over the top. From the front, the deep part adds asymmetry and sweeps hair across one side of the face. It suits minimalist gowns and bold jewelry and flatters round and square faces. A small sparkly clip near the part adds a little shine. It needs naturally straight or professionally smoothed hair; very curly hair won’t stay sleek all day in humidity.
16. Braided Halo With Flowers
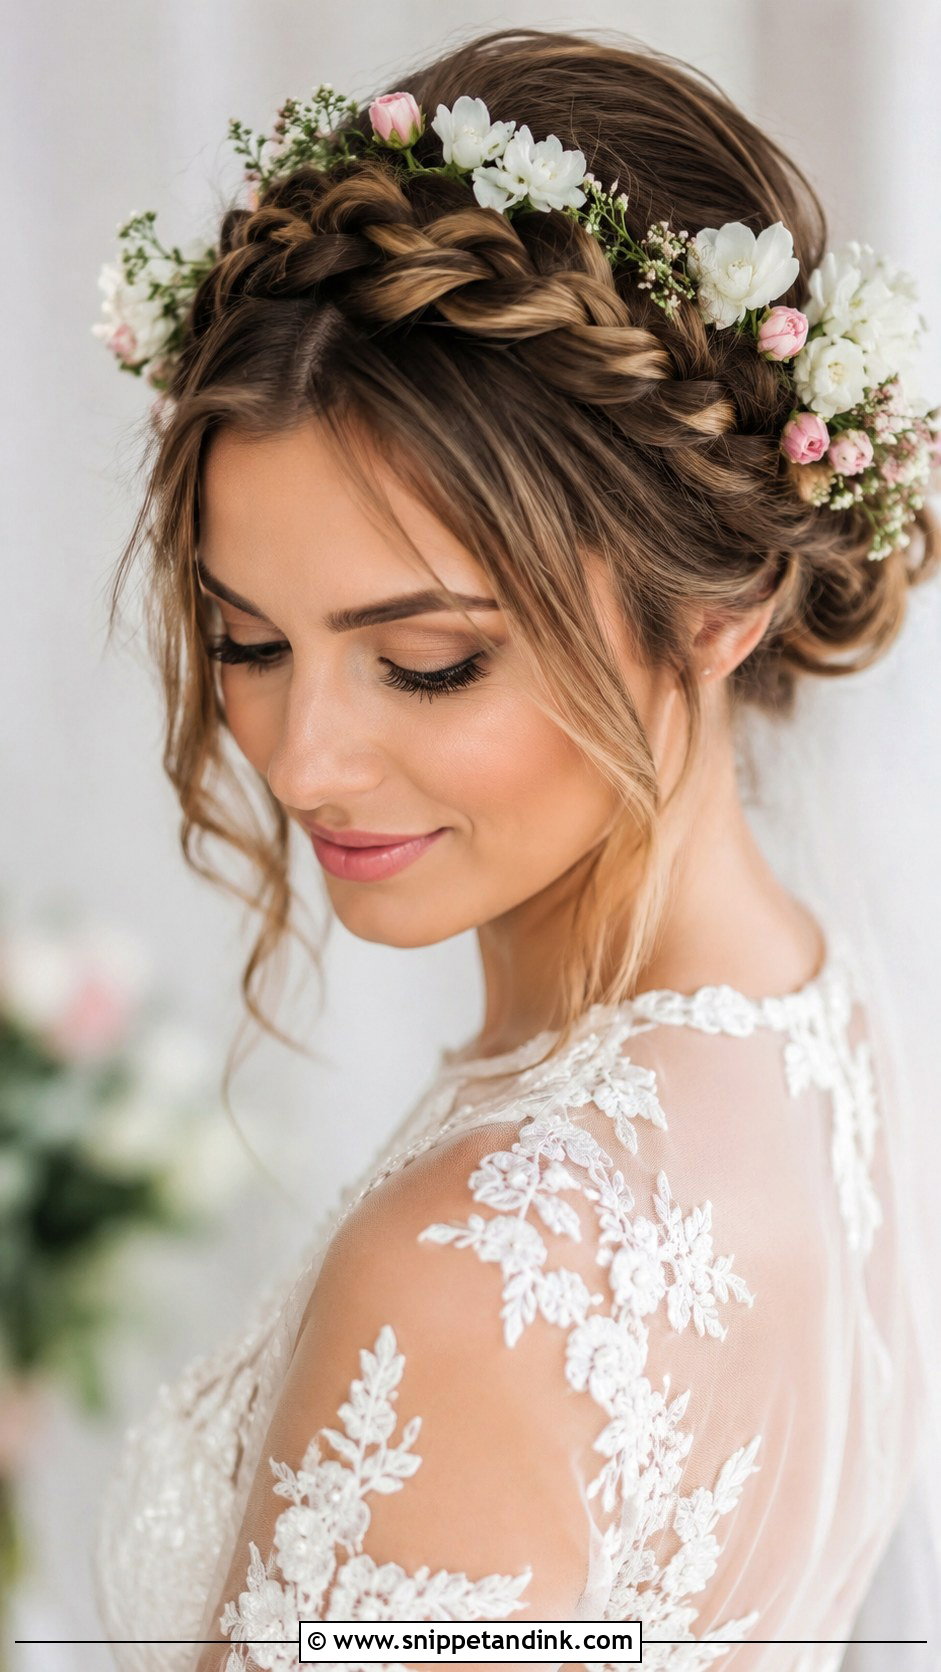
A braided halo adorned with fresh flowers wraps a braid around the head and tucks small blooms into it. From the front, the flowers sit right at the face, so they need to be fresh and hardy. I’d ask your florist for sturdy blooms like spray roses, waxflower or small chrysanthemums, which wilt far slower out of water than delicate ones like sweet peas. Pick flowers that echo your bouquet. It keeps hair off the face for warm days and suits medium to long hair at outdoor and spring weddings.
17. Voluminous Blowout
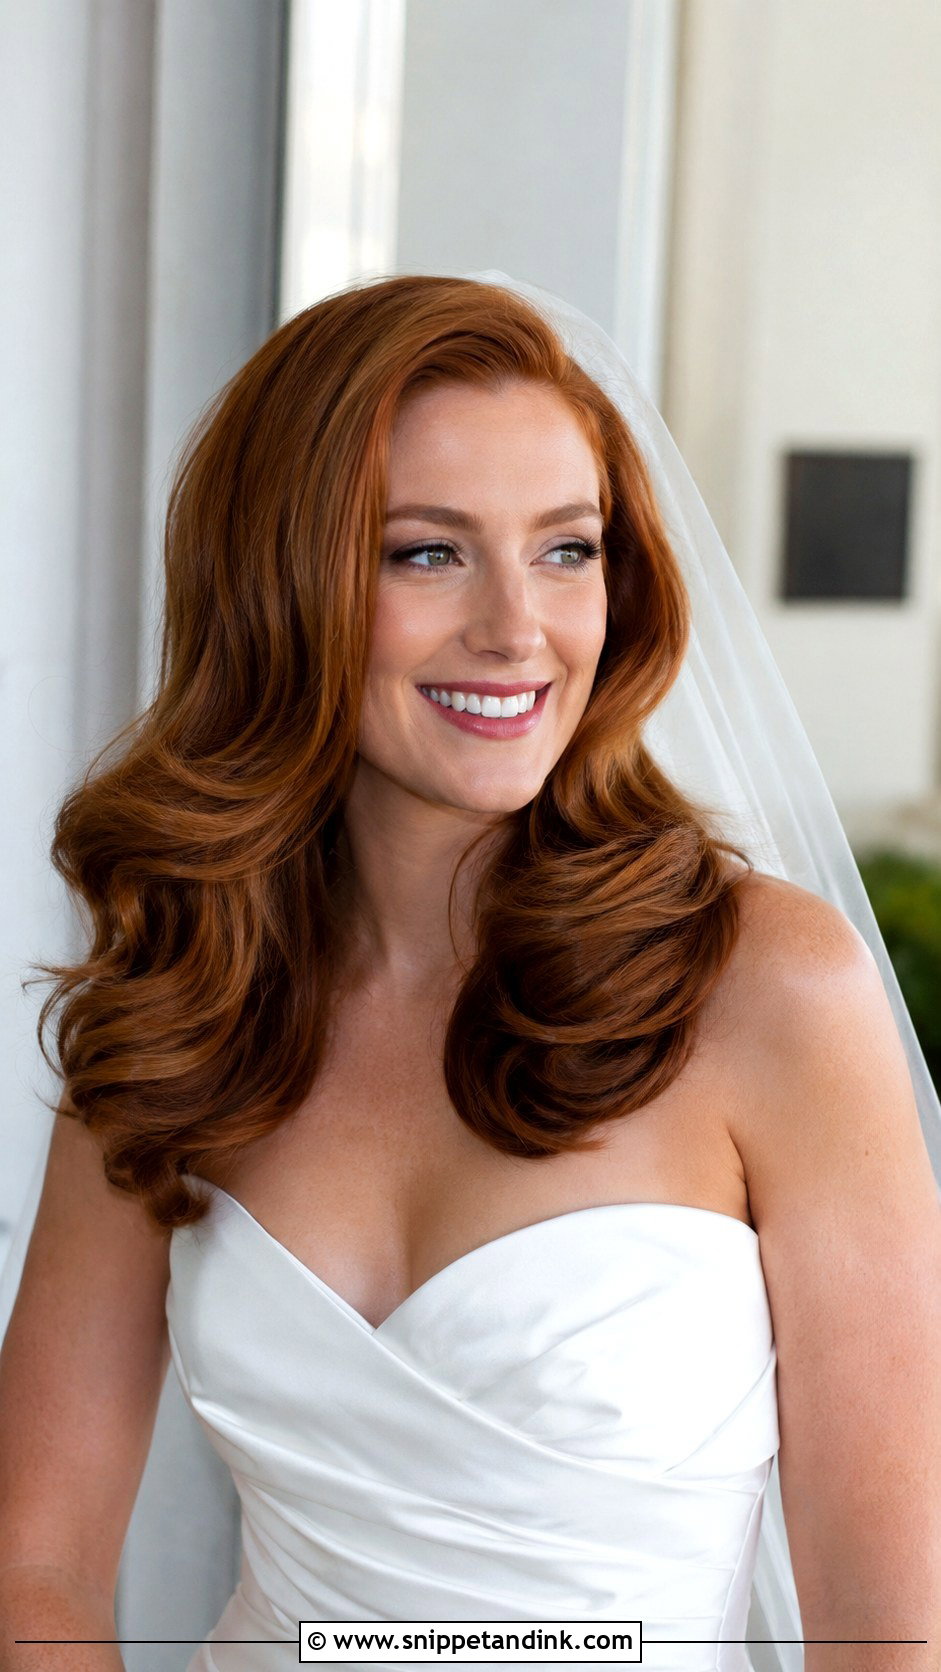
A voluminous blowout is all about bounce and shine. I blow-dry in sections with a large round brush and set each section in a velcro roller while it cools, which is where the lasting volume comes from. From the front, the fullness frames the face. It suits medium to long hair and classic or modern gowns alike. Choose the part for your face shape, and expect the volume to soften as the day goes on, especially in humidity. A quick brush-through with a little dry shampoo at the roots revives it.
18. Low Bun With Face-Framing Tendrils
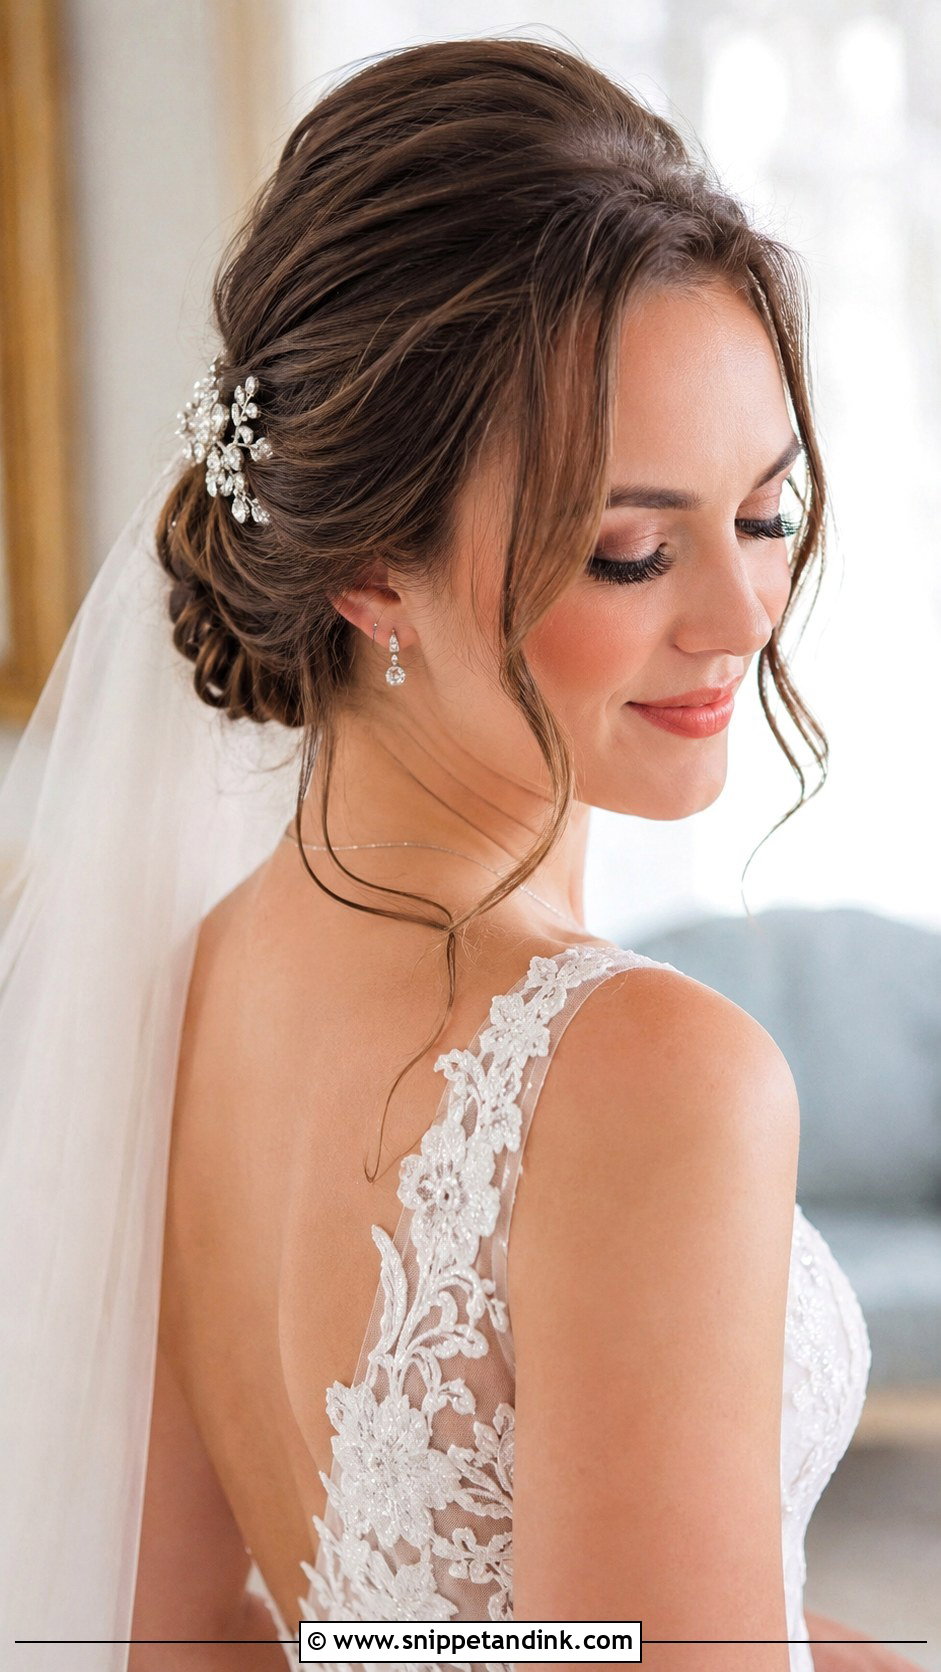
A low bun with face-framing tendrils is probably the most forgiving front look on the list. The bun is smooth and the tendrils soften it. Placement is the whole skill: I pull out the pieces from just in front of the ear and from the temple, curl them away from the face, and trim nothing. Pulled from the wrong spot, they hang like stray hair. It goes with almost any theme, any face shape and veils or hairpieces. A sparkly pin by the bun adds a little shine for the back view.
19. Bohemian Half-Up With Waves
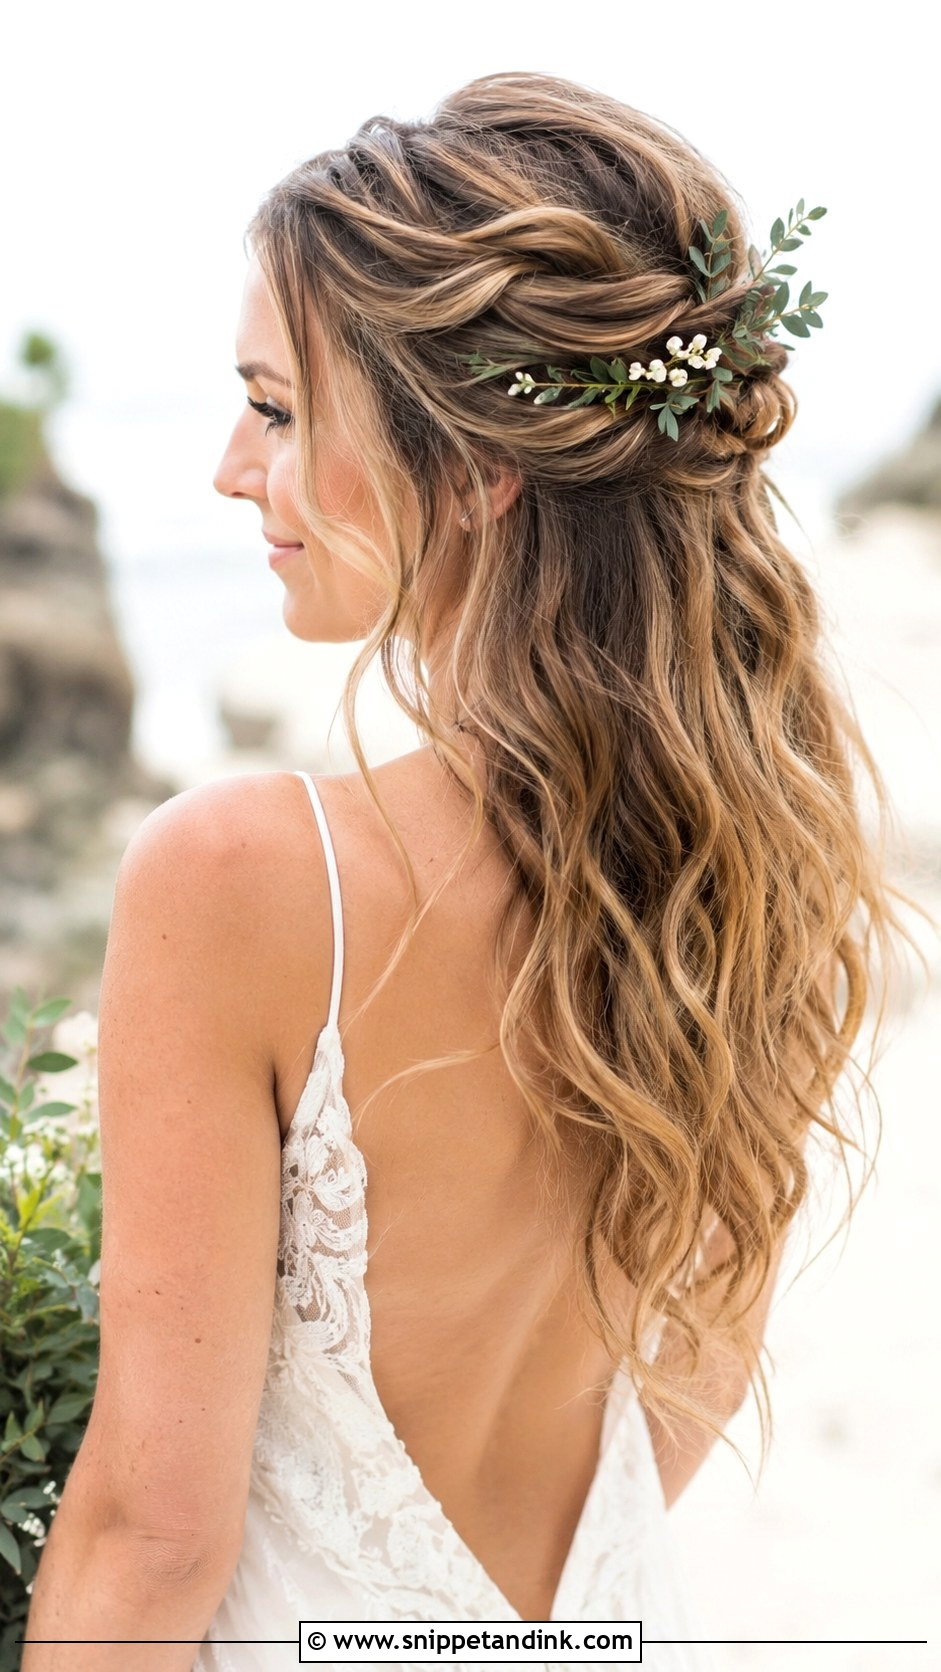
The bohemian half-up pins back the top sections loosely, often with twists or thin braids, and lets waves fall below. From the front, the soft pinning frames the face with some texture. Beach, garden and festival-style weddings suit it, and it’s easiest on medium to long hair that waves naturally. On straight hair, I’d curl it the night before in loose braids and refresh in the morning, since curls put in only an hour before an outdoor ceremony can drop fast. Greenery, flowers or delicate pins finish it.
20. Polished Updo With Tiara
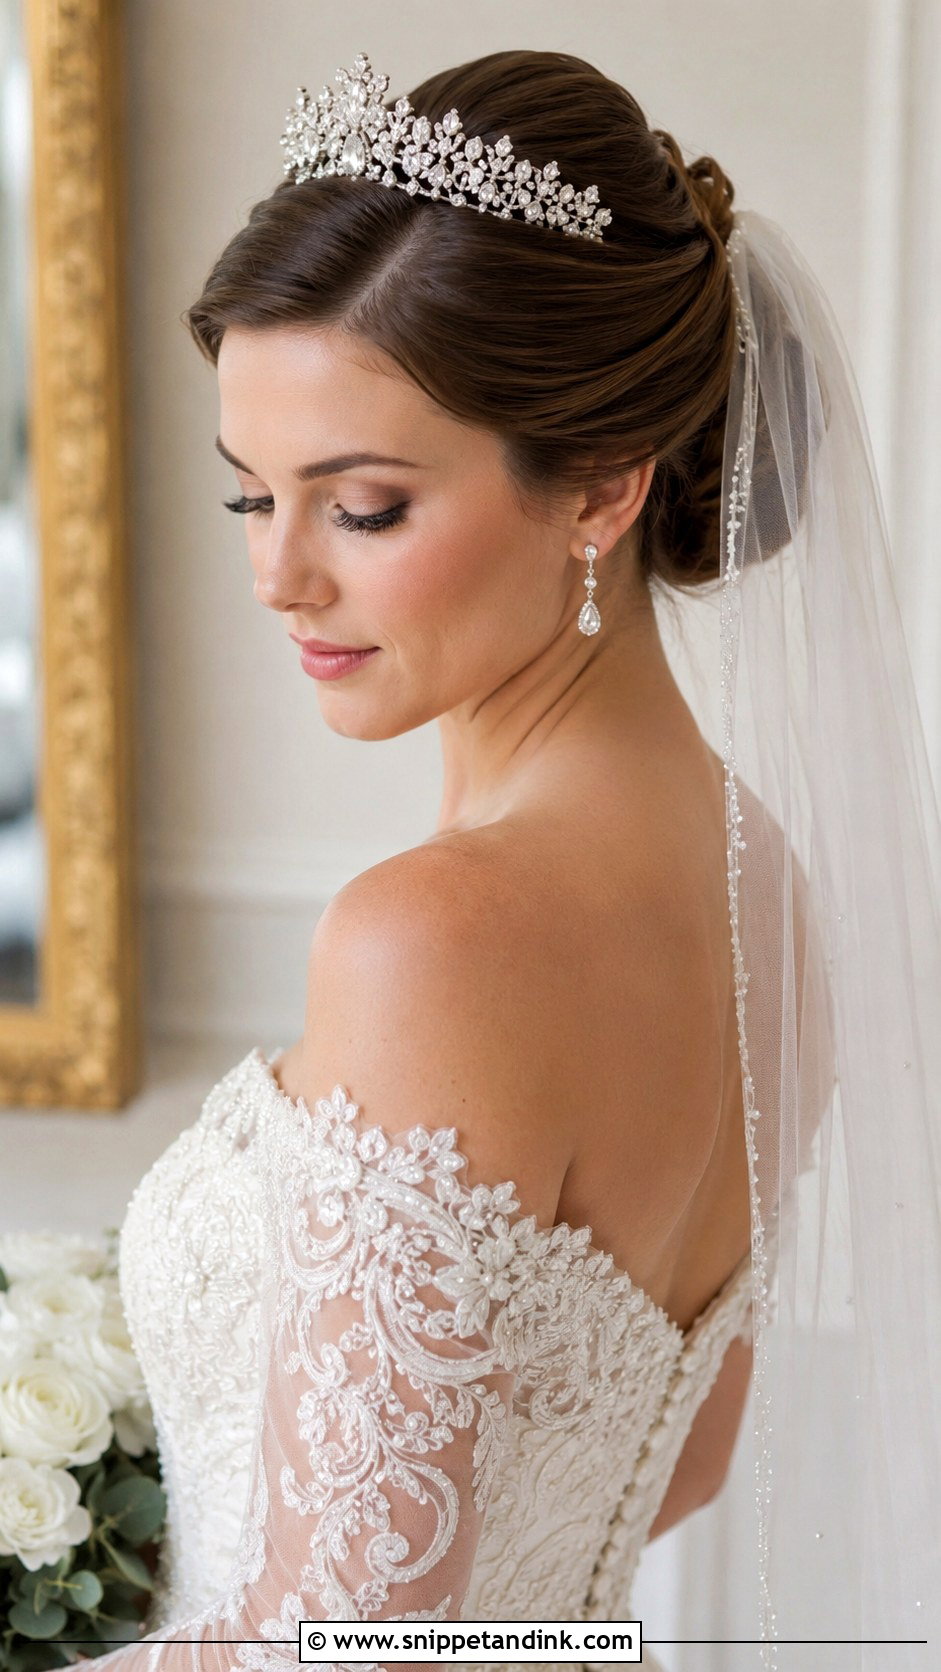
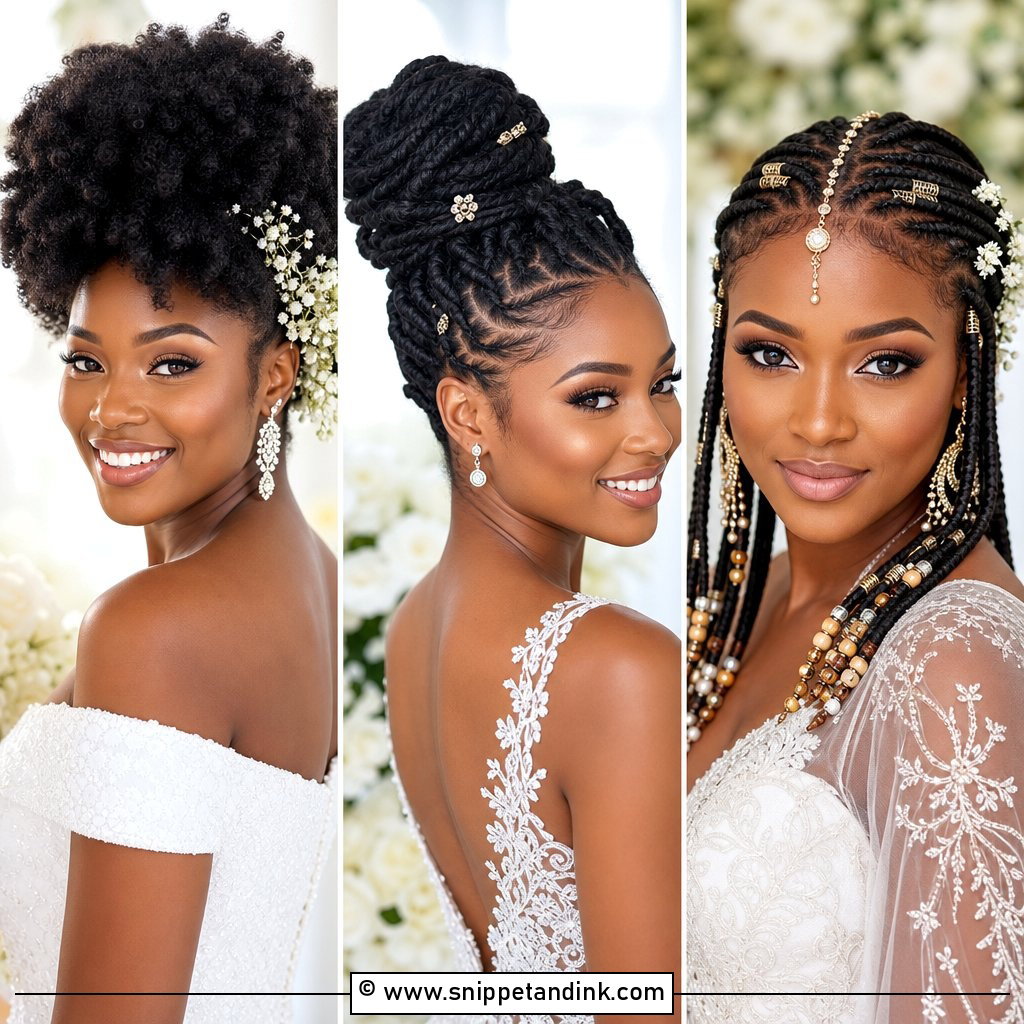
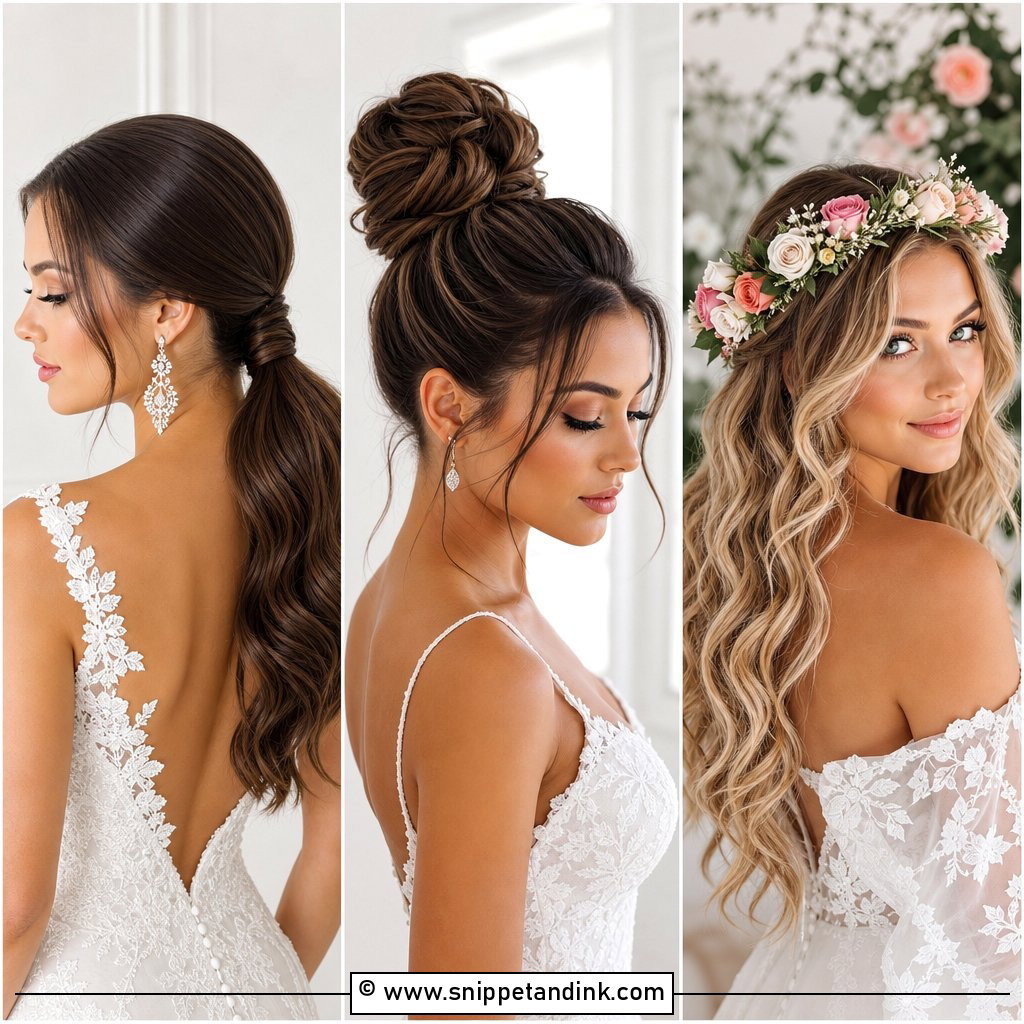
A polished updo with a sparkling tiara is about as formal as bridal hair gets. From the front, the tiara catches the light and frames the face, so where it sits matters. I place it about one to two inches behind the hairline, with a little backcomb underneath so the combs or loops have something to grip, then pin through the loops with crossed bobby pins. It suits formal, traditional and ballroom weddings and cathedral veils. Choose a tiara whose metal and stones match your earrings so the two don’t fight.
Flash, Backlight and Close-Ups at the Hairline
Photographers shoot faces from a few feet away with lenses that show detail clearly, so the hairline gets more attention than brides expect. Fine flyaways that you’d never notice in person catch light in backlit outdoor shots and look like a halo of frizz.
I smooth the hairline last, after all the pinning, with a clean toothbrush or a small brush sprayed with hairspray. Too much shine product is just as much of a problem: heavy serum or oil looks greasy under a flash, especially at the roots. A matte finish at the part and a little shine through the lengths photographs more naturally.
Five Front-View Checks at the Trial
- Take a front photo with no veil, then with it. A veil can hide the side detail you were most excited about.
- Ask your makeup artist to do at least a rough version of your makeup, since a bare face can make any hairstyle look unfinished.
- Wear a top with a neckline close to your dress, or the hair will look wrong against a T-shirt collar.
- Shake your head and laugh. Check if anything slides forward into the face.
- Check the photos the next day with fresh eyes before you commit.
The Face in the Frame Is What Matters
Most wedding photos are taken from the front, so it makes sense to judge a hairstyle from there too. Sleek buns, Hollywood waves, braided crowns and boho half-up styles each frame the face differently, and the right one depends on your dress, veil, face shape and the mood of the day. Personal details like flowers, a tiara or a few pins are worth adding. At the trial, look at a straight-on photo before you look at the back, and you’ll know quickly whether the style is right for you.
You'll Like These Ideas:


Leave a Reply