
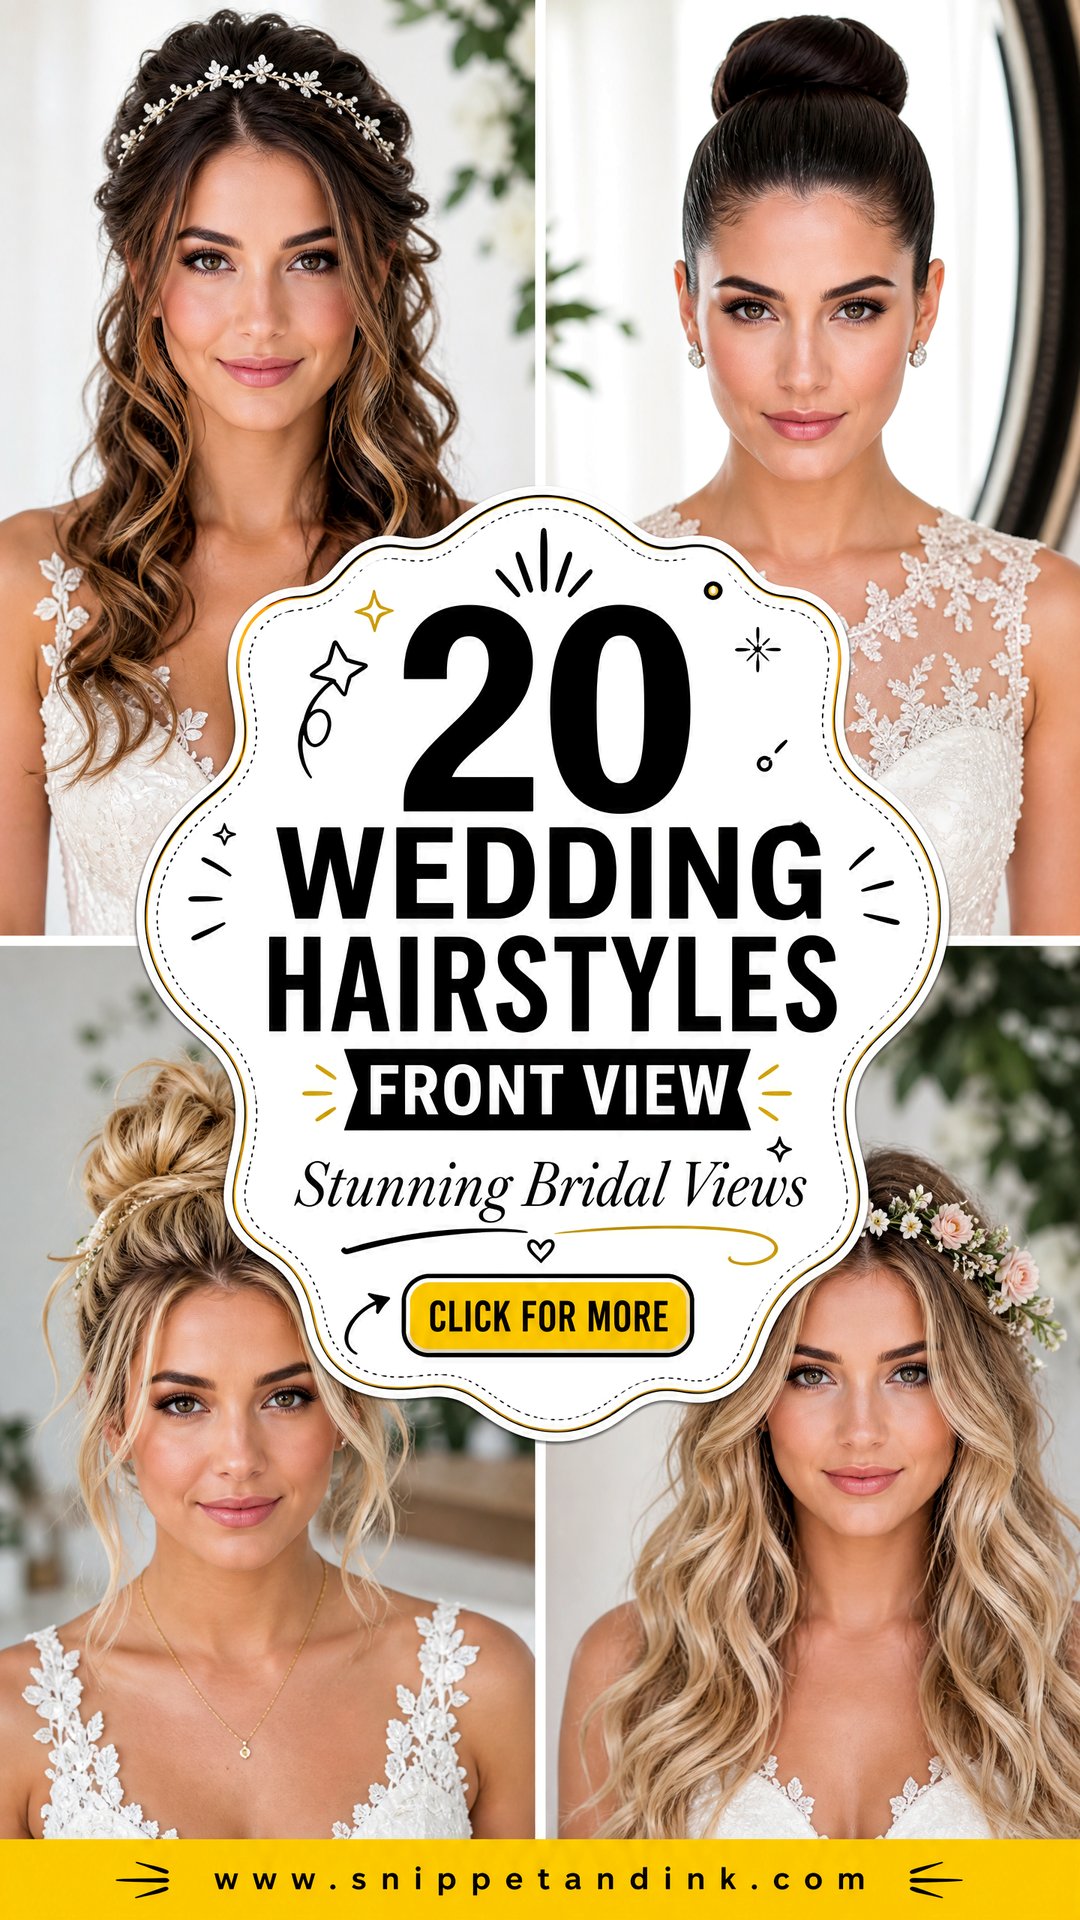
Guests mostly see the back of your hair during the vows, but the camera sees the front all day: walking in, every portrait, every close-up while you laugh. So at a trial I spend as long on the hairline, the part and the pieces around your face as I do on the bun or curls behind. Below are 20 wedding hairstyles judged from the front, from soft cascading waves to sleek buns, with notes on what each one does to your face and how I’d adjust it for yours.
Your Part Line Does More Than the Style Behind It
Moving a part by half an inch changes how your face reads from the front more than switching between a bun and a braid. At a trial, I try the same style with a center part, a soft side part and a deep side part before we commit.
- Center part: balanced and modern, but it shows any unevenness in brows or features. Best on oval and heart-shaped faces.
- Soft side part: about an inch off center. This is the safest option for most brides, and it flatters round faces by breaking up the width.
- Deep side part: dramatic and vintage. It adds volume on one side, which can balance a long face or a strong jaw.
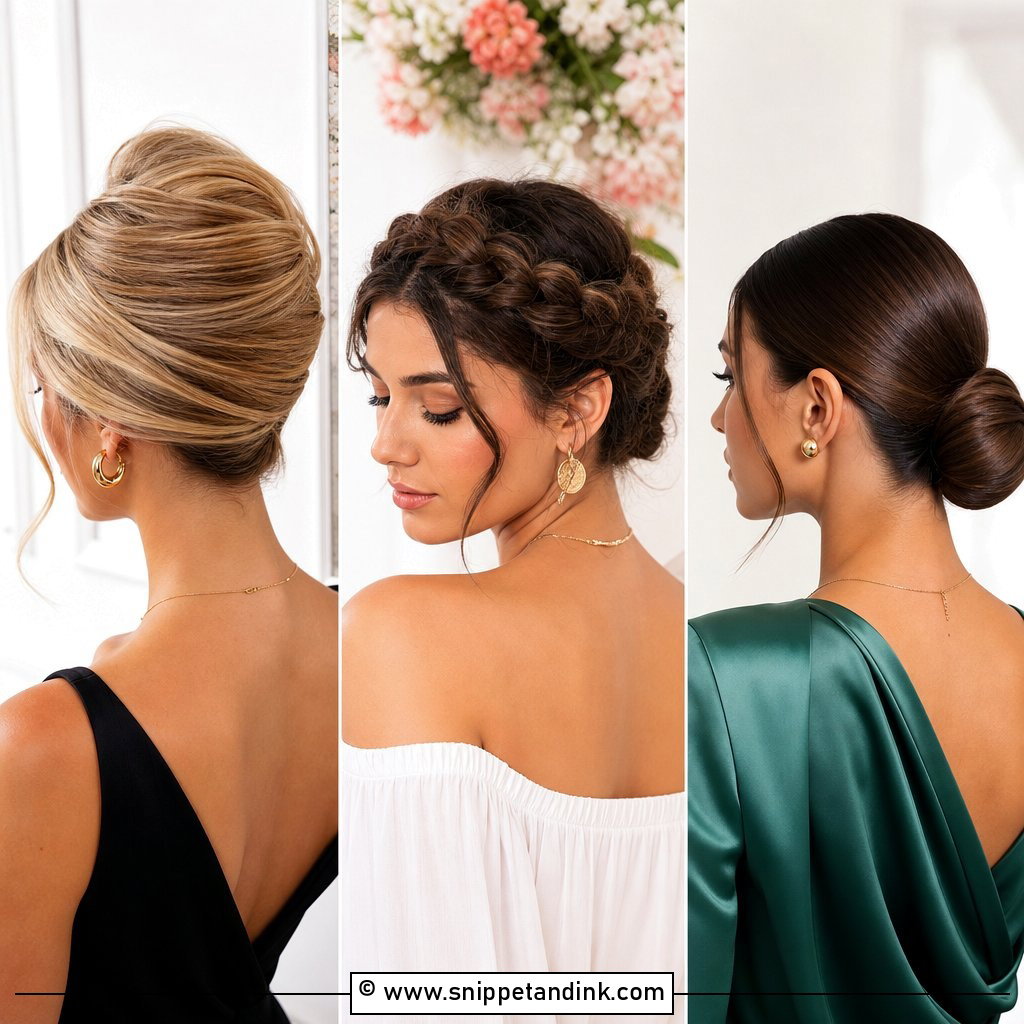
Check your natural part too. Hair that grows strongly in one direction will fight a part placed against it, and by evening it will spring back. I’d rather work with a cowlick than spend the day pinning against it.
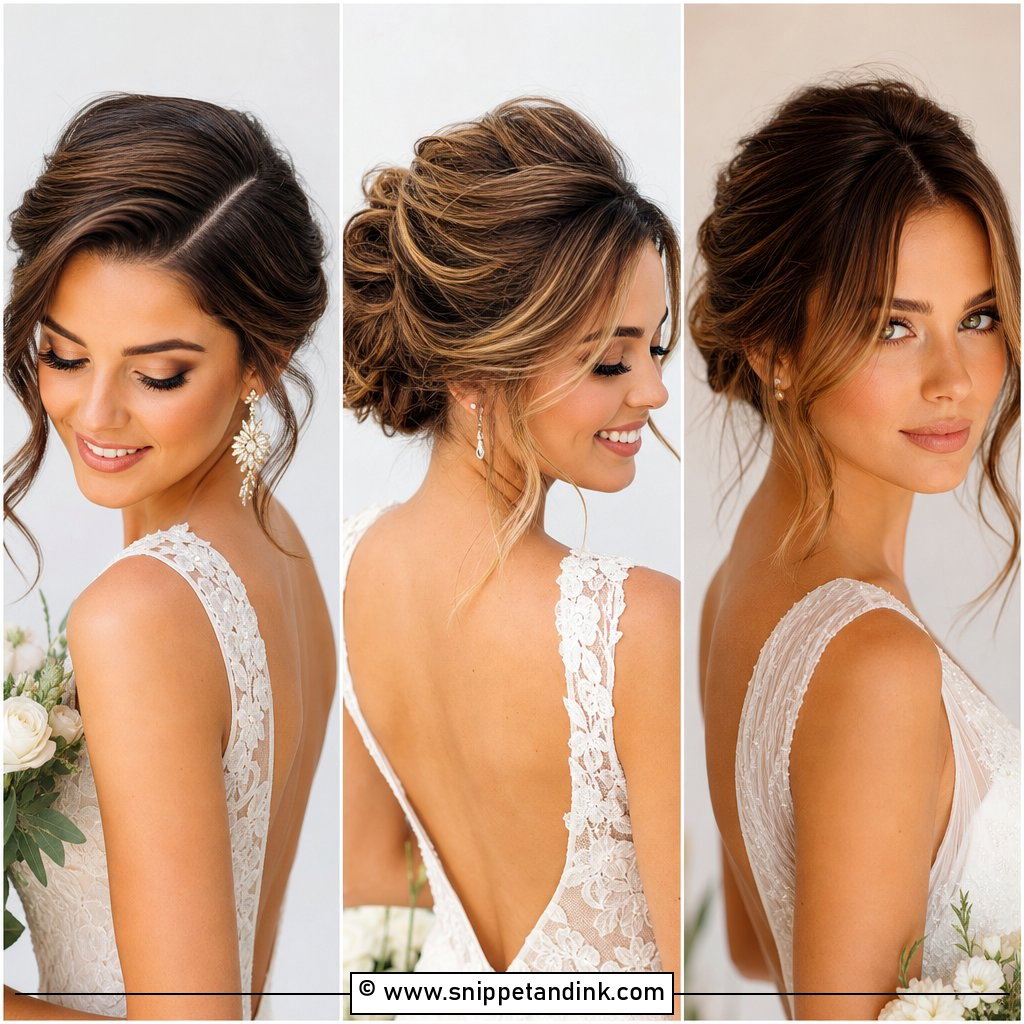
1. Soft Waves With a Center Part
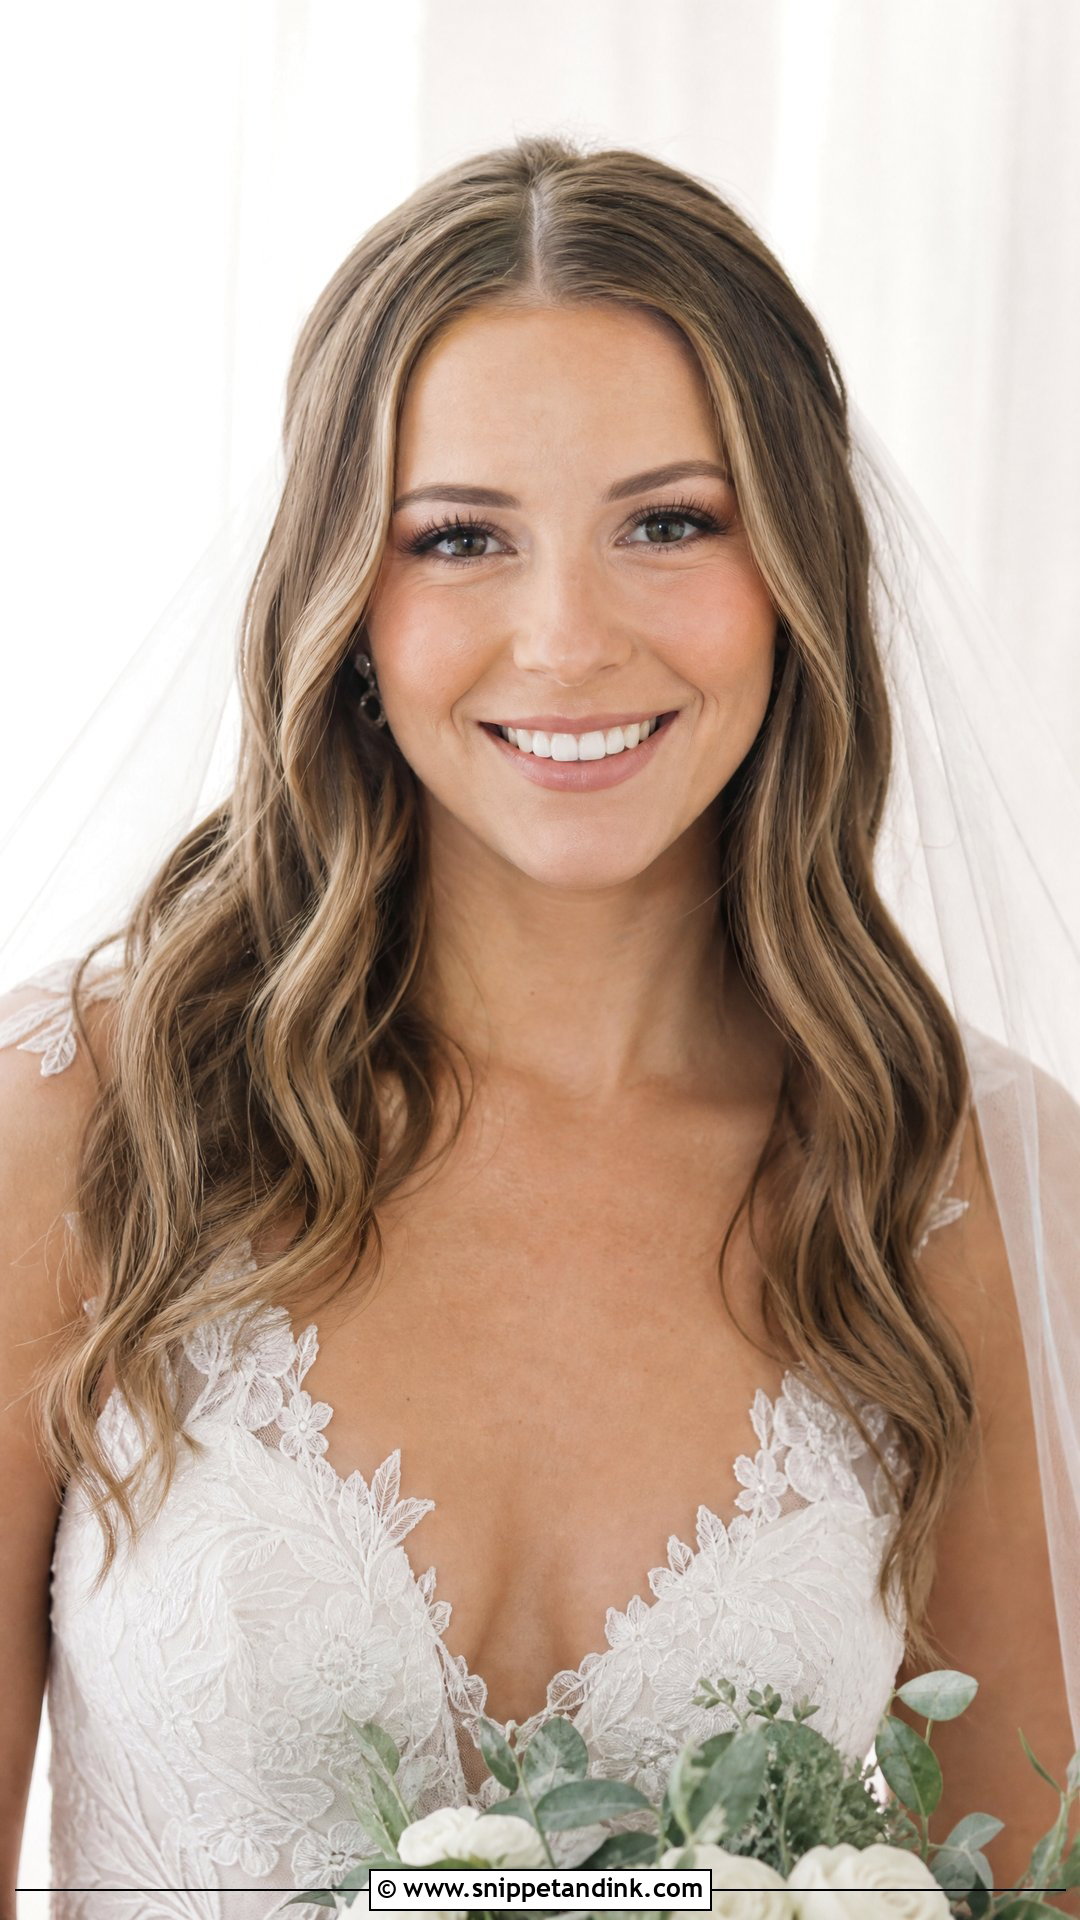
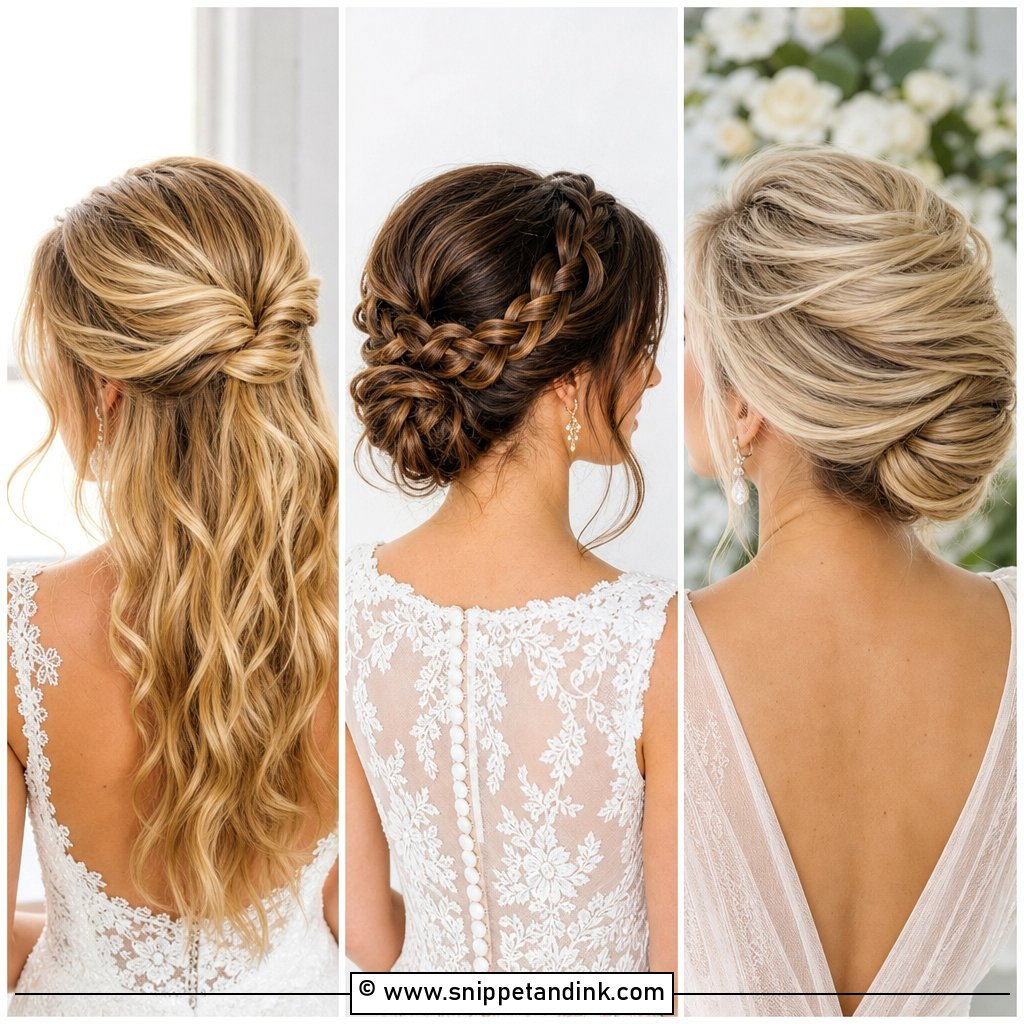
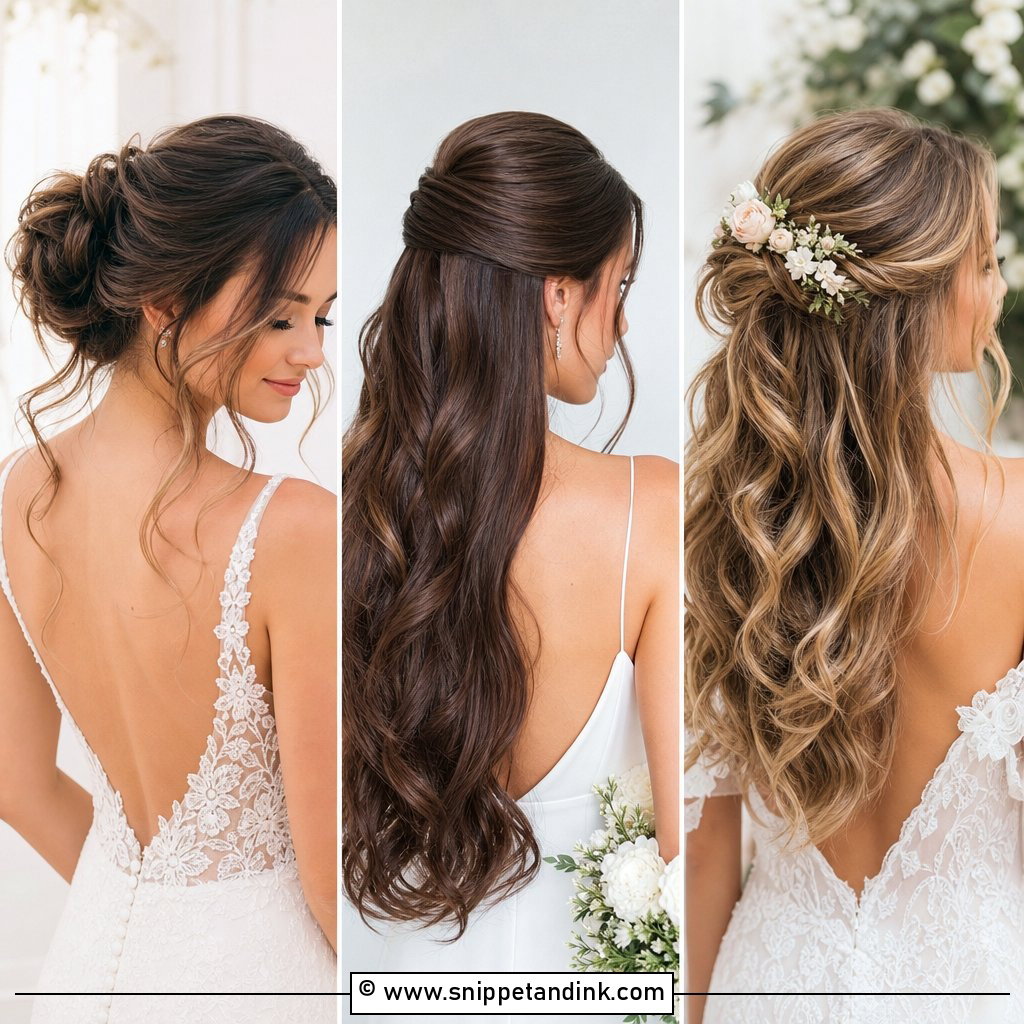
Loose waves with a center part give you a symmetrical frame, which draws the eye straight to your eyes and cheekbones. Symmetry is honest, though: if your face is slightly uneven, a dead-center part can make that more noticeable in straight-on photos, and a part shifted half an inch often softens it. I keep the waves brushed out rather than in tight ringlets so they move in the breeze. Wear it with a flowing veil or nothing at all.
2. Classic Low Bun
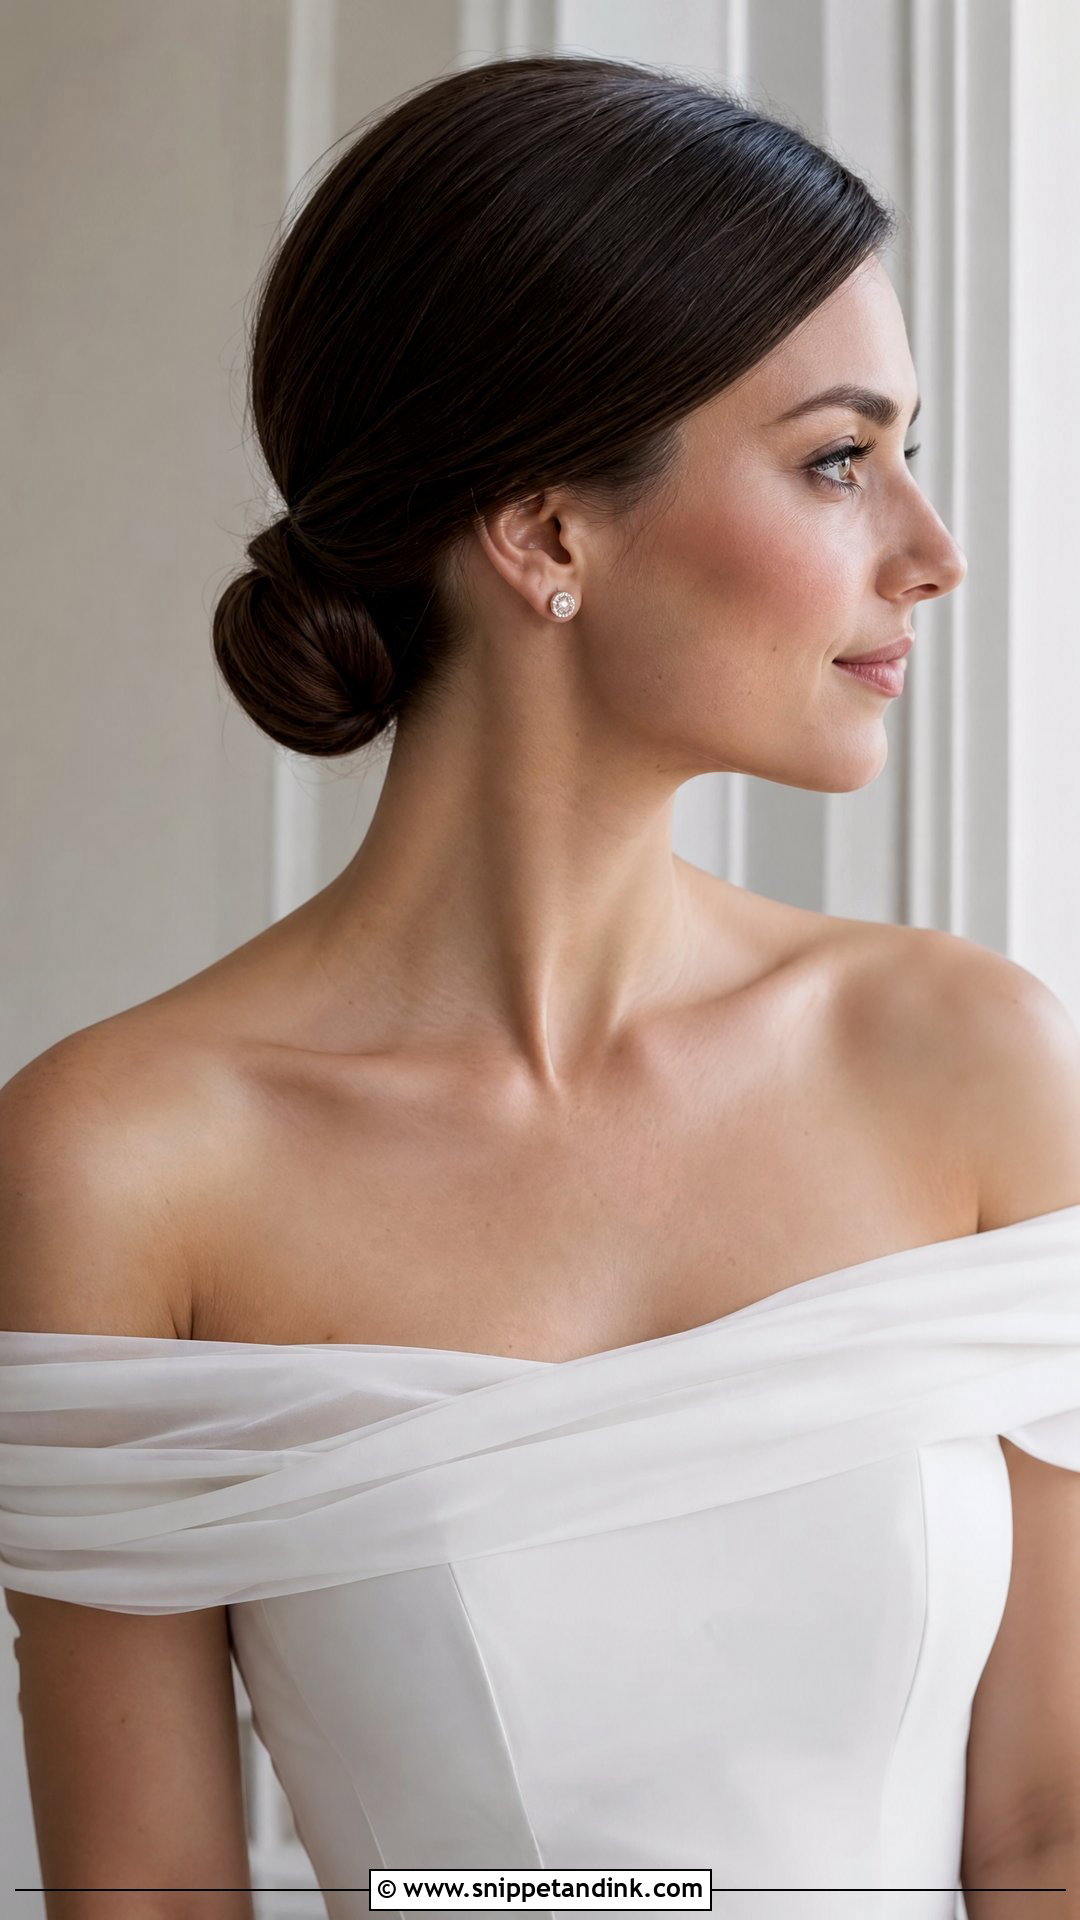
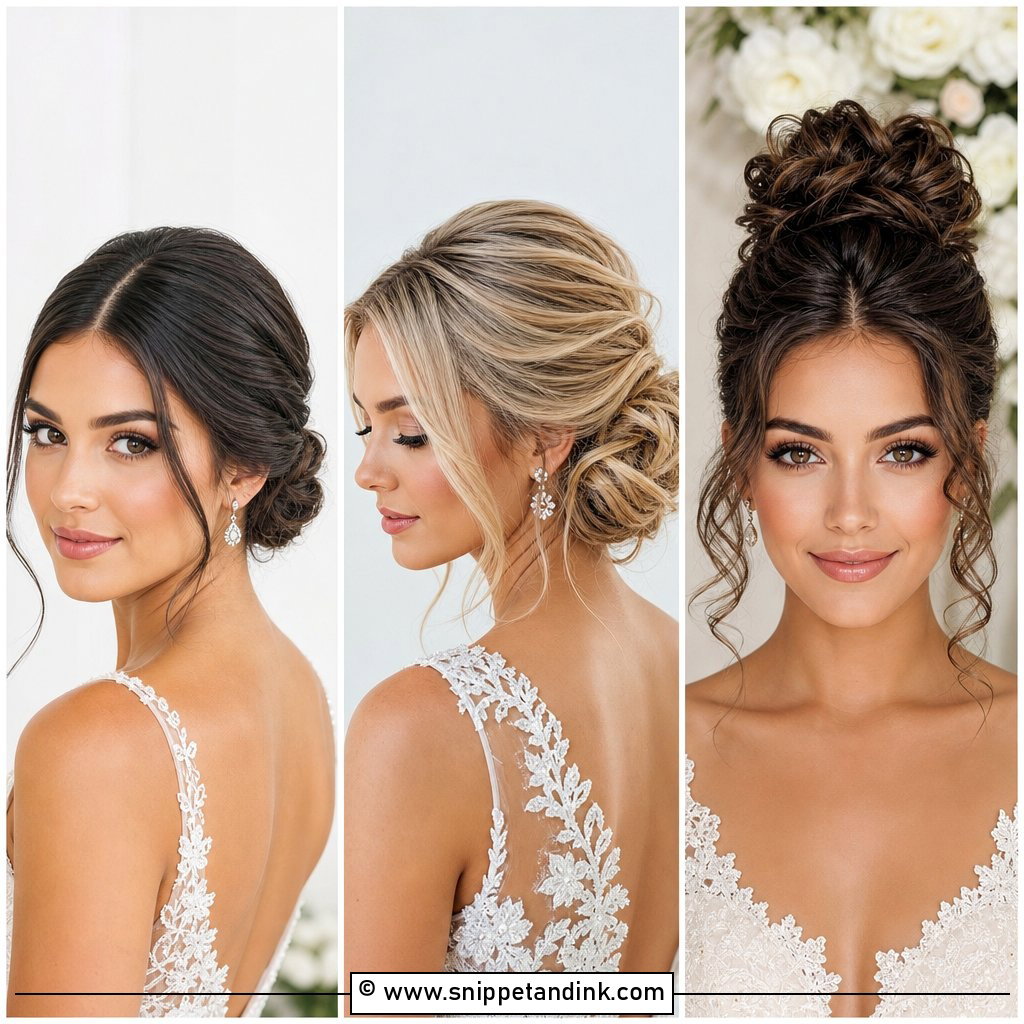
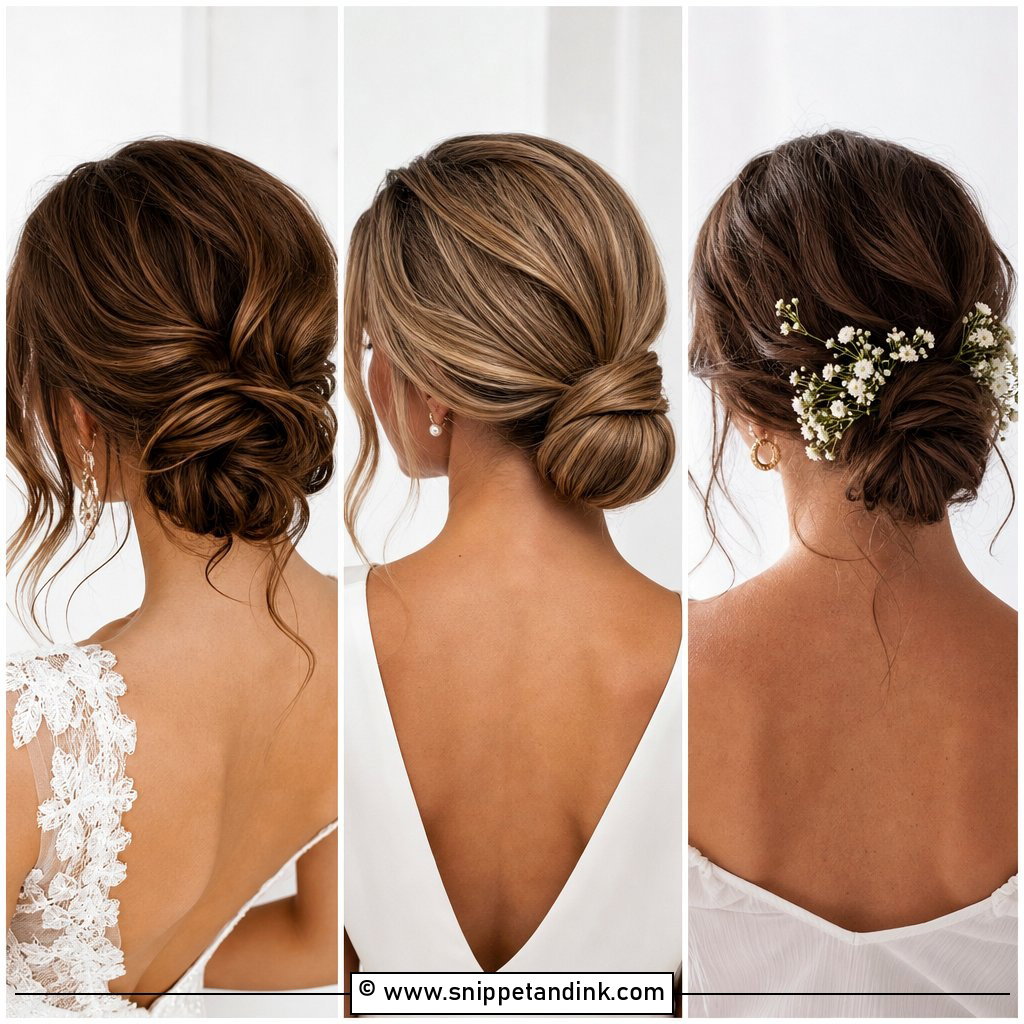
From the front, a low bun almost disappears. Your face, earrings and neckline do the talking, and that’s why I recommend it to brides with strong jewelry or a detailed bodice. What I watch at the trial is the hairline: pulled back tightly, baby hairs and flyaways stand out in photos, so I smooth them with a toothbrush and a little gel. A few loose strands soften it if the sleek version feels too strict. It sits under a veil without any fuss.
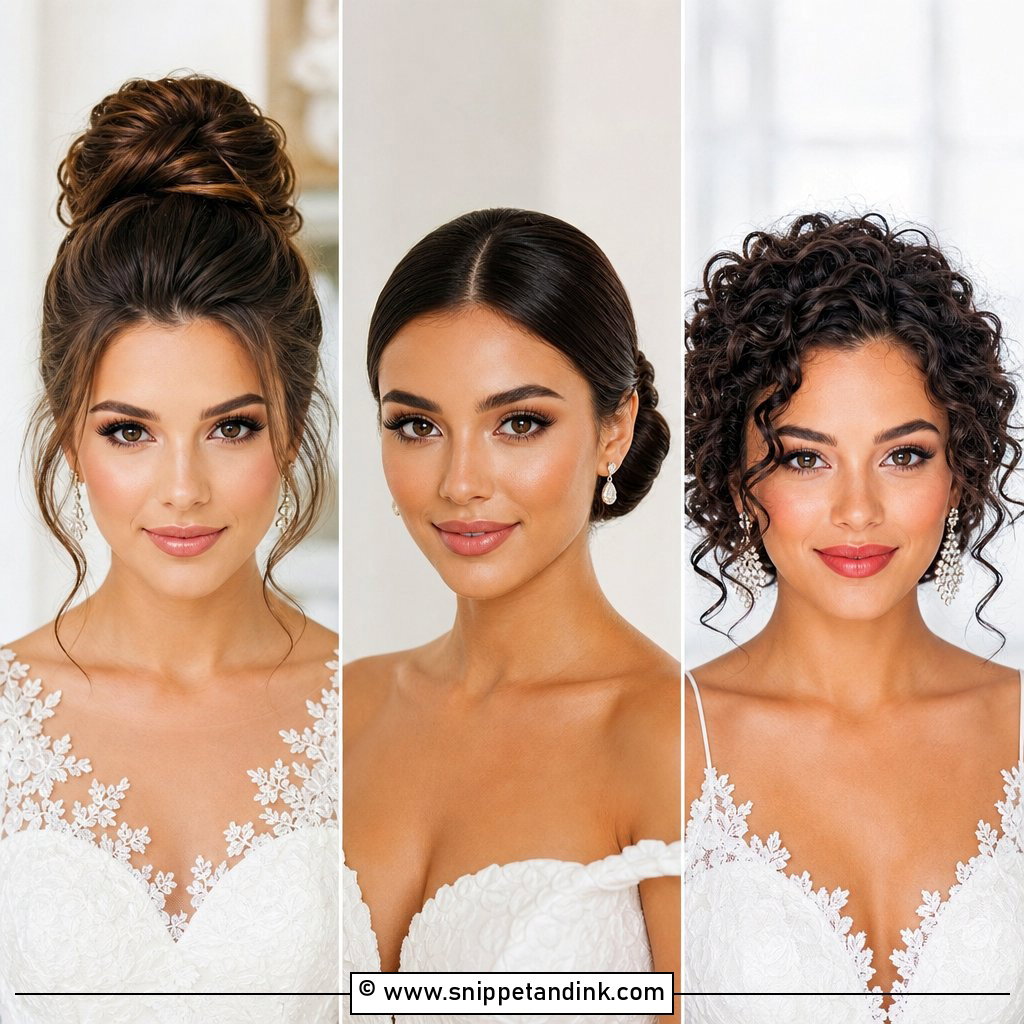
3. Half-Up Half-Down With Curls
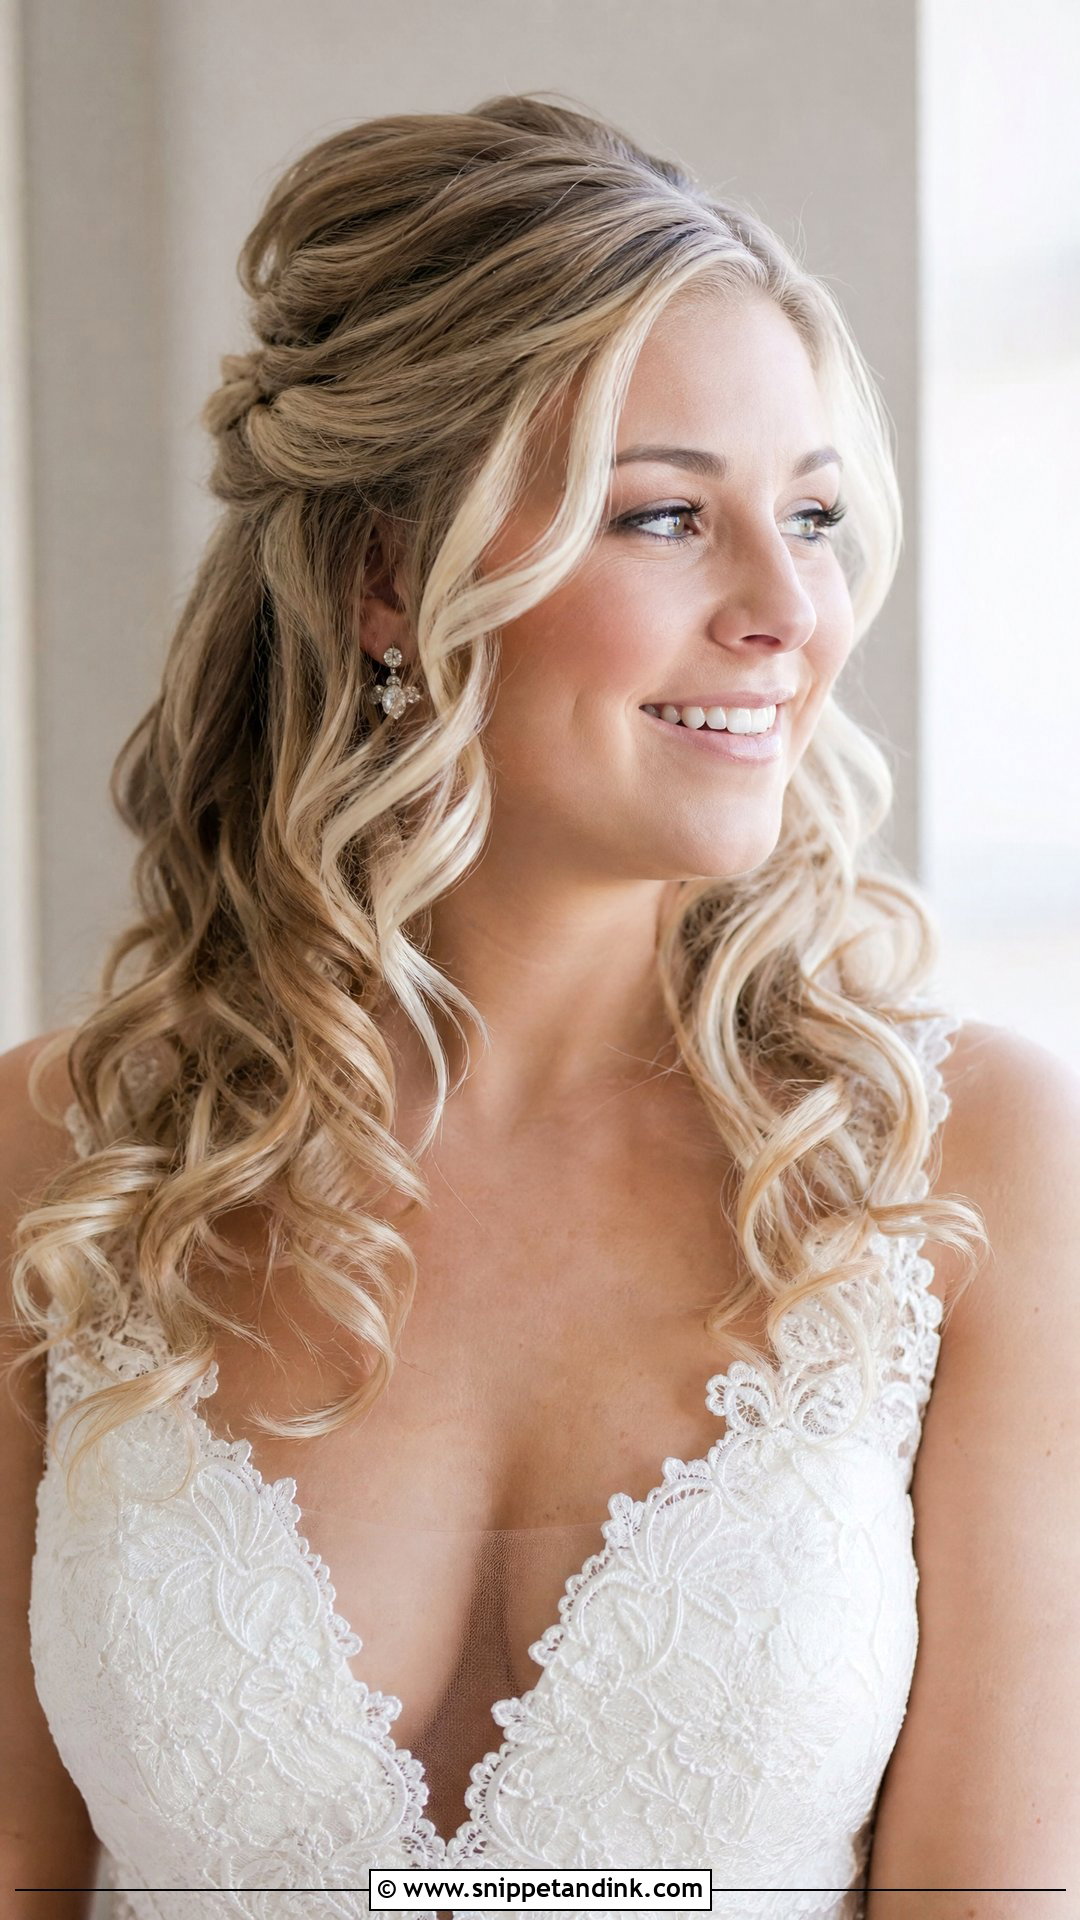
Half-up with curls gives you height at the crown and curls over both shoulders, so from the front your face sits inside a soft oval of hair. The height is the part I adjust most. Too much lift at the crown on a round face can look dated; a gentle rise usually flatters more. Curls set with a wand on straight hair will relax within hours, so I curl them tighter than the finished look. A small comb or floral pins hide where the top section is secured.
4. Sleek Ballerina Bun
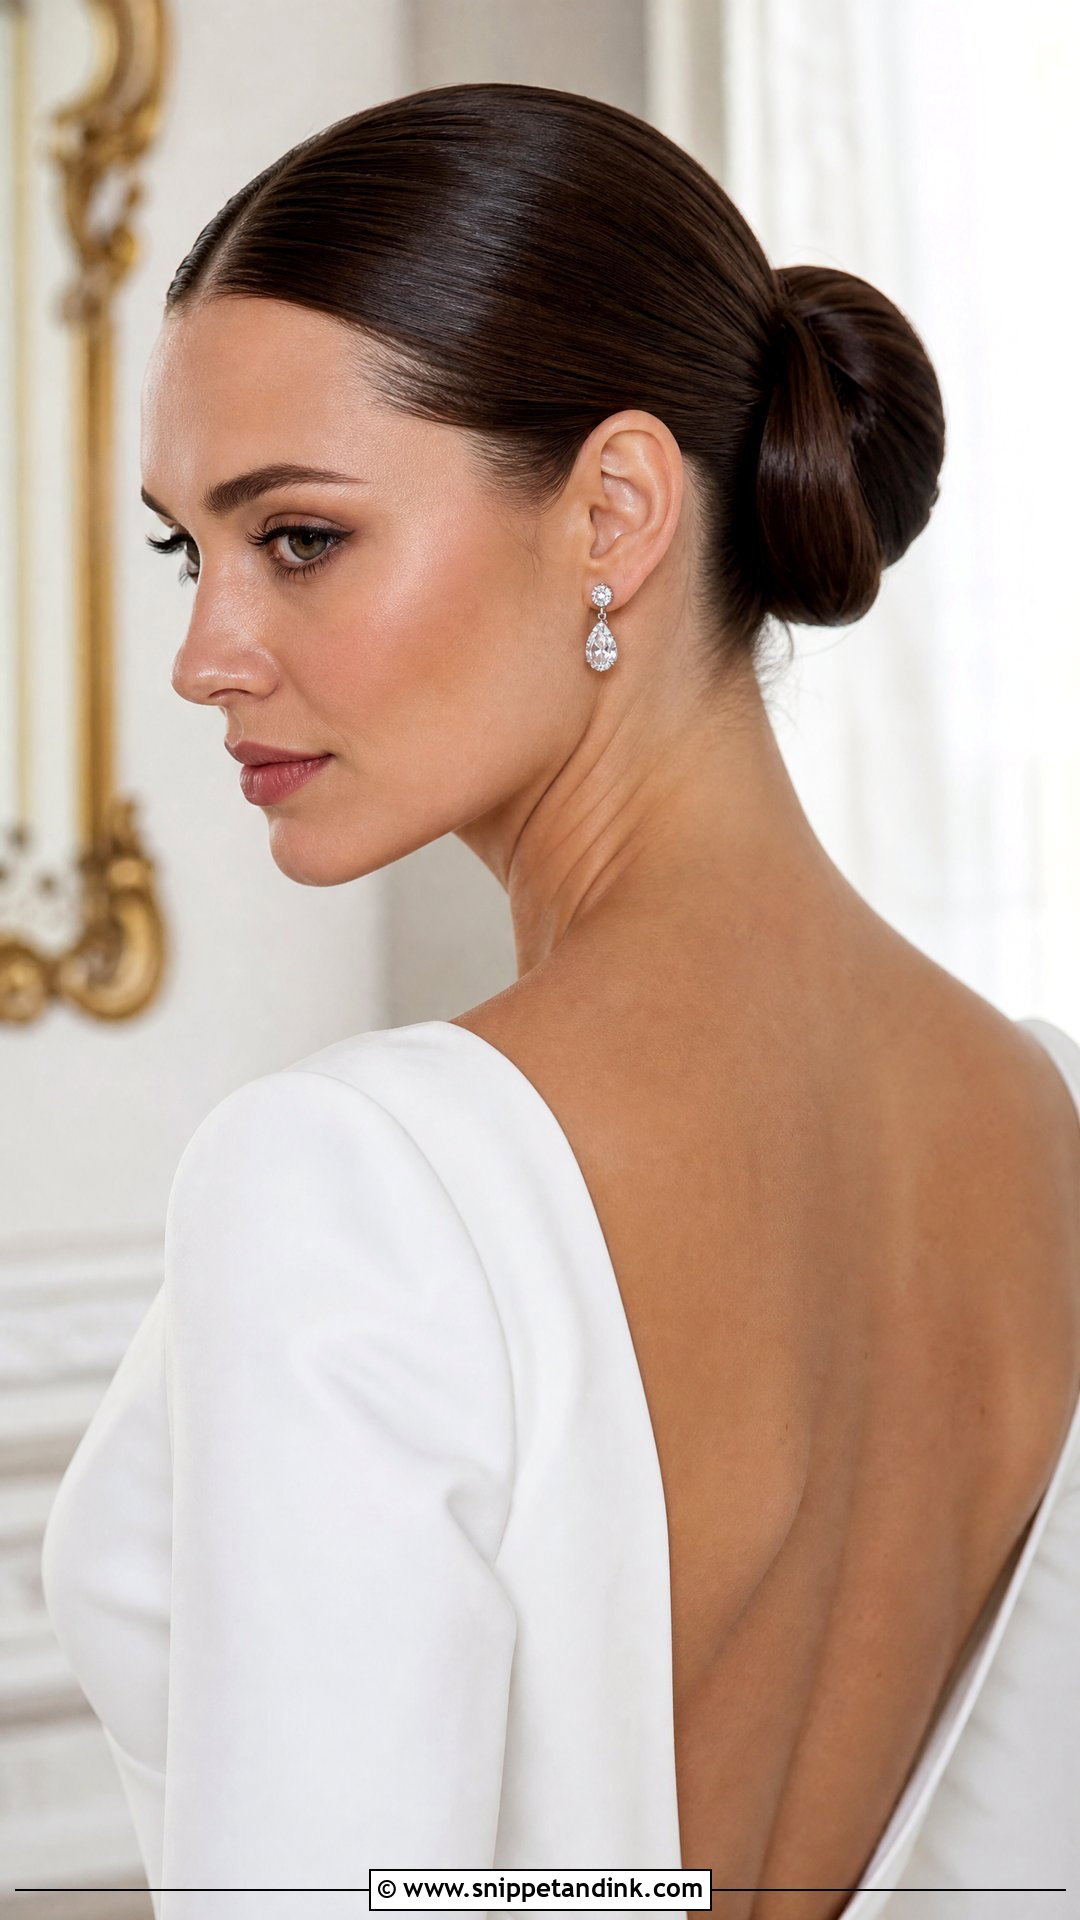
A sleek ballerina bun pulls everything up and back, so from the front it’s all face, jawline and neck. It’s the most revealing style on this list, and I’d only push it on a bride who’s comfortable with that. I use a fine-tooth comb and a firm gel to get the surface glassy, then set the bun high enough that it peeks over the crown in front-on photos. Pair it with a bold lip or simple studs; anything busier competes with the clean line.
5. Hollywood Waves
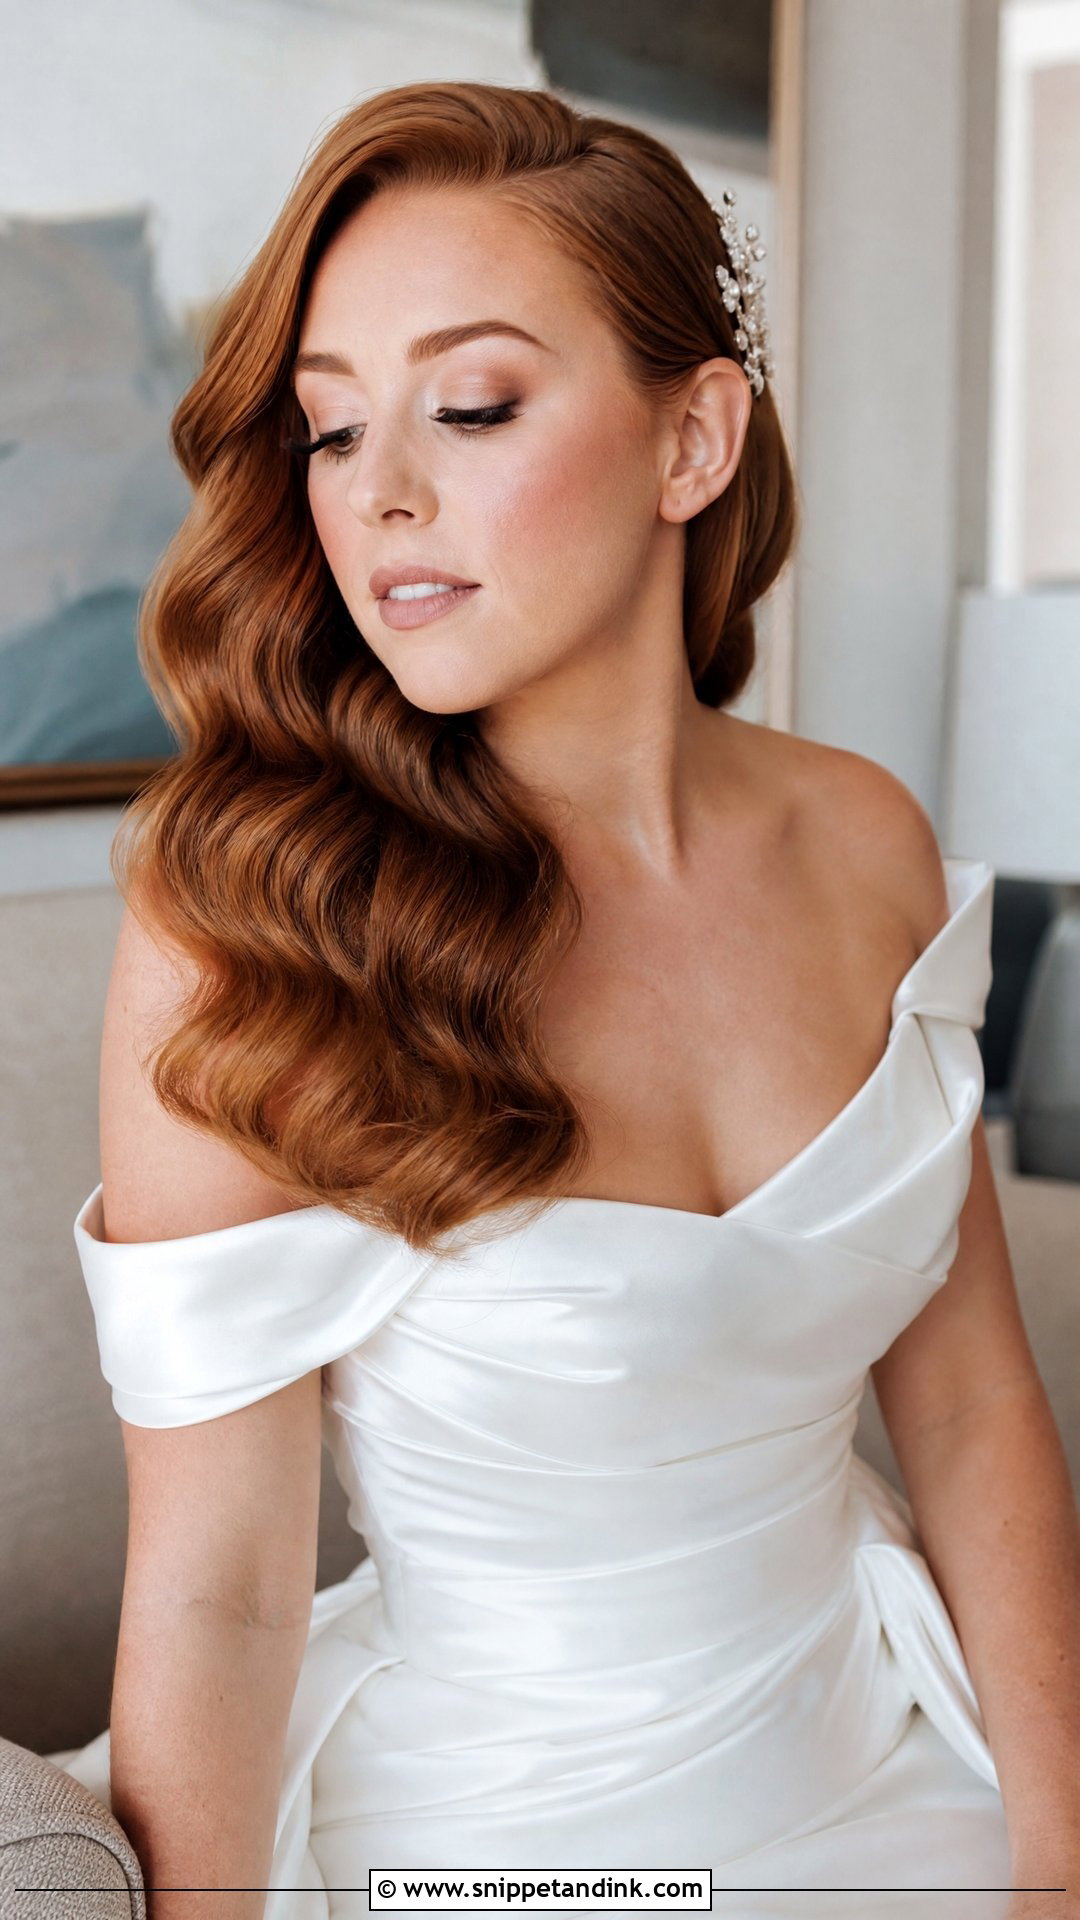
Hollywood waves fall along one side of the face in smooth S-shapes, which means the front view is deliberately lopsided. I decide the side by looking at which way your hair naturally falls and which side the photographer will mostly shoot from. The deep side part hides one eyebrow slightly, so I make sure brow makeup matches on both sides anyway. Formal venues and sleek gowns suit it. A light shine spray at the end gives the waves their gloss under flash.
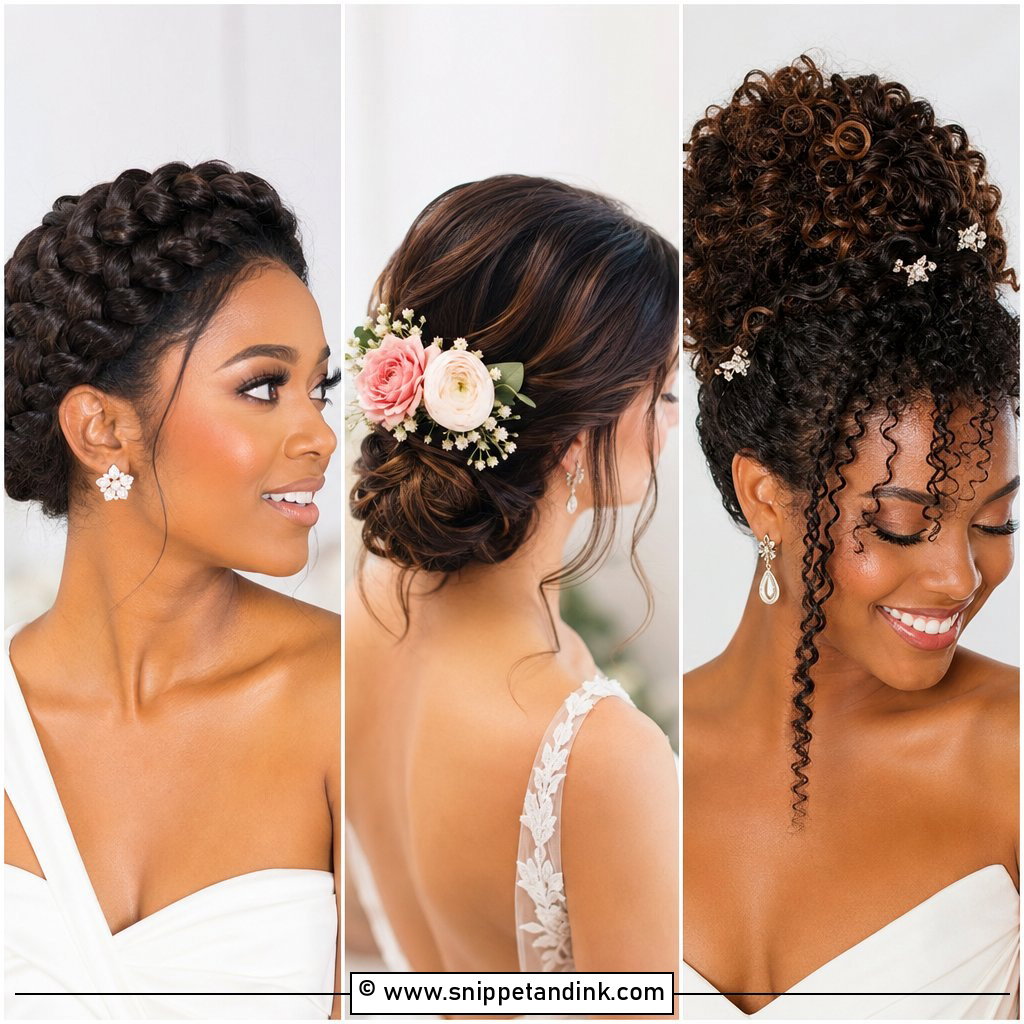
6. Braided Crown
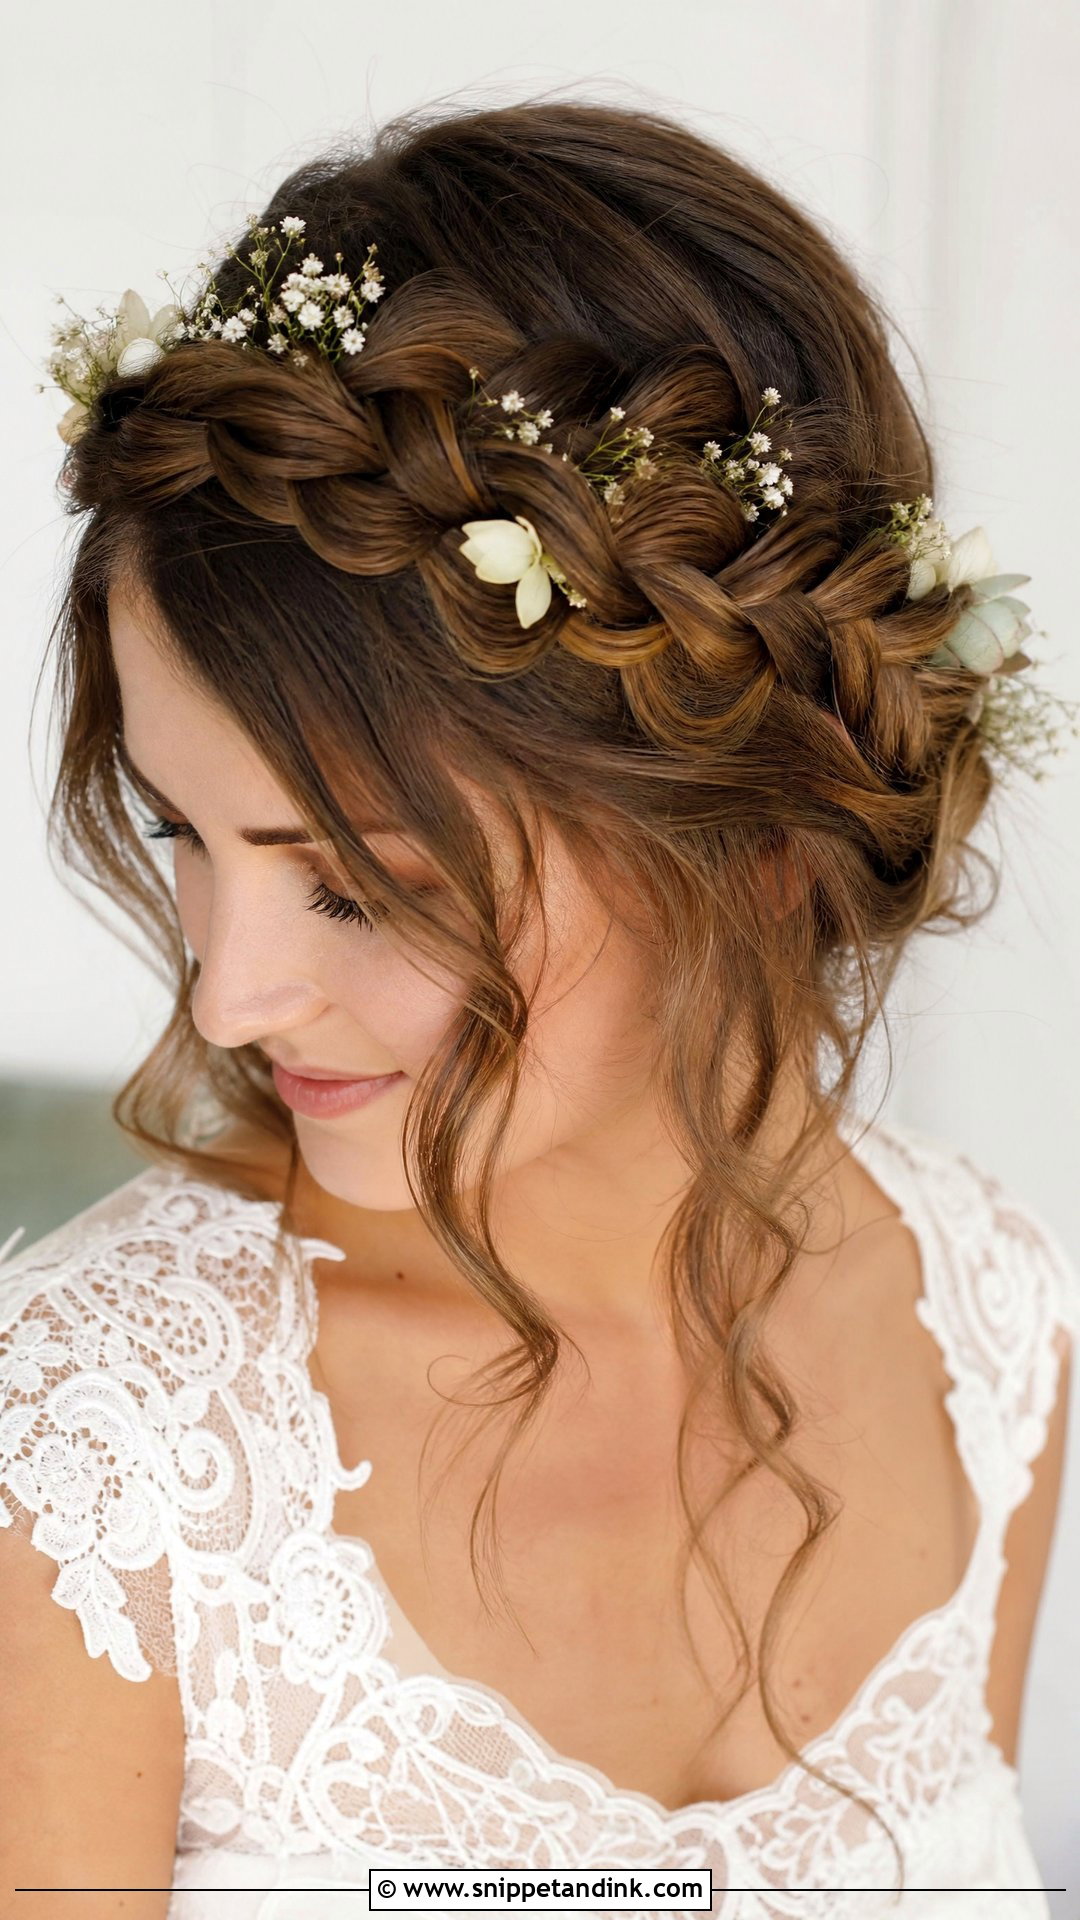
A braided crown frames your forehead with a band of braid across the top, like a halo. From the front it shows more of the braid than most styles do, so neatness counts: I braid tightly at the base and then gently loosen the edges. It keeps hair entirely off your face, which helps if you’ll be outside in wind. Thick and fine hair both work; on fine hair I add a hidden clip-in piece to give the braid enough width to show from the front.
7. Low Bun With Face-Framing Pieces
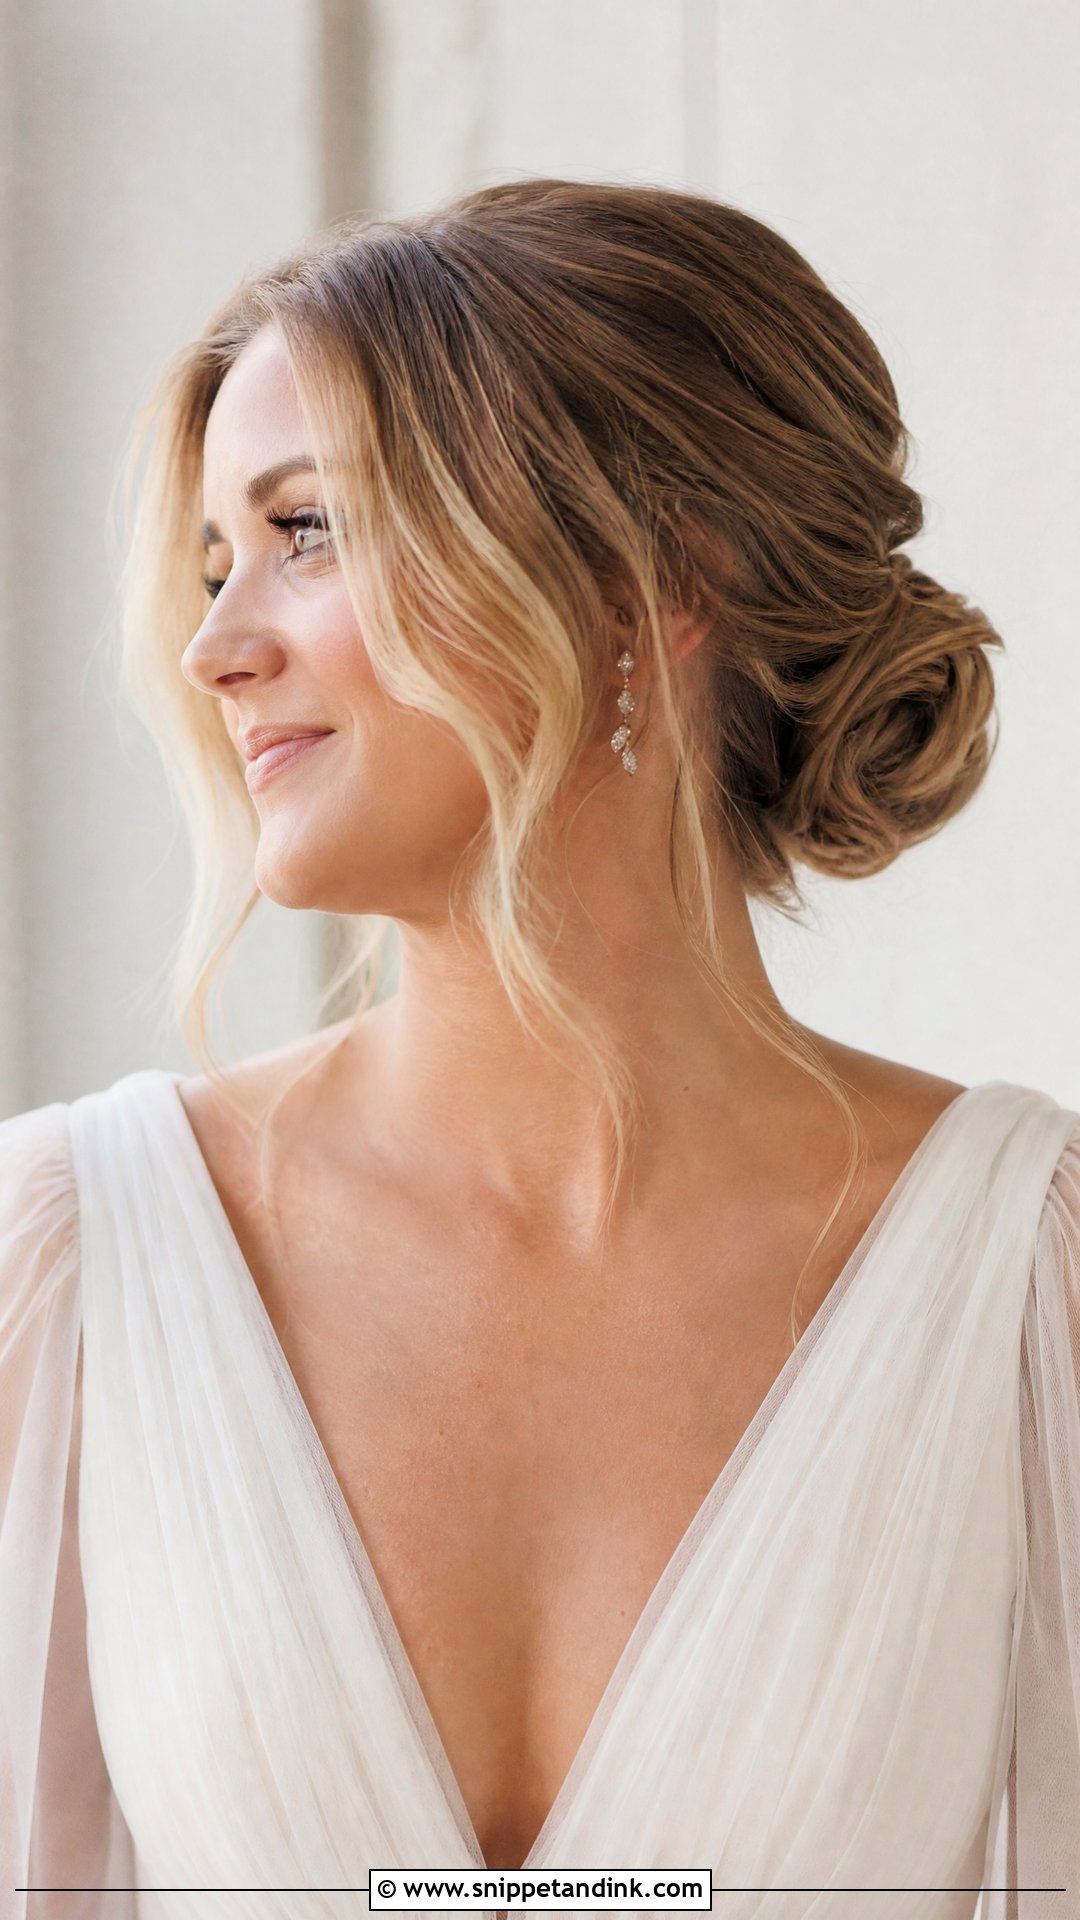
A low bun with face-framing pieces is the style I suggest to brides who love updos but worry about looking severe. The bun stays tidy at the nape, and a few loose tendrils curve around the cheekbones. The tendrils make or break it. Too many and it looks unfinished; too thick and they cover your face in candid shots. I cut them out from the hairline in pieces no wider than a pencil and curl them away from the face, so they frame rather than hide.
8. Curtain Bangs With Long Waves
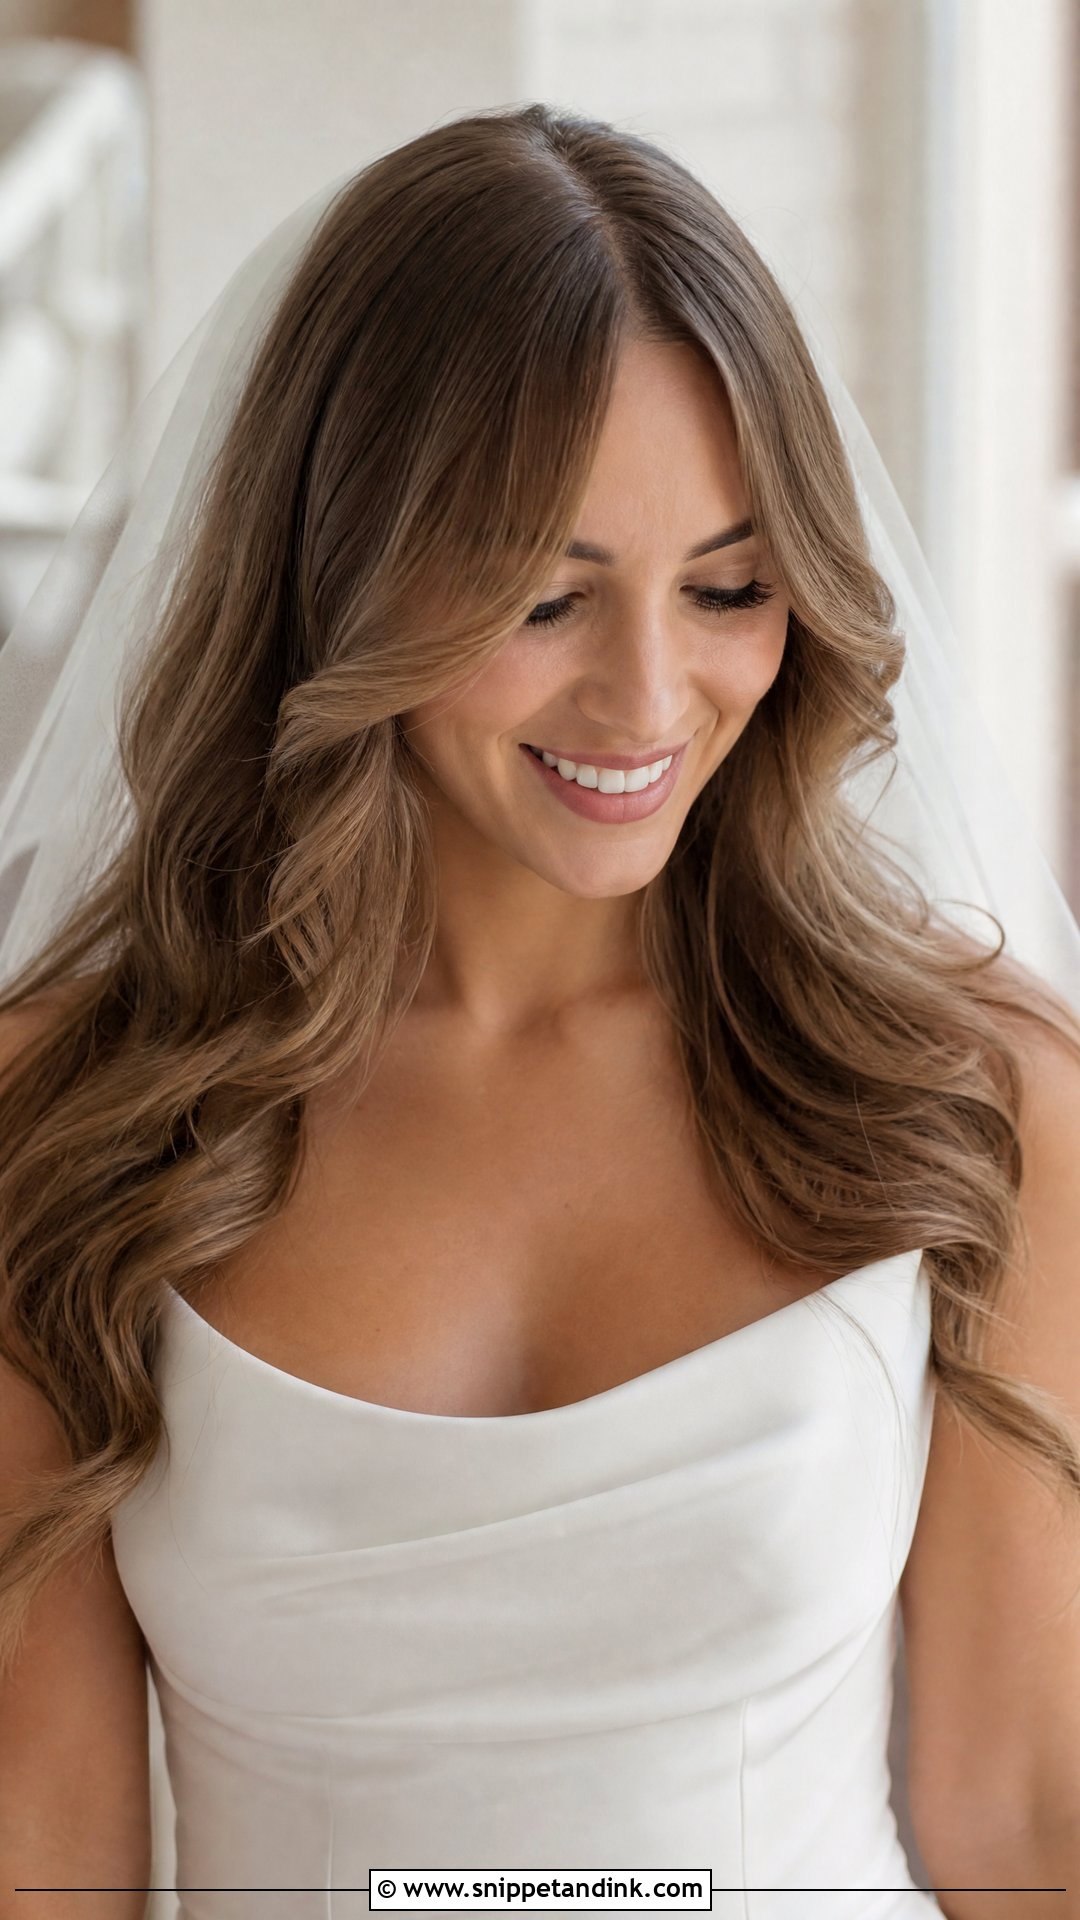
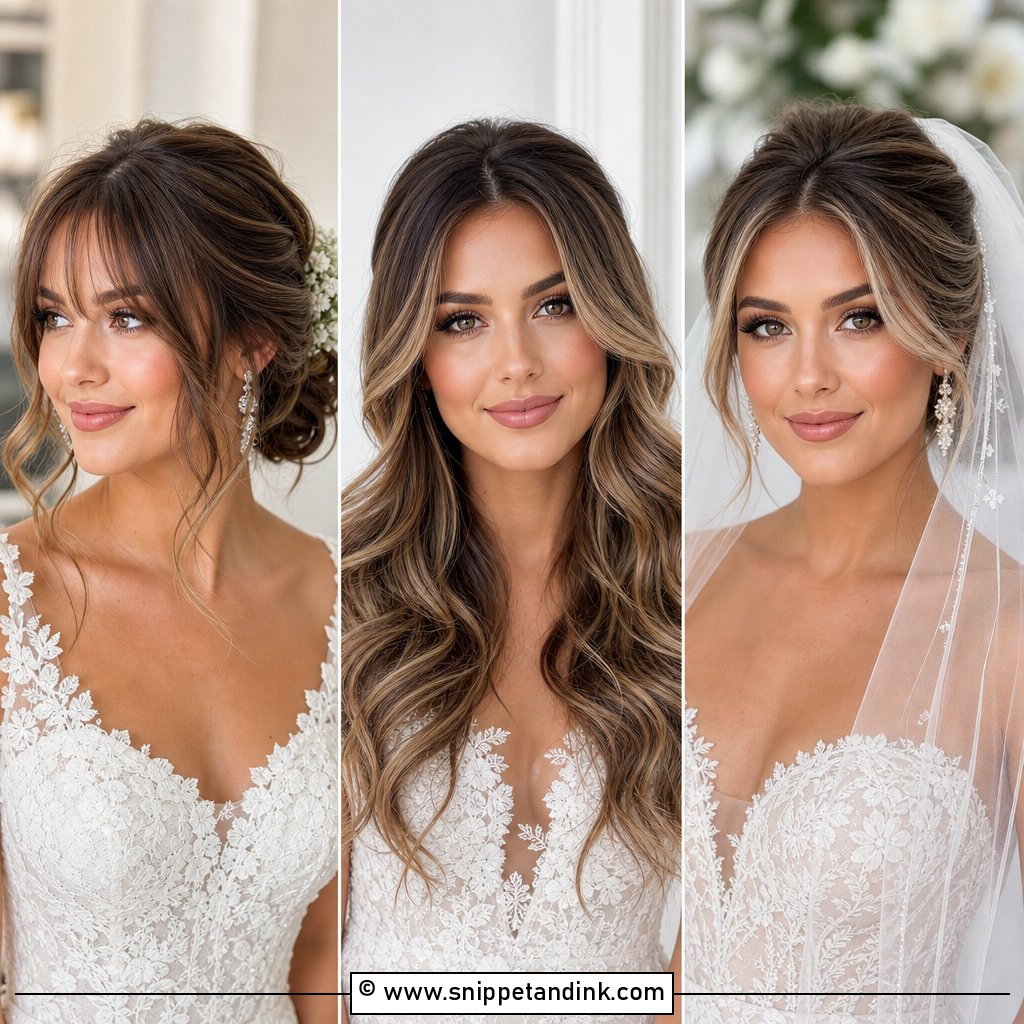
Curtain bangs part in the middle and sweep outward toward the cheeks, and paired with long waves they give the softest frame of any style here. They need real planning. Cut them at least four to six weeks before the wedding so they’ve grown out of that freshly cut stiffness, and practice styling them with a round brush. Straight and wavy textures both suit them. Very curly hair can work too, though the bangs will shrink more than you expect. Get curtain bangs trimmed only lightly the week of the wedding.
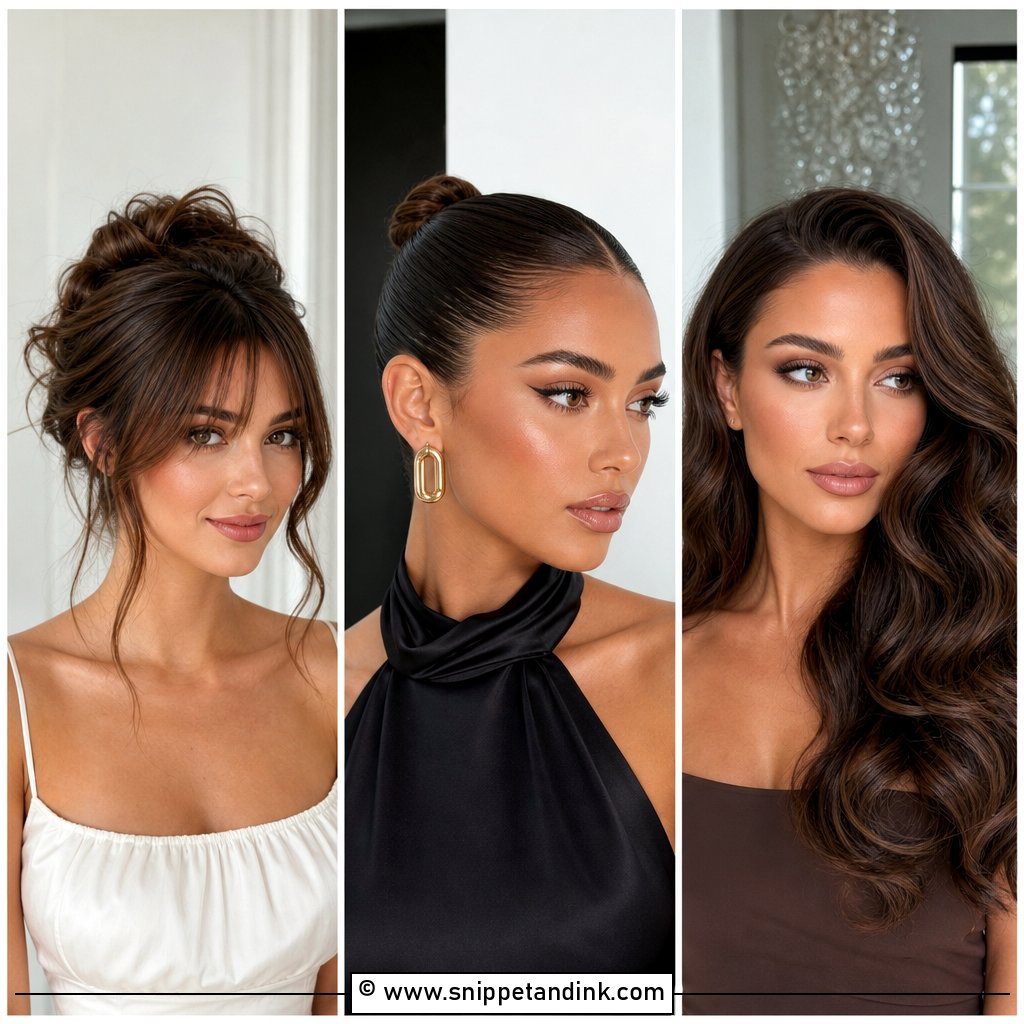
9. Messy High Bun
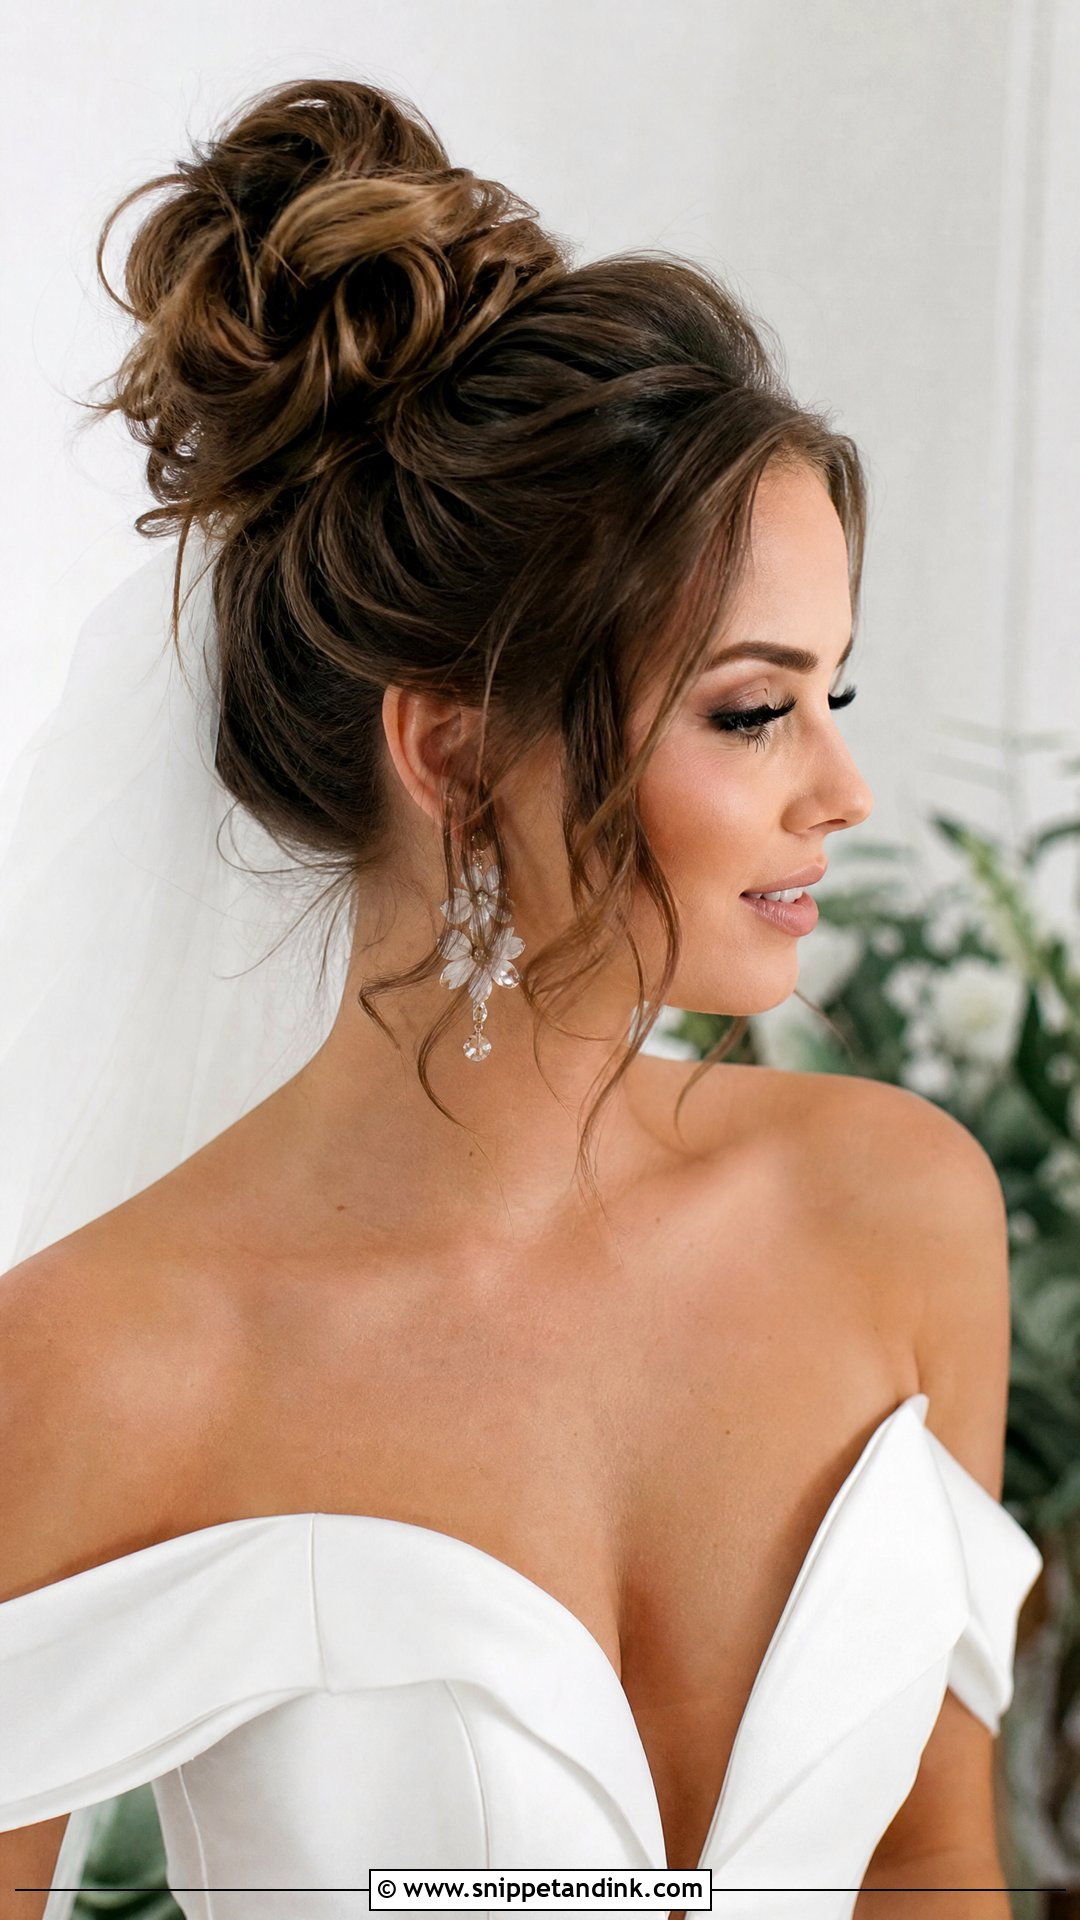
Sitting high on the crown, a messy bun lifts the whole face upward, which can make you look taller and more alert in photos. The loose strands around the face keep it soft. The texture is built in with a curling iron and dry texture spray, then pulled apart by hand. It’s comfortable to dance in and keeps your neck clear for earrings. I’d suggest it for a relaxed modern wedding; at a black-tie venue it can read too casual next to formal gowns.
10. French Twist
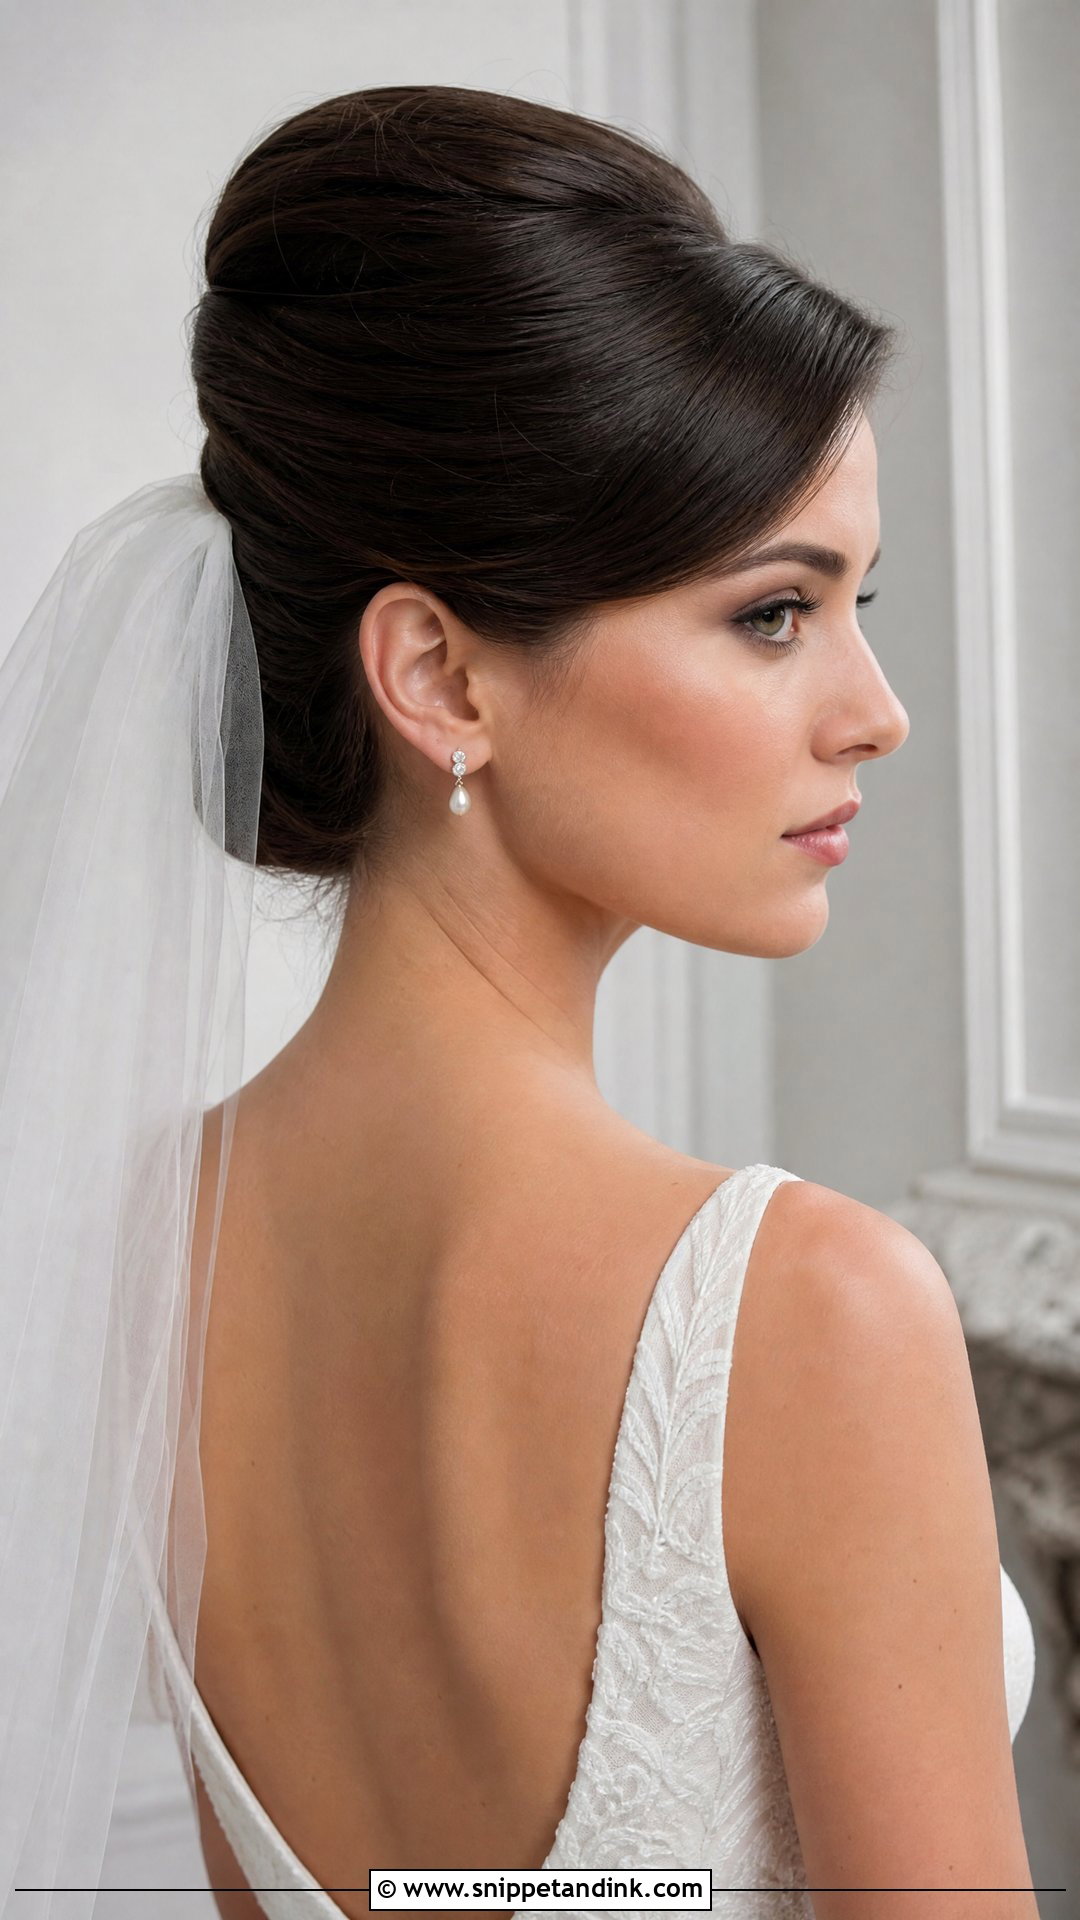
The French twist gathers hair into a smooth vertical roll at the back, so from the front you see a clean outline with nothing at the sides. That’s a strong, classic frame for a bride with defined cheekbones. If your face is long, I keep the crown flat and leave two fine pieces at the temples, which shortens the line. Few styles hold a veil comb as firmly. Pin placement inside the fold is what keeps it smooth for twelve hours.
11. Loose Braid Over the Shoulder
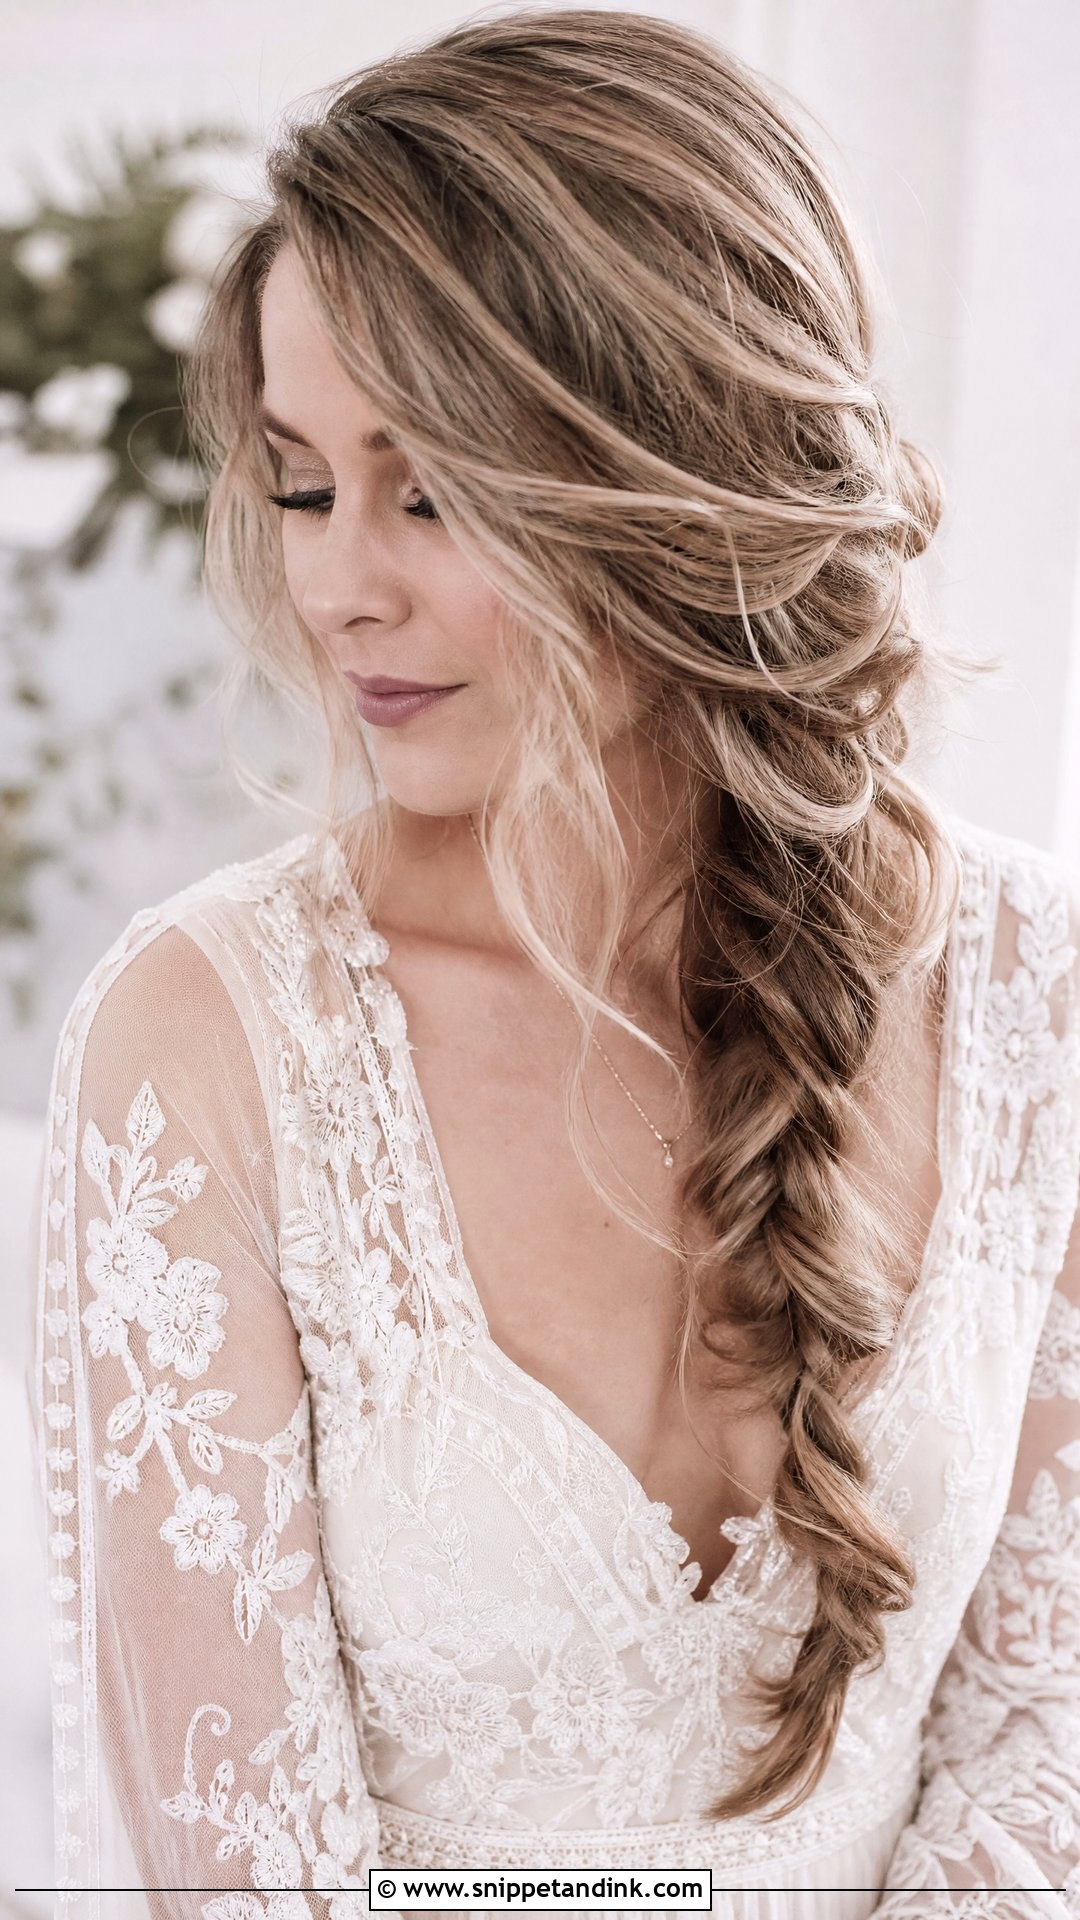
A loose braid draped over one shoulder frames one side of your face and leaves the other side open. That asymmetry is pleasing from the front, but it means you need to decide which side faces the guests. Long hair is a must; shoulder-length hair makes a stubby braid. I build the braid loosely and pull at the edges to widen it, then tuck tiny flowers into the plaits so they’re held without extra pins. It’s comfortable and suits a rustic or outdoor wedding.
12. Sleek Straight Hair Down
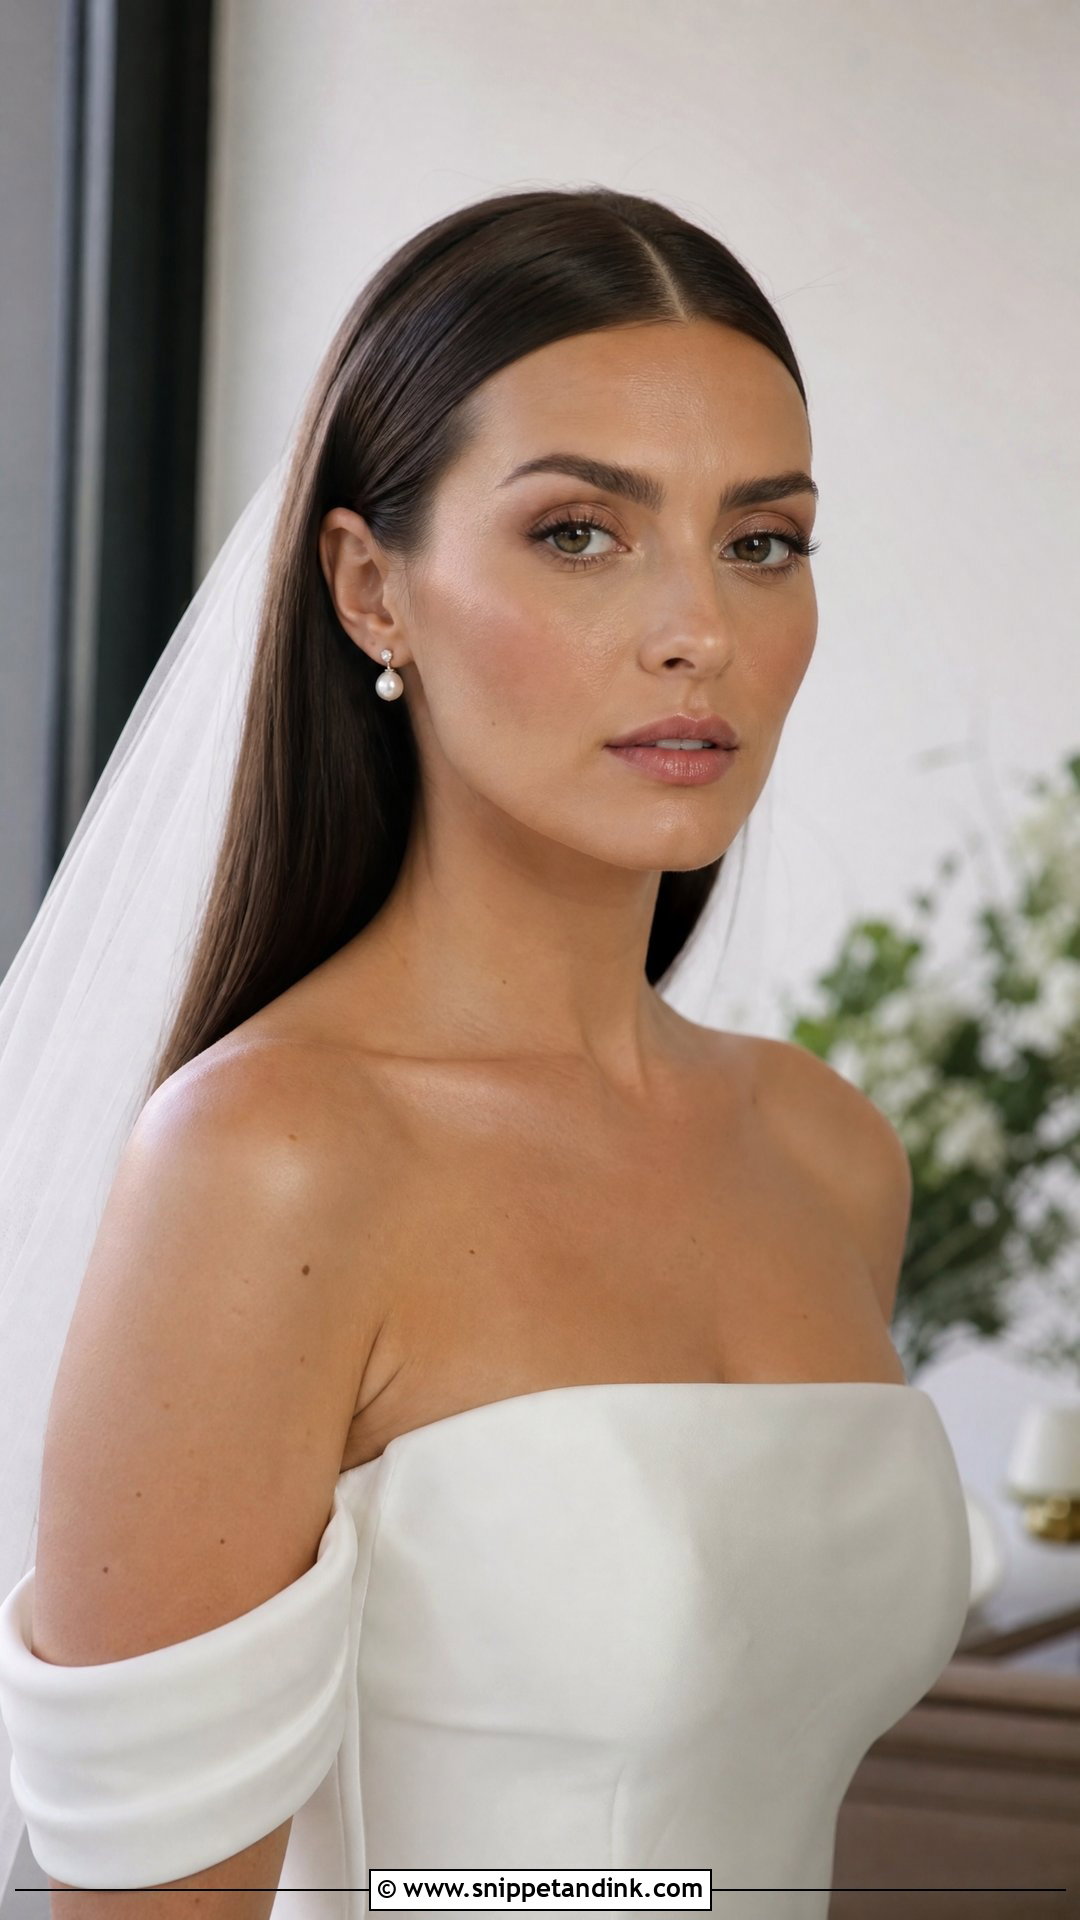
Straight hair worn down gives the cleanest possible front view, just your face and a smooth frame. Simplicity has a catch: there’s nothing to hide frizz, a cowlick or a split end. The secret is a careful smooth blowout with a round brush, then a flat iron only where it’s needed. I bend the ends very slightly inward so they don’t flick out at the collarbone. Choose a center part for symmetry or a side part if you want a little softness.
13. Half-Up Braided Style
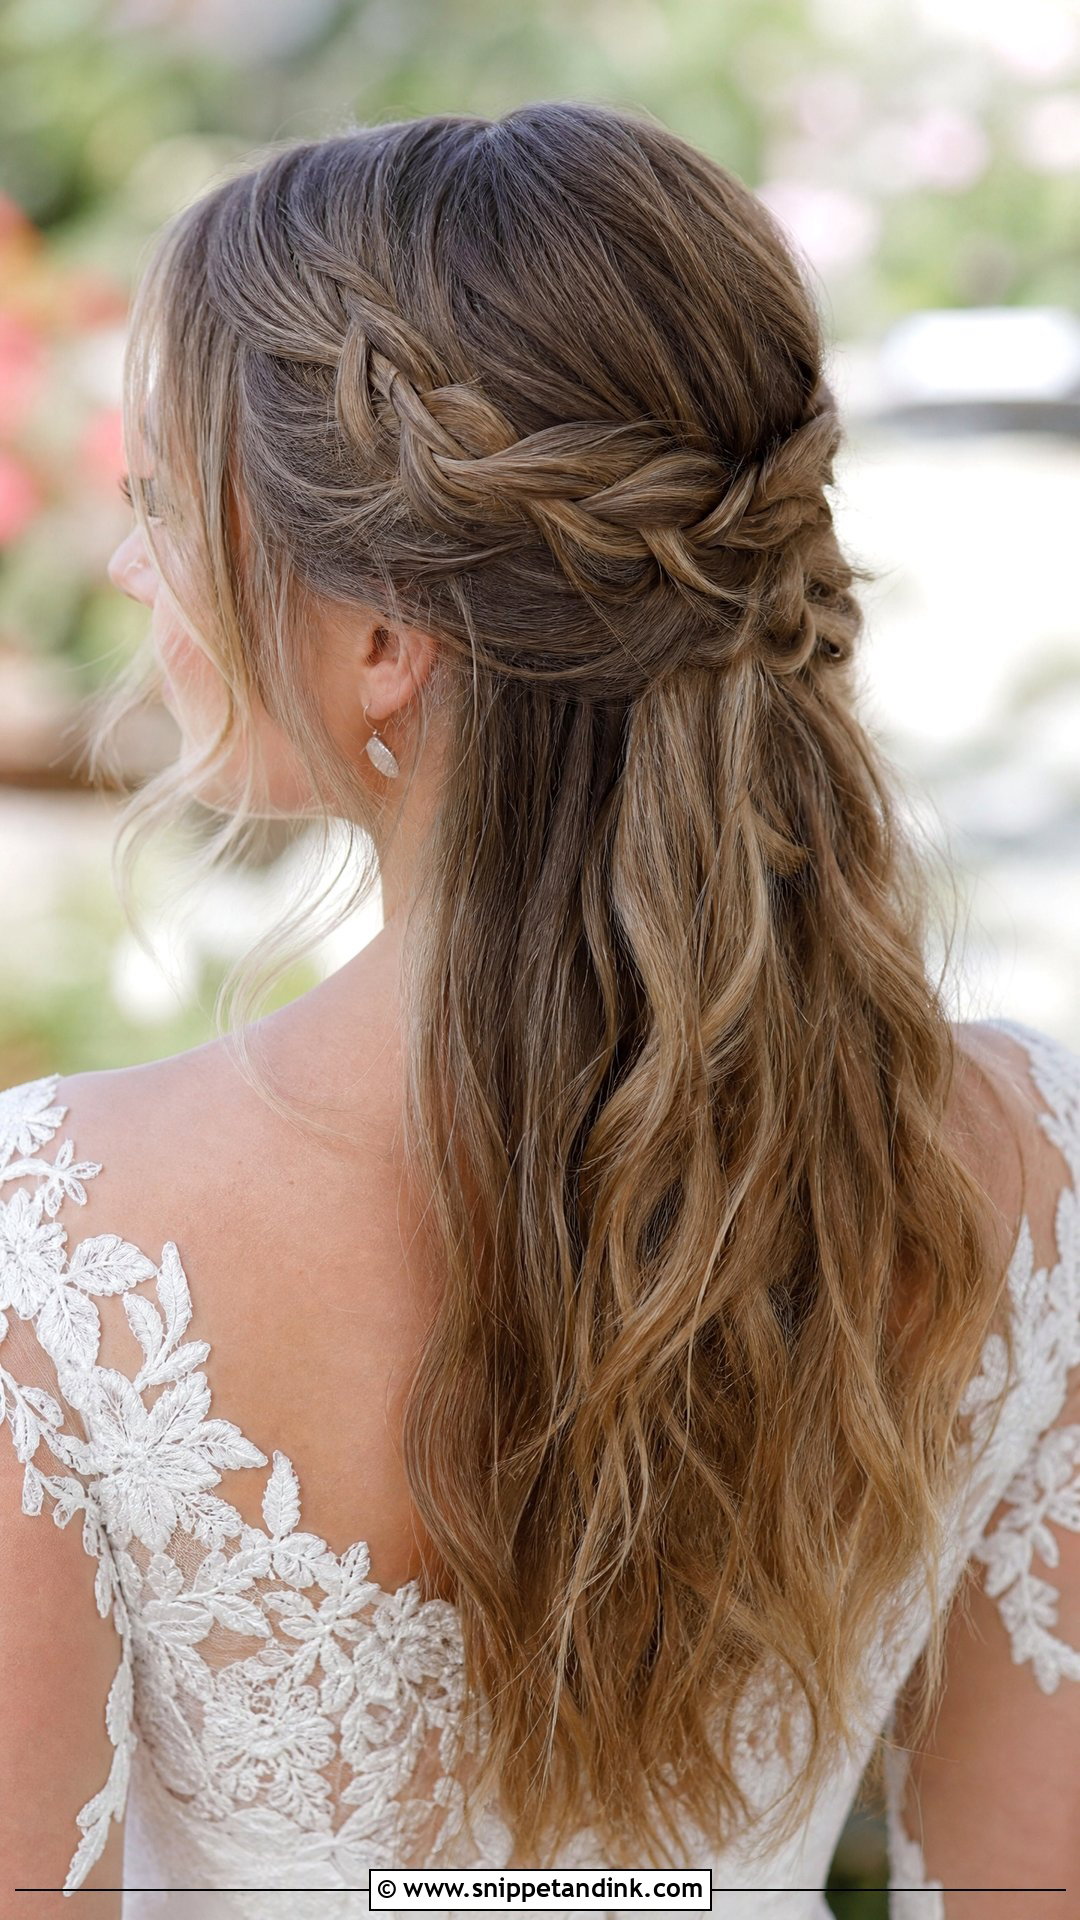
From the front, a half-up braided style shows two small braids pulled back from the temples, which frames your face without covering it. The detail is mostly visible at the sides, so it reads well in three-quarter photos. Garden weddings suit it. I tie the braids together behind the crown with a clear elastic and cover the join with a pin or a small flower. On fine hair, braiding loosely and then pulling the edges gives a fuller look from the front.
14. Voluminous Curls With Side Part
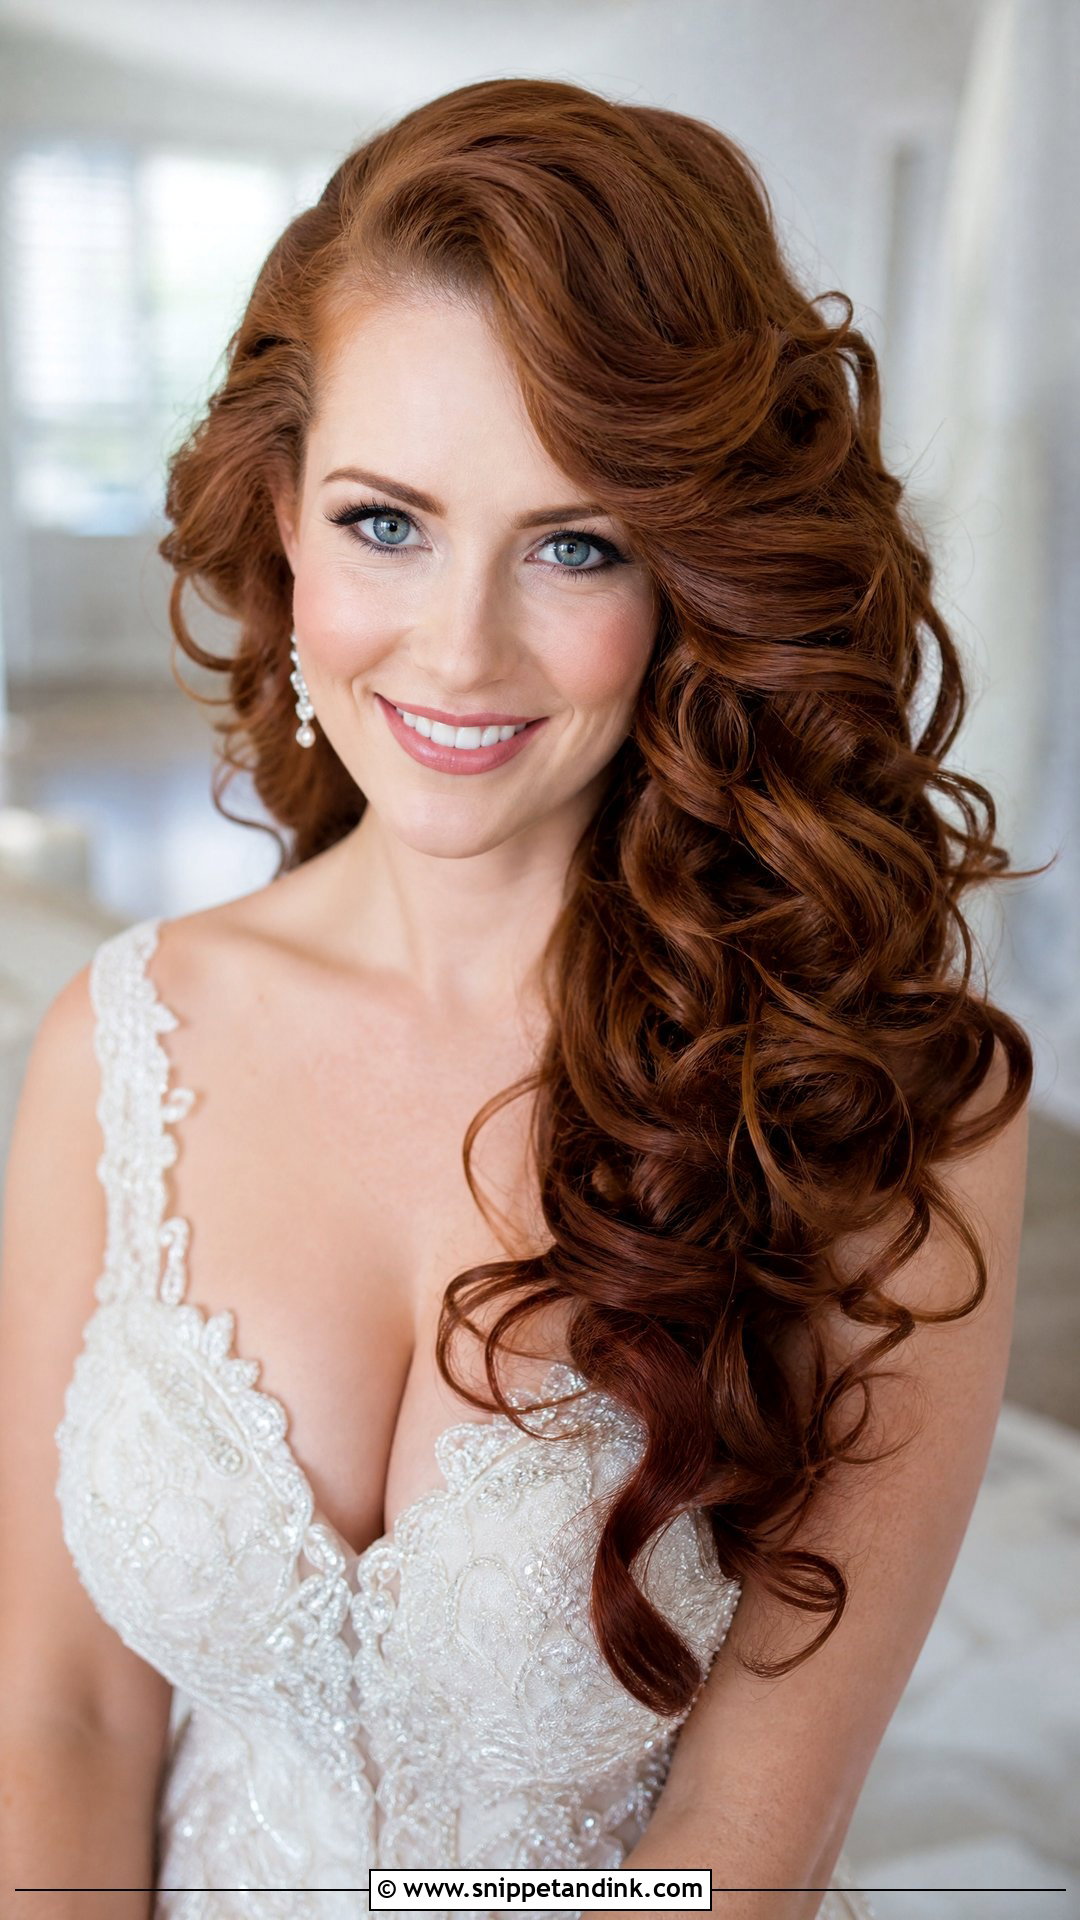
Big curls with a side part sweep across the forehead and give the most fullness of any style here. Volume can widen a round face from the front, so I put most of it on top and to the side, not at the cheeks. Pinning the opposite side back behind the ear balances the shape. I pin each curl while it cools and leave the pins in while you sit for makeup; that cooling time is what makes them last. Long, thick hair holds this best.
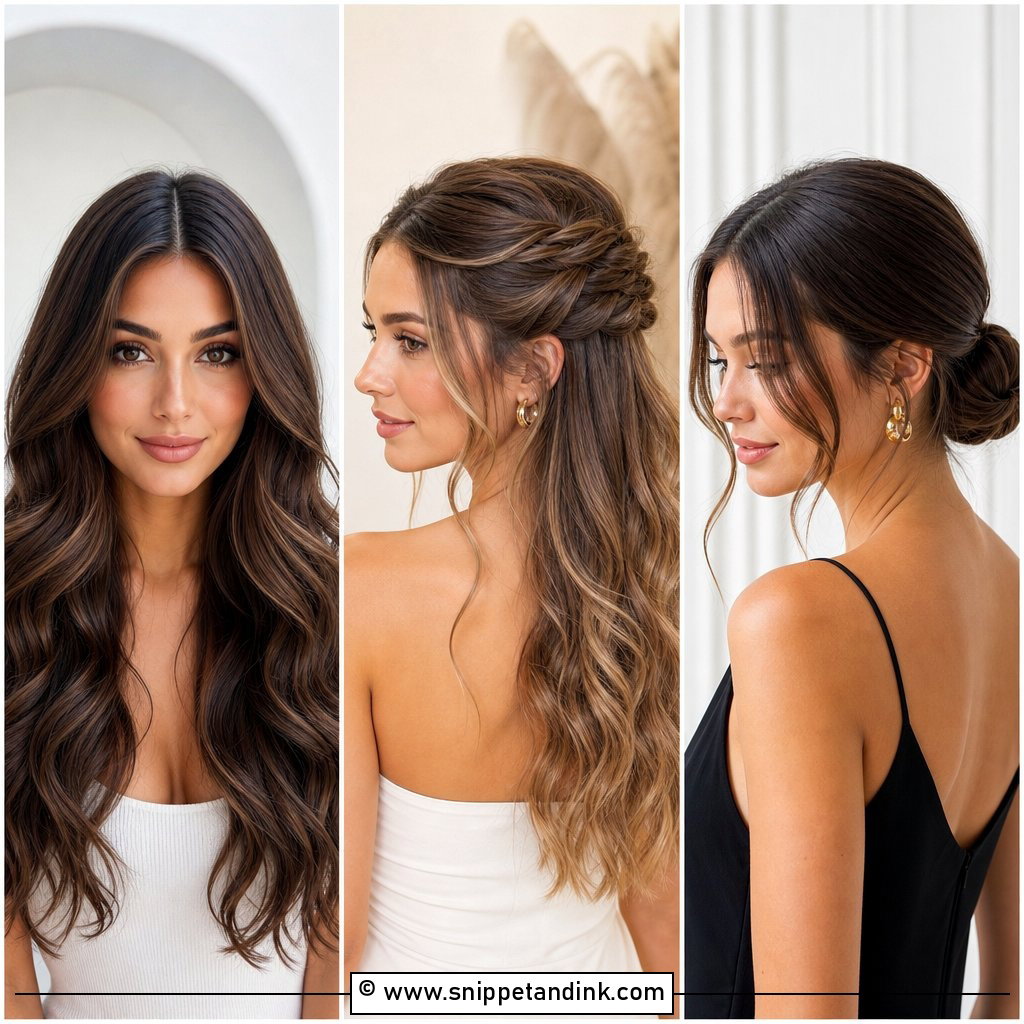
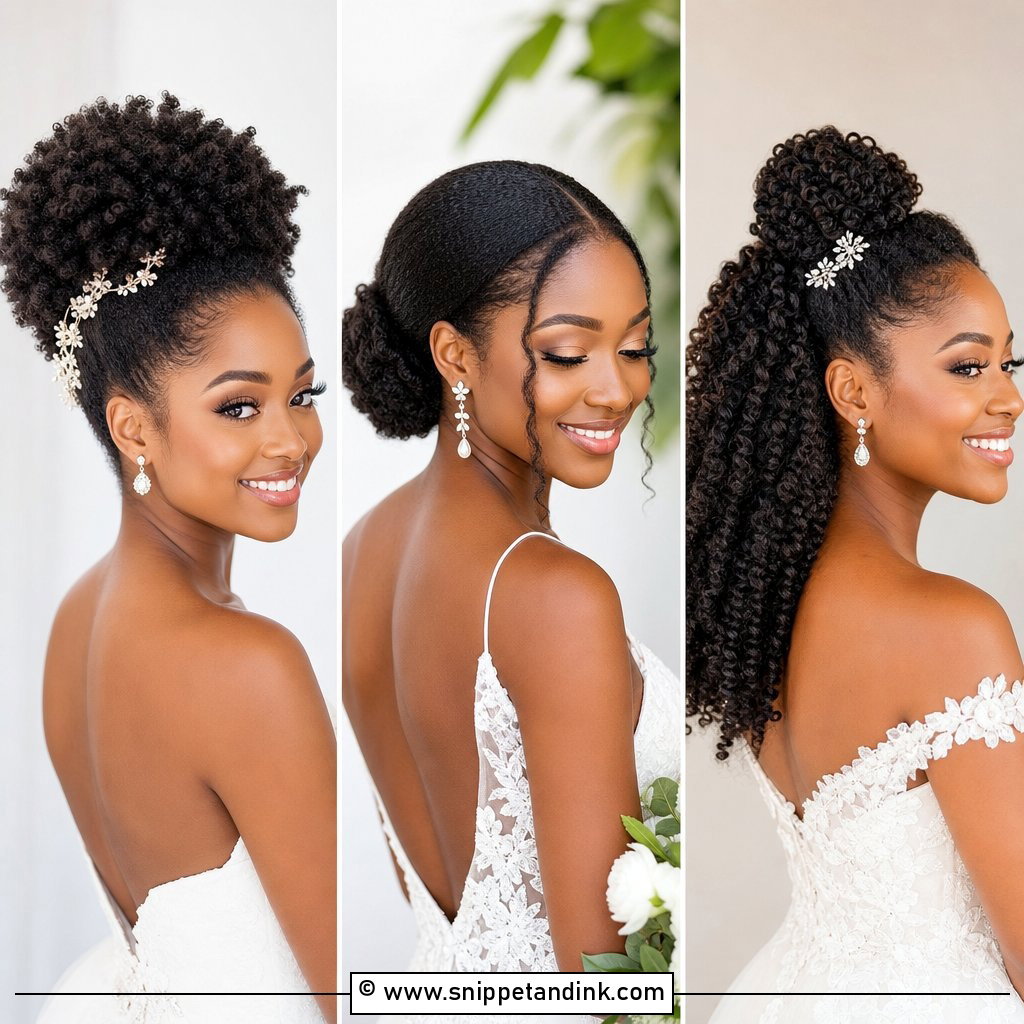
15. Twisted Updo With Tendrils
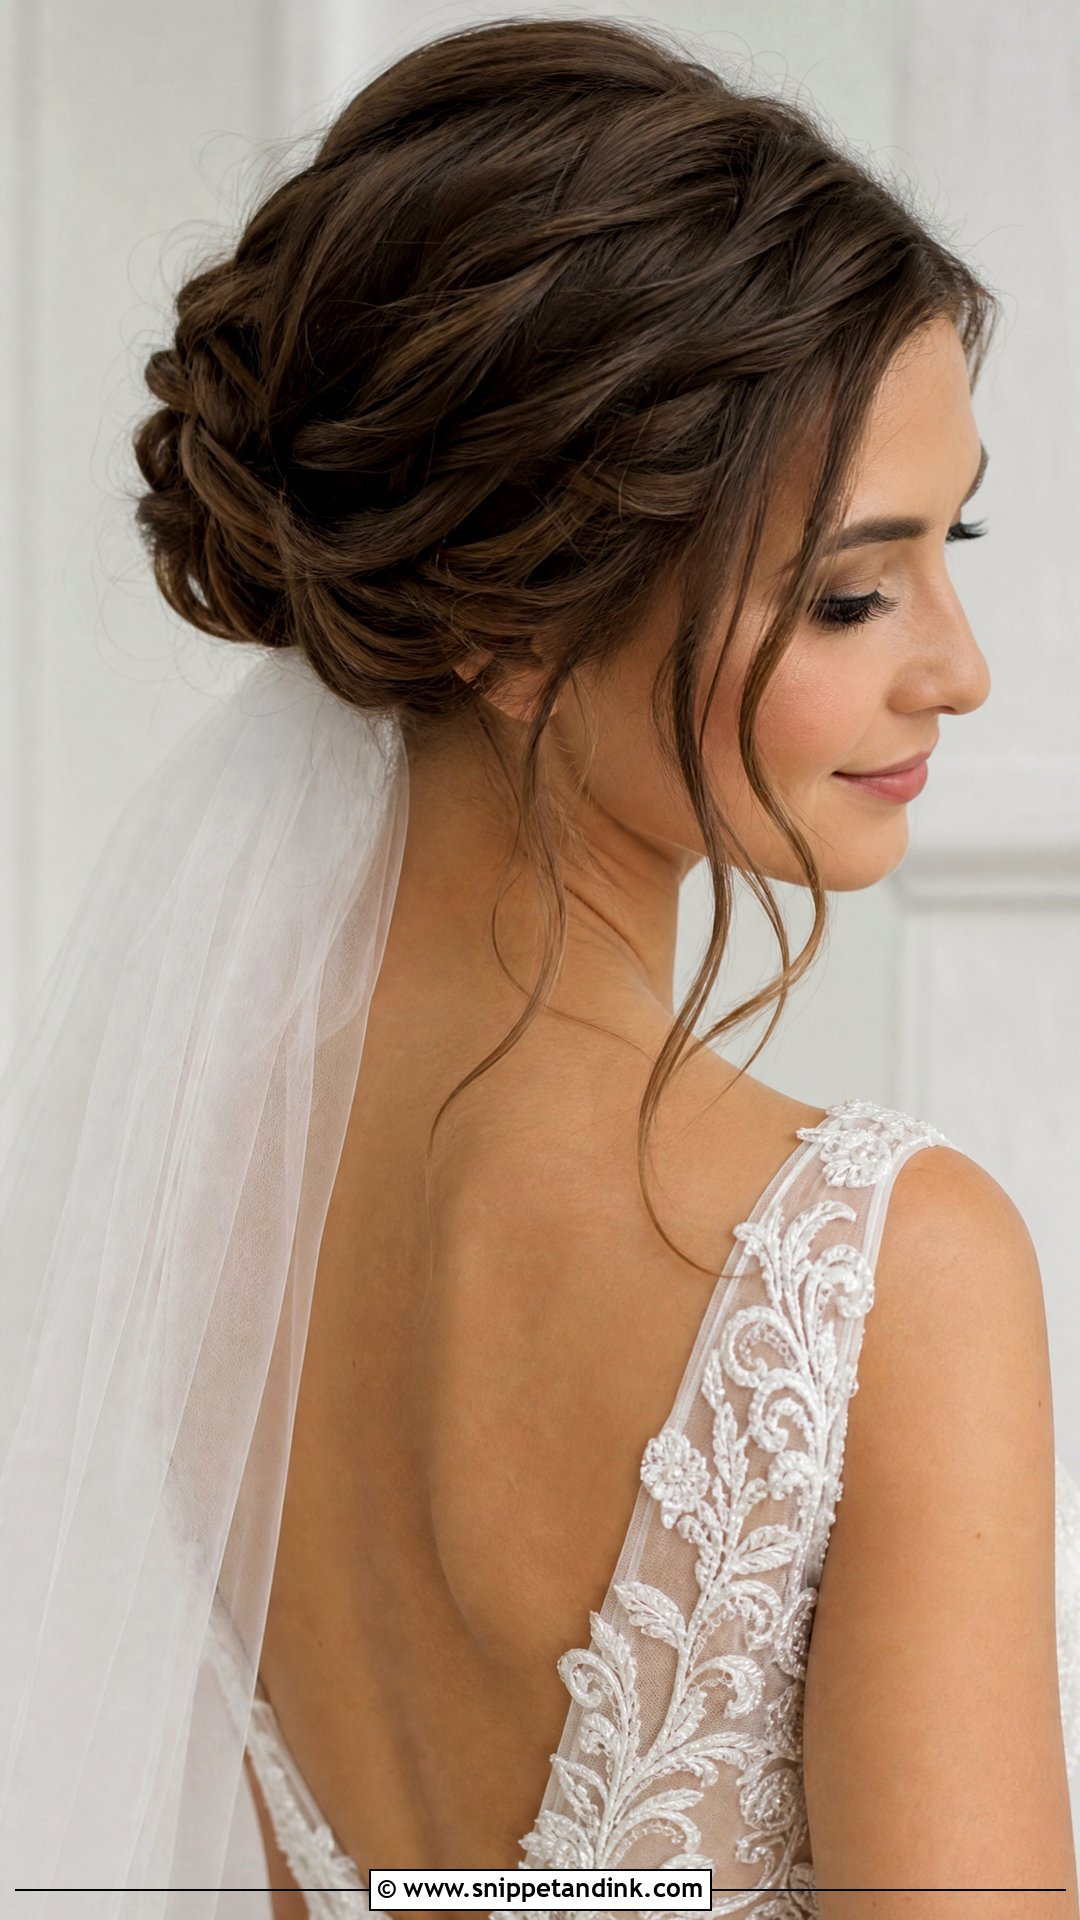
A twisted updo shows soft twists gathered away from the face while delicate tendrils fall at the cheeks. The front reads soft; the back carries the detail. It’s one of the more comfortable updos because the weight spreads across several twists rather than sitting in one bun. I curl the tendrils last, after makeup, so foundation and powder don’t build up on them. It suits a veil, a comb or flowers equally well.
16. Low Ponytail With Volume
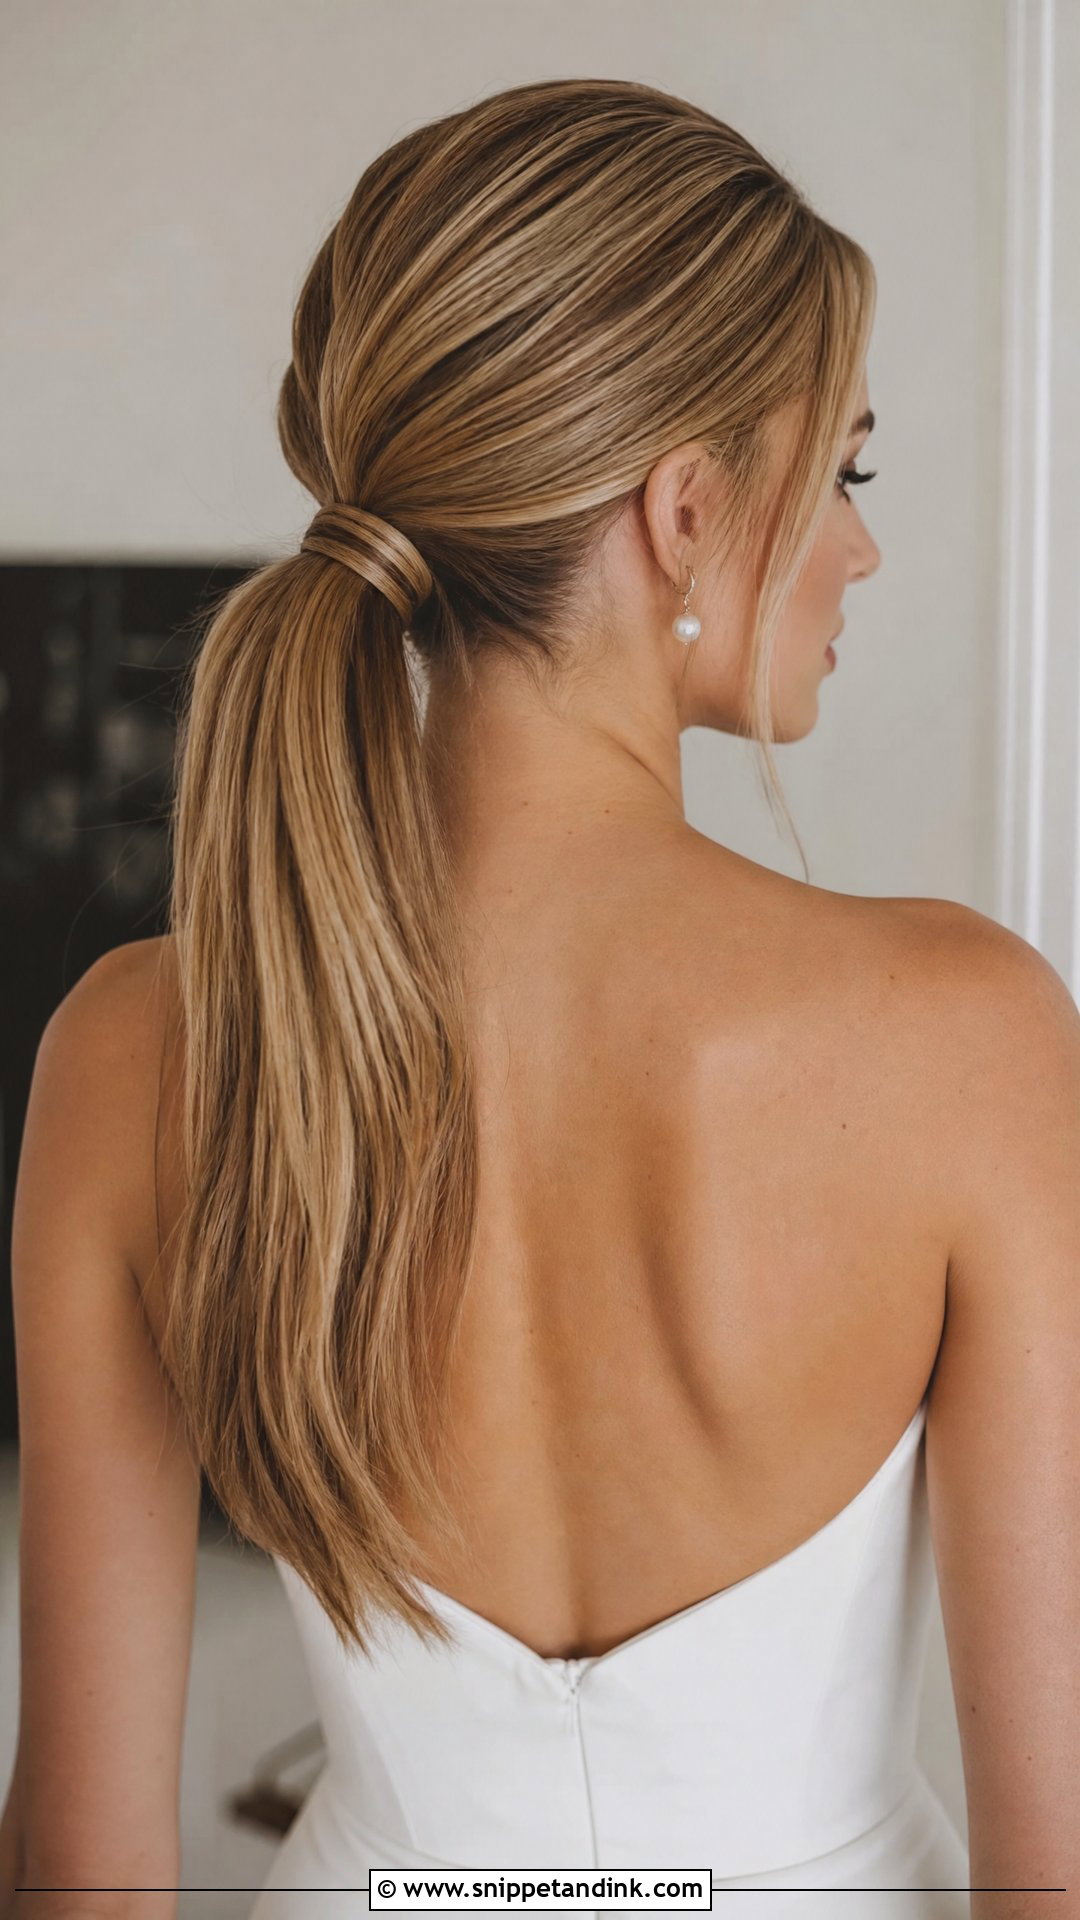
A low ponytail with volume at the crown keeps the front clean while giving your profile a little lift. Without that crown height, it can look flat in photos taken straight on. I tease the crown gently, smooth the top layer over it and wrap a strand around the elastic. This one is comfortable and very secure. It’s an easy choice for a bride who doesn’t want a full updo but needs her hair off her neck in summer heat.
17. Boho Waves With Flowers
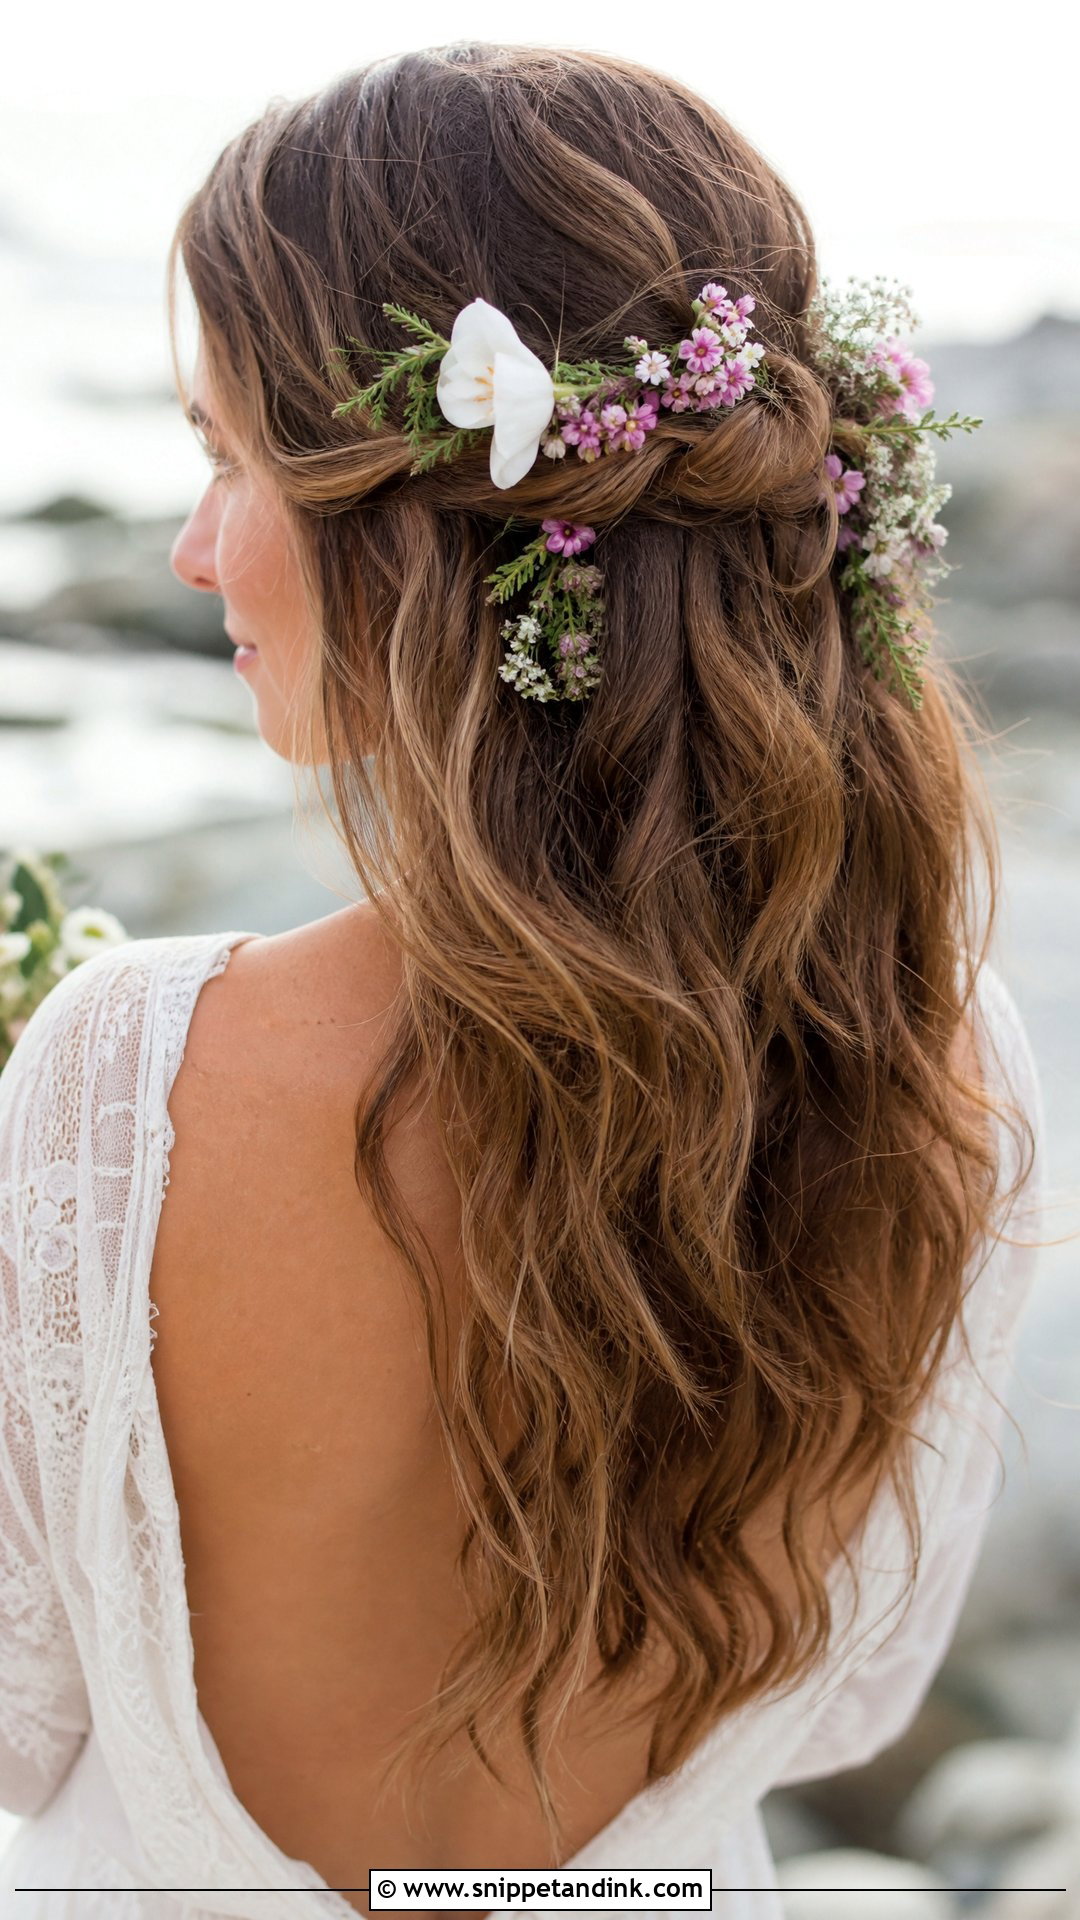
Boho waves with fresh flowers fall loosely around the face with small blooms tucked into the hair. From the front, the flowers are the first thing anyone notices, so their placement matters: one cluster just above the ear usually looks better than flowers spread evenly. Outdoor, garden and beach weddings suit it. Ask your florist for blooms that last out of water, like spray roses or wax flower, and add them at the very end of your hair appointment.
18. Slicked-Back Bun With Center Part
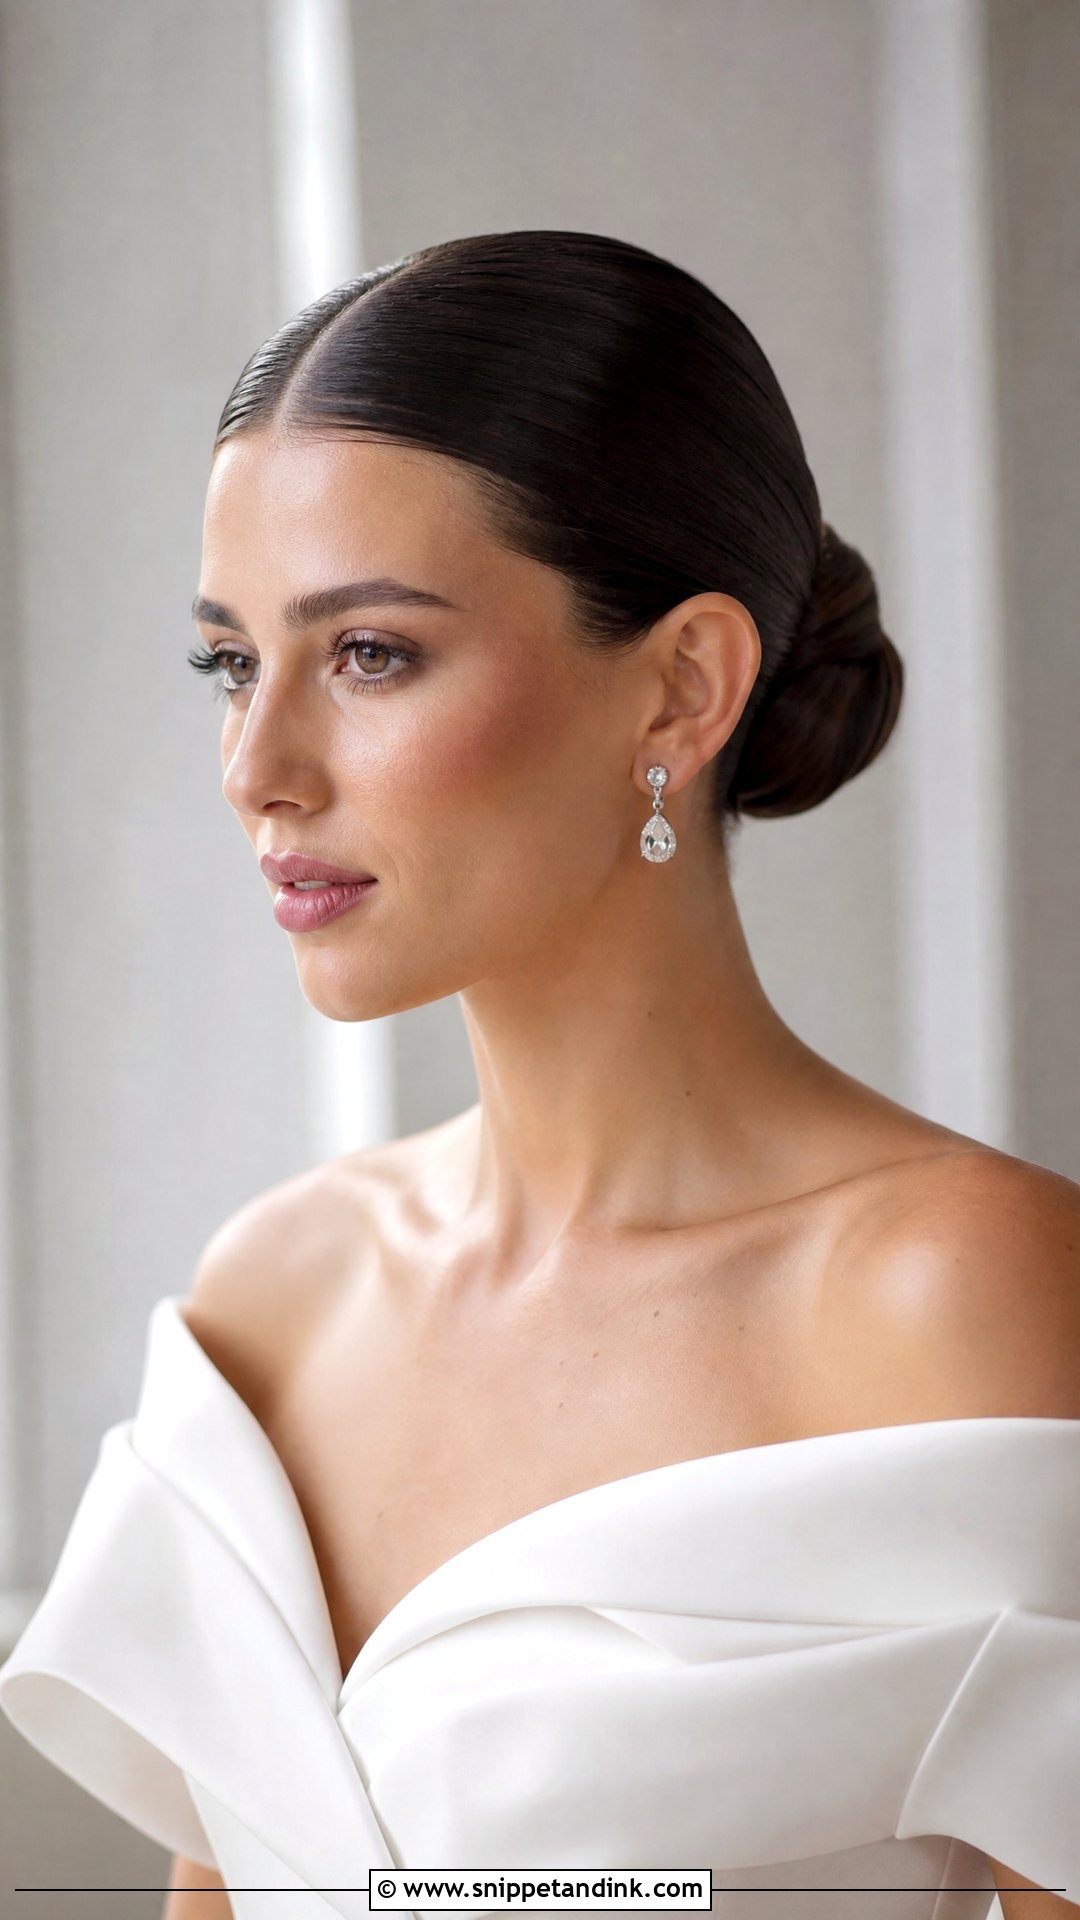
A slicked-back bun with a center part creates sharp, symmetrical lines from the front. Every strand is smoothed back, so your face and any bold jewelry are the entire picture. Getting it glossy without looking greasy is the skill here. I use a light gel and a fine comb, then a little hairspray to set the surface. It suits structured gowns and minimalist brides. If your hairline has gaps at the temples, I’ll tell you honestly at the trial; this style shows them.
19. Soft Updo With Loose Curls
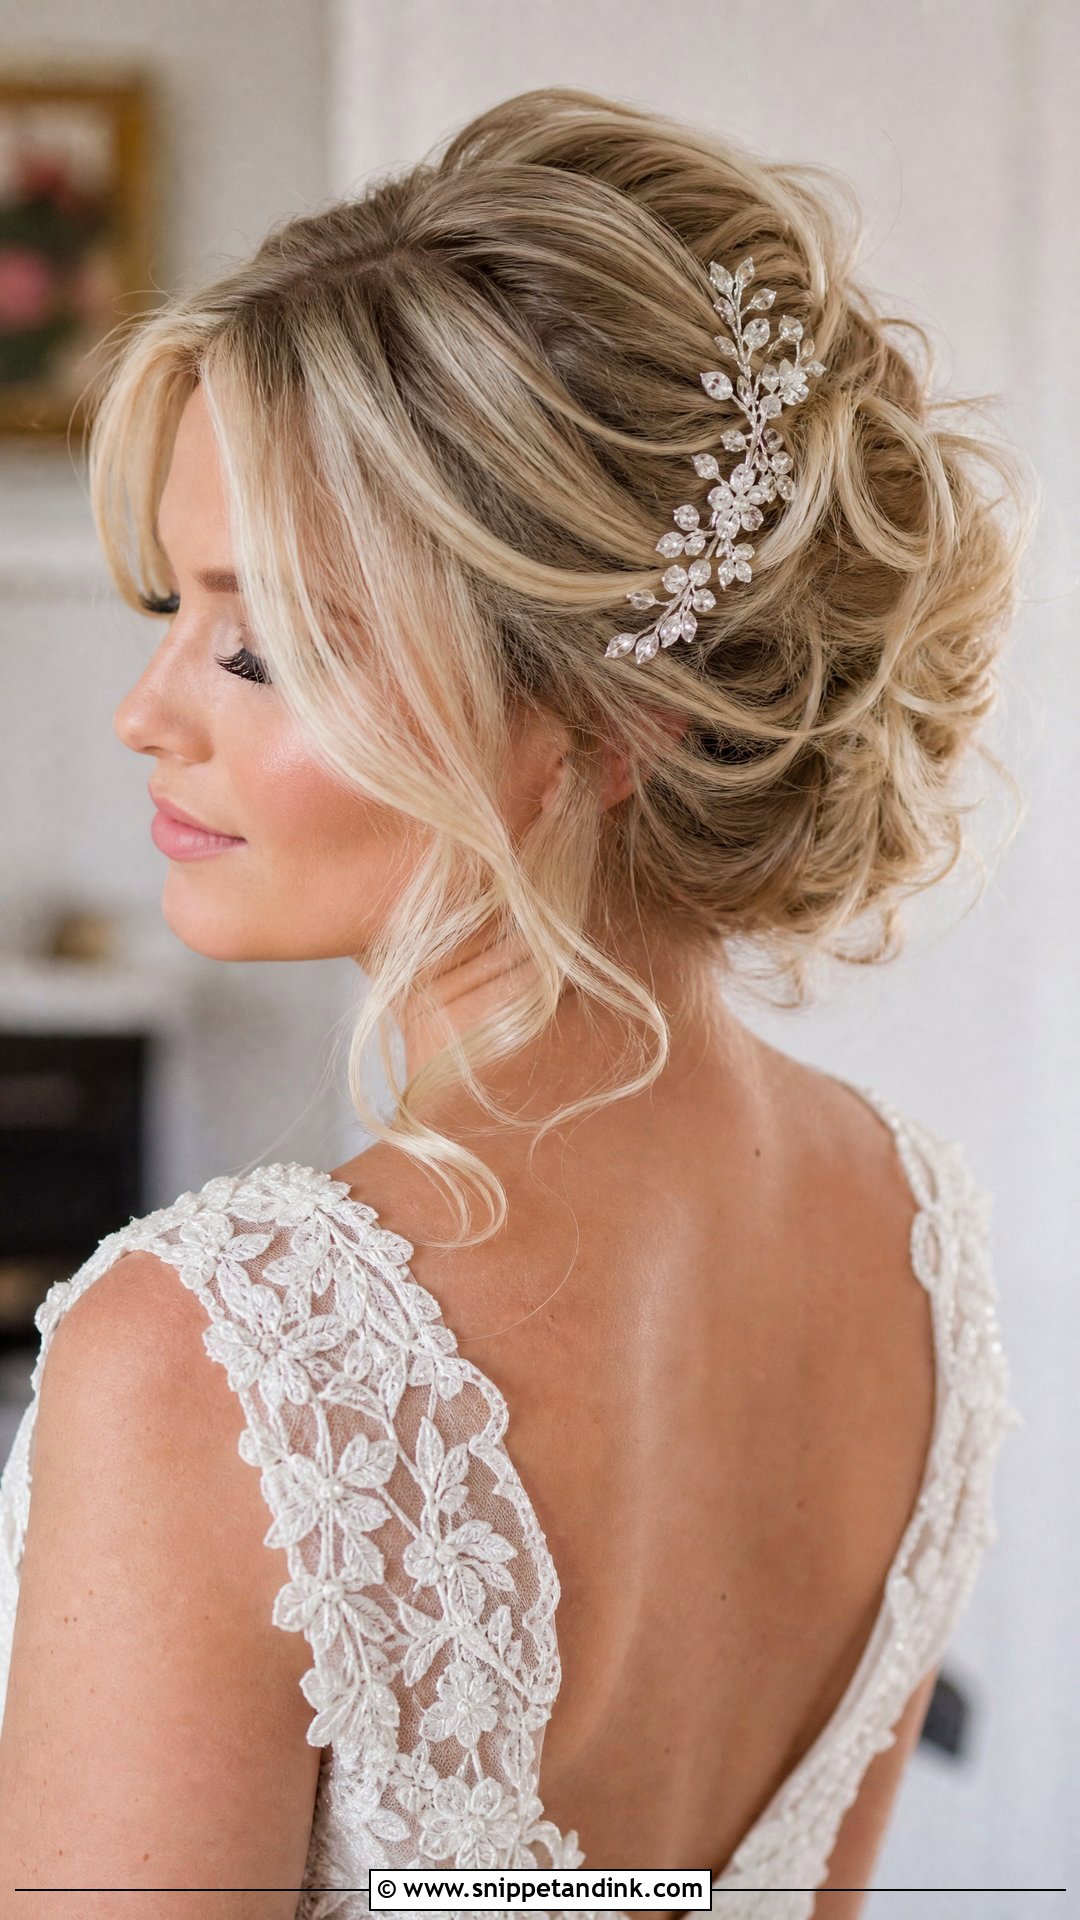
This soft updo blends structure with movement: loosely pinned curls form the shape, and a few escape near the face. From the front, it reads airy and soft. Brides who like an updo but want some movement around the face usually love it. The pinning has to be firm underneath even though the surface looks loose, otherwise curls slip out of place during the first hug. Fresh flowers or a comb can be tucked into the curls with a single pin each.
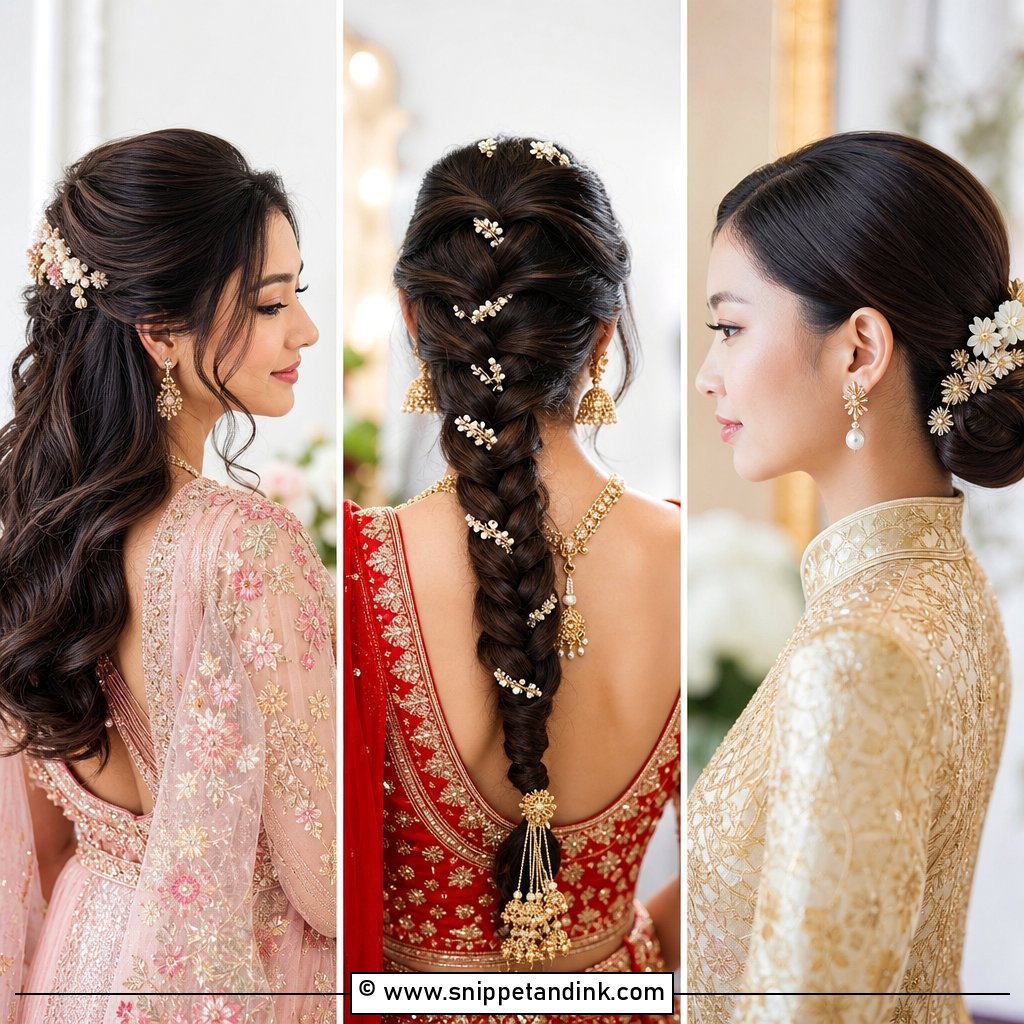
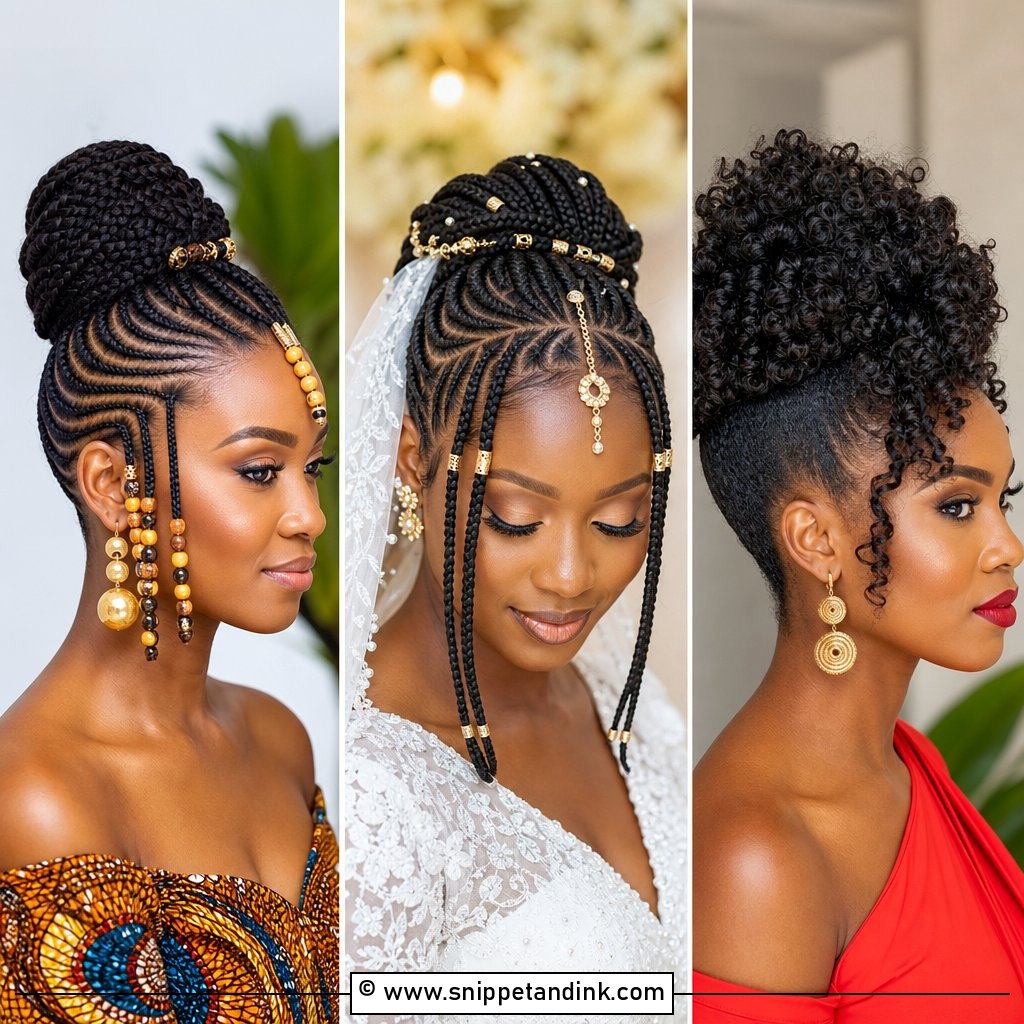
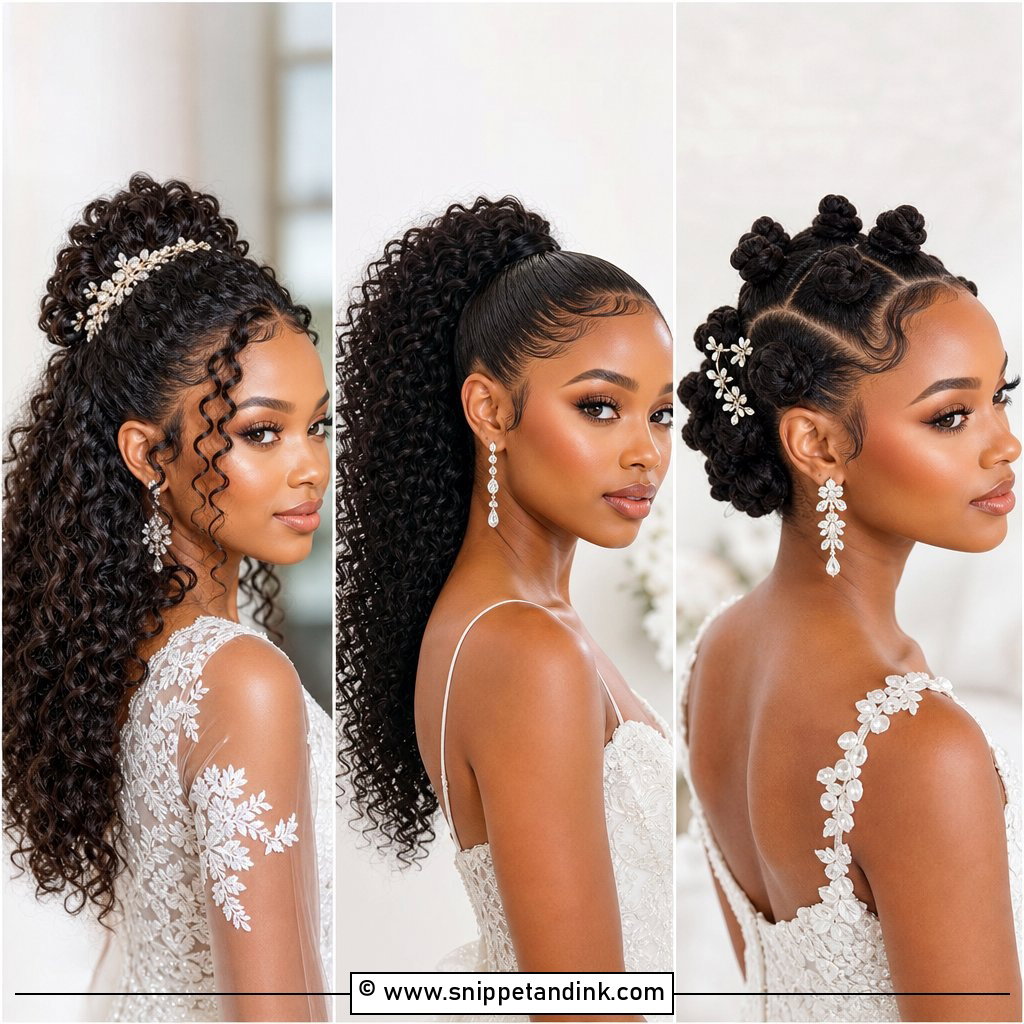
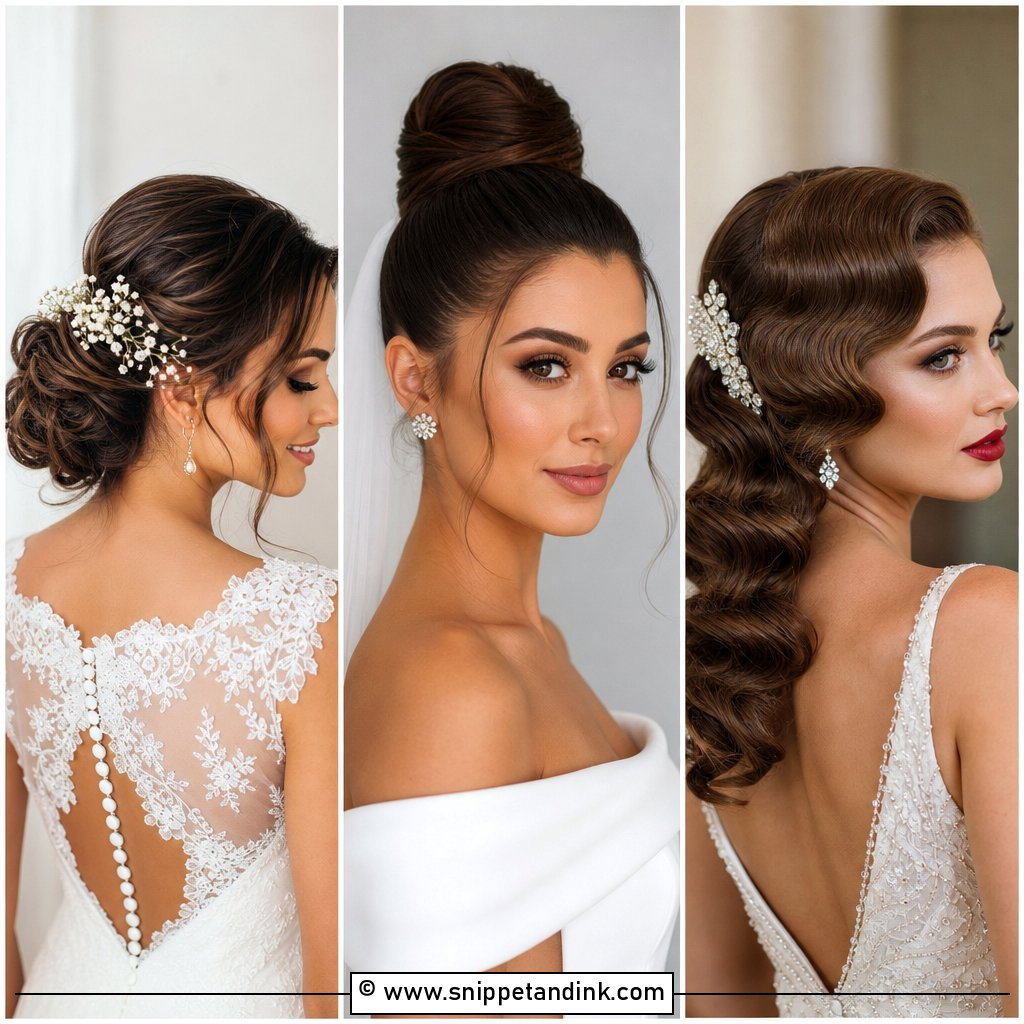
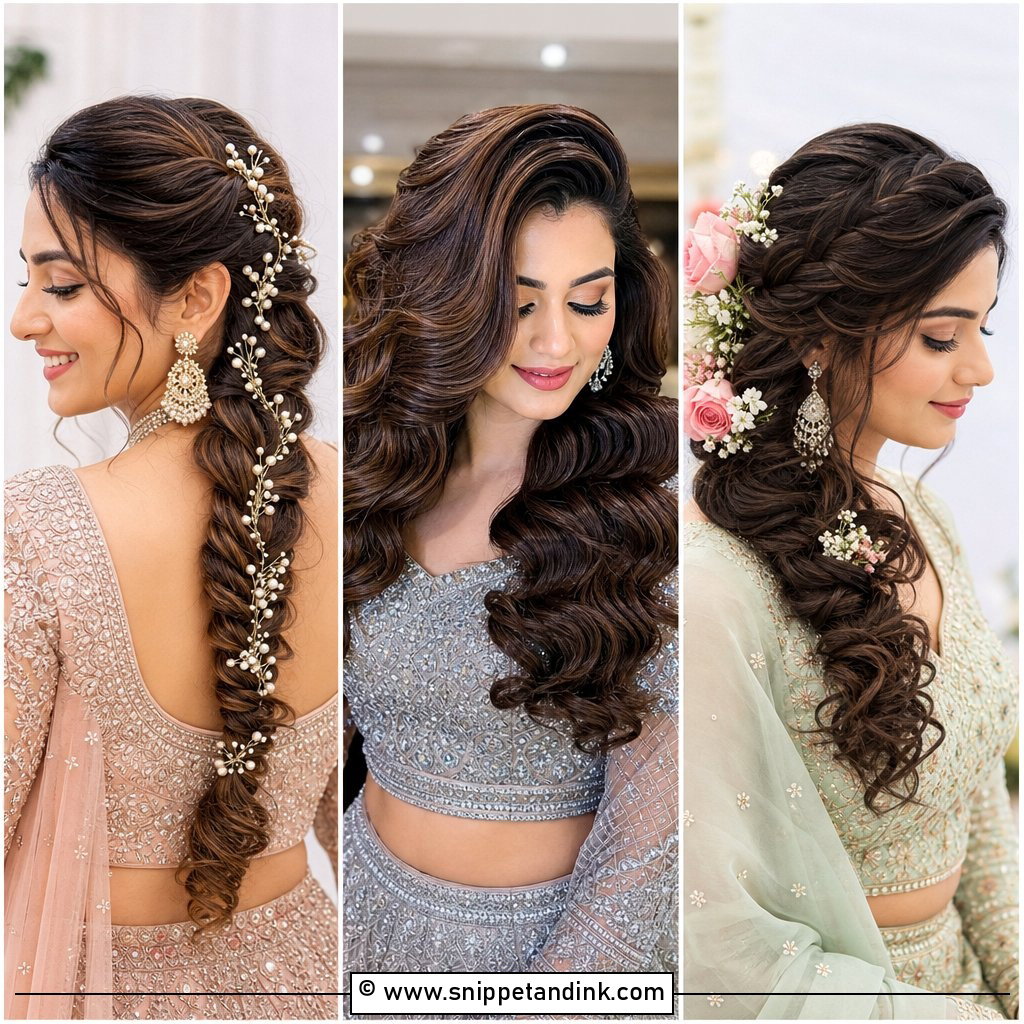
20. Long Layered Waves With Side Sweep
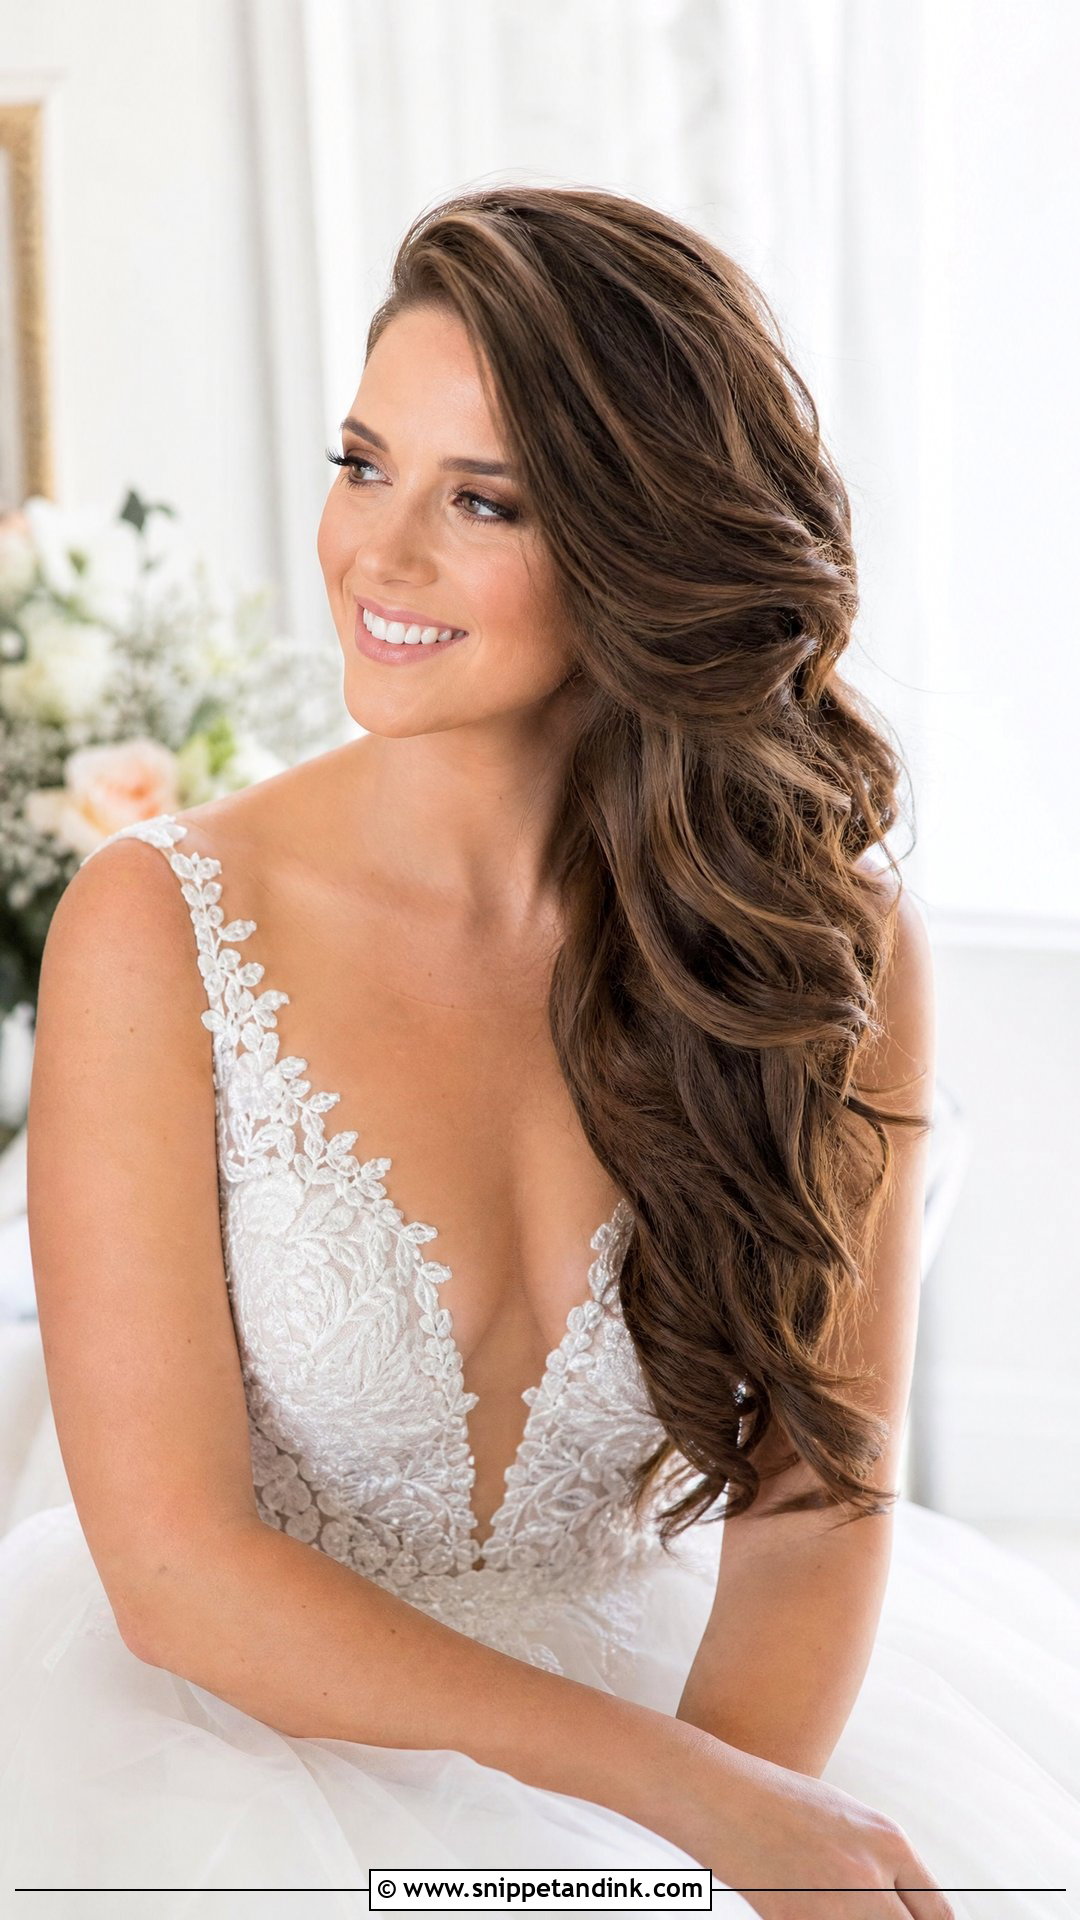
Long layered waves swept to one side frame the face with soft volume, and the layers keep the waves from hanging flat. From the front, the sweep highlights one cheekbone. The side-swept shape needs a strong anchor behind the ear, otherwise it drifts back to center by evening. I’d suggest it to brides with long, layered hair who want to wear it down. If you love long, flowing, voluminous hair, this is a glamorous way to show it.
Face-Framing Pieces at Hour Ten
The strands around your face get more attention than any other part of your hair, and they have the hardest job. They brush against makeup, catch tears and hang in the heat of the dance floor.
Why do they go limp?
Face-framing pieces are fine and light, and skin oil and foundation weigh them down. I curl them last, after makeup is set, and use a light hold spray rather than a heavy one. Some brides keep a small curling wand at the reception; others accept a softer look by night, which often photographs just as well.
Can I add them if I didn’t plan for them?
Yes, but tell your stylist before the bun is pinned. Pulling pieces out of a finished updo loosens everything near them. If you’re unsure, ask for two thin strands left loose to curl or pin away later.
What about a fringe or bangs?
Bangs sit directly on your forehead, so they pick up foundation and sweat faster than anything else. Blot your forehead before touching them and keep a little dry shampoo in your bag. A fringe cut in the final week can look blunt, so schedule any trim at least a week ahead.
Look in the Mirror Head-On Before You Decide
The front view of your hair frames your face in almost every photo, so treat it with as much care as the back. These 20 styles range from sleek buns to braided crowns and boho waves. Think about your gown, your venue, your face shape and how much hair you want around your face. Bring photos of your inspiration and photos of your own hair, and book a trial. When I take a front-on photo at the end of a trial, it shows us both what the camera will see.
You'll Like These Ideas:


Leave a Reply