
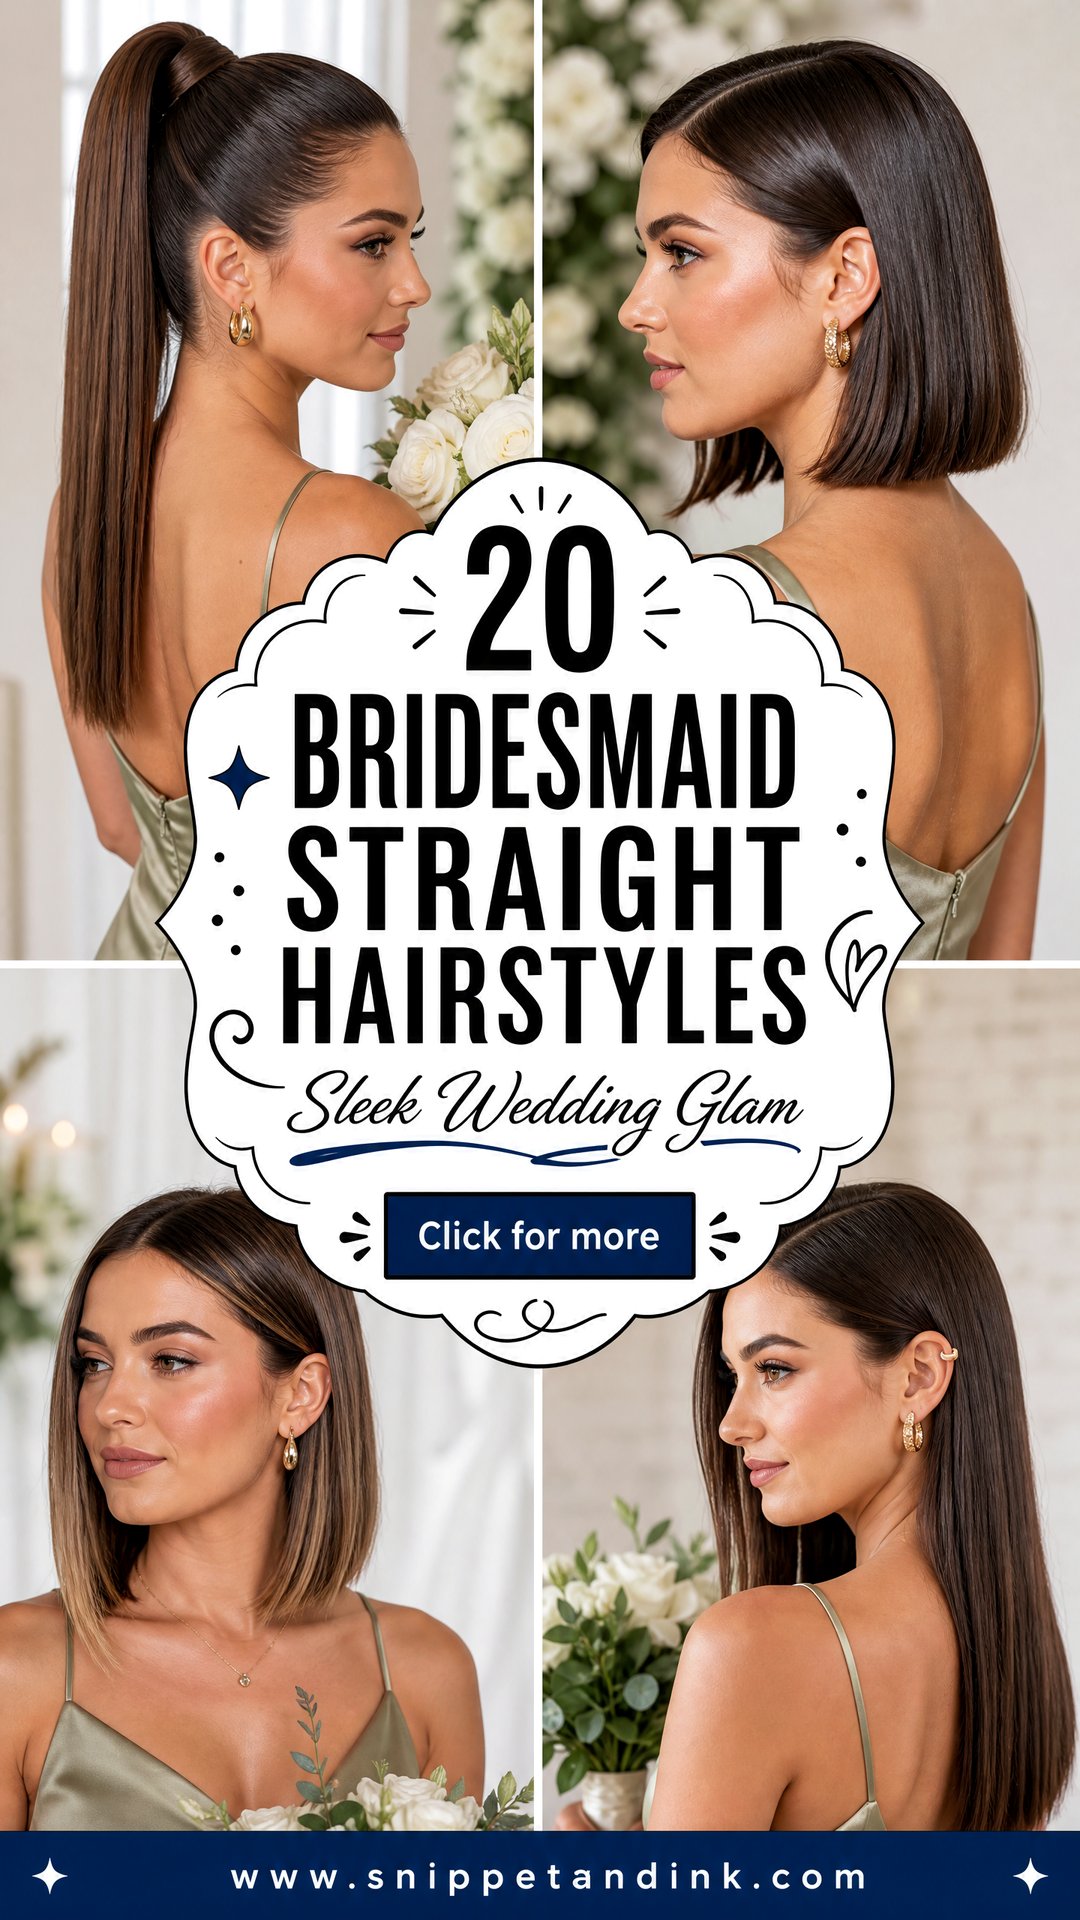
More bridal parties are asking me for straight hair than a few years ago: sleek ponytails, glossy down styles, half-up looks and one simple accessory instead of a head of curls. I understand why. Straight hair reads clean in photos and lets the neckline and earrings do the talking. What people underestimate is how much it shows. A curl hides a kink or an oily root; a straight surface doesn’t. So every style below comes with what I do to keep it smooth from the getting-ready photos to the send-off, across different lengths and textures.
Smooth Styles Start With the Ends, Weeks Ahead
Sleek hair has nowhere to hide split ends, frizz or dull lengths, so the work starts well before the wedding. I’d suggest a trim two to three weeks out. That’s long enough for a blunt line to soften, but recent enough that the ends are clean.
- Wash the night before, unless your roots get oily within a day; then wash that morning and dry thoroughly.
- Skip heavy masks and oils on the day; they make straight hair limp and pins slide straight out.
- Use a heat protectant before every pass of the iron. Straight styles need more heat than curls, and fried ends show in close-ups.
- If you colour, book it a week or more ahead so a fresh gloss has settled and any tone can be corrected.
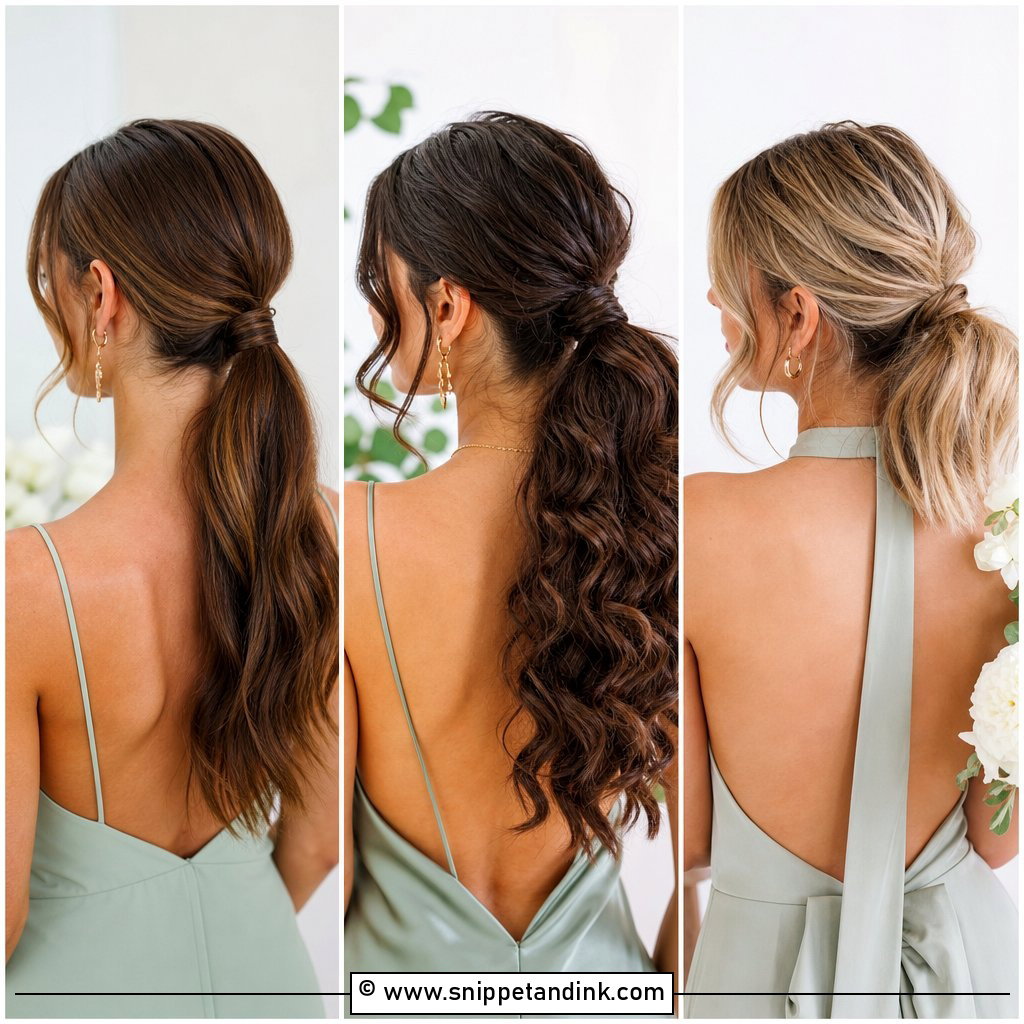
1. Sleek Low Ponytail Bridesmaid Hairstyle
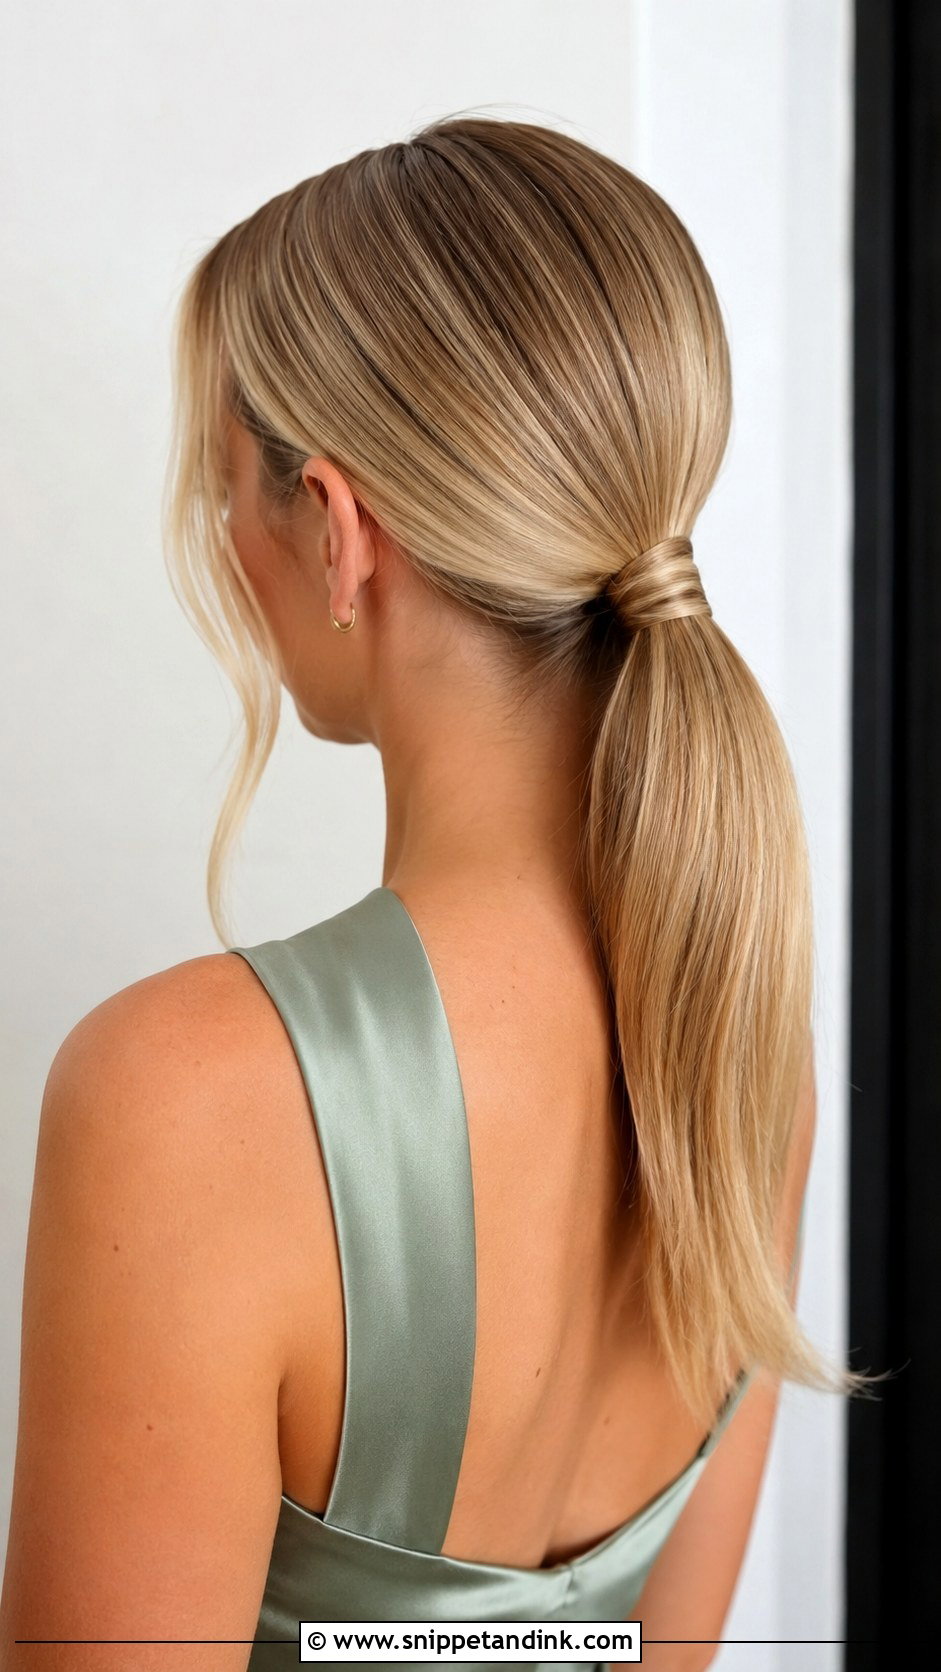
A sleek low ponytail is the straight style I trust most for a long day. I smooth the hair back with a boar bristle brush, secure it low at the nape, then wrap a strand around the elastic and pin it underneath. The flat iron goes through the tail last, in thin sections, so it hangs like a ribbon. Satin dresses and halter necks suit it. If the bridesmaid feels exposed, I leave two very slim pieces by the cheekbones, no thicker than a pencil.
2. Straight Half Up Half Down Bridesmaid Hairstyle
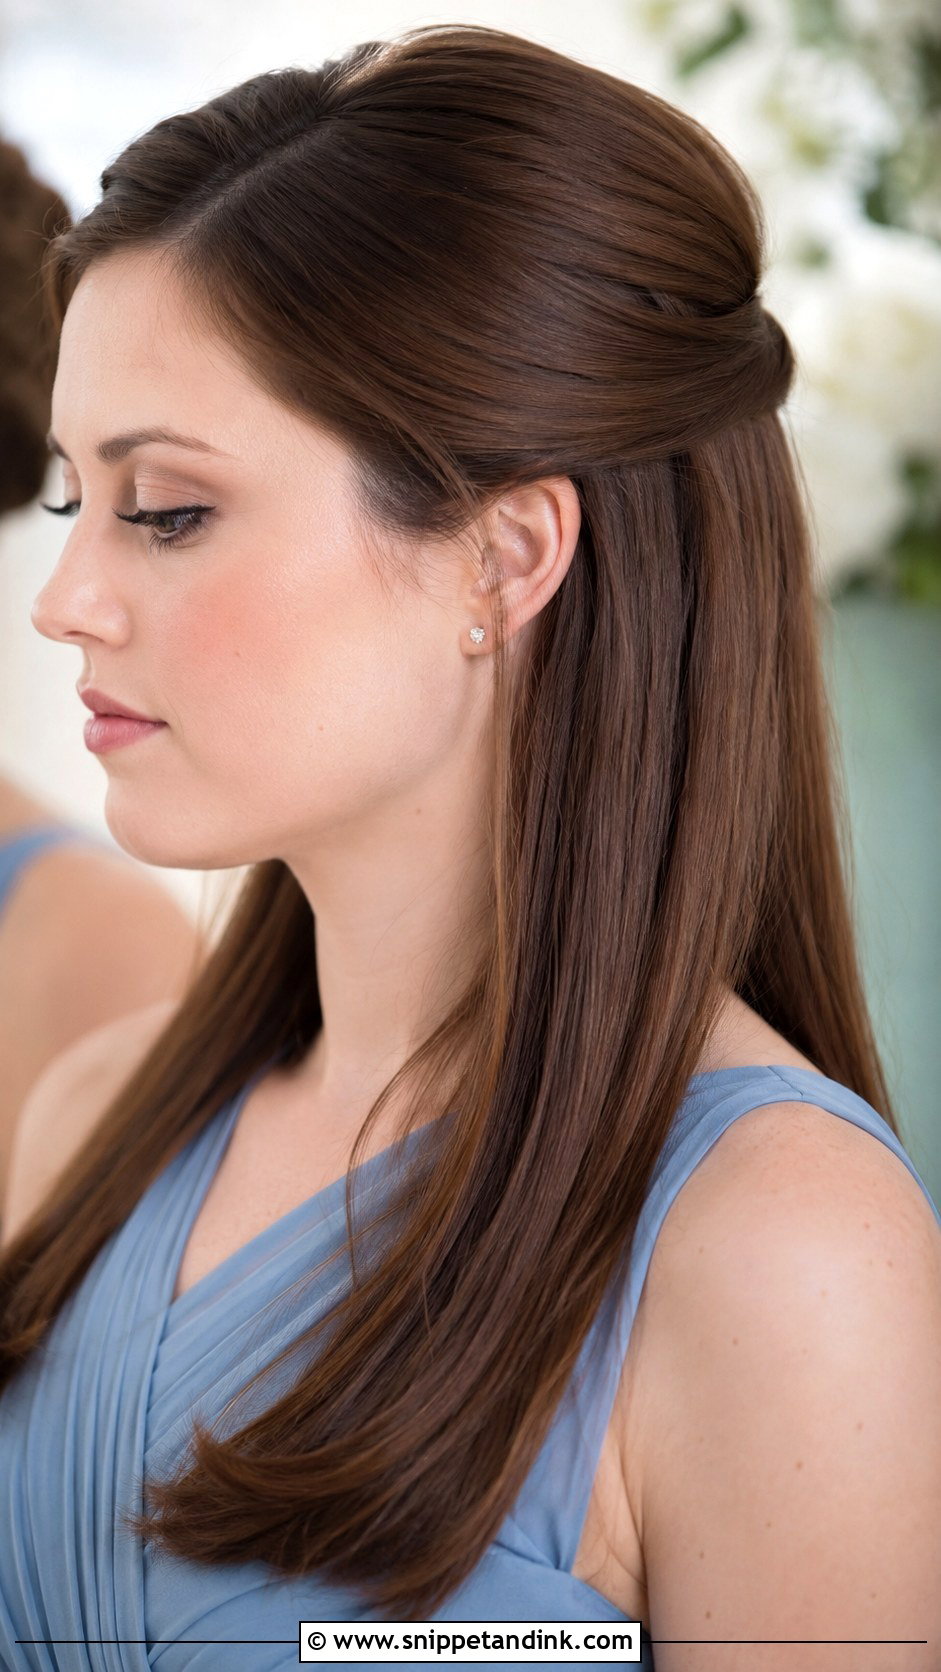
Straight half up, half down keeps hair down while holding the front still. I lift the top section with a little root volume first, because flat hair pulled back looks thin on top. A small twist or a slim clip secures it. The loose lengths get flat-ironed with a gentle inward bend at the ends, so they sit on the shoulders instead of splitting around them. Round, oval and heart-shaped faces all get a lift from the extra crown height.
3. Middle Part Straight Hair Bridesmaid Hairstyle
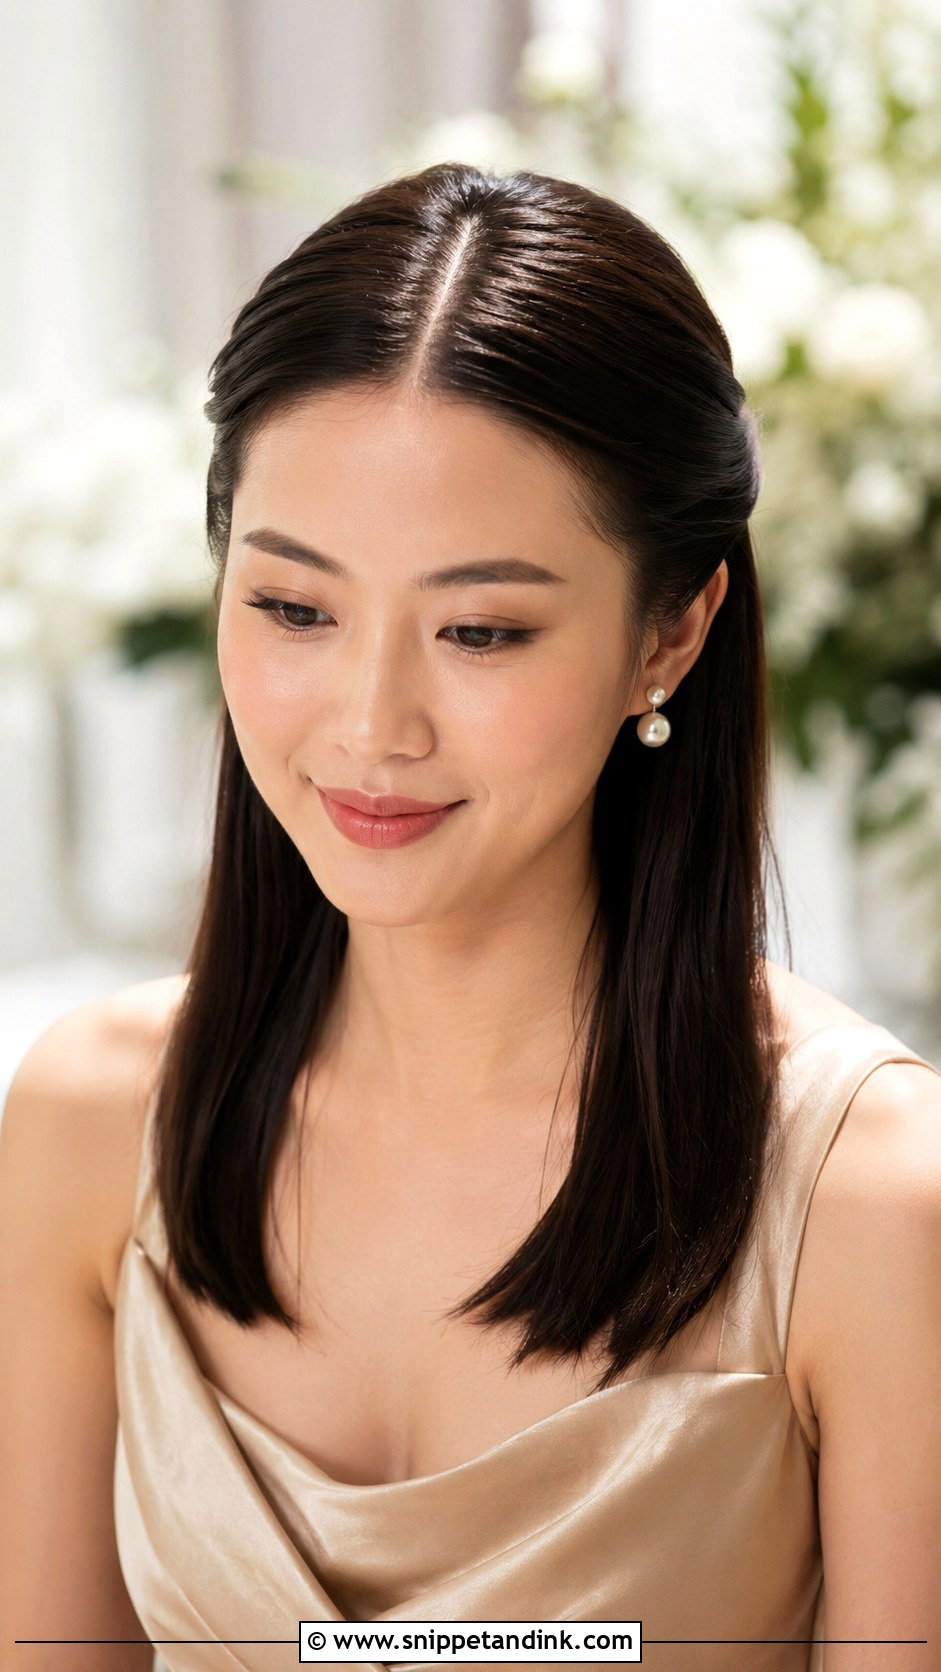
A middle part looks simple and is the least forgiving style here. Any asymmetry in the cut, cowlick or part shows at once, so I check the part in the mirror from straight on before I iron anything. Then it’s a smooth blow-dry, flat iron in small sections and a lightweight shine serum on the lengths only. Tucking one or both sides behind the ears shows the earrings; a discreet pin under the top layer stops the tuck falling forward. It belongs at minimalist and black-tie weddings.
4. Side Part Straight Hair Bridesmaid Hairstyle
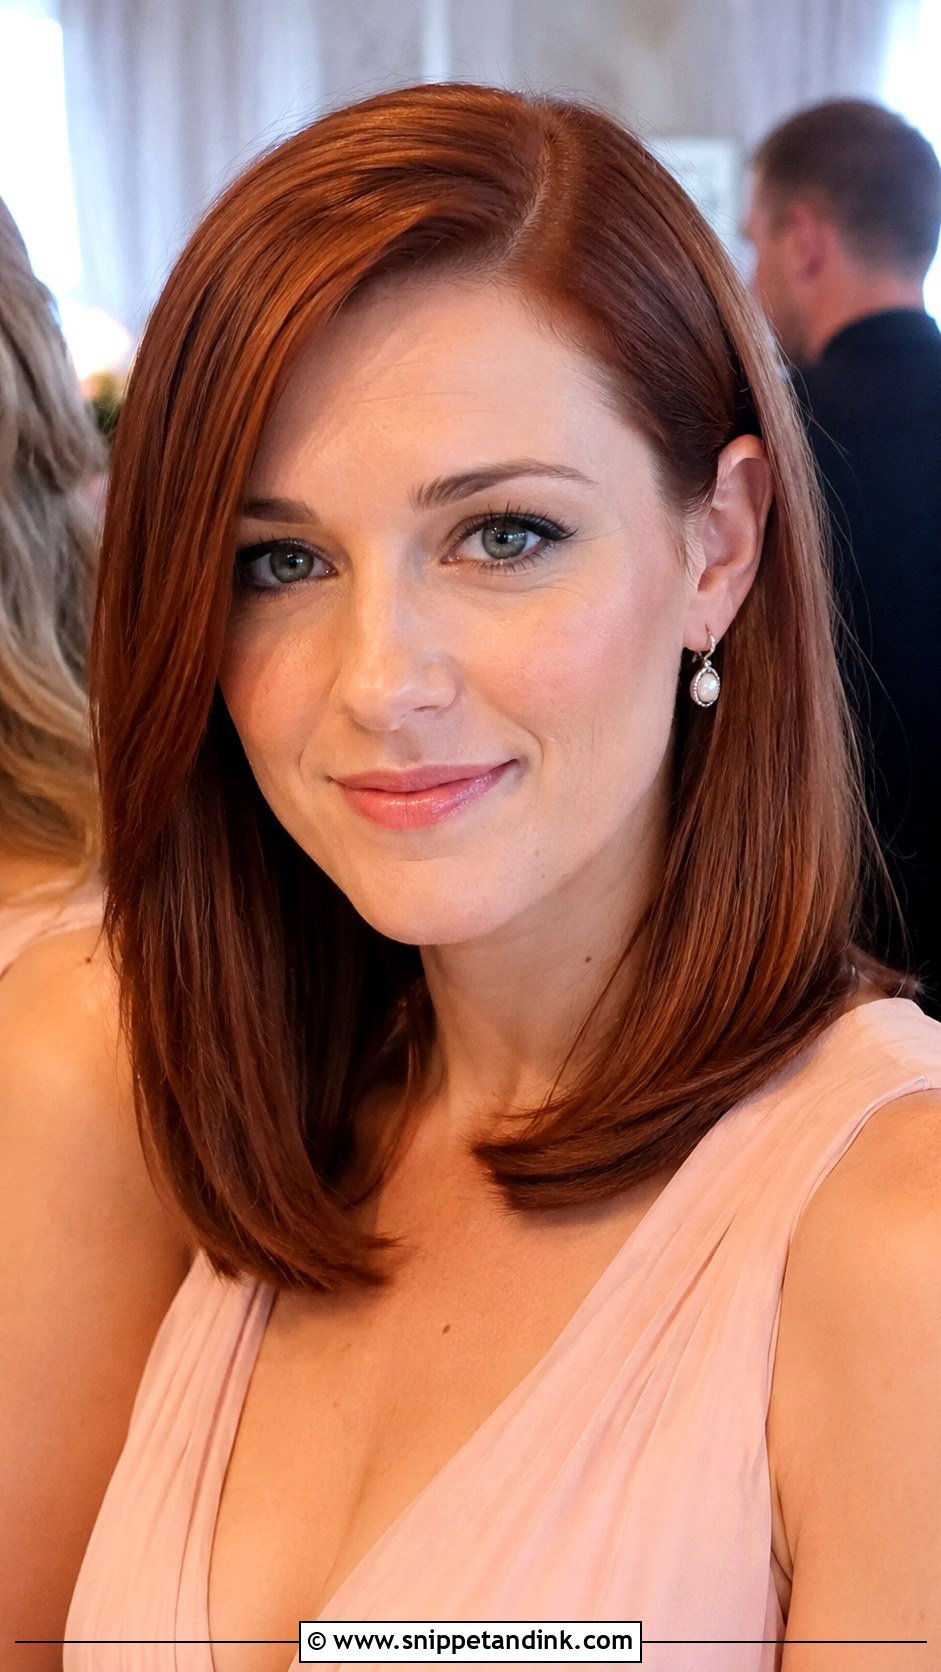
Side parts make straight hair look fuller, which is why I suggest them for fine hair. Flipping the part to the opposite side of where it usually falls gives instant root lift. The longer side sweeps by the cheek; the shorter side tucks behind the ear. Smoothing cream before heat, flexible spray after, and the front stays controlled without going stiff. Drop earrings and one-shoulder dresses suit it.
5. Straight Hair With Pearl Clip Bridesmaid Hairstyle
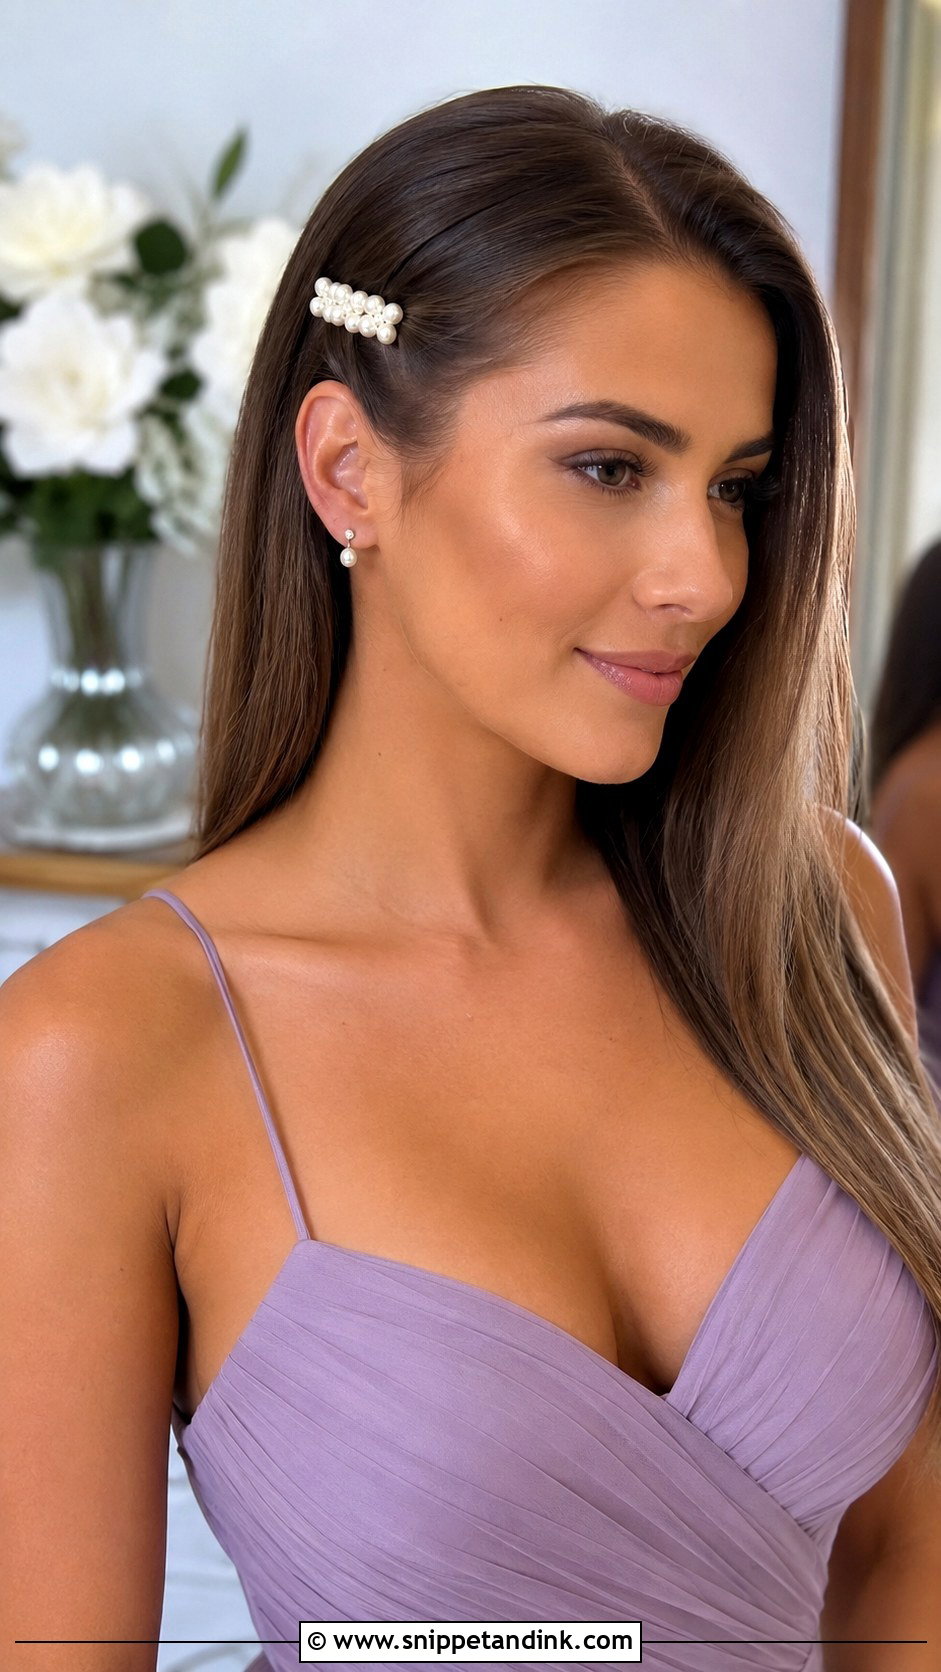
Pearl clips show up best on straight hair because nothing competes with them on a smooth surface. Placement is everything: a clip just above the temple catches light in close-ups, while one at the back mostly appears in the walking-away shots. The hair can be down, half up or tucked to one side; keep it simple so the clip leads. A side tuck with a pearl barrette near the temple suits medium to long hair, and I always slide it over a crossed pair of bobby pins so it can’t slip down straight strands.
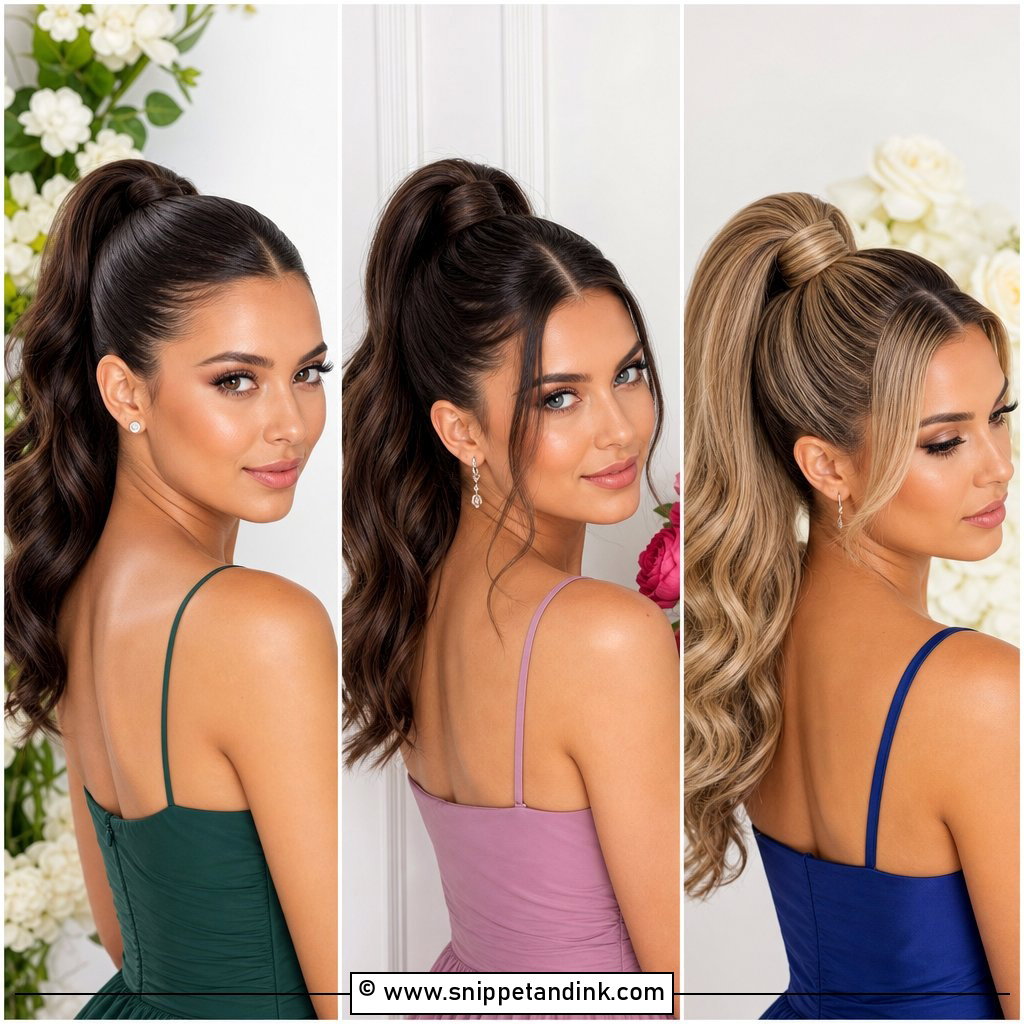
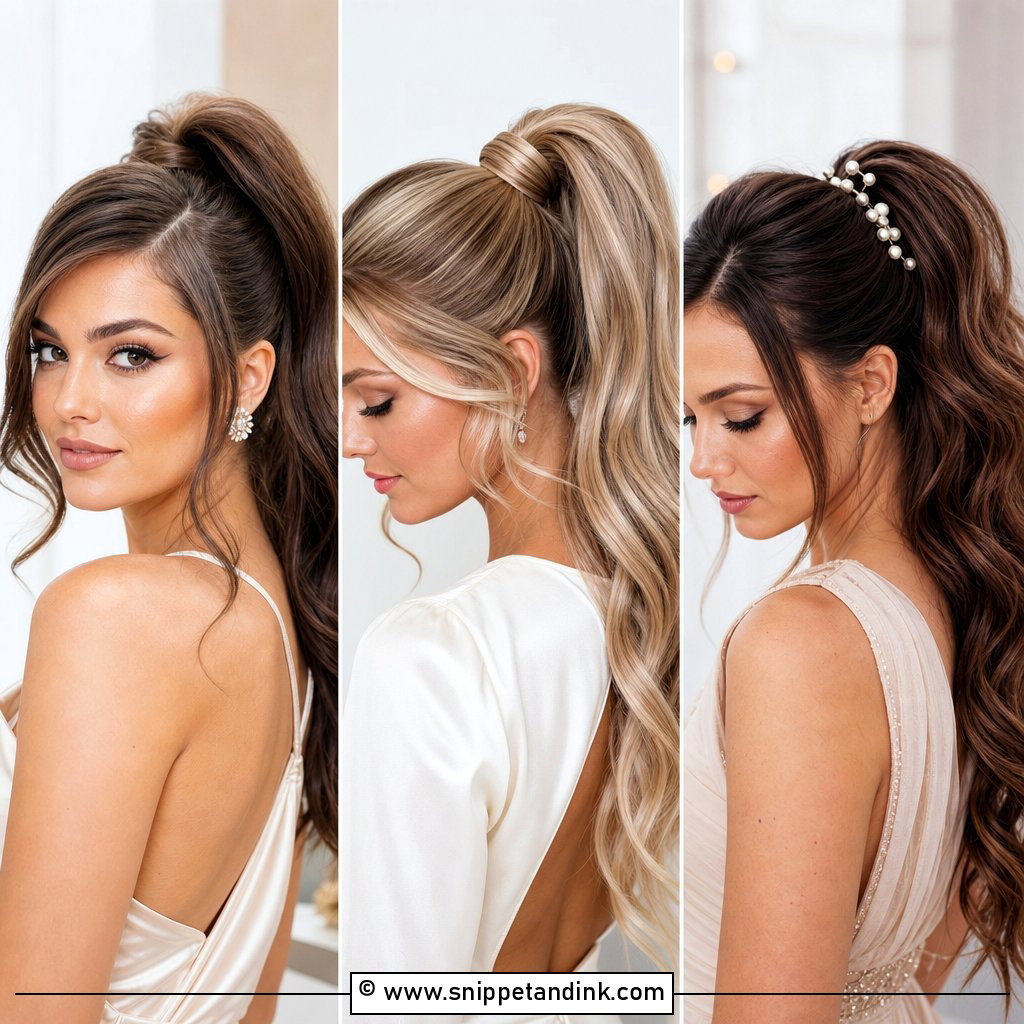
6. Straight High Ponytail Bridesmaid Hairstyle
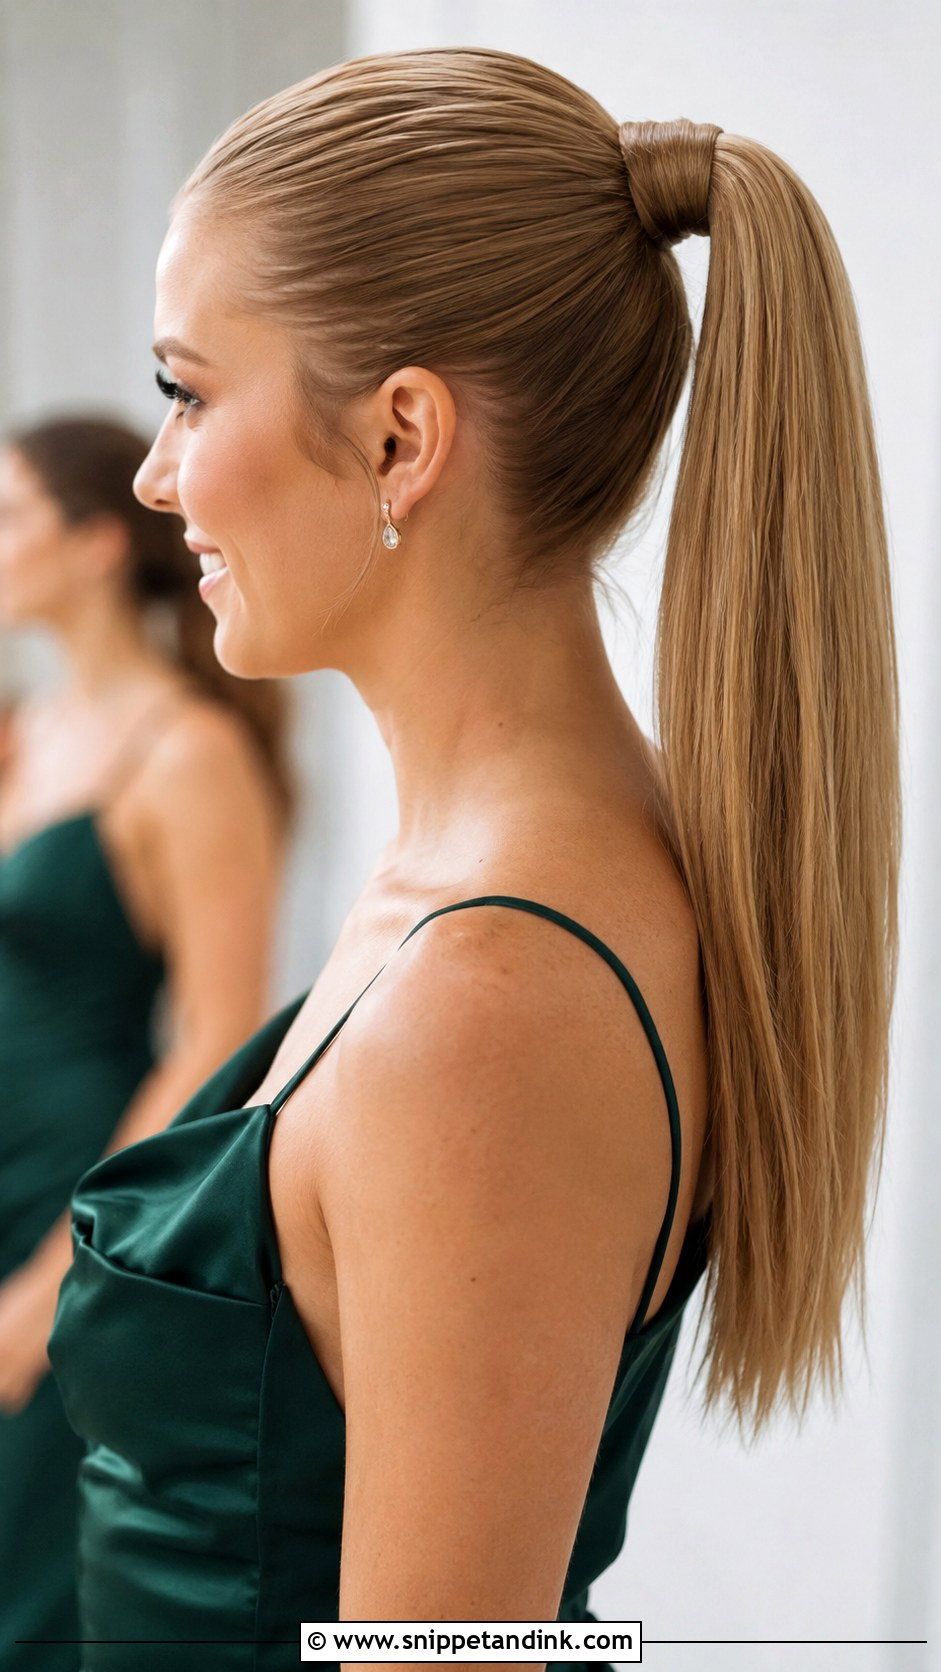
A high ponytail is the confident option, and it suits strapless and square necklines because it shows the shoulders and cheekbones. Smooth crown, secure base, sleek lengths. I put it in with two elastics, one to gather and one to tighten, because a single elastic on long straight hair droops by evening. Wrapping a strand around the base finishes it. A little root lift softens it if the slicked look feels severe.
7. Straight Low Bun Bridesmaid Hairstyle
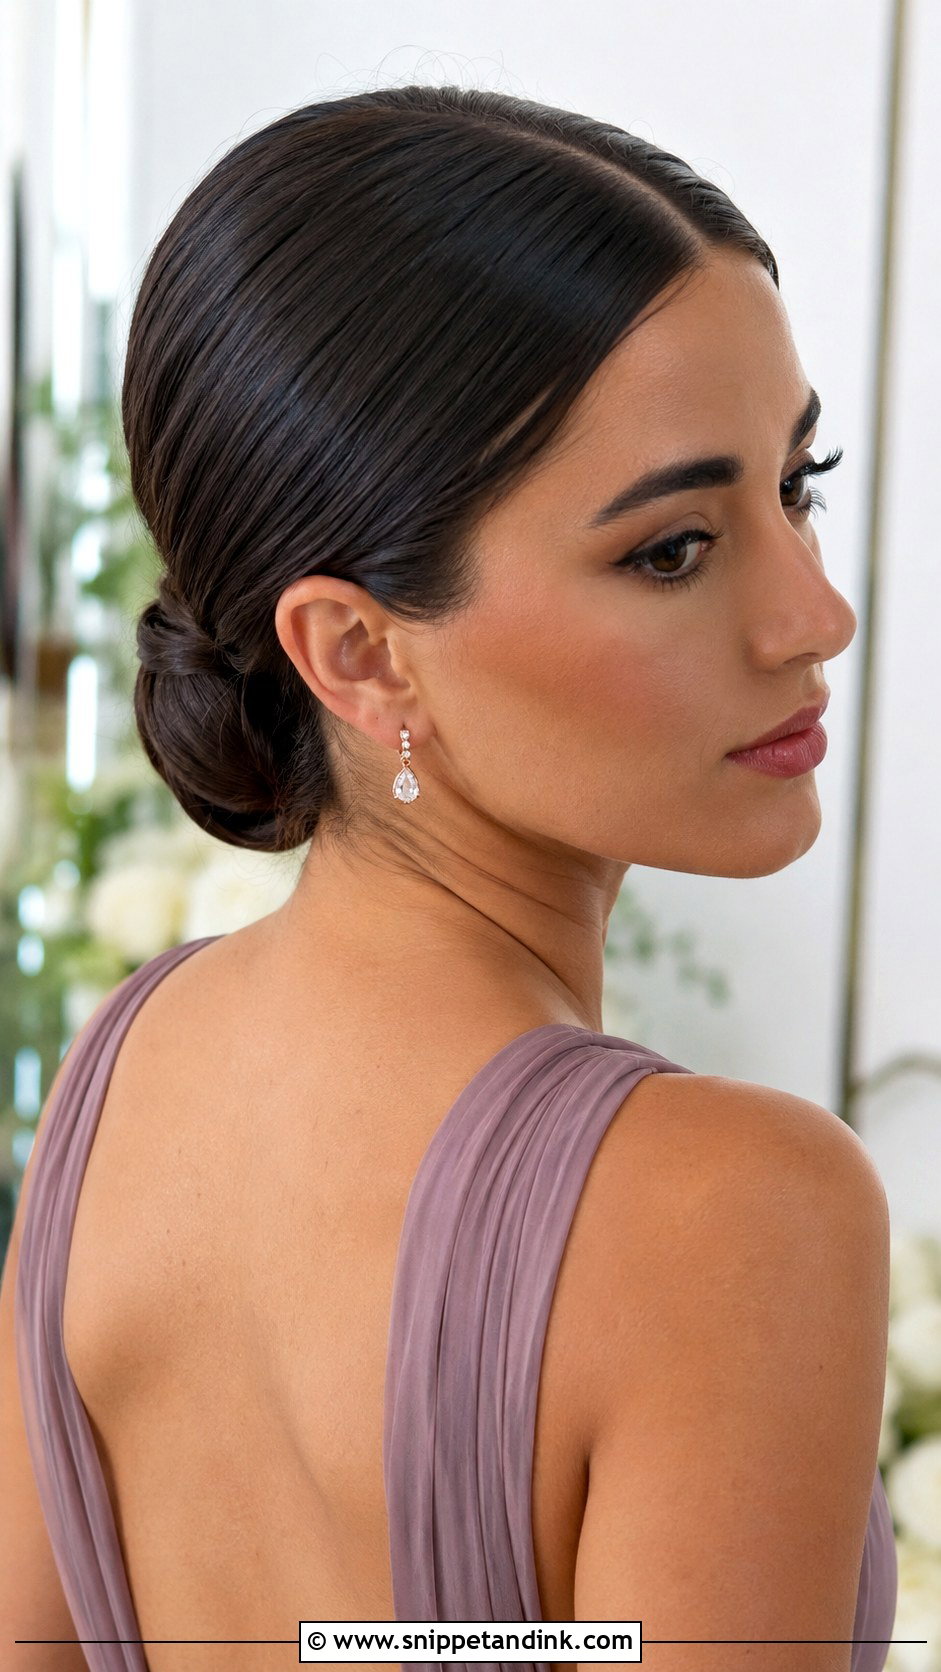
A straight low bun comes out neat and sculpted, folded or twisted close to the nape. It’s practical: hair stays off the shoulders through a hot ceremony and a long reception, and it leaves room for statement earrings and backs with detail. Very silky, freshly washed hair is hard to pin, so I prep it with a little texture spray inside the bun where it won’t show. Centre part for modern, side part for softer.
8. Straight Half Up Ponytail Bridesmaid Hairstyle
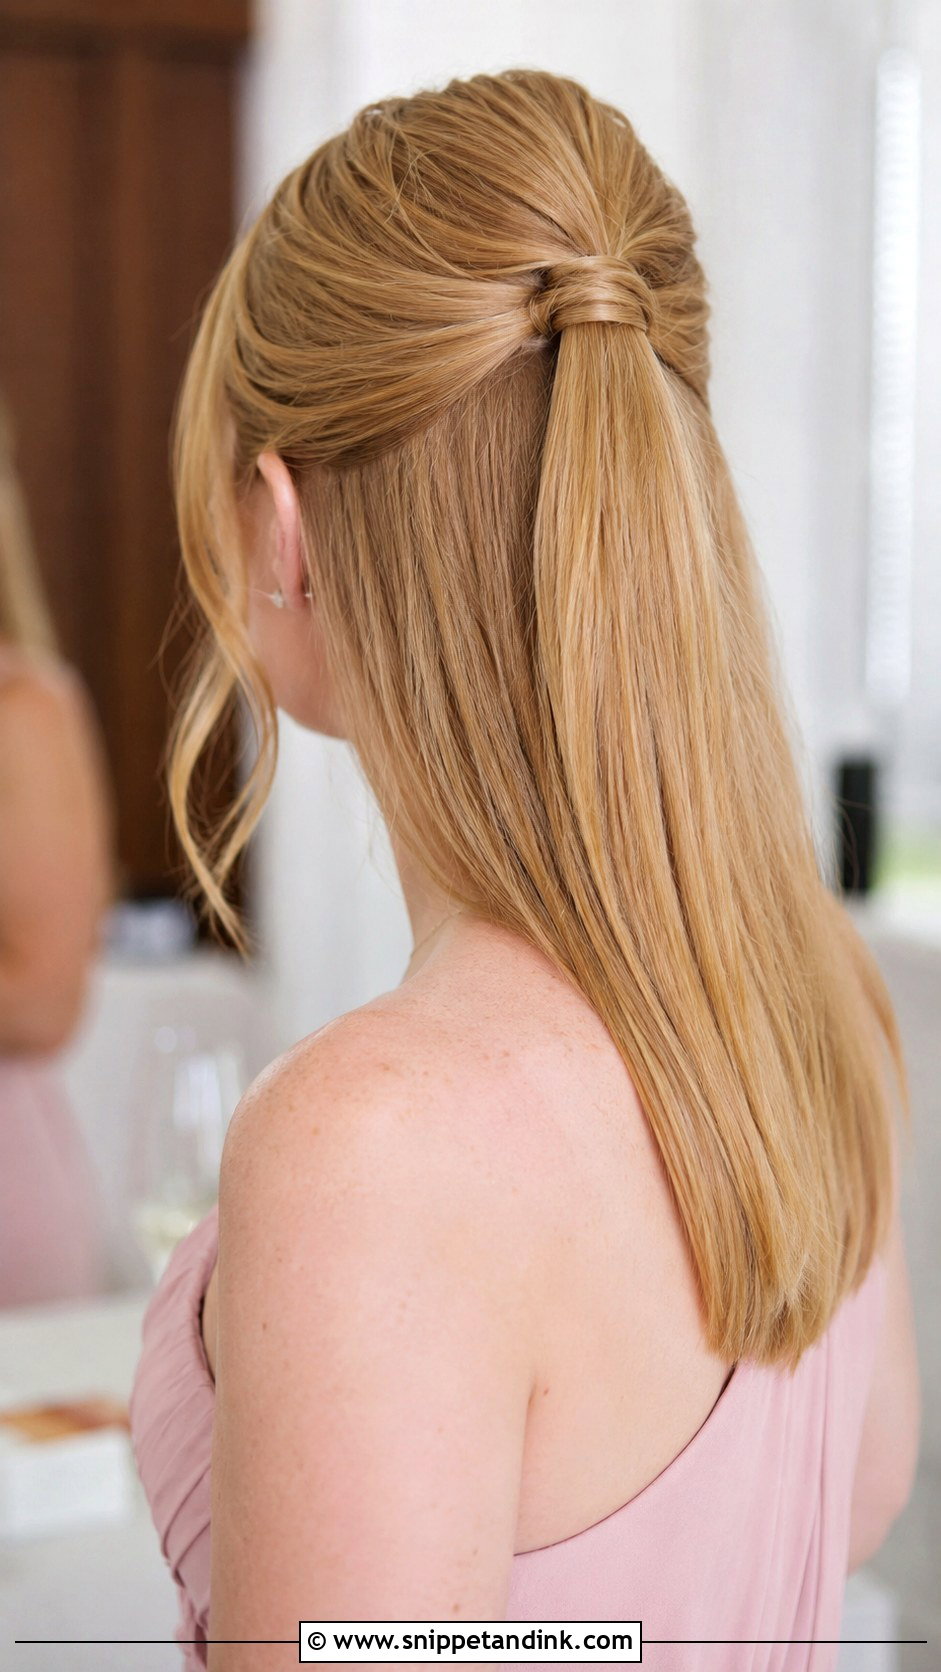
A half-up ponytail gathers just the top section at the crown while the rest hangs straight. It suits long hair, giving movement at the back and structure at the front. I tease lightly under the top section before tying, so the little ponytail sits with some height. Bevel the lower ends slightly so they don’t look blunt against the dress.
9. Straight Hair With Braided Crown Bridesmaid Hairstyle
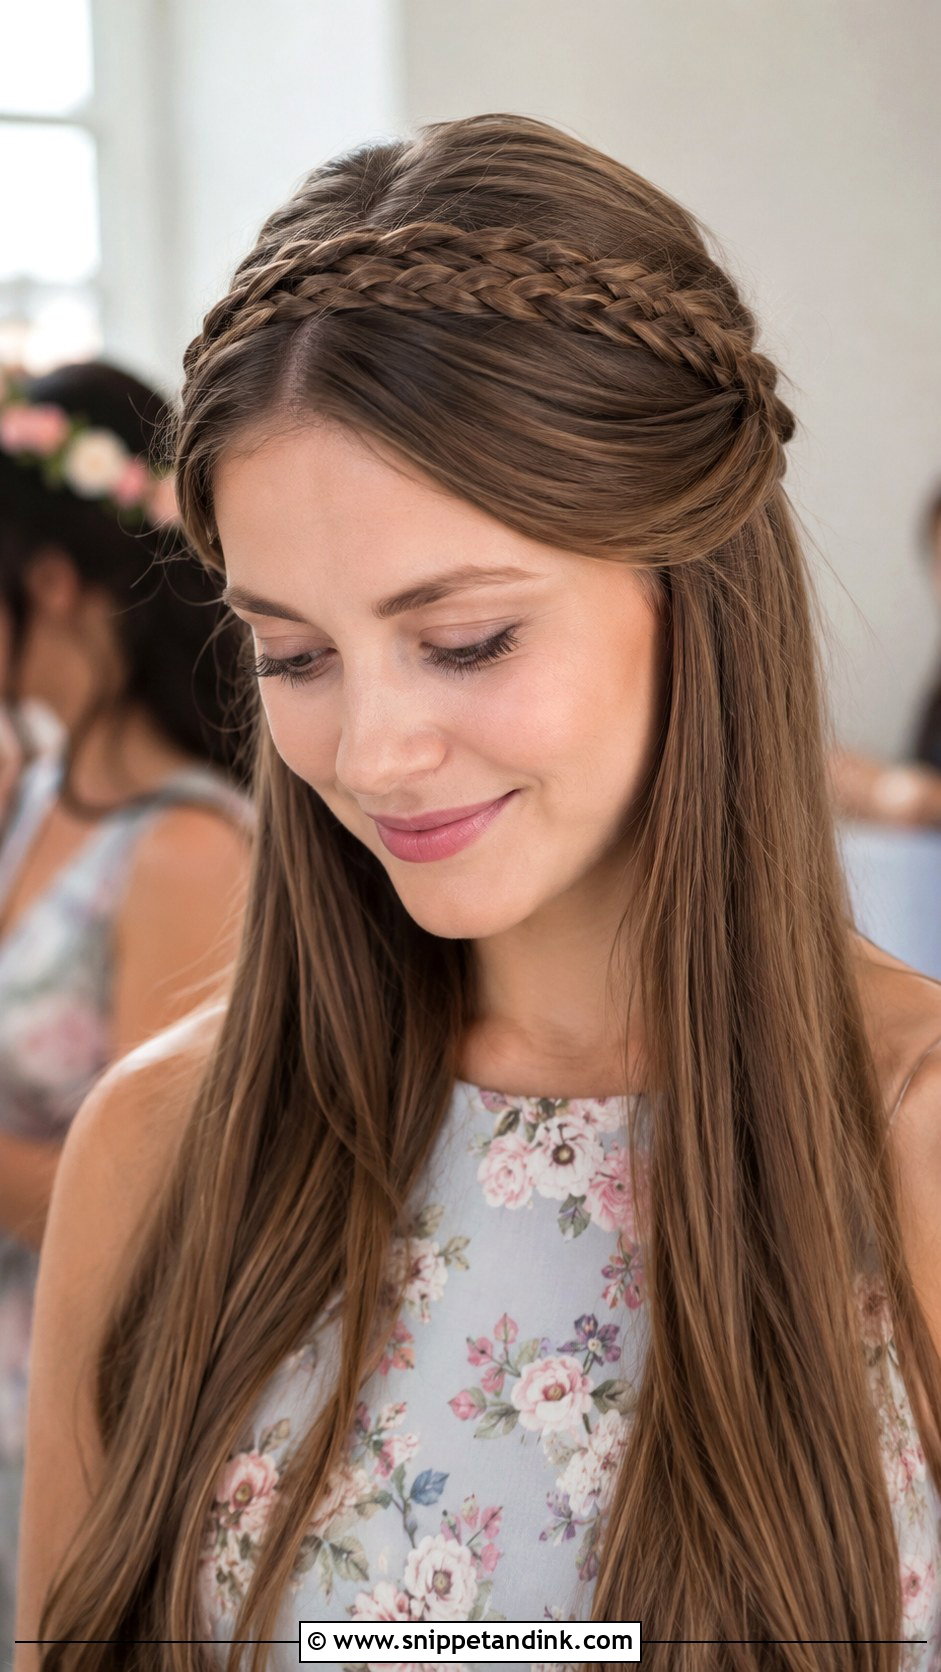
A braided crown on straight hair gives the romance of a braid without curls. The braid can sit across the top like a headband or travel along one side into the straight lengths. Straight hair keeps each section of the braid crisp, so the detail stays visible from a distance. I’d caution very slippery, fine hair: the braid tends to loosen, so I spray each section lightly before braiding and pin the end twice. Outdoor weddings and floral dresses suit it.
10. Straight Bubble Ponytail Bridesmaid Hairstyle
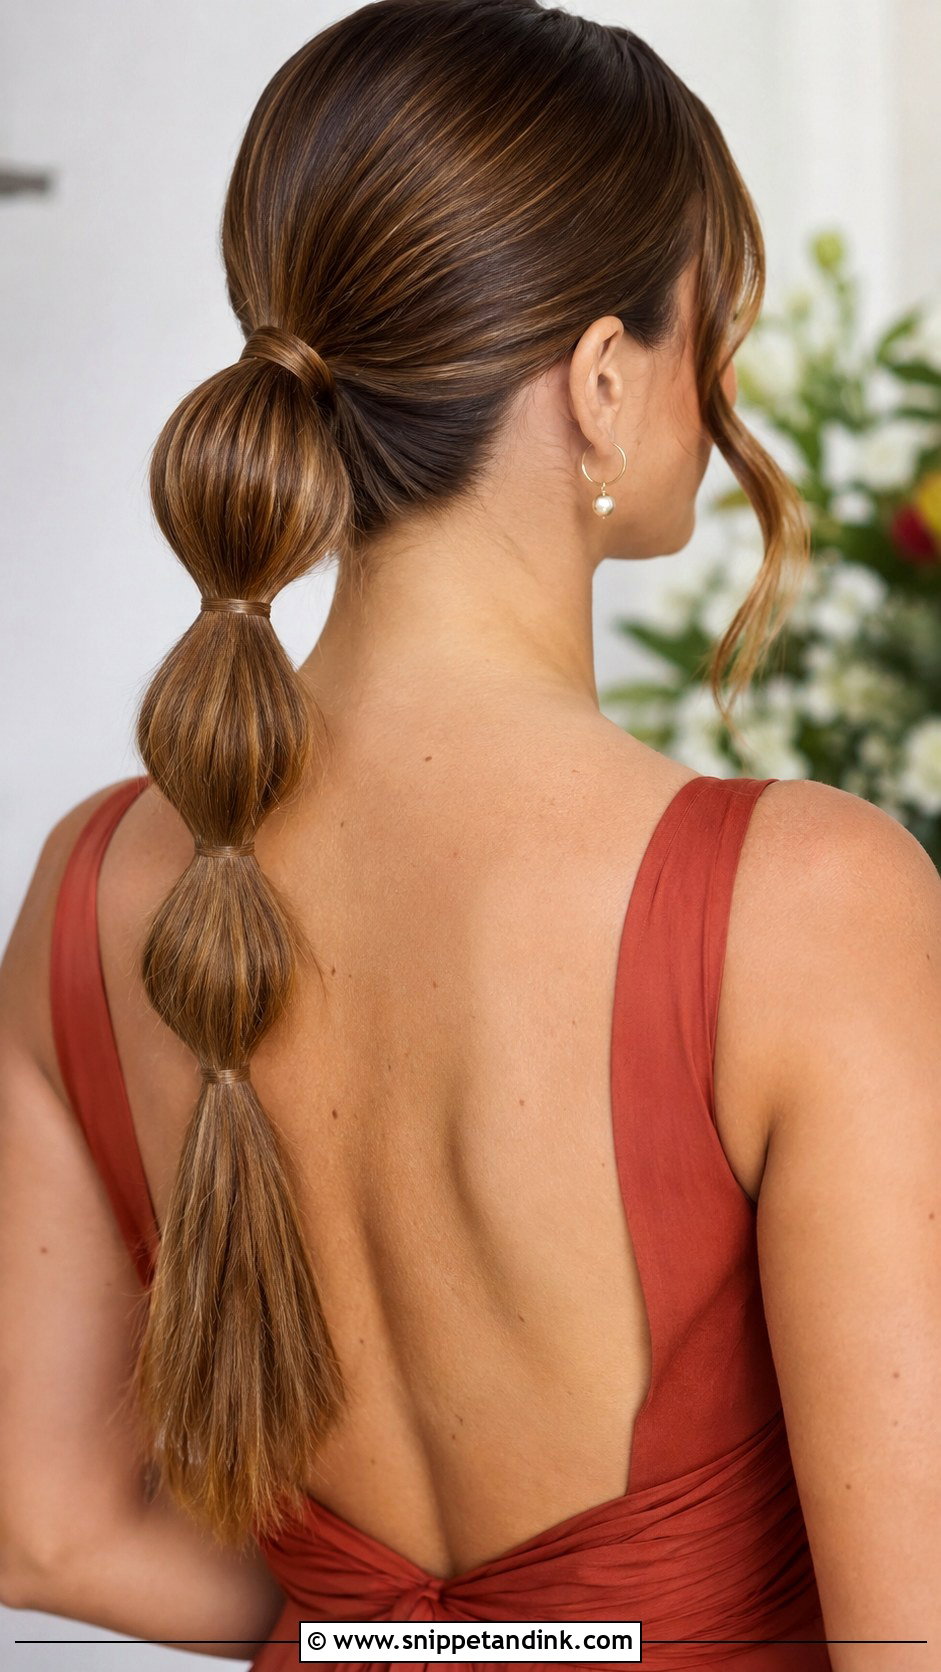
A straight bubble ponytail is playful and holds up to dancing. I tie the ponytail, add clear or colour-matched elastics down the length at even spacing, then gently tug each section round. On straight hair the bubbles look graphic, so spacing has to be precise; uneven gaps are obvious. Long hair is best. A wrapped base keeps it formal enough for a wedding.
11. Straight Bob Bridesmaid Hairstyle
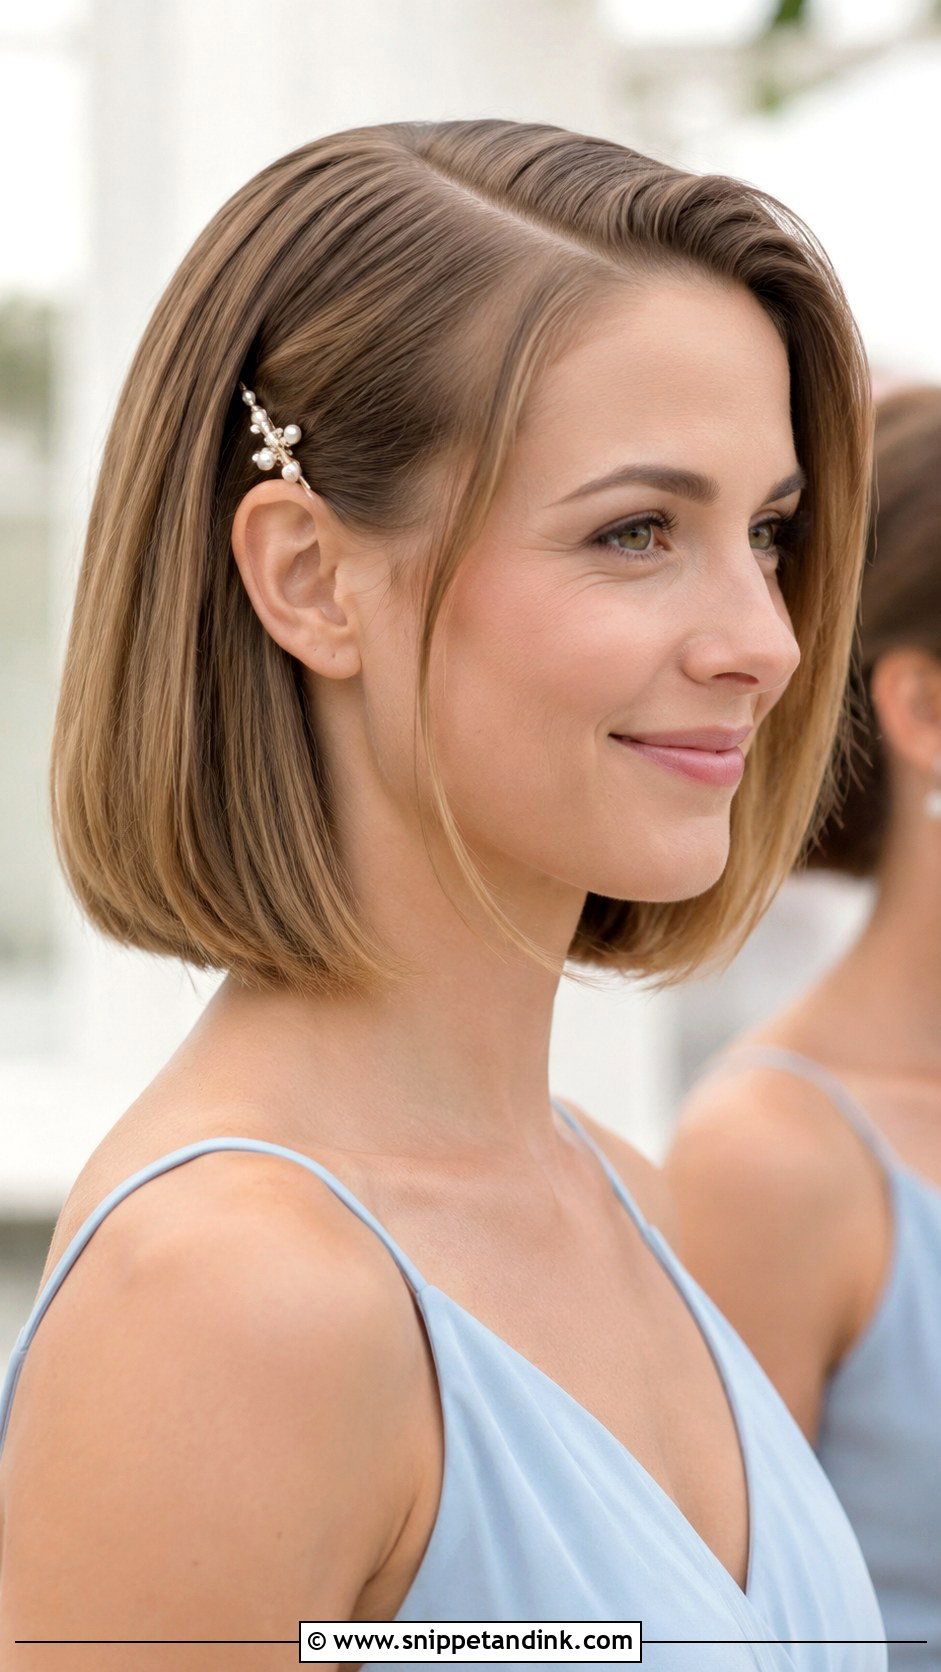
A straight bob already has shape from the cut, so styling is about shine and a clean edge. I round-brush it smooth and tuck the ends slightly under at the jawline. Bobs show oil faster than longer hair because the roots and ends are so close, so I’d ask a bridesmaid with a bob to carry dry shampoo or blotting papers. Side part for softness, centre part for sharpness. A pearl pin or one tucked side adds detail without extensions.
12. Straight Lob Bridesmaid Hairstyle
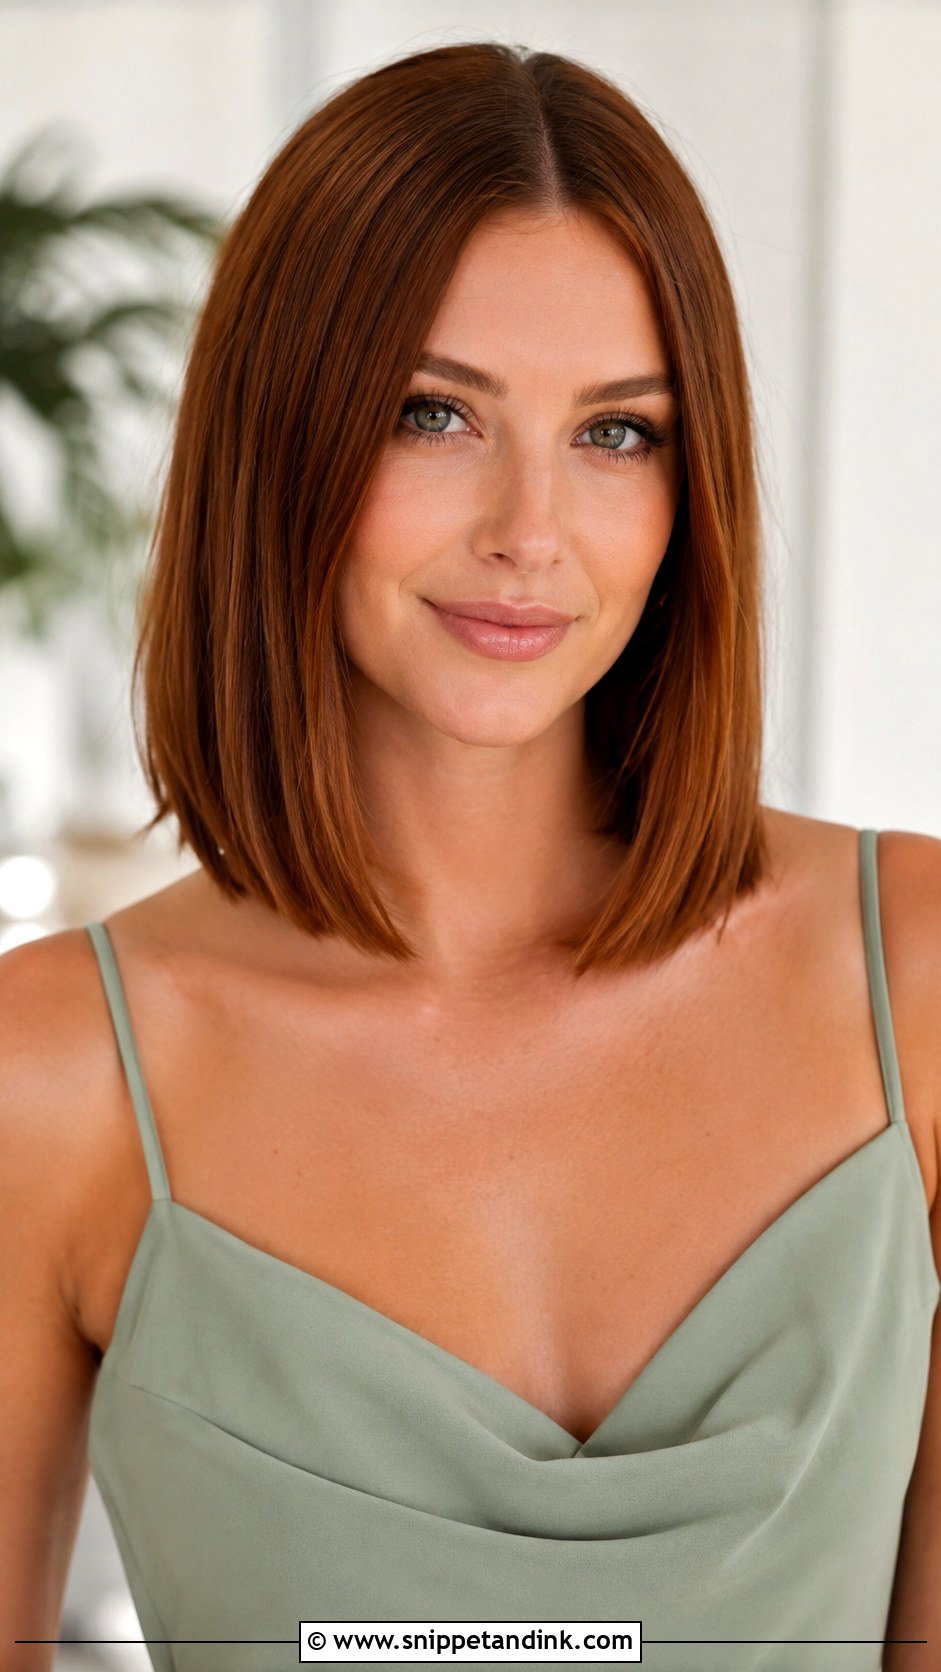
A straight lob is the easiest length to dress up, sitting around the collarbone and clearing most necklines. When it’s straight, the ends tend to flick out where they meet the shoulders, so I iron the last couple of inches with a slight bend. A deep side part adds volume; a middle part gives an editorial look. It’s my pick for a bridesmaid who wants her hair down without weight over the dress.
13. Straight Hair With Face Framing Pieces Bridesmaid Hairstyle
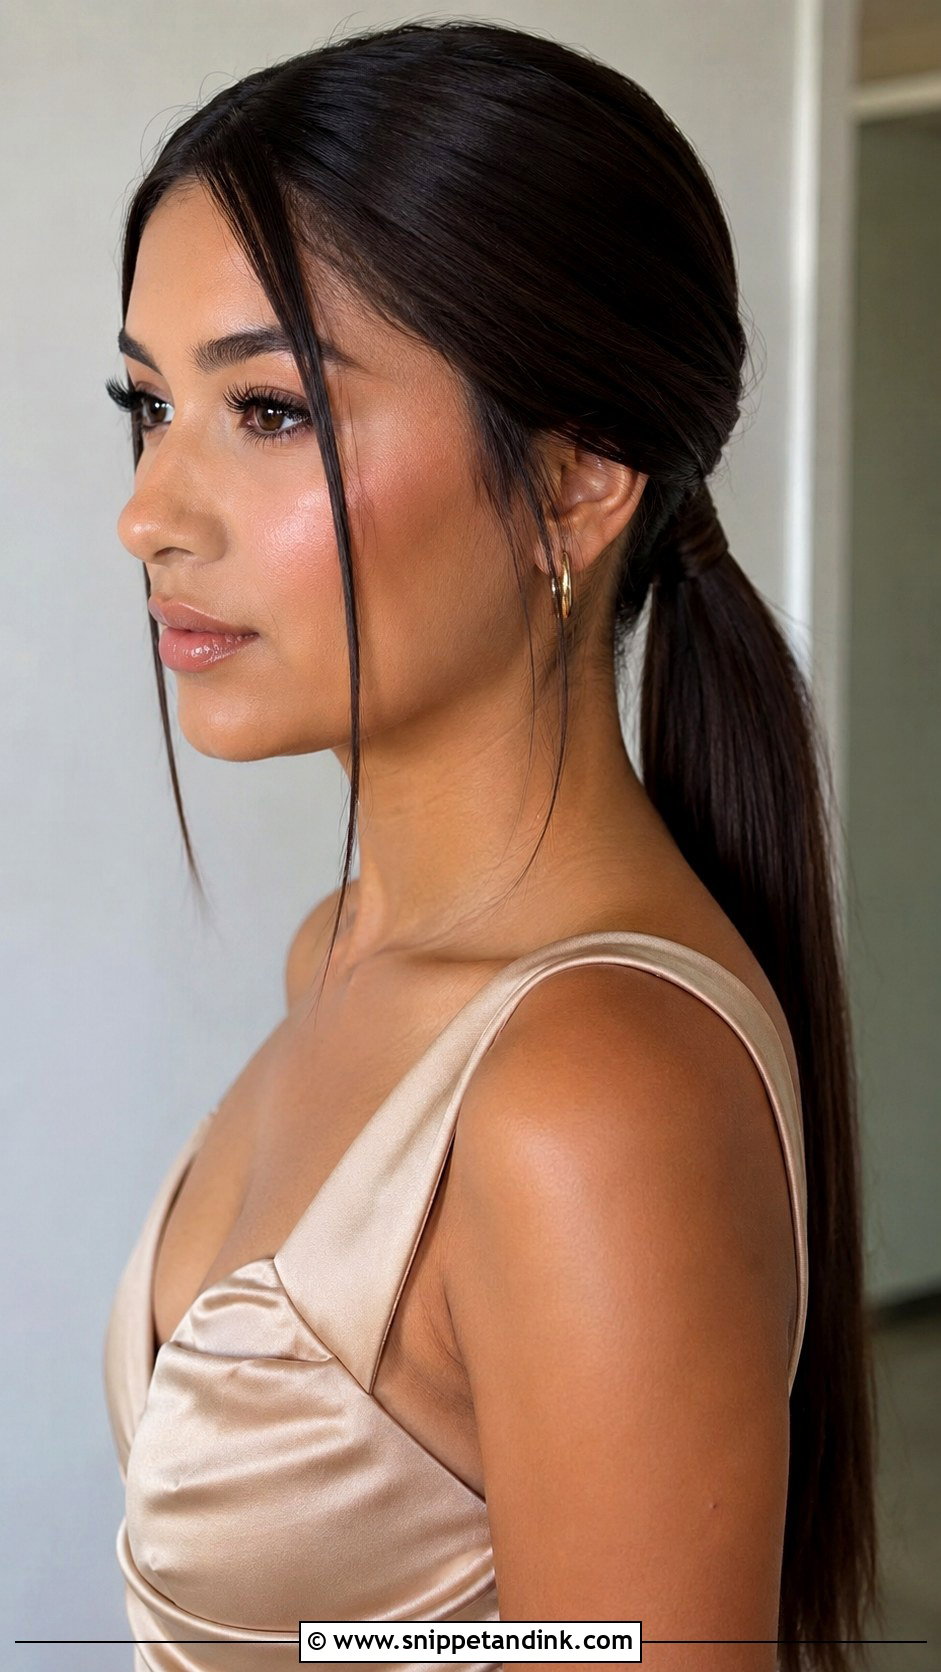
Face-framing pieces are a detail more than a style. The base can be a low ponytail, a bun or half up, with a few smooth pieces left out by the face. They should be slim and polished; chunky pieces look like they escaped. I curve them toward the jaw with the flat iron and a tiny bit of cream. This is the detail I add for bridesmaids who feel too exposed with everything pulled back.
14. Straight Twisted Half Up Bridesmaid Hairstyle
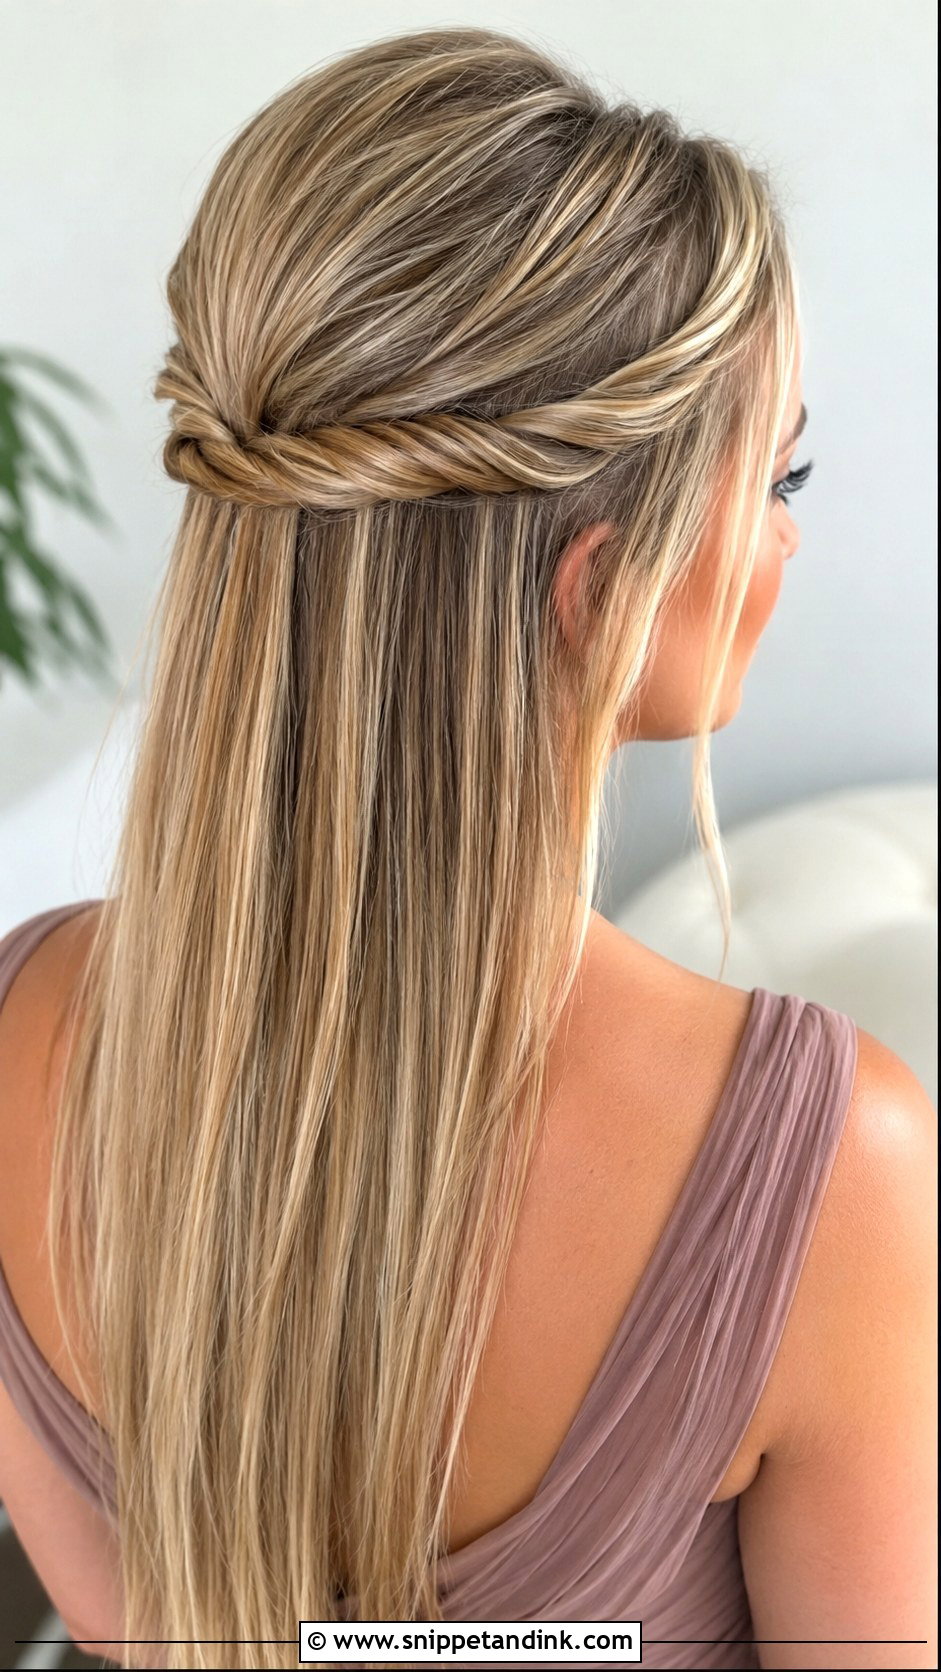
A twisted half up takes two front sections, twists them back and pins them where they meet at the centre back. It keeps hair off the face, and the twists frame the head neatly. On straight hair I twist each section toward the back and pin into the twist itself, because pins resting on smooth hair slide down. Medium and long hair suit it. Add a small decorative pin where the twists join, or keep it clean.
15. Straight Hair With Headband Bridesmaid Hairstyle
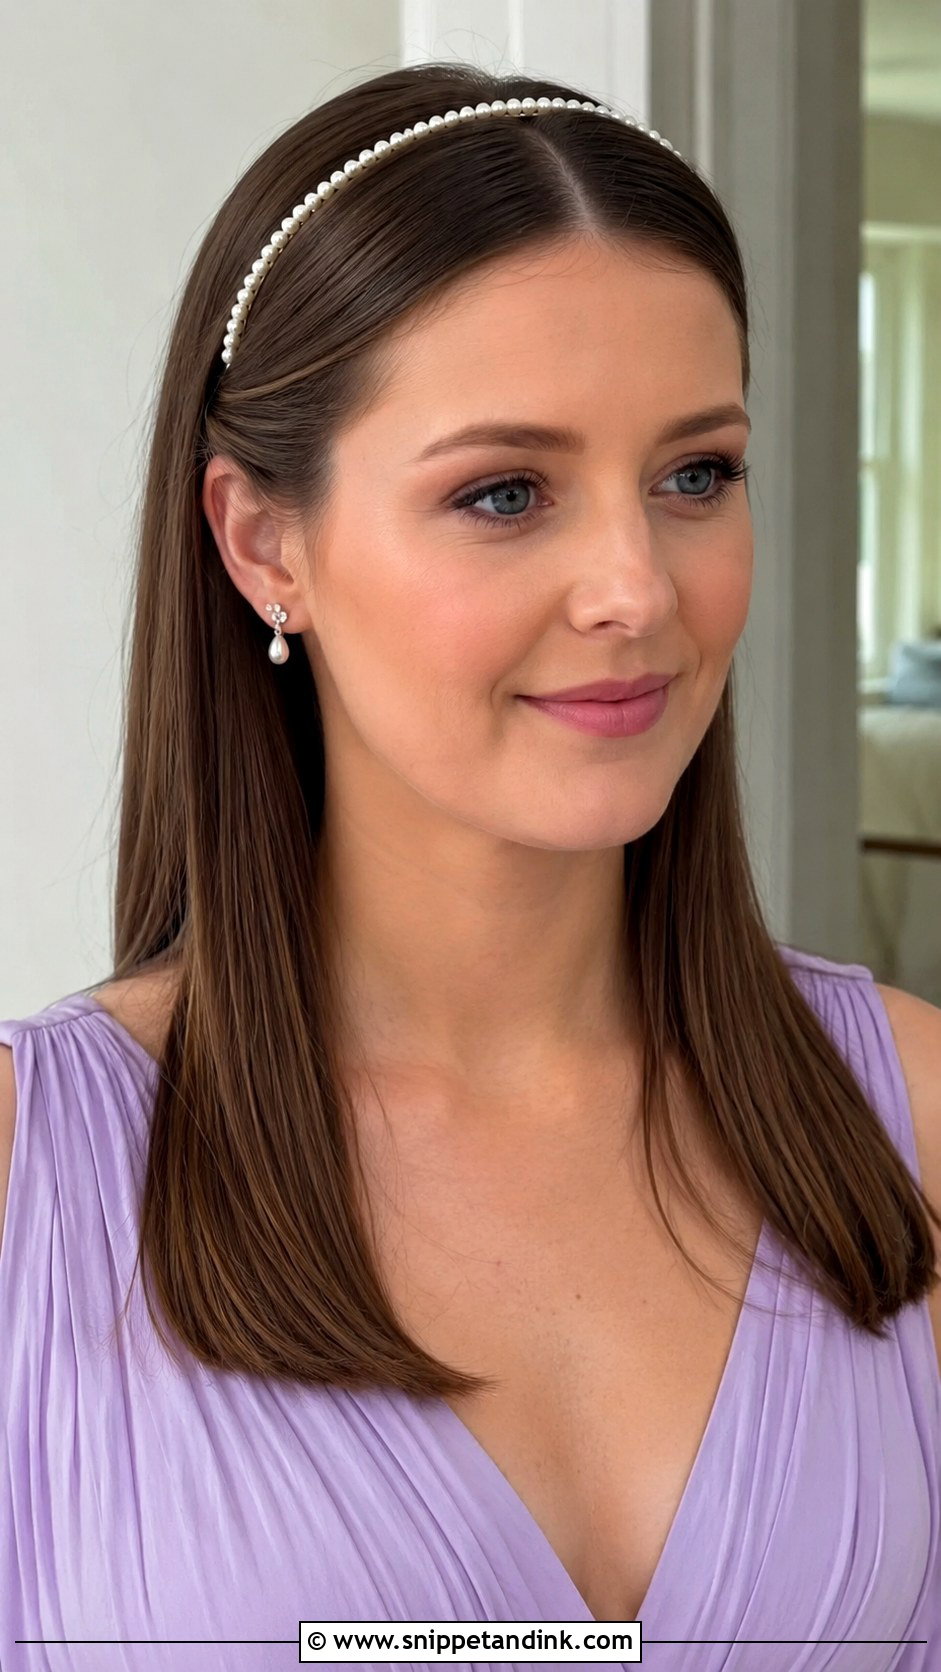
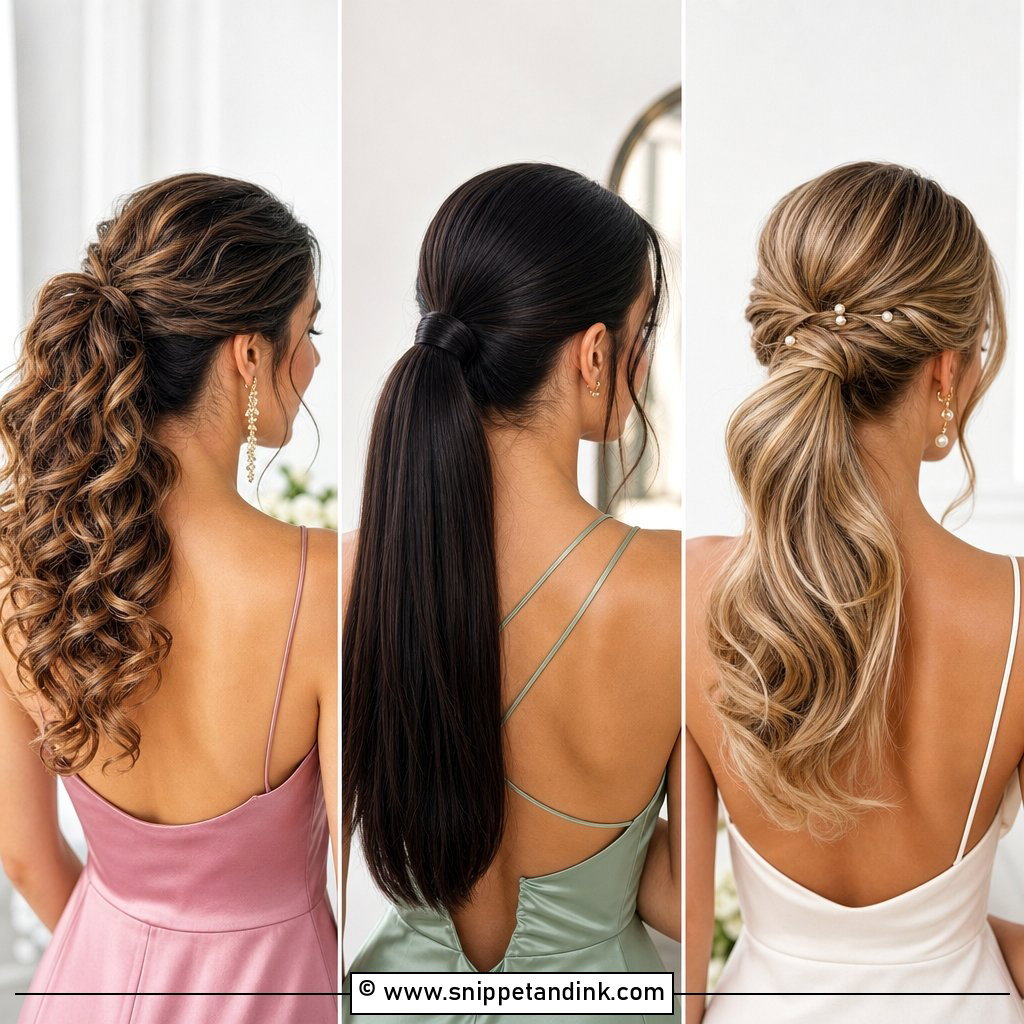
A headband can turn straight hair into a complete bridesmaid hairstyle in seconds. Satin, pearl, crystal or slim metal, matched to the jewellery. It’s a good answer for fine hair because it adds interest without teasing or pins. Comfort is the catch: many headbands press behind the ears after a couple of hours, so I’d wear it at home for an afternoon first. A middle part under the band reads modern; hair brushed back reads classic.
16. Straight Low Ponytail With Side Part Bridesmaid Hairstyle
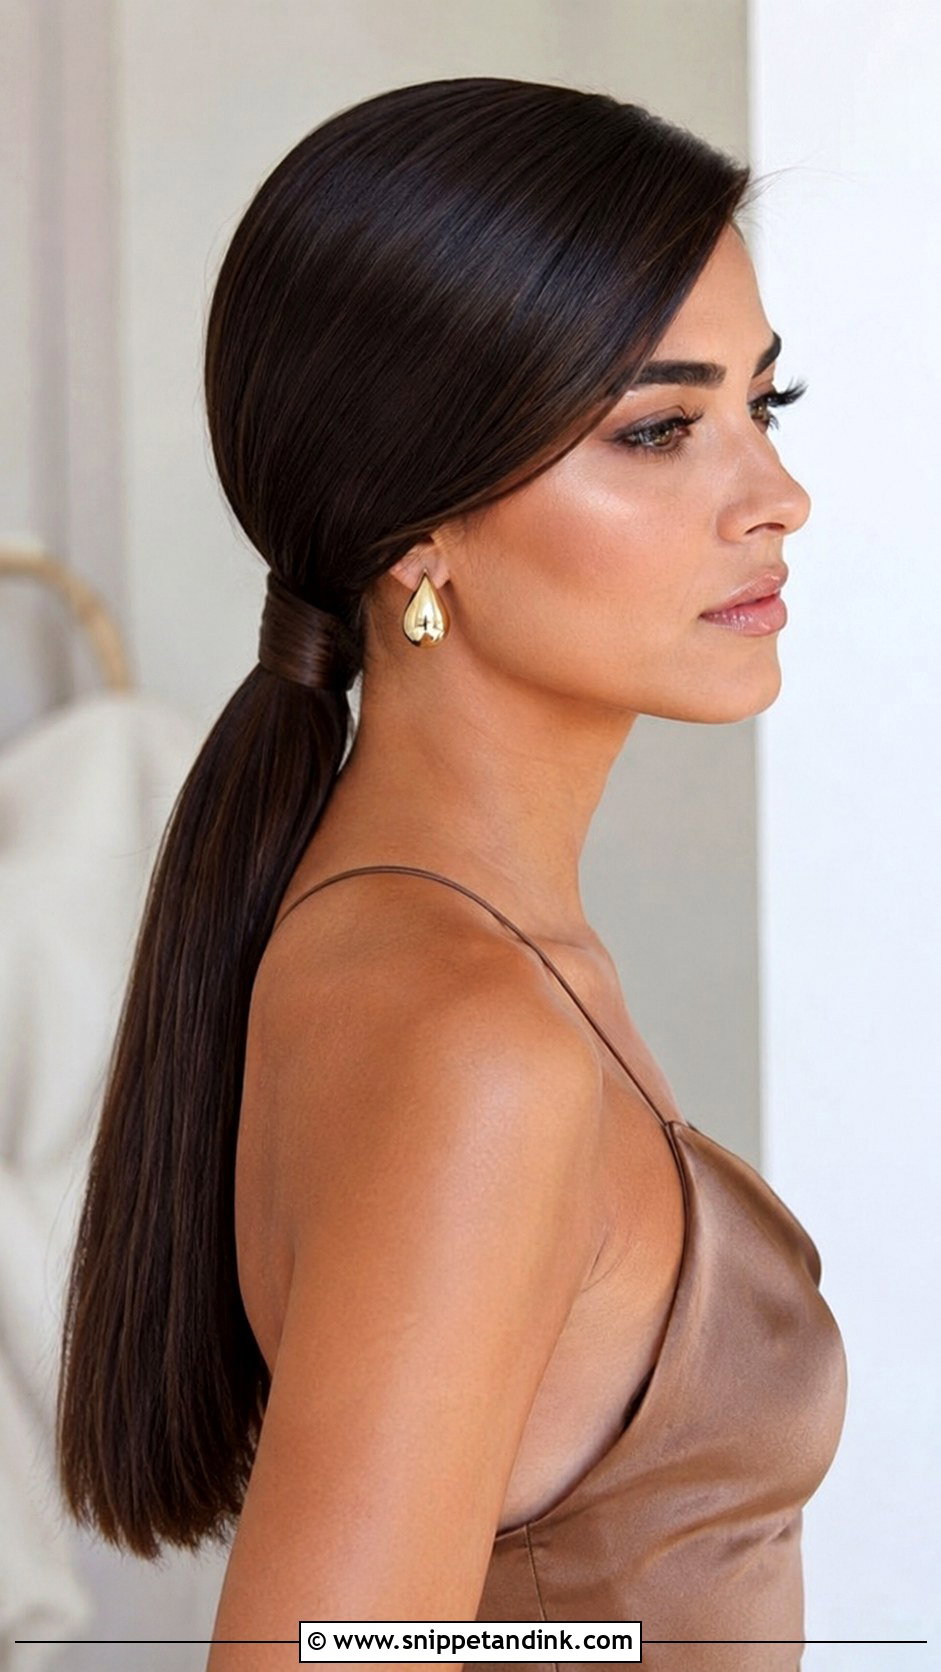
A side-parted low ponytail has a red-carpet feel. The deep part softens the front, and the ponytail sits low and close to the neck. I sweep the front across the forehead and pin it invisibly behind the ear, so it doesn’t fall into the eyes on the walk down the aisle. Shine product through the lengths. Long earrings and off-the-shoulder dresses suit it.
17. Straight Hair With Floral Pin Bridesmaid Hairstyle
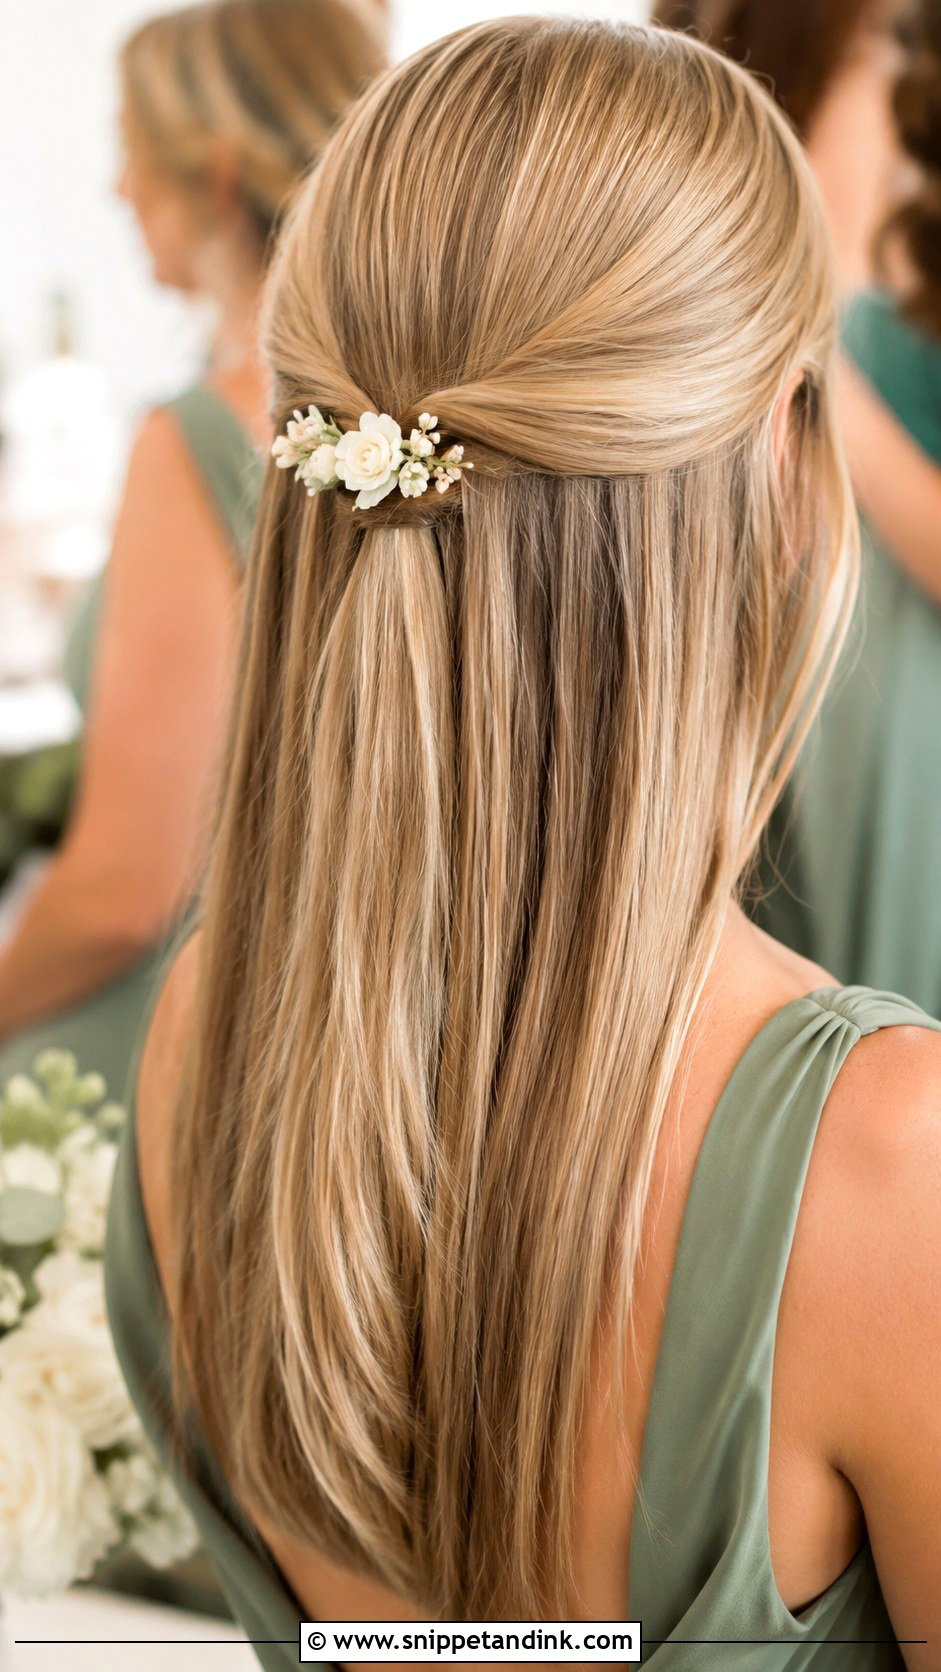
A floral pin is a lighter alternative to a flower crown. Place it above a low ponytail, beside a half-up twist or near one tucked side. If it’s a fresh flower, ask the florist for something sturdy that won’t wilt out of water, and have it wired; a delicate bloom will droop by the reception. One medium flower or a small cluster is plenty. It suits spring and summer weddings.
18. Straight Slicked Back Bridesmaid Hairstyle
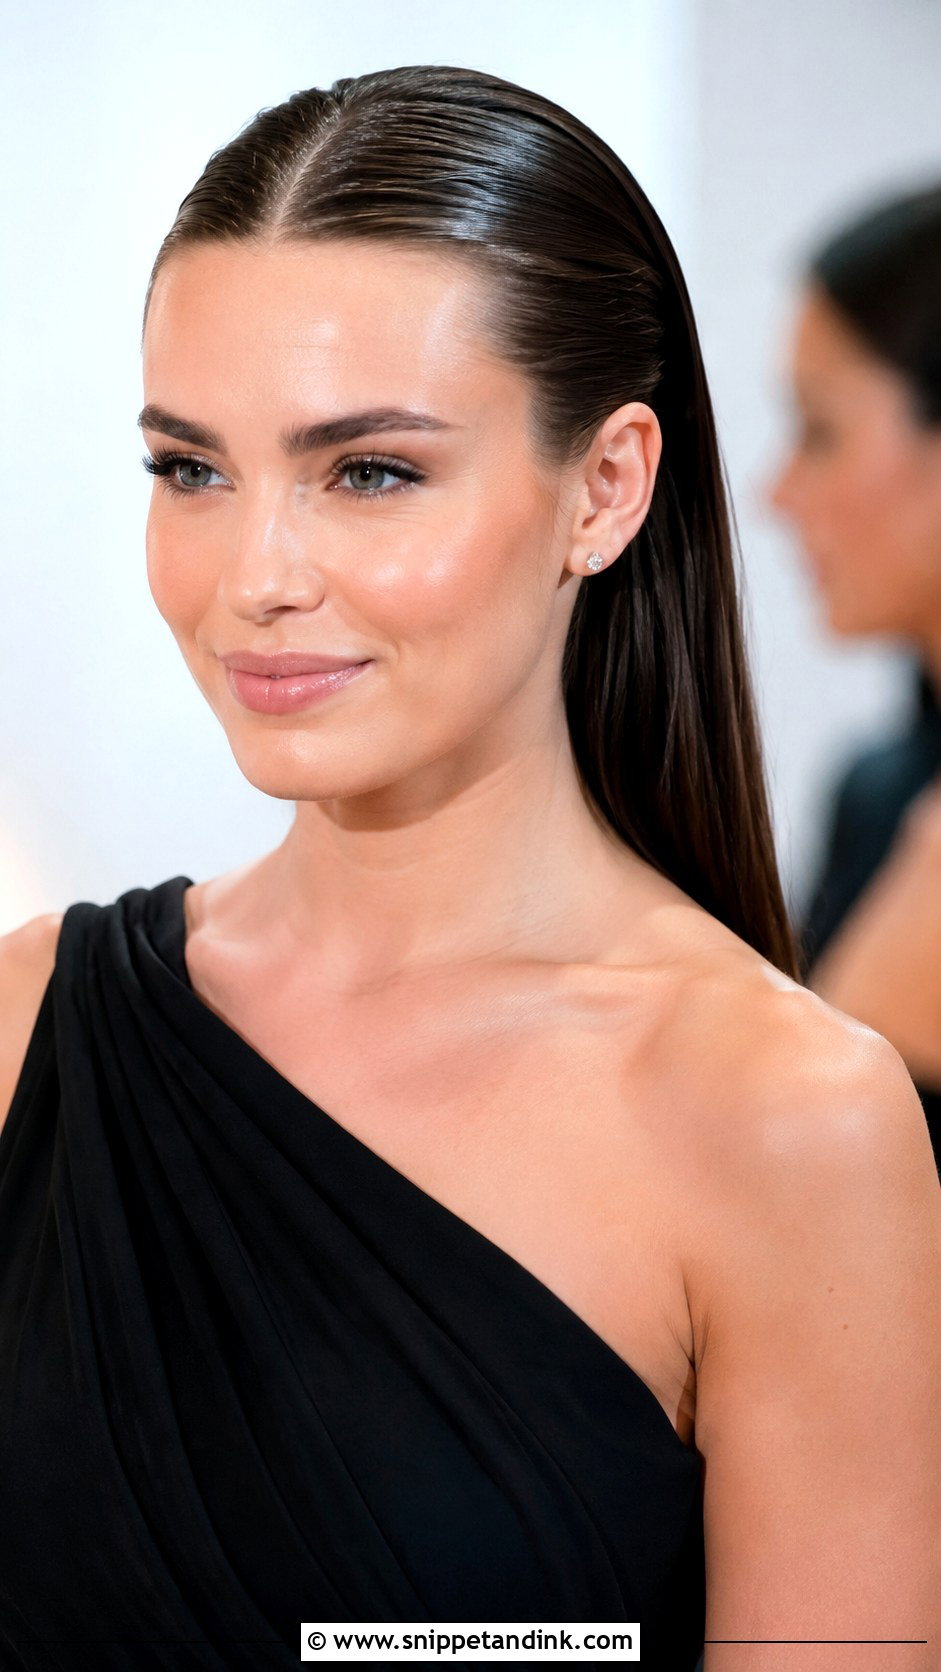
Slicked back hair is bold and modern, brushed away from the face and left straight or secured low. It highlights makeup, earrings and bone structure, so it’s for a confident bridesmaid and a formal or fashion-forward wedding. The line between glossy and greasy is product amount: I use a pea-size of gel or cream at the roots and keep the lengths dry and silky. Anyone with a sensitive or flaky scalp should test it first.
19. Straight Hair With Tucked Behind Ear Bridesmaid Hairstyle
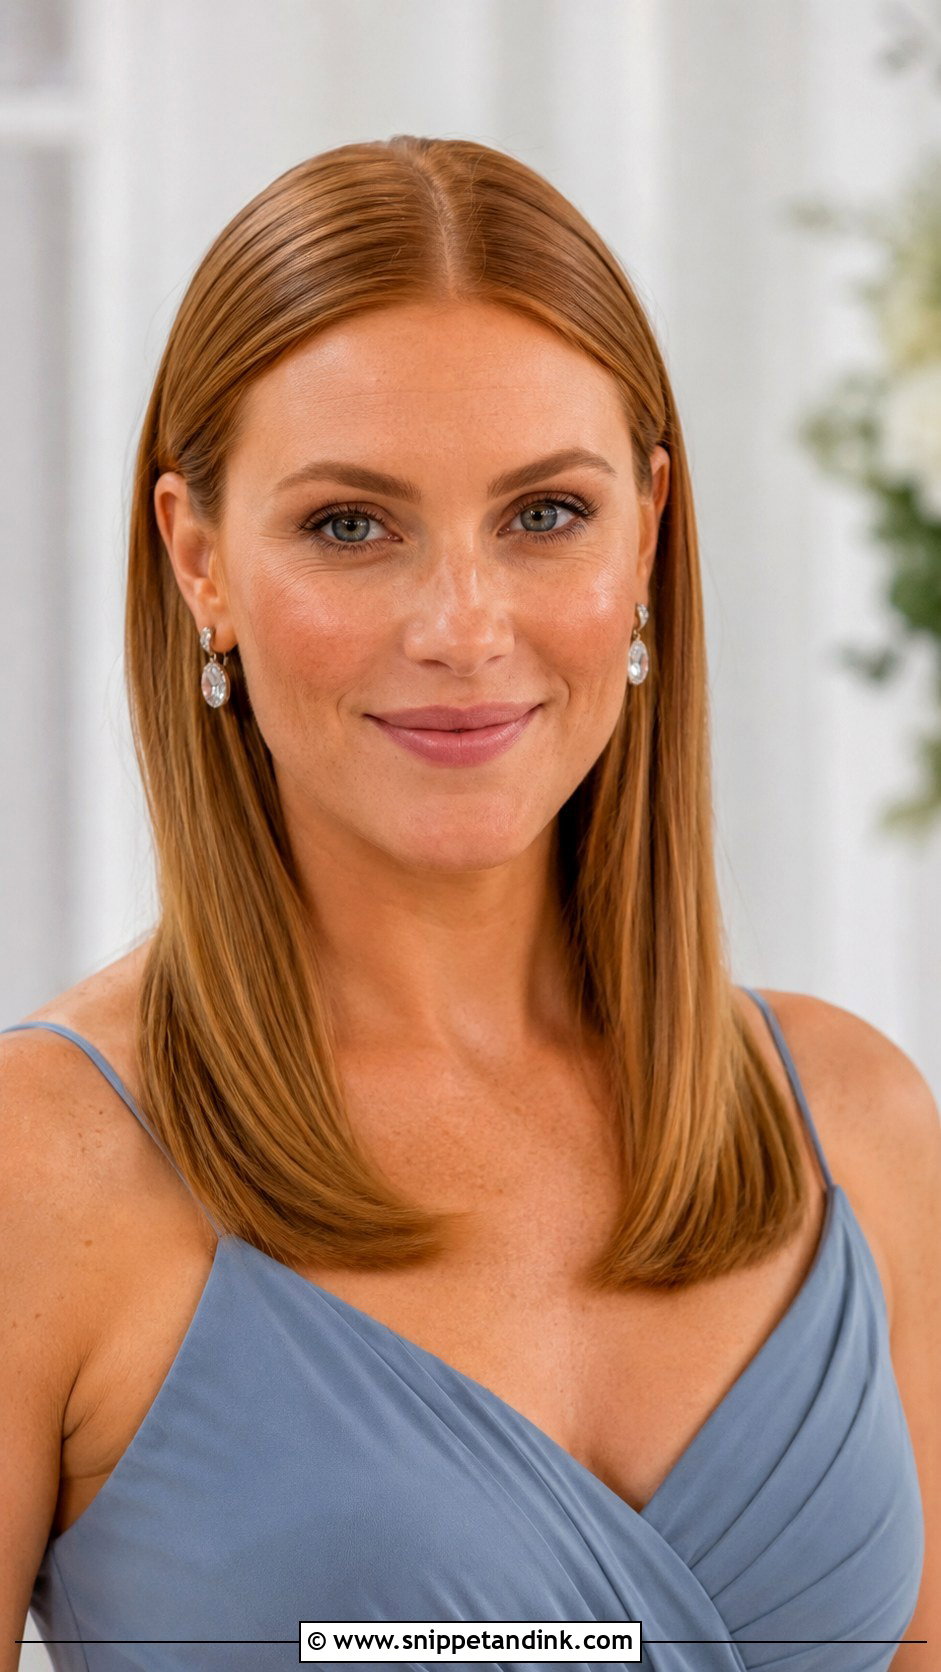
Straight hair tucked behind the ear is about as simple as it gets, and it needs a really good blowout to work. Once one or both sides are tucked back, I slide a pin under the tuck so it survives hugging and dancing. It’s ideal when the neckline or the earrings deserve attention. Centre part reads sleek; side part reads softer. Finish with shine spray and a light hairspray.
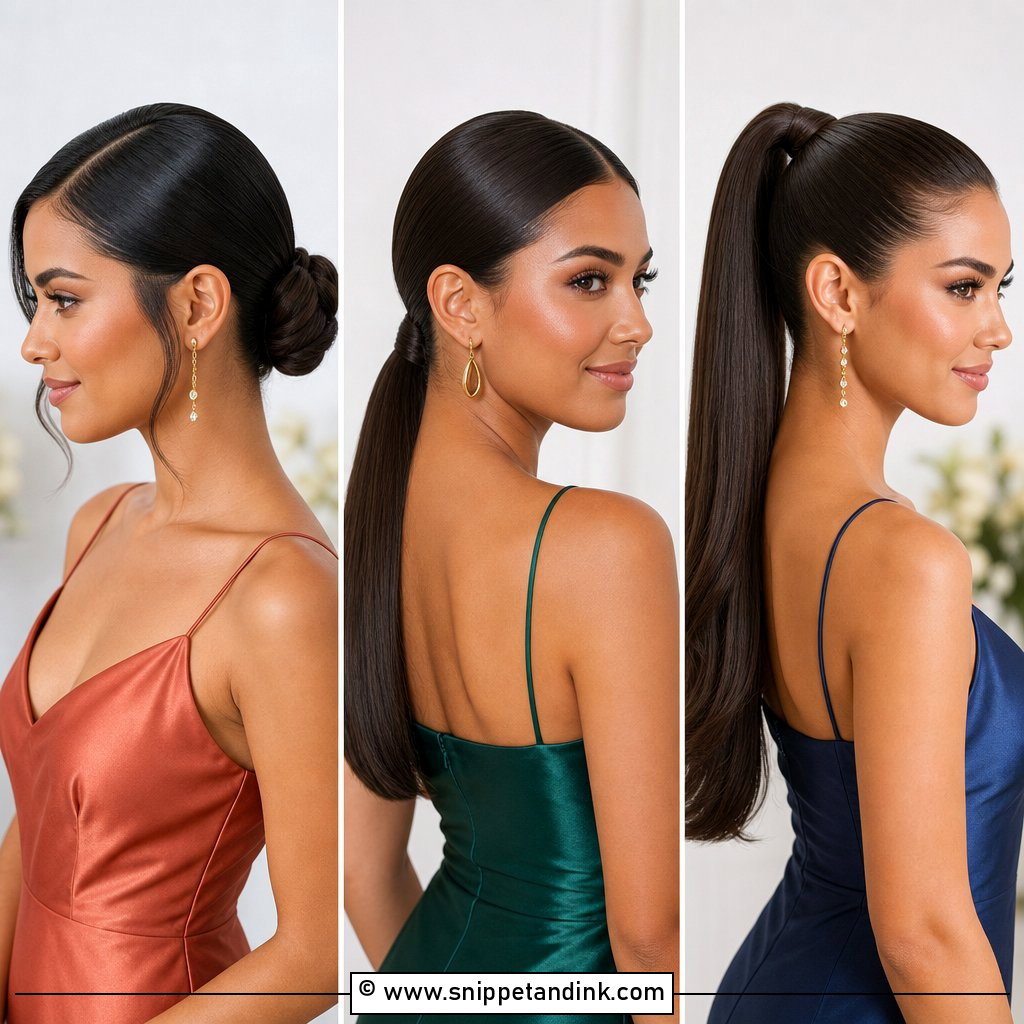
20. Straight Ponytail With Ribbon Bridesmaid Hairstyle
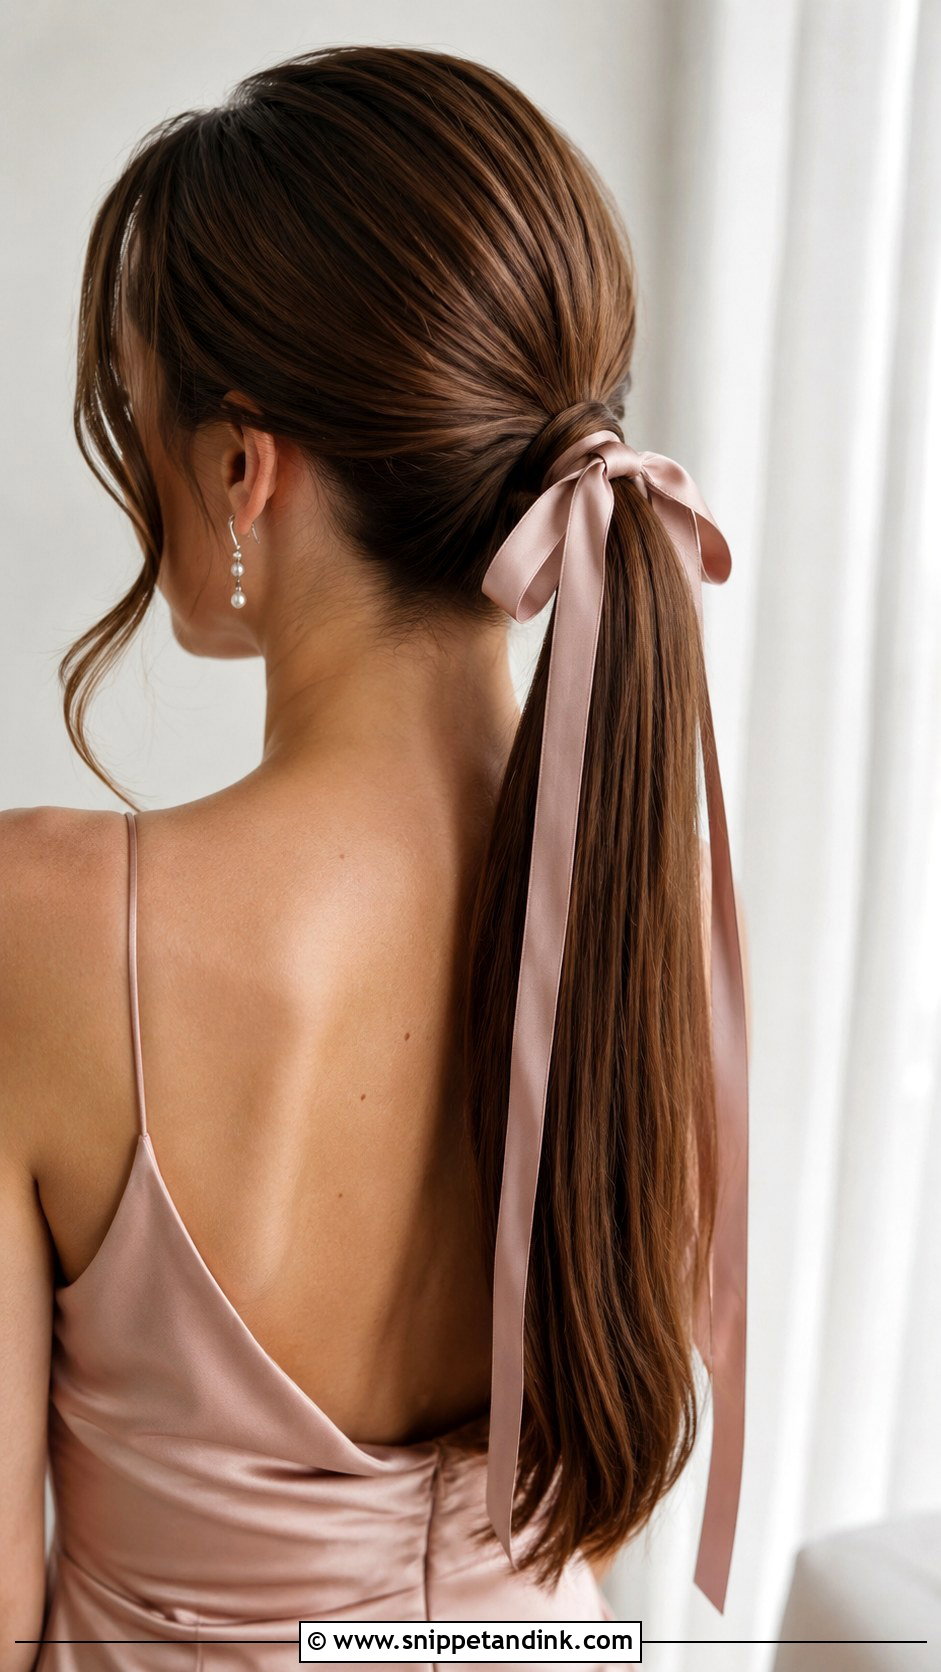
A ribbon ponytail is sweet, and the ribbon does the colour work. It can sit low, mid-height or high. Satin or velvet tied at the base, ideally in the dress colour or the bouquet ribbon. I always wrap the elastic with hair first, then tie the ribbon over it, because ribbon alone slides on straight hair and the bow drifts to one side. Trim the ribbon ends at an angle so they don’t fray before photos.
How Sleek Hair Changes Between Ceremony and Last Dance
Straight styles fail differently from curled ones. They don’t drop; they lose their finish. Humidity puffs the surface, roots go flat and oily in a warm room, and anywhere a bag strap or a hug presses the hair, a crease appears. I plan for all three.
An anti-humidity spray goes on before the last pass of the iron, not after. A small bottle of dry shampoo in the bridesmaid’s bag handles the roots at the reception. Creases from a pin or an elastic I simply avoid with straight styles worn down, because a mark in smooth hair can’t be brushed out.
Silk Presses and Straightened Curls on the Day
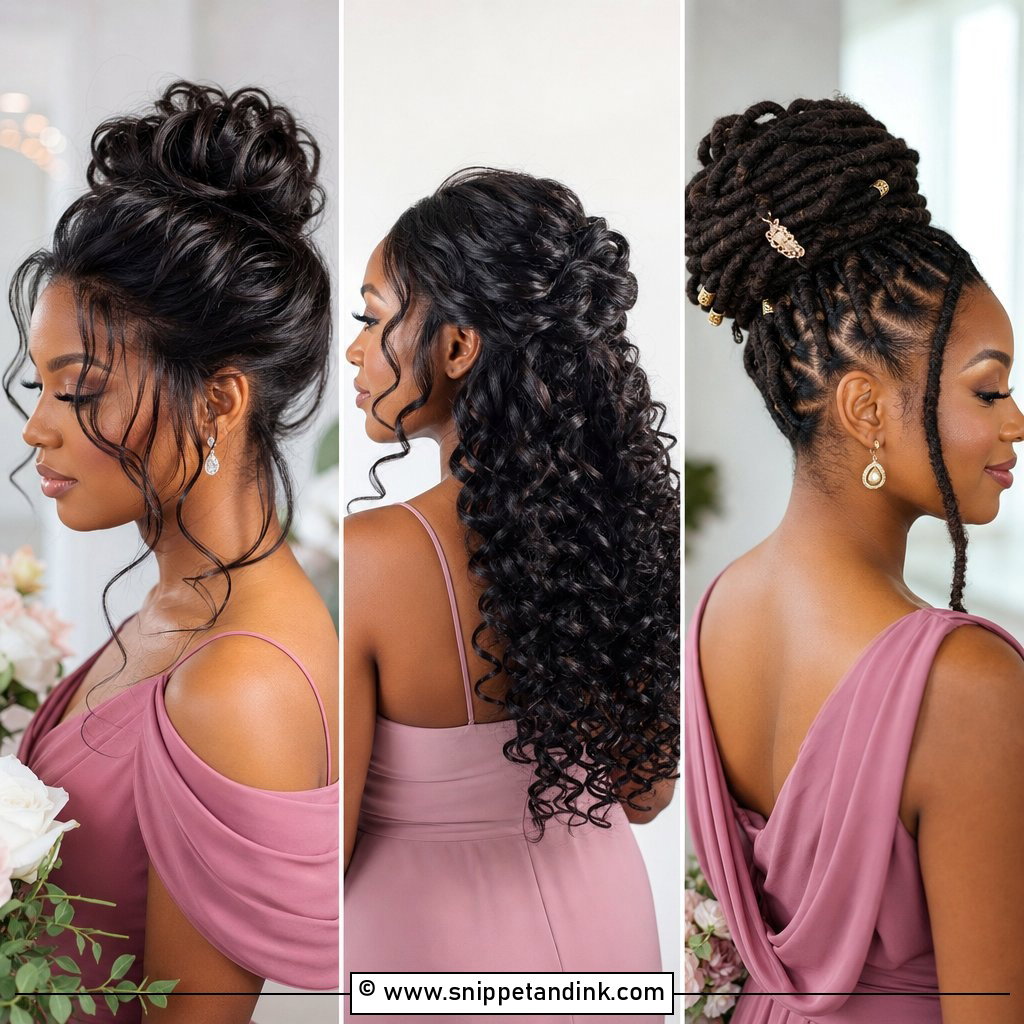
Bridesmaids with naturally curly or coily hair can absolutely wear these styles, and a silk press gives the smoothest result. Have it done a few days before rather than the morning of, so the hair has settled and any touch-up can happen. Water and sweat are what revert it, so bring a scarf or umbrella for a rainy or beach wedding, and sleep on a satin pillowcase the night before. If the forecast is very humid, I’d honestly consider a sleek low bun over a straight down style; it keeps the press protected and still looks smooth.
Sleek Hair Without a Single Curl
Straight bridesmaid hairstyles show that wedding hair doesn’t need curls to feel finished. A sleek ponytail, smooth half up, glossy bob, low bun or a single accessory can look polished when the details are right. Match the style to the dress, the venue, the hair and how comfortable each bridesmaid feels. Straight hair also suits mixed bridal parties, since parts, clips, ribbons and tucks let each person vary the look. Get the prep, the shine and the hold right, and it’ll still look smooth at the send-off.
You'll Like These Ideas:


Leave a Reply