
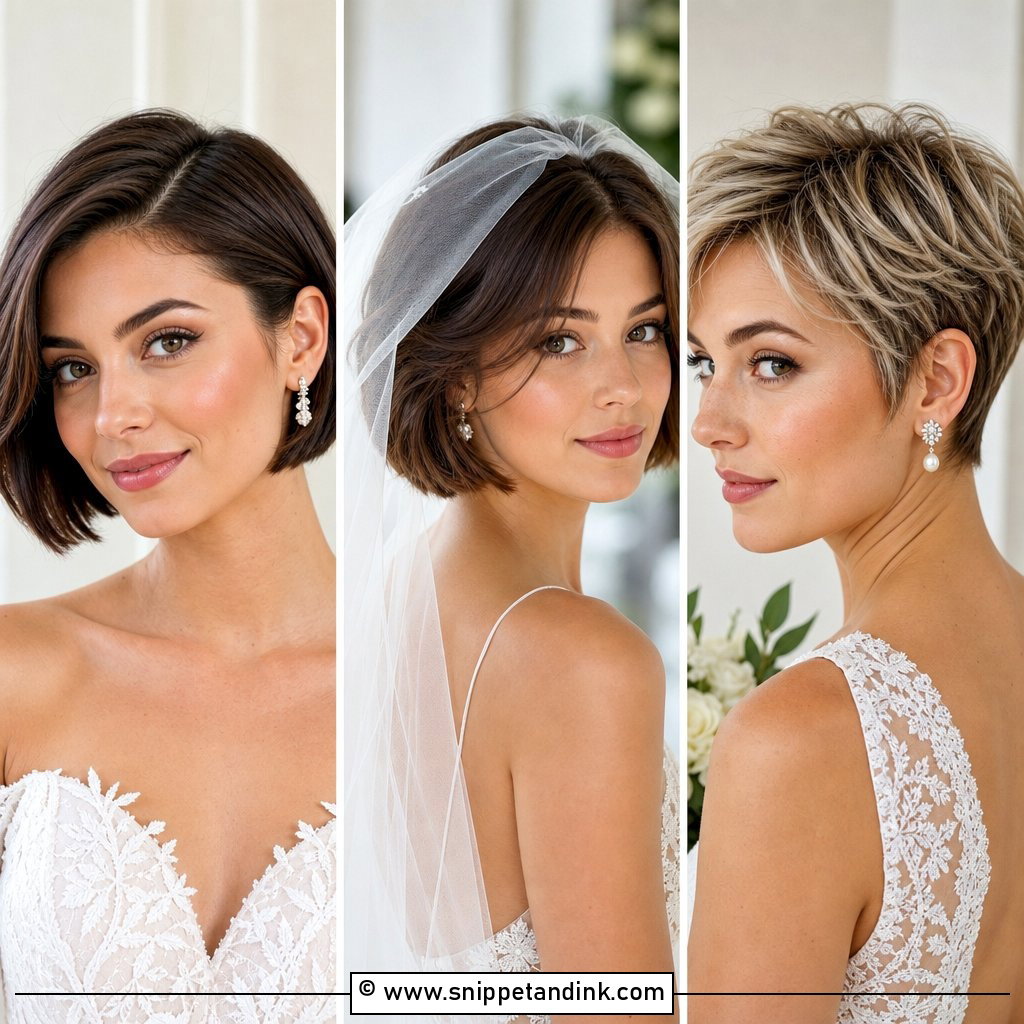
Brides with short hair often come to their trial apologizing for it, and they shouldn’t. A pixie, bob or a tousled lob already has a defined shape, so the style takes less time and has fewer places to collapse over a long day. What short hair does need is a plan for the veil or headpiece and a cut timed right before the wedding. The 20 looks below are ones I’d happily put on a bride, with notes on what each one asks of your hair and where it can go wrong.
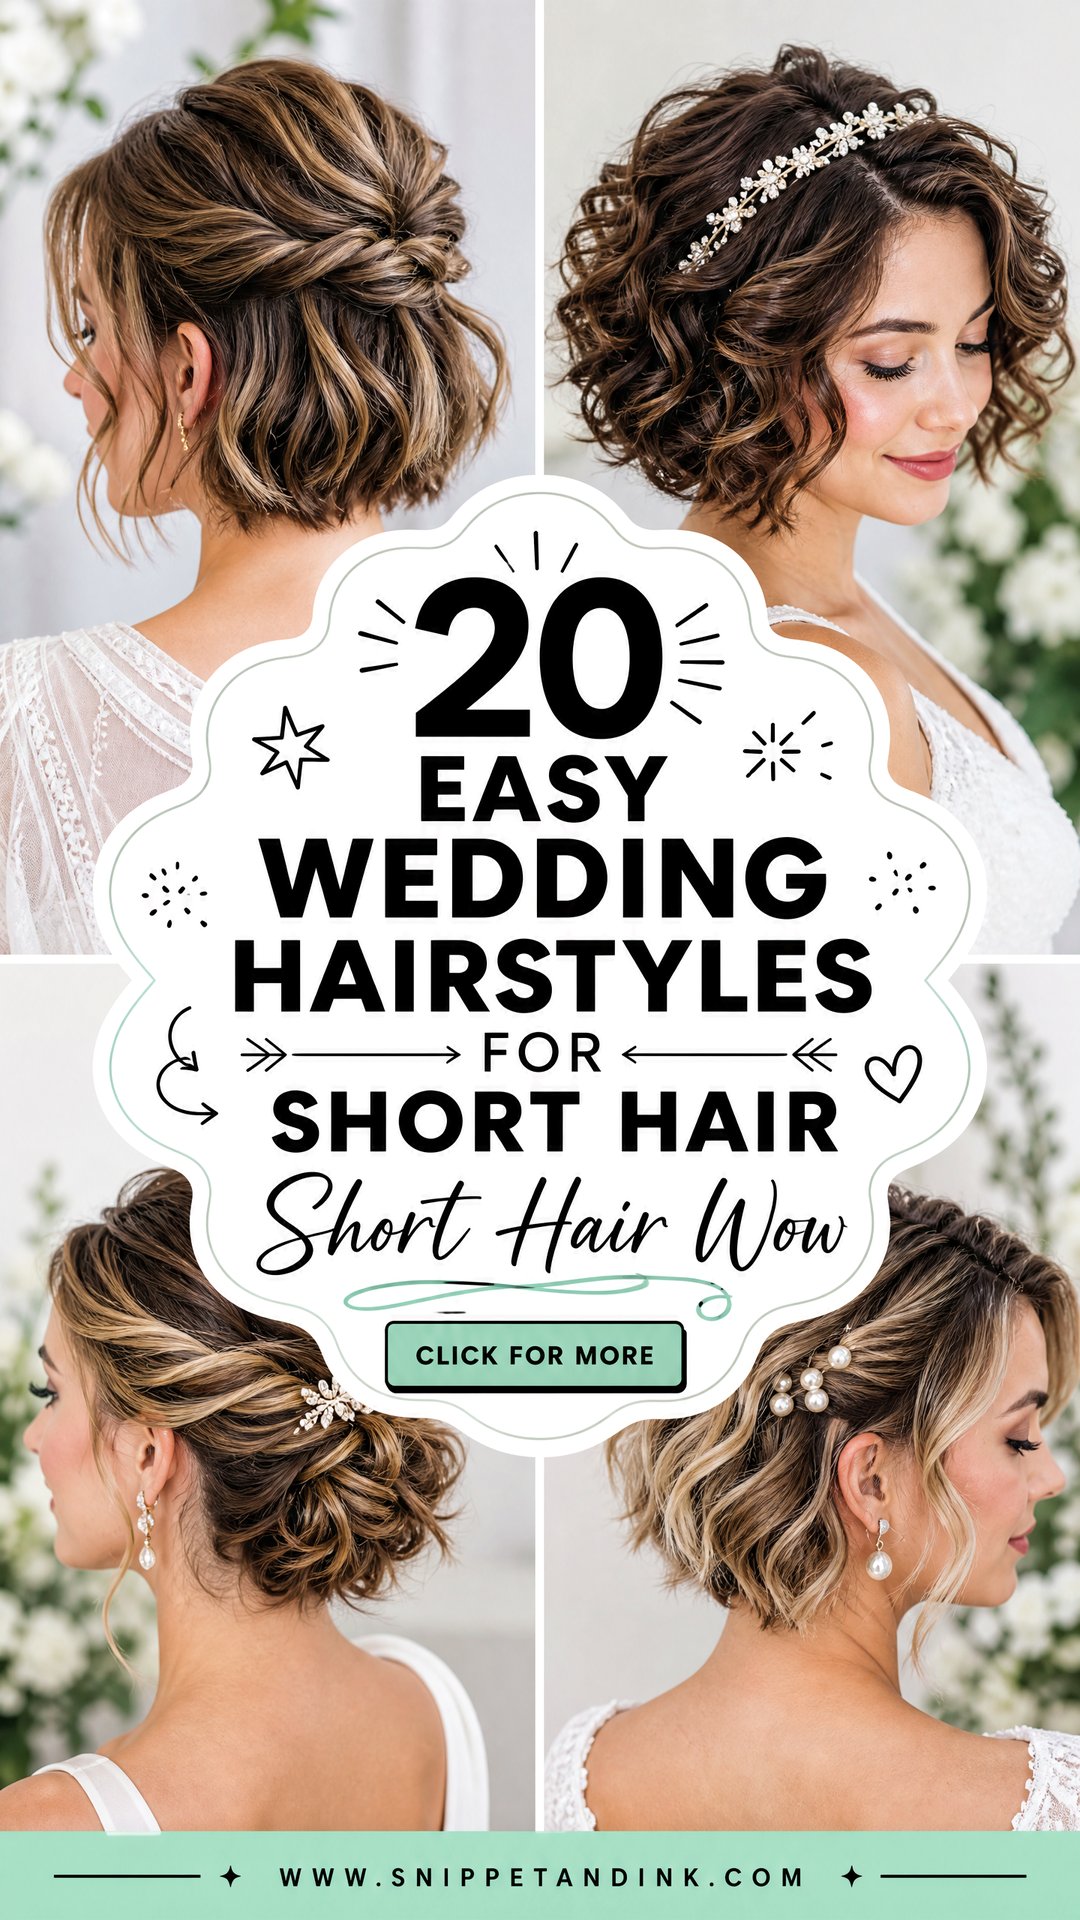
A Veil Comb Needs Something to Bite Into on a Bob
The most common worry I hear from short-haired brides is the veil. A comb pushed straight into a bob or pixie has nothing to grip, and a long veil will drag it out within the first hour. The fix is to build a hidden base before the comb goes in.
On a Bob or Lob
I make a small row of crossed bobby pins where the comb will sit, usually at the crown or just below it, then slide the comb in so its teeth catch the pins. On a chin-length bob, a tiny braid or twist under the crown works the same way.
On a Pixie
There’s rarely enough hair for a comb. I’d use a veil sewn onto a fine headband, or a small clip on a short, lightweight veil. Heavy cathedral veils are a real struggle on a pixie, so a shorter length or a hair accessory instead of a veil is worth considering.
Whatever you choose, bring the actual veil or headpiece to your trial. How it sits on your hair changes the style around it.
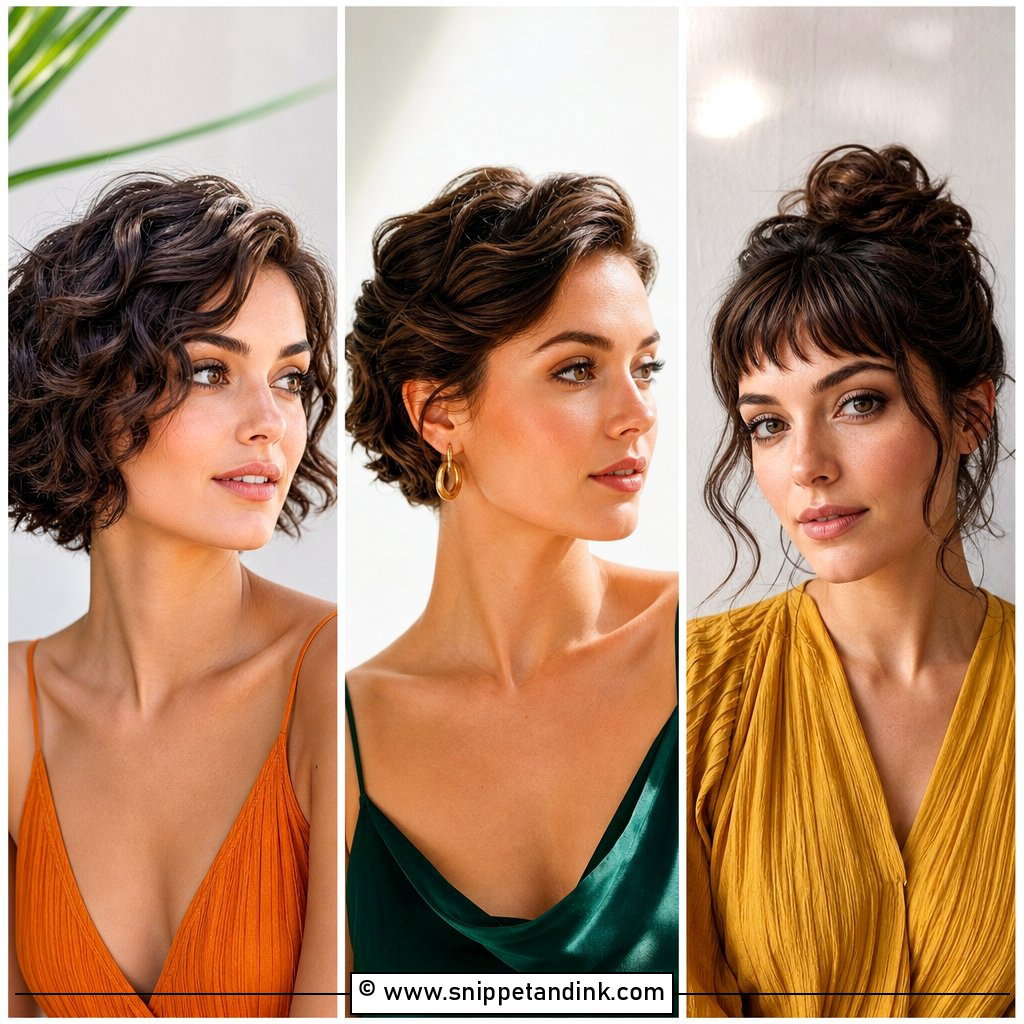
1. Soft Beach Waves for Short Hair
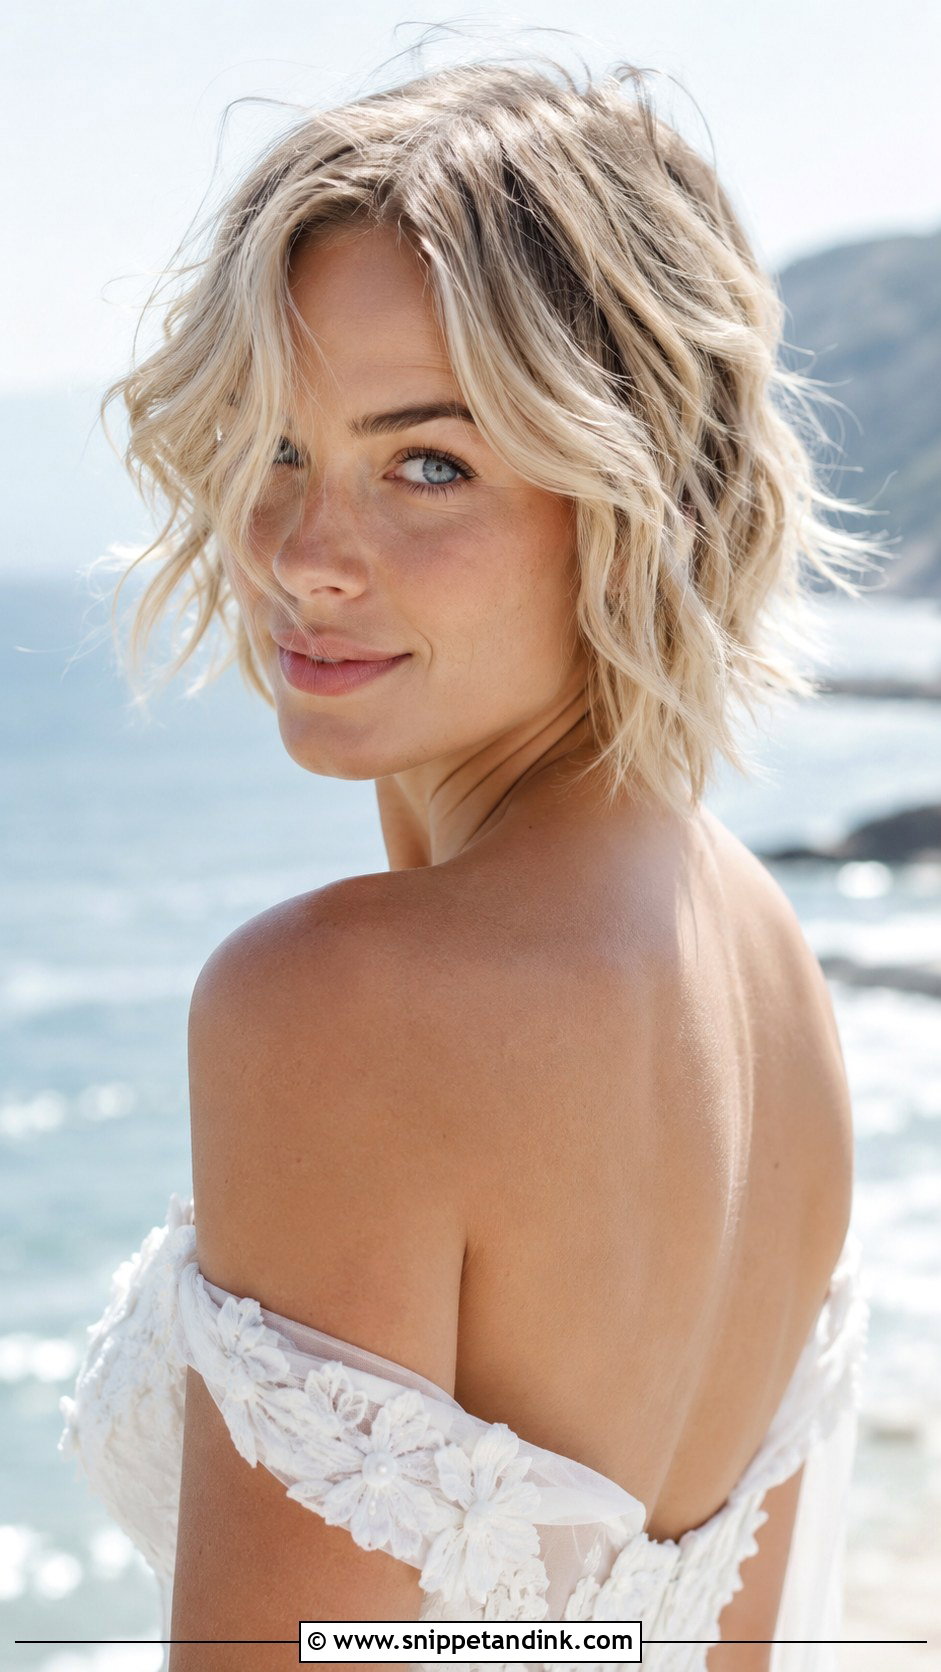
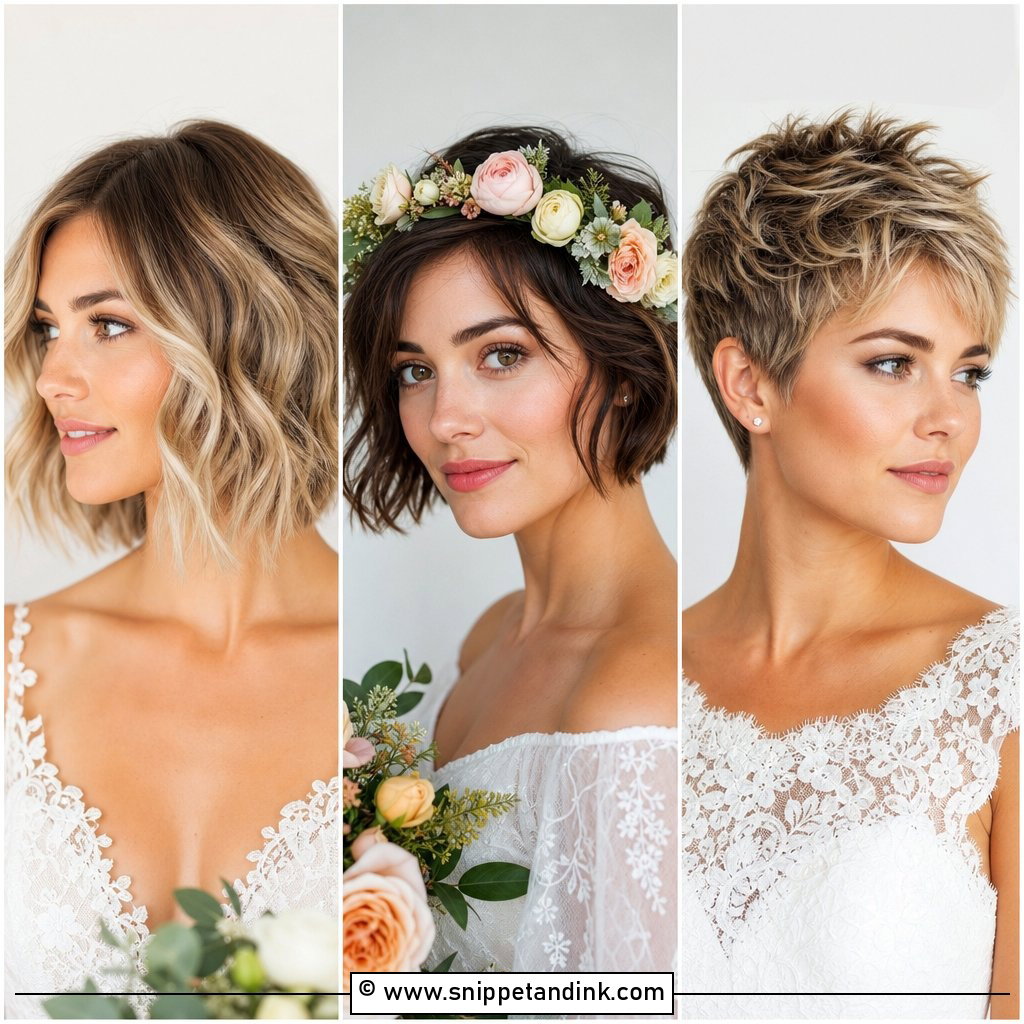
Waves on short hair lose their shape faster than on long hair, because there’s less weight to keep the bend. I use a smaller barrel, around three-quarters of an inch, and curl away from the face in alternating directions. Sea salt spray adds grit, but on dry or color-treated hair I’d use a texture spray instead, since salt can leave ends feeling straw-like. Waves make fine hair look thicker. Tuck one side behind the ear with a pin if you want the shape to read clearly in photos.
2. Classic Chignon for Short Bob
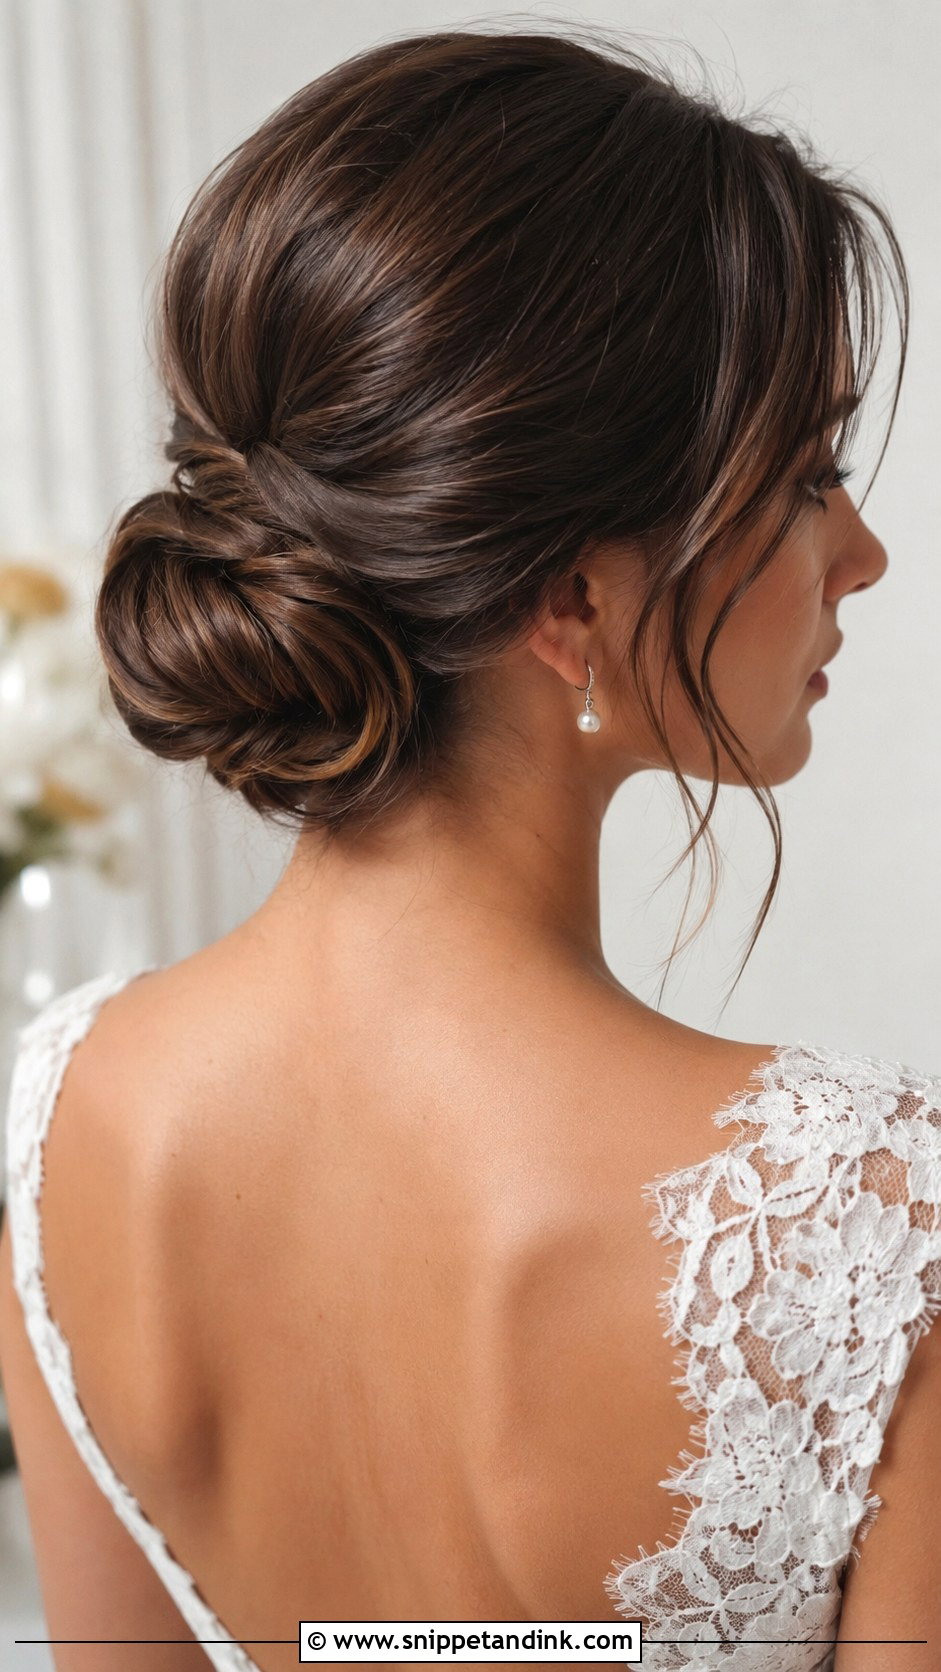
A chignon on a bob is smaller than the classic version, and that’s fine. I gather the hair at the nape, twist it into a low loop and secure it with U-pins, then pull at the loop gently for fullness. If the bob is chin-length at the back, I’d add a small padded donut or a matching clip-in piece to give the loop some bulk. It sits well under a veil and keeps hair off your neck on warm days. Leave a few tendrils at the temples to soften it.
3. Half-Up Twist for Short Hair
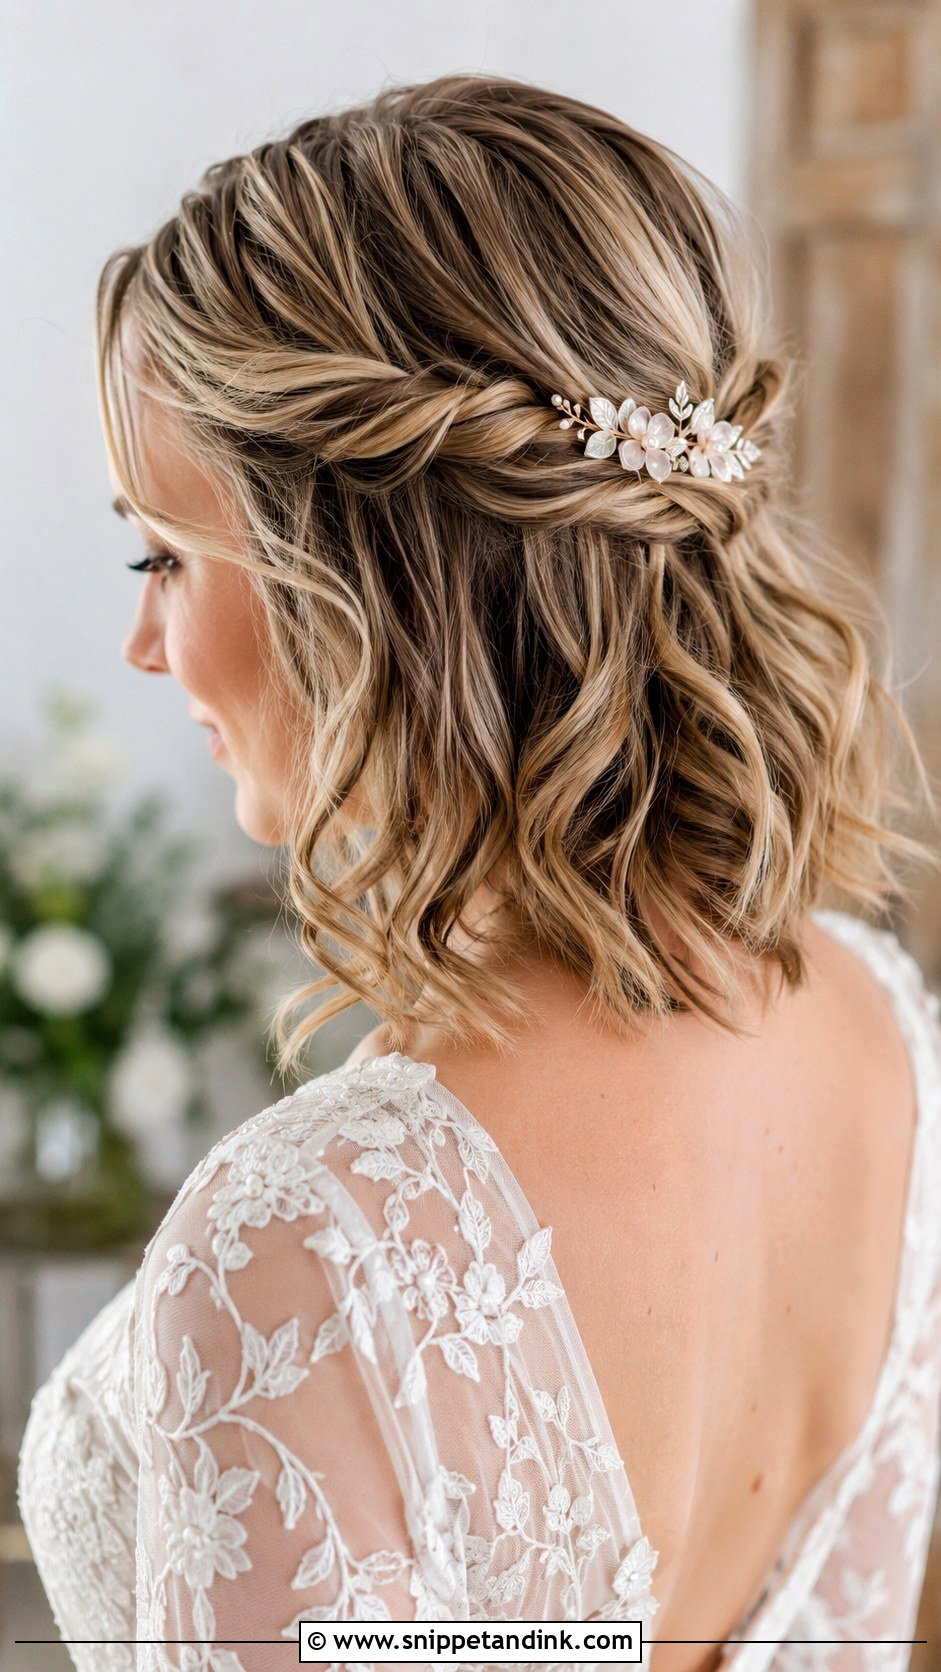
I reach for a half-up twist when a bride wants to look like herself with her hair down but needs it out of her eyes for the vows. Twist a small section from each side toward the back and cross-pin them where they meet. The crossed pins become a good spot for a clip or a small floral piece. Waves or straight hair both work. On slippery hair, I texturize the twisted sections first so they don’t loosen during the hugs after the ceremony.
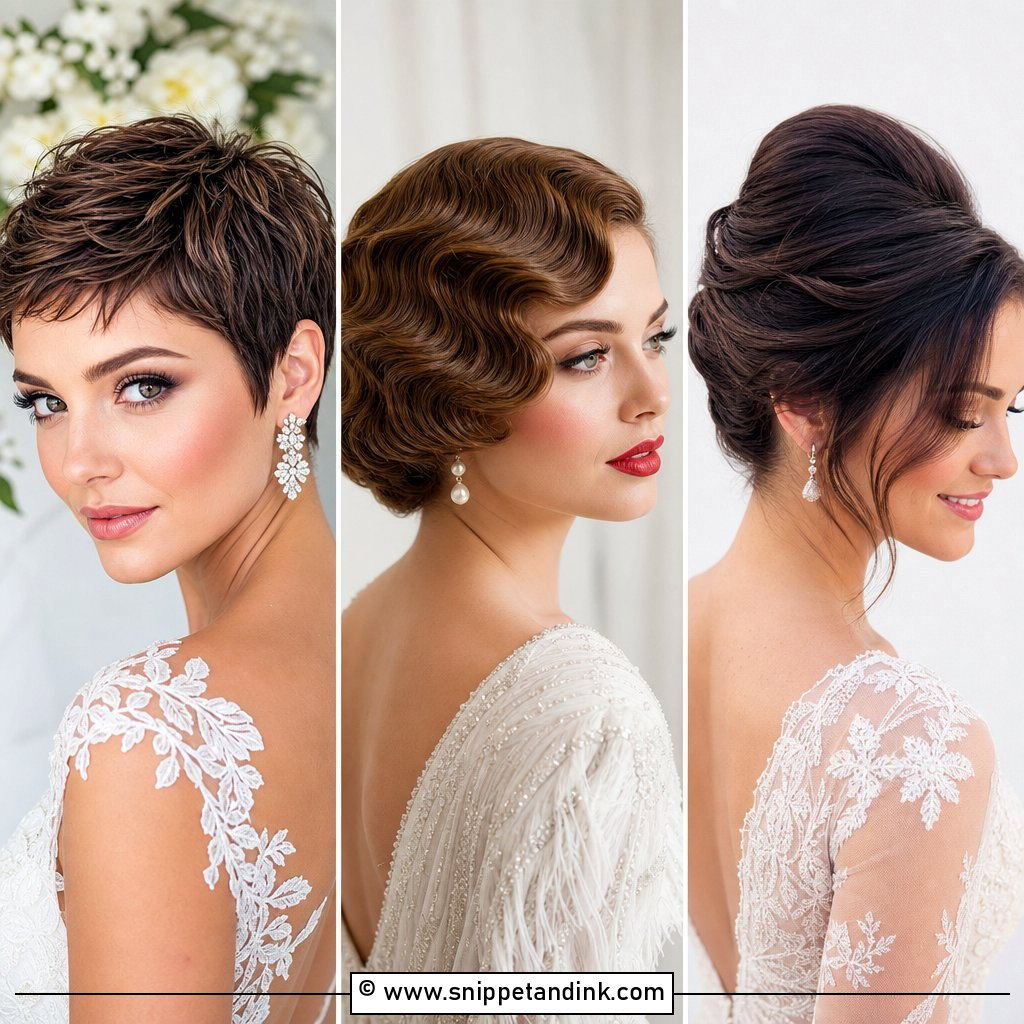
4. Tousled Pixie Cut
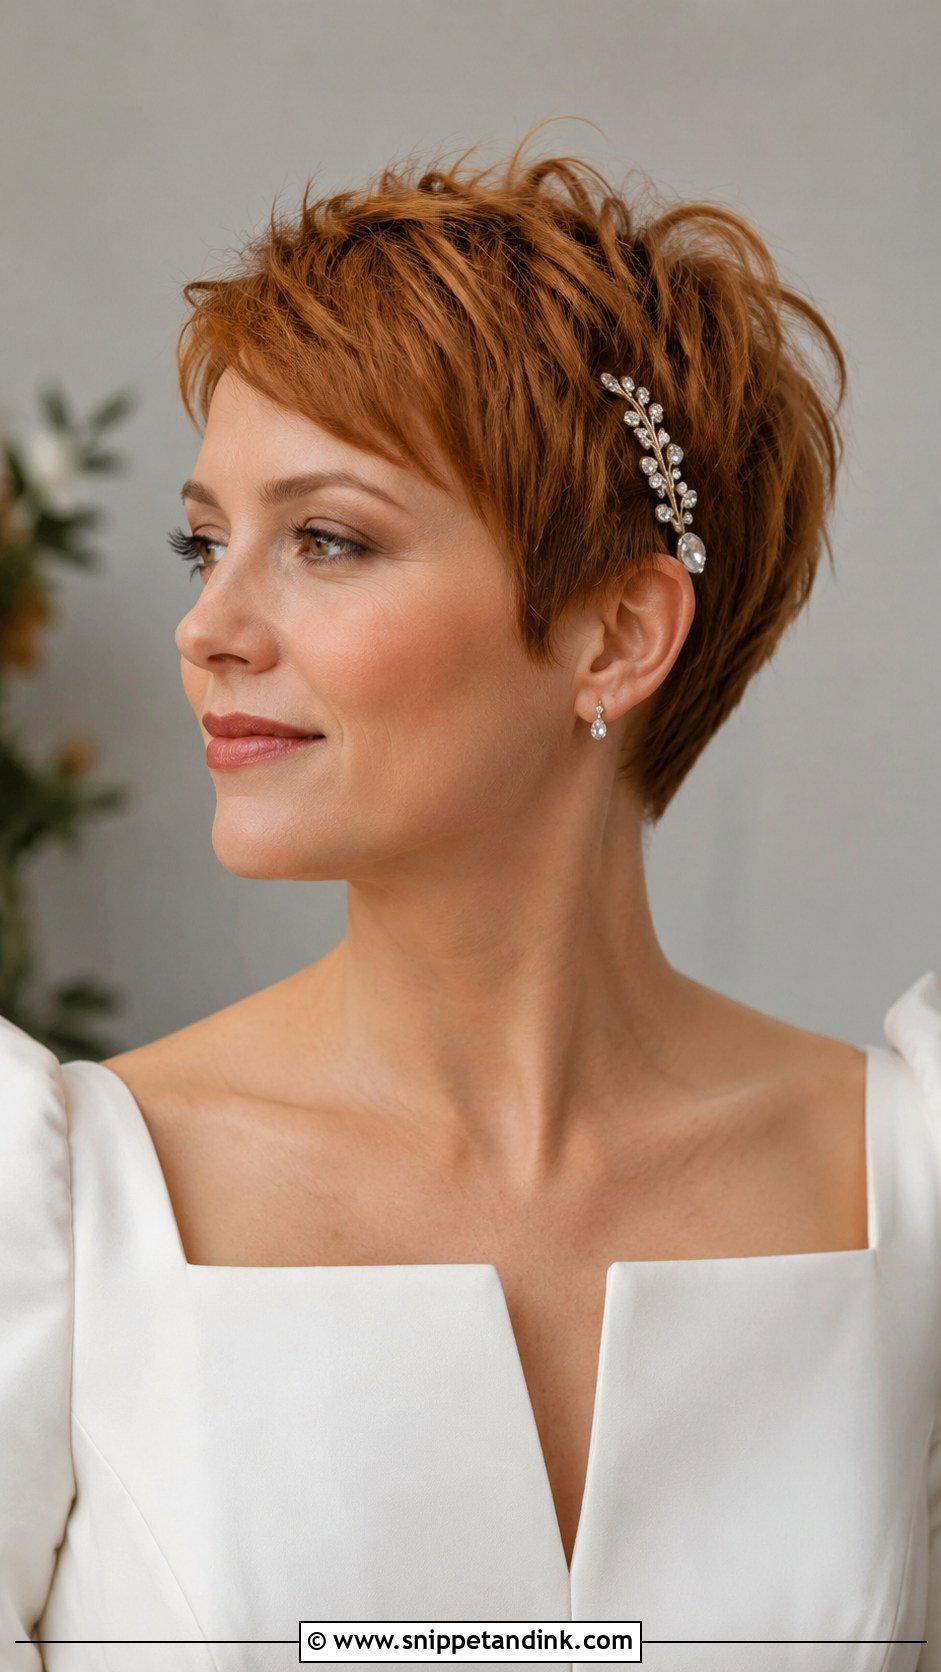
A pixie needs definition, not a new shape, for the wedding. I work shaping mousse or a light paste through damp hair, dry it with my fingers, then pinch out a few pieces once it’s dry. Add a jeweled pin or a fine headband for the ceremony. The tousled pixie hardly moves all day, which brides appreciate. The one risk is overloading product; too much paste looks greasy by the reception, so I start with a pea-sized amount and add only if needed.
5. French Twist for Short Hair
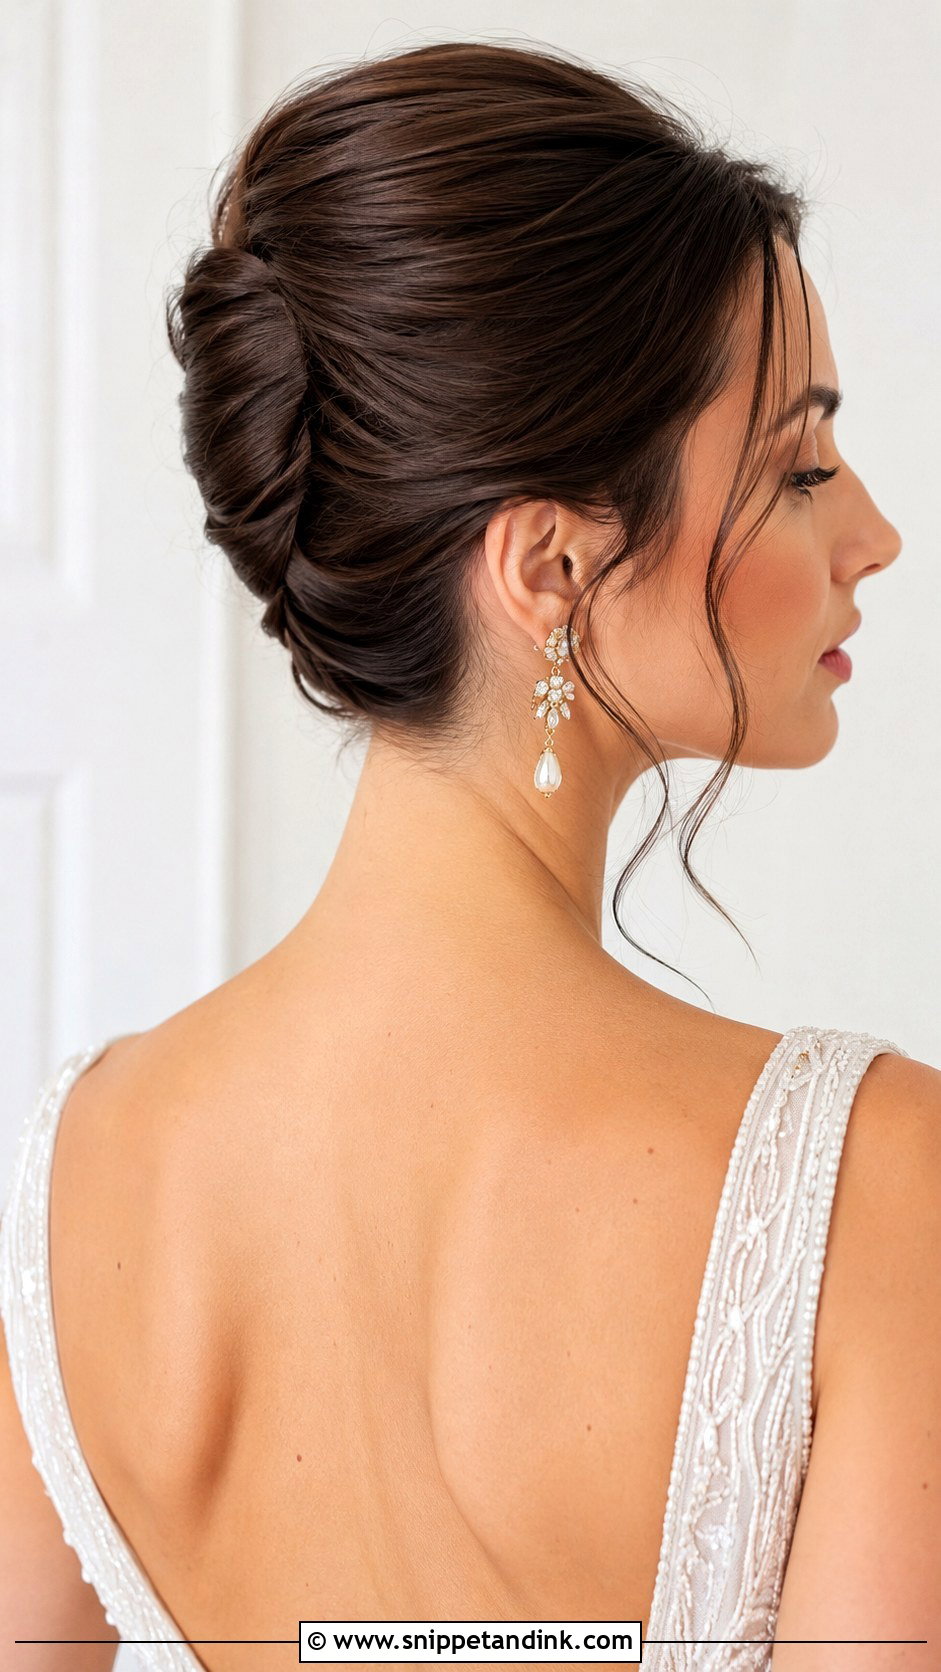
A French twist on short hair works only if the hair reaches at least past the chin at the back. Sweep everything to one side, set a vertical row of crossed bobby pins down the center as an anchor, then twist the hair up over that row and tuck the ends in. Shorter nape pieces will want to escape, so I spray those with gel before twisting. It pairs well with statement earrings and a fitted gown, and a few loose tendrils at the temples soften the column.
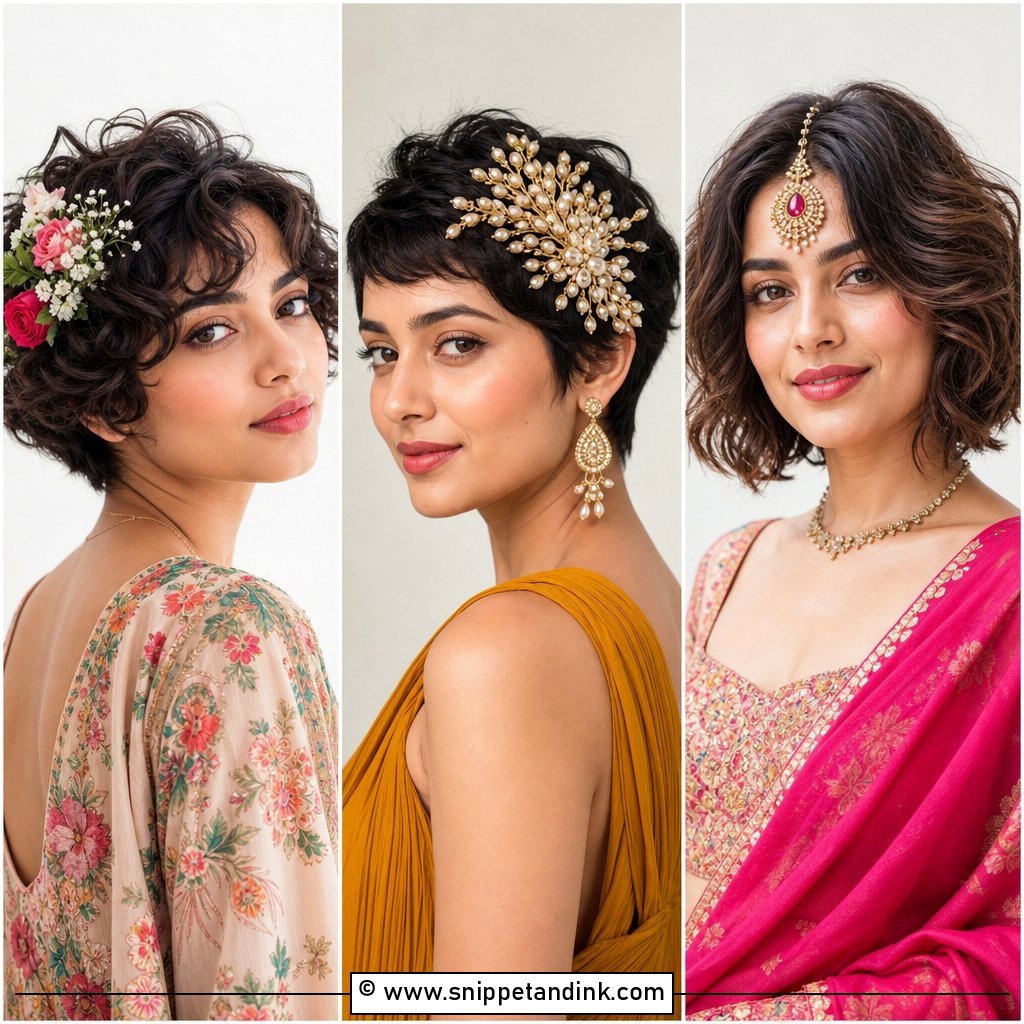
6. Floral Crown with Short Waves
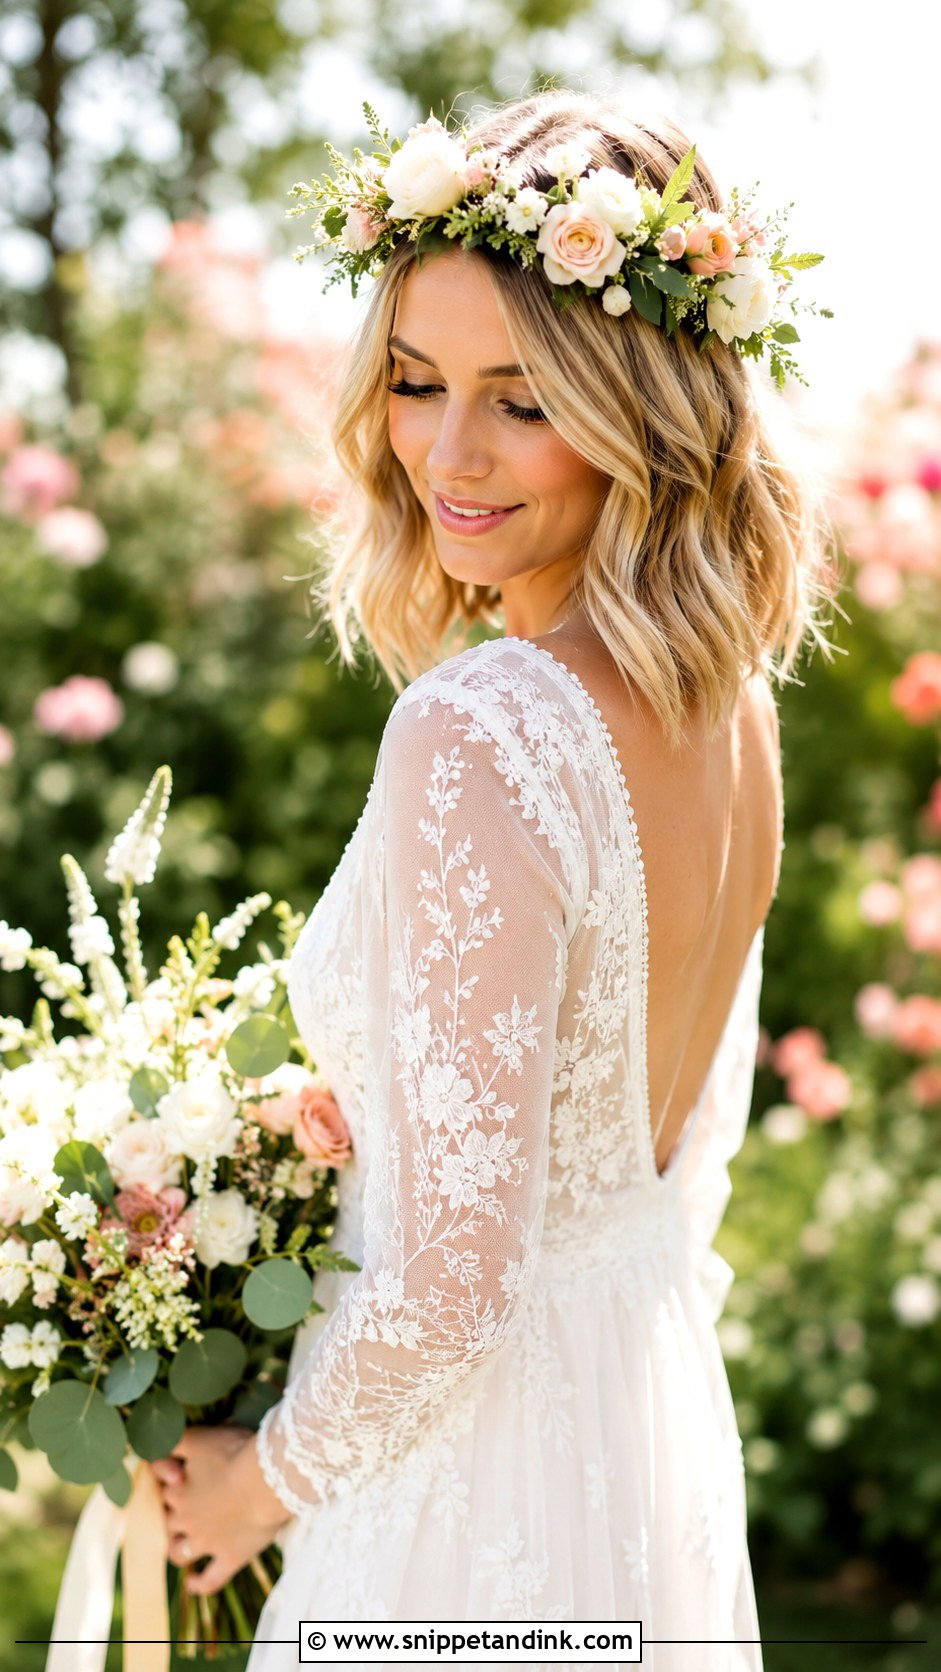
A floral crown sits best on waved hair, since the texture gives the crown something to settle into. I wave the hair first, then set the crown and pin it through the base at four points: both temples and two spots at the back. Fresh blooms should match the bouquet and be hardy enough to survive out of water for hours; spray roses, wax flower and small greenery hold up well, while sweet peas wilt quickly. On a hot day, I’d use faux flowers for the crown and keep fresh ones for the bouquet.
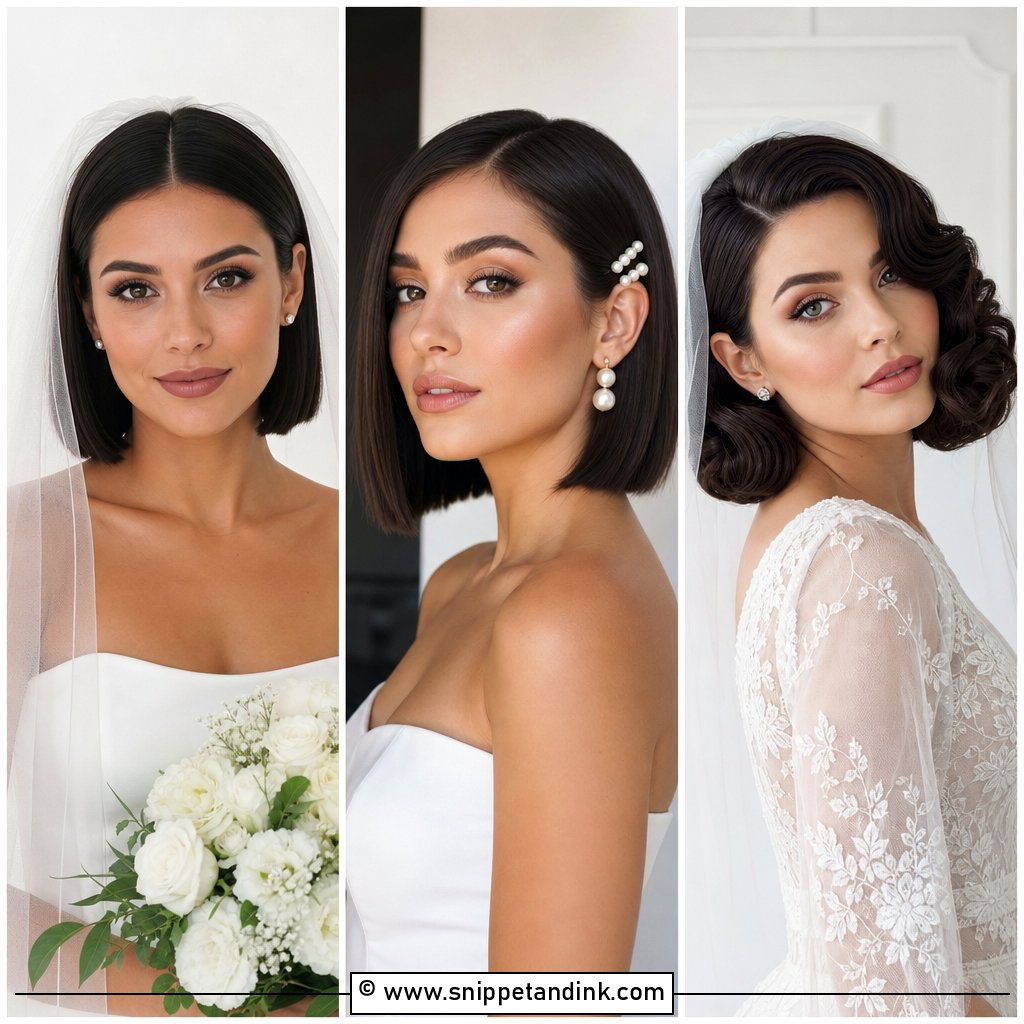
7. Sleek Straight Bob
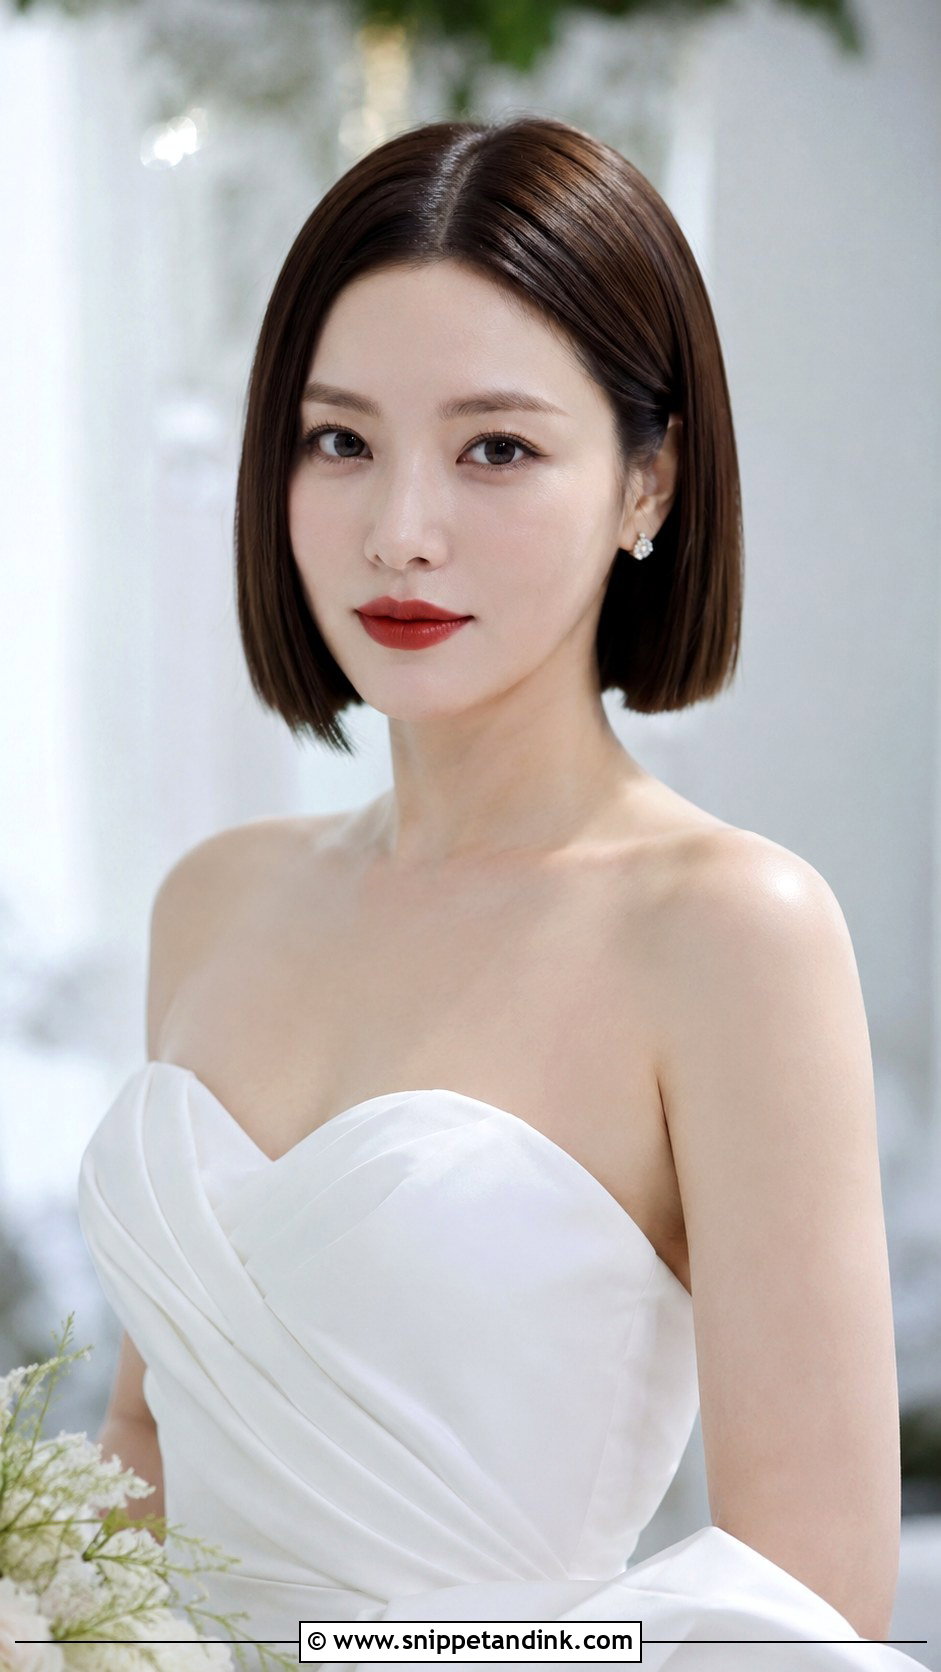
A sleek bob shows everything, so I’d schedule the trim around ten days before the wedding to let any harsh lines settle. On the day, flat iron in thin sections and finish with a single drop of serum on the lengths only. A middle part reads modern; a side part is softer and easier to anchor a veil behind. It pairs naturally with a structured gown and a bold lip. Humidity is its enemy, so an anti-frizz spray matters for an outdoor or summer ceremony.
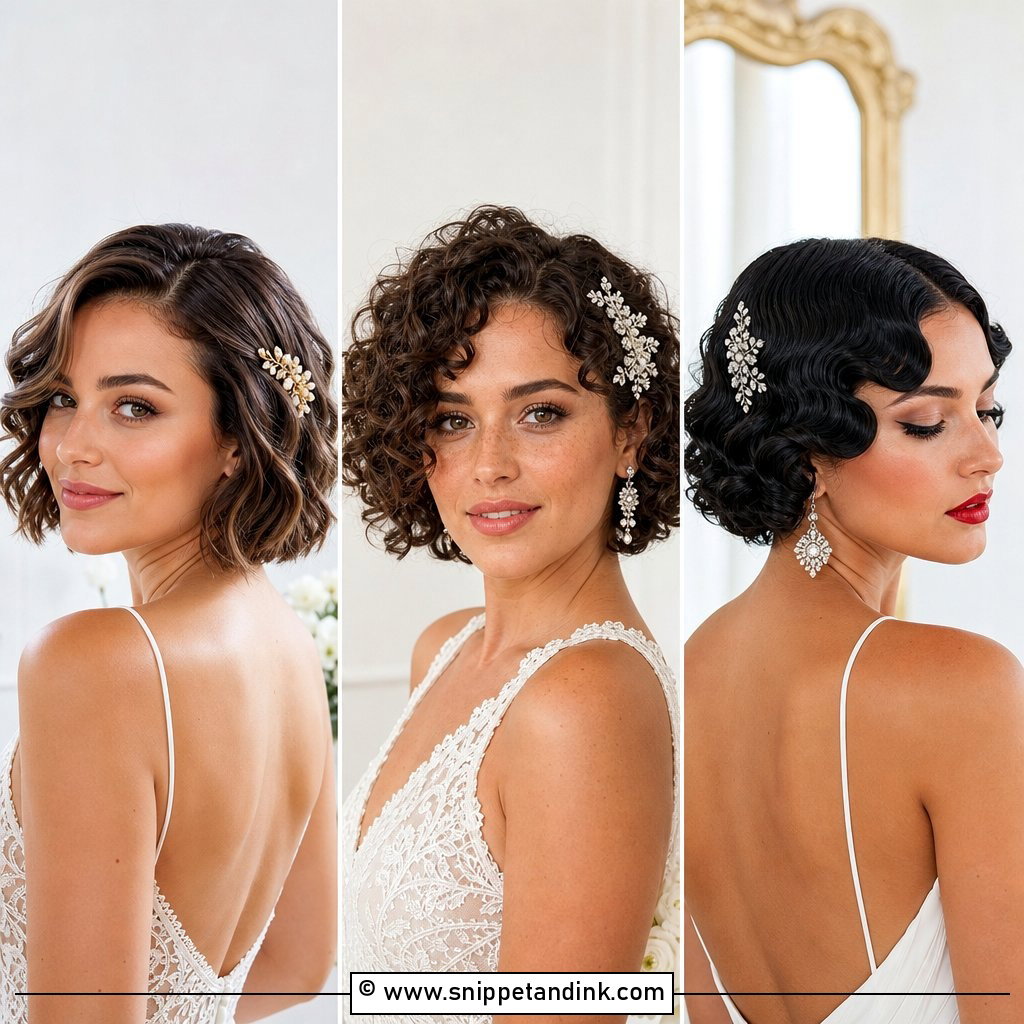
8. Vintage Finger Waves
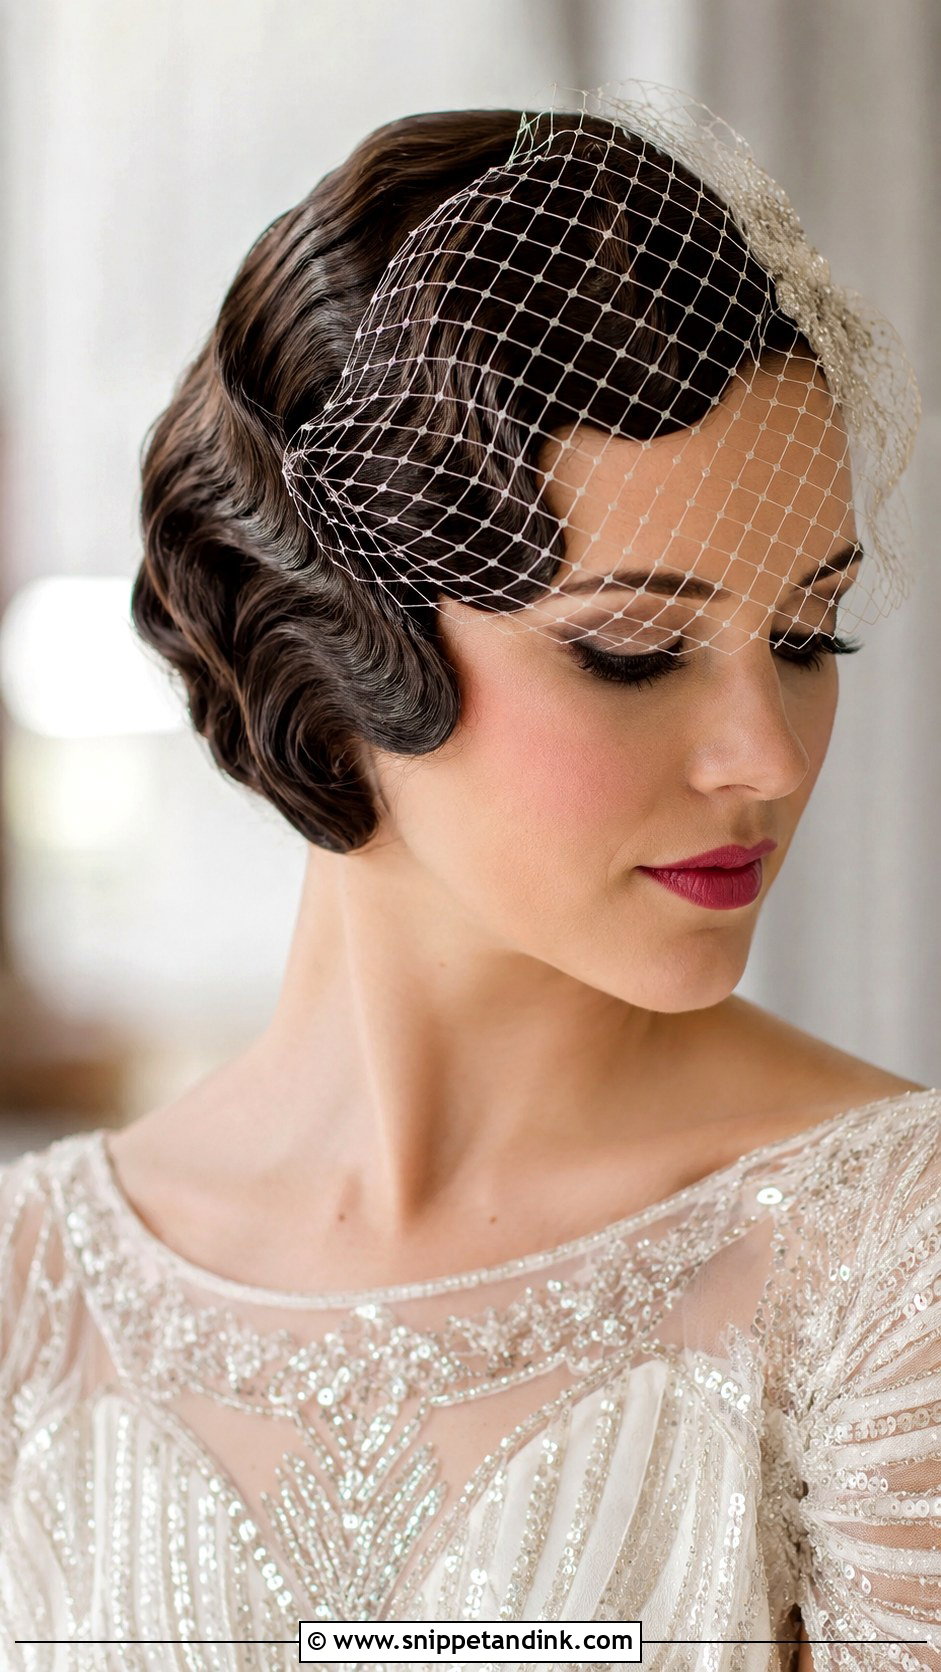
Finger waves are the most technical style here, and I’d only do them on hair that’s chin-length or shorter, since the weight of longer hair relaxes the ridges. The S-shapes are pushed into wet, gel-soaked hair with a finger and comb, then clipped at each ridge until dry, which can take an hour. They suit Art Deco and vintage themes and look right with a birdcage veil or a sparkling comb. Practice at the trial, never for the first time on the morning.
9. Braided Crown for Short Hair
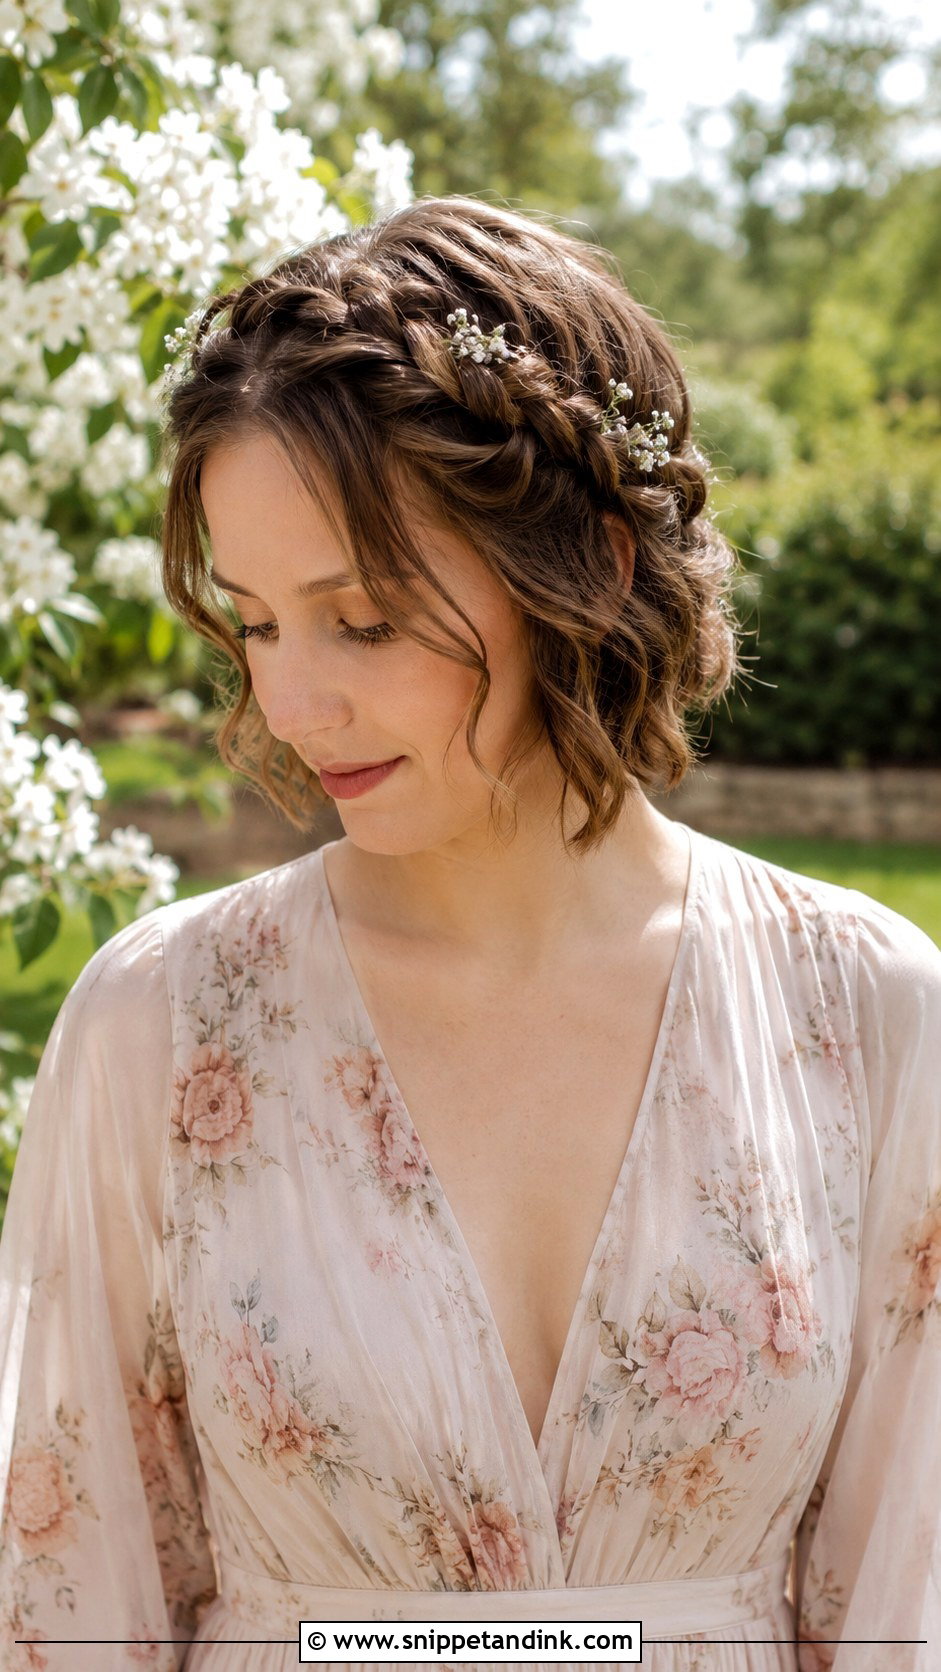
A braided crown needs some length, at least enough to braid from the temples to behind the ears. I braid small Dutch braids along the hairline and pin them where they meet at the back, tucking ends under the opposite braid. On shorter lengths it won’t fully wrap the head, and that’s normal; the braid frames the face instead. Tuck baby’s breath into the braid if you like flowers. It suits flowing gowns and garden settings.
10. Side-Swept Bob with Curls
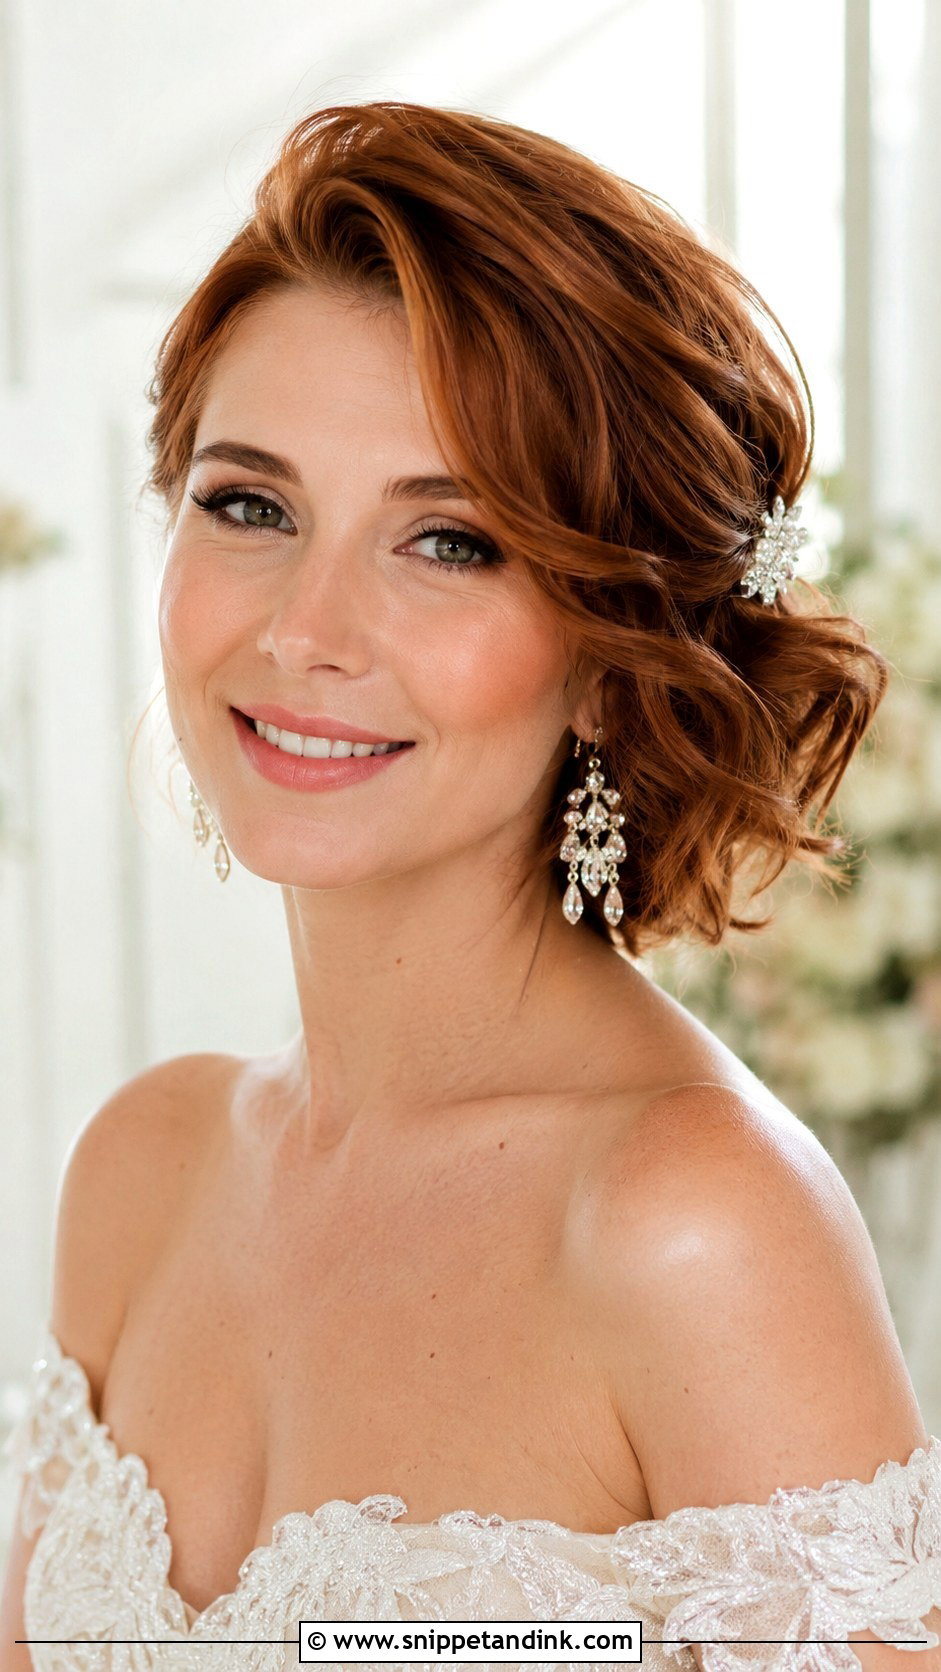
A side-swept bob with soft curls depends on a hidden pin row behind one ear. I set that row first, then curl the hair, let it cool, and brush the curls across so they sit over the pins. The open side shows off chandelier earrings and suits an off-shoulder gown. A sparkly clip placed over the pin row hides it and adds a detail for close-ups. A light spray keeps it from drifting back to center.
11. Messy Bun for Short Hair
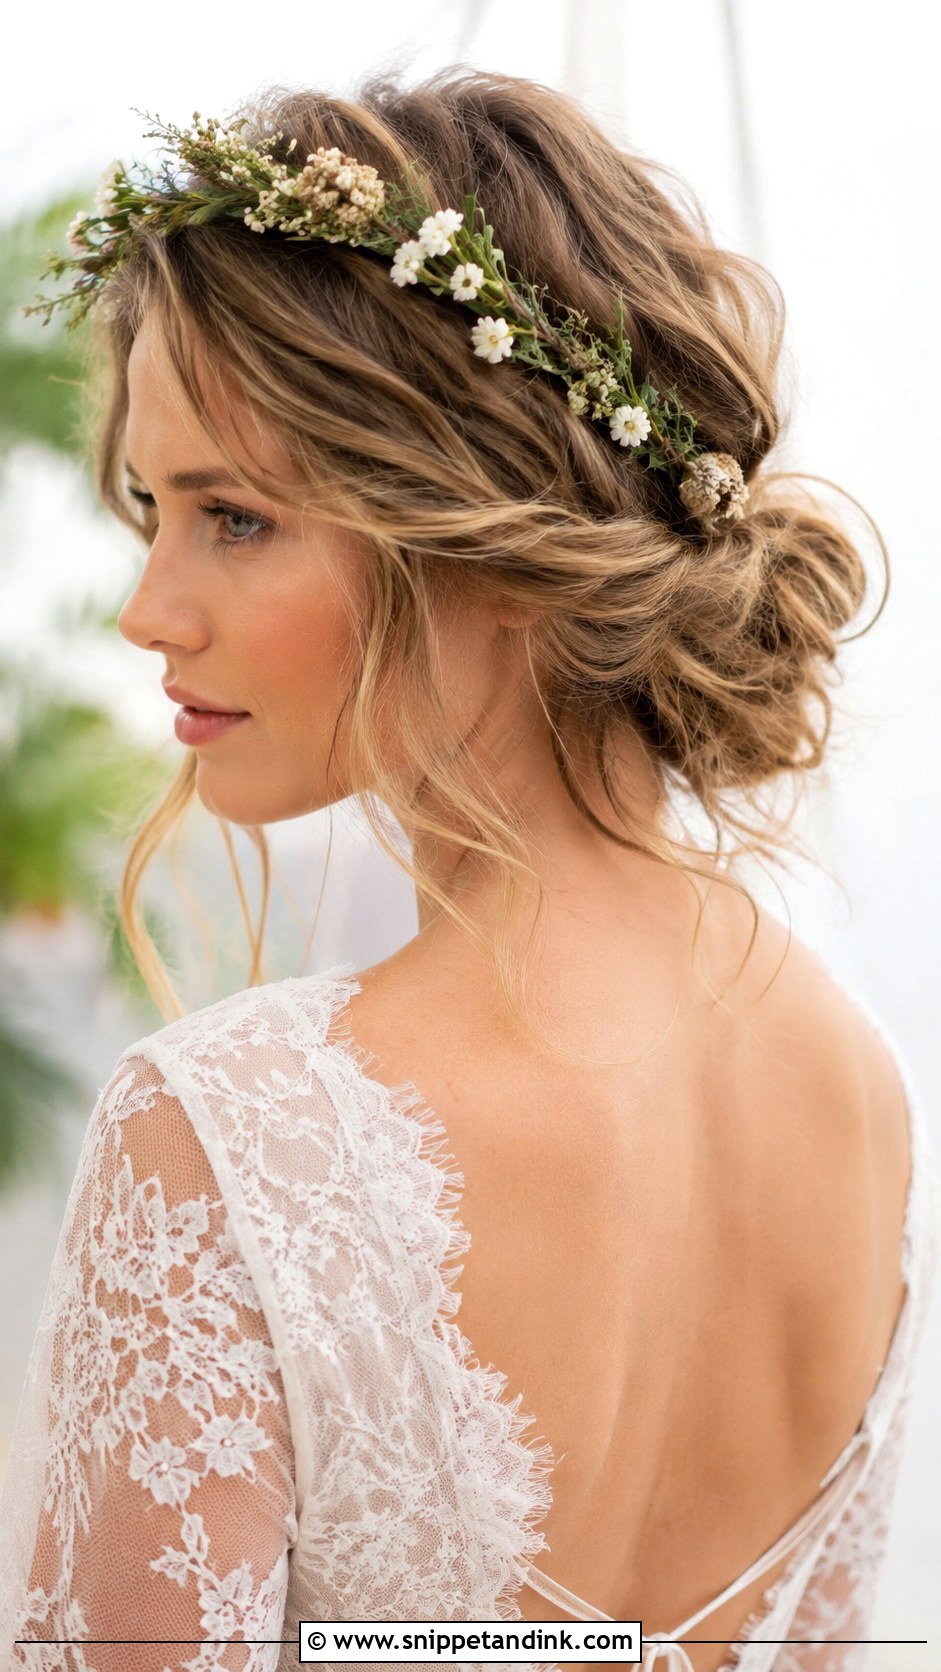
A messy bun on short hair is small, and it relies on texture. I prep with dry shampoo, gather what reaches into a low bun, and pin with U-pins so the shape stays loose. The shorter pieces at the nape will fall out; spray them and let them sit. It’s comfortable through a long day and works well with a flower crown. Skip this one if your back layers are much shorter than the front.
12. Slicked-Back Pixie
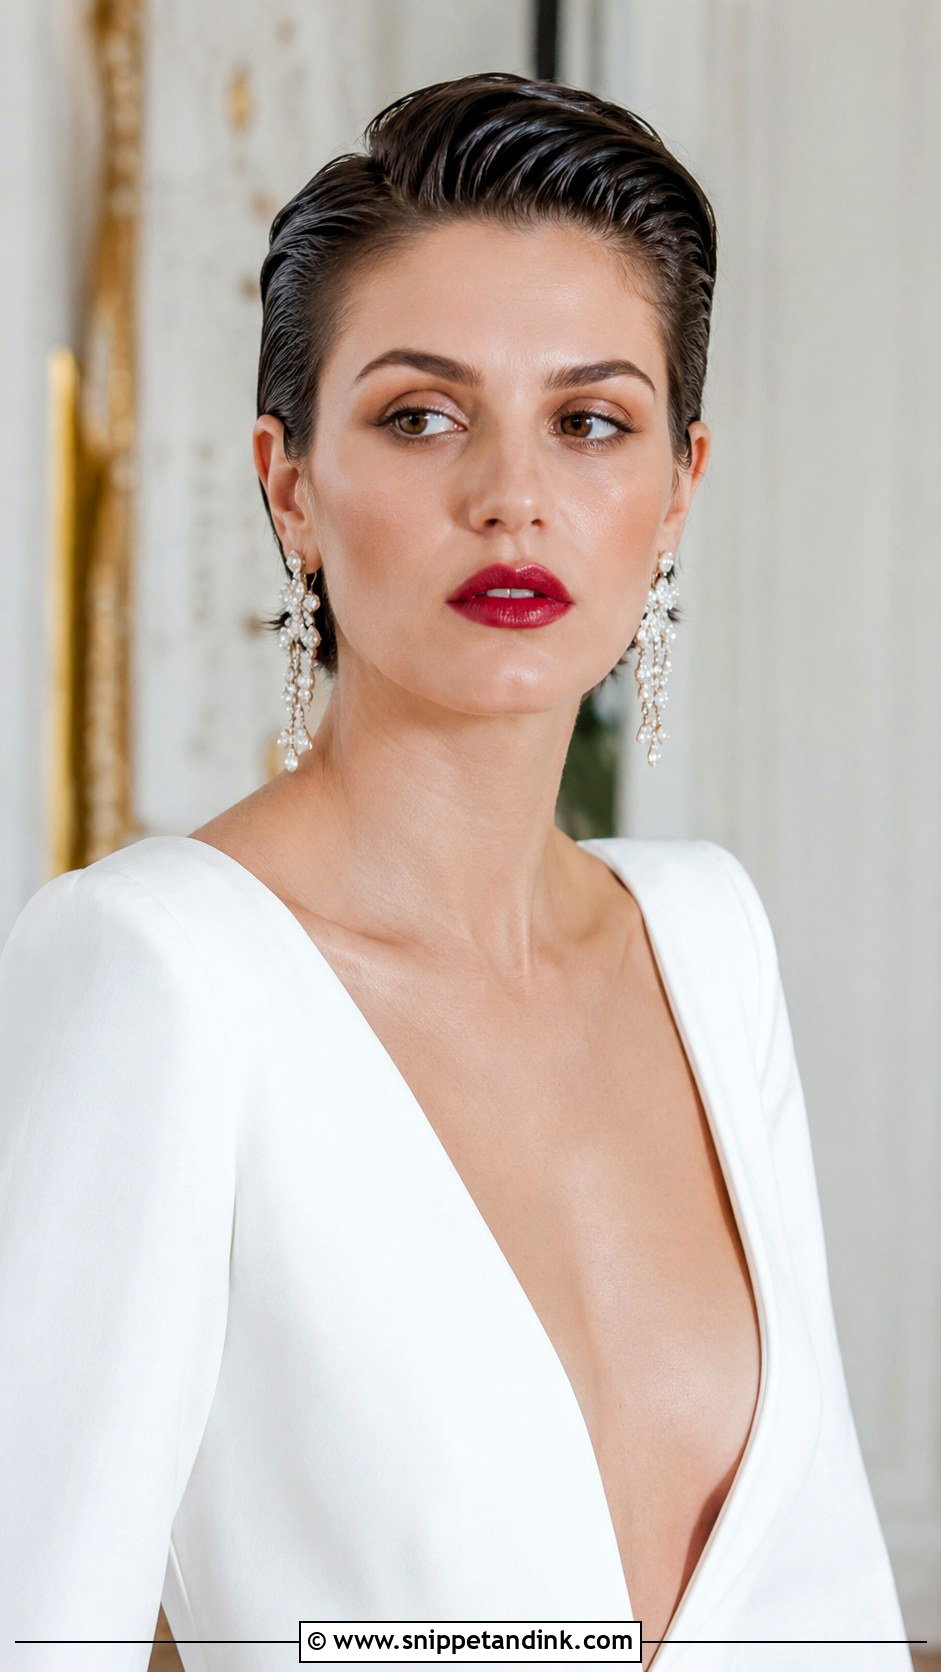
The slicked-back pixie is the style I’d suggest to a bride who wants to look sharp and modern. Apply a strong-hold gel to damp hair, comb it straight back, then press the surface with your palms so comb lines soften. This sleek, edgy style puts all the attention on your face and jewelry, so it pairs naturally with dramatic earrings and a bold lip. It stays put all day. The one honest catch: there’s nowhere to hide a veil comb, so a headband or no veil suits it better.
13. Curly Bob with Headband
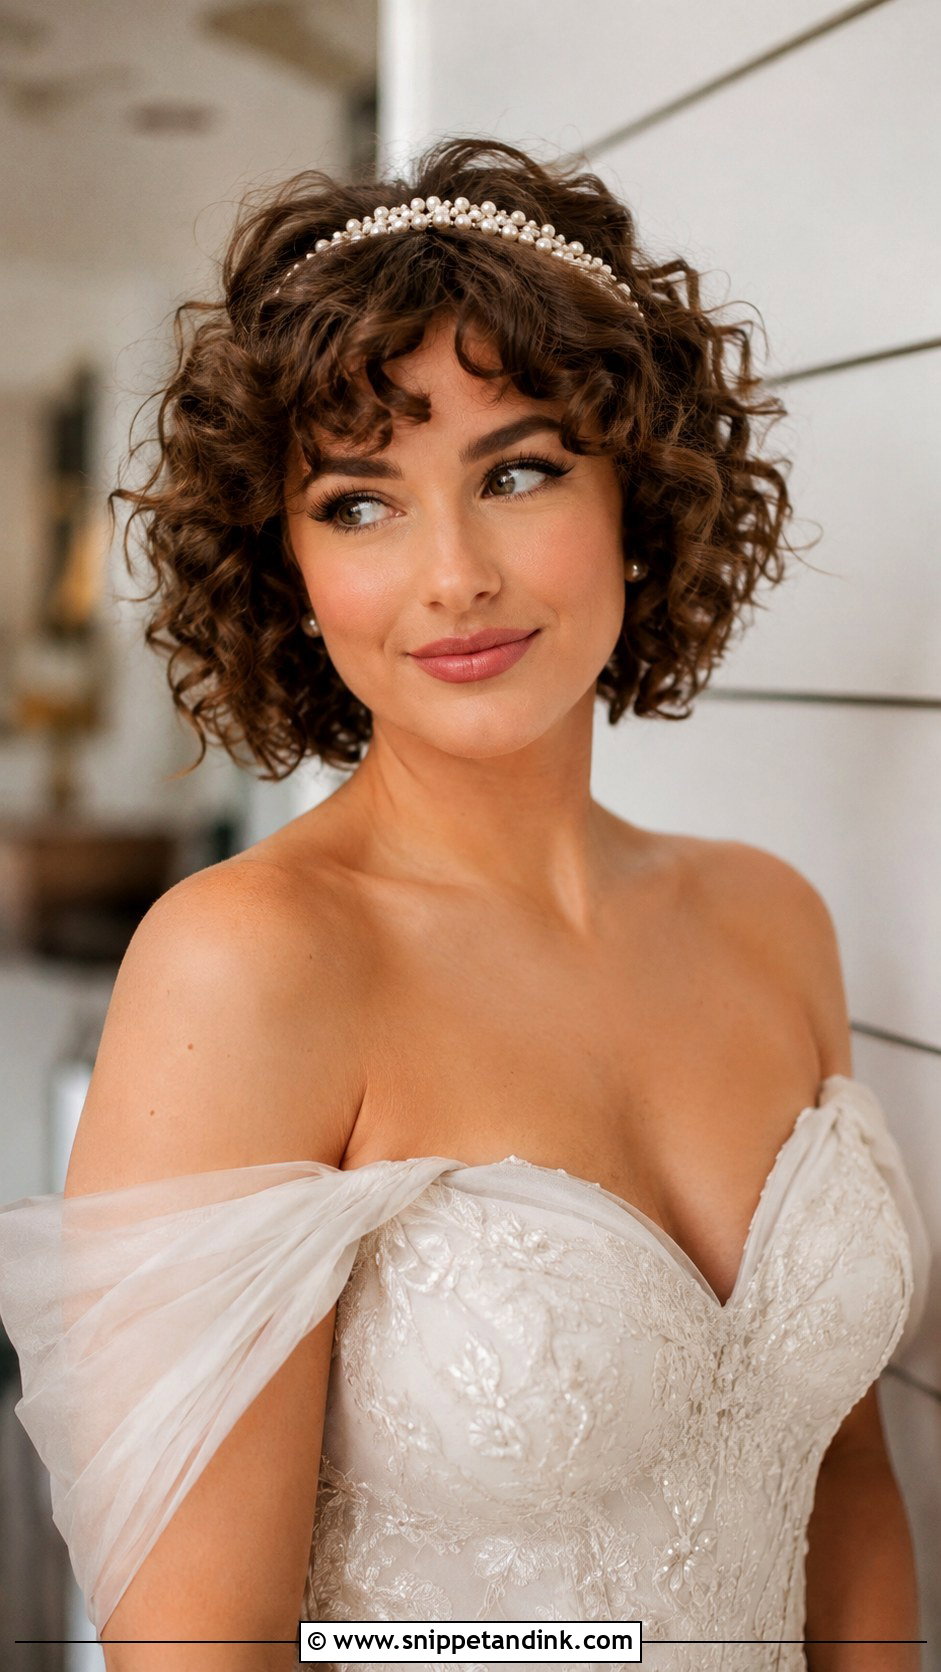
Natural curls need definition and some control at the edges. I apply defining cream to soaking-wet hair, scrunch, and diffuse on low heat without touching the curls until mostly dry. Then a headband frames the face and catches any stray curls near the forehead. Choose a band with teeth on the underside so it doesn’t ride up. It suits vintage and garden weddings and lets your texture lead.
14. Low Bun with Side Braid
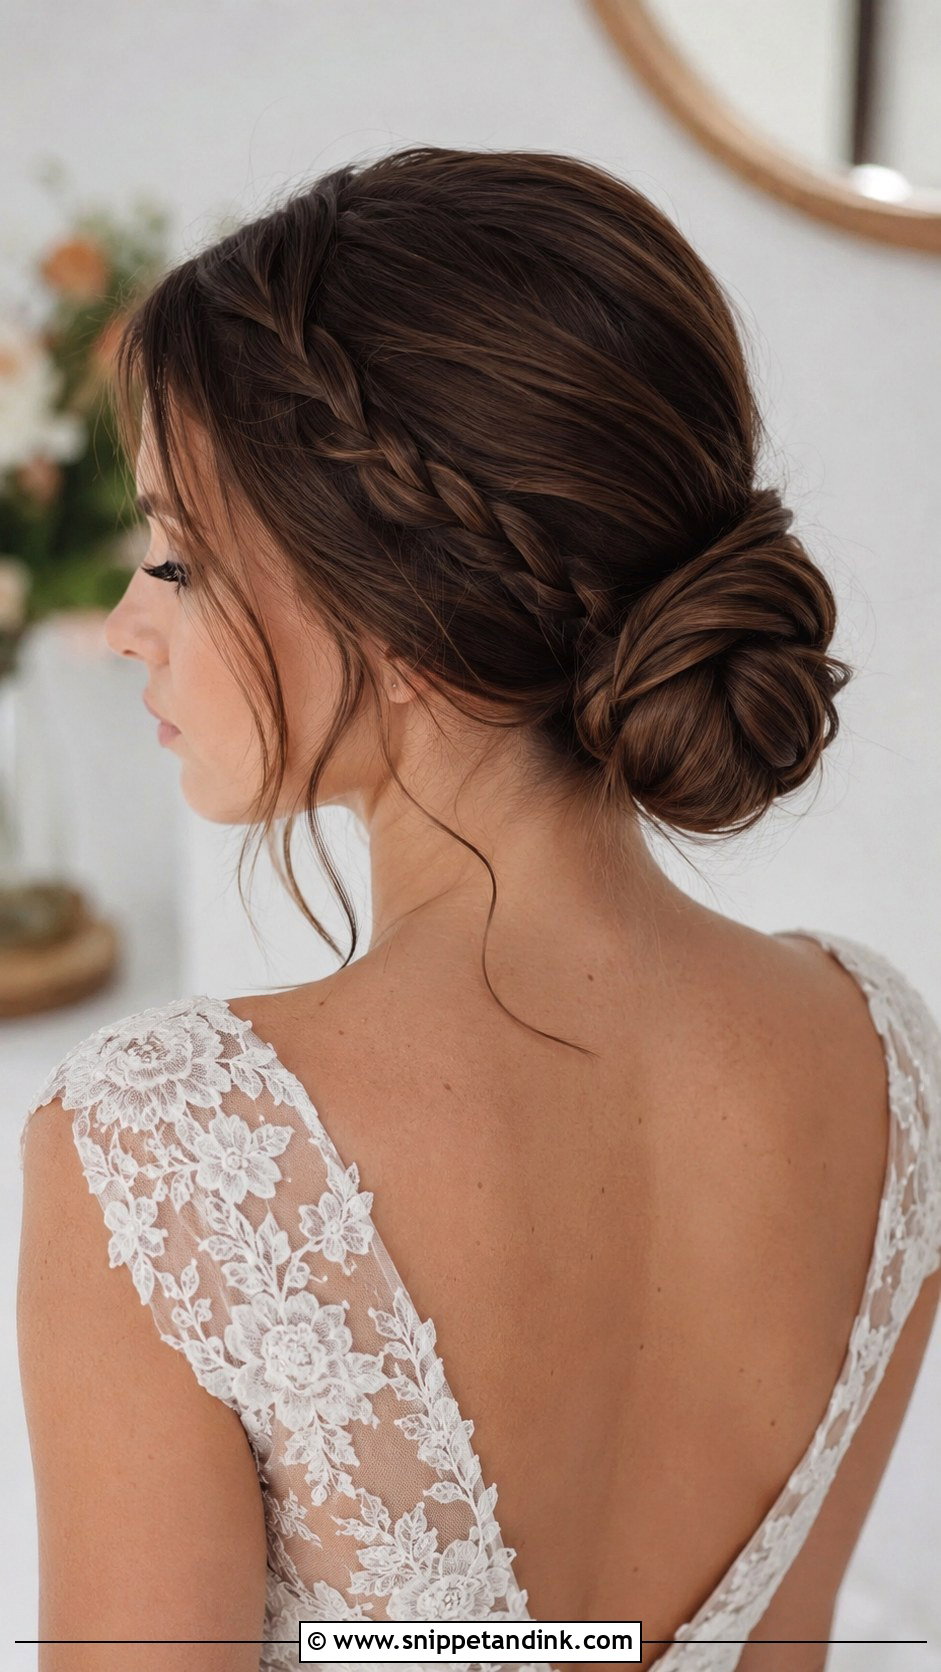
A low bun with a side braid adds a detail without making the style busy. Braid a small section along the hairline first, then gather everything into a low twisted bun so the braid wraps into it. I pin the braid’s end inside the bun so it can’t loosen. It sits neatly under a veil and suits formal weddings. Leave a couple of tendrils loose to soften the front.
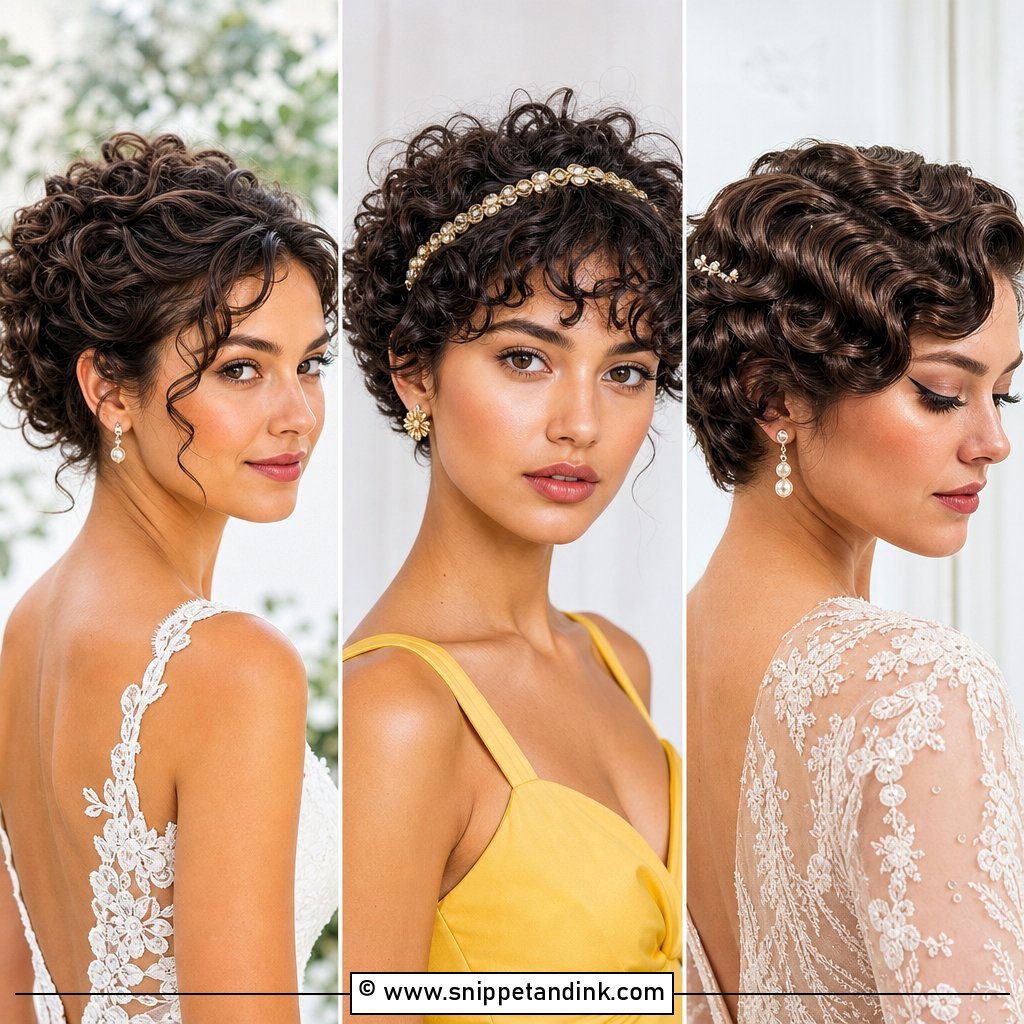
15. Voluminous Blowout Bob
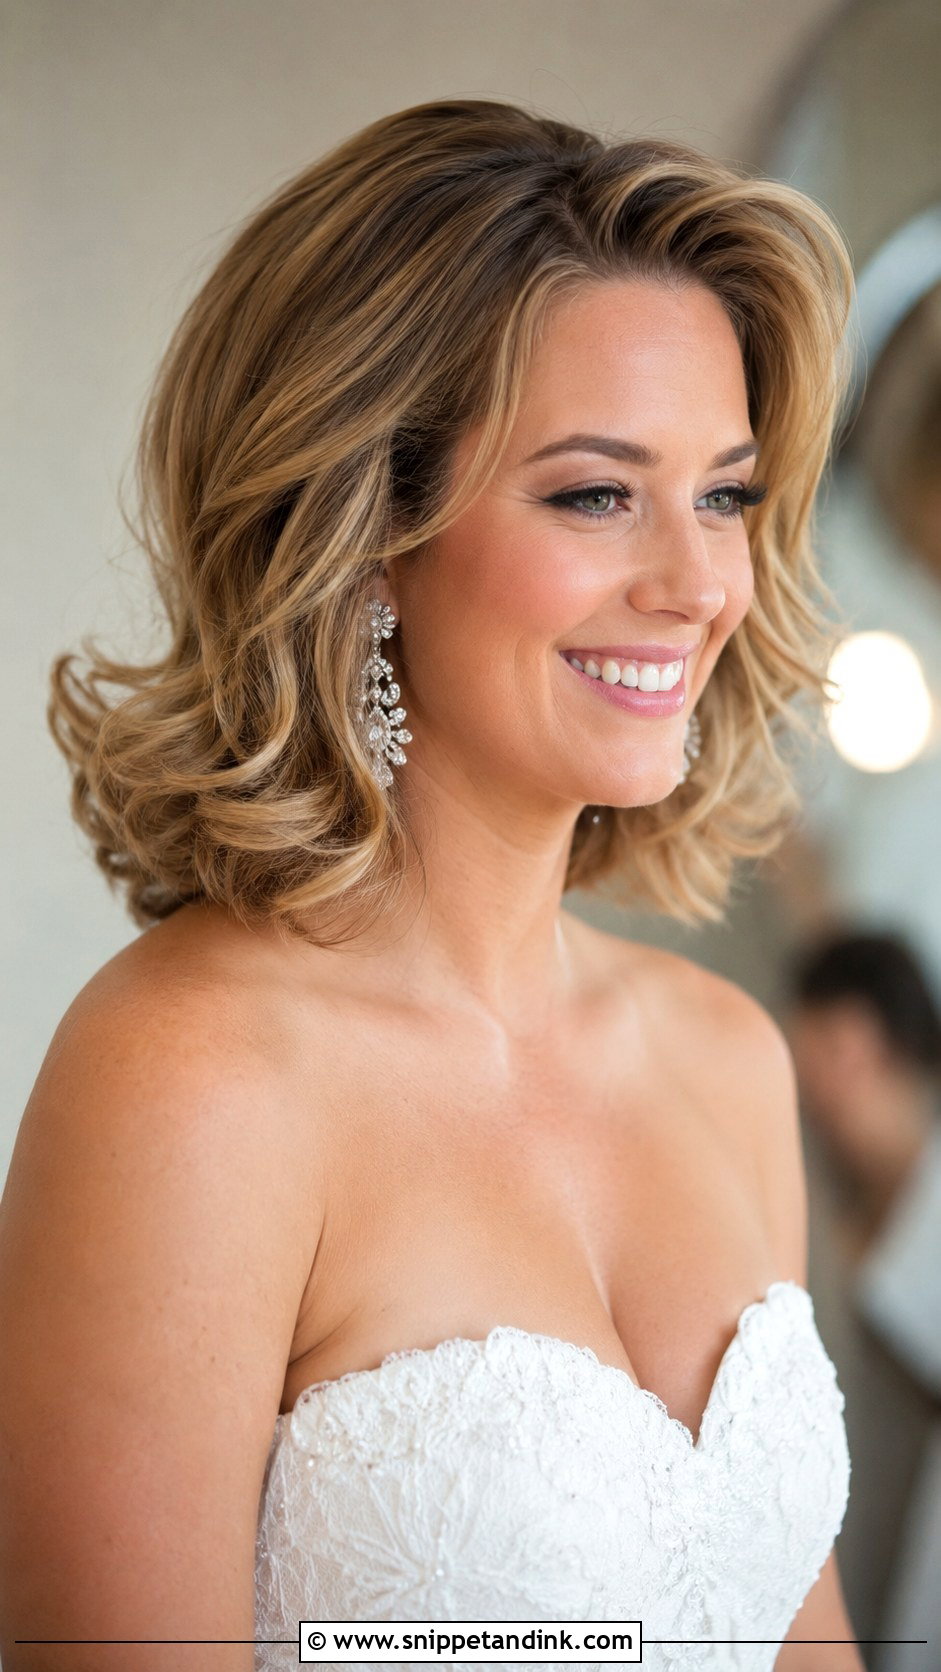
A voluminous blowout bob relies on drying the roots first. I lift each section straight up from the scalp with a round brush and dry it there, then turn the ends under at the very end. Most home blowouts lose volume because the roots dry flat before the brush gets to them. Shine spray finishes it. On fine hair, I’d use a volumizing mousse at the roots before drying so the lift holds through the evening.
16. Twisted Updo for Short Hair
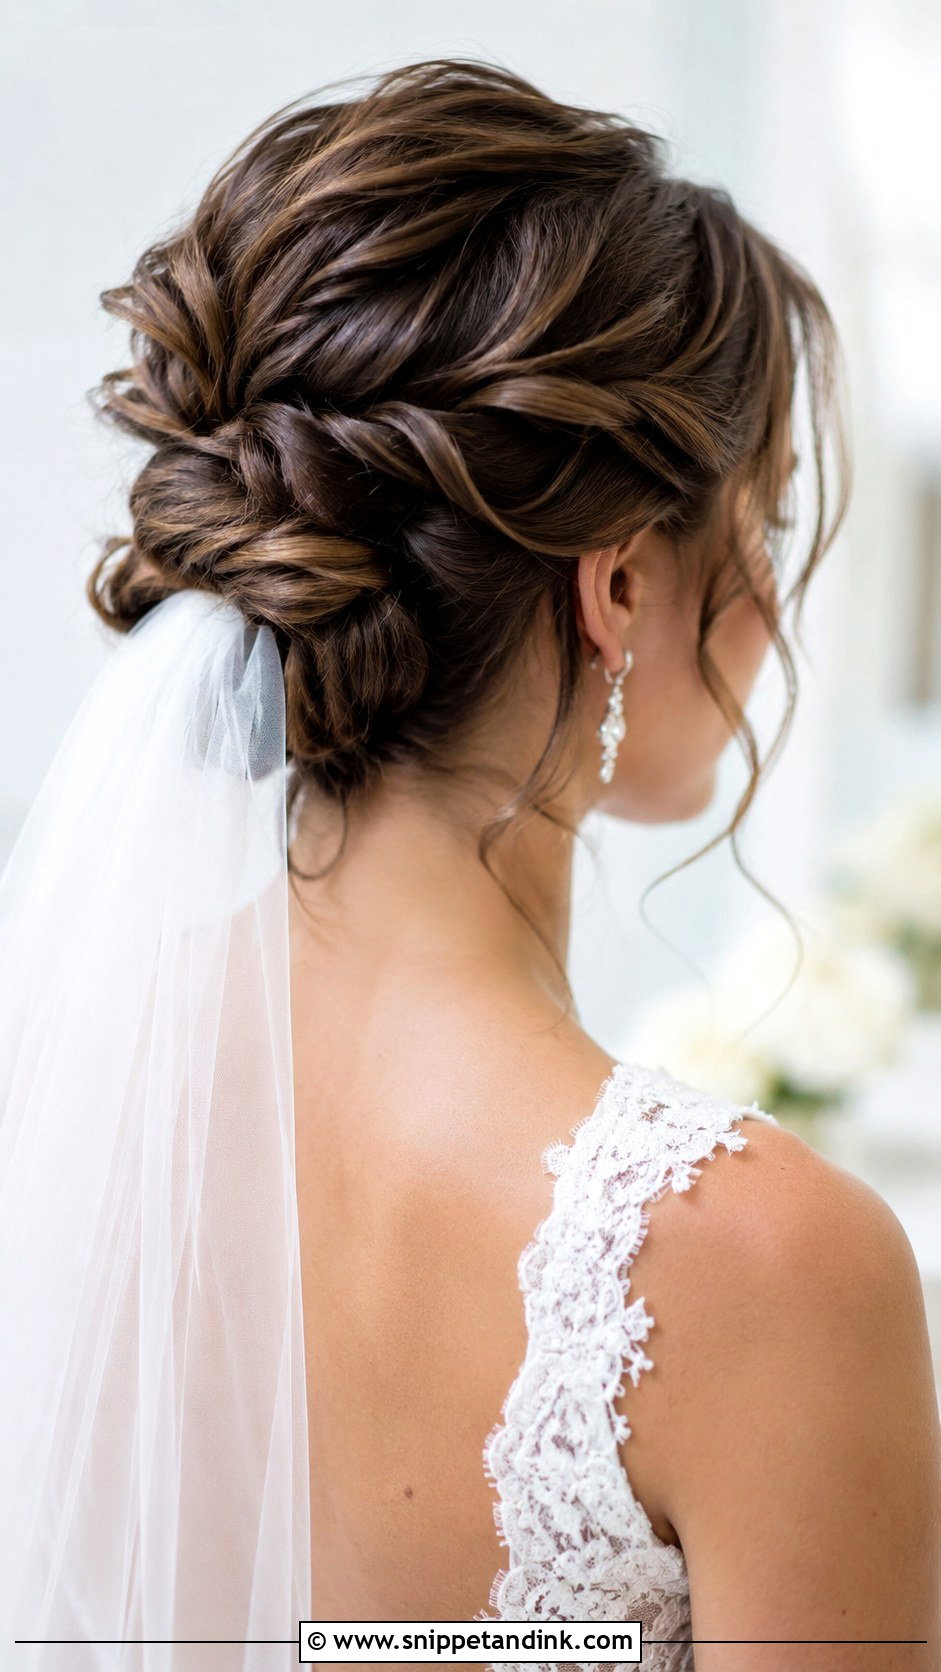
A twisted updo is built in small steps on short hair. Section the hair and twist each piece toward the back, pinning each one as you go rather than all at the end. Short ends will poke out of the twists, which I tuck with single pins or simply leave. Build the twists into a structured shape at the nape, and it sits well under a veil. A few loose pieces at the face keep it from looking stiff.
17. Pinned-Back Pixie with Accessories
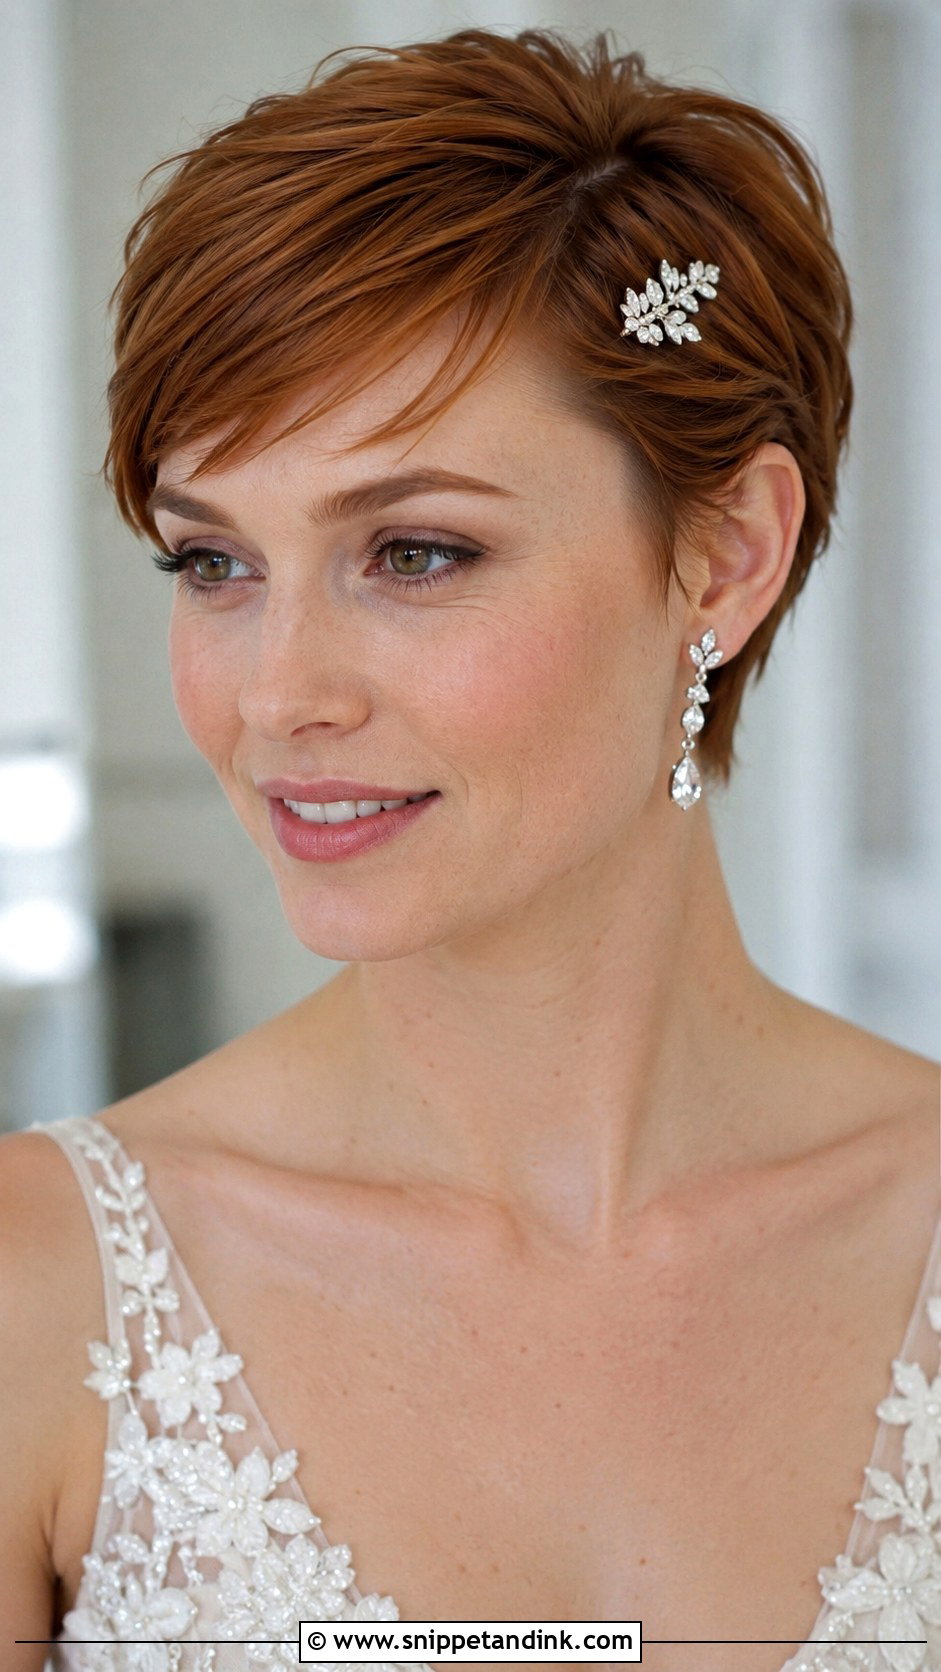
Pinning back a pixie takes about two minutes and changes the whole look. Sweep the bangs to one side and secure them with a jeweled clip or pin angled toward the crown. Under it, I place a plain bobby pin for the actual hold, since decorative pins tend to slide. The sparkle catches the light at the ceremony. It suits intimate and modern weddings and shows off your features.
18. Soft Curls with Pearl Pins
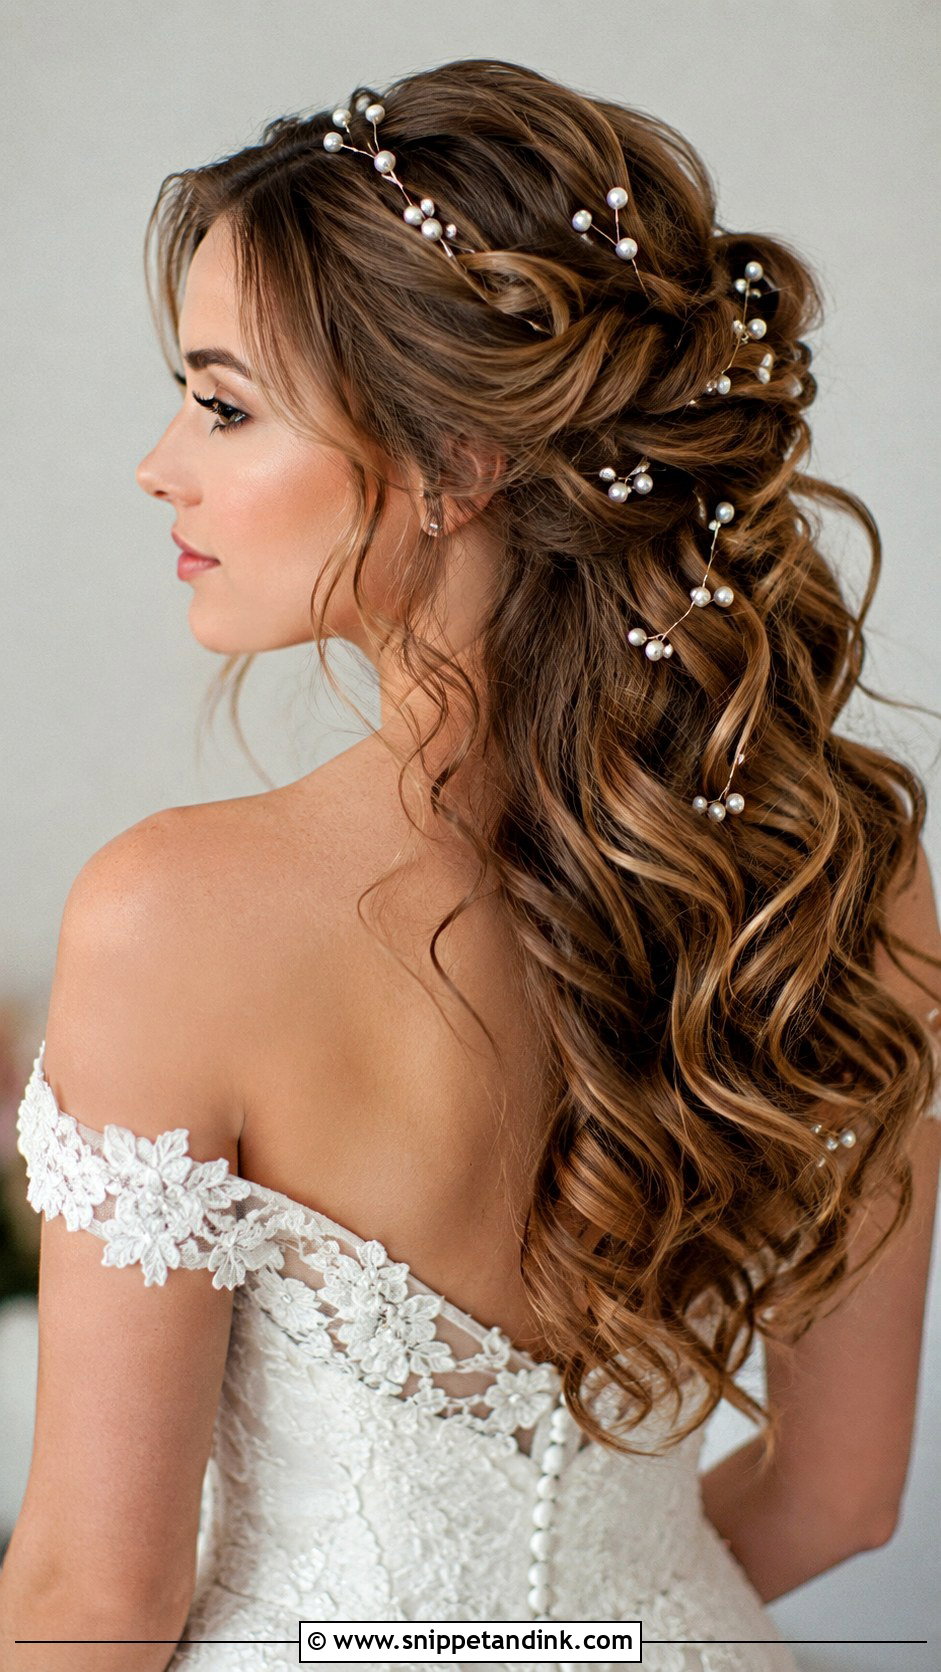
Pearl pins scattered through curls add detail without the weight of a comb. I curl the hair loosely, then slide the pins in at an angle toward the crown so they grip the curl. Place them in a loose diagonal rather than a straight line, which looks more natural. It works on bobs and lobs. Brides like the way the pearls elevate the look while keeping the hair light.
19. Deep Side Part with Waves
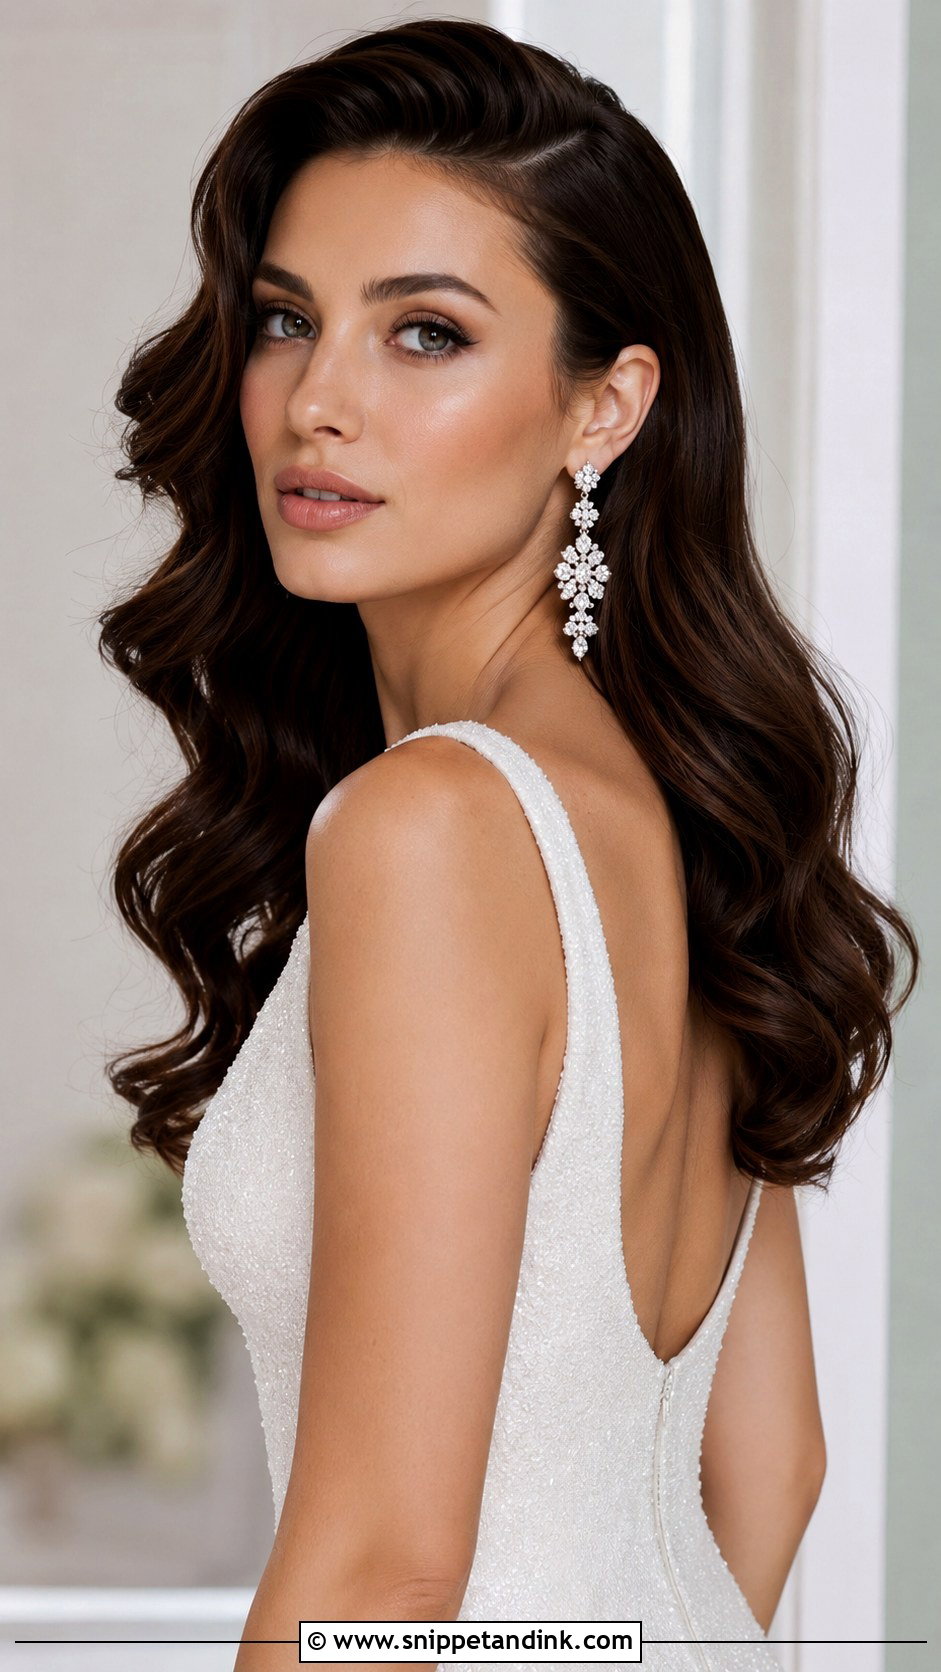
A deep side part works best when the curls are set before the part is moved. I curl the hair first, let it cool, then flip the part and pin the heavy side behind the ear with one bobby pin. The sweep flatters round faces and pairs well with statement earrings and a sleek gown. It suits bobs and lobs. For a church ceremony with a long veil, I’d put the veil comb on the lighter side of the part.
20. Boho Waves with Greenery
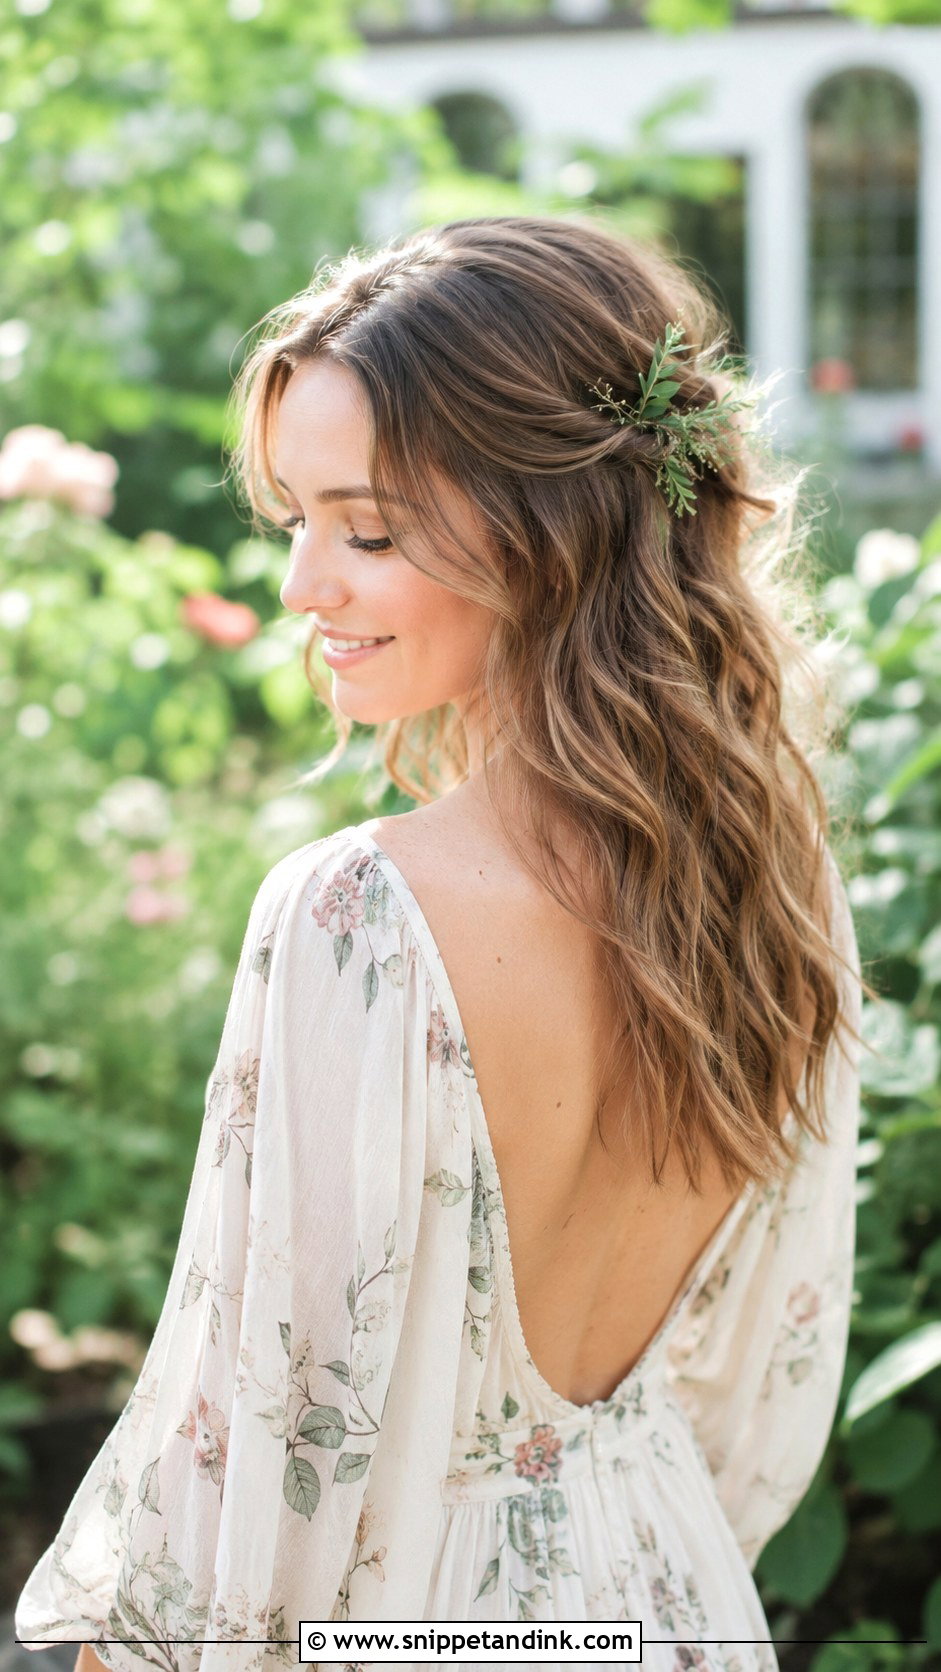
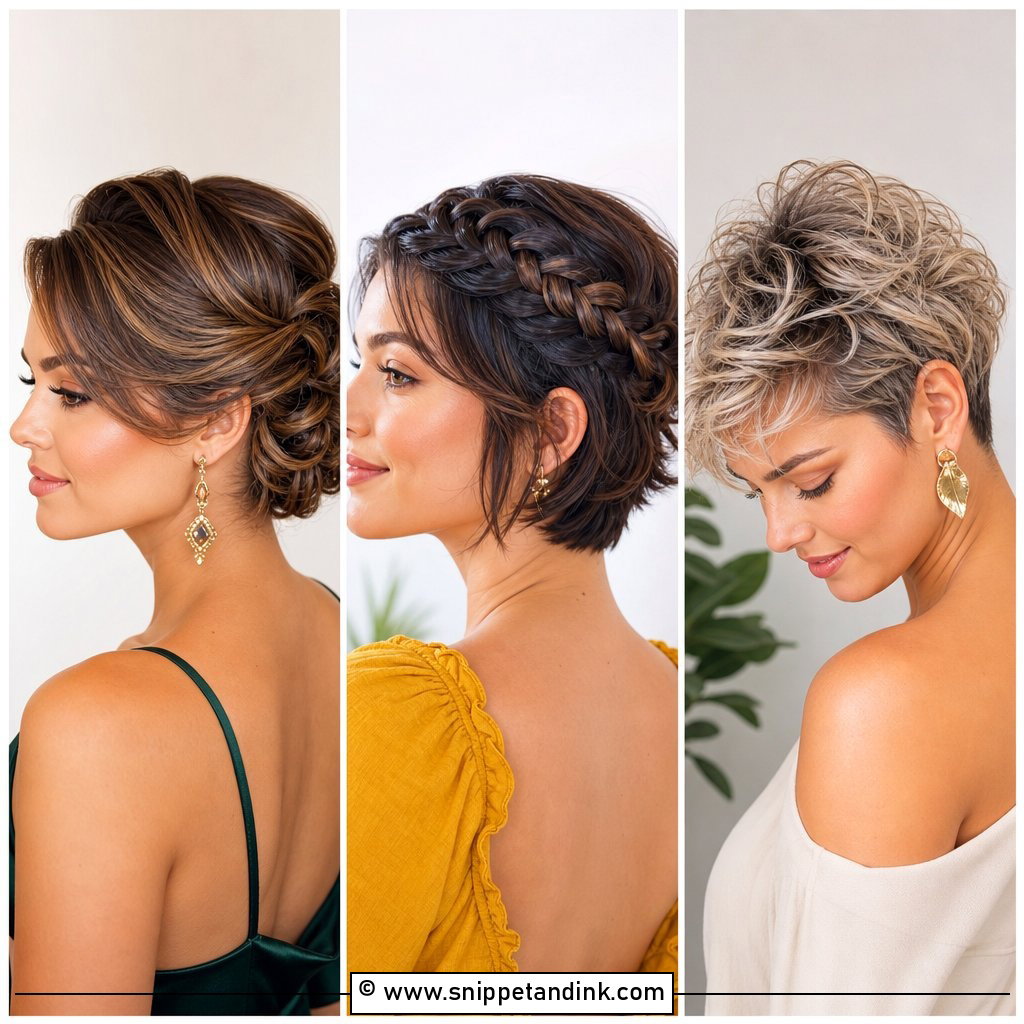
Greenery in short waves is the most natural of these looks. Style the hair into loose waves, then tuck small sprigs of eucalyptus, rosemary or ruscus throughout, wired or slid alongside a bobby pin. Those hold up out of water much longer than delicate blooms. The style suits outdoor and garden weddings and lightweight gowns. Ask your florist for a few spare stems on the day.
Timing the Final Cut So It Settles Before the Photos
Short hair grows out fast, and a few weeks can change the shape of a bob or pixie noticeably. That makes the date of your last cut more important than it is for long-haired brides.
I’d book the trim for about one to two weeks before the wedding. Freshly cut lines can look sharp in photos, and a week or so lets them soften. Color usually goes in at the same time or slightly earlier, so any tone settles after a couple of washes. Don’t try a new cut length in the final month; even a slight change can mean your trial style no longer fits.
If your trial is several months before the wedding, tell your stylist the length you’ll have on the day. A style built on a fresh cut may need adjusting if your hair has grown an inch by then.
Pixies need one more step. The neckline and around the ears get fuzzy first, so a quick tidy of just those edges a few days before the wedding keeps the shape crisp without changing the length you tested.
Your Bob or Pixie Is Already Wedding Hair
Short hair gives you plenty of options for a wedding, from sleek chignons to tousled pixies and soft waves. It styles quickly and holds up well through a long celebration, as long as the prep and anchoring are right. Add pearls, florals or sparkly pins if you want something bridal. Most of all, pick the style that feels like you on a good hair day, and then decide how to dress it up.
You'll Like These Ideas:


Leave a Reply