
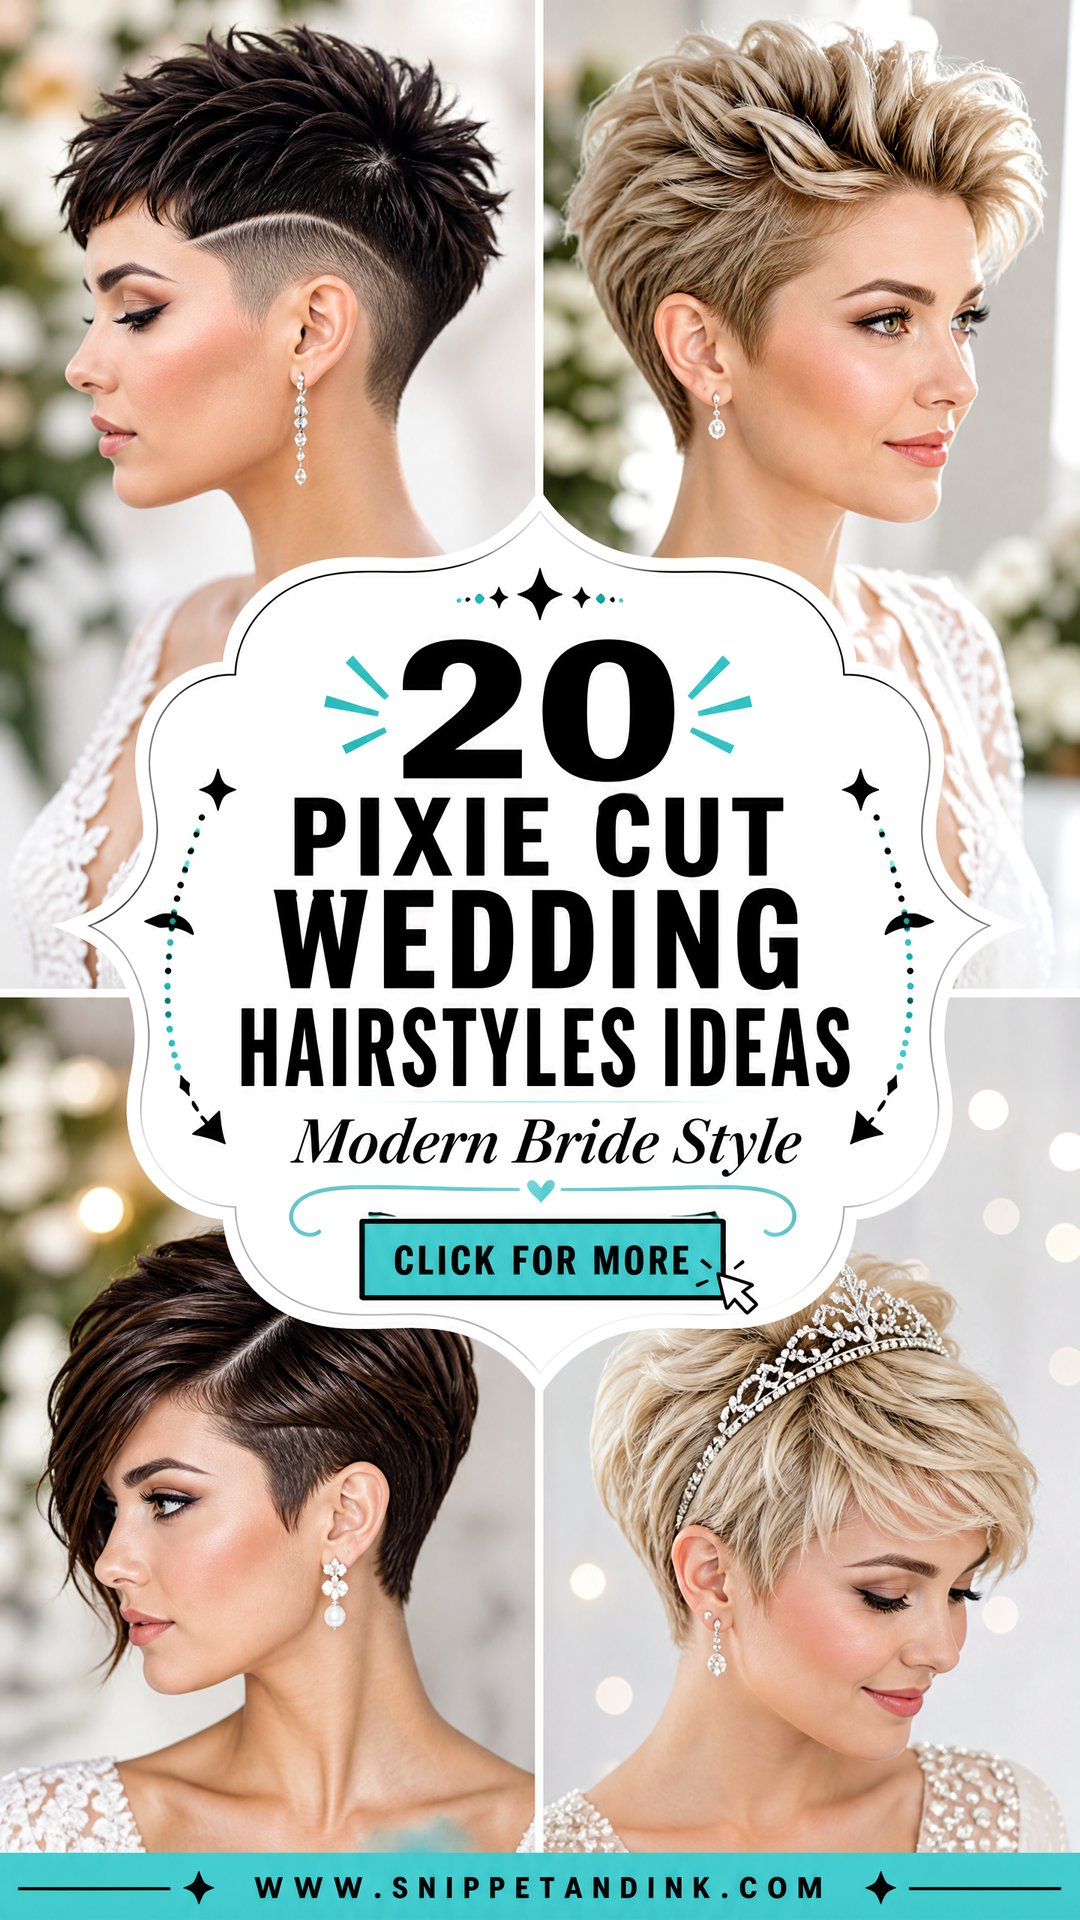
A pixie is the haircut I see brides second-guess most in the months before a wedding, and usually for no good reason. Short hair gives you fewer styling routes than long hair, but the ones it has are sharper: a clean nape, a defined part, an accessory that sits exactly where you put it. The real work is in small details, like how a comb grips at two inches of length or how gel behaves under hours of warm lights. Below are twenty pixie looks I’d happily put on a bride, with what each one needs from your hair and where it tends to go wrong.
The Last Trim Belongs About a Week Before the Wedding
Half an inch of growth changes the whole shape of a pixie, which is why timing the final cut matters more than any product. I ask brides to have their last full cut seven to ten days before the wedding. That gives the edges time to soften so they don’t look freshly chopped in photos, and it leaves room to fix anything that didn’t go to plan.
Then book a quick clean-up of the nape and around the ears two or three days out. Neck hair and clipper lines grow back visibly within days, and those are exactly the areas a short cut puts on display.
Bring your chosen look to that cut
Tell your stylist which style you’ve settled on before the scissors come out. A side sweep needs length at the front, finger waves need length on top, and a braid needs a few inches at the temple. Cutting first and choosing later is how brides end up with a style their hair simply can’t do.
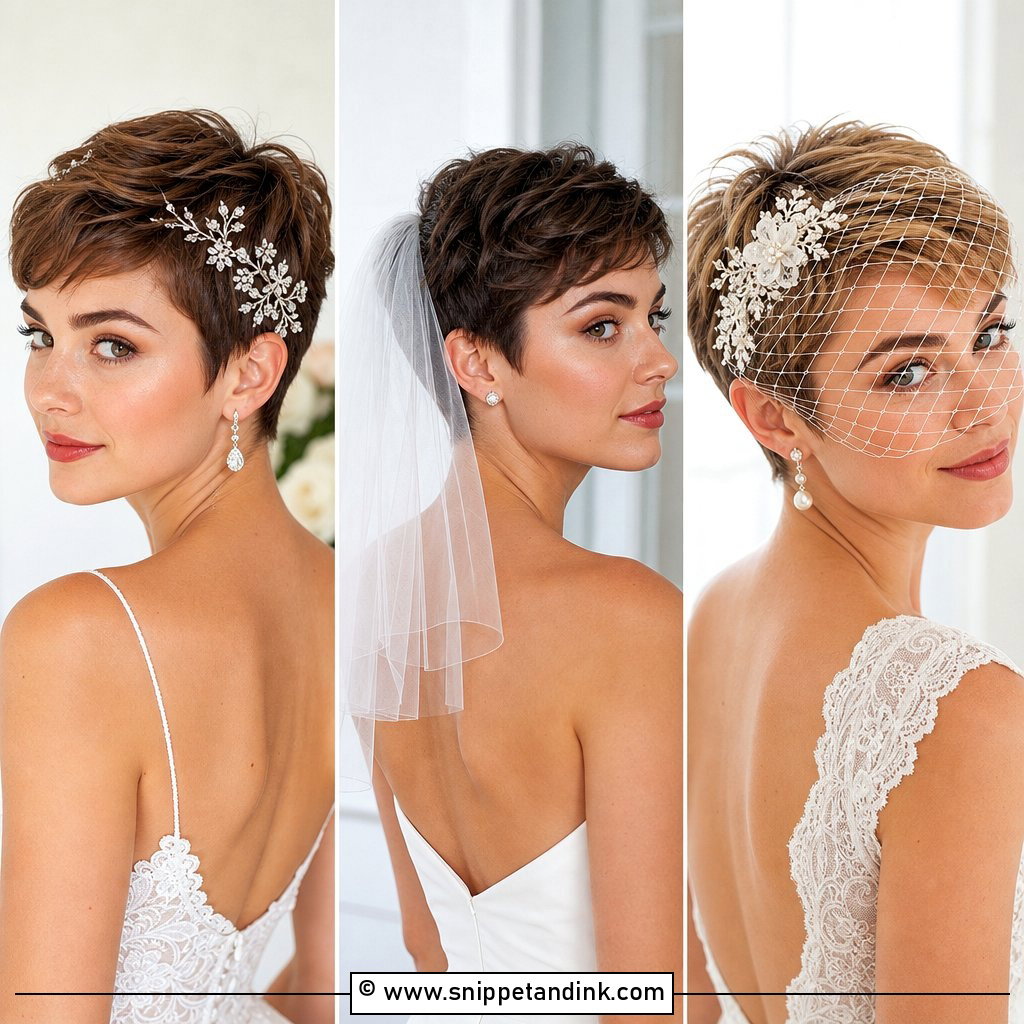
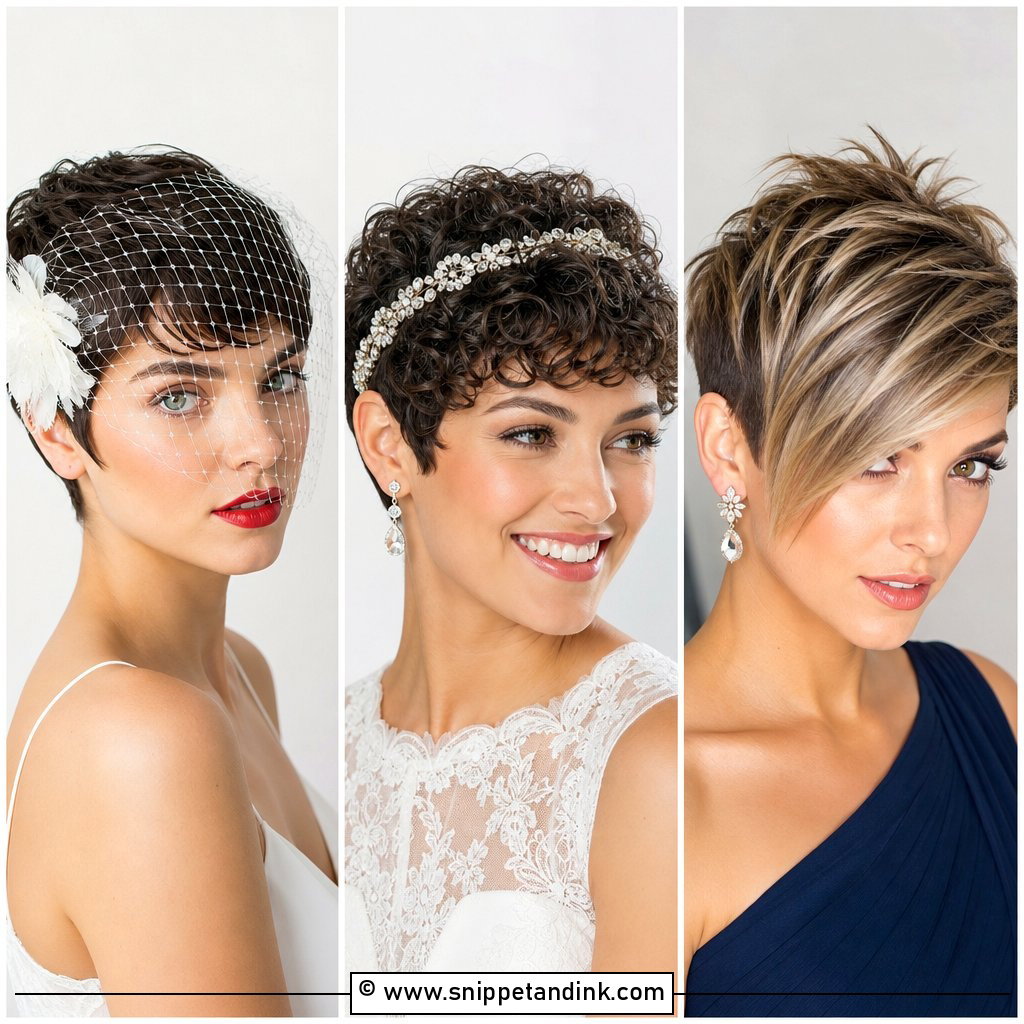
1. Sleek Pixie Cut With Birdcage Veil
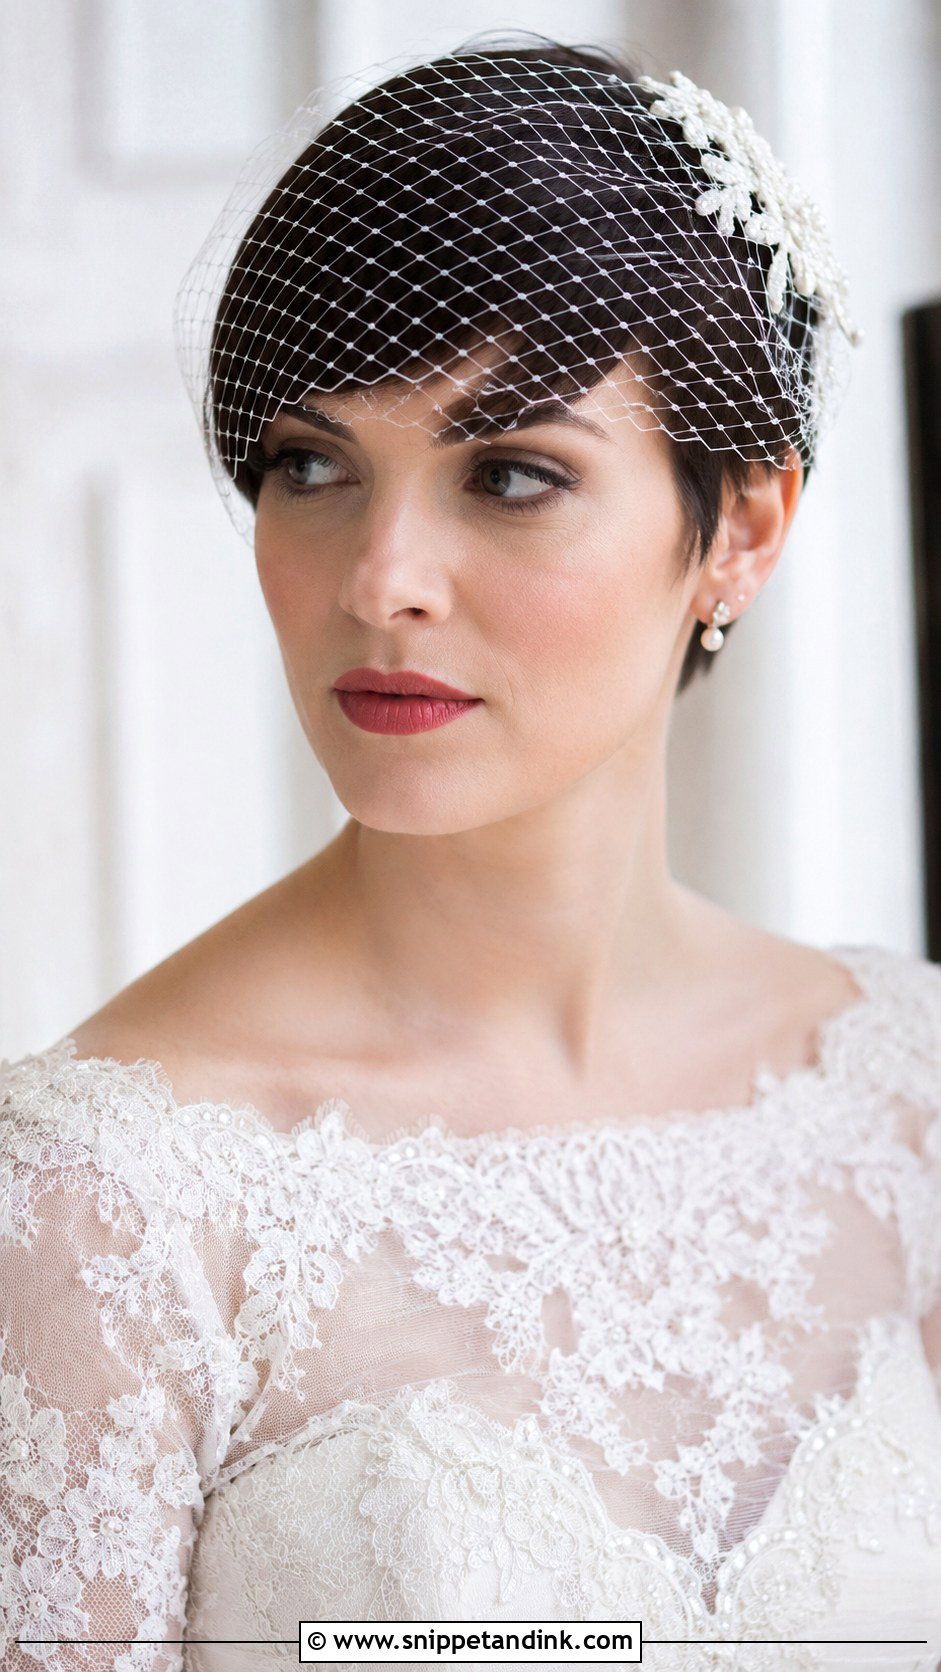
A smooth pixie under a birdcage veil is one of the easiest pairings I do, because the hair and the veil want the same thing: flat, controlled shape. I work a pea-sized amount of shine serum into dry hair rather than wet, so the crown doesn’t get weighed down into a helmet. On short hair I anchor the veil with a small comb plus two crossed bobby pins behind it, since a comb alone has nothing long enough to bite into. Check the netting edge against your lashes at the trial. If it brushes them every time you blink, it needs to move up a little.
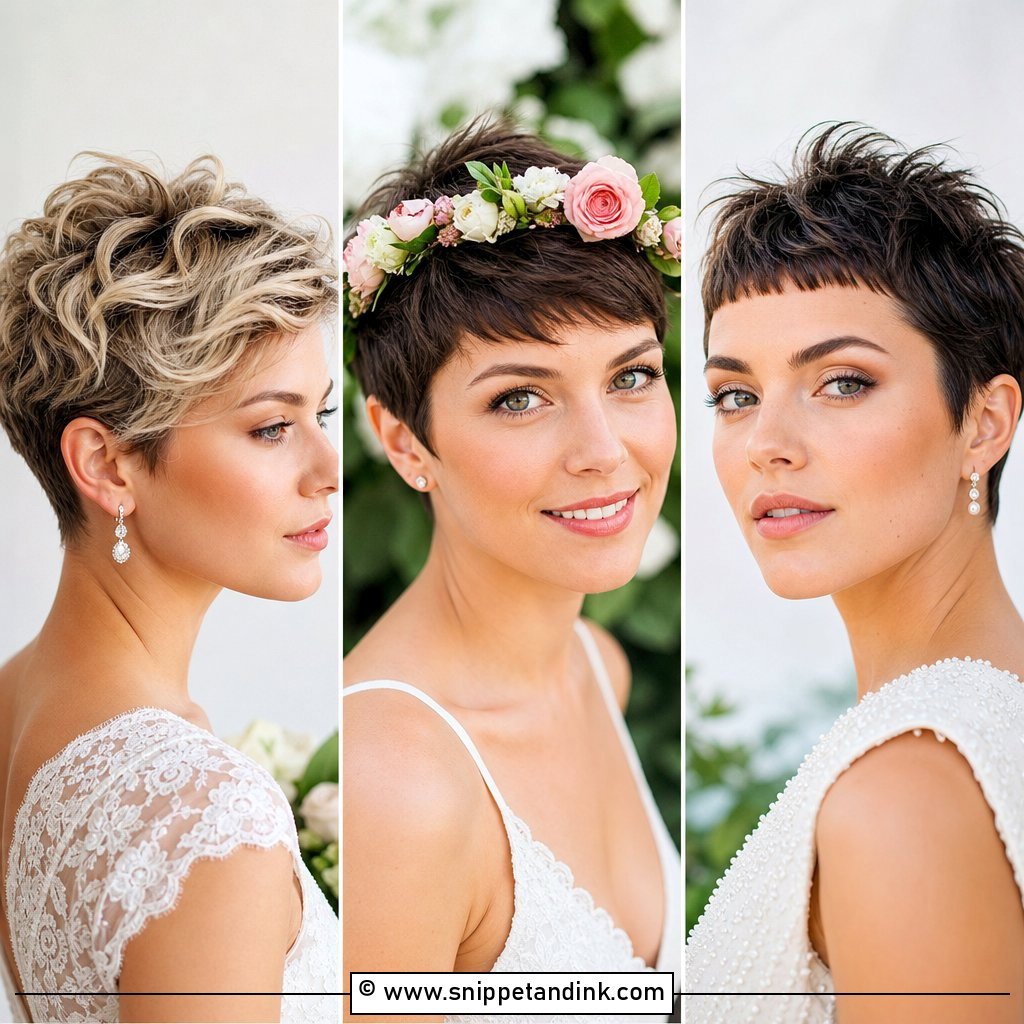
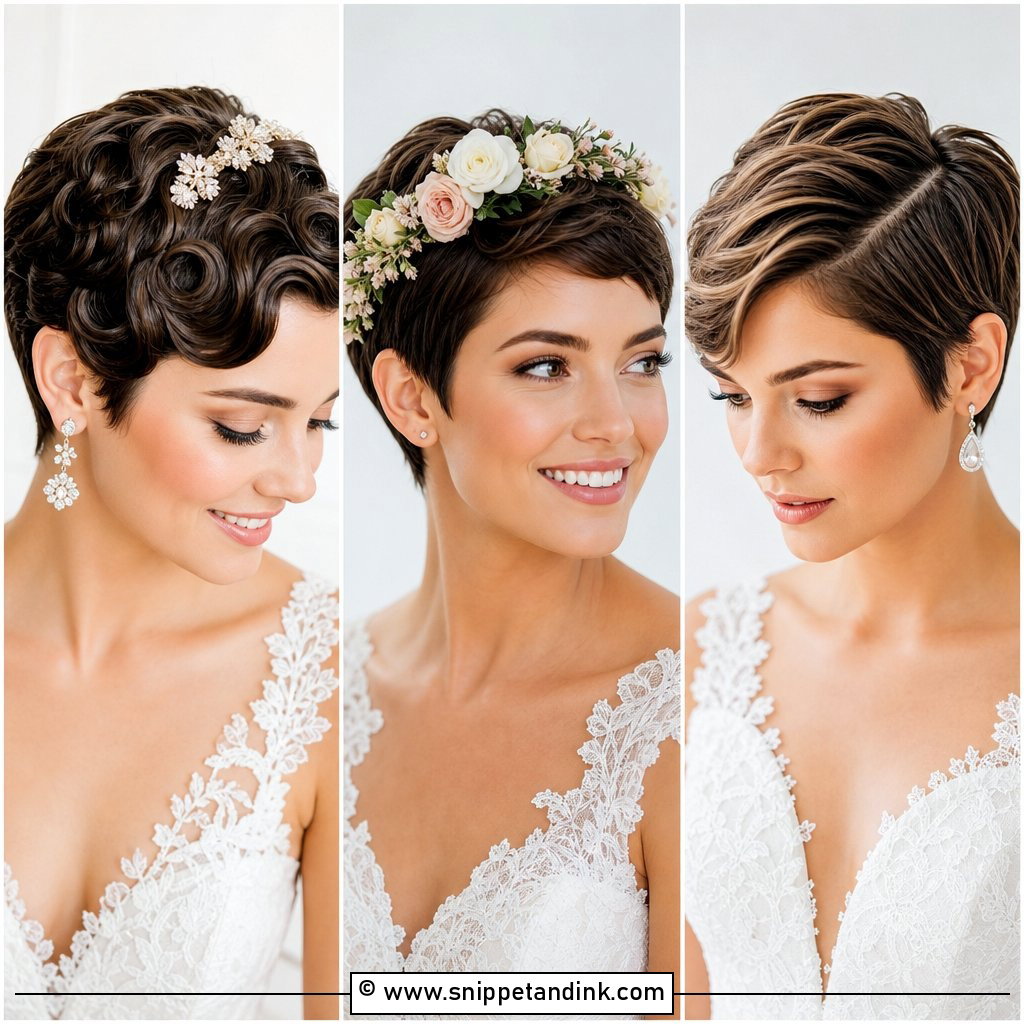
2. Curly Pixie Cut With Floral Crown
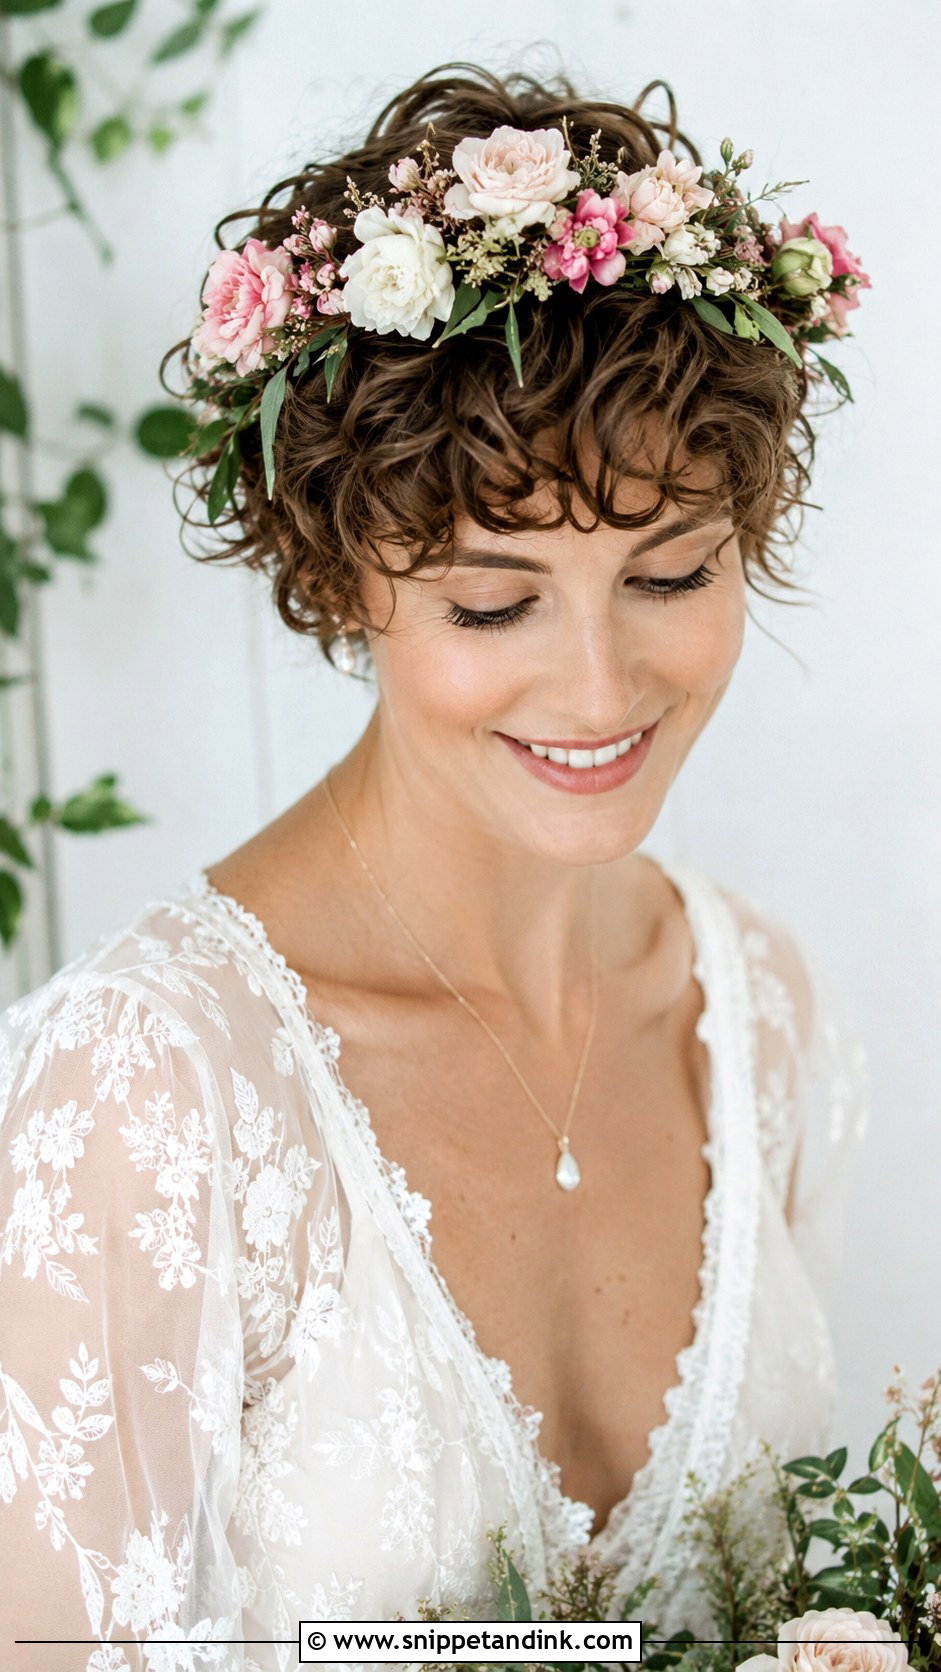
Natural curl is a gift on a pixie, and I’d rather enhance the pattern you have than iron in a new one. I scrunch in a curl cream, diffuse on low heat, and only touch up stray sections with a small wand. A floral crown needs something to rest on, so I place it slightly behind the hairline where the curls give it volume, then pin through the wire base at each temple. Flowers wilt fastest on the warm crown of the head, which is why spray roses and waxflower outlast sweet peas by hours. Ask your florist to wire the crown the morning of the wedding, and pick one bloom from your bouquet so the two connect.
3. Side-Swept Pixie Cut With Crystal Pins
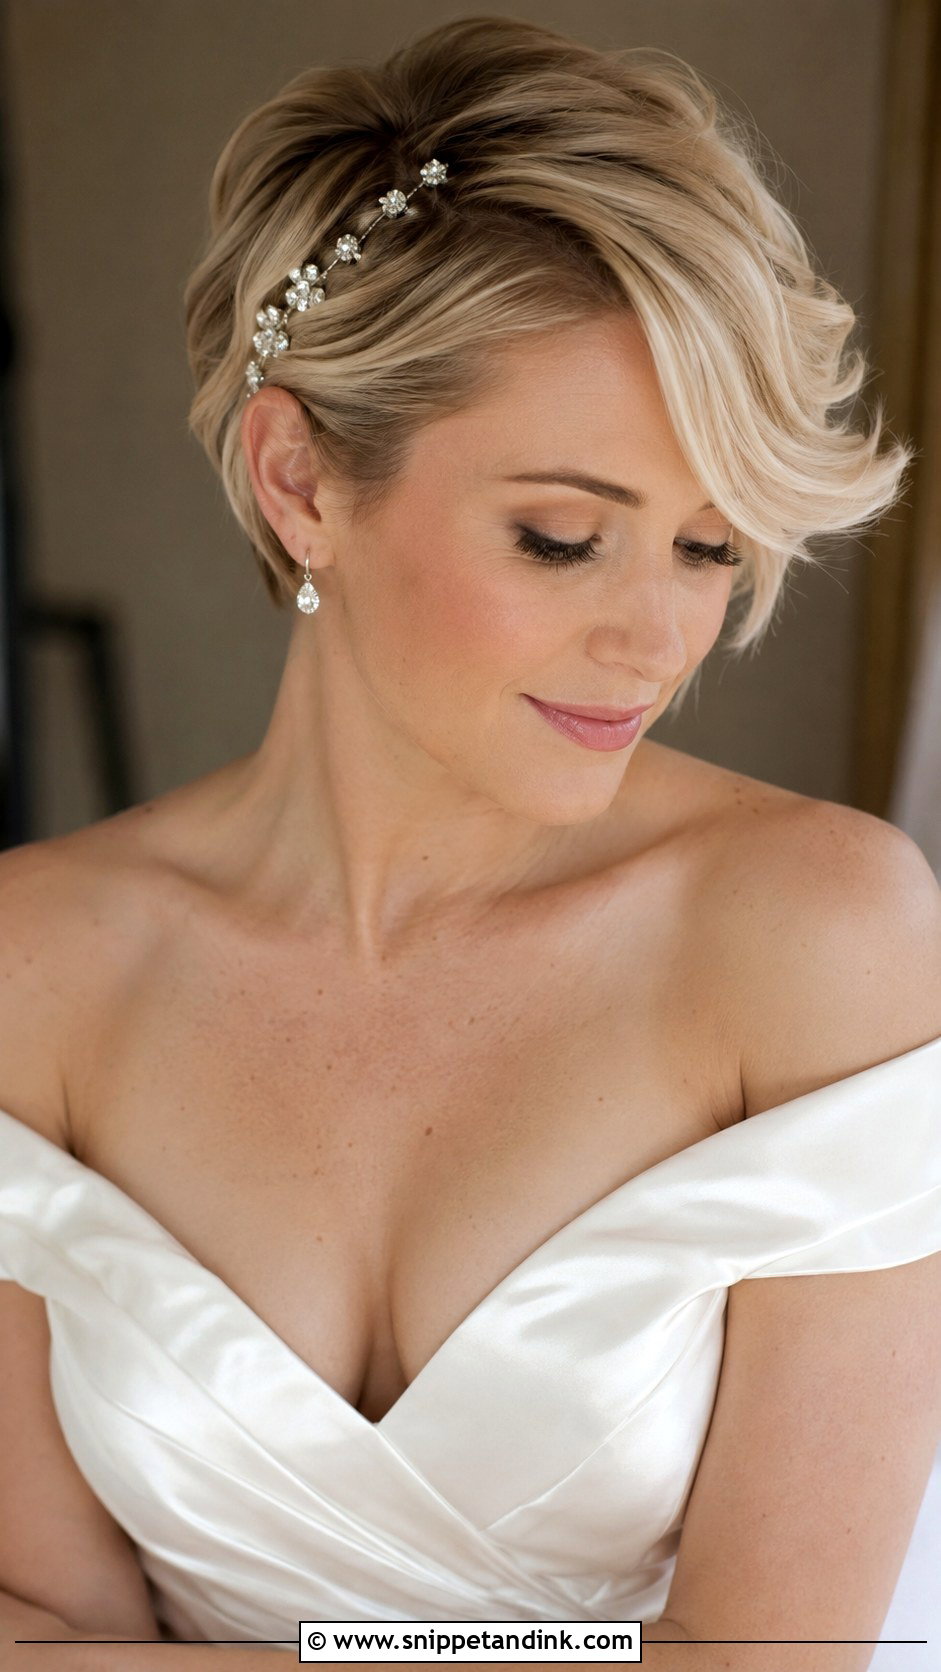
The side sweep depends entirely on the cut. If your stylist hasn’t left a couple of inches at the front, there’s nothing to sweep, so mention this look before your final trim. I blow the fringe across with a paddle brush, set it with a light cream, then line crystal pins along the deeper side of the part. Three to five pins is usually my limit before short hair starts to look busy. Candlelight picks up crystal far more than daylight does, so this one earns its place at an evening ceremony.
4. Textured Pixie Cut With Jeweled Headband
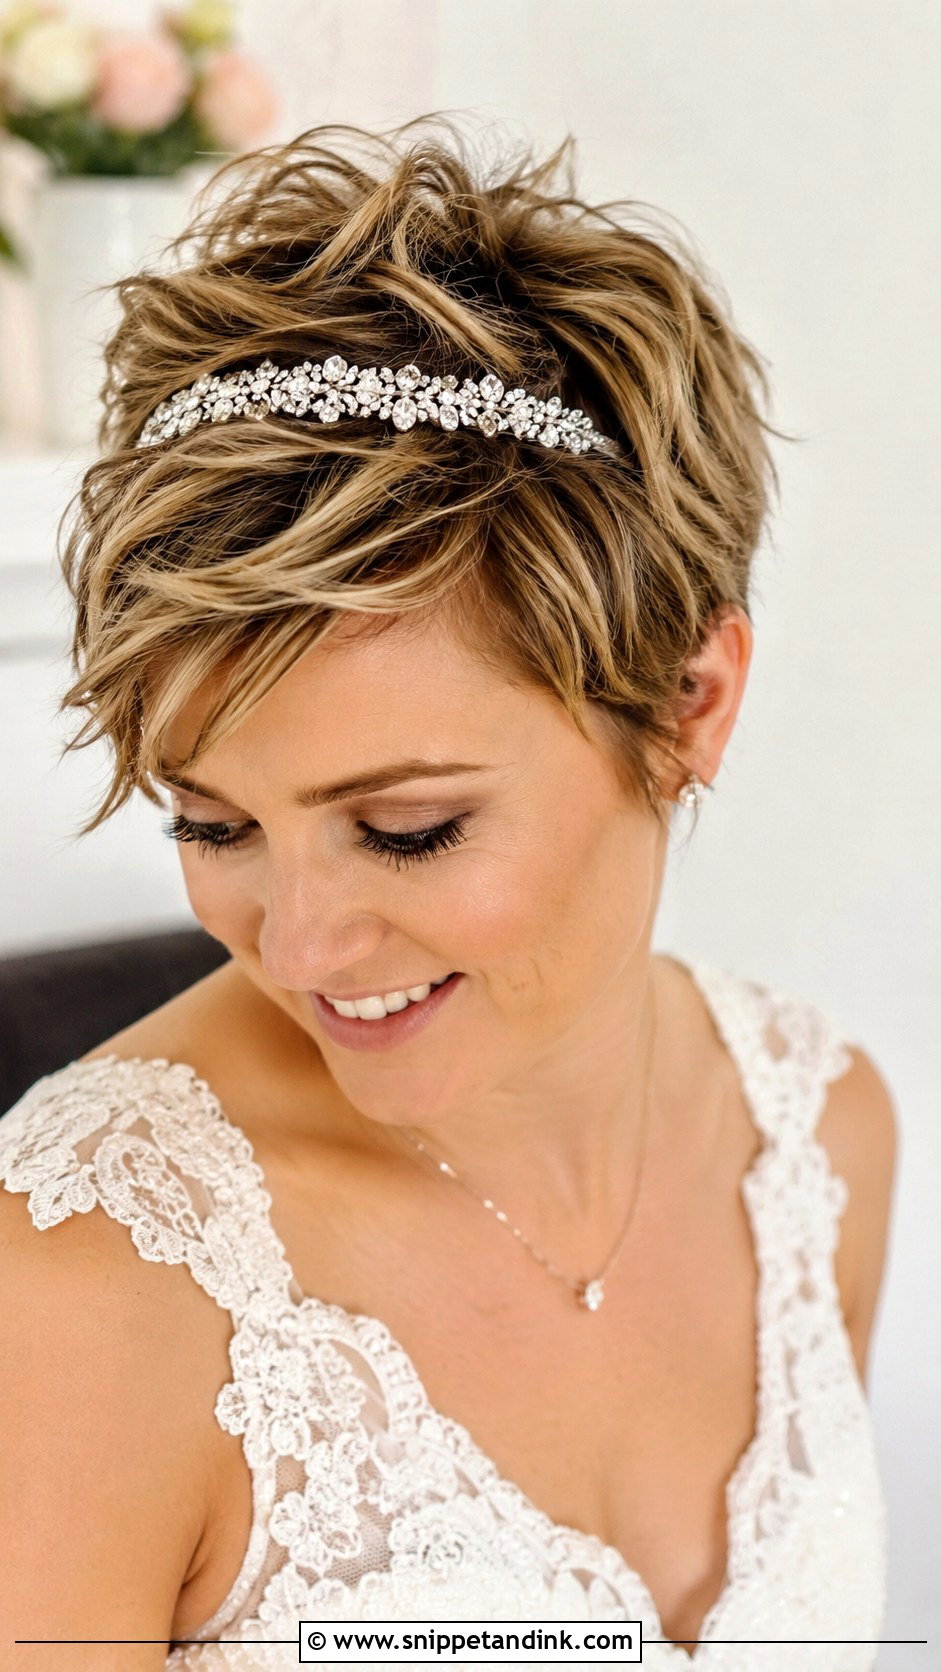
Piecey texture and a jeweled band balance each other well: the matte, separated strands keep the sparkle from looking prim. I rub a small amount of matte paste between my fingertips, work it through dry hair, then pinch pieces apart at the ends. The headband goes on last, about an inch behind the hairline, so a little texture breaks over it at the front. Bands with a rigid metal core can press behind the ears after a few hours, so I ask brides to wear theirs for a full hour at the trial. A flexible band, or one with small teeth on the underside, stays put without the ache.
5. Finger Wave Pixie Cut
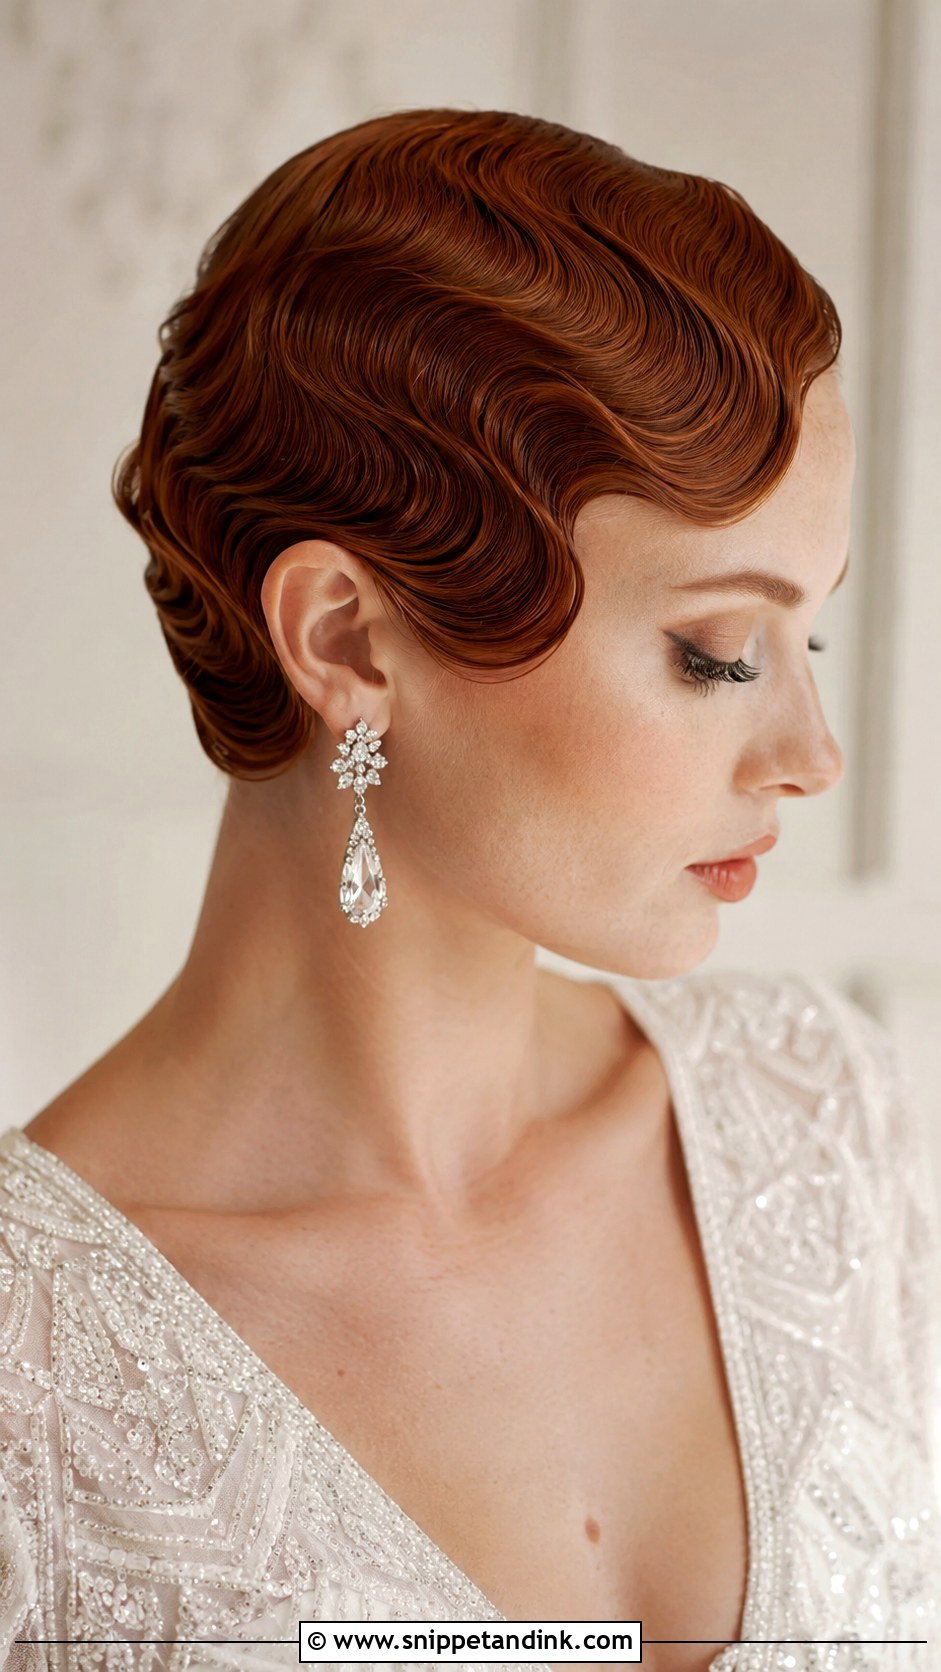
Finger waves are the most technical look on this list, and I’d only book them with a stylist who has actually set them before. The S-shapes are formed in wet hair with a strong gel, a fine comb and your fingers, then left to dry completely, ideally under a hood dryer, before any clips come out. Rushing that dry is where they collapse. They need roughly three inches on top and suit fine, straight hair far better than coarse curls, which puff out of the ridges. Once set, they barely move all day.
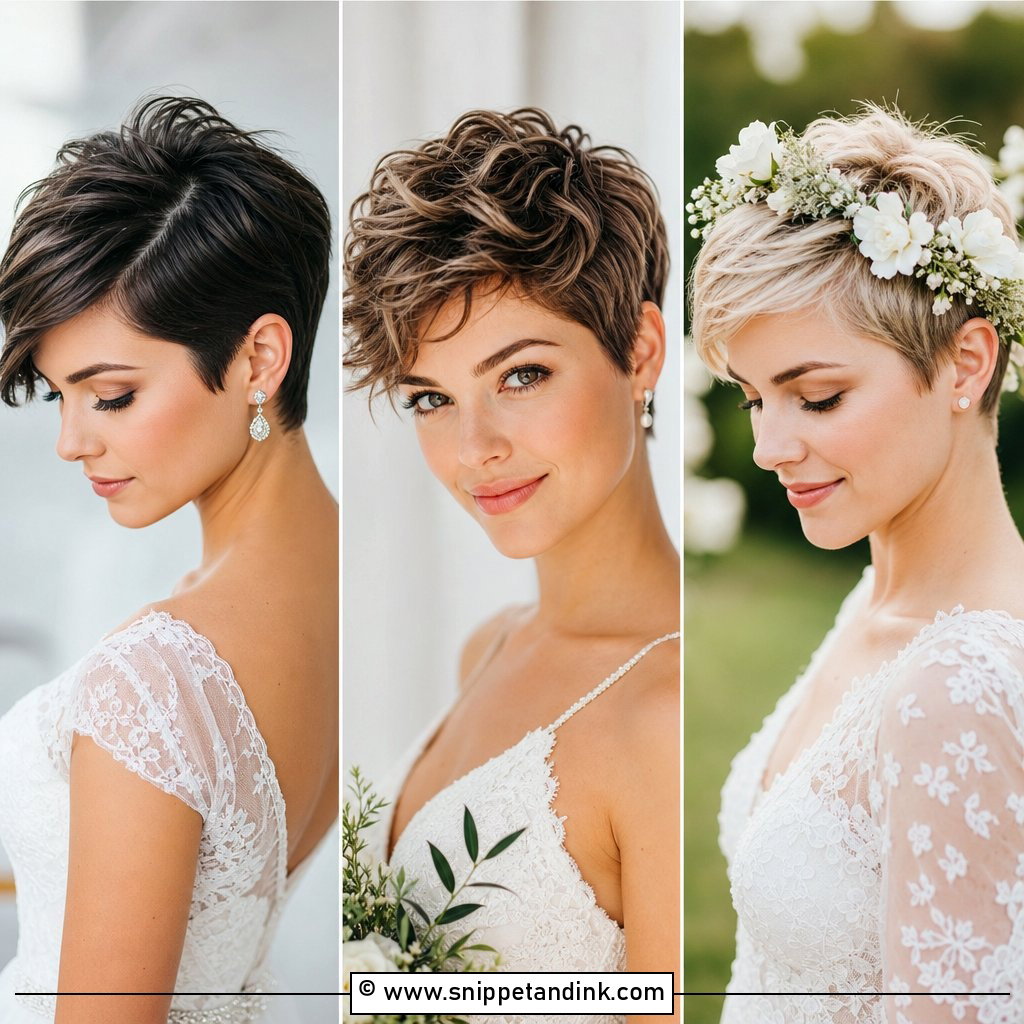
6. Tousled Pixie Cut With Hair Vine
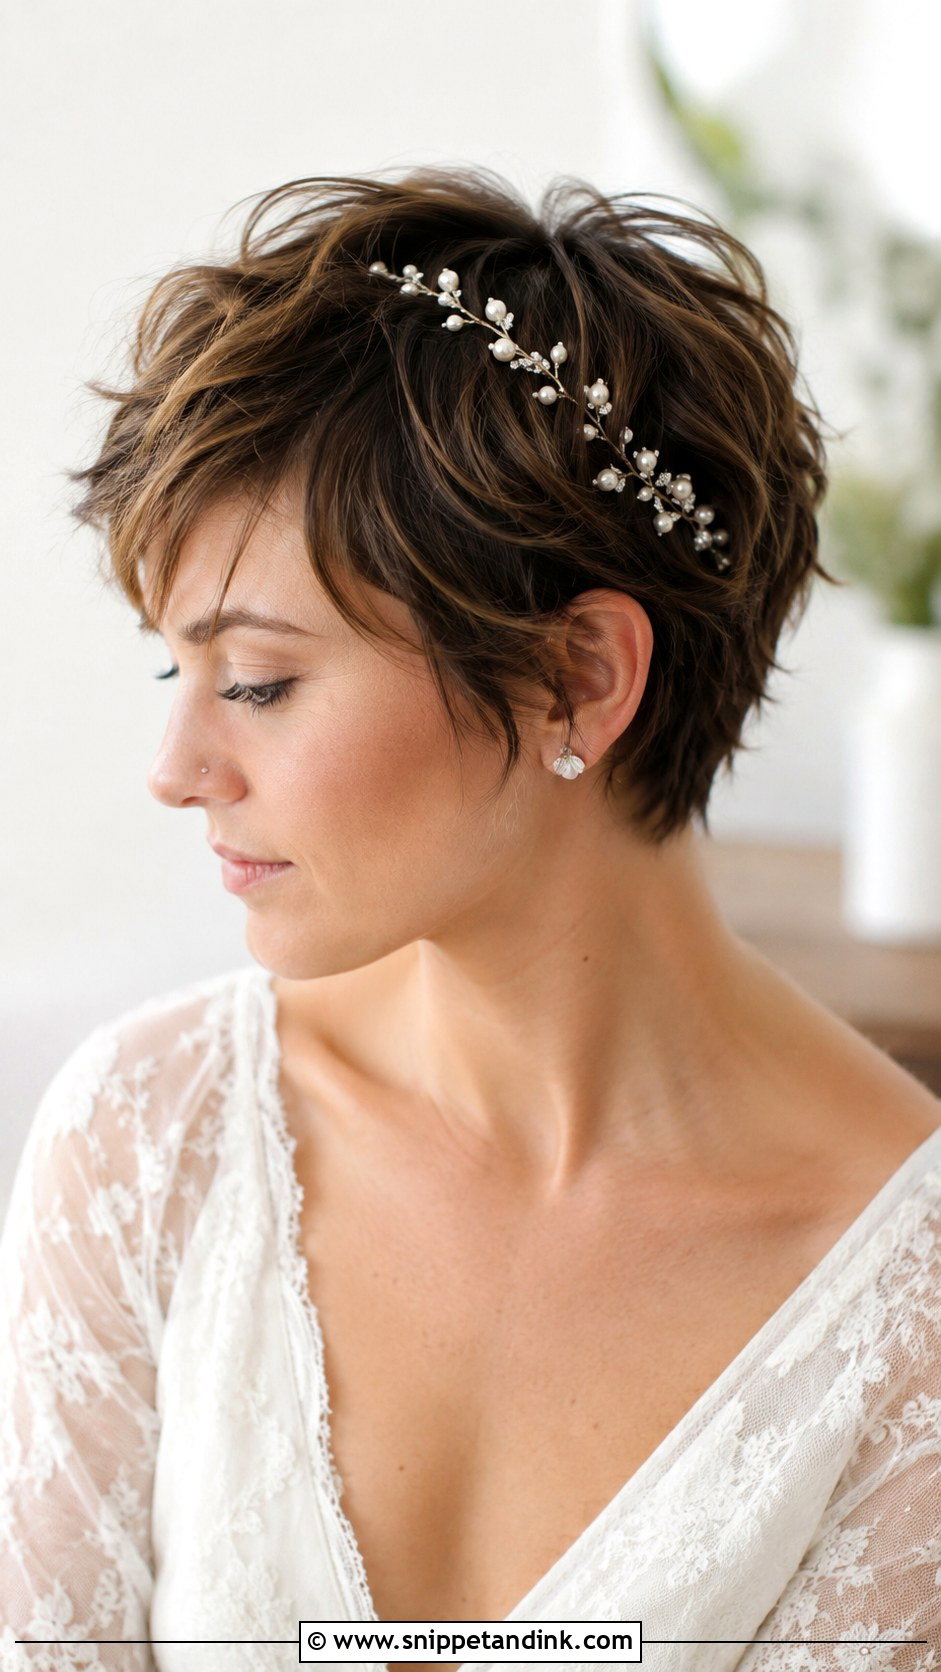
A hair vine works on short hair because it bends to follow the shape of the head instead of needing length to grip. On a tousled pixie, I spray texture through the mid-lengths, rough-dry it with my hands, then thread the vine along one side and pin it at both ends and once in the middle. Keep the vine thin. A wide, heavy vine on two inches of hair looks like it’s sitting on top rather than woven in, and pearl or tiny crystal vines read softer in photos than metal leaf designs.
7. Polished Pixie Cut With Statement Earrings
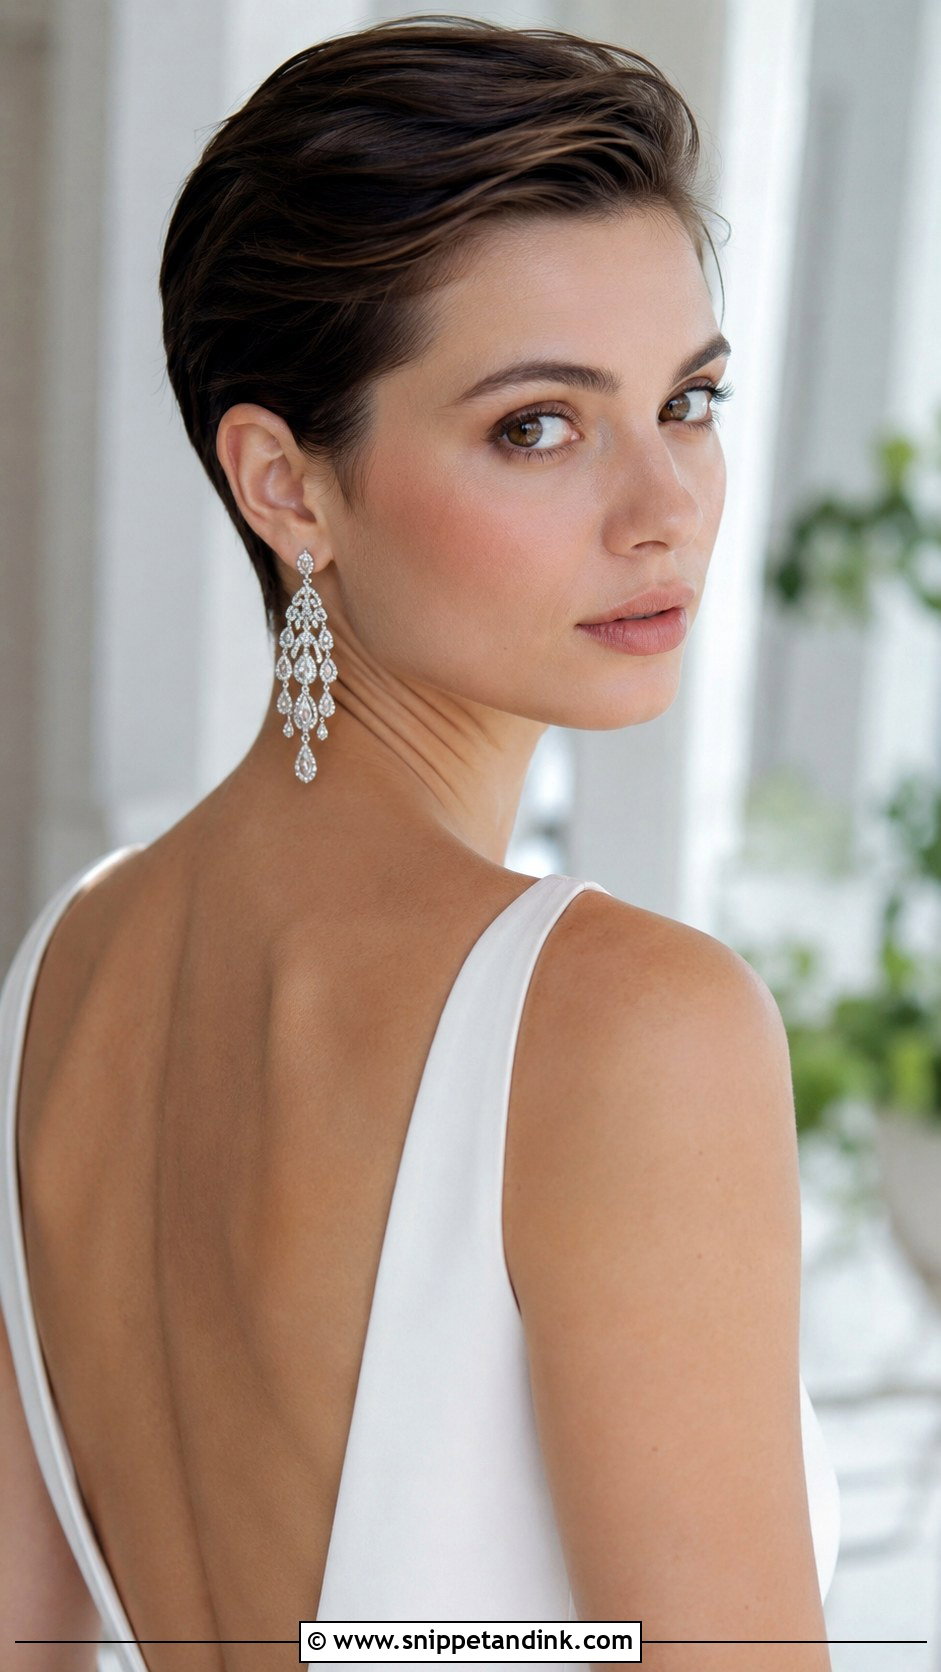
Sometimes less hair means more room to shine elsewhere. A pixie shows the ears and jawline in a way no updo quite manages, which is exactly why I’ll suggest letting earrings carry the look. I slick the hair back or to one side with a firm cream so nothing falls over the ear. Drops and chandeliers work best when they finish above the shoulder, because longer pieces catch on a high neckline and swing into a veil. Try them with the dress on at your final fitting, and if they’re heavy, a clear silicone back stops the lobe drooping by evening.
8. Romantic Pixie Cut With Soft Curls
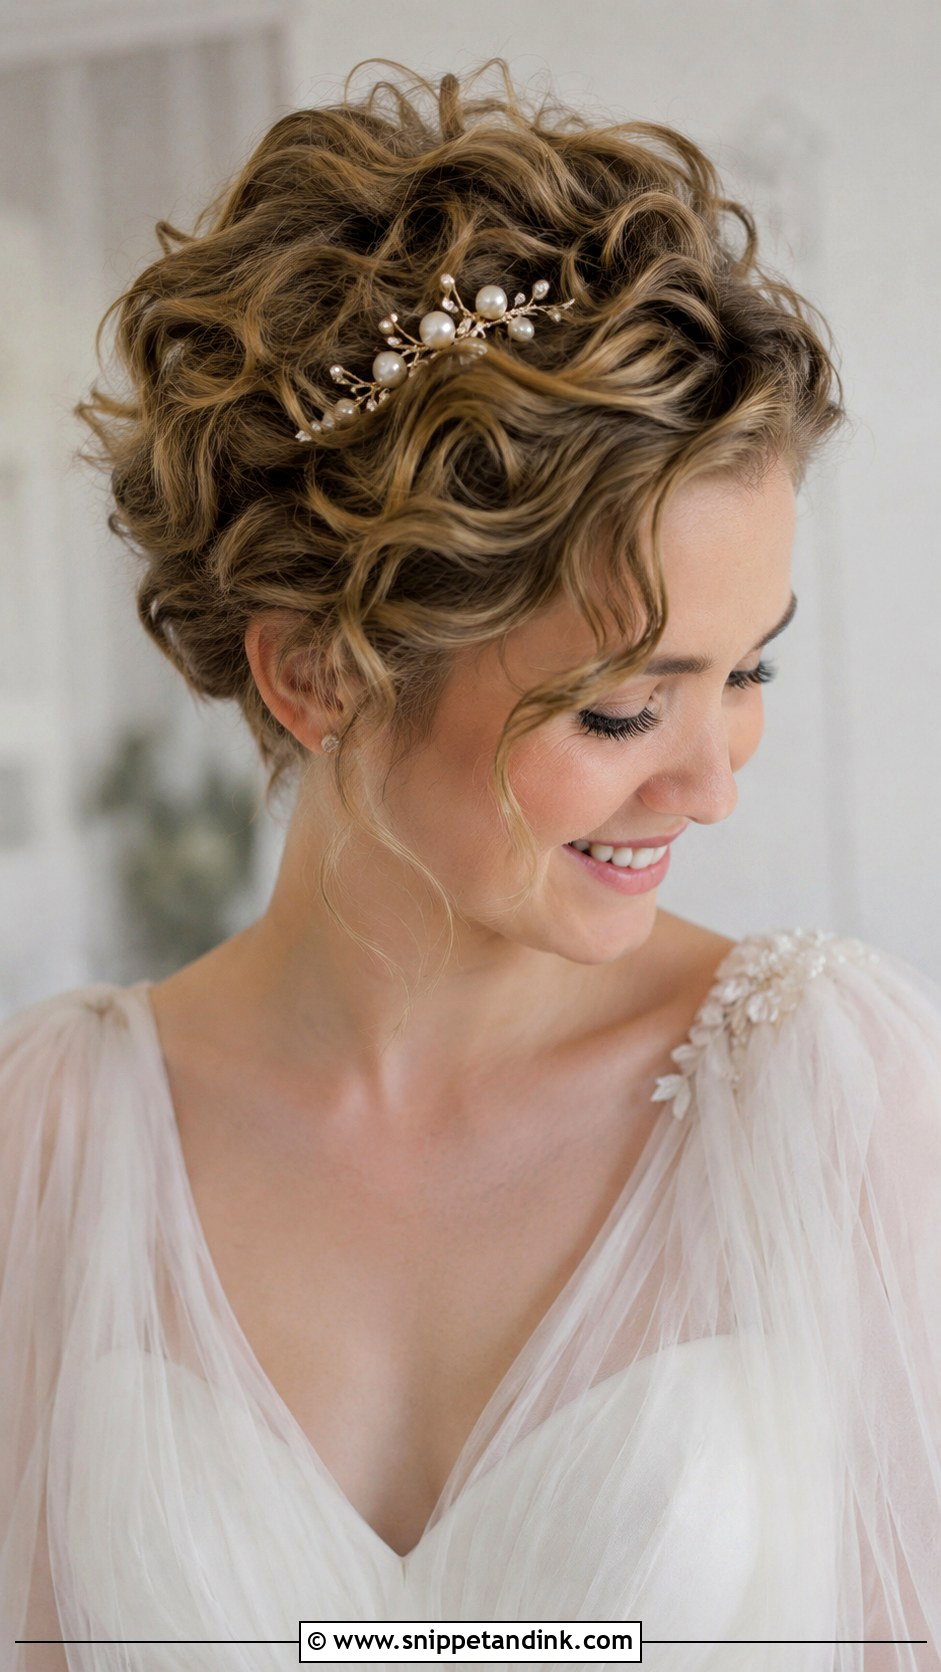
Curling a pixie is mostly about barrel size. I use a half-inch or three-quarter-inch iron, wrap only the top and front sections, and leave the nape smooth so the shape stays neat from behind. Fine hair loses curl quickly in humidity, so I pin each curl to cool before brushing it out with my fingers, then finish with a flexible spray rather than a stiff one. One small pearl pin is plenty. The curls are the detail.
9. Edgy Pixie Cut With Undercut Detail
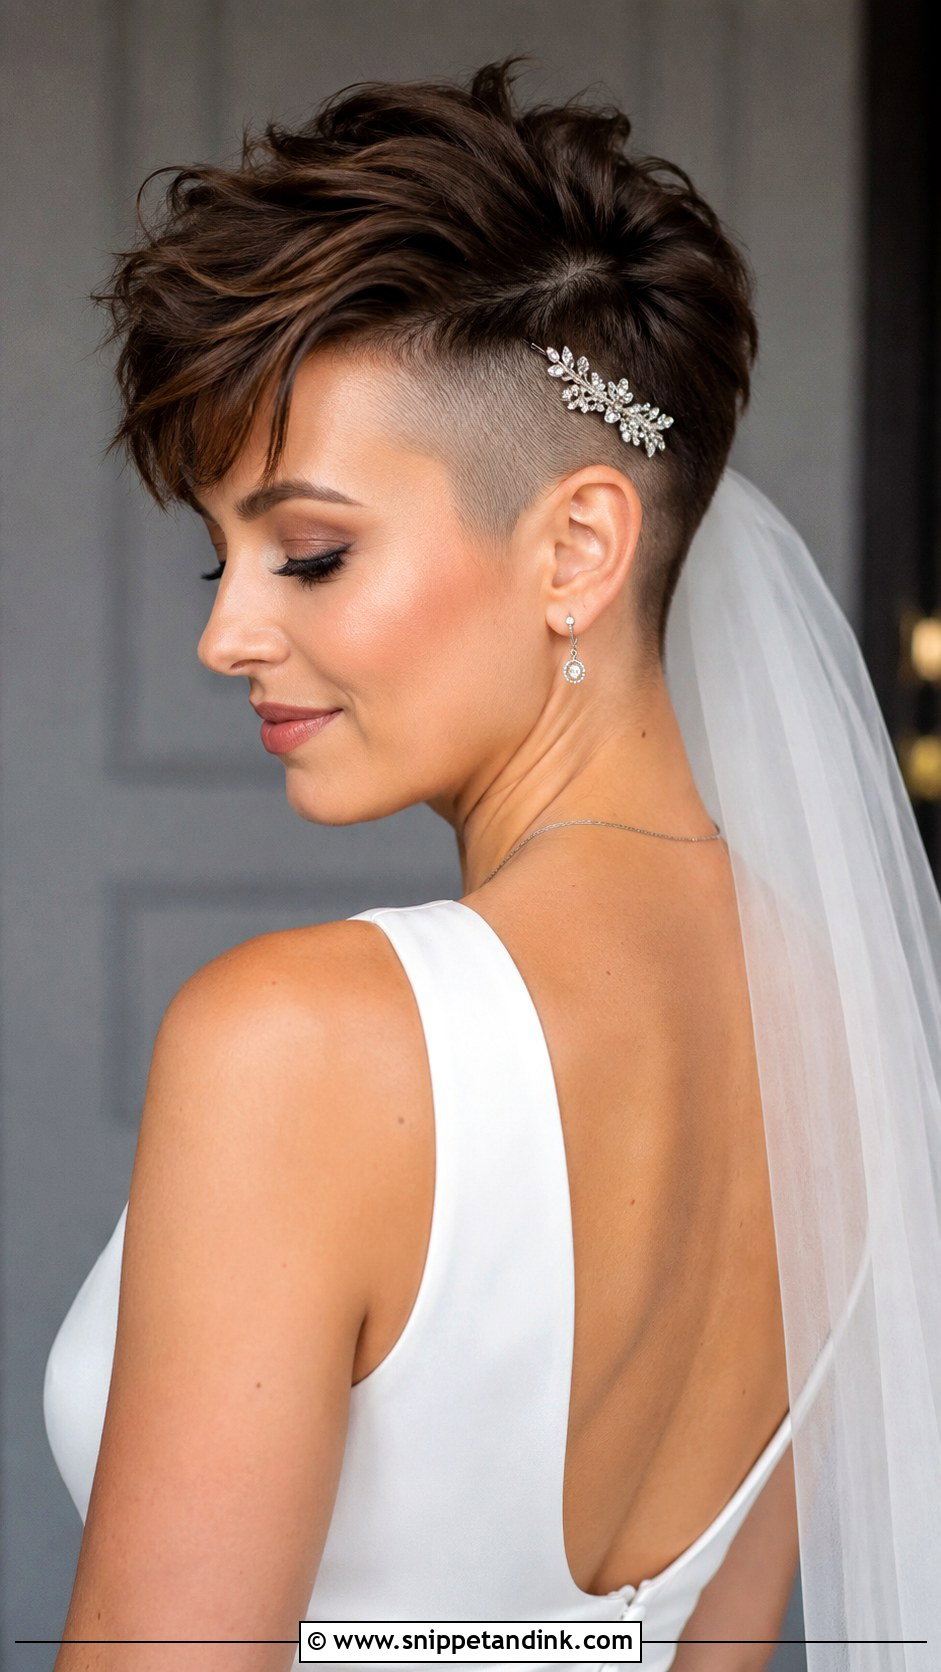
An edgy pixie with an undercut needs one practical thing before the wedding: a fresh clipper line. Shaved sections show regrowth quickly, so I suggest booking the undercut tidy two to four days before the ceremony. The longer top gets styled with lift so it contrasts with the clean sides, and a small jeweled pin at the edge of the undercut softens the line without hiding it. This cut reads most clearly in side profile, which is the angle most candid shots catch you from.
10. Pixie Cut With Pearl Hairpins
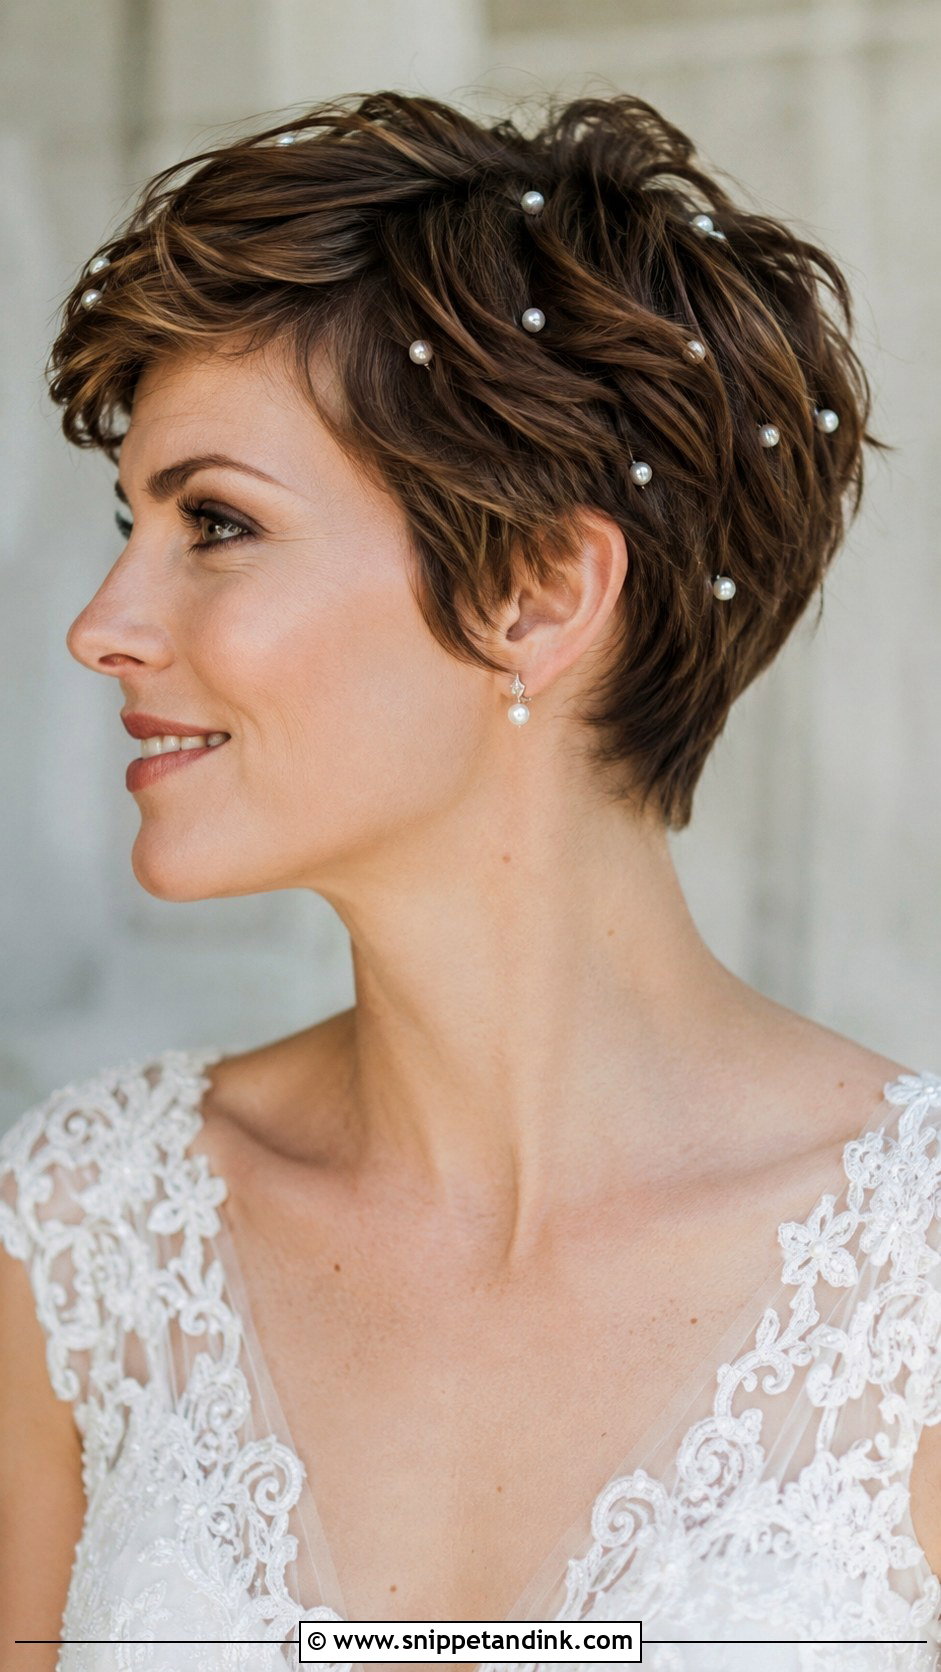
Pearl pins are the safest accessory I know for short hair, because each one is small enough to grip a single section. I set the hair with gentle texture or a soft wave first, then slide the pins in at an angle, against the direction the hair falls, which locks them in place. Three or four clustered on one side look intentional. A dozen scattered evenly across a very short cut can look like confetti. And ivory pearls usually sit better beside an ivory dress than stark white ones do.
11. Voluminous Pixie Cut With Crown Lift
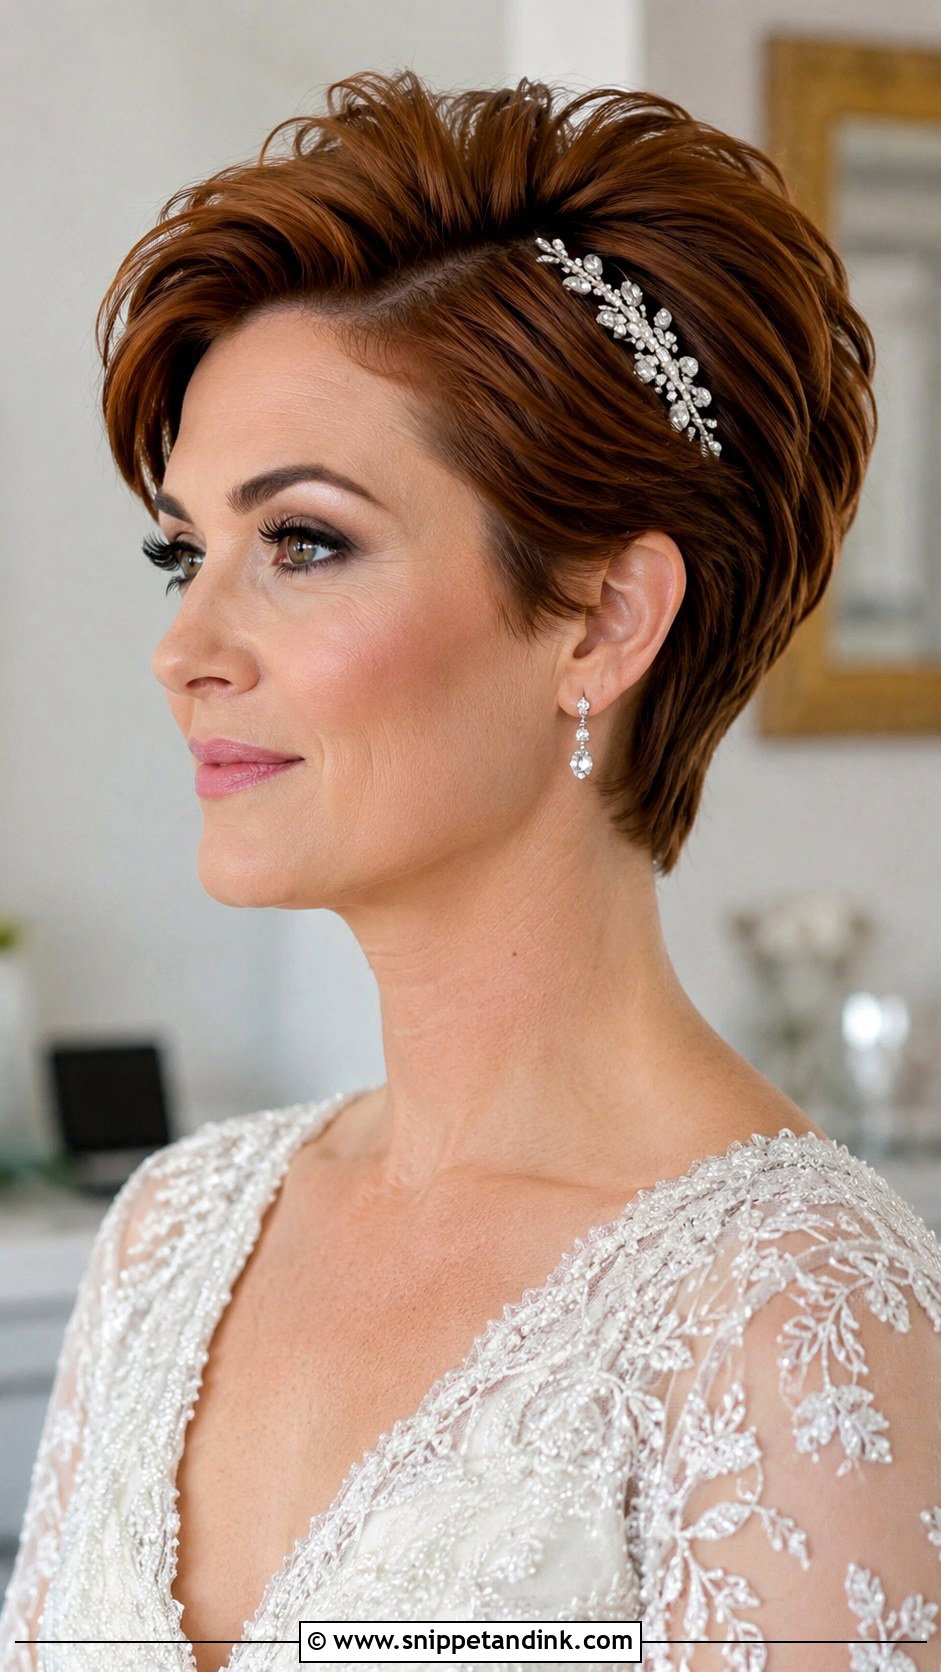
Want drama at the crown? Height there lengthens a round face and gives a short cut more presence in full-length photos. I spray a root lifter before blow-drying, backcomb only the crown, then smooth the top layer over so the teasing never shows. The sides stay sleek, which makes the lift look deliberate. Fine hair can flatten by mid-afternoon, so I hide a small comb at the back to hold the volume from beneath. I’d skip this one if you have a strong cowlick at the crown; it will fight you all day.
12. Pixie Cut With Cathedral Veil
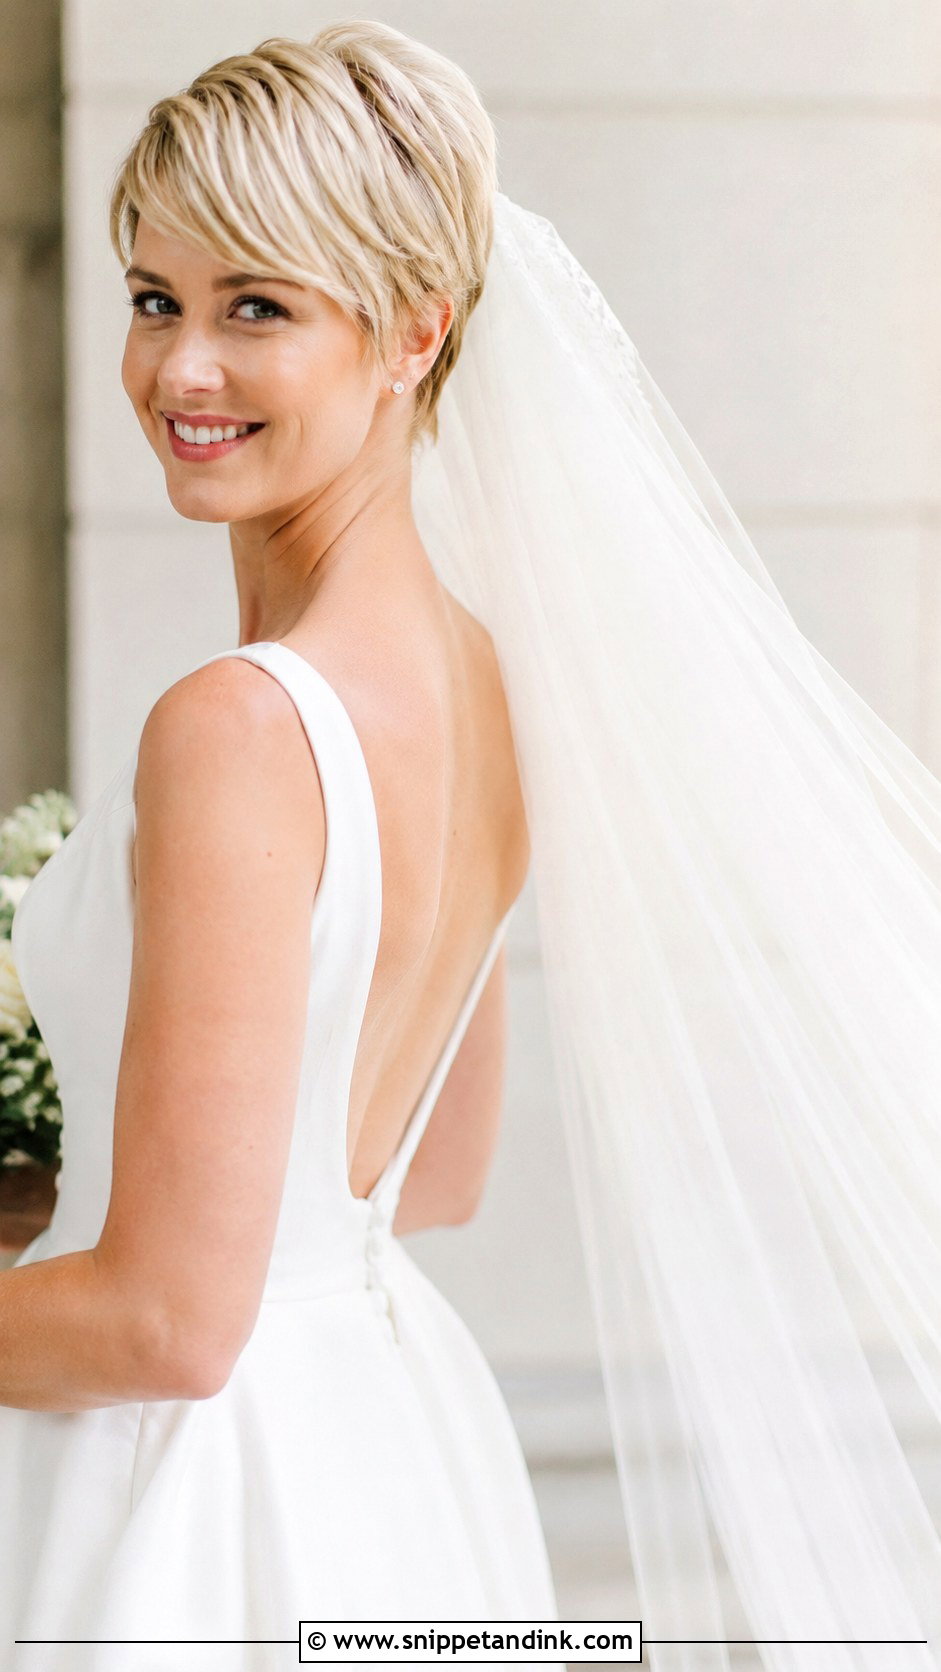
Who says short hair can’t wear a long veil? It can, but the anchoring has to be careful, because a cathedral length pulls backward with real weight. I tease a small section at the attachment point, crisscross two bobby pins matched to your hair color to make a base, then slide the veil comb in over them so the teeth catch the pins. Have a bridesmaid lift the tulle whenever you sit or the wind picks up. Taking it off for the reception shows the cut again, which gives you two looks from one style.
13. Wet-Look Pixie Cut
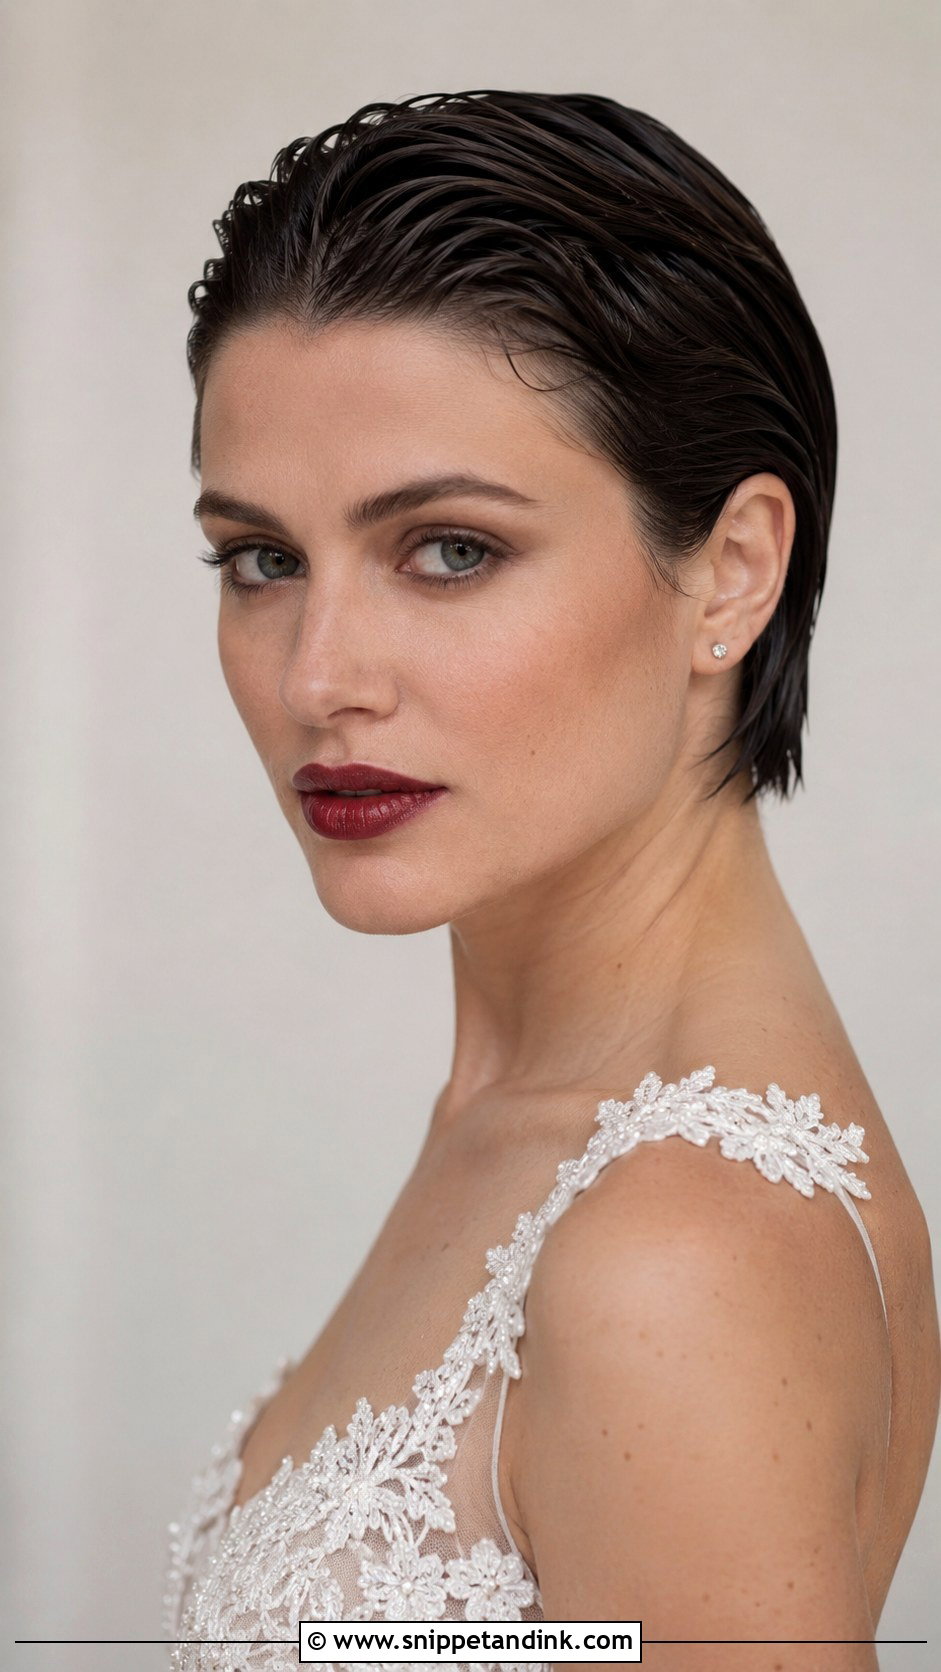
The wet look is a gel job, and the product matters more than the technique. I comb a glossy, firm-hold gel through damp hair, shape it back or to one side with a fine-tooth comb, and let it dry untouched. Some gels flake into white specks by evening, and those show in close-ups, so test yours at the trial and check it six hours later. It sits well beside a bold lip or chunky jewelry. Once dry it hardly moves, which means you can dance without a single touch-up.
14. Pixie Cut With Fresh Flower Accents
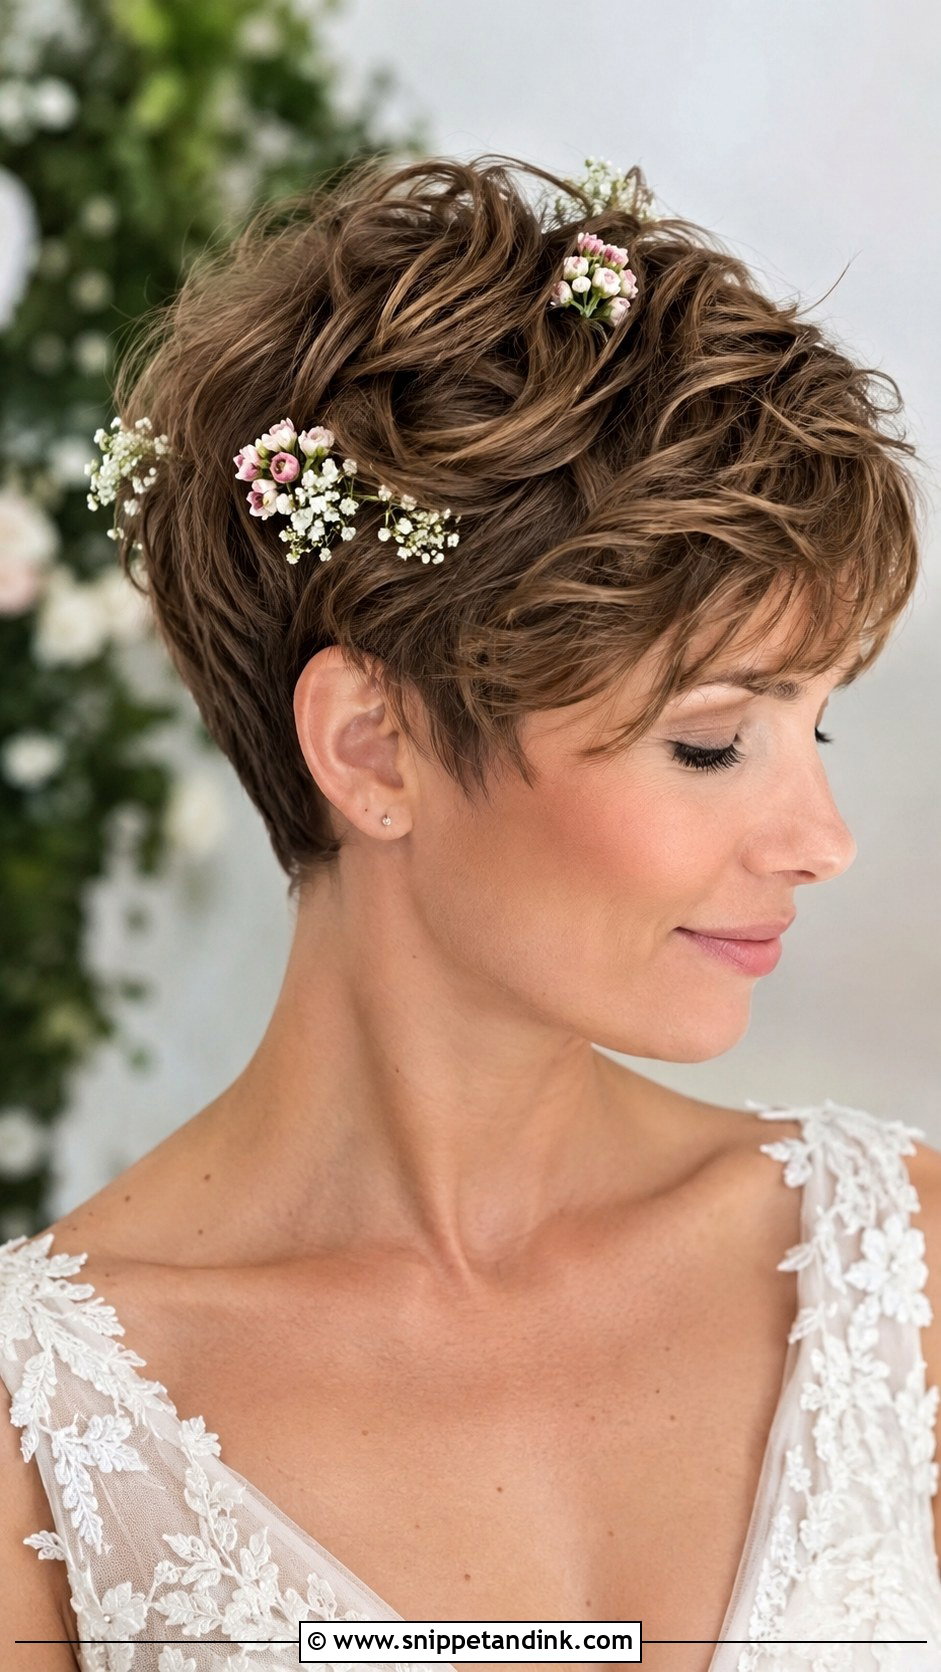
Fresh flowers in short layers only work with small, sturdy blooms. Baby’s breath and mini spray roses hold up; gardenias brown at the edges within hours of skin warmth. I ask florists to wire and tape each stem so I can pin it flat against the head, otherwise loose stems poke upward. Matching a bloom or two from your bouquet ties the look together. Keep a spare stem in the touch-up bag, because a petal will get knocked during hugs.
15. Asymmetrical Pixie Cut With Deep Side Part
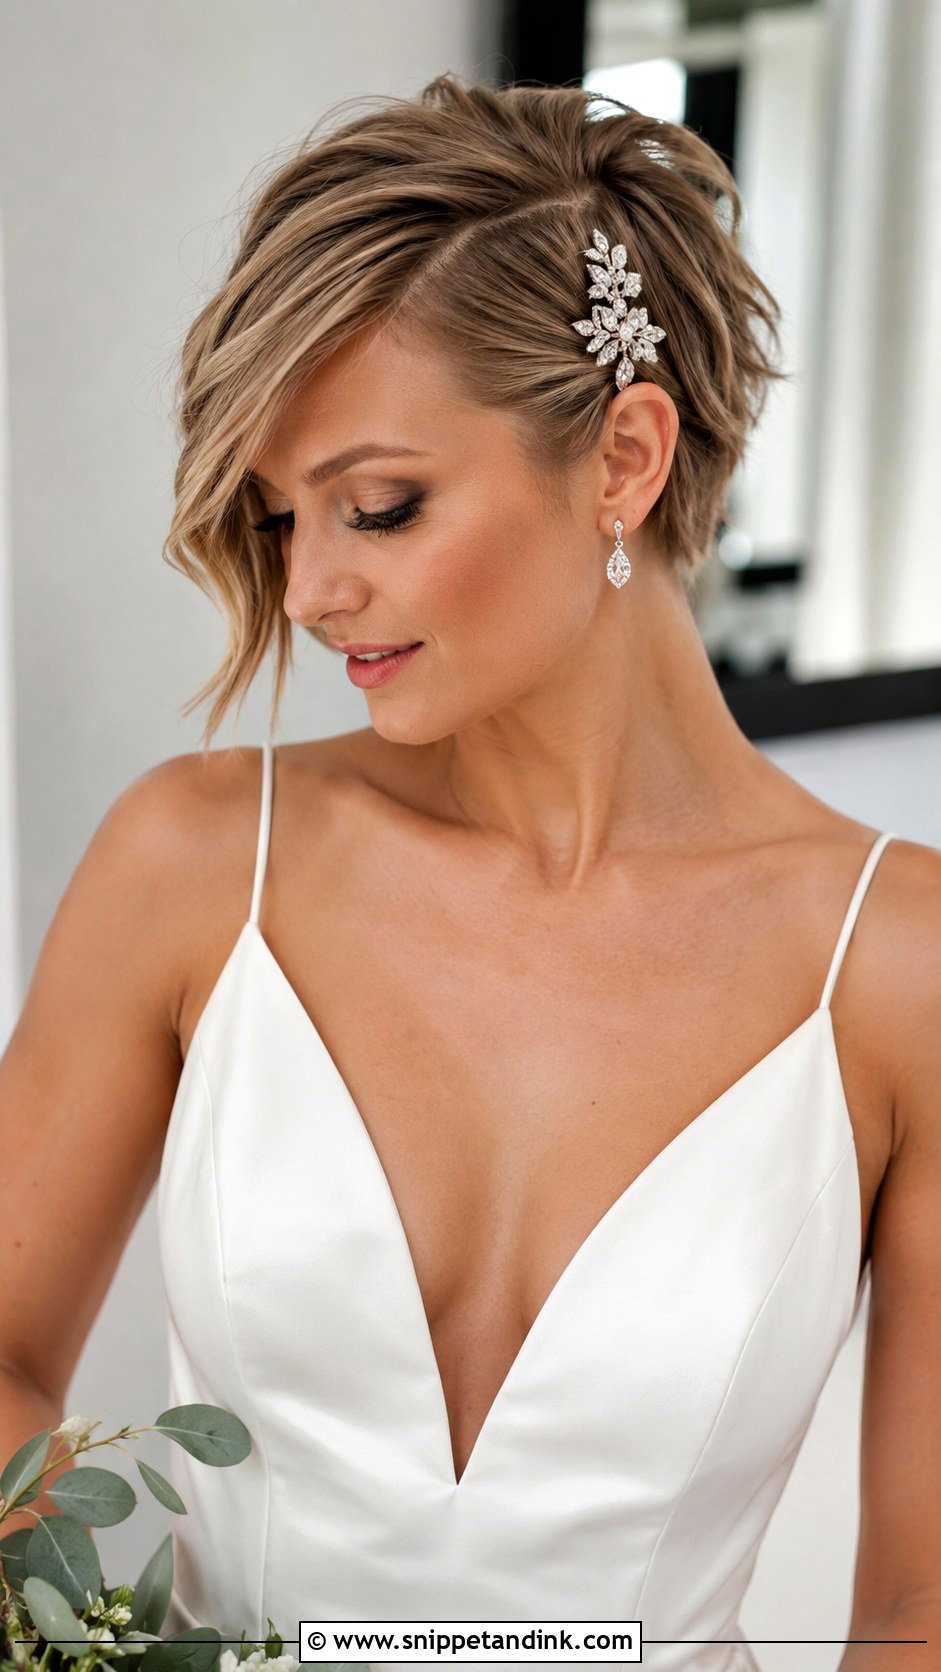
A deep side part puts weight on one side, so I always ask which side the photographer will shoot most, usually the side facing your guests at the altar. I style the longer section with a slight bend from a flat iron or keep it sleek, depending on the dress. One pin along the part gives enough sparkle. If the long side falls into your eye, a small invisible pin behind the ear keeps it back during the vows without breaking the line.
16. Pixie Cut With Braided Detail
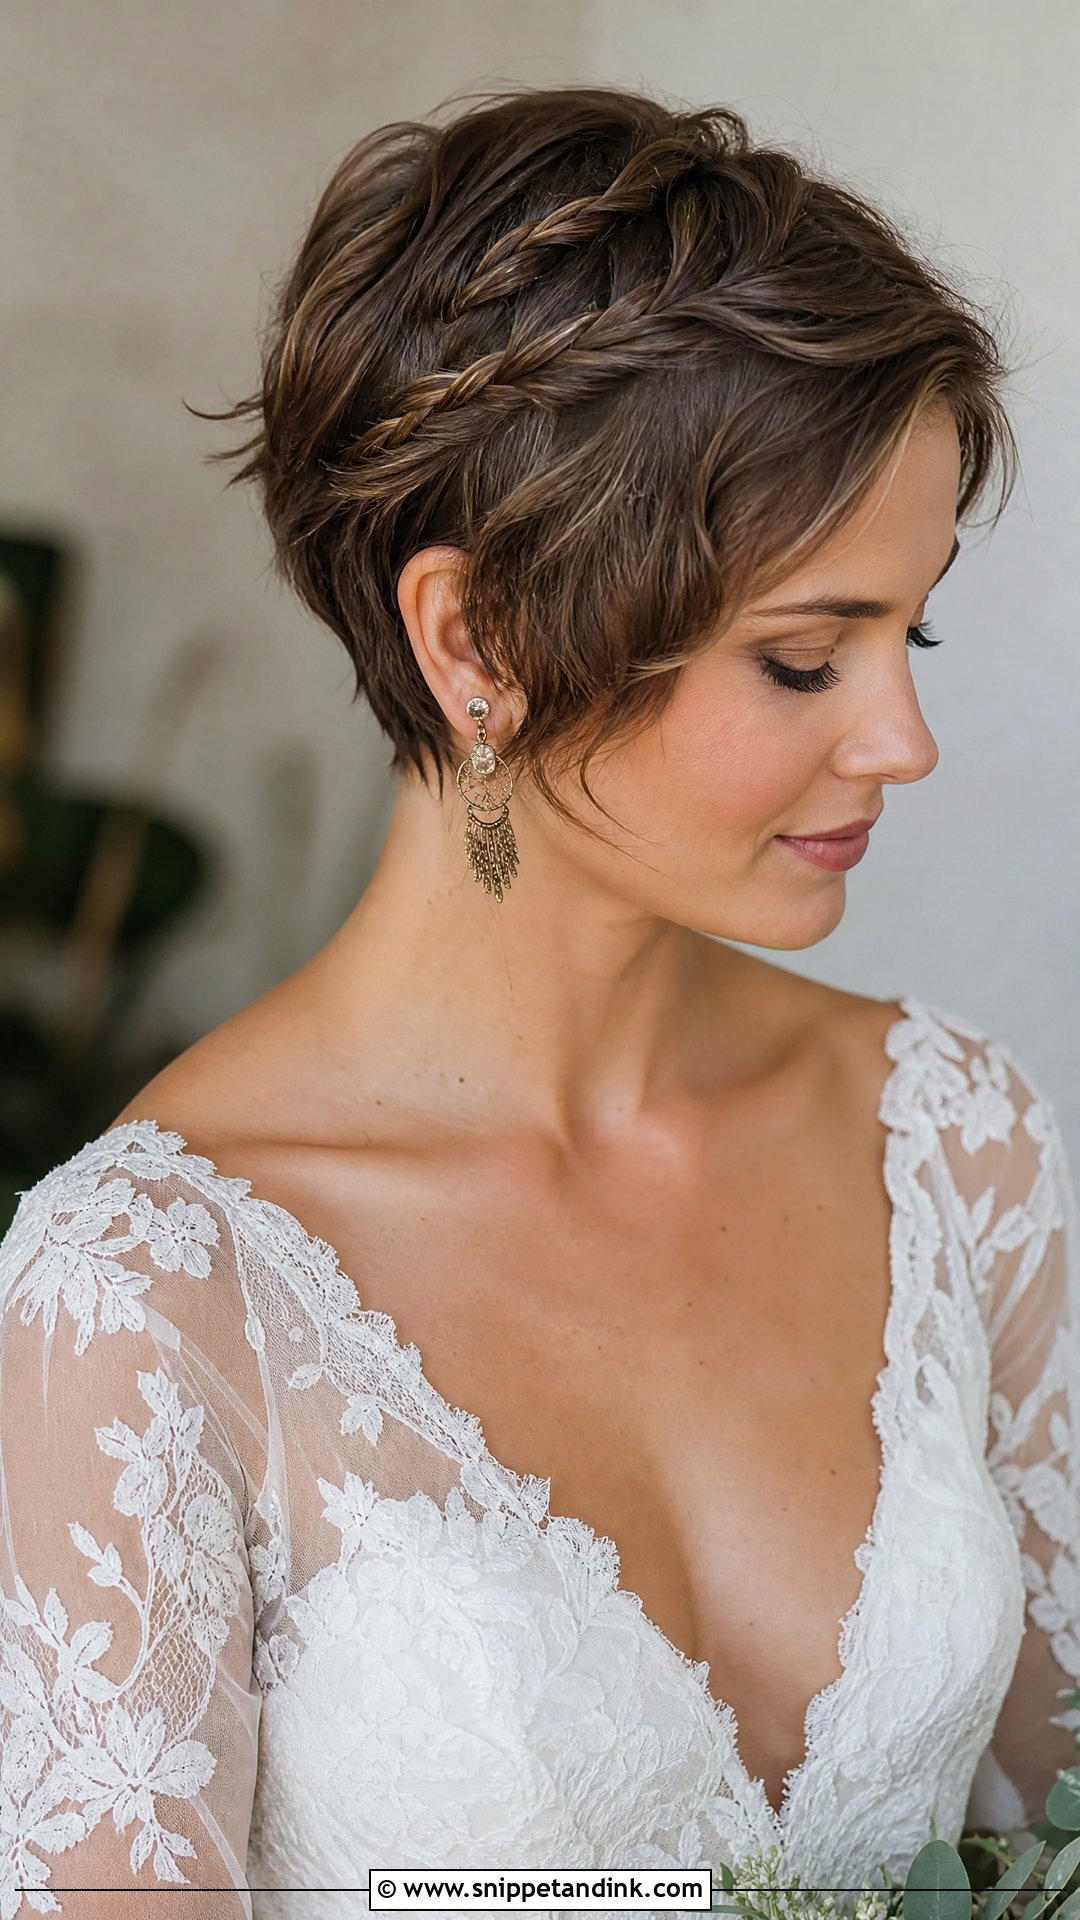
A braid on a pixie is tiny, usually a two-strand twist or a short three-strand braid taken from the temple. You need about three inches at the front for it to hold; anything shorter springs loose within the hour. I braid with a dab of pomade on my fingers for grip, pin the end flat behind the ear, and hide the pin under the next layer. A small flower or pearl pin at the end covers the join, and it’s a detail guests notice up close during the ring exchange.
17. Glamorous Pixie Cut With Tiara
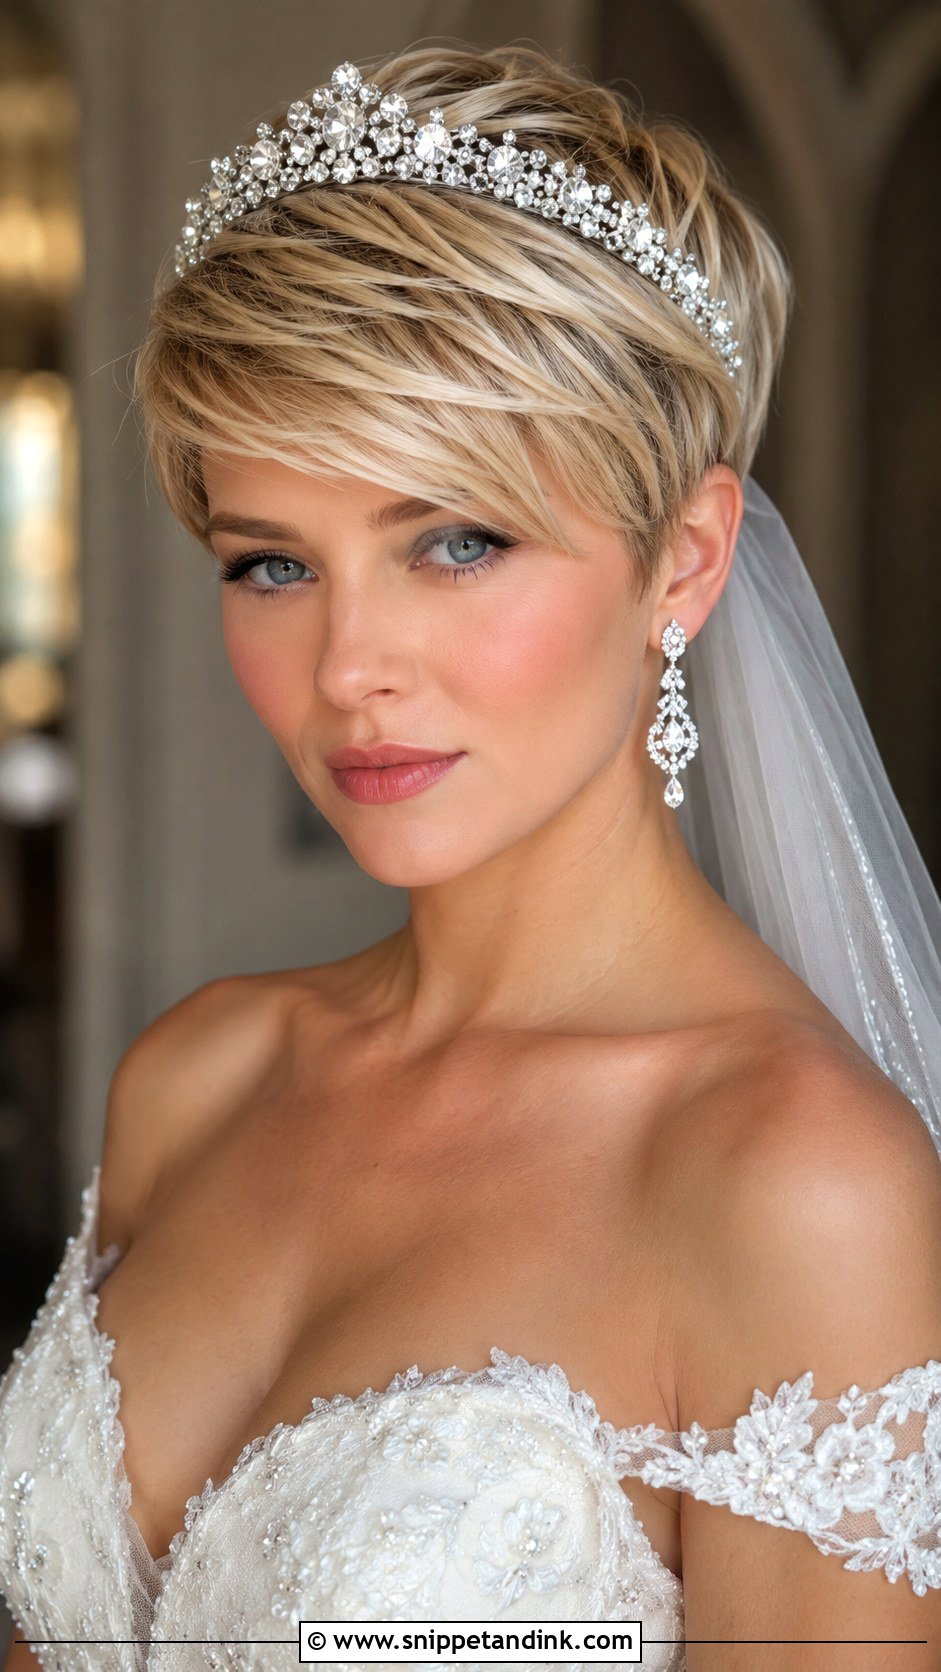
Wearing a sparkling tiara atop your pixie takes more anchoring than with long hair, since there’s no bun to brace it against. I style the crown with smooth volume first, then set the tiara and secure it with bobby pins threaded through the side loops or wrapped around the band ends. Comb-backed tiaras grip better than open bands. A tall tiara suits a formal venue and a full gown; on a simple slip dress it can tip into costume. Wear it for at least an hour at your trial to check for pressure behind the ears.
18. Pixie Cut With Headband Veil
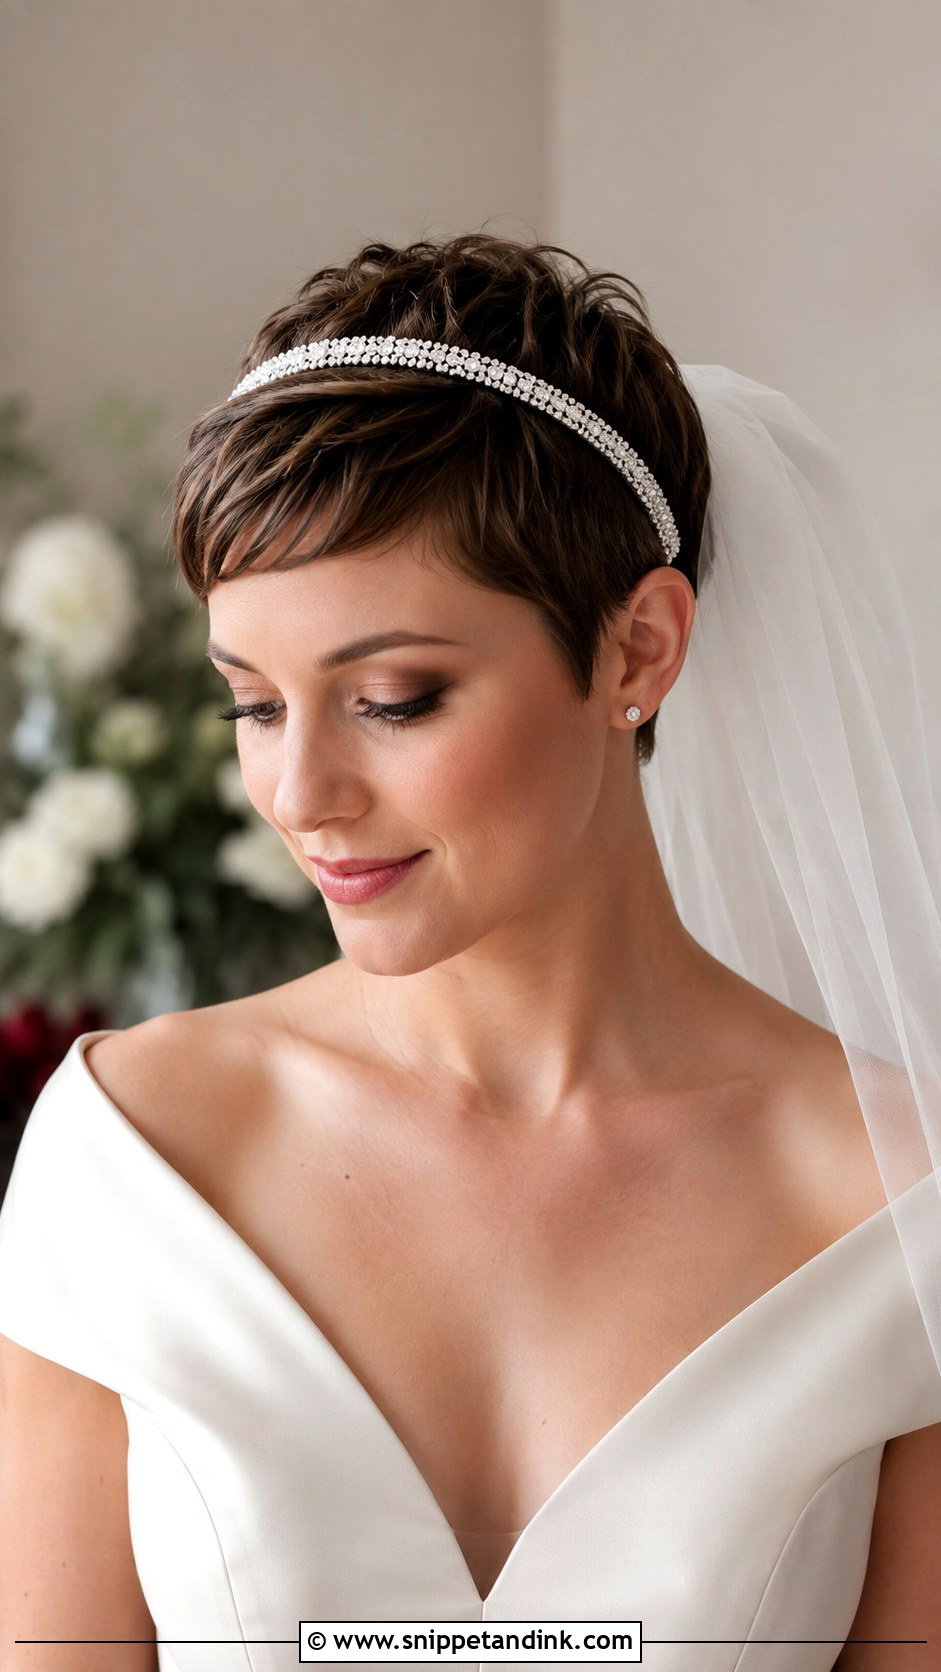
A headband veil solves the biggest problem short hair has with veils, which is grip. The band hugs the head, so the veil hangs from it without any comb at all. I check that the ends sit behind the ears rather than on top of them, since that’s where it pinches by the reception. Fabric-covered bands slip less than smooth metal on silky hair, and two U-pins tucked under each end make it secure. Very short cuts look especially clean with this, as there’s no lump of comb showing at the back.
19. Pixie Cut With Slicked-Back Sides
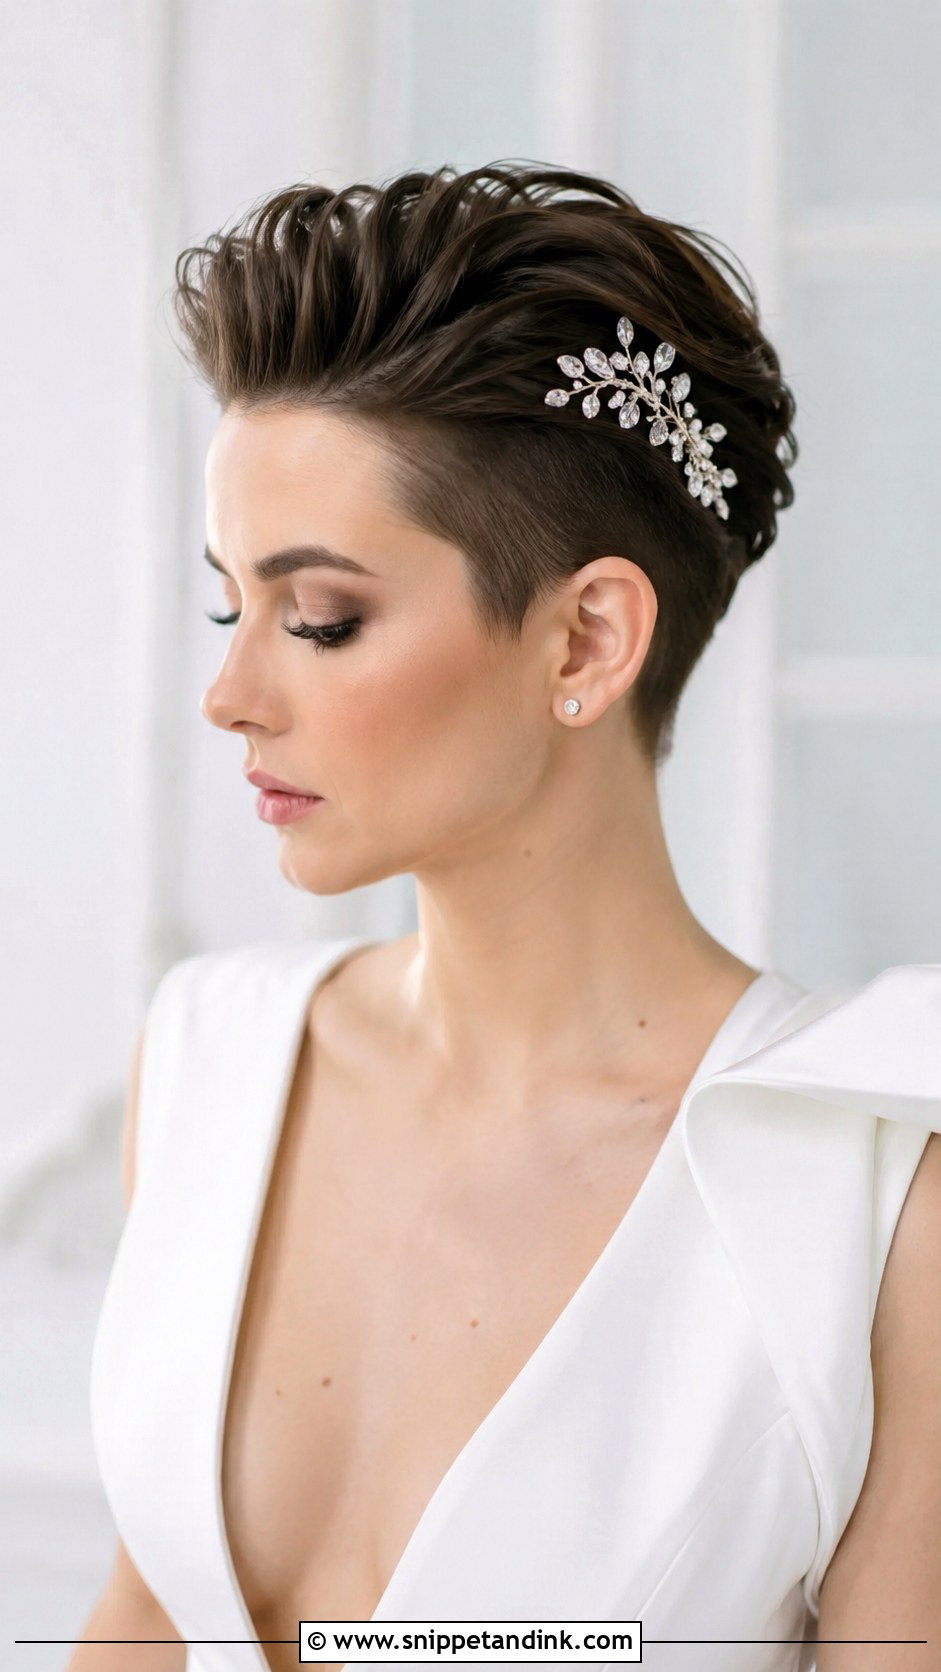
The slicked-back sides pixie is my favorite pairing for a high neckline, since nothing competes with the collar. I smooth the sides with a firm pomade and a fine comb, then rough up the top with my fingers for contrast. Water-based pomade rinses out easily; oil-based gives more shine but can take a few washes to remove after the wedding. One crystal pin at the temple is enough, and the clean shape puts the focus on cheekbones and earrings.
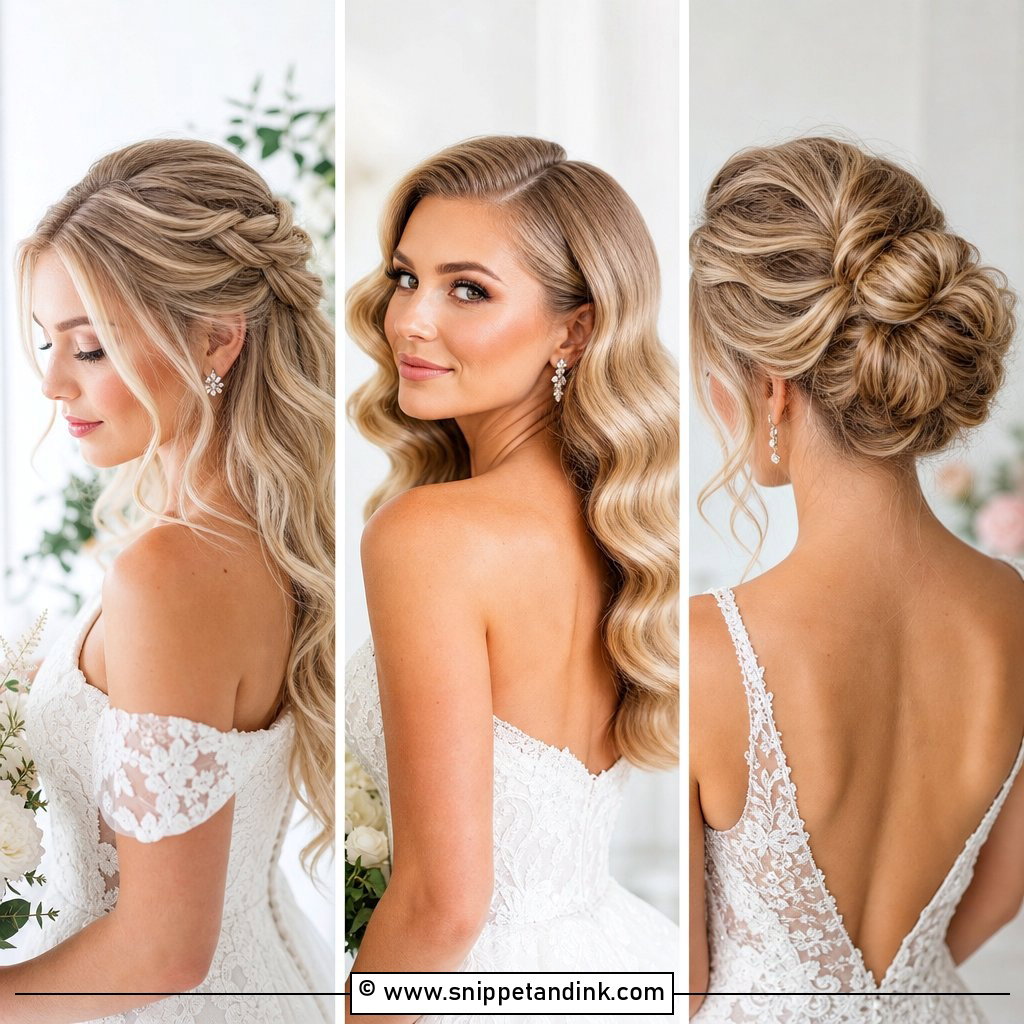
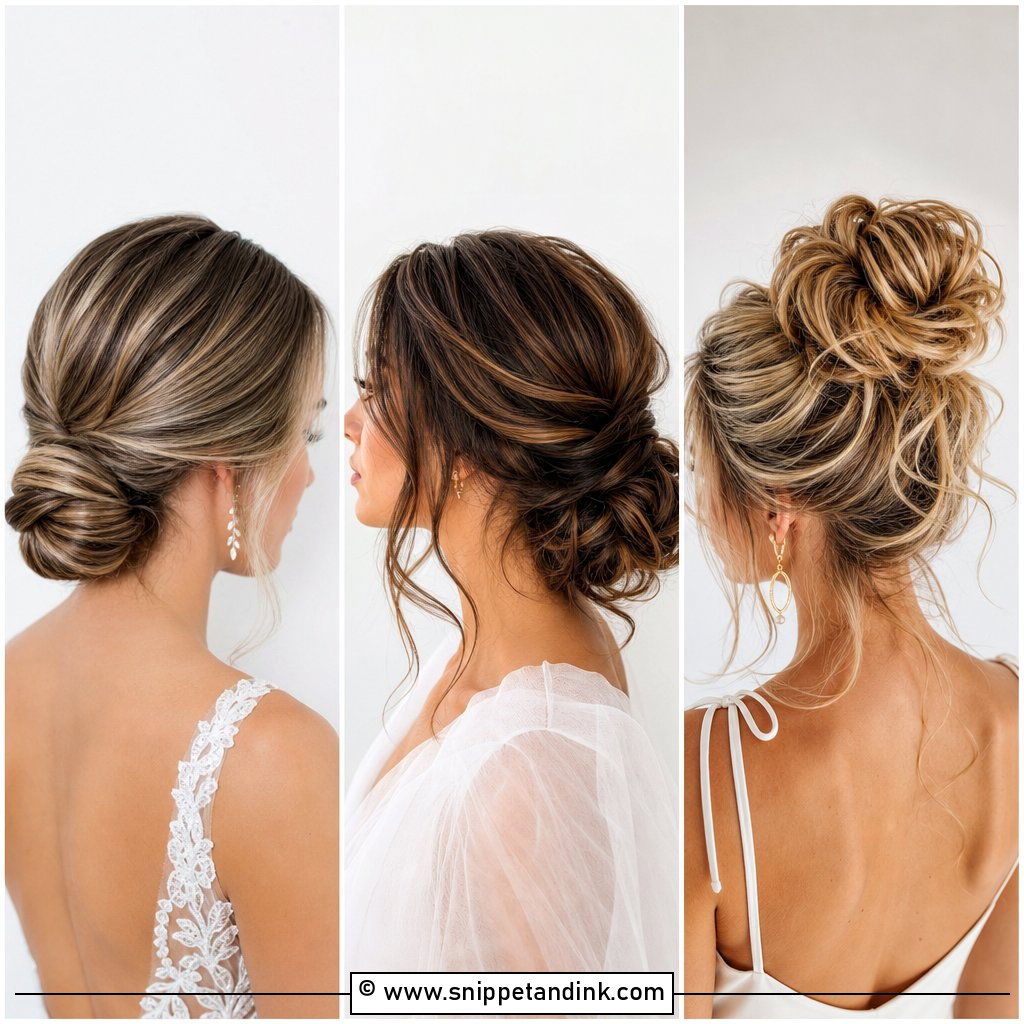
20. Pixie Cut With Soft Waves And Comb
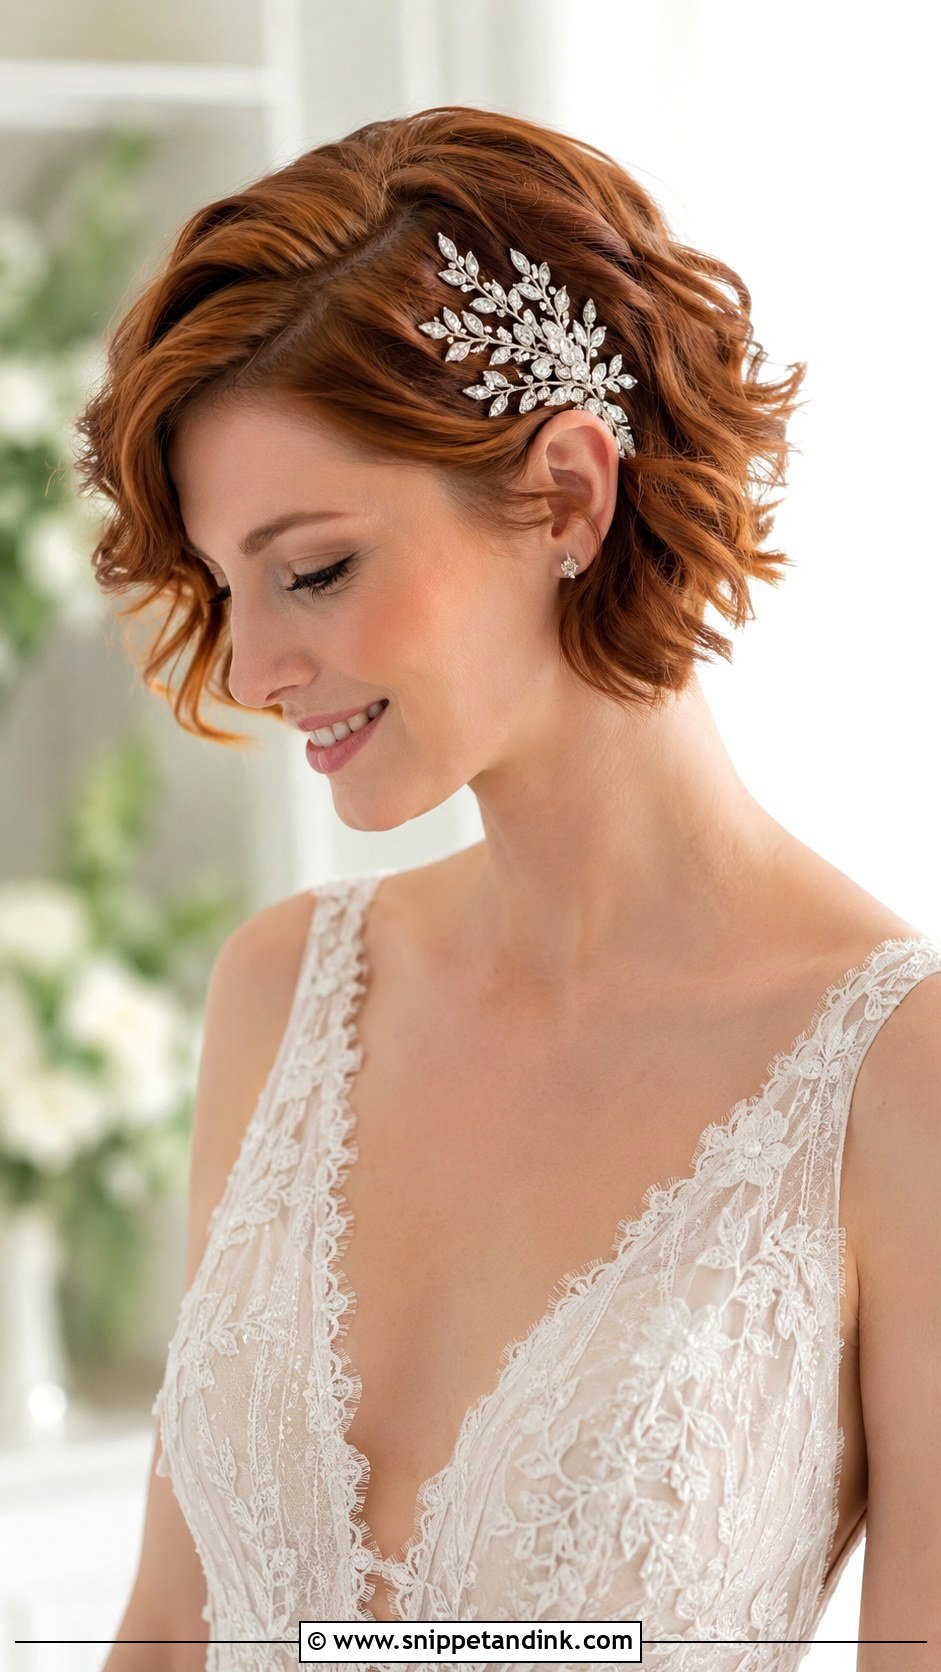
Soft waves with a decorative comb is the look I suggest to a bride who still isn’t sure. I add loose bends with a half-inch wand, leave the very ends straight so it feels current, then break them up with my fingers. The comb goes above one ear, slid in against the direction of the hair. Short hair holds a comb best when it’s been lightly backcombed underneath first, so the teeth have something to grip. Keep the comb small, around two inches across; wide ones stick out past the hairline on a pixie.
Making Combs and Veils Grip Two Inches of Hair
Most bridal accessories are designed for long hair, which gives combs and pins plenty to hold. With a pixie, I build that grip myself before anything goes in:
- Two bobby pins crossed in an X, matched to your hair color, give a comb’s teeth something to catch.
- Light backcombing at the root where the piece will sit, smoothed over so it never shows.
- A matte texture product instead of a shiny one, because slippery hair lets pins slide out.
- Pins pushed in against the direction the hair falls, so movement drives them in rather than out.
Weight matters as much as grip. Anything heavier than a small comb, like a cathedral veil or a tall tiara, should be worn for an hour at your trial. Pressure behind the ears shows up after forty minutes, not five.
What I Pack for a Pixie Between Ceremony and Reception
Short hair needs fewer touch-ups than an updo, but the ones it needs are specific. In the bridesmaid’s bag I put a travel hairspray, spare bobby pins in your shade, a small pot of the same paste or pomade used that morning, and a fine-tooth comb. Gel and wet looks need nothing but blotting papers for the forehead, since touching the hair breaks the set.
The biggest change over the day is usually the crown flattening, especially on fine hair once a veil comes off. Rather than re-teasing, lift it with your fingertips and a short burst of dry texture spray at the roots. Thirty seconds at a bathroom mirror and the shape is back.
A Pixie Wants Precision More Than Product
Short hair on a wedding day comes down to a handful of precise choices: a trim timed well, accessories anchored properly, and a finish that still looks right after the last dance. Every look above can be adapted to your texture, from the sculpted finger wave to the loose curl. If you’re drawn to edgy undercuts, there are more cropped ideas worth bringing to your trial. Pick two or three photos you love, try them on your own hair, and keep the one you forget you’re wearing by dinner.
You'll Like These Ideas:


Leave a Reply