
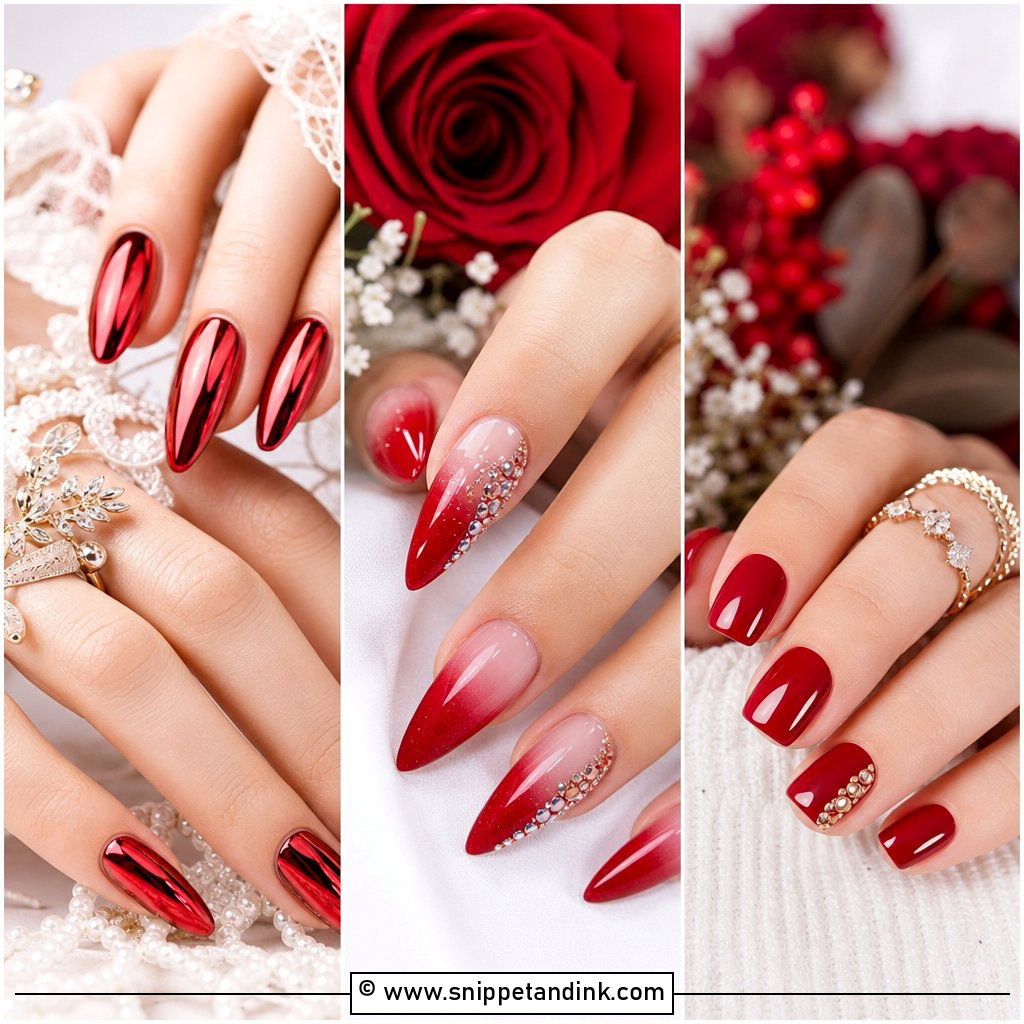
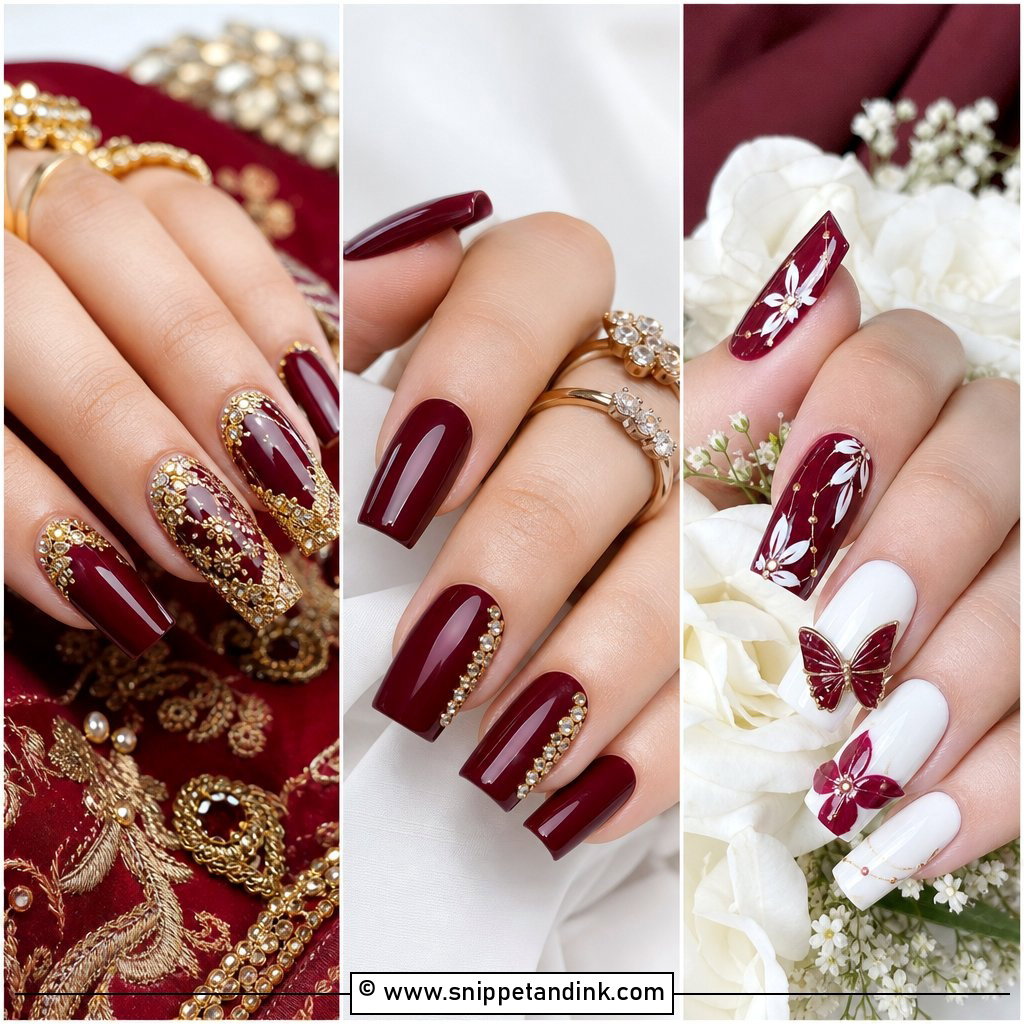
Your hands end up in more close-ups than almost anything else you wear: the ring shot, the bouquet, the vows, the cake cut. That’s why I treat a wedding manicure as part of the outfit rather than an afterthought. The twenty sets below run from French tips and milky whites through pearl chrome, lace, florals and soft ombre, on short, almond, square and coffin shapes, with accents like gold, pearls and something blue. For each one I’ve added what I’d tell you in the chair: how it’s built, how it wears over a long day and who it doesn’t suit.
Gel, Builder or Press-Ons: What Holds Up for a Wedding Week
Before we talk about designs, decide what the design will sit on. The product changes how long the art lasts, how it’s removed and what shapes are realistic for your nails.
Gel polish on natural nails
Gel polish is my default for shorter natural nails. A well-applied set usually holds for around two weeks without chipping, which covers the wedding and the start of a honeymoon. It’s thin and flexible, though, so on long or weak nails it can crack where the nail bends.
Builder gel overlays
If your nails peel or bend, I’d put a builder gel overlay underneath the color. It adds strength so almond and medium shapes don’t snap, and it’s what I use under 3D flowers and pearls because they need a thicker layer to sit in. It’s soaked or filed off, never peeled.
Extensions and press-ons
For coffin length or anything beyond your natural free edge, you need extensions. Soft gel tips are the quickest; sculpted gel takes longer but can be thinner. Good press-ons are a fair option for a destination wedding or a tight budget, as long as they’re sized properly. A press-on that’s too wide lifts at the sides within a day. Pack the glue and a spare set either way.
1. Bride French Tip Nails
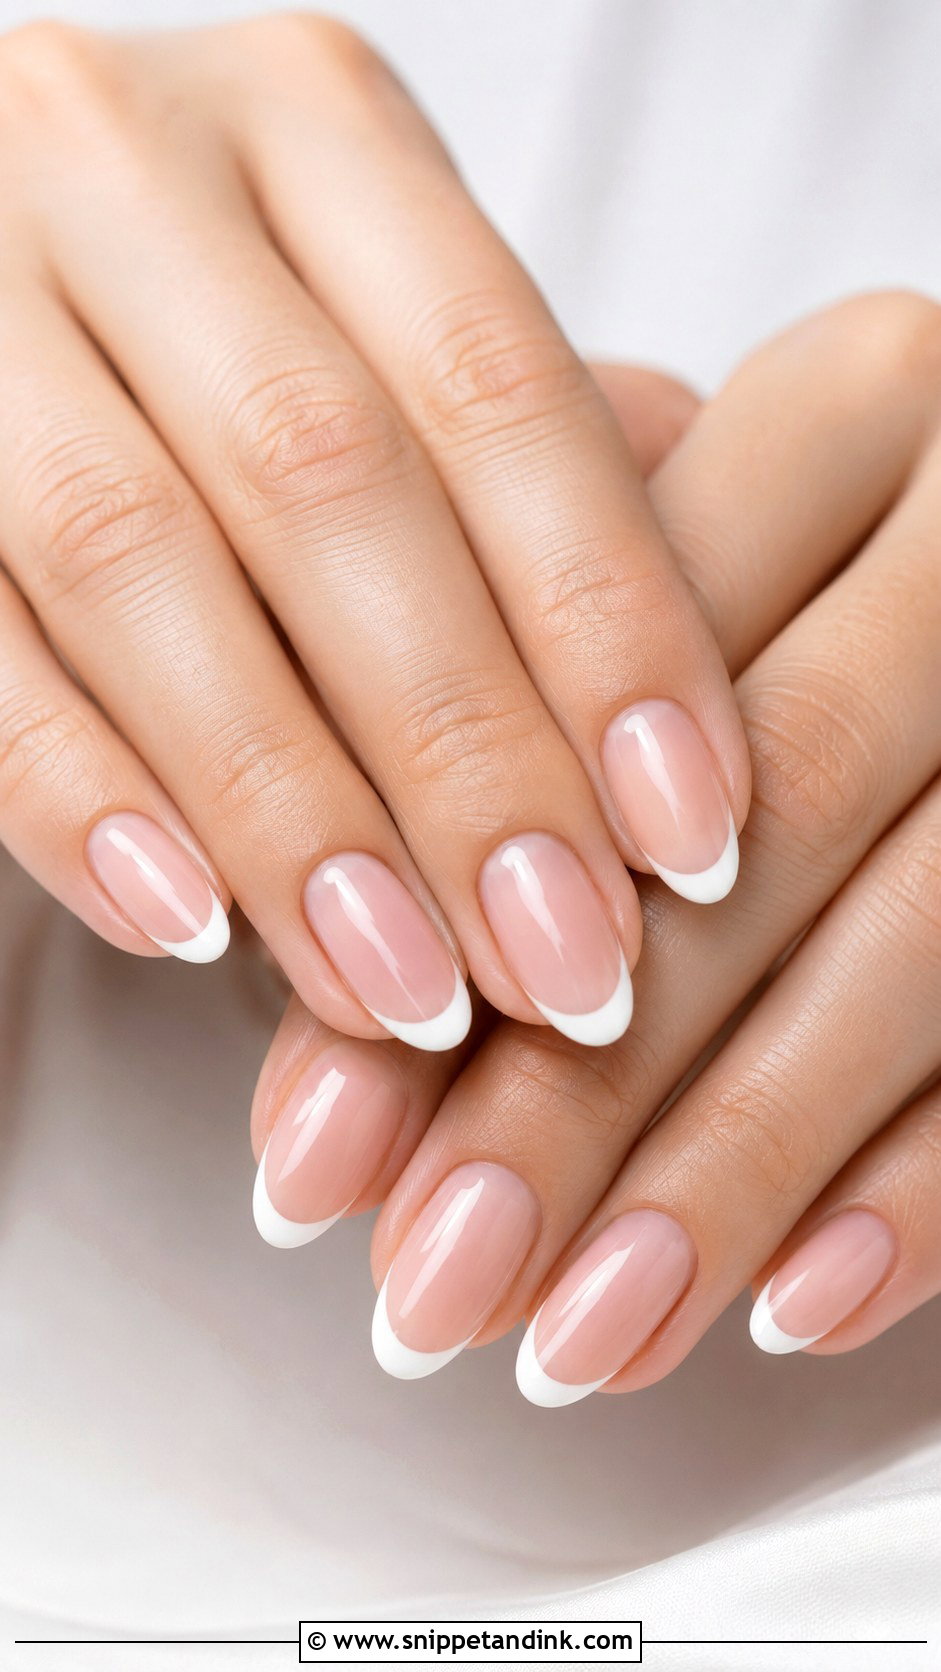
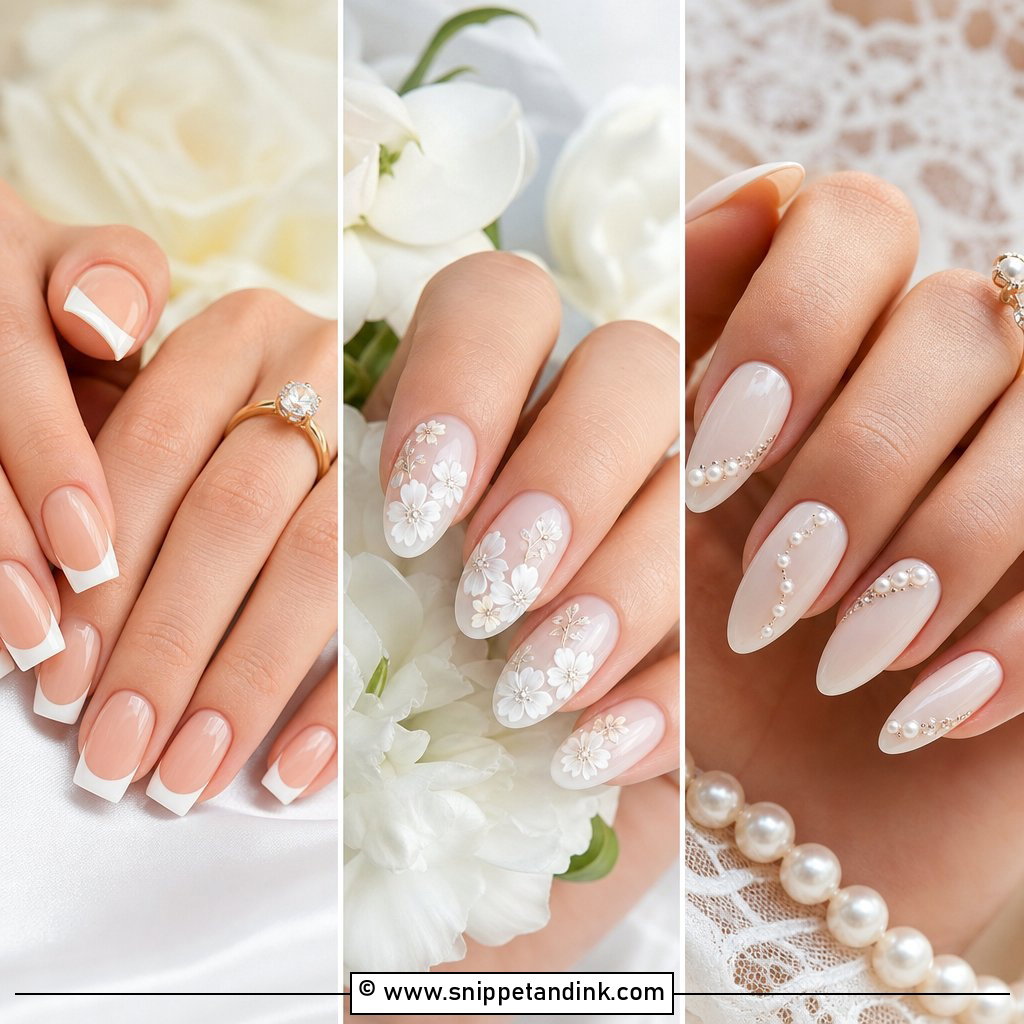
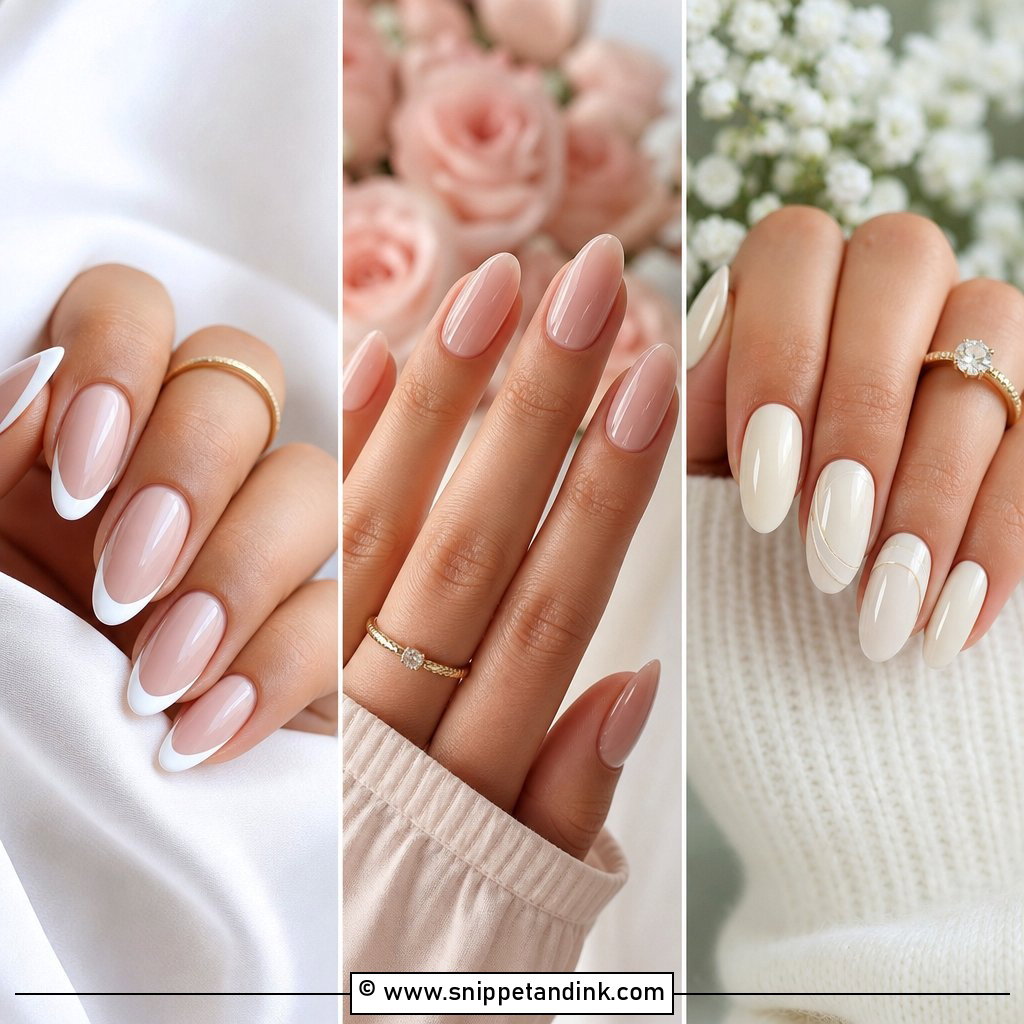
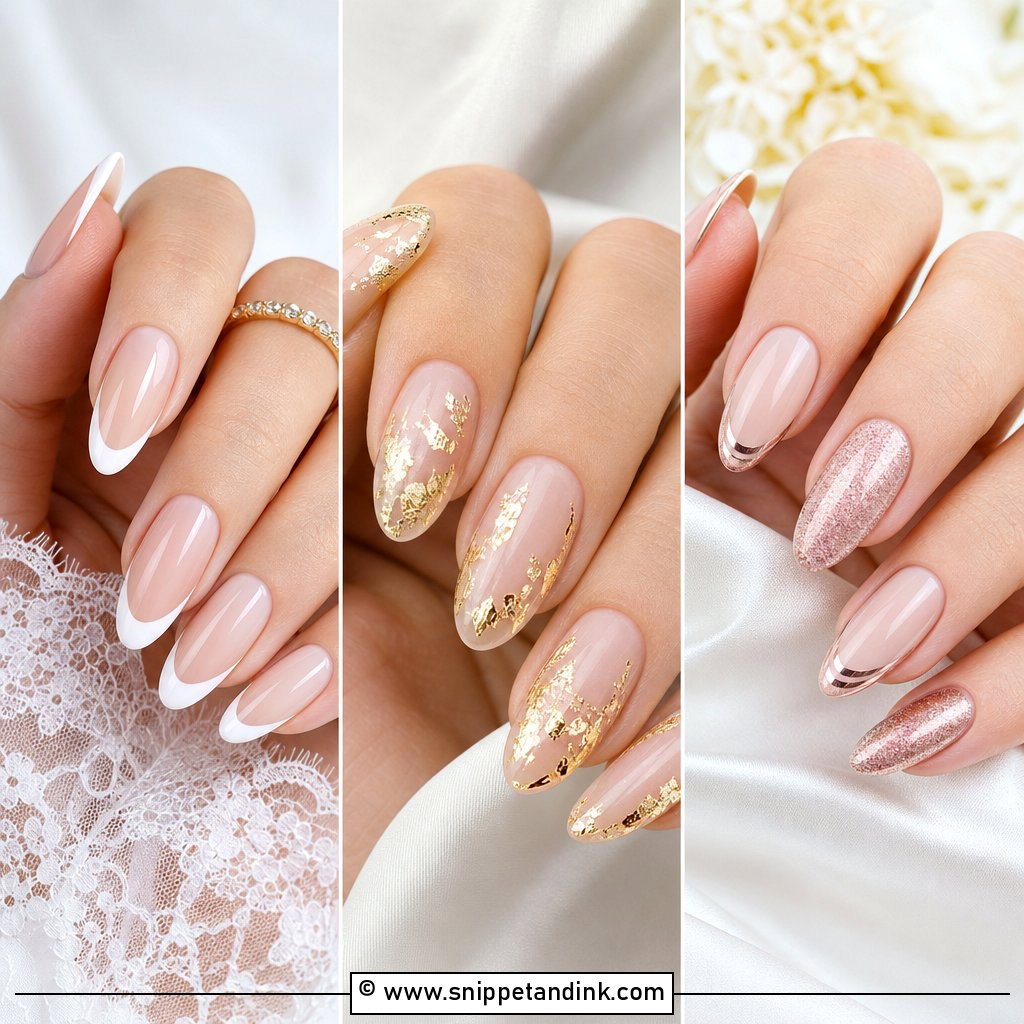
A French tip is the set I’m asked for most, and it’s also the one that shows sloppy work fastest. The smile line has to sit at the same depth on all ten nails, so I map it to the shortest nail bed first and work outward from there. Keep the white thin. A thick, opaque band of bright white flares under flash and makes nails look shorter in ring photos, while a fine soft-white line reads clean. Almond, oval and soft square shapes all take it, and a couple of tiny pearl dots at the cuticle are an easy addition if you want something extra.
2. Bride Milky White Nails
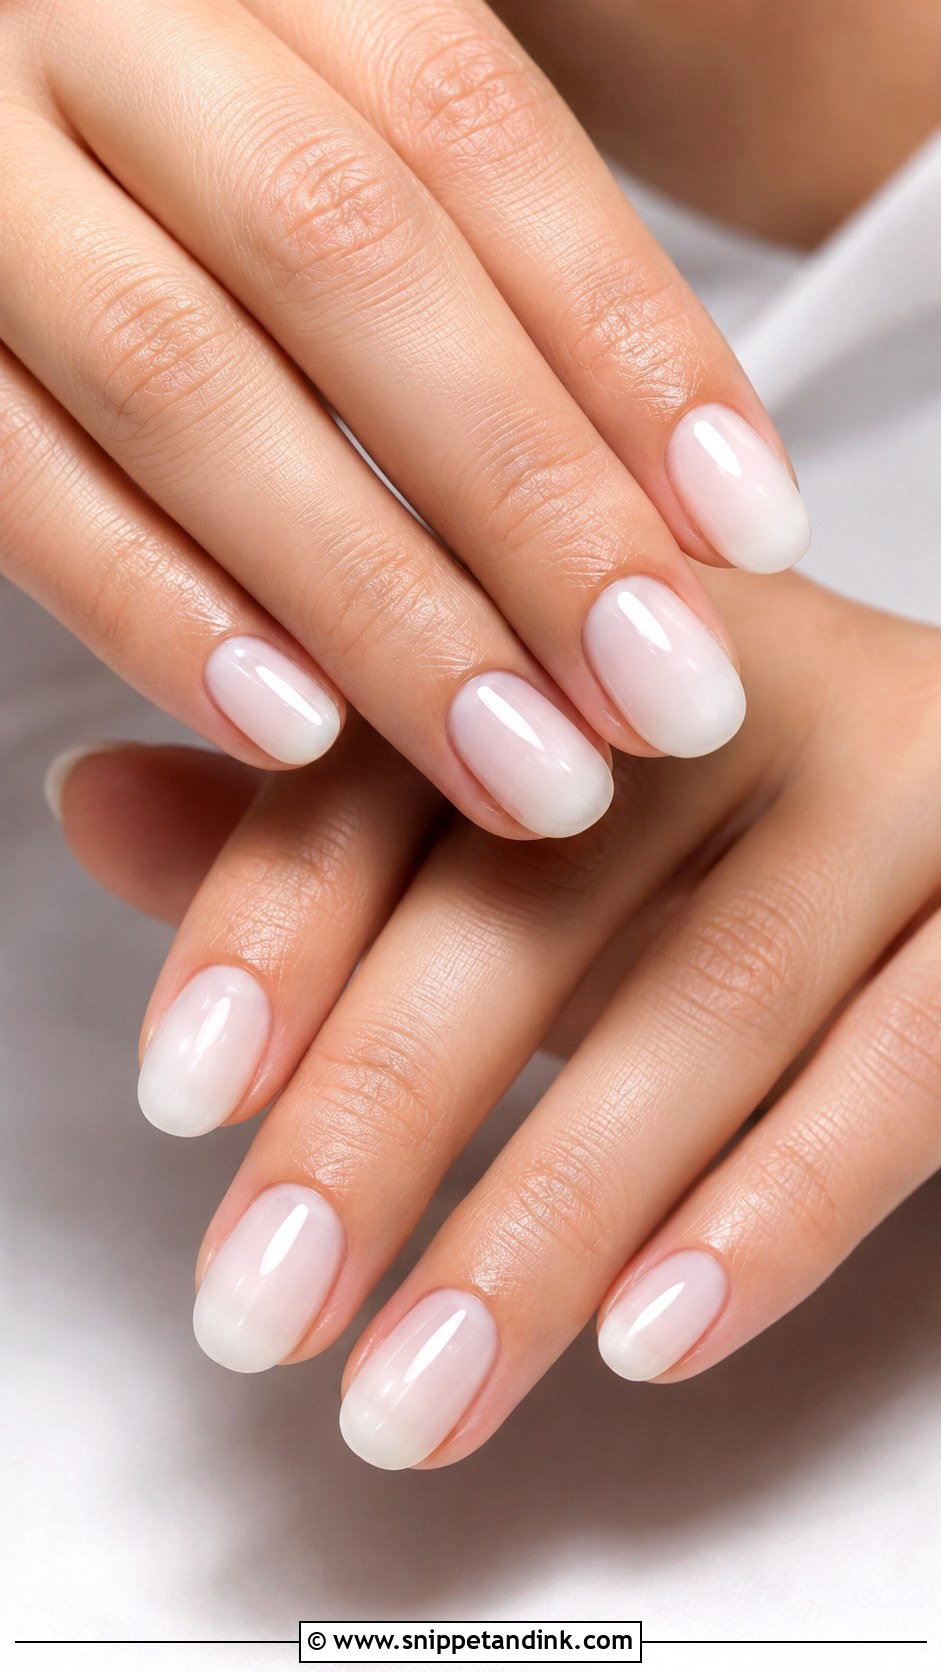
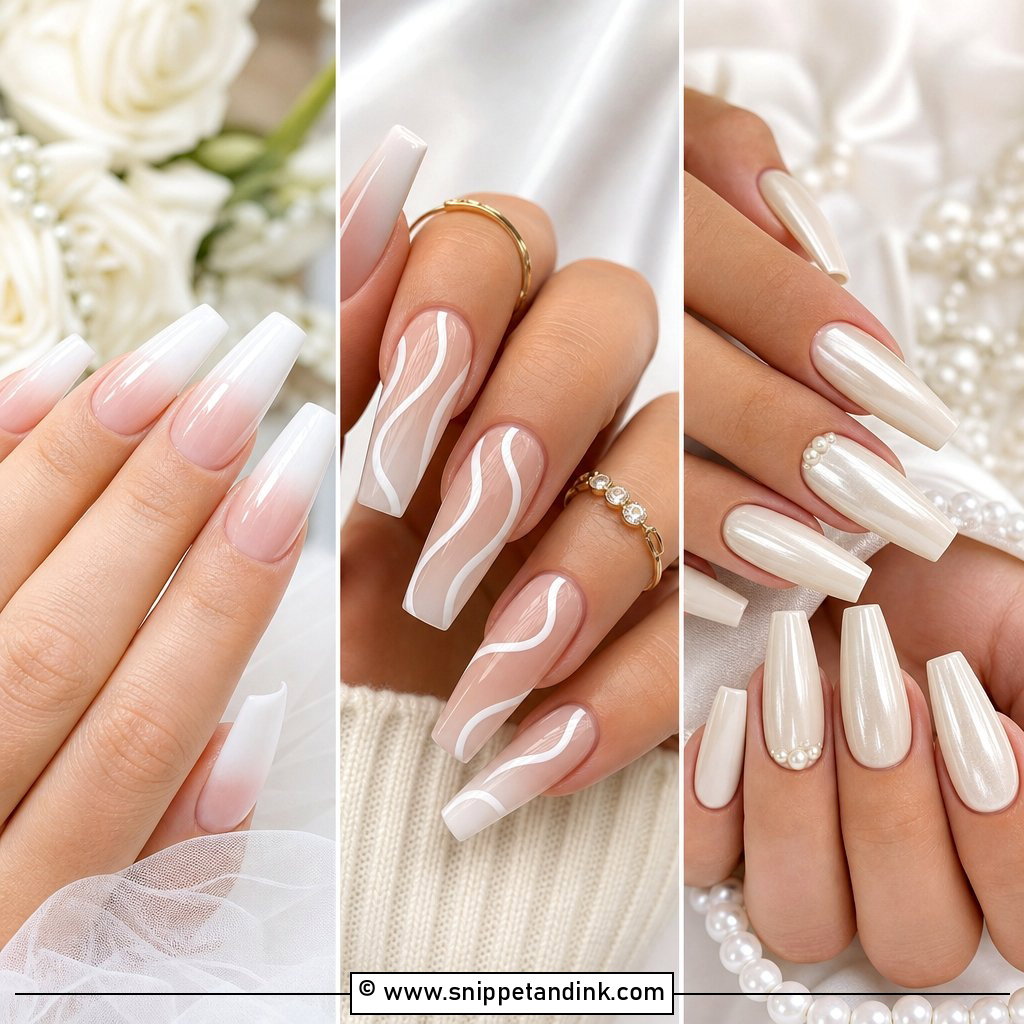
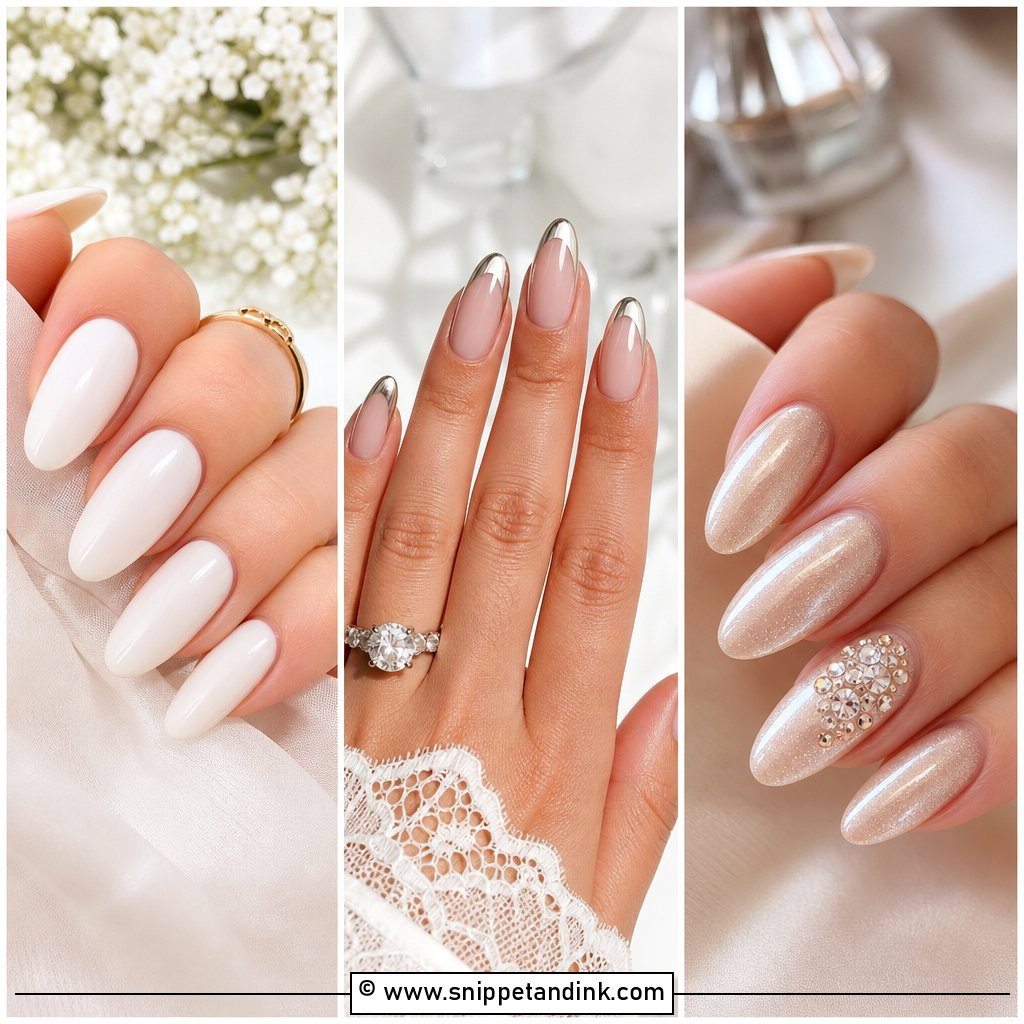
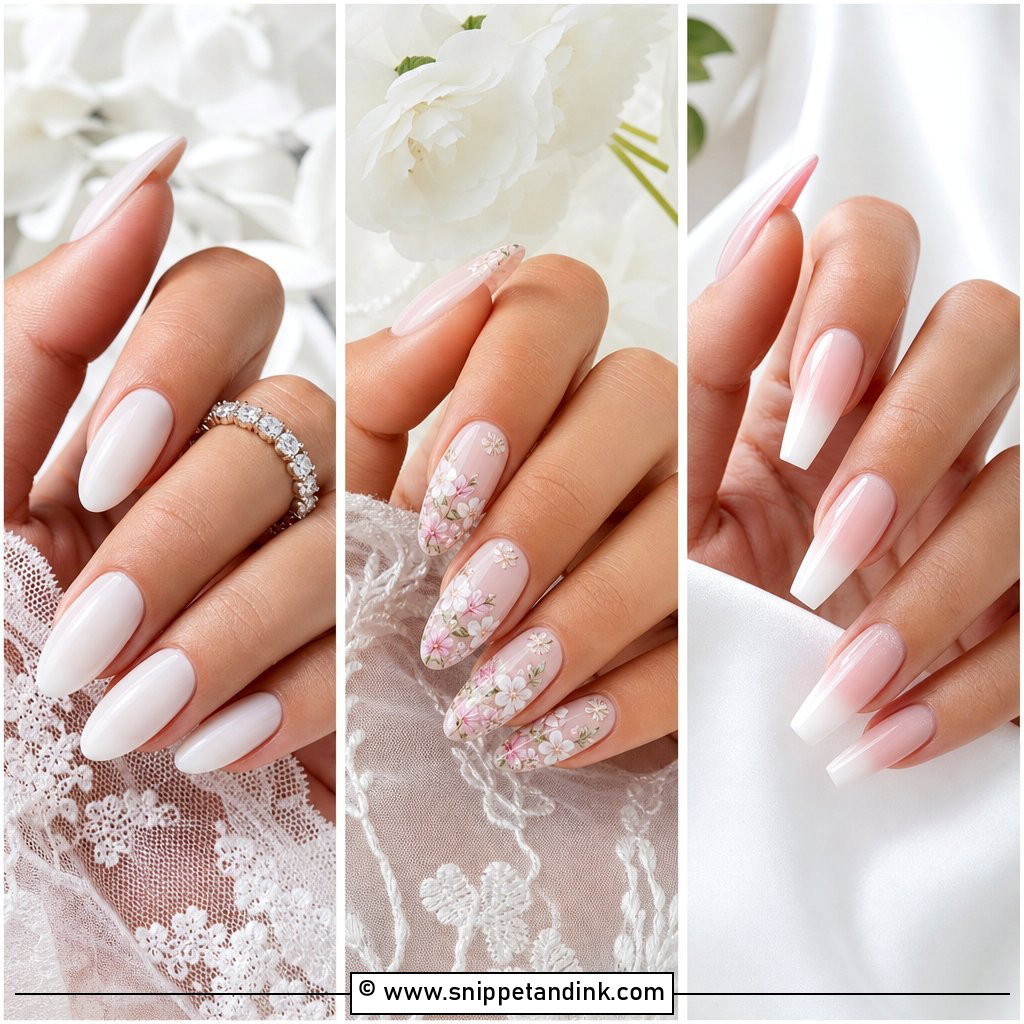
Bridal milky white nails use a sheer, creamy white that lets a little of your natural nail show through, a bit like a veil over the nail. They’re harder to get right than they look. A milky gel that’s too thin goes streaky, and one that’s too opaque turns chalky, so I build it in two or three thin coats and check it in daylight before curing the last one. It suits short ovals as well as longer coffins, and a high-gloss top coat gives it the soft glow you see in photos. I’d skip it if your nails have white spots or ridges, because the sheer finish shows every one.
3. Bride Pearl Chrome Nails
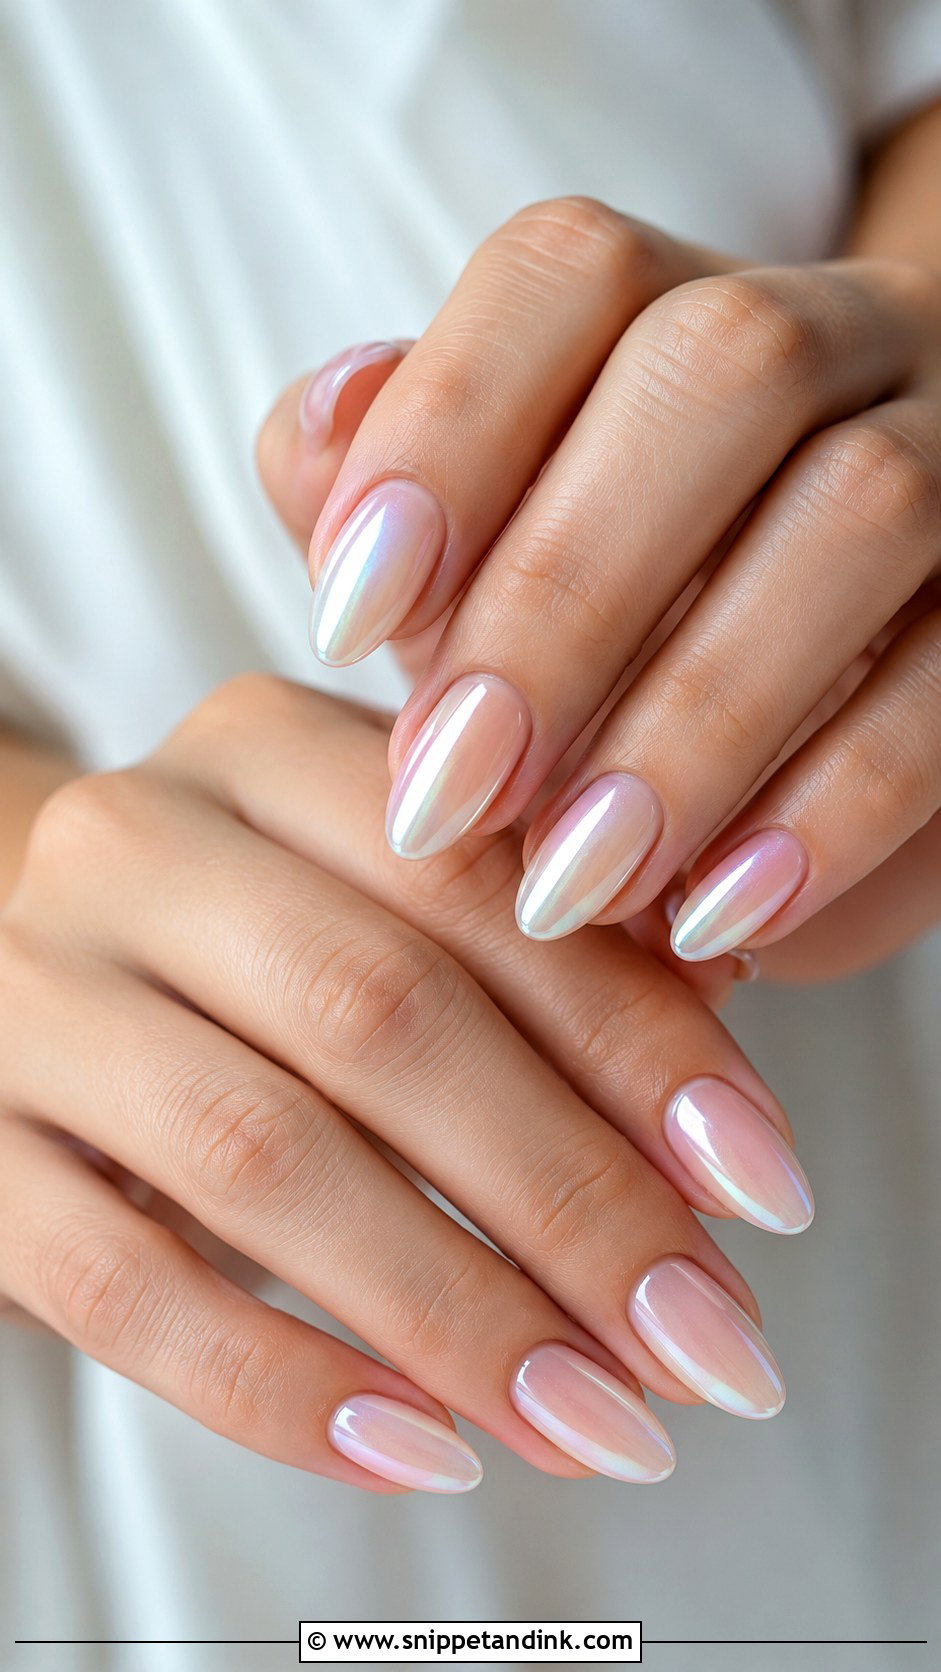
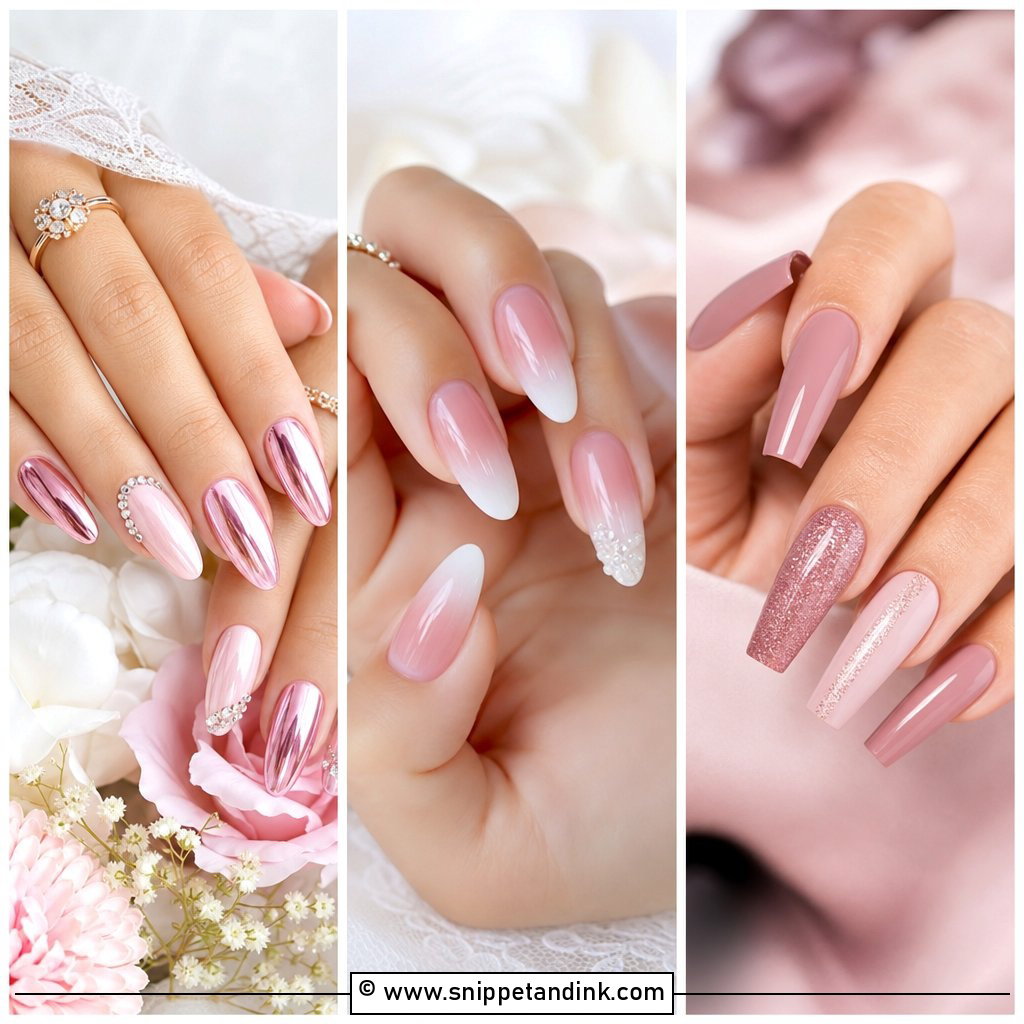
Pearl chrome is a powder rubbed onto a cured no-wipe top coat, then sealed, over a base of soft pink, milky white, nude or sheer beige. The result shifts gently as your hands move instead of looking like foil. The weak point is the free edge: if the top coat isn’t wrapped over the tip, the chrome wears off there first, often within a few days. I always cap the edge on a bridal set for that reason. Almond and oval shapes keep the sheen smooth, and short squares make it quieter. It sits well with satin, pearl earrings and dewy makeup.
4. Bride Lace Nail Art
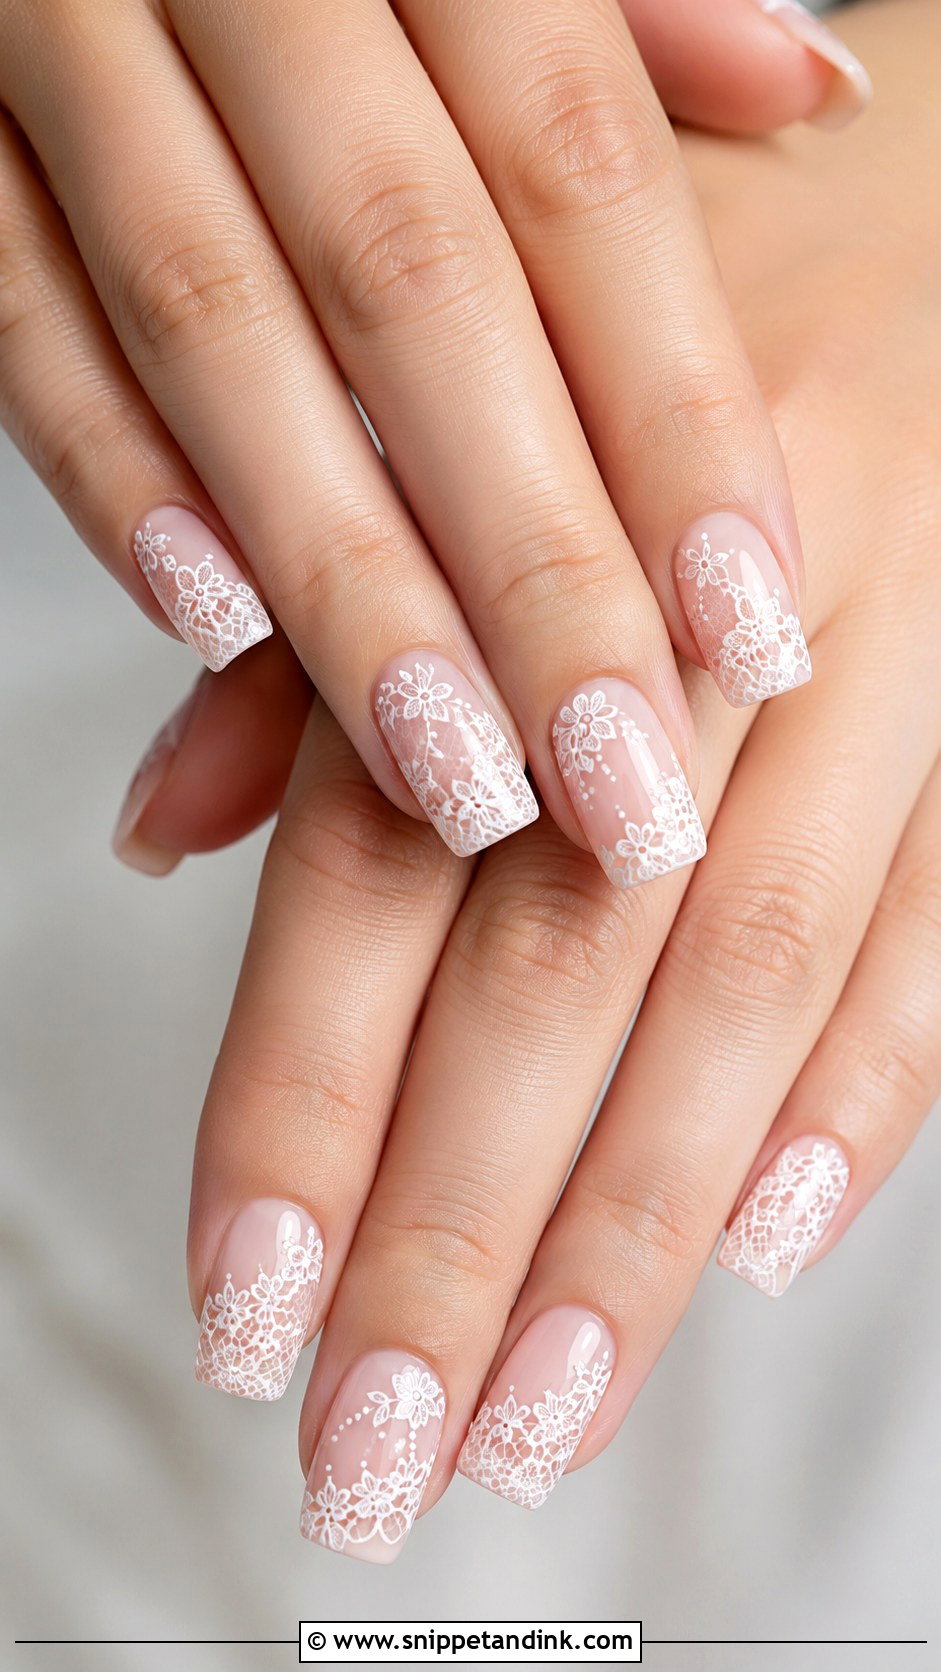
Lace art connects the nails to the dress without copying it. I keep most nails sheer pink or nude and put the lace on one or two accent nails only, because a full set of fine pattern blurs into grey from more than a meter away. You can stamp lace or hand-paint it with a long liner brush. Stamping gives crisper repeats; hand-painting lets me pick up the actual motif on your sleeve or veil edge, so bring a close photo of the fabric. Matte suits heavy lace and gloss suits fine Chantilly-style lace.
5. Bride Floral Nails
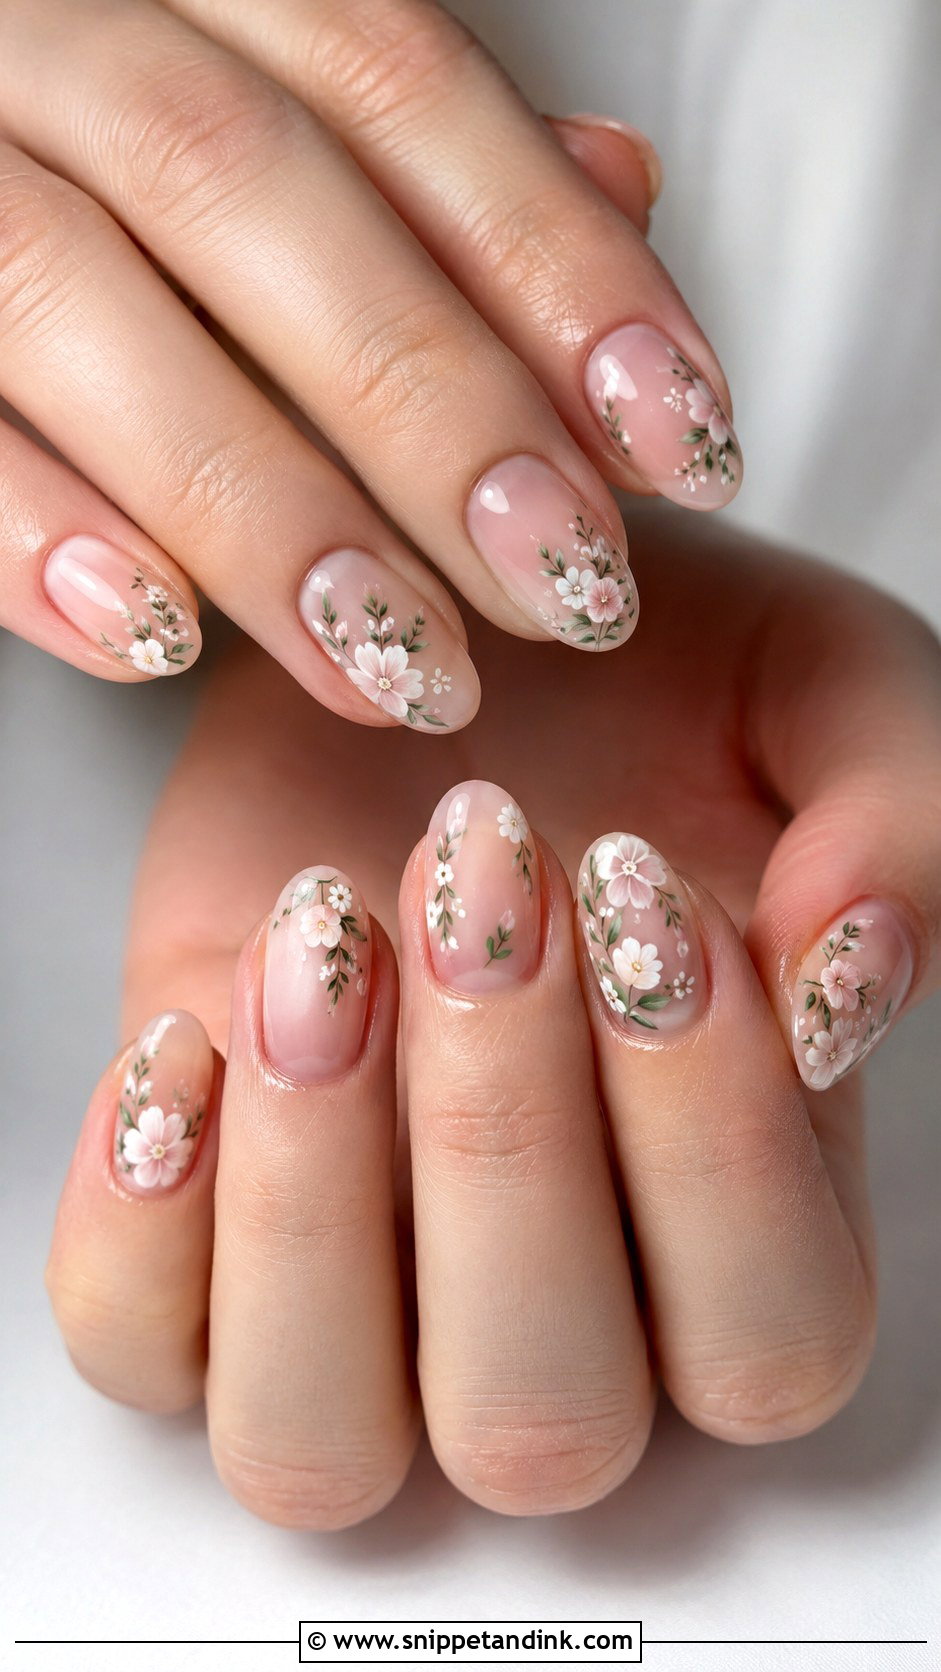
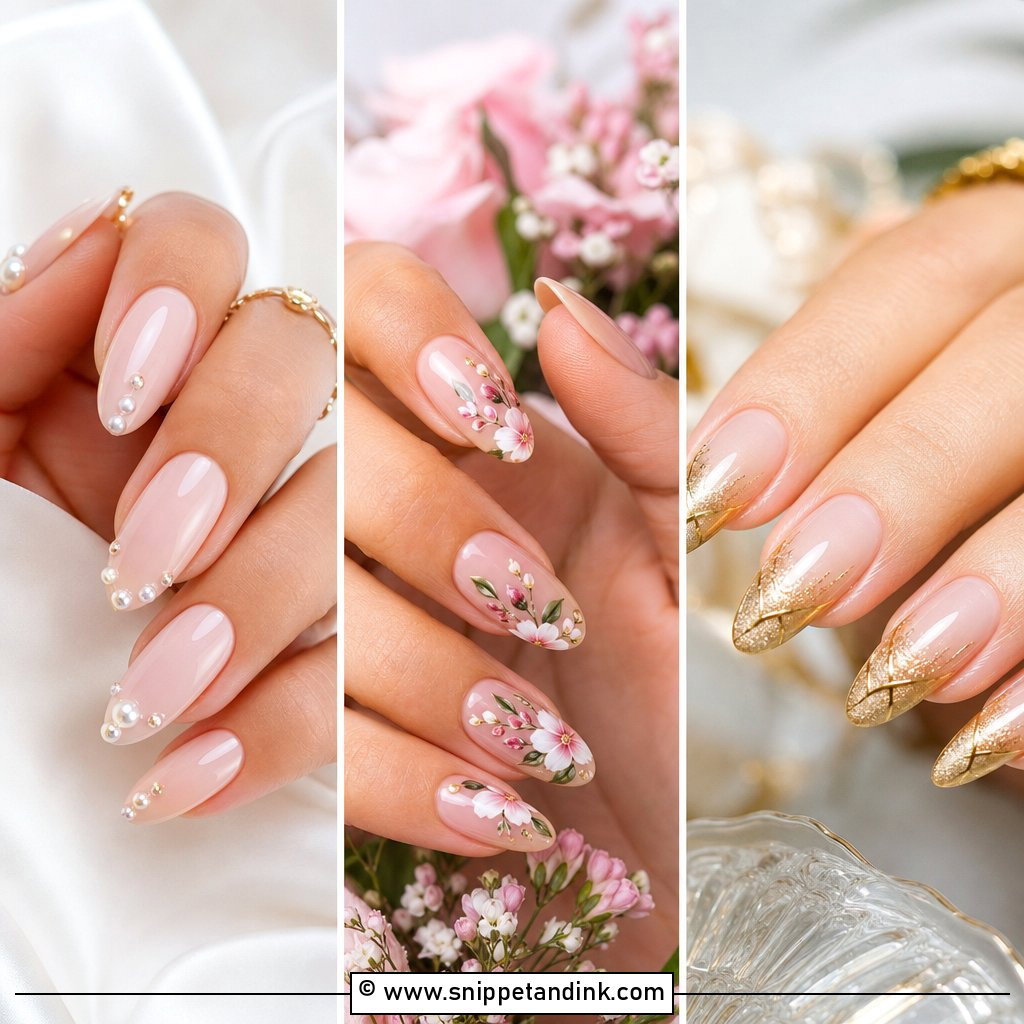
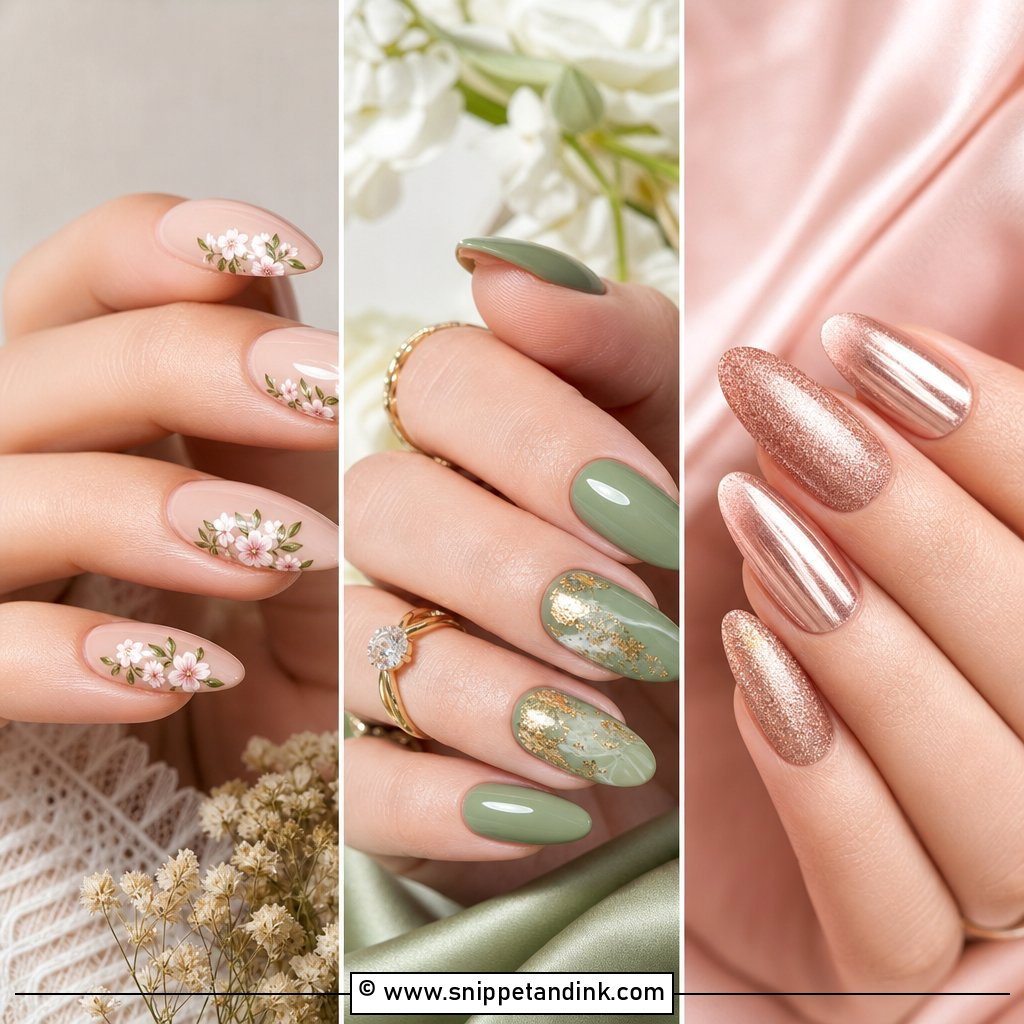
Florals only work small. Tiny white petals, a blush bloom or a thin leafy stem over a sheer nude base will read as flowers in a close-up, while big painted roses turn into blobs once the camera pulls back. I place them along the tip, at the cuticle or on a diagonal across one or two nails, and I like to borrow colors from the bouquet if you can show me the florist’s mock-up. Garden and spring weddings suit it best. A thick gloss top coat over the art smooths out any raised paint so it doesn’t snag.
6. Bride Nude Nails With White Art
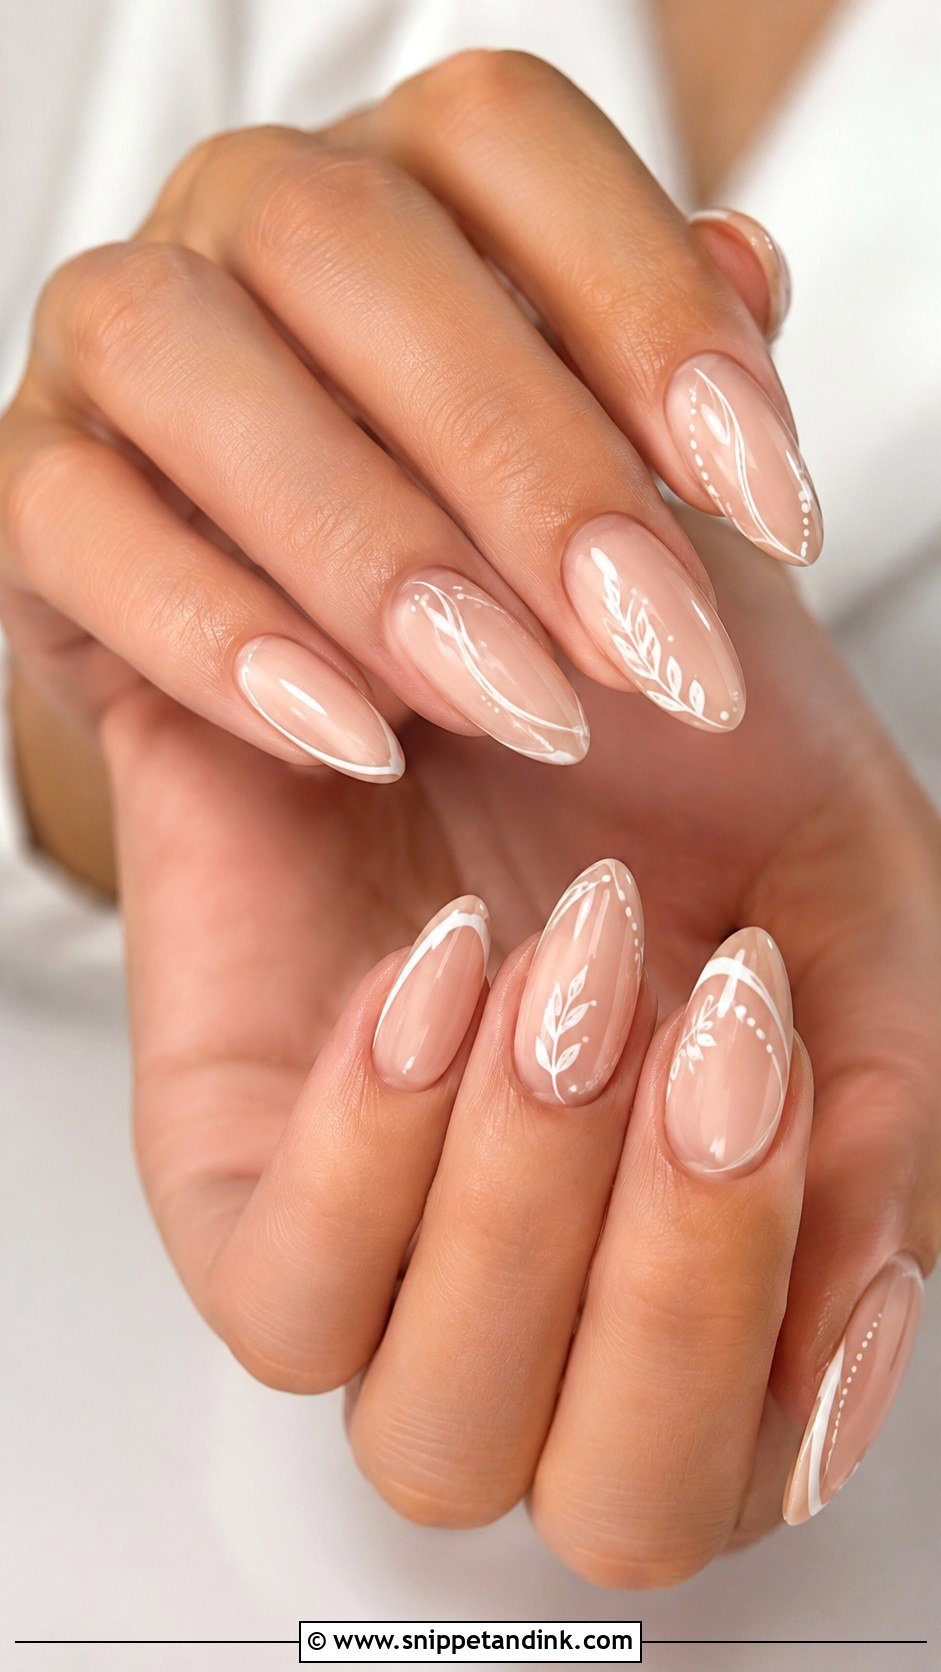
The base decides whether this set looks expensive. A nude that’s lighter than your skin makes hands look washed out in photos, so I match the base to your undertone first: pinkish nudes for cool skin, beige or peachy nudes for warm skin, and deeper caramel or cocoa nudes for darker skin. Over that go fine white leaves, curves, dots or tiny flowers. Because the base reads as your own nail, the white art stays subtle, which makes this a smart pick when your dress is already busy. Keep the linework thin; heavy white lines look like correction fluid.
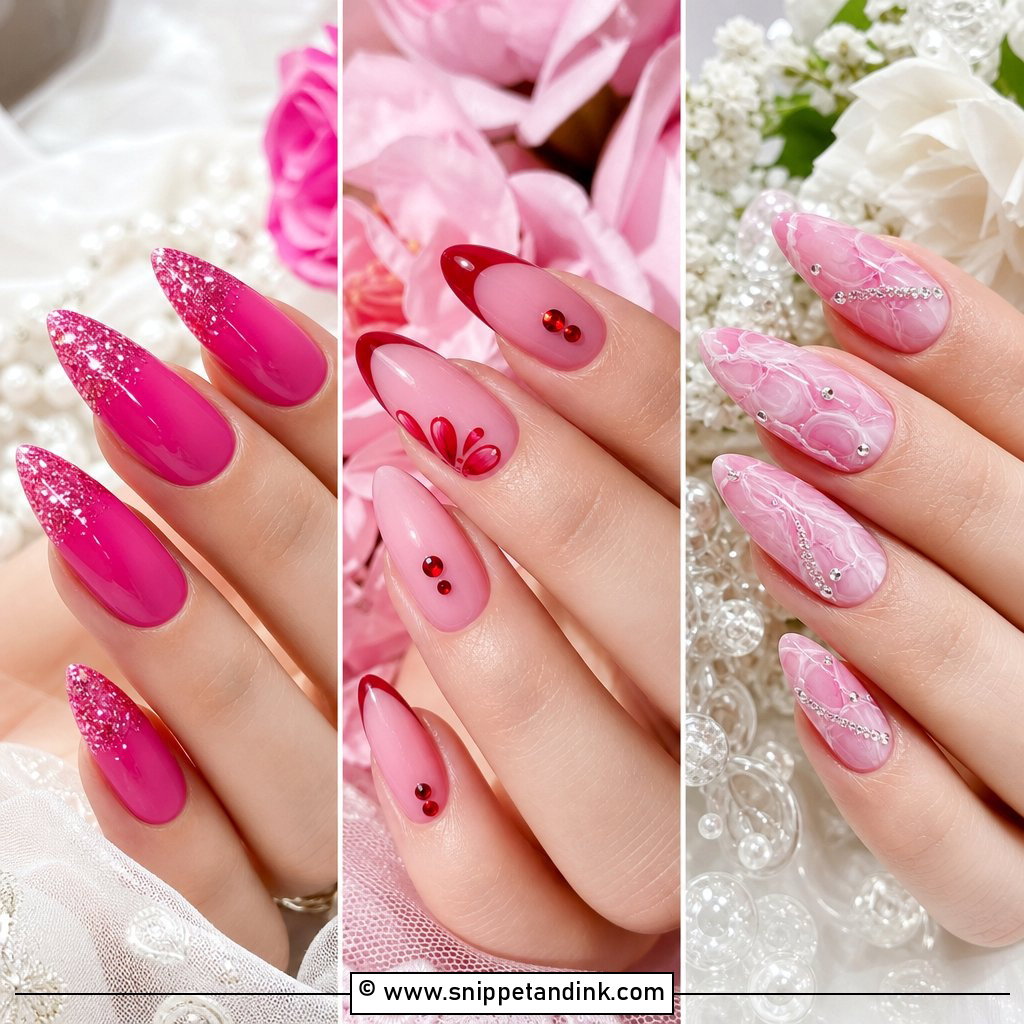
7. Bride Blush Pink Nails
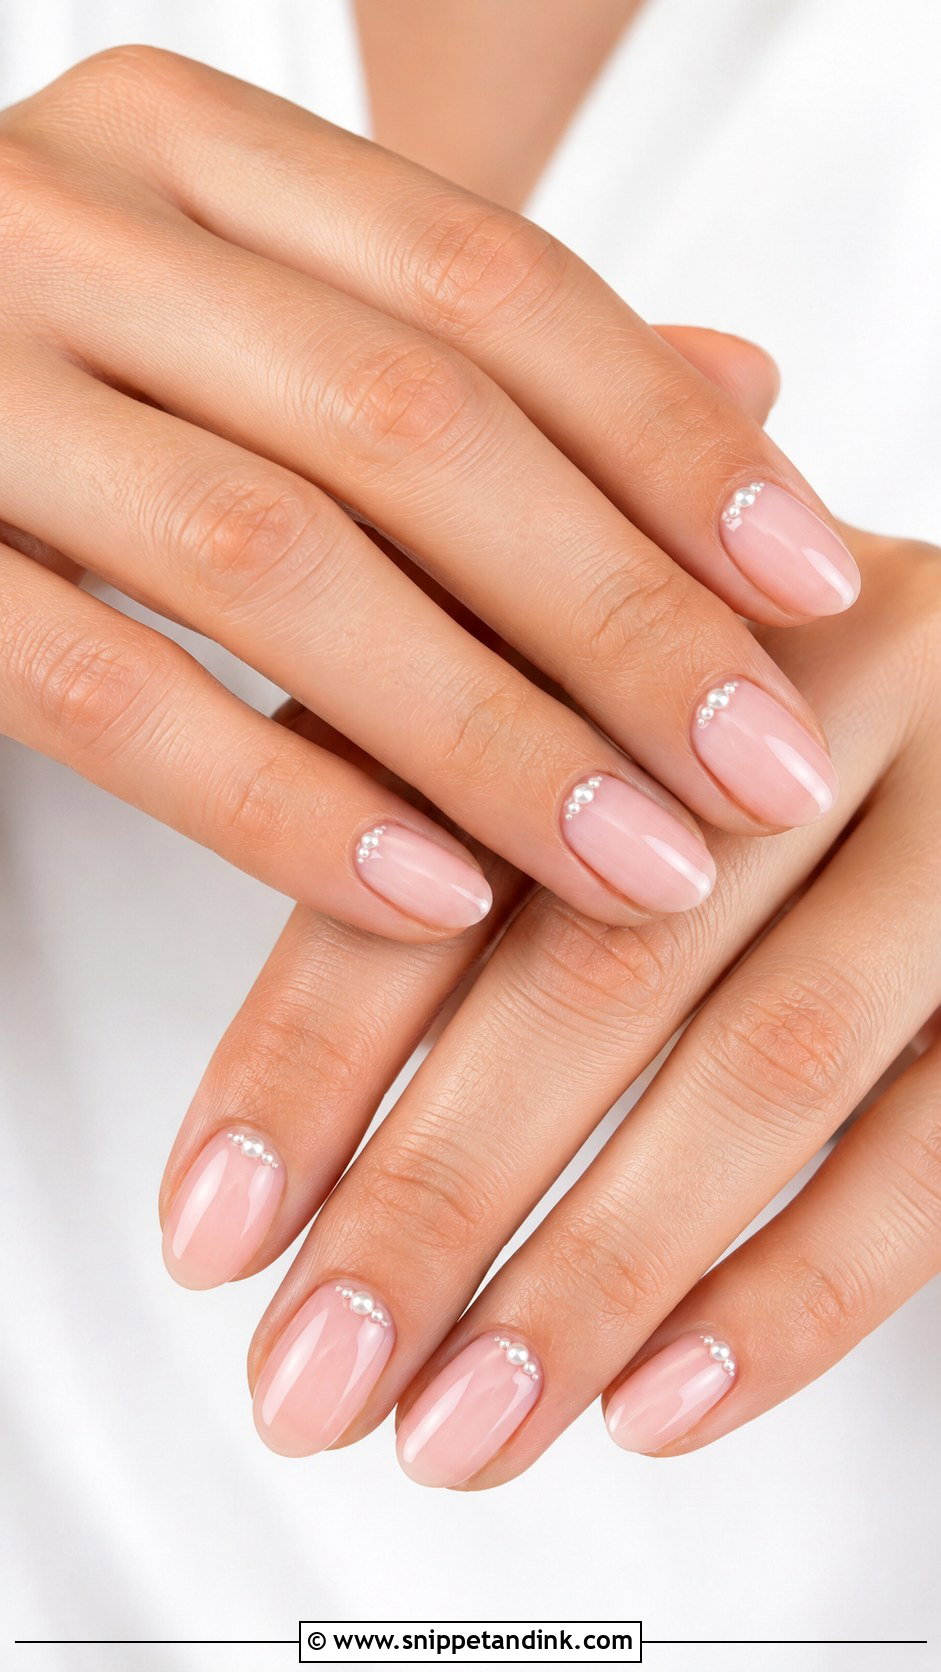
Blush pink warms the hands and makes nails look healthy. I’d go for a sheer jelly pink built in layers rather than a solid candy shade, partly because it’s softer and partly because sheer color hides regrowth at the cuticle if the wedding runs into a honeymoon. Wear it alone with a glossy top coat or add tiny white dots, a micro French or a faint shimmer. Brides who never wear nail art usually feel most like themselves in this one, and it sits naturally next to rose gold and pink bouquets.
8. Bride Ombre Nails
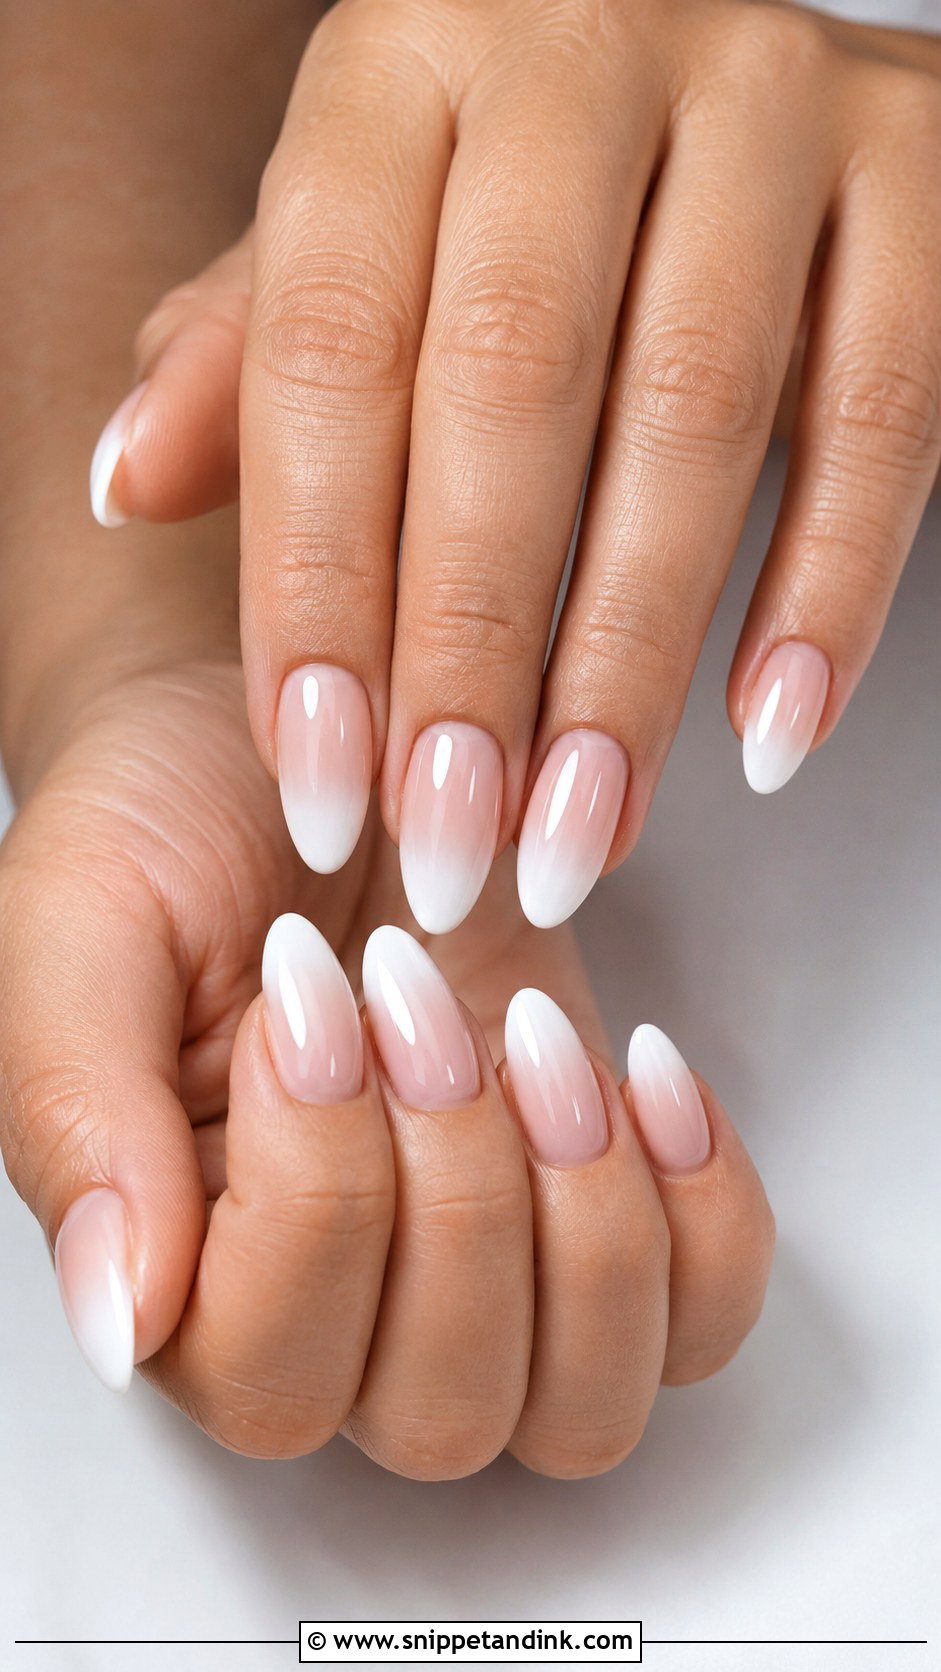
Ombre blends a nude or pink base into soft white tips with no hard line, so it’s gentler than a French and tends to make nails look longer. I blend it with a sponge or by feathering gel with a brush; the brush method gives a smoother fade on gel, while sponging is quicker but can leave texture that needs a thicker top coat. Medium lengths on almond, oval, coffin or square show the gradient best. Very short nails don’t have enough room for the fade, and it can end up looking like a dirty tip.
9. Bride Short Nails
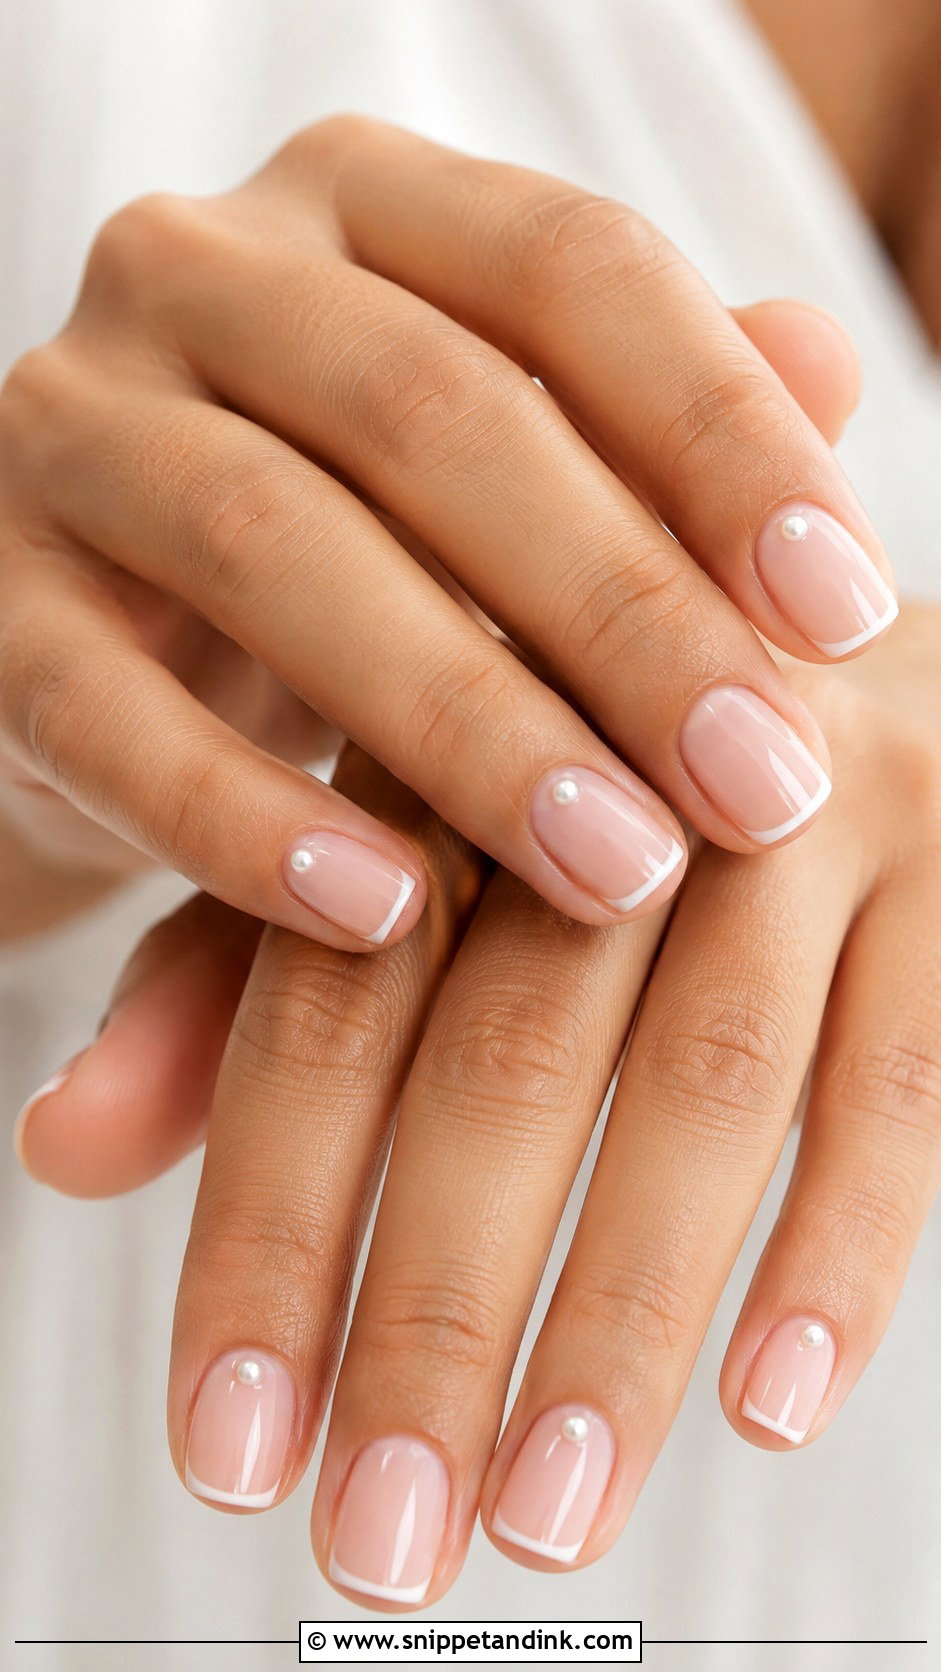
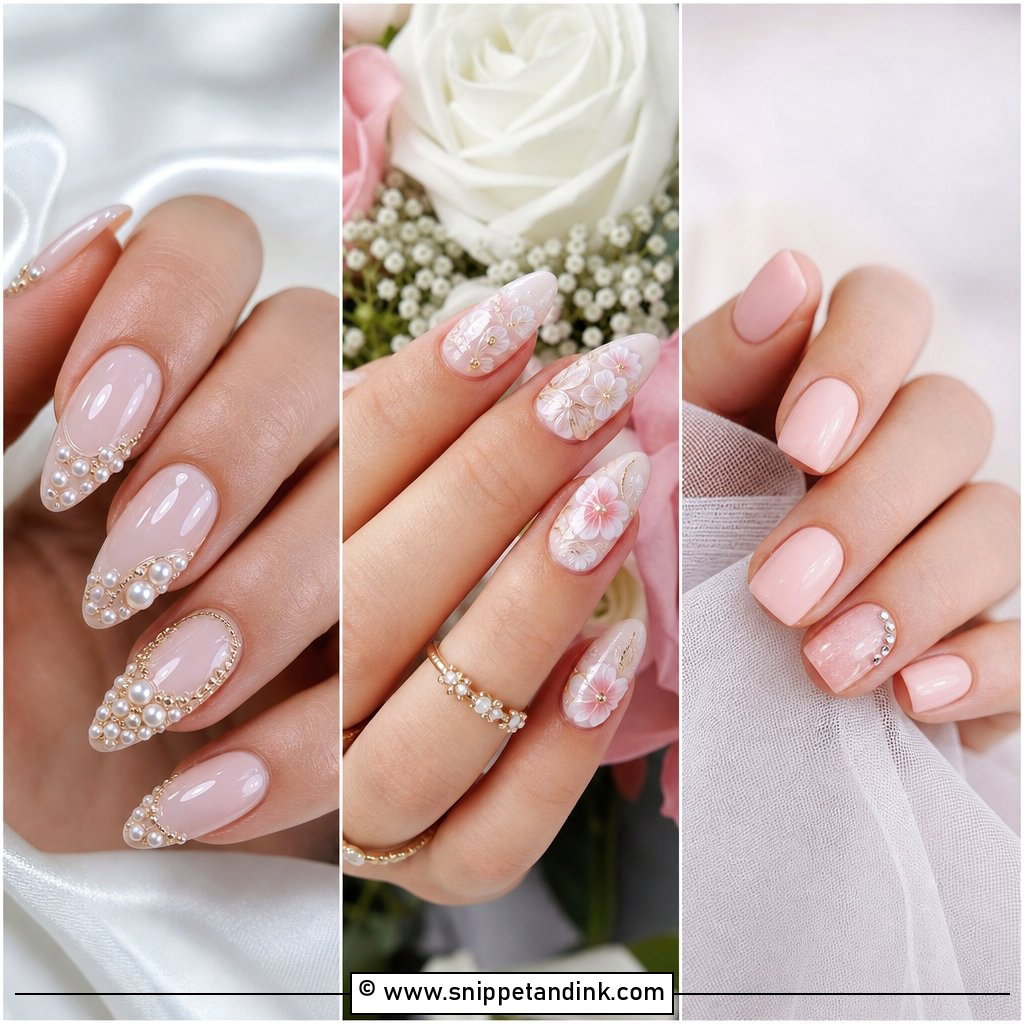
Short nails are what I wear myself on a working day, and they look polished when the shape and cuticles are clean. A short oval or squoval is the most comfortable through a long day of hugging, buttoning and holding a glass. On short nails the ring becomes the focus, which many brides want anyway. Sheer pink, milky white, nude or soft beige all work, finished with a micro French, a few tiny pearls or just high gloss. With no length to distract the eye, every uneven edge shows, so this is where careful cuticle work counts most.
10. Bride Almond Nails
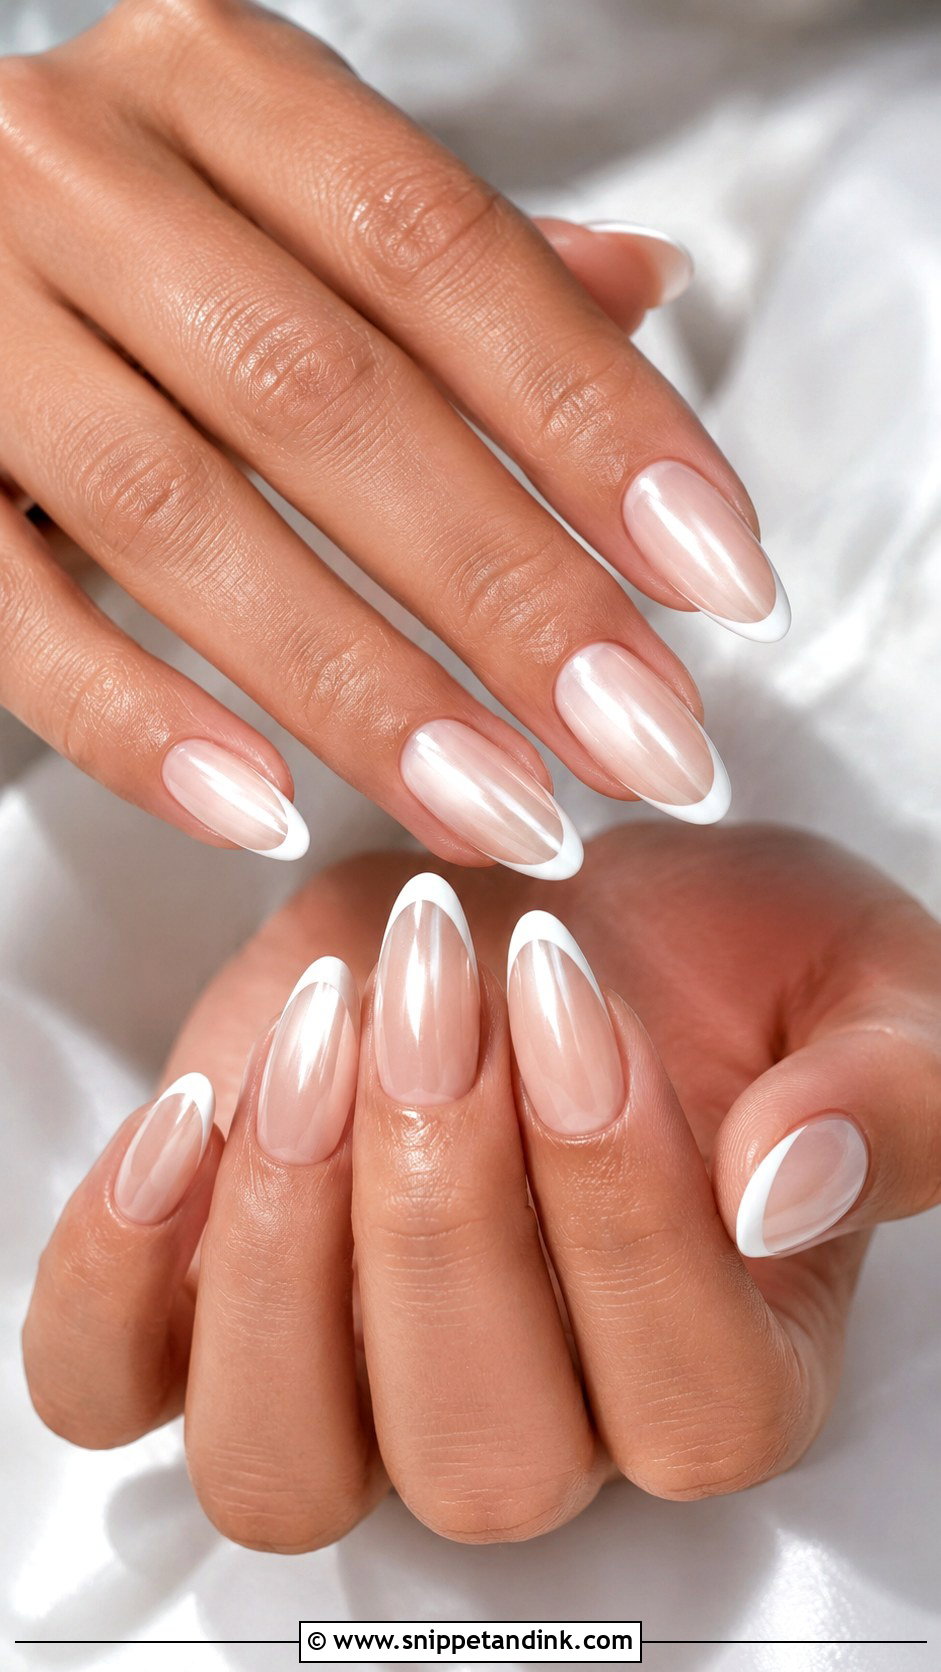
Almond is the most flattering shape on most hands because the taper lengthens the fingers while the rounded tip stays soft. It takes almost any bridal design, from French tips and pearl chrome to lace or milky white, and a medium length leaves room for art without feeling dramatic. One honest caveat: filing a natural nail to an almond narrows the sidewalls, which weakens thin, bendy nails. If yours tend to split, I’ll put a layer of builder gel underneath so the shape survives the week. It shows off the ring well when you hold the bouquet.
11. Bride Square Nails
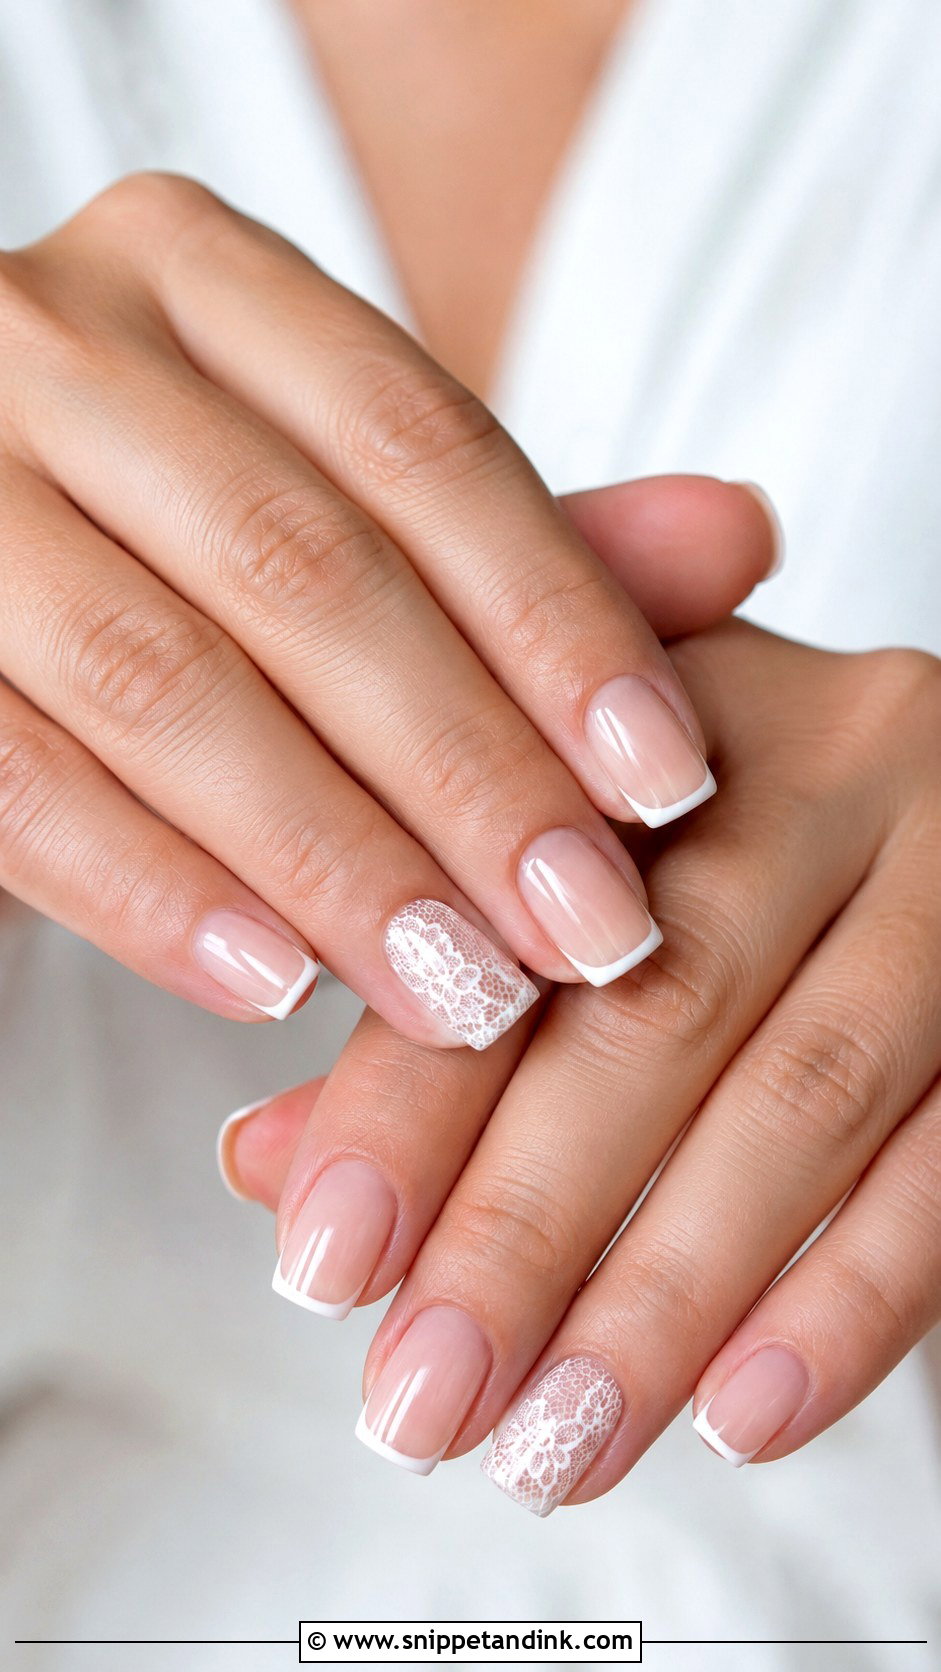
Square nails look neat and modern, but I almost always soften the corners into a squoval for a bride. Sharp corners catch on tights, lace and hair, and they chip first. A short or medium length with a nude base and a thin white French, a milky white or a pale pink chrome keeps it clean. For art, stay minimal: tiny pearls, a fine line or a single lace accent nail. It’s a practical shape for anyone who types, cooks or works with their hands right up to the wedding.
12. Bride Coffin Nails
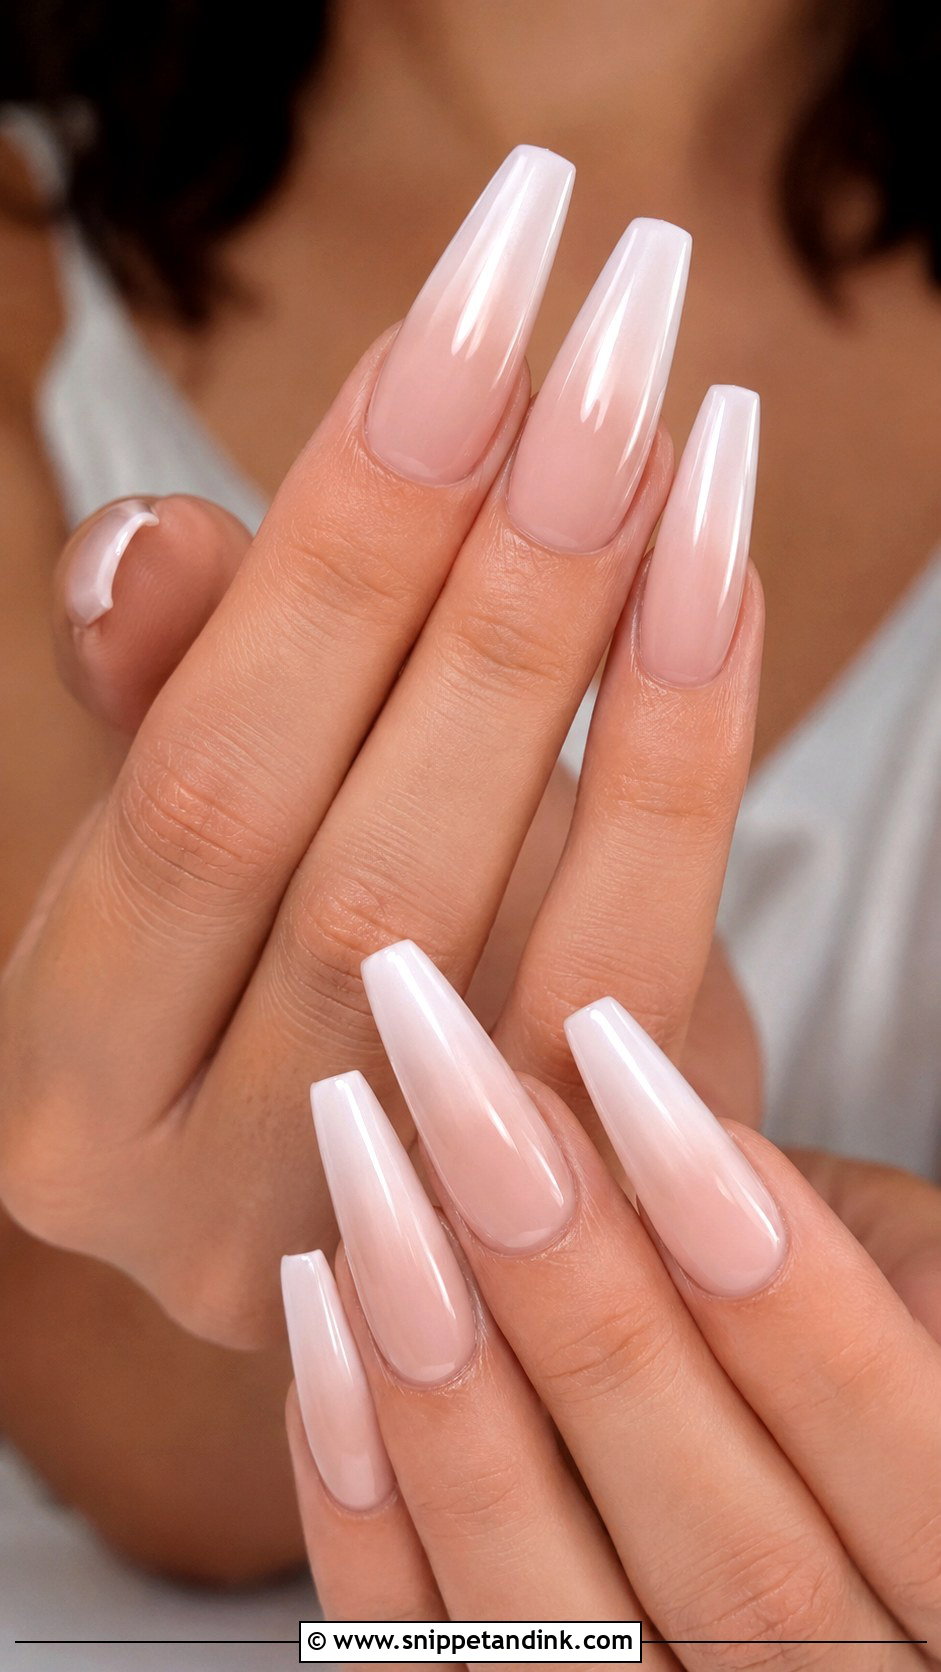
Bride coffin nails have tapered sides and a flat tip, which gives a long, sleek look and plenty of room for design. Most coffin sets are extensions, either soft gel tips or sculpted gel, because few natural nails are strong enough at that length. Length also changes how you live for a day, so try buttoning, fastening jewelry and texting with them before the wedding. Soft colors like nude, blush, milky white or ivory keep it bridal, with a French ombre, pearl chrome or a few small pearls. If your gown is heavily detailed, keep the art light so the hands don’t compete with it.
13. Bride Gold Accent Nails
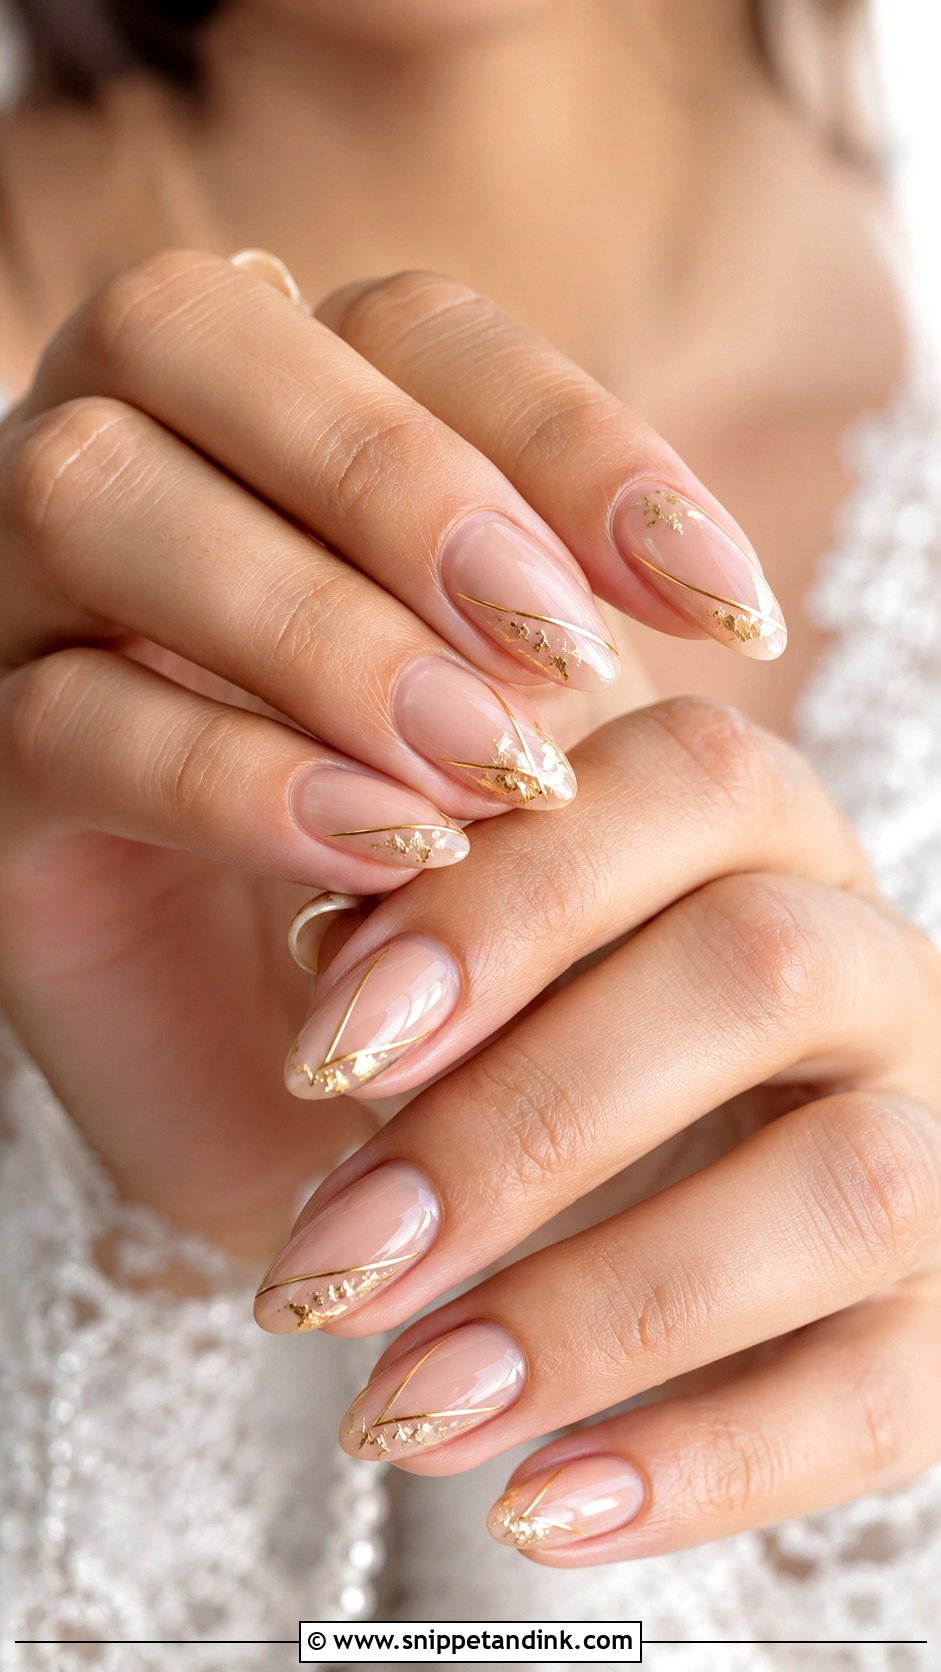
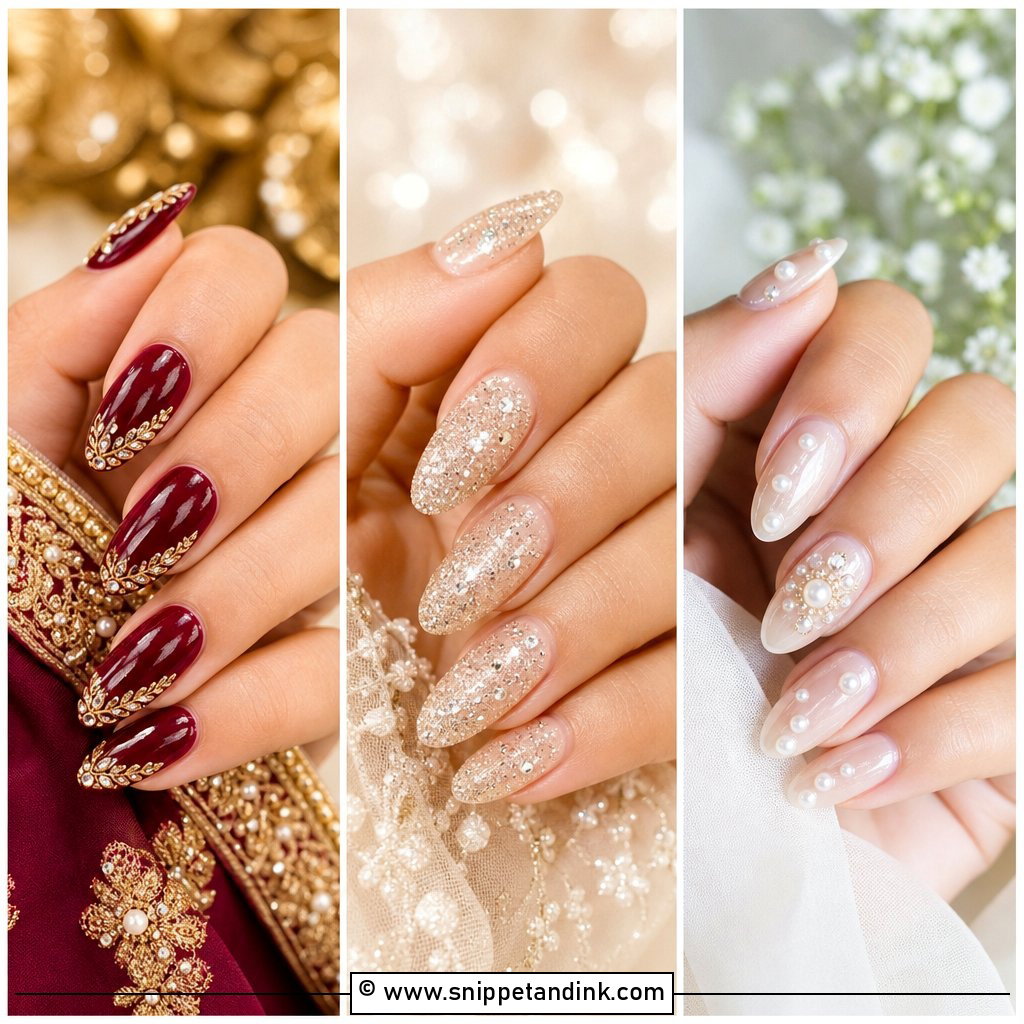
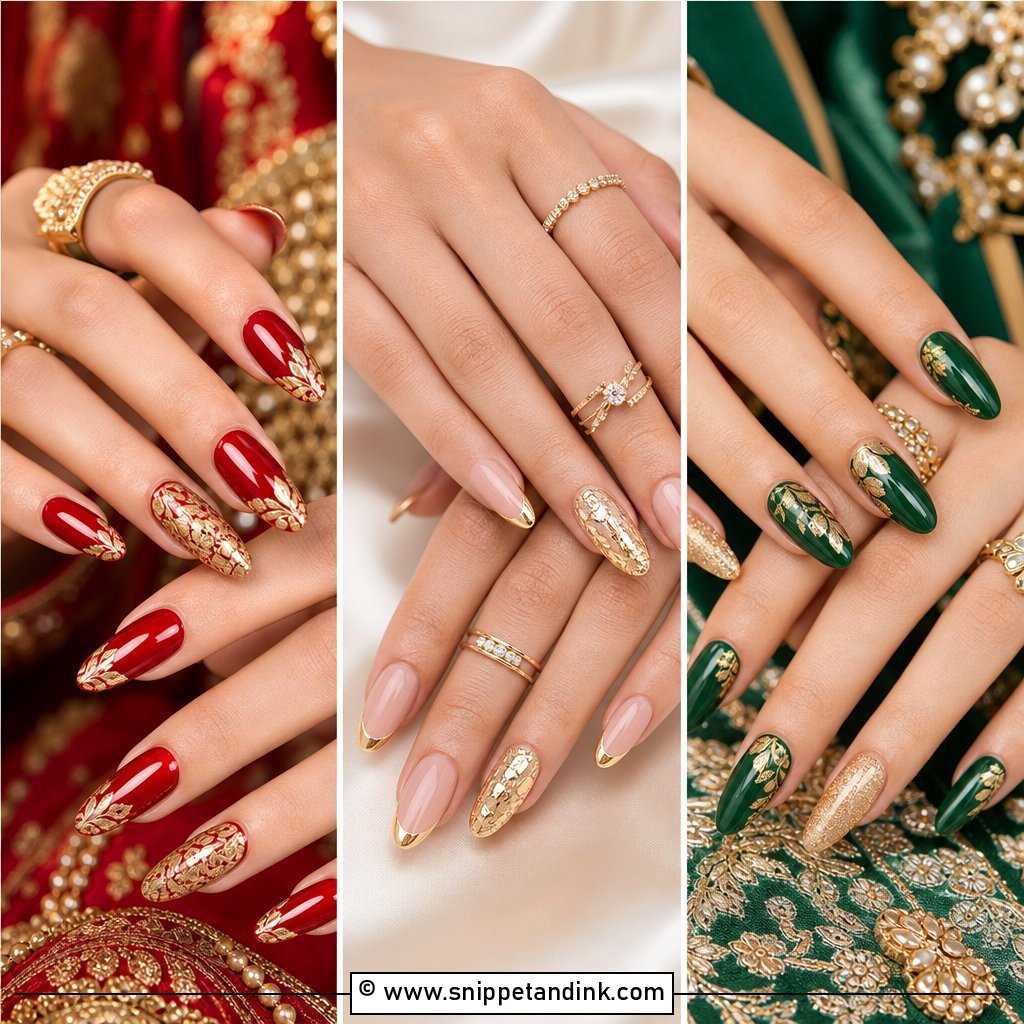
Gold accents suit gold jewelry, warm-toned makeup and gowns with champagne details. I keep the gold delicate: thin lines, tiny foil flakes, gold French tips or a single curve on an accent nail over a nude, milky or blush base. Transfer foil can lift at its edges if it’s not fully encapsulated, so I set it under a clear layer of gel before the top coat. Gold warms the whole set and sits well against medium and deep skin tones, though it works on every complexion. Fall weddings and evening receptions are where it shines.
14. Bride Silver Accent Nails
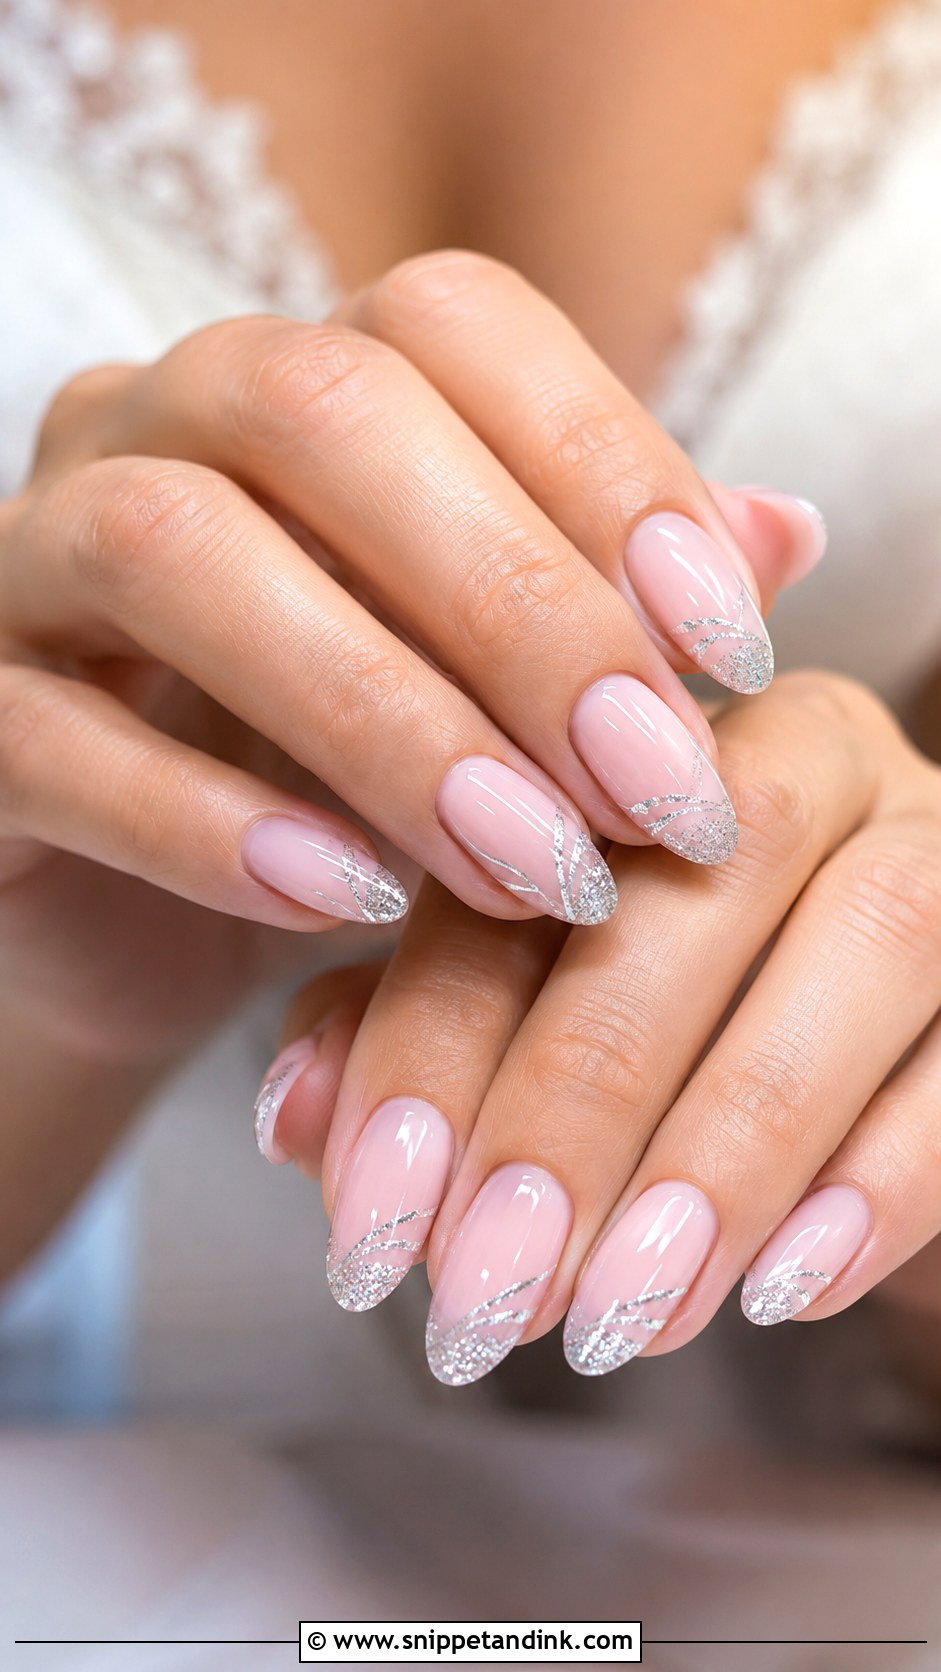
Silver goes with platinum, white gold and crystal, and it suits cool-toned bridal looks. I use it in very fine lines, micro glitter tips, chrome edging or tiny star-like dots over a sheer base, paired with milky white, pale pink or a cool nude. Watch the amount. Silver reflects flash far more than gold, so a heavy silver nail can bounce a hot spot into a close-up ring shot. Thin, controlled accents avoid that. If your dress has crystal beading or silver embroidery, this is the set that ties it together.
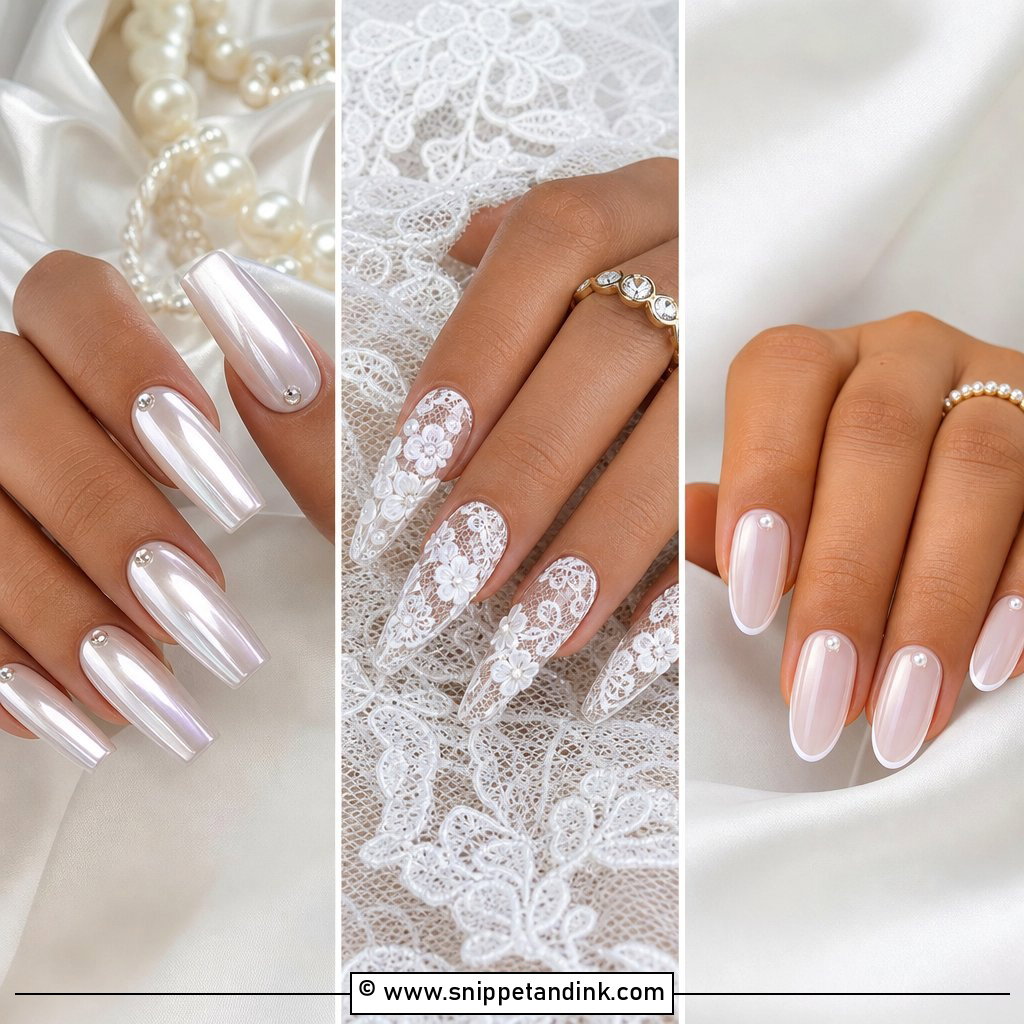
15. Bride Pearl Accent Nails
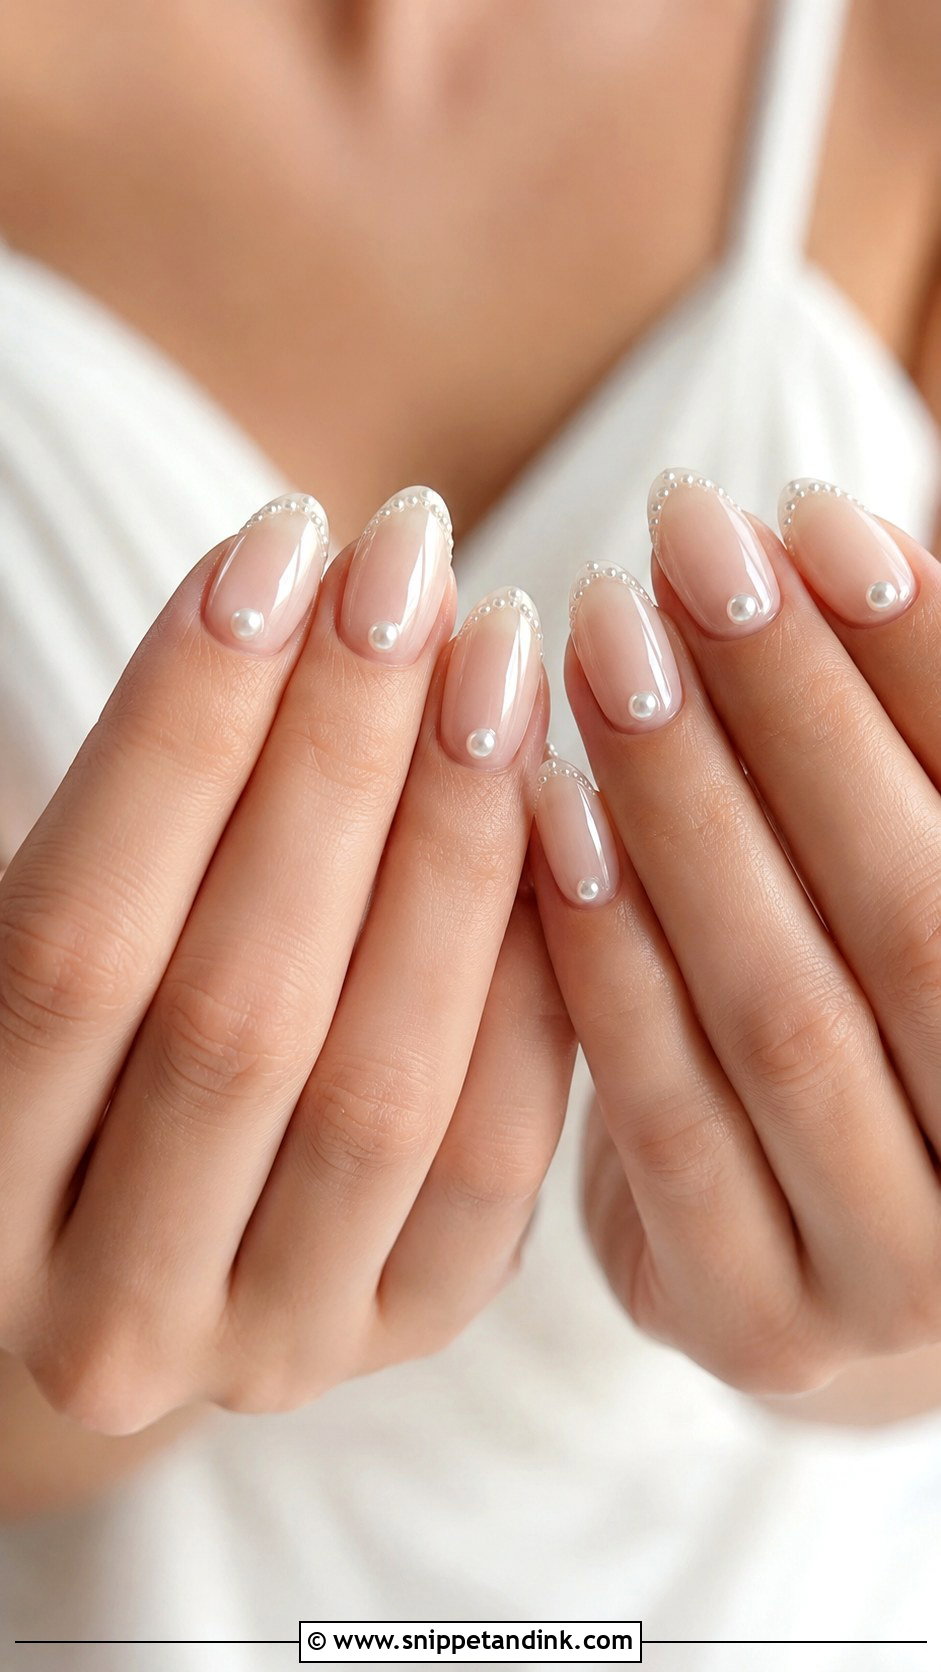
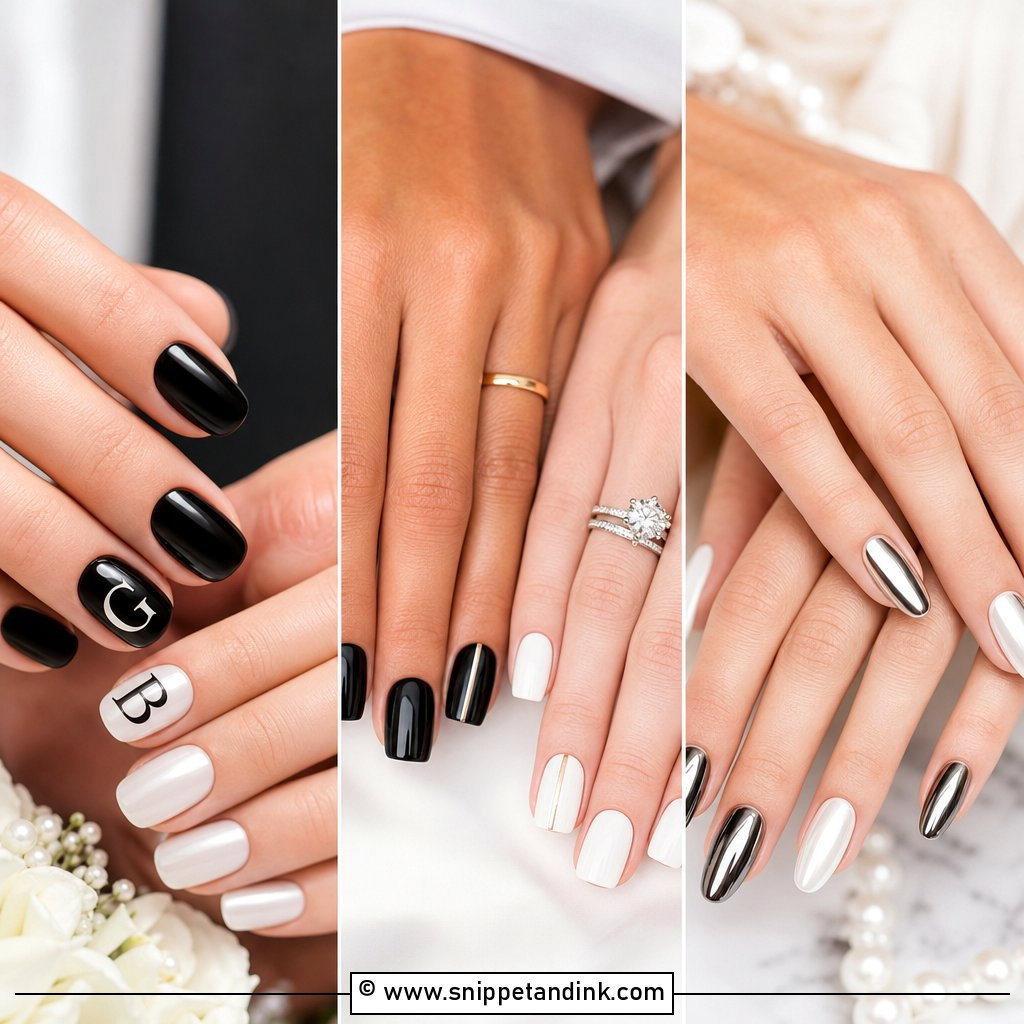
Tiny flat-back pearls near the cuticle, along a French tip or on one accent nail give the set a jewelry feel. The base should stay simple, such as sheer pink, nude, milky white or pearl chrome, so the pearls look placed rather than crowded. I set them in gel and then build clear gel around their sides, not over the top, so they hold without losing their shine. Placement matters more than size: pearls near the cuticle are protected, while pearls at the tip catch on veils and hair. They sit well with pearl earrings and satin.
16. Bride White Chrome Nails
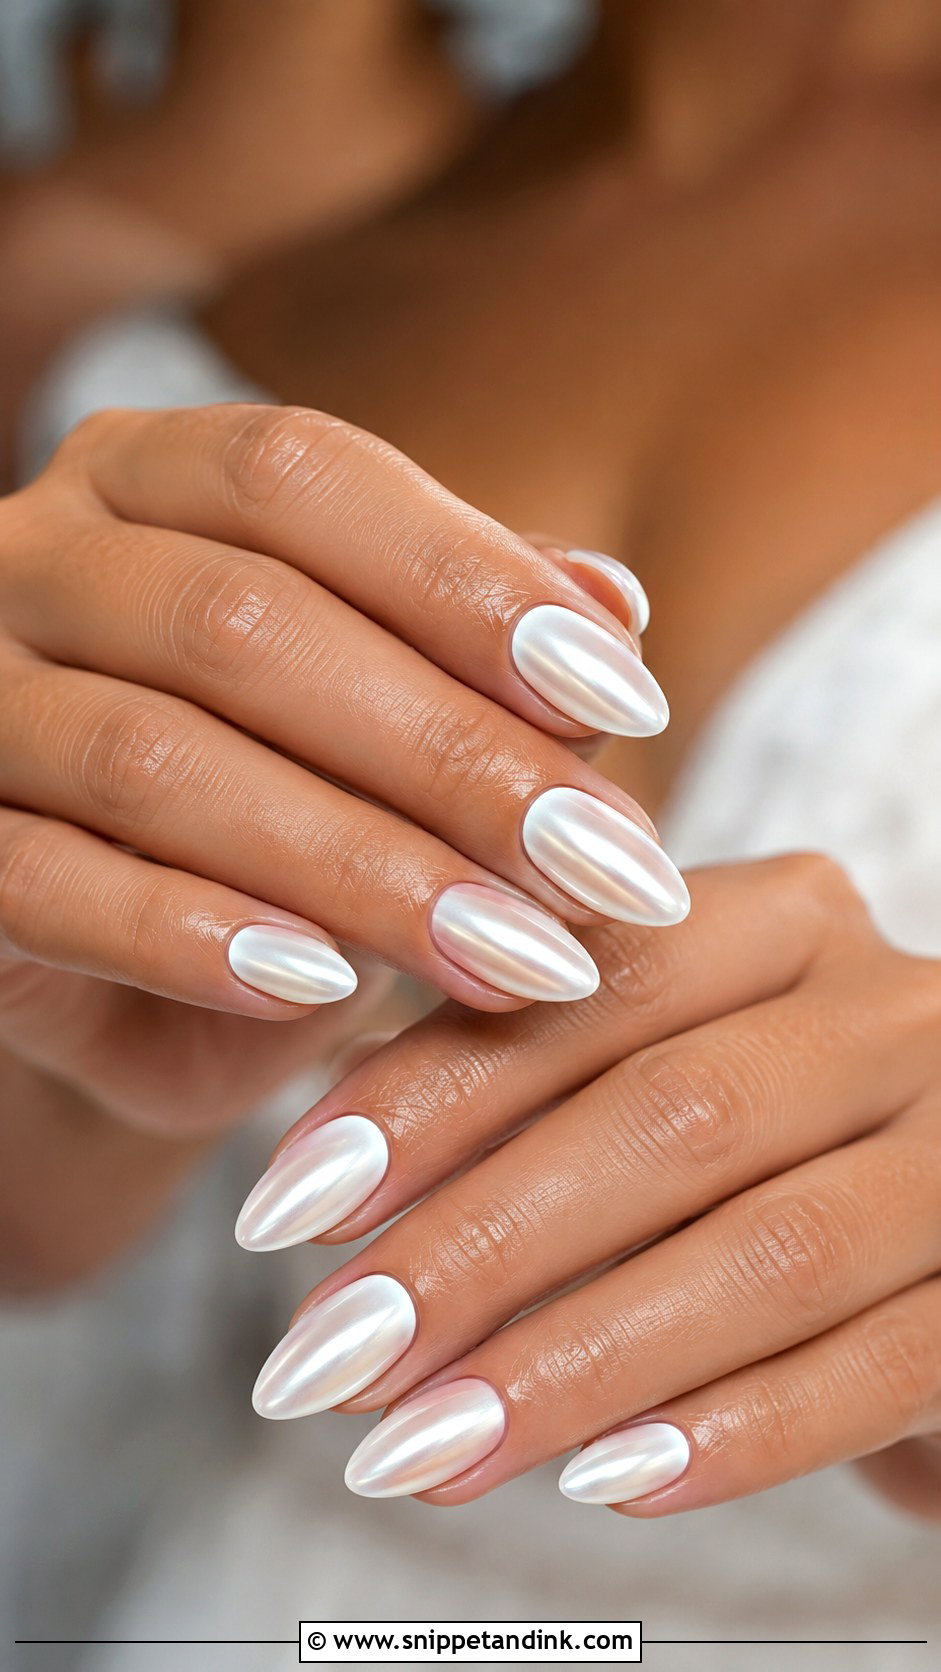
White chrome is the brighter cousin of milky white: an opaque white base with a chrome powder rubbed over it for a smooth reflective sheen. It’s bolder than milky white and more modern than plain polish. Almond and coffin shapes show the shine, though short squares look sharp in it too. I usually steer brides toward a soft pearly chrome rather than a mirror finish, because mirror chrome shows every bump in the nail surface and can look metallic next to a soft gown. It pairs well with satin, sleek hair and minimal jewelry.
17. Bride Something Blue Nails
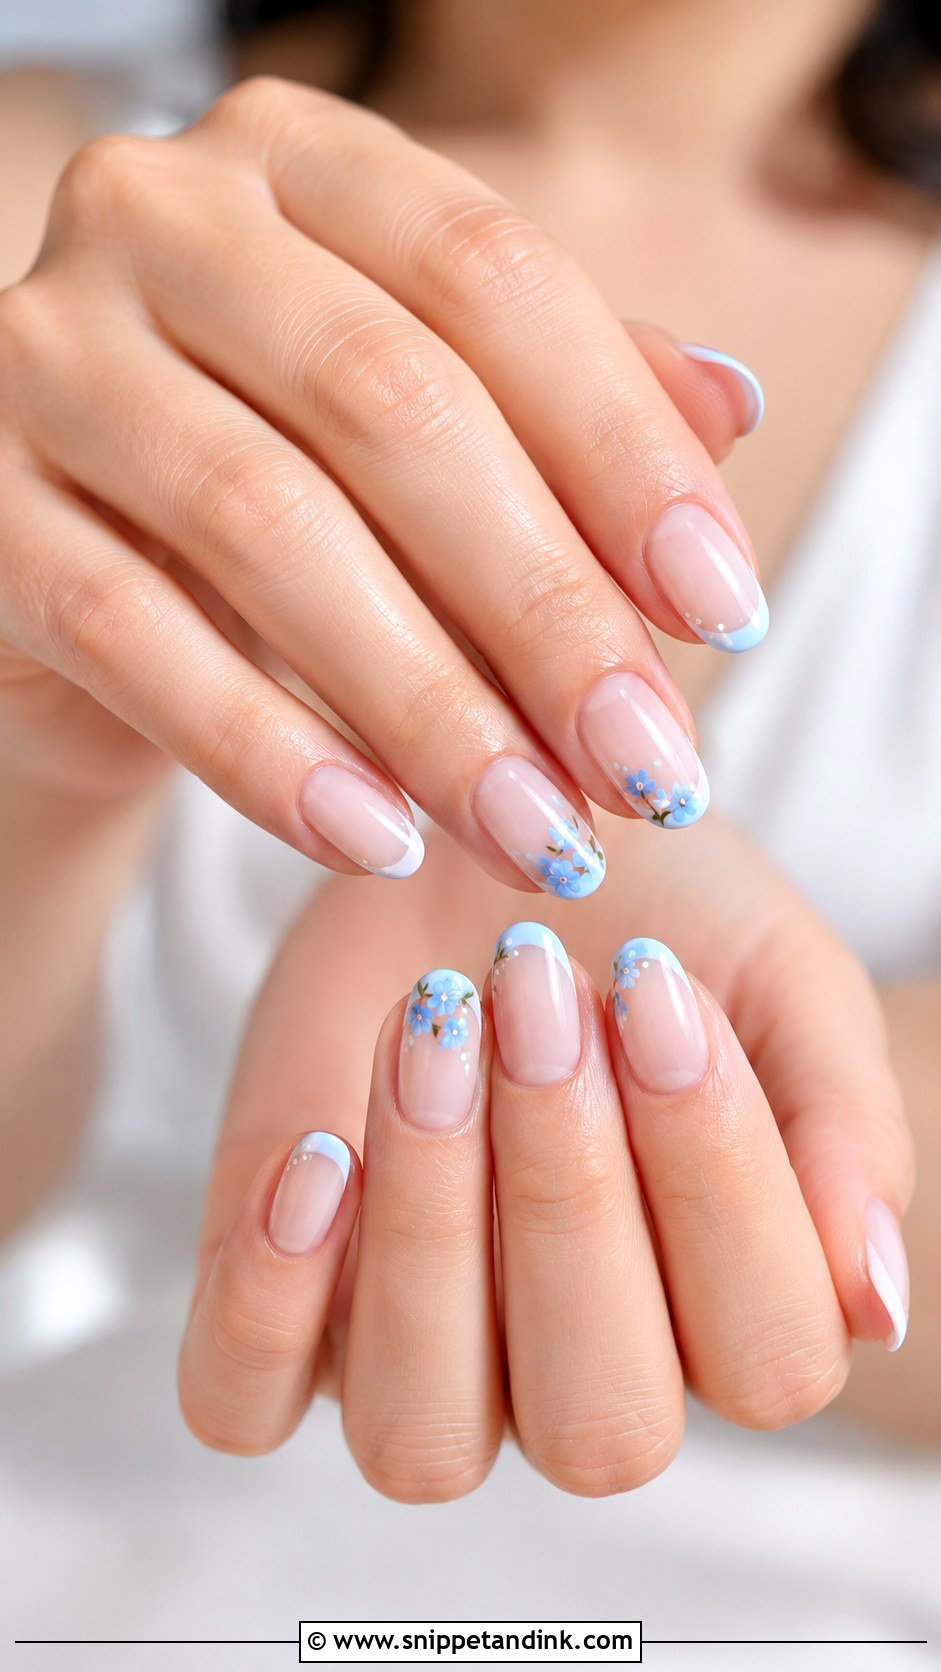
Something blue doesn’t need ten blue nails. Pale blue French tips, a few tiny blue flowers, small dots at the cuticle or a single soft blue accent among nude and white nails all count. Powder blue, icy blue and dusty blue stay soft in photos, while brighter blues can look electric under reception lighting. If you’re using ordinary polish rather than gel, never skip the base coat with blue, because the pigment can stain the natural nail. It suits spring, beach, garden and coastal weddings, and it links neatly to blue bridesmaid dresses or bouquet ribbons.
18. Bride Minimalist Nails
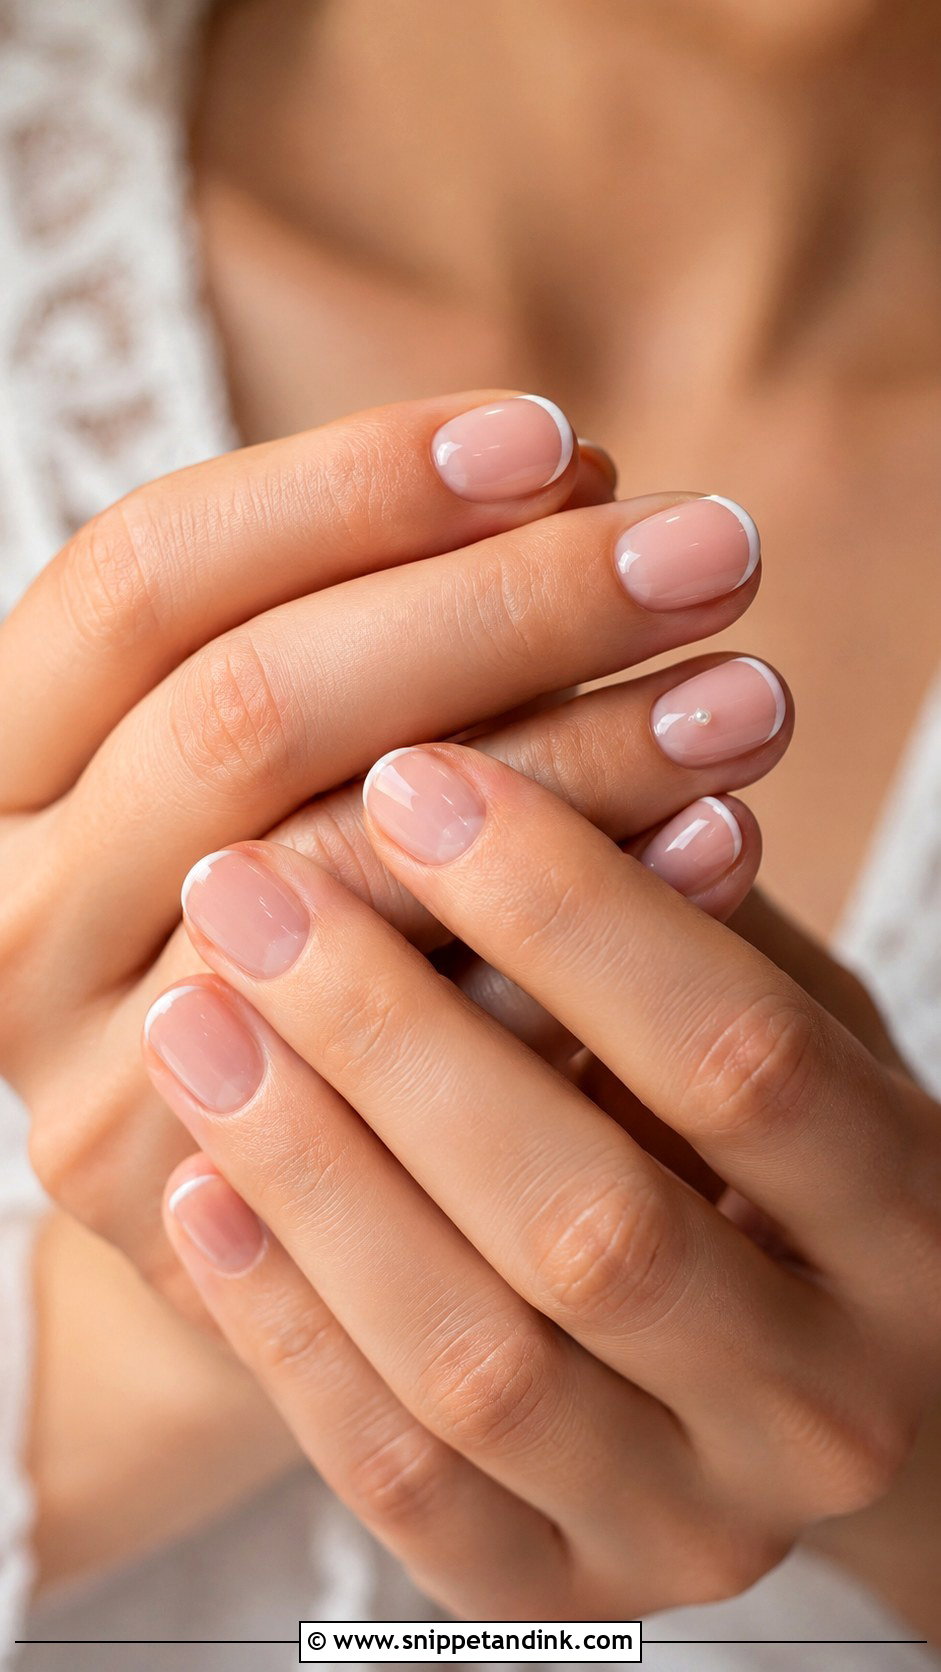
Minimalist sets live or die on prep. With a sheer pink, soft nude, beige or clear gloss base and a single tiny detail, such as a micro French, one small pearl, a fine white line or a dot at the cuticle, there’s nothing to hide a ragged cuticle or an uneven length. I spend most of this appointment on shaping, cuticle work and buffing, then finish with a thick, glassy top coat. It’s the set I recommend when the dress, veil or jewelry already carries a lot of detail, or when you don’t normally wear polish and want to still recognize your own hands.
19. Bride 3D Flower Nails
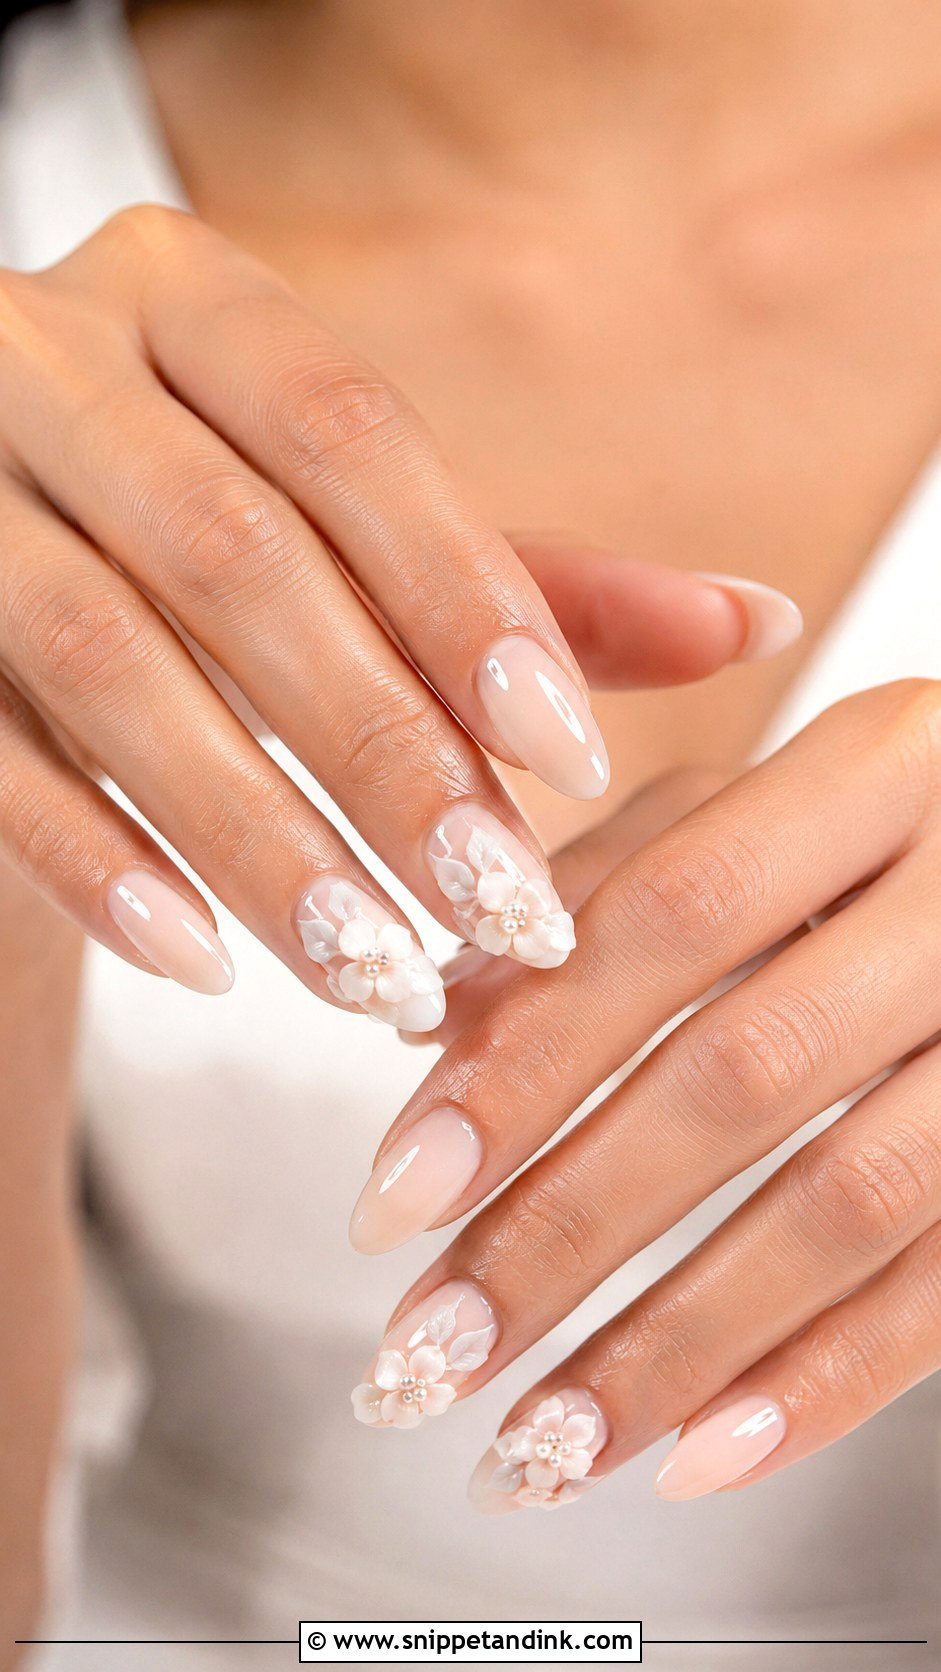
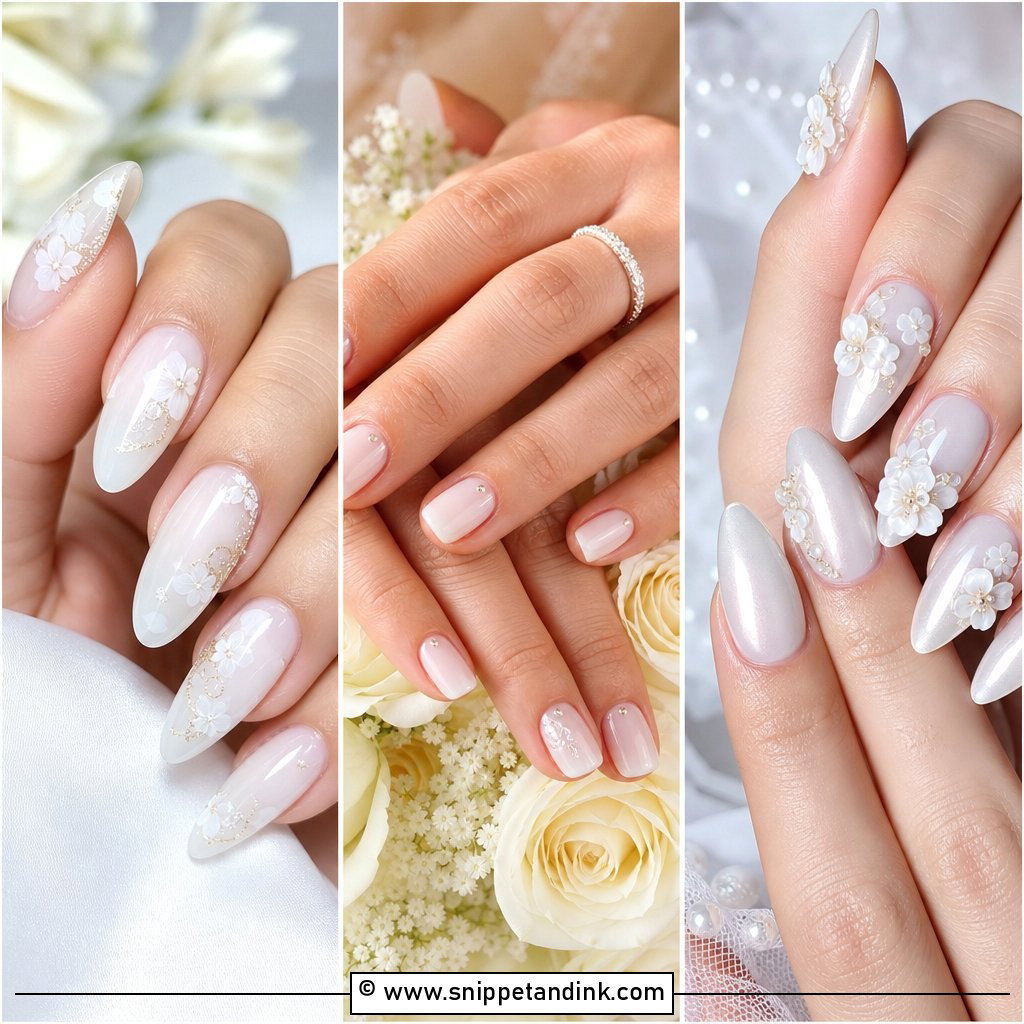
3D flowers are sculpted from builder gel or acrylic and raised off the nail, so they add real texture. In bridal sets I use one or two flowers in white, ivory or pale pink over a sheer nude or milky base, and I keep them low-profile. Tall petals catch on lace, hair and knitwear, and they can pop off if you knock them. A few tiny pearls or painted leaves finish it. This is accent-only work in my view: on every nail it gets heavy and impractical. Garden weddings and floral gowns are its natural home.
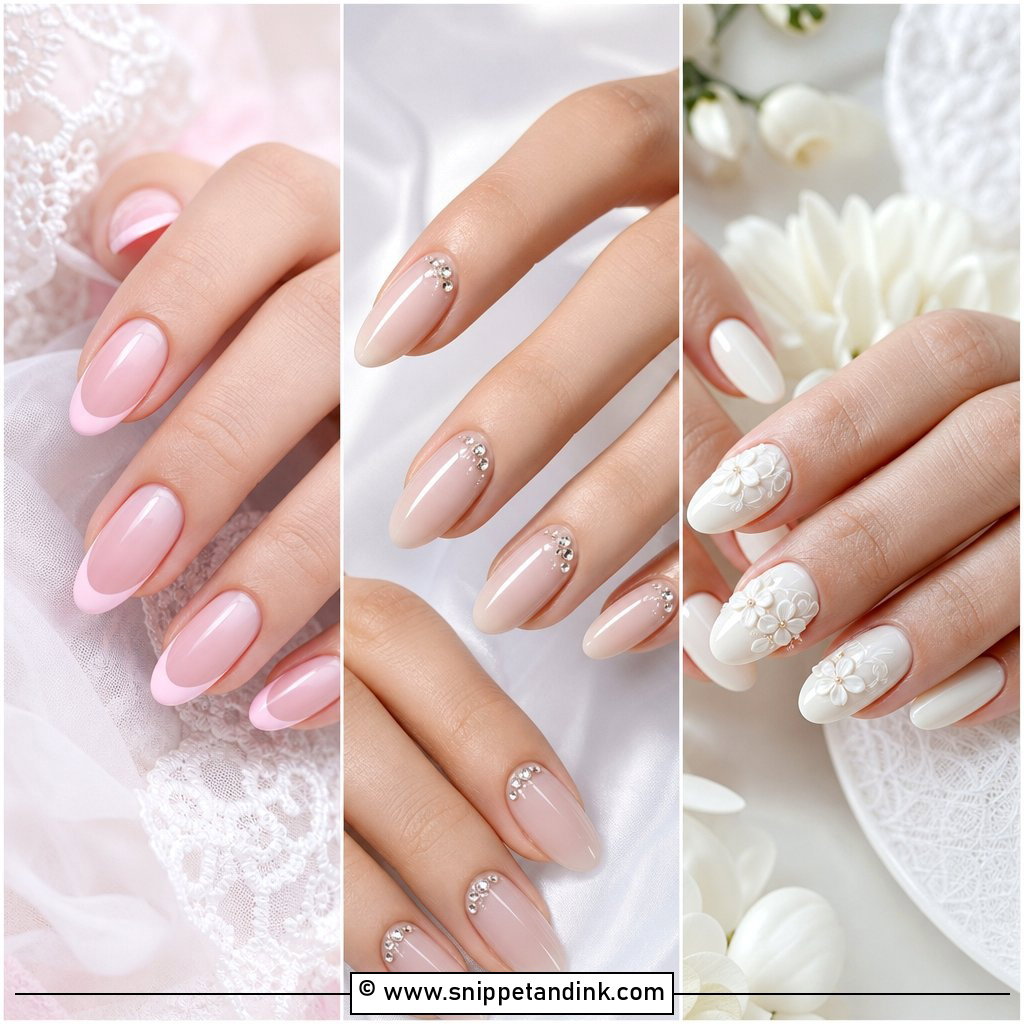
20. Bride Glitter Ombre Nails
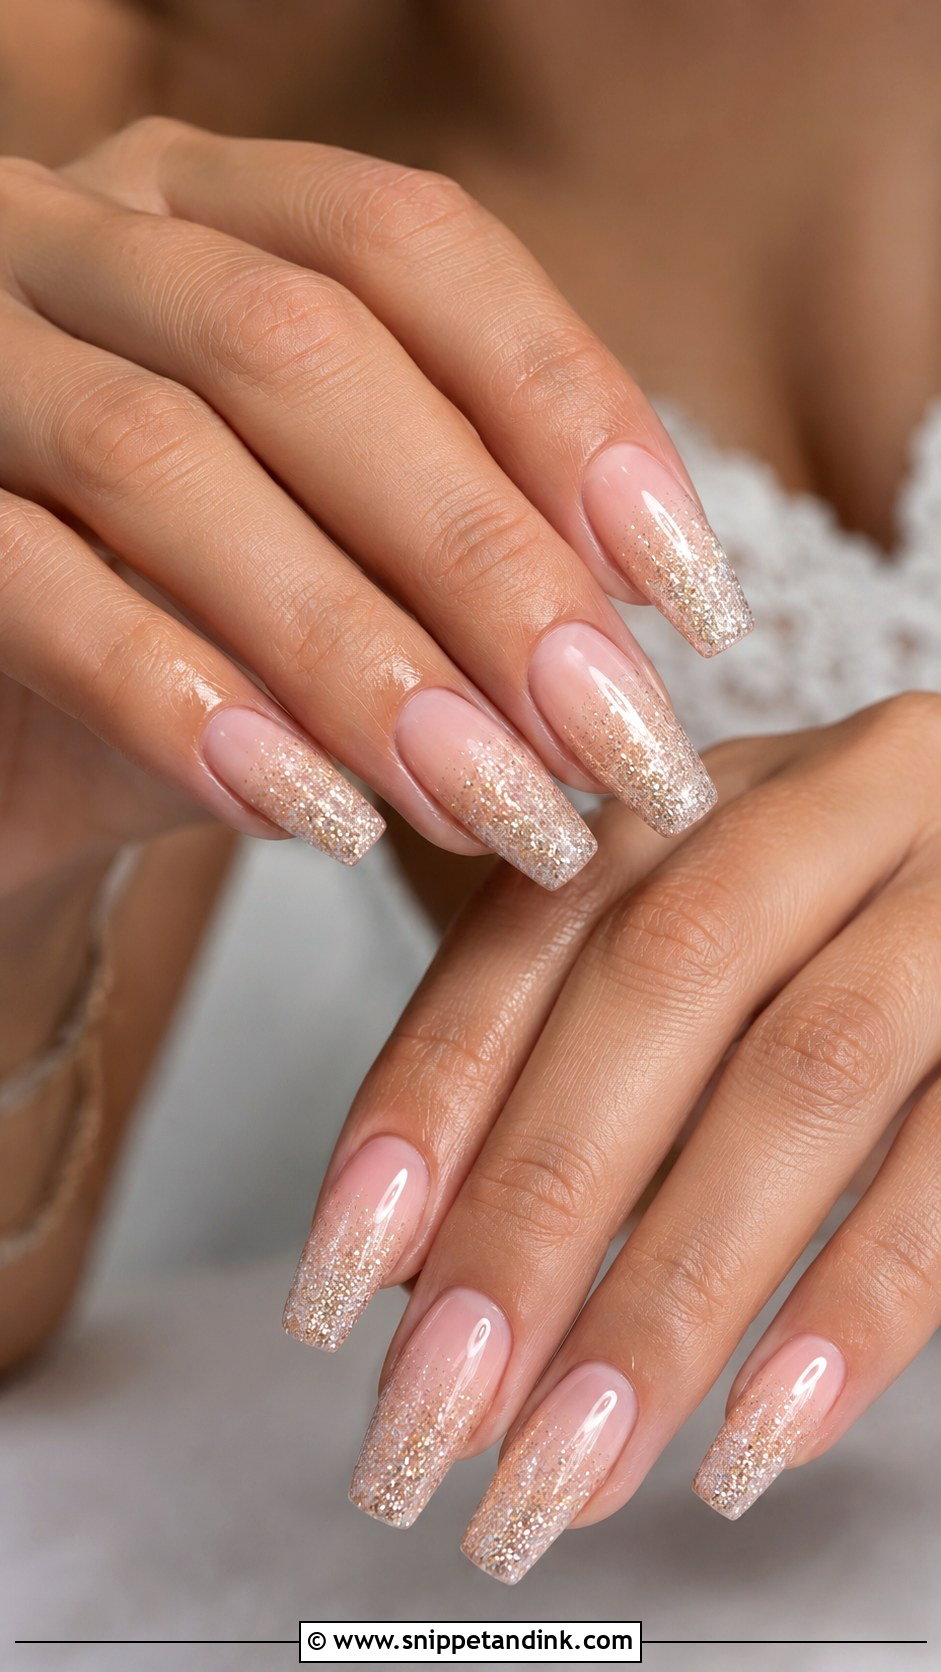
With glitter ombre nails you get sparkle without a full glitter nail. The shimmer fades from the tip or cuticle into a sheer nude, pink or milky base. Ultra-fine silver, champagne or pearl glitter looks delicate in daylight and under reception lighting, while chunky glitter photographs as specks. Fine glitter also leaves a rough surface, so I add an extra layer of top coat to make it feel smooth. It works on short, almond, square and coffin shapes, and it’s the set I suggest when you want a little celebration without committing to art.
Two Appointments, Not One
I ask every bride for a trial about four to six weeks out. It’s where we test the shape against your hands, check the nude against your skin in daylight and find out whether a 3D flower is going to drive you mad when you put your hair up. Bring your ring, a photo of the dress detail and your bouquet colors.
The real set goes on one to three days before the wedding. Earlier than that and you risk a chip or visible regrowth; on the morning itself you’re rushing and the gel has no time to settle. If you’re having a spray tan, have it done before the manicure, because tanning solution can tint white and milky polish.
If a nail breaks or lifts on the day
- Keep a small bag with nail glue, a fine file, a spare tip close to your size and cuticle oil.
- If a corner lifts, don’t pick it. Press it down with a tiny drop of glue and file the edge smooth.
- A chipped tip can be filed shorter to match the others. Nobody notices a slightly shorter nail; they do notice a jagged one.
- Oil the cuticles the morning of the wedding. Dry skin around the nail is what makes close-ups look rough, more than the polish itself.
Hold Your Favorite Next to the Ring Before You Commit
The right bride nail art design is the one you’ll stop noticing by mid-afternoon because it feels like part of you. French tips, milky white, pearl chrome, lace, florals and soft shimmer all hold up in photos for that reason. Before your final appointment, put your top choice next to your ring, a swatch of your dress and your skin in daylight, not under salon lamps. Then think honestly about length and how you use your hands. A clean, balanced set will still look neat in the last photo of the night.
You'll Like These Ideas:


Leave a Reply