
Close-up photos are hard on hands, and a fade is kind to them. With no line to judge, the eye just reads polish and light. That’s why I steer so many brides toward ombre: it can lean classic in pink and white, modern under pearl chrome, romantic in blush or festive with glitter, and it fits short square nails as comfortably as long coffins or natural rounded tips. Below are twenty complete sets I’d paint for a bride this season, from a simple French fade to lace, matte and crystal versions, with the honest catch for each.
Winter Silver to Summer Peach: Matching the Fade to Your Wedding Month
The season changes more than the color palette. It changes how your hands behave, and I plan the set around that.
Winter
Heated indoor air dries cuticles until they split, and splits show in every ring shot. Silver, milky white and icy blue suit the light. Start cuticle oil and a rich hand cream at night a couple of weeks ahead. If the ceremony is outdoors in the cold, expect fingers to look slightly red or purple in photos; a warm-toned nude base counteracts that better than a cool pink.
Spring and summer
Blush, lavender, peach and sheer pastels belong here. Two warnings for outdoor weddings: insect repellents containing DEET can soften and dull polish and top coat, so spray it on with your hands kept clear, and wash sunscreen off your fingertips before photos, since it leaves a greasy film on gloss.
Autumn
Gold, champagne and caramel nudes pick up warm leaves and candlelight. Cooler, damp weather is easy on nails, so this is the season I’m happiest painting longer shapes. Pumpkin and terracotta palettes tempt brides toward orange tips; I’d keep the orange in the flowers and let a caramel nude pick it up on the hands instead.
1. French Ombre Wedding Nails
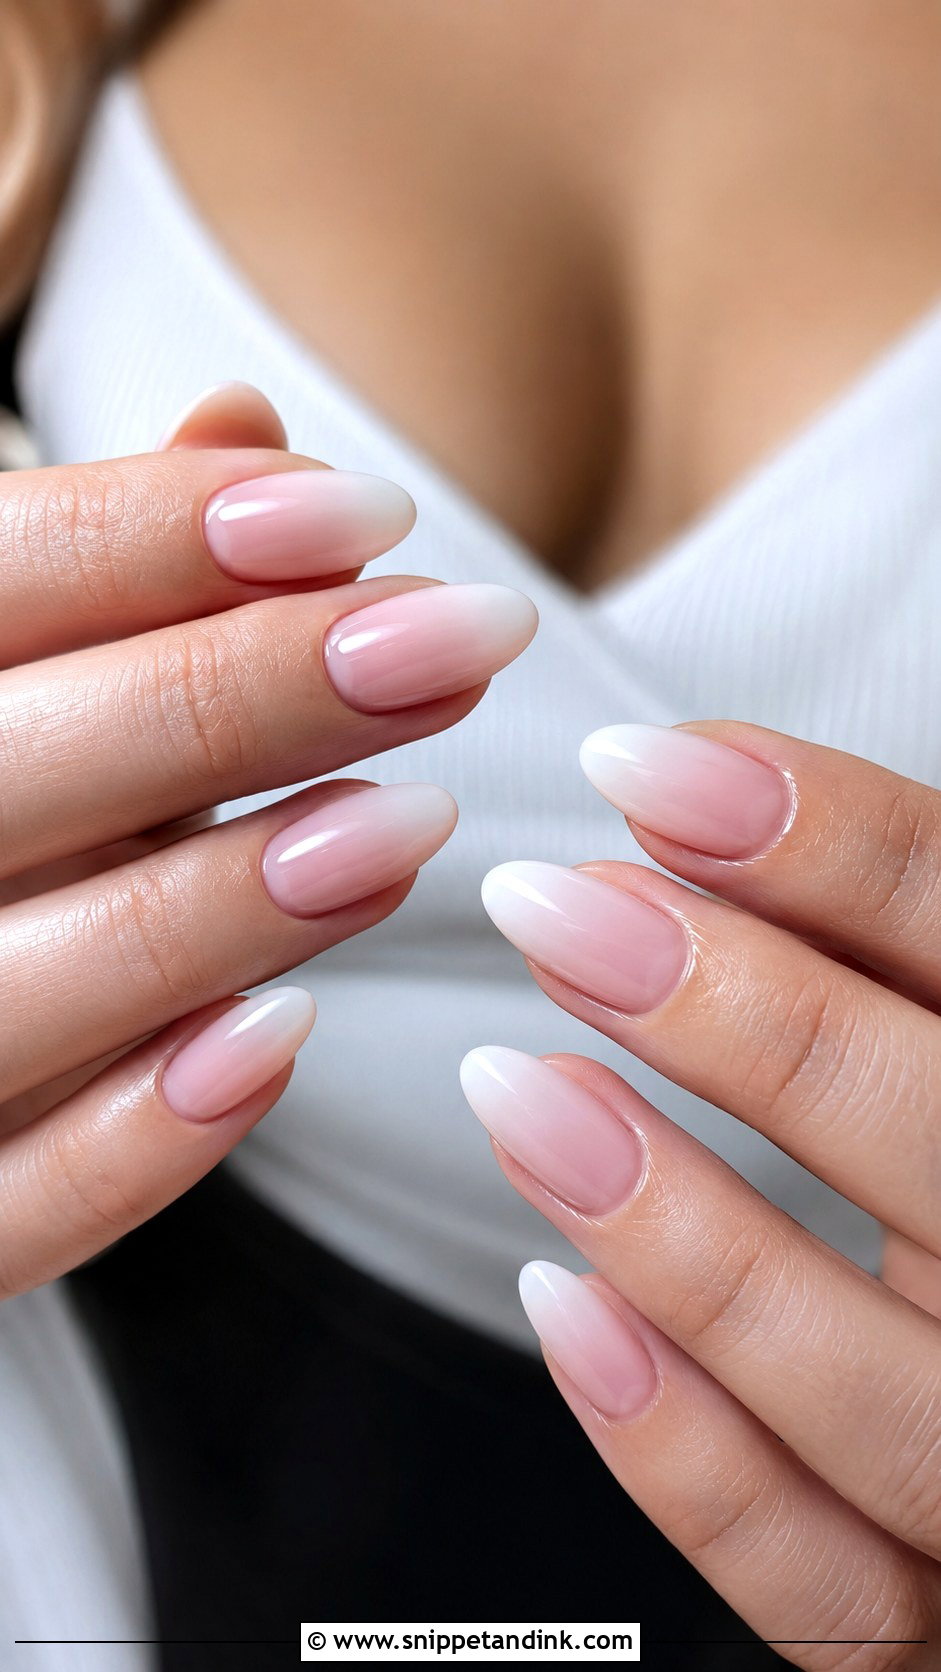
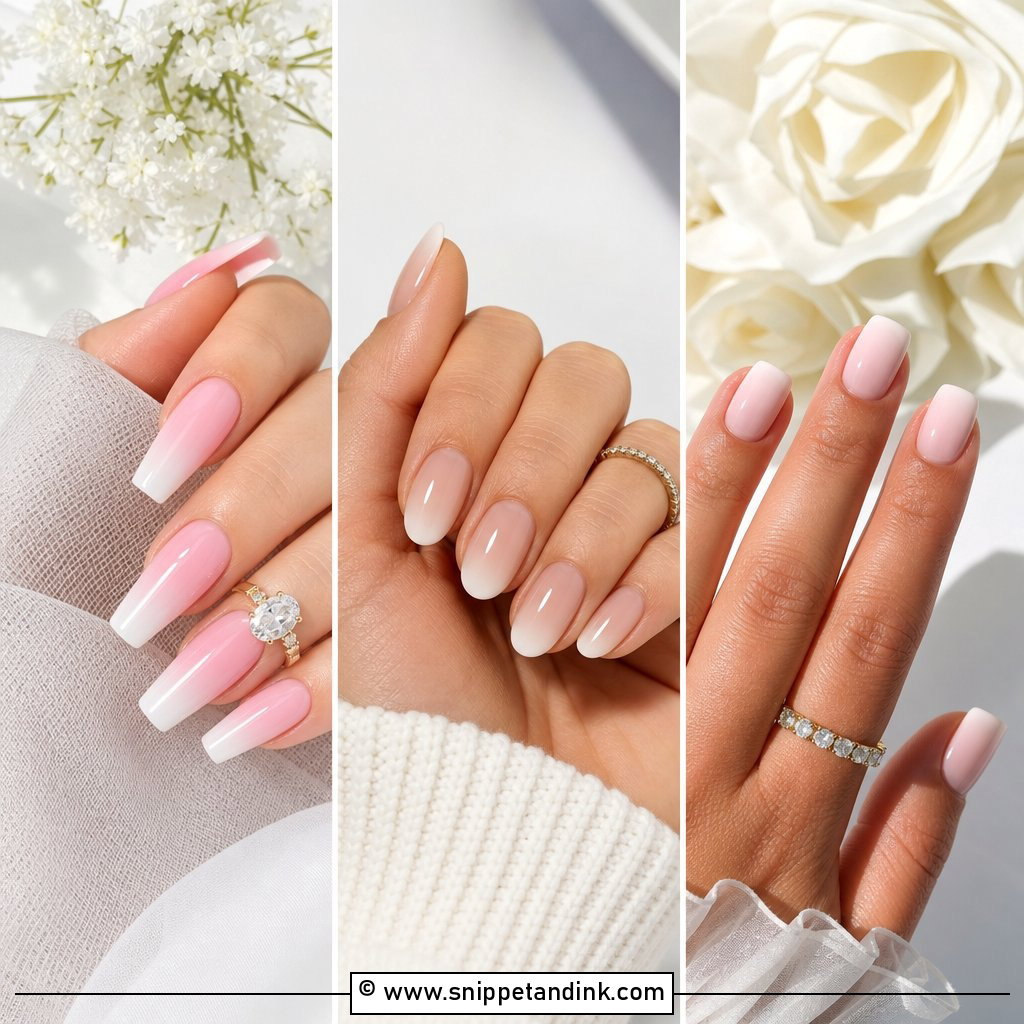
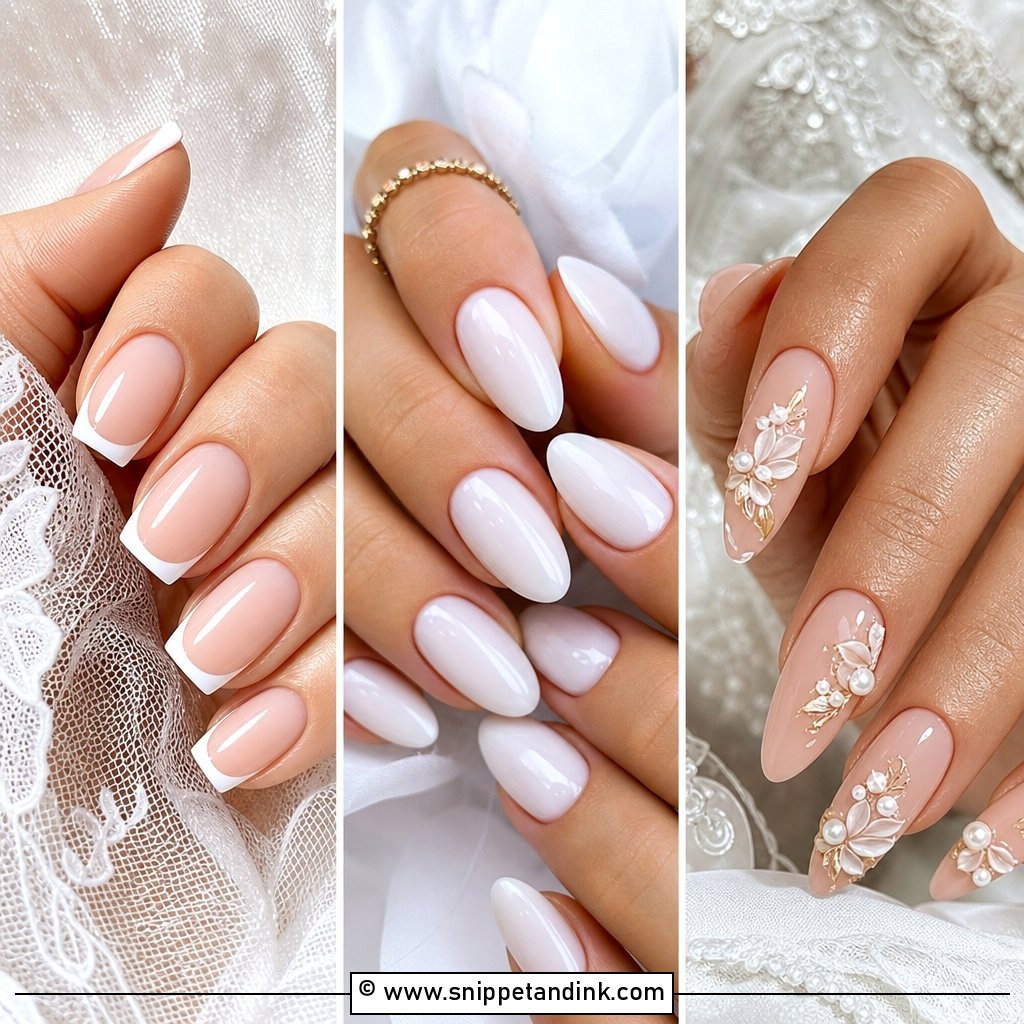
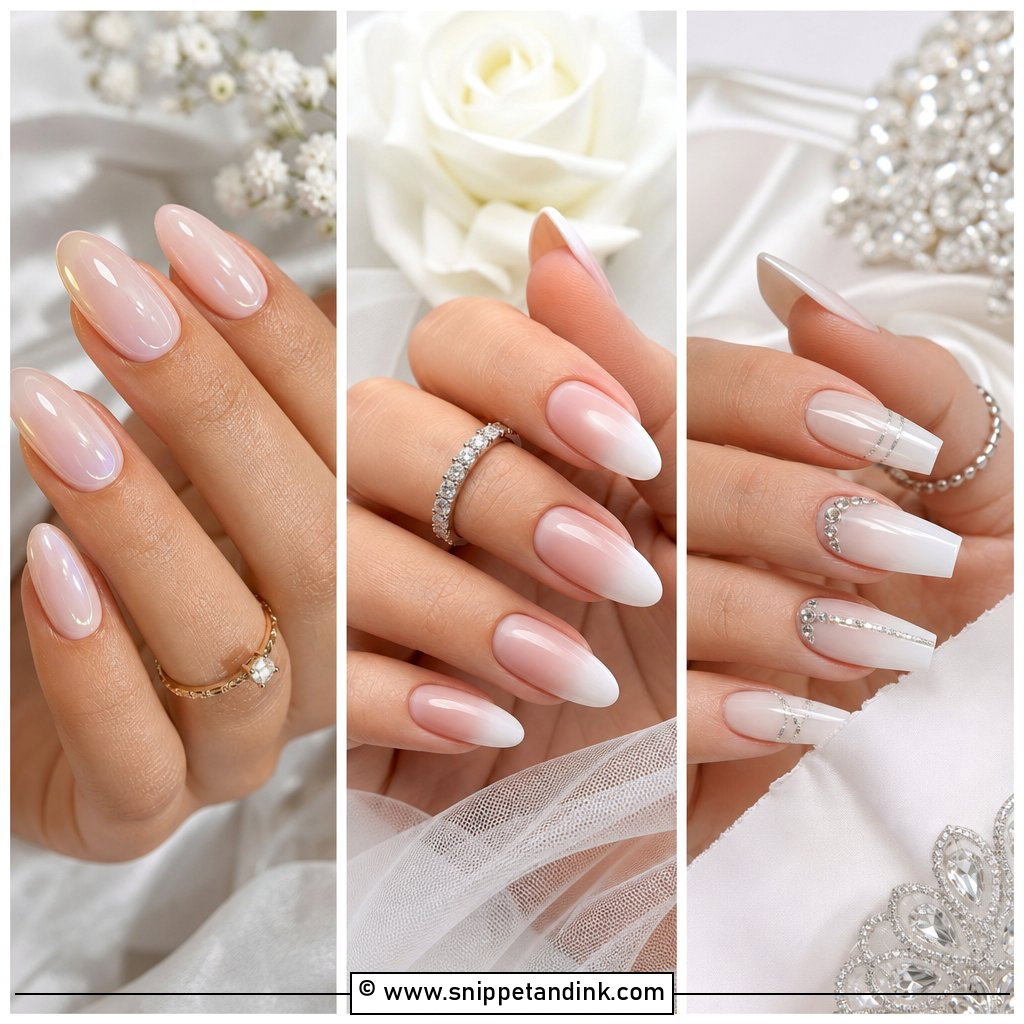
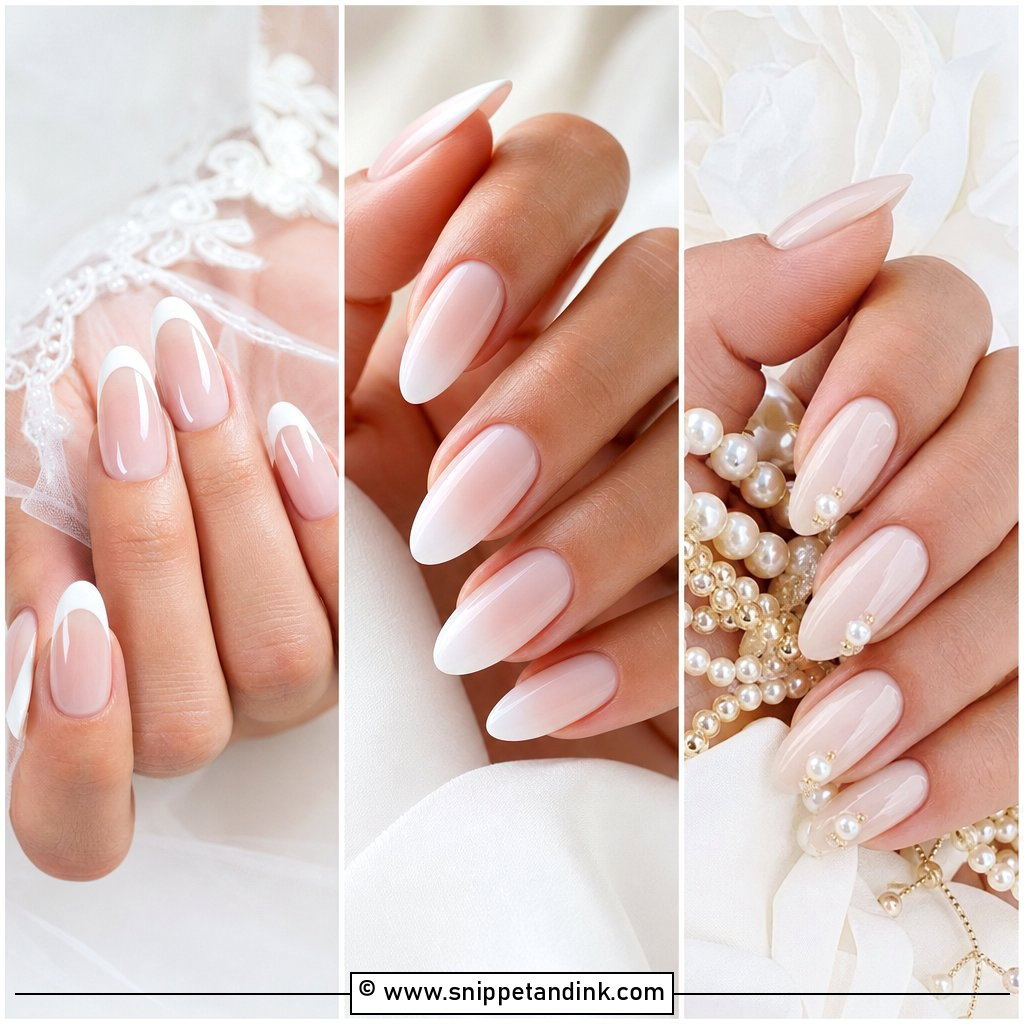
No hard tip, no visible line, just a sheer pink or nude base blending into milky white tips. That’s the baby boomer fade, and it’s the set I’d call the safe bet for nearly any dress. It brightens the hands while still looking like your own nails. Almond and oval shapes make it graceful; square gives a crisper salon look. I ask for a soft white rather than a stark one, because bright white at the tip can look like a sticker under flash.
2. Pearl Chrome Ombre Wedding Nails
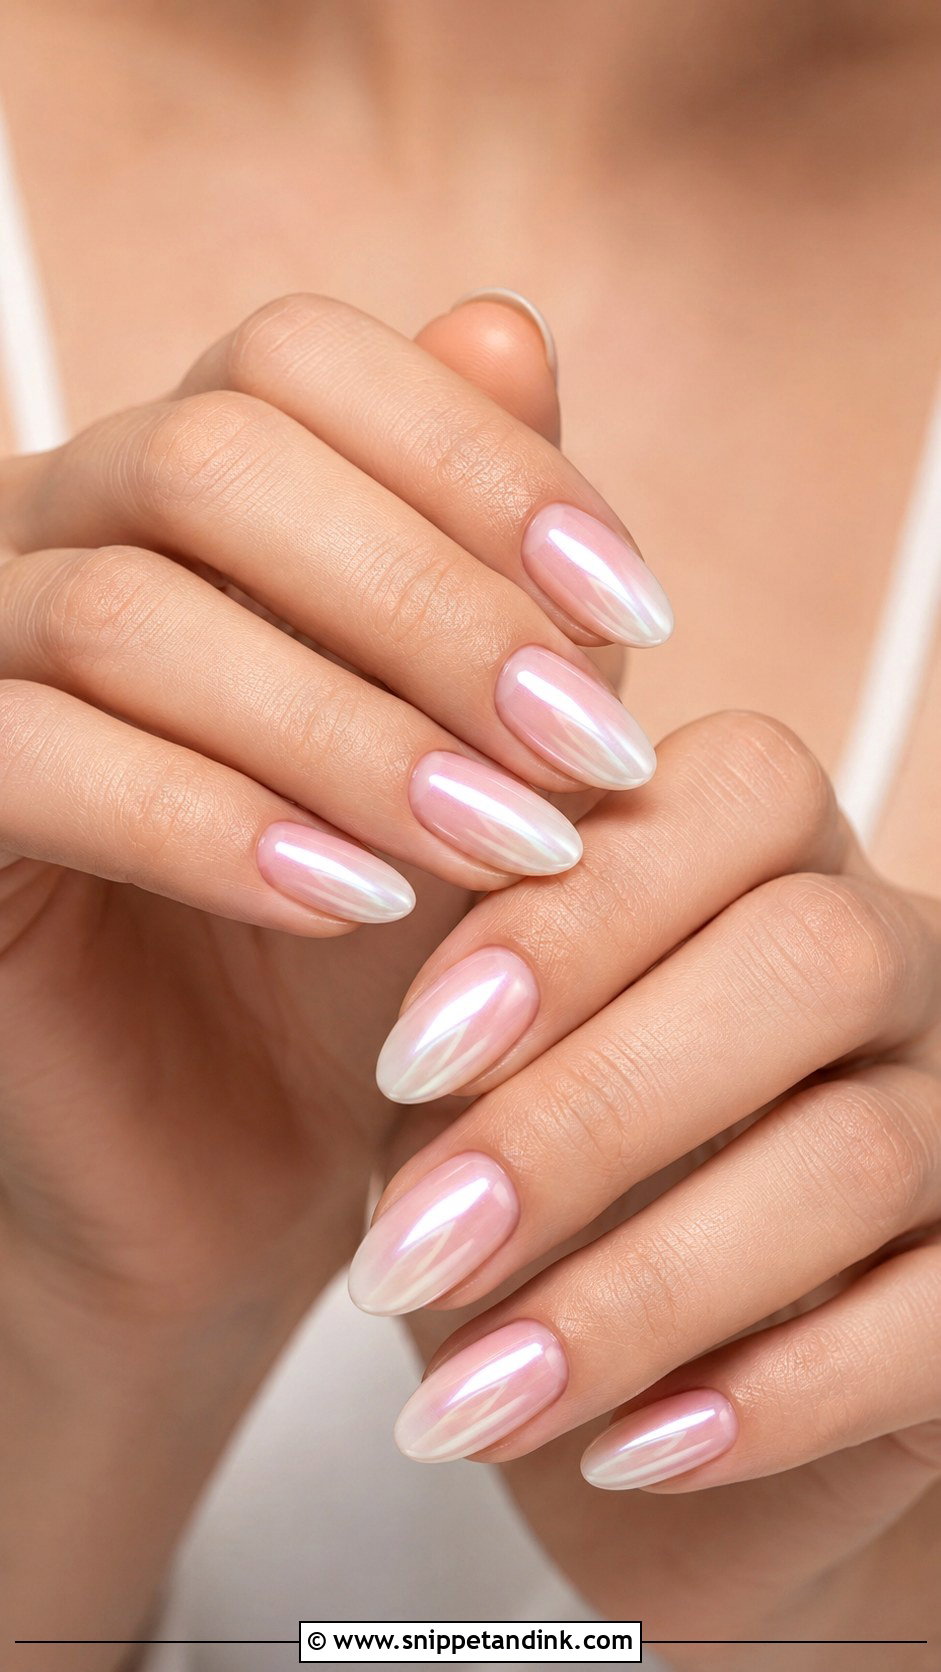
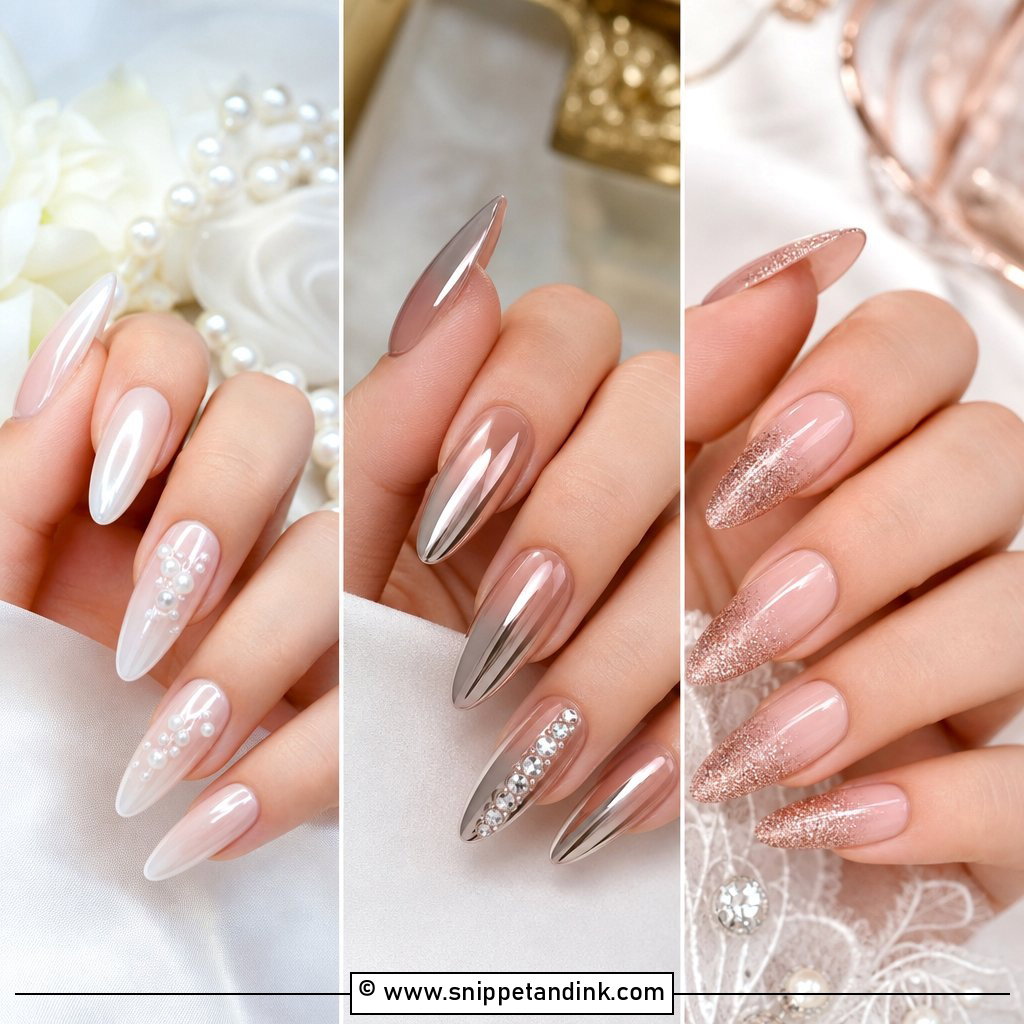
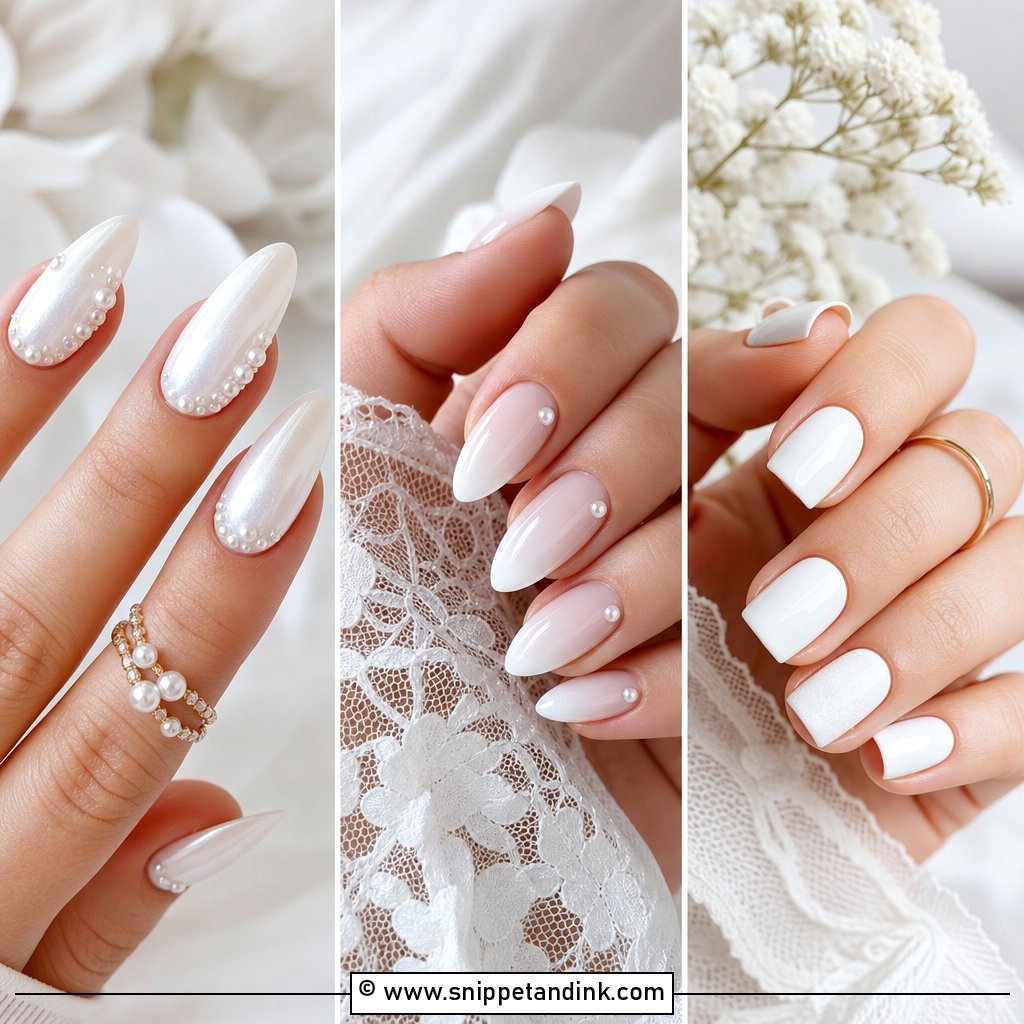
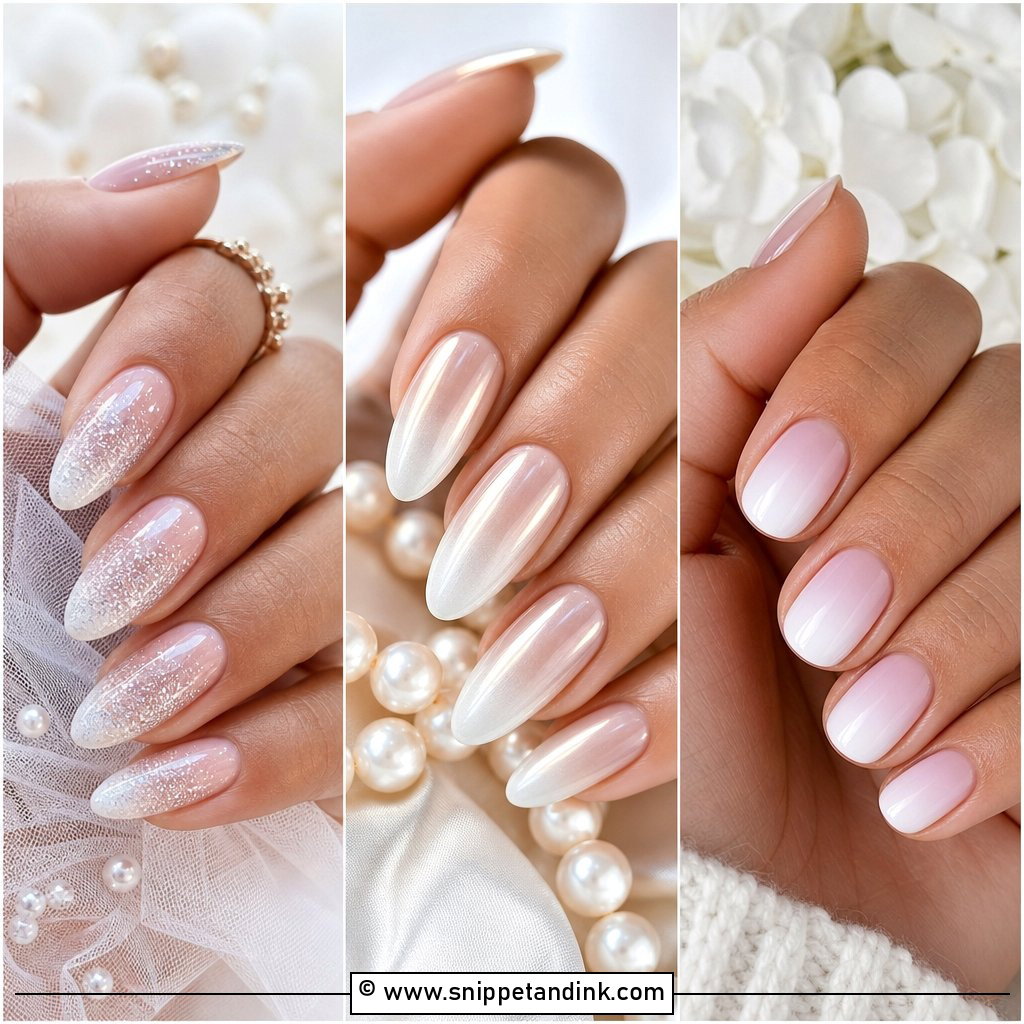
Here the fade is pink to white, and then a sheer pearl chrome powder is buffed over the whole nail. The finish turns faintly opalescent, glowing in ring photos instead of flashing. I keep the powder thin so the gradient underneath still shows; heavy chrome flattens everything into one metallic color. It sits naturally with pearl earrings and satin. Almond, squoval and coffin all carry it. Ask for a translucent chrome specifically, since some powders are opaque.
3. Pink And White Ombre Wedding Nails
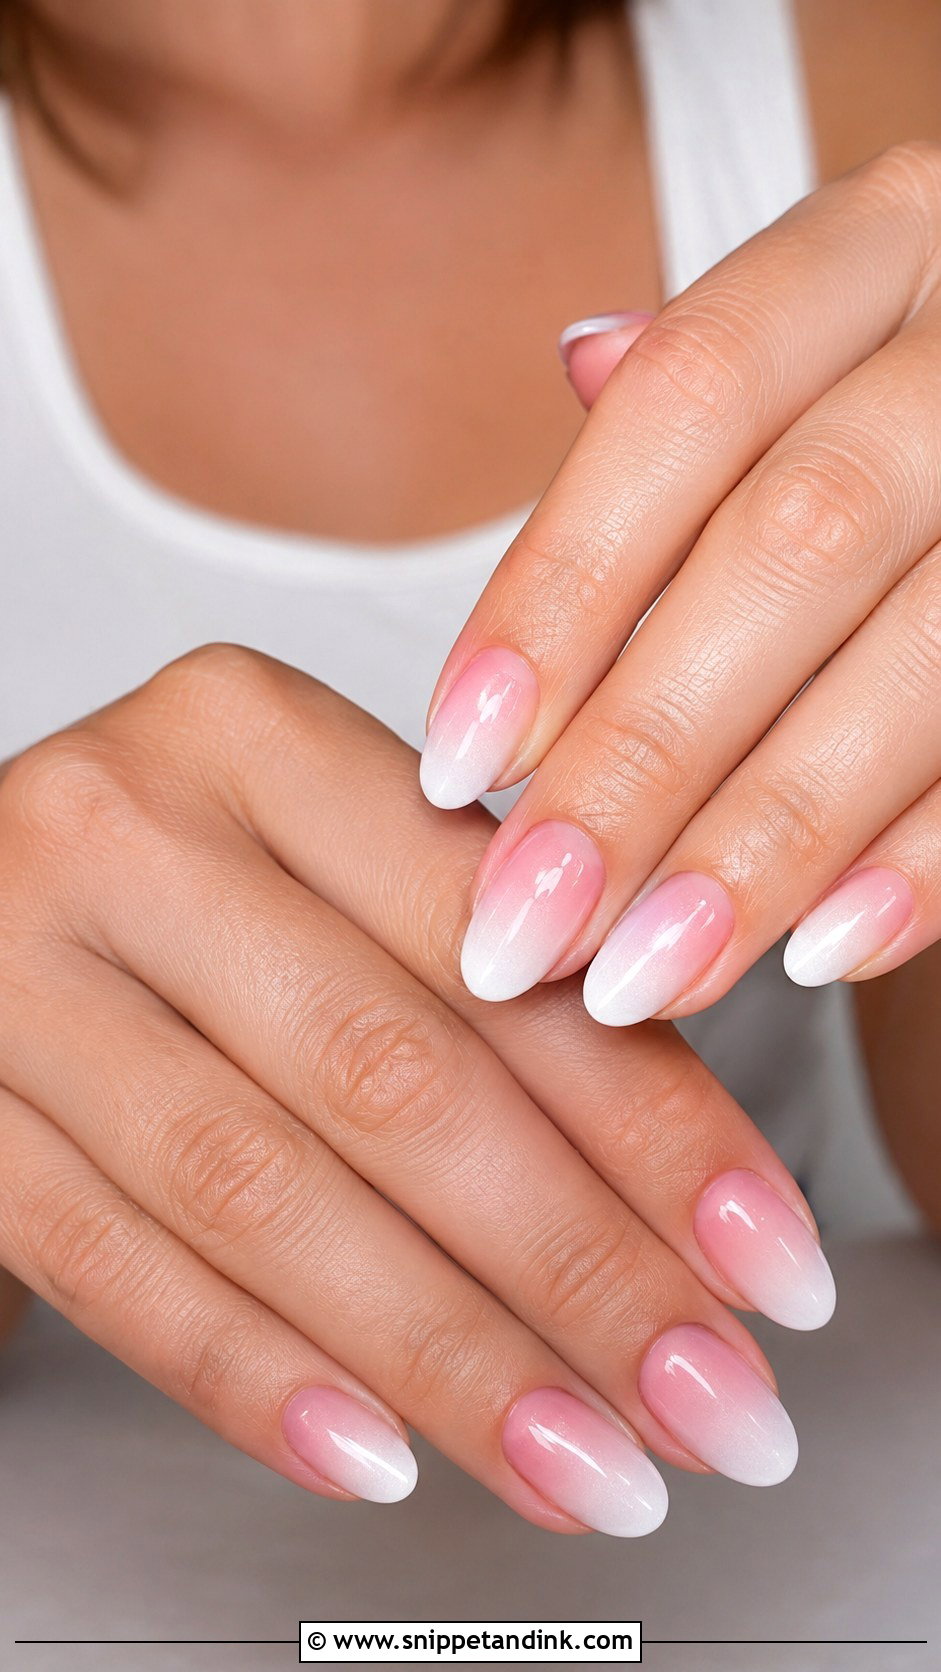
Reliable is the right word for this one. A rosy base fading into clean white tips looks healthy and bright, and it’s smoother than a painted French. The pink is what I tailor: baby pink tends to suit fair skin, rosy beige medium skin, and a warm nude-pink deeper skin, where baby pink can sit chalky on the hand. Short almond and a glossy top coat keep it practical.
4. Milky White Ombre Wedding Nails
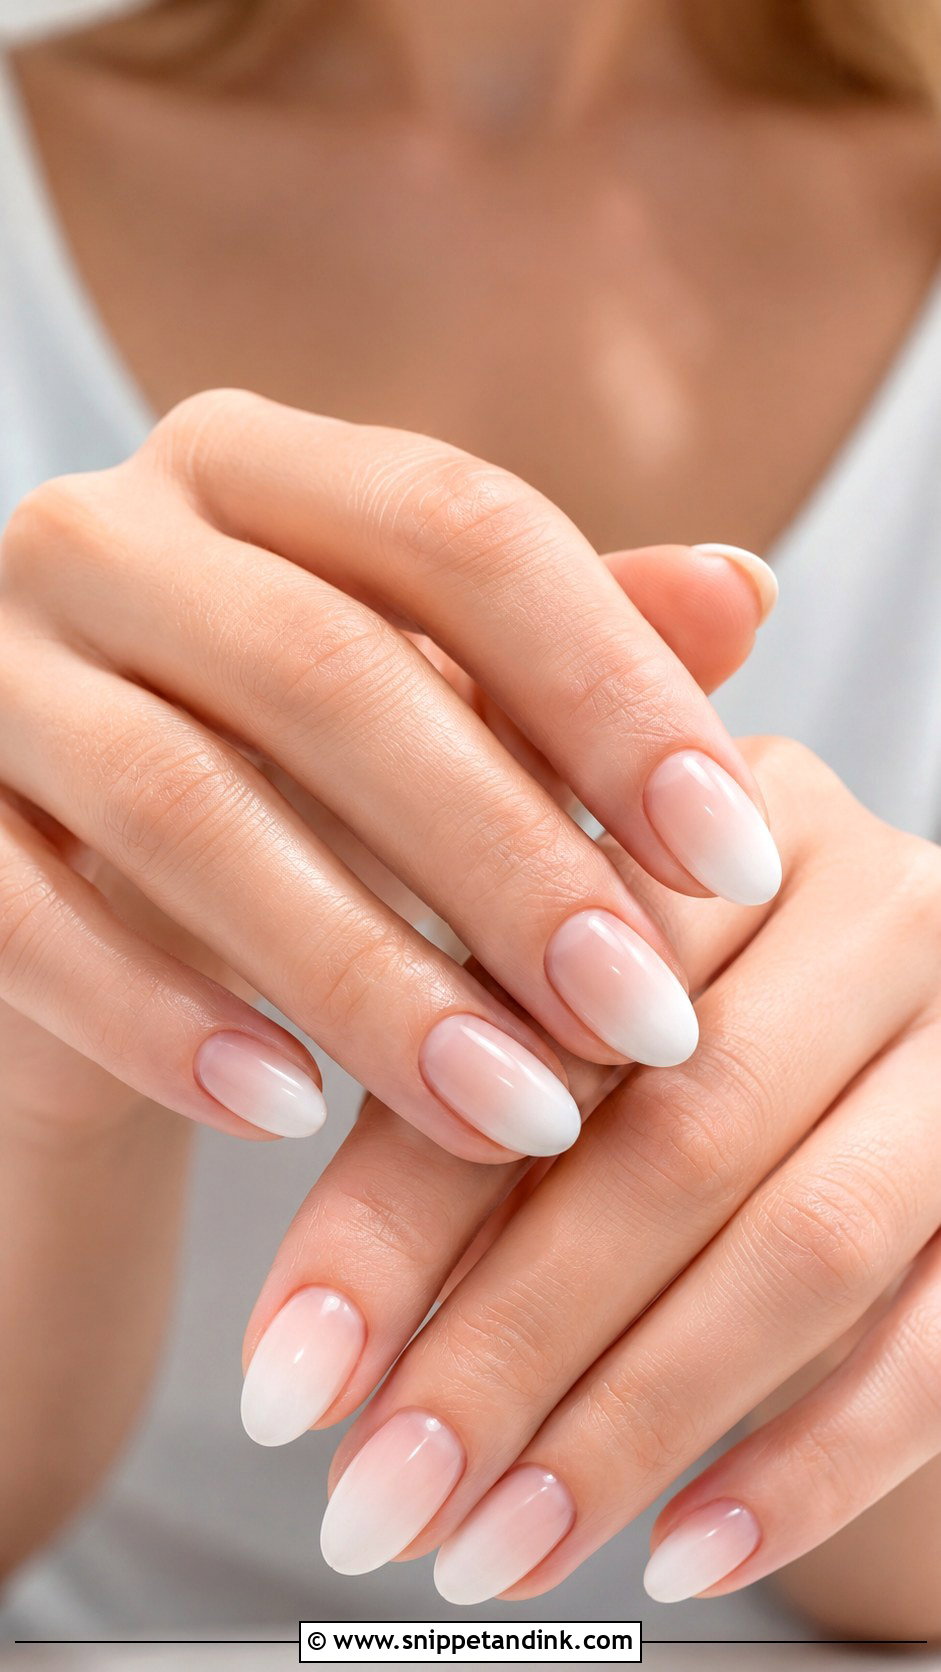
Where pink and white is a contrast, milky white is a mist. Sheer nude or translucent pink blends into a cloudy white with no sharp shift between them. It feels right beside tulle, organza and minimalist gowns, and it looks considered without any gems or art. I use a buildable milky gel and add coats only where I want density, which is how the fade looks airbrushed rather than striped. Rounded almond softens it; short square makes it neat.
5. Glitter Ombre Wedding Nails
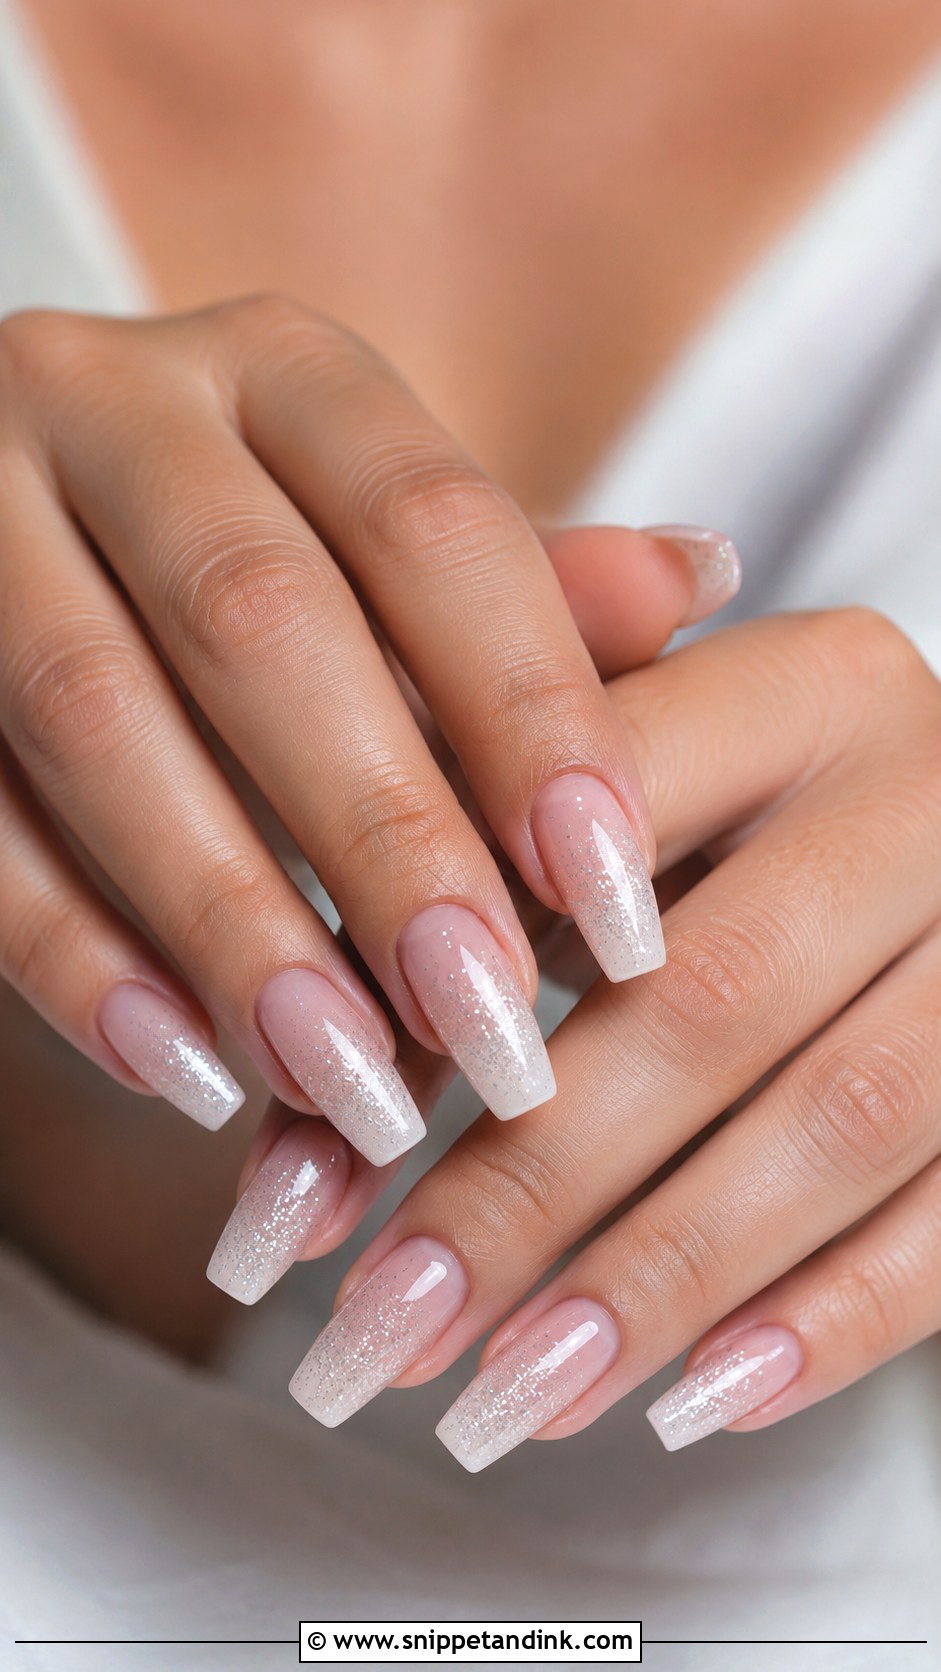
Fine silver, champagne or white glitter fading from the tips over a nude or pale pink base is the version I’d recommend. Scattered glitter reads delicate; packed glitter reads heavy. It catches light nicely while you’re holding a bouquet at an evening reception or in a ballroom. You don’t have to glitter every finger, either: two accent nails with the rest in plain fade is often more elegant. Almond and coffin give the glitter room; short nails keep it subtle.
6. Nude Ombre Wedding Nails
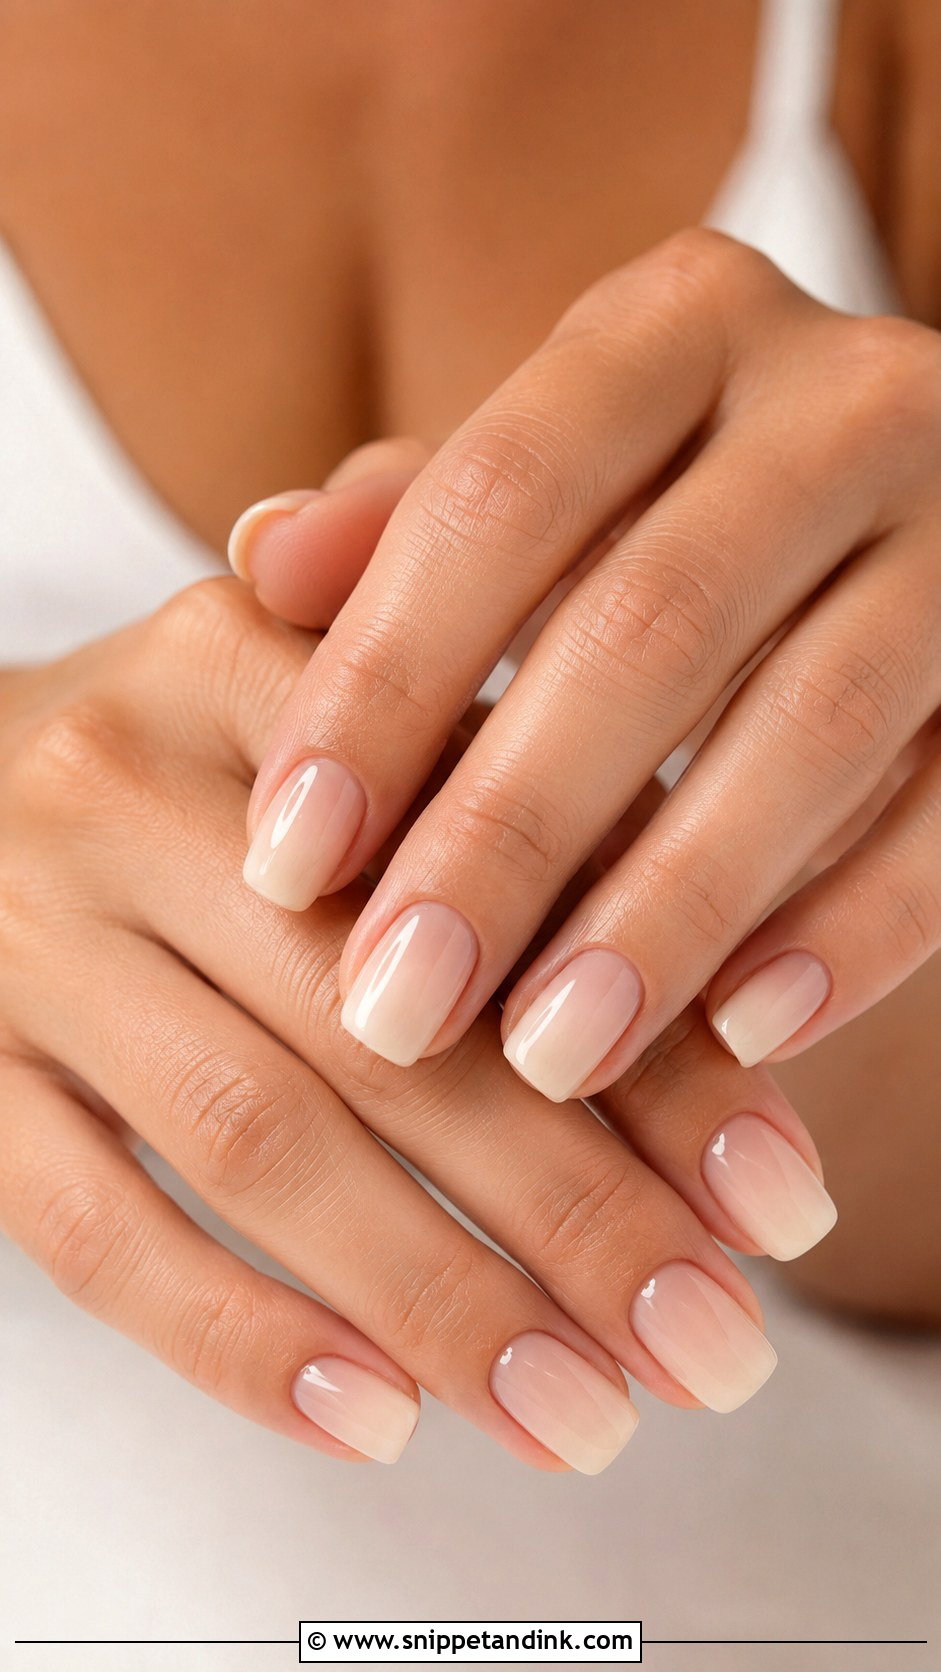
The hardest fade on the list is the one that looks like nothing. Nude ombre moves from a skin-toned base into cream, ivory or pale blush tips, and it never pulls attention from the dress. Undertone decides everything. Beige suits neutral skin, peach warms fair hands, and caramel sits naturally on deeper skin. I keep a few nudes in the kit and test them on the nail itself, because the bottle color lies. It also grows out gracefully on the honeymoon, which is a real advantage.
7. Blush Ombre Wedding Nails
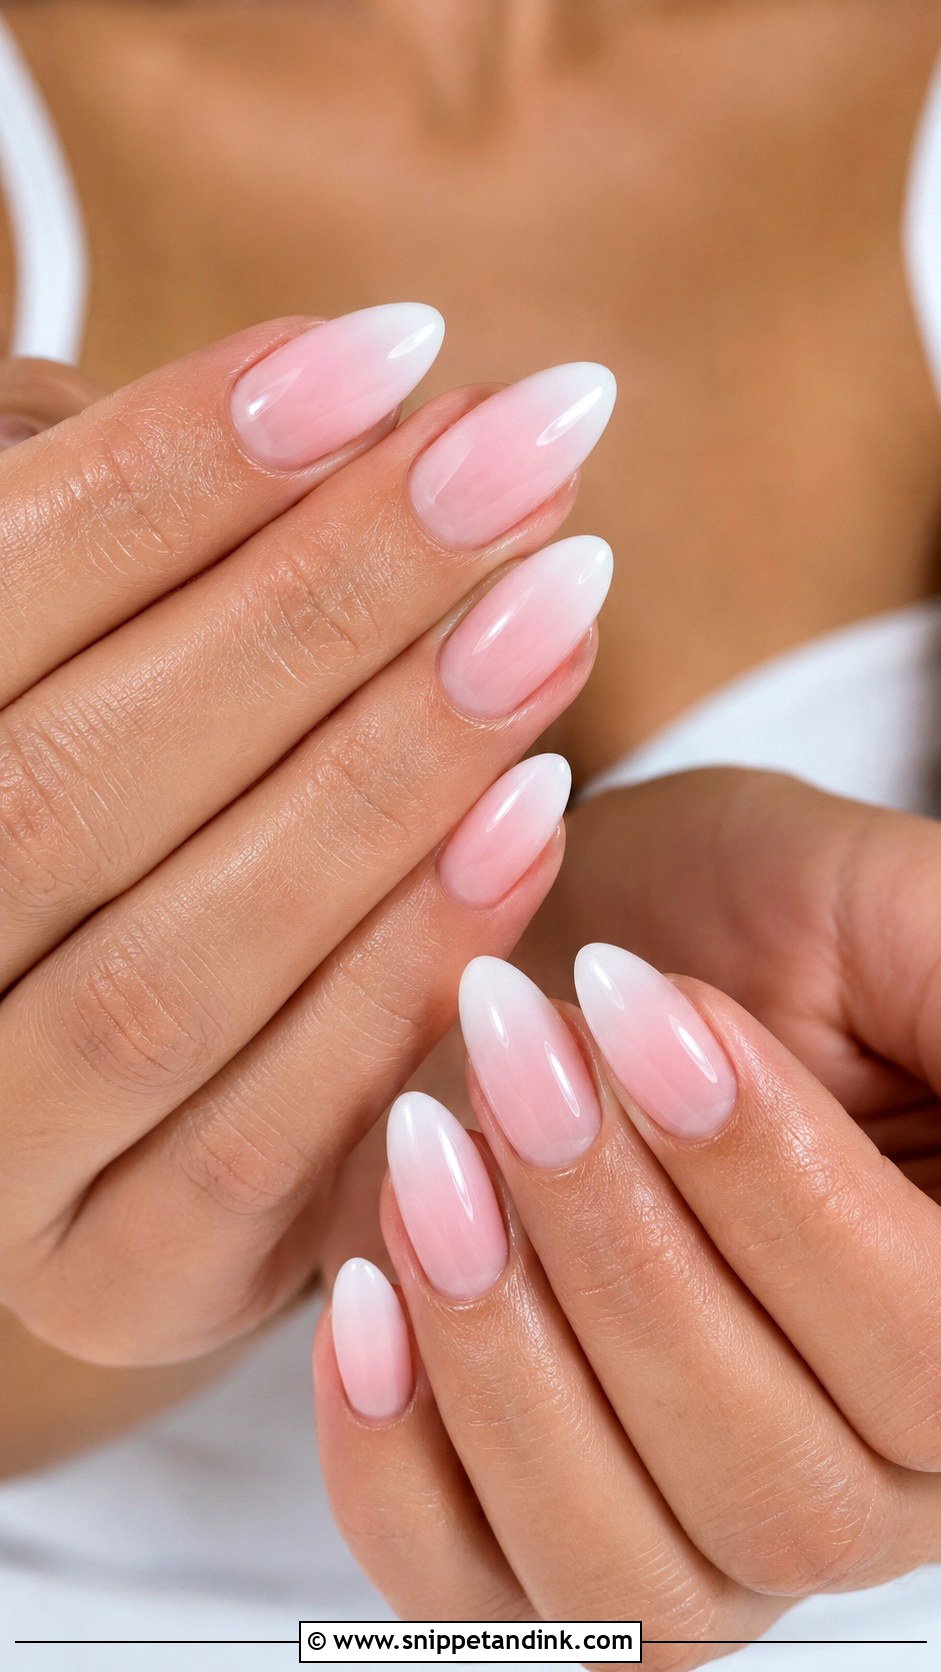
Pink in a quieter key. Blush ombre wedding nails blend sheer blush, rose or petal pink into a lighter pink or milky tip, giving a warm glow that suits spring and garden weddings. It ties in naturally with rosy makeup and lace. Almond makes it soft, oval keeps it natural. Gloss is the default; for more glow, I’ll swap to a pearl chrome finish over the blush.
8. Short Ombre Wedding Nails
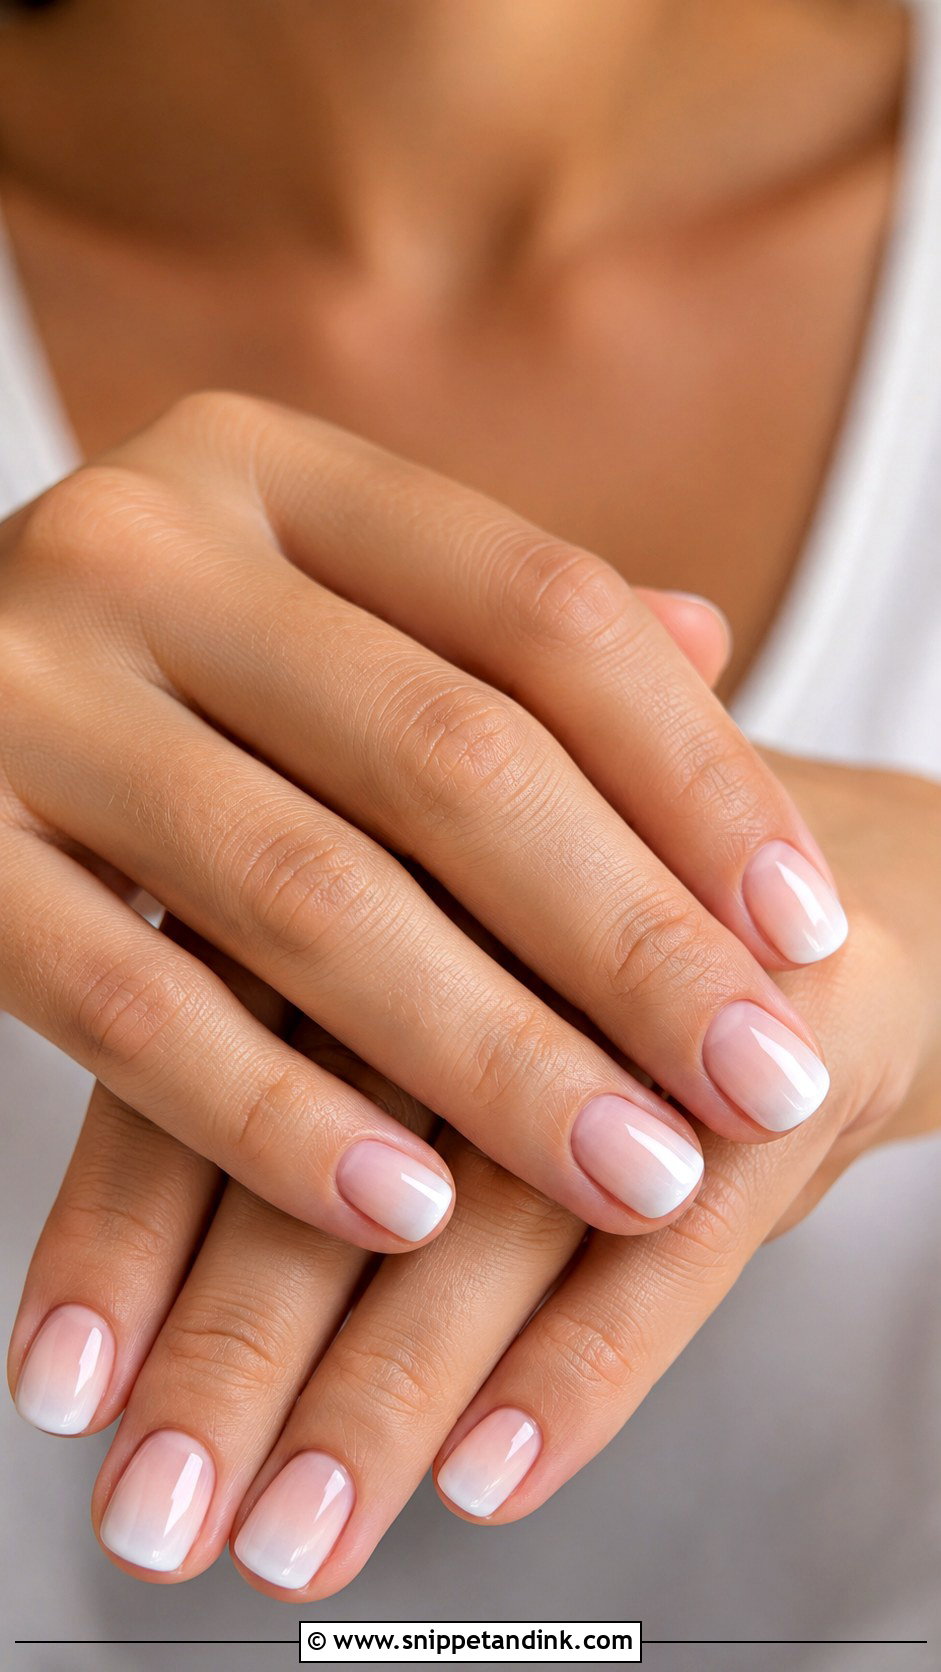
Short nails are the most comfortable choice for a long day, and they’re stronger, since there’s less leverage for a knock to break them. A nude-to-white or pink-to-milky fade keeps them looking finished. Squoval and rounded edges are the most flattering. I run the fade vertically, from cuticle to tip, so it draws the eye lengthwise and makes the nail bed look longer. Worth considering if you’ve never worn extensions and don’t want to learn on your wedding week.
9. Almond Ombre Wedding Nails
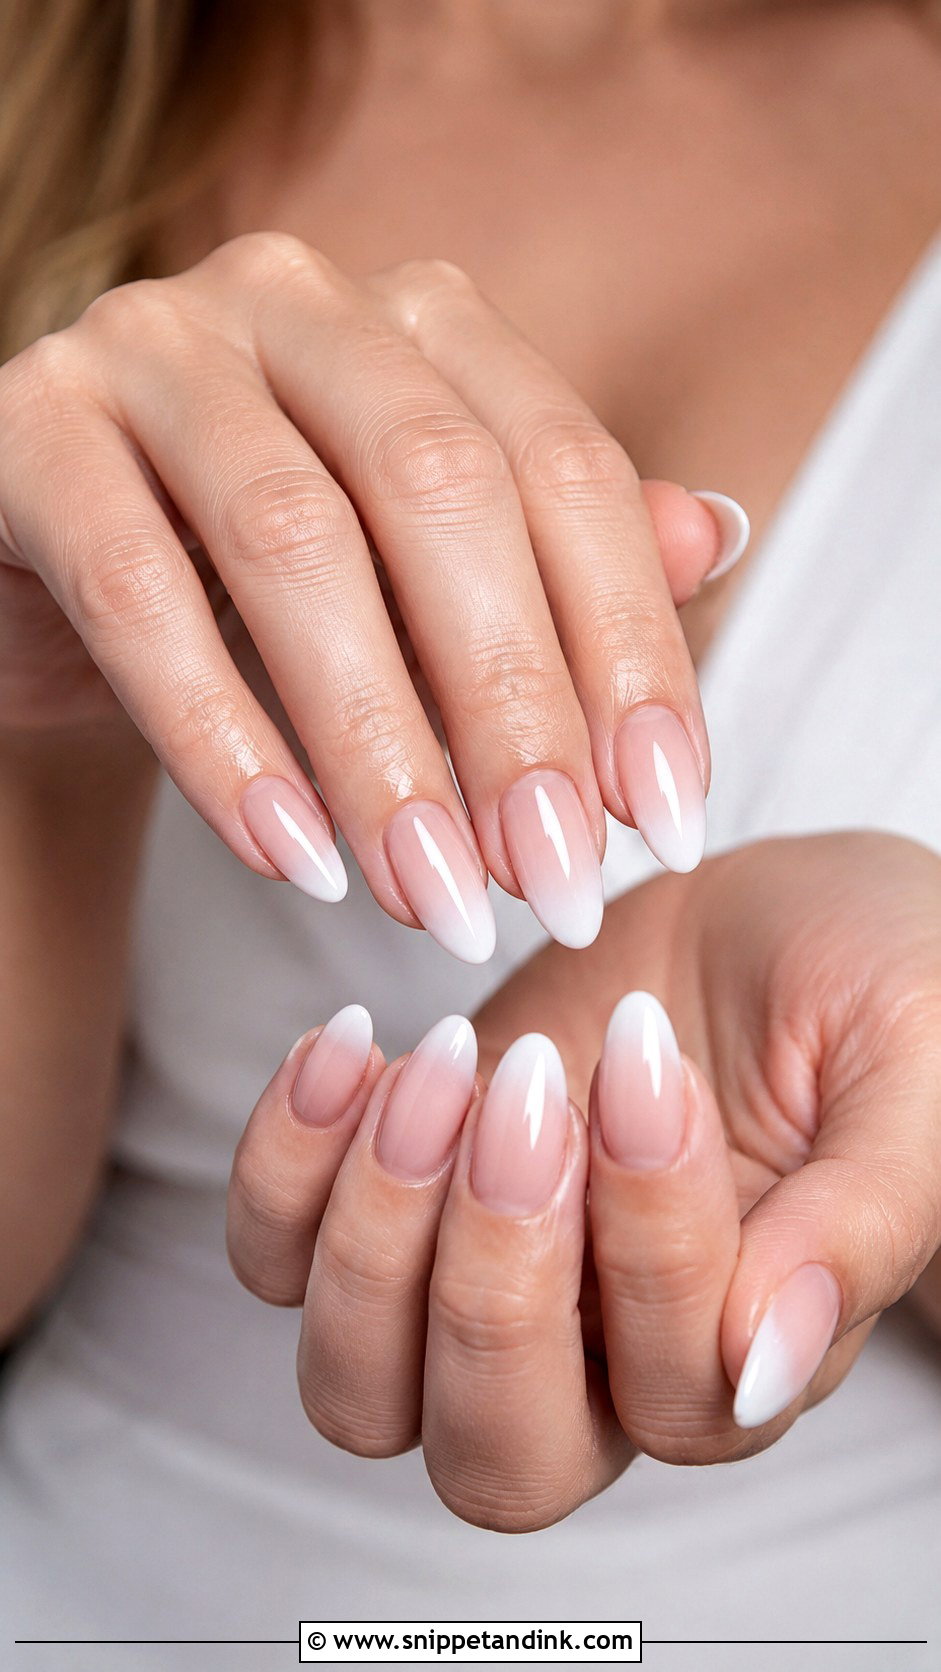
Ask me which shape flatters the most hands and I’ll usually say almond. Almond ombre wedding nails visually lengthen the fingers, and the tapered sides let a gradient run smoothly to the tip. Pink to white is the classic, though pearl chrome, blush and fine glitter tips all suit it. A medium length gives the blend enough space while staying easy to live with. A sheer pink base keeps it delicate.
10. Coffin Ombre Wedding Nails
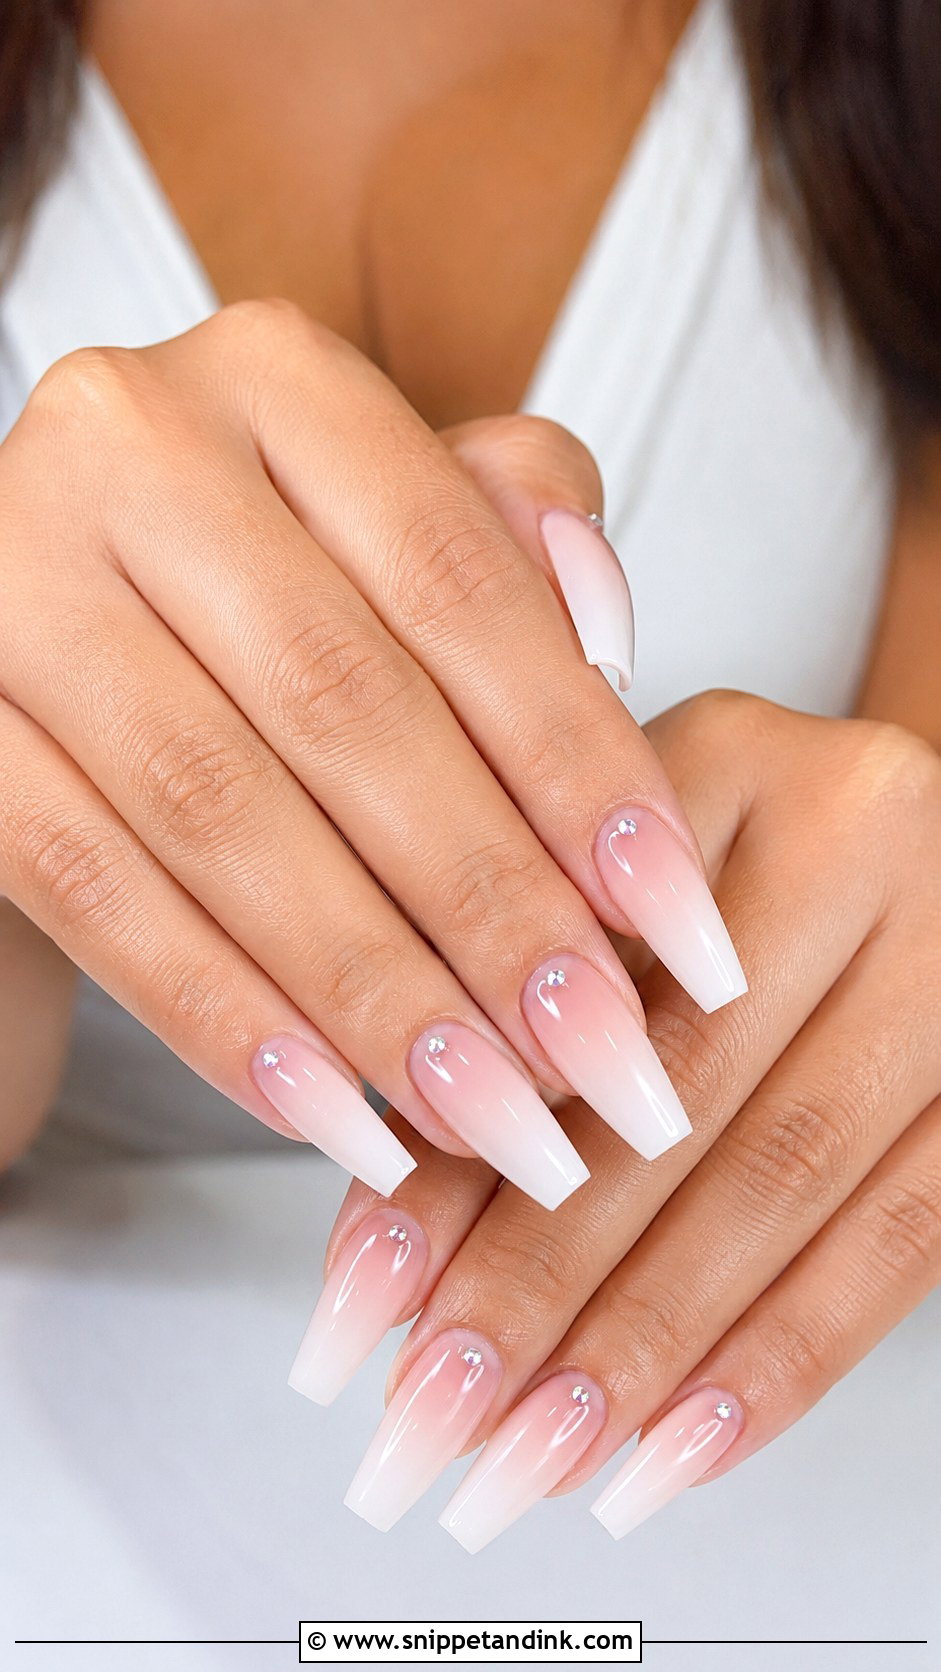
For a modern, glamorous set, the flat tip and tapered sides give a gradient lots of room. Coffin ombre wedding nails look bridal in nude to white, with pearl chrome or fine glitter for extra polish, and they pair well with sleek or structured gowns and dramatic veils. What tips it over the edge is a thick white band or heavy embellishment. Keep the fade soft and the length balanced; a few tiny crystals near the cuticle are plenty of drama.
11. Square Ombre Wedding Nails
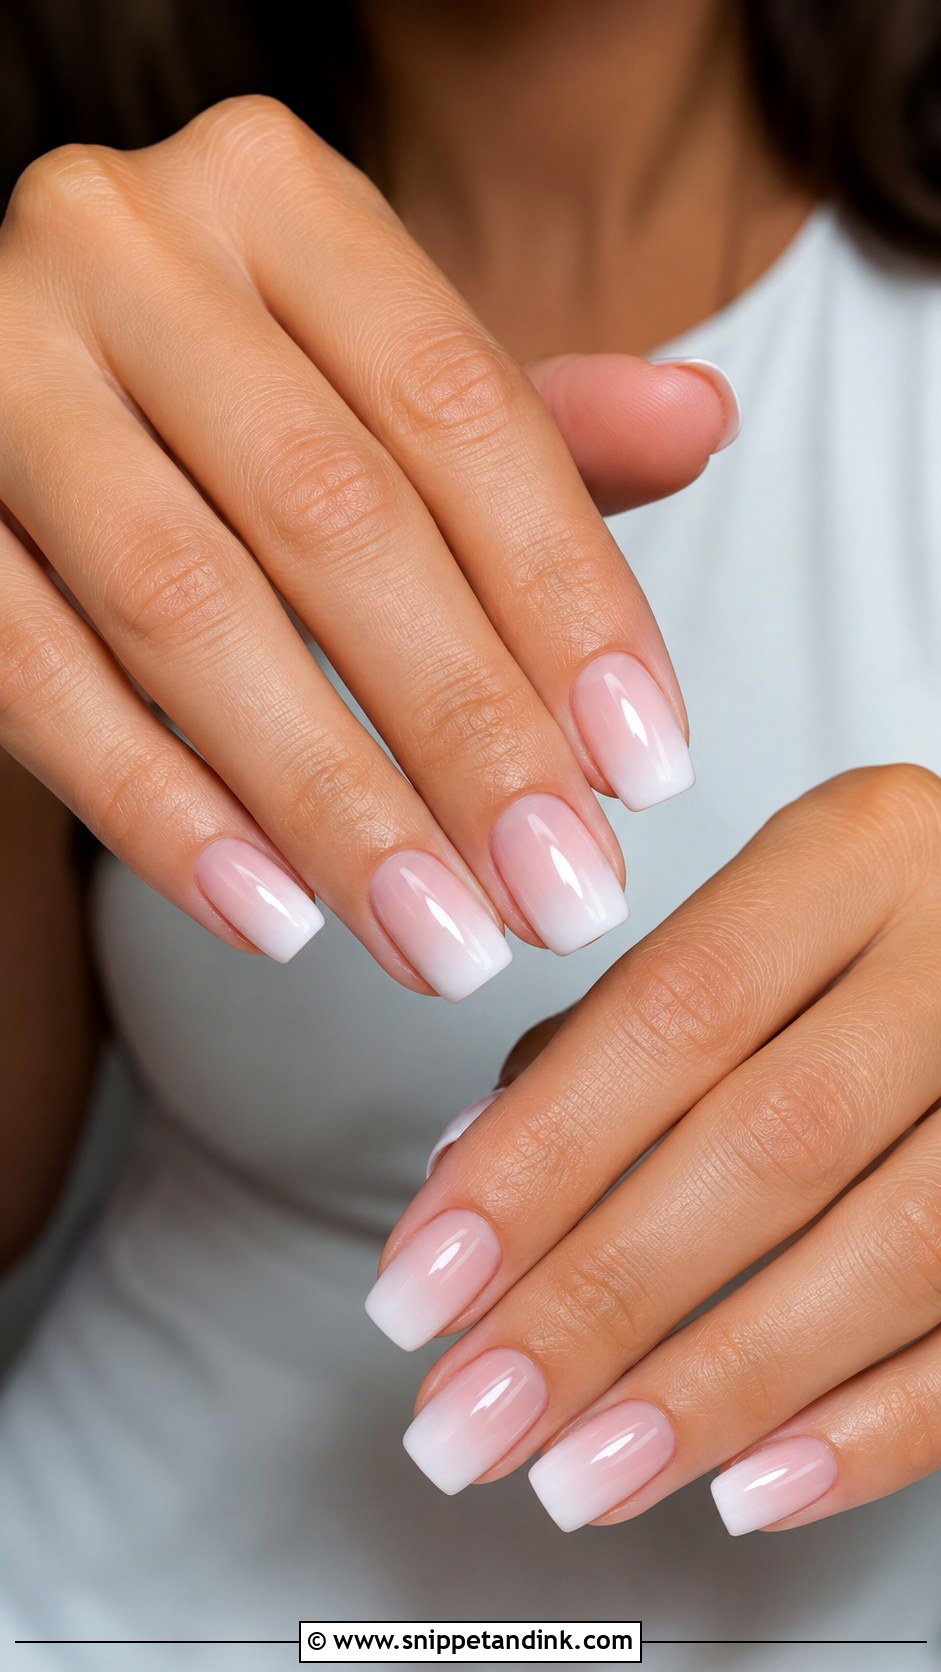
Square shows clean edges and a salon-sharp finish. Pink fading to white is the classic version; nude to cream is the minimal one. Short to medium squares are practical for a busy day and much easier than long extensions. I almost always round the corners a touch into a squoval for brides, because sharp corners chip first and catch on fine fabric. It sits well with simple bands and modern gowns.
12. Rhinestone Ombre Wedding Nails
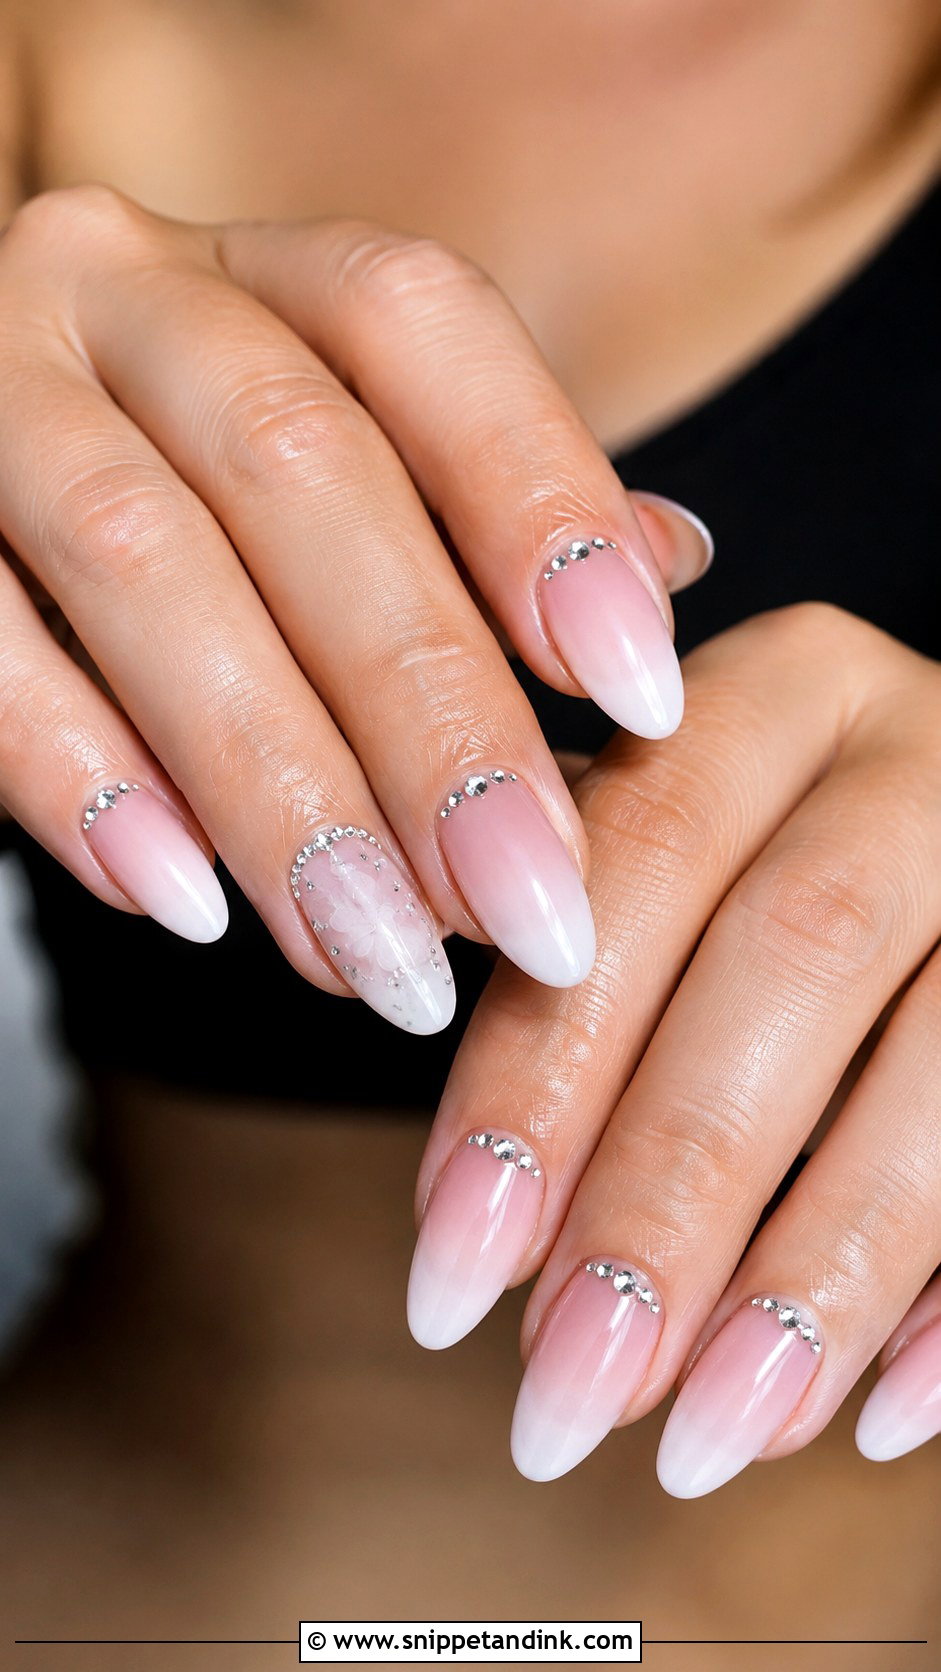
Tiny clear crystals near the cuticle or along one accent nail, over a pink-and-white fade, make the hand look jewelled without crowding it. I use flat-back crystals and set them into gel, then cap around them, so they stay smooth and don’t catch on lace or pop off during the receiving line. Almond and coffin give more space for placement. Fewer, smaller stones always look more expensive than many.
13. Floral Ombre Wedding Nails
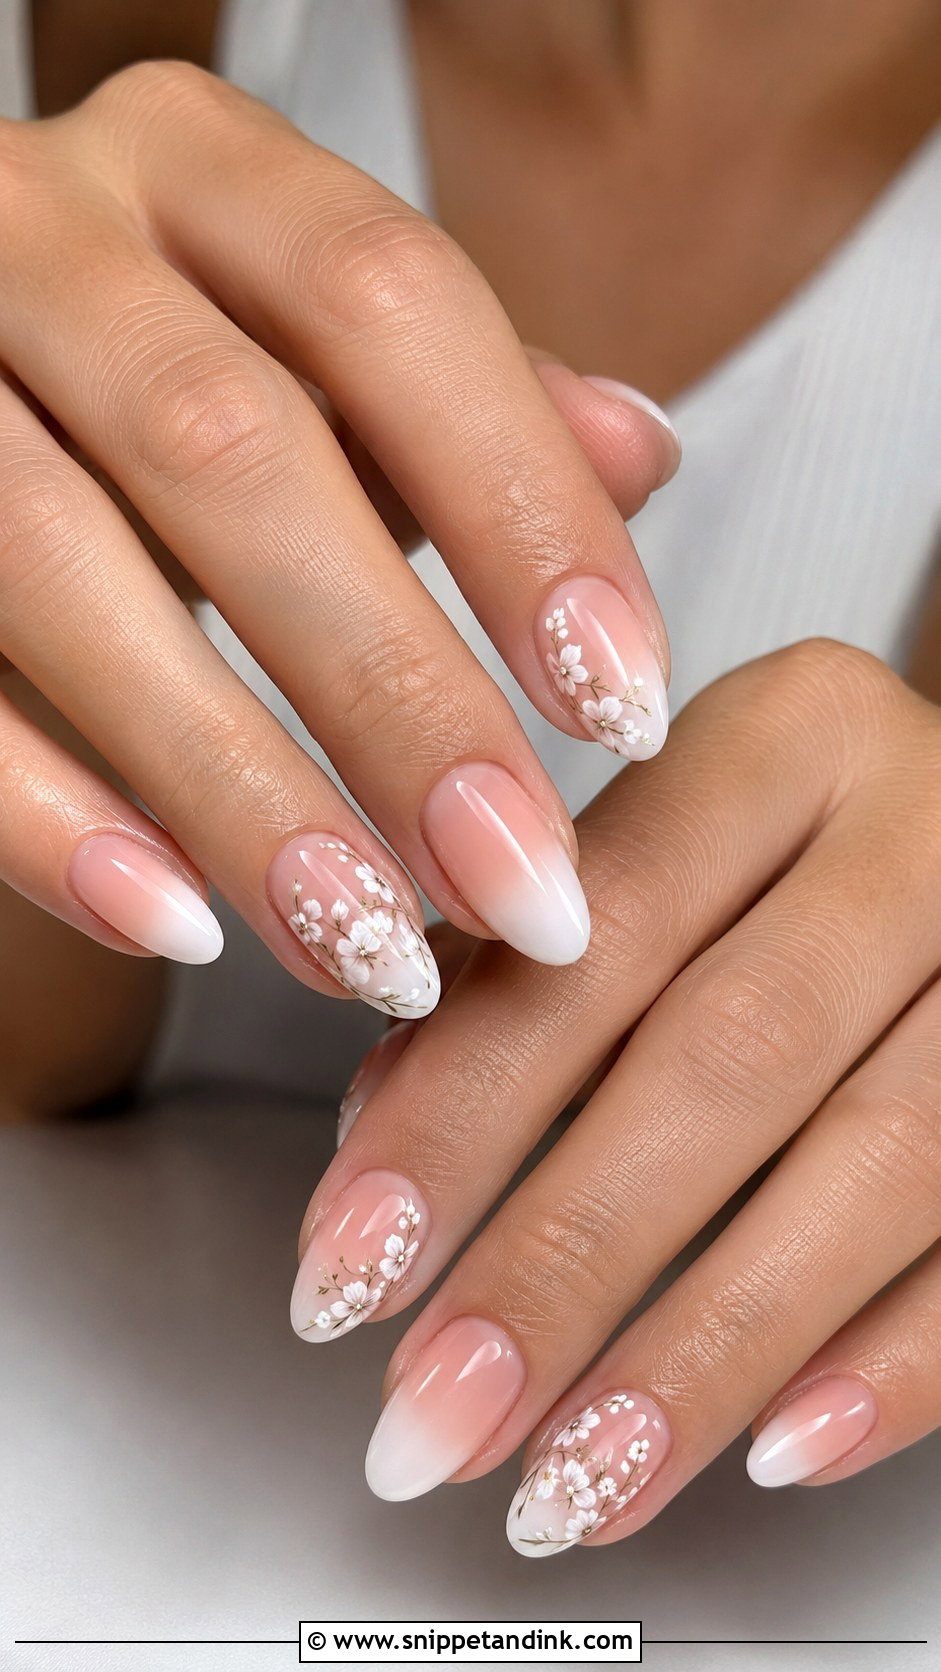
Painted flowers over a soft nude, blush or pink-to-white fade suit spring weddings and lace or embroidered gowns. I paint tiny white blooms and fine stems with a liner brush, or use pressed-flower-style decals sealed under gel, and keep them to one or two accent nails. Small motifs hold up in photos; large ones turn into blobs from a few feet away. Almond or oval suits the art, with a glossy seal over the top.
14. Gold Ombre Wedding Nails
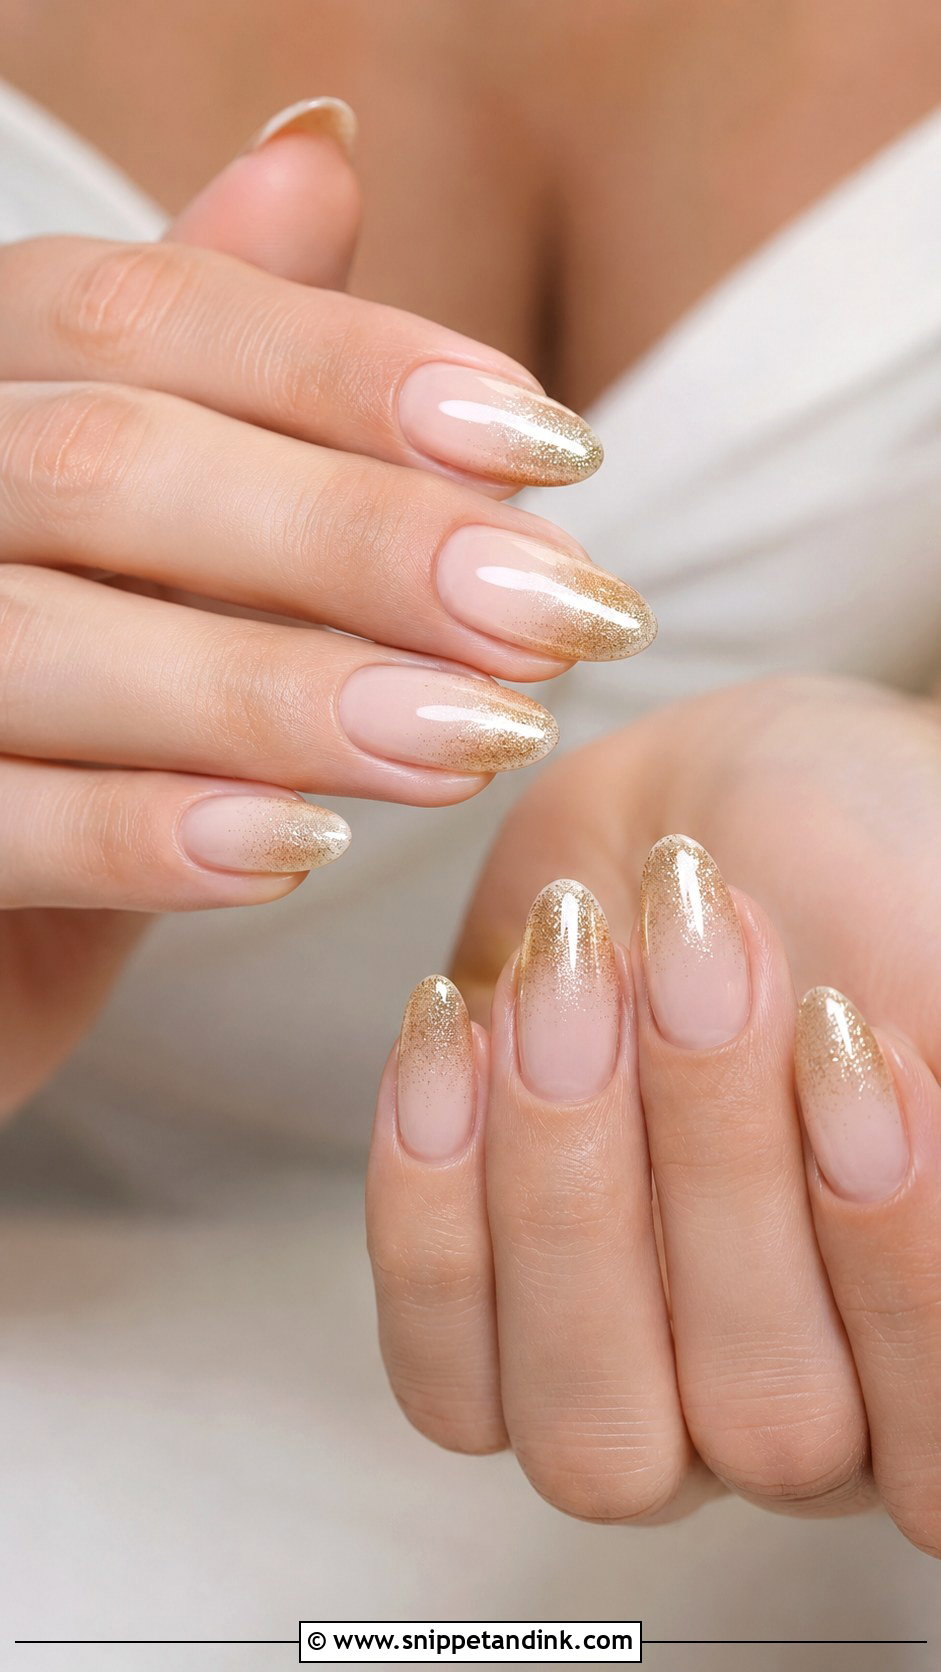
Gold gives warmth, especially for fall palettes, gold jewelry and ivory gowns. I fade fine champagne gold glitter from the tips or cuticles over a nude, blush or milky base. A trick I use often: a thin layer of sheer nude over the glitter diffuses it, so it glows from under the surface instead of sparkling on top. Soft almond or coffin gives the gradient room. Chunky gold glitter is the one thing I’d avoid.
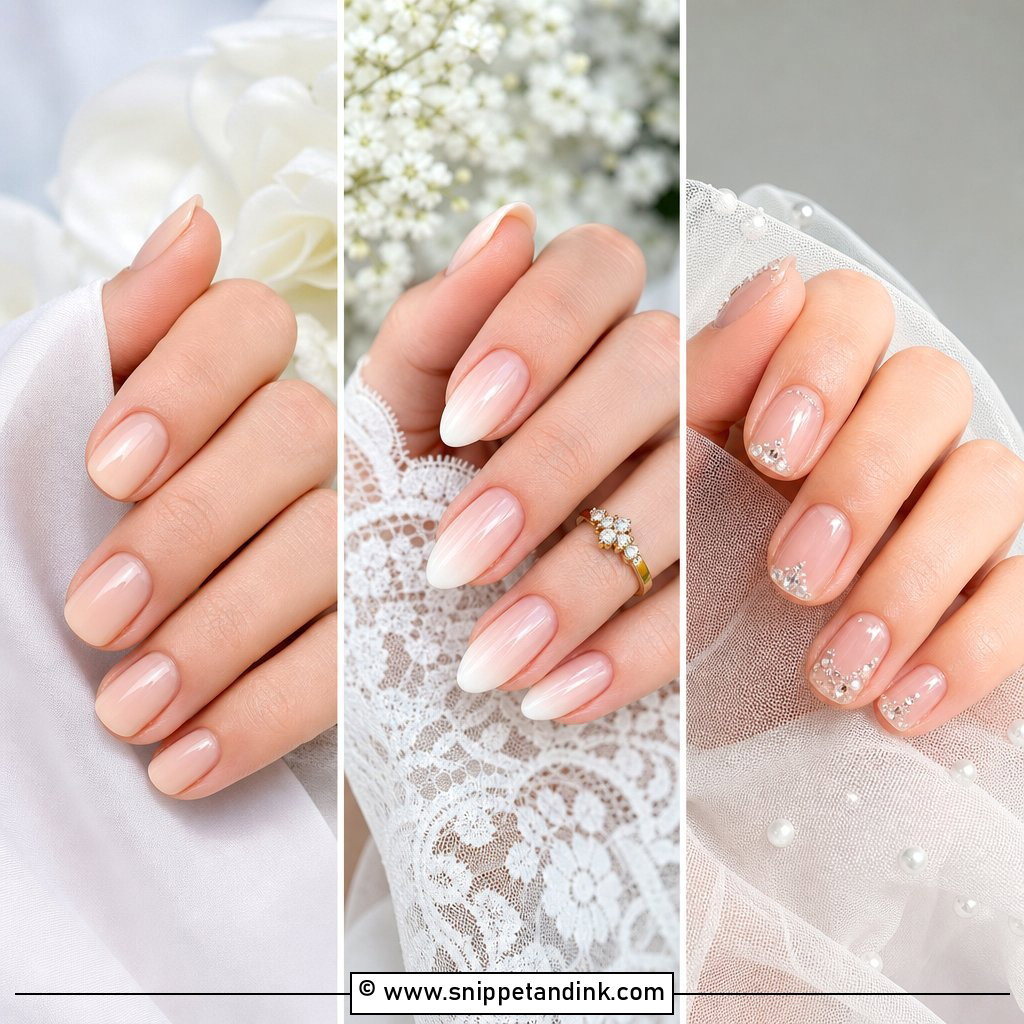
15. Silver Ombre Wedding Nails
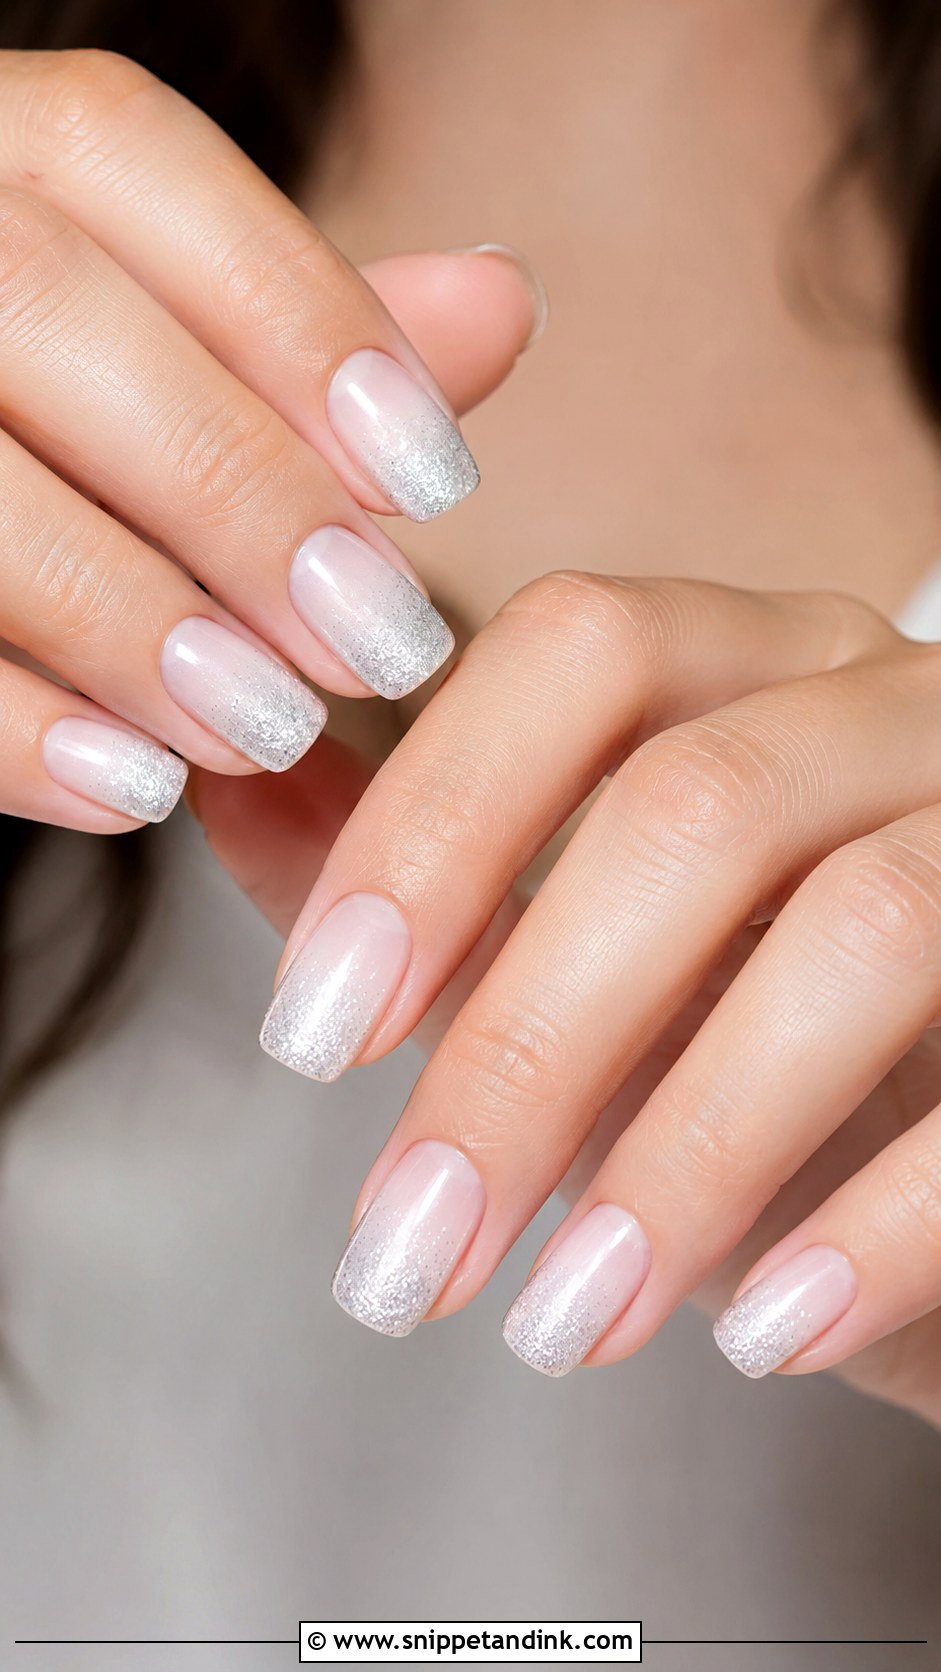
Silver is cool-toned sparkle, crisp beside white gold or platinum and right at home in a winter wedding or a modern venue. The base is pale pink, soft nude or milky white, fading into fine silver micro-glitter at the tips. Big reflective pieces look festive rather than bridal. Short square nails look sleek in silver; almond softens it. A thick glass-like top coat lets the silver catch light without feeling gritty.
16. Lavender Ombre Wedding Nails
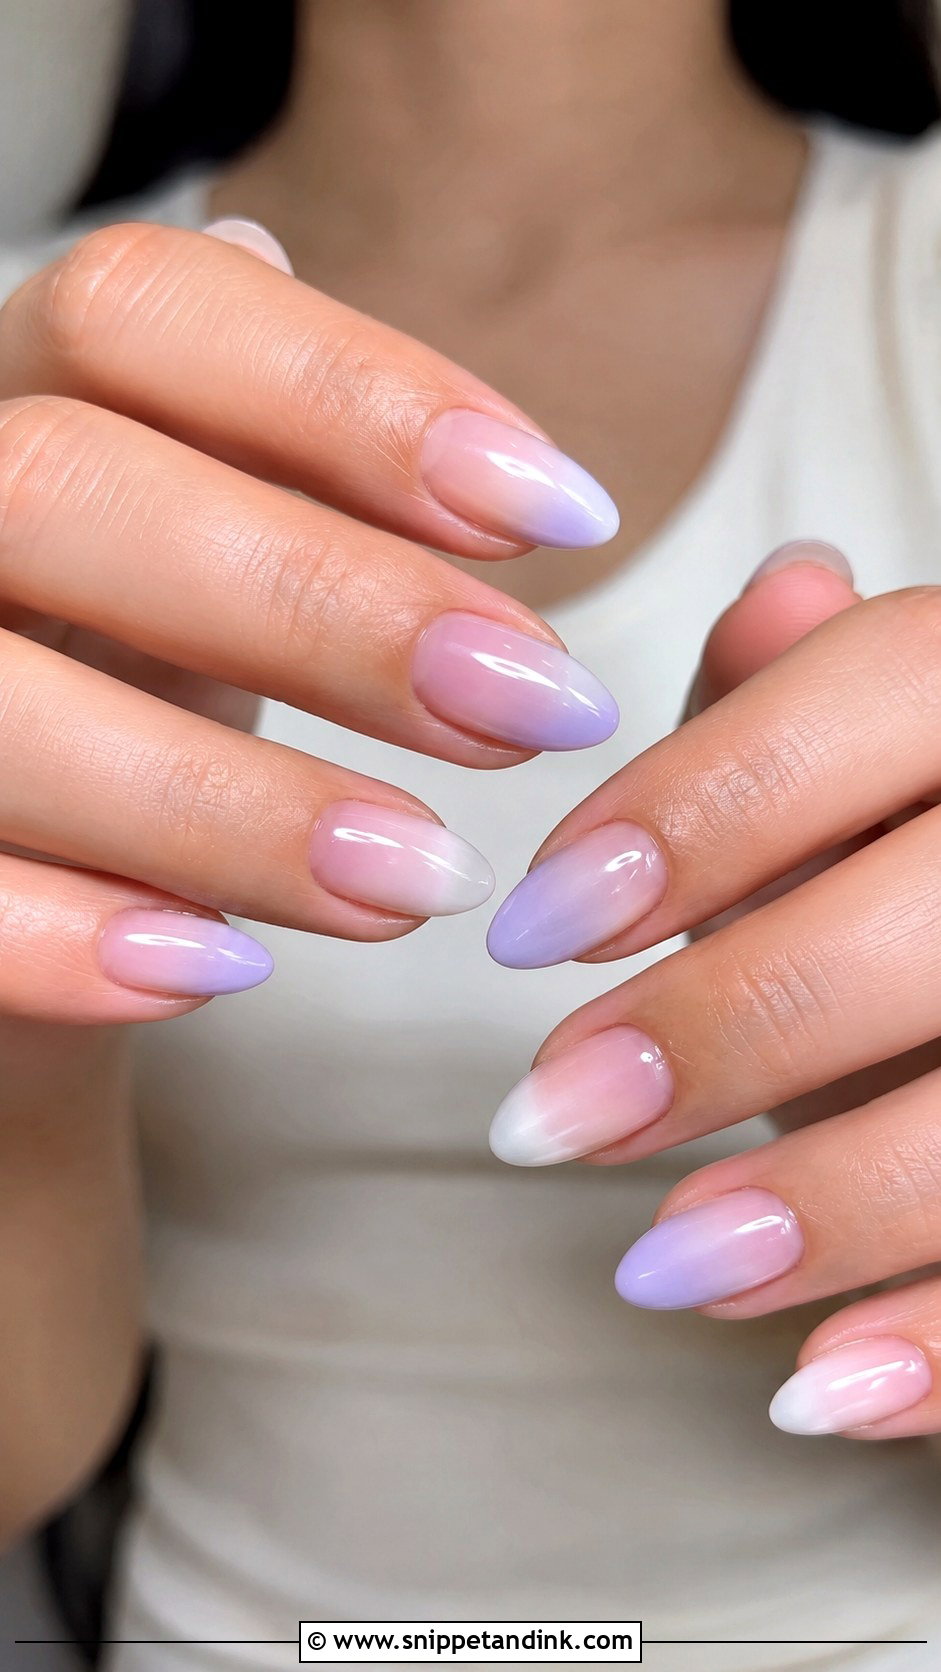
A hint of color that still reads soft: pale lavender blending into milky white, sheer pink or nude. It works for spring and pastel palettes, and with silver, pearls and cool bouquets. Muted lavender is the bridal version; brighter purple starts to look like a fashion manicure. A sheer lavender base blended into white tips is especially flattering, and a light pearl chrome over the top adds glow. Almond or oval keeps it gentle.
17. Blue Ombre Wedding Nails
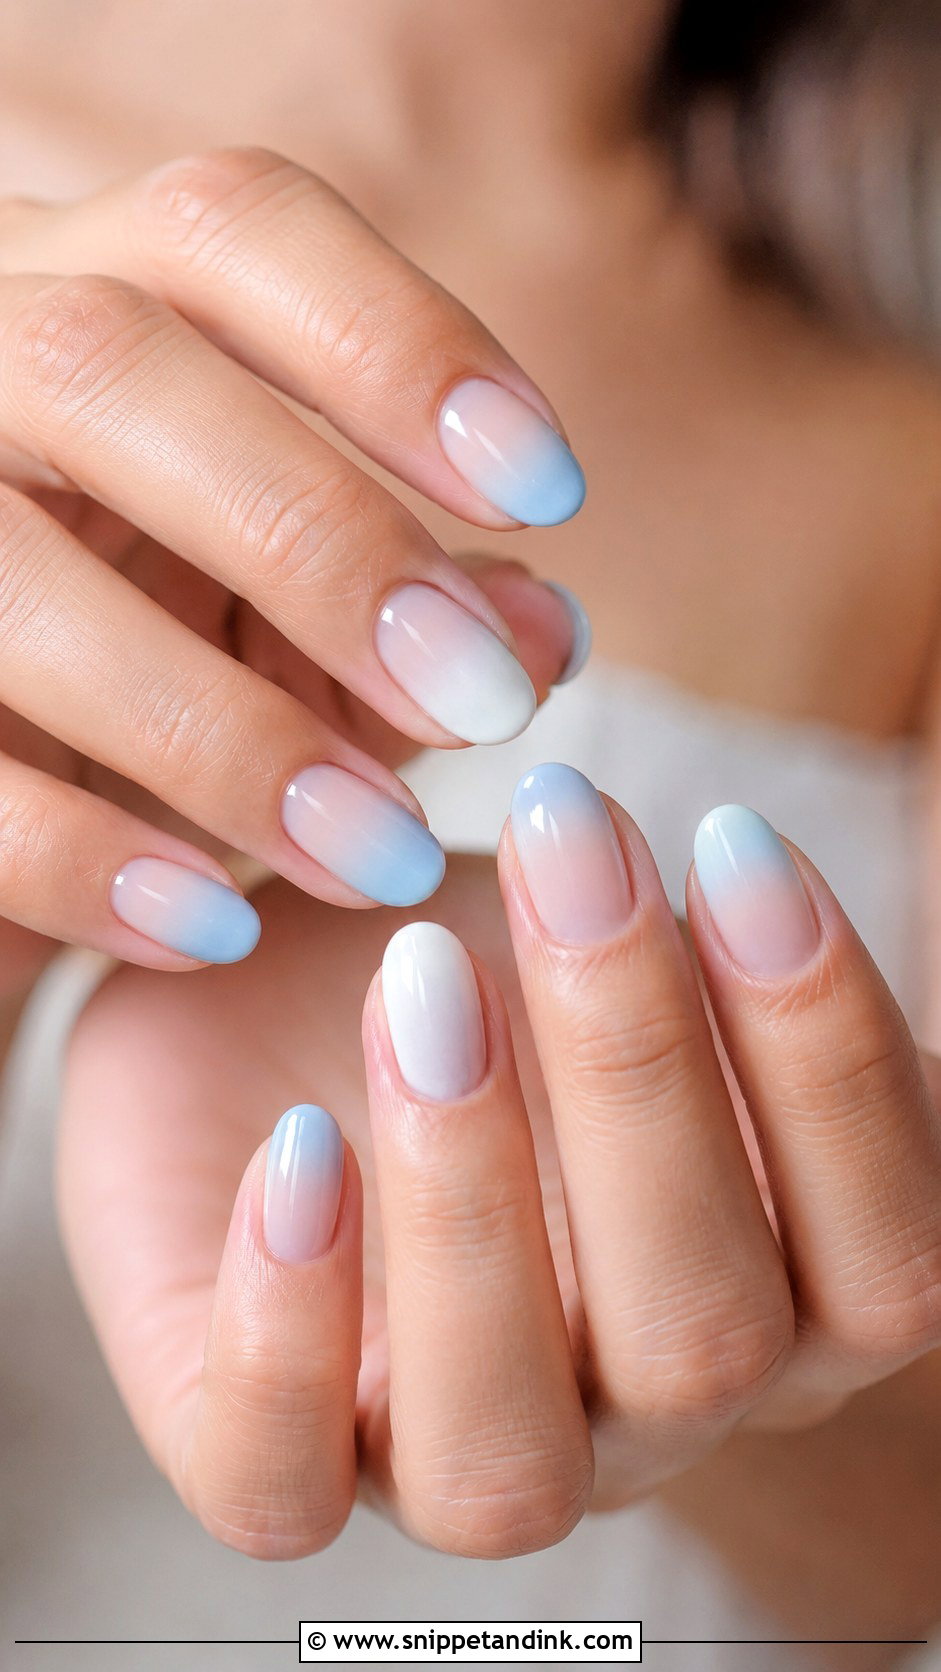
Powder or icy blue tips over a sheer nude or milky base give you something blue that only you and your photographer notice. Strong blue overwhelms a bridal look; airy blue doesn’t. It suits coastal and summer weddings, and brides with blue in the flowers or accessories. Short almond or rounded square keeps it refined. A pearl top coat makes the blue look more bridal than nautical.
18. Rose Gold Ombre Wedding Nails
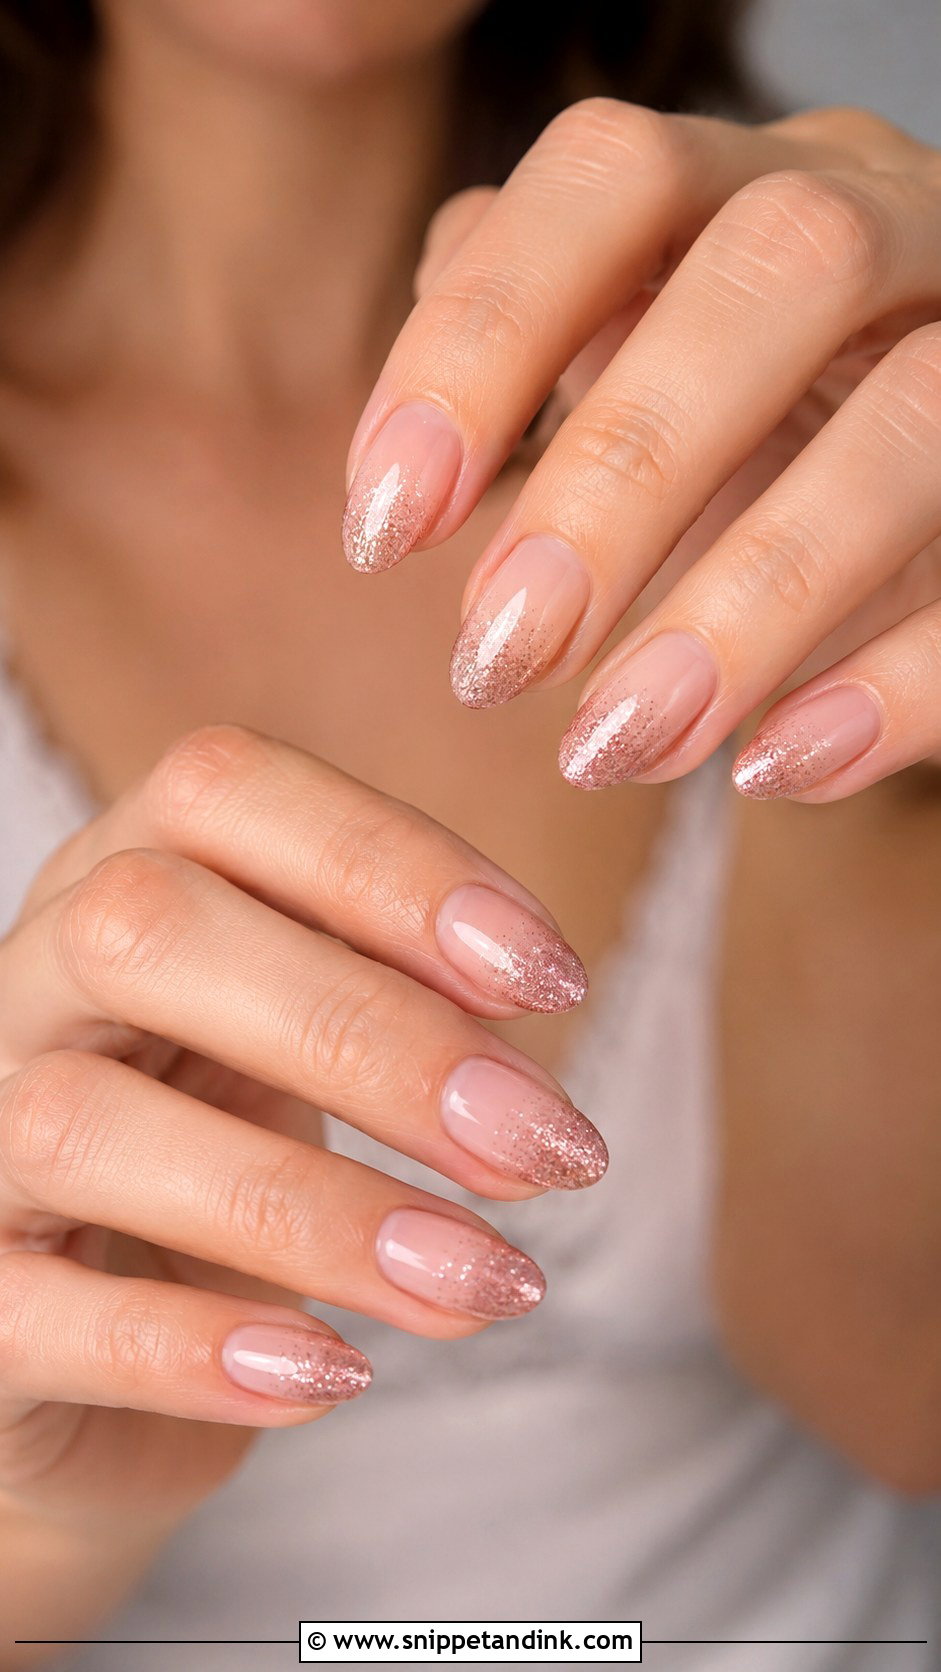
Rose gold shimmer at the tips over a nude or blush base gives a jewelry-like finish that suits rose gold rings and champagne dresses. Fine, smooth shimmer looks polished; coarse glitter looks like a party. Medium almond keeps it elegant and coffin makes it more modern. My favorite softer version is a sheer pink glaze layered over the glitter fade, which diffuses the sparkle into a warm glow.
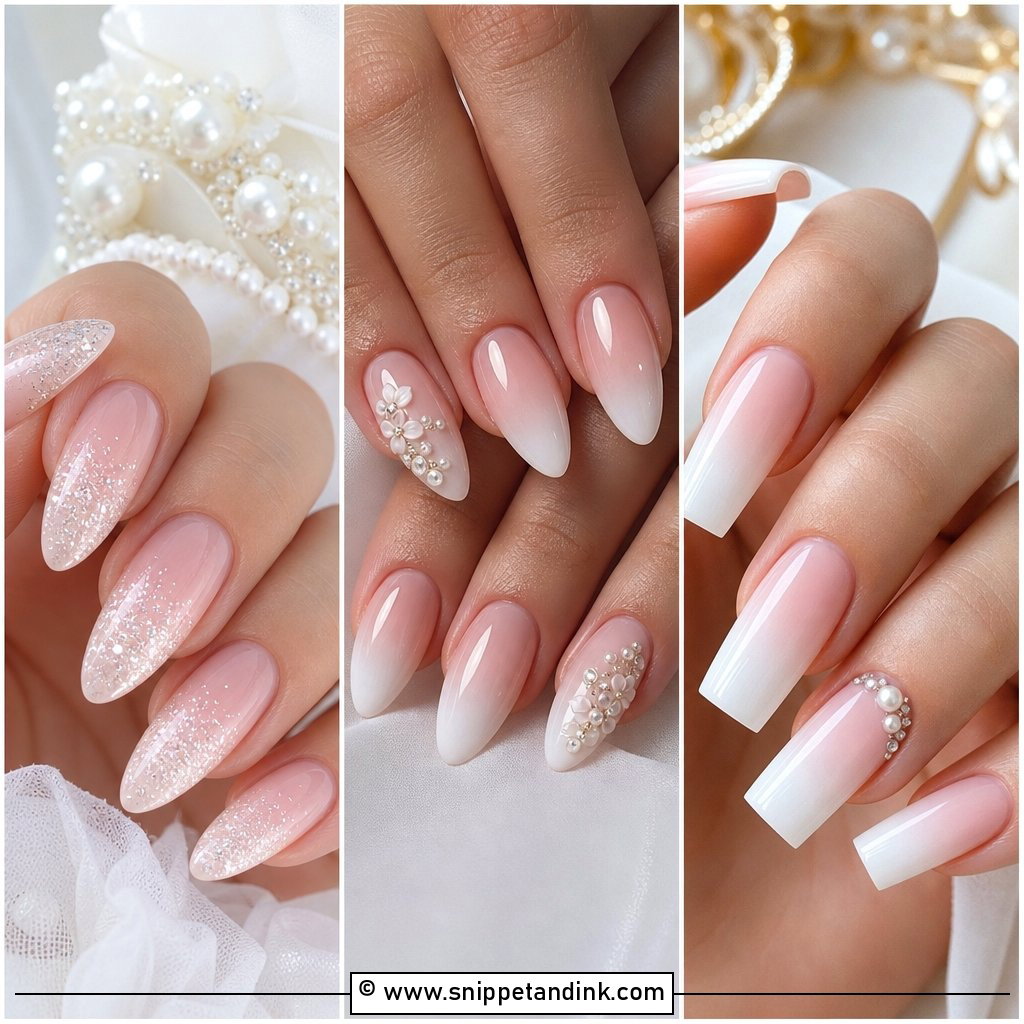
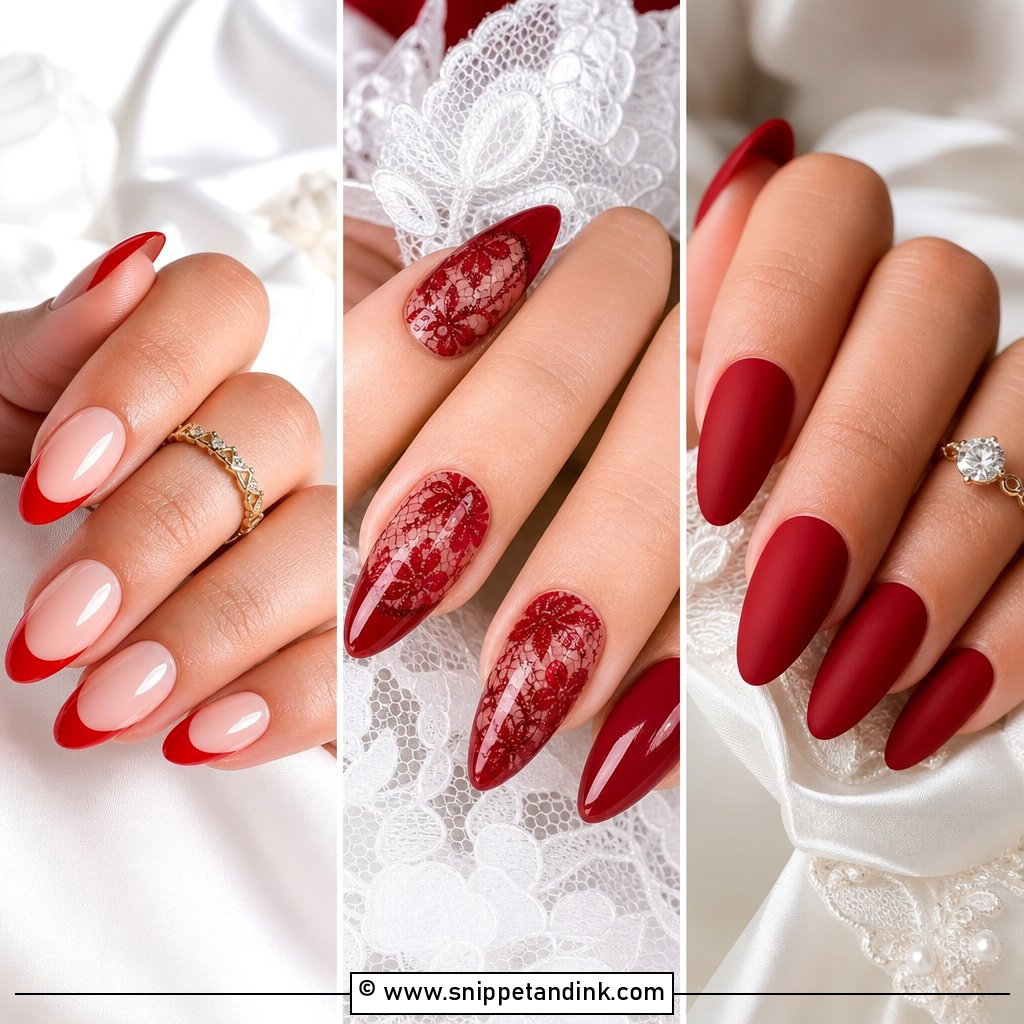
19. Matte Ombre Wedding Nails
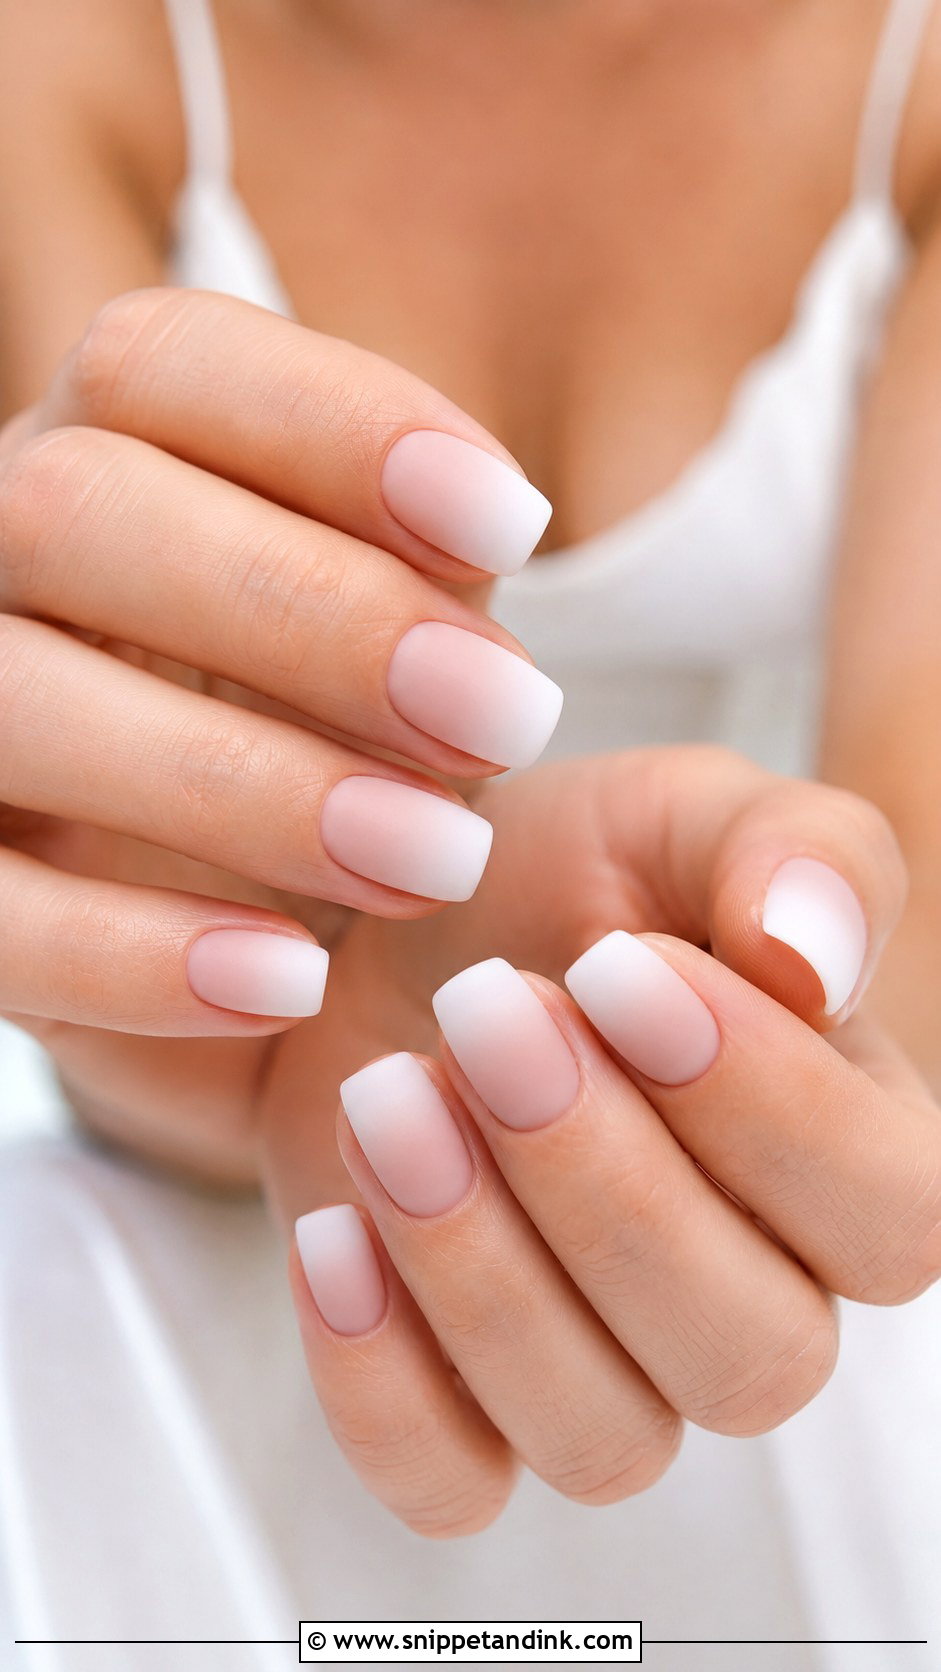
Matte turns a fade powdery and velvety, which is lovely next to crepe and minimalist gowns. The catch is maintenance. Matte top coat shows oil, hand cream and self-tanner marks more than gloss, and it can start to look shiny at the tips after a few days of wear, so I use a quality matte gel top and blend the color extra evenly, since matte hides nothing. Almond, oval and short square all work. One glossy accent line is the most detail I’d add.
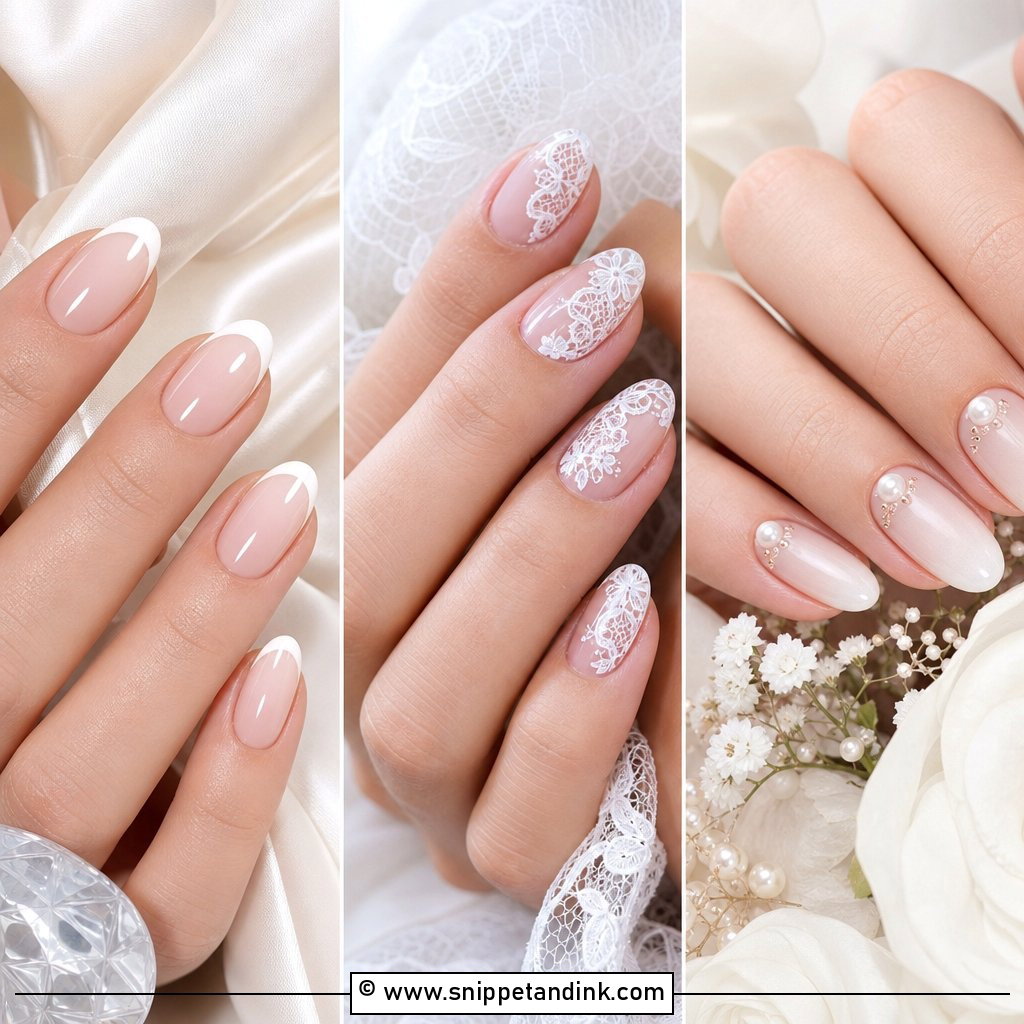
20. Lace Ombre Wedding Nails
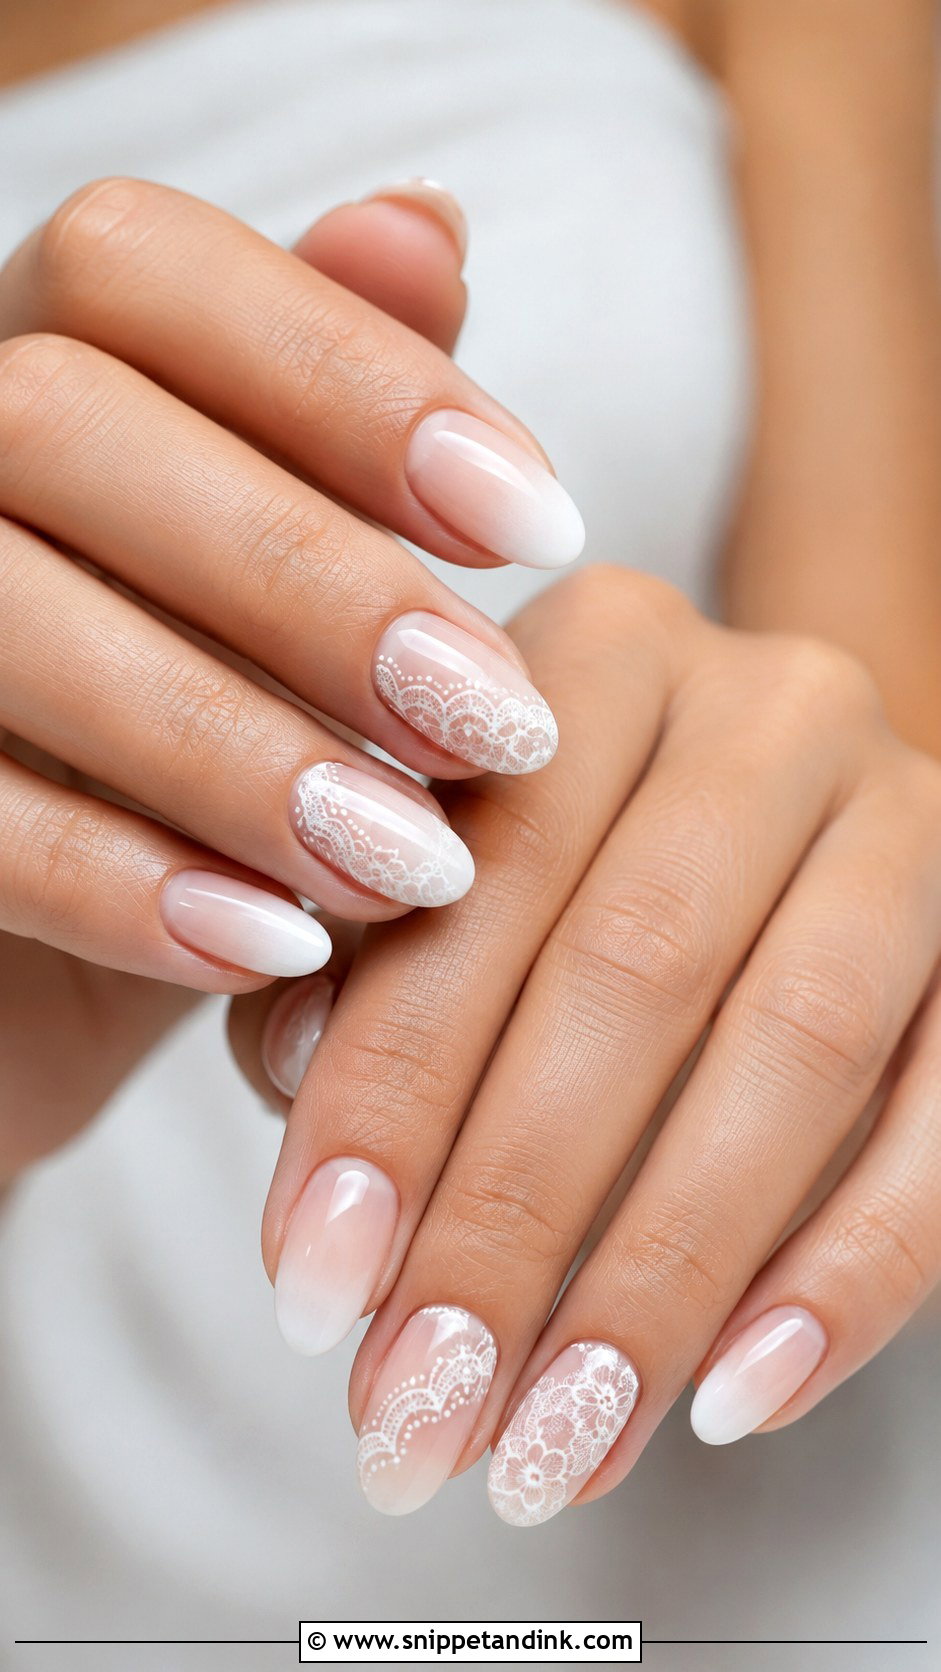
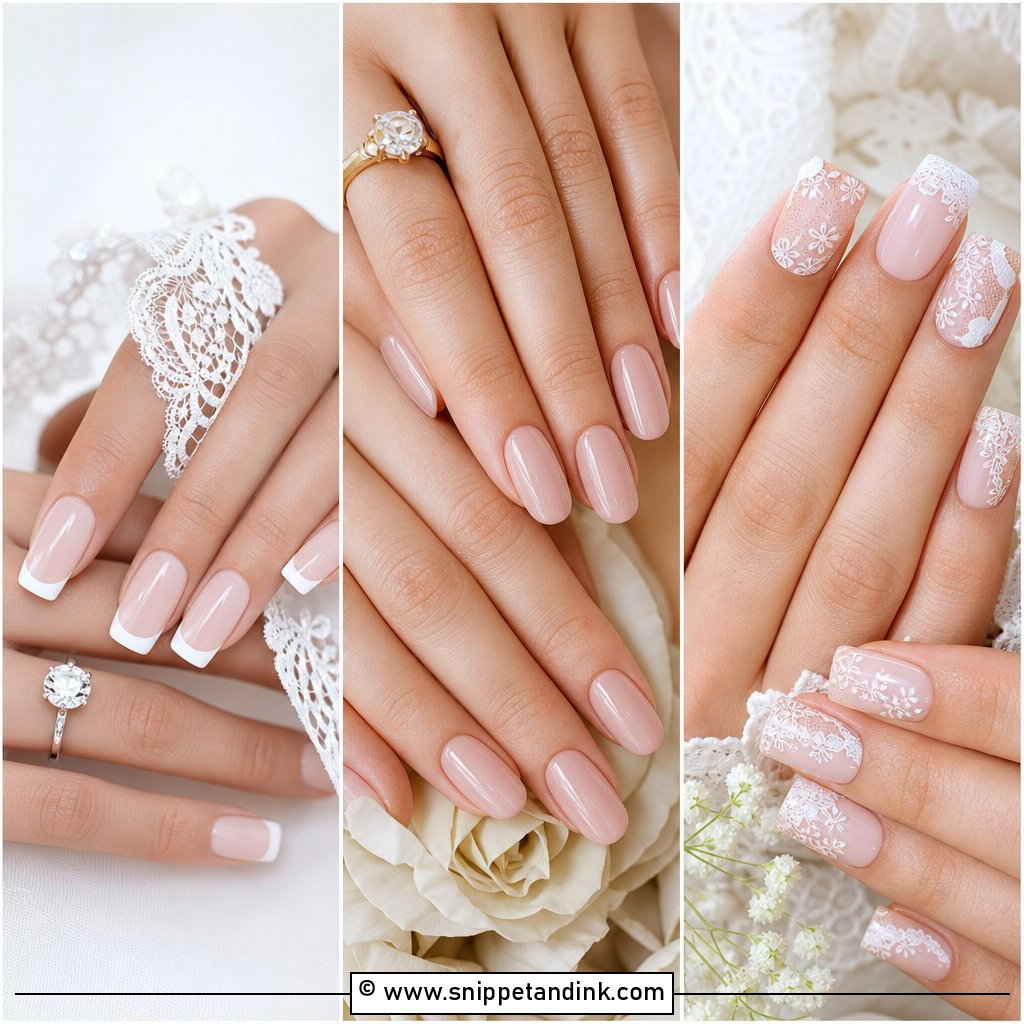
Lace on the nails can echo lace on the gown. Over a soft pink, nude or milky fade, I paint fine white lines, tiny dots and sheer floral patterns on one or two accent nails, or use a stamping plate for a finer, even repeat. Bring a photo of your actual lace so the pattern relates to it. Keep the art thin and airy; dense lace covers the fade completely. Almond and oval suit romantic and vintage styles, and square gives a cleaner finish.
If Gel Has Ever Made Your Fingertips Itch
Some people develop an allergy to the acrylates in gel and acrylic products, often after many sets with no trouble at all. It usually shows as itching, redness or swelling around the nail folds, sometimes with small blisters or nails lifting. It’s most often caused by uncured product touching the skin, which is one reason I keep a gap at the cuticle and cure each layer fully.
- Tell your nail artist at booking if you’ve reacted before, even mildly.
- Ask about HEMA-free gels, which many people with sensitivities tolerate better.
- Skip home gel kits in the weeks before the wedding; under-cured product is the usual culprit.
- If you’re reacting now, wear regular polish or a press-on set on the day, and see a doctor if the swelling spreads.
An allergy doesn’t rule out an ombre. I can sponge the same fade in regular polish the evening before, and while it only lasts a few days, a few days is all a wedding needs.
Keep Every Detail Smaller Than Your Ring
Pick the fade first, then decide how much extra it needs: pearl chrome, blush, glitter, flowers, lace or nothing at all. Your dress, jewelry, season and the length you’re comfortable with will narrow it quickly. Choose soft colors and a smooth blend, and keep any detail smaller than your ring. A trial before the wedding is worth booking, especially for chrome or glitter, rhinestones, or detailed art, because those are the finishes that behave differently on your nails than in a photo.
You'll Like These Ideas:


Leave a Reply