
Your hands get photographed more closely than almost anything else at a wedding: the ring exchange, the bouquet, a hand on a shoulder in the portraits. That’s why I steer most brides toward natural sets. A sheer or milky manicure doesn’t fight the dress or the ring, and it still looks right in pictures you’ll keep for decades. The styles below run from micro French tips and soap nails to fine pearl and gold details, on short to medium shapes. One thing to know before you scroll: sheer polish hides nothing, so the prep underneath matters more than the shade you pick.
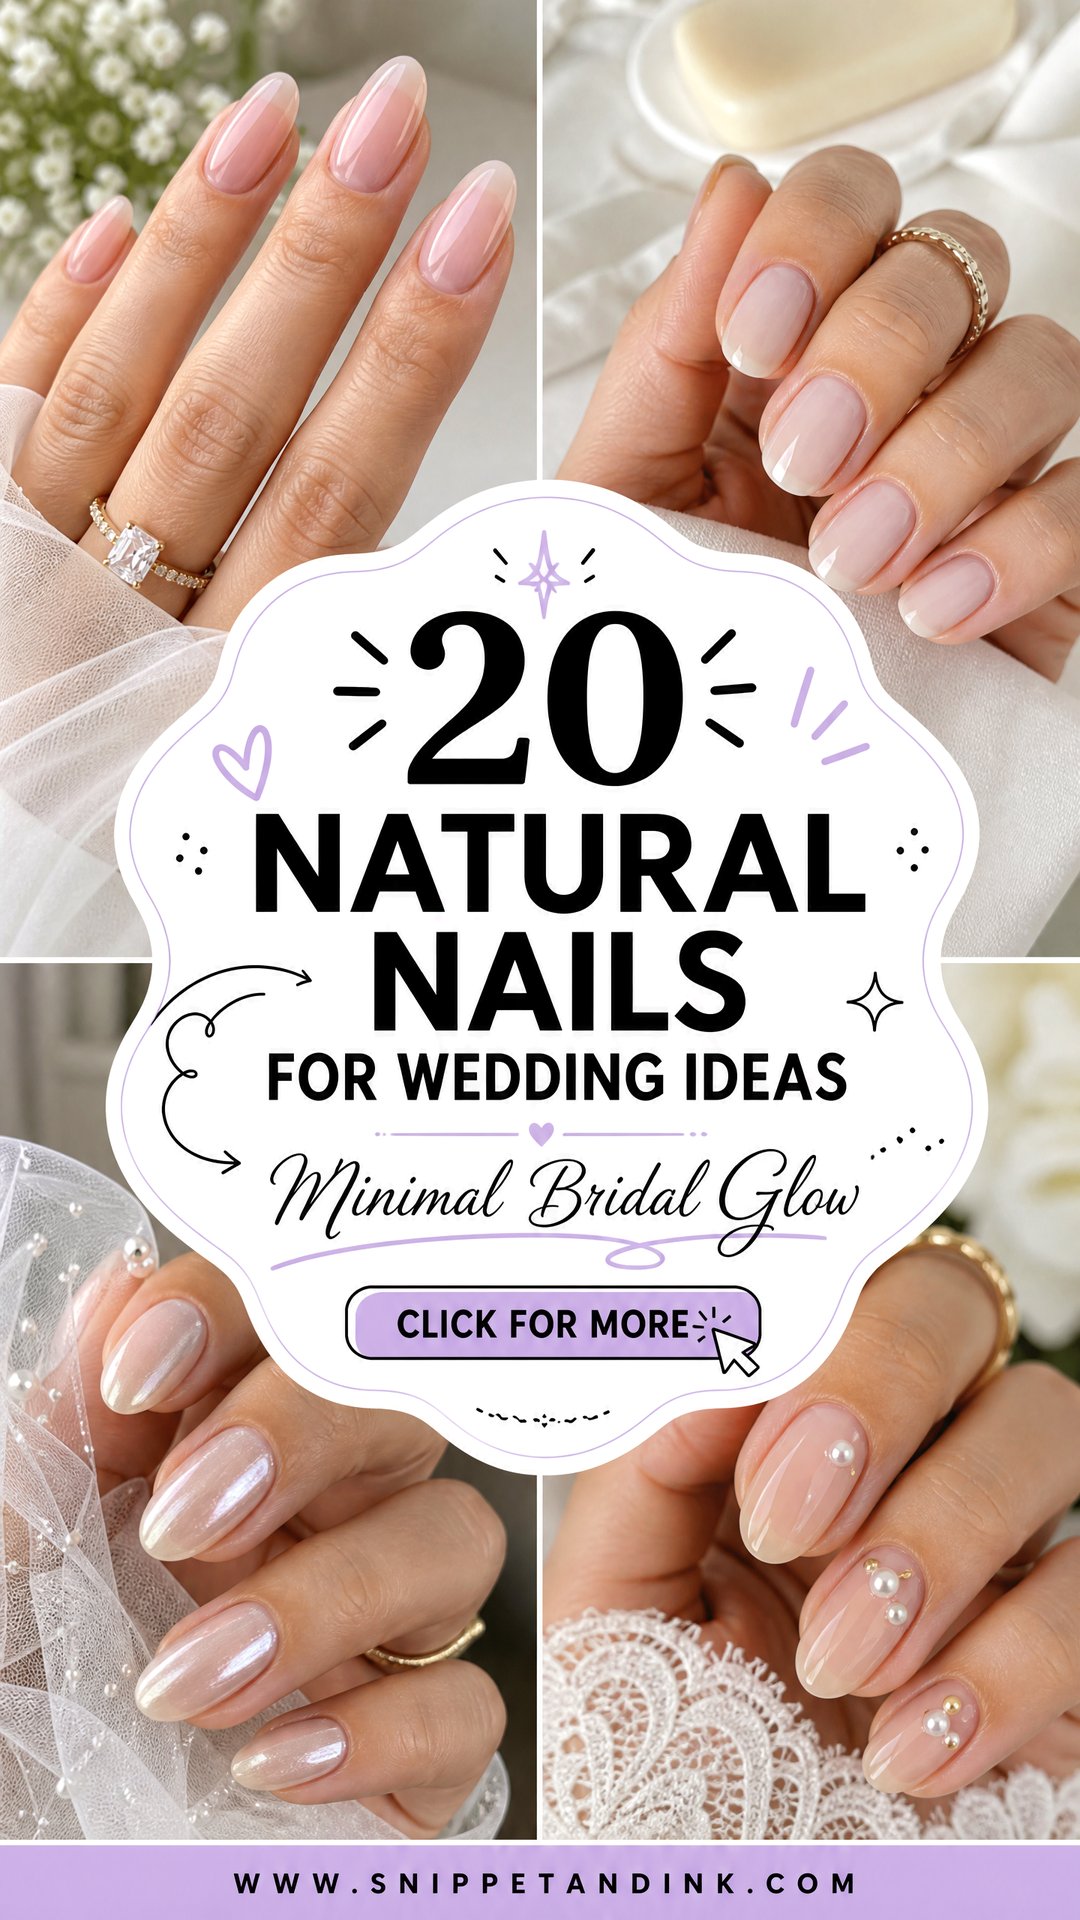
Getting Your Hands Ready for Ring Close-Ups
A natural manicure is only as good as the nails underneath it. A dark polish can cover dry cuticles and a few ridges; a sheer one shows every flaw. If you can, start looking after your hands about a month out.
- Use cuticle oil every night. It softens the skin around the nail and makes the cuticles far easier to tidy on the day.
- Stop cutting your cuticles at home. Clipping too deep leaves ragged skin and hangnails that show clearly in close-ups.
- Pause dark polishes a few weeks ahead. Deep reds and navy can stain the nail plate, and a sheer set will show the yellow tint.
- Wear gloves for washing up and cleaning. Hot water and detergent dry out the nail and the skin around it.
- Pick one length and let the nails grow evenly. If one breaks, file the rest to match rather than waiting for it to catch up.
Hand cream matters as much as the nails. Ring shots are usually taken with a macro lens, so dry knuckles and flaky skin around the nails are visible in a way you won’t notice in the mirror.
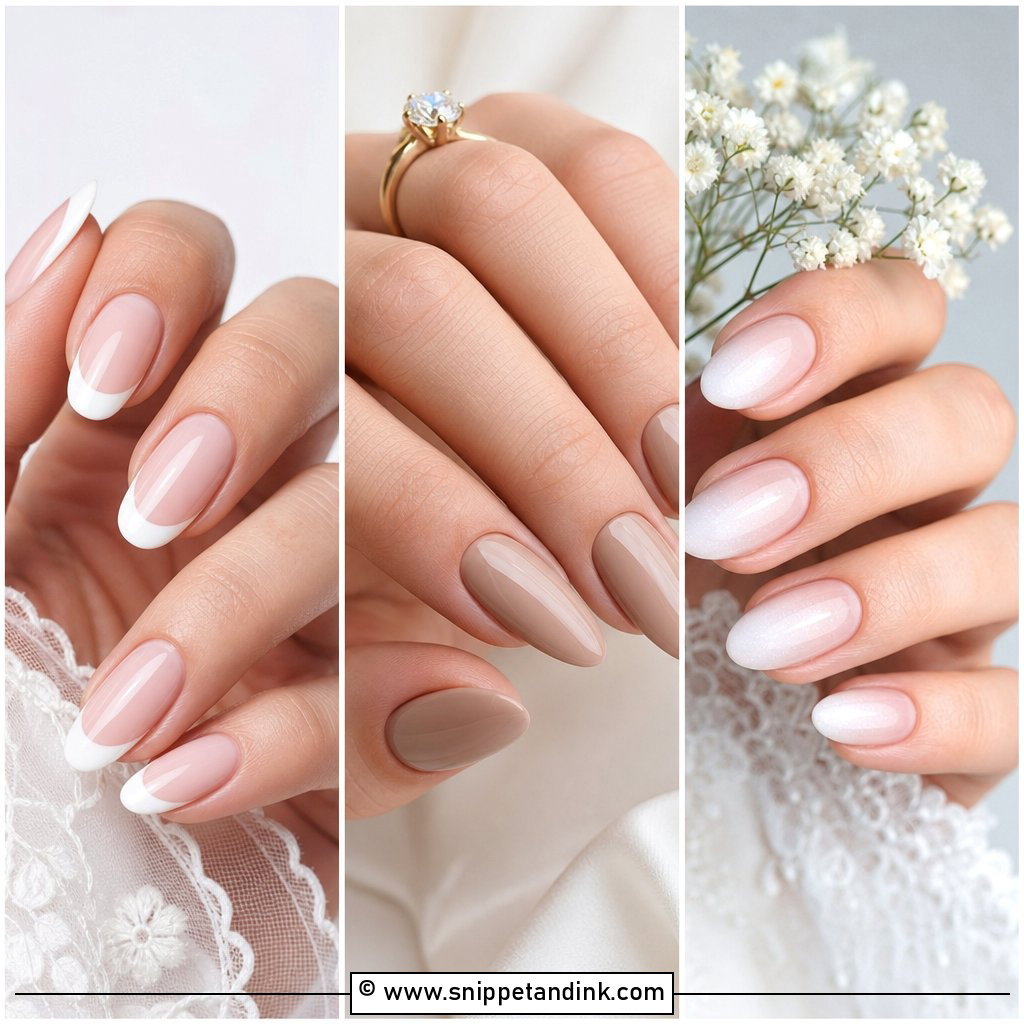
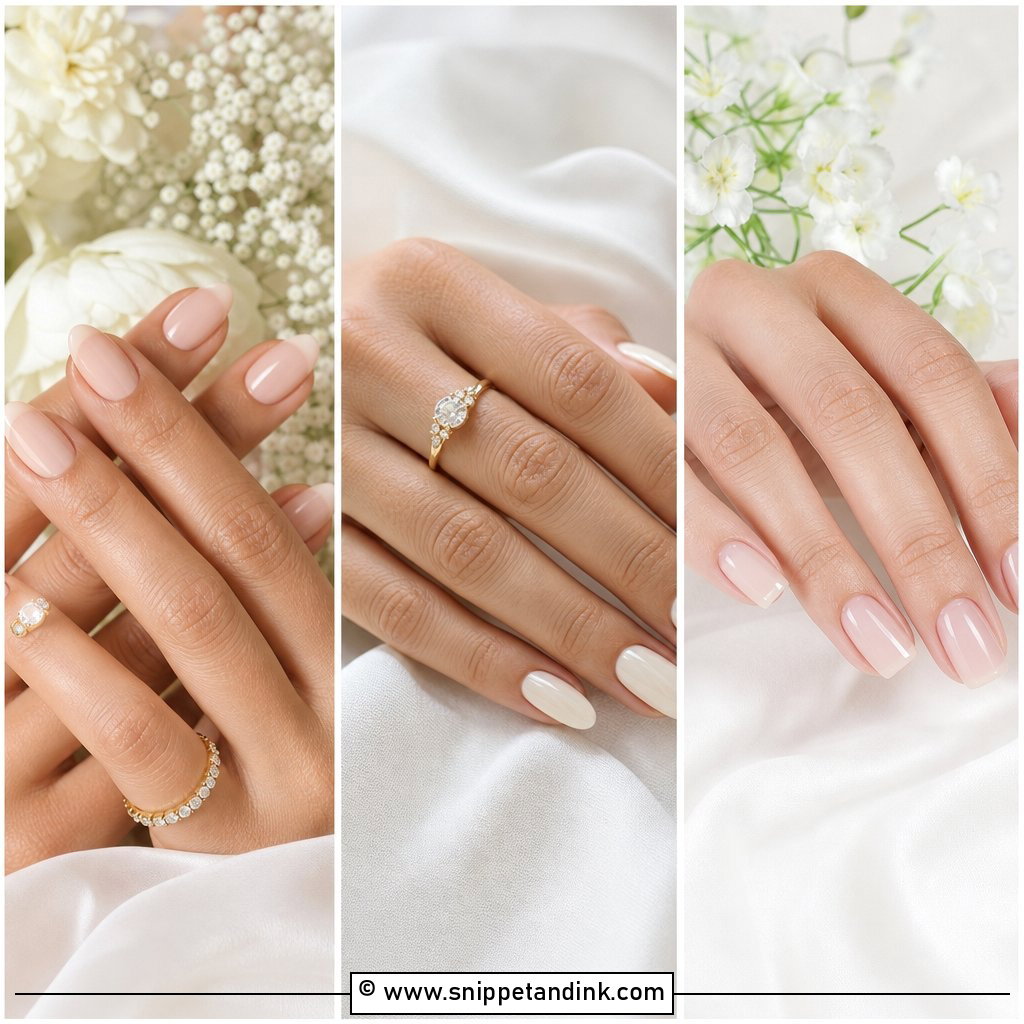
1. Natural French Nails for Wedding
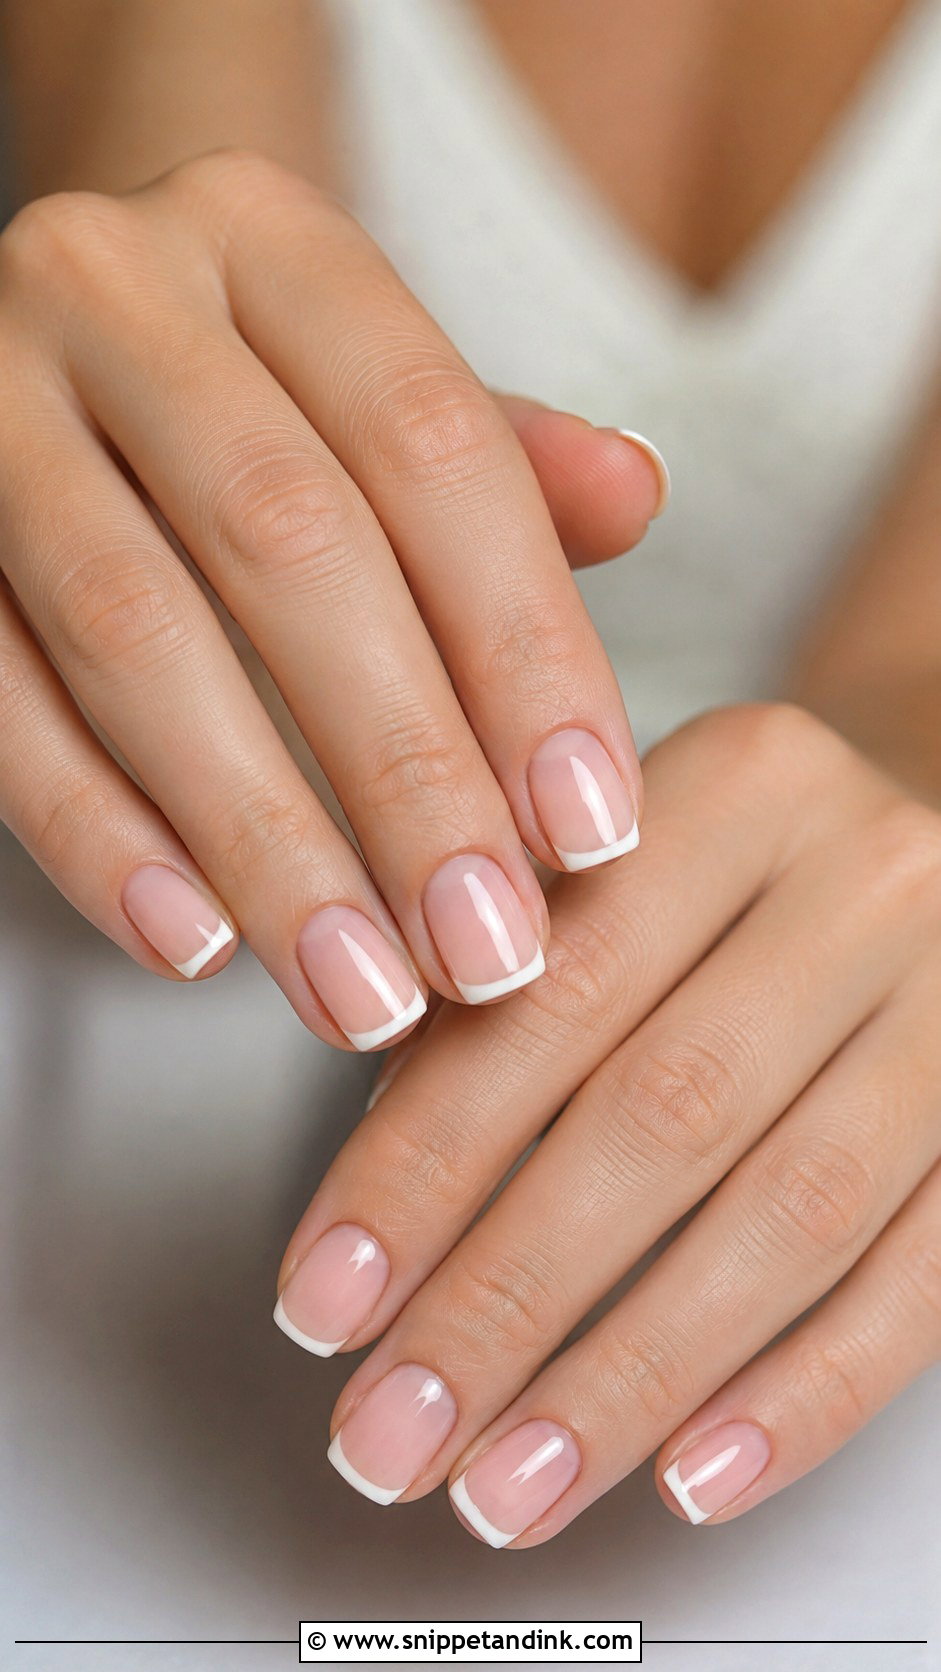
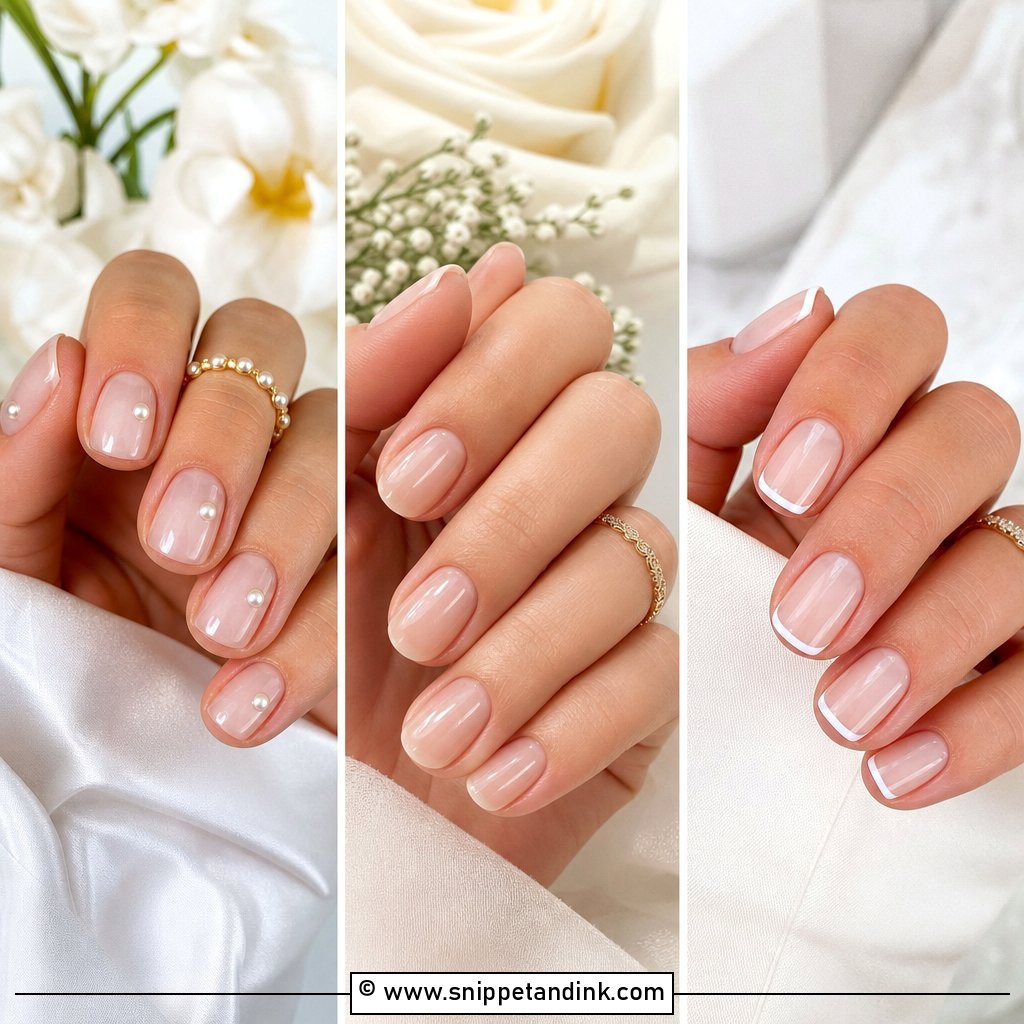
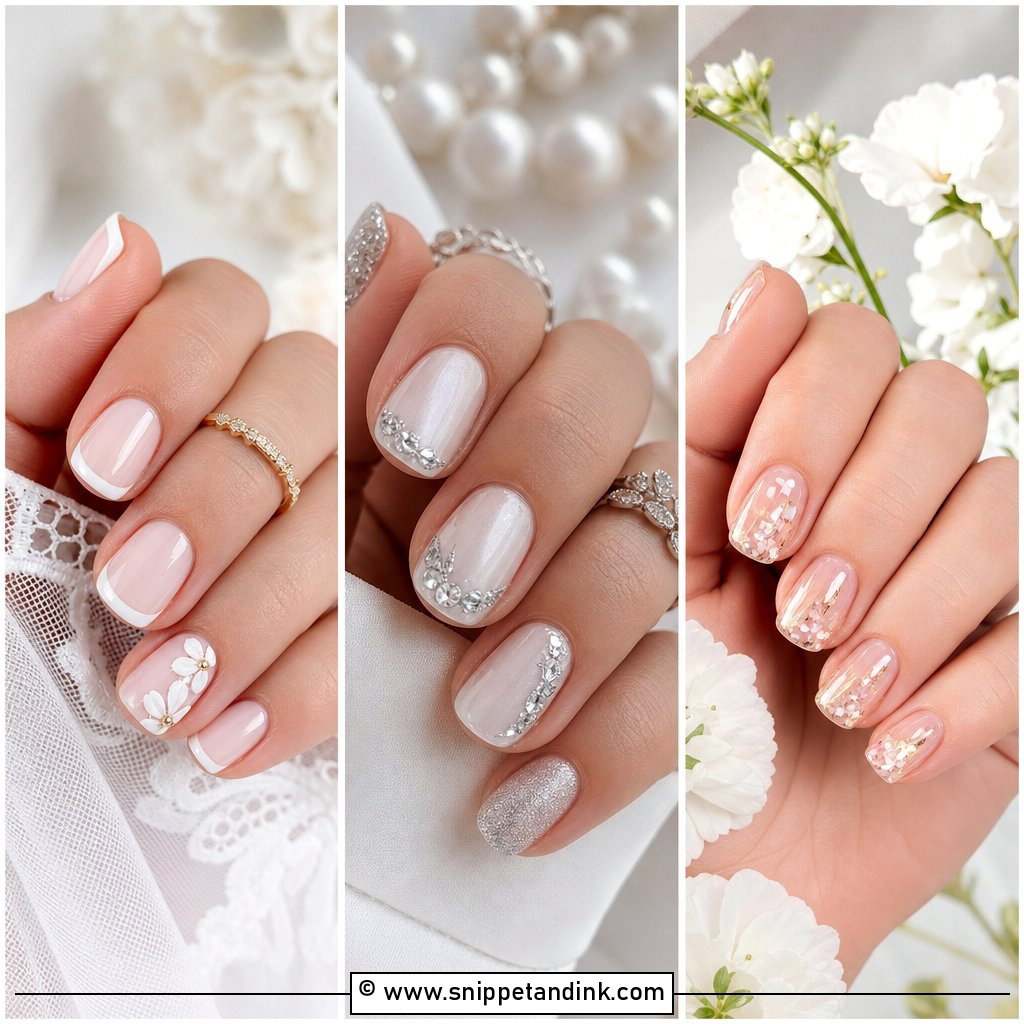
The French I do for weddings is barely there: a thin ivory or milky white tip, a couple of millimetres at most, over a sheer pink or nude base. A thick bright-white tip looks dated in close-ups and makes short nails look shorter. I paint the smile line to follow the curve of your own free edge, which is why a micro French flatters every length. Square tips look neat and modern; almond or oval stretch the fingers. A high-gloss top coat finishes it. Classic dresses and simple jewellery suit it best.
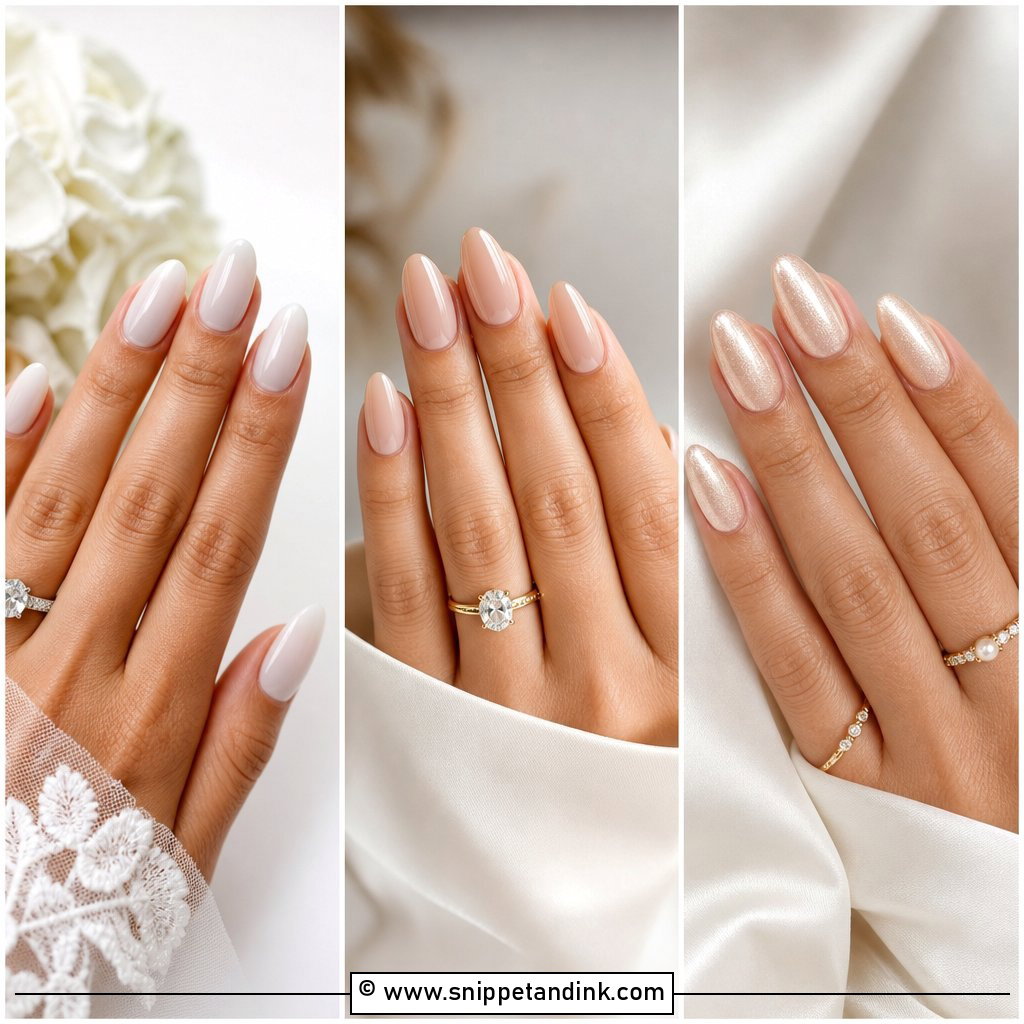
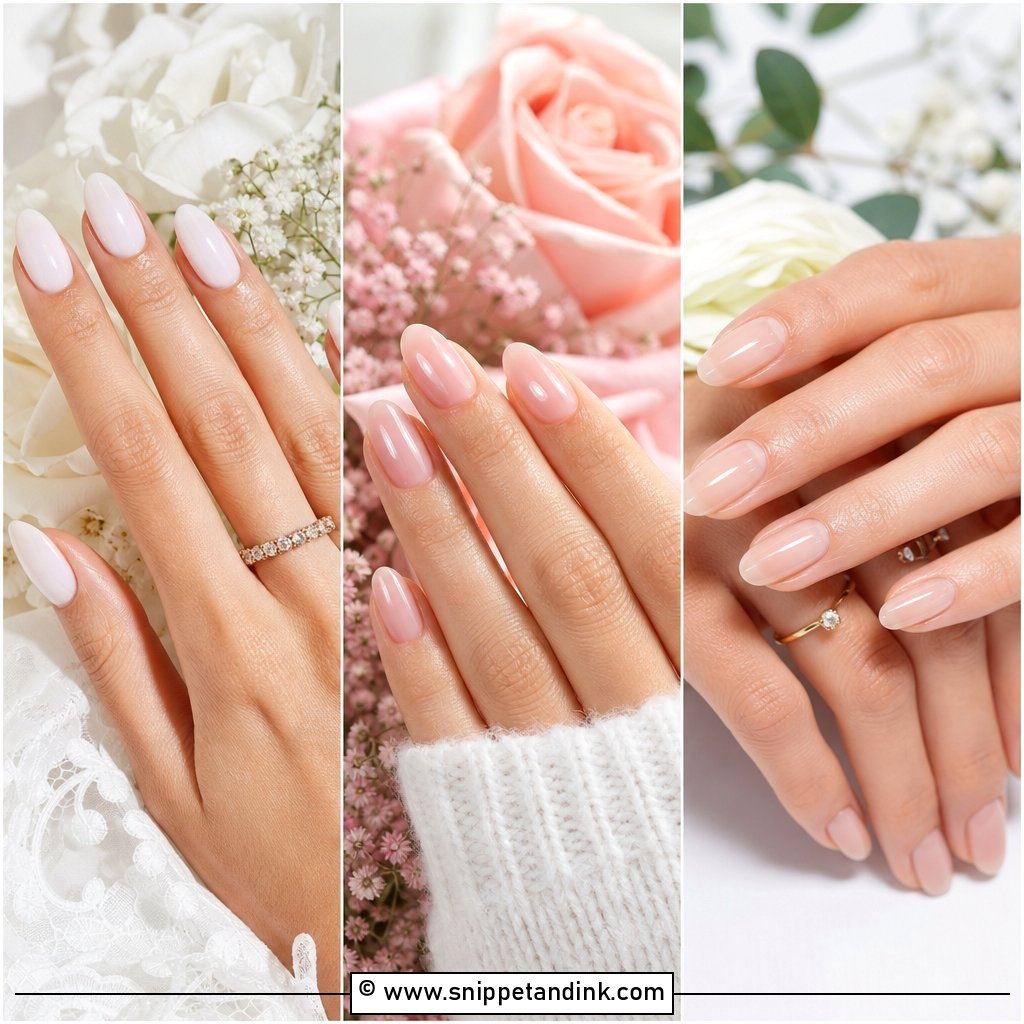
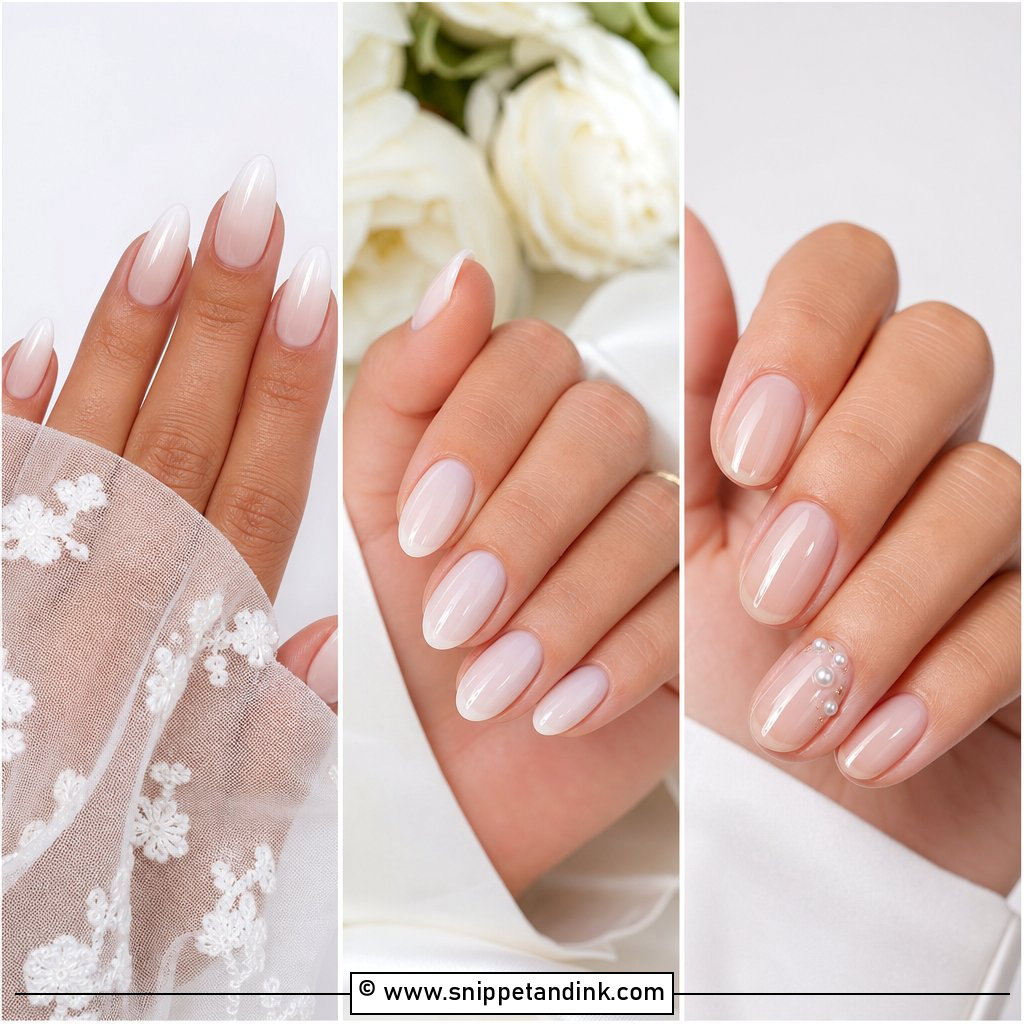
2. Milky White Natural Wedding Nails
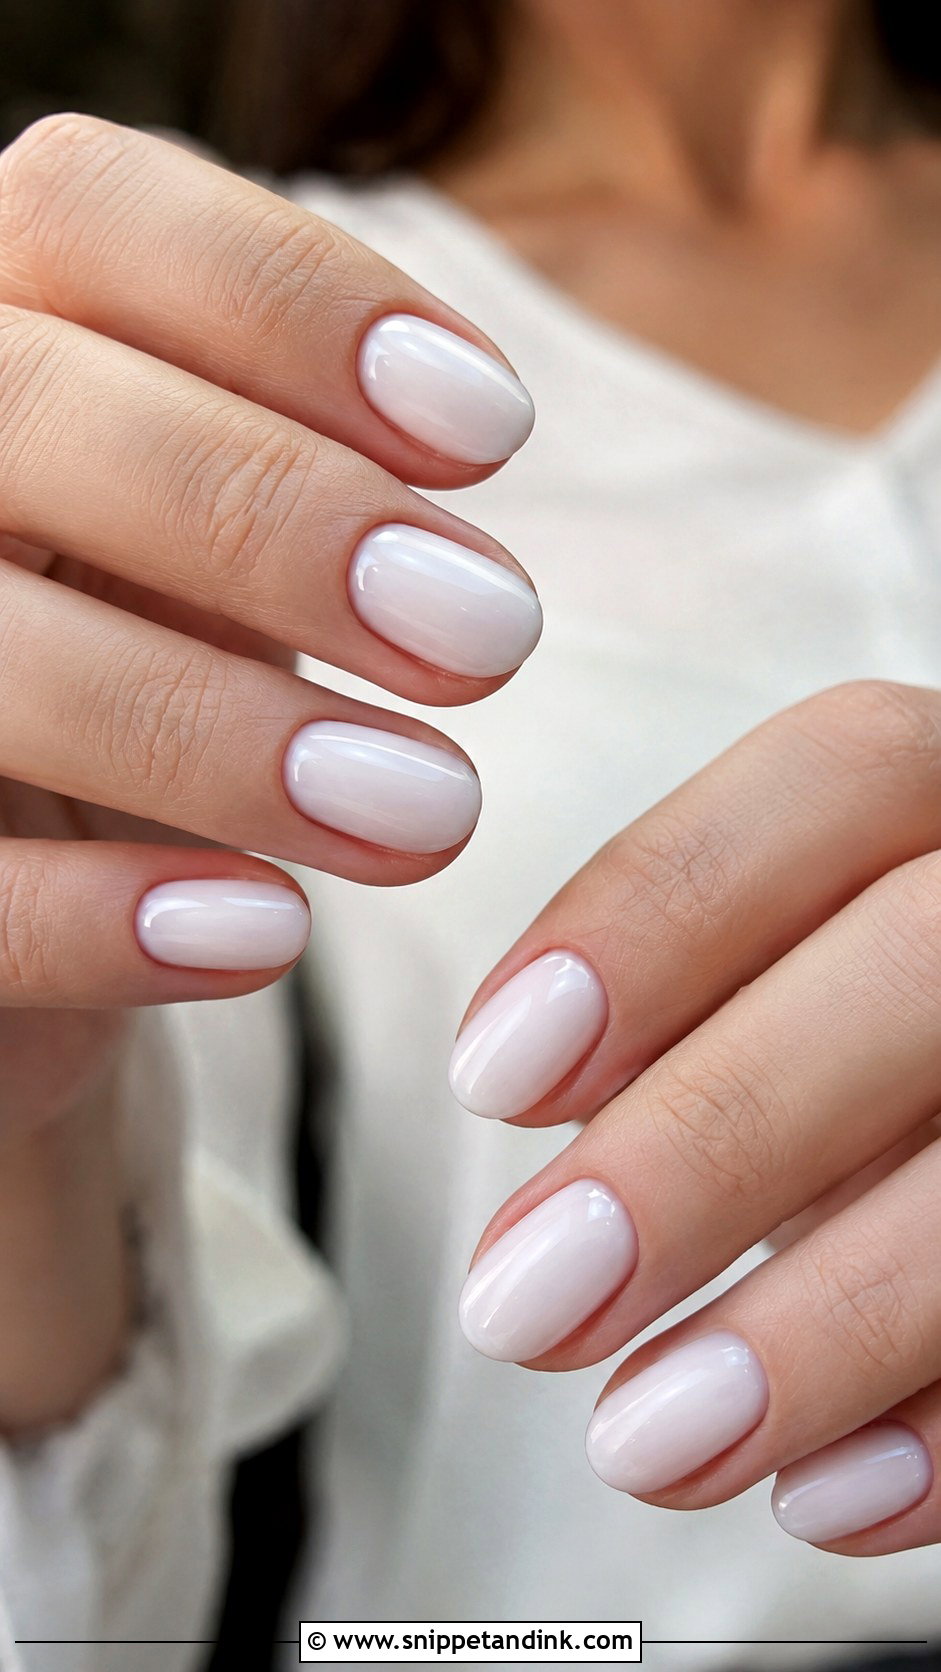
Milky white natural wedding nails are softer than opaque white, which can look like correction fluid next to skin. The semi-sheer finish evens out the nail bed and blurs small marks, so it’s forgiving on short nails as well as medium almonds and ovals. I match the milk to the undertone: cool skin usually suits a white with a hint of pink, warm skin a creamier vanilla or beige-white. Two thin coats look cleaner than one thick one, which tends to streak. Ivory, champagne and blush outfits all sit comfortably next to it.
3. Sheer Pink Natural Nails for Wedding
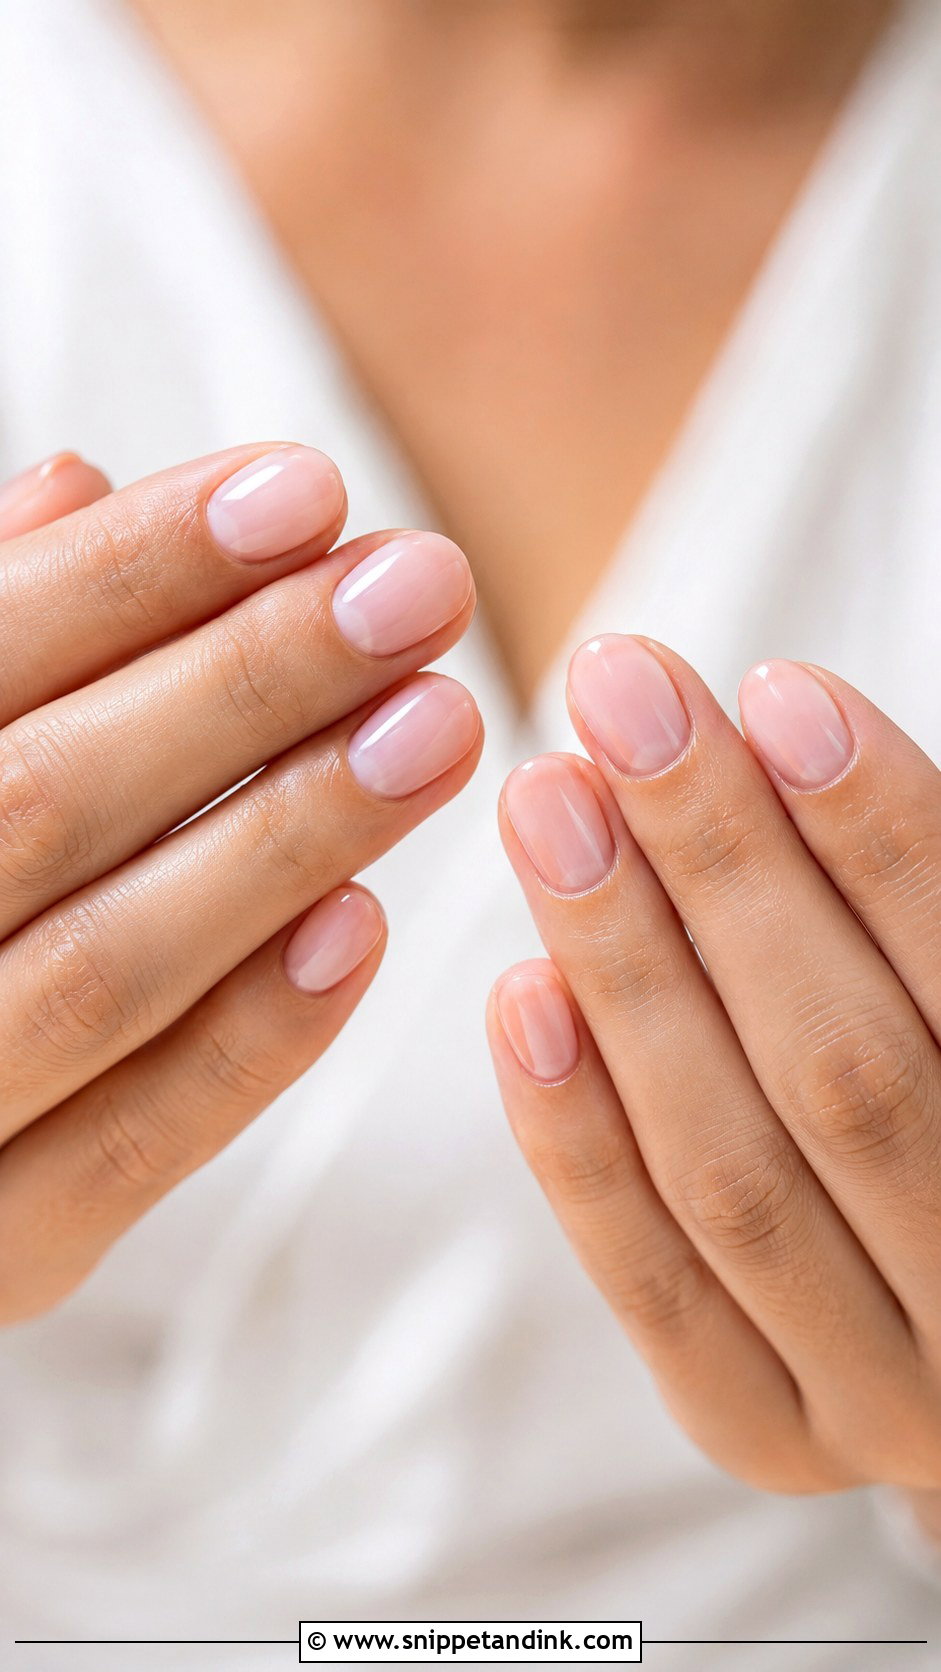
A sheer pink tint makes your own nails look healthier, not painted, which is exactly why brides who never wear colour like it. The catch is that sheer pink shows every ridge and stain underneath. I usually lay down a ridge-filling or rubber base first so the surface is level before the colour goes on. Keep the shape simple, short round, oval or soft square, and finish with a high-gloss top coat. Without that shine, sheer pink can read as tired rather than fresh.
4. Nude Natural Wedding Nails
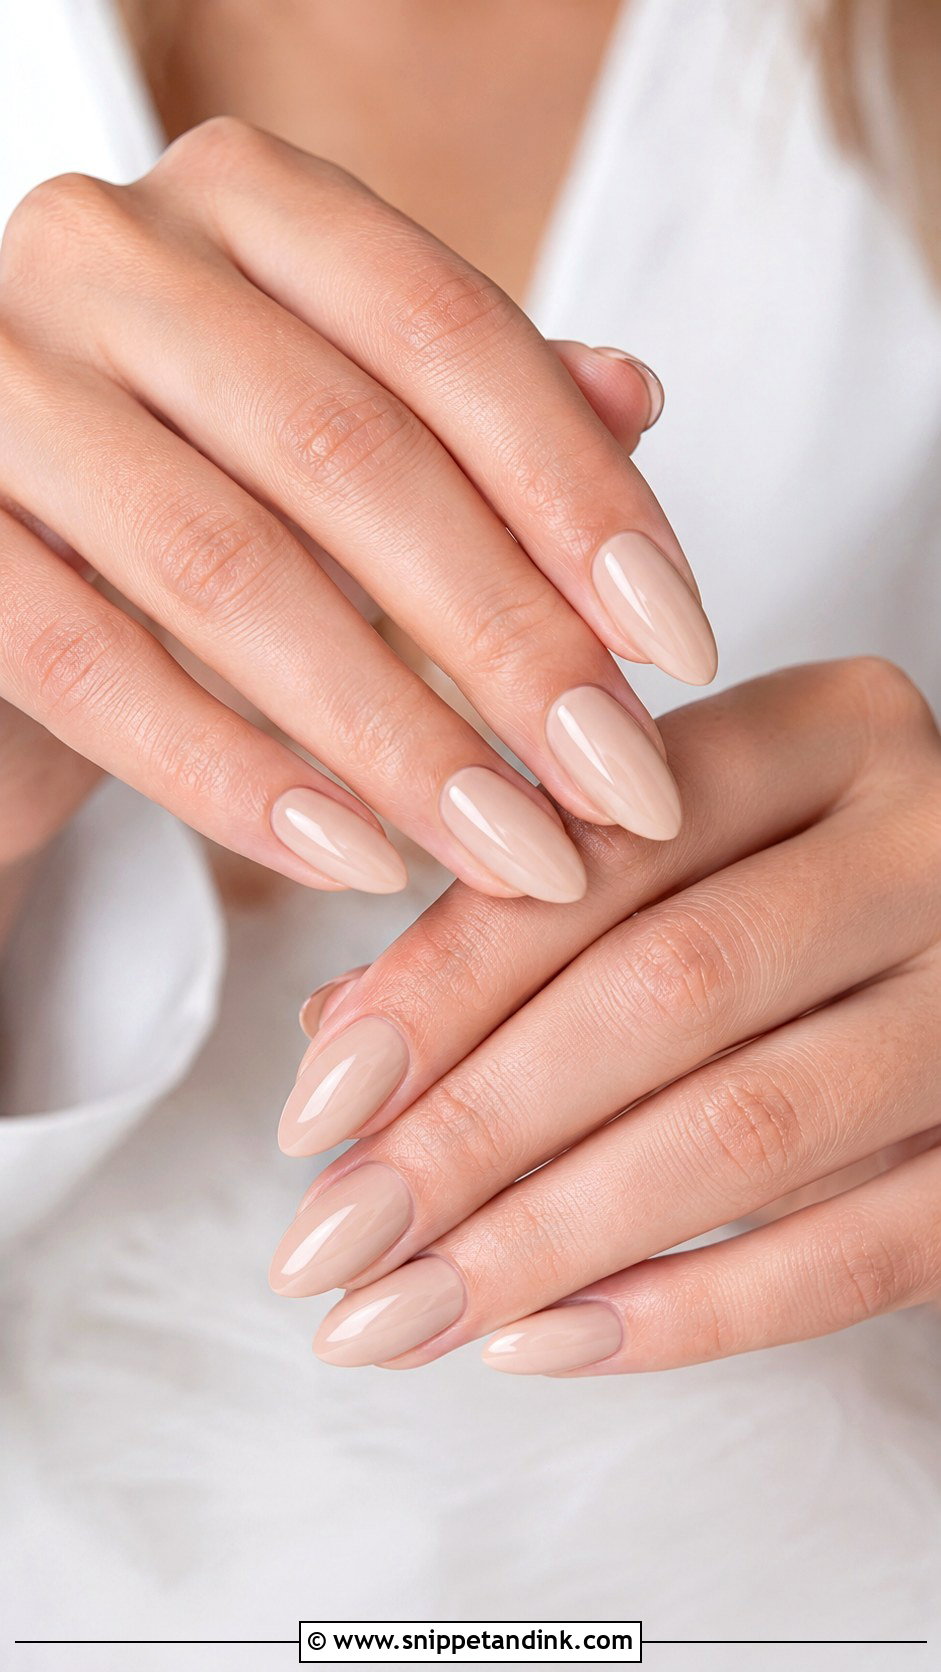
Nudes are harder to match than people expect. Too grey and the hands look cold; too orange and they look tanned in the wrong way; too pale and the fingertips look bloodless. I swatch two or three shades on your nails next to your knuckles before committing. Fair skin often suits pink-beige, medium skin a peachy nude, and deep skin caramel, cocoa or rosy brown. A short almond or oval shape softens the look, and a square one gives a cleaner, modern edge.
5. Soap Nails for Wedding
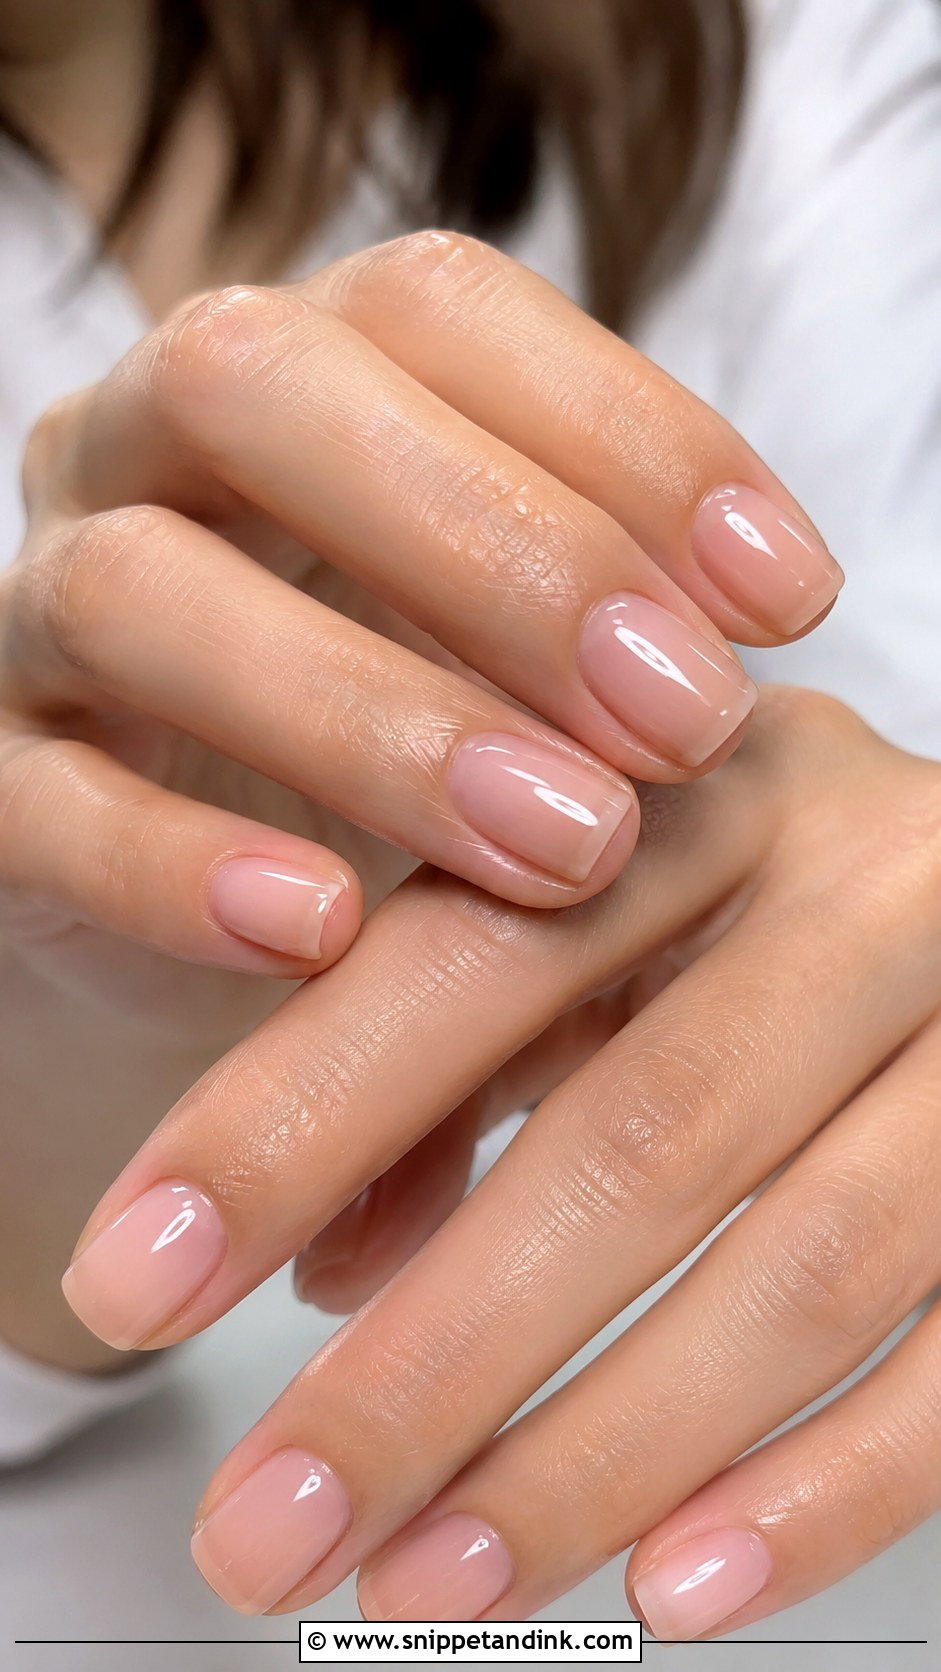
Soap nails should look like your nails just got scrubbed and buffed, nothing more. A sheer nude, pale pink or translucent beige under a very shiny top coat. Because there’s almost no colour, preparation is the entire manicure: neat cuticles, an even length across all ten nails, a smooth surface with no ridges. If even one nail is noticeably shorter, I’d file the others down to match rather than leave the set uneven. Done properly, it looks healthy rather than done, especially in ring close-ups.
6. Glazed Natural Wedding Nails
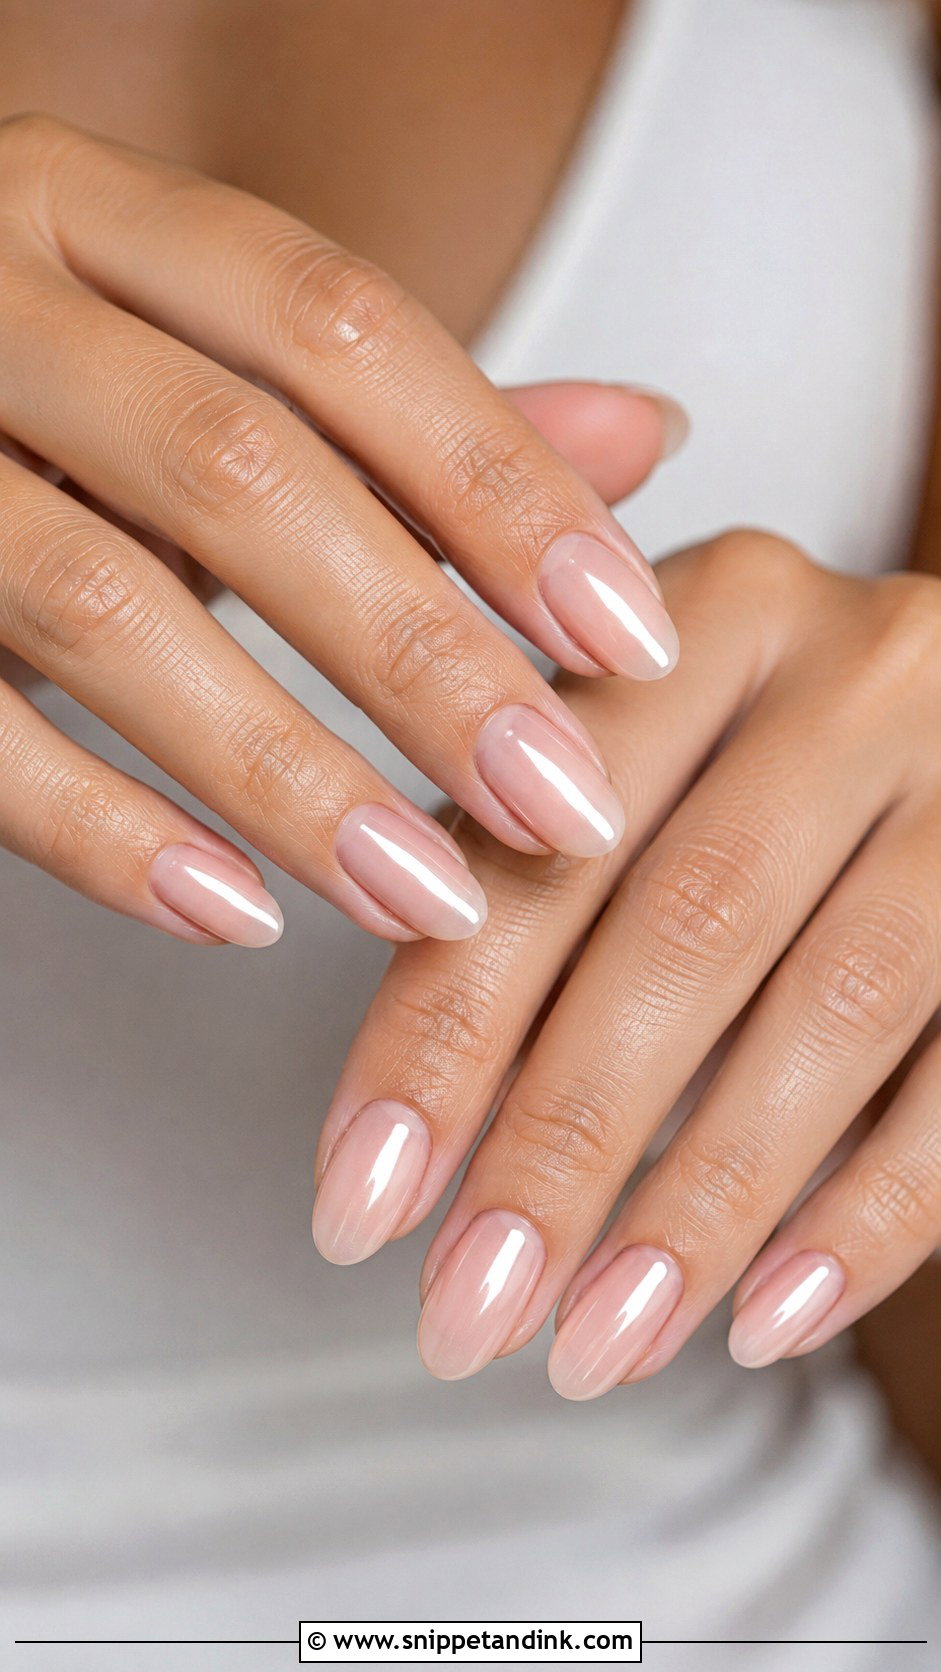
Glazed natural wedding nails get their sheen from a very fine chrome powder buffed over the base. I apply it over a no-wipe gel top coat, then seal it with another top coat, because chrome left unsealed wears off within days. The base can be sheer pink, milky nude or soft beige. Use the lightest pearl powder and only a thin layer, so the shine looks soft rather than metallic and doesn’t compete with your ring. Almond, oval and short square all suit it, as long as the length stays practical.
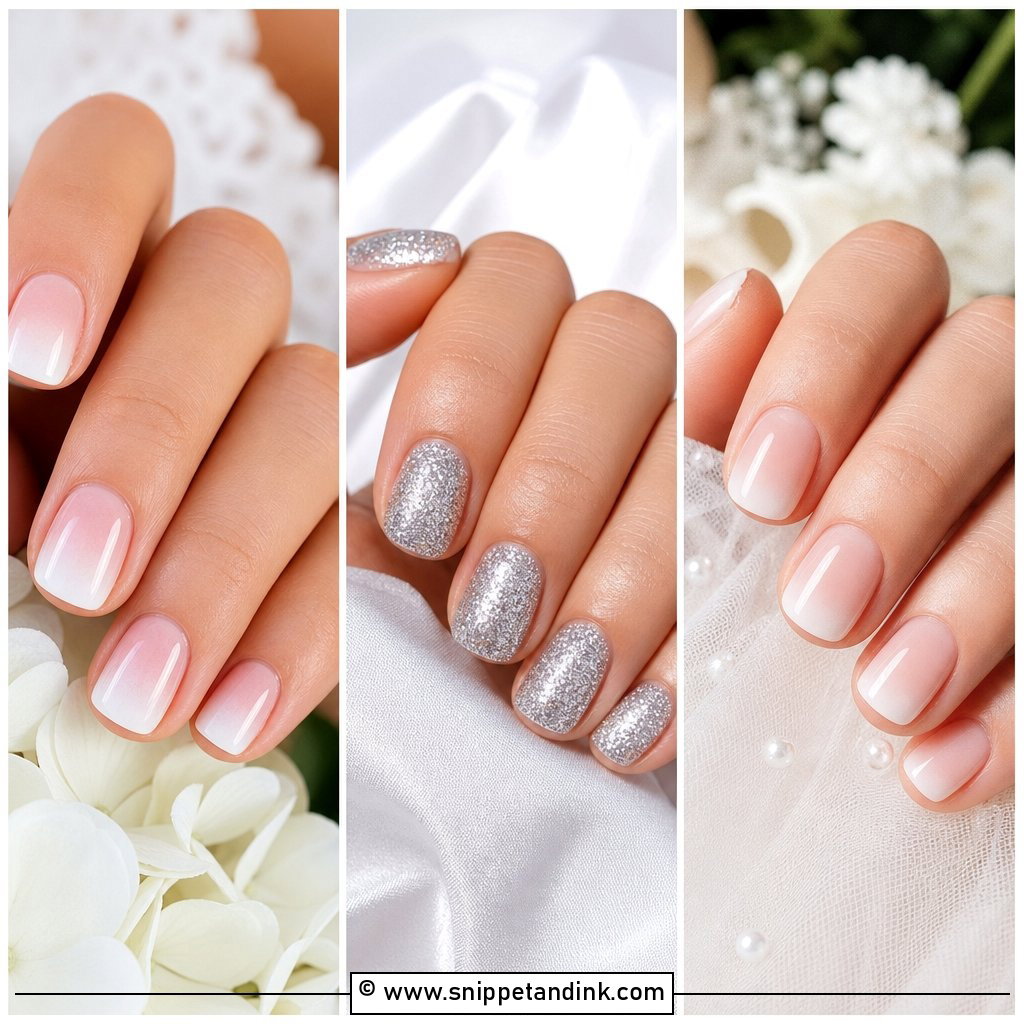
7. Natural Ombré Wedding Nails
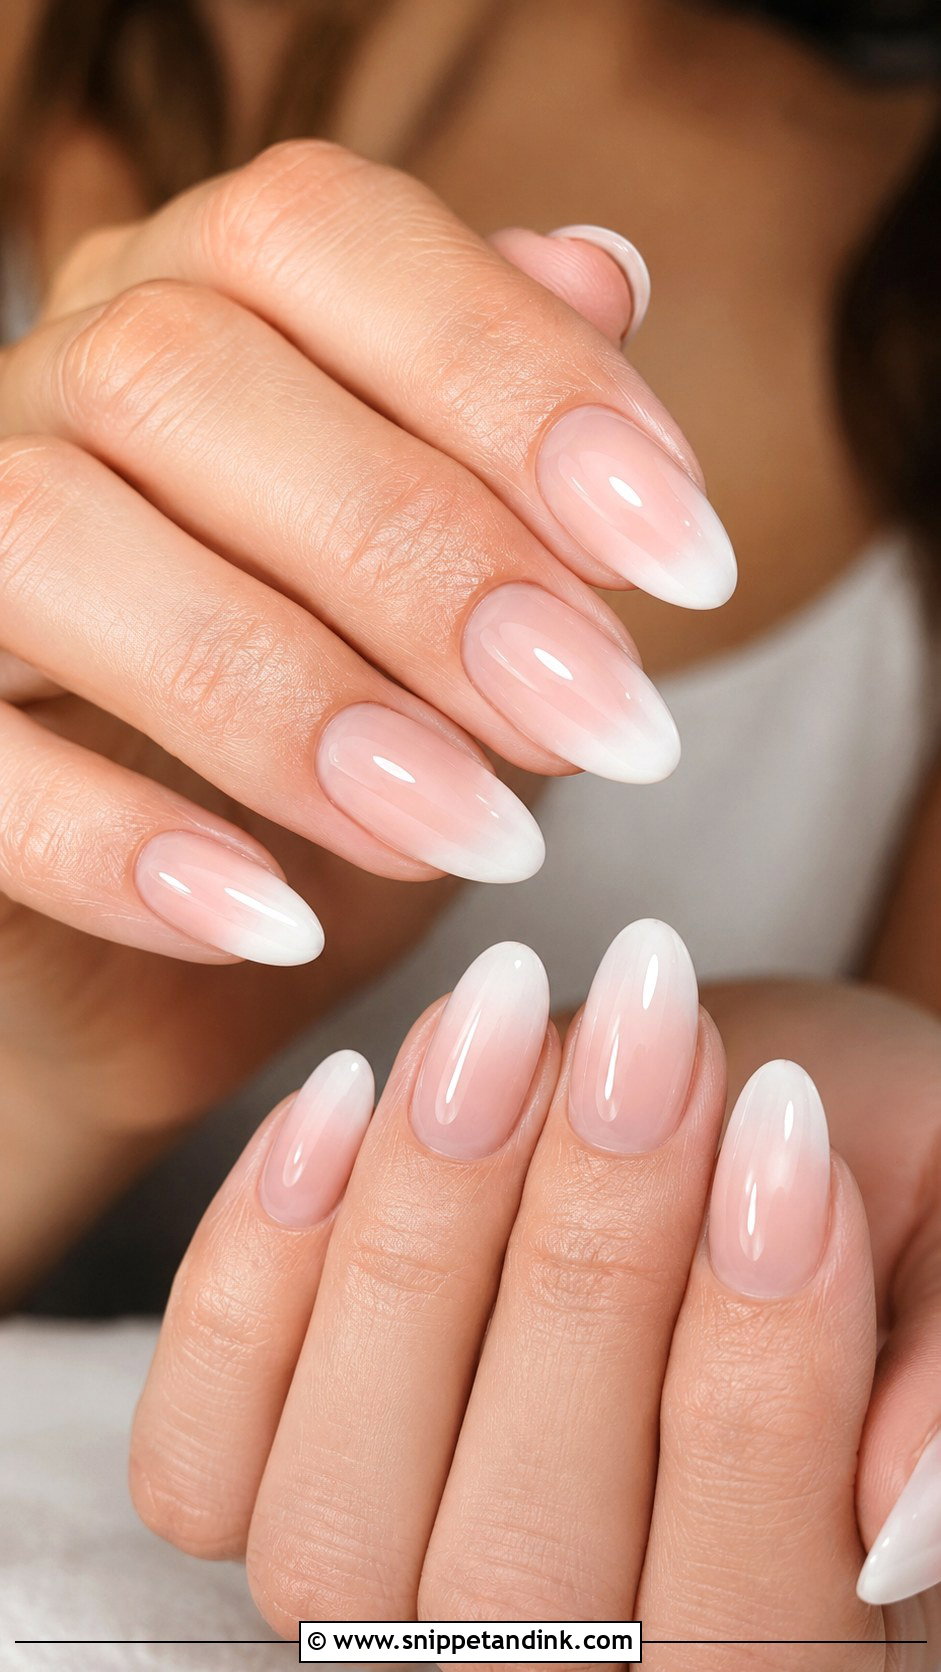
Ombré works best when you can’t see where the colour changes. A nude or pink at the base fades into a pale milky tip, sometimes called a baby boomer manicure. I build it with a sponge or by layering sheer gel in thin passes, which takes patience; a rushed blend shows a band halfway up the nail. It gives the effect of a French without the sharp line, and it suits medium almond nails because the fade lengthens the finger. It also grows out gracefully, since the base is close to your natural nail colour.
8. Short Natural Nails for Wedding
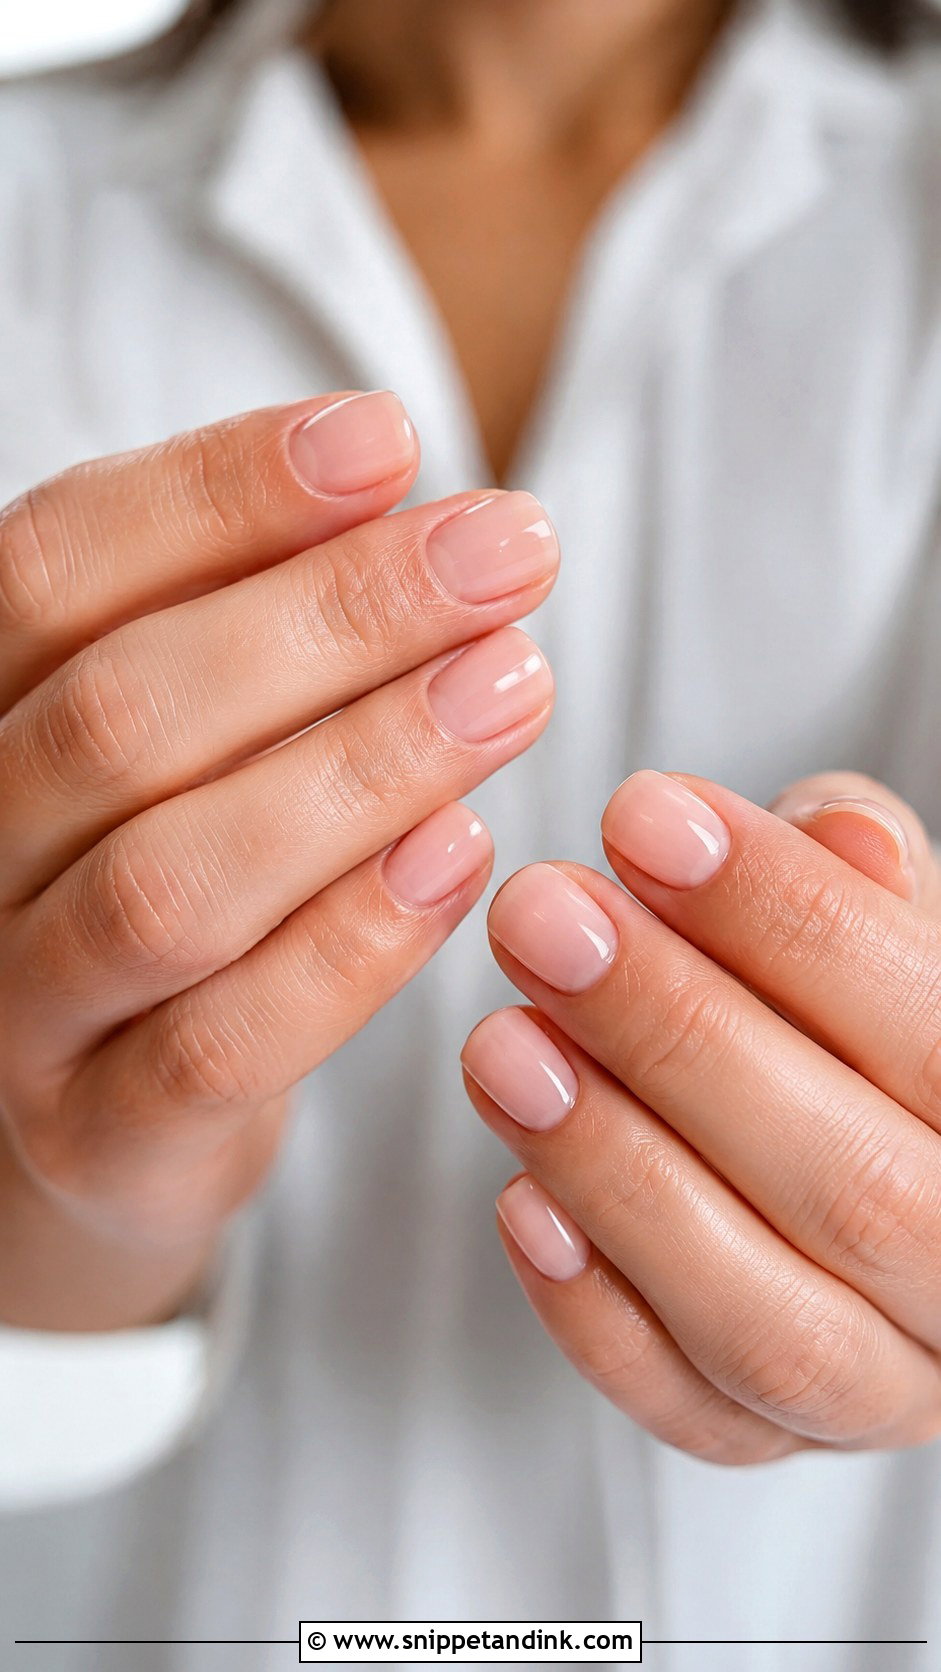
Short nails can look as polished as long ones, and on brides who type, garden or play an instrument, they’re usually the better choice. Short natural nails for wedding days look best in a soft square, round or oval shape with clean cuticle work and a high shine. Sheer pink, milky beige, nude or a delicate French all work. I keep every nail the same length to the millimetre, because on short nails any difference is obvious. And a short nail keeps the attention on the ring.
9. Almond Natural Wedding Nails
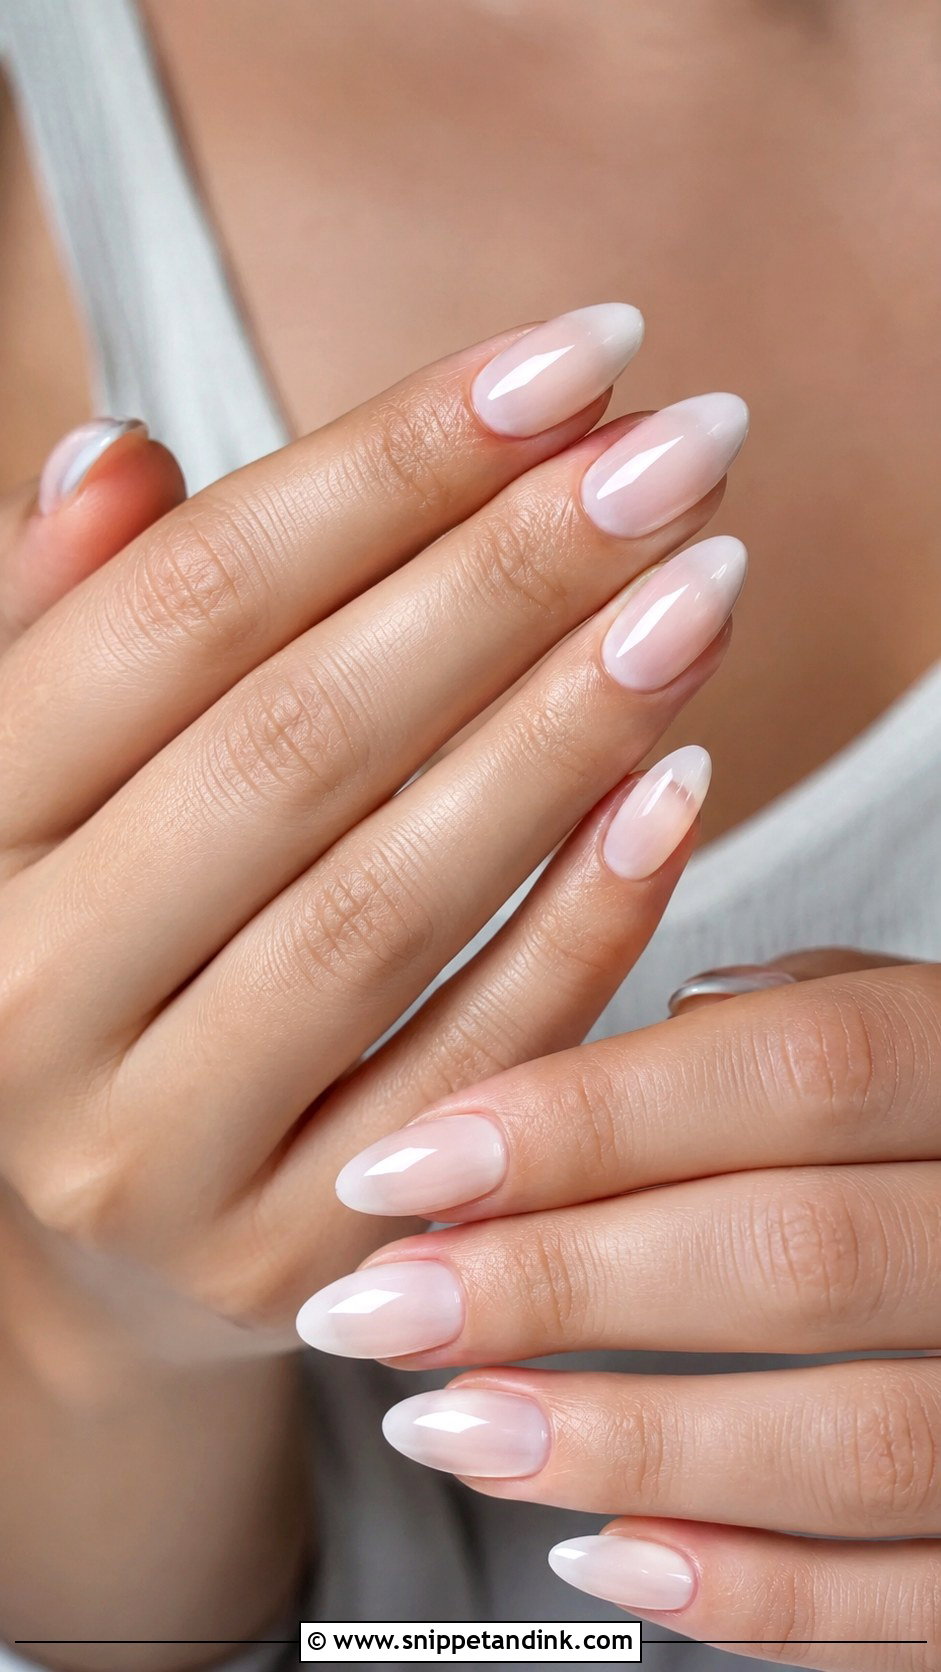
Almond shapes taper slightly at the sides and round off at the tip, which lengthens the finger without looking sharp. Almond natural wedding nails suit a sheer pink, milky nude or a fine micro French. Medium length gives the shape room to read; on very short nails the taper disappears and it just looks oval. If your nails bend or split, I’d add a thin builder gel overlay to protect the shape. It shouldn’t be thick, or the nail starts to look bulky from the side.
10. Oval Natural Nails for Wedding
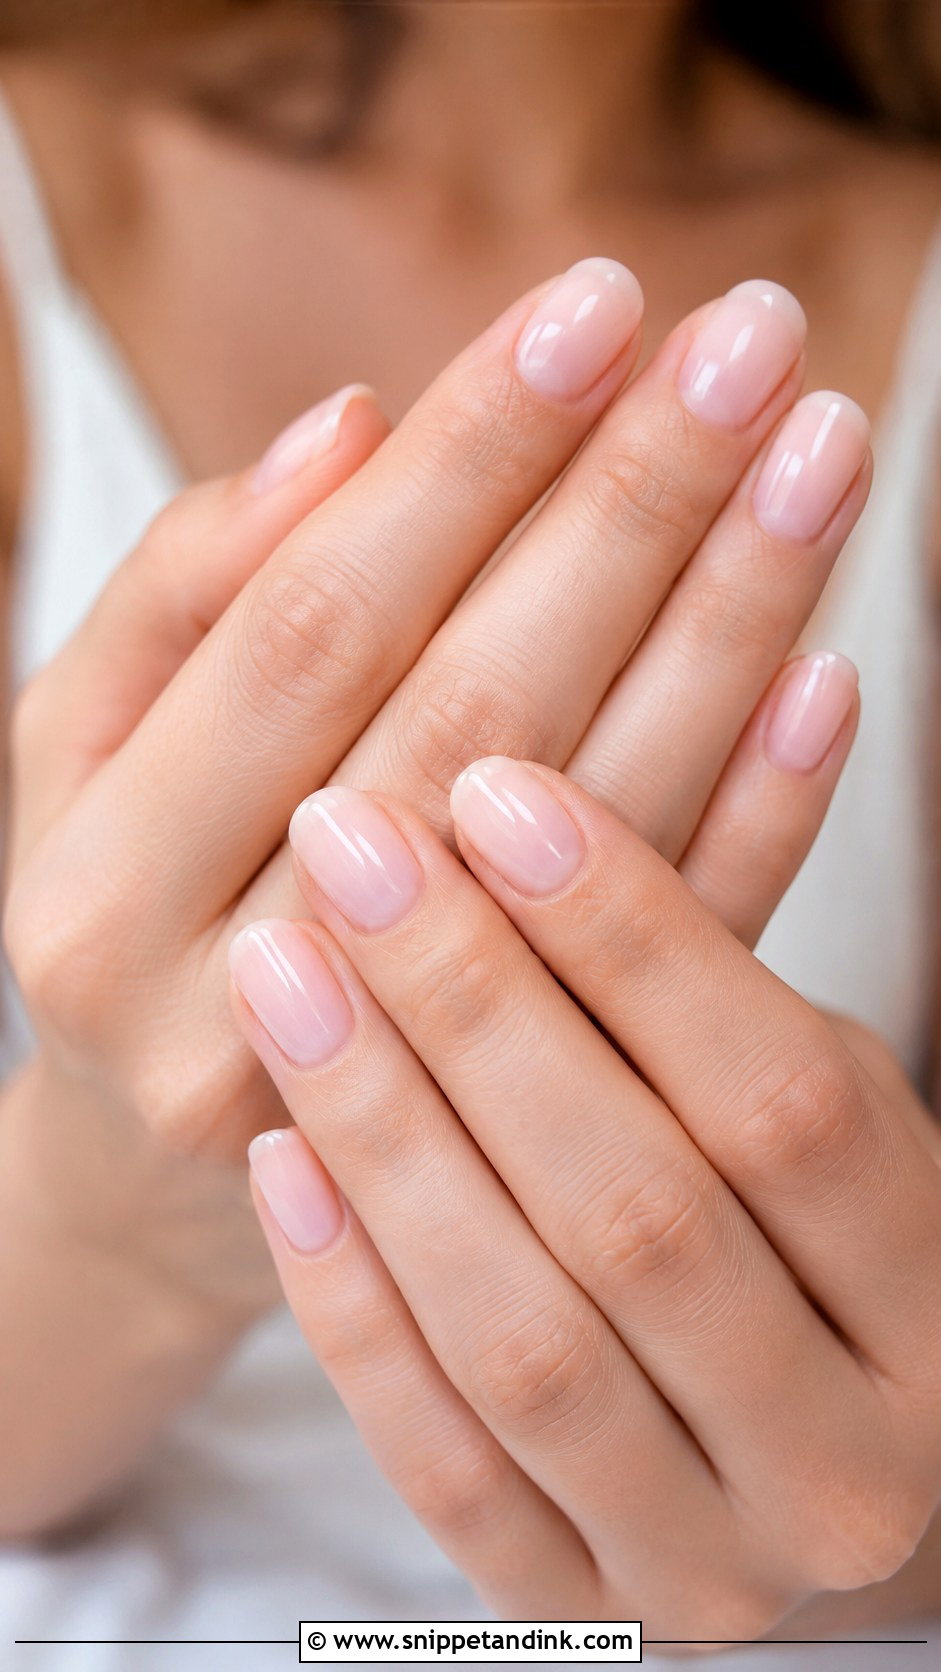
Oval follows the natural curve of your fingertip, which makes it comfortable and very hard to get wrong. It lengthens the fingers without a pointed tip, and the lack of corners means nothing catches on lace or tulle. Sheer blush, glossy nude, milky white or a subtle ombré all sit well on it. I keep ovals short to medium for weddings and ask the finish to even out the nail bed rather than cover it completely. It’s the shape I suggest most to brides who aren’t sure.
11. Square Natural Wedding Nails
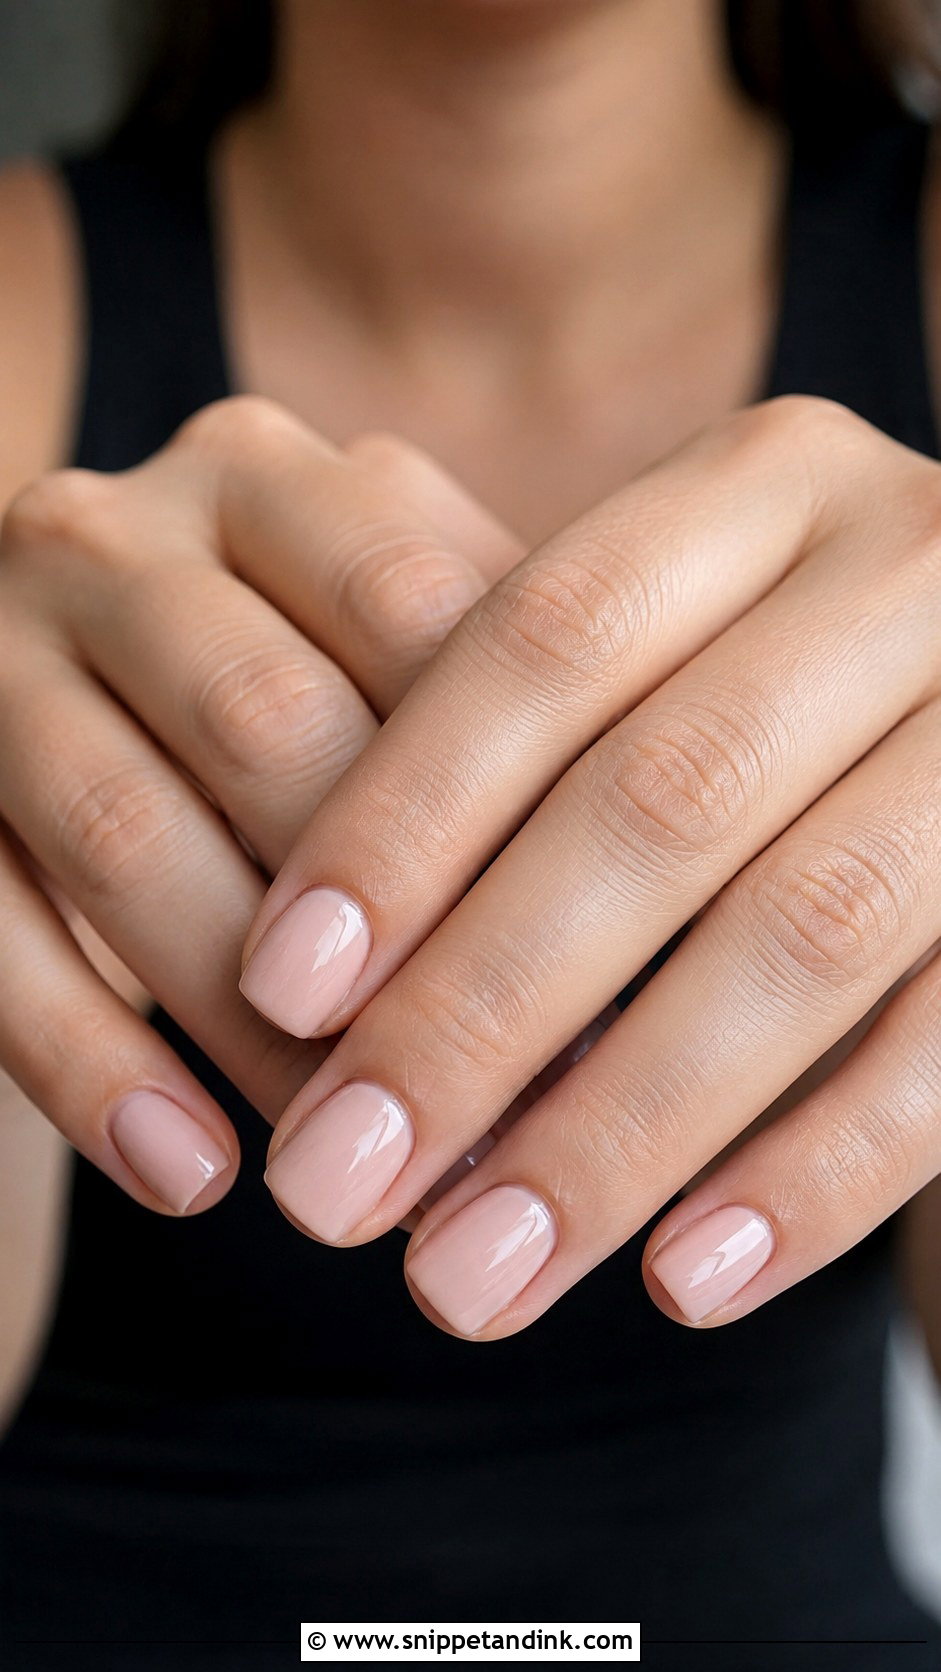
Square gives a crisp outline that looks tidy on short to medium nails. For a wedding, I keep it soft with a sheer nude, pale pink or thin French tip. I’d always round the corners slightly, a squoval rather than a hard square, since sharp corners snag veils, lace and tights, and they’re the first part of the nail to chip. Glossy top coat and well-groomed cuticles finish it for anyone who likes some structure in a natural set.
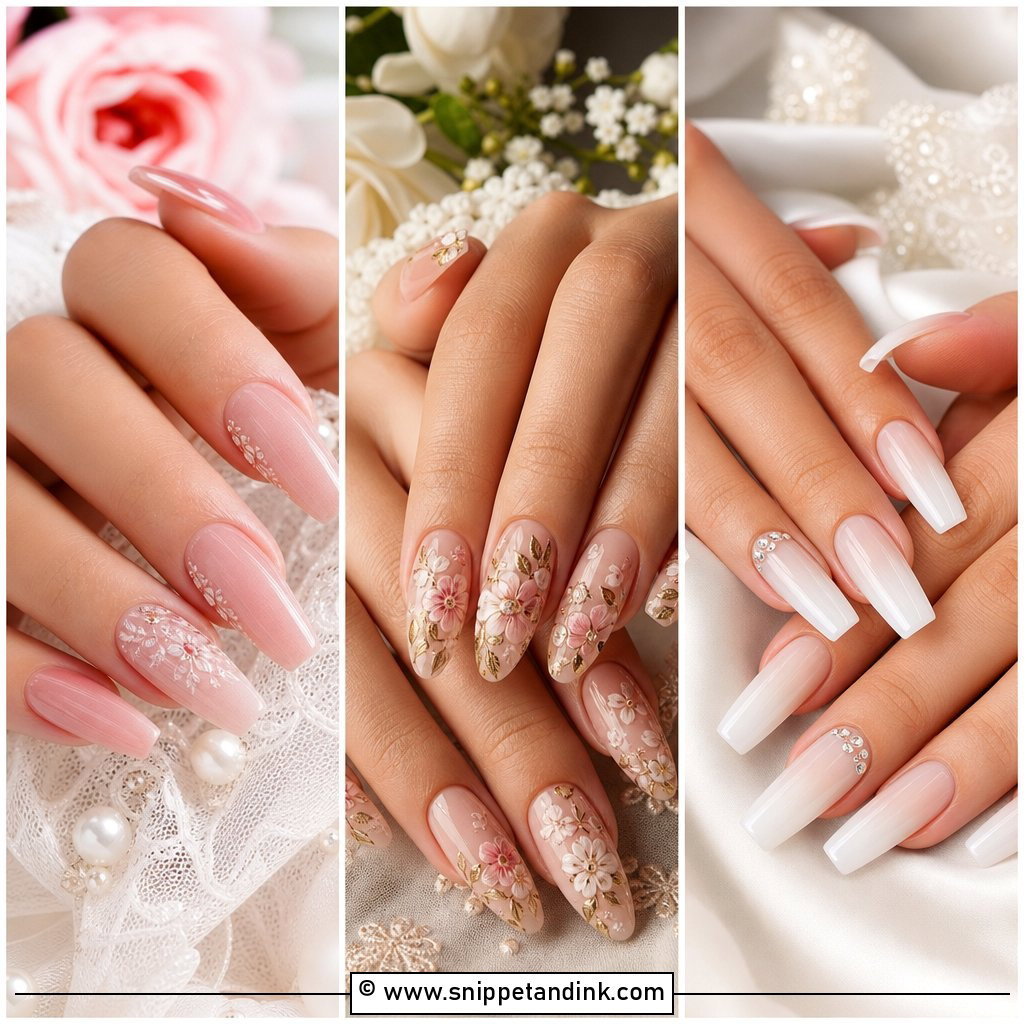
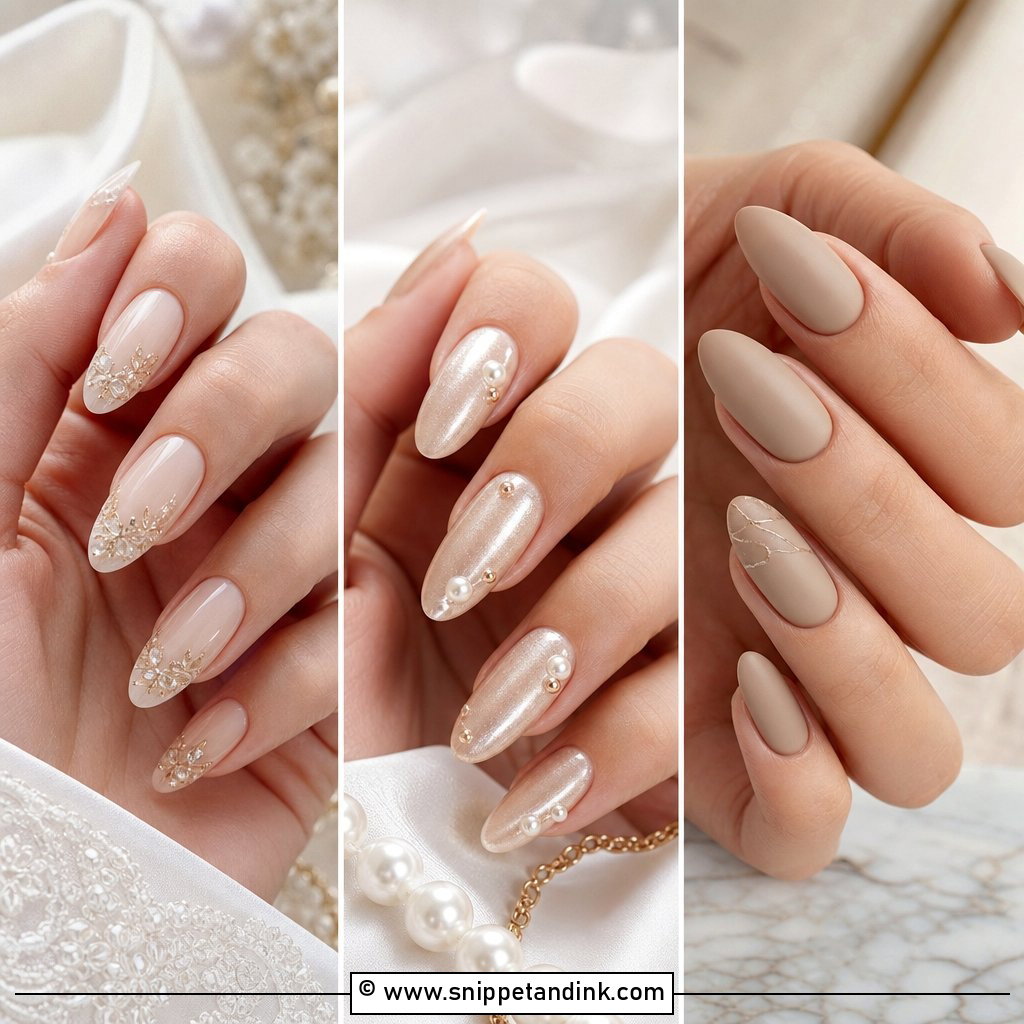
12. Natural Pearl Wedding Nails
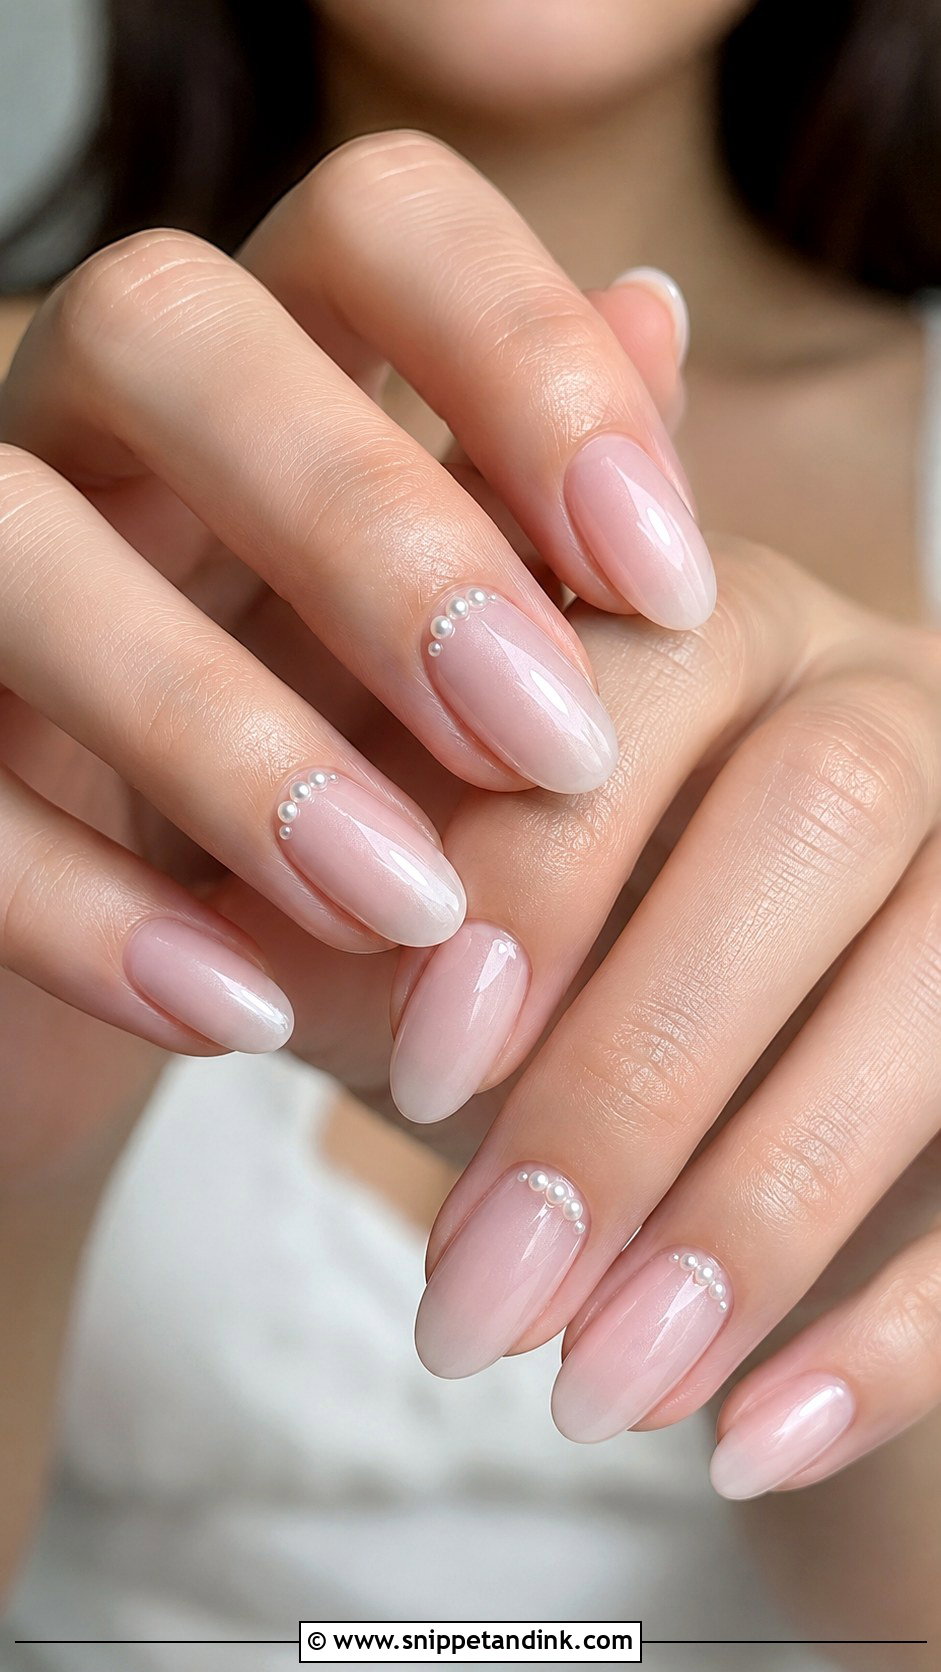
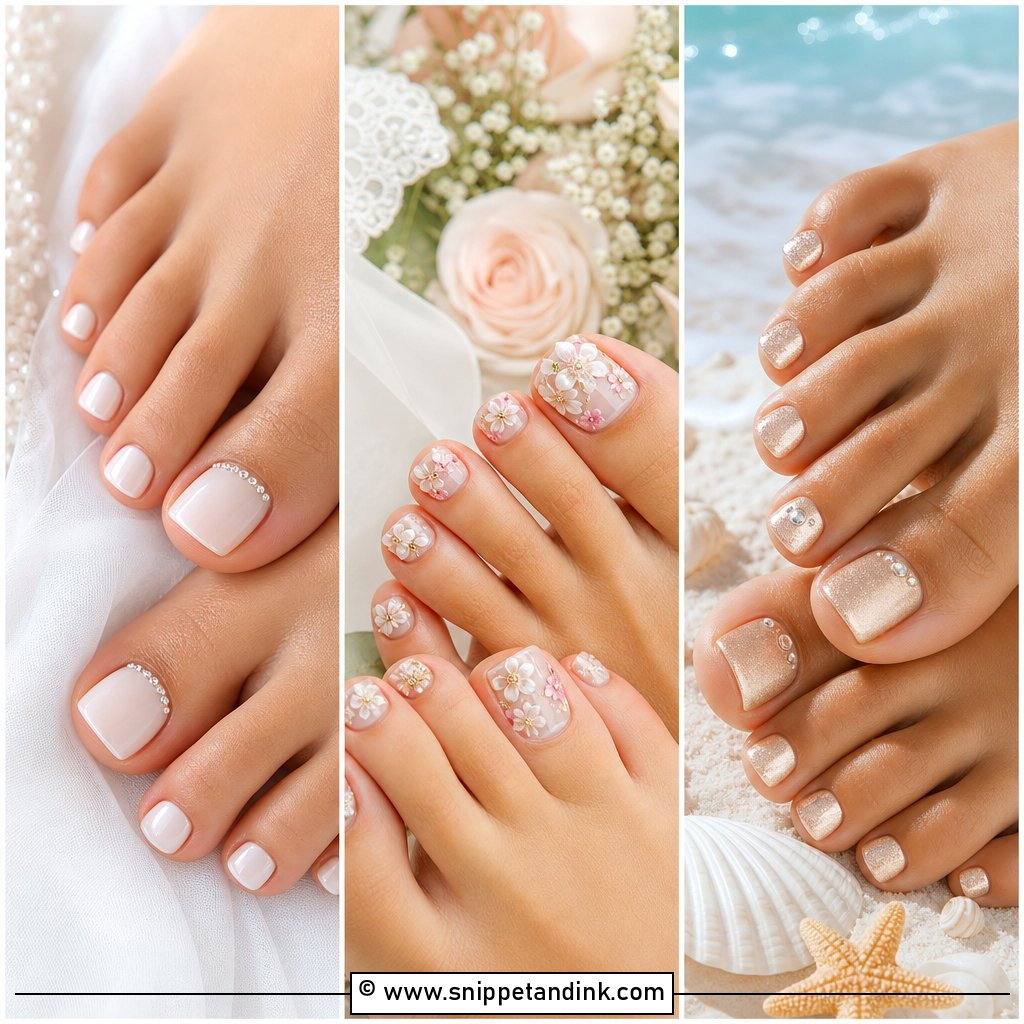
Pearls add a small detail without changing the soft feel. A sheer pink, milky white or nude base, then tiny pearls on one or two accent nails or near the cuticle. I use the flattest pearls I can find and set them in gel, because domed ones catch on hair and veils and can pop off by the reception. Keep the rest simple, in an oval, almond or short square shape. It pairs well with satin and classic accessories, and the pearls pick up light in ring close-ups.
13. Natural Floral Wedding Nails
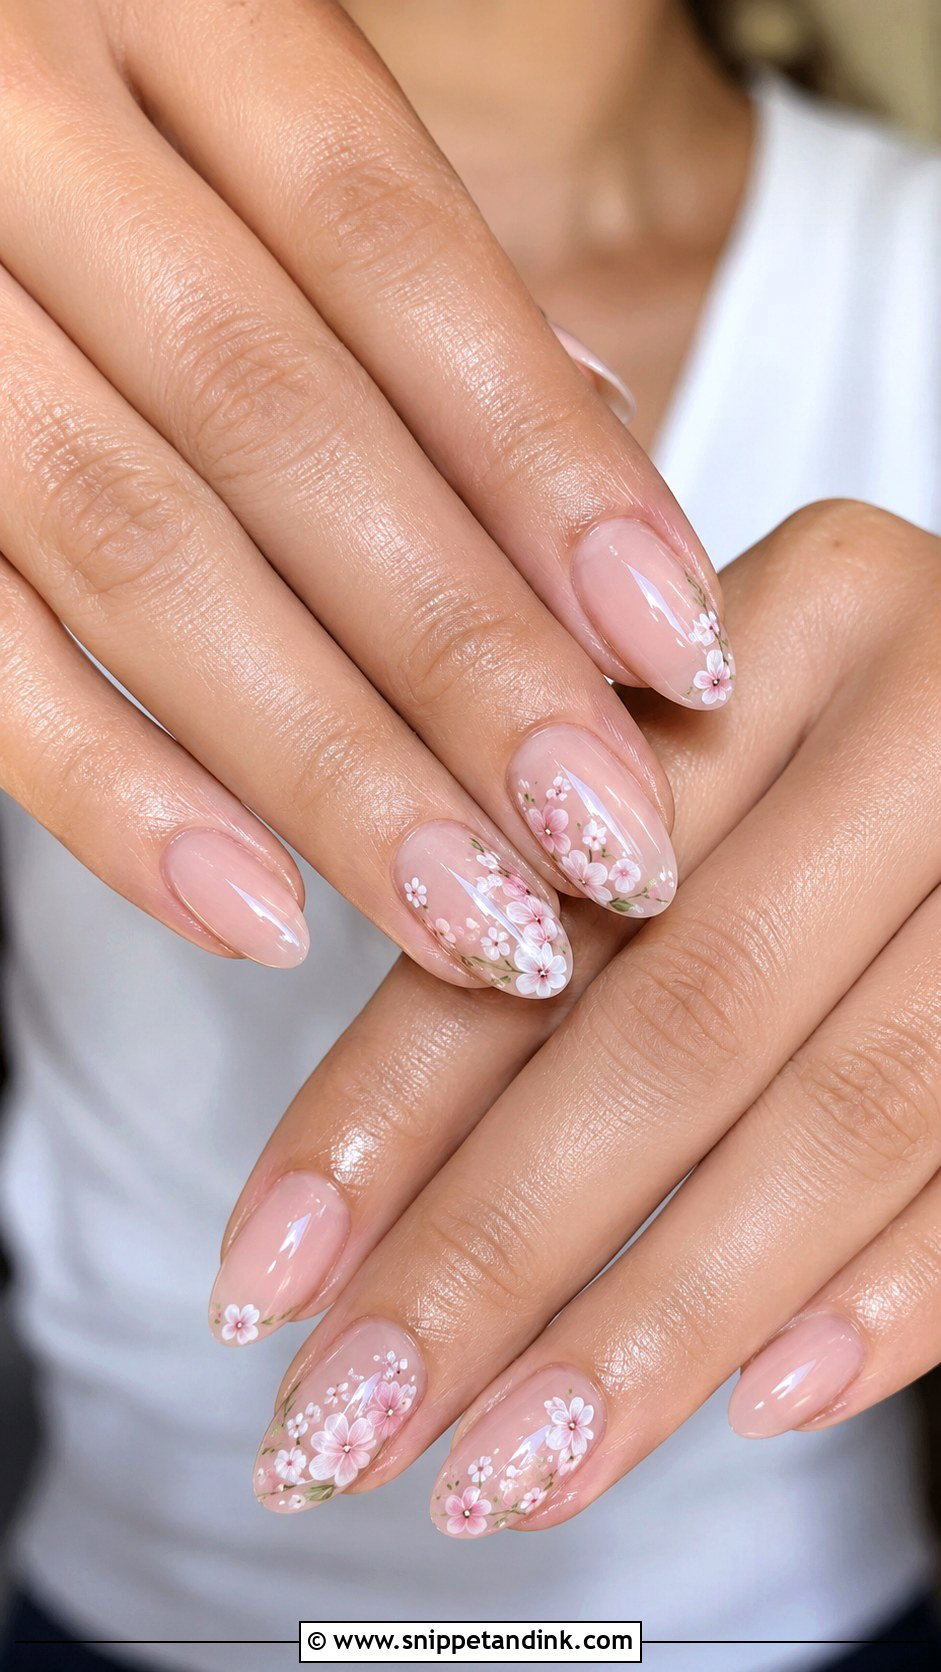
Floral art on a natural set has to stay tiny. I paint small white or pale pink flowers with a fine brush on two or three accent nails over a sheer nude, blush or milky base, with thin stems and soft petals so the nail still shows through. Big blooms look busy beside a bouquet. Oval and almond shapes give the design a graceful frame. It works for spring and garden weddings, and a satin top coat makes it look quieter than gloss does.
14. Natural Blush Wedding Nails
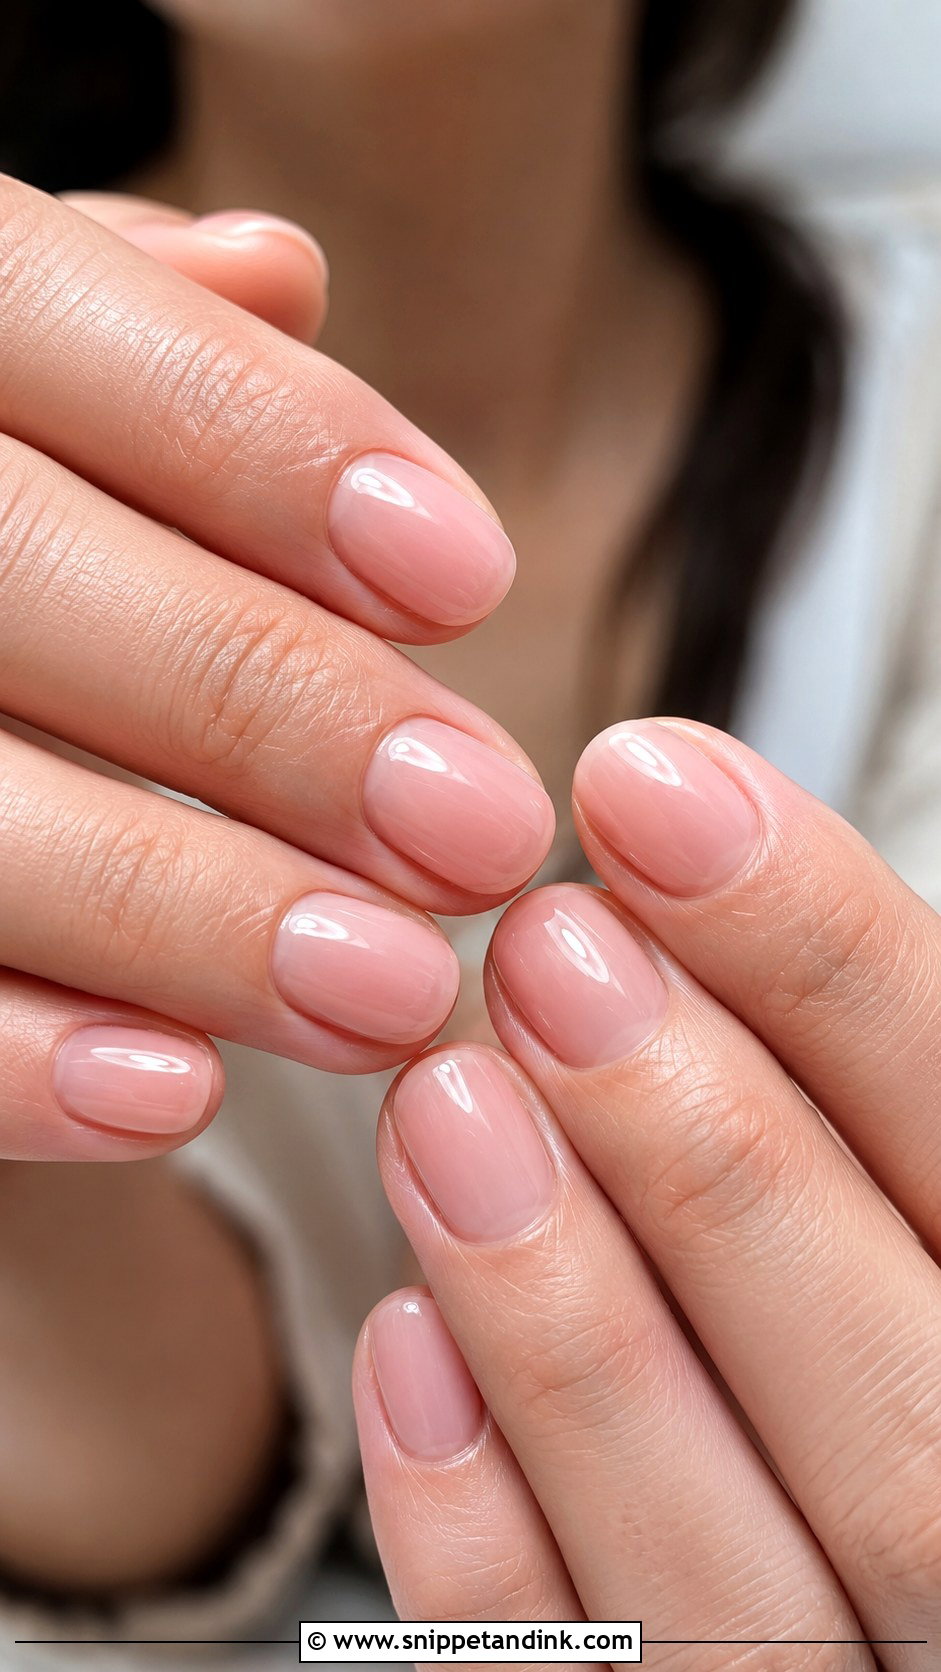
Blush polish gives the nail a warm flush, more visible than clear but still subtle. A sheer pink or rosy nude does this, and it suits a wide range of skin tones because it brightens the fingertips. Keep the finish smooth and glossy in a short oval, almond or soft square shape. I like it for brides who don’t want white or a French tip. It also hides small chips better than an opaque shade does, which is useful a few days in.
15. Clear Gloss Natural Nails for Wedding
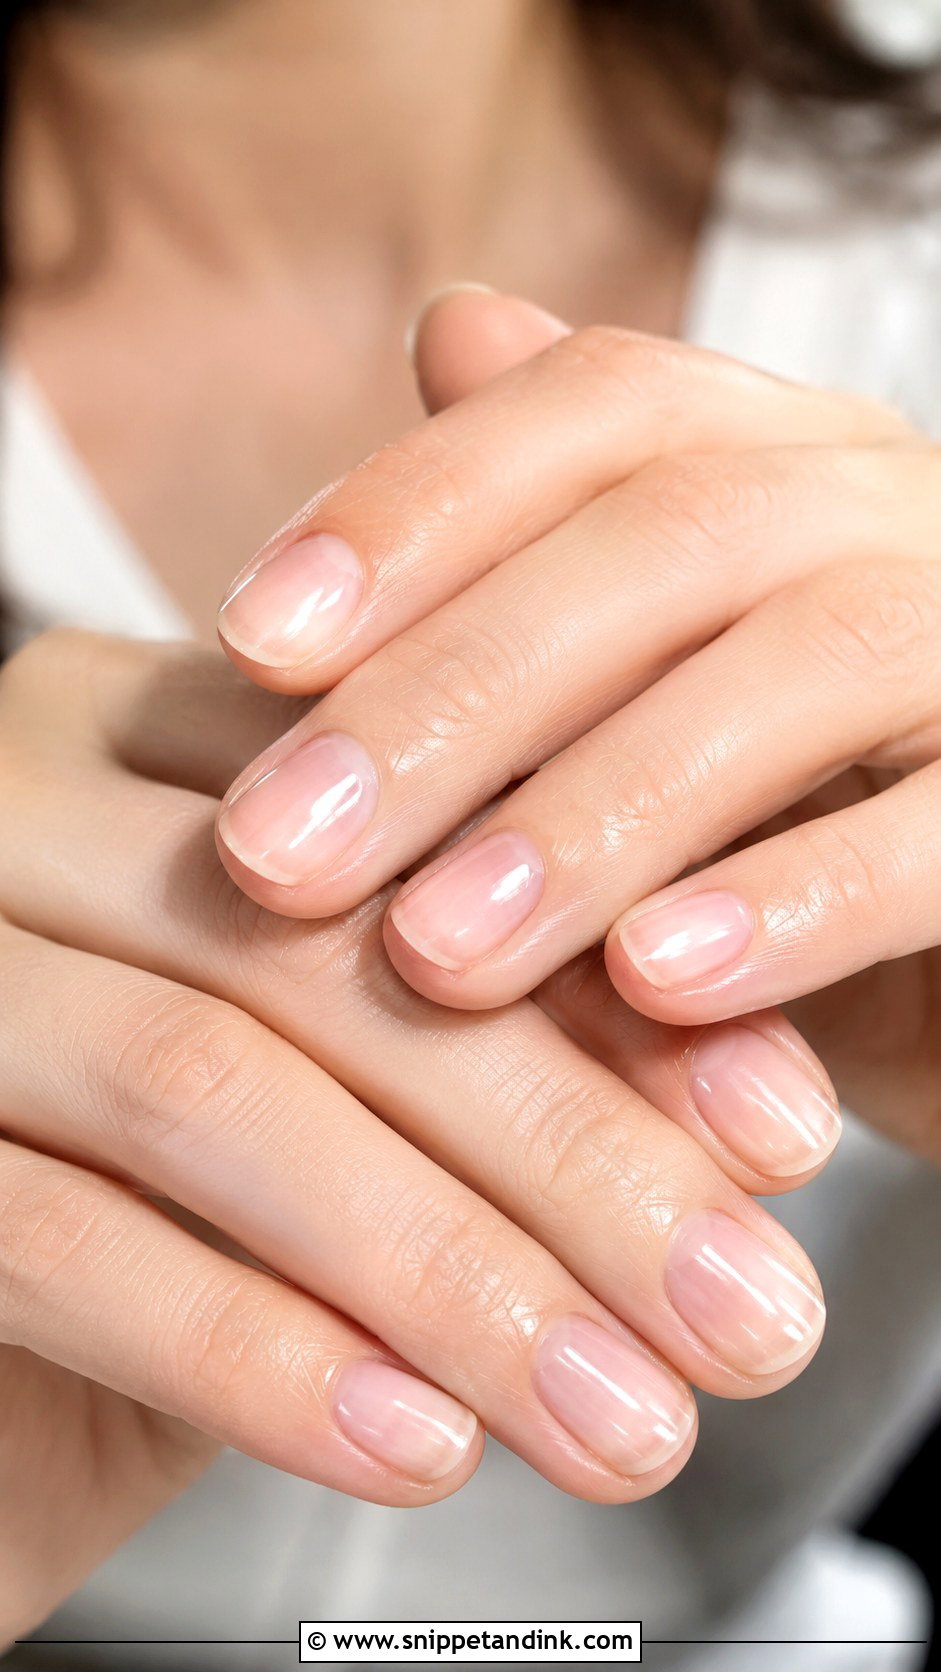
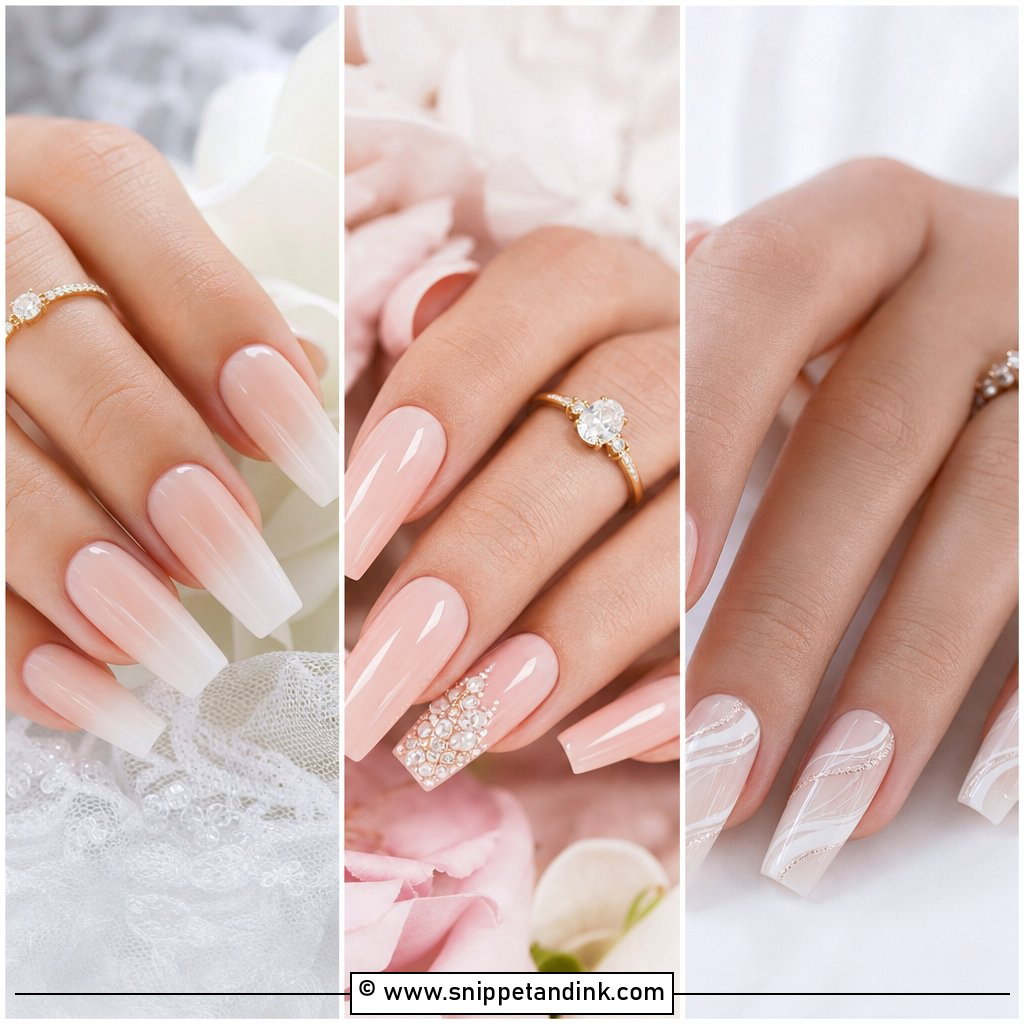
Clear gloss is the most minimal option, and it depends entirely on prep. Nails need to be evenly shaped, lightly buffed, cuticles pushed back, and the hands moisturised for days beforehand. A strengthening clear gel lasts longer; a regular clear polish is easier to remove after. On healthy nails in a short round, oval or square shape, it looks simple and clean. Stained or ridged nails are the exception. Clear shows every flaw, and a sheer tint would hide them better.
16. Natural Chrome Wedding Nails
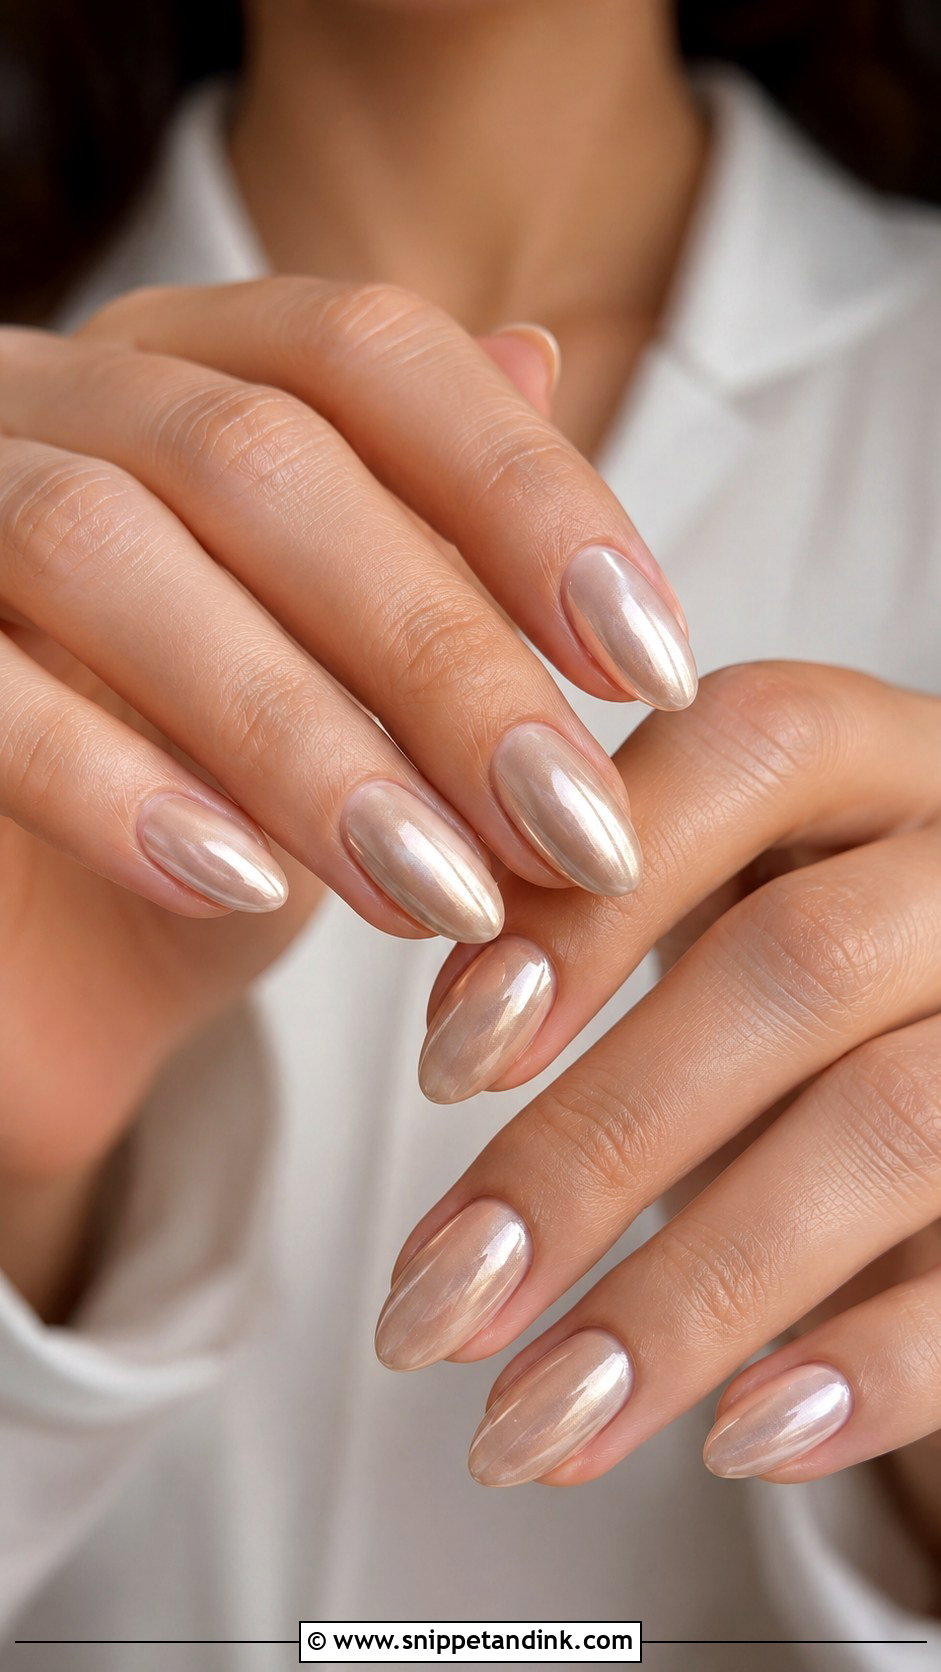
For chrome on a natural set, I swap bold silver for a sheer pearl, champagne or pink chrome over a nude or milky base. The curve of an almond or oval nail catches the light naturally, so these shapes suit it more than square. Keep the length short to medium so the shine stays understated. Chrome shows every lump in the base, so the surface underneath has to be completely smooth before the powder goes on. It matches clean makeup and glowy skin well.
17. Natural Beige Wedding Nails
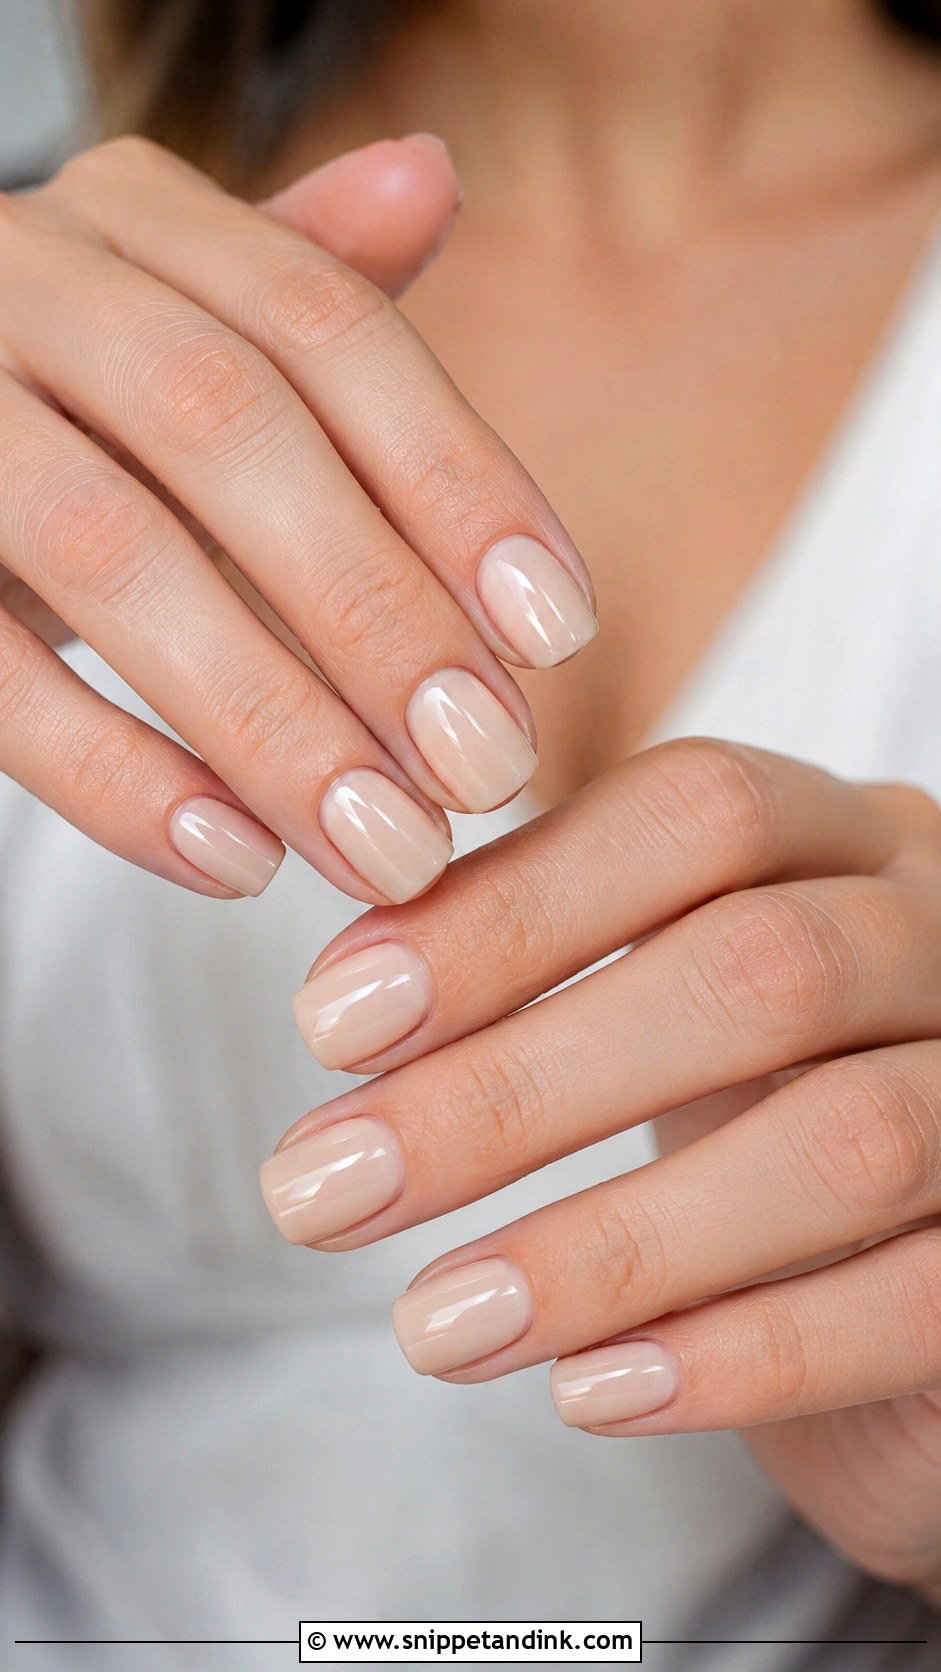
Beige sits between pink and white: more neutral than pink, softer than white. The right shade makes nails look smooth and naturally polished. I go creamy beige on warm undertones, pink-beige on cool ones, and caramel beige on deeper skin. Short square, oval and almond all suit it. For a wedding, I keep it semi-sheer or softly opaque under a glossy top coat. It’s an easy shade to share across brides, bridesmaids and guests.
18. Natural Lace Wedding Nails
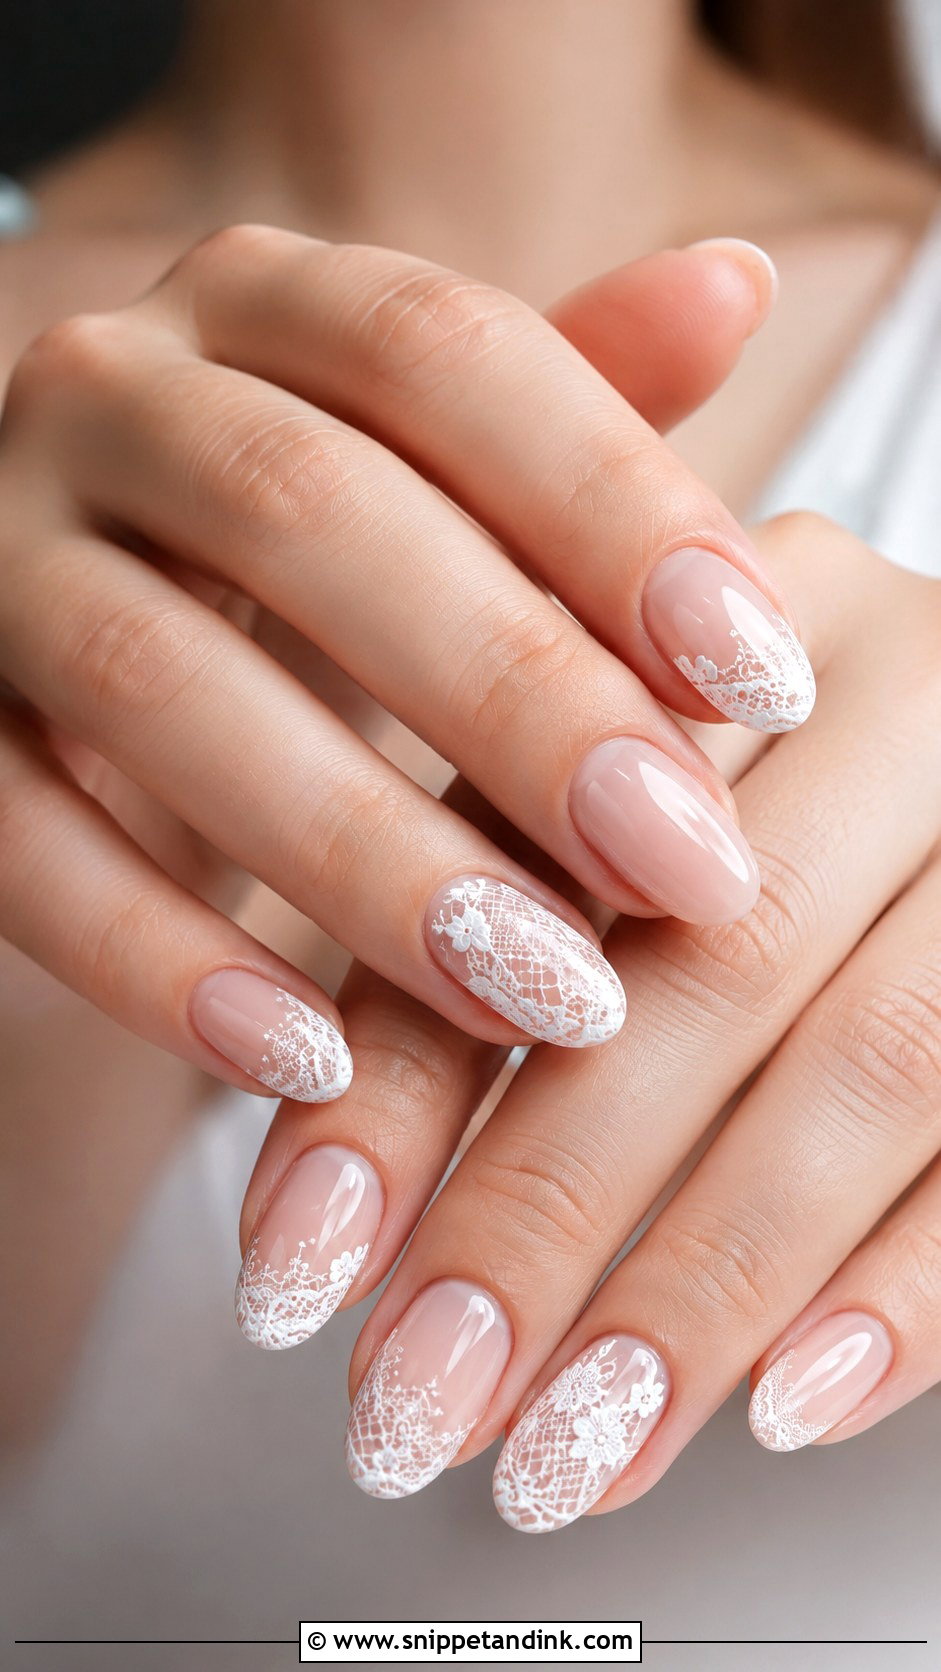
Lace lines are painted with the finest liner brush I own, in white over a nude, milky pink or translucent beige base, on one or two nails only. If they’re even slightly thick, the effect turns busy, so it’s a design for a nail tech you trust with detail work. Almond, oval or medium square nails give the pattern room. Keep the other nails a simple glossy nude so the lace has space. If your dress has lace, bring a photo so the pattern can echo it.
19. Natural Shimmer Wedding Nails
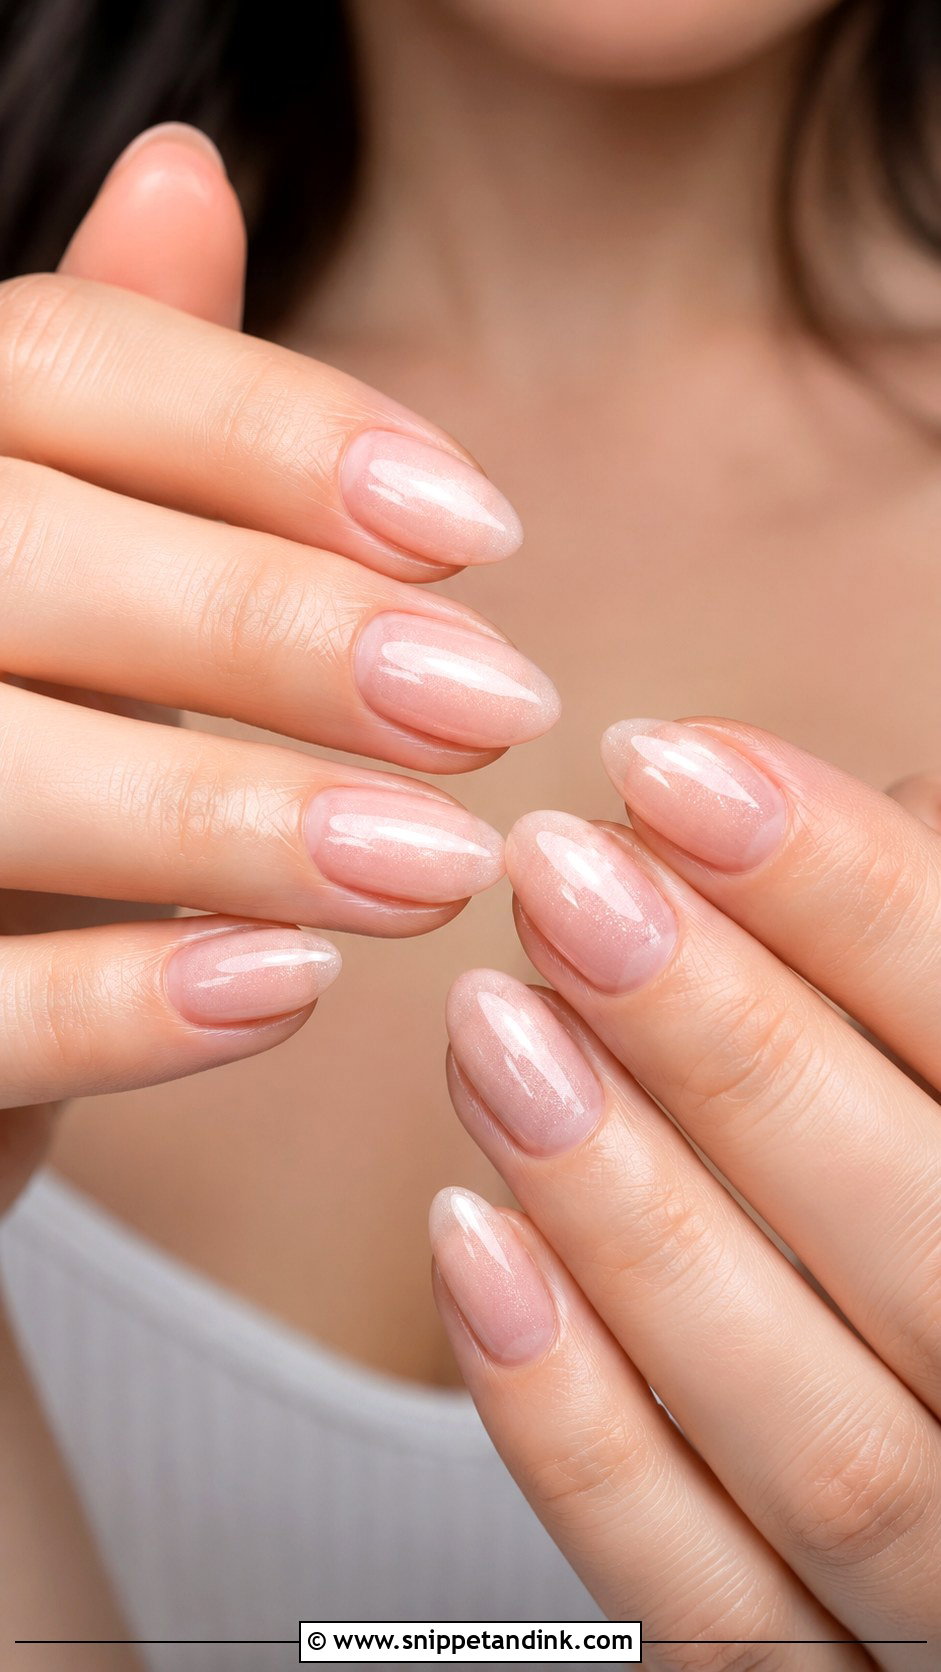
Fine shimmer catches light without looking loud, which is why I prefer it to glitter for natural sets. Chunky glitter looks textured in close-ups and is hard to remove. A sheer pink, nude or milky base with a fine shimmer suits short ovals, medium almonds and soft squares, and it goes with most dress fabrics and both gold and silver jewellery. One thin coat of shimmer under the top coat is usually enough.
20. Natural Wedding Nails With Gold Detail
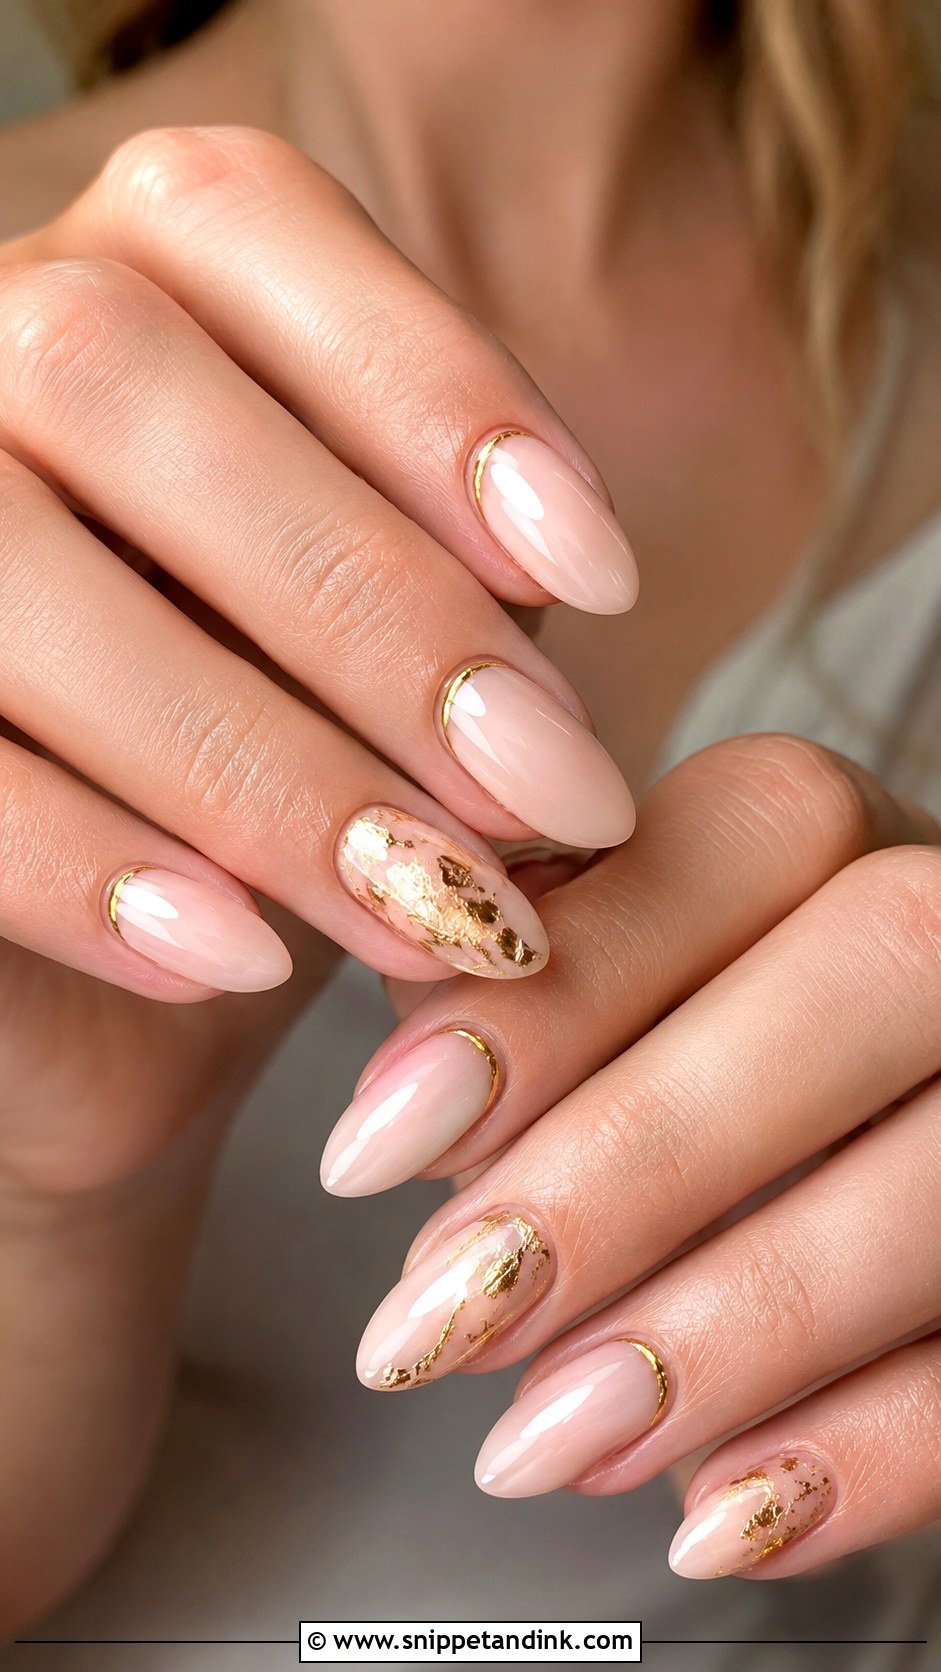
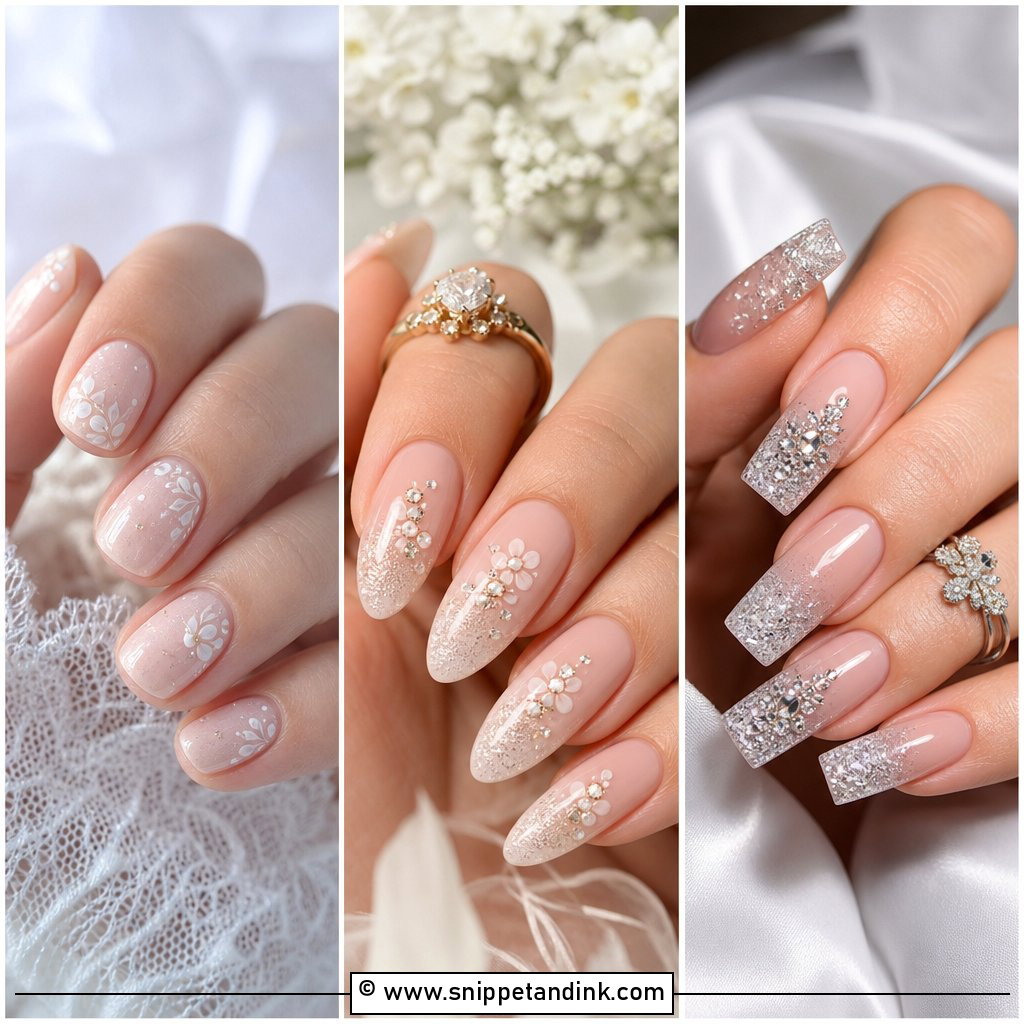
Gold adds warmth to a soft manicure, especially next to gold jewellery or a champagne dress. Over a sheer nude, blush or milky base, I add a few gold foil flakes, a fine gold line, or a thin cuff at the cuticle. Keep it minimal. Foil has to be fully sealed under top coat, or the edges lift and catch on fabric. Almond and oval shapes make the gold look graceful; short squares make it modern. If your ring is platinum or white gold, I’d choose pearl or chrome instead, as gold beside a white metal can look mismatched in ring shots.
Will It Last Through the Honeymoon?
It depends on the product. Regular polish looks fresh for a day or two and chips soon after, so if you choose it, book the appointment for the day before the wedding. A gel set usually lasts two to three weeks, which covers most honeymoons, and can be done two or three days before.
Sheer and milky shades grow out more gracefully than opaque ones. The gap at the cuticle is barely visible after a week, while a strong nude or white shows a clear line. If you’re planning a long trip, that’s a real reason to go sheer.
Chlorine, salt water and sunscreen can dull the top coat and make edges lift. A thin layer of top coat over the tips every few days helps, and if a nail lifts, leave it alone rather than picking at it. Peeling gel off pulls layers of the nail plate with it, and that damage takes months to grow out. Book a proper soak-off removal when you’re home.
A Manicure That Lets the Ring Lead
Natural nails work at a wedding because they make your hands look cared for without taking attention from the bigger moment. Pick the shape you’d happily wear for weeks, since that’s the one you’ll be comfortable in, and choose a shade that suits your skin and your ring metal. Short, oval, almond and soft square all photograph well when the finish is smooth and glossy. Do the prep, book the appointment close to the day, and the hands will take care of themselves.
You'll Like These Ideas:


Leave a Reply