
Brides plan their manicure months ahead and then book the pedicure as an afterthought, usually the week they notice their shoes are open-toe. Toes get photographed more than people think: the shoe shot, the getting-ready flat lay, the barefoot dancing at midnight. They also take a beating, because they spend ten hours pressed into new shoes. So the designs below are ones I’d actually put on a bride’s feet, mostly soft color, shine and small detail on the big toes, with notes on how each one wears. Screenshot the wedding toe nails you like and bring them, along with a photo of your shoes, to your appointment.
Gel on Toes Outlasts Your Manicure, So Book It Earlier
Toenails grow much more slowly than fingernails, which changes the timing. A gel pedicure can easily last three to four weeks or more, so there’s no need to squeeze it into the day before. I’d book it about three to five days before the wedding. That gives any redness from cuticle work or callus filing time to settle, and still leaves time to fix a chip.
Regular polish is a different story. It chips at the free edge of the big toe quickly, especially in closed shoes, so if you prefer it, go a day or two before and pack the bottle.
Two things I ask brides to avoid in the days around the appointment. First, don’t have heavy callus removal right before you break in new shoes. A softened heel blisters faster, and some hard skin is protecting you. Second, schedule a spray tan after the pedicure, not before, or the soak will lift the tan from your feet unevenly.
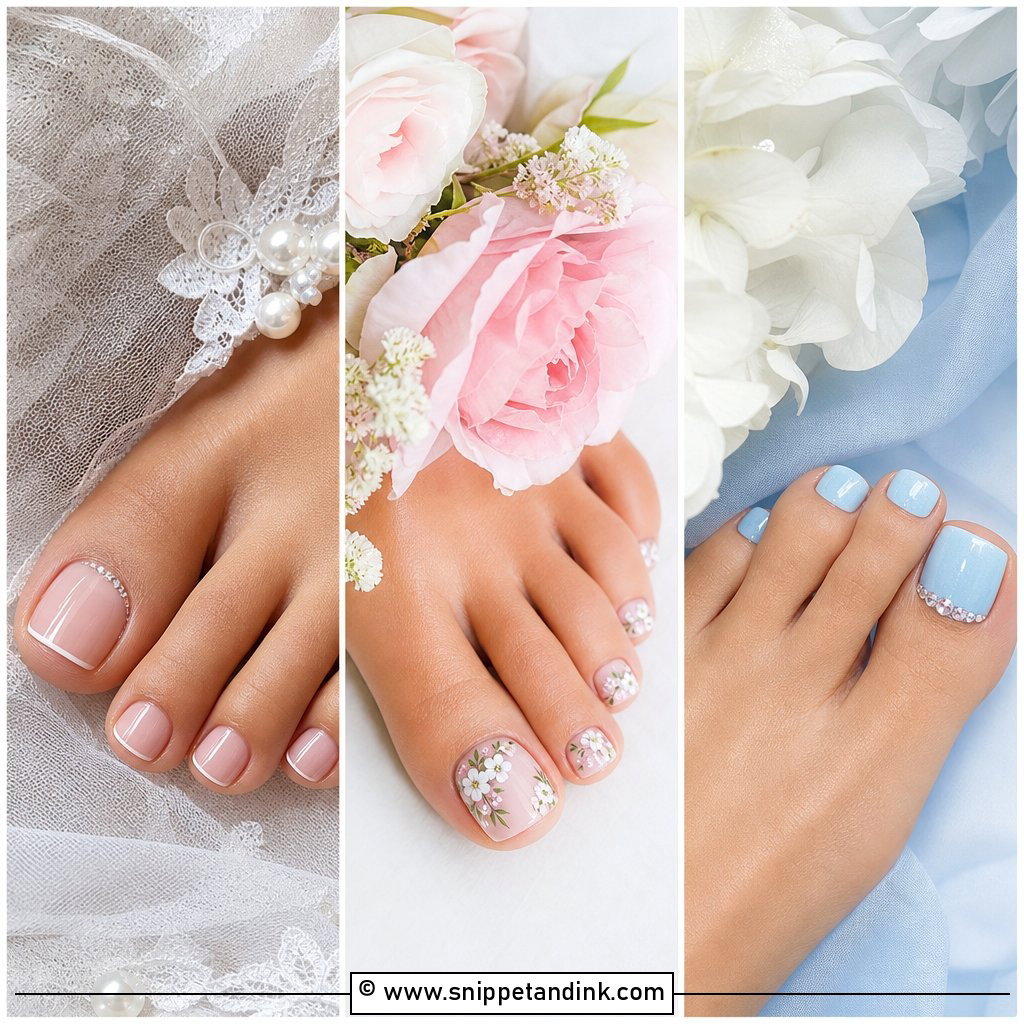
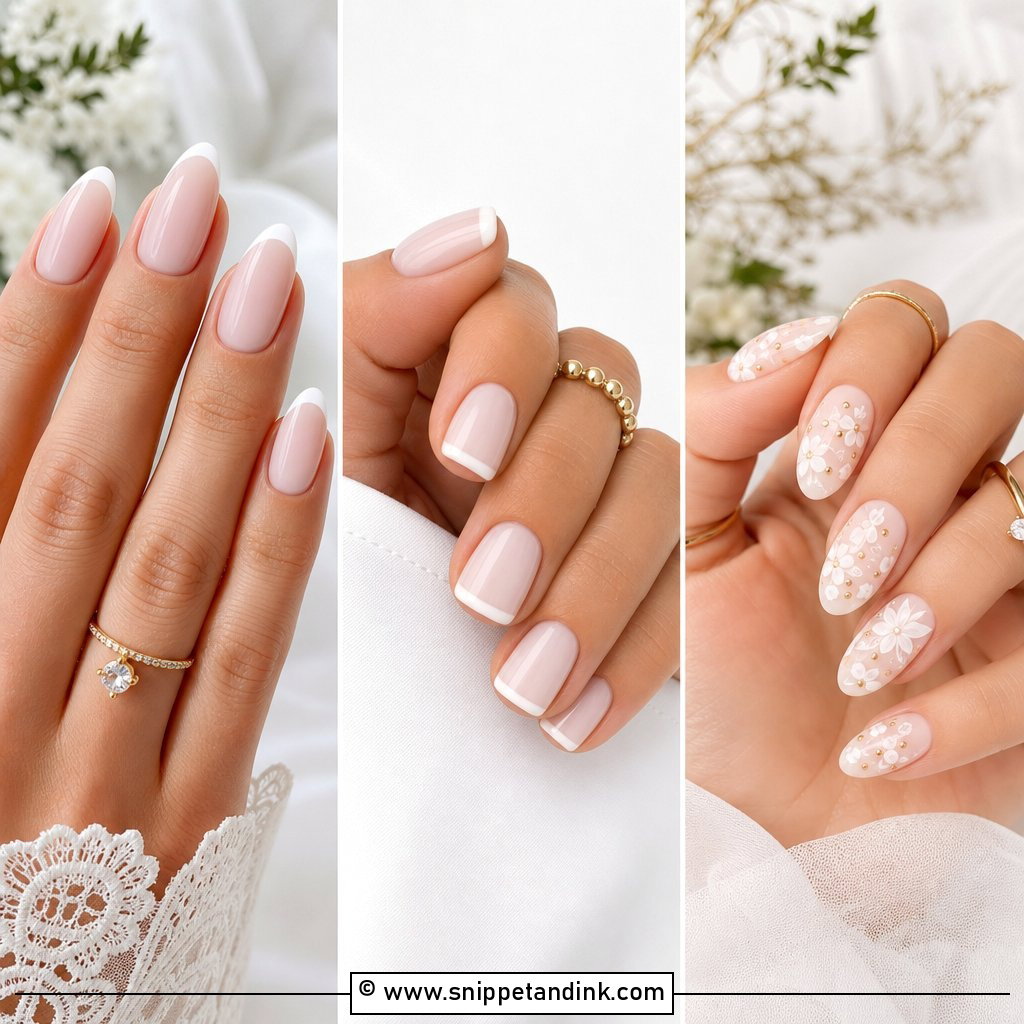
1. White French Wedding Toe Nails
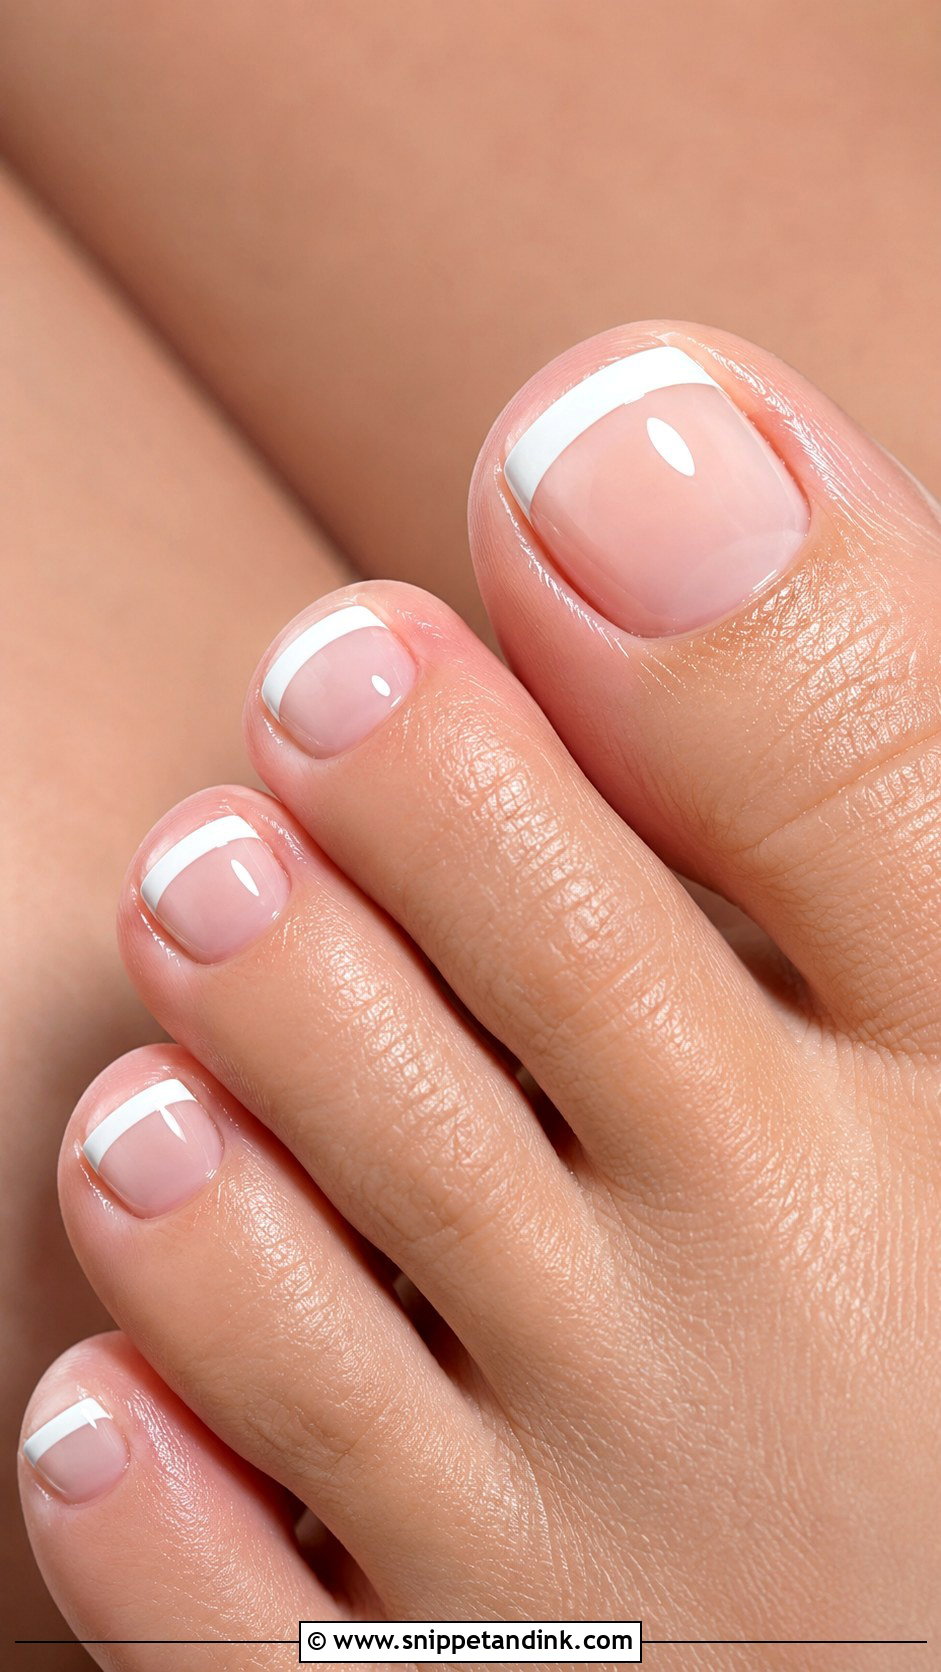
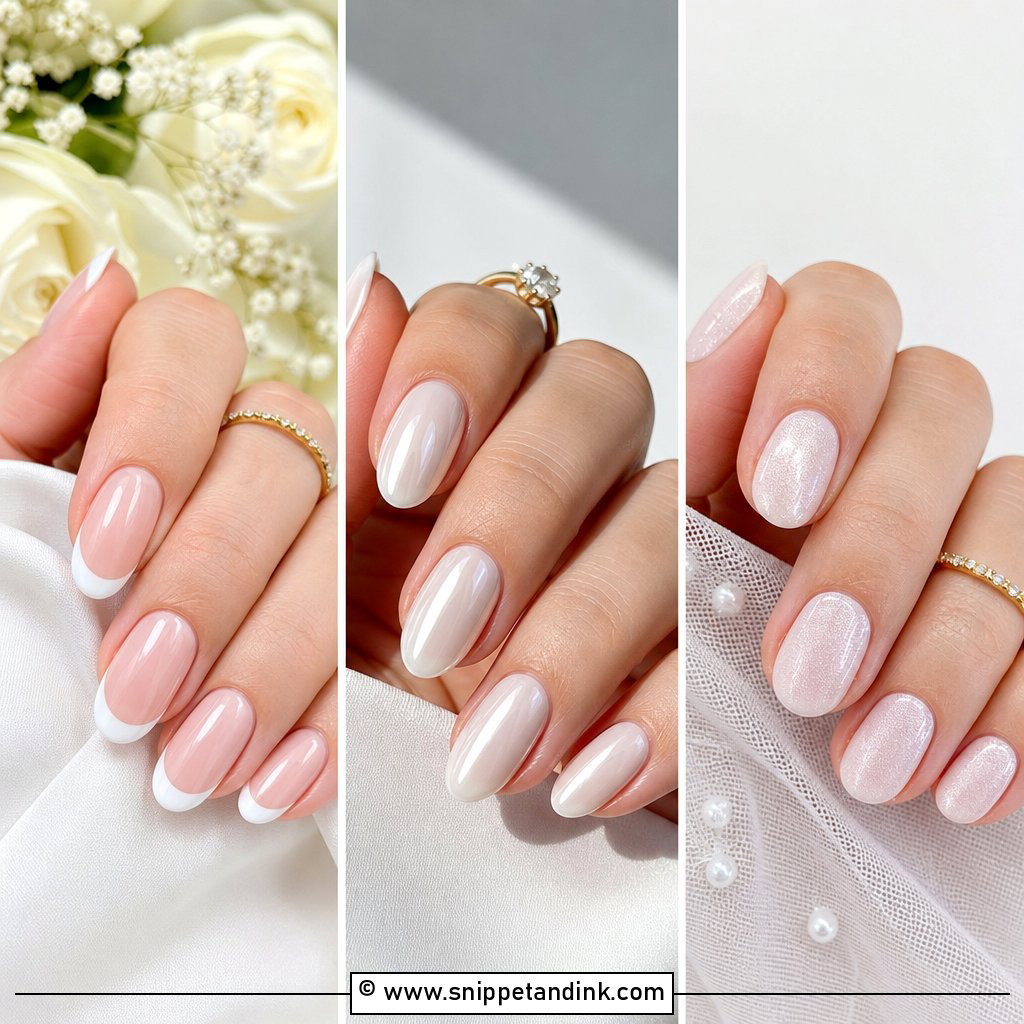
A white French is the pedicure I’m asked for most, and it suits nearly every shoe and dress. The base matters more than the tip: a sheer nude or pale pink keeps the nail looking clean, and the white adds the structure. On toes I always pull a soft curved smile line rather than a straight band. Toenails are short and wide, and a thick straight tip makes them look stubby and square. Keep the white thin, too. A heavy tip on a big toe catches the front of a shoe and chips first. Finish with a glossy top coat, which reads fresher in photos than matte.
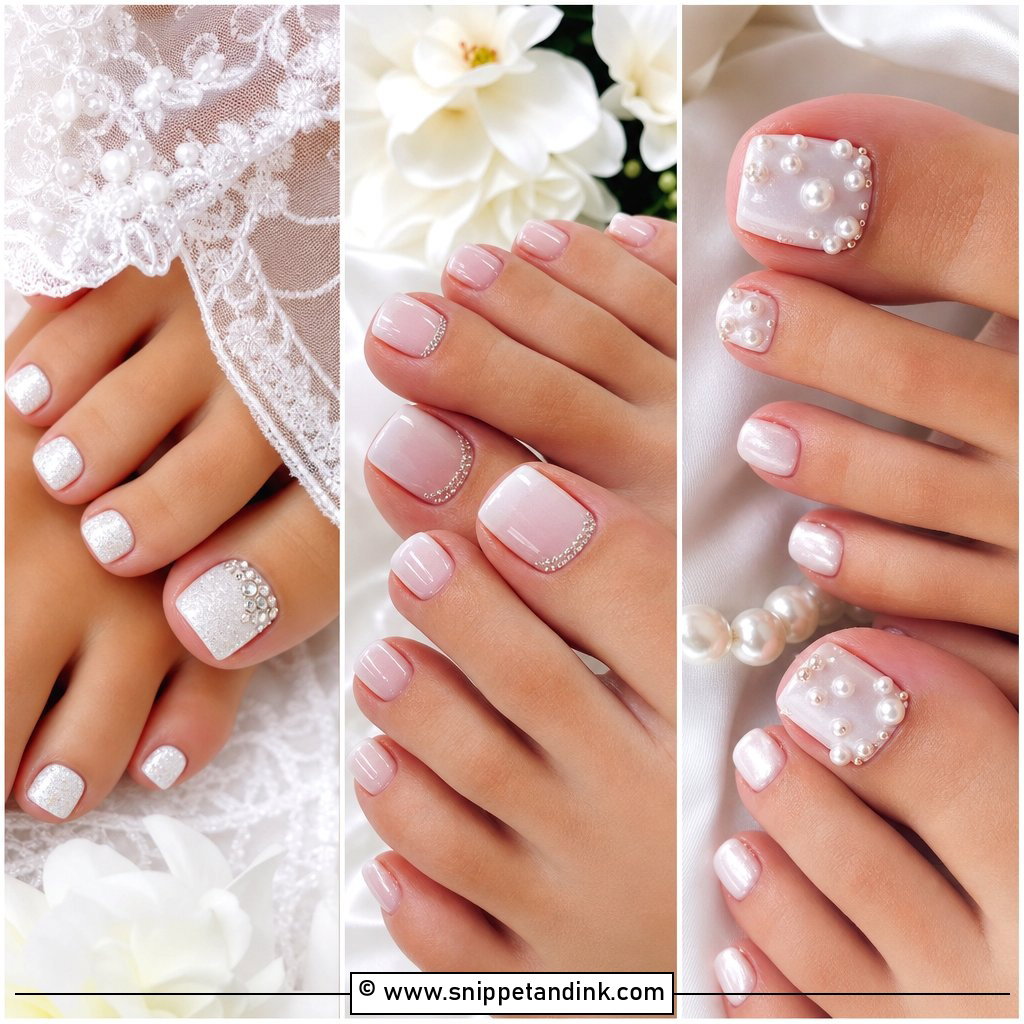
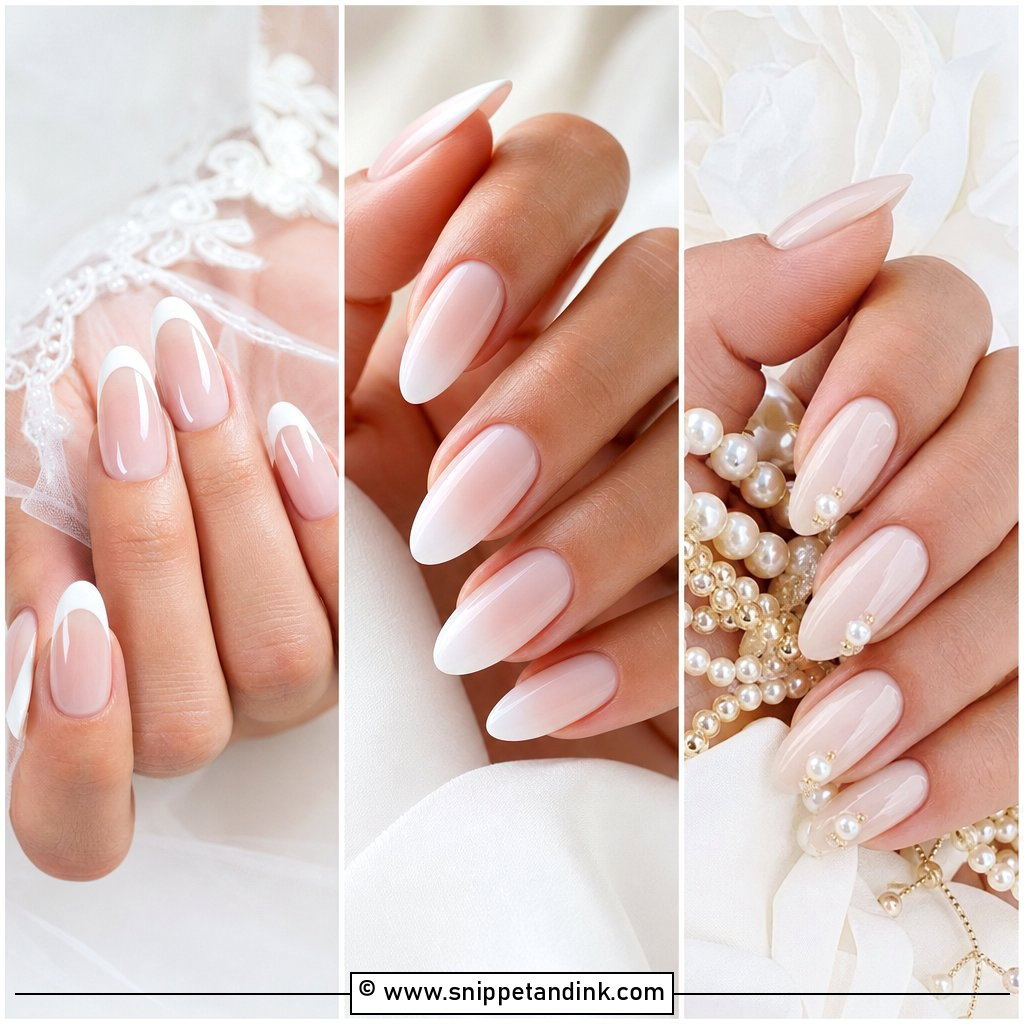
2. Milky White Wedding Toe Nails
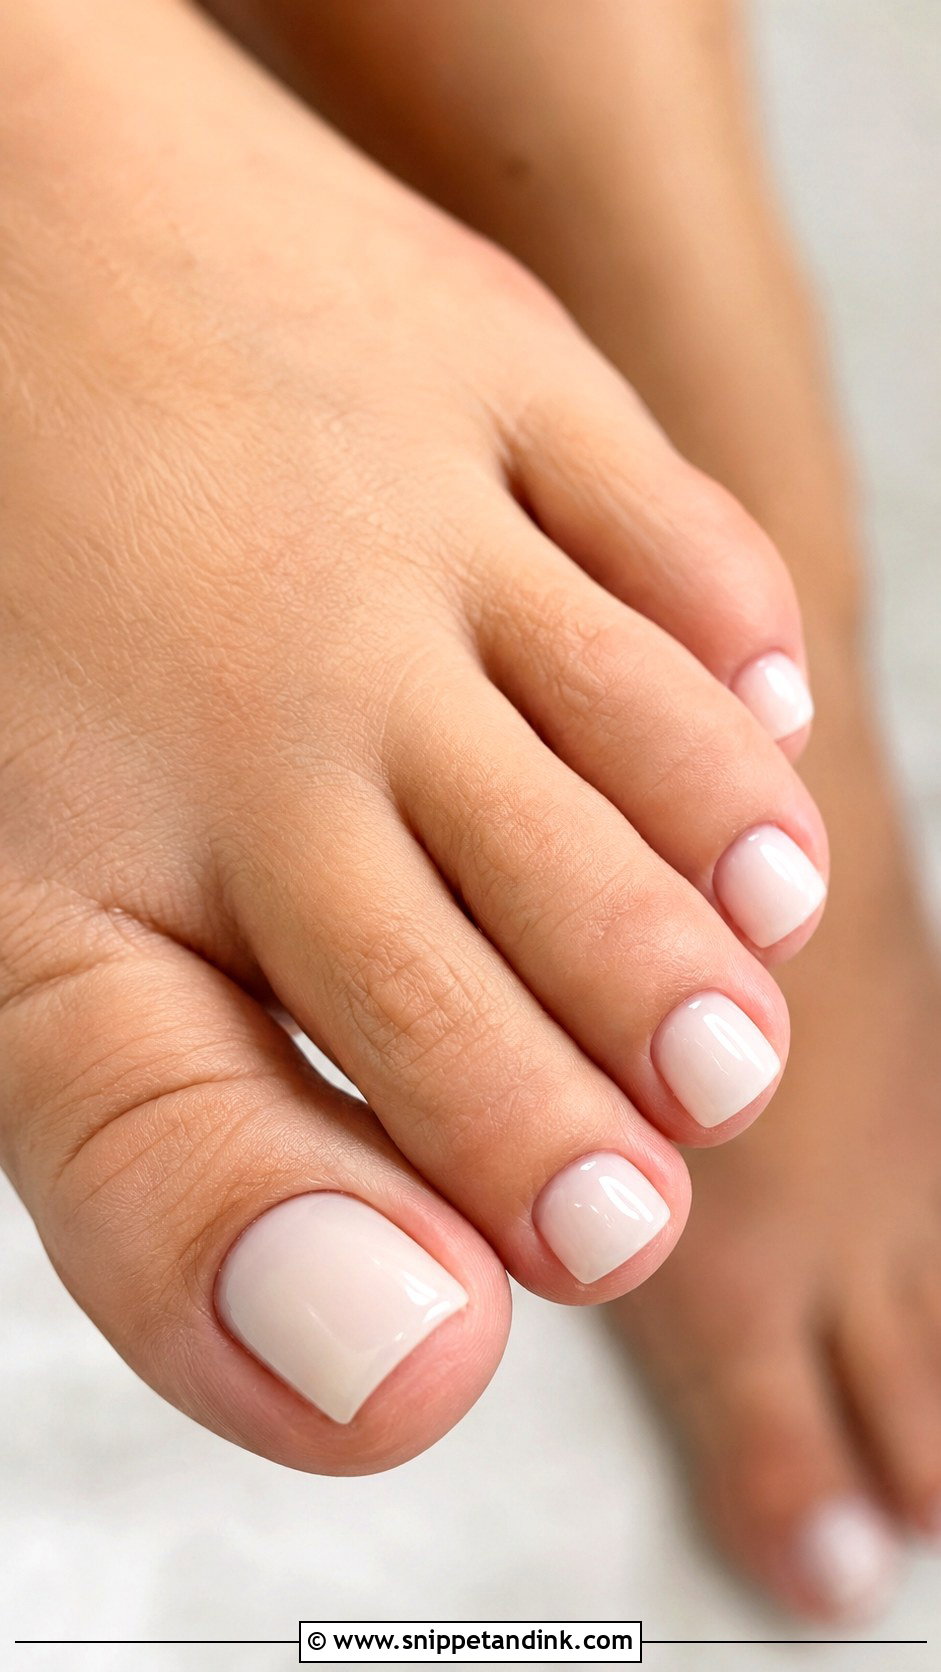
Milky white wedding toe nails use a sheer white that lets a hint of the natural nail through, so the result looks creamy rather than painted. It’s the shade I reach for when a bride wants something more modern than a French. The undertone needs adjusting to the skin: an ivory milk on fair feet, a warmer, more translucent white on deeper skin, where a stark white can look chalky. Milky shades show every ridge and stain on the nail underneath, so I buff and build a smooth base layer first. Keep the nails short and squared with soft corners.
3. Blush Pink Wedding Toe Nails
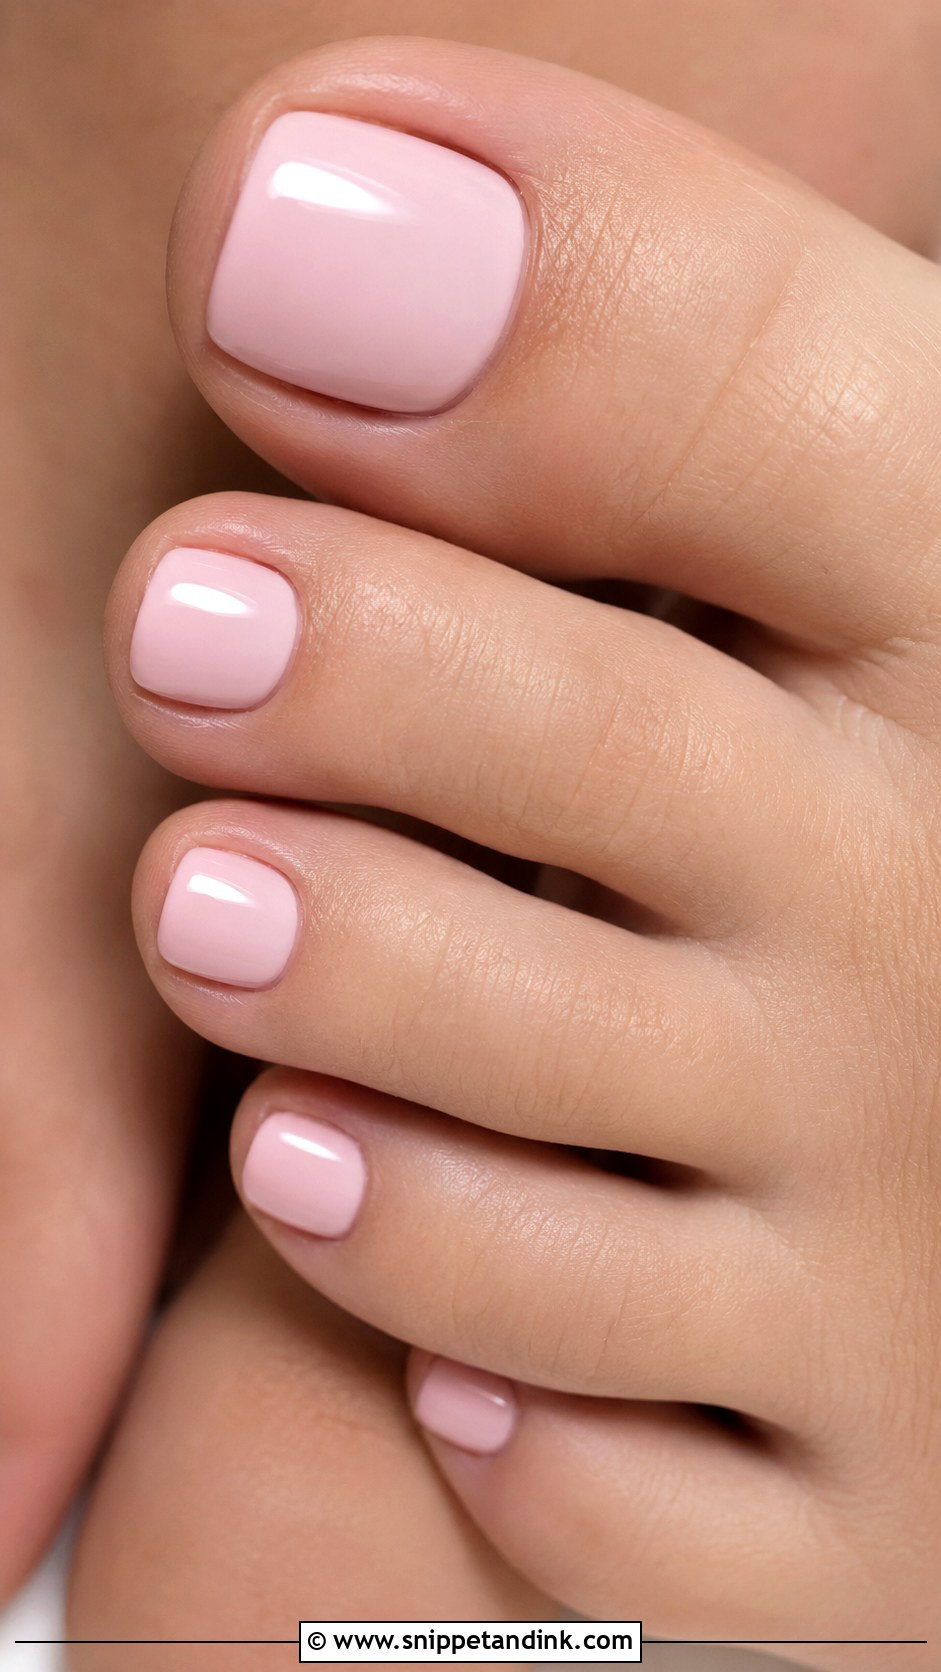
Blush pink flatters nearly every foot and stays out of the way of the shoes and dress. Pick a jelly or sheer pink, not a creamy bubblegum, because sheer colors look like healthy nails in close-ups while opaque pinks can turn chalky. If your wedding palette runs through champagne, rose or mauve, it ties in quietly. In gel it lasts from the shower through the honeymoon. It’s also my go-to for mothers of the bride and bridesmaids who want something that won’t clash with their outfits.
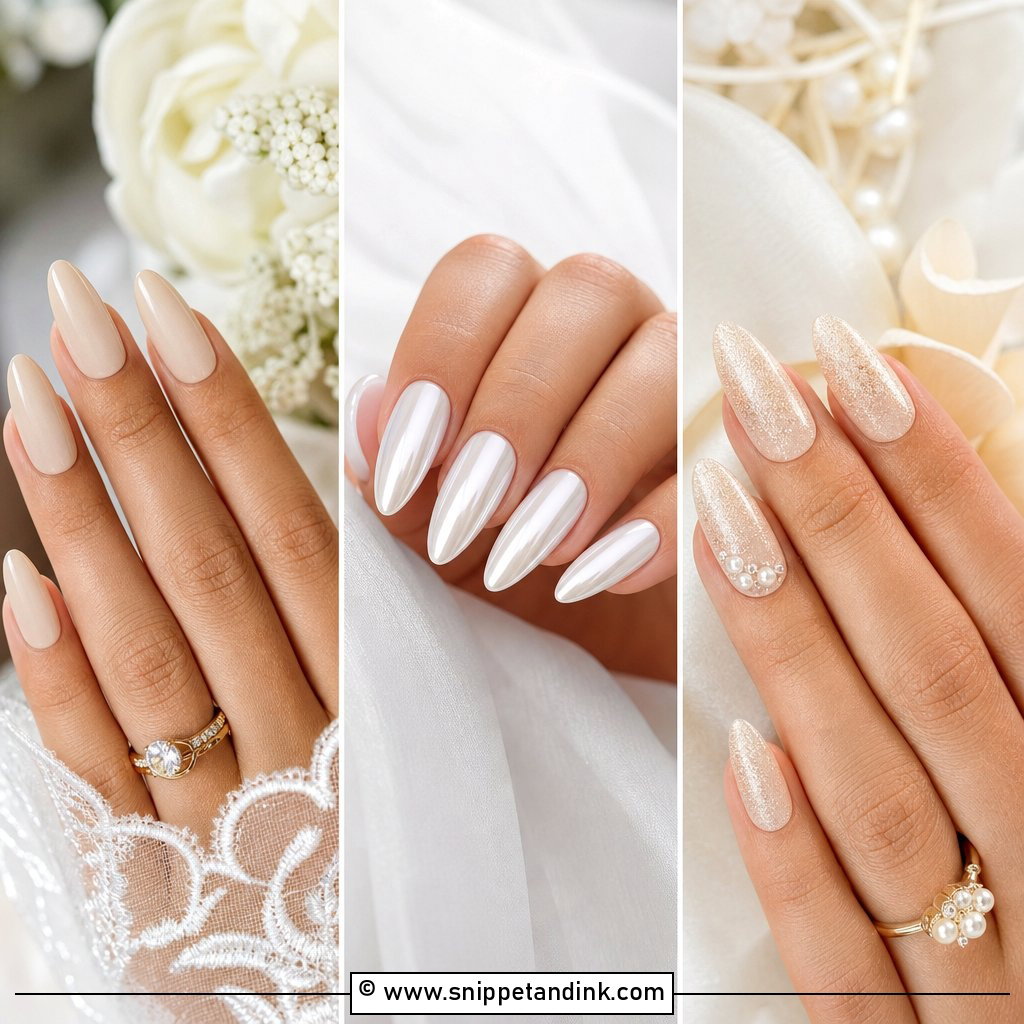
4. Nude Wedding Toe Nails
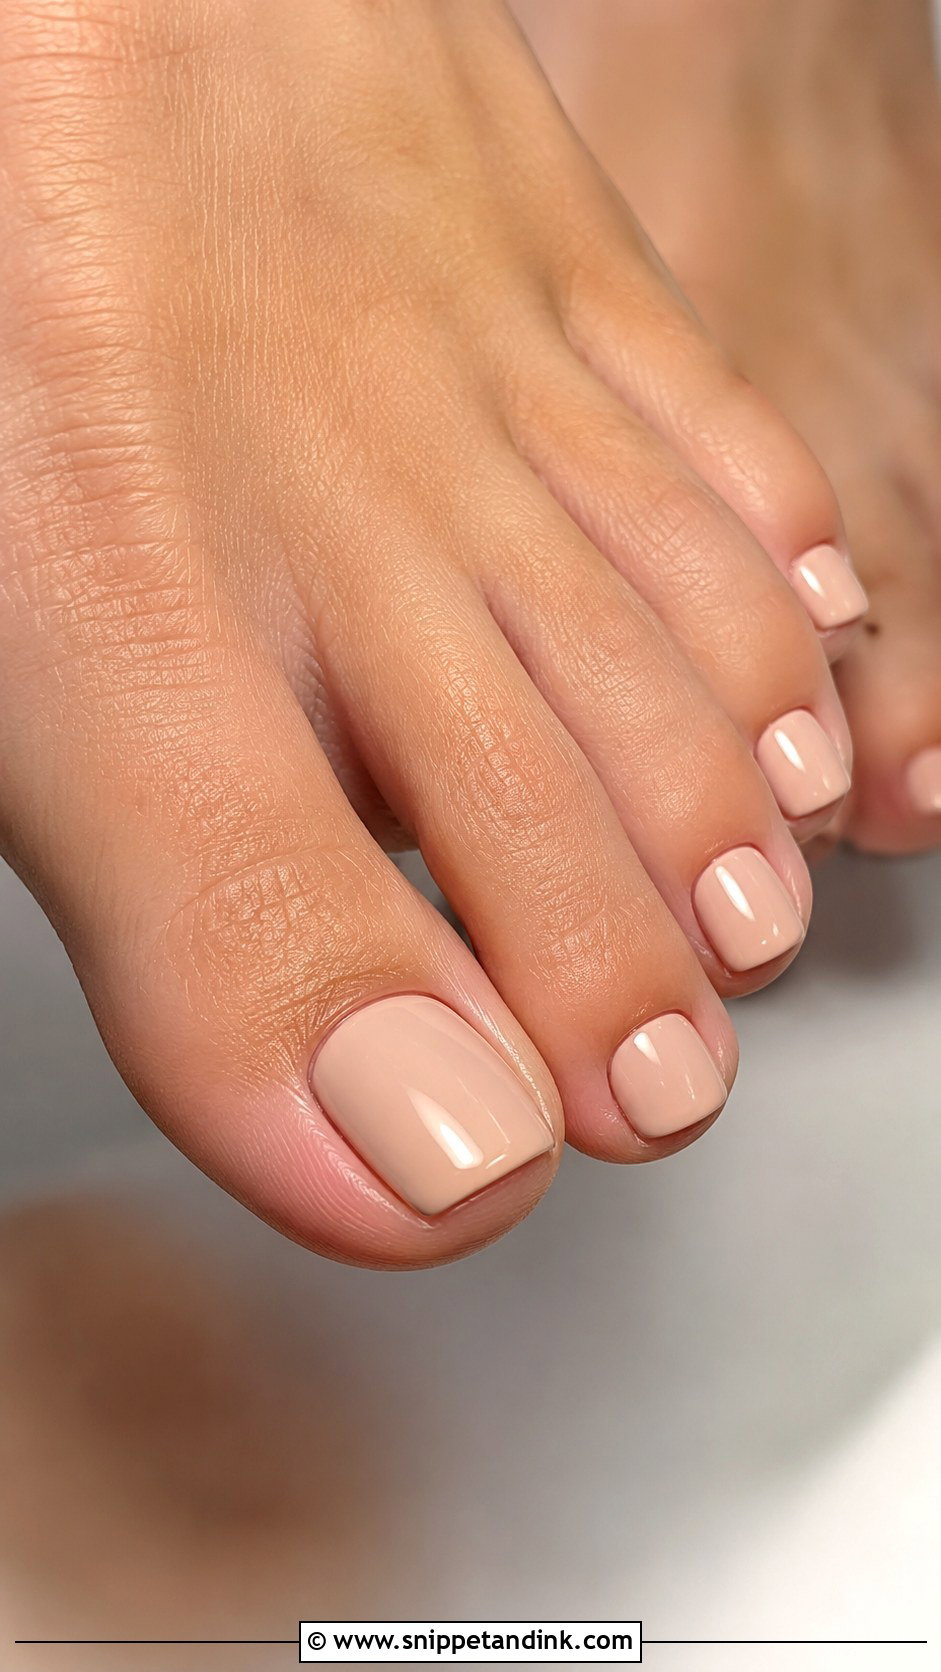
A nude only works if it matches your undertone, and that’s where most at-home attempts go wrong. On cool skin I’d choose a pink nude; on warm skin, beige, caramel or a soft taupe. The wrong nude makes the feet look washed out or slightly grey. When the shoes are busy, with crystals, bows or pearl straps, a nude pedicure is the right call because it doesn’t compete. A creamy nude also lengthens the look of the foot in open-toe heels. Ask for a high-shine top coat, and you’ll still be wearing it happily a month after the wedding.
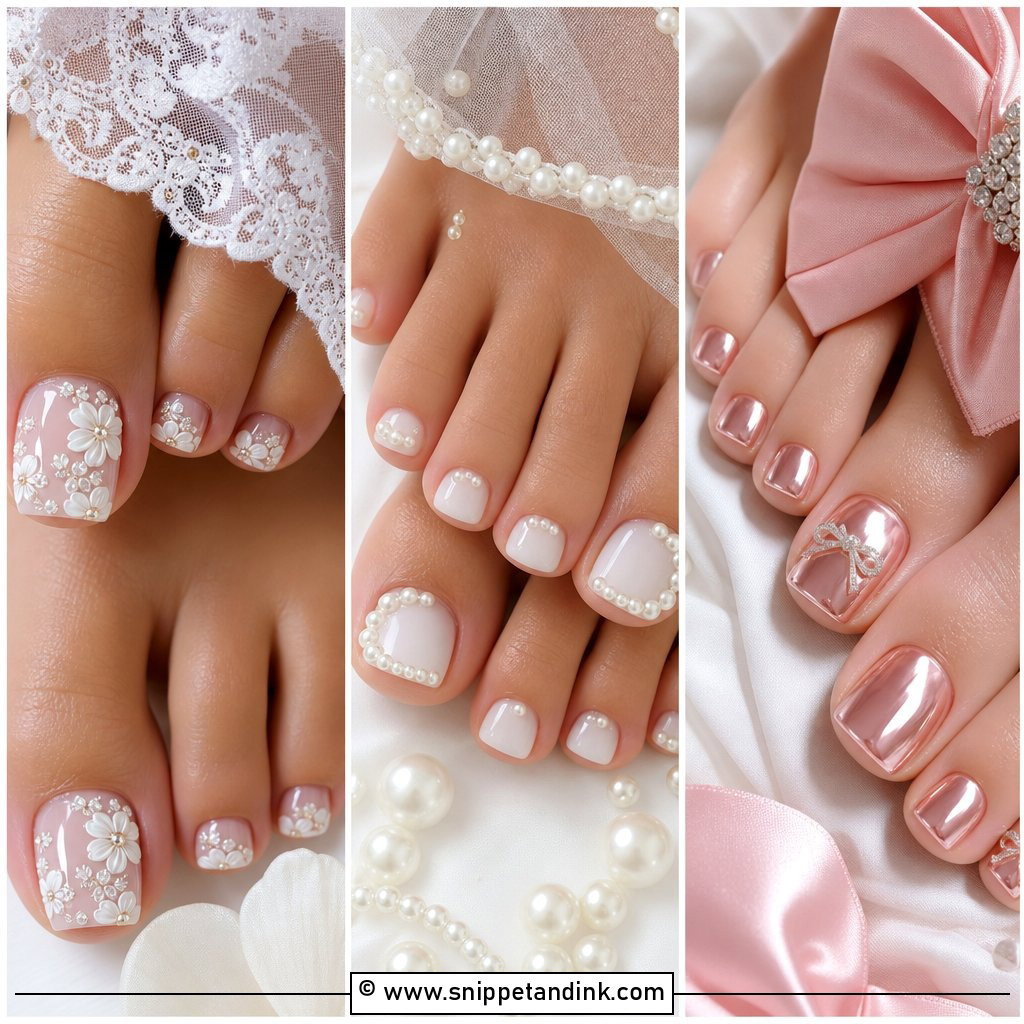
5. Pearl Chrome Wedding Toe Nails
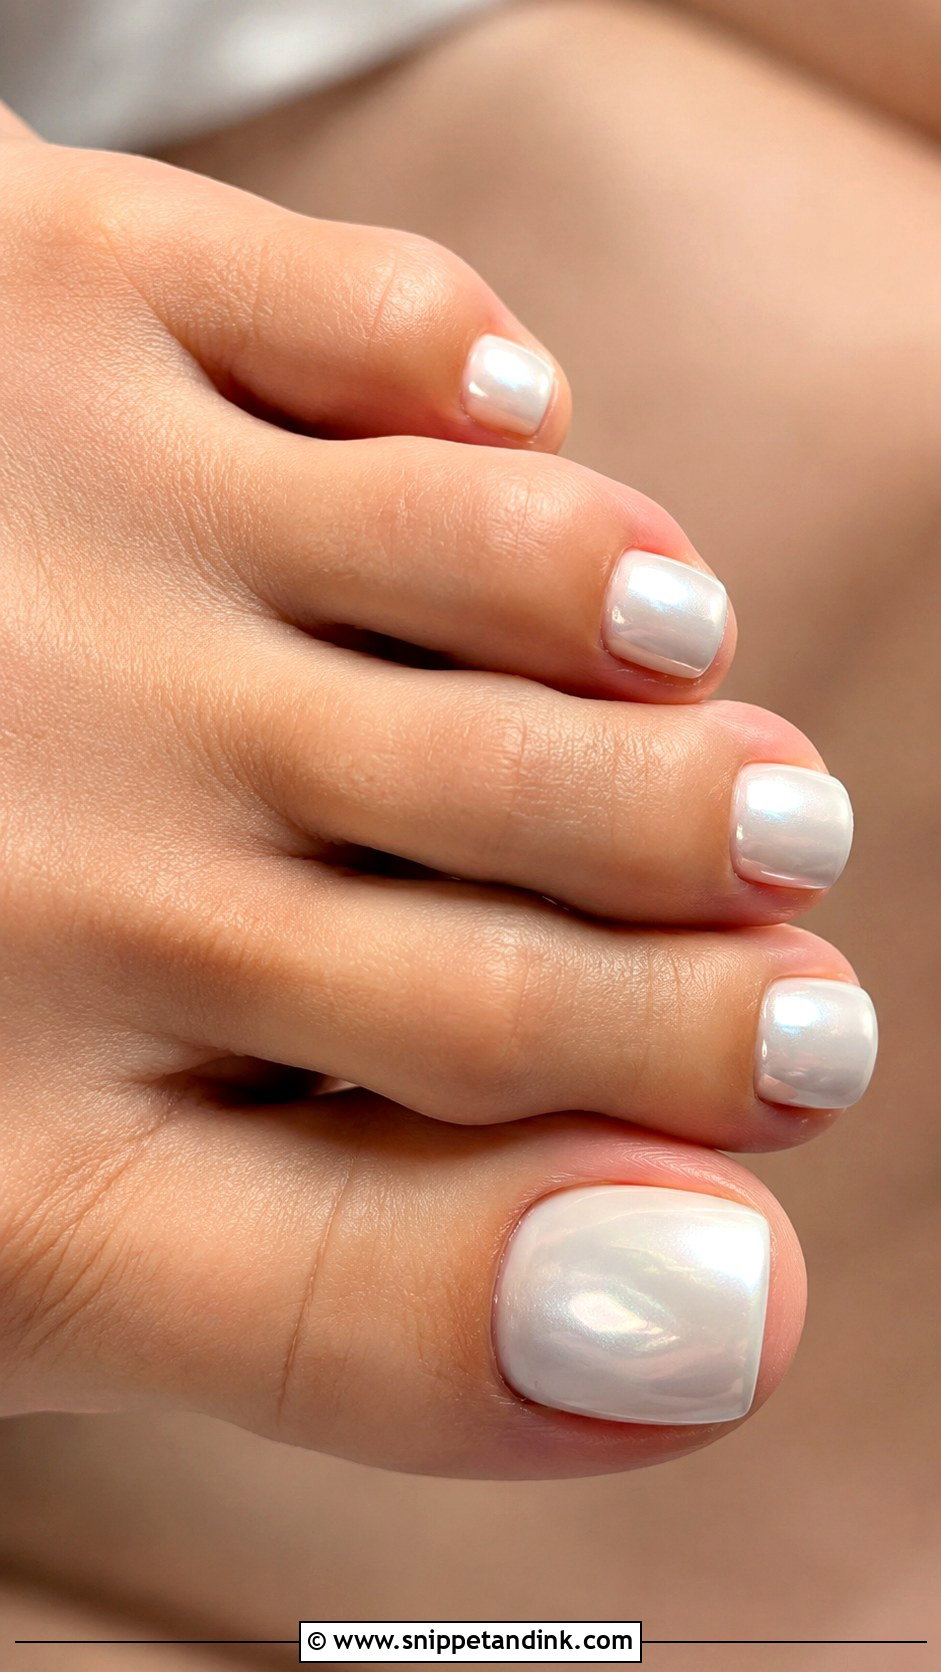
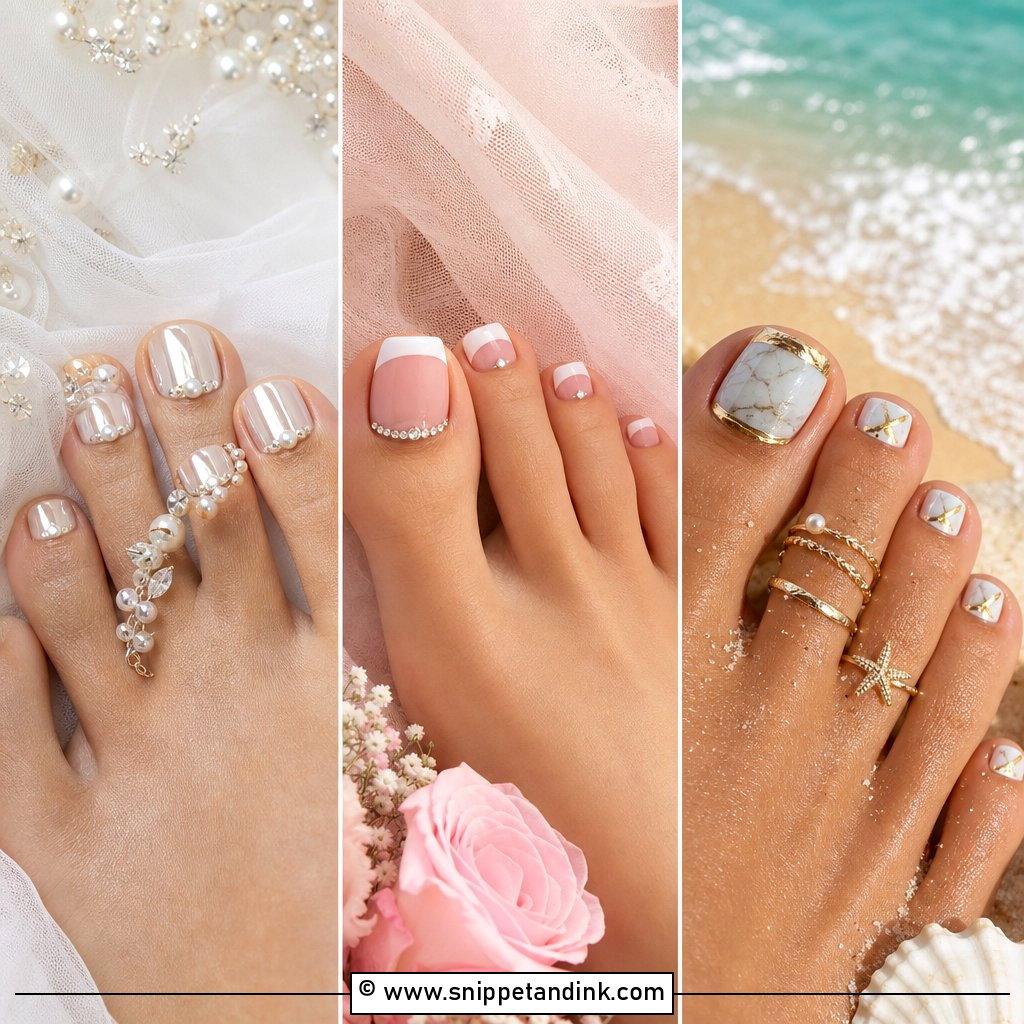
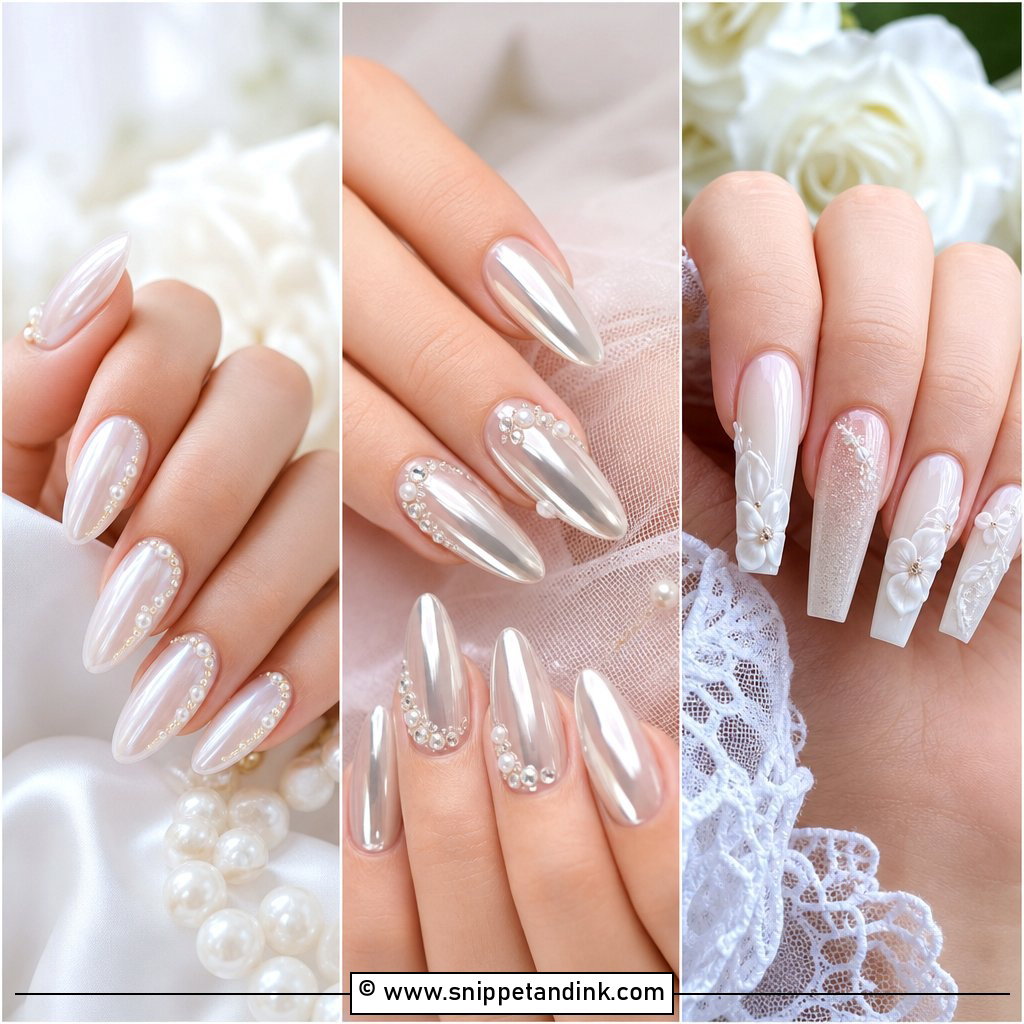
Pearl chrome wedding toe nails give a soft glow with no visible glitter. The base is usually milky white, sheer pink or nude, and I rub a fine pearl powder over a no-wipe gel top coat, then seal it. It catches the light the way satin does. Chrome on toes needs a careful seal along the free edge, because toenails rub against shoes and an unsealed edge wears through within days. Keep it to a soft pearl rather than icy silver. Silver chrome looks metallic and cold next to ivory fabric.
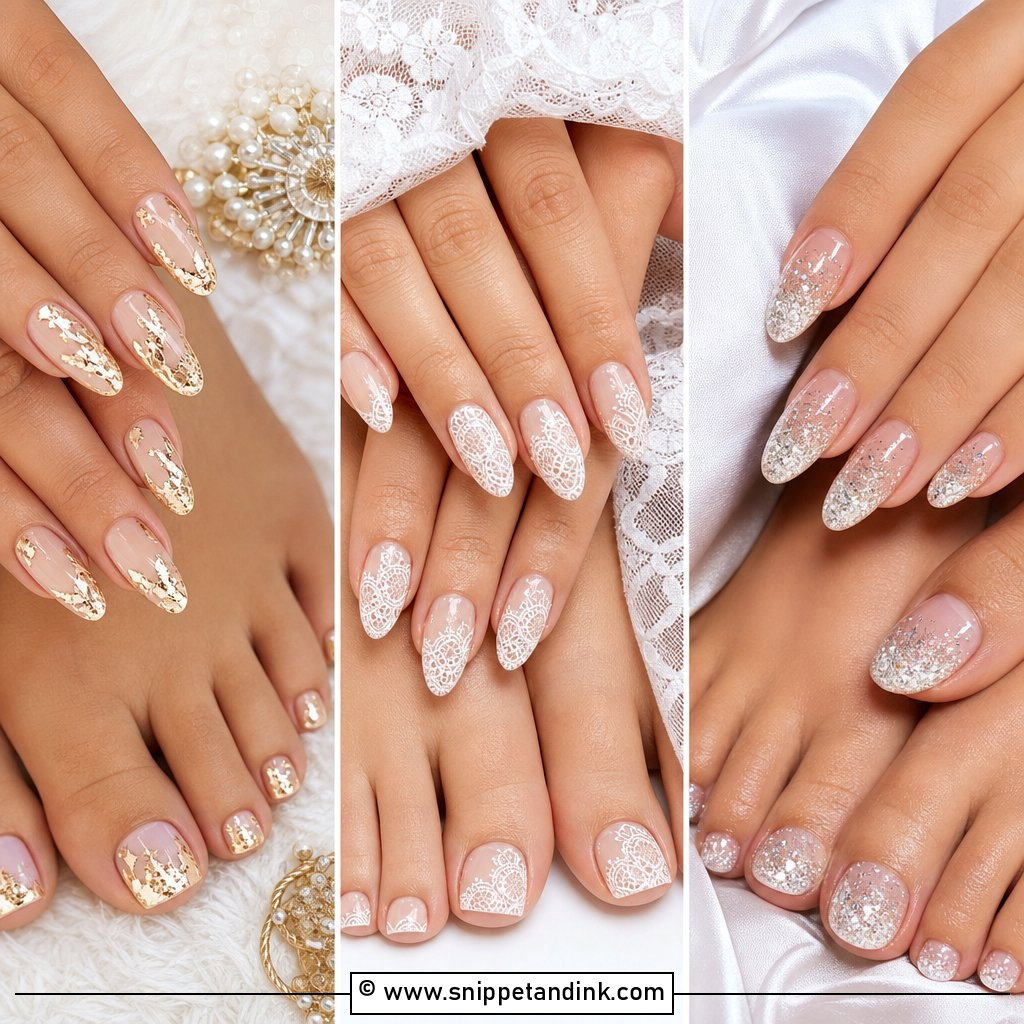
6. White Lace Wedding Toe Nails
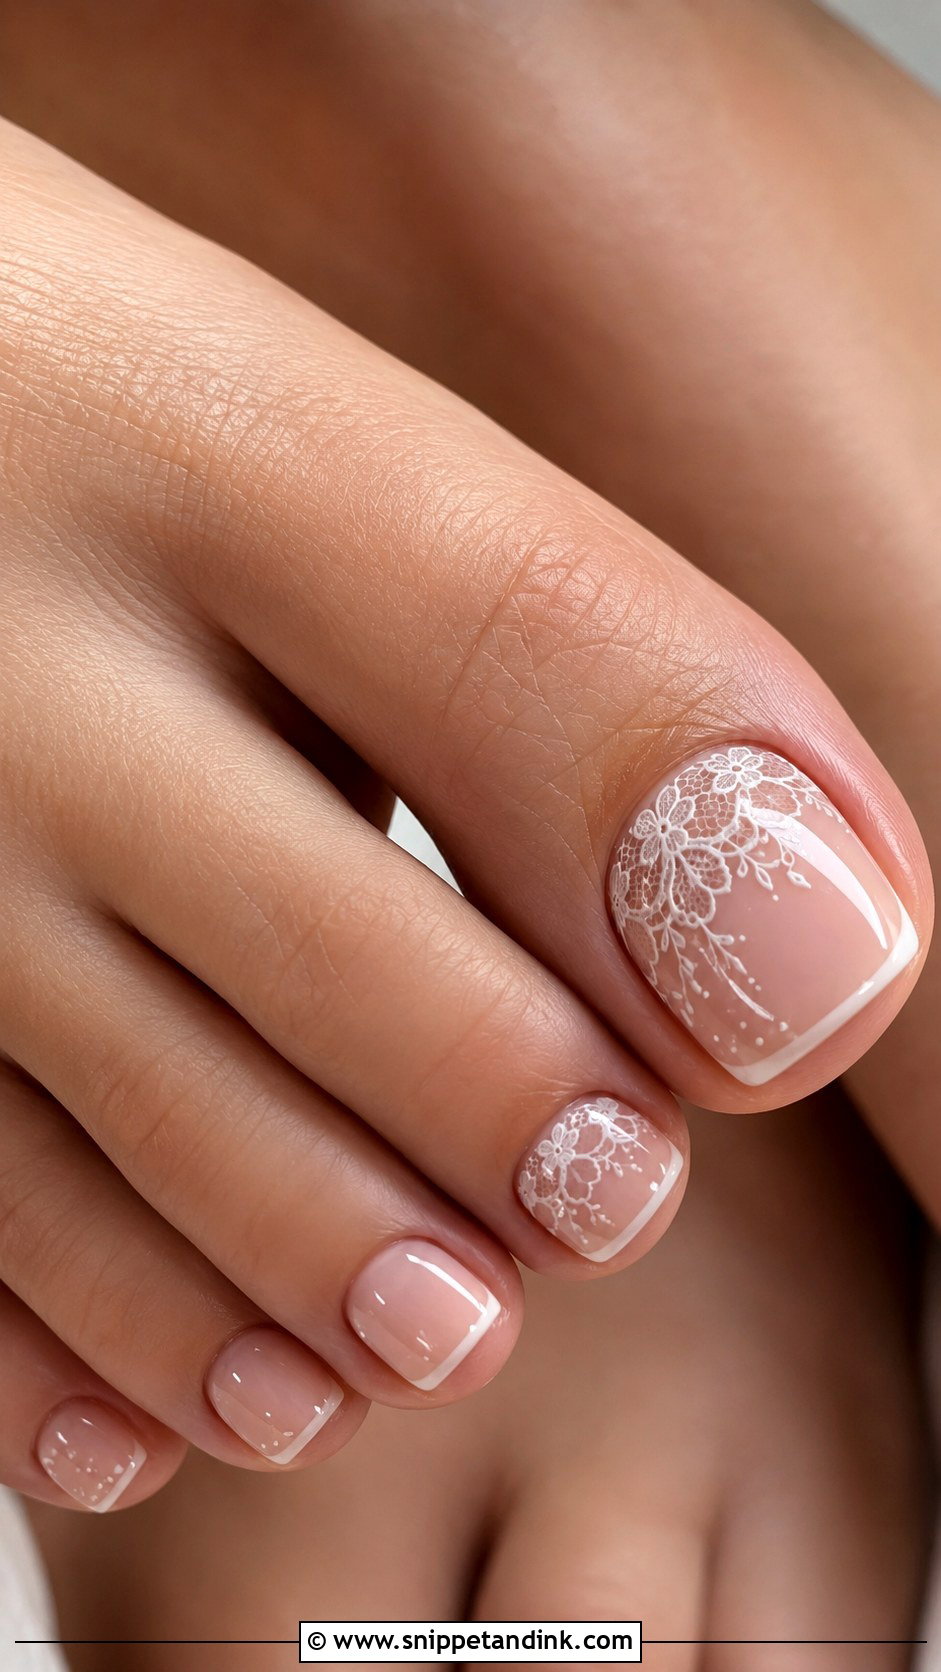
Lace art is fine linework, and I keep it on the big toes only. The other toes are too small to hold a pattern without it turning into a smudge. A sheer nude, blush or milky base sits under the lace, which is built from thin lines, dots and loops with a detail brush. If your gown has lace sleeves or an embroidered veil, bring a close photo of the pattern and I’ll echo the motif rather than copying it stitch for stitch. Keep the rest of the toes plain. A glossy top coat over the art keeps the white lines from wearing at the edges.
7. Floral Wedding Toe Nails
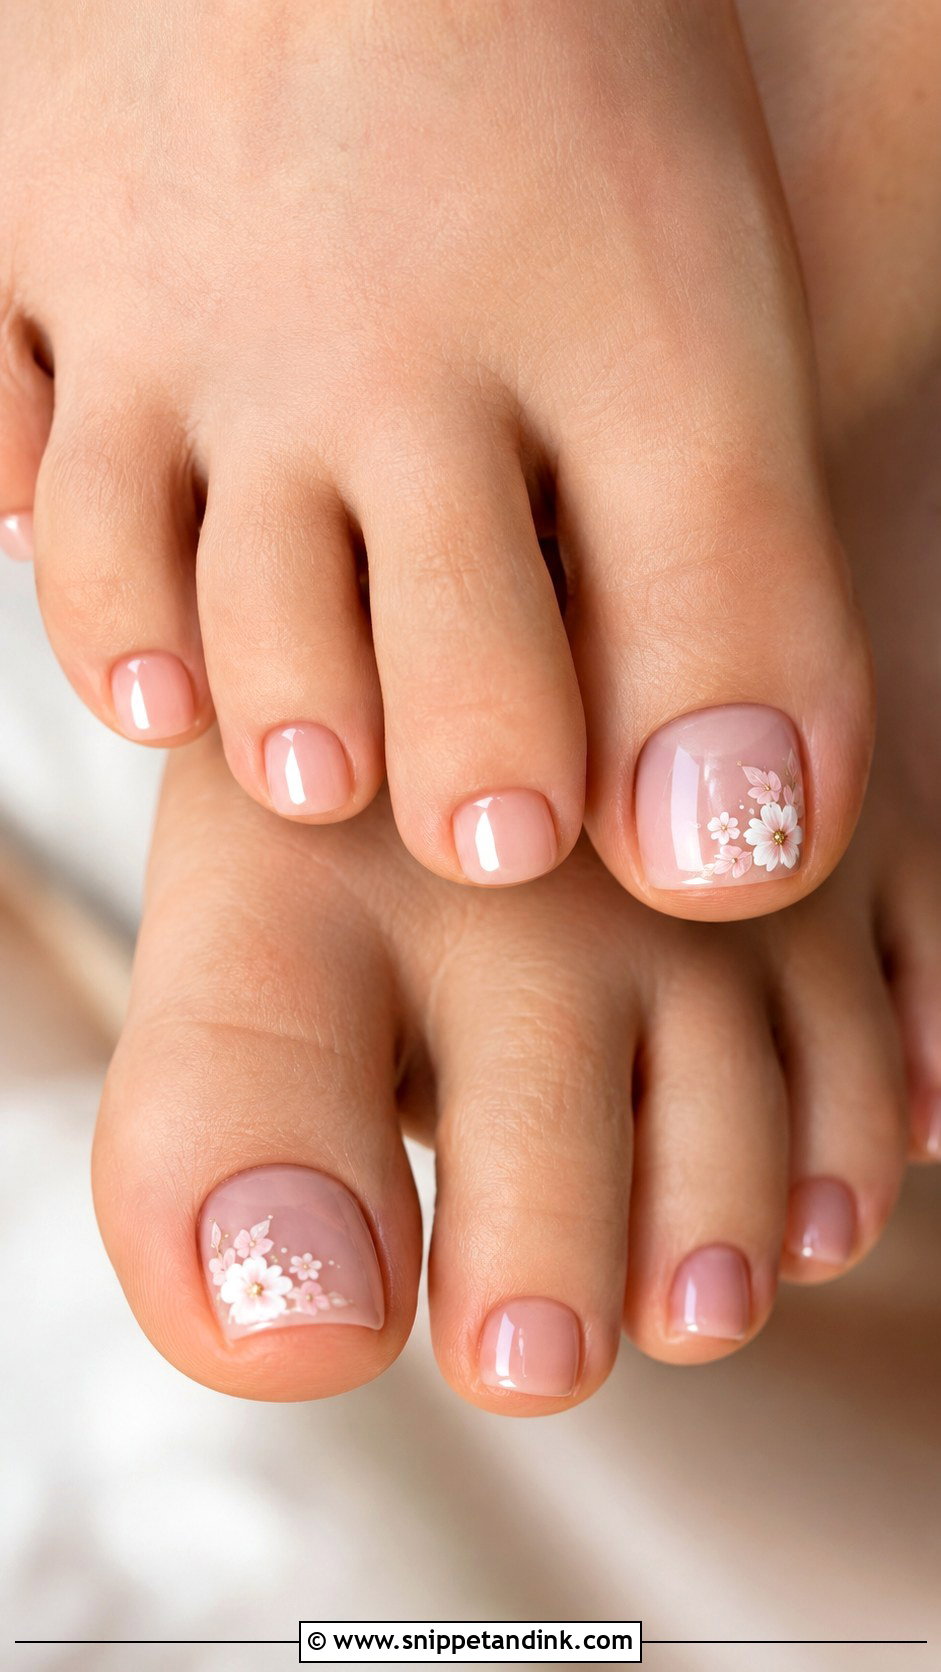
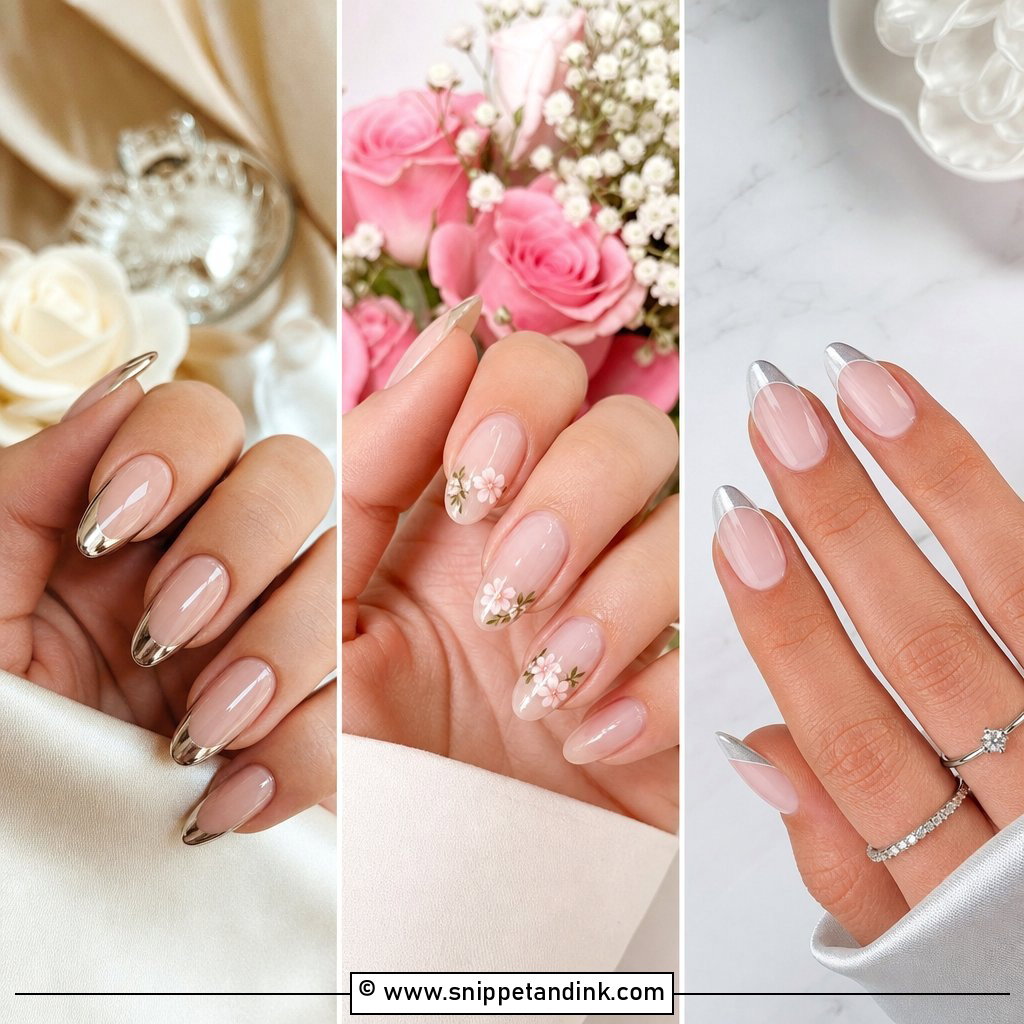
Floral toes are a spring and summer favorite, and the key is scale. Big blooms on a toenail look cartoonish; micro flowers of five dots around a center dot look delicate. I paint them on the big toes and leave the smaller toes in the base color. Soft white flowers on a nude or milky base are the most wearable, with pale pink petals or a sprig of green for a garden wedding. If you’re unsure, start with one flower cluster per big toe. You can always ask for more at the appointment.
8. Something Blue Wedding Toe Nails
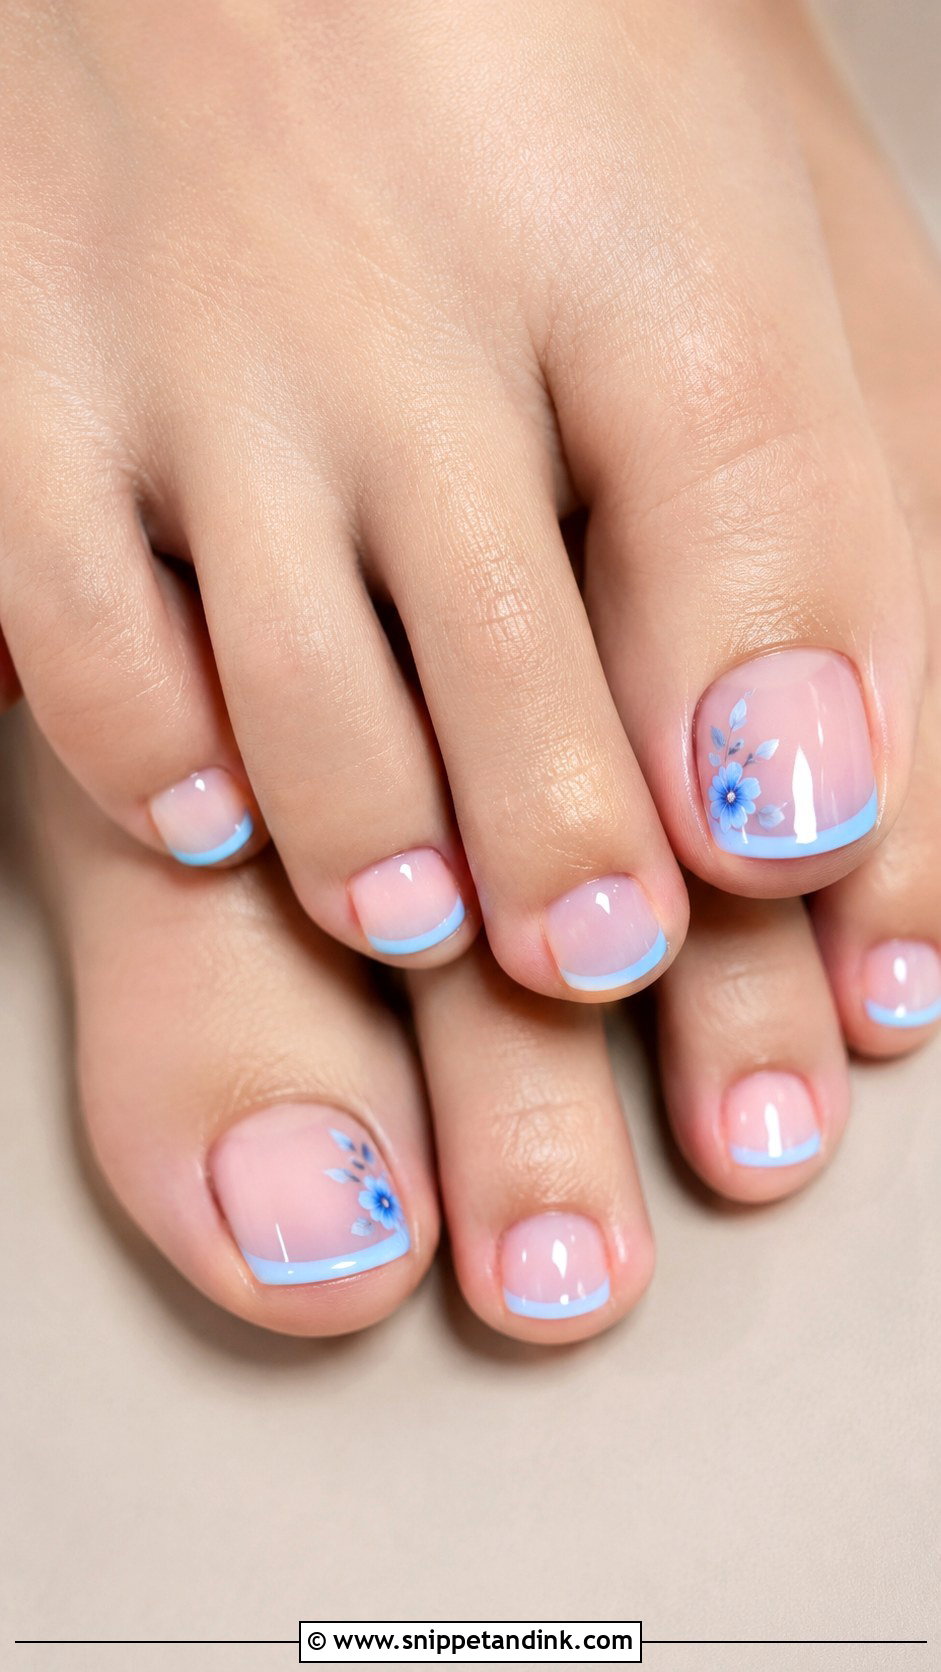
Toes are a clever place for your something blue, because nobody sees it unless you want them to. Skip a bright blue on every toe; I’d put a powder or misty blue on the French tips, a few tiny blue flowers, or a pale blue accent on the big toes over a sheer pink or nude base. Soft blues look intentional against white or ivory shoes, while a navy can look like a mistake in photos. If your accessories are pearl, a small pearl or shimmer dot ties the two together.
9. Glitter Ombre Wedding Toe Nails
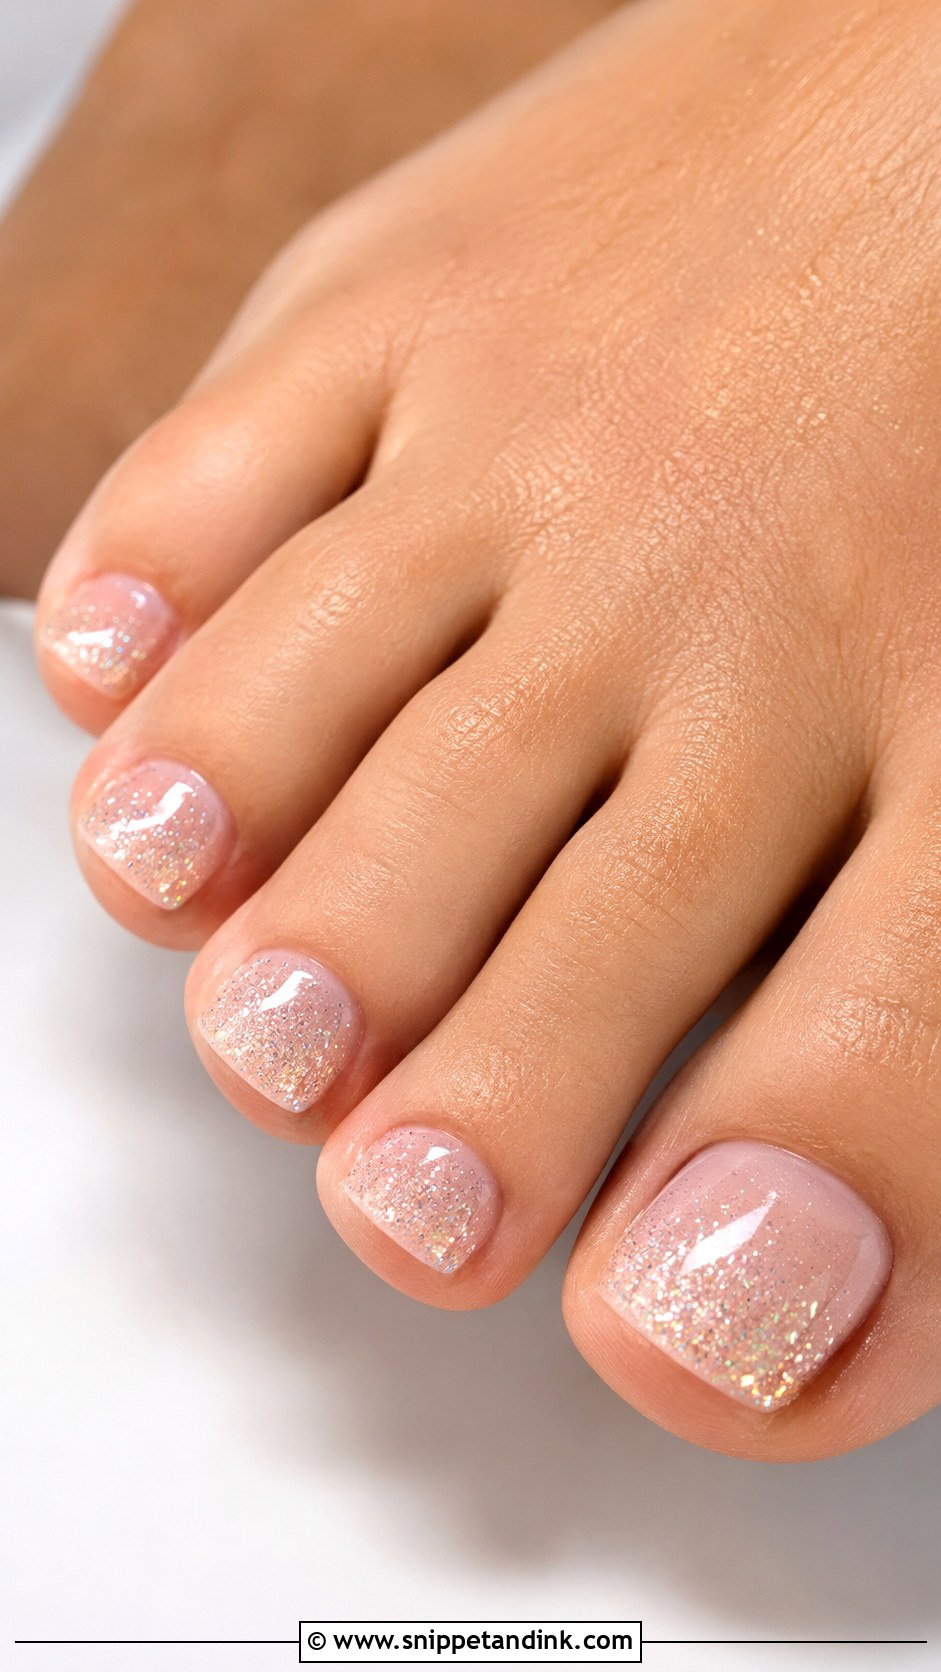
Glitter ombre wedding toe nails give you sparkle that still reads soft. I start with a nude, blush or milky base and fade fine champagne, silver or pearl glitter from the tip. Fine glitter is essential. Chunky glitter leaves a bumpy surface that needs thick top coat to smooth, and it’s miserable to remove later. I keep the sparkle densest on the big toes and lighter on the small ones. It suits evening receptions, ballrooms and metallic shoes, where it catches the light with every step.
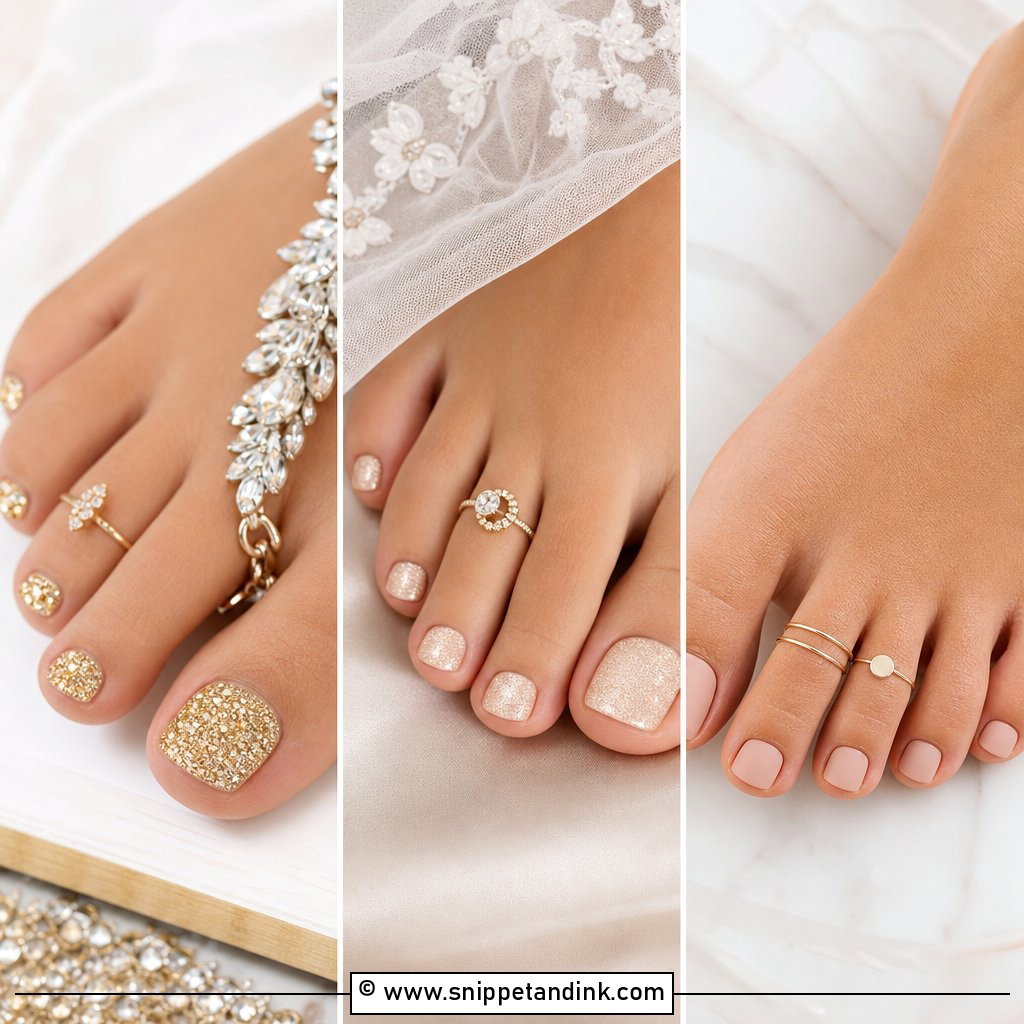
10. Champagne Wedding Toe Nails
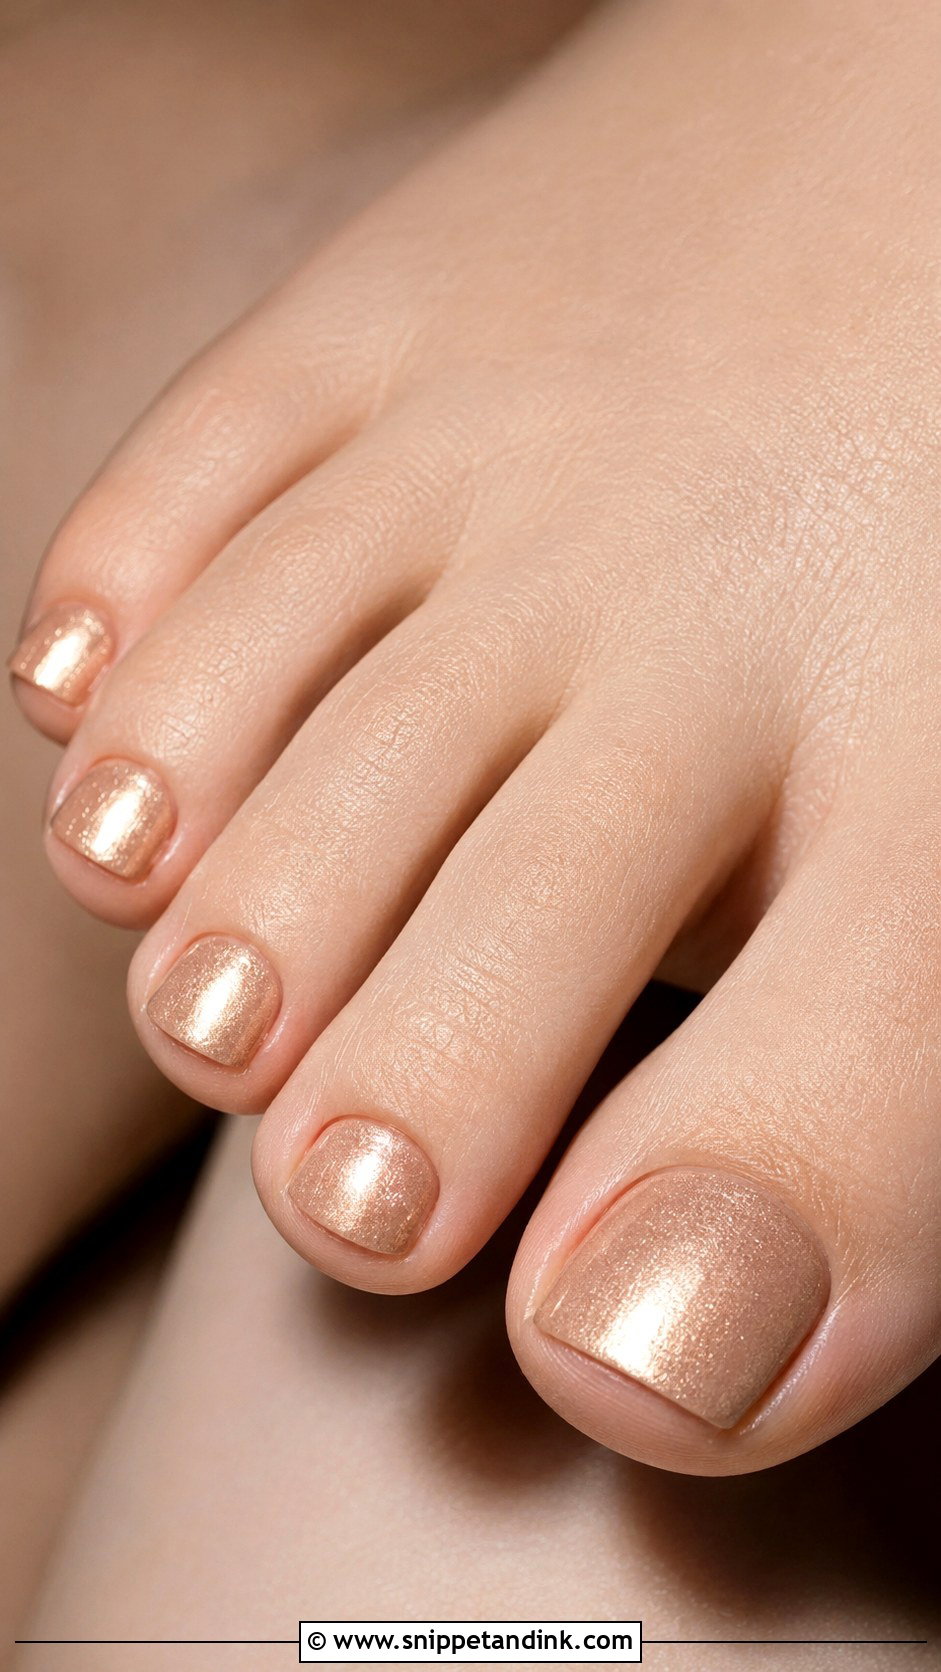
Champagne is a warm shimmer, and it sits well next to ivory, cream or gold-toned gowns. It flatters a wide range of skin tones because the base is neutral and the shimmer is warm rather than icy. Choose a polish with a very fine shimmer, not large flakes, so it looks smooth instead of sparkly. It pairs naturally with gold jewelry and satin heels. I often suggest it for bridesmaids, since it feels dressed up without fighting their dress colors.
11. Rhinestone Wedding Toe Nails
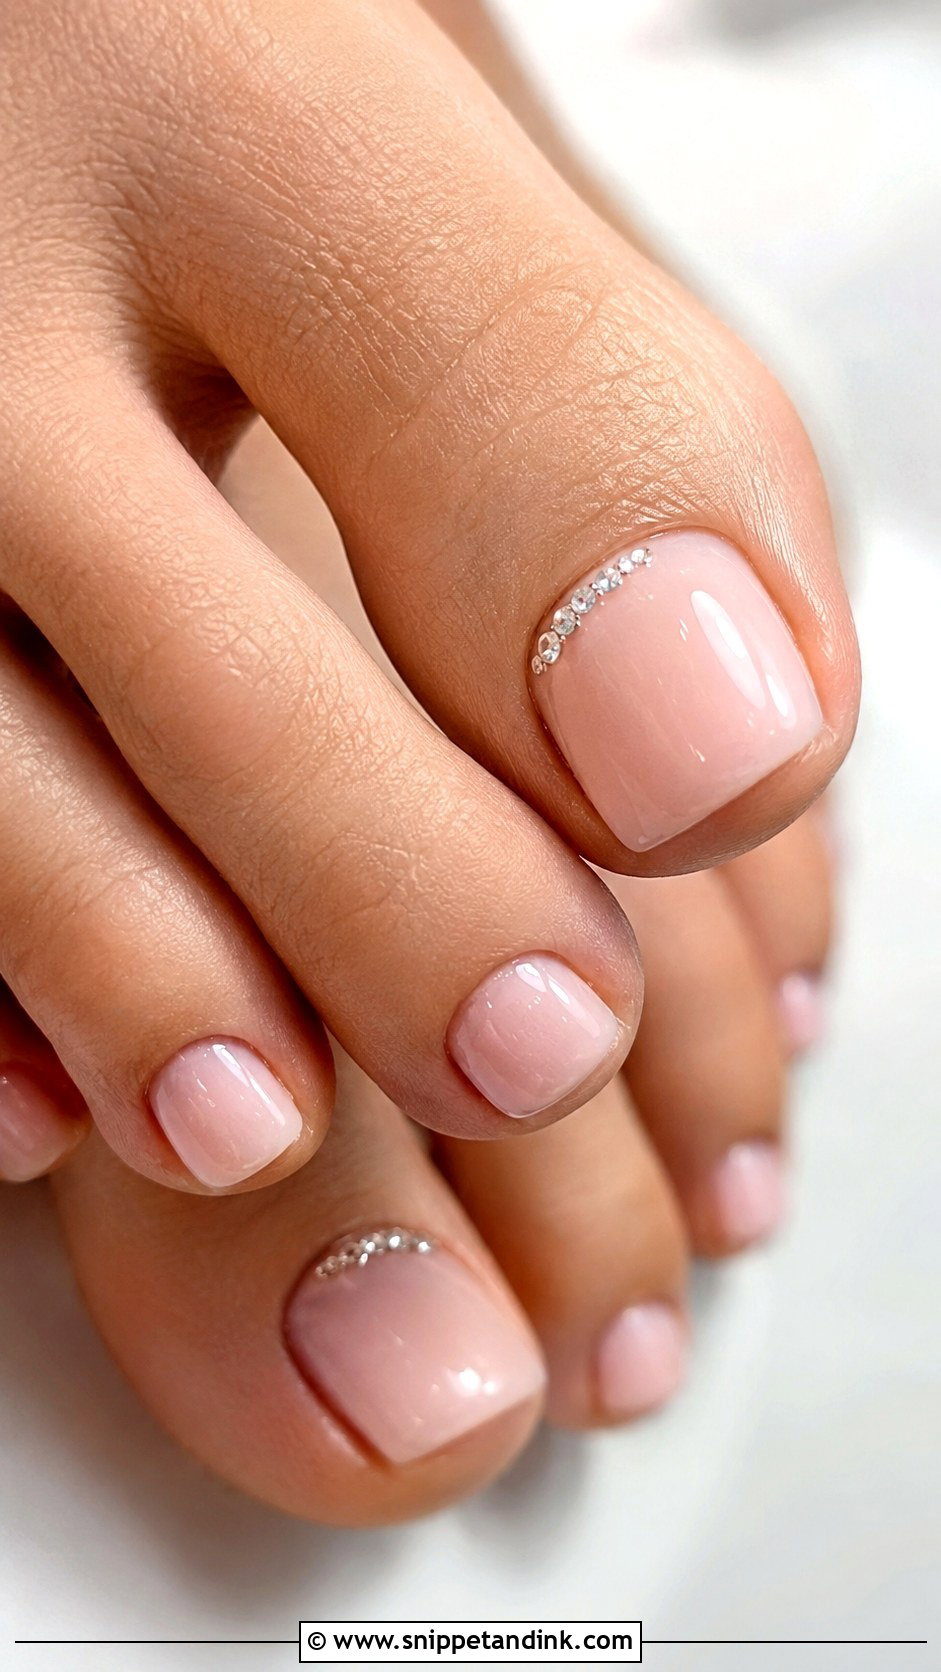
Rhinestones on toes need restraint, and that’s about comfort as much as looks. I’ll set a few tiny flat-back stones near the cuticle of the big toe, or a single crystal, and leave the rest bare. Stones on every toe catch on straps and stockings and press against the inside of closed shoes. Flat-back crystals sit lowest, which matters with wedding sandals that have toe straps. I set them in builder gel and cap them with top coat, which is what keeps them on through the dancing. Before the appointment, check where your shoe straps cross the toes and tell me.
12. Pink And White Wedding Toe Nails
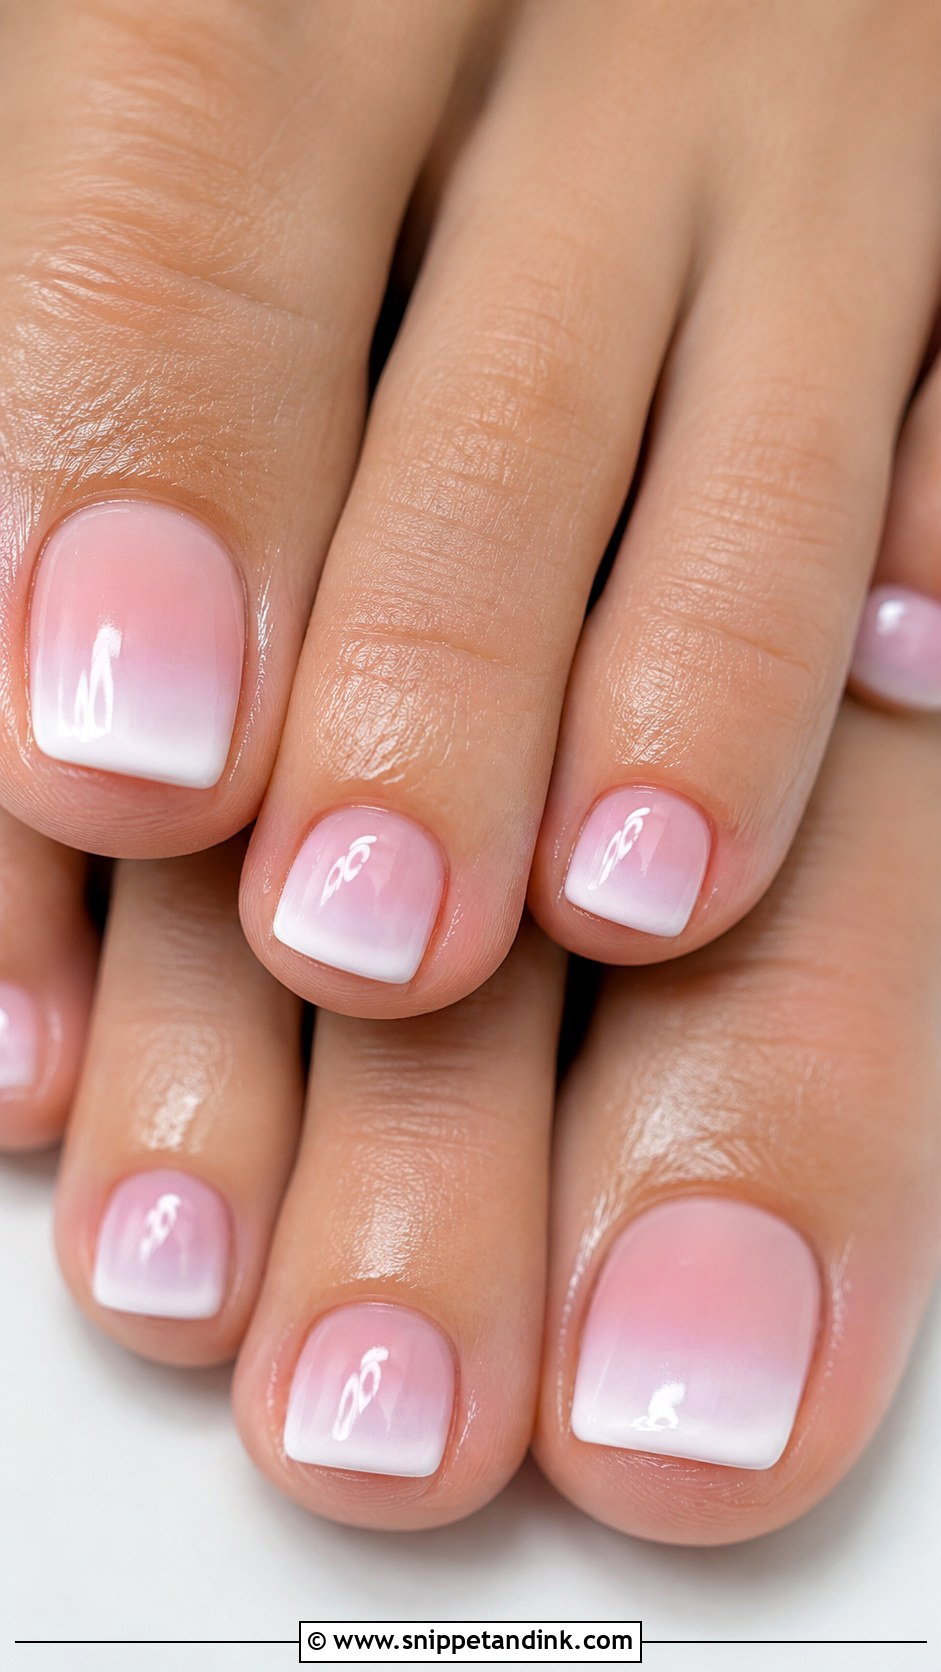
Pink and white is the combination I fall back on when a bride can’t decide. It can be done as a French, a soft ombre or a milky pink with small white details. The sheer pink base makes the nails look healthy, and the white brightens the whole foot. It goes with almost any shoe, from plain satin to embellished sandals. If you want one extra detail, a tiny pearl on each big toe is enough.
13. Short Wedding Toe Nails
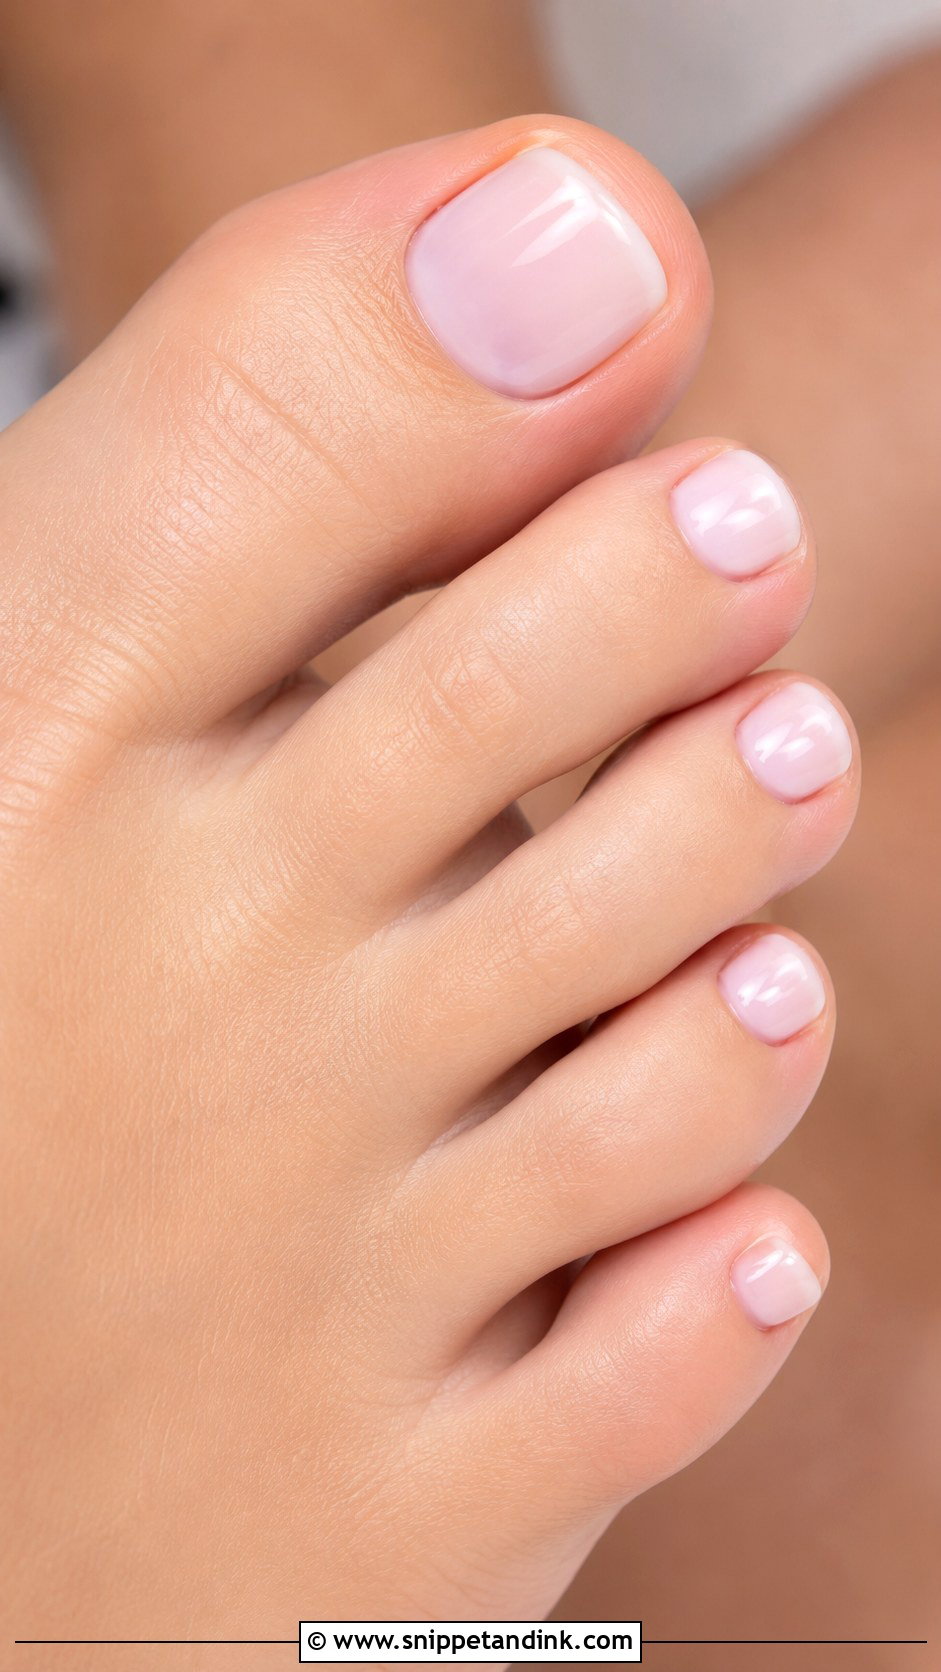
Short toenails are what I recommend for most brides, and they look every bit as polished as longer ones. If you’re switching between closed heels for the ceremony and sandals later, long nails press into the front of the shoe and can bruise under the nail after a long day. Milky white, blush, nude, micro French tips and soft shimmer all sit well on a short nail. I shape them straight across with only the corners softened. Rounding the sides too much encourages ingrown toenails. Keep any art tiny and on the big toes.
14. Square Wedding Toe Nails
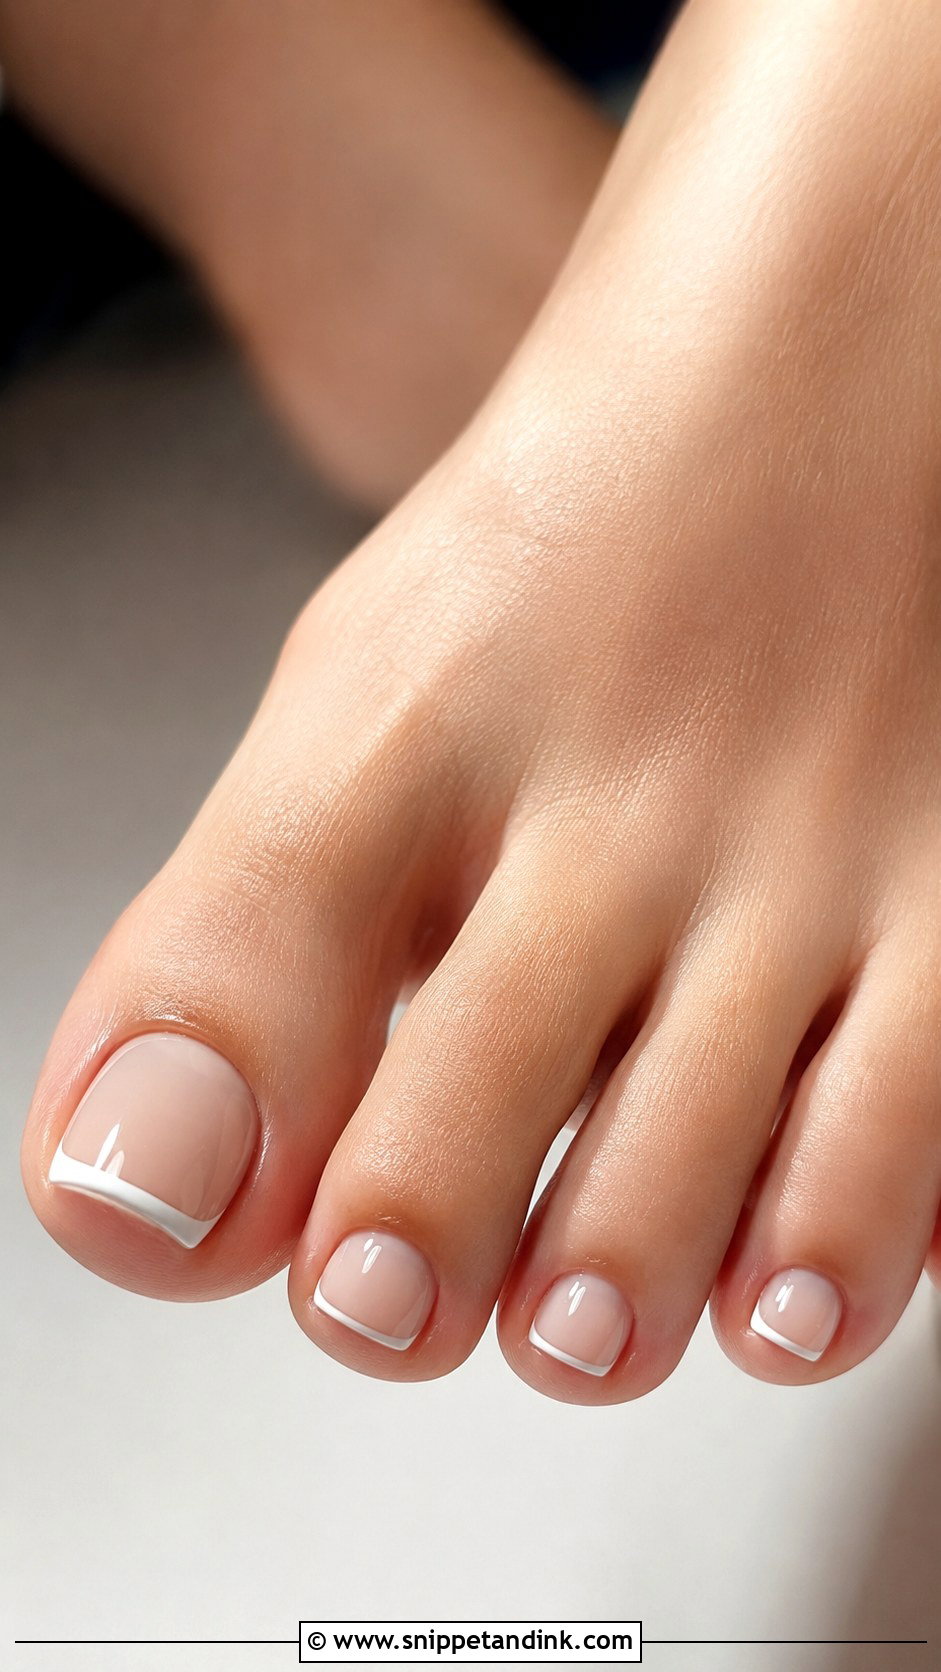
A square shape makes a French tip look even and gives a structured, salon-finished look. I file straight across and just soften the corners, so nothing sharp catches on stockings or digs into the next toe. If your natural toenails are narrow, a square shape makes them look a little fuller. The polish has to be applied carefully along the cuticle, because flooding the side walls on a toe is very obvious in a close-up shoe photo. Nude, milky white and French tips all suit this shape.
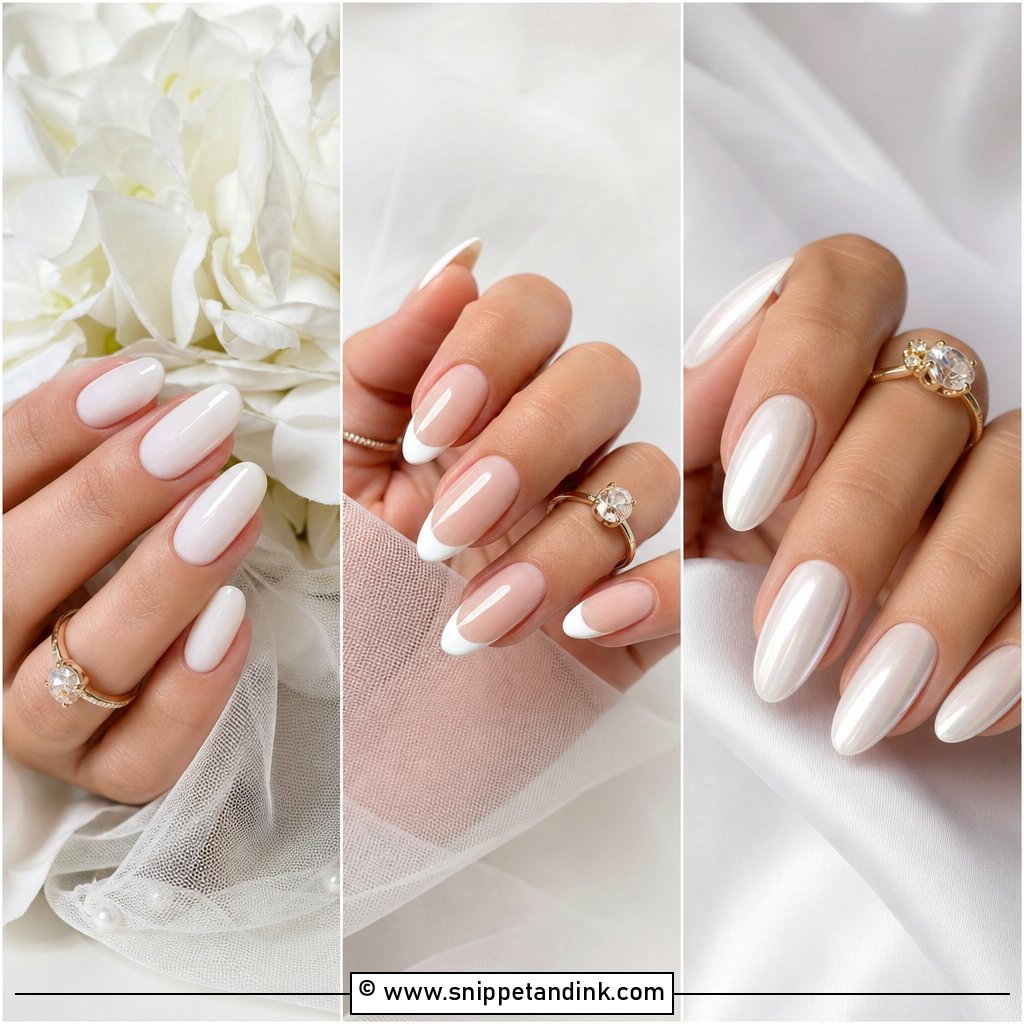
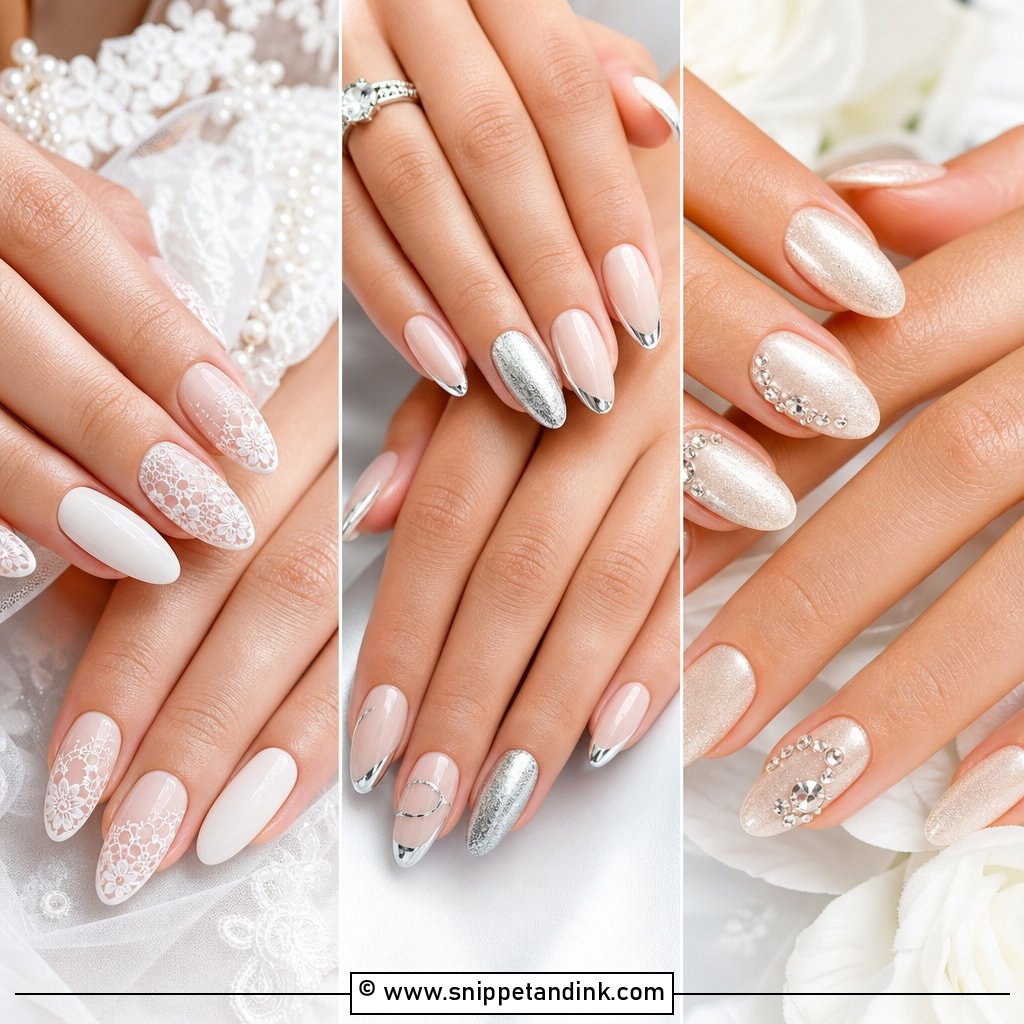
15. Beach Wedding Toe Nails
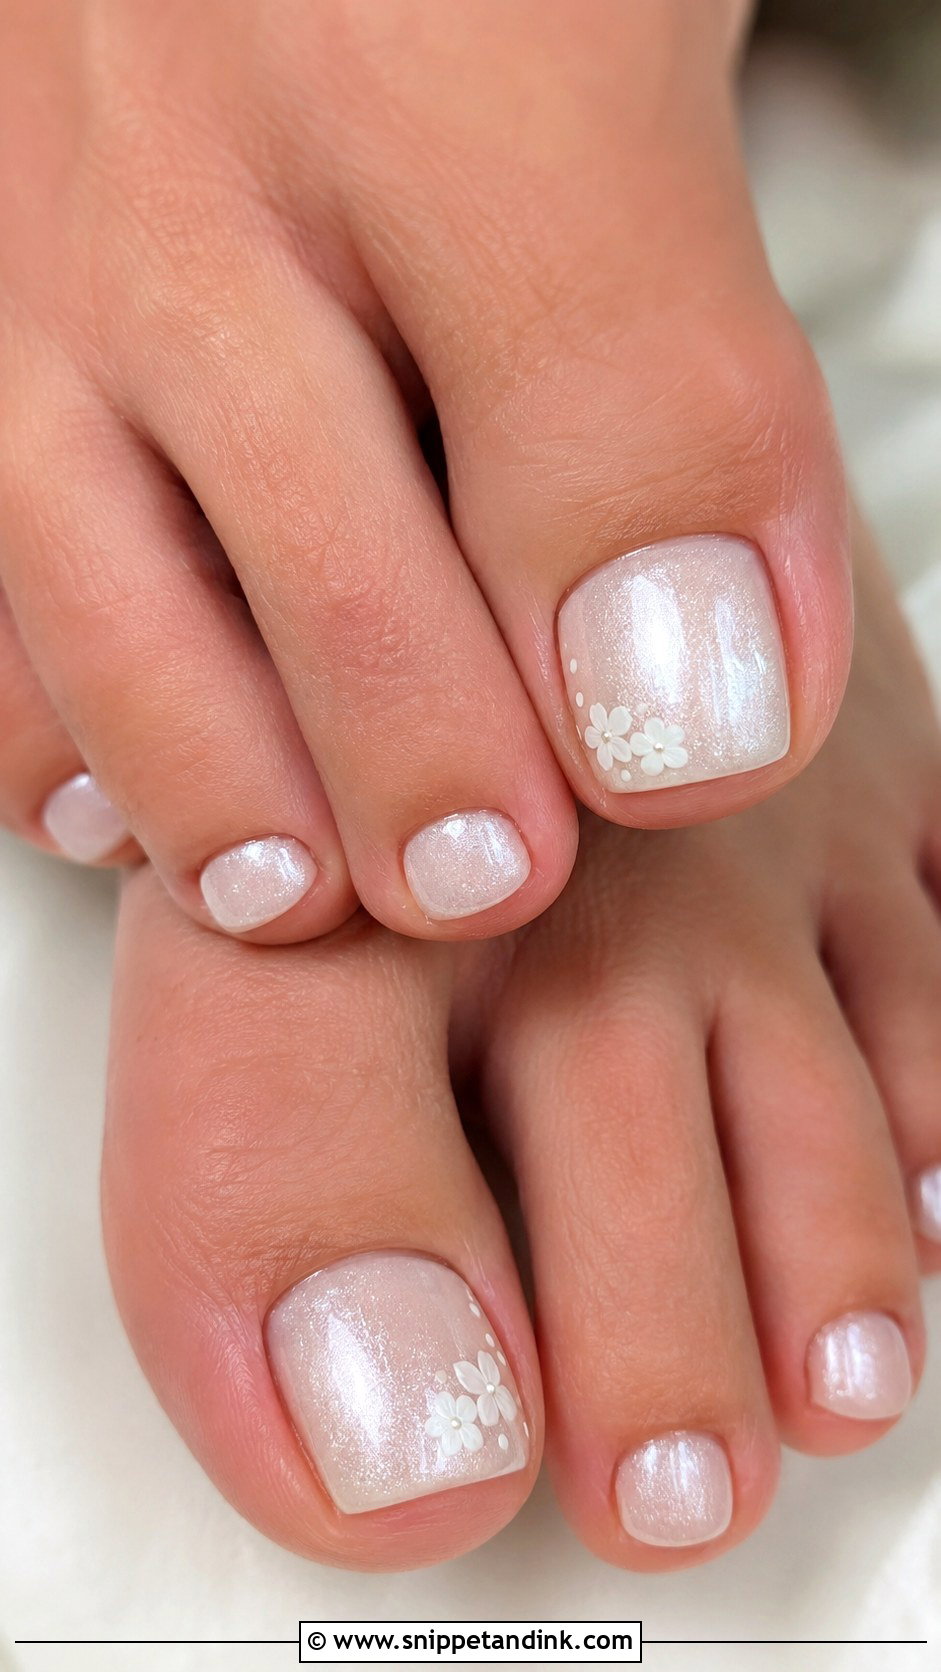
For a beach wedding, the toes are often bare and in full view, and they’re also in sand and salt water. Soft white, sheer pink, nude, pearl and pale blue all look fresh in that light. Skip raised gems and heavy 3D art. Sand gets trapped around them and they snag on towels. Gel is worth it here because it stands up to sun, sea and travel better than regular polish. If you want a detail, a fine shimmer wash or tiny white flowers will do.
16. Garden Wedding Toe Nails
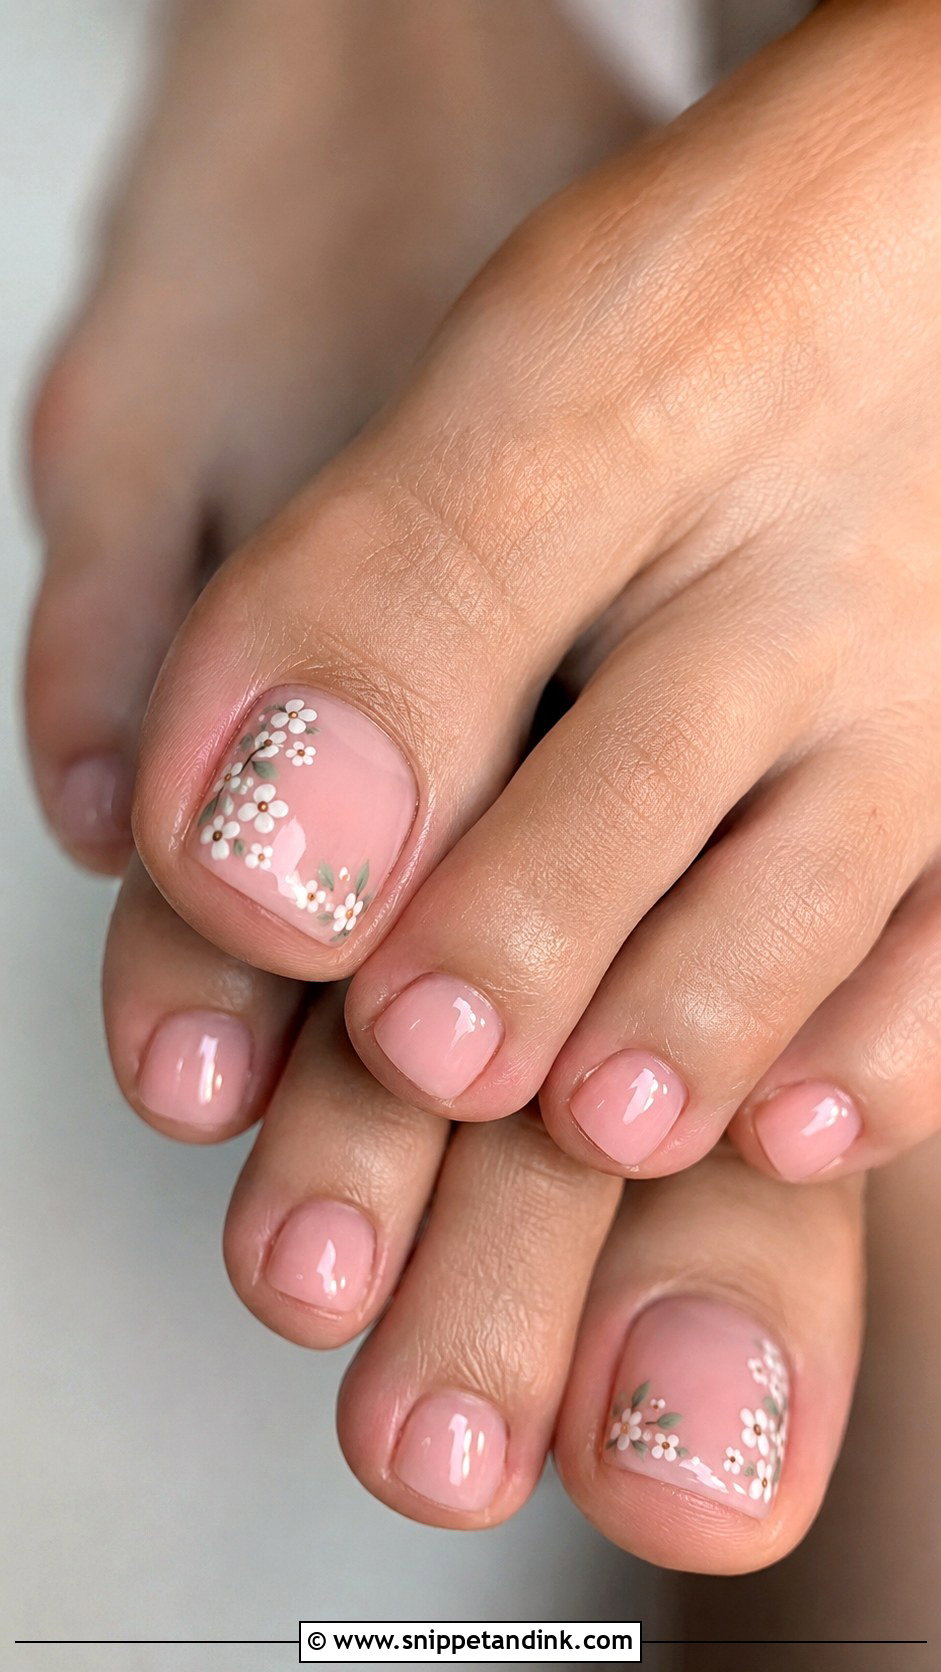
Garden toes should look like they belong outdoors. I work with a sheer pink or milky base and add tiny floral details, pale green leaves or a few white petals on the big toes. A single flower cluster on each big toenail usually ties the pedicure to the venue without turning it into a craft project. A jelly or glossy finish keeps it soft; flat opaque color can look heavy on bare feet at a picnic-style reception. Keep the art small enough that it reads as texture from a few feet away.
17. Classic Red Wedding Toe Nails
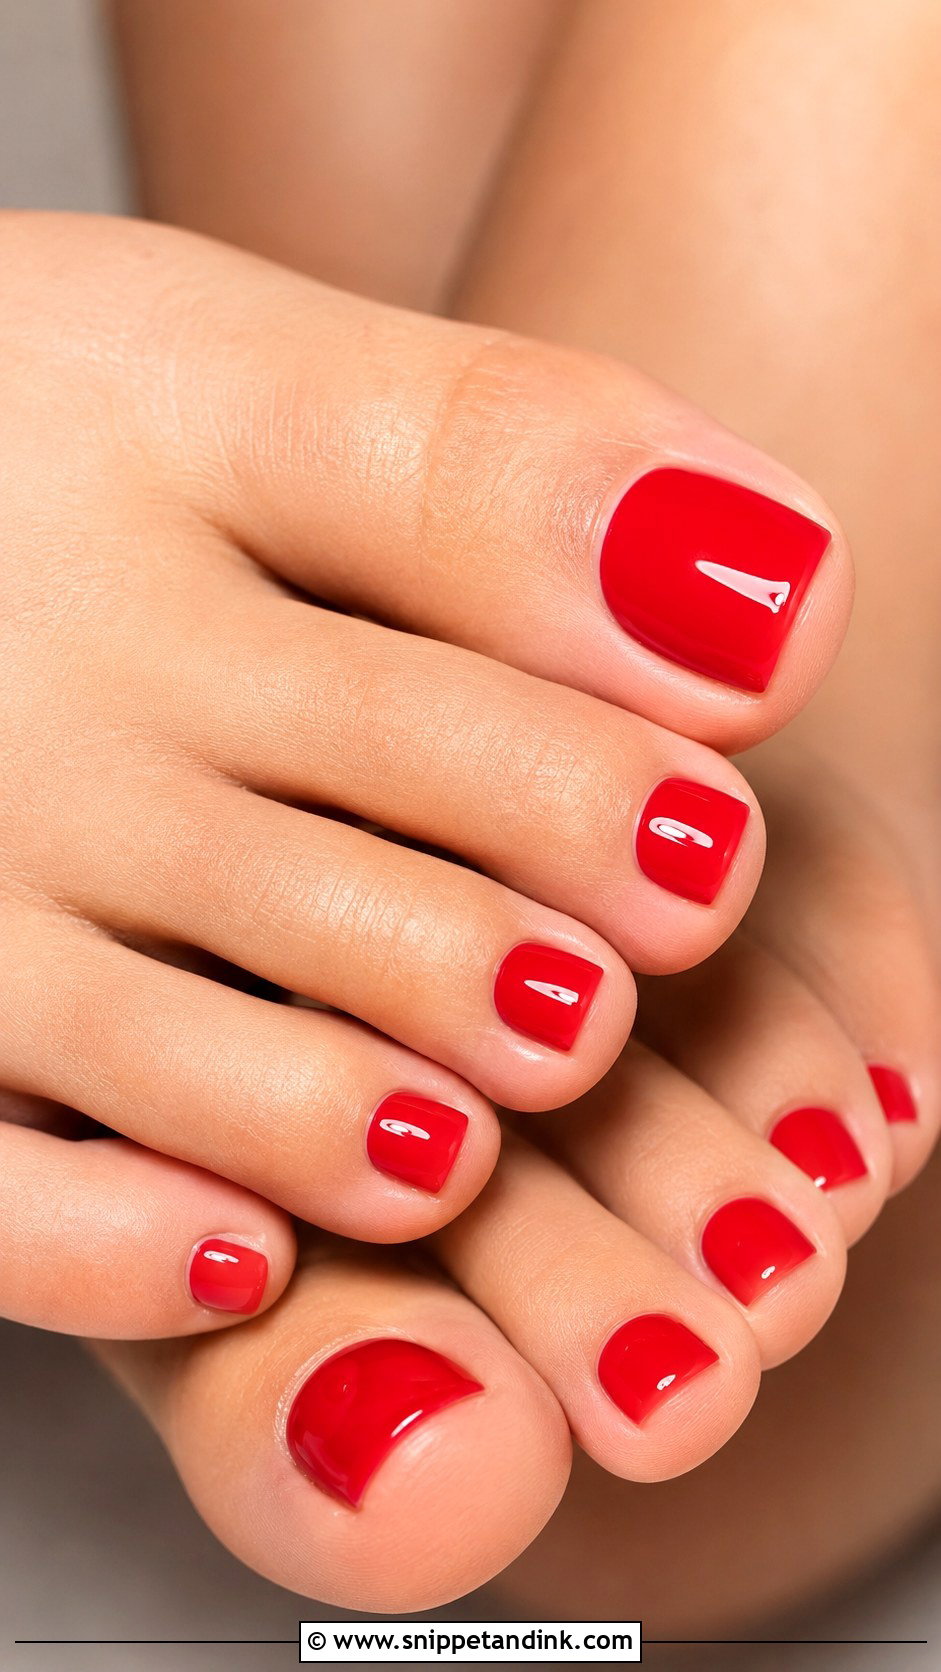
Red is the bold option, and on the right bride it looks completely at home with a simple gown or vintage-style dress. The shade is everything. True red reads classic, blue-red looks glamorous, and a deep cherry suits evening weddings. Red shows every flaw, so the shaping, the cuticle line and the gloss all need to be clean. Keep the nails short. I’d say yes to red if you wear it often in daily life; it’ll feel like you. If you never wear red, the wedding day isn’t the time to try it.
18. Clear Gloss Wedding Toe Nails
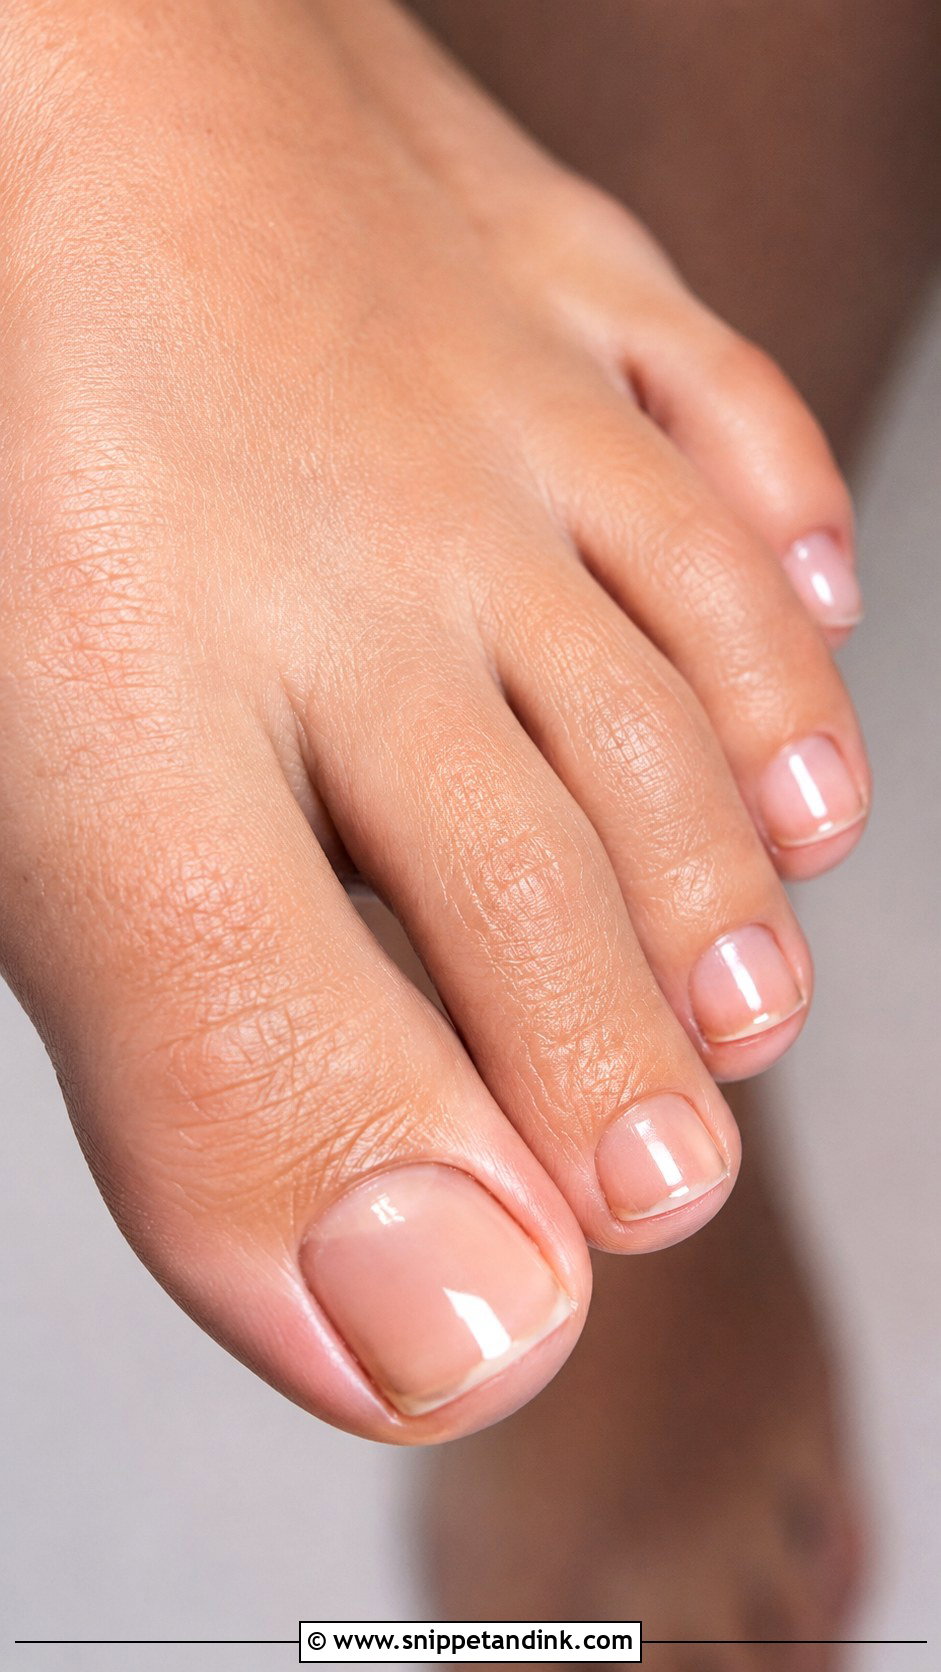
A clear gloss pedicure is all about the prep: careful shaping, tidy cuticles, a buffed nail surface and a glassy top coat. It suits brides who don’t usually wear polish, or whose shoes and jewelry already have plenty of detail. If your nails are slightly yellowed or ridged, a sheer pink strengthening coat evens the tone. Give the skin real attention at the same visit, because with no color on the nail, the eye goes straight to dry heels and cuticles.
19. Matte White Wedding Toe Nails
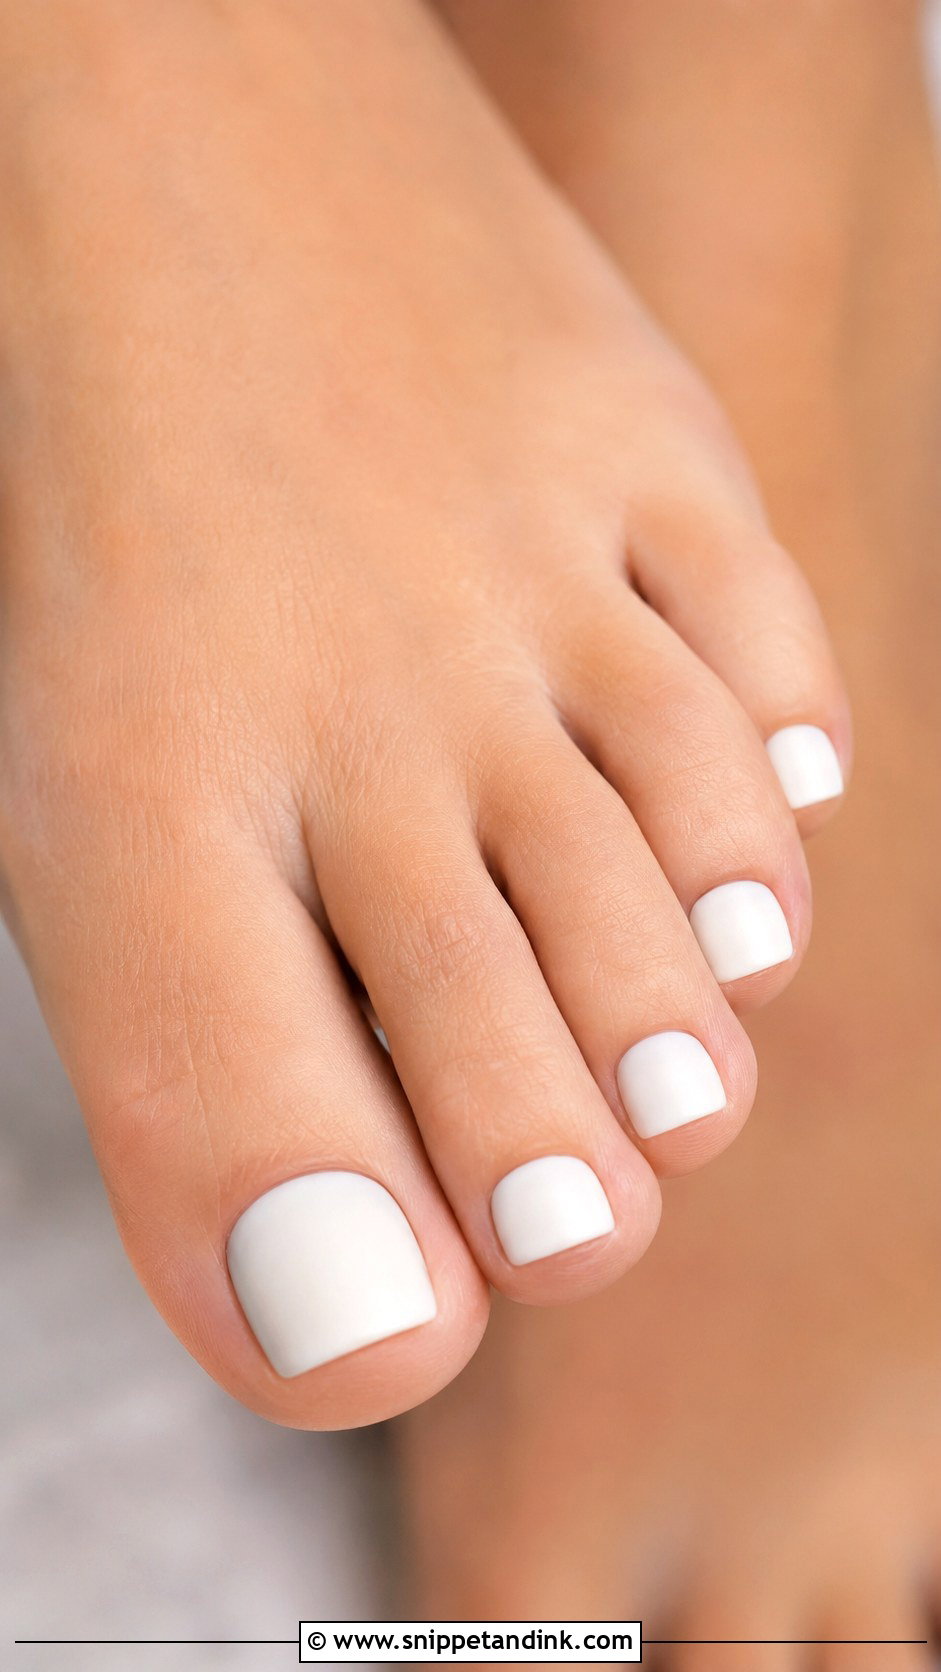
Matte white is the most modern option here, and the least forgiving. A matte top coat shows every bump in the nail plate, so I file the surface smooth and keep the edges extra clean before painting. Use a soft white or ivory rather than a stark correction-fluid white, which looks flat under a matte finish. It suits minimalist gowns and structured shoes. A thin glossy stripe on the big toes adds contrast. Matte also picks up scuffs from shoe leather faster than gloss, so expect to see wear by the honeymoon.
20. Gold Accent Wedding Toe Nails
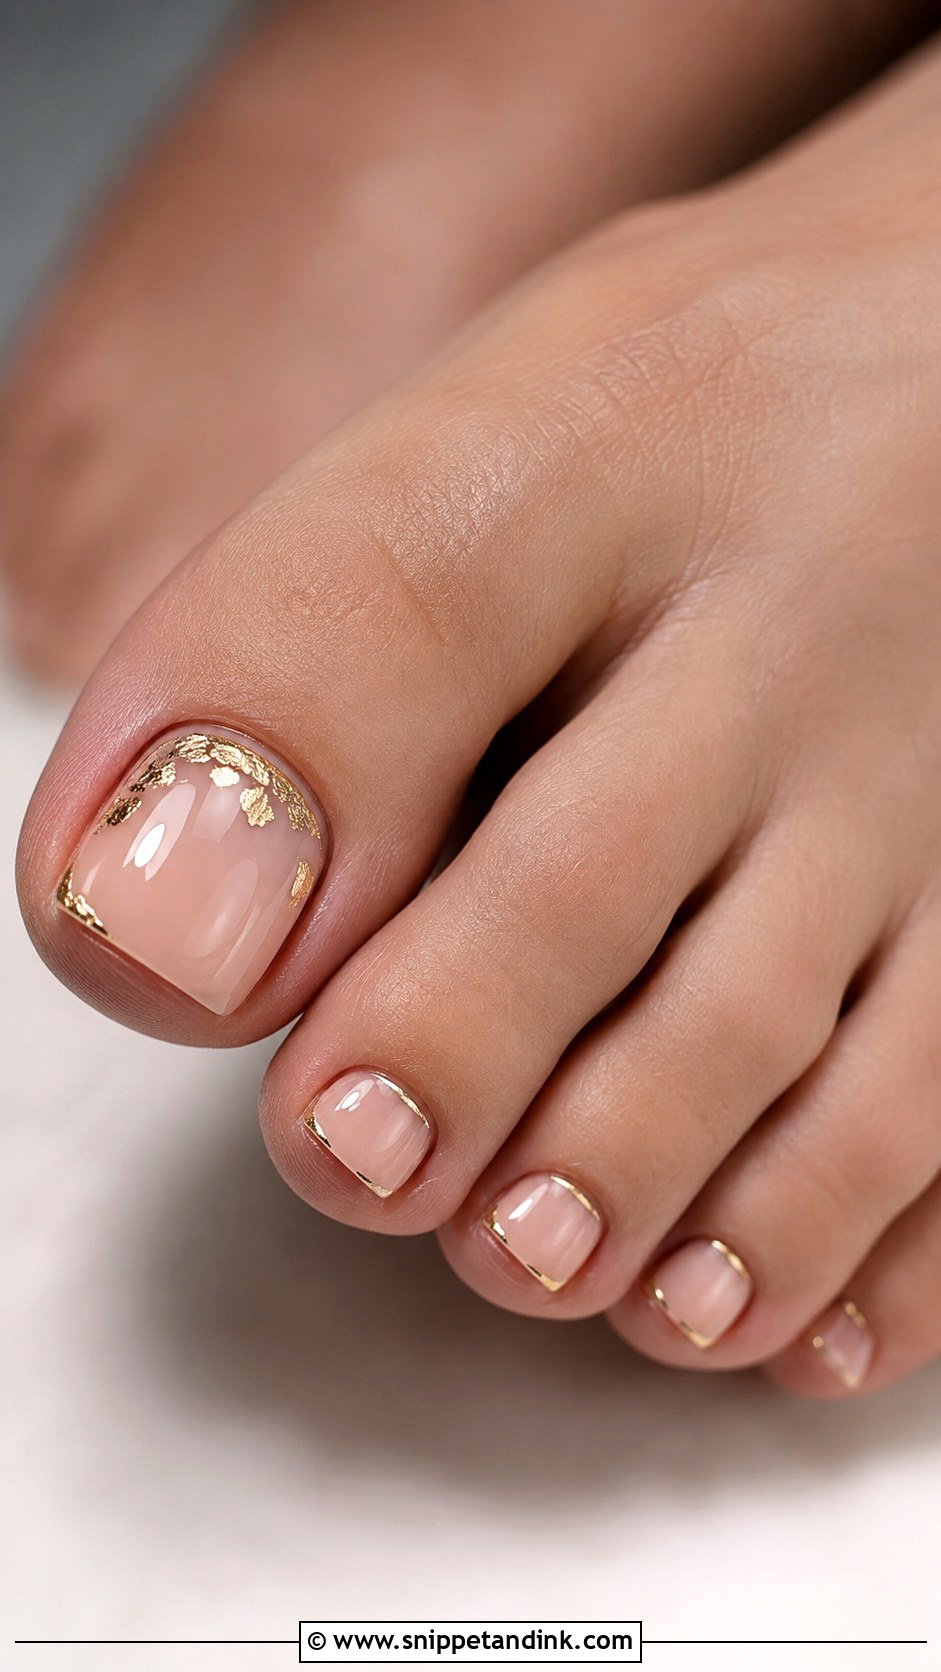
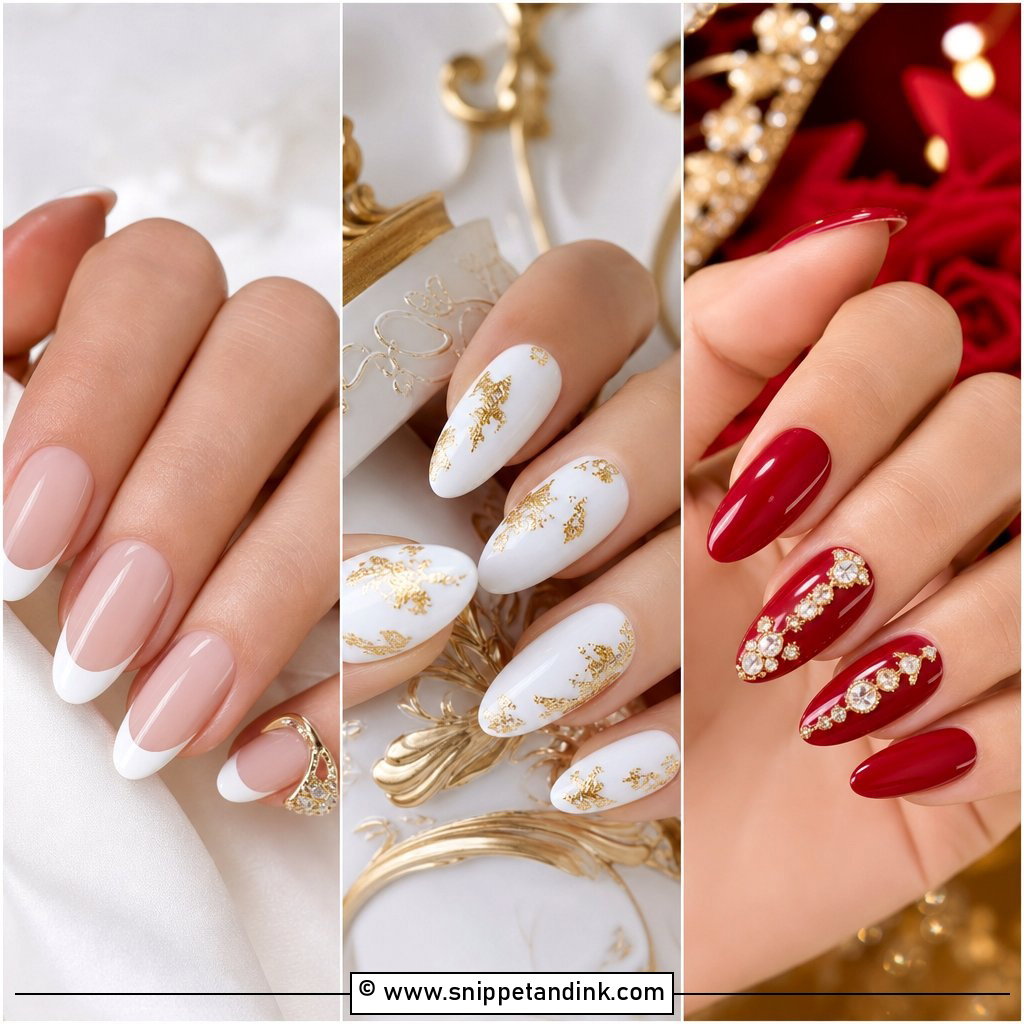
Gold accents add warmth when the rest of your look is gold, from the jewelry to warm ivory fabric or metallic shoe details. Over a nude, blush, milky white or champagne base, I place thin gold foil, a couple of tiny dots or a fine metallic line on the big toes. The gold should look deliberate and light. A small accent near the cuticle or along one side of the big toenail is usually enough. Foil sits under the top coat, so make sure it’s sealed well or it lifts at the edge.
New Shoes, Ten Hours and What Your Toenails Go Through
Most pedicure damage on a wedding day happens inside the shoe. The front of a pointed heel pushes the big toe forward with every step, and by the reception that pressure has scuffed the free edge or even lifted a corner of gel. That’s why I keep wedding toenails short and seal the tip edge twice.
Wear your shoes around the house for an hour or two before the appointment and notice where they rub. If a strap crosses a toenail, keep art and stones off that spot. If you’re changing into flats or sneakers for dancing, bring them to the appointment too, so I can check the design doesn’t snag on a sock lining.
Taking toe gel off after the honeymoon
Please don’t peel it. Gel bonds to the top layers of the nail, and peeling pulls those layers off with it, leaving the nail thin and white-spotted for months. Have it soaked off, or file off the top coat and soak the rest in acetone at home, then leave your toes bare for a week with some cuticle oil before the next color.
Your Shoes Decide How Much Toe Art You Need
When a bride sits in my chair unsure, I ask to see her shoes. Busy shoes mean a quiet pedicure, plain shoes leave room for a little detail on the big toes, and closed shoes mean short nails and a durable finish no matter what. After that, choose a color you’d happily wear for a month, because a gel pedicure will still be there long after the wedding. Book it a few days out so the skin has settled, and bring the shoes with you.
You'll Like These Ideas:


Leave a Reply