
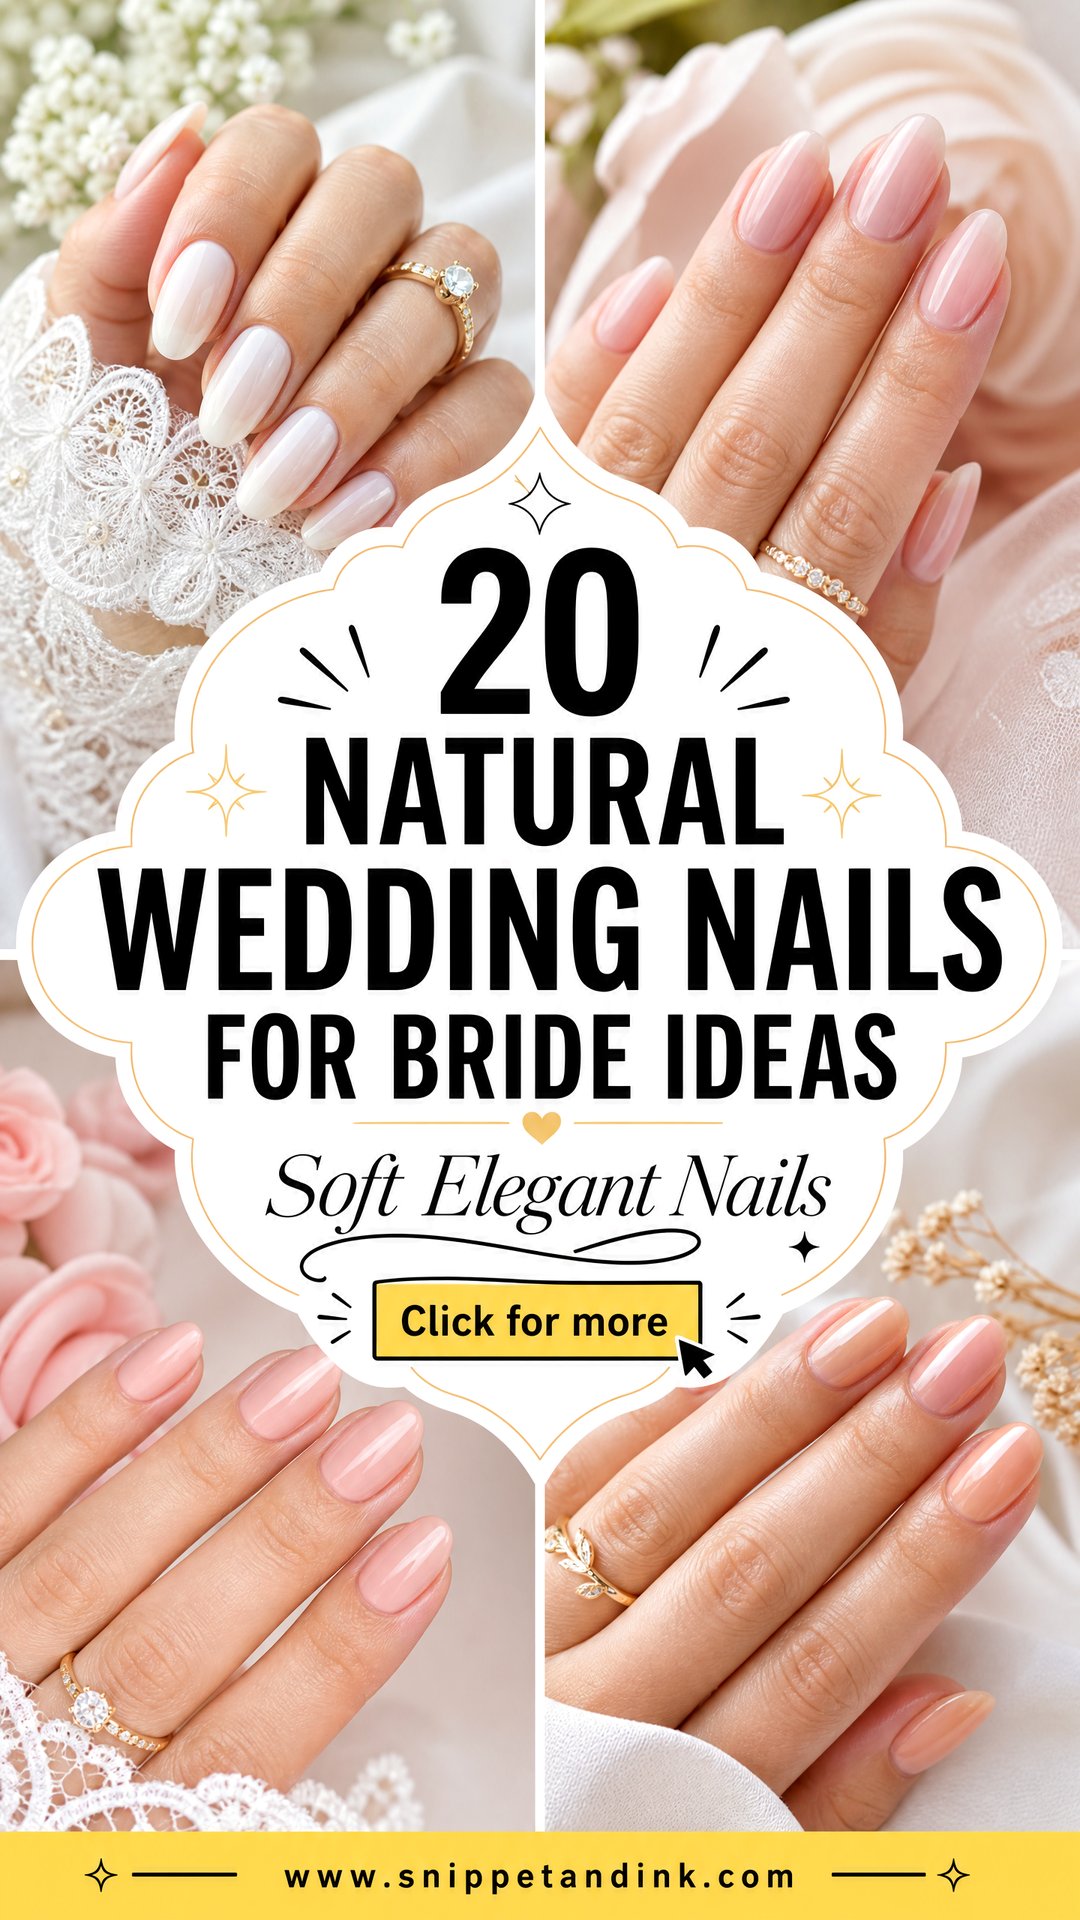
A natural bridal manicure has one job: make your hands look cared for in the ring shot without pulling the eye away from the dress or the bouquet. Most of what I do for brides who ask for this is sheer color, a clean cuticle line and a shine that lasts, with the occasional milky tip or pearl dot. Heavy art reads well across a room, but a sheer finish holds up in the close-ups that actually matter on the day, the ones where a photographer is a few inches from your fingers. Every look below works on short, oval, almond, squoval or soft square nails, and I’ve noted where a shape changes the result.
Testing a Sheer Shade Against Your Skin Before the Big Appointment
Sheer polishes are the hardest to choose from a bottle because what you see in the glass is not what lands on your nail. A sheer pink in the bottle can look rosy, then go almost clear on a pale nail bed or turn peachy on a warm one. The only reliable test is on your own hand, and I always do it at a trial a few weeks before the wedding.
- Paint one coat and two coats on neighbouring nails. Sheers change a lot between layers, and you may prefer the lighter one.
- Look in daylight near a window, then under warm indoor light. Many venues use warm bulbs that push nudes yellow.
- Hold the ring hand next to your dress fabric swatch if you have one. Ivory gowns make bright white polish look stark.
- Take a phone photo with flash. If the nail goes grey or chalky, the shade or opacity needs adjusting.
Bring a photo of your engagement ring too. A cool platinum setting and a warm gold one can make the same nude look like two different colors, and it’s easier to adjust the base than to change the ring.
1. Natural Bridal French Nails
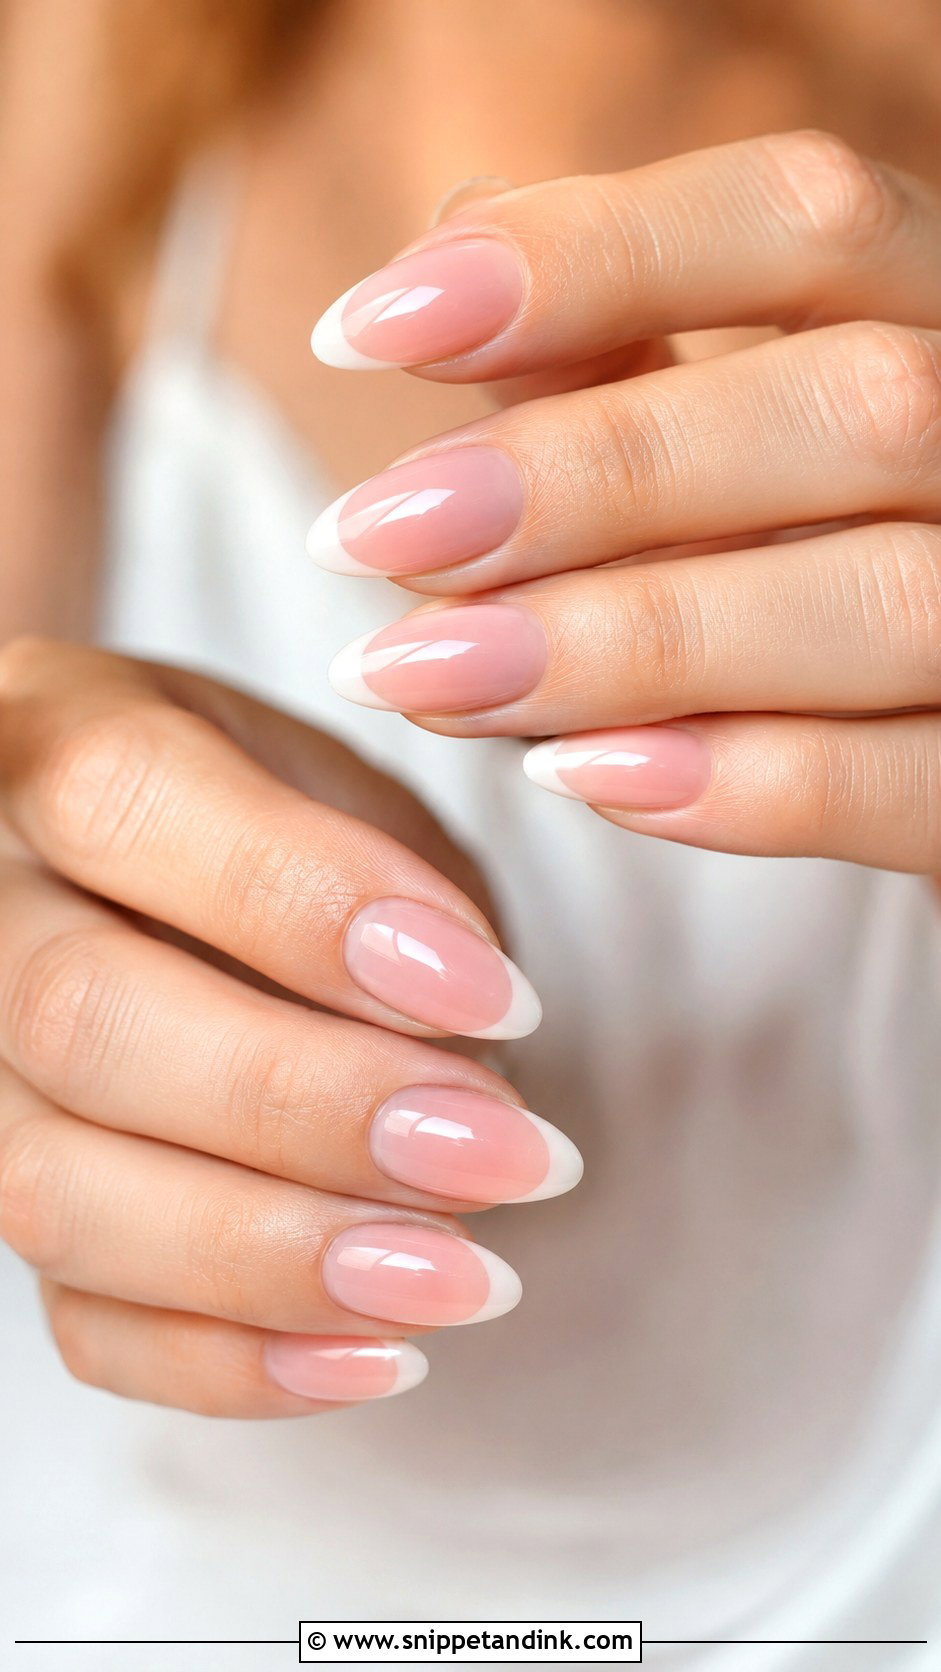
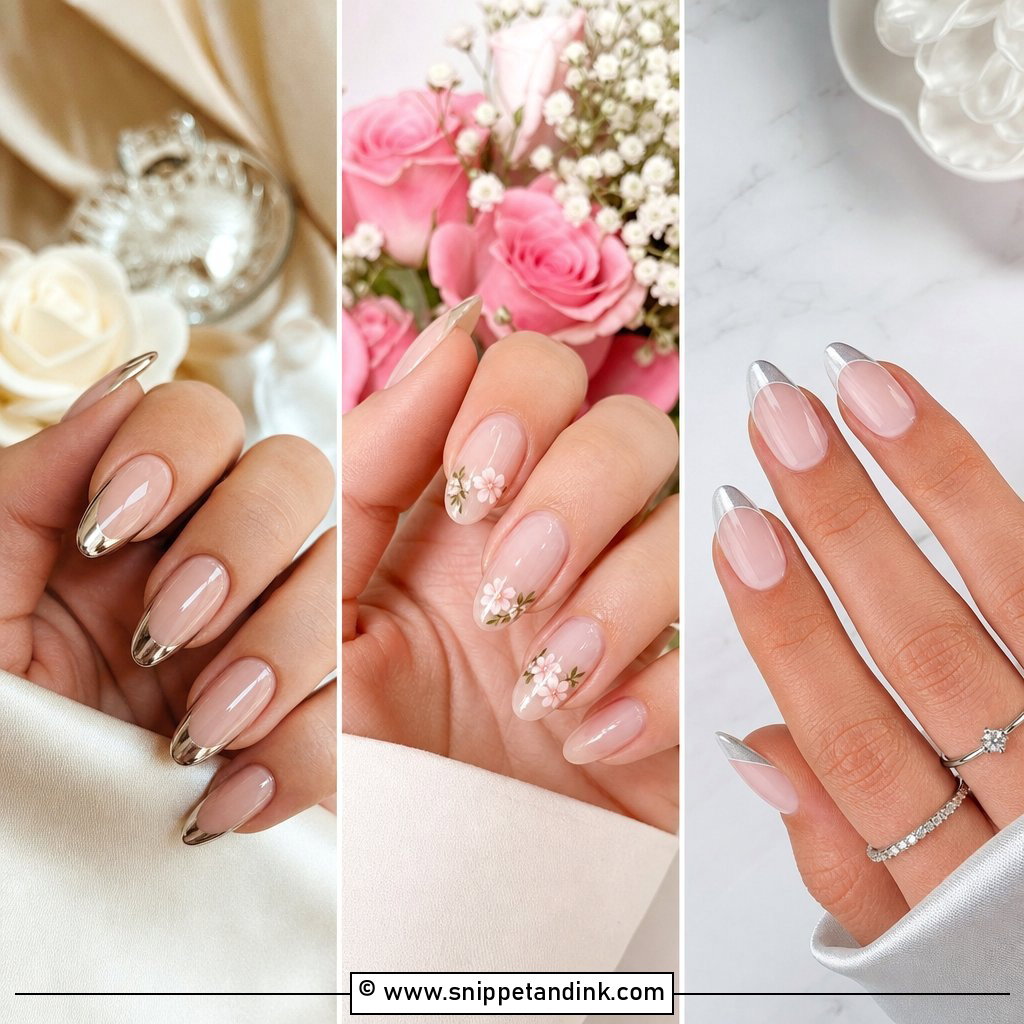
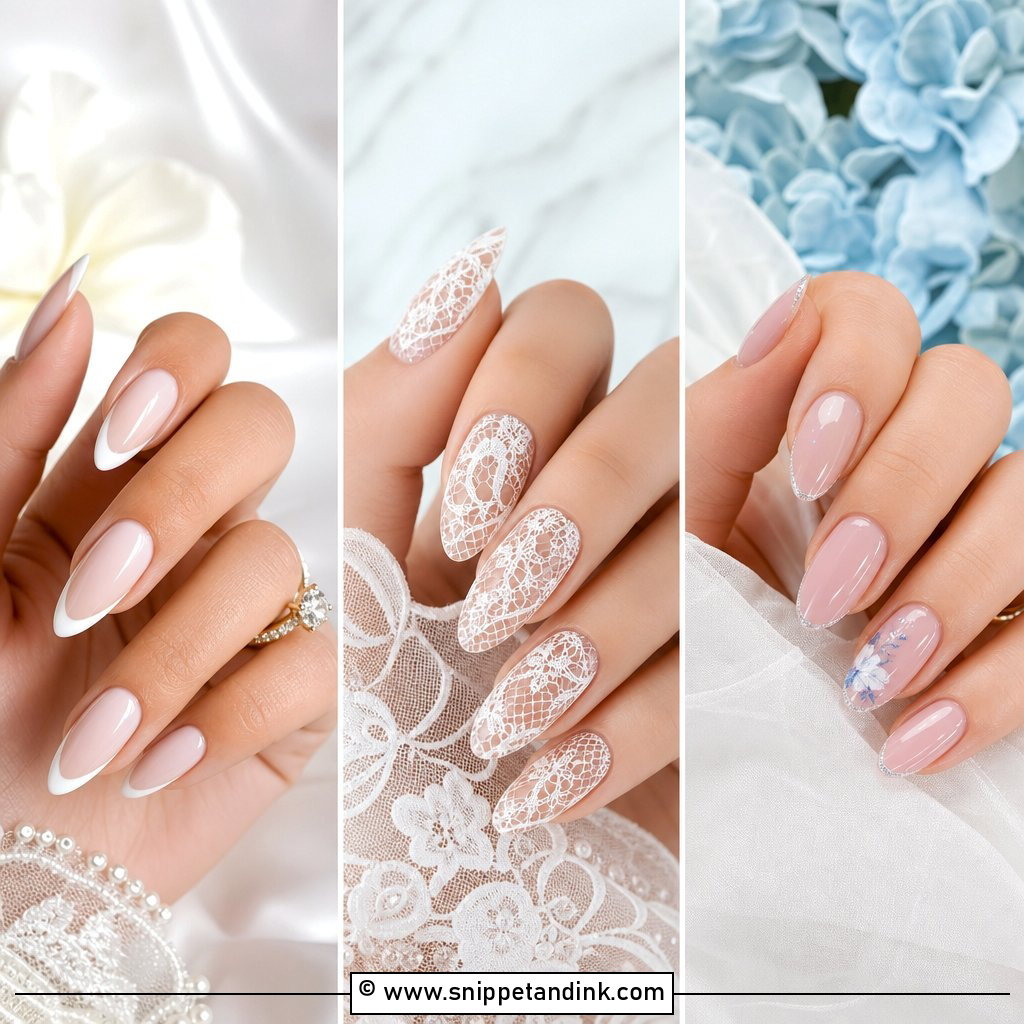
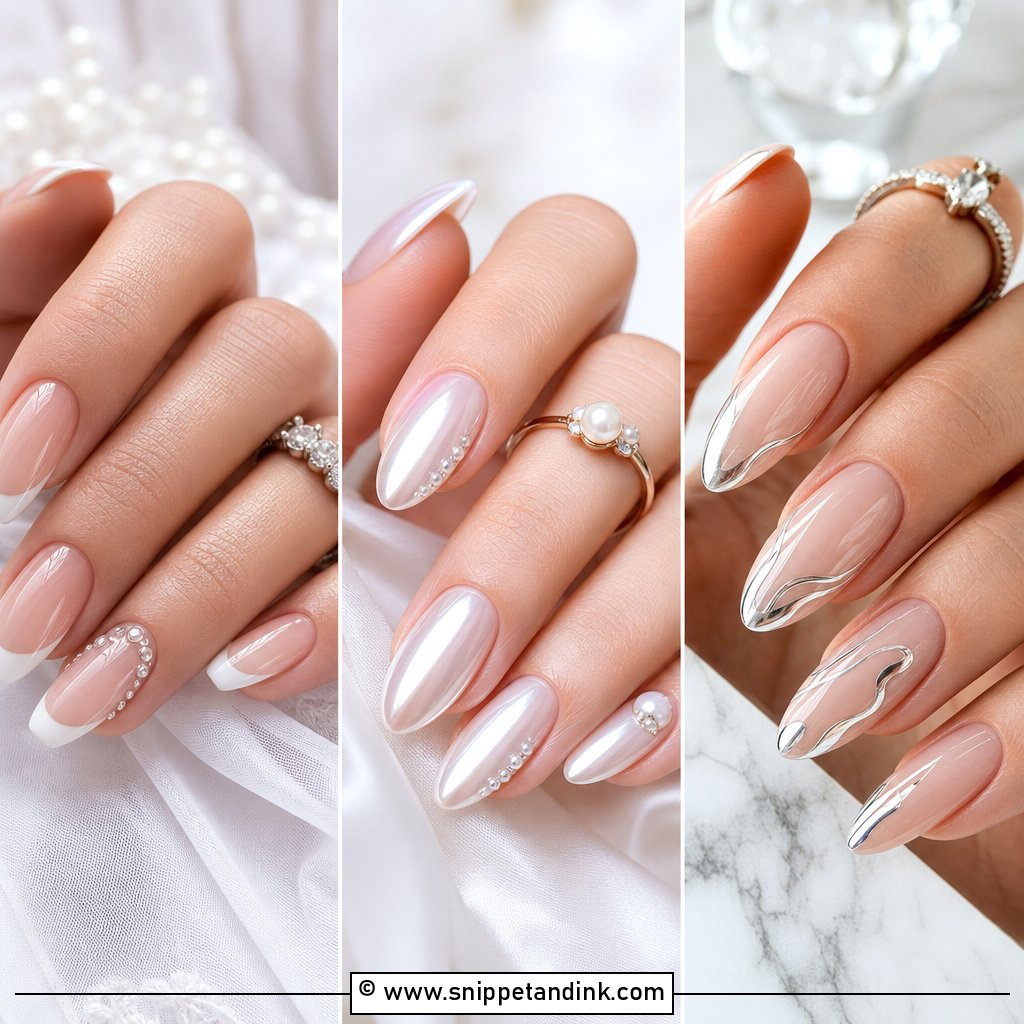
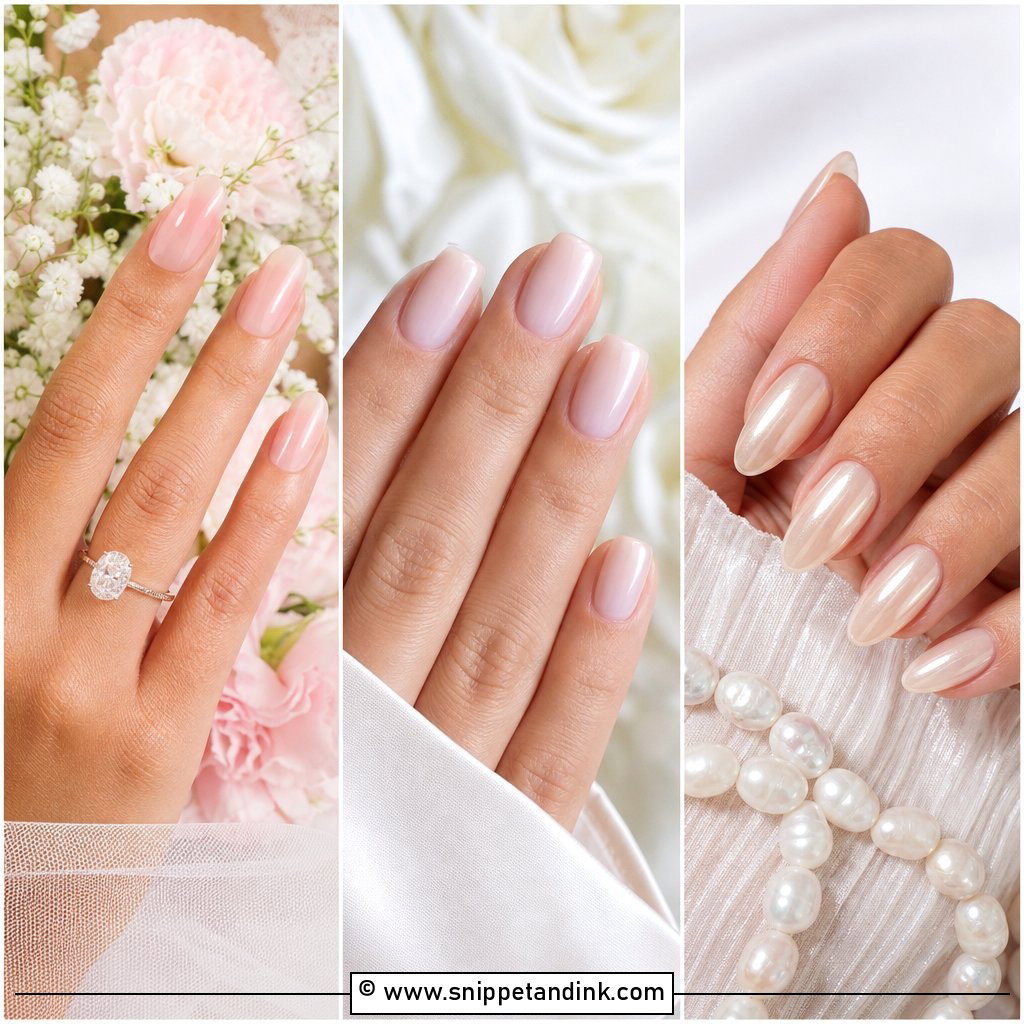
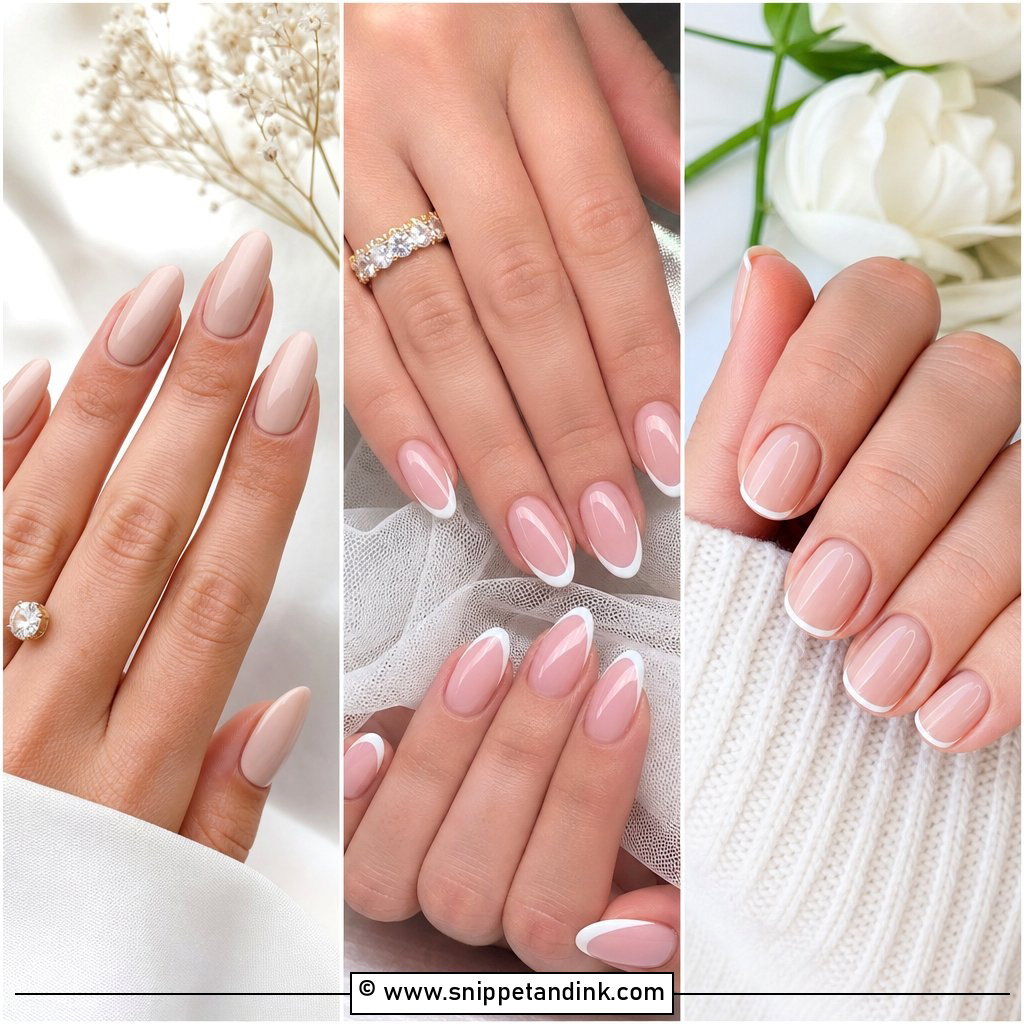
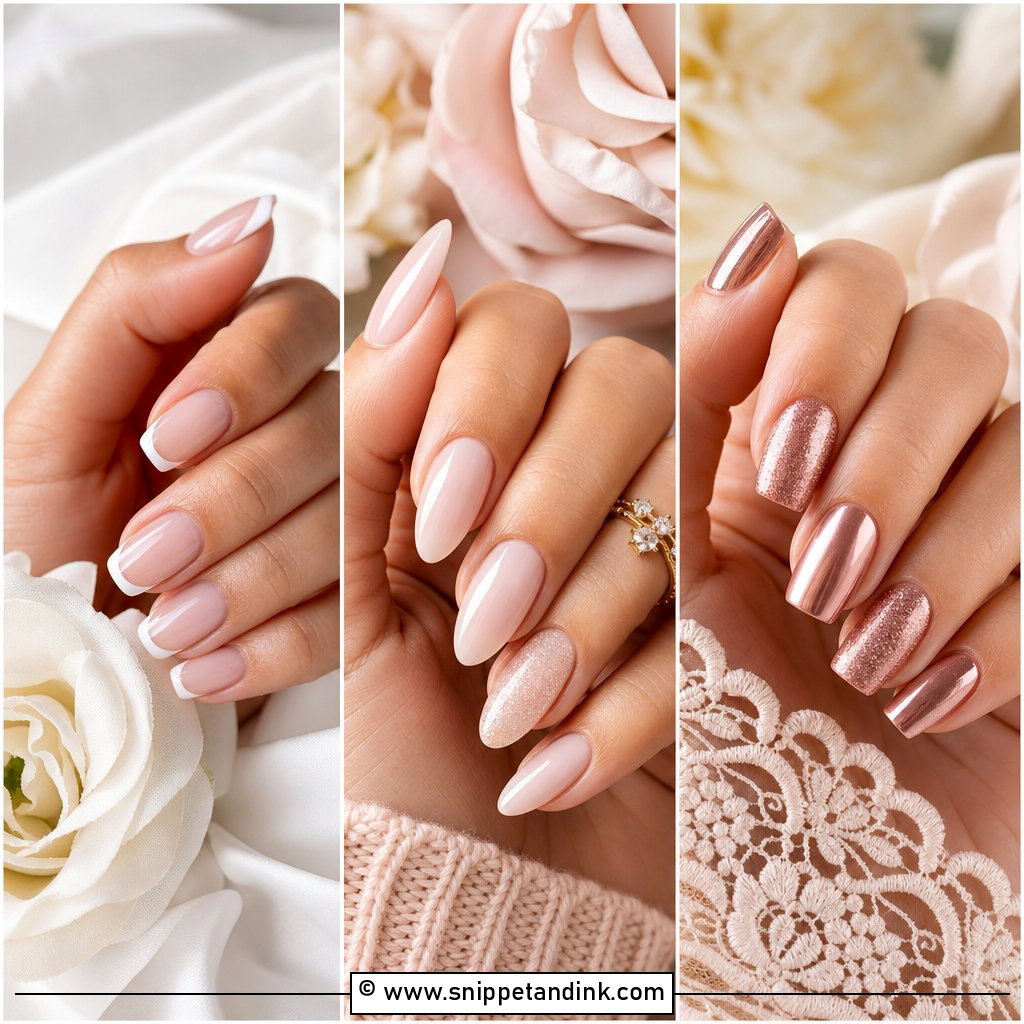
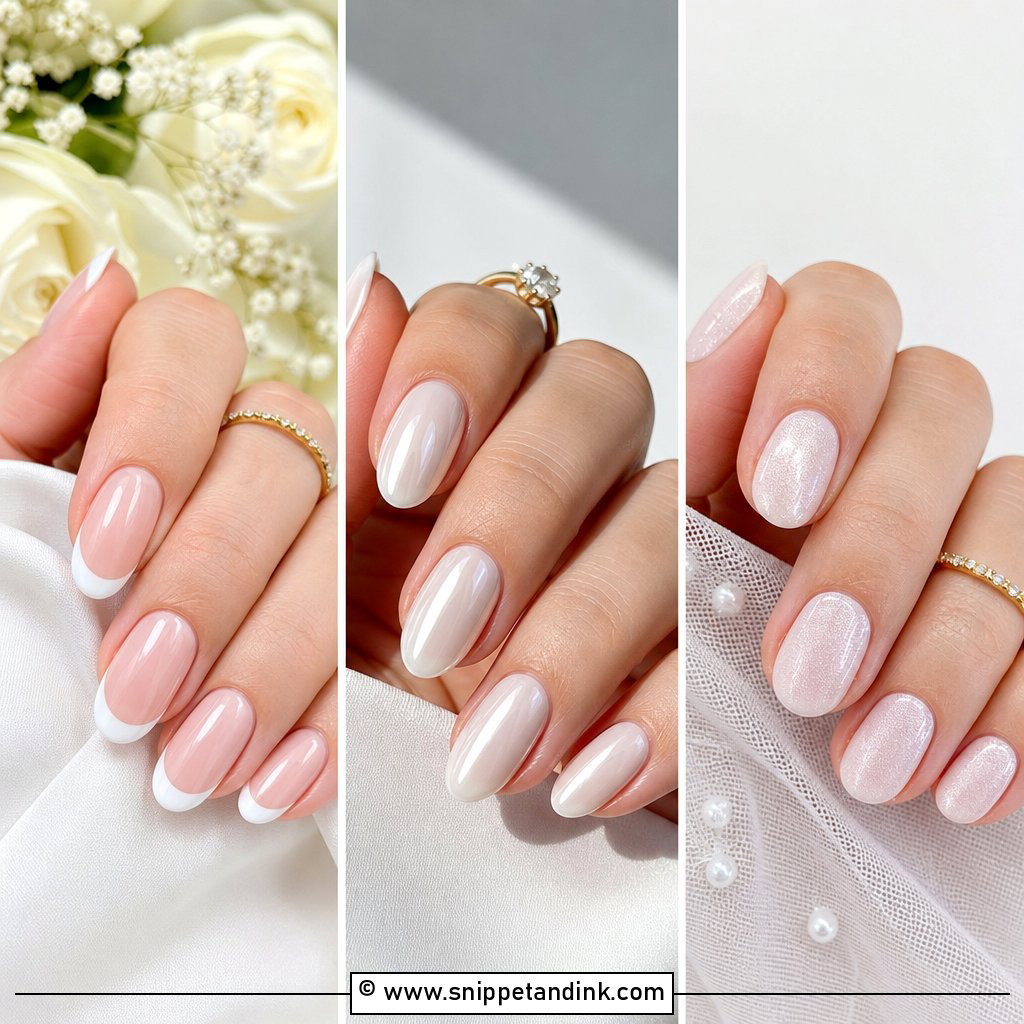
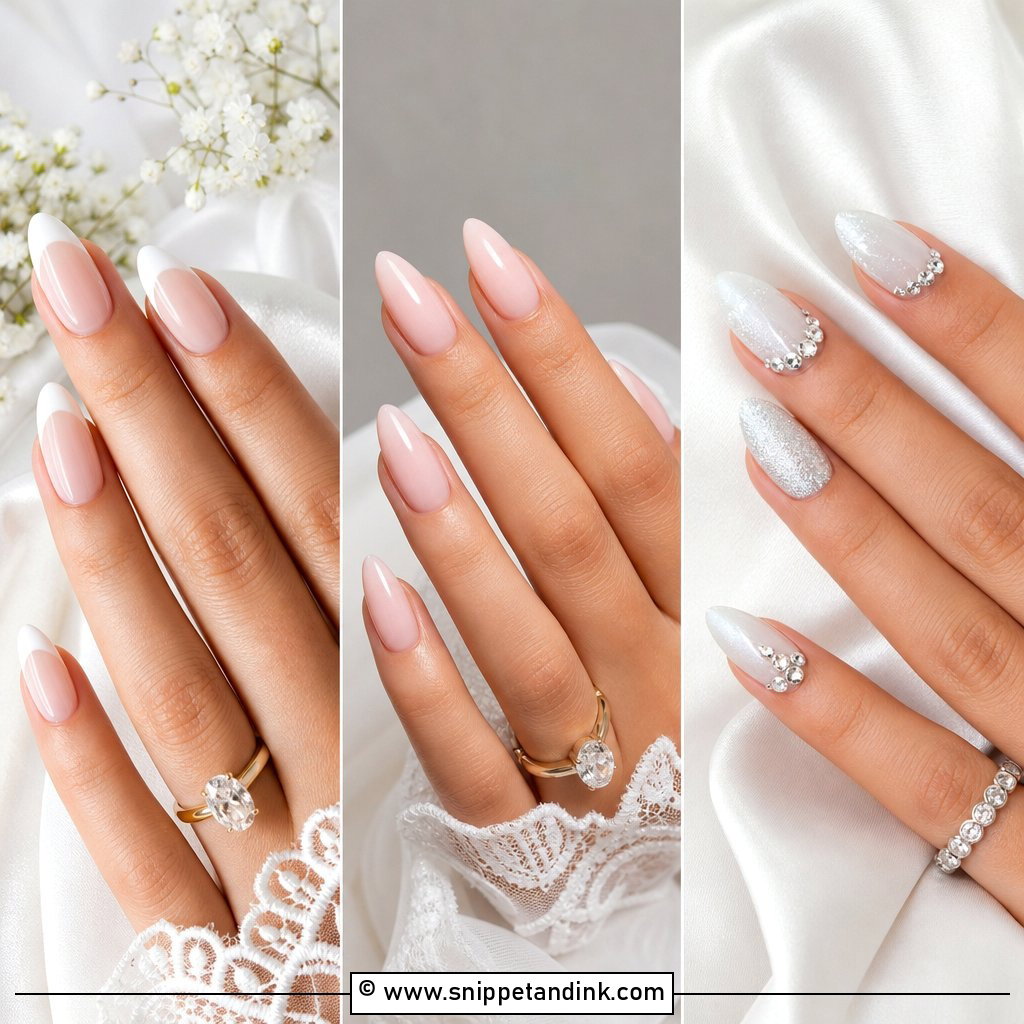
A French with an ivory or milky edge over a sheer pink base is the version I reach for most when a bride says she wants something classic but not stark. Bright white tips look chalky in flash and show every wobble in the smile line, while an off white edge blends at the sides. Keep the line thin and follow your own free edge rather than painting a deeper curve than your nail has. If you’re unsure, ask for a blurred or micro French tip; it shows less regrowth if the wedding falls a week after the appointment.
2. Milky White Wedding Nails
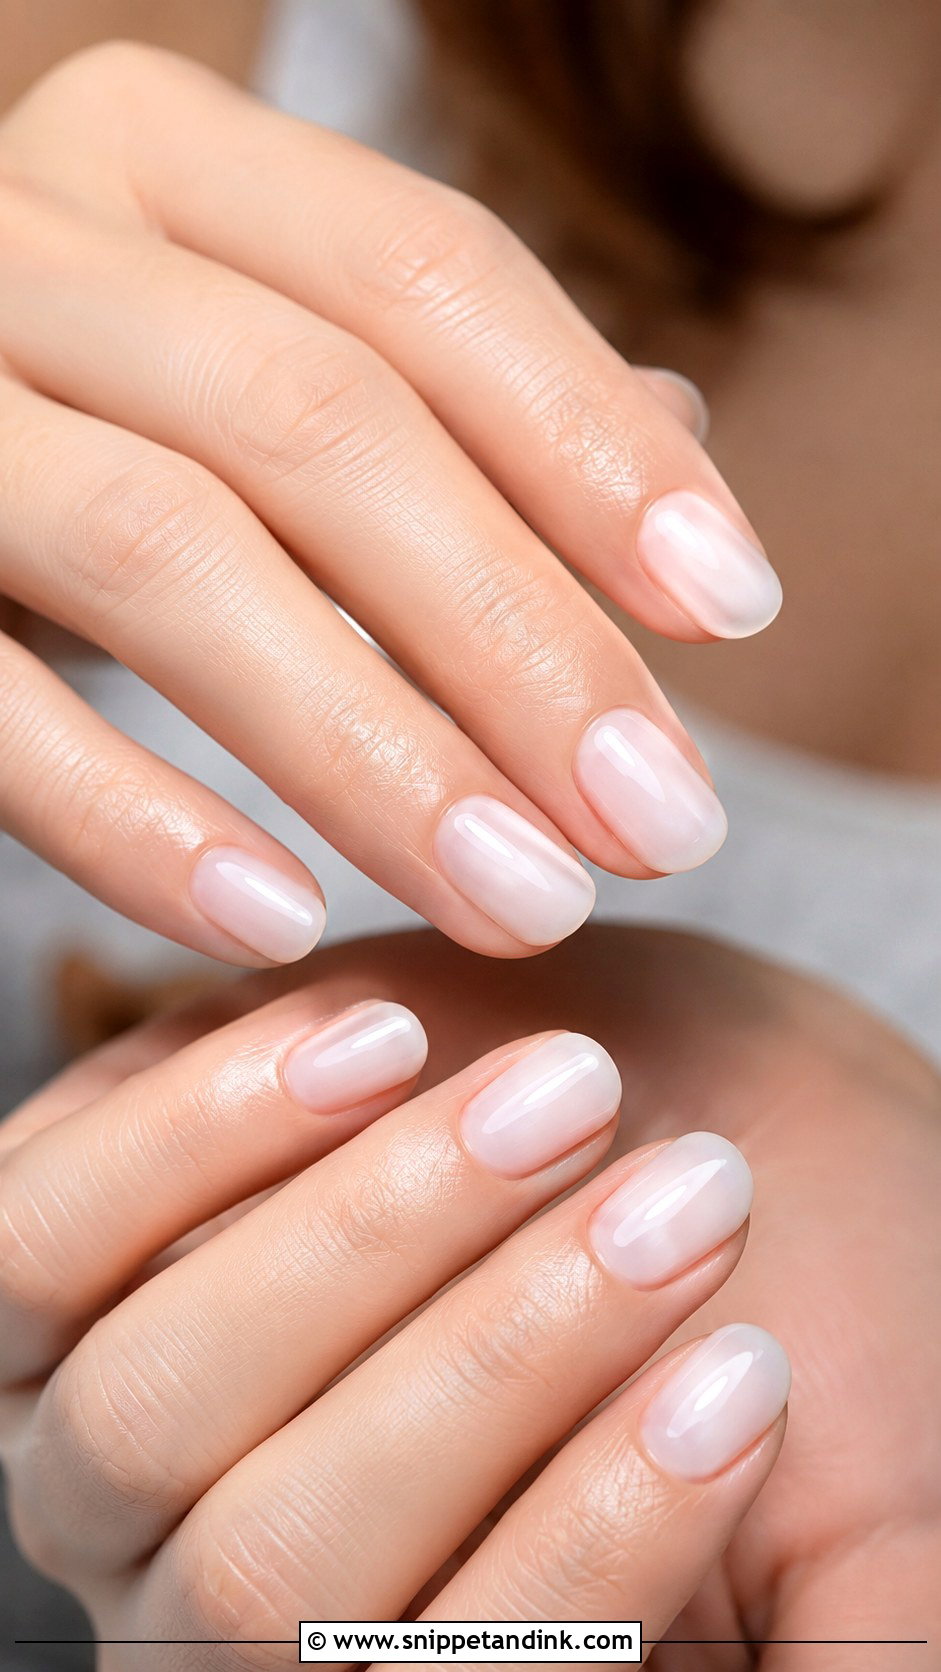
Milky white sits between a sheer white and a cream, and the opacity is the thing to get right. One coat often goes streaky; I usually build two thin coats so the nail bed is softened but still faintly visible, which keeps it from looking like correction fluid. On very warm or olive skin I’ll pull it slightly toward ivory, because a cool milky white can make the fingers look grey beside a gold band. Finish it with a high gloss topcoat and a soft oval or almond shape.
3. Sheer Pink Bridal Nails
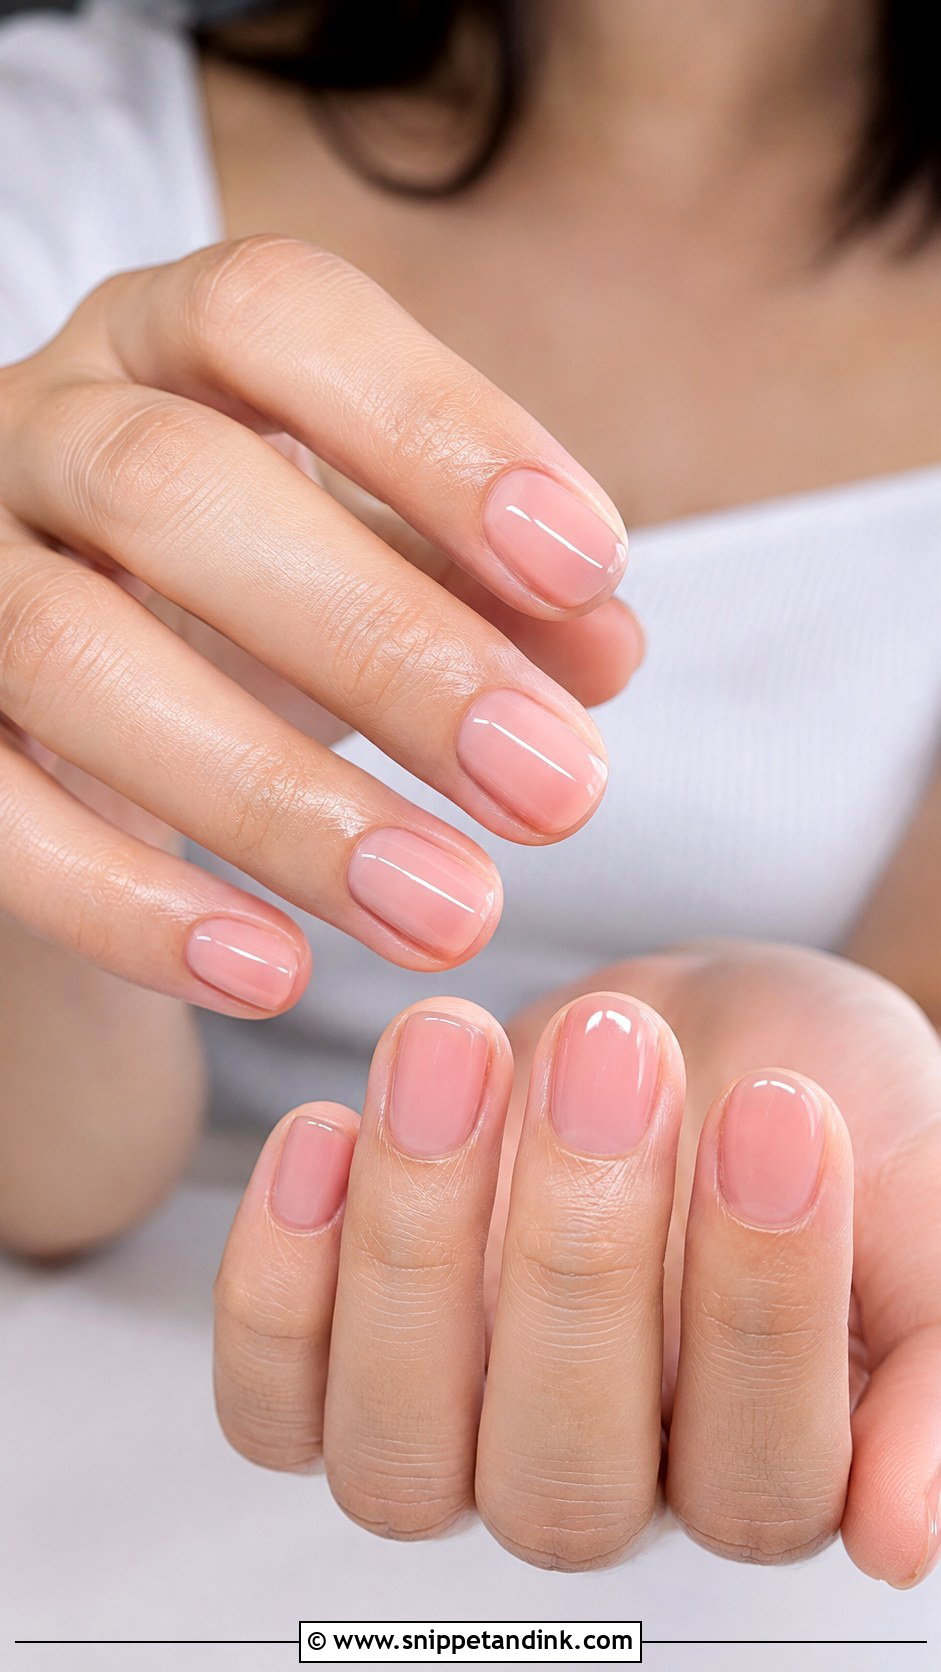
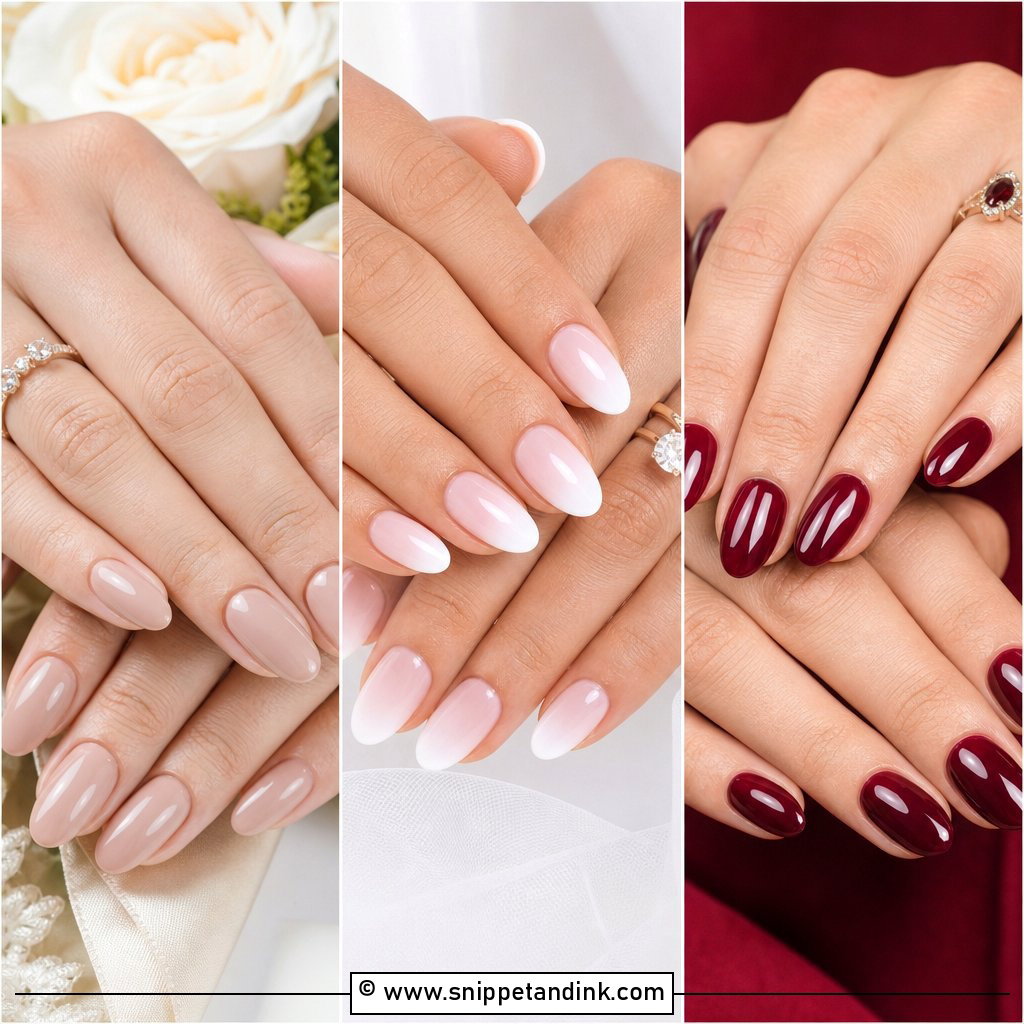
Sheer pink is the closest thing to a no polish manicure, and it rewards good prep more than any other shade here. Because the tint is translucent, ridges and white spots on the nail plate show straight through, so I buff lightly and use a ridge filling base first. On short natural nails a rosy beige jelly reads healthier than a baby pink, which can look faintly sugary on fair skin. Brides who never wear color tend to feel like themselves in this one.
4. Nude Wedding Nails For Bride
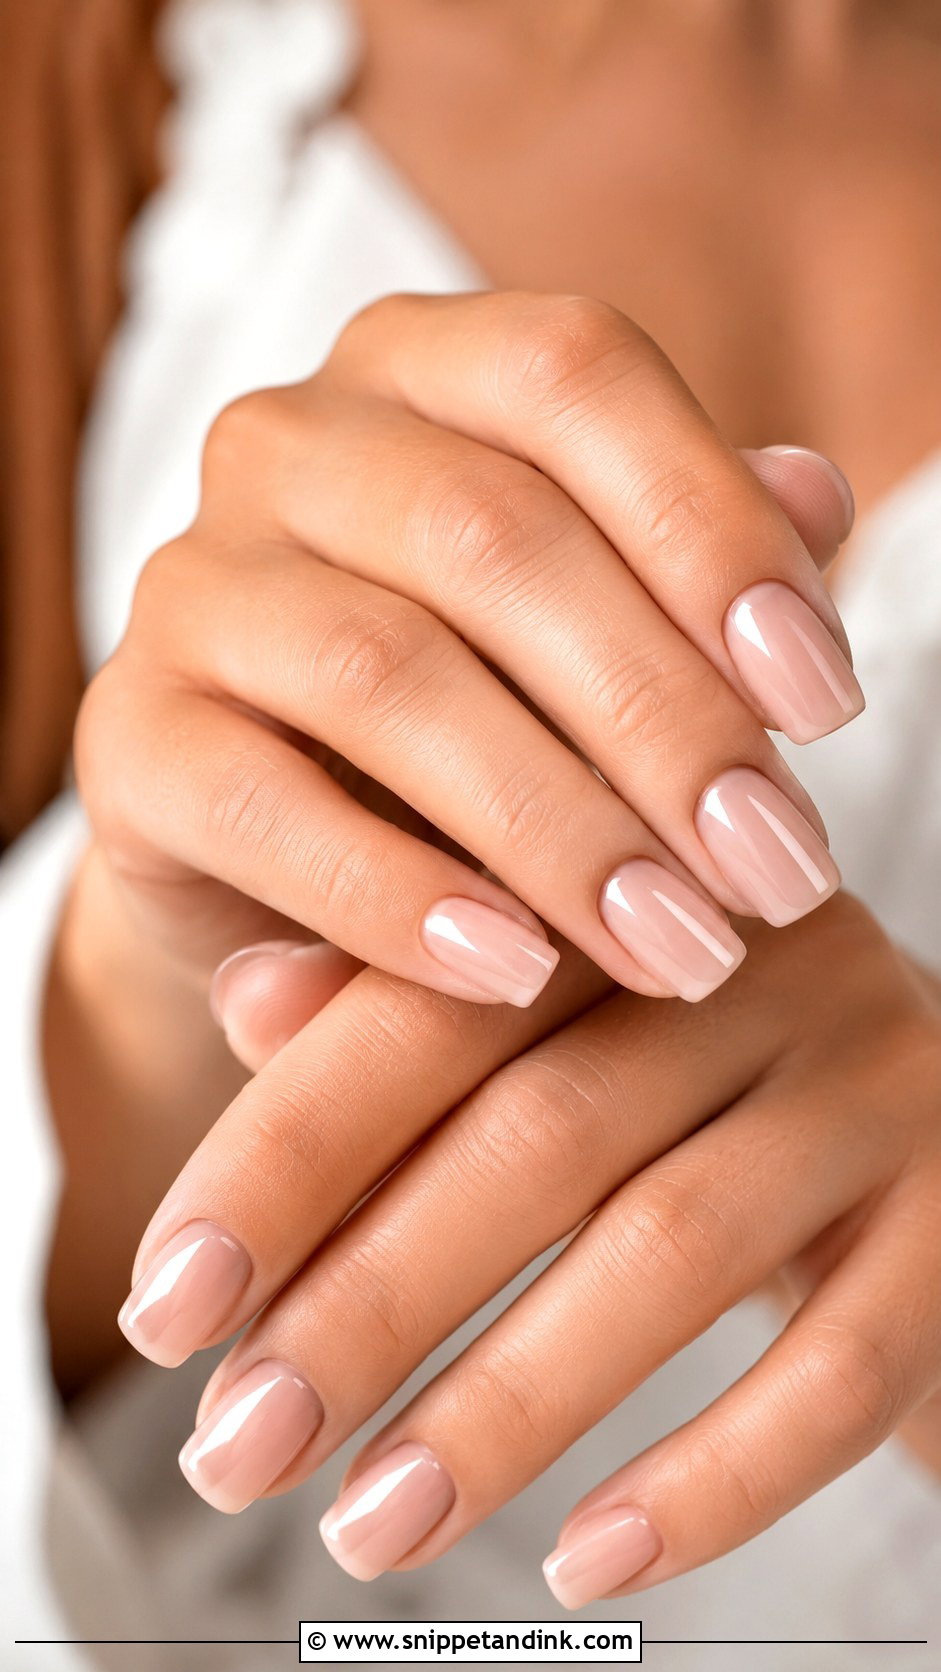
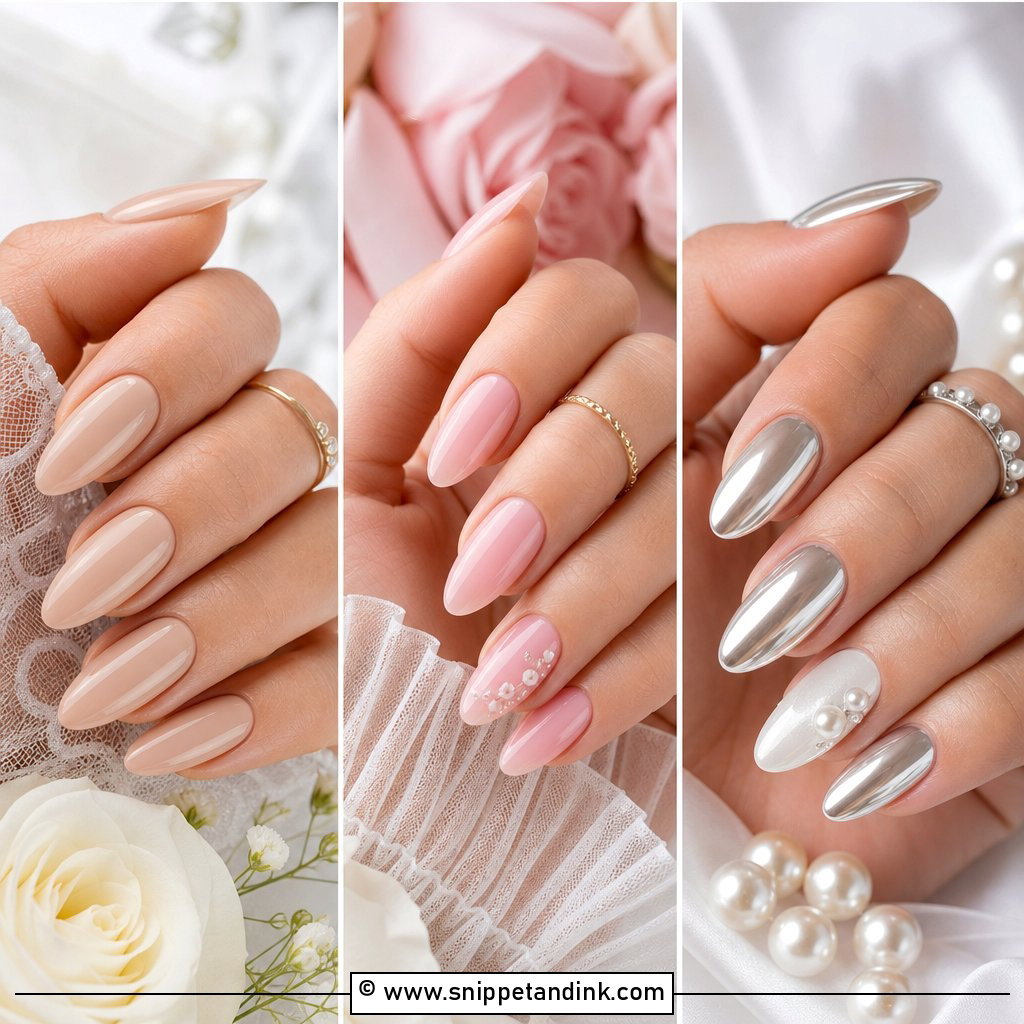
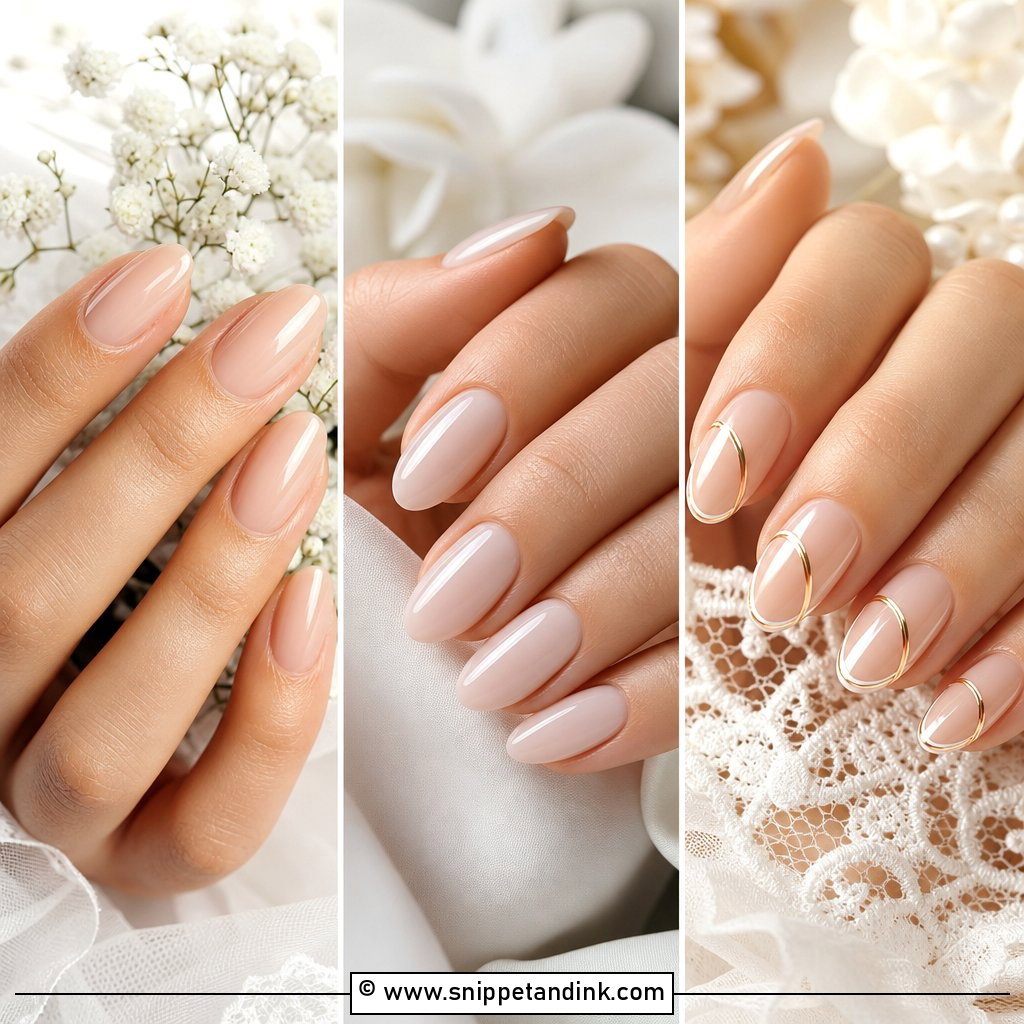
With nudes, undertone matters more than depth. A peachy beige suits warm skin, a rosy nude works on cool skin, and a balanced beige sits well on neutral undertones. The test I use is simple: paint one coat on a nail and hold your hand next to your face in daylight; if the finger looks pinker or yellower than the nail, the shade is off. Nude also forgives a small chip or a few days of growth better than anything pigmented, which is useful if your manicure has to cover a rehearsal dinner too.
5. Baby Boomer Wedding Nails
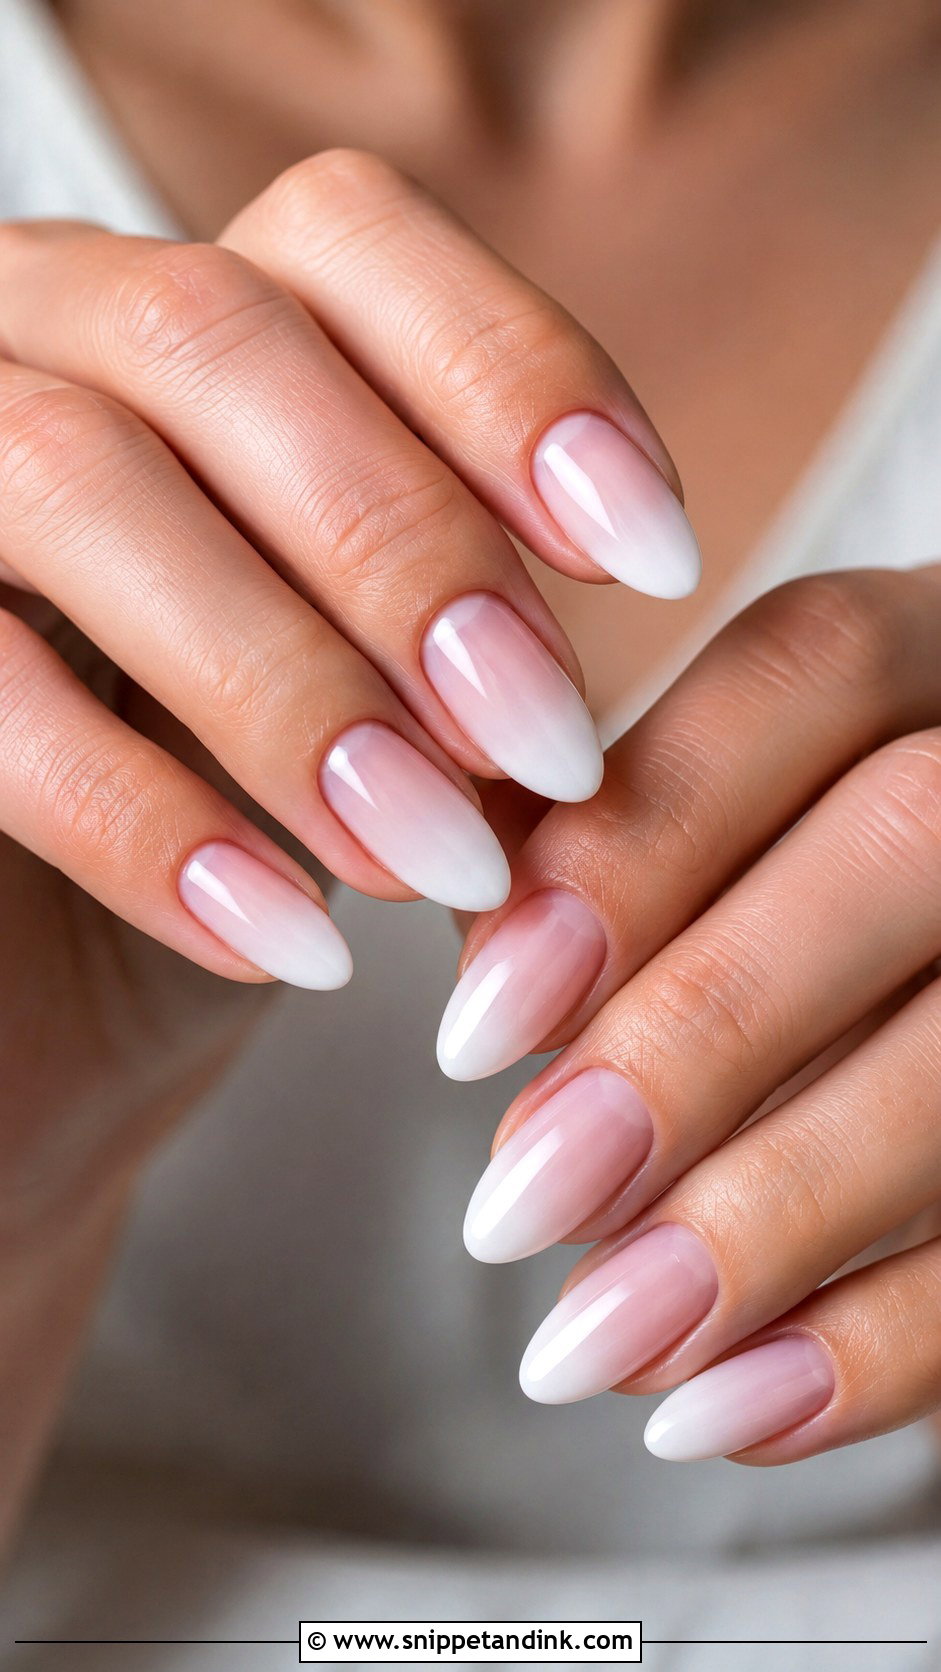
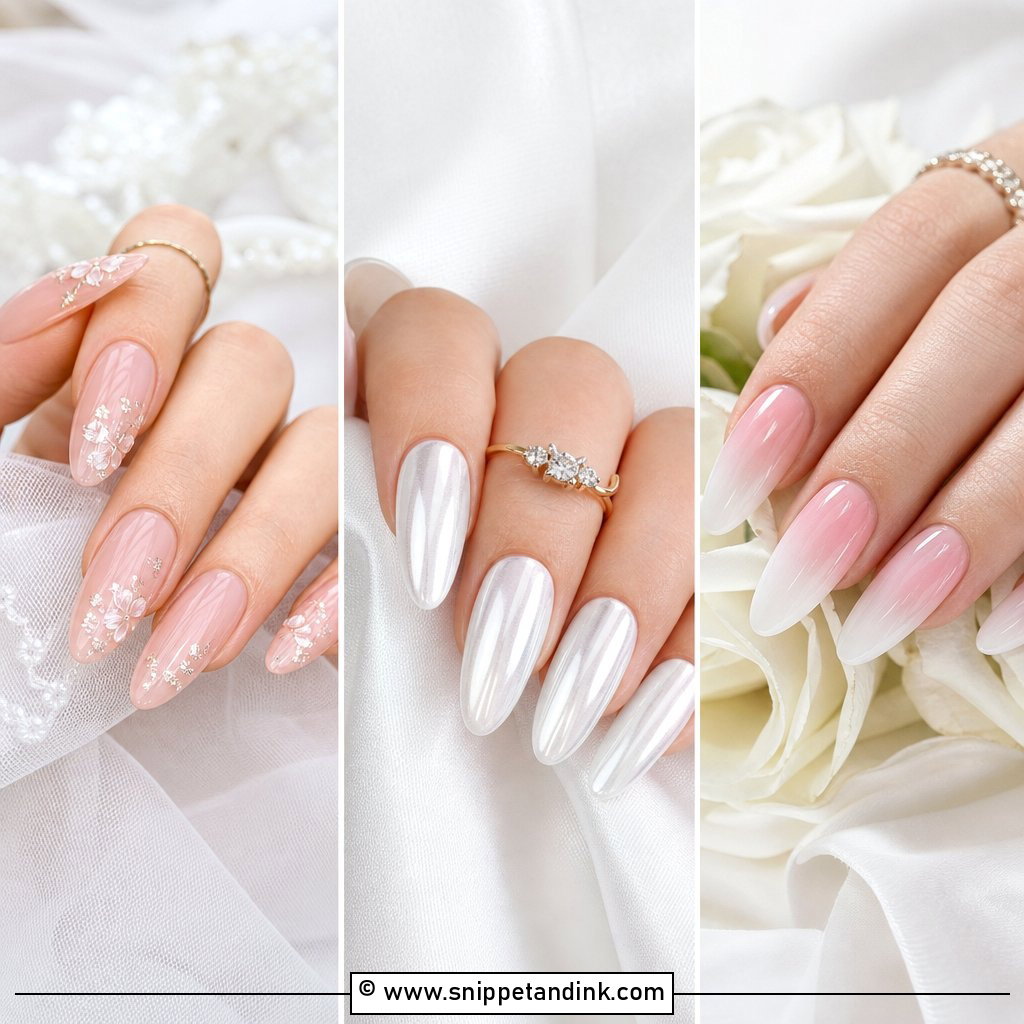
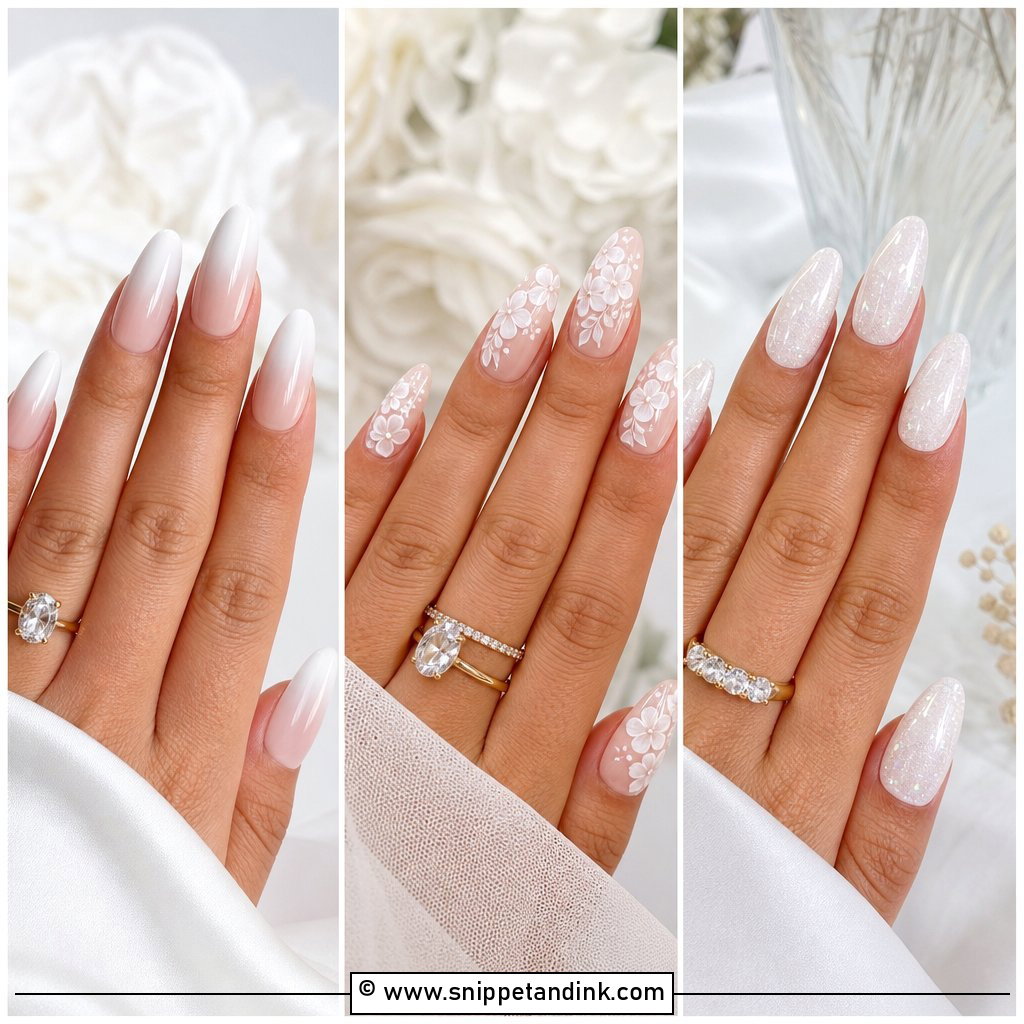
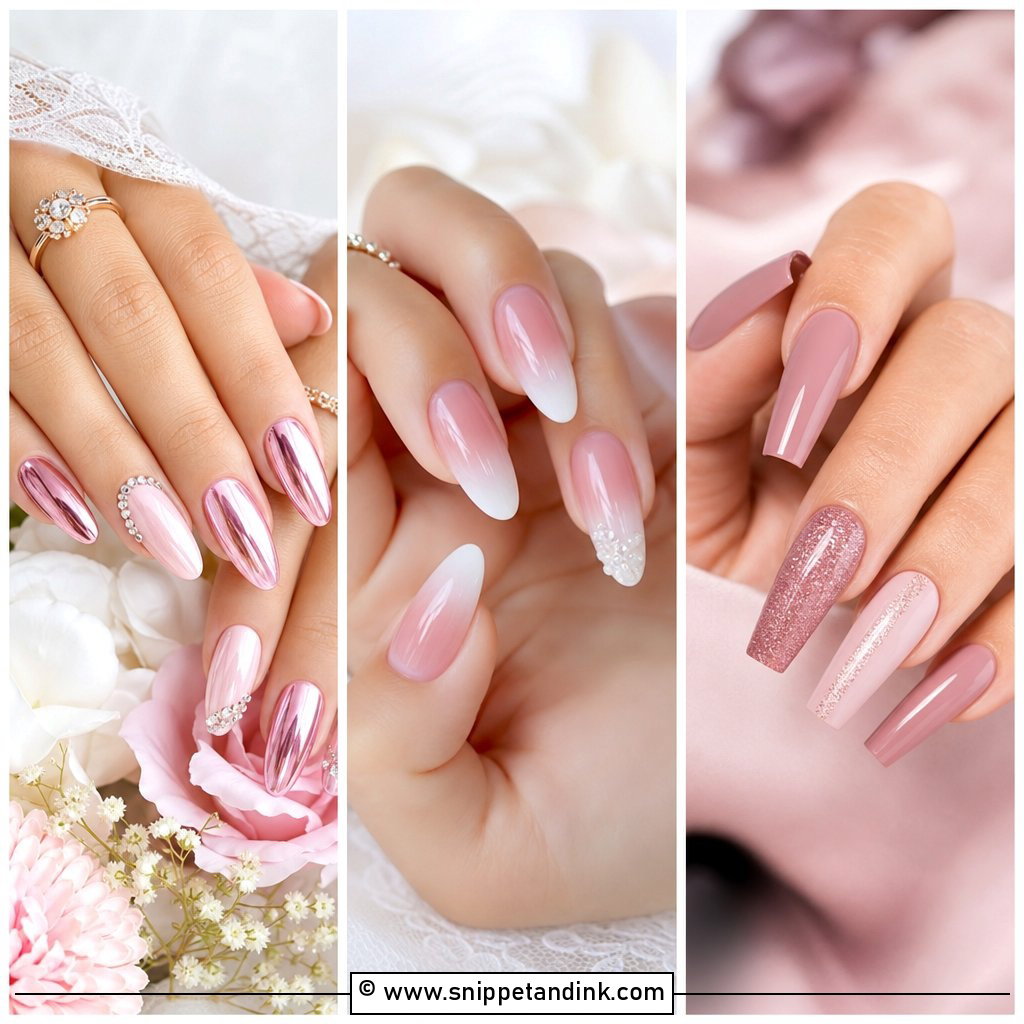
Baby boomer wedding nails are a French fade: a pink or nude base melting into a creamy white tip with no hard line. The fade is usually done with a sponge or a soft brush over gel, and the trick is keeping the white off the cuticle third so the base still looks like your natural nail. On medium almond or oval nails the gradient lengthens the finger nicely. On very short nails it can look smudged because there isn’t enough length to blend across, so I’d keep it for nails with some free edge.
6. Glazed Nude Bridal Nails
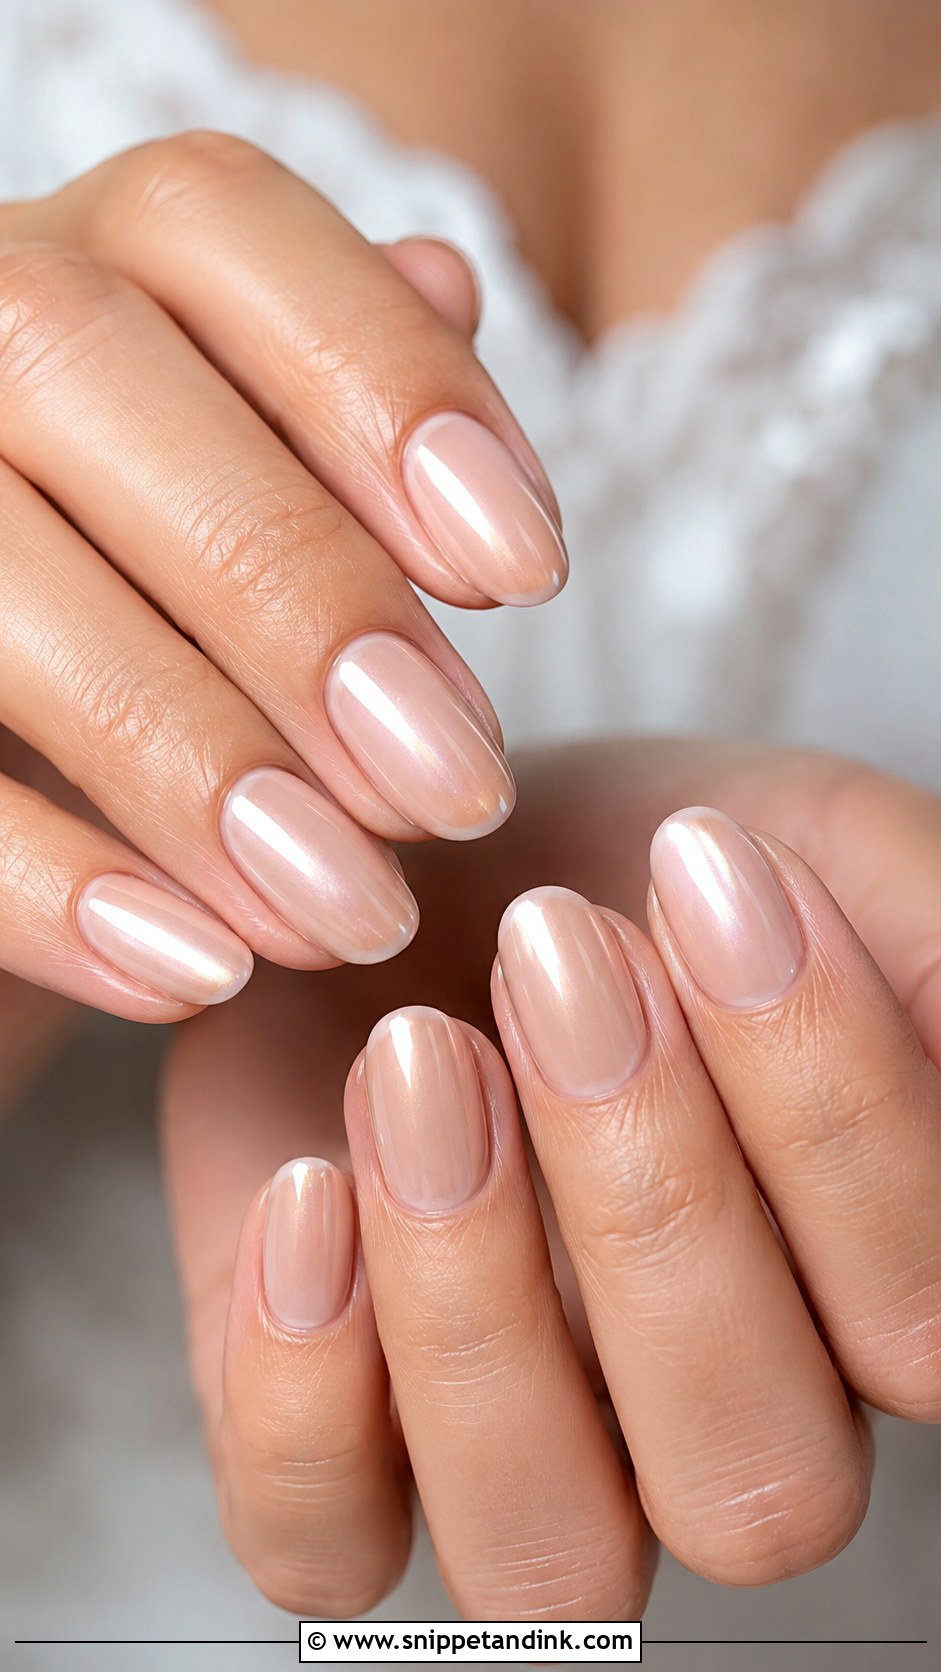
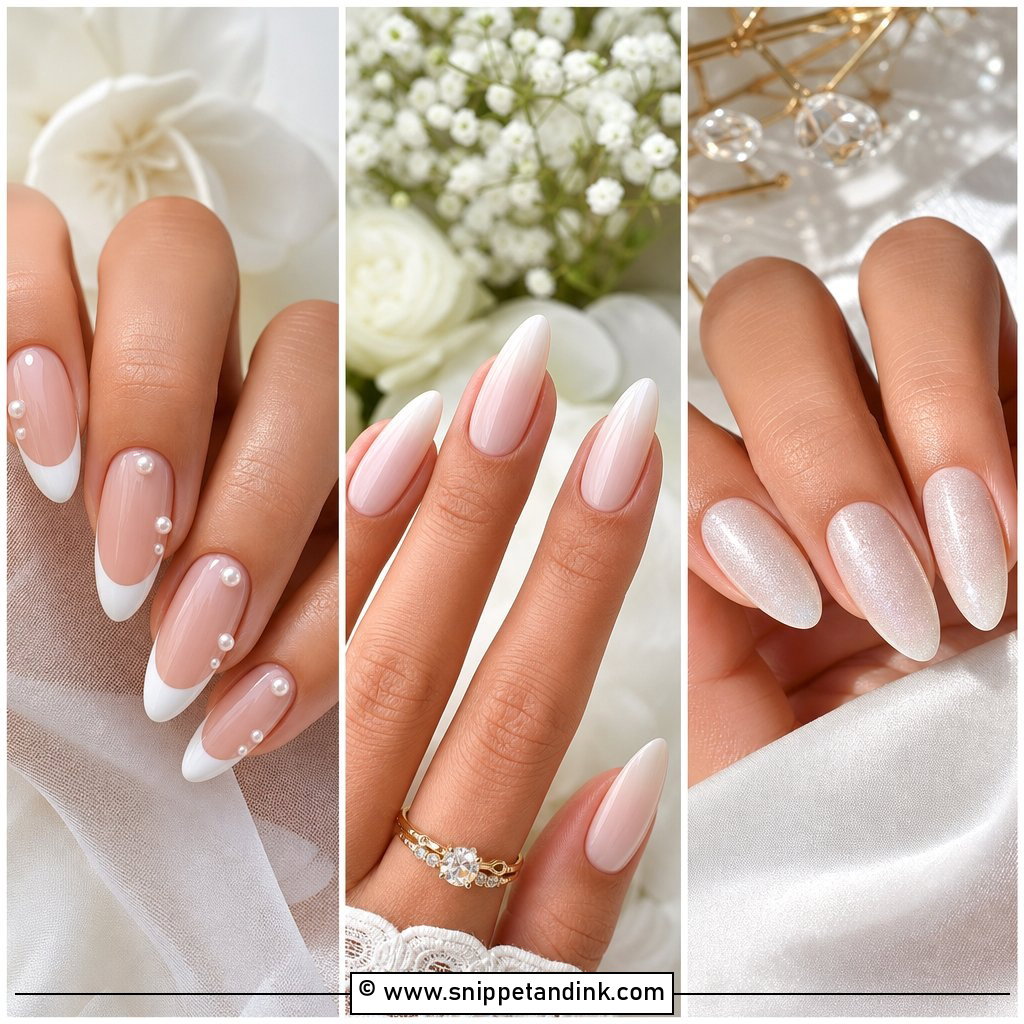
A glazed nude is a sheer neutral base with a fine pearl or champagne powder rubbed over the top coat. It reads as a soft sheen in person and a glow on camera rather than metal. I match the powder to the jewelry: champagne beside yellow gold, a cooler pearl beside platinum or silver. Keep the shape simple so the finish carries it, and don’t add art on top, which makes the powder look patchy around the decal.
7. Pearl Accent Wedding Nails
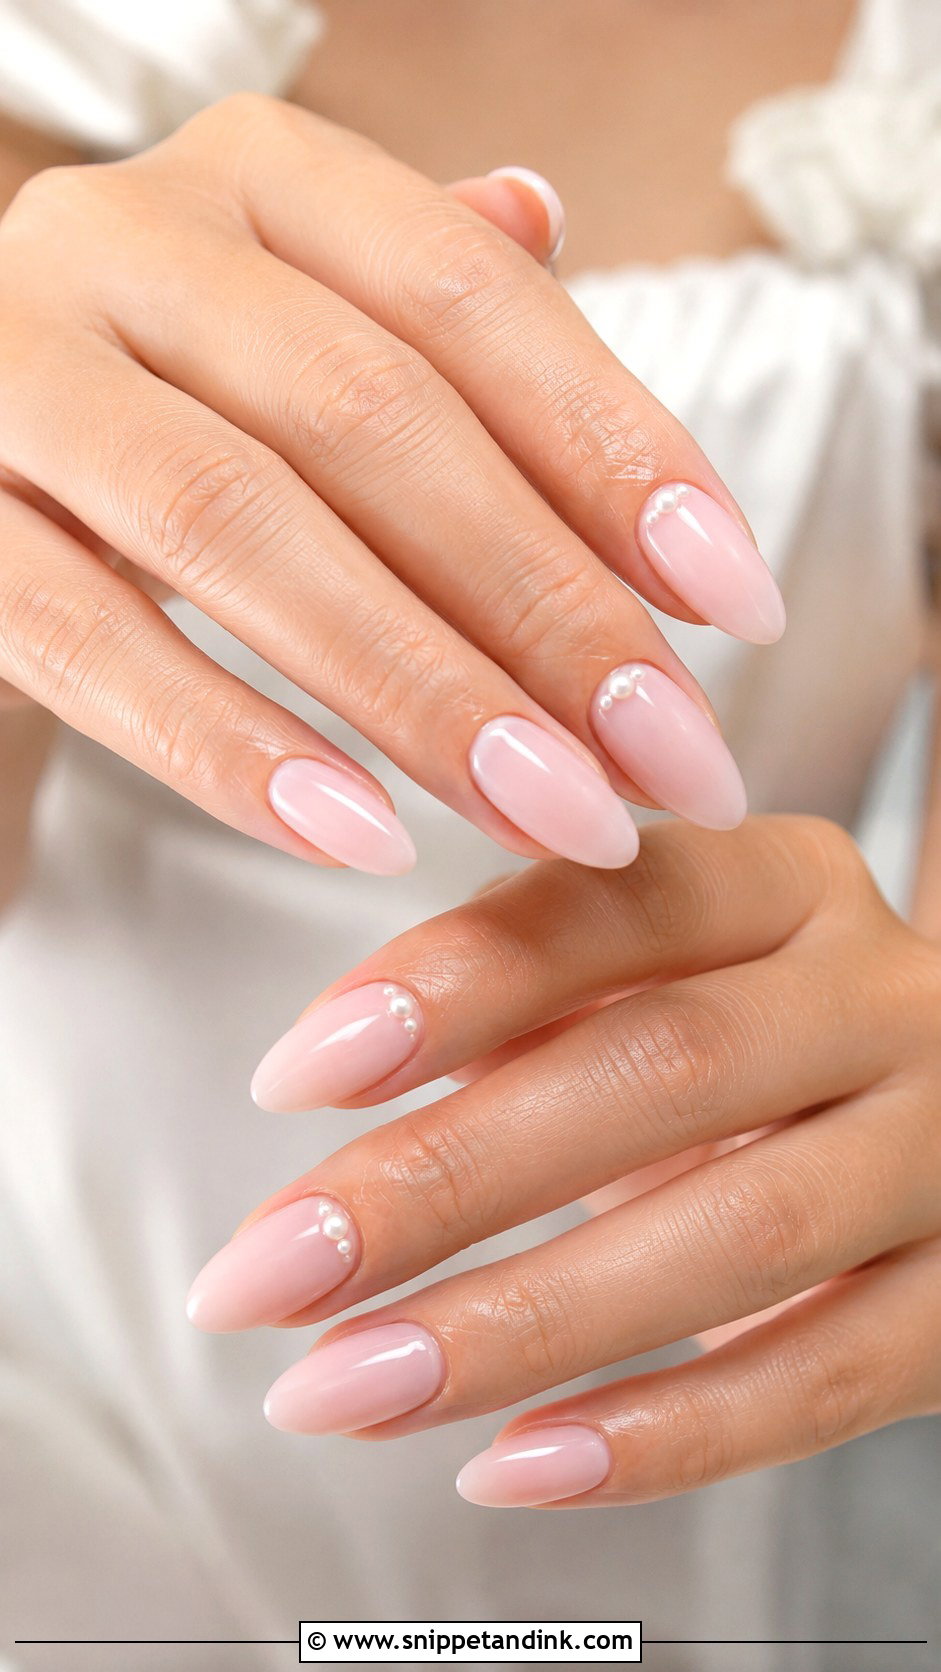
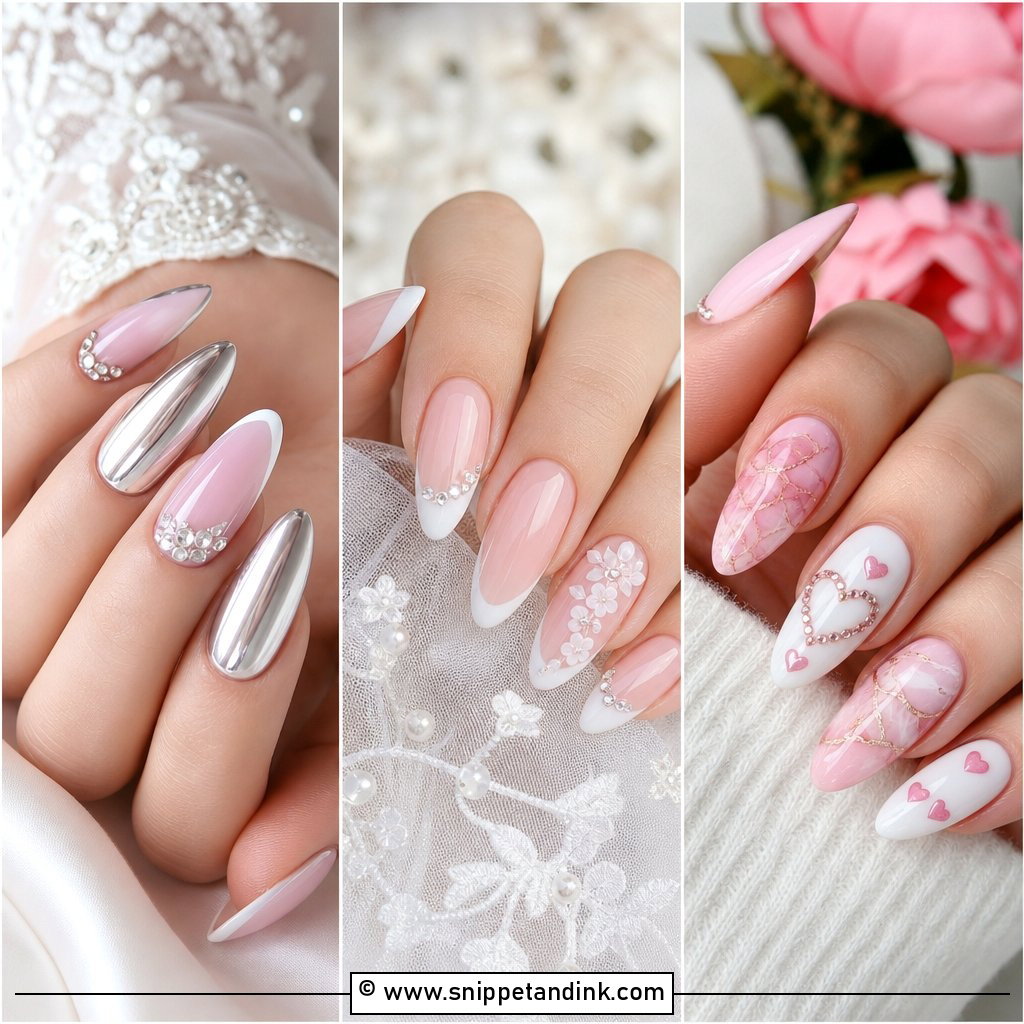
Pearl accents stay bridal only when they stay small. I set two or three tiny half pearls near the cuticle or along a micro French line on one nail per hand, embedded in builder gel so they don’t catch on lace or tulle. Large flat back pearls are the ones that pop off while you’re dressing, and they snag veils. Over a sheer pink or milky base, the accents echo pearl earrings without competing with them.
8. Short Natural Wedding Nails
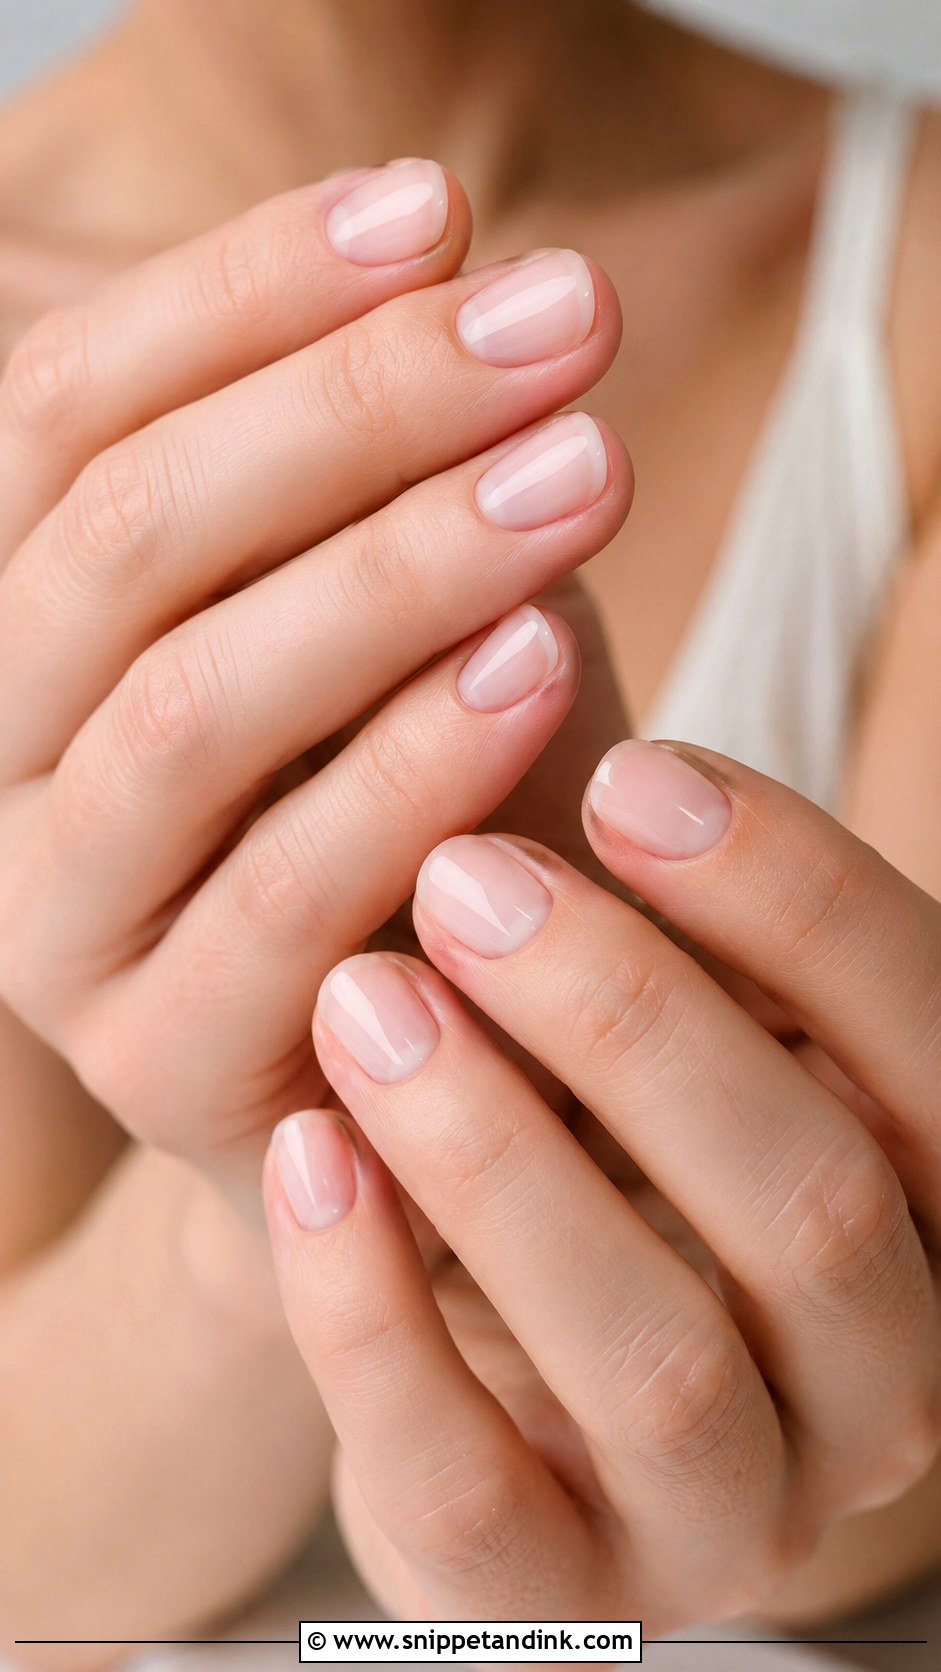
Short nails can look every bit as bridal as long ones, and they’re what I’d suggest if you type all day, garden or play an instrument. The finish depends on consistency: all ten filed to the same length and shape, with a sheer pink or milky nude and plenty of gloss. A soft square or rounded edge snags less on beading and lace while you’re getting dressed. Next to a ring, short nails keep the stone the focus.
9. Almond Natural Bridal Nails
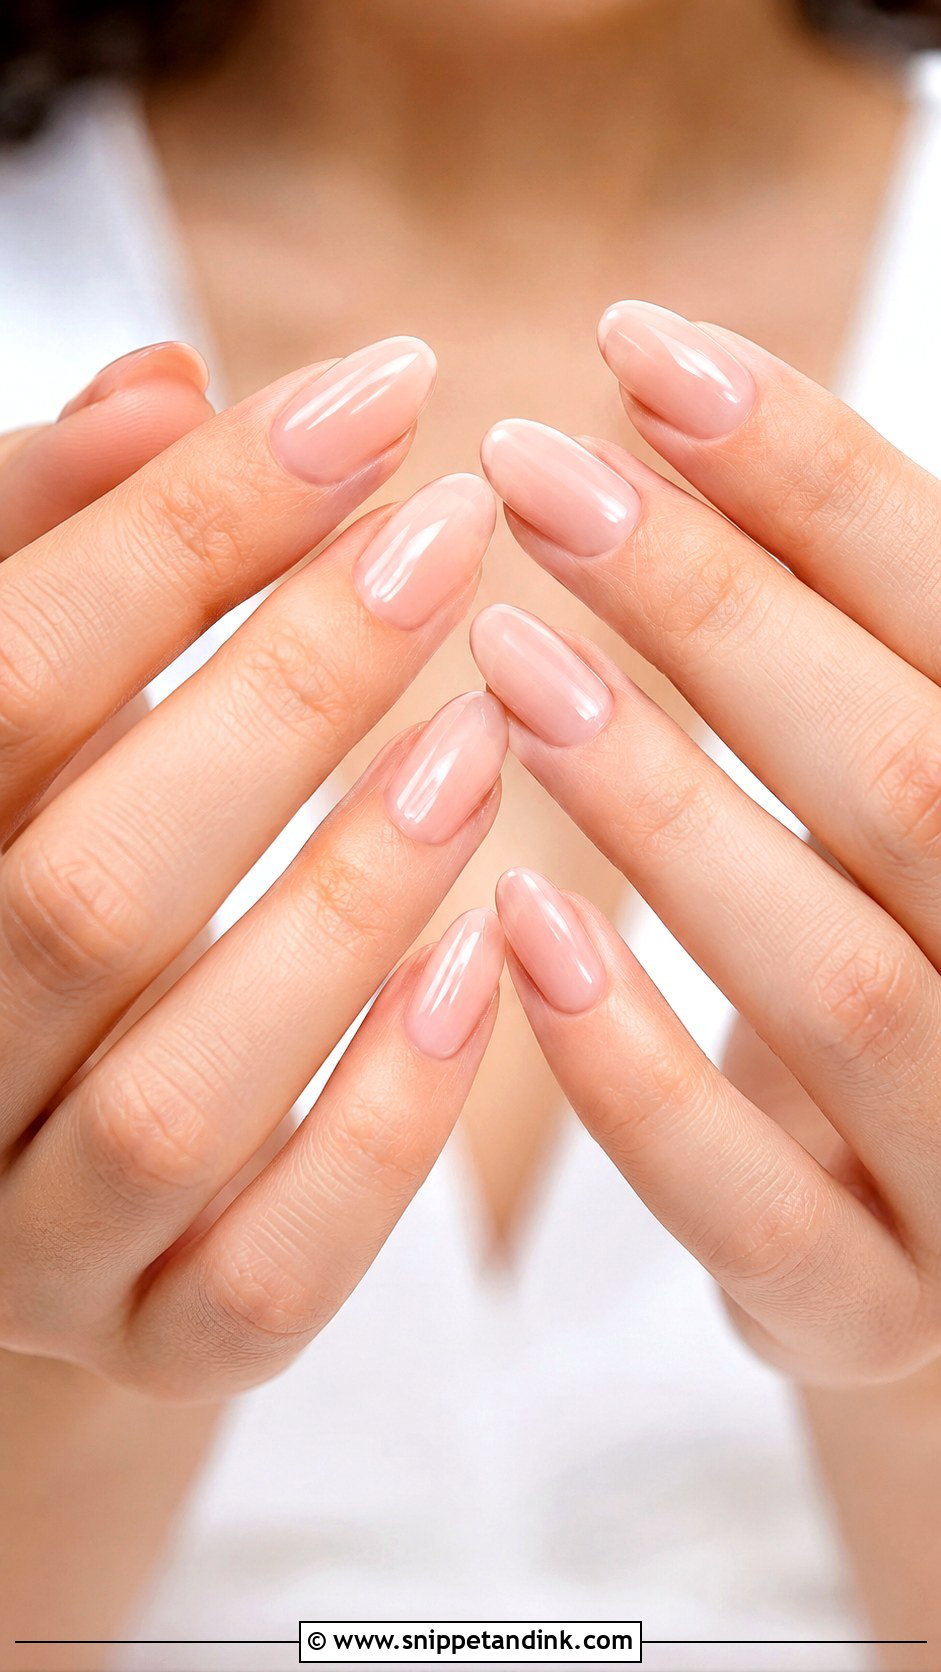
Almond natural bridal nails taper toward the tip, which makes fingers look longer without needing a lot of length. Because the shape already does the work, I keep color quiet here: sheer pink, nude, milky white or a fine French. The weak spot of an almond is the narrowed sidewall; on thin natural nails I add a little structure with gel or BIAB so the tips don’t crack when you’re pulling on a bracelet clasp. A medium length is the sweet spot for most brides.
10. Oval Natural Wedding Nails
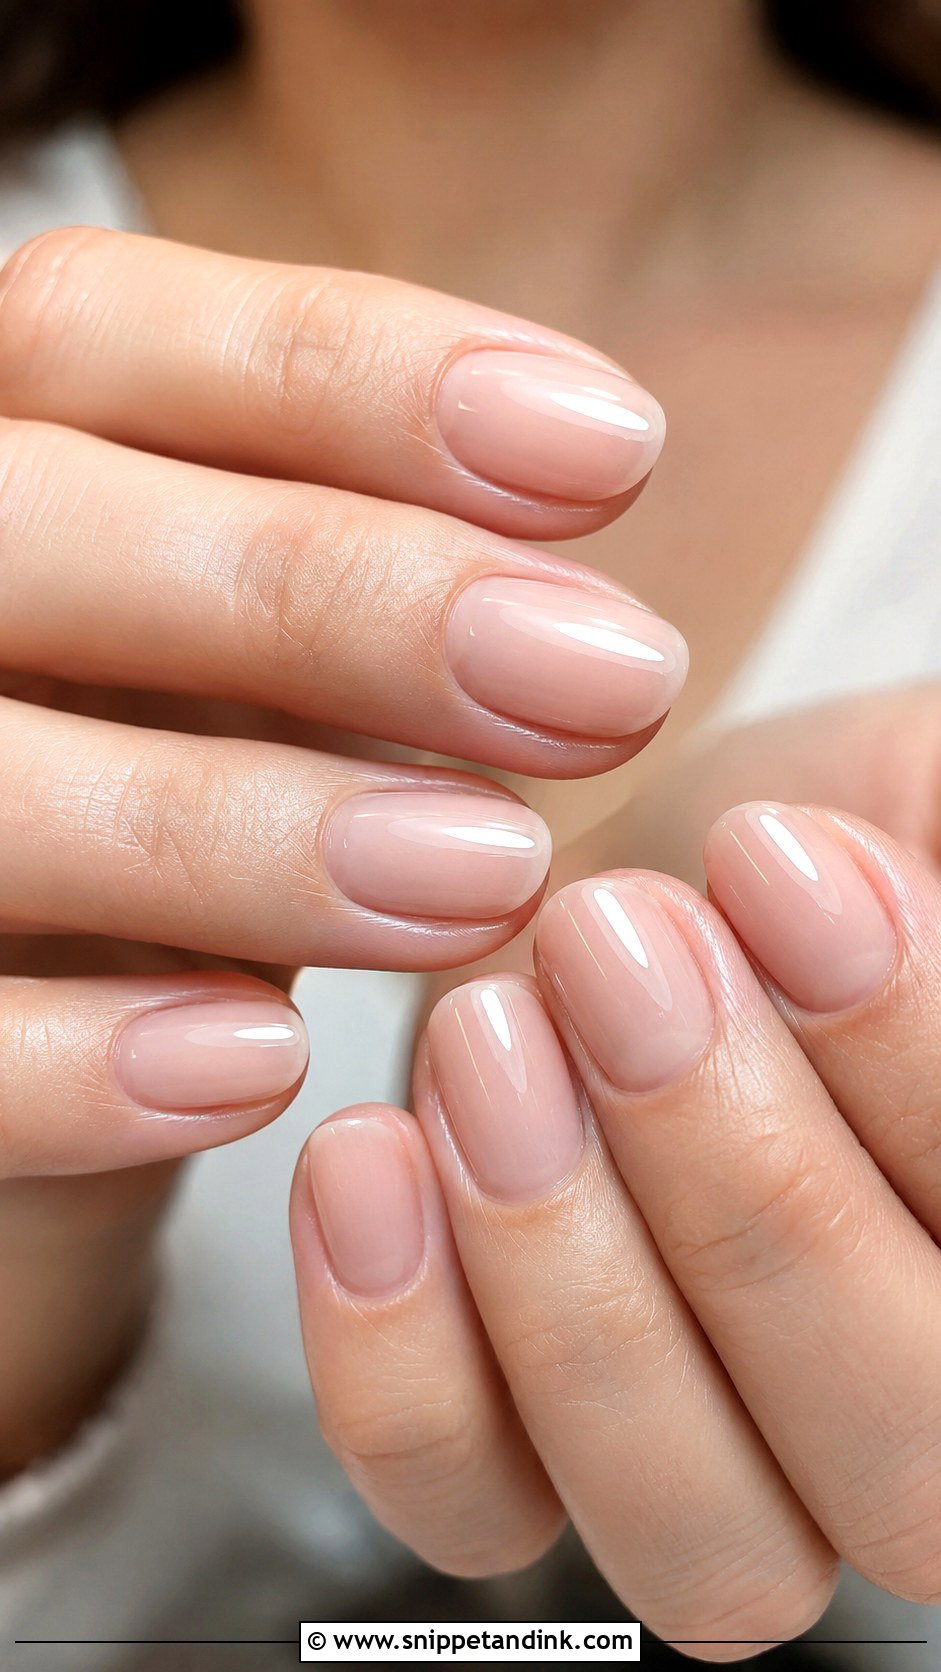
An oval follows the curve of the fingertip, so it suits nearly any hand and any length. I file the sides straight from the cuticle before rounding the tip; filing into the corners too early weakens the nail and makes it peel. Sheer blush, milky beige or a gentle ombre all sit well on it. If you can’t decide on a shape, this is the safe answer.
11. Soft Square Bridal Nails
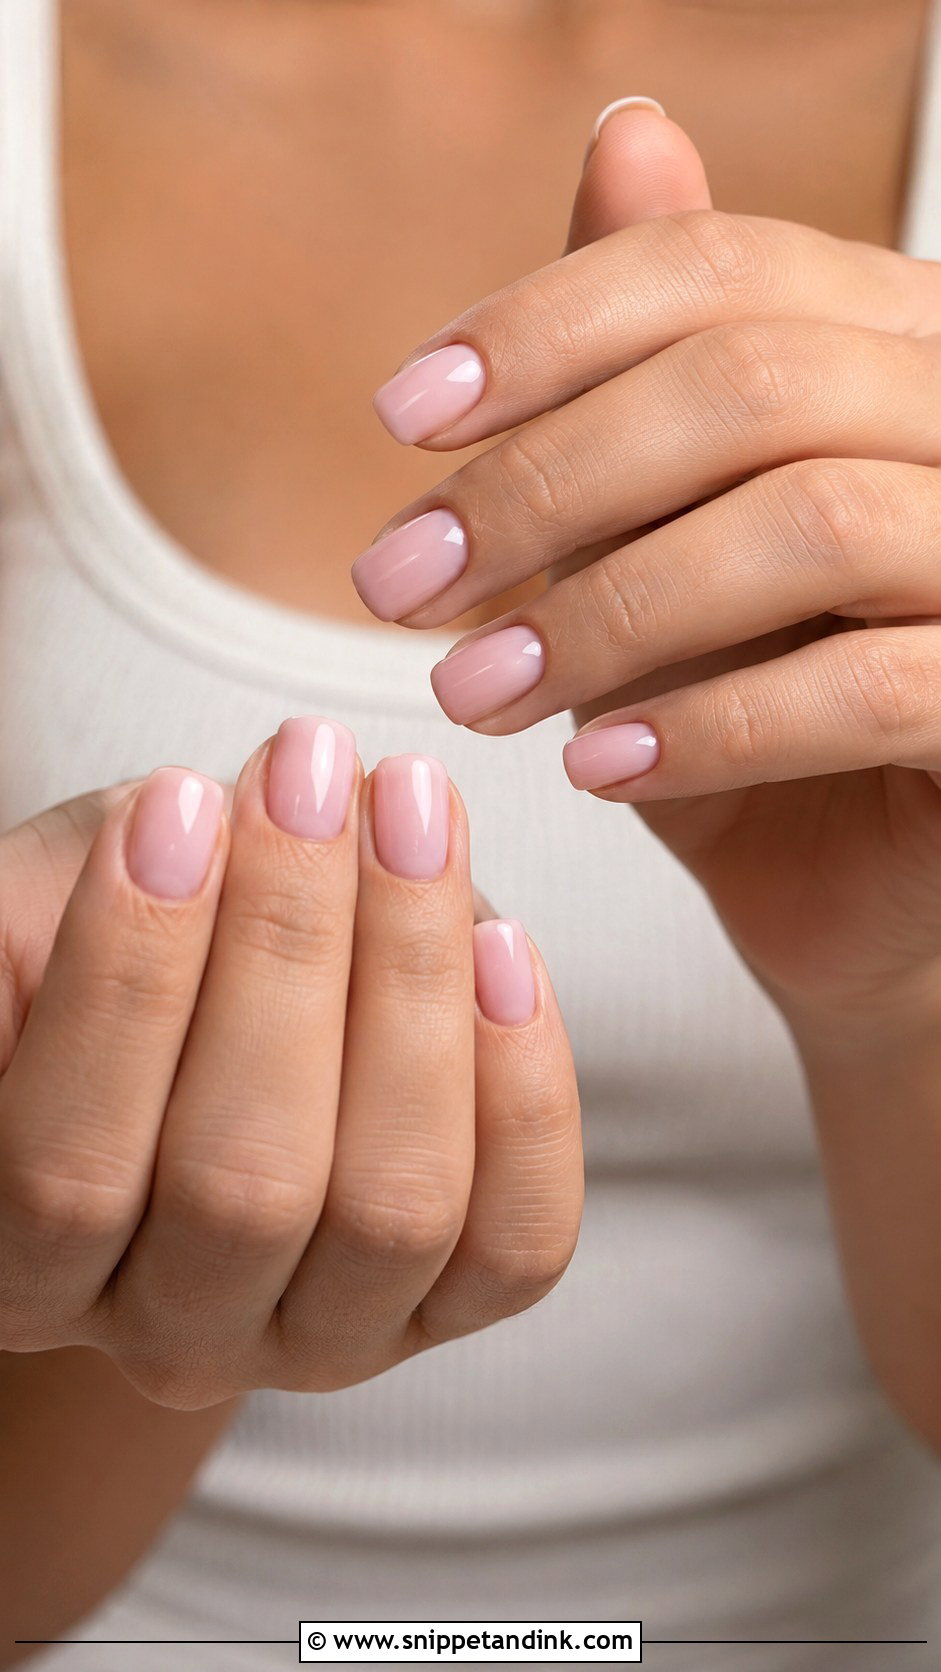
Soft square is a straight free edge with the corners rounded off, a tidy shape for brides who like structure. It works best when your nail beds are medium to long; on short, wide nail beds a square edge can make fingers look stubby, and I’d nudge you toward a squoval instead. Sheer nude, pale pink or a creamy white, maybe with a micro French, all look crisp on it. Short to medium length keeps it practical.
12. Blush Pink Wedding Nails
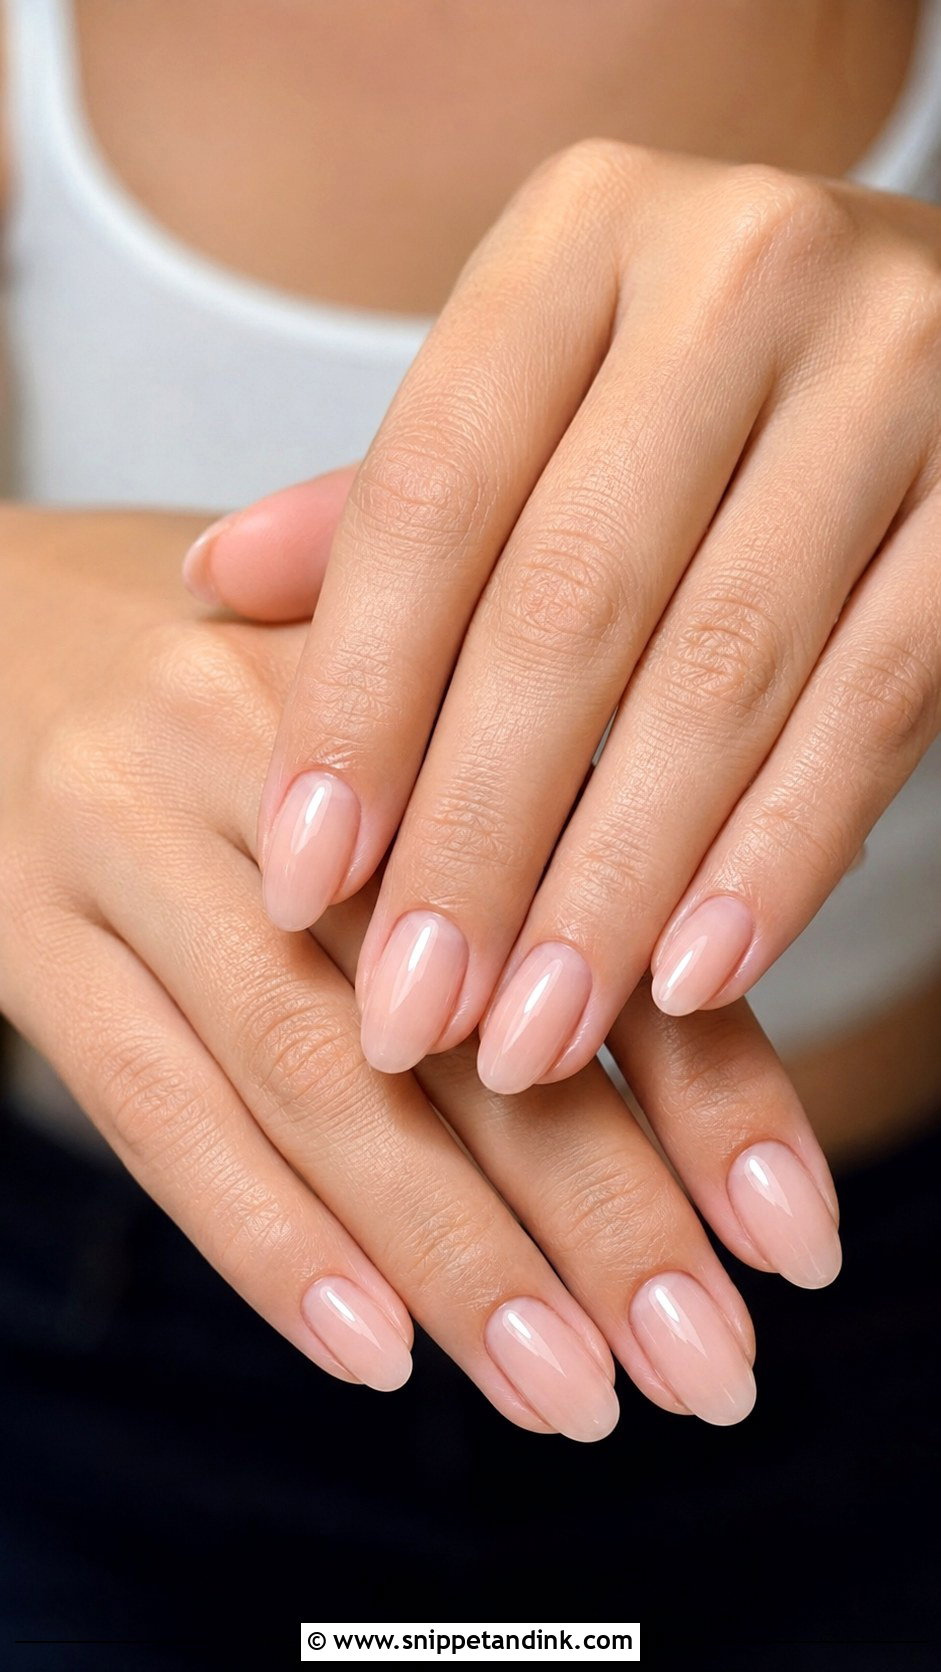
Blush pink is warmer than a clear pink and softer than a pastel. In a sheer formula it brightens a slightly yellow or uneven nail bed, which is why I often use it on brides whose nails have been under gel for months and look a bit dull. It pairs naturally with warm makeup, peach or dusty florals, and gold or rose gold. On almond, oval or short rounded nails, a single coat under gloss is plenty.
13. Ivory Chrome Bridal Nails
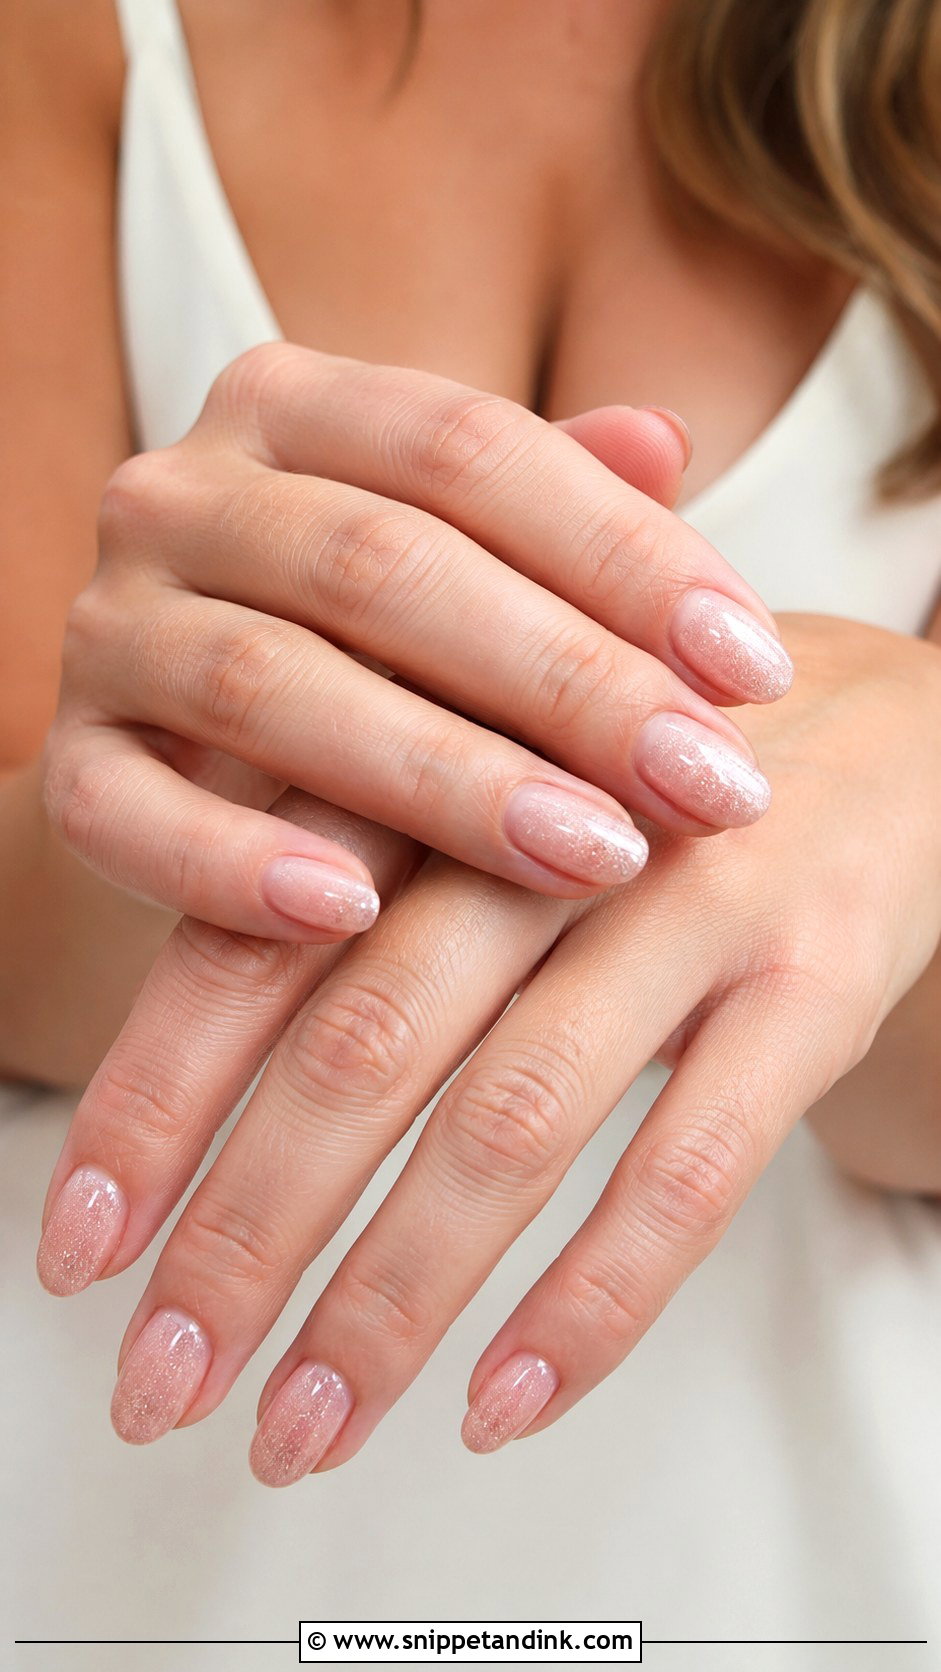
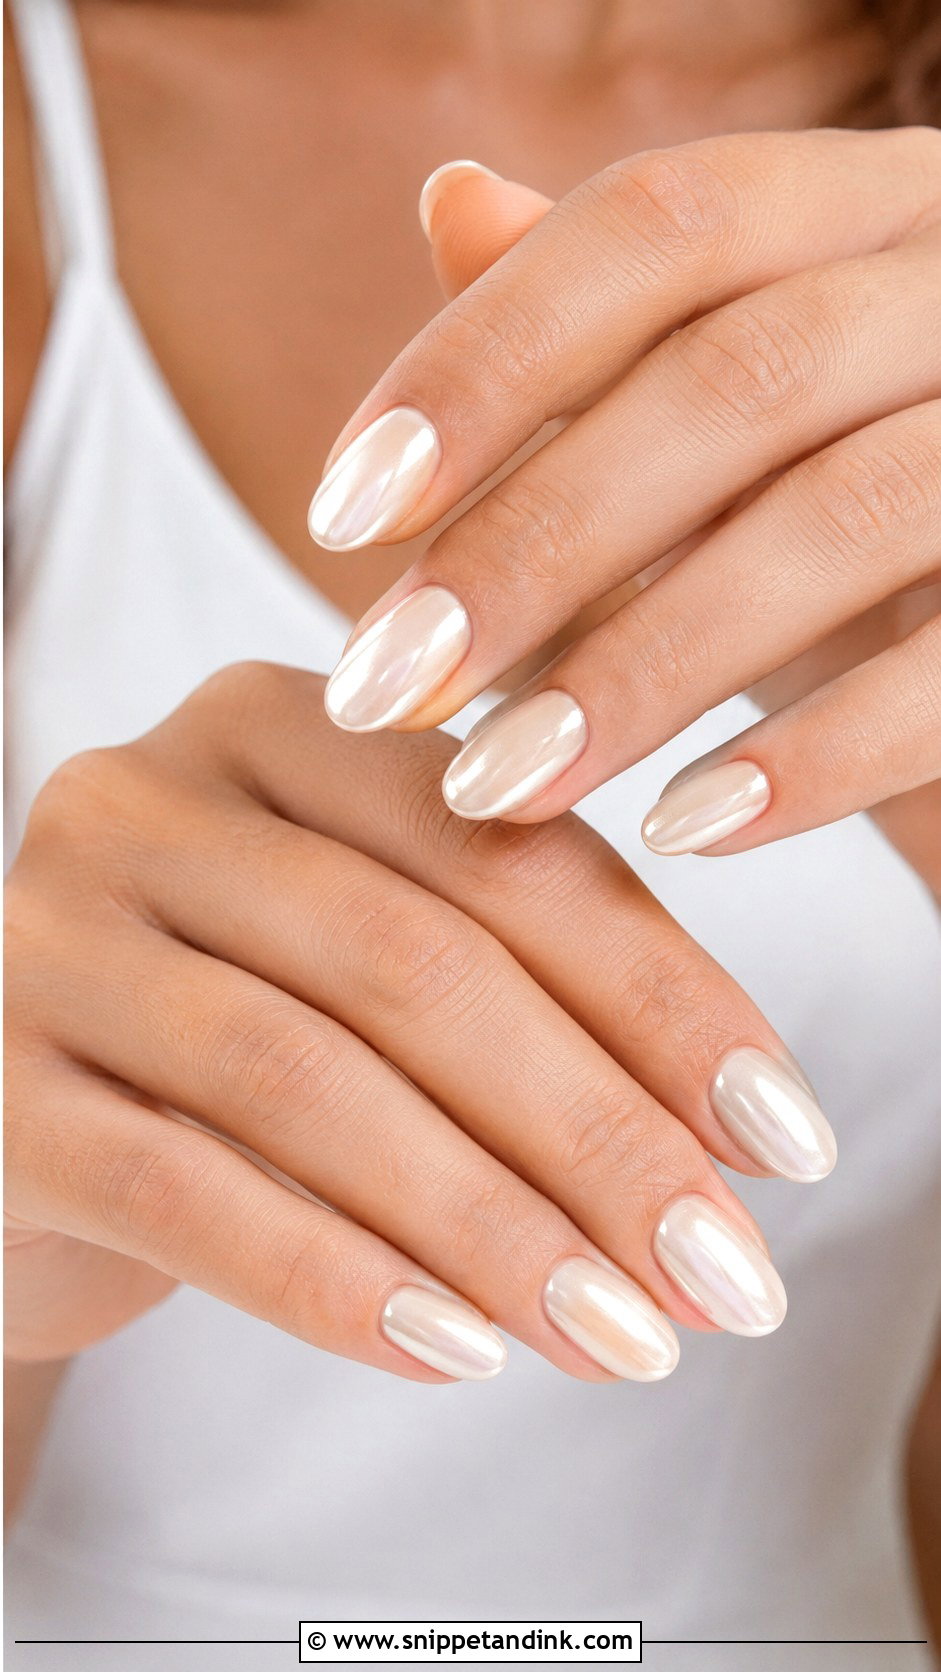
Ivory chrome should look pearly, not like a mirror. I lay the base in a soft shade such as ivory, milky beige, or warm white, then buff a very fine chrome powder over a no wipe top coat and seal it twice so the edges don’t wear. Almond and oval curves catch the reflection best. Ask for a subtle layer; a full mirror chrome reads silver under flash and can clash with an ivory gown.
14. Natural Lace Wedding Nails
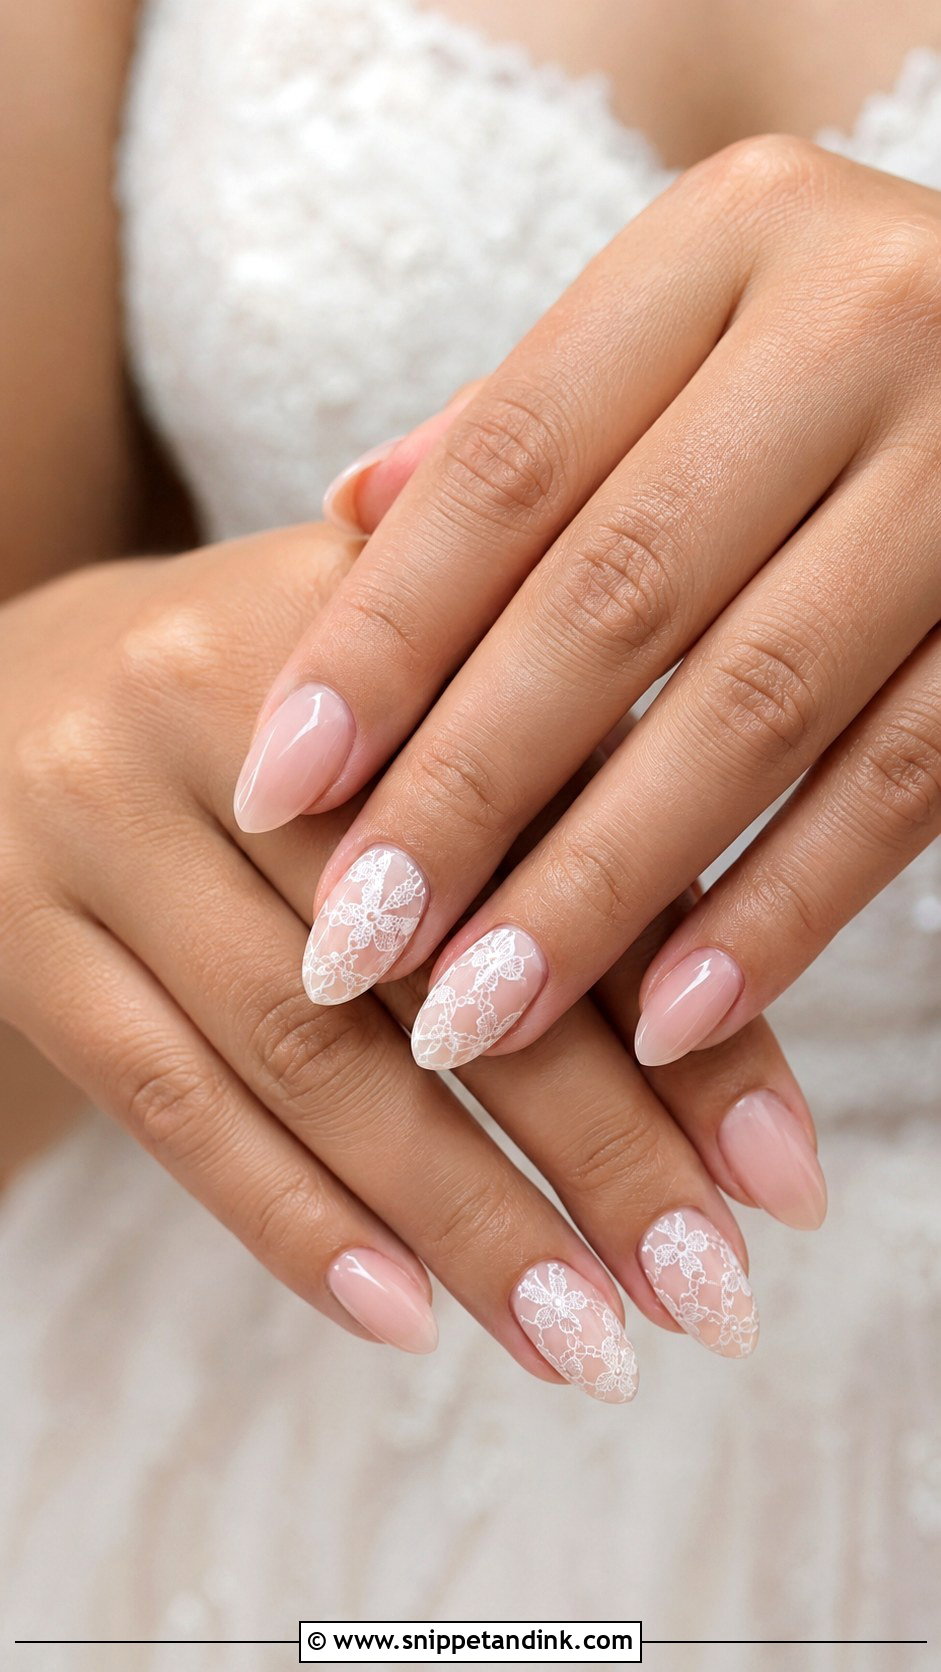
Lace art is painstaking at nail scale. I paint it freehand with a very thin liner brush in a white that’s slightly softer than pure white, or use a fine stamping plate if the bride wants it to mirror her actual lace. One or two accent nails over a sheer nude or milky base is enough; full lace on every nail turns into texture you can’t read in photos. Oval and almond shapes give the pattern room to curve.
15. Sheer White Bridal Nails
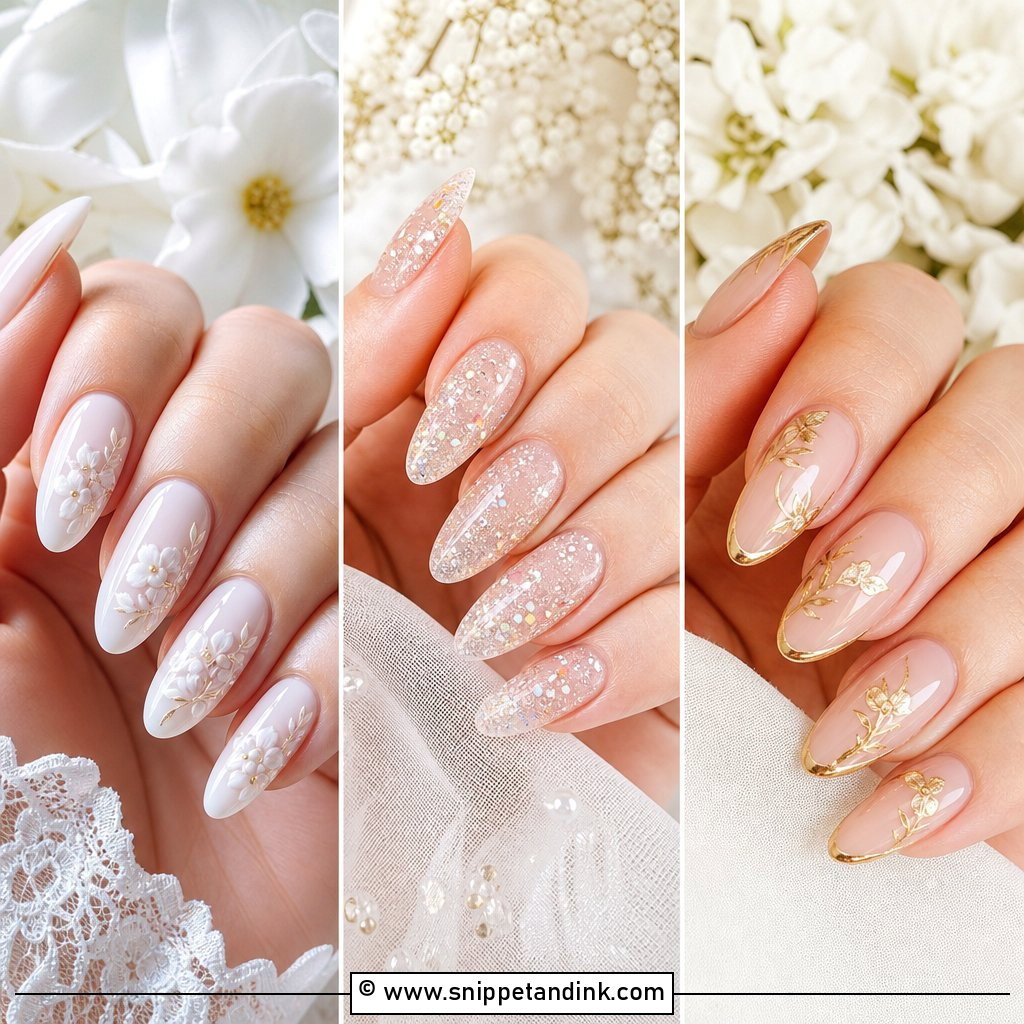
Sheer white is brighter than nude but lets the nail show through, which keeps it from going chalky. The common mistake is a polish that dries streaky, so I prefer a jelly white built in thin layers and finished with a high gloss coat. It suits short rounded, soft square and medium oval nails. If it still feels too stark, a milkier sheer softens it further.
16. Peach Nude Wedding Nails
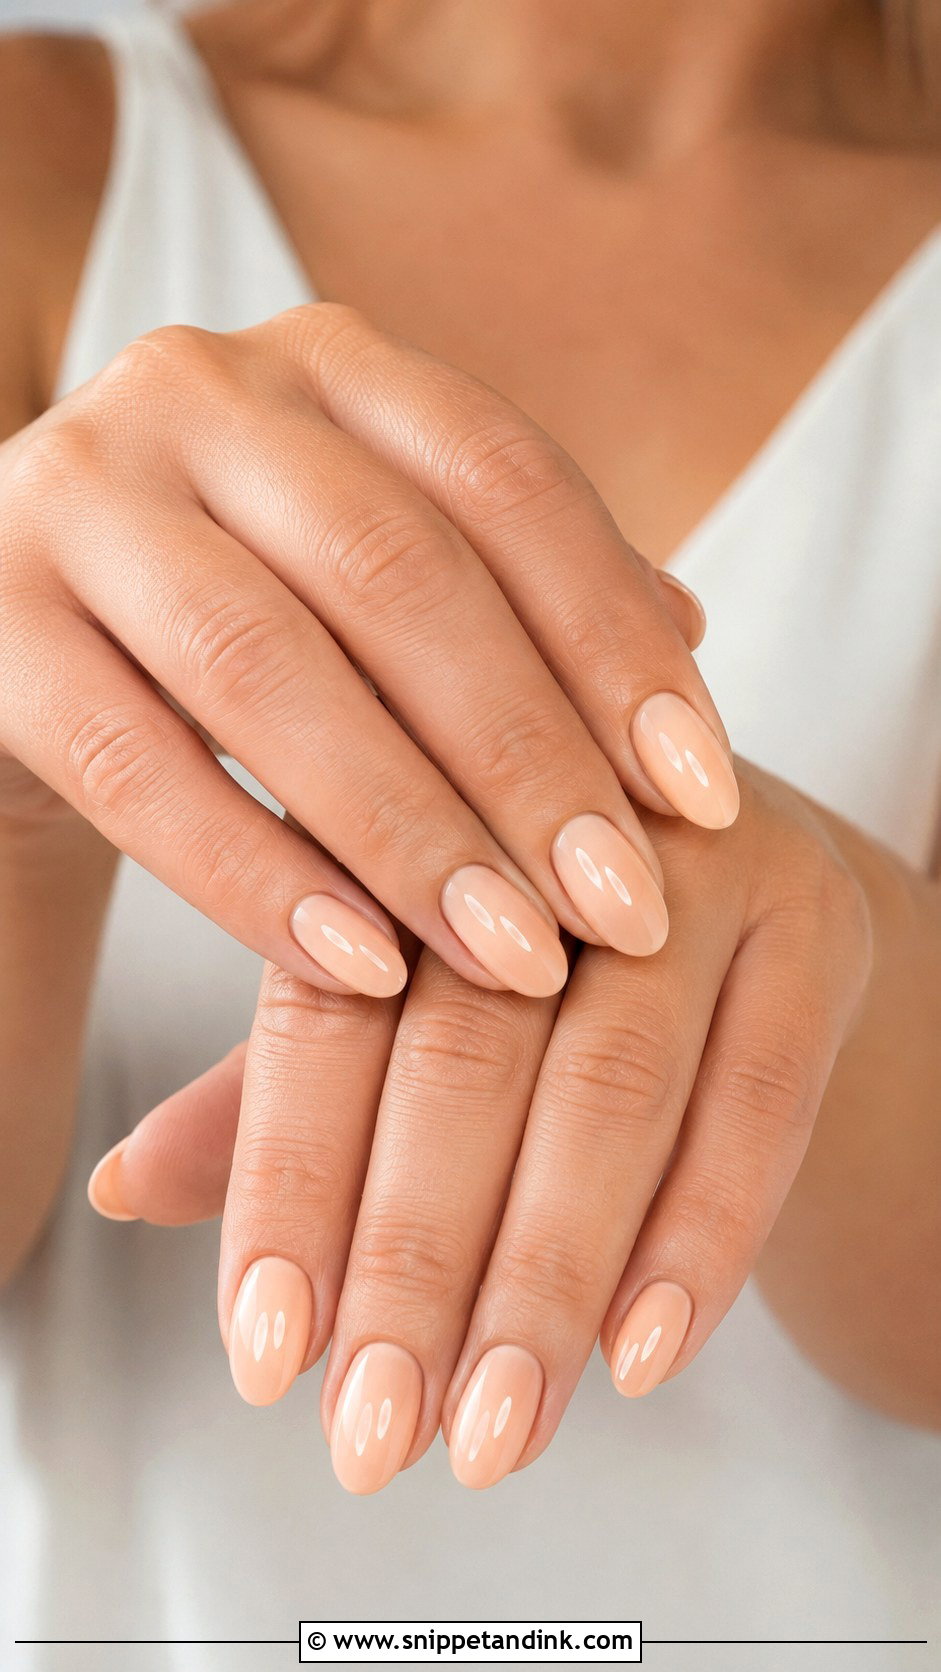
Peach nude keeps hands from looking washed out, which is the complaint I hear most from brides with warm, olive, golden or deeper skin who try a pale beige. A peach base reads warm and alive. I’ll adjust it lighter or deeper at the consultation until the nail and finger look like one tone. Leave it plain, or add a hairline ivory tip for definition.
17. Natural Floral Bridal Nails
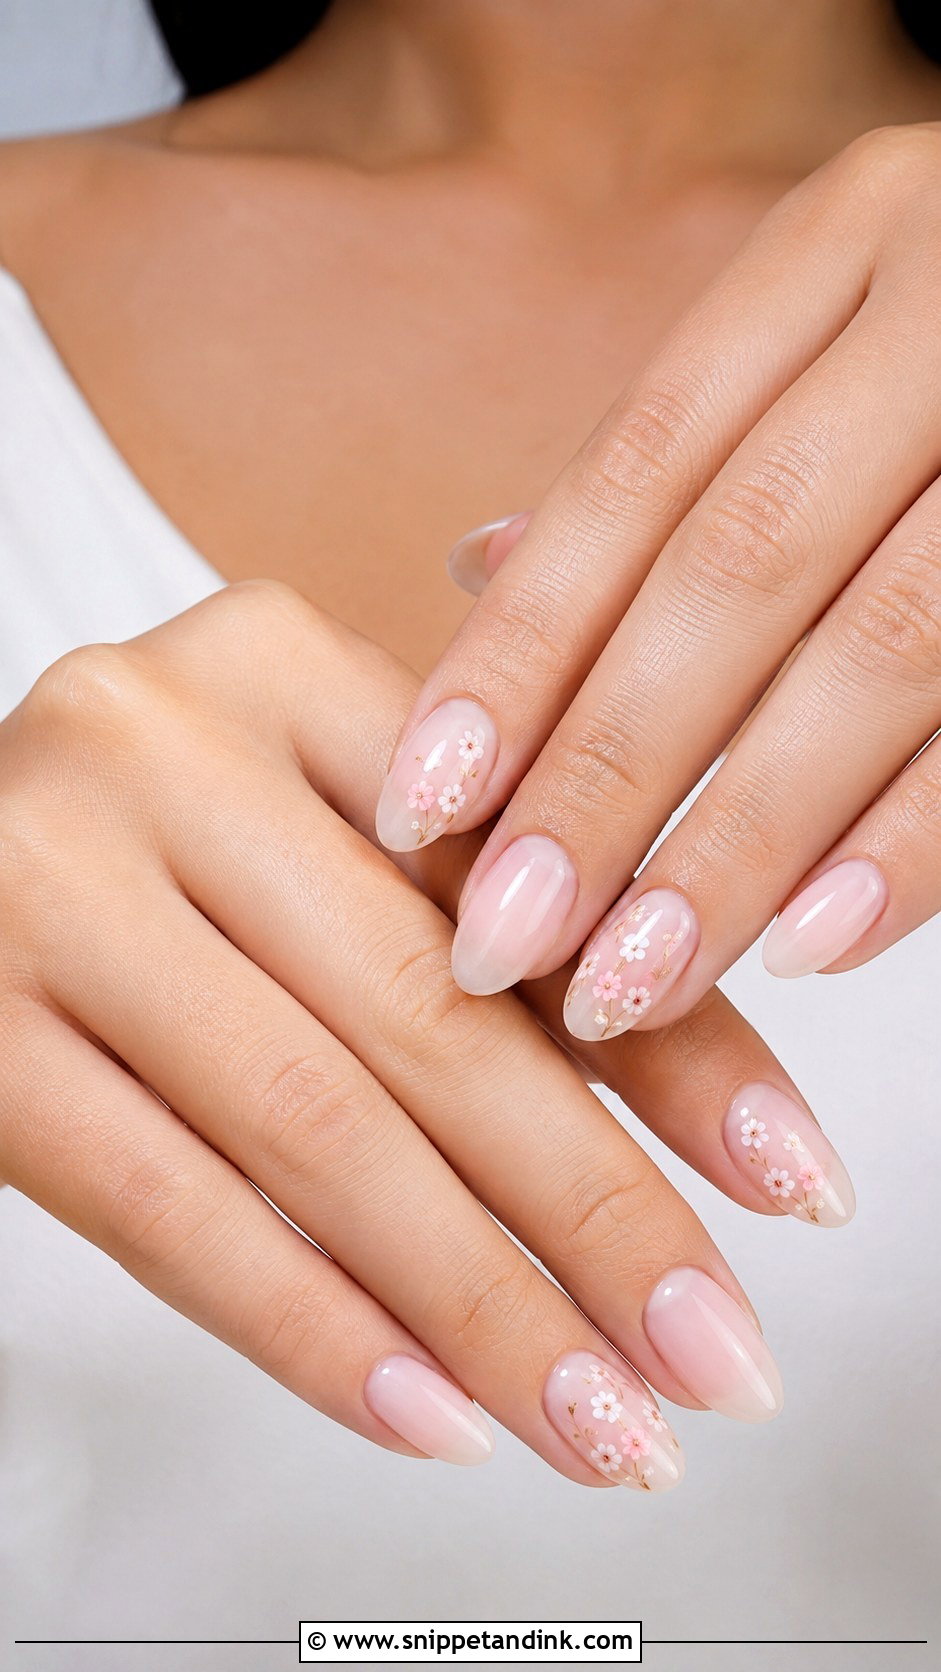
Floral art stays wearable when the flowers are tiny and few. I paint small white or blush blossoms with a dotting tool and a fine brush on one or two nails, keeping the petals thin so they look pressed rather than stuck on. Over sheer pink, nude or milky bases, oval and almond shapes give the design enough room. If your bouquet has a signature bloom, a tiny version of it on the ring finger is a nice nod that doesn’t shout.
18. Barely There Wedding Nails
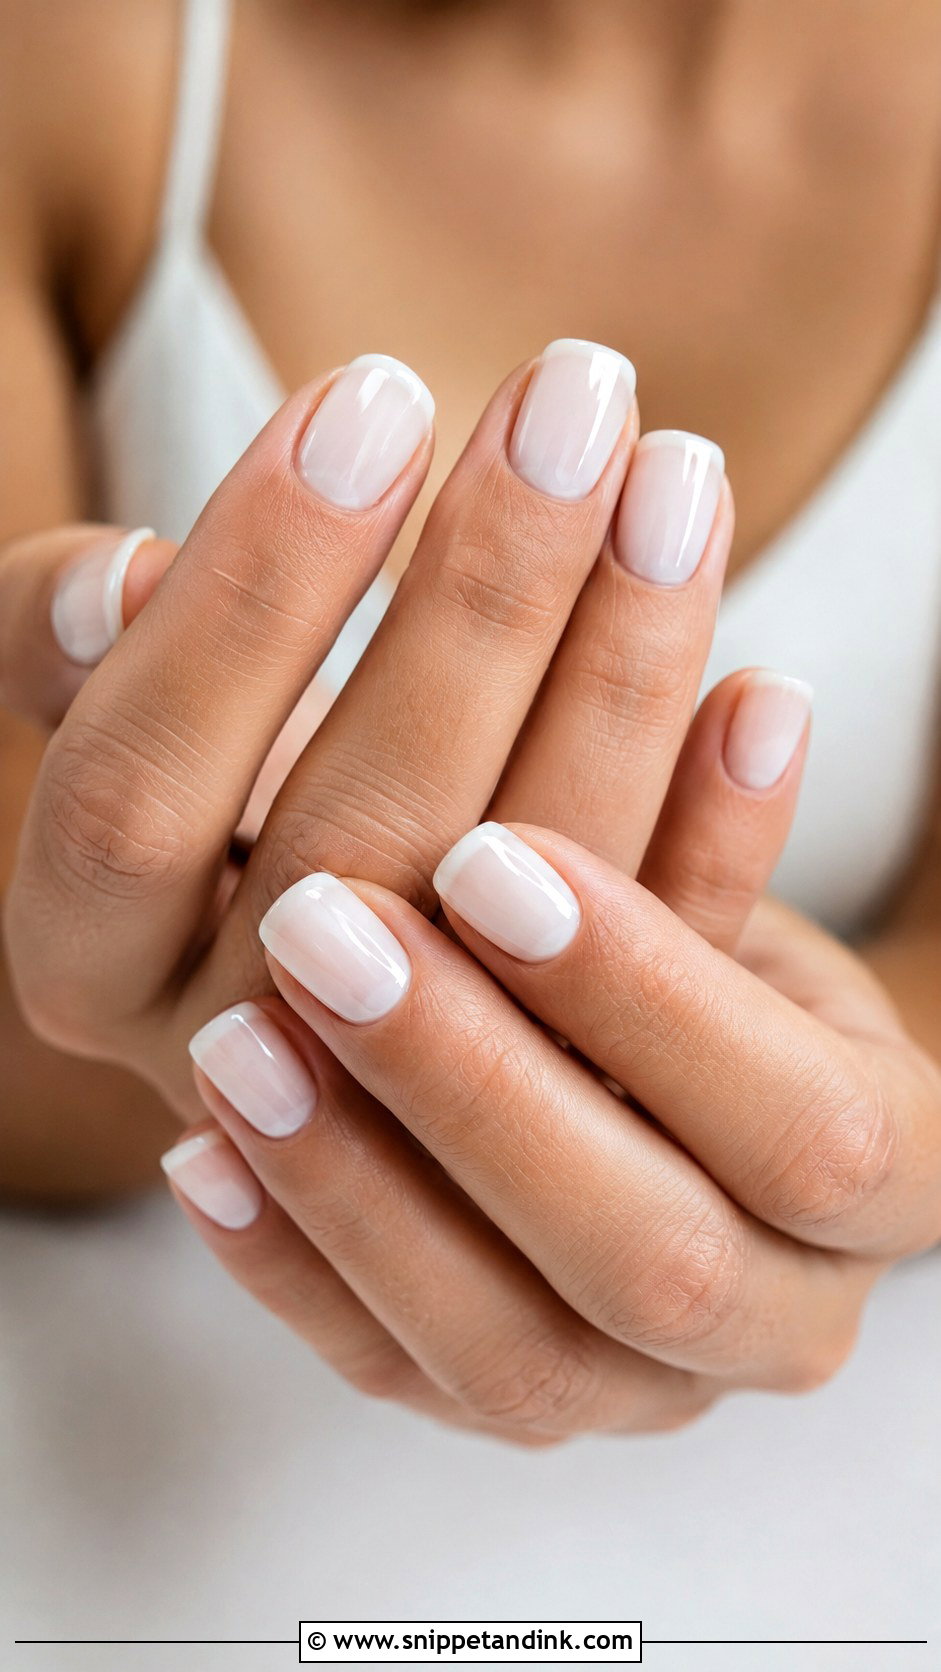
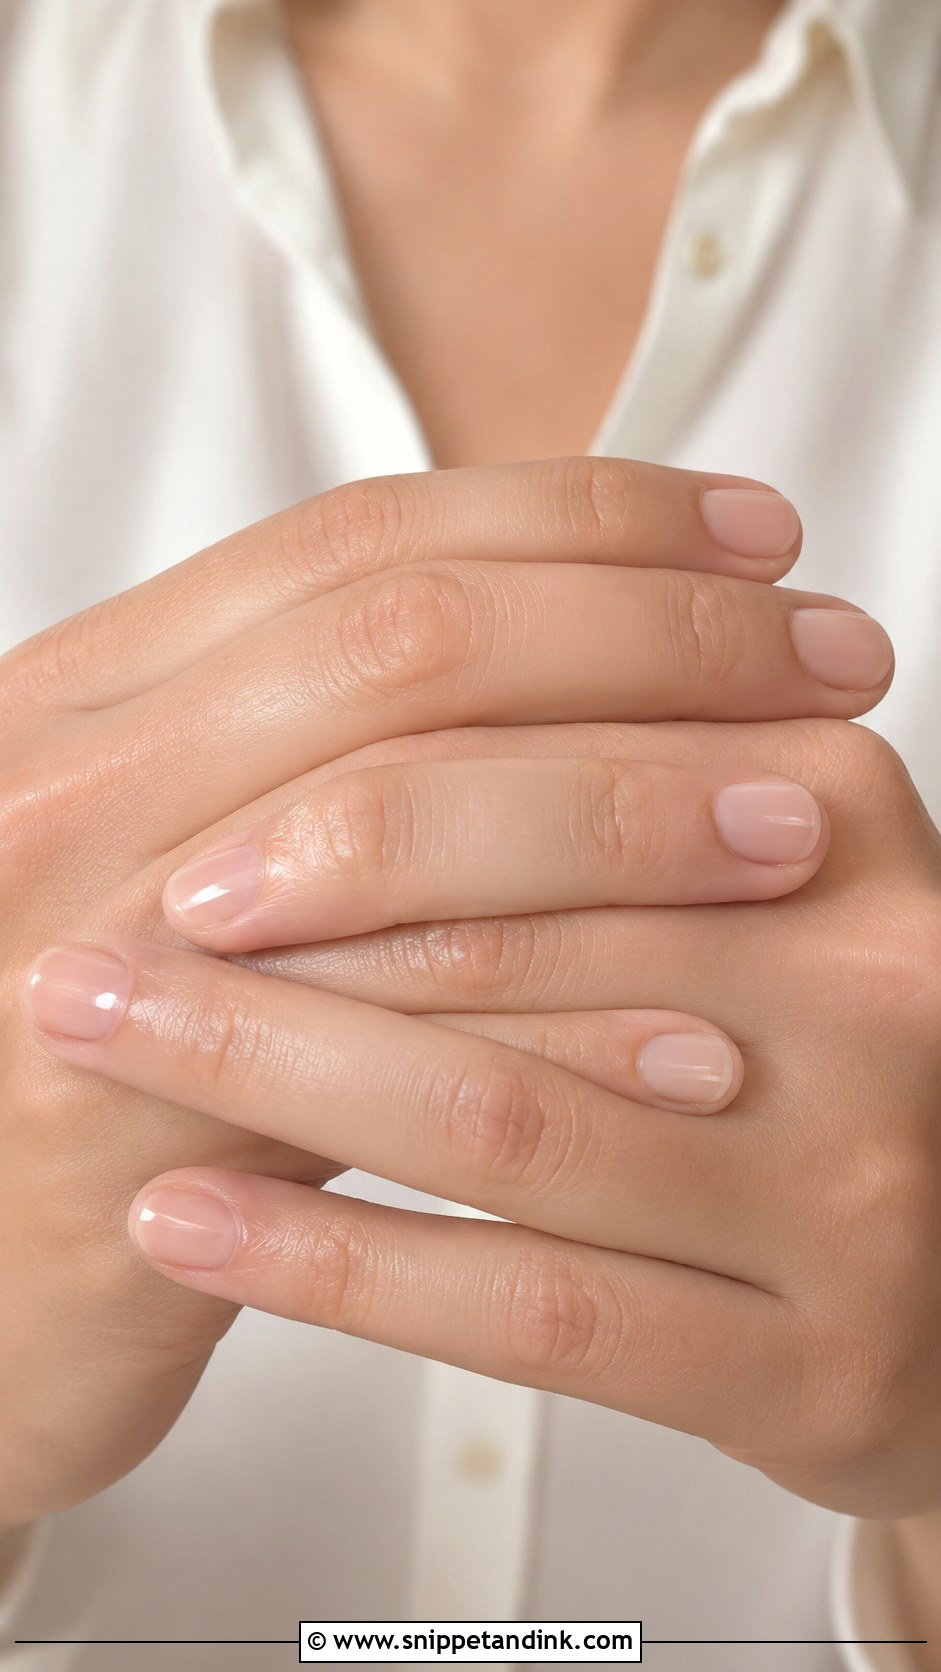
This is a nail care service more than a color one. I shape, tidy the cuticles and buff, then use clear, sheer pink, sheer beige or a nail perfecting tint to blur unevenness and add shine. The result looks healthy rather than painted. It’s the right call for brides who find polish distracting or plan to have their nails done again for the honeymoon. Gloss reads fresher; a satin top coat looks softer.
19. Natural Wedding Nails With Subtle Glitter
Natural wedding nails with subtle glitter work when the shimmer is fine enough to look like light, not glitter. I use a sheer nude, blush or milky base and either a whisper of champagne shimmer over the whole nail or a fade from the tips. Chunky glitter is a pain to remove and catches on knit wraps. Champagne, pearl or a soft silver keeps it natural, and the sparkle shows in ring photos without overpowering the stone.
20. Natural BIAB Wedding Nails
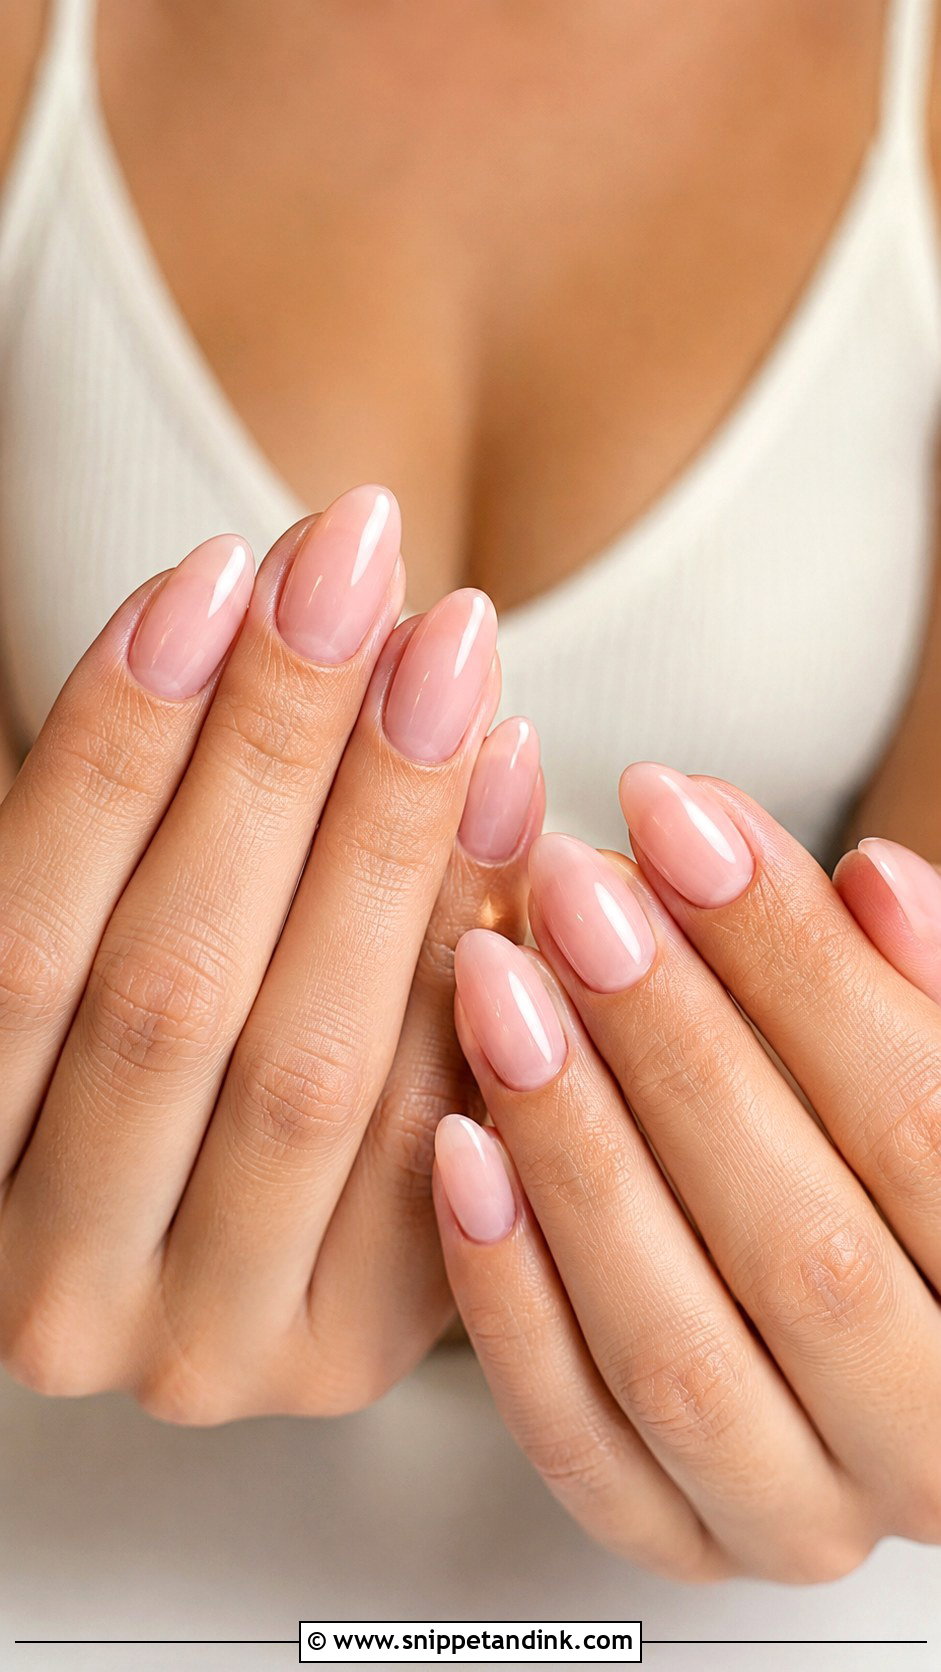
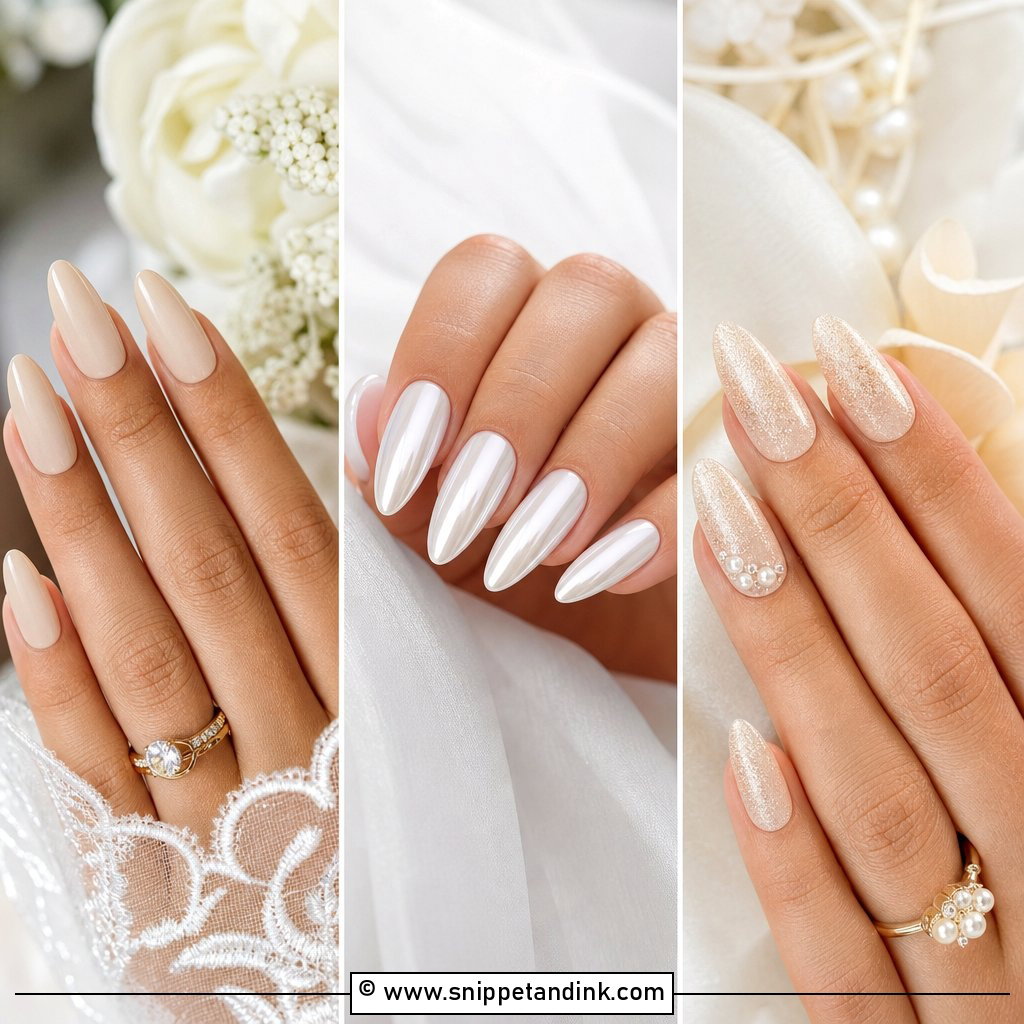
Natural BIAB wedding nails use builder gel to add strength and a smooth curve while still looking like your own nails if it’s applied thinly. It’s what I recommend for brides with weak, peeling or uneven nails that might break in the last week. Tell your tech you want a thin apex and a natural cuticle area; heavy application is what makes BIAB look bulky. Sheer pink, nude, milky white or soft beige over a short almond, oval or soft square shape will last two to three weeks of events, which helps when the celebrations run over several days.
How Many Days Out Gel, BIAB and Regular Polish Should Go On
Natural looks show growth faster than you’d expect, because a sheer base has less contrast to hide the gap at the cuticle. That makes timing more important than the color itself.
Regular polish
Have it done one or two days before the wedding. It can chip within a few days, so bring the exact bottle with you on the morning for a touch up. Avoid a same day appointment unless your schedule is relaxed; polish needs hours to harden fully and dents easily when you’re pulling on a gown.
Gel and BIAB
Two to four days before is ideal. That gives time to fix a lifted corner without the nails looking grown out in the photos. If your events run across a week, book closer to the first event, and ask your tech to keep the product thin near the cuticle so regrowth blends. I’d also avoid a first ever gel or BIAB set right before the wedding; some people react to the products, and you don’t want to find out that week.
A Chip on the Morning Itself
Small damage is common on the day, from zips, hairpins and bouquet wire. A chipped sheer nail is easy to rescue: smooth the edge with a fine buffer, then apply one coat of the base shade and a top coat. With a milky white, dab rather than stroke, or it will streak. Keep a small kit with the polish, a top coat, a buffer, cuticle oil and a nail file in whoever is holding your emergency bag. For a cracked gel nail, a dot of nail glue under a thin coat of clear will hold until the end of the night.
Your Own Nails, Only Better
A natural bridal manicure is the one you’ll still recognize as your hands when you look at the photos in twenty years. The detail level matters less than clean shaping, tidy cuticles and a shade that matches your undertone. Start with a shape that feels comfortable, test the color in daylight, and keep any art small. Get those three things right and the manicure looks polished in person and in every close-up.
You'll Like These Ideas:


Leave a Reply