
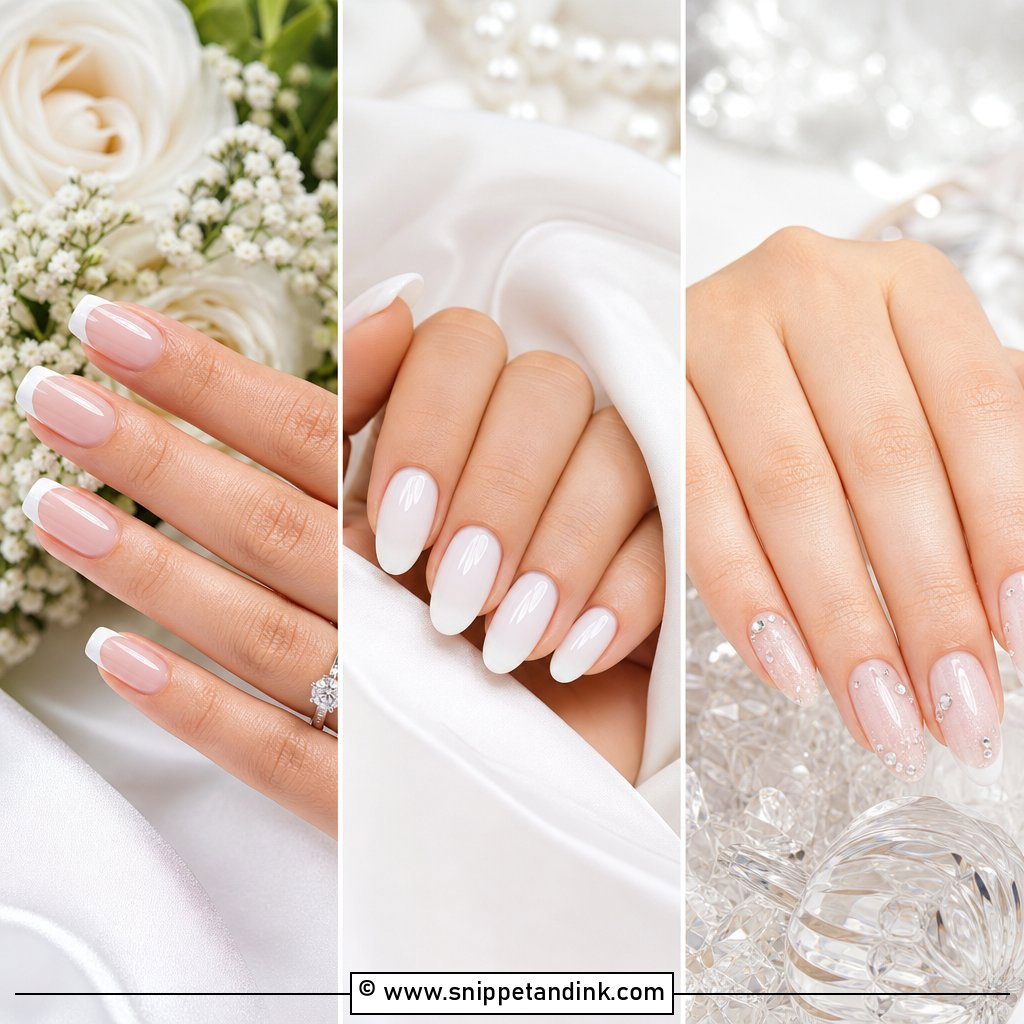
A flat tip frames a manicure the way a mat frames a print, and that’s why brides keep asking me for it. Square wedding day nails show a French line, a pearl chrome or a single lace accent with real clarity, and they hold up in close-up ring photos where a rounder shape can look blurry at the edge. The shape works at almost any length, so you can stay short and practical or go long for the photos. My general advice is to keep the color soft and let detail arrive in small doses: one fine line, a little shimmer, or one accent nail per hand. Here are the twenty sets I’d suggest, with notes on how each one wears.
Does a Square Shape Suit Your Hands?
Before I file anything, I look at the nail beds. Square tips flatter long, narrow nail beds and slim fingers, because the straight edge adds width in a good way. On short, wide nail beds a true square can make the fingers look broader, and that’s where I file a squoval instead: straight sides with the corners just softened.
Corners also decide how the set wears. A sharp corner is the first point to chip and the first to snag a veil, tulle skirt or hair. Unless you specifically want razor-sharp corners for the look, ask your tech to take the very edge off each one. It still reads as square in every photo.
Product that holds the shape longest
- Regular polish chips at the square corners within a couple of days. Fine for a same-day touch-up, risky for anything longer.
- Gel polish on natural nails usually lasts two to three weeks if the free edge is capped.
- Builder gel adds a strengthened layer over thin or bendy nails and keeps square corners from cracking.
- Acrylic or gel extensions are the only real way to get long square tips if your nails don’t grow that length.
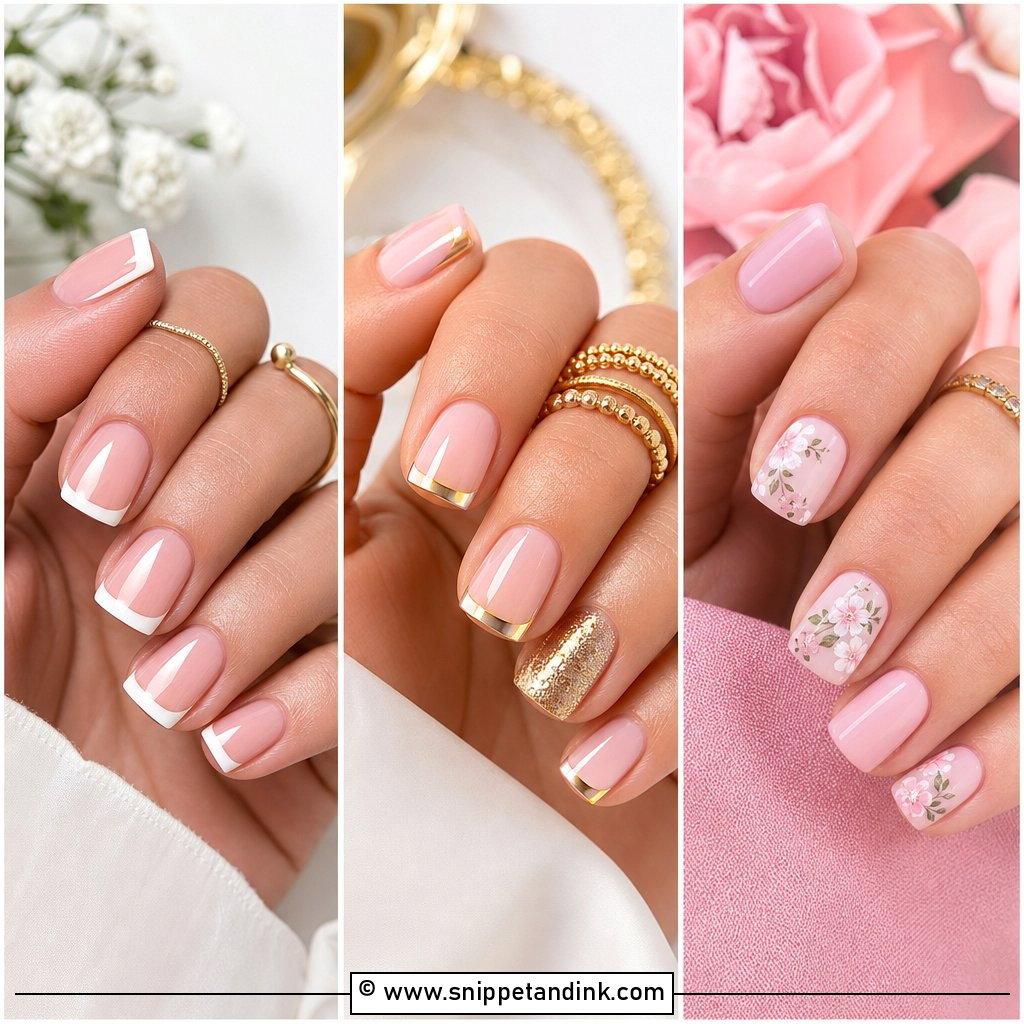
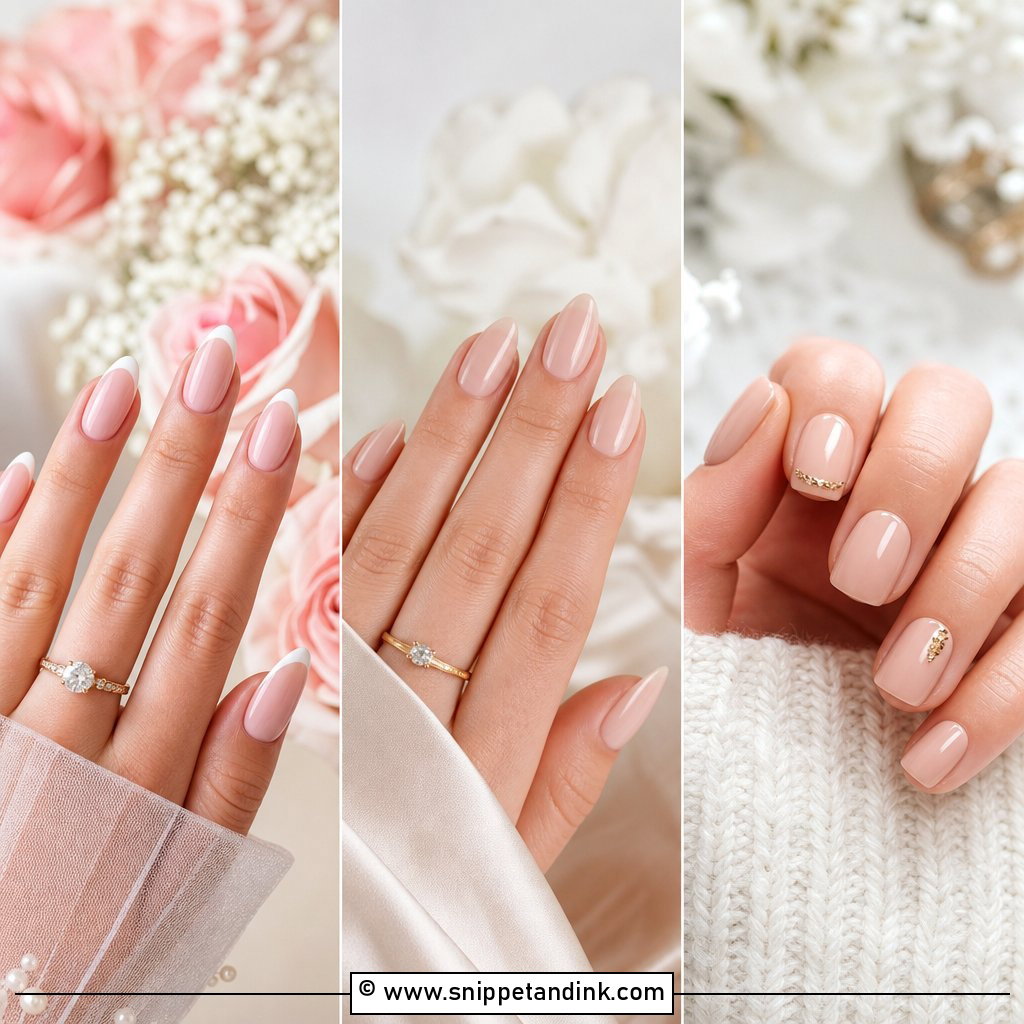
1. Square French Wedding Nails
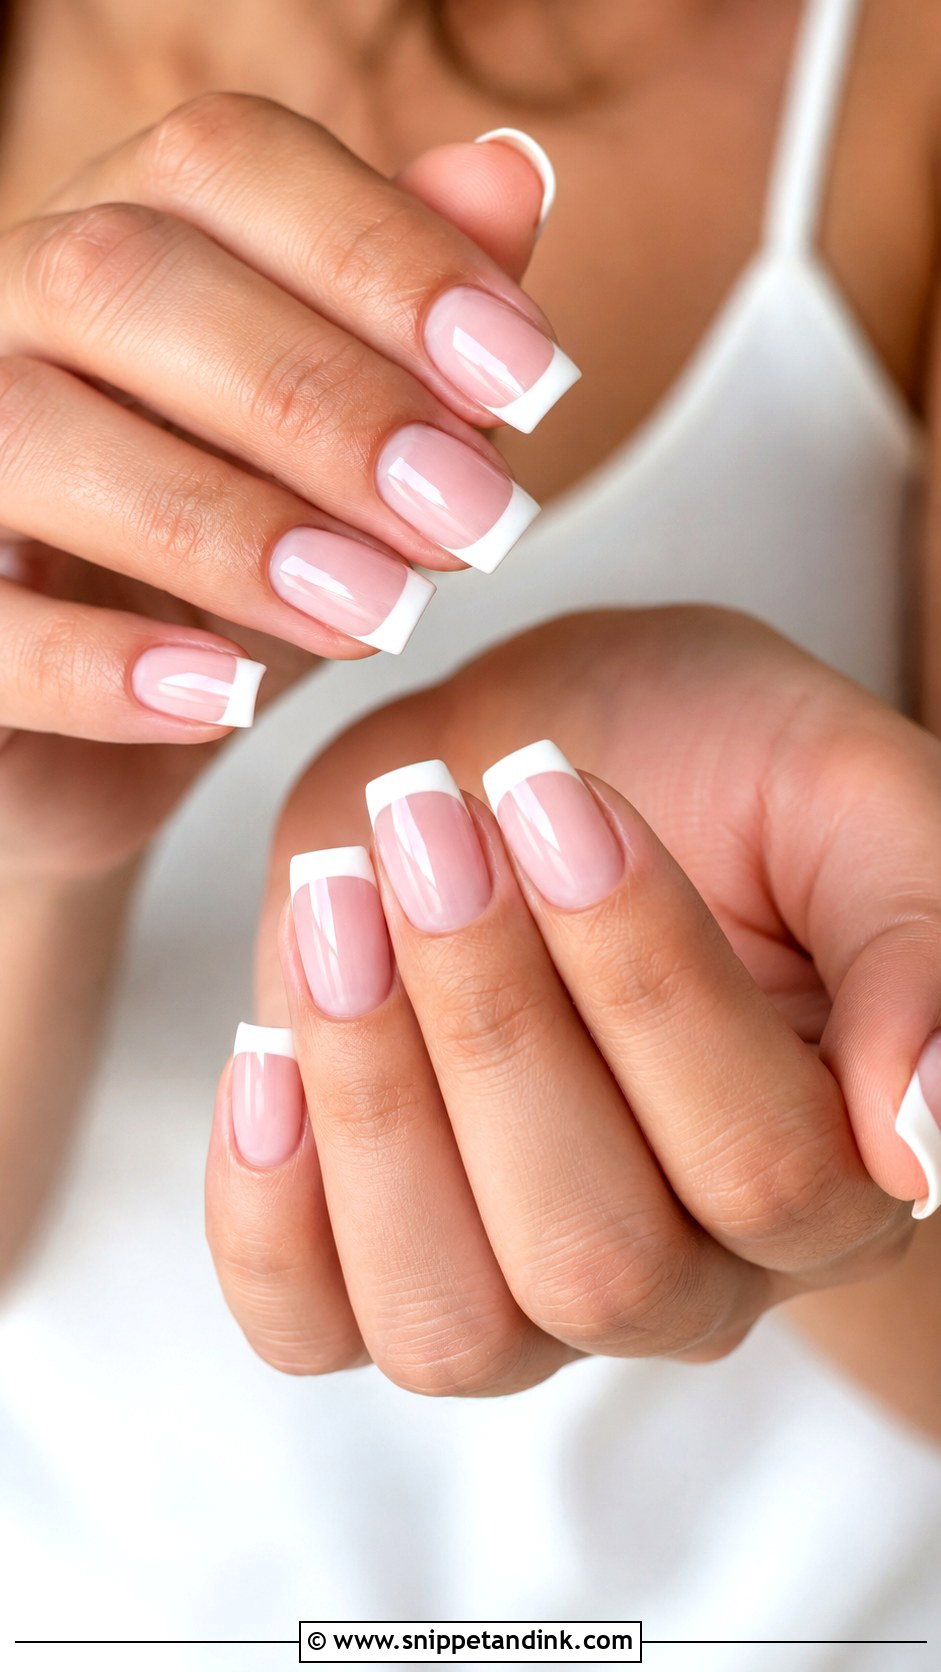
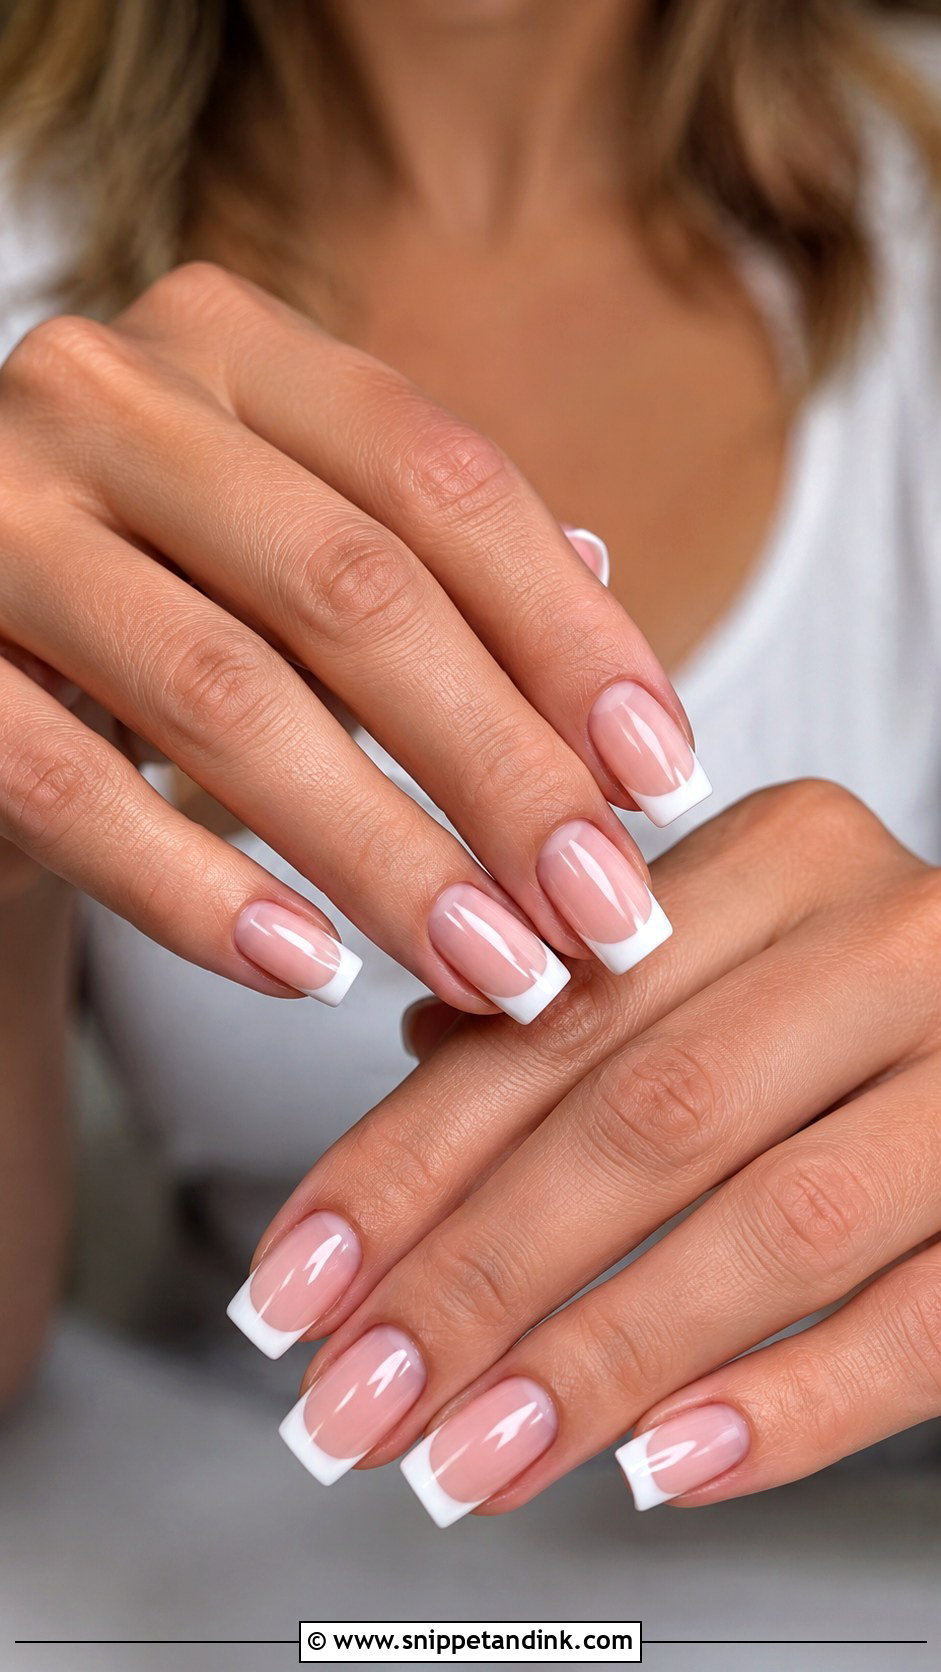
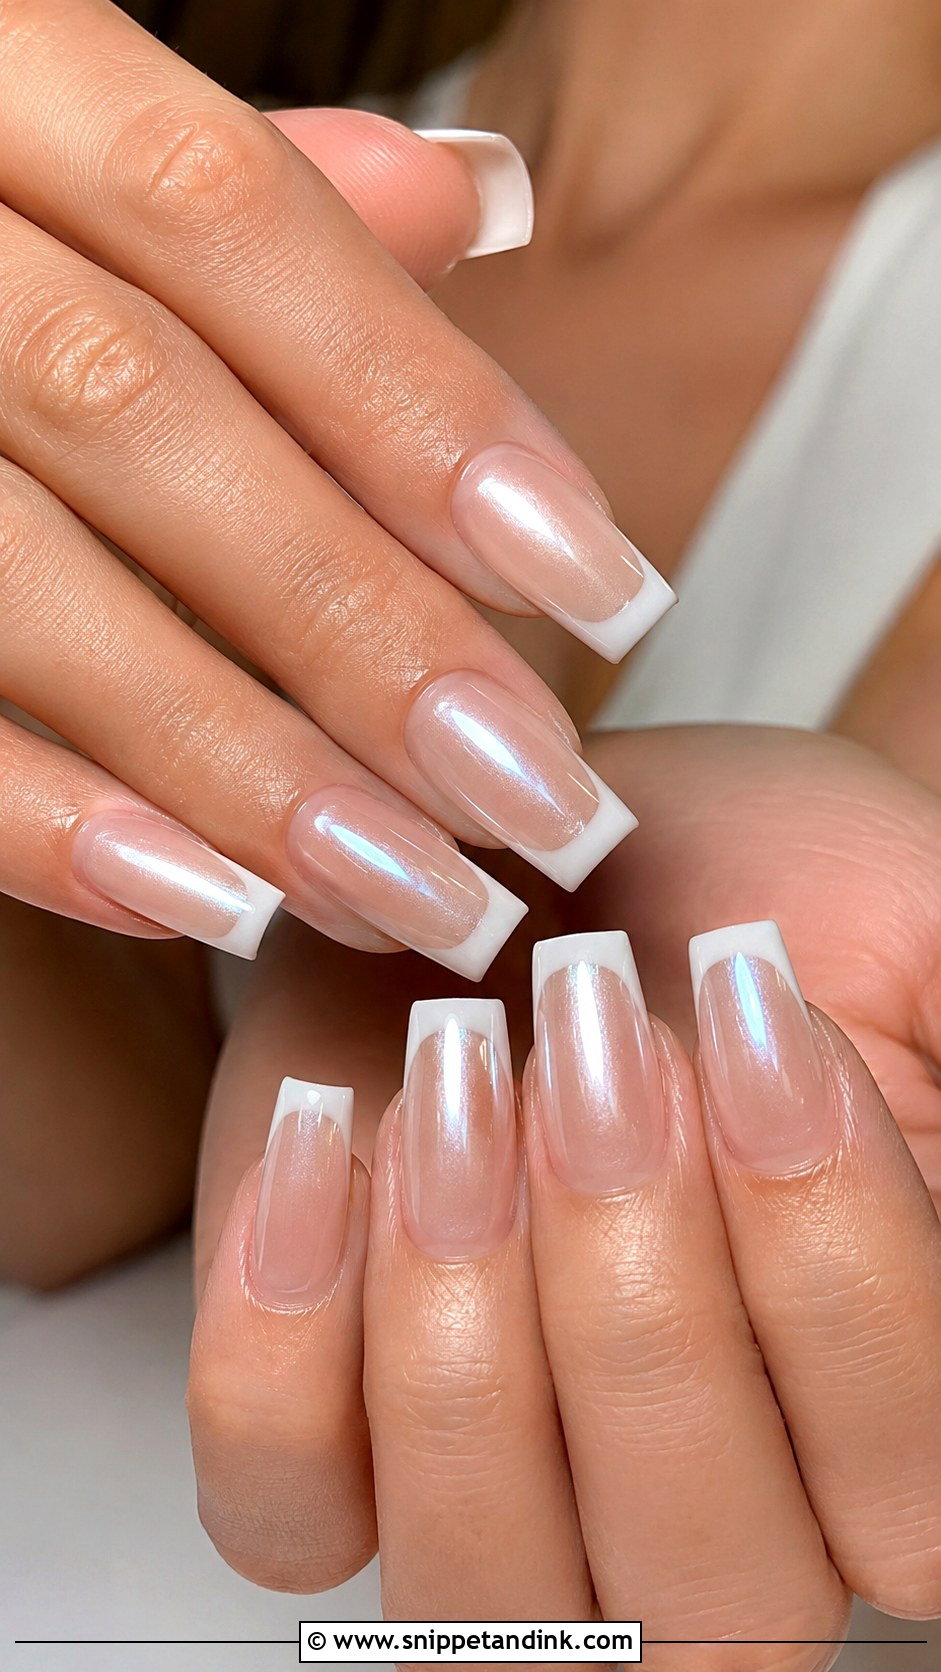
French tips and square nails share the same logic: both are built on straight lines, so the smile line sits naturally parallel to the tip. I paint the white freehand with a thin liner brush, because a crooked line on a square edge is obvious in a way it isn’t on an oval. A milky nude or pale beige base looks softer against skin than clear, which can let every ridge show. Thin tips read modern; a slightly deeper one looks more traditional and suits medium length best.
2. Short Square Wedding Nails
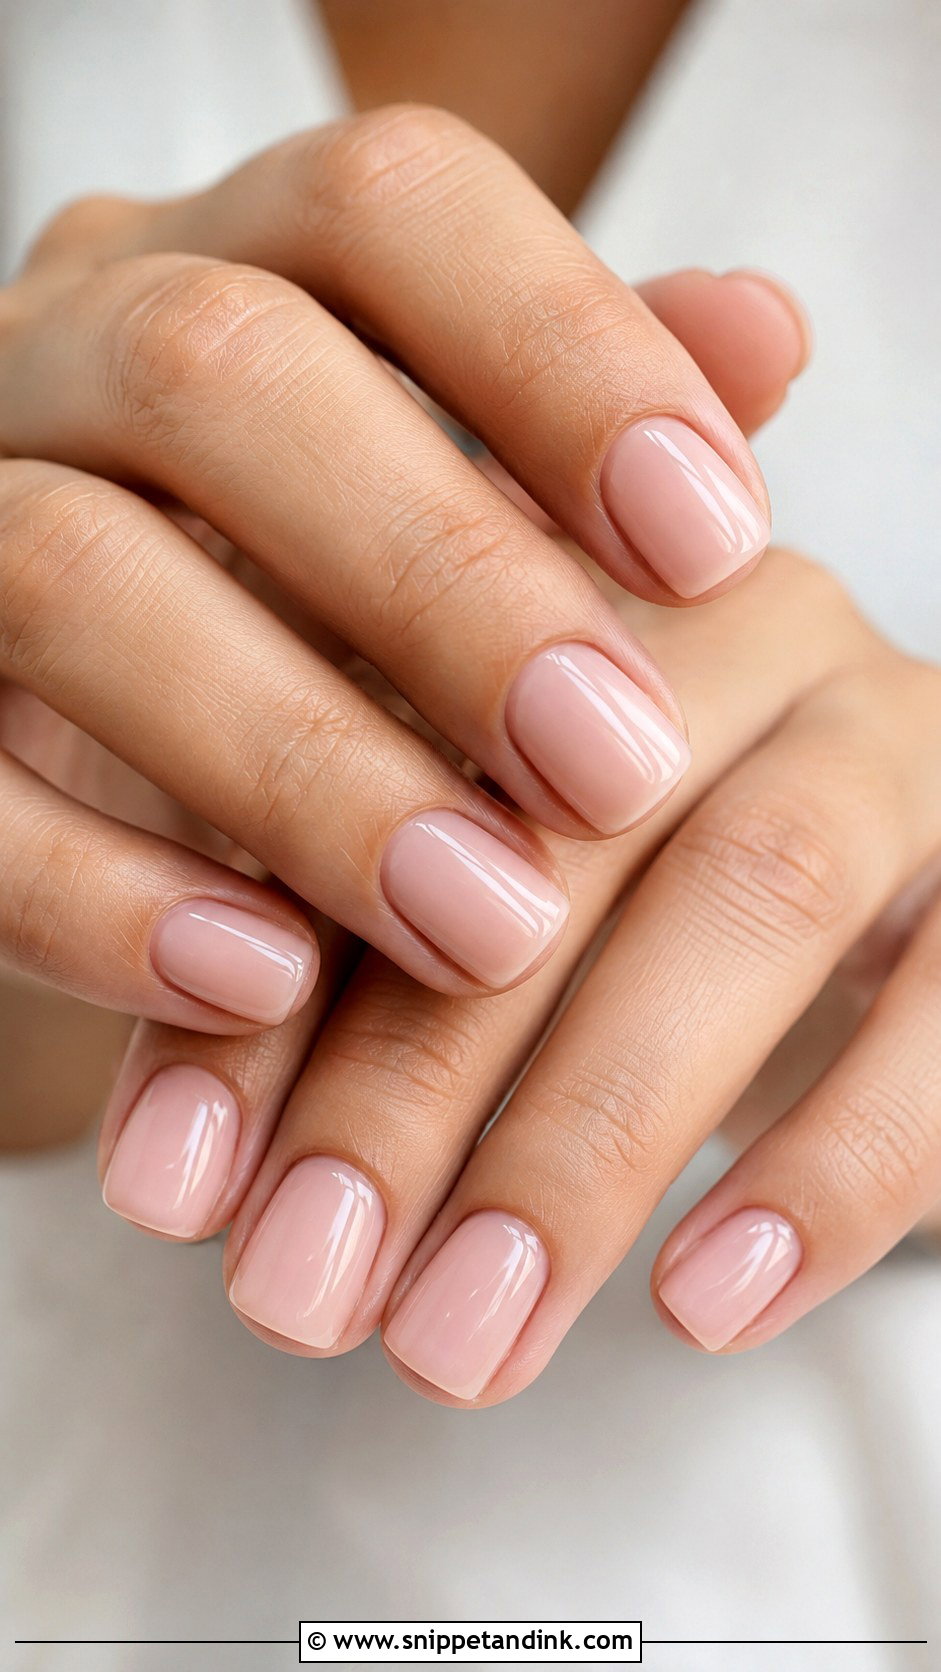
Short square nails are the set I’d steer most first-time brides toward. They don’t change how you hold a pen, fasten earrings or bustle a dress, and they still look finished in the close-up of your hands with the bouquet. A barely-there French or a milky white keeps attention on the ring. If your natural nails are thin or peel, a layer of builder gel adds strength without adding visible length. I file the corners a hair softer than a true square so they don’t catch on lace or tulle.
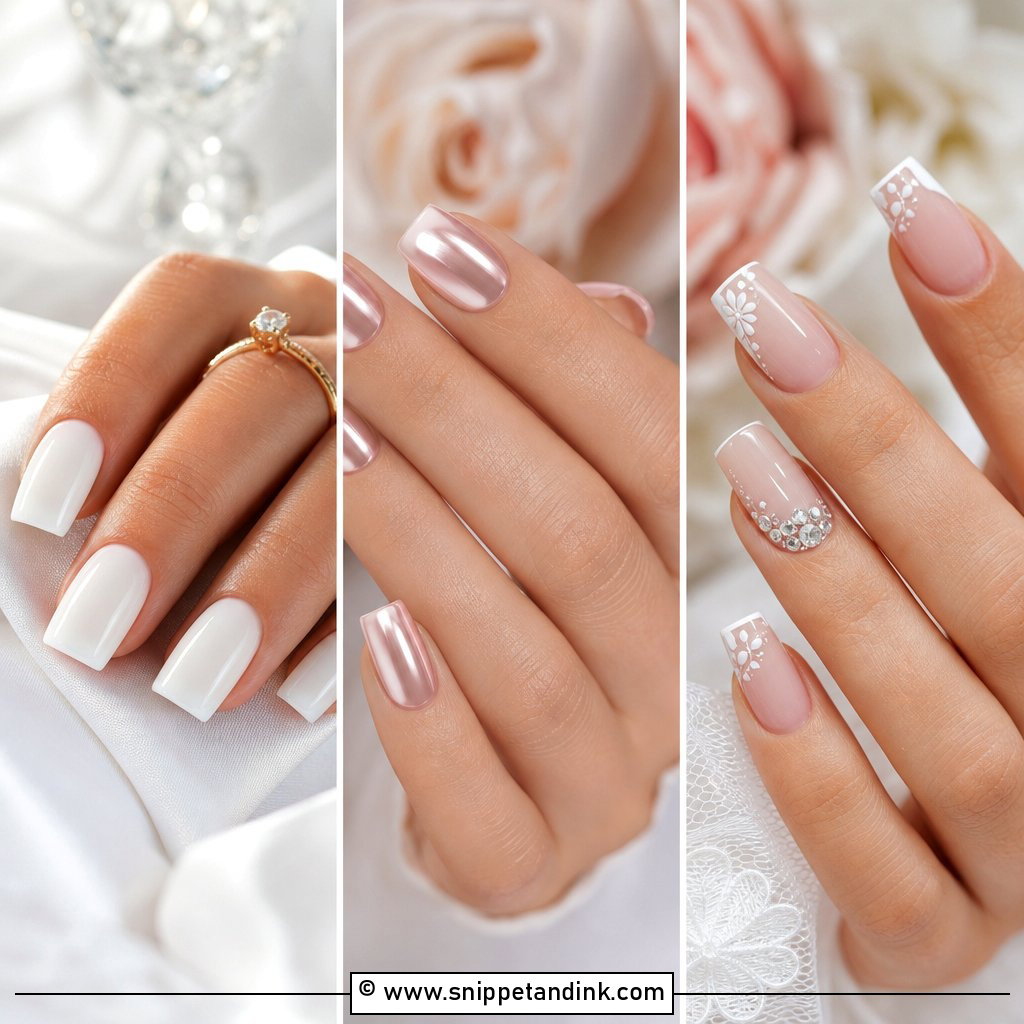
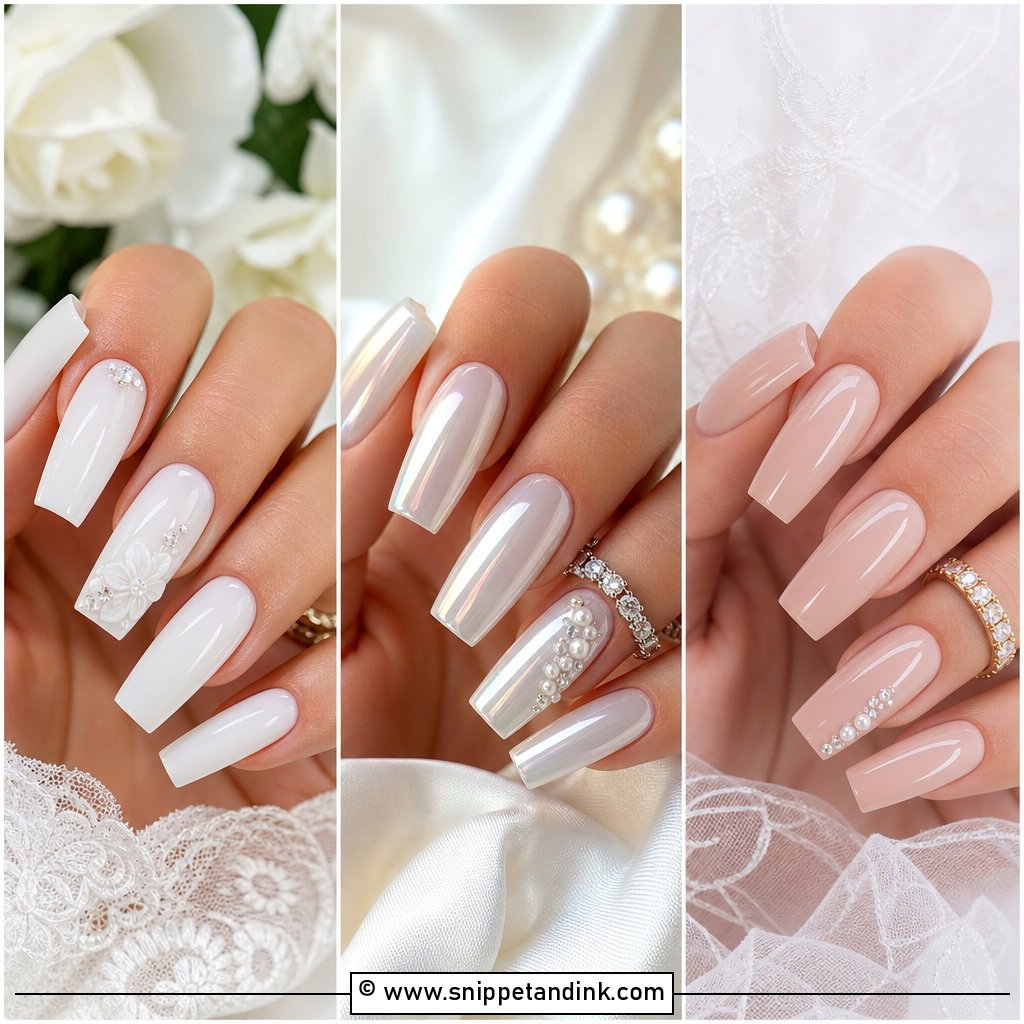
3. Milky White Square Wedding Nails
Milky white is one of the trickiest colors I apply. It sits between nude and true white, which is why it glows, but it streaks if it goes on thick, so I build it in two or three thin coats and let each one cure. A semi-sheer milk lets a hint of your natural nail through; a creamier one covers ridges and discoloration. On a square shape the result looks clean and modern rather than sugary. It’s especially good next to pearl jewelry and satin, and a sheer shimmer over the top is optional rather than necessary.
4. Pearl Chrome Square Wedding Nails
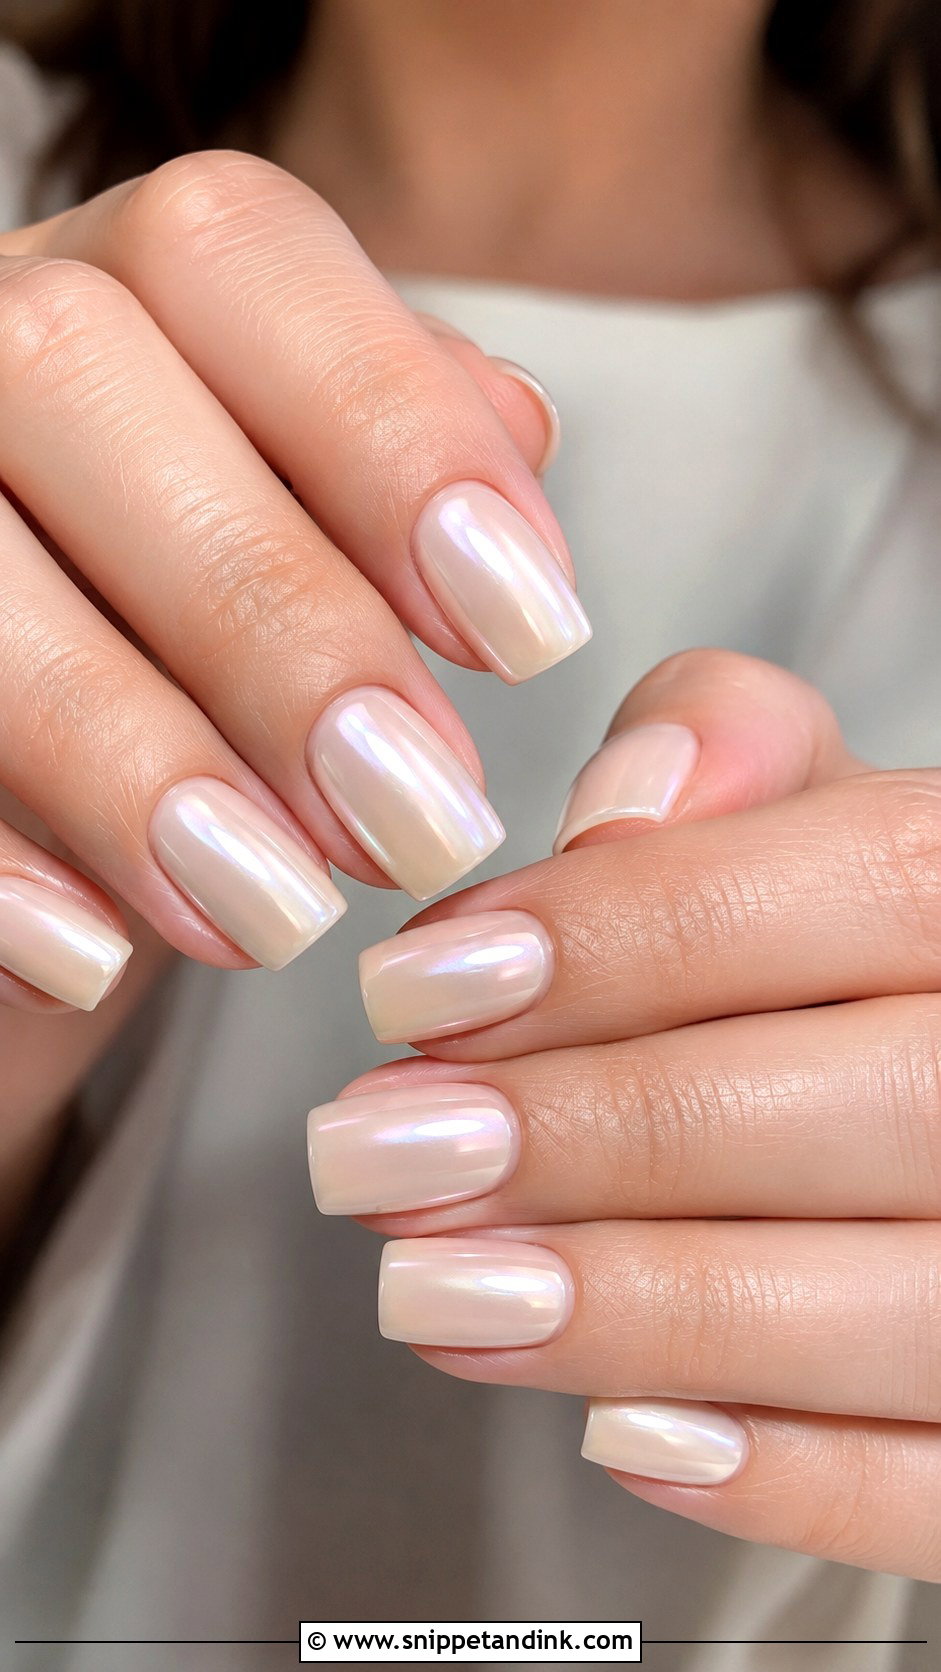
Pearl chrome is a powder, not a polish. I rub it over a cured, no-wipe top coat, then seal it, and how thinly it’s buffed in decides whether it reads as a soft glow or a mirror. For a bride I keep it to a gentle sheen over sheer pink, ivory or milky white. The one weak spot is the free edge: chrome wears off the very tip first, so I always cap the edge with top coat. It suits beaded gowns and pearl earrings well, and it doesn’t fight with the shine of a diamond.
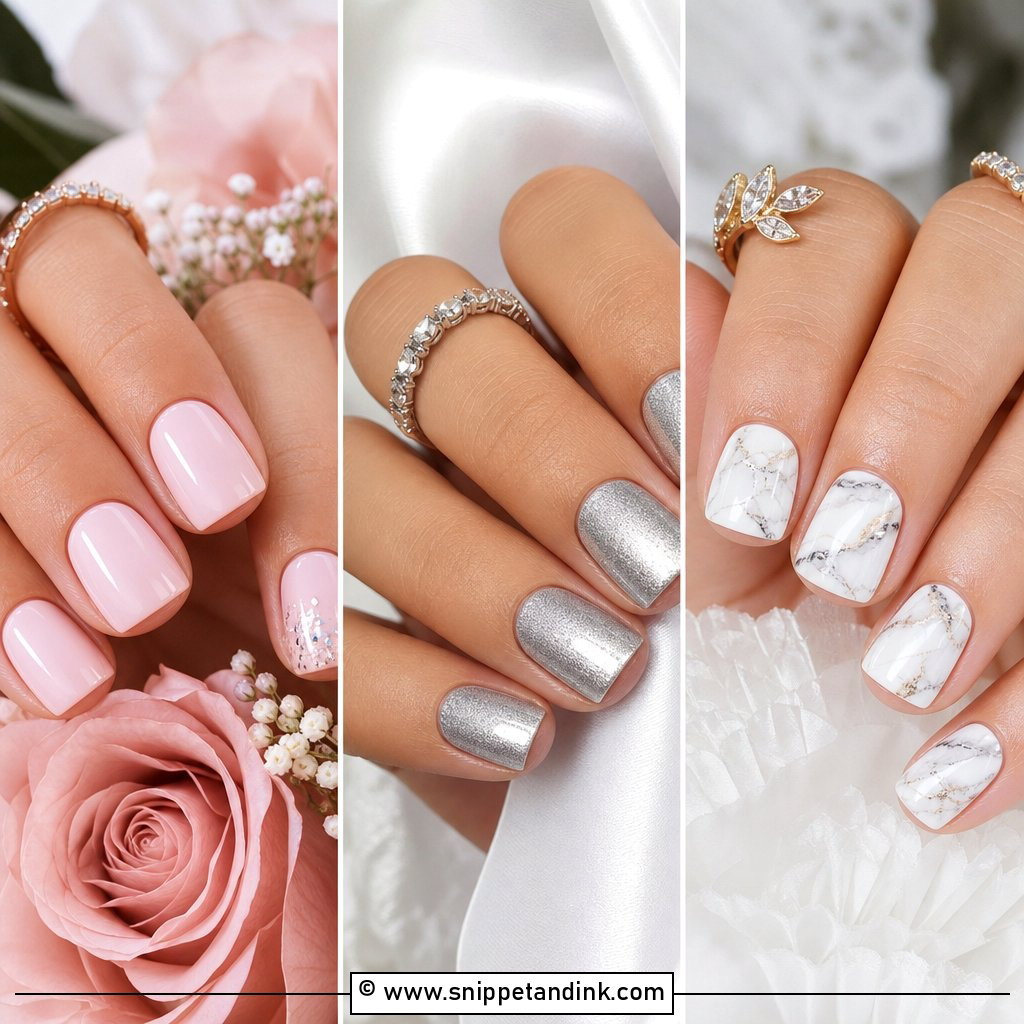
5. Nude Square Wedding Nails
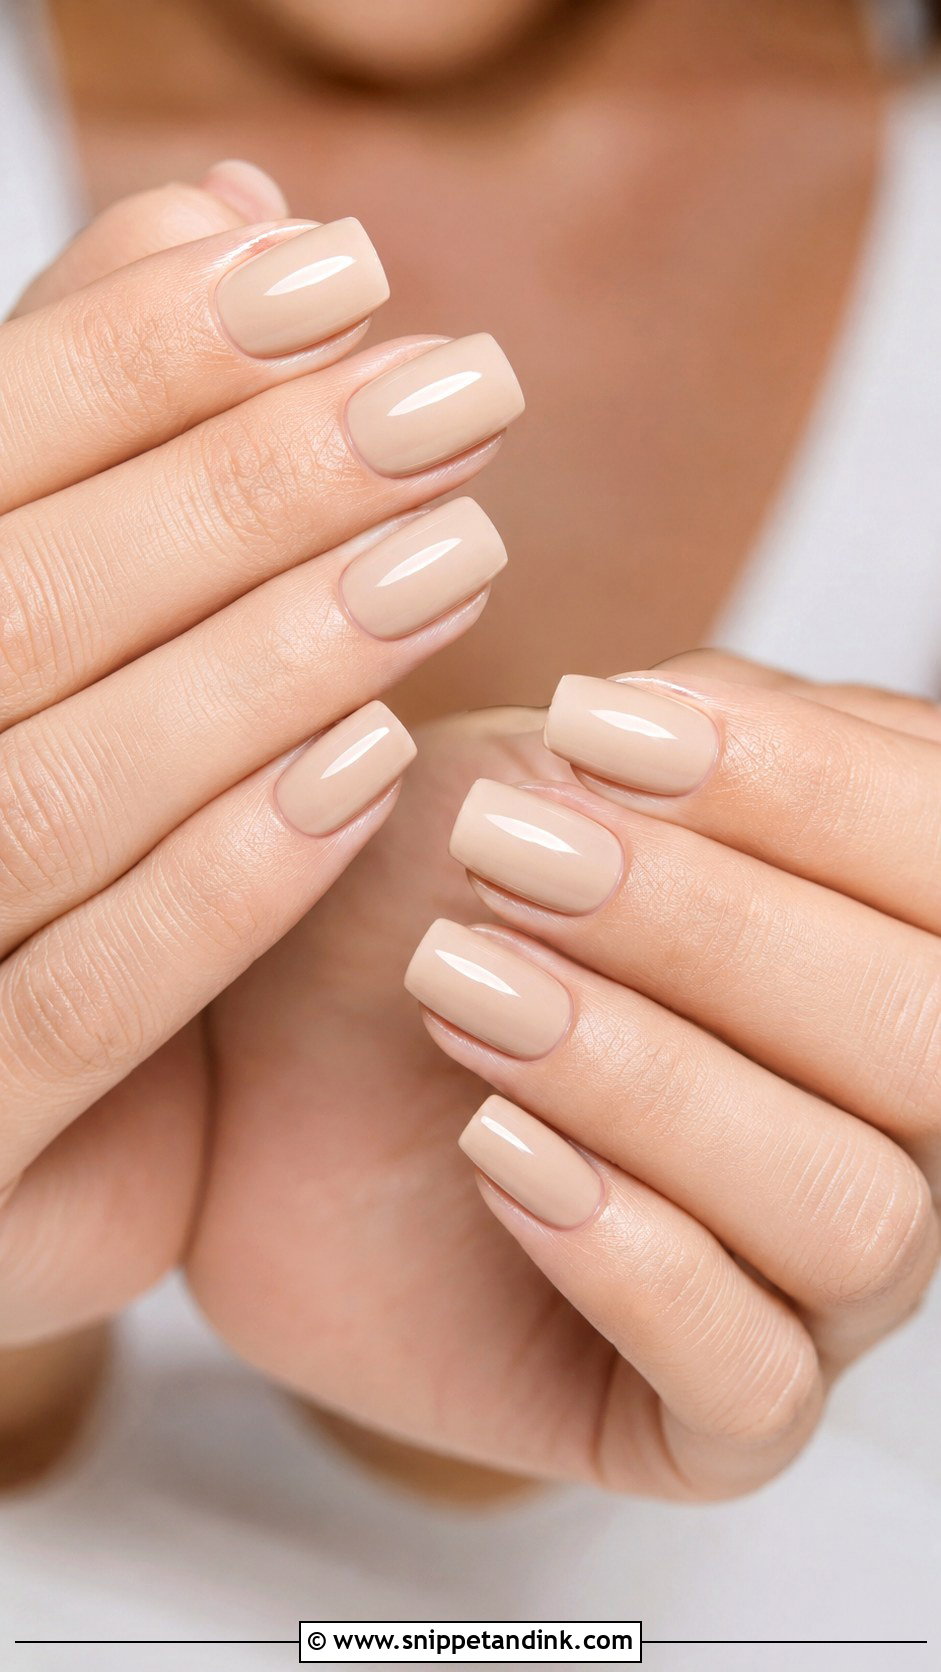
Nude only looks expensive when the shade matches your undertone, and that’s the conversation I have before I open a single bottle. Fair skin usually suits a pink nude or soft beige. Medium skin tends to look warmer in peachy or caramel nudes, and deep skin often looks best in cocoa, mocha or a sheer brown-pink. Swatch two or three shades on your actual nails in daylight, because the wrong nude can make hands look washed out or slightly grey in photos. Once it’s right, the square shape and a high gloss do the rest, and nothing competes with your ring.
6. Blush Pink Square Wedding Nails
Blush adds a little warmth to the hands without reading as color, which is exactly why it’s so reliable. Sheer blush gives that clean, barely-there finish; a cream blush covers more and looks polished on medium square nails. The thing I check first is how it sits next to your bouquet. A blush that skews peach can look off beside cool pink roses, so I’ll often mix a drop of another shade to match. A very fine shimmer that only shows when you move your hand is plenty.
7. Ombre French Square Wedding Nails
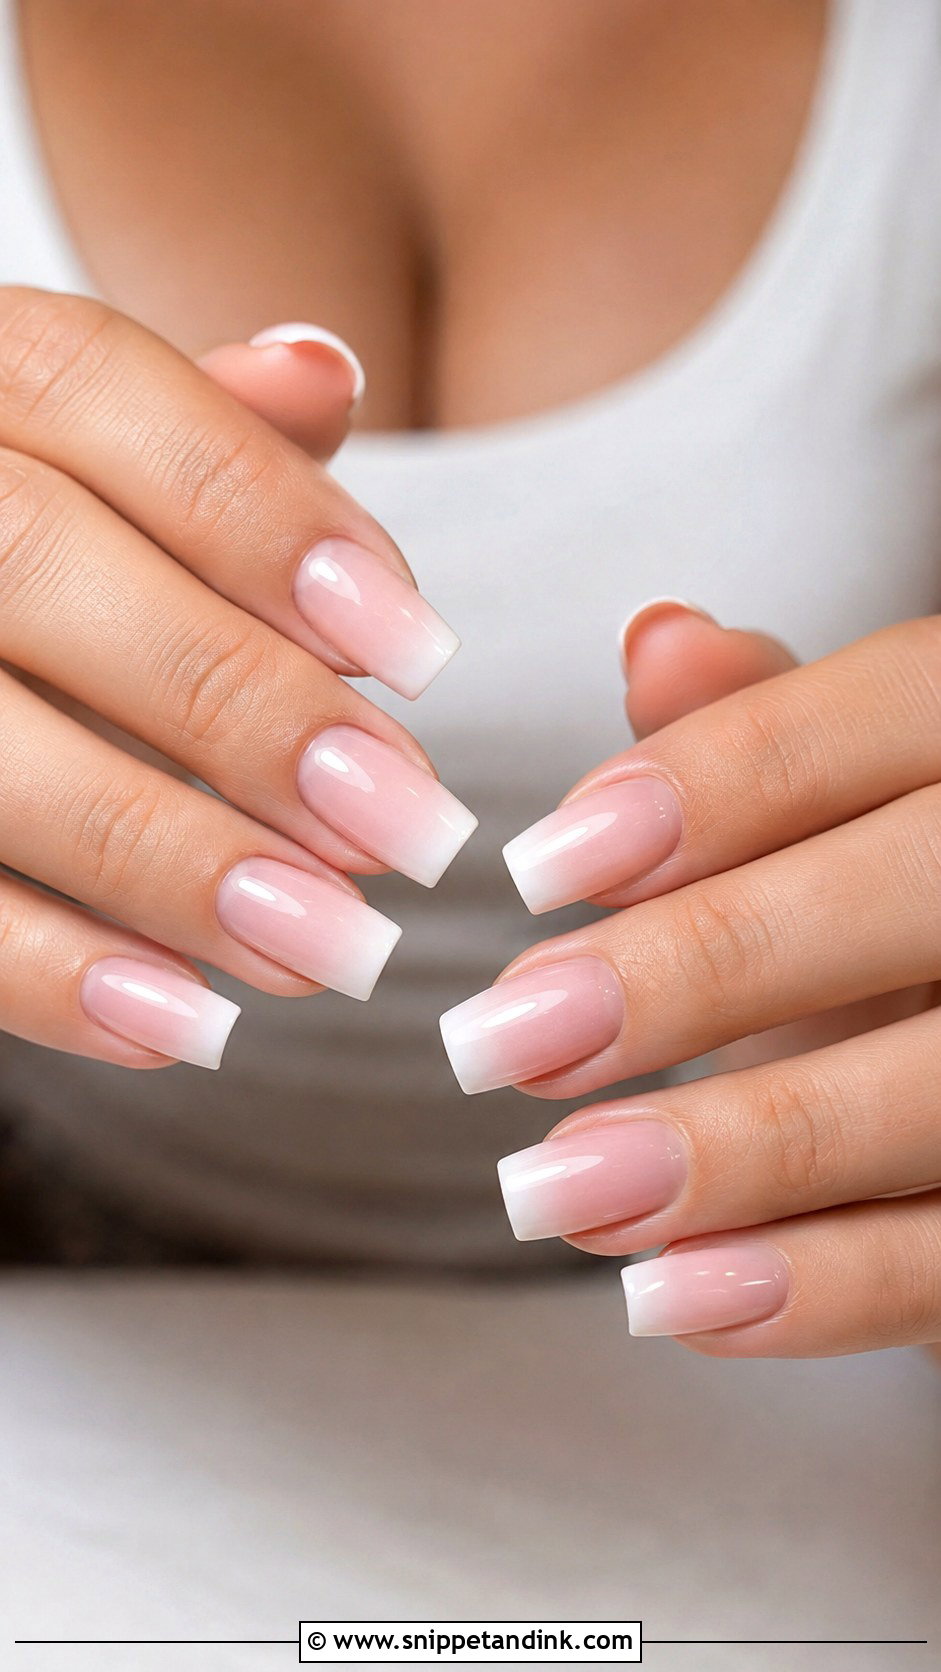
Ombre French blurs the white tip back into the base, so you get the French idea without a hard line. I build the fade with a sponge or a soft brush in thin layers, and it needs at least medium length; on very short nails there isn’t room for the gradient, so it just looks cloudy. Square tips keep the overall shape sharp while the fade softens it. Ask to see a fade your tech has done on a similar length before you commit, because blending well is a learned hand skill.
8. White Tip Square Wedding Nails
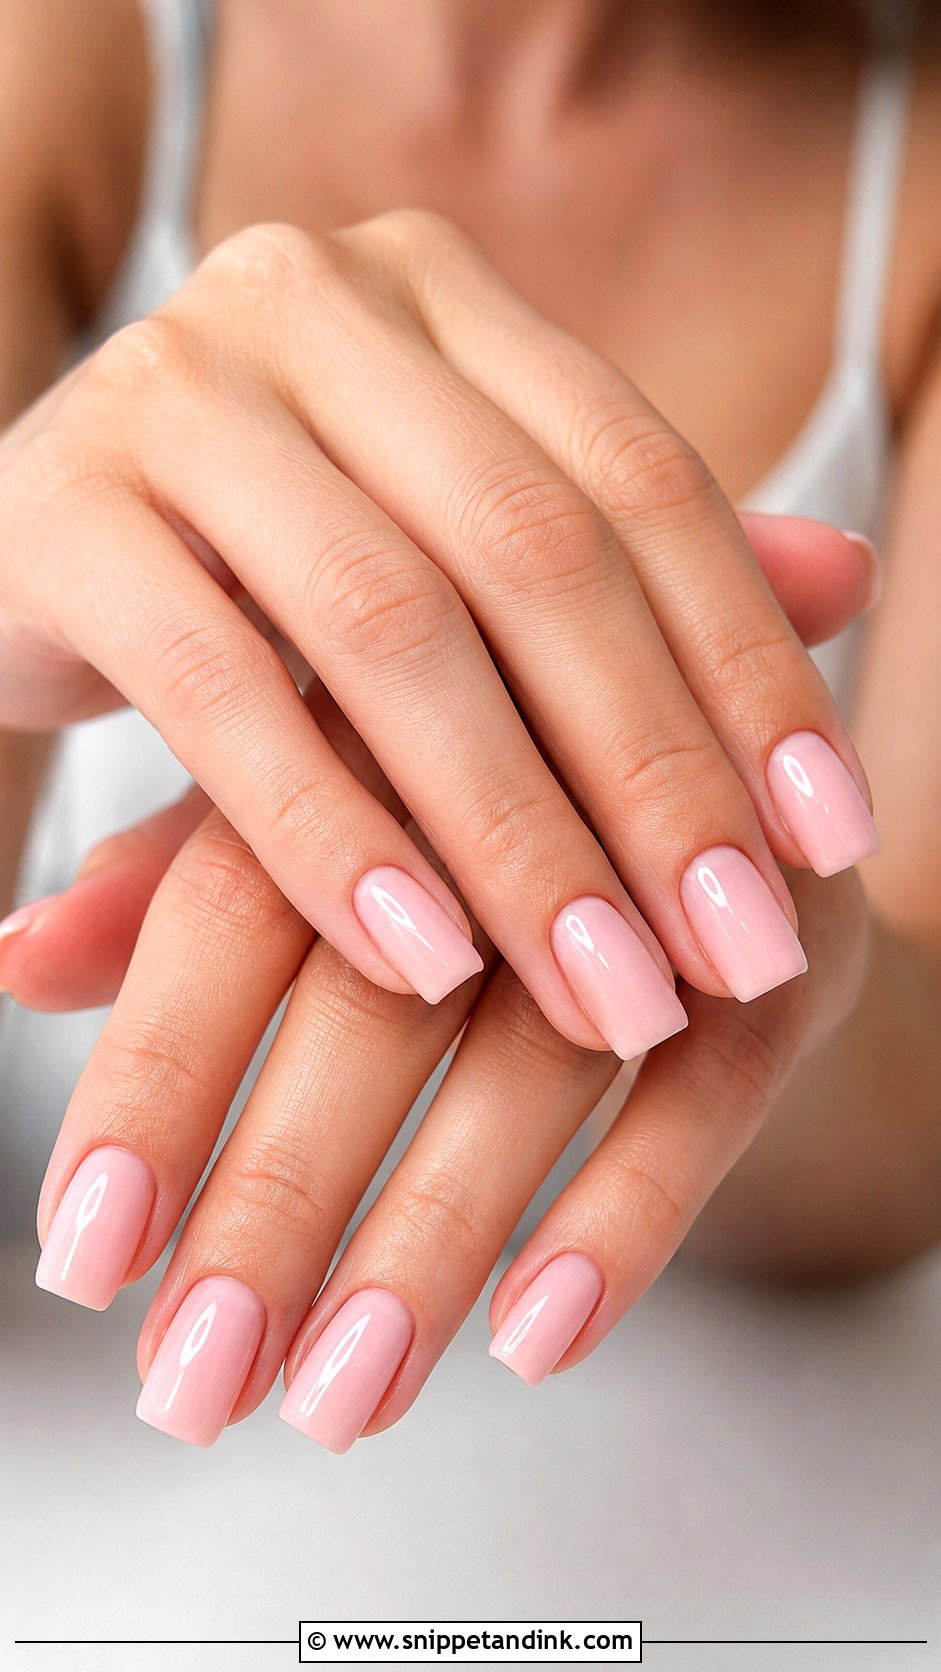
A defined white tip on a square edge is the crispest set in this list, and it’s the one that shows up best in ring shots. The depth of the tip changes the mood more than people expect: a thin line looks minimal and current, a deeper band feels like a classic salon French. If bright white looks harsh against your skin or your gown, I switch to a soft white. Expect the line to look sharp for about a week before regrowth at the base starts to show.
9. Lace Square Wedding Nails
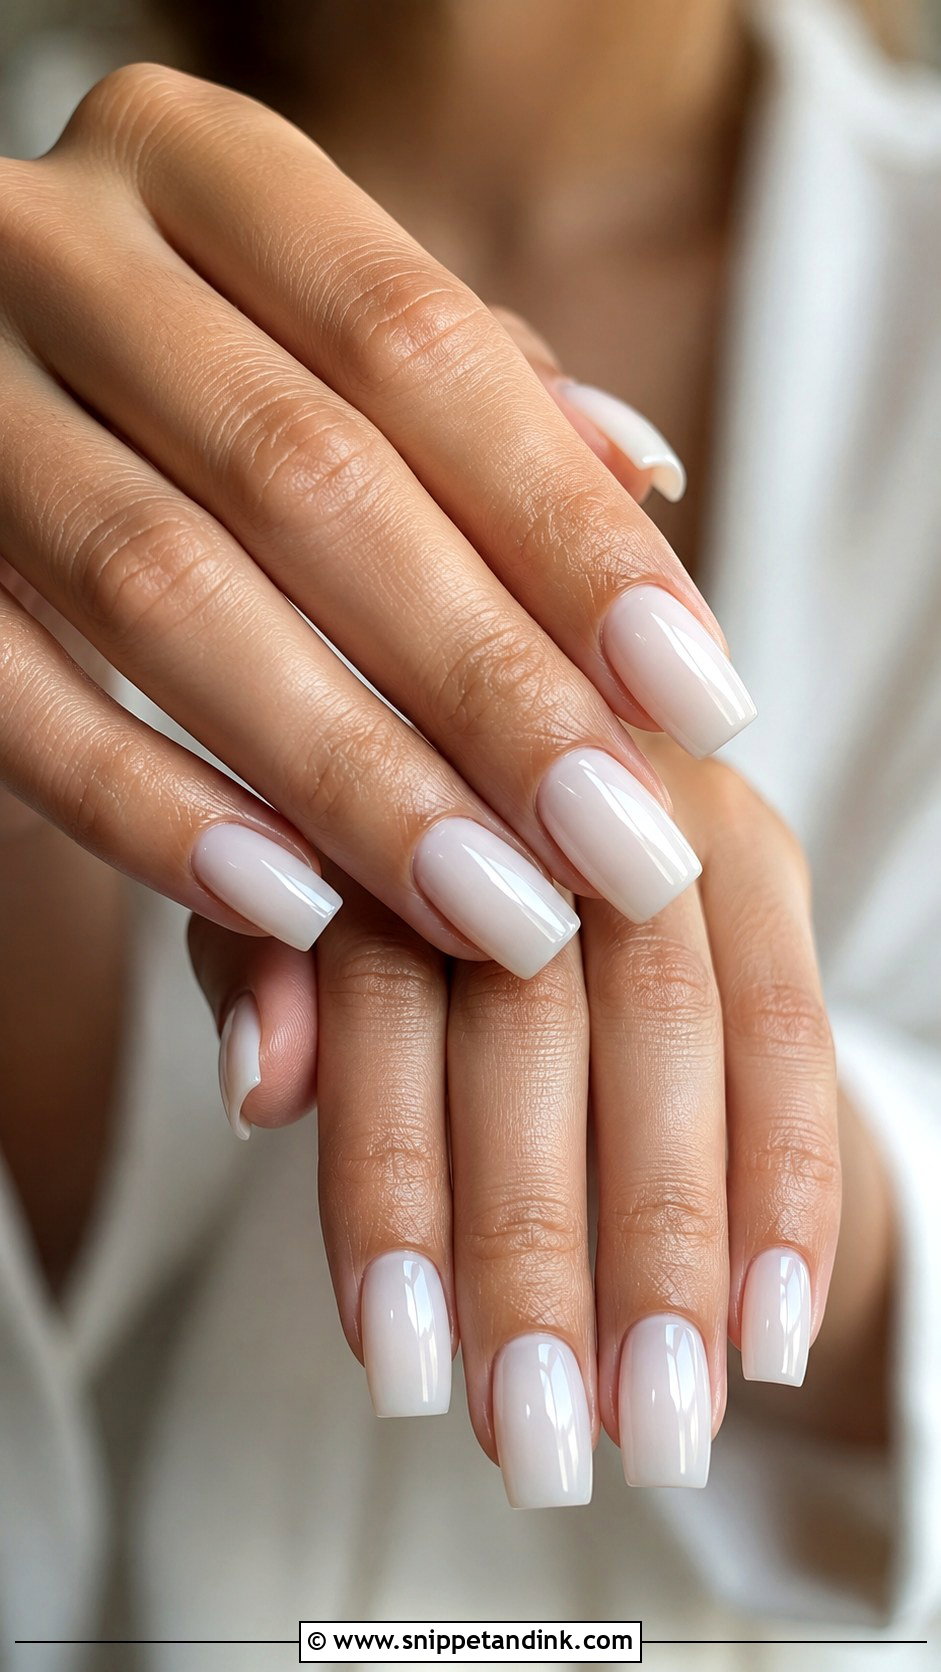
Lace art is usually hand-painted with a very fine liner brush, though some techs use stamping plates or decals for a more uniform pattern. I keep it to one or two nails per hand over a sheer nude, milky pink or ivory base, because a full set of lace starts to look like fabric rather than a manicure. If your dress has lace sleeves or embroidery, bring a close-up photo and I can echo the motif. The plain nails need a high gloss so the accent nails look deliberate.
10. Floral Square Wedding Nails
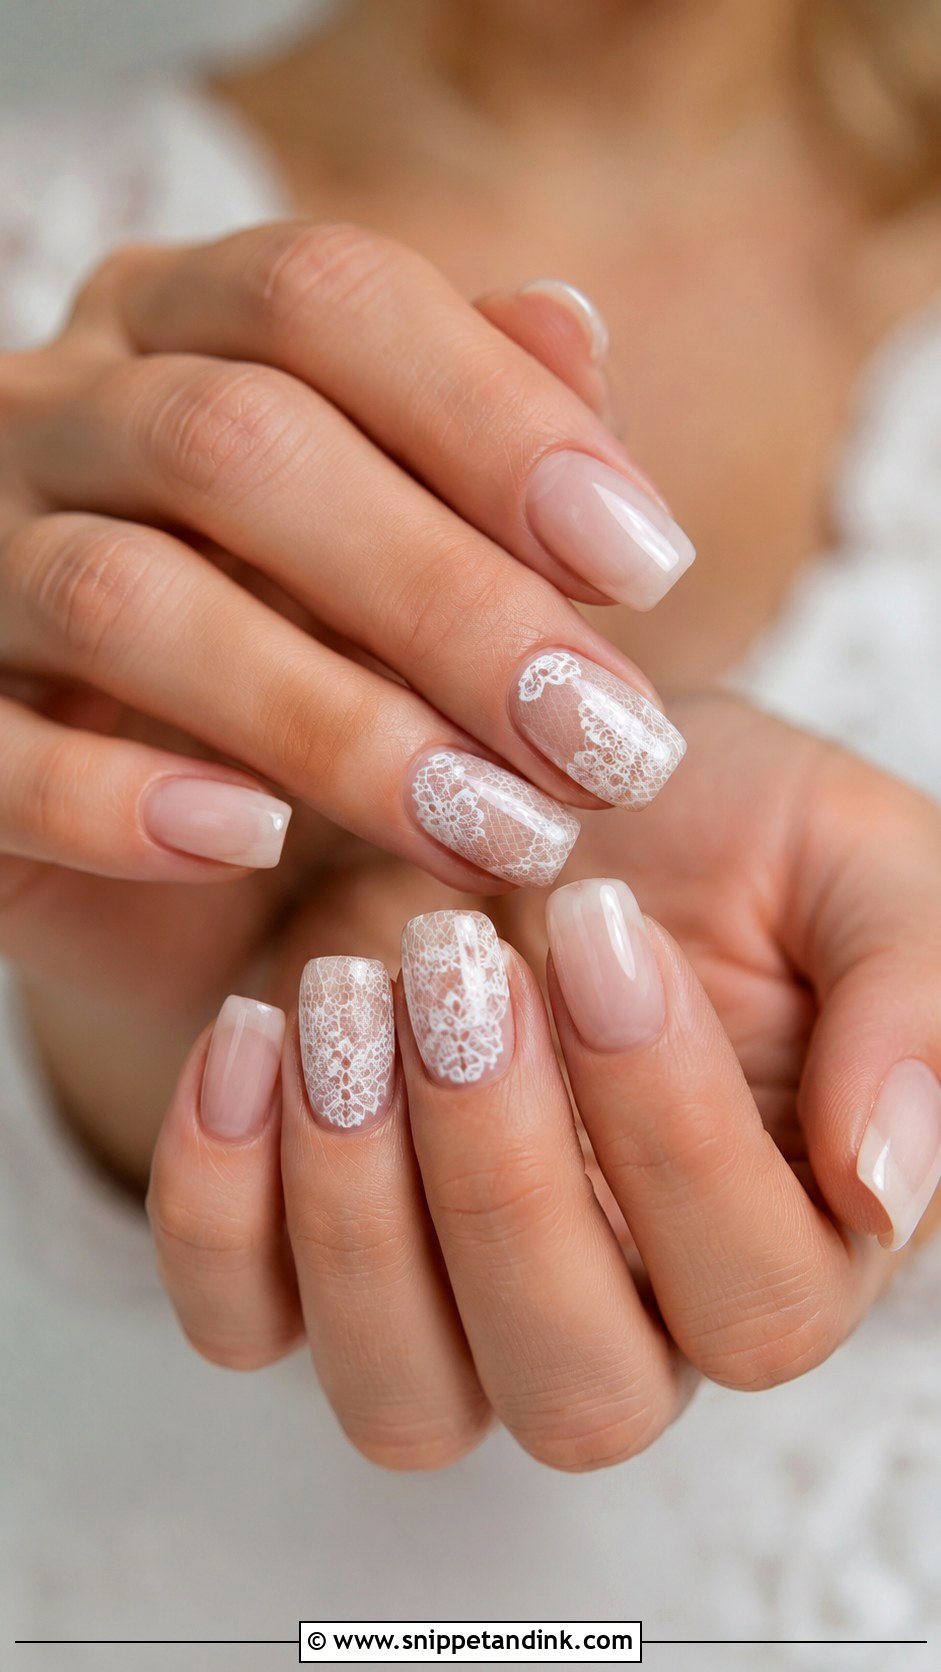
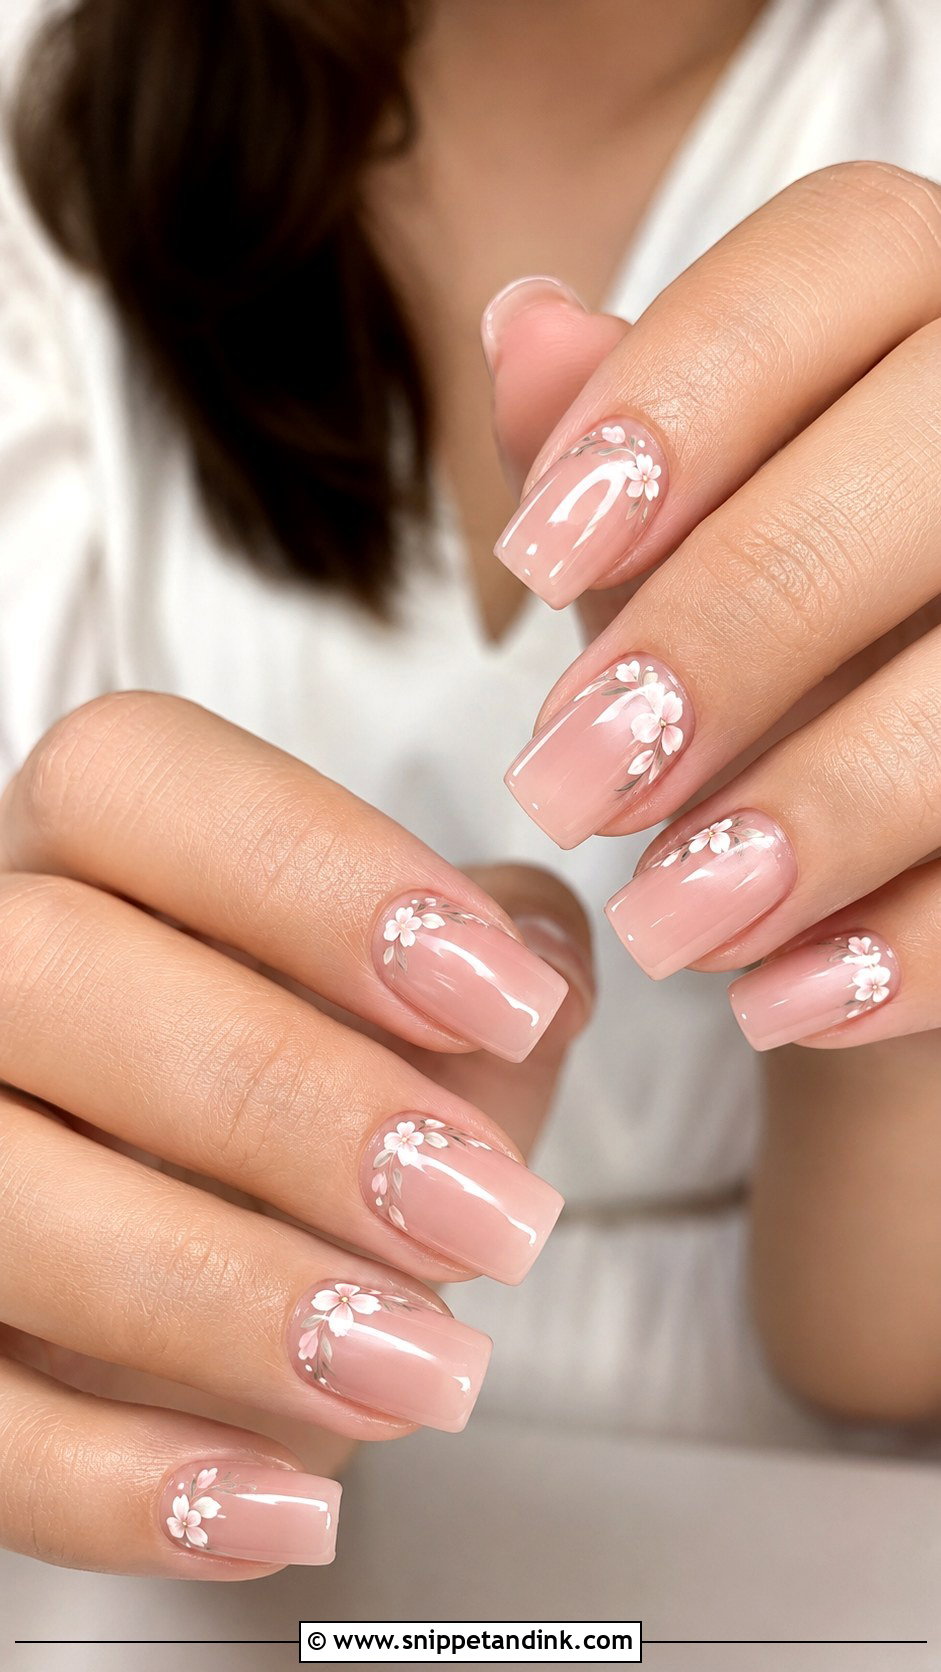
Small florals are the friendliest kind of nail art for a bride, because even a slightly imperfect petal looks charming. Floral square wedding nails look best on a sheer base, such as milky nude or translucent beige, so the design stays light. I tend to place tiny white flowers near the cuticle or in one corner of the tip, where the square edge gives them a clean frame. Oversized blooms date quickly in photos. Keep them small and on one accent nail per hand if you want to look back on the pictures fondly.
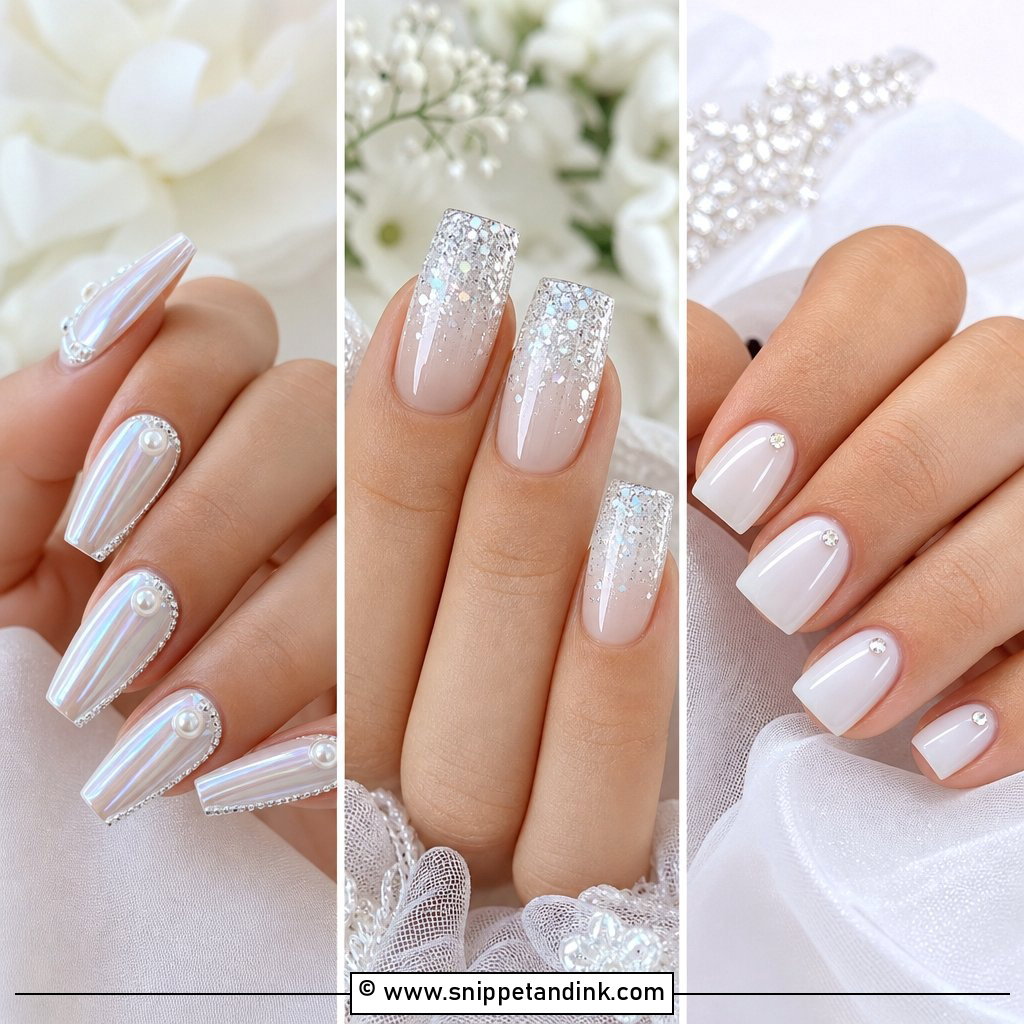
11. Glitter Ombre Square Wedding Nails
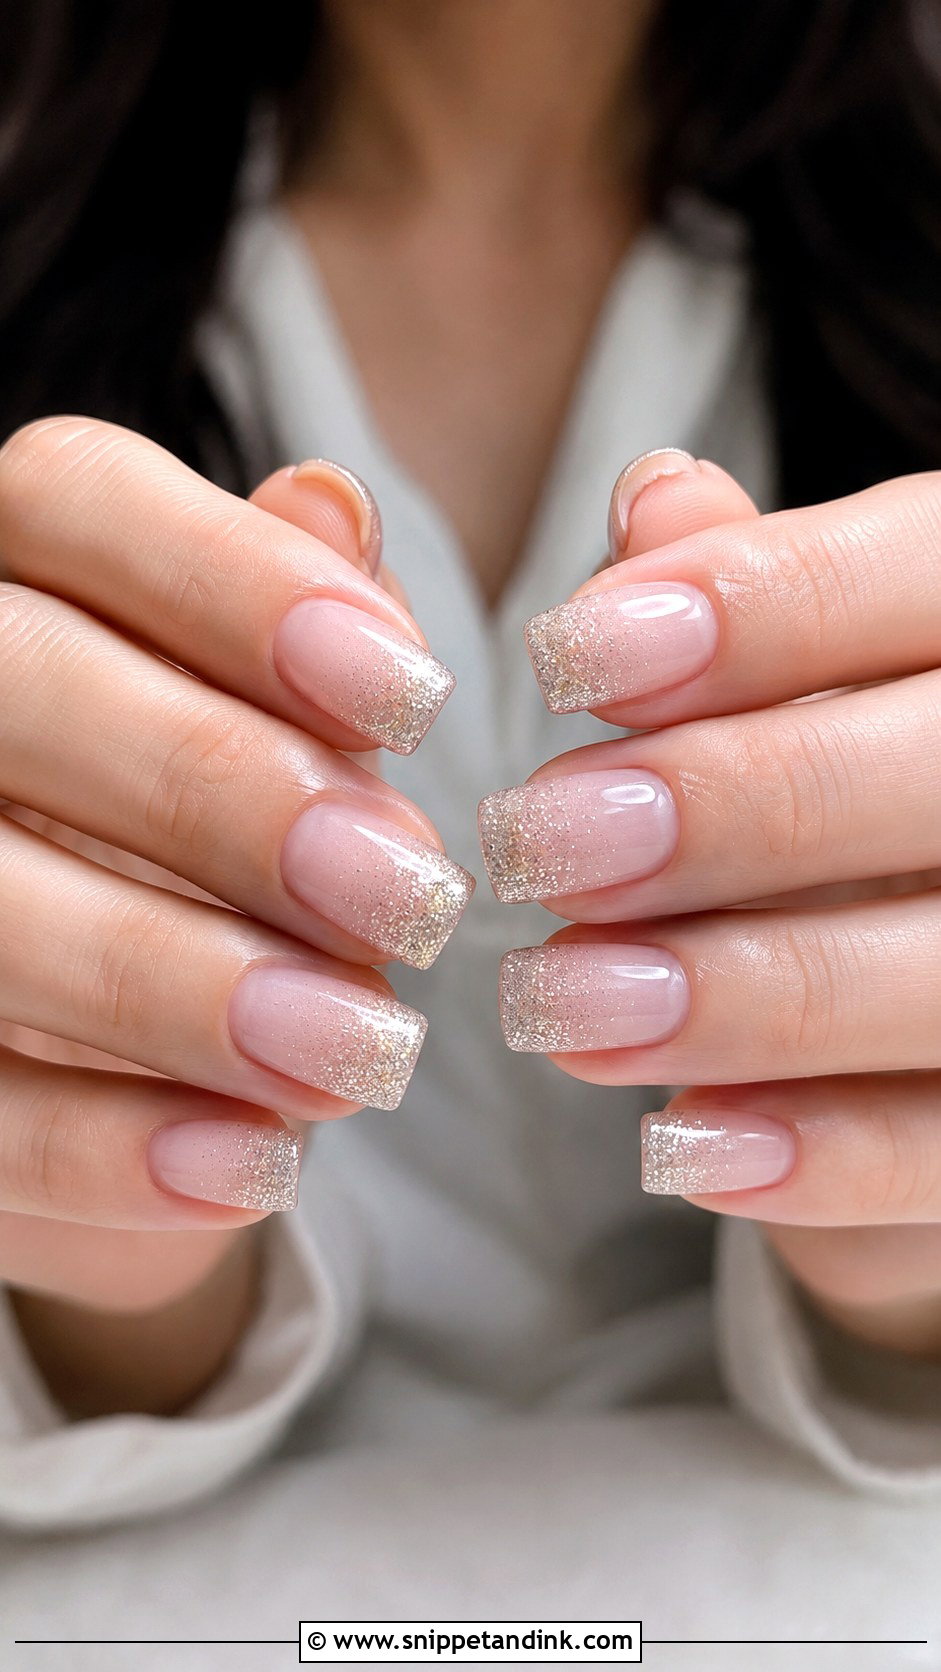
Sparkle at the tip, fading toward the cuticle, is my favorite way to add glitter to a bridal set. It keeps the shine near the square edge, which makes the nails look a little longer, and regrowth at the base stays invisible for longer than it would with full glitter. Fine glitter in silver, champagne or pearl looks refined; chunky glitter catches on tights and lace and looks gritty in macro shots. It’s the set I’d pick for a candlelit or evening reception where the light moves.
12. Minimal Square Wedding Nails
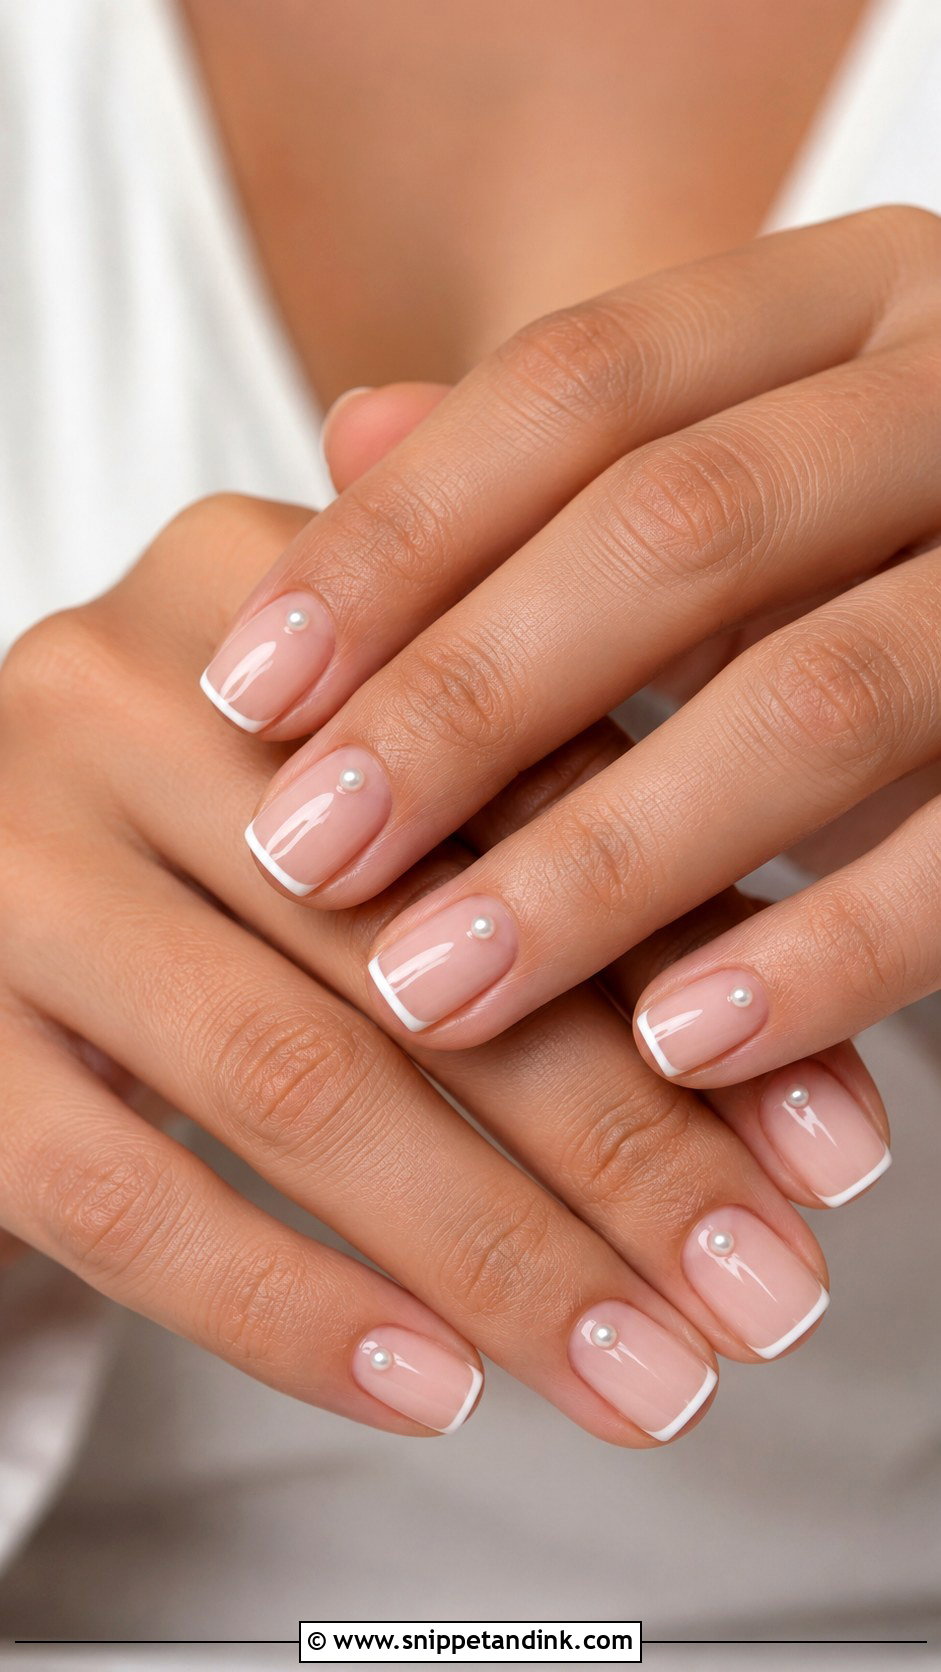
Minimal sets depend entirely on prep. With only a thin white line, a micro French tip or a single pearl dot as decoration, every bit of cuticle and every uneven side wall is visible, so I spend more time on the nail plate than on the art. Short or medium length suits this look best. It pairs especially well with a sleek gown and simple jewelry, and it’s the easiest set to keep looking fresh if the wedding falls a few days after your appointment.
13. Square Wedding Nails With Pearls
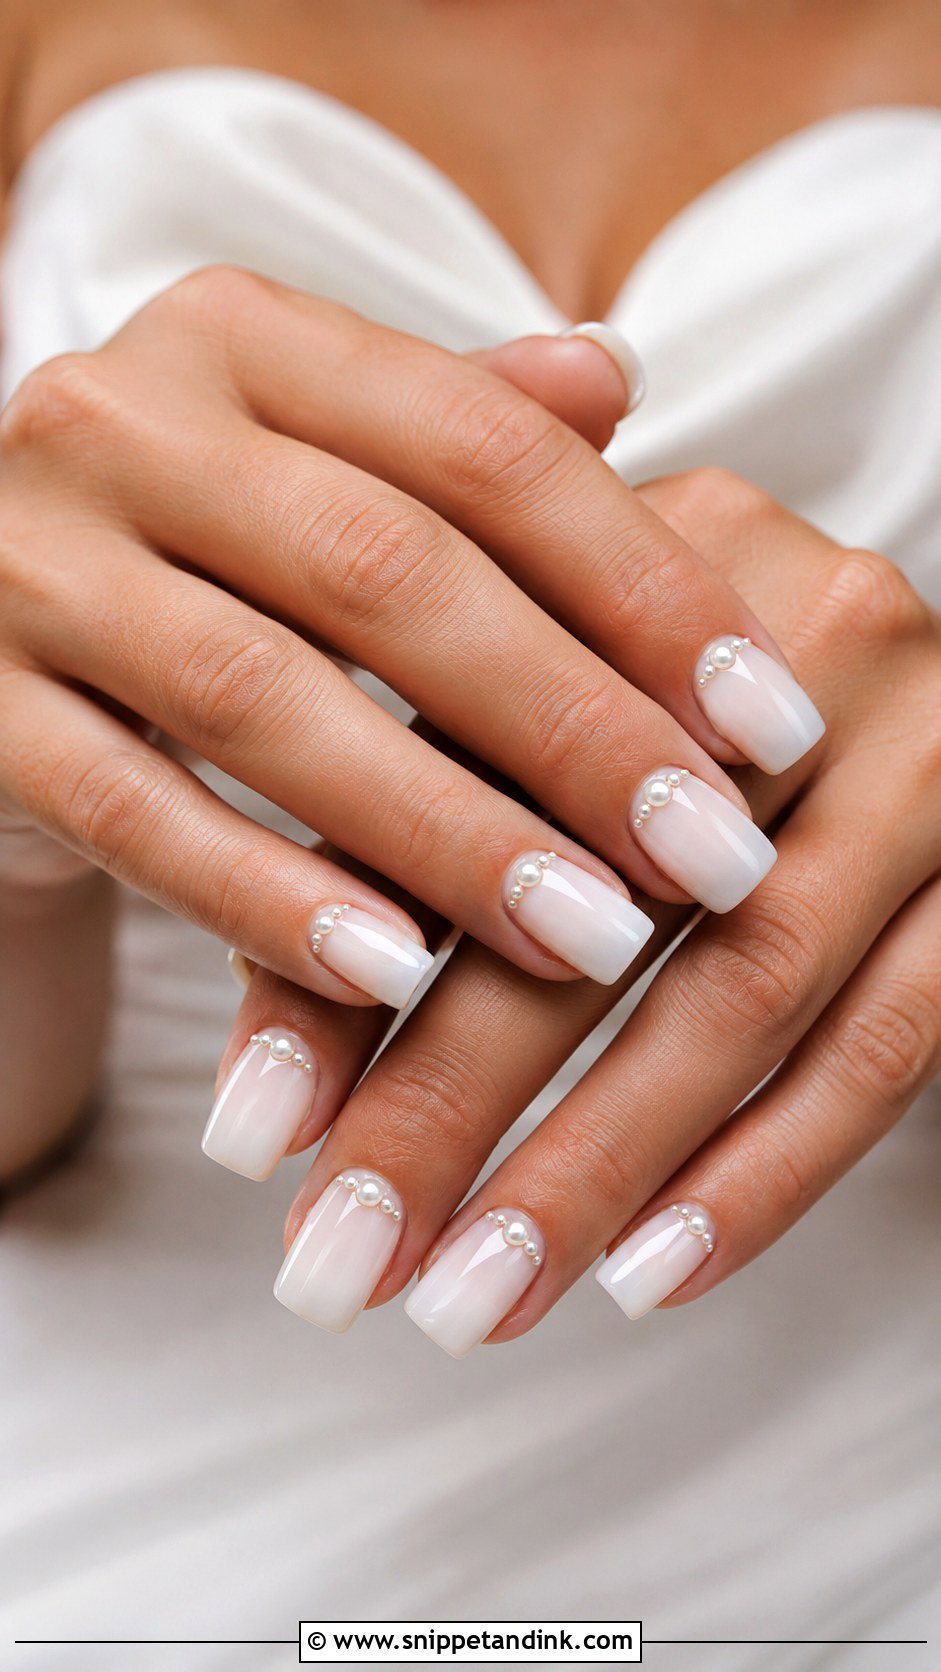
Pearls look heavier on a nail than they do in a picture, so I use them sparingly: a few tiny flat-backs near the cuticle or lined along one tip. Raised, rounded pearls catch on hair, veils and knit fabric, and they’re the first thing to pop off. Each one sits in a bed of gel and gets sealed around the base, rather than coated over the top, so it keeps its luster. Square nails help the placement look symmetrical. I’d pair this set with pearl jewelry or a beaded veil and keep everything else plain.
14. Chrome French Square Wedding Nails
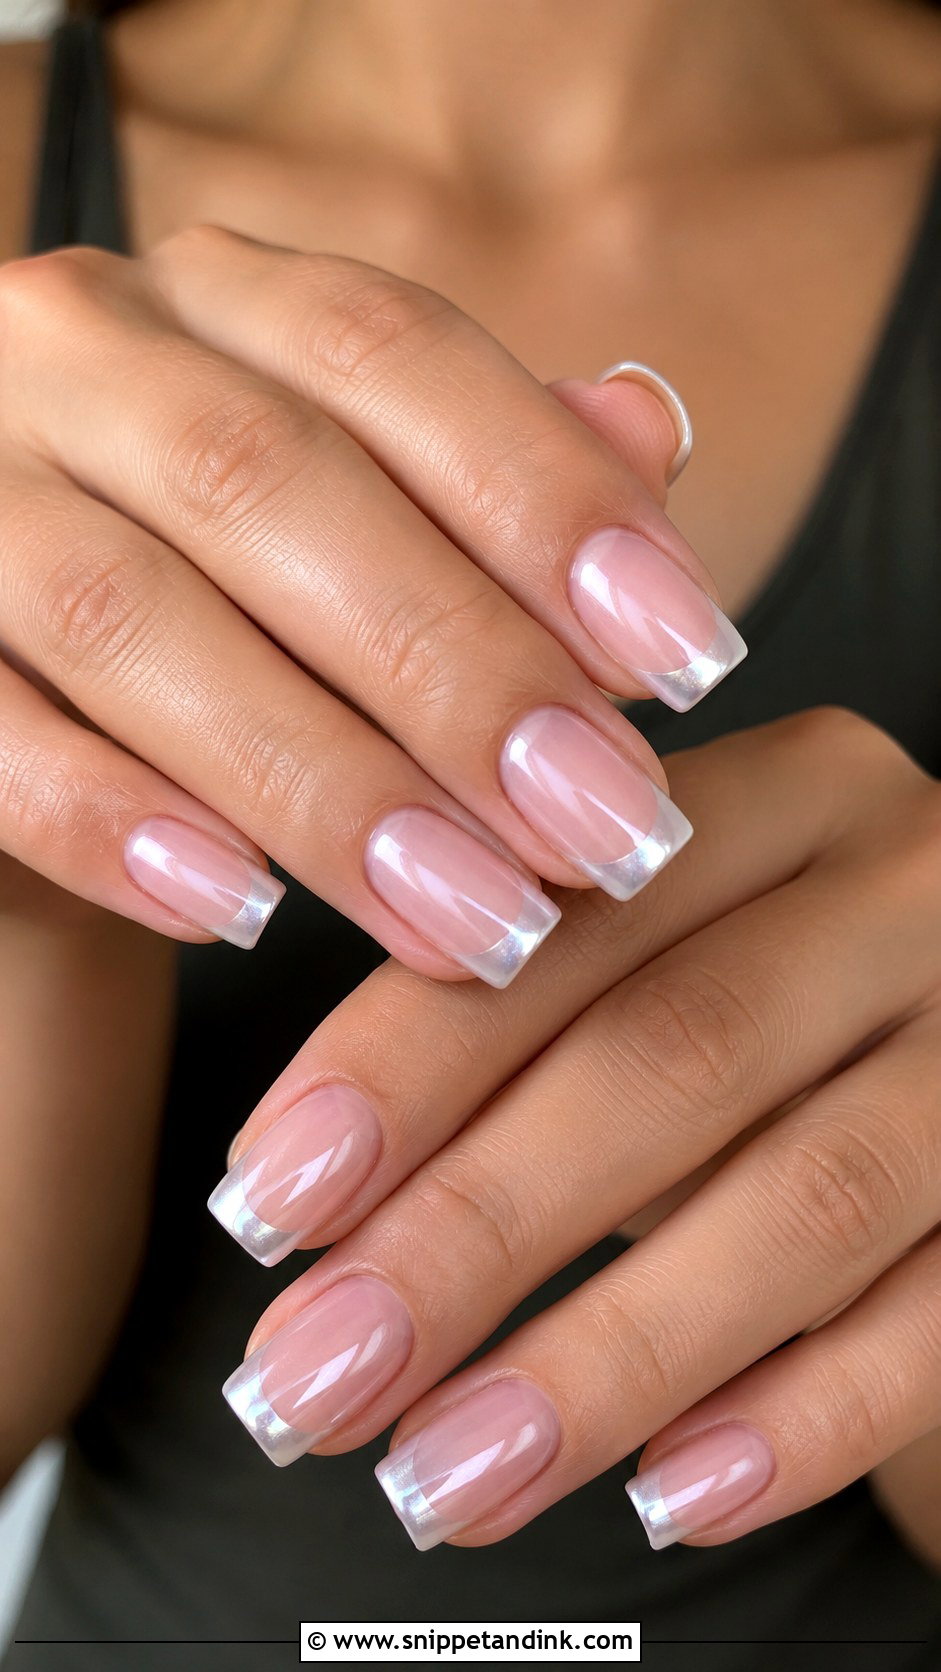
Swapping the white tip for chrome gives a French a modern edge. Chrome French square wedding nails work best when the chrome sits in a crisp band that follows the flat edge, over a base kept sheer pink or beige. Pearl or glazed white chrome looks the most bridal; silver can feel cool and sharp, which suits a black-tie evening. As with any chrome, the free edge must be capped, or the very tip wears down to the base within days of typing and washing hands.
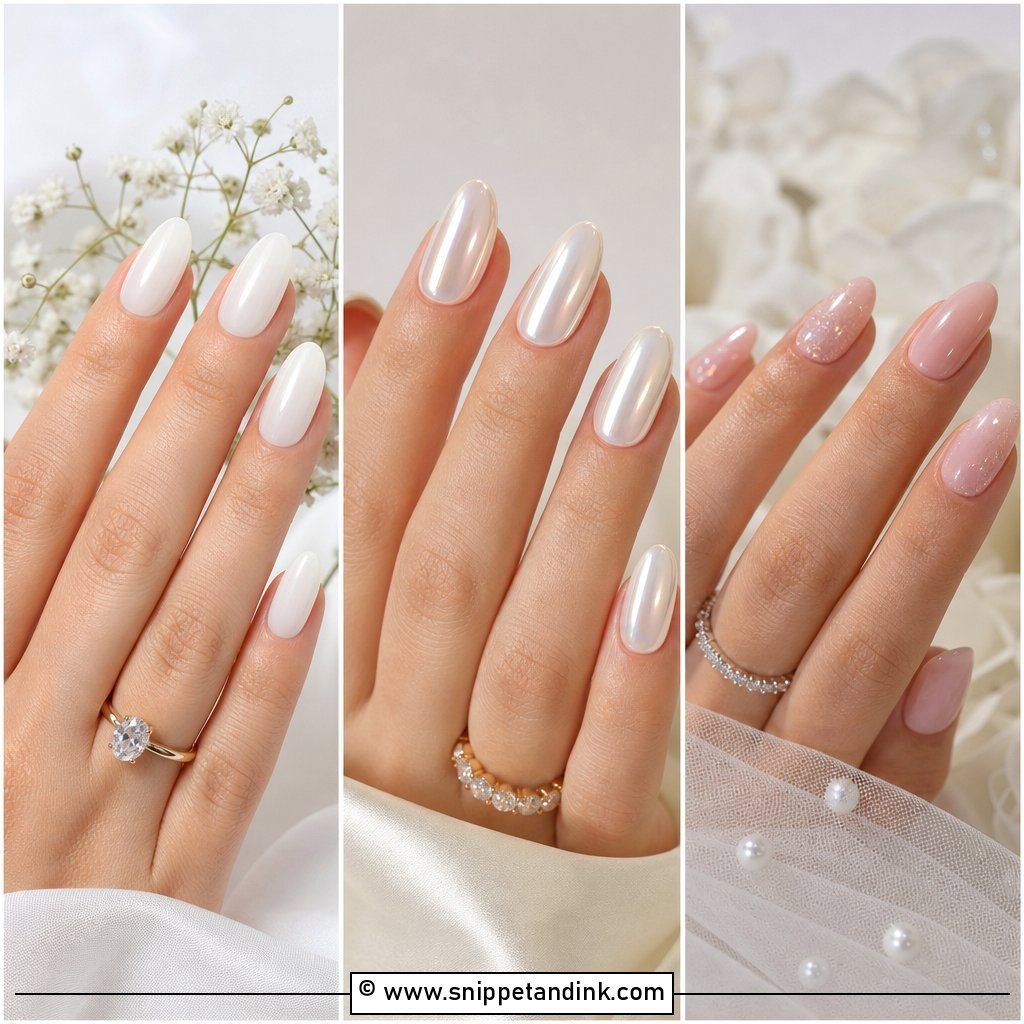
15. Soft White Square Wedding Nails
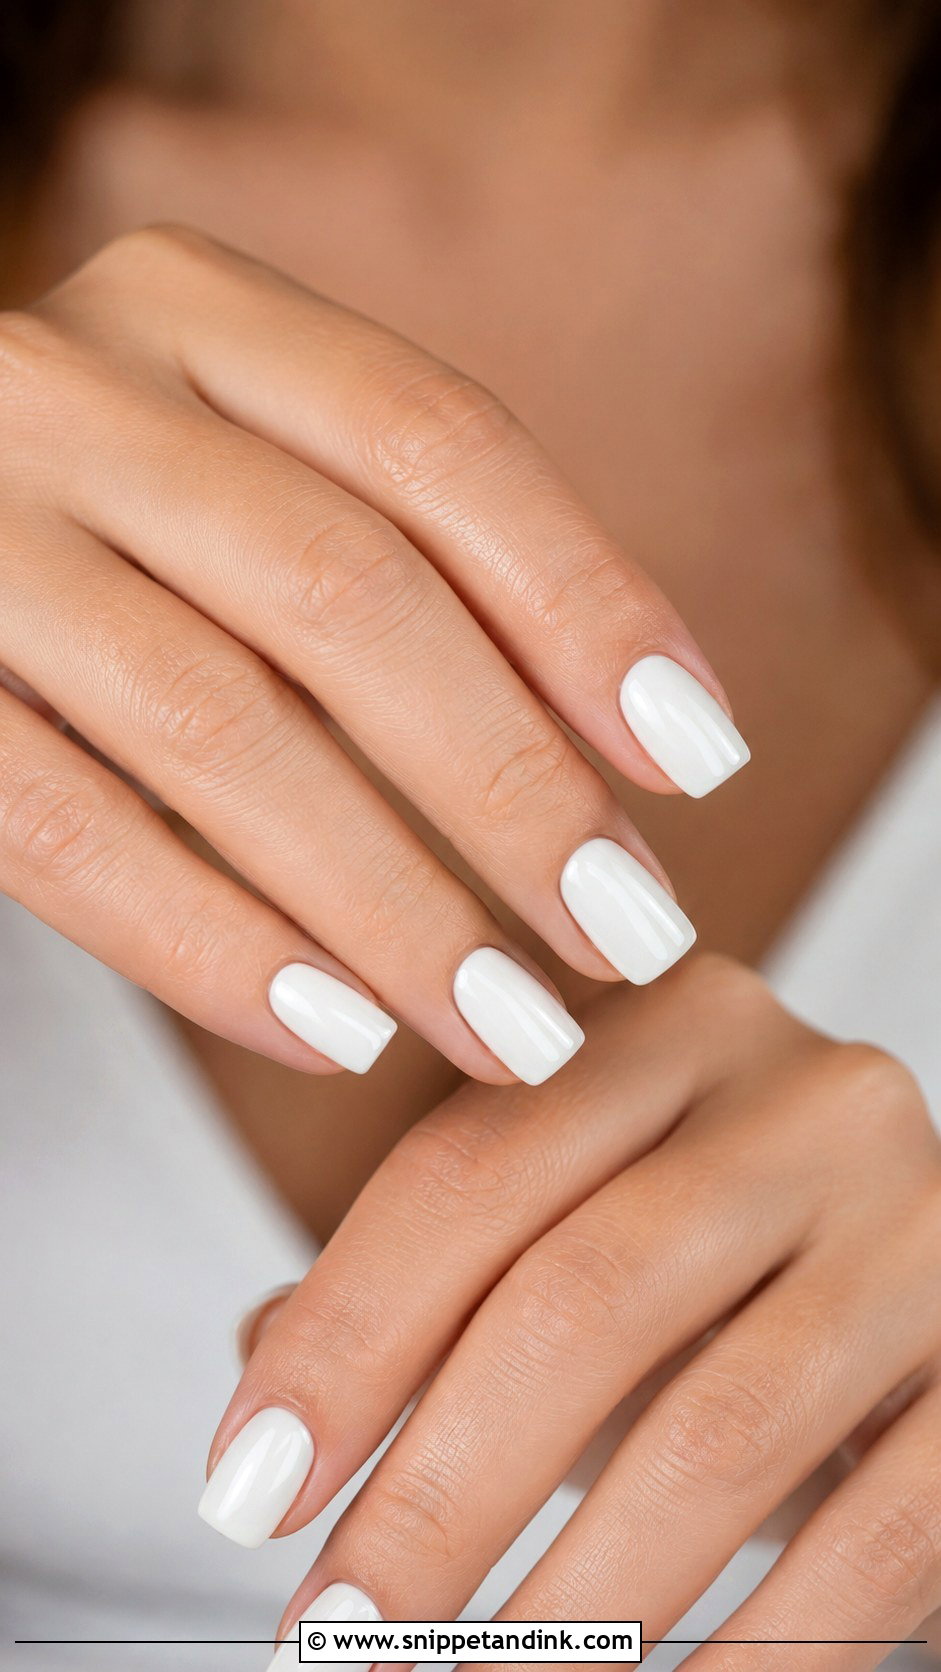
Stark white can look like correction fluid under a camera flash, so for brides I mix a creamier, slightly sheer white. It reads bright without being harsh. Match it to the gown: an ivory, champagne or off-white dress needs a warmer white, or the nails will look blue beside the fabric. It works at any length, with a high gloss or a satin top coat. I’d test it next to a swatch of the dress if you can bring one.
16. Baby Boomer Square Wedding Nails
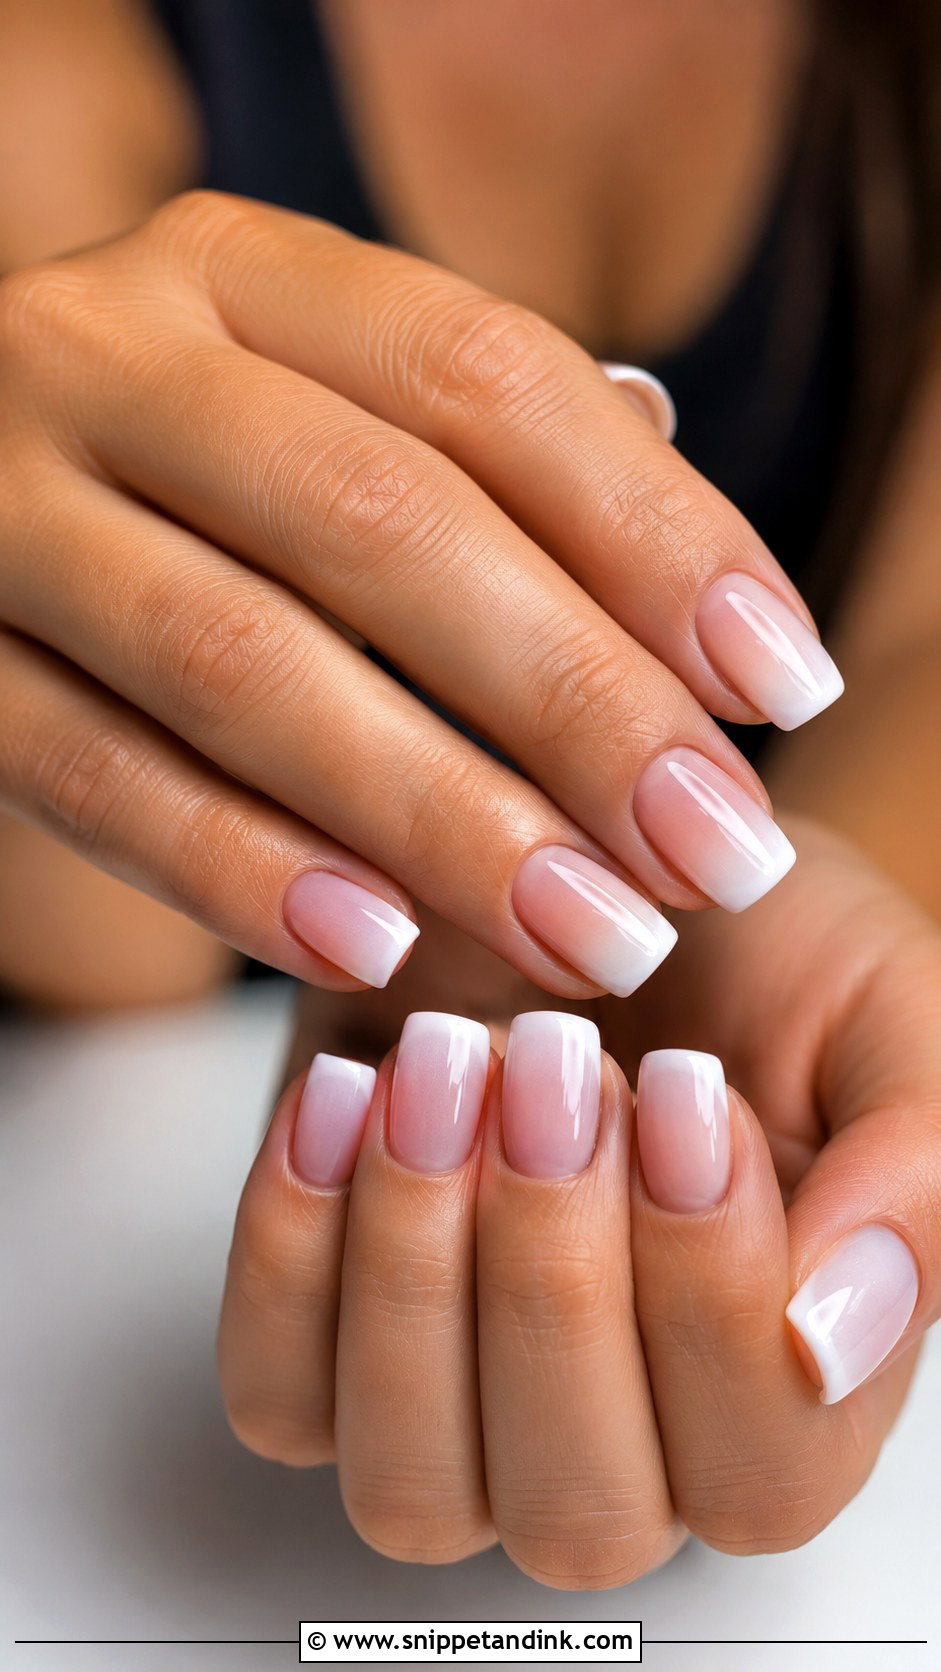
This pink-and-white blend is softer than an ombre French, with the white melting into the base so gradually there’s no visible line. Baby boomer square wedding nails are usually built in acrylic or gel, and the gradient needs a smooth surface, so this is not a polish-only look. Its quiet advantage is grow-out. Because the base is already pinkish, new growth at the cuticle hardly shows, which makes it a smart choice if your honeymoon starts right after the wedding.
17. Square Wedding Nails With Rhinestones
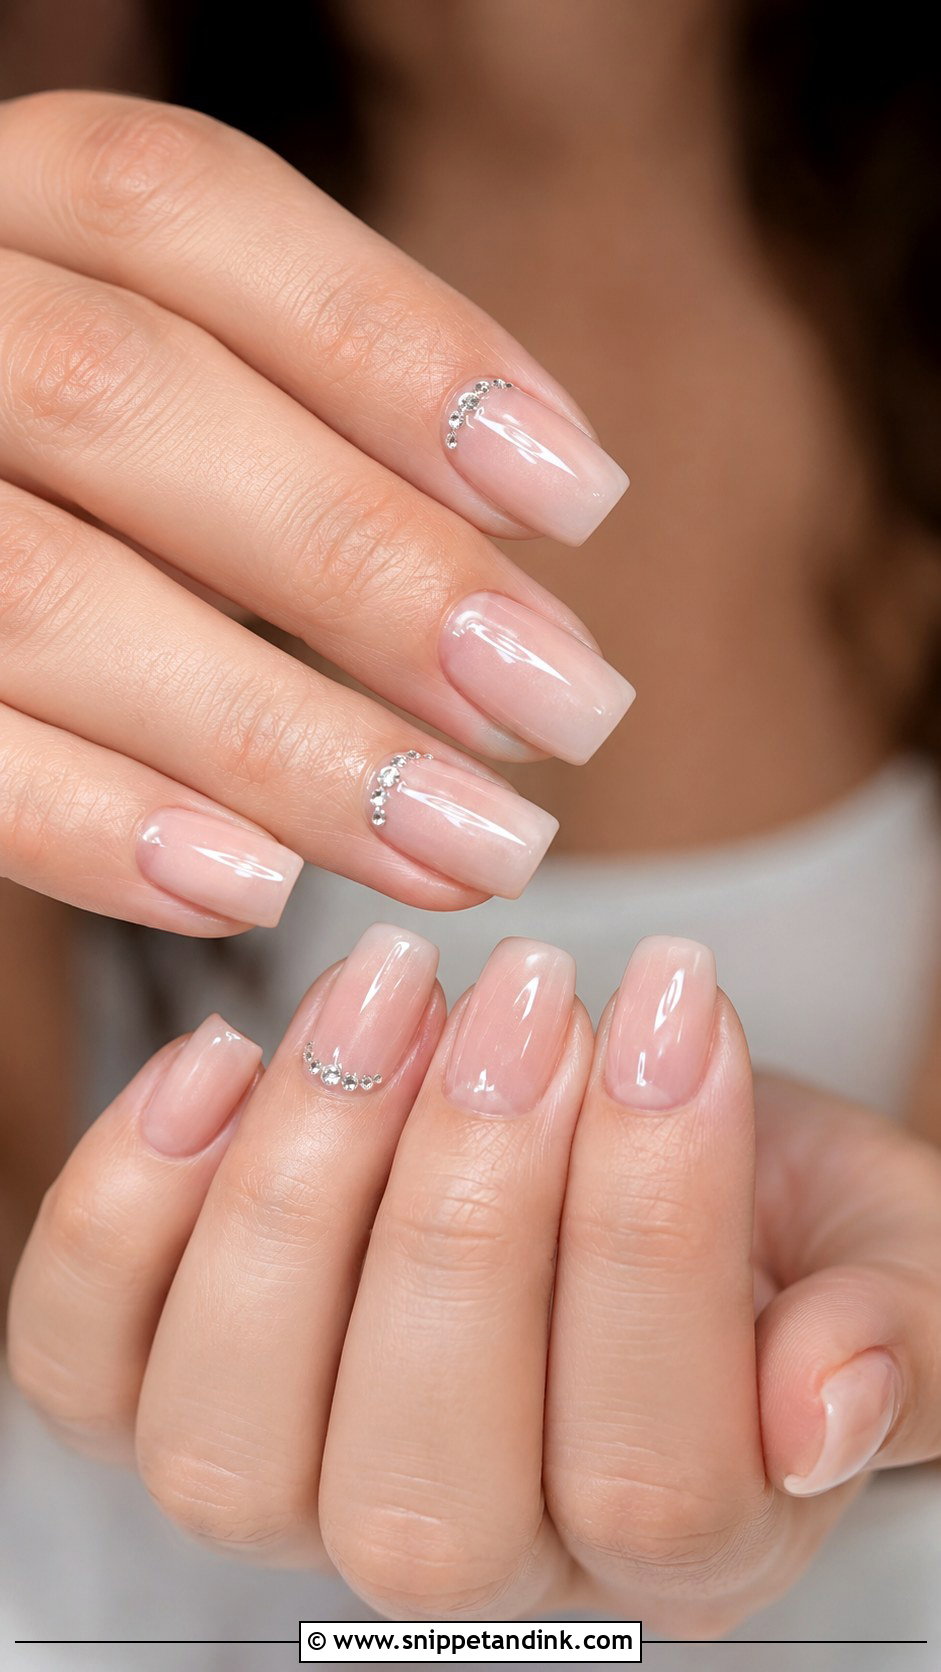
Rhinestones look elegant only when there are very few of them. I set tiny clear stones near the cuticle or along one accent nail, each seated in gel and sealed at the base so the facets stay uncovered and keep their sparkle. Larger stones snag on veils and lace, and a lost stone leaves a rough patch you’ll feel all evening. Over a sheer nude or blush base, two or three small stones per accent nail give the hands enough shine for close-ups.
18. Sheer Pink Square Wedding Nails
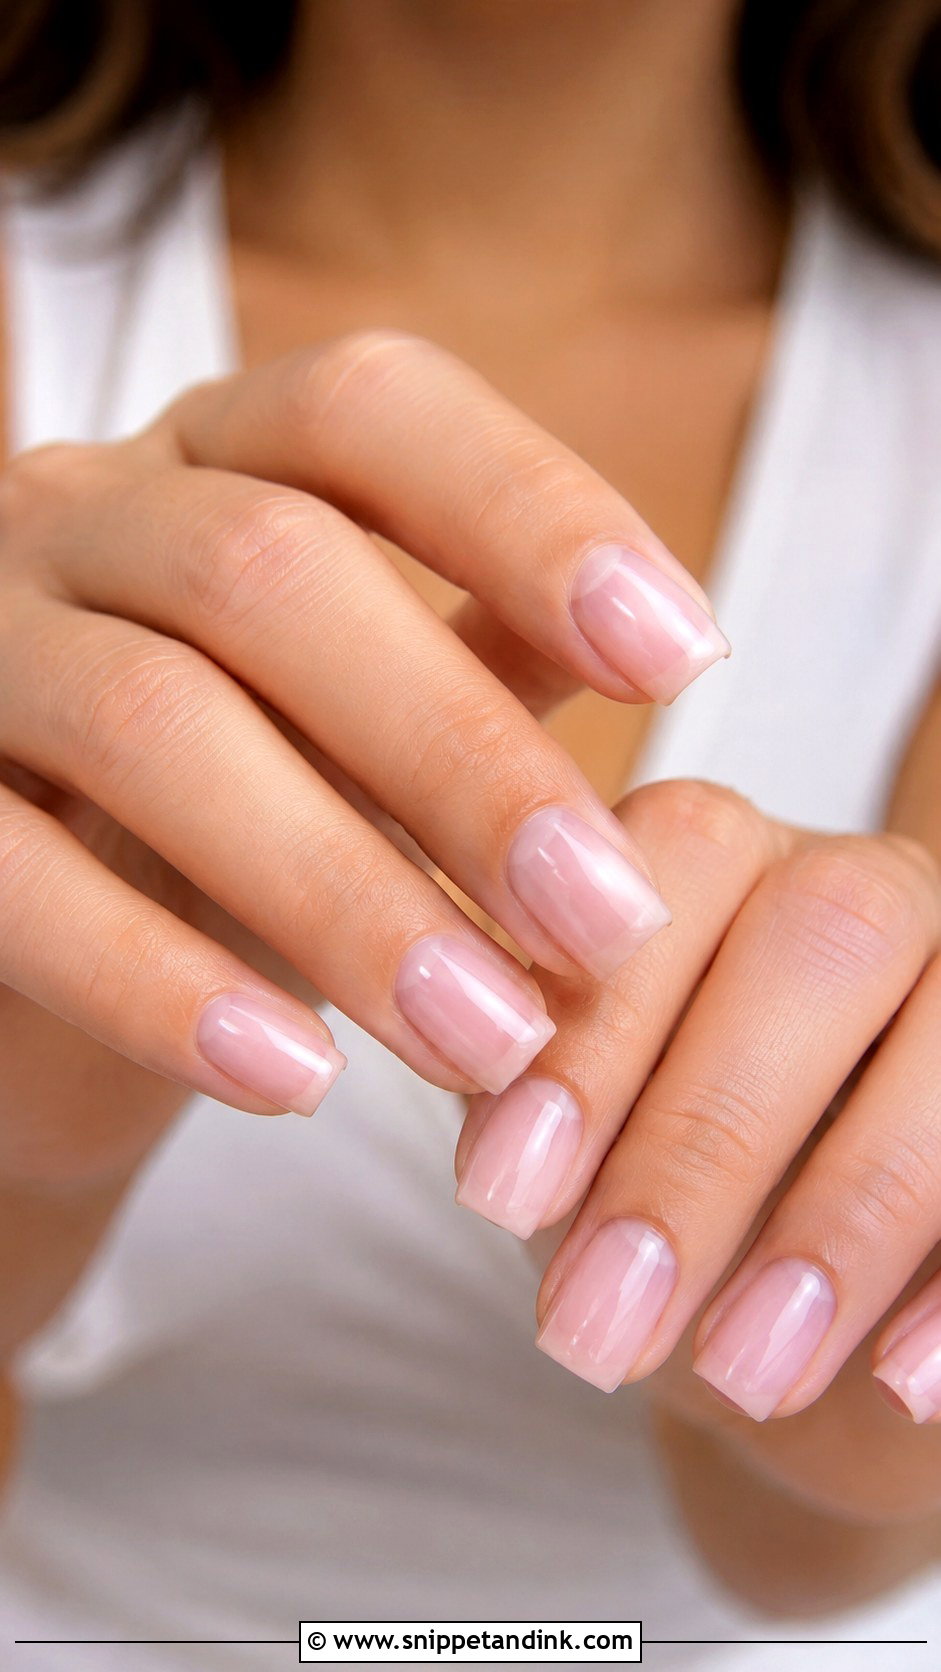
Sheer pink is the set I suggest for brides who never wear polish. It looks like healthy nails on a good day, just tinted. Because it’s translucent, it hides nothing, so I spend time smoothing ridges with a base gel first. A softly filed square edge keeps it from looking severe. The high-gloss top coat matters here more than anywhere else in this list, since that shine is most of the effect.
19. Ivory Square Wedding Nails
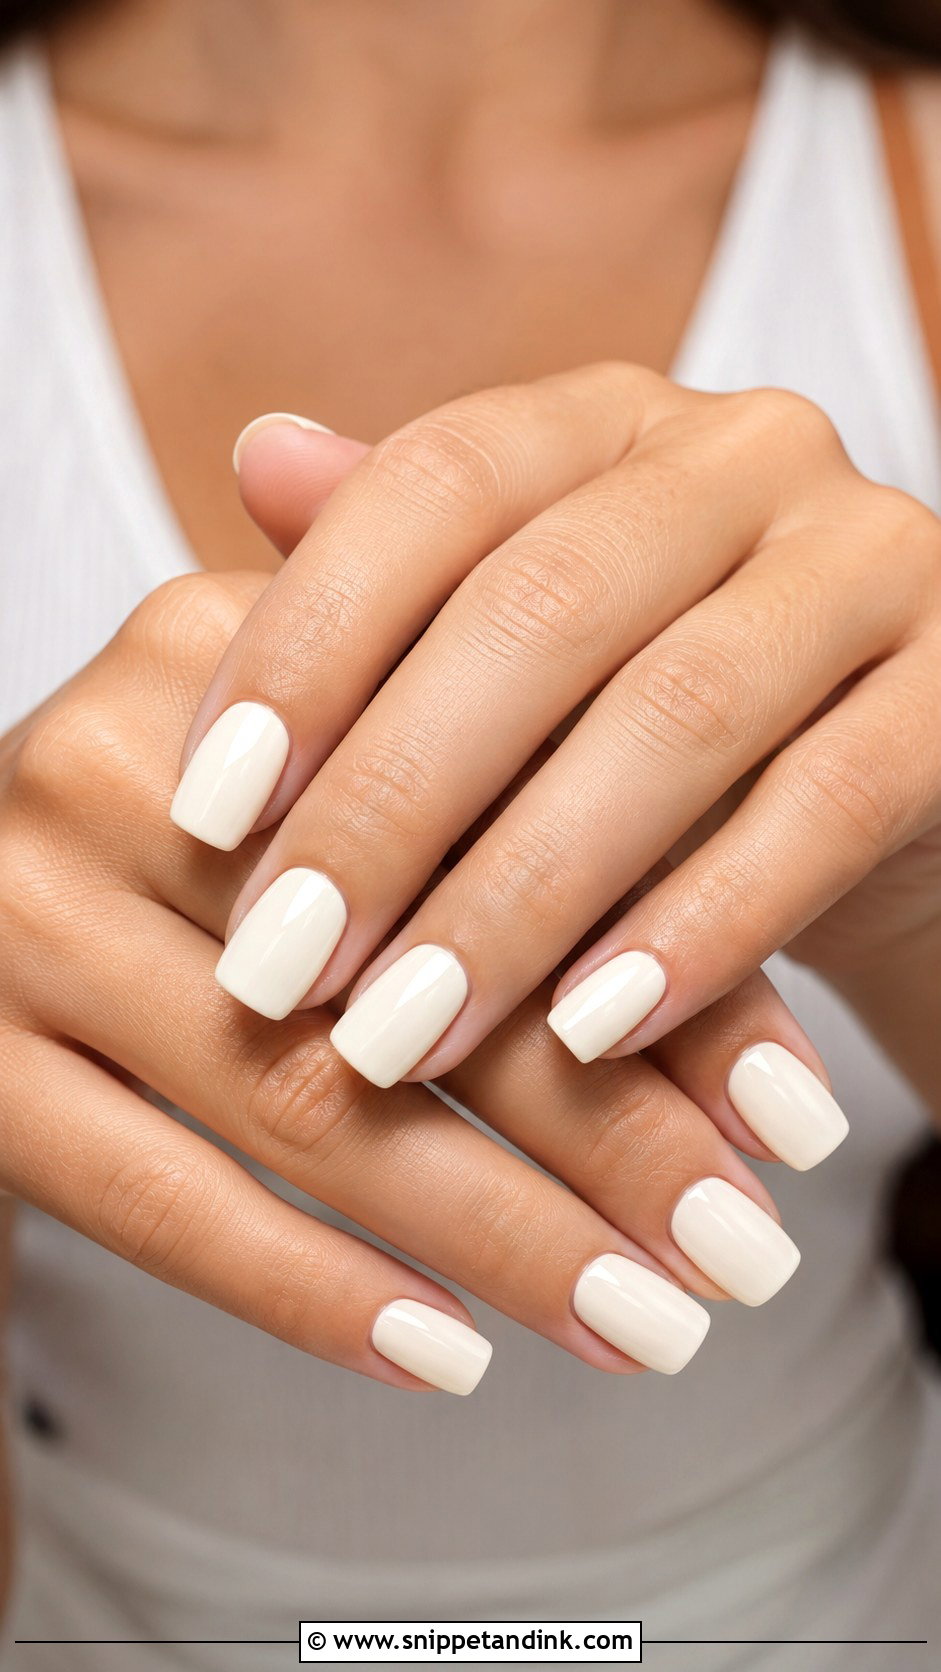
Ivory is the white I recommend for anyone wearing an ivory, cream or champagne dress, because it sits in the same warm family as the fabric. You can wear it as a full color, as a French tip or as a sheer wash over the whole nail. I look for a creamy formula; chalky ivories can look dusty in photos. It pairs well with gold jewelry and warm makeup, and it’s quiet without being plain.
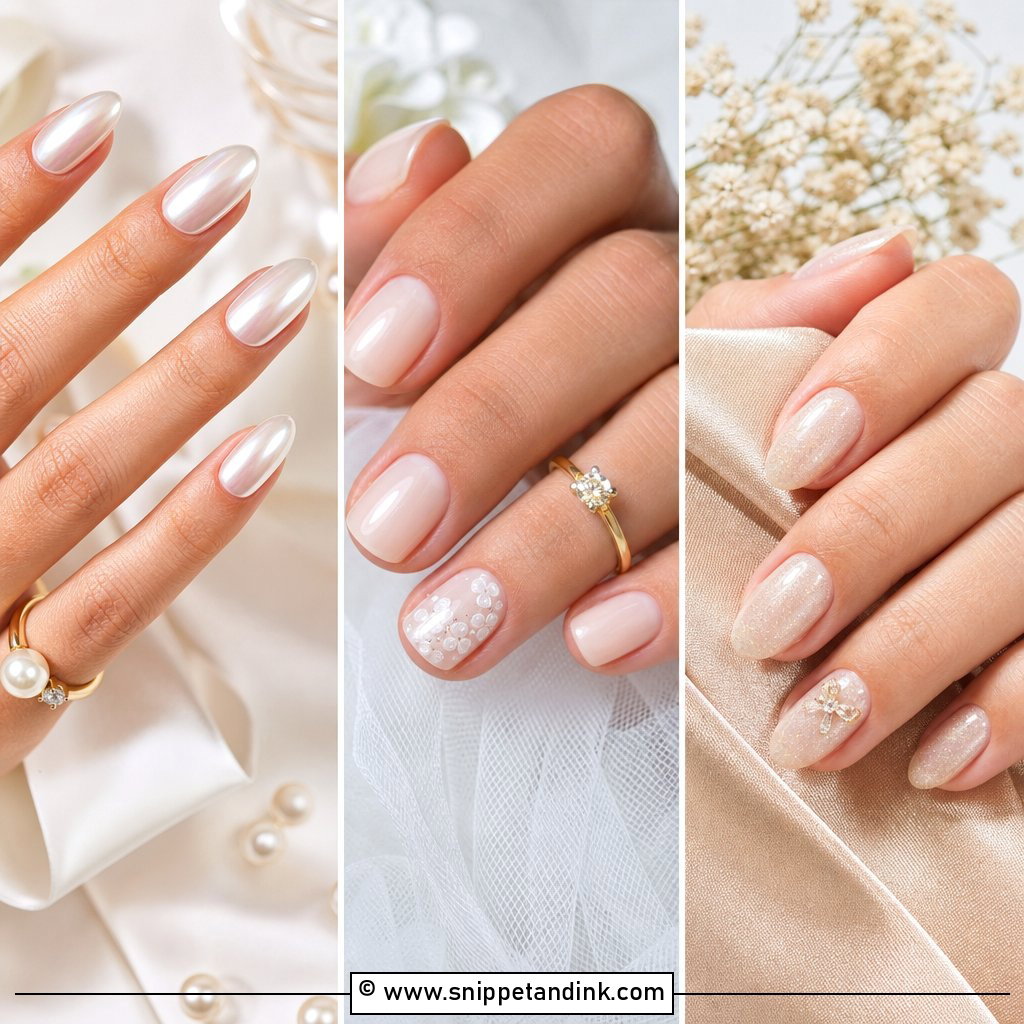
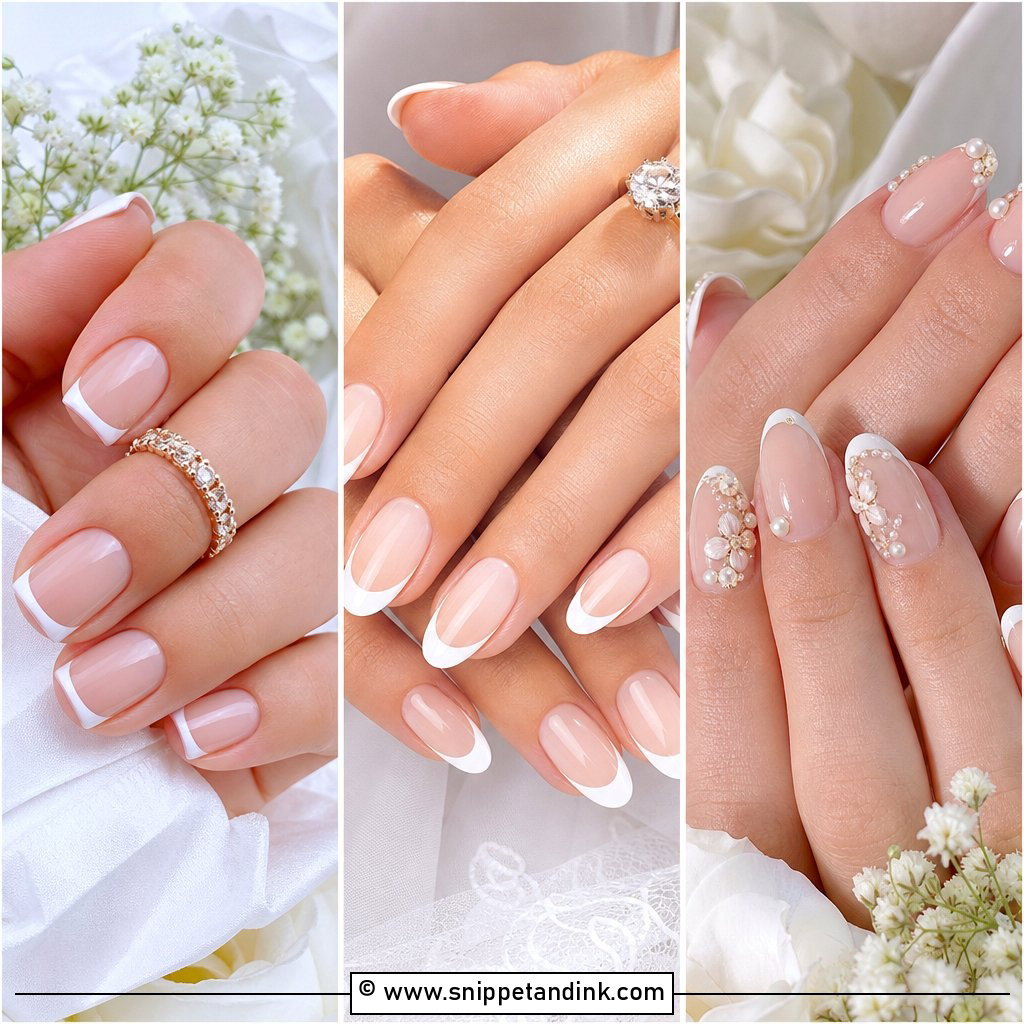
20. Long Square Wedding Nails
Long square tips are the most fragile shape I make. A wide, flat edge takes every knock, so the corners can crack on a car door or a stubborn zip. A slightly tapered square, narrower at the tip than at the base, is stronger and easier to live with. The length gives room for French tips, ombre fades, chrome finishes or pearl accents, and soft shades like blush, nude or ivory keep it bridal. If you don’t usually wear long nails, book a trial set a few weeks ahead and spend a normal day in it.
When a Square Corner Chips the Night Before
I book bridal sets one to three days before the wedding. That leaves time for a fix if anything lifts, and the cuticles have settled by the time the photographer arrives. Earlier than that, regrowth starts to show in ring close-ups; on the morning itself, there’s no margin.
Even so, square tips do chip, usually at a corner while you’re carrying boxes or zipping a garment bag. Pack a small kit with your getting-ready bag:
- A fine-grit file to smooth a cracked corner before it catches on your dress.
- A small bottle of the exact color or top coat, so a chip can be painted over and sealed.
- Nail glue for an extension that lifts. Press it down for a minute; don’t pick at it.
- Cuticle oil for the hours before photos. Dry cuticles look rough in macro shots far more than a tiny chip does.
If a gel set lifts at the base, resist the urge to peel it, which pulls layers off the natural nail. Trim anything snagging, add top coat, and get it removed properly after the wedding.
A Square Edge Shows Every Detail, So Keep the Details Few
Square nails give any bridal set a neat frame: a French line, a pearl glow, a single flower. The right set depends on your dress shade, your jewelry, your skin tone and how comfortable you are with length. If you’re unsure, start with a short or medium square in sheer pink or nude and add one detail only if it still feels like you. That version looks good in person, in photos and in the ring close-up, and it’s the one I see brides happiest with afterward.
You'll Like These Ideas:


Leave a Reply