
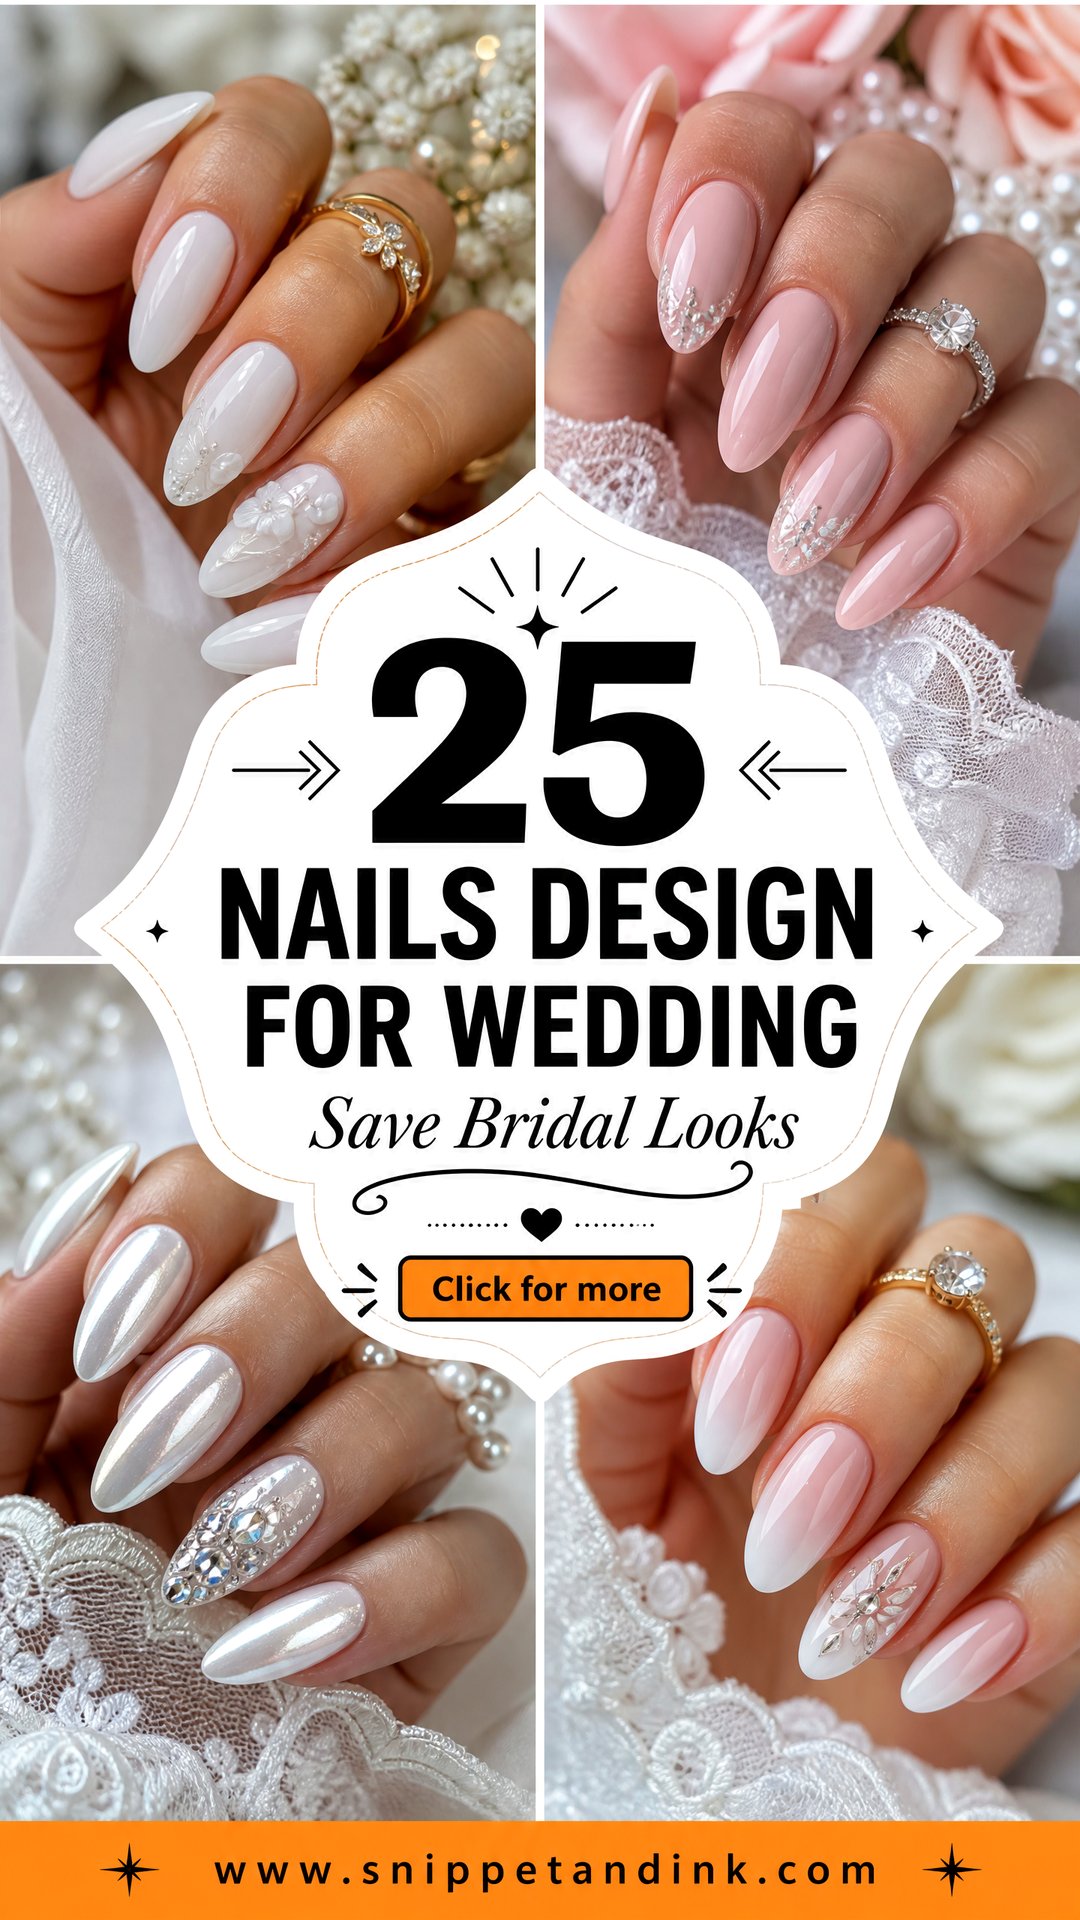
A bridal manicure gets photographed from angles nobody’s hands are used to: flat on a table beside the rings, wrapped around stems, caught mid-laugh in the getting-ready shots and in close-up hand details. That’s why I judge a wedding set by how it looks at macro distance, not across a room. Right now brides are asking me for sheer, glossy bases with one quiet idea on top: a slim French, a pearl glaze, a velvet shimmer, a tiny bow, or a hint of something blue. The sets below run from plain to detailed, and each one comes with what I’d watch for when I’m doing it.
Getting Natural Nails Ready Before Any Bridal Set
Every design in this list looks better on a healthy nail plate, and sheer bases in particular show everything underneath. If you can start a month or two out, these habits make a visible difference by the wedding:
- Stop peeling off gel. Pulling it lifts layers of the natural nail with it, leaving thin, white patches that chrome and sheer pinks magnify.
- Oil your cuticles every night. It softens dry skin so your tech can tidy it without cutting deep.
- Let one professional removal be the last. Soaking or e-file removal by someone careful is far gentler than home scraping.
- File in one direction with a fine file. Sawing back and forth splits the free edge, especially on thin nails.
- Wear gloves for cleaning. Detergents dry the nail and make polish chip faster.
If your nails are thin or bendy, ask about a structured builder gel overlay. It adds strength without length, and it’s the base I use under most of these sets anyway.
1. Milky White Wedding Nails
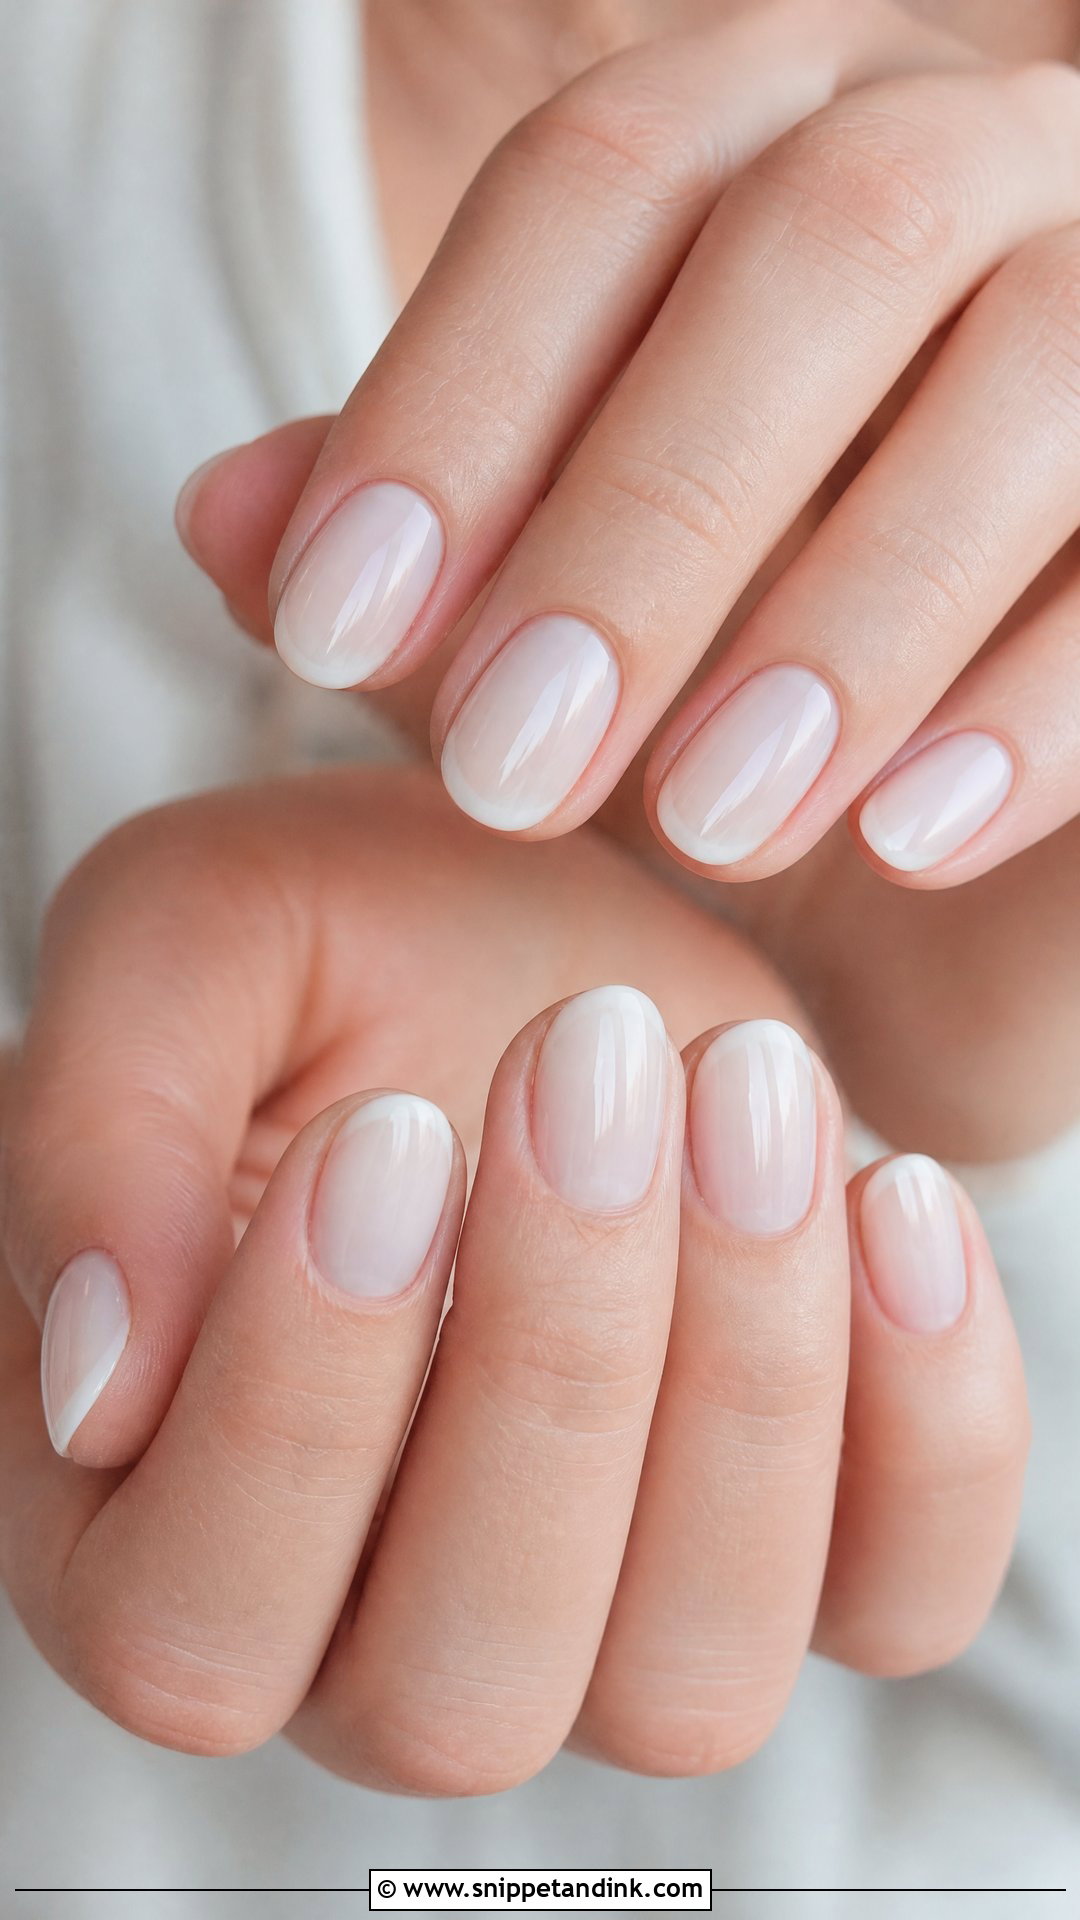
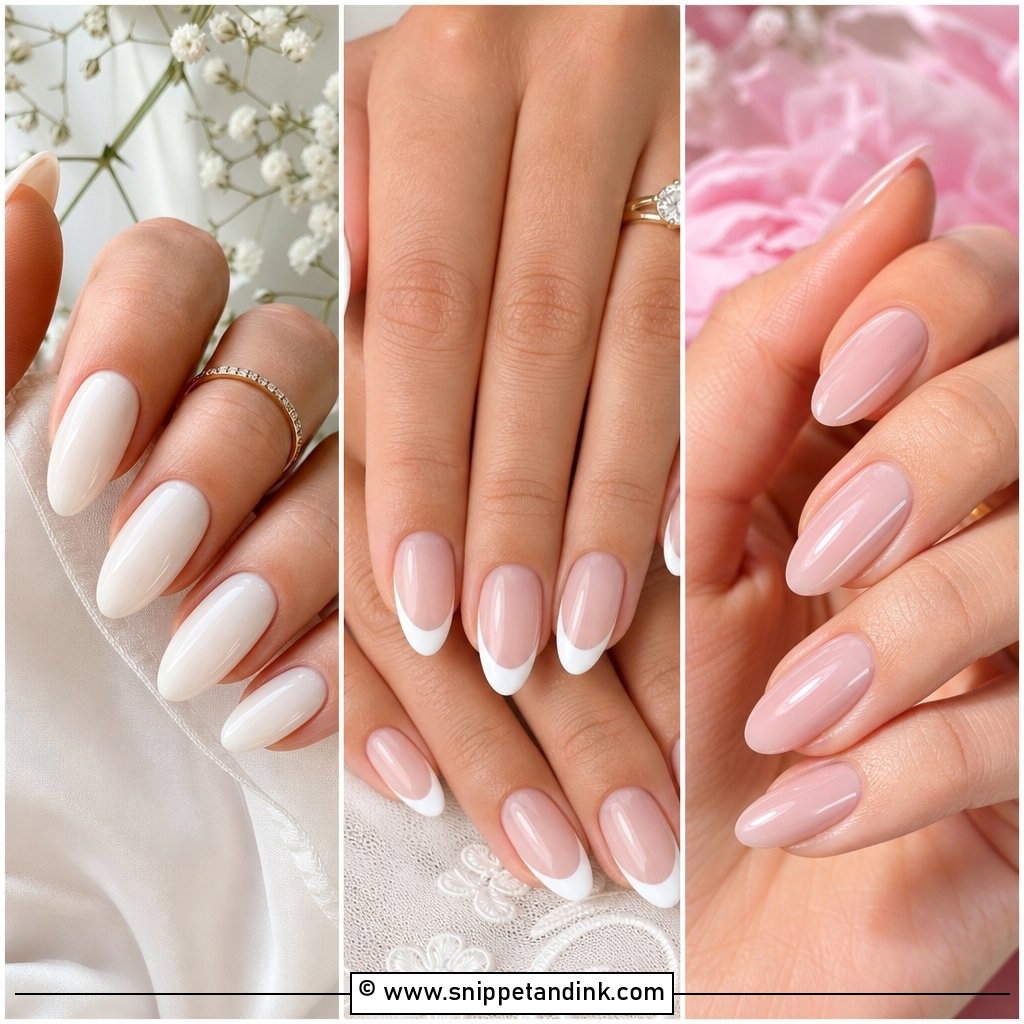
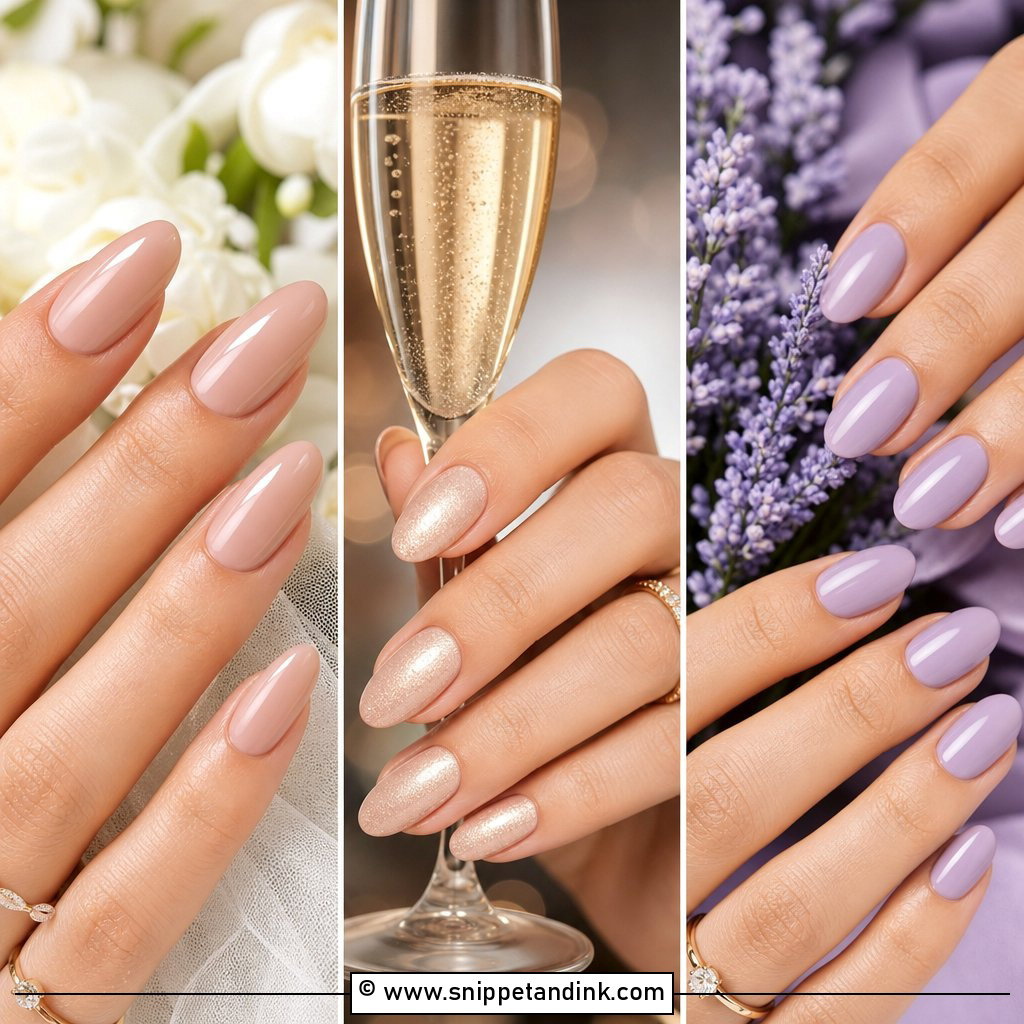
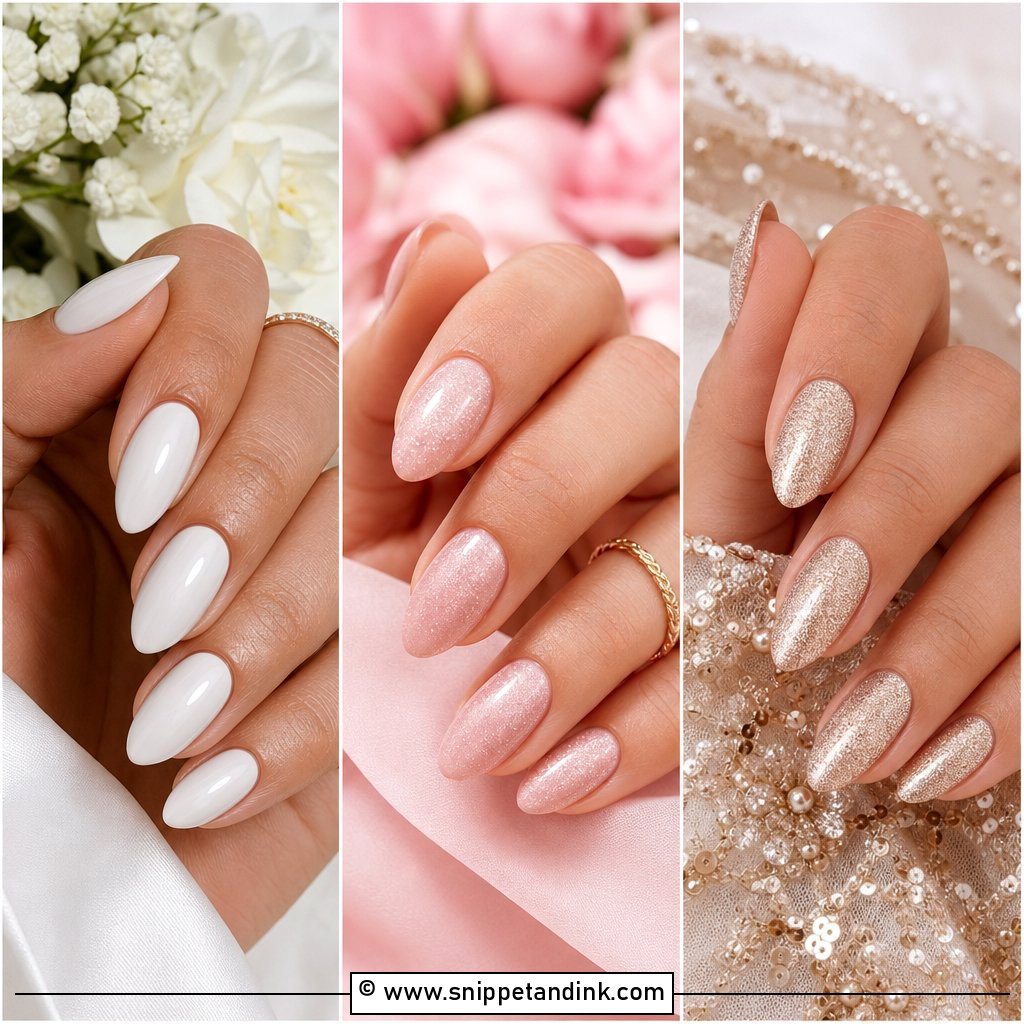
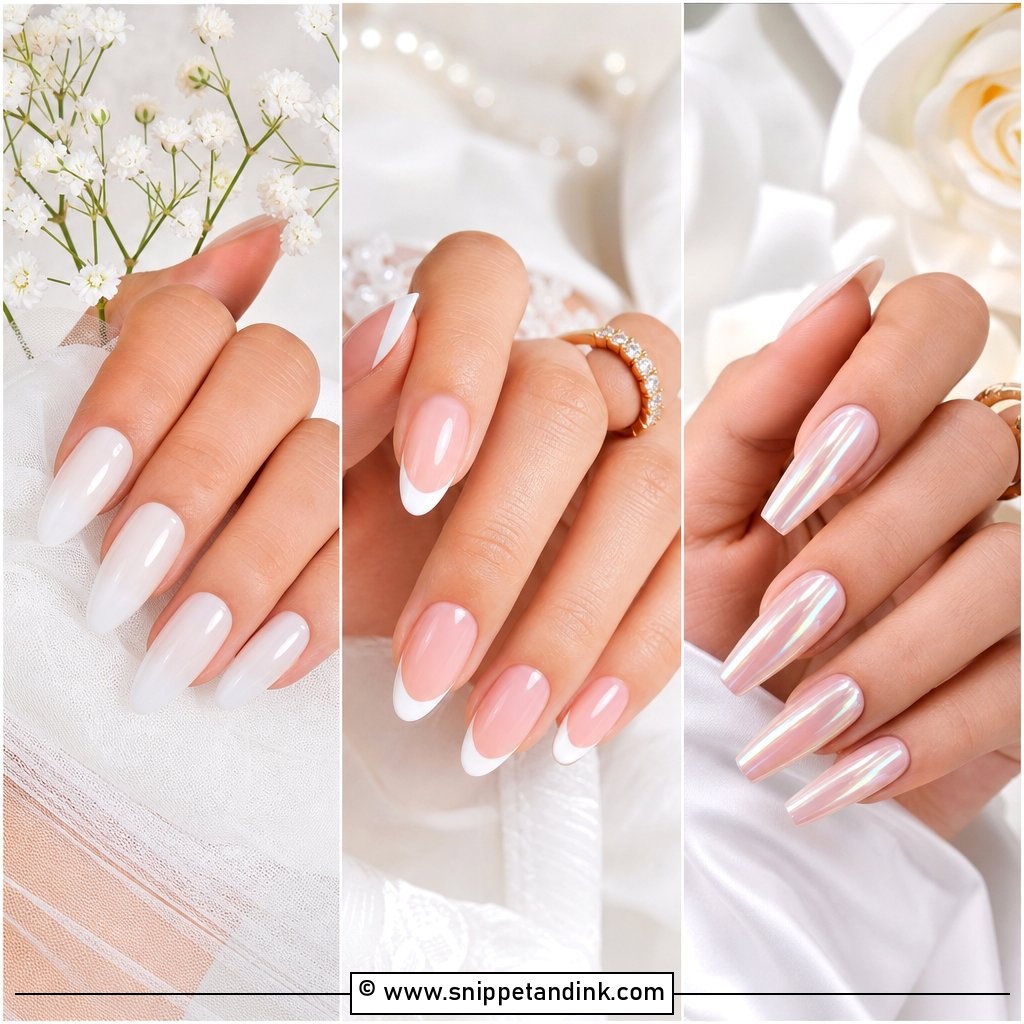
I start most indecisive brides here. Milky white is a translucent cream rather than a flat chalky white, so it glows in daylight and doesn’t bounce flash back at the camera. Getting it even is the craft: two or three thin coats, each one levelled before curing, or you get patchy streaks at the sidewalls. I can warm it with a drop of nude or cool it with a touch of pink to suit your skin. A fine shimmer top coat is the only extra it needs.
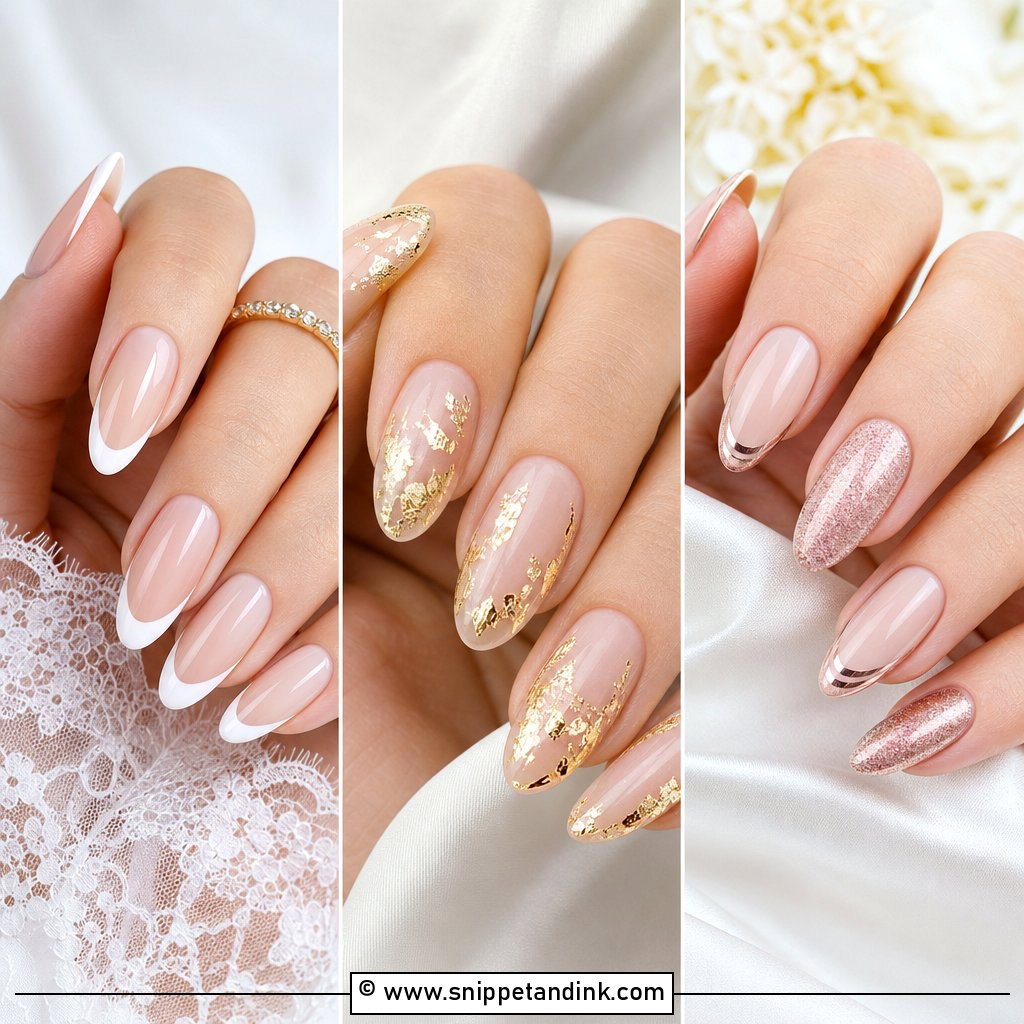
2. Classic French Tip Wedding Nails
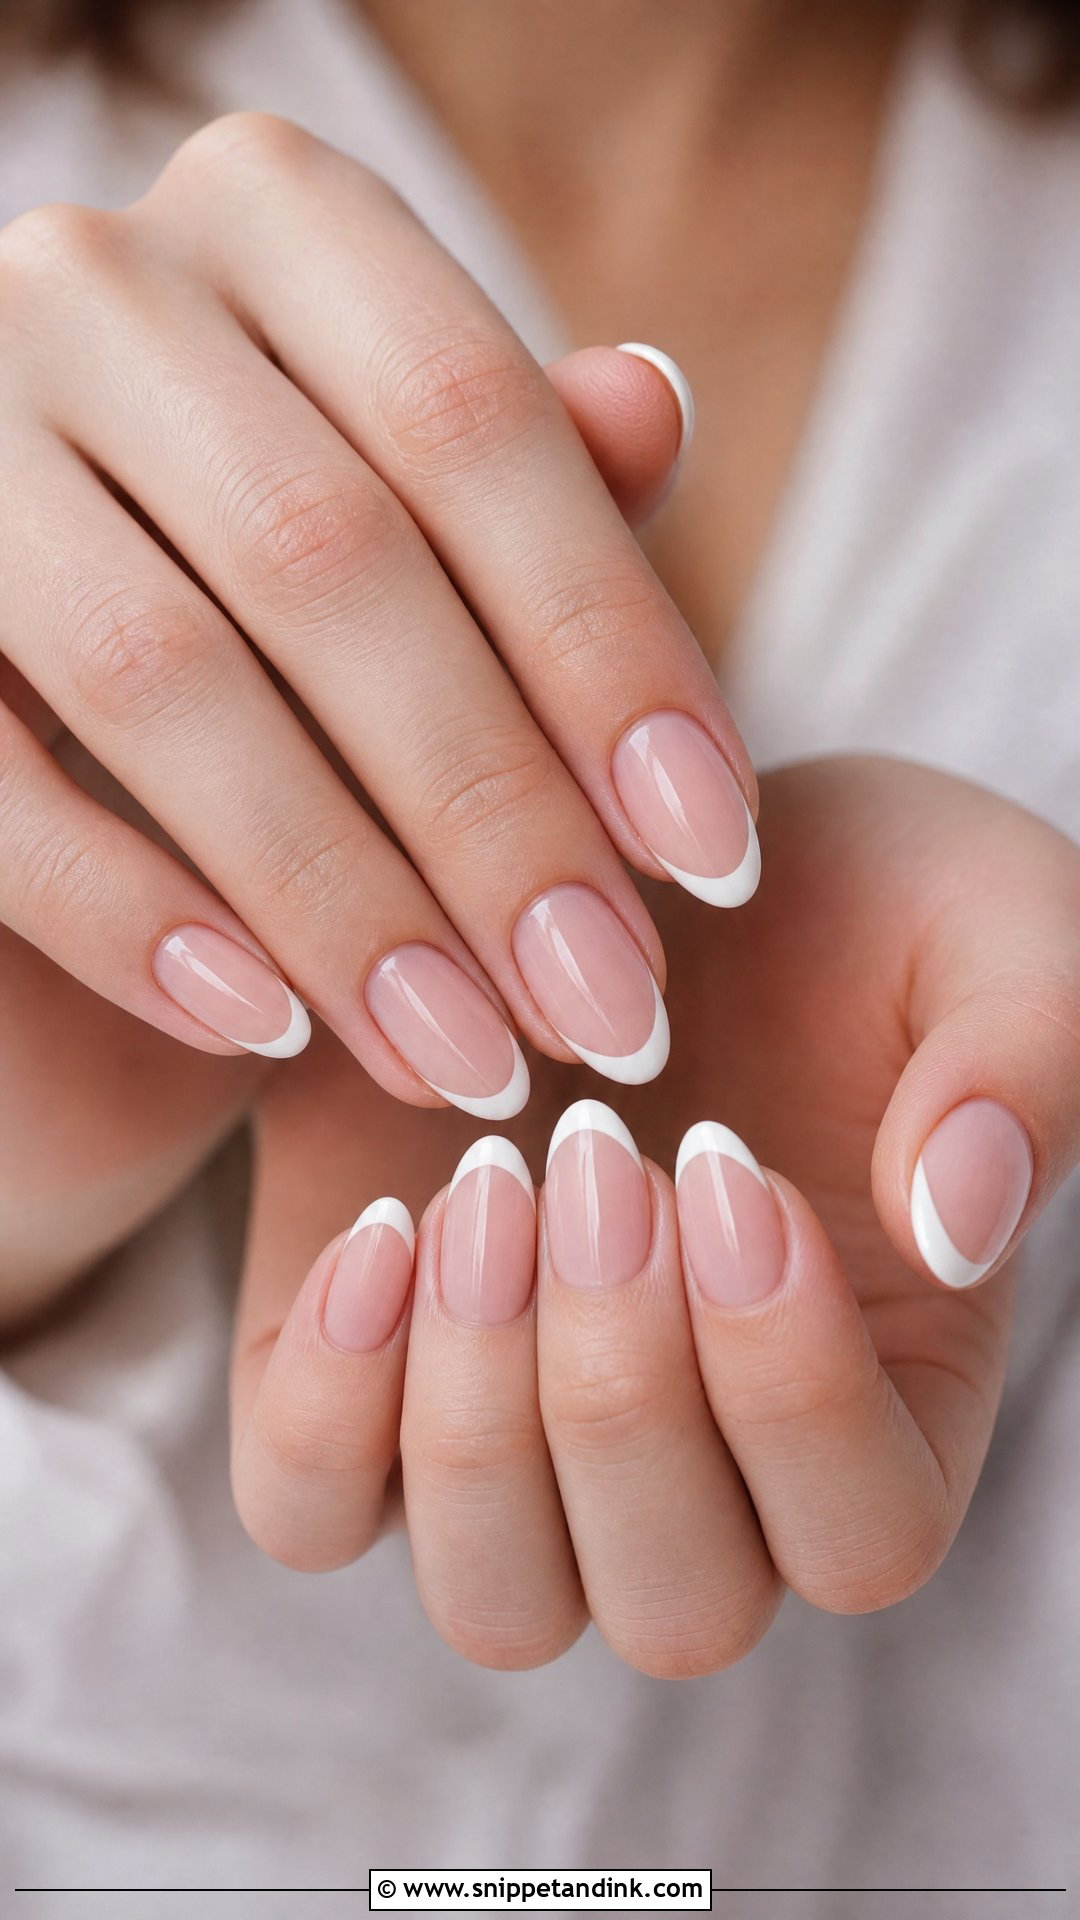
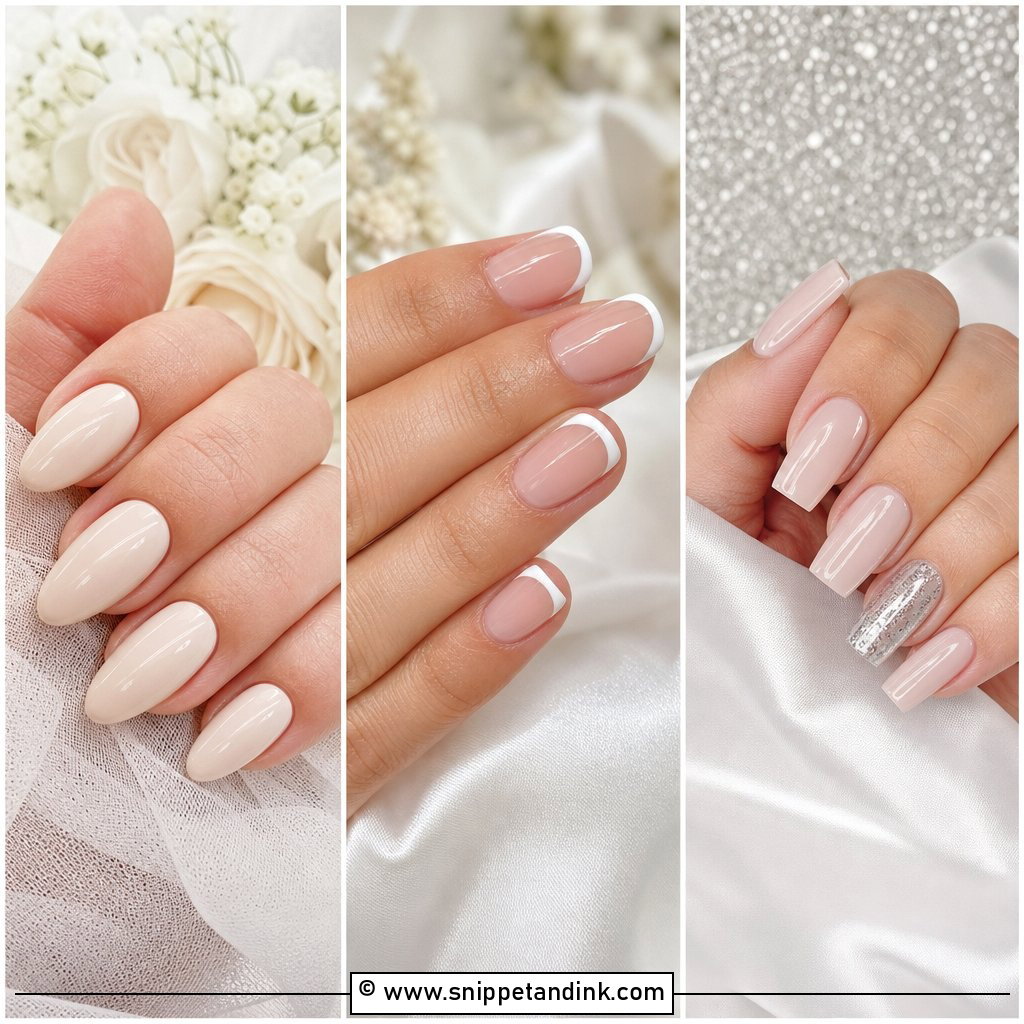
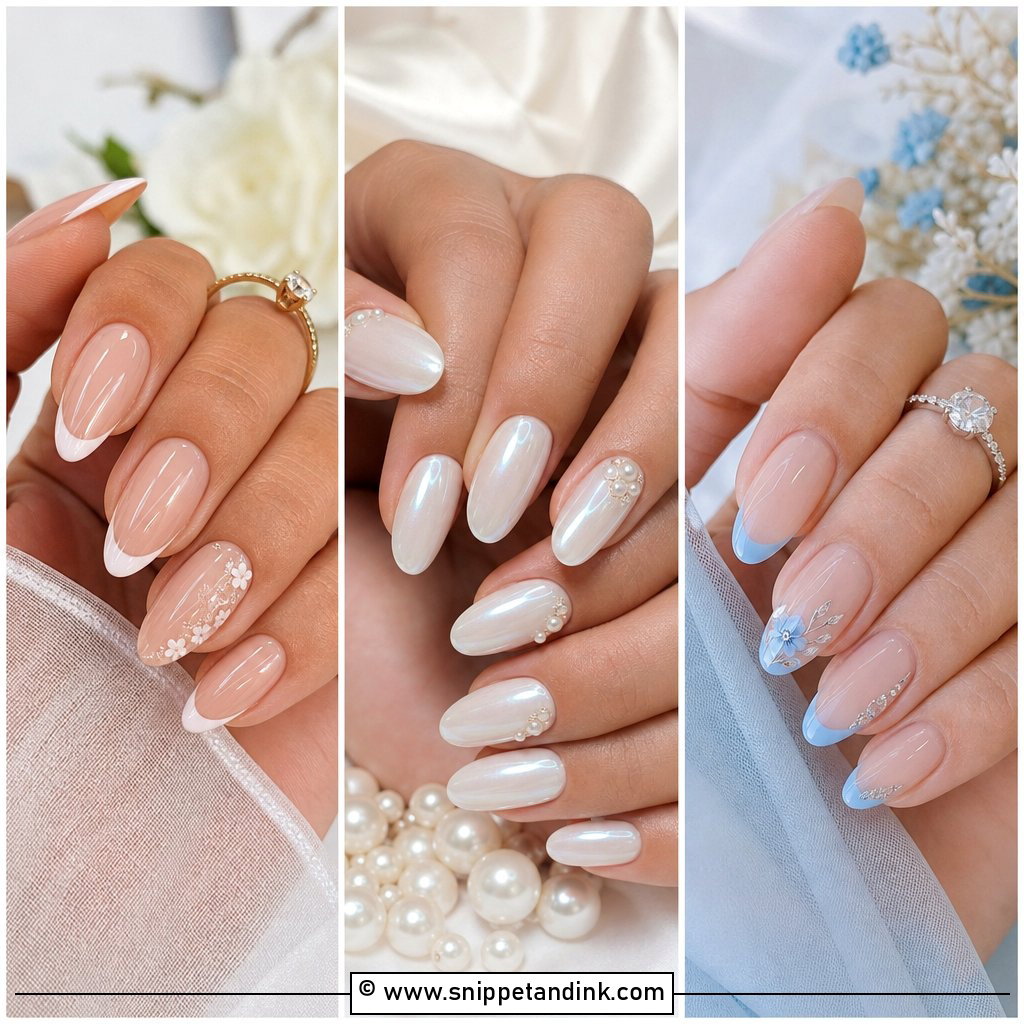
French tips have outlasted every trend for a reason: nothing in them clashes. What dates a French is the thickness of the white. A slim line that follows your own smile line looks current; a wide, straight band looks like a stencil. I’d only hold back on a classic French if your nail beds are very short, since a heavy tip makes them look shorter still. Almond and oval soften it, a crisp square sharpens it, and a high-gloss top coat keeps it looking freshly done.
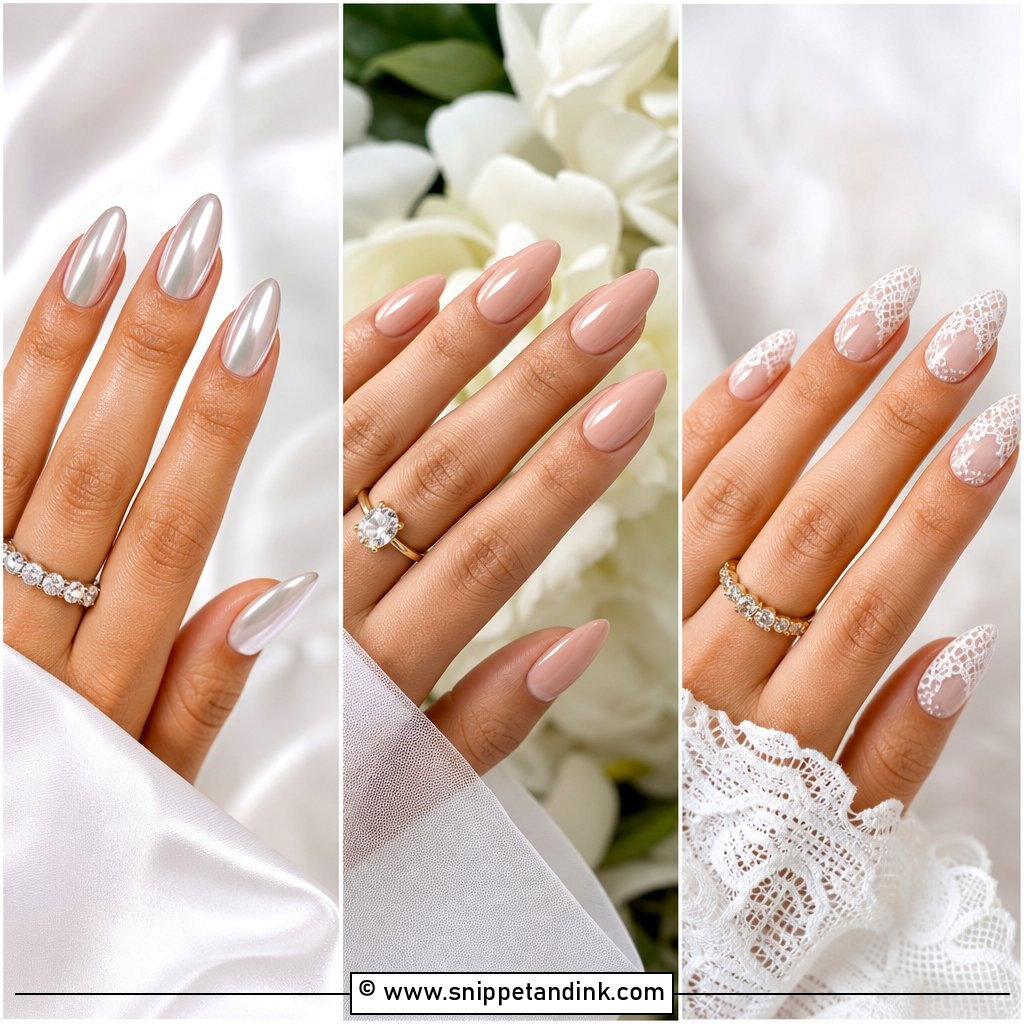
3. Pearl Chrome Wedding Nails
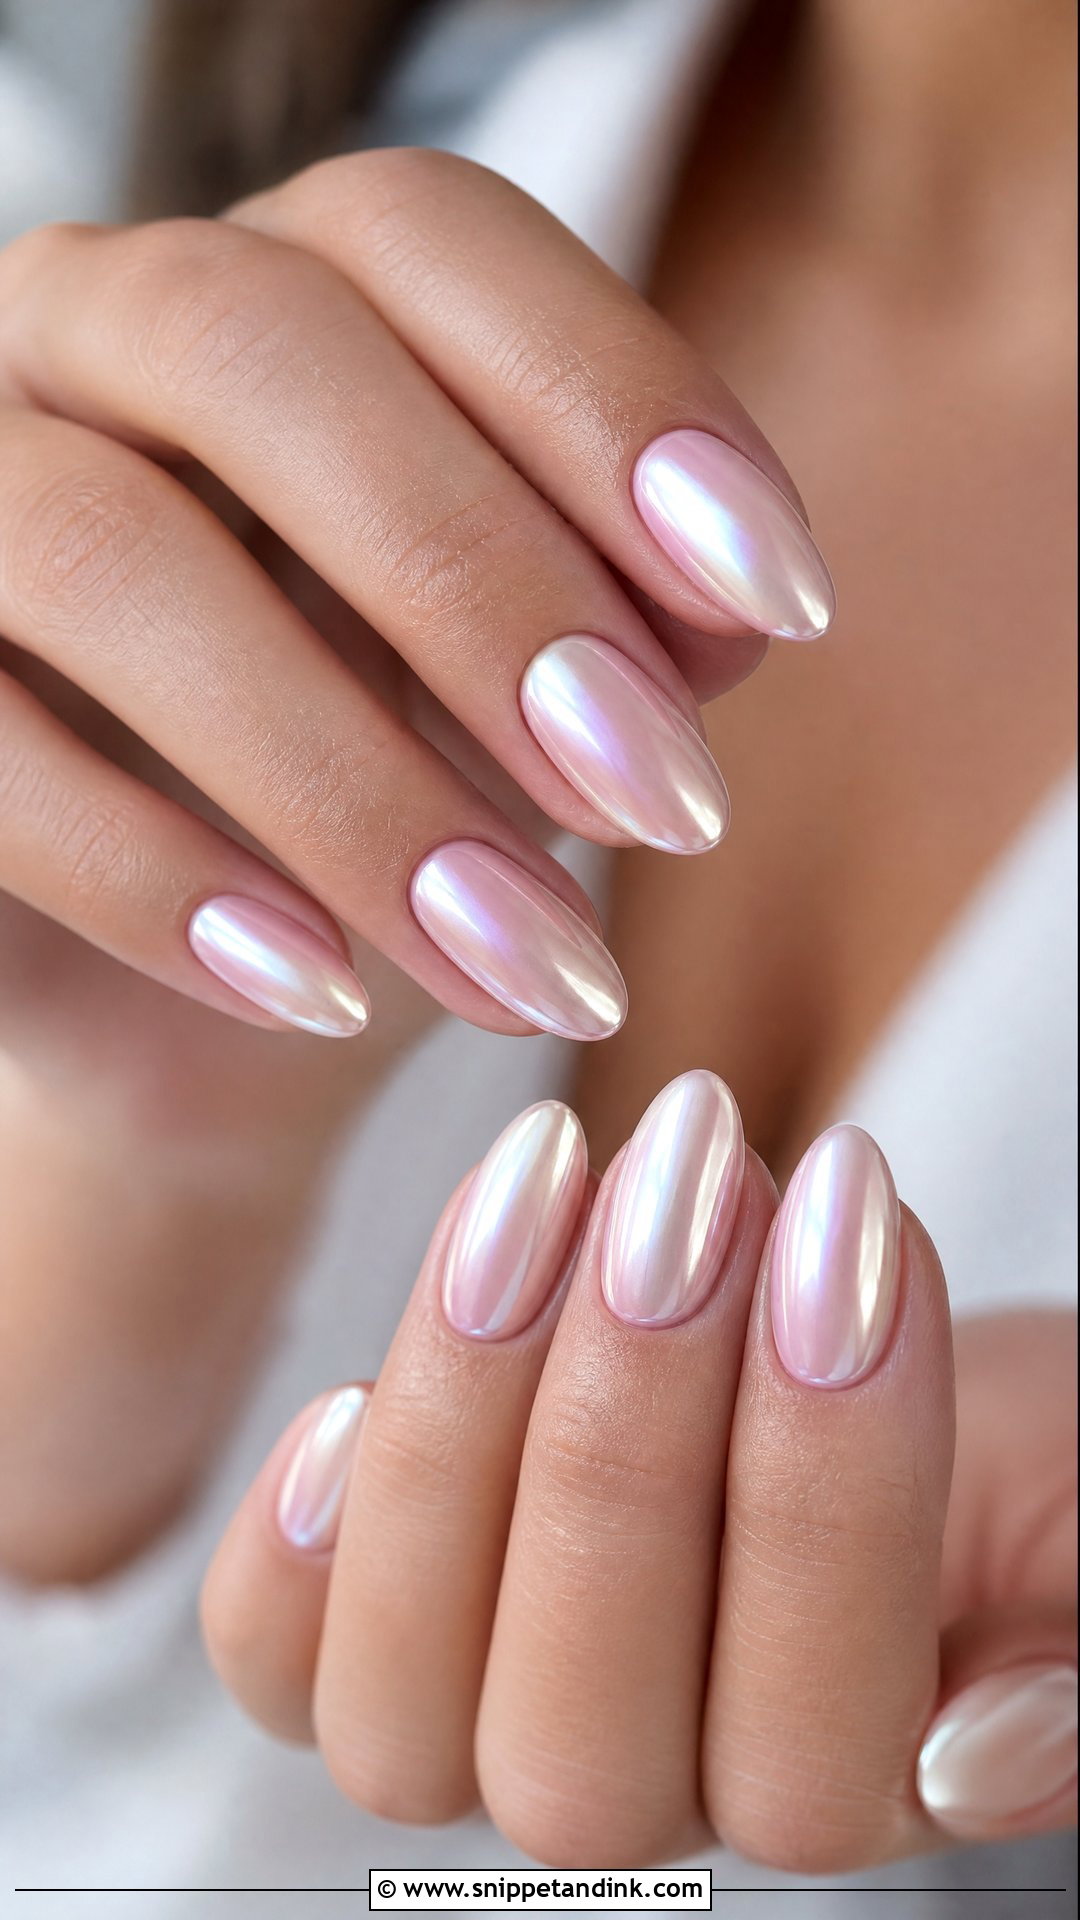
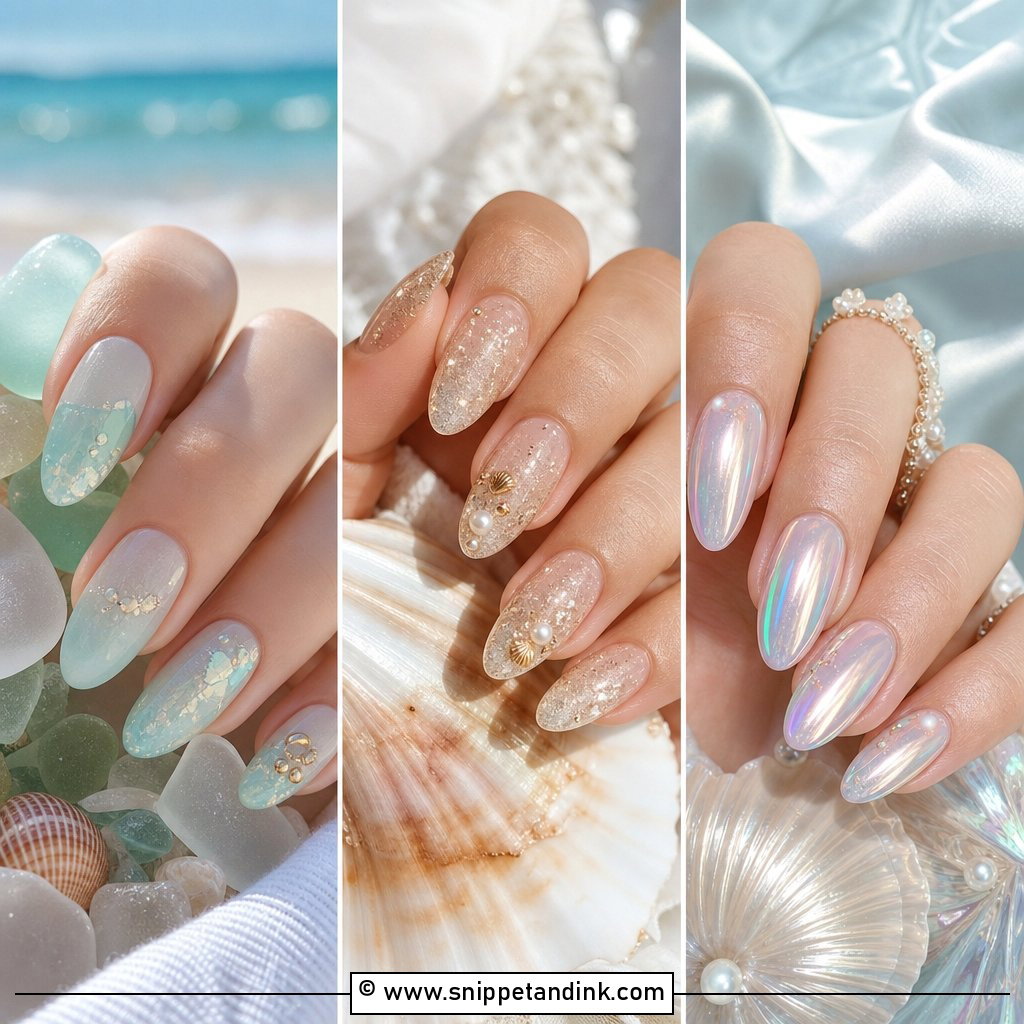
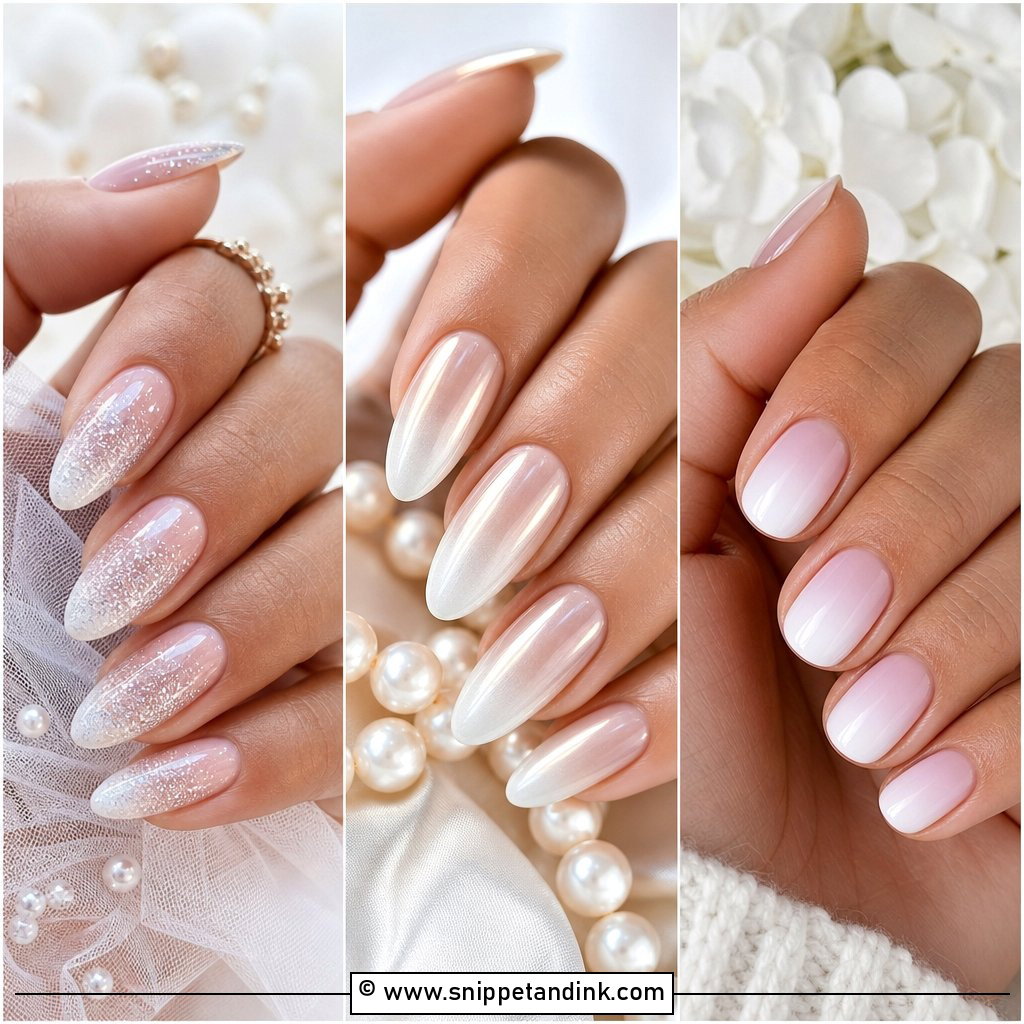
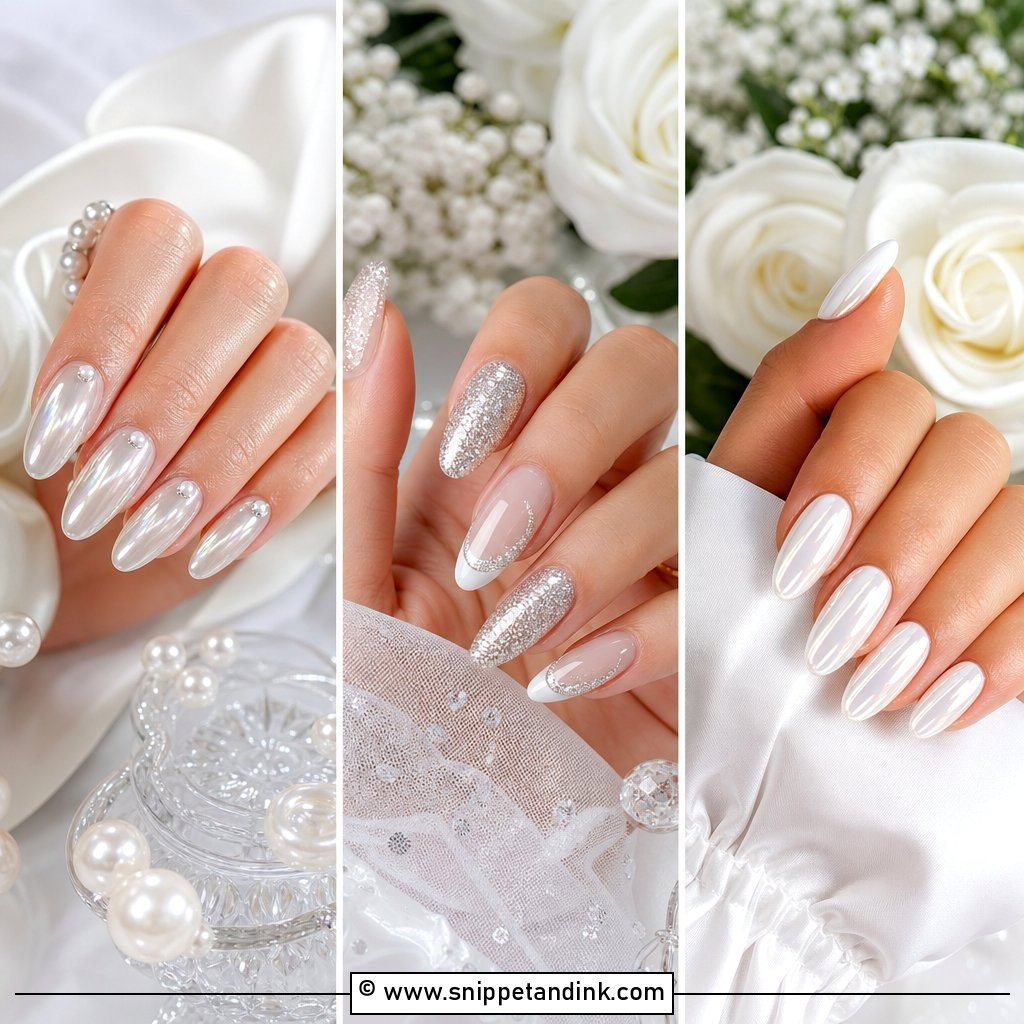
Pearl chrome is a powder buffed over a cured top coat, and it gives that shifting, satin sheen people compare to freshwater pearls. It’s kinder to short nails than most finishes, so it’s my pick for brides who keep a short natural length for work. The trap is surface texture. Chrome magnifies ridges and filing marks, so I always smooth the plate with a thin builder layer first. Keep the shape simple and let the sheen be the detail.
4. Blush Pink Wedding Nails
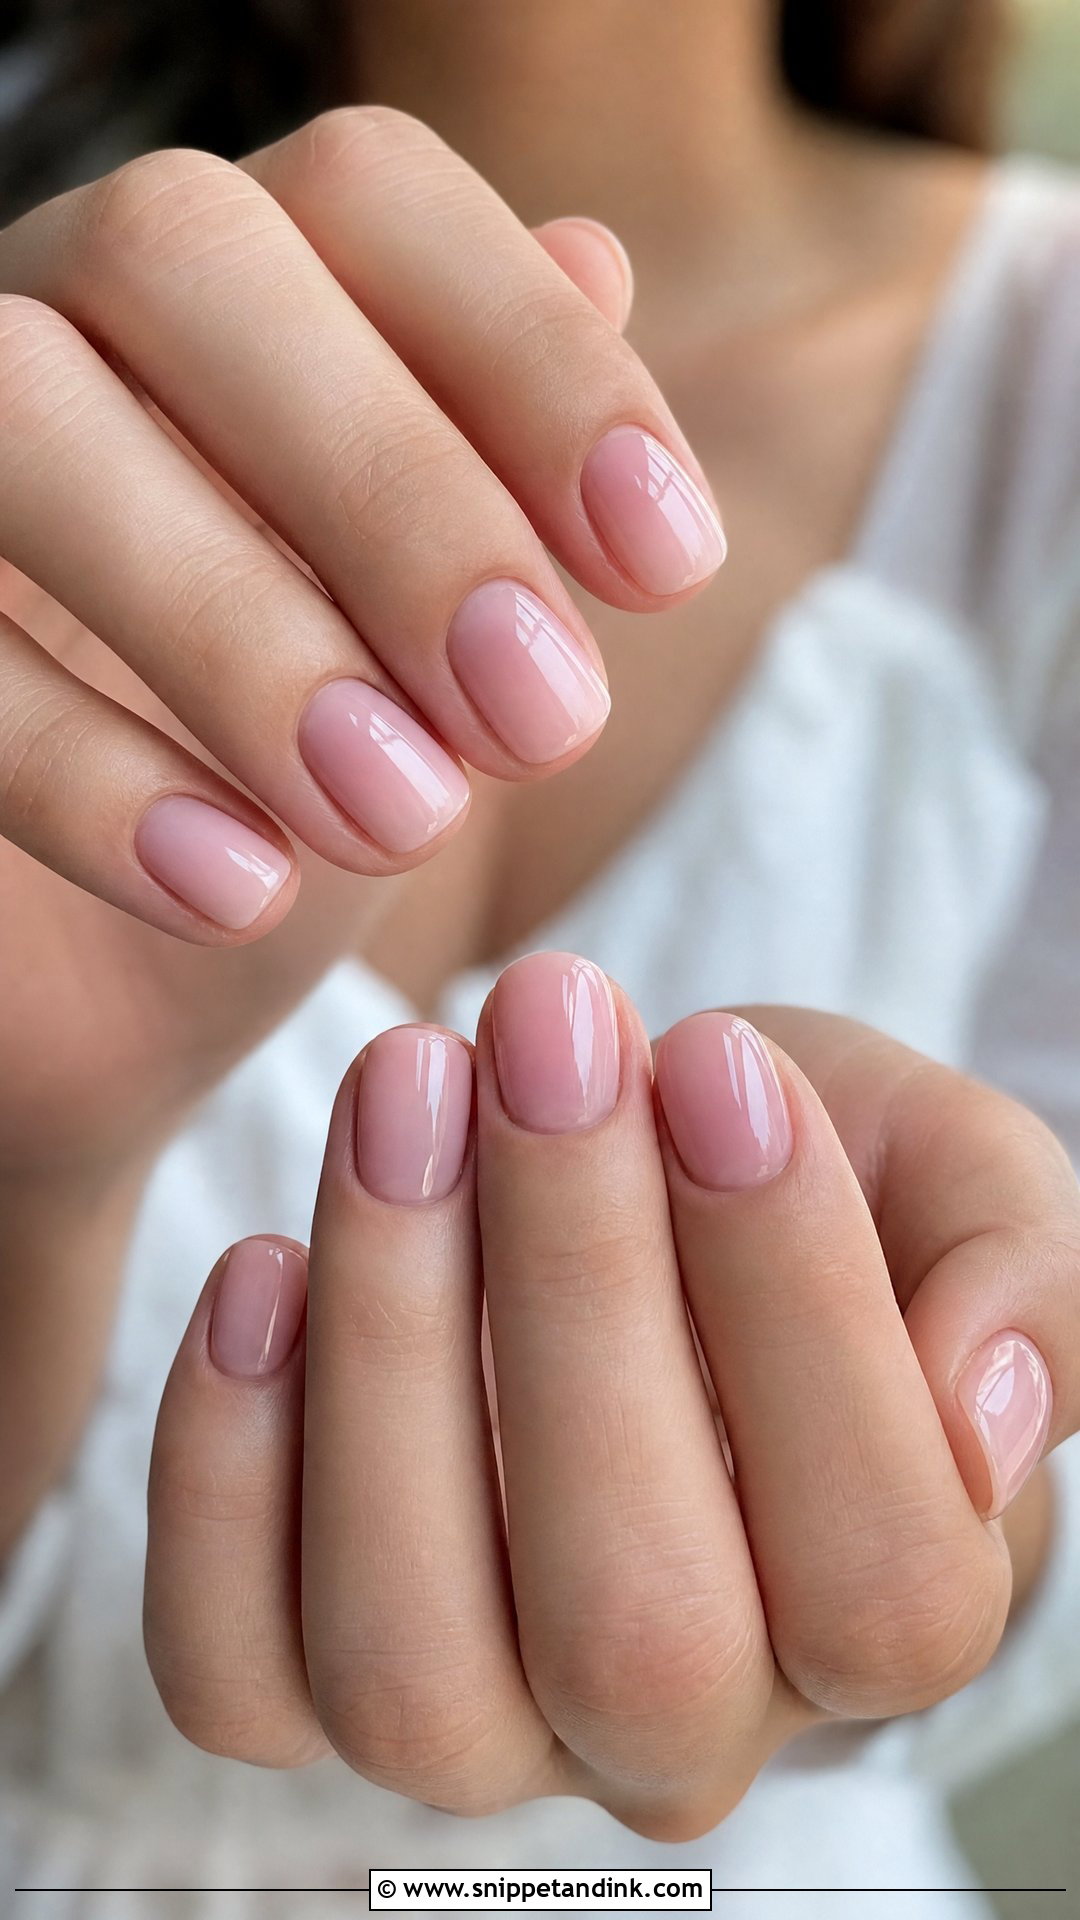
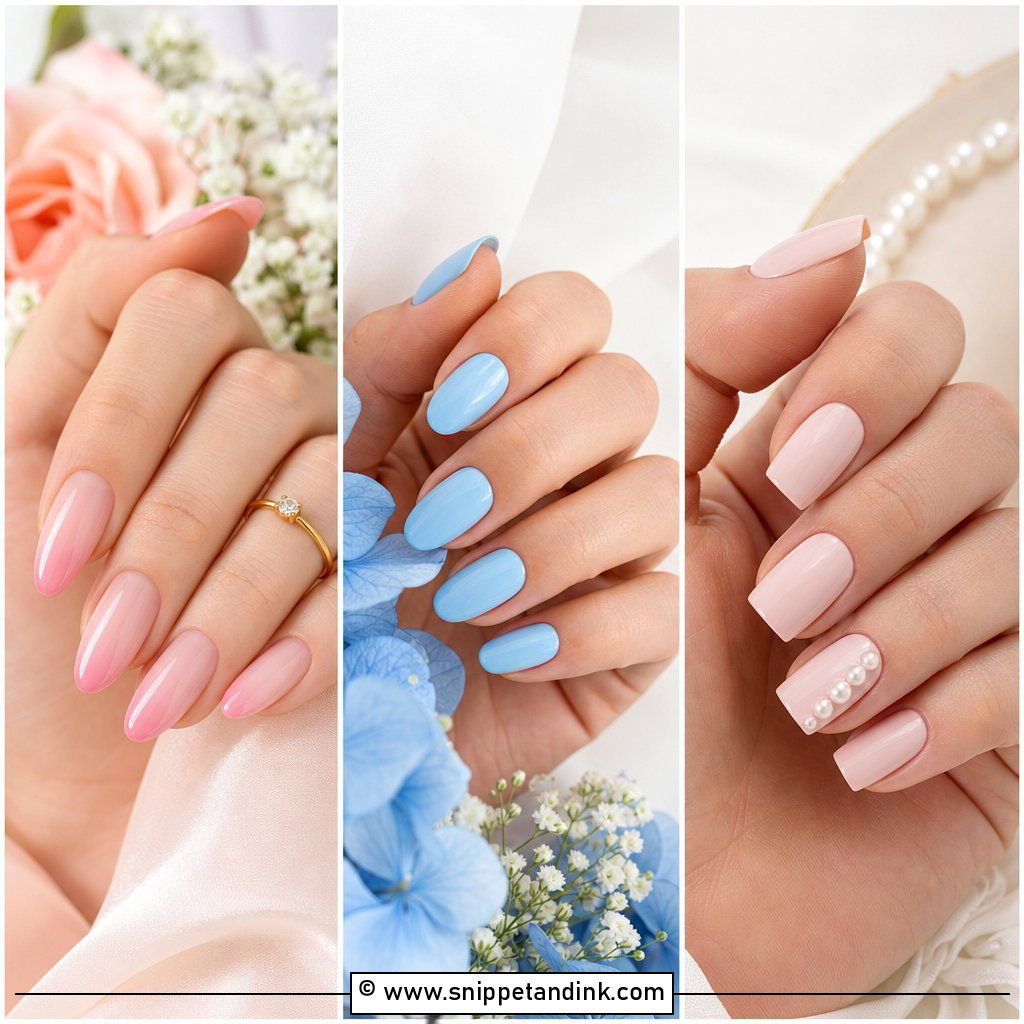
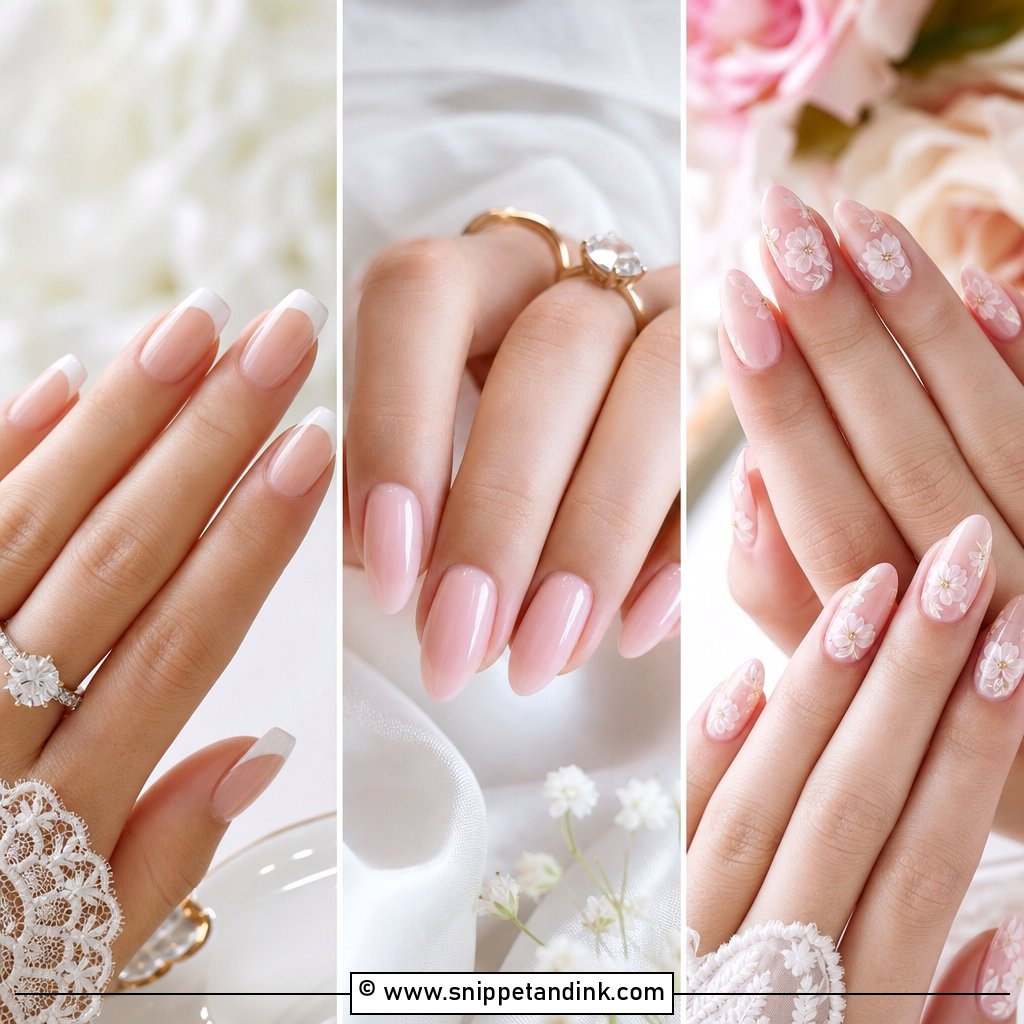
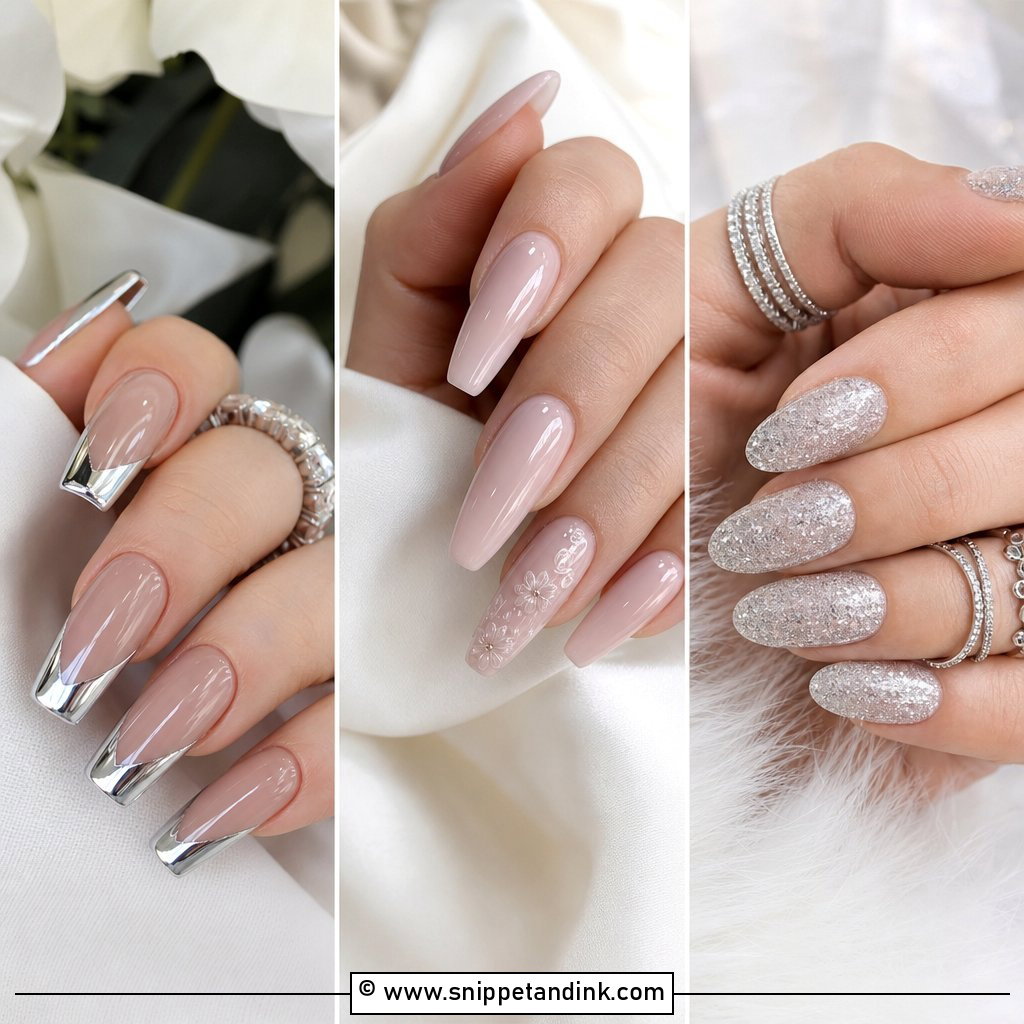
Blush sits between pale pink and nude, and the version I reach for on wedding sets is a jelly, not a cream. Jelly pinks let the free edge show softly through, which looks like healthy nails rather than paint. A heavy opaque pink can look flat beside white fabric. Blush also translates well across a wedding party, so mothers, bridesmaids and guests can wear it without anyone looking like they copied the bride.
5. Nude Almond Wedding Nails
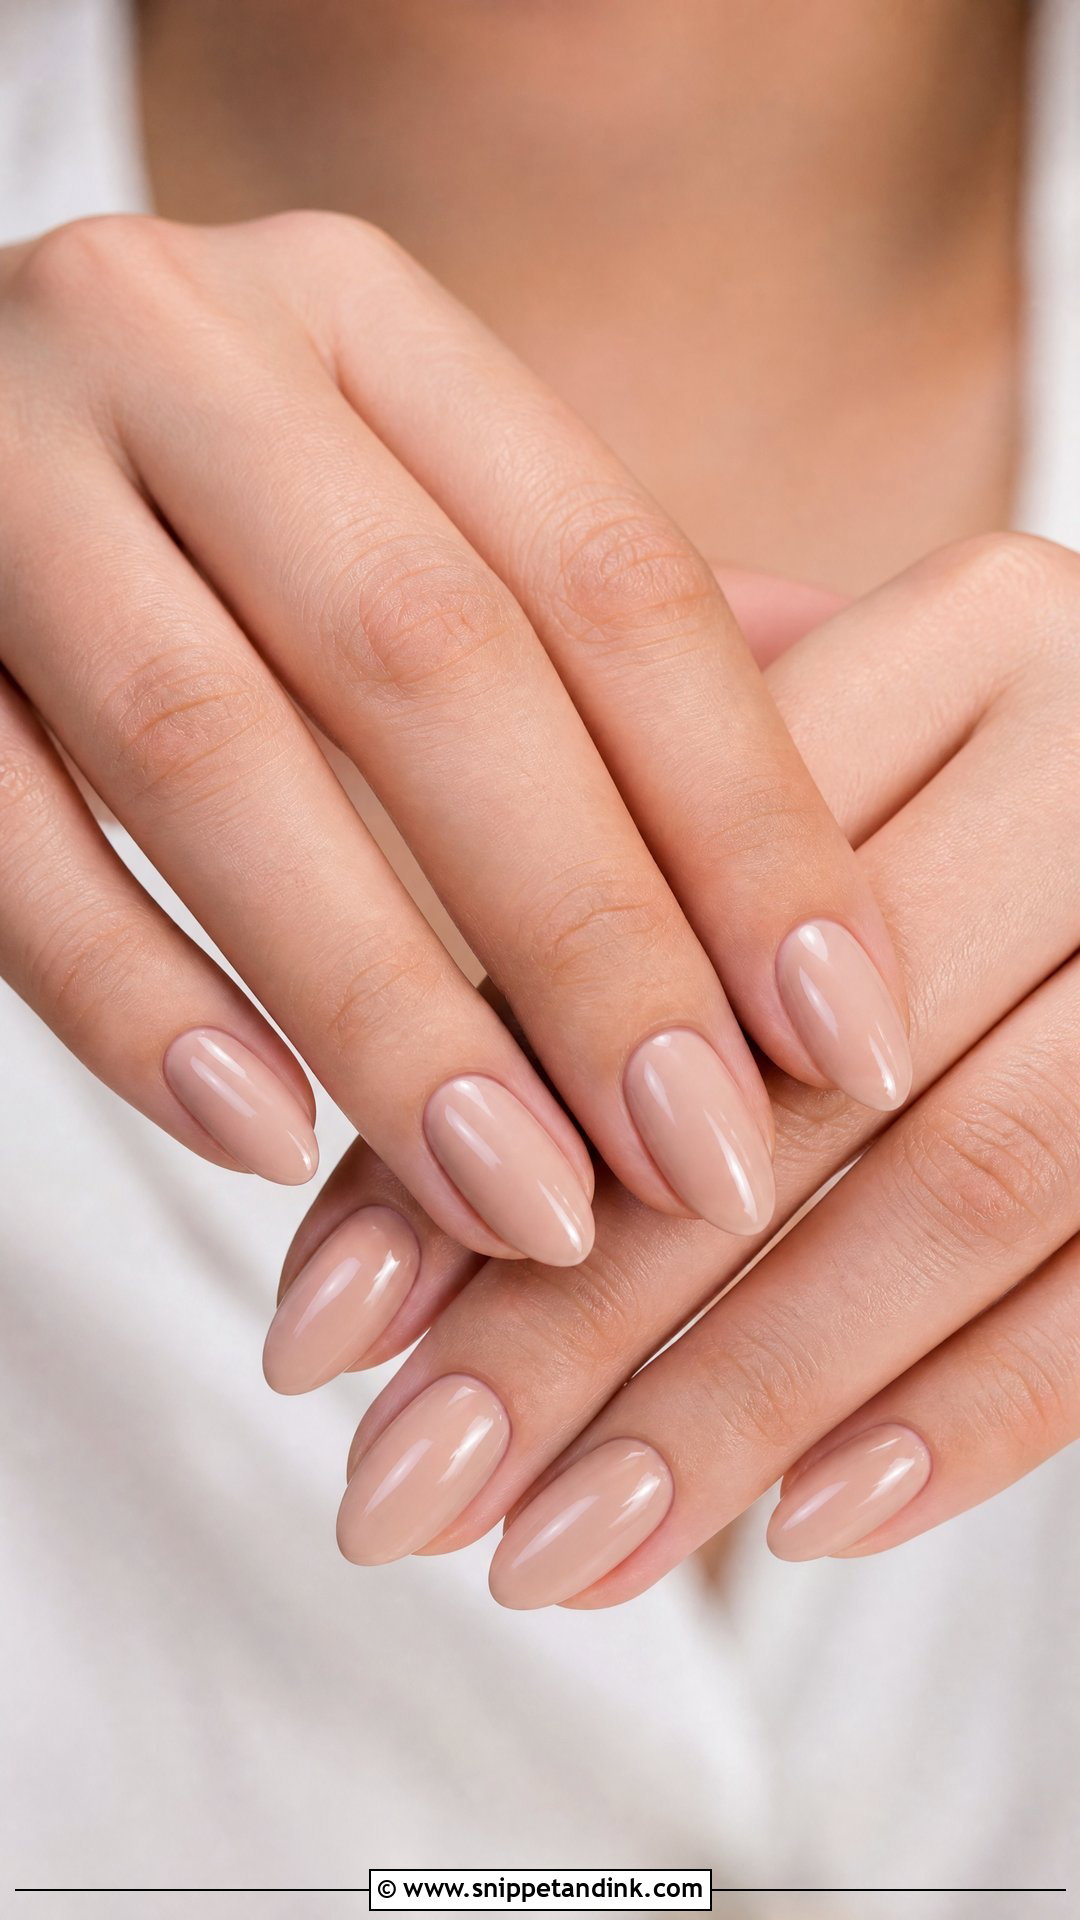
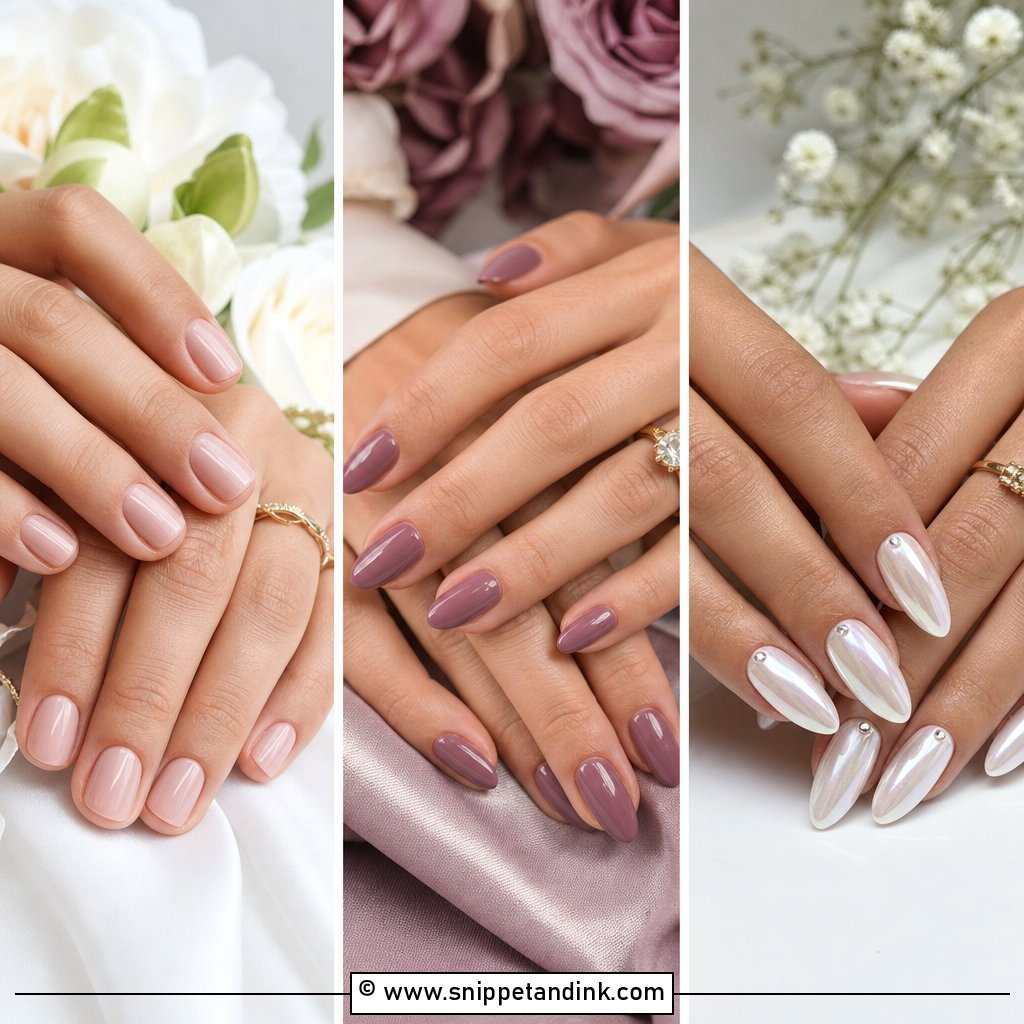
Nude almond is about elongating the fingers without any art at all. The shade is the hard part. I match a nude to your undertone, then compare it against the inside of your wrist: warm beige or caramel for golden skin, rosy nude or cool taupe for pink undertones. Because there’s no contrast at the cuticle, this set hides growth well, which helps if your appointment lands a few days before the wedding. A glossy finish or the faintest micro shimmer is enough.
6. Micro French Wedding Nails
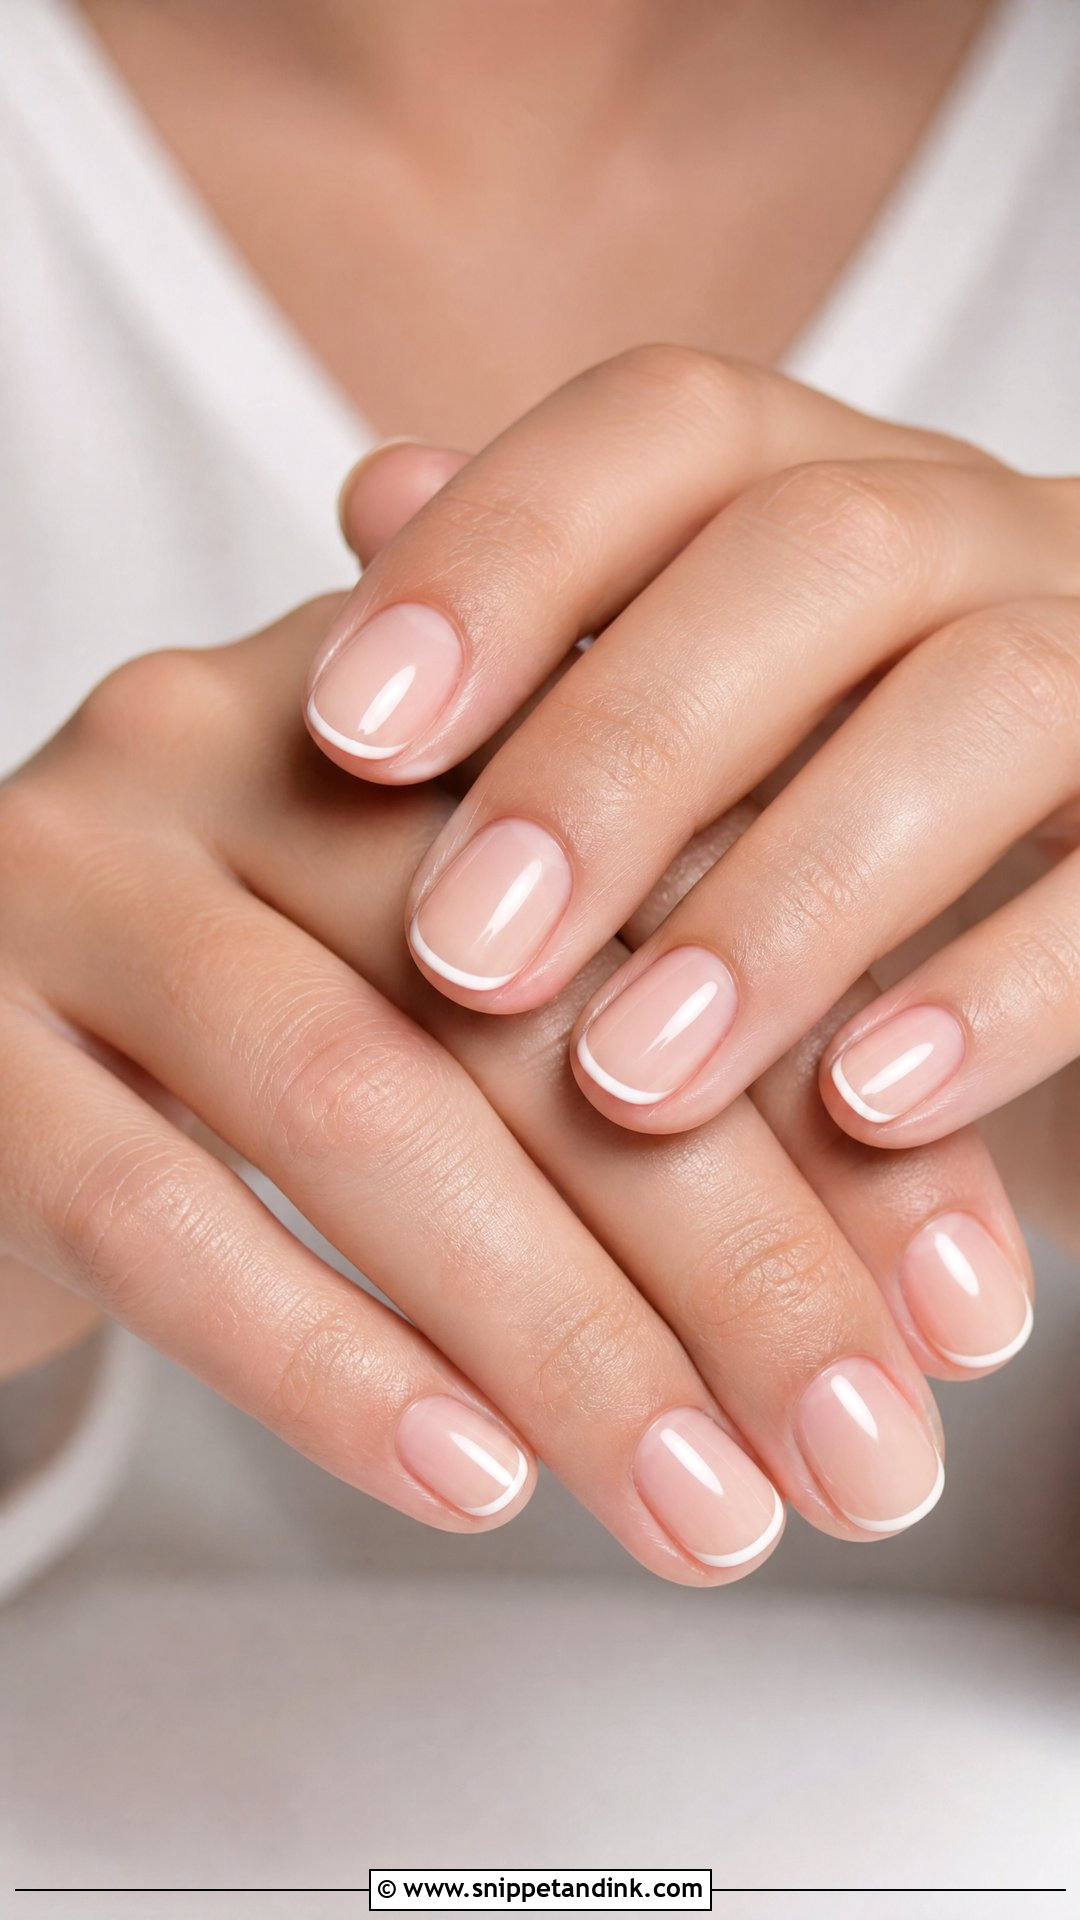
A micro French keeps only a hairline of colour along the free edge. On short nails, it gives the illusion of length without the weight a classic tip adds. I paint these with a long striper brush in one pass per nail, because a thin line shows every wobble. If bright white feels harsh, ivory or a pearl white tip is gentler next to cream fabric.
7. White Chrome Wedding Nails
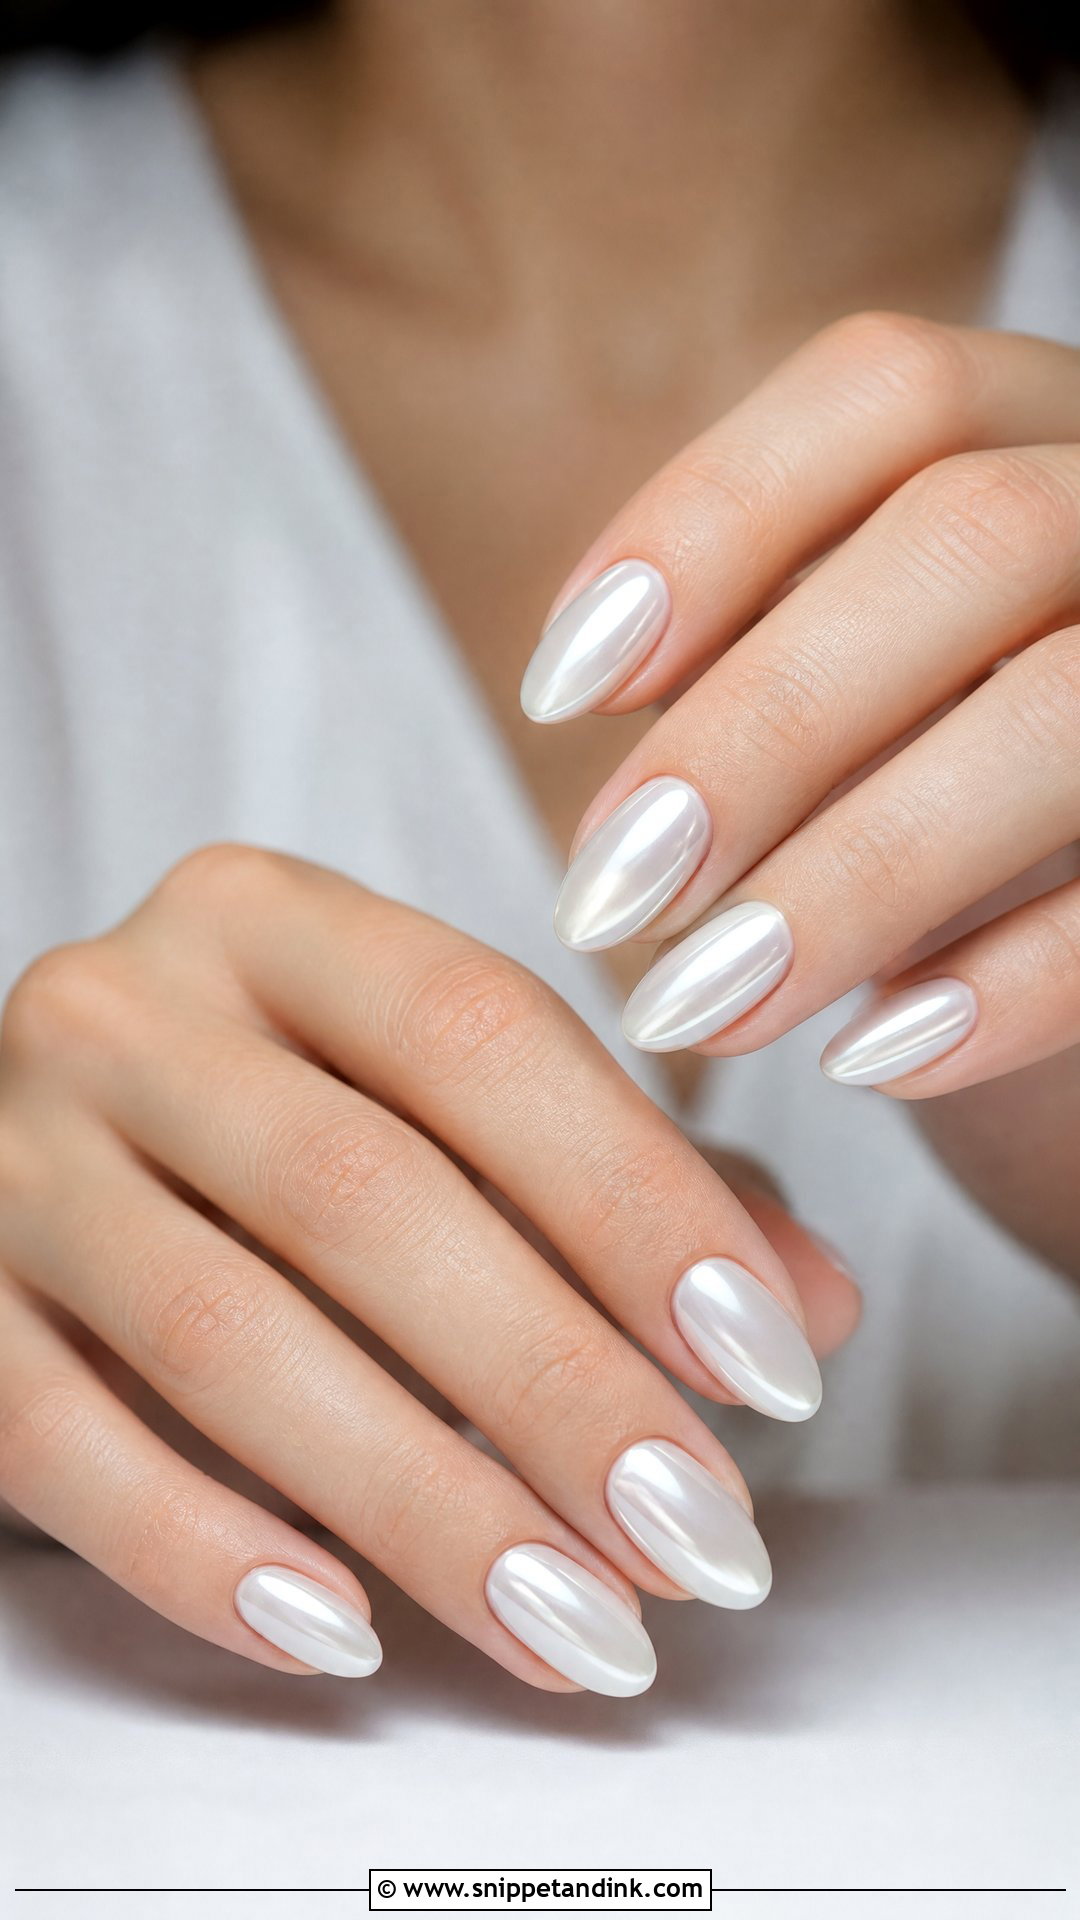
White chrome is the brightest finish here: an opaque white or ivory base with a chrome powder on top. It catches light hard, so it suits satin, crystal or metallic gowns where the dress already has shine. On extreme lengths or stiletto shapes it starts to look futuristic, which is why I keep it to a soft almond or oval for brides. Expect it to show chips more than milky sets, so carry the base shade for touch-ups.
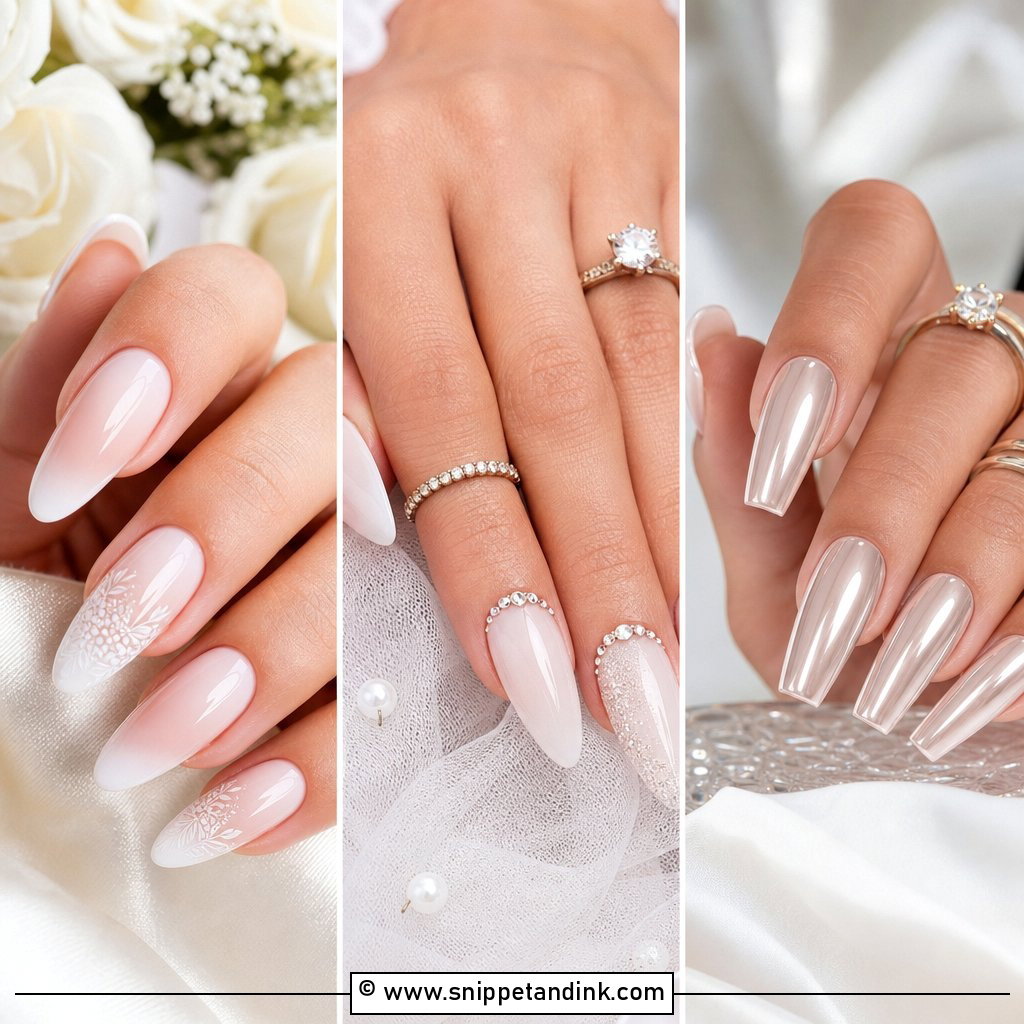
8. Baby Boomer Wedding Nails
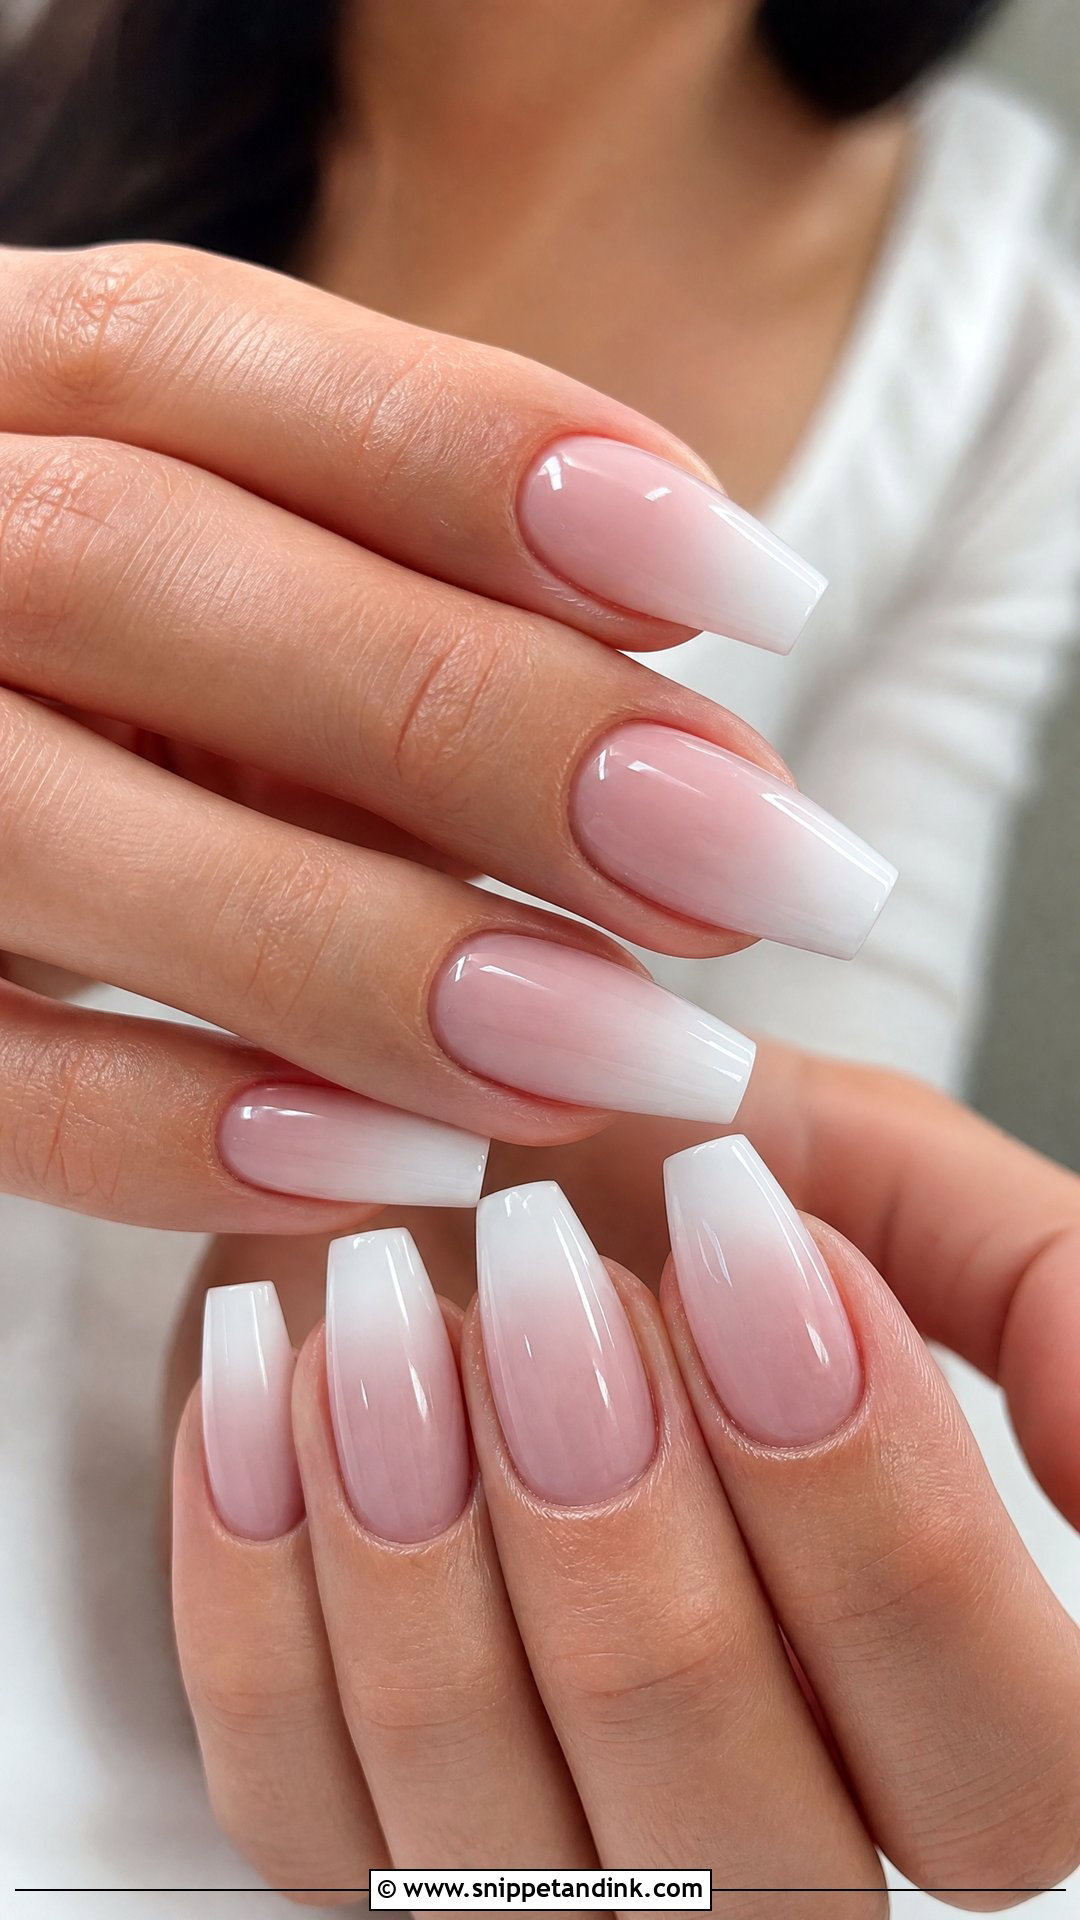
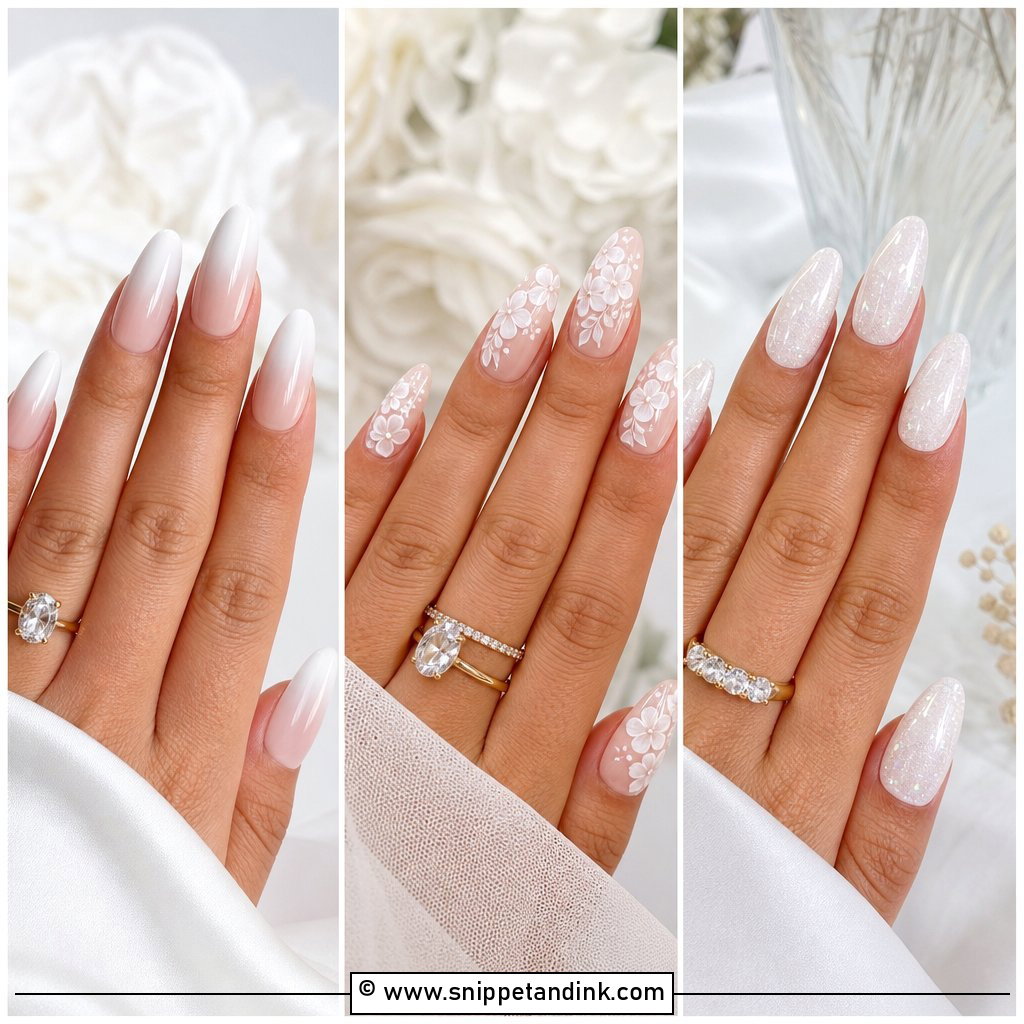
Baby boomer wedding nails, also called French ombre, fade a sheer pink or nude into a white tip with no hard line between them. Because there’s no edge, it forgives a small chip or a few days of growth better than a crisp French. The blend needs room, so it shows best on almond, coffin or oval lengths. Ask for a creamy white fade; bright white makes the gradient look stripy under flash.
9. Lace Wedding Nails
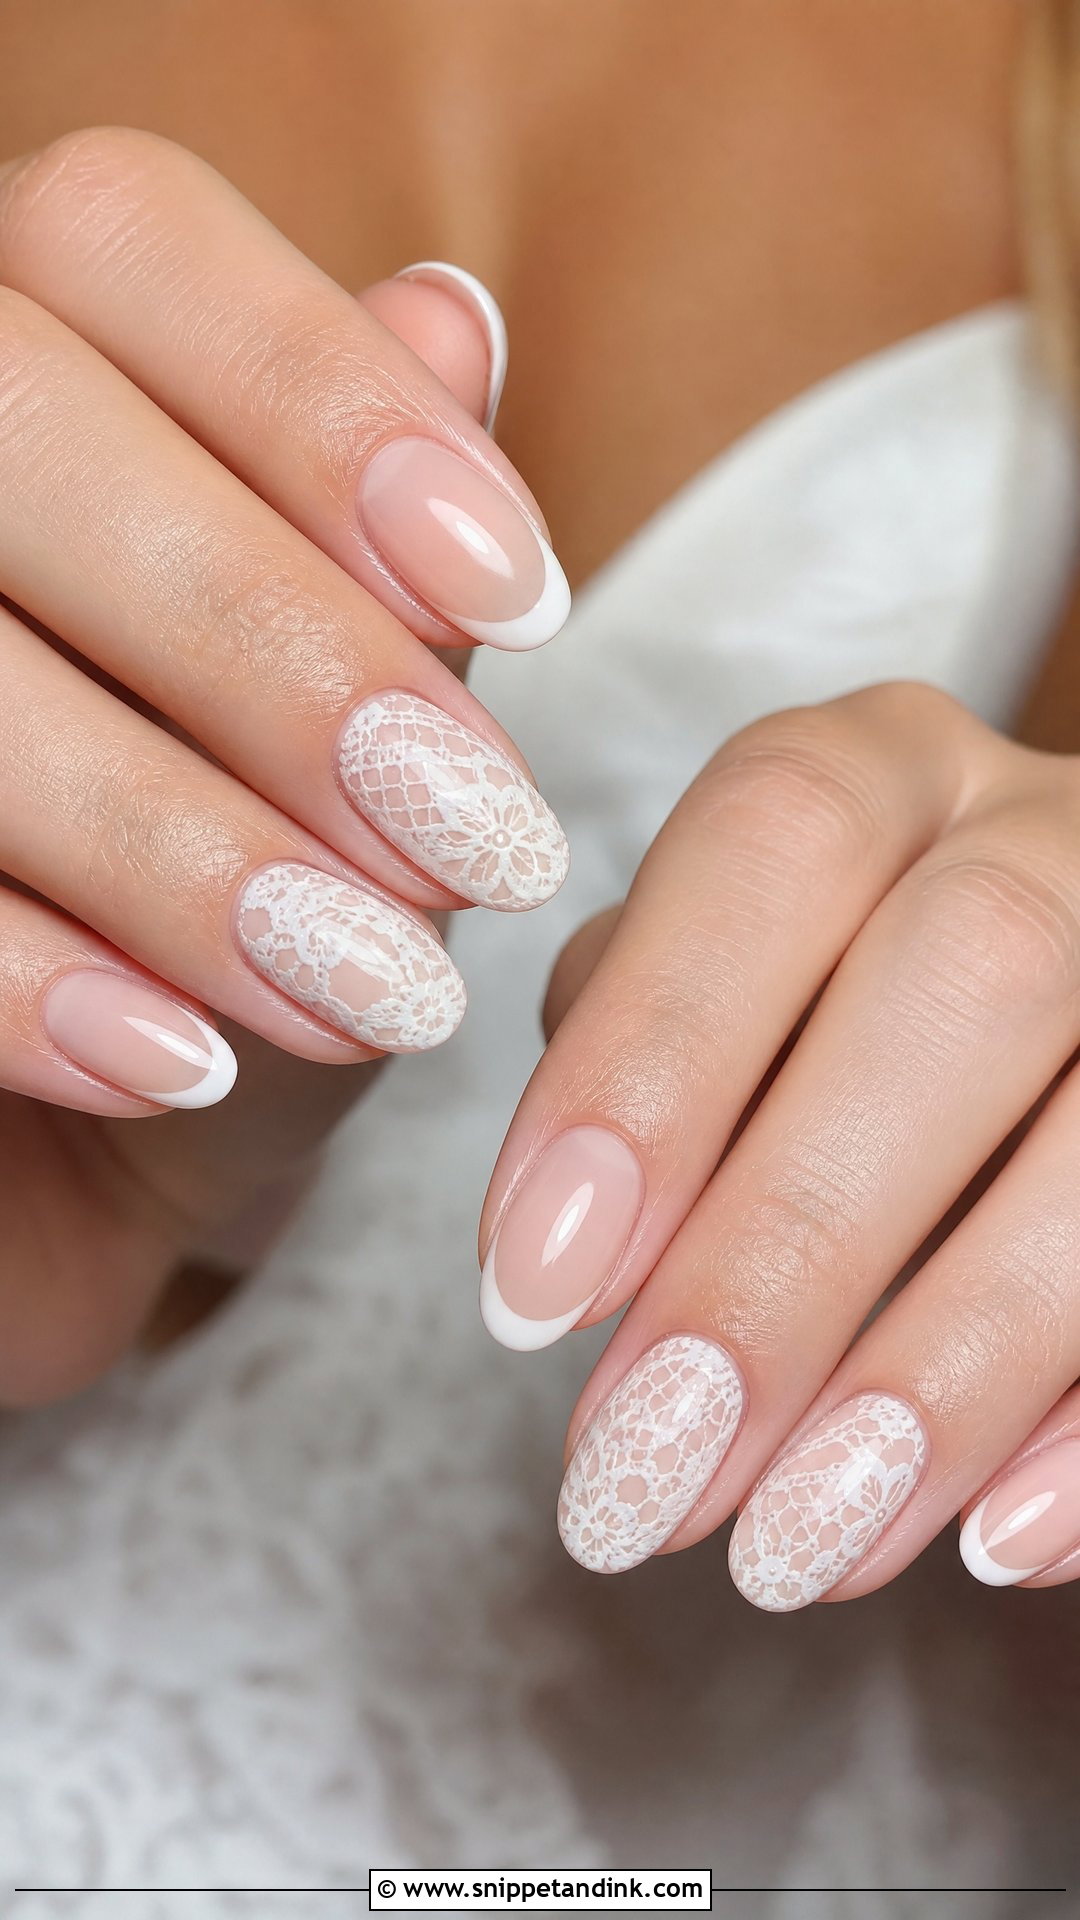
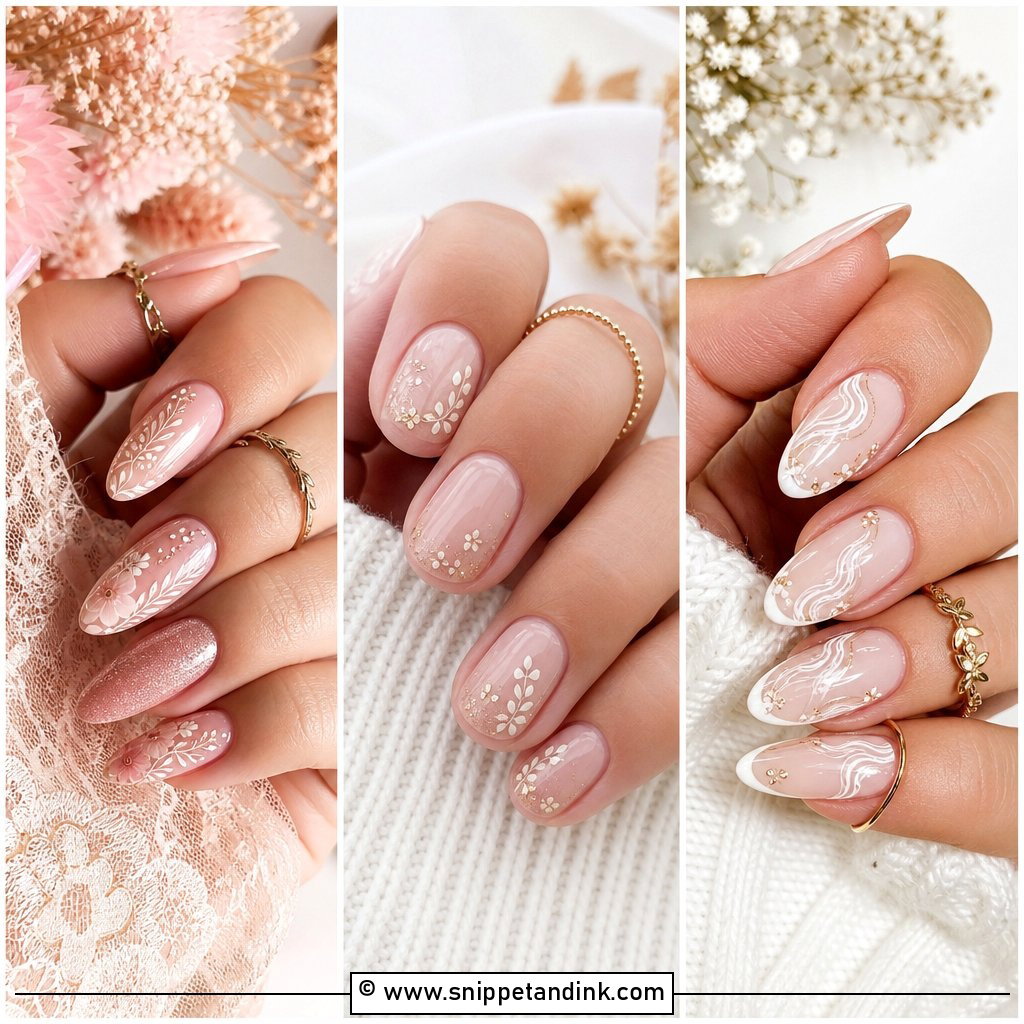
Lace art can be hand-painted, stamped or applied as fine decals. I prefer hand-painting for brides because I can lift one motif straight from the gown, but stamping gives sharper repeats if you want a fuller pattern. Either way, limit the lace to two or three nails and leave the rest glossy. Covering all ten makes the hand look busy, and the detail is lost in anything but a macro shot.
10. Floral Wedding Nails
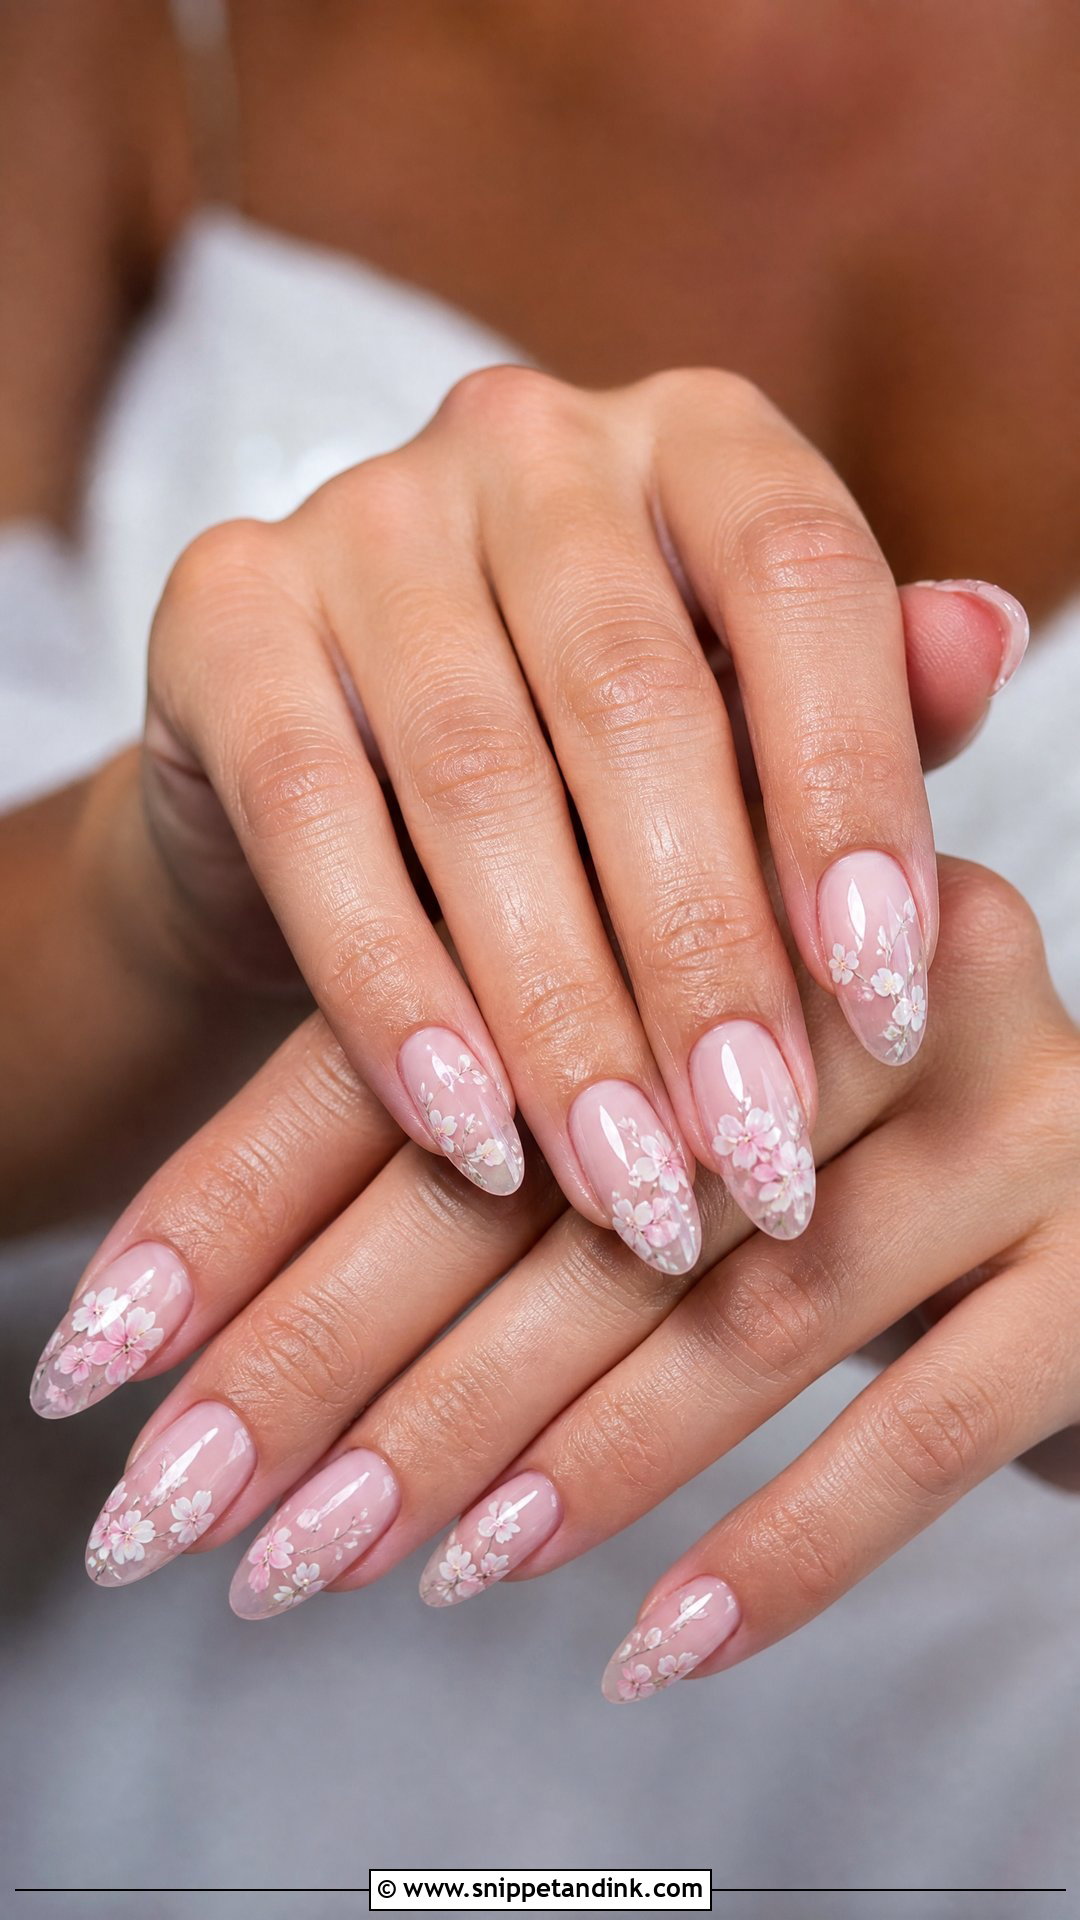
Tiny white, blush or ivory flowers over a sheer base read as garden-inspired rather than childish, as long as they stay small. Green stems need to be barely there, a single fine stroke, or they start to look like a kids’ craft. Florals suit spring and summer and pick up embroidered or floral lace dresses. Keep the shape soft, almond or rounded, so the petals follow the curve.
11. Pearl Accent Wedding Nails
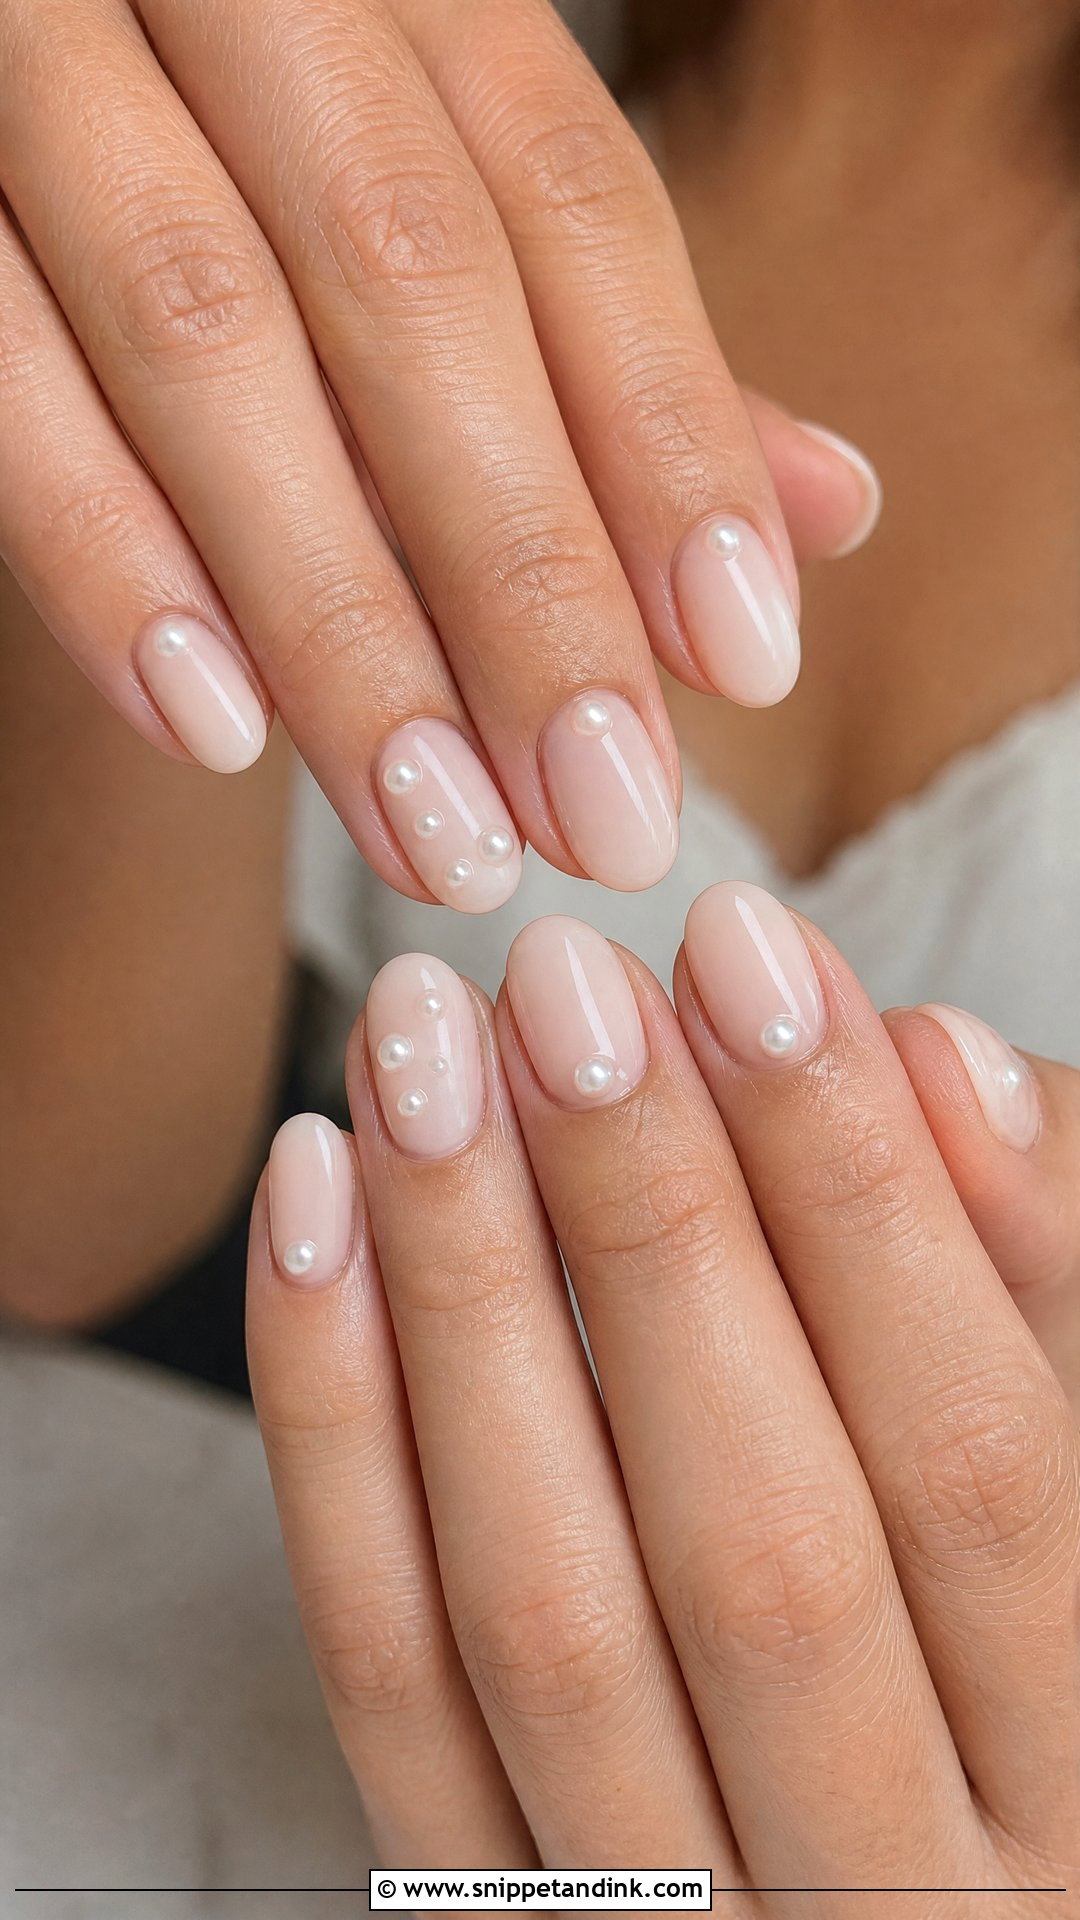
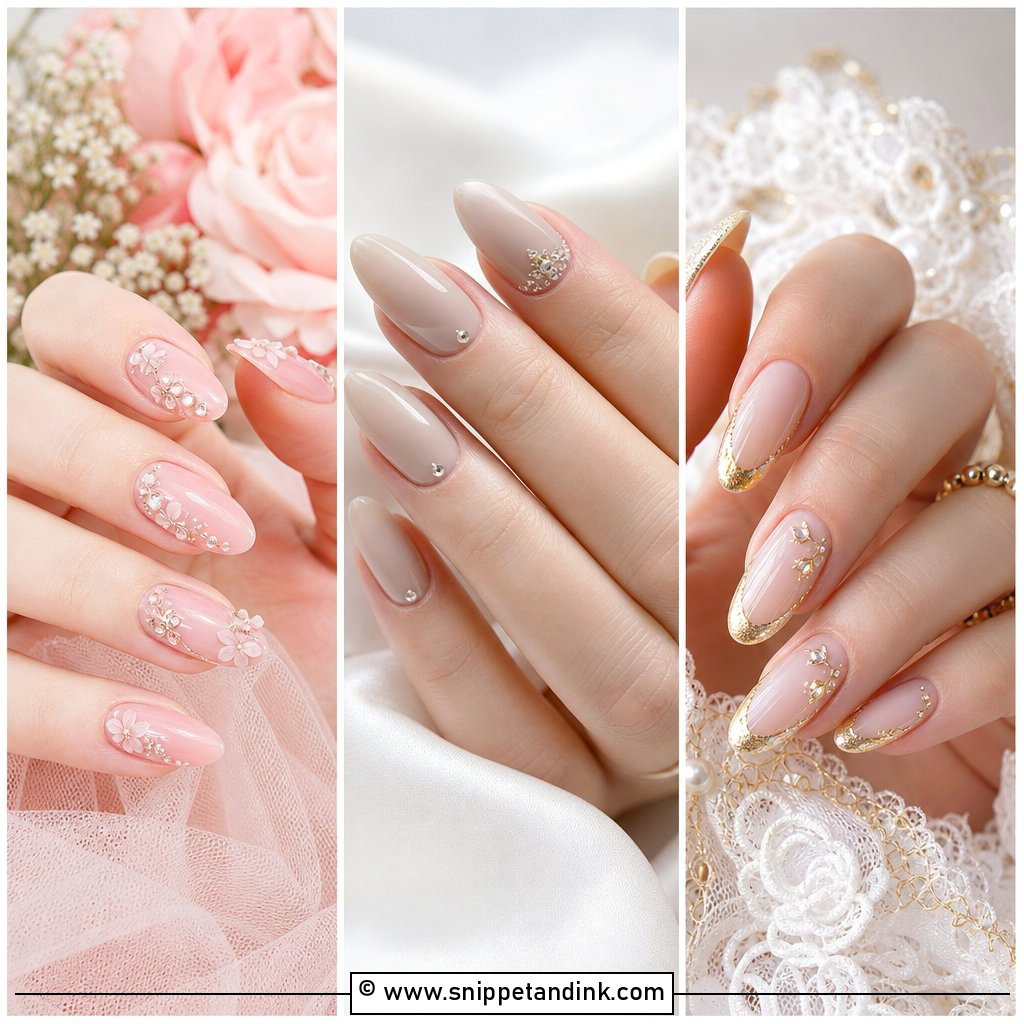
Small pearls give a raised detail without turning the set into jewellery. I place them near the cuticle, along the French line or on one feature nail, and I sink each one into a bead of thick gel so the sides are sealed. Loose-edged pearls catch tulle and pop off when you dig in a clutch. Pair them with short oval or medium almond nails and leave the other nails plain, so the pearls look chosen rather than scattered.
12. Glitter Ombre Wedding Nails
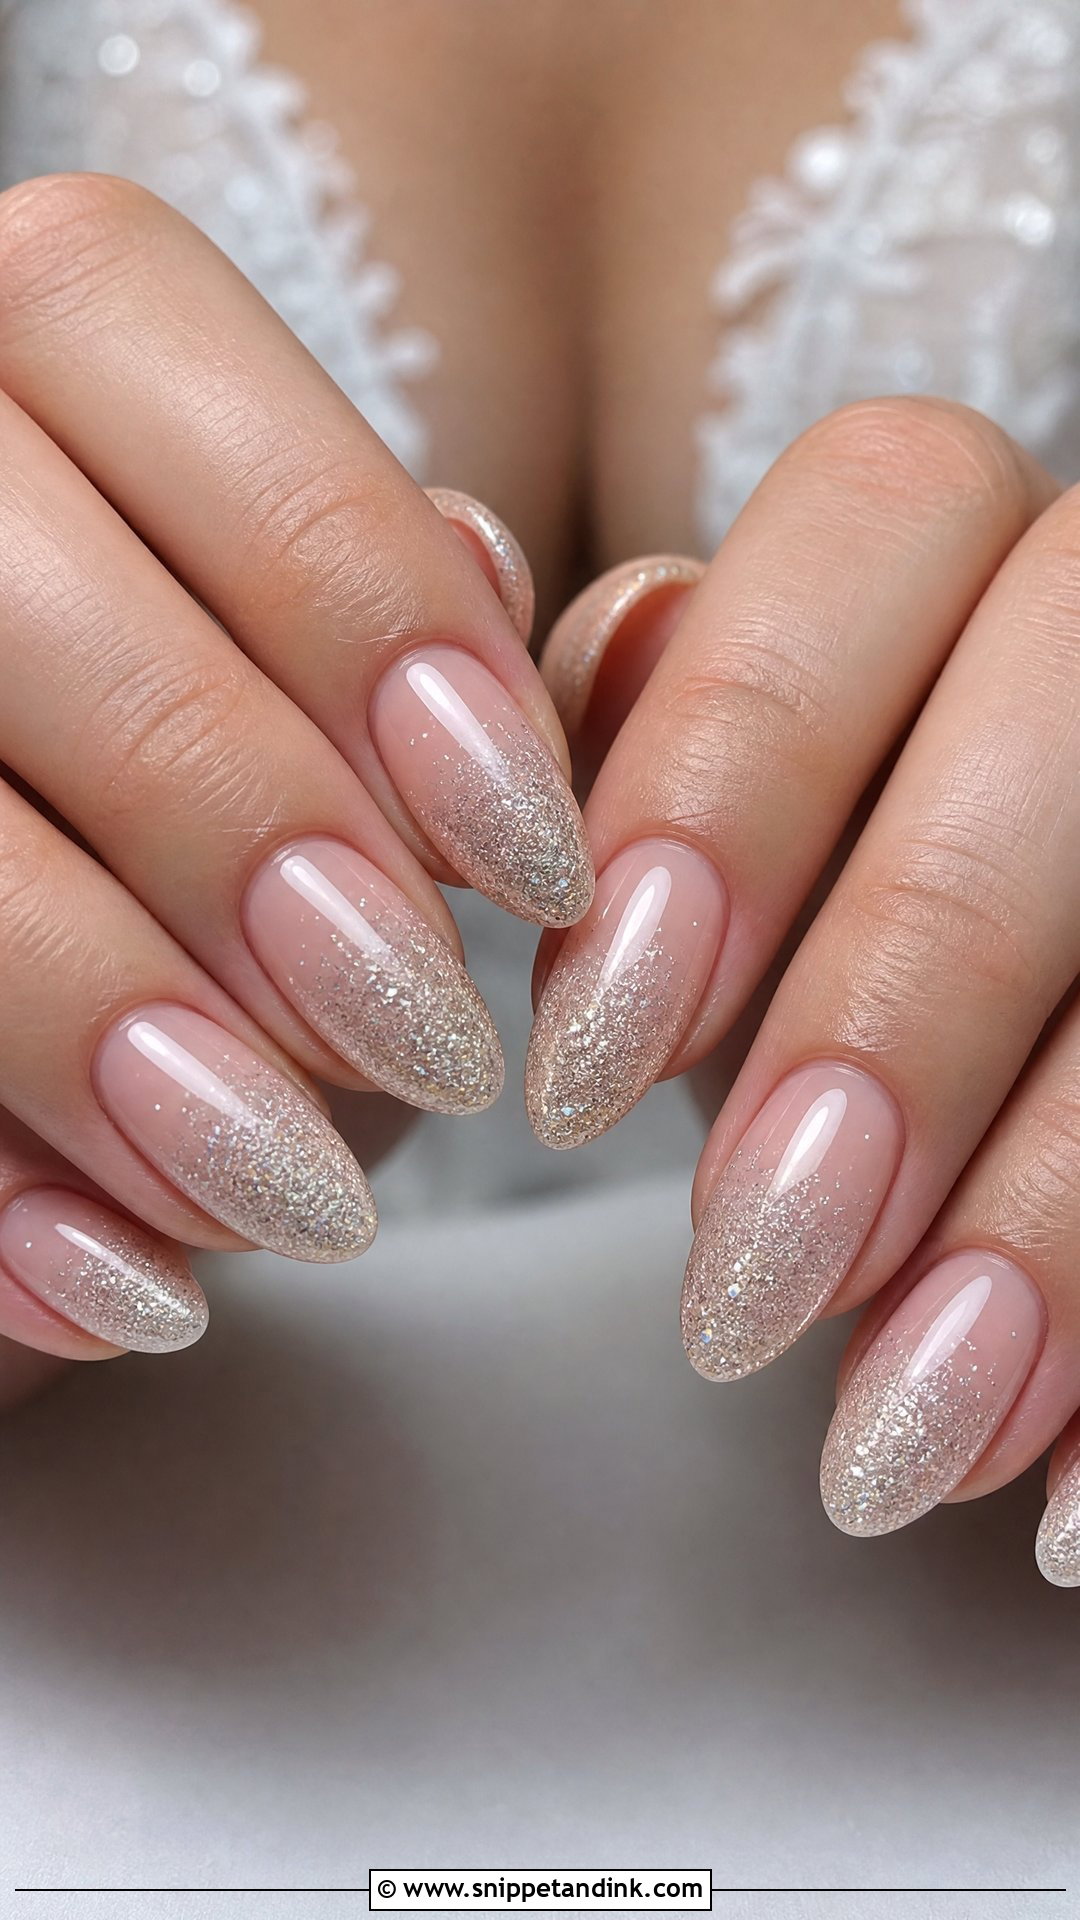
Glitter ombre wedding nails fade fine shimmer from the tip or cuticle into a sheer base, so the sparkle catches light without covering the nail. Silver, champagne, rose gold and pearl particles are the bridal ones. I always pick a fine glitter over chunky, partly for looks and partly because chunky glitter takes far longer to soak off afterwards. This suits dresses with a little sparkle of their own.
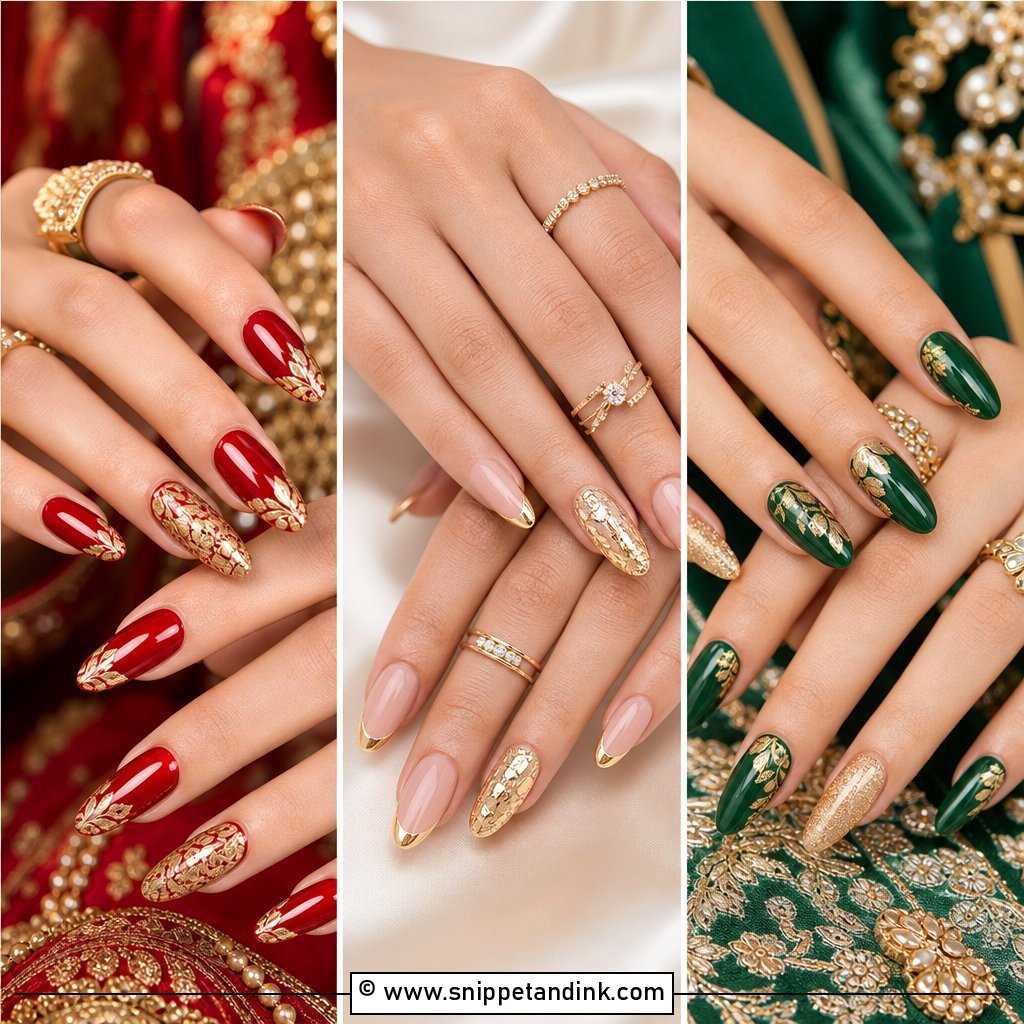
13. Gold French Wedding Nails
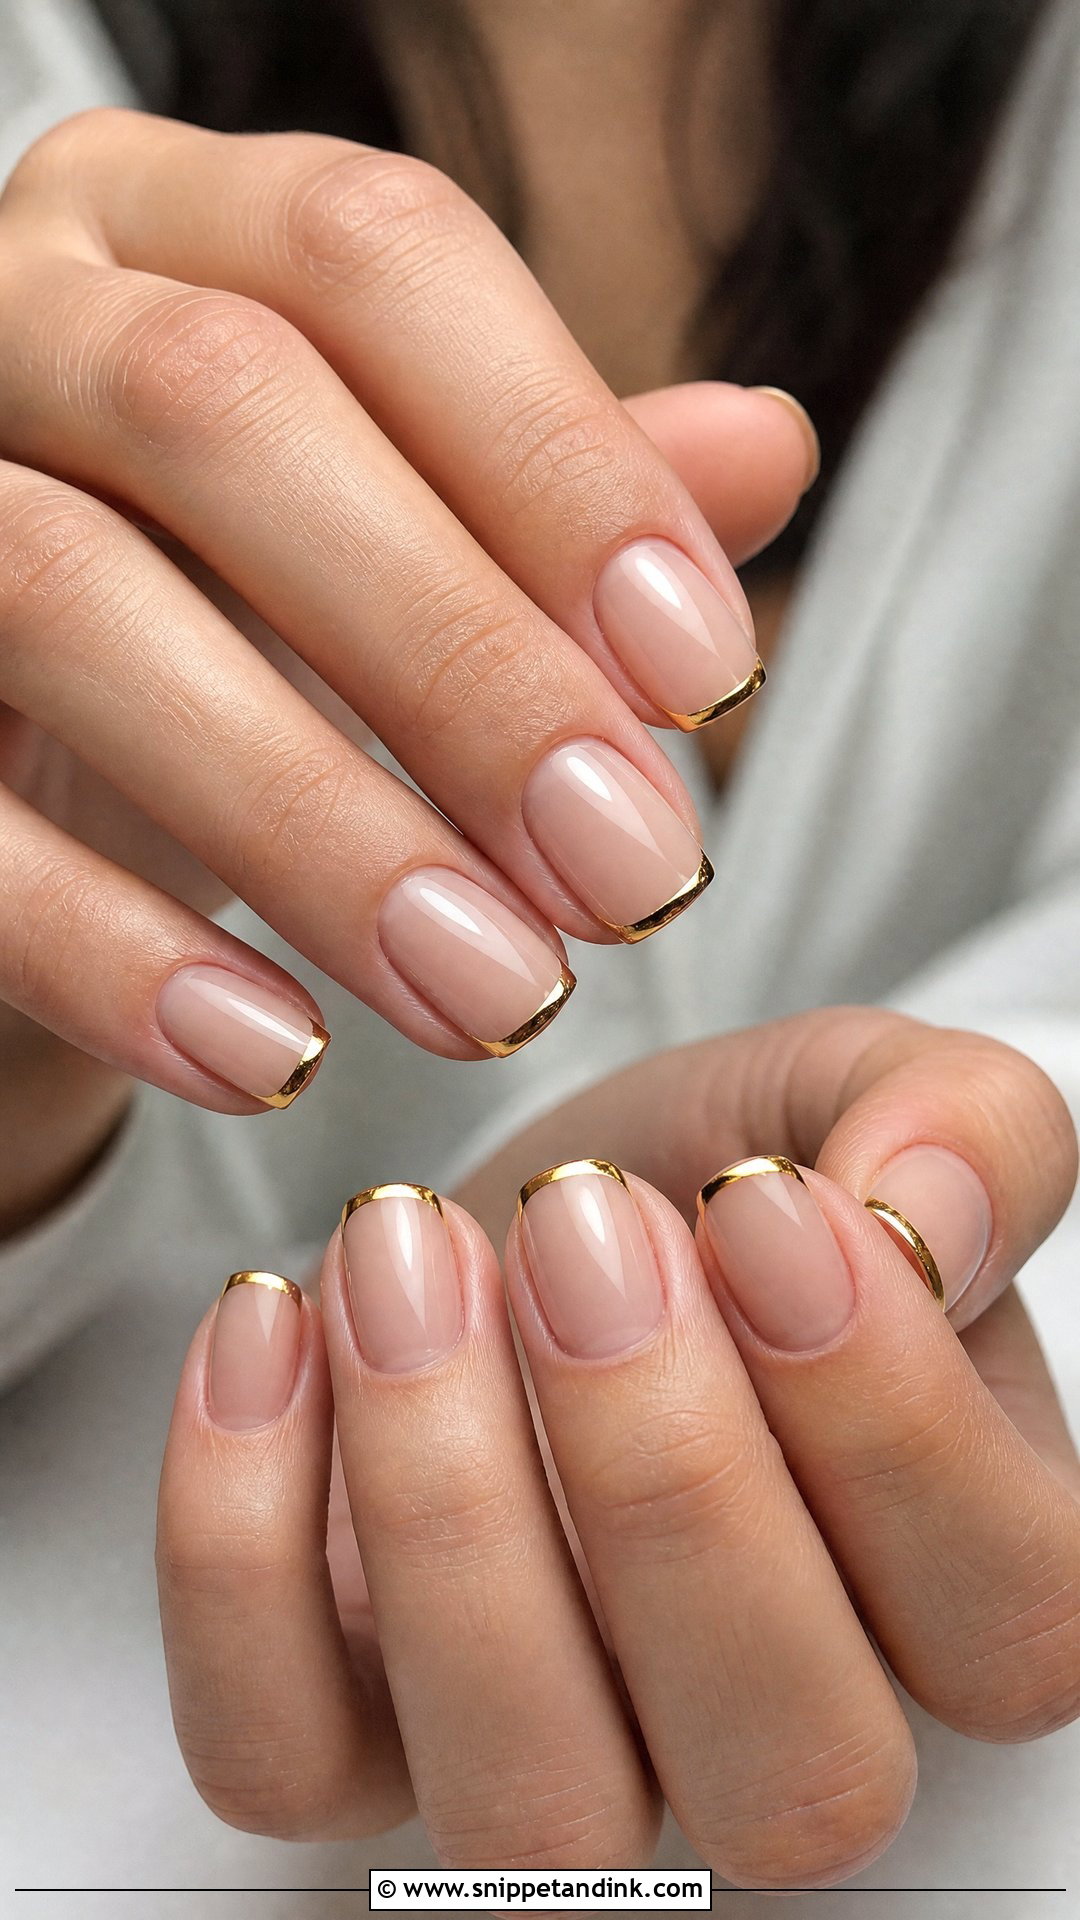
A gold French swaps the white tip for a slim metallic line, so the manicure picks up gold jewellery, hair pins or shoes. Keep it thin. A wide gold tip reads as costume. I paint the line with a metallic gel rather than foil when brides want it to last, because foil edges can lift by the second week. Champagne gold is gentler than yellow if your dress is pale ivory.
14. Silver French Wedding Nails
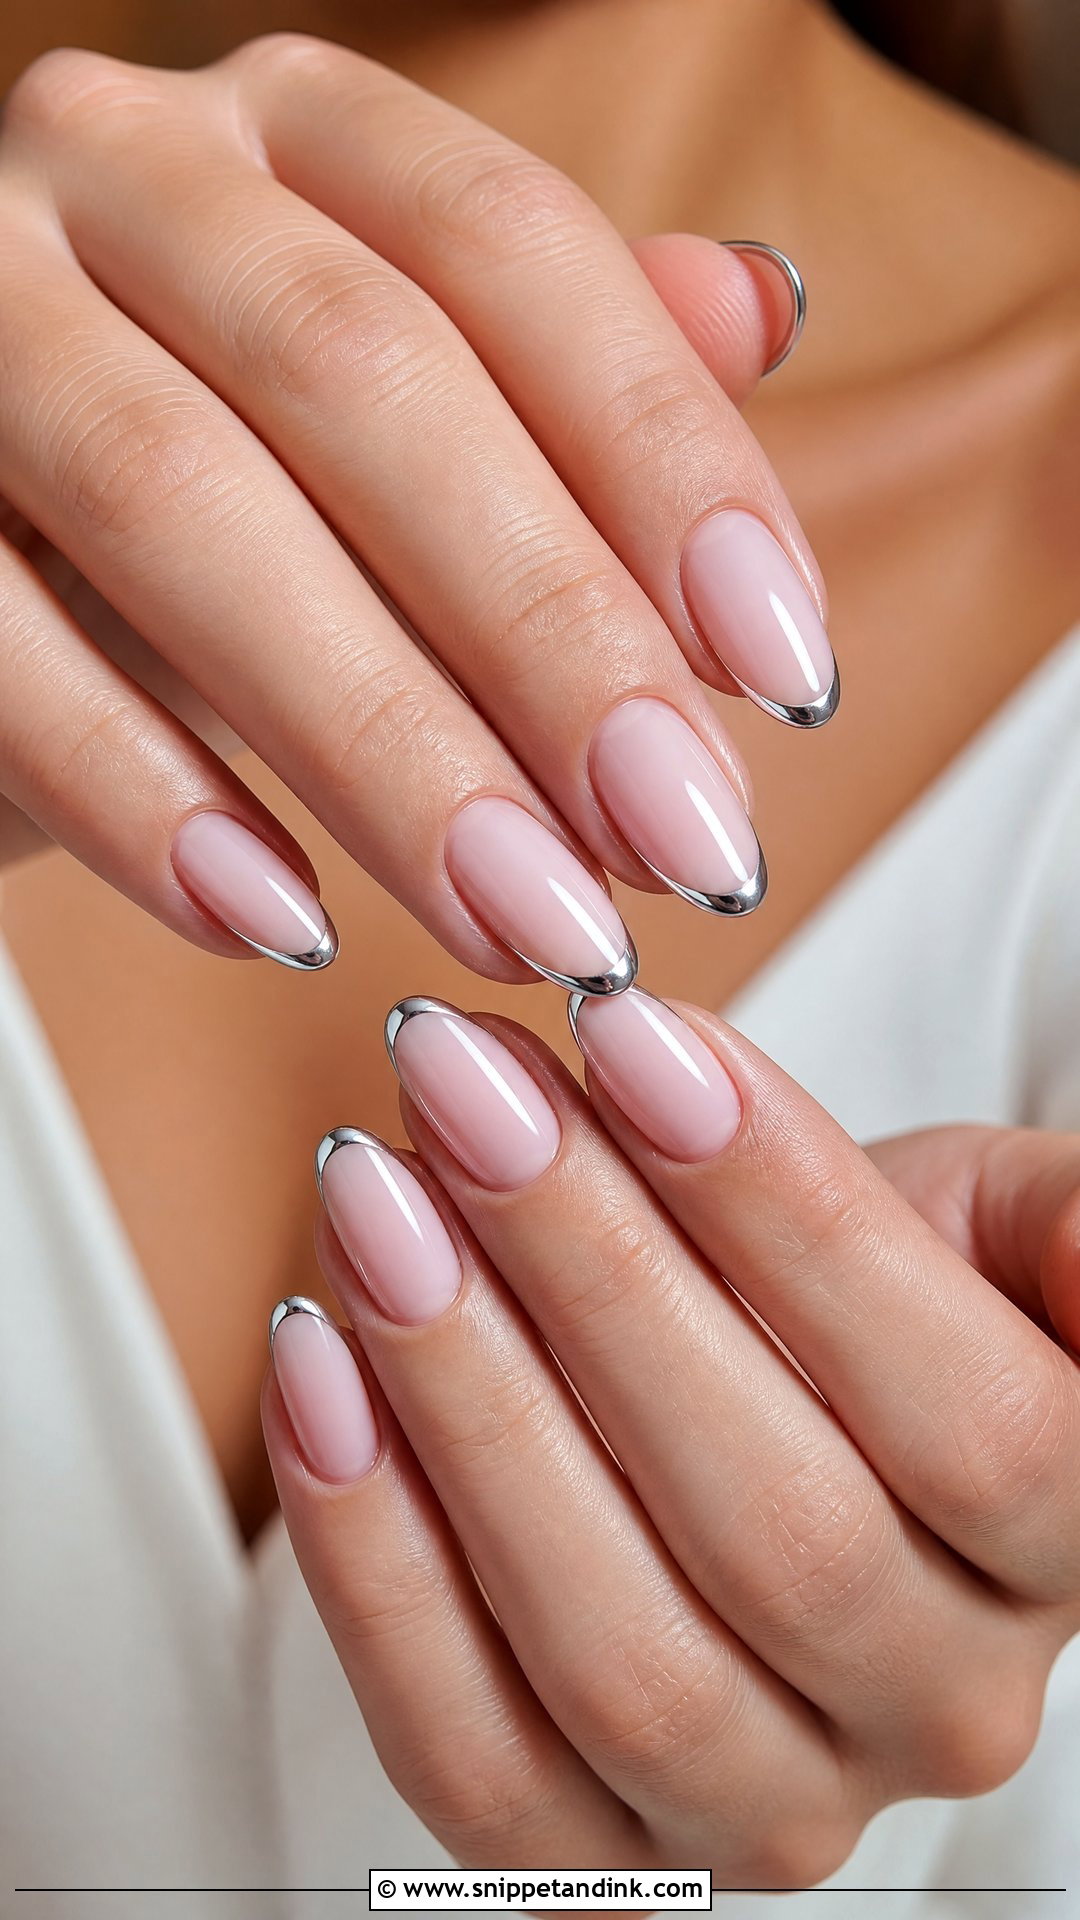
Silver tips belong beside platinum and white gold, and next to cool white or crystal-trimmed gowns. A micro silver tip is delicate; a wider reflective line is more evening. Use a metallic gel or chrome, never chunky glitter, so the edge stays clean in ring photos. If you’re not sure, try silver on the tip of the ring finger only and see whether you want more.
15. Something Blue Wedding Nails
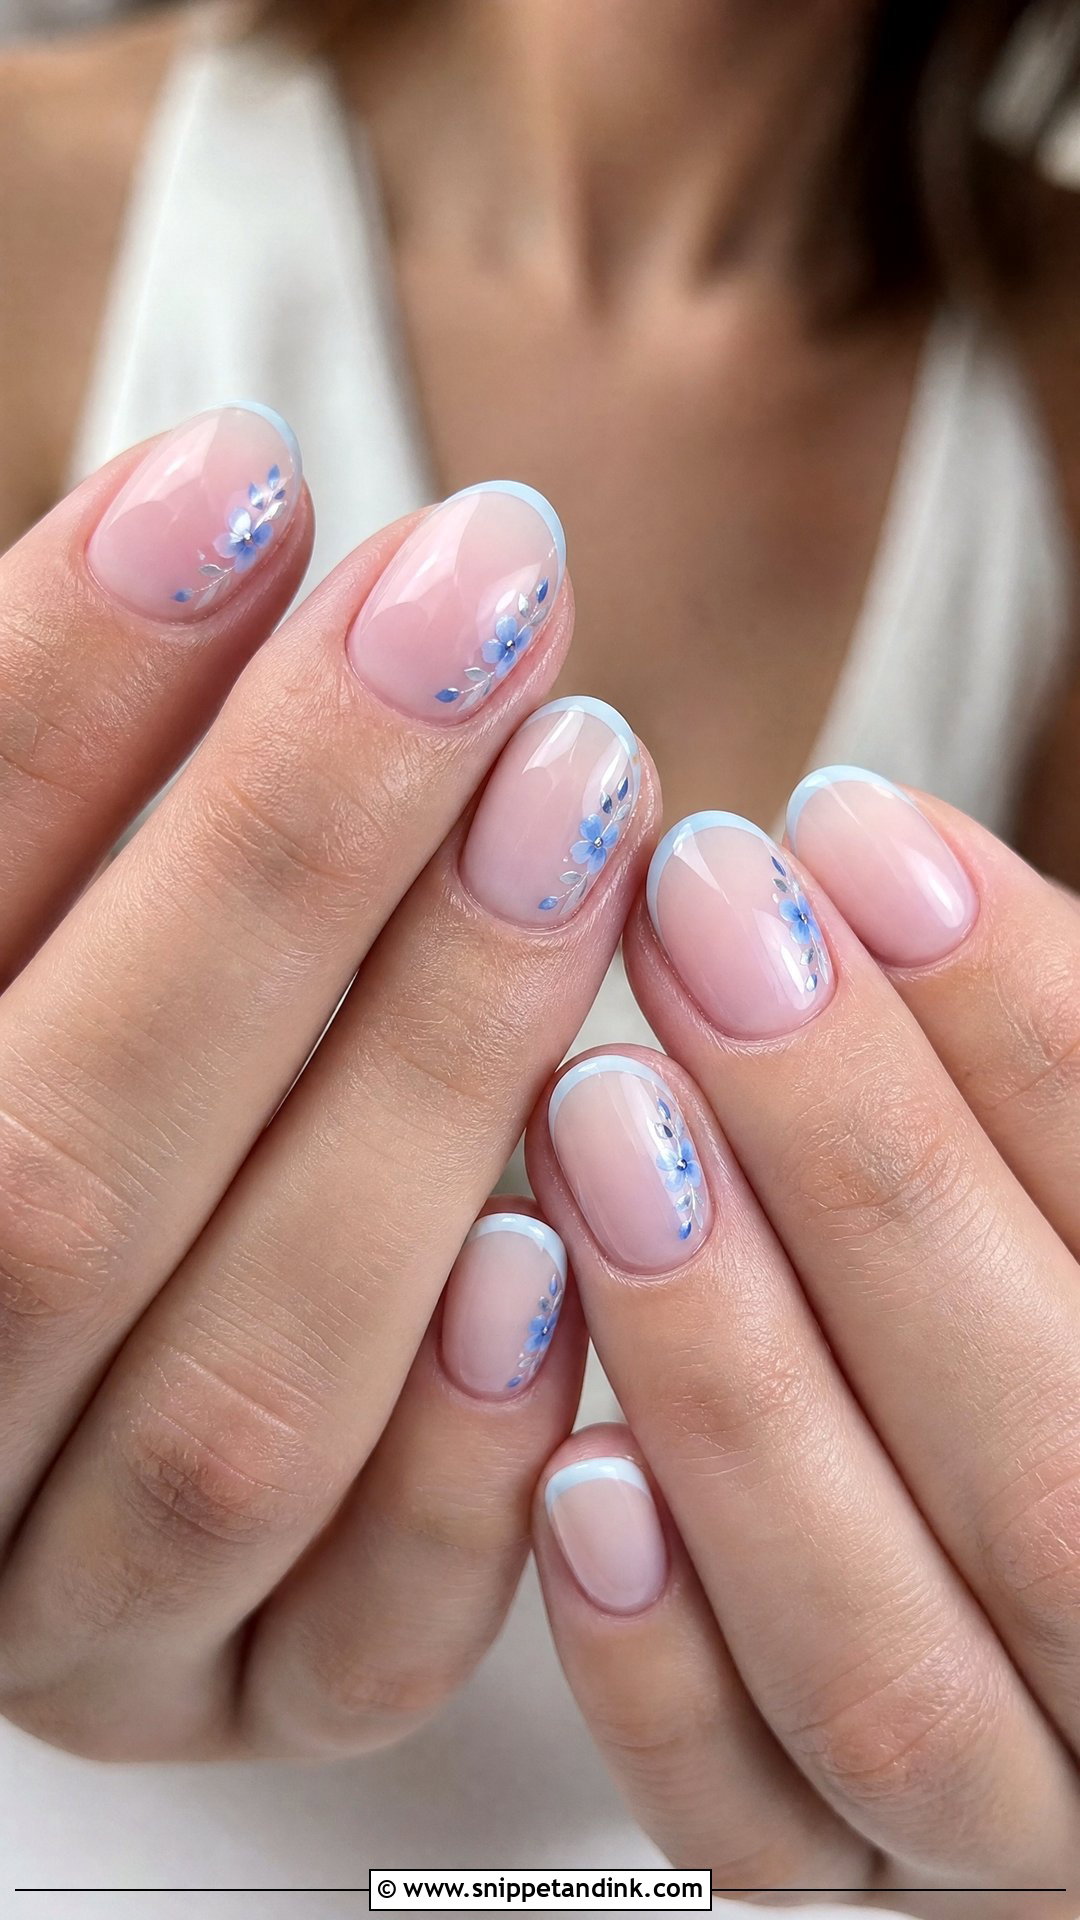
The blue here should be easy to miss in a wide shot and obvious in a close-up. Keep most nails sheer pink, nude or milky, and put powder or icy blue into a micro tip, a small flower or a few dots on one nail. Brighter royal blues can pull focus from the ring. This also works for bridesmaids if blue is in the palette, in a slightly stronger dose than the bride wears.
16. Short Wedding Nails
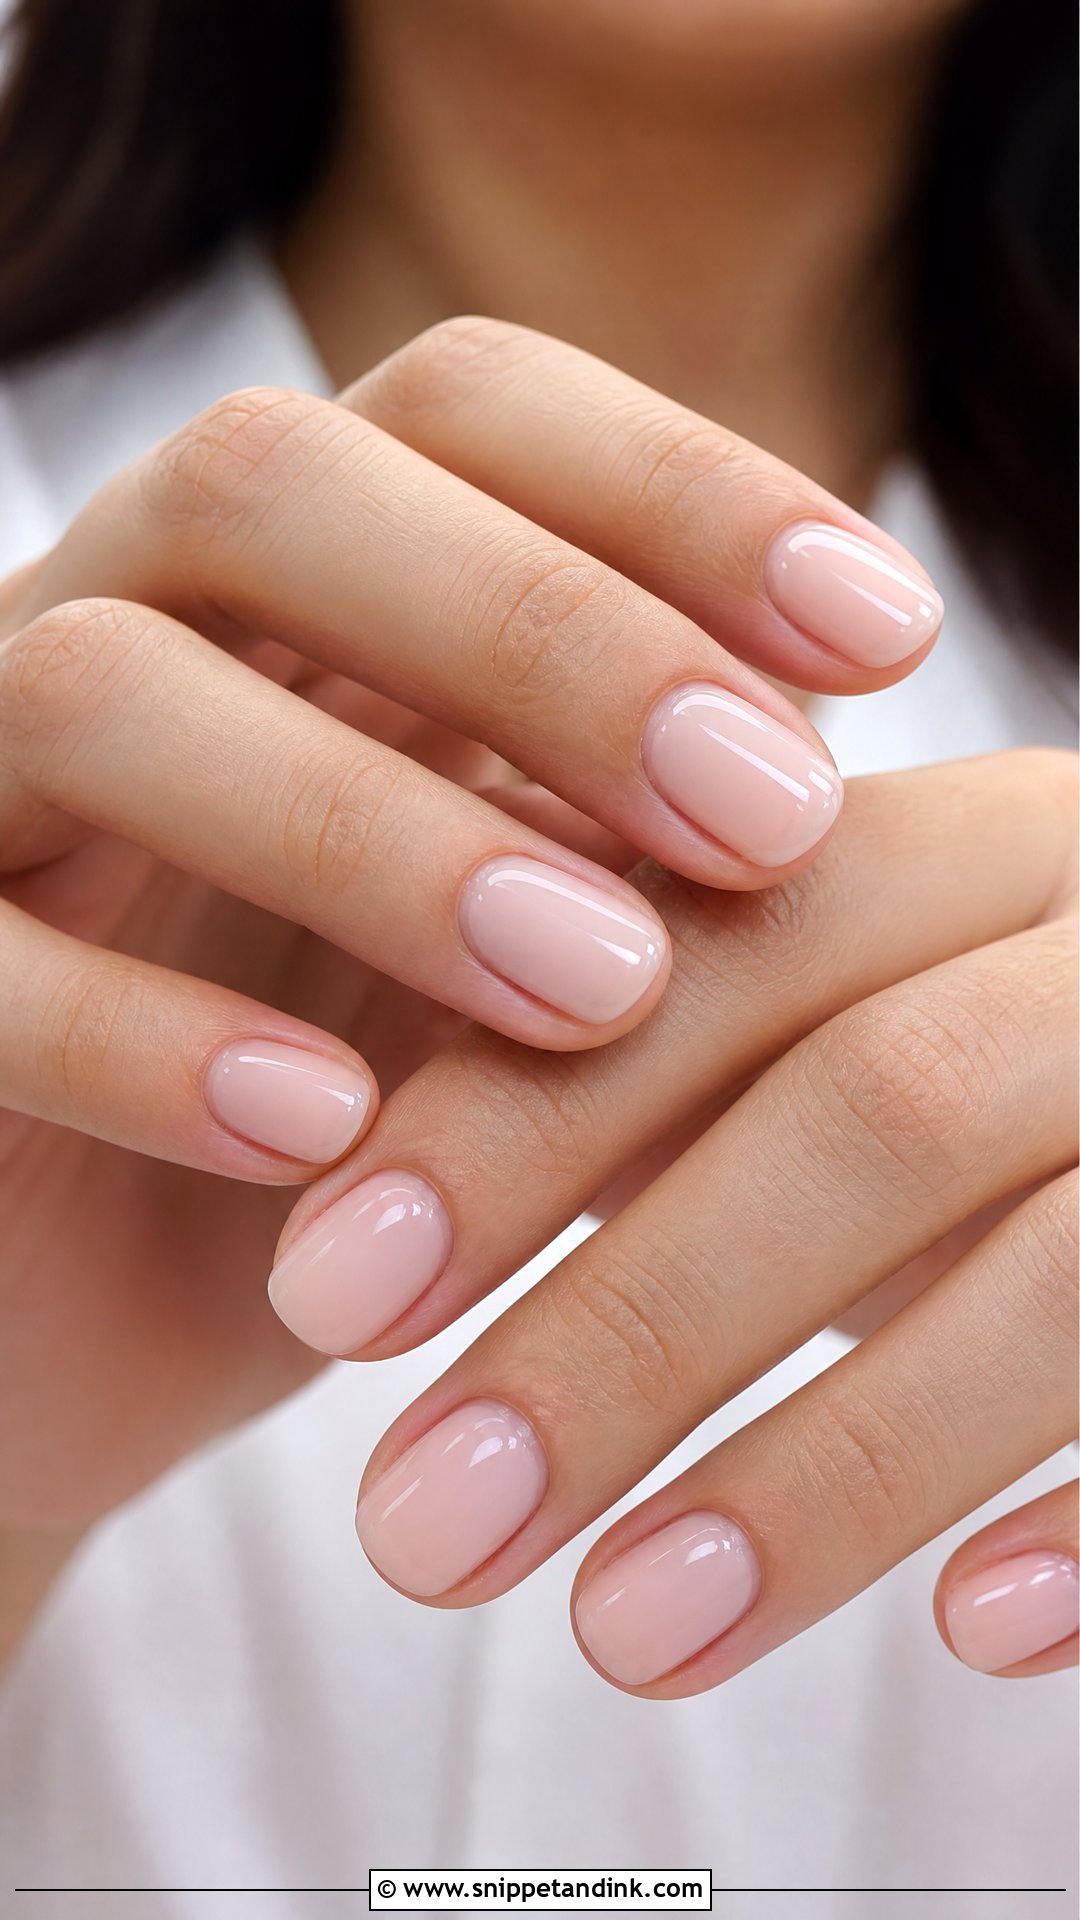
A short set looks bridal when the shaping and cuticle work are immaculate, because there’s no length to distract from them. Rounded, squoval and soft oval shapes all suit; sheer pink, milky white, nude gloss, micro French tips and pearl chrome make short nails look deliberate. I spend most of the appointment on the cuticles and sidewalls for short sets. If you’ve never worn extensions, this is the easiest to live with on the day.
17. Almond Wedding Nails
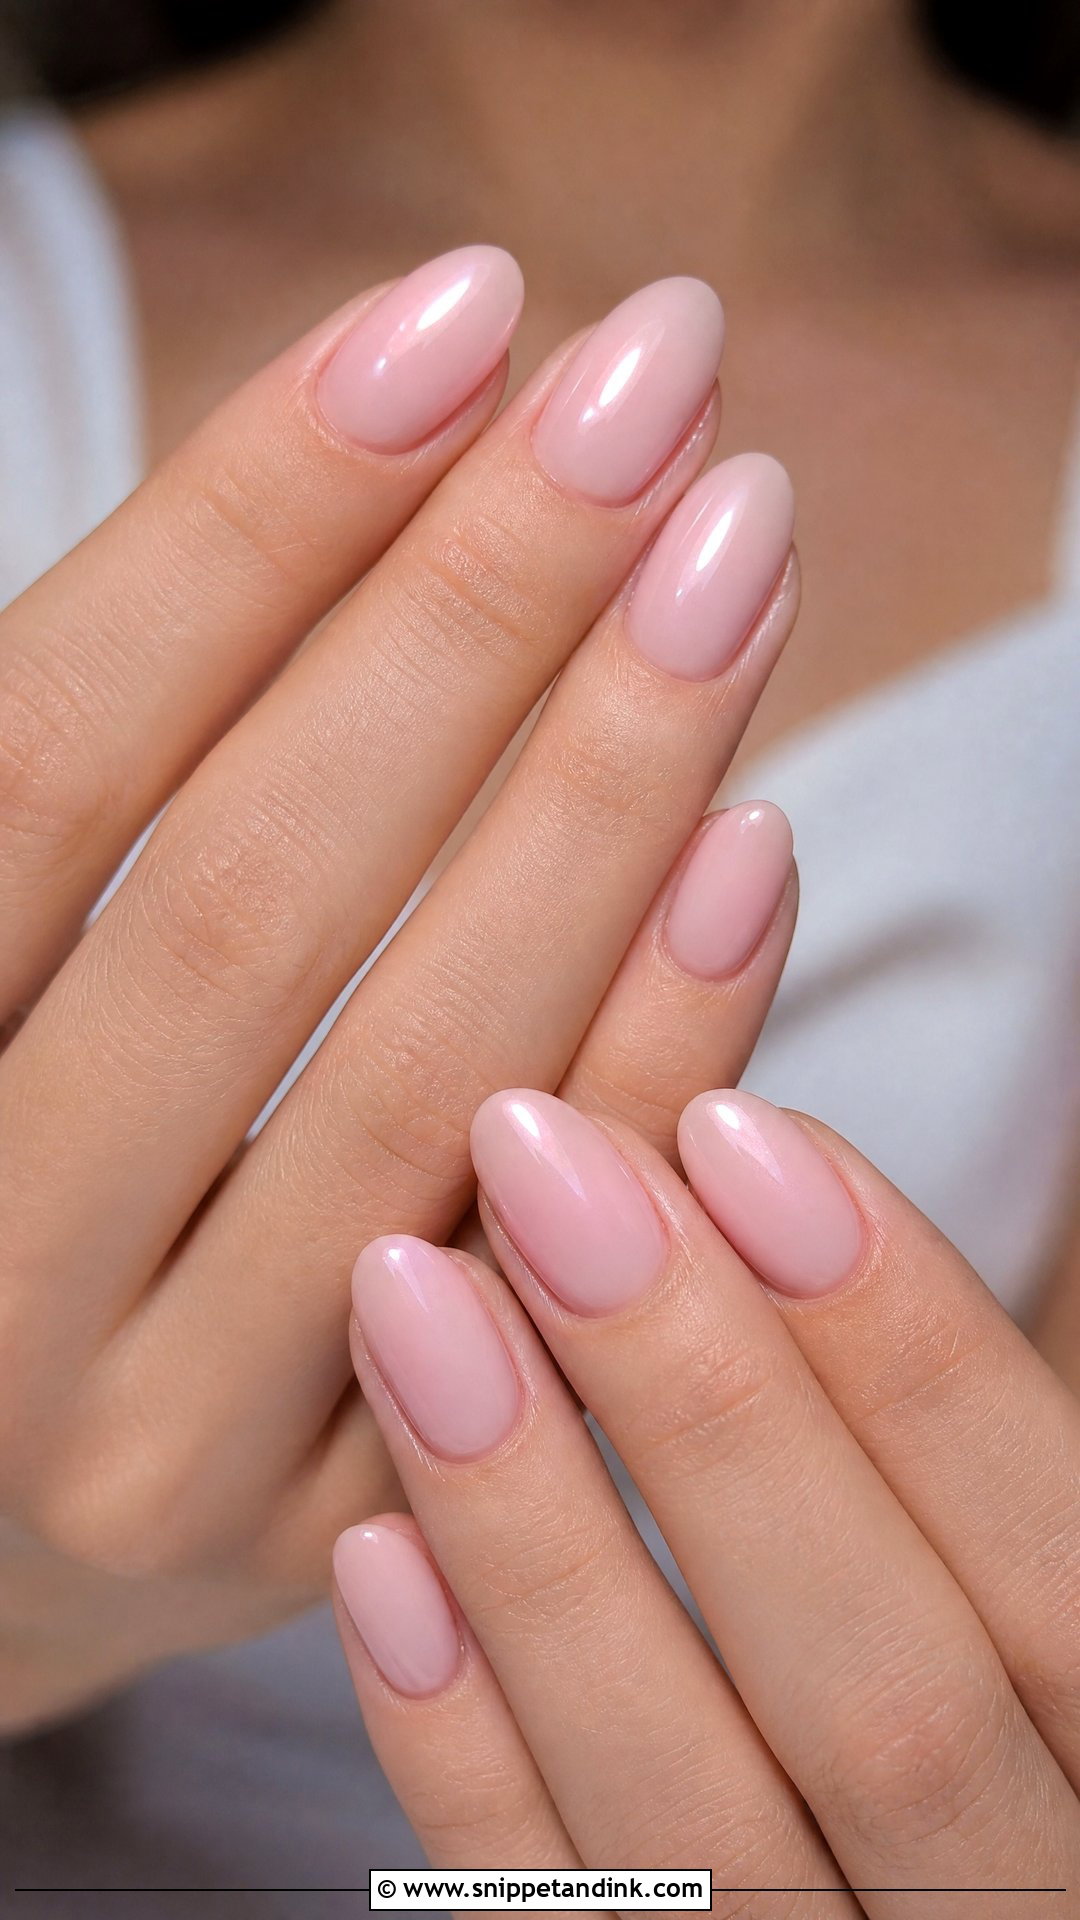
Almond wedding nails slim the fingers with a tapered side and rounded tip that won’t snag lace. Almost every design on this list fits the shape, from milky white to baby boomer to fine metallic lines. Medium length is the practical choice. Very long almond tips look graceful in photos, but they make buttons, earring backs and bustle hooks harder for you on the morning.
18. Oval Wedding Nails
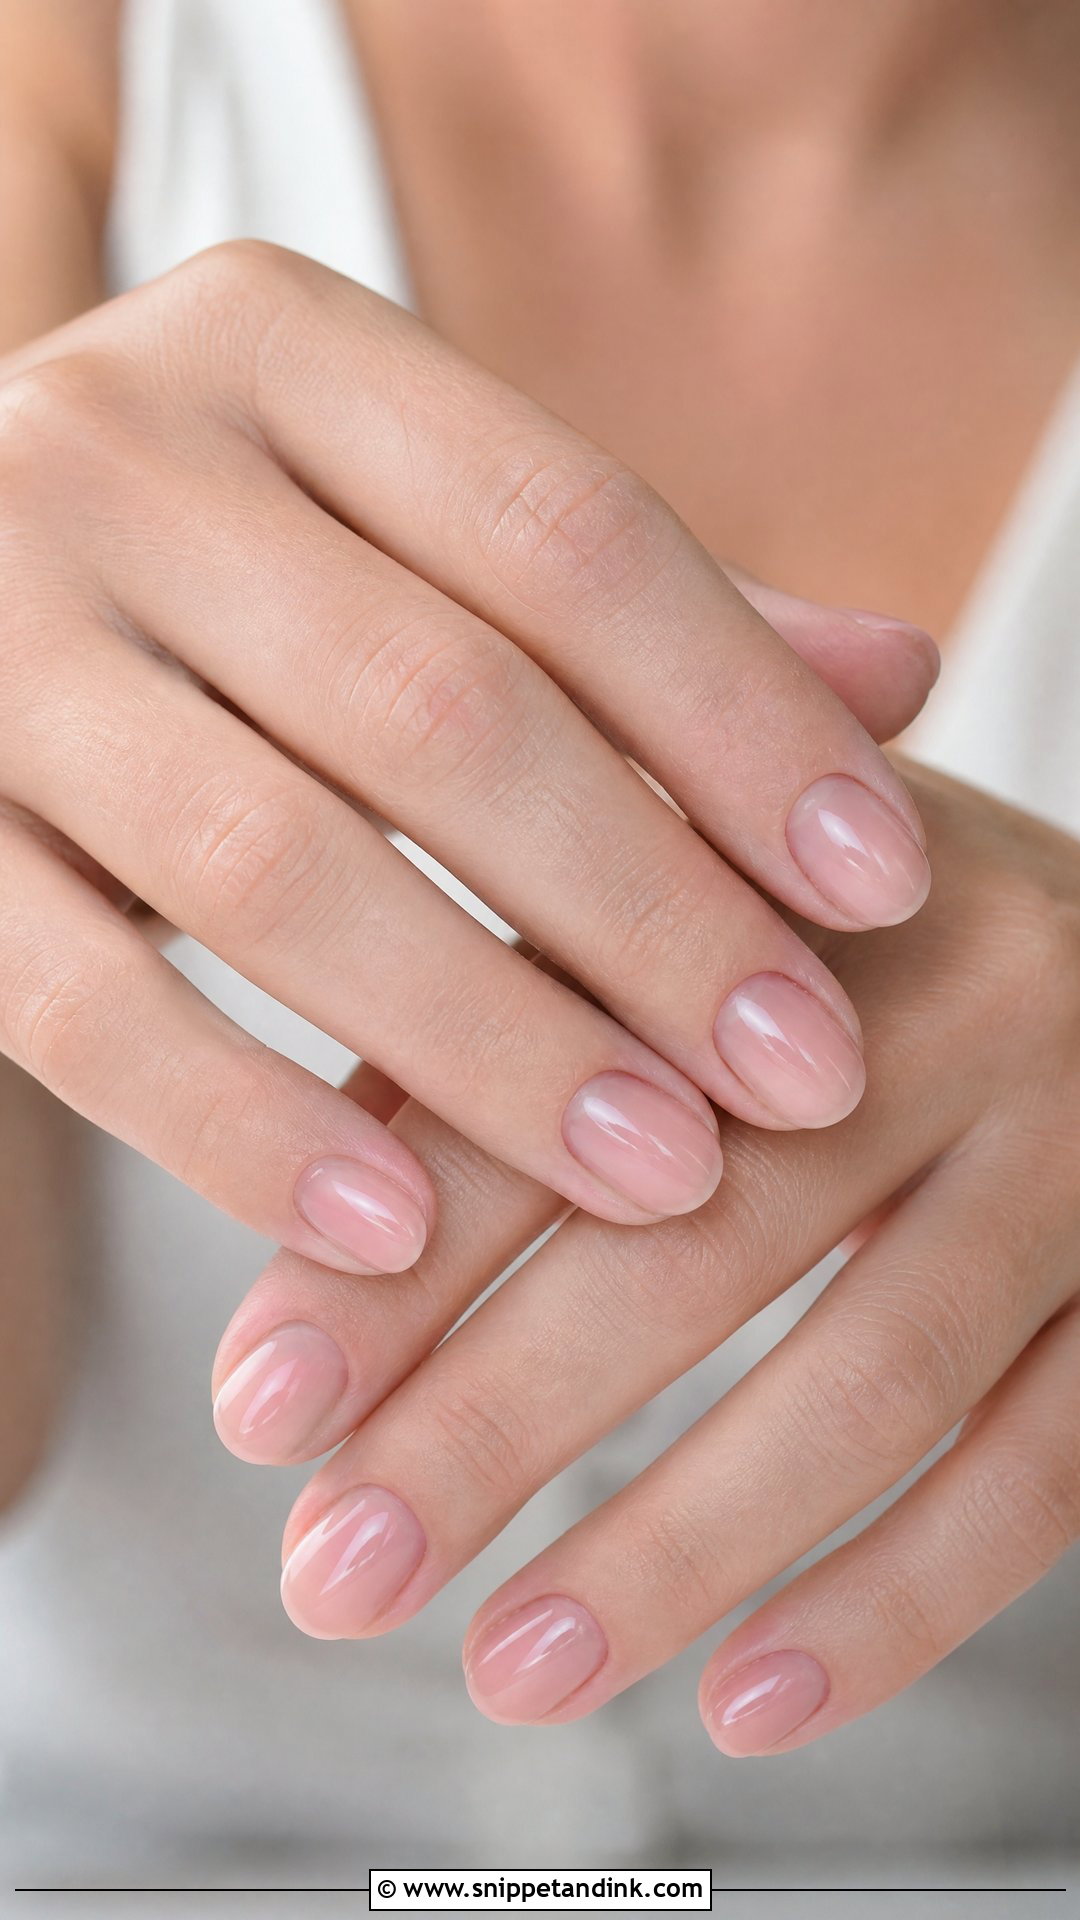
Oval sits between almond and squoval: less pointed than one, softer than the other. Its rounded edge rarely catches on fabric, which makes it my default when someone wants shape without extensions. It takes sheer polishes, classic French, nude and pearl finishes equally well. A milky pink base with a faint chrome sheen is a reliable pairing.
19. Square French Wedding Nails
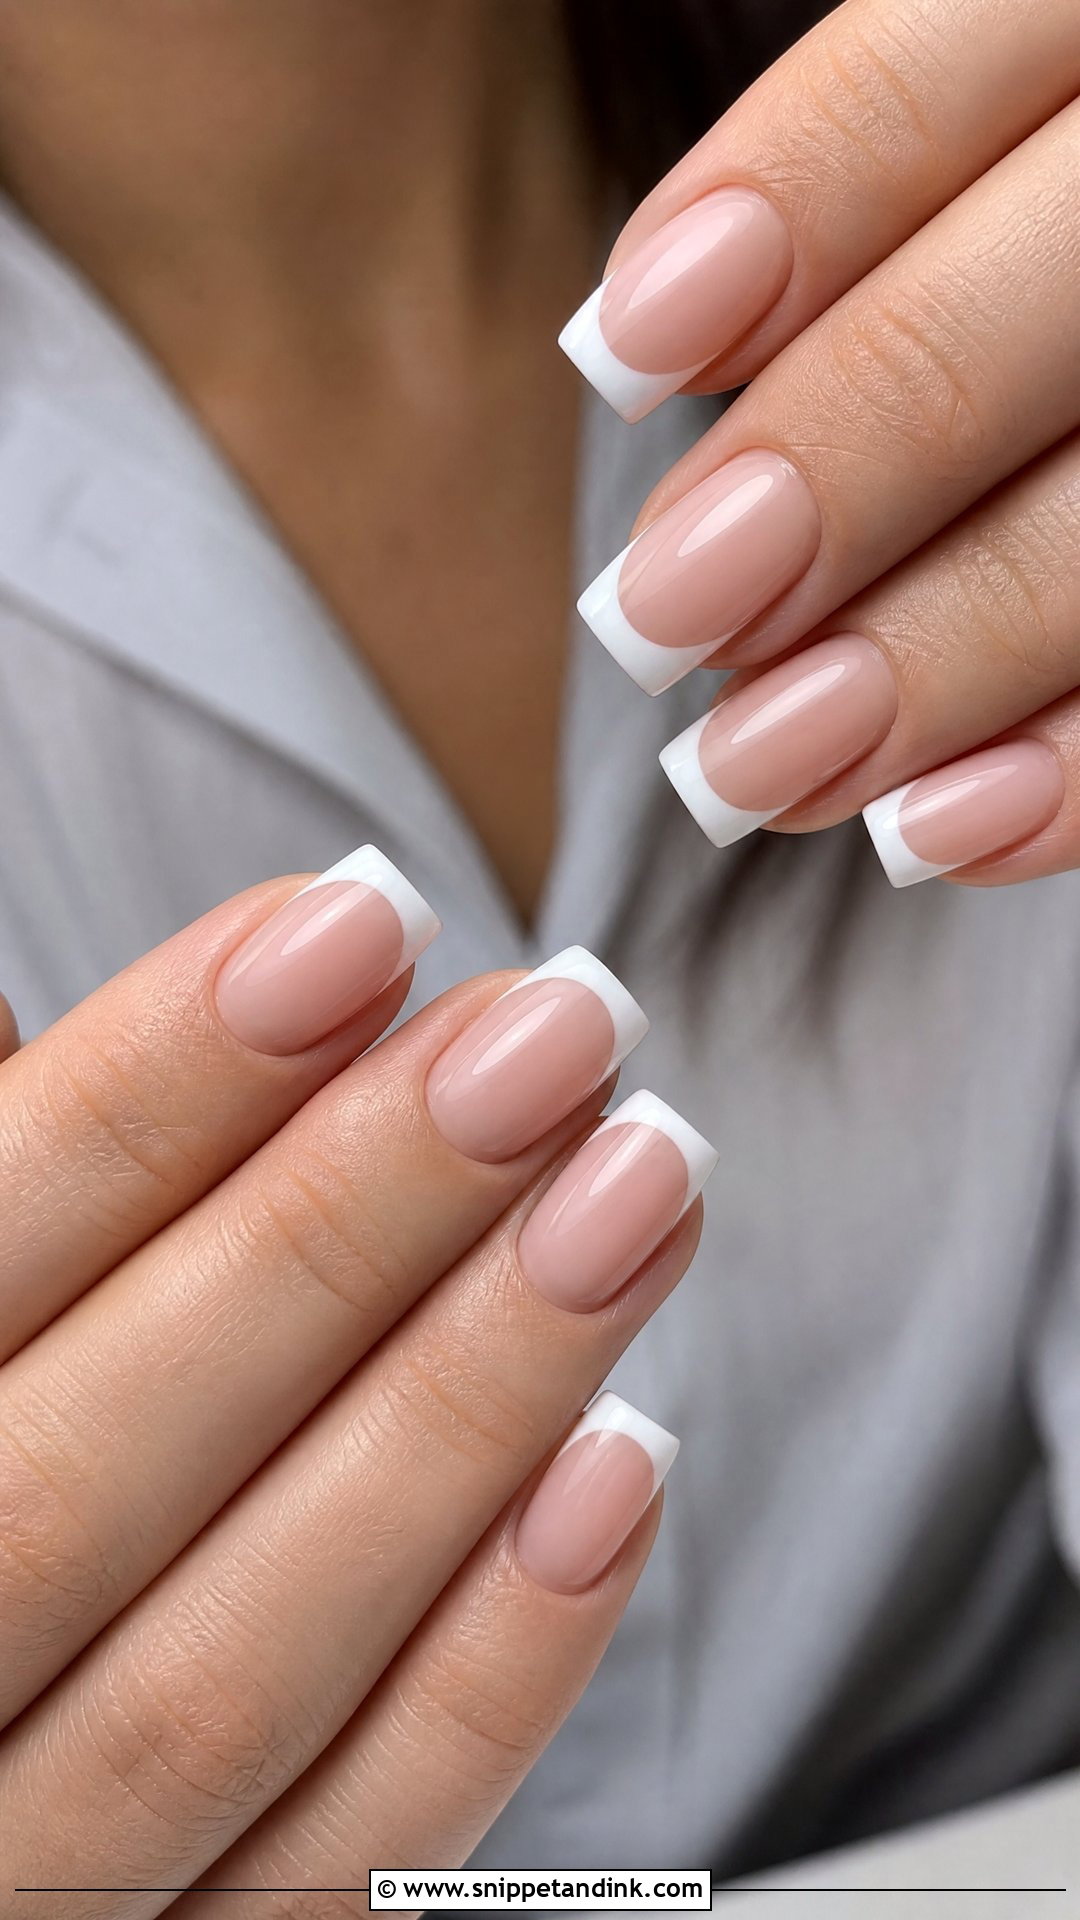
Square French gives a crisp, structured result and suits nails that naturally grow with a flat edge. Sharp corners do chip first, though, and they catch veil netting. For weddings I round the corners slightly into a squoval while keeping the straight free edge, which keeps the square effect without the snags. The white can be traditional, slim or softened at the sides.
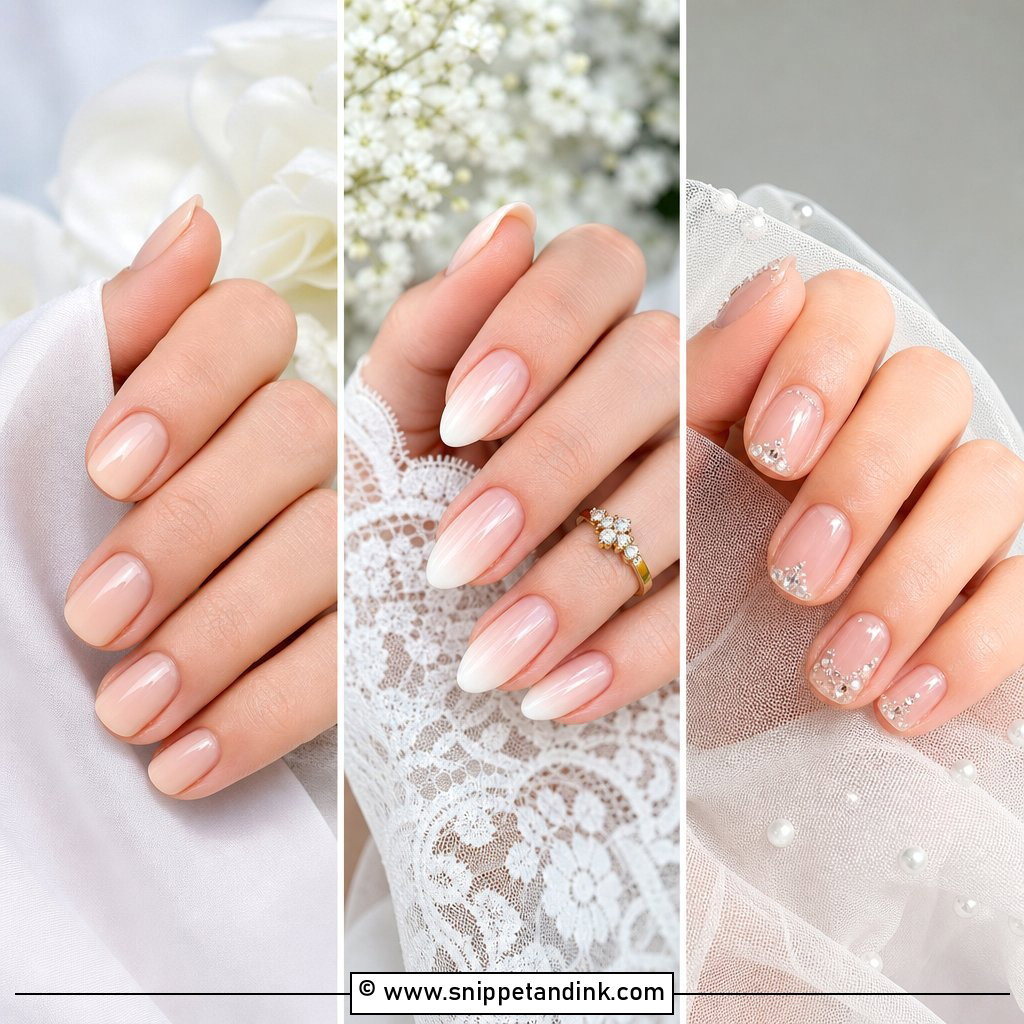
20. Sheer Pink Wedding Nails
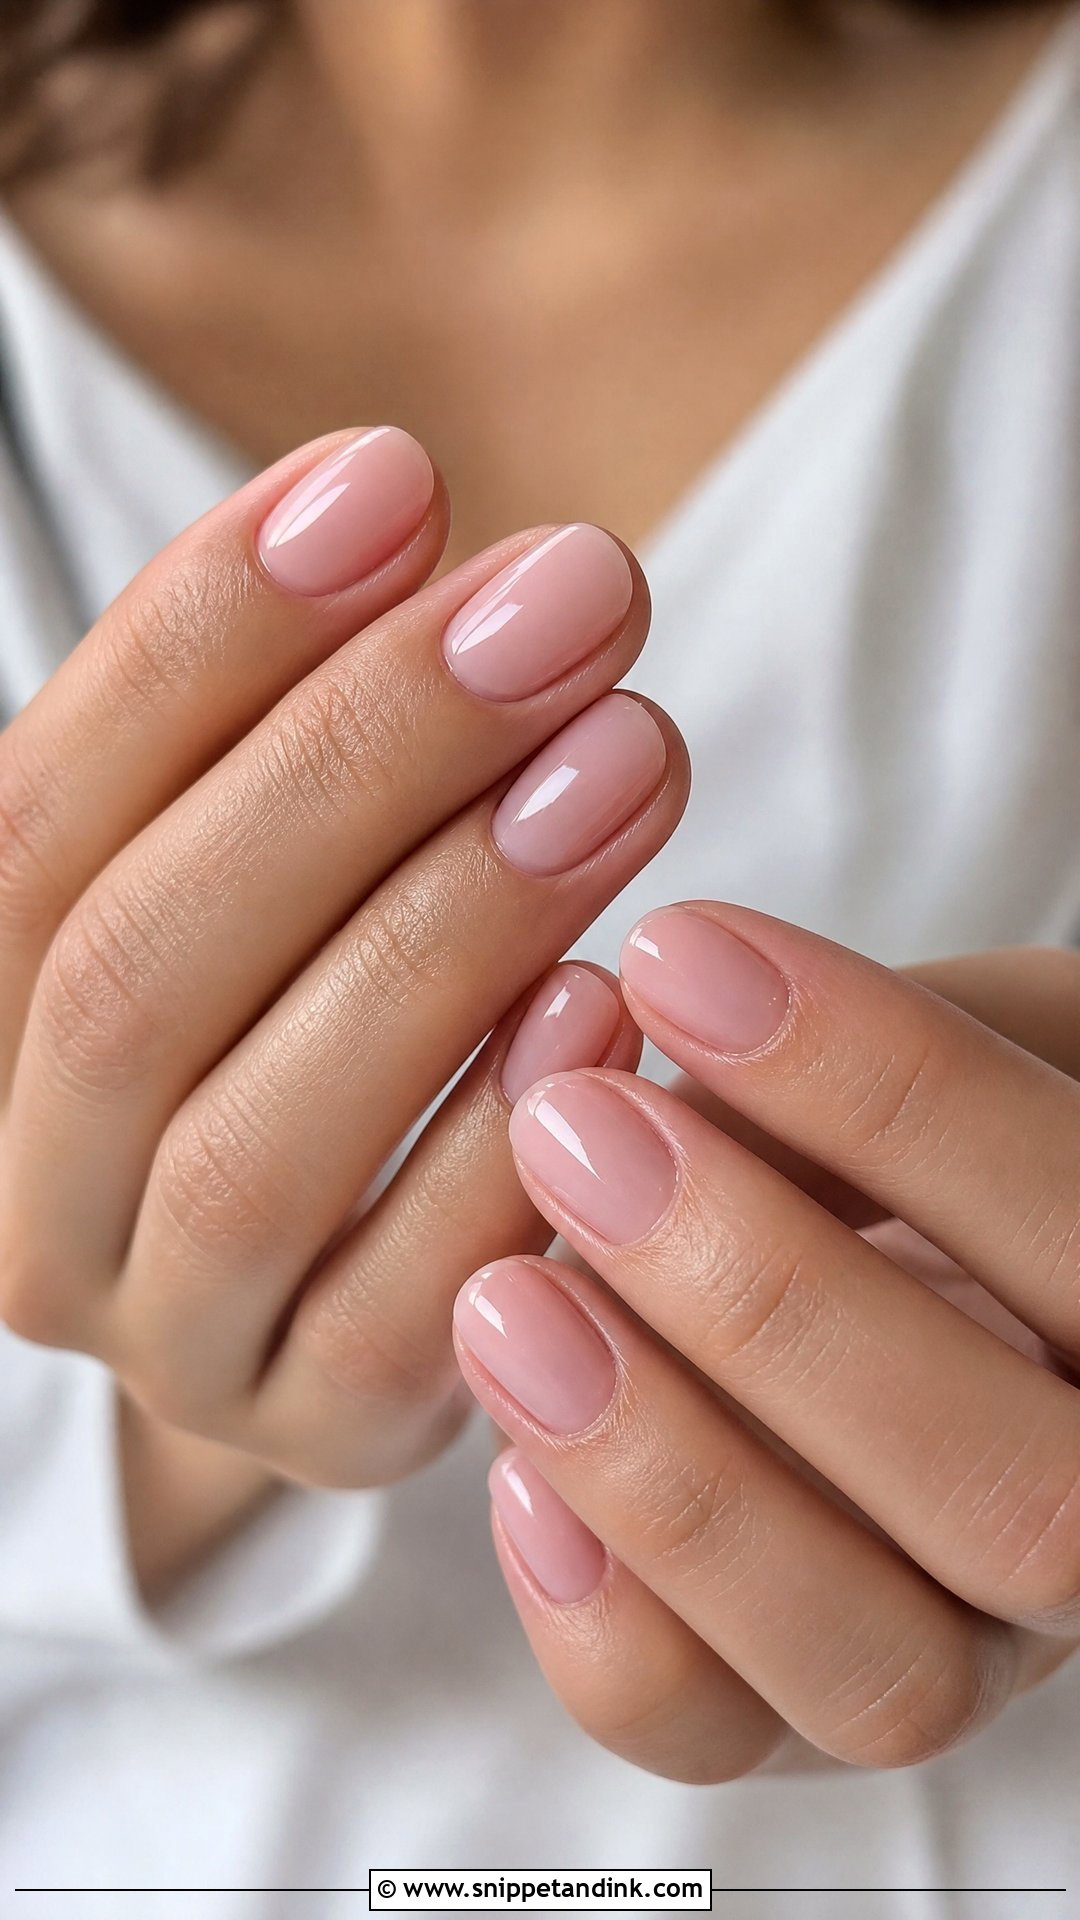
Sheer pink enhances the natural nail rather than hiding it, so it looks clean and healthy without any obvious design. Pick the tone by undertone: rosy for cool skin, peachy for warm, neutral if you’re somewhere between. The downside of sheer colour is that it shows what’s underneath, so old staining or ridges need buffing before the appointment. A glossy gel finish or a fine pearl top coat is all it needs.
21. Marble Wedding Nails
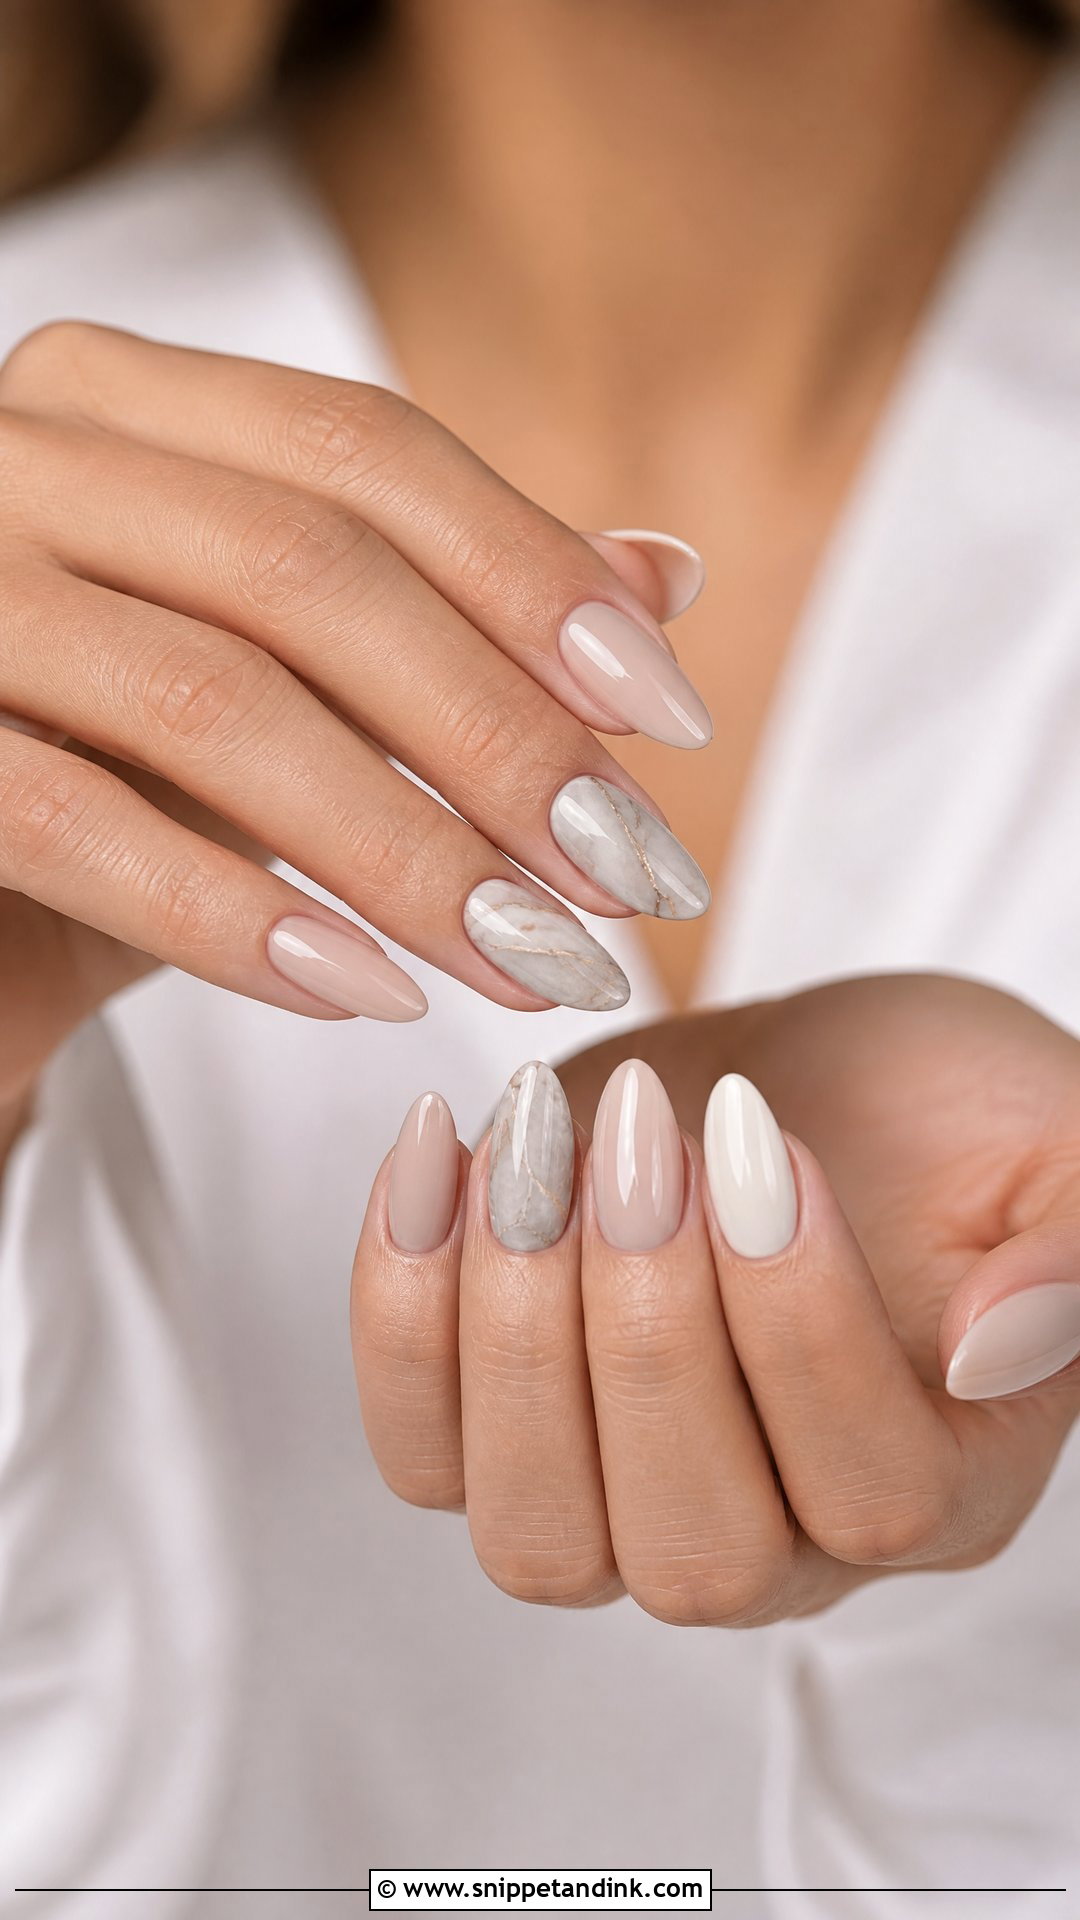
Marble keeps the palette neutral while adding movement. I build the veining by dropping soft grey, beige or pale gold into a wet white or blush base and dragging it with a fine brush, so the lines bleed slightly the way real stone does. Heavy, high-contrast veins look like a kitchen counter. Most brides I’d advise to marble two accent nails and keep the rest milky or nude.
22. Velvet Wedding Nails
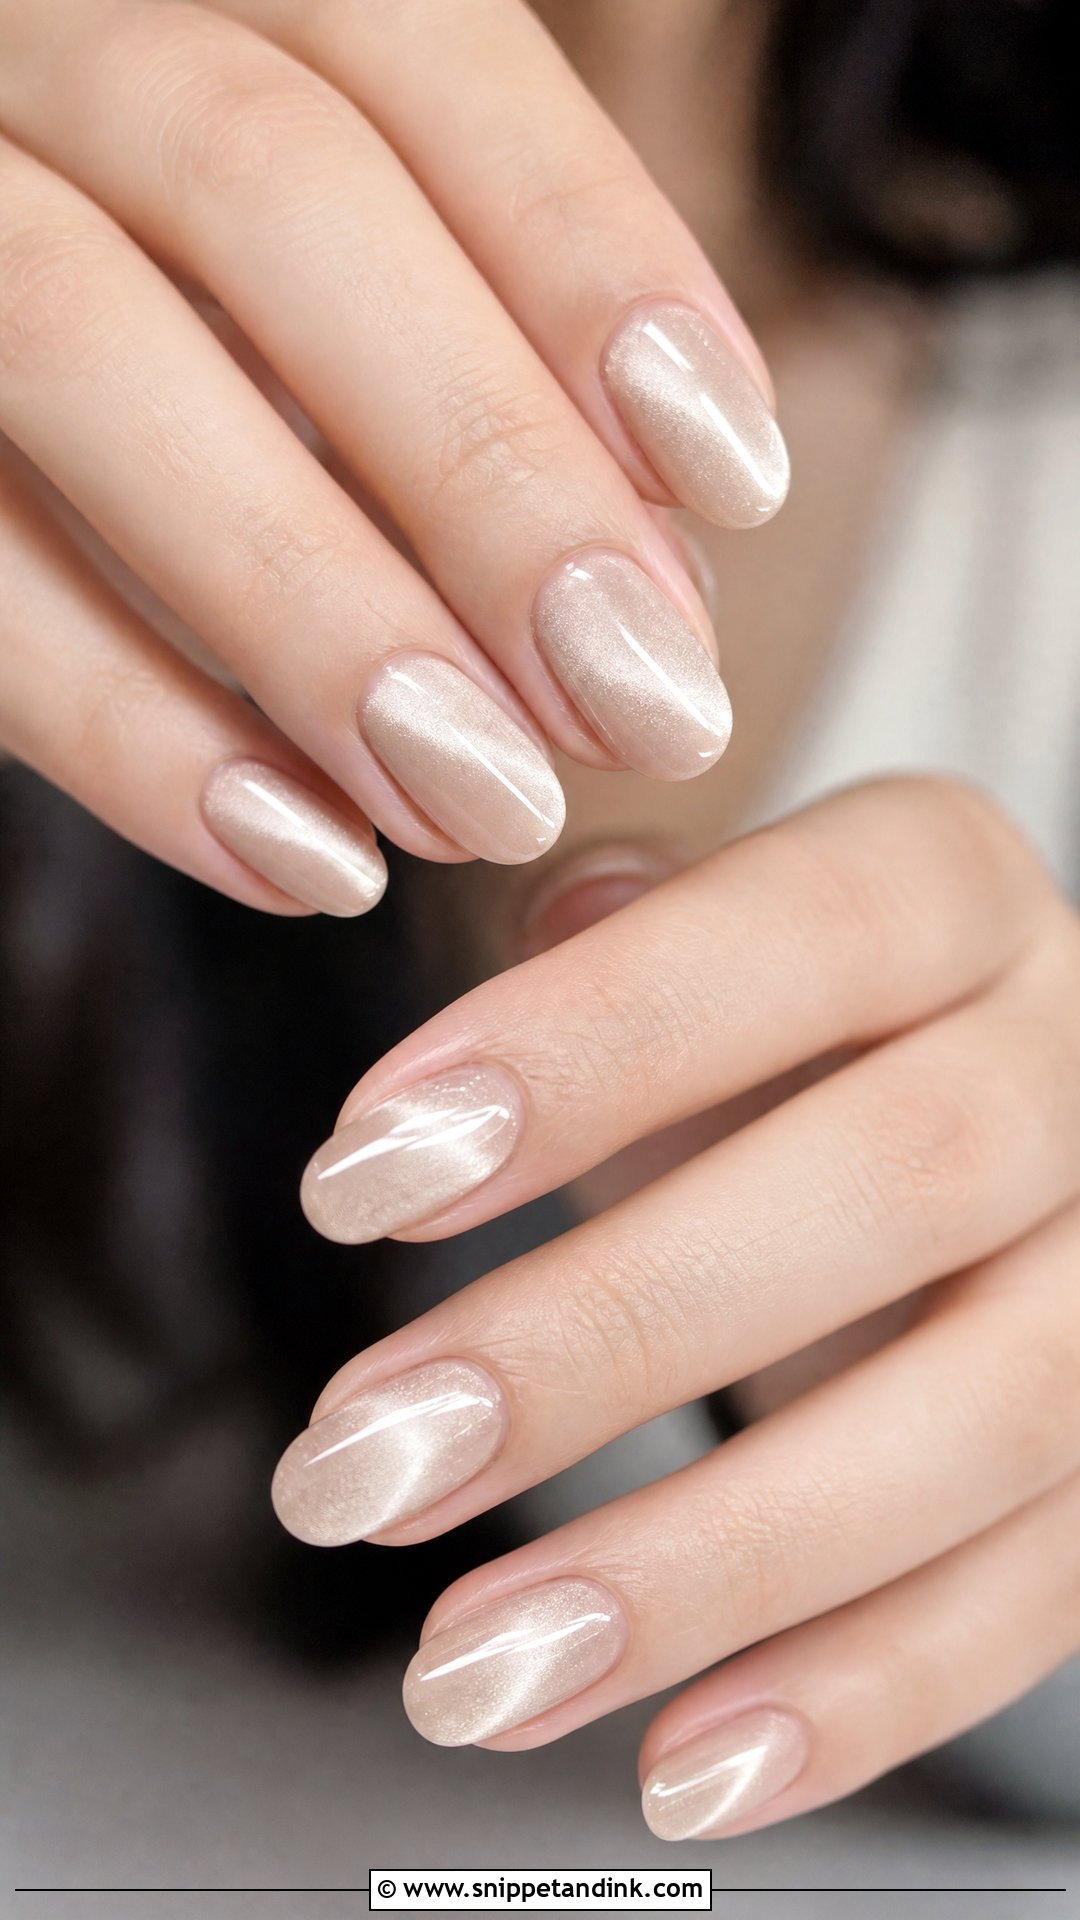
Velvet nails are a magnetic gel: tiny metallic particles that a magnet pulls into a band of light before the polish is cured. The shimmer shifts as your hands move, which is why they look so good in video. Champagne, rose, pearl white and soft beige are the bridal shades. Placement of the magnet matters, so I set each nail individually and cure it immediately before the particles drift back.
23. Coquette Bow Wedding Nails
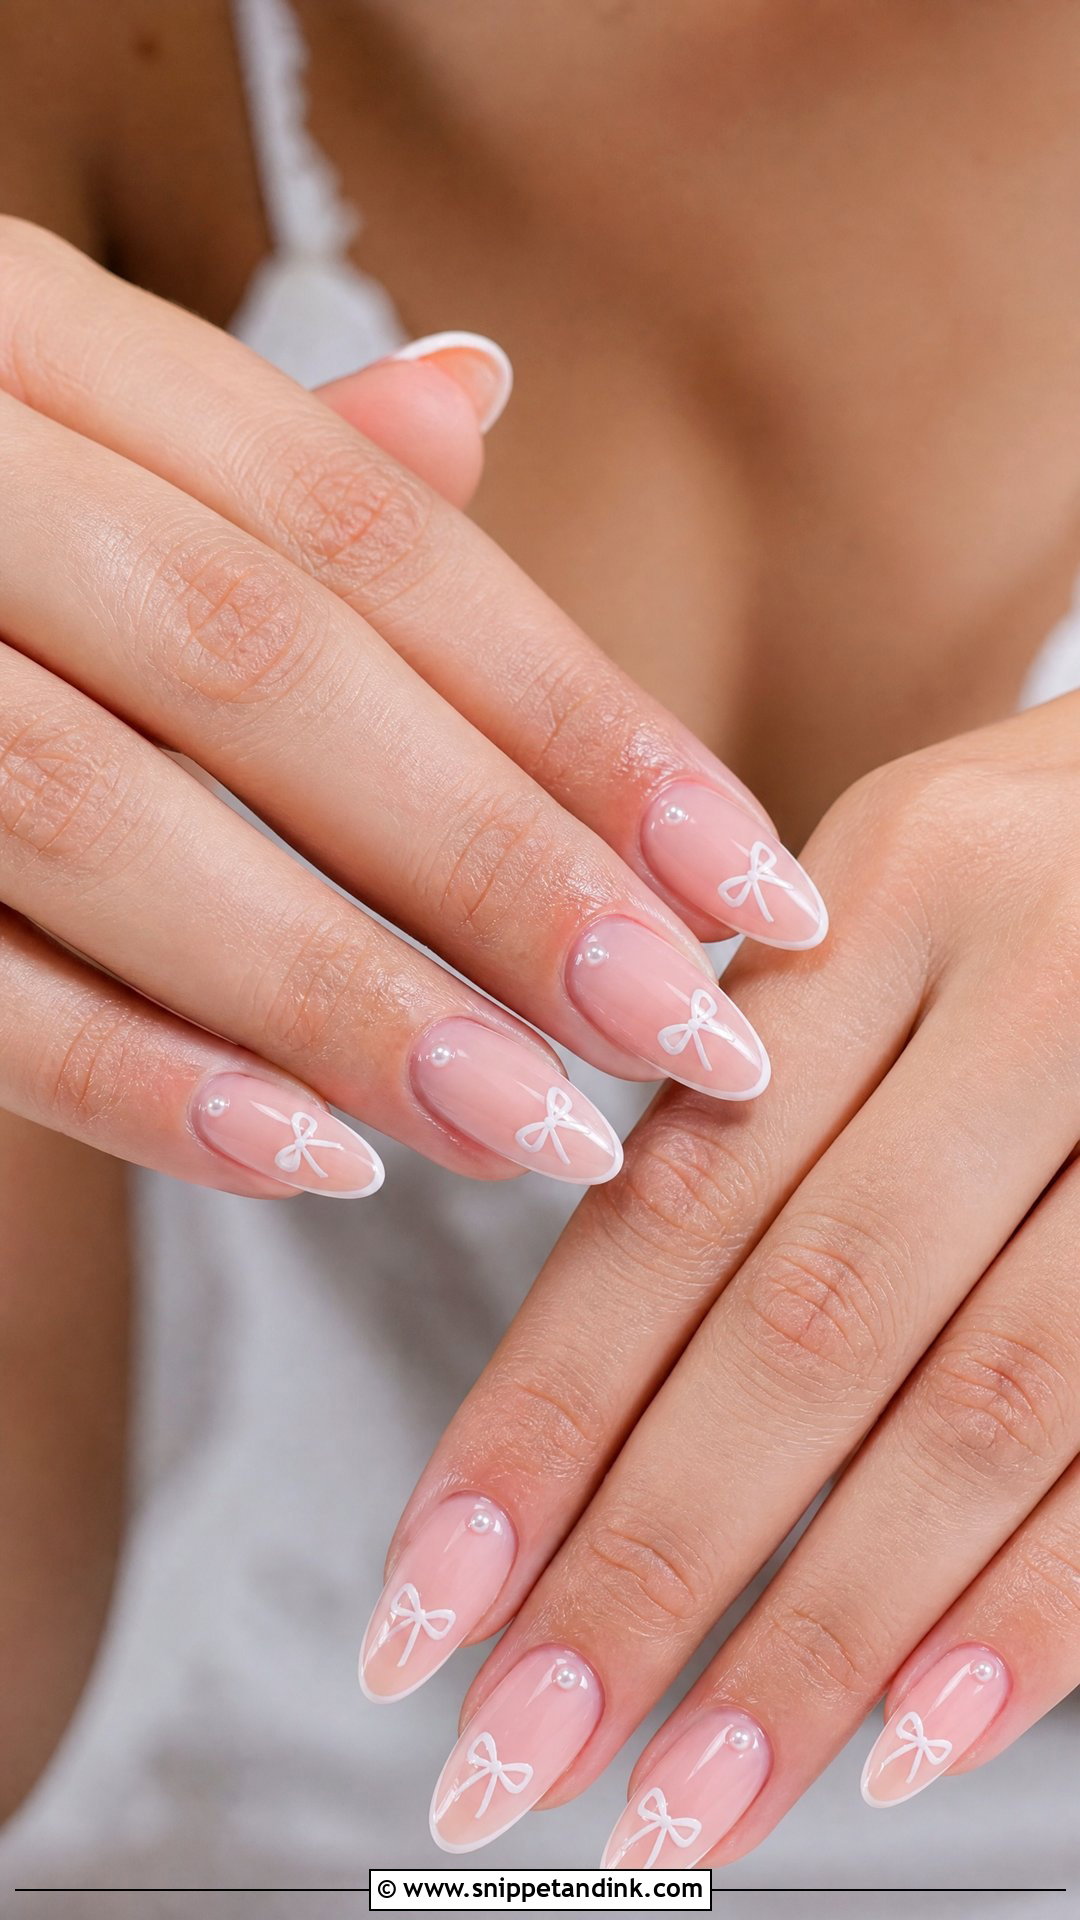
Bows tip from sweet to childish very quickly, so the detail has to stay tiny. One or two nails with a fine white bow over a sheer pink, nude or milky base is plenty; micro French tips or a pearl dot can tie the rest of the set together. These pick up ribbon ties, bow-back gowns or tulle sleeves nicely. Skip glitter here and keep the finish glossy.
24. Rhinestone Wedding Nails
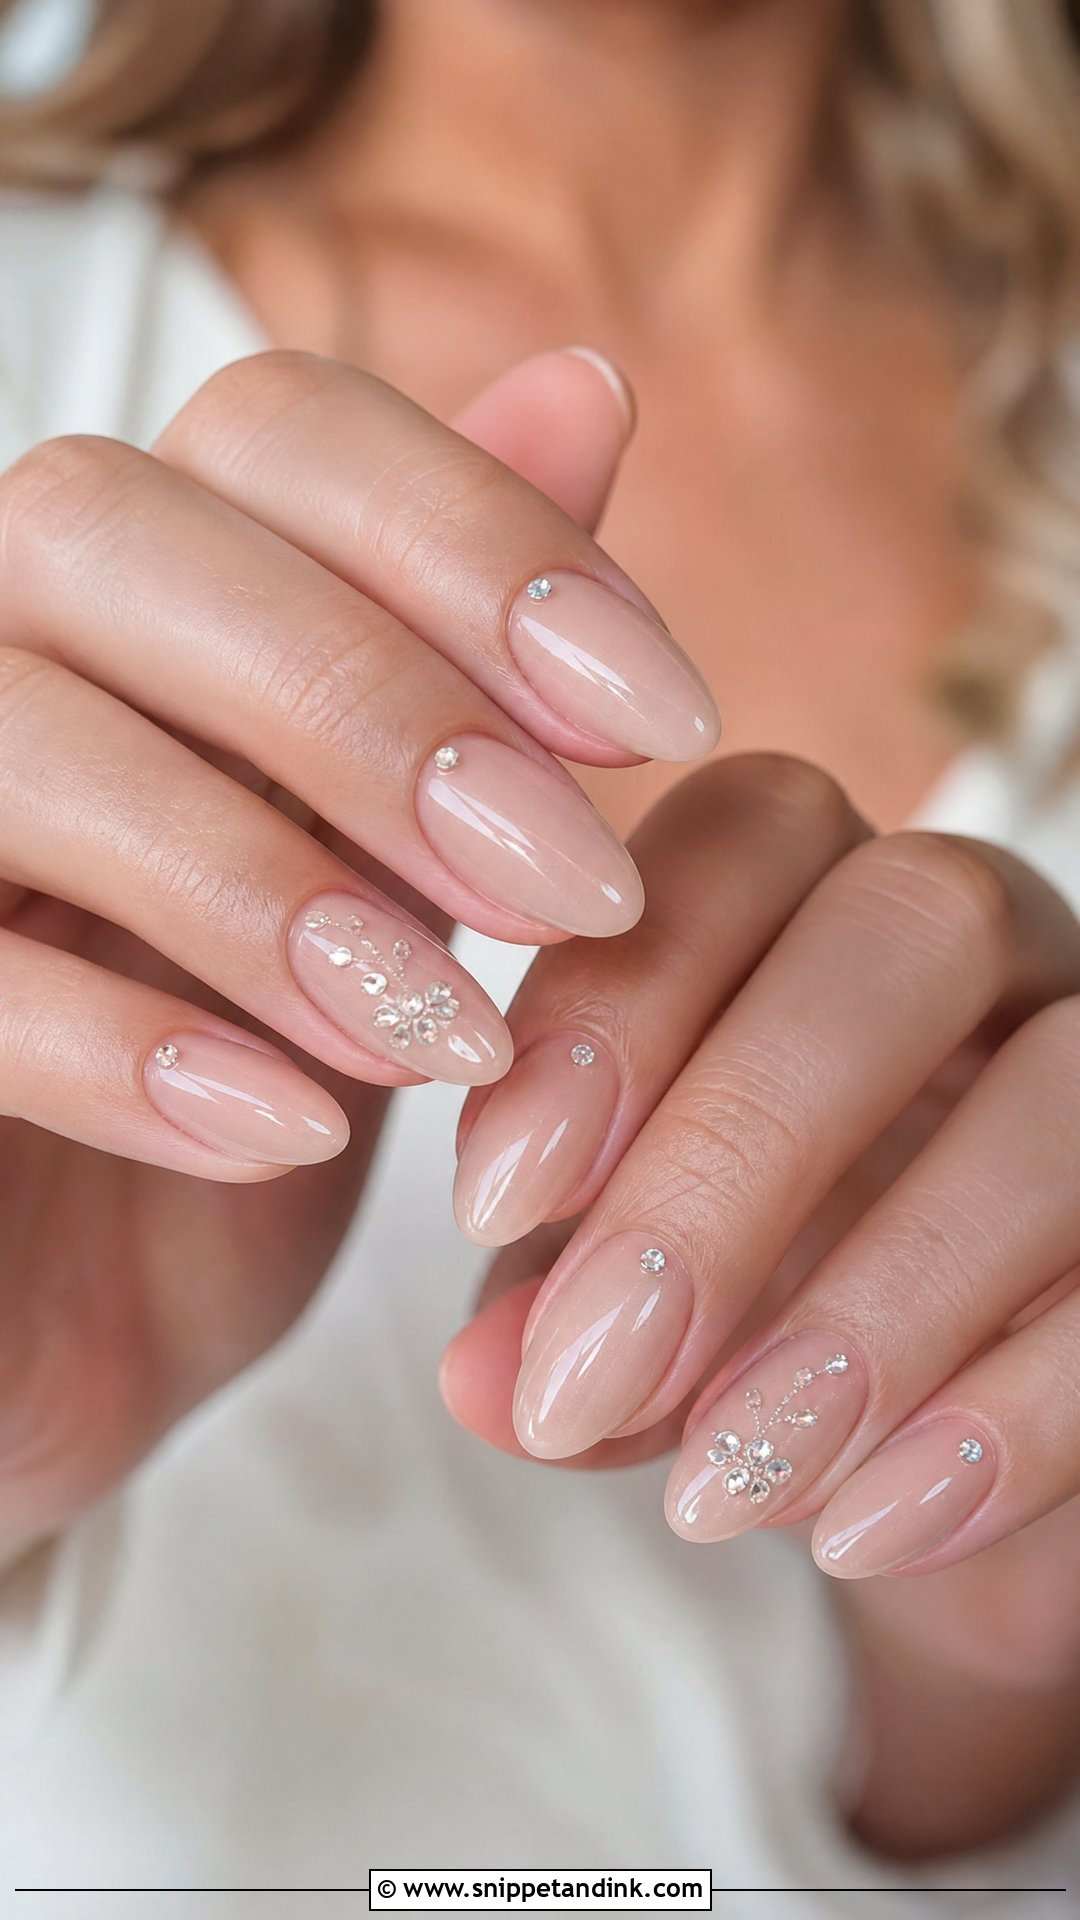
Crystals look refined when they’re placed with a reason: along the cuticle, following a French line, or on one accent nail. Clear stones are the classic choice; champagne crystals add warmth beside gold. I set each stone in a gem gel and flood a thin top coat around its base, never over its face, because coating a crystal kills its sparkle. Badly sealed stones snag hair and veils, which is the one thing I’d check at a trial.
25. Nude Chrome Wedding Nails
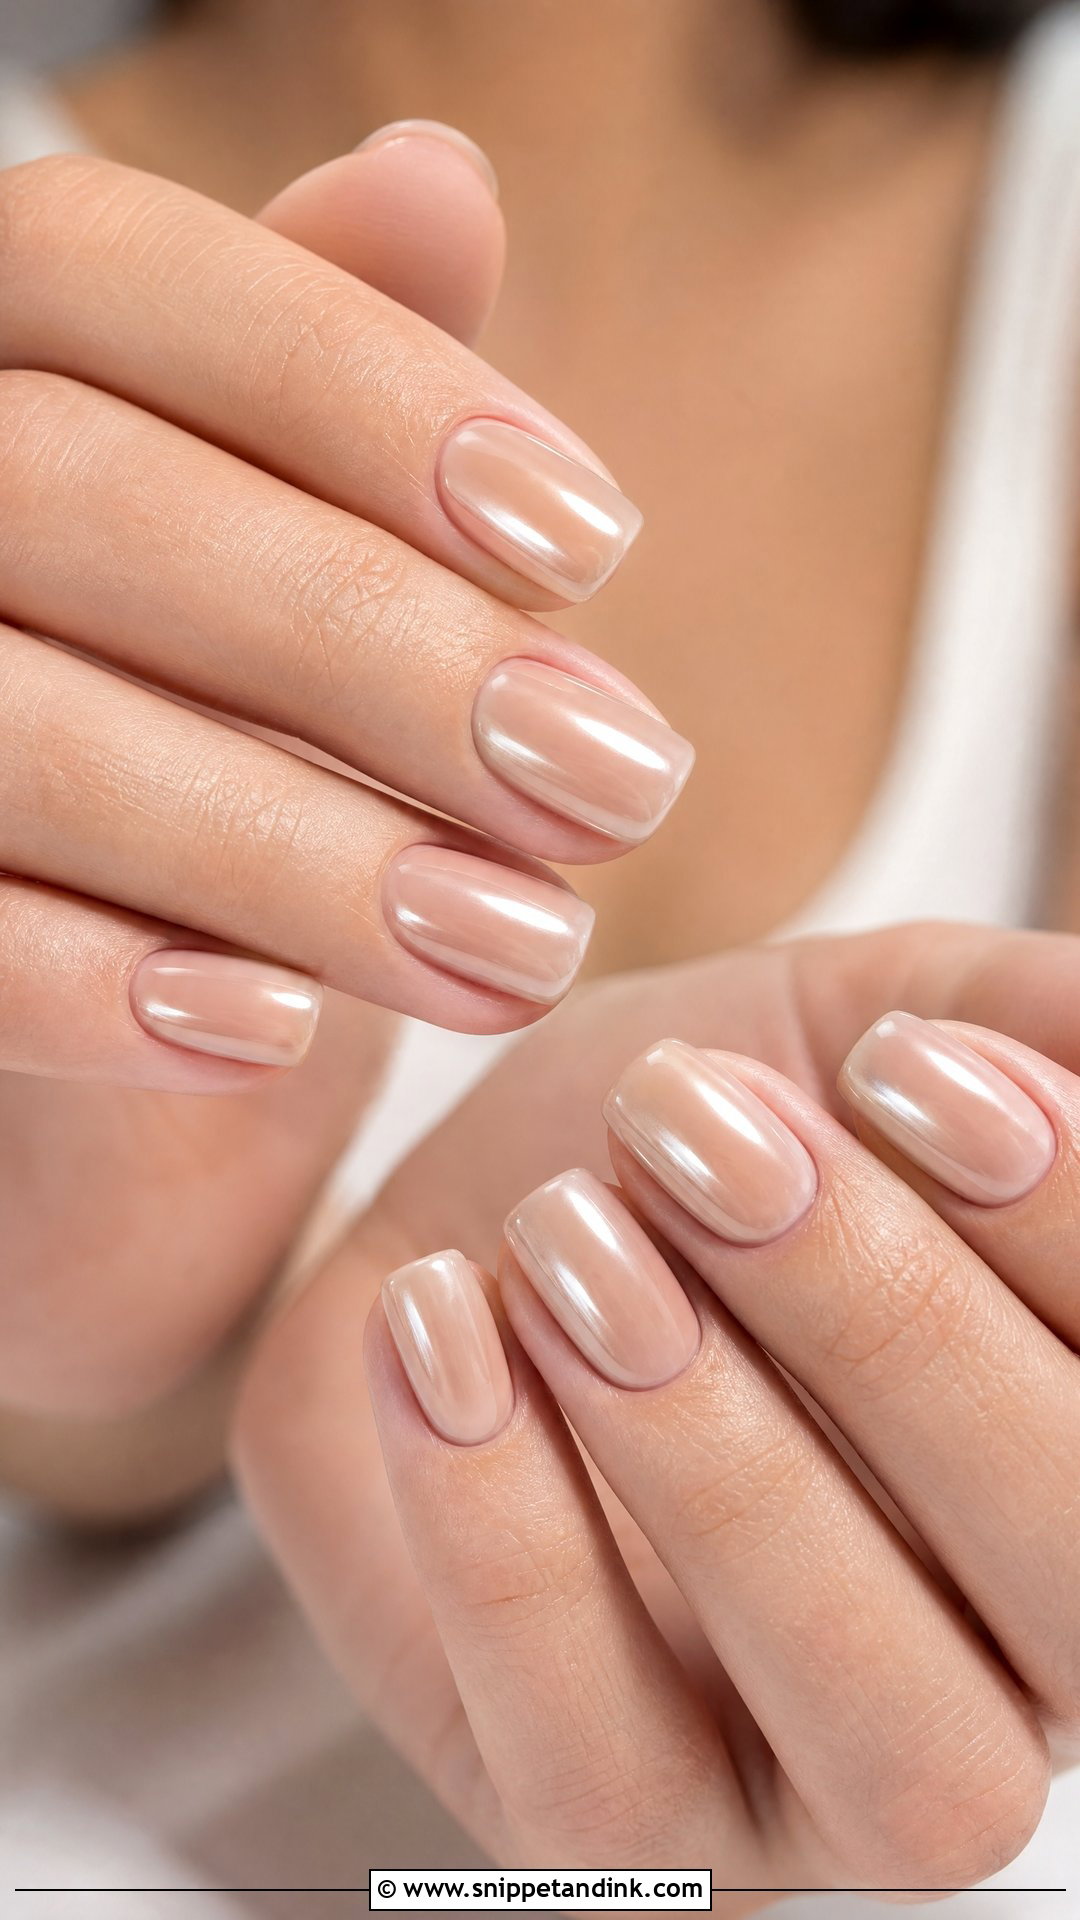
Nude chrome is the most subtle shine on this list: warmer than white chrome, quieter than pearl. The base has to suit your skin first, and the chrome should be buffed in sheer so the nude still shows through. Pressed on heavily, it turns metallic and loses the soft glaze. It sits well on almond, oval, squoval and short shapes, and pairs best with clean gowns and minimal jewellery.
Should Your Bridesmaids Wear the Same Nails?
I usually suggest coordination rather than copying. Bridesmaids holding bouquets in group photos look tidiest when their nails share a base family, all sheer pinks or all milky nudes, while the bride carries the one detail nobody else has: the pearls, the lace, the velvet. That keeps your ring shots distinct.
If the party is wearing a strong colour, a soft nude on everyone avoids clashing with dresses that photograph slightly differently under each light. Mothers of the couple often prefer a short oval in blush or sheer pink, which they’ll wear comfortably for a long day. Give everyone the shade name in advance so they can book wherever suits them.
Removing Gel, Chrome and Crystals After the Honeymoon
The wedding set will usually start to grow out about two weeks later, often mid-honeymoon. Plan the removal as carefully as the application, because that’s where most nail damage really happens.
- Crystals and pearls should be lifted off after soaking, never pried. Prying takes nail with them.
- Chrome and glitter layers need the top coat filed off first so the acetone can reach the gel underneath.
- Builder gel is often filed down rather than soaked, which is safest left to a trained tech.
- Give your nails a few days bare with oil, or have a thin, simple overlay while they recover.
Book the Appointment Close Enough That the Cuticles Stay Fresh
Your nails should feel like part of the whole bridal look rather than a separate project. Start with your dress, your ring metal, your natural length and how your hands actually work in a day. For a classic feel, milky white, sheer pink, a slim French or baby boomer will never look out of place. For something more current, try pearl chrome, velvet polish, a micro French or nude chrome. Detail lovers can add lace, florals, pearls, bows or a few crystals, as long as most nails stay quiet. Book the final set two or three days before the wedding and you’ll have fresh cuticles in every photo.
You'll Like These Ideas:


Leave a Reply