
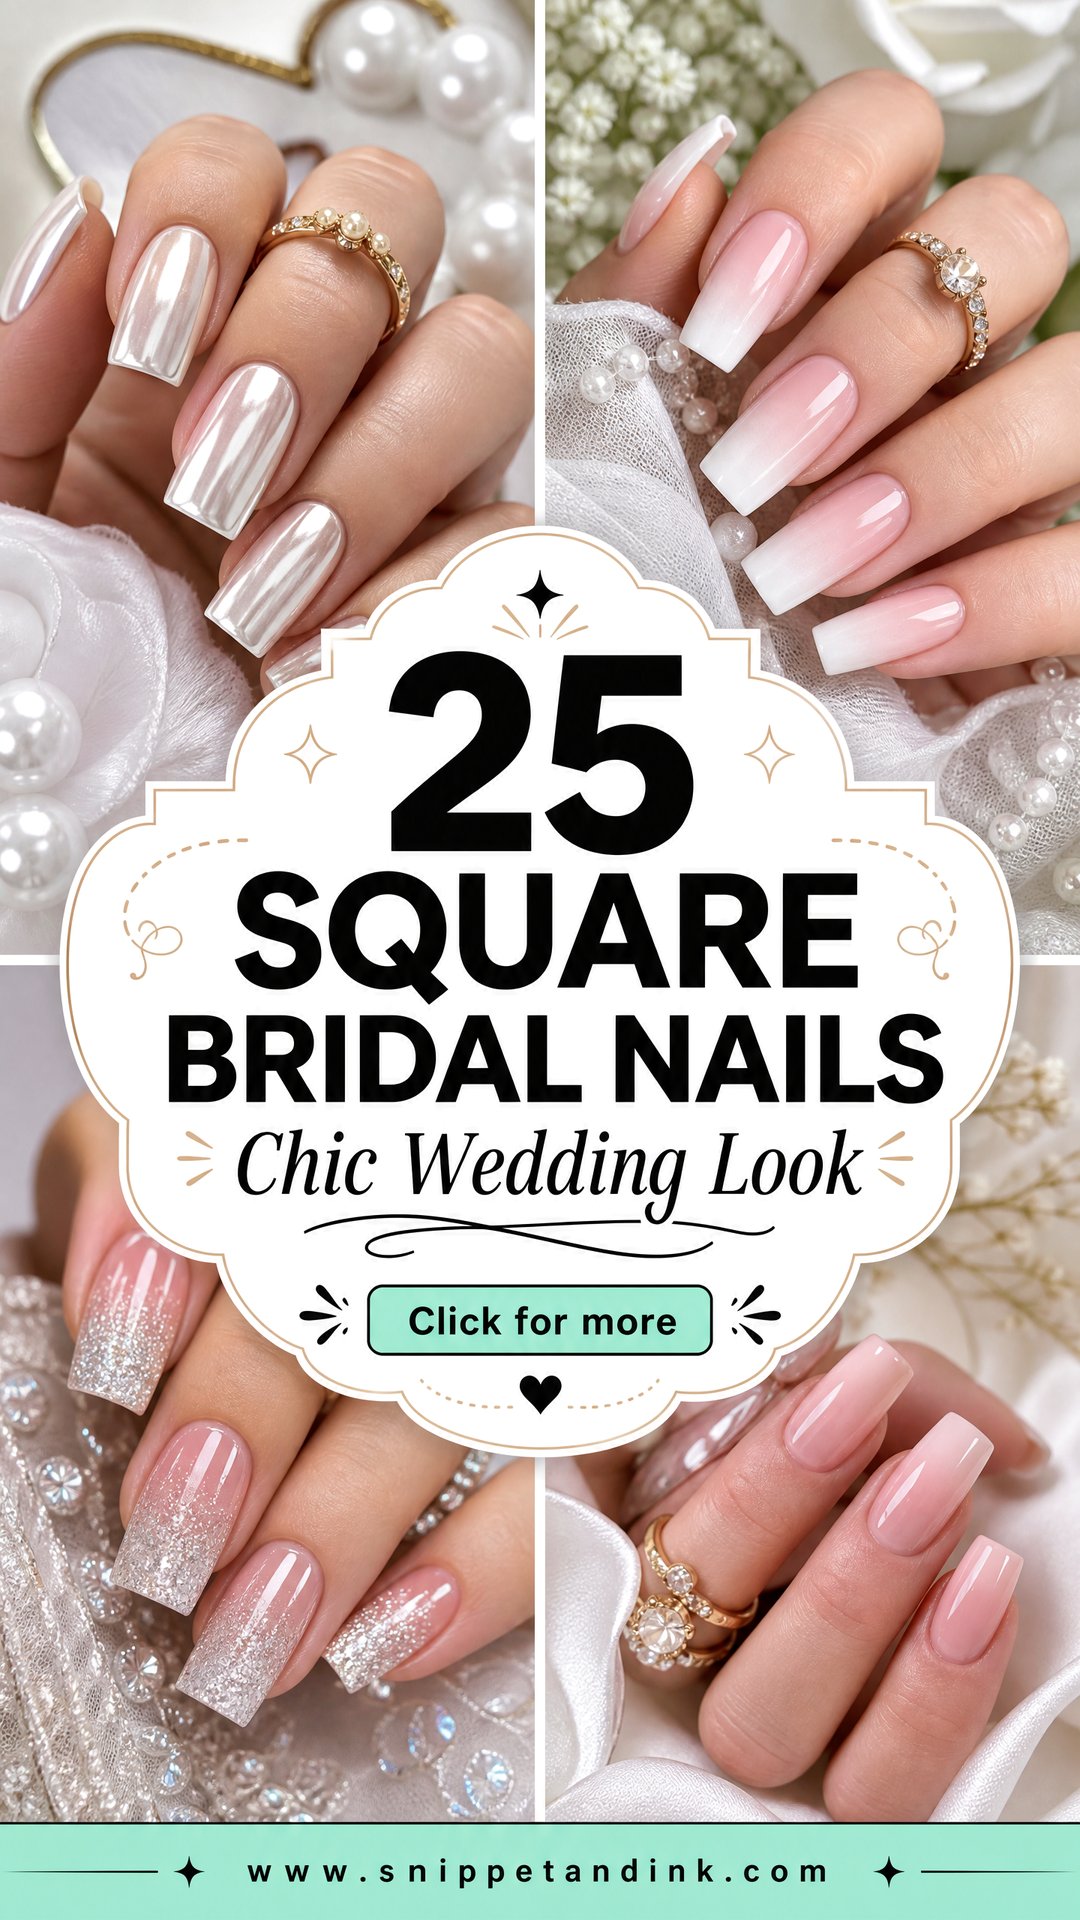
Square is the shape I reach for most when a bride wants her ring shots to look sharp. A straight free edge gives the camera a clean line to focus on, and it suits short and medium lengths, where almond or stiletto need real length before they look finished. Right now most wedding requests lean toward sheer color, pearl chrome and one small personal detail rather than heavy art, and a square tip carries that kind of restraint well. Below are 25 sets I’d happily do for a wedding, with notes on how each one actually behaves once it’s on your hands.
Hard Square, Squoval or Soft Corners for Your Nail Beds
Before any color goes on, I look at your nail beds and fingers, because a square tip doesn’t suit every hand equally. Hard square, with sharp corners, flatters narrow nail beds and long fingers. On wide nail beds or shorter fingers, the same straight edge runs across the widest point of the nail and makes the whole hand look broader.
What I look at in the first five minutes
- Nail bed width against length. If the nail is wider than it is long, I lean toward squoval.
- Side walls. When they curve inward sharply, a square tip leaves a visible gap at each corner that looks uneven.
- Your fingertips at rest. Wide, padded fingertips usually look better with softened corners than sharp ones.
- How you use your hands. Keyboards, small children and the gym all argue for a shorter square.
Soft square is where most brides end up. The free edge is still straight, so it reads as square in photos, but I file each corner a hair round so it won’t snag lace or pull your hair while the stylist is pinning it.
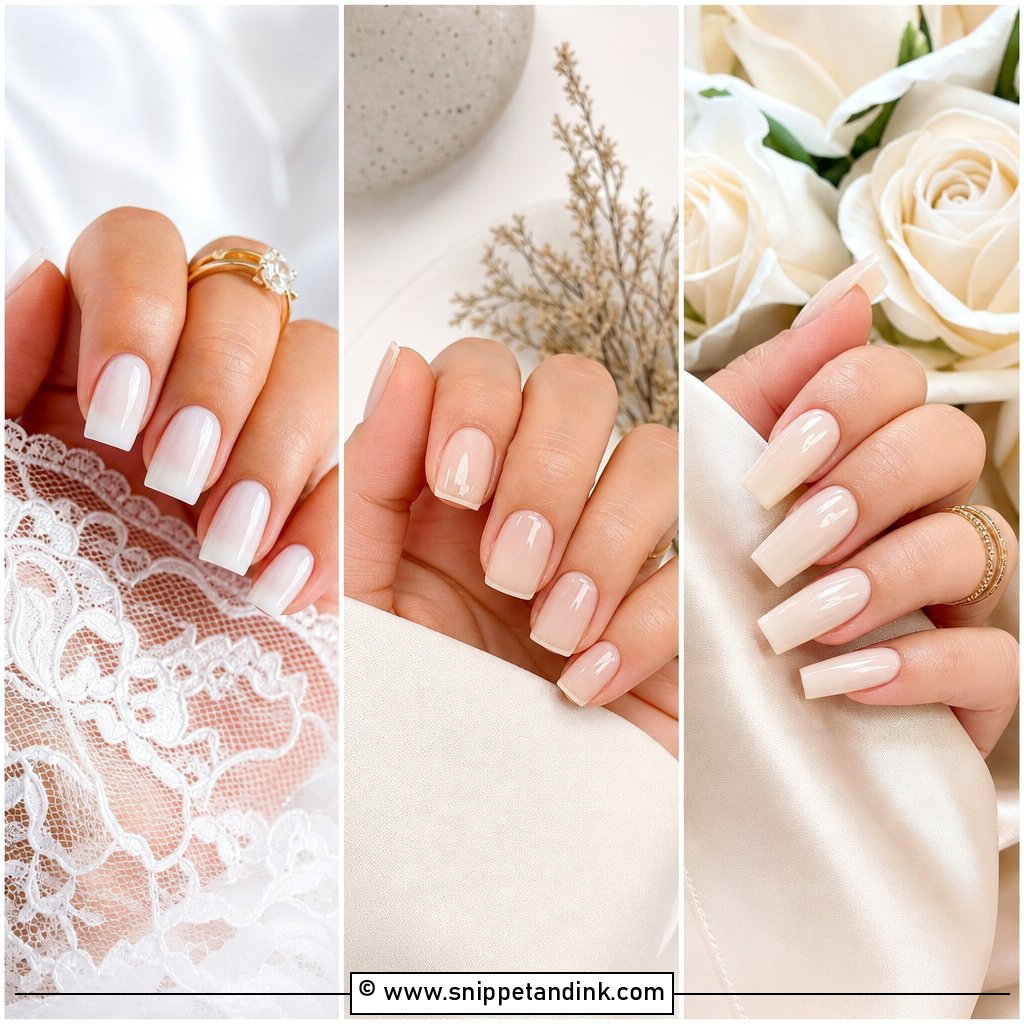
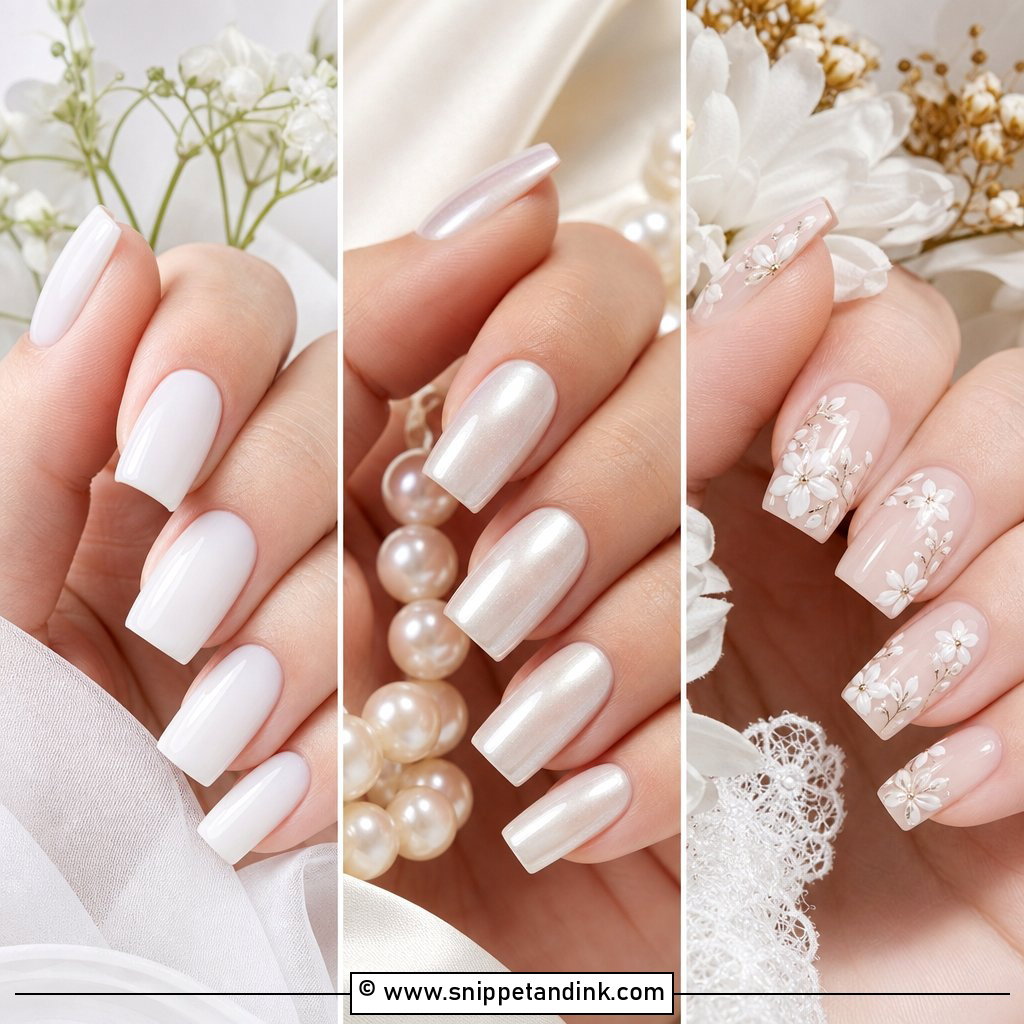
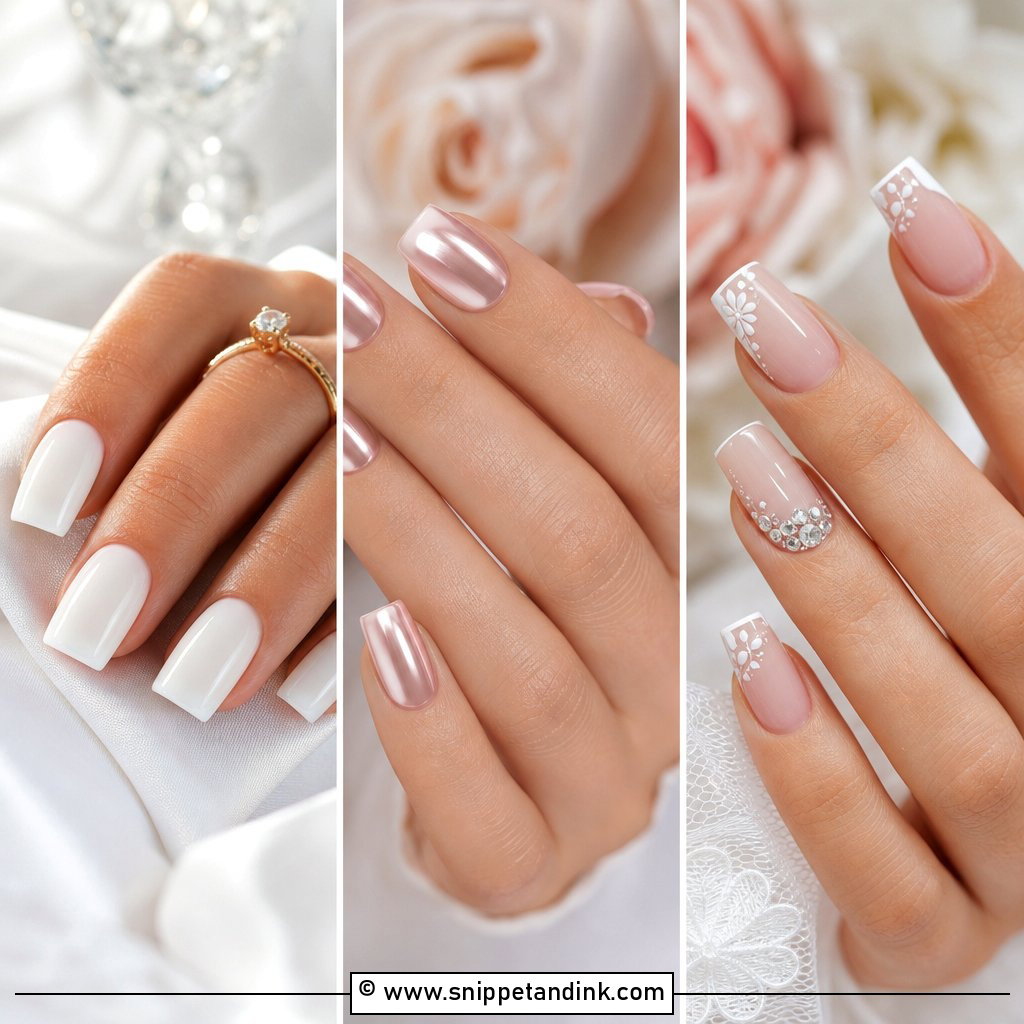
1. Milky White Square Bridal Nails
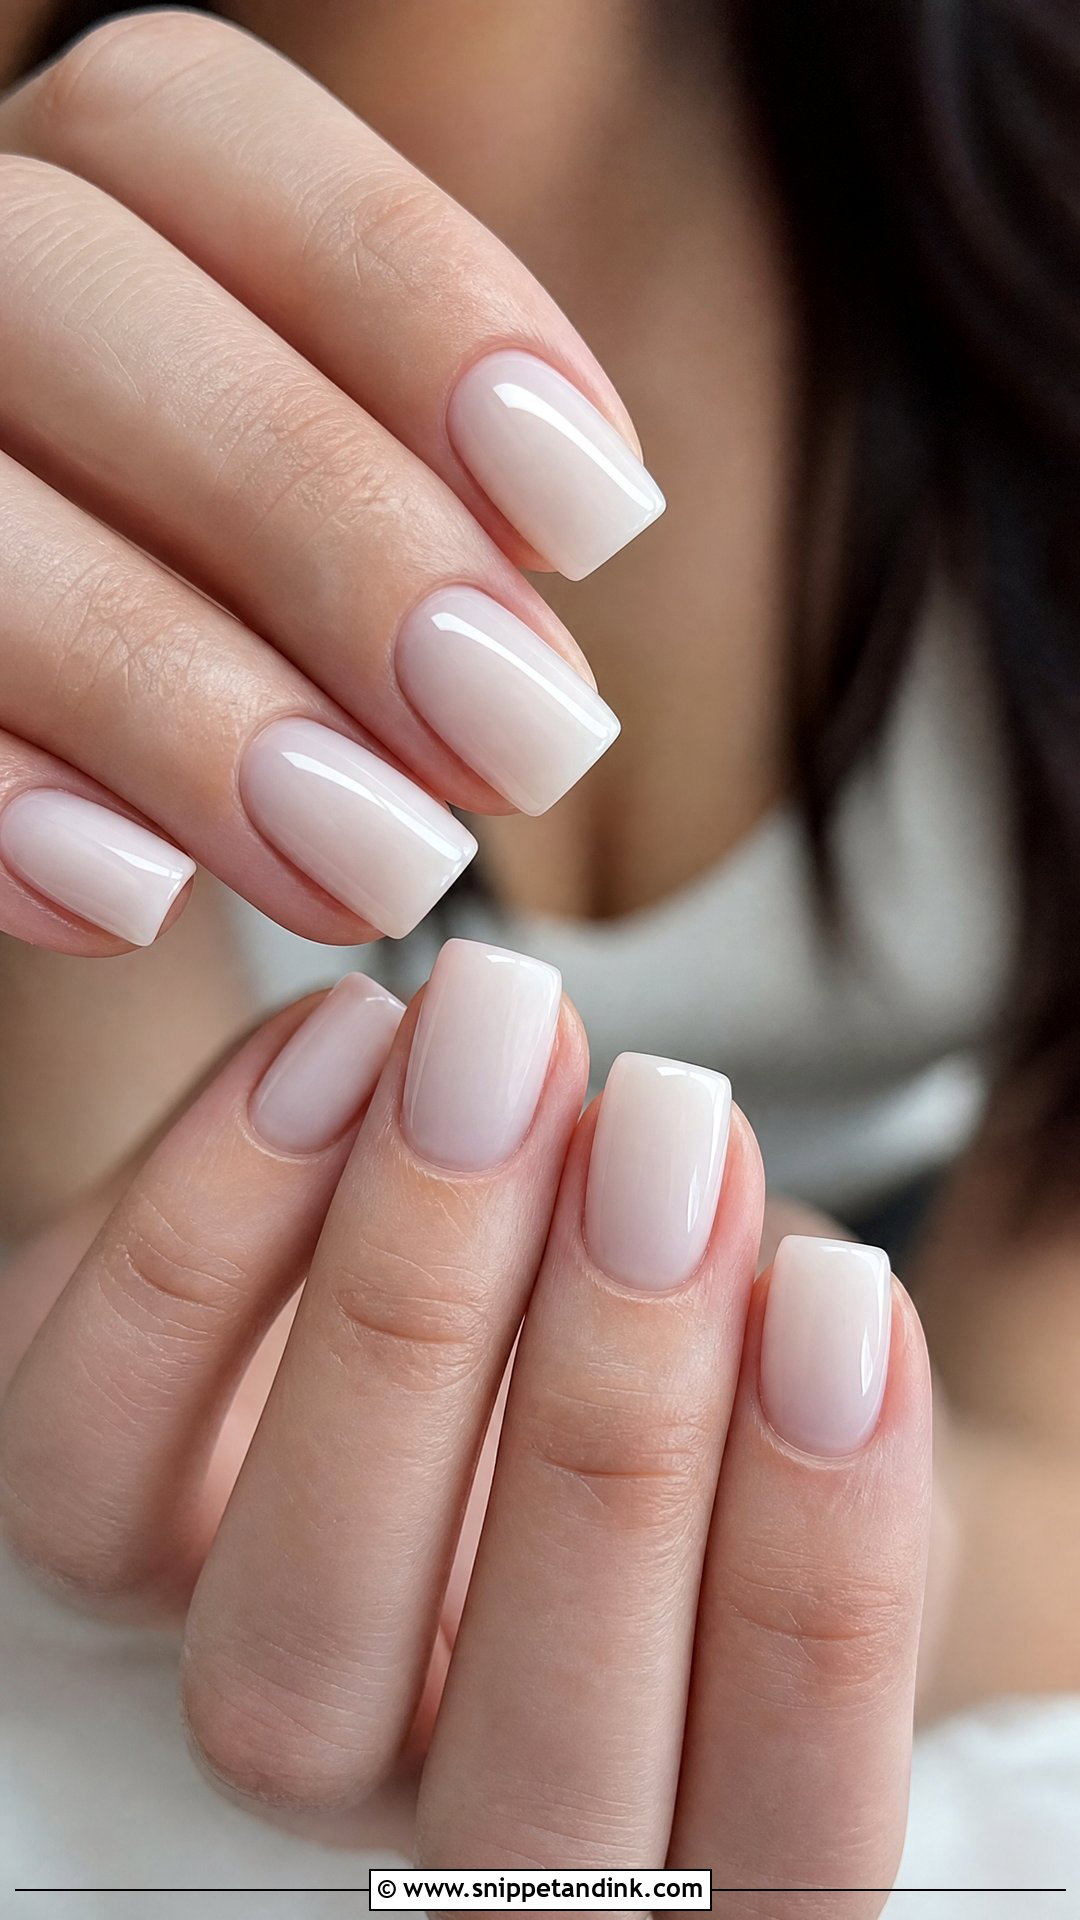
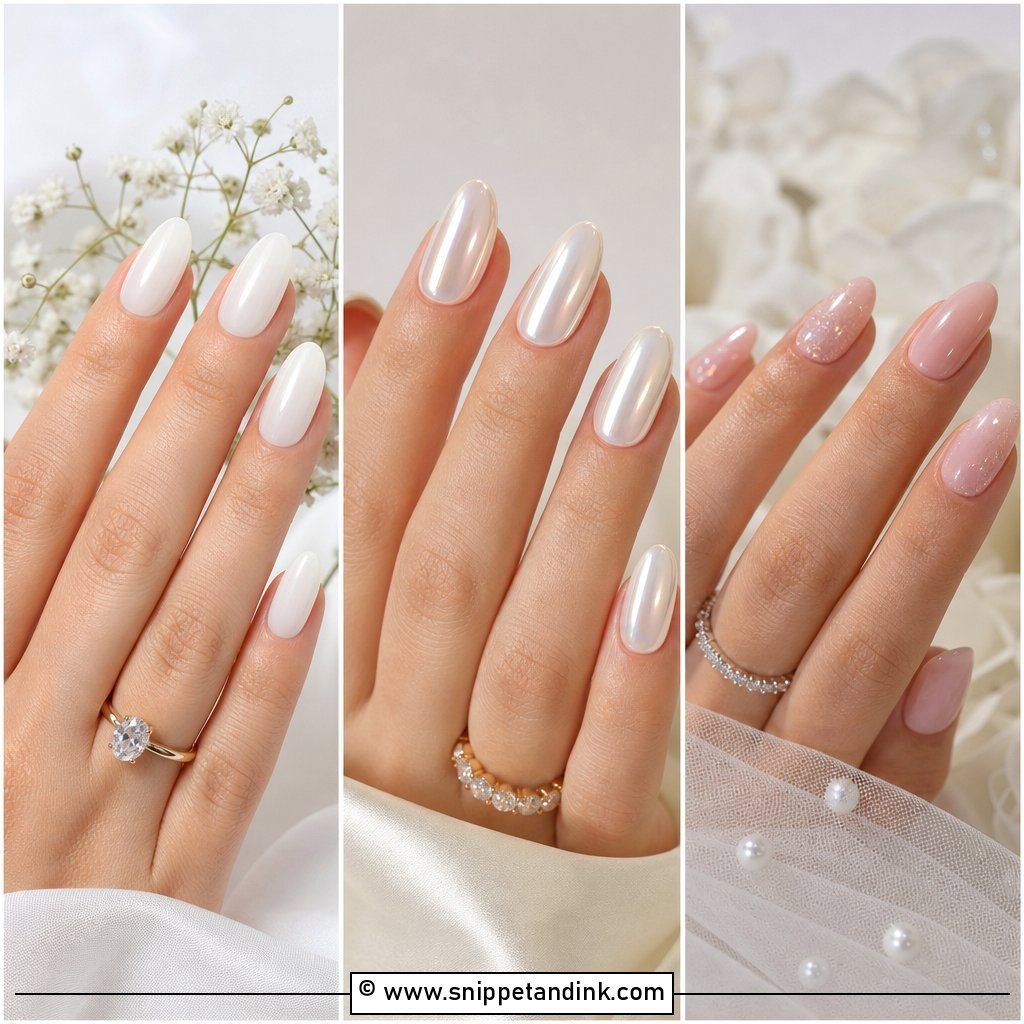
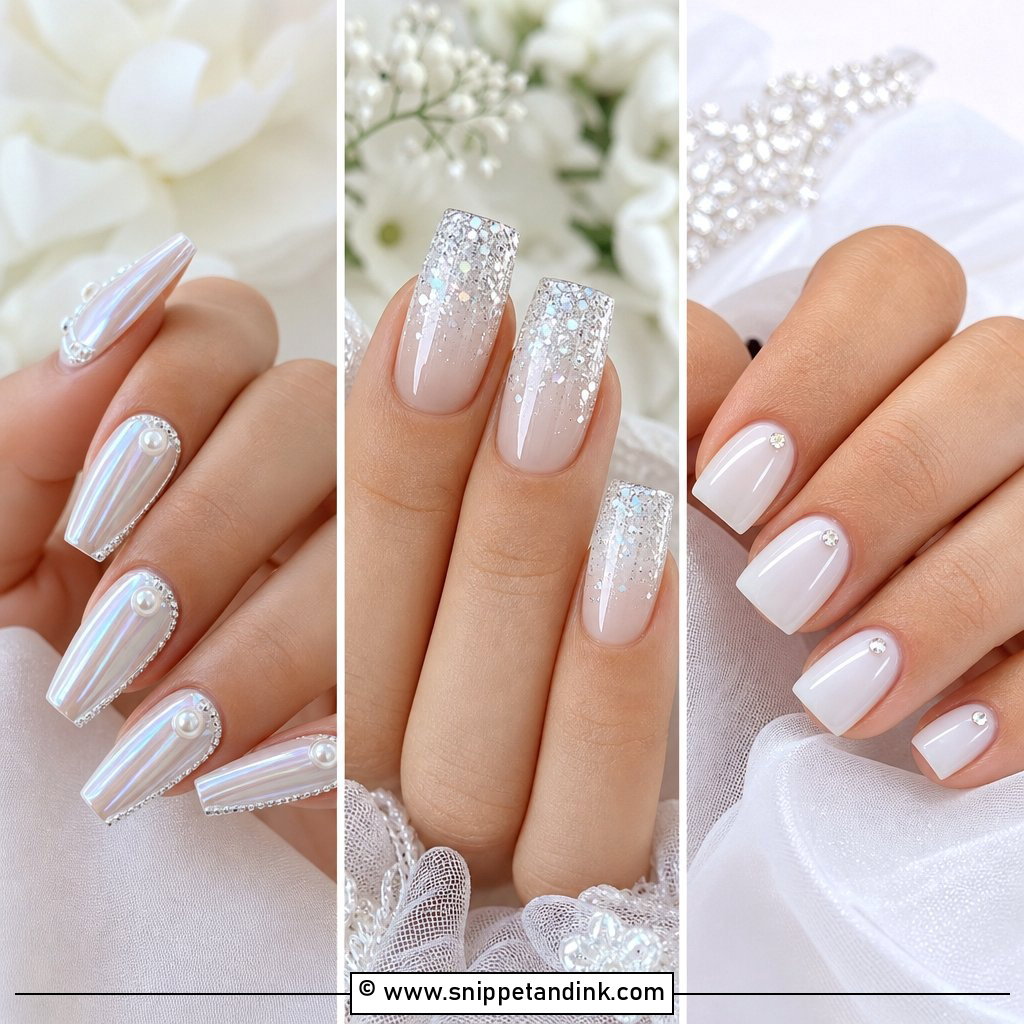
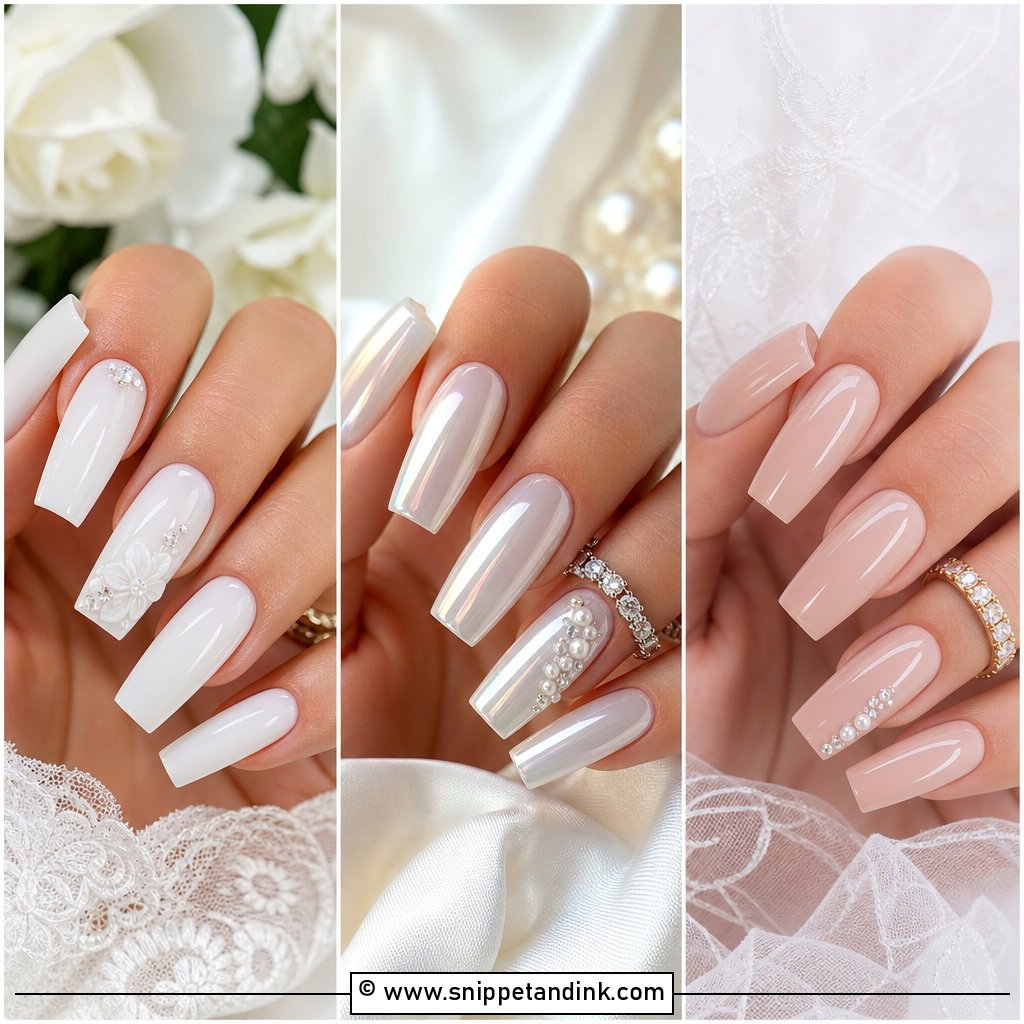
A semi-sheer milky gel gives a cloudy, creamy finish instead of the flat look of opaque white polish. The trick is the number of coats: one looks streaky, two usually lands right, and a third starts hiding the nail bed until it reads like correction fluid. I keep it short or medium on a square shape because the straight edge stays crisp in close-ups at either length. Next to satin, crepe or pearl buttons it simply blends in and leaves the jewelry to do the talking.
2. French Tip Square Bridal Nails
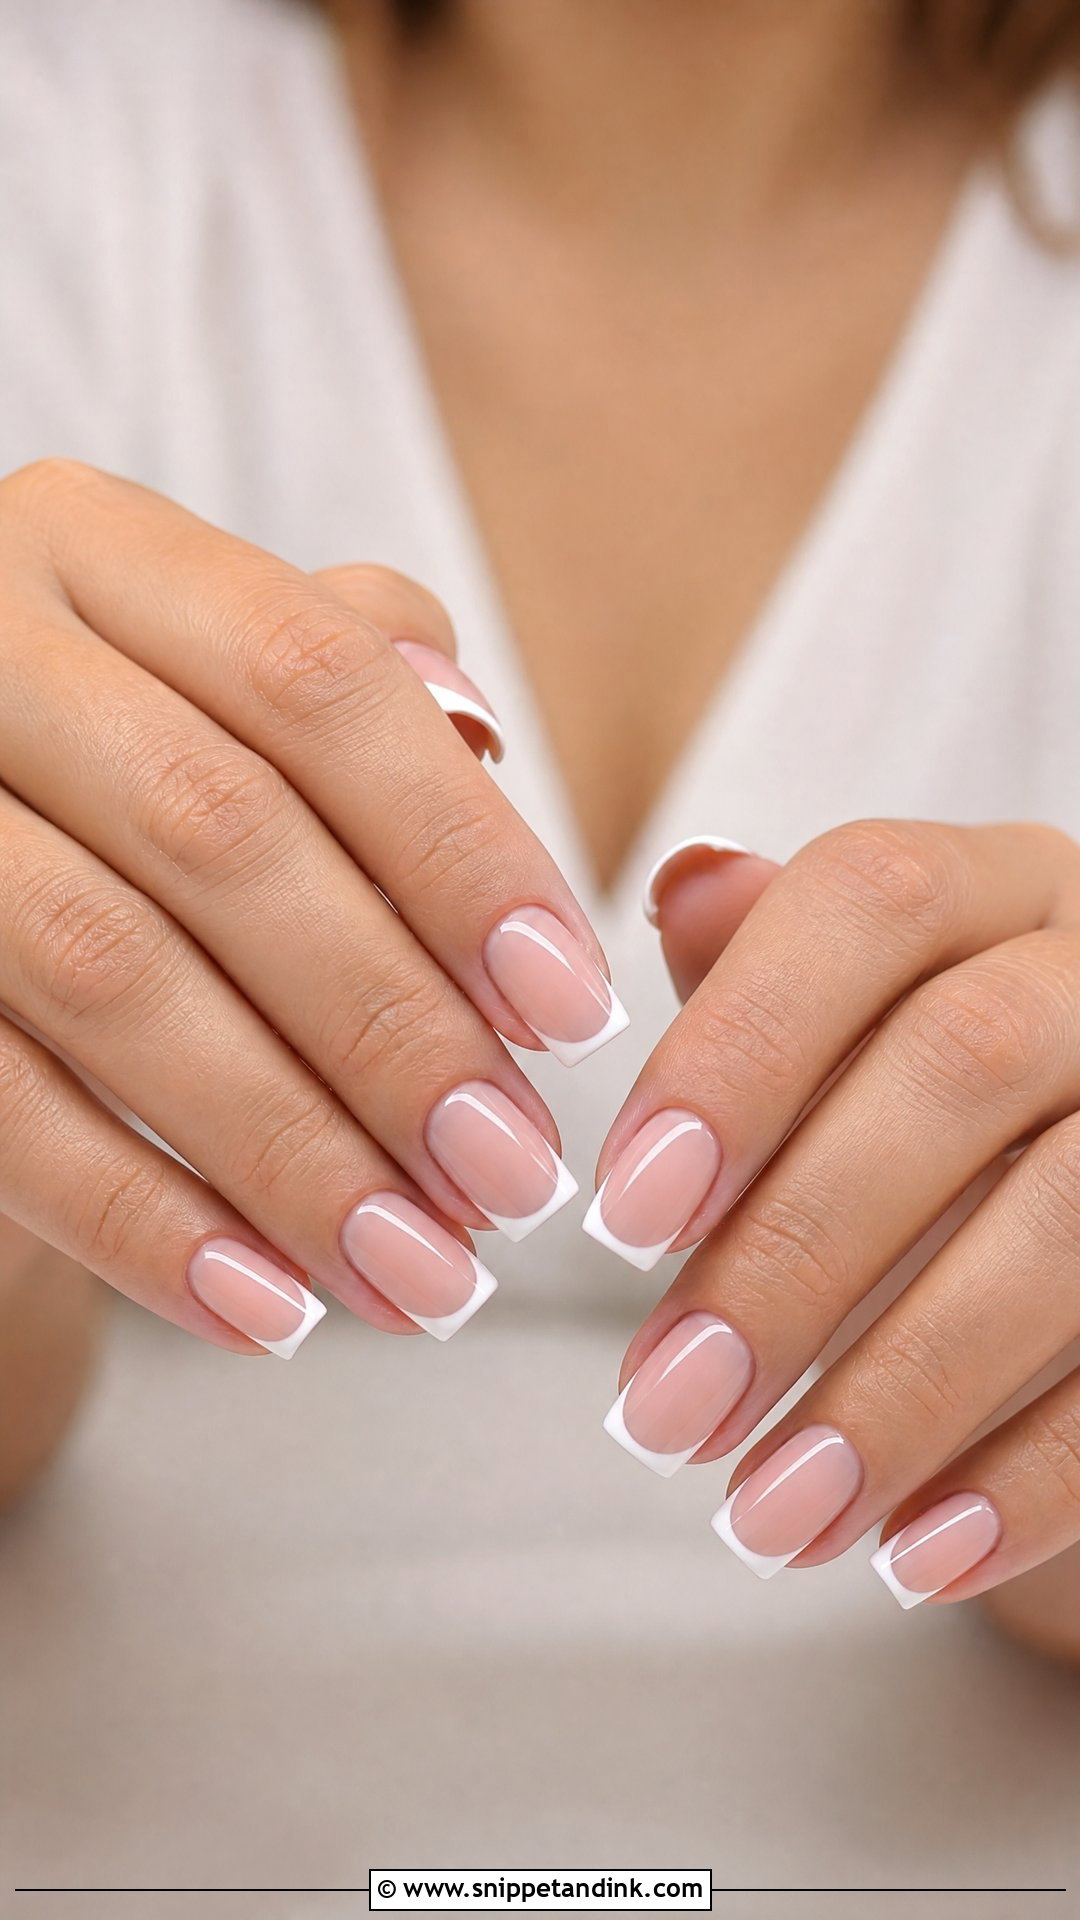
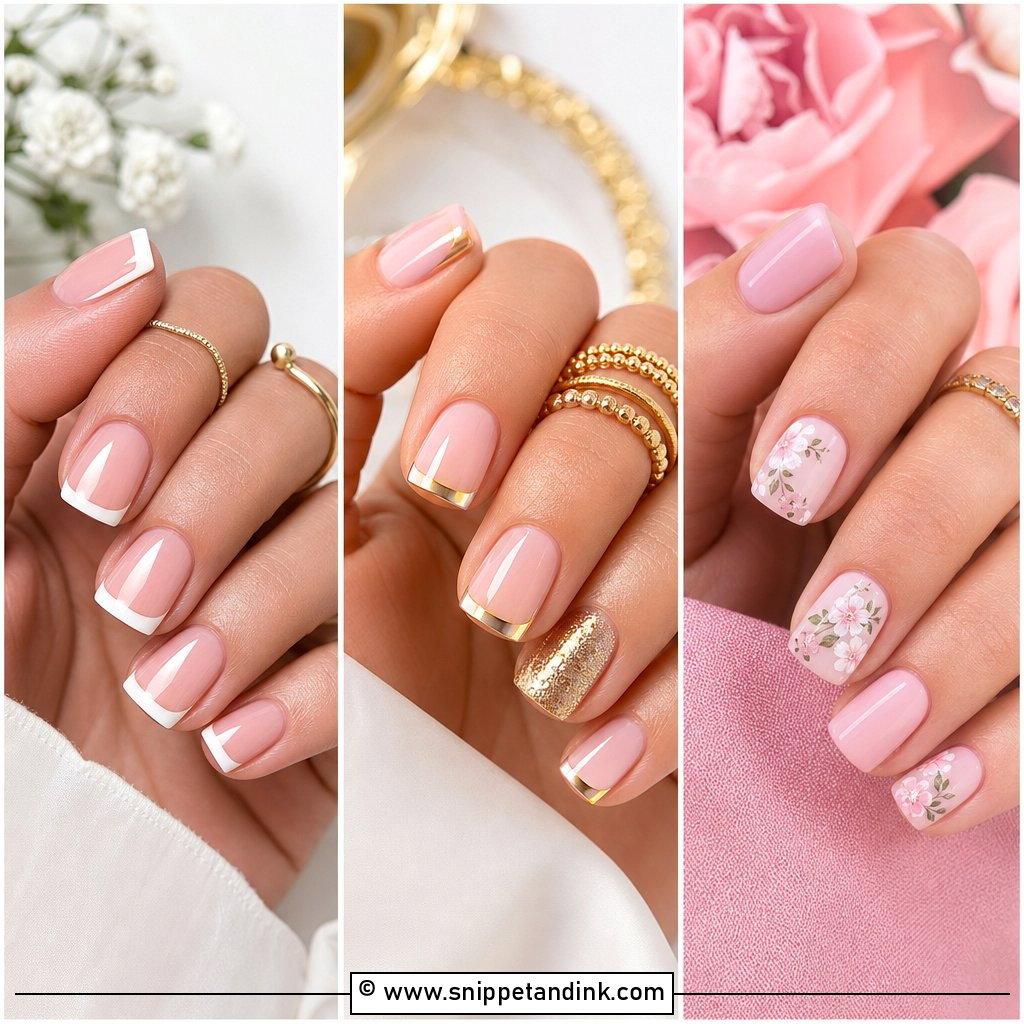
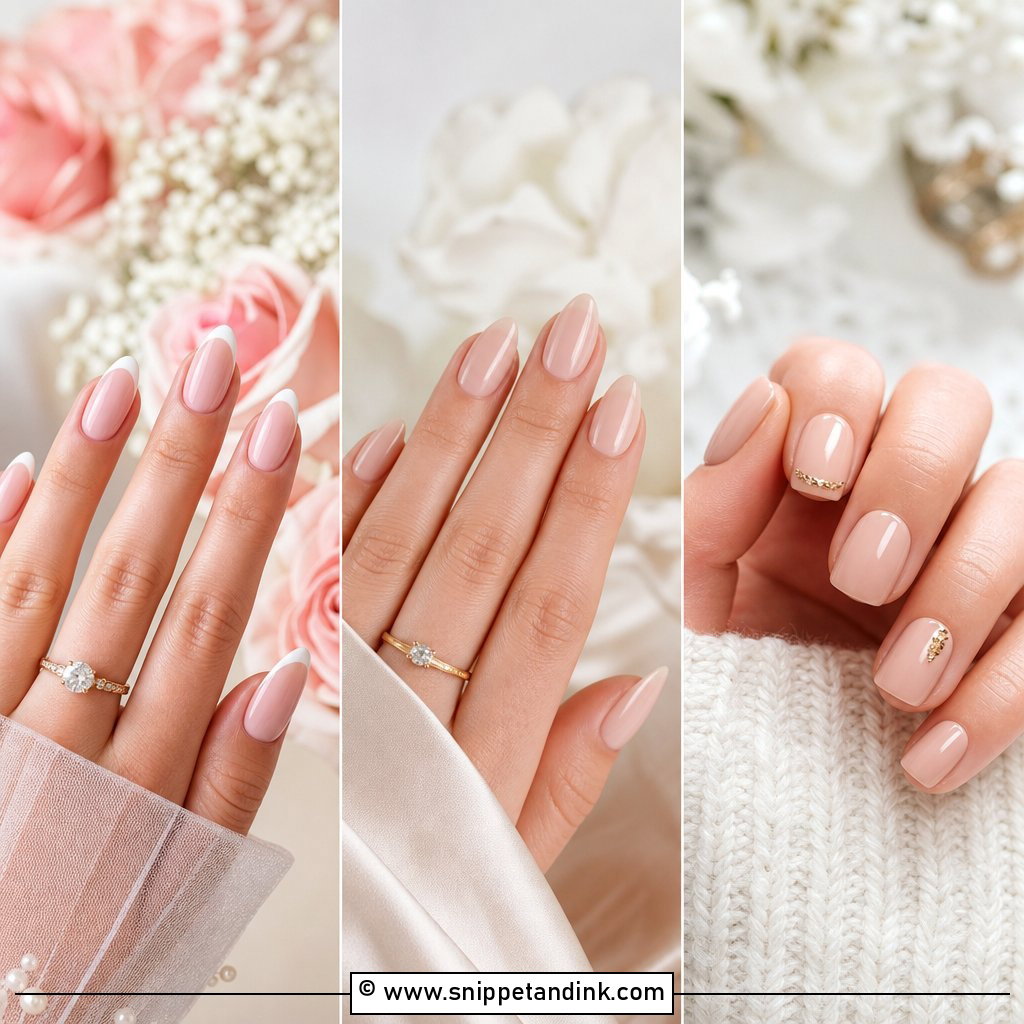
The straight tip gives a French line something precise to follow, which is why this pairing looks so tidy. Even on a square nail I paint the smile line with a slight curve, because a dead-flat line across the tip makes the nail bed look shorter. Swap a stark clear base for sheer pink or nude so the white doesn’t jump off the hand. Thin tips read current; thicker ones lean toward the 2000s bridal look. Softening the corners a touch costs nothing visually and saves your veil from snags.
3. Pearl Chrome Square Bridal Nails
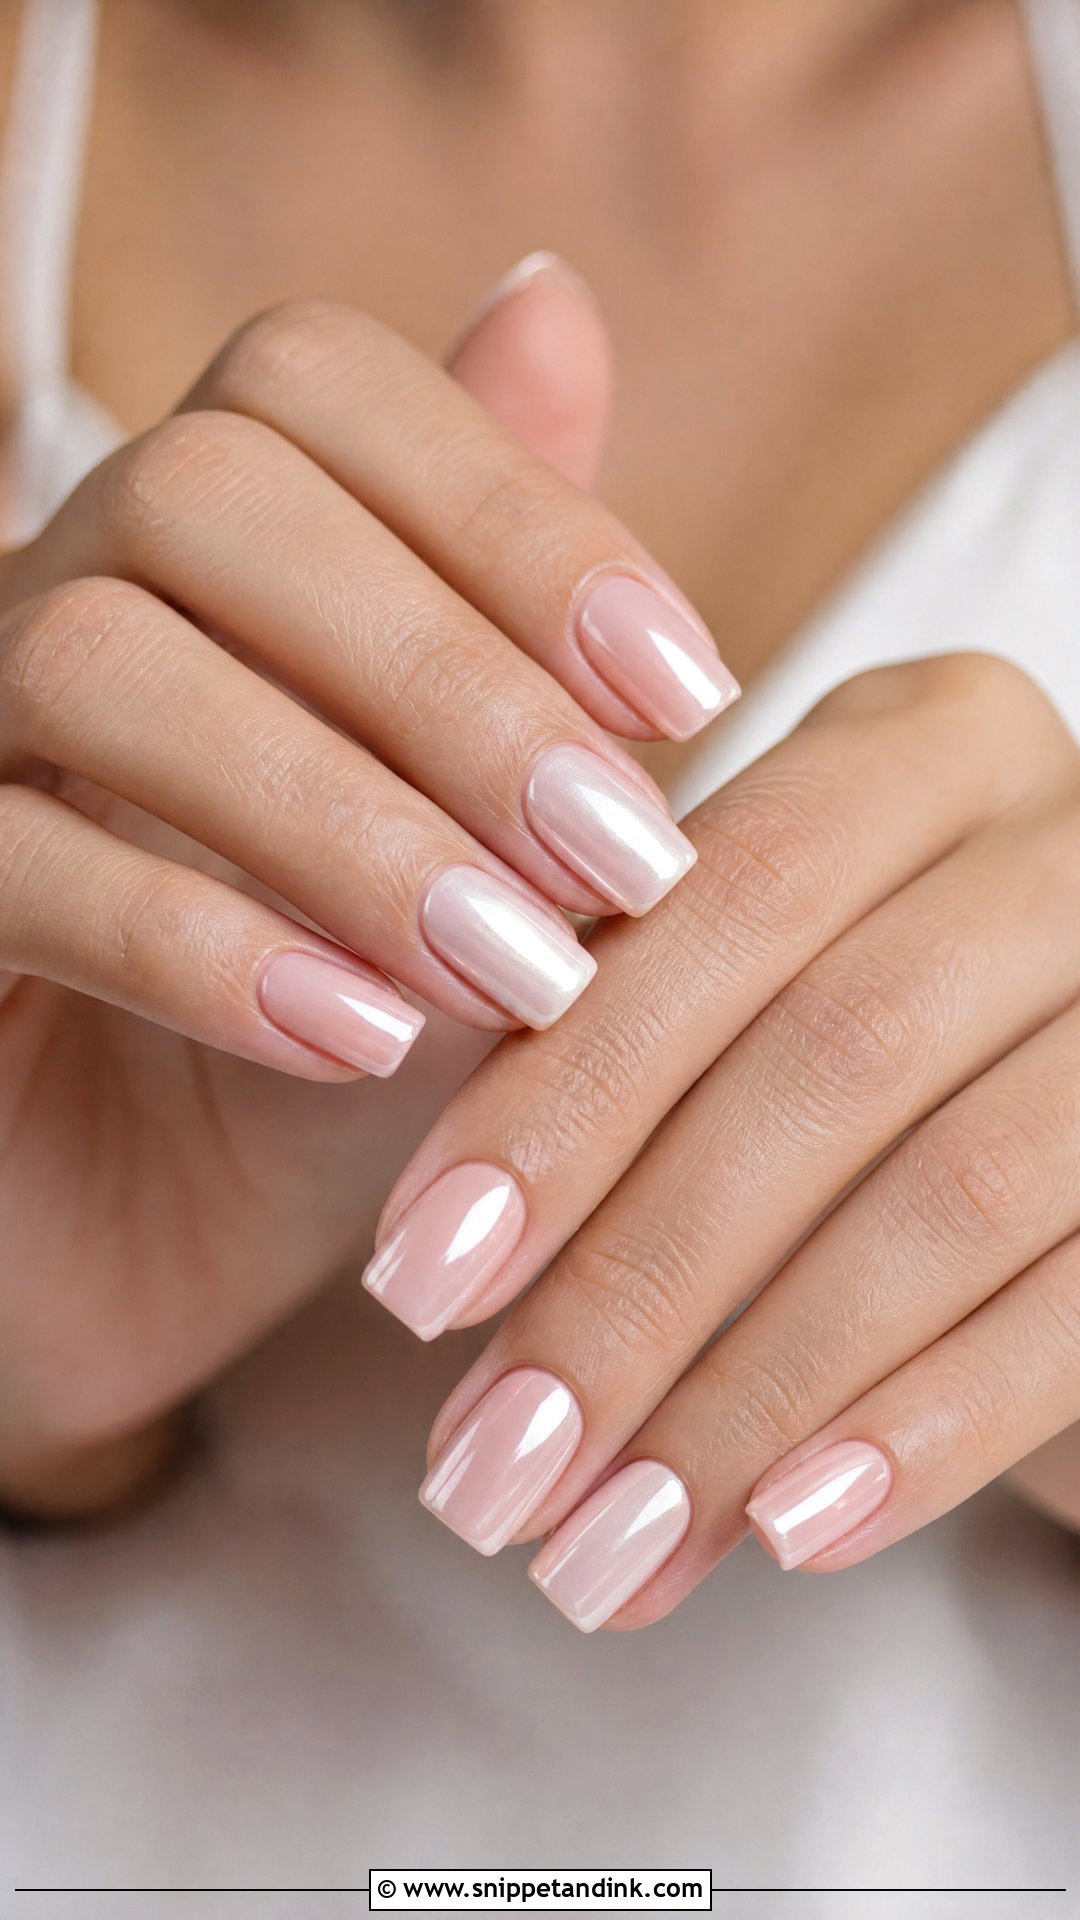
Pearl chrome goes over a milky white, pale pink or sheer nude base, with fine powder buffed into a cured no-wipe top coat. The glow depends on that top coat being perfectly smooth. Any ridge underneath shows up as a stripe once the powder goes on, so I spend longer levelling the base than applying the chrome itself. A flat square surface takes the powder evenly from cuticle to tip. Ask for a light pearl powder rather than mirror chrome if you want glow instead of shine; it sits happily beside pearl earrings or a gown with a subtle sheen.
4. Nude Square Bridal Nails
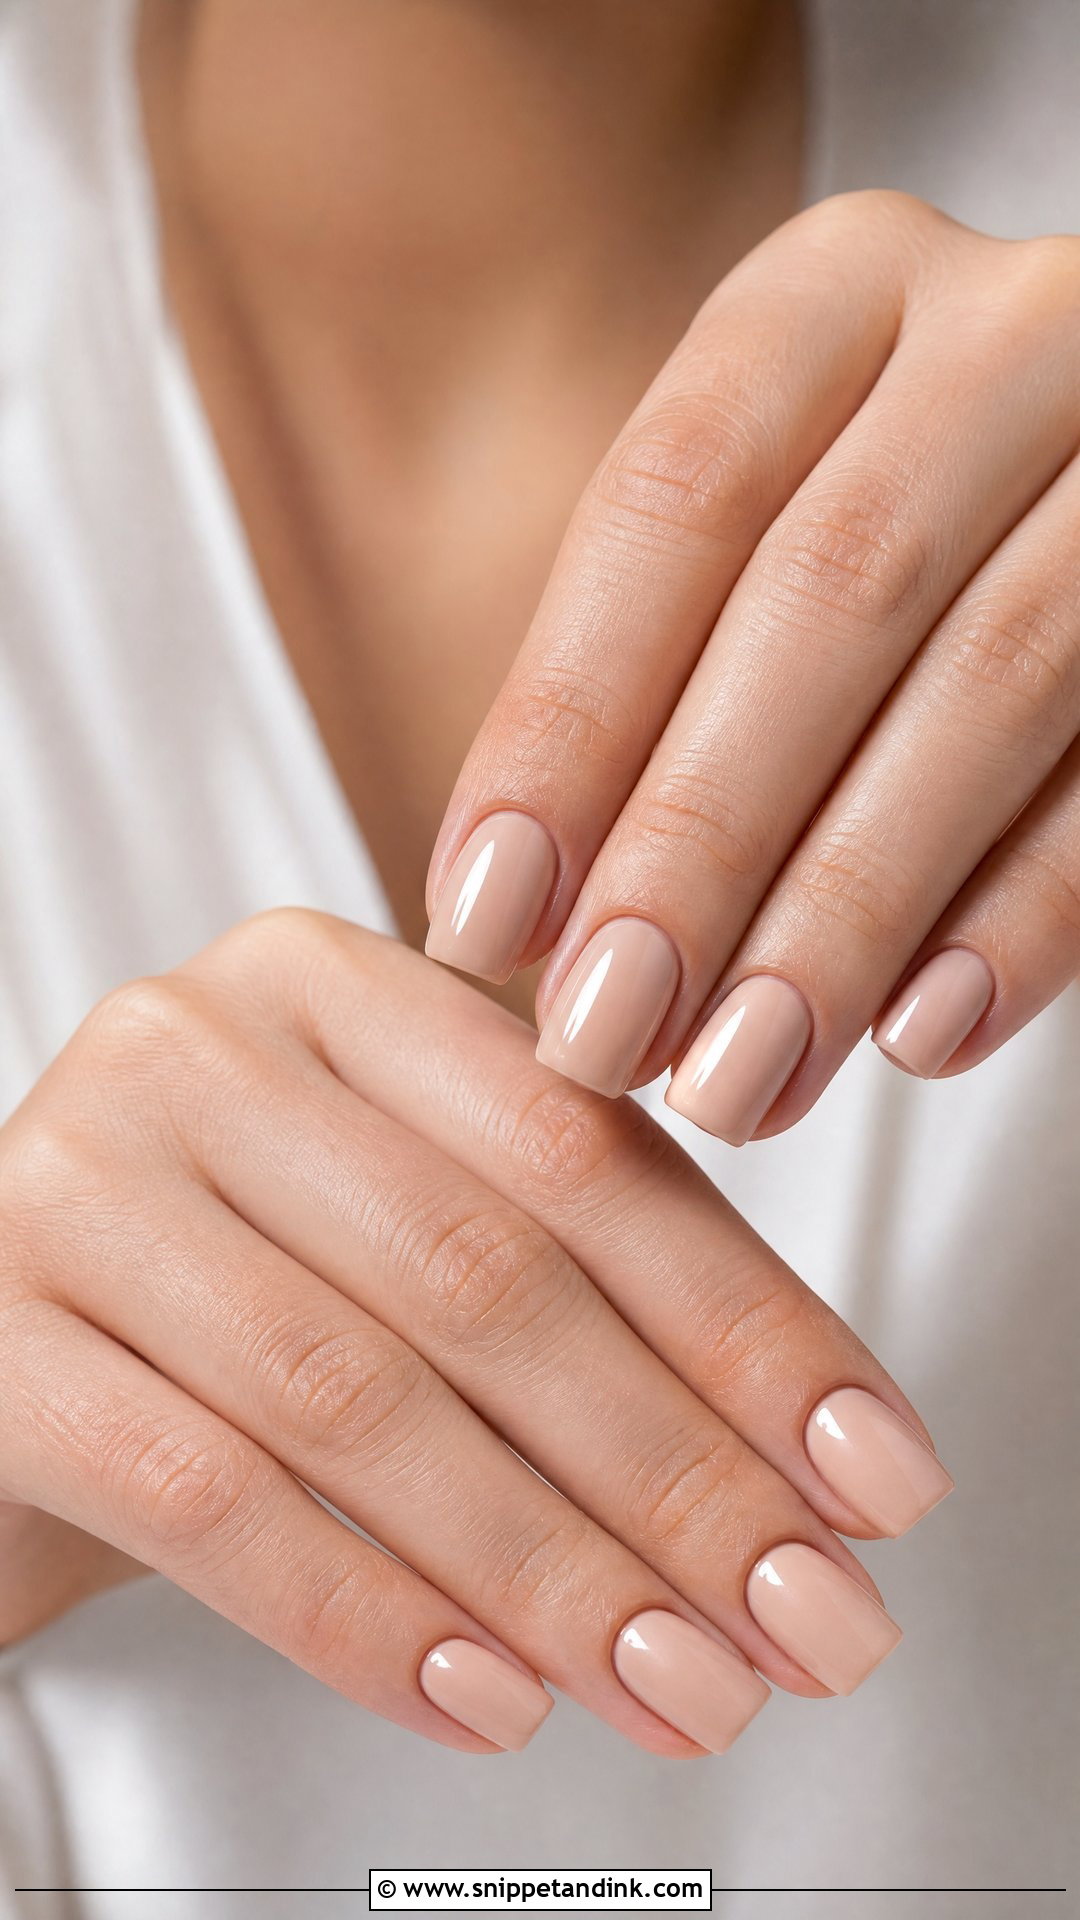
Everything here rests on the shade, and the most common miss I see is a nude that turns grey or chalky on the hand. Fair skin usually suits a pink-leaning nude, medium skin warms up with peachy beige, and deep skin looks rich in caramel, cocoa or rosy brown. I swatch two or three on your actual nail, not on a tip wheel, because the nail bed shows through and shifts the color. A glossy top coat is enough. Add a sheer shimmer layer only if the reception is candlelit.
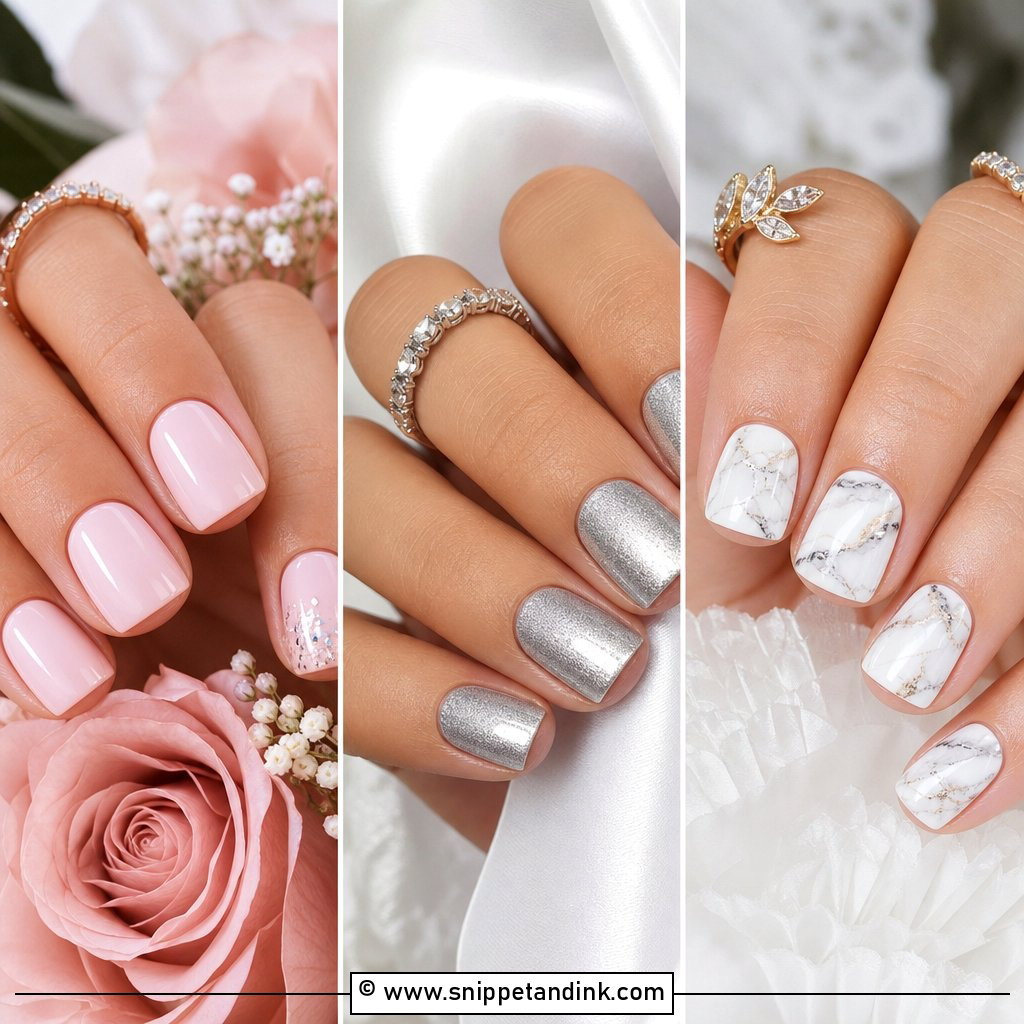
5. Pink Square Bridal Nails
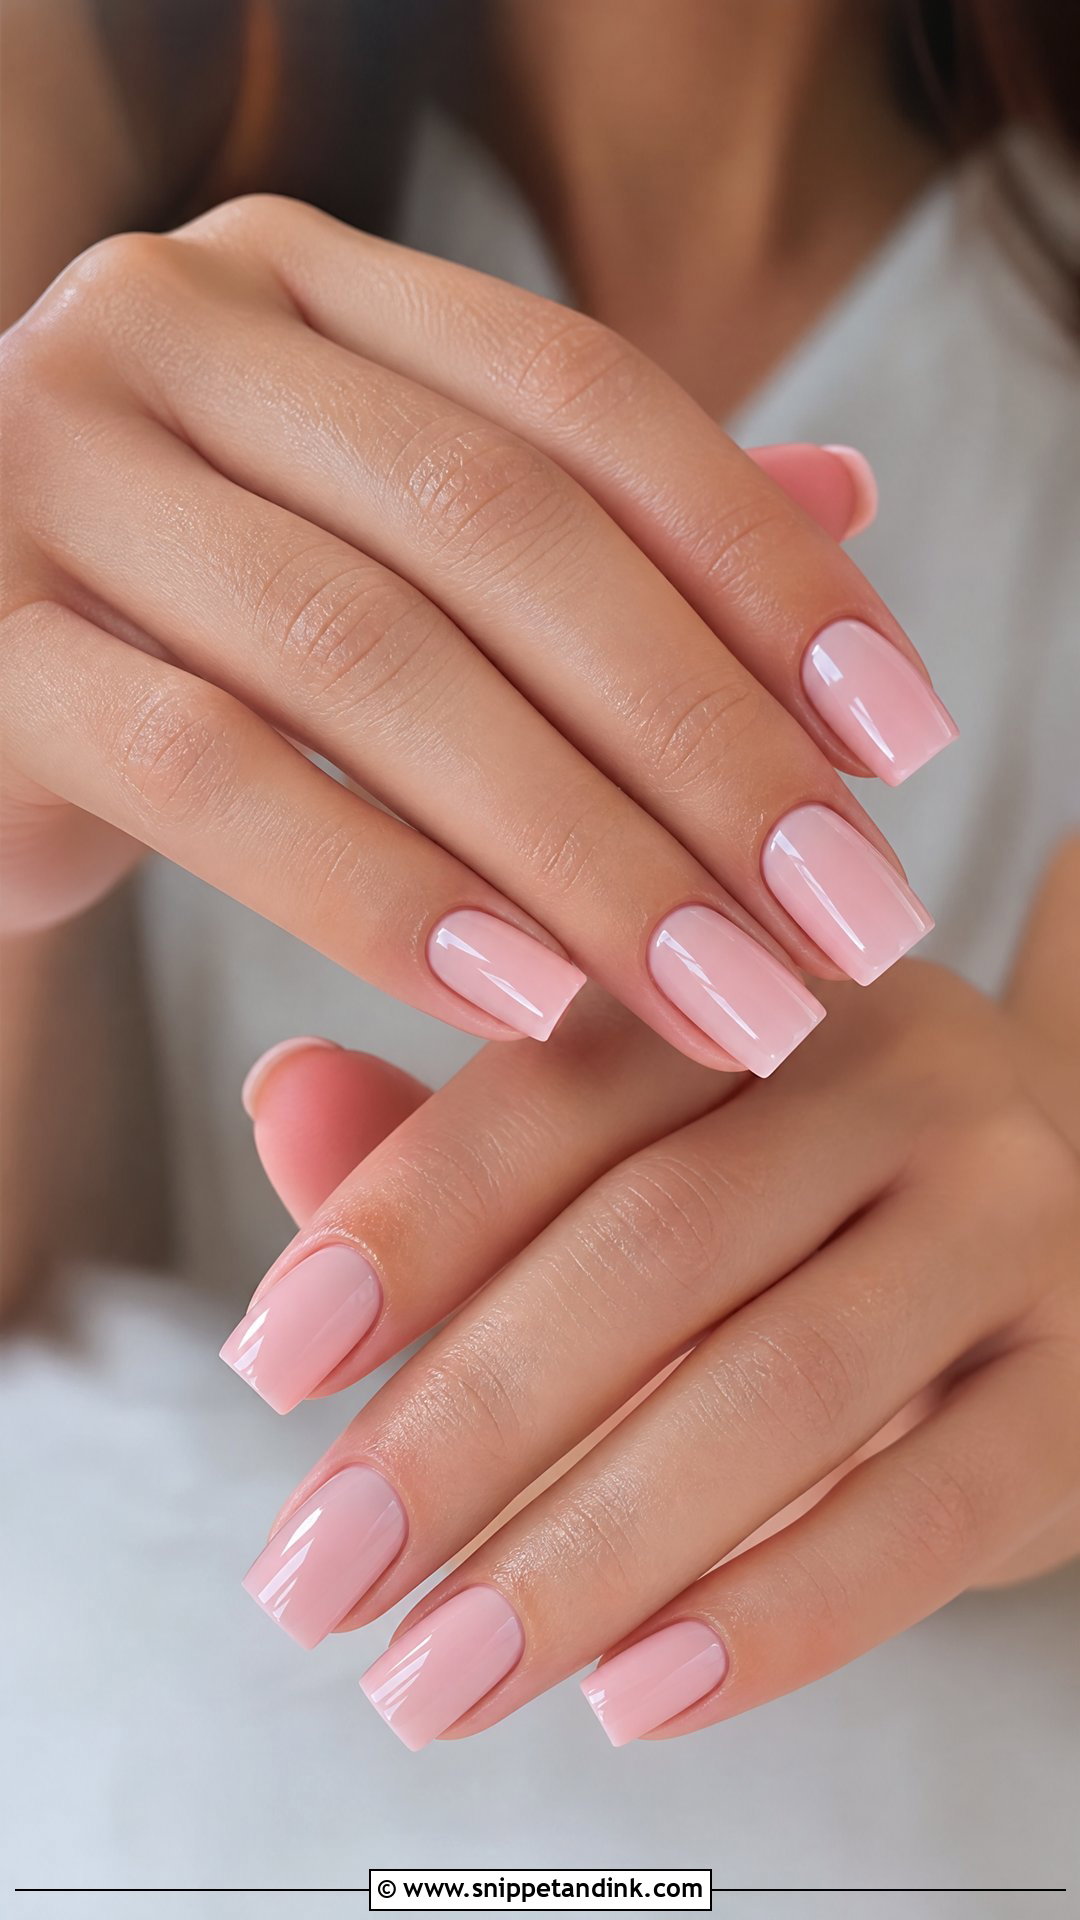
Baby pink brightens the hands and sits comfortably beside white or ivory fabric in photos. On a square shape it reads grown-up rather than sugary, since the straight tip adds the structure the color lacks. It’s also one of the few shades that doesn’t fight either silver or gold jewelry. If your natural nails have white spots or uneven tone, a builder gel overlay under the pink evens things out. Sheer pink on its own will show every mark.
6. Short Square Bridal Nails
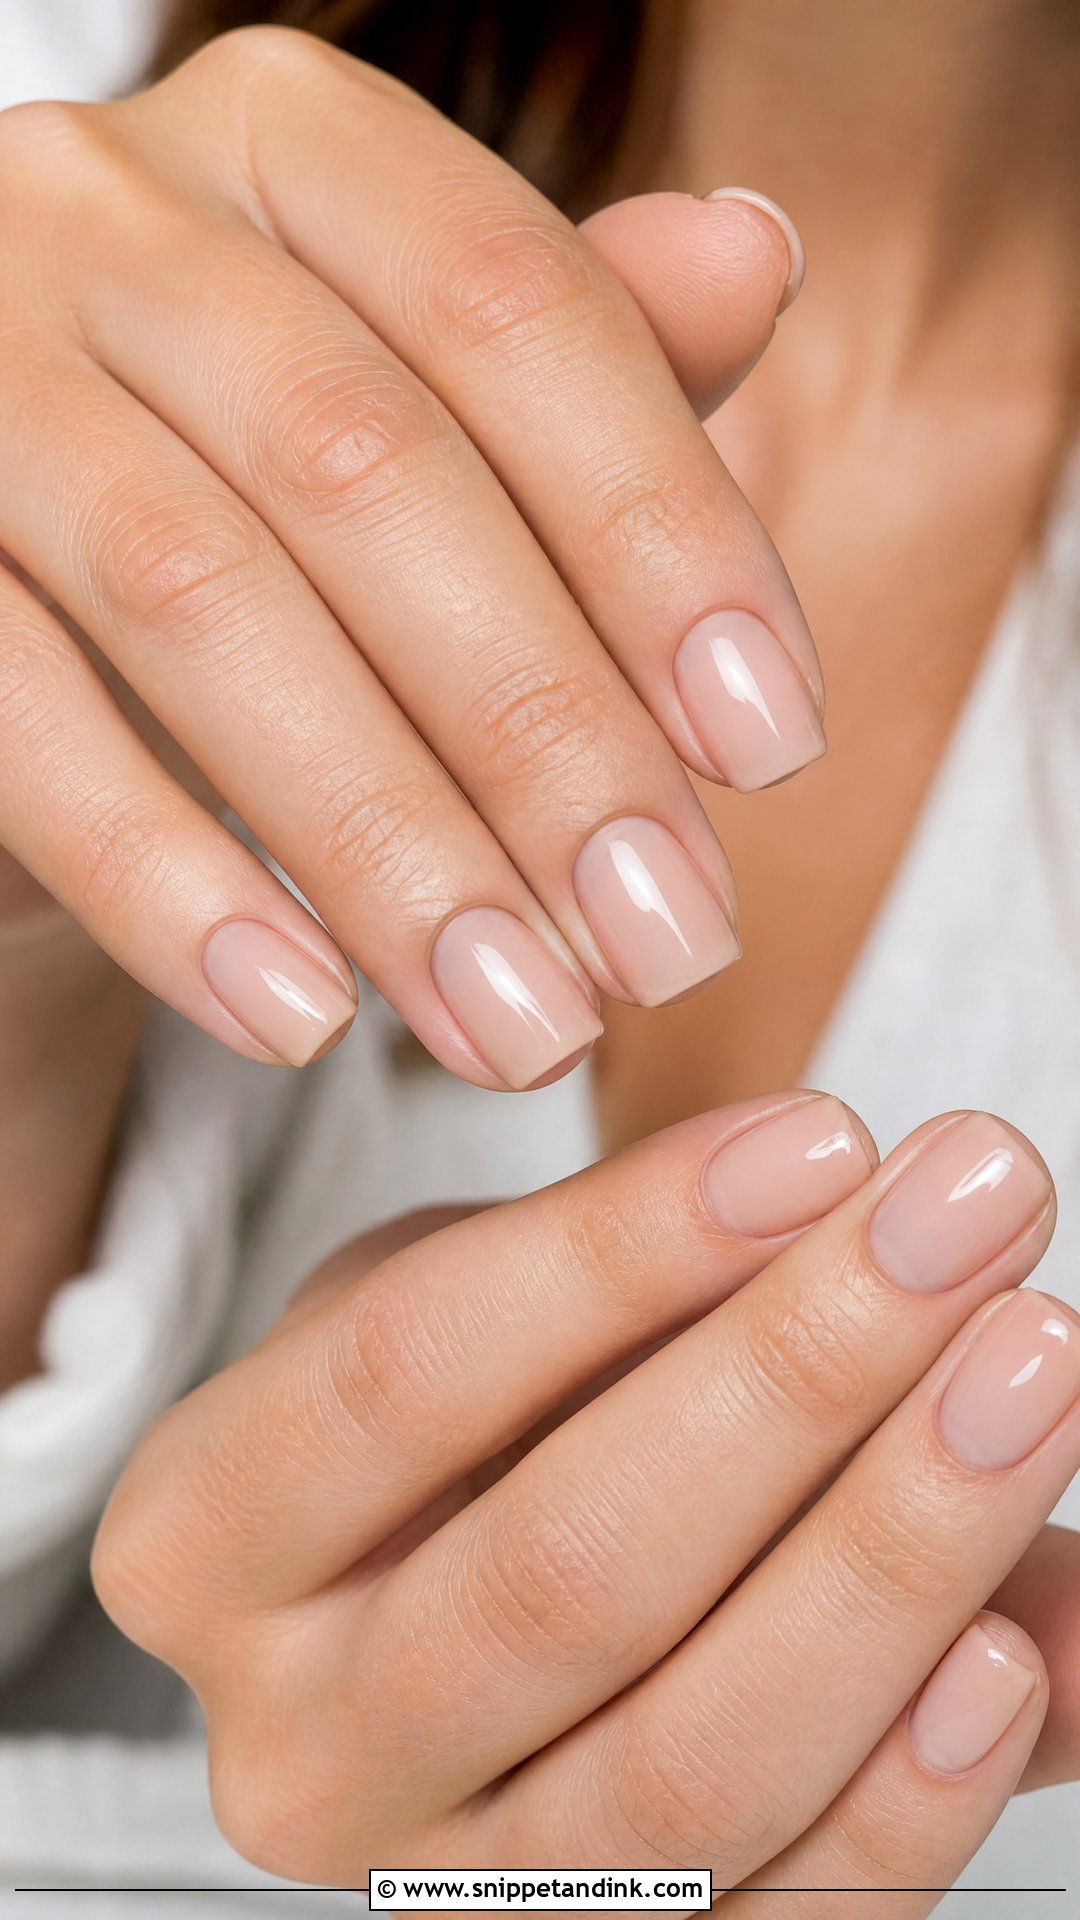
You don’t need length to look finished. Short square nails are what I suggest to anyone who has never worn extensions, types all day, or worries about snagging lace and hair while getting dressed. Keep the free edge just past the fingertip and round the corners slightly so they don’t dig into your palm. Milky white, sheer nude or a micro French all suit this length. One honest drawback: very short square nails on wide nail beds can look stubby, so I’d file those into a softer squoval instead.
7. Long Square Bridal Nails
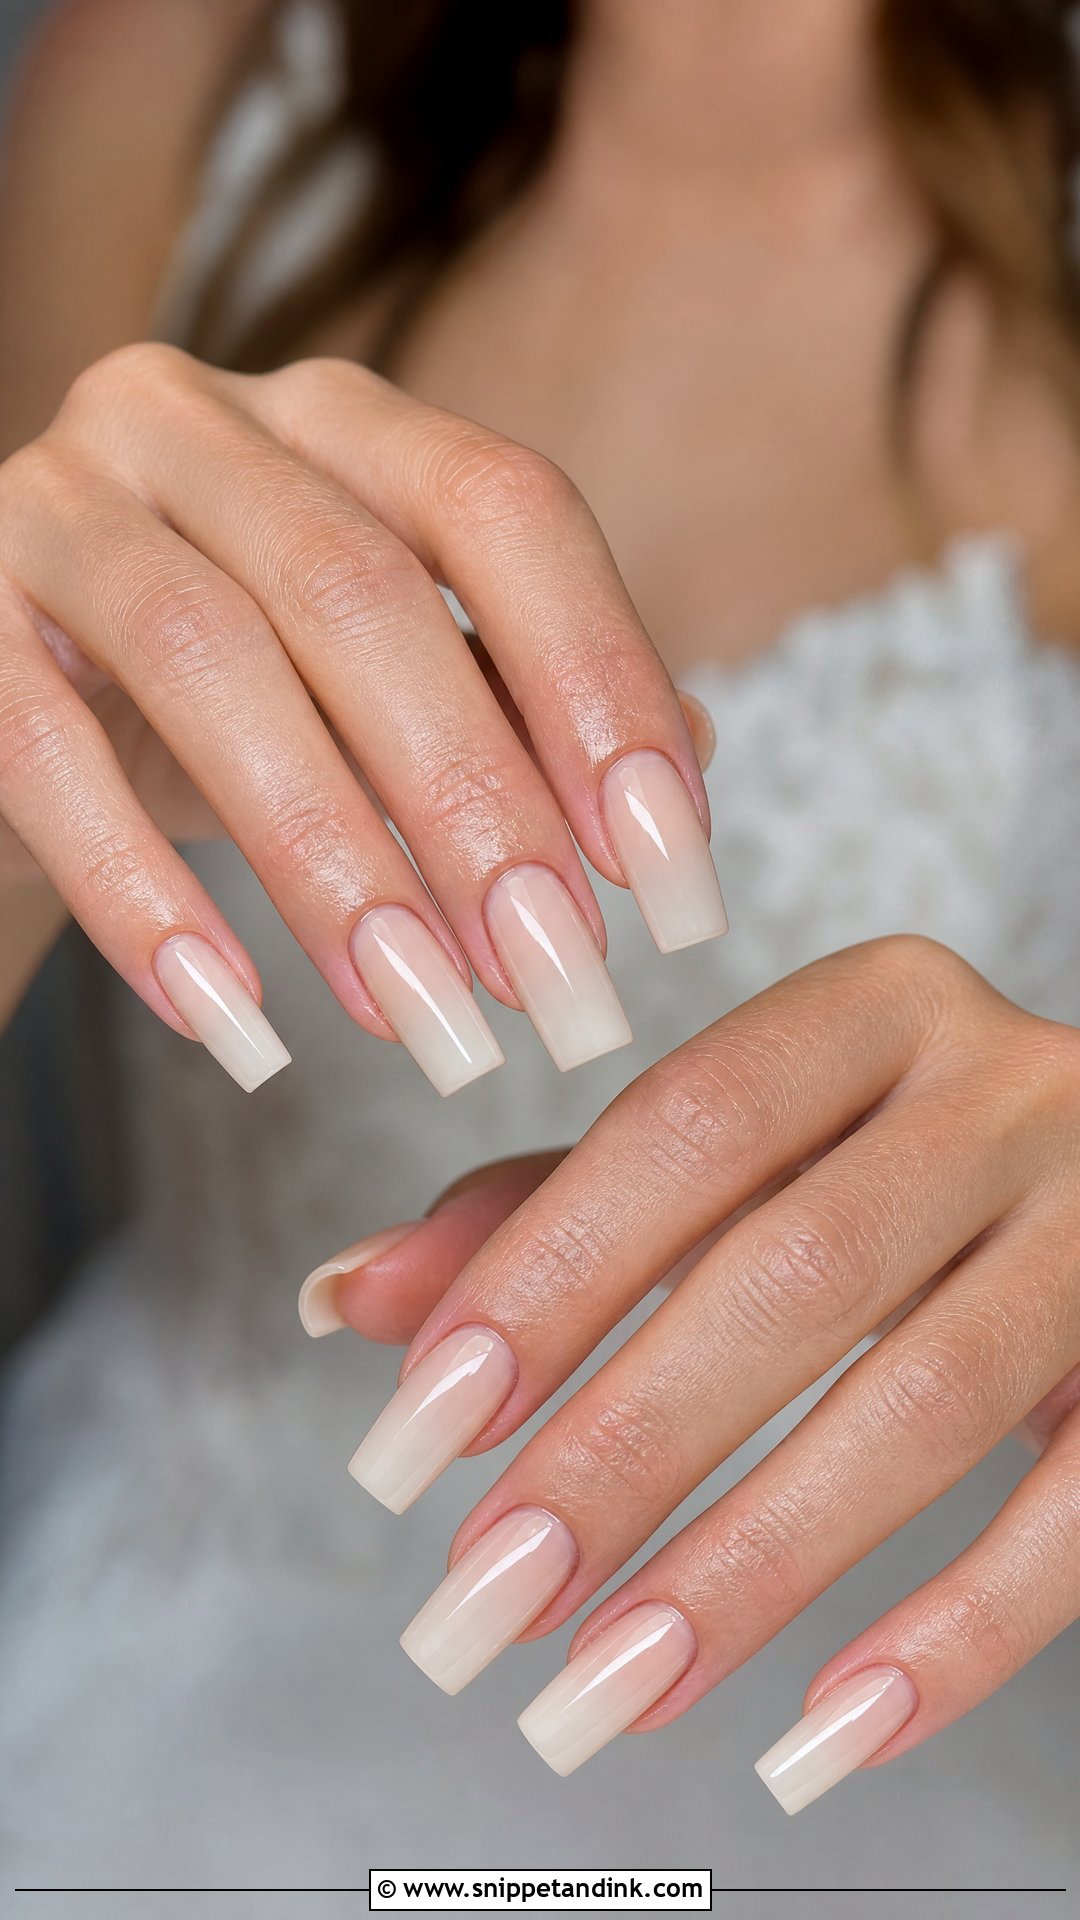
Length gives French tips, lace or pearls room to breathe, but it also changes how you handle everything that morning, from dress buttons to earring backs to your phone. Keep the color gentle so a long square shape doesn’t look heavy; ivory or sheer nude work better here than bright white. A long straight edge also acts as a lever. Knock it on a car door and the force goes straight into one corner. That’s why I usually talk brides down to medium-long, and suggest living with the length for a week beforehand if you’ve never worn it.
8. White Chrome Square Bridal Nails
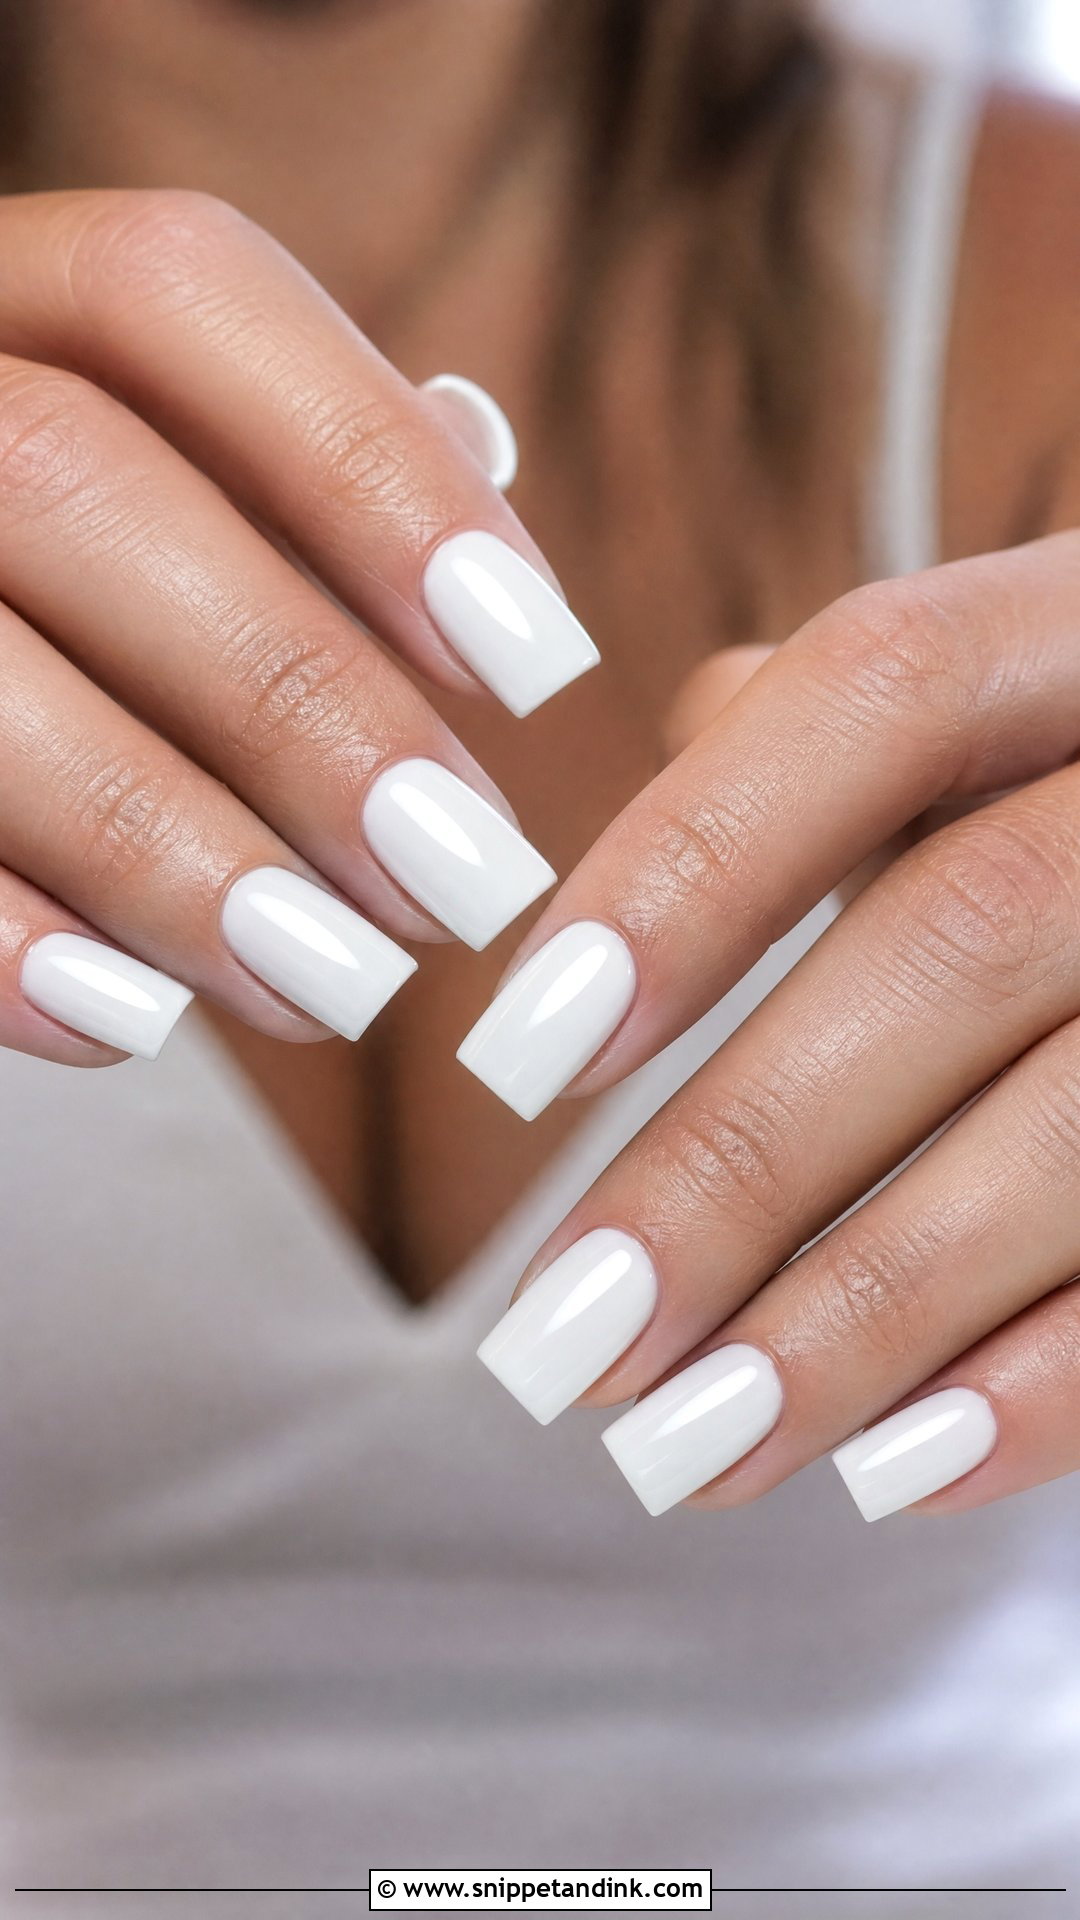
This finish is brighter than pearl chrome and softer than silver mirror. It starts on white or a milky white base, then fine chrome is rubbed over the cured top coat for a glazed sheen. Under flash it throws back a lot of light, so I warn brides that close-up ring shots can show it brighter than it looks in the room. A sheer white base calms it down; opaque white underneath gives more punch. It suits a structured or minimalist gown far better than a romantic lace one.
9. Blush Square Bridal Nails
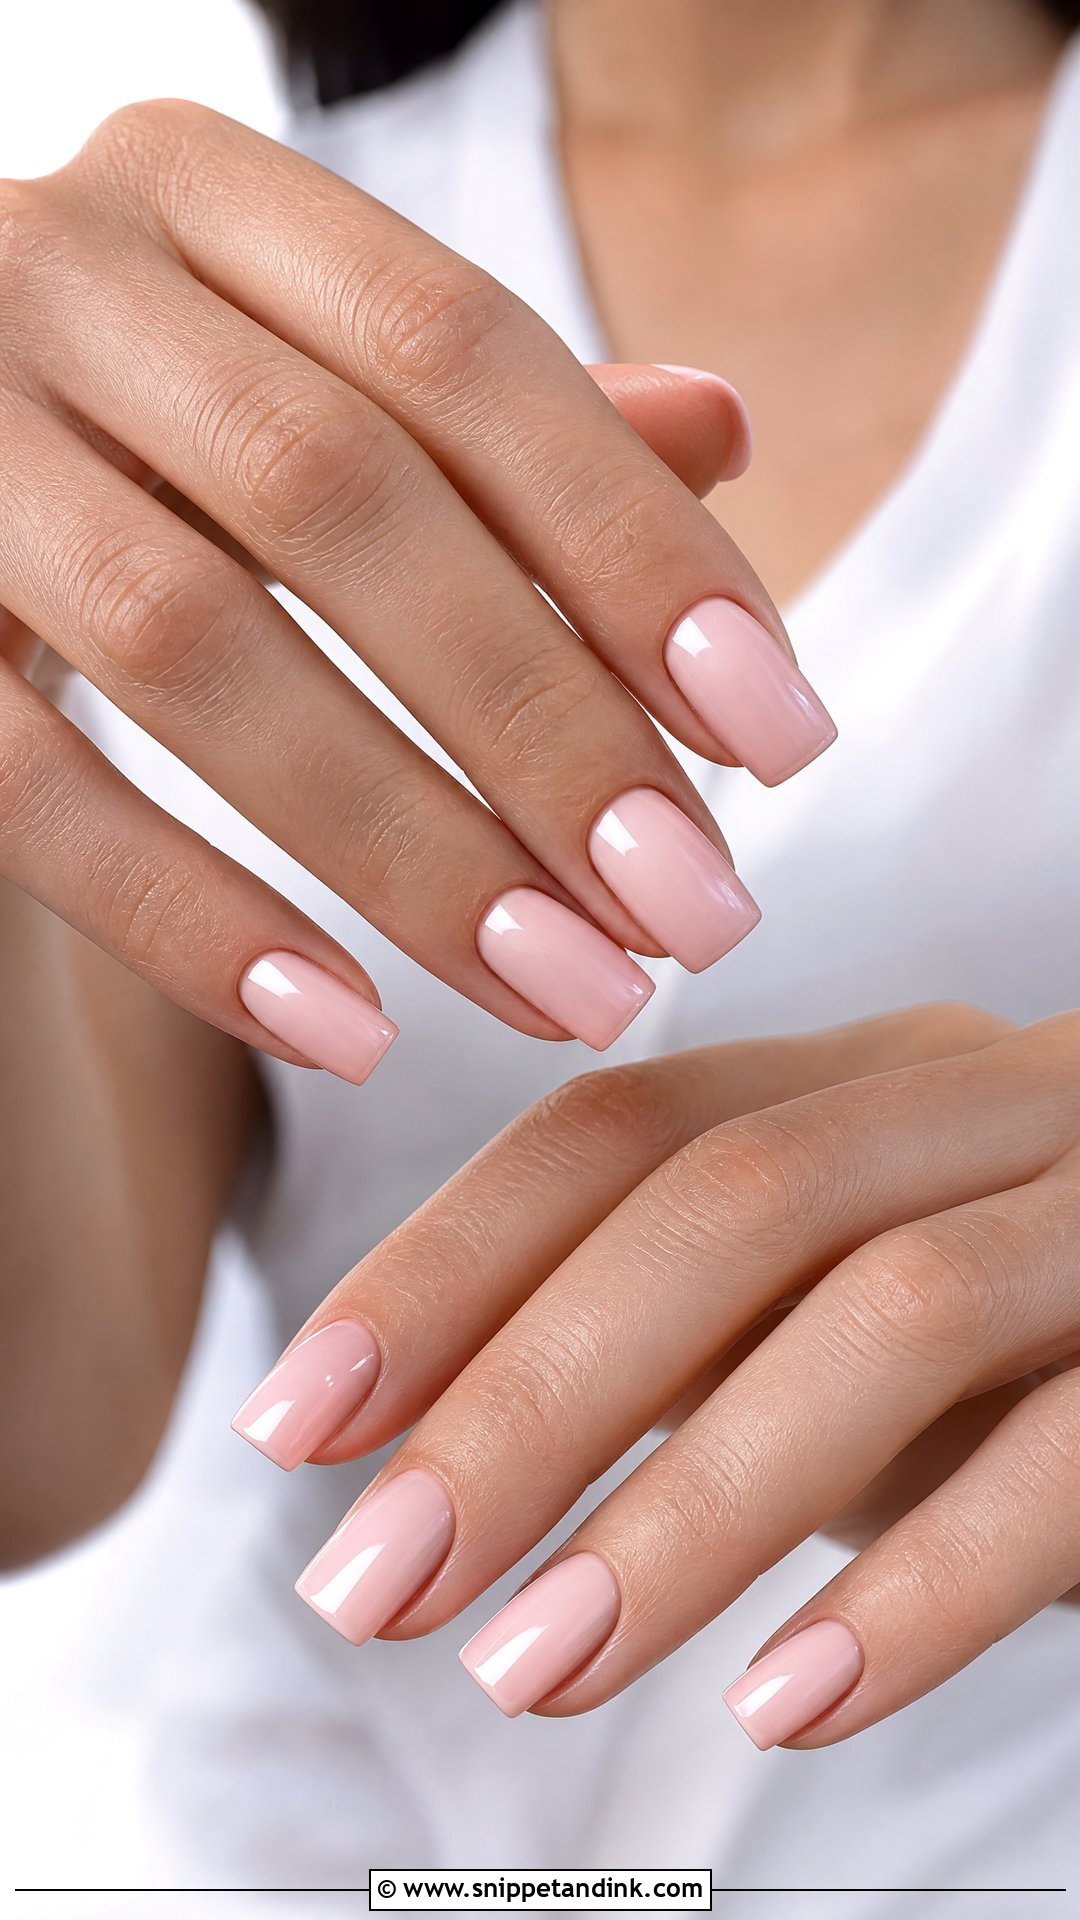
Blush sits between pale pink and warm nude, which is exactly why it flatters more skin tones than either one. I suggest it when pure white feels too bright and nude feels like nothing at all. Worn alone under a high-gloss top coat it’s already finished. A thin French tip or two tiny pearls is about as far as I’d take it, and it picks up rose gold and champagne fabric better than any other shade on this list.
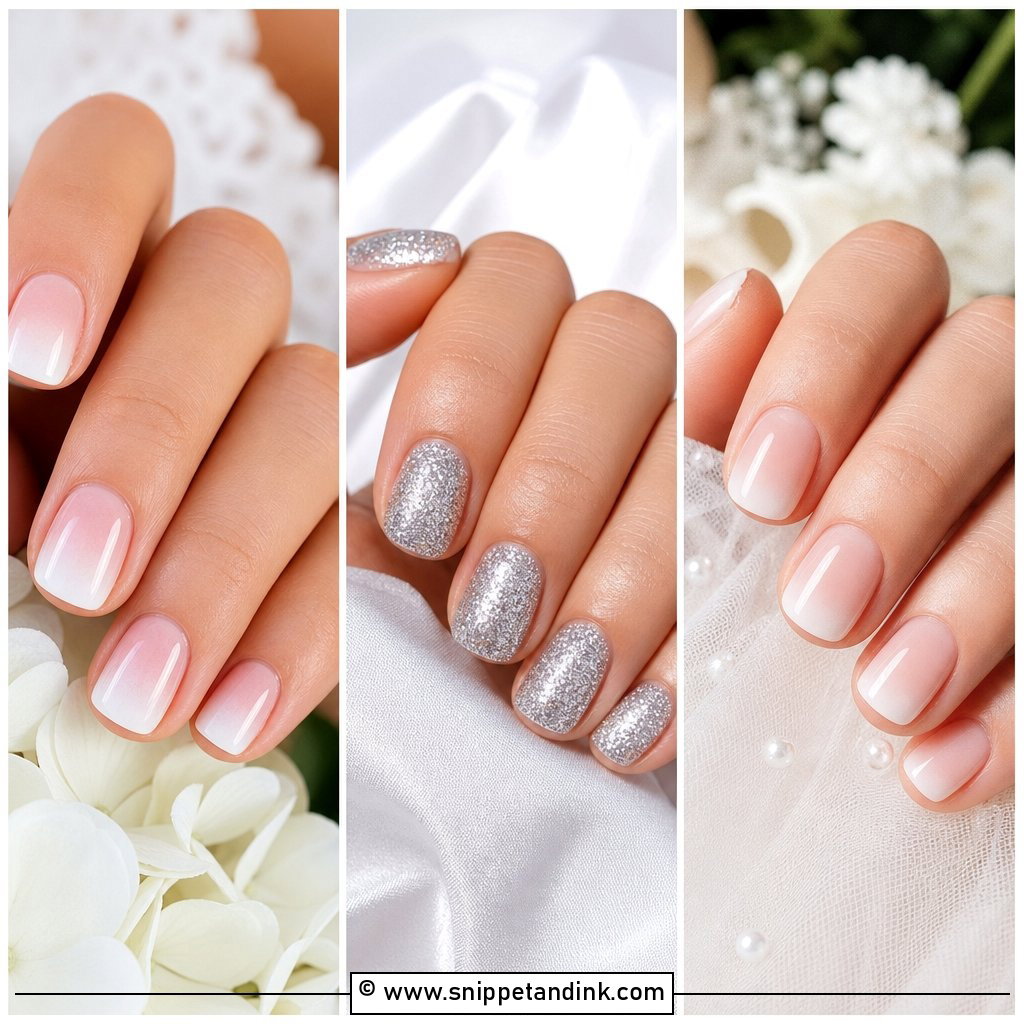
10. Ombre Square Bridal Nails
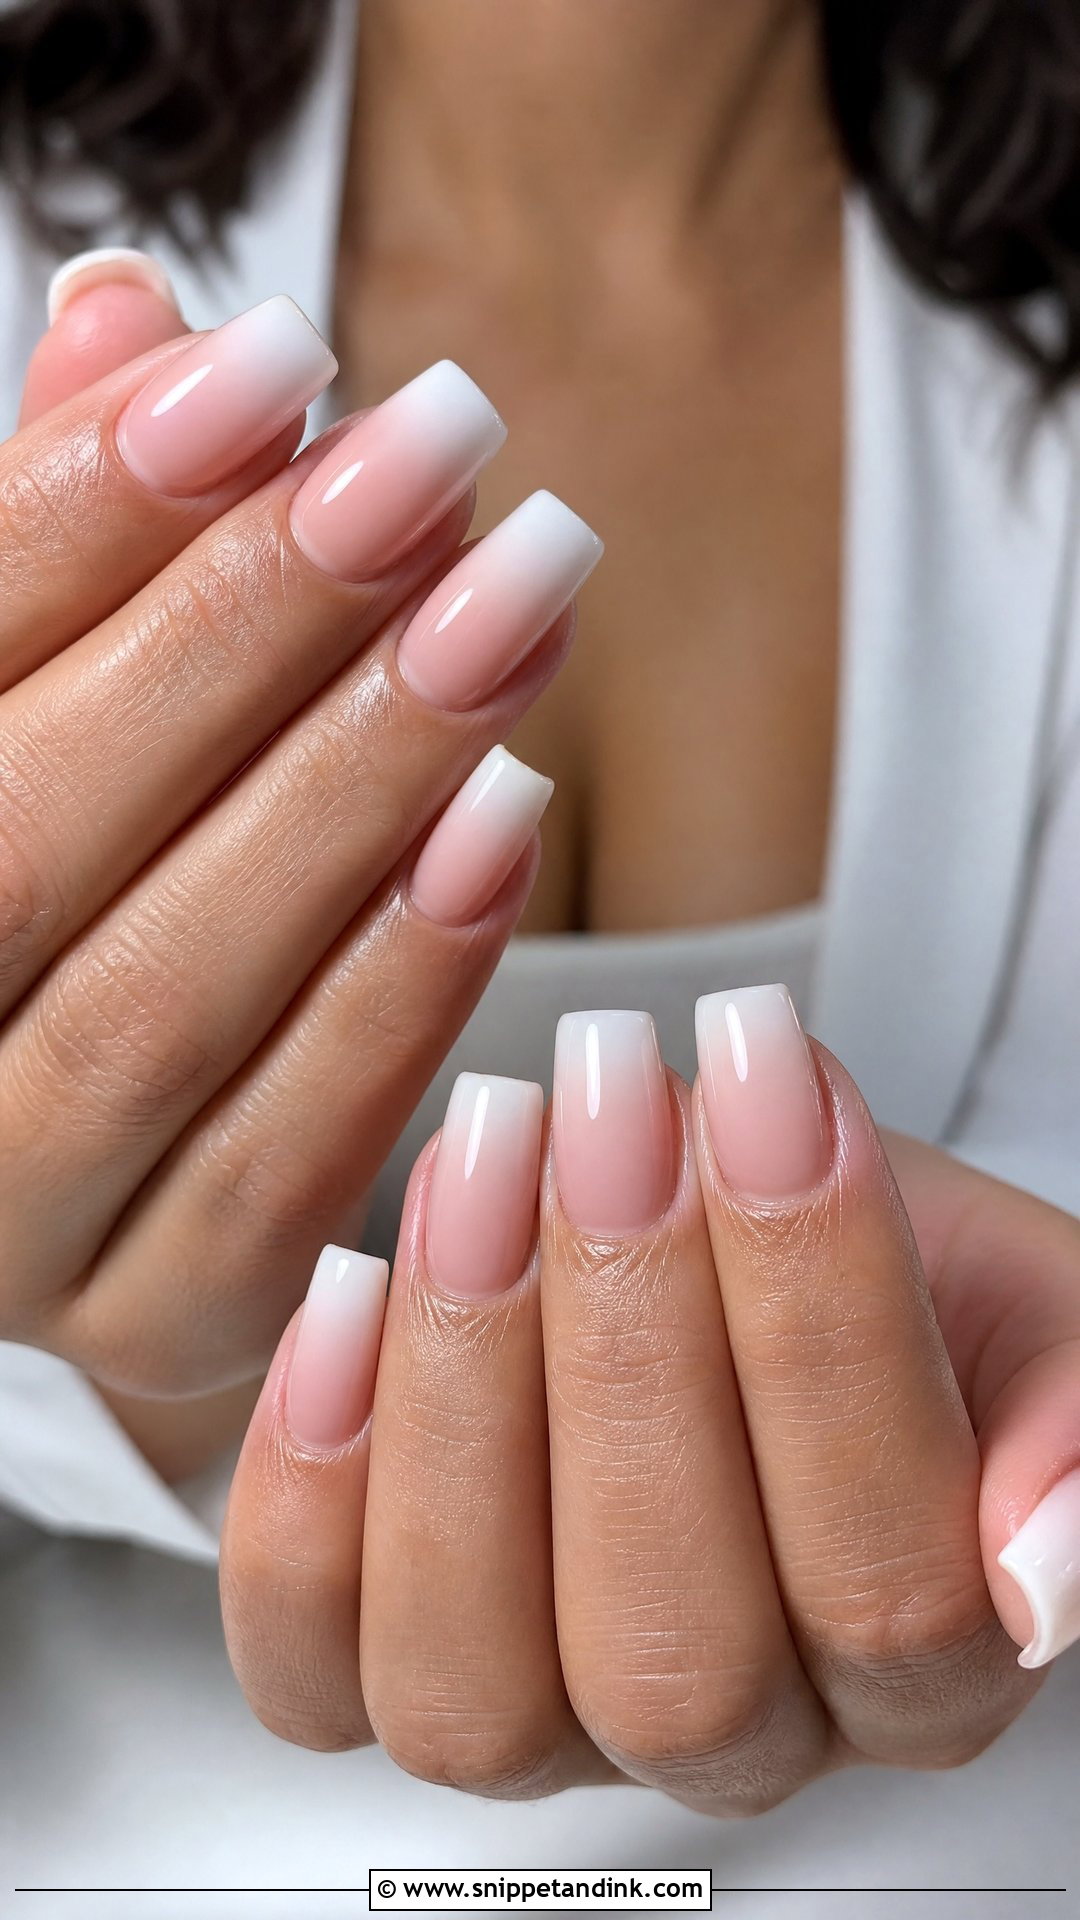
A nude or pink base melting into white tips is gentler than a hard French line. The gradient needs distance to blend, so I won’t do this on very short nails; on medium and long square sets the fade has enough room to look smooth. Sponged gel can come out grainy if it’s rushed, so ask for an airbrushed or baby boomer technique. A thick glossy top coat finishes it and keeps the blend smooth even in macro ring shots.
11. Lace Square Bridal Nails
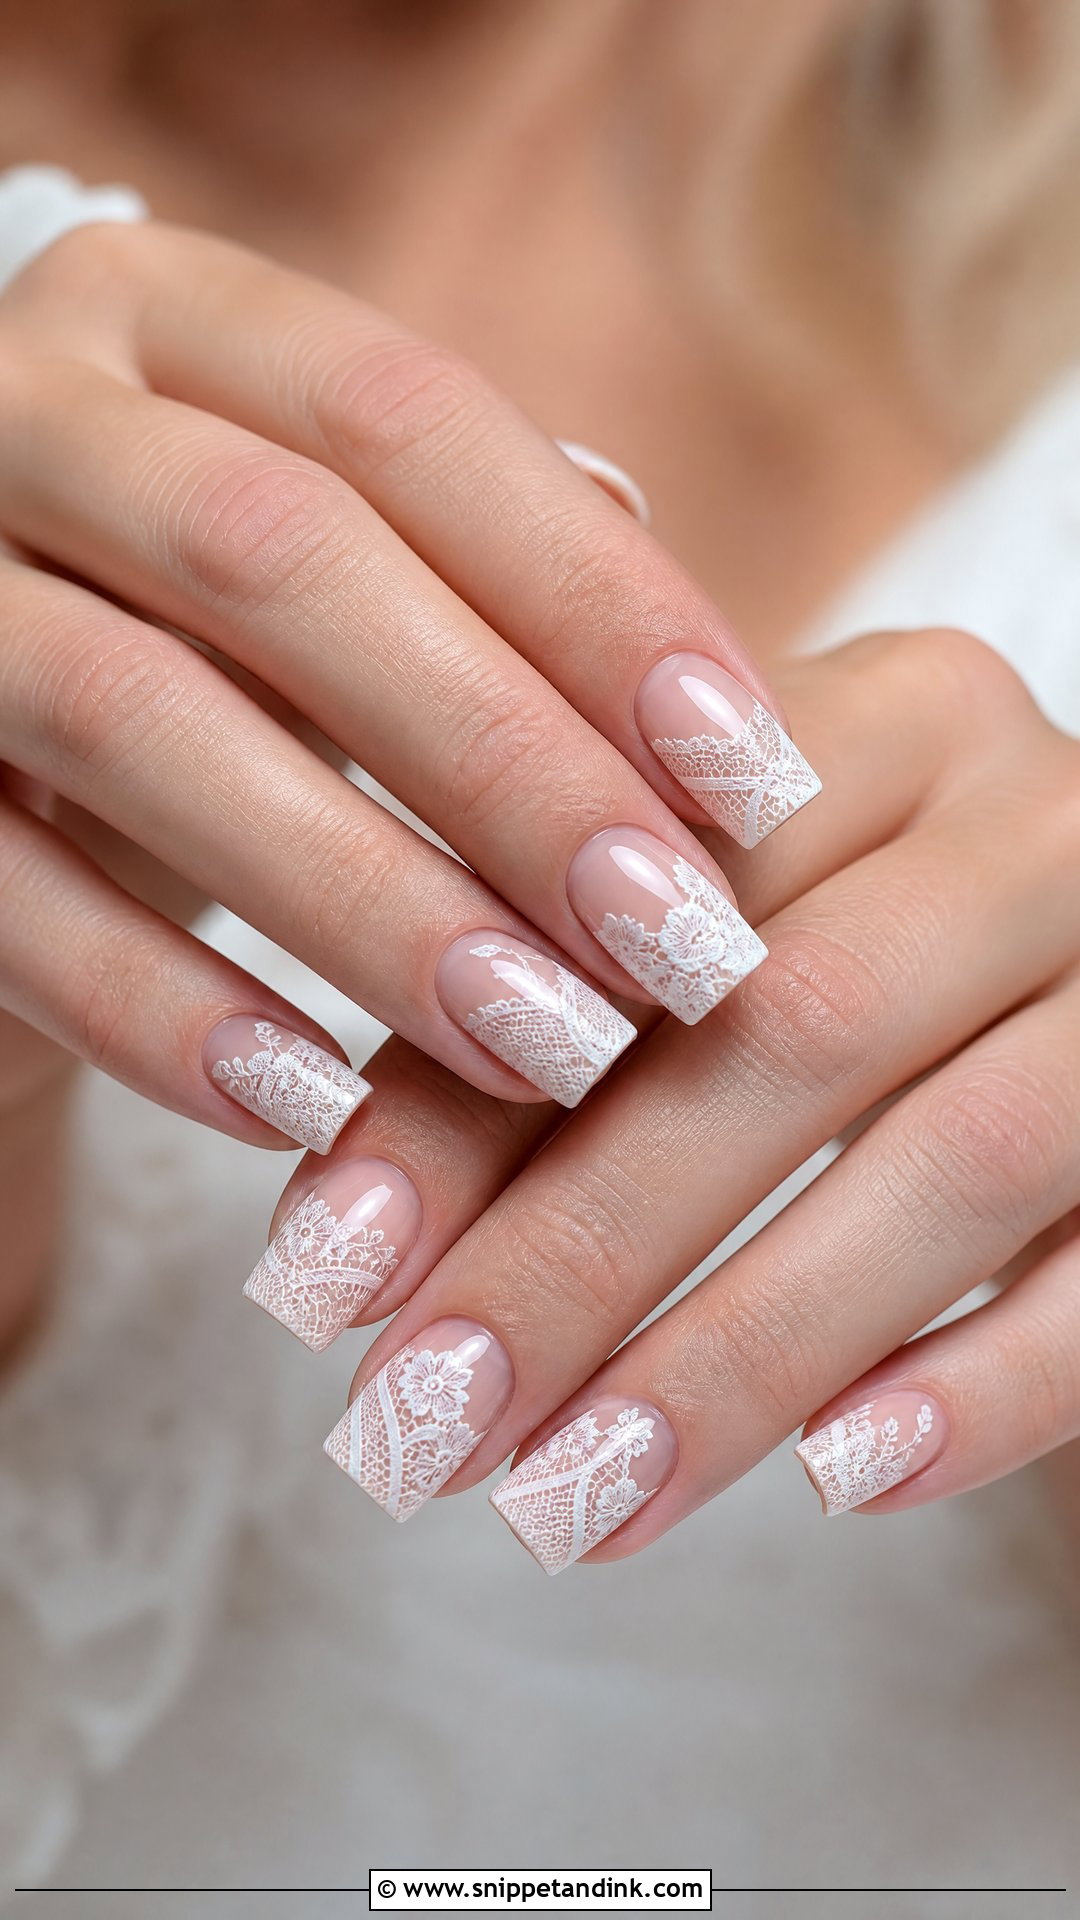
Lace art is fine linework, and fine linework needs a calm base like sheer nude, blush or milky white. I paint it with a long, thin liner brush and gel paint rather than regular polish, because polish spreads before it sets and the lines go fuzzy. Keep the pattern airy. Dense lace on all ten nails turns into white blobs in photos. It echoes lace sleeves, embroidered veils and appliqué well, and for something quieter you can put lace on the ring fingers only and leave the other eight glossy.
12. Floral Square Bridal Nails
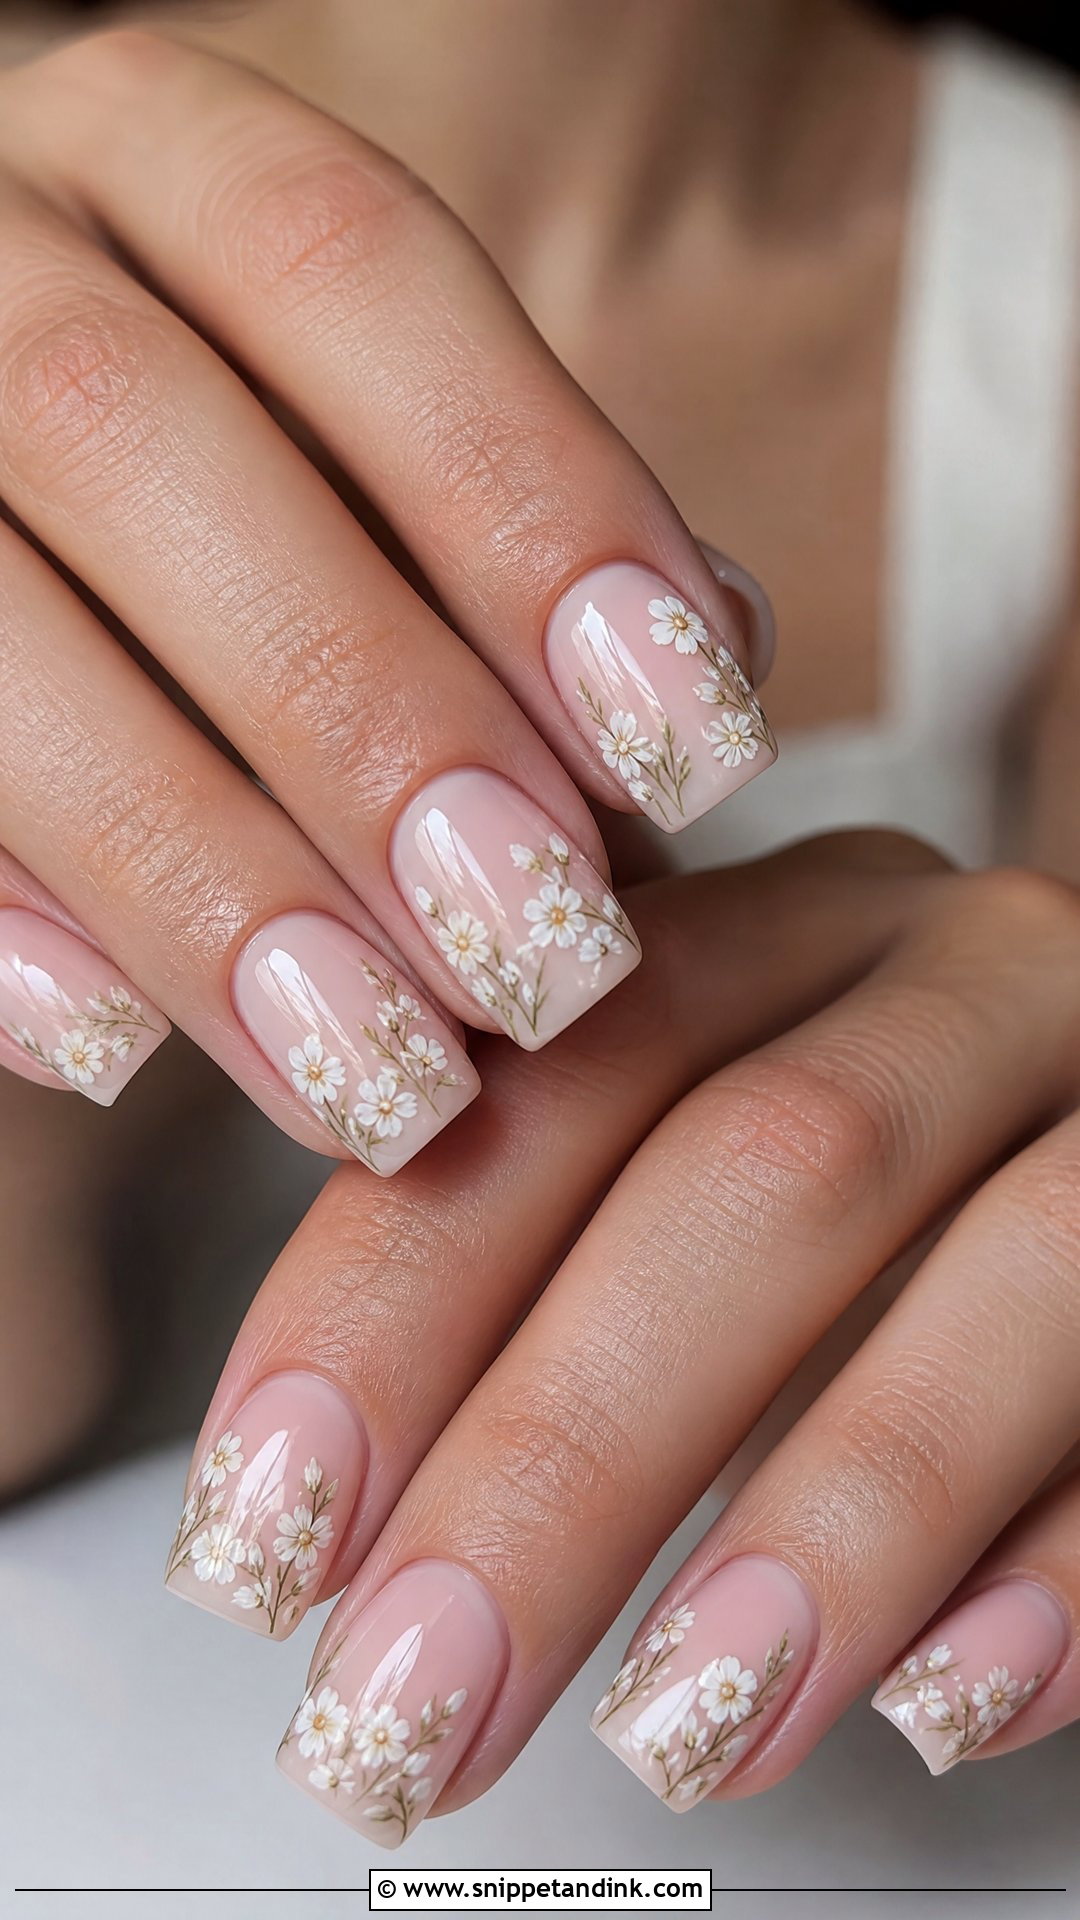
Tiny white flowers, blush petals or pressed-flower art over a sheer nude base suit garden and spring weddings. Real dried flowers can be used, but they have to be fully encased under a builder layer or the petal edges lift and catch on fabric. The square edge keeps floral art from tipping into whimsy. I leave bare space around each bloom so the hand doesn’t look crowded, and if you want a nod to your bouquet, pick one petal color from it rather than trying to reproduce the arrangement.
13. Glitter Ombre Square Bridal Nails
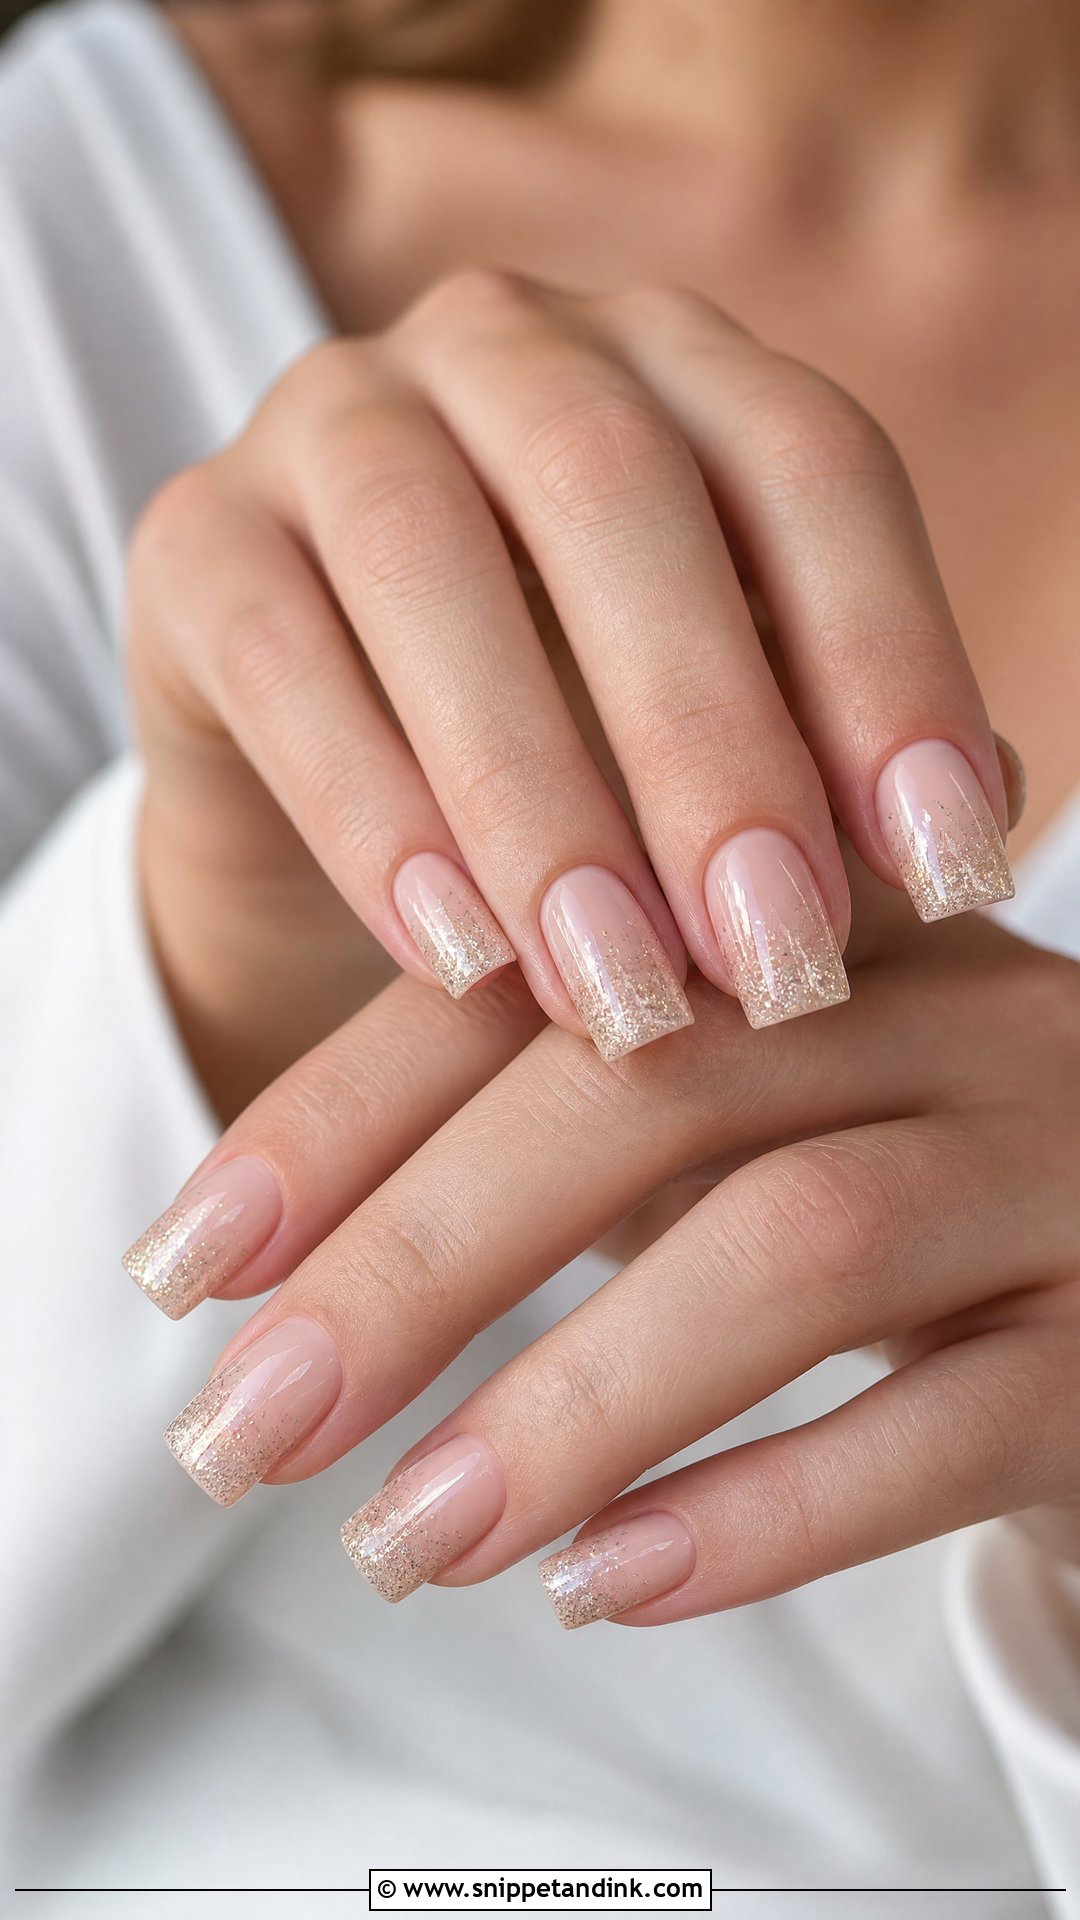
A full glitter set can feel like too much on a bride. Glitter ombre square bridal nails solve that by fading the sparkle in from the tips or the cuticles over a nude, blush or milky base. Fine silver, champagne or pearl glitter looks refined. Chunky hex glitter catches on tulle and needs an extra-thick top coat to bury it. Glitter is also the slowest gel to soak off, so plan a longer removal appointment after the honeymoon. It suits beaded dresses and evening ballroom receptions best.
14. Marble Square Bridal Nails
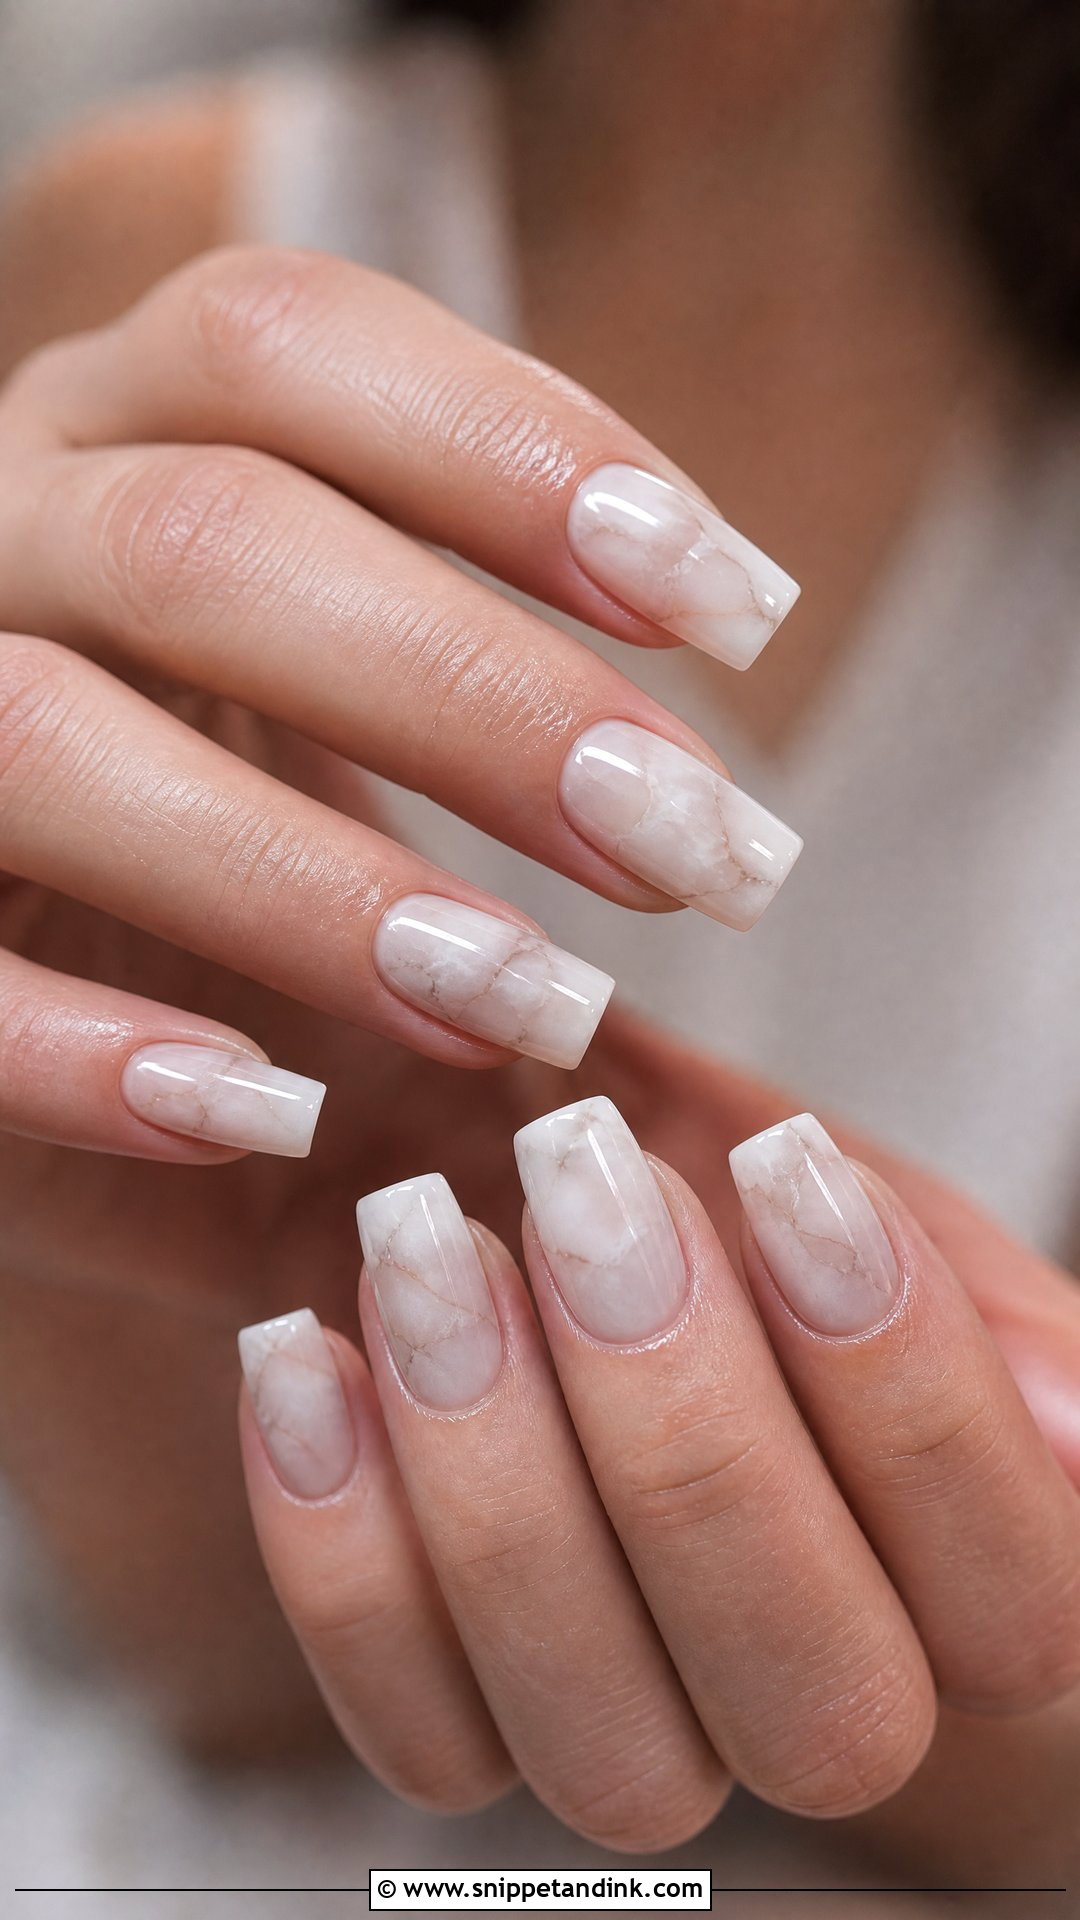
Marble over a sheer nude or milky base looks artistic without shouting. I do the veining wet-on-wet, letting thin lines bleed softly into the base, so no two nails come out identical. That’s the charm of it, but if you want the two ring fingers to match, say so at the start. Thin grey, ivory or pale gold veins keep it bridal. Unless your style leans fashion-forward, I’d marble two accents and leave the rest solid milky white.
15. Gold Foil Square Bridal Nails
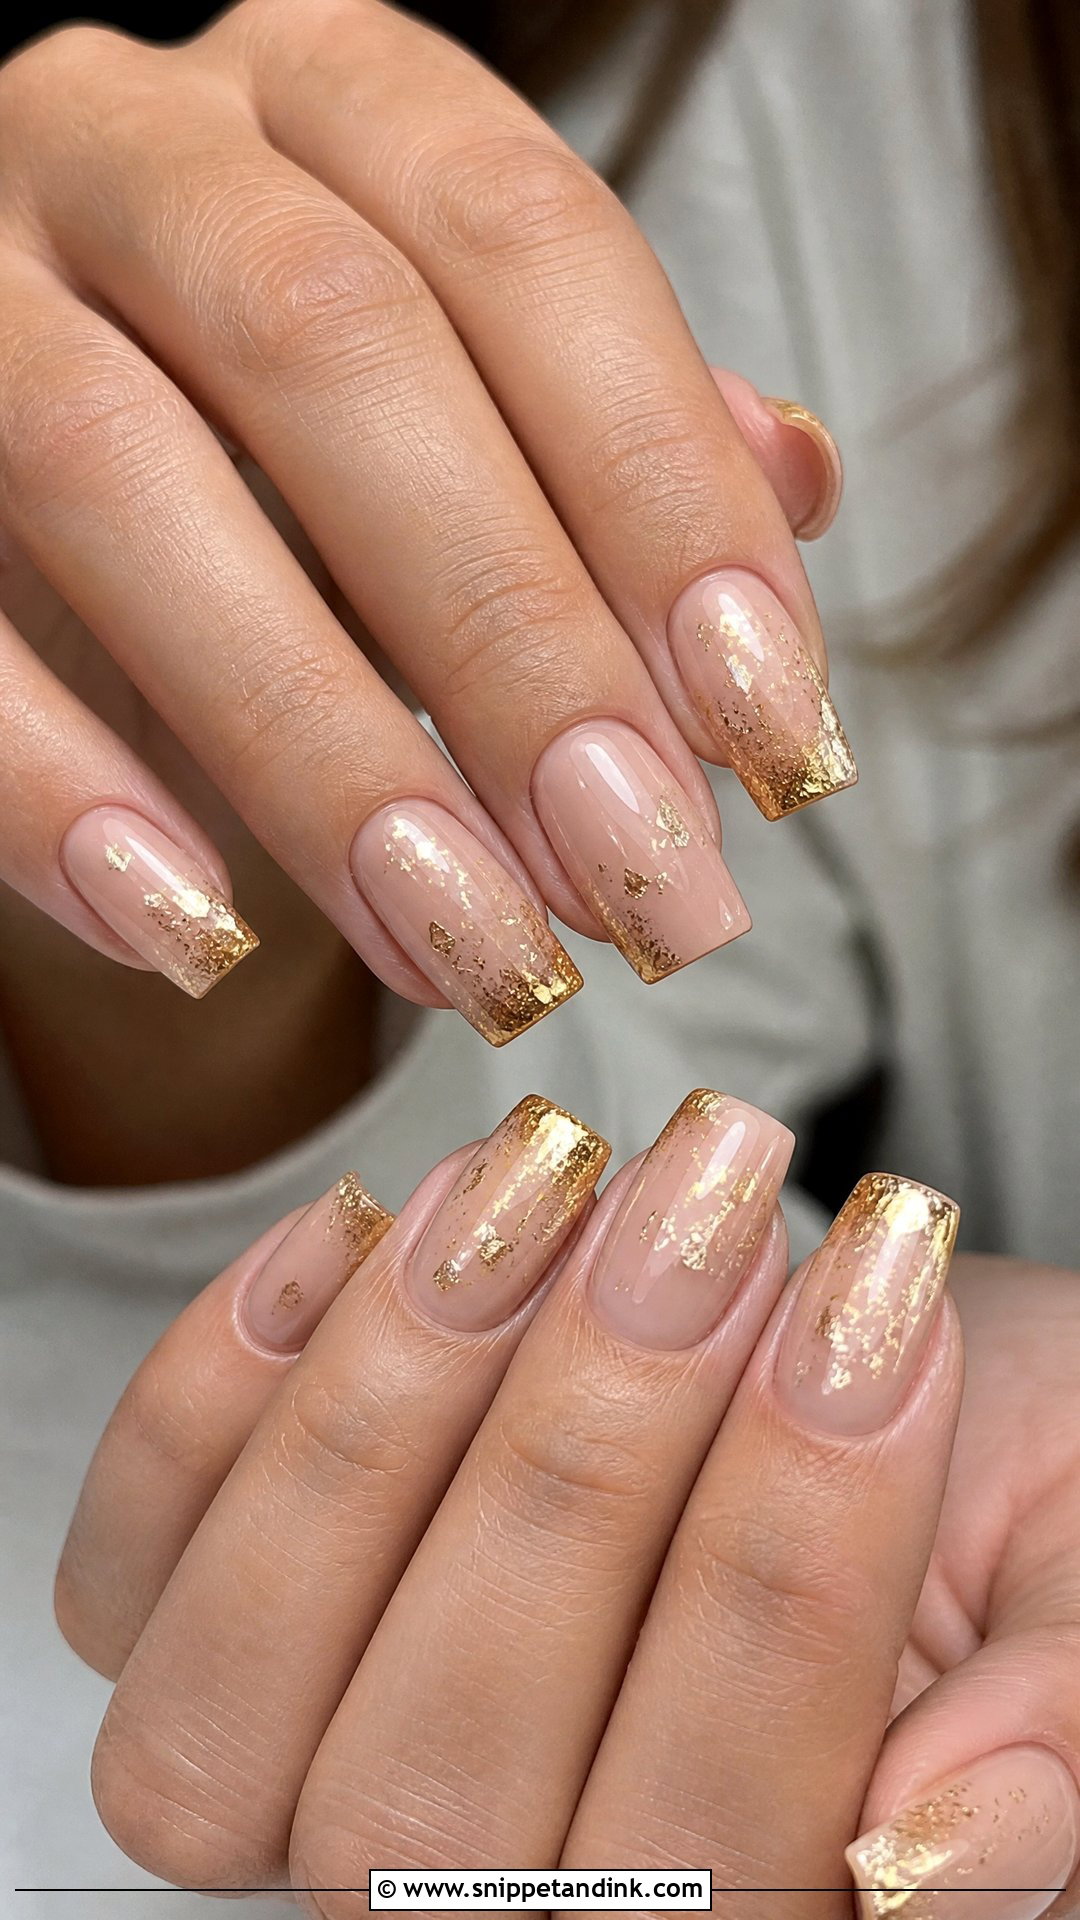
Warmth without flash is the aim here. Gold foil square bridal nails work best when the torn leaf sits near the cuticle or along one side wall, over a nude, blush, ivory or milky white base. Foil has to go under the top coat, never on top of it, or it dulls and lifts within days. Those organic torn shapes balance the hard square edge nicely. Pair it with yellow gold rings and warm-toned gowns; next to platinum it looks like a mismatch. And keep it sparse, because too much metal pulls the eye away from your ring.
16. Silver Square Bridal Nails
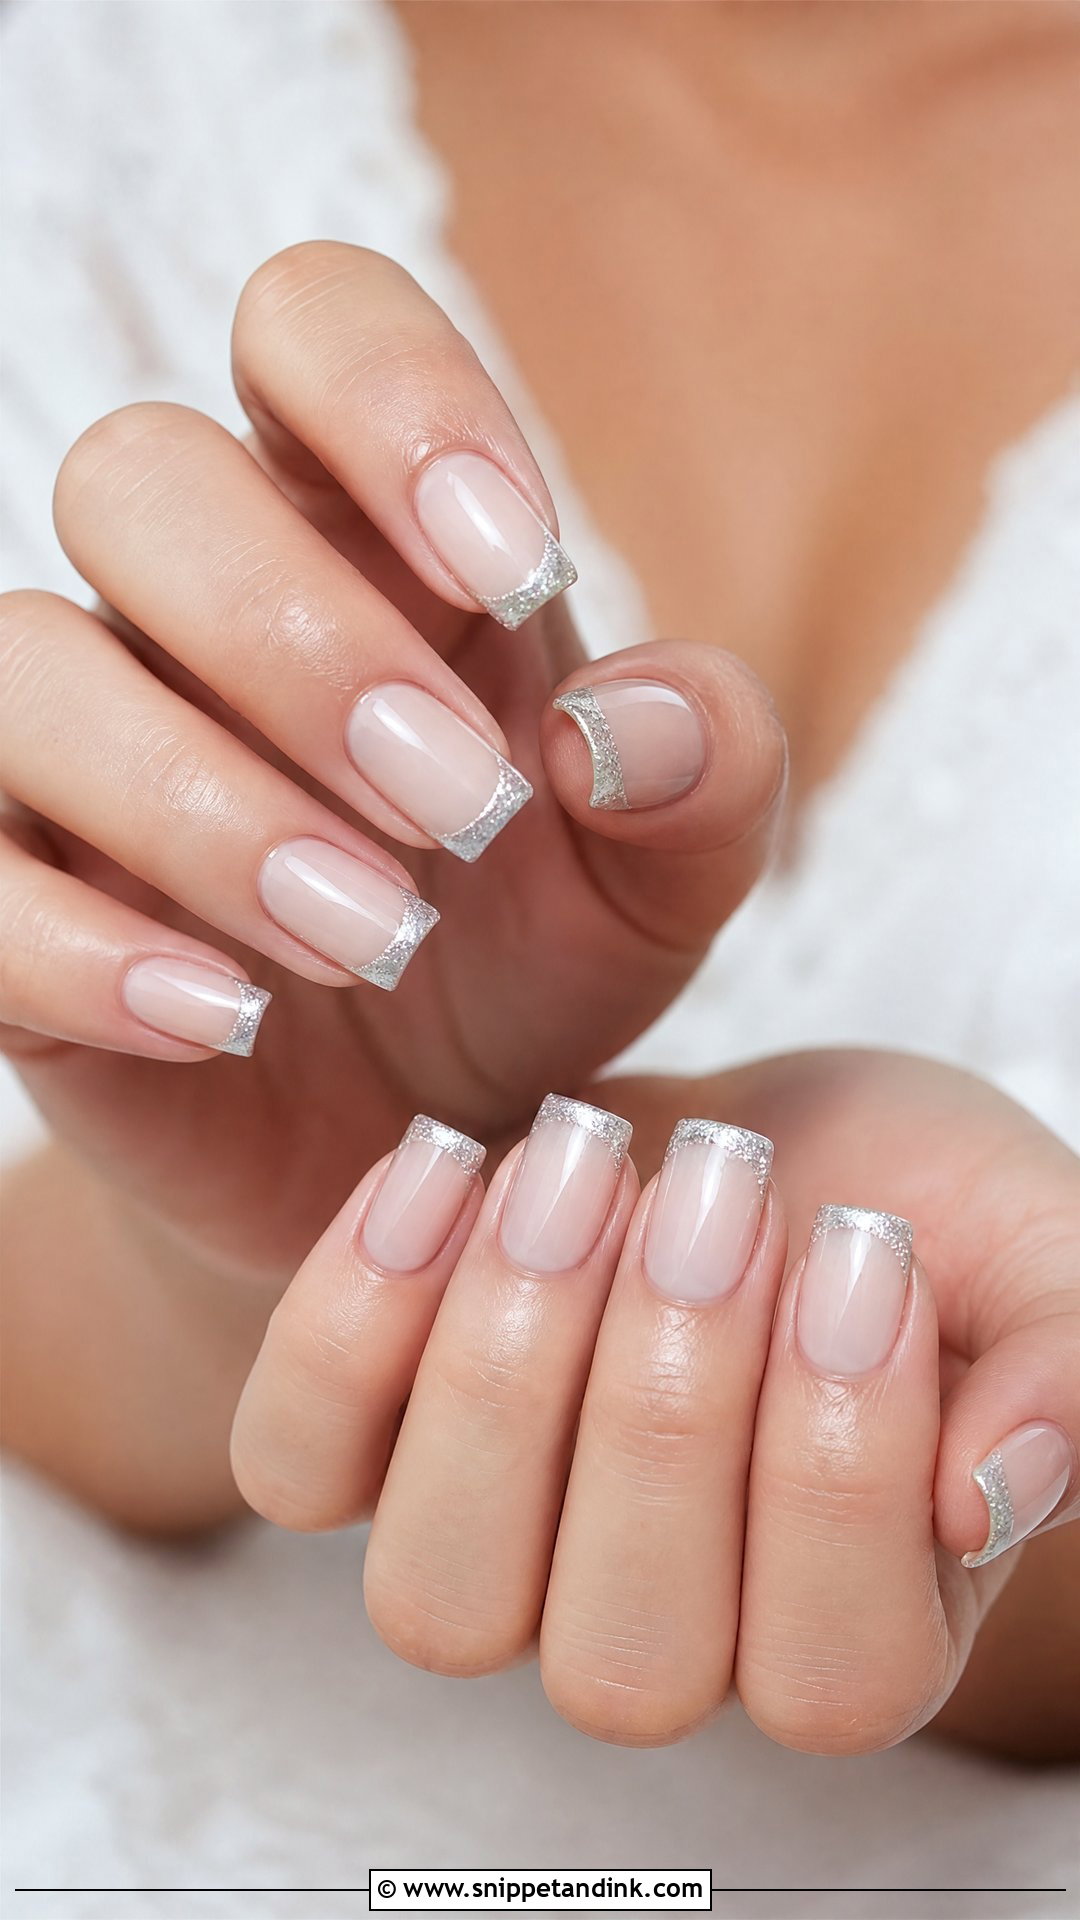
Silver details make sense when your rings are white gold or platinum. I’d keep it to fine shimmer, a silver French tip, a soft glitter fade or a few tiny dots at the cuticle. Heavy silver foil looks costume-like next to real metal. Over a sheer nude base the effect is crisp, and the engagement ring stays the brightest thing on your hand, which is the whole point.
17. Micro French Square Bridal Nails
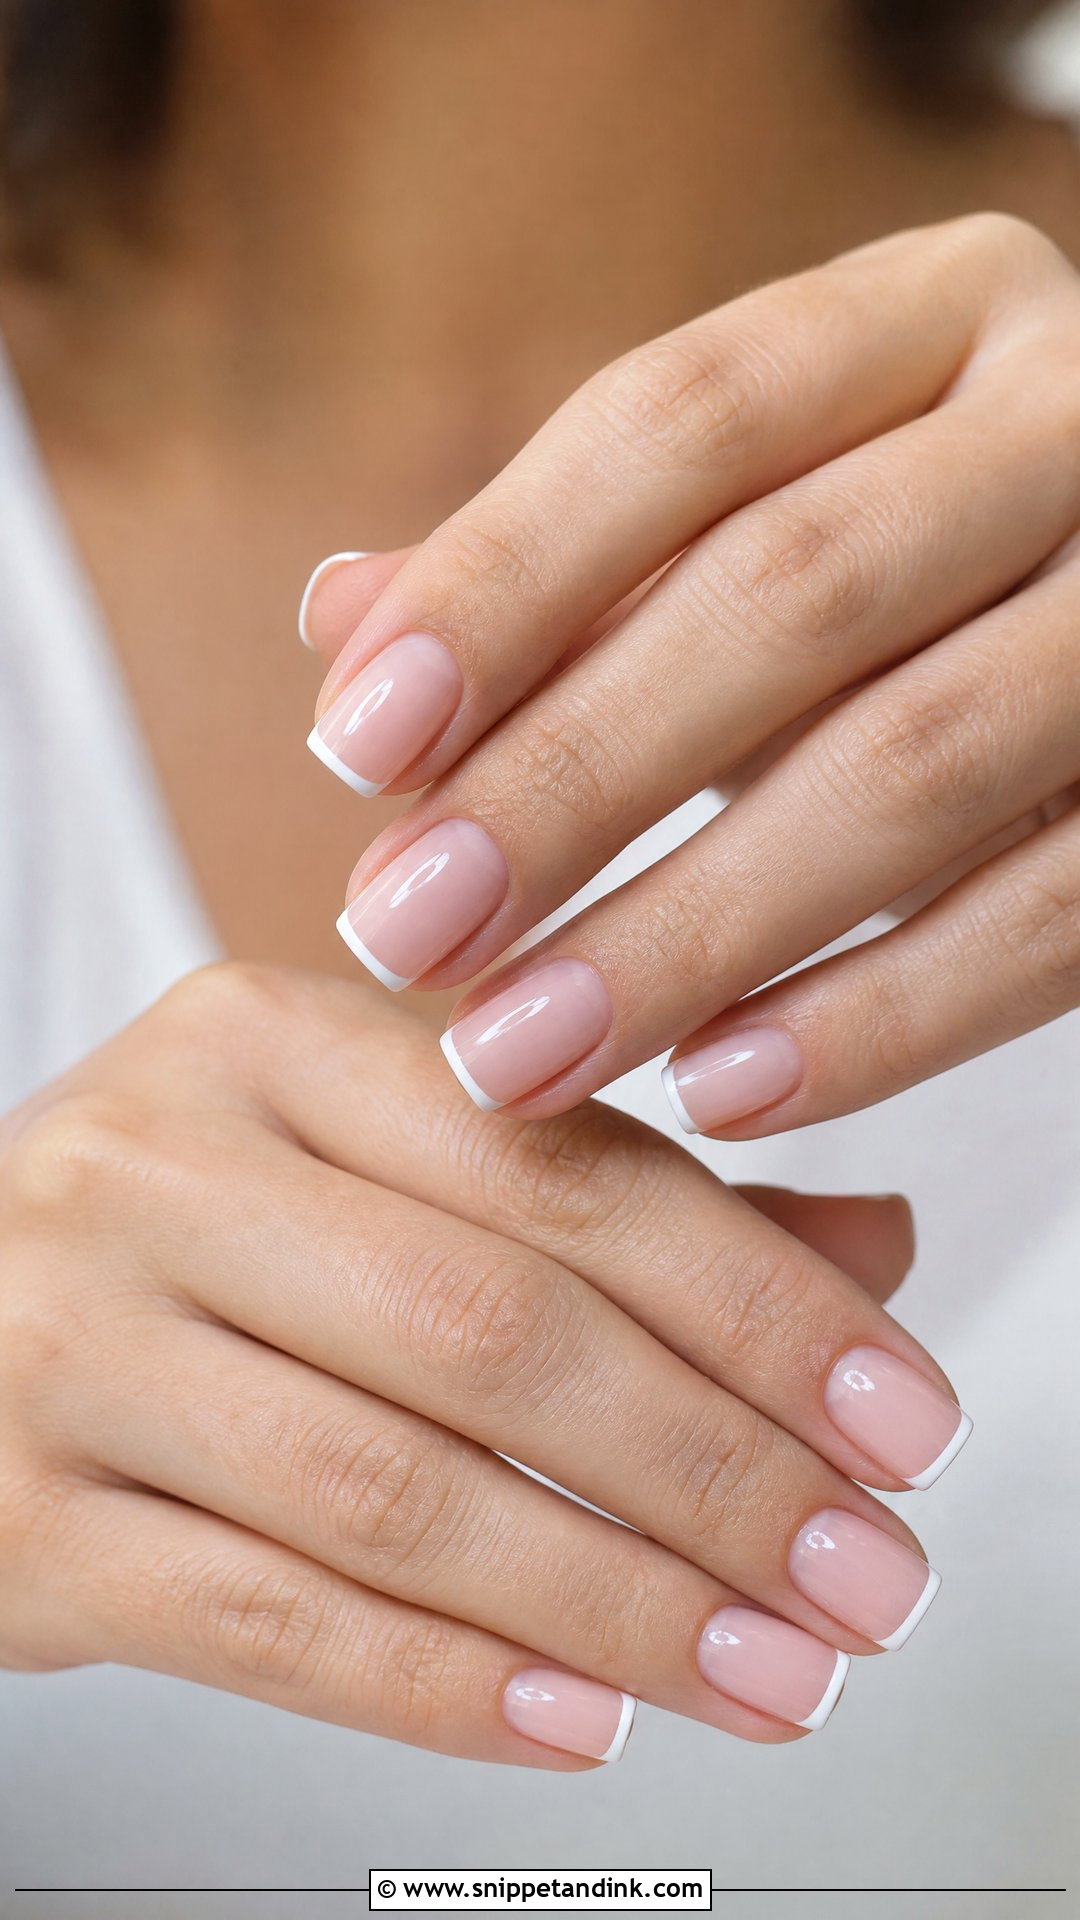
When a bride tells me she wants nothing on her nails, this is usually where we end up. Micro French square bridal nails are just a hairline white tip over sheer pink, nude or milky. The square edge gives that line something straight to follow, so it looks deliberate even on short nails. Width is everything here. Once the line creeps past a couple of millimetres it is simply a regular French. I also mix a drop of nude into the white so the tip reads soft rather than bright.
18. Pearl Accent Square Bridal Nails
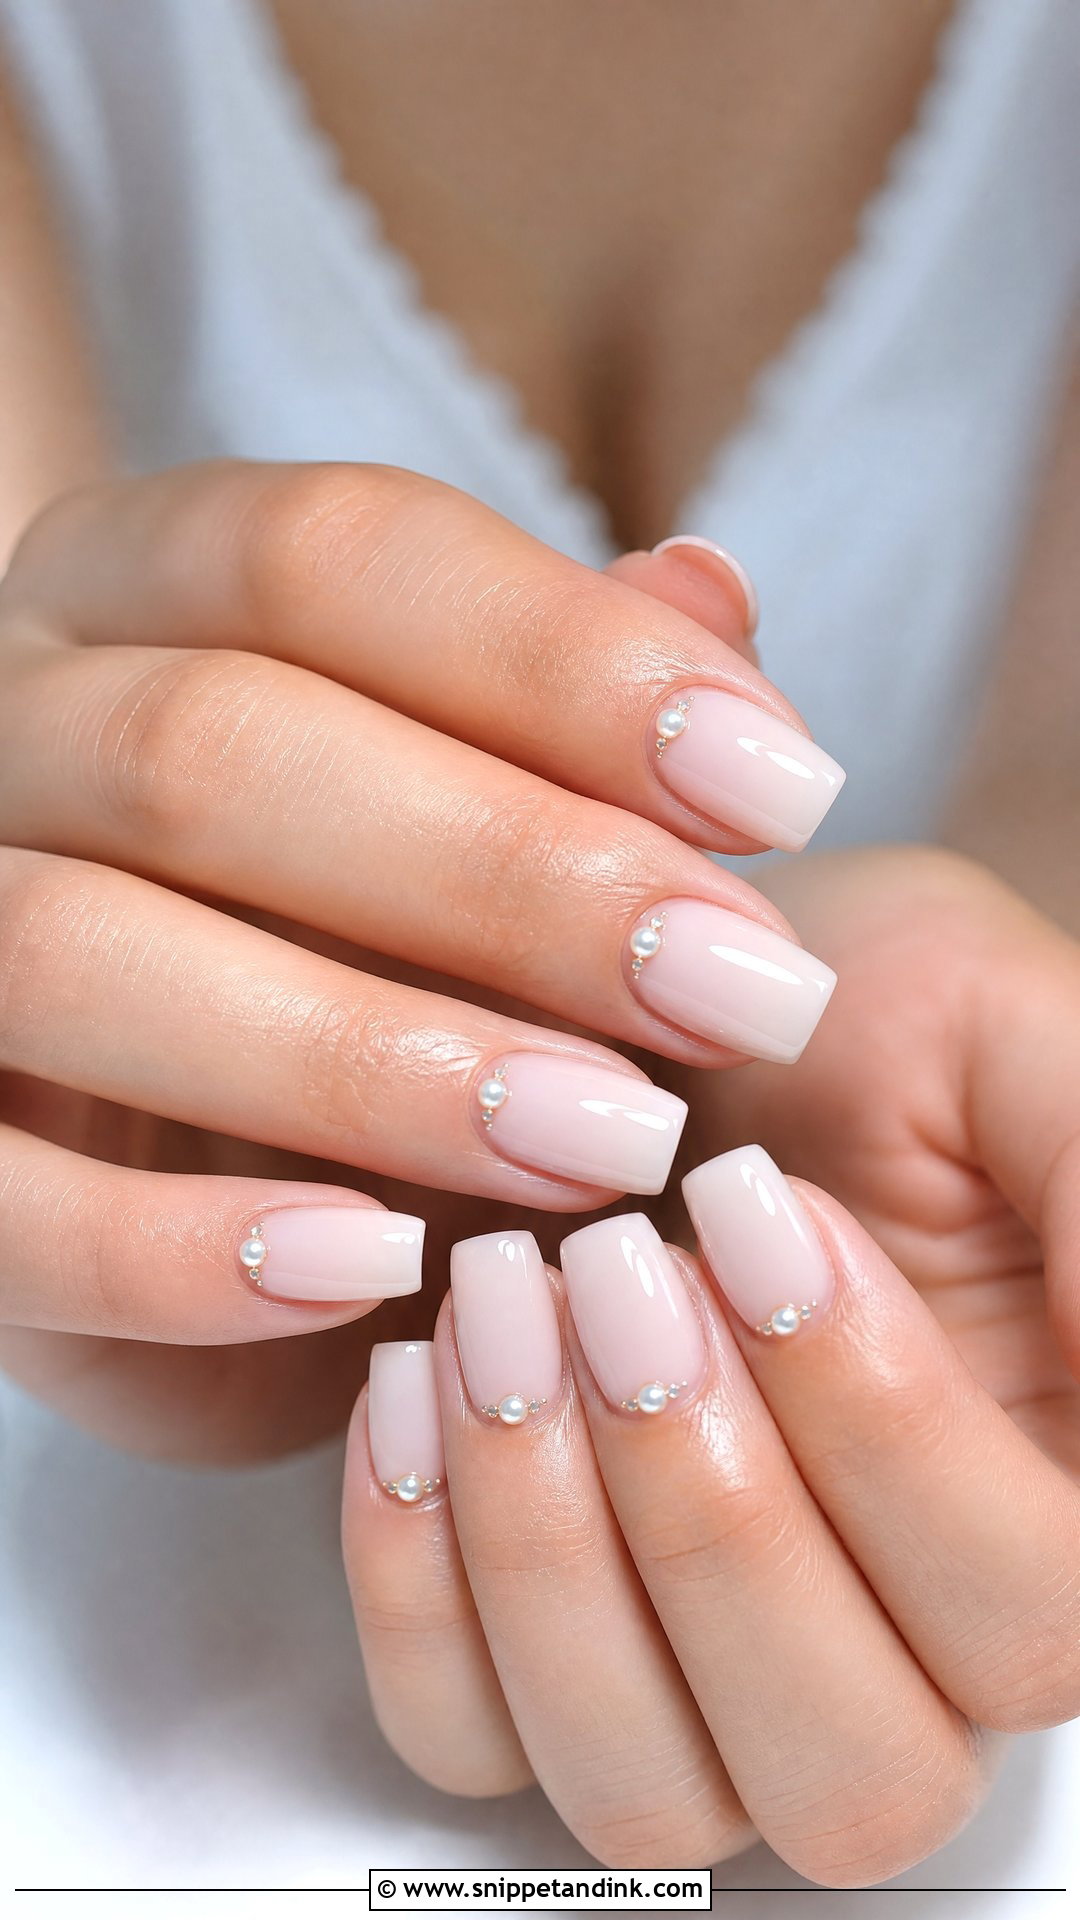
With pearls, comfort decides the design. Flat-back pearls set into builder gel near the cuticle stay put; domed pearls glued high on the nail catch on hair, knitwear and veil netting. One tiny pearl per nail, or a small cluster on one or two accents, over sheer pink, nude or milky white is plenty. It ties in neatly with pearl trim on a veil or pearl beading on a bodice, and the structured square shape keeps it from looking fussy.
19. Cat Eye Square Bridal Nails
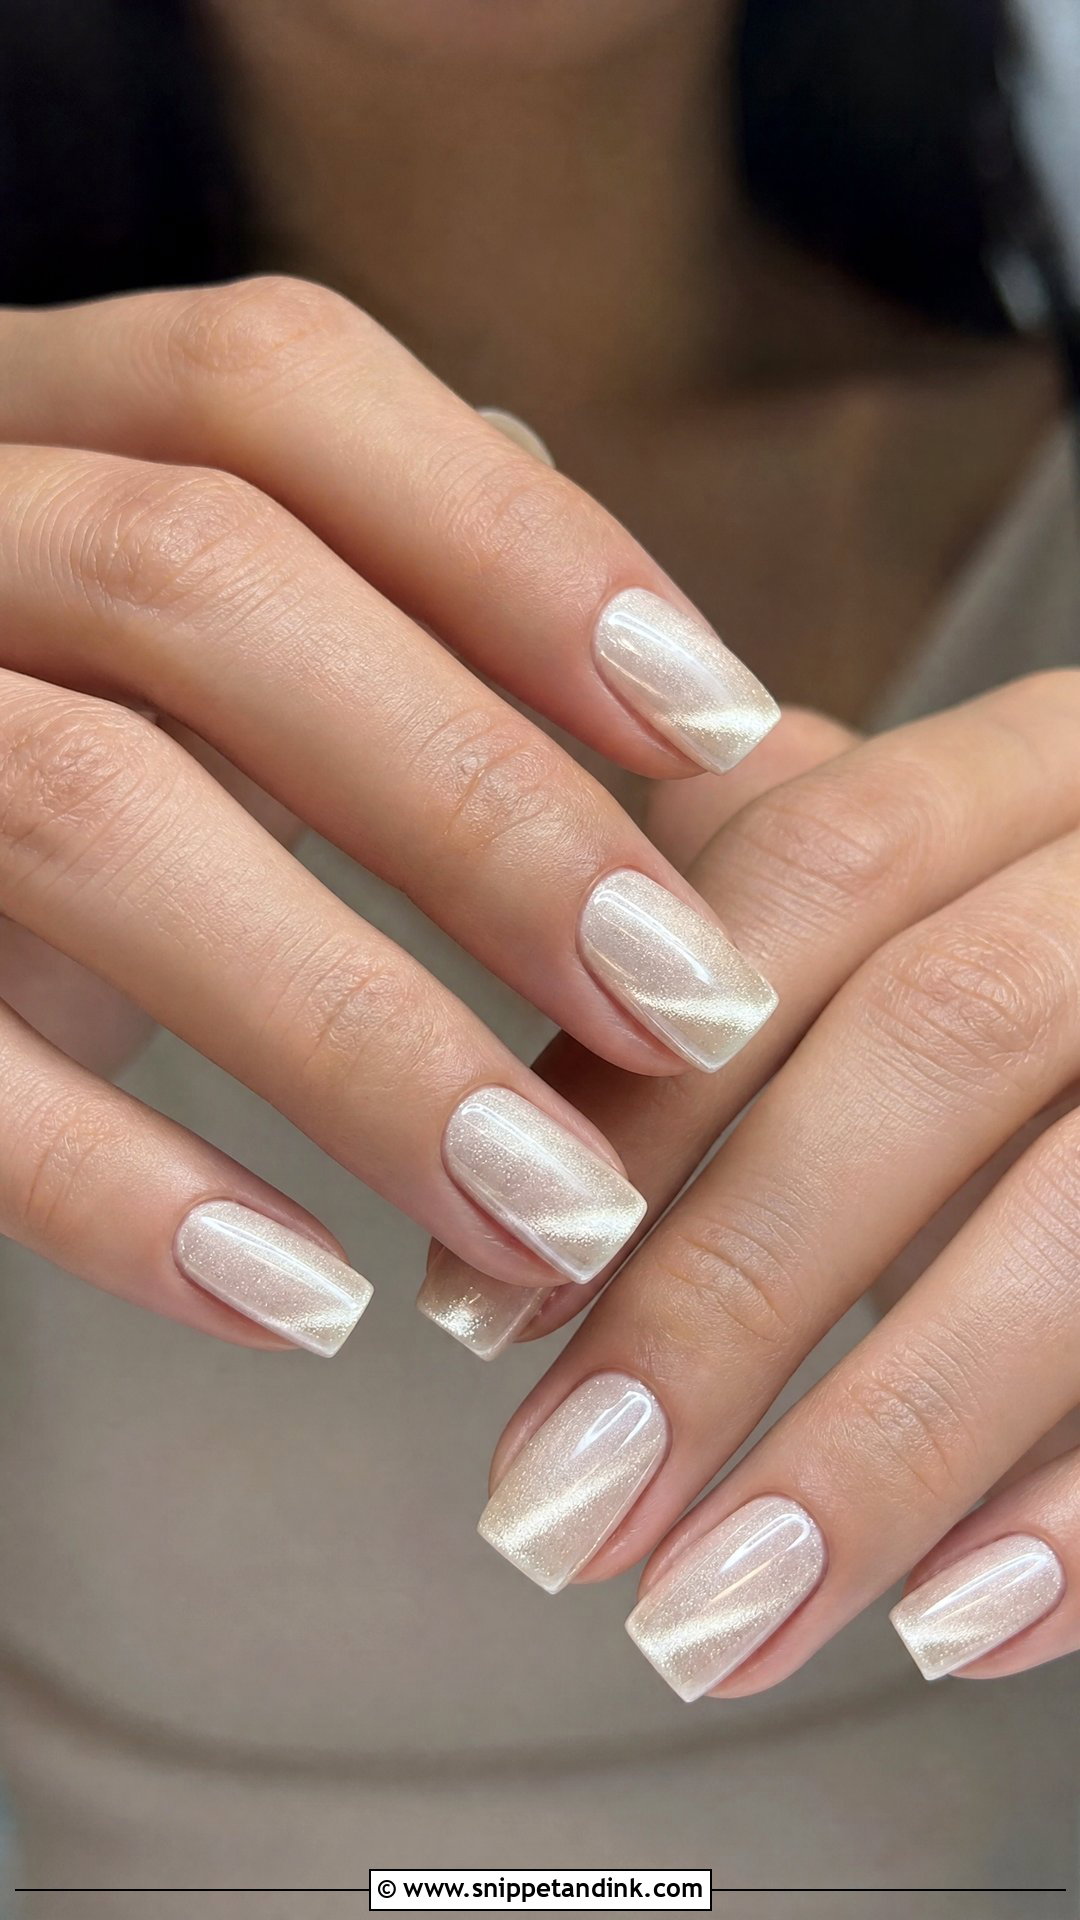
Magnetic gel holds metal particles that a magnet pulls into a reflective line, and that line shifts as your hands move, which shows up nicely on video. For a wedding I’d use champagne, pearl white, rose beige or soft silver rather than the dark shades this technique is known for. A velvet cat eye, where I sweep the magnet around to scatter the particles, gives an all-over glow instead of one stripe. Each nail has to be magnetised and cured on its own, so allow extra time in the appointment.
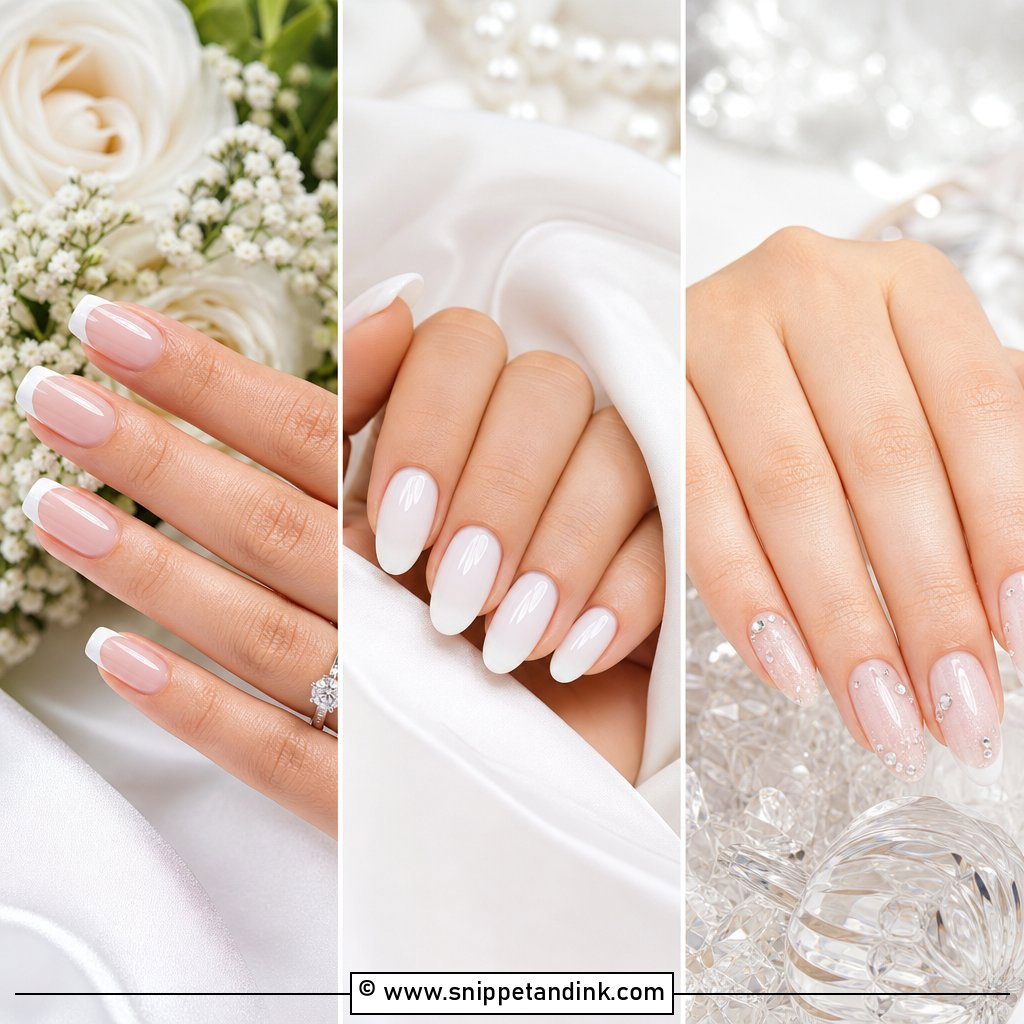
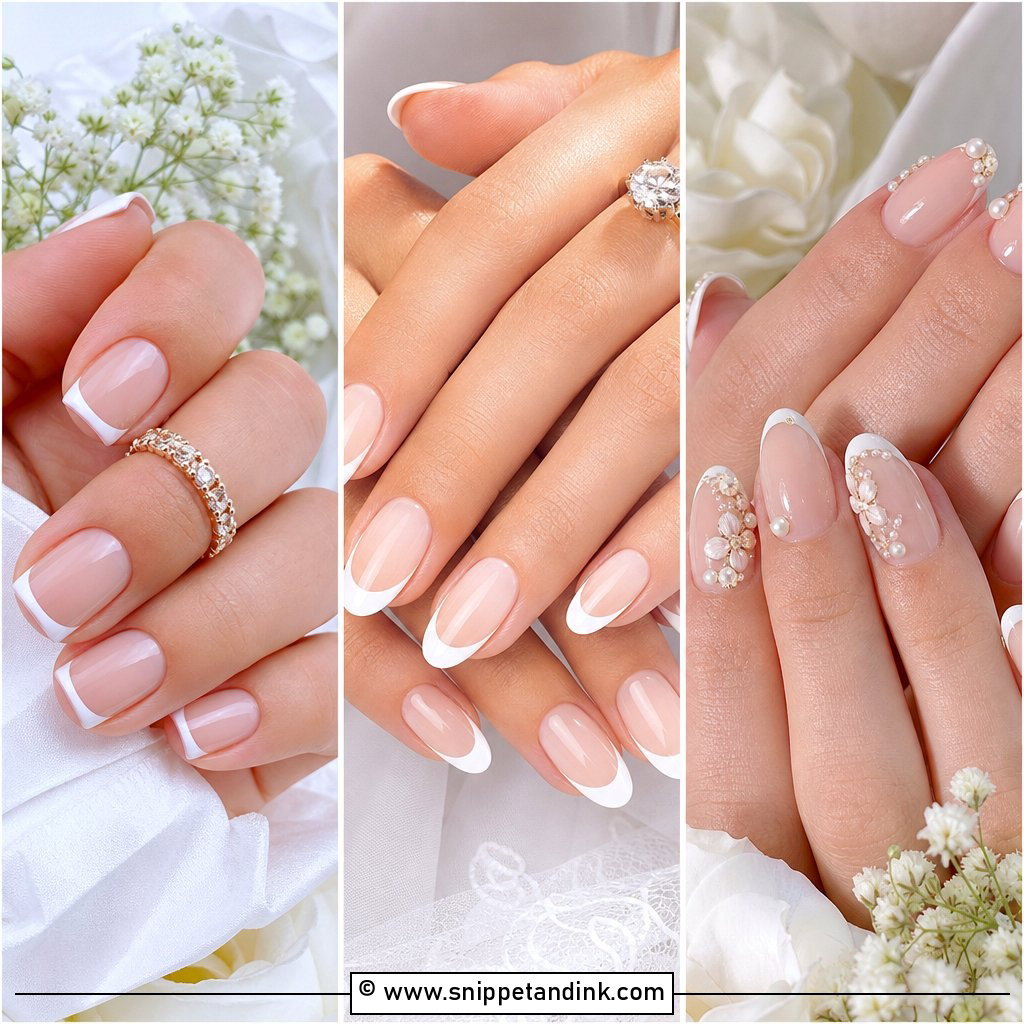
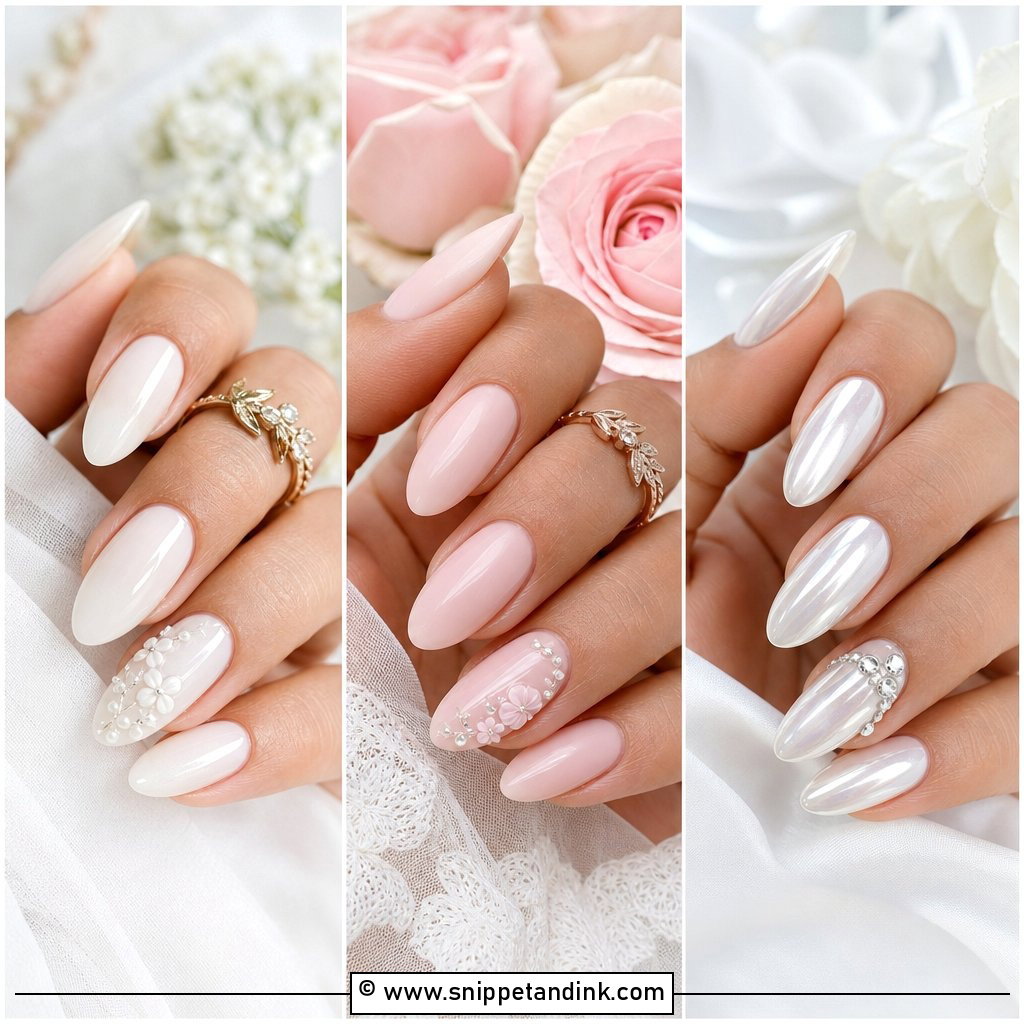
20. Glazed Donut Square Bridal Nails
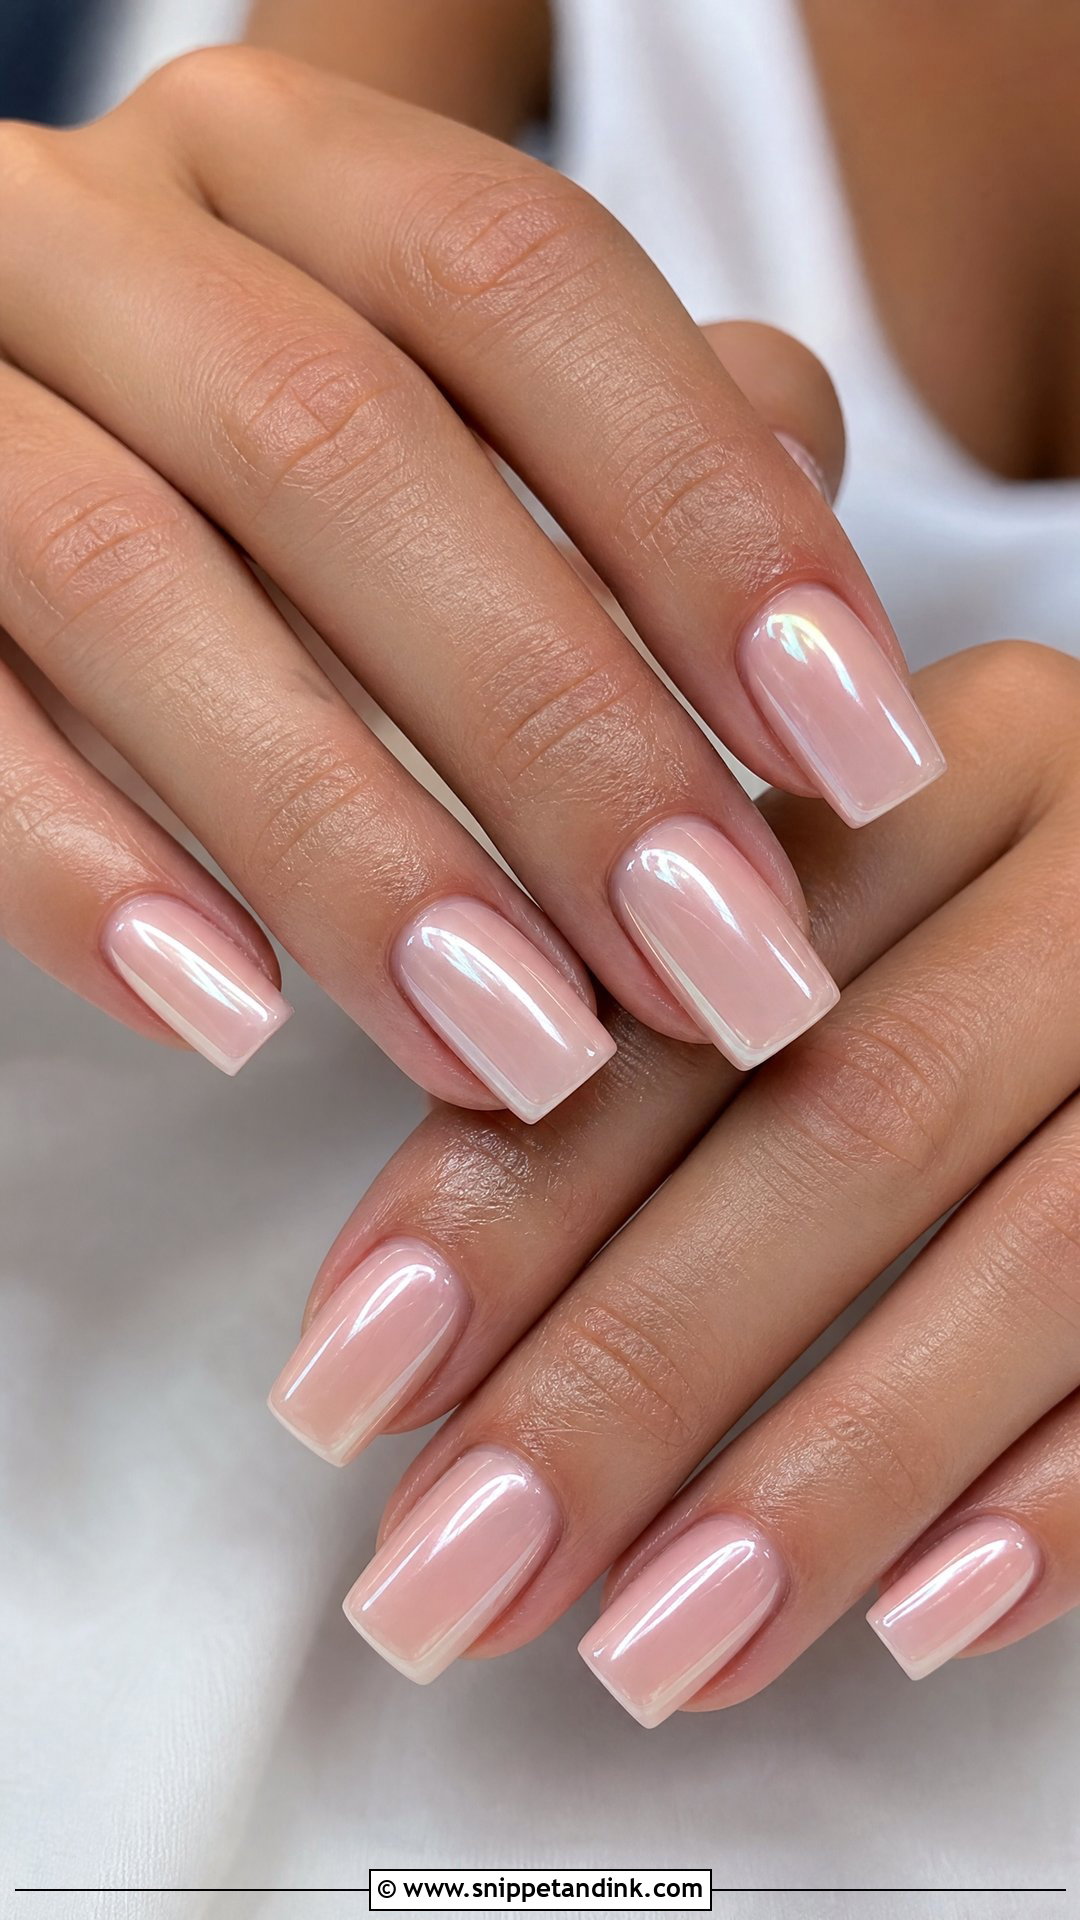
A sheer nude, pale pink or milky base with fine chrome powder buffed on top makes nails look healthy and softly reflective. It’s quieter than full chrome and brighter than plain gloss. Whether it flatters you depends almost entirely on that base: a cool pink under chrome can make warm skin look grey. So I match the base to your undertone first and add the powder second.
21. Ivory Square Bridal Nails
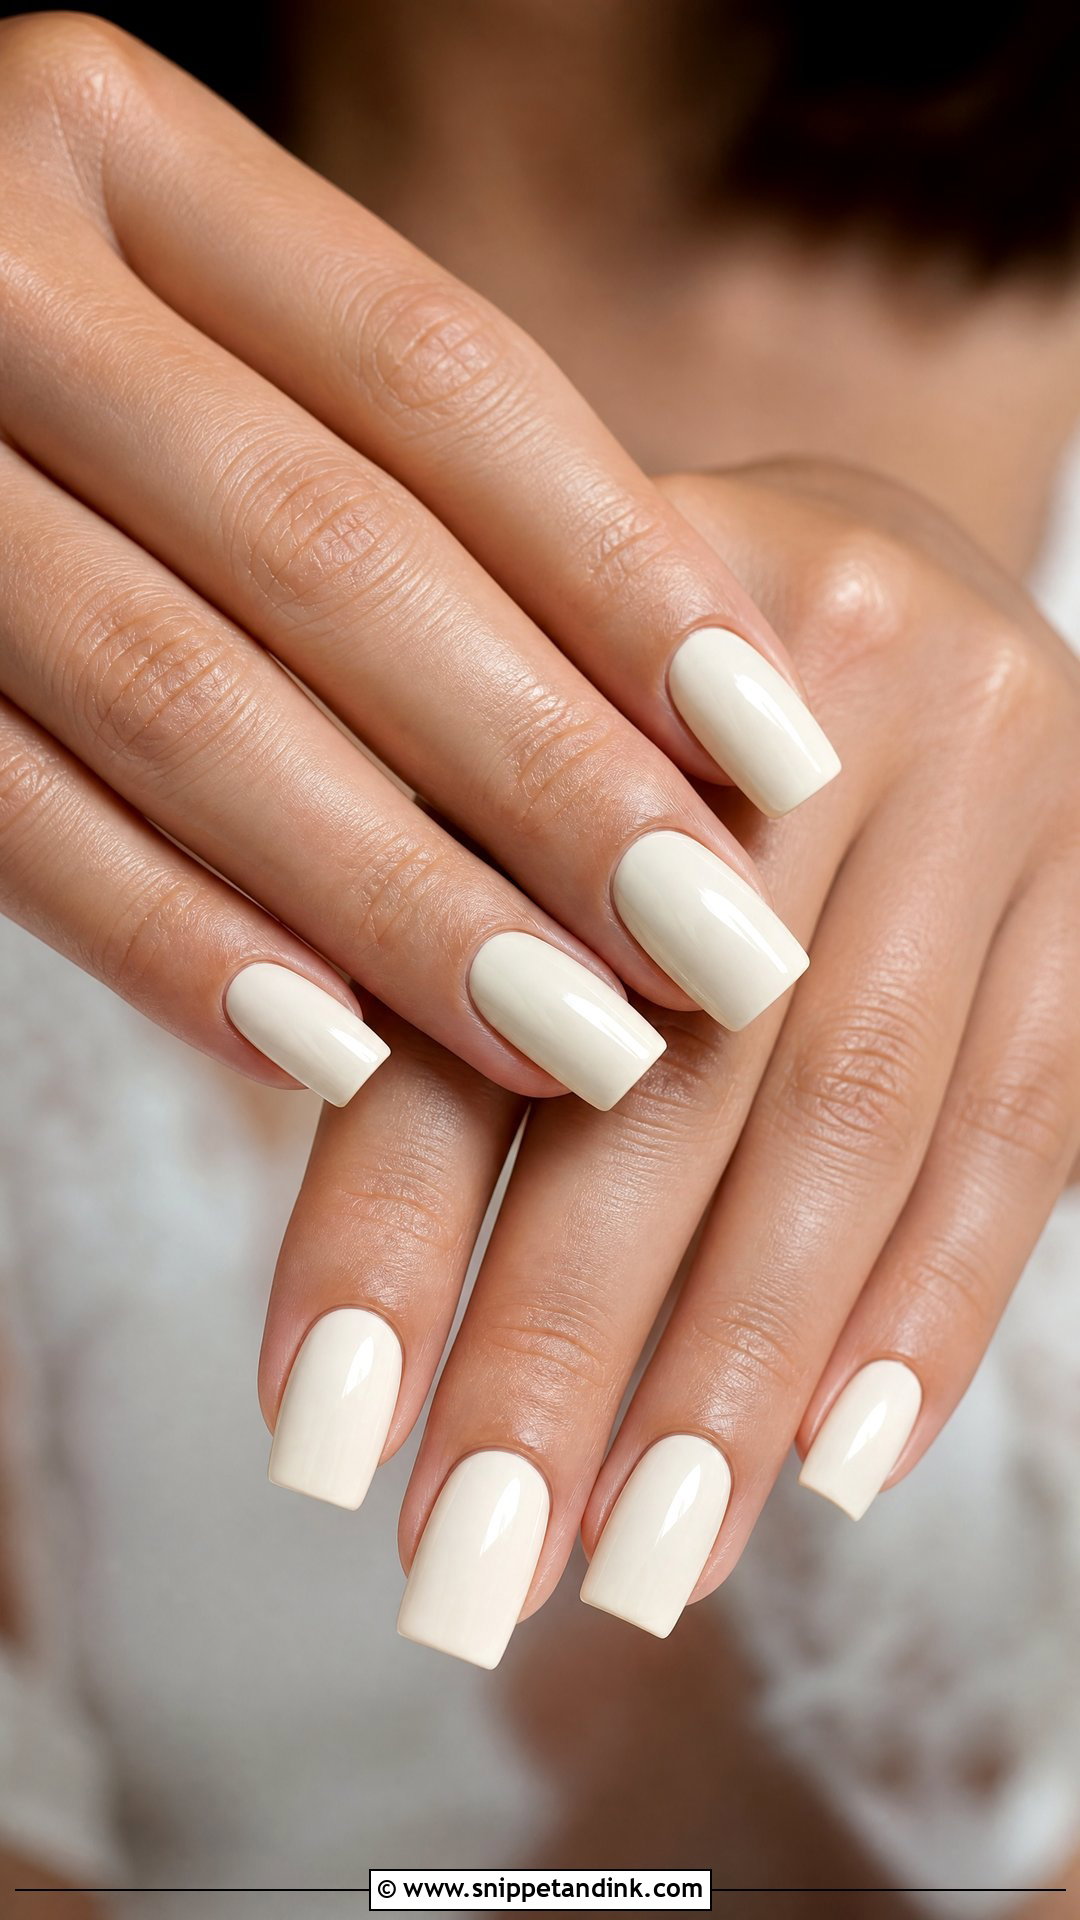
Bright white beside an ivory or champagne gown can make the dress look dingy, and that’s the main reason I recommend ivory. It’s warm and creamy, and on a square shape it still looks structured rather than plain. Wear it glossy or under a pearly top coat. A thin French tip or a couple of pearls is enough if you want detail. It’s also one of the easiest wedding sets to keep wearing for a week or two afterwards.
22. Sheer Pink Square Bridal Nails
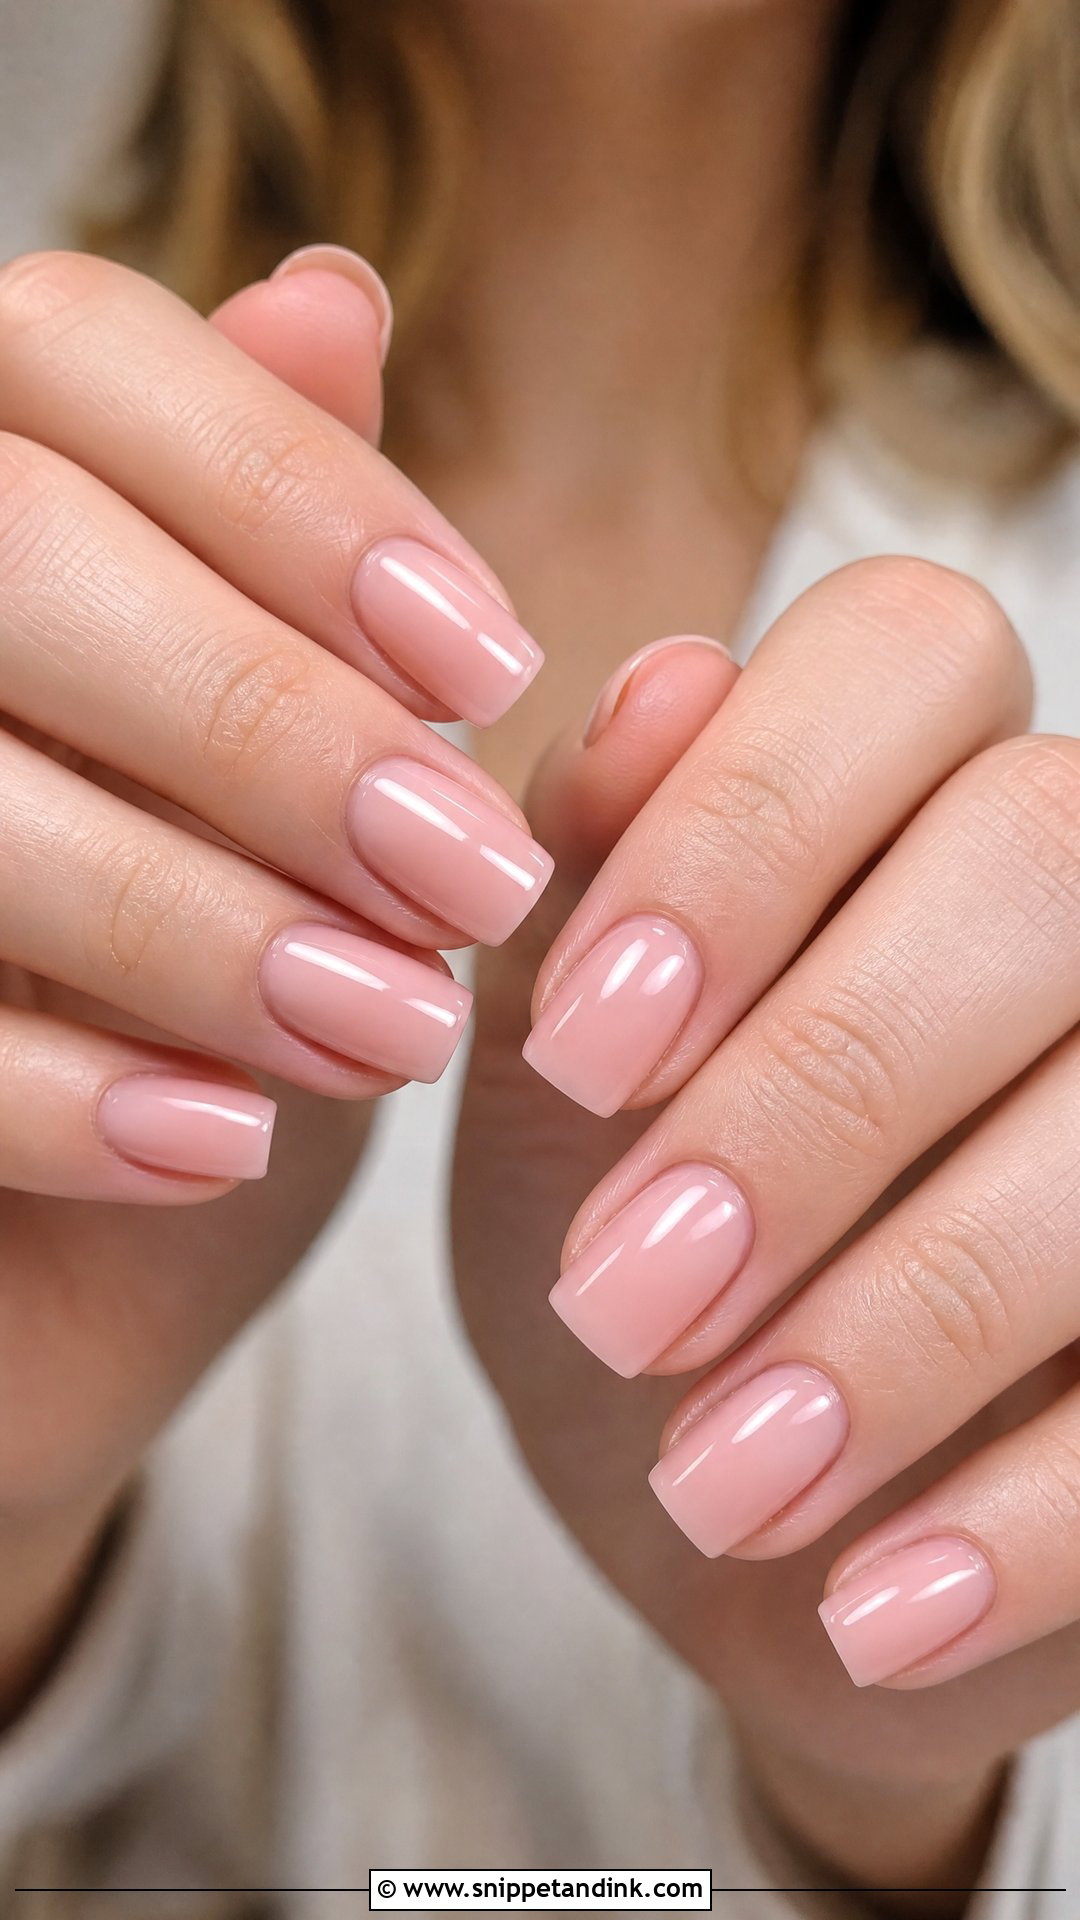
Sheer pink tints the nail bed without covering it, so neat cuticles and a very glossy top coat do most of the work. It’s forgiving as it grows out because there’s no hard opaque line at the cuticle. If your nails are weak or peeling, a buildable pink gel or a soft builder base laid down first adds strength without bulk. I describe this as the set that looks most like your own hands, only better rested.
23. White Swirl Square Bridal Nails
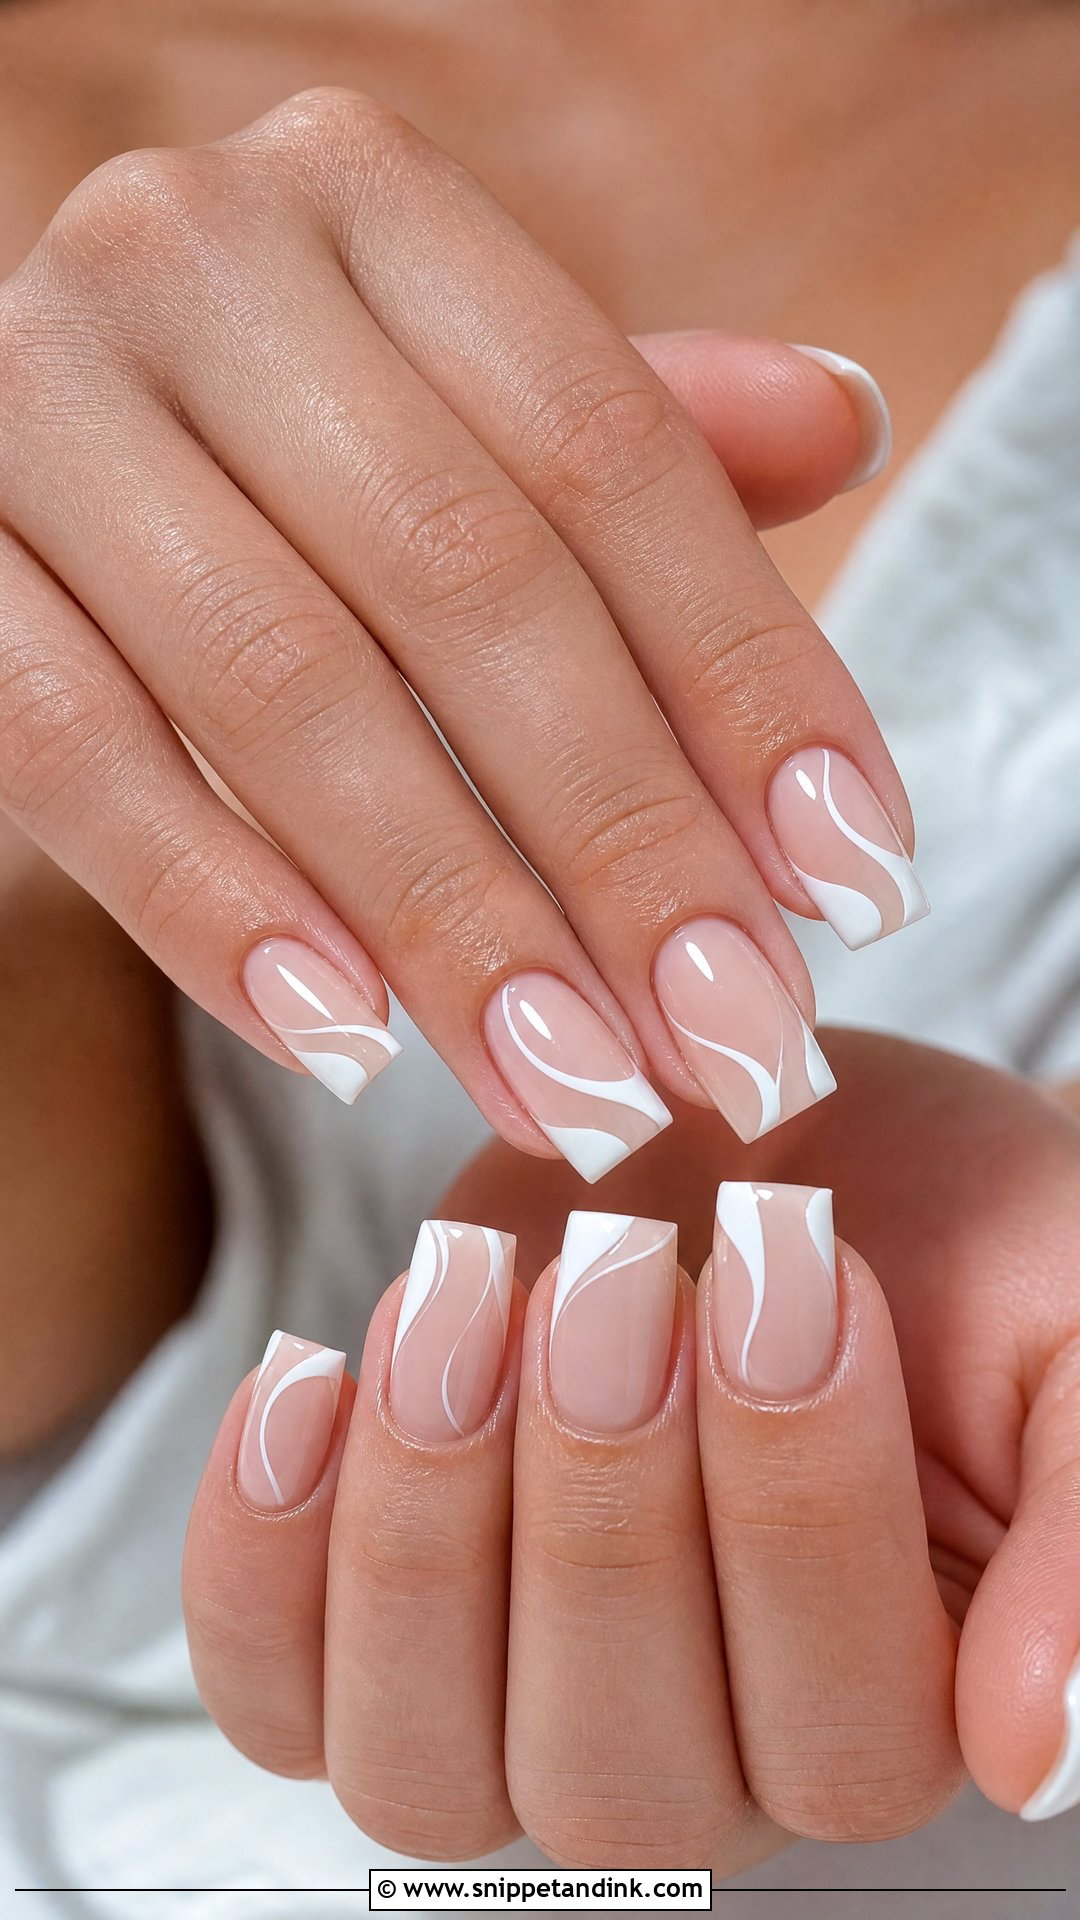
Curves against a straight edge are what make this one feel modern. White swirl square bridal nails use thin white lines over a sheer nude or pink base, and I paint them freehand with a striper brush, leaving plenty of bare space between them. Thick swirls look like marker pen. A milky overlay on top softens them further. I suggest this set to anyone who wants some art but has already said no to flowers, glitter and pearls.
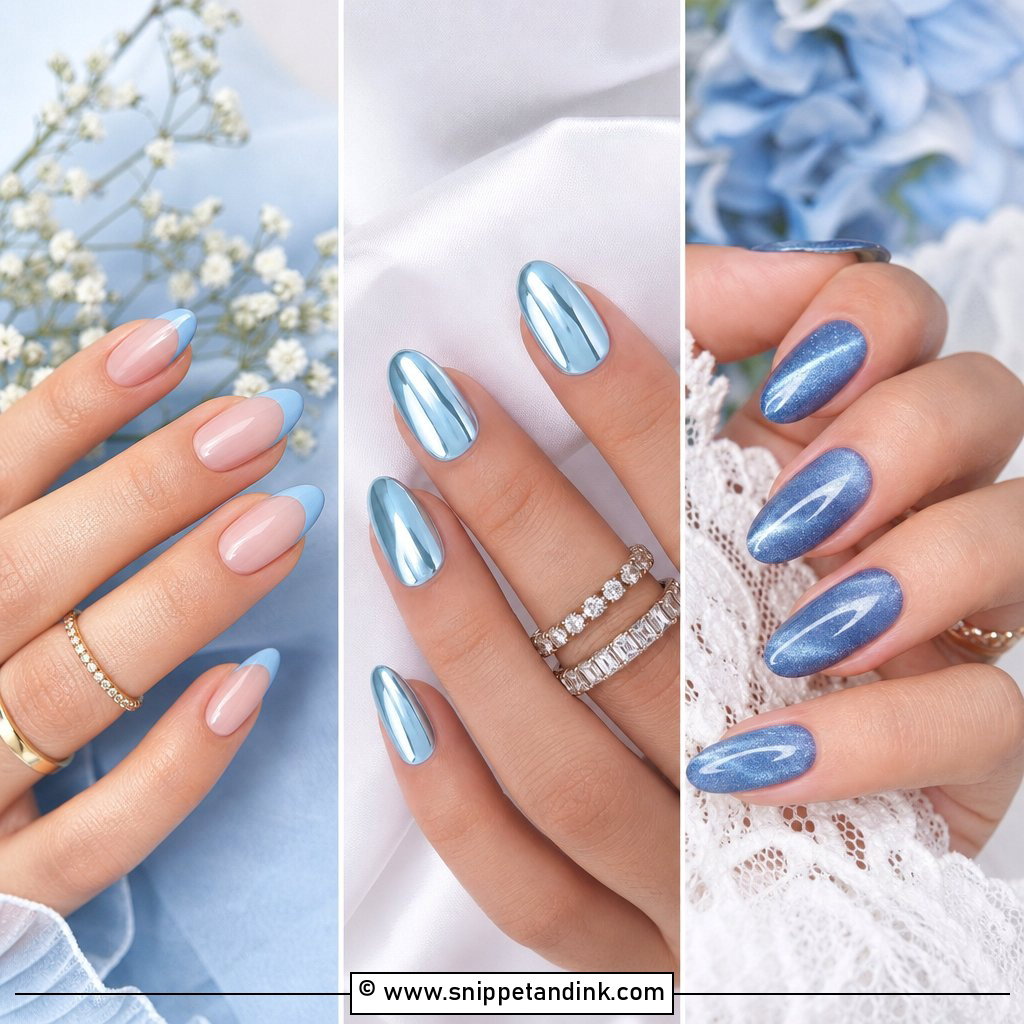
24. Something Blue Square Bridal Nails
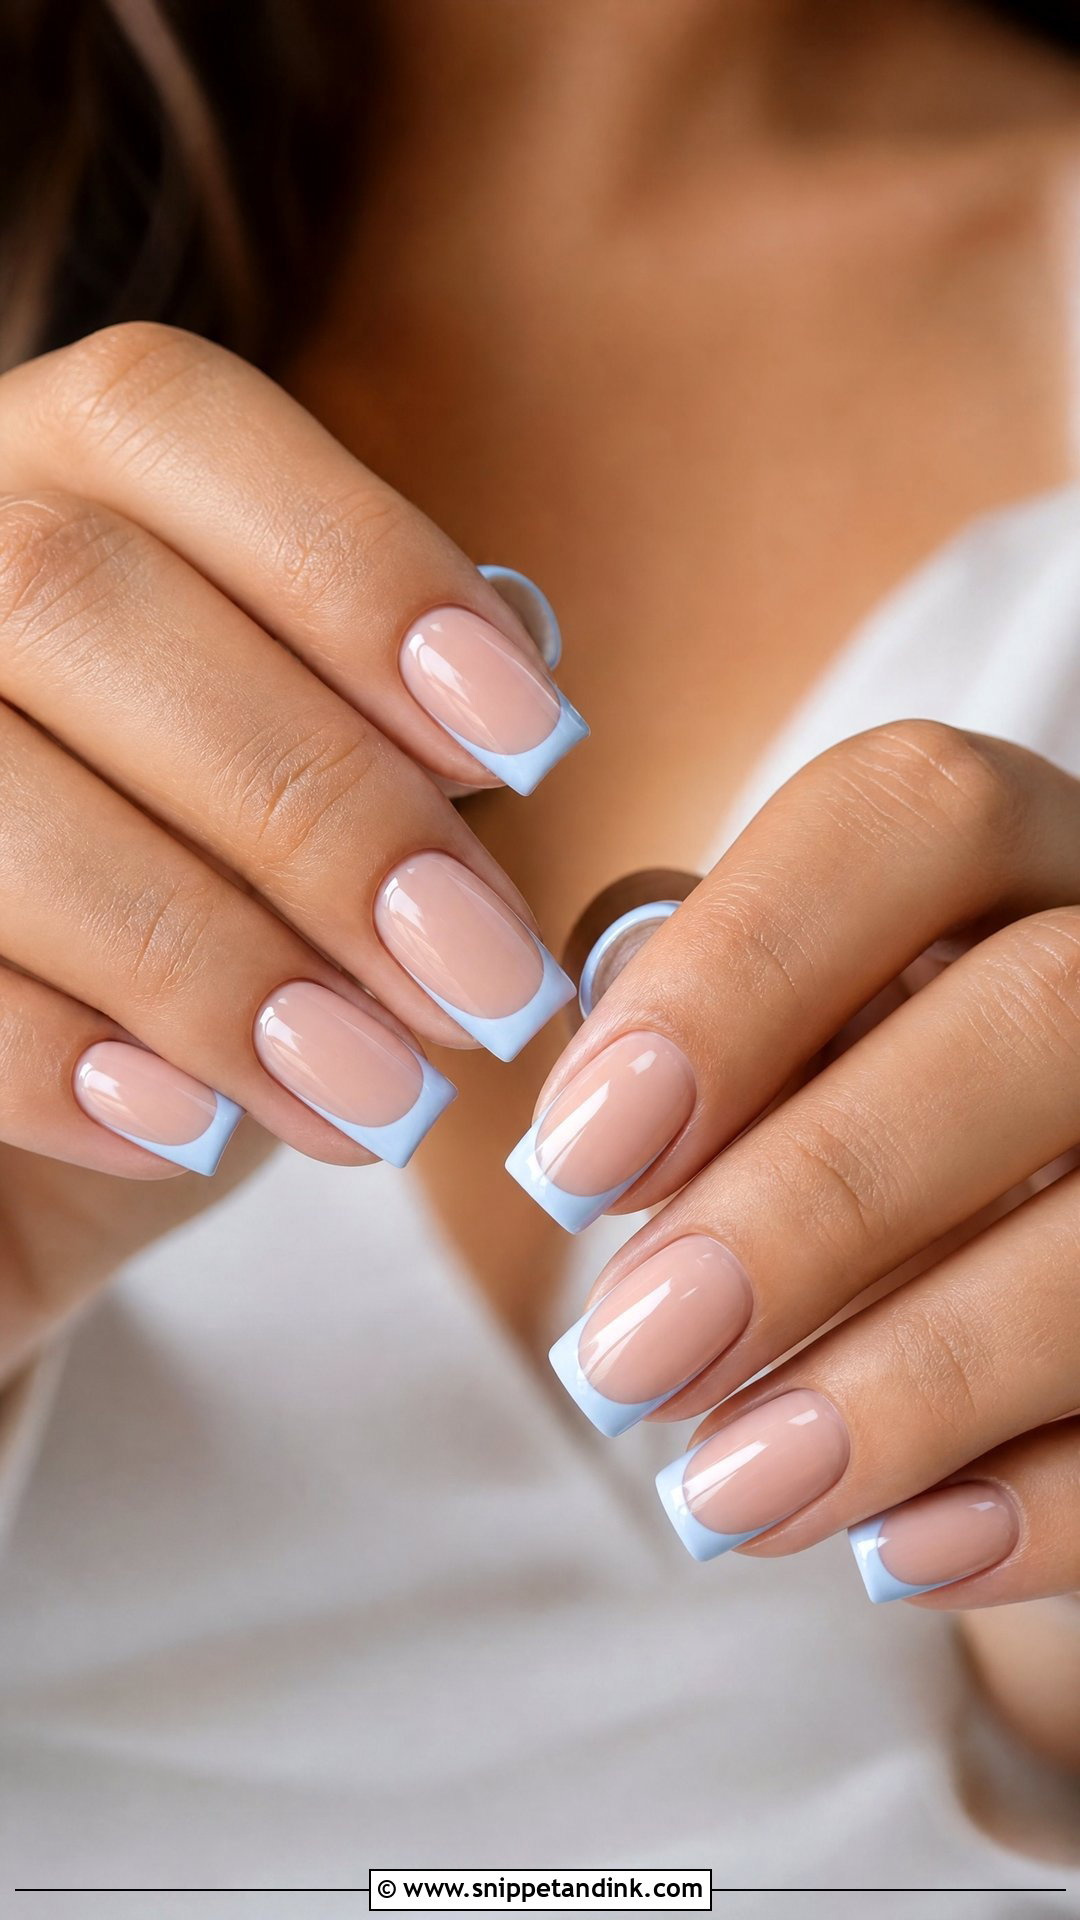
Powder blue, icy blue or a pale blue shimmer brings in the tradition quietly. Wear it on the full set, or as a blue micro French tip, which looks especially clean on a square edge. Saturated blue tends to pull attention from the ring in close-ups, so I keep it pale. If you’d rather it stay a secret, put blue on one accent nail or layer it under sheer chrome so it only shows in certain light. It sits well with coastal or spring weddings and bouquets that already carry some blue.
25. Minimal Square Bridal Nails
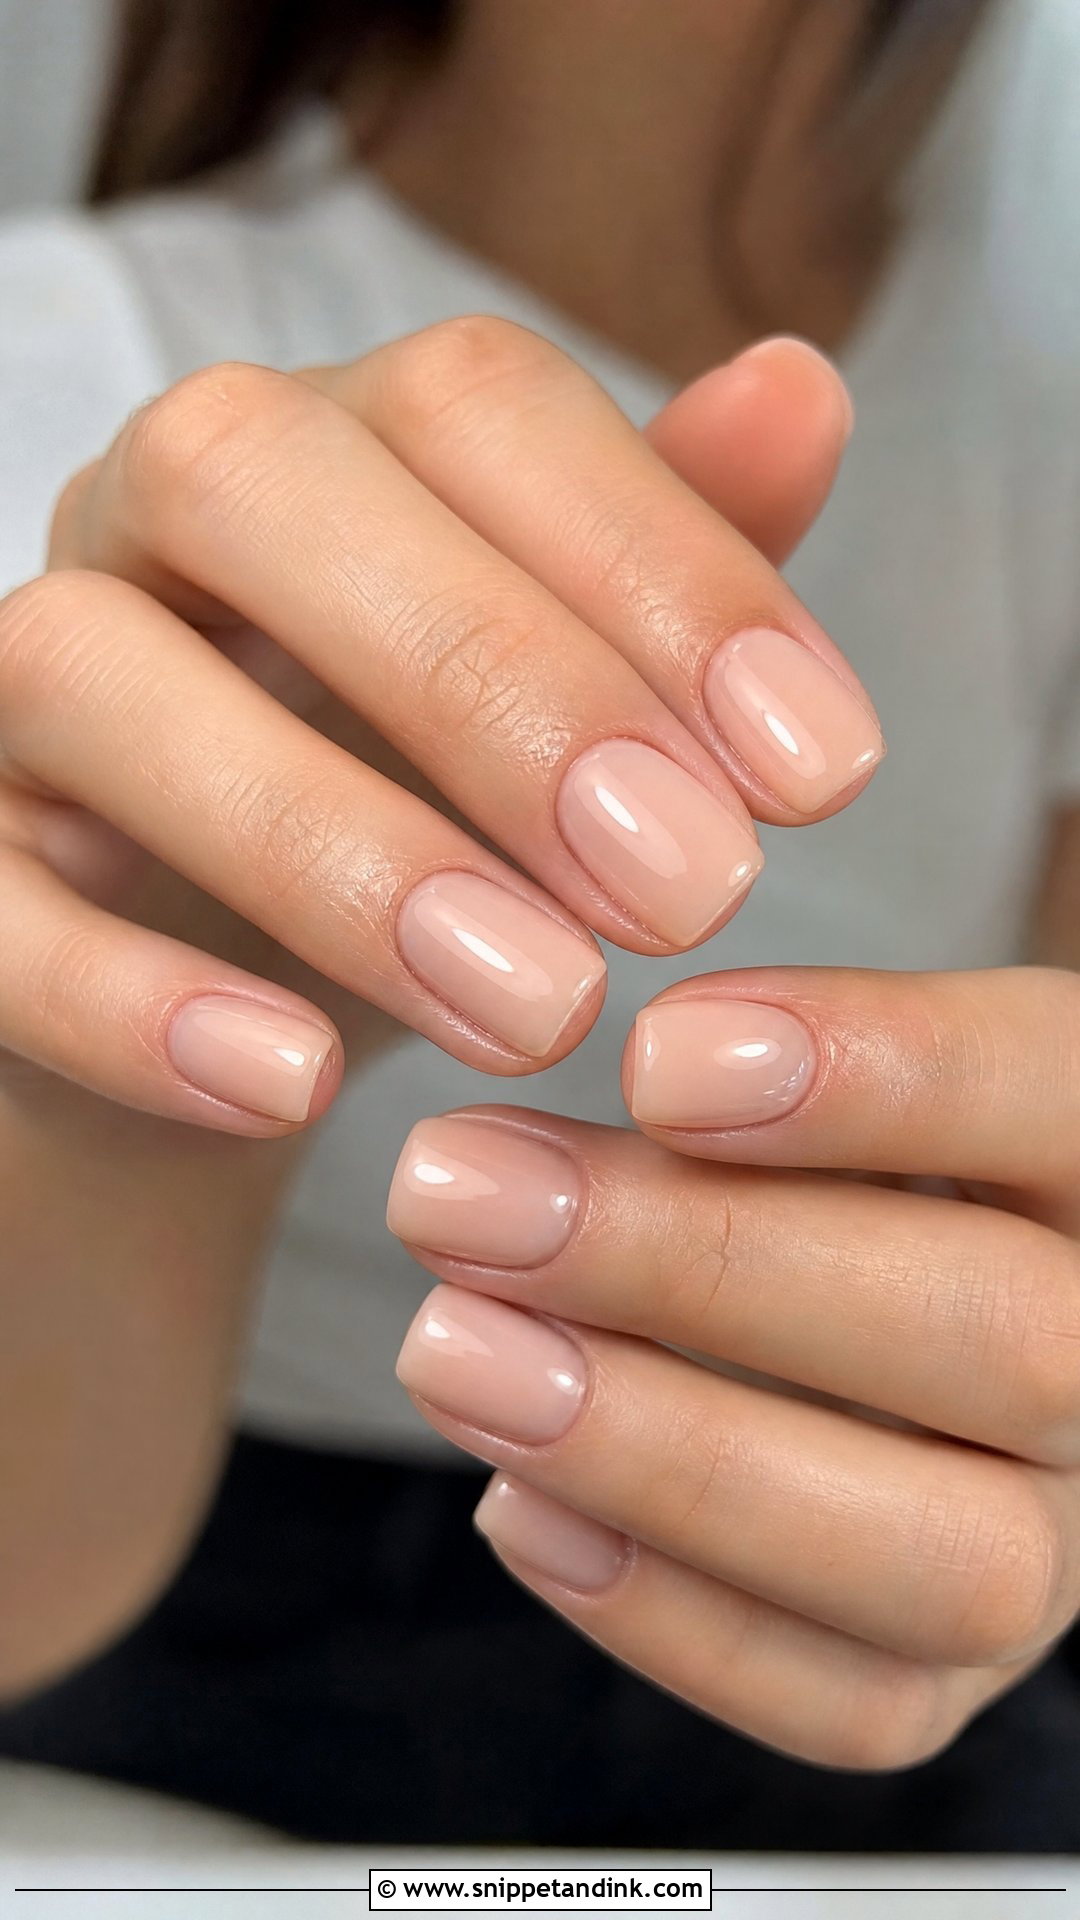
The design here is mostly prep: smooth nail plates, clean cuticles, every nail filed to the same length, and a glassy top coat over sheer nude, soft pink, milky beige or clear builder gel. Any shortcut shows, because there’s no art to hide it behind. I suggest this when the gown, jewelry or makeup is already detailed and the hands should stay quiet. It won’t date in your photos.
Why Square Corners Chip First, and How I Protect Them
A square nail has two weak points, its corners, and that’s where gel lifts or chips first. Every knock on a table edge or tug on a zip lands there. On every layer I cap the free edge, running a thin line of product along the very tip so it wraps over the corner, and that one habit slows chipping more than any top coat brand.
Timing does the rest. I’d book the final set two or three days before the wedding. That’s close enough that no regrowth shows in ring shots, and far enough out that a lifted or broken nail can still be fixed calmly. Gel generally wears well for two to three weeks, so a set done that close usually lasts through a honeymoon.
In the maid of honor’s clutch
- A fine glass file to smooth a snagged corner before it tears further.
- A tiny bottle of cuticle oil, which also makes hands look glossy in close-ups.
- Clear top coat to seal a small chip until you’re home.
- Nail glue and one spare tip in your size if you’re wearing extensions.
Getting the Gel Off After the Honeymoon
Please don’t peel it. Lifting gel off by hand takes the top layers of your natural nail with it, and the thin, bendy nails people complain about afterwards are usually from peeling, not from the gel itself. Soak-off gel comes away after the top coat is filed through and the nails sit in acetone for ten to fifteen minutes.
Builder gel is different. It’s harder and doesn’t soak off cleanly, so it should be filed down by a technician, often leaving a thin base layer in place for a fresh color. If you’d like to go back to bare nails, say so at the removal appointment and plan a few weeks of cuticle oil while they recover.
A Square Set That Still Feels Comfortable at Midnight
Shape matters more than any single design on this list. Get the square right for your nail beds and finger length, choose a shade that suits both your skin and your dress fabric, and almost any of these sets will look polished on the day. If you can, book a trial a few weeks out to test color, length and finish, then wear it for a few days before you decide. Small adjustments, like softening a corner or warming up a white, usually fix whatever feels slightly off.
You'll Like These Ideas:


Leave a Reply