
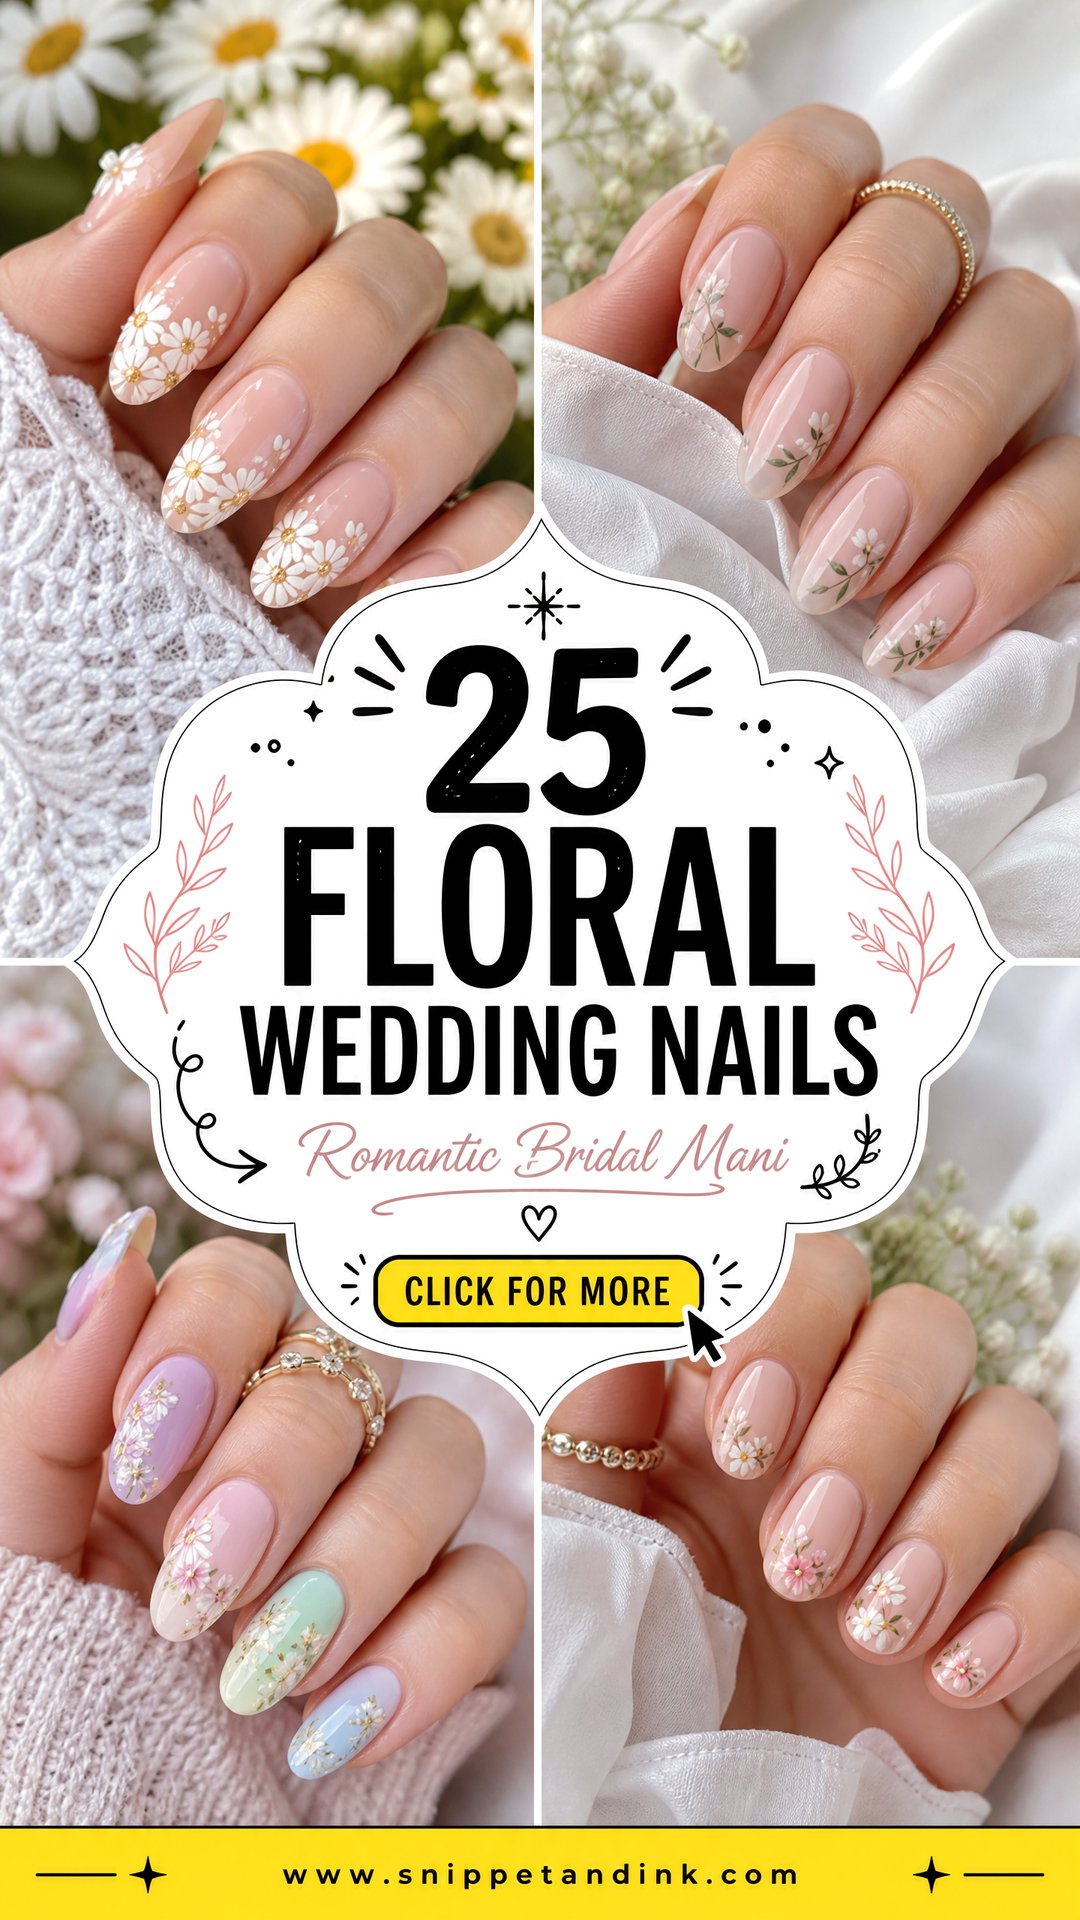
Flowers are the nail art brides ask me for most, and the range is wider than people expect. A floral set can be a single painted bloom on a sheer base, fine linework that reads like lace, or sculpted petals that stand off the nail. The style isn’t really limited by the wedding theme; it’s limited by nail length, how much time you have in the chair and how close the camera gets. Below are 25 floral bridal manicures I’d happily do, with notes on technique, which shapes give the art room and what tends to go wrong.
Painted, Stamped or Sculpted Flowers Look Different Up Close
Two floral sets can look alike in an inspiration photo and very different in person, because they’re made in completely different ways. Knowing which method you’re asking for helps you book enough time and set the right expectations.
- Hand painted: done with a fine liner brush, one petal at a time. Every flower is slightly different, which looks natural. It takes the longest and depends heavily on the artist’s skill.
- Stamped: a design is transferred from an etched plate. It’s quick and very consistent, but flat, and fine detail can smudge on curved nails.
- Decals and stickers: the fastest option. Good ones are thin; cheap ones show an edge under the top coat.
- Sculpted or embedded: builder gel petals or real pressed flowers sealed in gel. They add depth but also thickness, so the nail feels heavier.
If you’ve found a photo you love, ask your artist which method was used and whether they work that way. A detailed hand-painted set can add an hour to the appointment.
1. White Floral Wedding Nails
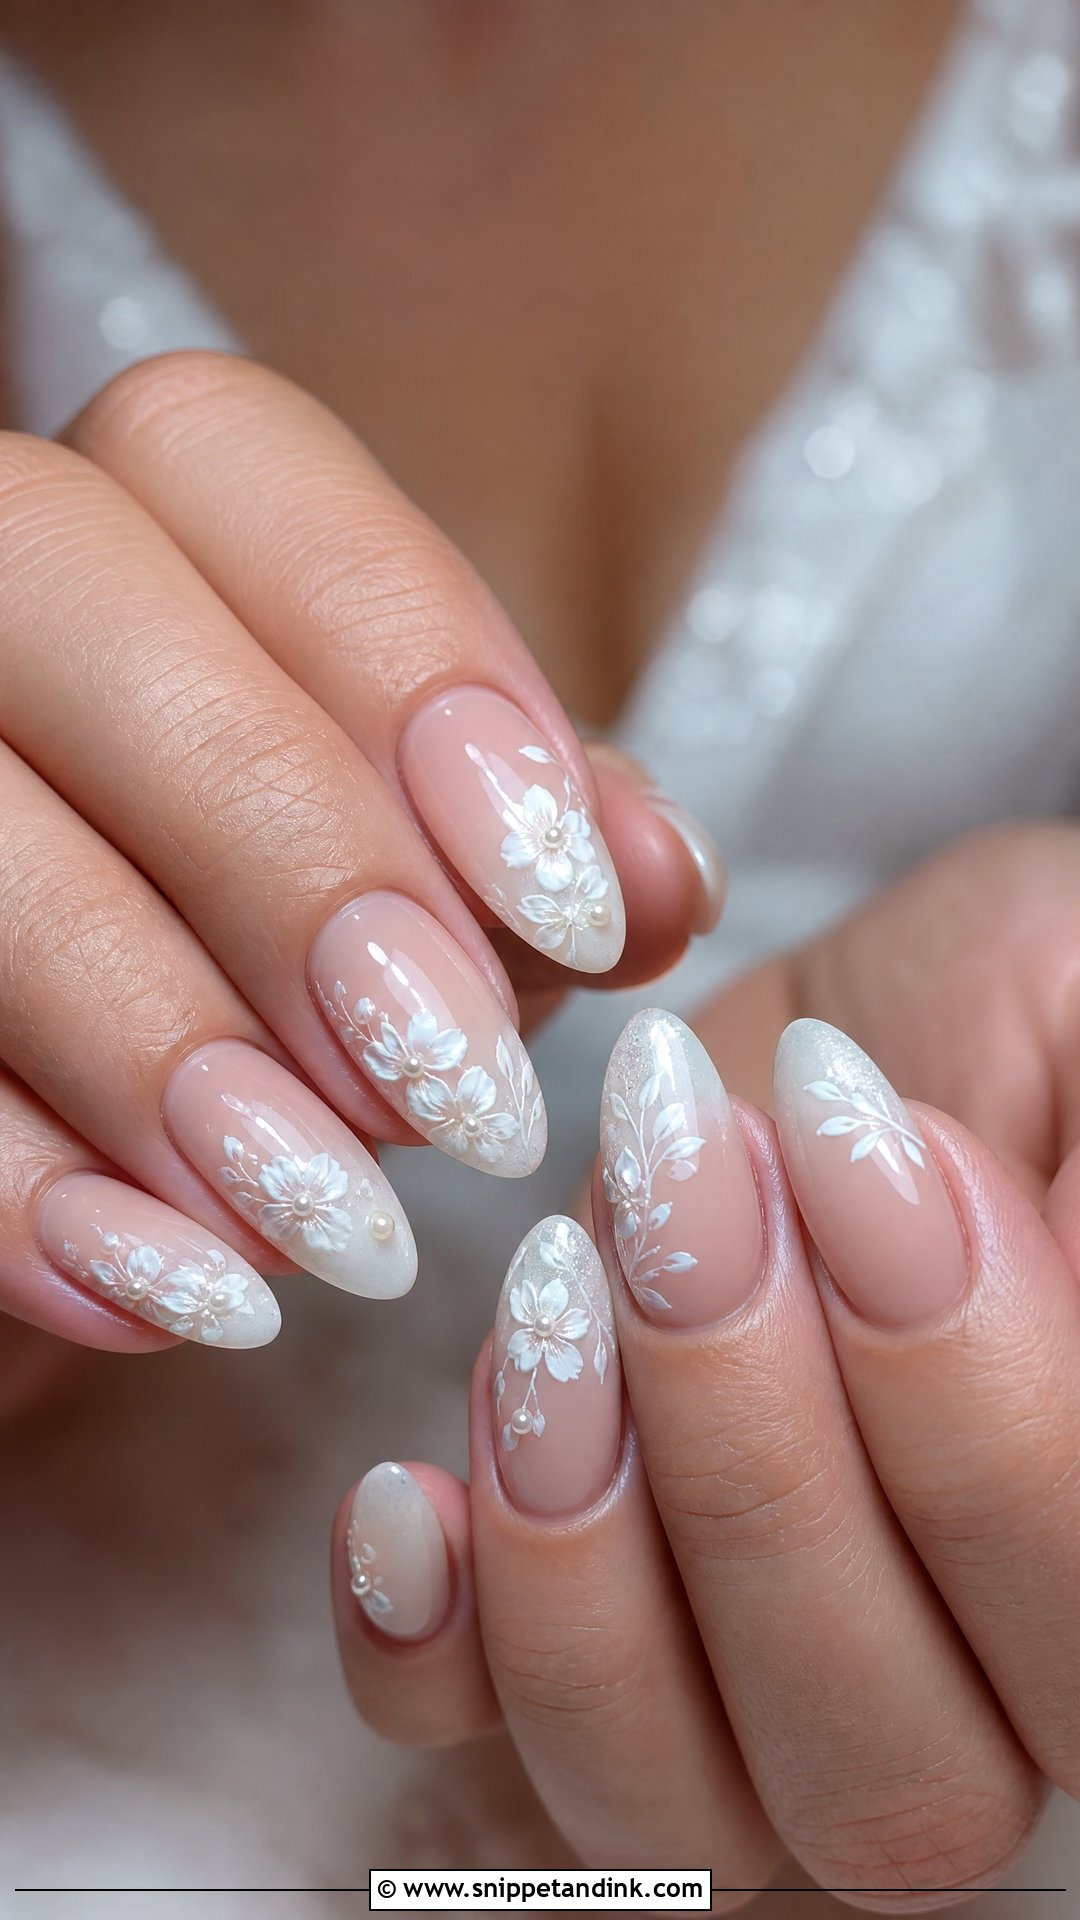
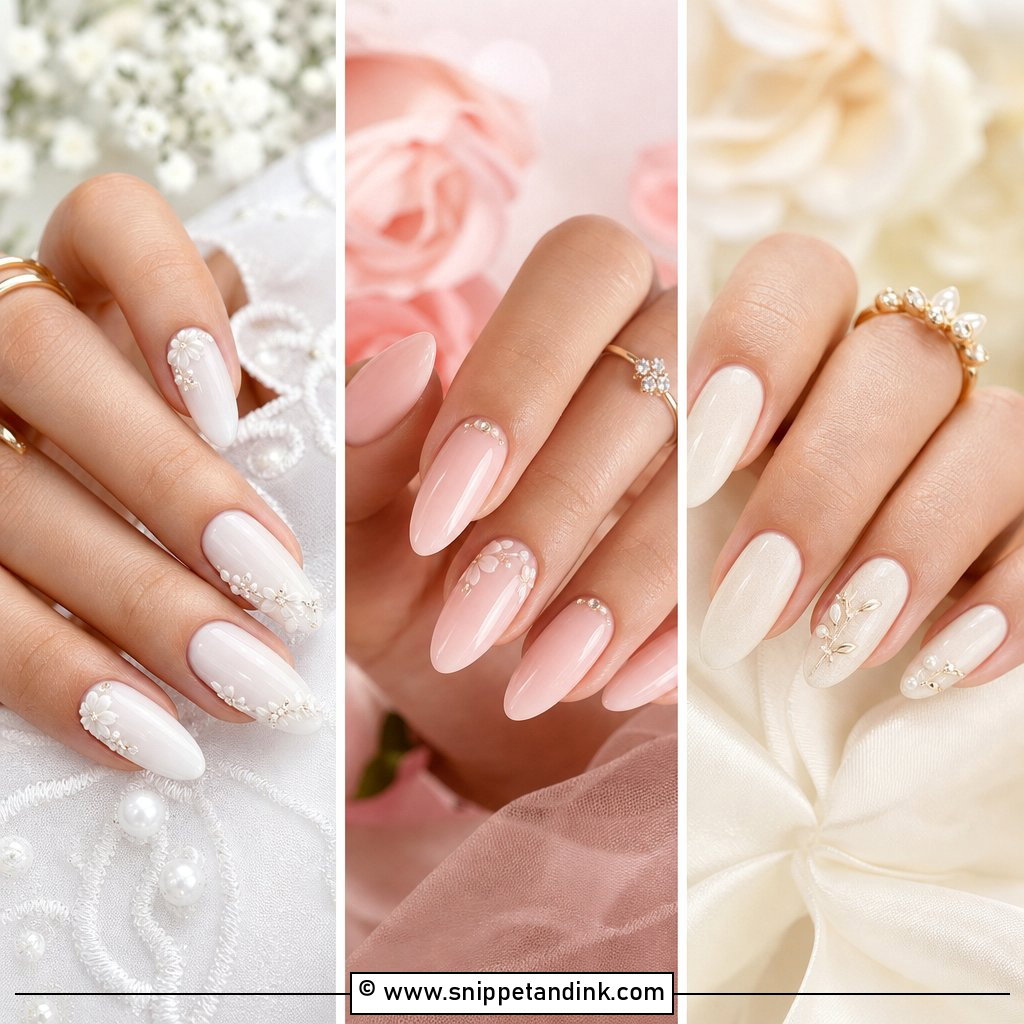
White floral wedding nails start with a sheer nude, milky or pale pink base so the white petals have something to show against. I paint the petals with a fine liner brush in two passes; one coat of white gel is usually too thin to look solid. Raised gel gives a soft 3D effect if you want texture. Oval and short square shapes take it well. A few pearl dots in the centres finish it, and it sits naturally beside lace and pearl jewelry.
2. Pink Floral Wedding Nails
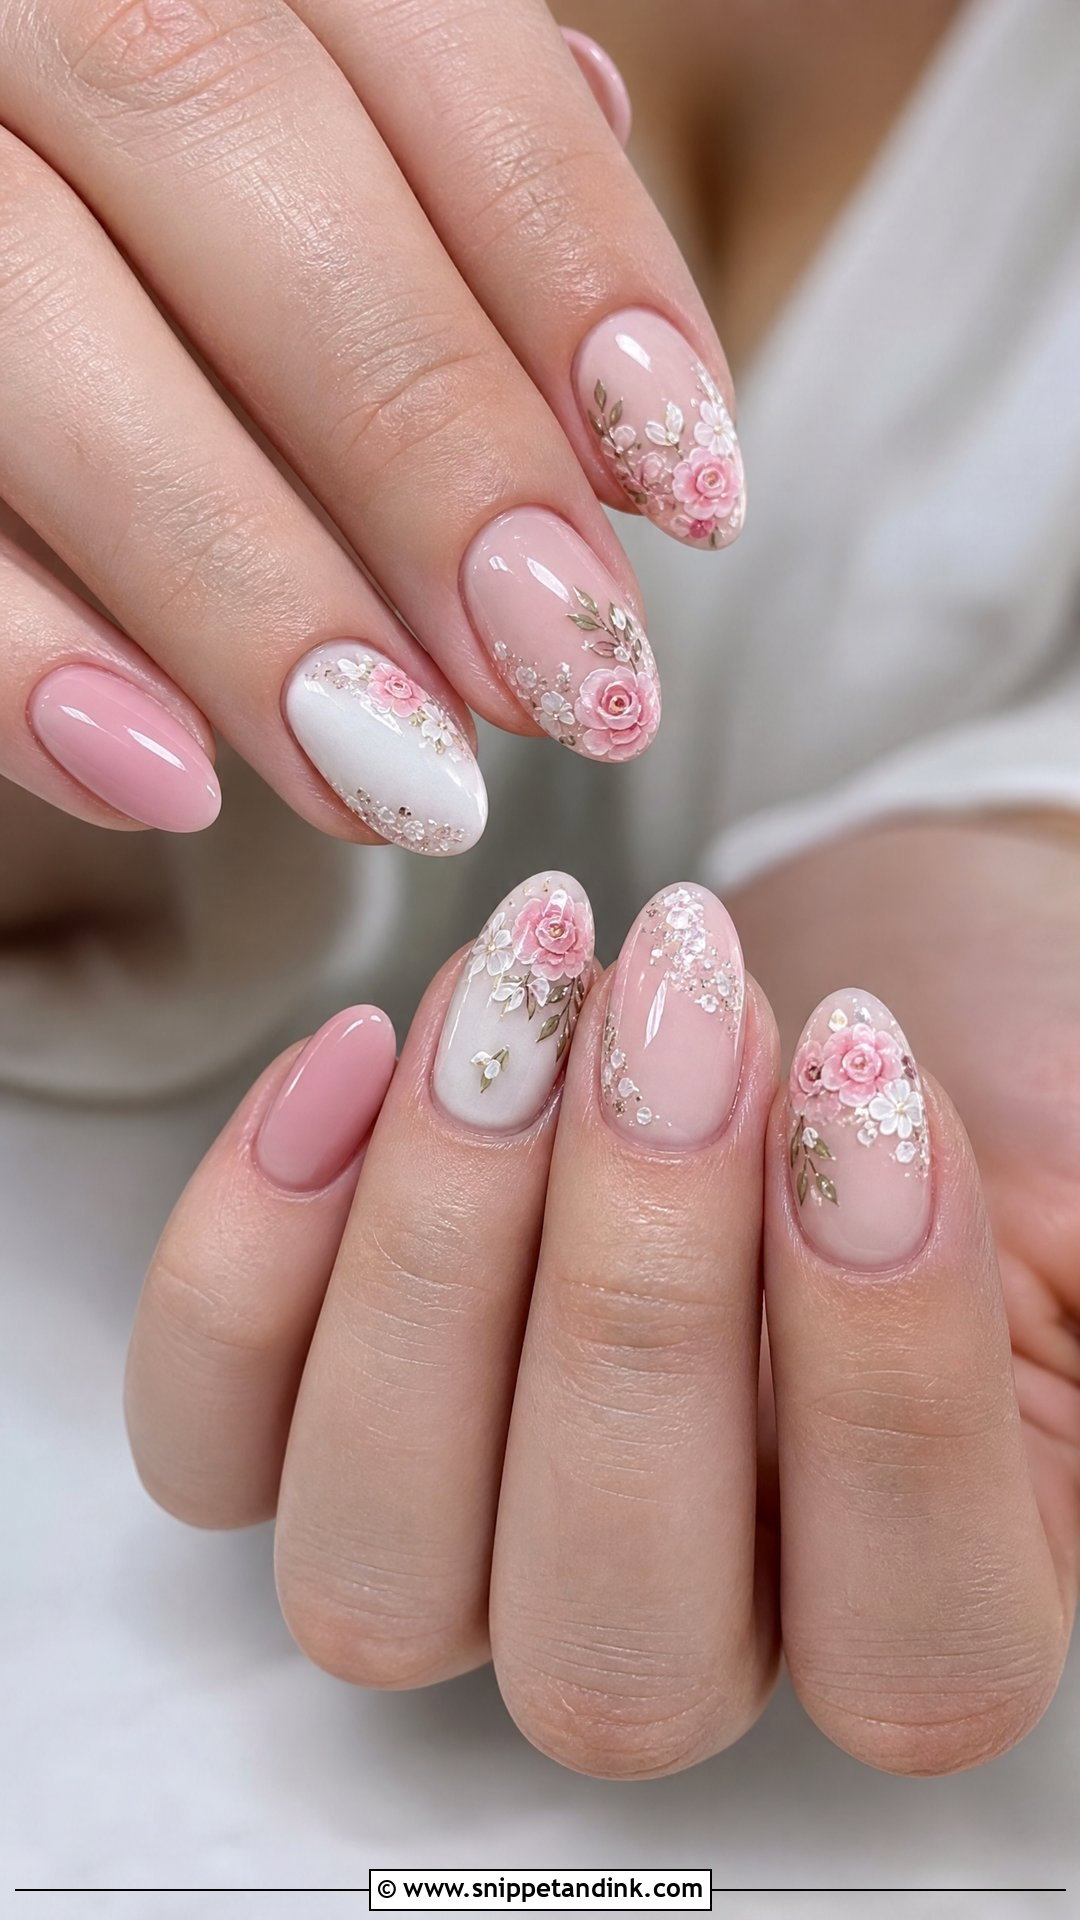
Small blooms in white, mauve or rose over a sheer blush base give a soft garden effect. My advice is to decide placement first: florals on the ring fingers only feel tidy, while scattered blooms across all ten feel more playful. Blush bases vary a lot in opacity, so I swatch two or three against your skin before choosing. Medium almond or oval shapes give the art enough room. Gloss reads classic; a fine shimmer top coat glows in daylight.
3. French Tip Floral Wedding Nails
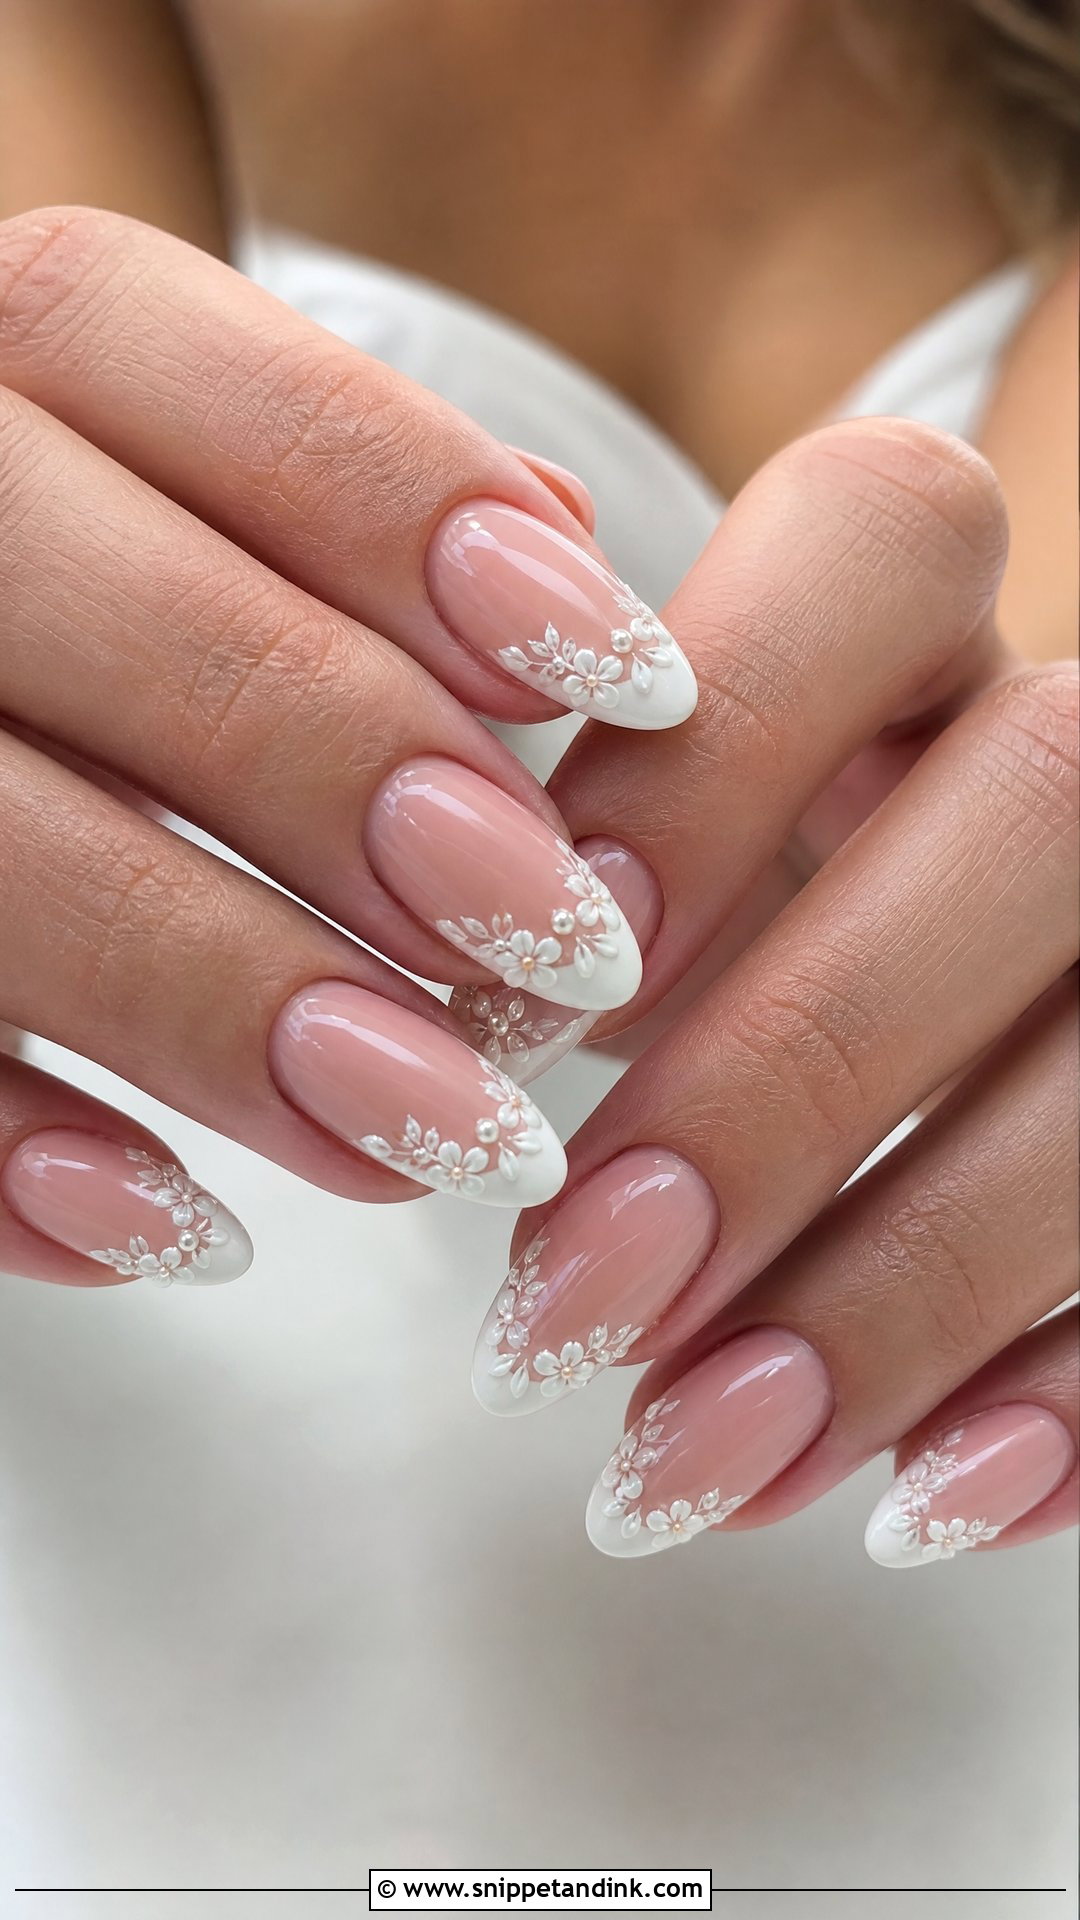
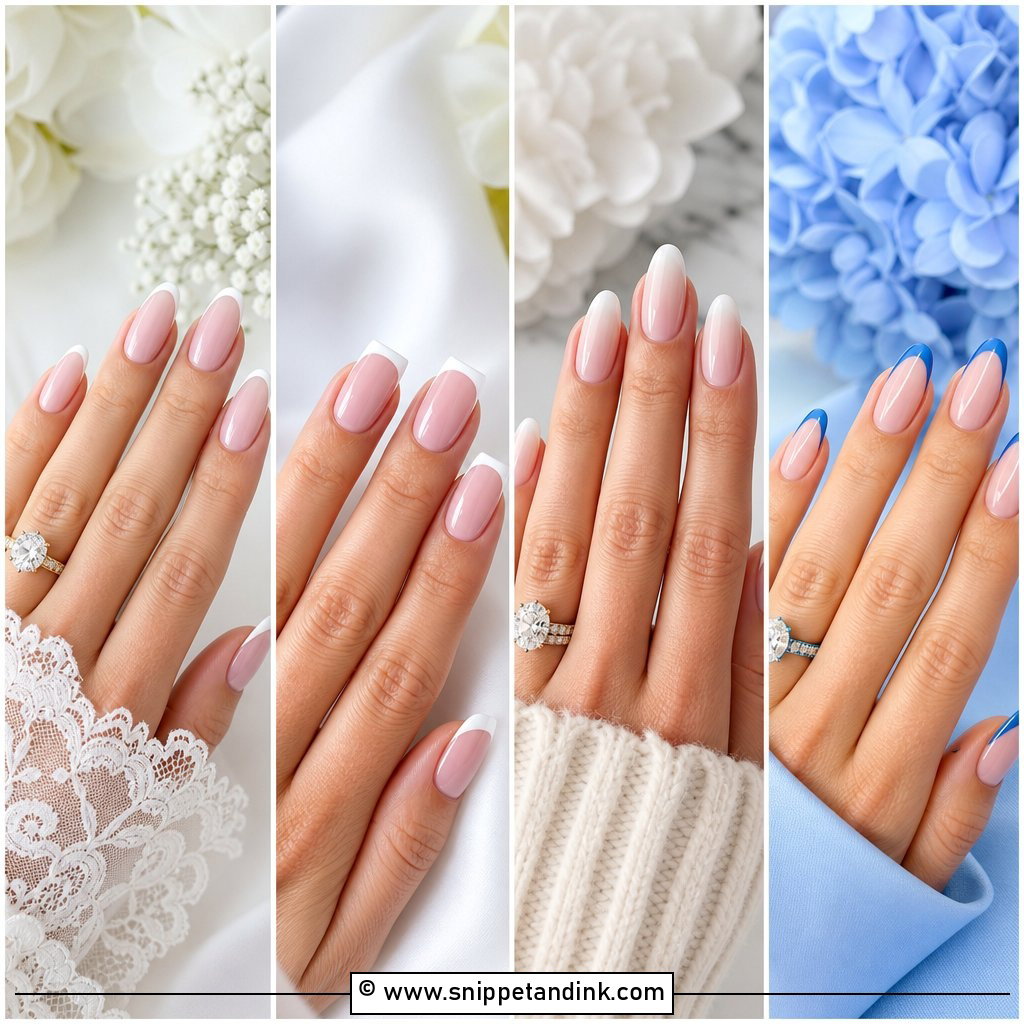
Here the classic white tip stays, and small flowers sit near the smile line, by the cuticle or on accent nails. The trick is keeping the tip thin, because a thick white band plus flowers crowds a short nail fast. Tiny daisies or five-petal blooms are easiest to read at that scale; detailed roses turn into blobs below a certain size. A sheer nude base keeps it bridal, and almond or square shapes suit it best.
4. Milky White Floral Wedding Nails
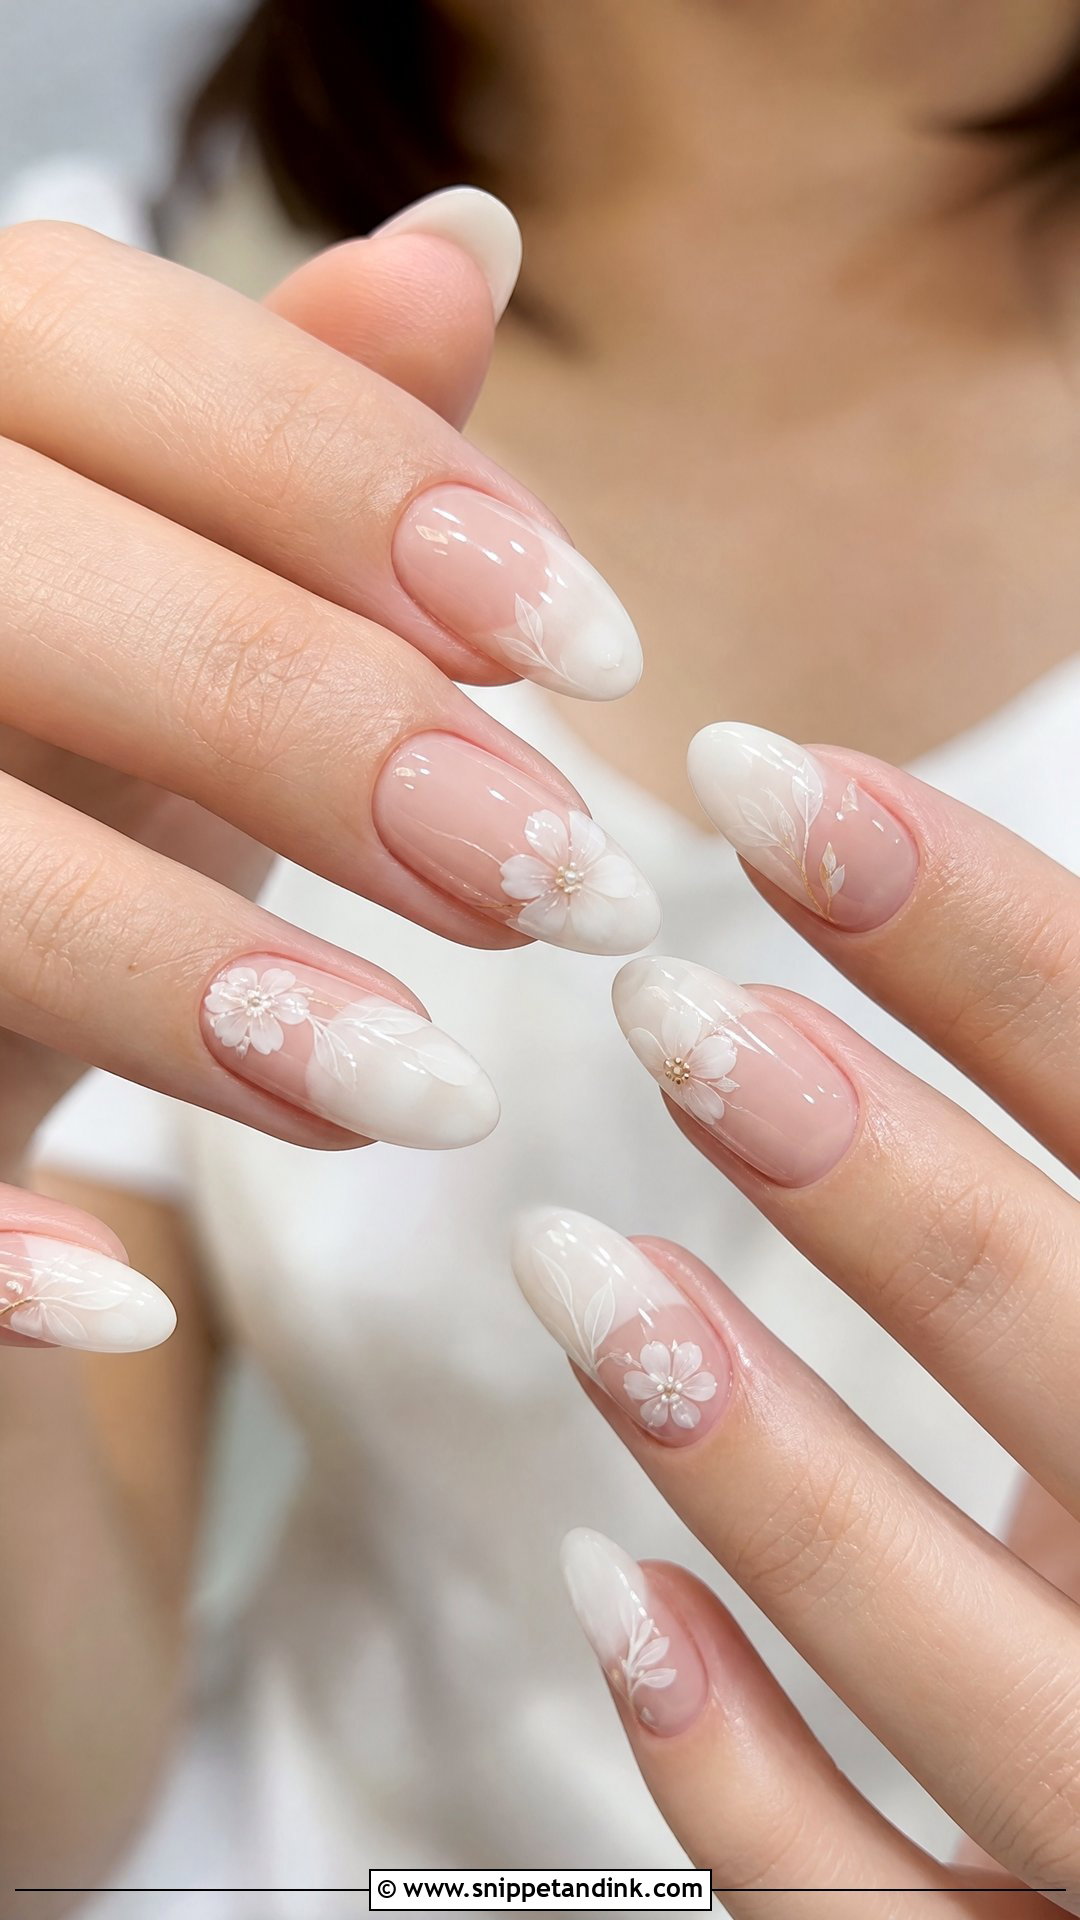
Milky bases are softer than stark white and kinder to most skin tones, which is why I steer brides toward them. Over that creamy layer, delicate white flowers, tiny leaves or a touch of gold add detail without noise. I like to paint some petals, cure, then add a sheer milky layer over them, so they look blended into the nail rather than stuck on top. It suits a minimalist bride in satin.
5. Nude Floral Wedding Nails
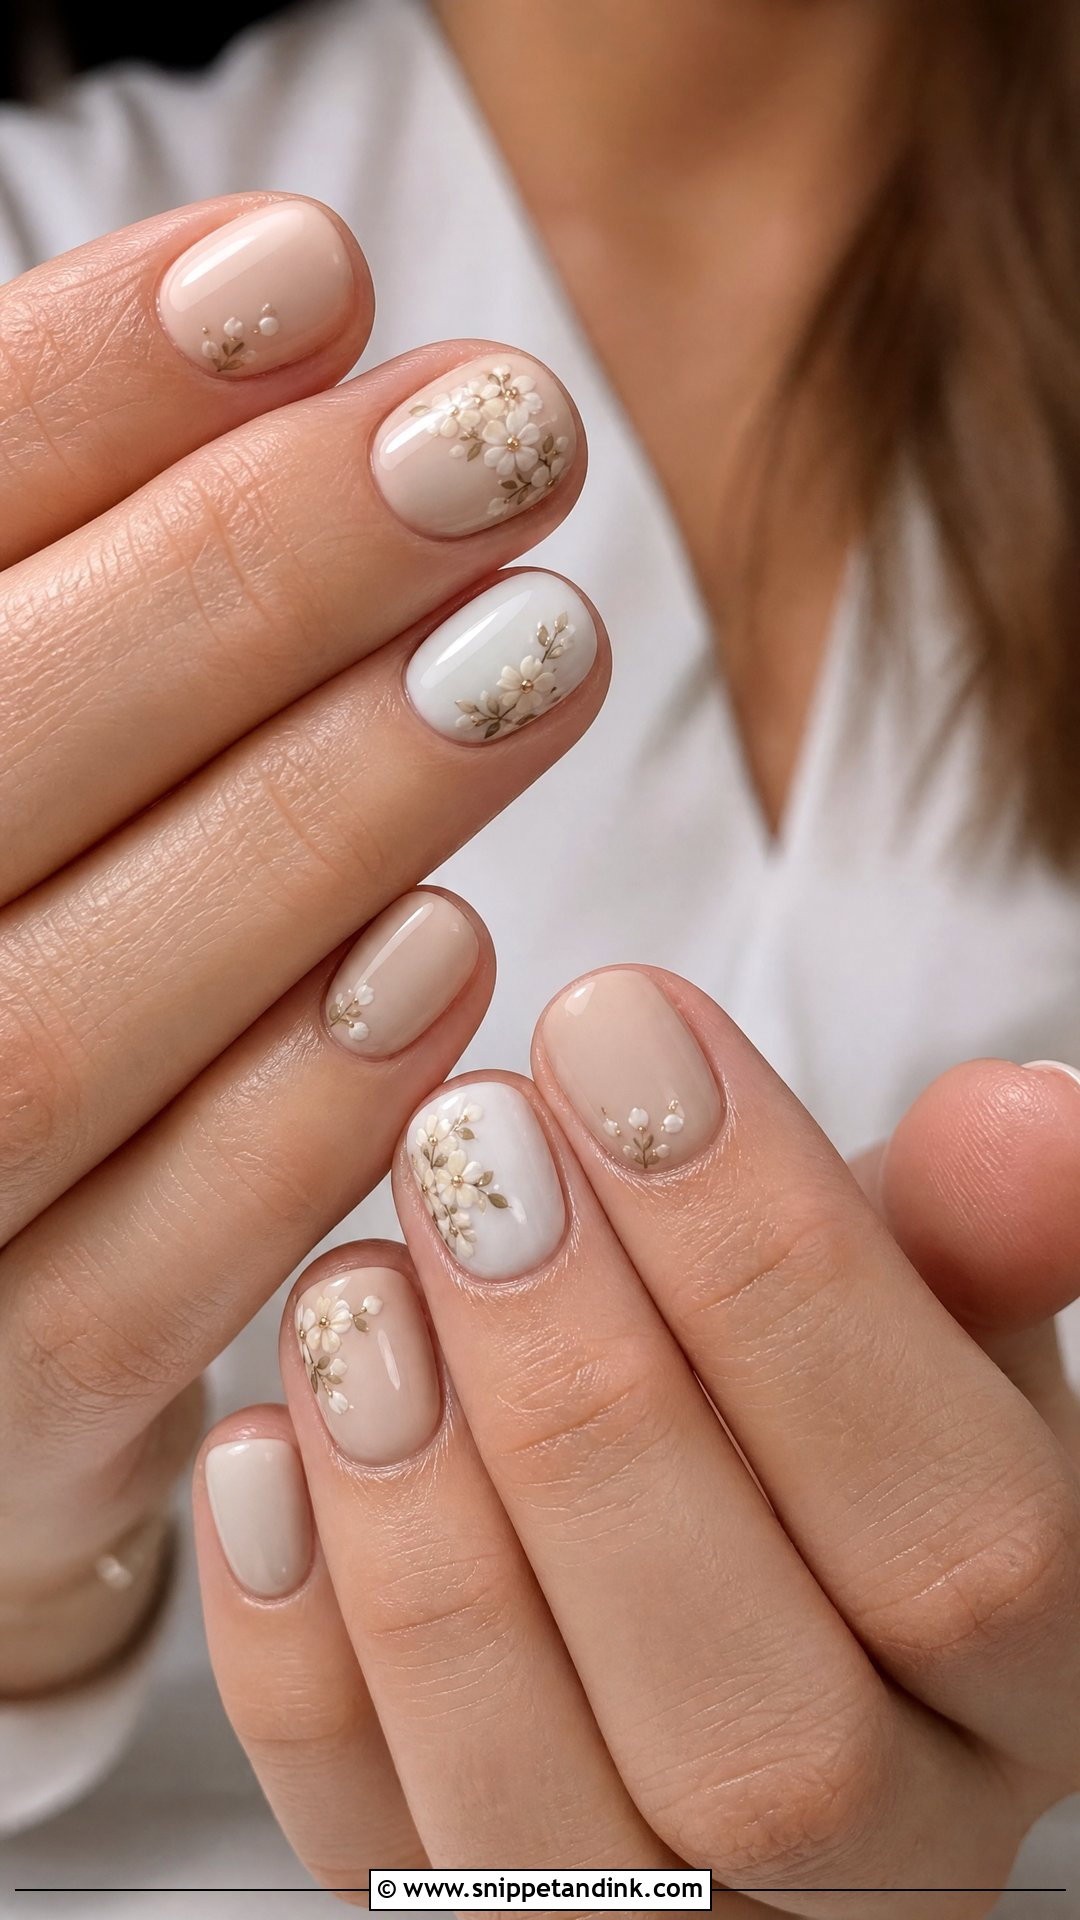
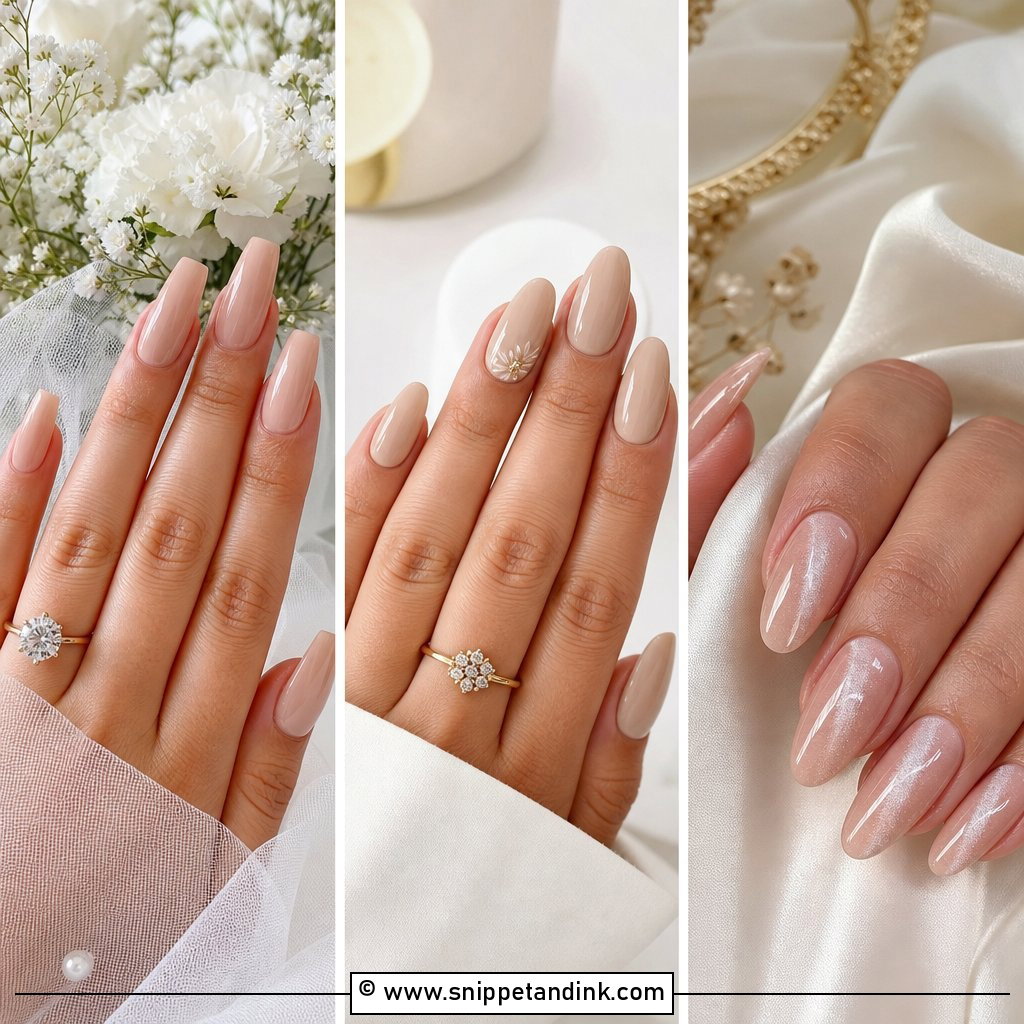
A nude base chosen to match your skin keeps attention on the dress and the rings. Beige, sheer tan, peach or pink-toned nudes all work; the right one makes your fingers look longer, especially on short nails. Fine florals in cream or pale pink add just enough detail. Nudes that are too pale on deeper skin look chalky, so I match the base at the consultation, not on the day.
6. Blue Floral Wedding Nails
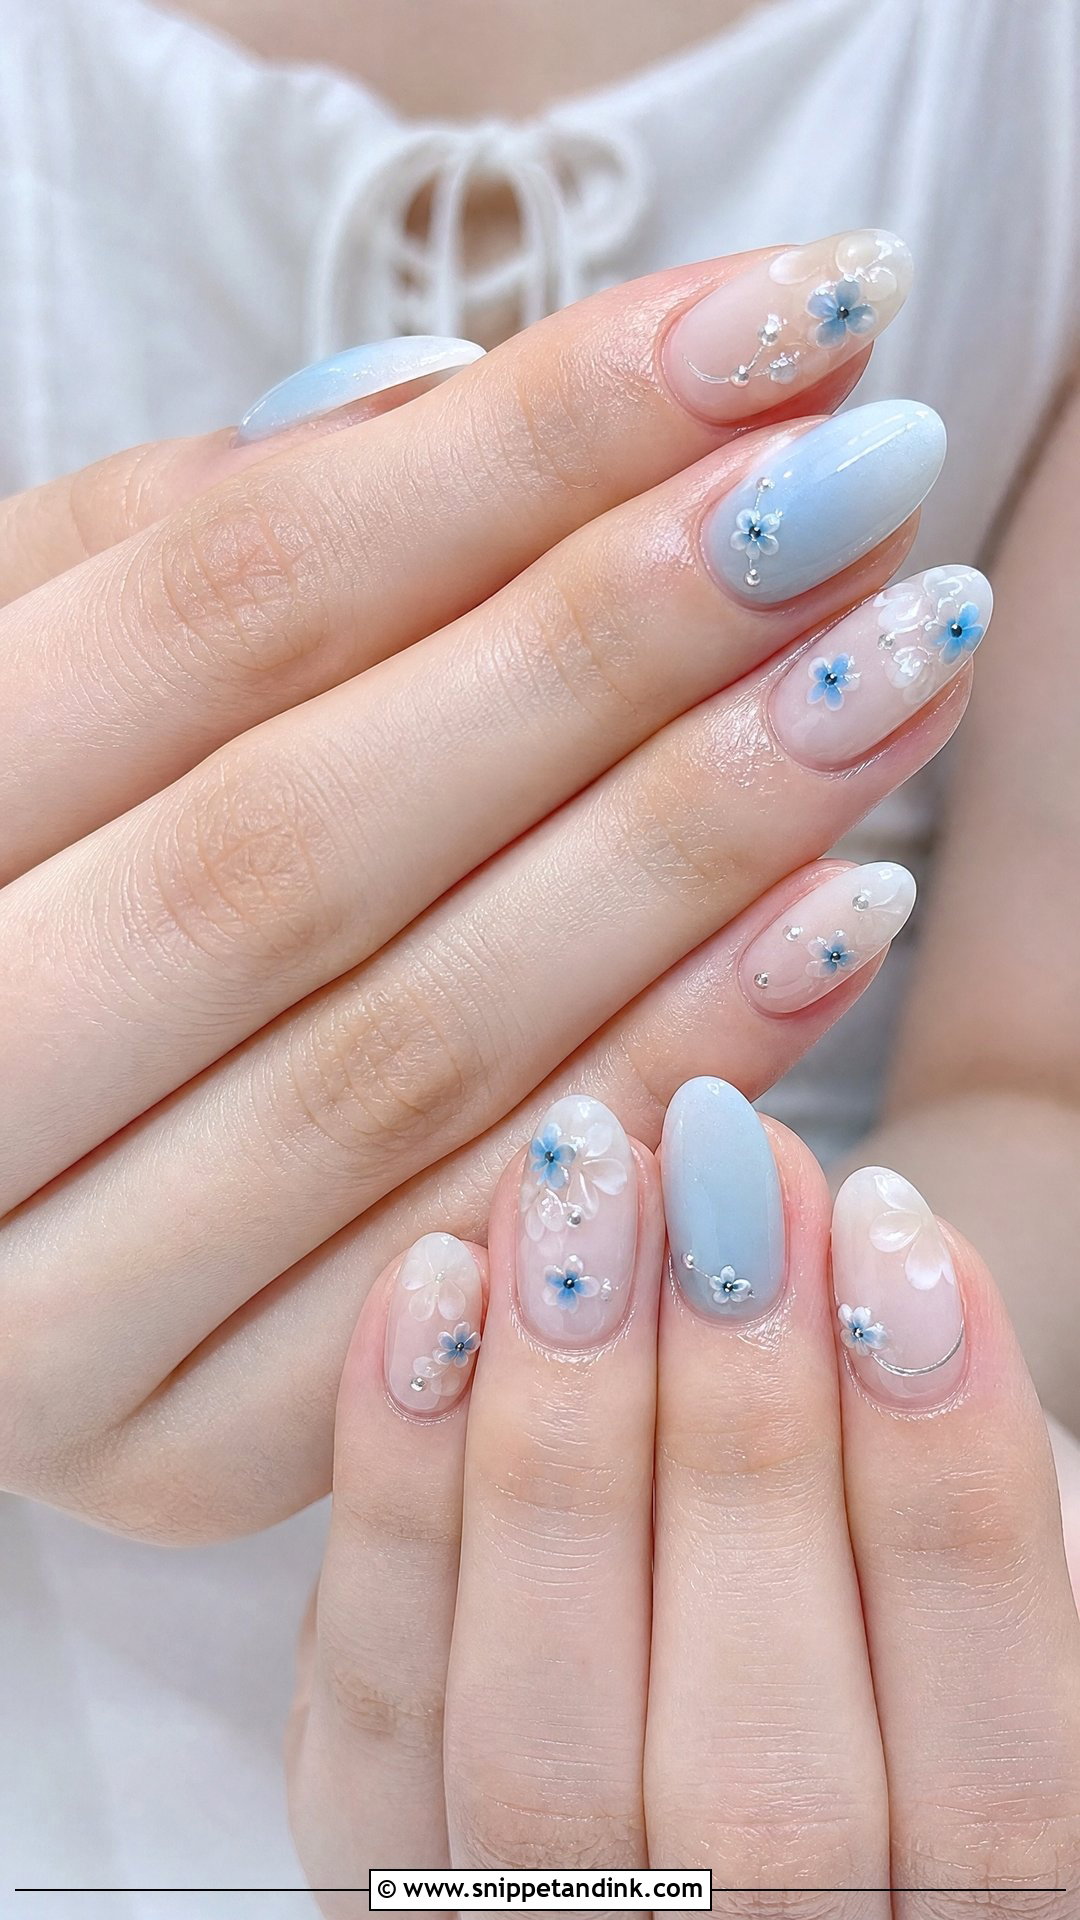
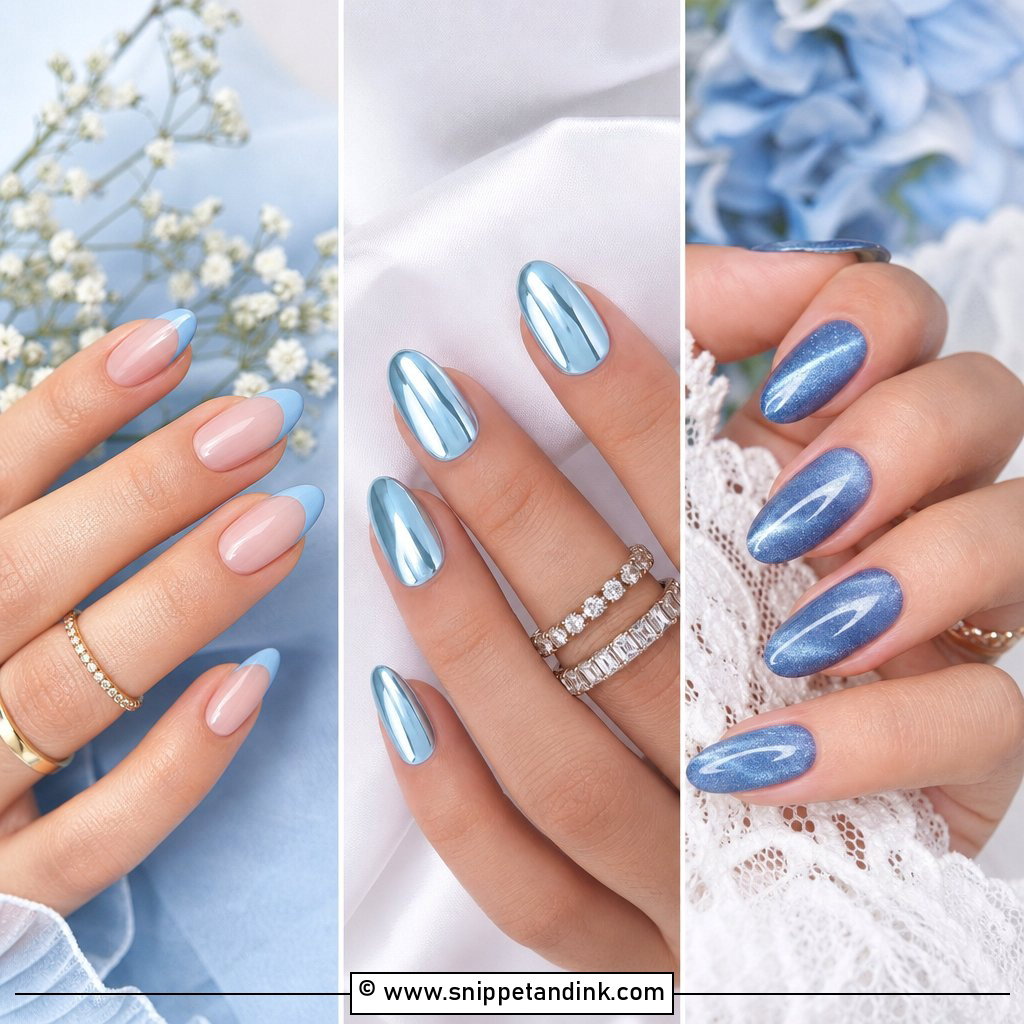
Blue petals are an easy way to add “something blue” without blue nails. Pale blue tips, watercolour petals or tiny blue flowers over a nude base all keep it delicate. Watercolour effects are done by dabbing sheer gel colour and letting it spread before curing, so no two nails come out identical. Use blue as an accent rather than a full colour. White florals or silver details balance it, which suits a coastal venue or a hydrangea bouquet.
7. Lavender Floral Wedding Nails
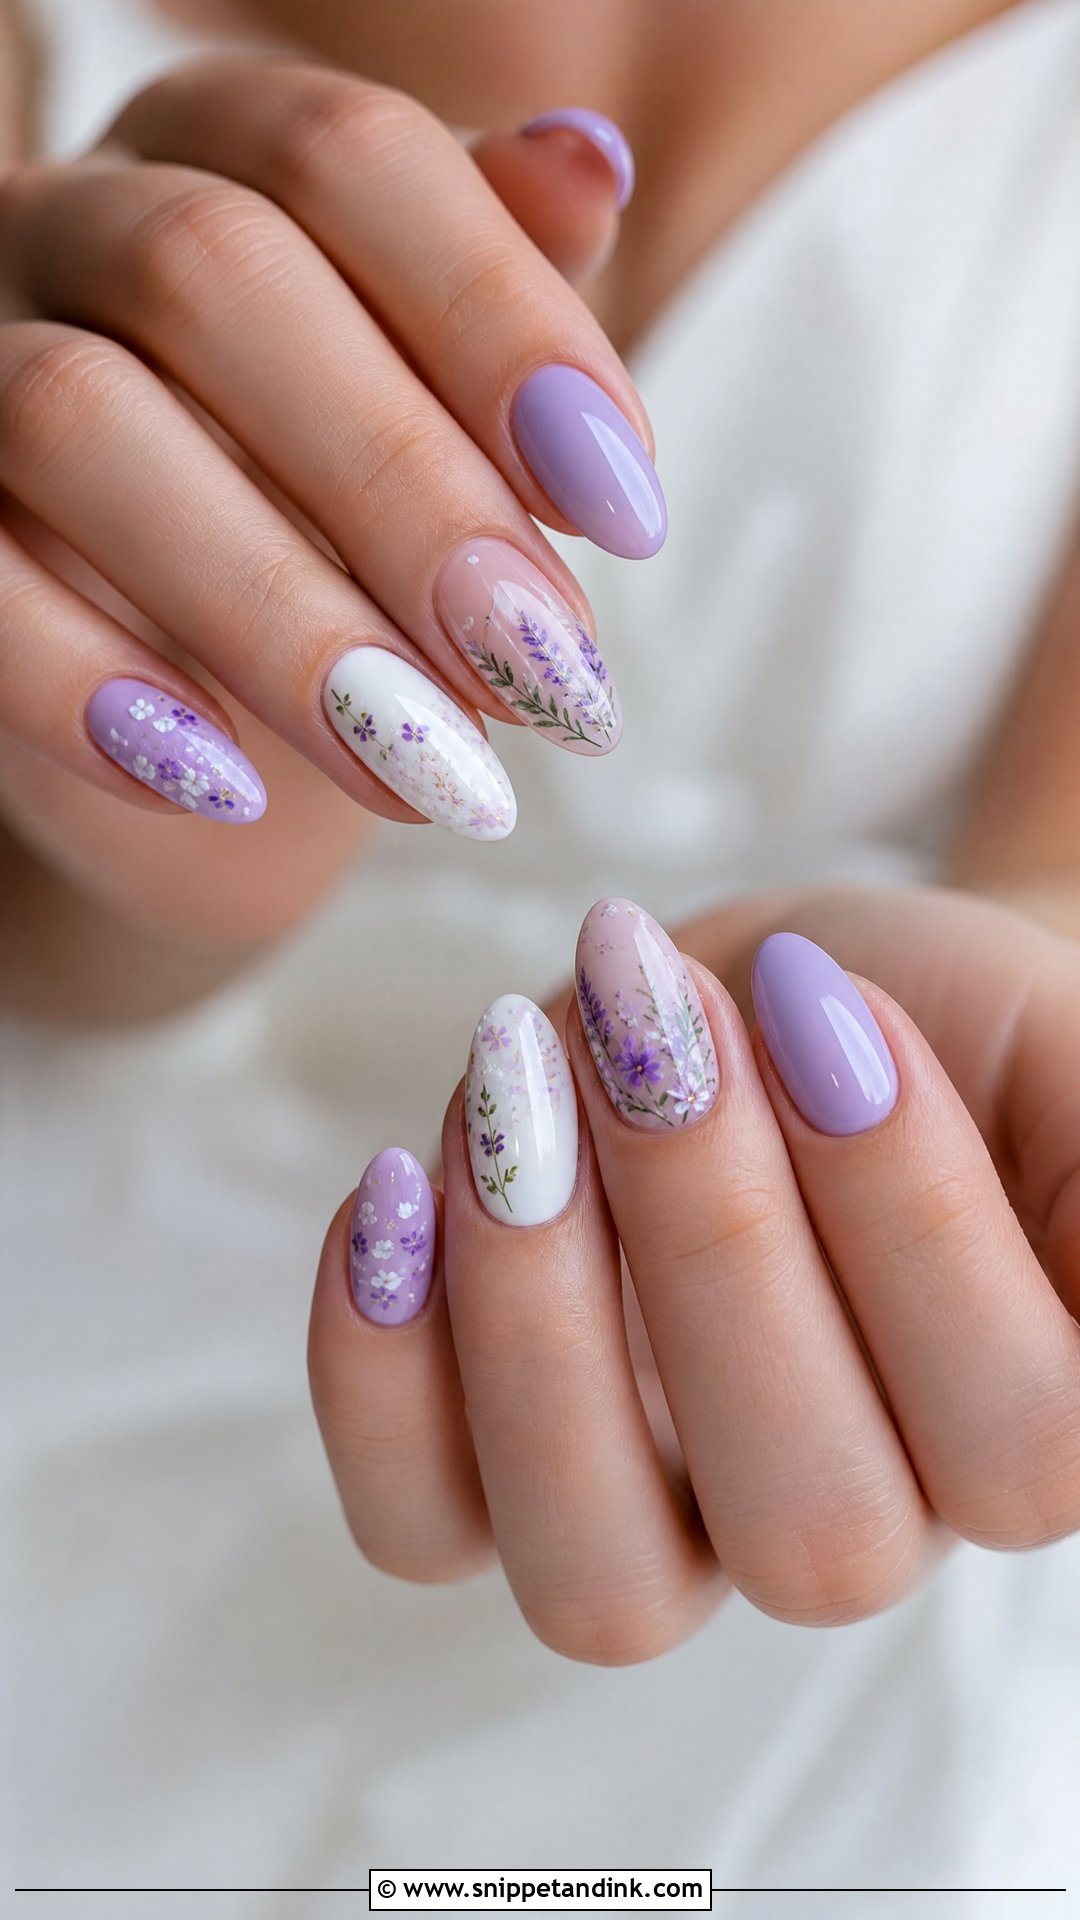
Lavender reads calm and slightly whimsical, and it ties neatly to lilac or purple rose bouquets. Tiny purple flowers with soft green leaves over a sheer nude or pale lavender base keep it gentle. Purple gels tend to look darker once cured, so I mix them lighter than the target shade. One or two accent nails keep it minimal; scattered blooms make it more detailed. Almond and oval shapes suit it.
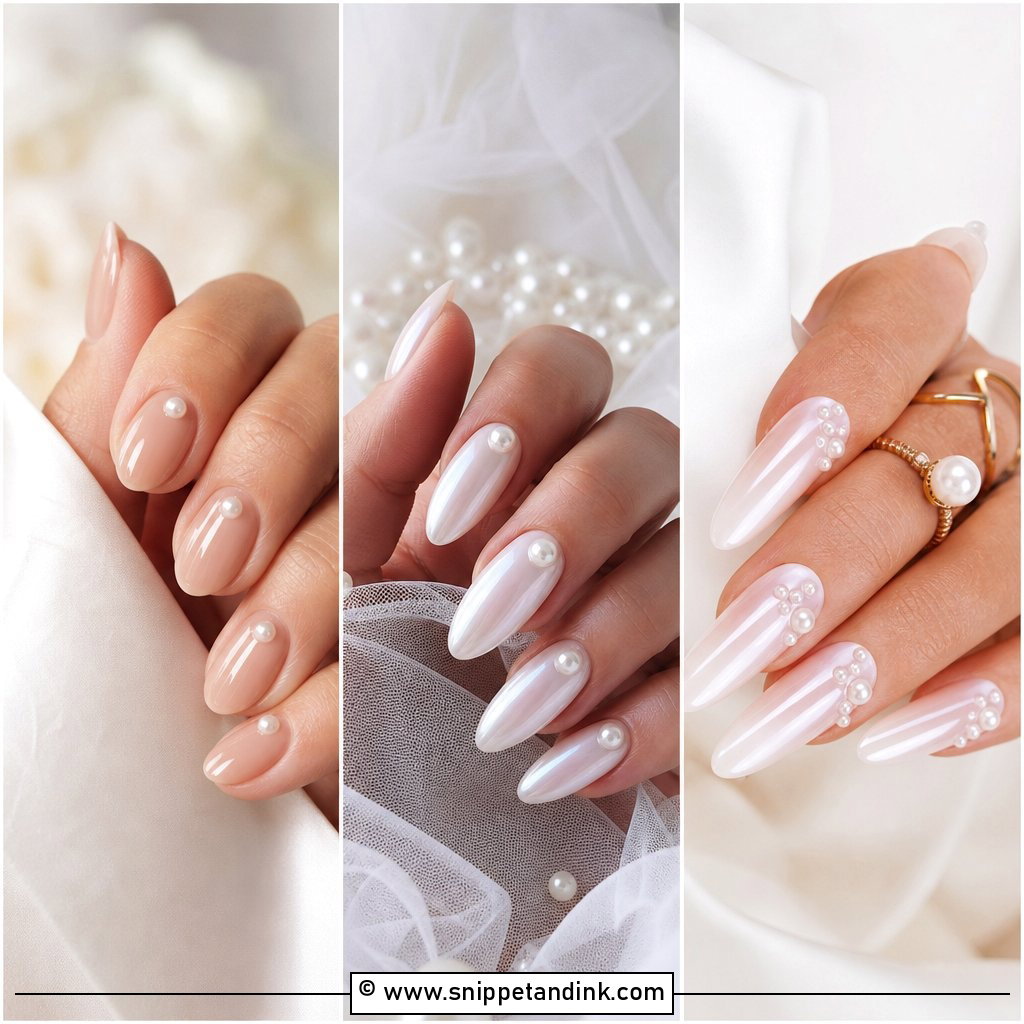
8. Pearl Floral Wedding Nails
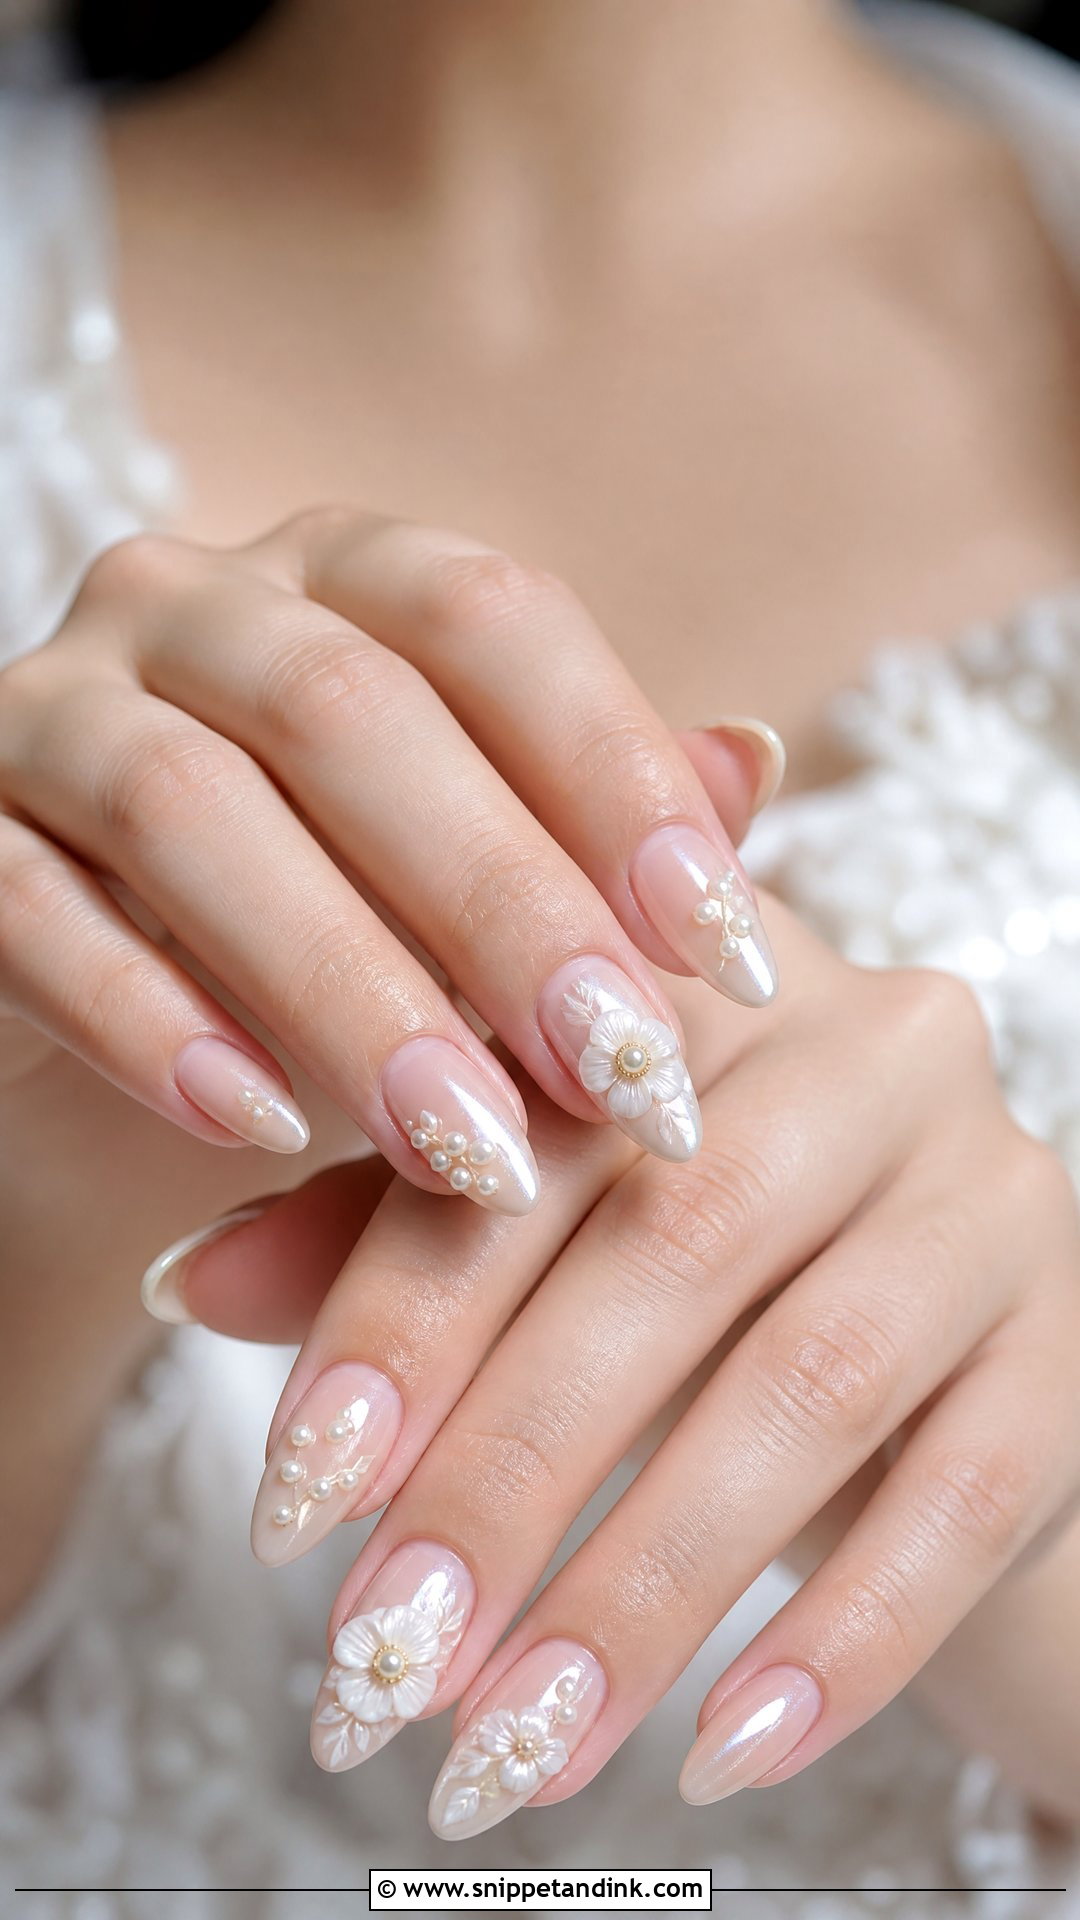
Flowers and pearls together are about as bridal as nail art gets. I paint small white flowers and set a tiny pearl in the centre of each, or place pearls near the cuticle for a quieter look. The pearls need to be flat-backed and pressed into gel so they sit low; round pearls catch on lace, veils and hair. Almond, coffin and oval nails have space for the detail. A thick glossy top coat around the pearls stops them popping off.
9. 3D Floral Wedding Nails
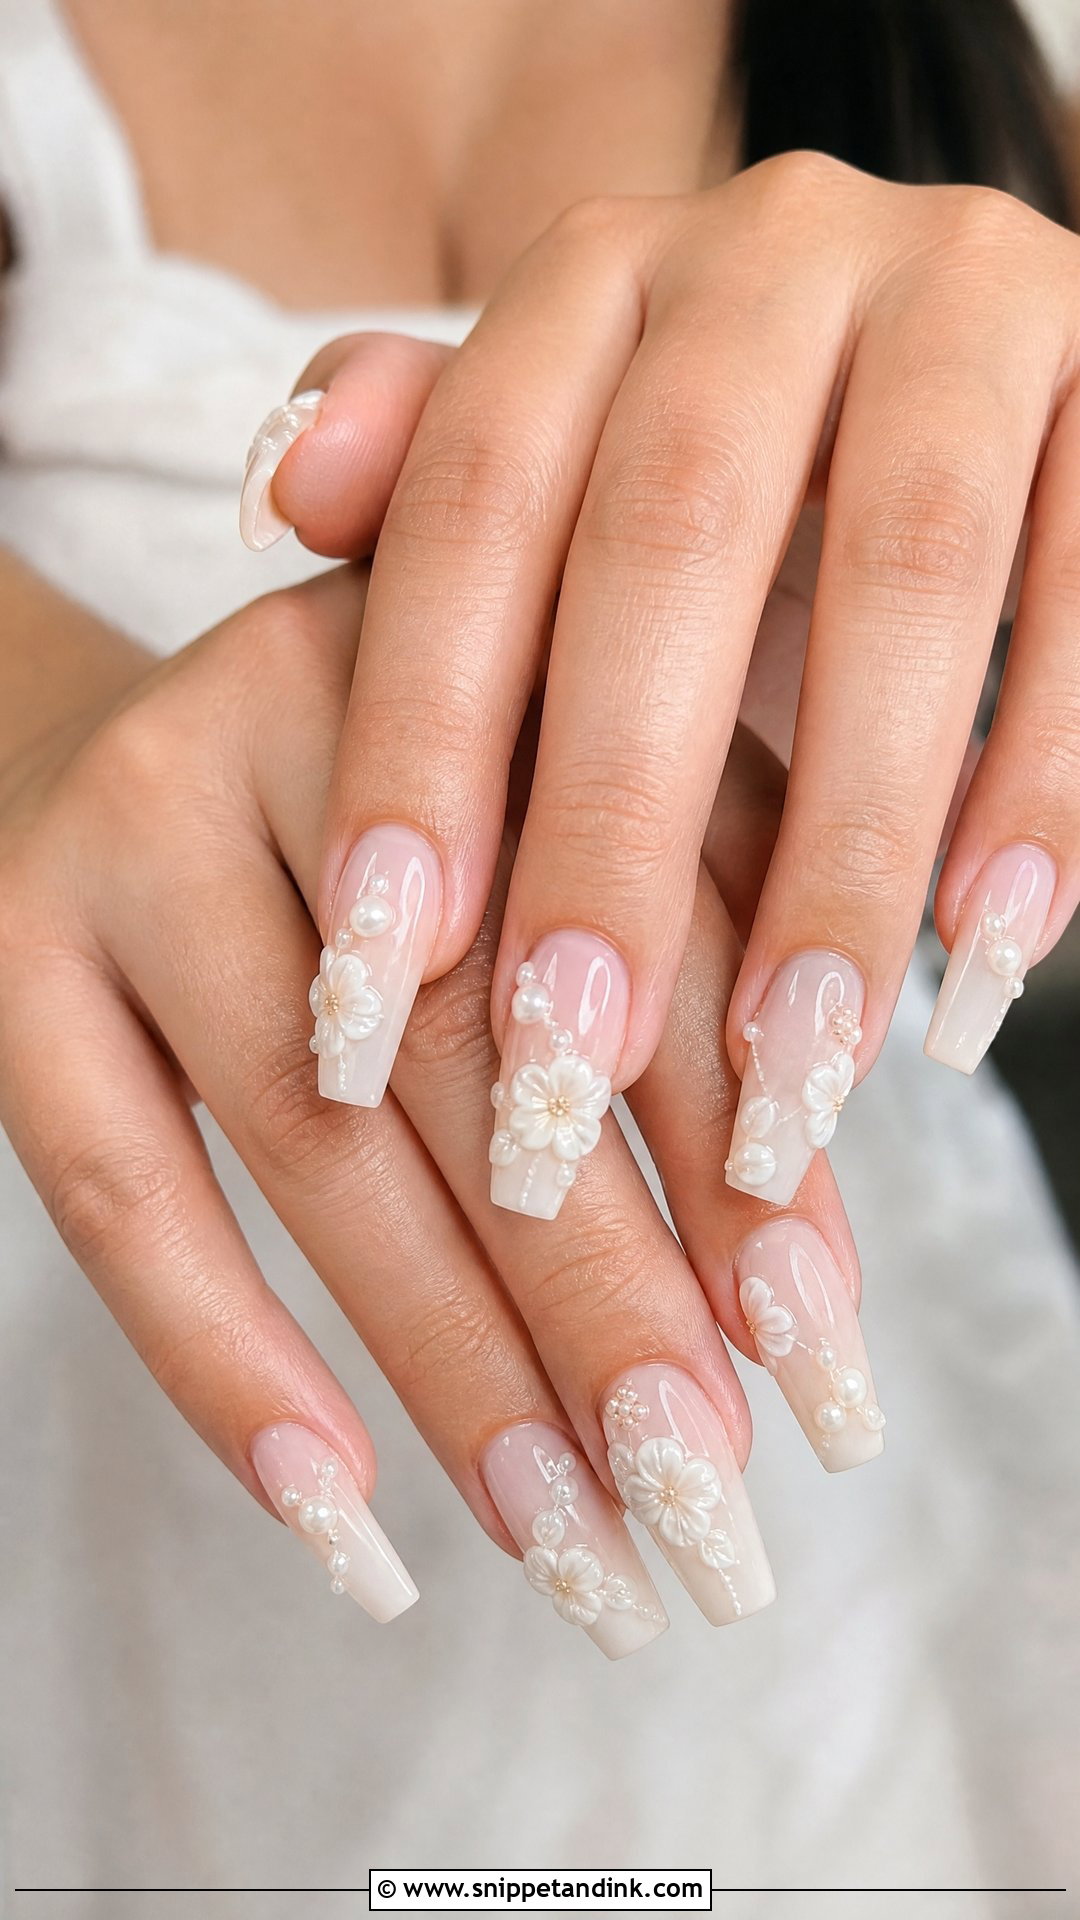
Sculpted petals are built from builder gel or acrylic, shaped petal by petal, then cured. The texture photographs well in macro ring shots, but it’s the most time-consuming option here, and raised art can snag on fabric. I usually limit 3D flowers to one or two accent nails and keep the rest simple with sheer nude or milky white. Soft colours and small embellishments stop it from looking heavy.
10. Chrome Floral Wedding Nails
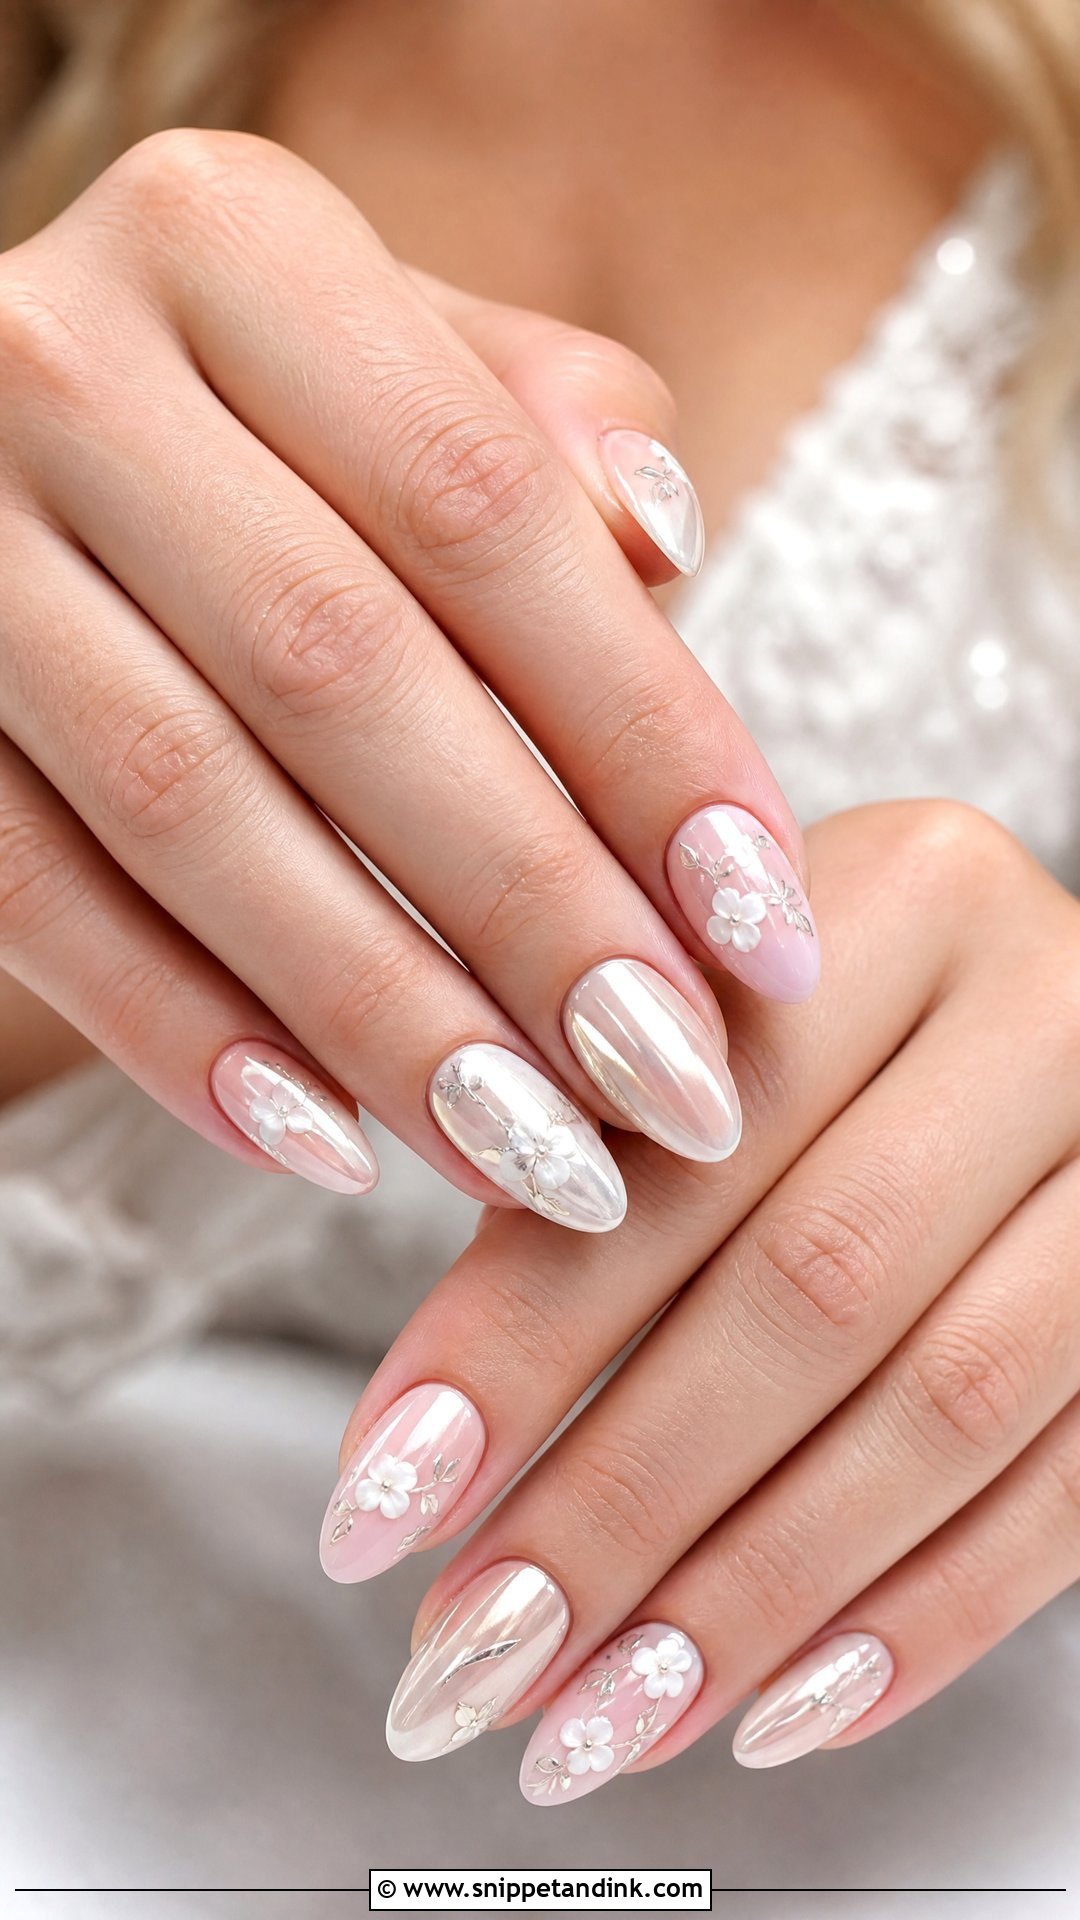
Chrome floral wedding nails pair a glazed or pearly base with delicate flowers on top. The order matters: chrome powder goes on first over a no-wipe top coat, then the floral art is painted over it and sealed. Painting under the chrome blurs the detail. White flowers, silver stems and tiny pearl dots suit this finish. Short almond or medium oval shapes keep it refined, and the chrome catches bright reception lighting softly.
11. Gold Floral Wedding Nails
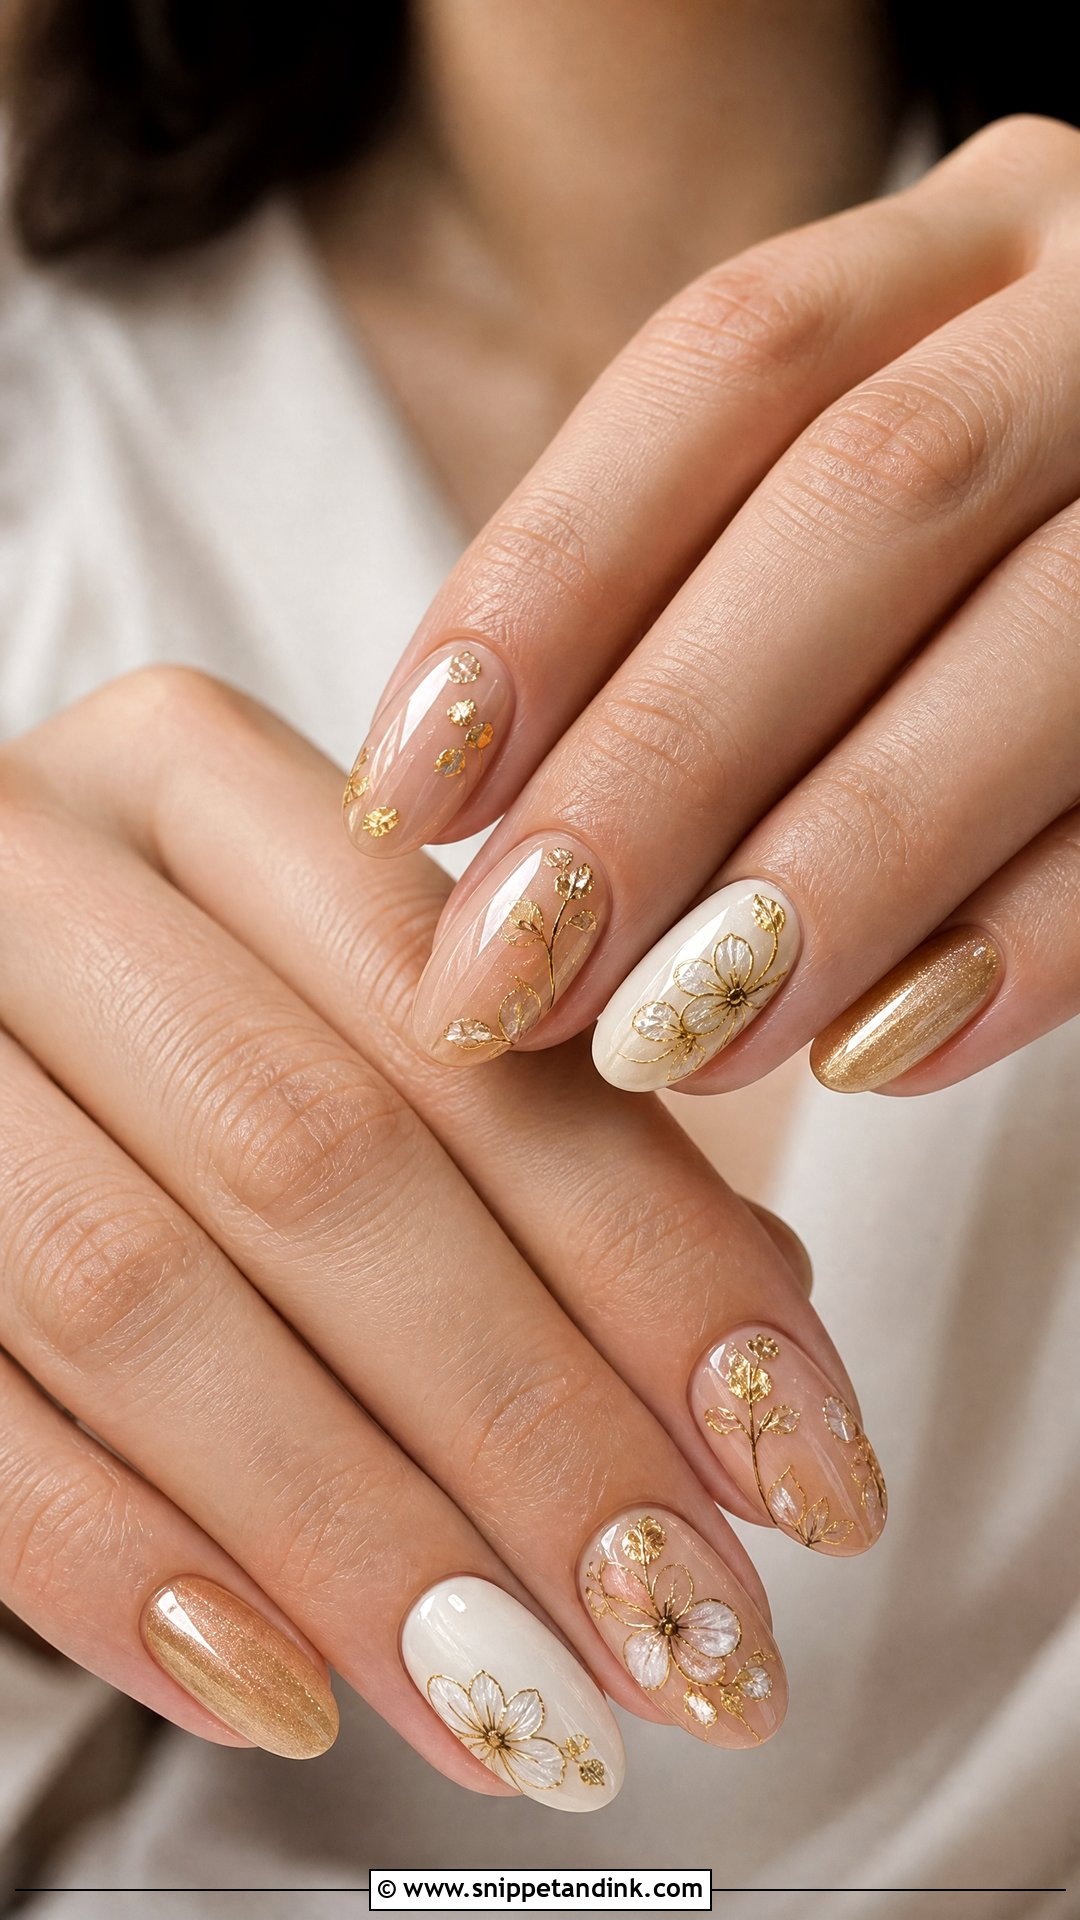
Gold works as an outline or a vine here, not as a full colour. Fine gold lines, small foil flakes or gold petal outlines over a nude or milky base read delicate. If your engagement ring is yellow gold, this ties the hand together. I paint gold lines with a dedicated metallic gel, since many gold polishes streak in thin strokes. Keep most nails sheer and use gold as a detail; it suits a fall or formal wedding.
12. Silver Floral Wedding Nails
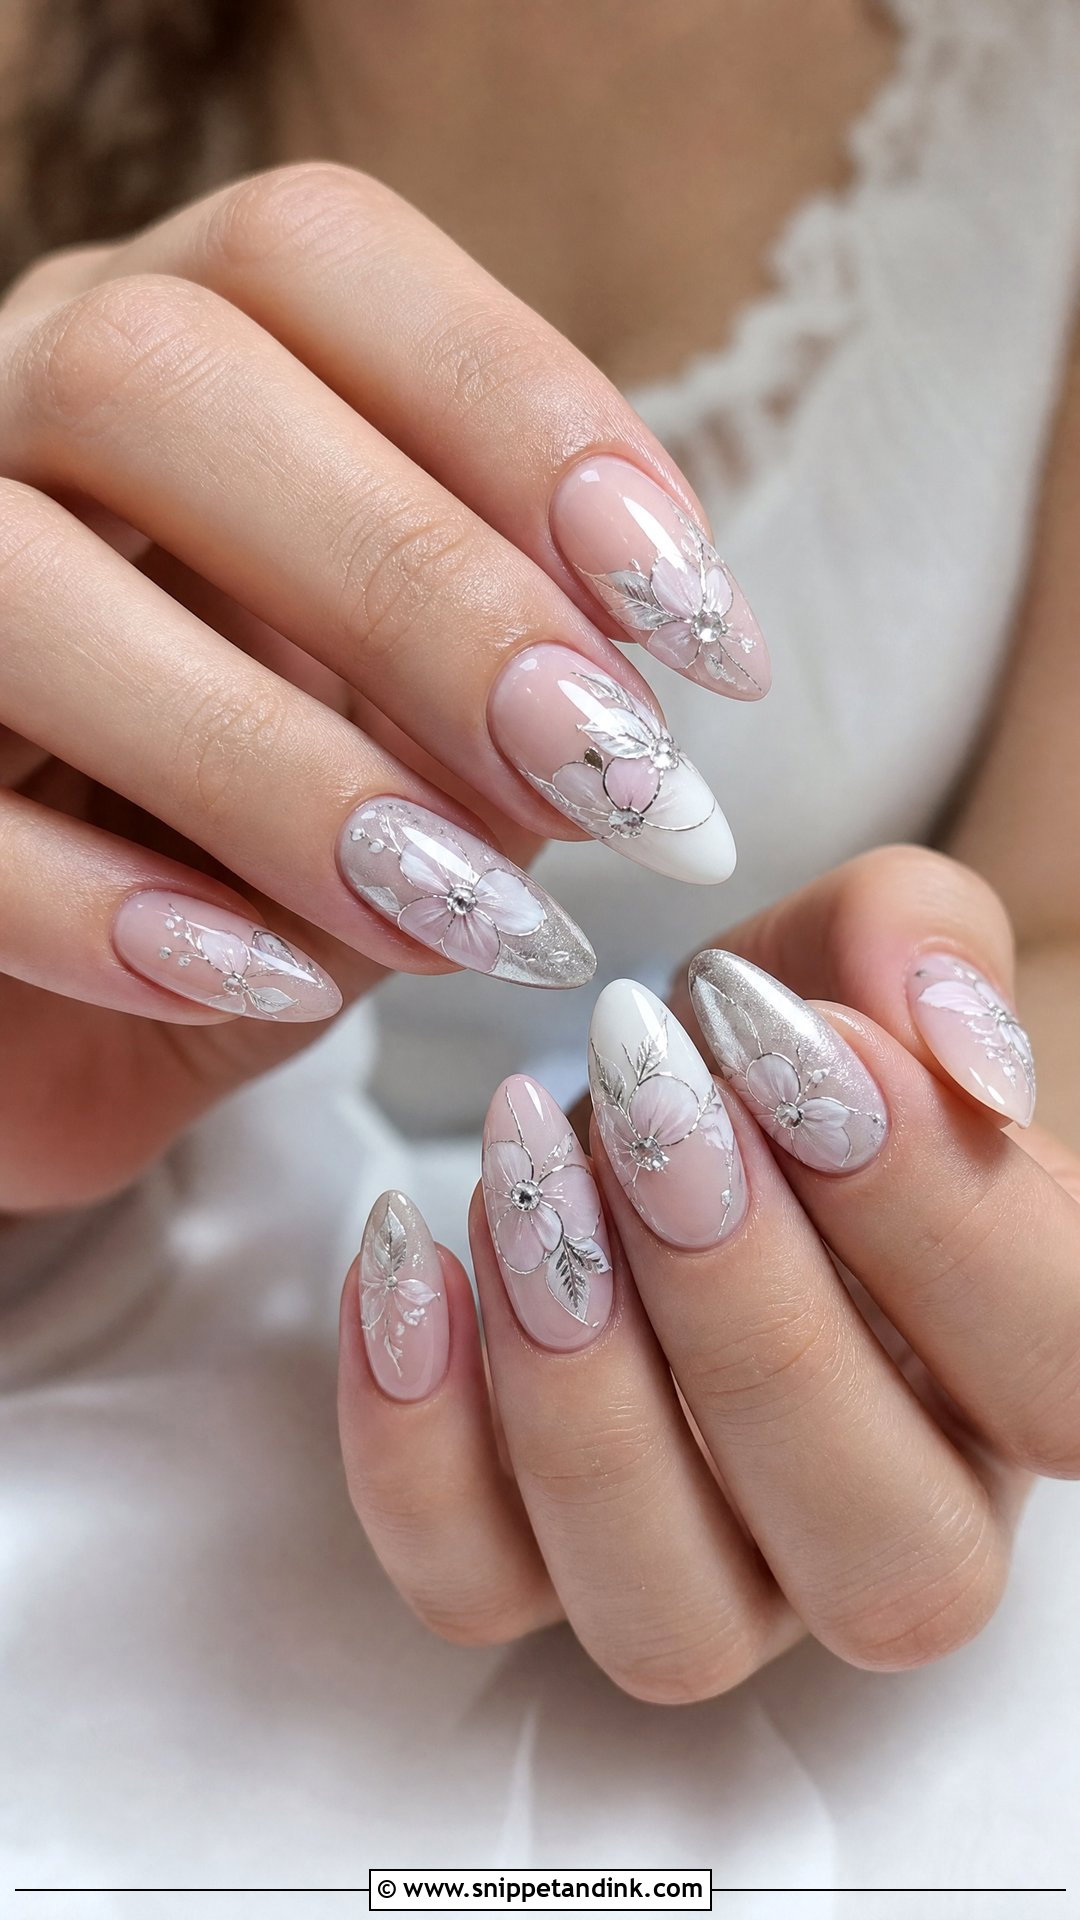
Silver flowers suit white gold, platinum or silver rings. A pale pink, sheer white or soft grey base gives a clean background, with petals outlined in silver or white flowers with silver centres. Tiny crystals are optional; on a bride I’d use very few, since they snag and can scratch a ring’s metal over a long day. It leans wintry and modern but works in any season if the shimmer stays thin.
13. Daisy Floral Wedding Nails
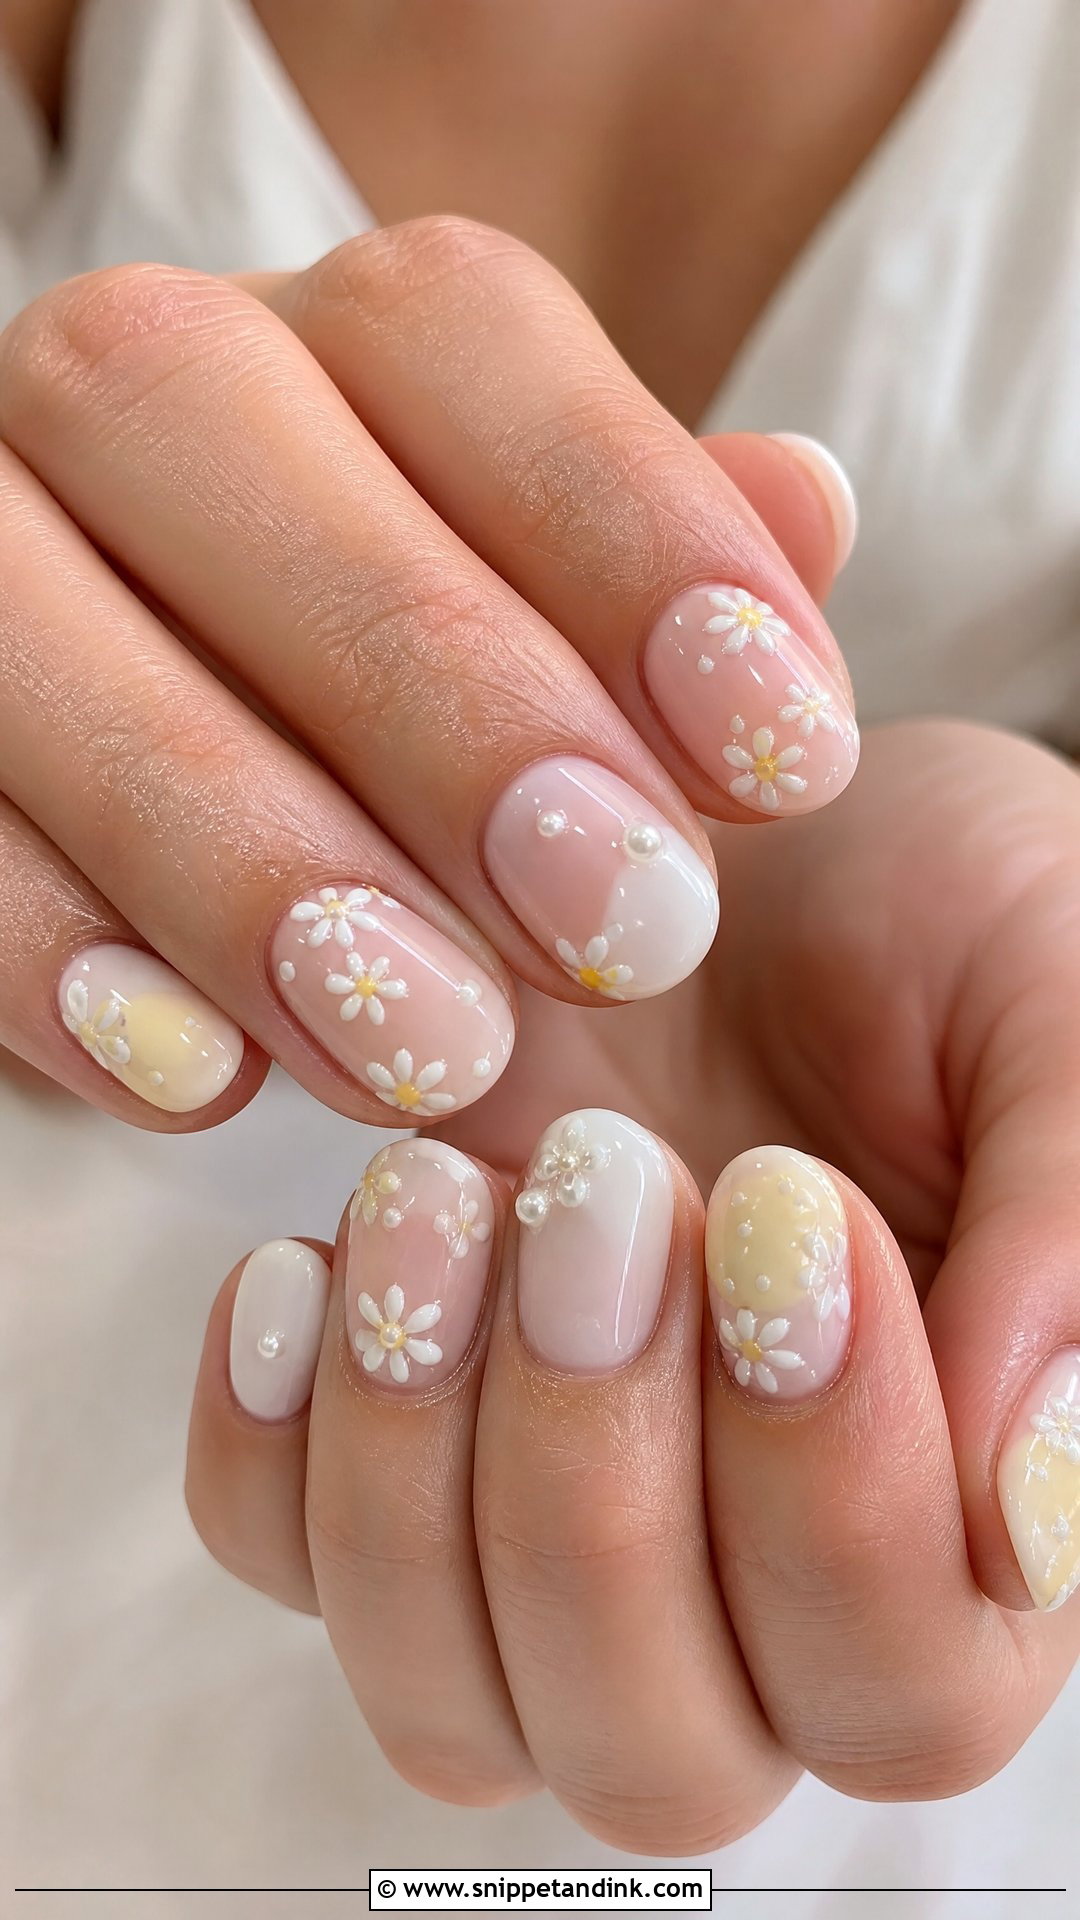
Daisies are one of the easiest flowers to paint neatly, which is why they hold up well even at small sizes. A sheer nude or milky white base keeps them grown-up. The yellow centres can be tiny, or swapped for pearl dots for a softer version. They suit an outdoor or spring wedding. For balance, I put daisies on two or three nails and keep the rest glossy and plain.
14. Rose Floral Wedding Nails
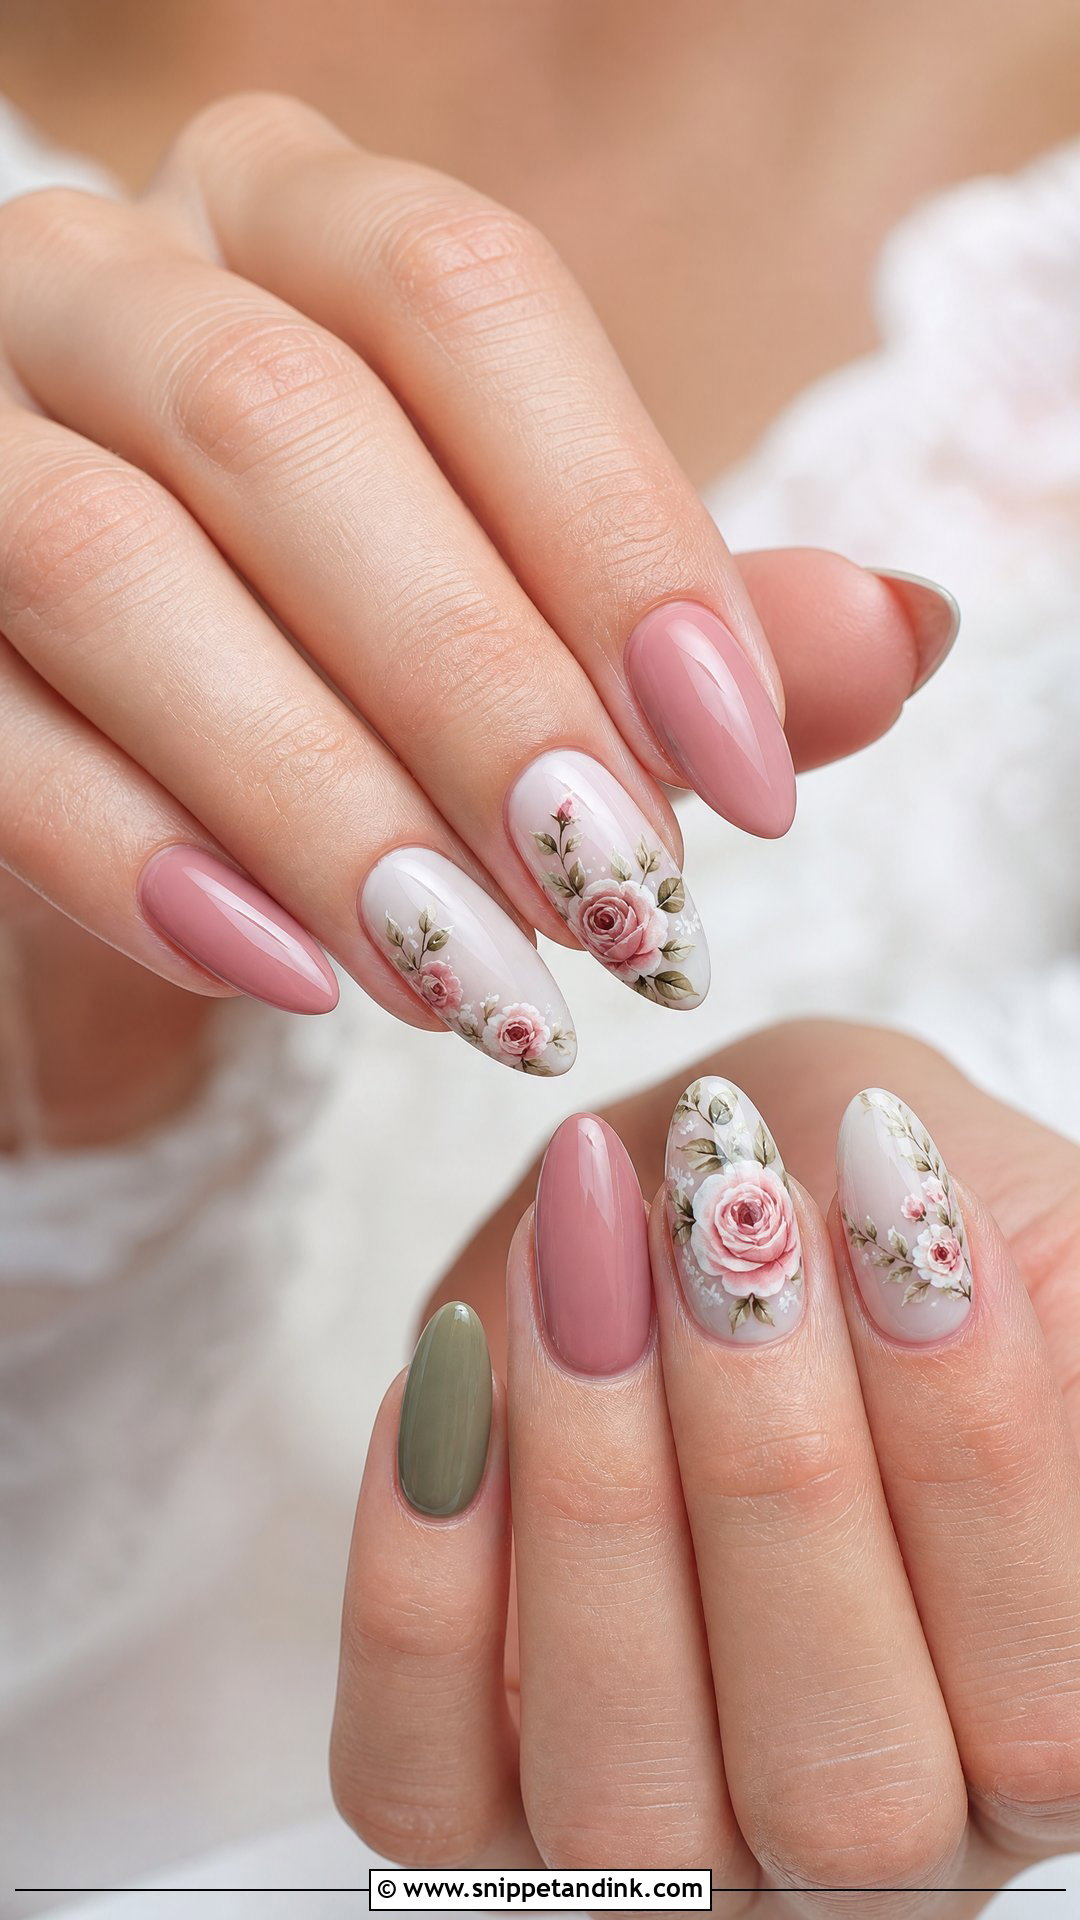
Roses are the hardest flower to paint small, because the spiral needs at least three tones to read as a rose and not a pink dot. On short nails I’d choose a simpler bloom. Soft pink roses over sheer nude are the classic version; white roses feel understated; dusty rose petals with fine green leaves add depth. Keep them small and spaced. Medium almond and oval shapes give the art room.
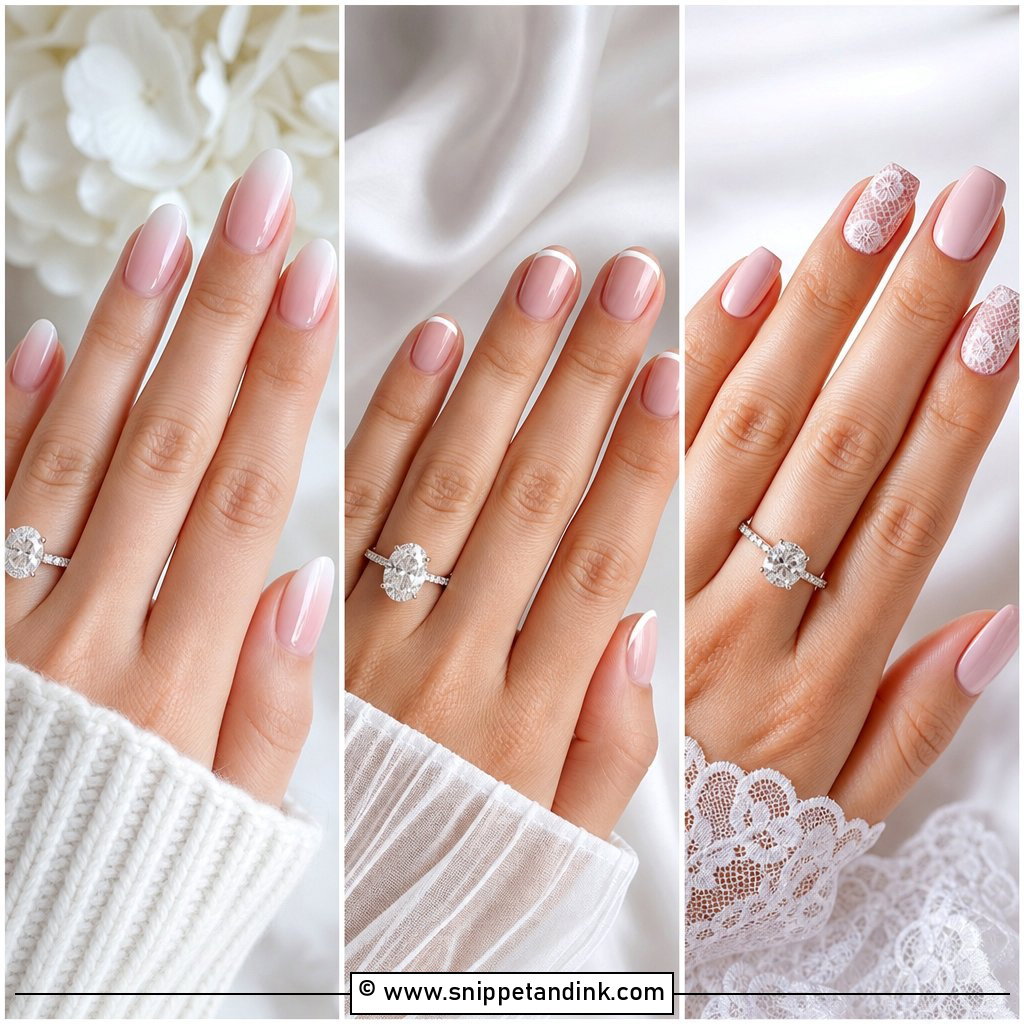
15. Baby Boomer Floral Wedding Nails
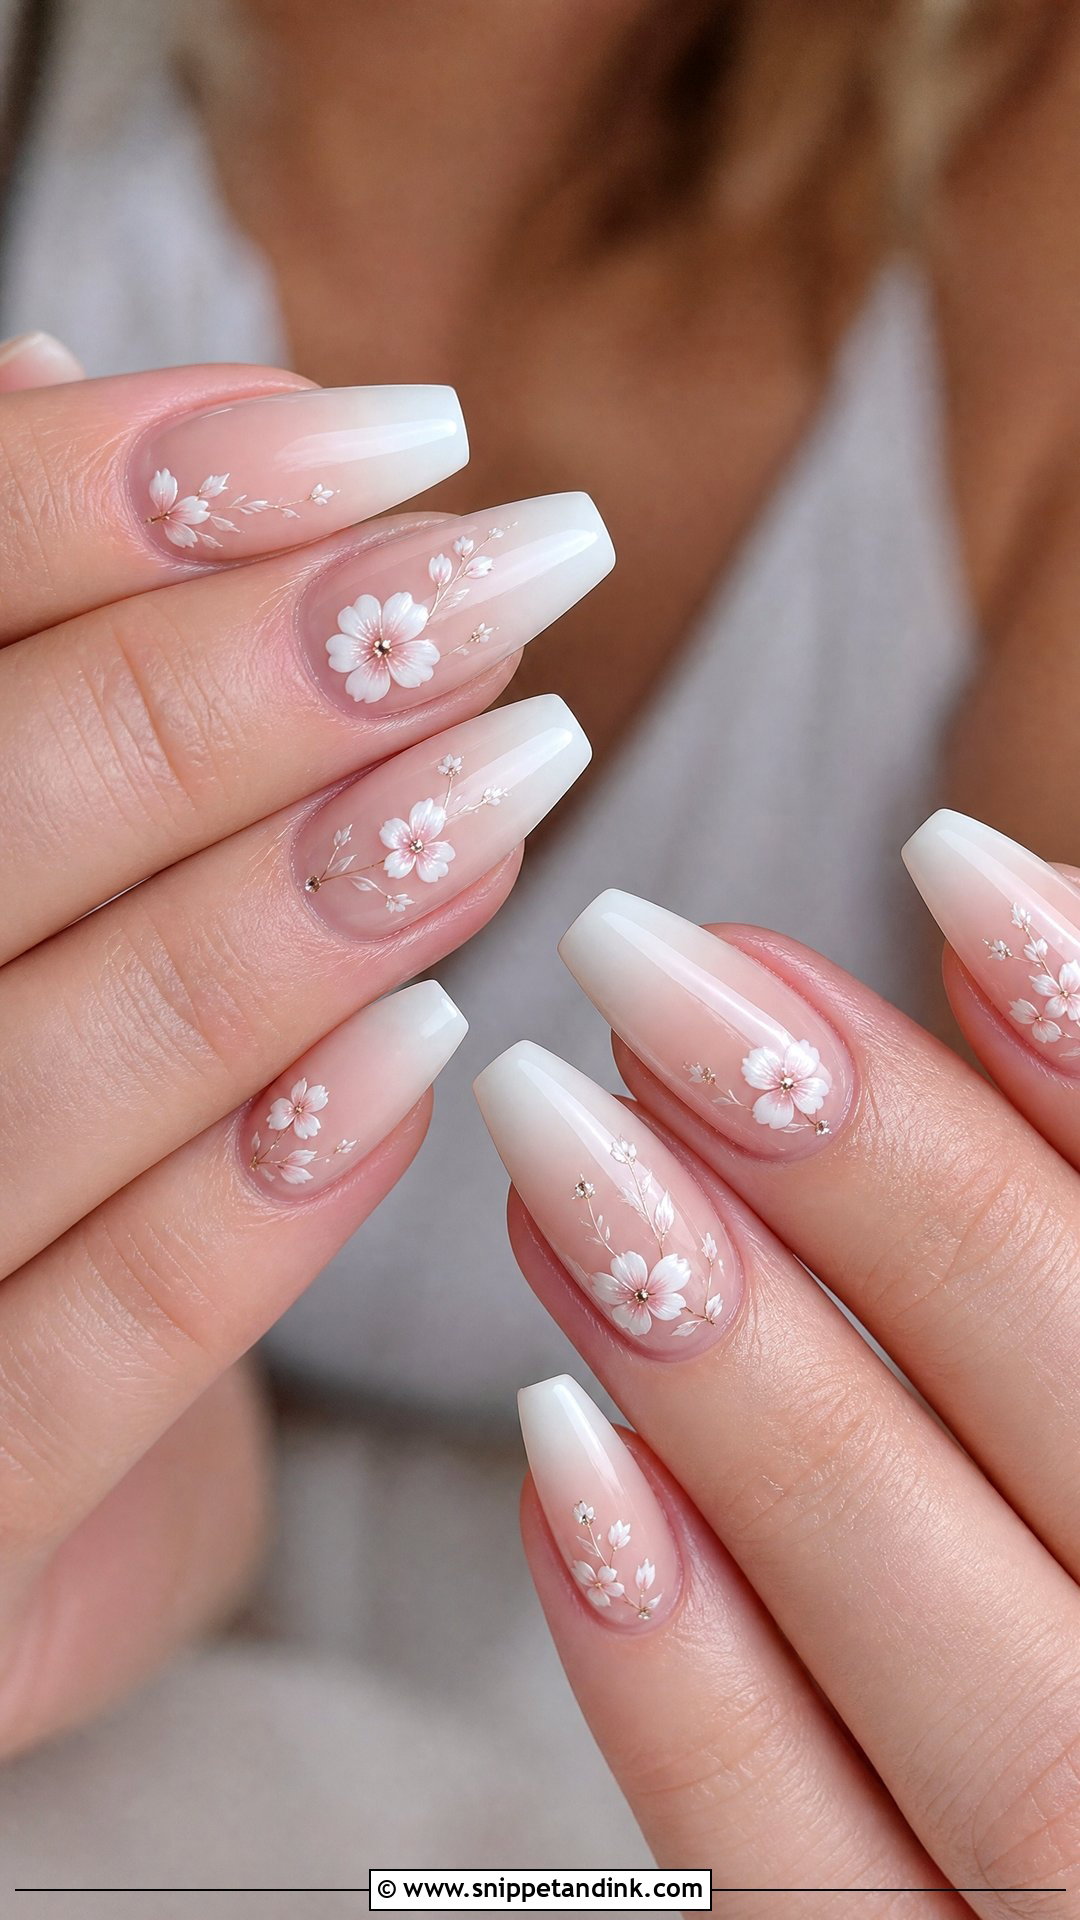
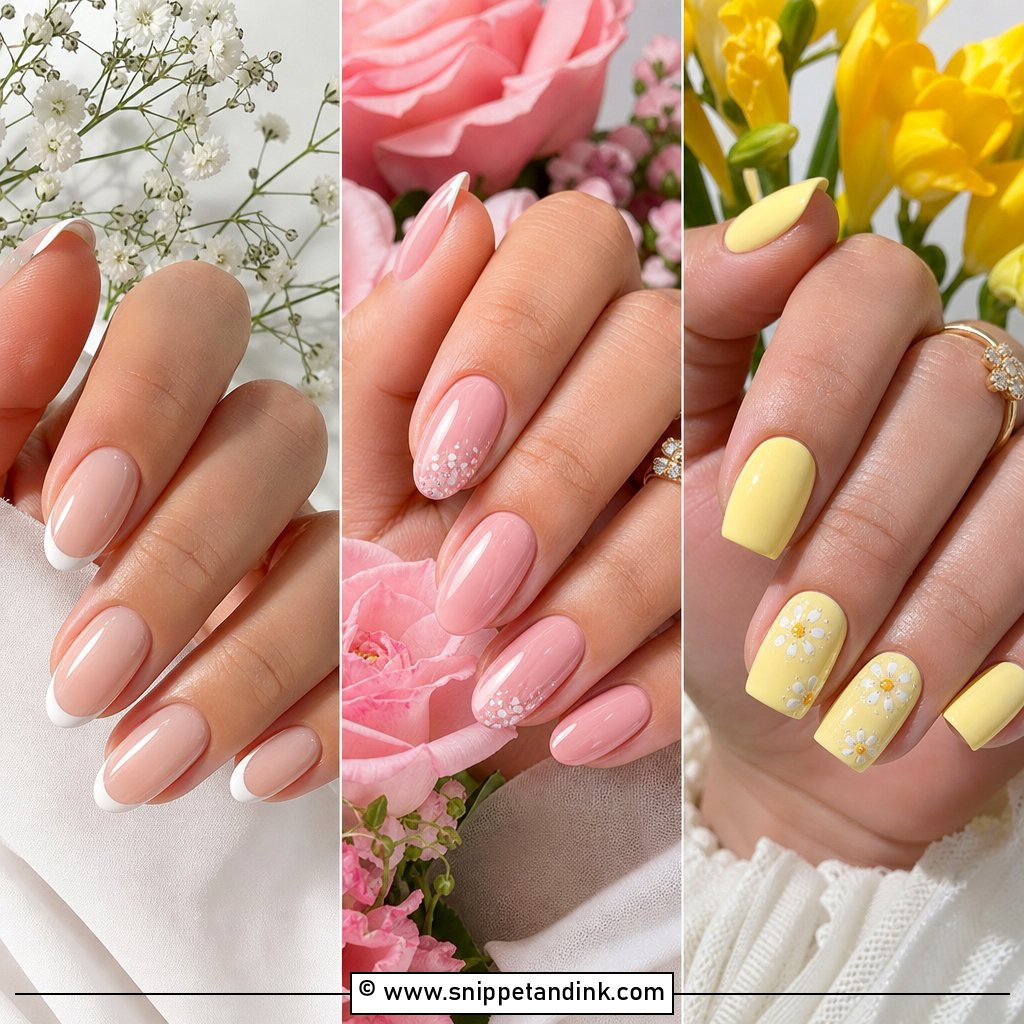
Baby boomer is a soft fade from nude or pink at the cuticle to white at the tip, done with a sponge or a blending brush. It makes nails look clean and longer, and it grows out more gracefully than a solid colour because the cuticle area is already pale. Tiny florals go over the faded area or onto one accent nail. White flowers or fine silver details keep it bridal. It works on square, coffin, almond and oval shapes.
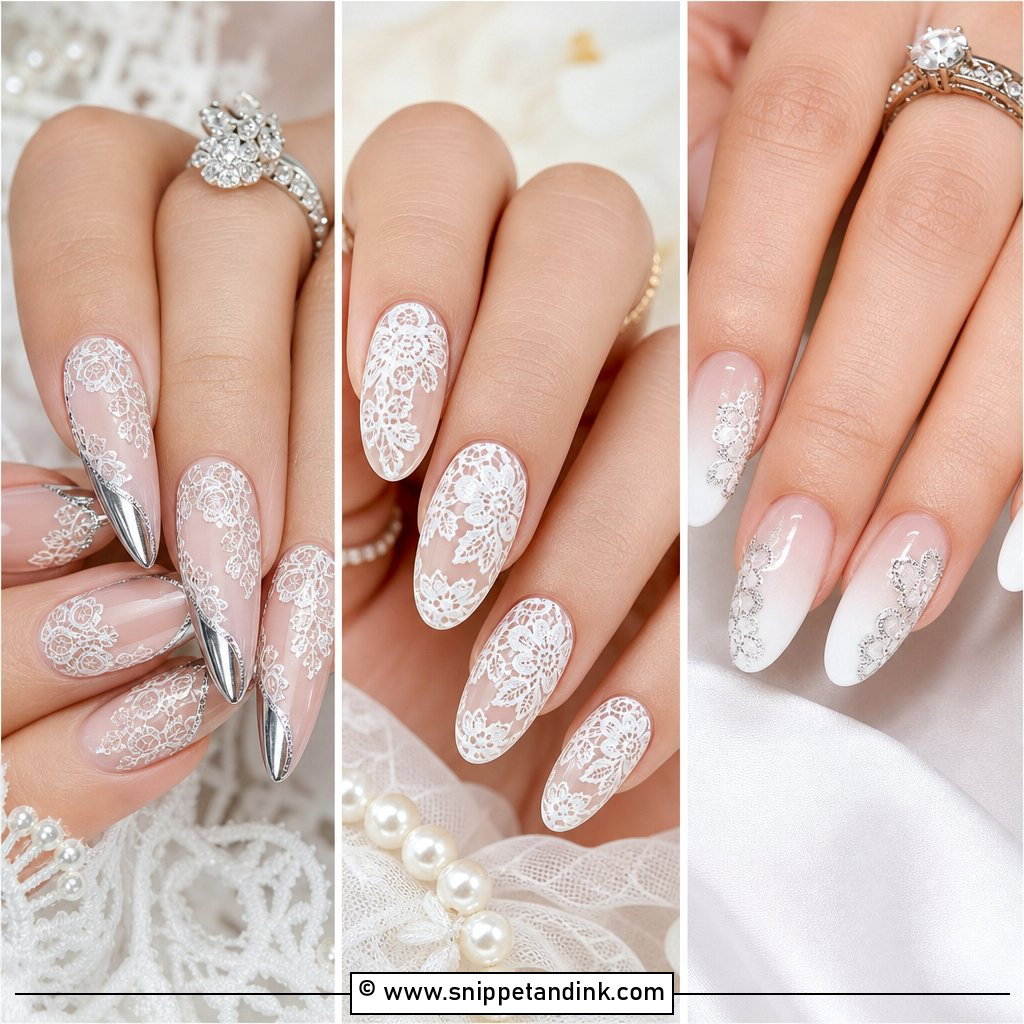
16. Lace Floral Wedding Nails
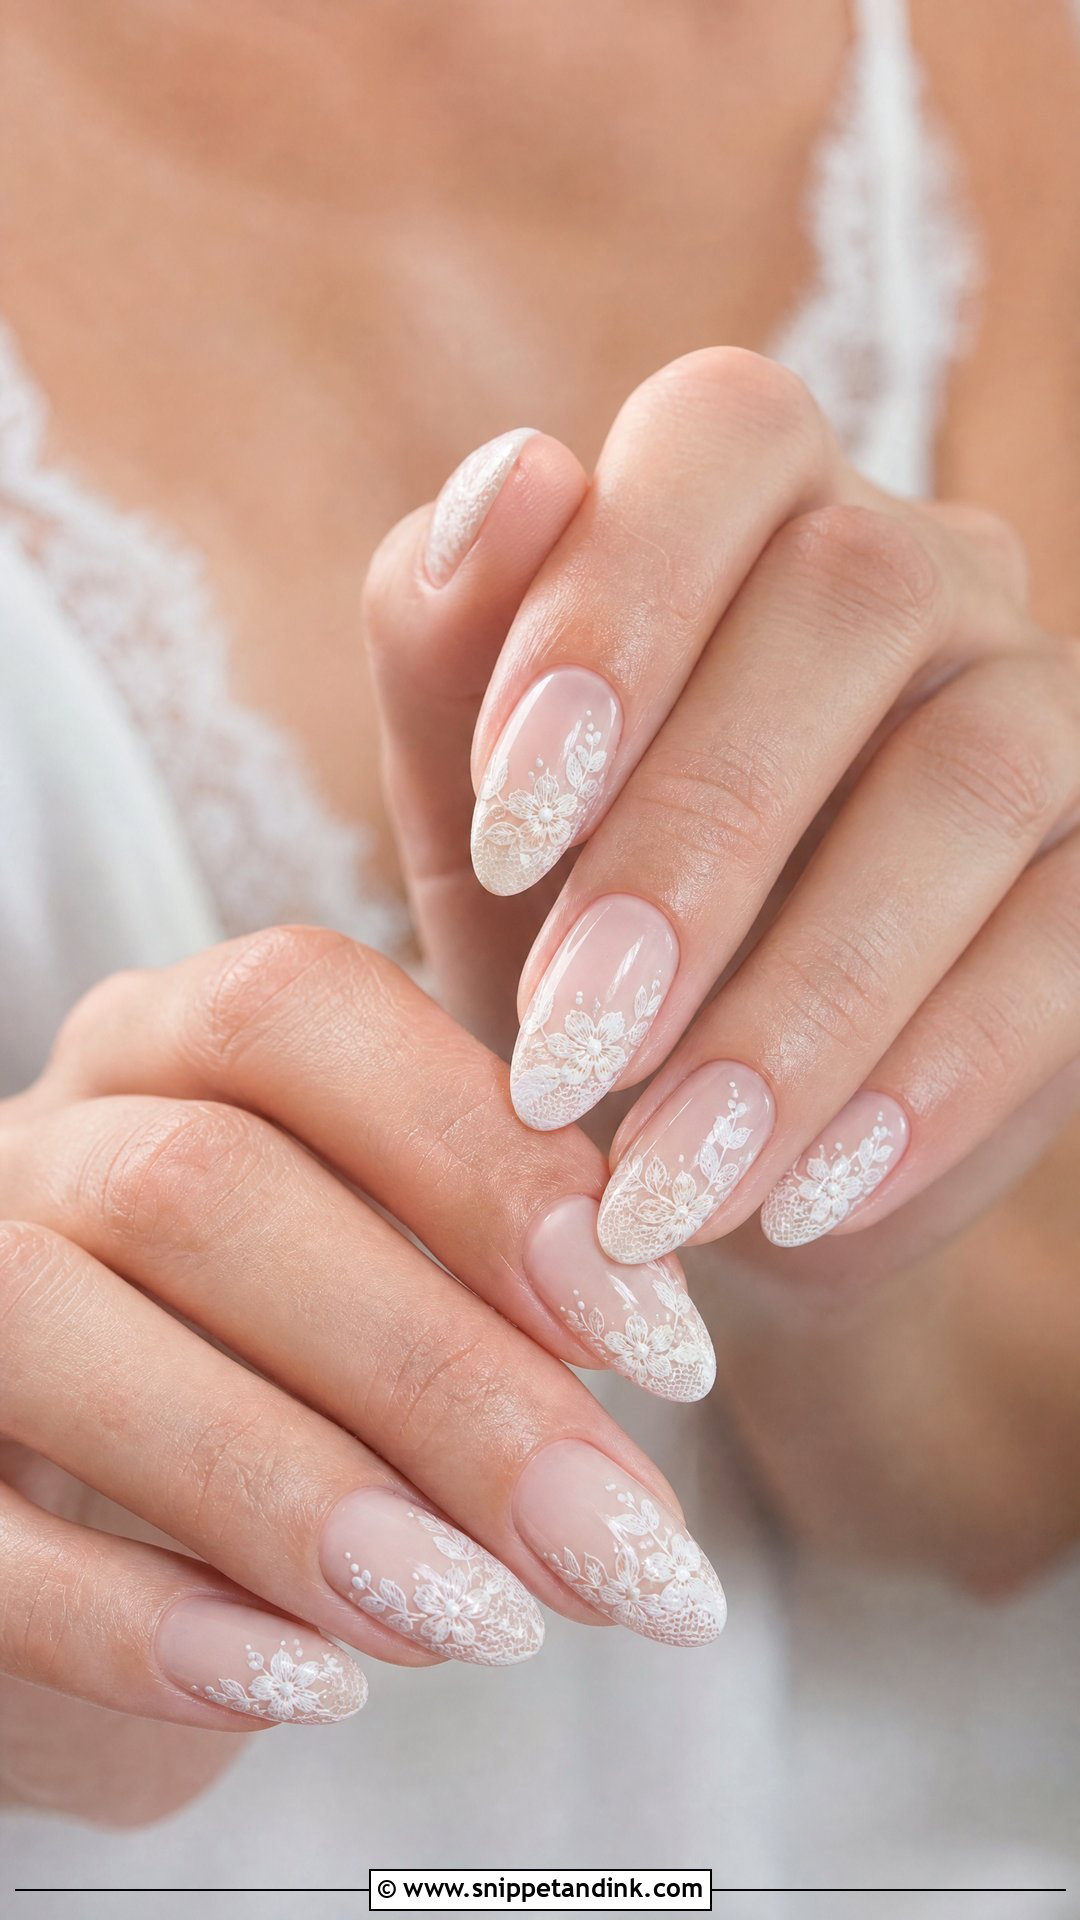
Lace-style florals echo embroidered or botanical gowns, and I ask brides to bring a close-up of their dress lace so the pattern relates to it. The art is all fine white lines, dots and petal outlines over a sheer nude or pale pink base. It needs a very thin liner brush and a steady hand, so it takes longer than most designs. Keep the lines airy; dense lace on a small nail reads as a white smudge from a distance. Almond and oval shapes echo the flow.
17. Minimal Floral Wedding Nails
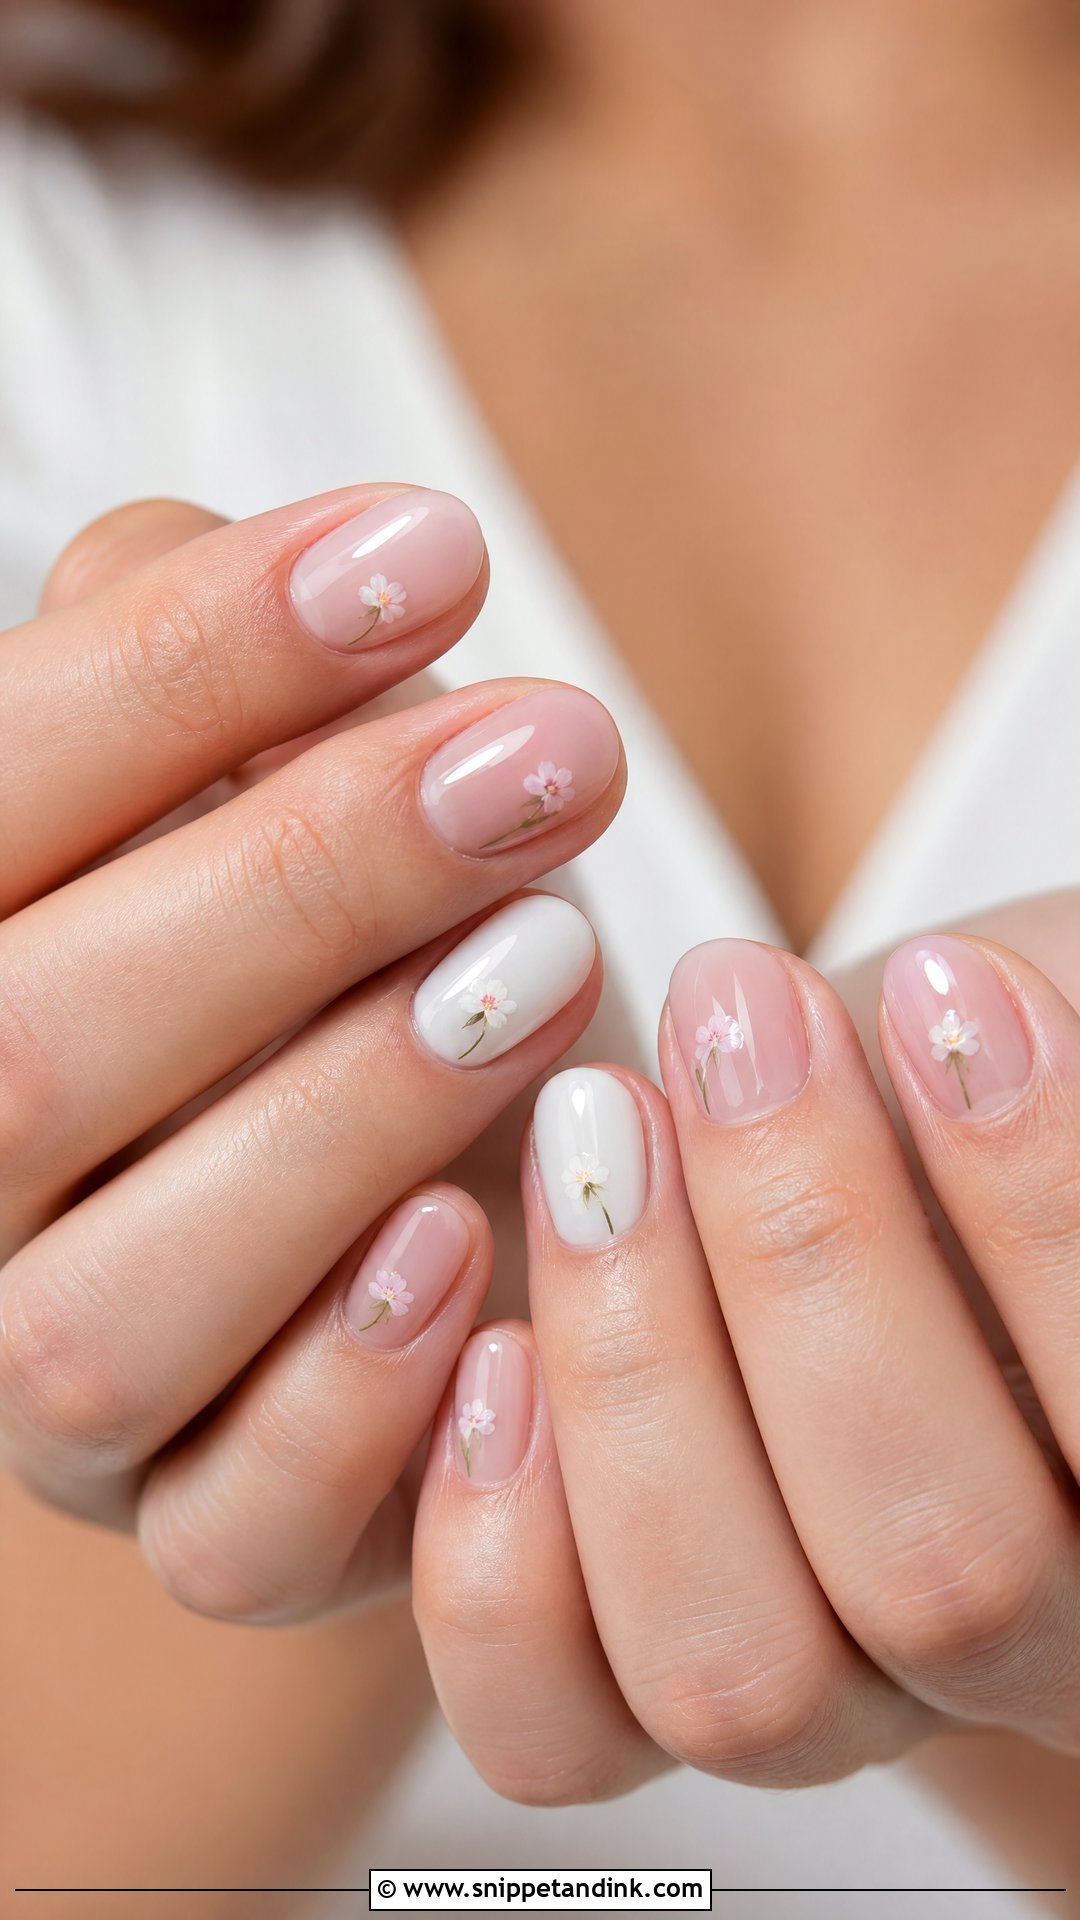
One tiny flower per nail, or a few blooms on the ring fingers, is often the right call when the dress, veil or jewelry is already detailed. It’s also the most practical choice for short nails. A sheer pink, nude or milky base with small white petals or fine green stems keeps it simple. A high-shine top coat makes even a minimal set look finished.
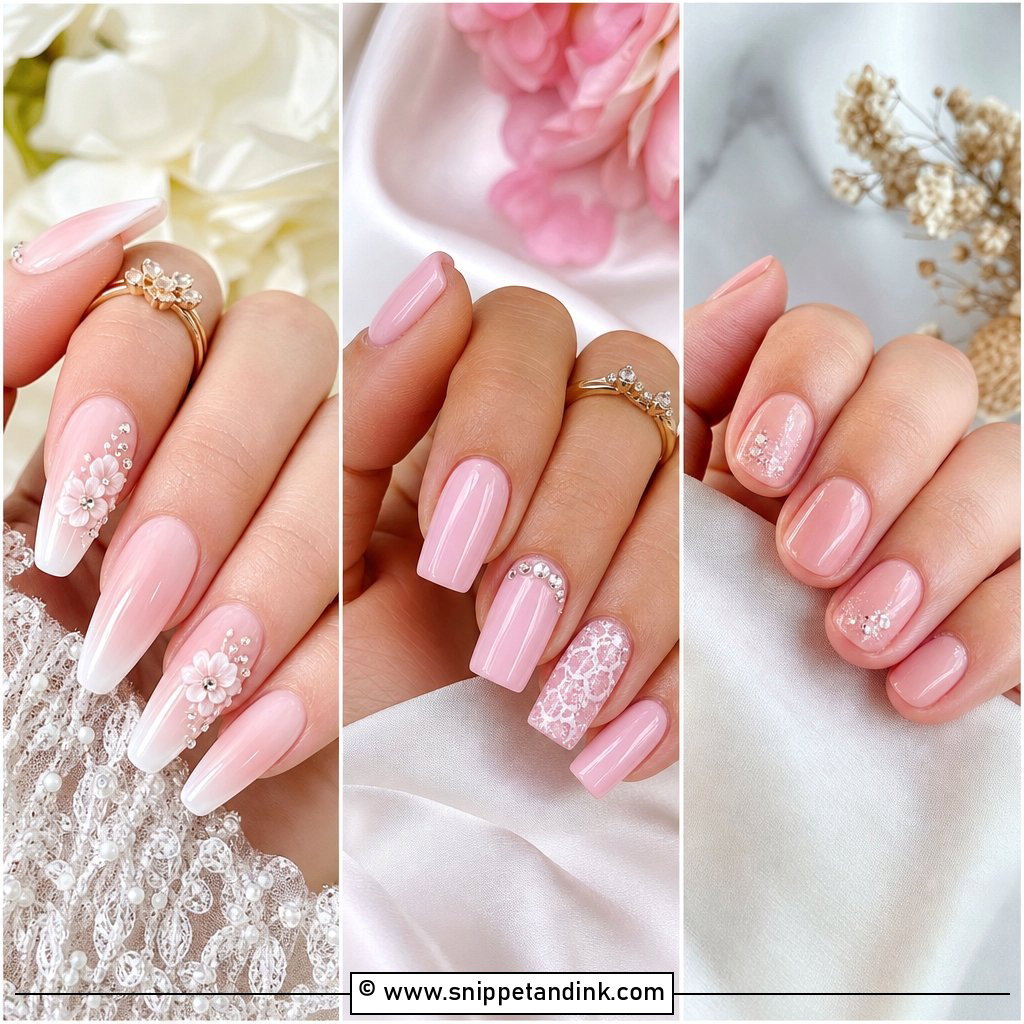
18. Blush Floral Wedding Nails
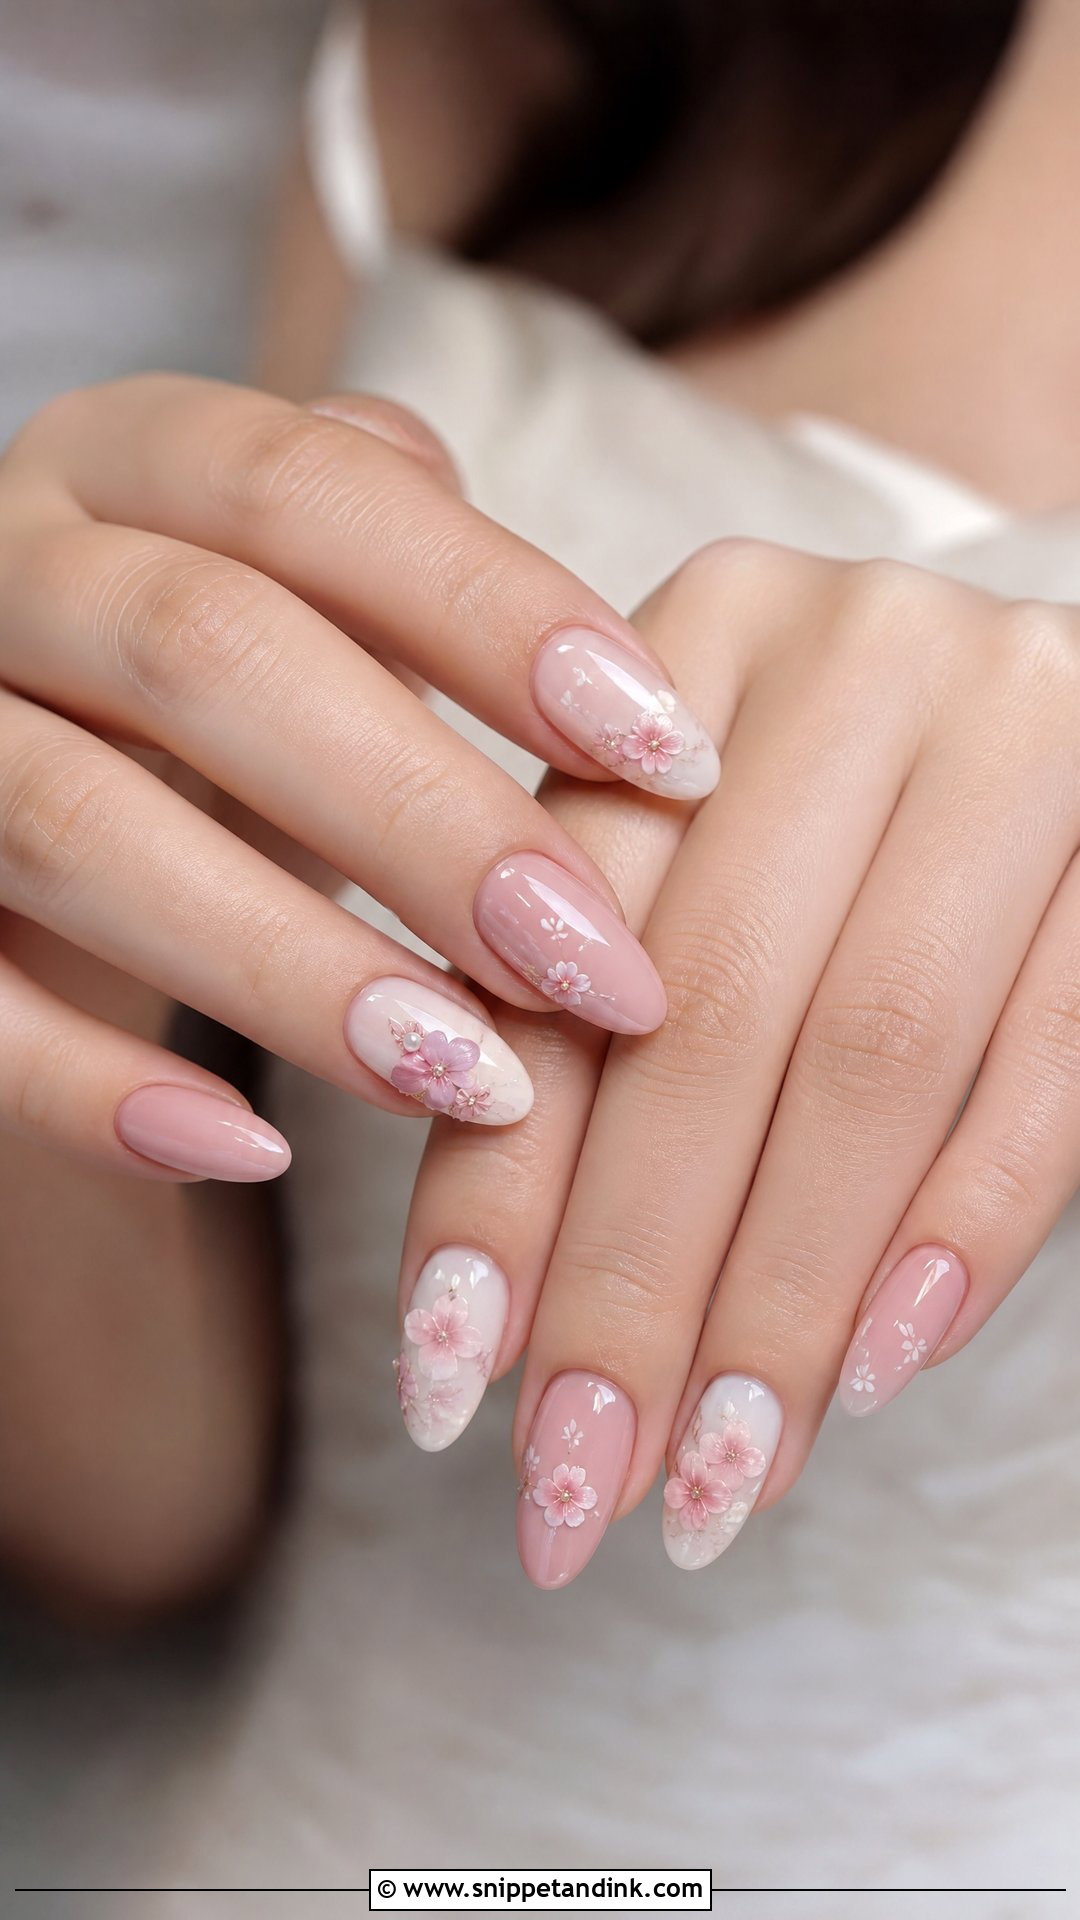
Blush is the shade I match most carefully, because the same bottle can look warm on one hand and almost grey on another. Sheer pink, warm blush or rosy nude bases all work depending on your skin. White flowers or small roses add gentle detail. This set adapts easily for bridesmaids; I’d keep the bride’s version slightly more detailed with pearls or shimmer. An almond shape with light floral art at the edges suits it.
19. Pastel Floral Wedding Nails
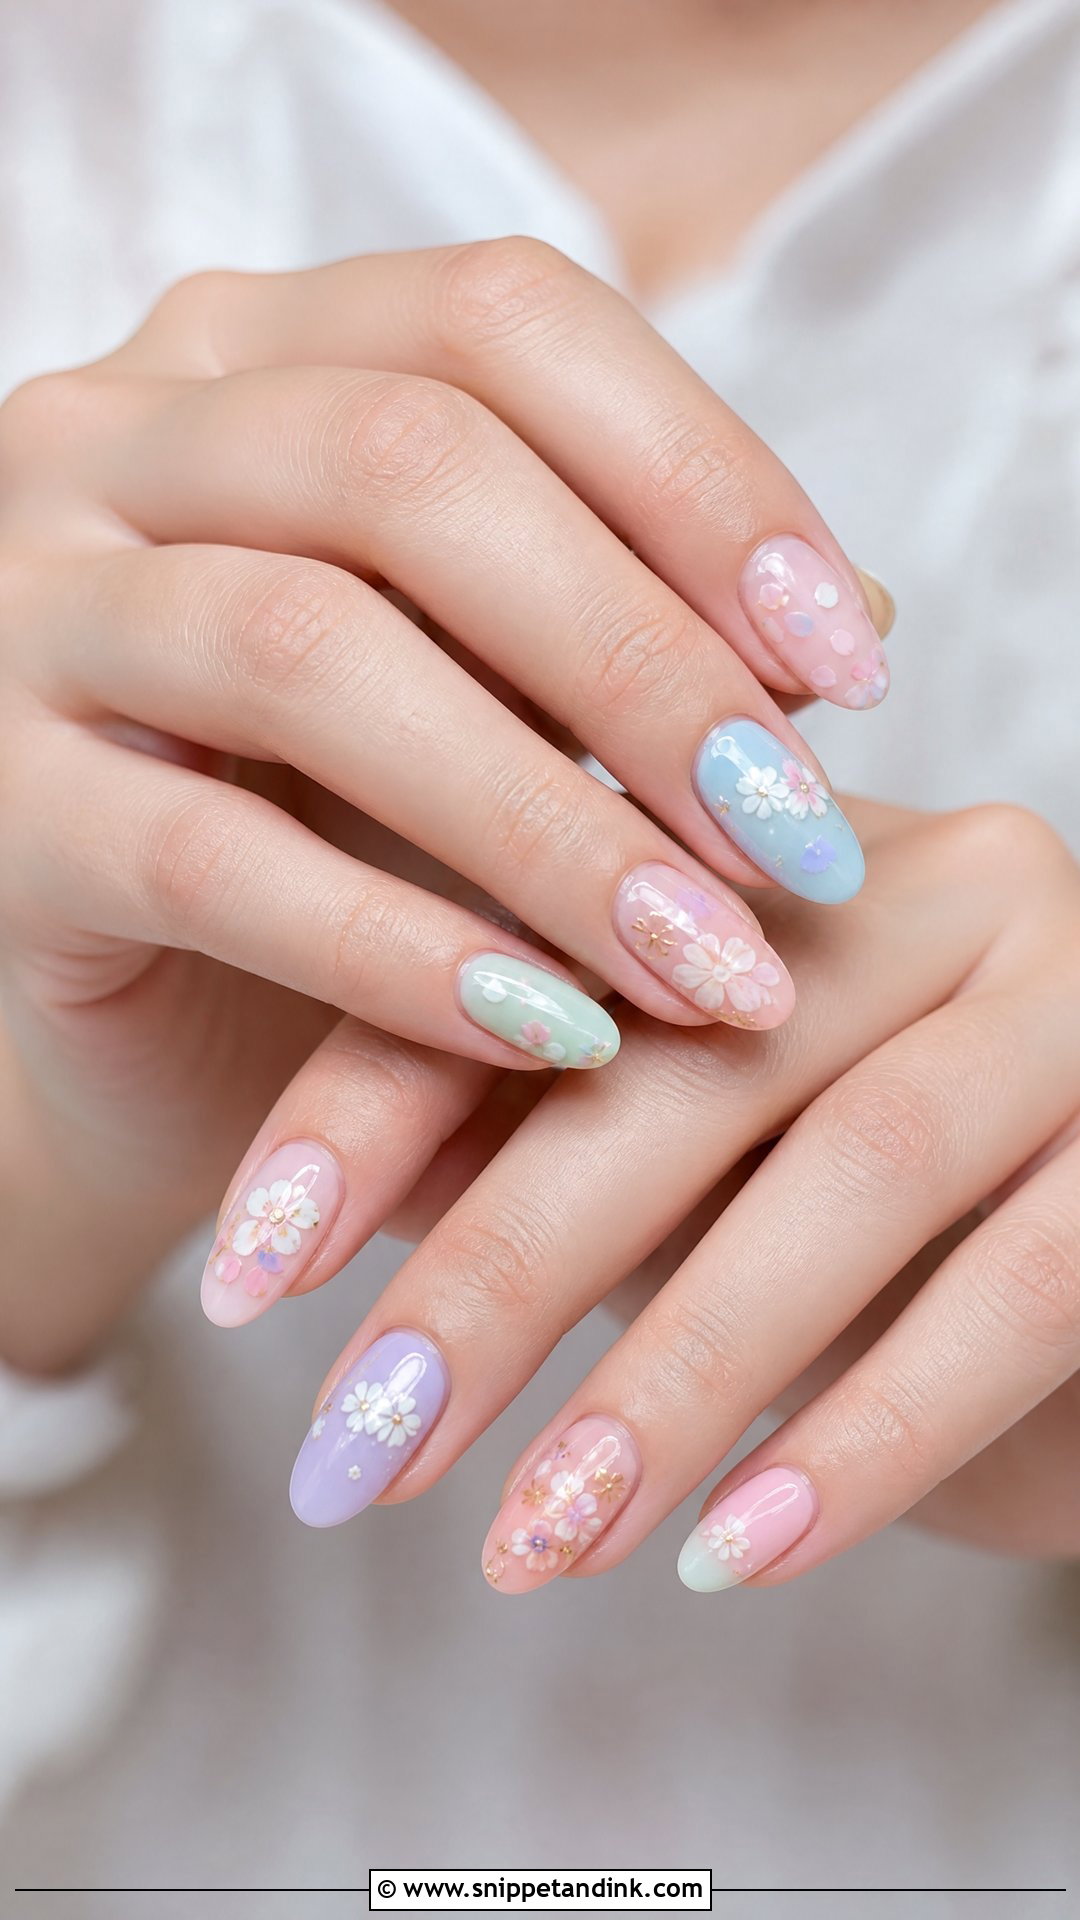
Pastel floral wedding nails bring in pale pink, lavender, baby blue or butter yellow without going bright. Several pastels on one hand can look like a sweet shop, so I pick two or three shades from the bouquet and repeat them. Tiny flowers keep it bridal. Matching one pastel on the tips and adding florals on a few accent nails makes the set feel cohesive. It suits spring and summer garden weddings.
20. Green Floral Wedding Nails
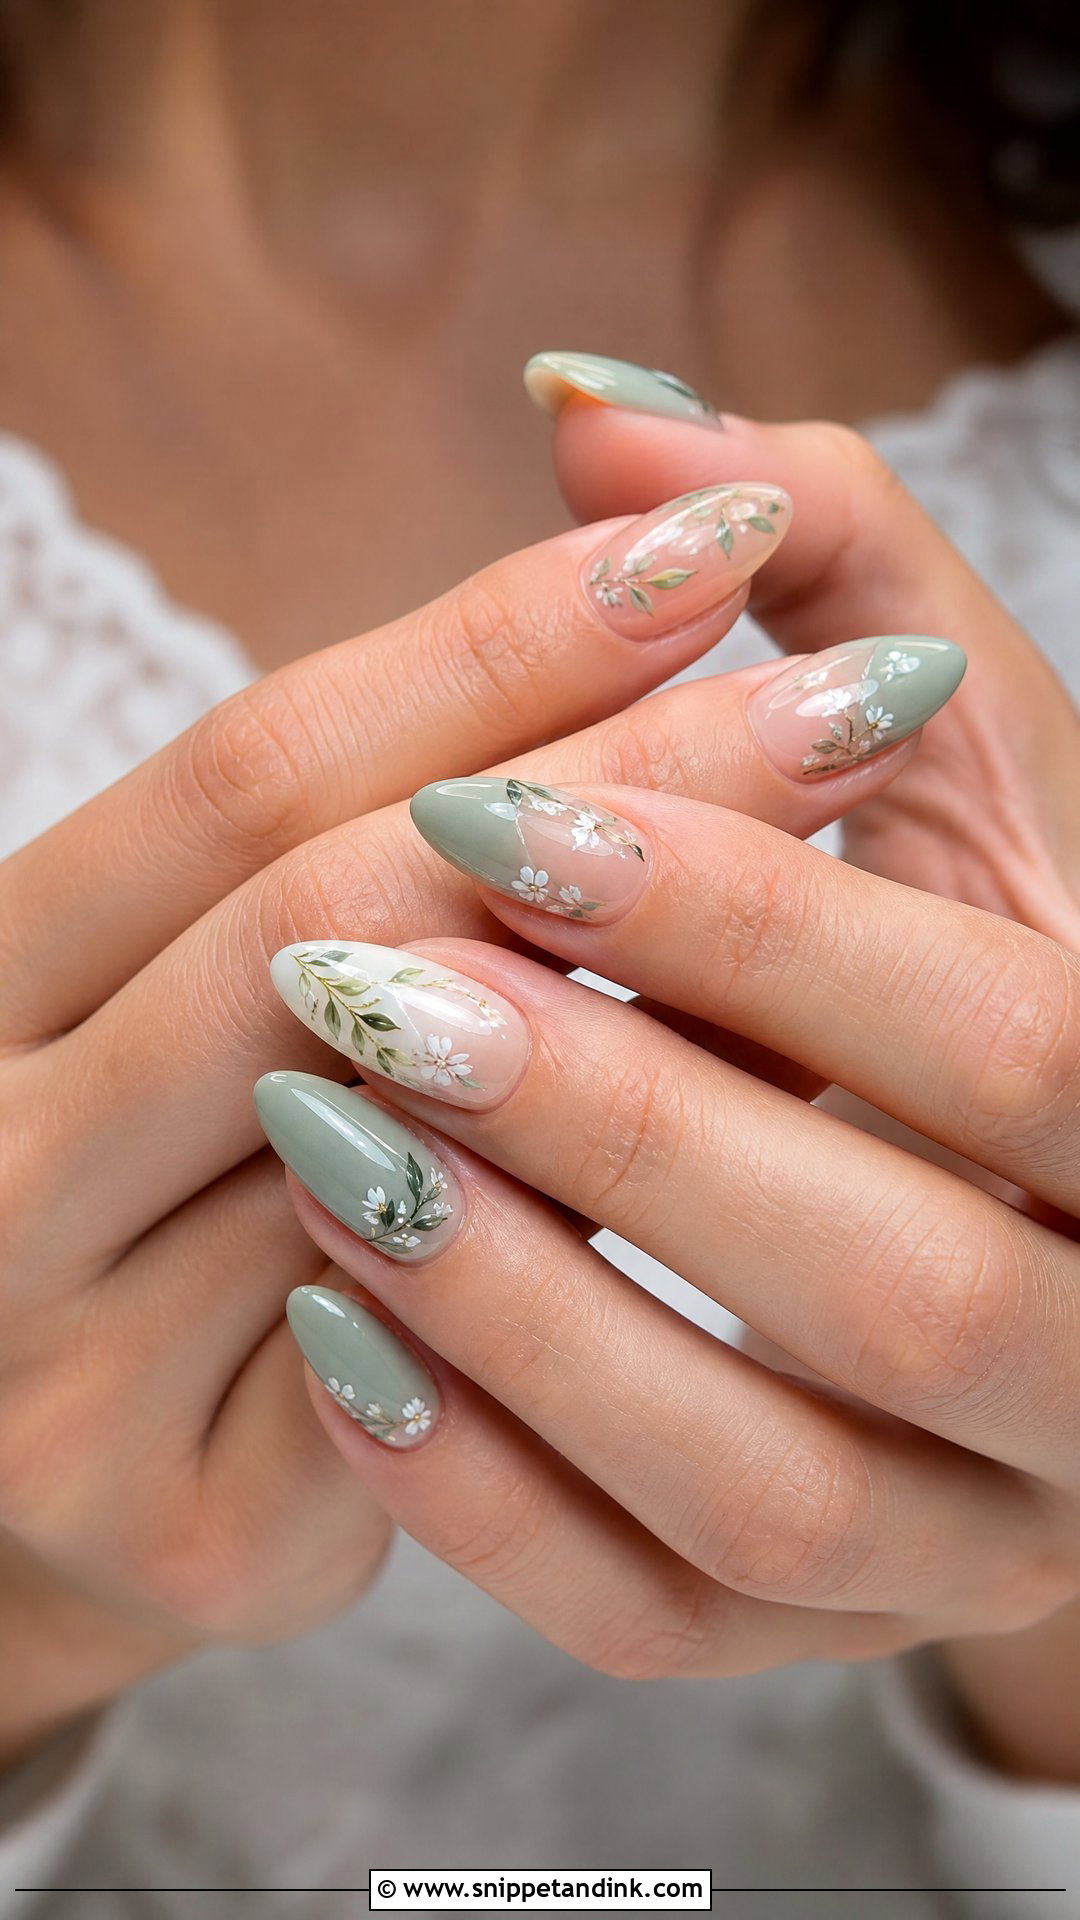
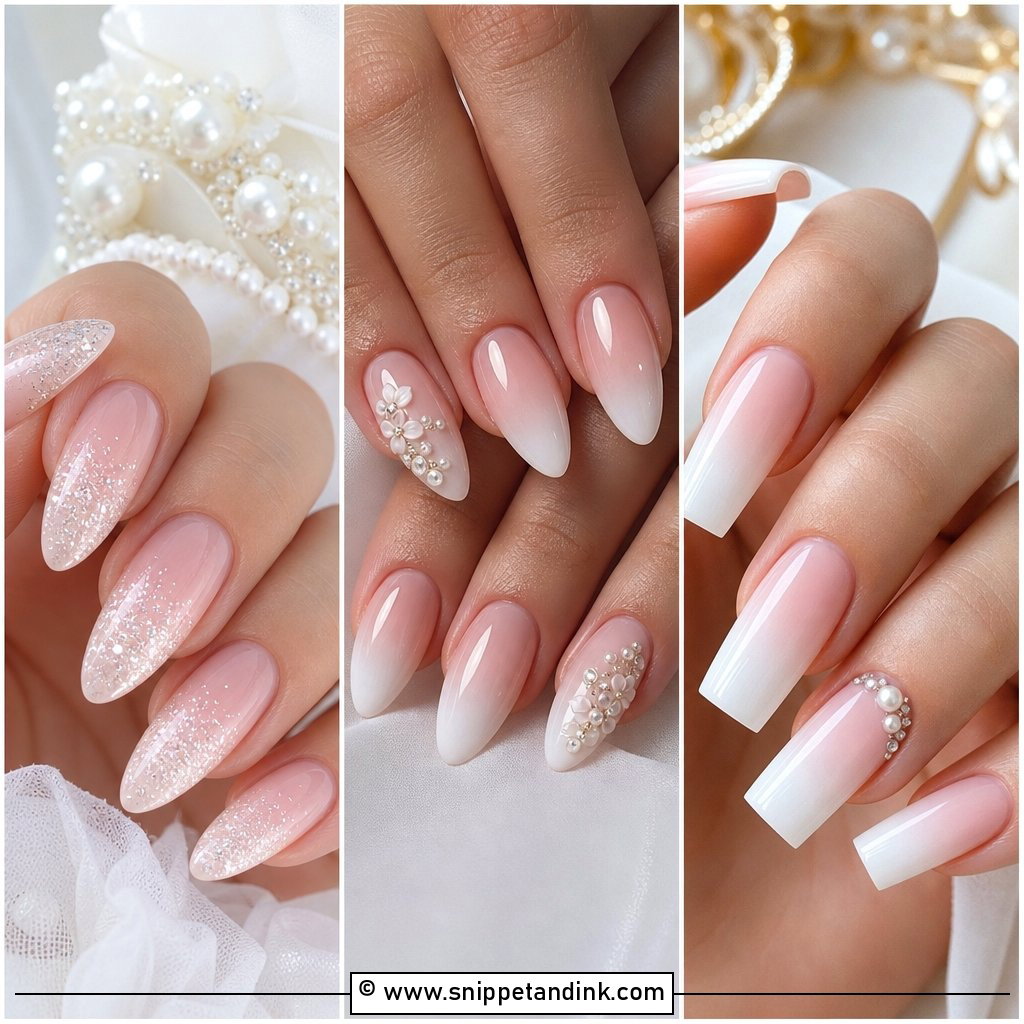
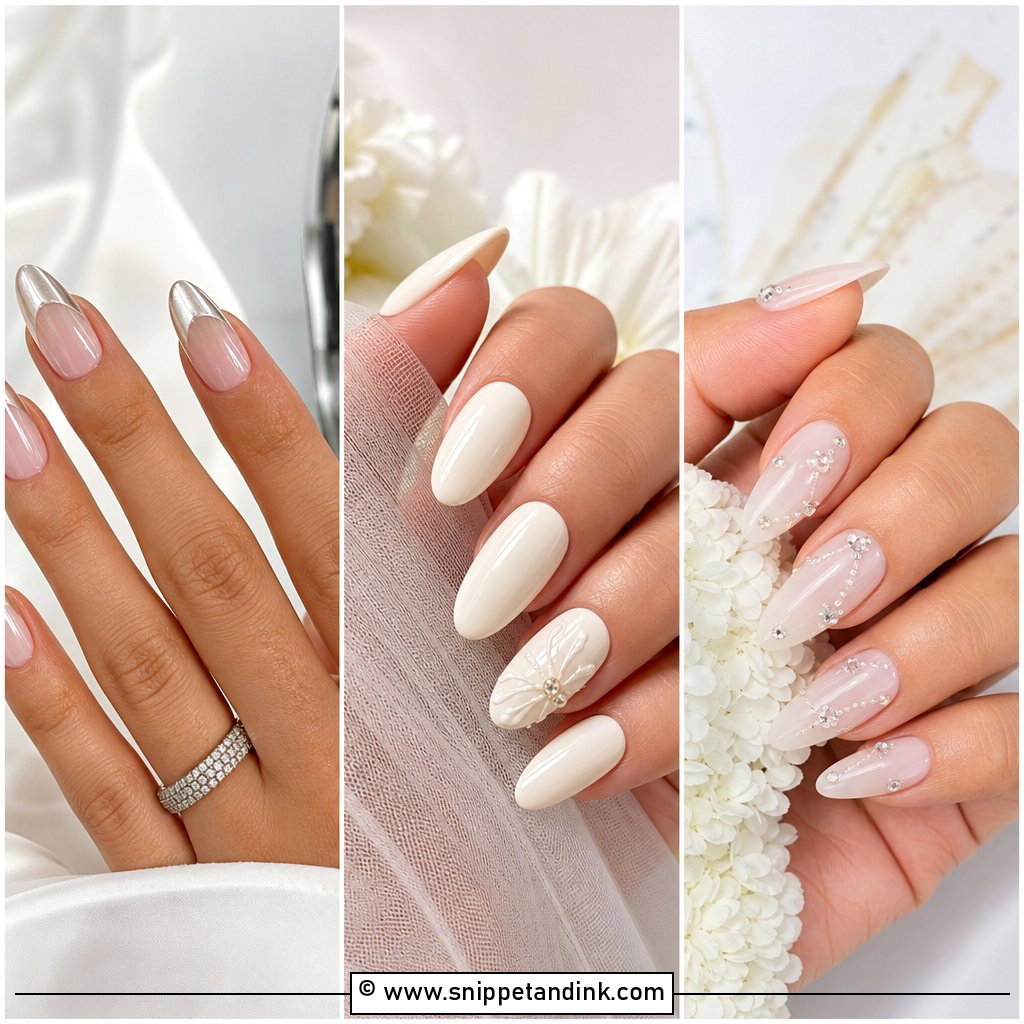
Green floral wedding nails use green as leaves and stems over a sheer nude or milky base, rather than as a full colour. Sage, olive and eucalyptus tones are the easiest to wear because they’re muted. A few small white flowers keep it romantic. It fits a garden venue or a greenery-heavy bouquet. A short almond or oval shape keeps it natural, with gloss to finish.
21. Pressed Flower Wedding Nails
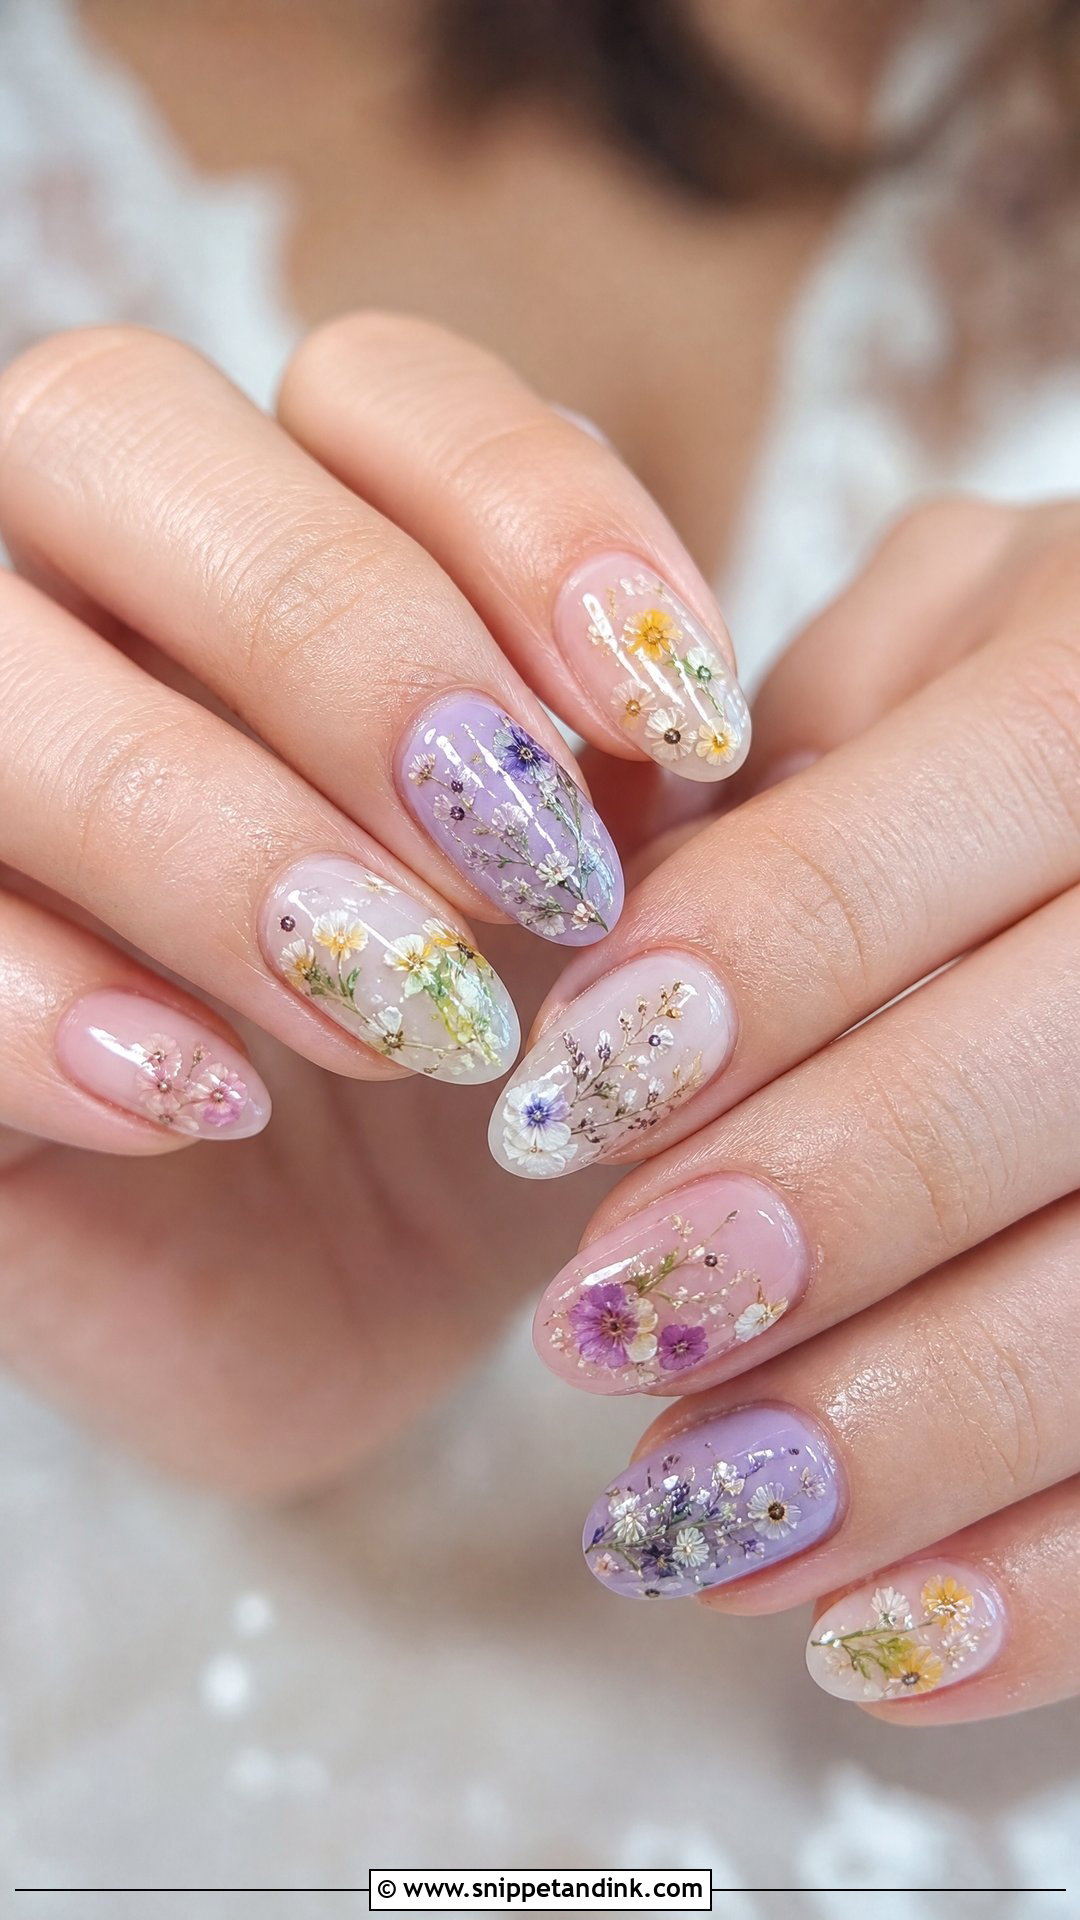
Pressed flower wedding nails seal real dried petals inside gel, a little like flowers under glass. The flowers need to be very thin and fully dry, or they trap moisture and lift. I embed them in a layer of builder gel so the surface stays smooth. Medium to long nails give the petals room. Some brides bring a few petals from their own flowers, pressed at home for a couple of weeks; it’s a personal touch if you plan ahead.
22. Floral Accent Wedding Nails
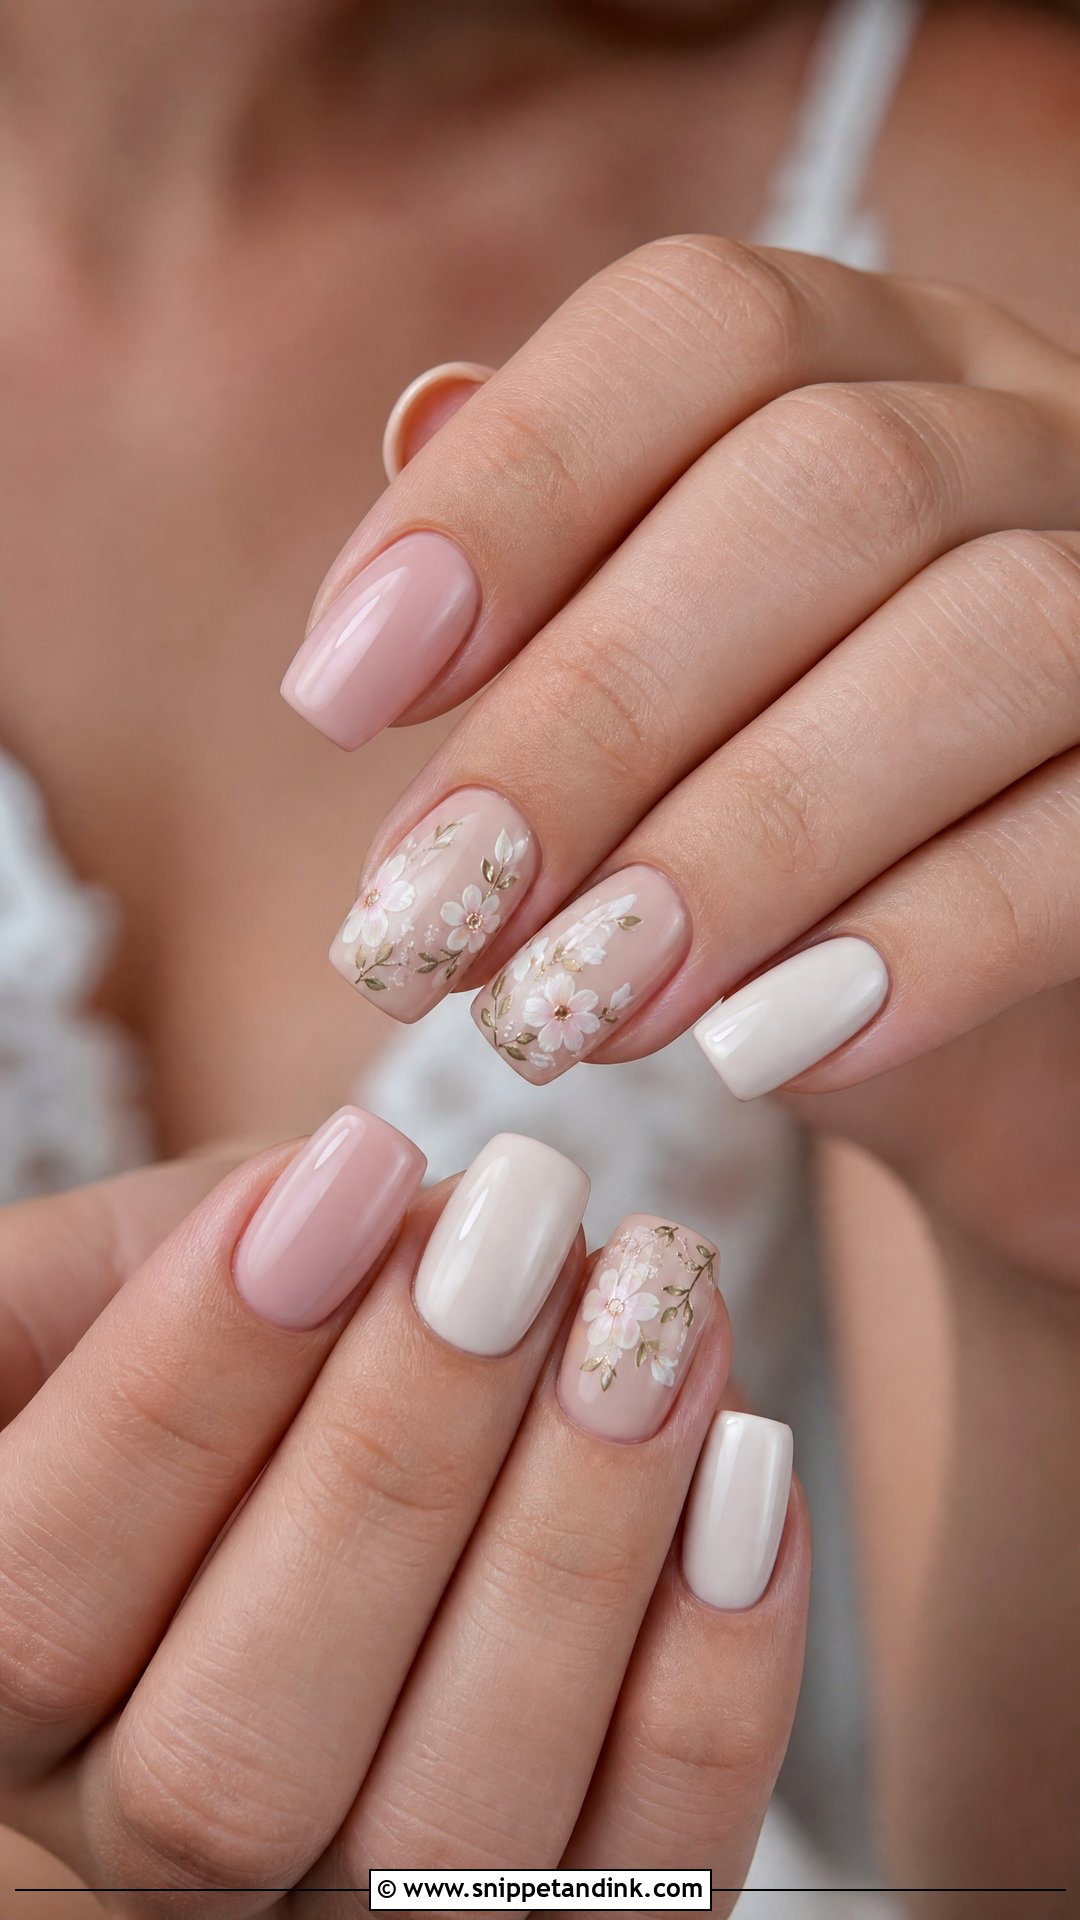
Most nails stay clean with a nude, blush, milky or French base, and one or two nails carry the detailed florals. It’s the set I suggest when a bride is unsure about art on every finger. Roses, daisies or lace-like petals all work on the accents. Put the accent on the ring finger of your left hand, since that’s the nail in every ring photo. Fine, delicate flowers keep it balanced.
23. Floral Ombre Wedding Nails
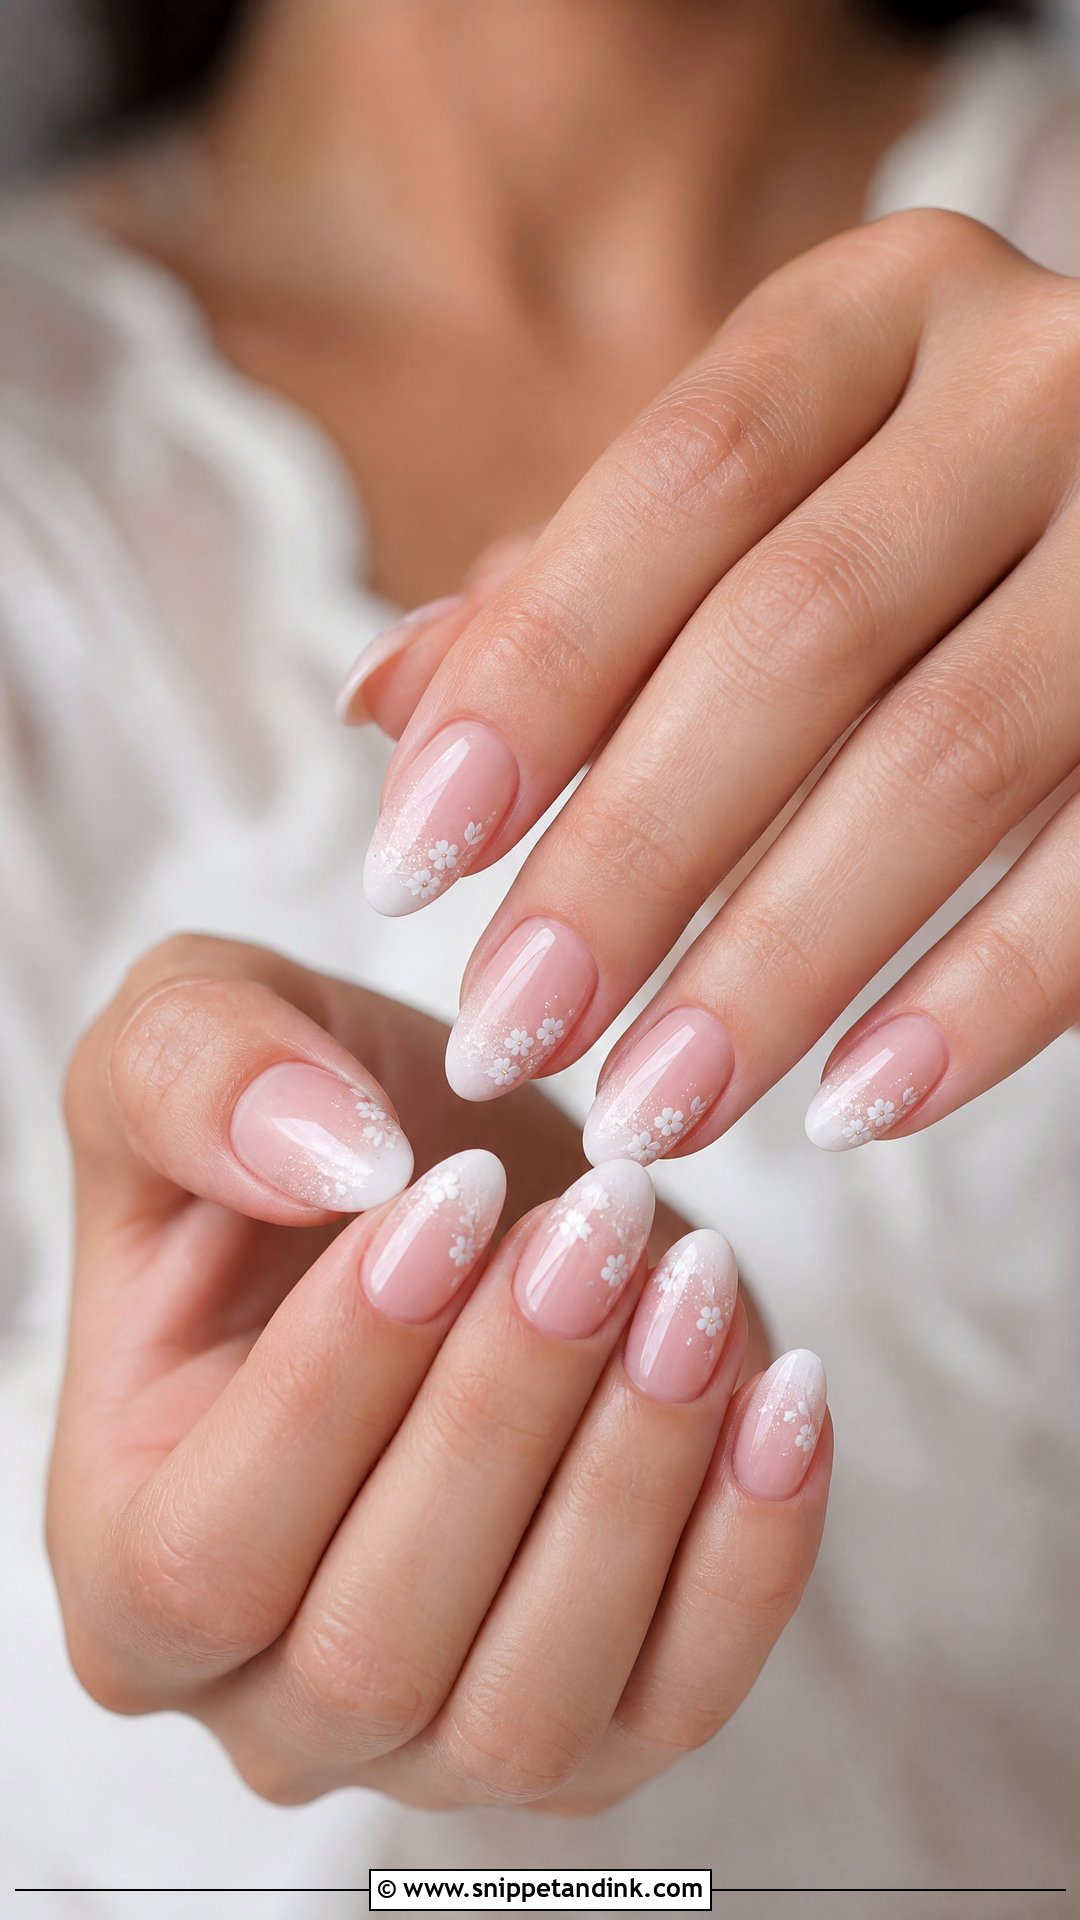
Floral ombre wedding nails combine a soft fade with flower details. Blush to white, nude to ivory, or pale lavender to milky white are the gentlest fades. I blend the gradient fully and cure it before adding flowers; painting onto a wet fade drags the colour. Flowers go near the tips, the cuticles or on accent nails. Almond, coffin and oval shapes look longer with the fade, and a thin shimmer layer catches light gently.
24. Wildflower Wedding Nails
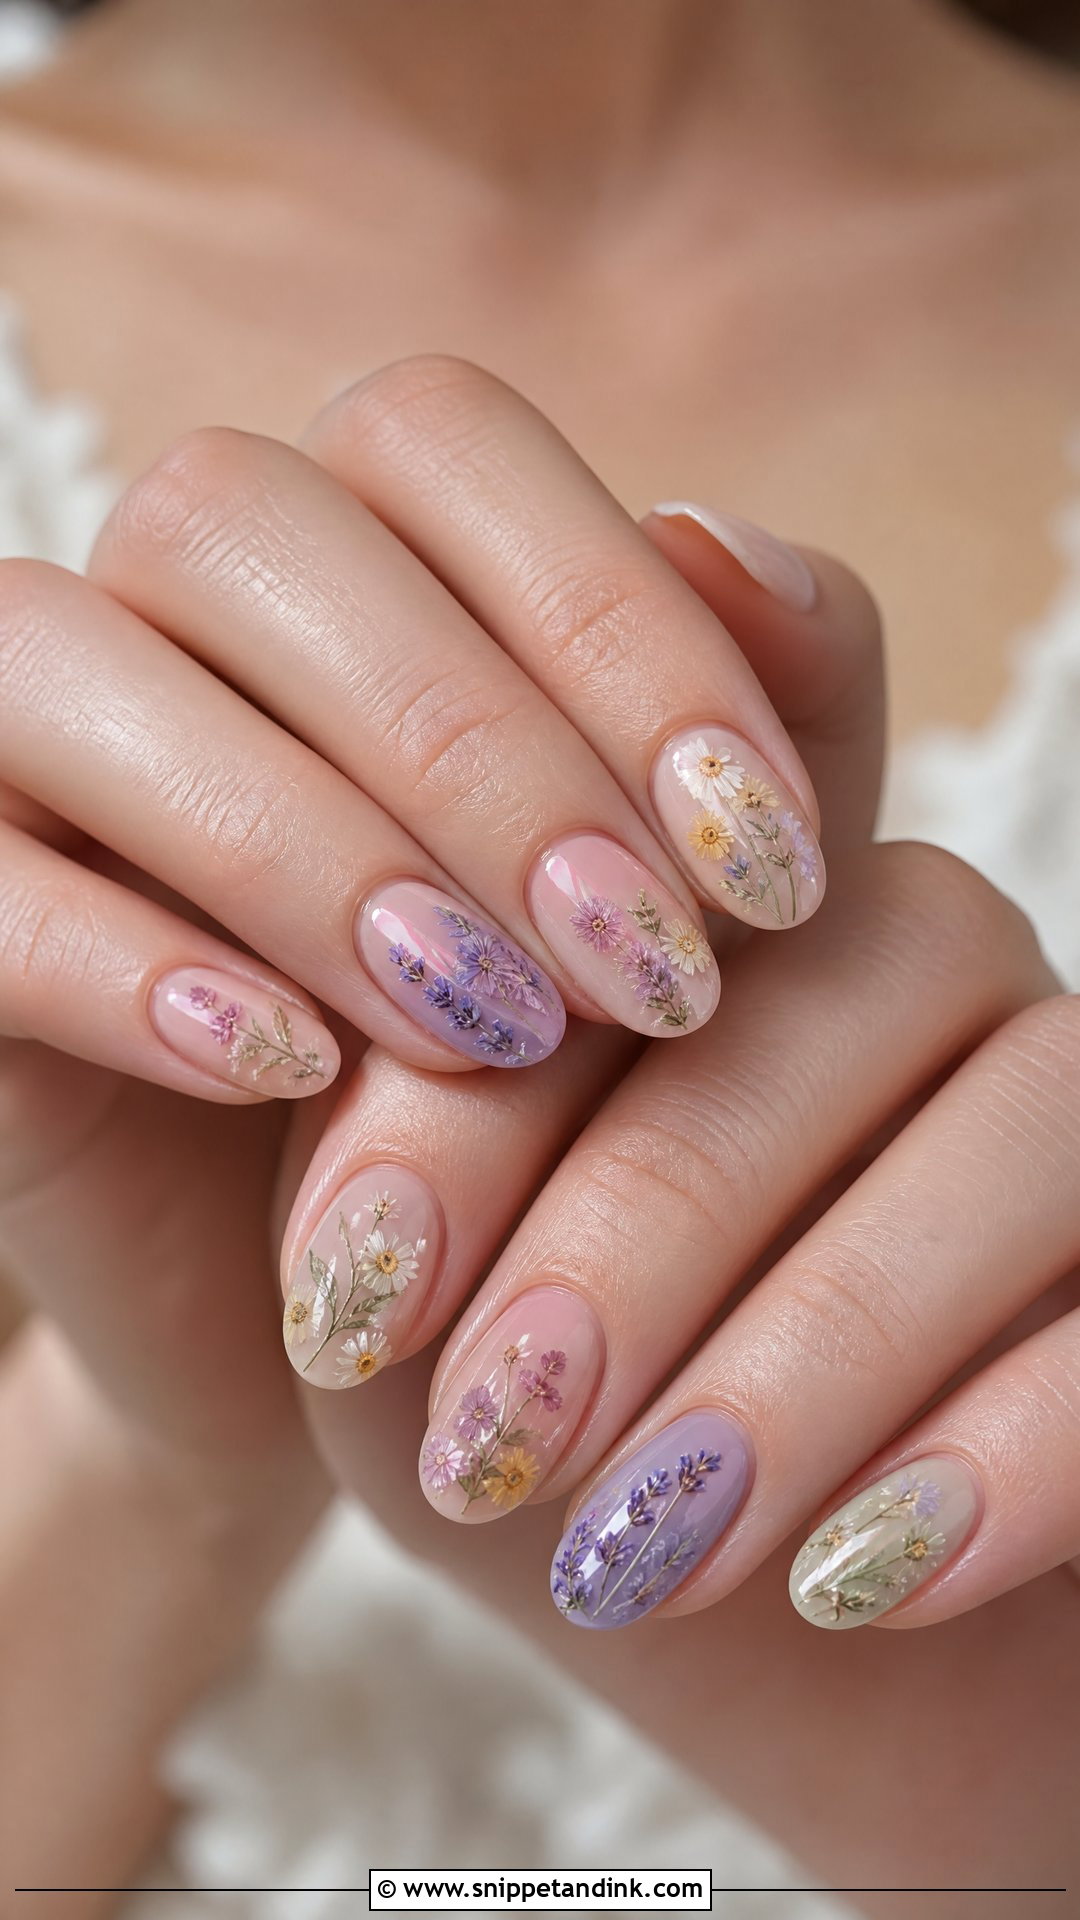
Wildflowers mix tiny blooms in different shapes and colours with fine stems and small leaves, so the set looks gathered rather than planned. A sheer nude or clear base keeps it soft. The trap is too many colours; I’d limit it to muted dusty pink, soft yellow and sage. Small, spaced-out flowers look best. It suits an outdoor or meadow ceremony with relaxed arrangements.
25. Short Floral Wedding Nails
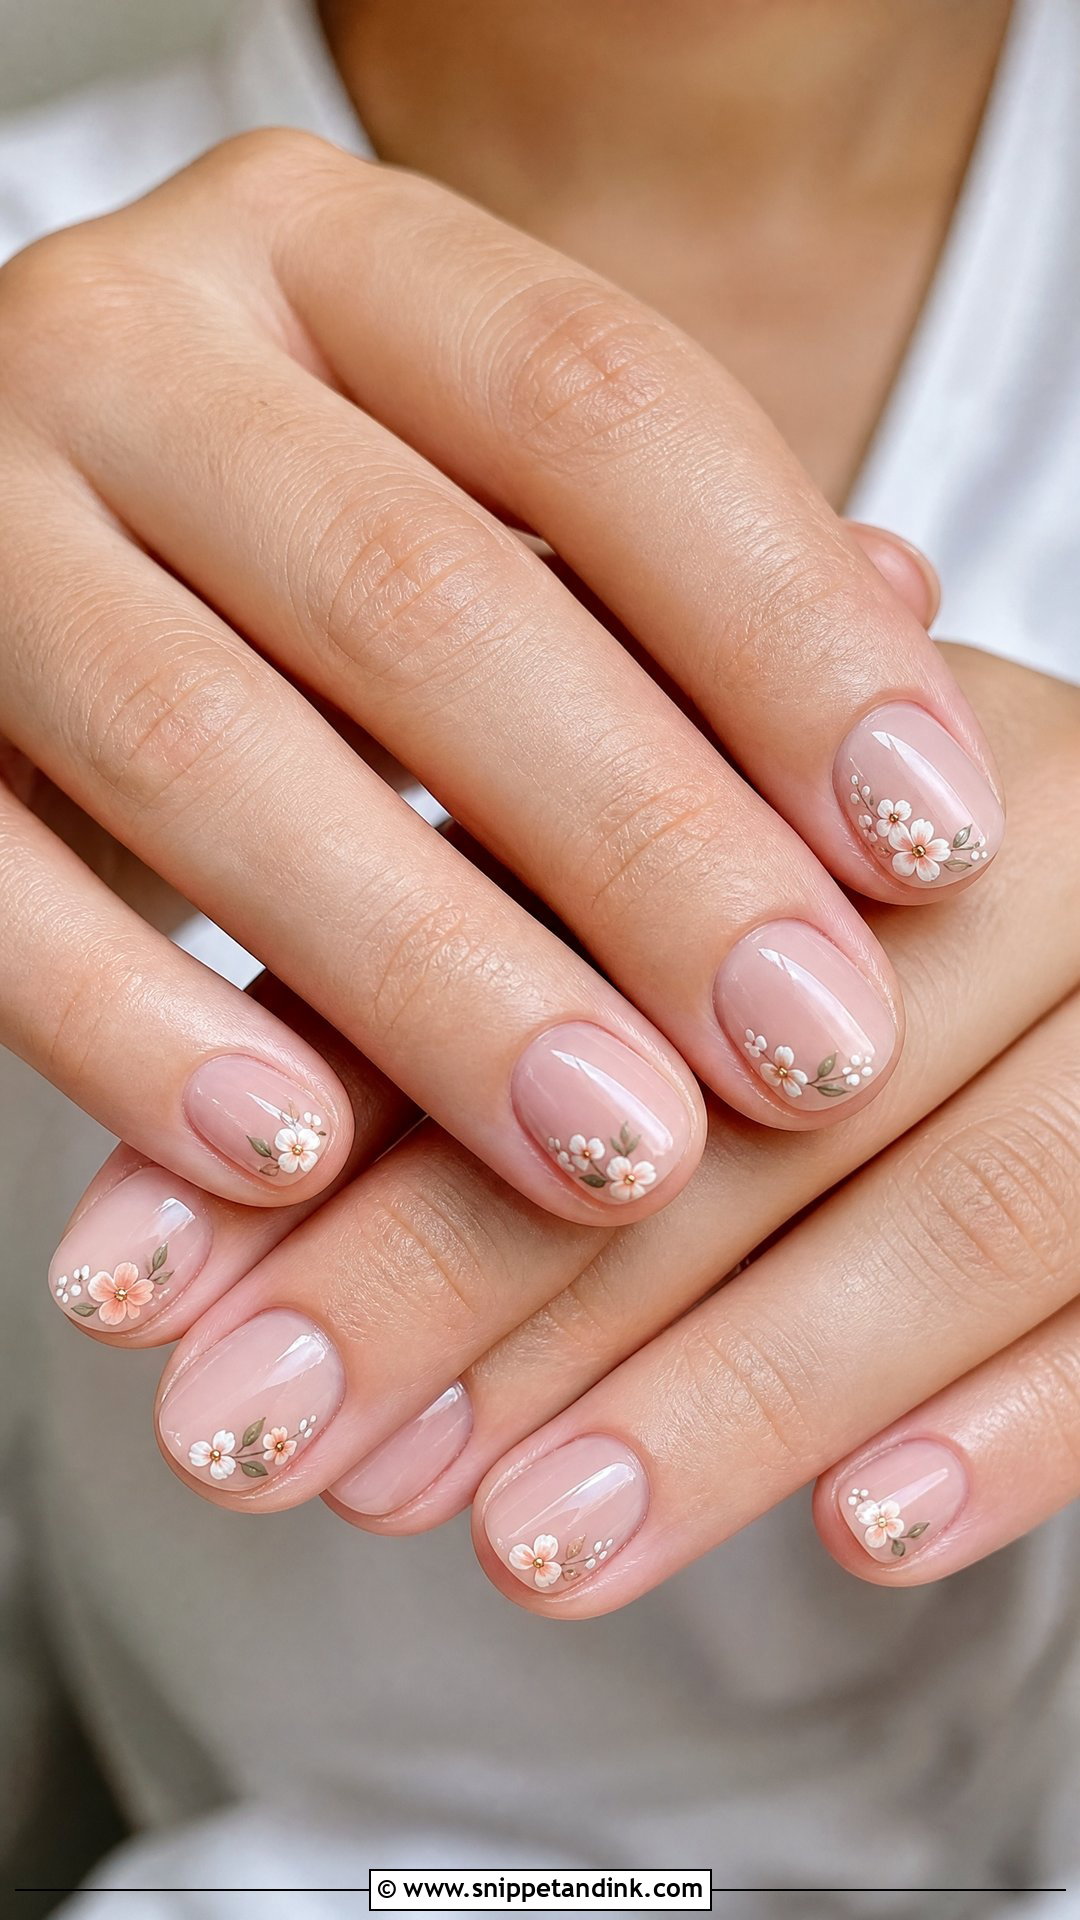
Short nails can carry floral art perfectly well; they just need smaller designs. A short round, oval or soft square shape holds tiny flowers, fine stems and delicate dots. I place one flower near the corner of each nail, or florals on two nails only, so the art doesn’t crowd the space. Sheer pink, nude or milky bases keep it light. It’s also the most practical length for brides who type or work with their hands.
The Ring Shot Is Where Floral Art Gets Judged
Photographers often take a macro shot of your hands and rings. At that magnification, a flower that looked perfect across the room can show a wobbly petal, and the cuticle area shows every bit of regrowth.
- Book the final set one to three days before the wedding, so there’s no visible gap at the cuticle but still time to fix a chipped flower.
- Keep the most detailed flower on your left ring finger and make sure it’s your artist’s neatest work.
- Avoid placing art right at the cuticle if the set must last through a honeymoon; it’s the first area to grow away.
- Bring your ring to the appointment. A large stone can cover a flower placed low on the nail.
A trial manicure a month or two before helps too. Wear it for a week, see how the art holds up with daily life, and adjust the design or the base shade before the real one.
On the morning itself, a drop of cuticle oil rubbed in an hour before the photographer arrives makes the skin around the art look smooth on camera. Wipe off any excess so it doesn’t leave a greasy shine on the ring.
Small Blooms, Placed With the Ring in Mind
Floral nails range from barely there to sculpted, which is why they suit so many brides. Your dress, bouquet, rings and nail length decide which version works. White florals, French tips and lace details are the classic route; pressed flowers, chrome or wildflowers feel more unusual. Whichever you choose, test the base colour against your dress fabric and your ring in daylight before the wedding week. Then keep the flowers small enough that your hand still looks like yours.
You'll Like These Ideas:


Leave a Reply