
An updo solves most of a guest’s hair problems at once. It keeps your neck cool, it survives hugs and dancing, and it shows off a neckline instead of hiding it. The only real rule is to look polished without competing with the bride, which usually means no veil-like volume and nothing white in your hair. The styles below run from sleek ballet buns to braided chignons and loose twists, for most lengths and textures. For each one, I’ve noted how it’s built, what hair it needs and where it tends to come loose, which is what I’d tell you if you sat in my chair.
Reading Your Neckline Before You Settle on a Height
The first thing I ask a guest is not what style she likes but what she’s wearing. The neckline decides how high the hair should sit.
- High necks and halters: a high bun or top knot, so the hair doesn’t crowd the collar.
- Strapless and sweetheart: low chignons and side buns soften a lot of bare skin.
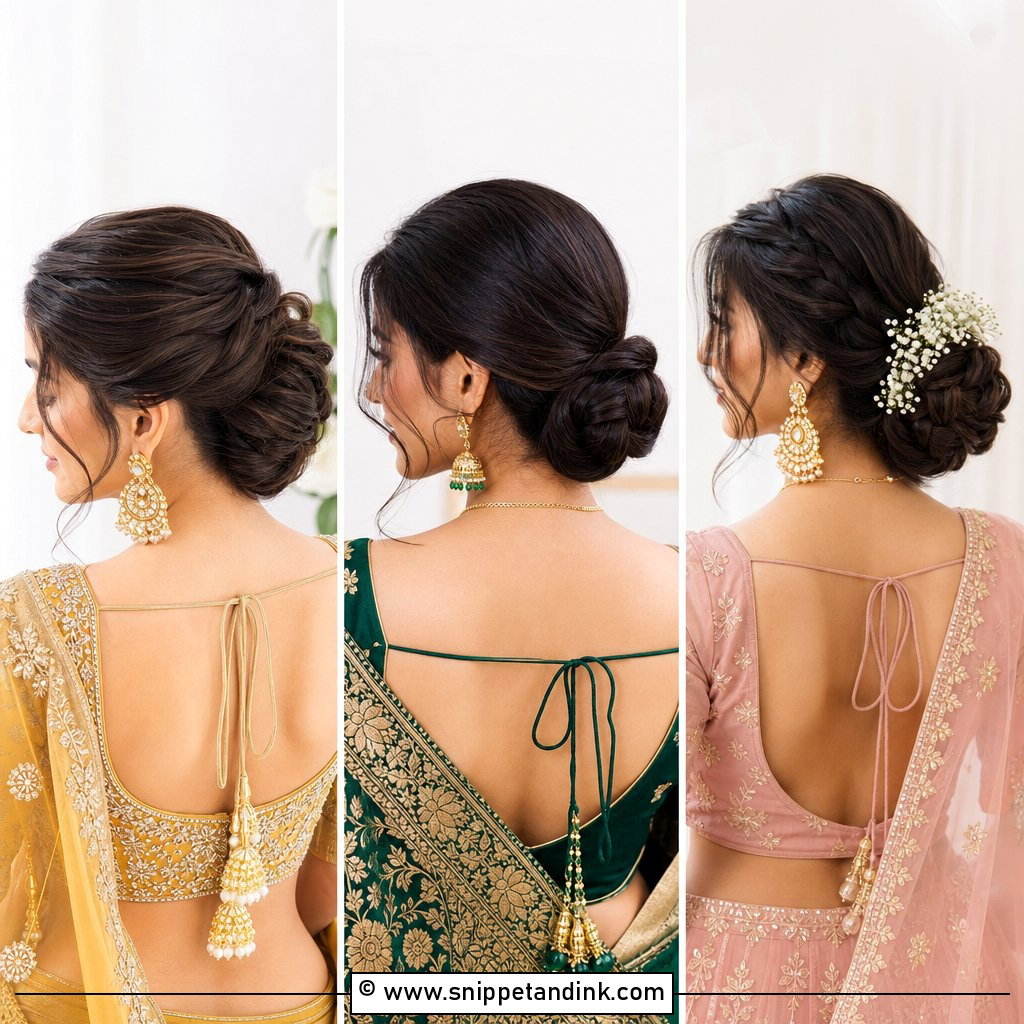
- Open backs: a low bun or a high bun both work, but keep tendrils short so they don’t hang over the back detail.
- One-shoulder: a side bun on the strap side, leaving the bare shoulder clear.
Hats and fascinators change the plan. A fascinator clips best just above a low bun; a wide-brimmed hat needs the hair low and flat at the nape, or the hat will sit too high.
1. Low Chignon Updo
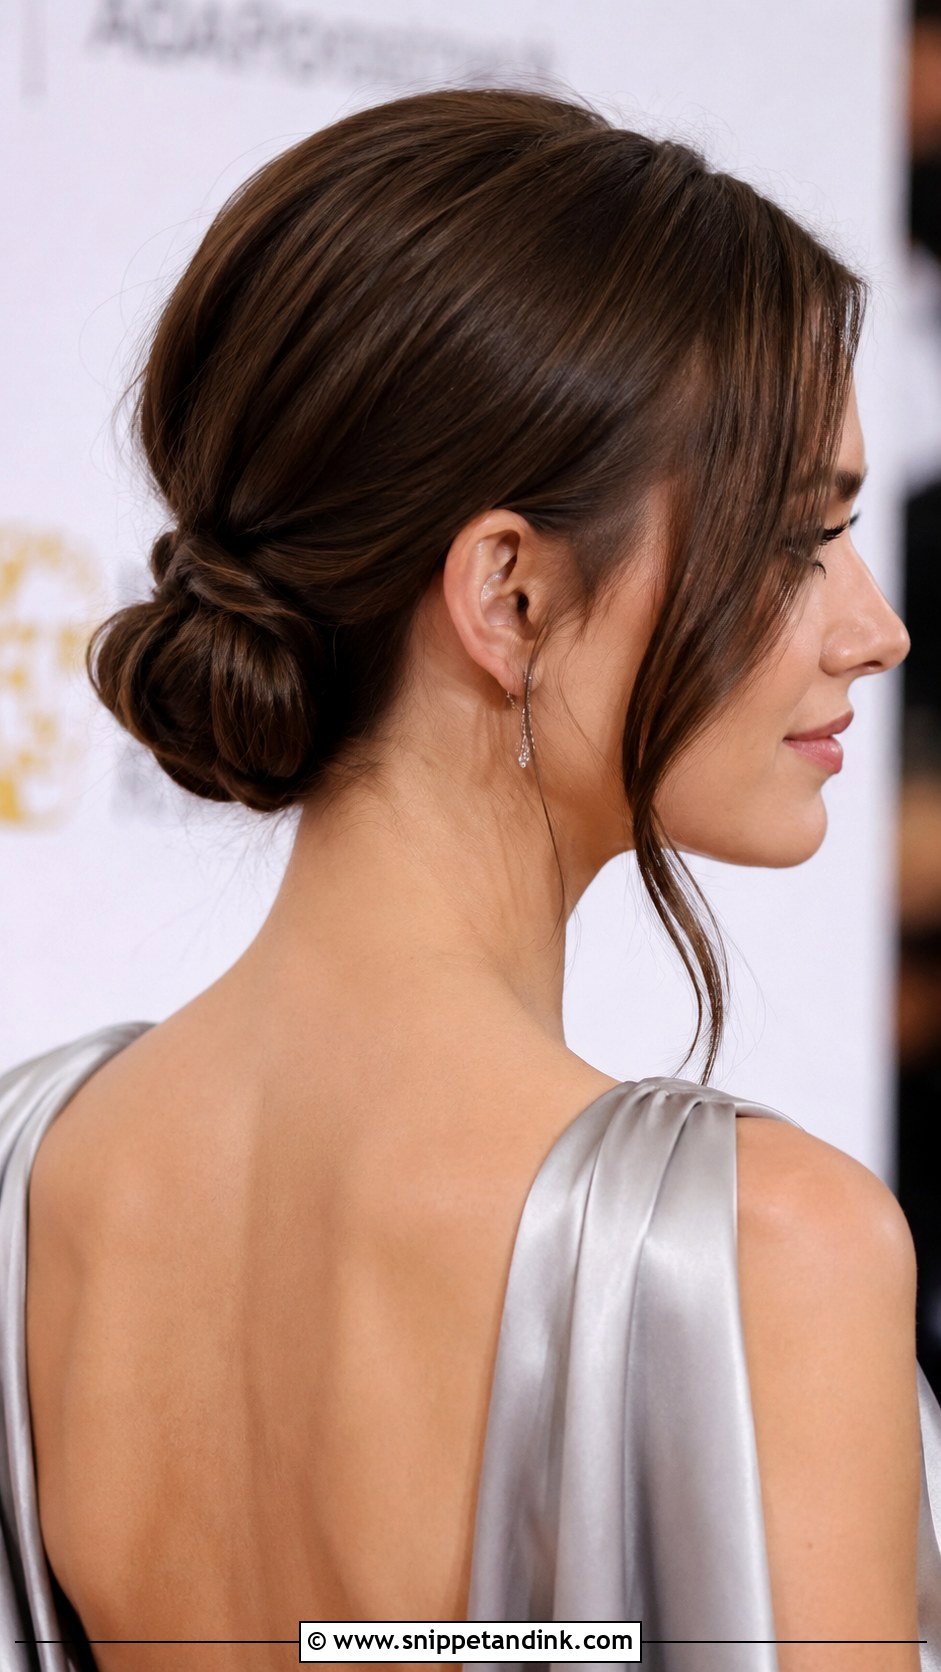
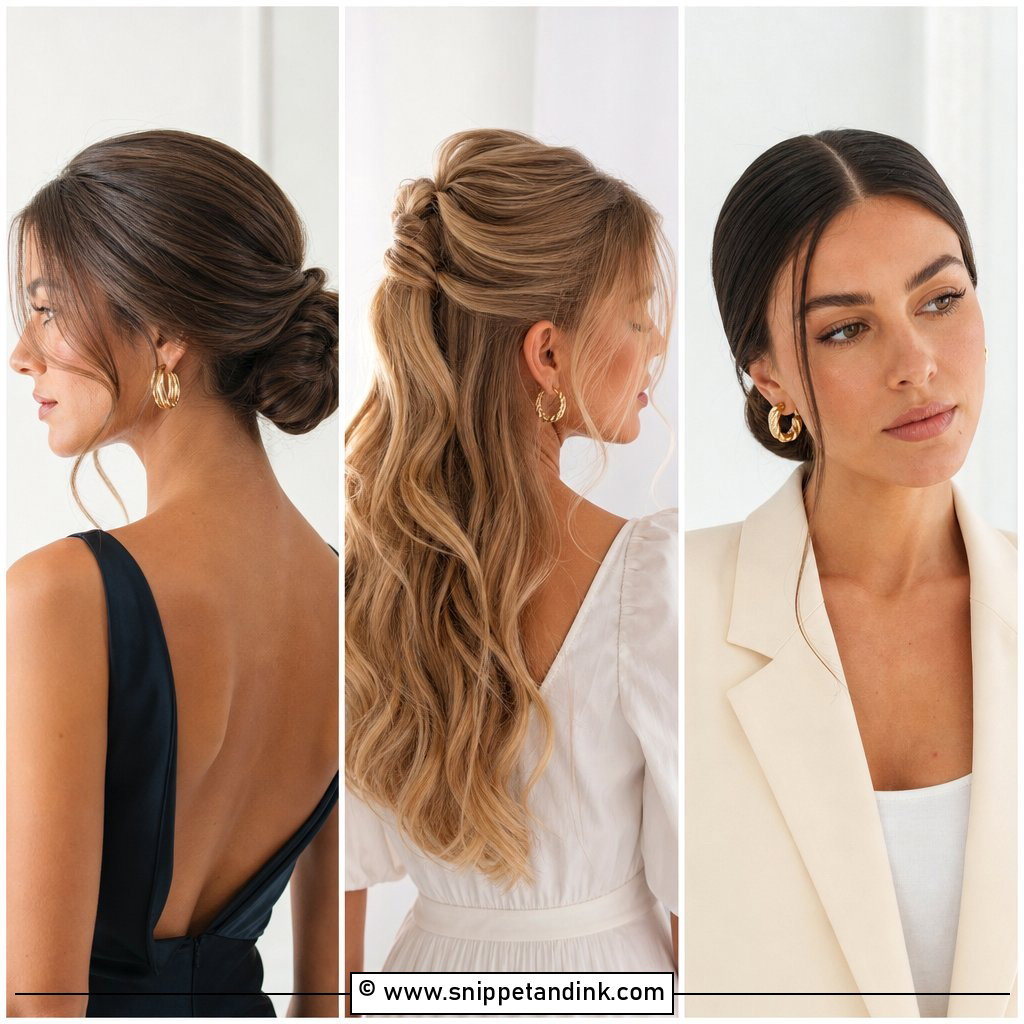
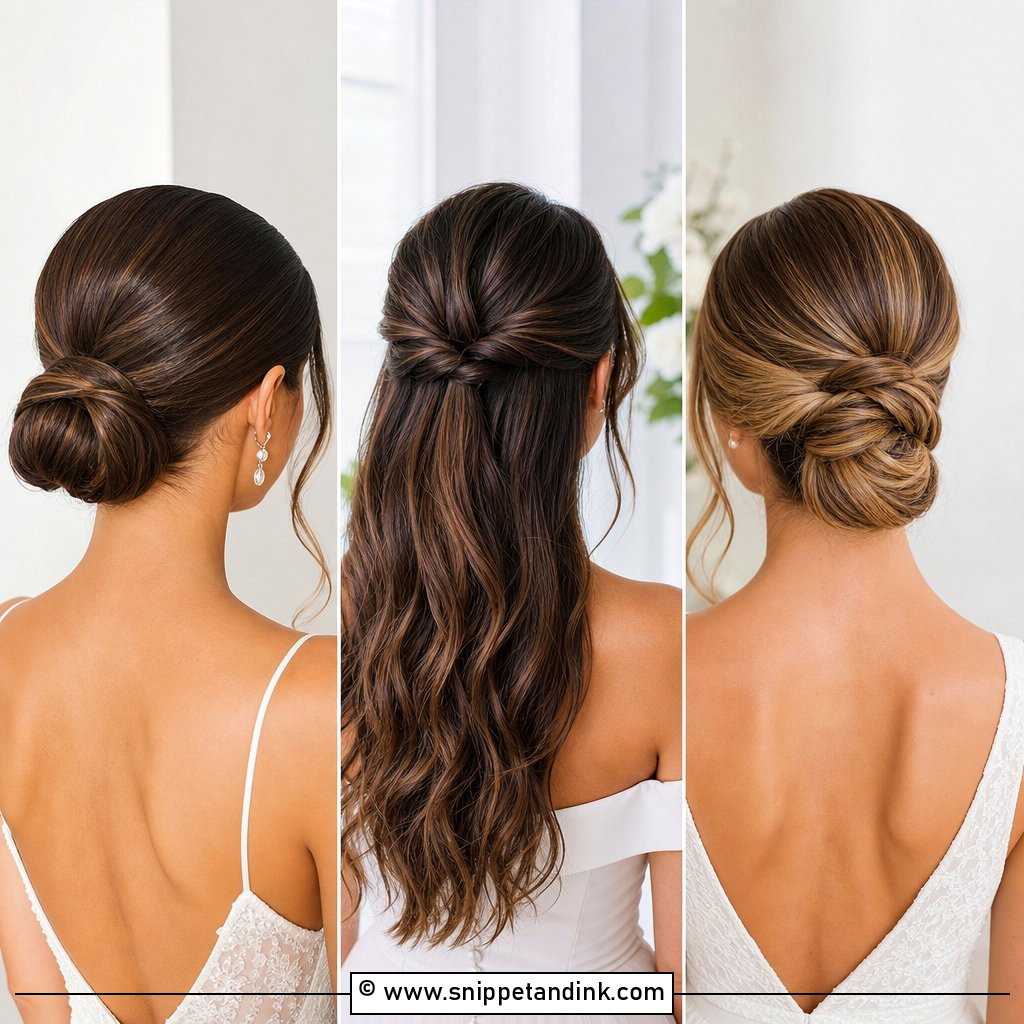
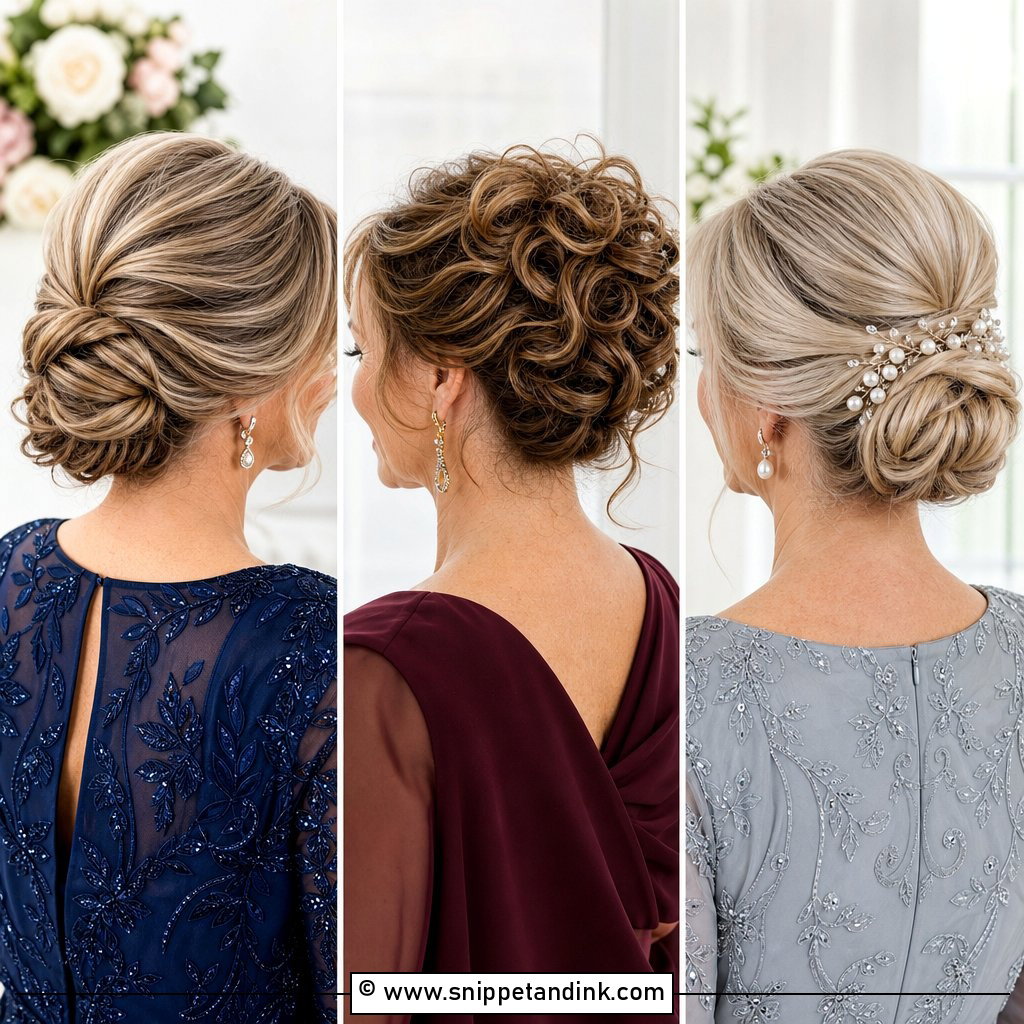
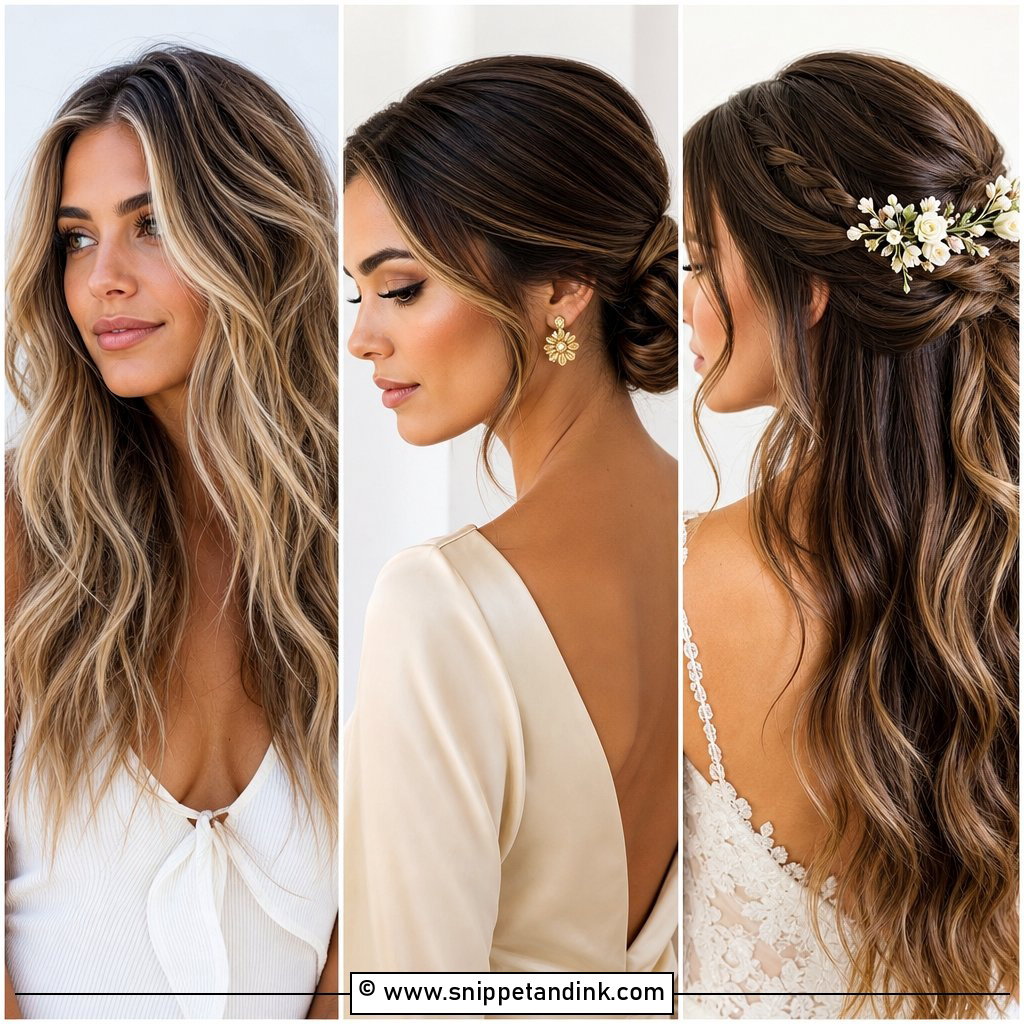
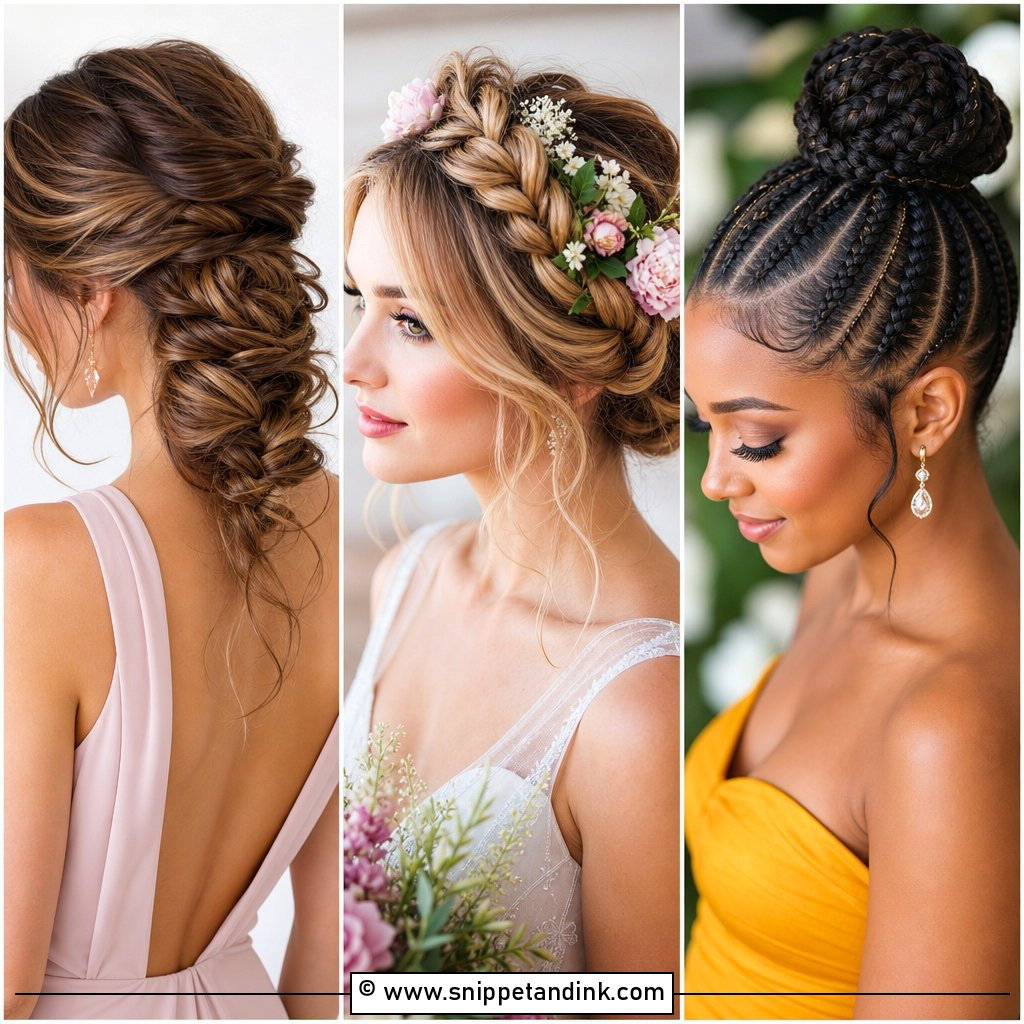
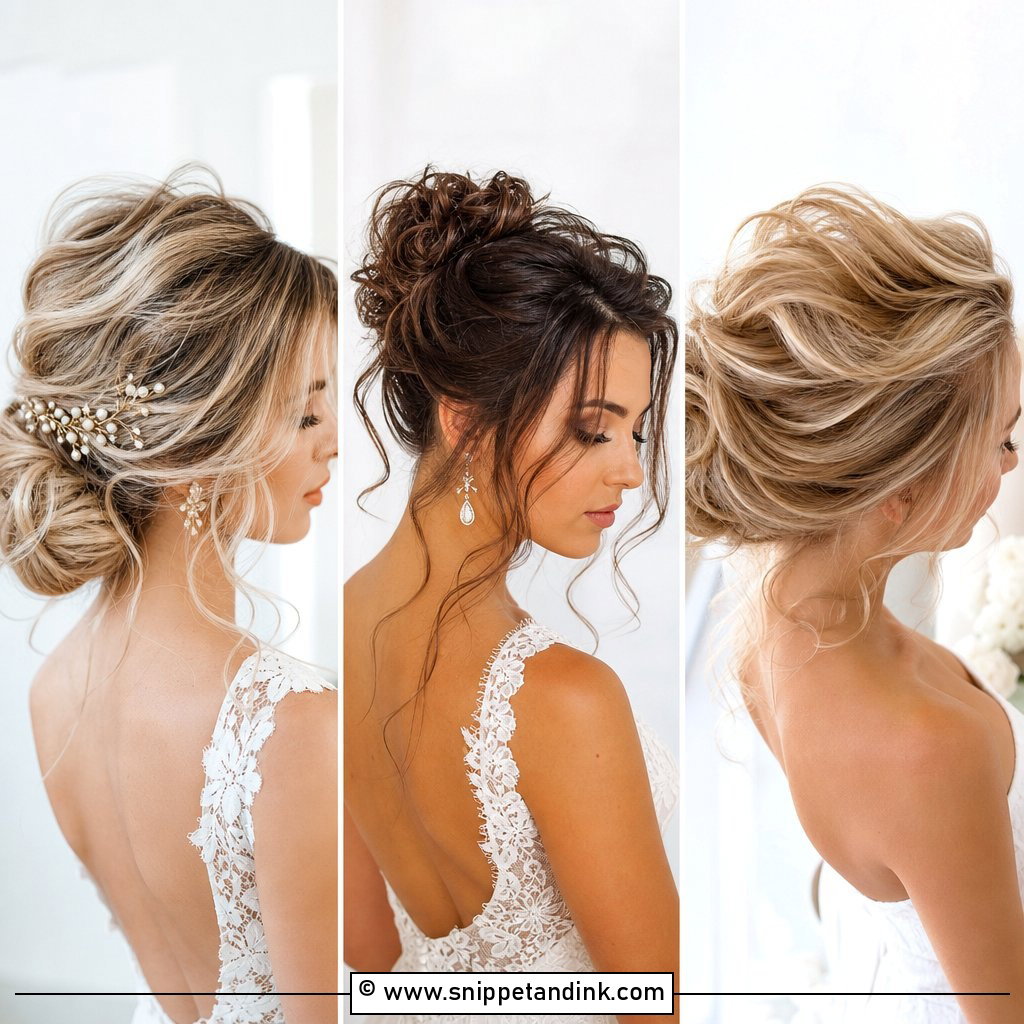
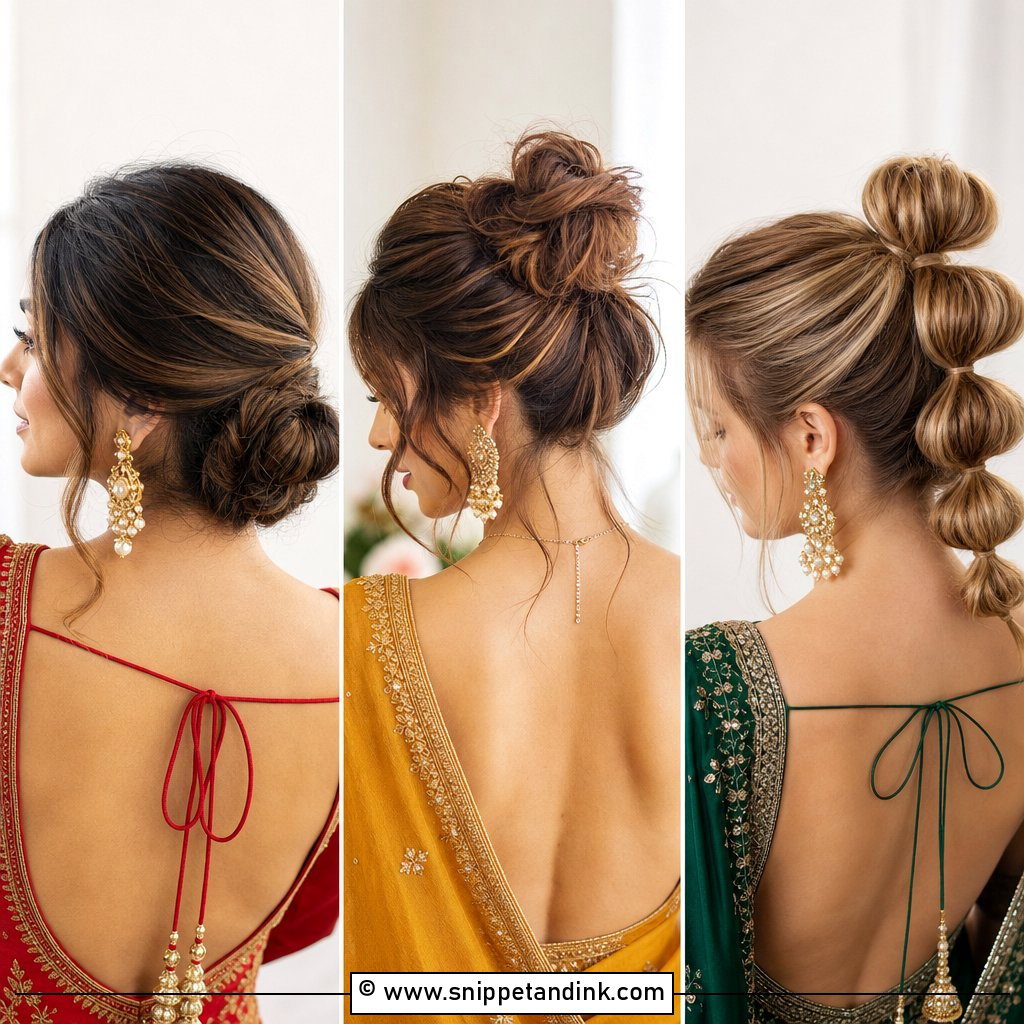
If I could only do one guest updo all season, it would be this. The knot sits at the nape, so it works under high necklines and over open backs alike. I build it from a low ponytail, twist the length and wrap it around the base, then pin with U-pins pushed into the bun and anchored into the elastic, which is far more secure than pinning into loose hair. It’s also the best base if you want to wear a fascinator or delicate hairpin, since a fascinator’s comb grips best just above a low bun. Pull it sleek for evening, or leave a few strands at the face for daytime.
2. Sleek Ballet Bun
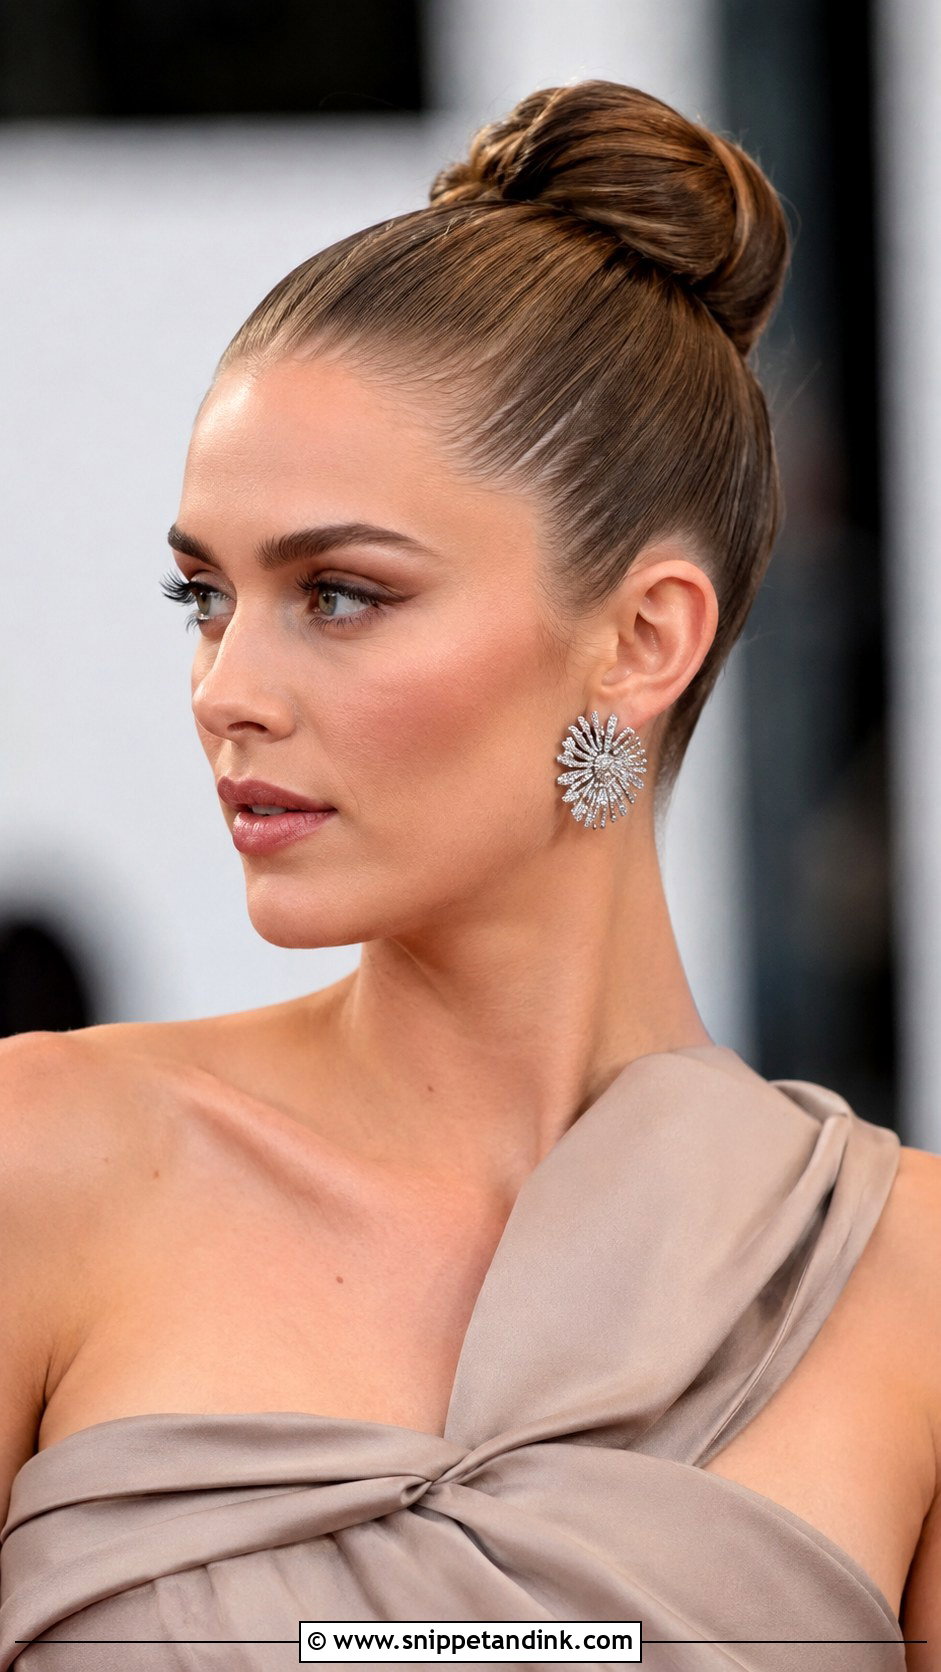
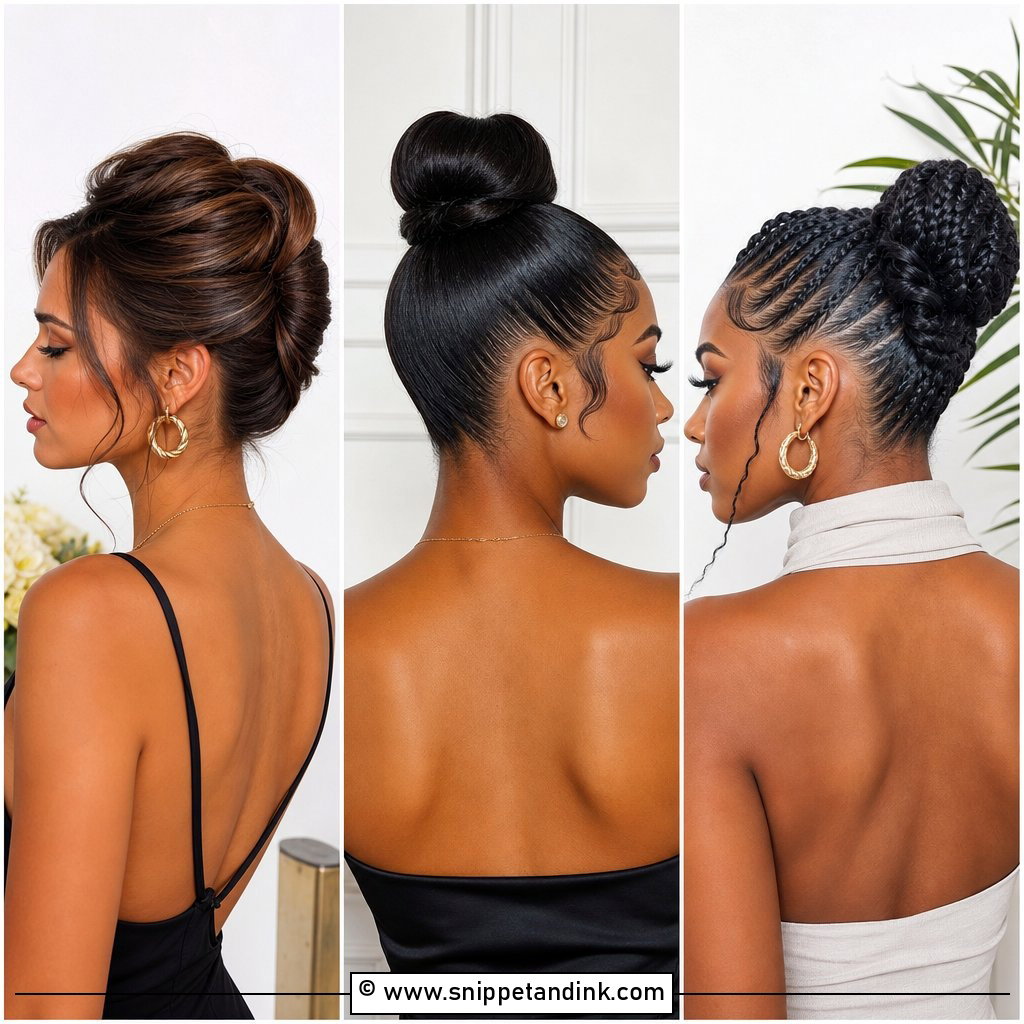
A high ballet bun shows off your face and neck with nothing in the way. The secret is a perfectly smooth ponytail before the bun even starts: I brush it up with a boar-bristle brush and a little smoothing cream, then tie it on the crown. Wrap the length around the base and pin flat. A shine serum finishes it. It suits structured, modern dresses and statement earrings. One honest caution: a tight high ponytail can give some people a headache by mid-afternoon, so if your scalp is sensitive, set it a little lower and looser.
3. Braided Bun Updo
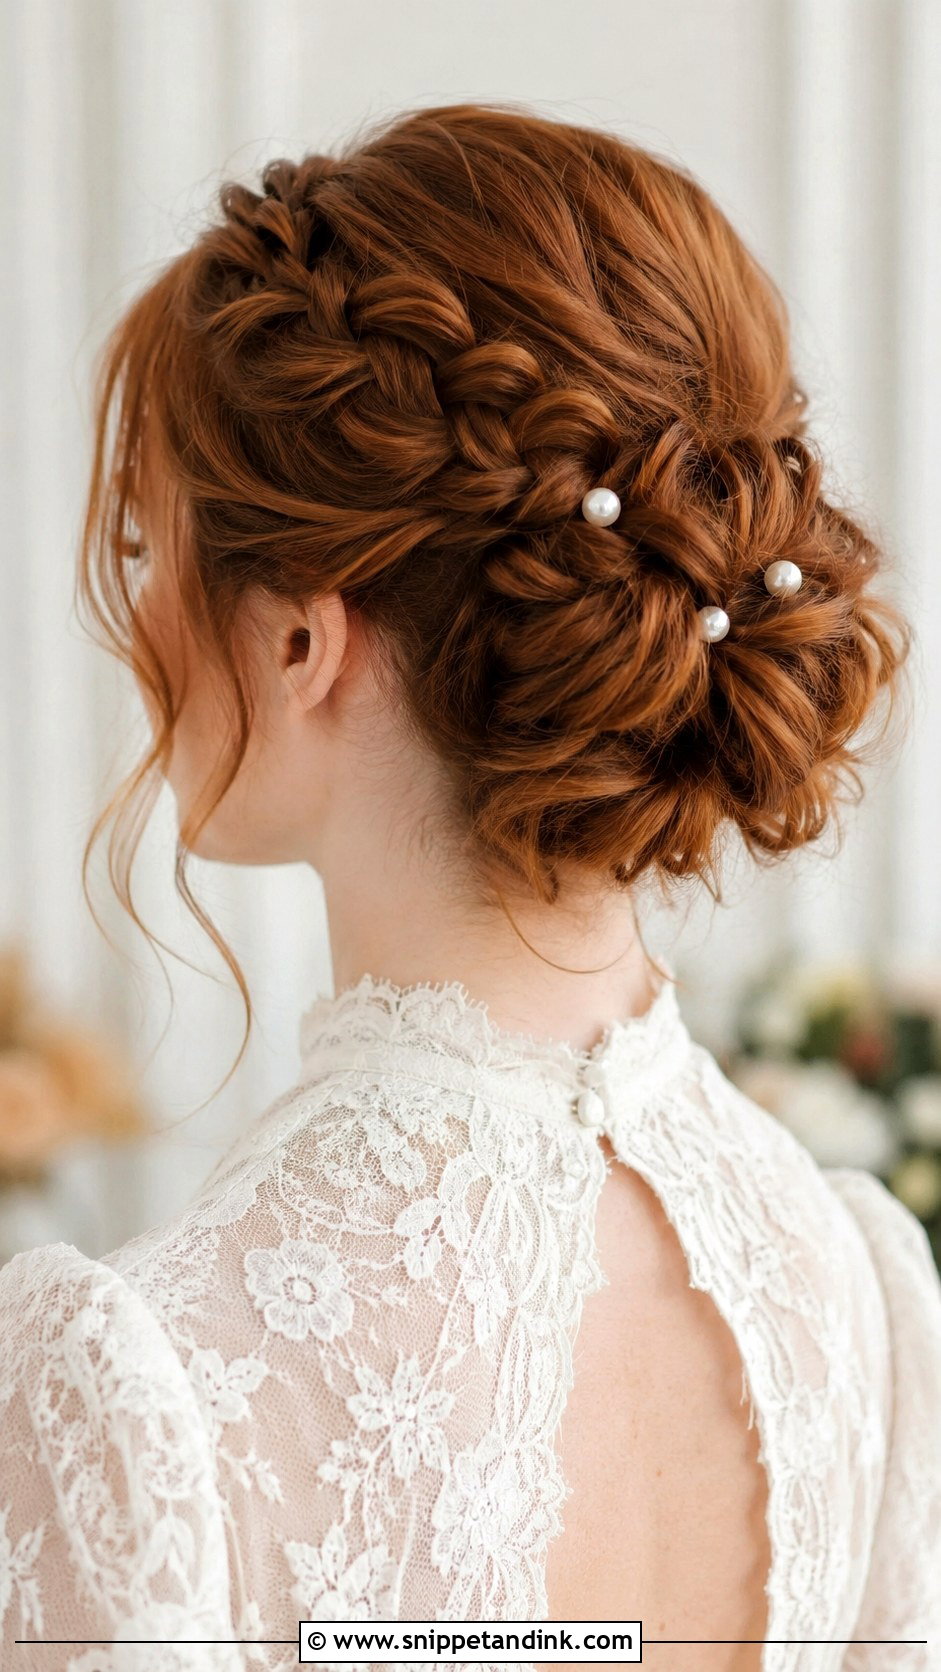
A braid wrapped into a bun gives texture without needing the whole head braided. I usually make a French or Dutch braid running up the back from the nape, then twist the rest into a bun at the crown, or keep it low and loose for a softer version. Braids lock the hair in place, which is why this holds well at outdoor and destination weddings where wind is a factor. Pearl pins along the braid look sweet, but space them out or they cluster into a line that looks like a seam.
4. French Twist Updo
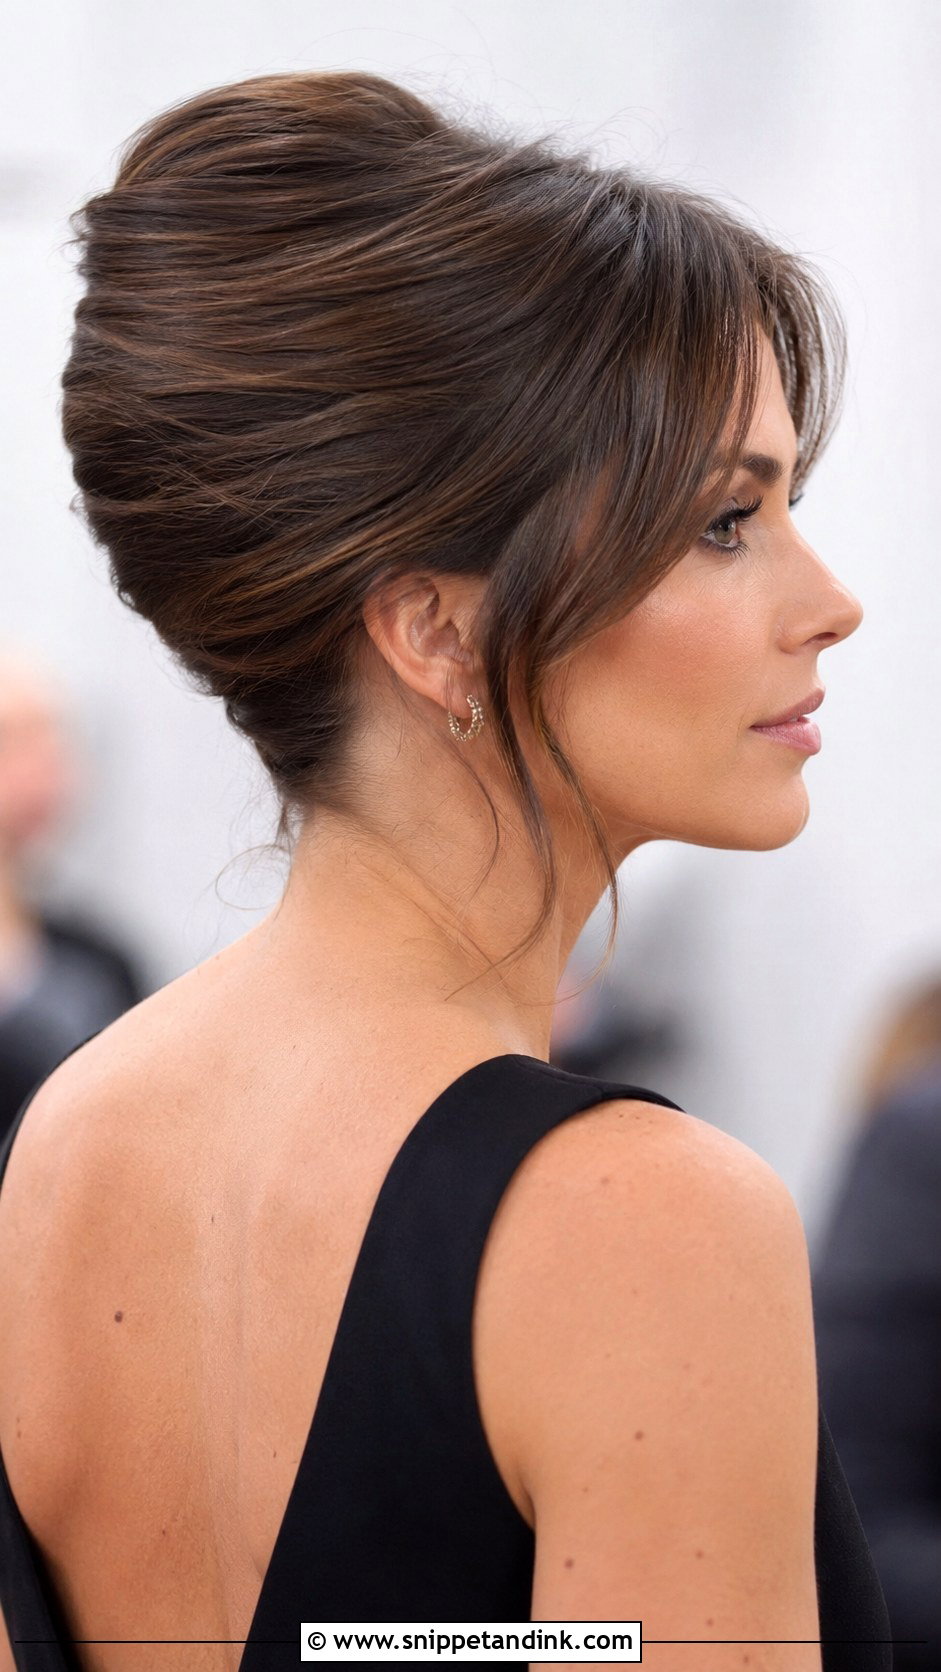
A French twist is a vertical roll, and it’s harder to do on yourself than it looks, because the pinning happens where you can’t see. I backcomb lightly at the crown, gather the hair to one side, twist upward and tuck the ends inside the roll, then pin along the seam with pins opened slightly and pushed in at an angle. It suits formal weddings with sheath dresses and gowns. Slightly loose looks modern; very tight looks like an airline uniform. Wispy strands at the temples soften it.
5. Twisted Half Updo
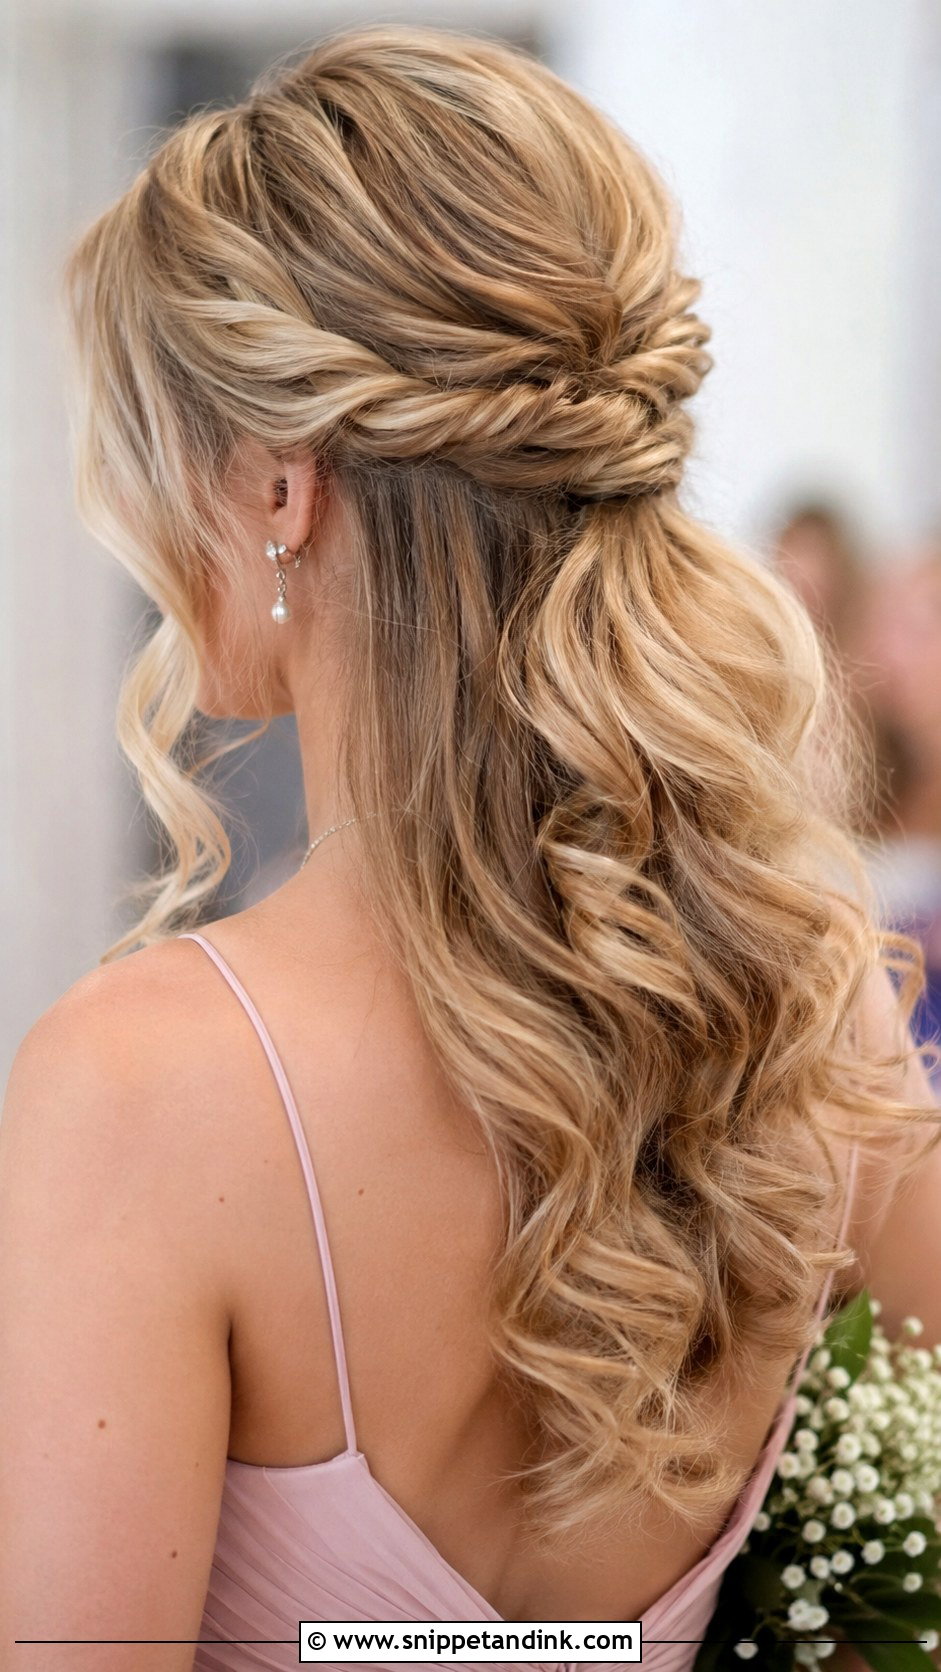
Half-up is for guests who want polish around the face but love their hair down. Small twists from each temple meet at the back and pin there, while the rest falls free. It suits most textures and lengths and fits relaxed or semi-formal weddings. I curl the loose lengths with a large barrel so they don’t fall flat by dinner. The weak point is where the twists meet; I hide the pins under a small clip or a cross of two bobby pins there.
6. Messy Bun With Face-Framing Pieces
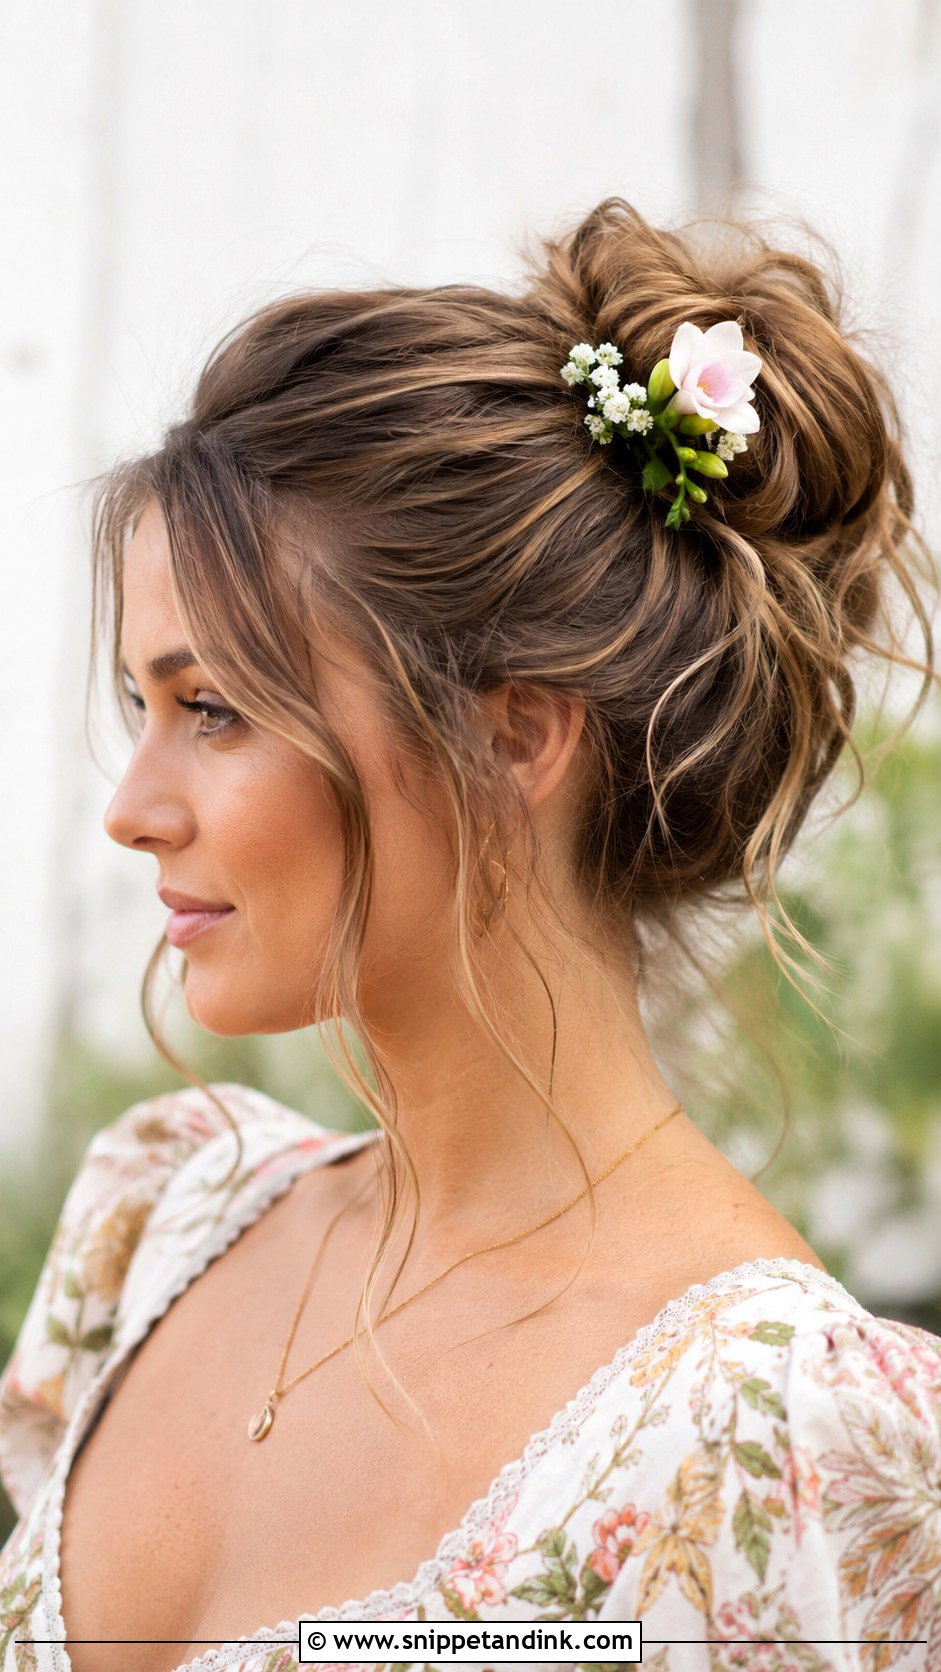
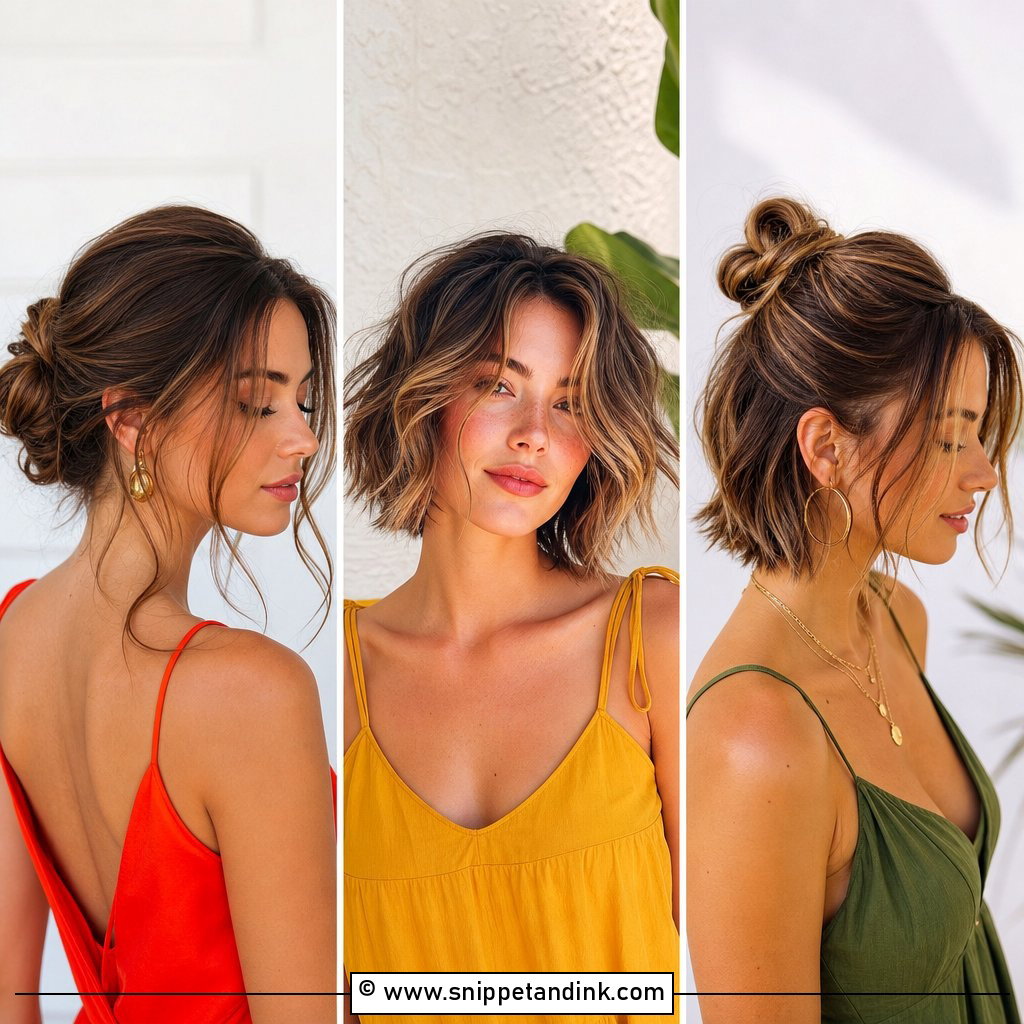
A messy bun only looks messy; the structure underneath is quite firm. I curl the hair first, spray it with texture, and secure a loose knot with pins, then pull out a few face-framing pieces. Without the texture spray, clean silky hair slides straight out of a loose bun in an hour. It’s at home at boho, garden and beach weddings, especially with small floral accessories. Wavy and curly hair handle it best because the texture is already there.
7. Crown Braid Updo
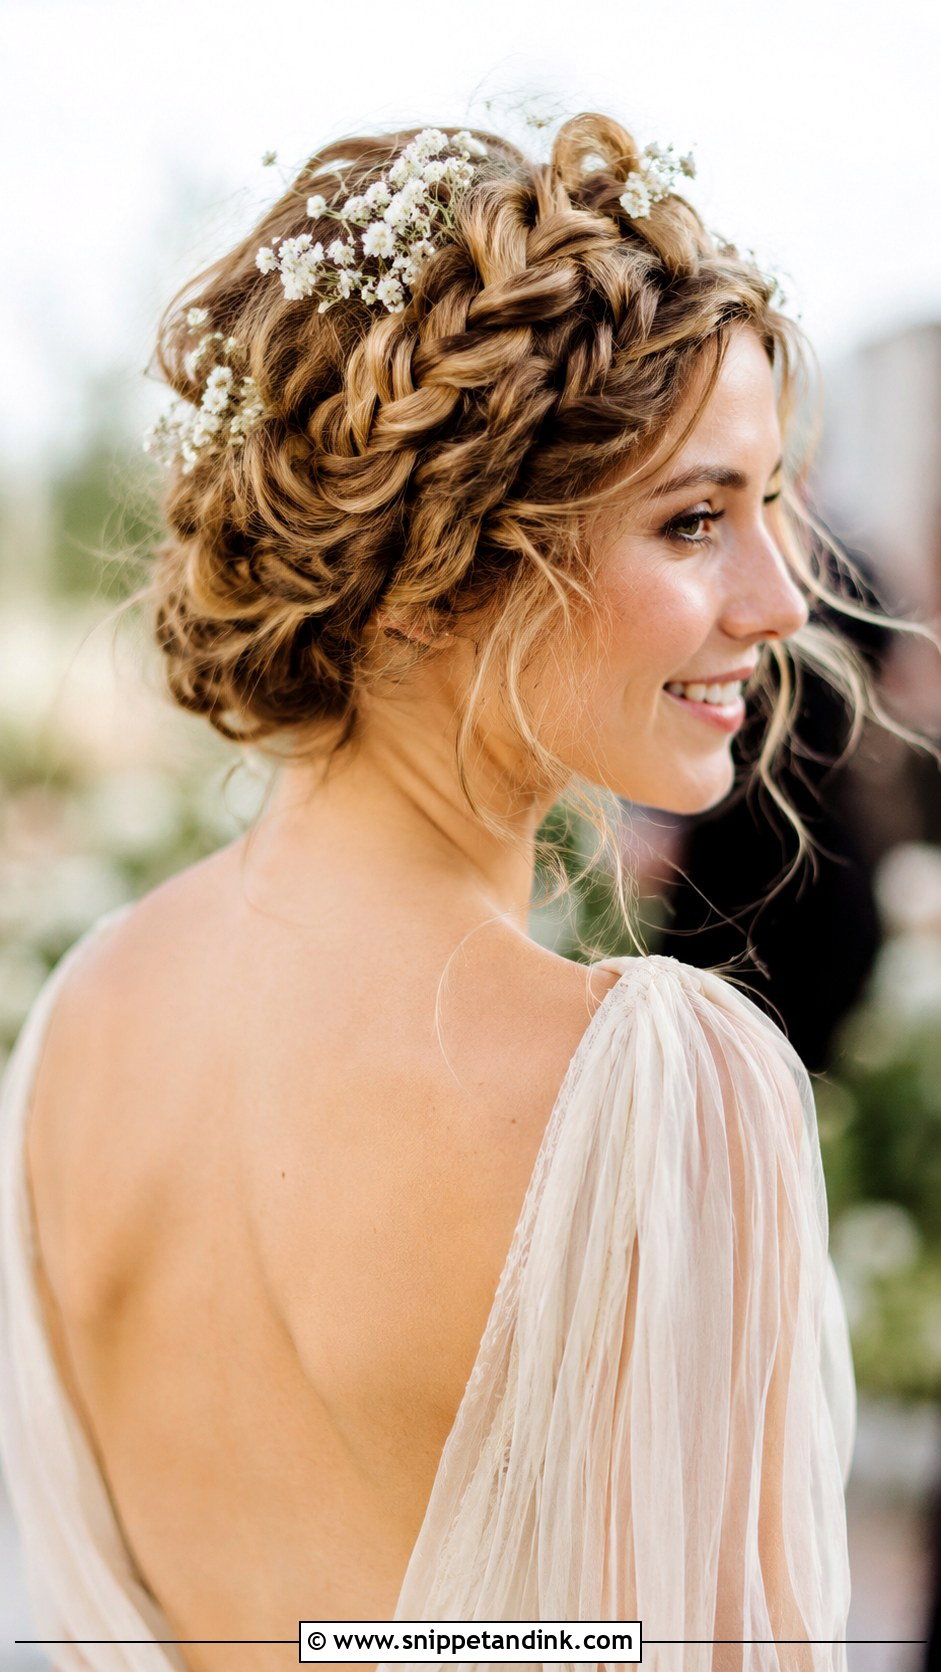
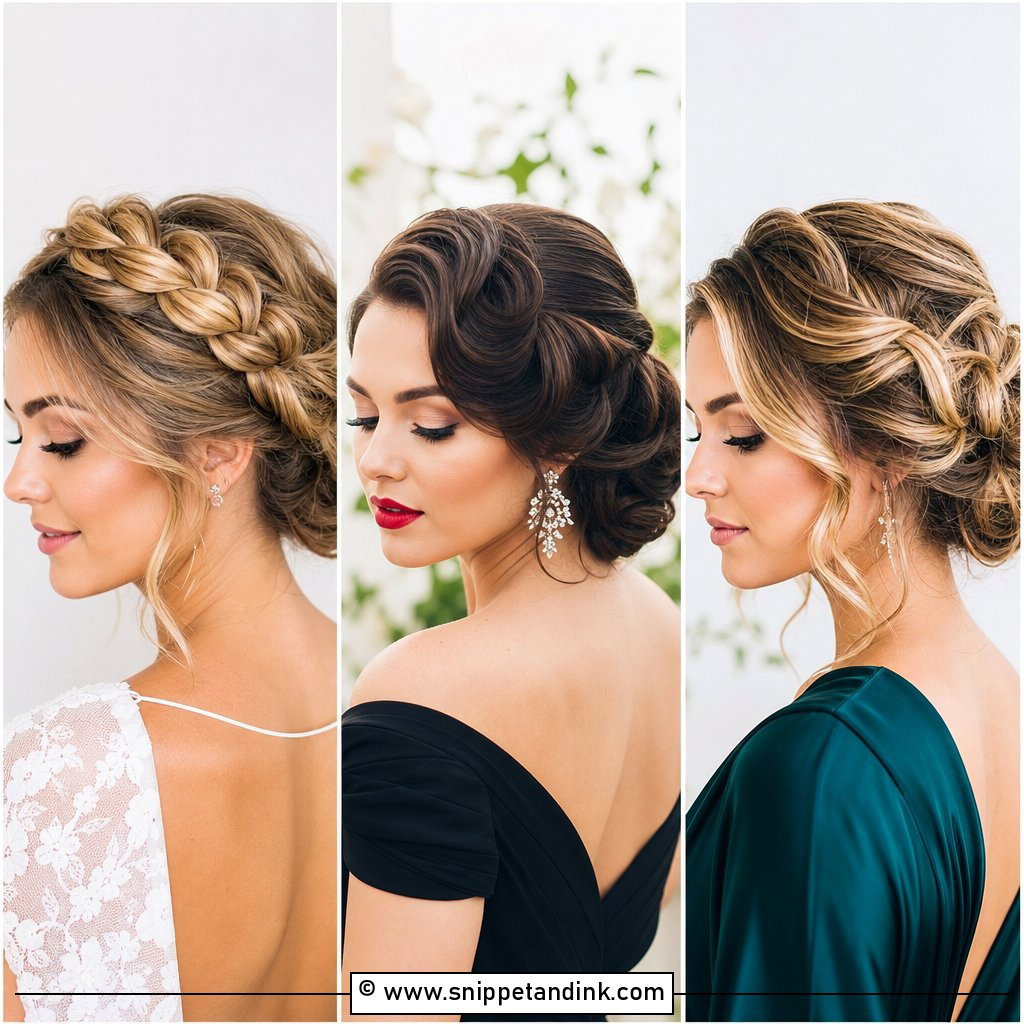
A crown braid wraps around the head like a halo and keeps hair entirely off the neck, which matters at a hot outdoor wedding. I braid two sections from behind the ears and cross them over the top of the head, pinning each end beneath the opposite braid. Pancaking the braid, gently pulling the edges outward, makes it look fuller. Weave in tiny flowers or baby’s breath for a softer finish. It needs medium to long hair; layered cuts will poke out, so pomade on your fingertips while braiding helps.
8. Side-Swept Low Bun
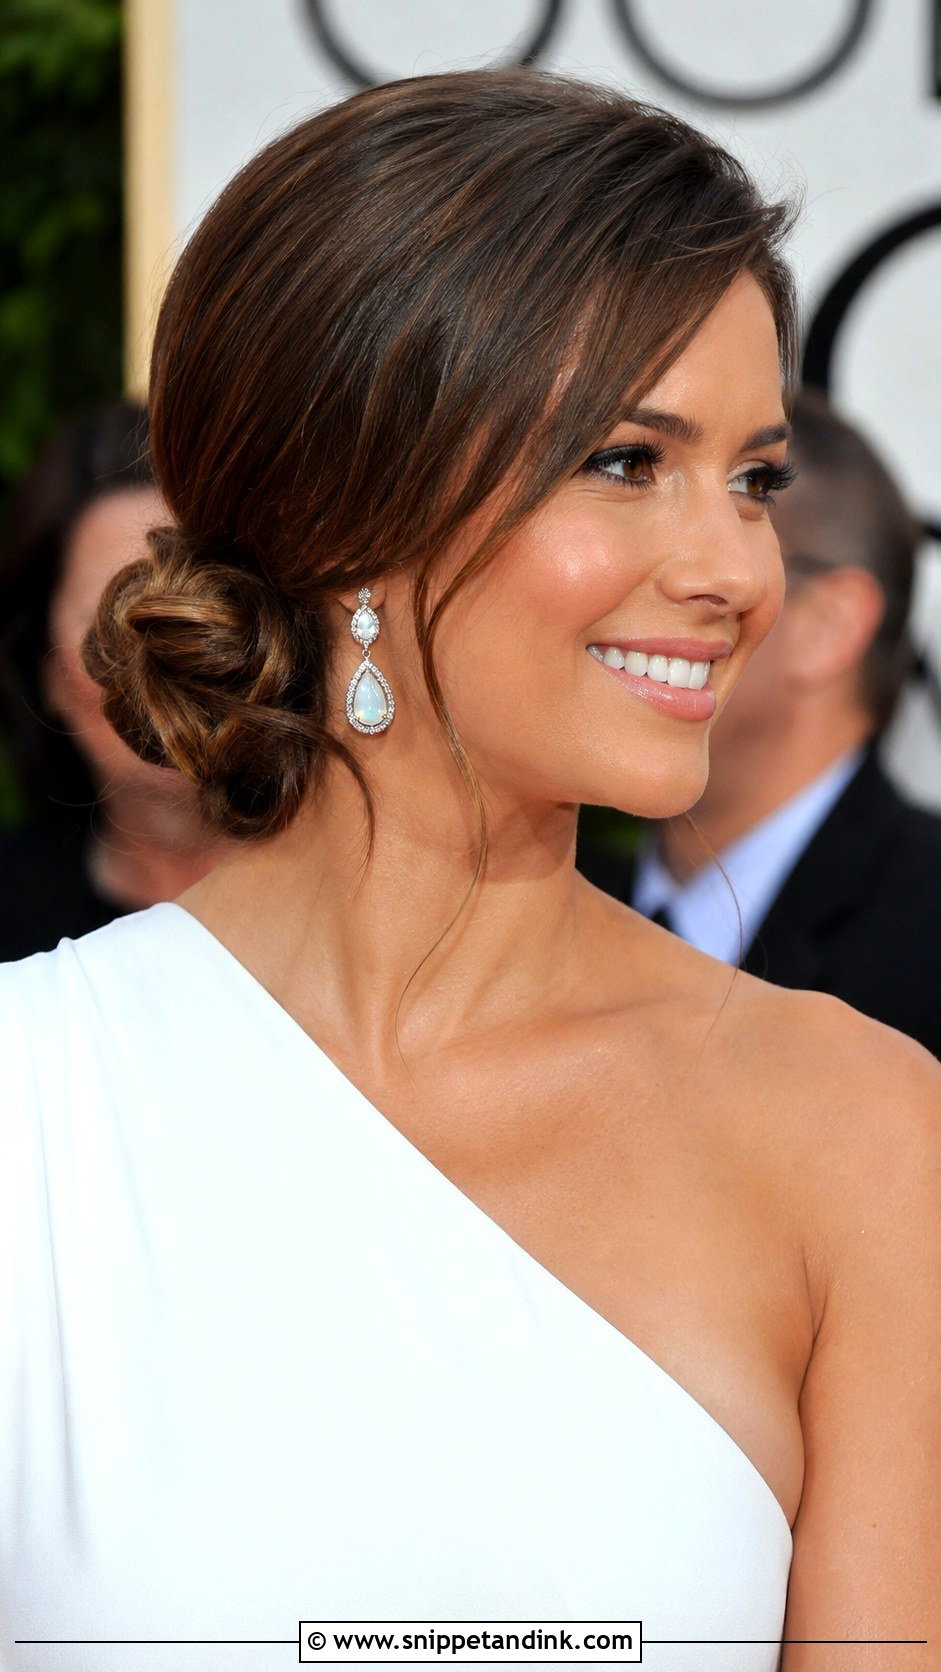
Sweeping a low bun to one side of the neck gives an asymmetric line that works with one-shoulder dresses. I place the bun on the strap side so the bare shoulder and that earring are left uncluttered. The trick is pinning the hair across the back of the head first with a row of crossed bobby pins, so the weight doesn’t drag the bun back toward the center by evening. Leave a few tendrils at the jaw on the open side.
9. Twisted Low Bun
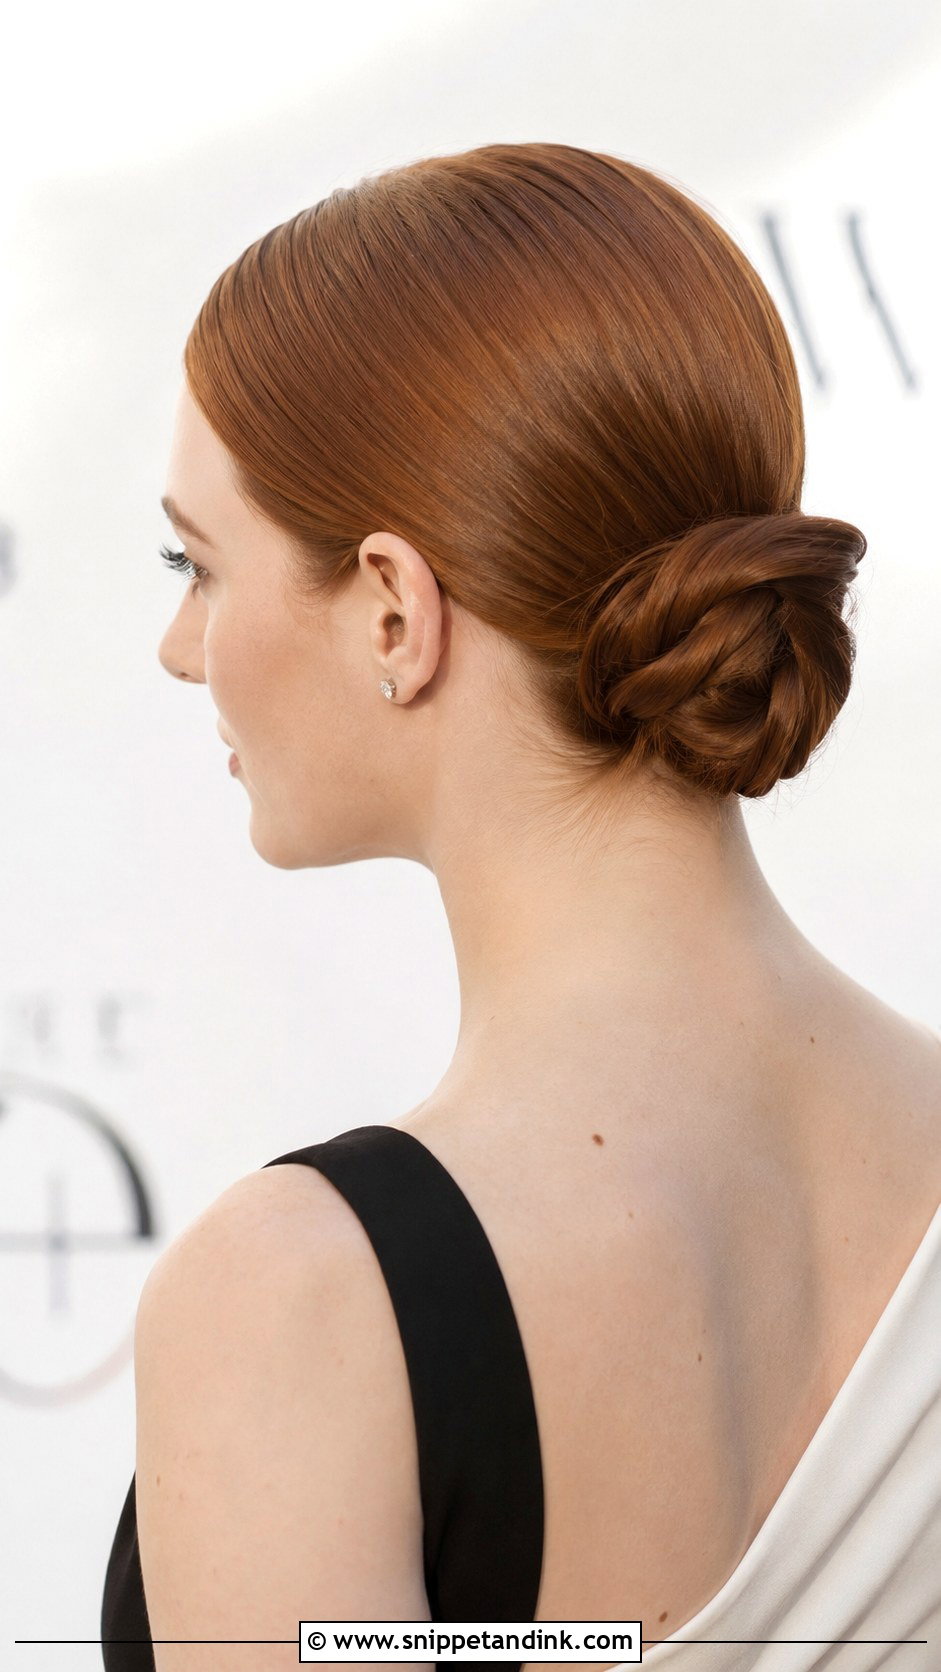
Twisting the sections before wrapping them gives this bun a subtle texture and makes it more secure than a smooth bun, because each twist grips the next. I split the ponytail into two or three sections, twist each tightly, then wrap and pin them around the base. Pair it with a sleek center part for modern polish or a soft side part for romance. It sits low enough to fit under most hats and wide-brimmed fascinators.
10. Curly Updo
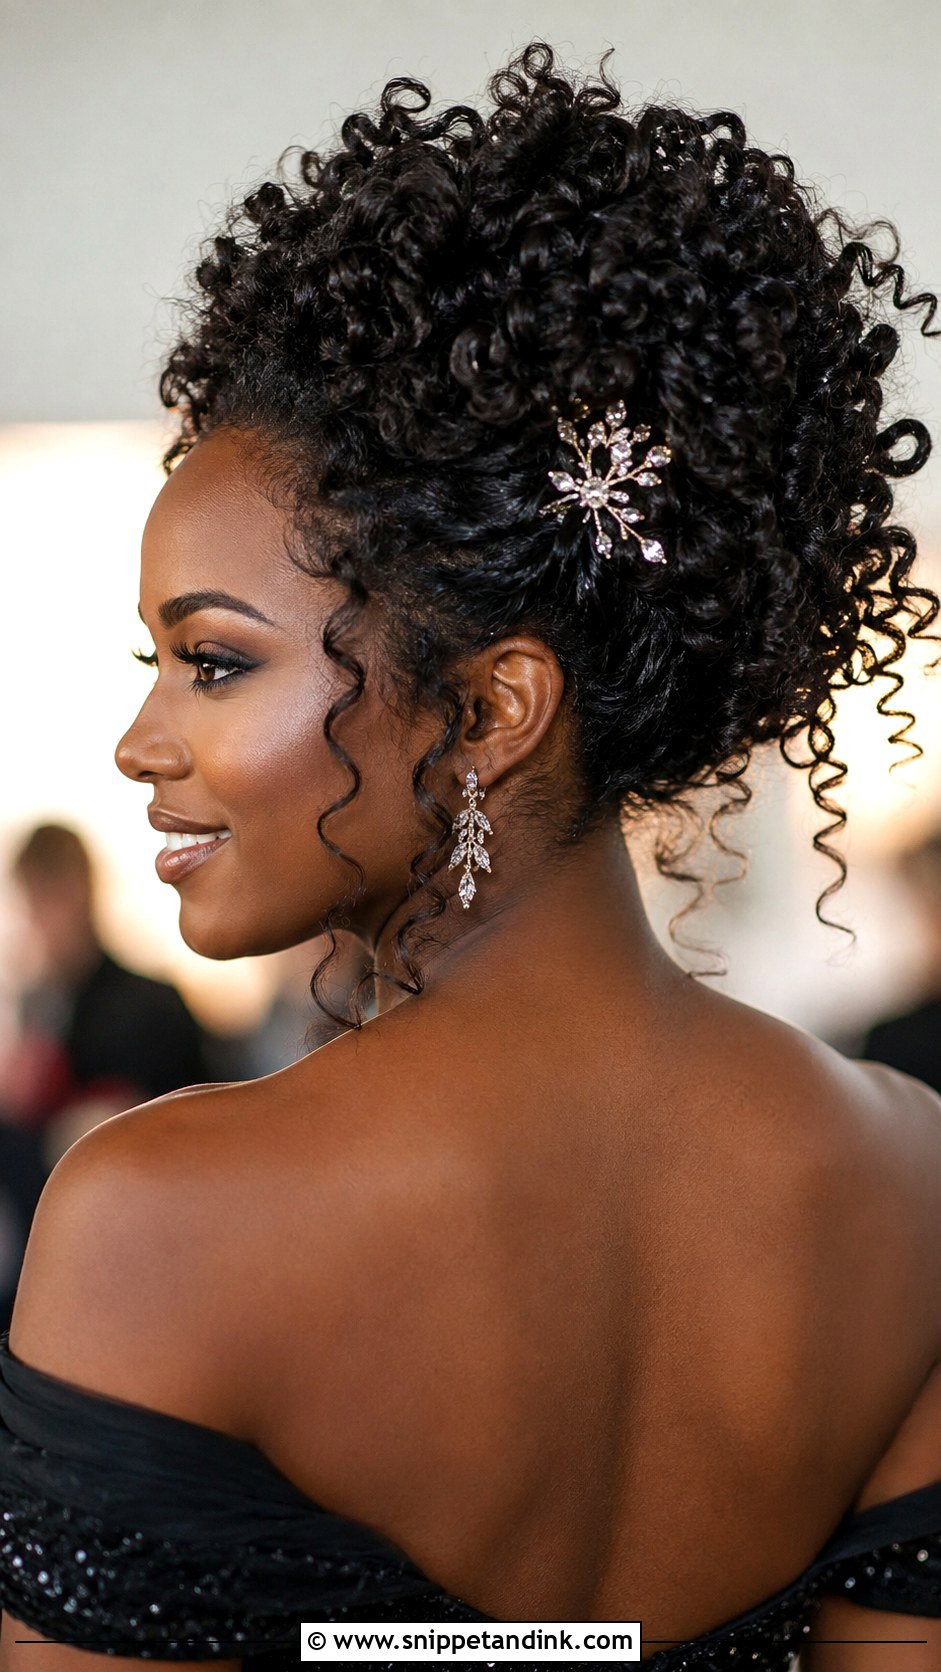
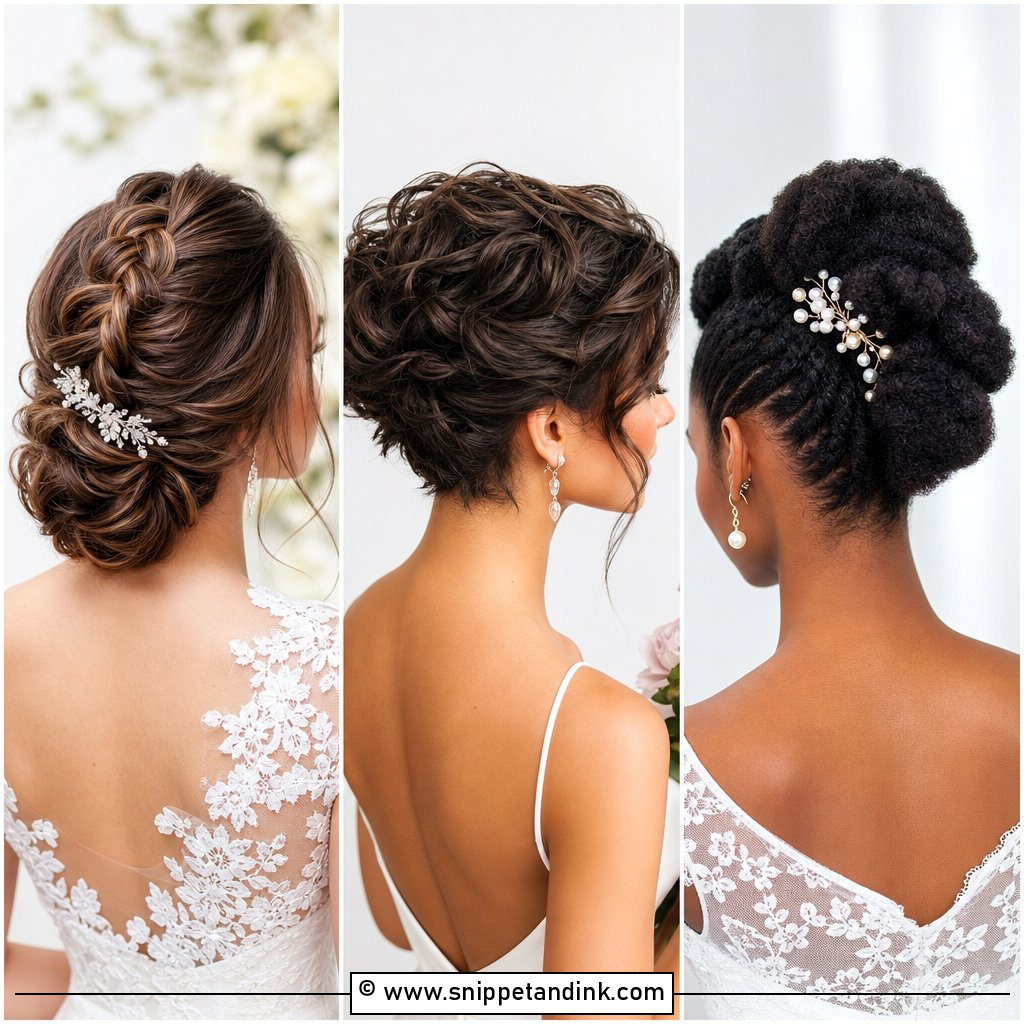
Curly and coily hair makes the most beautiful updos when it’s left curly. I refresh the curls with water and a little curl cream, never a brush, then gather them up loosely and pin with large U-pins that hold volume without crushing it. Pinning sections loosely keeps the shape full. A sparkly pin or two adds evening sparkle. I’d advise against stretching or blow-drying curls straight just for an updo; it rarely looks as good as your own texture, and humidity will revert it anyway.
11. Rope Braid Chignon
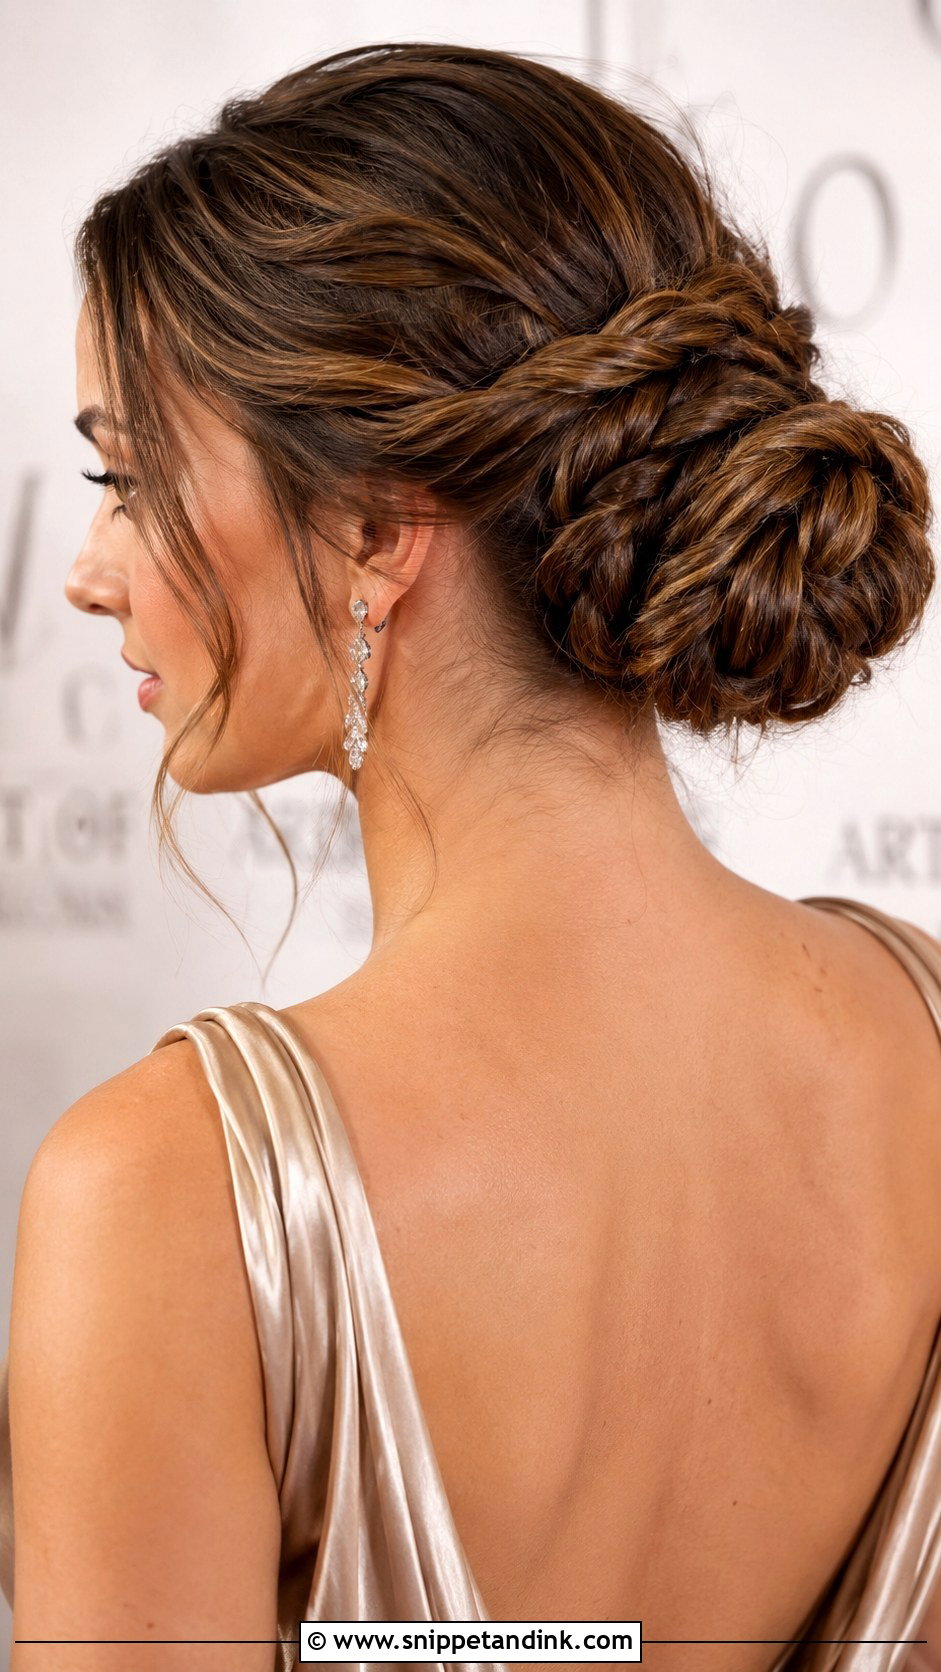
Swap a smooth chignon for the rope braid version and you add texture without much extra work. Two sections are twisted around each other in the opposite direction to how each is twisted individually, which is what stops a rope braid from unravelling. The rope then coils into a low bun. It suits formal weddings, and the ridges catch light from every angle. I’d leave a couple of loose strands at the front to soften the structure.
12. Sleek Top Knot
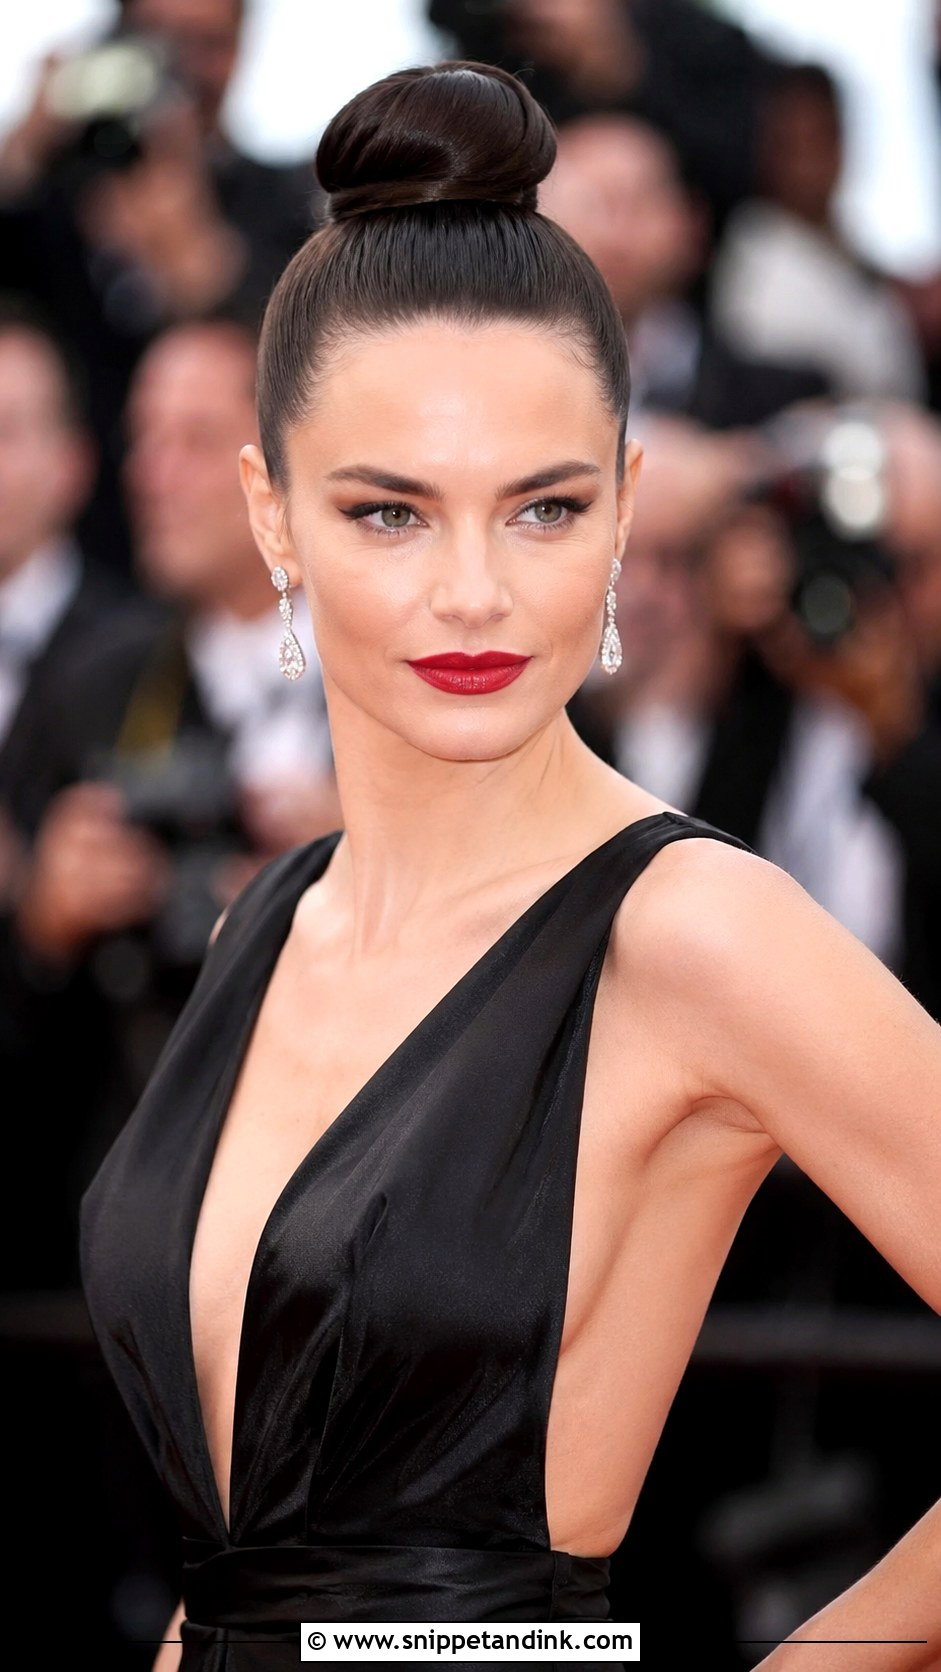
A top knot sits high on the crown and gives a clean, minimal line. I use strong-hold gel or pomade to smooth the ponytail, which keeps flyaways down all evening, then twist and coil the knot. It suits formal city weddings with contemporary gowns, bold lips and statement jewelry. Very fine hair can make a top knot look small; a bun filler or a donut in your hair color gives it a better size without looking padded.
13. Braided Crown With Bun
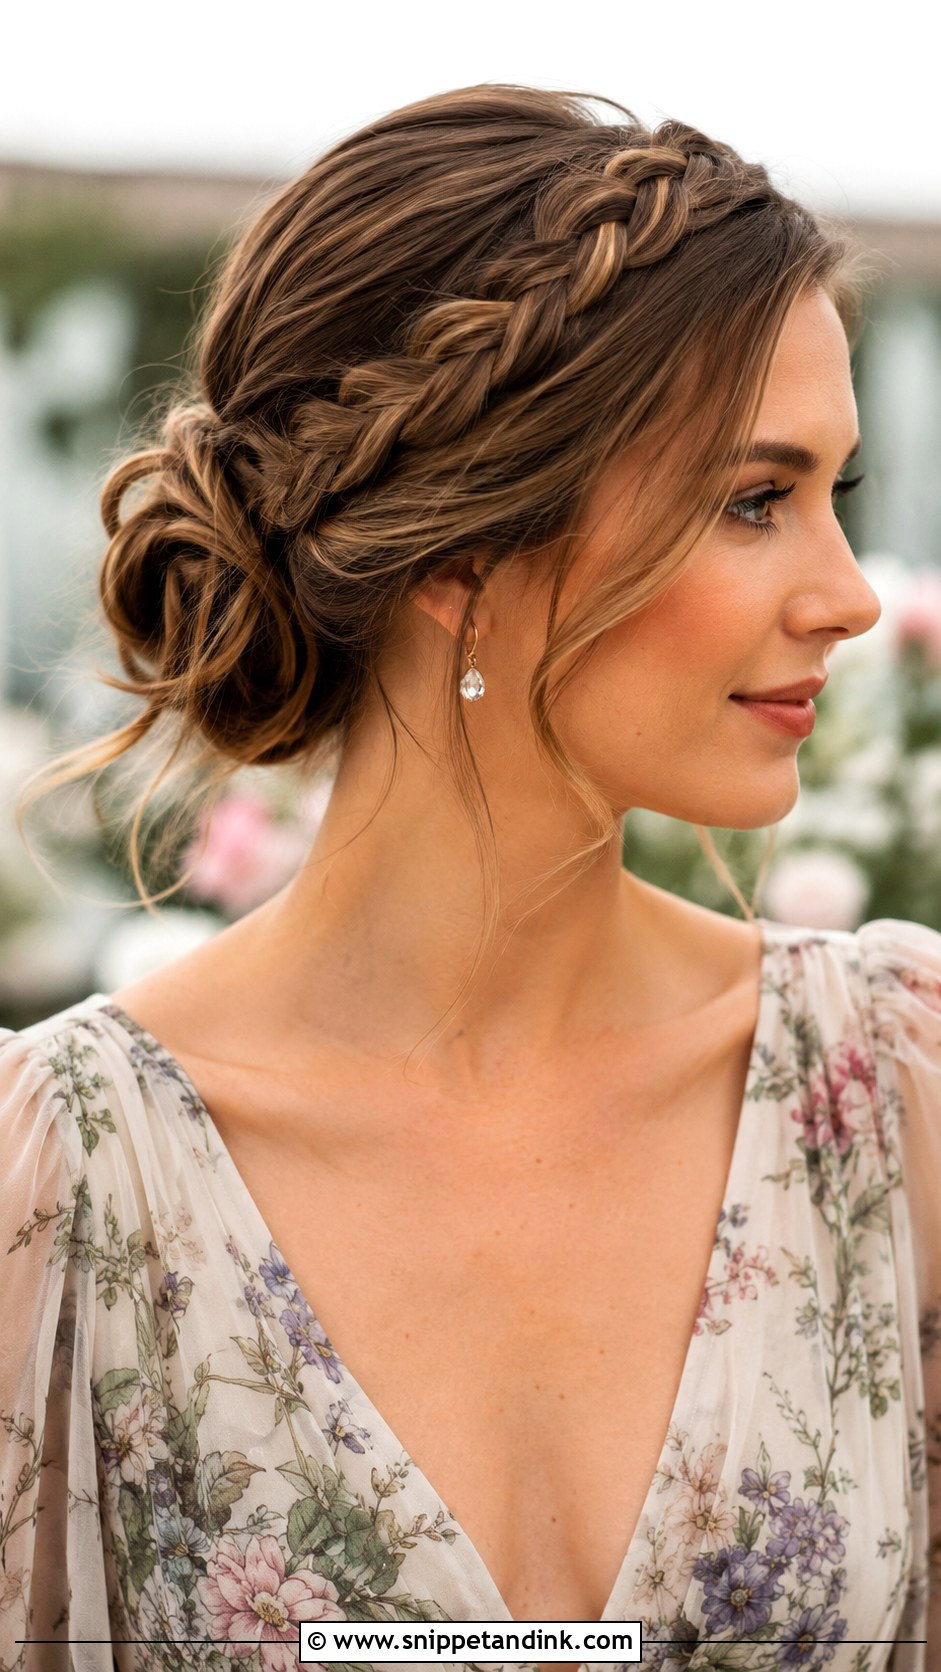
A braid across the front leading into a low bun at the back gives the face a frame and the back a finish. I braid from one temple across the hairline to behind the opposite ear, then gather the rest with the tail of the braid into a textured knot. It suits garden and vineyard weddings, with floral or pearl accessories. Medium to long hair is needed. Fringes are the usual complication; I either braid them in or leave them out entirely, as half-caught fringe looks messy.
14. Low Knotted Updo
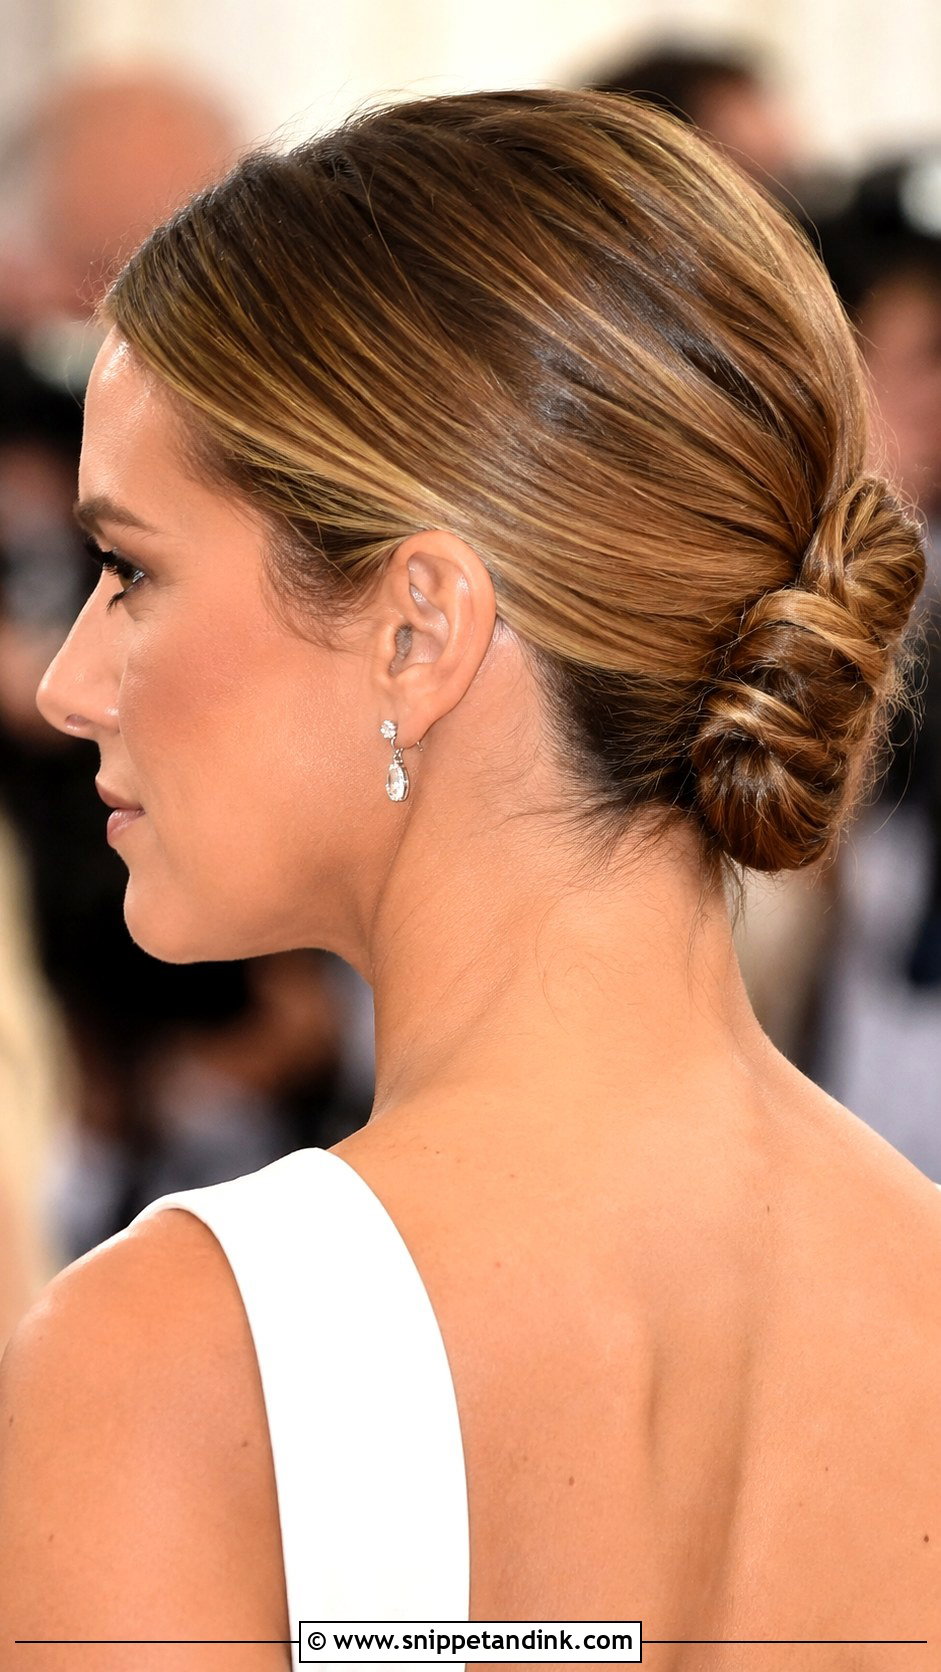
Instead of a bun, small sections are tied into simple knots that stack at the nape, giving a textured, modern shape. I tie the knots with two strands at a time, pinning each one as I go so they don’t slip. This needs long hair; shoulder length doesn’t have enough to knot. It’s understated, so pair it with a sleek dress and small earrings at a minimalist wedding.
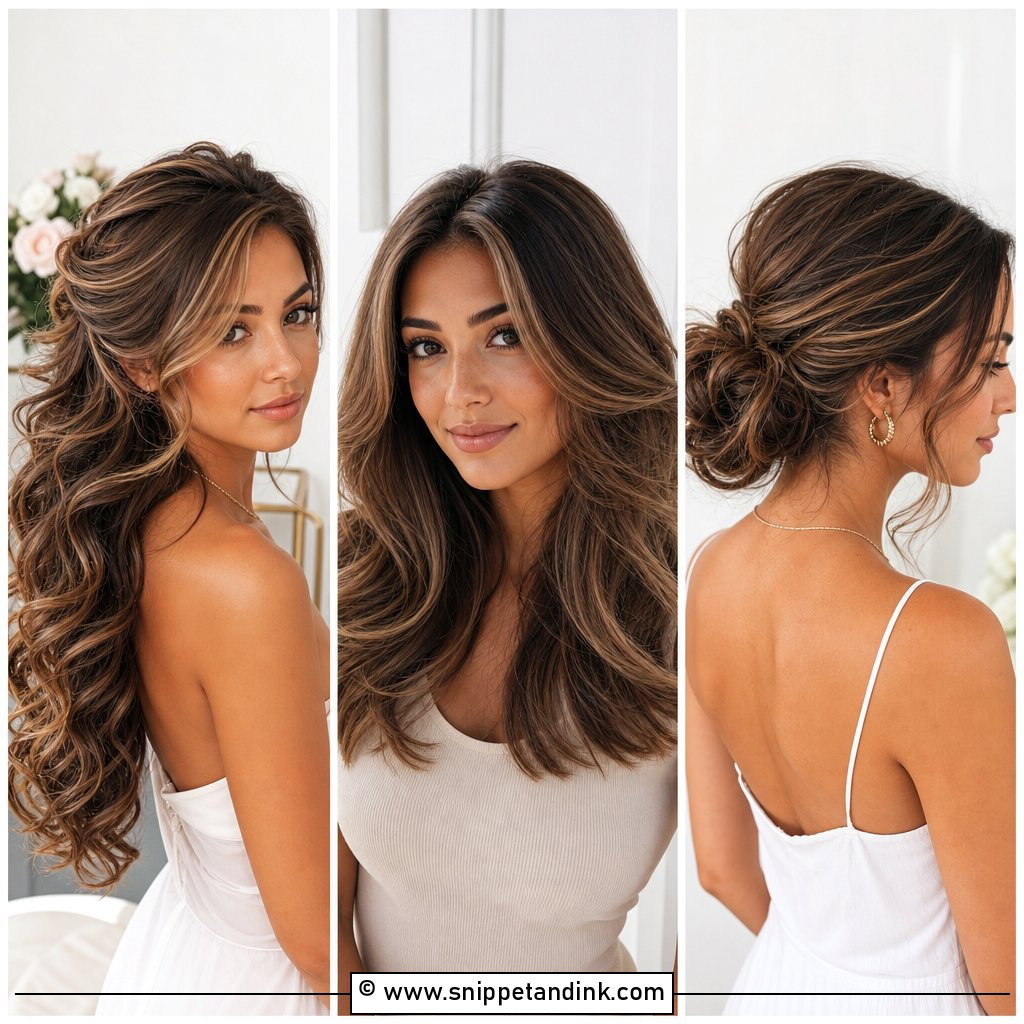
15. Bouffant Updo
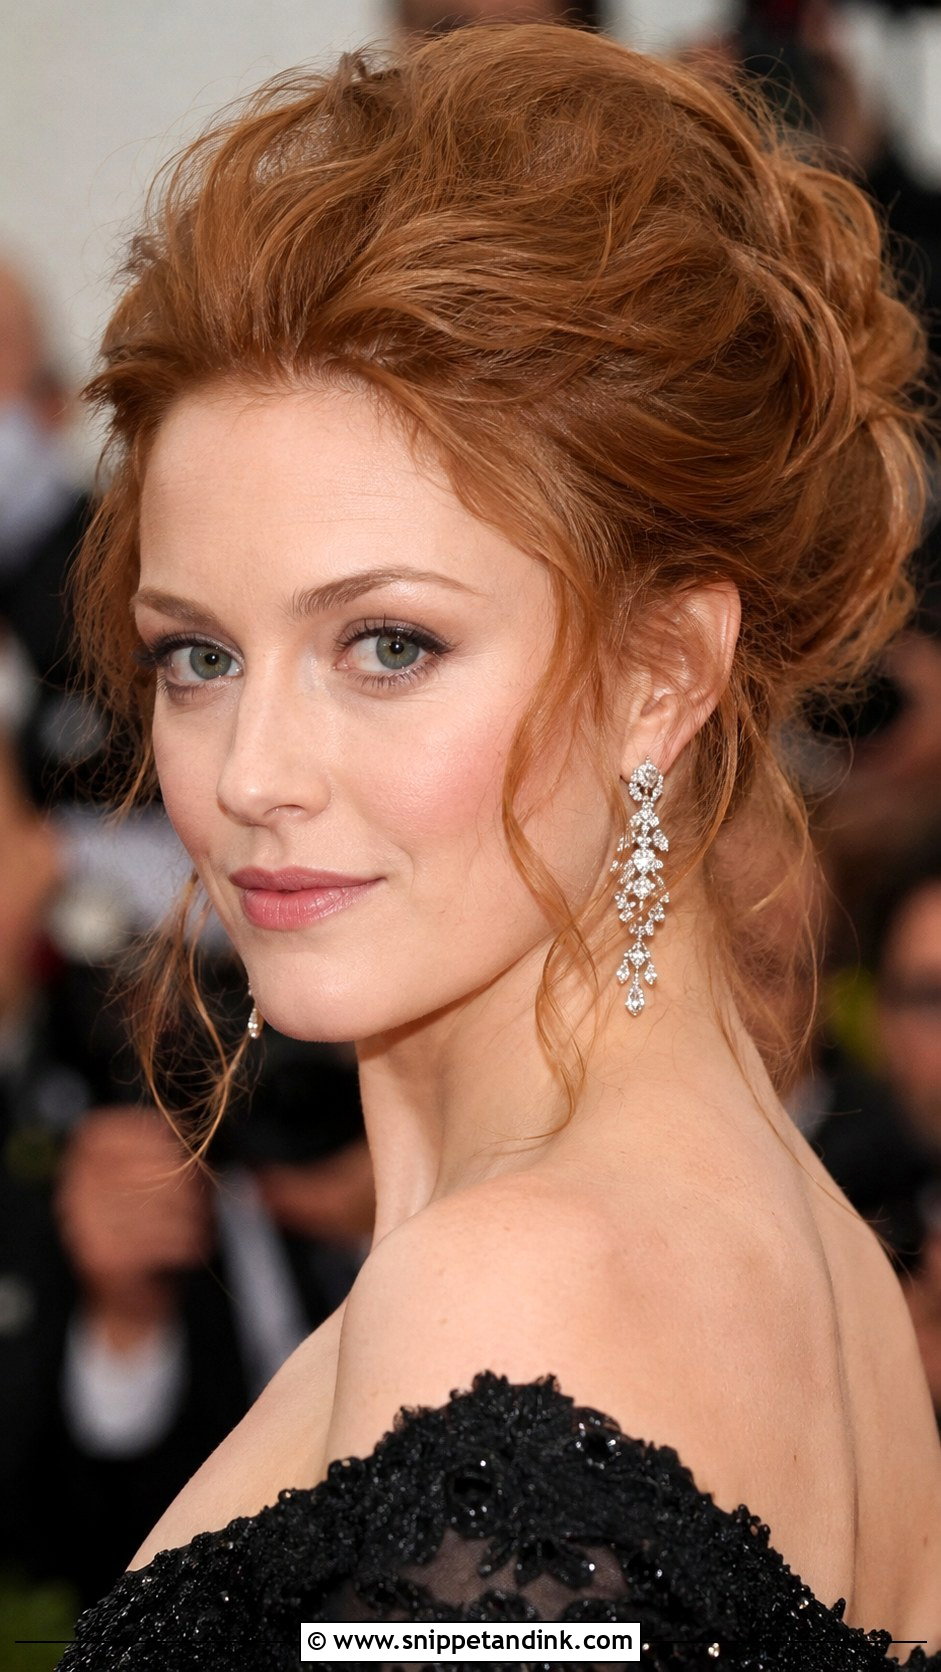
A bouffant gives height and a touch of old Hollywood. The lift comes from backcombing at the crown with a fine comb, in small sections, then smoothing the top layer over the teasing so none shows. The rest of the hair sweeps into a bun or twist. It suits formal evening weddings and chandelier earrings. The added height lengthens a round face. Brush the teasing out gently with conditioner afterward, not a dry brush, or you’ll lose a lot of hair to knots.
16. Fishtail Braid Updo
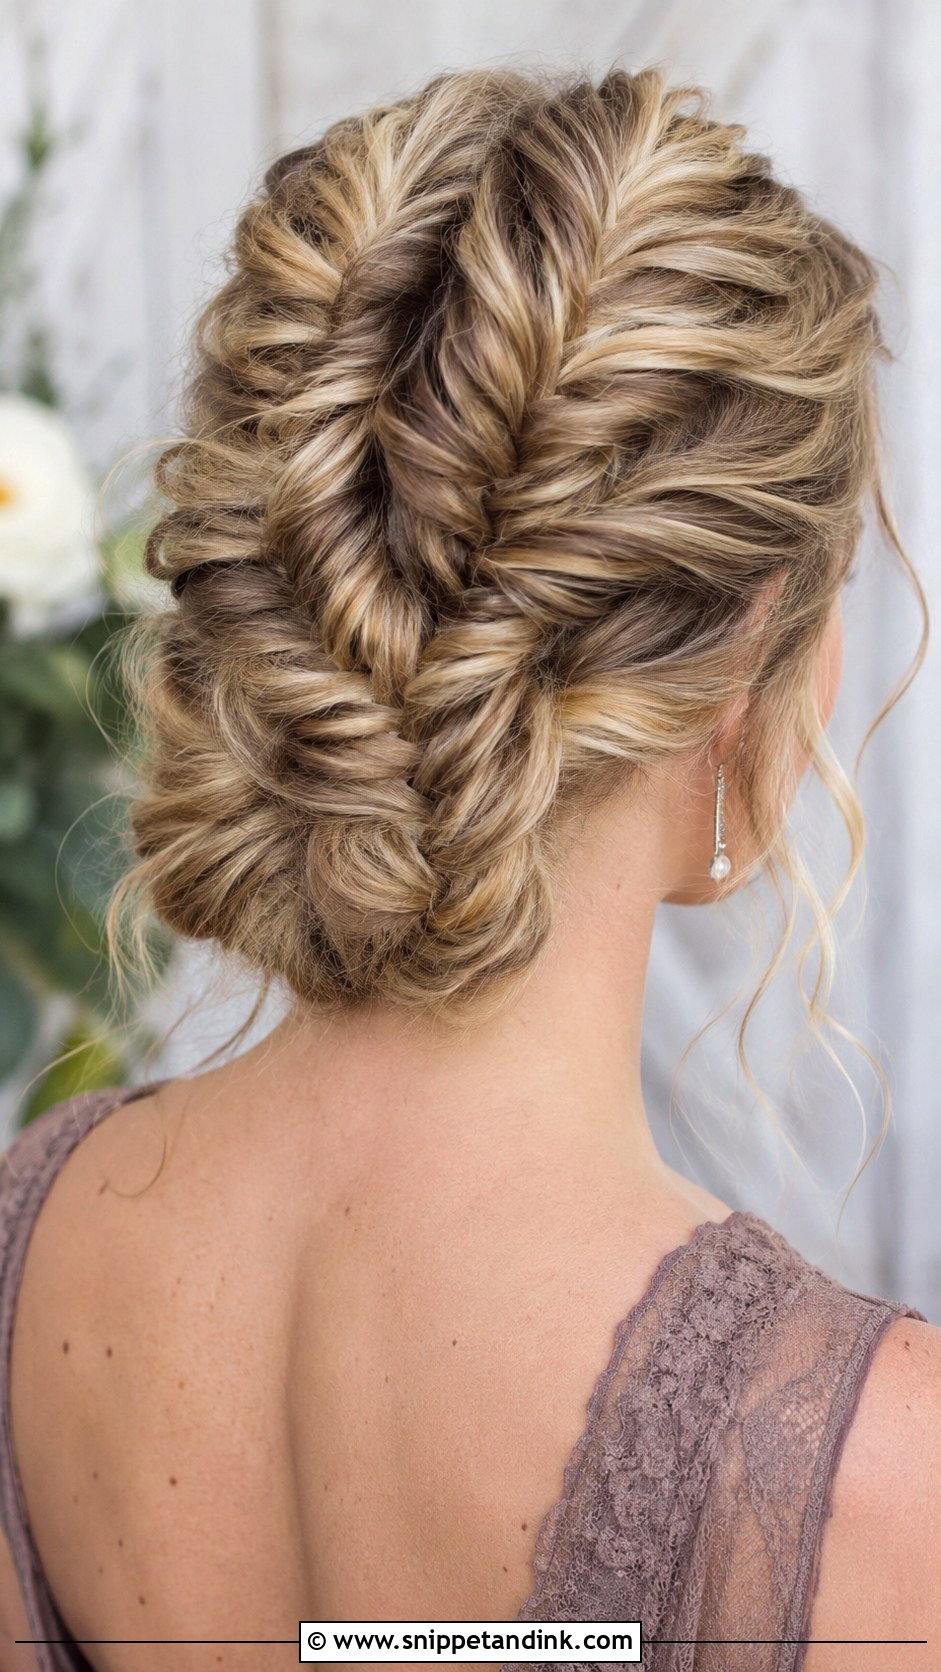
A fishtail braid gives a finer woven texture than a standard braid. I braid the fishtail first, pull it gently to loosen and widen it, then pin it up into a soft gathered shape. Fishtails take longer to braid than three-strand plaits, so leave time. It suits rustic and semi-formal weddings, longer hair and delicate accessories. Loosening the braid also hides any uneven sections, which is handy if you’re braiding your own hair.
17. Pinned Back Curls
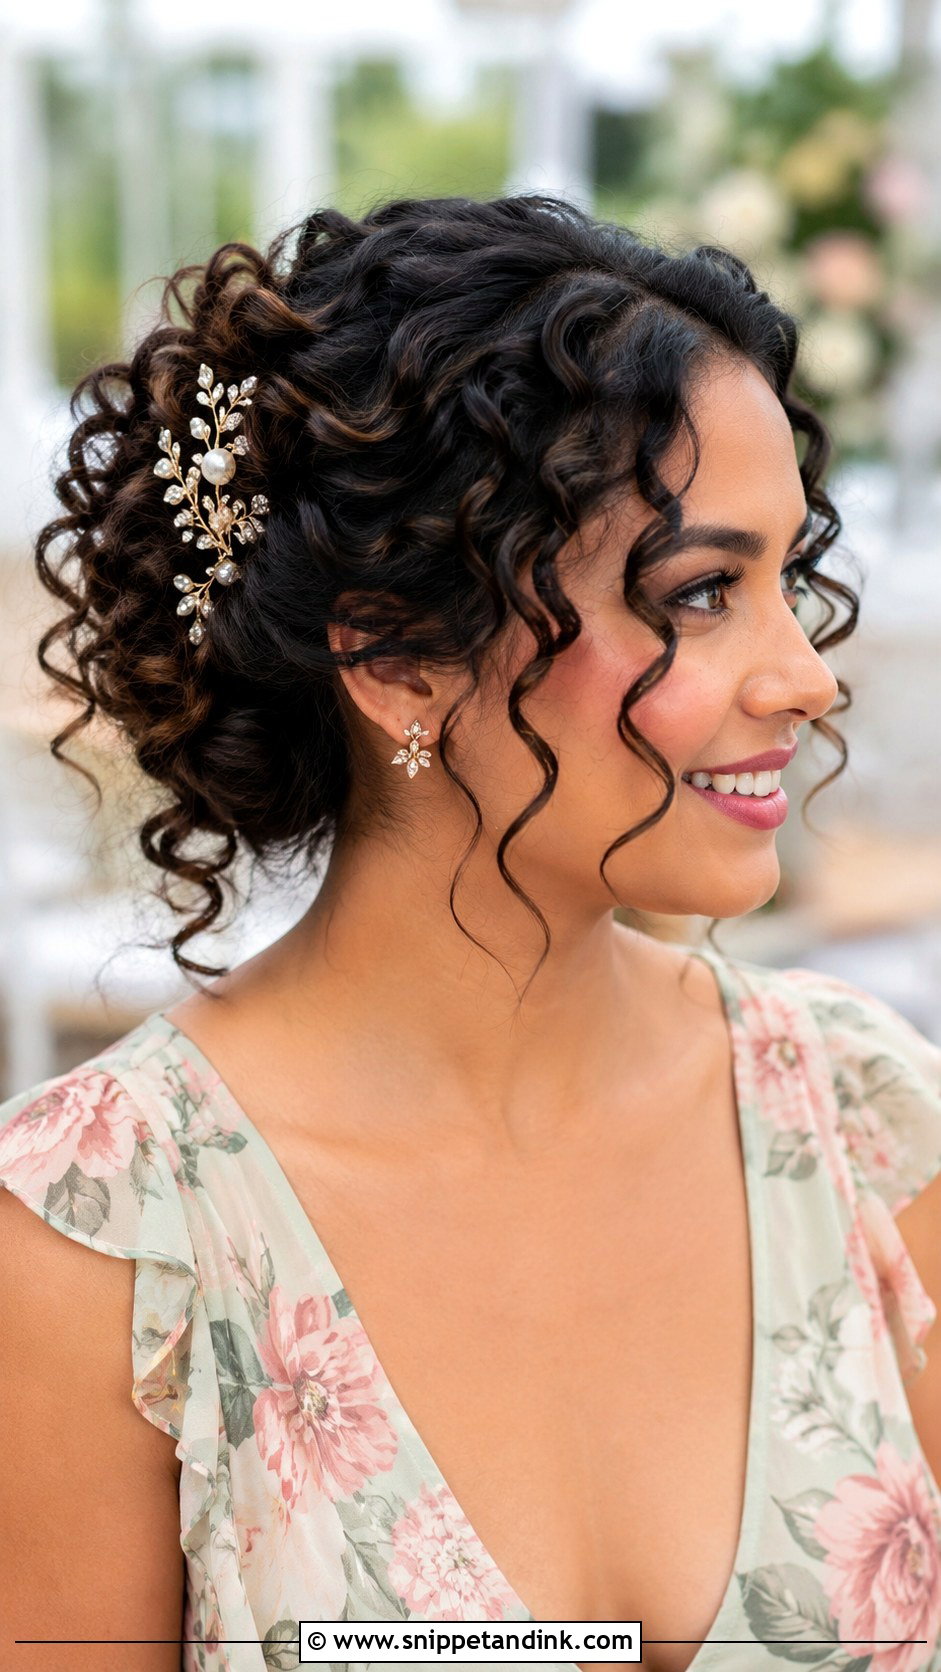
Curls pinned back into a loose, full shape keep hair off the face while showing off natural curl. I pin from the sides toward the back, catching each section with a U-pin turned against the curl so it locks. Leave a few curls loose at the temples. It suits garden parties and semi-formal weddings, with a decorative comb or sparkly pins for evening. On very dense curly hair, I’d split the hair into two sections first so the pins aren’t fighting the whole weight at once.
18. Twisted Updo With Tendrils
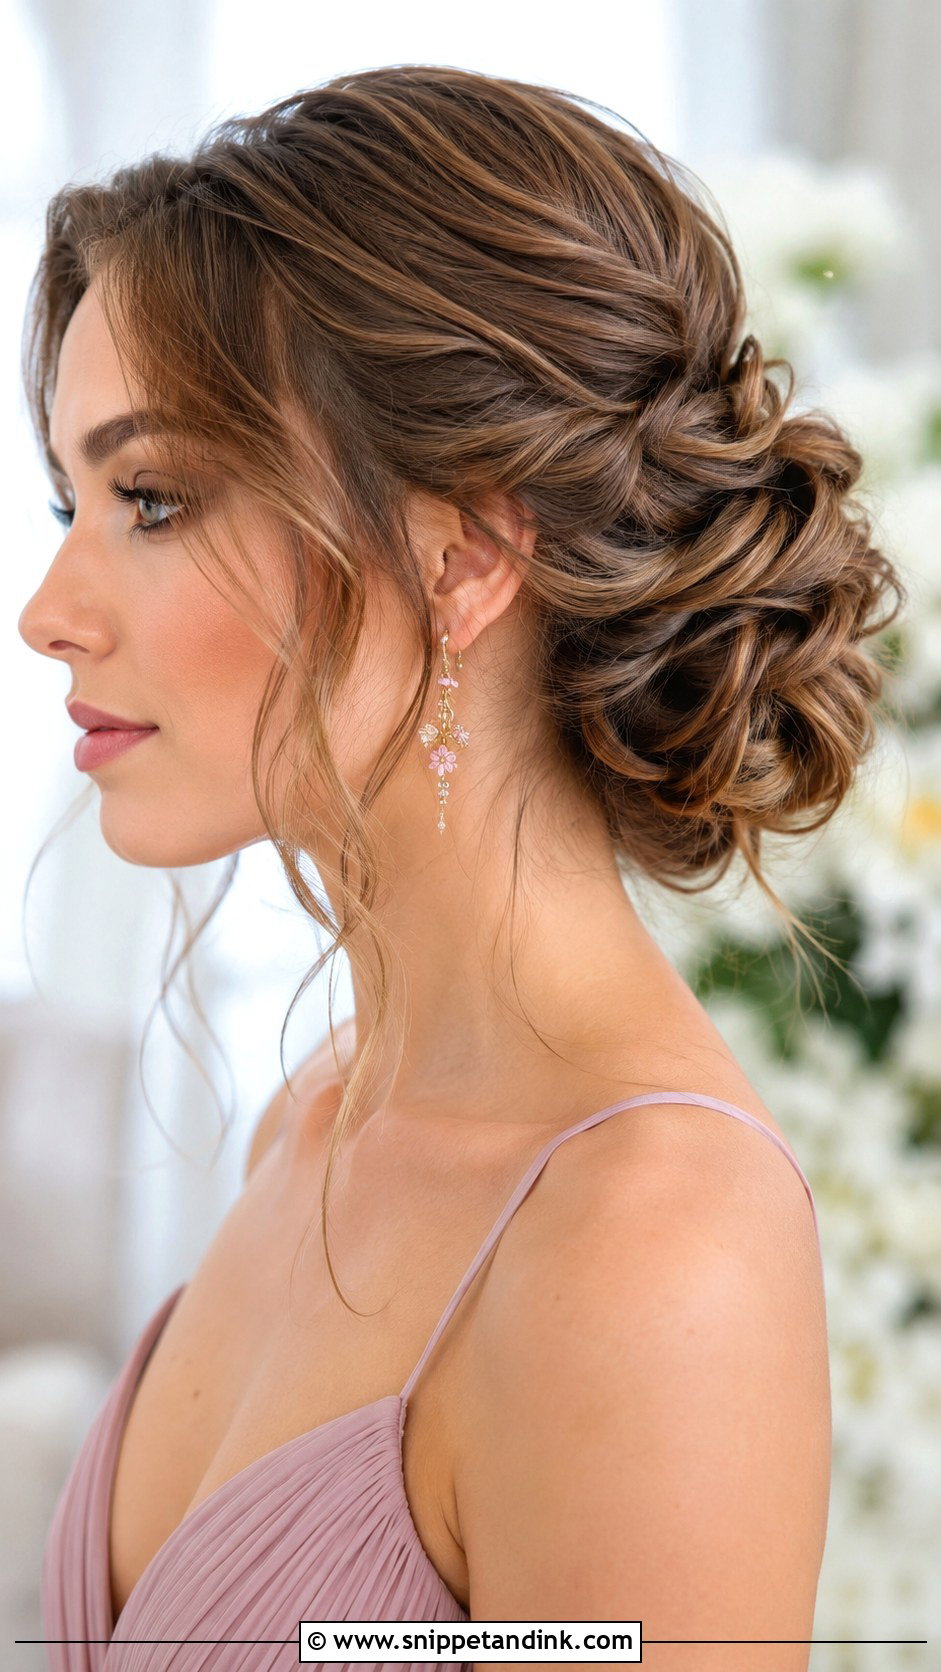
This updo pairs elegant twists with soft, loose tendrils at the face. The twists are gathered into a low, textured shape, and the tendrils soften the overall effect. I curl the tendrils separately with a small barrel, then break them up with fingers so they don’t look like corkscrews. It suits spring and summer weddings, and medium to long hair. Tendrils that are too long tend to tangle in earrings, so I cut the length at about the jaw.
19. Classic Bun With Headband
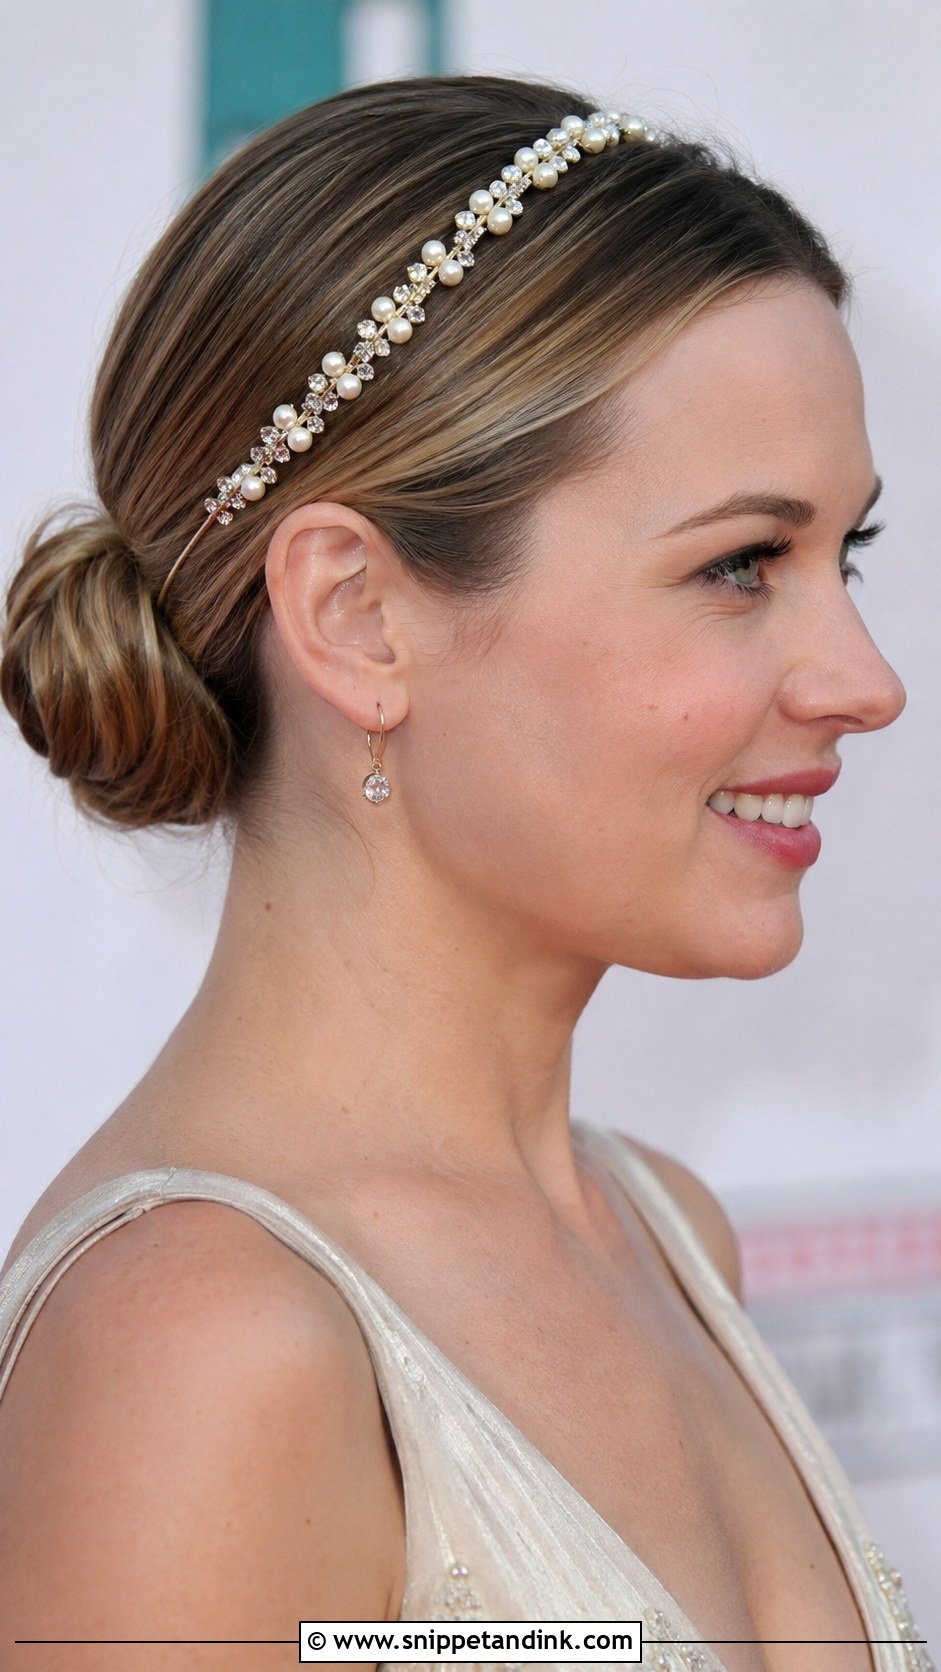
A smooth bun with a headband gives a structured, finished look. The bun sits at the back of the head and the headband adds the decoration. A pearl or crystal band suits evening, a satin one daytime. I put the headband on before pinning the bun, so the hair in front can be gently pushed forward for a little lift; otherwise it sits flat against the head. A headband with small teeth on the underside stays put far better than a smooth one.
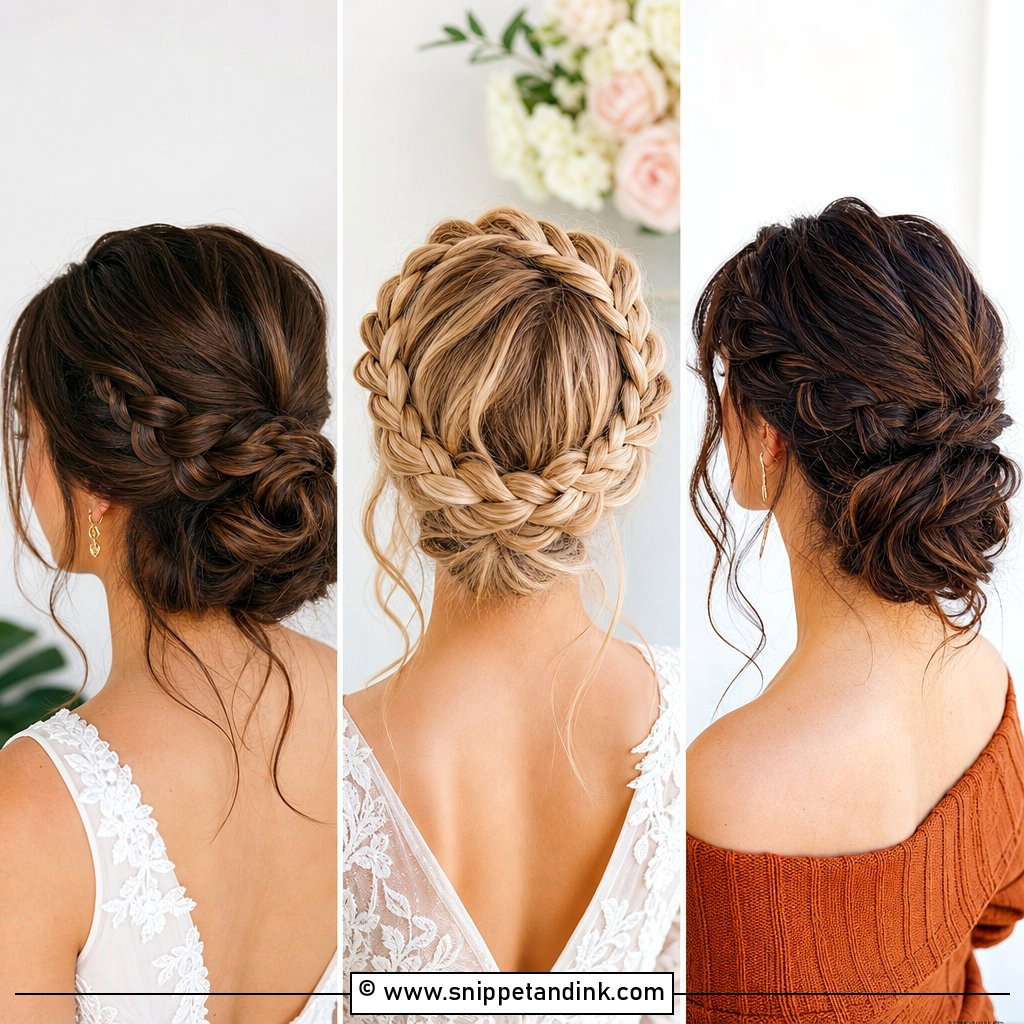
20. Loose Braided Updo
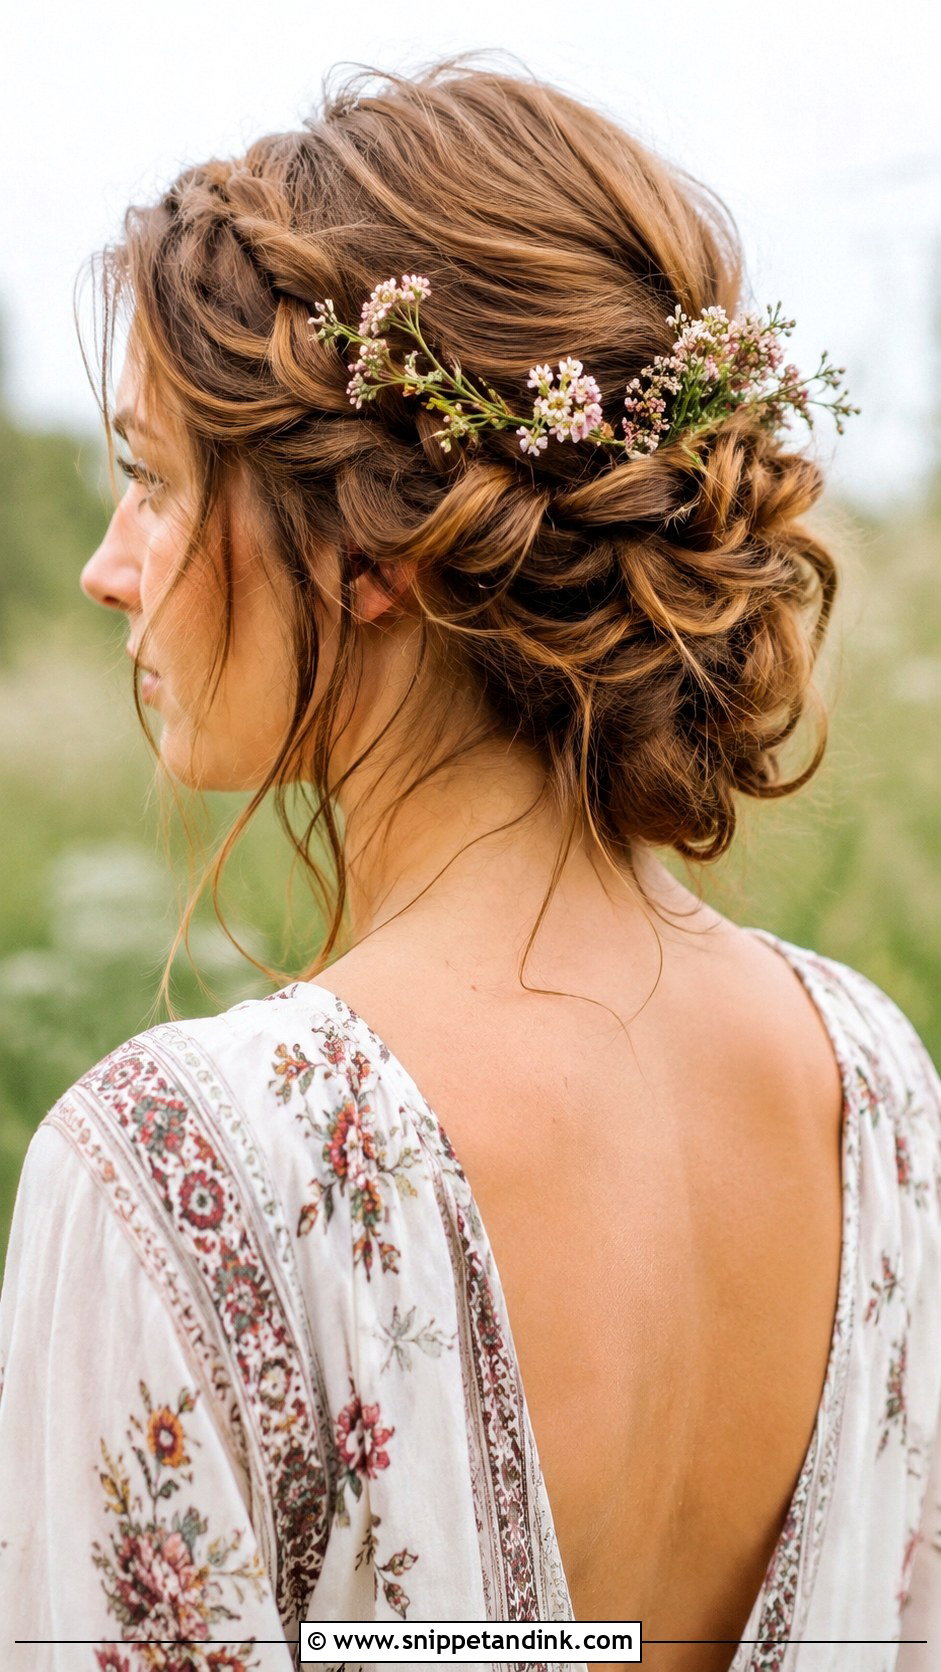
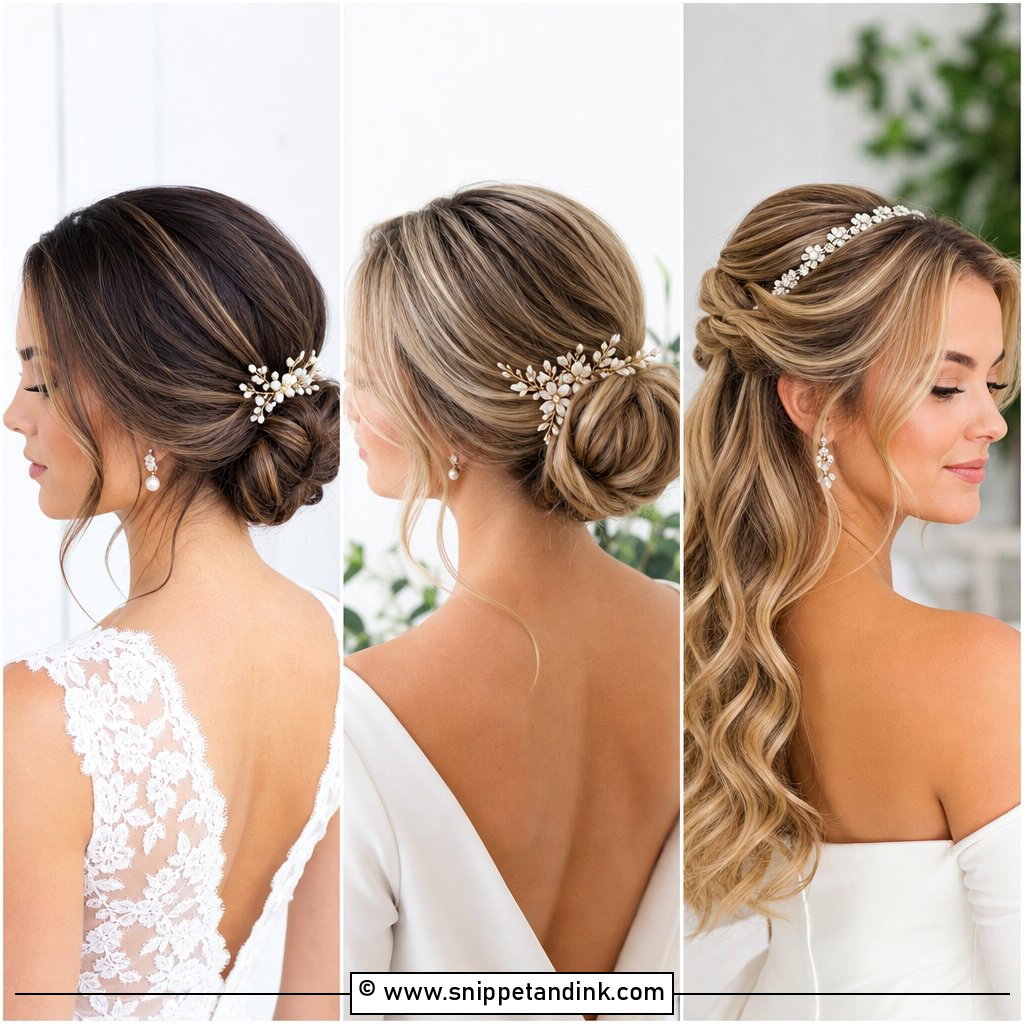
Loose braids pinned into a relaxed shape suit boho and outdoor weddings. I braid several sections, pull them loose, then pin them in a soft pile at the back with some pieces pulled free. Wavy and curly hair gives the best result because the braids hold their shape without looking tight. Small flowers or delicate pins can sit between the braids. It’s a dreamy option for medium to long hair.
21. High Bun With Volume
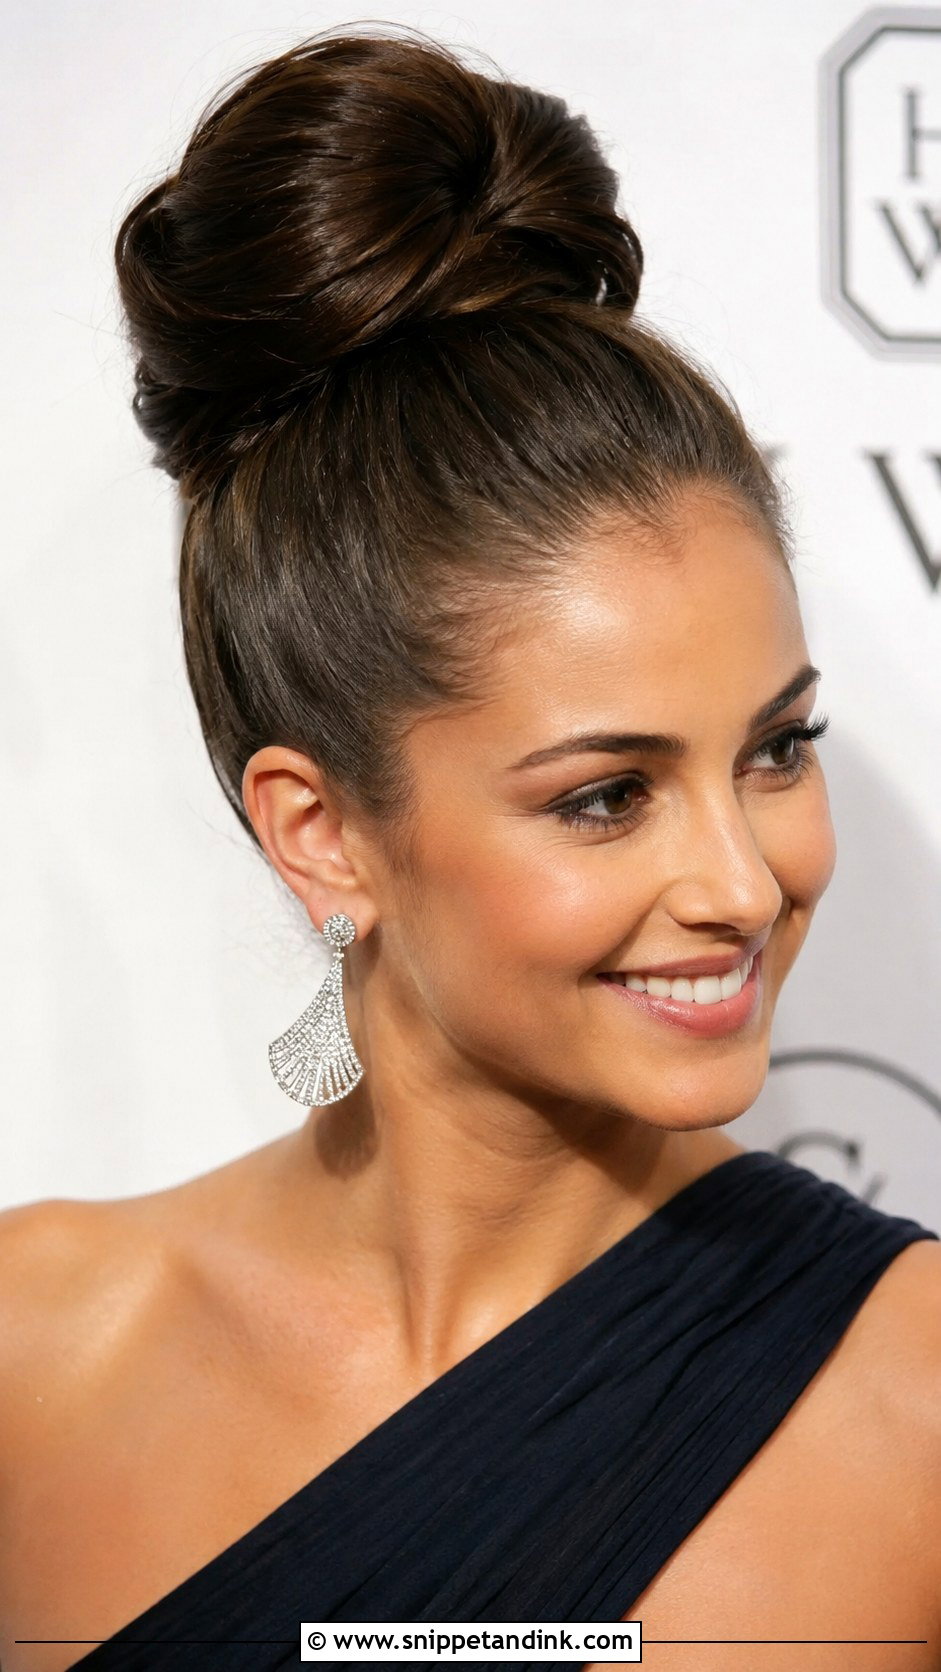
A high bun with real volume makes a strong silhouette at a formal evening wedding. I gather the hair on the crown into a voluminous, rounded knot and tease the bun slightly, then smooth the front for contrast. The height lengthens the neck and pairs with statement earrings. The weight sits high, so I anchor the bun with pins pushed in from the side, toward the elastic, rather than straight down.
22. Side Braided Bun
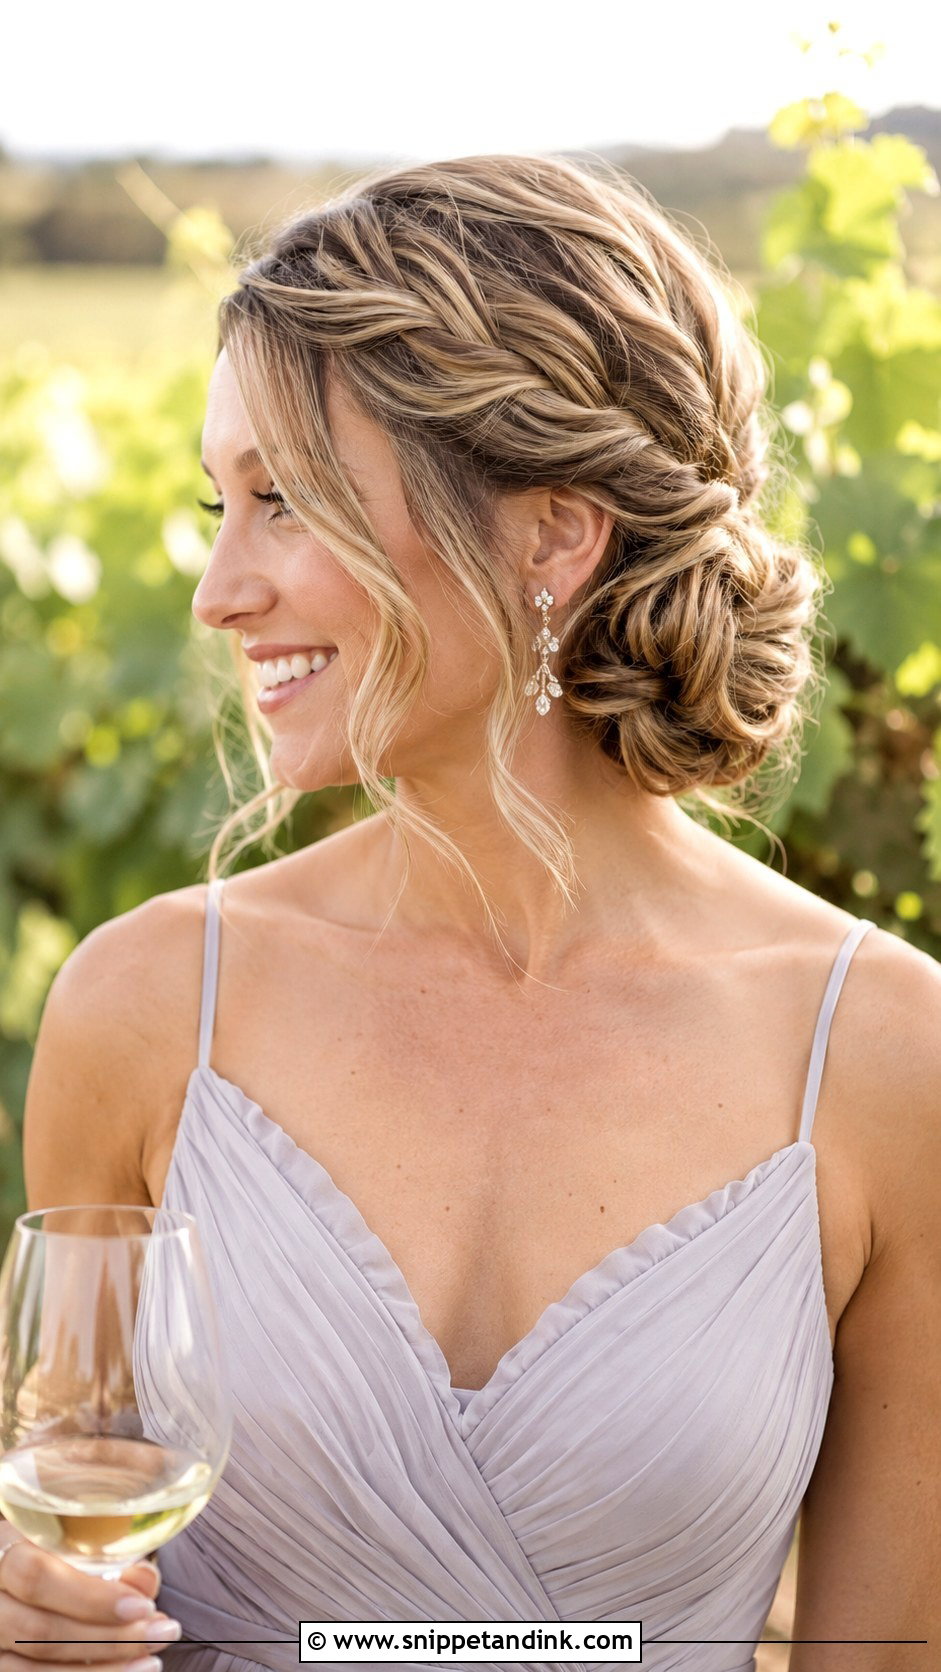
A braid running along one side into a low bun on the opposite side is asymmetric and romantic. I braid along the hairline from one temple, carry the braid across the back, and then gather everything into a low bun near the opposite ear. The braid adds detail without fuss, which suits garden and vineyard weddings. Medium to long hair works best. Leave a few tendrils loose near the bun for softness.
23. Knotted Bun Updo
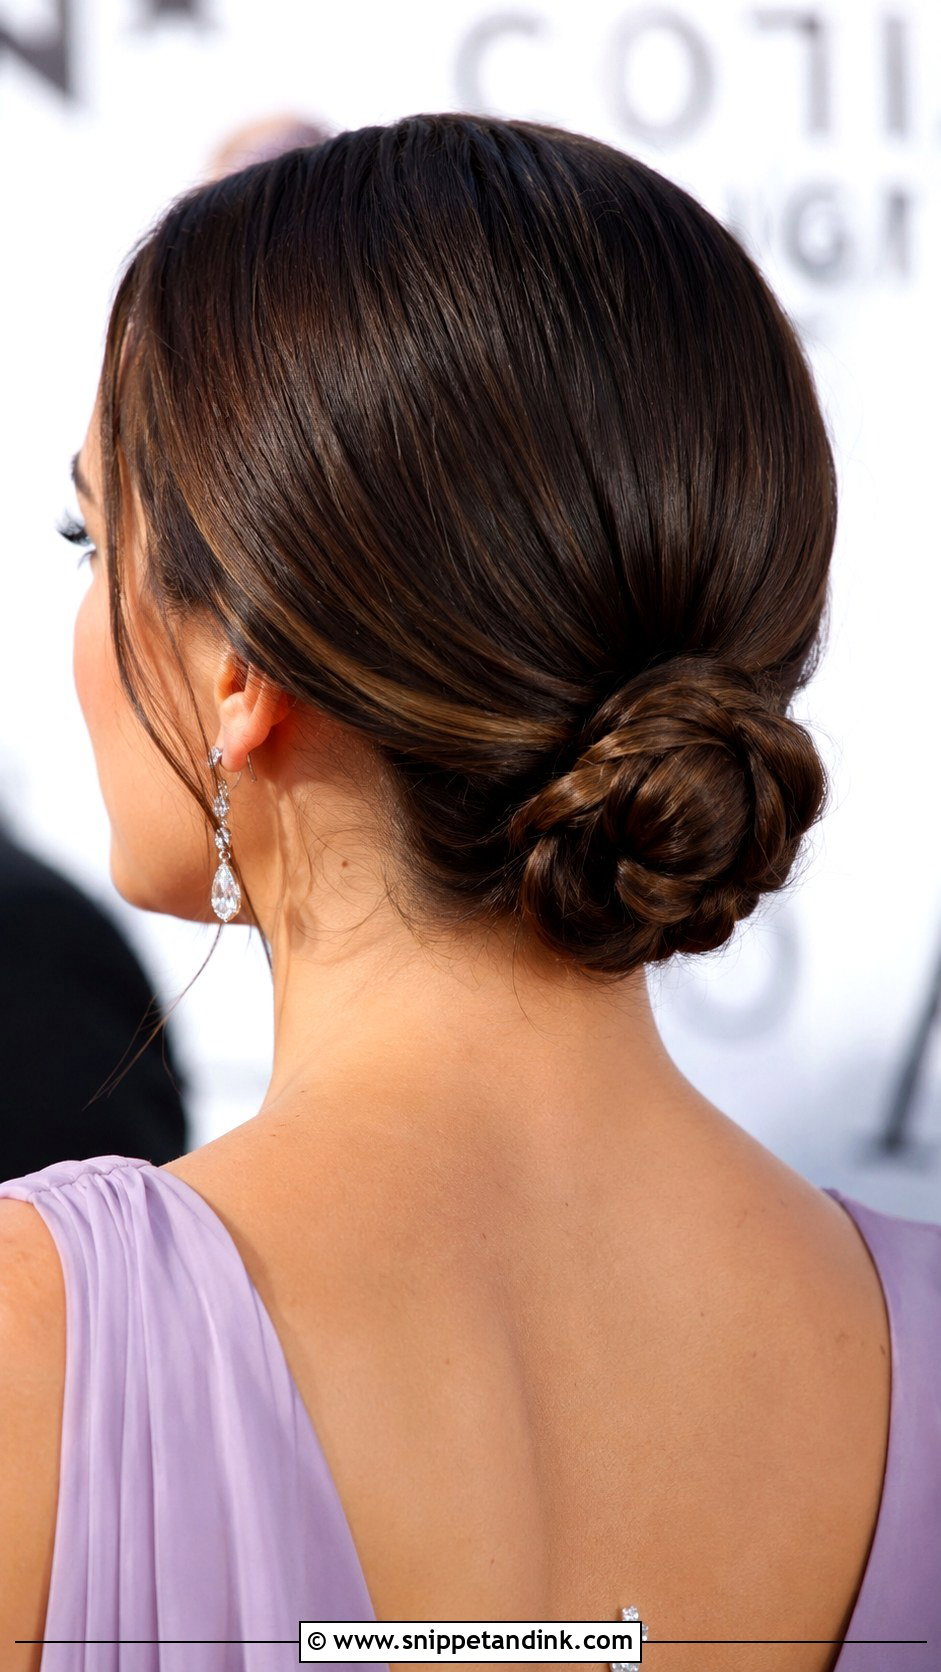
Tying the hair into one knot at the nape gives a neat shape with very little effort. I split a low ponytail into two halves, tie them into a single knot, tuck the ends under and pin. It’s minimal and modern for contemporary gowns. Smooth the front or leave a few strands out. A single knot works best on hair that’s thick enough to fill it; on fine hair, I’d do a twisted bun instead.
24. Romantic Curled Updo
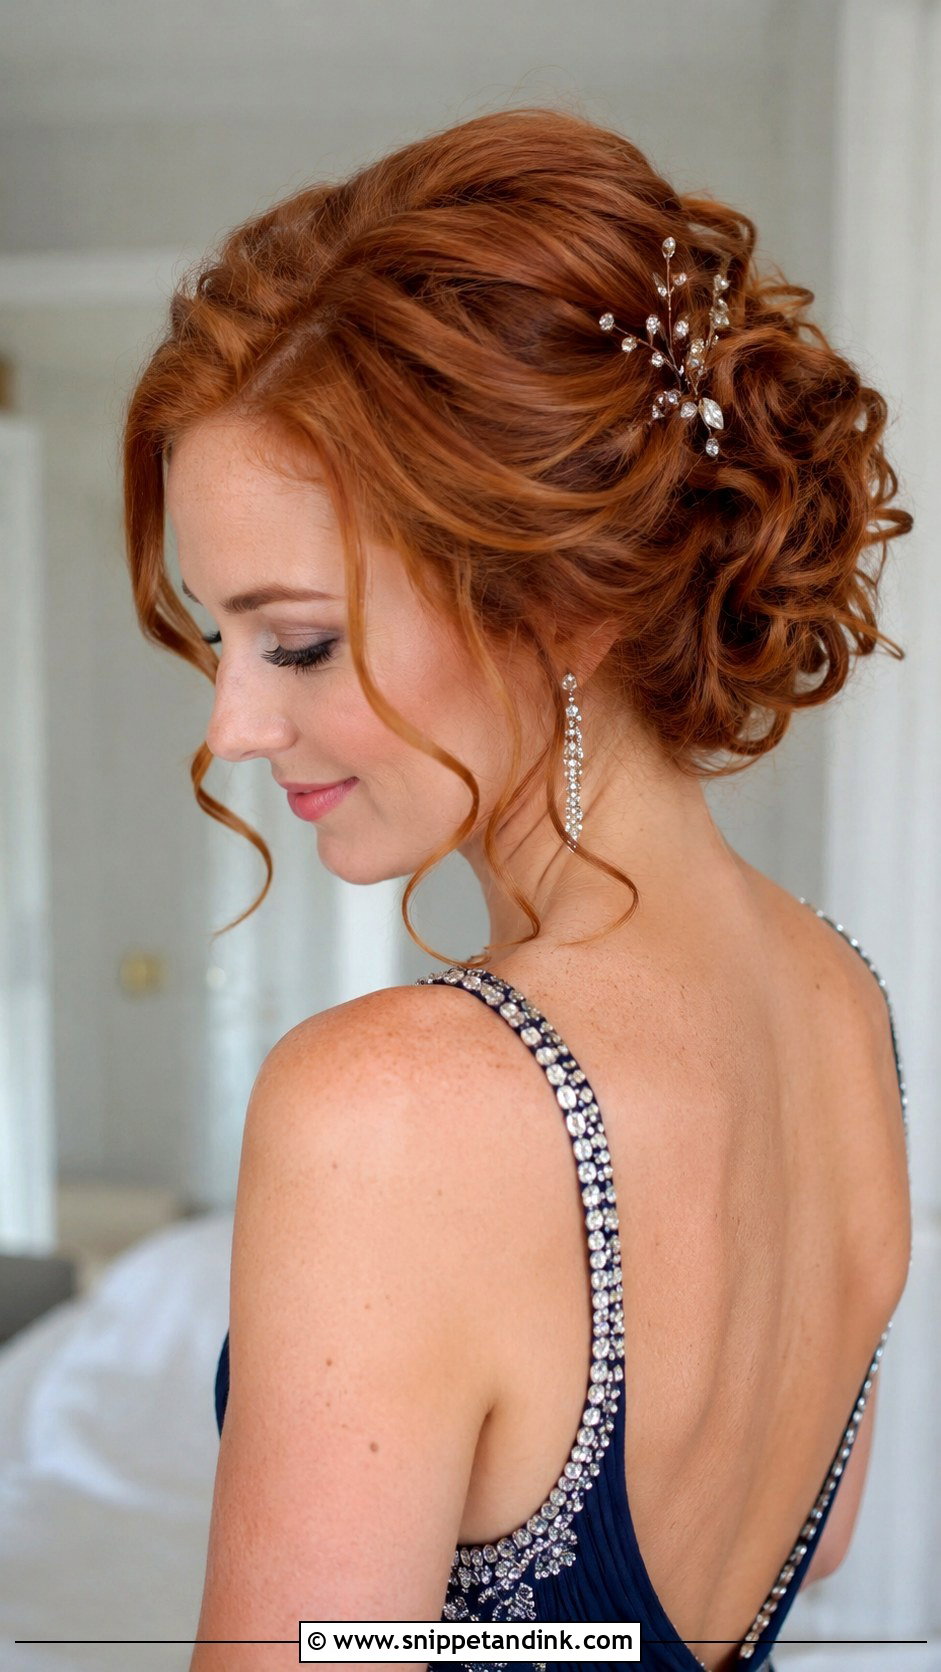
Curling the hair before pinning gives an updo body and movement. I curl in large sections, let each curl cool completely, then pin each one individually into a loose, full shape. That cooling step is what makes it last; hot curls pinned straight away flatten within the hour. It suits formal or semi-formal weddings, with sparkly pins or a delicate comb for evening. Leave a few curls loose at the face.
25. Sleek Low Ponytail Updo
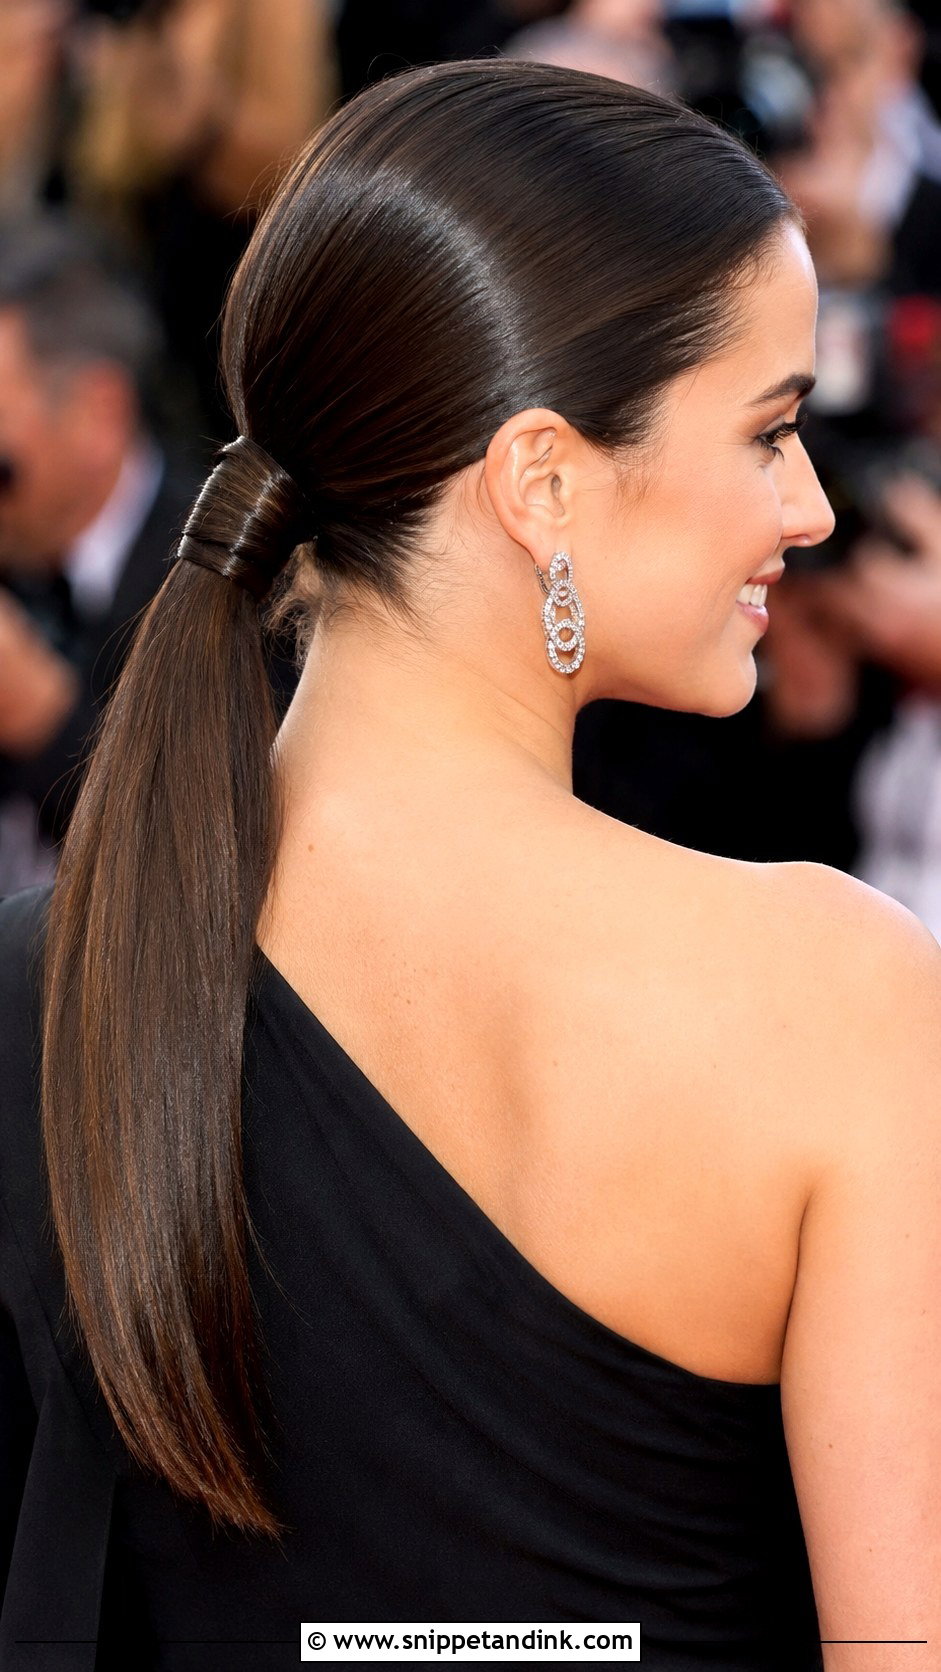
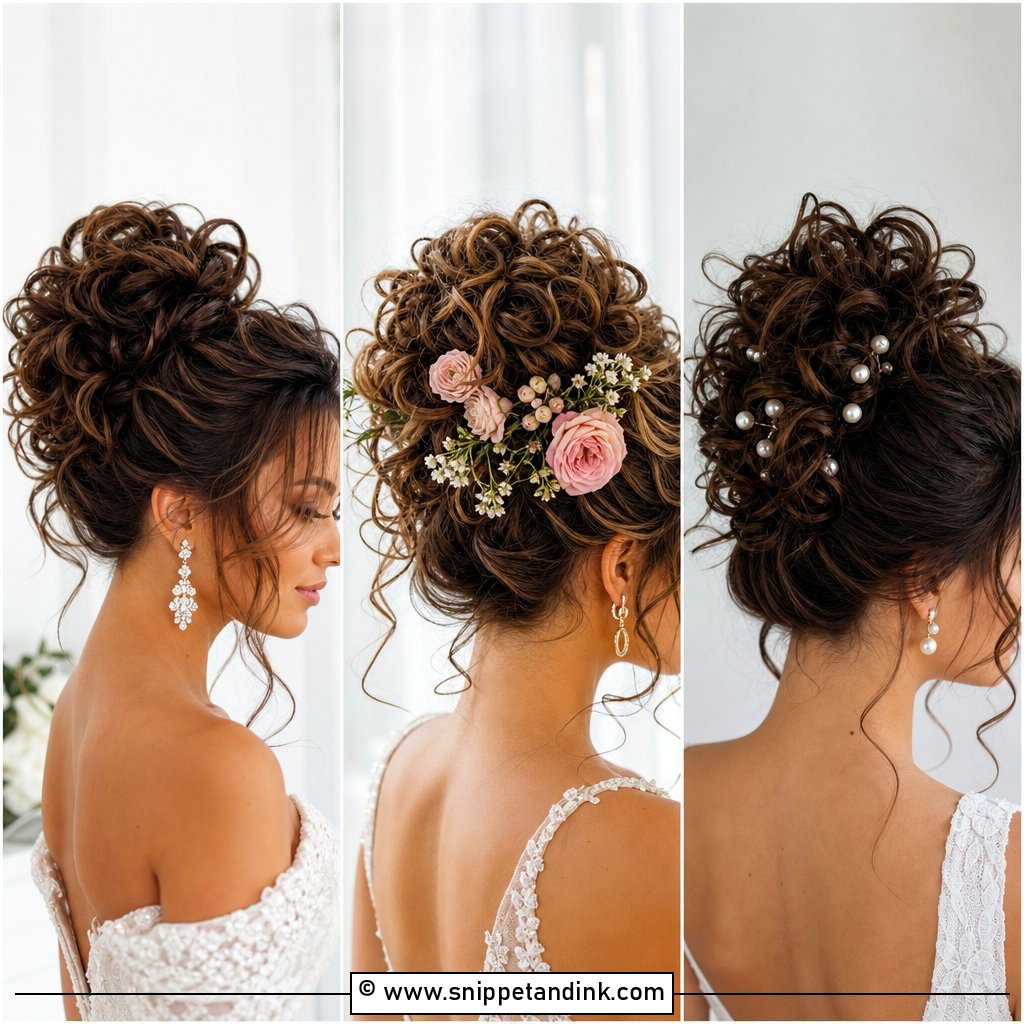
Not quite an updo, but a sleek low ponytail gives the same clean line. Gather the hair at the nape, smooth with serum, then wrap a section around the base to hide the elastic and pin it underneath. It suits formal city weddings, statement earrings and contemporary gowns. I tie it with two elastics, one at the base and one an inch lower, hidden under the wrap, so the ponytail doesn’t sag by the end of the night.
26. Braided Halo Updo
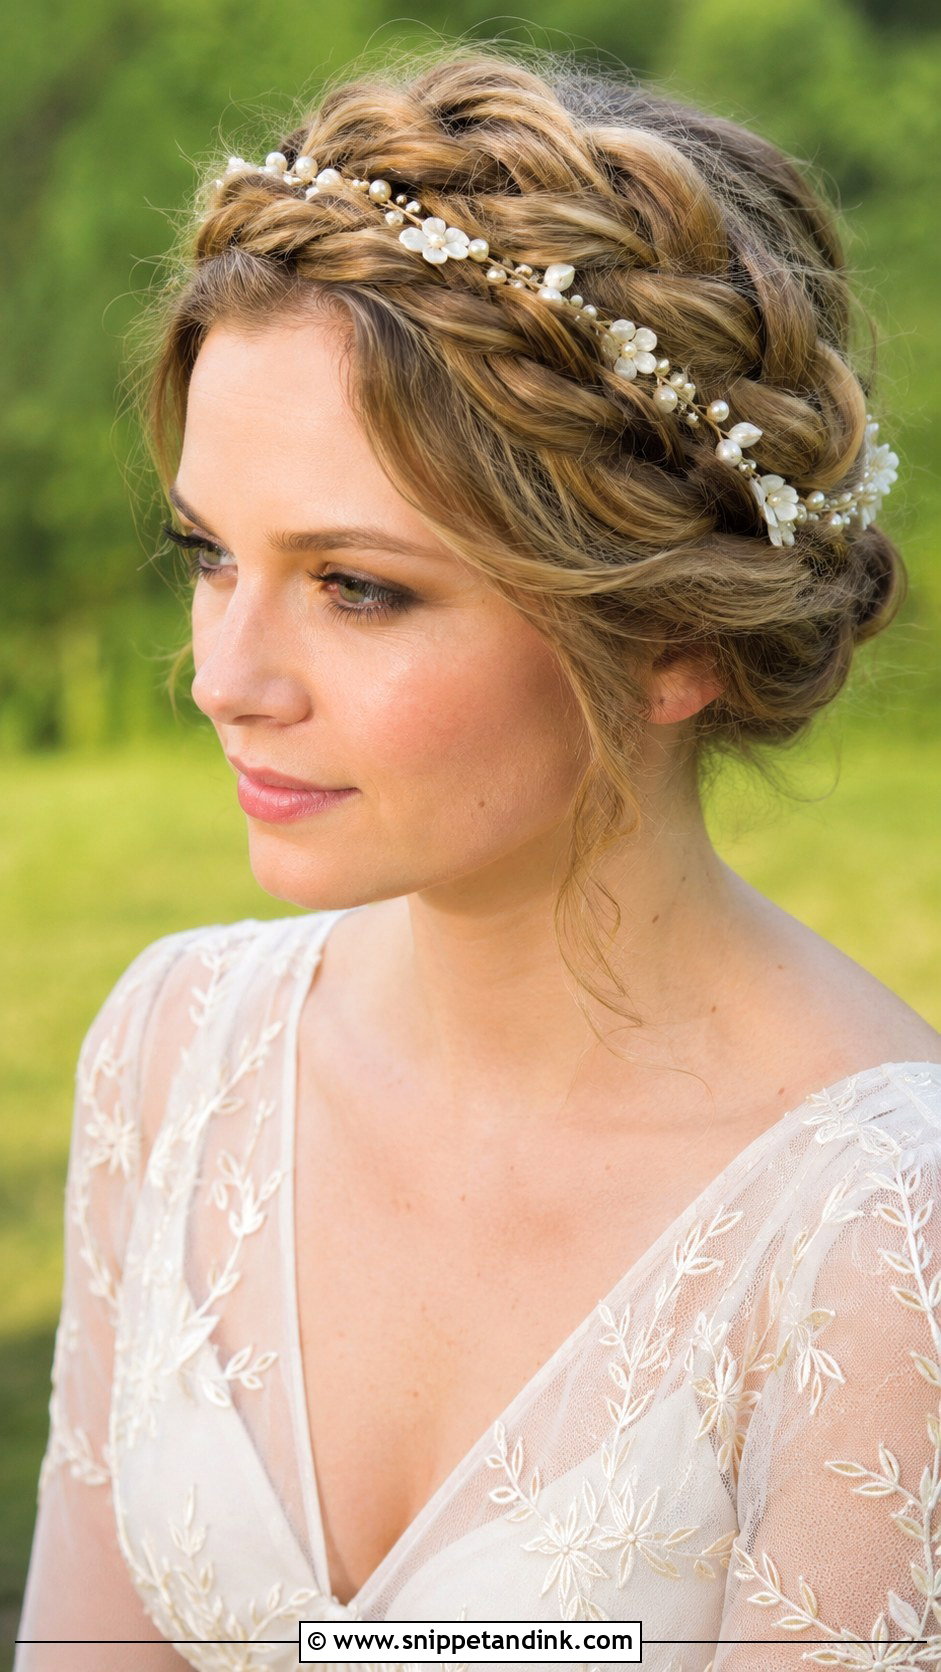
A braided halo wraps around the head in one continuous circle, keeping everything off the face and neck. I start the braid behind one ear, braid around the hairline in a full circle, and tuck the tail into the start. It’s lovely at bohemian and outdoor weddings, with tiny flowers or pearls woven in. Medium to long hair works best. It’s secure enough for warm-weather celebrations, because the braid sits flat and close to the head.
27. Twisted Crown Updo
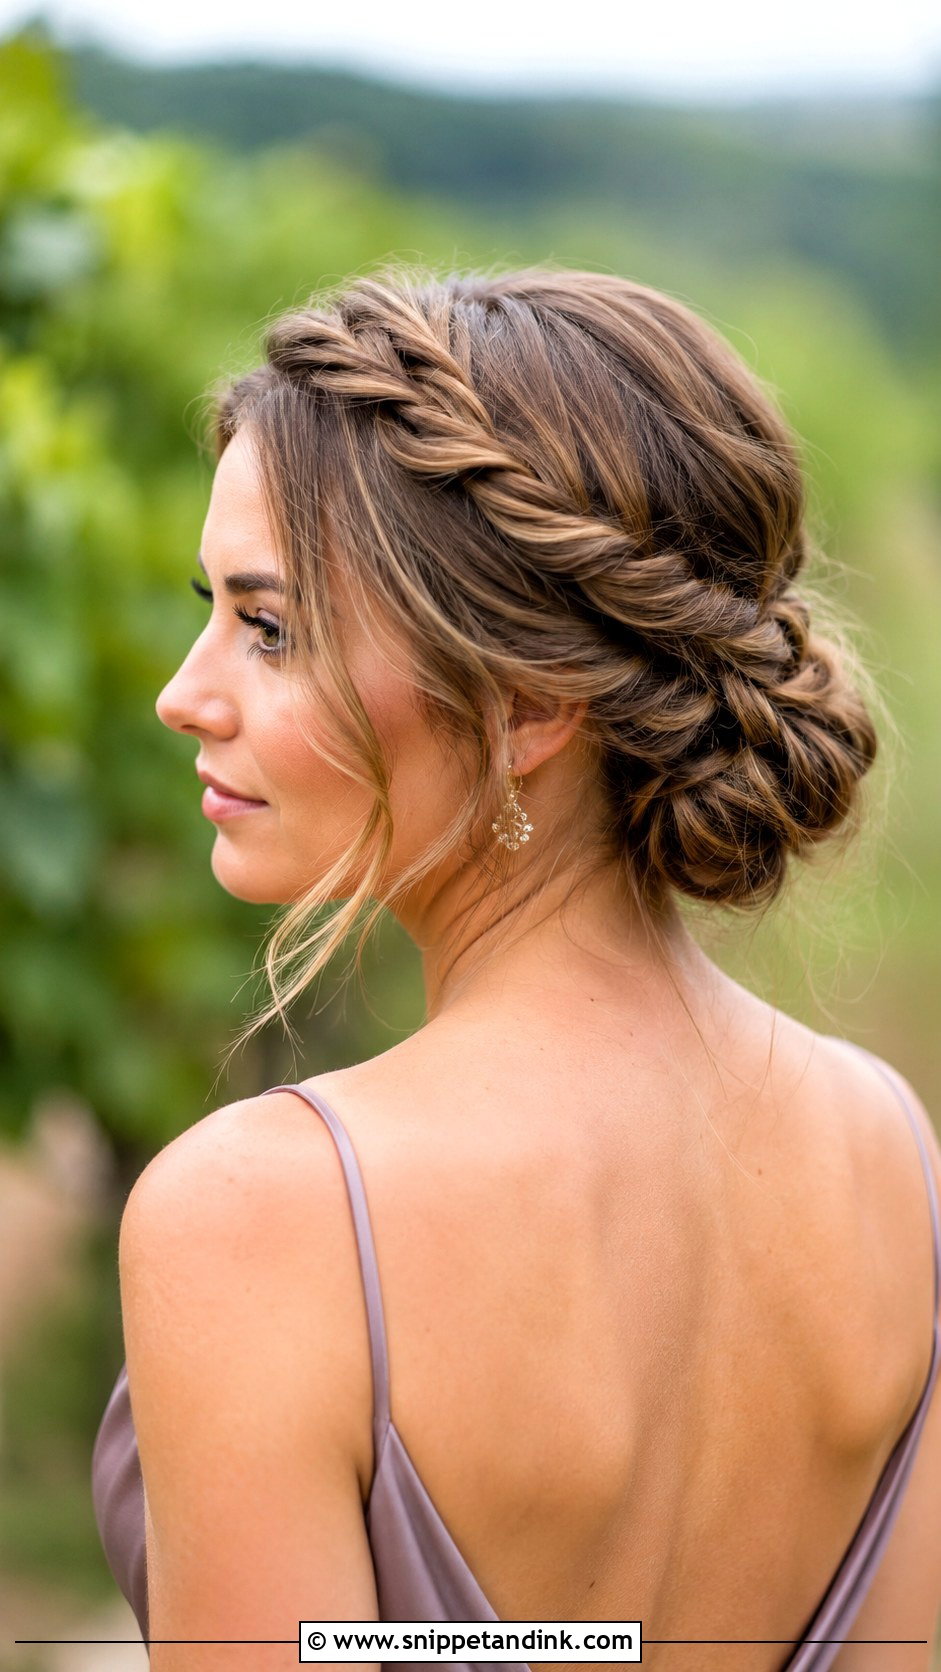
Twisted sections wrapped around the top of the head form a crown, with the rest either in a soft bun or flowing. Twists are faster than braids and look softer, though they unwind more easily, so I spray each twist before pinning. It suits garden and vineyard weddings with delicate accessories. Leave a few wispy pieces at the face. Medium to long hair works best.
28. Vintage Pin Curl Updo
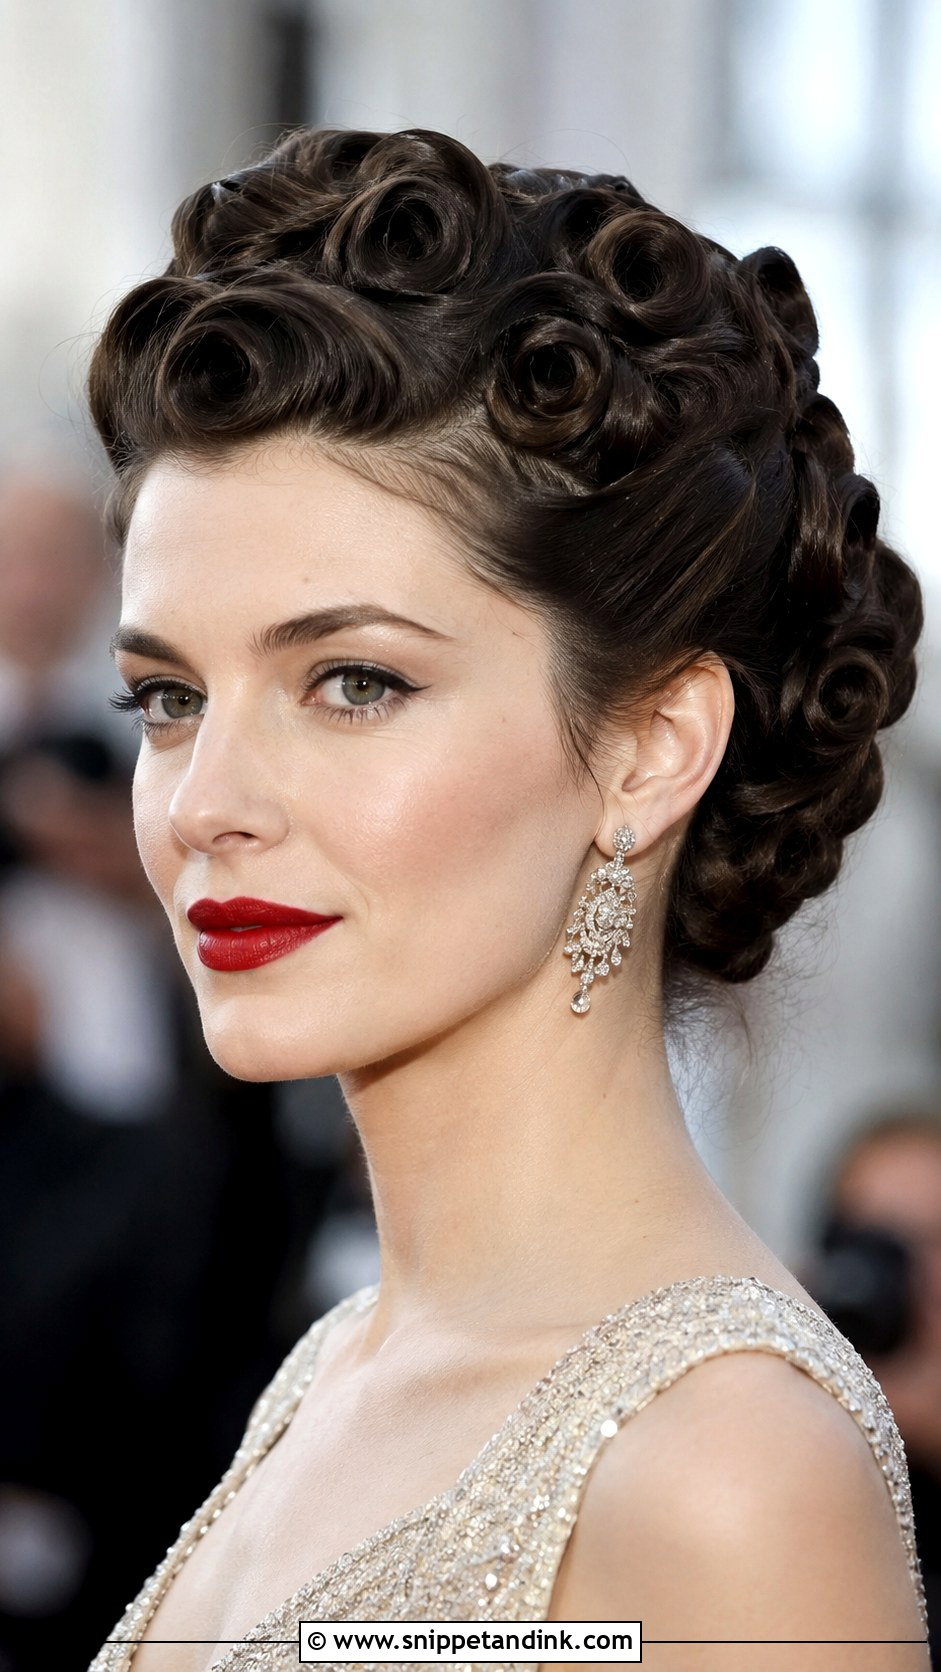
Pin curls set into sculpted waves give real old Hollywood glamour. I set the curls the night before or several hours ahead, let them dry fully, then brush and arrange them into a polished updo with the surface smoothed. It needs time and patience; rushing the set is why vintage styles fall. Pair it with red lips and statement earrings for a formal evening wedding. It works on medium to long hair.
29. Low Bun With Floral Accents
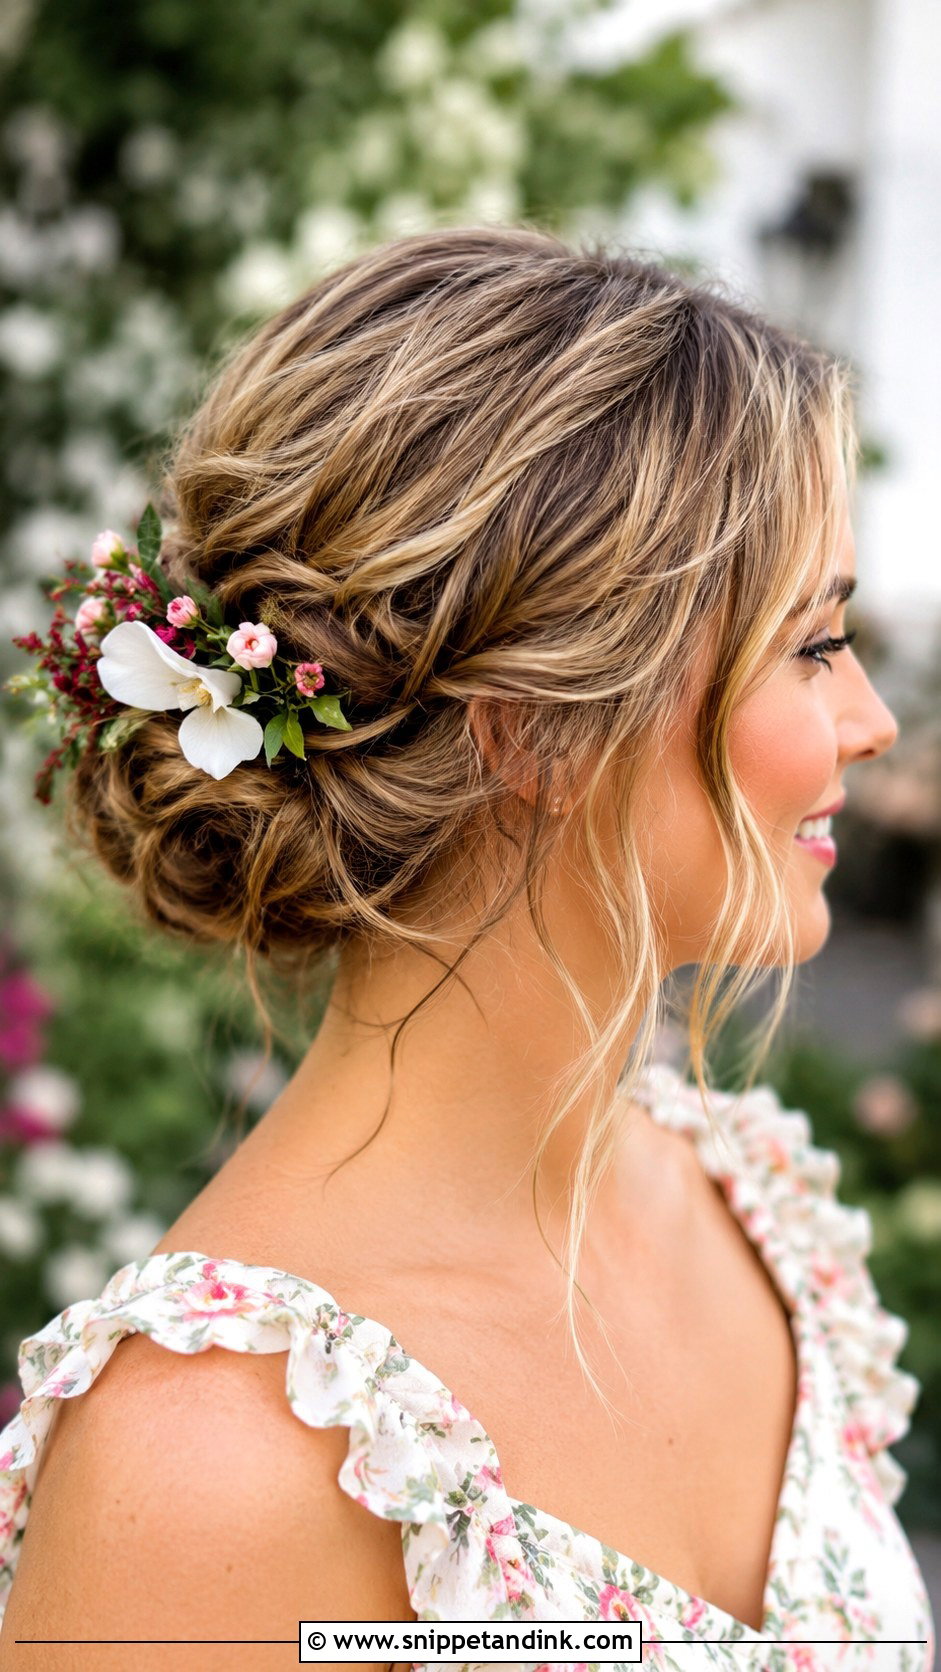
A low bun dressed with small flowers suits spring and summer weddings outdoors. The bun can be smooth or textured, and the flowers tuck in around it. I use flowers with sturdy stems and wire them or glue them to bobby pins so they hold, and I choose hardy blooms like spray roses or waxflower over delicate ones that wilt in heat. Leave a few tendrils loose for softness. Medium to long hair is needed.
30. Half-Up Twisted Crown
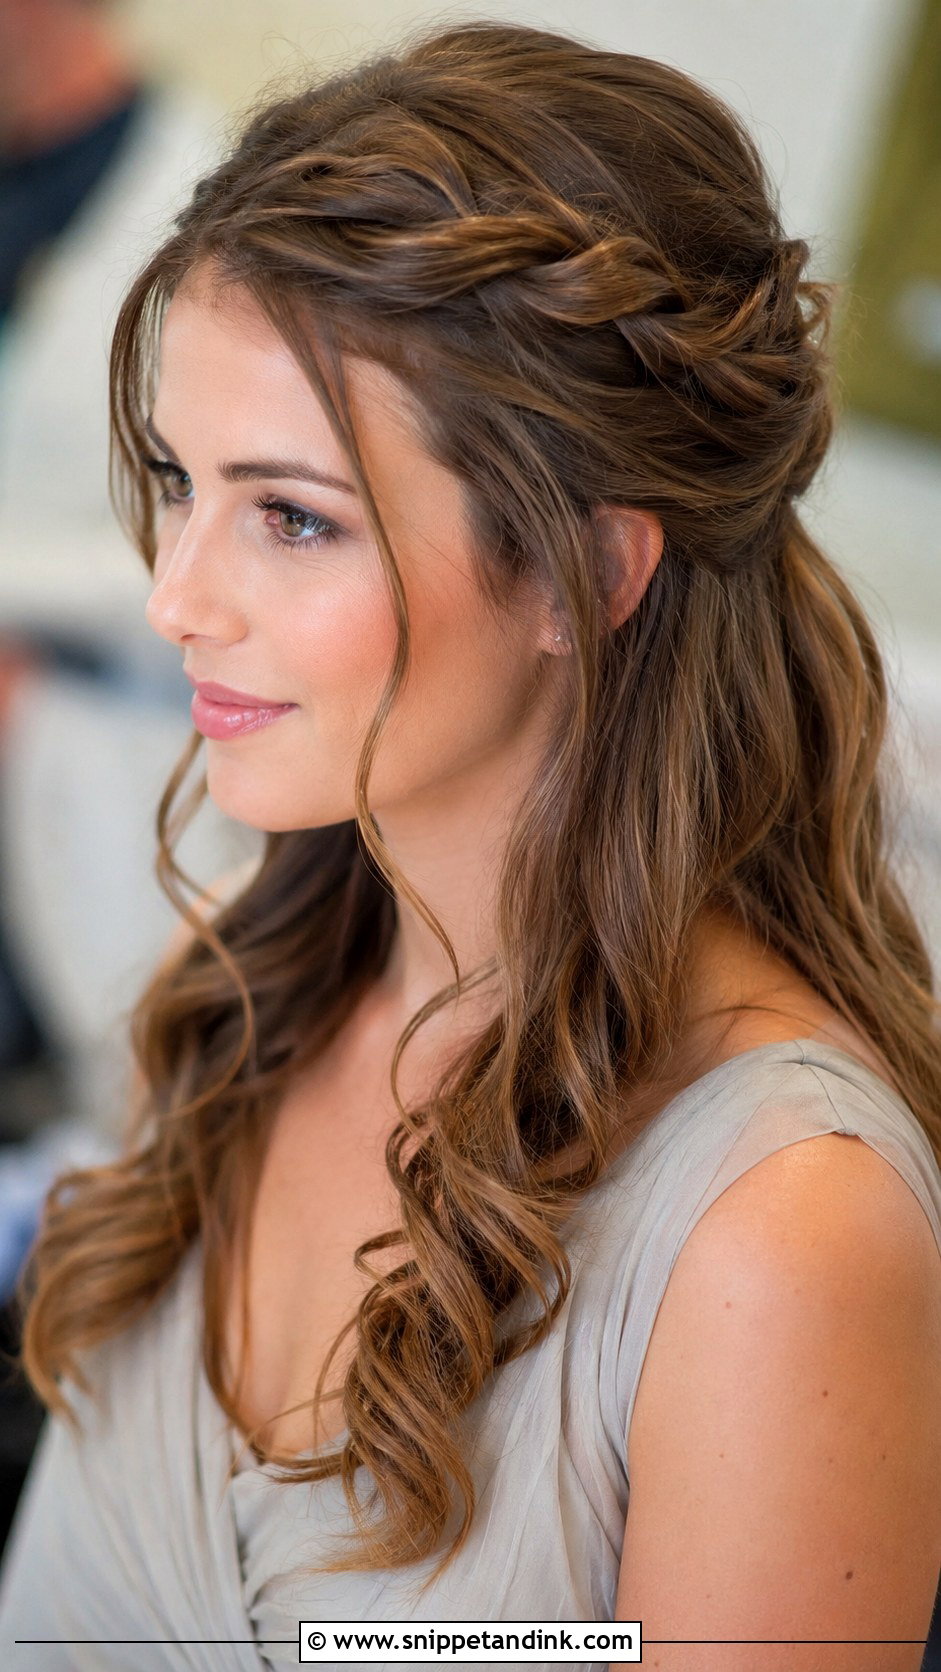
Twists on the top section form a crown at the back, with the rest left flowing. It gives the polish of an updo with the romance of loose hair. I curl the lower half for volume, and leave a few face-framing pieces. Curls on loose lengths are the first thing to drop, so I spray each one and let it cool in a pin curl for ten minutes before releasing. It suits nearly any wedding setting.
Layers, Fine Strands and Heavy Hair Behave Differently
Layered cuts are the most common reason an updo looks messy by the evening, because shorter layers escape from twists and buns. I deal with that by working a little pomade into those layers before I start, and by choosing braided or twisted styles over smooth chignons, since braids catch short pieces.
Fine hair needs grip: texture spray or dry shampoo all over before any pin goes in, and a bun filler if the bun looks small. Thick, heavy hair needs the opposite: fewer, sturdier pins, larger U-pins and sometimes splitting the hair in two before pinning, so the weight isn’t hanging off one point. That weight is also why very heavy updos give some people headaches; a lower position helps.
Doing an Updo Yourself With Two Mirrors
For a self-styled updo, a hand mirror held behind you is essential, so you can see the back in the bathroom mirror. Practice once a week or so before the wedding, timing yourself. Start with a low bun or twisted bun, the easiest styles to pin without seeing, and leave the French twist and braided halo for a stylist unless you’ve done them before. Spray each section as you work, not just at the end, and finish by pressing pins in at an angle toward the scalp.
A Good Updo Is Mostly Good Pinning
A guest updo works when it suits your hair, your neckline and the length of the day. The low chignon, braided halo and vintage pin curls are very different styles, but each lasts only as long as the pinning under it. For a formal evening reception, I’d go sleek and structured; for a relaxed garden party, softer and textured. Add flowers, pins or a few tendrils to make it yours, and test it once before the wedding so there are no surprises.
You'll Like These Ideas:


Leave a Reply