
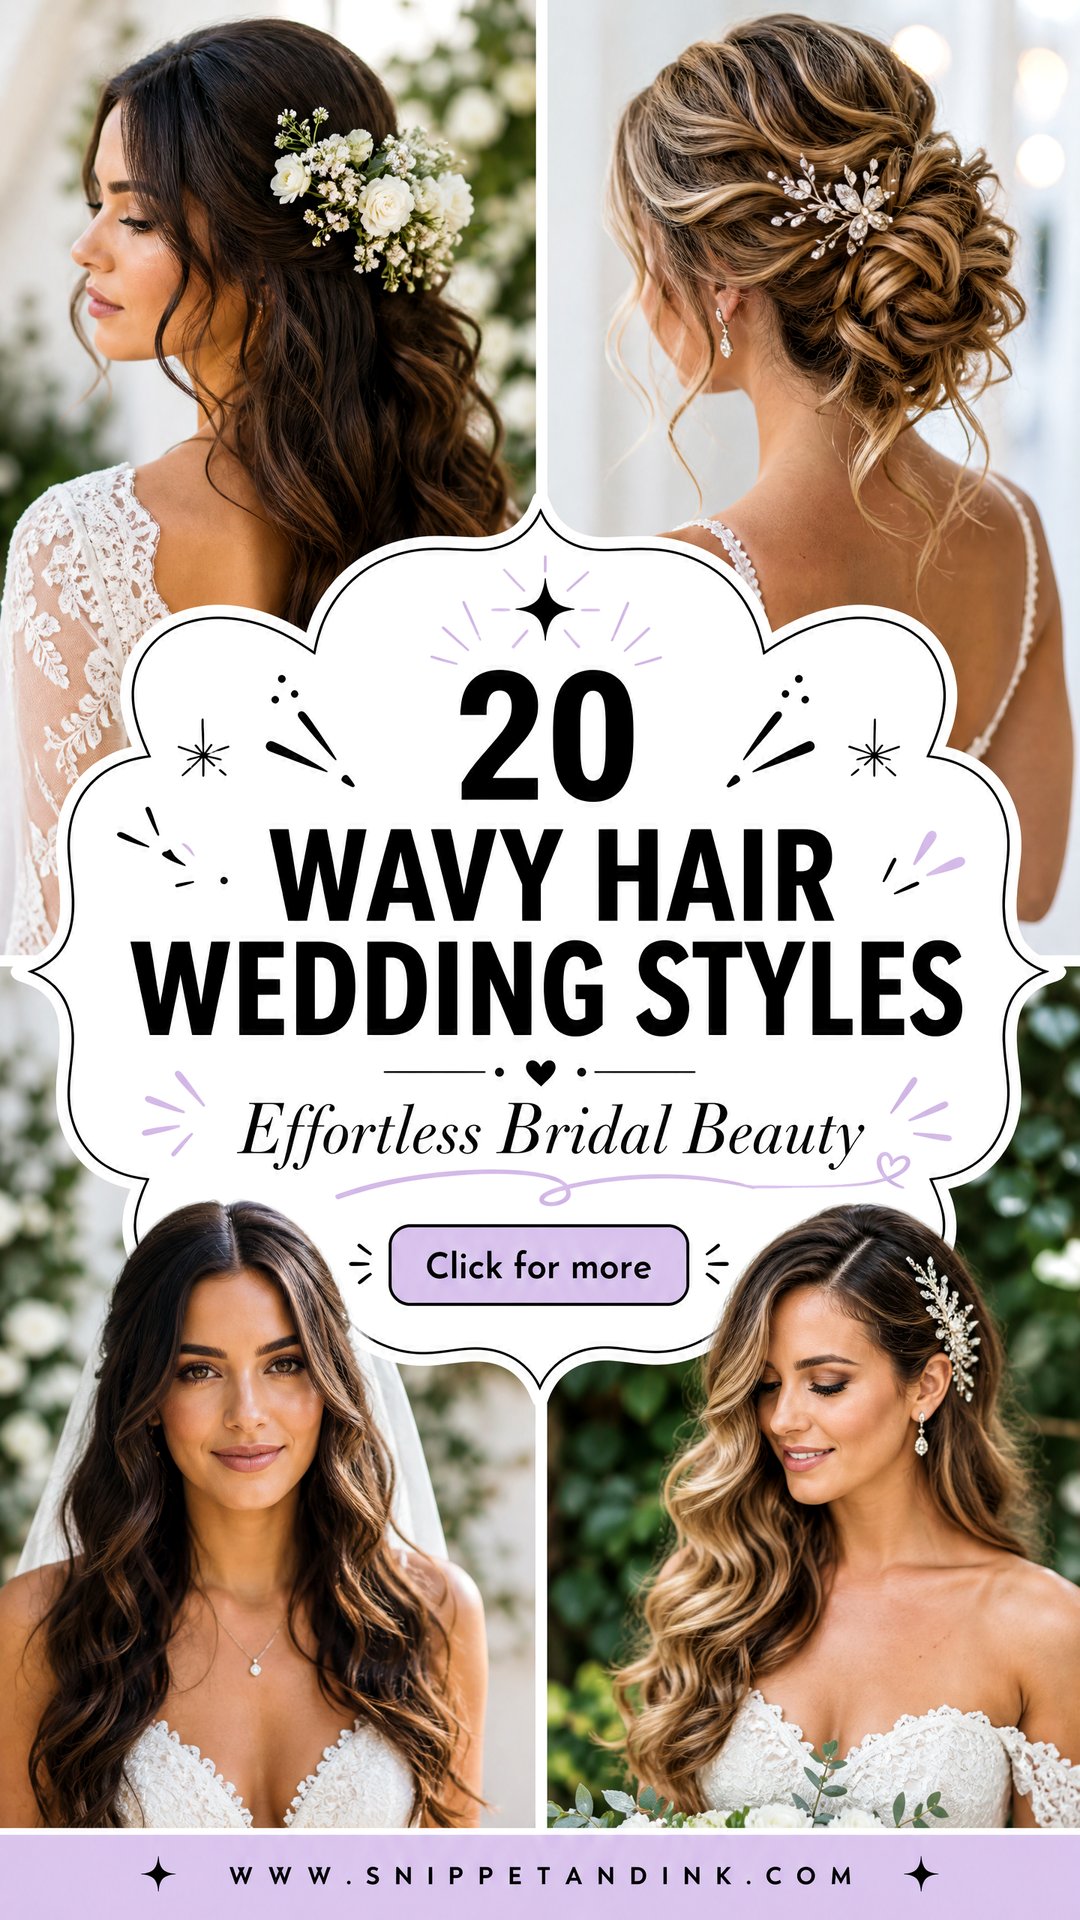
Waves are the style I get asked for most, and also the one brides most often underestimate. A wave looks casual, but a wave that still has shape at the last dance is built, not brushed in. Below are 20 wavy hair wedding styles, from sculpted glamour to loose texture, with notes on how each one is set, who it suits and where it tends to go wrong.
Why a Wave Holds on One Bride and Falls Out on Another
The wave itself is formed when hot hair cools in its new shape. If it cools while it’s hanging loose, gravity pulls it straight before the bond sets. That’s why I pin every curl up against the head as it comes off the iron, and leave it there until the whole head is done and cold. Brides are always surprised at how silly they look sitting in a head of pin curls. That’s the step that buys you the extra hours.
Your hair’s starting point
- Fine, straight hair drops fastest. I prep with a lightweight mousse at the root and a heat protectant that has some hold, and I set slightly tighter than the finished look.
- Thick or coarse hair holds well but takes longer to heat through, so smaller sections matter more than a hotter iron.
- Naturally wavy or curly hair can be enhanced instead of reset. I’ll often define your own pattern and only iron the front pieces, which survives humidity far better.
- Hair washed that morning is slippery. Wash the day before, so there’s a little natural grip at the root.
Brush-out is the other variable. A brushed wave looks smoother and softer, but it loses some hold, so for a long day I brush less and let the pattern stay a touch more defined than in the inspiration photo.
1. Hollywood Waves for Wedding
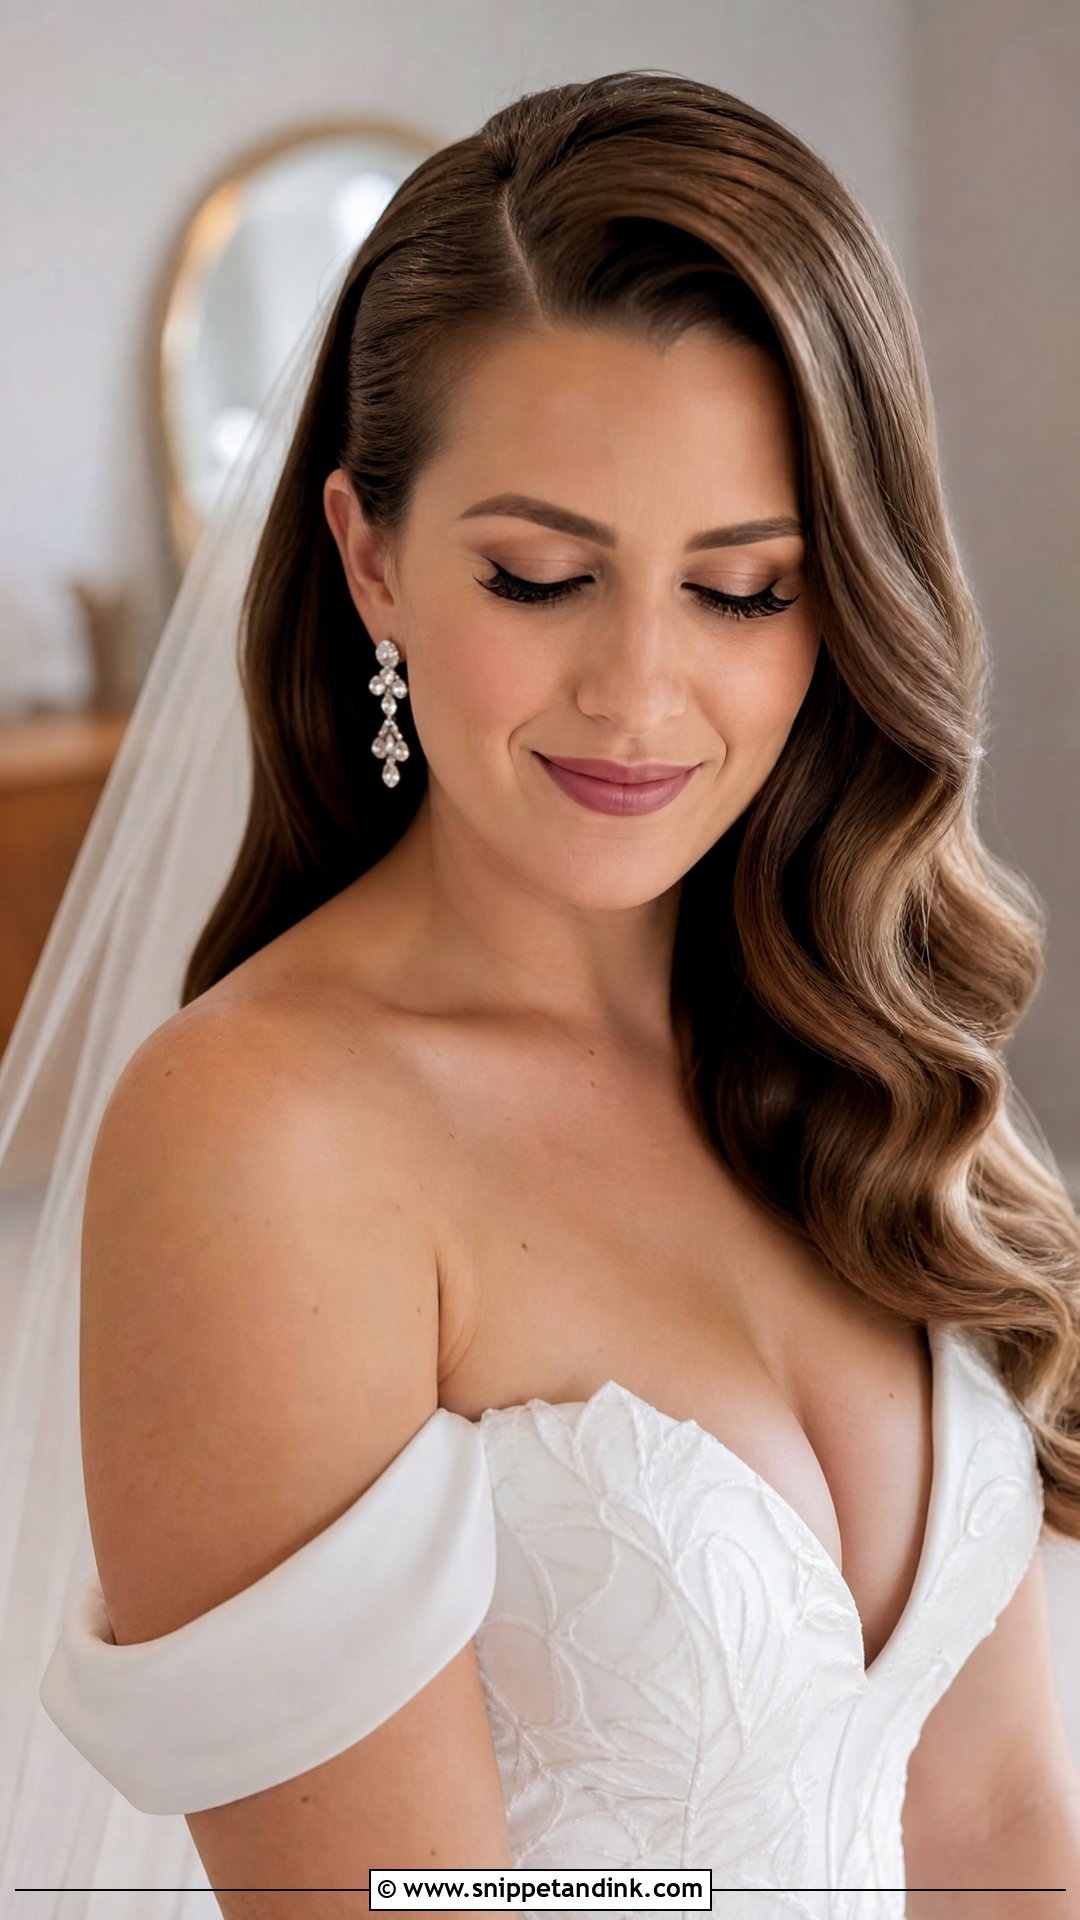
Hollywood waves are the most technical look on this list. The S-shape only reads as one continuous ripple if every section is curled in the same direction, away from the face, then left to cool fully before I brush through with a boar bristle brush. Brush too early and the pattern collapses into frizz. I clip each S at its bend with duckbill clips while I spray, which is what gives that glassy, sculpted line. This one needs a deep side part and hair at least past the collarbone; on layered cuts the shorter pieces break the wave and it starts looking like a blowout.
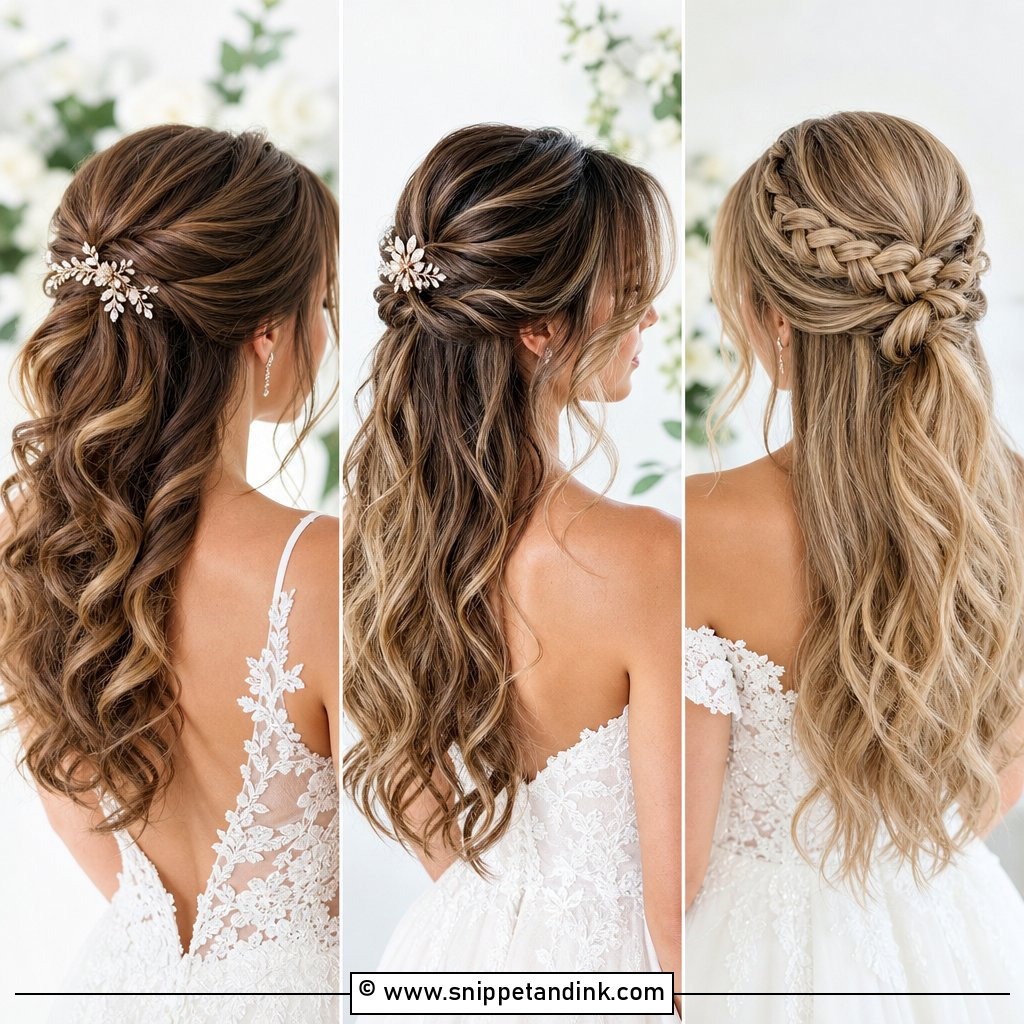
2. Half Up Half Down Wavy Wedding Hair
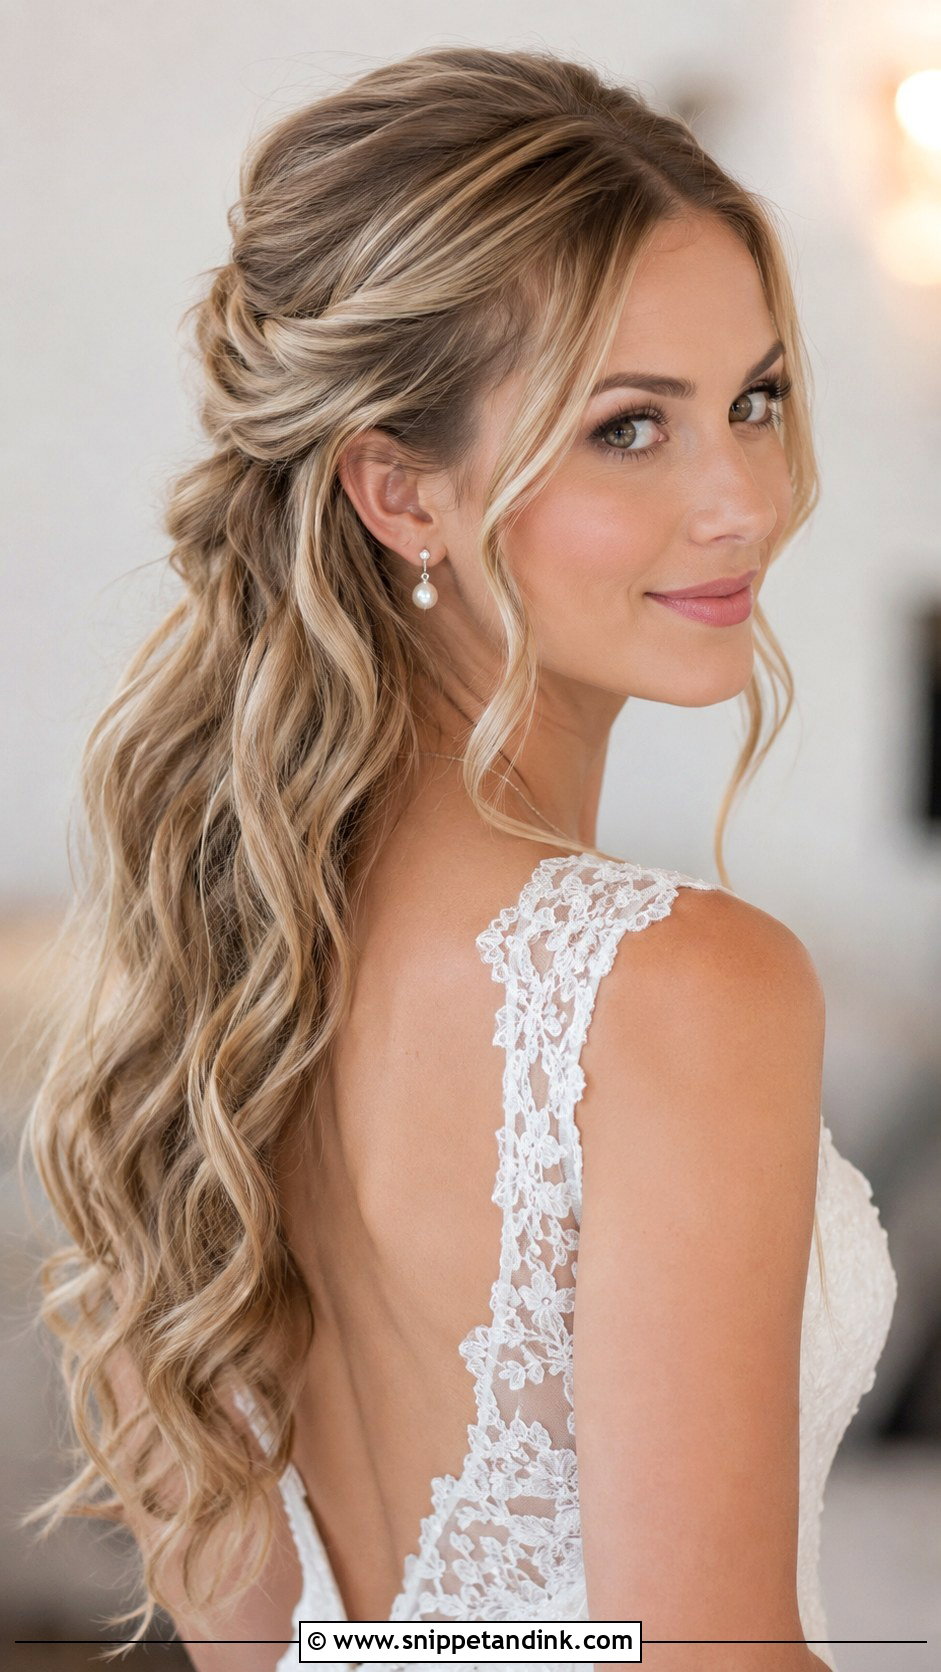
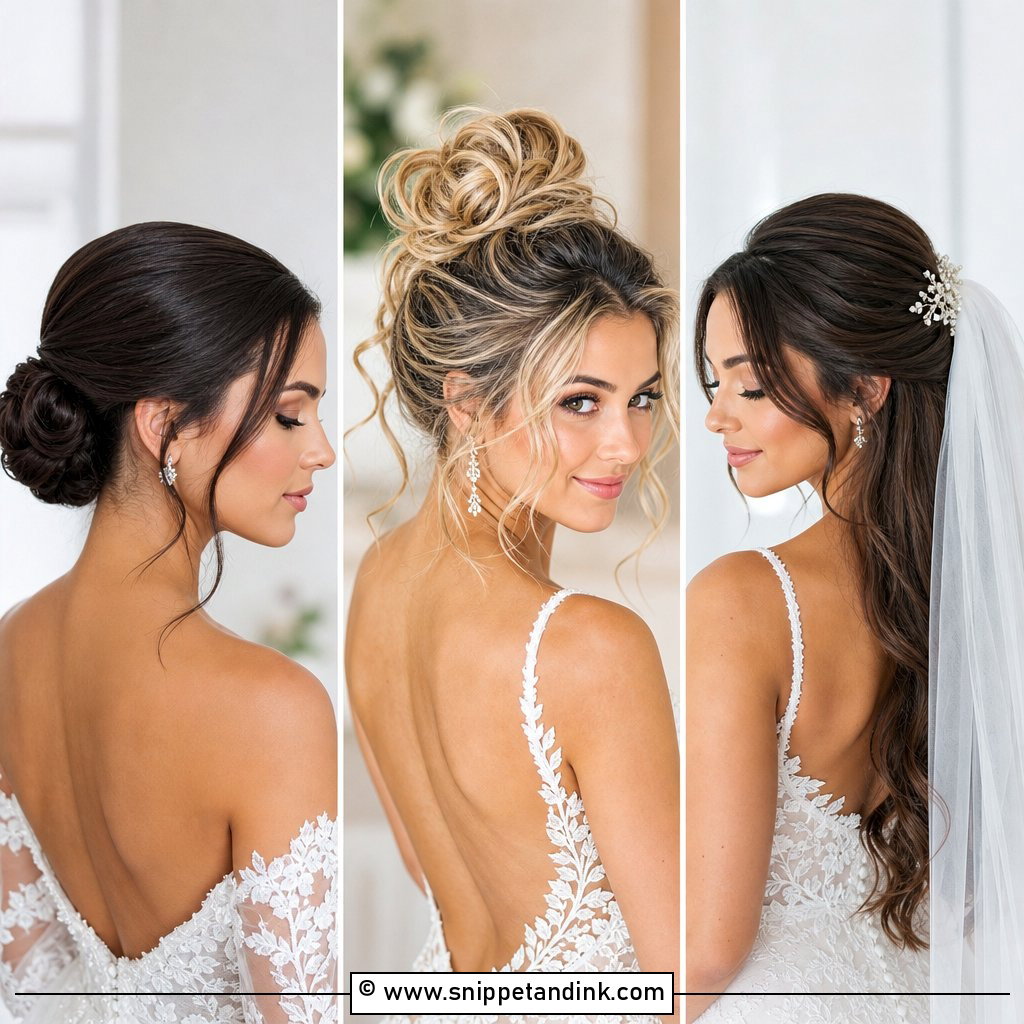
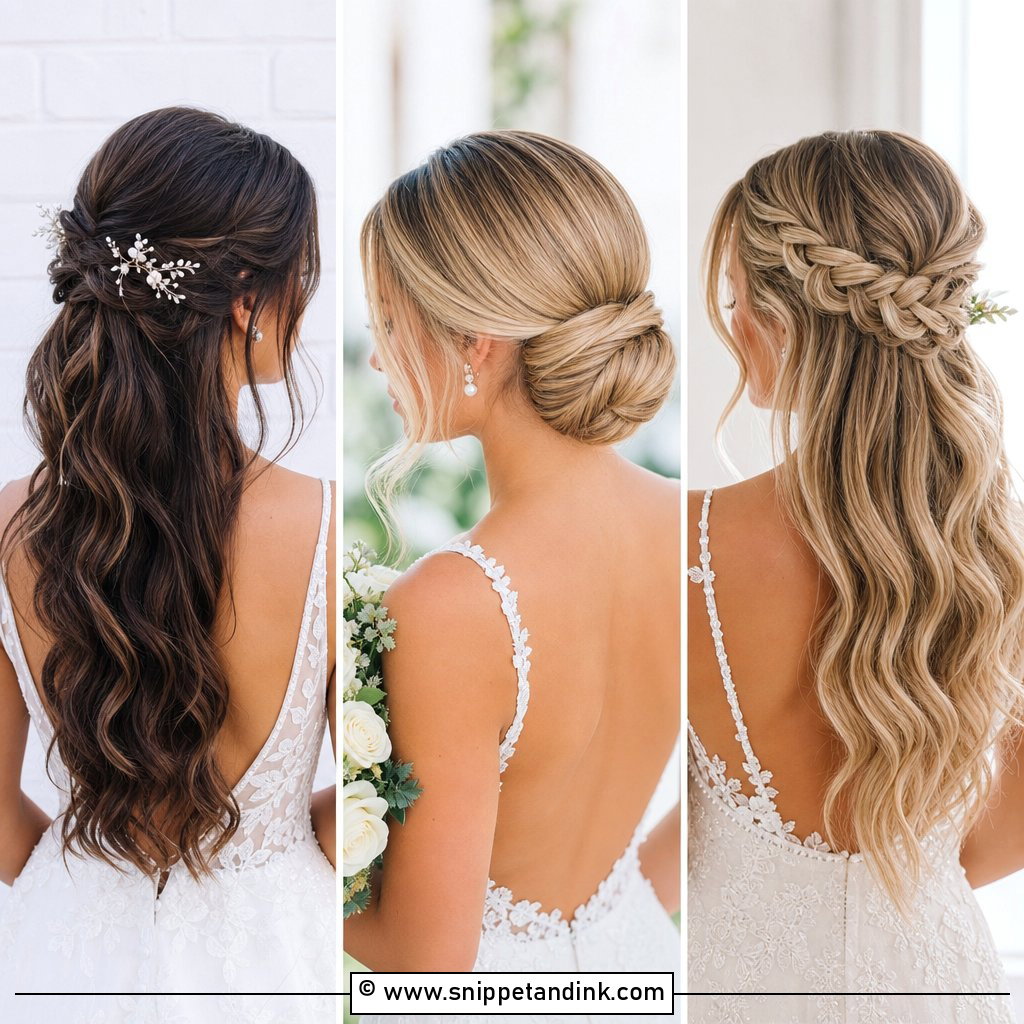
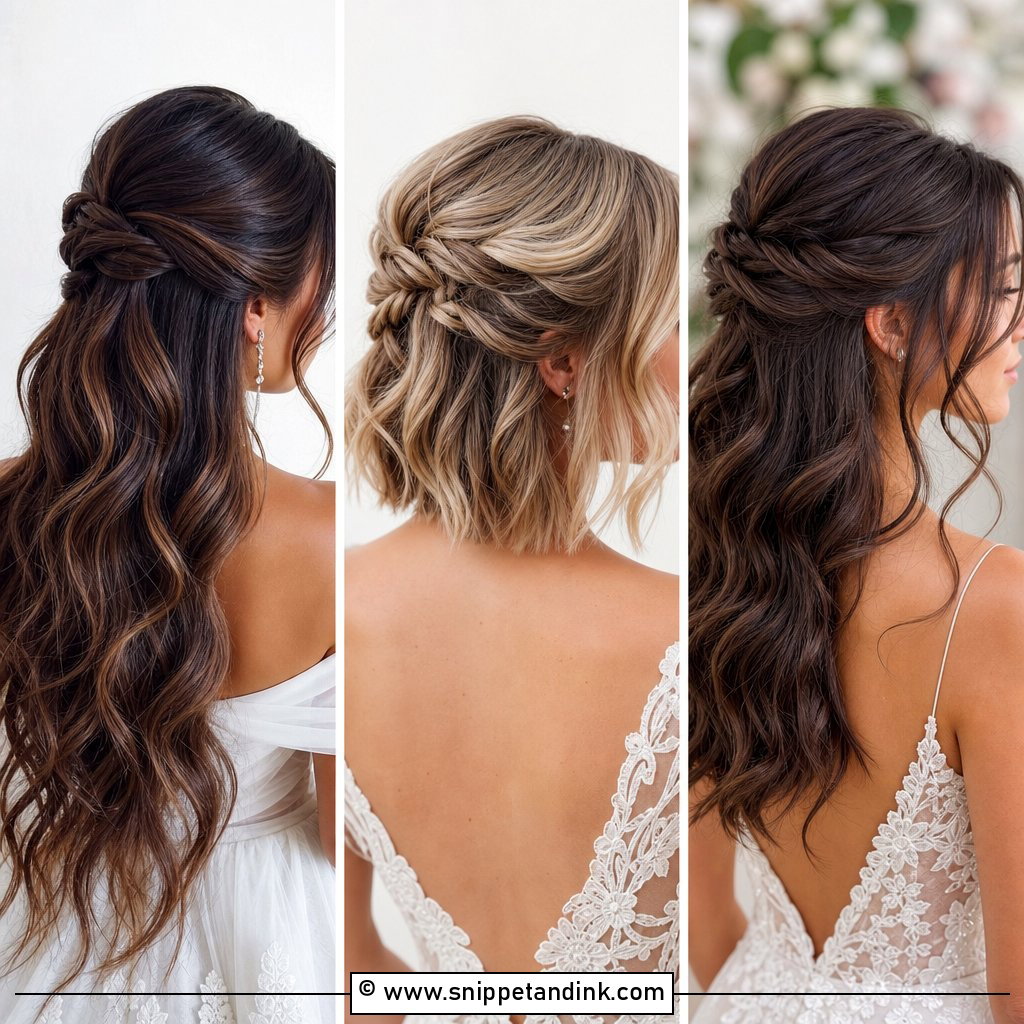
Half up, half down is the look I book most, because it keeps hair out of your eyes during the vows without hiding your length. The trick is the anchor: I build a small hidden ponytail or a crisscross of bobby pins under the top section, then pin the twist or clip into that, not into loose hair. Without it, the top section slides down by the reception. Volume at the crown is backcombed at the root only, so the waves underneath stay smooth and move freely.
3. Boho Wavy Wedding Hair
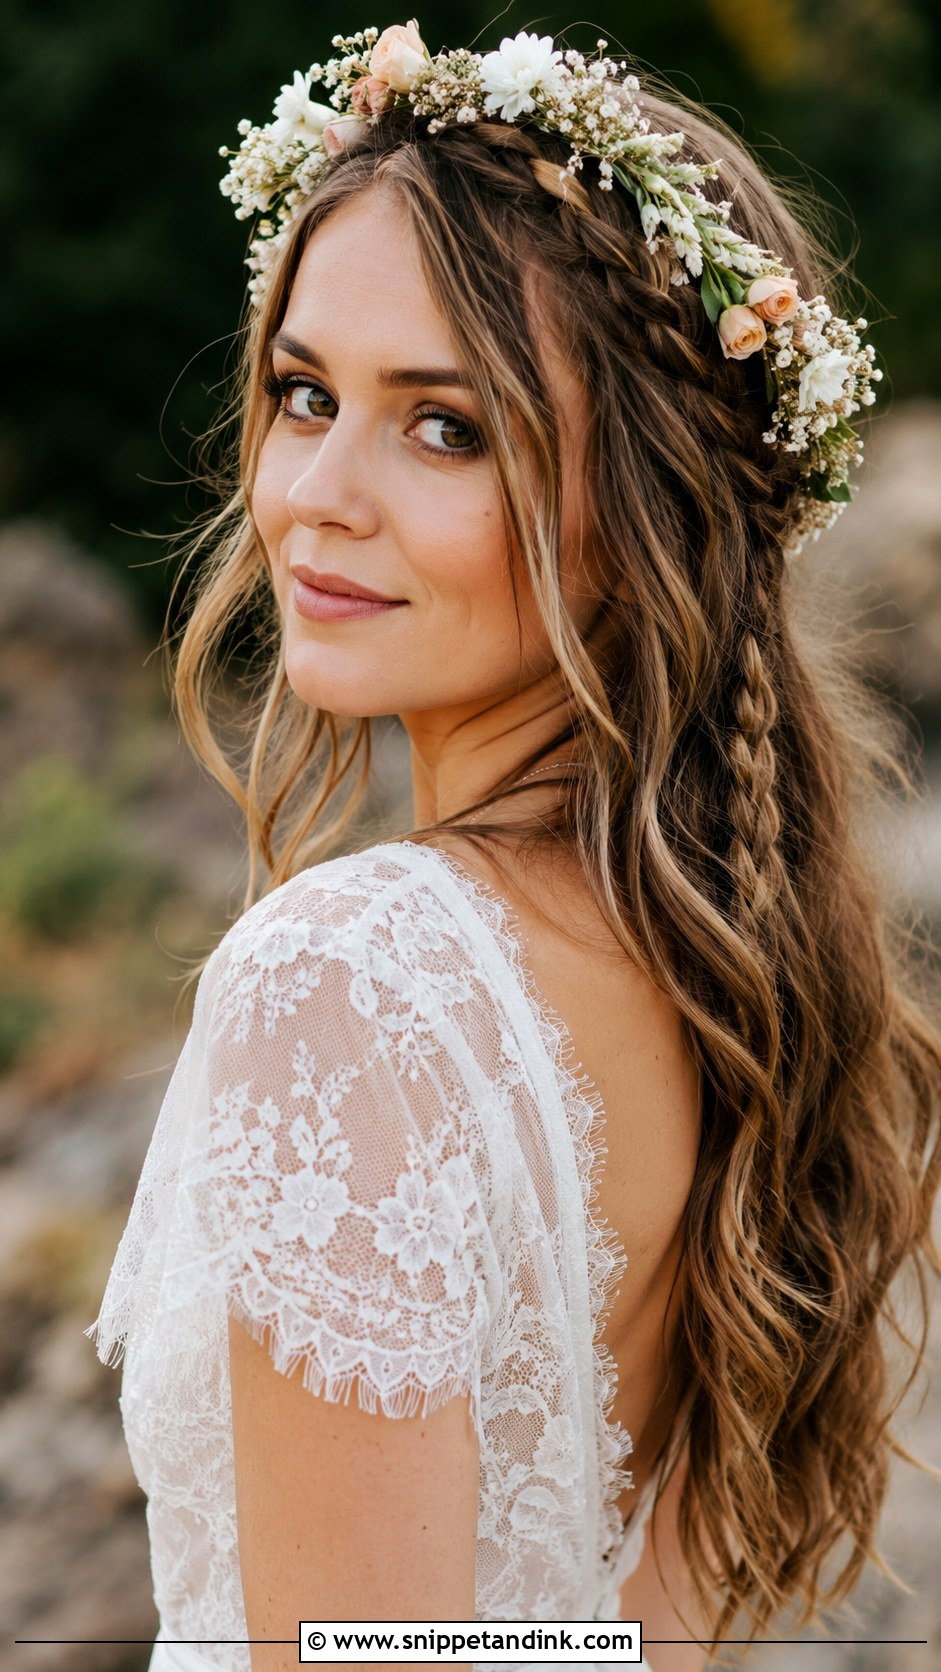
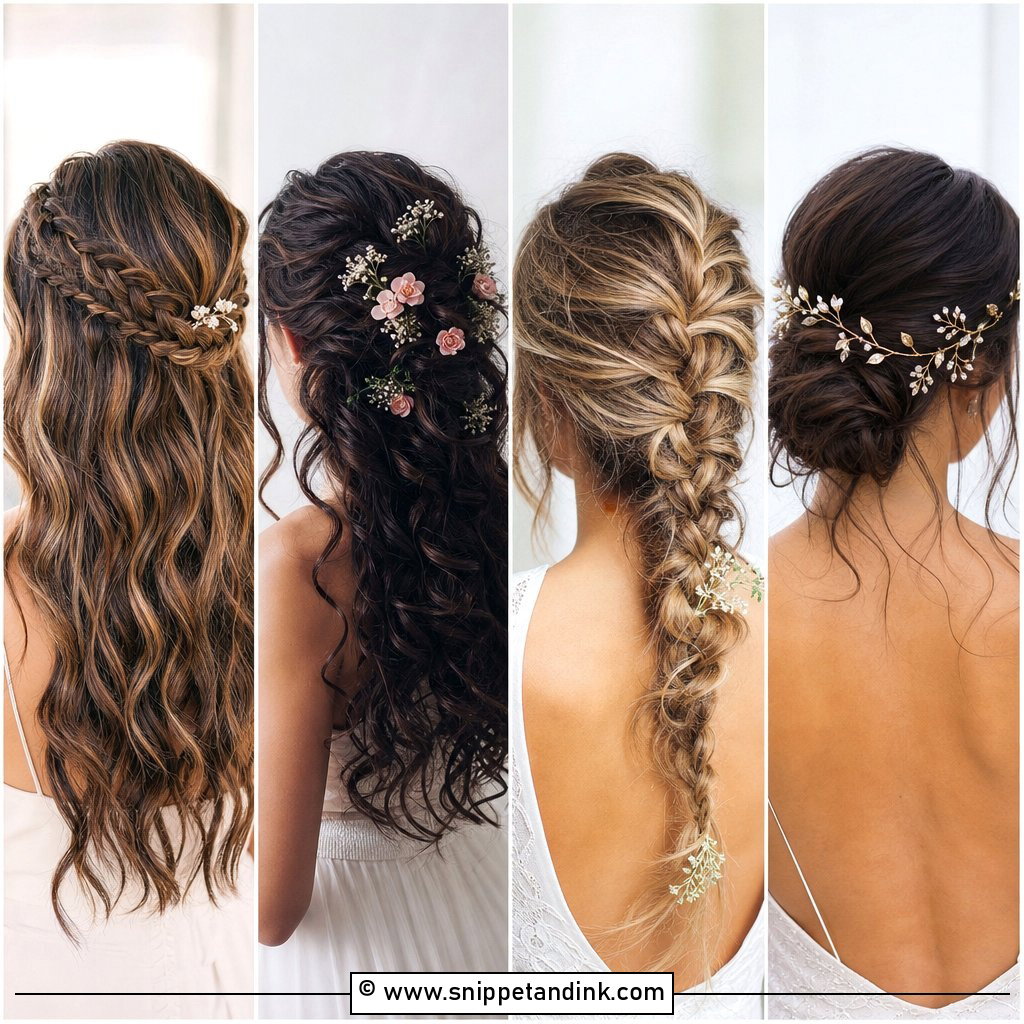
Boho waves are deliberately undone, which makes them harder to get right than they look. I curl in alternating directions and leave the ends straight, then break the curls apart with my fingers and a dry texture spray rather than a brush. That gives a carefree yet elegant finish without looking like you skipped the salon. Small braids or a floral crown sit well in this texture. On very fine hair I’d skip the messiest version, since there isn’t enough density to hide the gaps.
4. Side Swept Wavy Wedding Hair
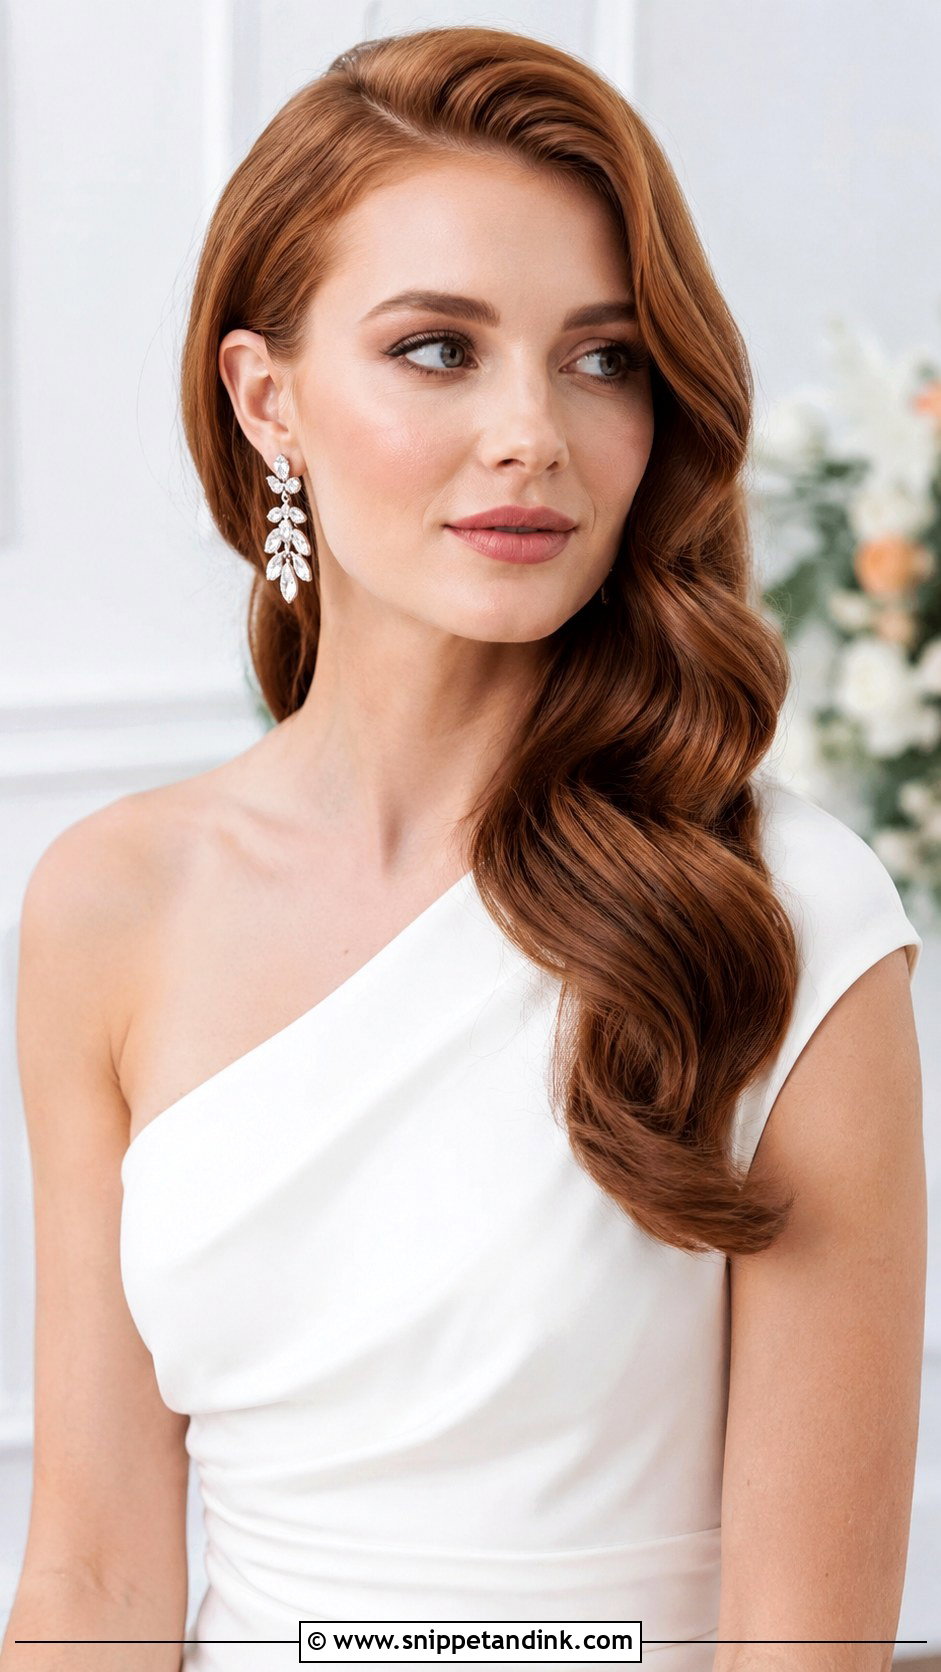
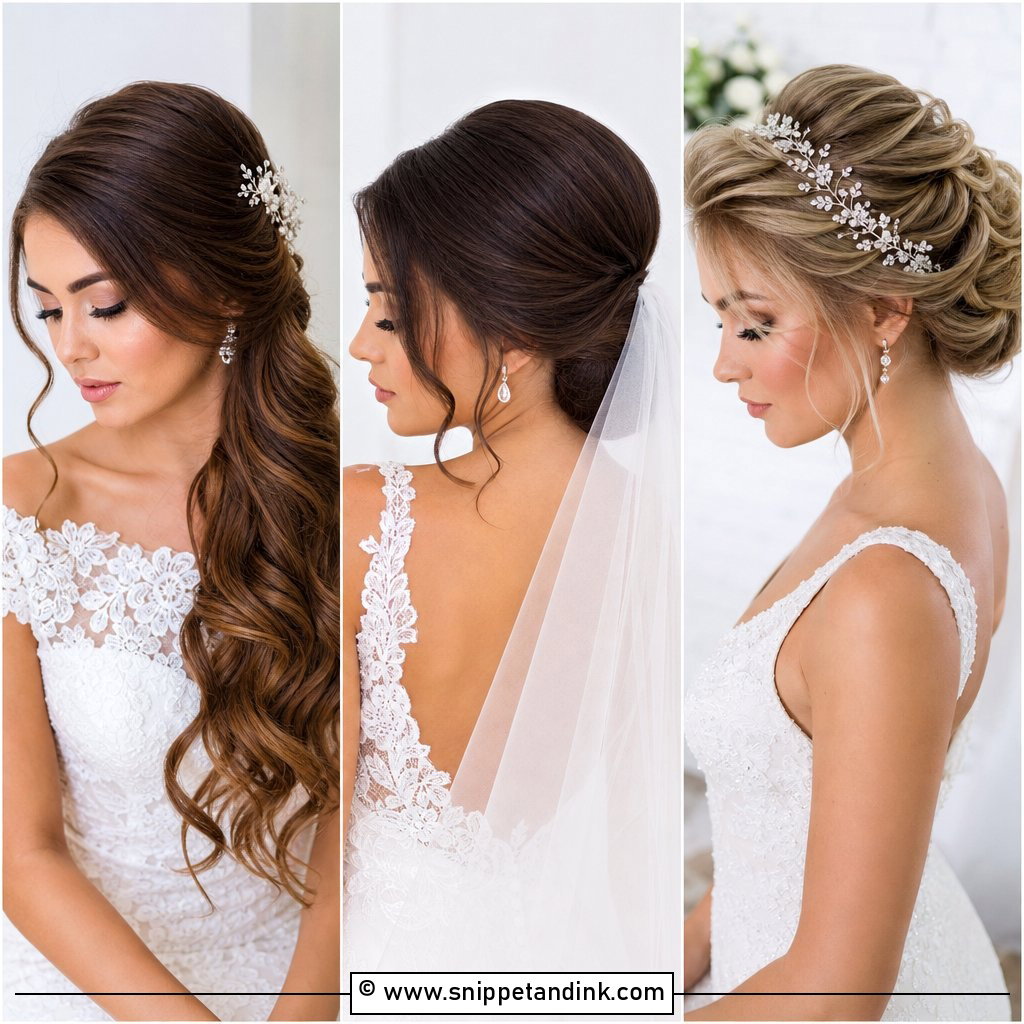
Swept hair needs something to hold it on one side, or it creeps back to center within the hour. I pin a hidden row of crisscrossed bobby pins behind the ear on the light side, then brush the waves over them. That anchor is what makes this a low-fuss look on the day. It shows off a statement earring or a one-shoulder gown, and I place a veil on the opposite side so the weight balances.
5. Wavy Wedding Hair with Veil
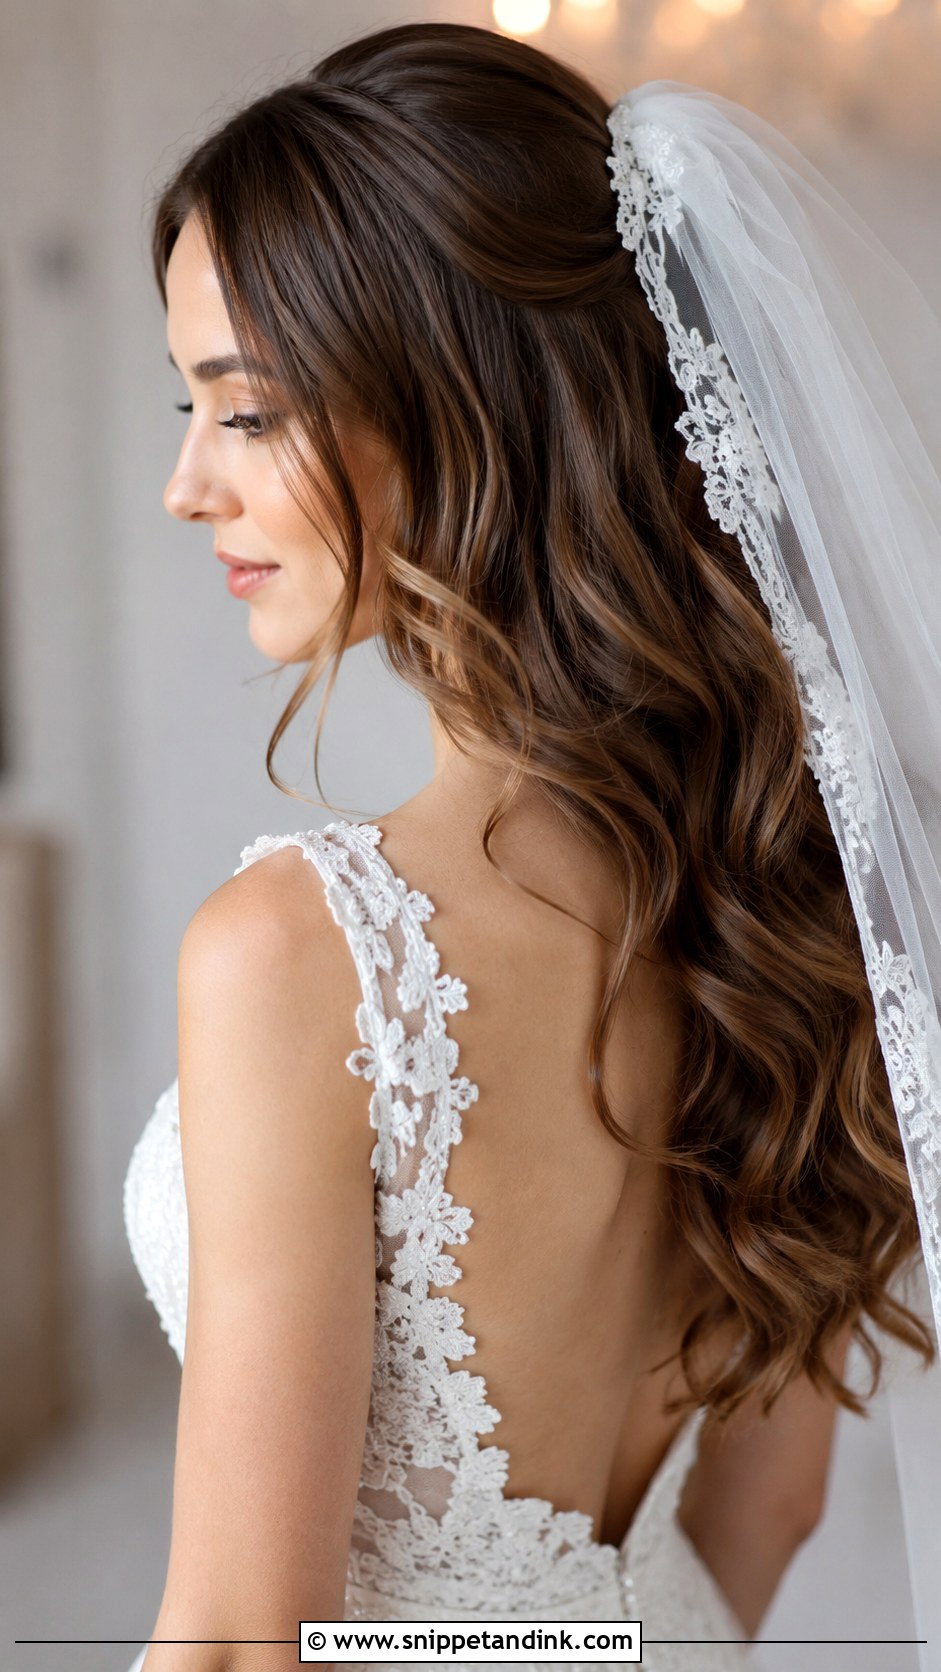
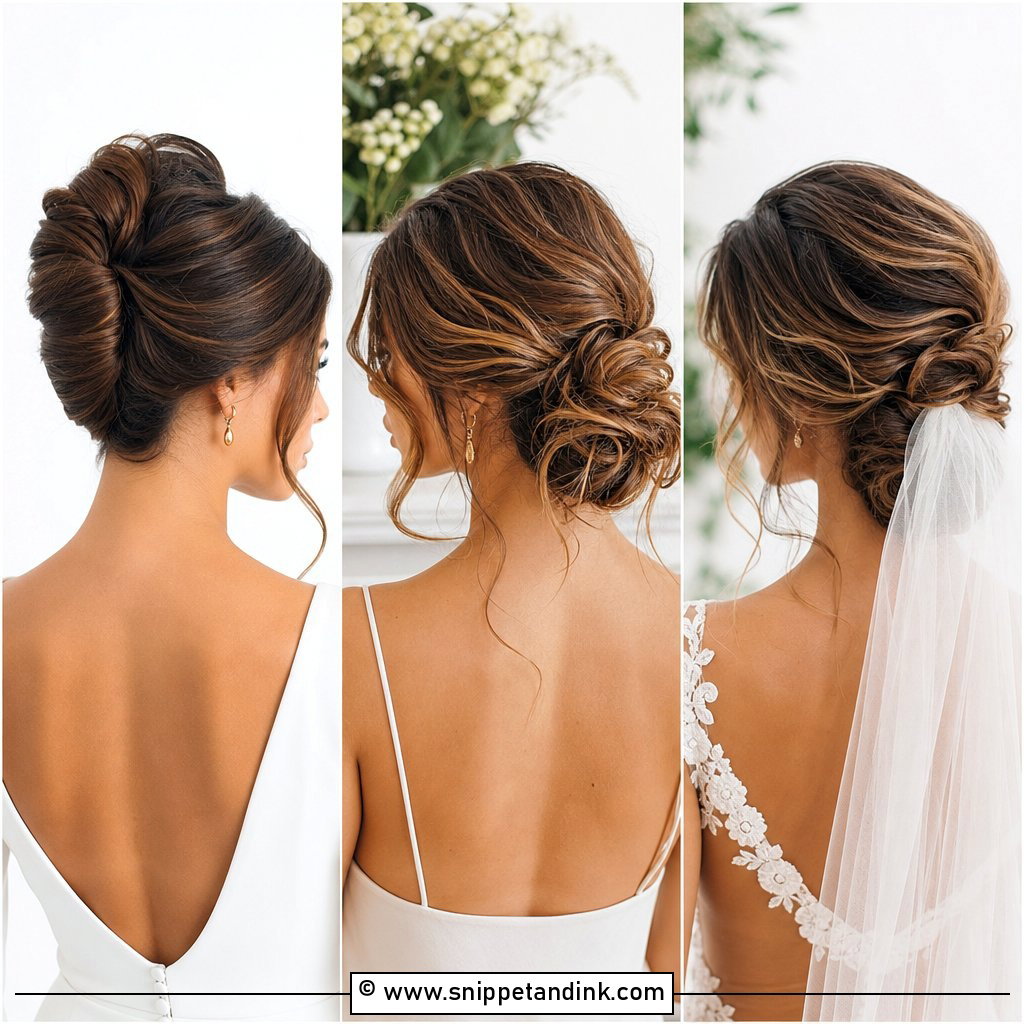
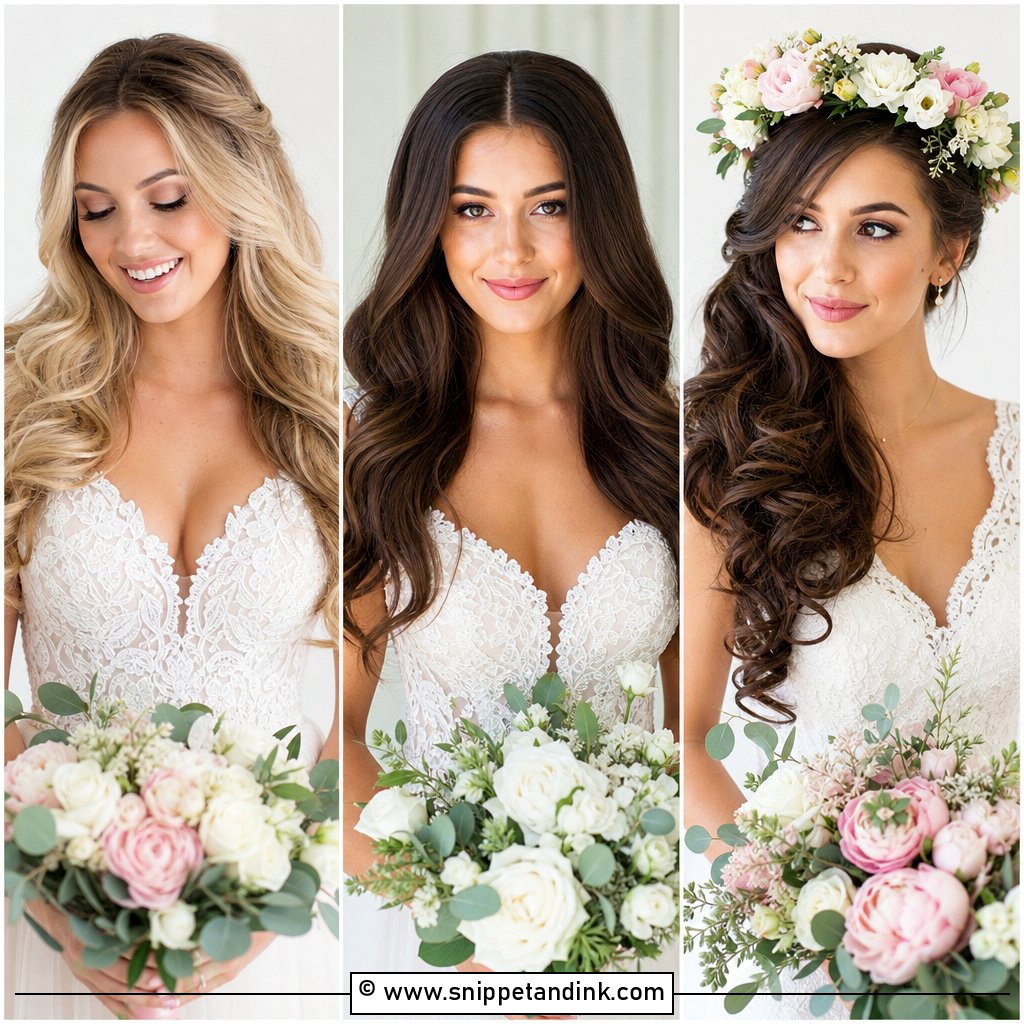
Waves under a veil are mostly a question of where the comb sits. A comb pushed into loose, silky curls will slide, so I either backcomb a small pad at the crown to grip it or tuck it into the base of a half-up section, where it can’t move. Keep the waves a little looser than you’d wear them without a veil, because the tulle presses them flat as it drapes. When the veil comes off for the reception, a quick finger-shake at the crown brings the volume back.
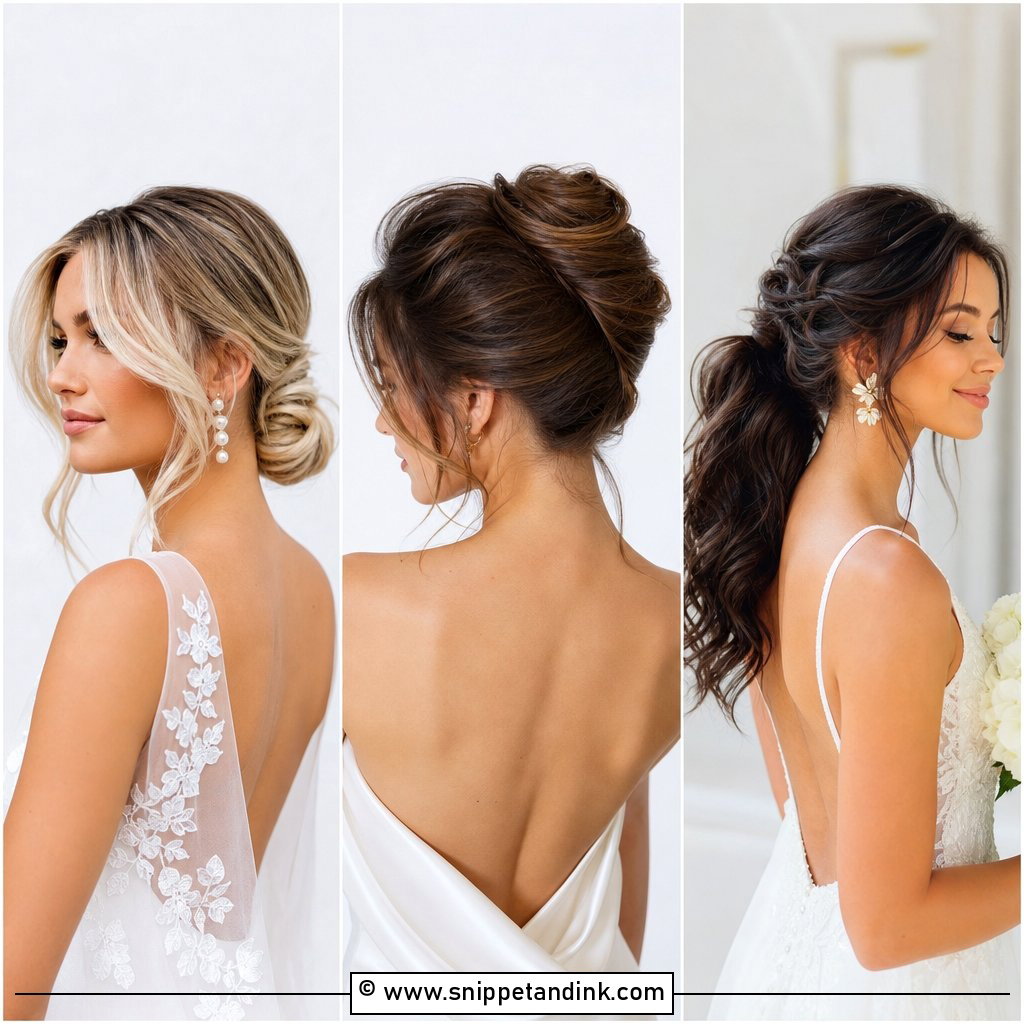
6. Wavy Low Bun Wedding Hair
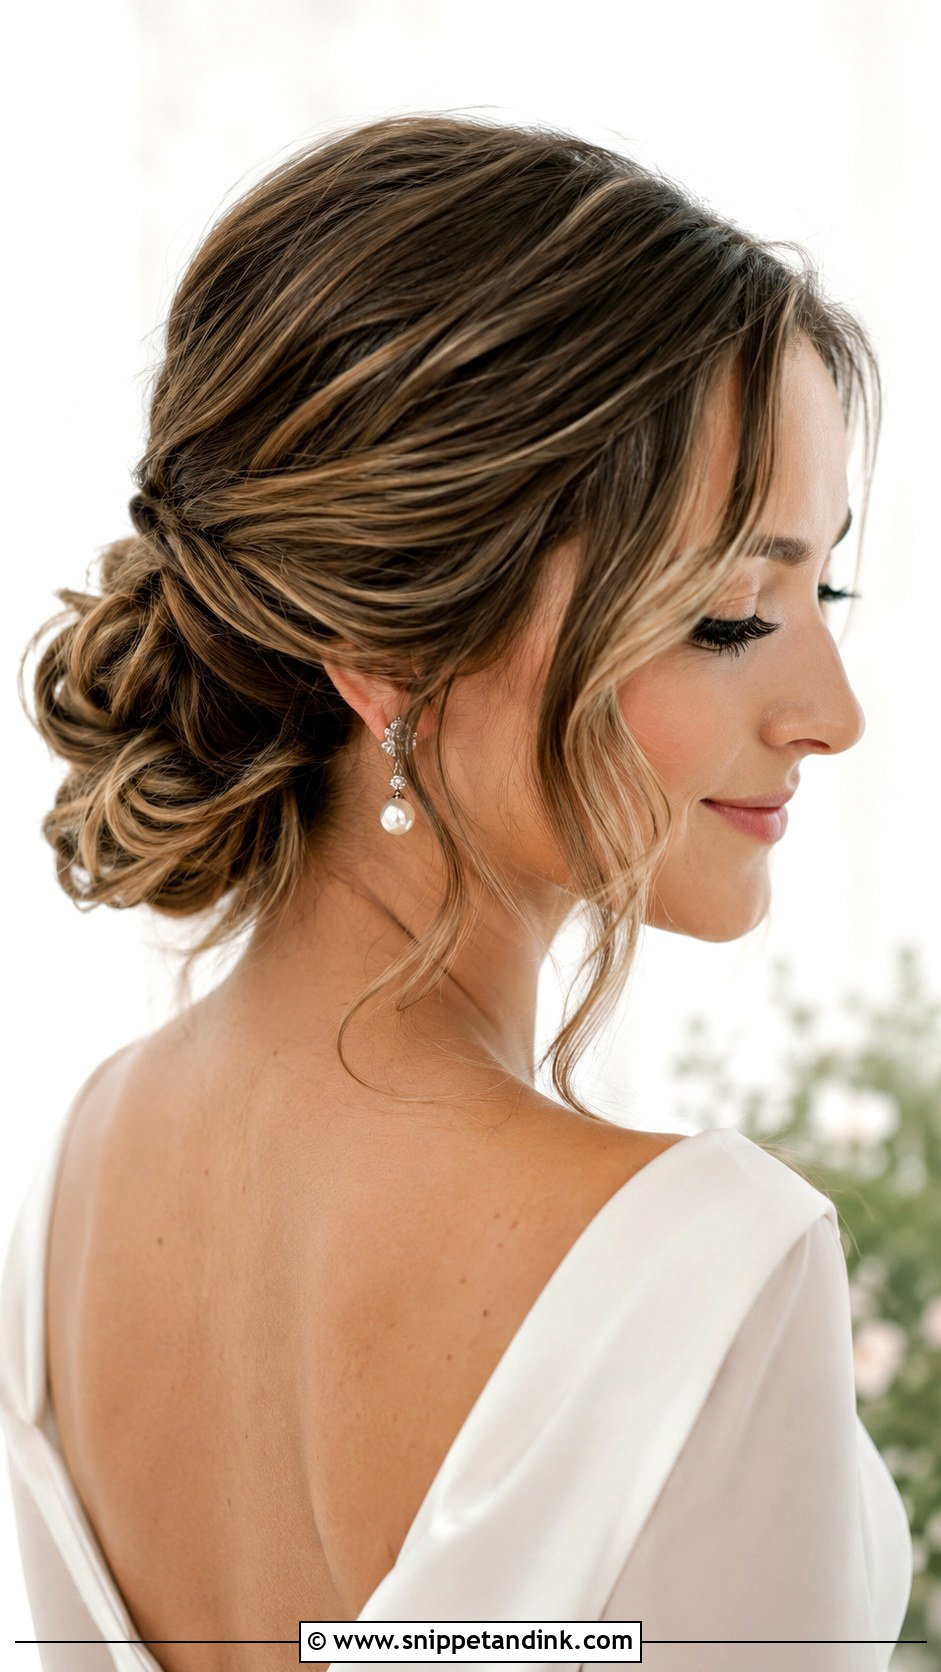
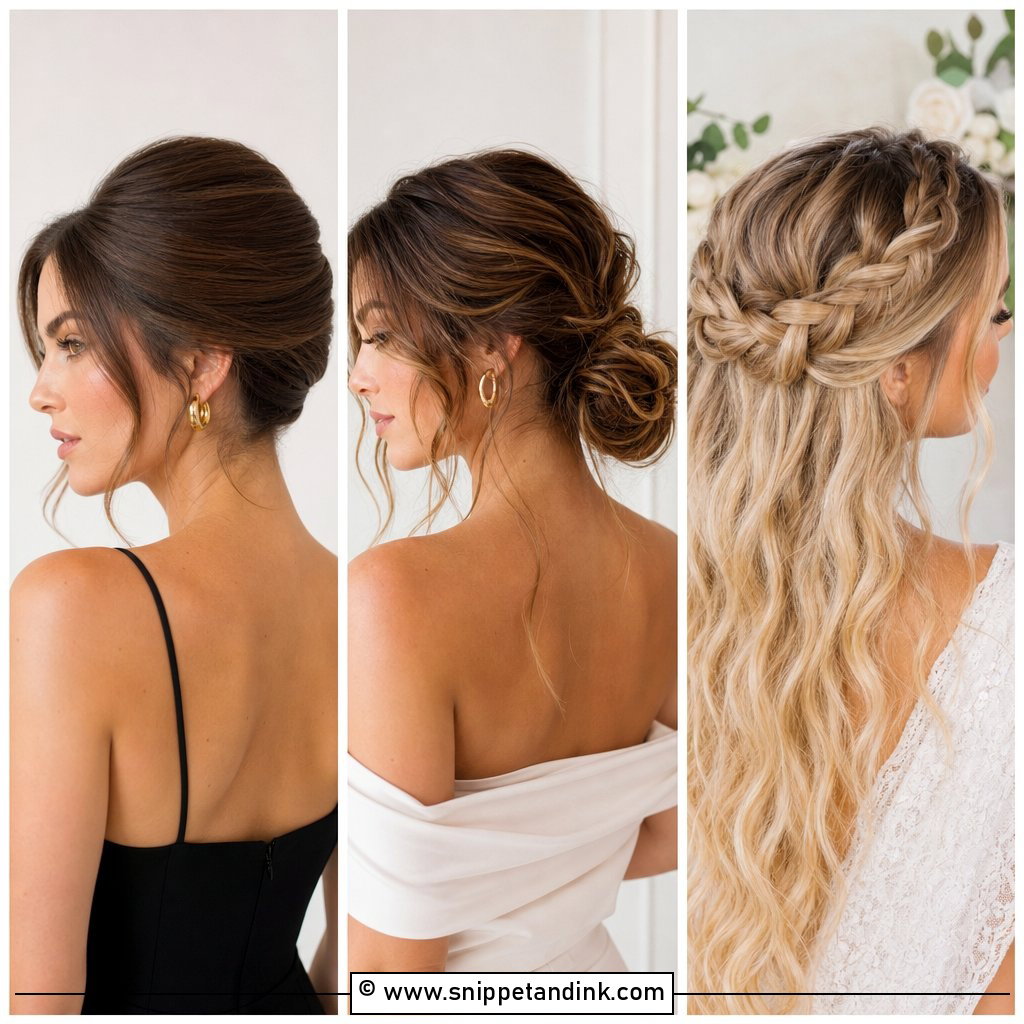
A wavy low bun gives you an updo that still moves. I set the whole head in waves first, then gather the back into a loose knot at the nape and leave two face-framing pieces out. The waves are what keep the bun from looking flat, so don’t let anyone smooth them out with gel. It sits well under a cathedral veil and leaves the neckline and earrings clear. If your hair is very thick, ask for the bun to be pinned in two parts; one heavy knot drags and loosens.
7. Beach Wavy Wedding Hair
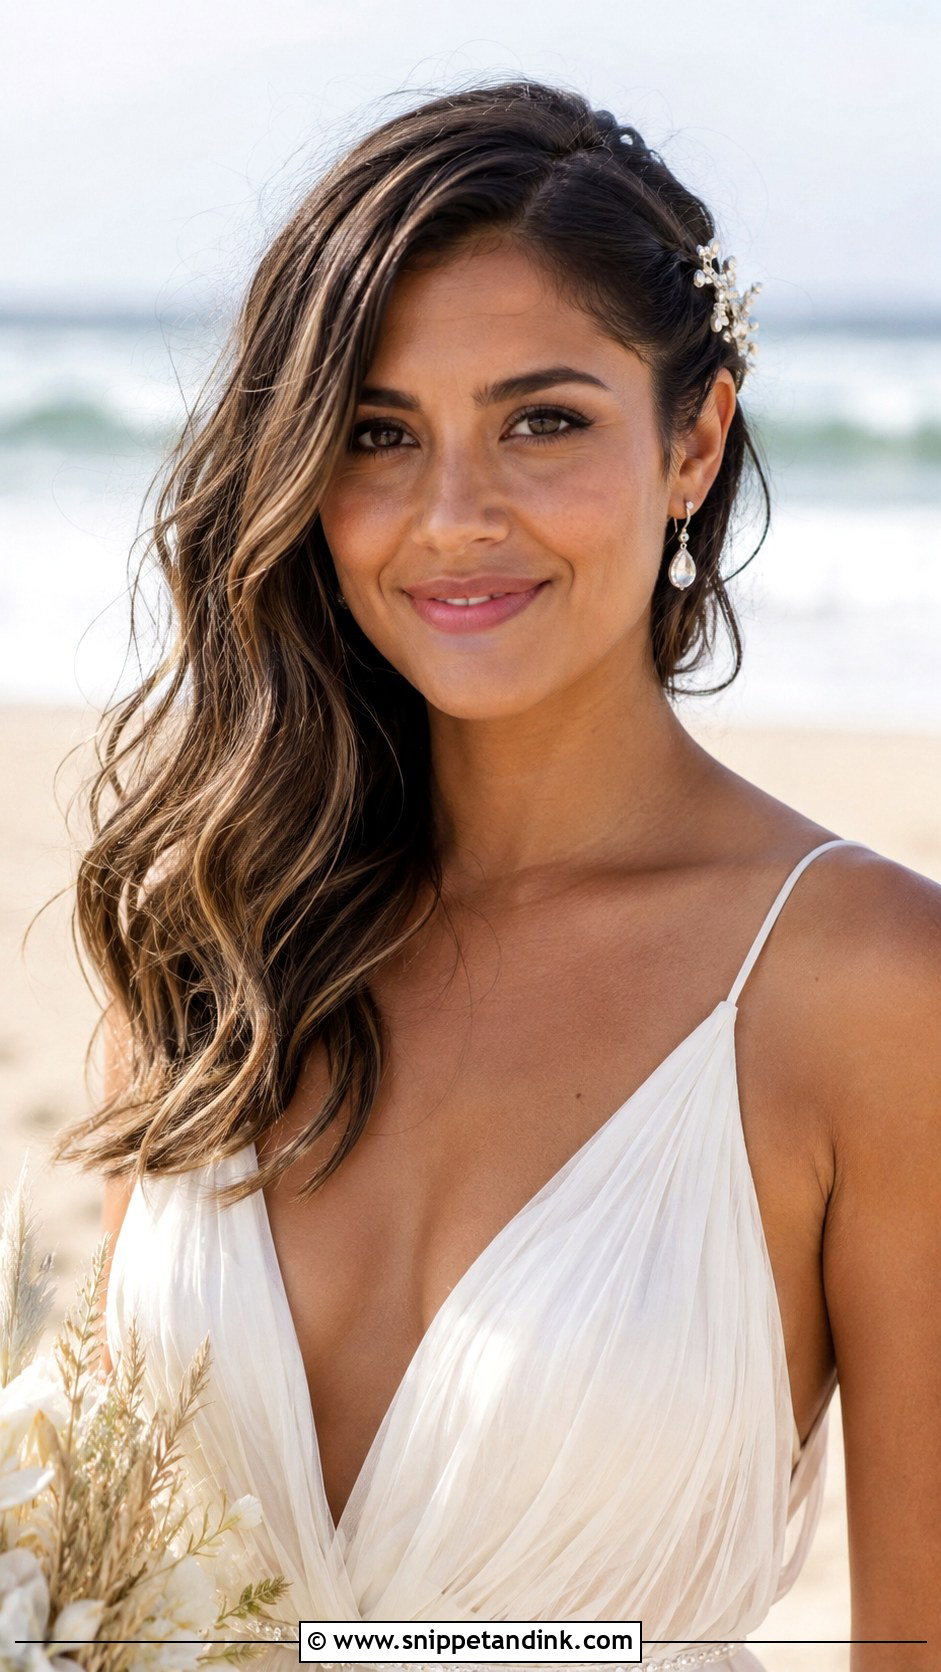
Beach waves fight the venue they’re named after. Salt air and wind loosen any curl, so for a shoreline ceremony I set them tighter than the finished look and let the breeze relax them. A sea salt or texture spray adds grit, and pinning one side back stops hair blowing across your face mid-vow. They suit a flowing gown and bare feet and that carefree island spirit, but if the forecast is humid, I’d talk you into the half-up version instead.
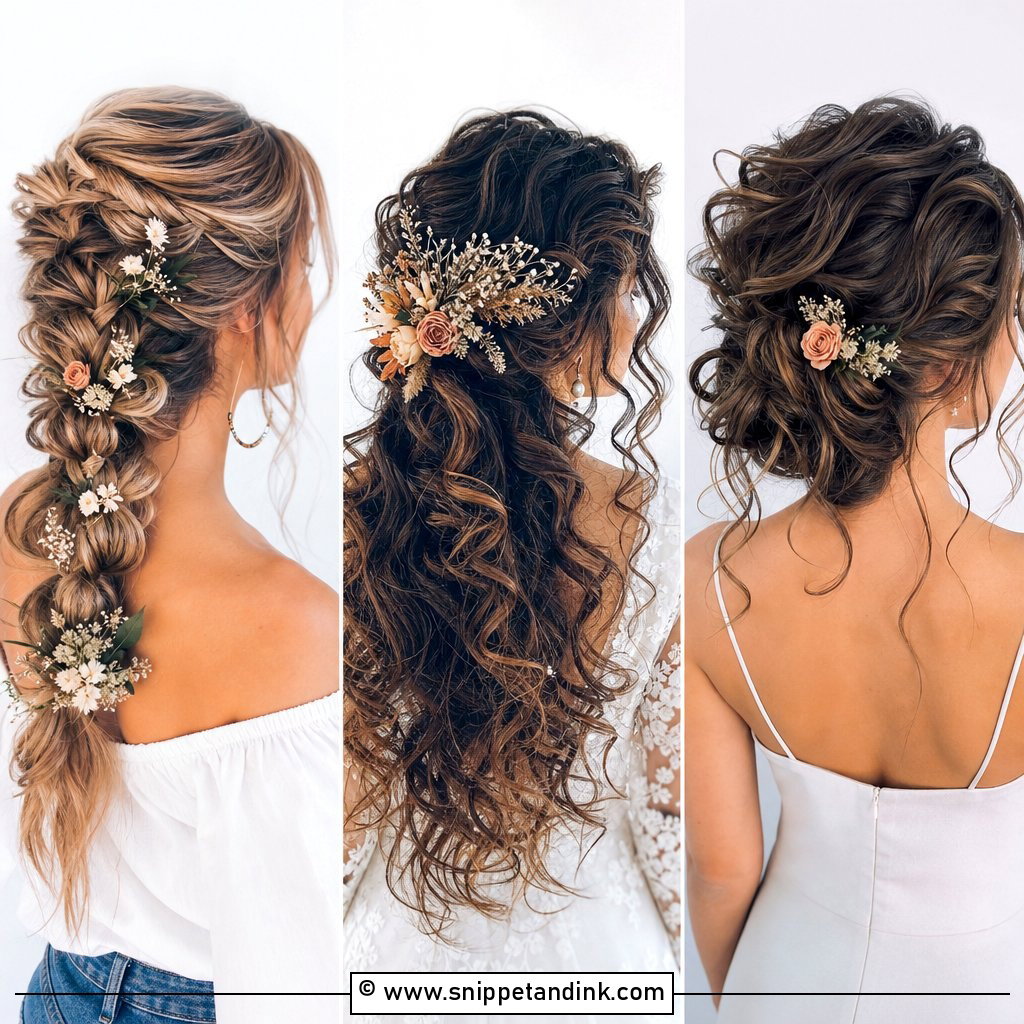
8. Wavy Wedding Hair with Flowers
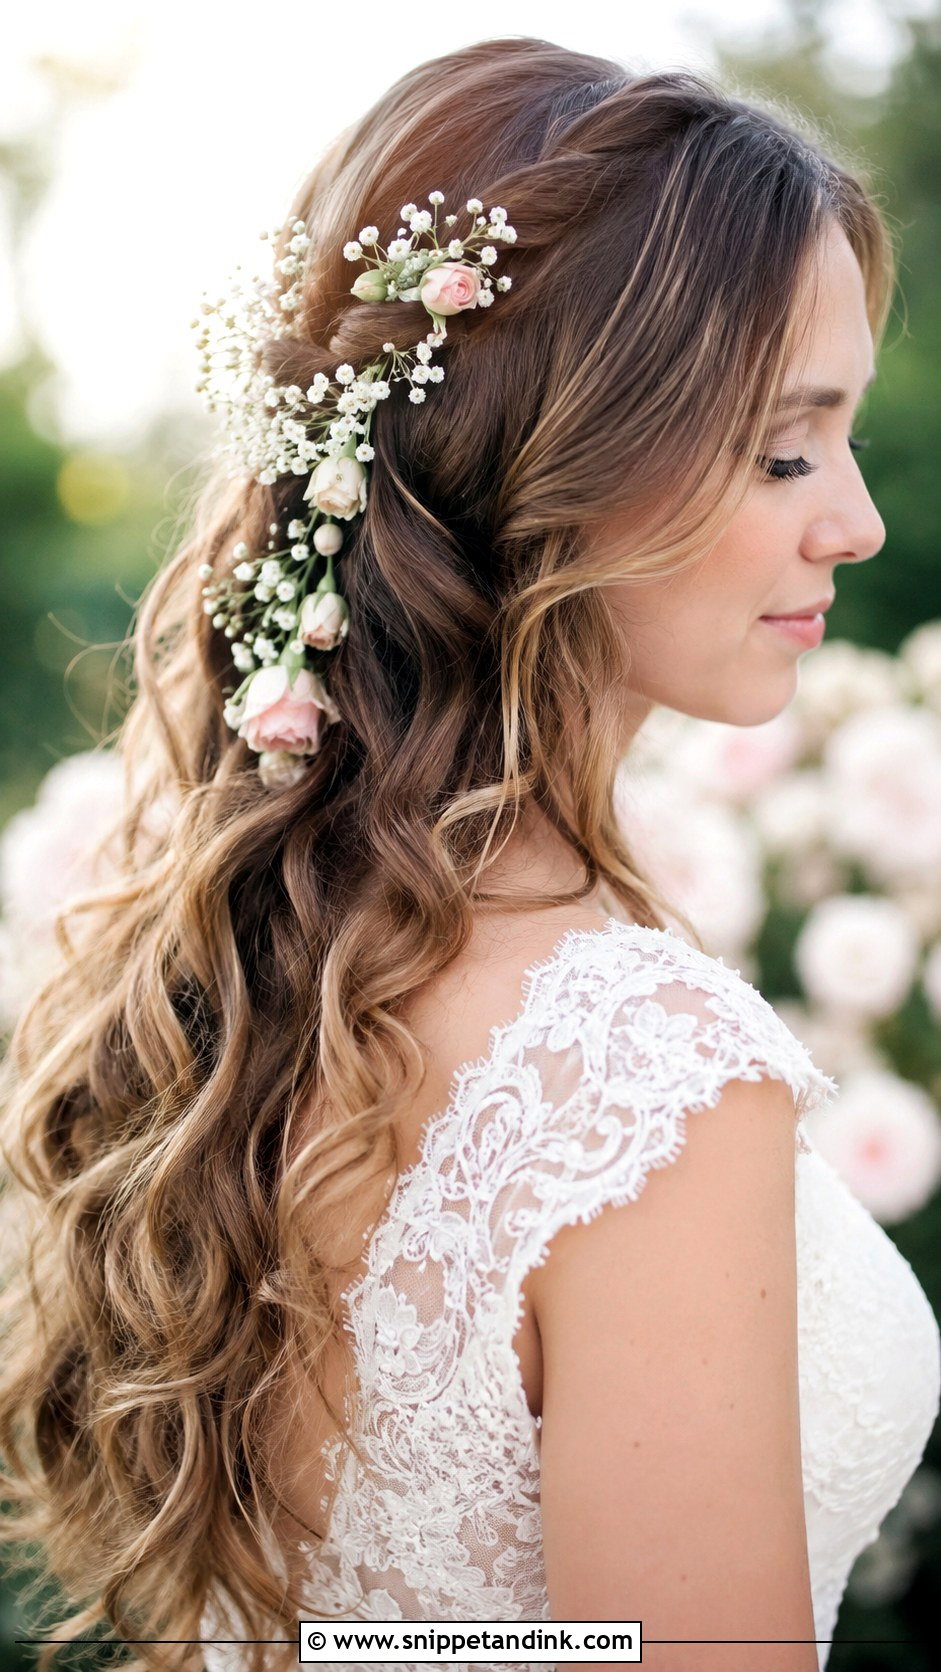
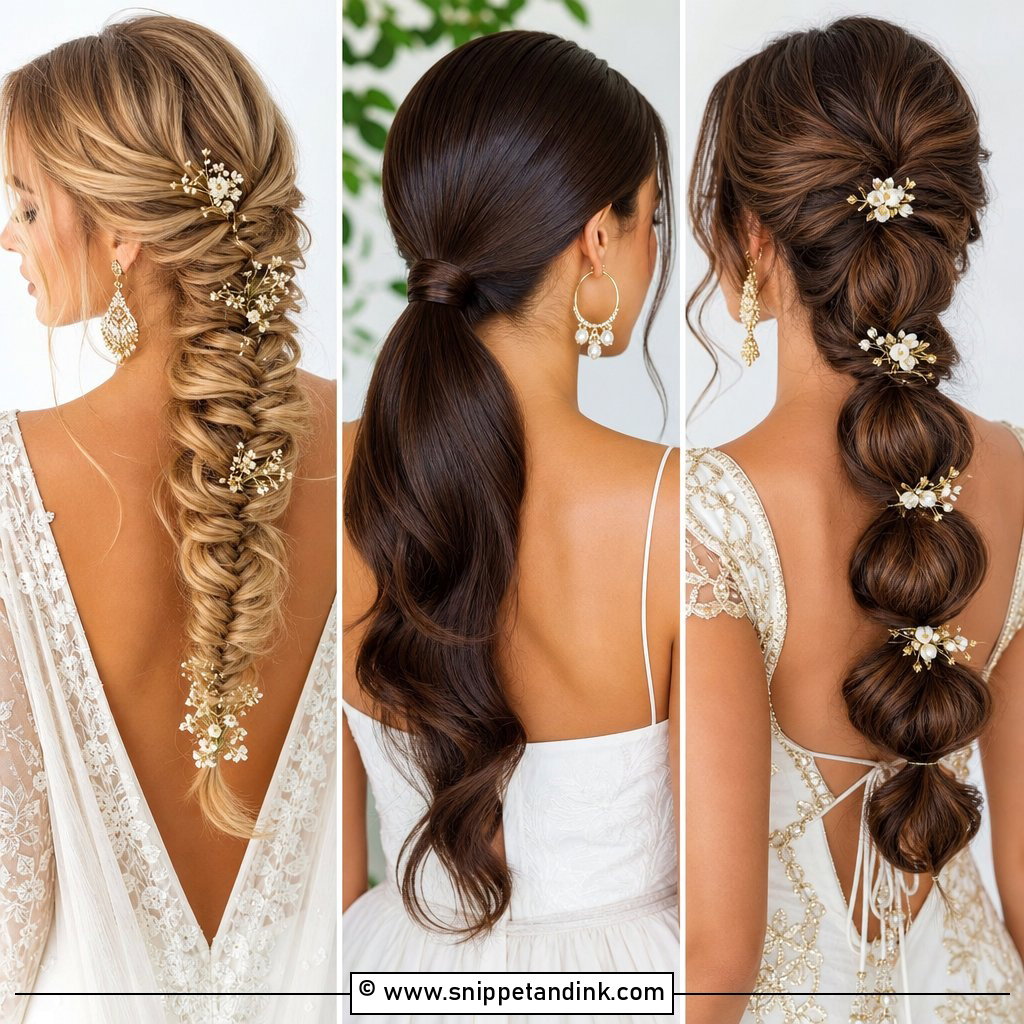
Fresh flowers in soft waves need a structure to sit in, because silky curls let stems slip out. I wire small blooms into short picks and slide them into a pinned section or braid. Sturdy flowers like spray roses and waxflower last hours out of water; baby’s breath browns at the edges in heat, and gardenias bruise if you so much as touch them. Talk to your florist so the hair pieces arrive with your bouquet, already wired.
9. Wavy Updo Wedding Hair
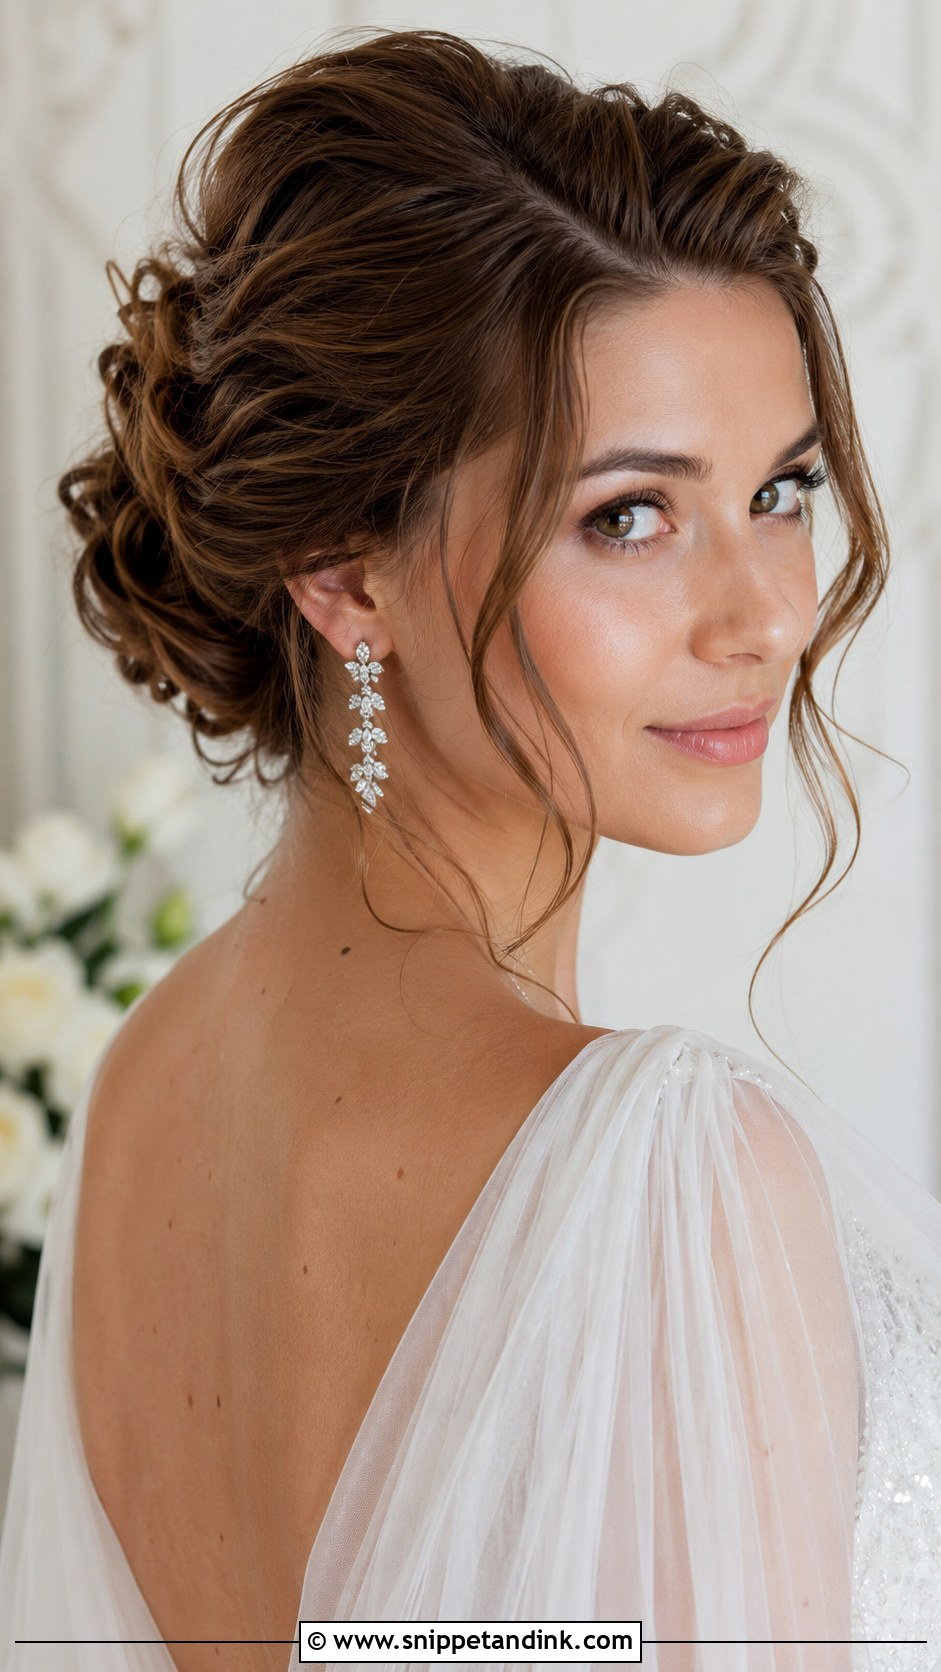
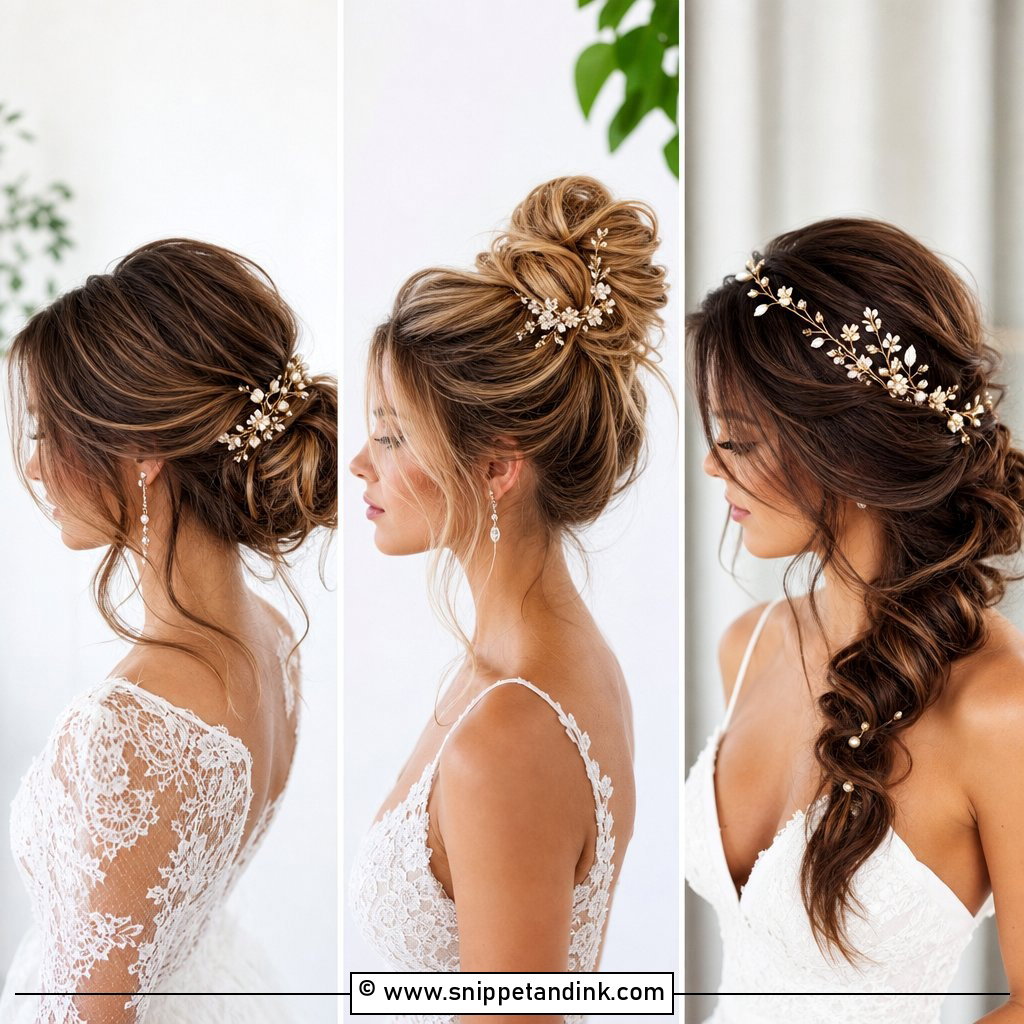
A wavy updo shows off the back of a dress and keeps hair off your shoulders in a hot venue. I curl everything first and pin the waves loosely so you can still see the pattern, instead of pulling it tight and smooth. The pins go in at an angle, against the direction of the hair, so they lock. Soft pieces at the temples stop it looking severe. This is my choice for a bride with a high neckline or a dress with detail across the back.
10. Wavy Wedding Hair with Braid
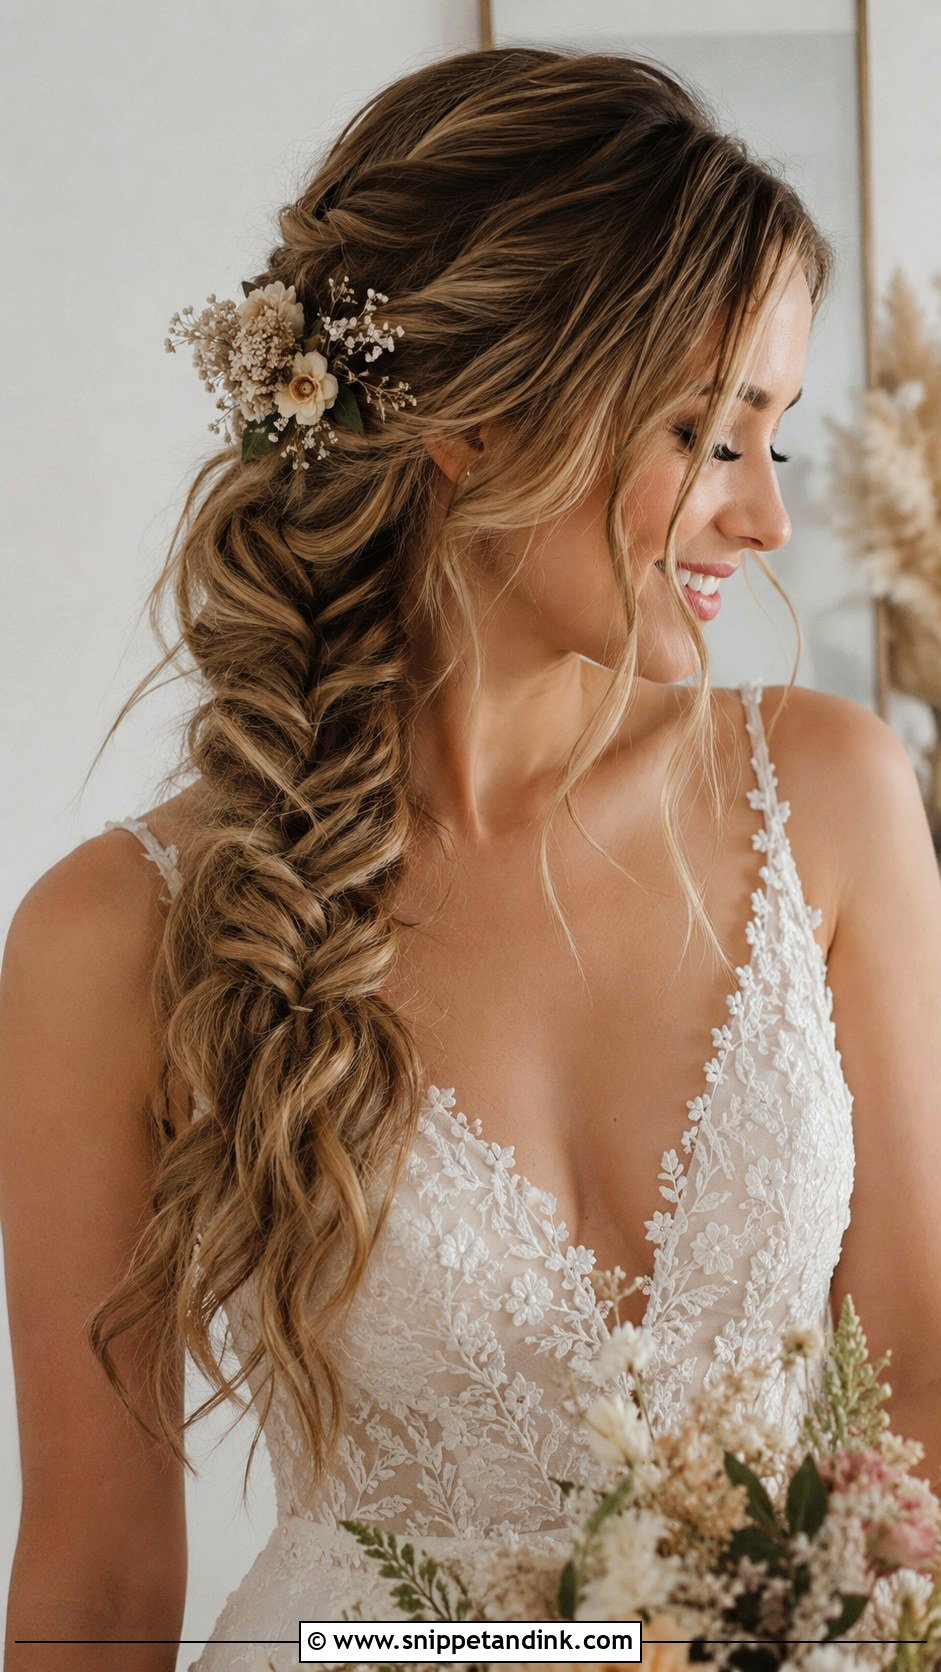
Braids add grip as well as texture. A loose side braid or a fishtail through a half-up section holds the top hair in place far better than pins alone, which is why I reach for them when a bride has slippery, freshly washed hair. I braid tight, then pull the loops apart gently with my fingertips so it looks soft without being loose underneath. Tiny flowers tuck into the braid easily. It suits rustic and outdoor weddings, and it photographs well from behind as you walk.
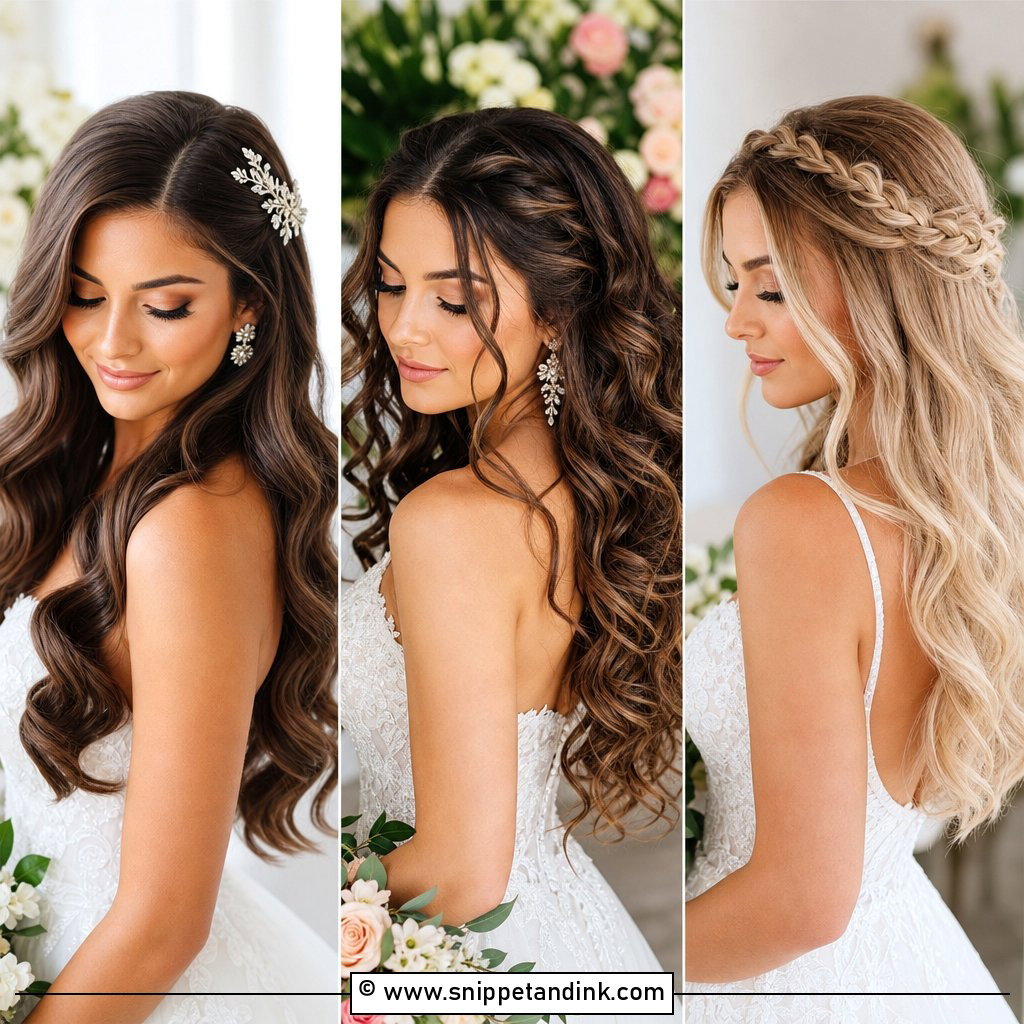
11. Soft Romantic Waves for Wedding
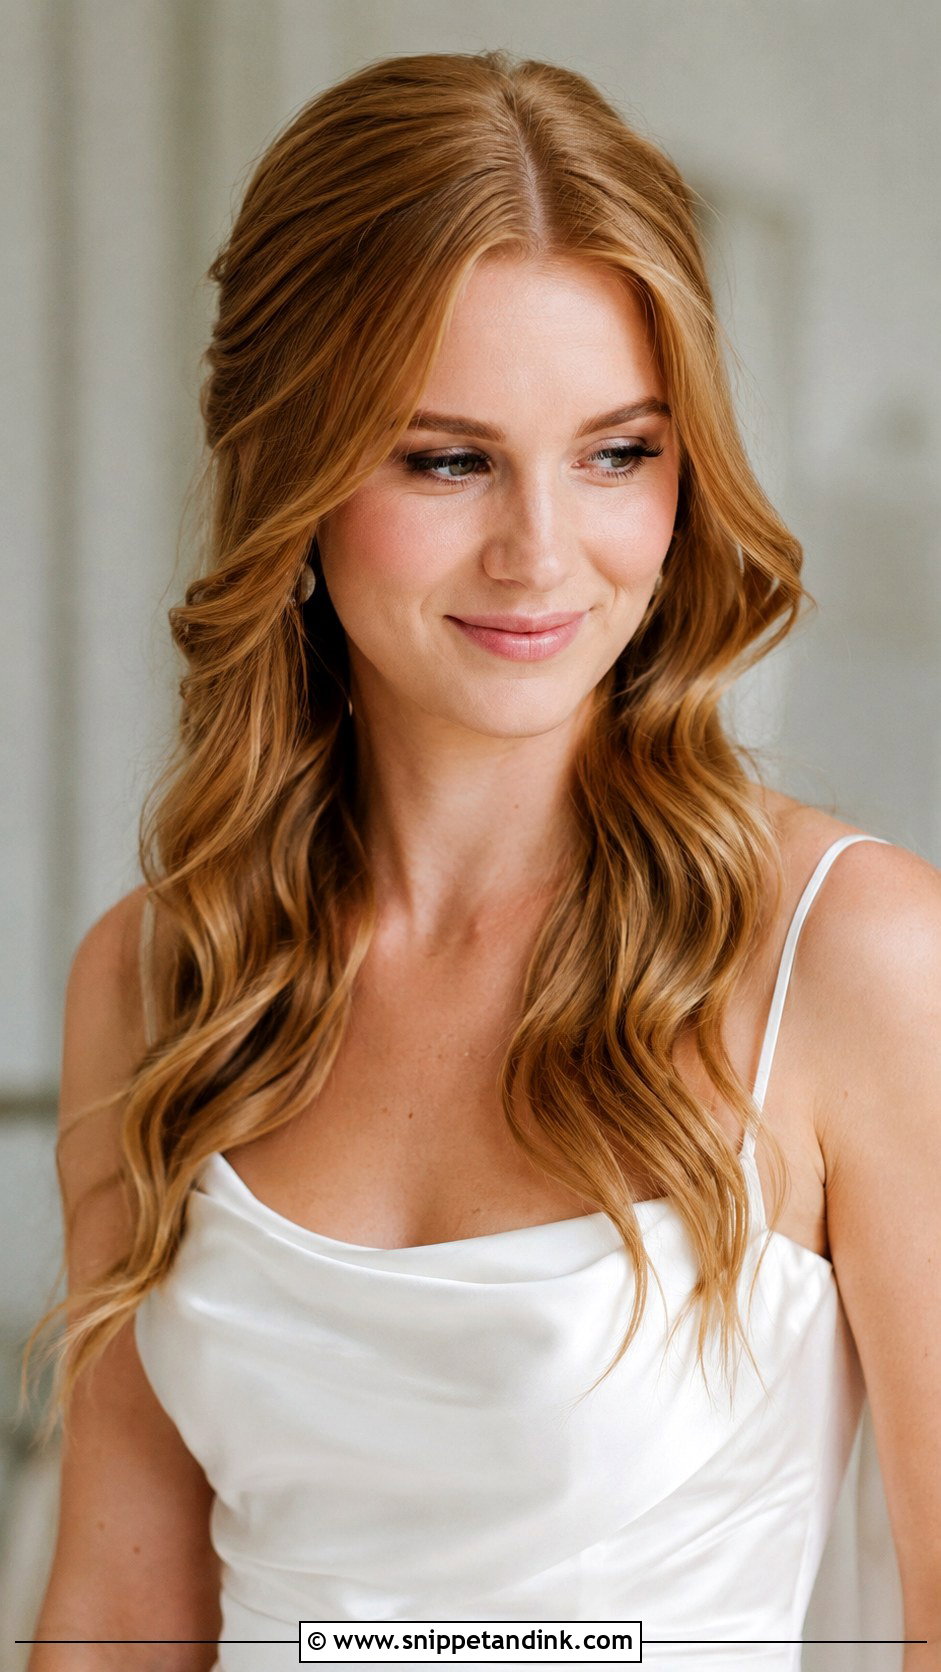
Simple waves are the easiest to get wrong, because there is nowhere for a weak set to hide. These are loose S-waves from a center part, with nothing pinned. I use a 1.25 inch wand, leave the last inch straight and finish with a light texture spray instead of a firm hold, so it moves. The honest catch: unpinned waves on fine or heavy straight hair will relax over the evening. Plan on it, and decide in advance if that softer version is still what you want in the late photos.
12. Wavy Ponytail Wedding Hair
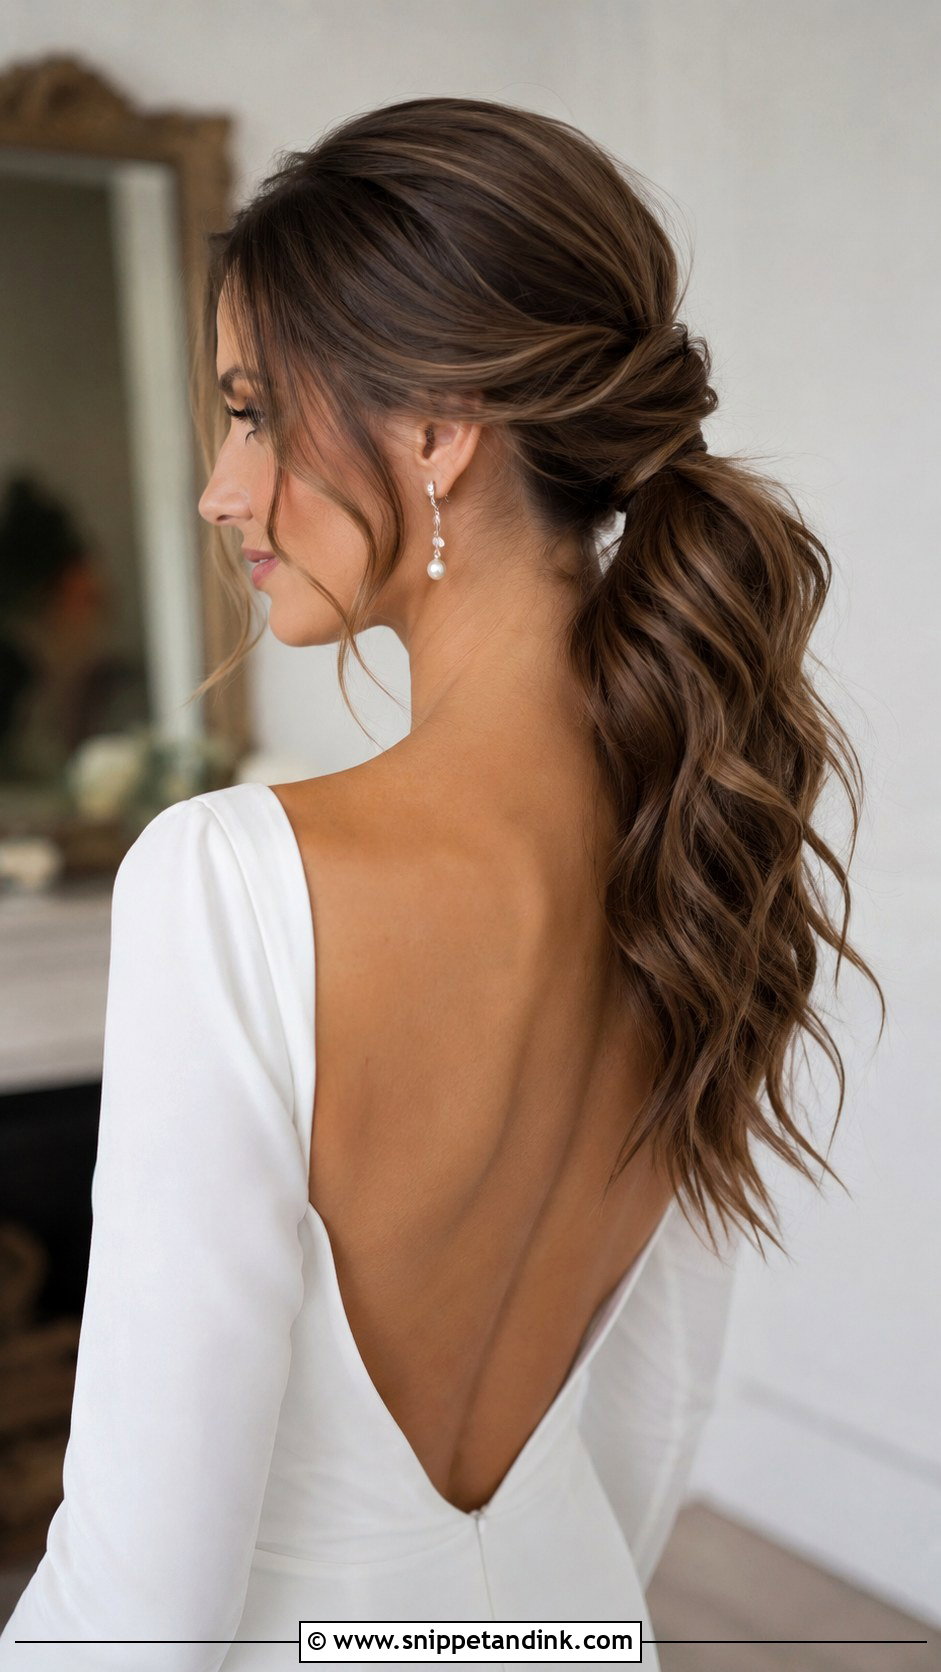
A wavy ponytail looks casual in a mirror and bridal in photos, mostly because of volume. I curl the hair before I tie it, not after, so the waves are even all the way round. Then I wrap a piece around the base to hide the elastic and pin it underneath. Leave a few face-framing strands out. A low tie sits under a veil better; a high one needs a strong elastic plus two crossed pins, or it droops by dinner.
13. Middle Part Wavy Wedding Hair
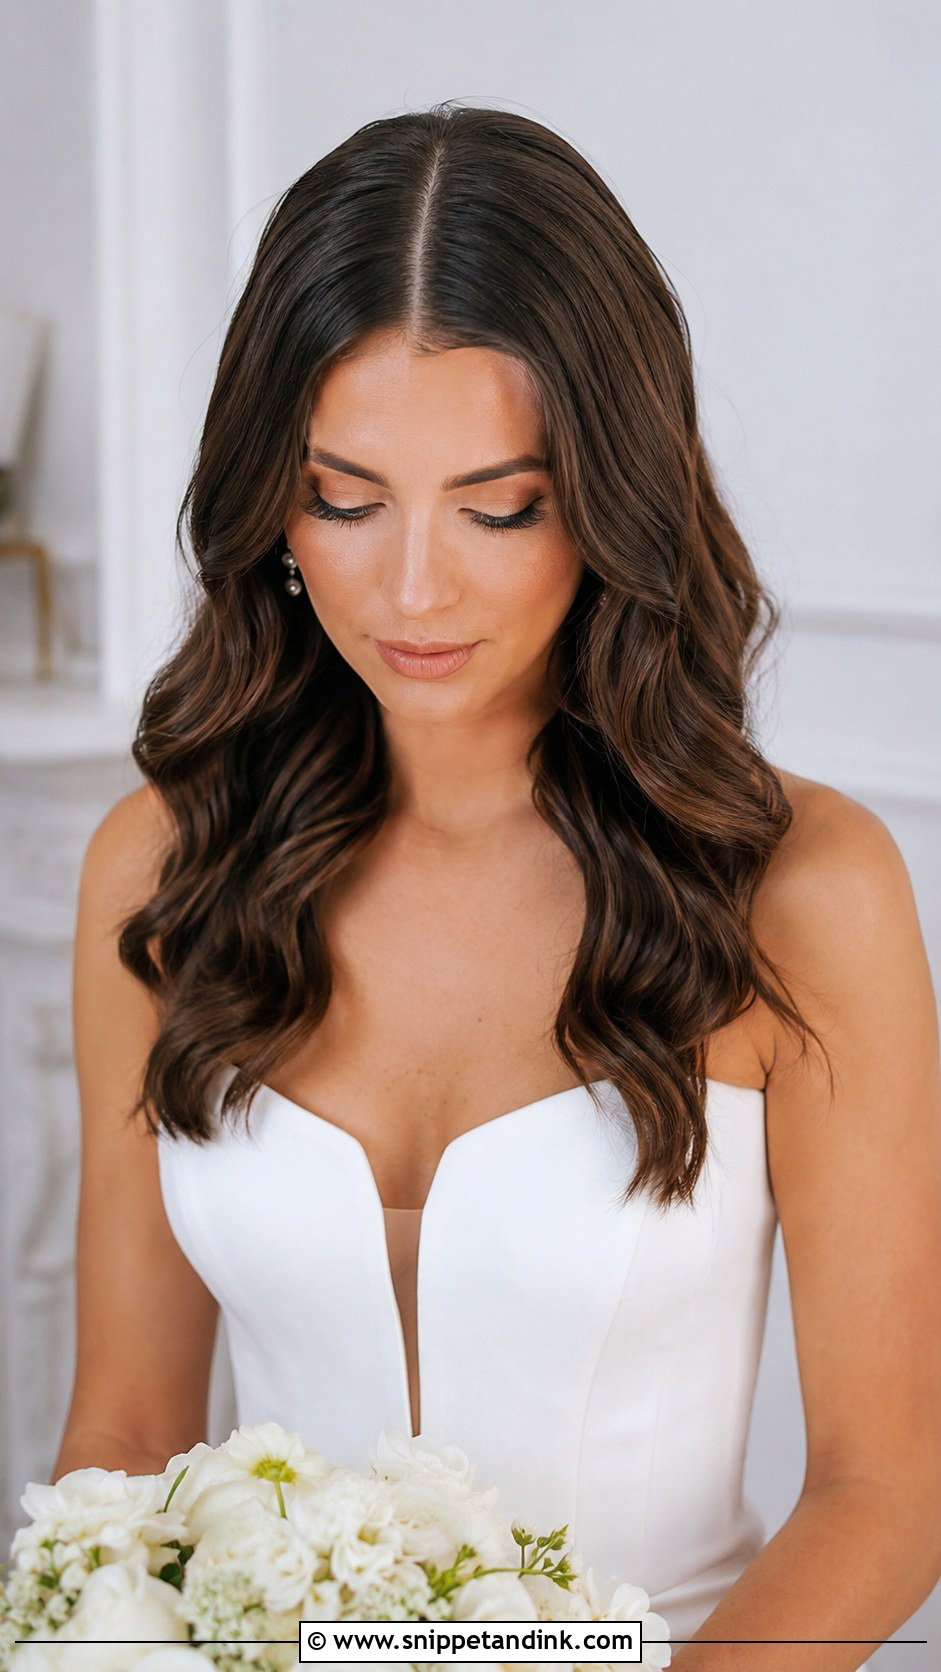
A middle part is unforgiving about symmetry. If your face or hairline is uneven, the camera will show it, so at the trial I check the part against your nose and brow before committing. The waves on each side need to be curled as mirror images, away from the face on both sides. Done well, the clean center line and the soft waves suit a minimalist gown, and the look holds either fully down or with a small half-up twist.
14. Wavy Wedding Hair for Short Hair
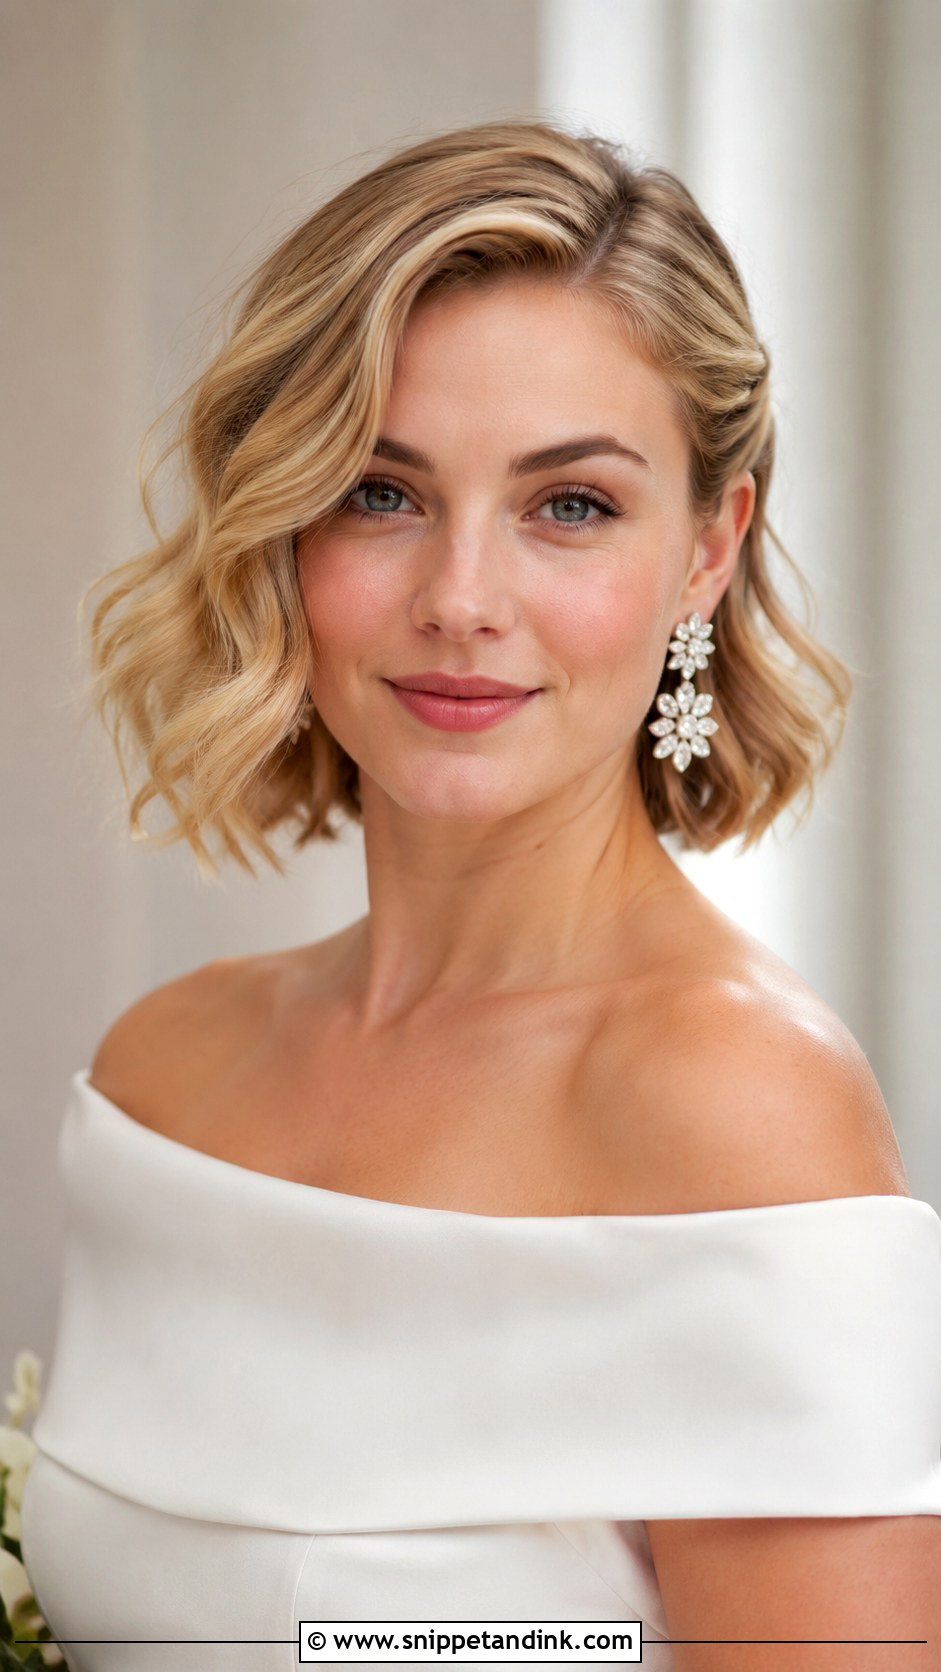
Short hair takes waves well; it just needs a smaller barrel. On a bob or lob I use a 1 inch iron and flat-wave the mid-lengths, leaving the ends straight so it doesn’t turn into ringlets. The movement makes fine hair look fuller. Tuck one side behind the ear with a small clip to show off an earring. Short wavy hair holds a set longer than long hair, because there’s less weight pulling it out.
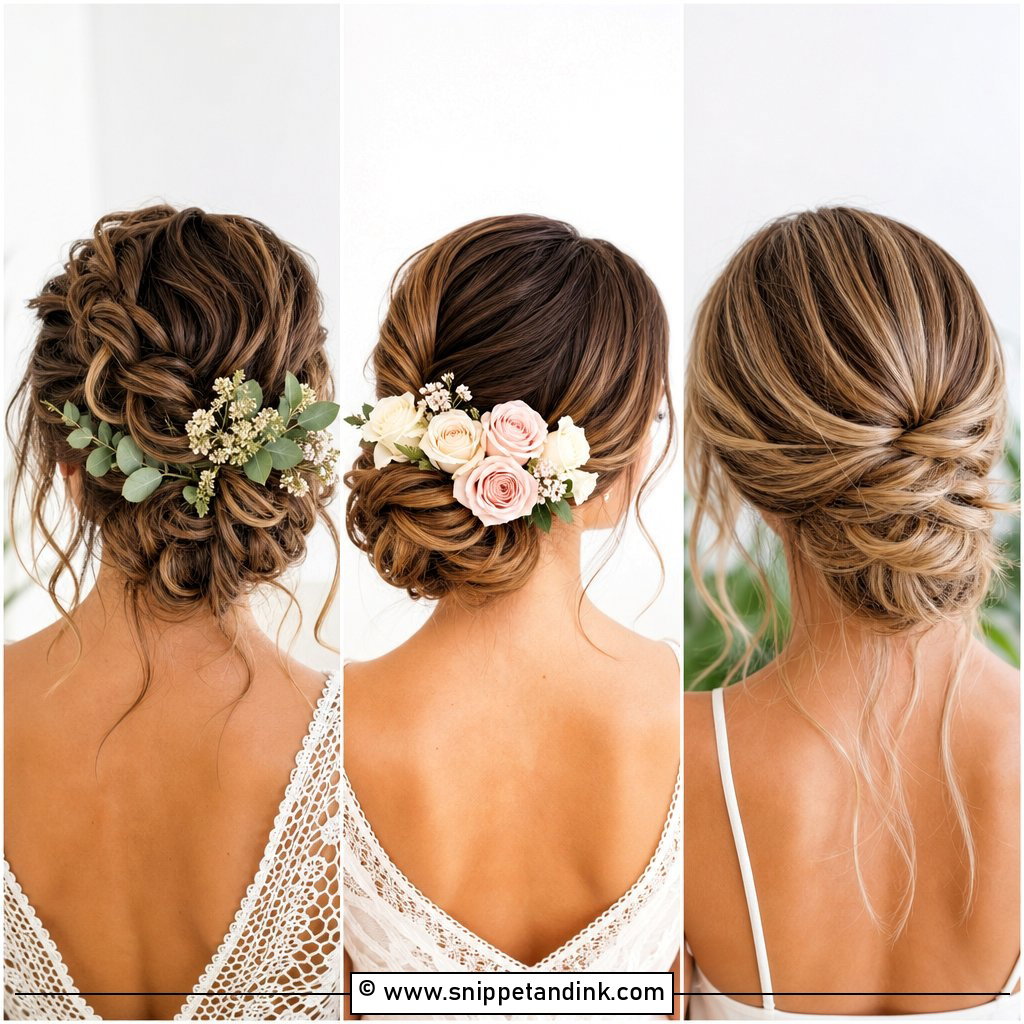
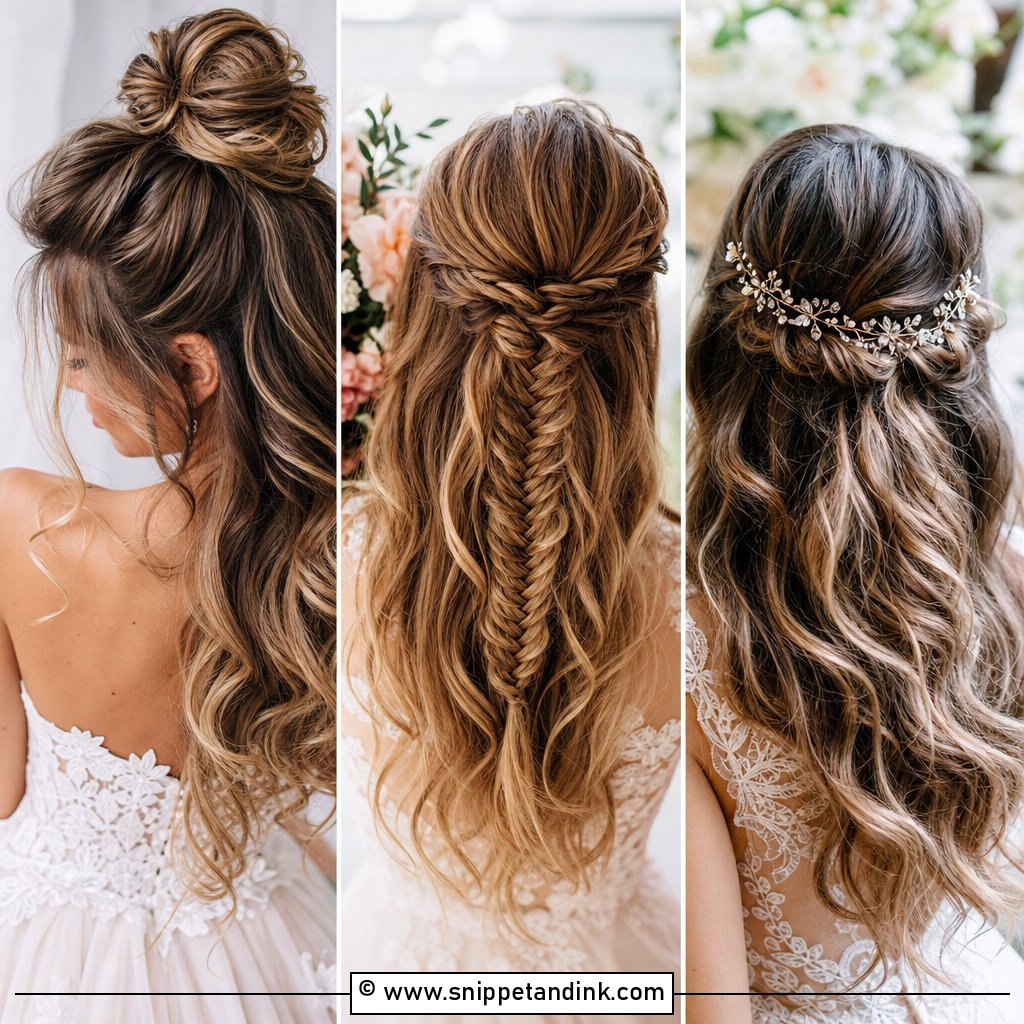
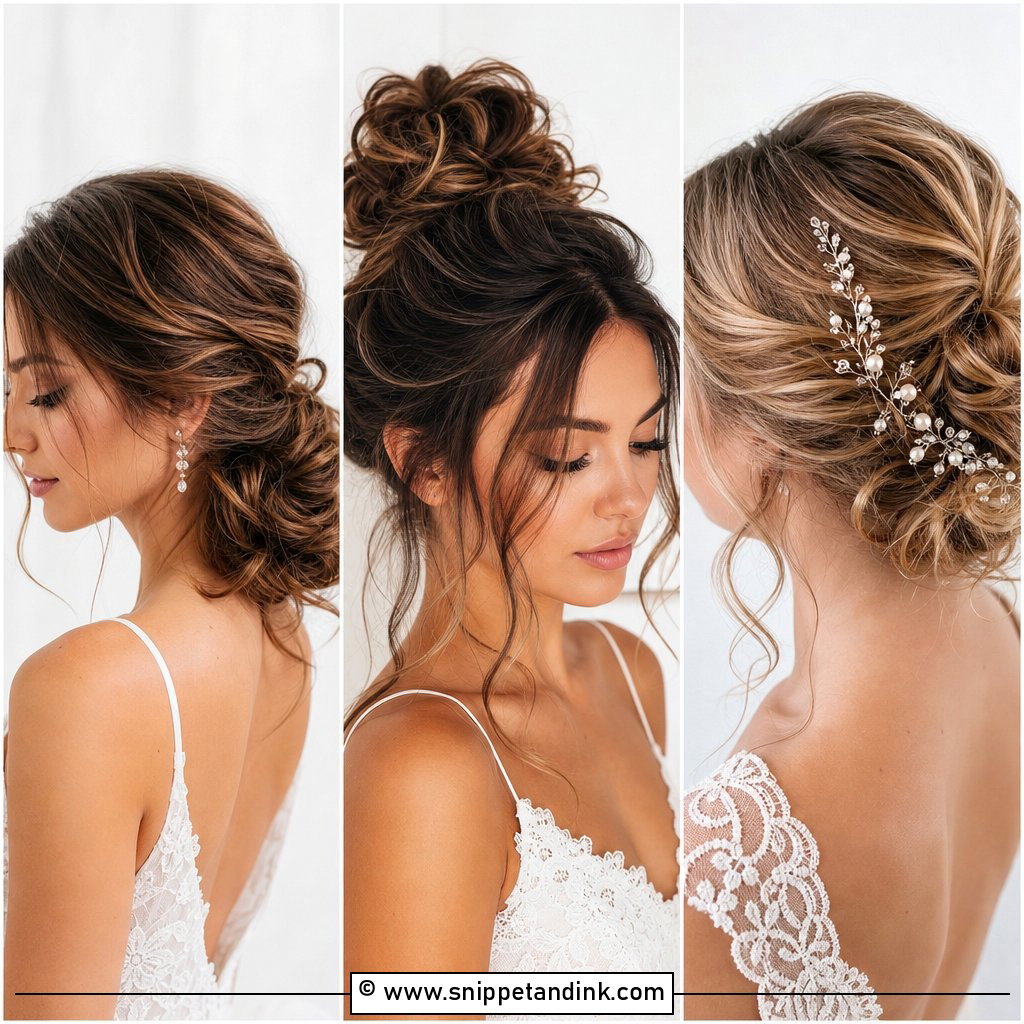
15. Vintage Wavy Wedding Hair
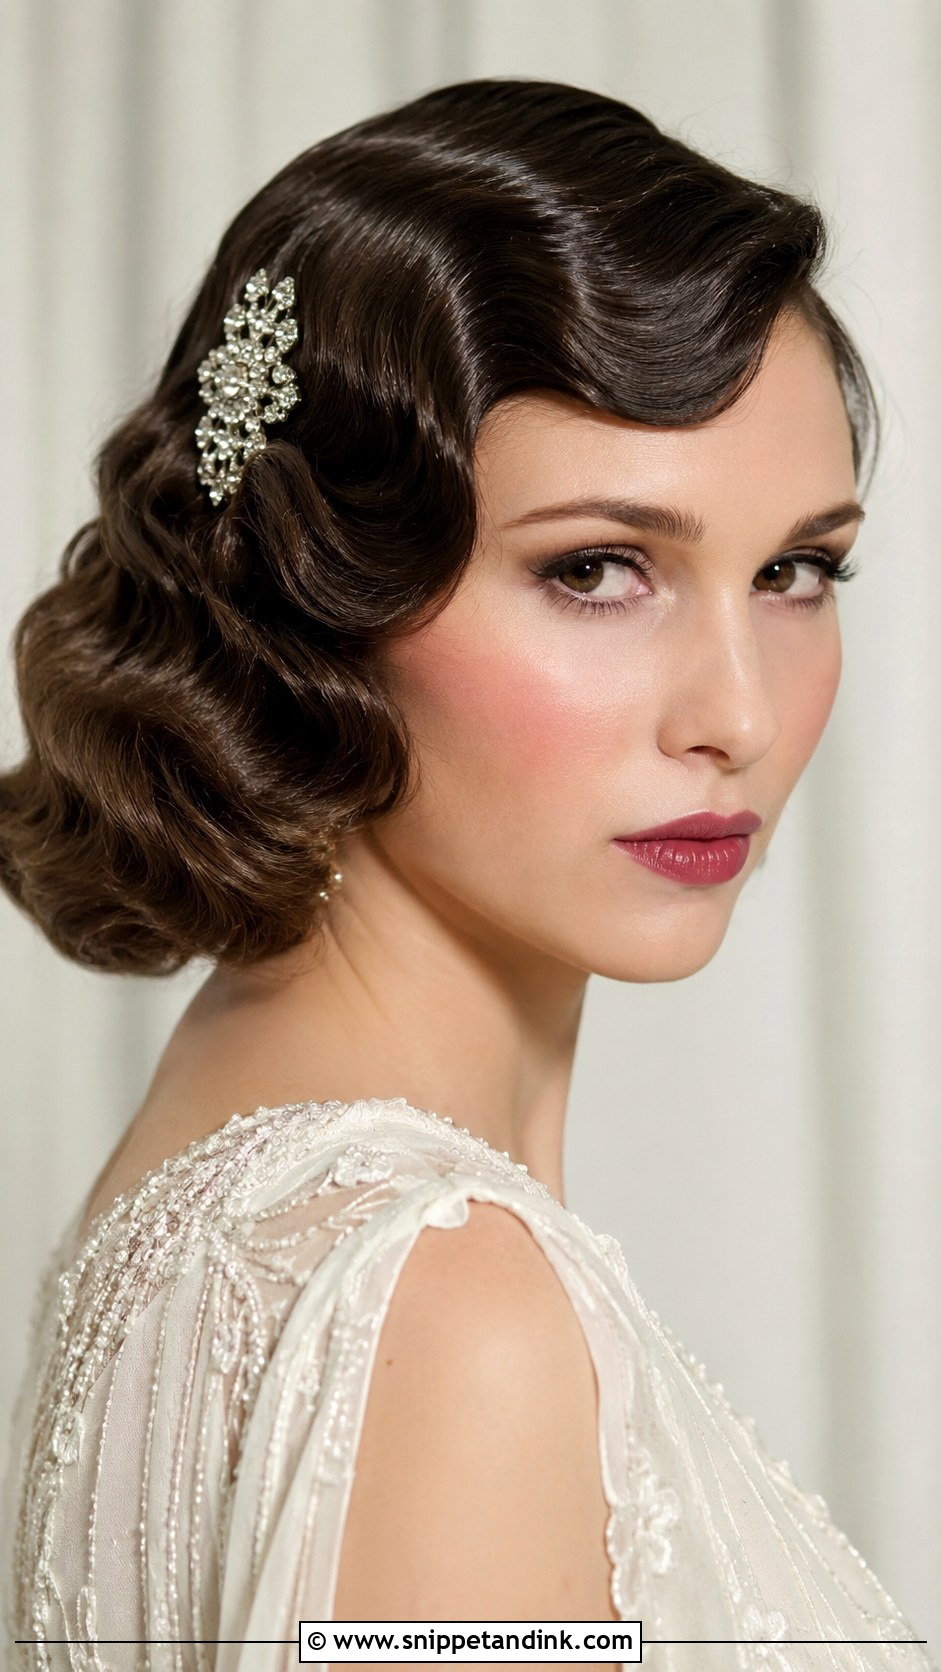
Vintage waves come from finger waves and pin curls, and they need hair that will hold a set. I pin each curl flat against the head while it cools, sometimes for twenty minutes, then brush it out into one defined, glossy ridge. A setting lotion on damp hair makes a real difference here. A jeweled clip at the side part suits the era. Expect to sit for a long styling slot, and know that very layered or heavily highlighted hair can look frizzy rather than glossy in this style.
16. Wavy Wedding Hair with Hair Accessories
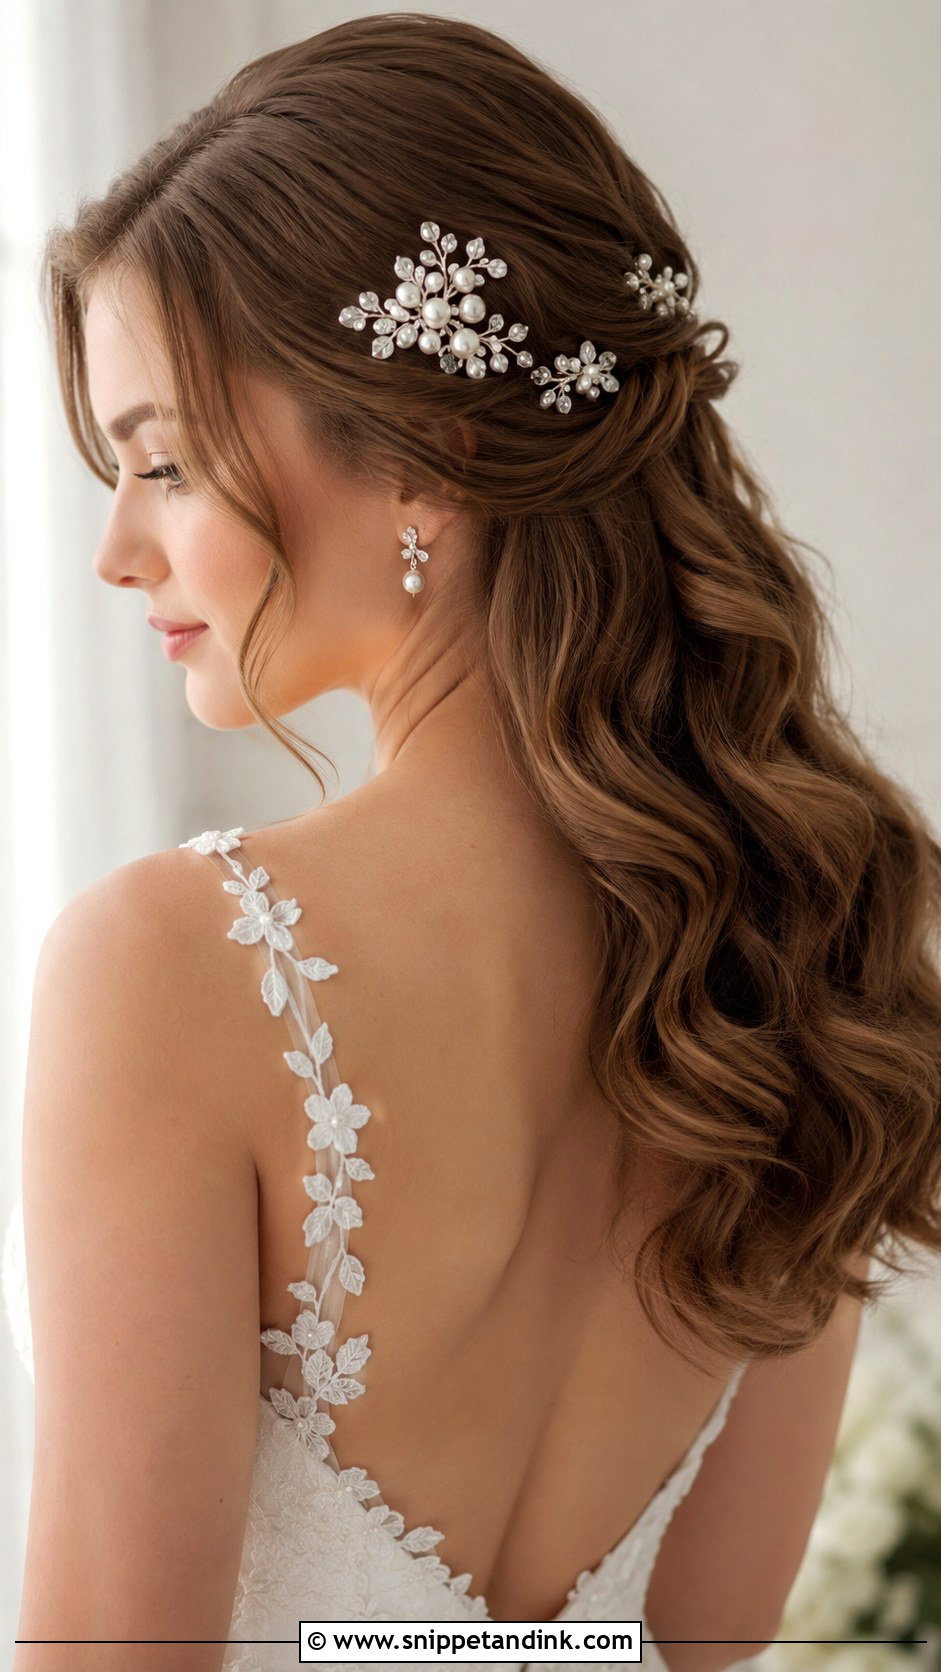
One accessory almost always reads better than many. A comb slides into the side of loose waves, but silky curls won’t grip it, so I backcomb a tiny bed for it and pin the teeth flat. Small pins scattered through the length look pretty in person and tend to disappear in photos, so I keep them near the face where the camera actually lands. Match the metal to your engagement ring and the rest of your jewelry; mixing gold and silver in hair is more noticeable than people expect.
17. Wavy Wedding Hair with Crown Braid
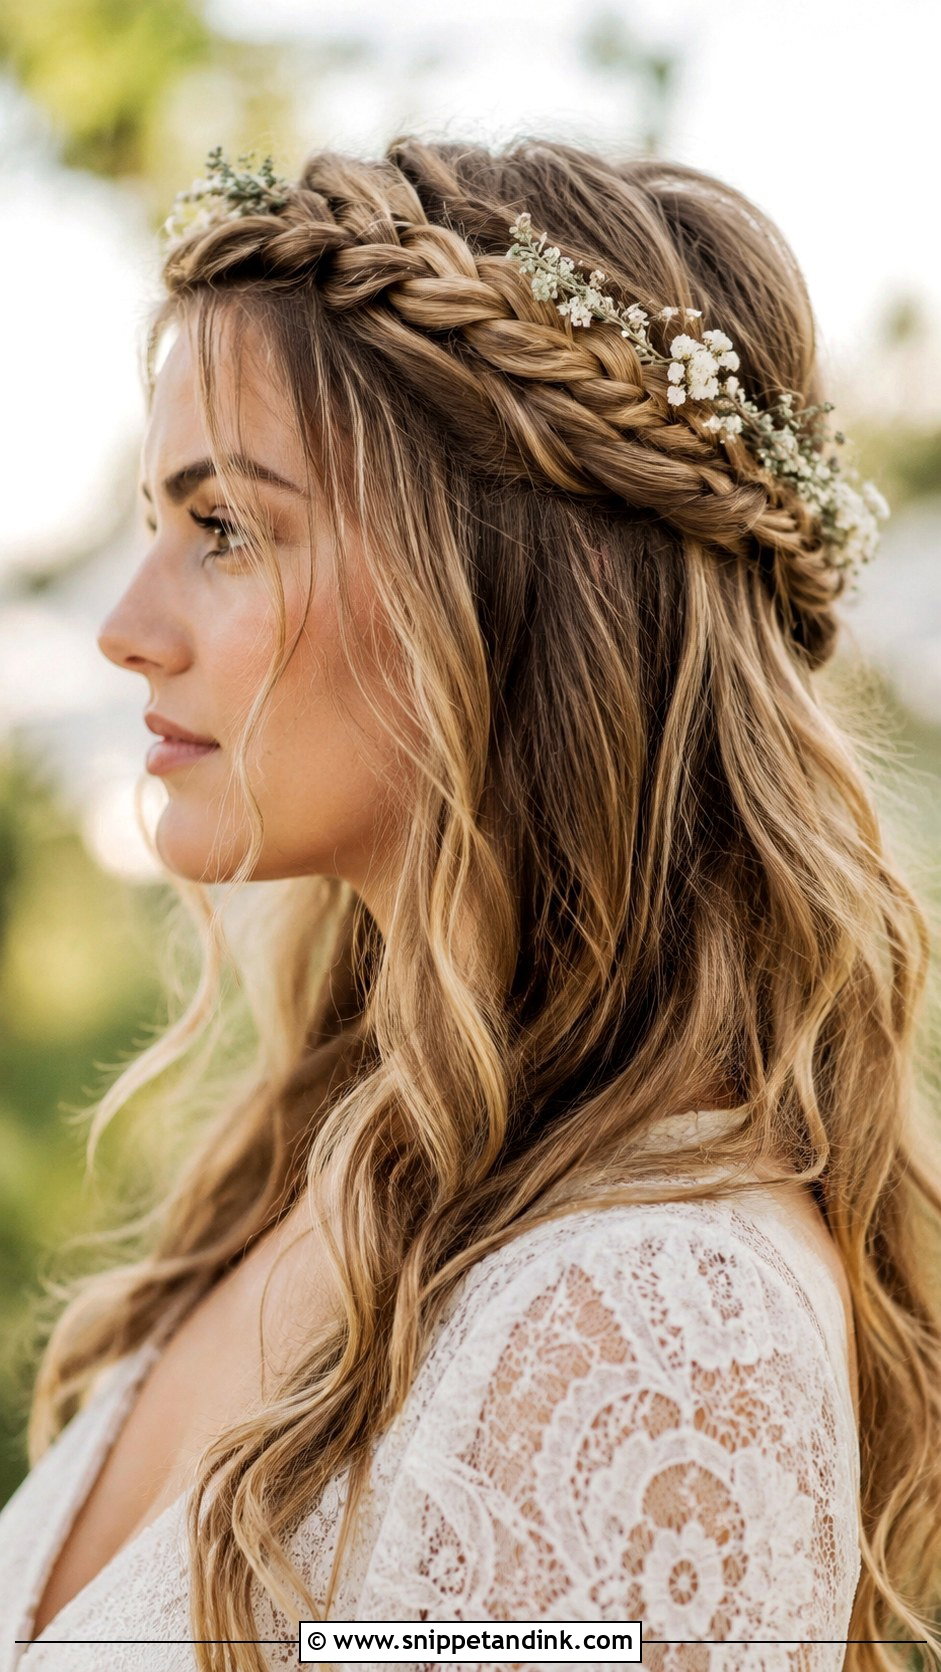
The crown braid sits like a halo, with waves loose underneath. It needs enough length to wrap the head, roughly past the shoulders, or I add a clip-in piece to finish the circle. I pin it every couple of inches so it doesn’t sag at the back. Small flowers or greenery sit well in the braid. It suits an outdoor ceremony because it keeps hair off the face in wind, and the braid gives the loose waves a firm edge to contrast with.
18. Wavy Wedding Hair with Twist
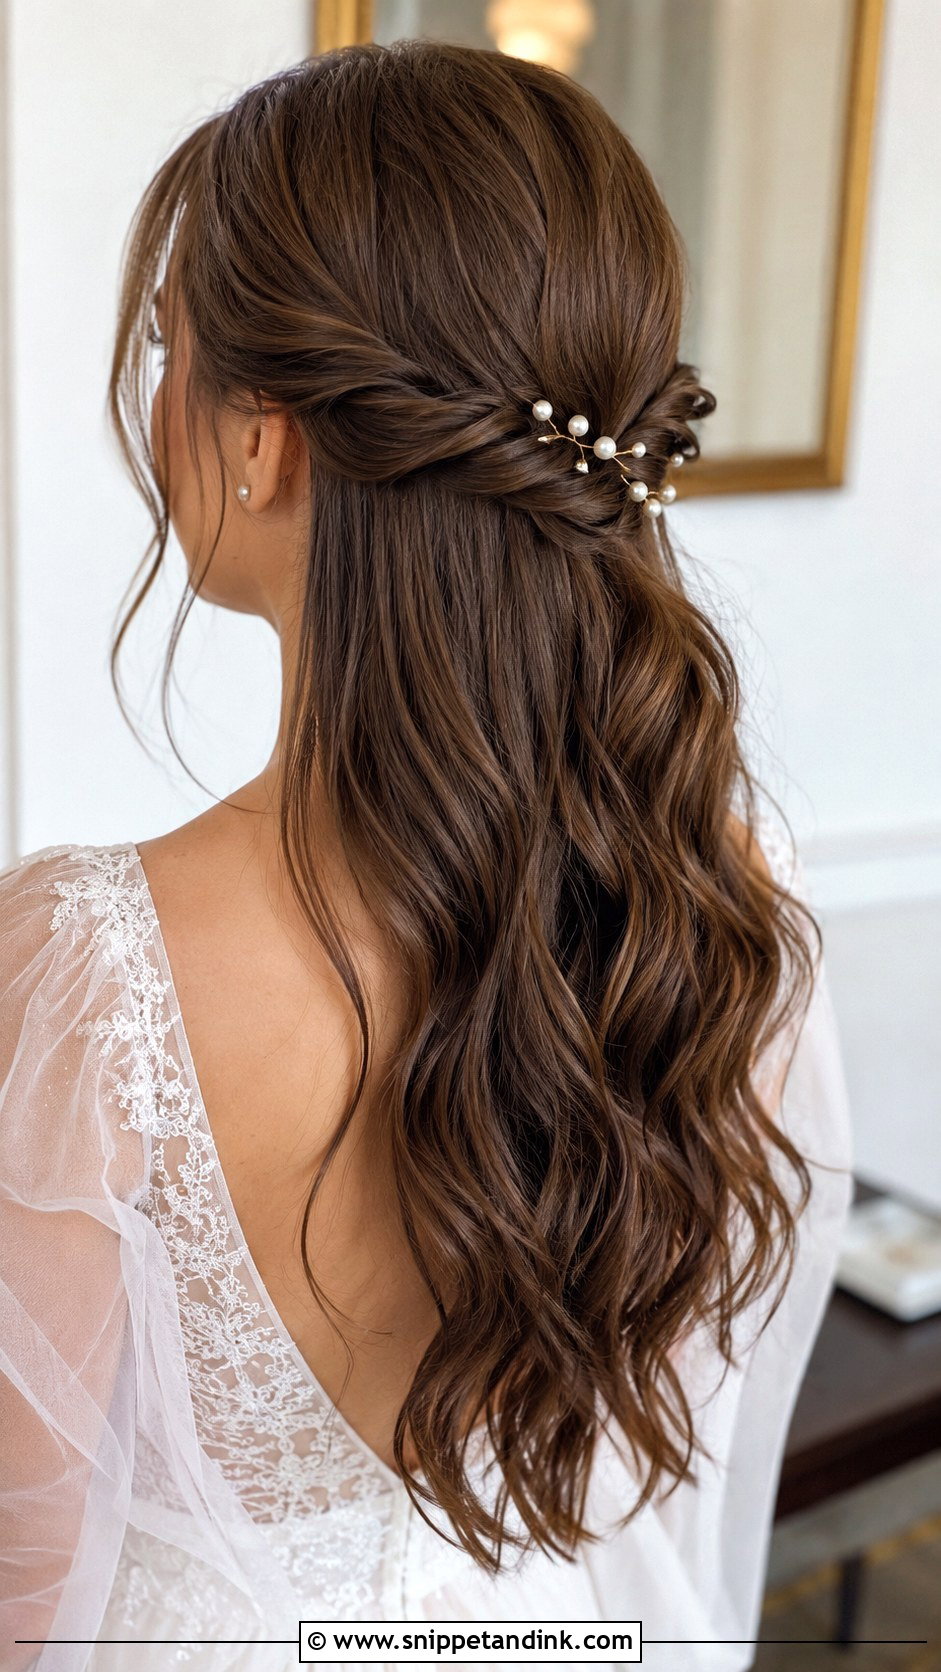
Side twists are the smallest amount of structure you can add to waves and still keep the face clear. I twist one section from each temple back towards the center, crossing the pins underneath so they can’t be seen. Twists loosen more than braids, so I spray each one before it’s pinned. Decorate the join with a pin or a few tiny blooms. The rest of your waves stay down, so you keep your length without it falling forward every time you look down at the rings.
19. Tousled Wavy Wedding Hair
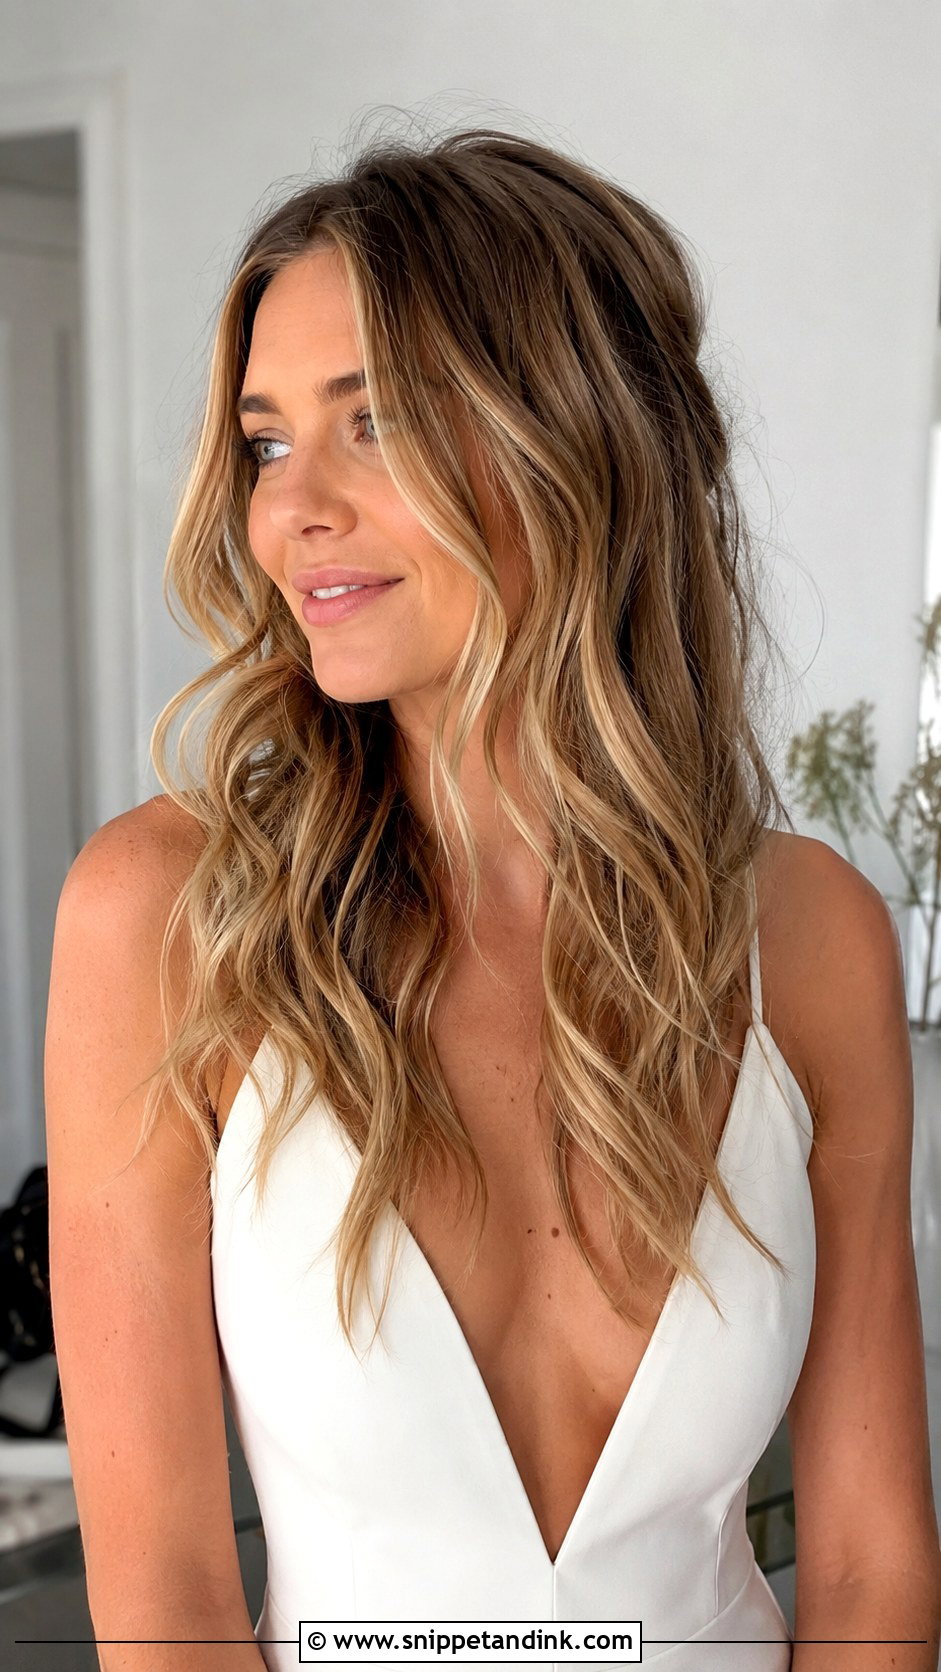
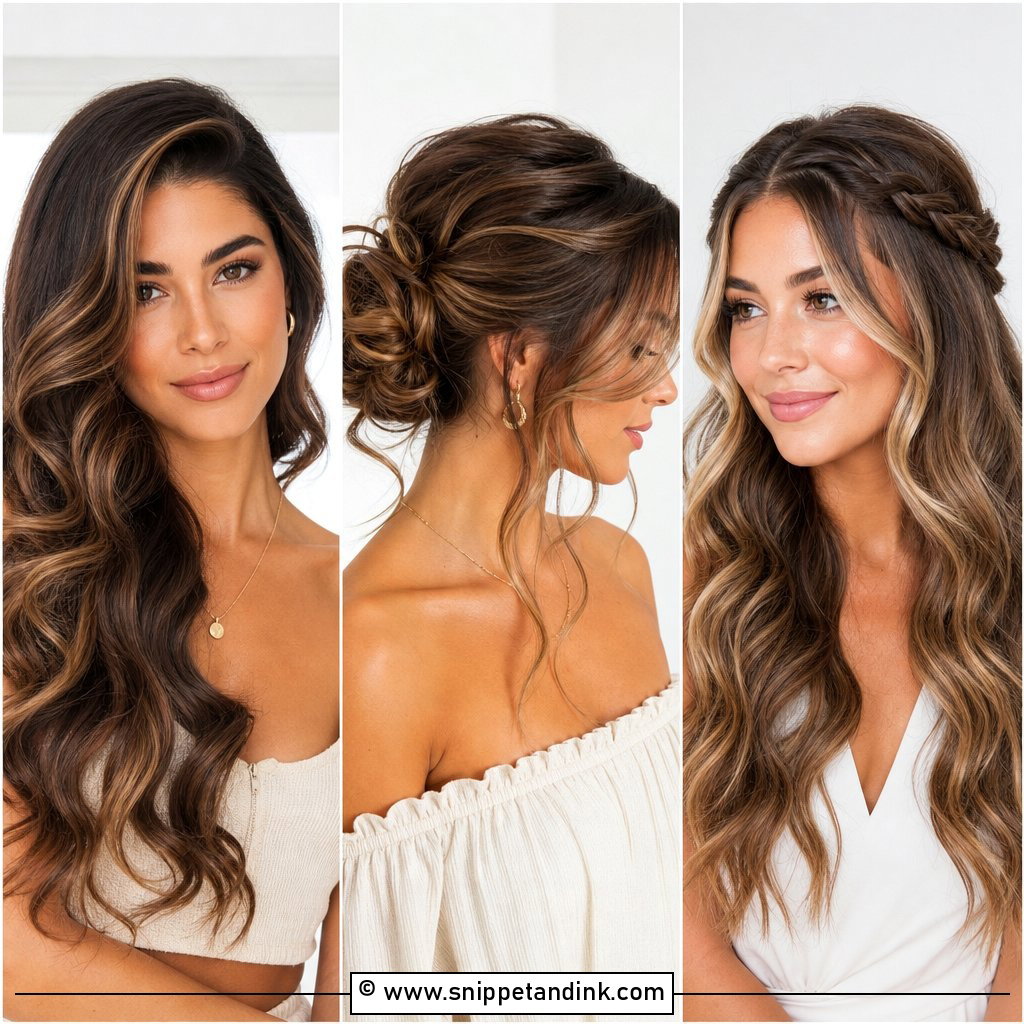
Tousled waves aim for that lived-in, piecey finish. I curl in mixed directions, leave the ends out, and work a texturizing spray through with my hands so the strands separate. This one suits a bride who hates the feeling of set, sprayed hair. Tousled waves pair well with minimalist gowns. One warning: undone texture can slide into just untidy by the evening, so a quick refresh with a little dry shampoo at the roots is worth planning in.
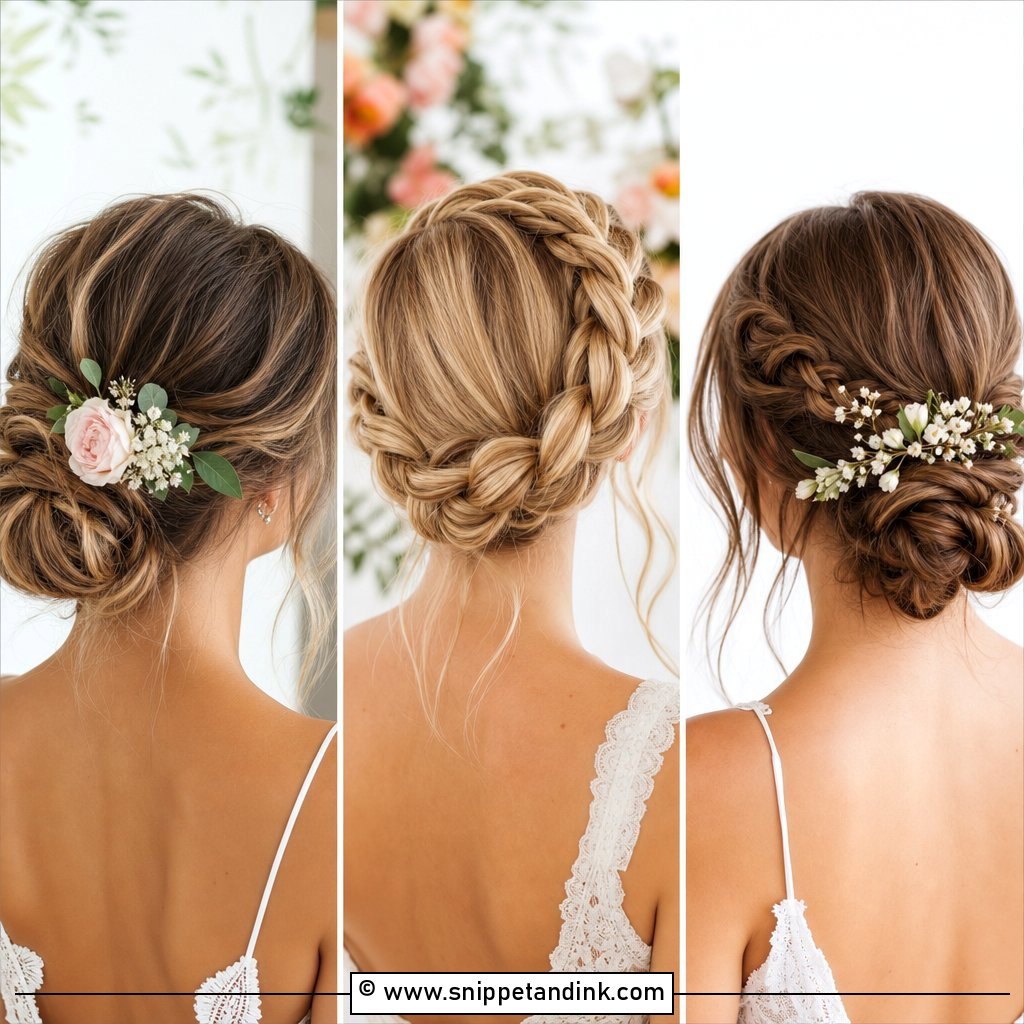
20. Wavy Wedding Hair with Side Part
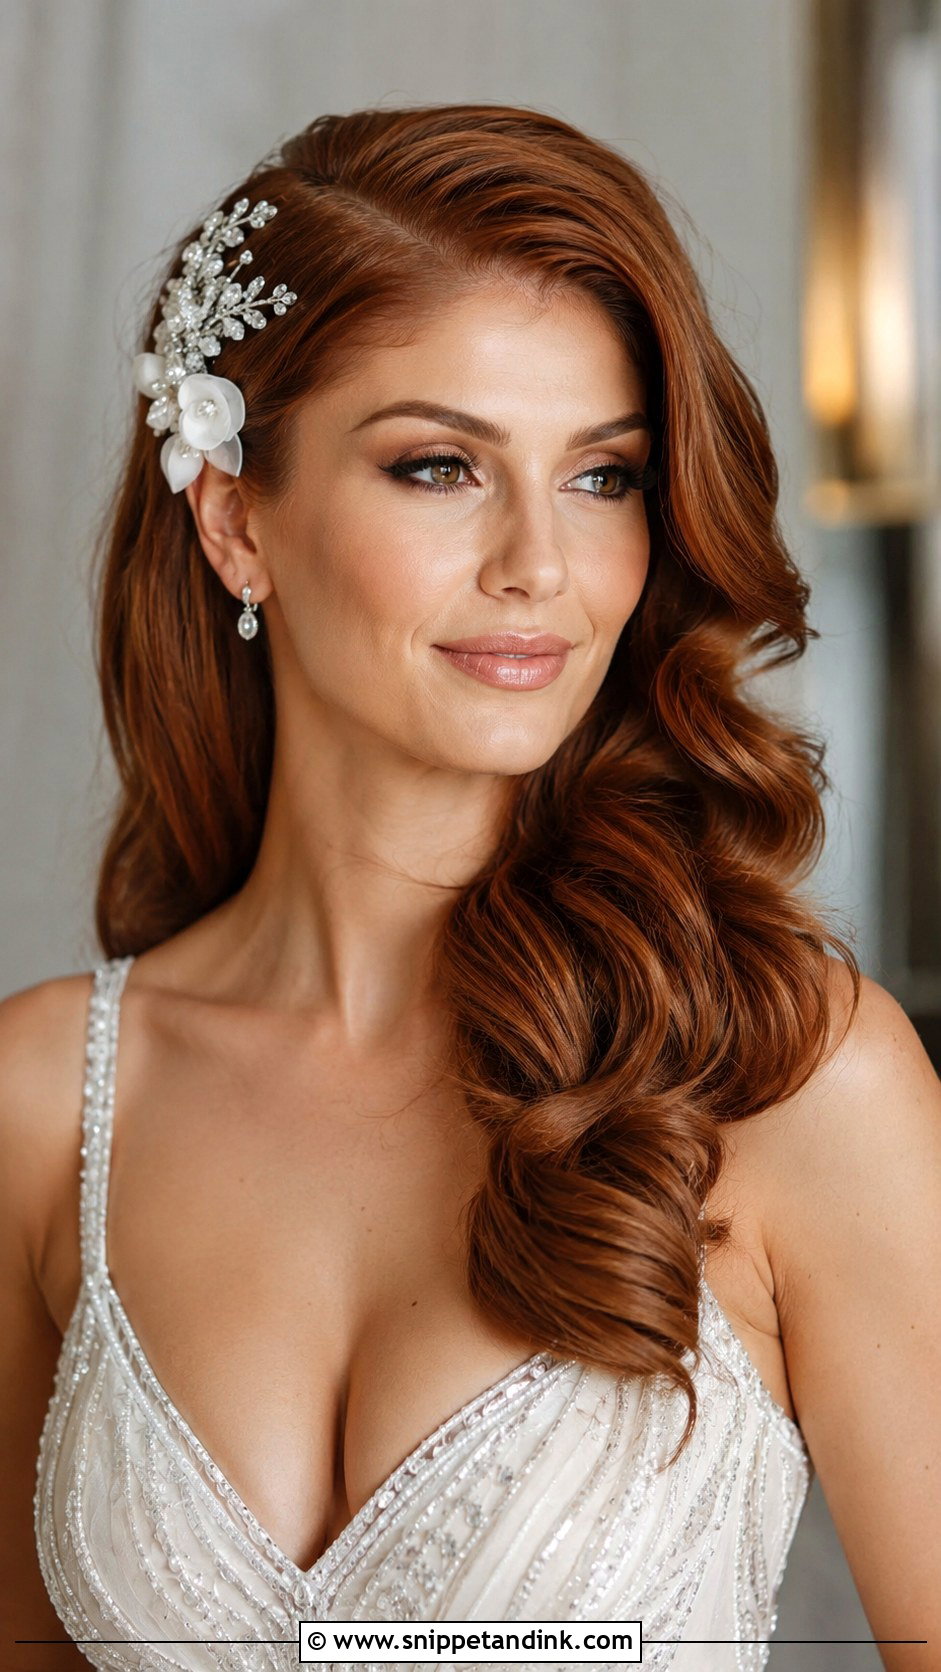
Deep side-part waves put the volume on one side and give the look its drama. I lift the root on the heavy side with a round brush before curling, because that lift is what drops first. It frames most face shapes and works with sweeping waves or a half-up version. Pin a clip or a flower on the heavier side, behind the ear, so it doesn’t fight the volume. If you have a strong cowlick at the front, test the side first, since some hairlines simply won’t flip.
Ceremony, Dinner, Dance Floor: How Waves Change Over a Wedding Day
Every wave relaxes. The question is how much, and whether you still like it when it does. In my experience the biggest drop happens in the first two hours, between the getting-ready photos and the end of the ceremony, then it settles. Heat from a crowded room and humid air loosen it further; dry, air-conditioned venues are kind to waves.
Small kit for the bridesmaid who’s watching your hair
- A small travel can of flexible hairspray and a few bobby pins that match your hair color.
- Dry shampoo or texture powder for the roots after the dance floor gets warm.
- A wide-tooth comb, never a brush, so you don’t break the waves into frizz.
- A couple of small clips to re-pin a section that’s fallen forward.
If a section drops completely, don’t try to curl it back with a mini straightener in a dim bathroom. Twist it loosely, pin it behind the ear and it reads as a styling choice. And if your venue is outdoors in summer, ask your stylist for a half-up version; the pinned top keeps its shape even when the lengths soften.
Waves That Look the Same at Midnight as at the Aisle
Pick the shape first: all down, half up or gathered. Then pick how defined you want the wave to look at the end of the night, not at the start, and tell your stylist that. Bring two or three photos from this list, mention your hair texture and the forecast, and do the trial with the veil and accessories you plan to wear. That’s what gets the look you saved through the whole day.
You'll Like These Ideas:


Leave a Reply